These cookies have Stollen my heart

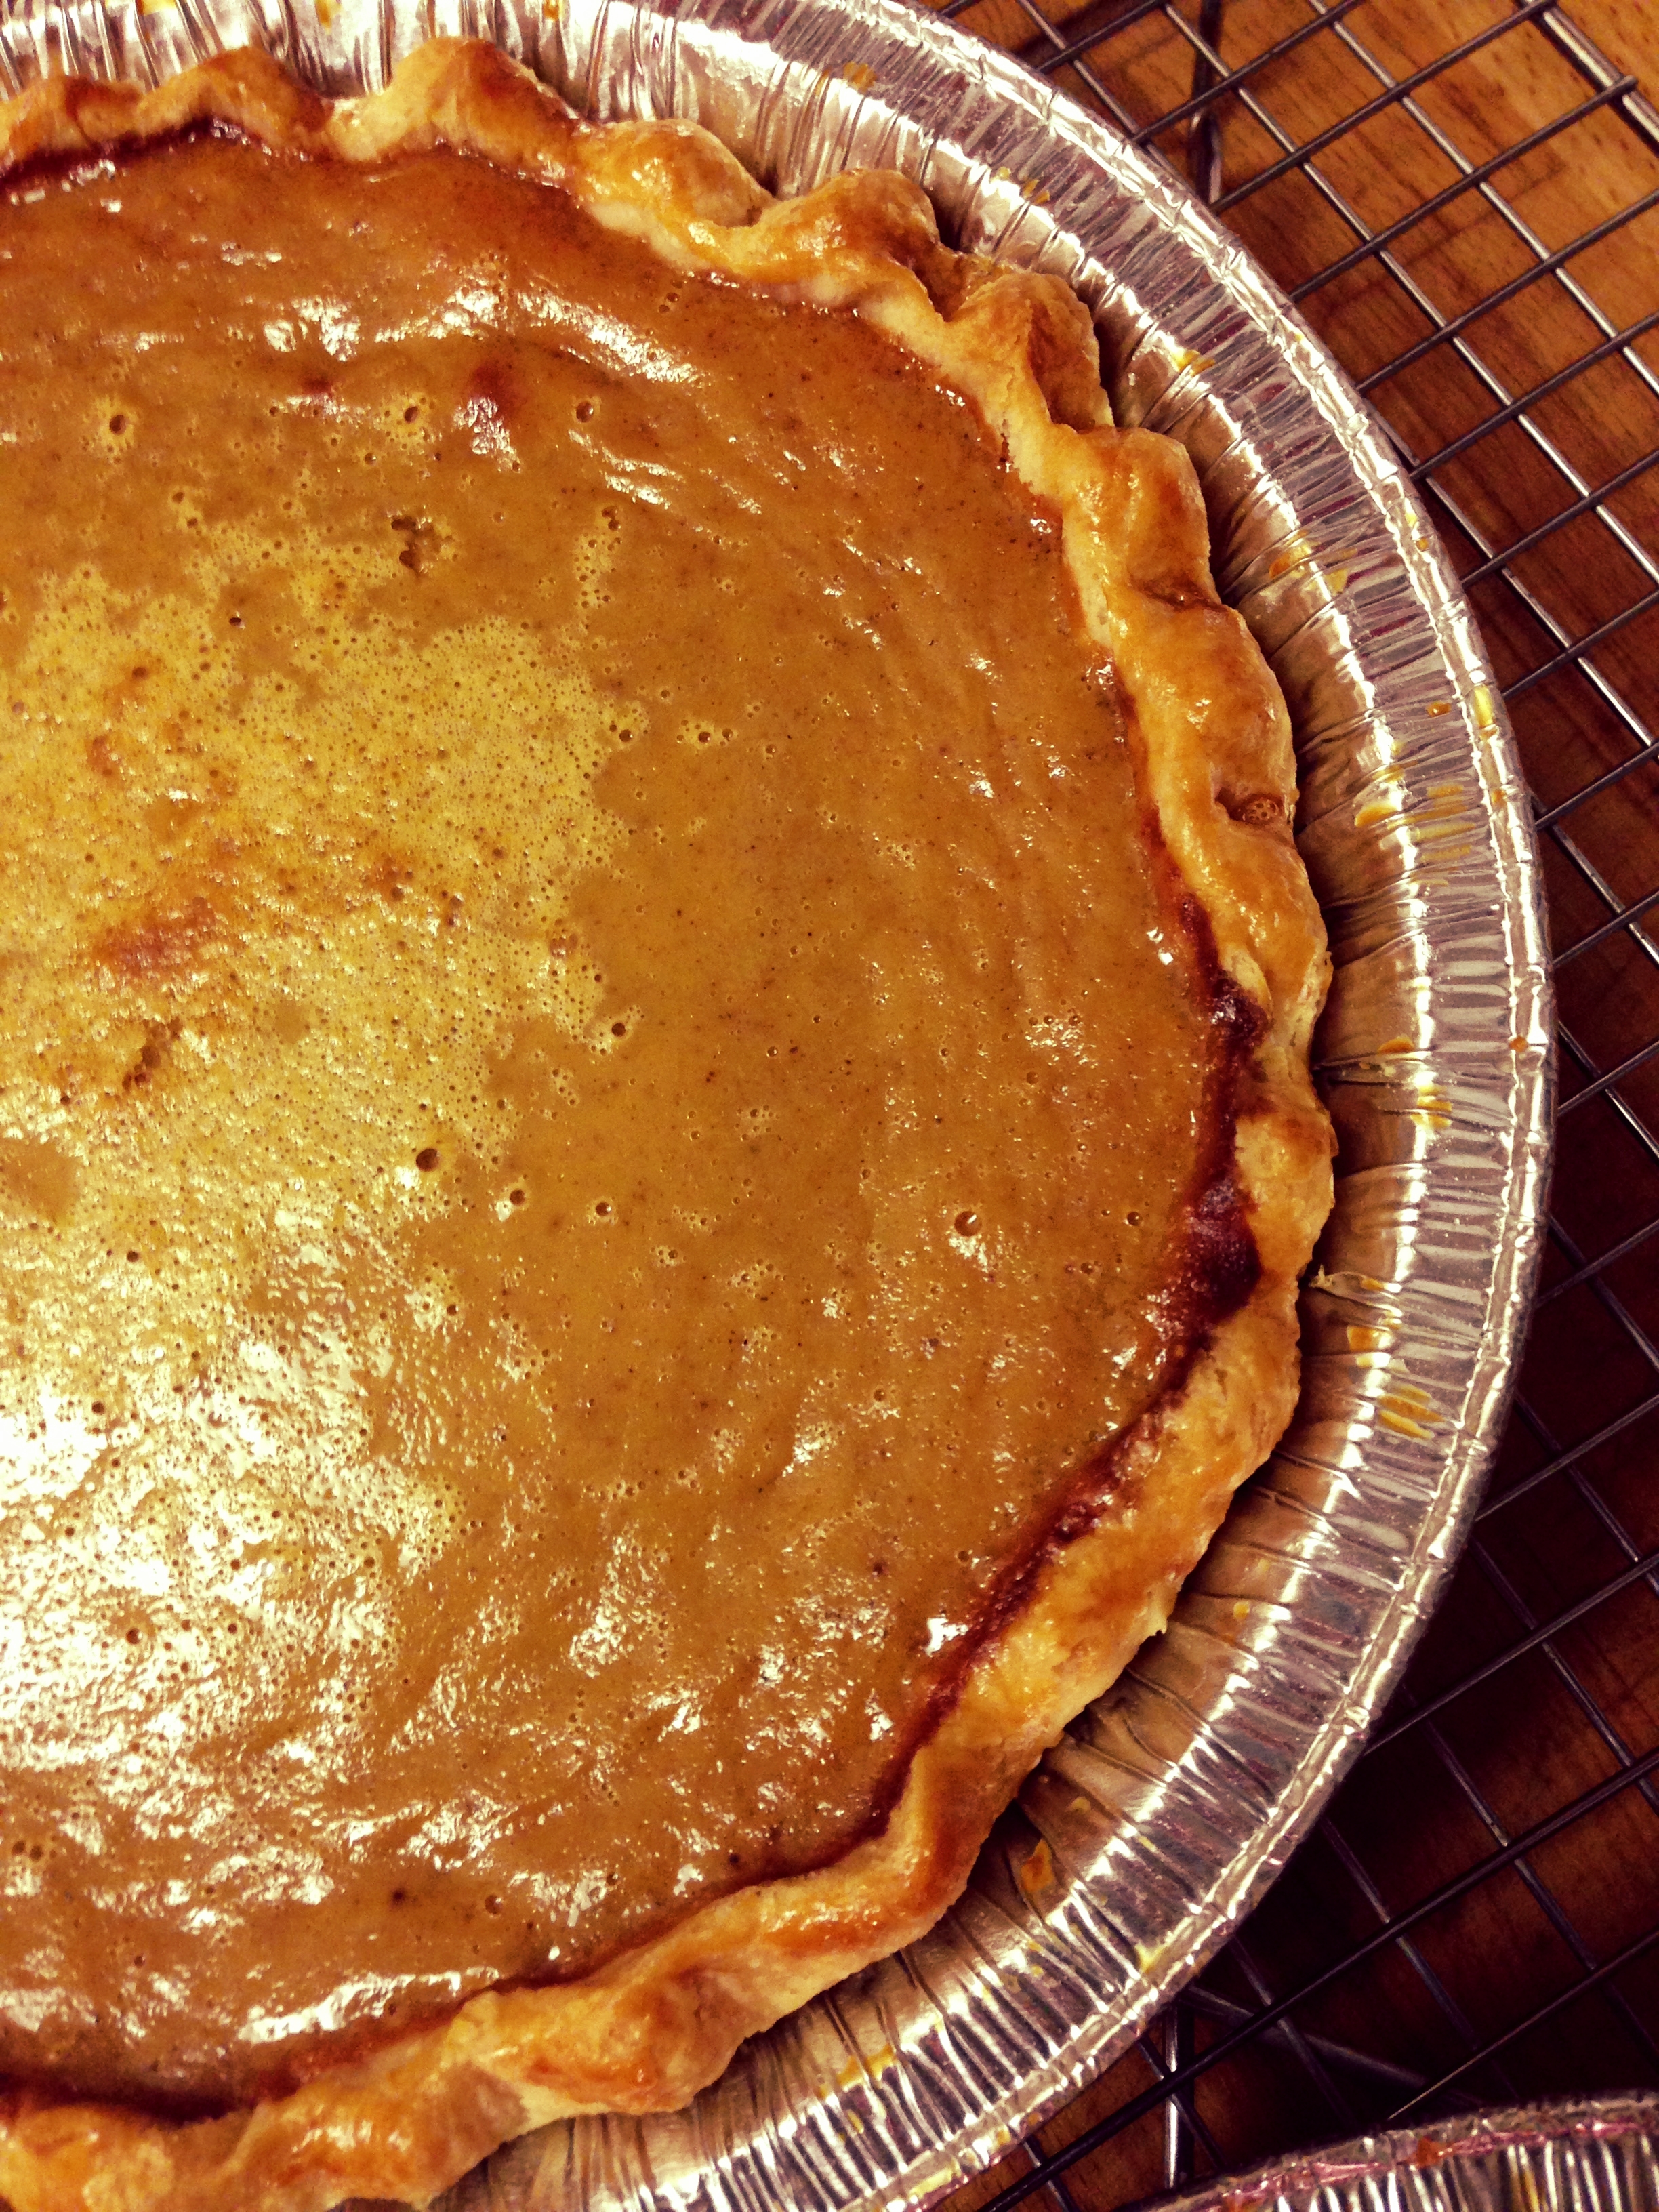
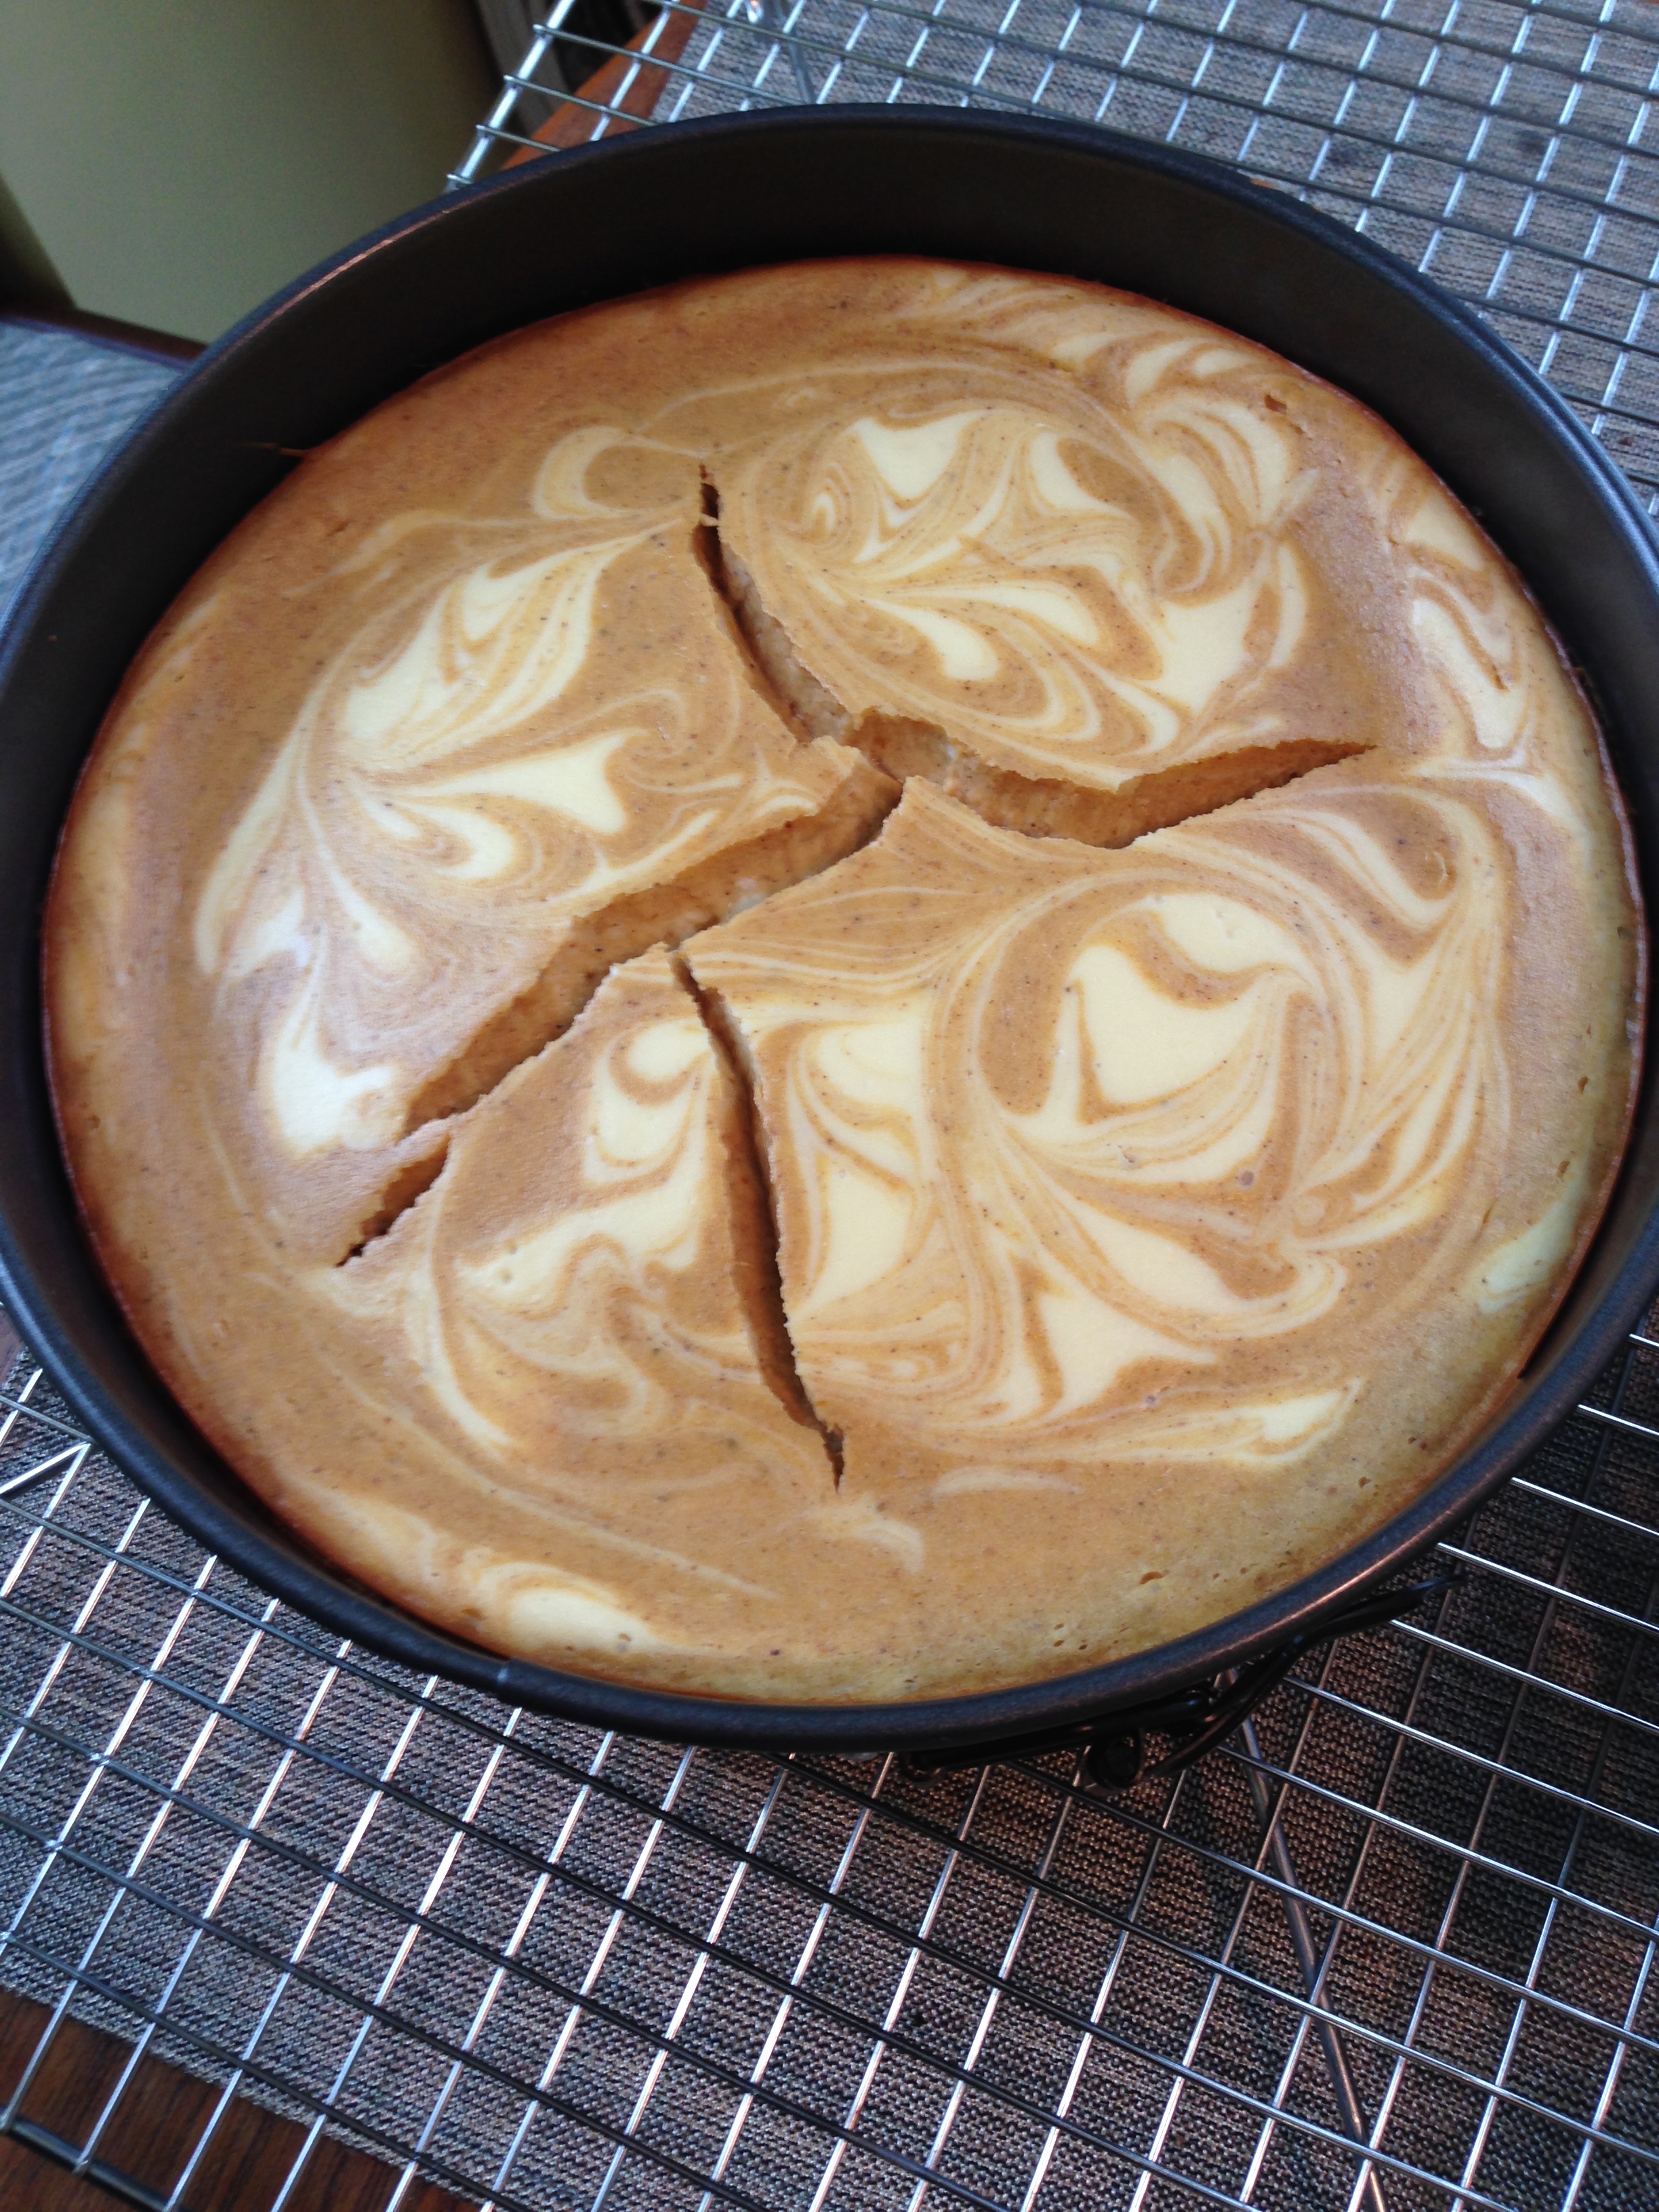
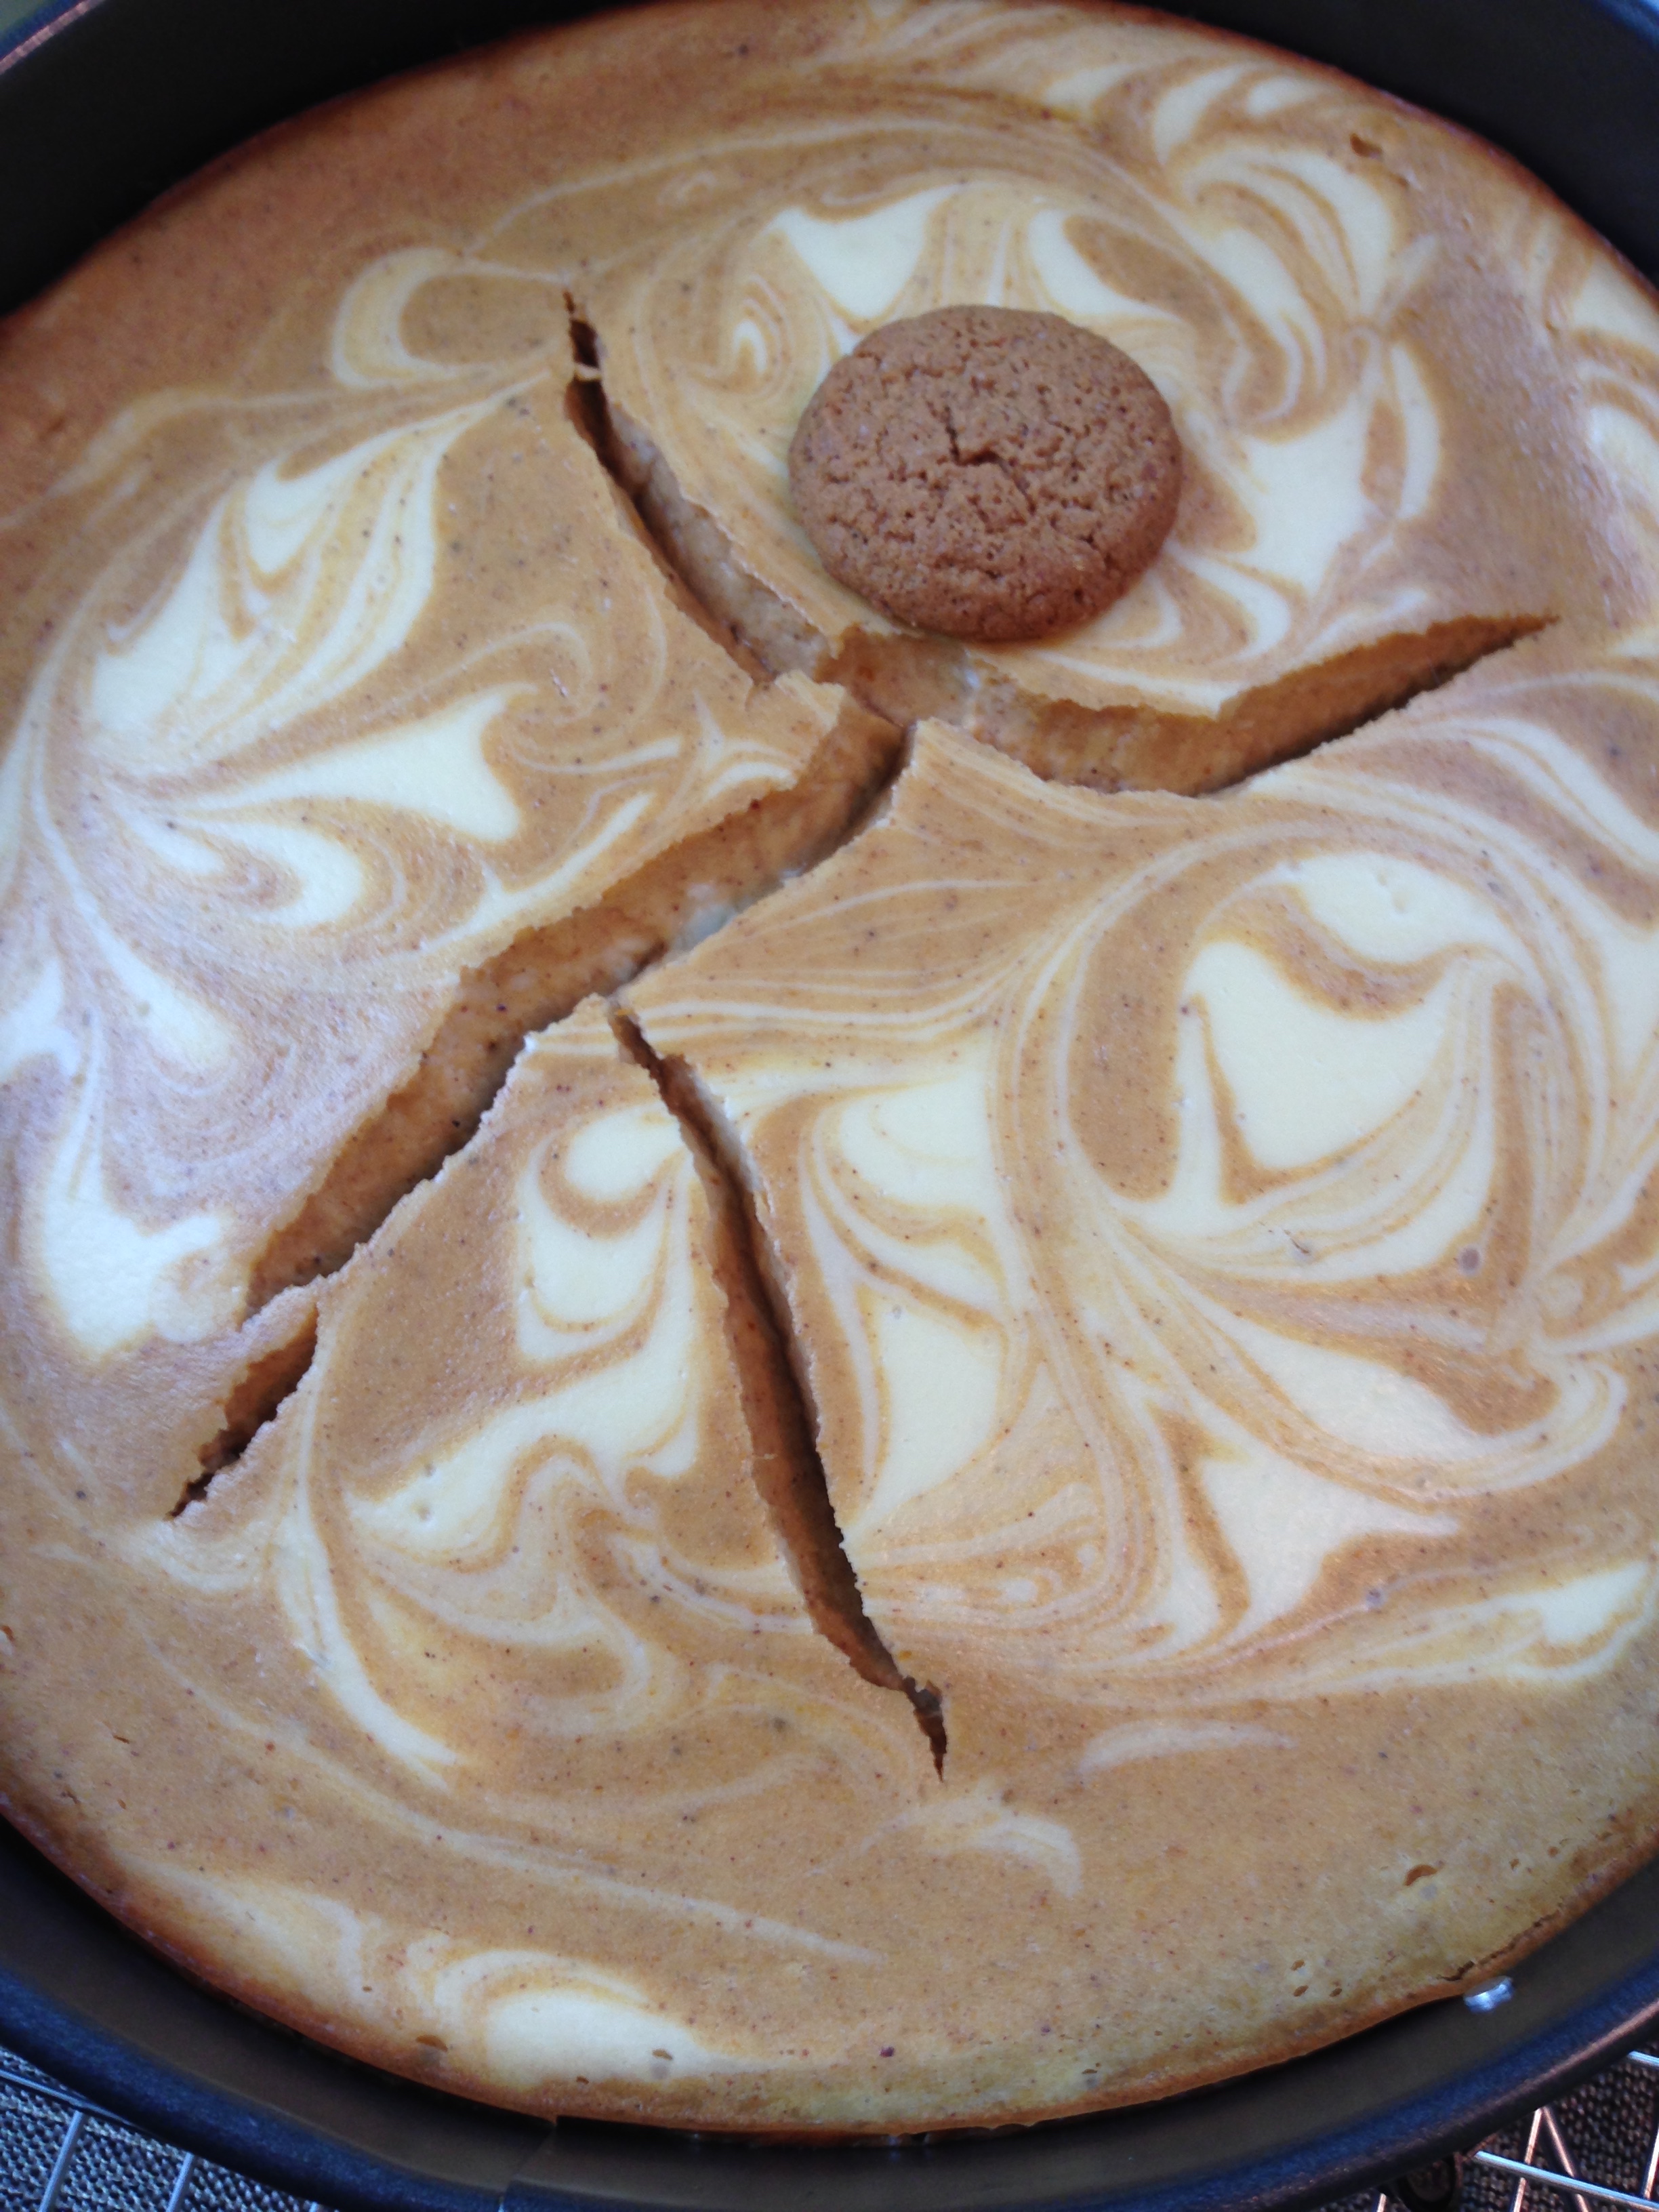
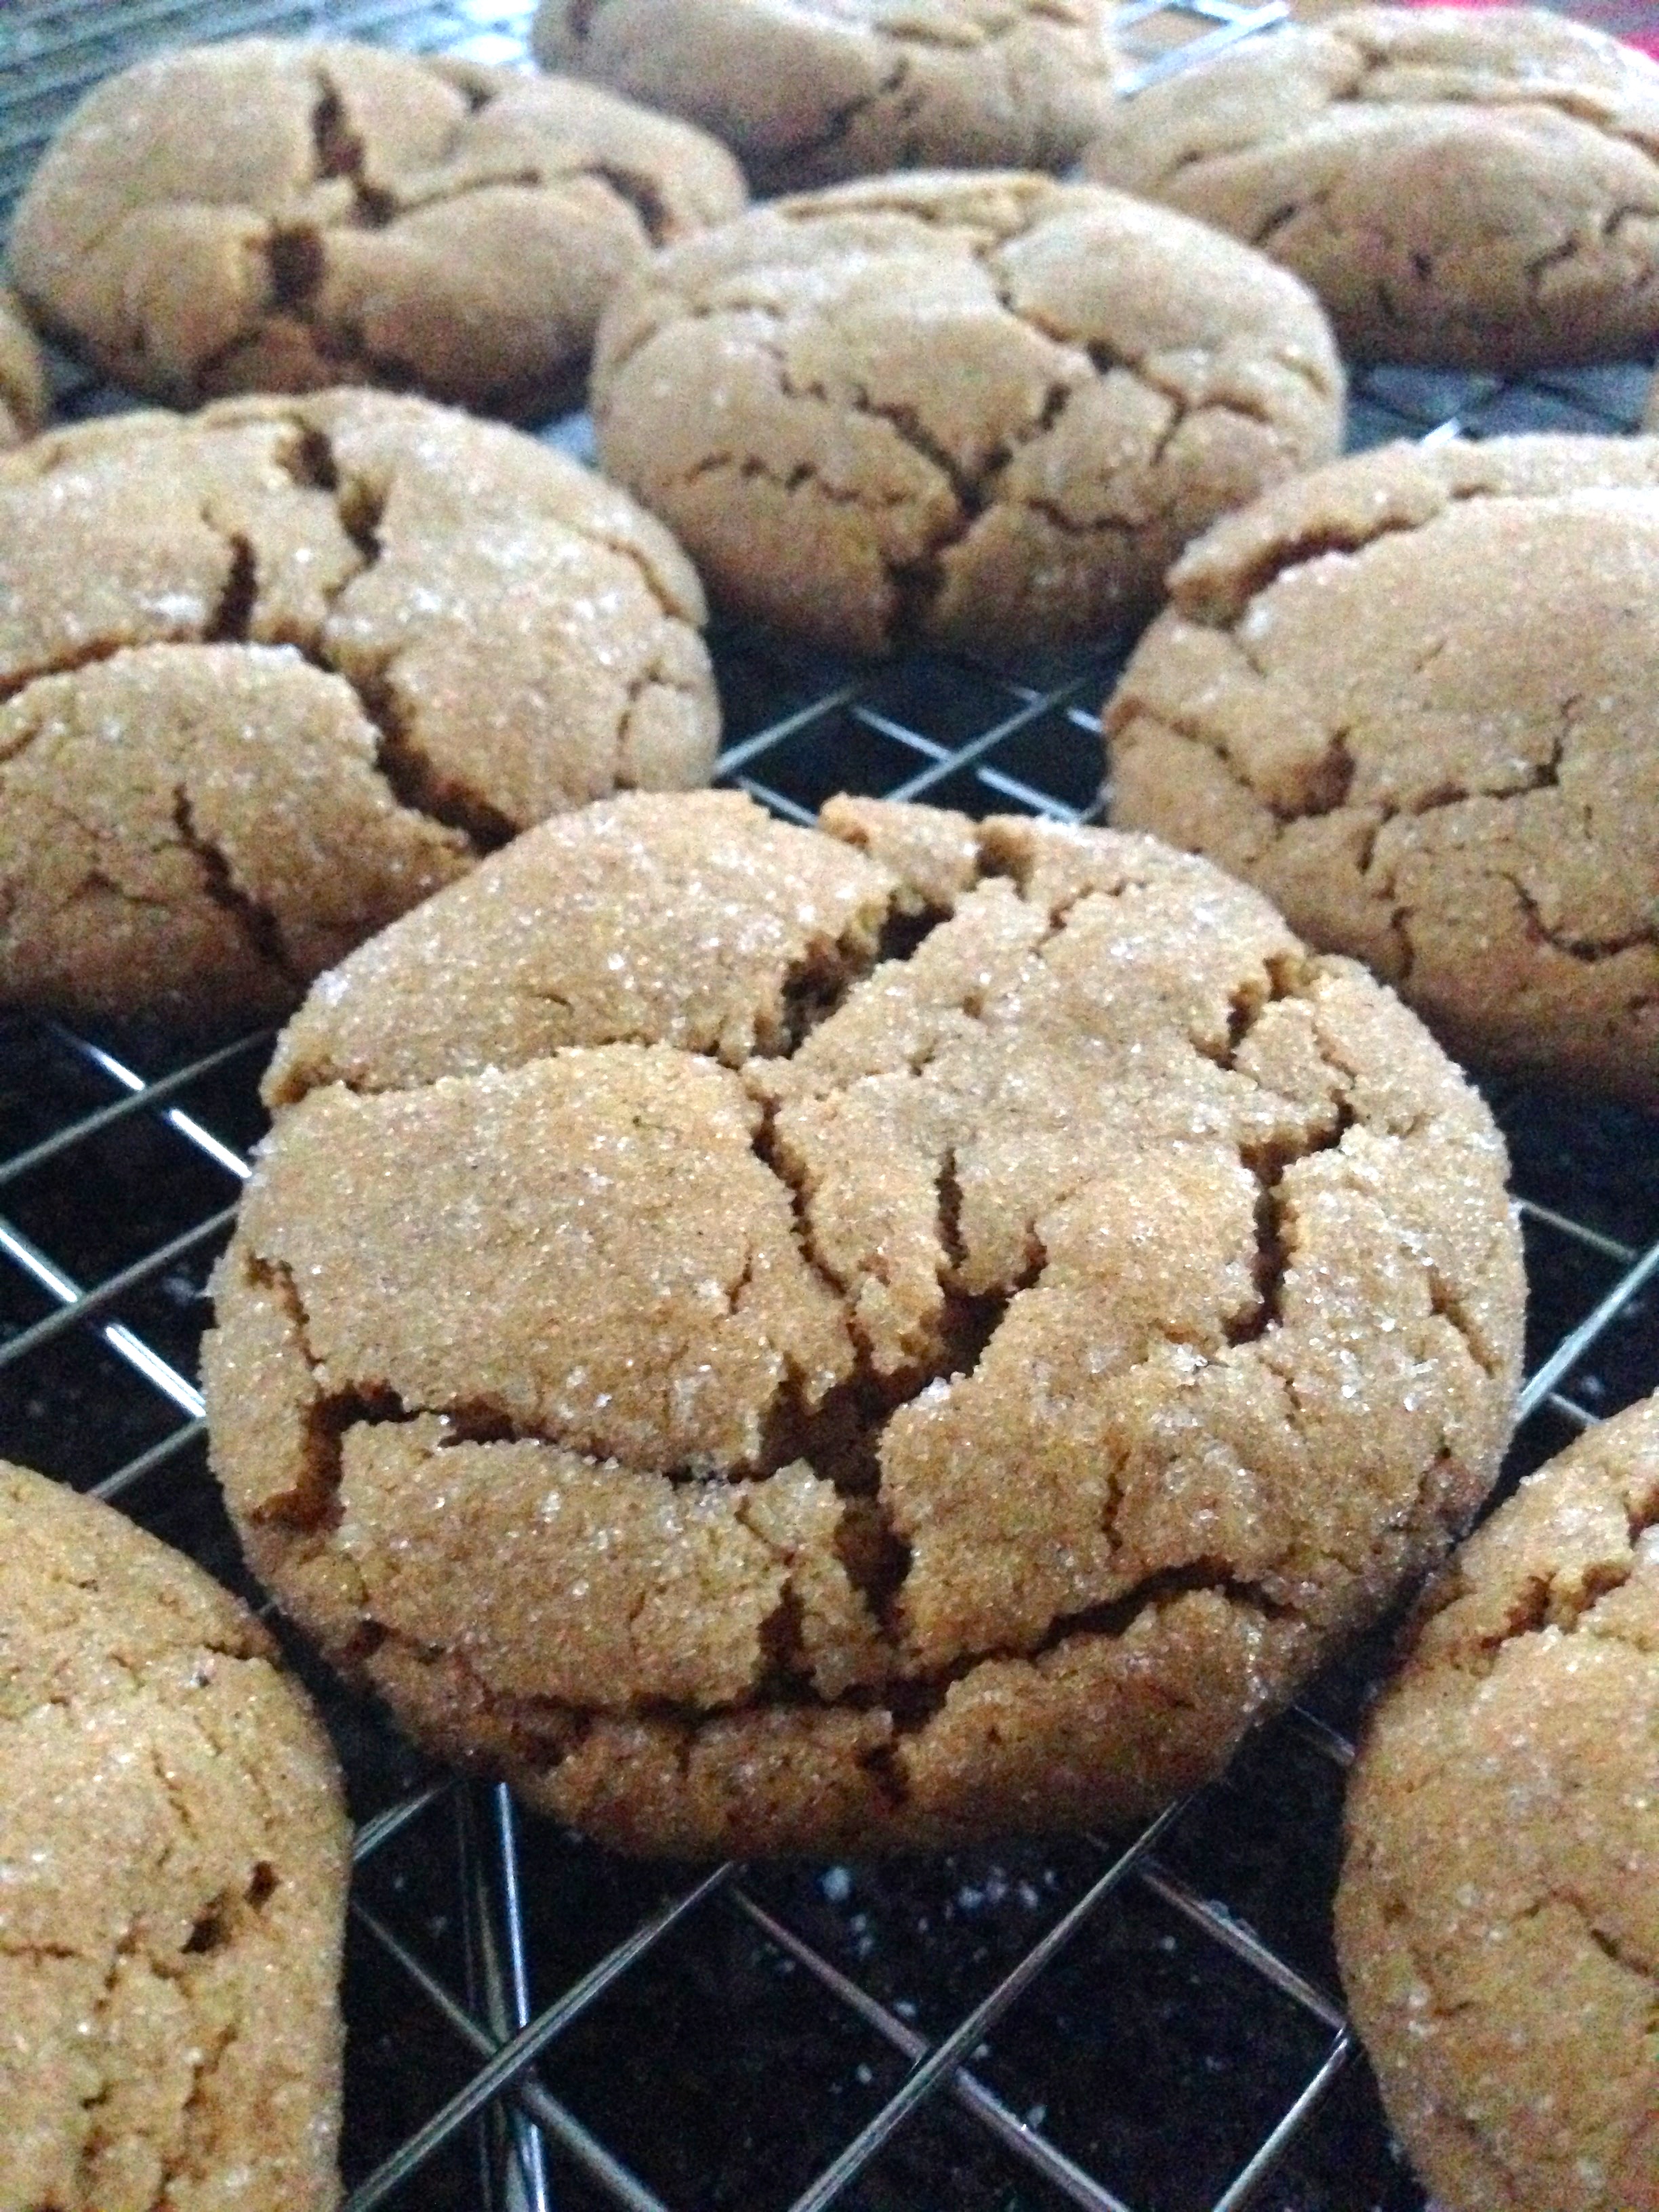
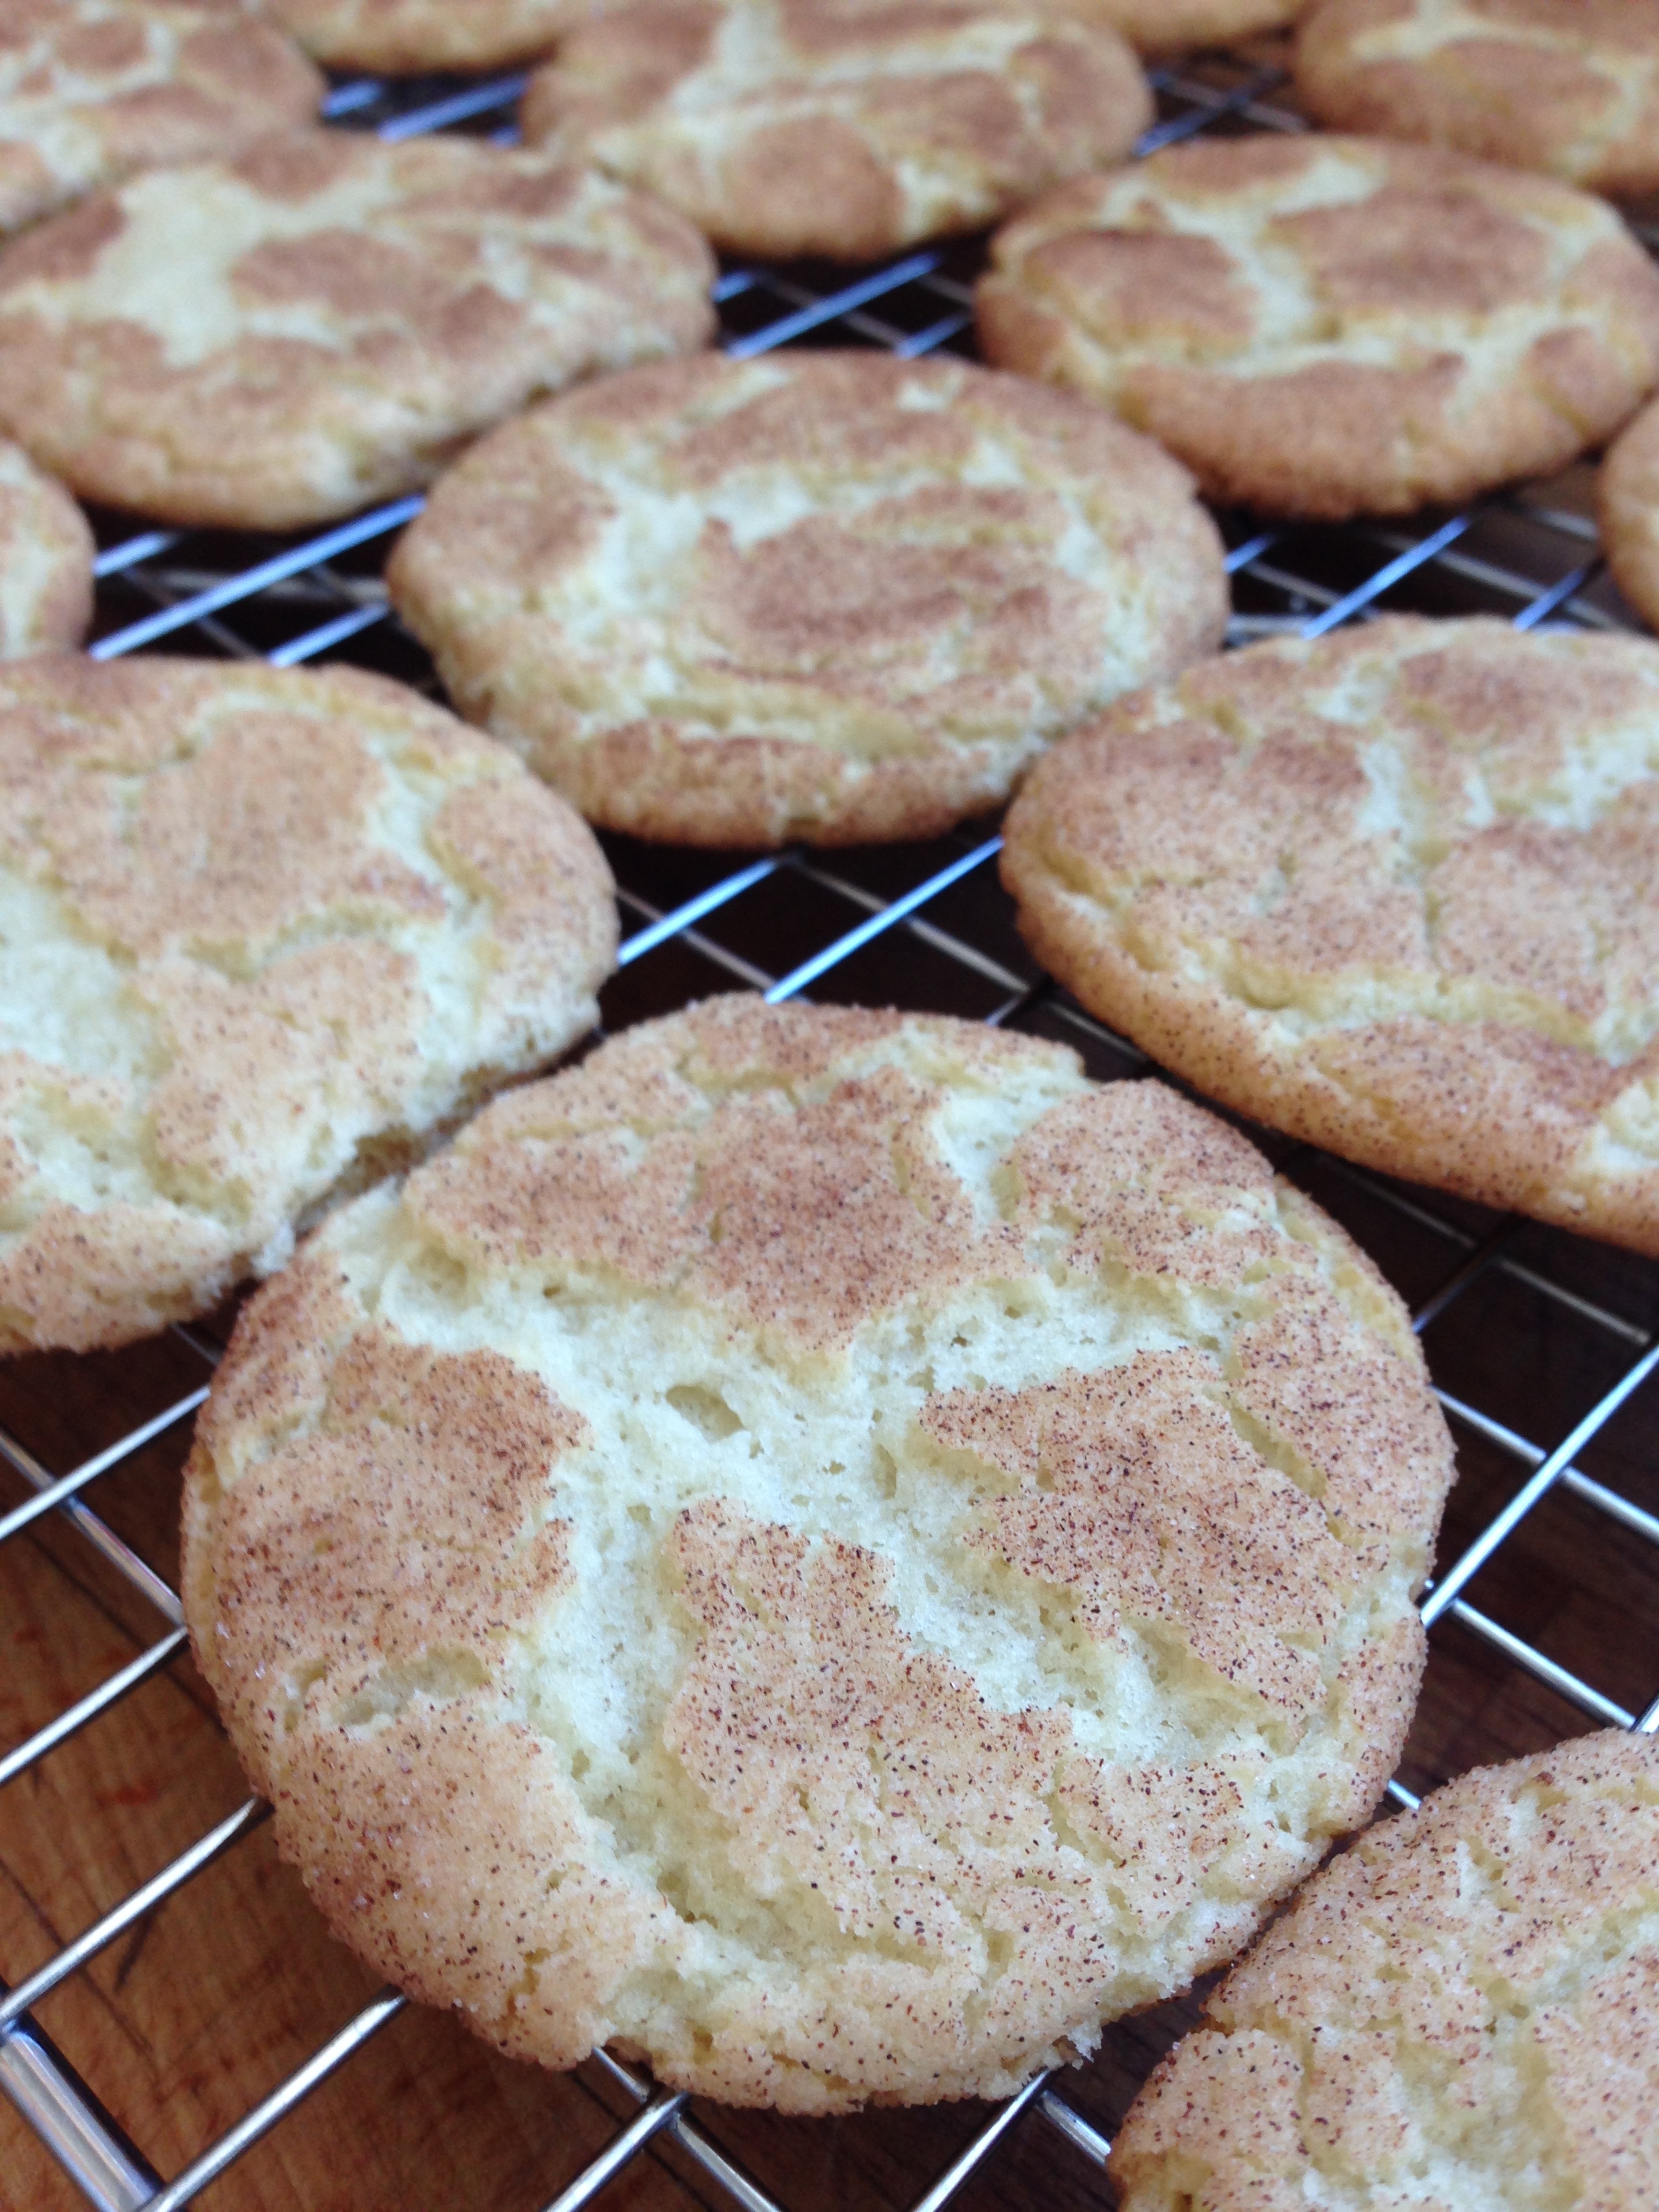
I haven't baked too terribly much in a long time. This winter is different though. I got bit bad by the baking bug. I have a lovely Solstice party coming up and I fully intend on no one leaving hungry. I may have gone a bit over board though: Snickerdoodles, Soft Ginger Cookies, Butter Tarts, Apple pie and the most amazing Stollen Pinwheel Cookies. 

The following cookie recipe is that later named. I found it in a Fine Cooking magazine and it blew my socks off, so I thought I'd share. 

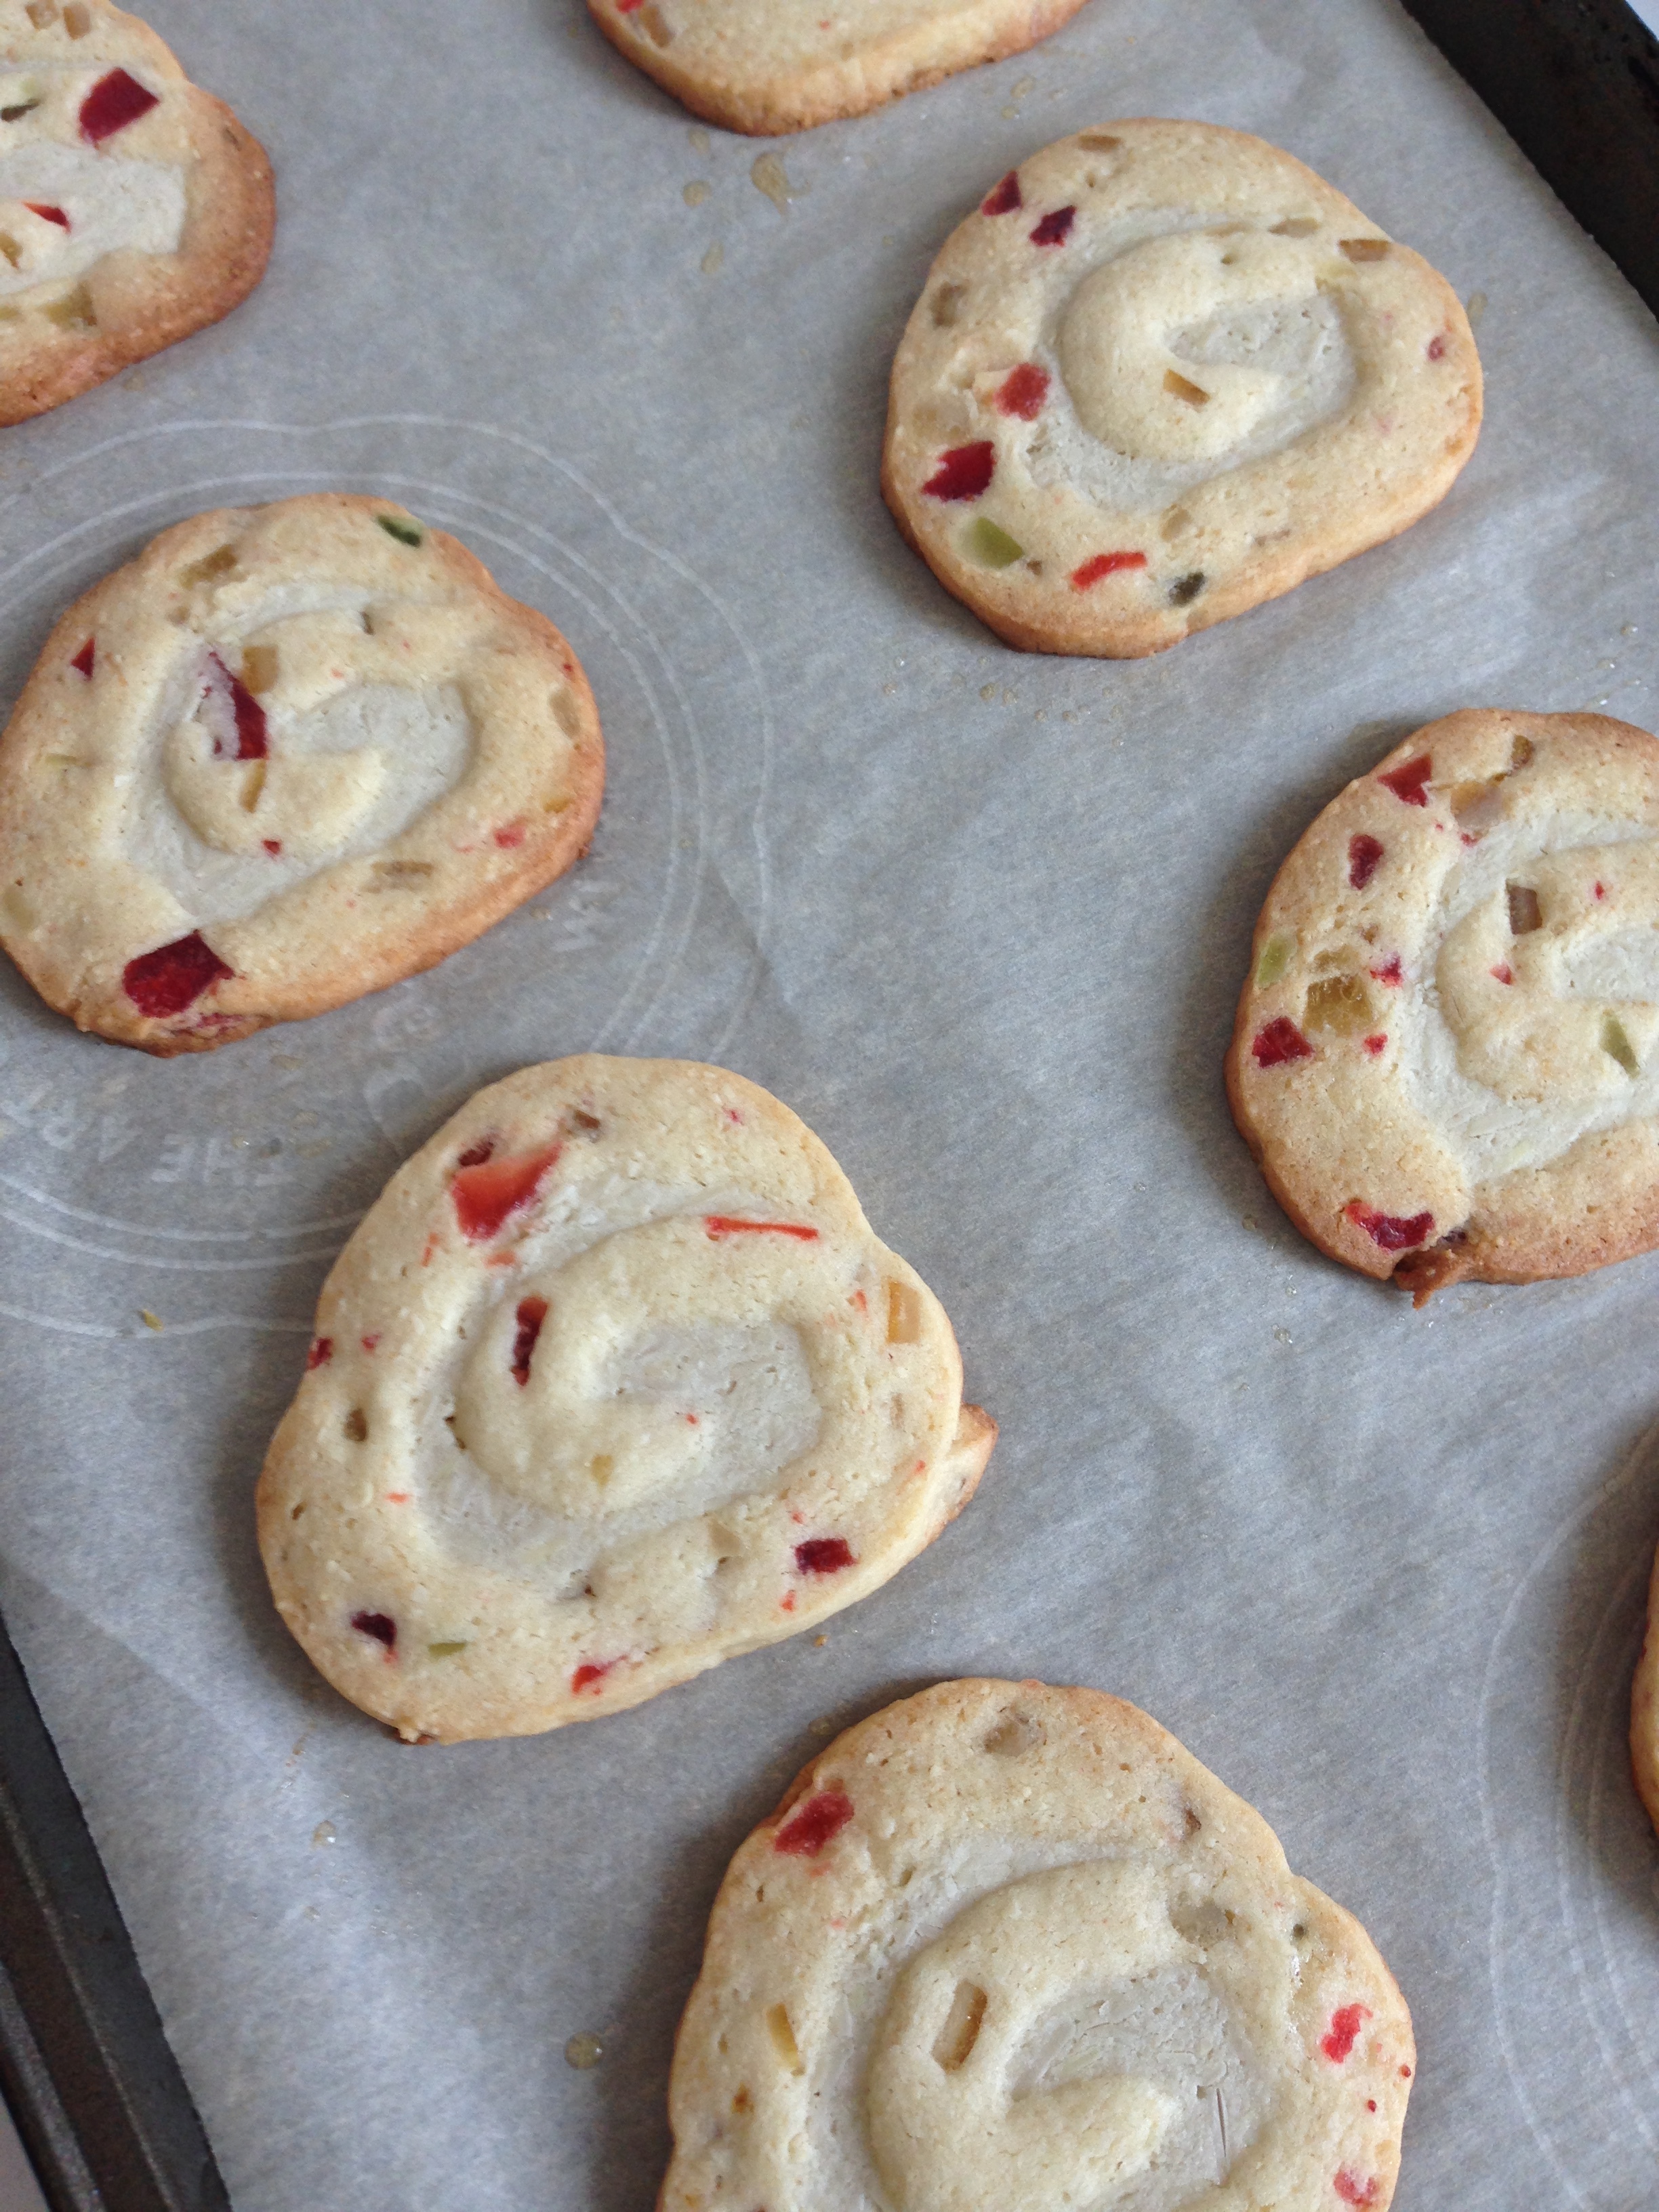
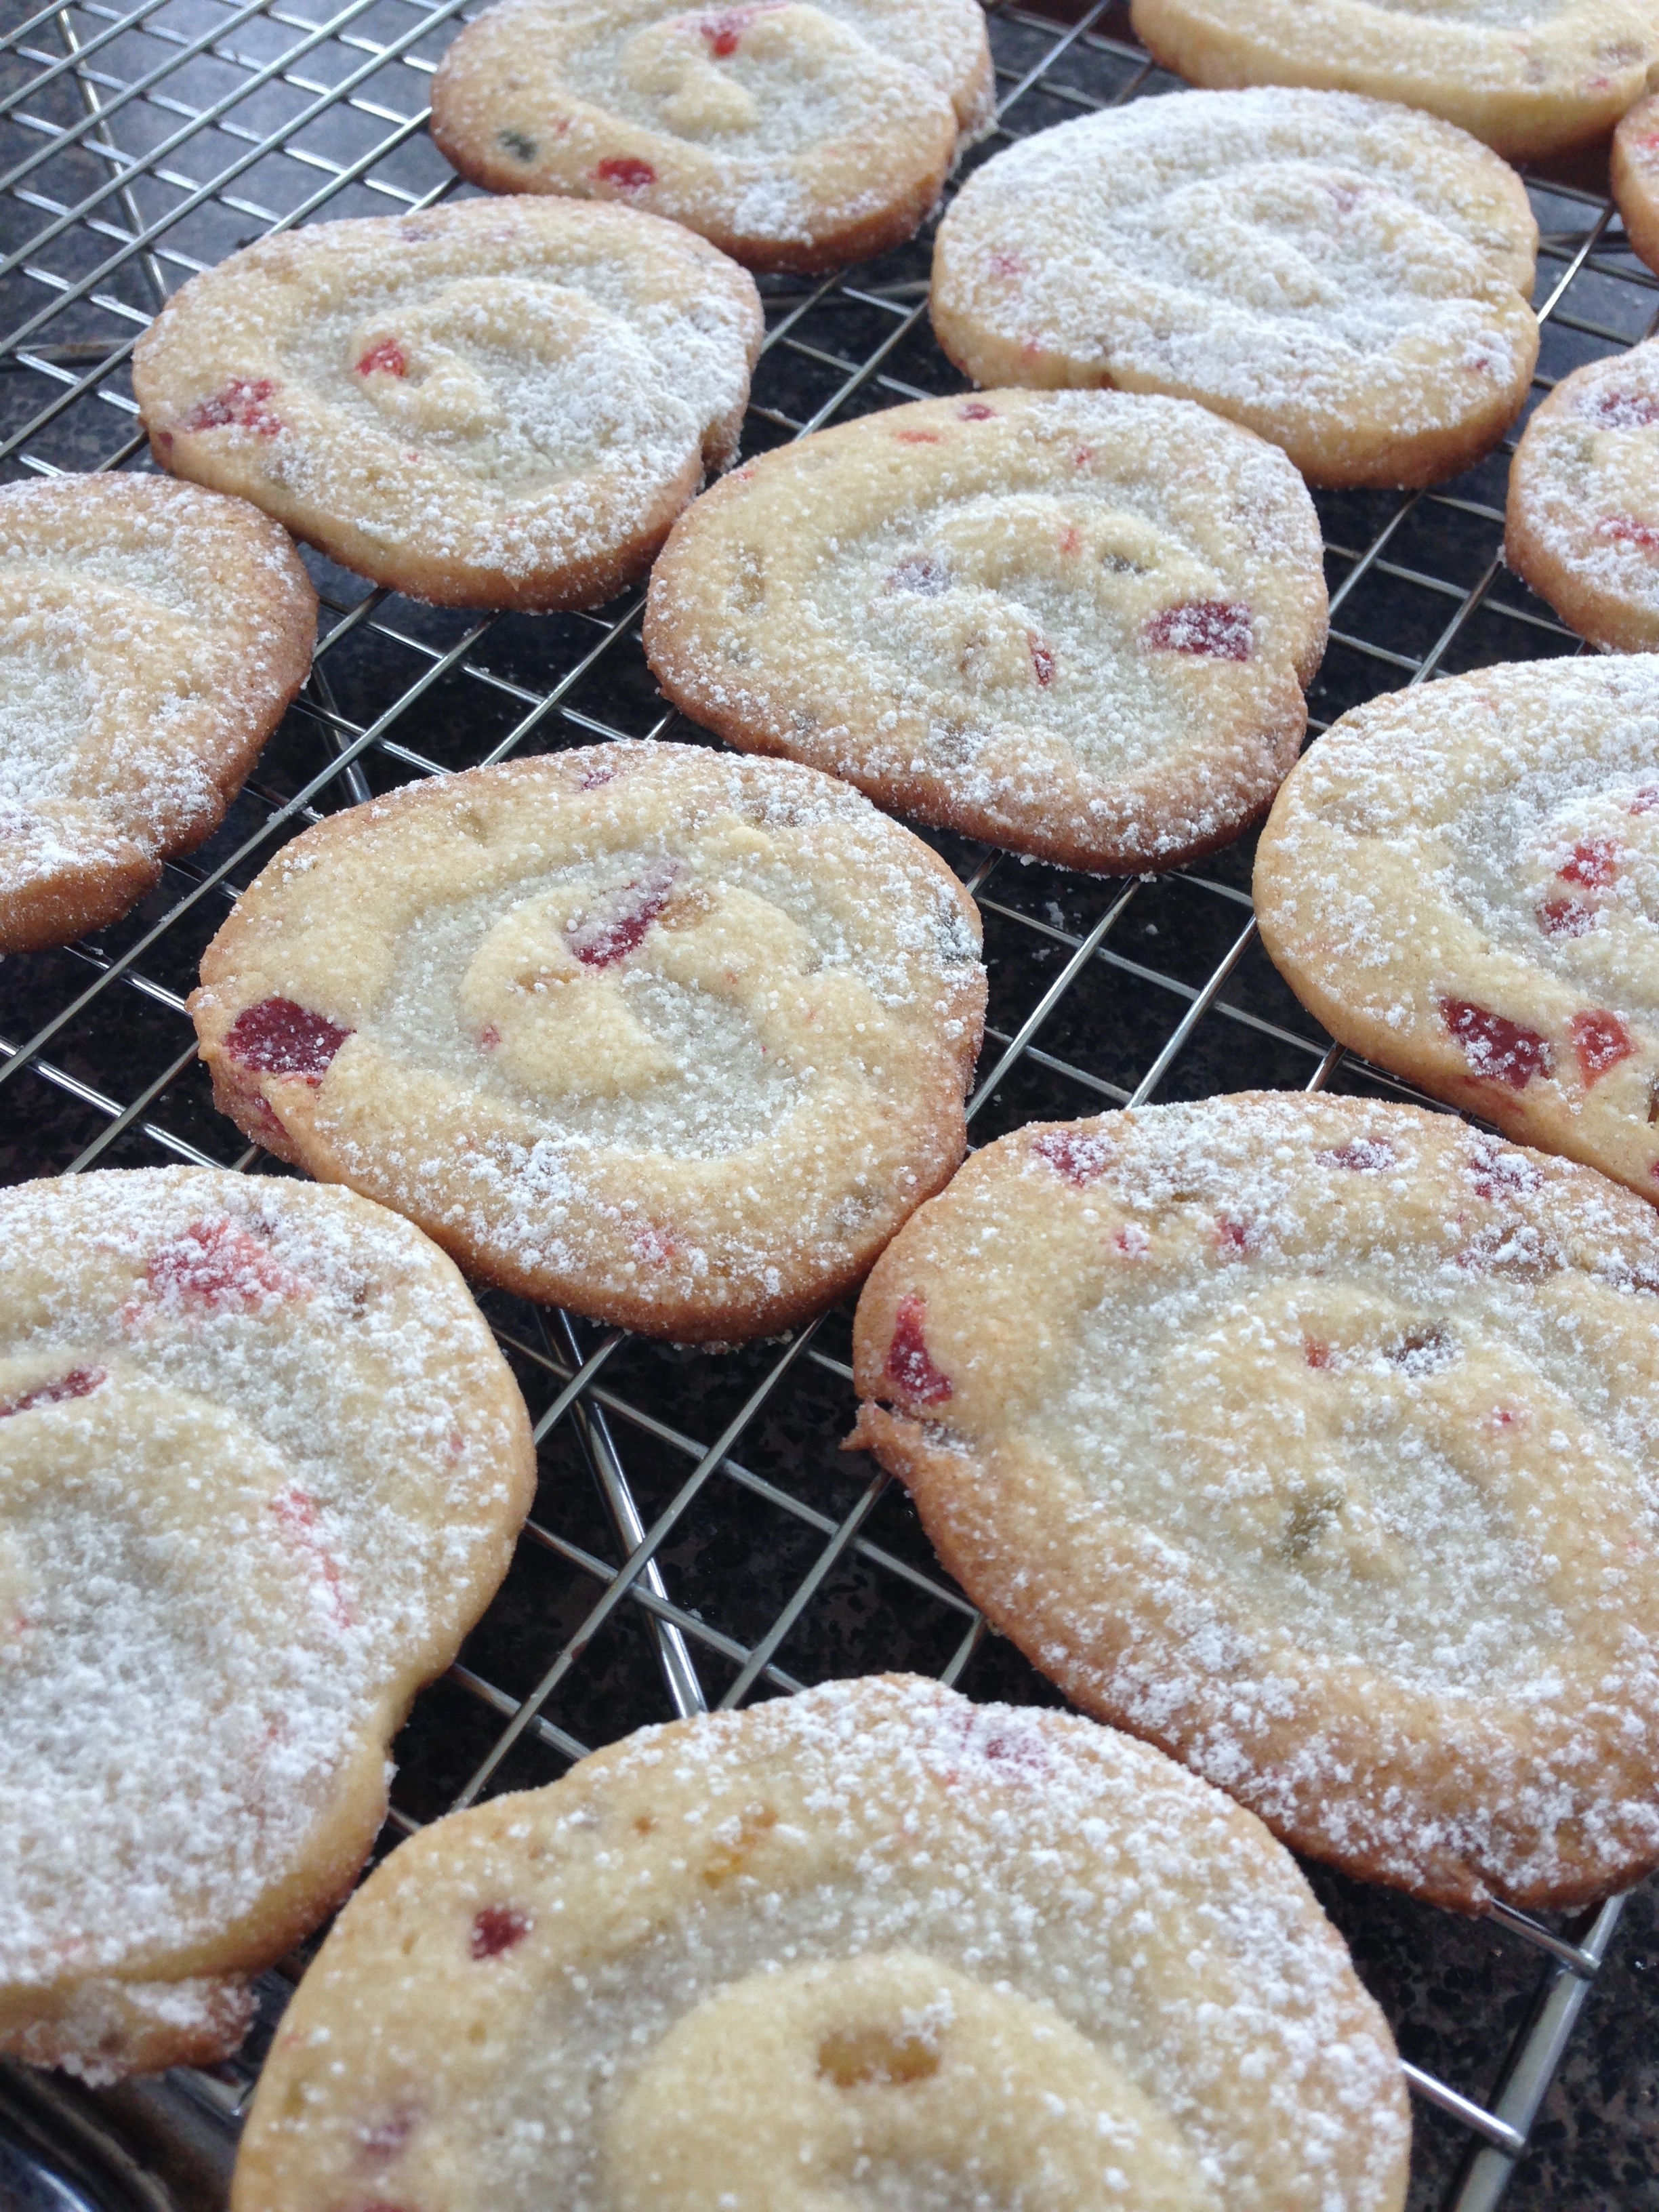
Stollen Pinwheel cookies

These pinwheel holiday cookies are reminiscent of the classic German Stollen, dried fruit and almond paste and memories of winters past. (Note: These cookies need to freeze completely before baking, so allow for 6 hours in the freezer or let them freeze over night.)

Filling Ingredients:
1 1/4 cup almond flour
3/4 cup sliced almonds
1/4 cup granulated sugar
2 large egg whites
1 tsp salt

Dough Ingredients:
1 1/2 cups granulated sugar
1 cup butter, softened
2 large eggs
1 large egg yolk
2 2/3 cups flour, sifted
1 cup almond flour
2 tsp baking powder
1 1/4 tsp salt
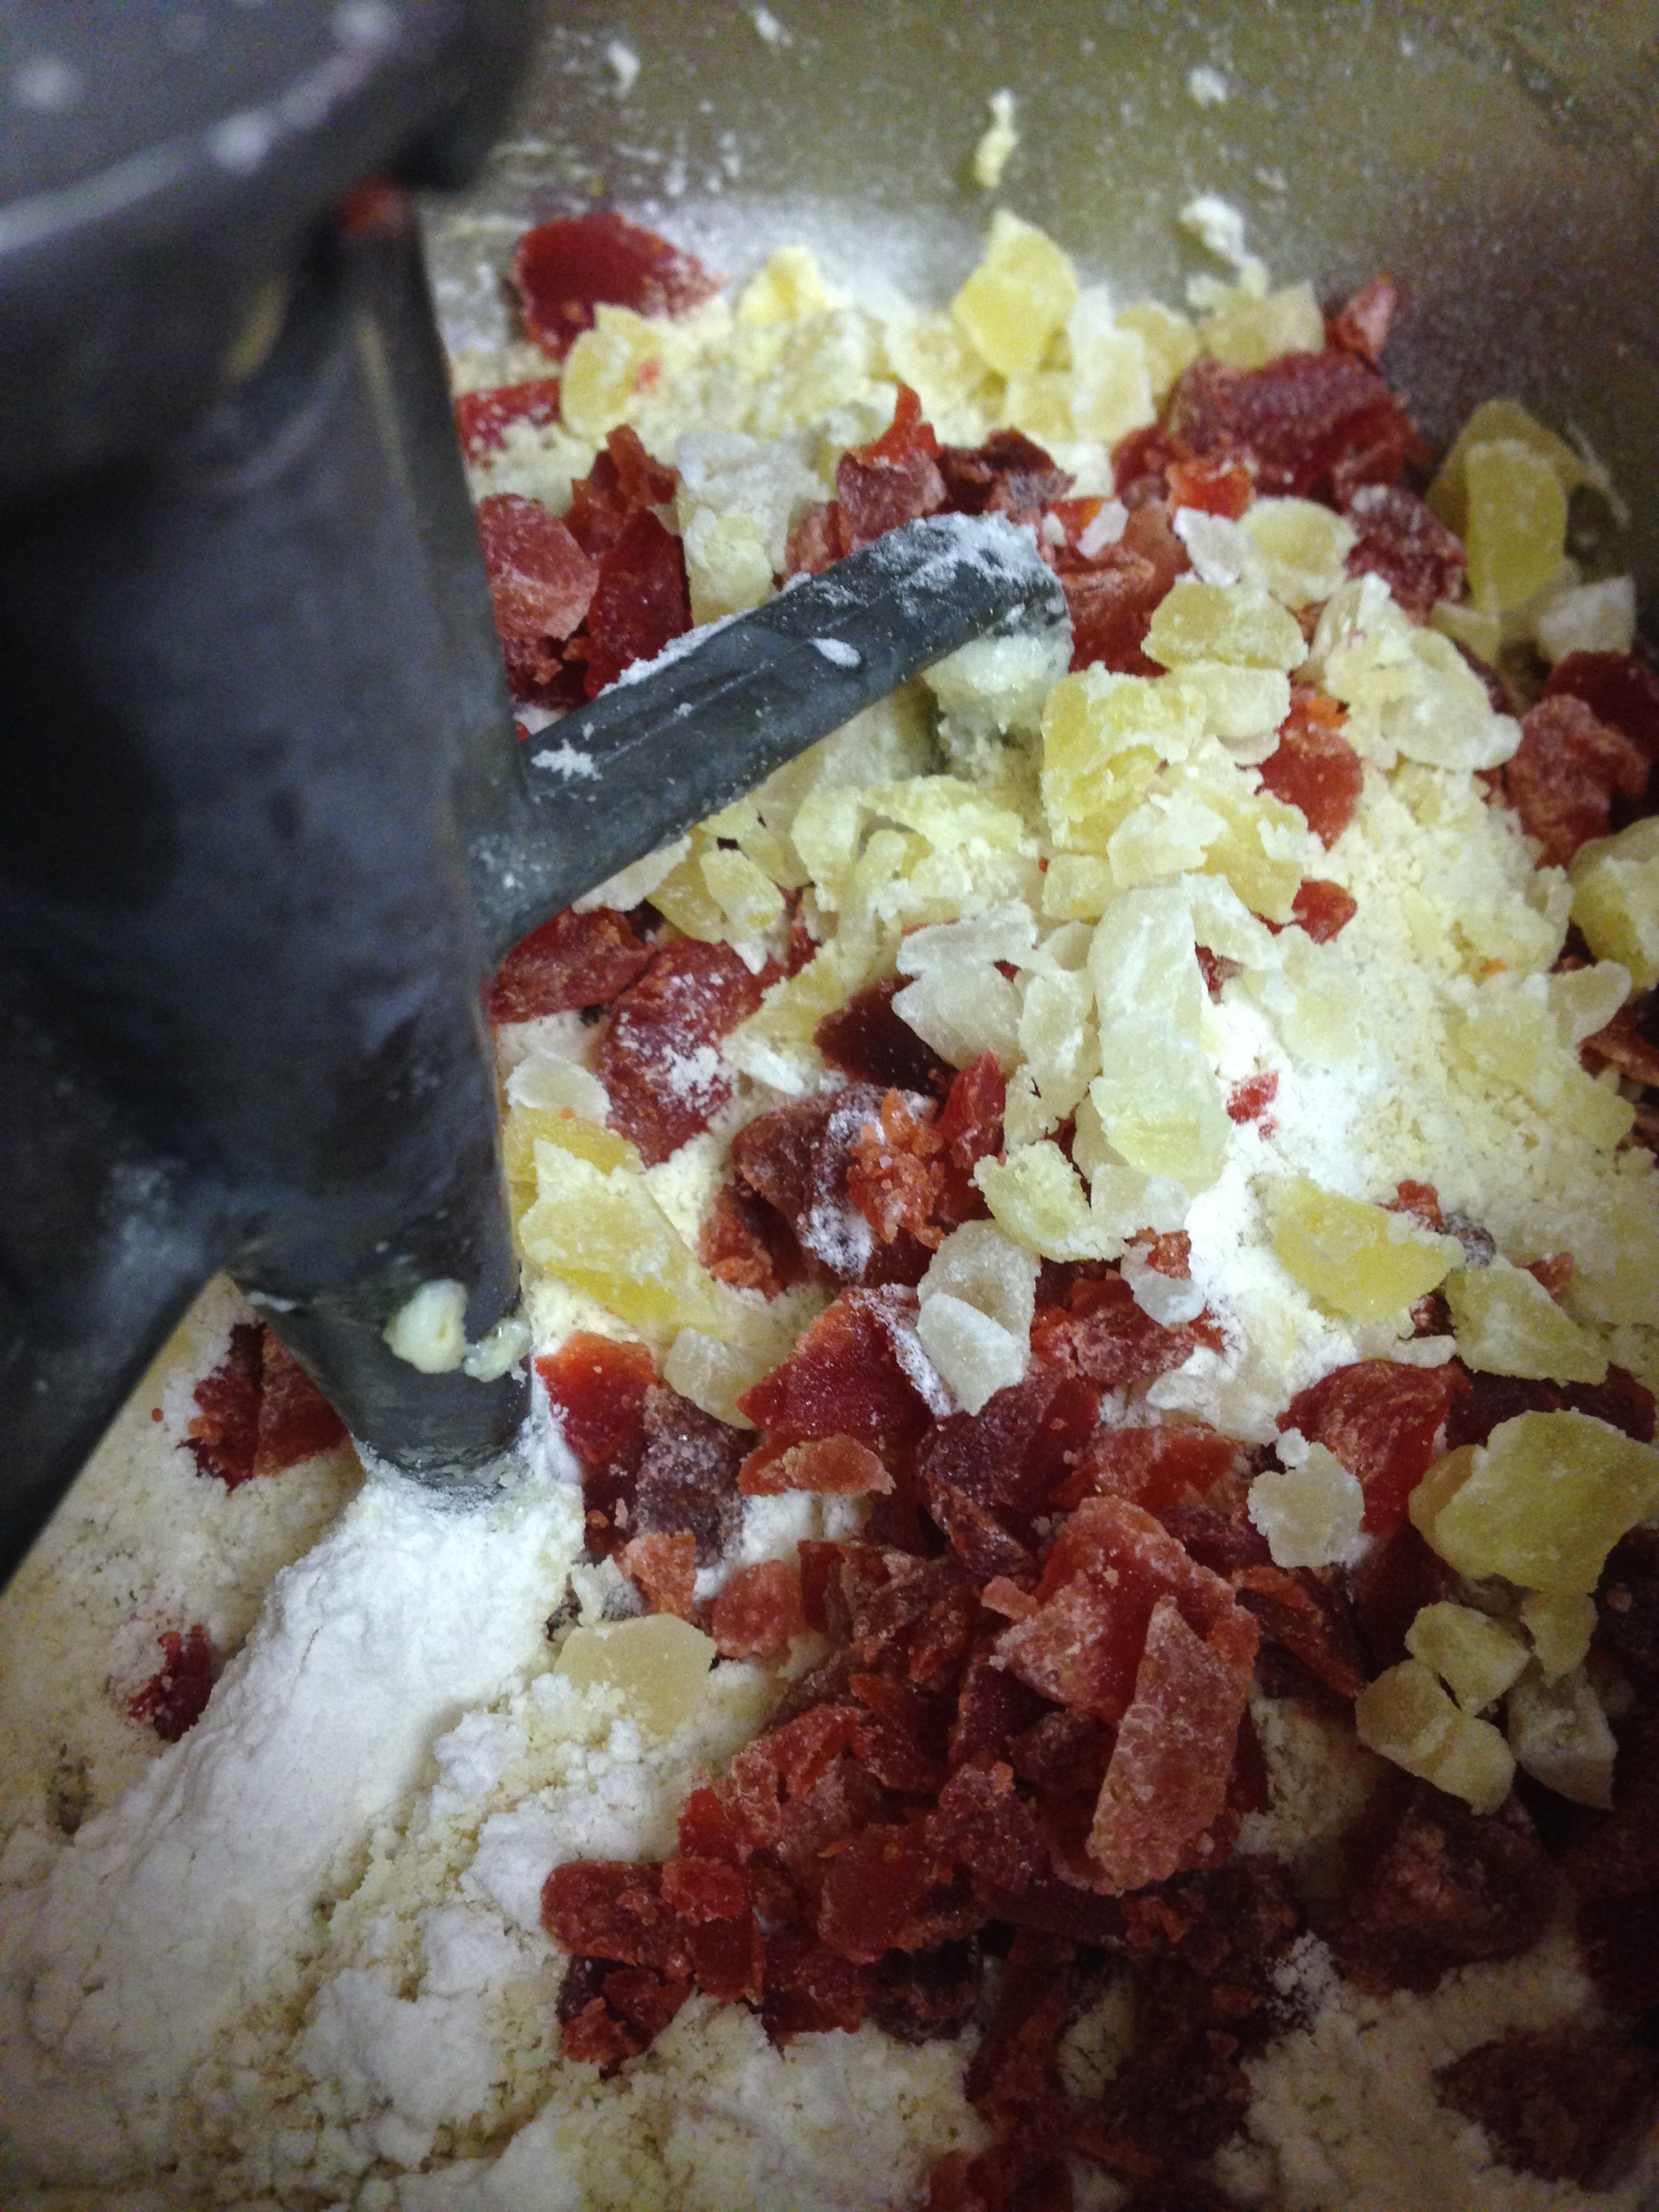
1/3 cup dried strawberries or cherries, chopped
1/4 cup dried pineapple, chopped
1/2 cup chopped candied citrus peel
1 tsp vanilla extract

Finishing ingredients:
3/4 cup butter, melted
~2 cups confectioners’ sugar (for dusting)

Making the filling:
1) In an electric mixer, combine the flour, almond slices, sugar, egg whites, and salt.
2) Beat on medium speed until combined, about 1 1/2 minutes. (The almond slices will break apart.) Set aside. 

Making the dough:
1) Using an electric mixer, beat sugar and butter on medium speed until light and fluffy, about 2 minutes.
2) Add eggs and egg yolk. Beat on low until just incorporated. 
3) Sift in the flours, baking powder and salt. Measure in strawberries, pineapple, candied citrus peel and vanilla. Mix on low just combined. Don’t overmix. 

Assembling the cookies:
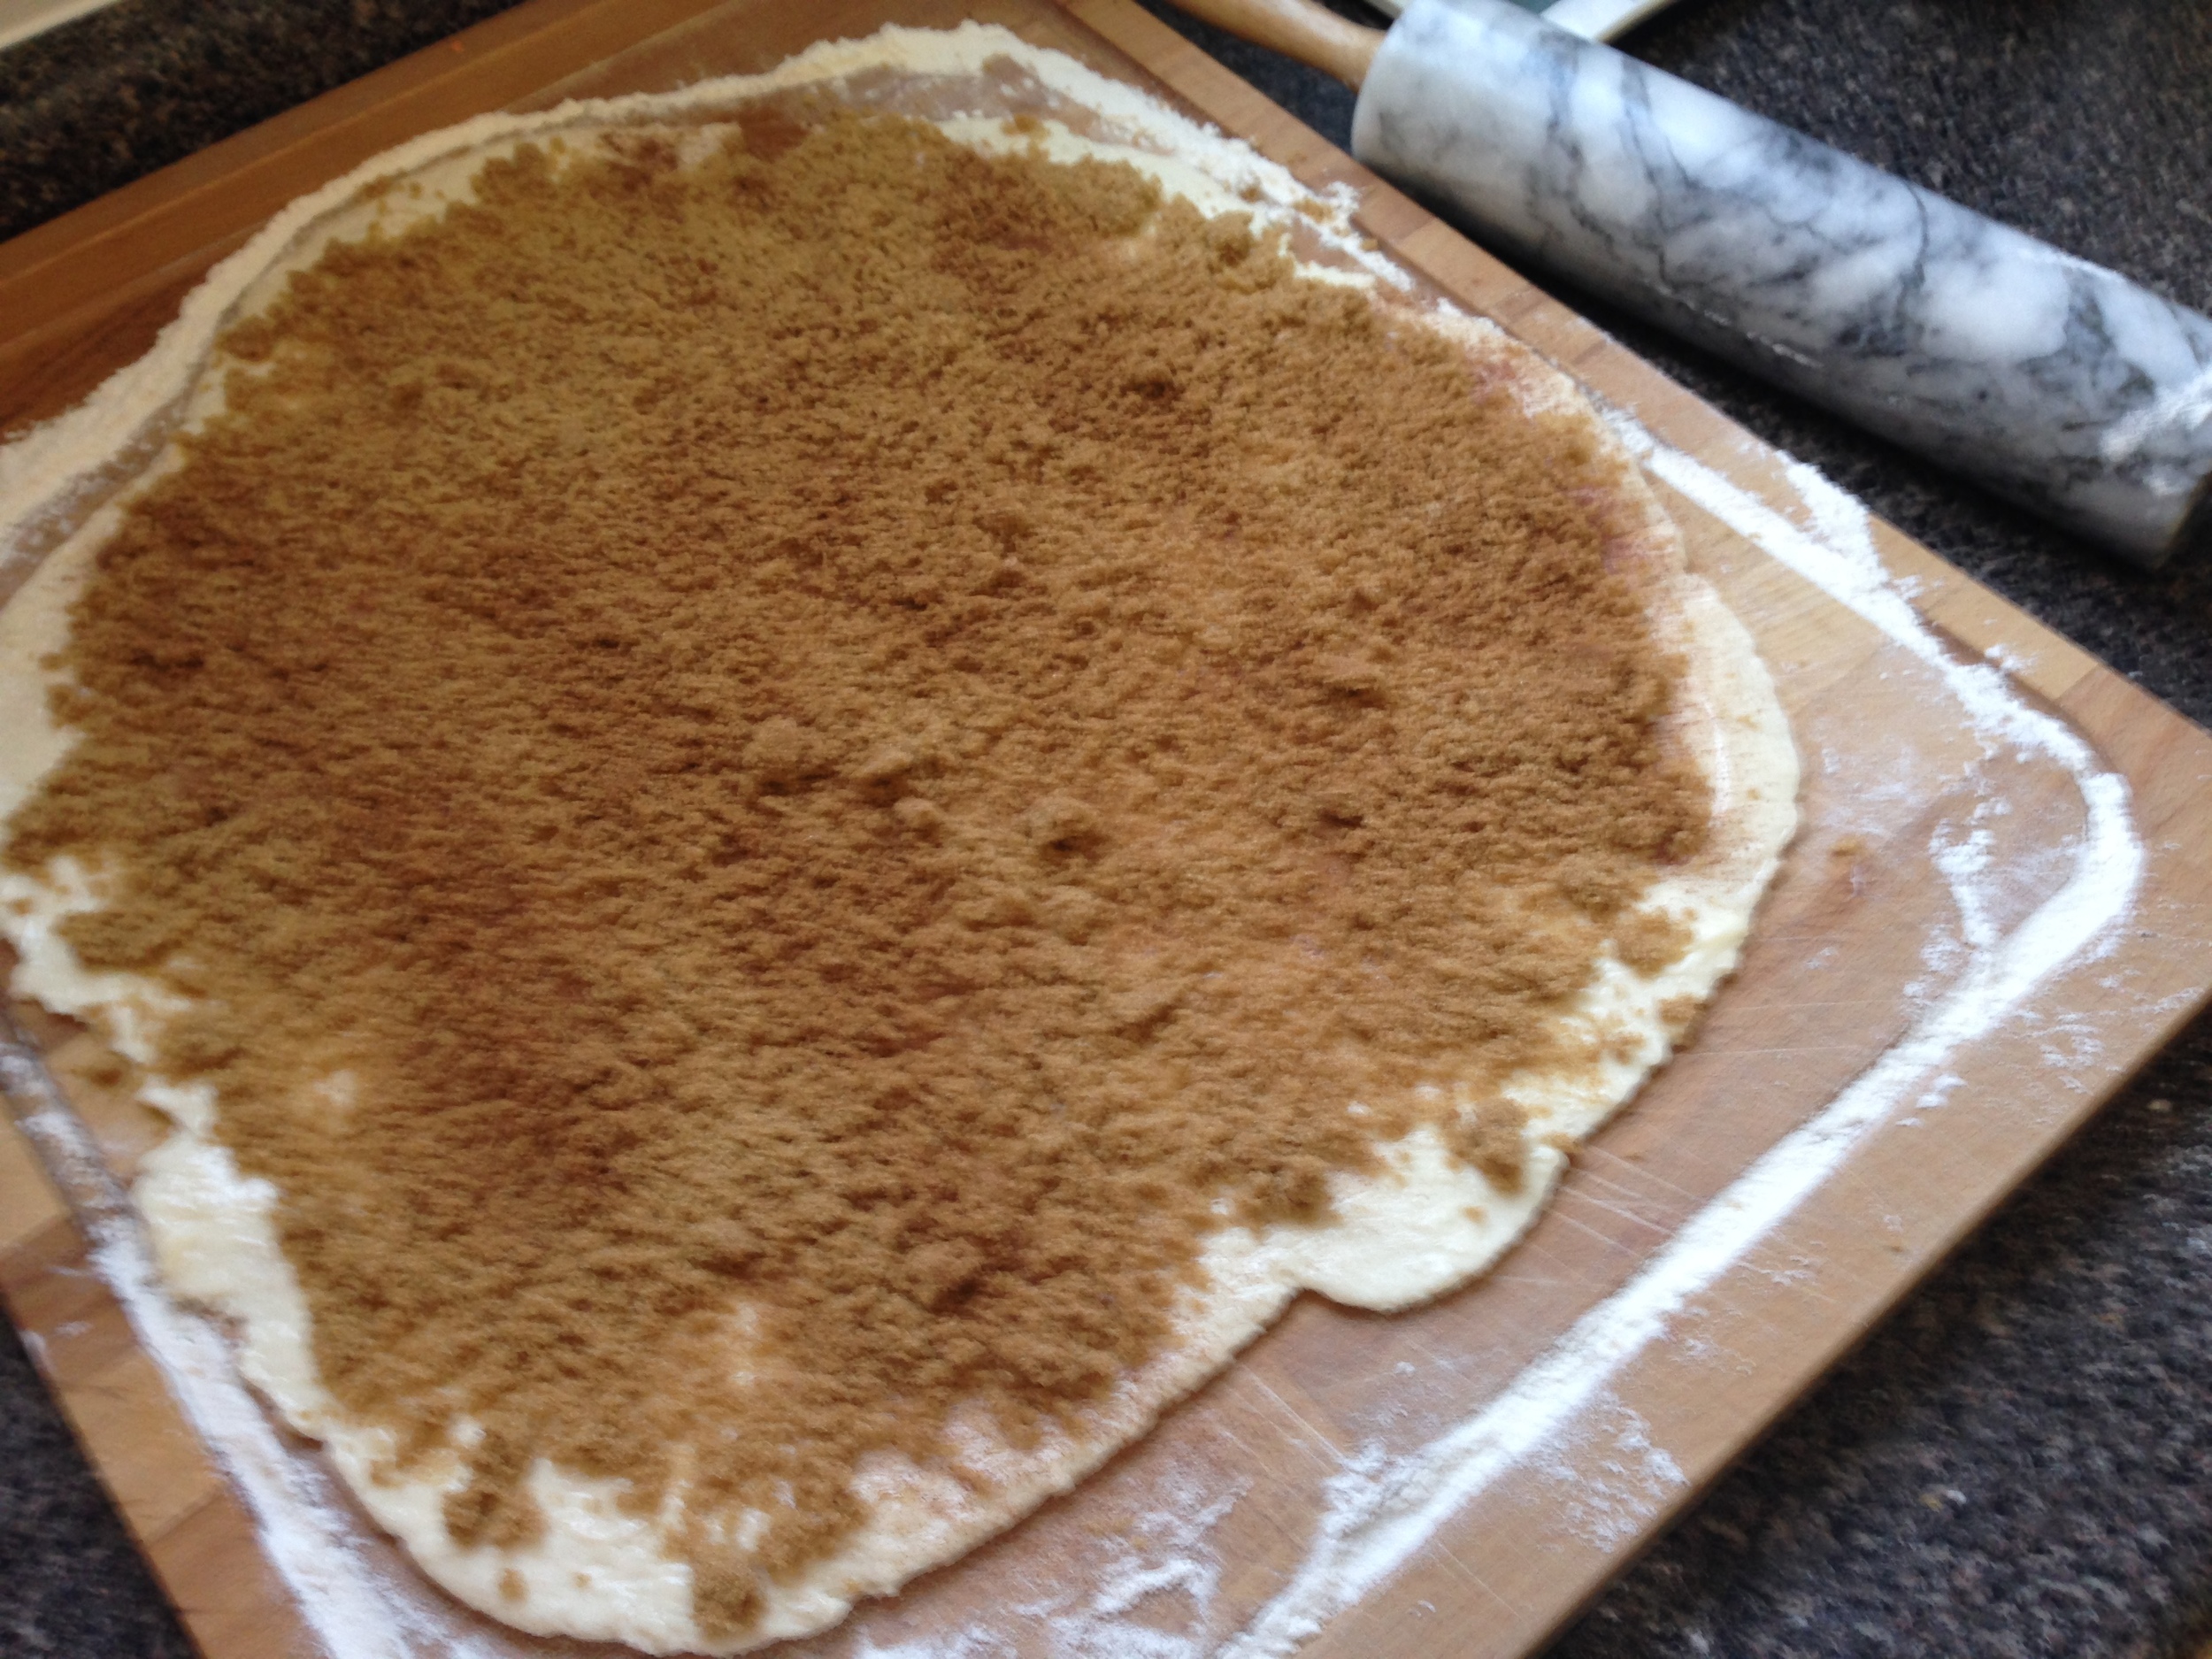
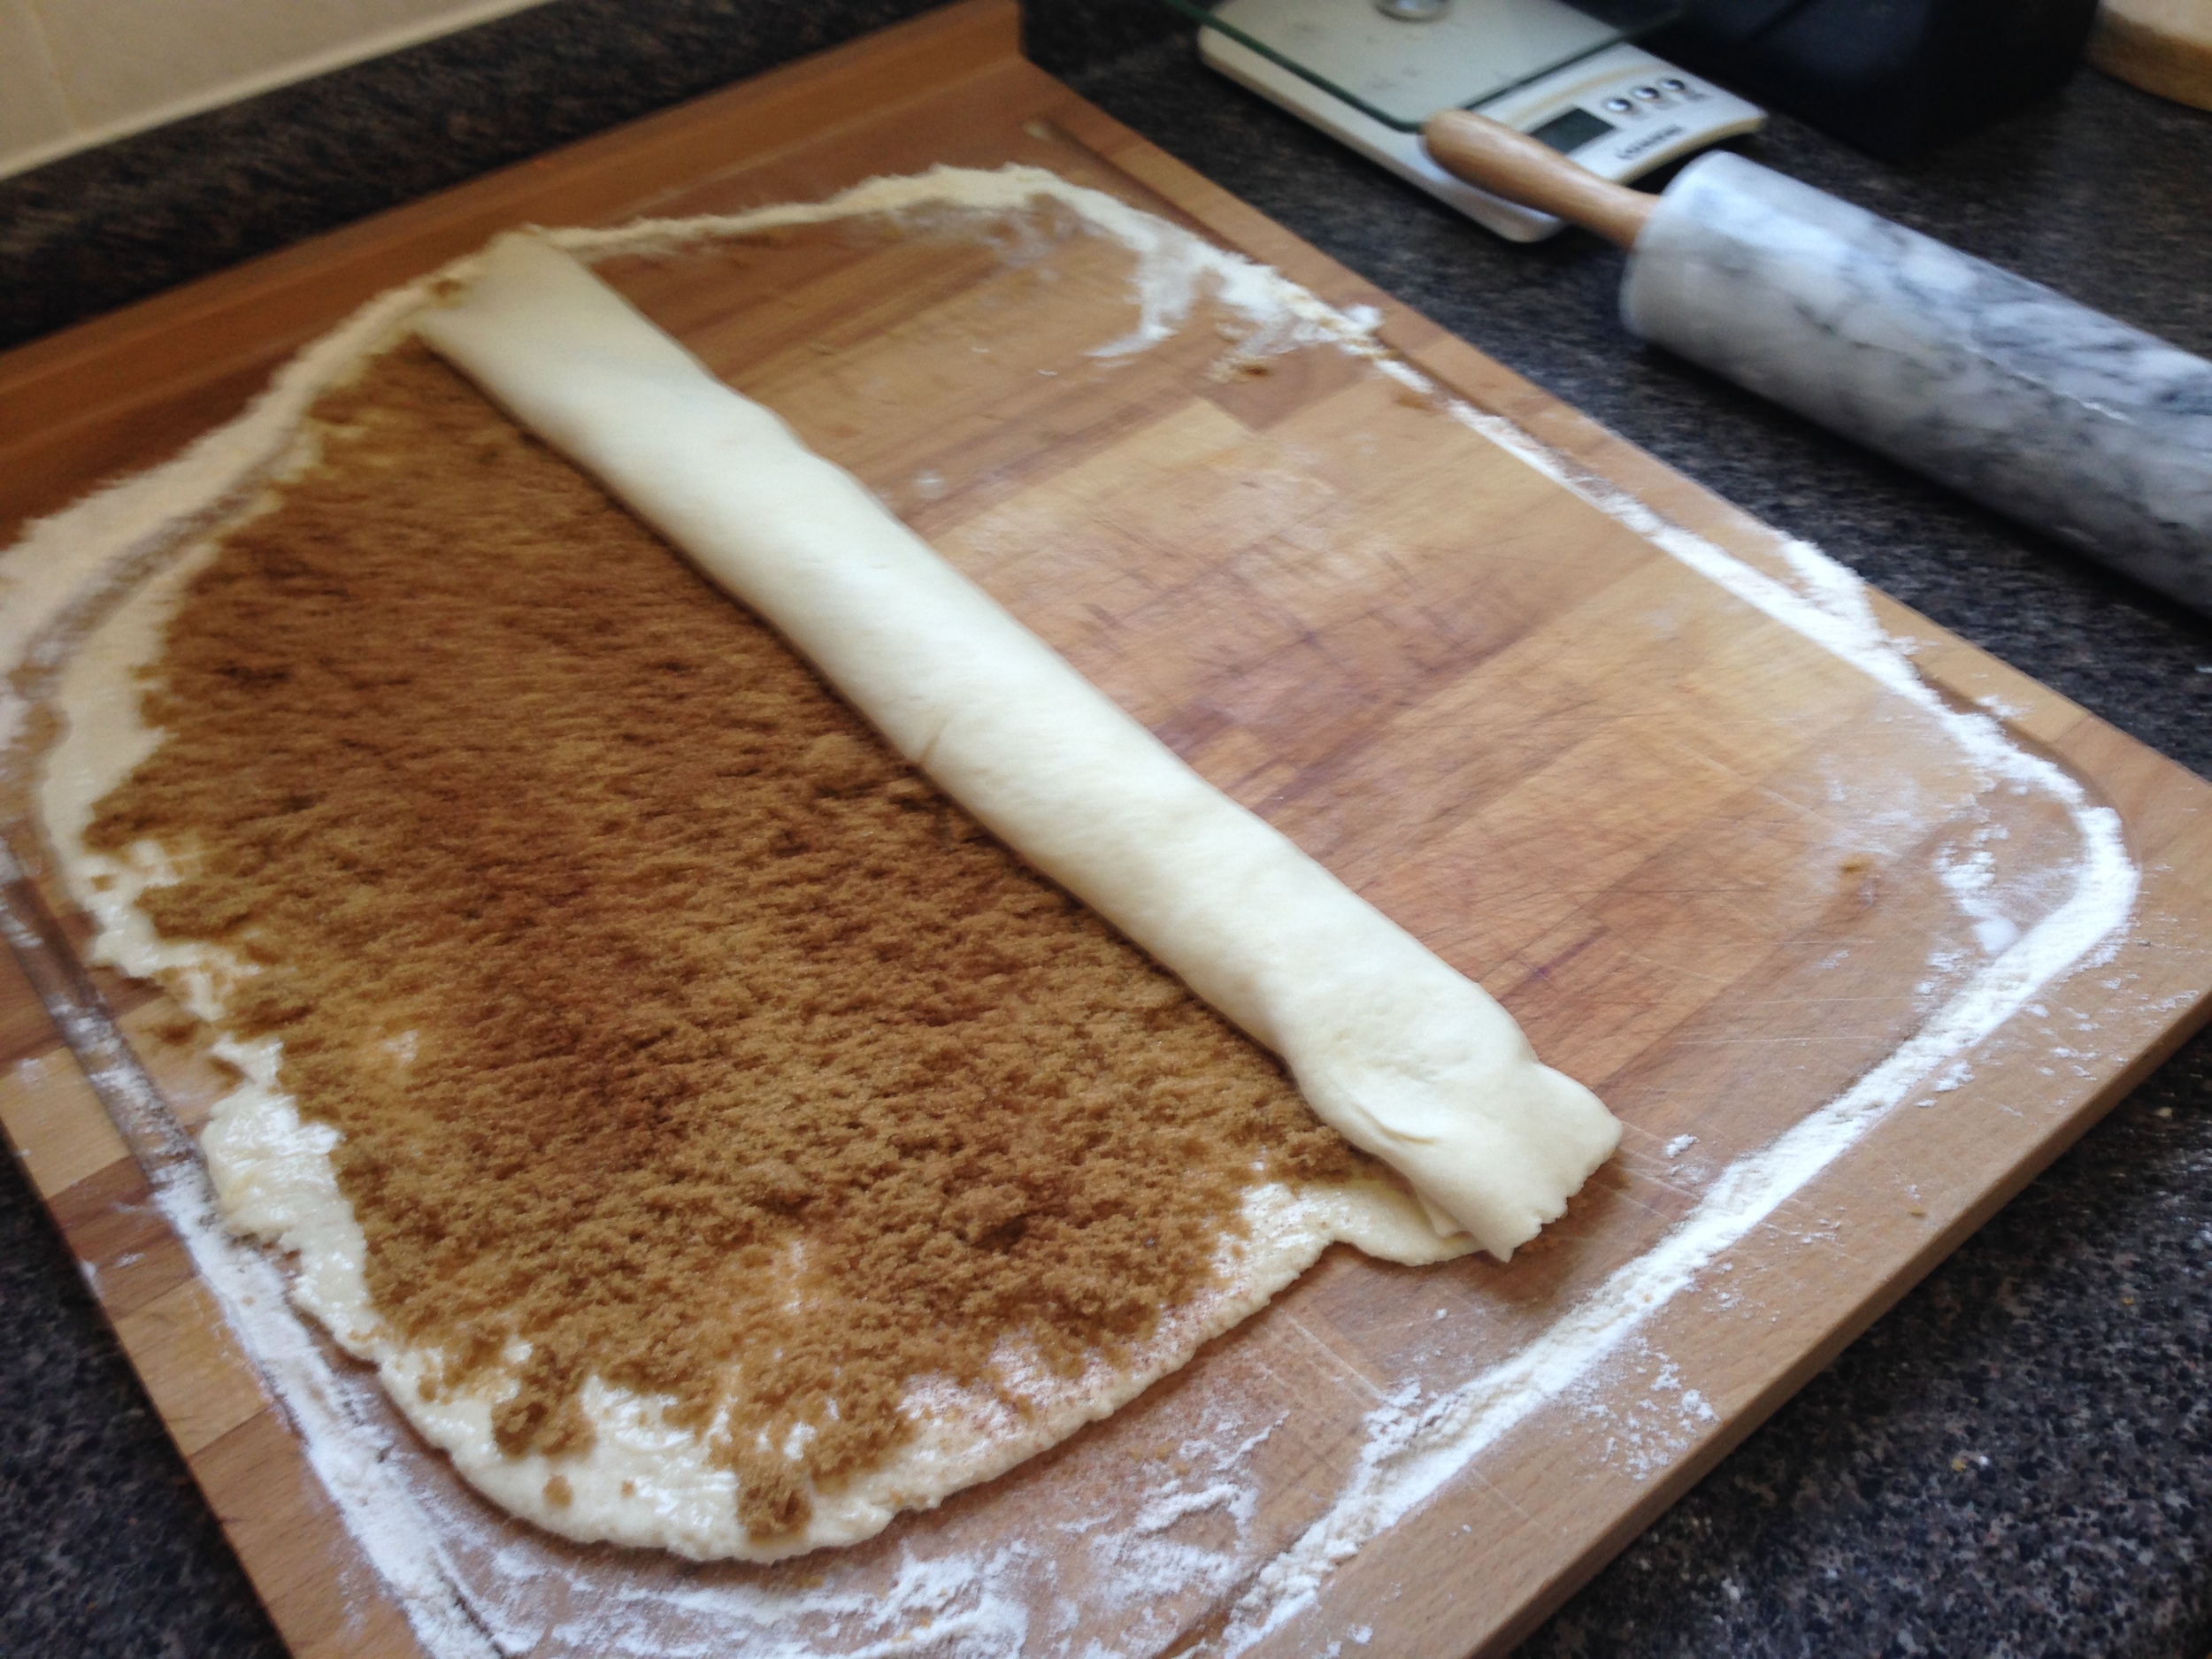
1) Using a rimmed rectangular baking sheet (approx. 9X13’) lined with parchment paper, spread the dough out evenly to about 1/2 inch thick. 
2) Use a second piece of parchment overtop the dough to smooth any bumps flat. Leave covered.
3) Refrigerate the dough until it’s firm but still pliable, about 30 minutes.
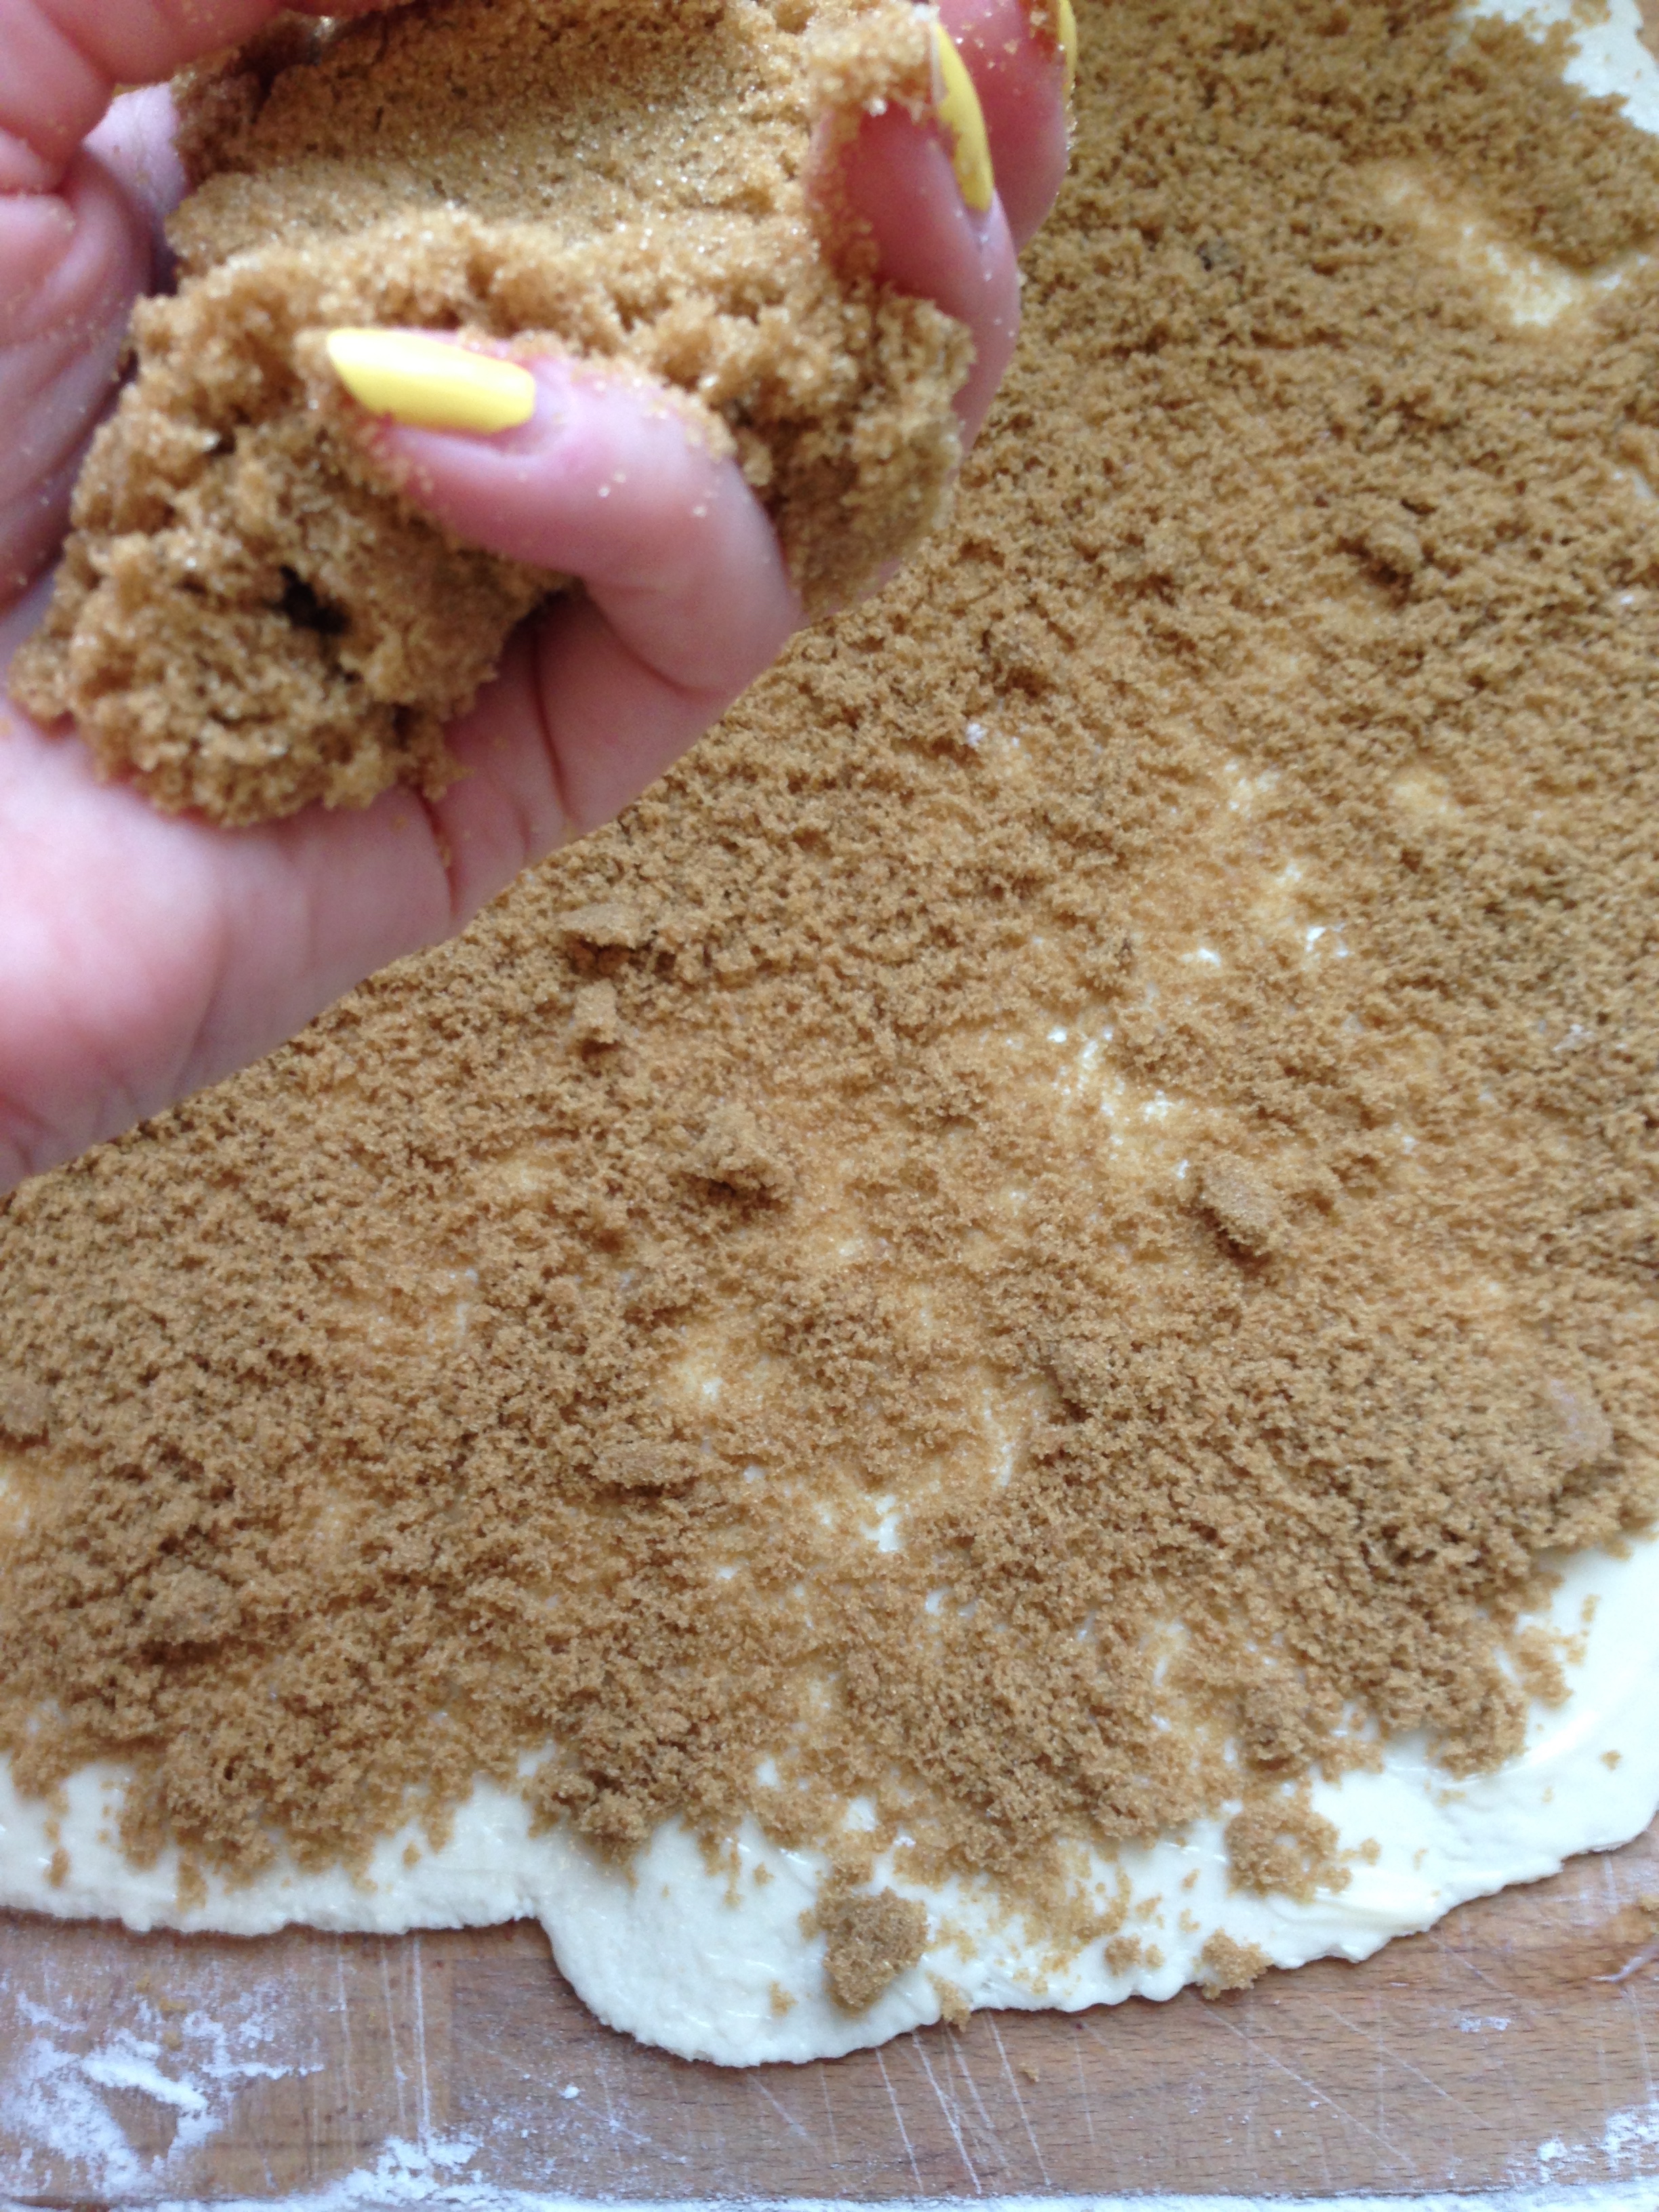
4) Remove the top layer of parchment. Spread the almond filling evenly over the top the entire surface of the dough. (If needed, wet your fingers and use them to spread the filling to the edges.)
5) Starting with the long side of the dough, roll the dough tightly around the filling. Peel back the remaining piece of parchment as you roll. 
6) Pinch the long seam closed along the cookie log. Wrap the dough in parchment and freeze until completely solid, about 6 hours or overnight. 

Baking the cookies:
1) Preheat the oven to 350’F.
2) Line 2 baking sheets (or more) with parchment. 
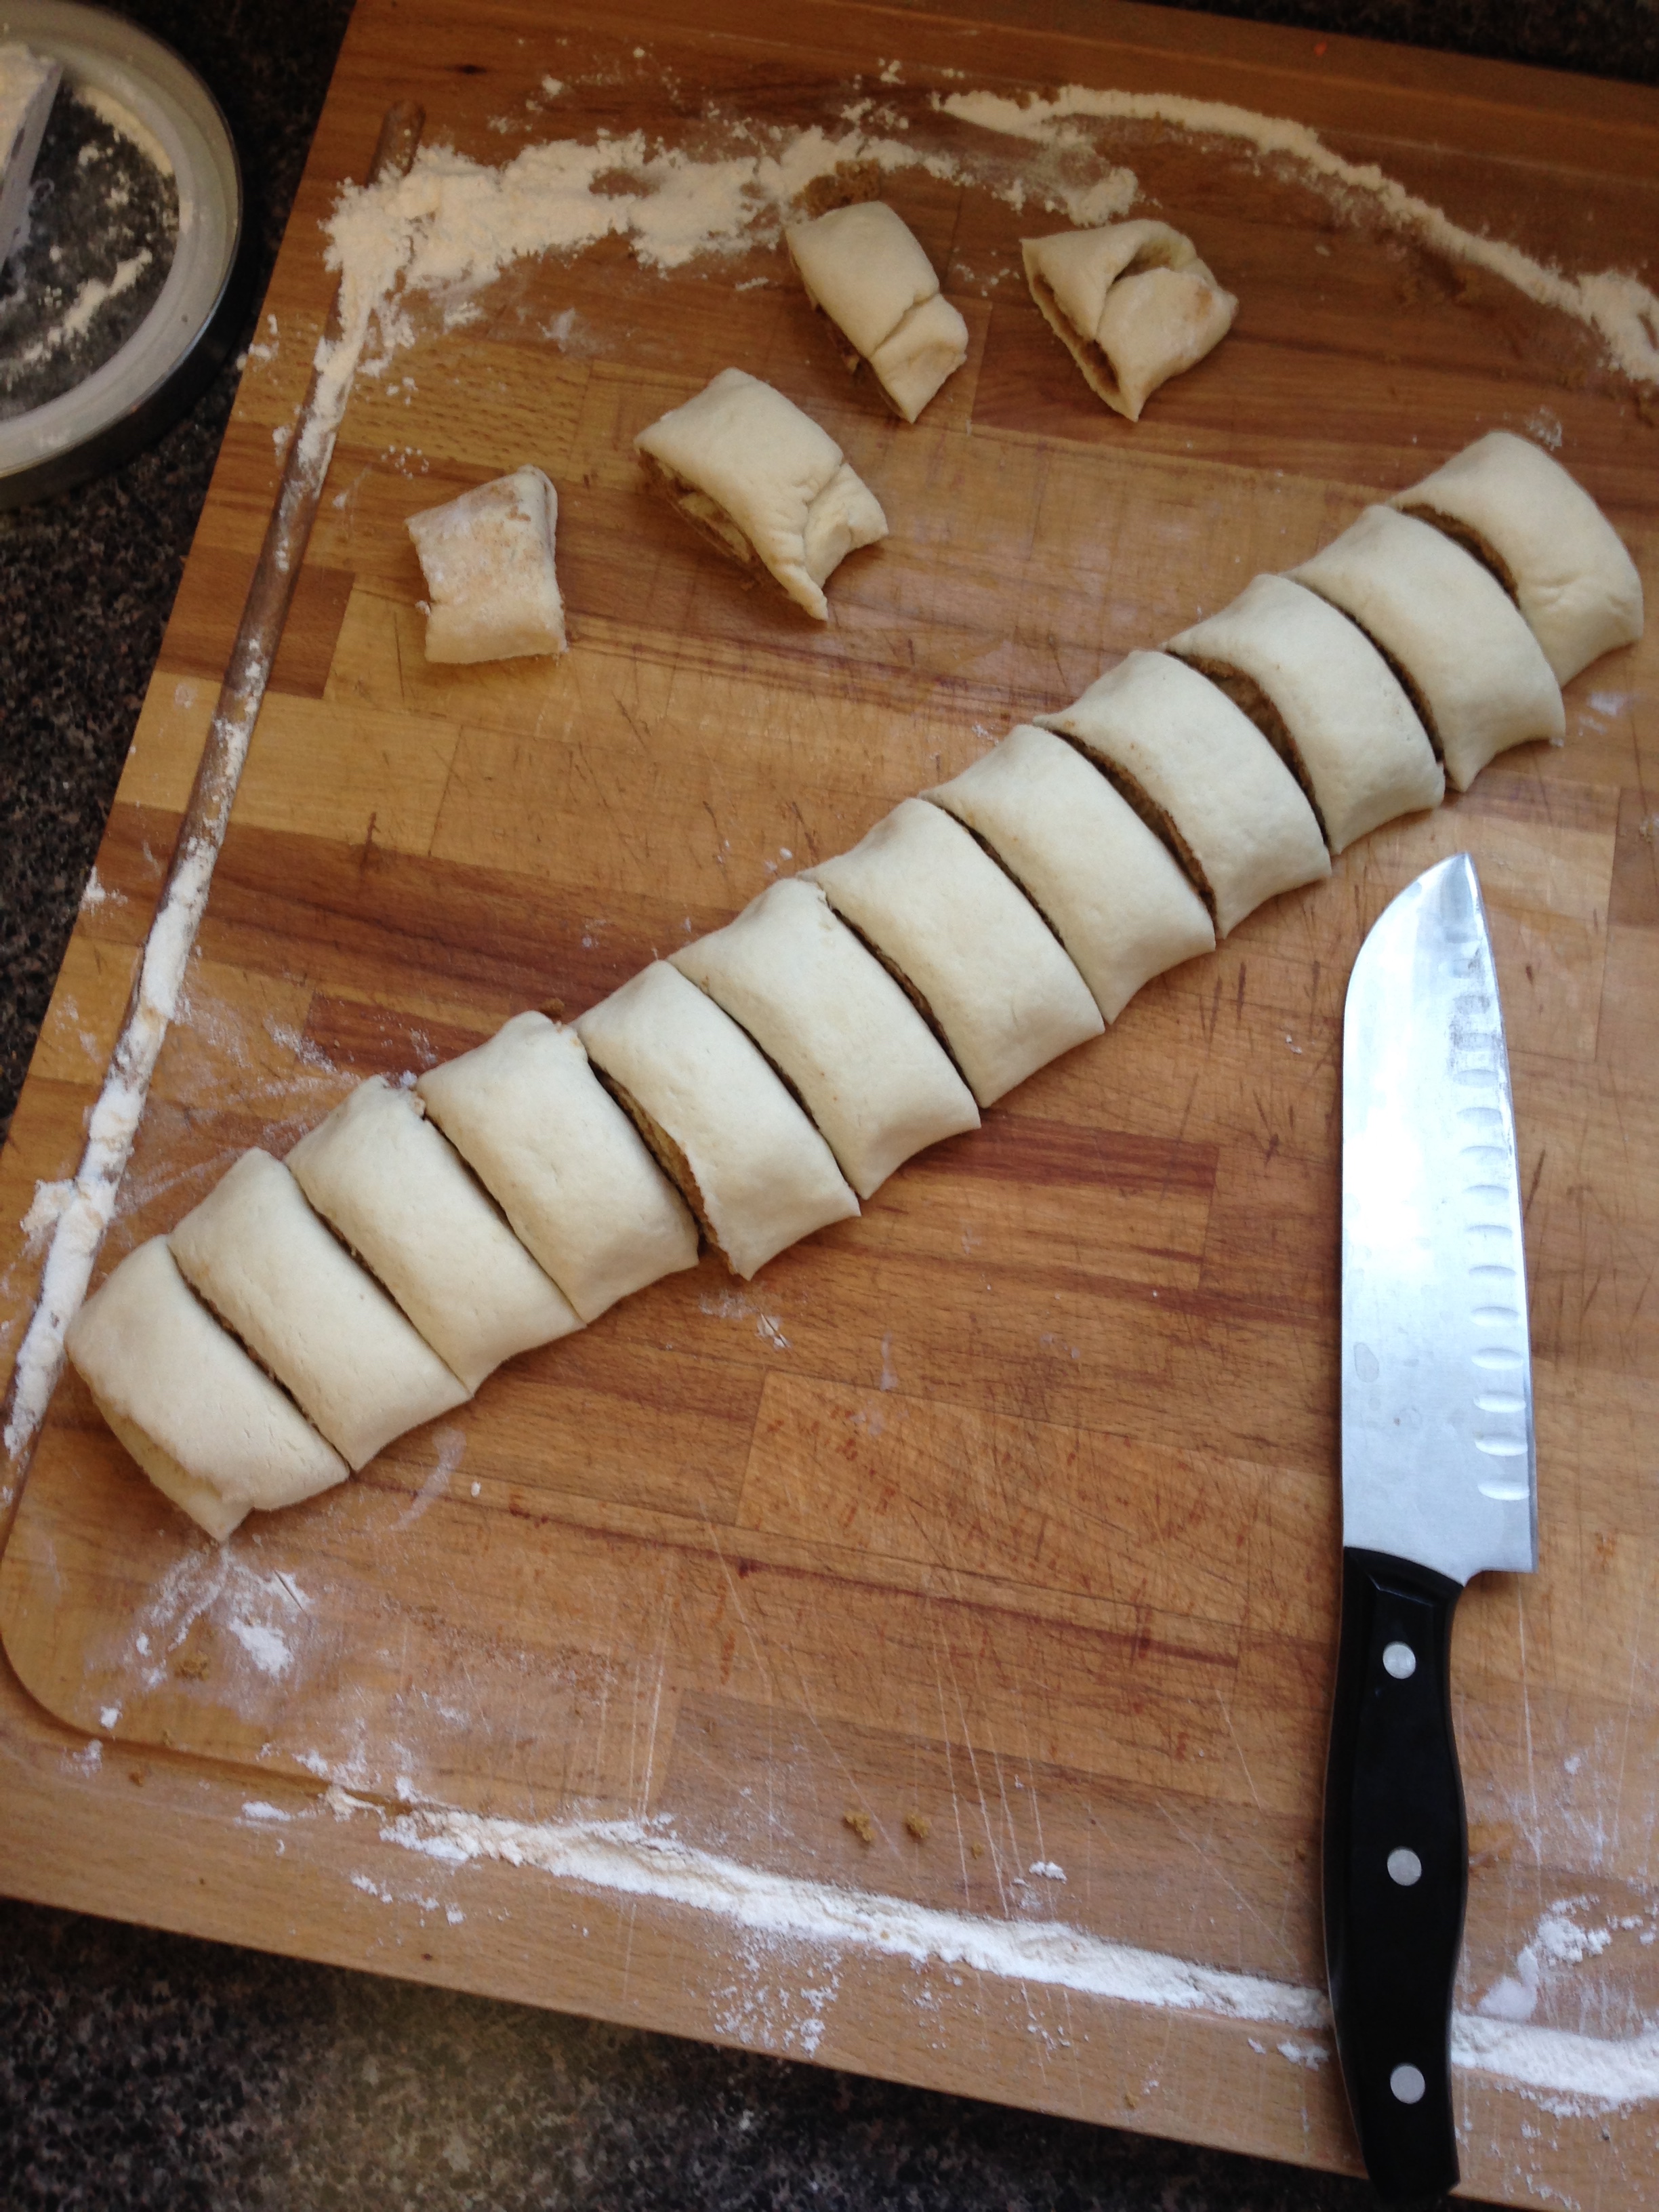
3) Unwrap the cookie log and transfer to a cutting board. 
4) Using a sharp knife, cut log in half and replace one half back into the freezer to keep it solid. 
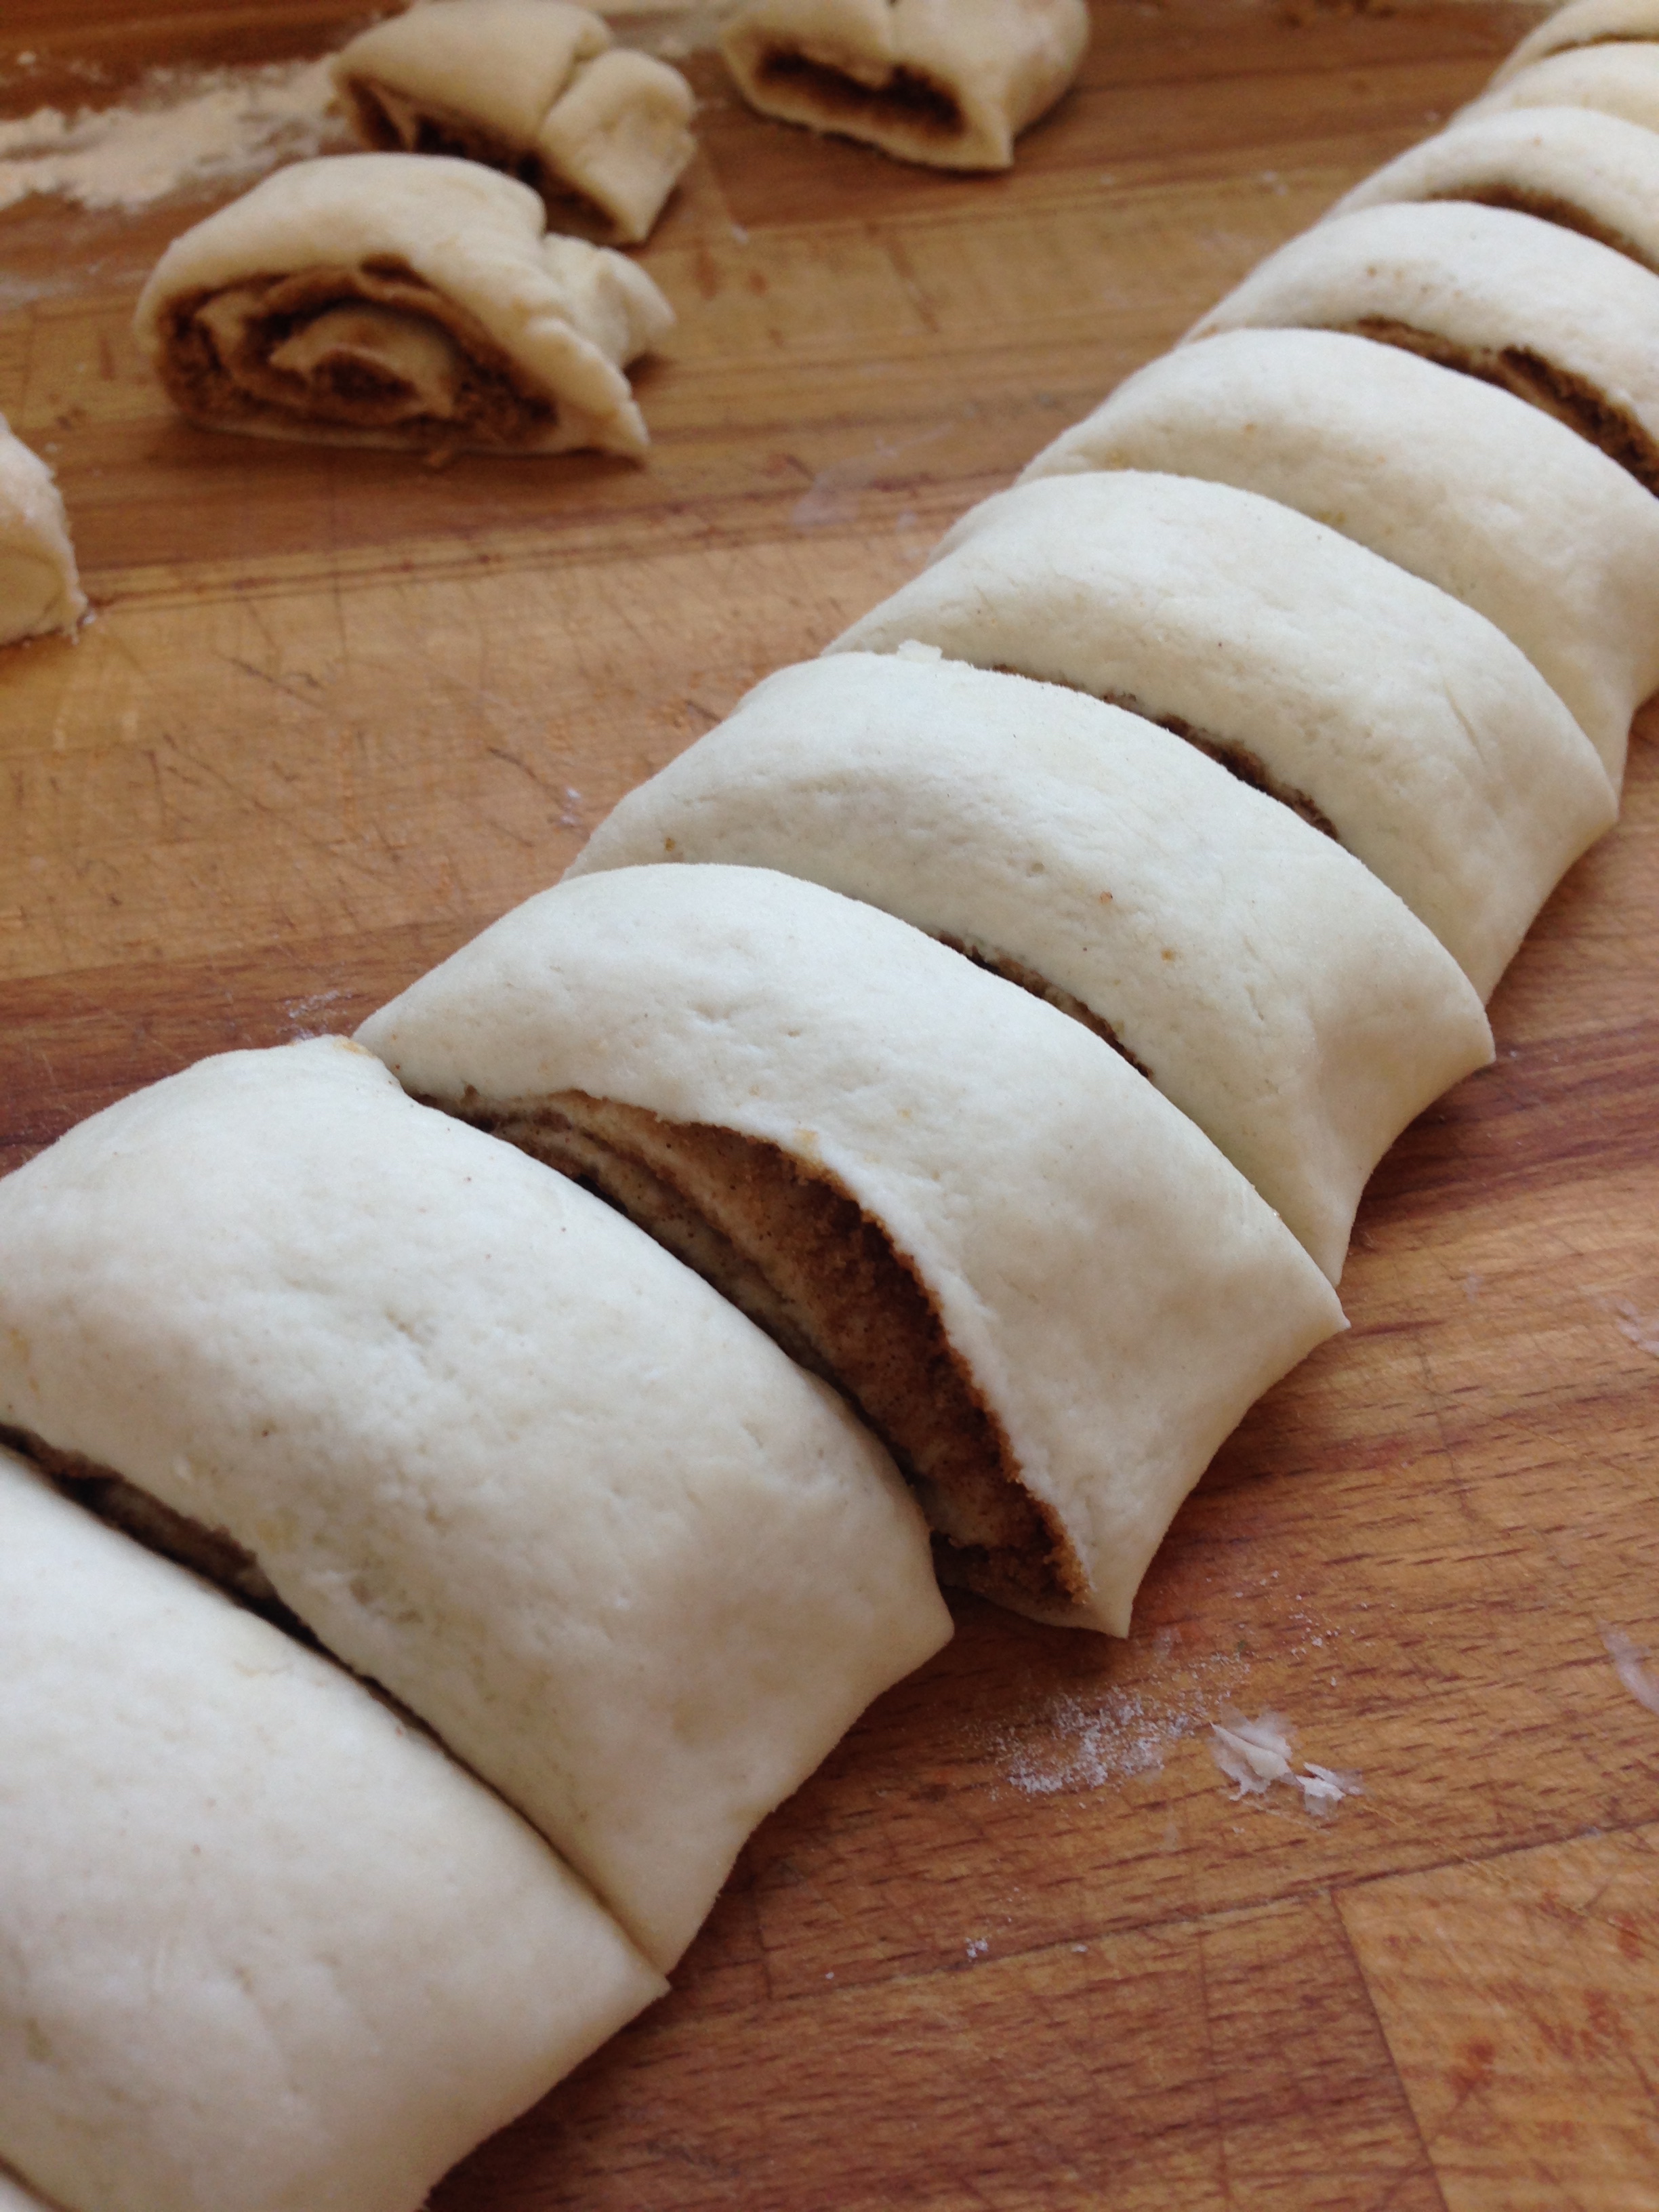
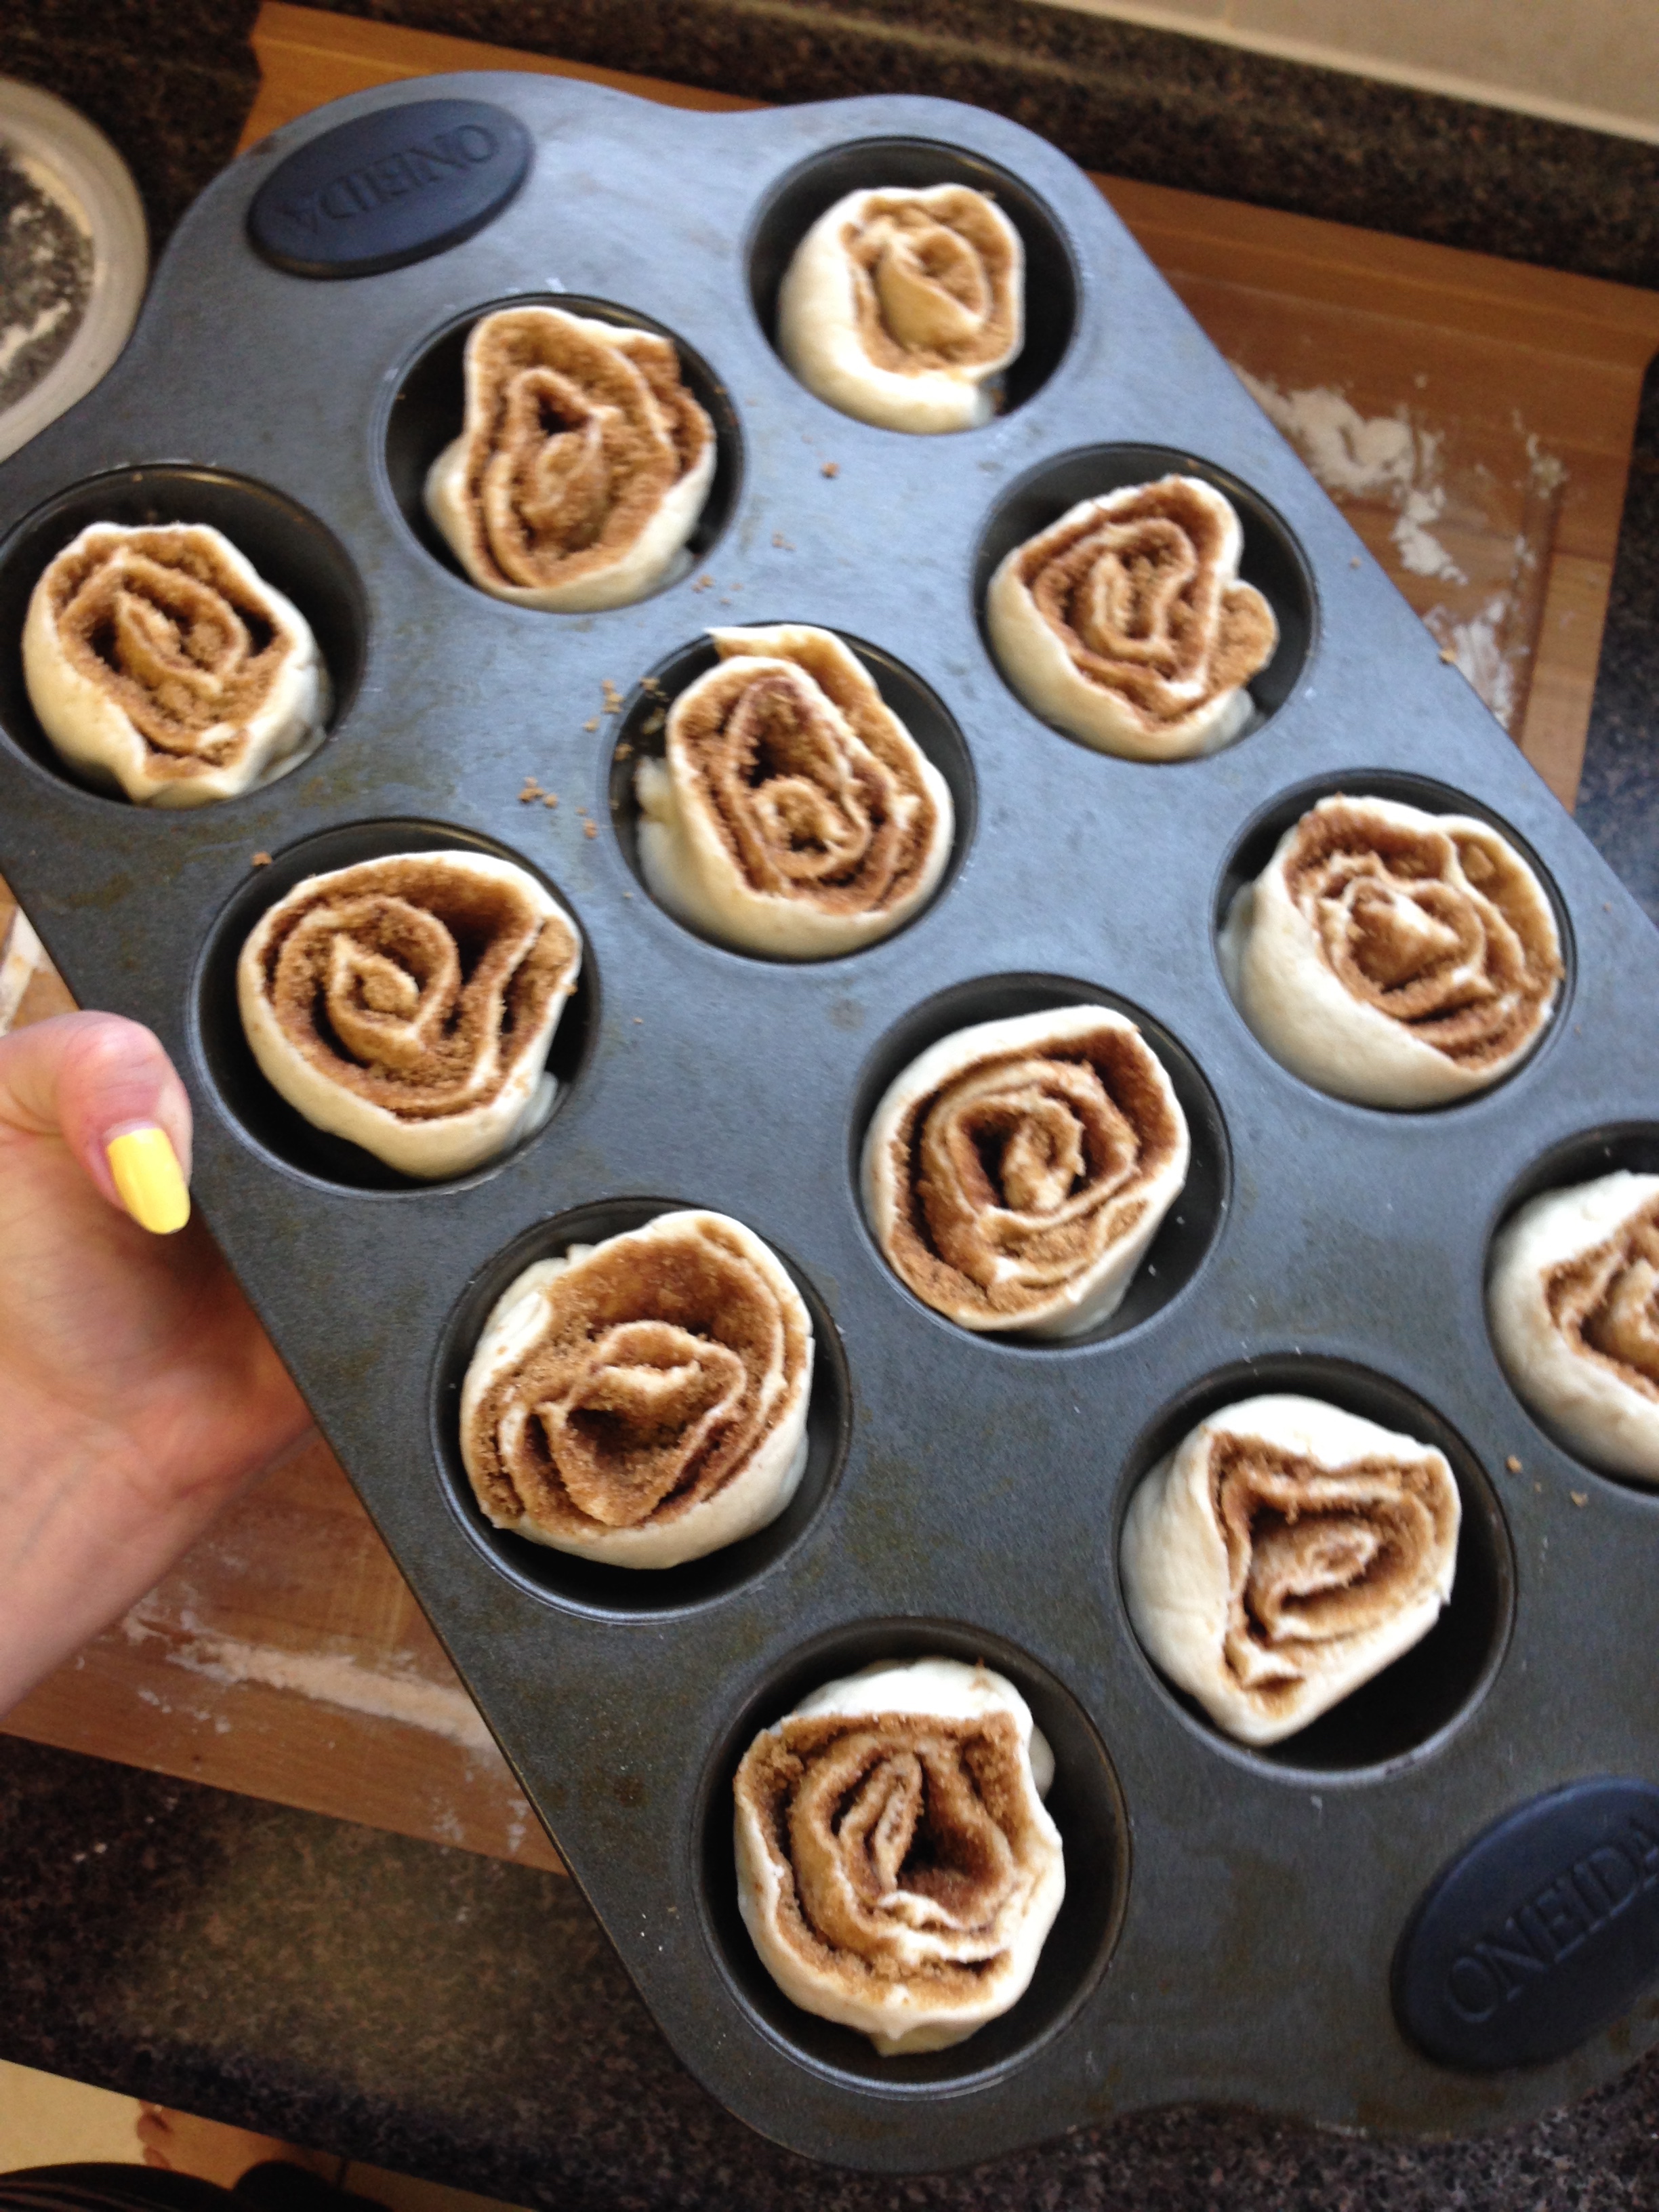
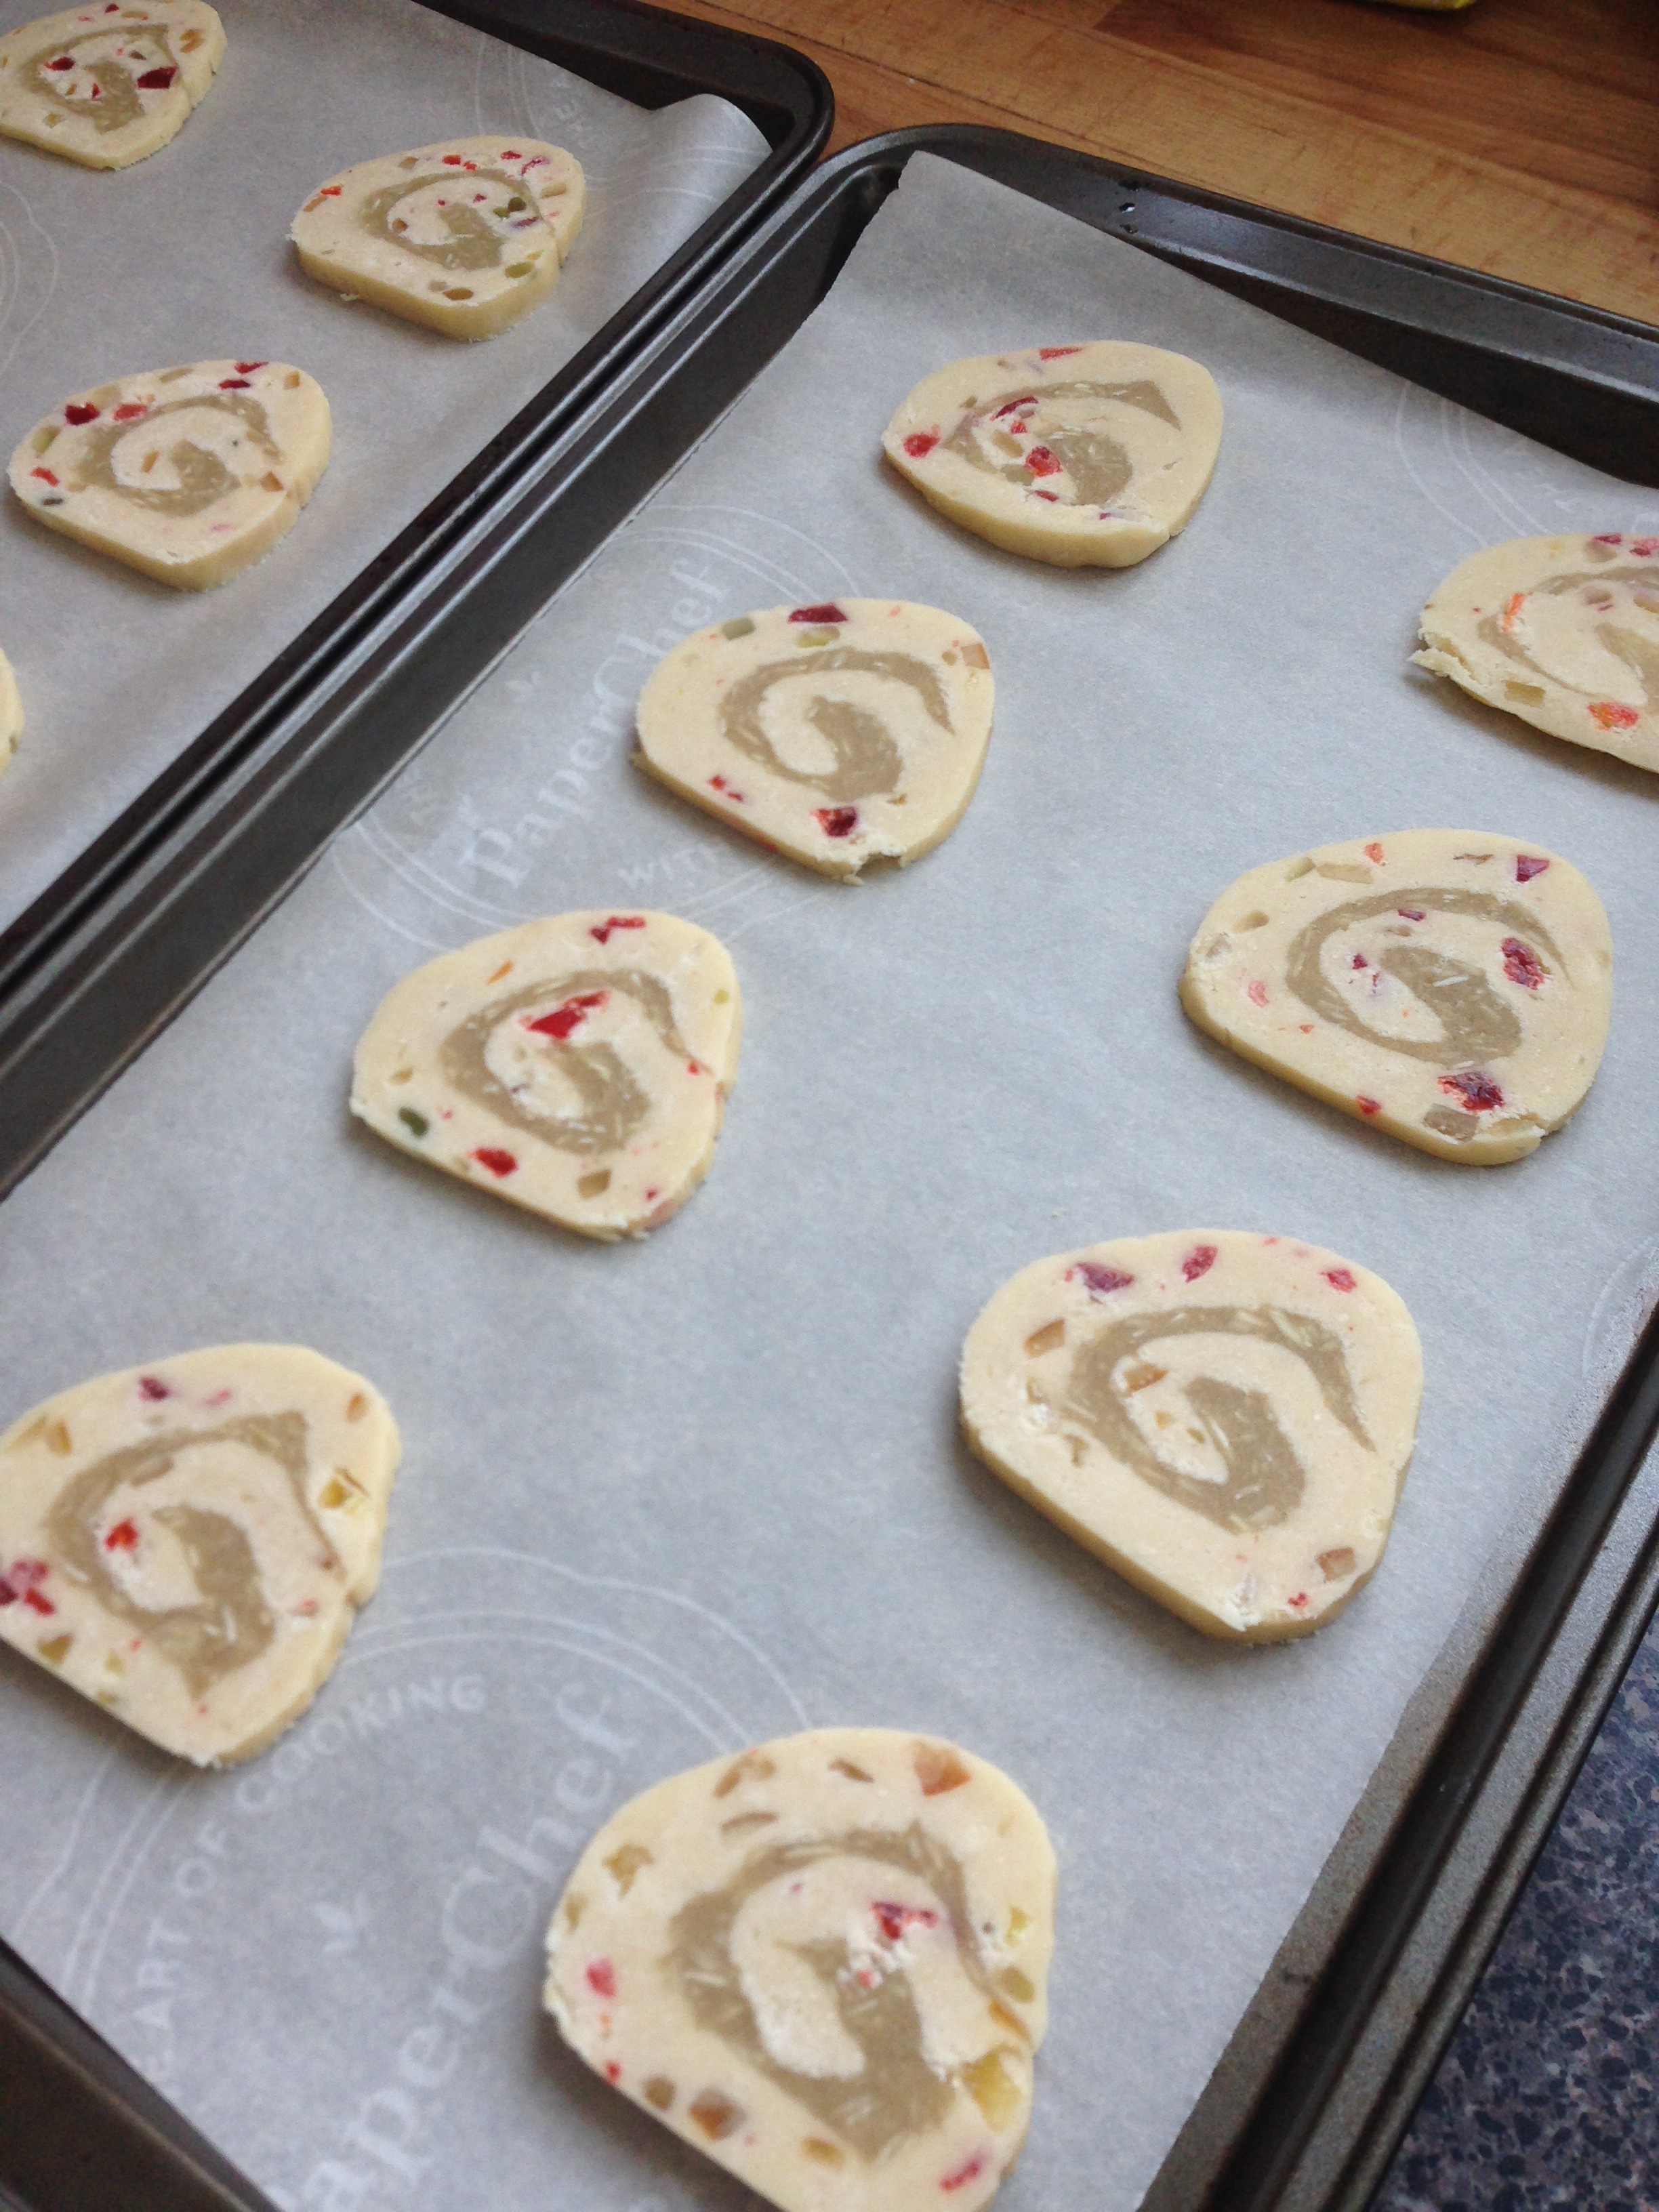
5) Slice the dough into 1/4 inch medallions. Space the cookies about an inch apart. (If the dough begins to become soft again, replace in the freezer to firm up.)
6) Brush cookies with melted butter.
7) Bake until golden brown, about 12 to 14 minutes. (Rotate baking sheets once during baking if using more than 2 sheets in one oven.)
8) After baking, brush the still warm cookies with melted butter again and dust with confectioners’ sugar. 
9) Let cool on baking sheets for 15 minutes. Then transfer to a rack to cool completely. Store cookies in an airtight container.
 
Makes approx. 54 cookies.

Even if I don't get to go back to AB again this year, it's nice to have that feeling of being close in memory to those you love and miss so much. 

Happy Holidays people! And enjoy the people, the food and the fun of the season. 

<3

-Andrea

The Half-Assed Hobbyist

All the Tin Foil: A Backcountry Apple Pie Story

The season on pie is upon us. And am So excited.

This past July the Fiancé and I, with 6 of our lovely friendlies, went backcountry canoeing in Algonquin park for 9 days. For the record, I have never spent more than two days in the backcountry, never mind also canoeing and portaging, but it was the best friend vacation ever.

It was absolutely beautiful. I can't find the words to describe it. But there is nothing quite like travelling in good company on an Ontario lake. 

Now, 8 people in the backcountry, is a lot of people. On top of that, we were also getting more friendlies on day 7 and 8, for a total of 12 people. And people gotta eat. Luckily we had Rob, our master fooder, who had planned out our meals and bought all the foods. About 200lbs of it. Steaks, potatoes, bacon, eggs, clif bars, apples, corn on the cob, oatmeal, and snackies! 

We ate like the kings and queens of the forest. But we had one particular dessert that was a lovely unplanned delight. With a huge bag of apples still left to eat and bannock dry mix to use up, a plan was hatched to make use of the literal metric butt ton of tin foil we'd packed along with us. This plan's hopeful outcome: Back Country Apple Pie. 

Back Country Apple Pie

Step one for backcountry apple pie isn't about ingredients. Although important of course, the real trick is having an oven to bake it in. Below is the story of how we built an oven out of a metric butt ton of tin foil, some abandoned grills and a desire for back country pie. The following recipe makes 2 pies, approx. 9' in diameter.

Pie Filling: 
6-8 apples, cored and sliced
1 tsp cinammon
2 TBSP drinking water
2 squirts Mio (concentrated juice flavour. We used the peach one! =D)
Bannok mixture: (dry ingredients can be mixed together in advance and stored in a sealed bag)
2 cups flour
2/3 tsp salt
1 1/3 TBSP baking powder
1/4 cup butter, melted
~1/4 to 1/2 drinking water
Topping:
2 packs apple cinnamon instant oatmeal

Making a tin foil oven in the middle of nowhere: 

  1. First, find a discarded metal grate, preferably multiple, that has been left among the various campsites throughout the lake. (No, don't steal them, leaving future campers with none. Jerk.)
  2. Set up the metal grates above the ground leaving space underneath for at least one gas burner. (We used two.) There should be at least 2 inches of clearance between the burner and the bottom of your baking grate. You don't want to burn the pie bottoms!
  3. Cover the interior and exterior of your makeshift oven with tin foil. Make sure to overlap any cracks to keep it as air tight as possible.  
  4. Cut a door flap in your oven. Roll the long ends together a bit to keep it from coming apart.
  5. Place your burners into the oven. Make sure that the gas canisters fit on the outside of the oven. NO EXPLOSIONS PLEASE.
  6. Once you're satisfied that there is enough clearance for your burners and canisters, it's pie time!

Pie Filling:

  1. Wash all your apples in drinking water. (Especially if they've been sitting at the bottom of your bear barrel for 5 days.)
  2. Using a makeshift counter log, remove the cores and slice your apples into a bowl.
  3. Dust your apples with cinnamon.
  4. In a cup, dissolve Mio in drinking water. Pour over apple mixture. Mix together until apples are coated in Mio mixture. 

Pie Crust:

  1. First thing: you need something to bake your pies in. Luckily, with ample tinfoil, this is not a problem. Using a frying pan bottom as a template, form tinfoil into pie plates. Magic!
  2. In a bowl, combine the dry ingredients with the butter. Work the butter into the flour with a fork (or between your thumbs) so that there are no large lumps. 
  3. Add ~1/4 cup of drinking water to the mixture, to start. Continue adding water until the dough starts to come together, using your hands to work the moisture into the dough. 
  4. Once the dough has come together, divide it in half. Using the palm of your hand, press the dough out flat on a cutting board (aka Elsa). It should be less than a 1/4 inch thick. Carefully transfer the dough to your pie plates of magic.

Baking:

  1. Preheat your backcountry oven. To do so, ignited and warm up your burners. Once lit, turn them to moderate-inferno temperature and slowly and carefully position them in the oven. Close the door and let the oven heat up. (We added stones to the top of the oven so the tinfoil wouldn't blow away. We also used the metal shield from the burner kits to keep heat away from the fuel canisters.)
  2.  While the oven is preheating, place the two pie shells on a grate (it will make it easier to move the pies in and out of the oven on the grate rather than two flimsy pie shells separately). Divide the apple mixture into the two pie shells. Top each pie with a package of instant oatmeal. (Apple cinnamon preferable, if you have it!)
  3. It's bakin' time! Using an oven mit, place your grate carrying the two pies into your oven. Close the door. And put the timer on for an hour. Depending on the ambient temperature and the air tightness of the oven it will take anywhere from 45 minutes to an hour and a half. We also rotated the pies once as well to keep the bottoms from burning. 
  4. Sit back and enjoy that apple pie smell. 
  5. Once the pies are done, which you can tell by how soft the apples are, out the oven they come. Turn off the burners and let the oven cool Completely before attempting to disassemble it. (Or don't and use it again to bake birthday cake!!! =D)
IMG_1989.jpg

It was quite the adventure. TL;DR: Would do again. <3

-Andrea 

The Half-Assed Hobbyist


Easy Cinnamon Buns

Here is a recipe for what the fiancé's family calls "easy cinnamon buns" that I haven't made in ages. The sad sad fact of reality is I totally forgot about them. As did my pant size. No more! Ah memory, how I love and curse you.

The reason this recipe is so easy is it's actually a baking powder biscuit recipe made to look like cinnamon buns. So no bun rising required! All the goodness of cinnamon buns with only a fraction of the time necessary until you can start putting these tasty devils in your face.

Easy Cinnamon Buns

Baking Powder Biscuit Dough:
2 cups flour
3 teaspoon baking powder
1/2 teaspoon salt
1/3 cup margarine
~3/4 cup milk (use more if it's dry outside)

  1. Combine dry ingredients in bowl.
  2. Using a fork or pastry blender, cut in cold margarine until mixture forms little pea sized crumbles. (Make sure there are no big lumpies of margarine!)
  3. Stir in milk. Mix until a wet dough forms.
  4. On a floured counter, knead dough for 10 strokes. (Use more flour to stop it sticking to everything and the dog.)

(At this point, the dough can be rolled out to 1/2 inch thick and cut into circles for biscuits. Bake at 450'F for 12 minutes.)

OR

Easy Cinnamon Buns:

Margarine (~1/4 cup)
Brown Sugar (~1 cup)
Cinnamon (~ 1/2 TSBP)

Note: The amounts of ingredients for this recipe are variable. If you want more goopy, add more sugar. If you want super cinnamon-y, add more cinnamon. My pictures have way more sugar than I normally use because I wanted to see what would happen. Super syrupy is the answer.

  1. Pre-heat the oven to 450'F.
  2. Roll out baking powder biscuit dough into a rectangle, ~1/4 inch thick.
  3. Spread margarine on dough. (I use my fingers so I don't make holes in the soft dough.)
  4. Sprinkle dough with brown sugar and cinnamon.
  5. Roll gently and cut into 12 X 11/2 inch sections.
  6. Place in greased muffin tins.
  7. Bake for 12 minutes, until golden brown.

These little delights remind me that sometimes making the easy version can be just as satisfying as making the more complex version. You know, except for the whole having hot homemade cinnamon buns within a half hour part.

;)

-Andrea

The Half-Assed Hobbyist

Always Pie.

Historically speaking, I do not make pumpkin pie from scratch-scratch. I much prefer buying a can of pureed pumpkin than making my own. This year however, I had a pumpkin sitting on the counter, saying to me 'Cook me! It won't be hard! You'll love it!'.

Never trust a talking squash. 

Pumpkin Pie (From scratch-scratch)

2 eggs
2 cups pureed pumpkin
1 1/2 cups sweetened condensed milk
1/3 cup brown sugar
1 tsp cinnamon
1 tsp powdered ginger
1/2 tsp nutmeg
1/2 tsp salt
1/4 tsp cloves

Pureed Pumpkin (Recipe below)
Pie crust (Recipe below)

  1. Prepare pureed pumpkin!! (Kill the talking squash!!)
  2. Pre-heat oven to 425'F. Using a rolling pin, roll out pie crust to fit an 8 or 9 inch pie plate. Transfer pie crust to pie plate, shape or flute edges (if you want) and pierce pastry all over with a fork. Bake pie crust for 15 minutes till slightly golden. (You can brush with egg yolk as well to get a glossy pastry.)
  3. While pie crust is baking, whisk eggs thoroughly until light in colour. 
  4. Add pureed pumpkin, sweetened condensed milk, sugar and spices. Mix pie filling together thoroughly.
  5. Remove pie crust from the oven and while still hot fill with pie filling. (Depending on the size of your pie shell you may have some batter left over.)
  6. Reduce oven heat to 375'F. Bake pie for 35-45 minutes, until filling is puffed around the edges and the centre is firm. 
  7. Cool completely. Refrigerate for at least an hour. Serve with whipping cream!

Puree Pumpkin: I've found there are two best ways to make pureed pumpkin. Either by baking the pumpkin, or boiling it. 

To bake, prepare the pumpkin by giving it a good scrub, cutting it in half (remove the stem first), and scooping out the seedy-gooey innards. Pre-heat the oven to 325'F. Place pumpkin halves face up on a foiled cookie sheet and bake for 1 to 1 1/2 hours. Scoop hot pumpkin out of the rind into a blender. Puree and chill.

To boil, prepare pumpkin by giving it a good scrub, cutting it in half (remove the stem first), and scooping out the seedy-gooey innards. Peel the pumpkin rind off the raw pumpkin flesh. Fill up a large dutch oven (or two) with cubed raw pumpkin. Add water to pot till 3/4 of the way full. Bring to a boil and reduce to a simmer, covered, for 45-50 minutes. Check that pieces are soft. Drain and puree and chill.

If the puree is still runny I recommend cooling the puree and straining it through a super fine mesh sieve. I tried boiling off the excess liquid and lets just say it was a minor disaster. 

Pie Crust: My favourite pie crust is my standard pie crust found here. It makes enough for three pies, top and bottoms, but it freezes well so portion out what you need and freeze the rest in discs. Or. You know. Buying a pre-made pie shells works just as well too. Haha.

I will be looking into my squash-communing issue. Don't worry. Until then though: Piiiiiiiie. <3

-Andrea

The Half-Assed Hobbyist

Pumpkin is a funny word

If there is any better excuse to eat pumpkin anything, it's Autumn. I love this time of year. It houses my favourite food holiday (Thanksgiving) and makes it socially acceptable to eat Anything that can remotely be considered 'pumpkin spice seasonal'. Specifically though, pie and cake. My love for a certain orange squash is so great that I will eat endure the weird looks at restaurants when asking for pumpkin desserts in May. 

Anyways. For thanksgiving I made a pumpkin swirl cheesecake! I thought I'd share it.

Pumpkin Swirl Cheesecake

2 cups finely crushed Gingersnap cookies (I bought premade; pulsed them in a food processor)
1/4 cup butter, melted

3 pkg (250g each) cream cheese, softened
1/2 cup sugar
1 tsp. vanilla
3 eggs

1 cup canned pumpkin
1/4 cup sugar
1 tsp. ground cinnamon
1/4 tsp. ground nutmeg
dash ground cloves

  1. Preheat oven to 350'F.
  2. Mix together cookie crumbs and butter. Press into the bottom of a 9-inch springform pan.
  3. Beat cream cheese, 1/2 sugar and vanilla until blended. Add eggs, one at a time, beating well after each addition, just until blended. Remove 1 cup pf the plain batter and set aside. Stir in 1/4 cup sugar, pumpkin and spices into the remaining batter. 
  4. Now it's swirling time! Spoon half the pumpkin batter into the crust in the pan. Top with dollops of the plain batter. Dip the tip of a knife or icing spreader into the pumpkin batter and follow it through the dollops in a straight lined lattice. (See video.) Repeat, using remaining pumpkin and plain batter for a second layer.
  5. Bake 45 minutes or until centre is almost set. Cool completely. Refrigerate for at least 4 hours.

Tada! Super easy, Super delicious. 

Now... being only the second time I've ever made a cheesecake at home, of course something had to go very wrong. My cheesecake split something awful. BUT! Always look for the little dancing stickman in every disaster. He will show you the way! (Or in this case, the way to place his cookie head.)

Cheers!

-Andrea

The Half-Assed Hobbyist