This whole gardening year I have had high hopes that I would have enough tomatoes to make this savoury tomato jam. With the devastating falling over of my giant tomato plants, I thought for sure I would be waiting till next year to achieve this dream. But. My plants had other ideas.
I managed to collect enough for two batches of a savoury tomato jam that was an office favourite at the test kitchen I worked for back in AB. Essentially its the most fancy ketchup analog you'll ever eat. I love it on toast, warmed up on sandwiches, or even by the spoonful. Haha. ;)


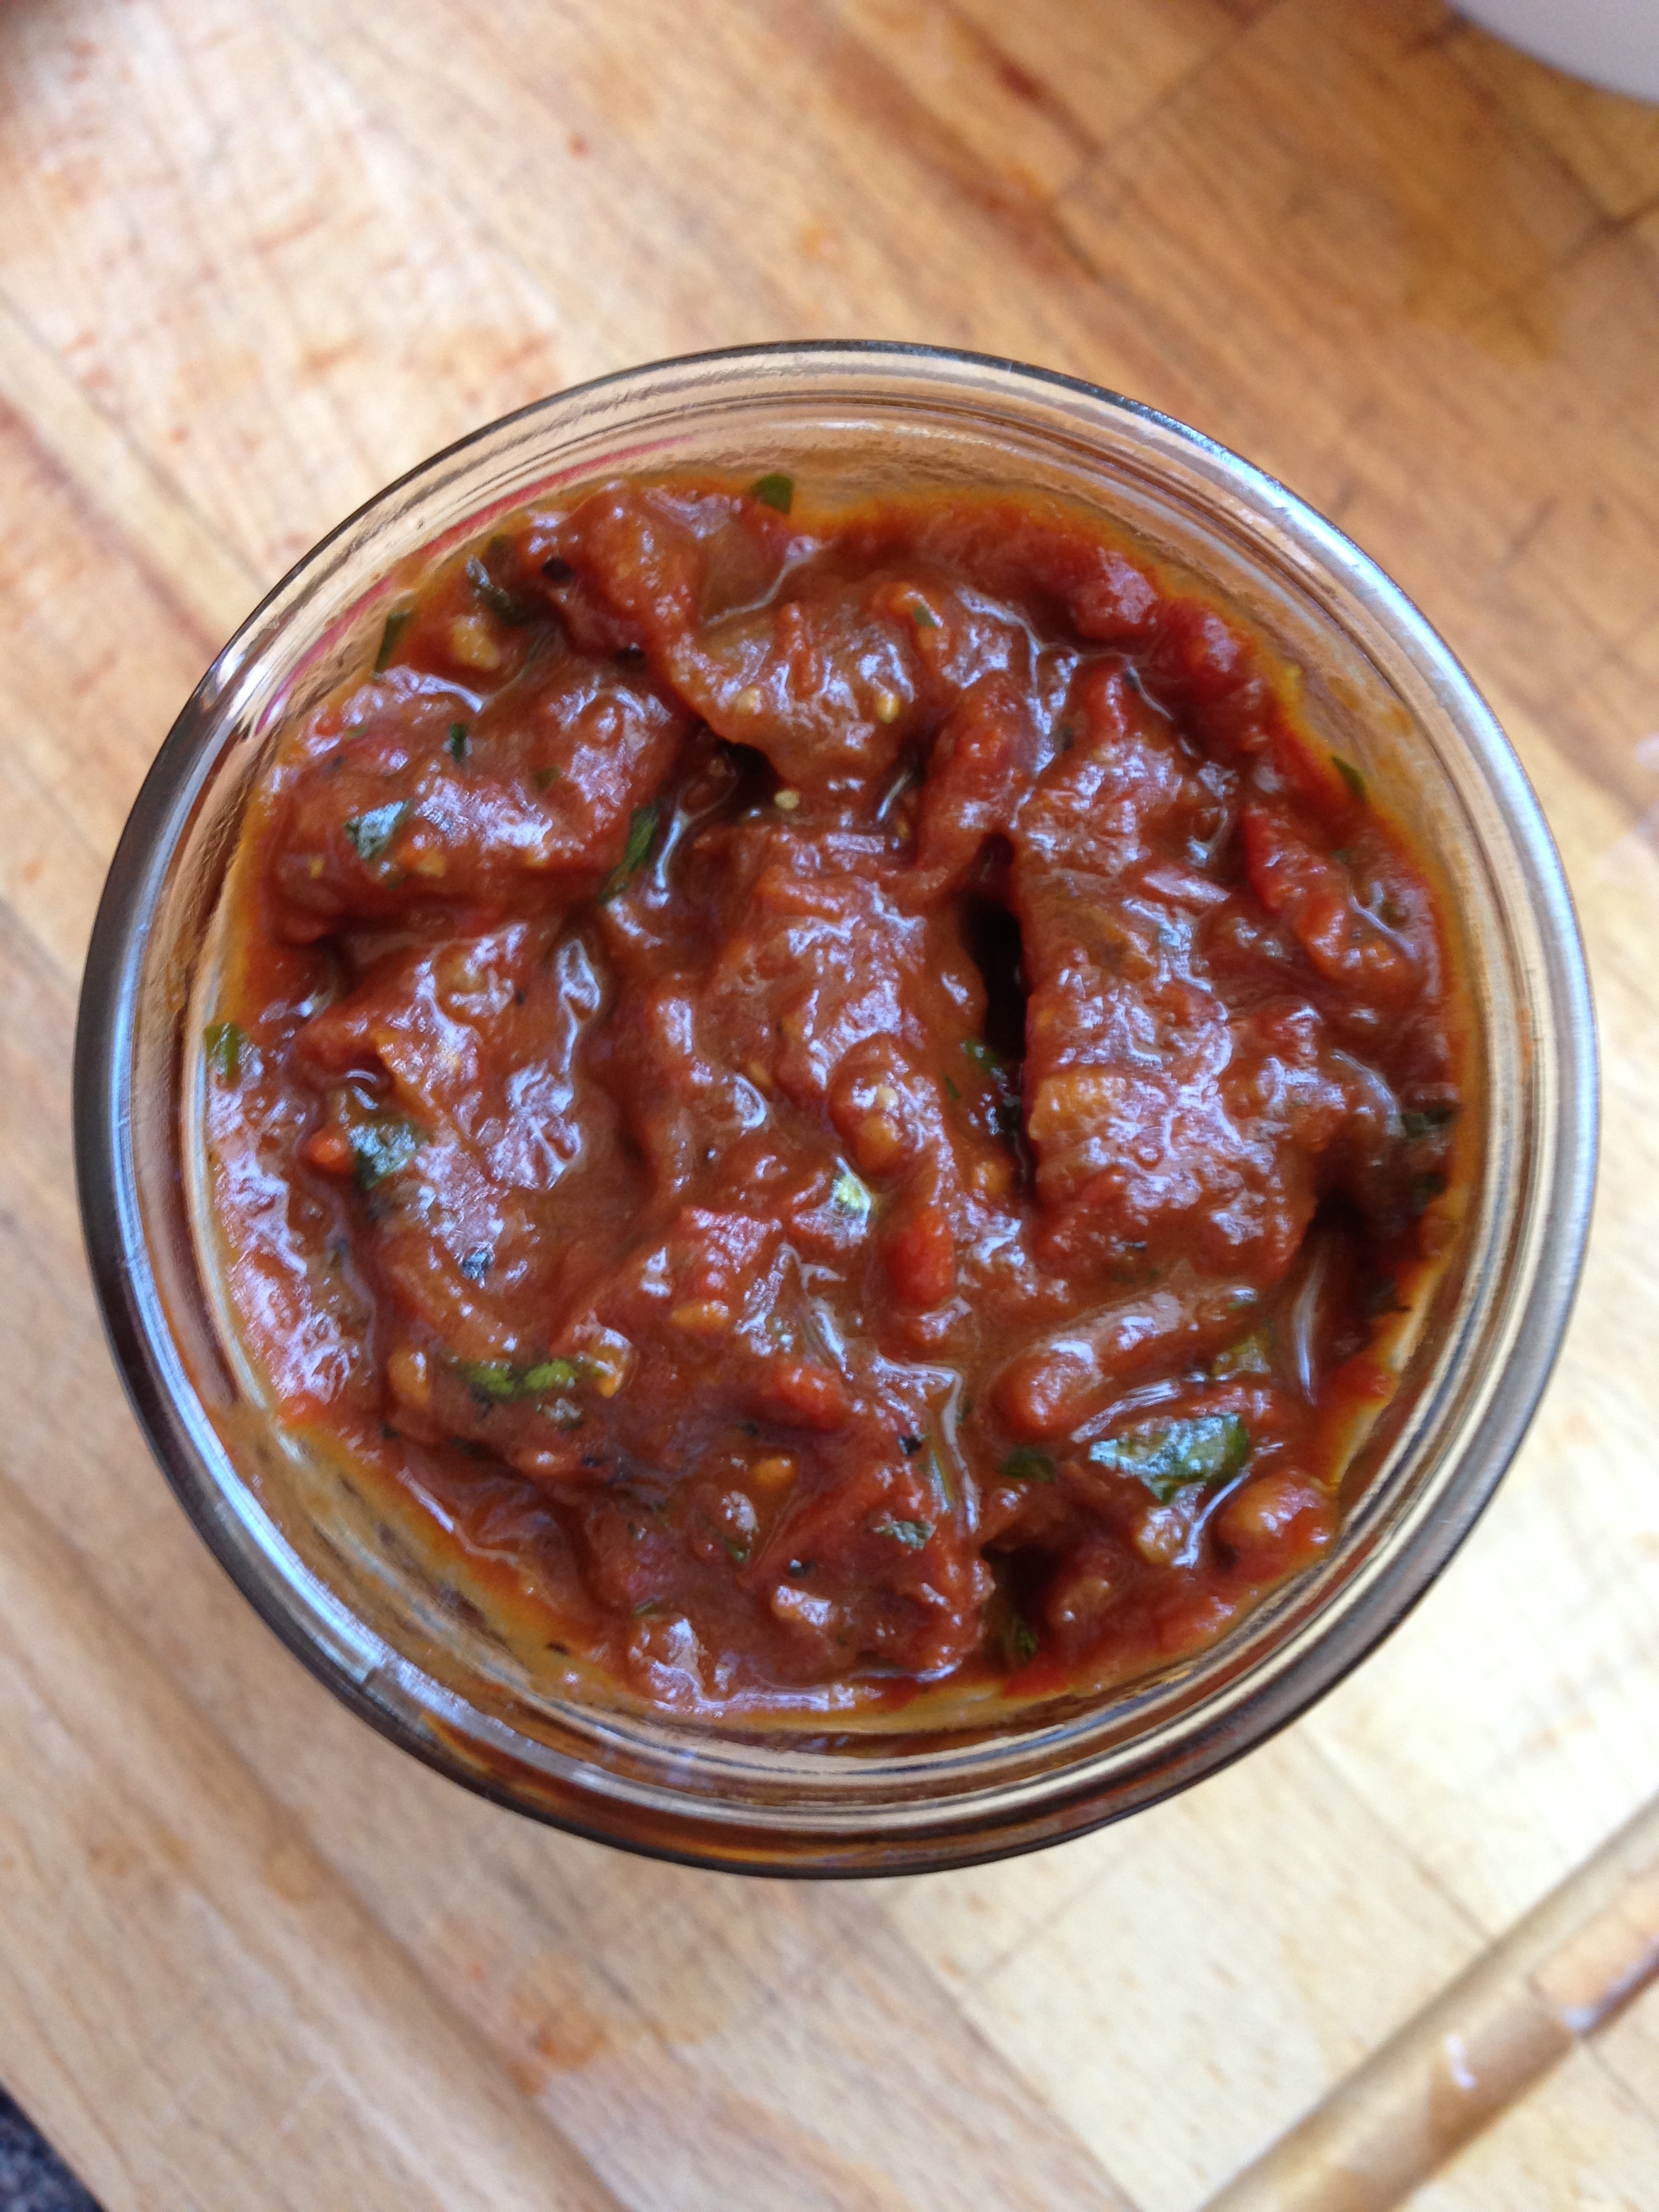
Savoury Tomato Jam
In order to can this recipe, I needed to add an acidifier. I chose vinegar so the result is a tangier jam than the original recipe. I would however keep this jam refrigerated and eat it within 2-3 months. More for quality than safety. Also. If you are planning to can this recipe, get your waterbath canner sterilizing jars during the simmering stage of the jam. That way there is a smooth transition from cooking to canning. Makes ~2 cups.
2 TBSP oil
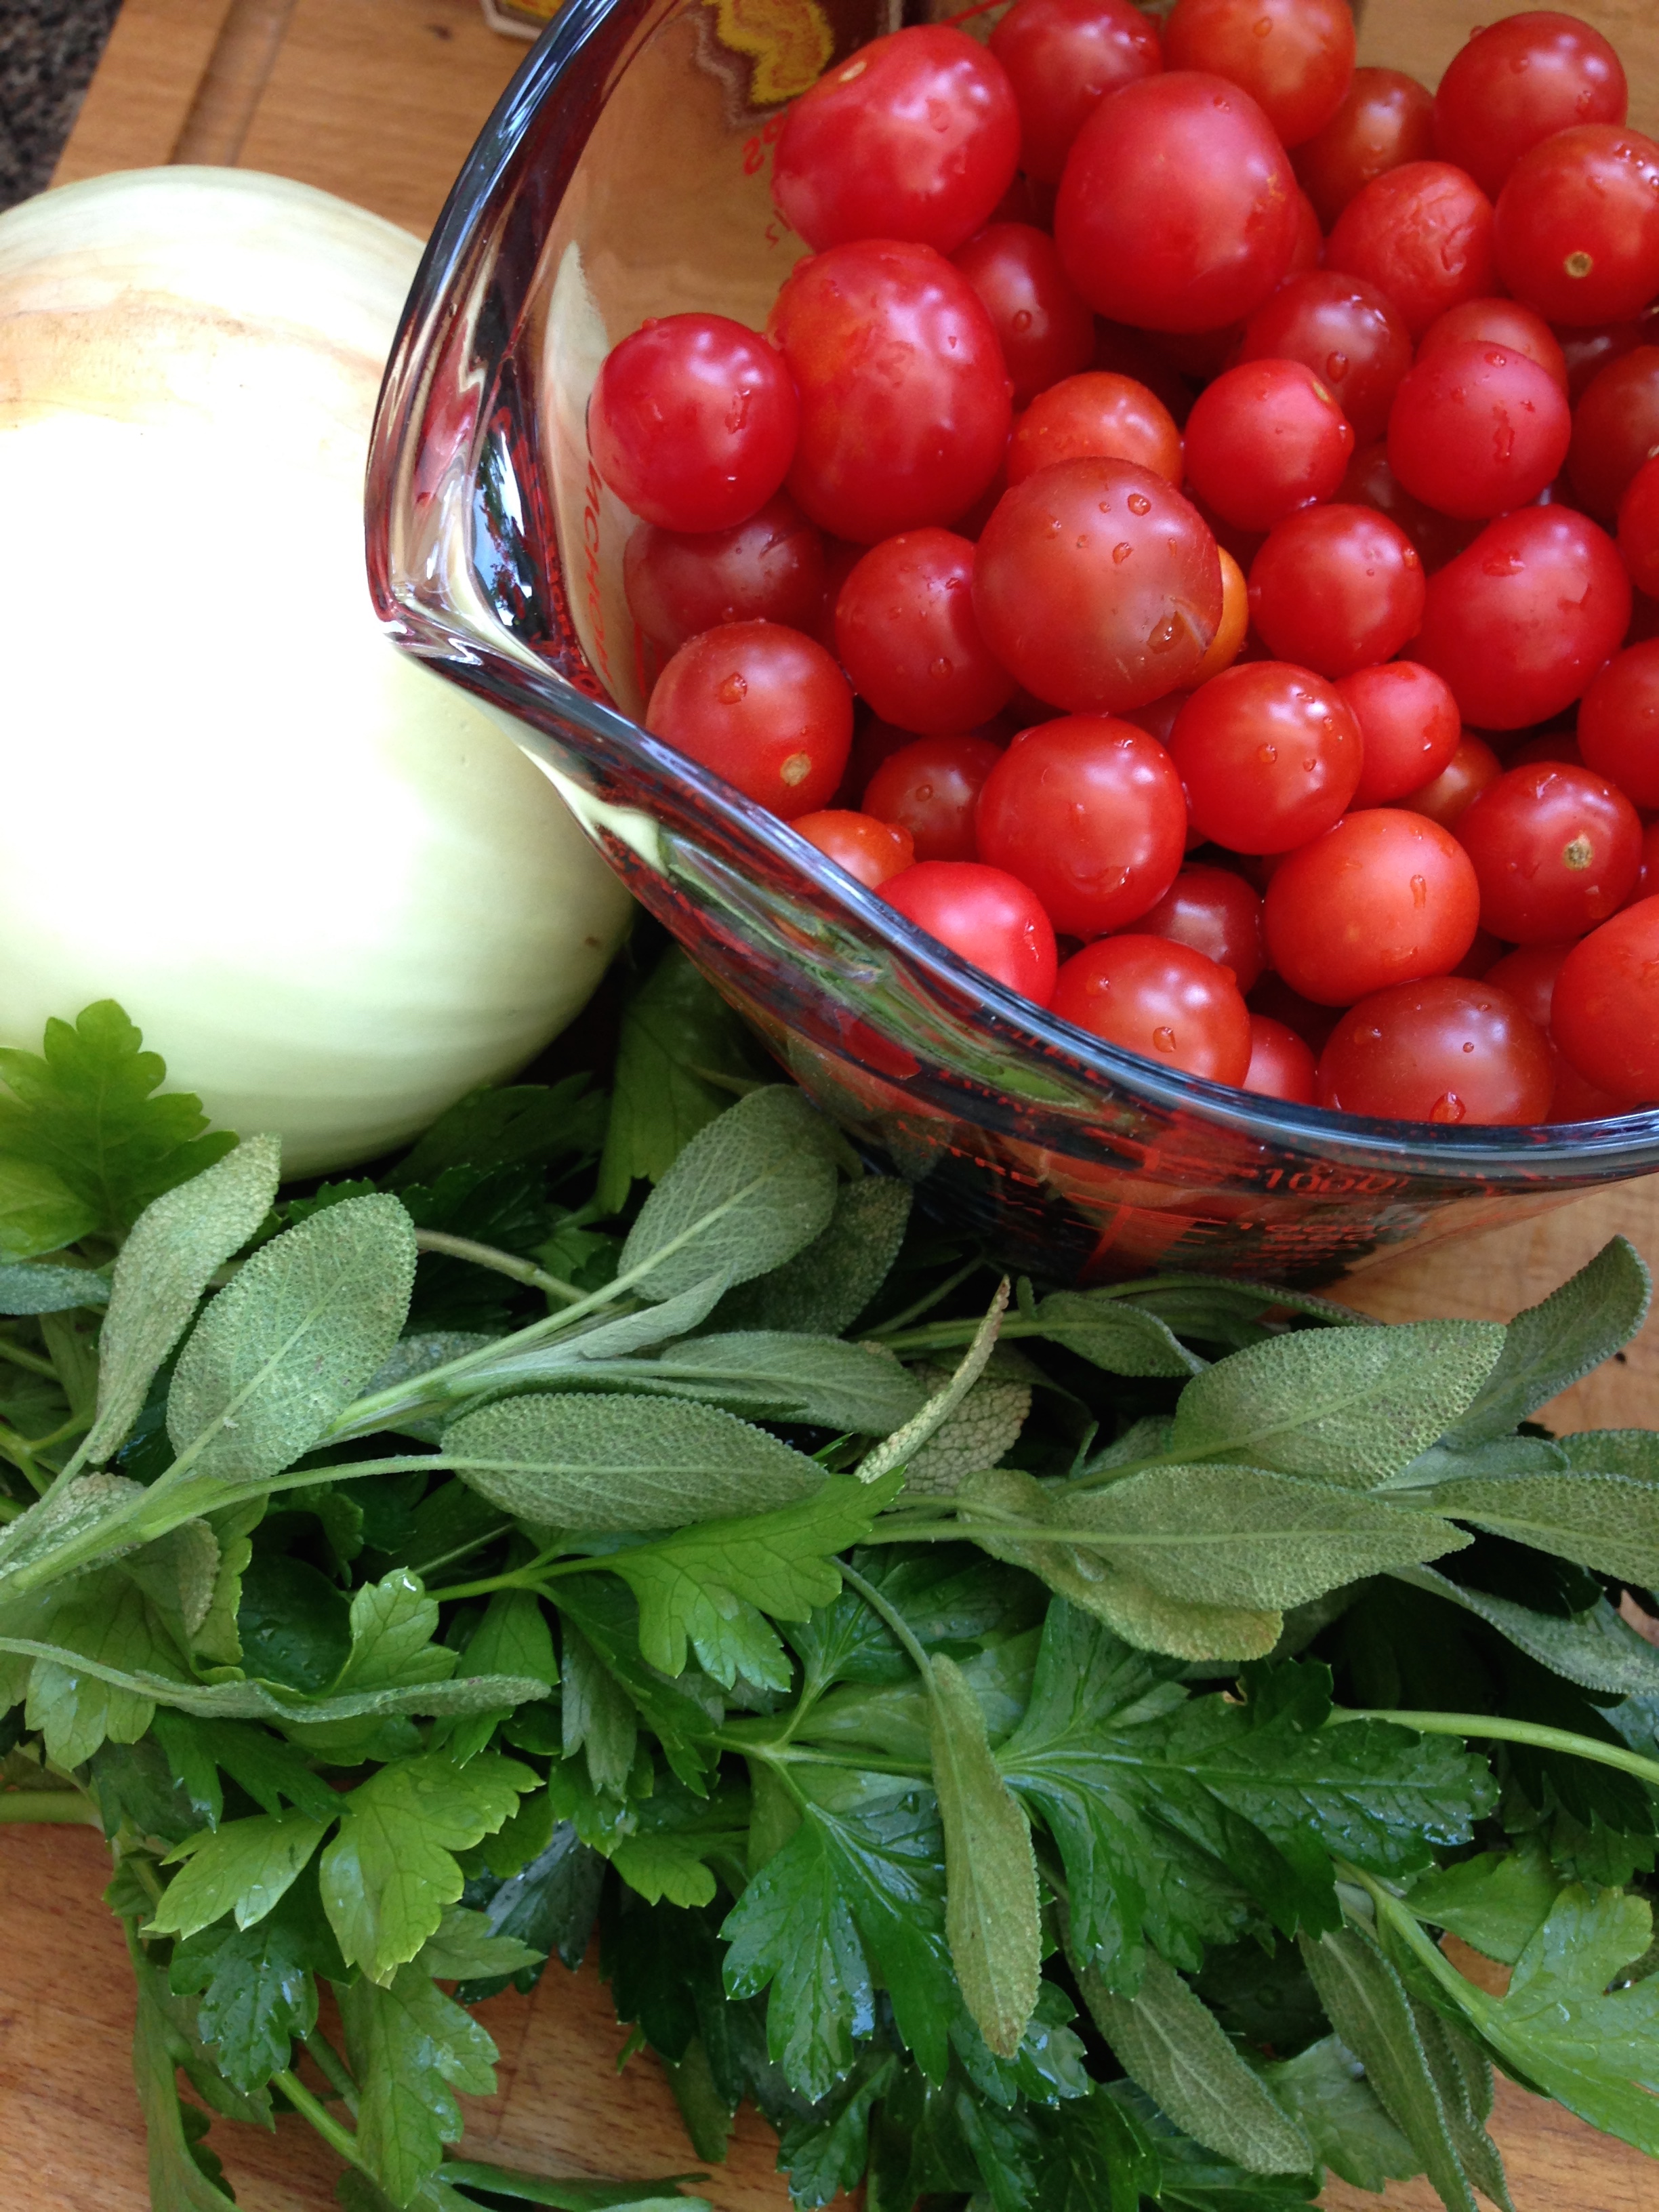
1 cup white onion, chopped
1 TSBP minced garlic (2-4 cloves)
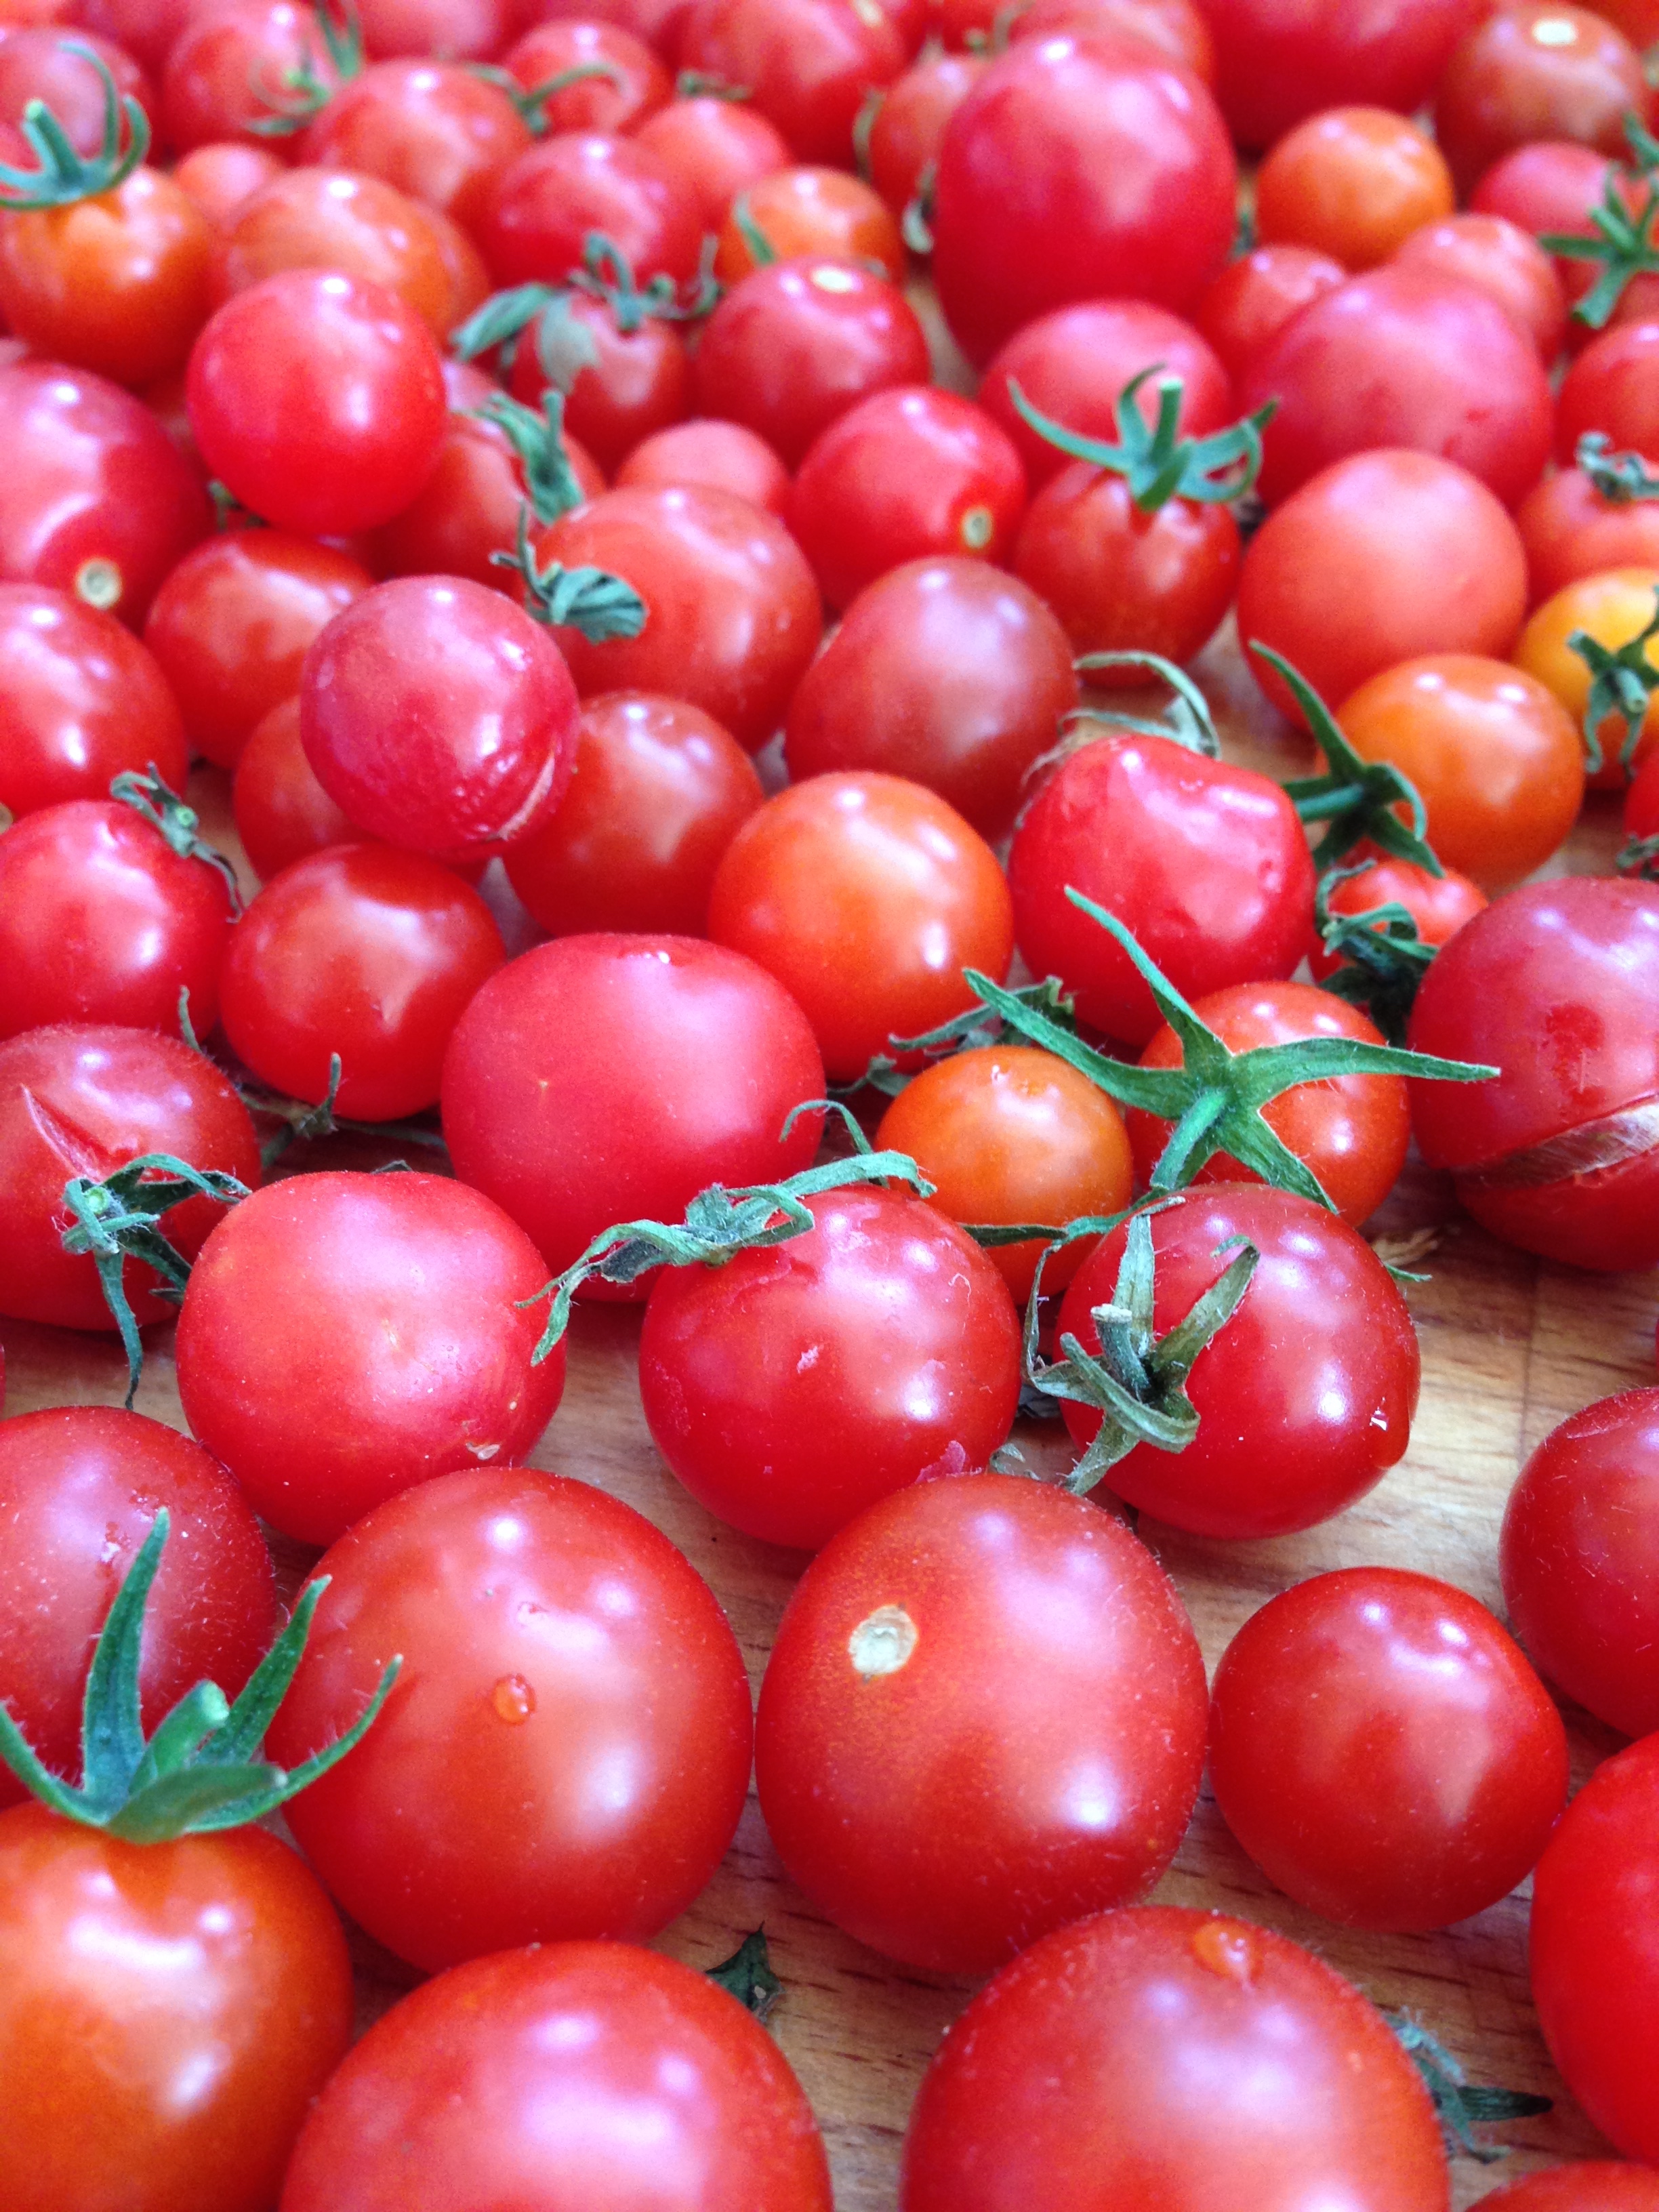
2 cups cherry tomatoes
1/2 cup chopped drained oil-packed dried tomatoes, patted dry
1/2 cup chopped drained canned roasted red peppers, patted dry
1/2 cup tomato juice
1/2 cup balsamic vinegar
1/2 cup white vinegar
2 TBSP fancy molasses
1/4 cup chopped fresh parsley
2 tsp fresh thyme leaves, chopped
1/2 tsp salt
1/4 tsp pepper
In a large dutch oven, with a lid, heat oil over medium heat. Add onion and cook, stirring, for 5 minutes or until onion becomes clear. Add garlic. Cook for 2 more minutes, or until garlic is fragrant.
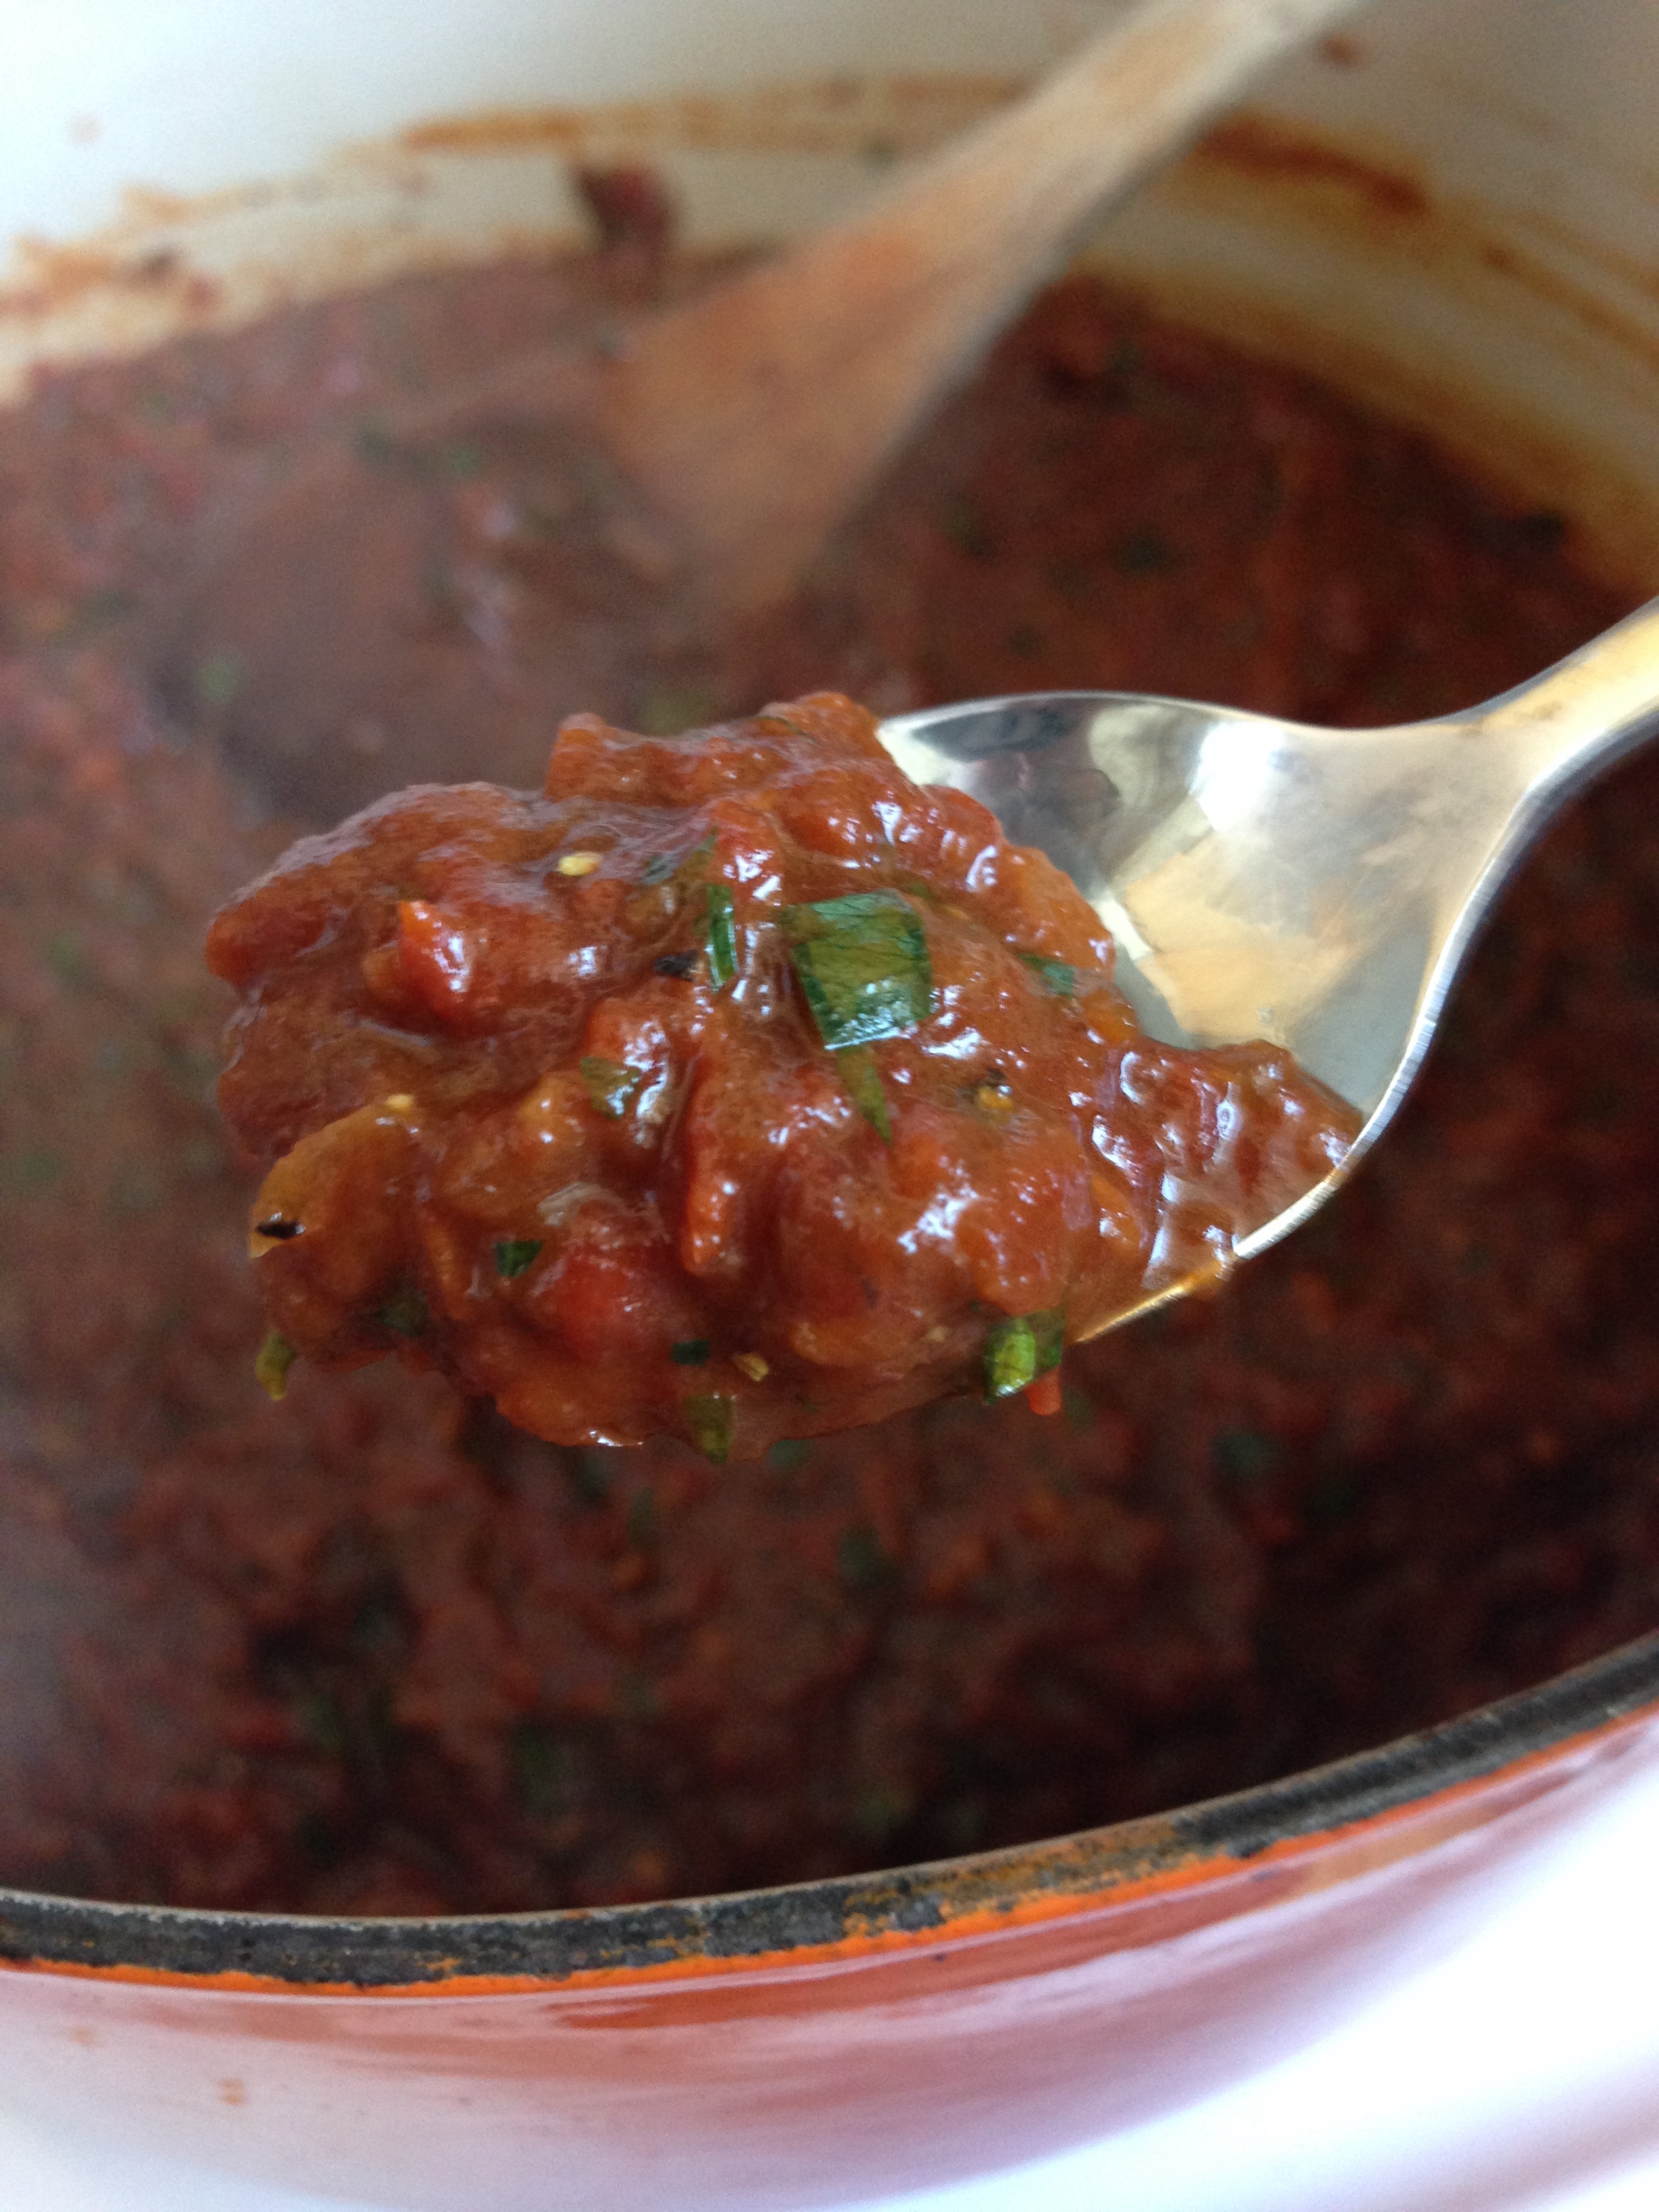
Add tomatoes through molasses. Stir together and bring to a boil over high heat. Reduce heat to low and simmer for 20 minutes, covered, stirring occasionally. Remove the lid and continue to simmer for 30 minutes or until the mixture has thickened and most of the liquid has gone. Remove from heat.
Using an emersion blender or food processor, process the jam using an on/off pulse until just about smooth. Don't over pulse the jam, you want a bit of texture left. Add the parsley, thyme, salt and pepper. Pulse just to combine.
To Can: I did a good post on how to can safely here! It's for fruit jam but the essentials are there. Below is the version for this recipe:
Sterilize All The Things. As mention above, it's best to get this part going during the simmering stage of the jam. Thoroughly wash all jars and screwbands and lids and utensils (jar tongs; wooden spoon; ladle; jar funnel; plastic knife or spoon) in hot soapy water. Rinse clean of all soap residue. Fill the waterbath canner with water (and ~2 TBSP vinegar) and bring the canner to boil. Place all your jars evenly spaced in the canner and boil the jars for at least 10 minutes. (This will sterilize the jars.) Dry all screwbands and utensils and lay them out so they're easily accessible. Also, set a flat bottomed sauce pan filled with water on the stove. Put in the snap lids. Then, from a kettle filled of boiled water, add enough hot water to make the water in the sauce pan warm. This will soften the wax ring on the lids helping the jars seal completely.
Prep All the Ingredients. Having now simmered and food processed the jam, you are ready for canning! ALSO. Make sure your canner is boiling hot! You won't have time to bring it back to a boil after you've started your jam. I also usually have a kettle of boiling water going as well in case I need to top up the canner during the process.
Start Canning. Now for the fast hot mess that is jam making. Bring your jam back to boil. (Since it is thick it will bubble more that boil. Watch out for white shirts as it may spit at you!) Now that your jam has been sufficiently lava-ed, remove it from the heat. Using the jar tongs, remove a sterilized jar from the boiling canner and empty the water in it back into the canner. Place the jar on your clean counter next to the jam pot. Place the jar funnel on the jar and ladle the jam smoothly up to the recommended head space marker (for my recipe I used a 1/4 inch headspace). Remove the funnel, remove any air bubbles from the jar by running a plastic utensil around the sides of the jar, and wipe the rim with a damp paper towel or clean damp cloth. Place a warmed lid on top. Place a screwband on the jar, then grasp the jar with the jar tongs. Tighten the screwband to ONLY fingertip tight. This literally means using your finger tips only, tighten the screwband until there is enough resistance that it stops. Then, keeping the jar level, lift it up and place it back into the canner. Repeat!
Finish Canning. Now that all your jam has been put in jars in your canner, top up the water with more boiling water from the kettle, if need be (I usually like about 2 inches of water above my cans, if I can get it). Depending on your altitude, you'll need to adjust the time you process the jars. But it's a standard 10 minutes across the board, no matter what. (For Alberta, add an extra 5 minutes.) With the canner lid on, process the jam in the boiling waterbath. After the time is done, remove the jars with the tongs, lifting them straight out of the canner (NO tipping to get water off the top!). Set them down to cool in an out of the way space. From this point on, till they're completely cooled, No Touching! Resist the urge to poke them! As they cool, you'll hear the popping sounds of the snap lids sealing. Even after this has happened, No Touchy! It's a waiting game now. If you did it right, you'll have delicious shelf-stable jam to look forwards.
Enjoy! Let the jars cool completely. This will take up to 8 hours. After they've cooled, check that all the jars have sealed. The snap lids should be divoted inwards and you should be unable to pry them off with your fingers.** Ta Da!!! Done!
Keep in mind! This recipe is not shelf stable. (Well. It may be that it's shelf stable but as I have not tested it long term I don't recommend that it sits out.) Instead, keep it in you fridge and eat it before 2-3 months. Also. ** If the lid did not seal do not fret! The jam is still good to eat! It just needs to be eaten first and within 2-3 days. =)
I'm so happy that my little tomato plants did it. From little seeds to 7 foot giants! =) I hope my grandpa would have been proud. <3
-Andrea
The Half-Assed Hobbyist