These cookies have Stollen my heart

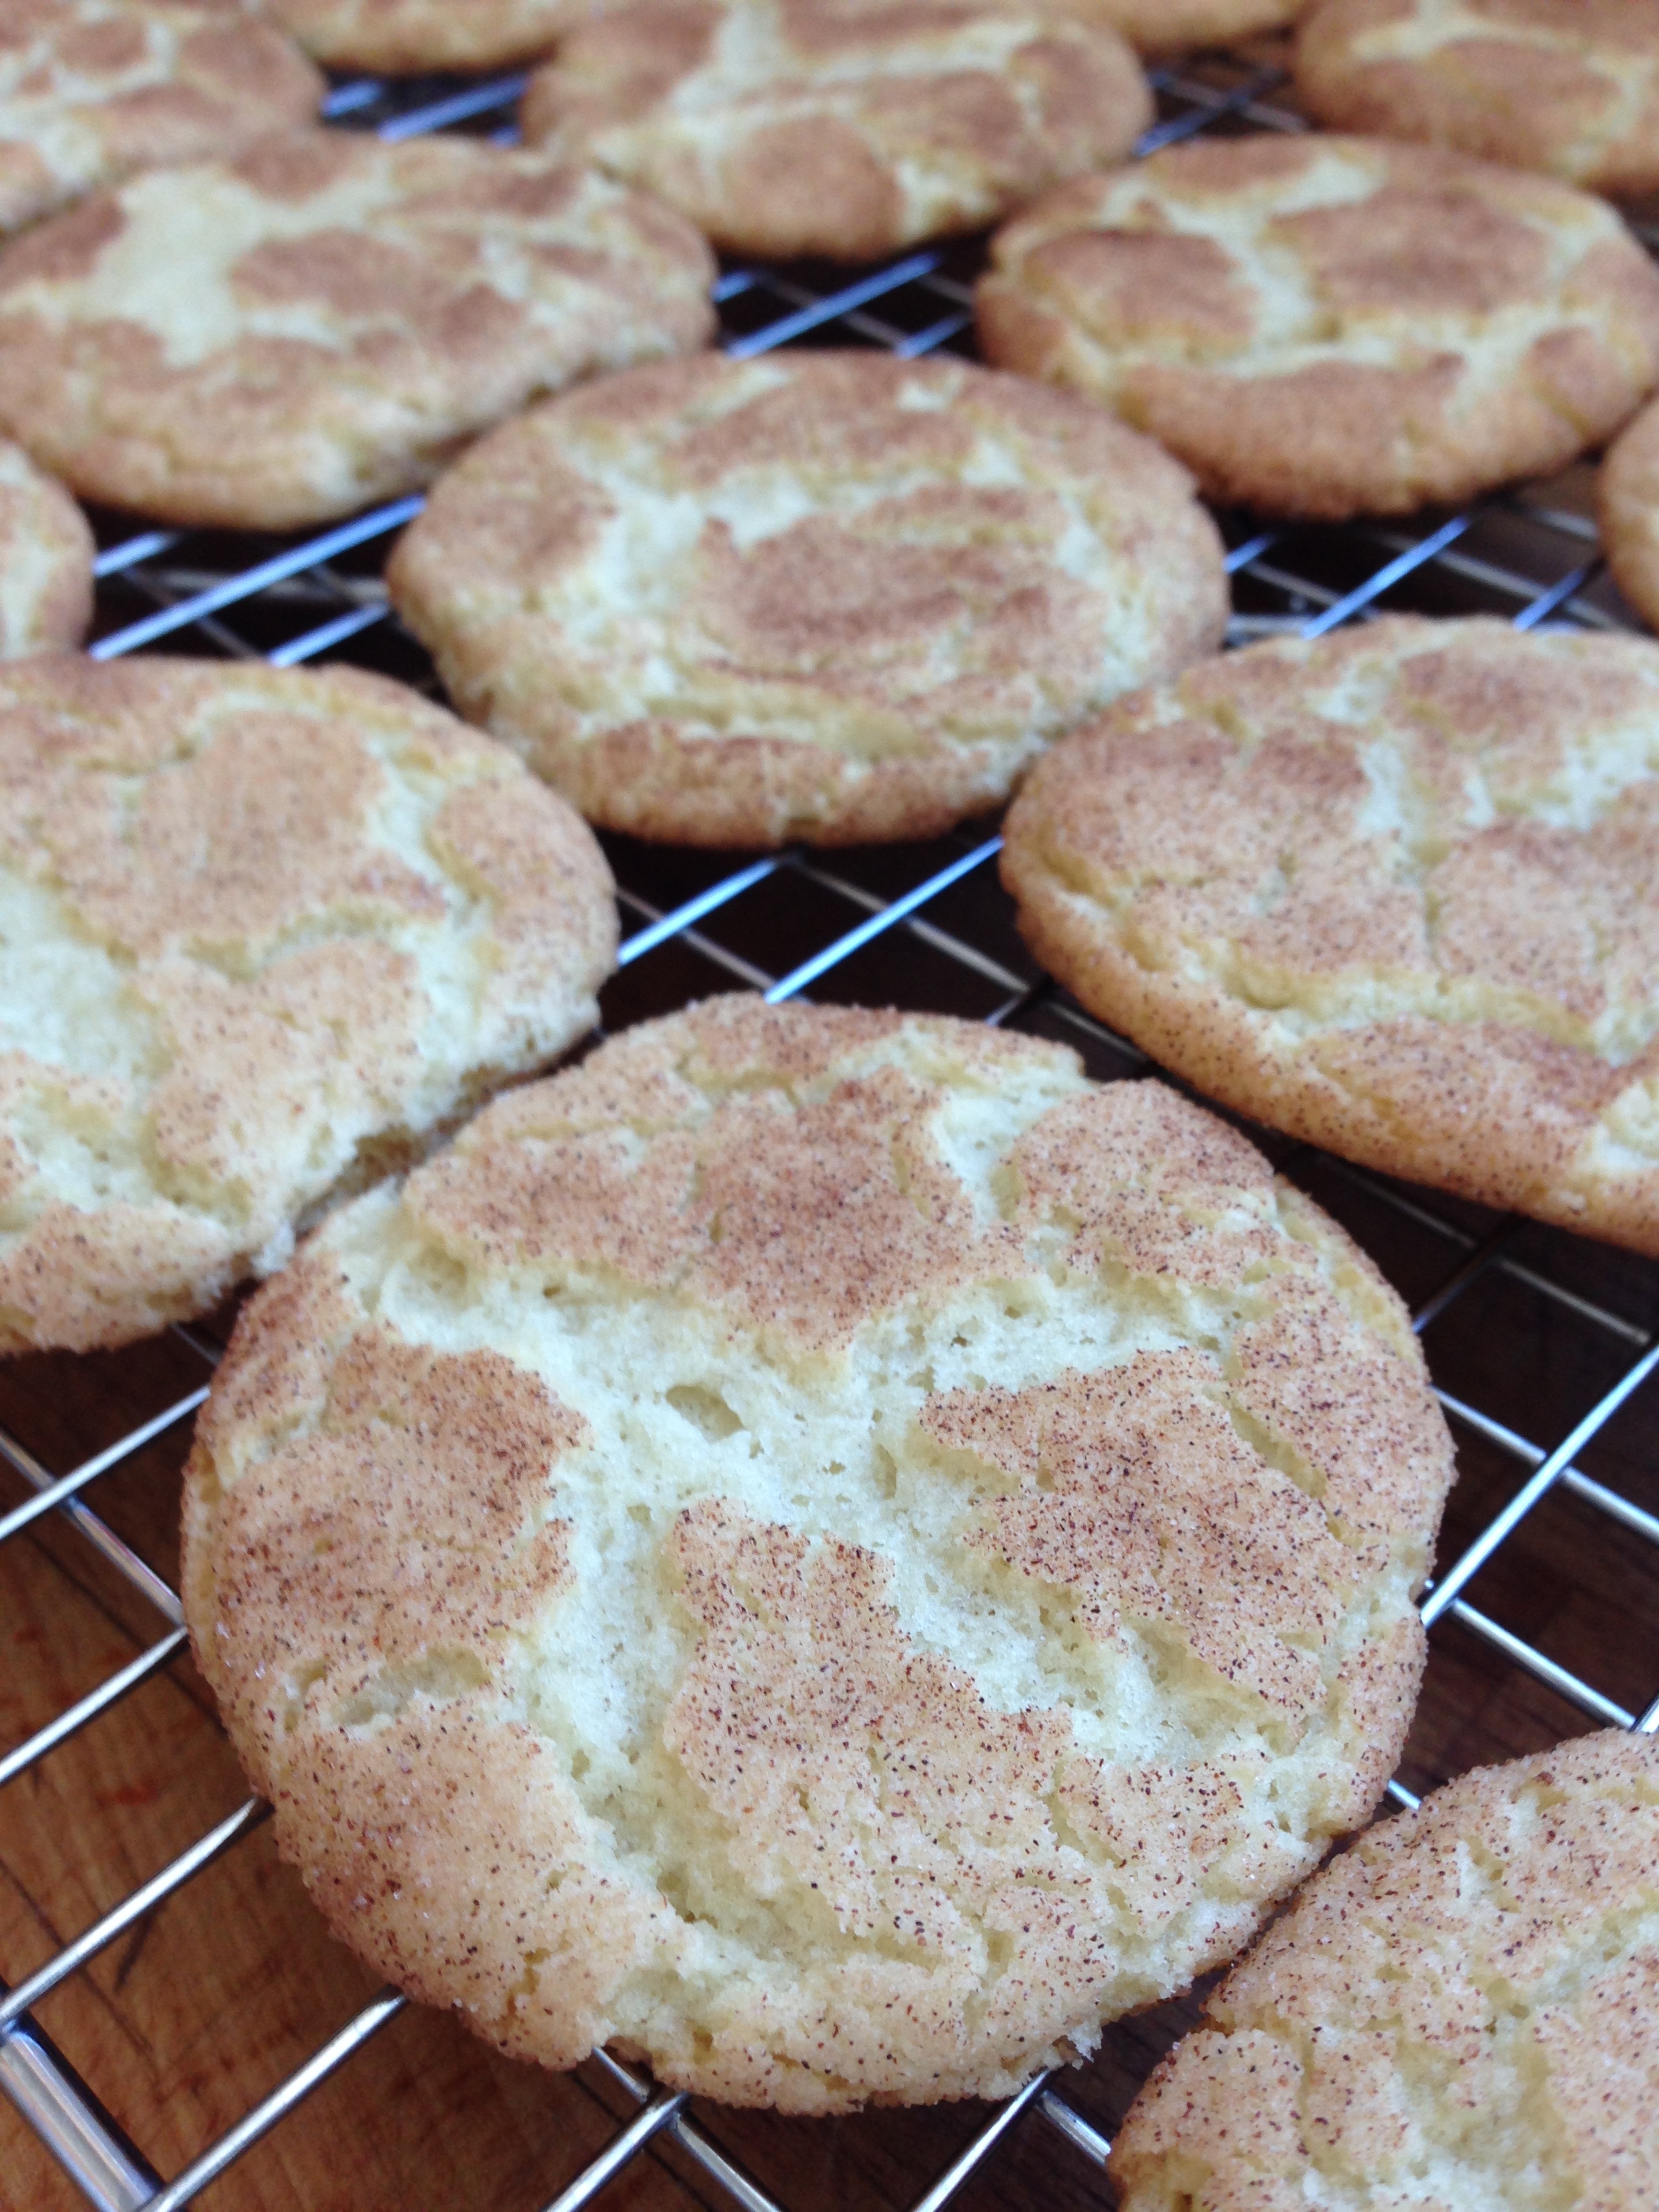
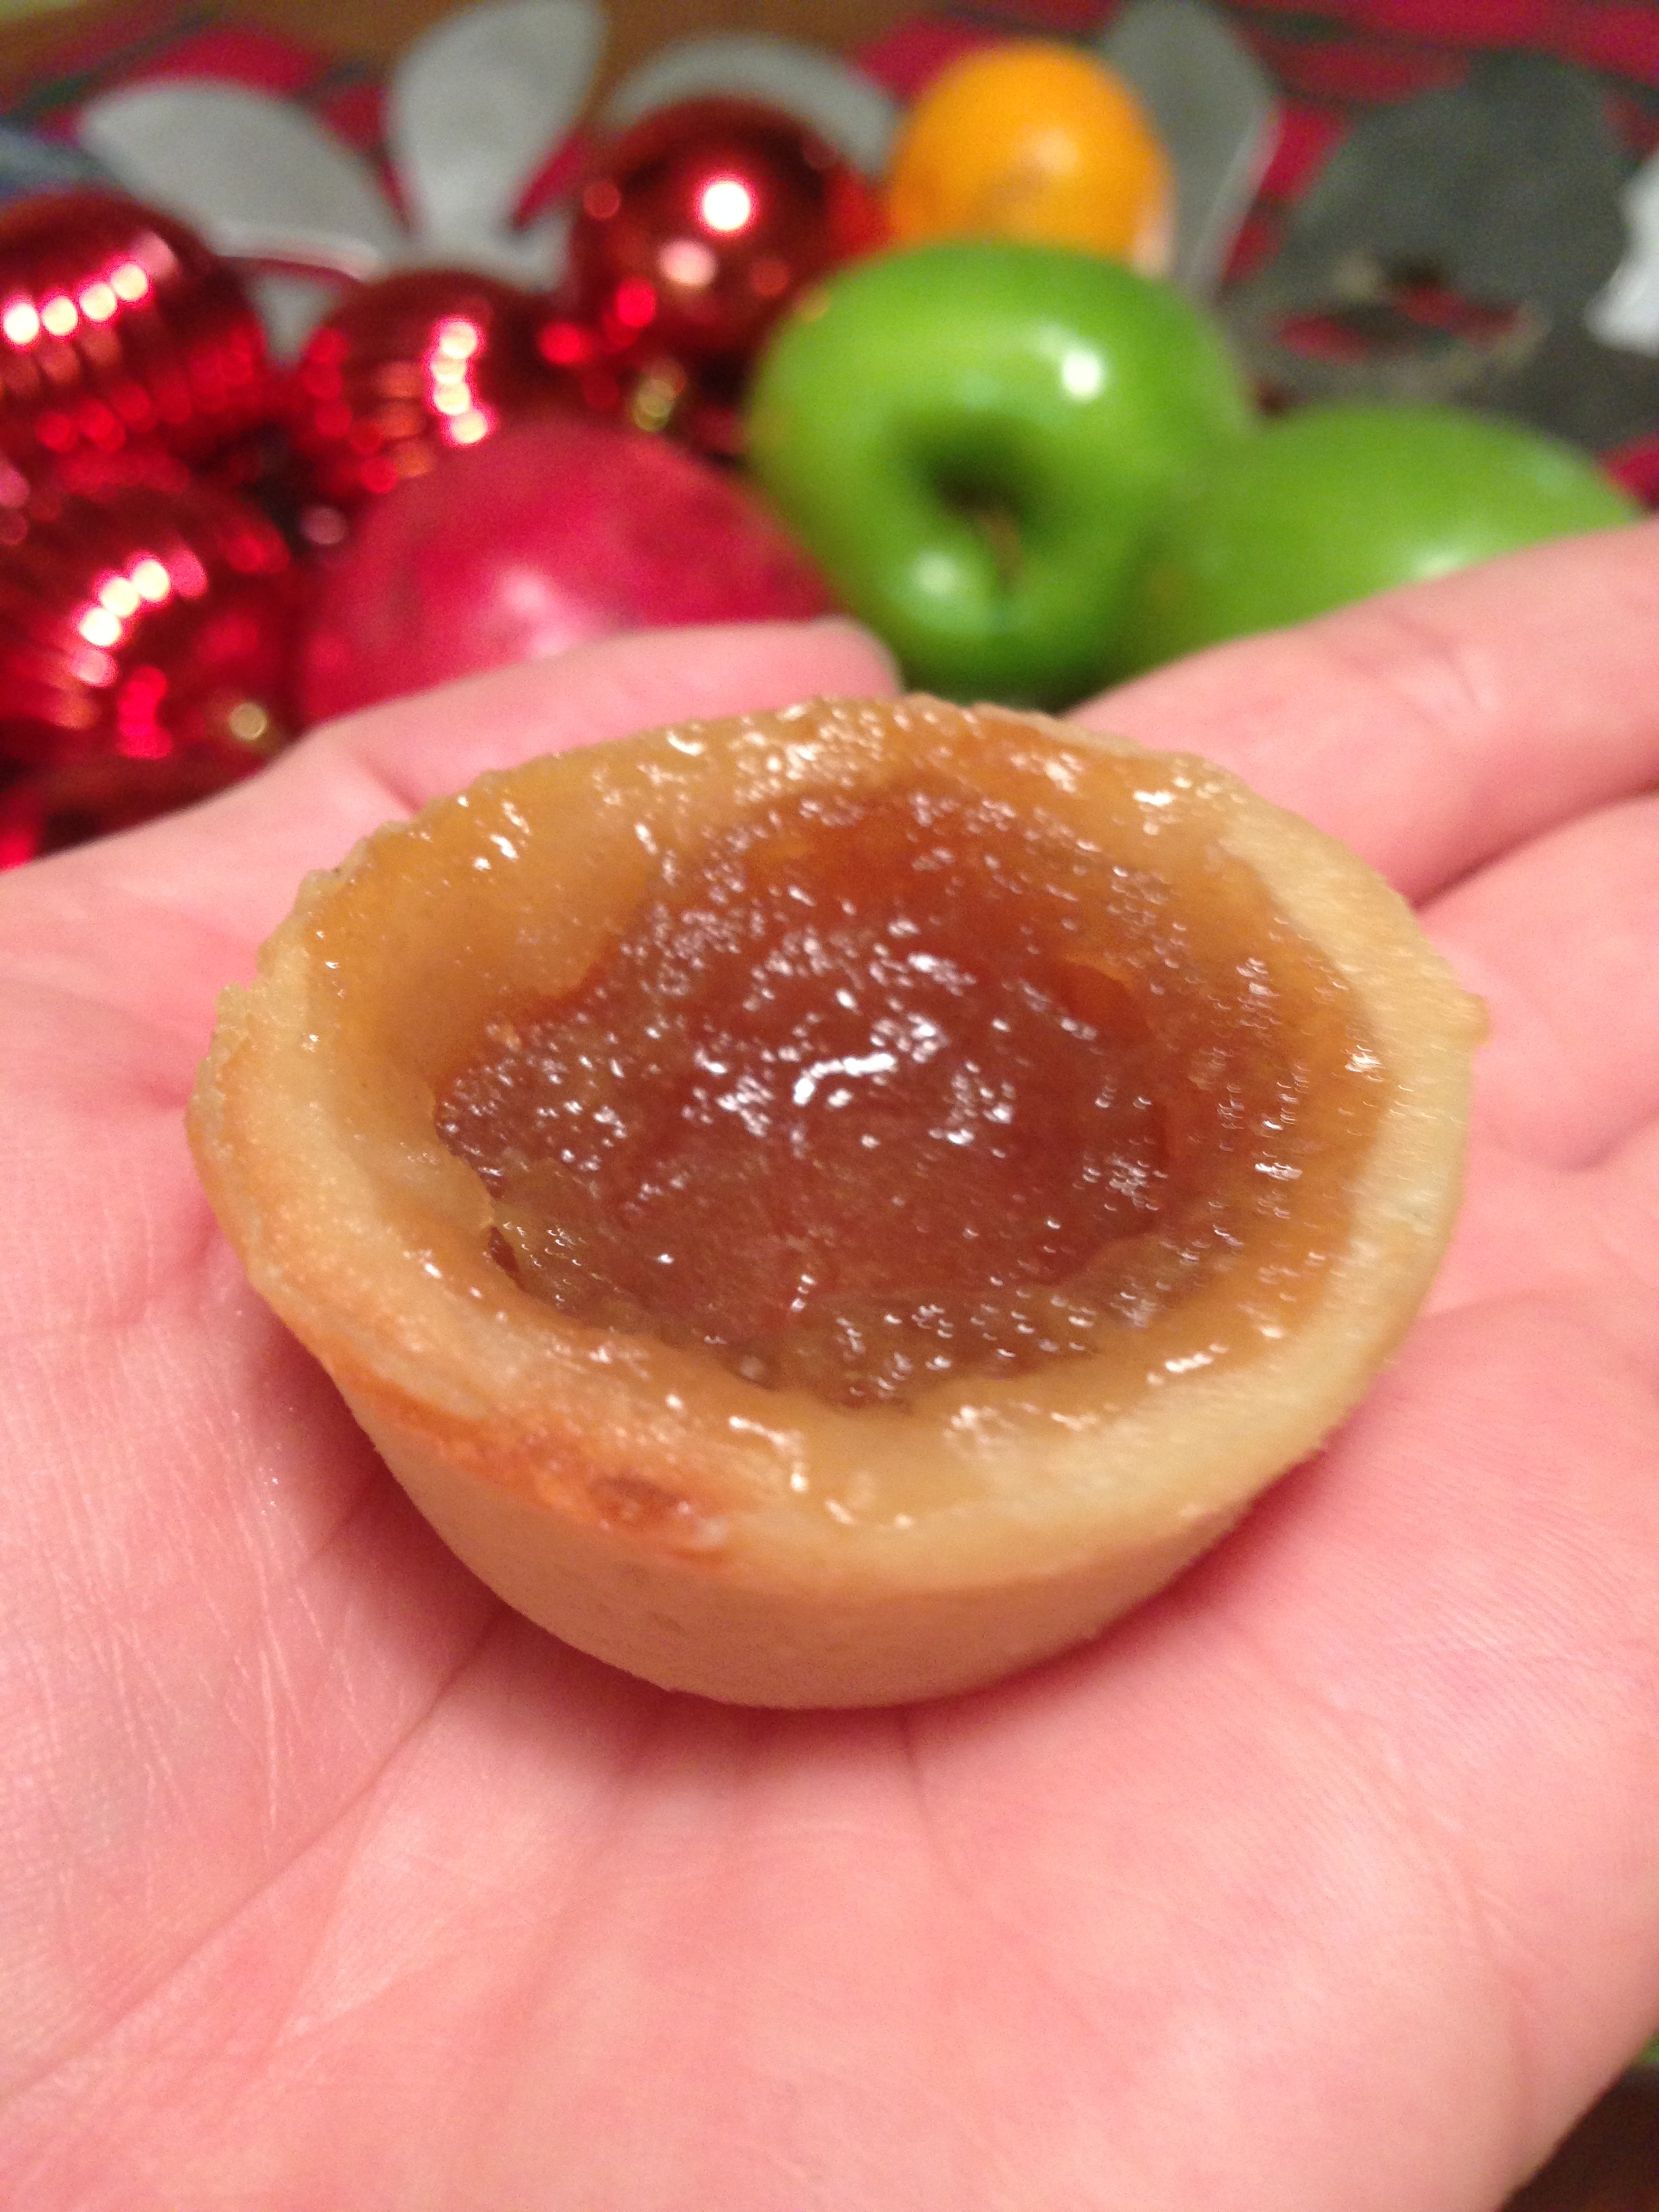
I haven't baked too terribly much in a long time. This winter is different though. I got bit bad by the baking bug. I have a lovely Solstice party coming up and I fully intend on no one leaving hungry. I may have gone a bit over board though: Snickerdoodles, Soft Ginger Cookies, Butter Tarts, Apple pie and the most amazing Stollen Pinwheel Cookies. 

The following cookie recipe is that later named. I found it in a Fine Cooking magazine and it blew my socks off, so I thought I'd share. 

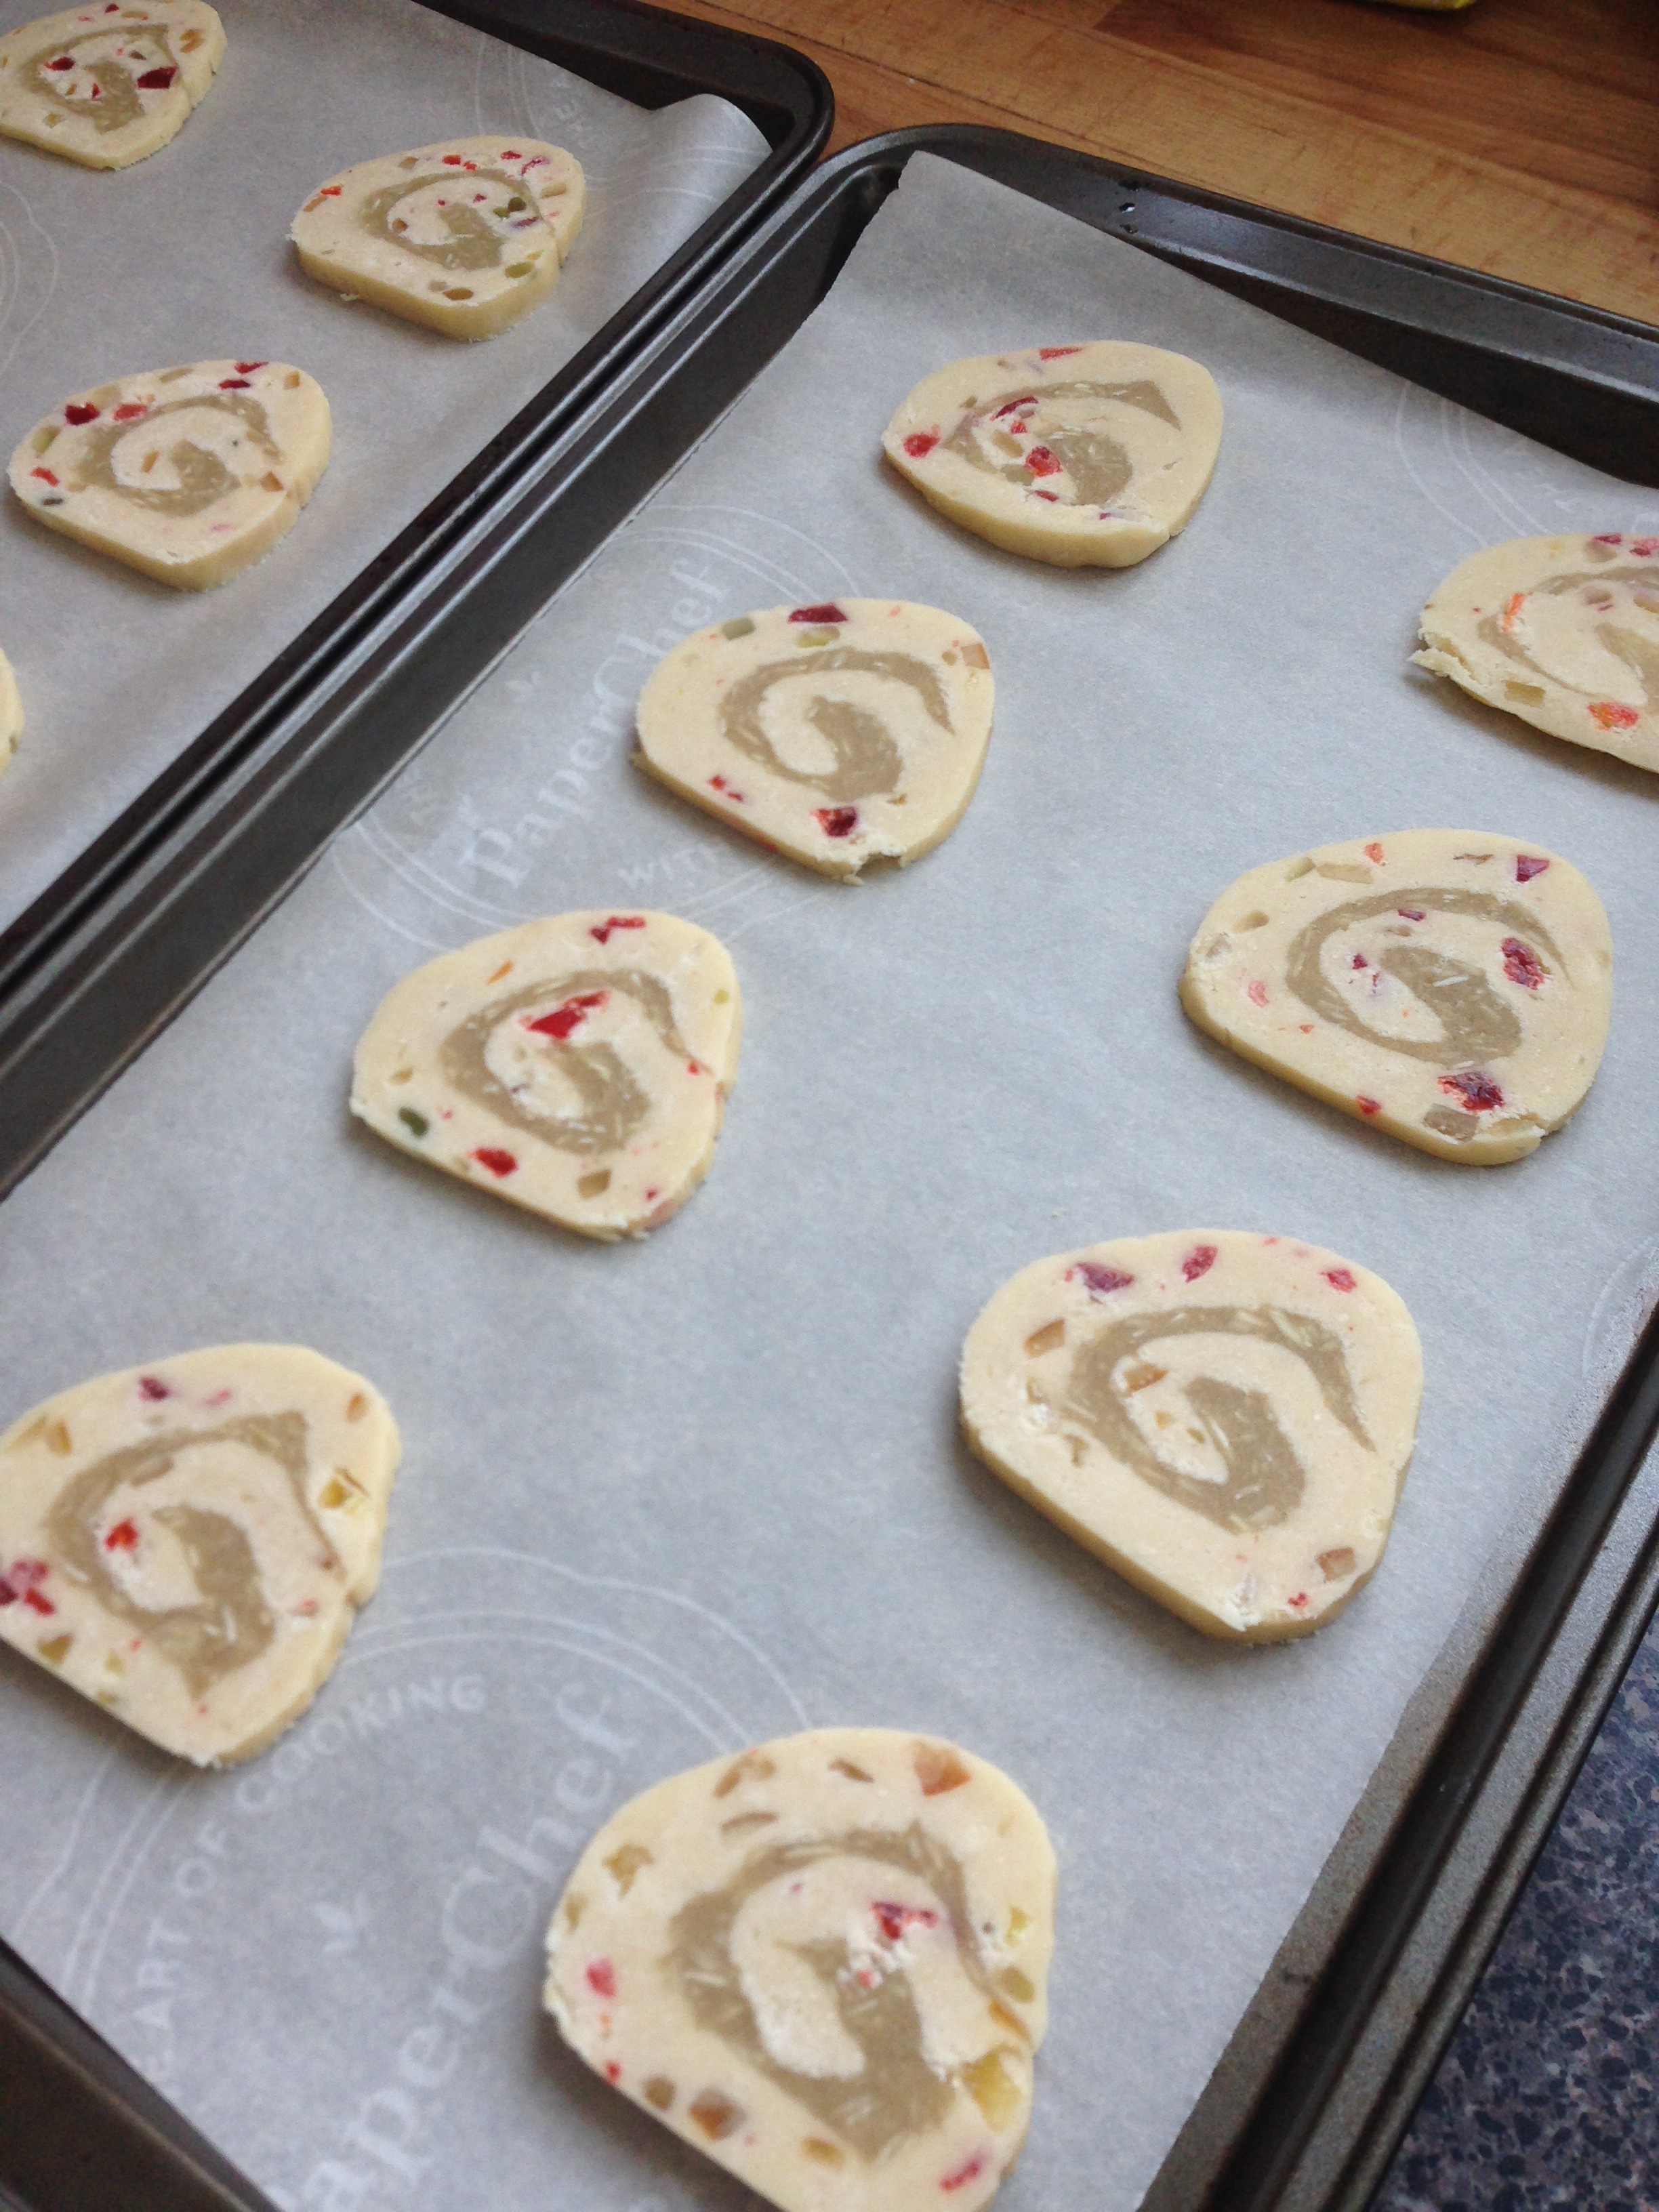
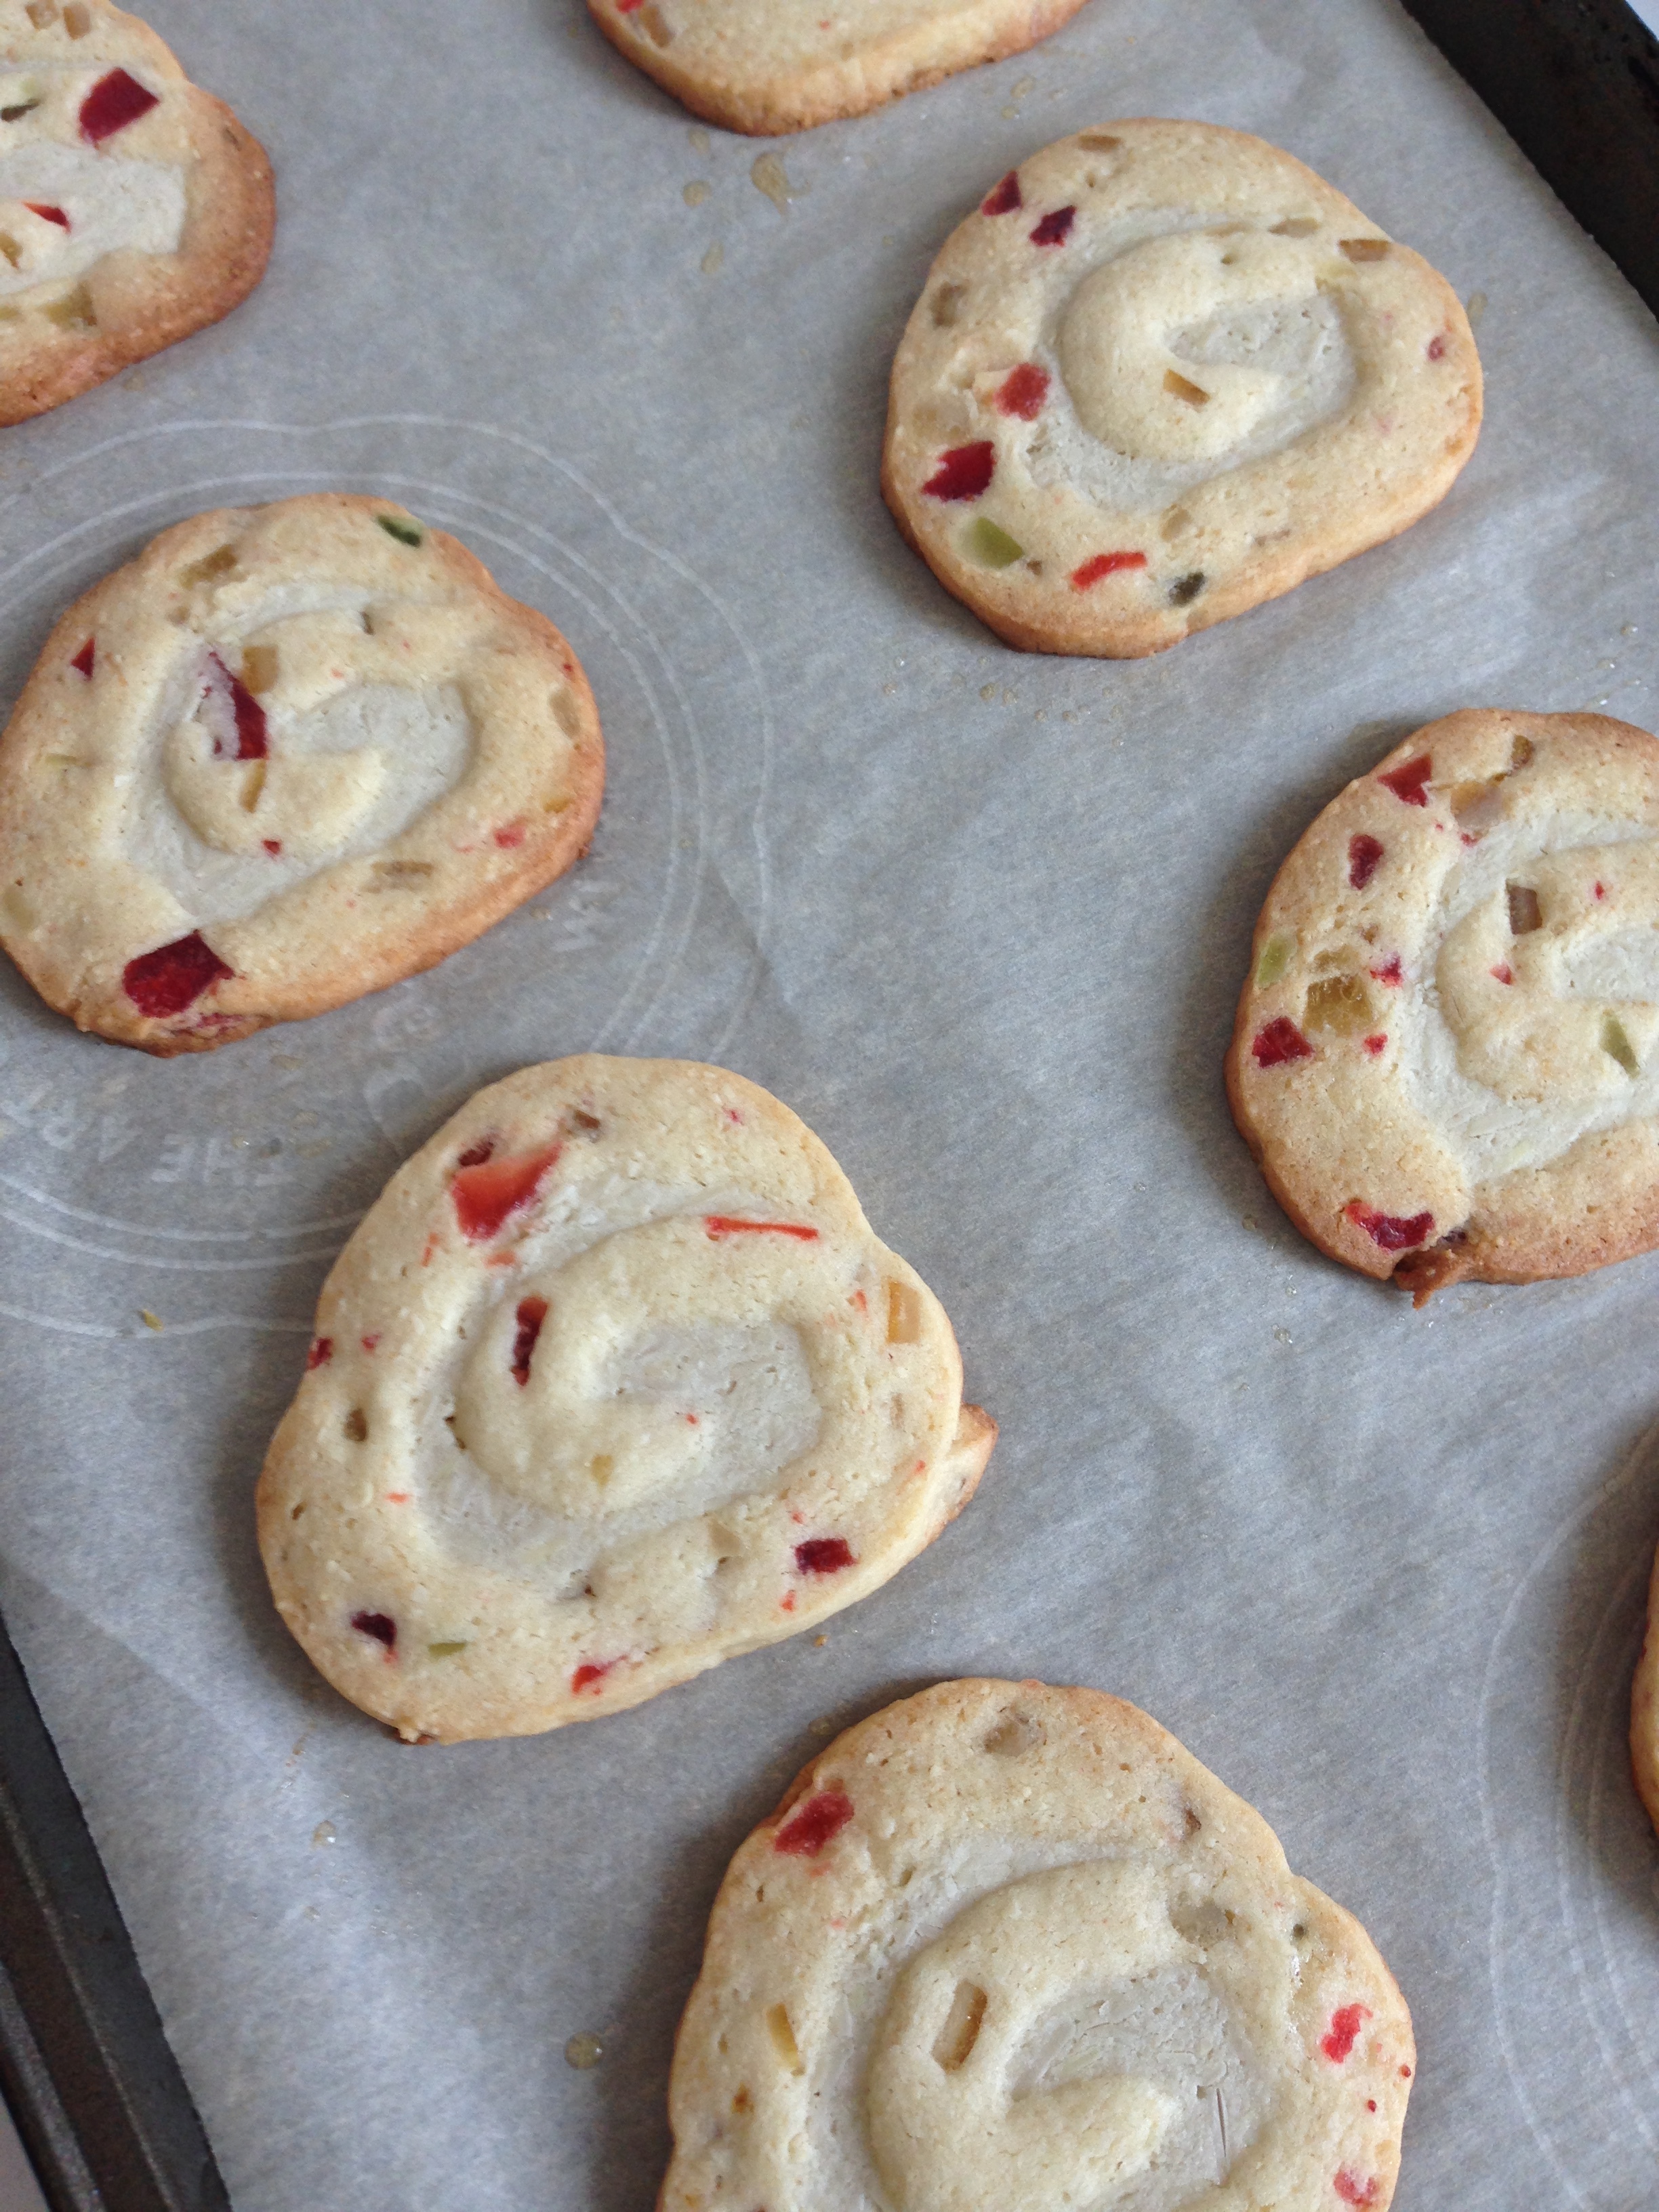
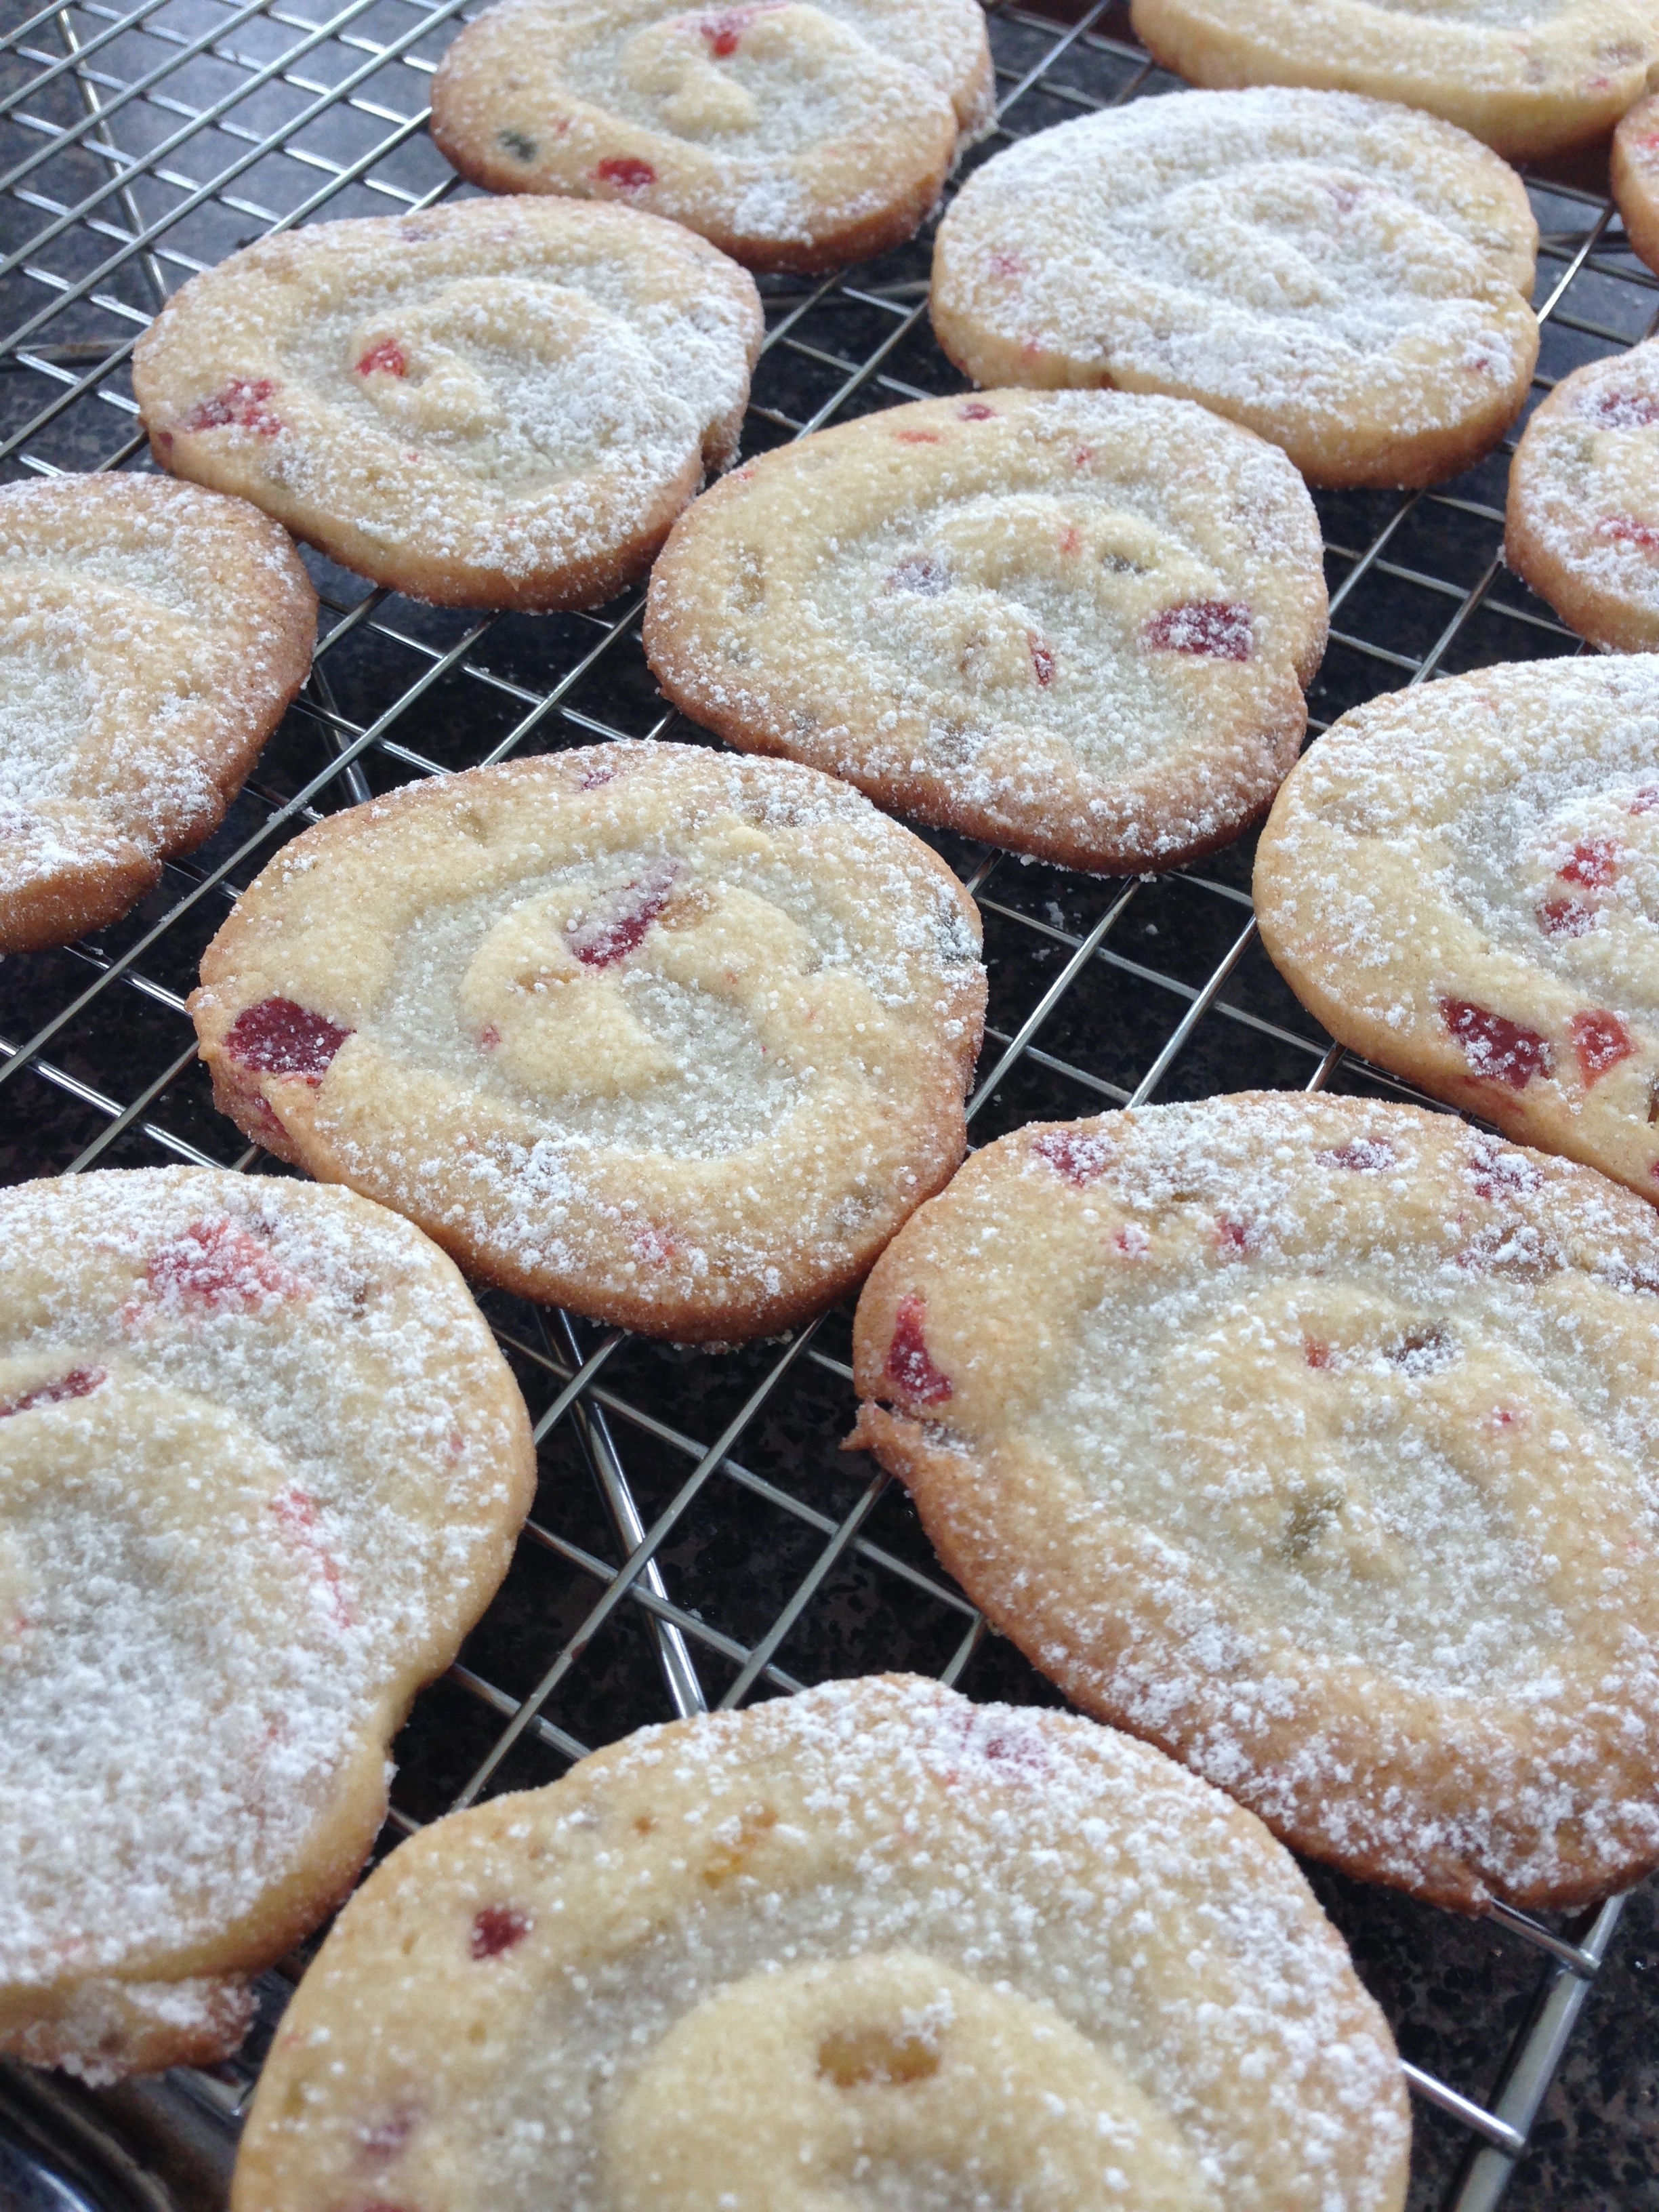
Stollen Pinwheel cookies

These pinwheel holiday cookies are reminiscent of the classic German Stollen, dried fruit and almond paste and memories of winters past. (Note: These cookies need to freeze completely before baking, so allow for 6 hours in the freezer or let them freeze over night.)
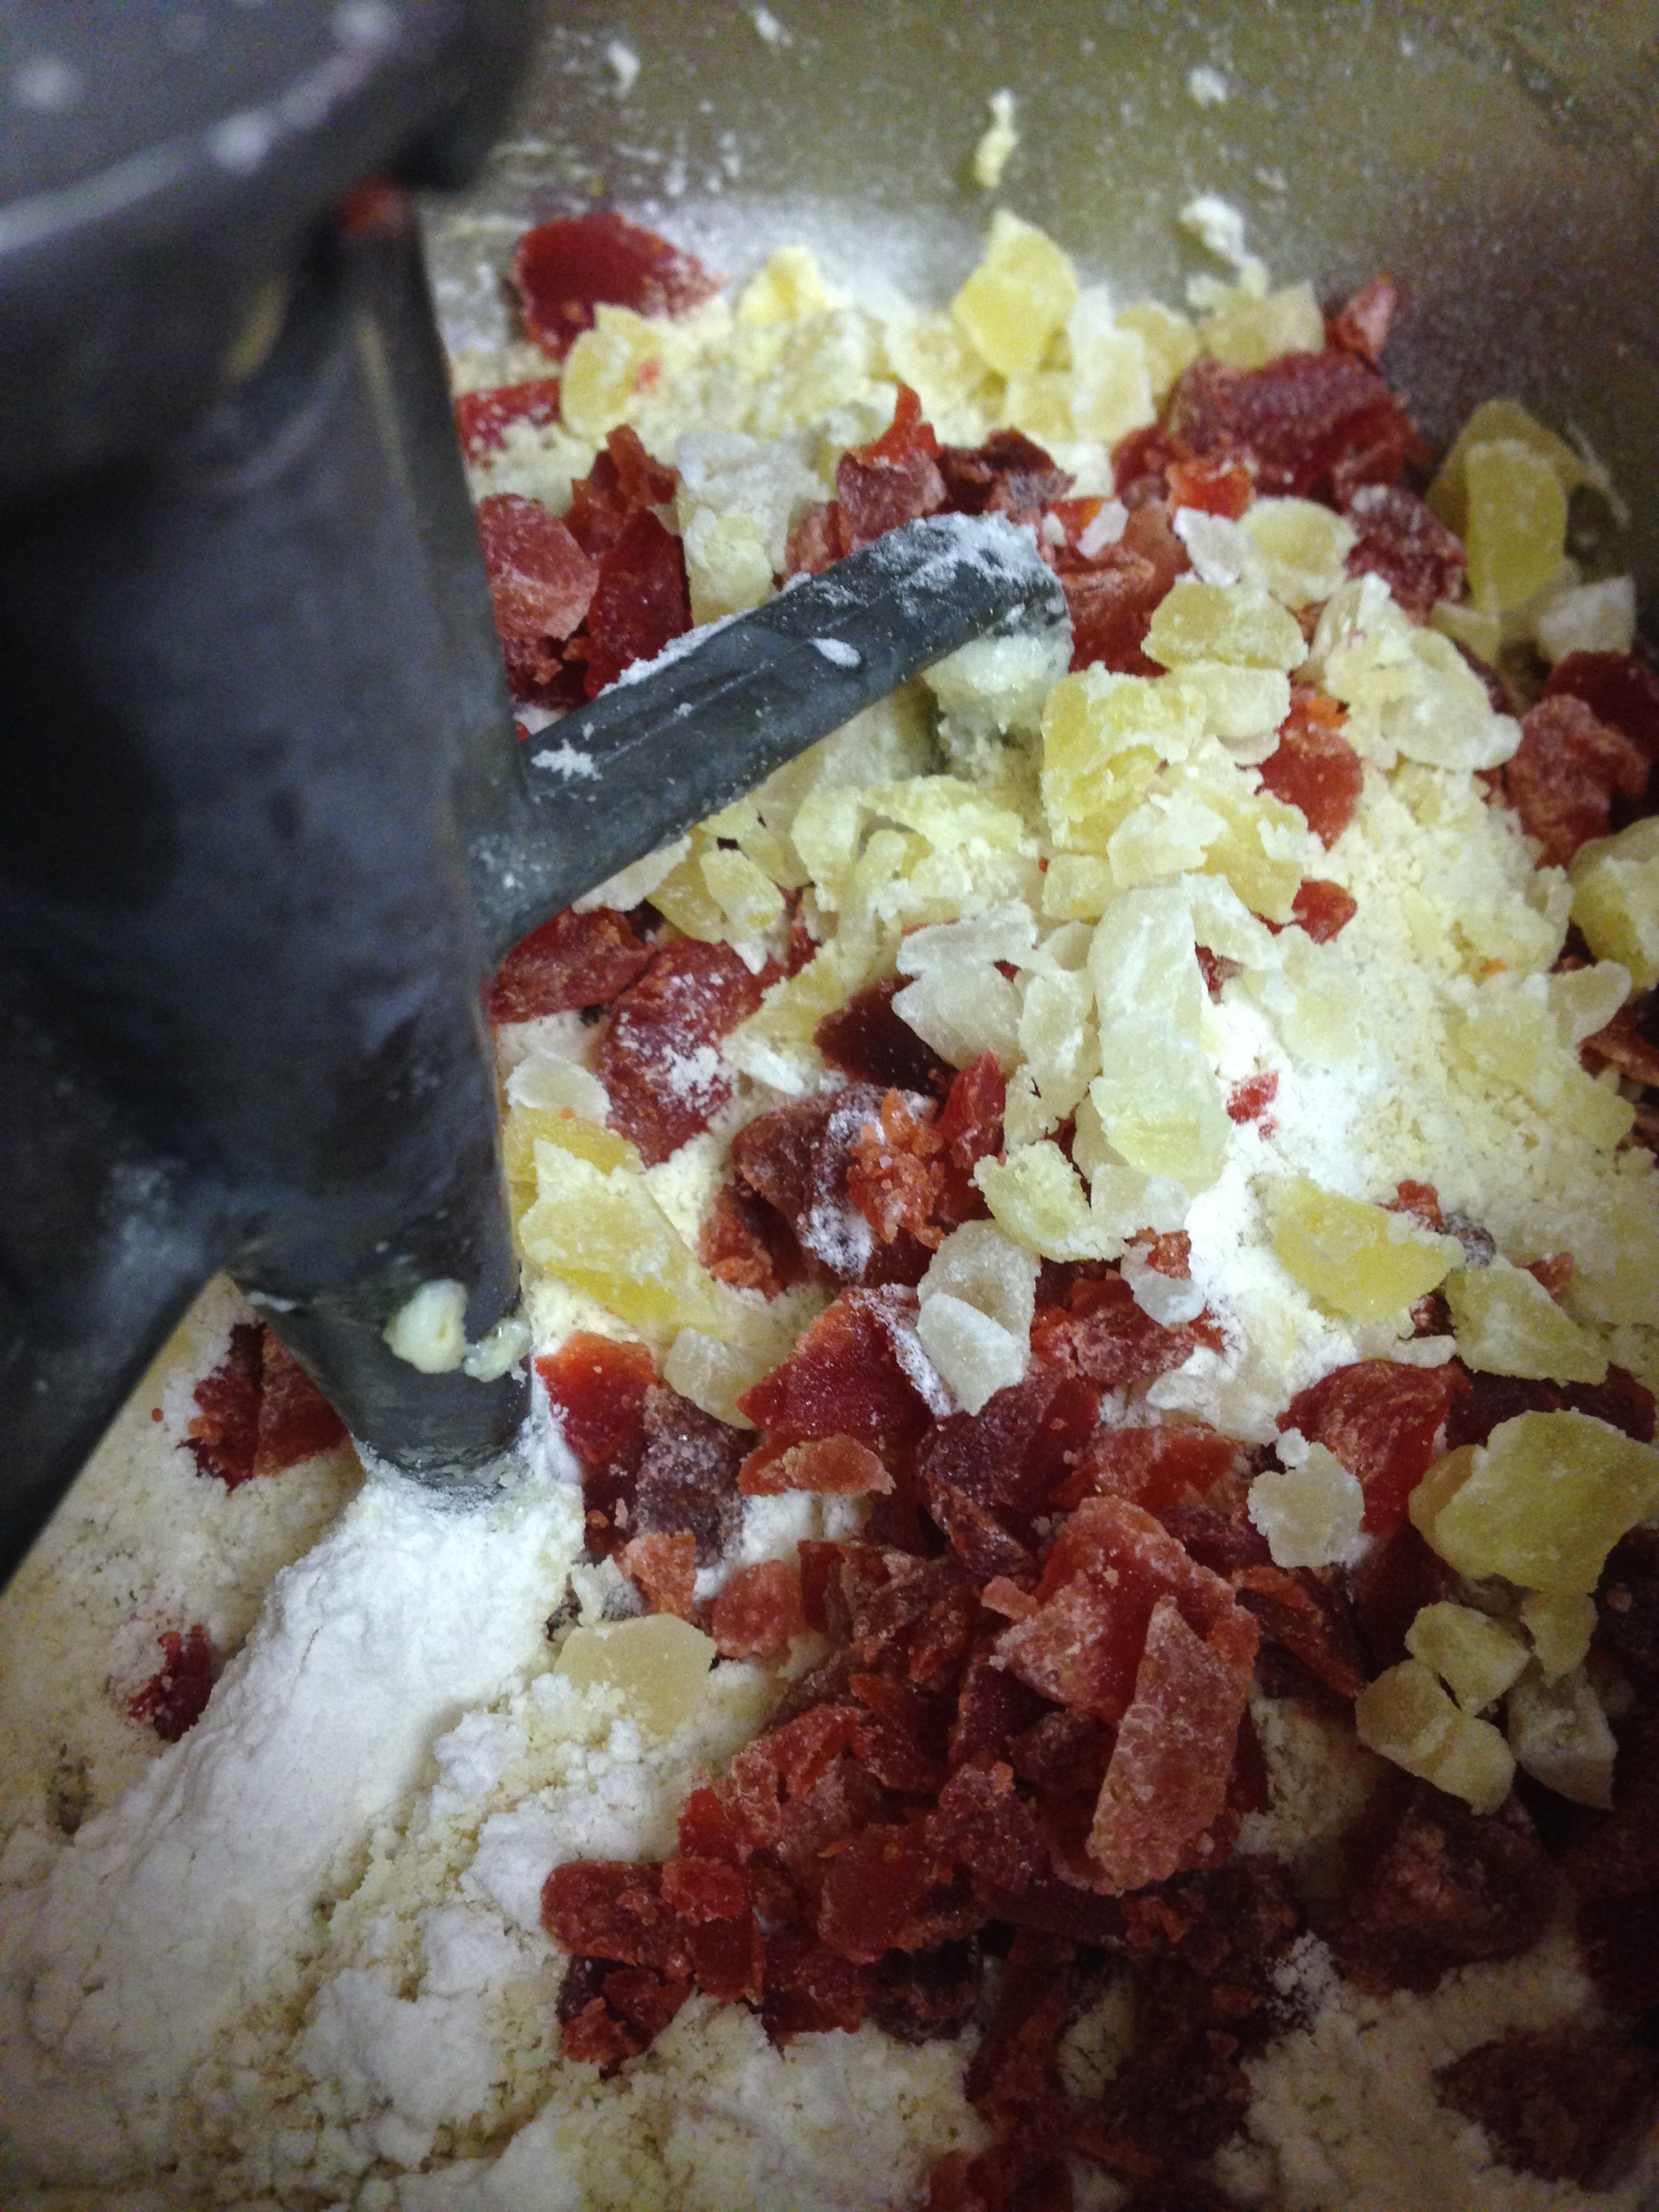
Filling Ingredients:
1 1/4 cup almond flour
3/4 cup sliced almonds
1/4 cup granulated sugar
2 large egg whites
1 tsp salt

Dough Ingredients:
1 1/2 cups granulated sugar
1 cup butter, softened
2 large eggs
1 large egg yolk
2 2/3 cups flour, sifted
1 cup almond flour
2 tsp baking powder
1 1/4 tsp salt
1/3 cup dried strawberries or cherries, chopped
1/4 cup dried pineapple, chopped
1/2 cup chopped candied citrus peel
1 tsp vanilla extract

Finishing ingredients:
3/4 cup butter, melted
~2 cups confectioners’ sugar (for dusting)

Making the filling:
1) In an electric mixer, combine the flour, almond slices, sugar, egg whites, and salt.
2) Beat on medium speed until combined, about 1 1/2 minutes. (The almond slices will break apart.) Set aside. 

Making the dough:
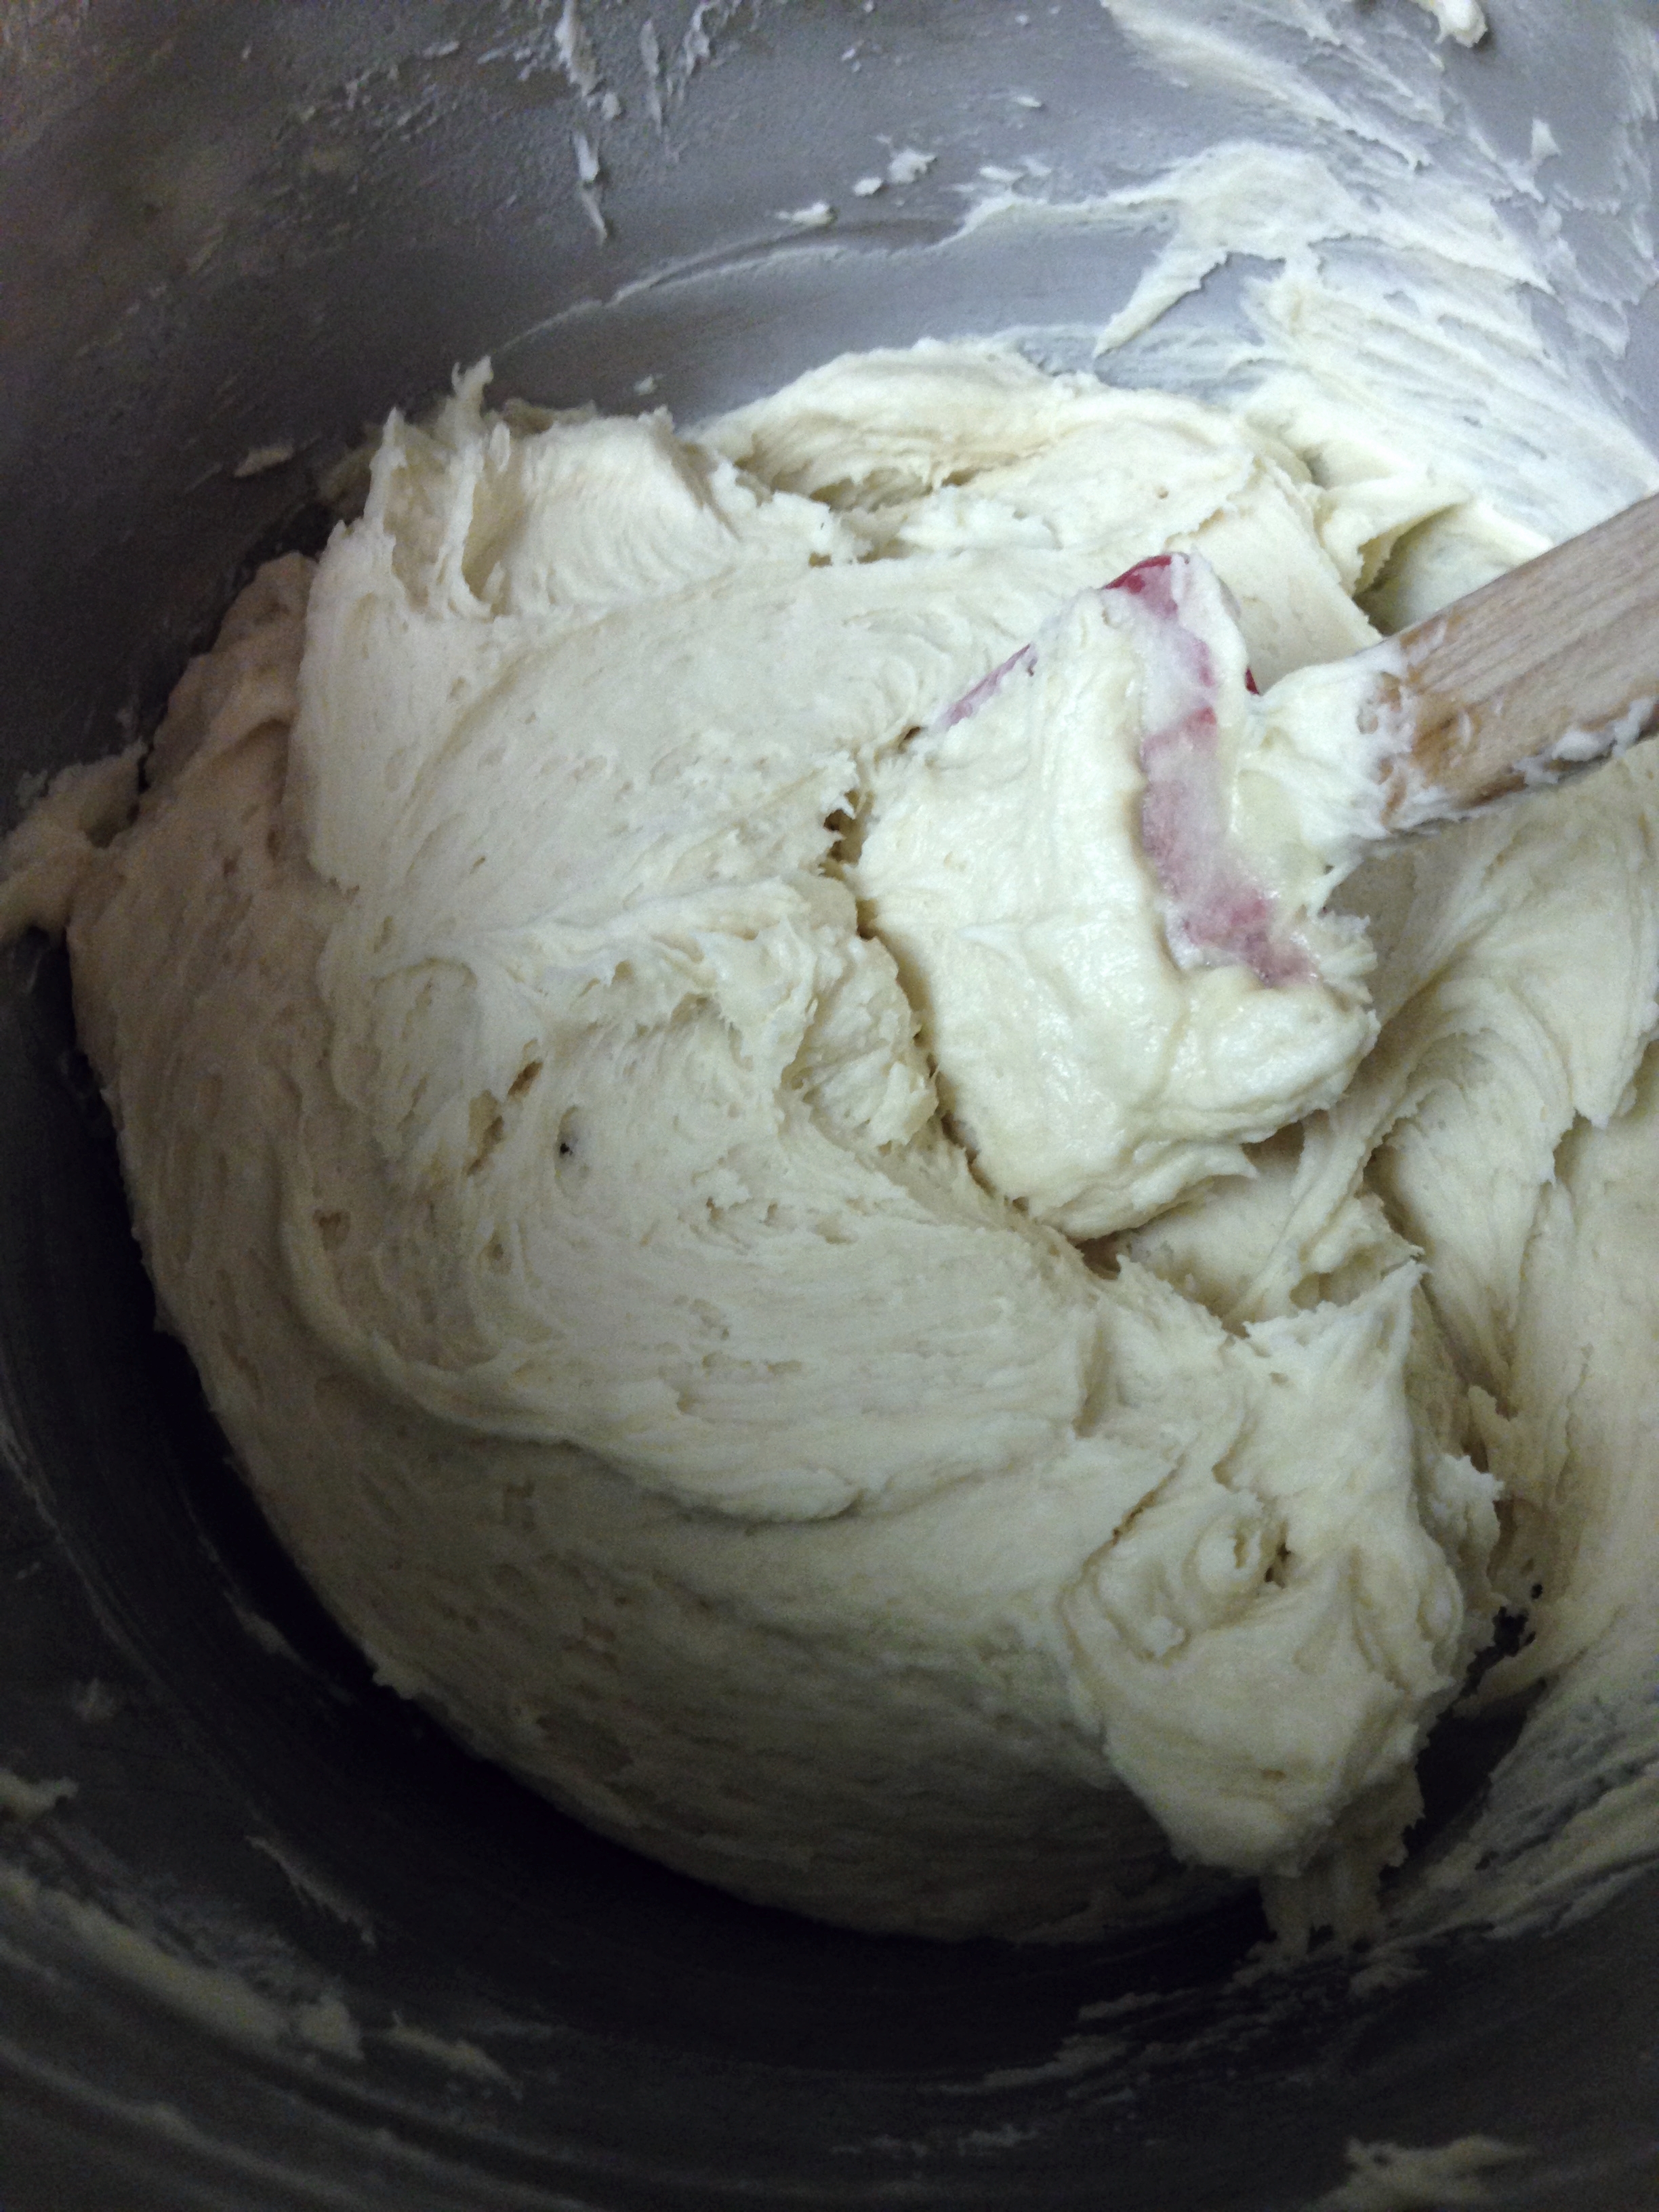
1) Using an electric mixer, beat sugar and butter on medium speed until light and fluffy, about 2 minutes.
2) Add eggs and egg yolk. Beat on low until just incorporated. 
3) Sift in the flours, baking powder and salt. Measure in strawberries, pineapple, candied citrus peel and vanilla. Mix on low just combined. Don’t overmix. 

Assembling the cookies:
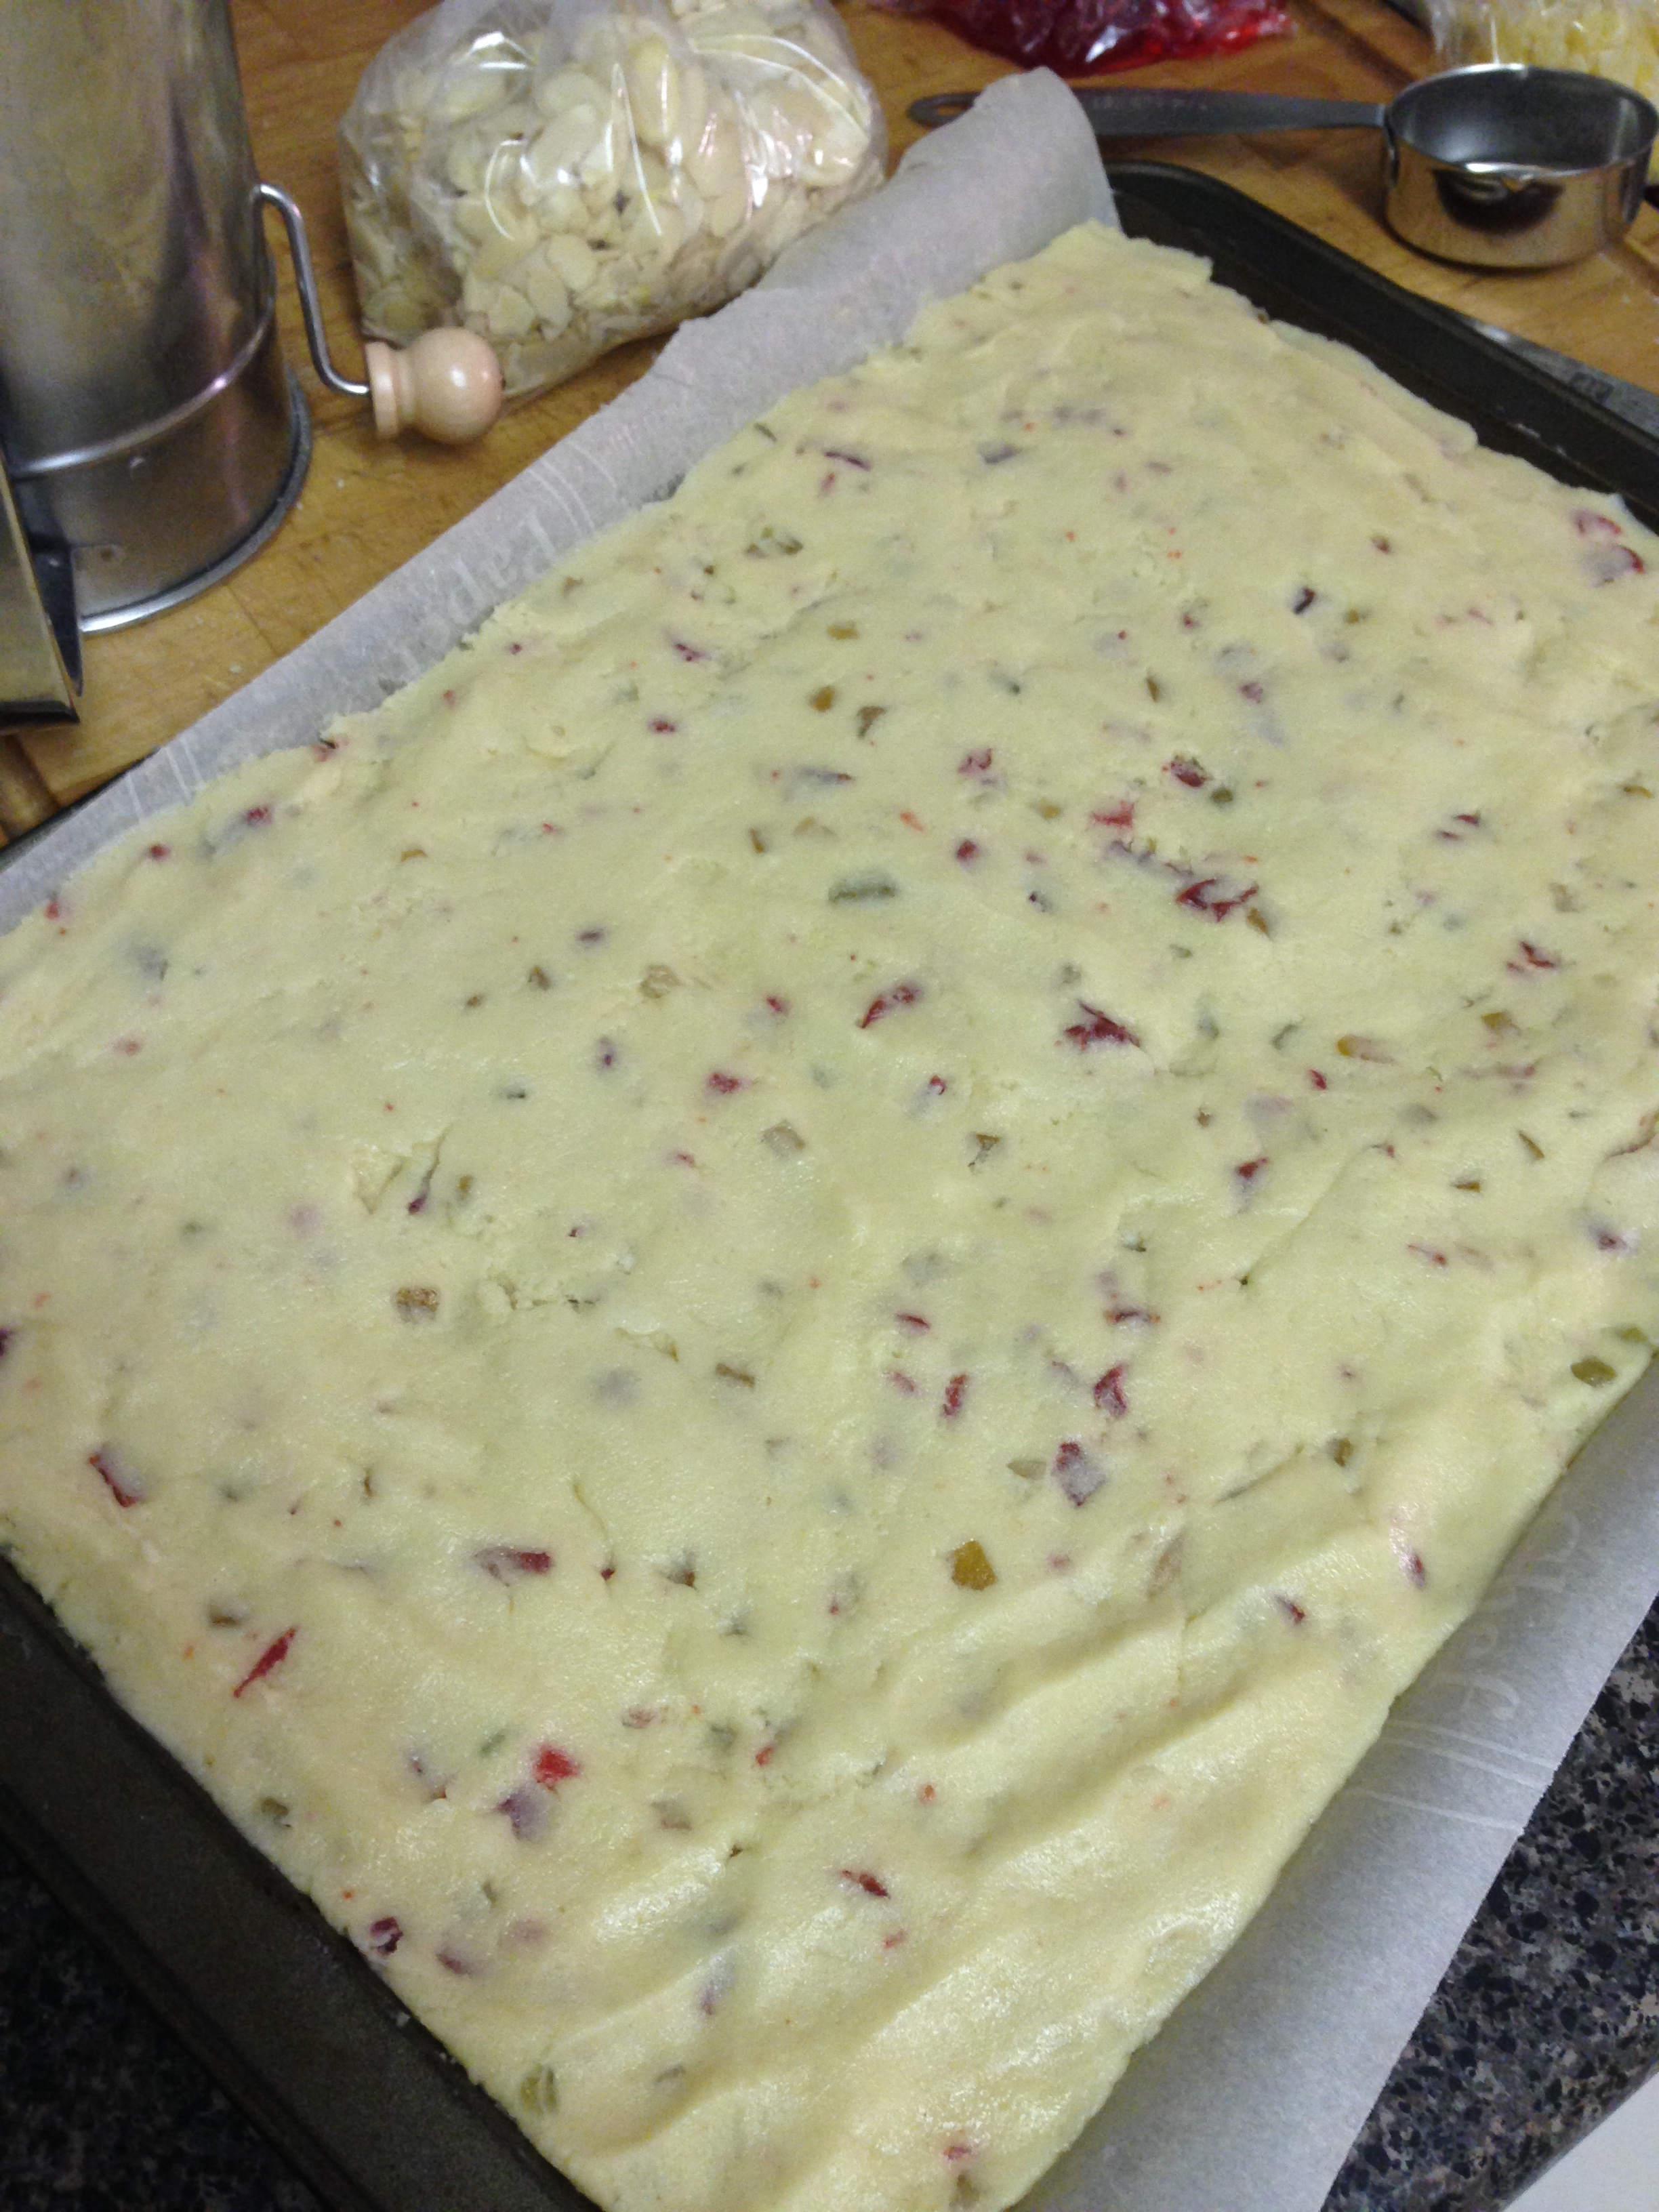
1) Using a rimmed rectangular baking sheet (approx. 9X13’) lined with parchment paper, spread the dough out evenly to about 1/2 inch thick. 
2) Use a second piece of parchment overtop the dough to smooth any bumps flat. Leave covered.
3) Refrigerate the dough until it’s firm but still pliable, about 30 minutes.
4) Remove the top layer of parchment. Spread the almond filling evenly over the top the entire surface of the dough. (If needed, wet your fingers and use them to spread the filling to the edges.)
5) Starting with the long side of the dough, roll the dough tightly around the filling. Peel back the remaining piece of parchment as you roll. 
6) Pinch the long seam closed along the cookie log. Wrap the dough in parchment and freeze until completely solid, about 6 hours or overnight. 

Baking the cookies:
1) Preheat the oven to 350’F.
2) Line 2 baking sheets (or more) with parchment. 
3) Unwrap the cookie log and transfer to a cutting board. 
4) Using a sharp knife, cut log in half and replace one half back into the freezer to keep it solid. 
5) Slice the dough into 1/4 inch medallions. Space the cookies about an inch apart. (If the dough begins to become soft again, replace in the freezer to firm up.)
6) Brush cookies with melted butter.
7) Bake until golden brown, about 12 to 14 minutes. (Rotate baking sheets once during baking if using more than 2 sheets in one oven.)
8) After baking, brush the still warm cookies with melted butter again and dust with confectioners’ sugar. 
9) Let cool on baking sheets for 15 minutes. Then transfer to a rack to cool completely. Store cookies in an airtight container.
 
Makes approx. 54 cookies.
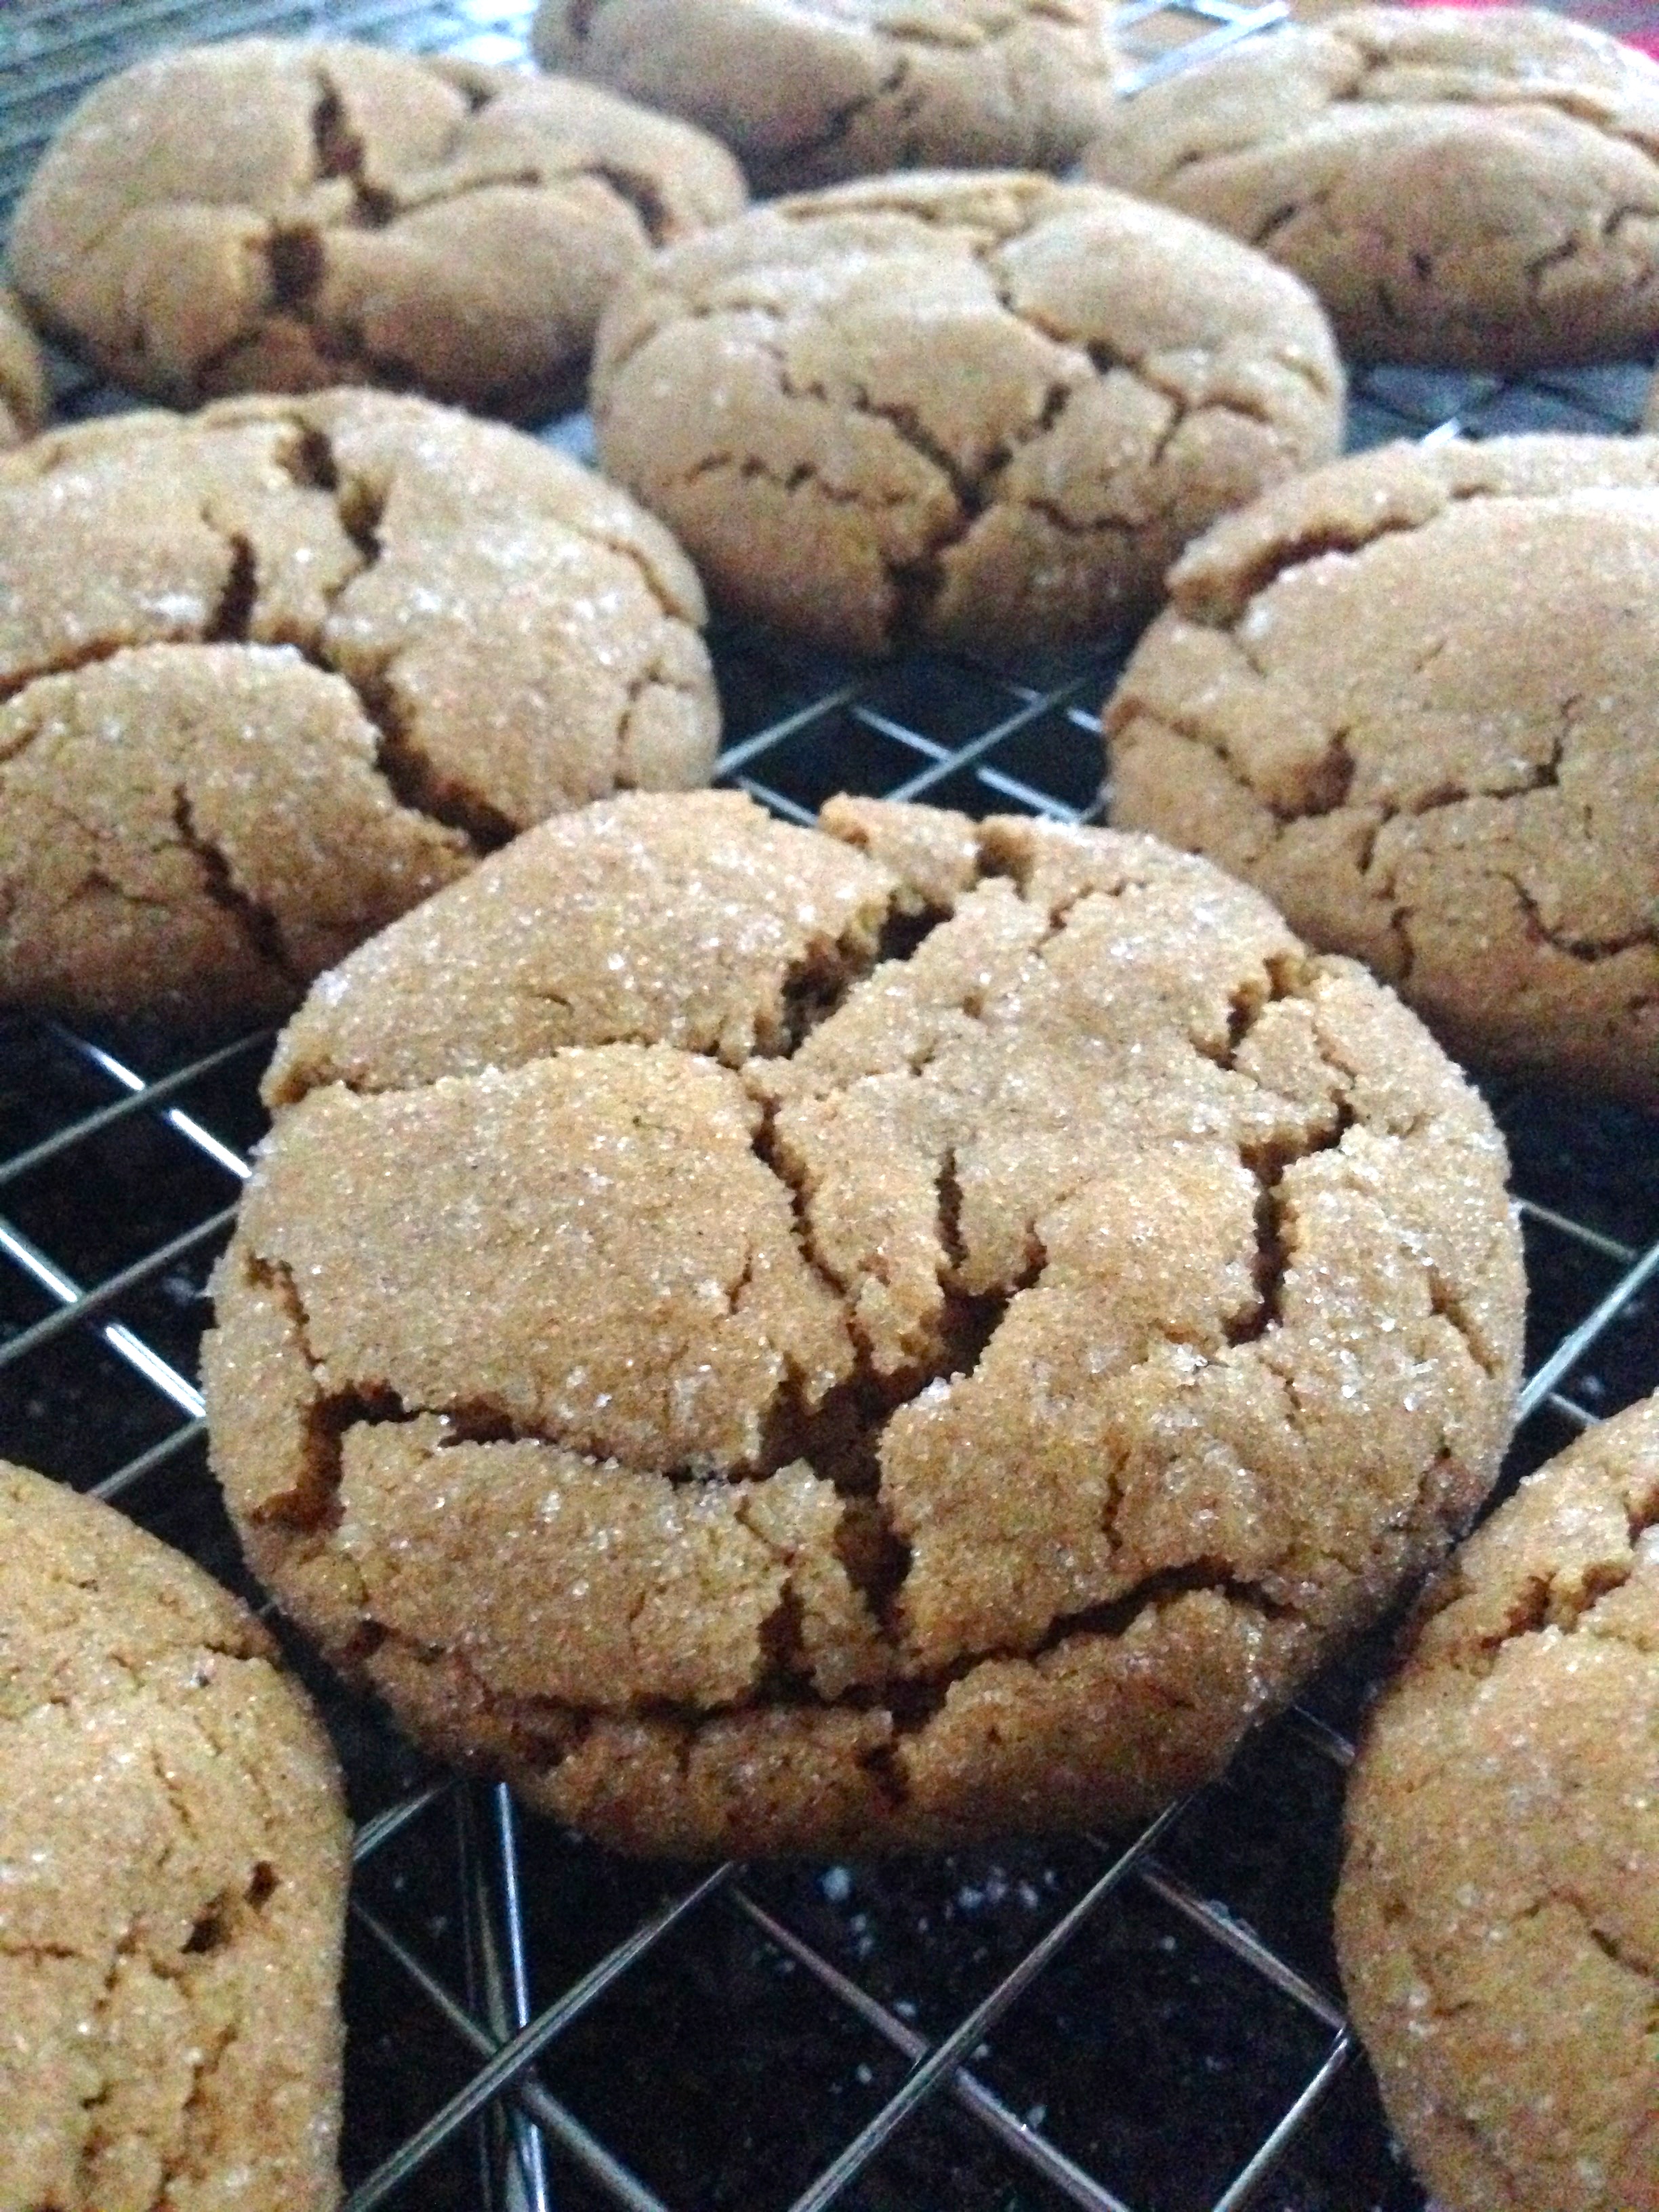
Even if I don't get to go back to AB again this year, it's nice to have that feeling of being close in memory to those you love and miss so much. 

Happy Holidays people! And enjoy the people, the food and the fun of the season. 

<3

-Andrea

The Half-Assed Hobbyist

A Sweet Treat

It's that time of year again! When I get bored and decide to torture myself with making meringue based desserts! This time though, instead of weeping over the smooshed sugary would-have-been-delicious confections, I did some research first! (GASP.)

And by research I mean I asked around for advice and recipes. But still counts! The biggest advice I got was to watch for humidity. If it's too humid out the meringues will fall. Duly noted. Air Con on, windows closed, it's meringue making time!

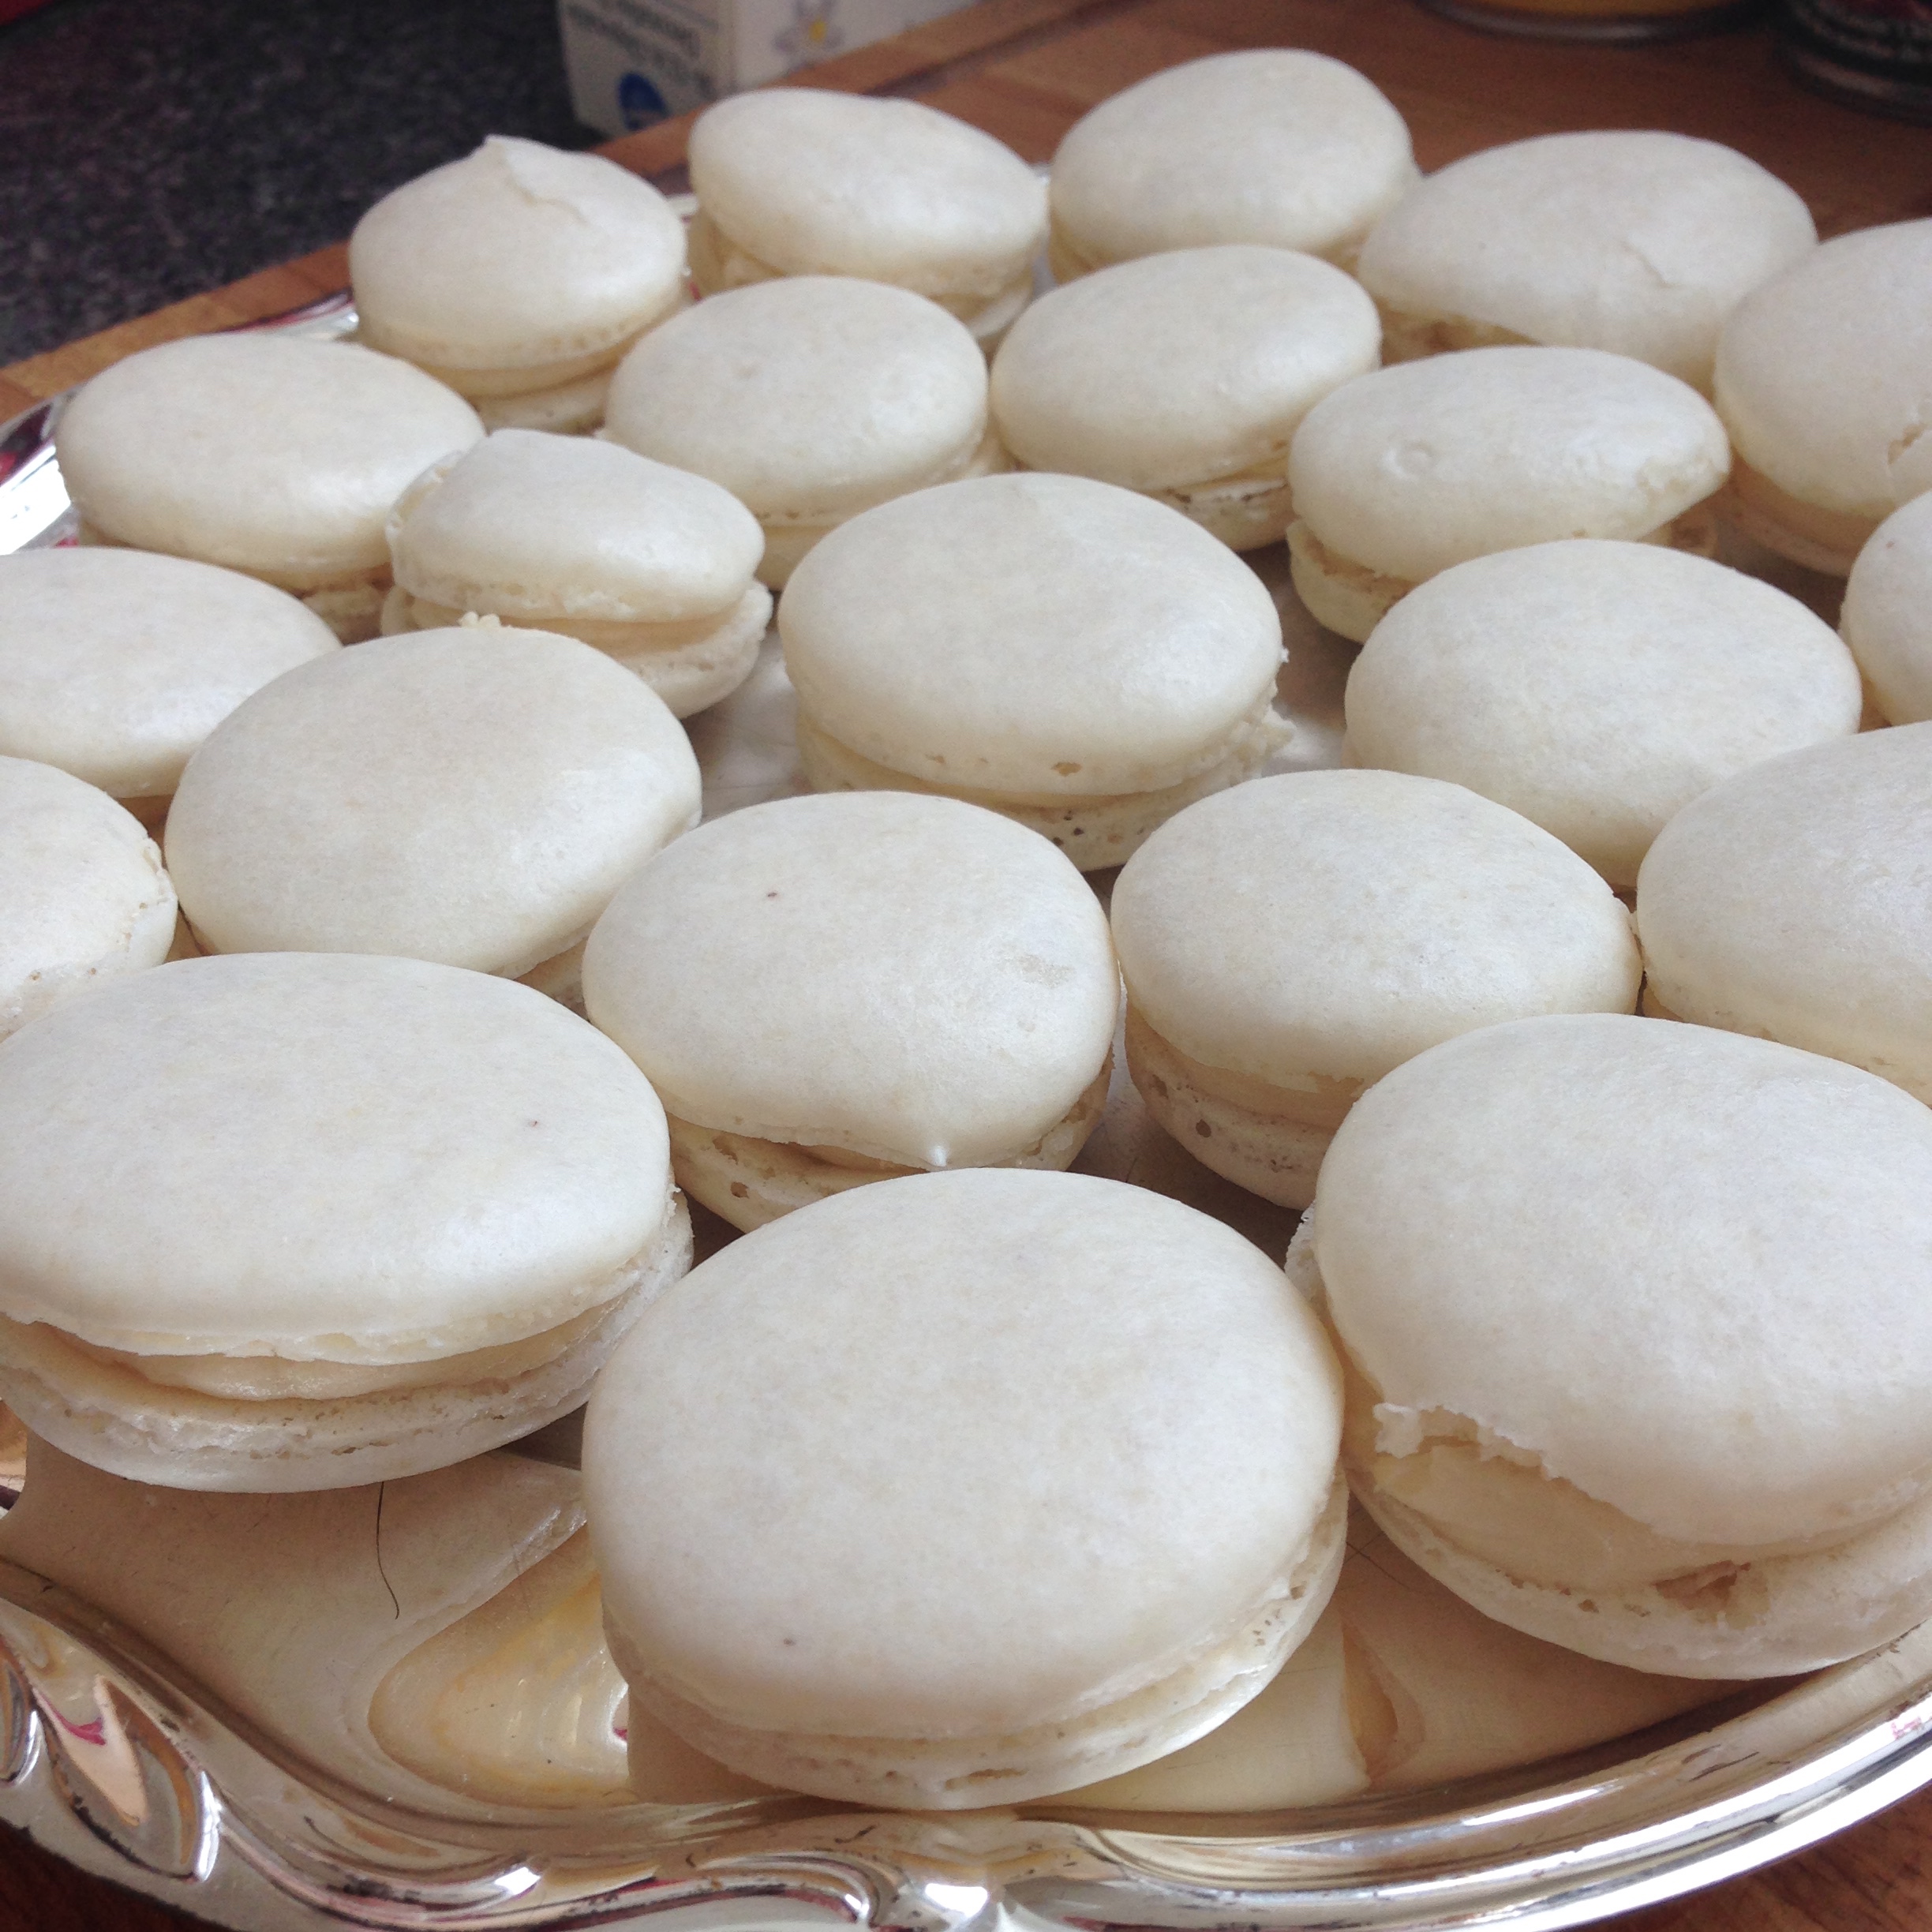
My first meringue making attempt was to make maple macarons. I've made macarons before, back in dry Alberta, so it was the first attempt making them in lovely moisture hazed Toronto. 

Maple Buttercream

1 cup butter, room temperature
5 cups icing sugar
2/3 cup whipping cream
1/3 cup maple syrup
1 tsp vanilla

  1. Cream butter in an electric mixer till light and fluffy. 
  2. Gradually add sugar alternating with whipping cream while continuing to beat butter. 
  3. Add maple syrup and vanilla. Beat to combine. 

Maple Macarons

7 3/8 oz (1 3/4 cups plus 2 TBS) confectioners’ sugar
4 3/8 oz (1 1/4 cups plus 2 TBS) almond flour
4 large egg whites, at room temperature
1/4 cup granulated sugar

  1. Prepare bakeware by lining 3 pans with parchment paper. On the underside of each piece of parchment paper draw 1 inch circles about 1 1/2 inches apart. 
  2. Measure out and sift together confectioners' sugar and almond flour. (I usually put this mixture into a food processor to make it as fine as possible.)
  3. Whip egg on med-high setting with an electric mixer until foamy. 
  4. Continue whipping eggs, adding 1 TBSP of granulated sugar gradually till meringue is glossy and stiff peaks form. (If you can lift out a spoon and a straight peak comes out and doesn't fall, it's done.)
  5. Add half of shifted sugar mixture to meringue. Fold in ingredients till almost combined. Add remainder of sugar mixture. Continue to fold until combined. (The meringue will deflate a little, that's ok!) 
  6. Using a piping bag with a 1/2 inch round tip (I used a litre food storage bag with a corner snipped off), fill half of batter into bag and pipe 1 inch circles holding the piping bag perpendicular to the baking sheet. 
  7. Once done, pick up the baking sheet and tap it down on the counter sharply. This will burst any air bubbles in the batter and give the shell its macaron bubbly base. (By tap, I actually mean whack very hard. Scare your neighbours!)
  8. Let the meringues sit in the open air for 30 minutes. This drys the outer shell. When the shells can be touched without being sticky they're ready. The time this takes will heavily depend on the humidity. 
  9. Bake at 250F for 15 minutes (although, humidity will affect this too). After the first 2 minutes, open the oven door to release any moisture. Also, rotate the baking sheet halfway through cooking time. Best to spot check one of the macaron shells to doneness before you take all the sheets out.
  10. Take parchment off tray and let the shells cool completely. Fill, cover and refrigerate for at least 3 hours before serving. 

They turned out pretty awesomely actually. Although it took about 10 more minutes of sitting time to dry before baking, and about 5 more minutes in the oven than in Alberta. There's altitude differences too. Weird baking science. 

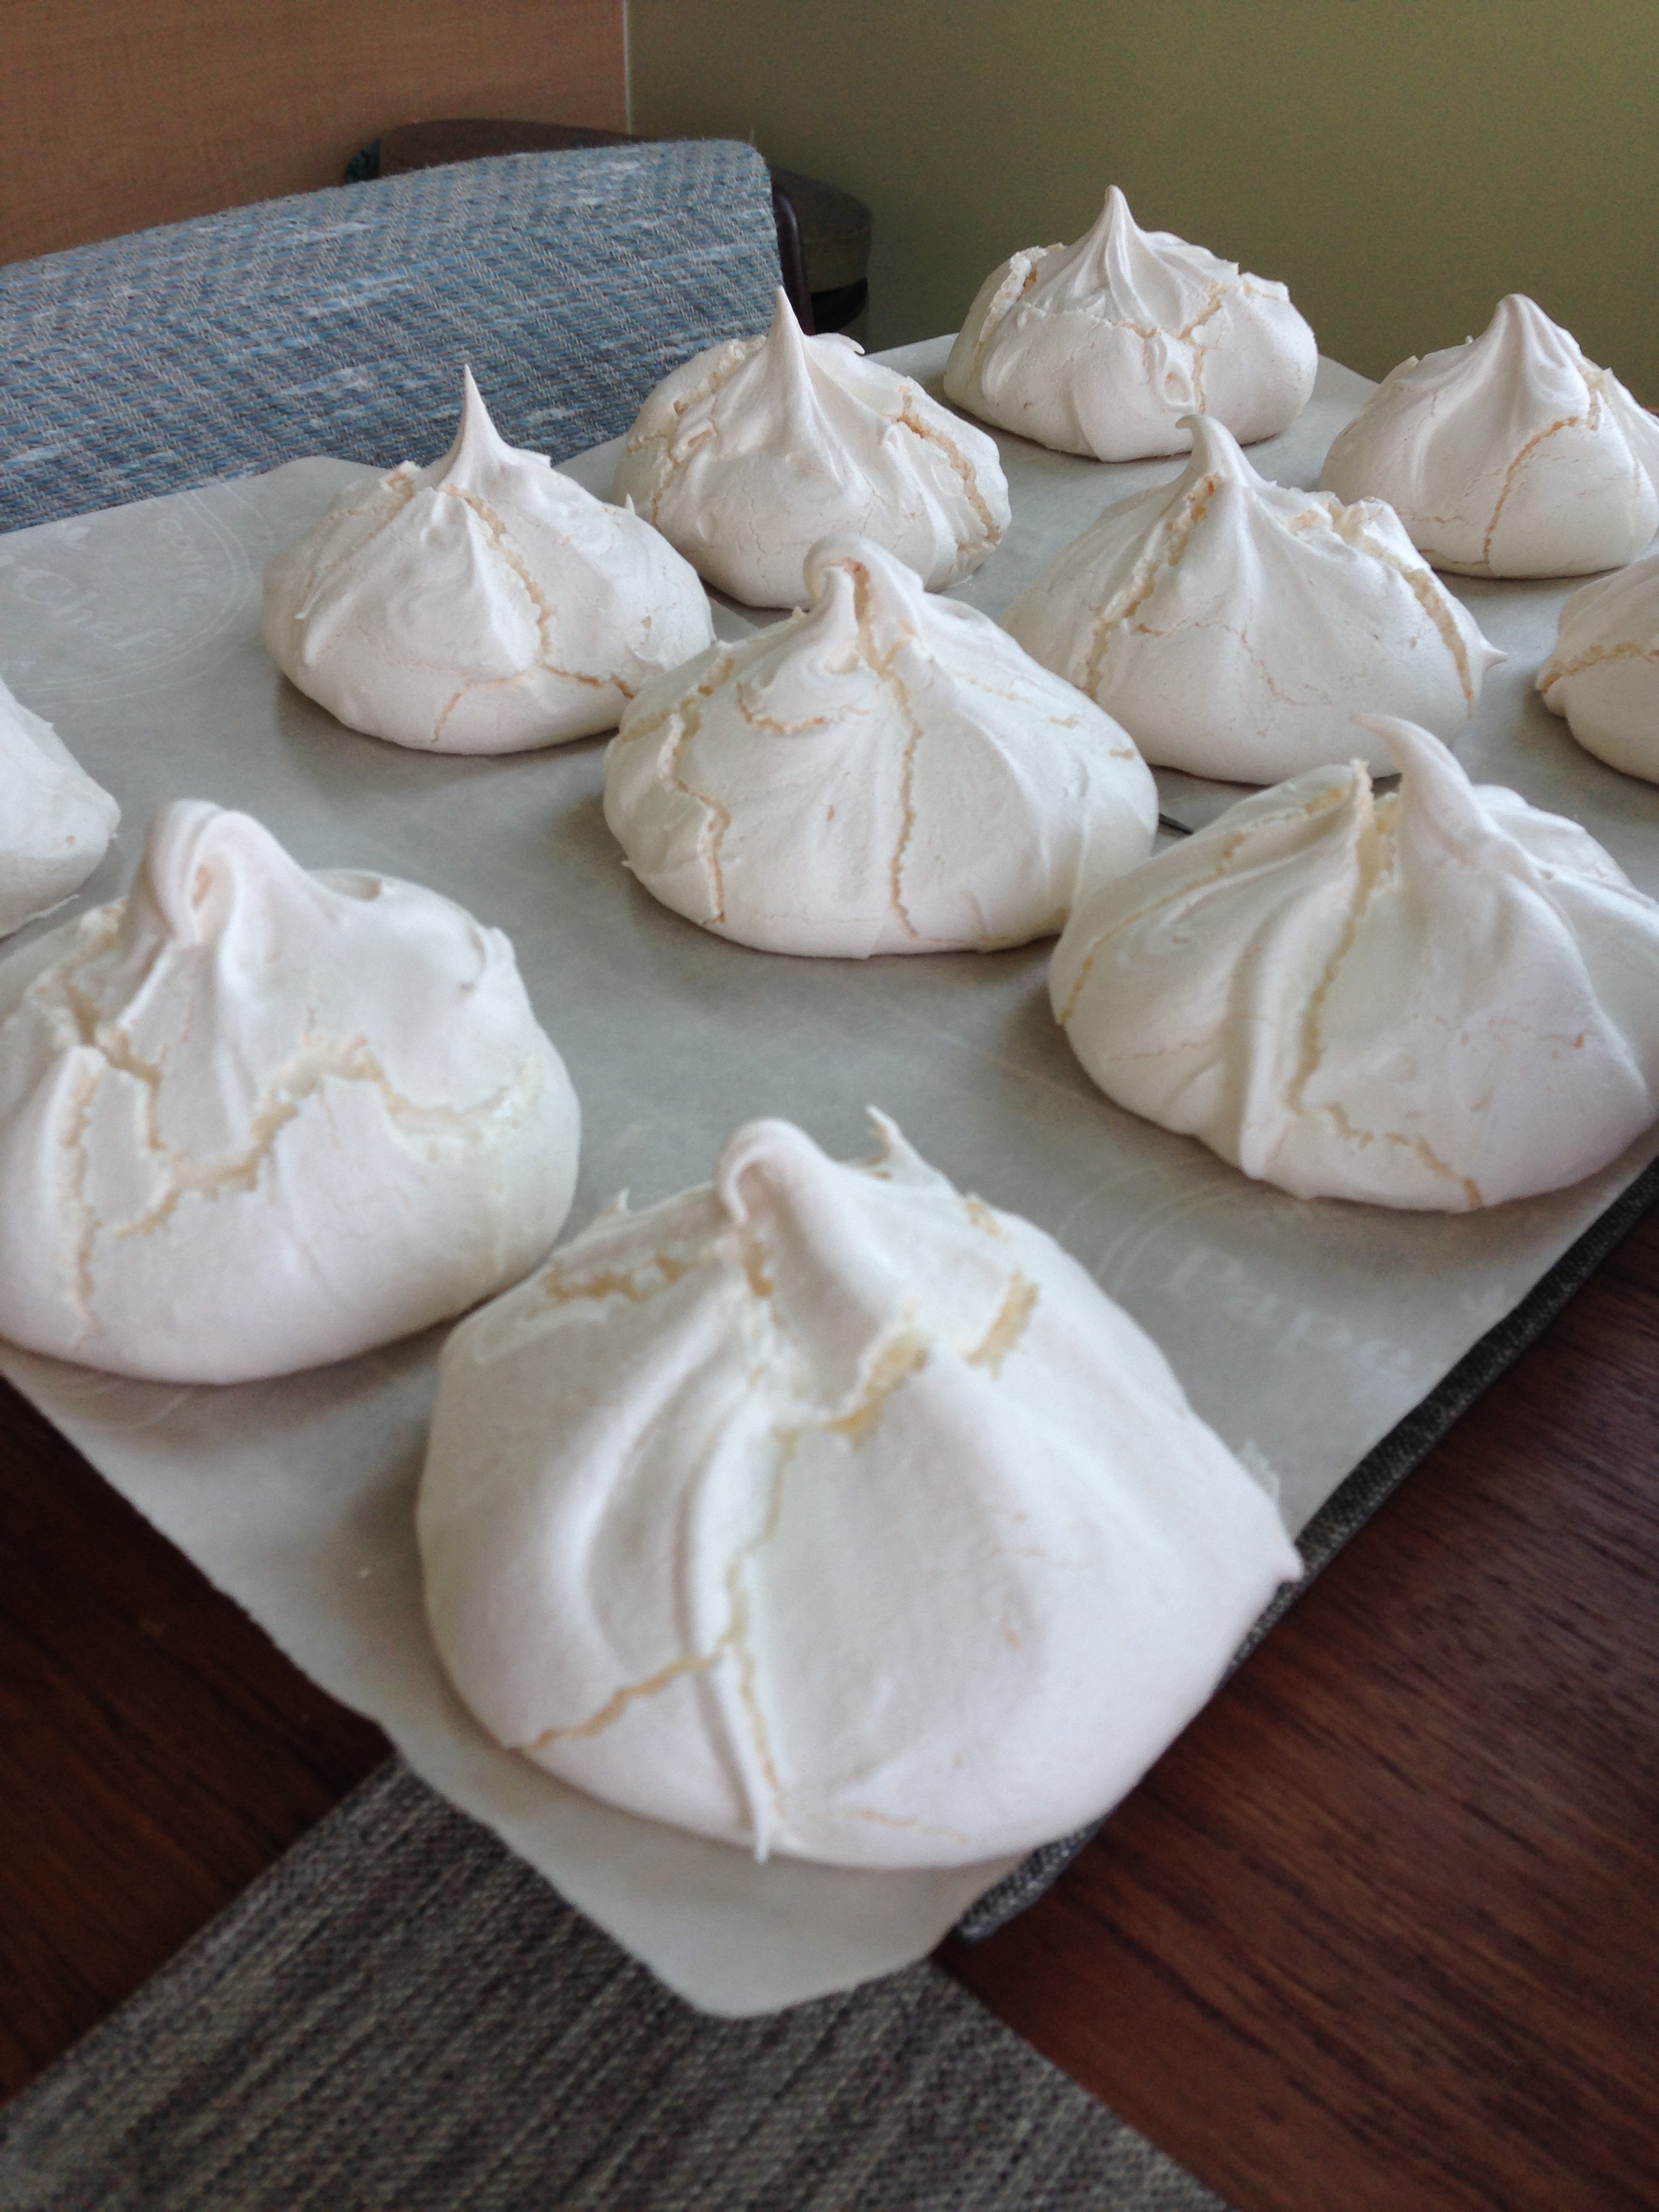
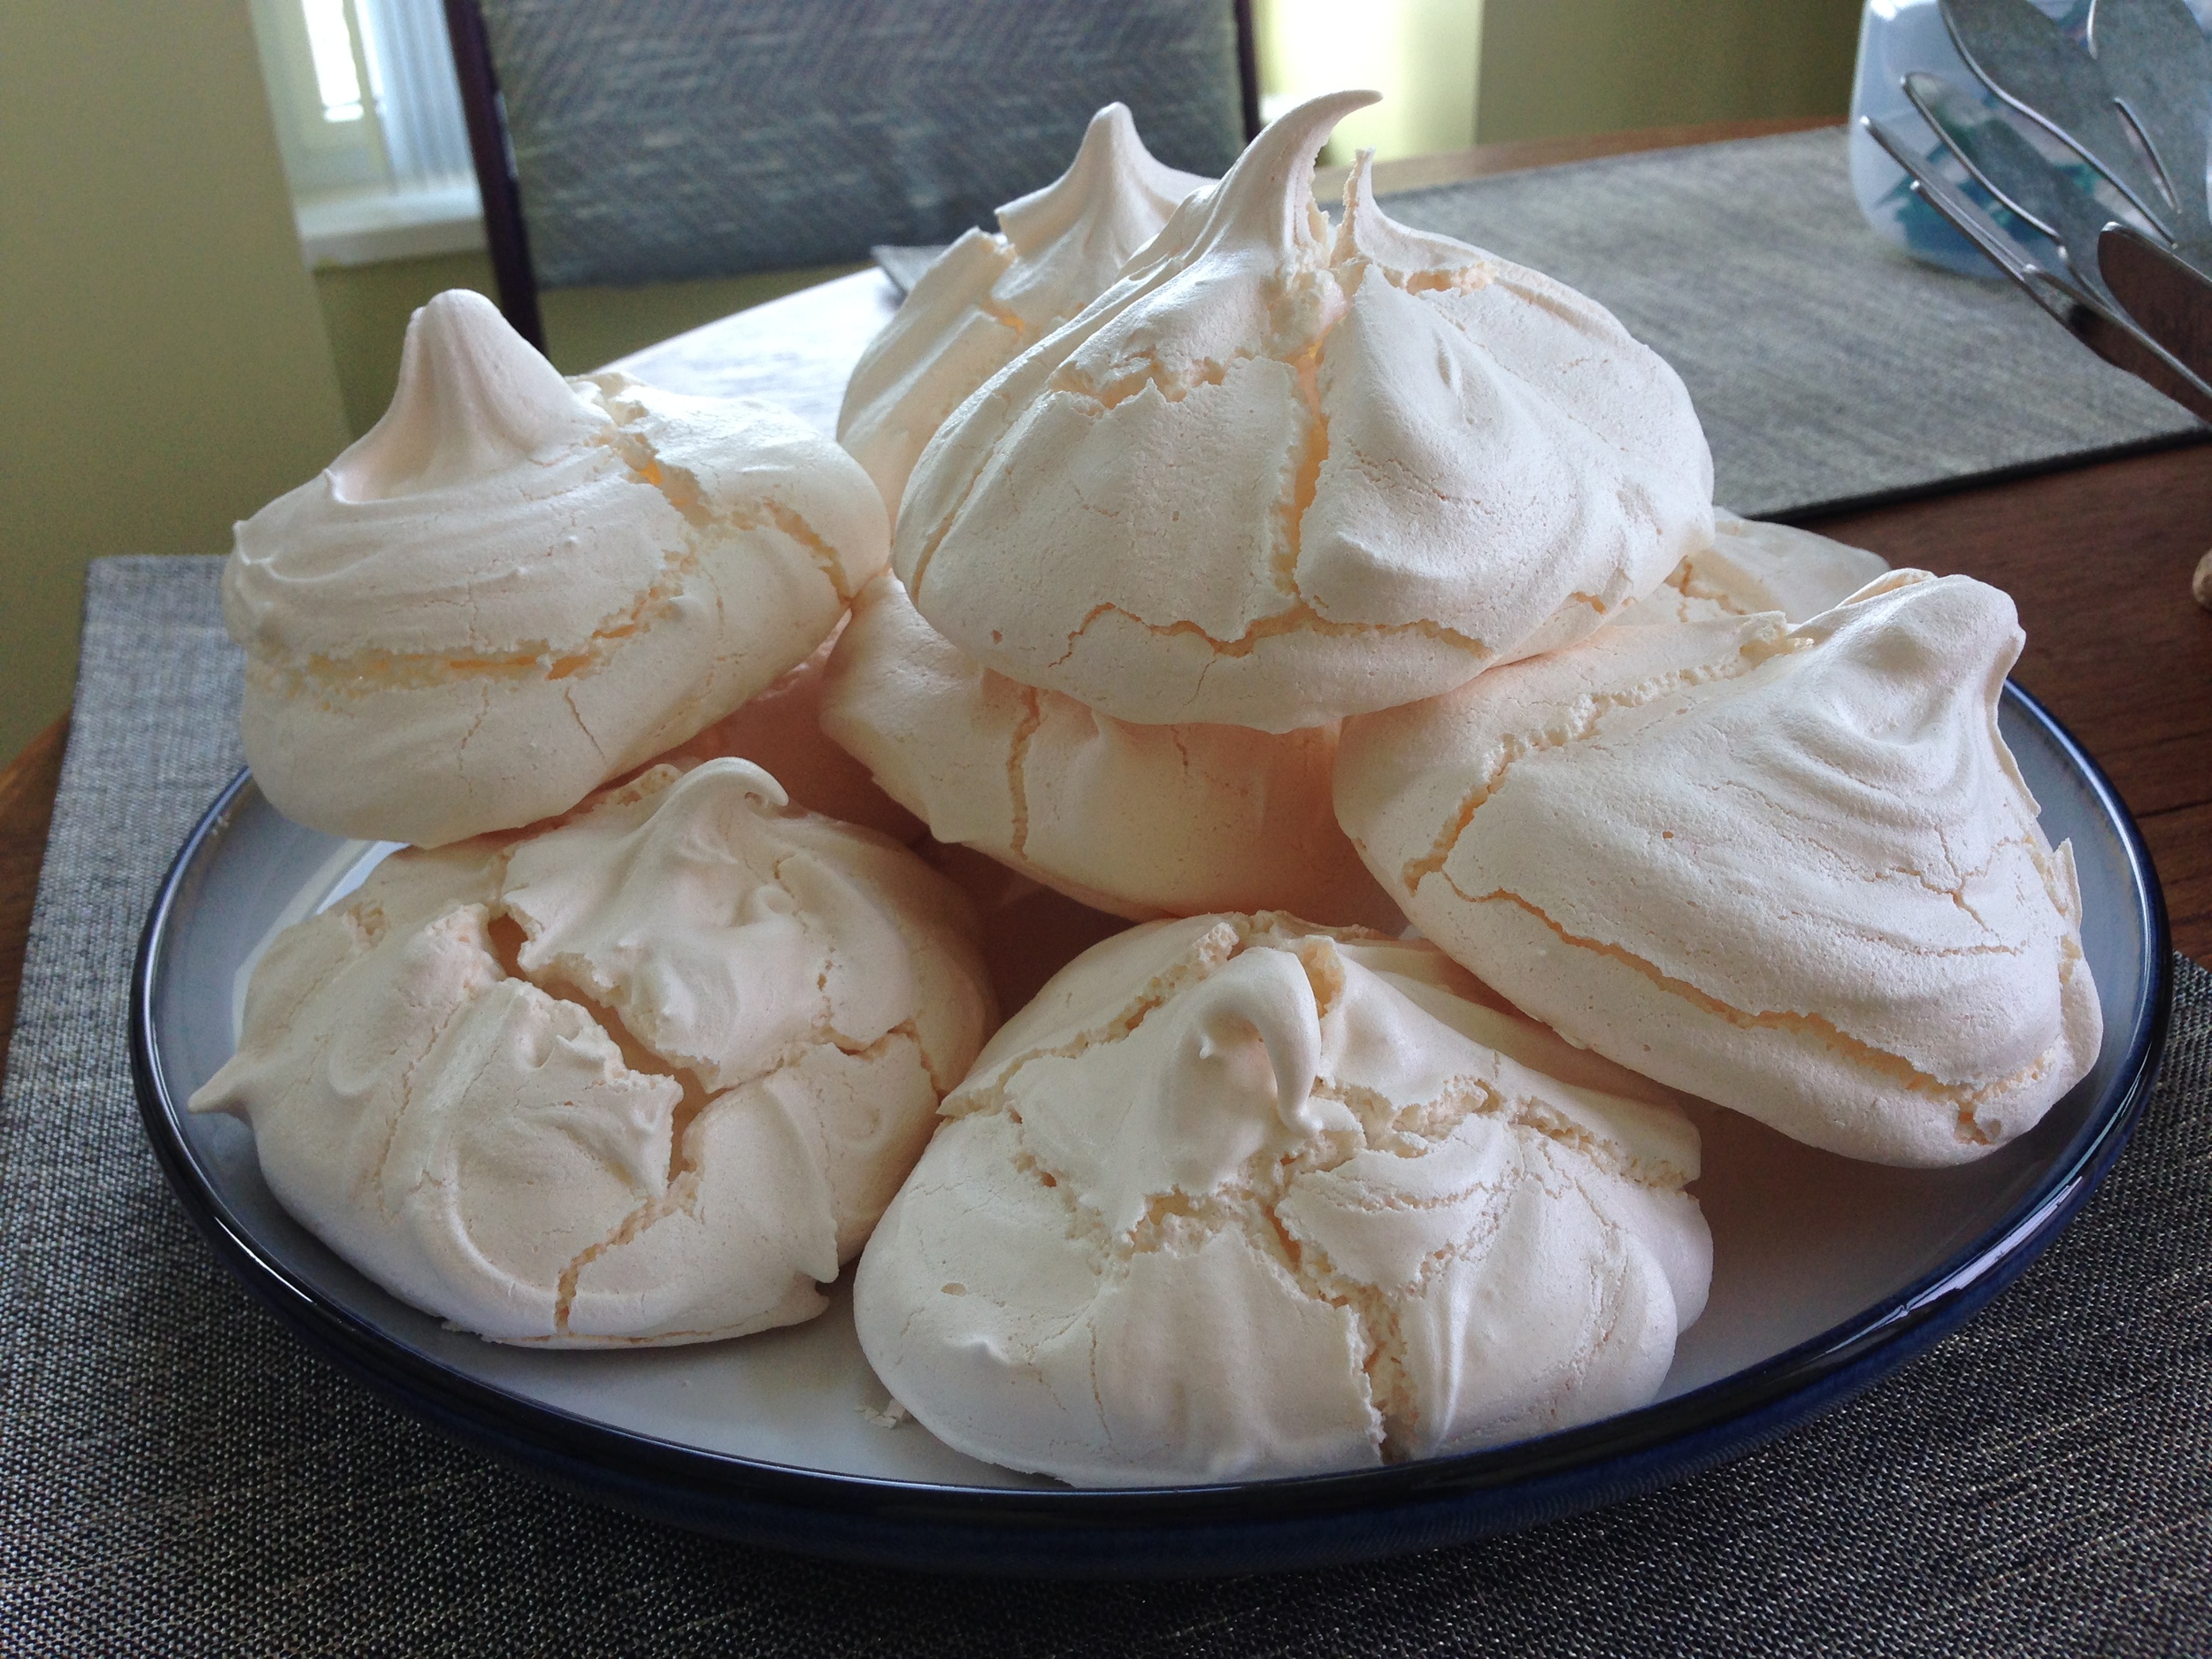
Anyway! Nom! I now had a carton of egg whites to deal with so I decided to try my hand once again at making meringues.

Meringues

6 egg whites, room temperature
1/8 tsp cream of tartar
2 cups sugar
1 tsp vanilla
1 TBSP vinegar

1. Preheat oven to 275.


IMG_3098.jpg

2. With an electric mixer, beat egg whites till foamy.


3. Add cream of tartar and beat until somewhat stiff, ~4 minutes. (Stiff enough that the meringue holds it's shape.)


4. Gradually beat in sugar over the next 2 minutes. Add vanilla and vinegar. 


5. Beat until very stiff and shiny, about 10 minutes. 


6. Spoon or pipe meringues onto baking sheets covered in parchment paper. (For the large meringues, scoop 1/2 cup of meringue onto the baking sheet and, using your thumb and pointer finger, pull meringue into a peak.)  


7. Bake for 45 minutes, until meringues are lightly browned. Let cool completely on wire racks. 


They Worked! D= It was a miracle. Also they were Amazingly delicious. I did however make waaaaaaay too many and had to feed them to the BFs coworkers. 

I think I have now sated the yearly quota for meringue torture. So much delicious sugary meringue-y torture.

-Andrea

The Half-Assed Hobbyist