Tomato Babies

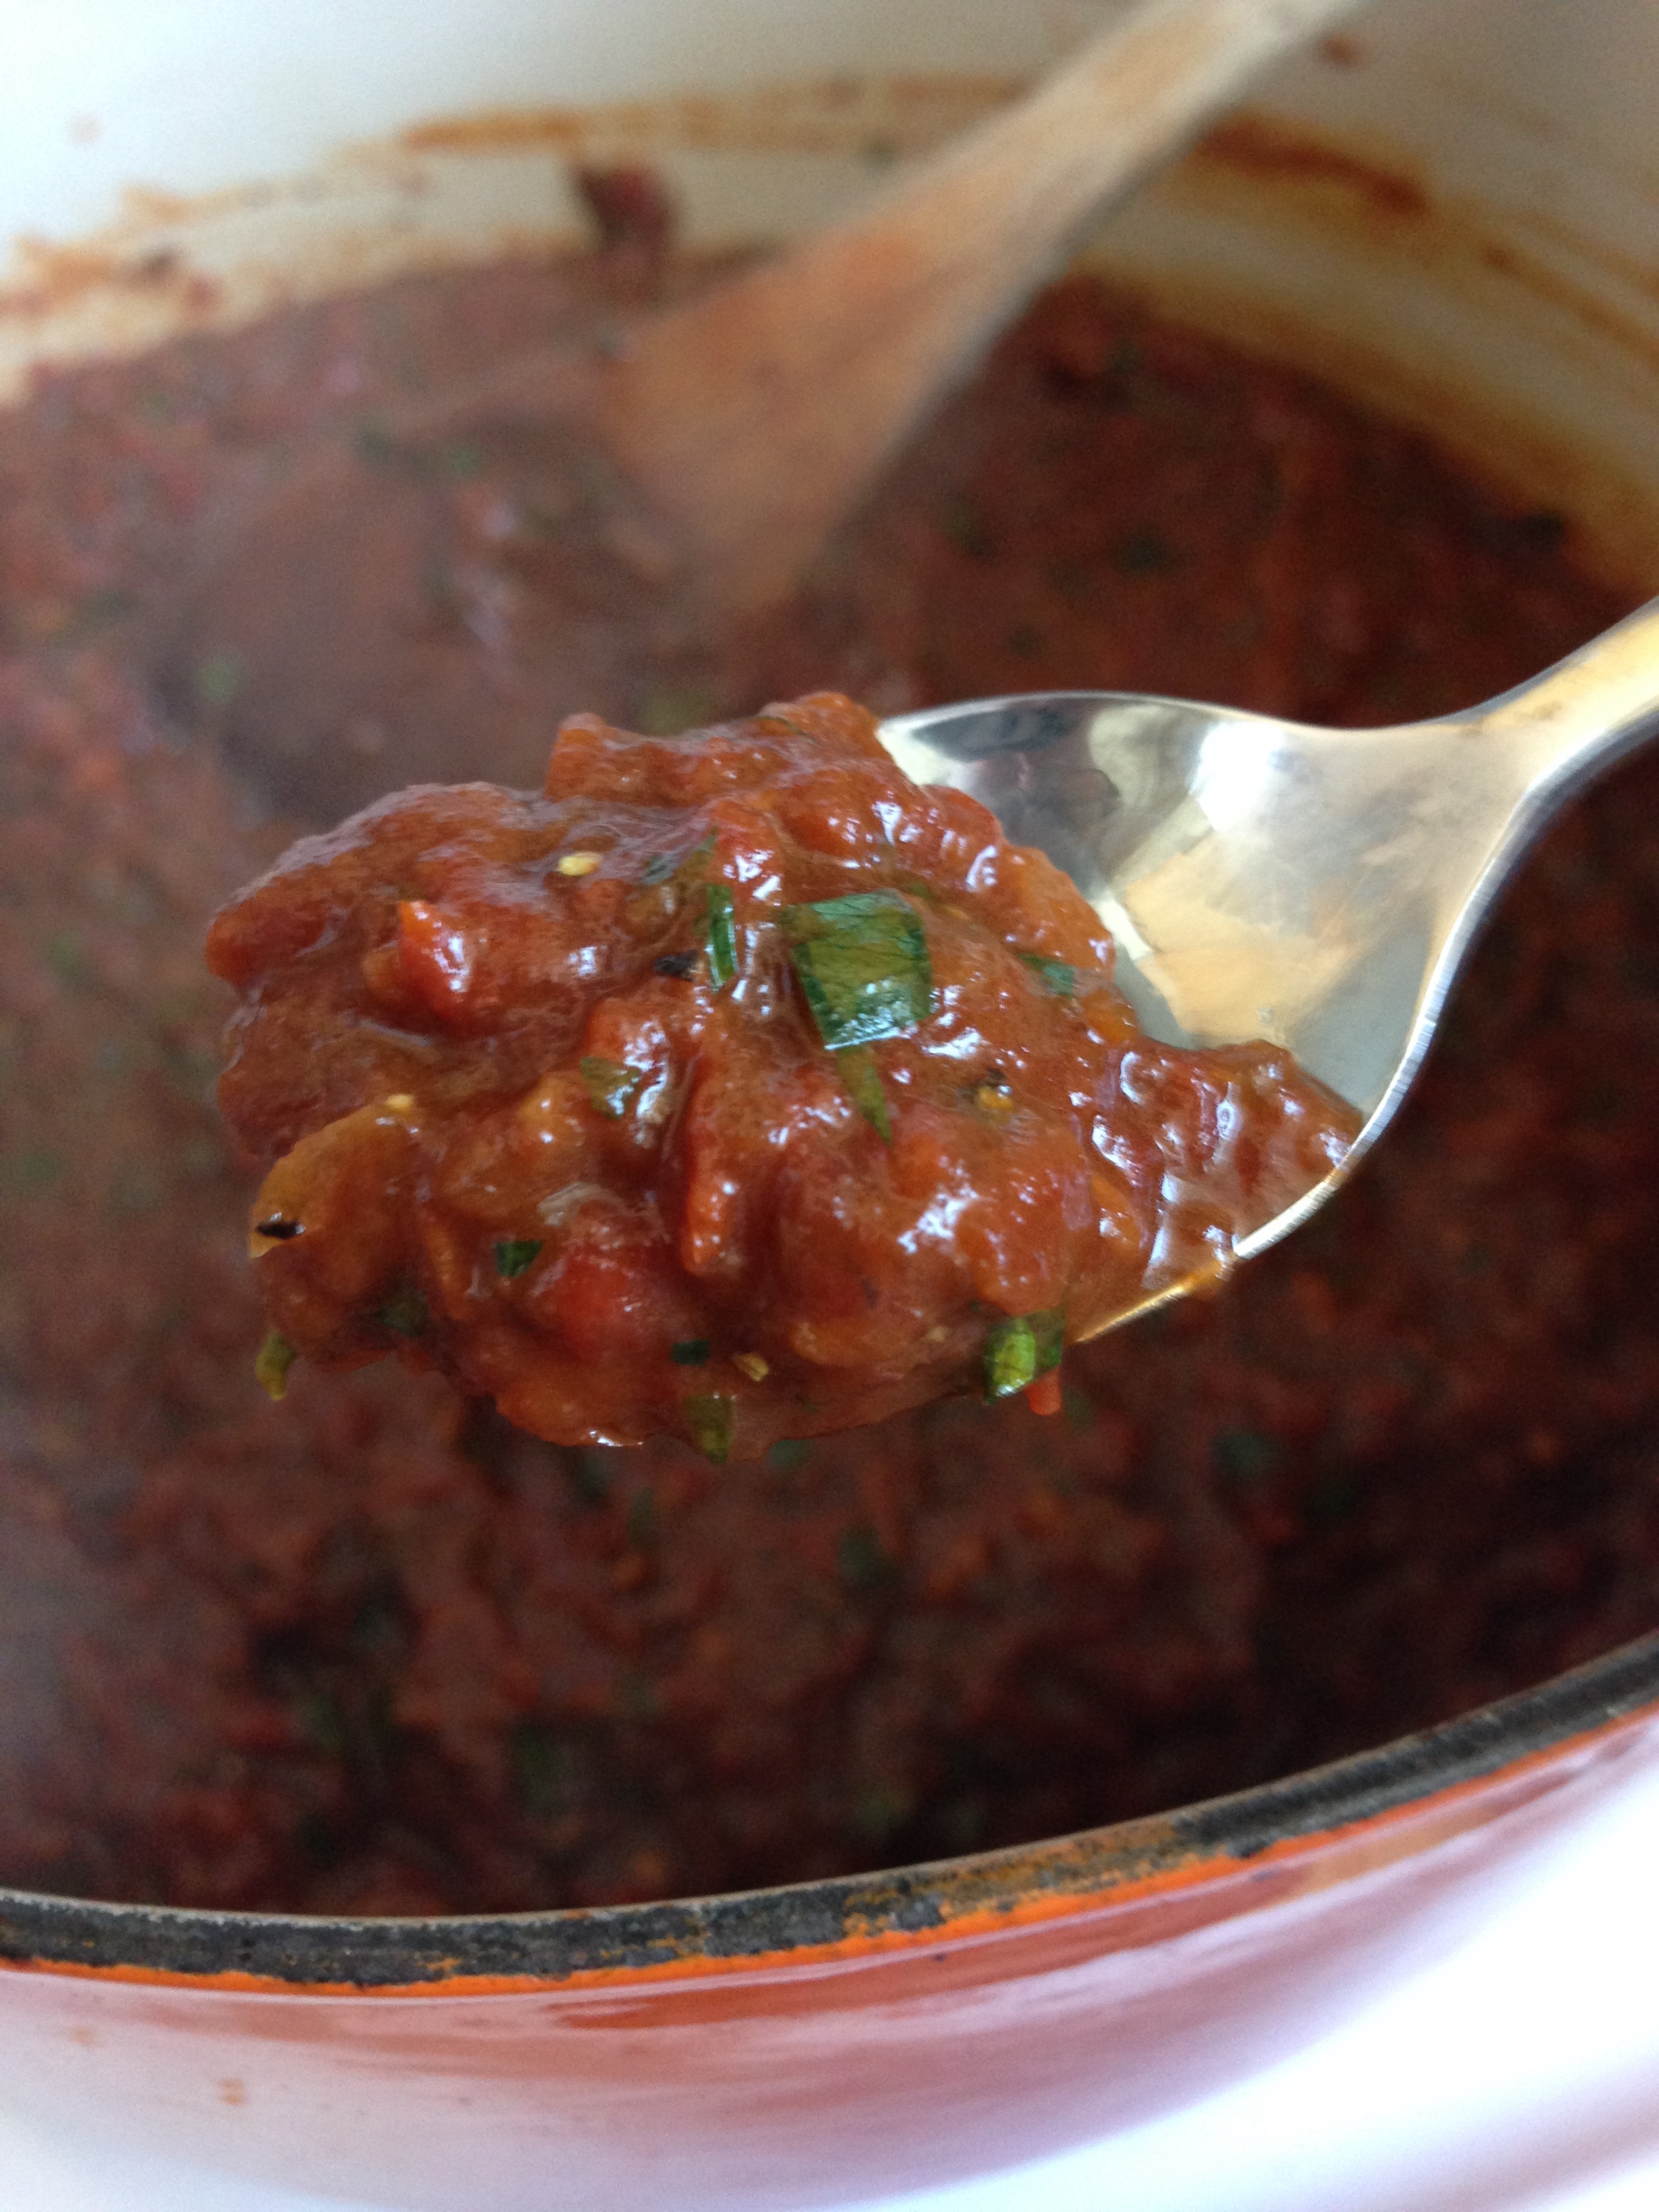
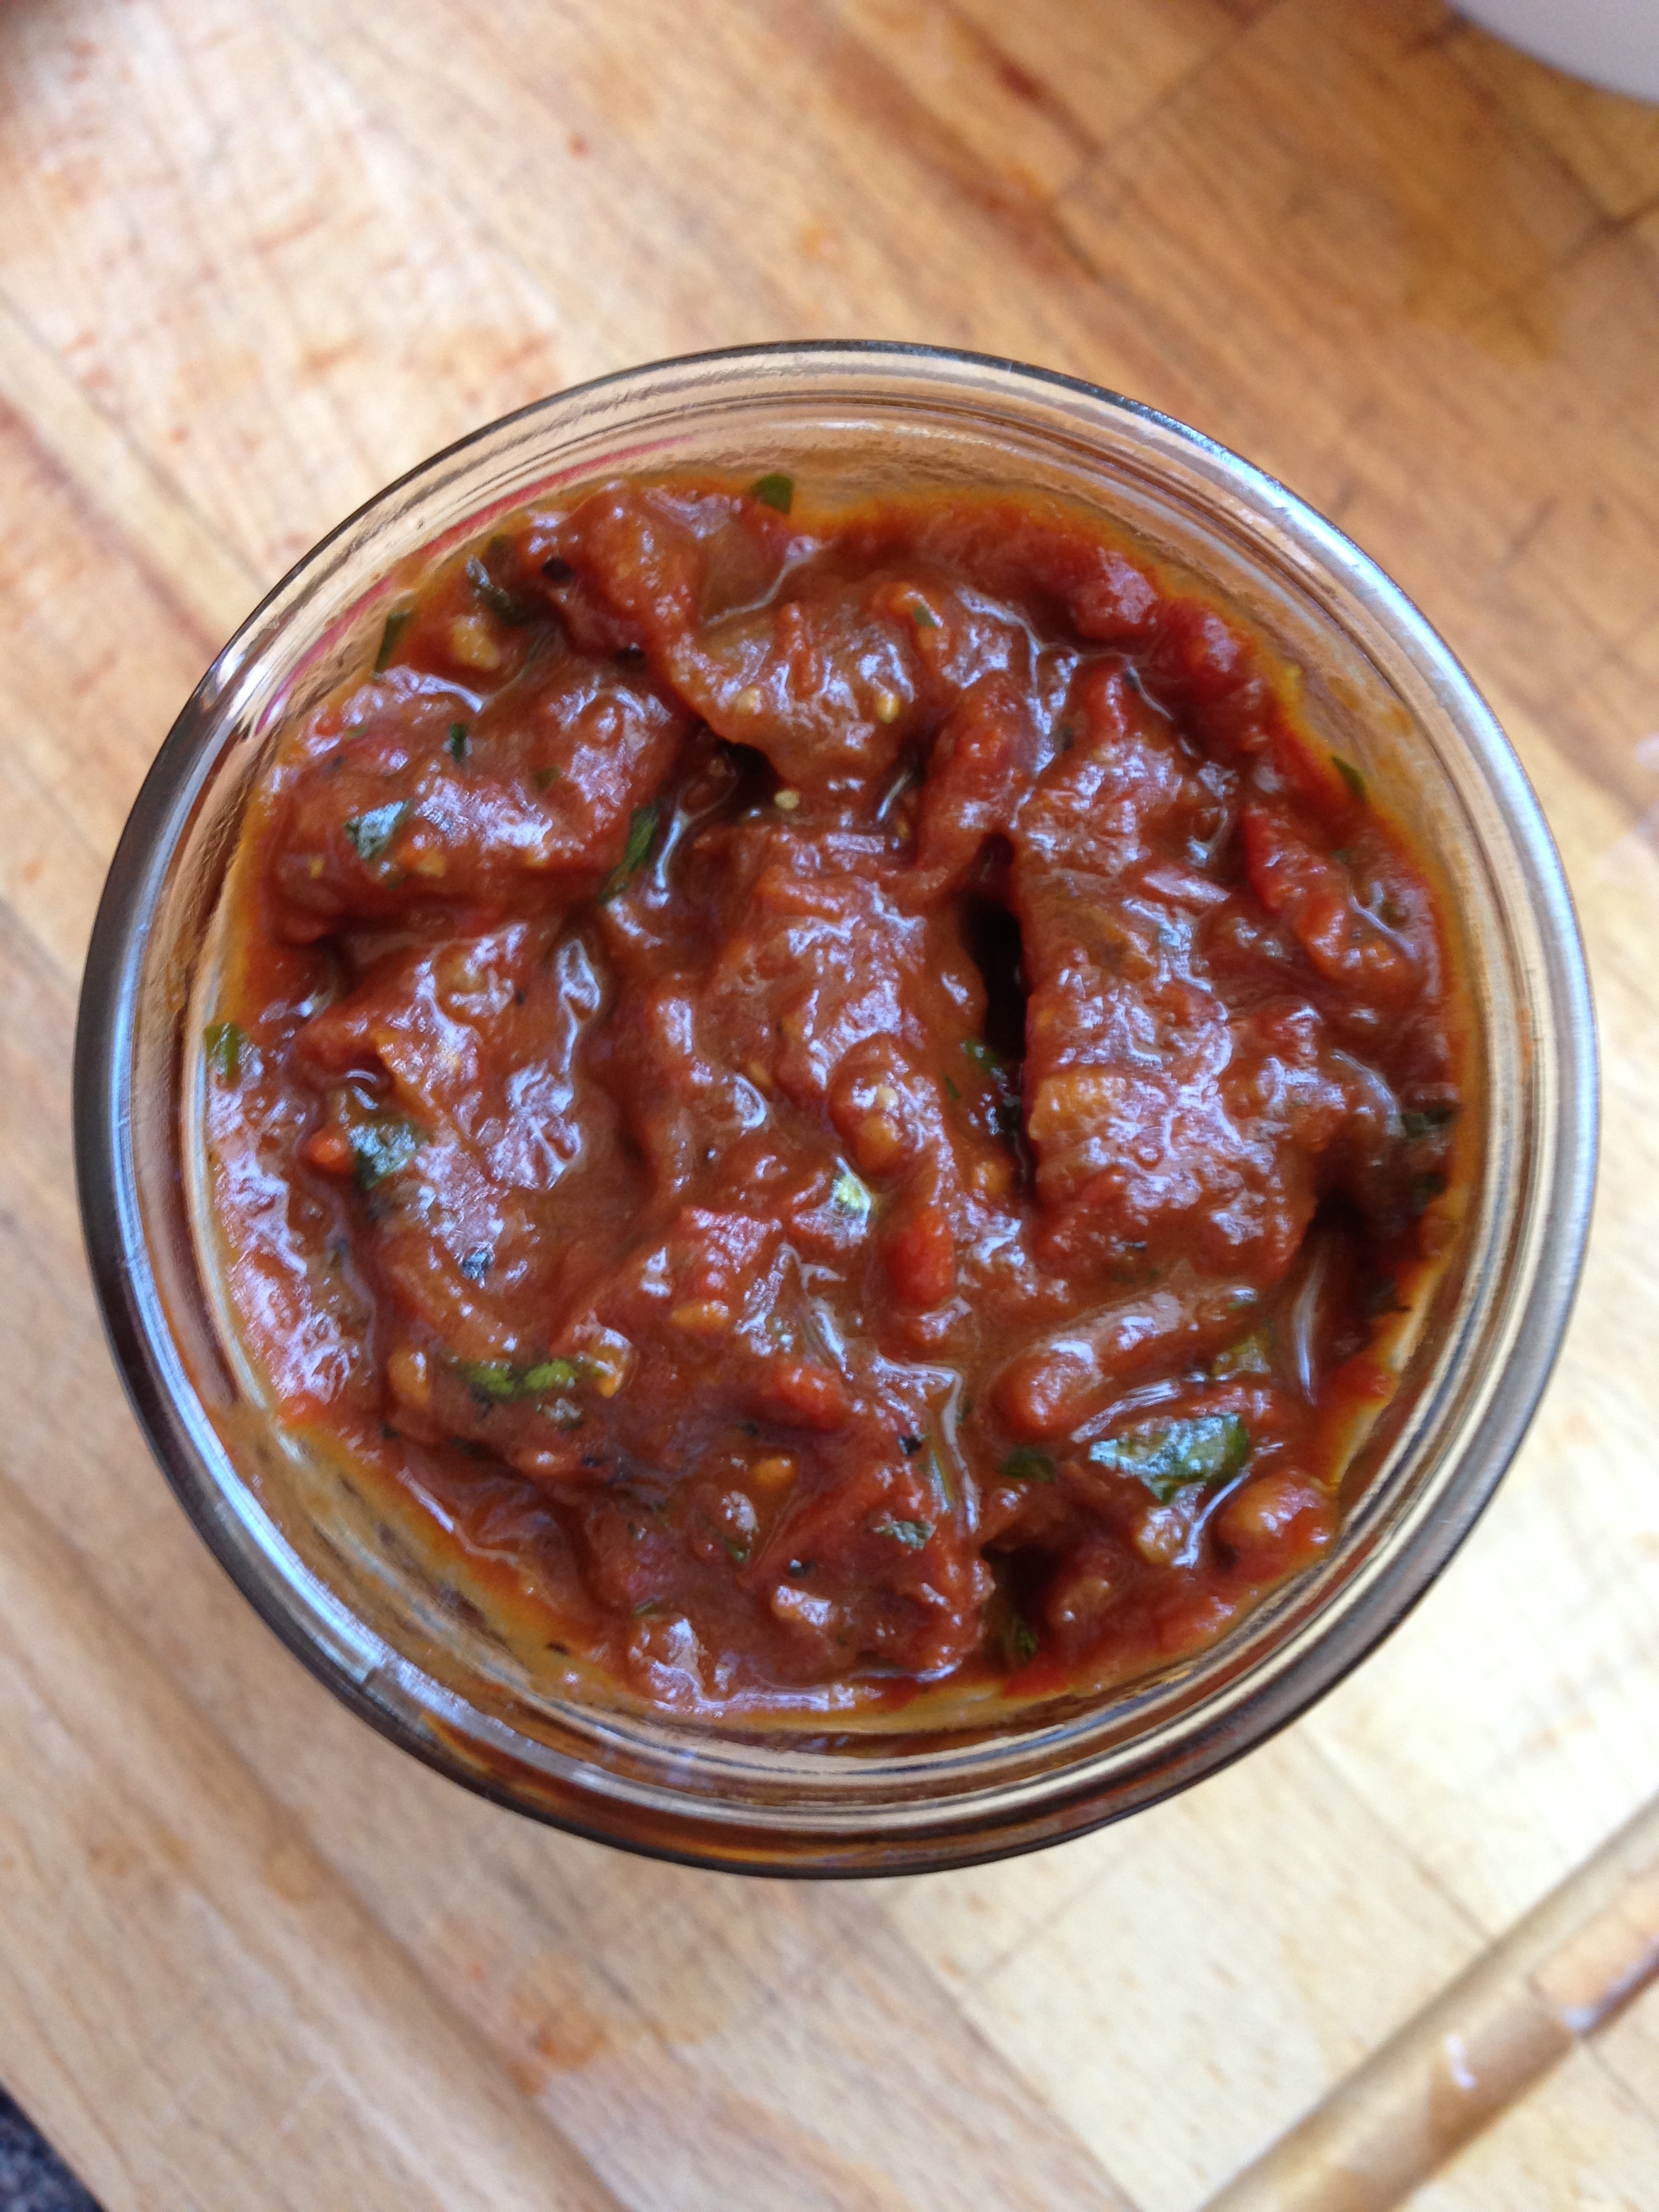
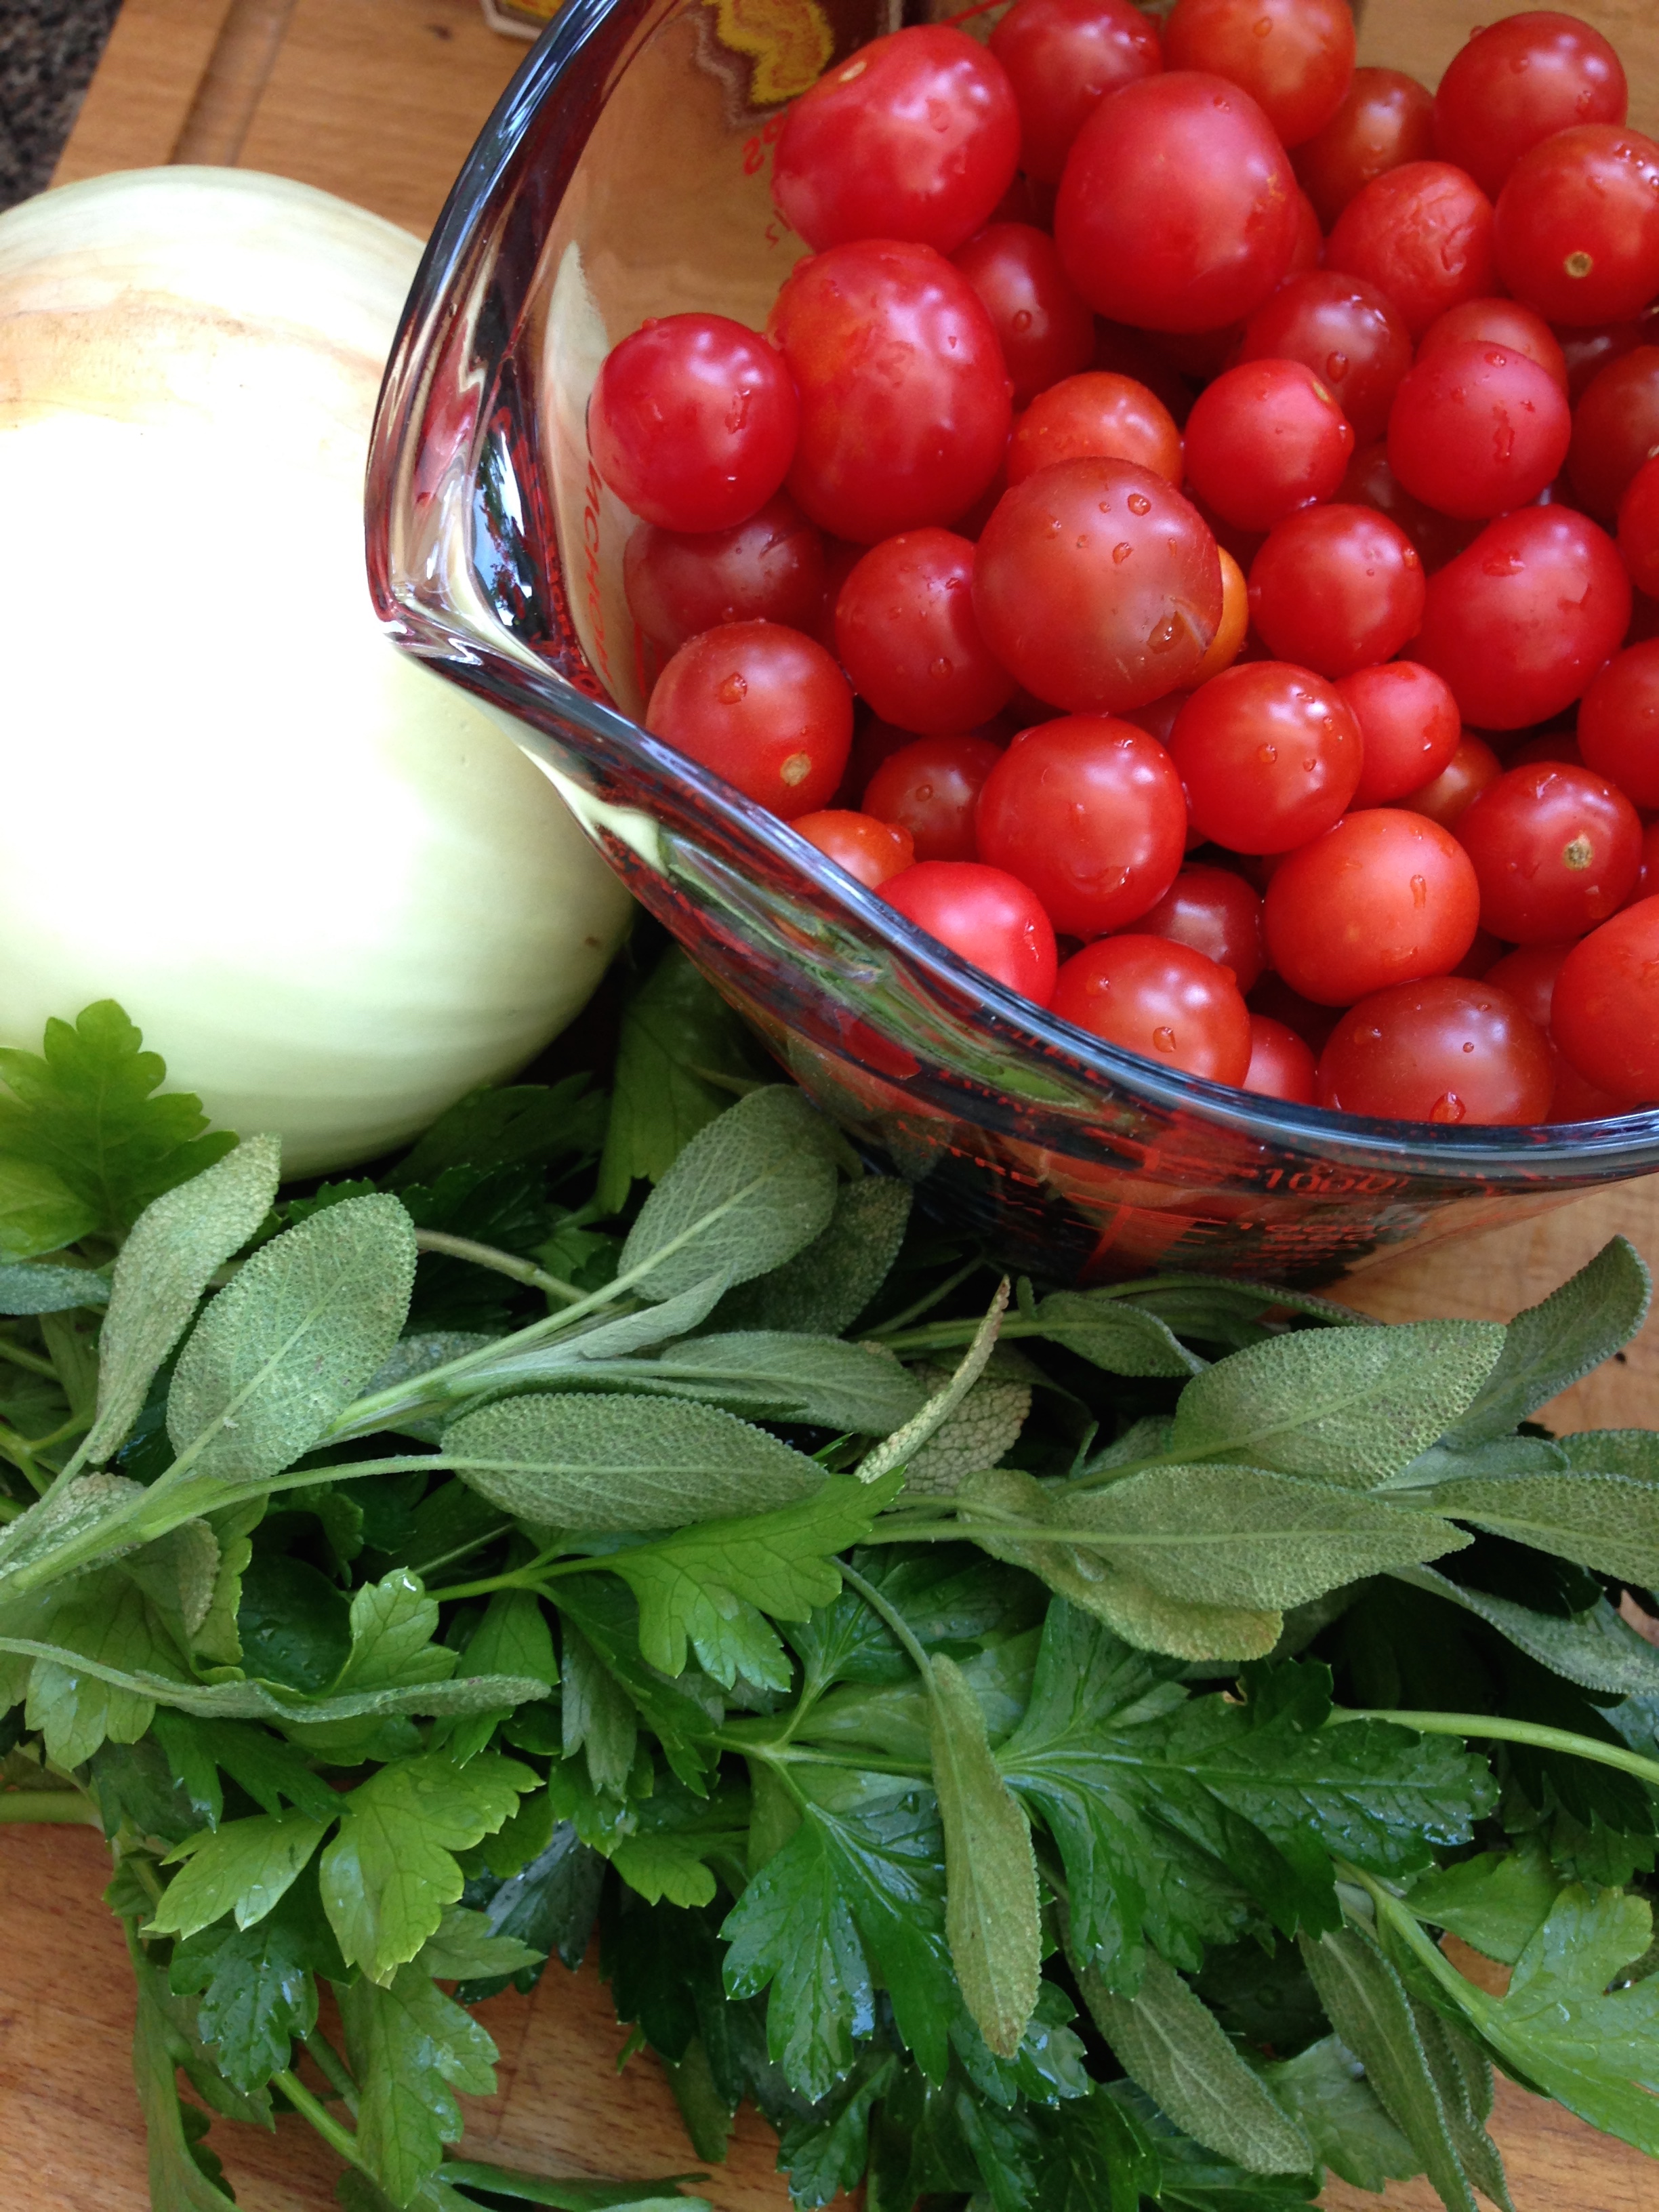
This whole gardening year I have had high hopes that I would have enough tomatoes to make this savoury tomato jam. With the devastating falling over of my giant tomato plants, I thought for sure I would be waiting till next year to achieve this dream. But. My plants had other ideas.

I managed to collect enough for two batches of a savoury tomato jam that was an office favourite at the test kitchen I worked for back in AB. Essentially its the most fancy ketchup analog you'll ever eat. I love it on toast, warmed up on sandwiches, or even by the spoonful. Haha. ;)
Savoury Tomato Jam

In order to can this recipe, I needed to add an acidifier. I chose vinegar so the result is a tangier jam than the original recipe. I would however keep this jam refrigerated and eat it within 2-3 months. More for quality than safety. Also. If you are planning to can this recipe, get your waterbath canner sterilizing jars during the simmering stage of the jam. That way there is a smooth transition from cooking to canning. Makes ~2 cups.

2 TBSP oil
1 cup white onion, chopped
1 TSBP minced garlic (2-4 cloves)
2 cups cherry tomatoes
1/2 cup chopped drained oil-packed dried tomatoes, patted dry
1/2 cup chopped drained canned roasted red peppers, patted dry
1/2 cup tomato juice
1/2 cup balsamic vinegar
1/2 cup white vinegar
2 TBSP fancy molasses
1/4 cup chopped fresh parsley
2 tsp fresh thyme leaves, chopped
1/2 tsp salt
1/4 tsp pepper

  1. In a large dutch oven, with a lid, heat oil over medium heat. Add onion and cook, stirring, for 5 minutes or until onion becomes clear. Add garlic. Cook for 2 more minutes, or until garlic is fragrant. 

  2. Add tomatoes through molasses. Stir together and bring to a boil over high heat. Reduce heat to low and simmer for 20 minutes, covered, stirring occasionally. Remove the lid and continue to simmer for 30 minutes or until the mixture has thickened and most of the liquid has gone. Remove from heat.

  3. Using an emersion blender or food processor, process the jam using an on/off pulse until just about smooth. Don't over pulse the jam, you want a bit of texture left. Add the parsley, thyme, salt and pepper. Pulse just to combine. 

  4. To Can: I did a good post on how to can safely here! It's for fruit jam but the essentials are there. Below is the version for this recipe:

    1. Sterilize All The Things. As mention above, it's best to get this part going during the simmering stage of the jam. Thoroughly wash all jars and screwbands and lids and utensils (jar tongs; wooden spoon; ladle; jar funnel; plastic knife or spoon) in hot soapy water. Rinse clean of all soap residue. Fill the waterbath canner with water (and ~2 TBSP vinegar) and bring the canner to boil. Place all your jars evenly spaced in the canner and boil the jars for at least 10 minutes. (This will sterilize the jars.) Dry all screwbands and utensils and lay them out so they're easily accessible. Also, set a flat bottomed sauce pan filled with water on the stove. Put in the snap lids. Then, from a kettle filled of boiled water, add enough hot water to make the water in the sauce pan warm. This will soften the wax ring on the lids helping the jars seal completely.

    2. Prep All the Ingredients. Having now simmered and food processed the jam, you are ready for canning! ALSO. Make sure your canner is boiling hot! You won't have time to bring it back to a boil after you've started your jam. I also usually have a kettle of boiling water going as well in case I need to top up the canner during the process. 

    3. Start Canning. Now for the fast hot mess that is jam making. Bring your jam back to boil. (Since it is thick it will bubble more that boil. Watch out for white shirts as it may spit at you!) Now that your jam has been sufficiently lava-ed, remove it from the heat. Using the jar tongs, remove a sterilized jar from the boiling canner and empty the water in it back into the canner. Place the jar on your clean counter next to the jam pot. Place the jar funnel on the jar and ladle the jam smoothly up to the recommended head space marker (for my recipe I used a 1/4 inch headspace). Remove the funnel, remove any air bubbles from the jar by running a plastic utensil around the sides of the jar, and wipe the rim with a damp paper towel or clean damp cloth. Place a warmed lid on top. Place a screwband on the jar, then grasp the jar with the jar tongs. Tighten the screwband to ONLY fingertip tight. This literally means using your finger tips only, tighten the screwband until there is enough resistance that it stops. Then, keeping the jar level, lift it up and place it back into the canner. Repeat!

    4. Finish Canning. Now that all your jam has been put in jars in your canner, top up the water with more boiling water from the kettle, if need be (I usually like about 2 inches of water above my cans, if I can get it). Depending on your altitude, you'll need to adjust the time you process the jars. But it's a standard 10 minutes across the board, no matter what. (For Alberta, add an extra 5 minutes.) With the canner lid on, process the jam in the boiling waterbath. After the time is done, remove the jars with the tongs, lifting them straight out of the canner (NO tipping to get water off the top!). Set them down to cool in an out of the way space. From this point on, till they're completely cooled, No Touching! Resist the urge to poke them! As they cool, you'll hear the popping sounds of the snap lids sealing. Even after this has happened, No Touchy! It's a waiting game now. If you did it right, you'll have delicious shelf-stable jam to look forwards. 

    5. Enjoy! Let the jars cool completely. This will take up to 8 hours. After they've cooled, check that all the jars have sealed. The snap lids should be divoted inwards and you should be unable to pry them off with your fingers.** Ta Da!!! Done!

Keep in mind! This recipe is not shelf stable. (Well. It may be that it's shelf stable but as I have not tested it long term I don't recommend that it sits out.) Instead, keep it in you fridge and eat it before 2-3 months. Also. ** If the lid did not seal do not fret! The jam is still good to eat! It just needs to be eaten first and within 2-3 days. =) 

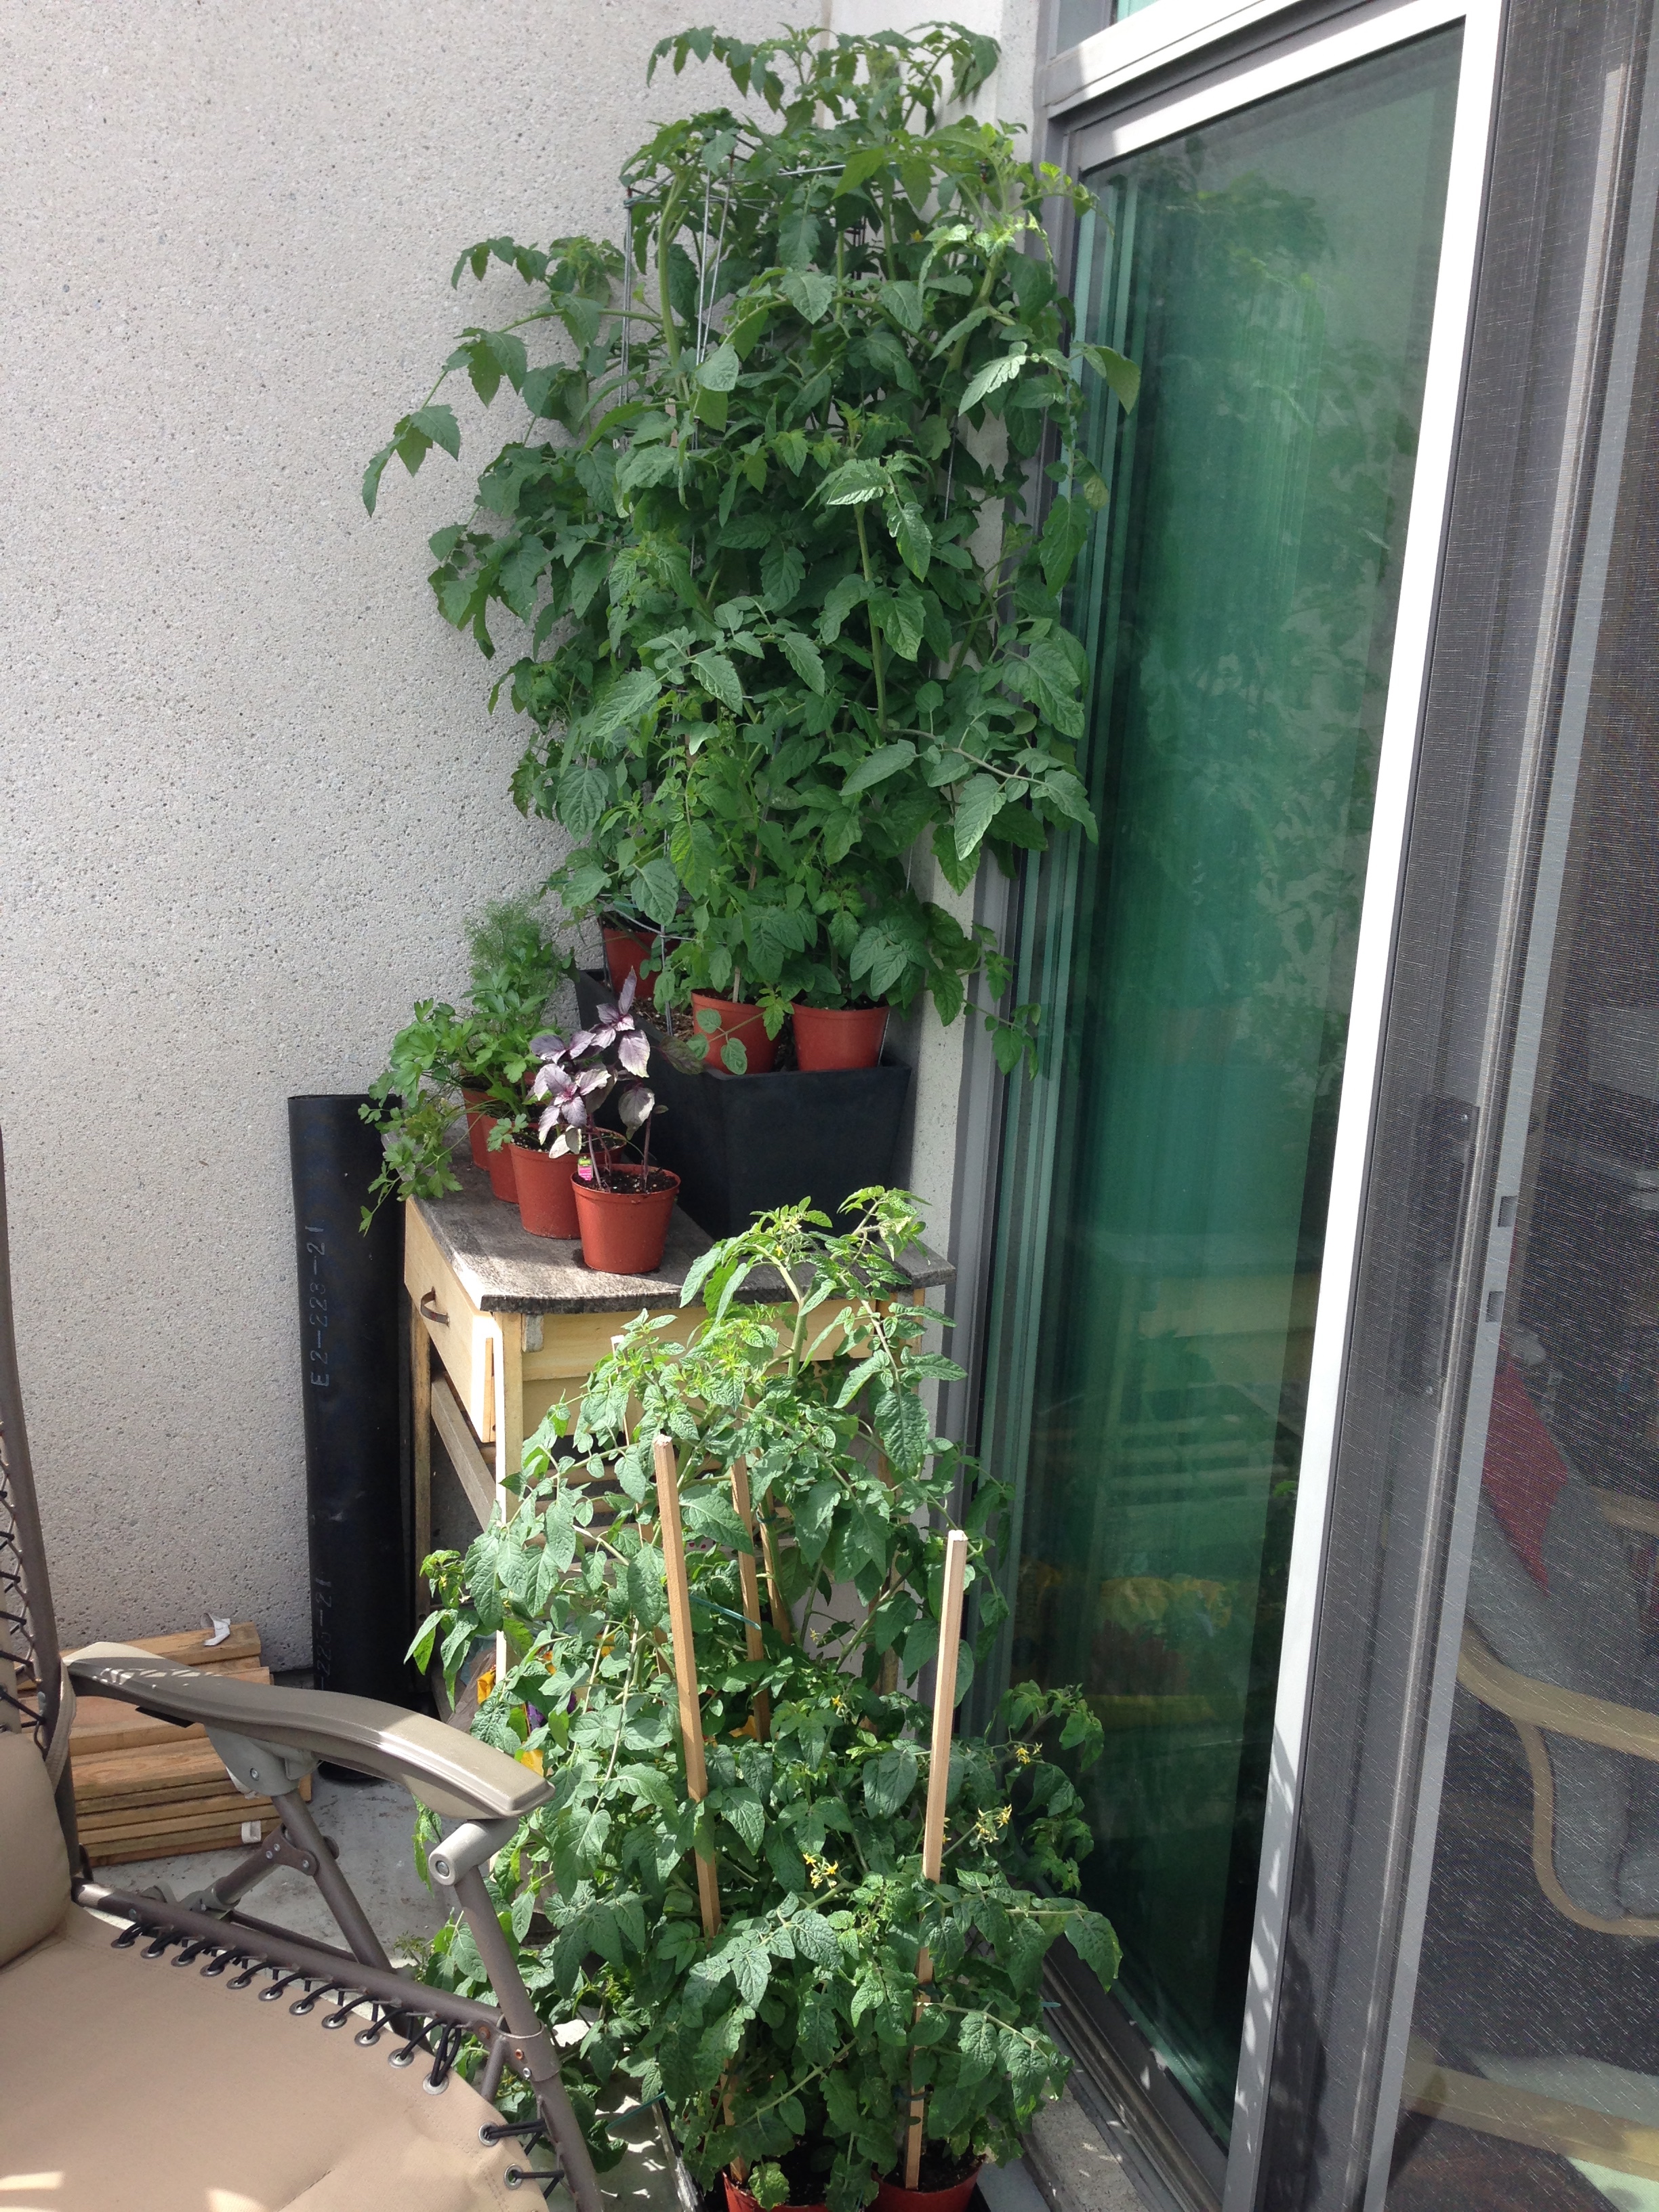
I'm so happy that my little tomato plants did it. From little seeds to 7 foot giants! =) I hope my grandpa would have been proud. <3

-Andrea

The Half-Assed Hobbyist

Chastity, thy name is Spider plant

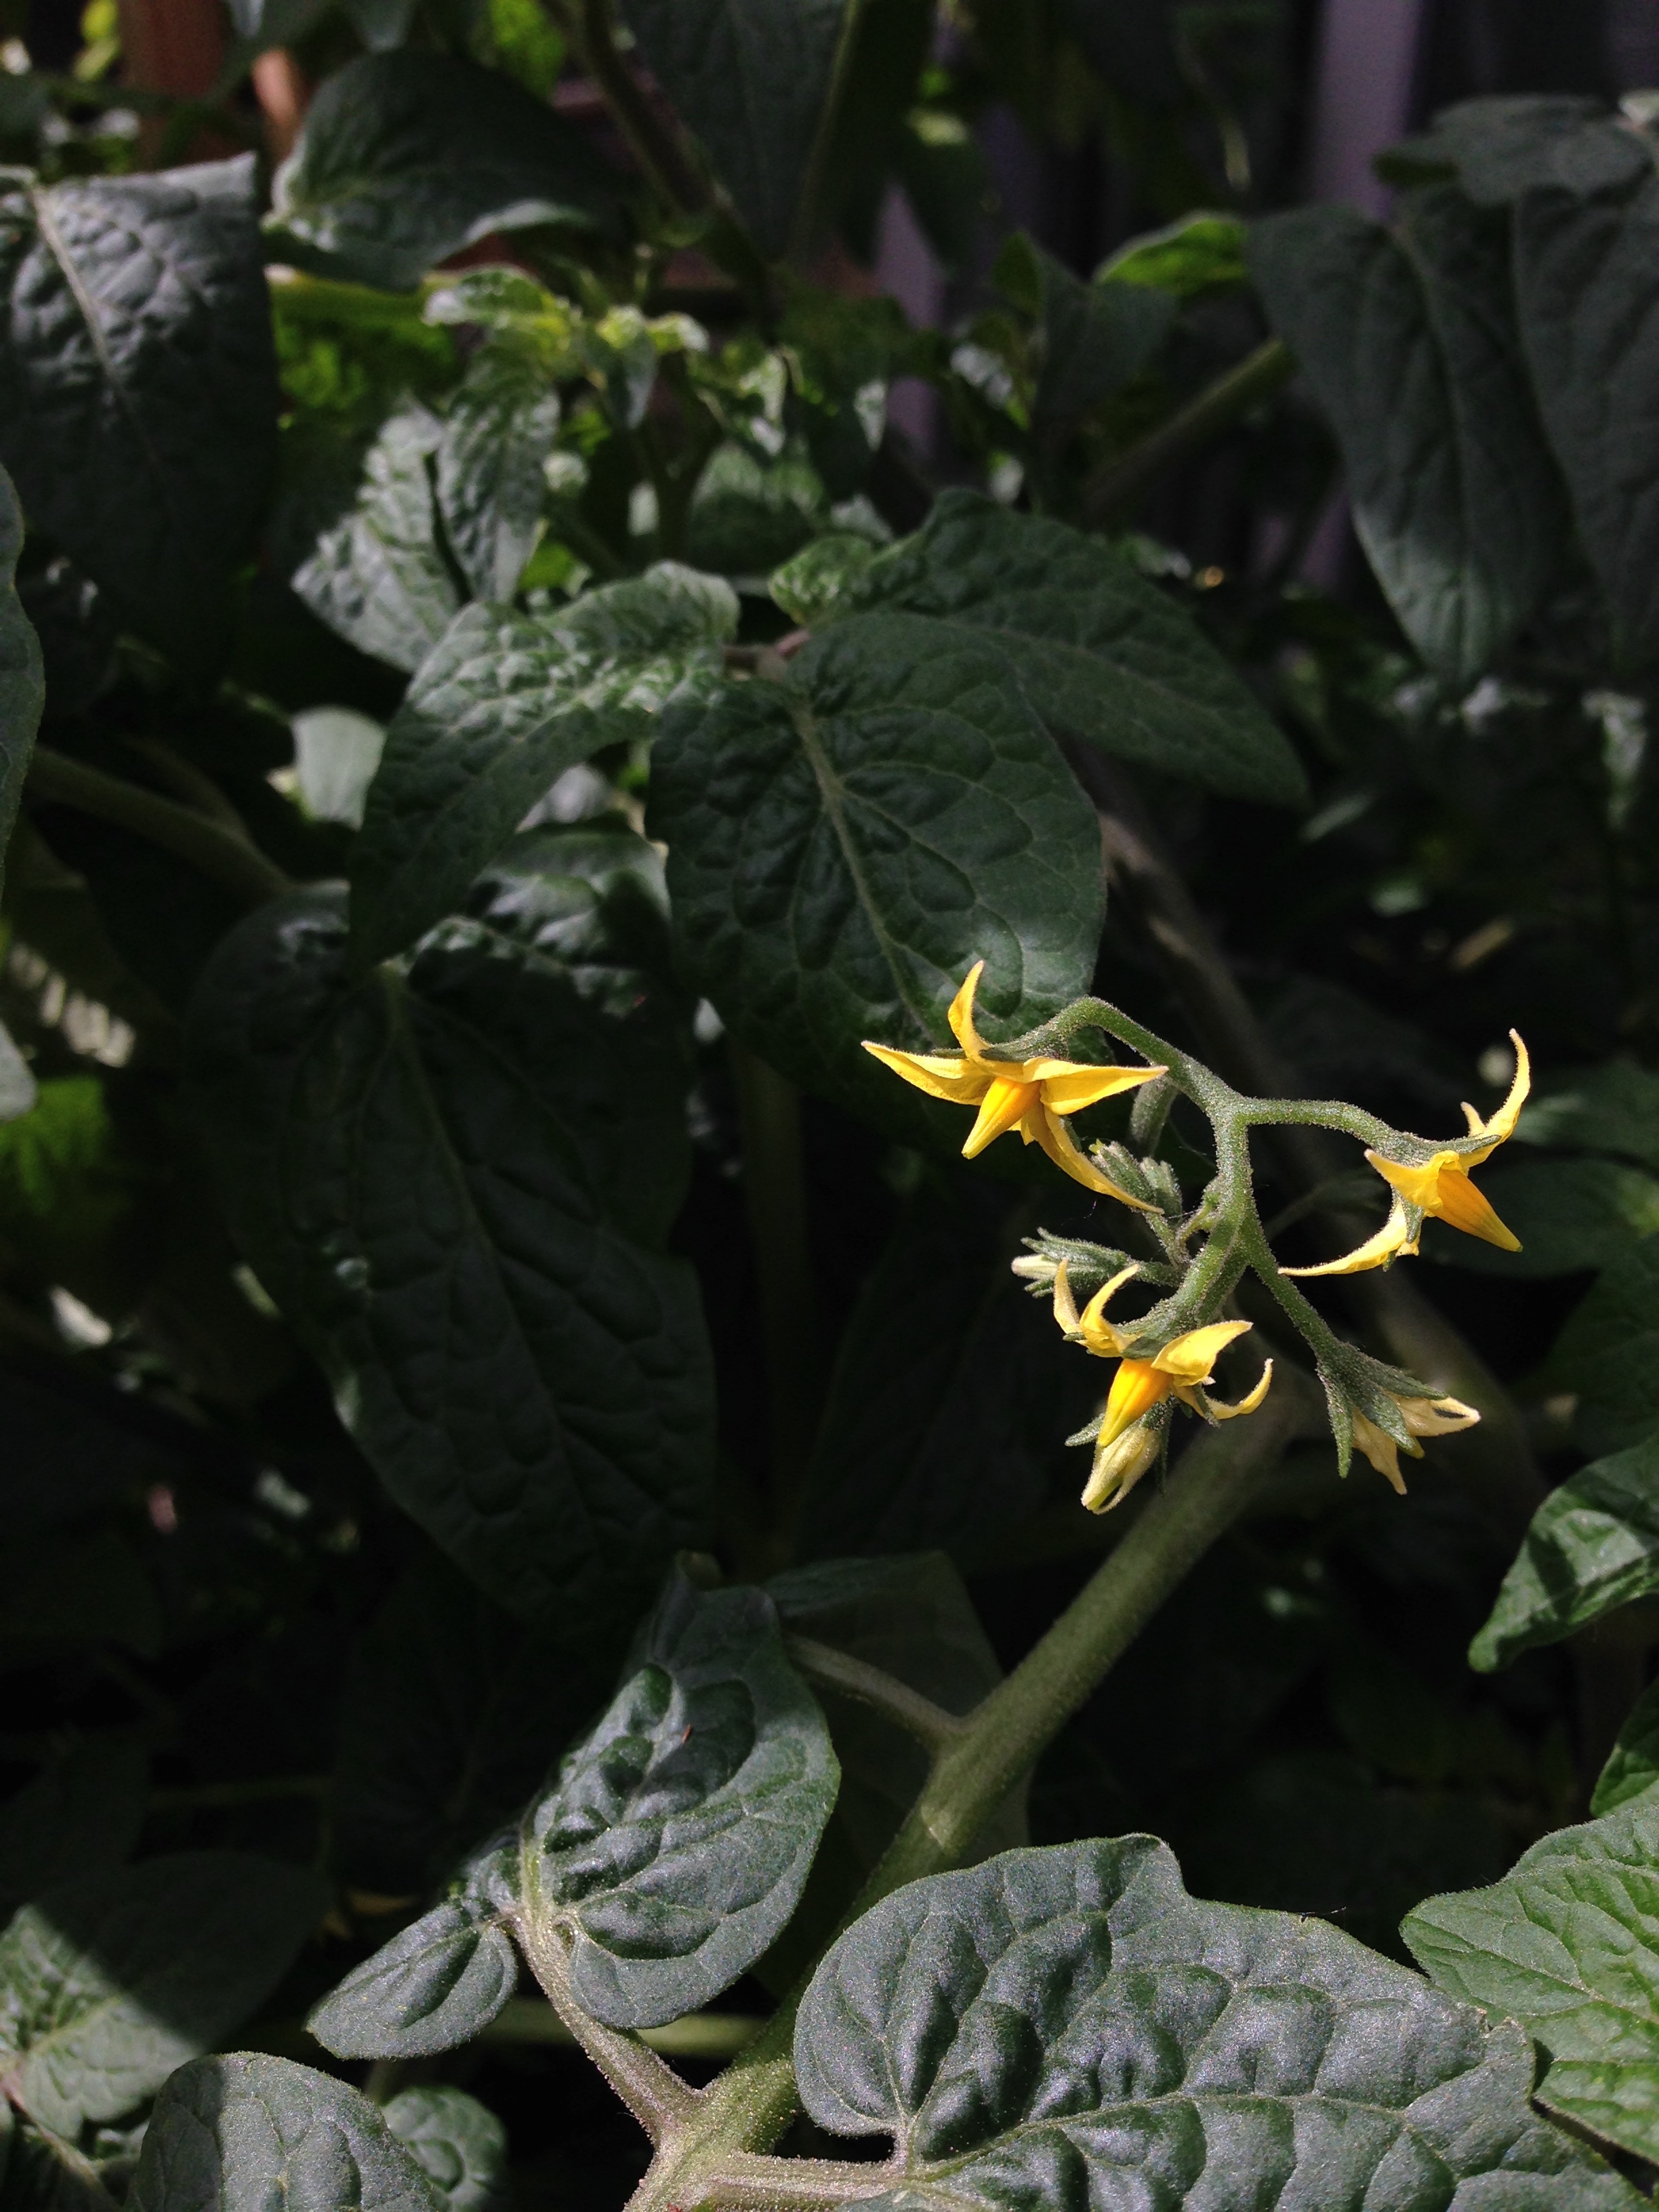
I love my plants like my own children, well, if I had any. My houseplants and my outdoor garden, all my plantlings are precious to me. But it's extra special when my baby plants have babies of their own. My tomatoes are blooming and fruiting outside and, inside, my spider plant has been working on some new additions as well. 

Spider plants are strange in the way they propagate. They have two very different ways of doing it. The first way is standard plant procedure: make flowers, plant sex, make seeds and hope for the best (statistically favourable hope, of course). The second way they do it is quite a bit more interesting.

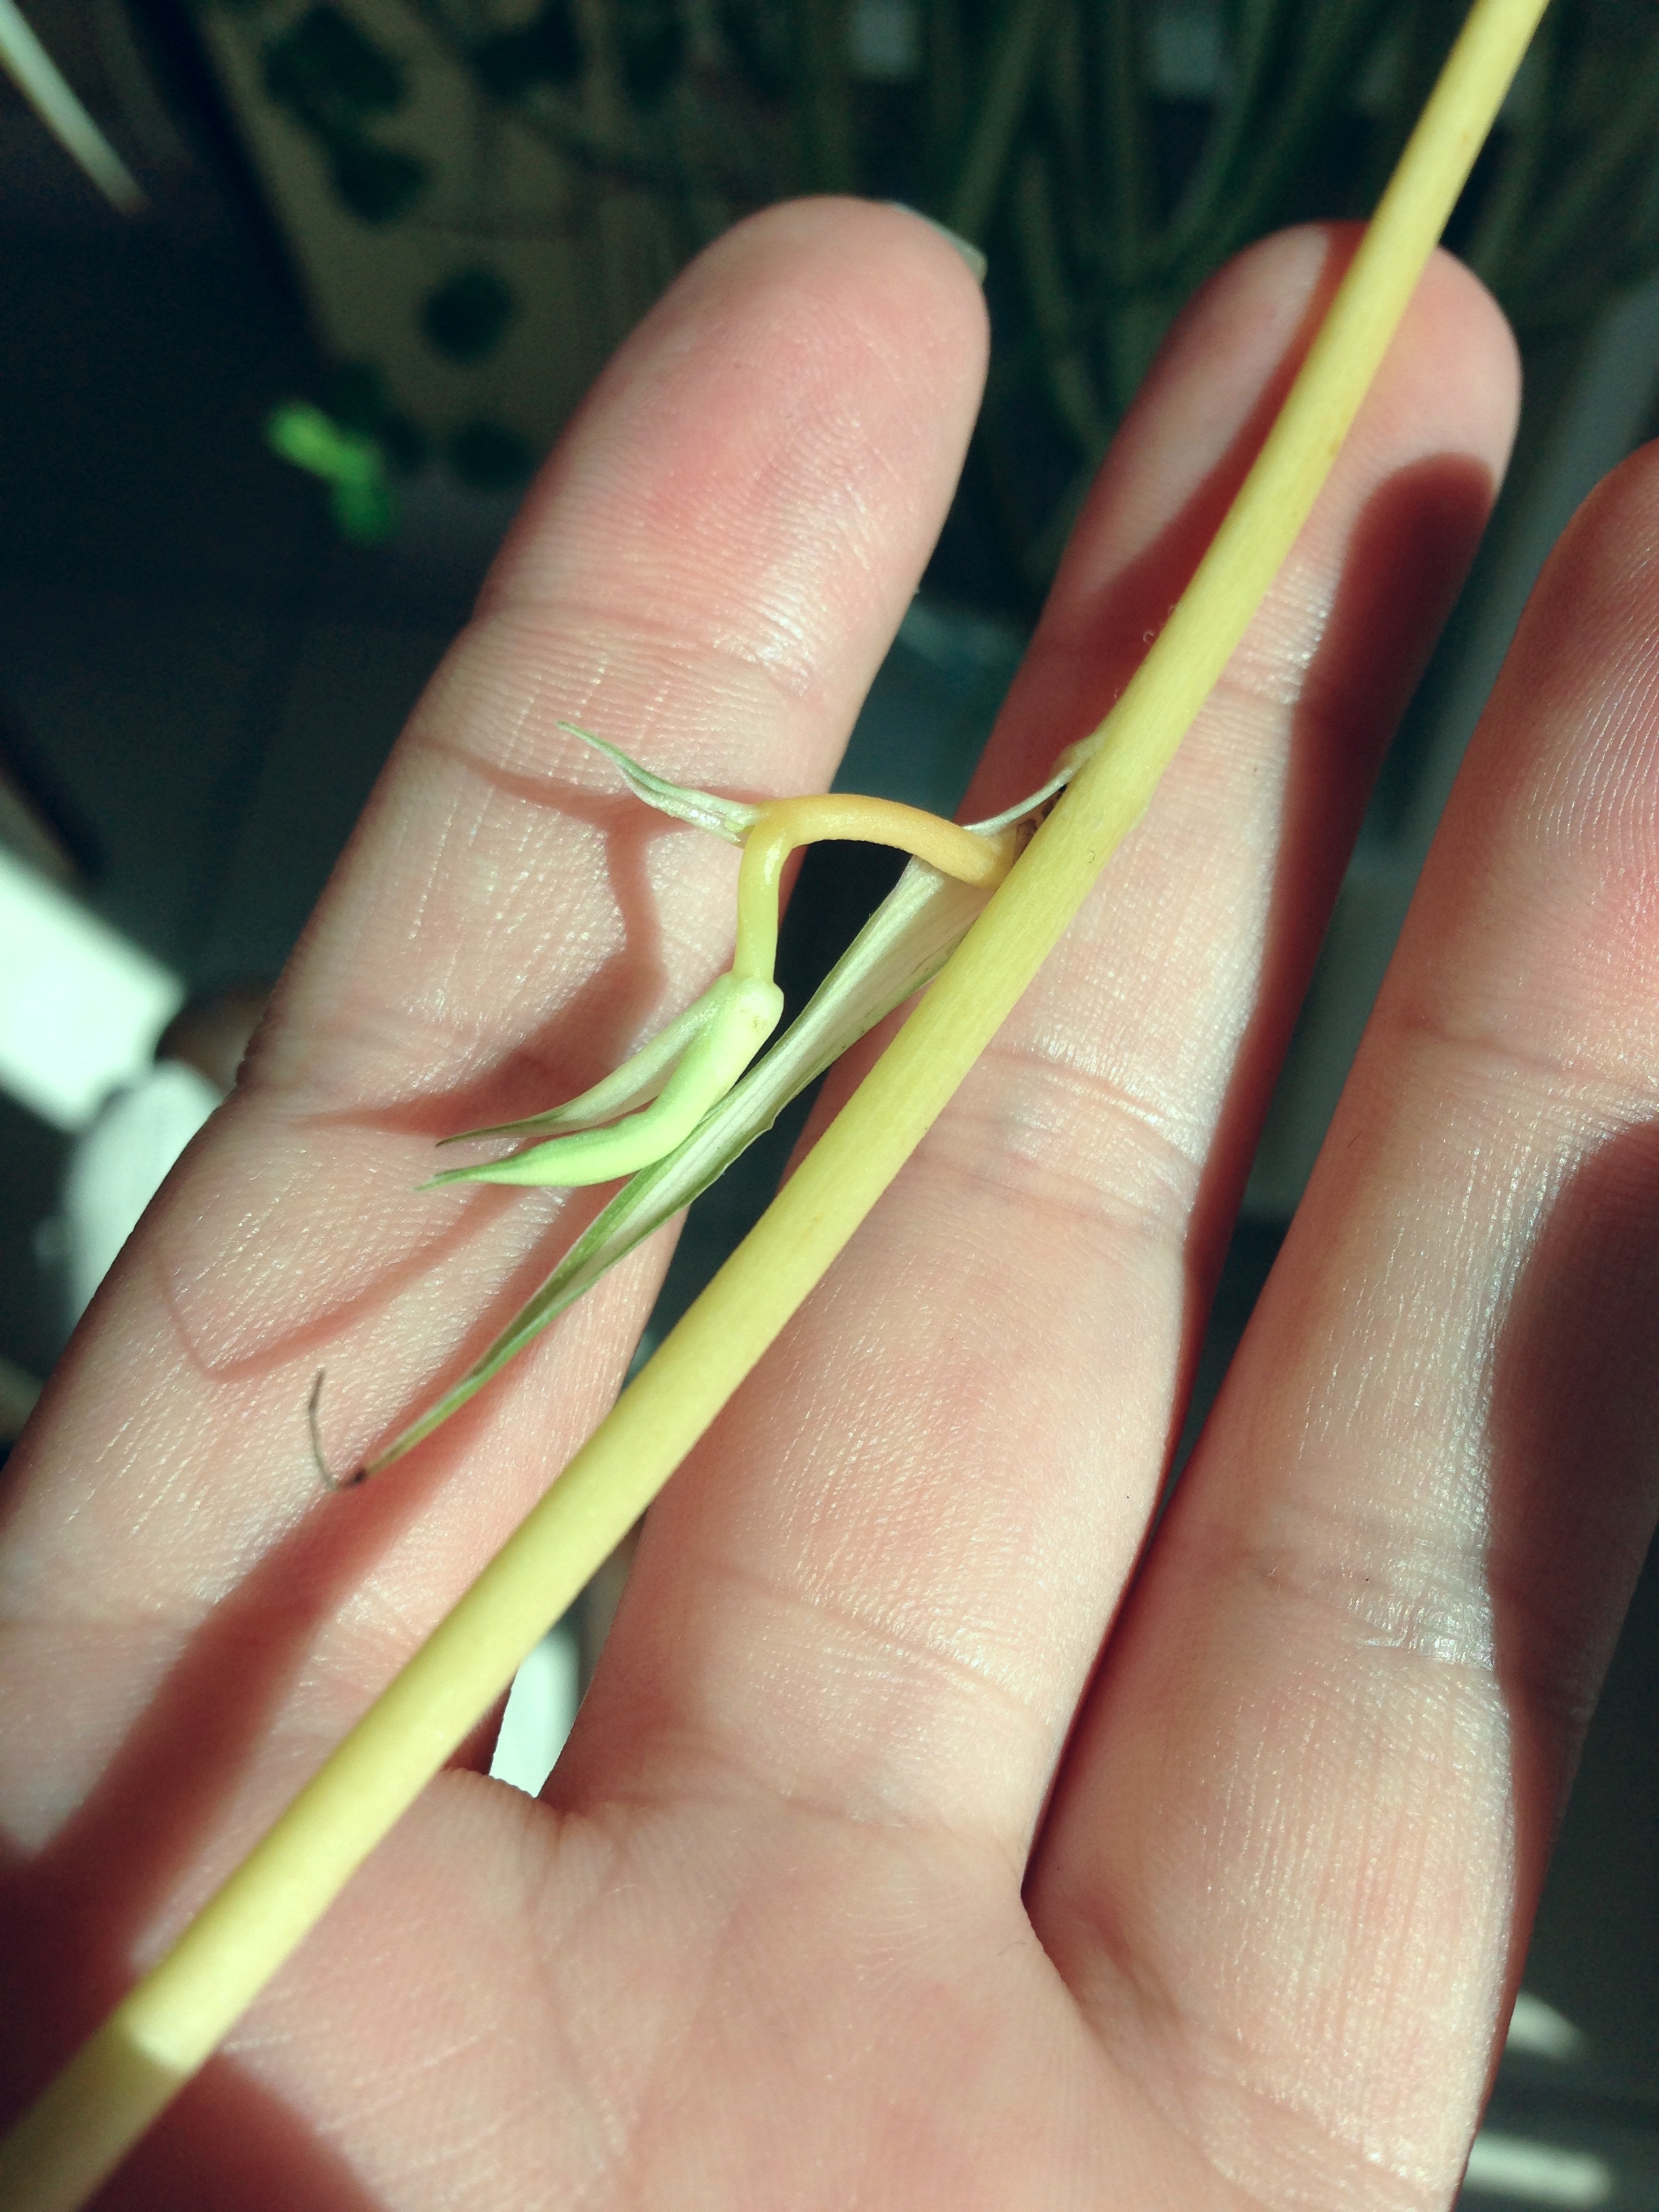
Spider plants grow little plant tendrils that extend out from the base of the original plant, and, on these tendrils are soon to be new little copies of the main plant. Essentially the plant is sending out little copies of itself beyond it's root system in order to find more soil and grow. Smart. Plant smart! Well, smart if it were, in this day and age, kept in a garden surrounded by soil. Now-a-days those tendrils will be lucky to find moist air they can start to 'grow' in. Enter houseplant owner!

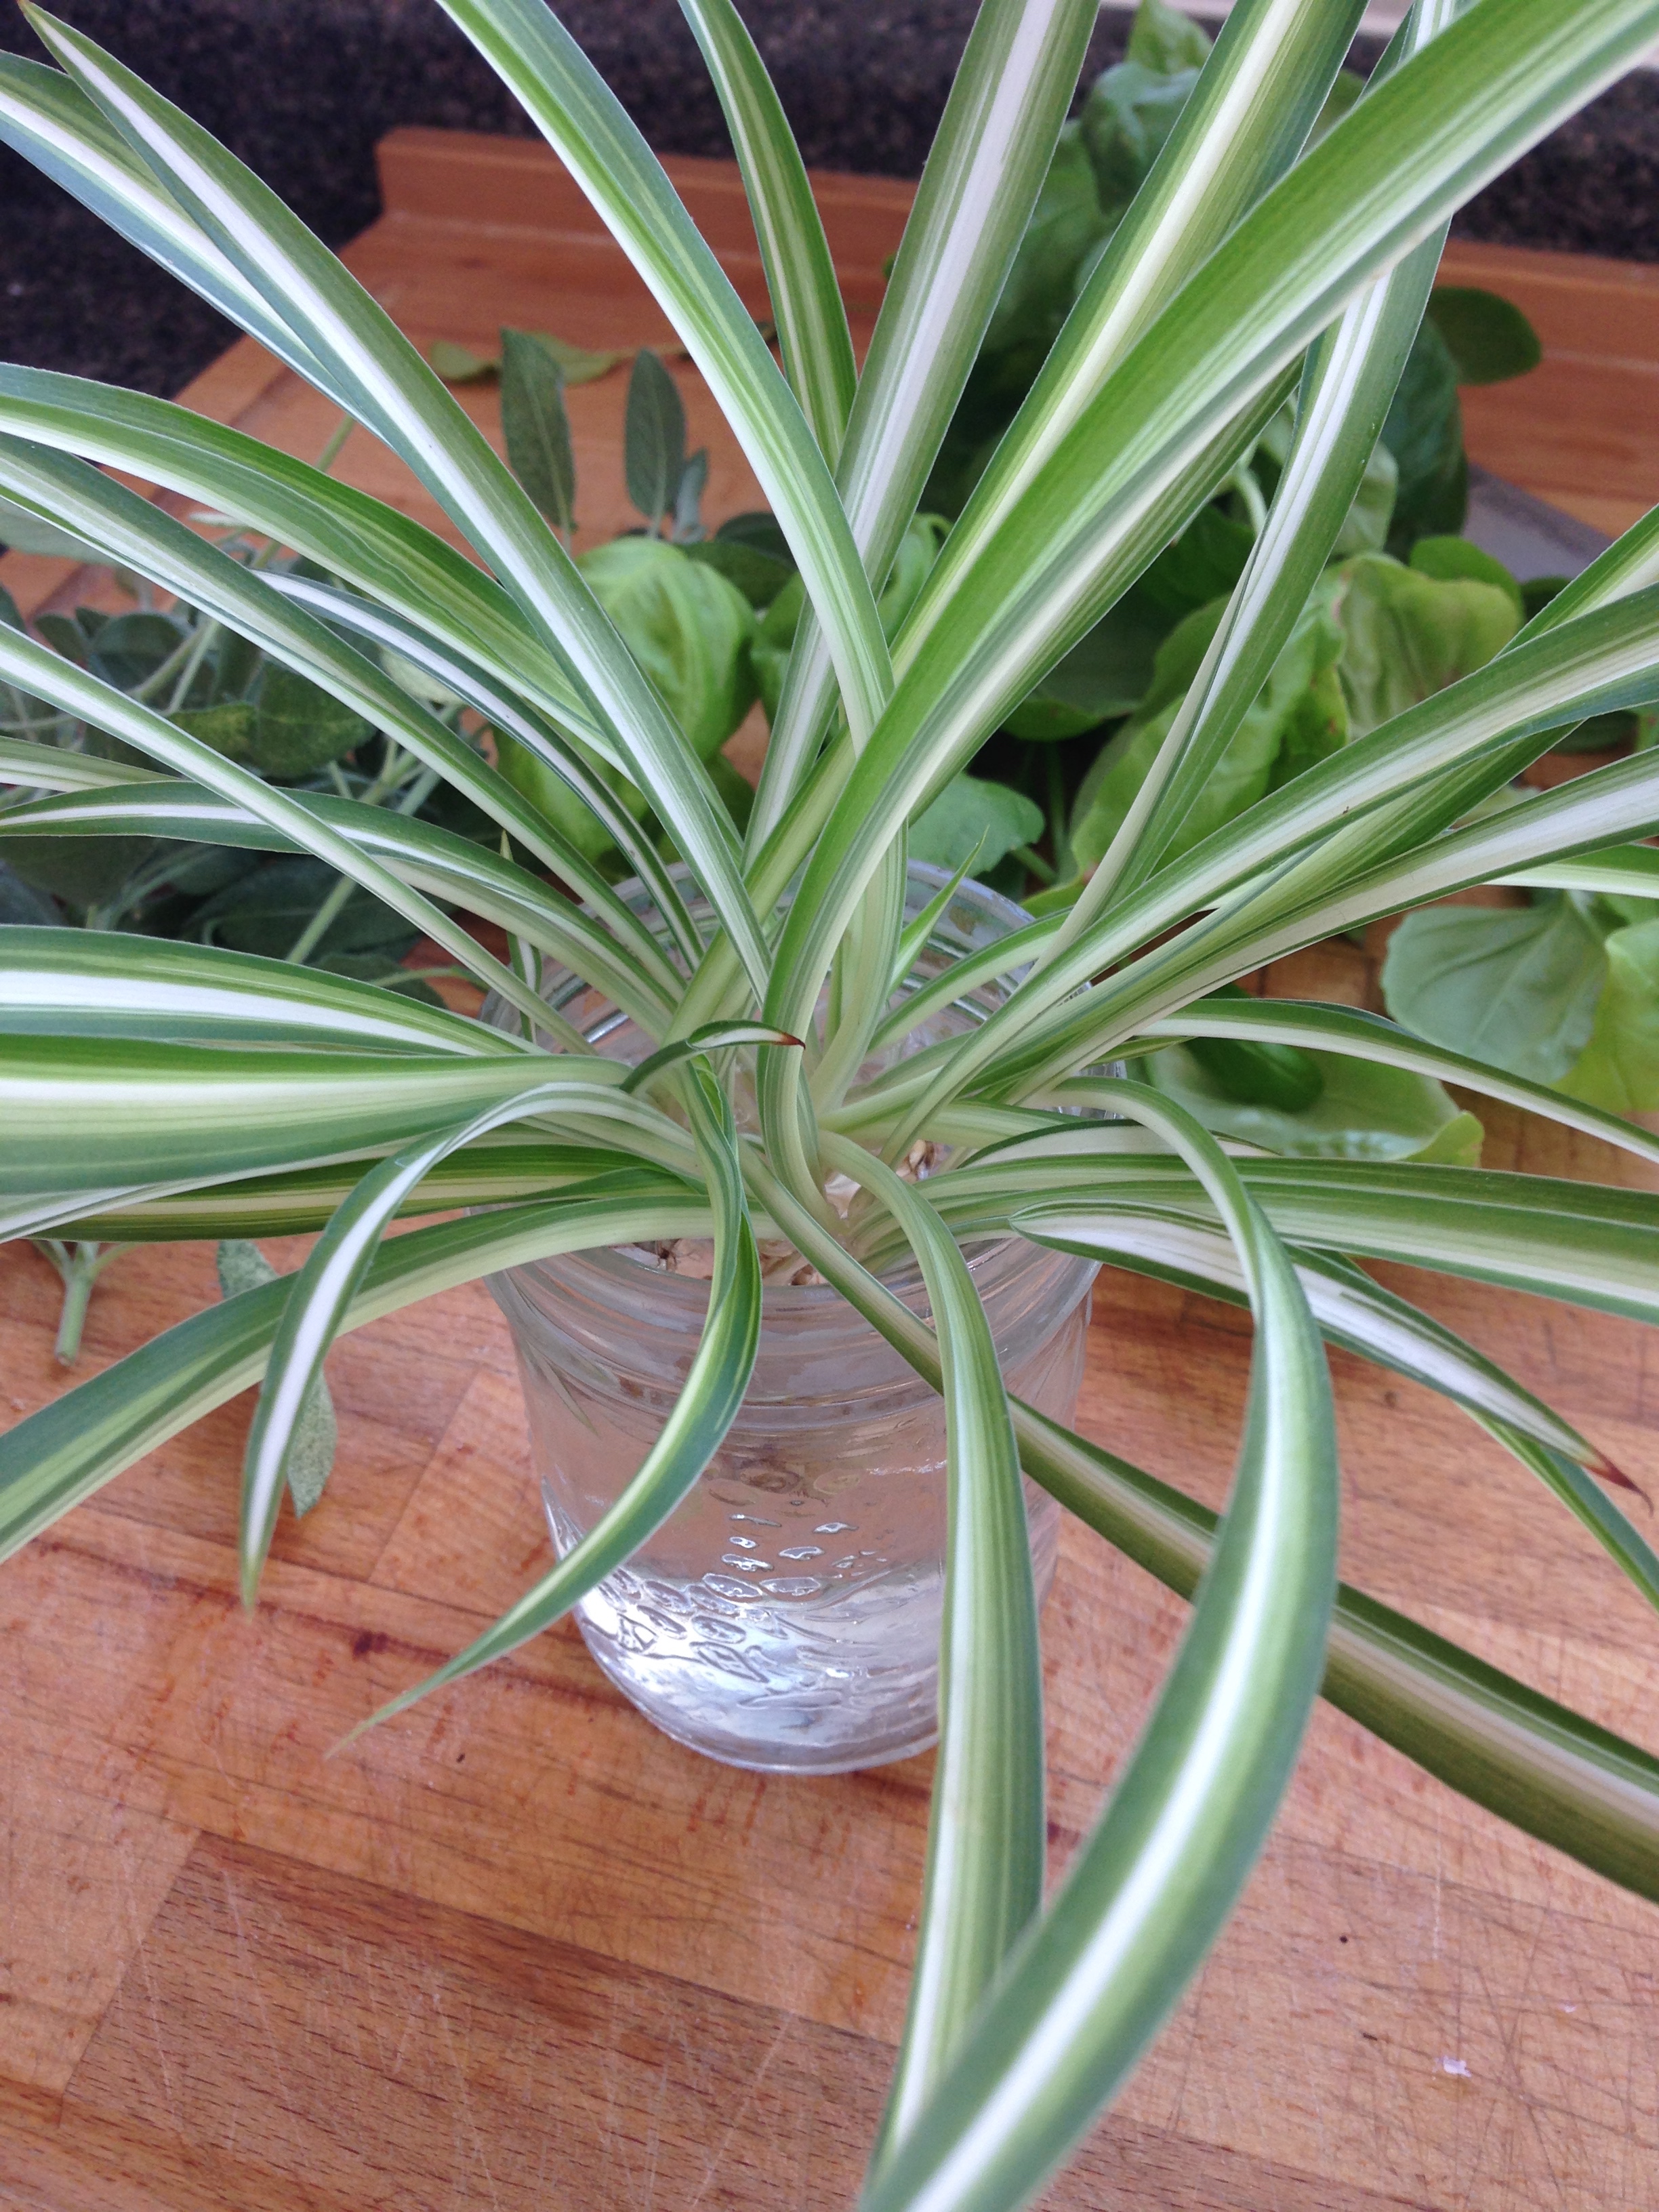
I had two of these tendrils growing off my spider plant earlier this year. They grew two sets of babies each before I finally gave in and decided to deal with them. (Normally I cut off these tendrils so that my plant will focus on growing itself, instead of babies. But I got preoccupied so I had let them be.) 

See this Instagram video by @thehalfassedhobbyist * 10 likes

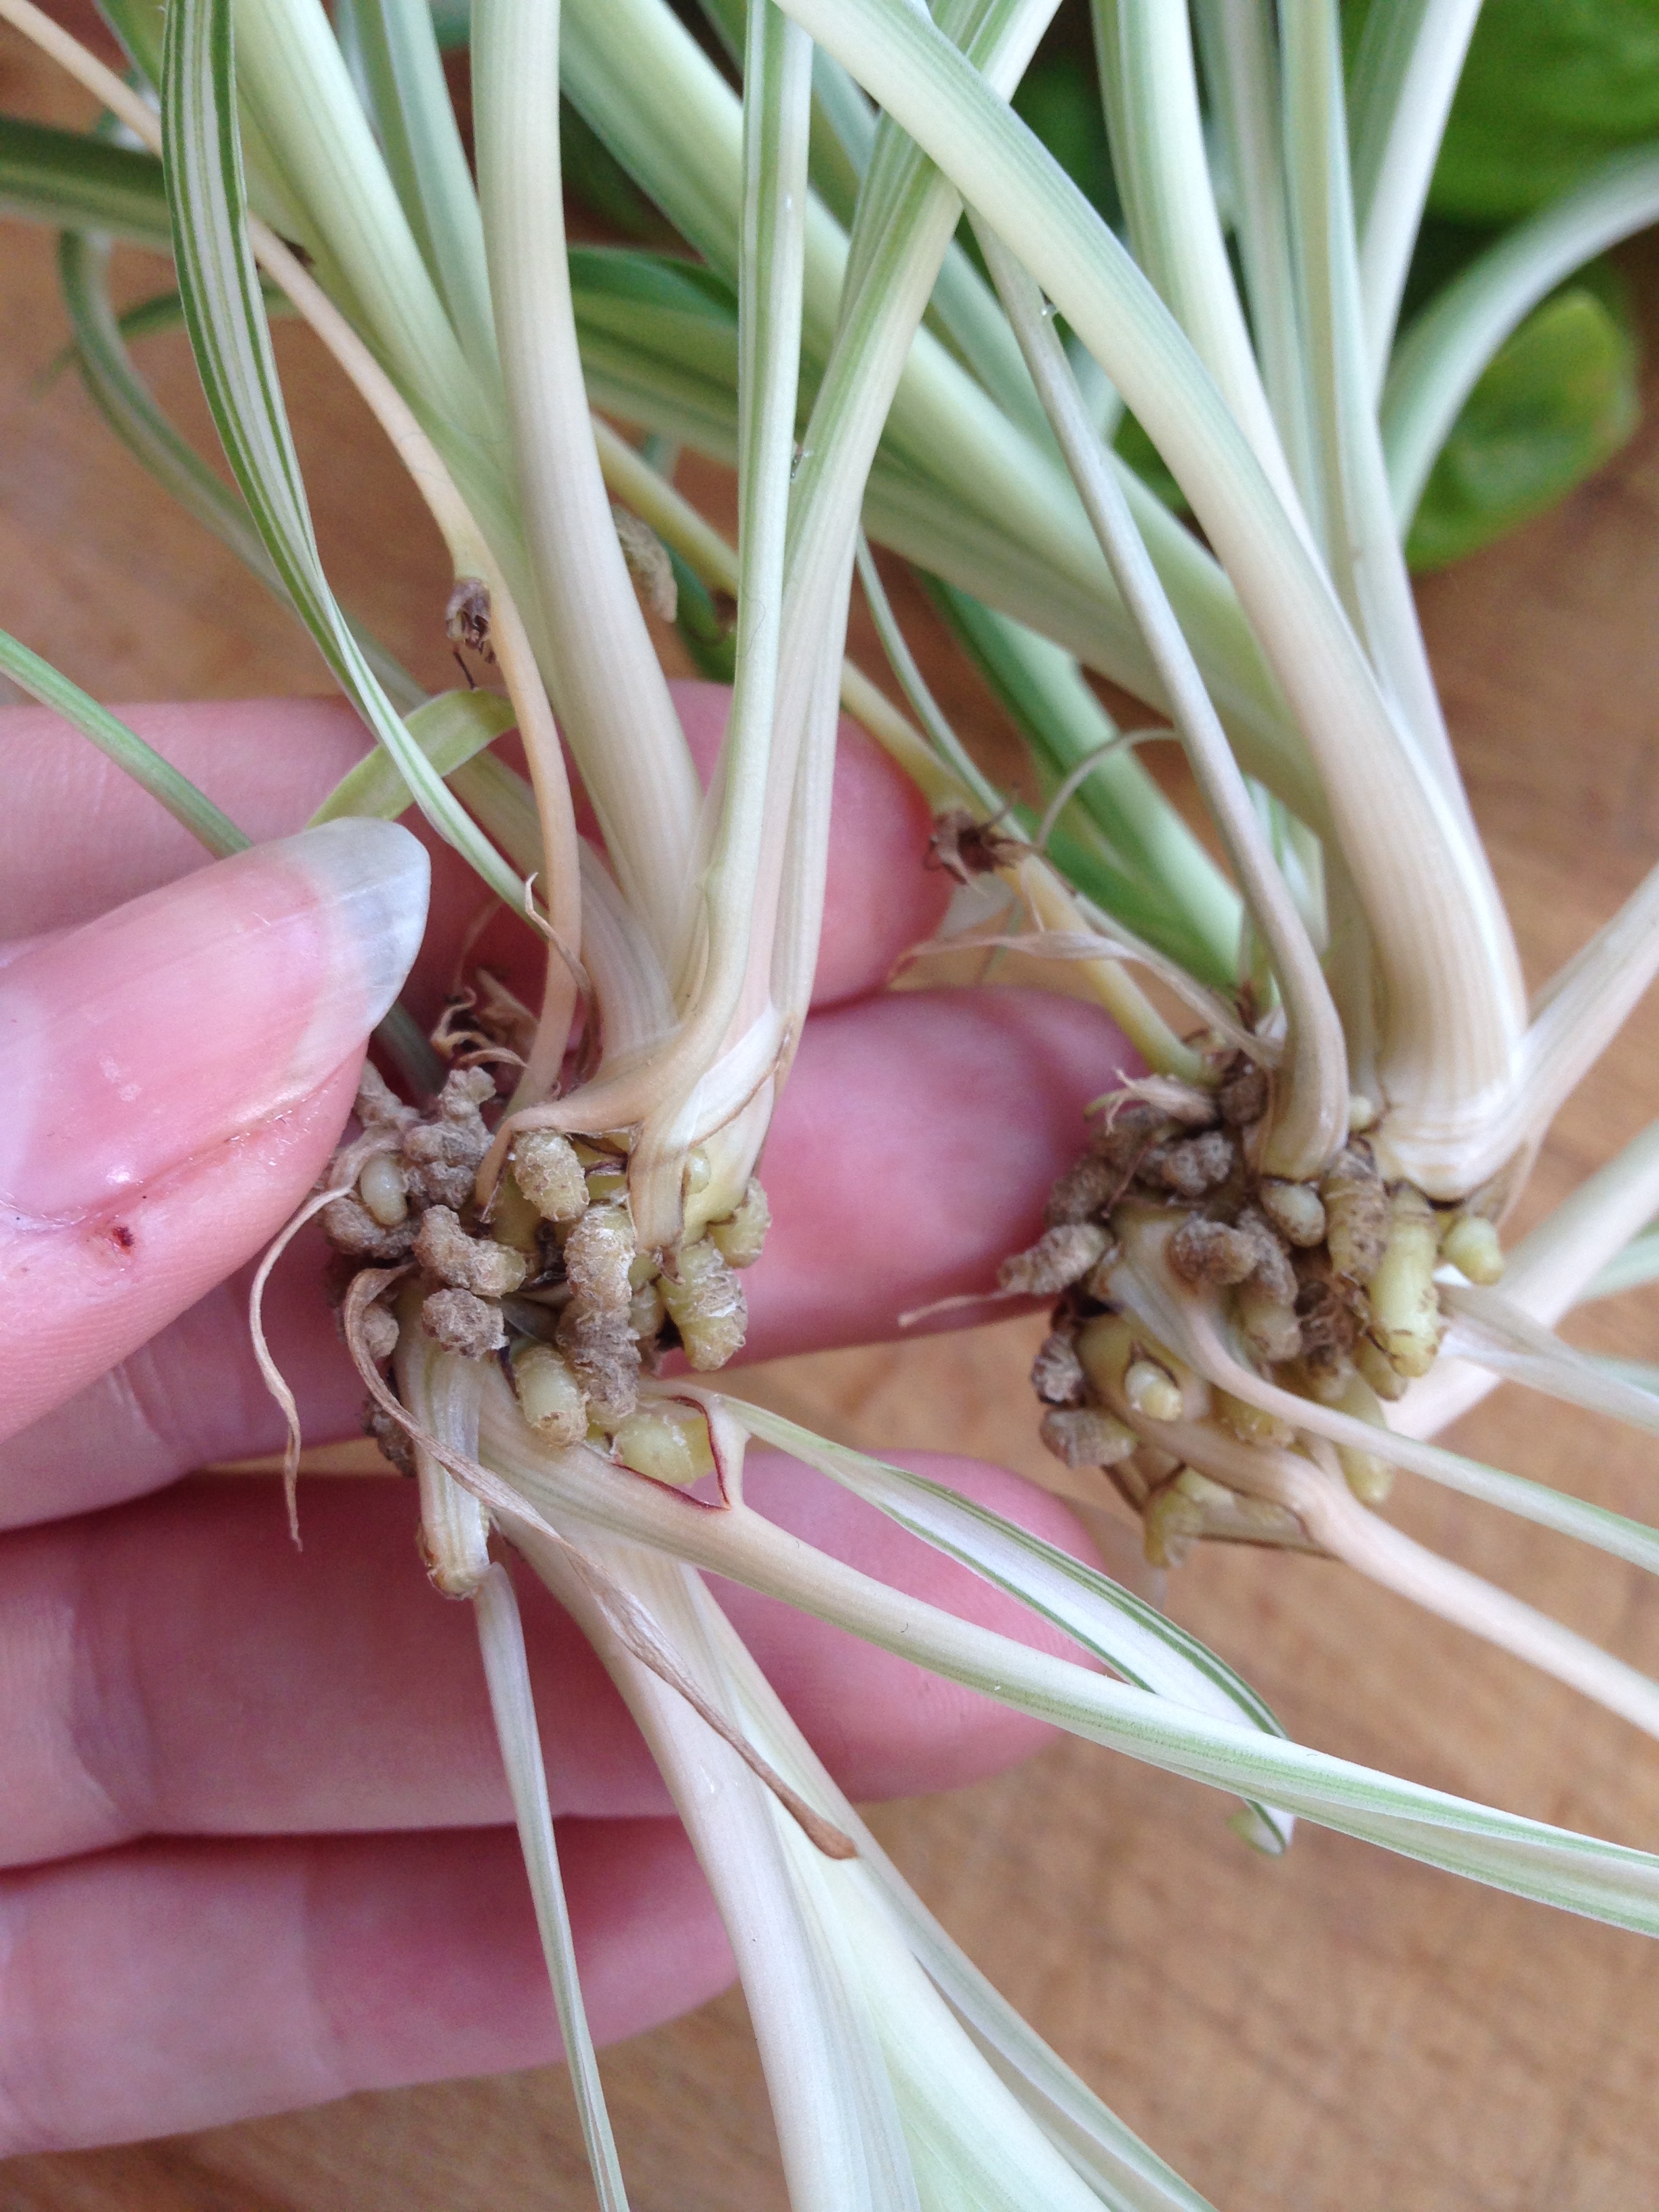
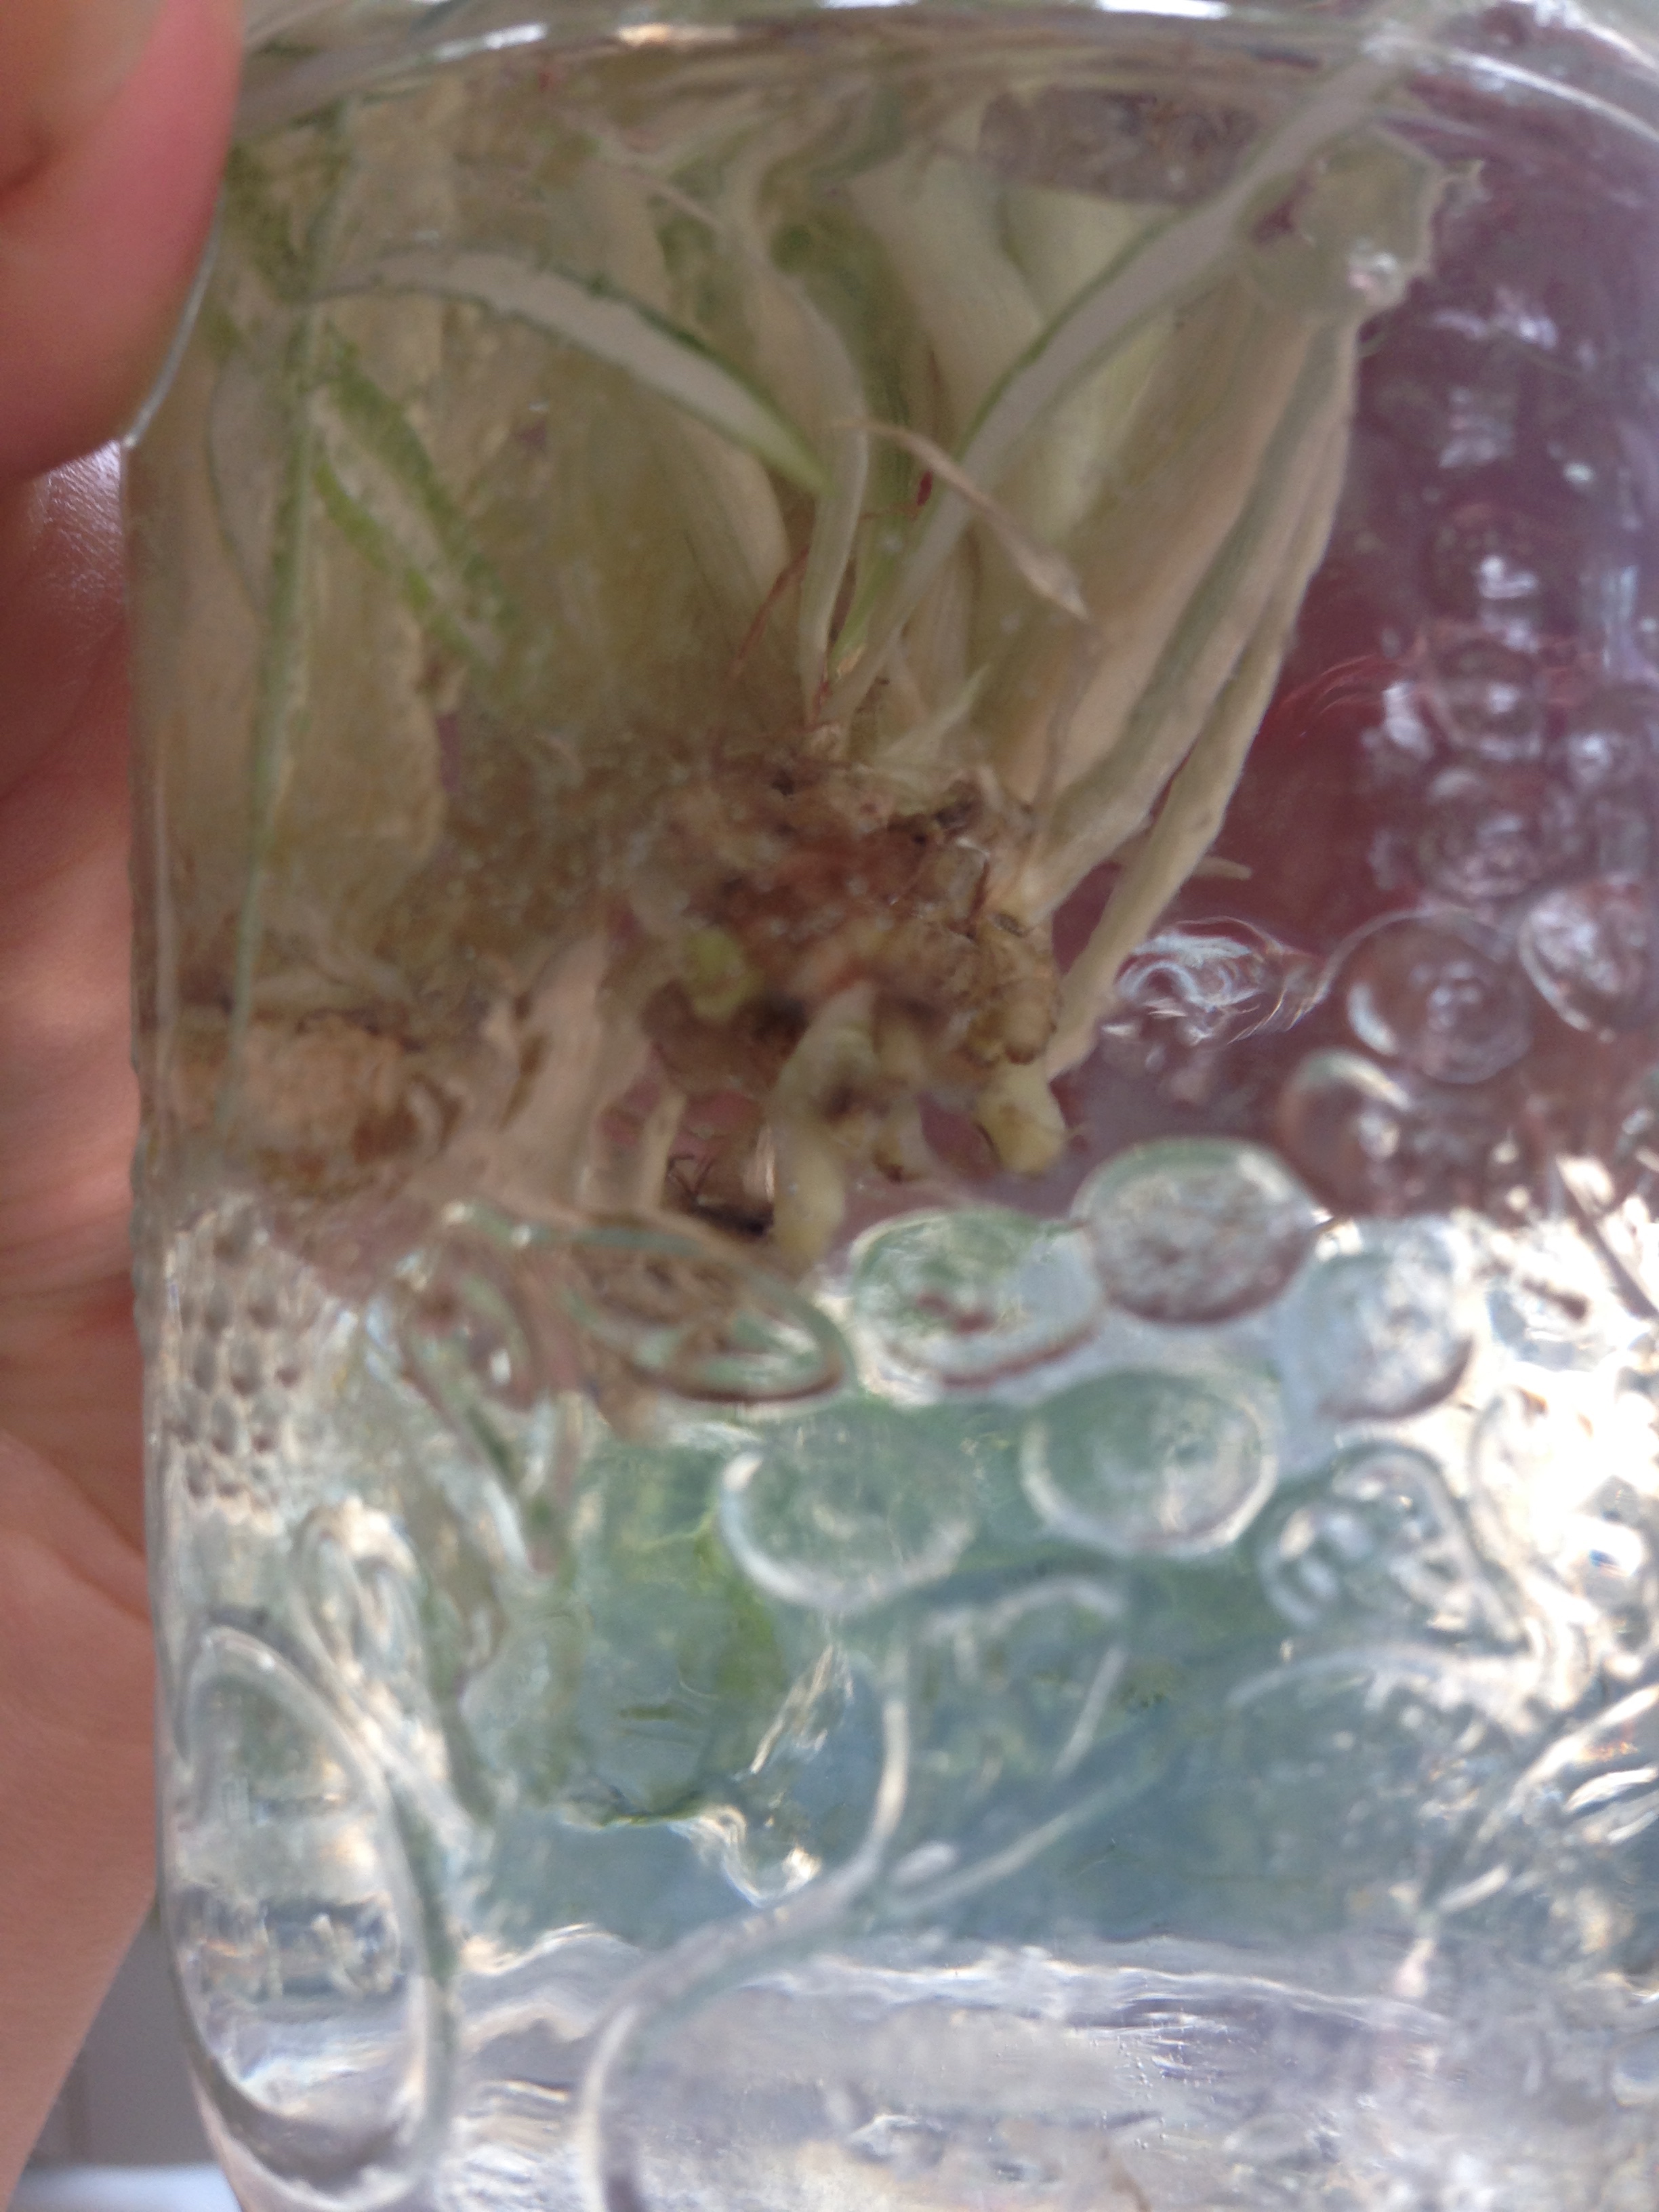
My little plant babies however had spent a lot of time growing and there were in fact two separate plantlings on each of the two tendrils. I thought about cutting them apart but decided perhaps they would break apart of their own accord if I gave them a little force to contend with. Turns out this was the right choice as the both easily separated with a little persuasion. Then it was into a little jar with some water to propagate some roots. 

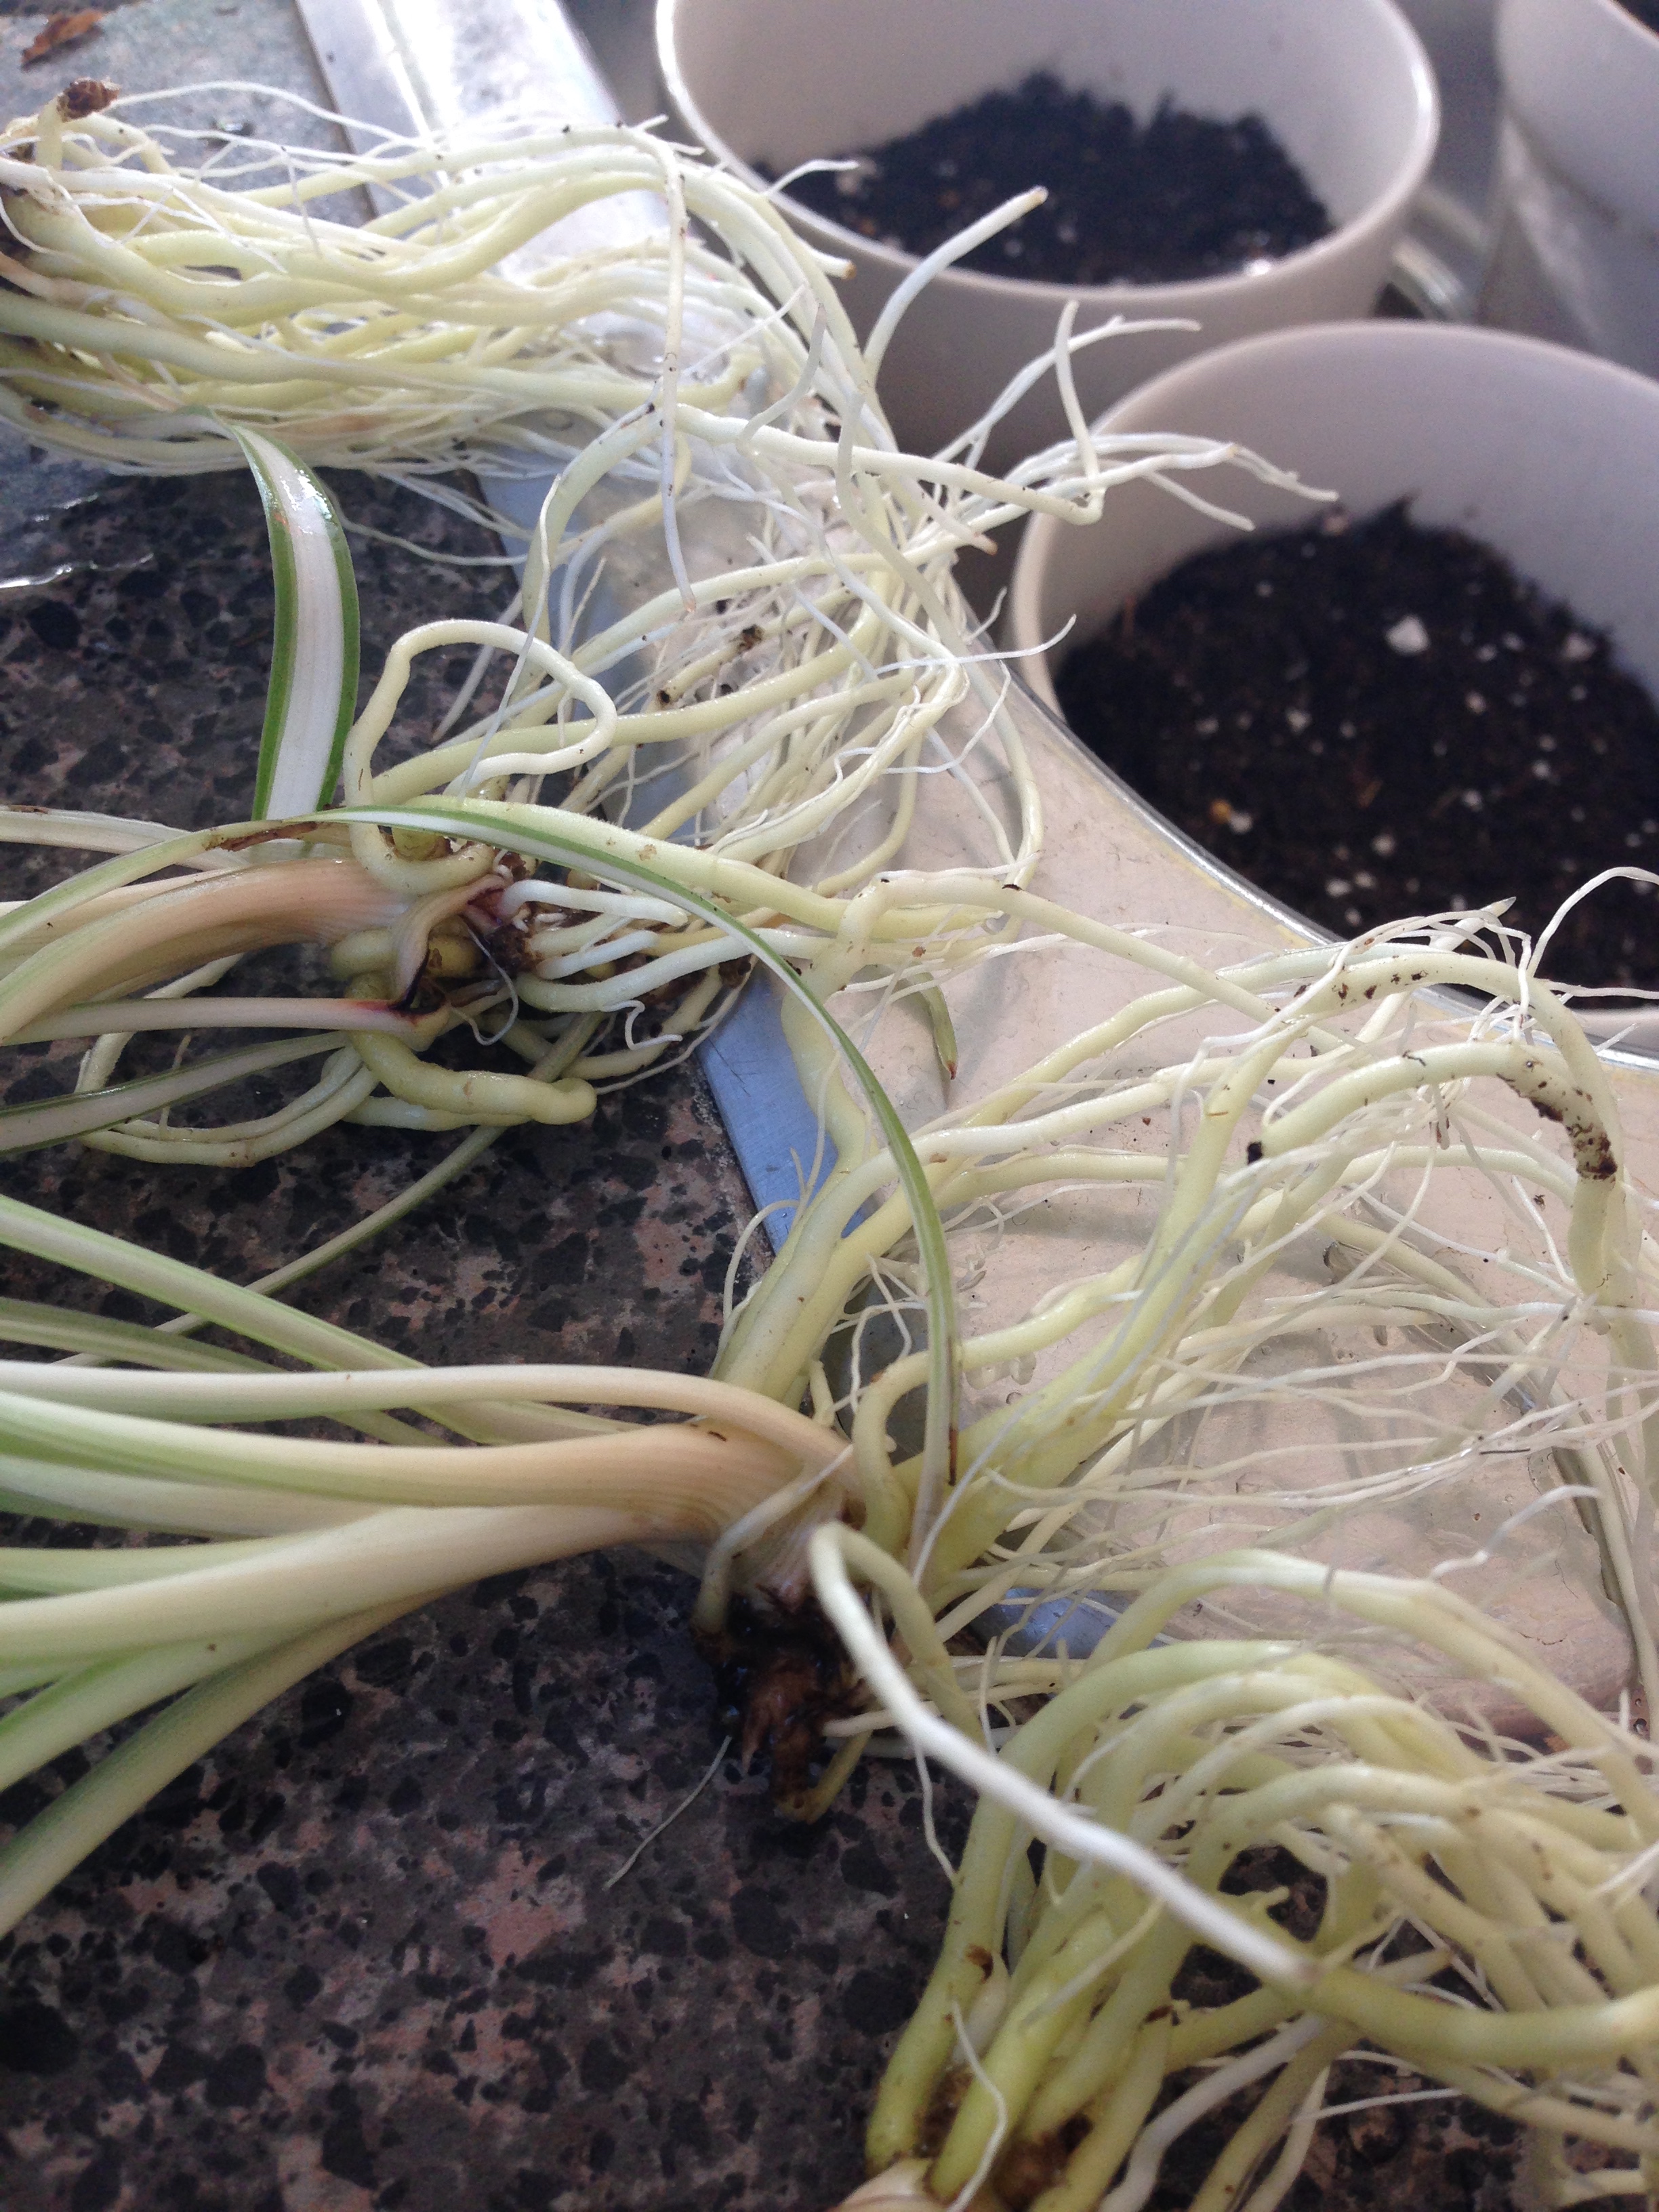
It really should have only taken 2 weeks, but I left my little rootlings in that jar for about a month. Their root systems got all big and ready to plant. 

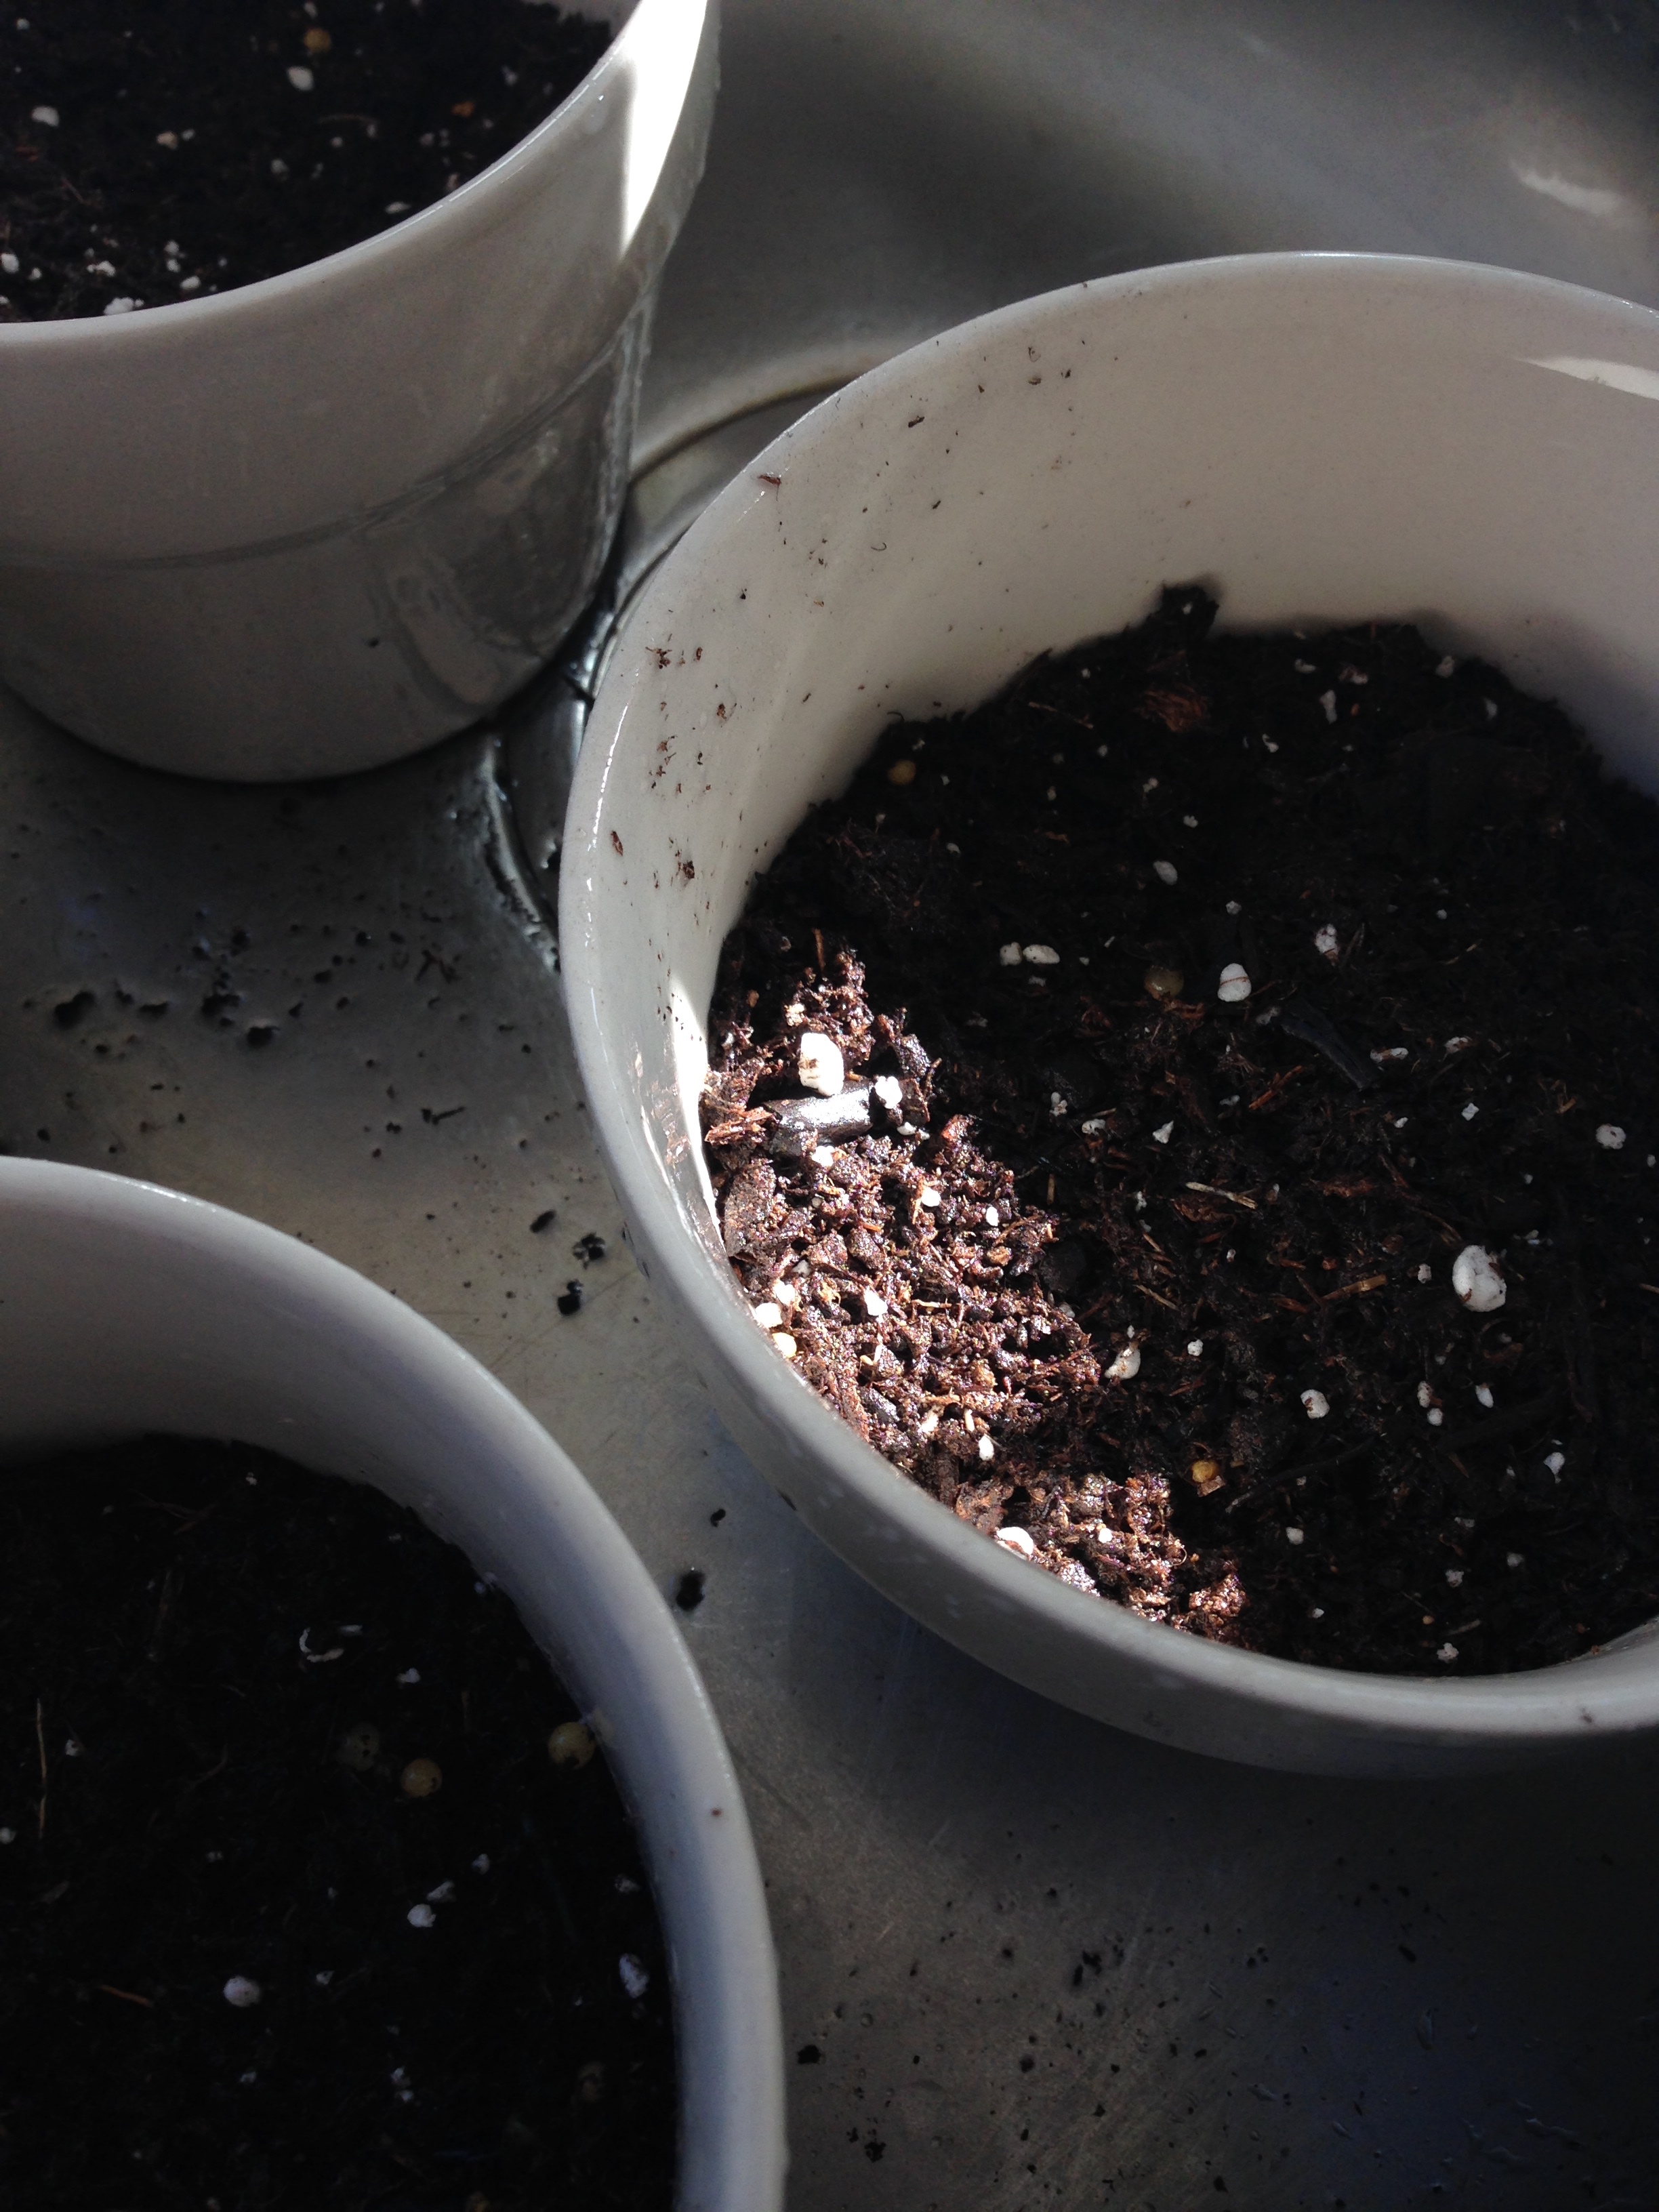
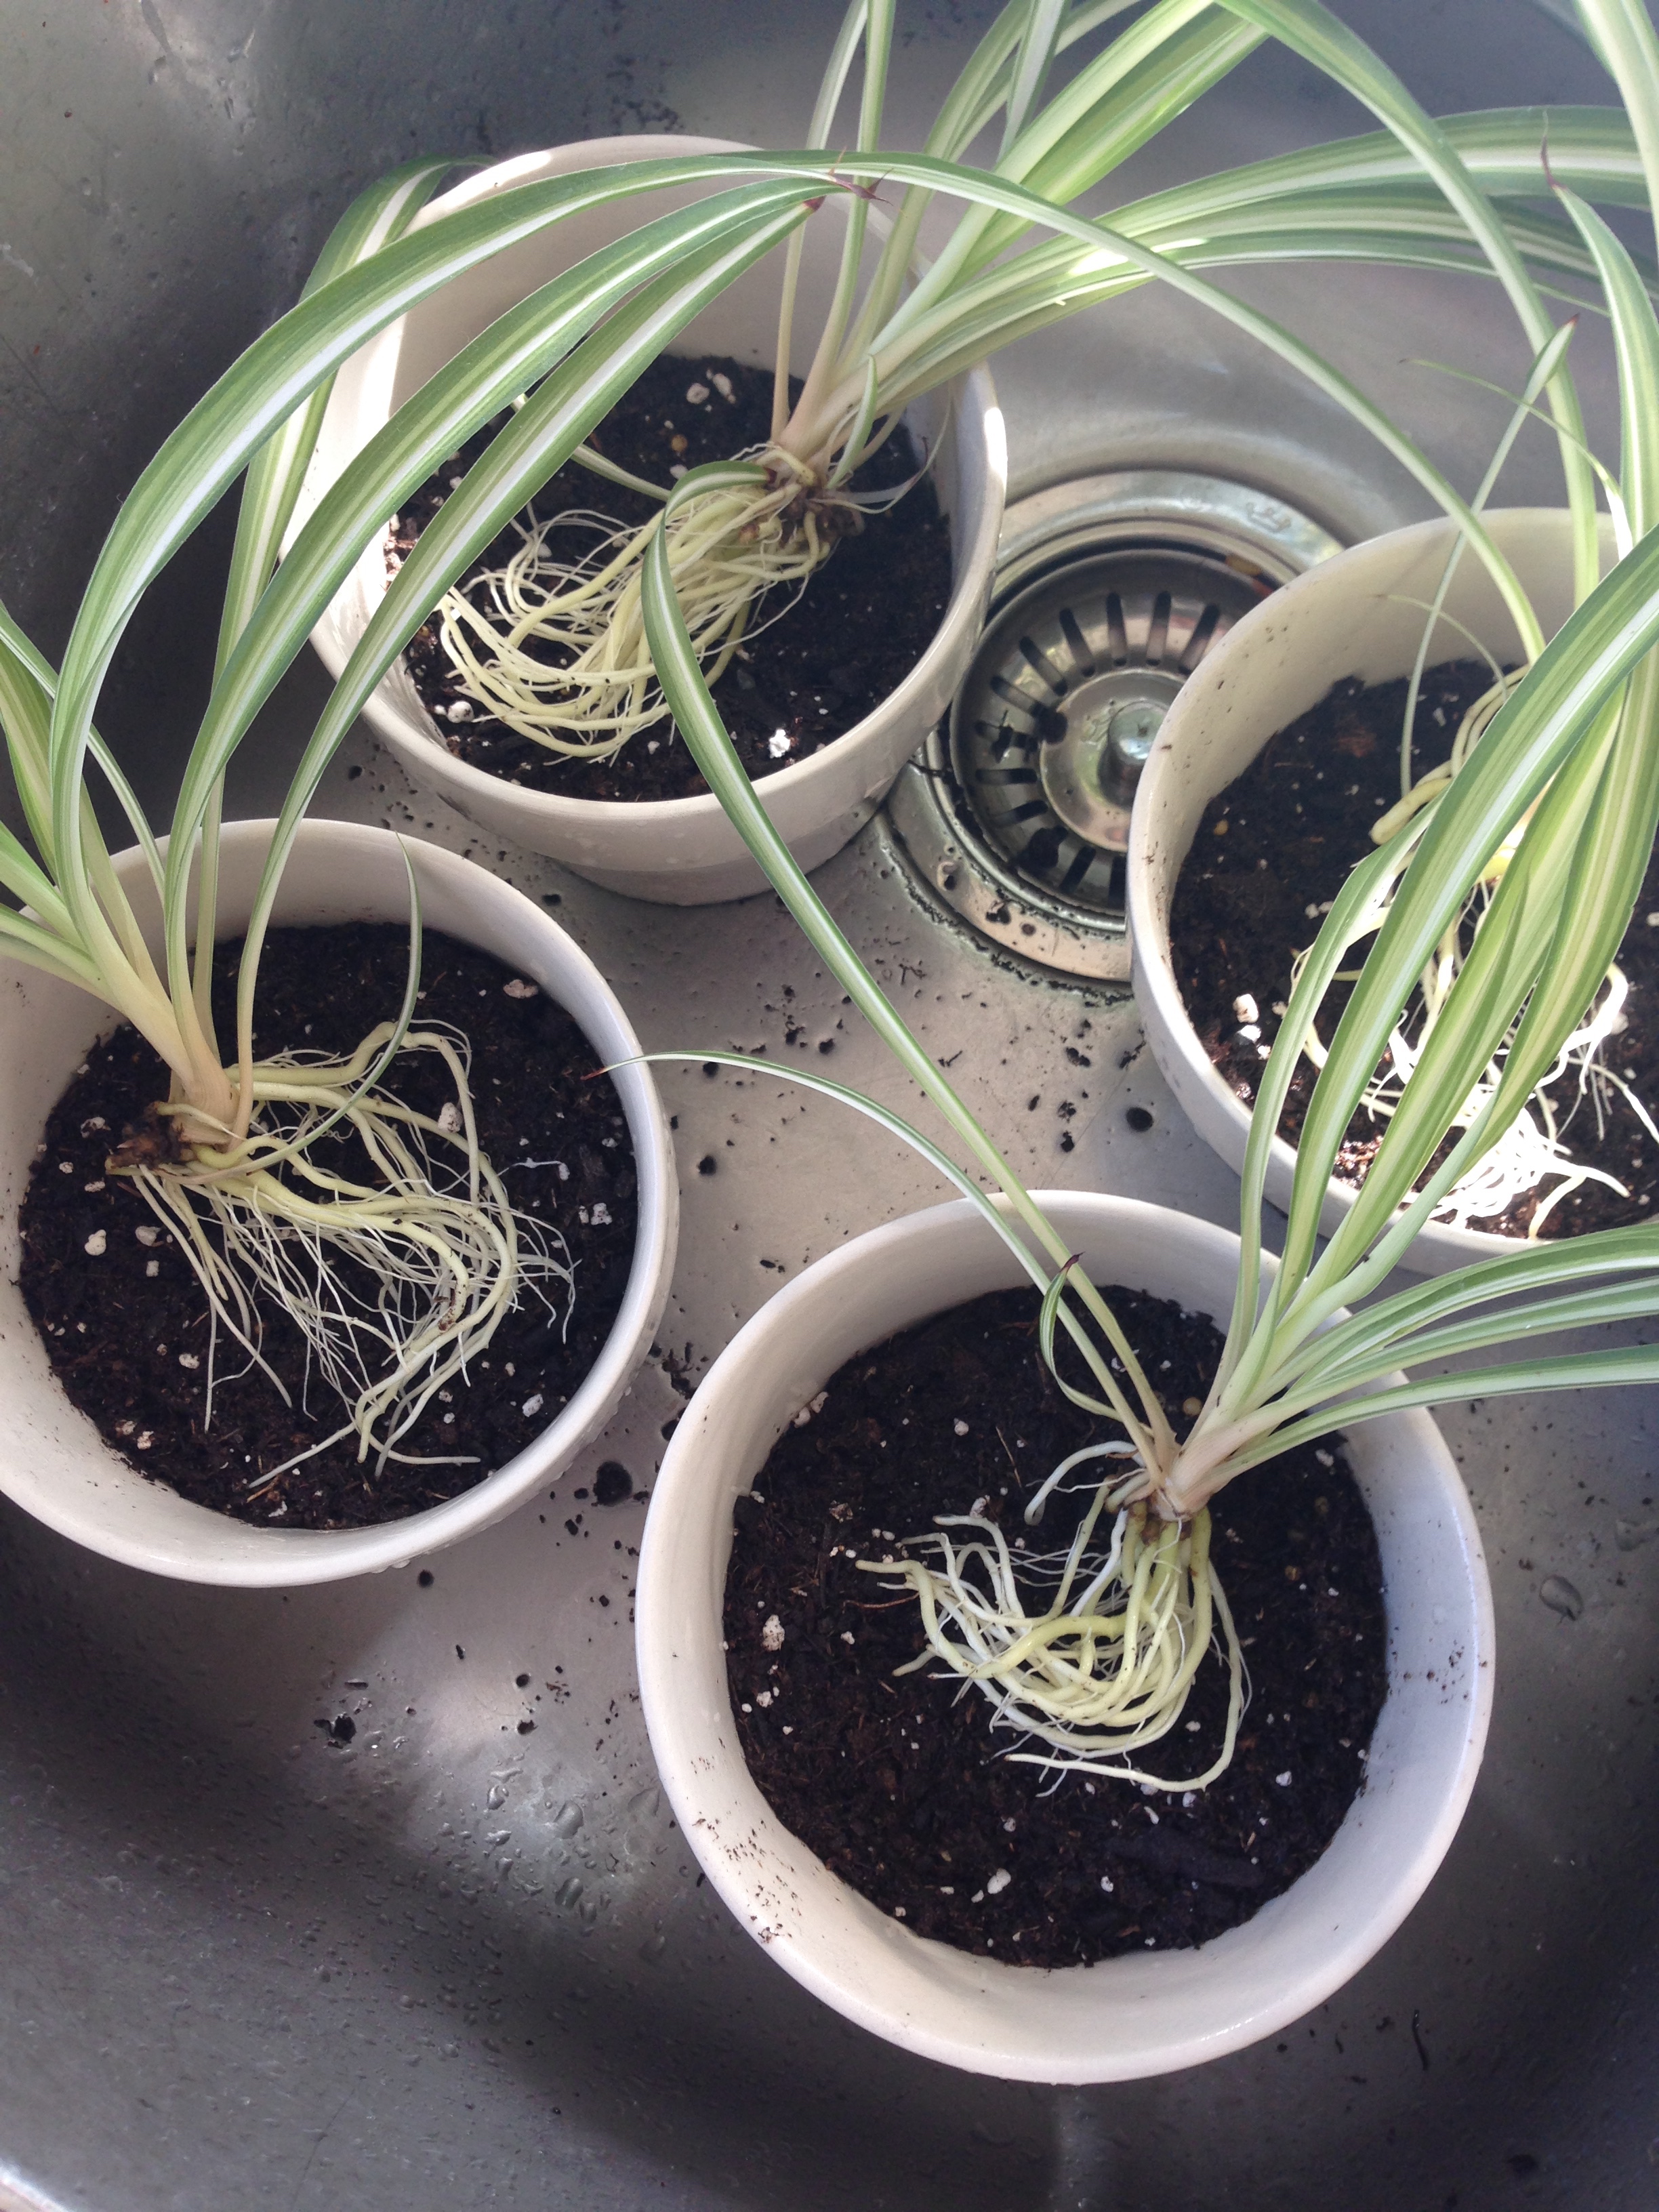
Now it was just a case of finding some lovely (and cheap) pots from IKEA, filling the bottom with rocks (to keep excess water out of the soil) and filling the rest with potting soil. One day I'll have a back yard to do this, but till then, the kitchen sink can be half garden centre as well. 

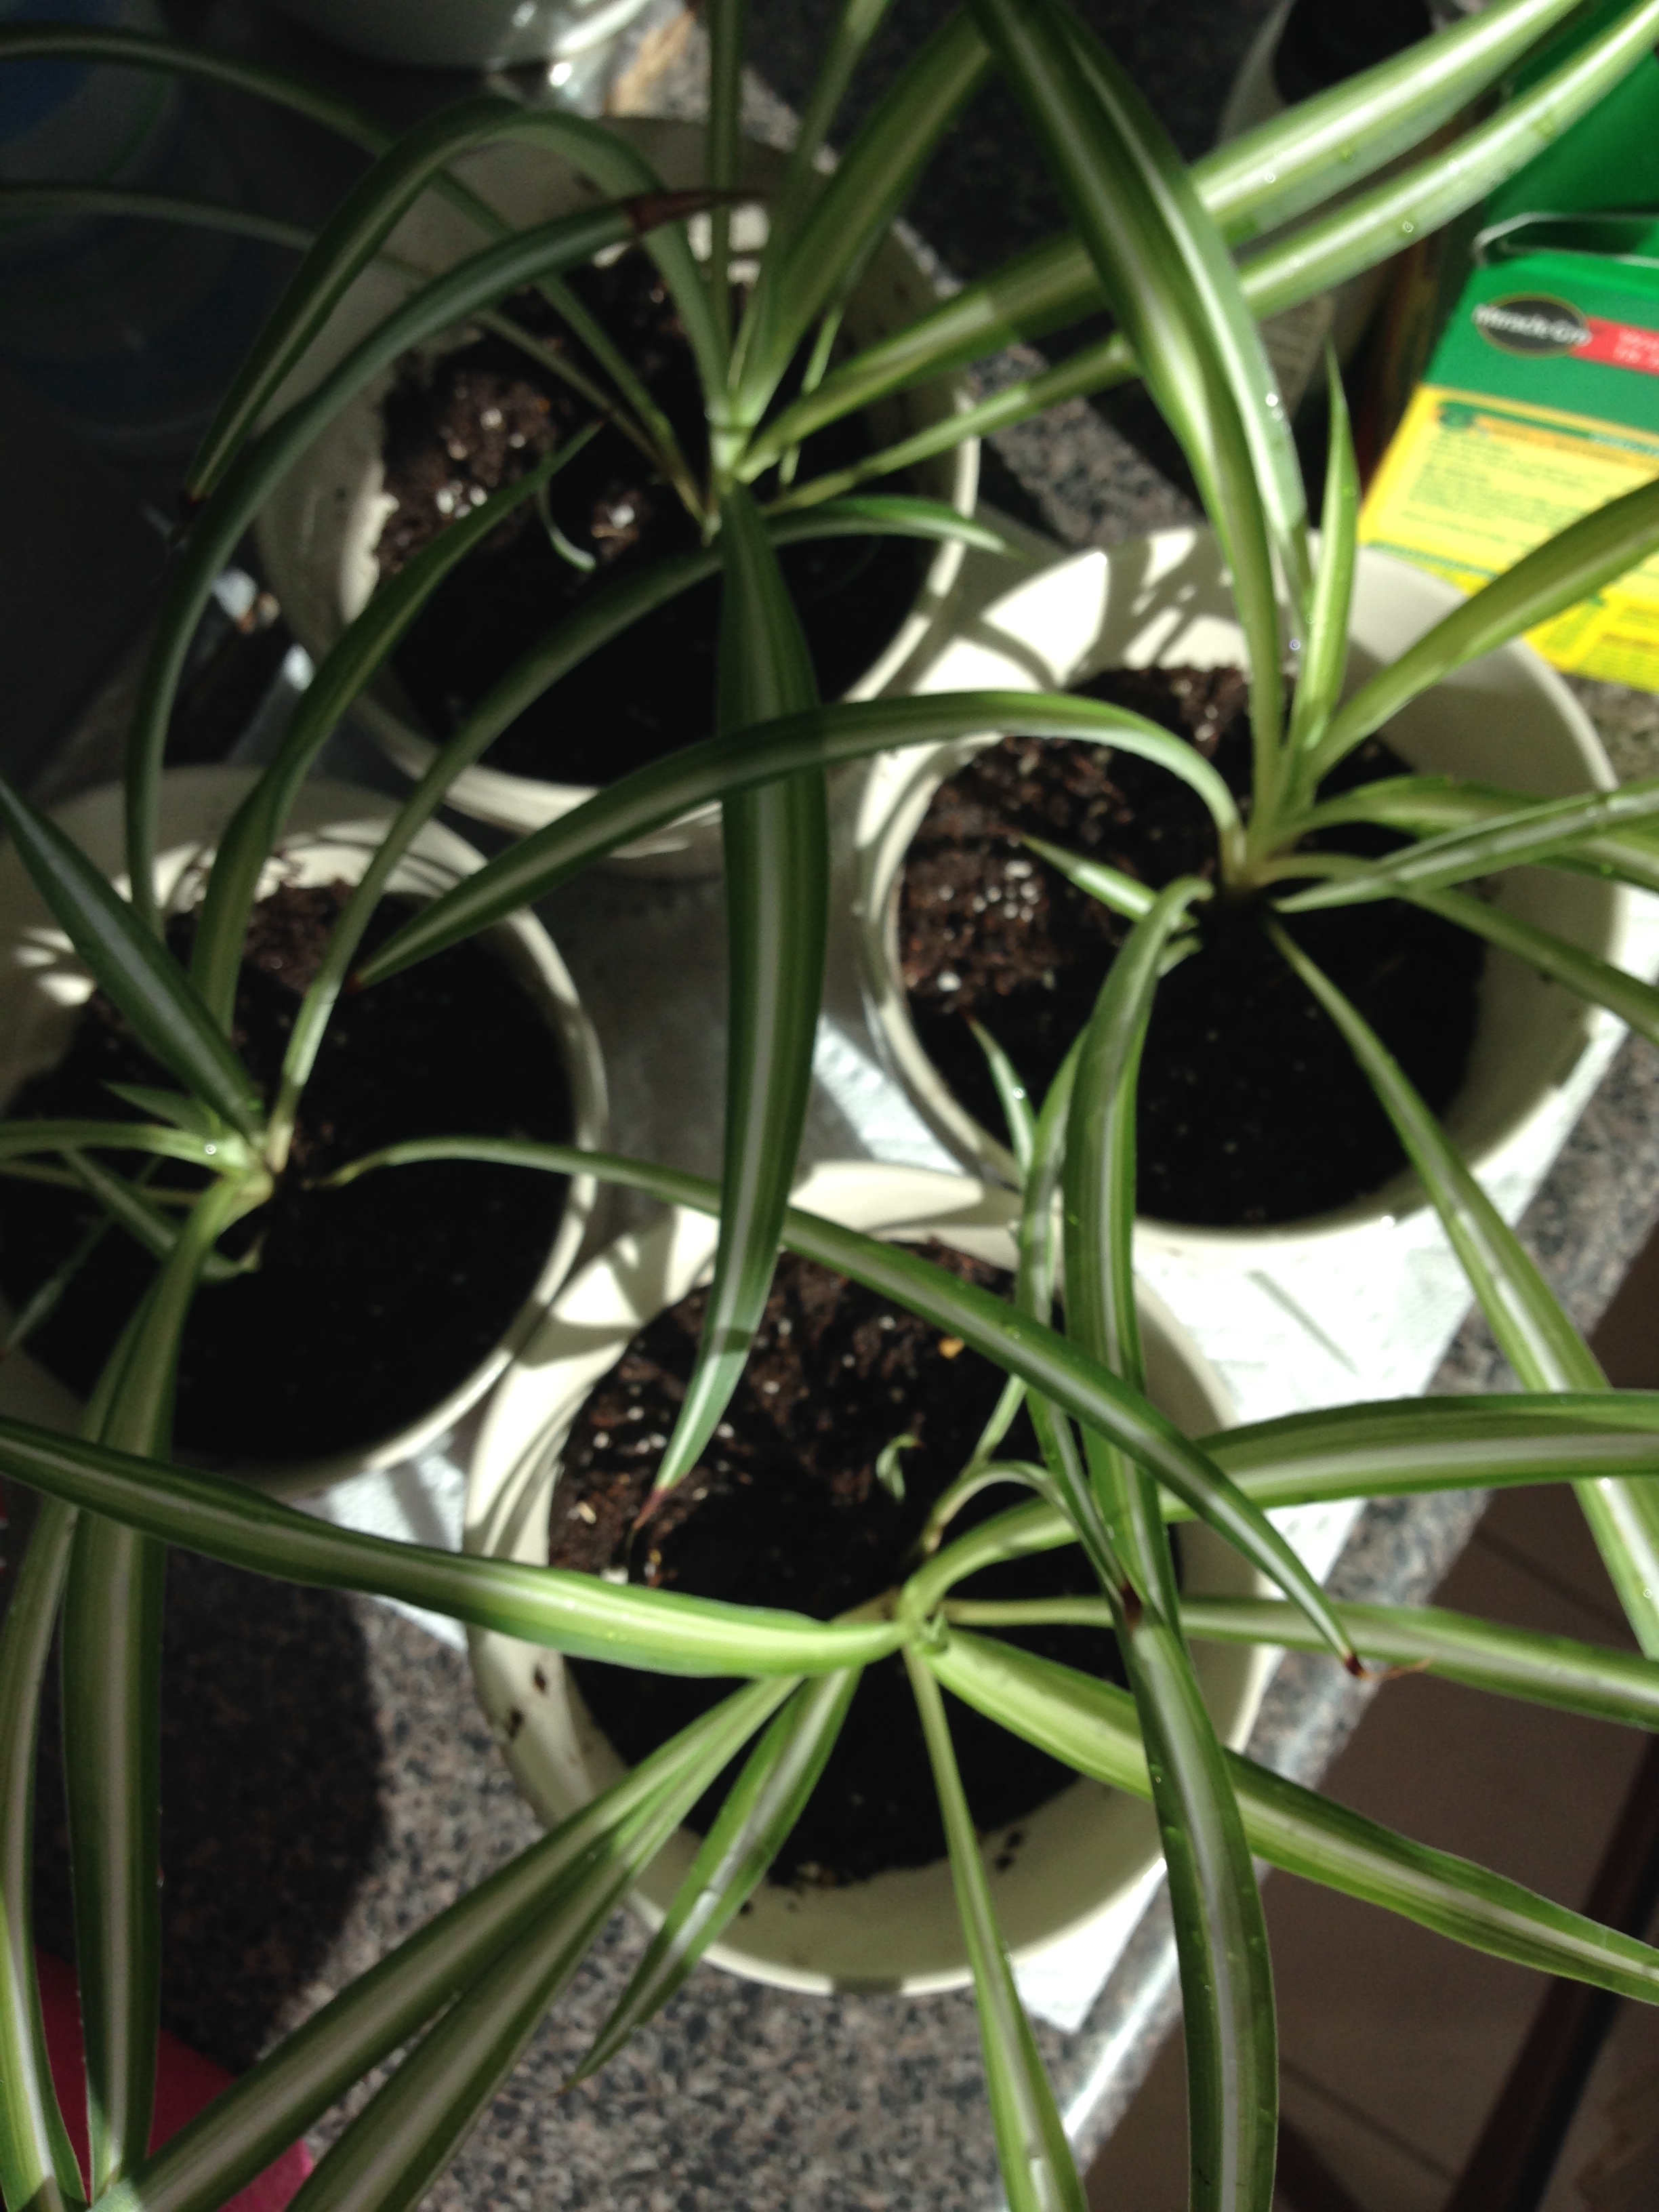
My little babies seem pretty pleased. Now to find new homes for them =) <3 (And wait for more! Haha.)

ย 

-Andrea

The Half-Assed Hobbyist 
How Does Your Garden Grow?

My babies are out and about now! Well not about. But still outside in the lovely sunshine!

I was asked by a fellow friendly what containers I use for my plant babies so I'm going to write up the "How-Tos" of getting started balcony gardening! (Keep note... Despite any greenthumb-ed luck, I've only been doing this for a couple years. Still learning myself!)

Really, for the most rudamentary balcony garden you need three things: Sun, Soil and Plants. Sounds super easy, and after some planning, it can be. But first I recommend putting the thought into what plants you'd actually want and what type of plants fit your sunlight offerings. 

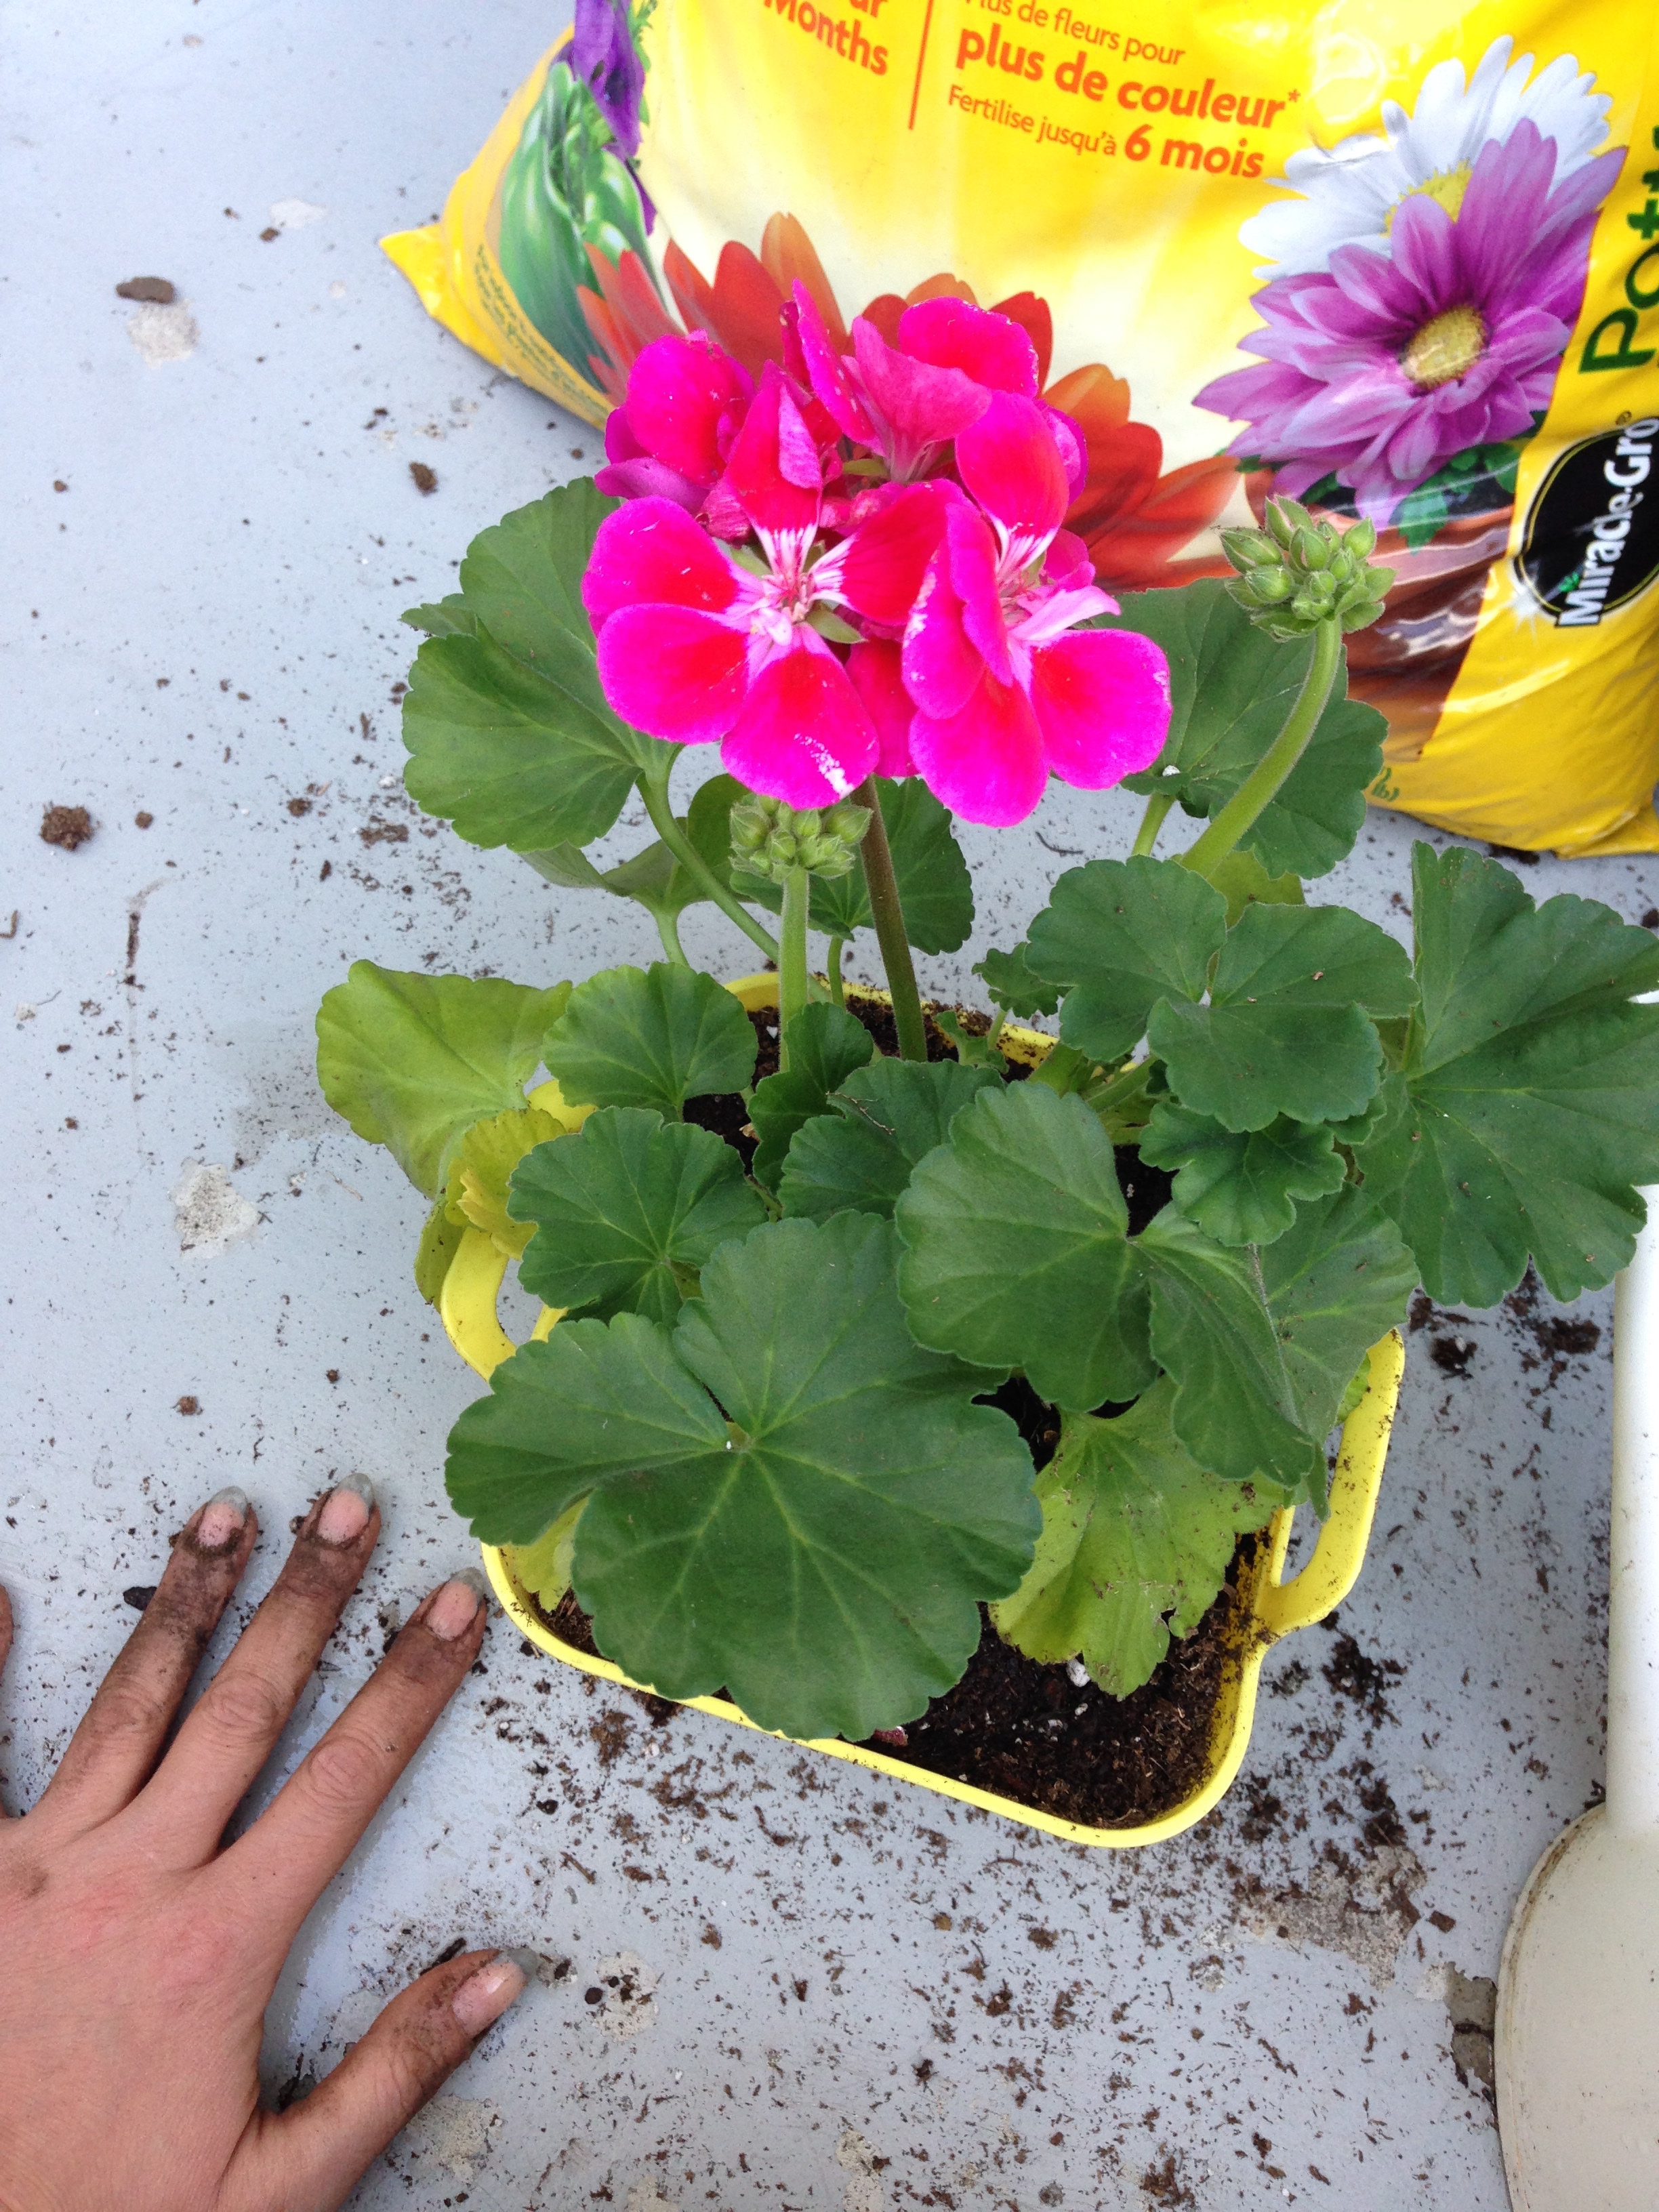
First thing: Sun. Sun, in my opinion, is the most important factor in planting anything. Sunlight, how much and what direction, will most greatly affect the type of plants you pick as well as grow. Most balconies will get usually one direction of guaranteed sun. (Although some corner units will have enough windows that they can get two directions in a day. Lucky!!) To figure out how much sun your balcony gets think about the direction it faces and how sunlight hits it (if any) as the sun traces across the sky. South facing balconies usually get full sun. West and east will get part-sun and north balconies will get little to no sun (maybe in the evenings). Depending on how much actual direct light your balcony gets - for example, you can be south facing but blocked by another building - you can choose from a range of plants that love / super-hate direct sunlight. Whenever you buy plants from the garden centre (or even plant from seed packets) there are little tags that say if that plant likes direct sun or more shade. My personal favs for shade are begonias and impatiens. There are lots of recommendations online for sunny or shady gardens though!

Next Soil. Soil is important in your balcony garden for a rather obvious reason: There is no ground naturally in the sky. This means all dirt has to be chosen and lugged up and filled into containers to feed all the lovely plantlings. There are many many different types of soil. For beginners, I'd recommend a seed starter soil and a general potting soil. The seed starter has 'no' nutrition in it. It's usually made of materials that retain water so that seeds can grow and start to root. I would use seed starter soil for, like the name, seed starting. Although, it can be mixed with other soils to help retain moisture. Potting soil does have nutrition in it. There are three numbers on soil bags: nitrogen, phosphorus and potassium. Different plants will have different requirements but a general potting soil will be a good base for all plants. Later on you can add fertilizers to water to make up for other nutrition requirements. Pretend that plants are like little ground-bound people; Instead of calcium for bone growth they need phosphates for photosynthesis! (More about fertilizers later.)

And last in the trifecta: Plants. As mentioned above, plants differ in many ways (sunlight preference, nutrition requirements, to name a few). But they also differ in use as well. What I mean is, some plants are decorative, some plants produce fruit, and some plants are themselves edible. AKA the difference between having a flower garden to look at, fruit bearing plants (like tomatoes) to can or an herb garden for cooking with or drying. Deciding what you want to grow with the space available is hard, especially if you've never gardened before, so don't fret and think you have to decide on everything before starting. Take a minute to think what you're ready for. I'd recommend starting with flowers or decorative plants first. There are many hardy varieties of flowering plants and foliage for sale at garden centres to build up the confidence and skills to taking care of a bigger or more fussy container garden. Or, if you like the challenge, go for all three! Flowers, fruit bearers and herbs!

Ok. Now that this process seems super daunting let me bring it back to three simple things to remember when starting a balcony garden: 

  1. How much sun does your outdoor space actually get? Full, Part, None?
  2. Where can you get seed starter and potting soil? (And containers! ...Canadian Tire!! =D) 
  3. What kind of plants do you want: Edible or decorative? (Or both!)

There. Not so complicated after all! Next considerations are, of course, how much space you have and how much you want to spend. But baby steps. ;)

IMG_5399.jpg

Now I said I'd talk briefly about fertilizers. I use three different fertilizers for my various plants: a 'all-purpose' house plant fertilizer, a tomato specific formula, and an orchid formula. When I first starting using fertilizers I used Way to much and ended up burning my plants. Bad Andrea. It's Very important to follow the dilution instructions.... don't just fudge it. All fertilizers come with instructions to provide the right amount of nutrients to plants. Check your water can (or cup, if that's how you groove) for volume measures and do the math - cross multiplication - so that the ratio is what is recommended on the fertilizer package. 

After the dilution is correct, its figuring out how often for fertilize. In my experience, for house plants in a growing season (aka sunny out), they can be fertilized every week. In a Not growing season (aka winter where it's dark all the time), once a month. For my outdoor plants, I fertilize them Every Day. Ontario summer is the king of growing seasons and I don't want my plantlings to miss out on a minute of sunshine. I usually water them right in the morning and again in the afternoon, if it's been a particularly hot day (which it usually has been).

I could probably go on and on and on about my plant babies.... But I'll stop for now! =) 

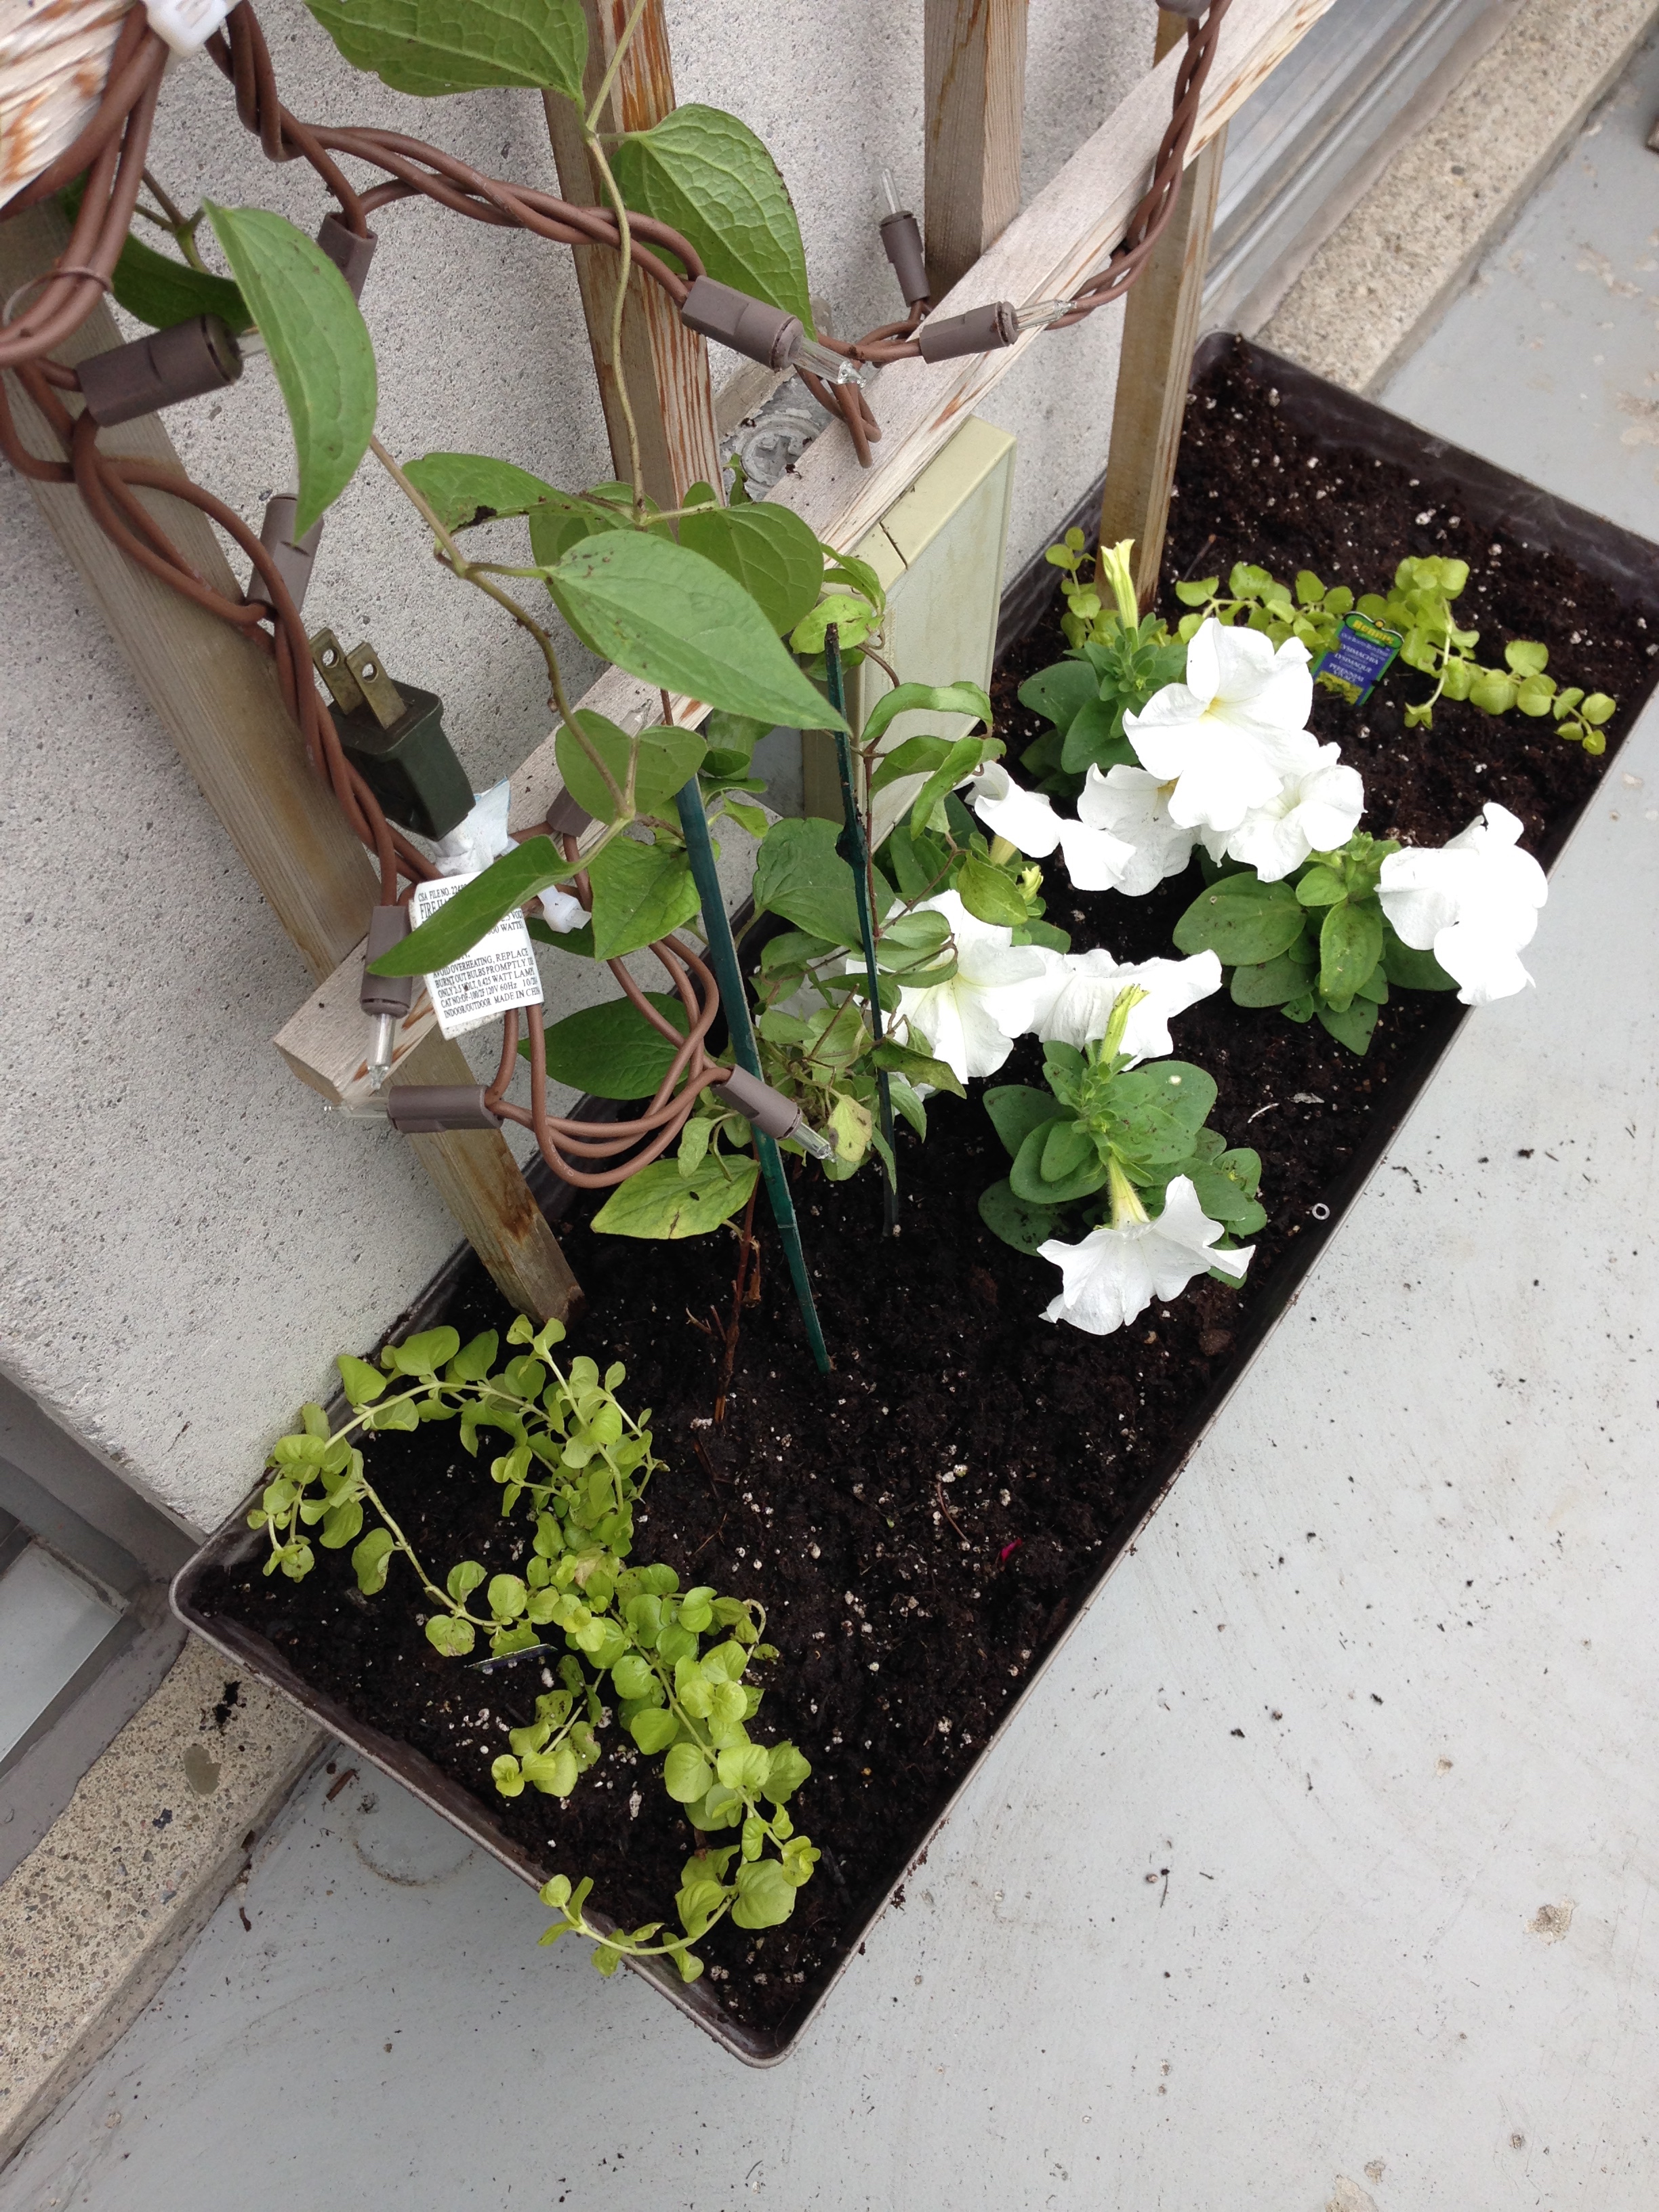
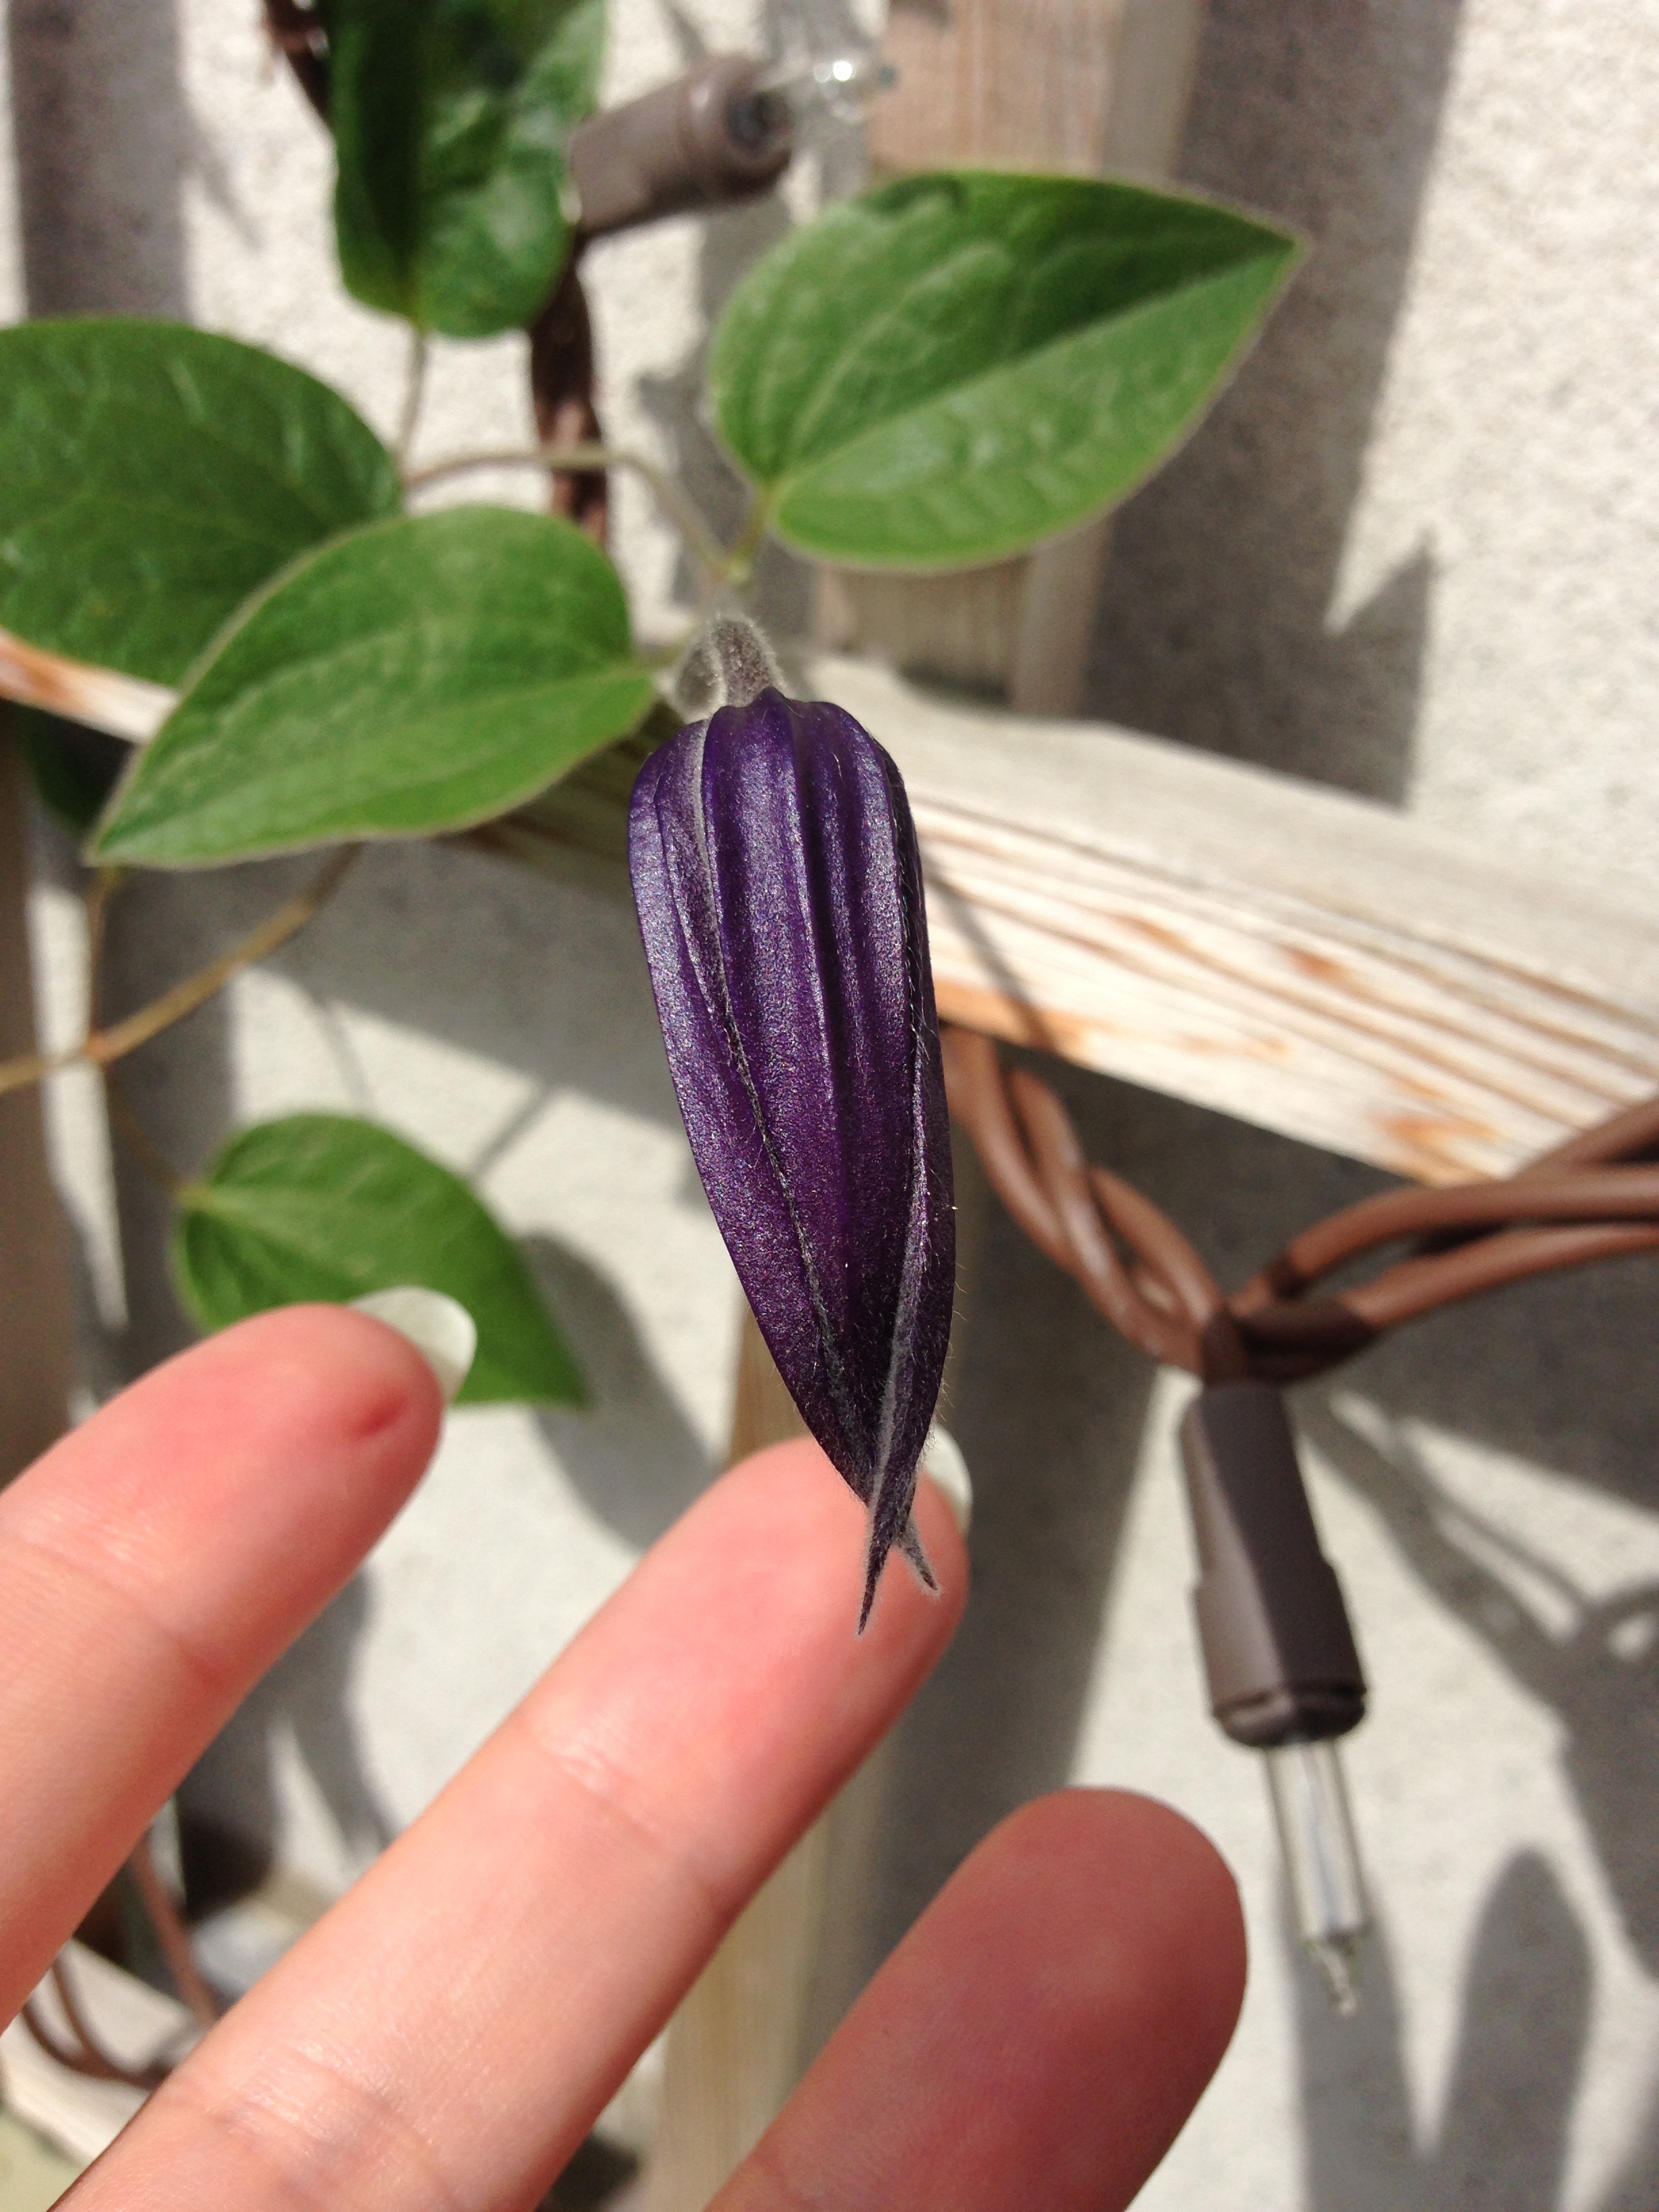
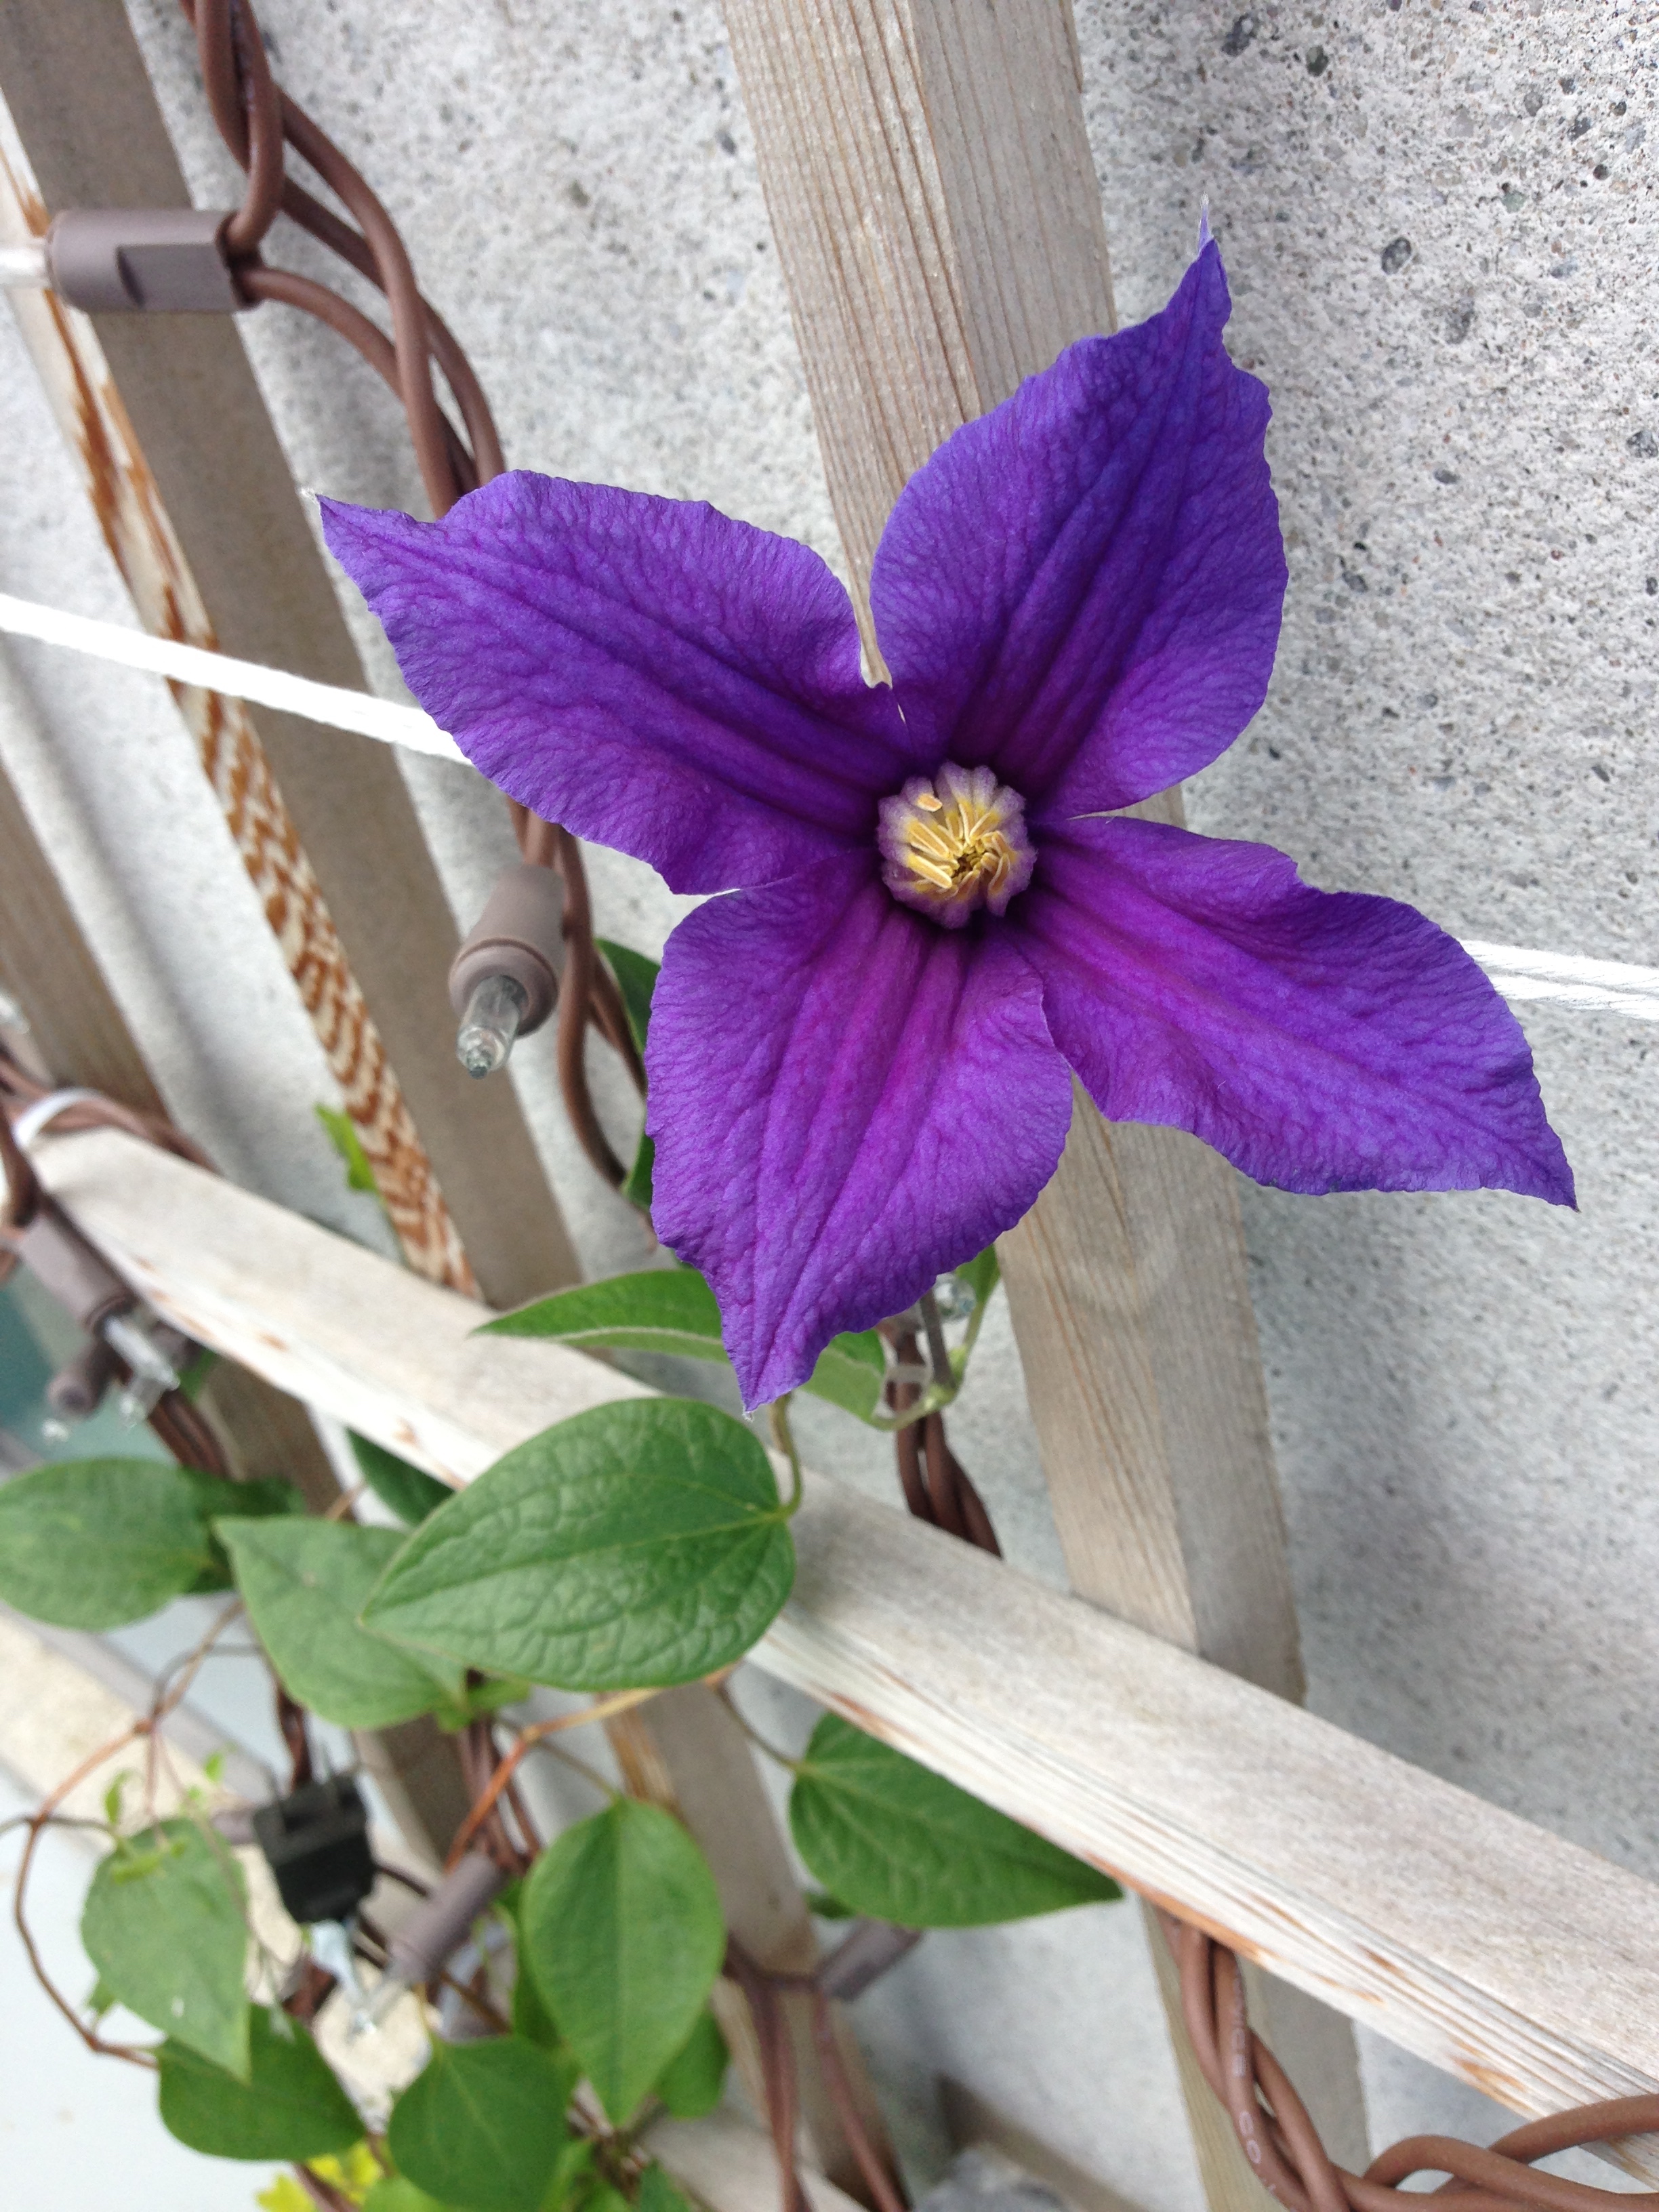
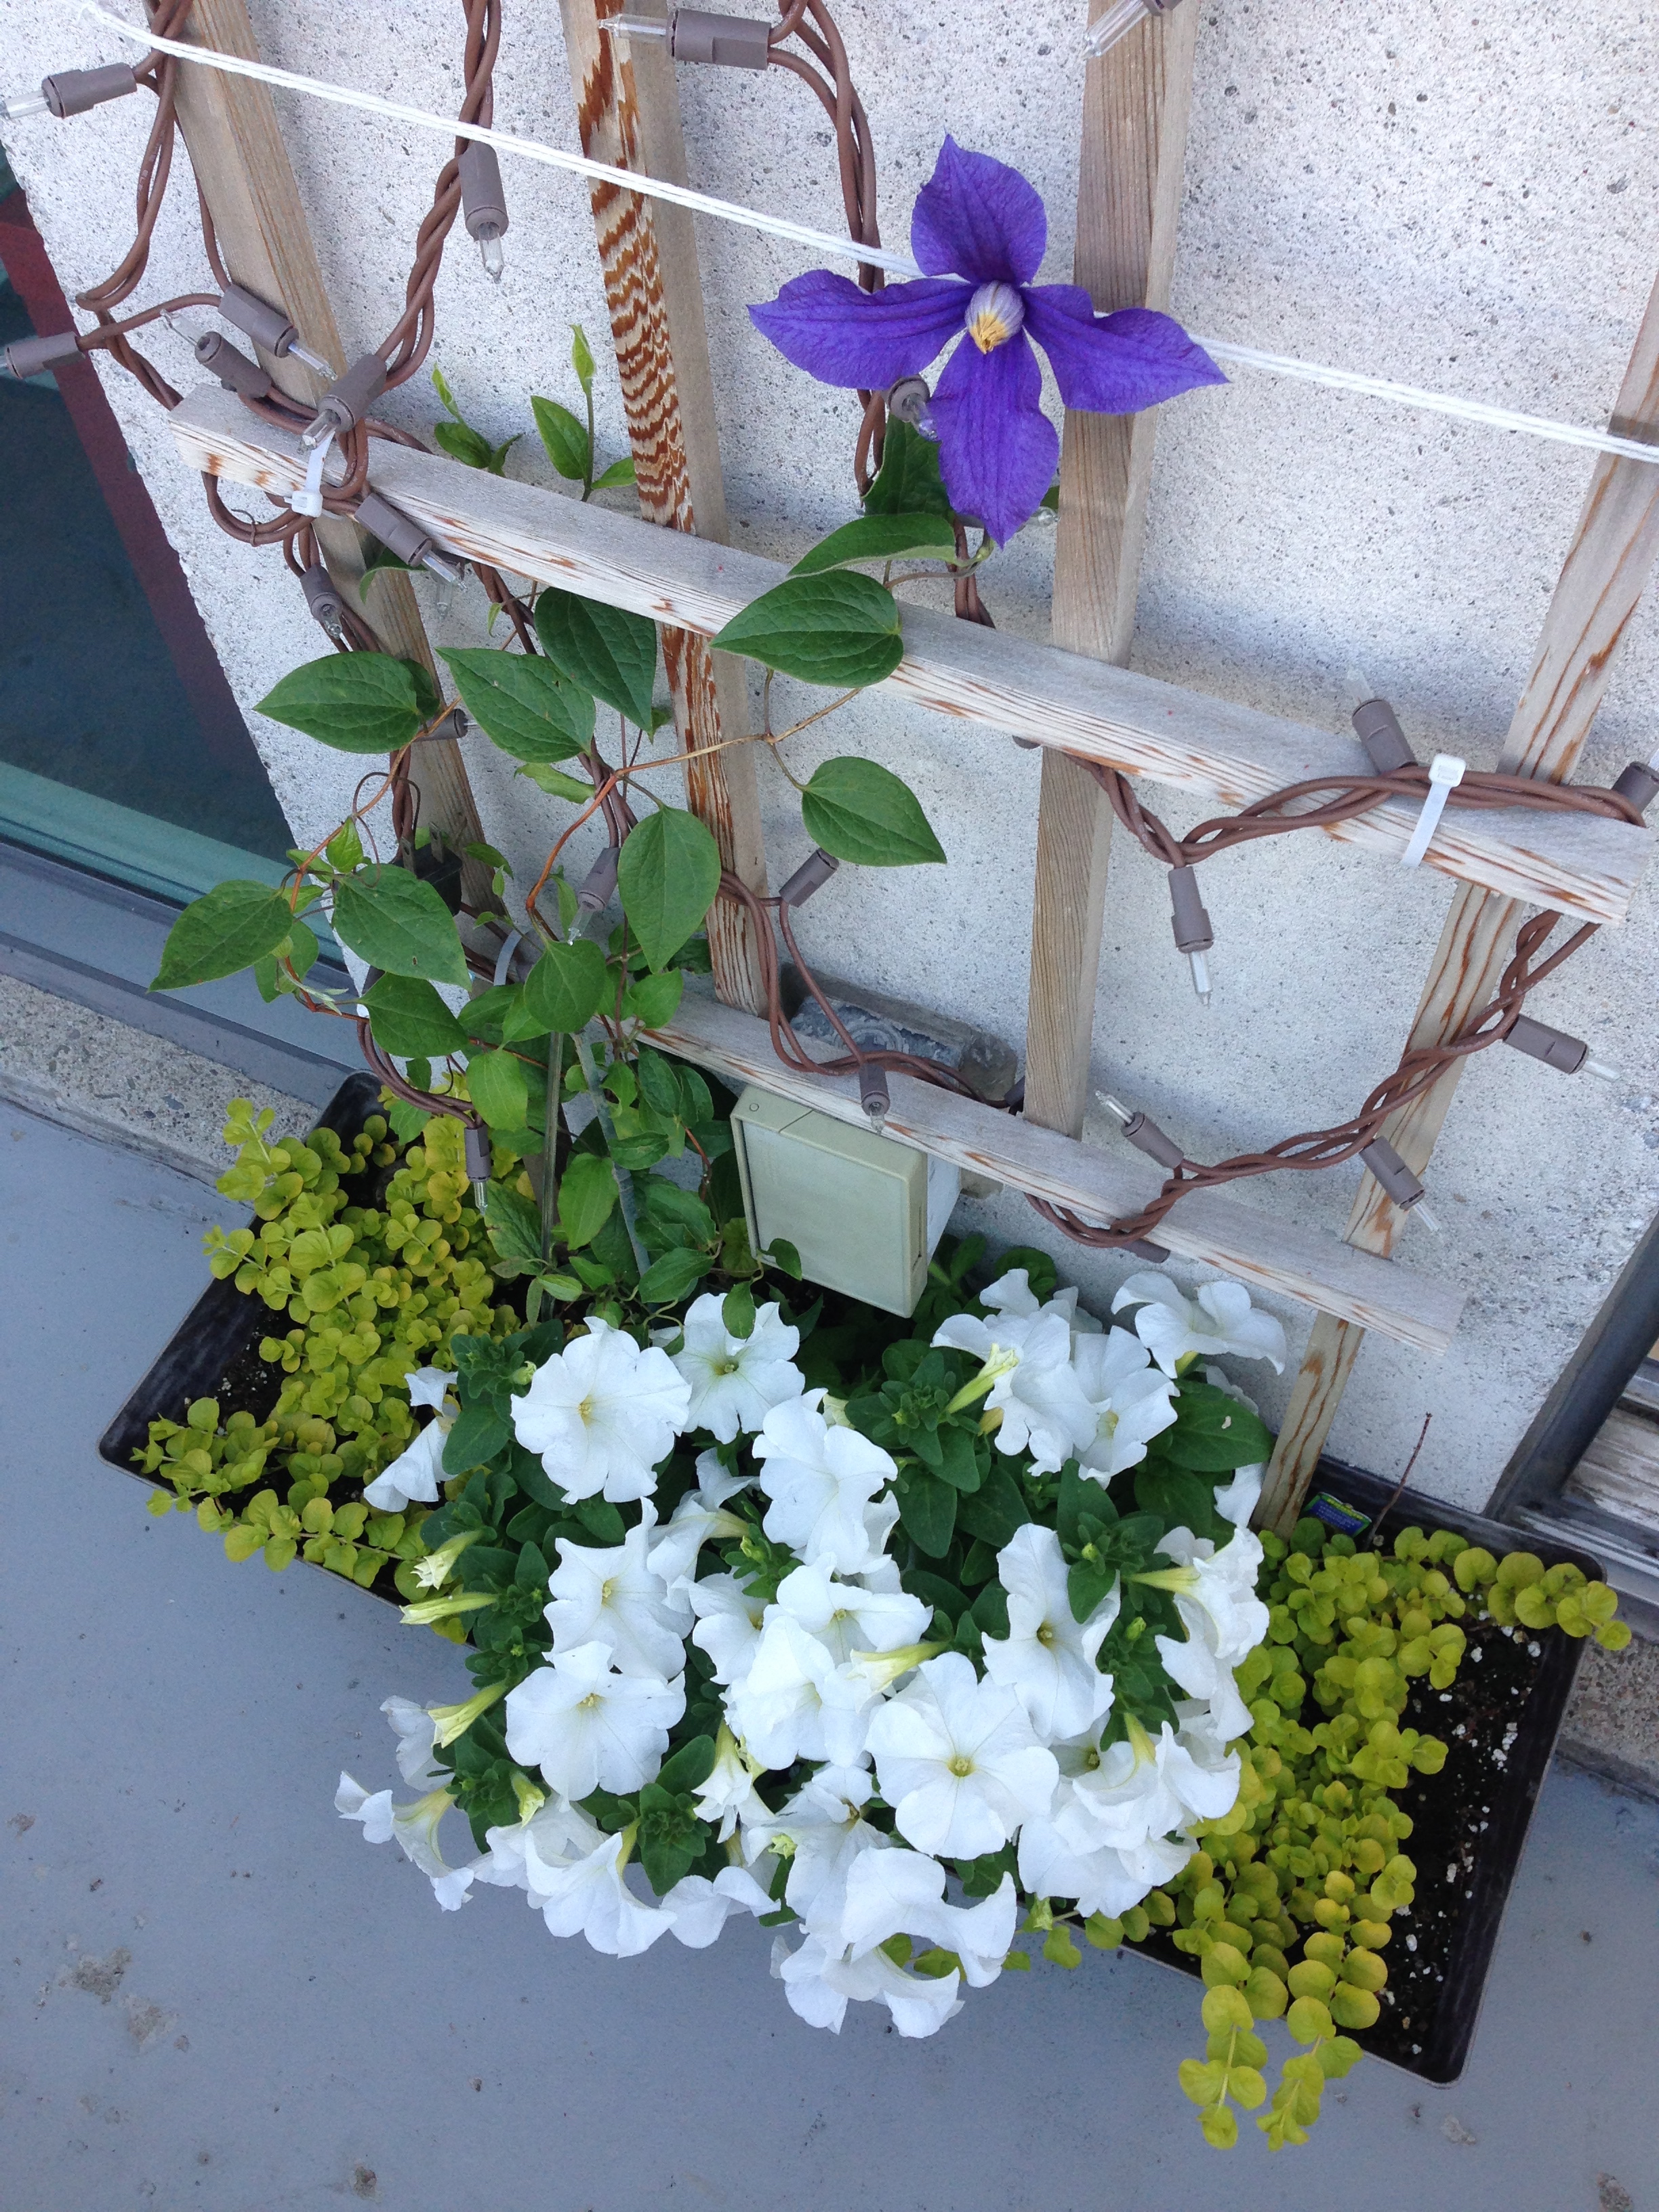
My tomatoes are blooming and 4 ft; my petunias are exploding again; and my clematis are growing finally! Happy garden-drea!

-Andrea 

The Half-Assed Hobbyist
Sprouts to Seedlings 2016

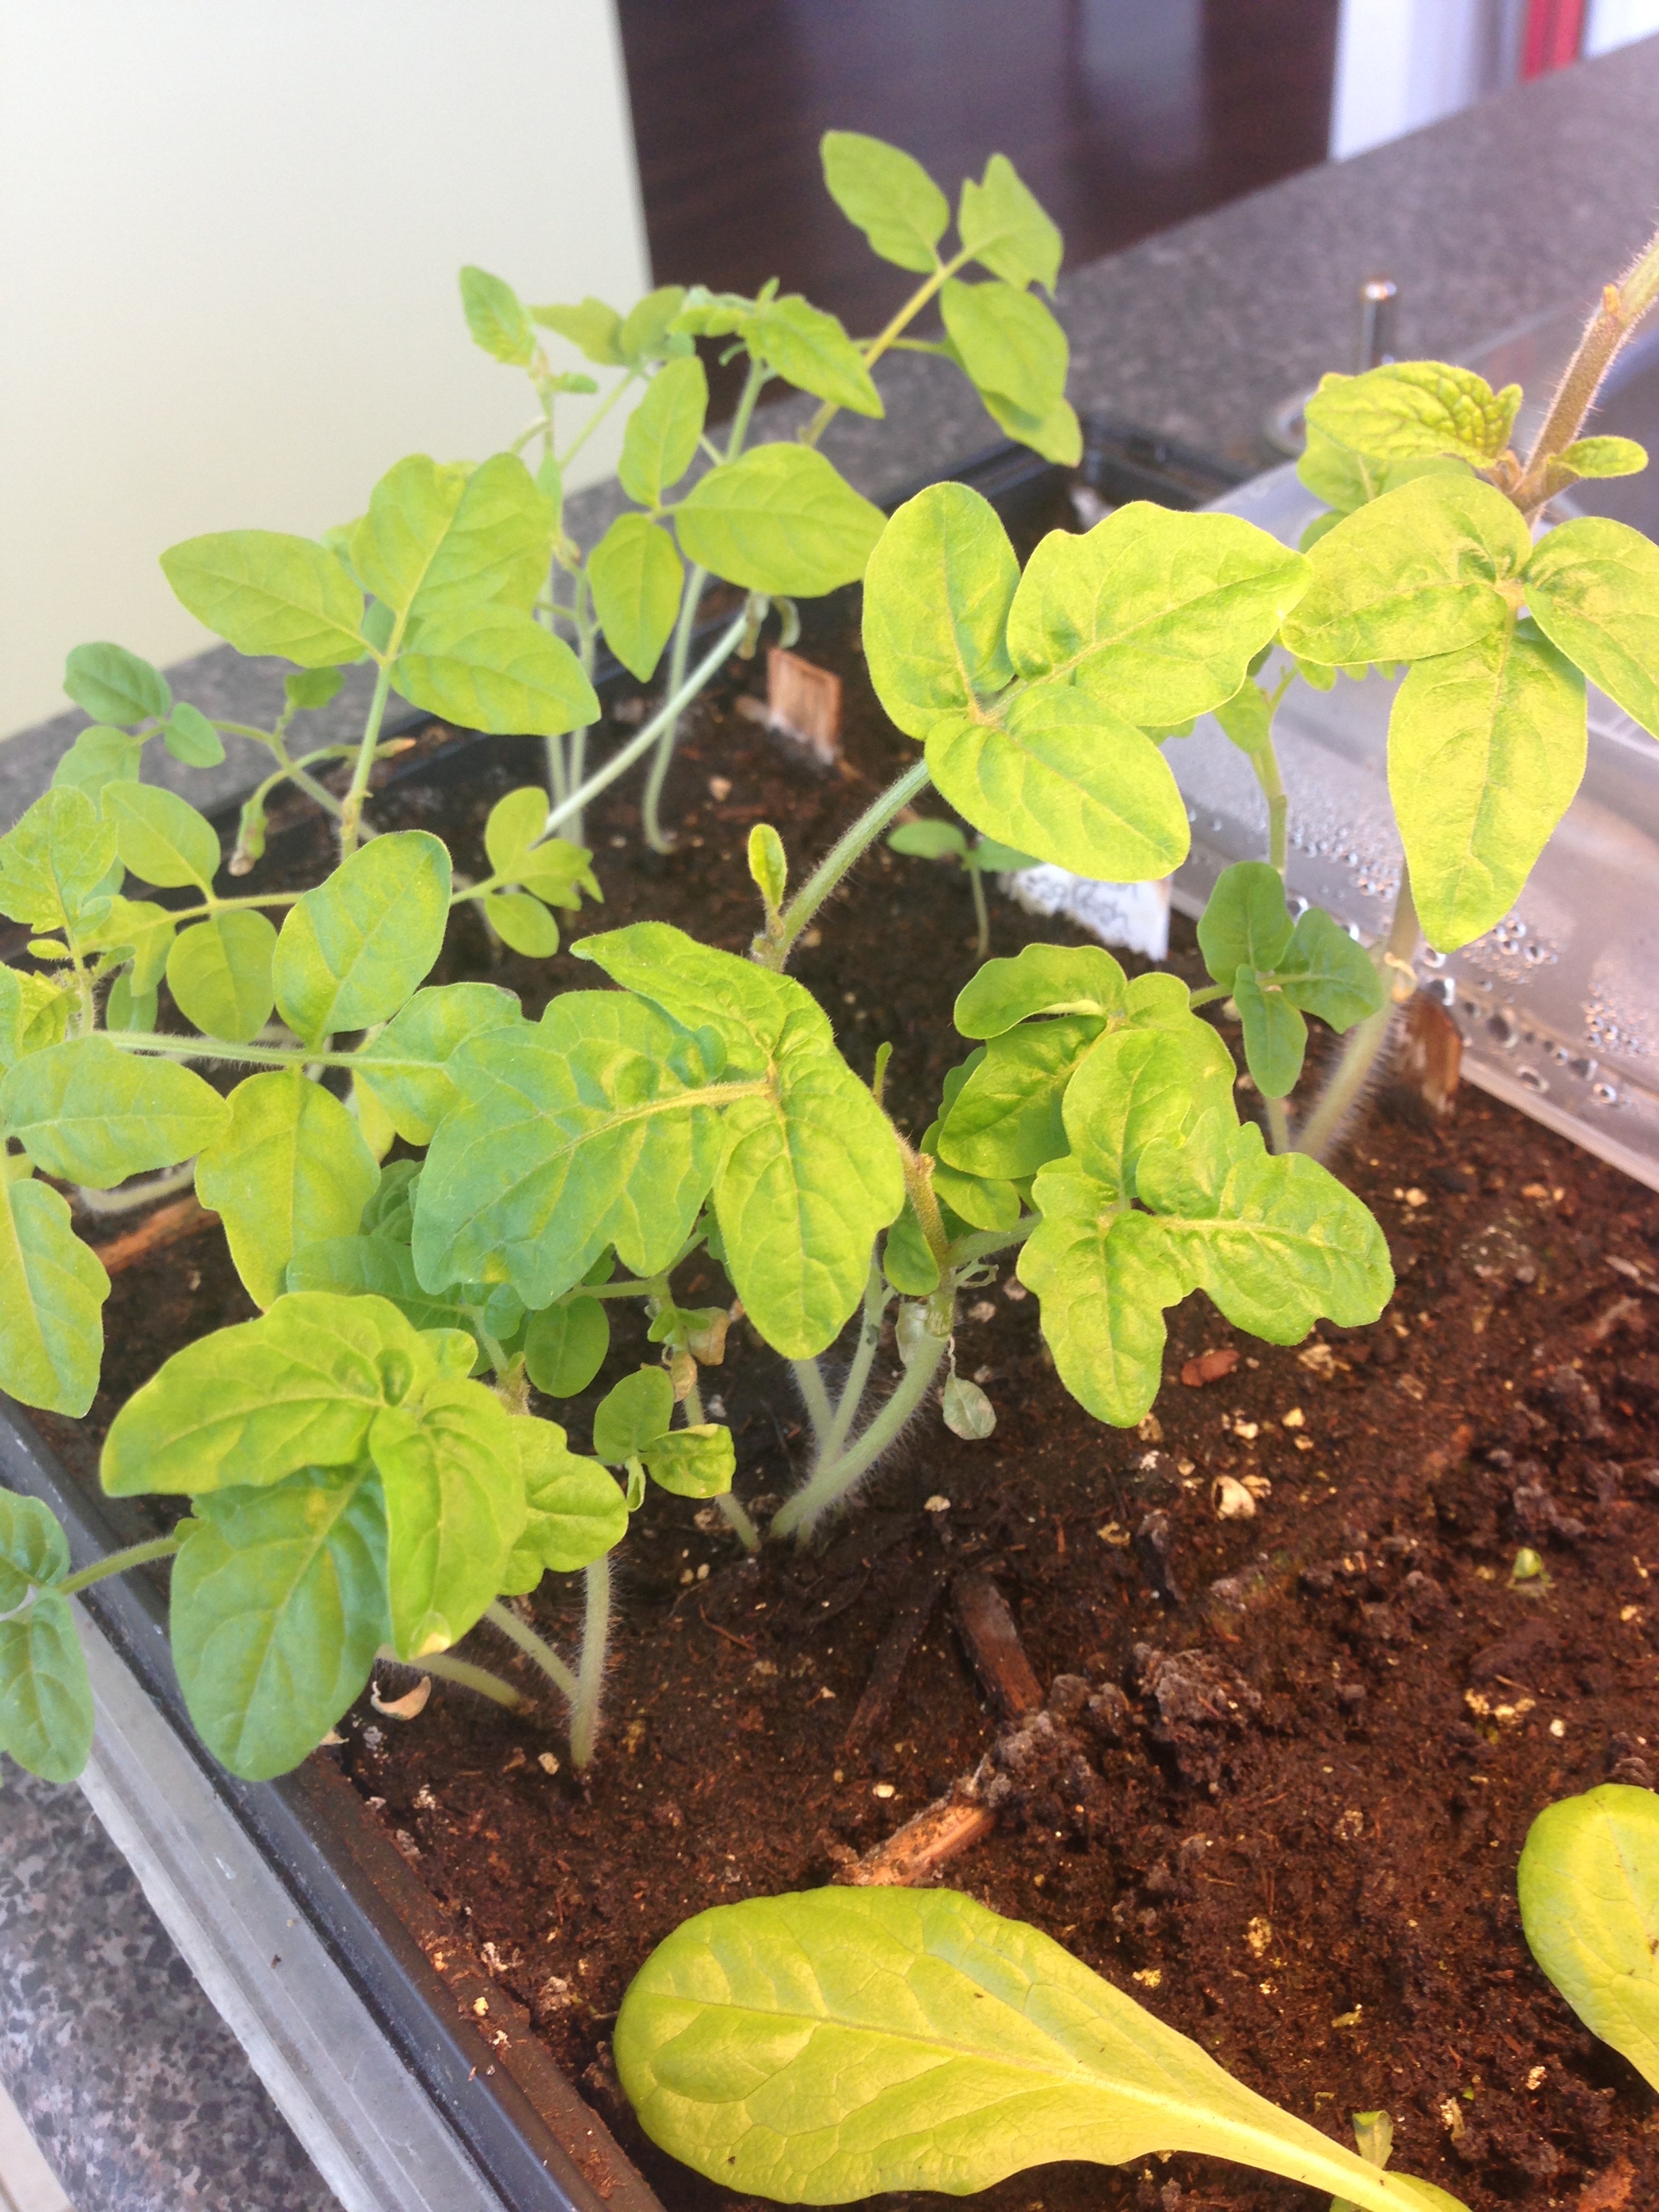
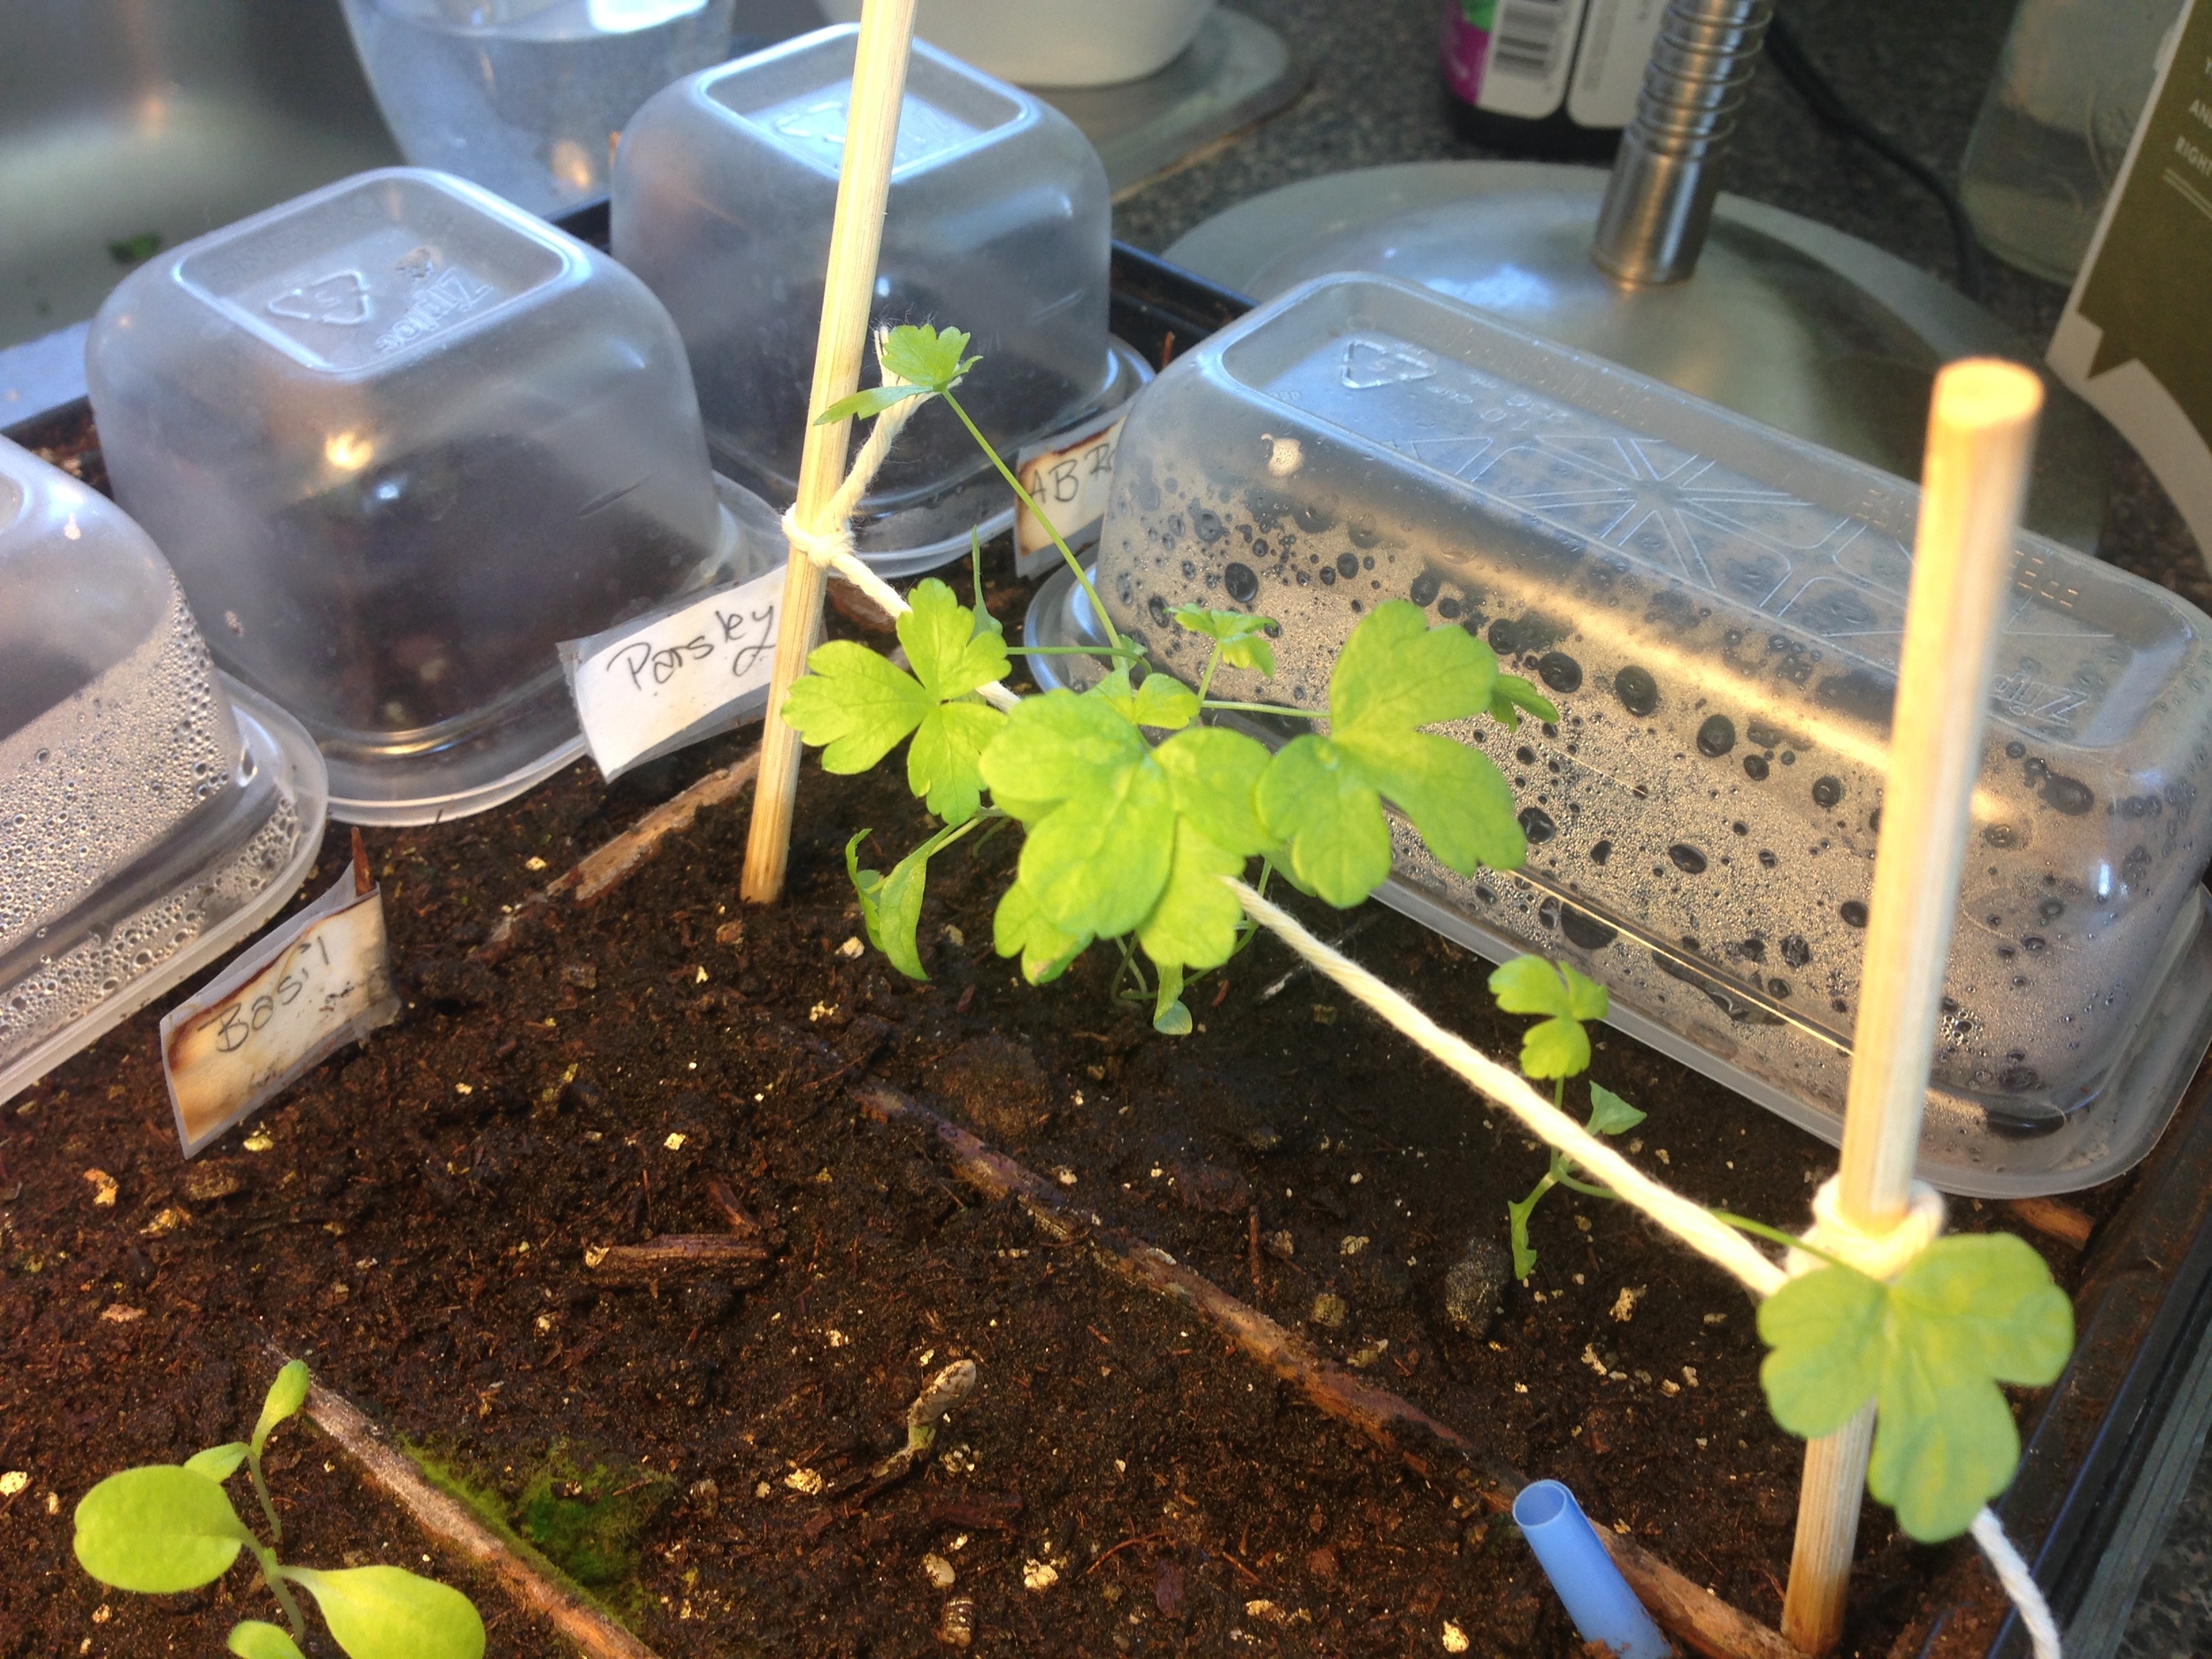
It's been a month and a bit now since I planted the seed babies so it's report card time!

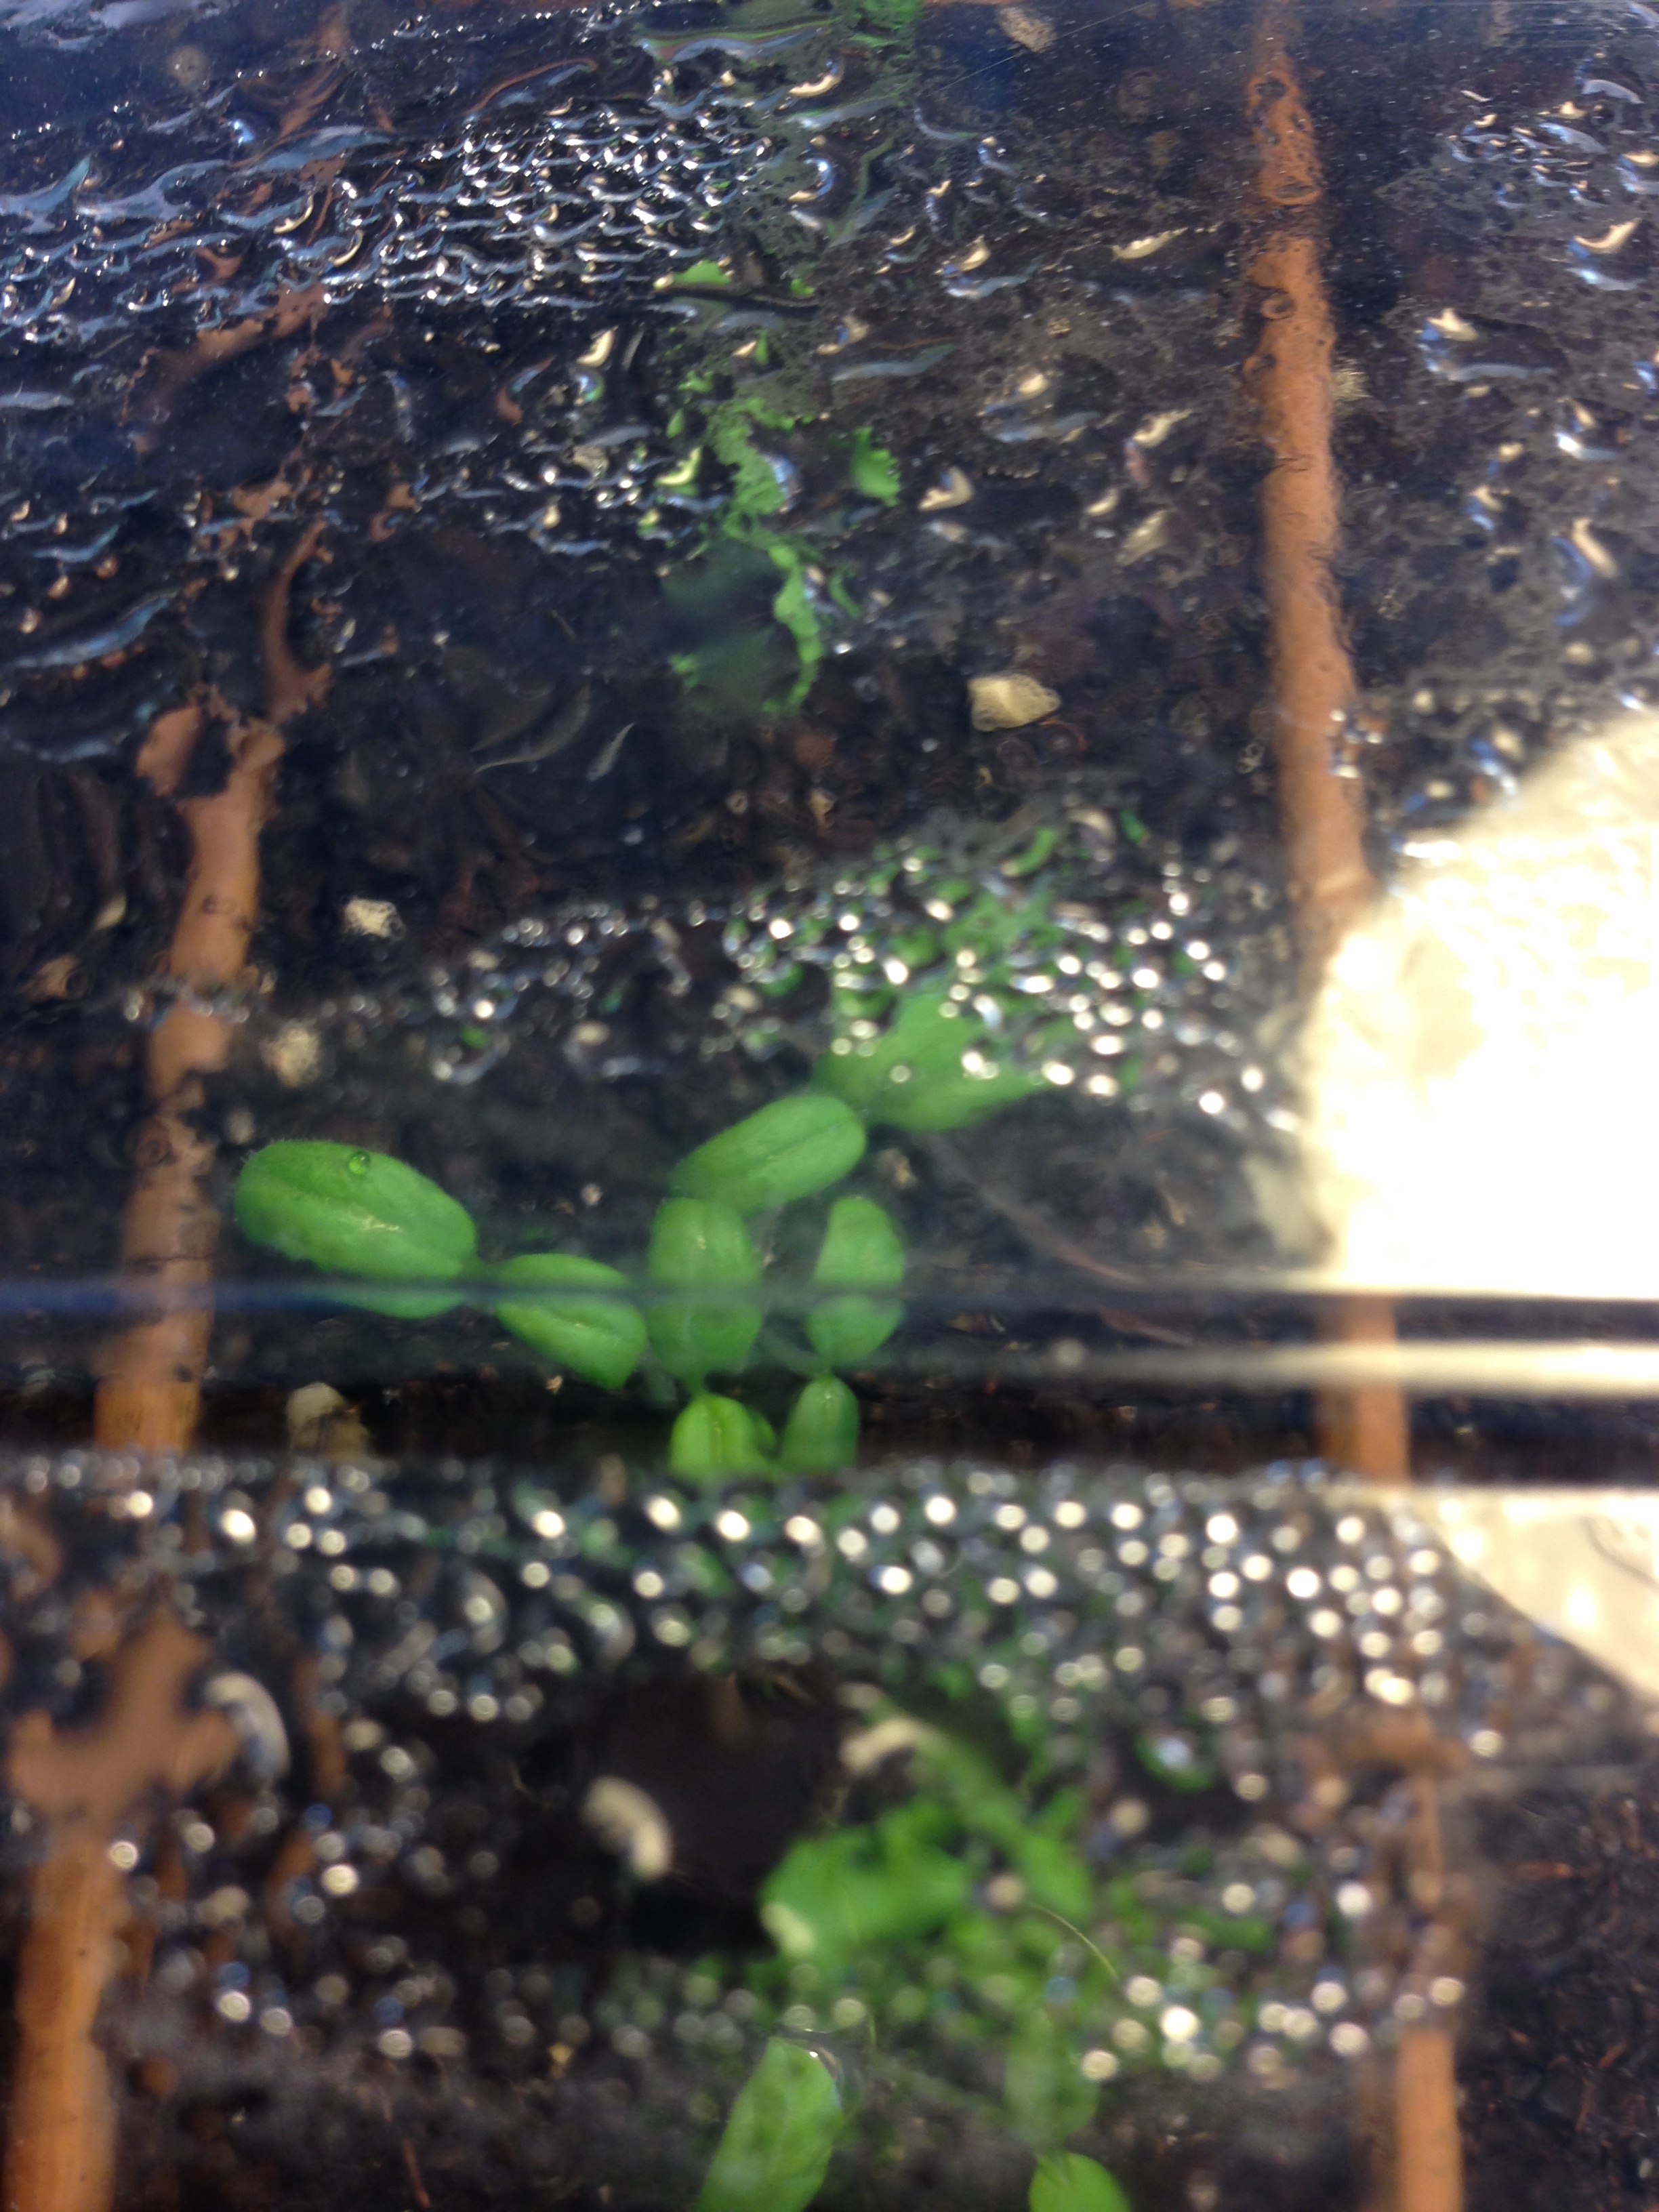
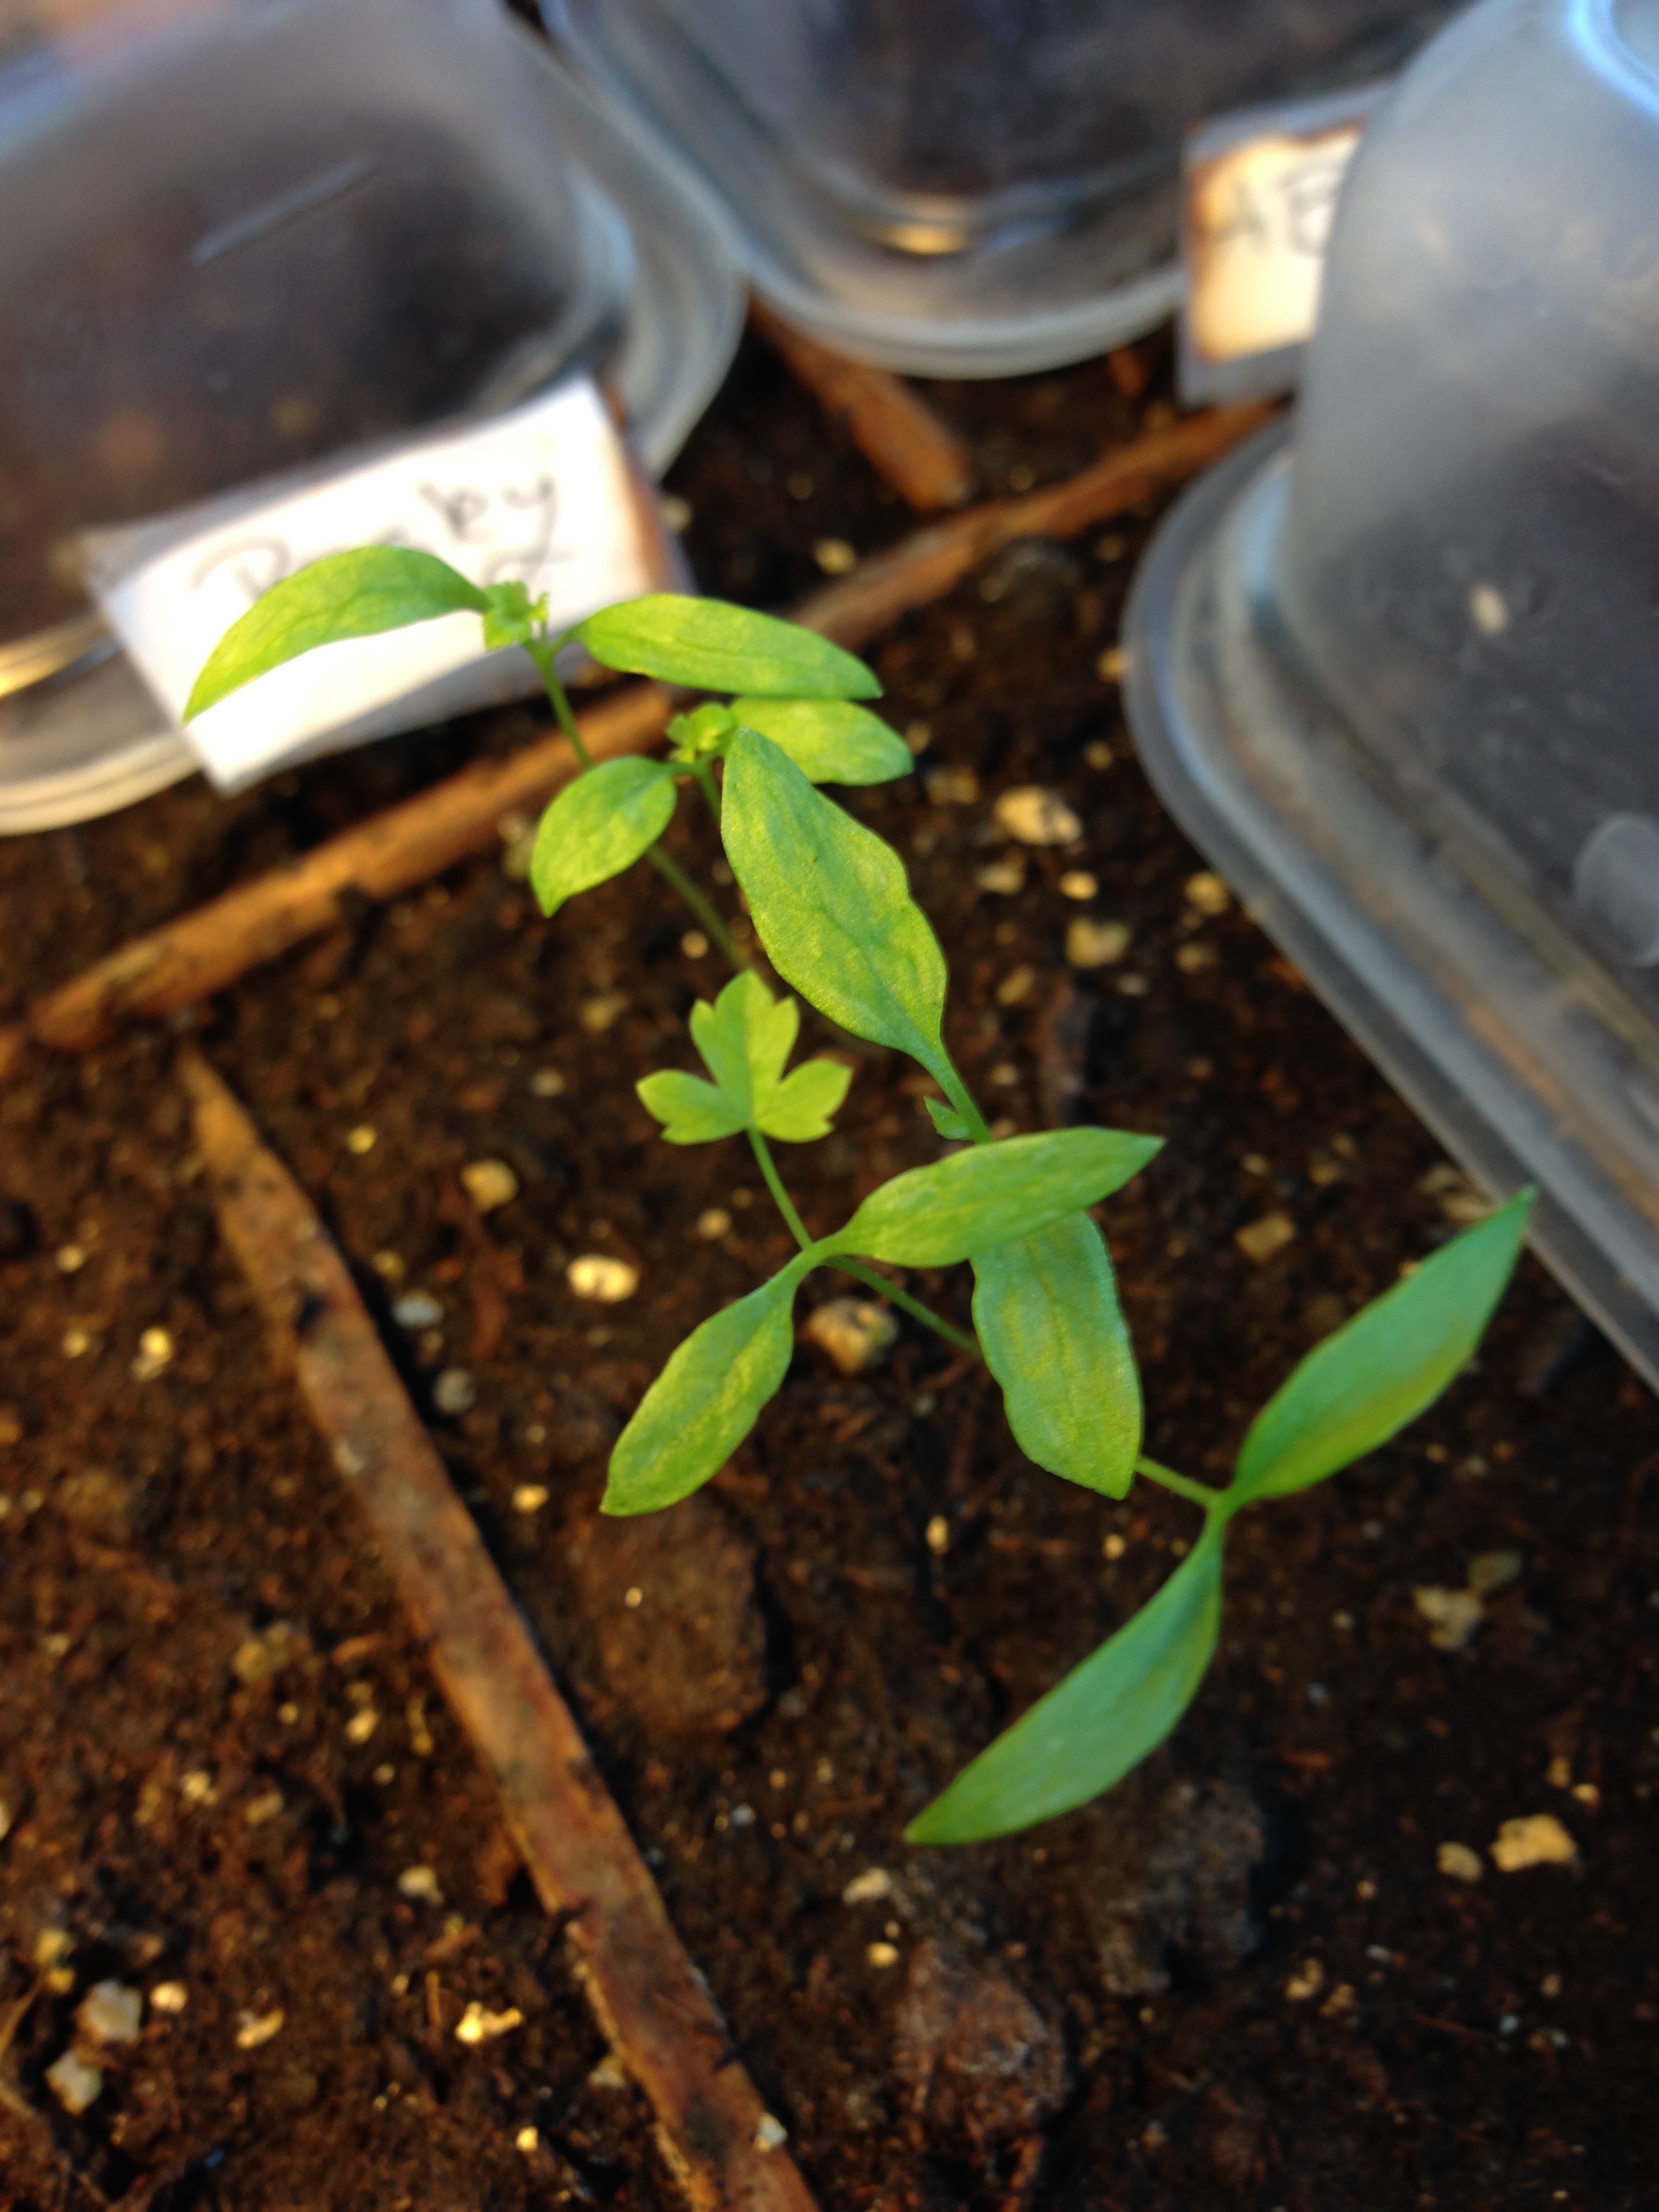
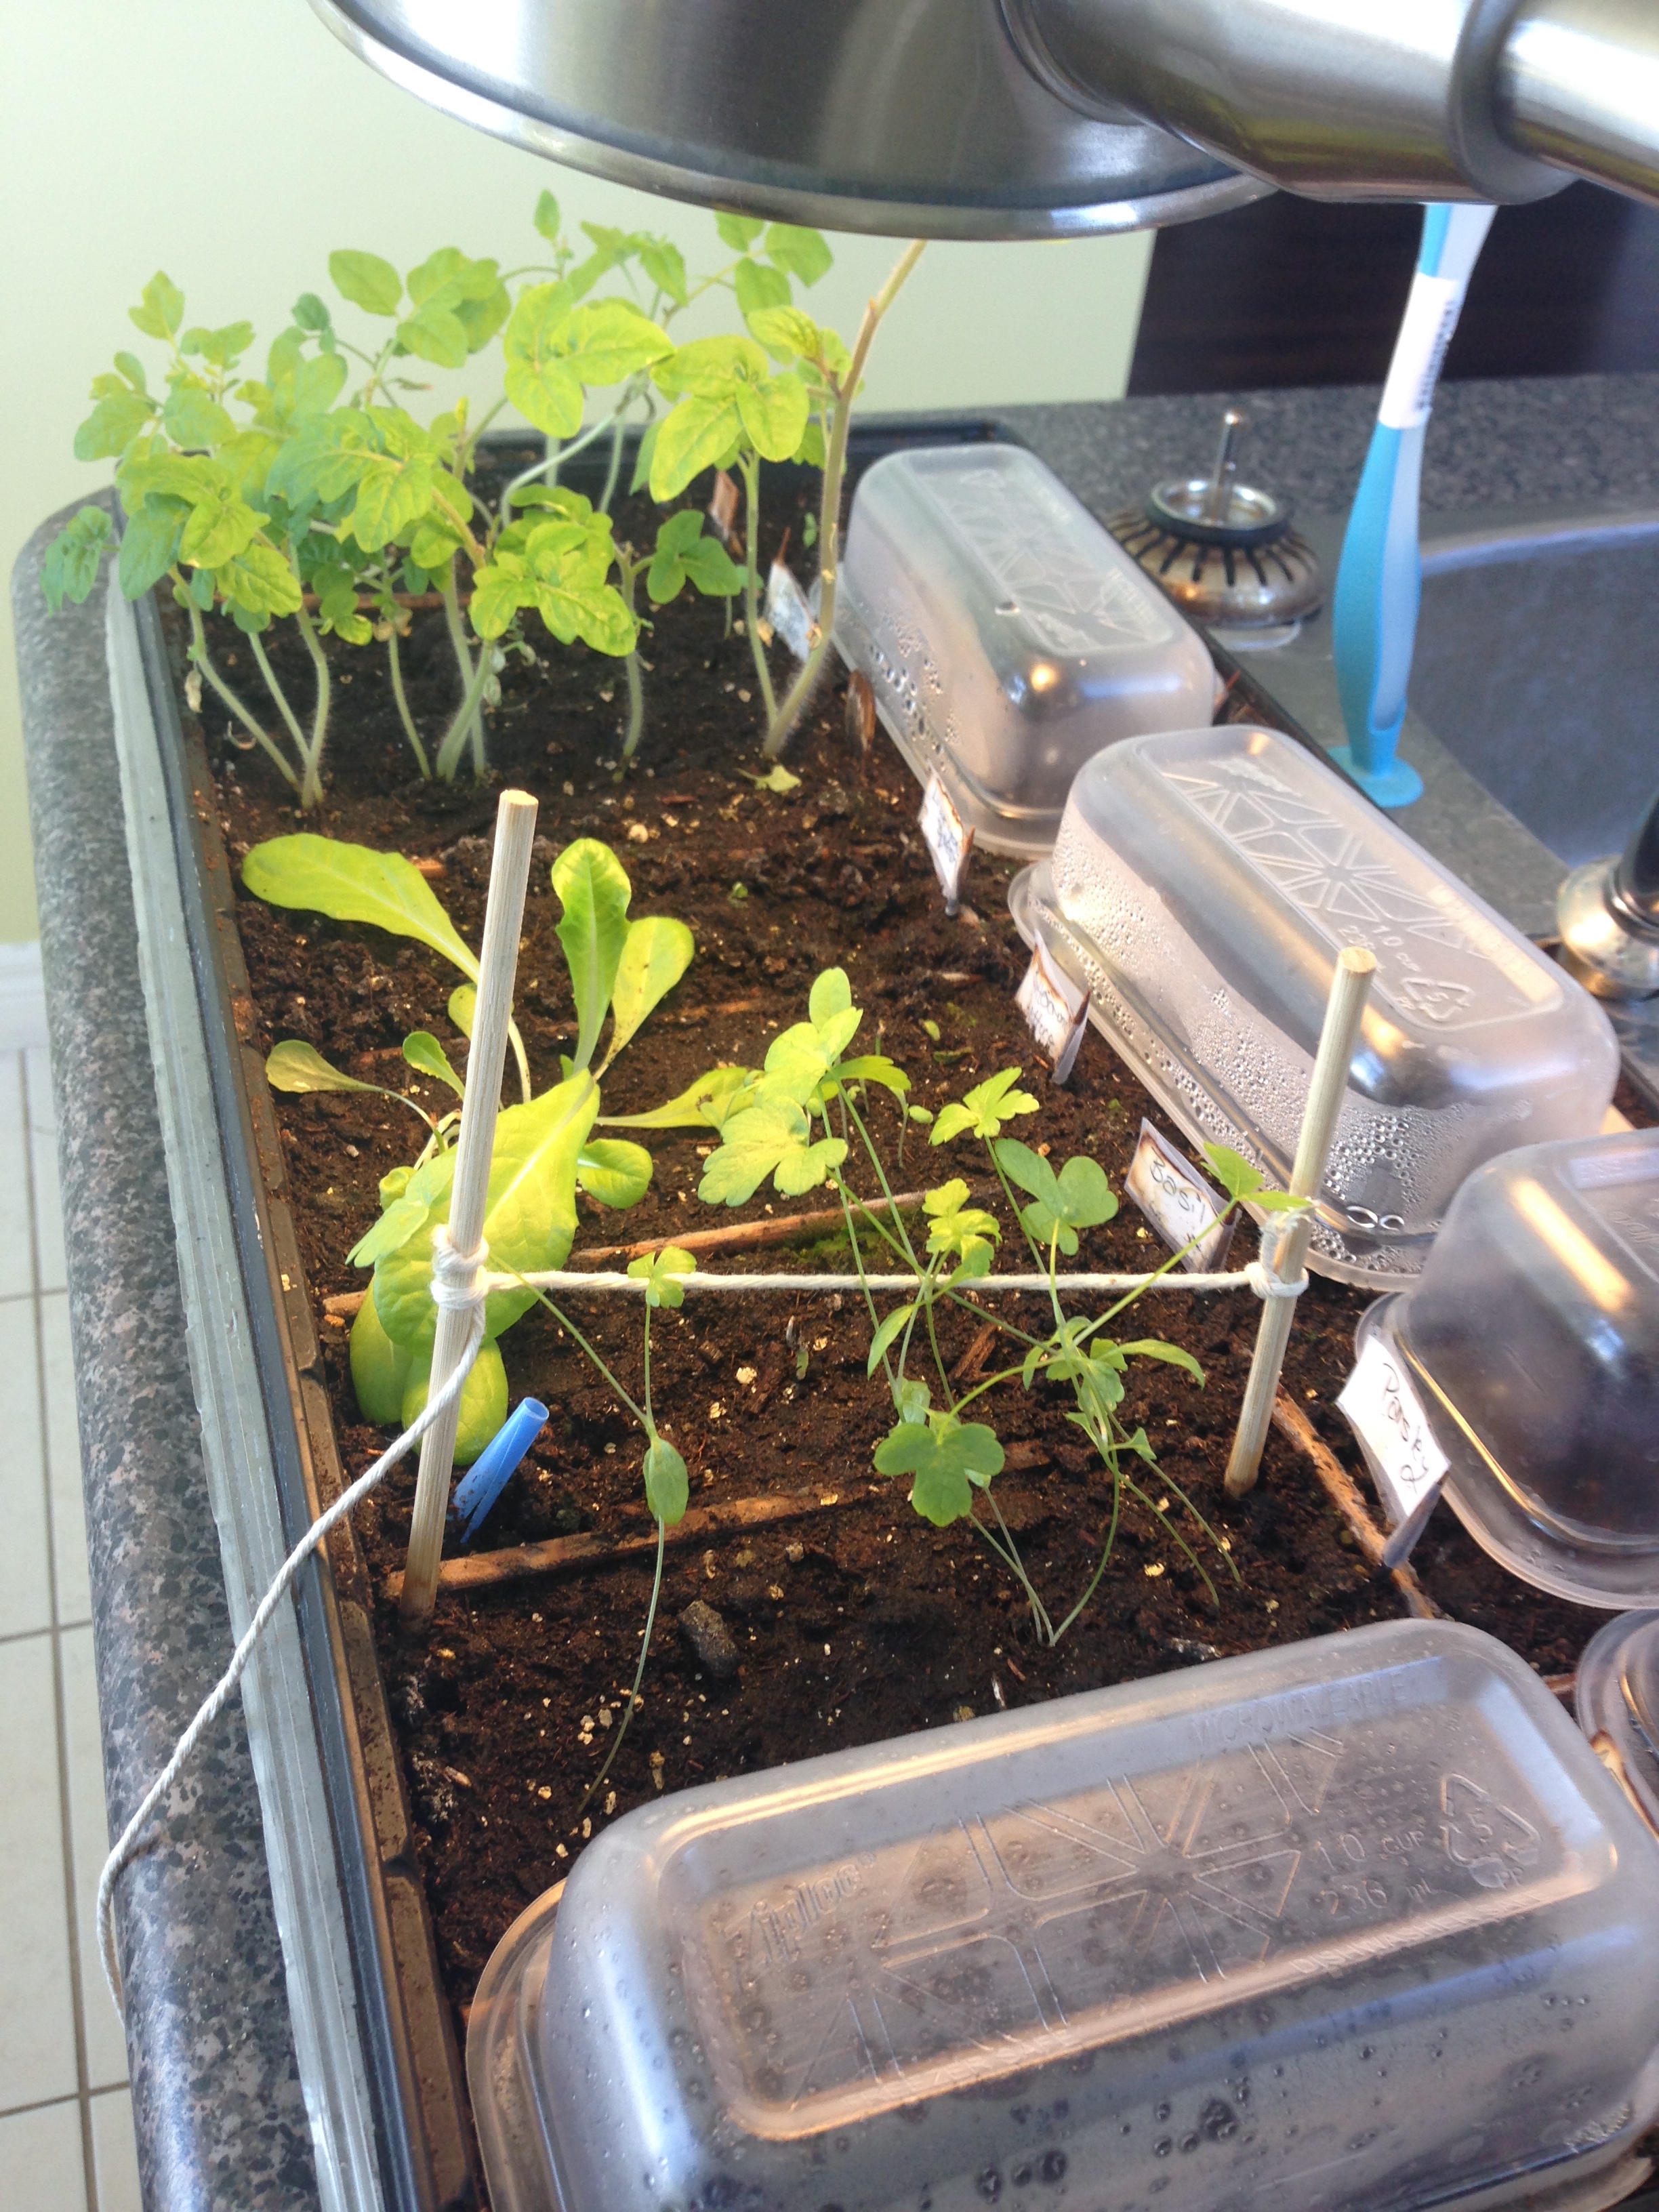
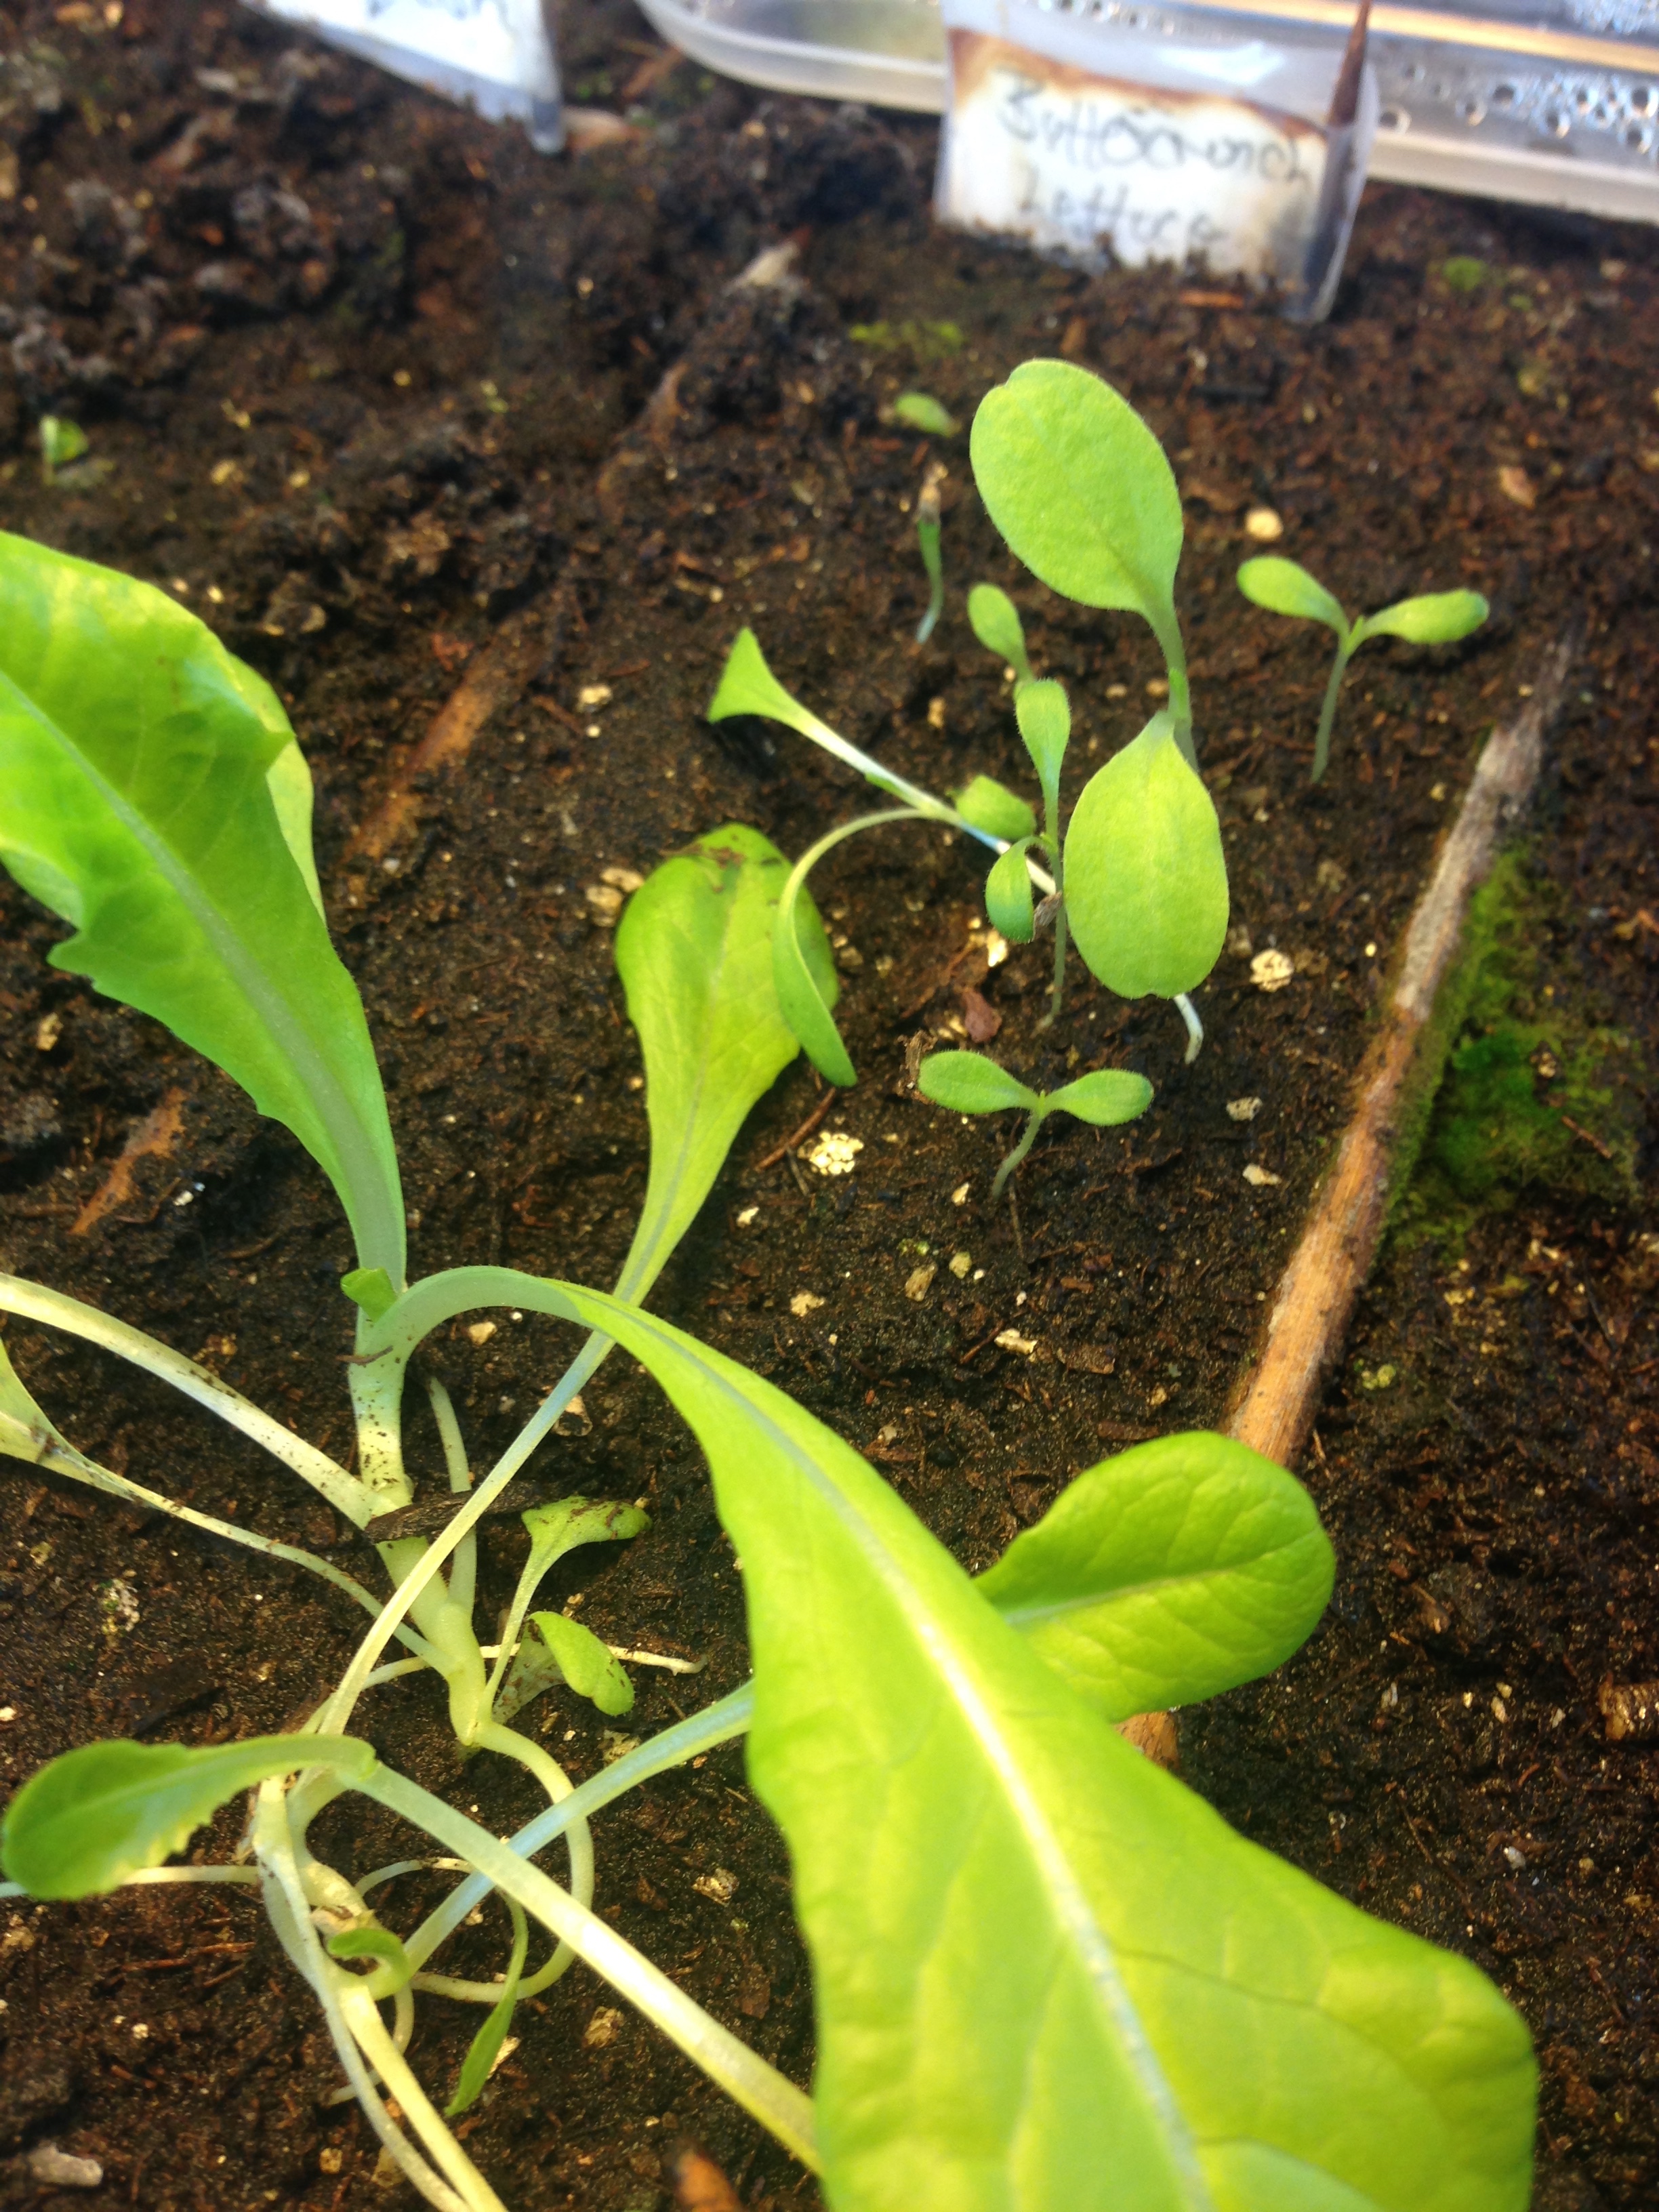
I had some luck this year, but not as much as I'd hoped. The tomatoes did amazingly. I have 18 tomato plants (Sweetie and Tiny Tim). Five parsley plants and new lettuce sprouts coming up daily. Also one surprise treat! A jalapeno sprout! It seems to be trucking along so we'll see it if survives.

On the disappointing side of the gardening train, the roses and the little gem squash didn't sprout. Neither did the apple seeds, grape seeds, or citrus. They were all seeds I had collected over the course of last year, so while disappointing, its not terribly surprising. I did have some luck with basil (usually my bane) but the seedlings wilted quite early. Sad Andrea.

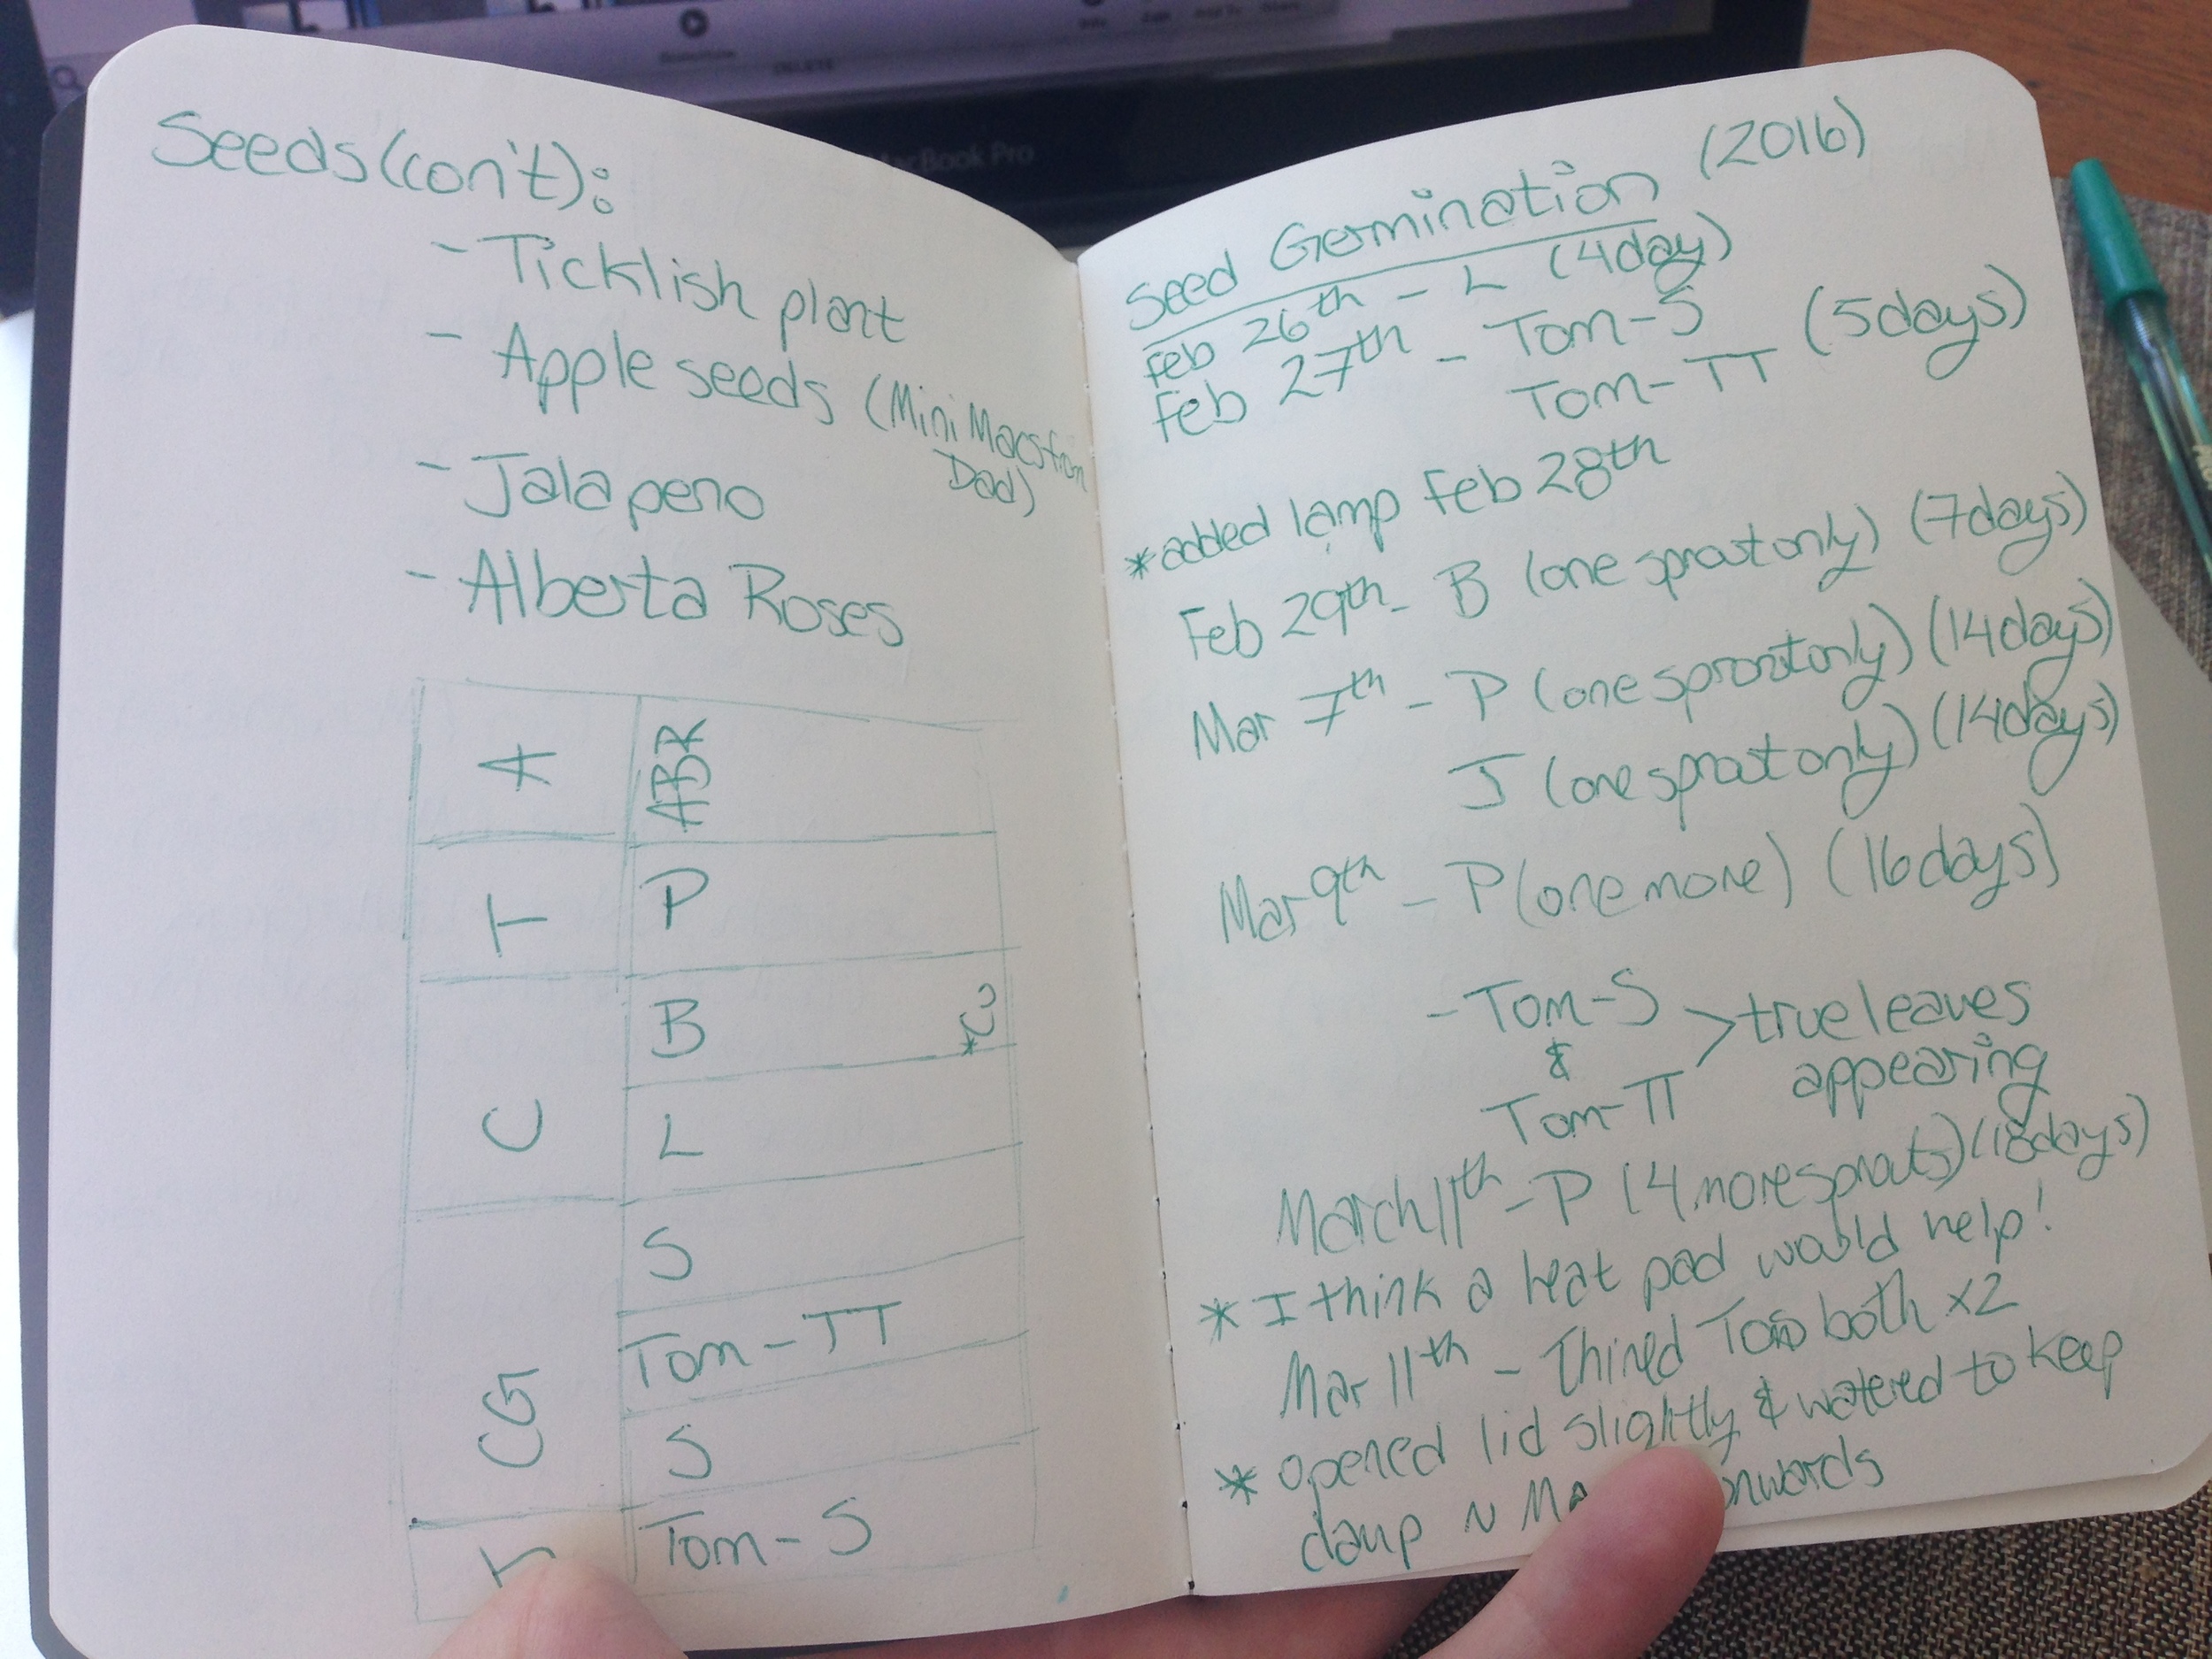
Ah well. This year I started keeping a journal of when gardening things started happening, so next year I'll be more prepared! Next step is to wait for it to be a tad bit warmer and transplant then seedlings to their own little homes.

IMG_3552.jpg

Like maybe when it stops snowing.... in April. XD

Also. Who wants tomato plants? Haha. I can't have 18 of them. (Well I could... but I'd rather have room on the balcony to sit. Haha.)

-Andrea

The Half-Assed Hobbyist
Balcony Gardening: Take-Two

It's that time of year again! End of February is seed sowing time! It always seems so early, with the weather still below freezing and the sunlight still under 5 hours a day. BUT! The gardening book say-ith it's seed sowing time! So it's seed sowing time.

IMG_1565.jpg

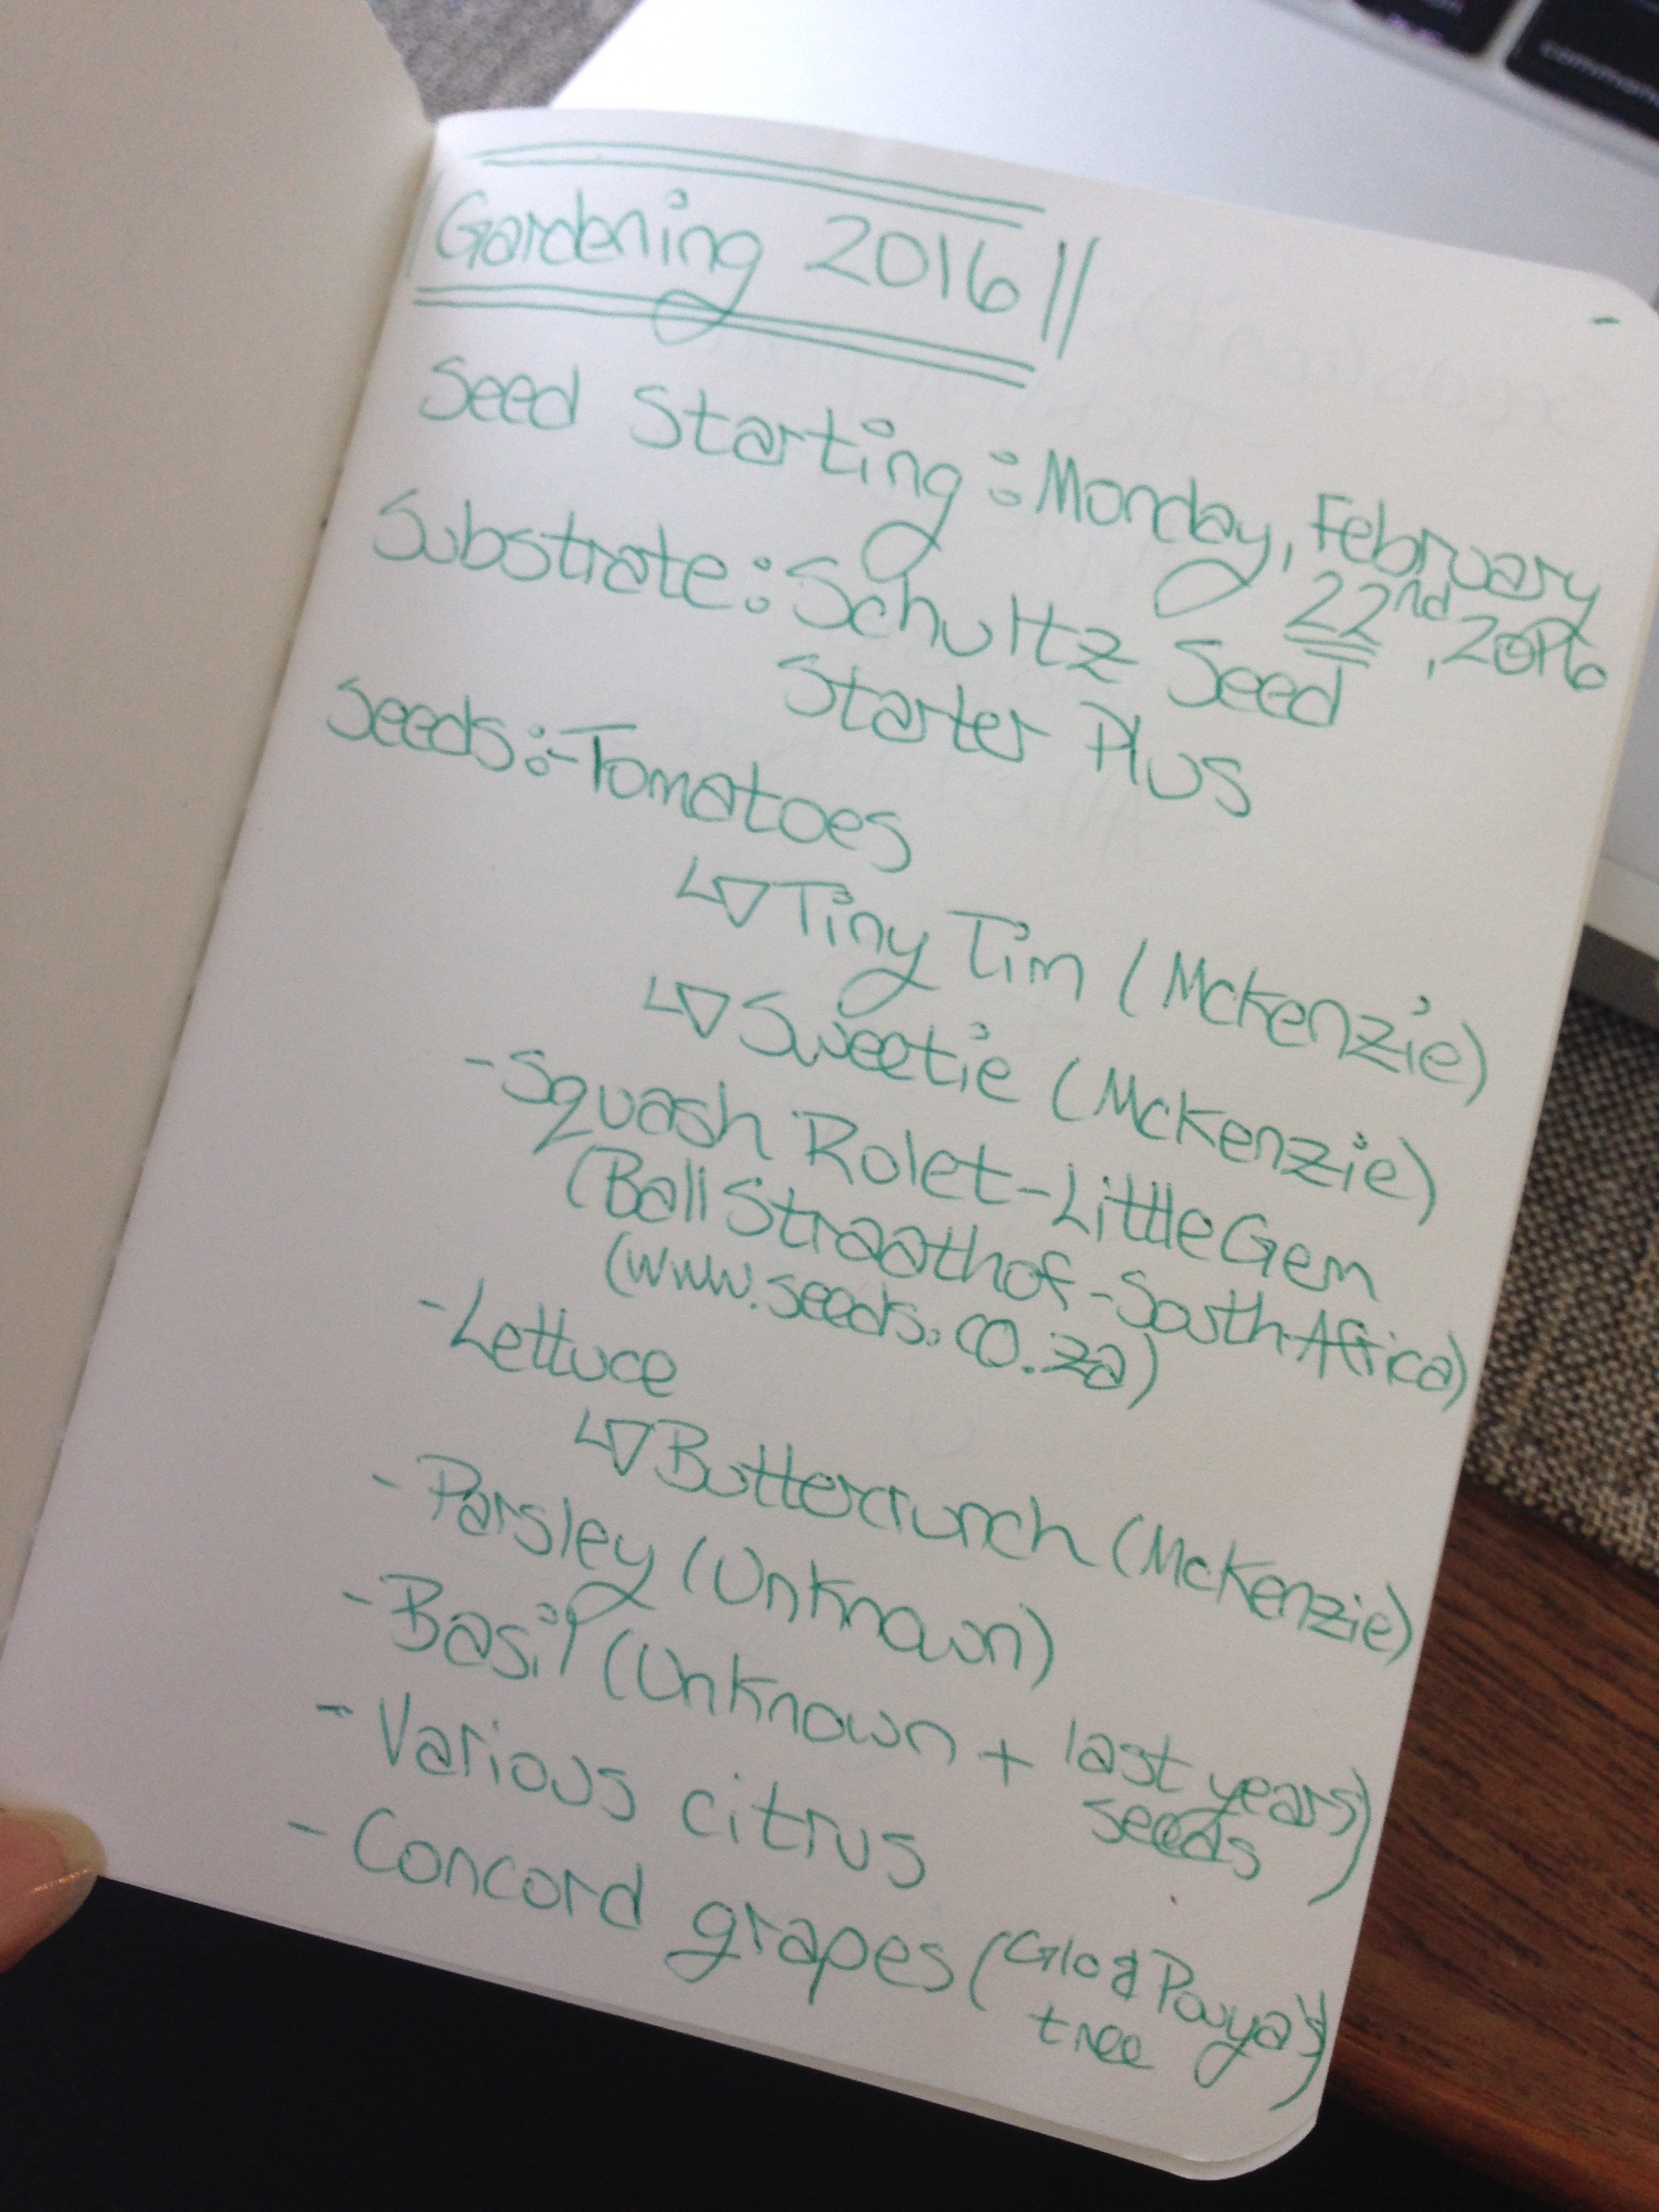
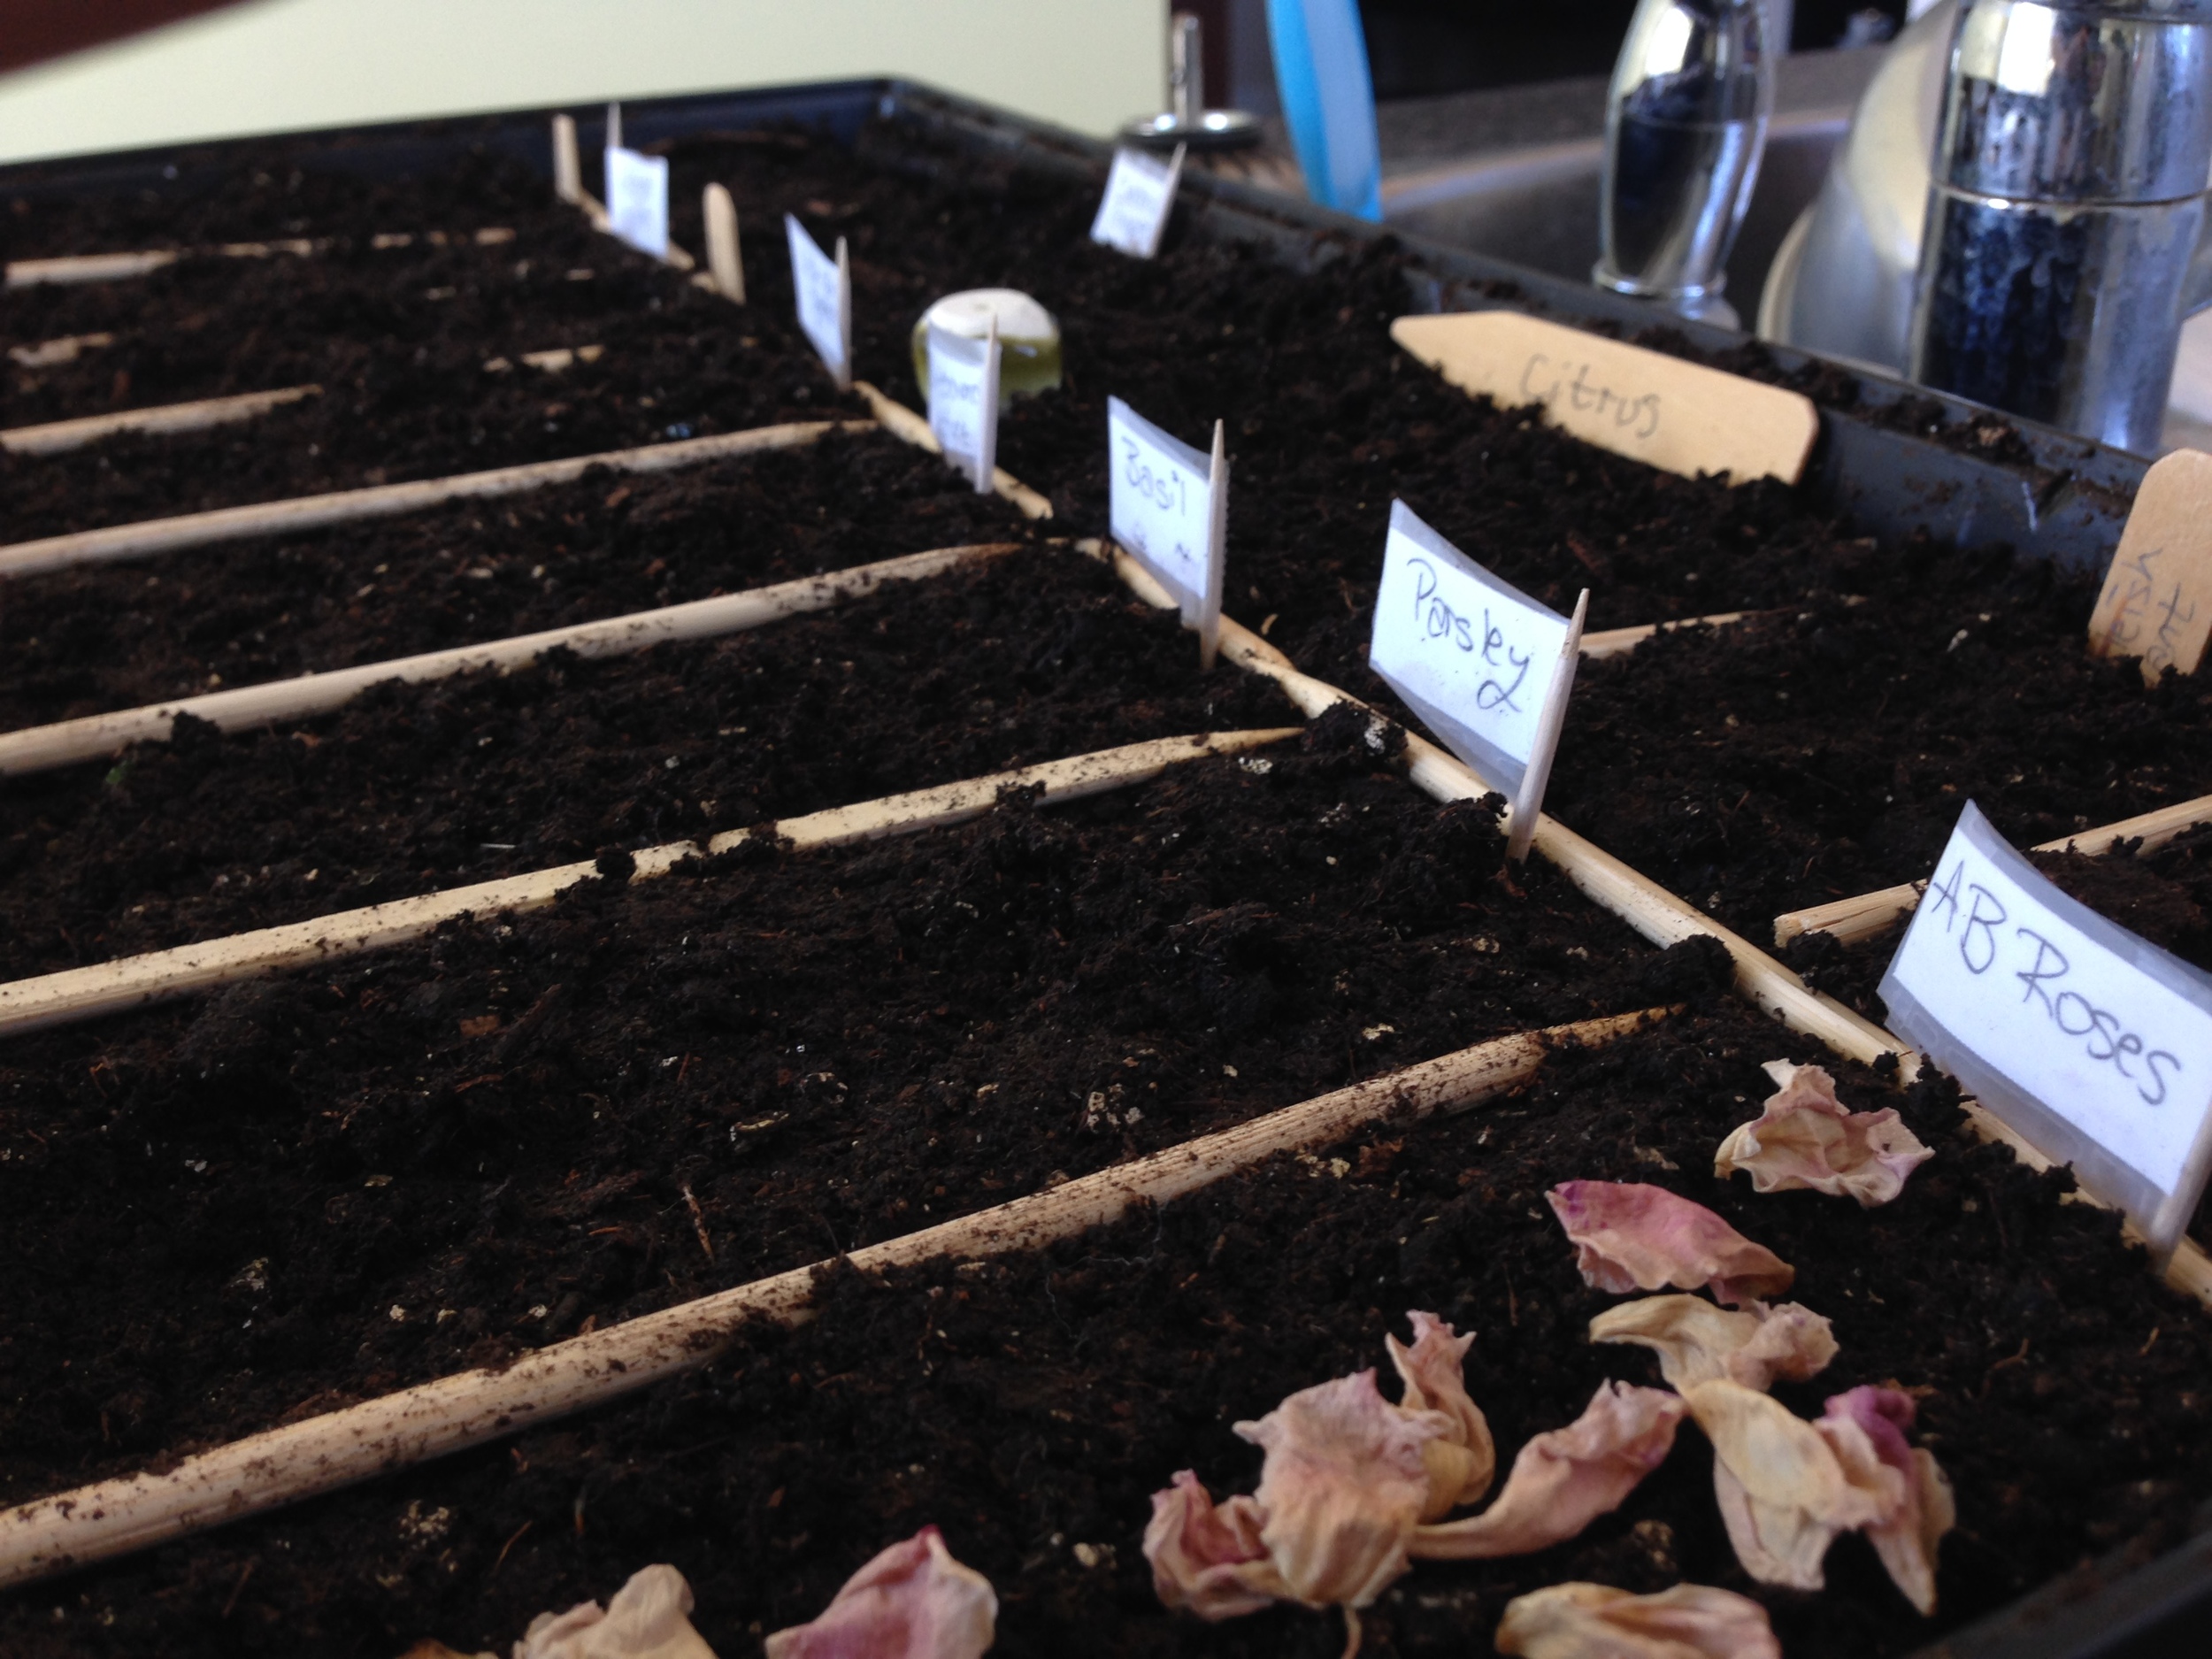
I decided to take a little bit of a different approach from last year. Last year I bought a little terrarium seed starter kit with little dehydrated soil puck things. It worked well but I ended up wasting a lot of the little soil puck things. This year I bought a 14 lb bag of soilless seed starter for $7 instead. (Yay Canadian Tire!) I filled the terrarium thing from last year, moistened the 'soil' and divided out little plots. I had a list of seeds that I wanted to plant: Tomatoes, squash, lettuce, herbs, citrus, apples, peppers and Alberta roses.

The roses are my 'something special' that I wanted to try this year. They always remind me of visiting my grandparents house as a kid. My grandma used to have two bushes on either side of the front door. Whenever we came to visit, she'd give us 3 or 4 blooms. We'd take them home and put them in a glass bowl filled with water and the kitchen would smell of roses.

These roses are from my lovely lady Lesley who came to visit me a bunch last year. She flew them here in a mug, fresh from an Alberta field. I tried to get the flower stems to root with some soft wood enzymes, but alas, it did not take. I wasn't overly hopeful so the disappointment was minimal. BUT what was successful was many of the flowers went to seed! (I maaaaaay have pollinated them by rubbing the different blooms all together... Plant sex is weird.) But yay! Seed pods! Results!

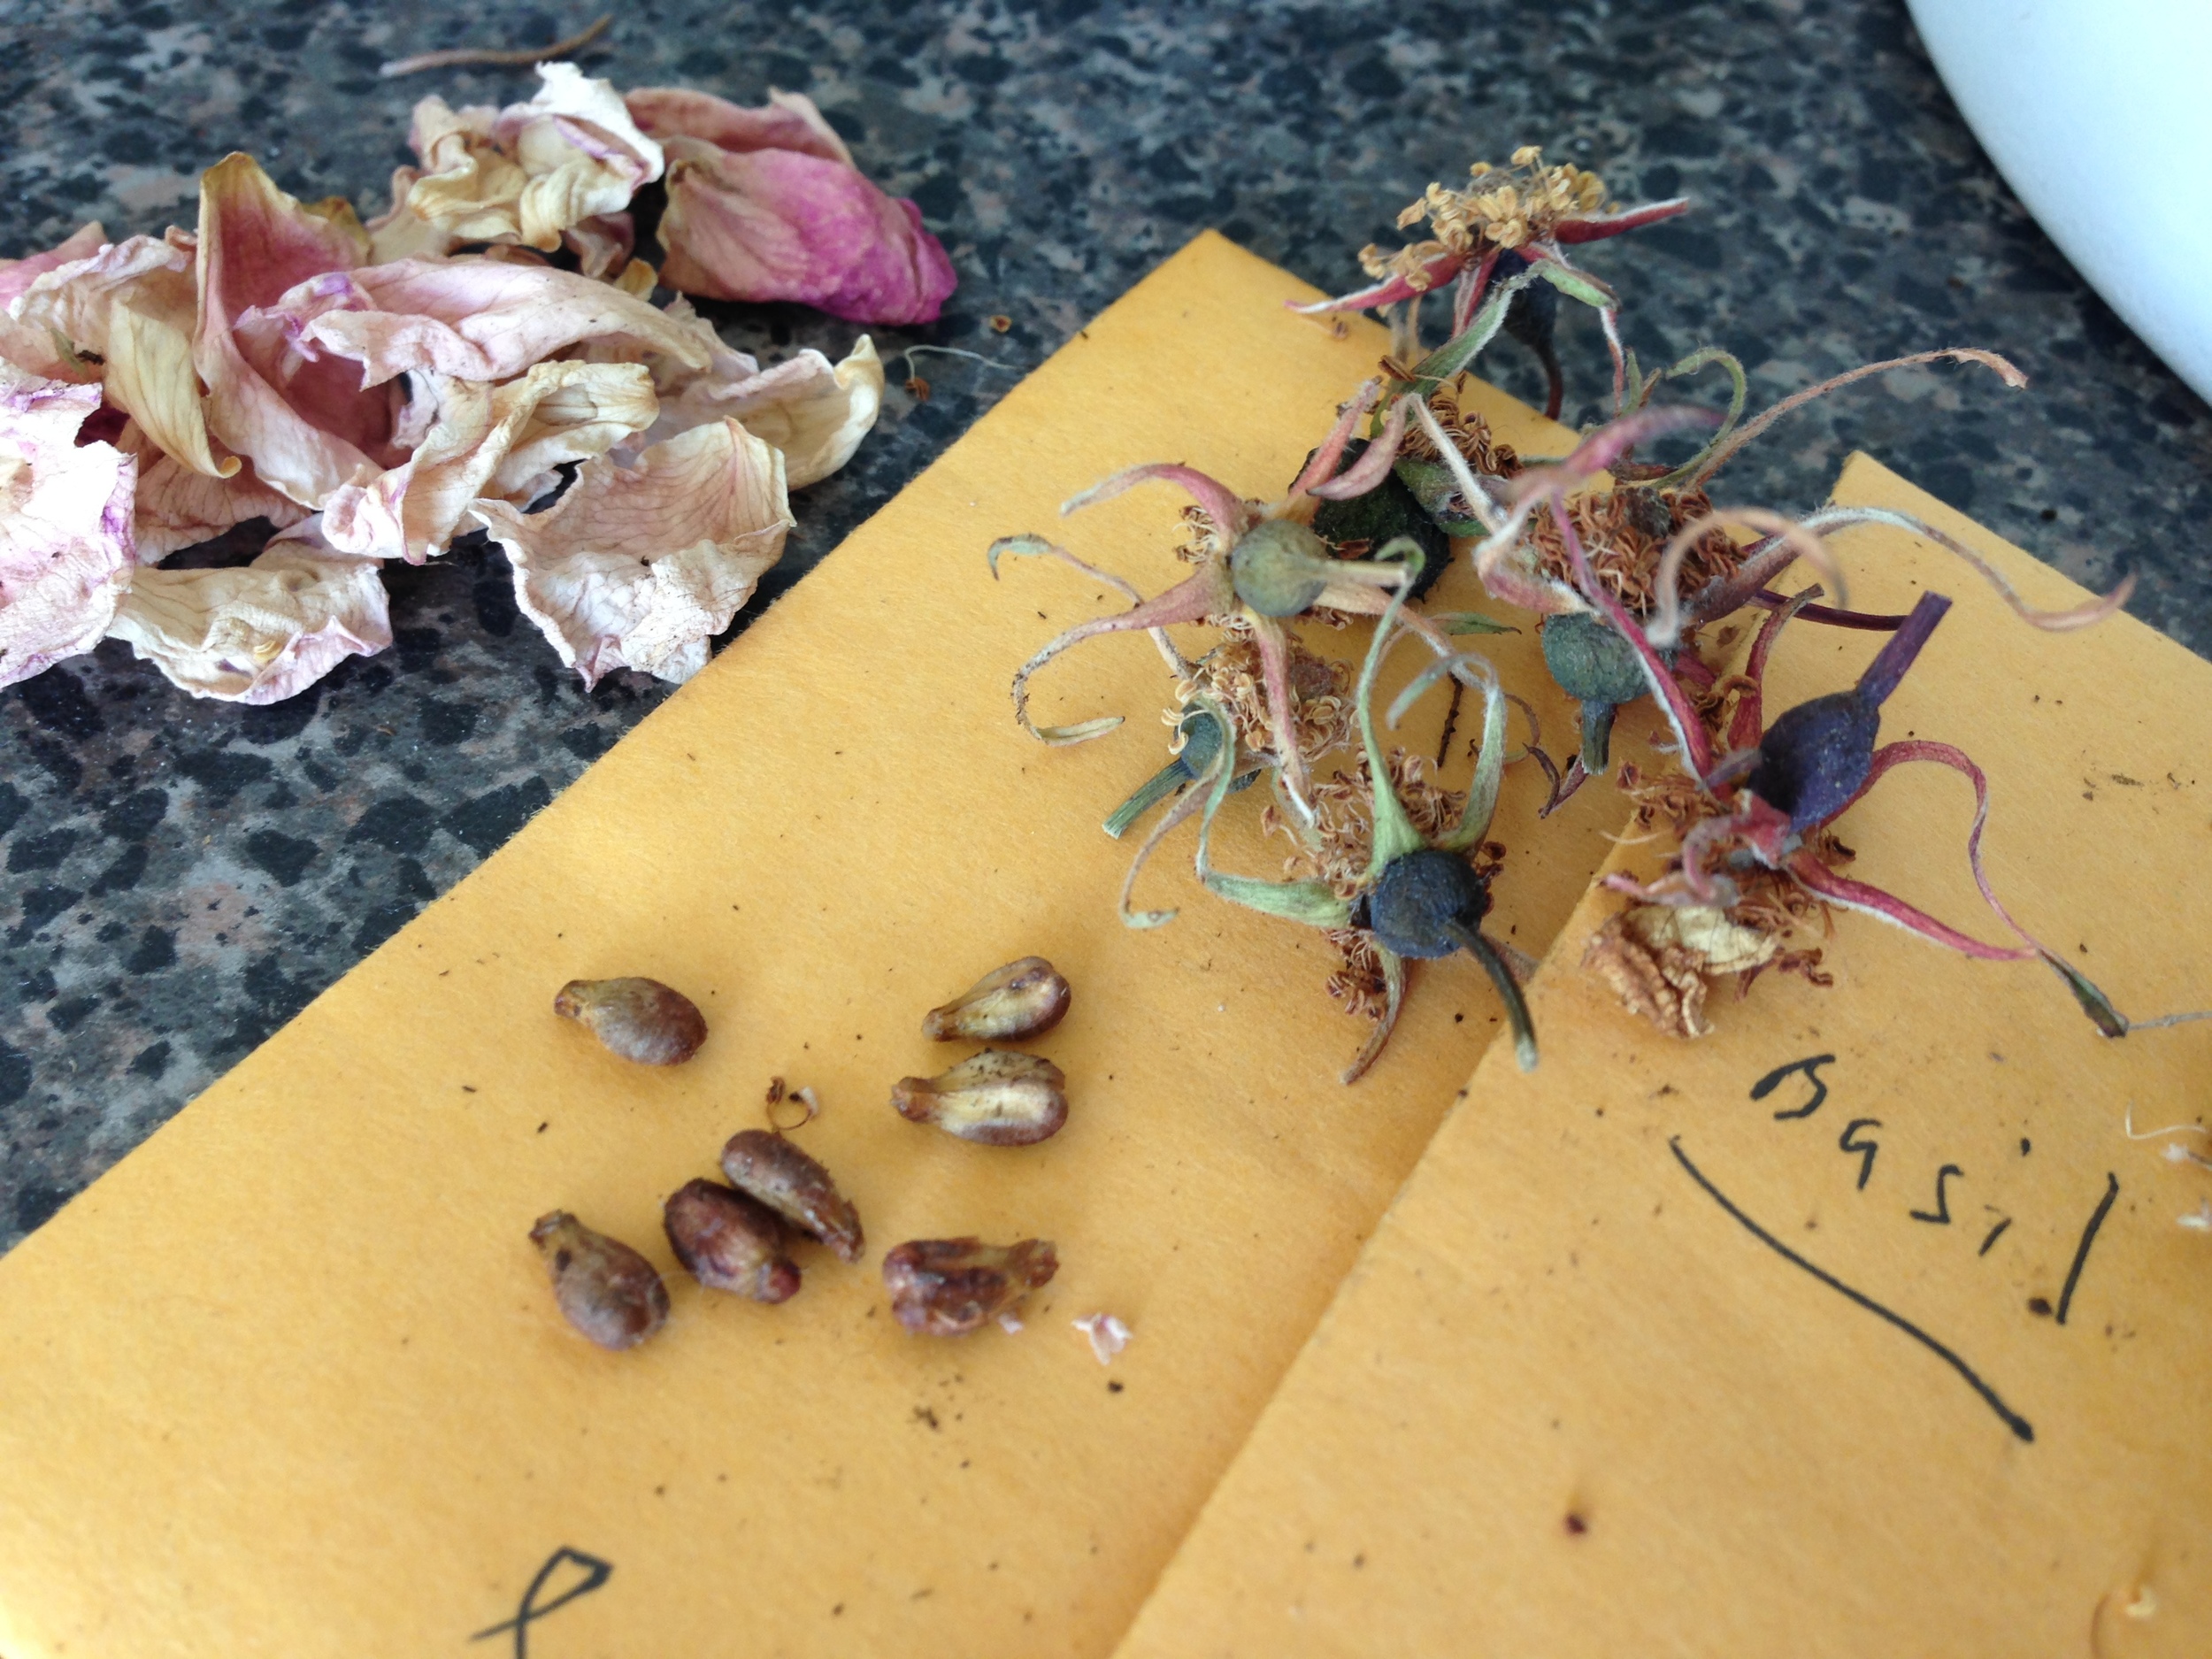
I'd never collected seeds before so I kept the whole seed pod of each flower. I was actually just going to plant the pods themselves when, because I had a bunch of them, I decided see what was inside by breaking one open with the flat of my scissors. Poof! A million little under developed seeds came puffing out. Ack! Well under developed seeds are probs not going to grow, so I broke open the biggest seed pod and out puffed a load of under developed seeds AND 5 fully developed seeds. Haphazard gardening skills, check.

And that's the story so far! Watered and lidded the terrarium thing and now to wait. All the future seed babies get to live on my kitchen counter for the time being. (I may have to figure out a warming lamp/mat situation because winter is back with a vengeance....) Everything I planted has a 10 - 12 day germination period so I'll see what sprouts in a couple weeks! Fingers crossed!

-Andrea

The Half-Assed Hobbyist

ย