Jam-uary

It's a new year! Yay!

Now usually January is a slow month. After the holiday parties and year end snafus, January is typically cold and dull, just the perfect time to sit back and chill after the craziness. 

Unless you're planning a wedding.... and you realize that it's approaching in almost 100 days. -cries- The FiancΓ© and I have been very due diligent. Ordering invites, finalizing catering and DJs, booking photographers and officiants, etc. But there are a couple remaining to-dos that I've been procrastinating. 
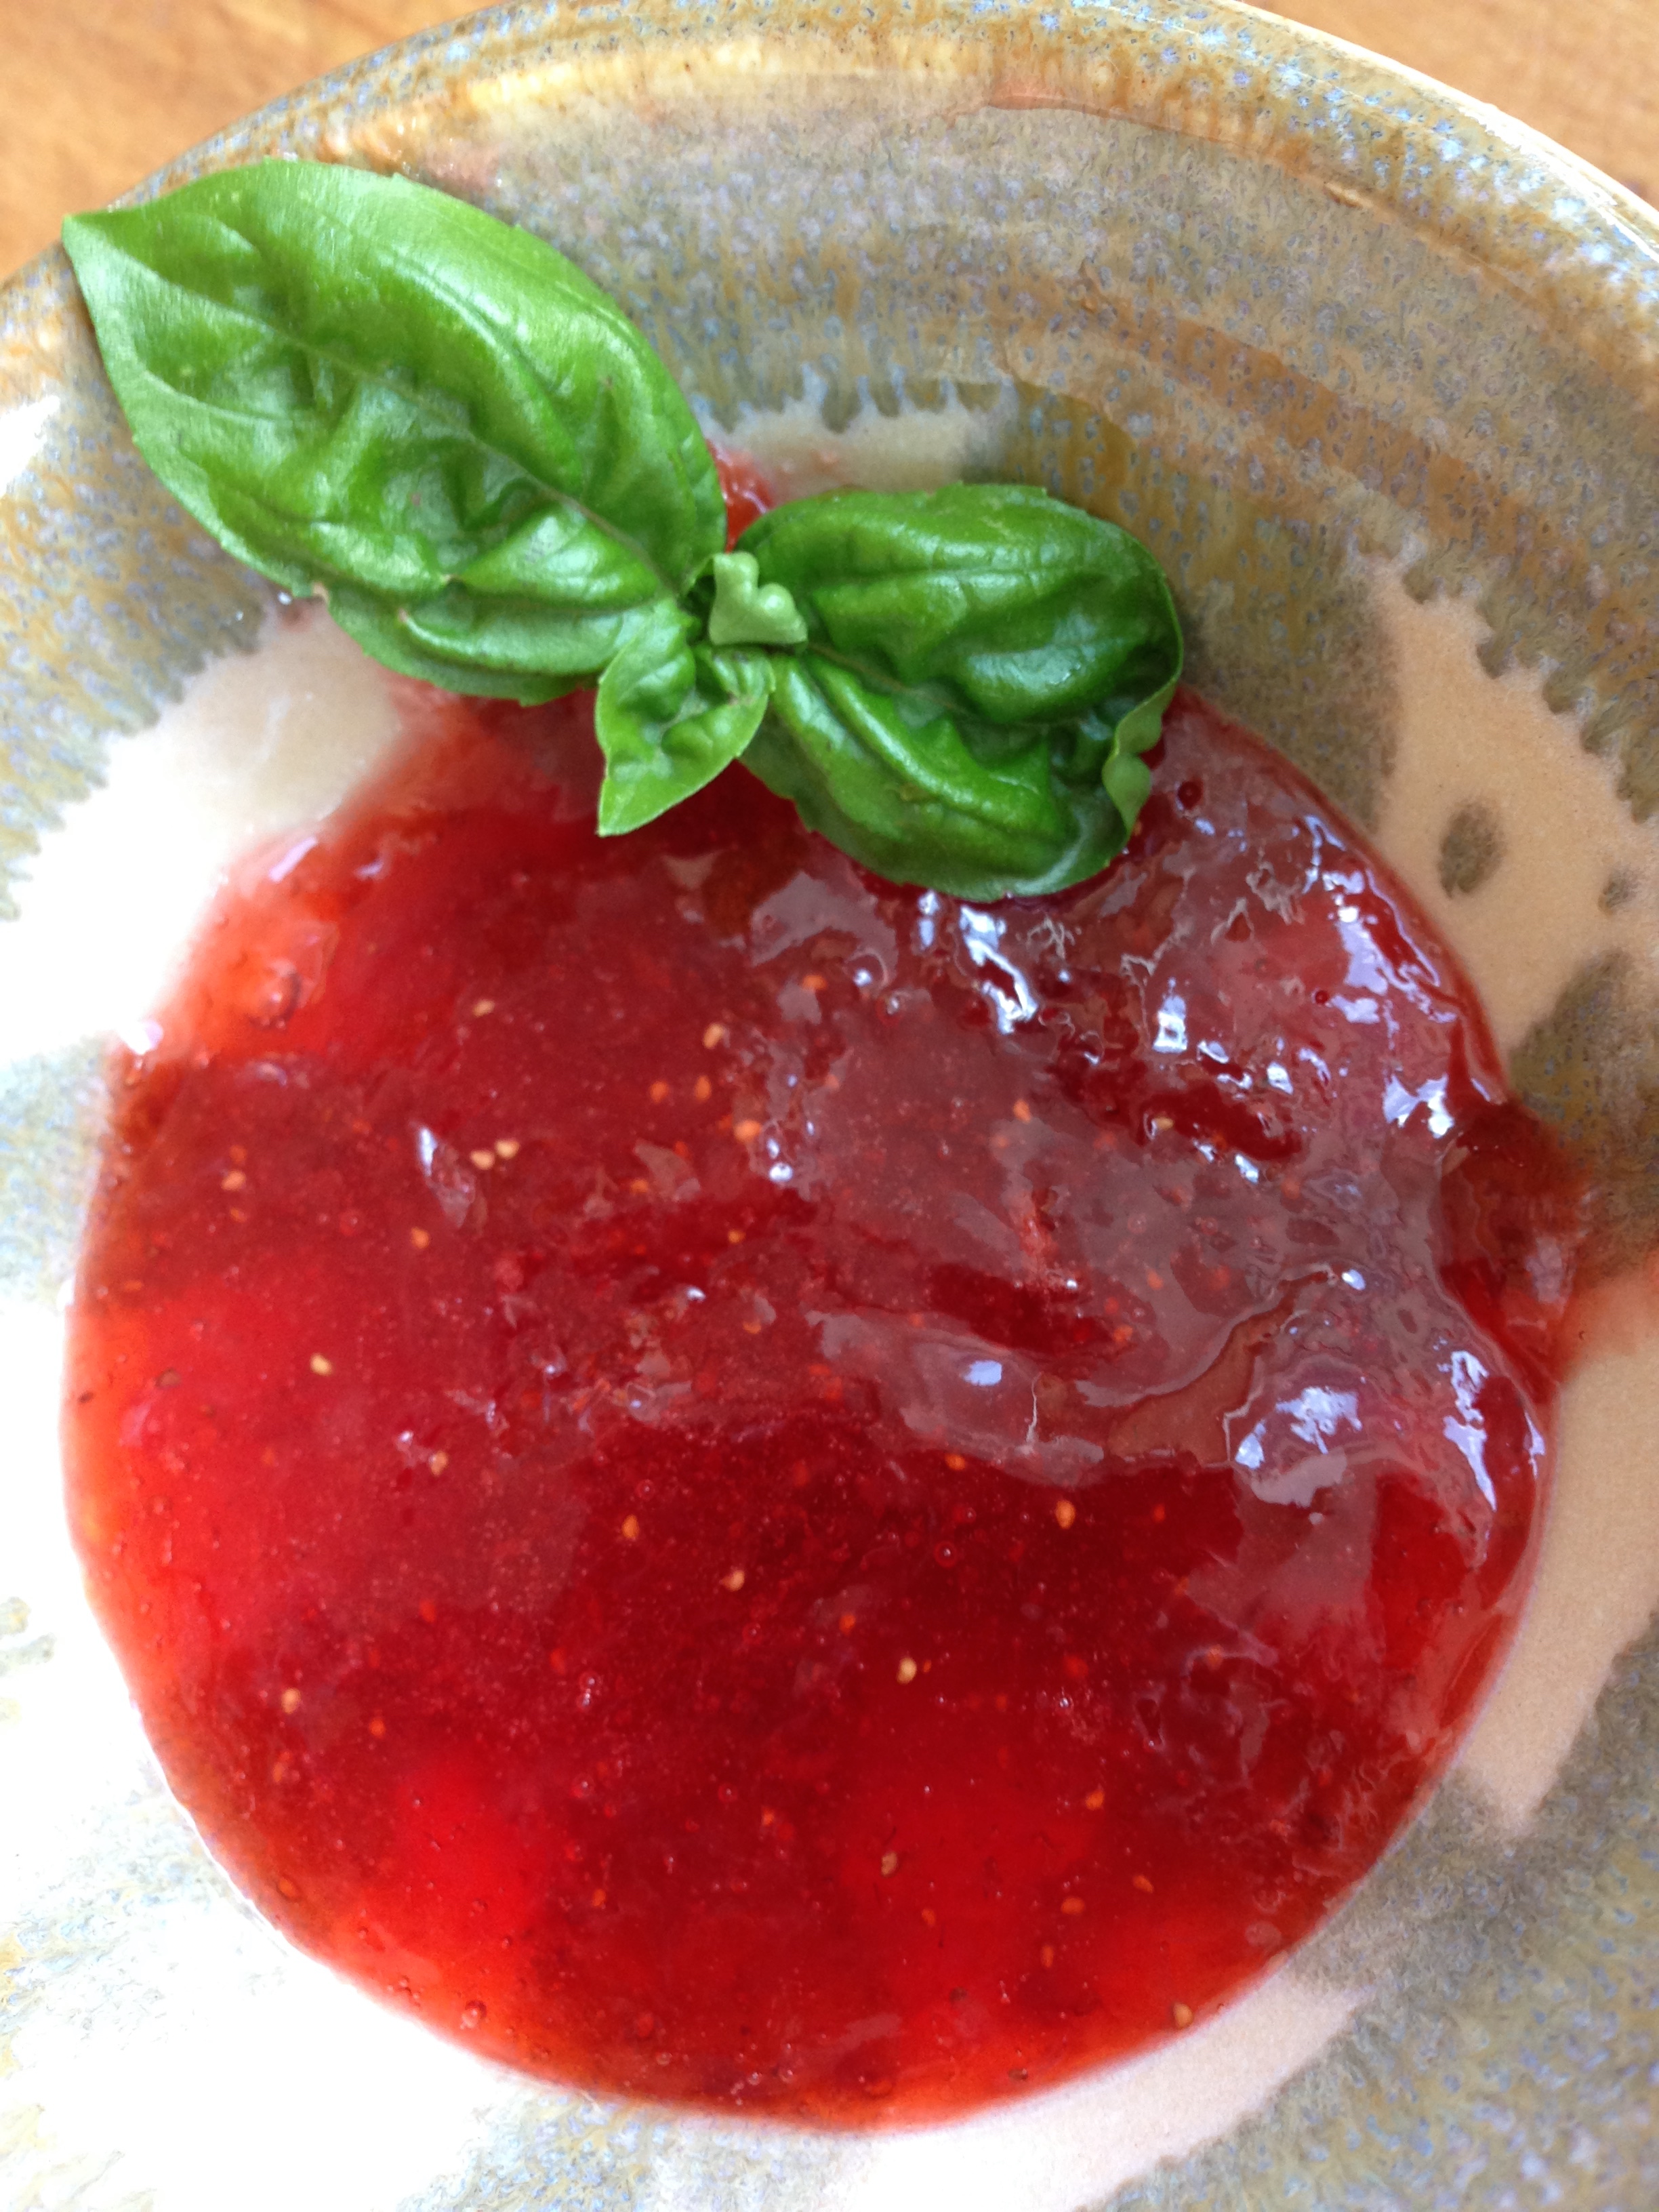
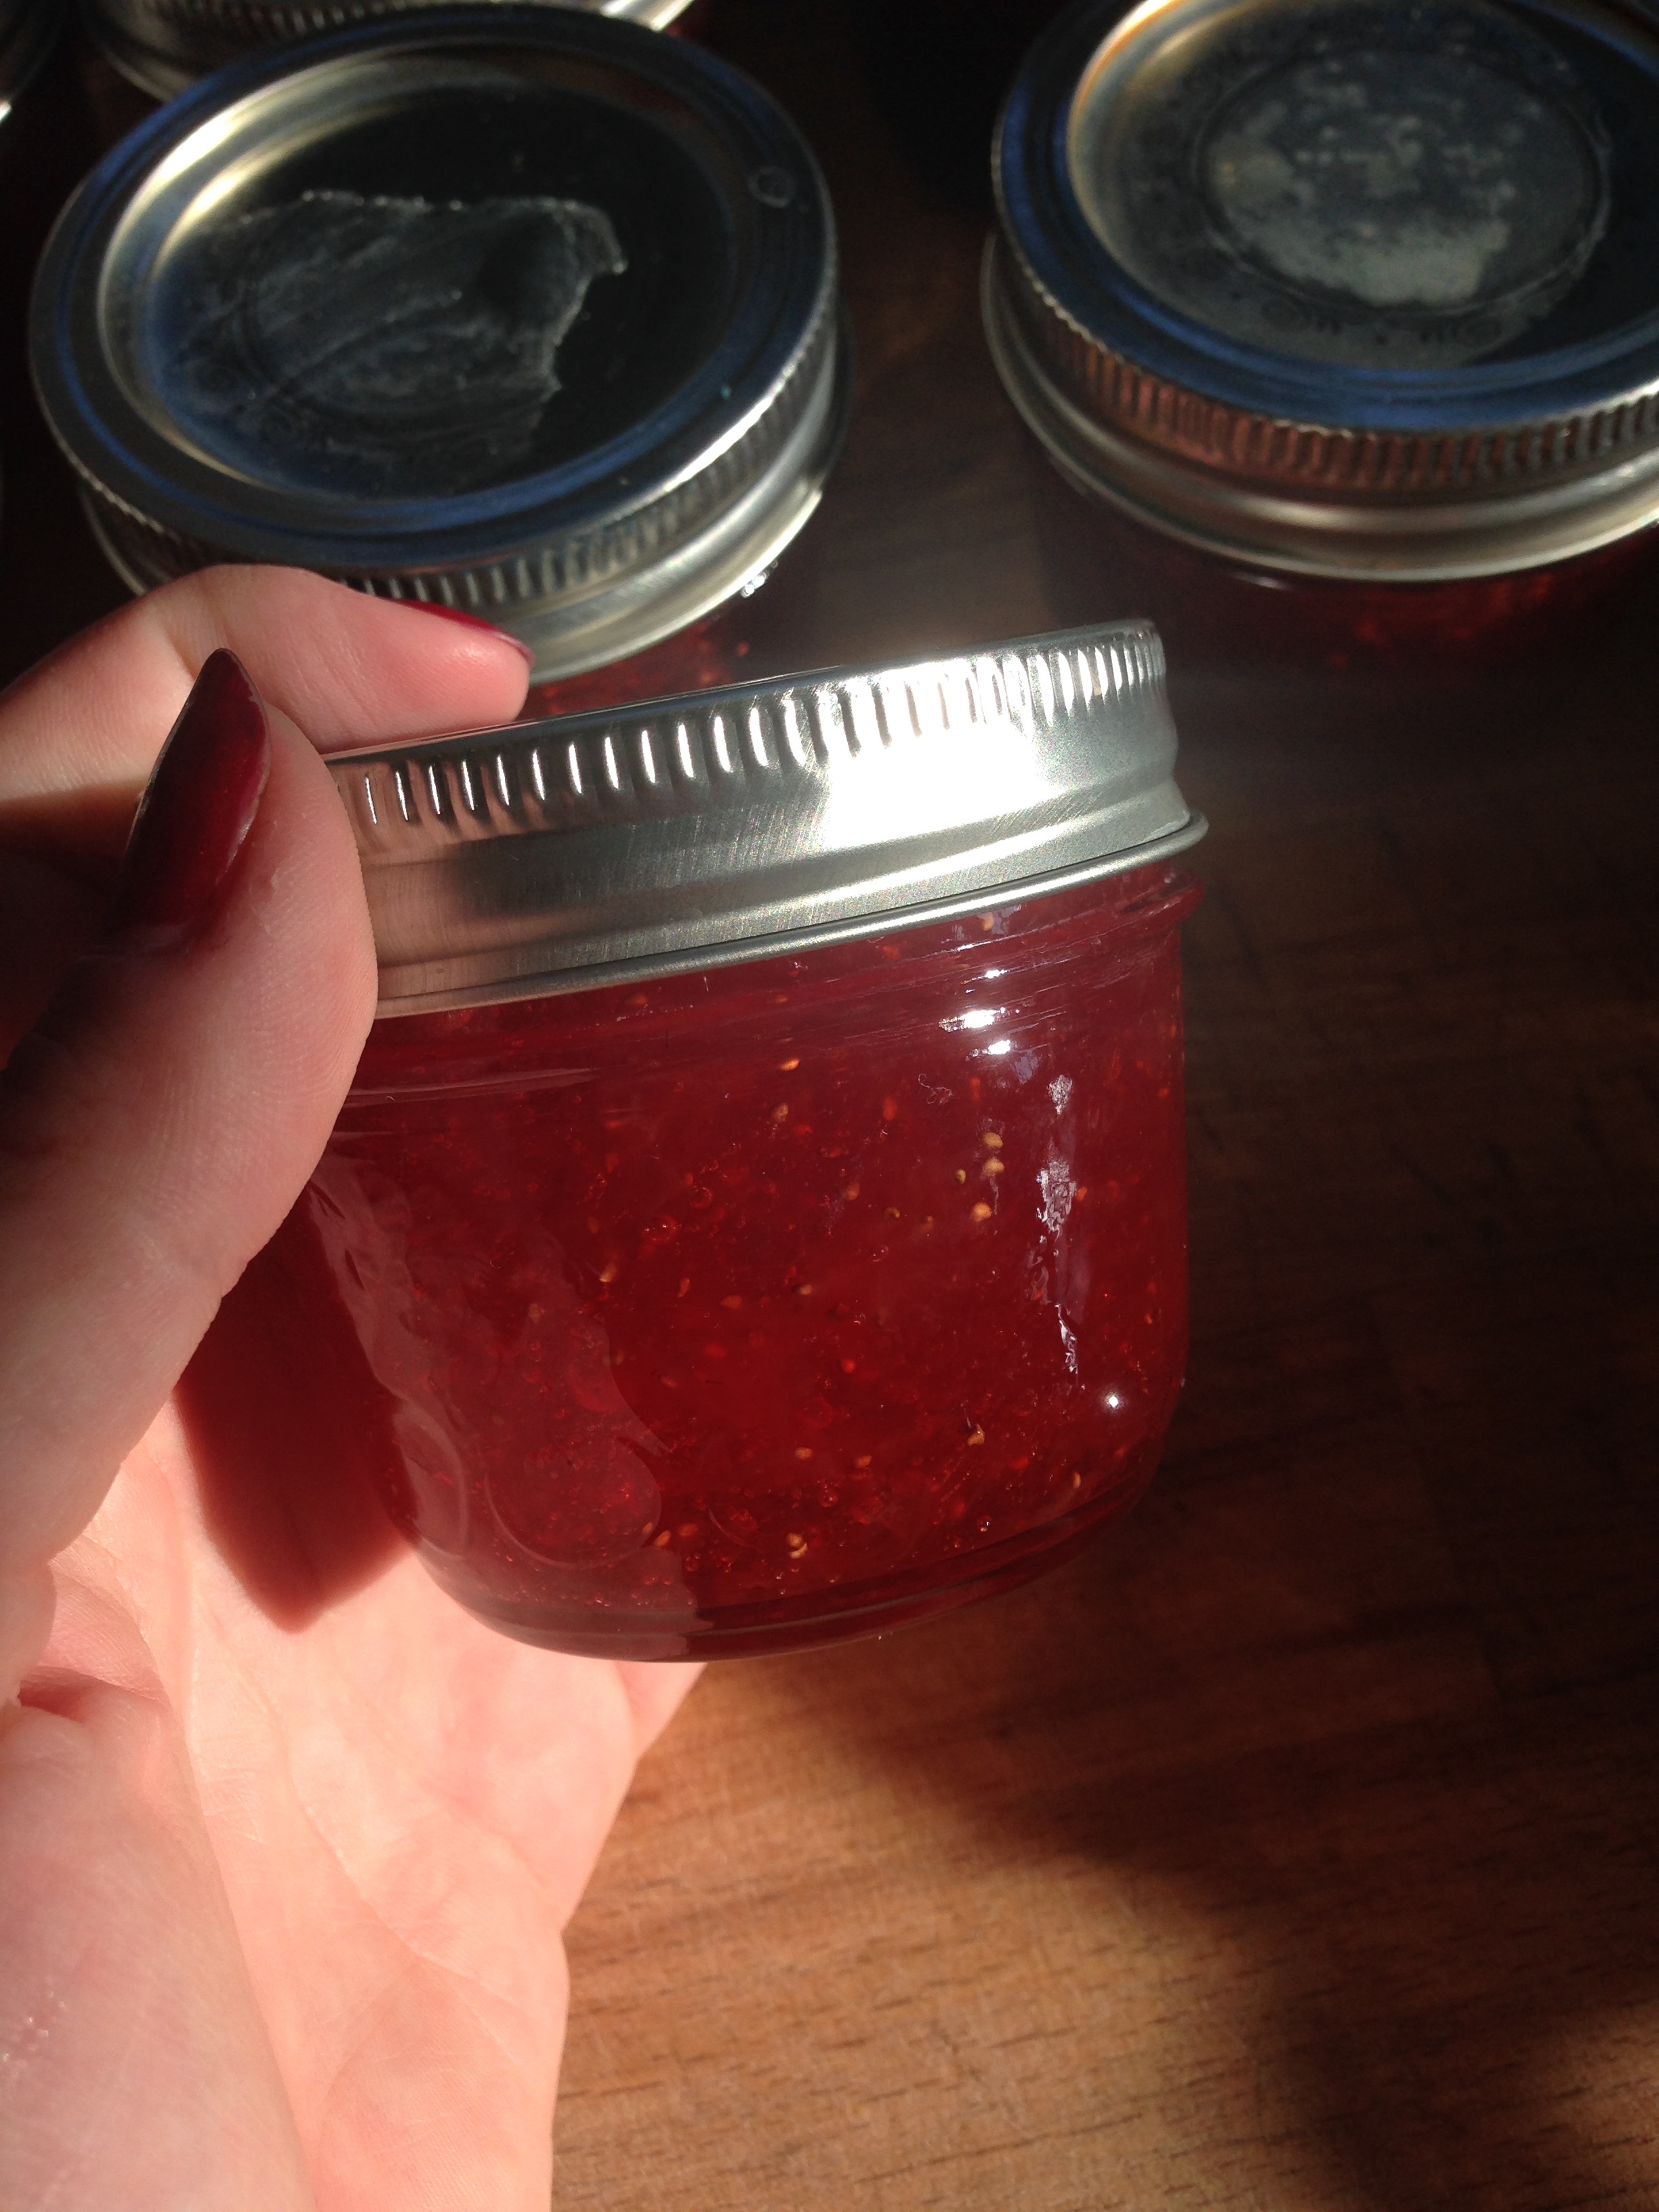
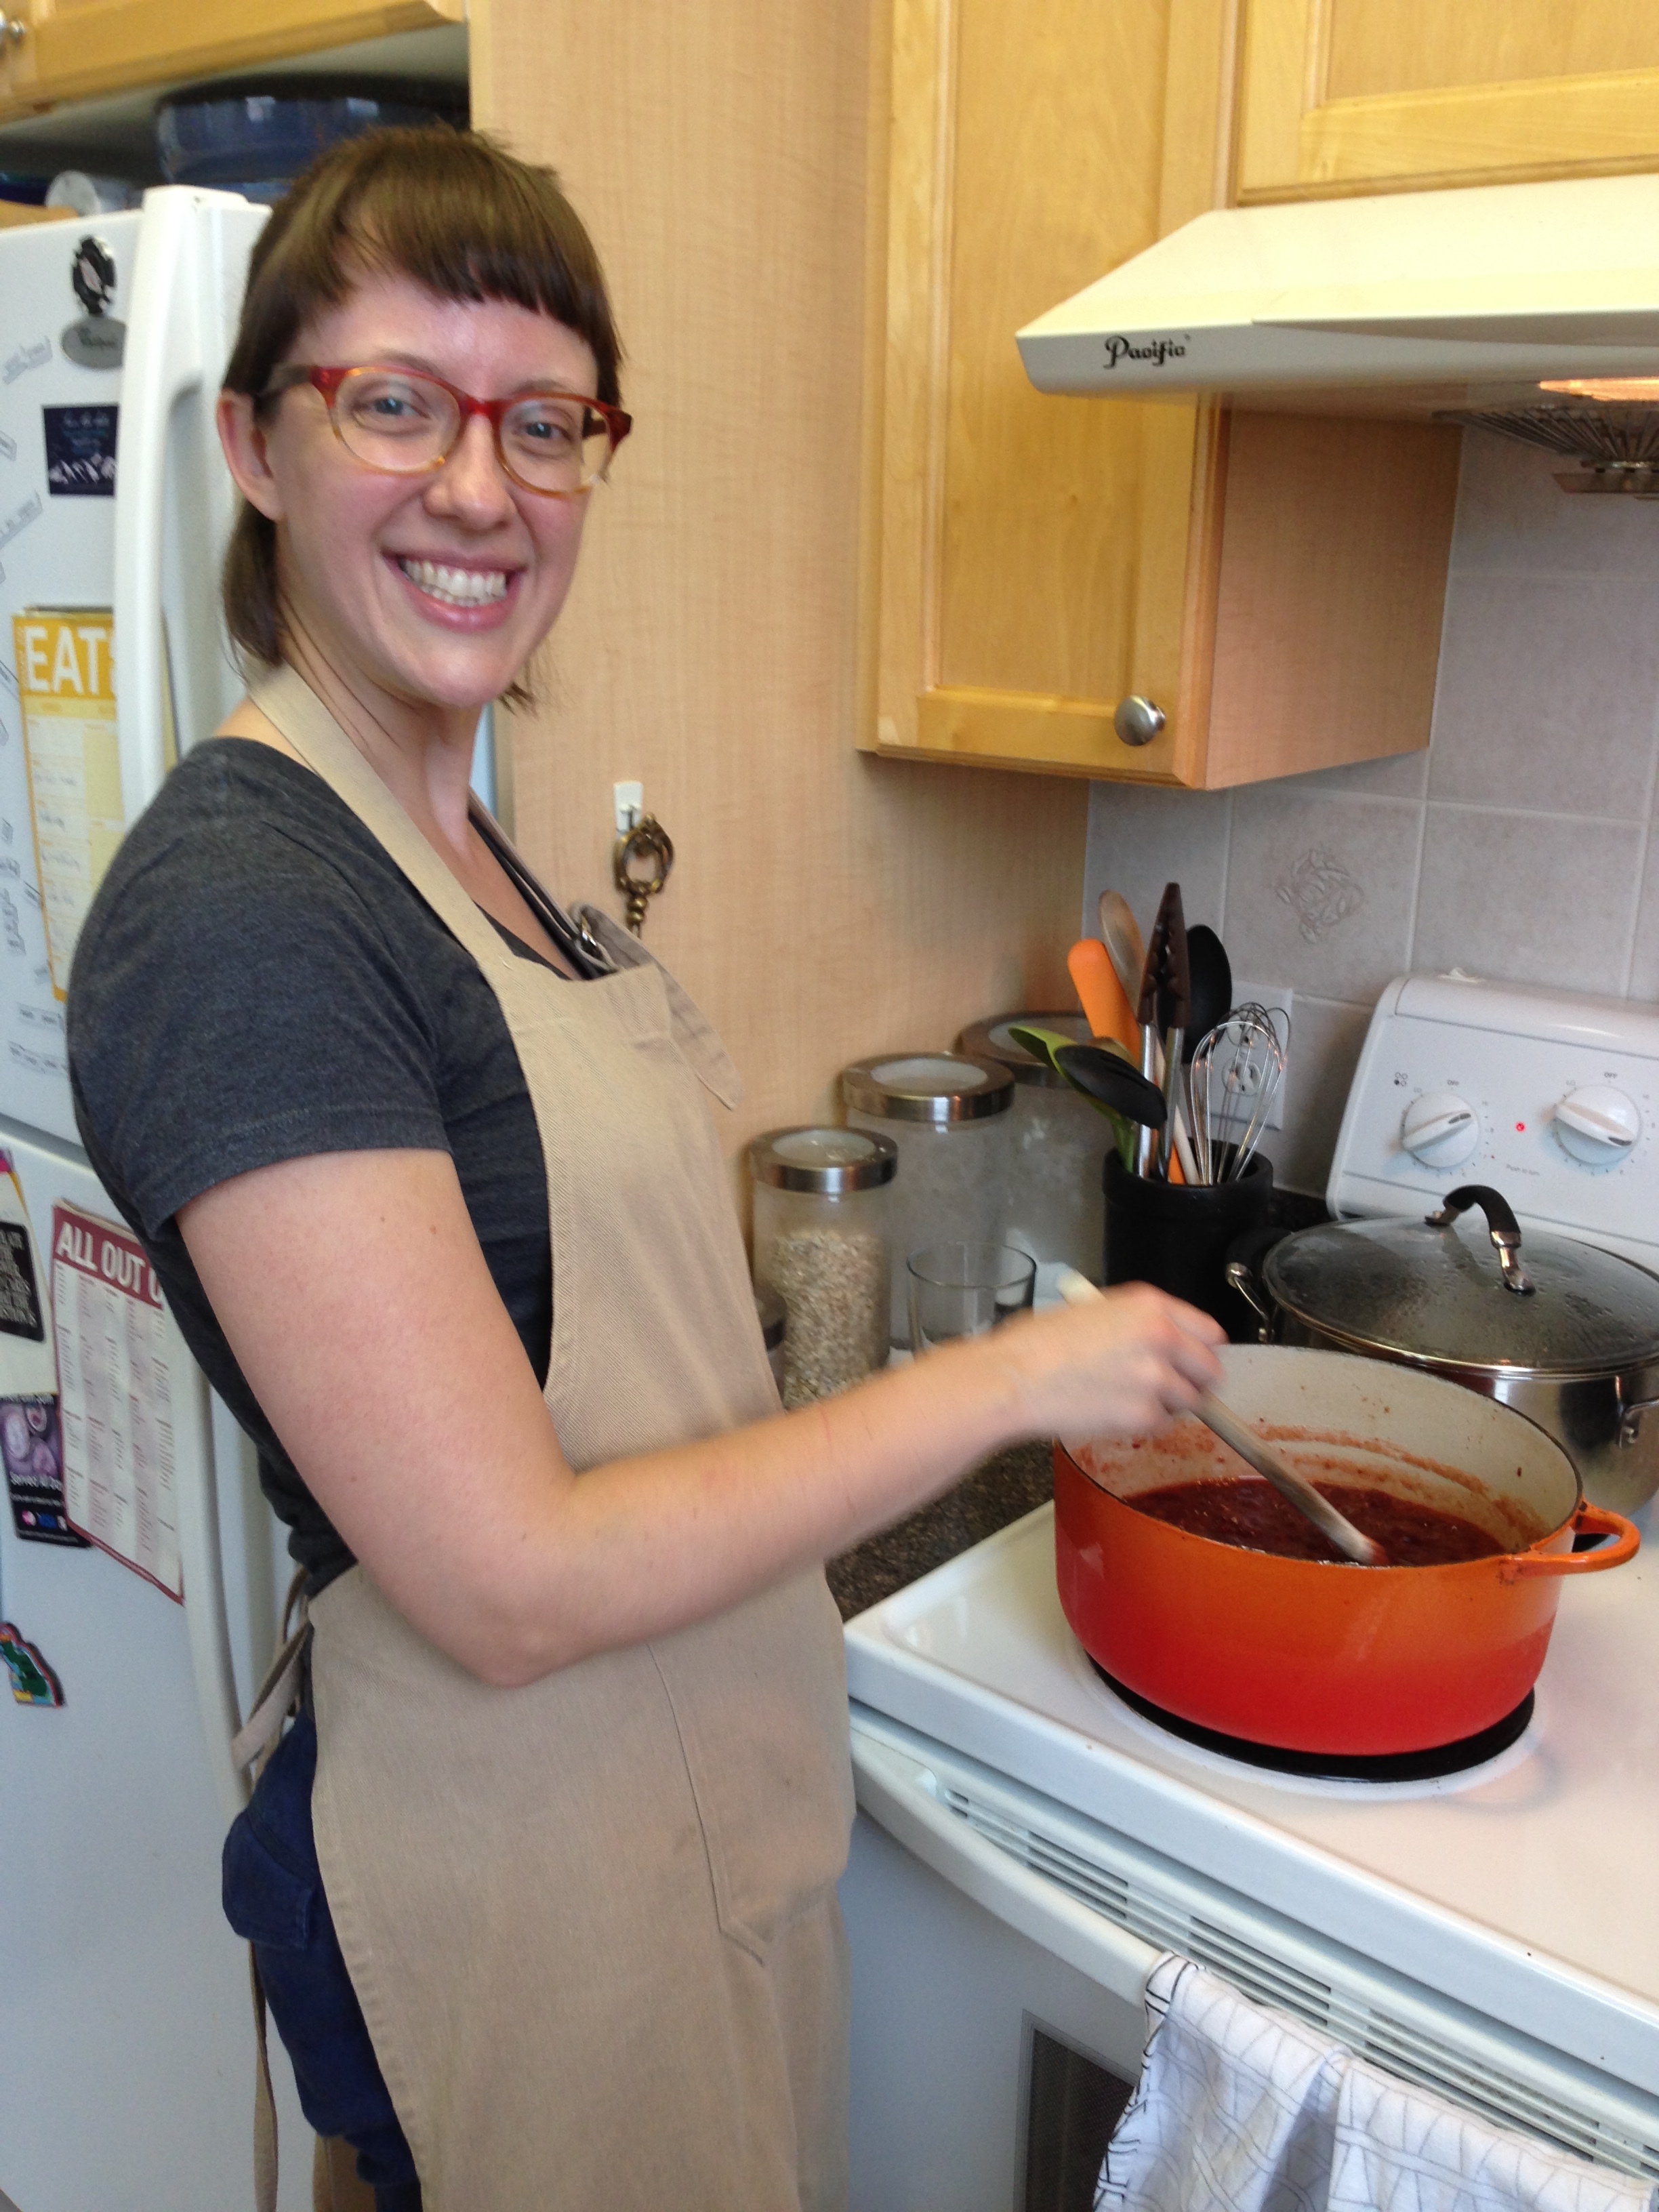
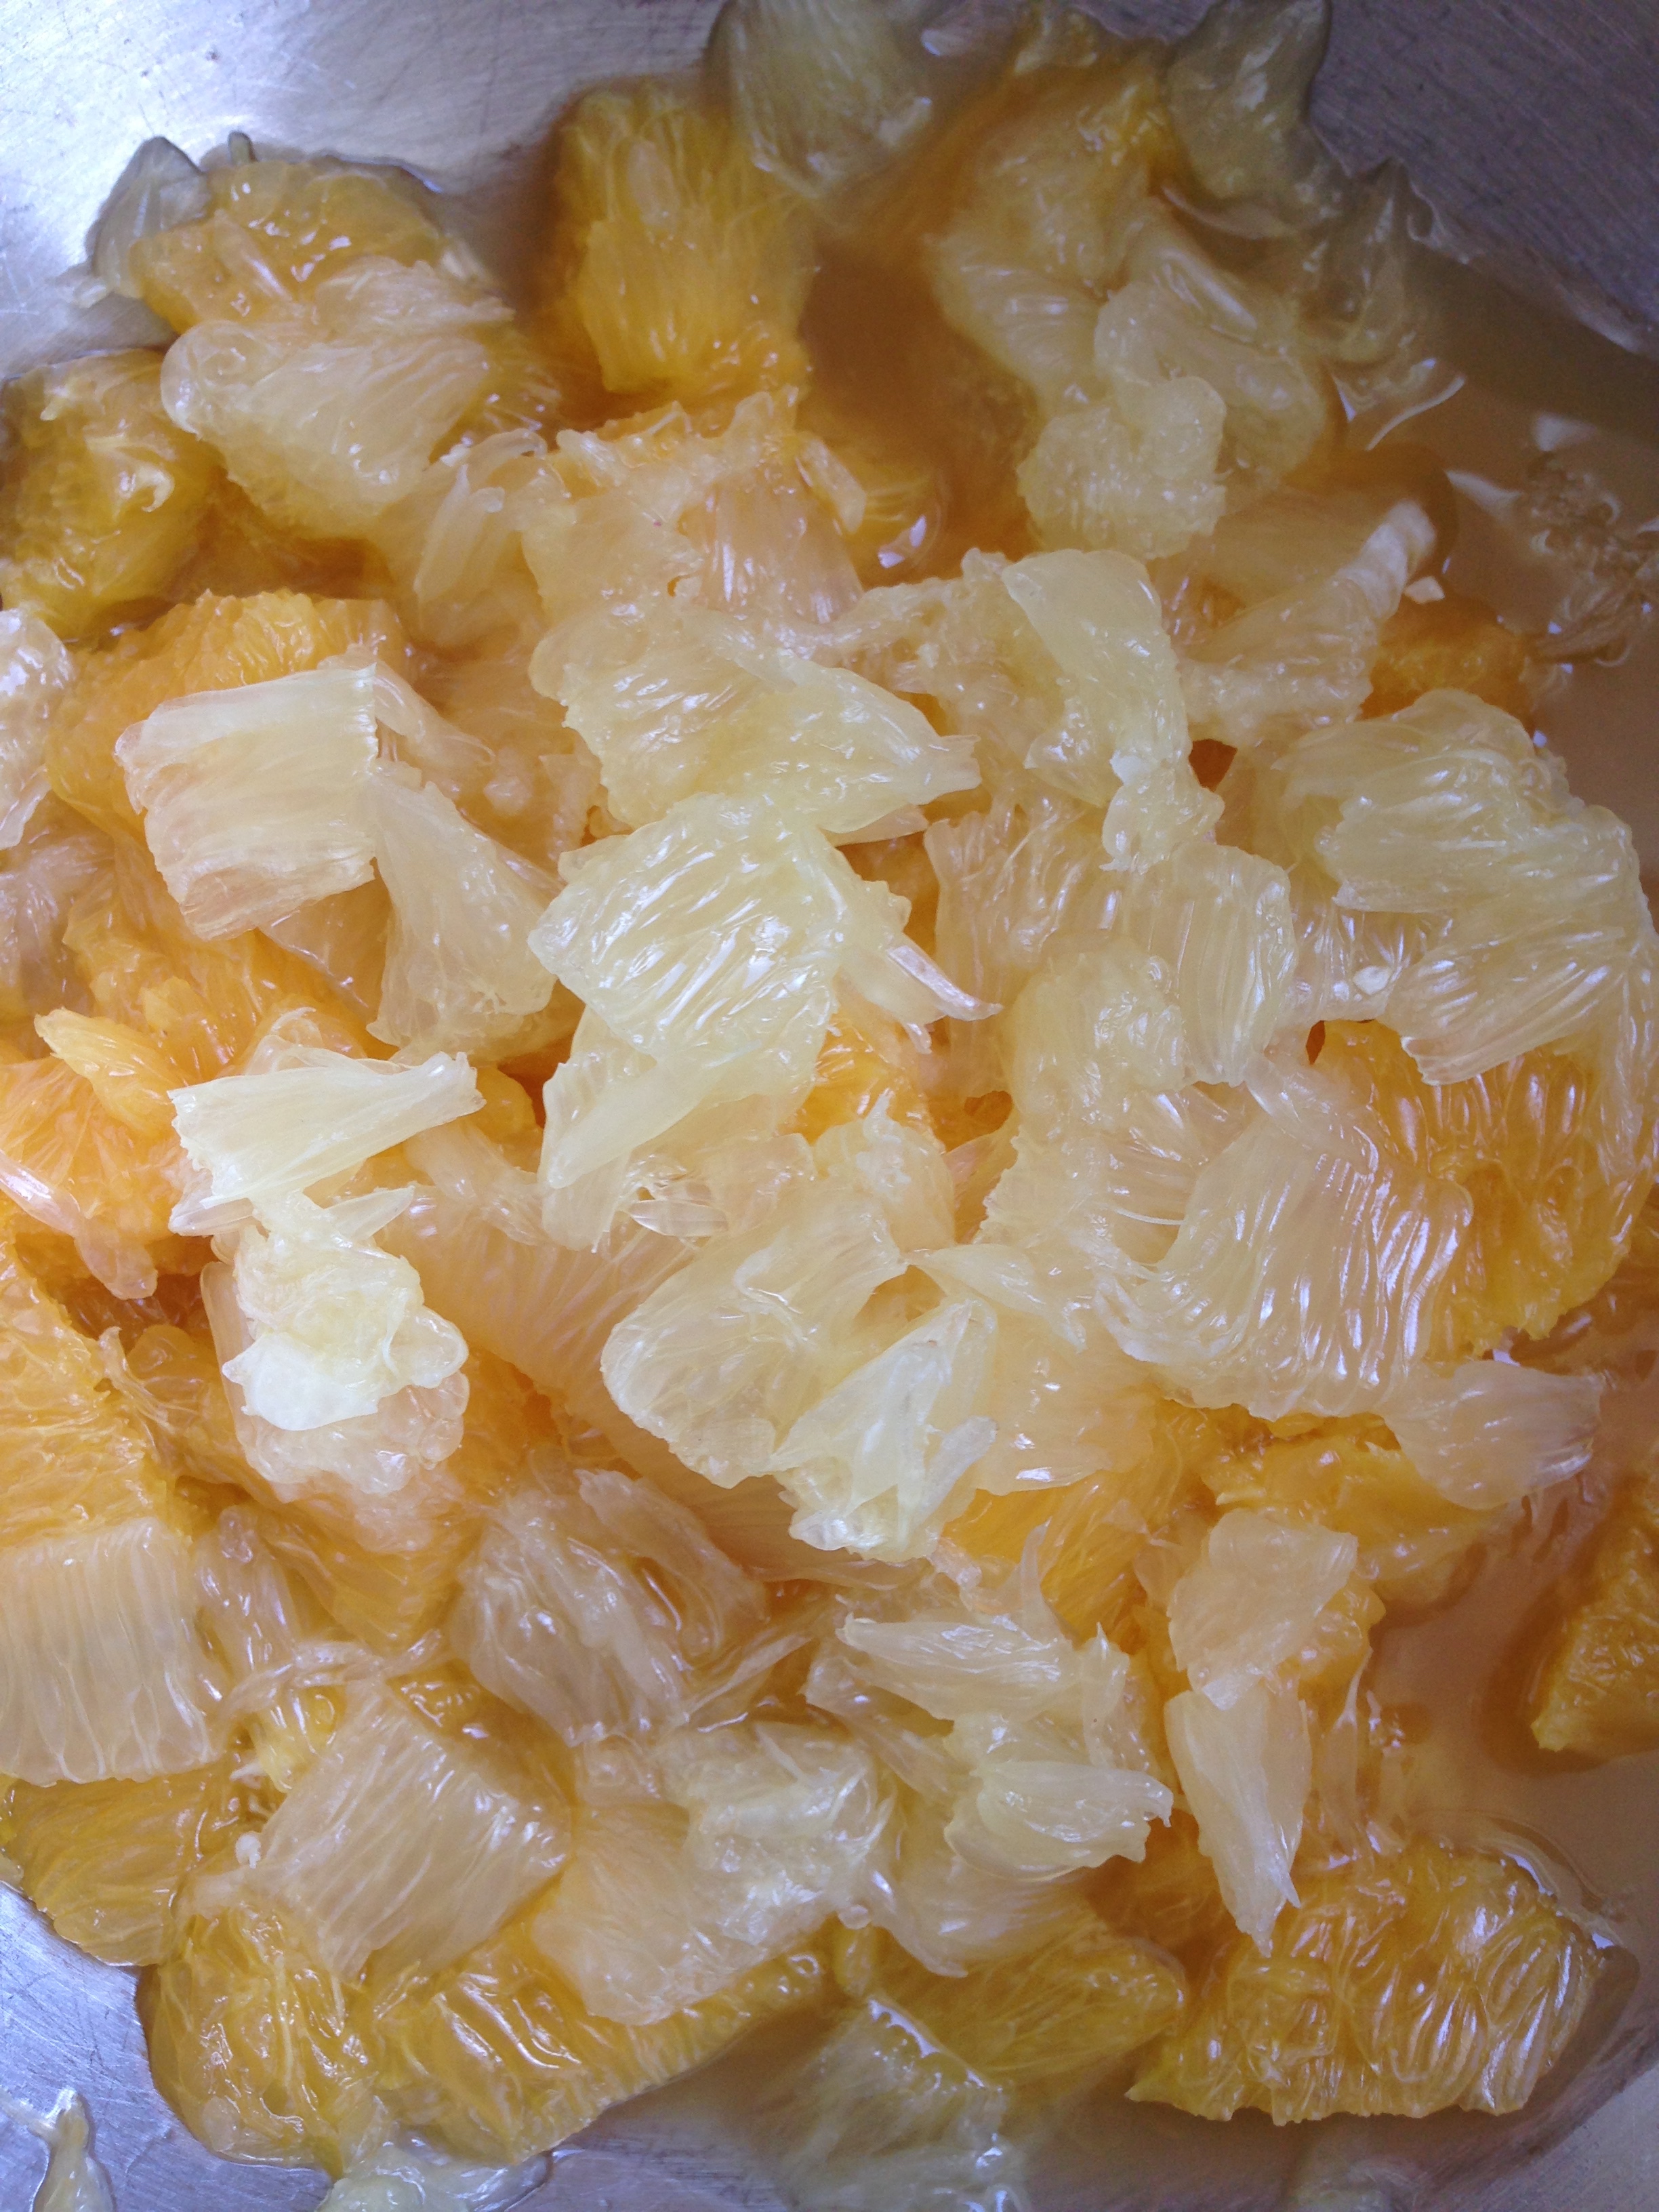
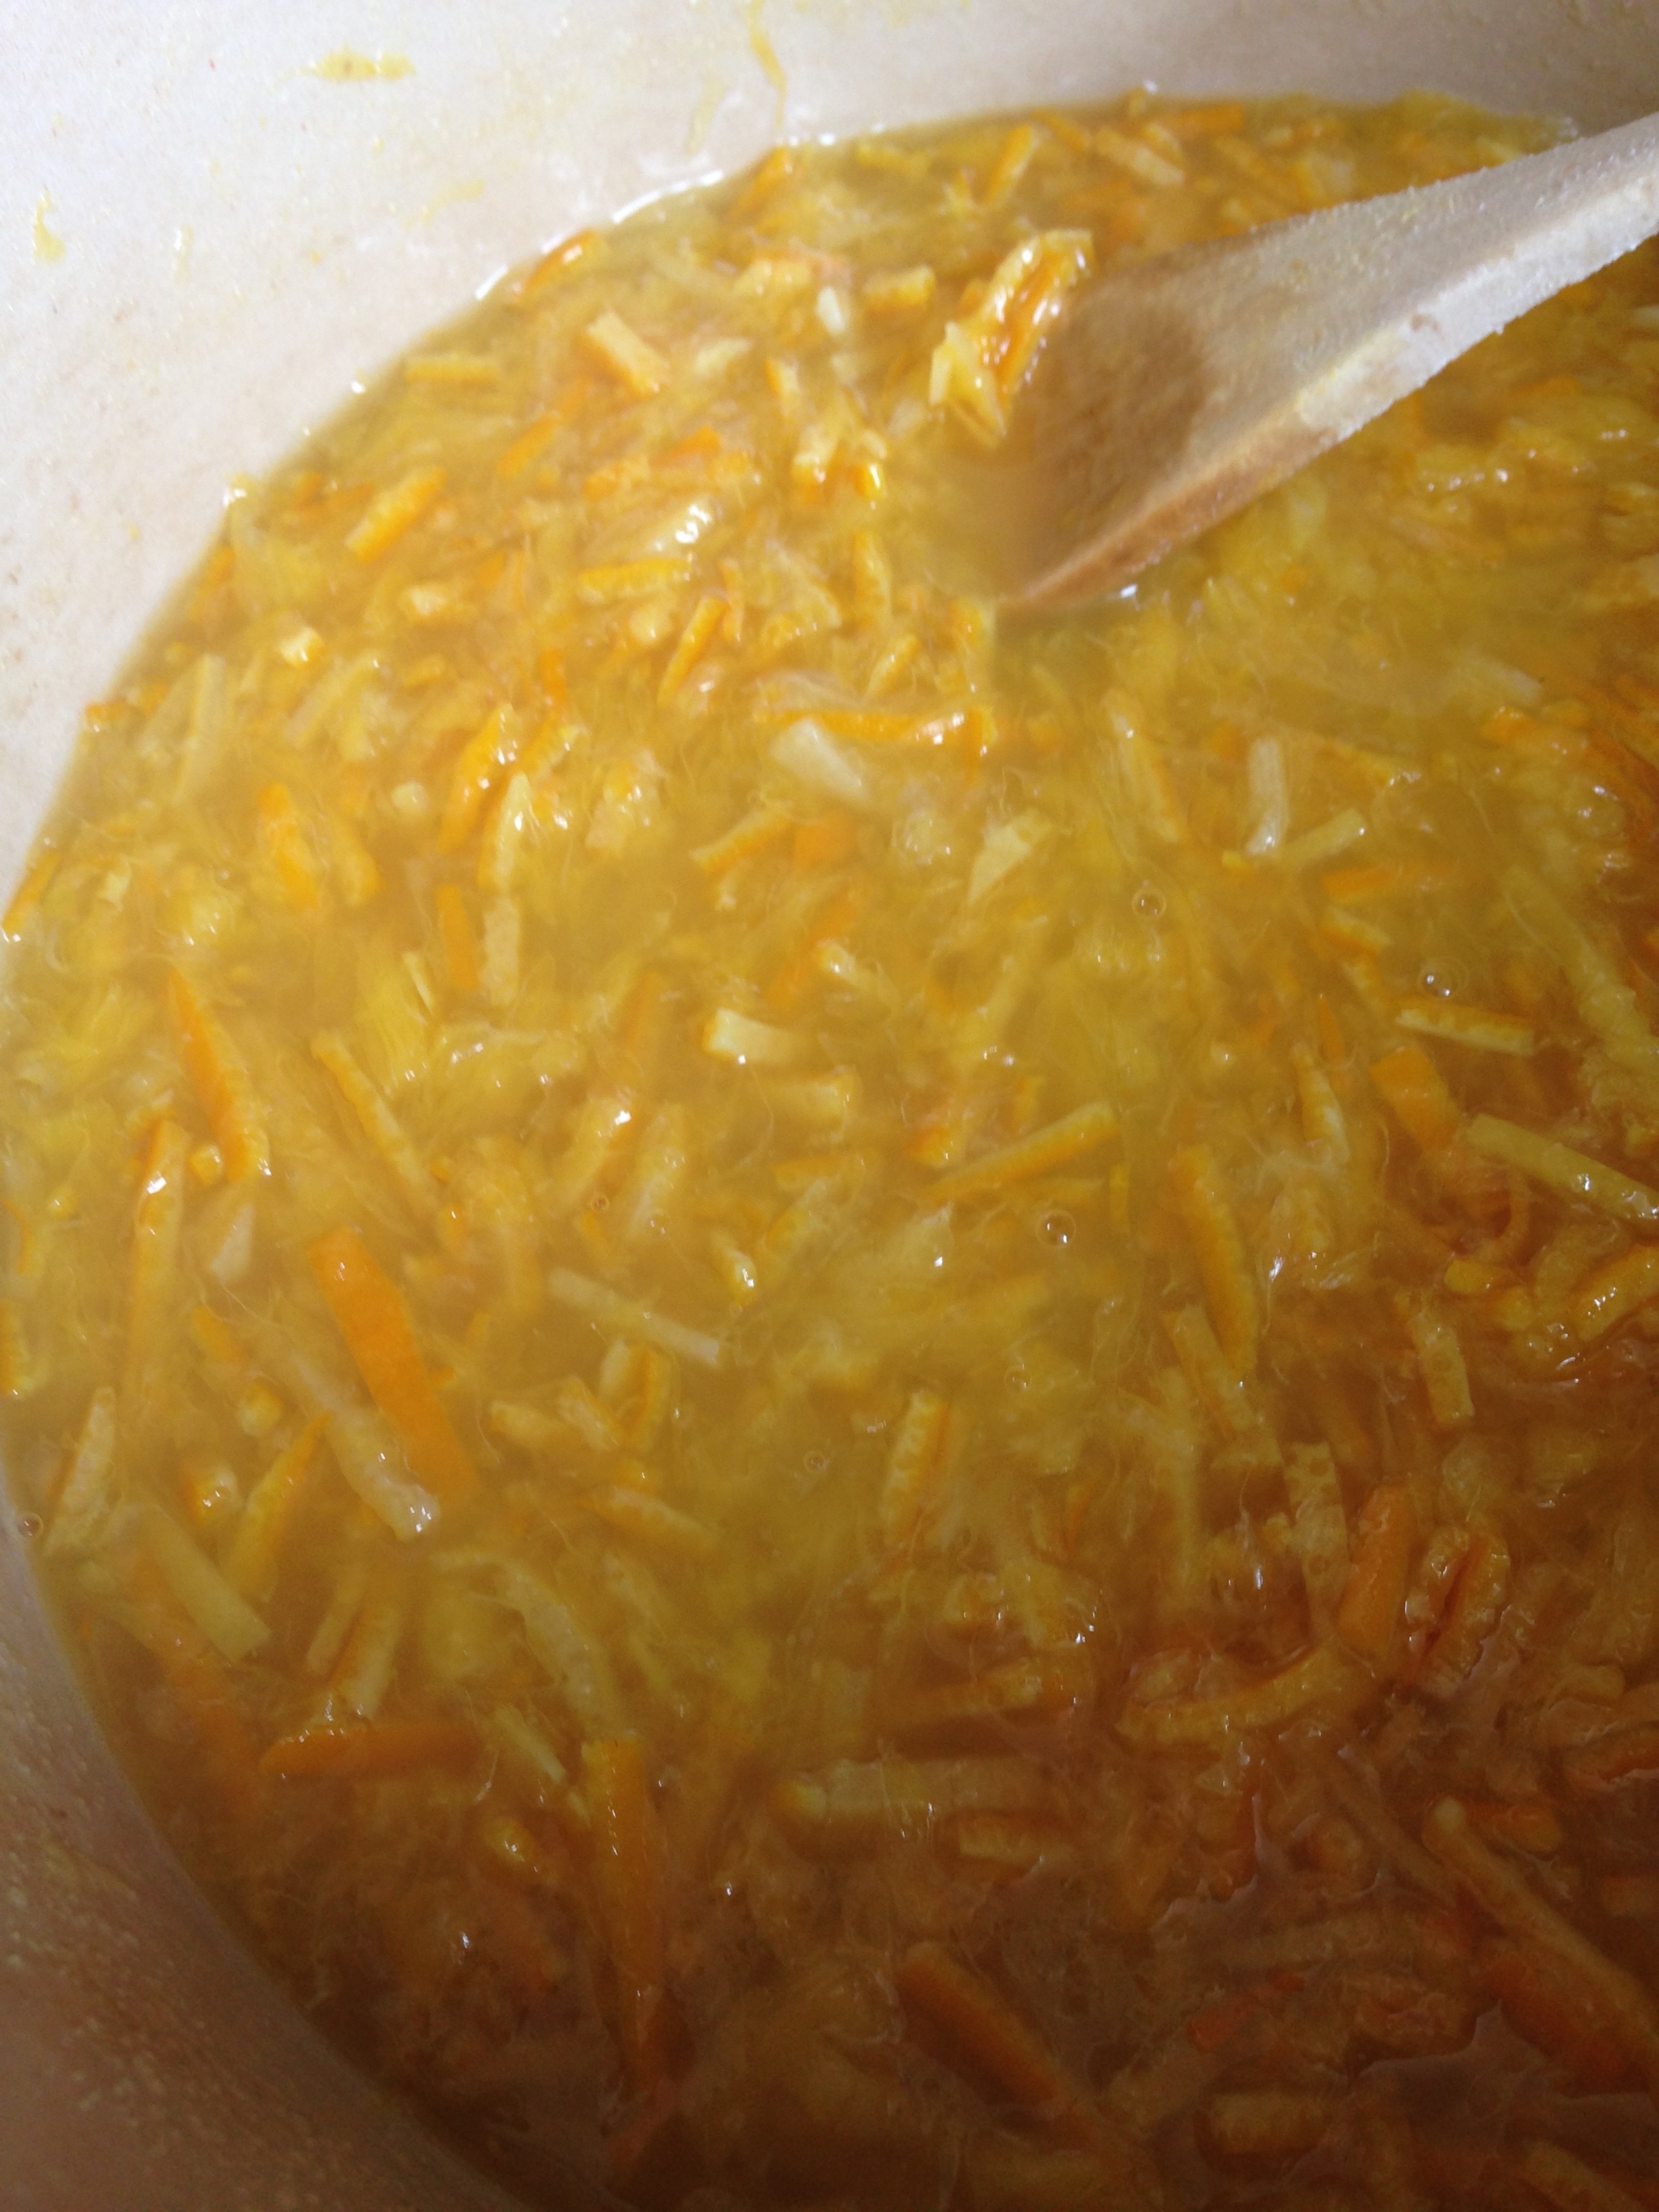
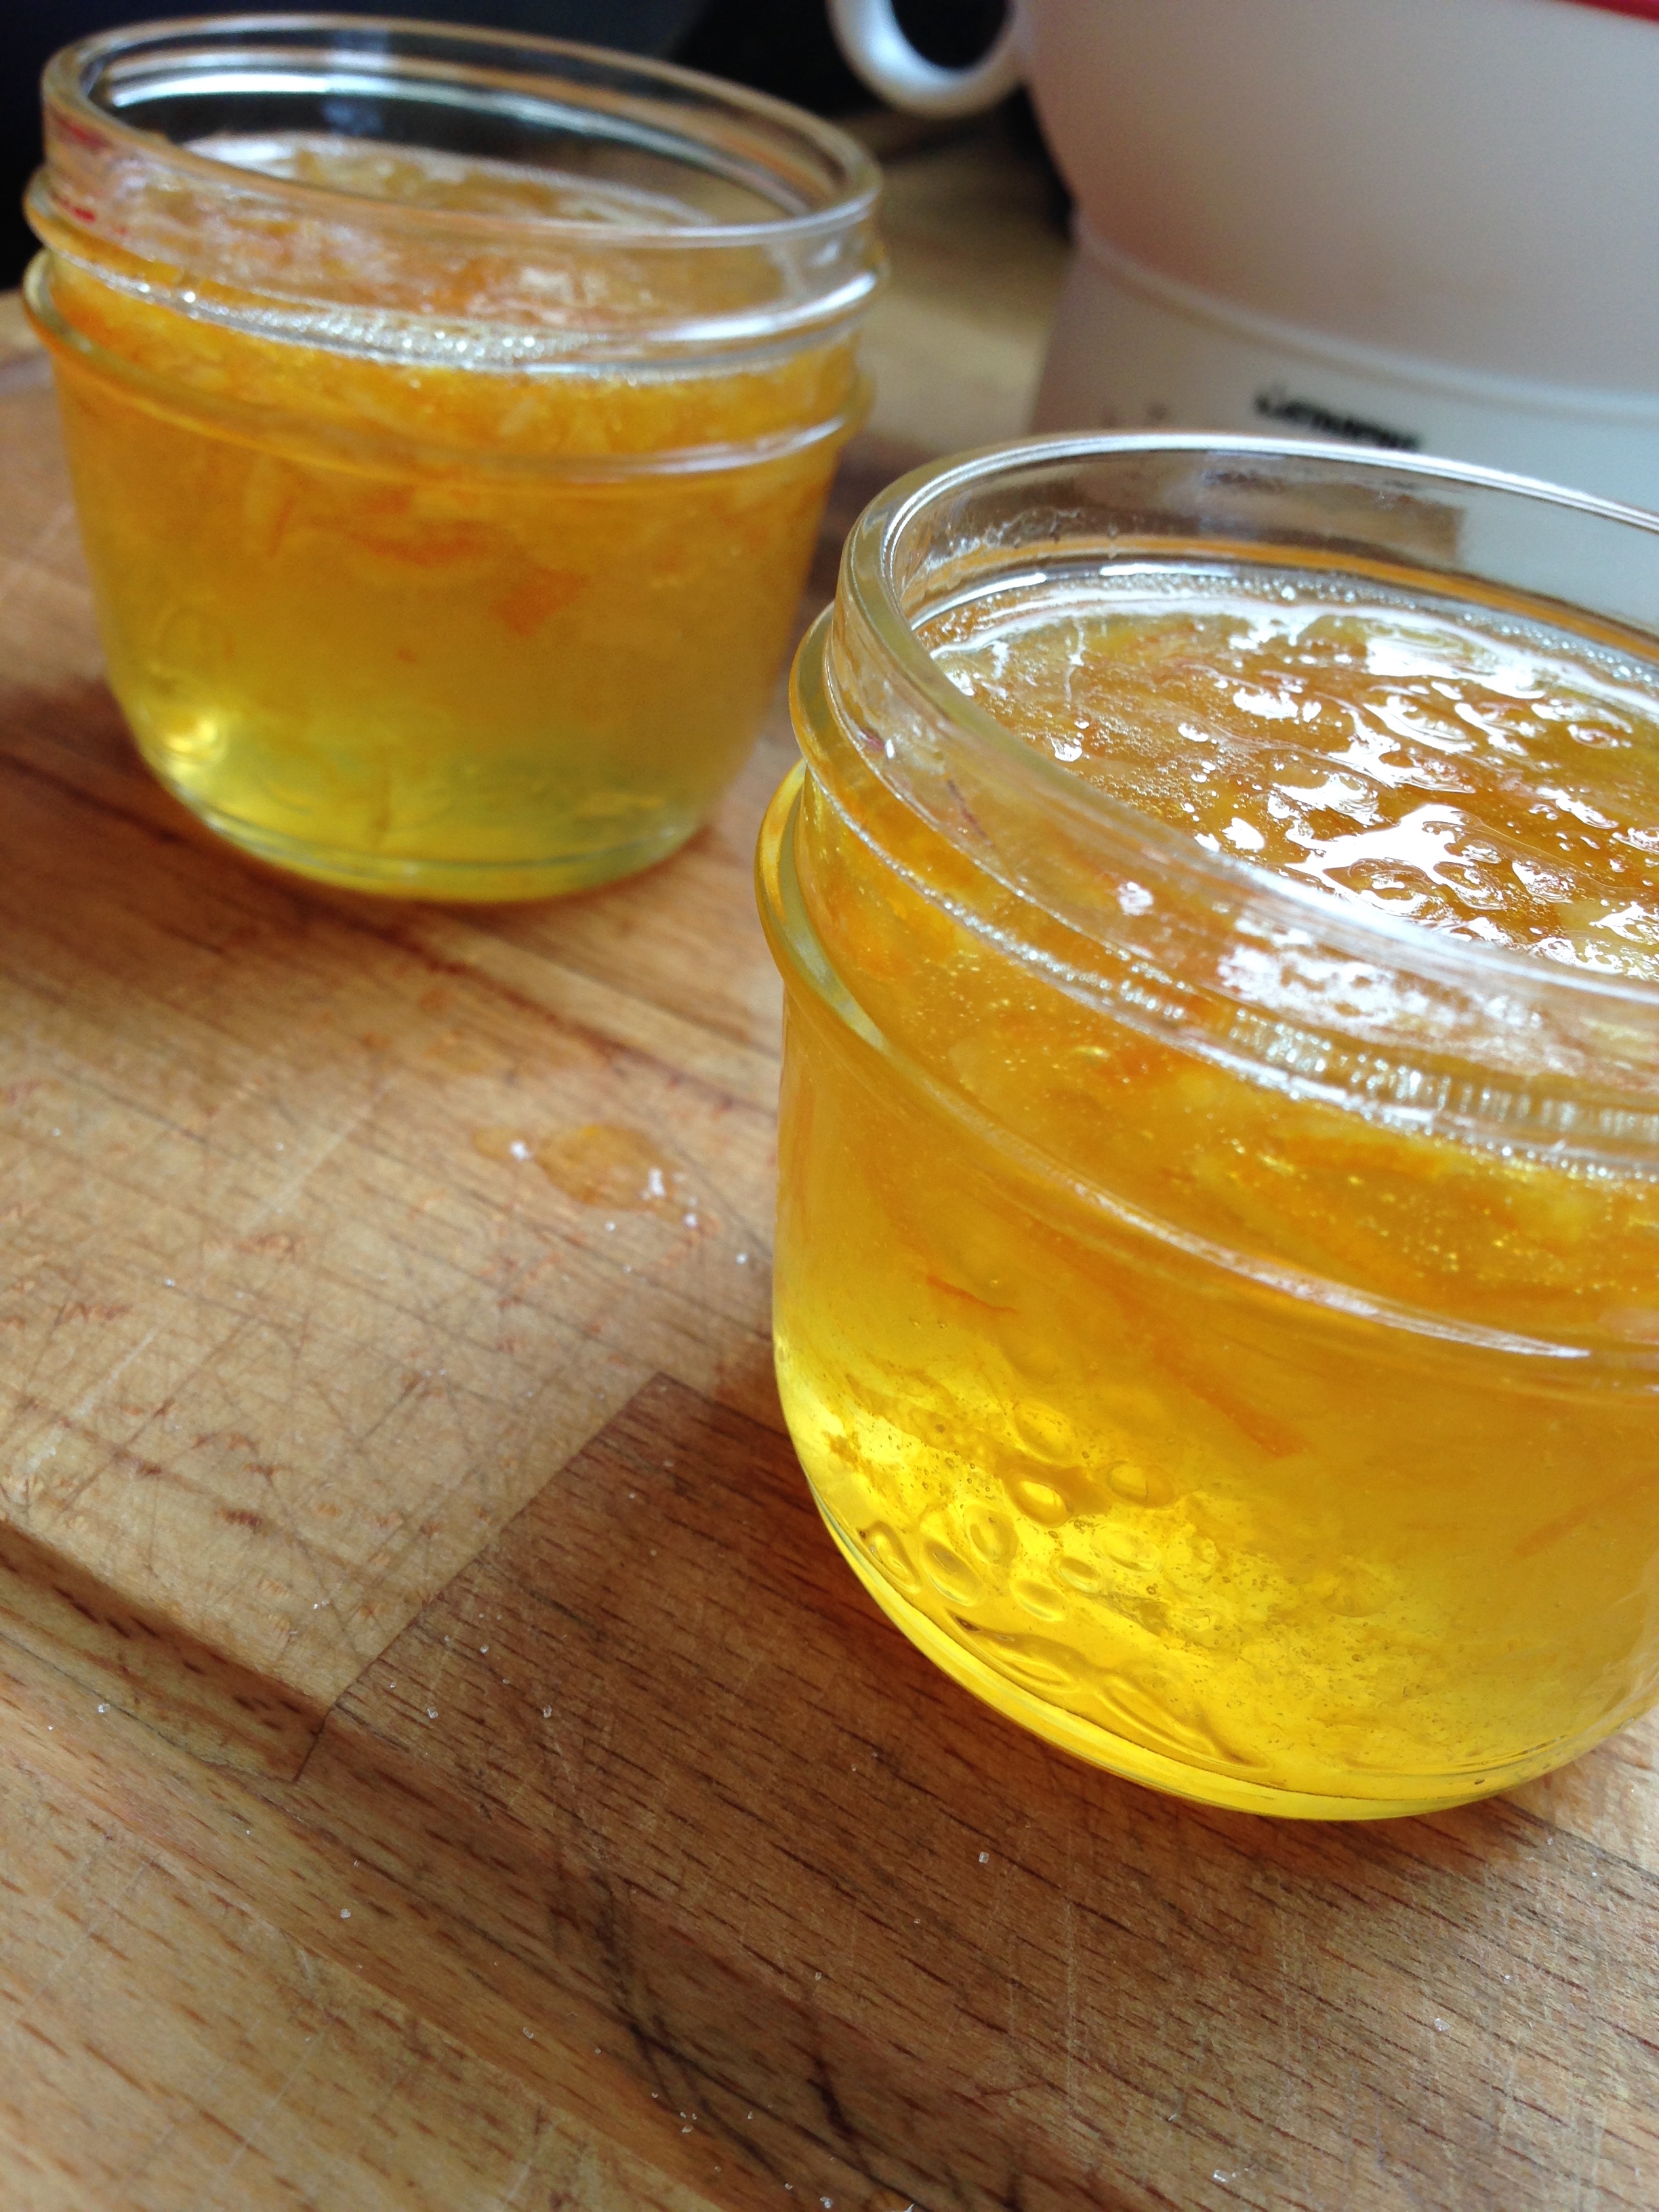
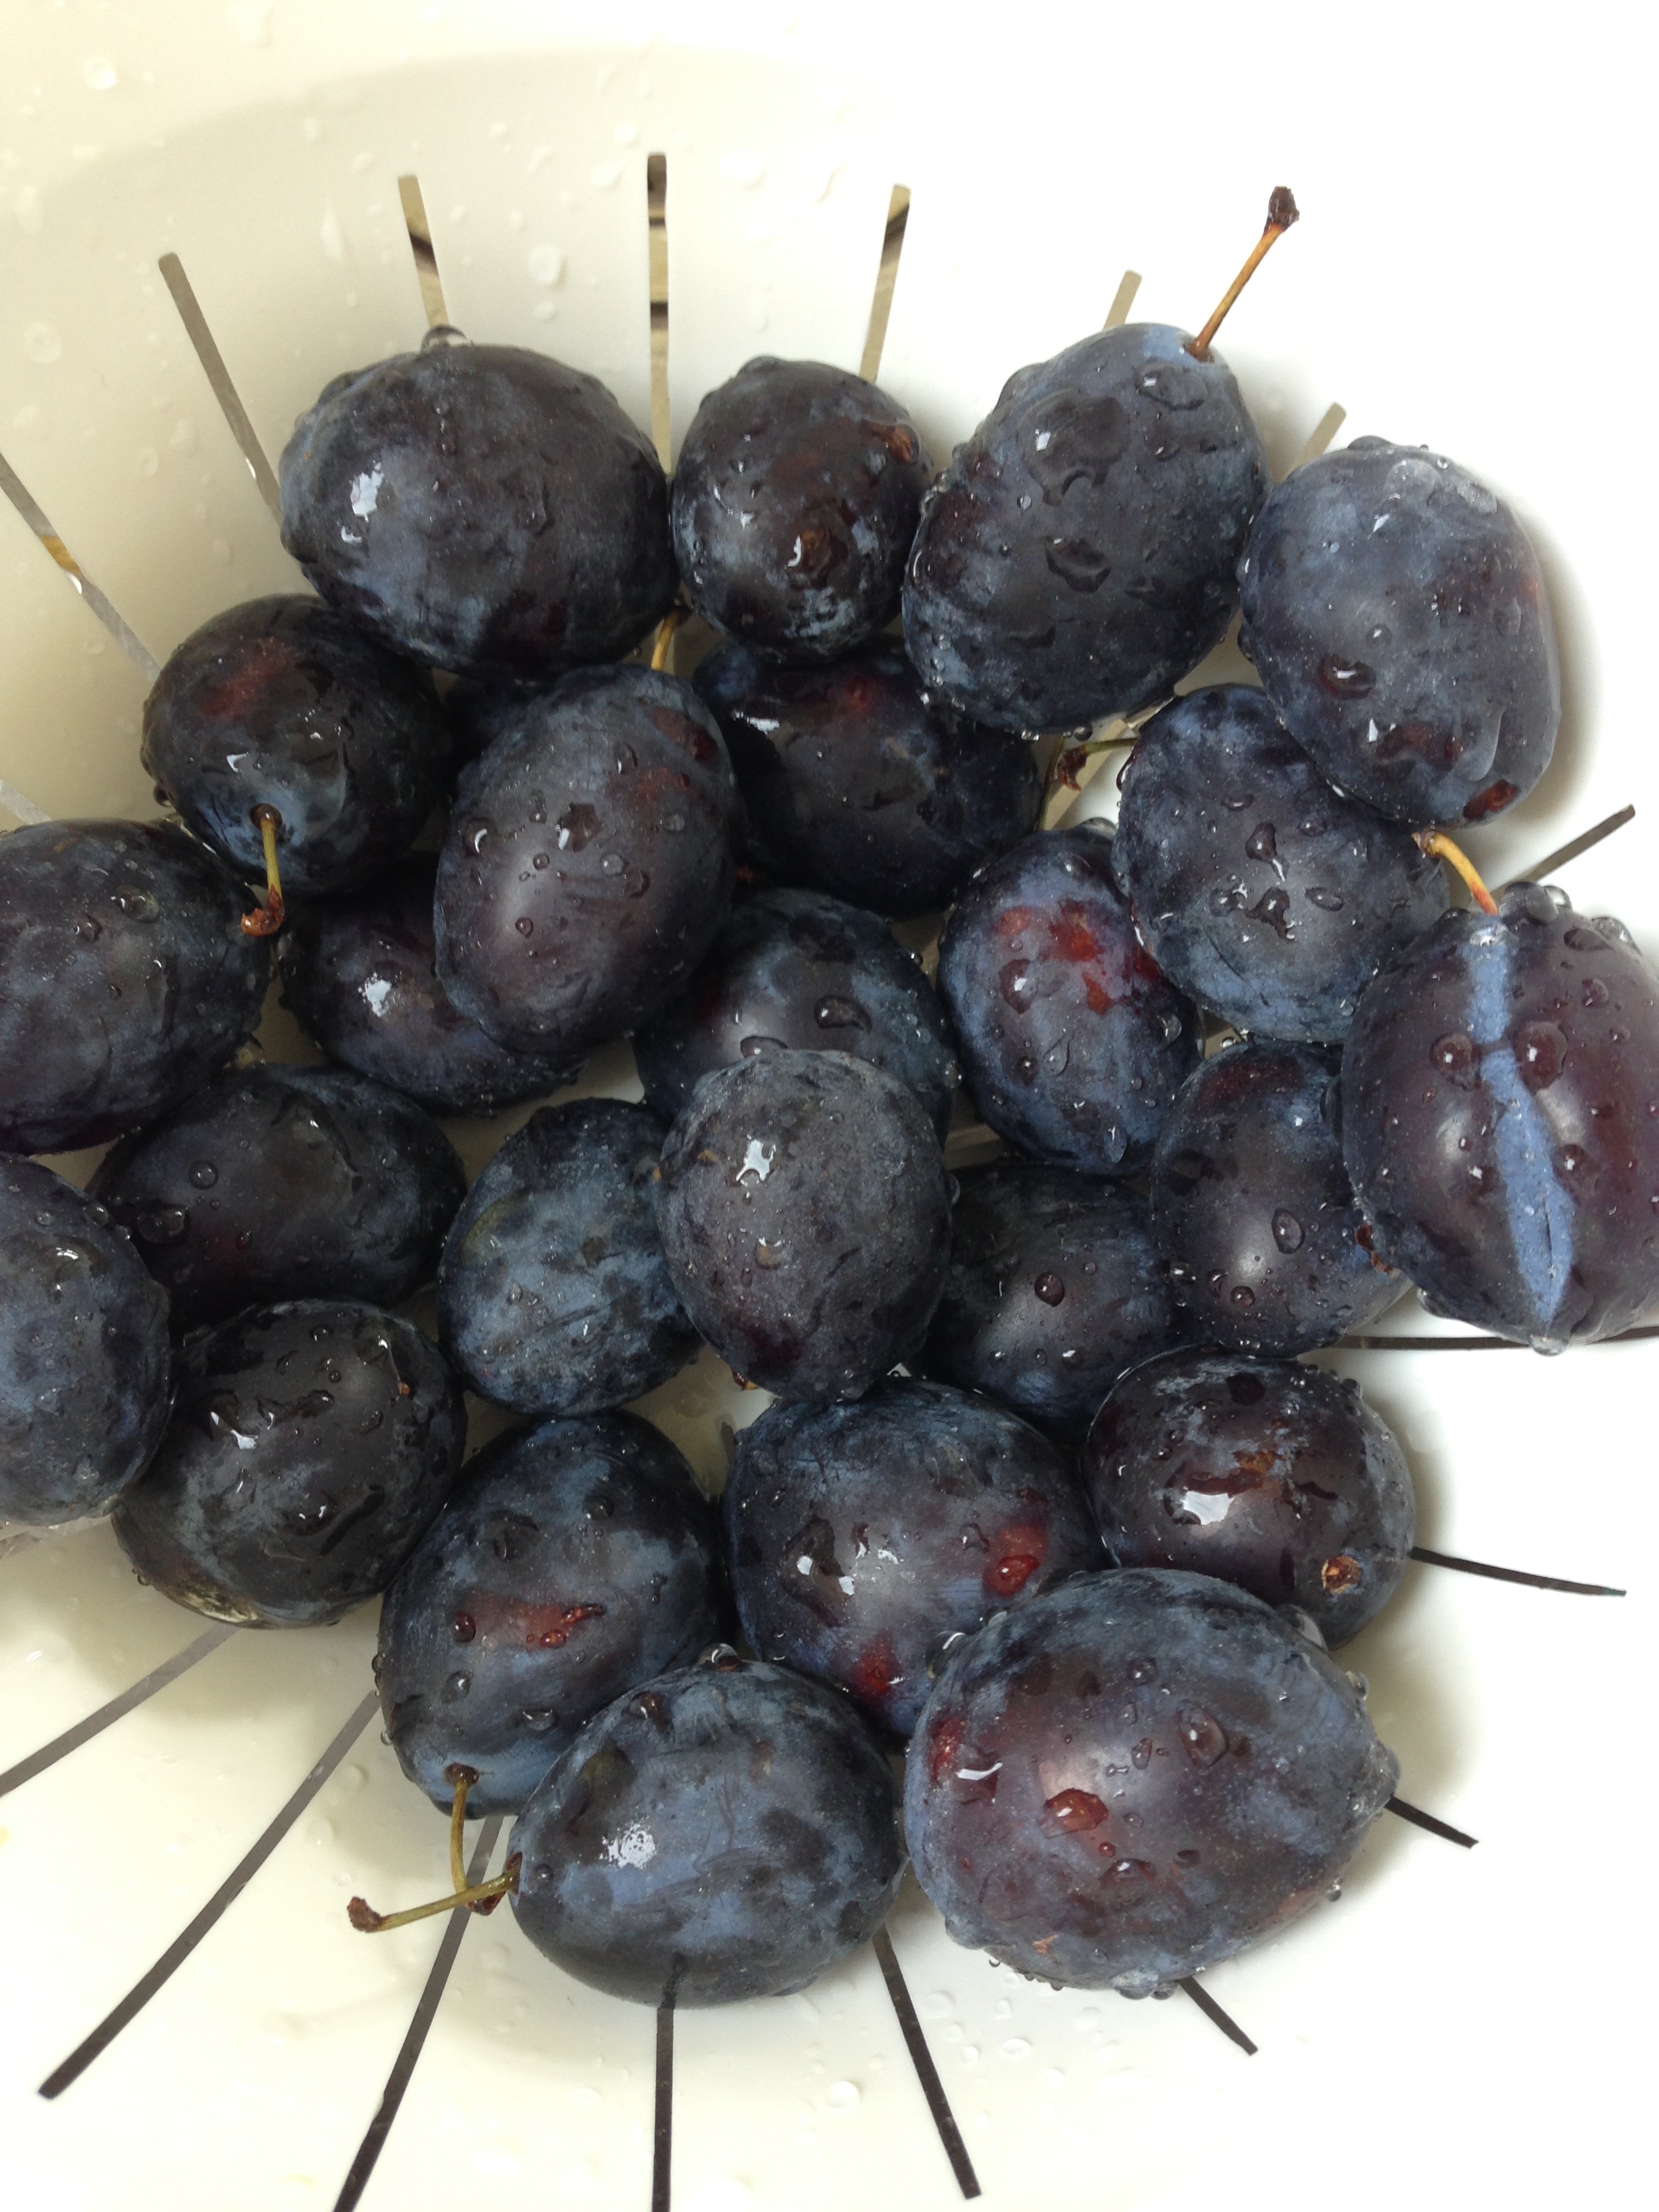
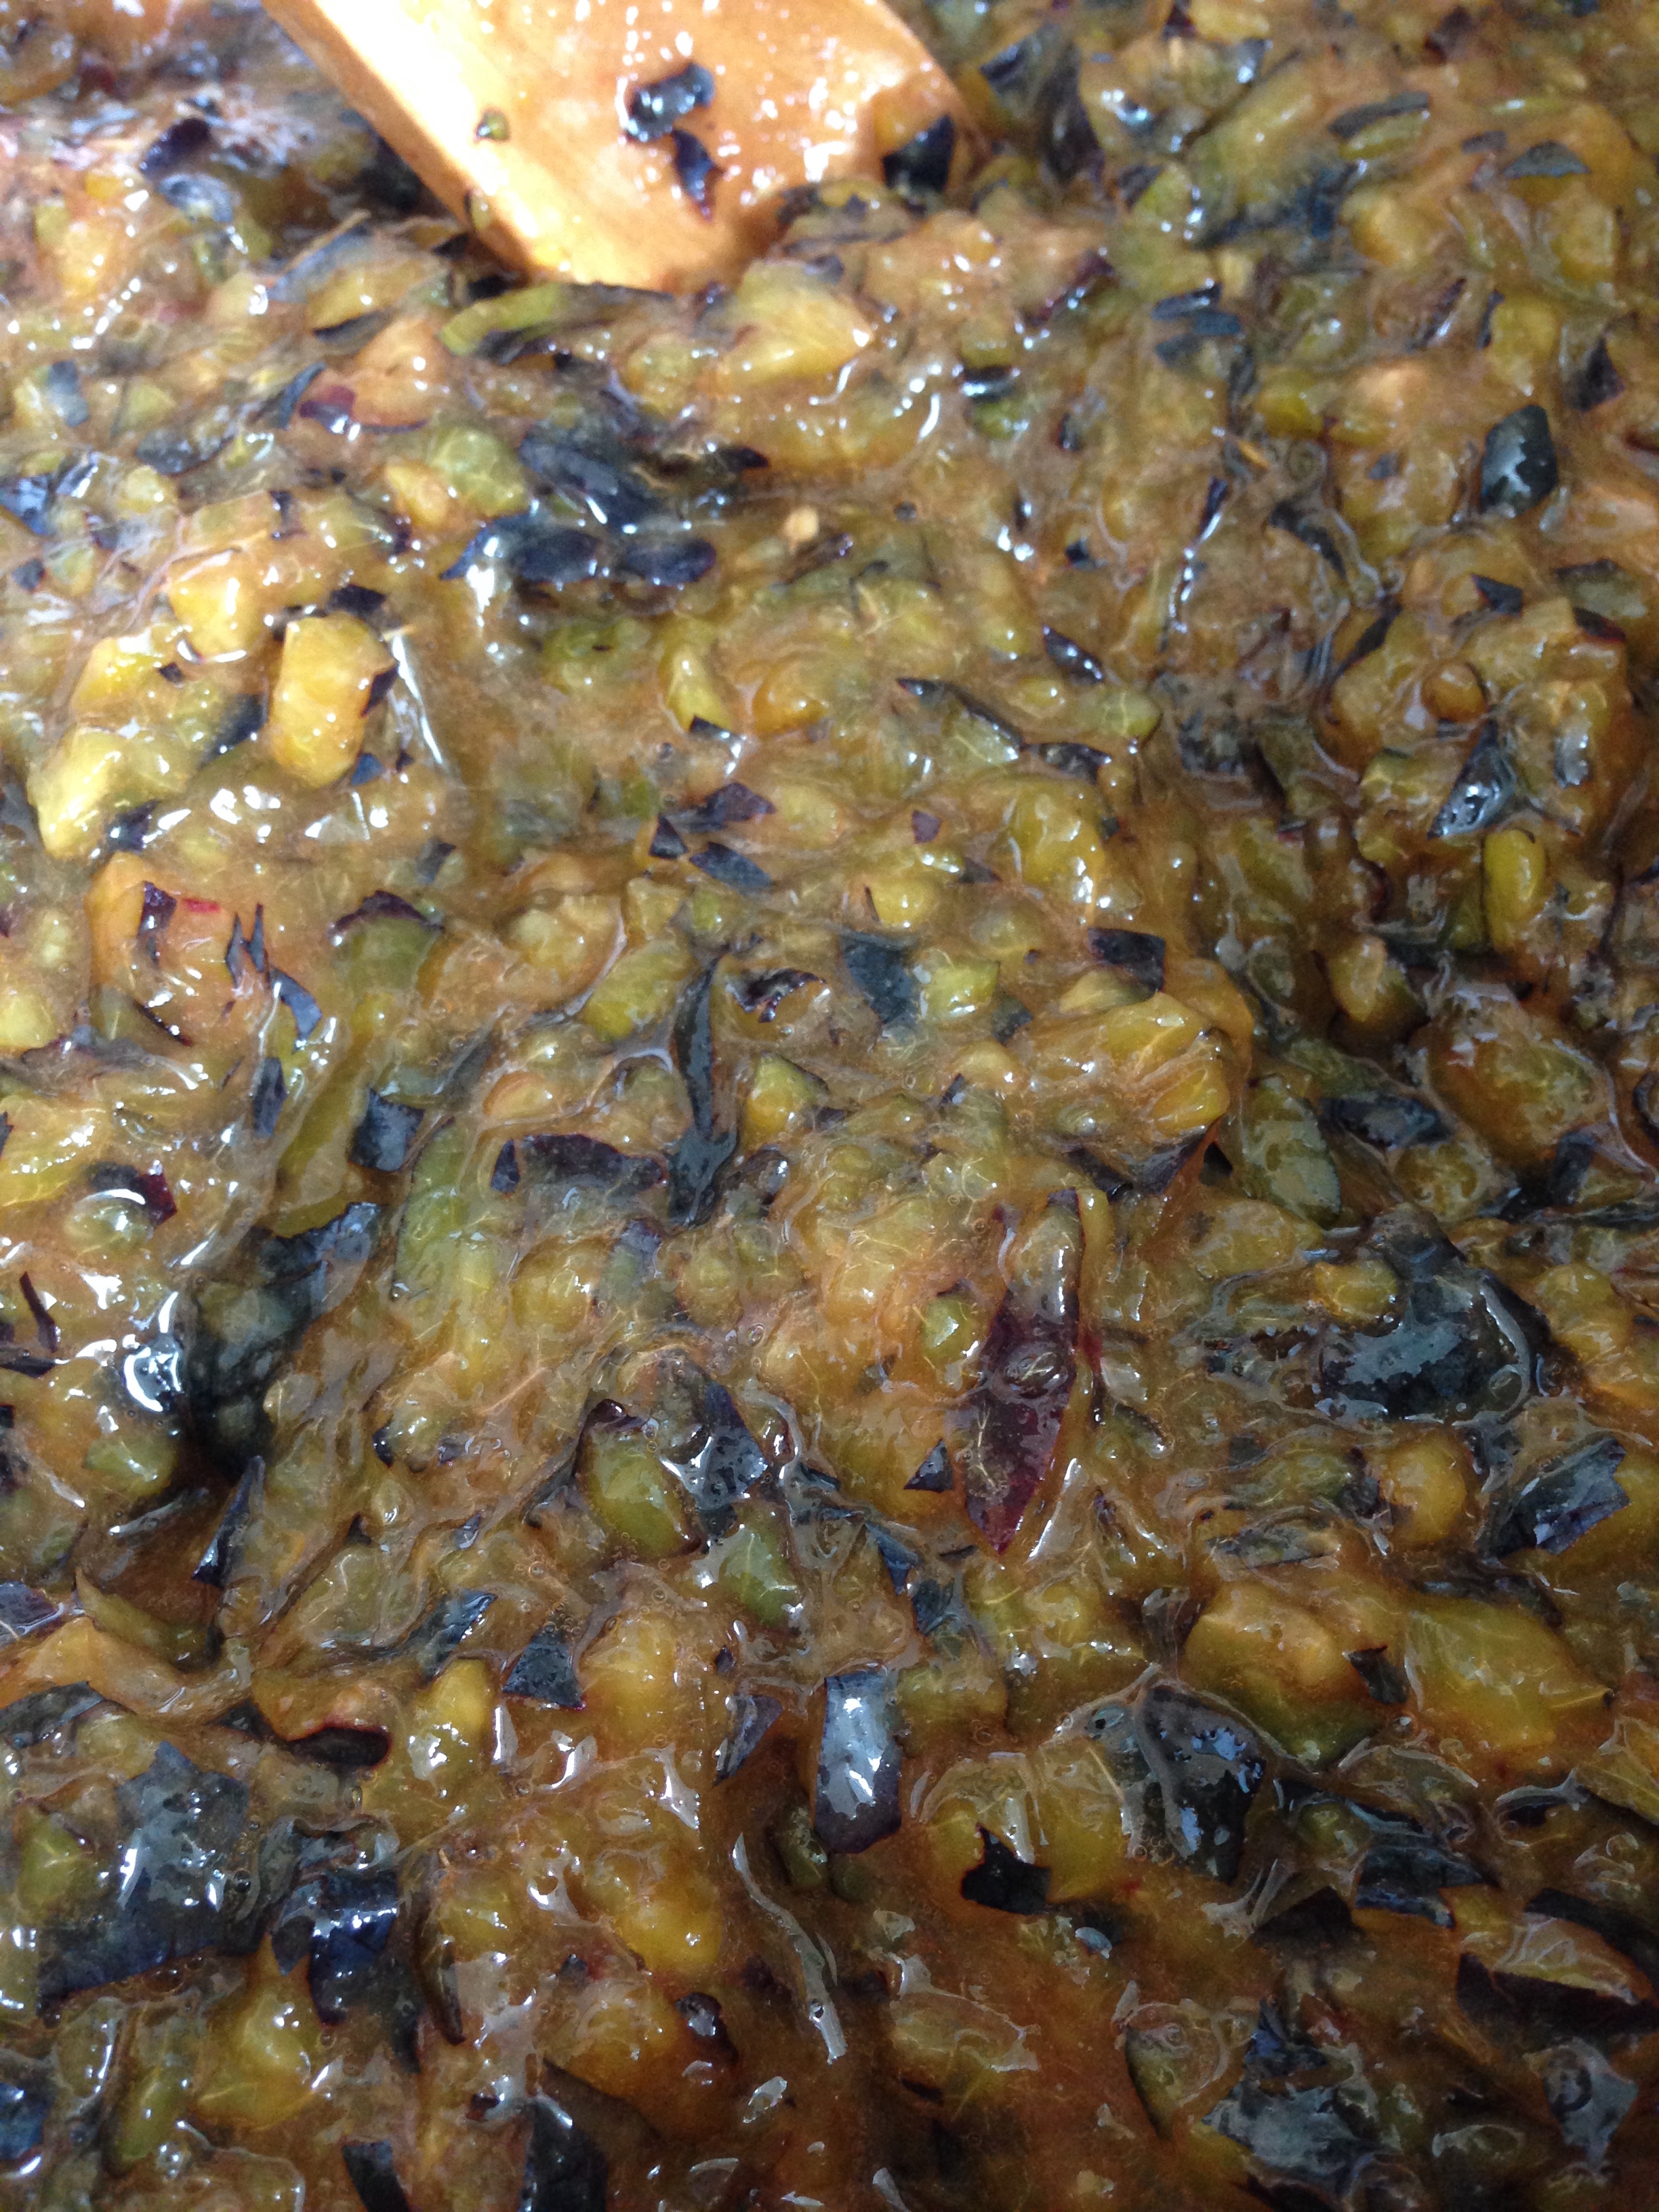
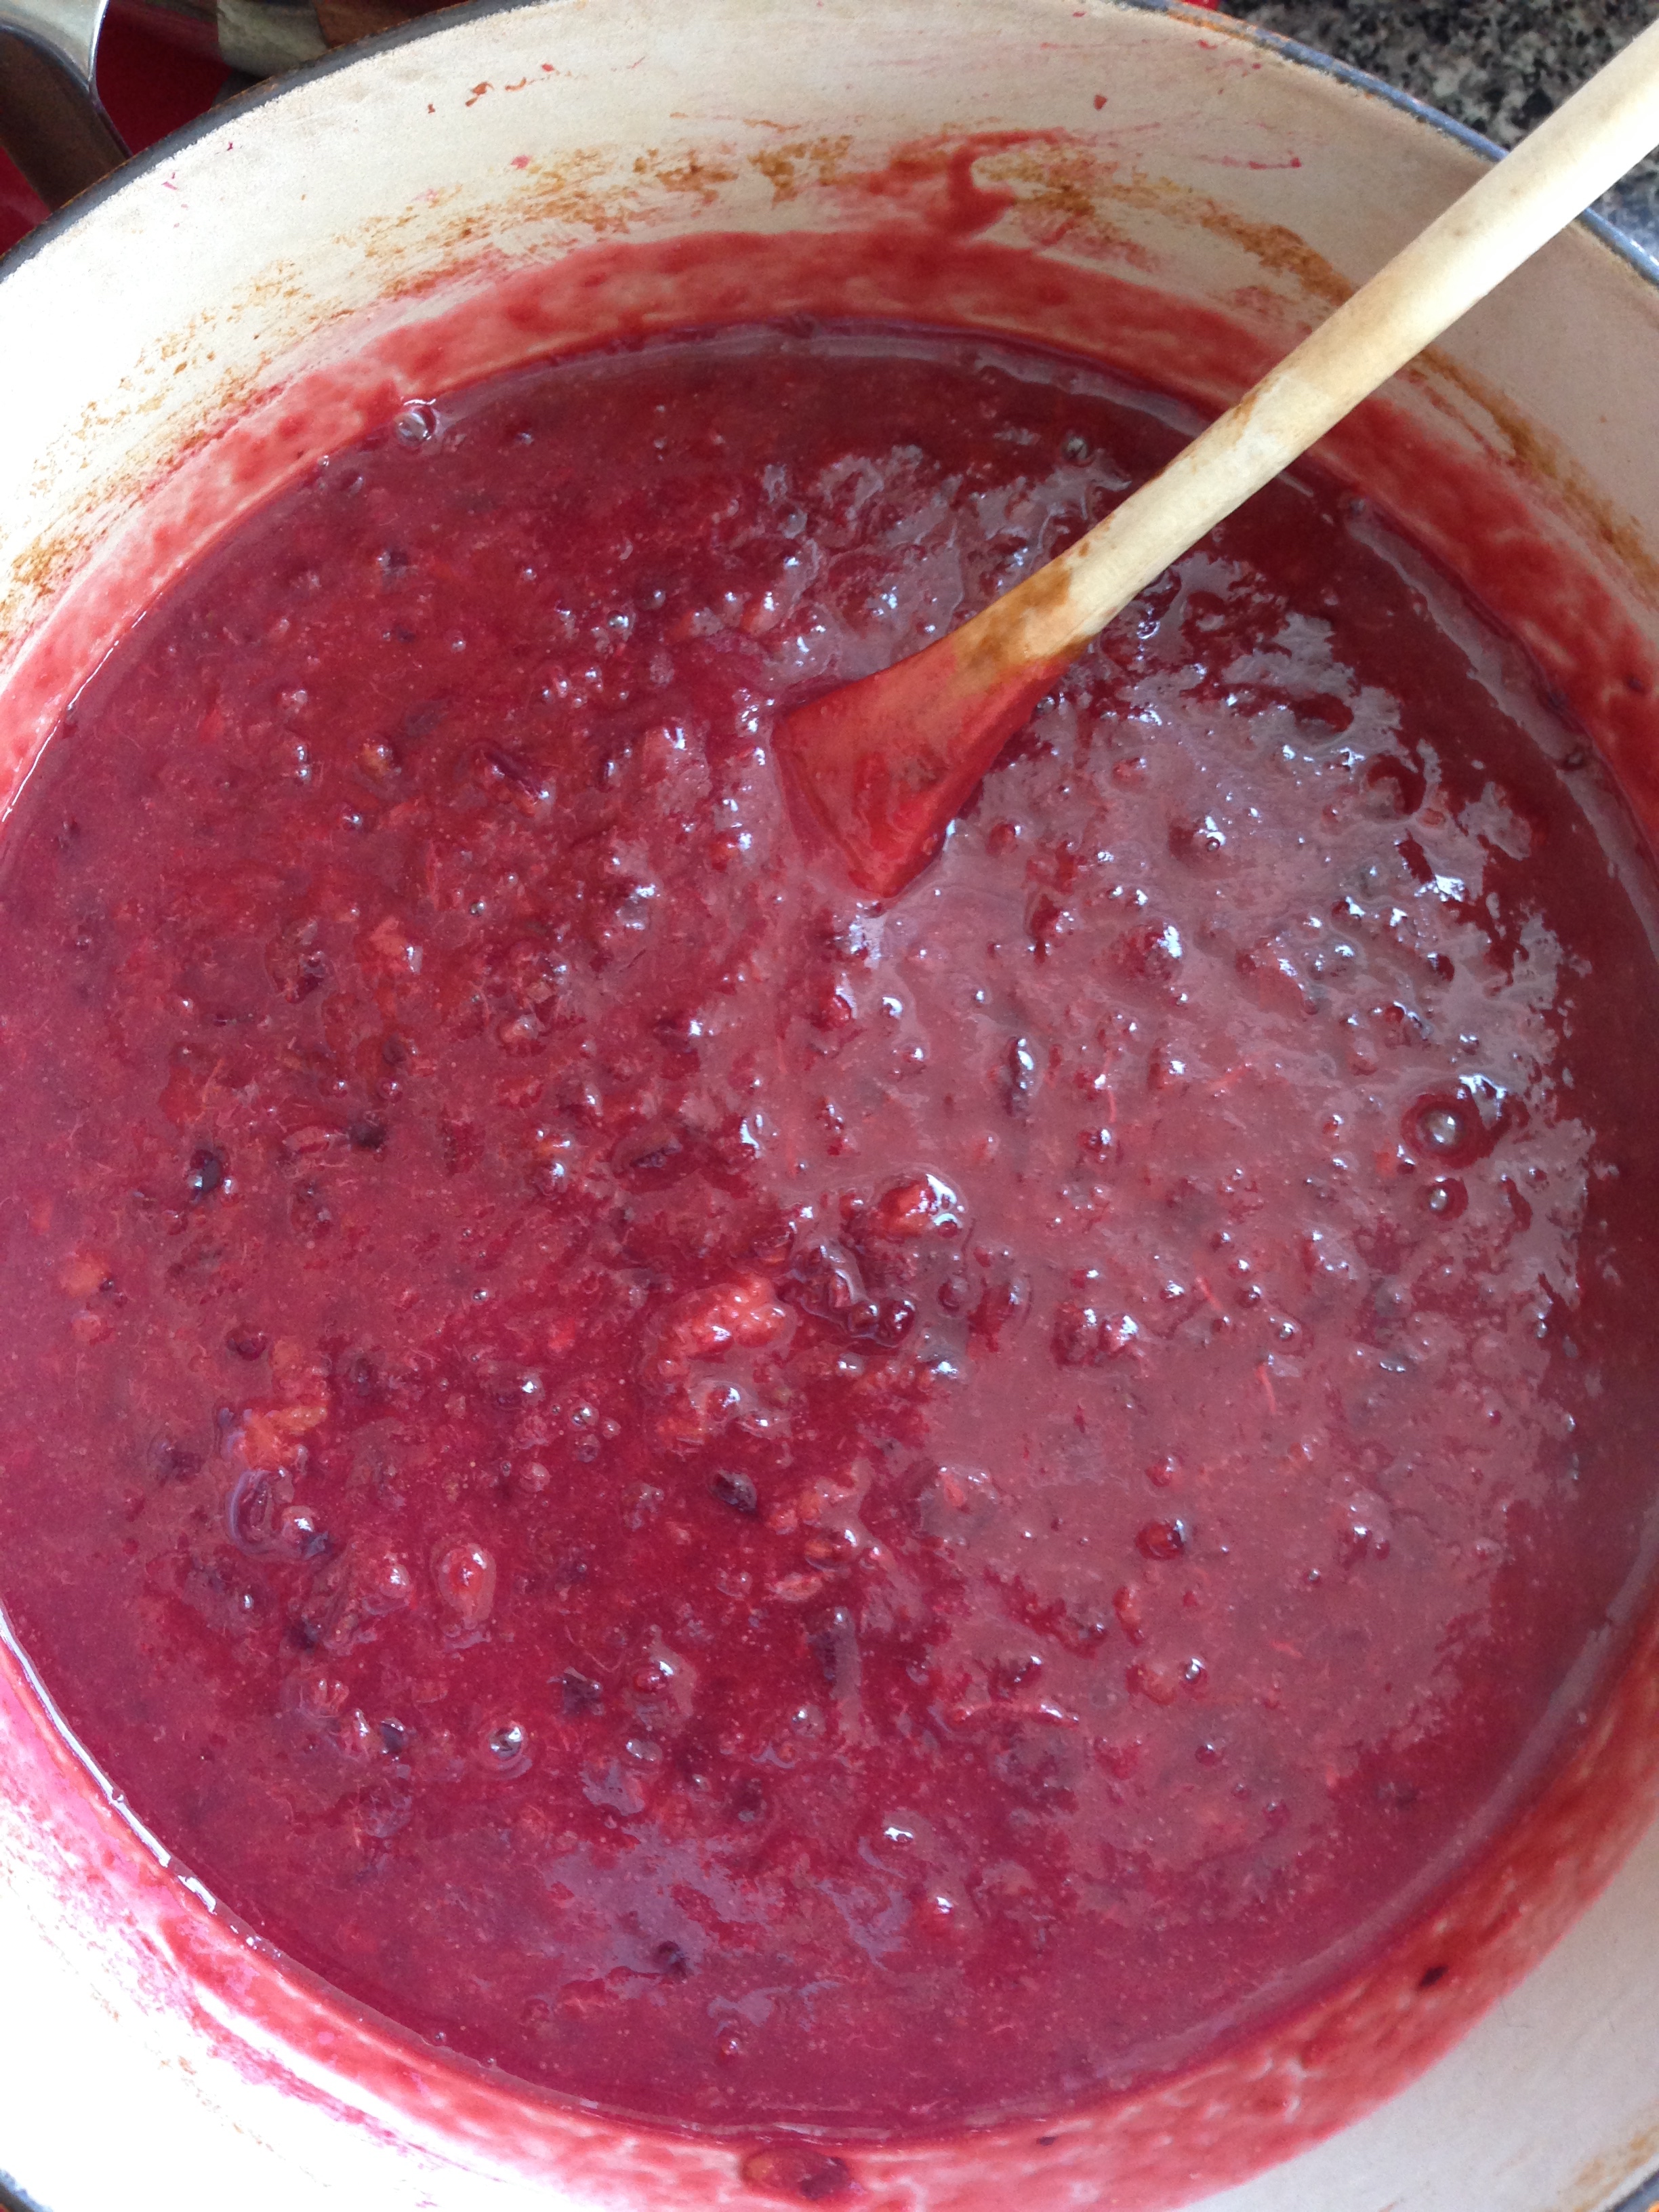
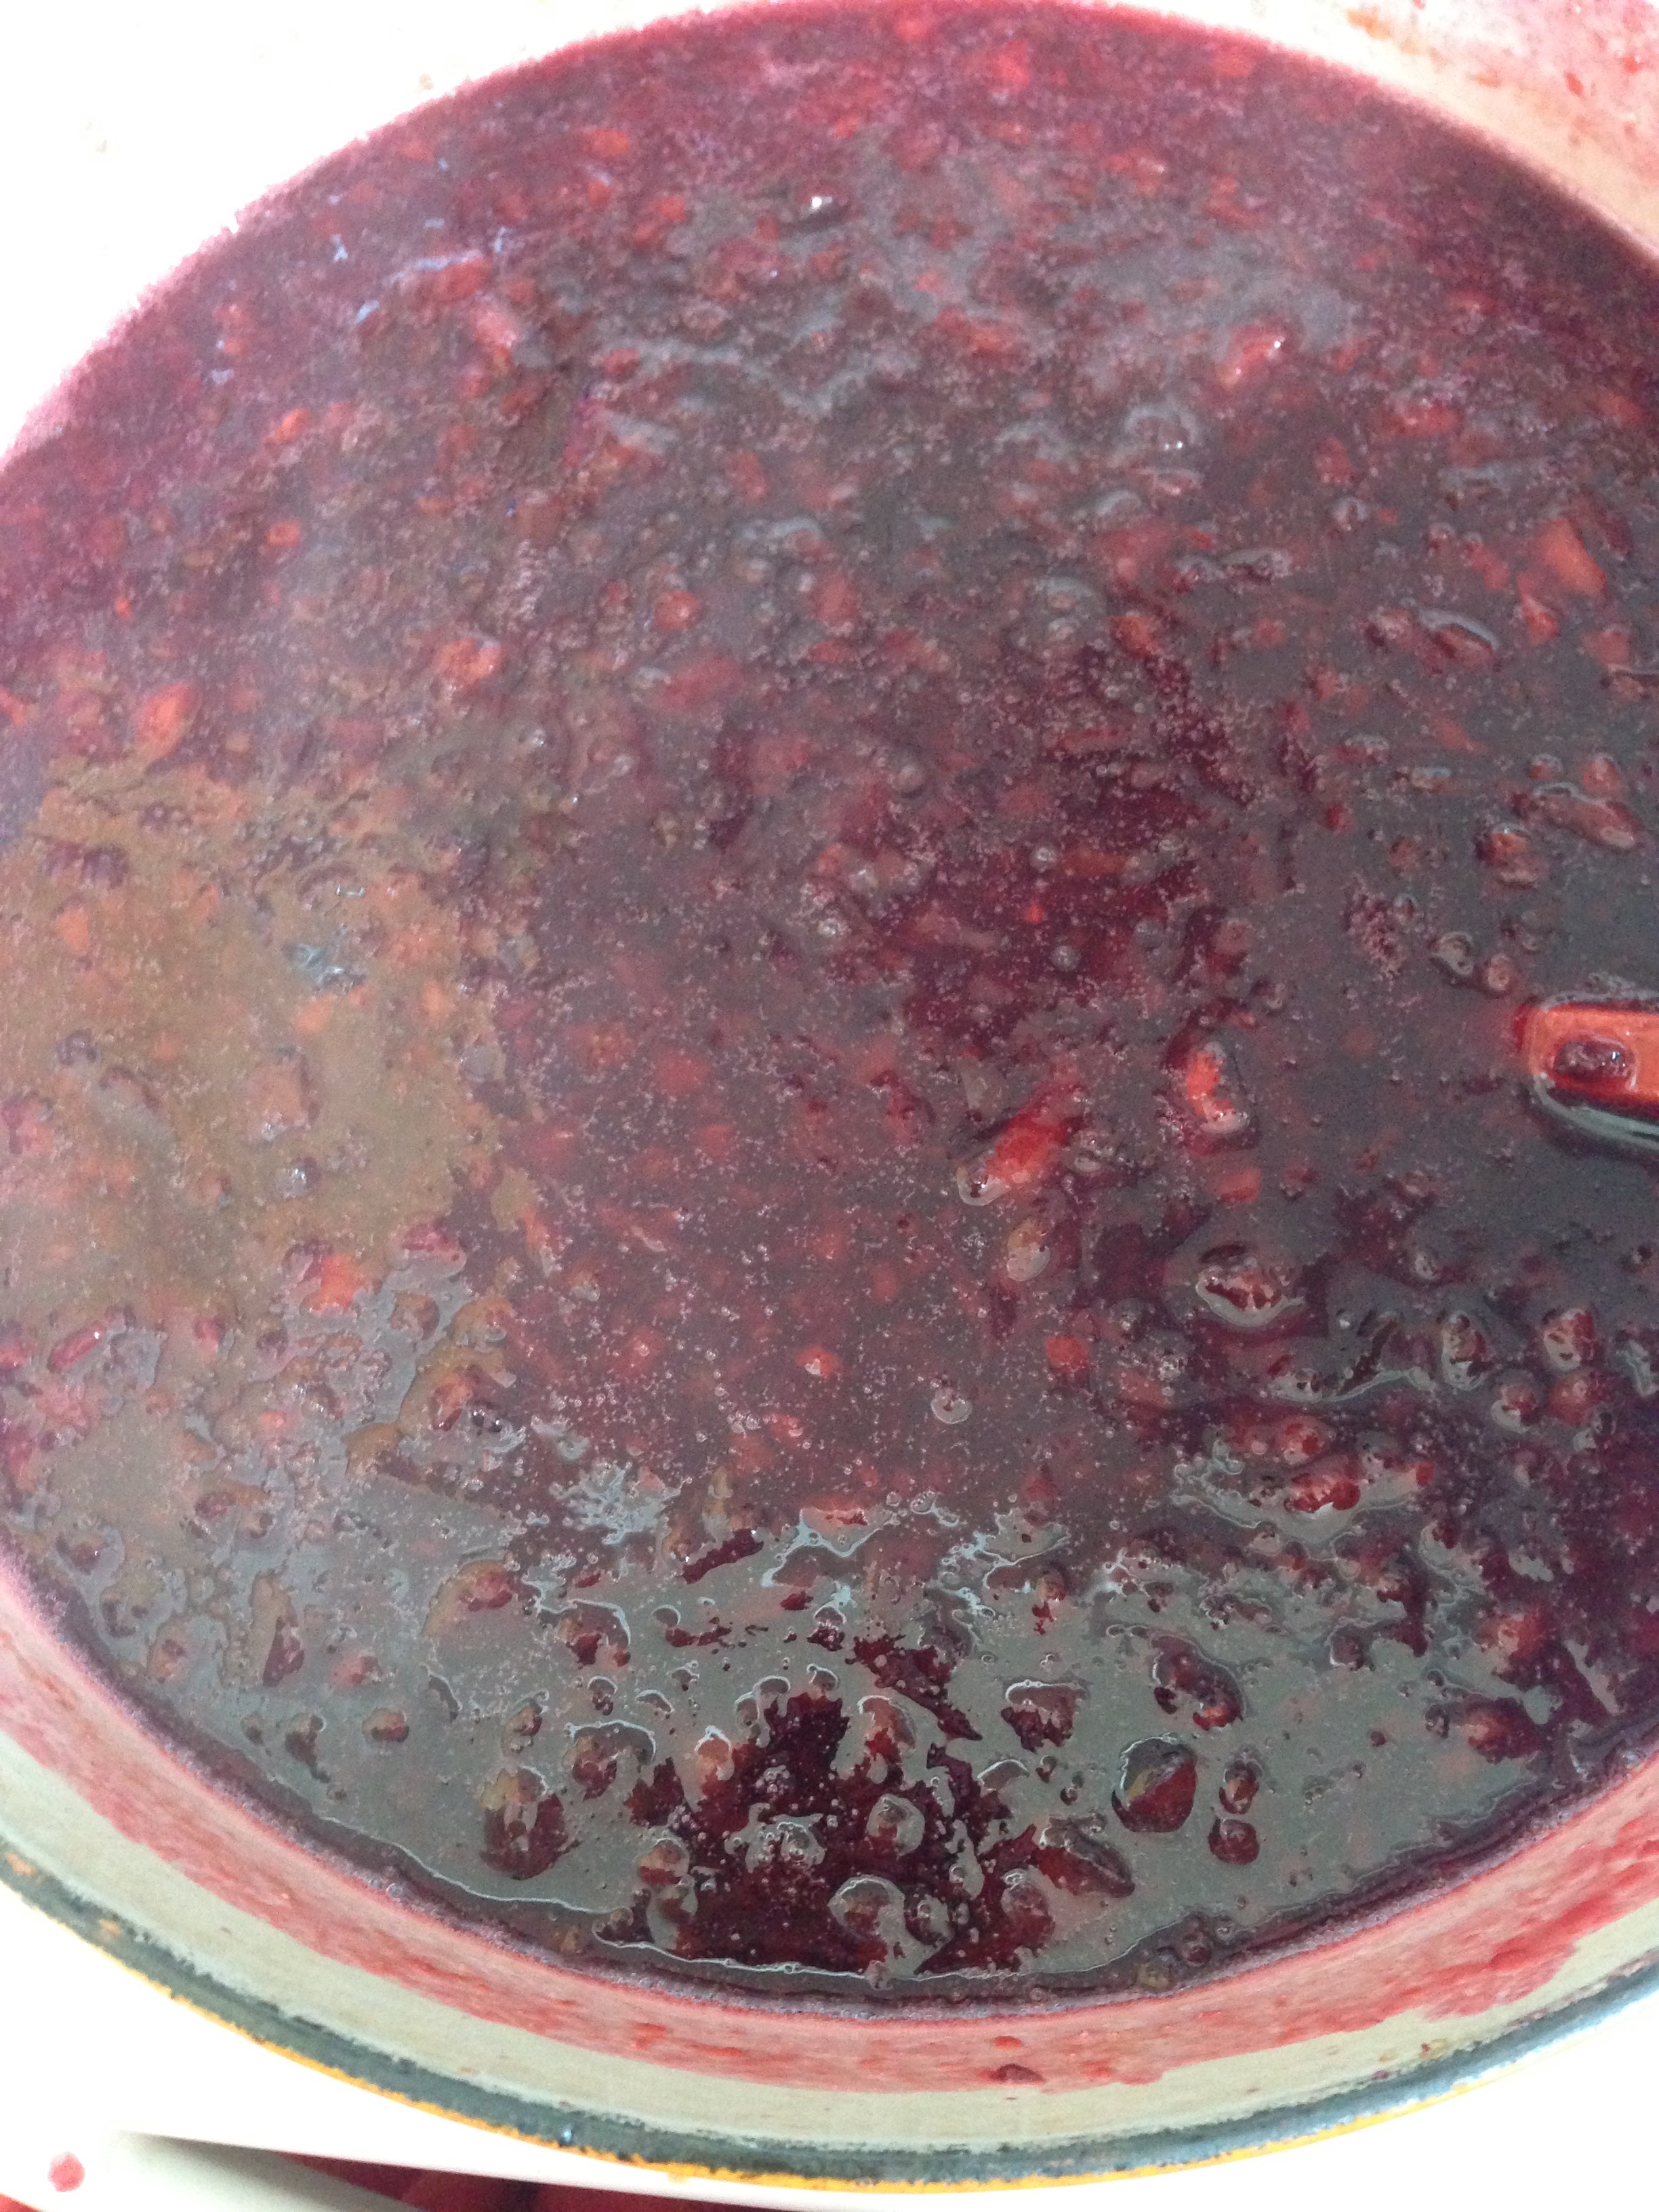
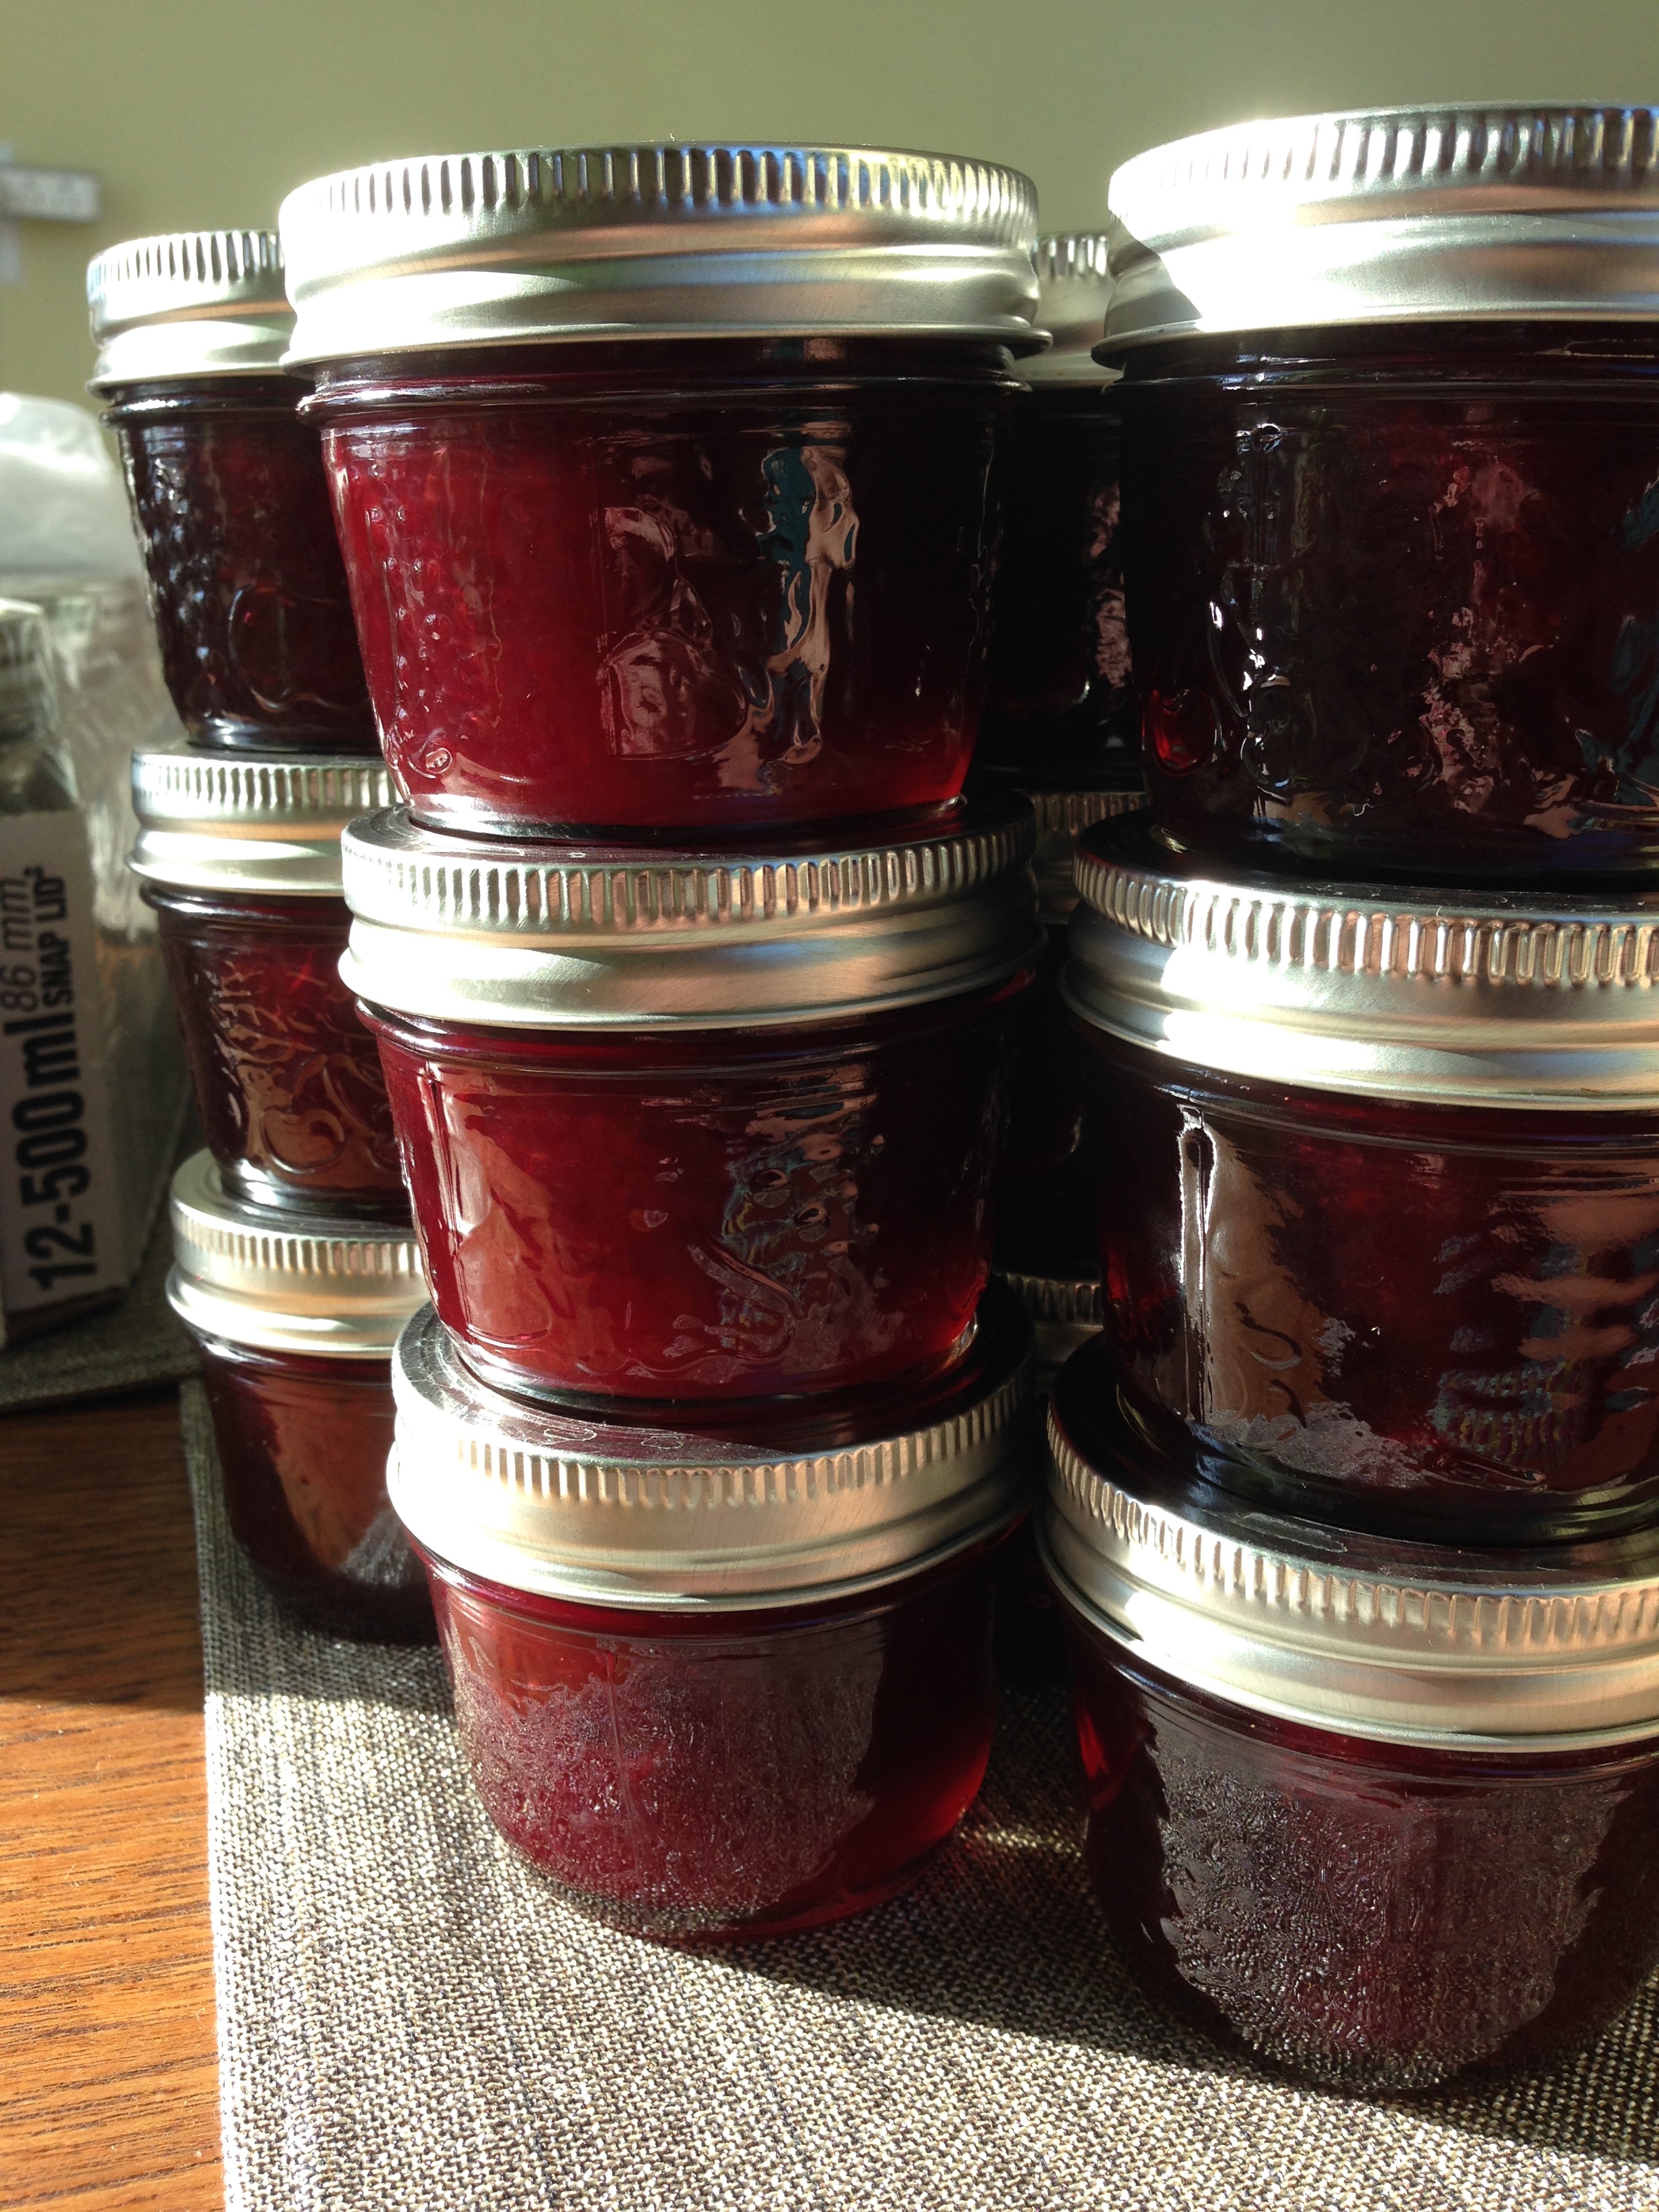
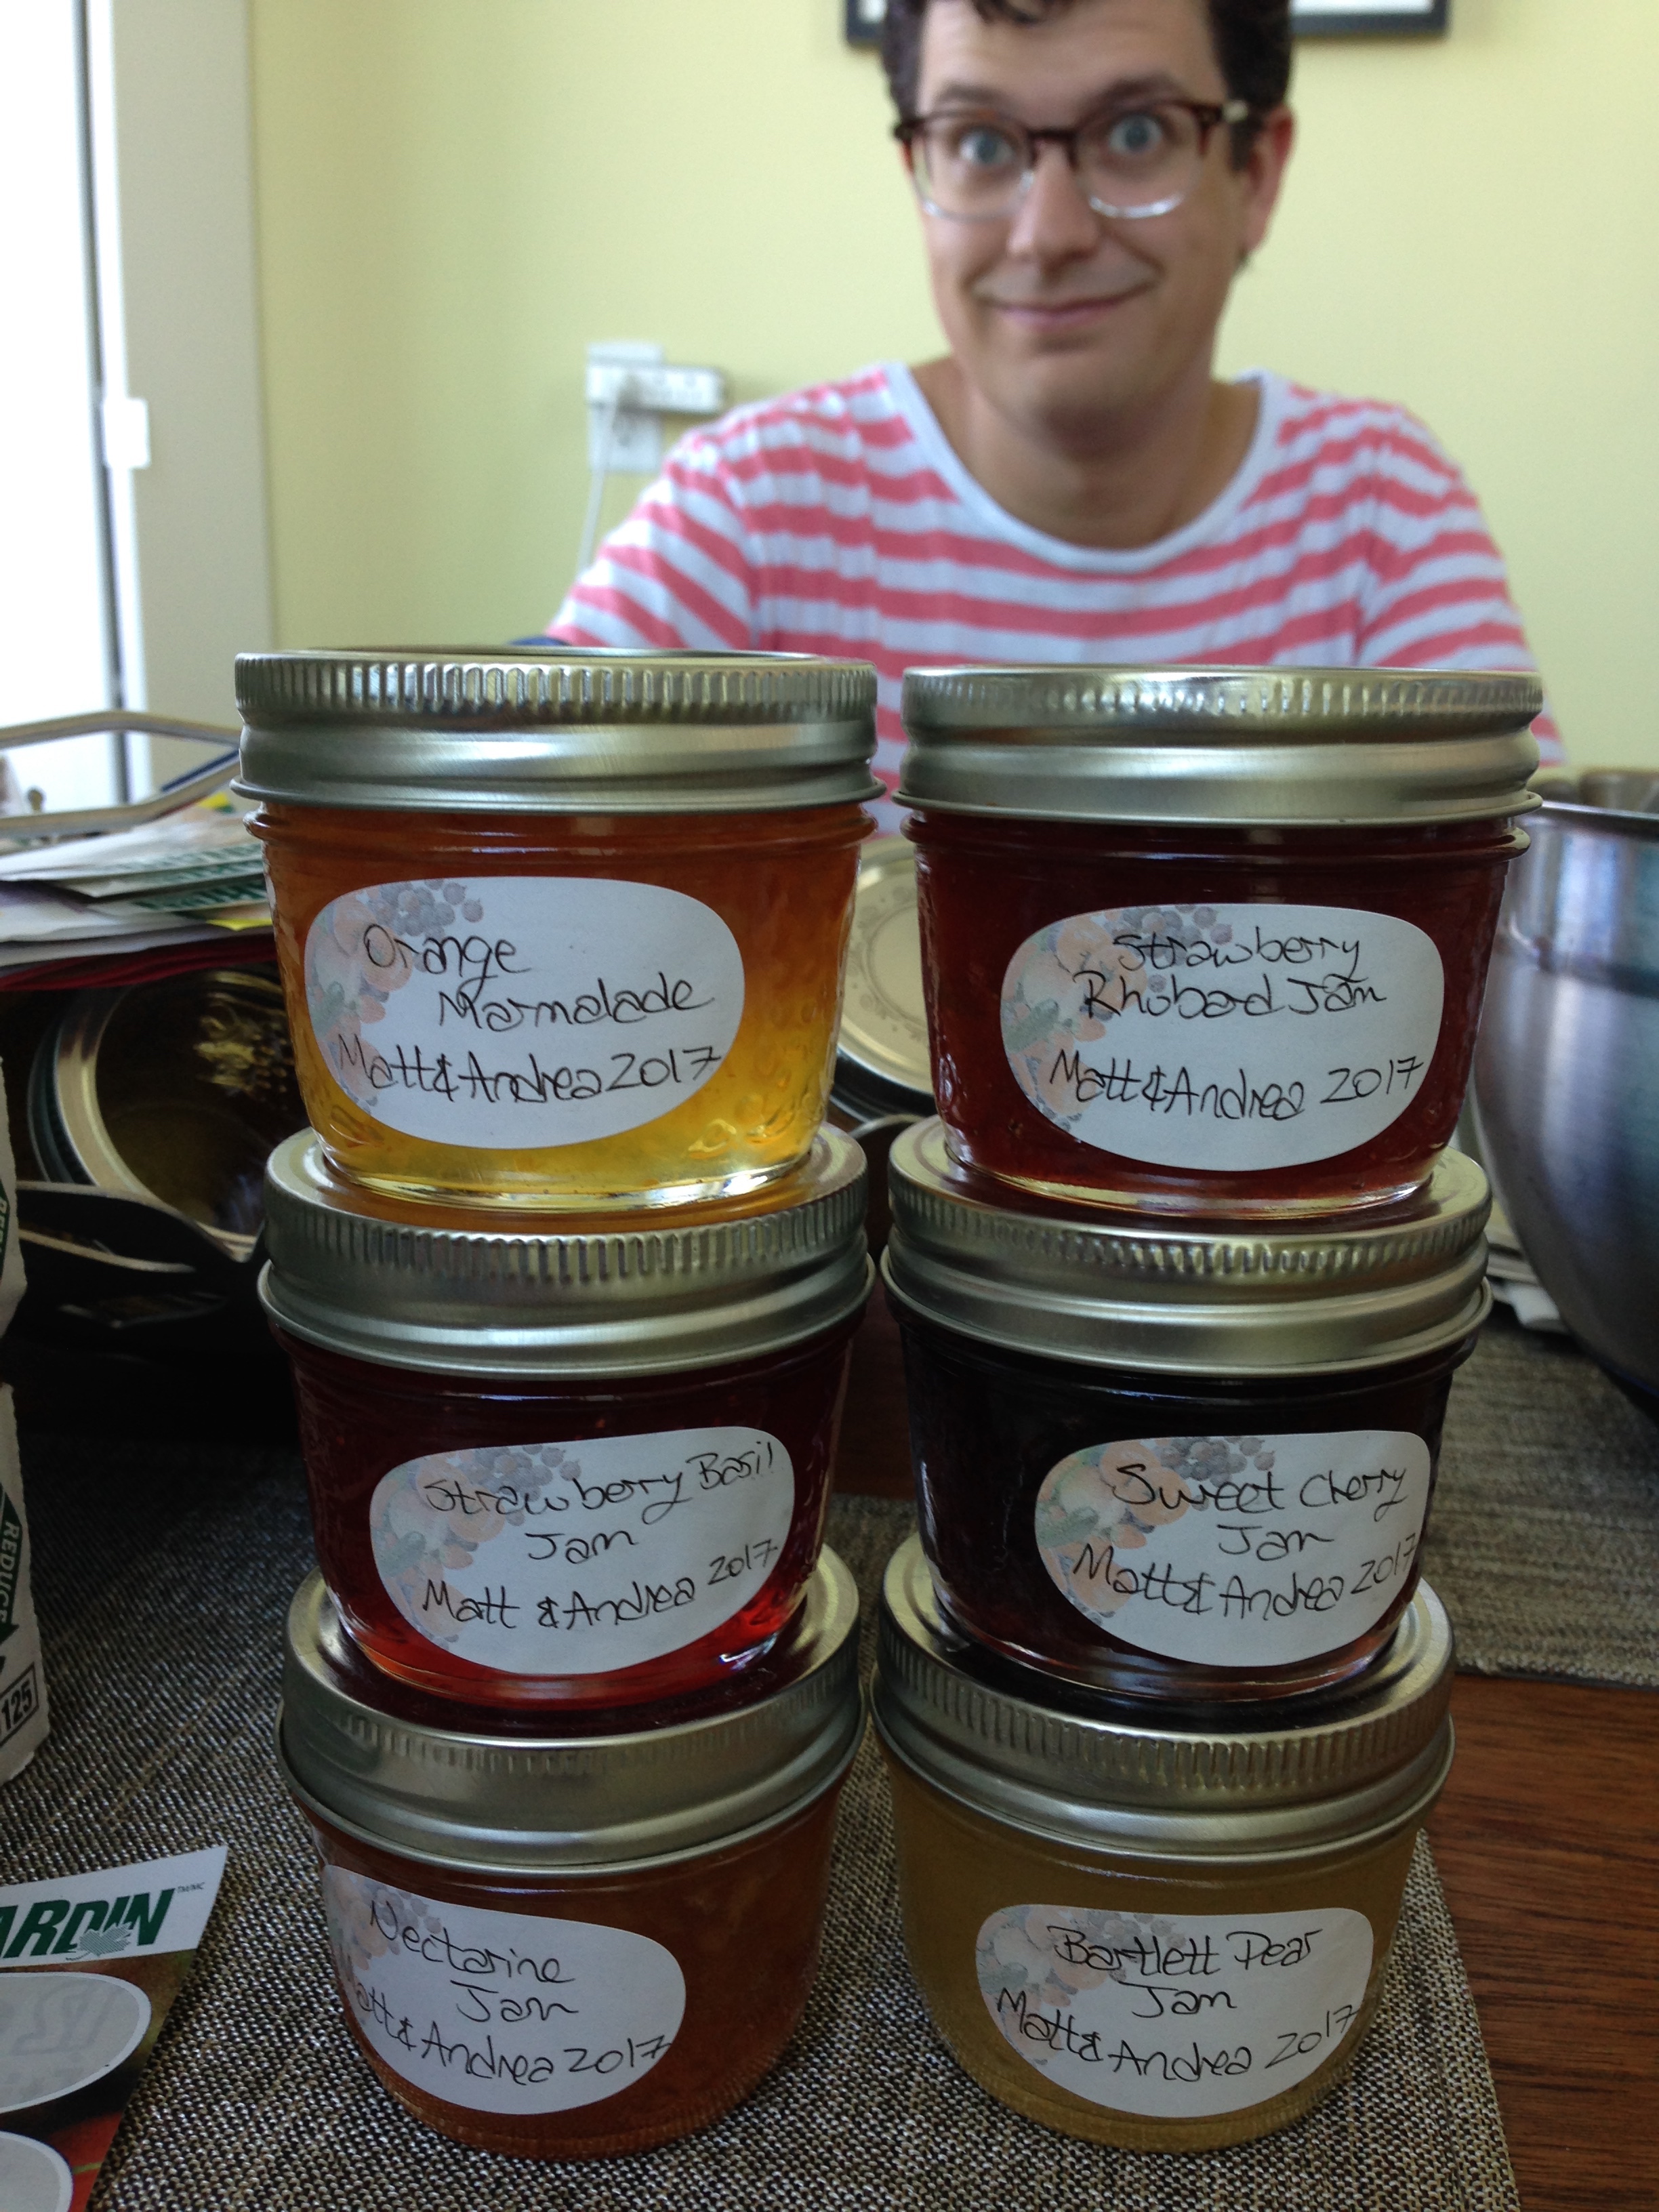
This past summer, along with some friendlies, I endeavoured to handmake all my wedding favours. My chosen craft: Jam. (Of course my favours are food! Duh.) Guest list all counted out, I had to make at least 100 jars, if I intended on making them place card holders as well. Turned out the summer had been much more productive on the favours front than any other point in the idea's life. I made strawberry basil, strawberry rhubarb, sweet cherry, pear, orange marmalade, nectarine, and blue plum. And also peach jam. But that wasn't for favours... I wanted some jam too! ;) 

My favourites would have to be the marmalade and the nectarine jams on toast. But the best, by far, and by the spoonful, has to be the sweet cherry jam. When I first had a taste of it I had to sit on the ground, my knees were so weak. No jokes.   

That being said, for those who will be attending the wedding, there will be no choosing of favourites! The FiancΓ© is making a jam allocation protocol so there is no sore feelings about who's getting what jam. All the jams are excellent. I just like those three best personally. XP
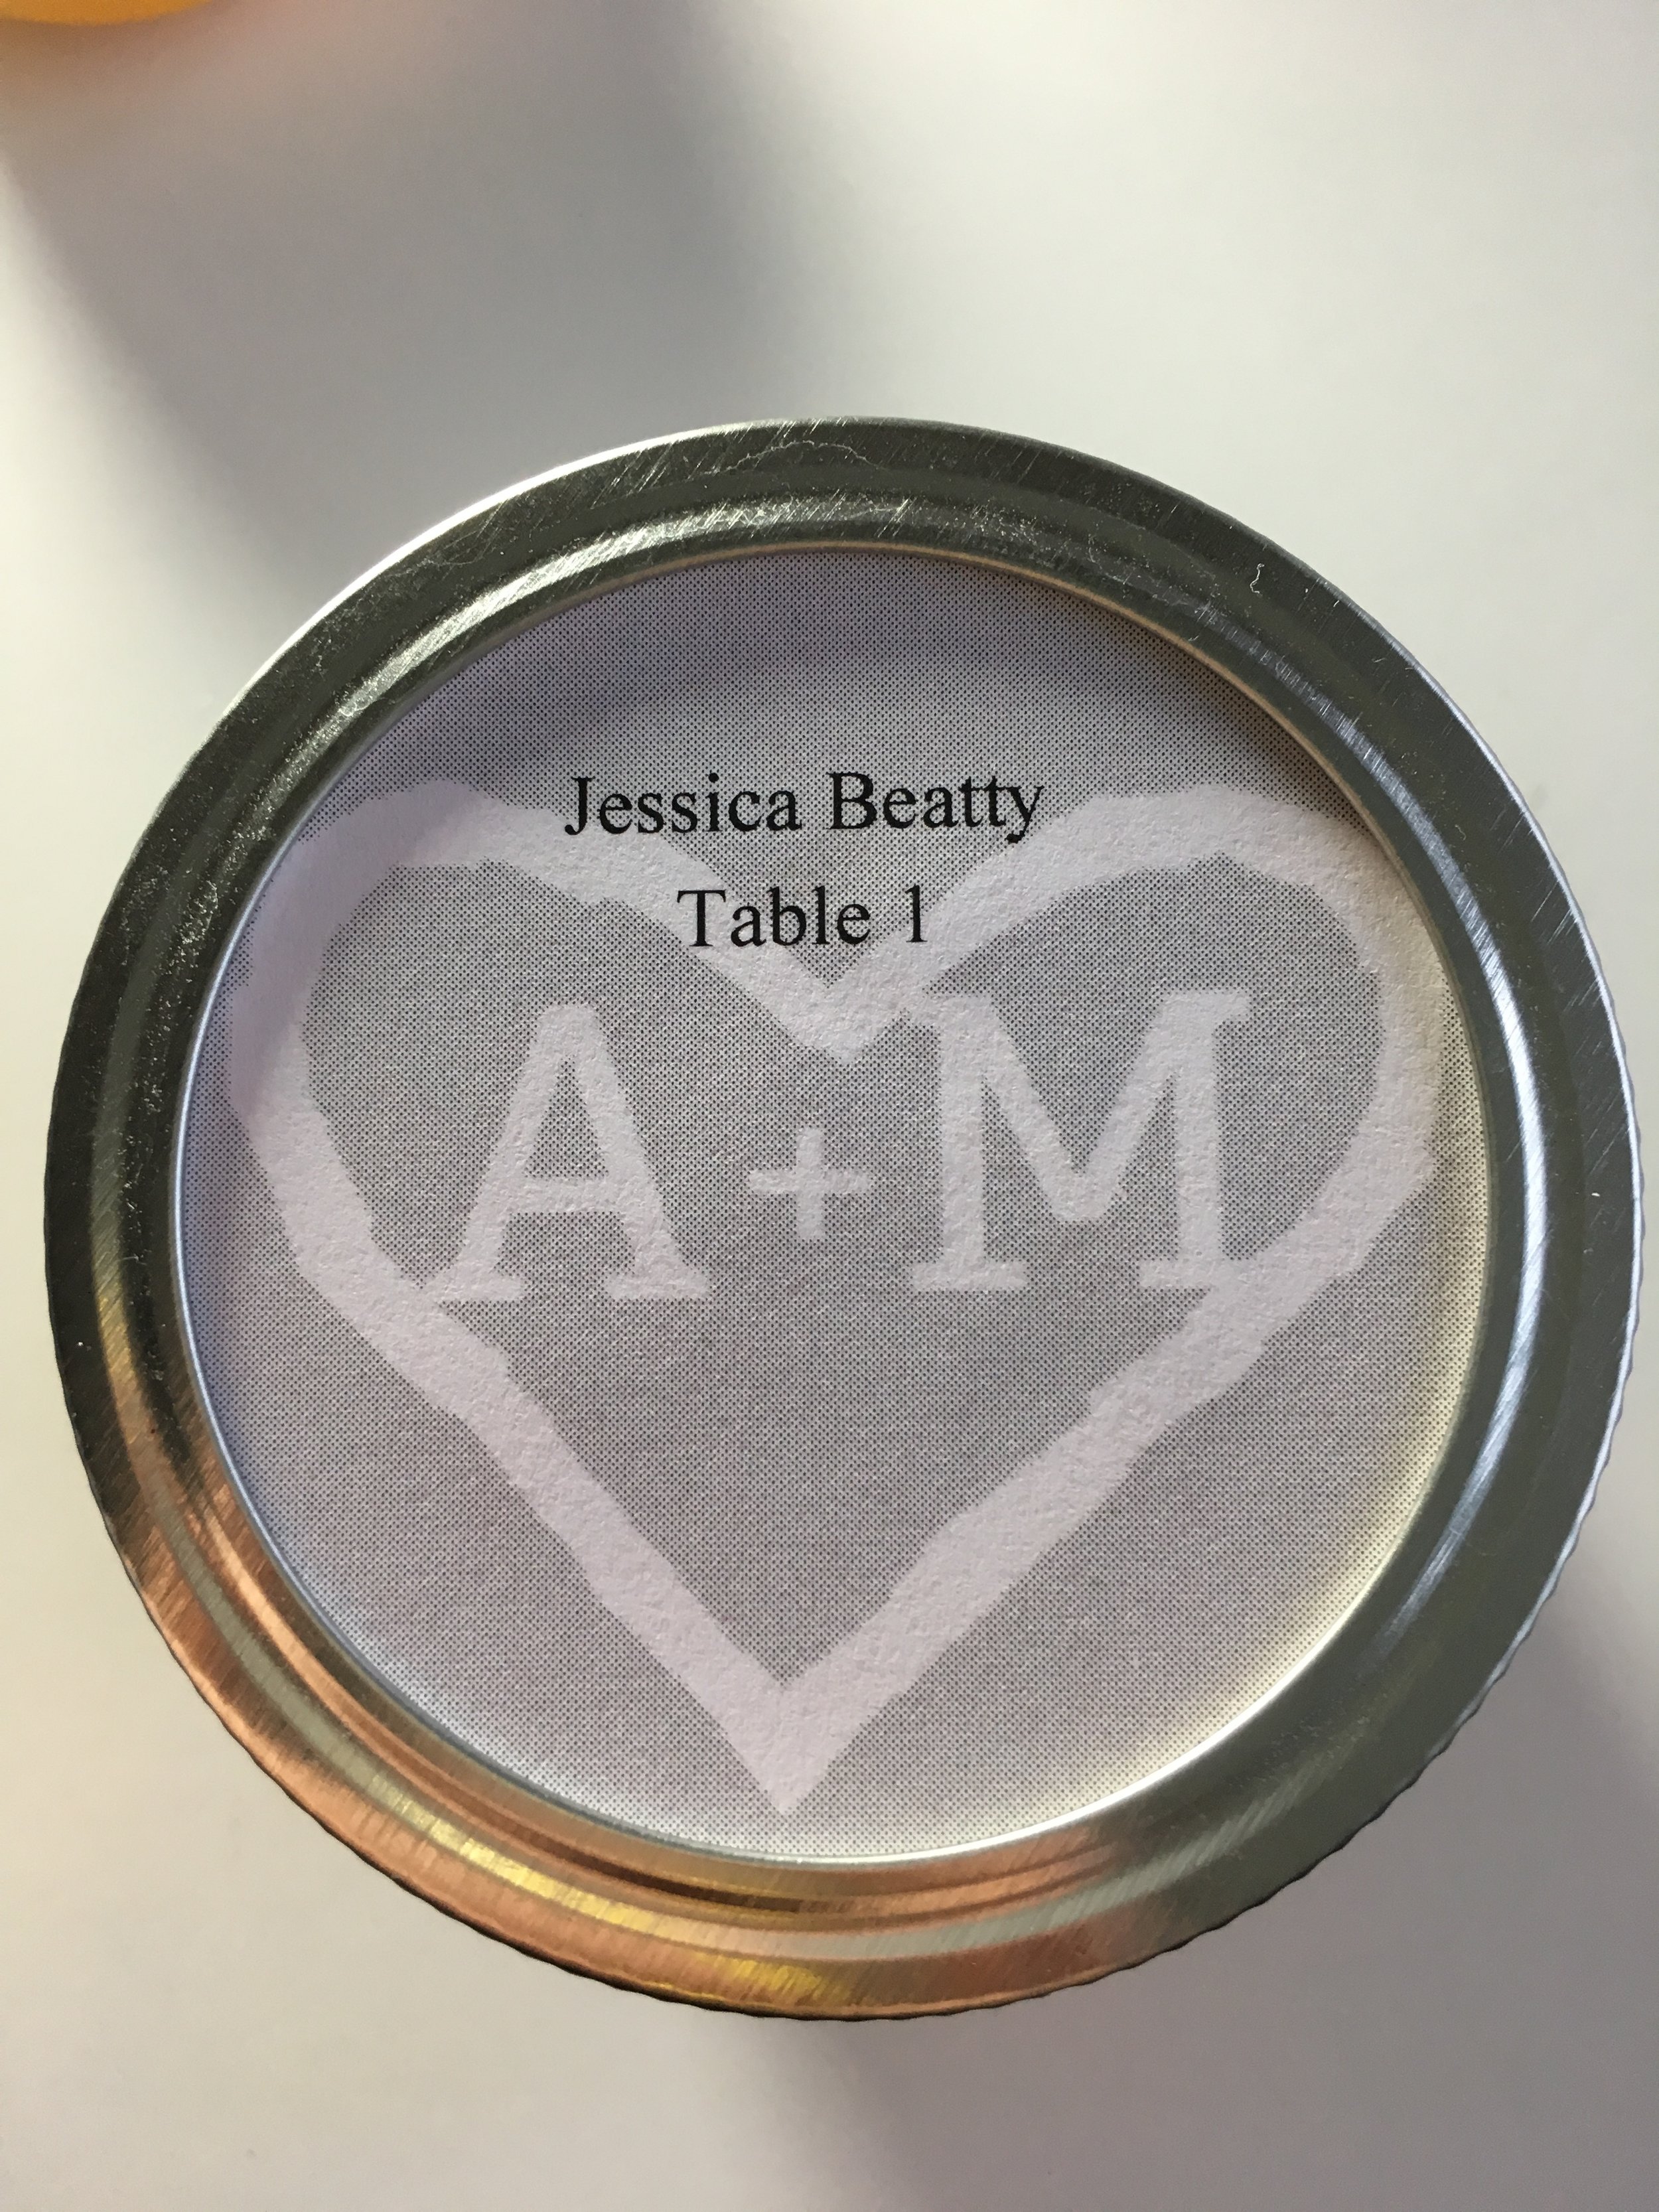
Jam and allocation done. I wanted to have a double use for these favours as place cards. 

We used vista print for our invites. They have so many add ons using the design theme, from mouse pads to printed tees. Unfortunately, they didn't have jam labels. Come on internet! Why you fail me now? =(

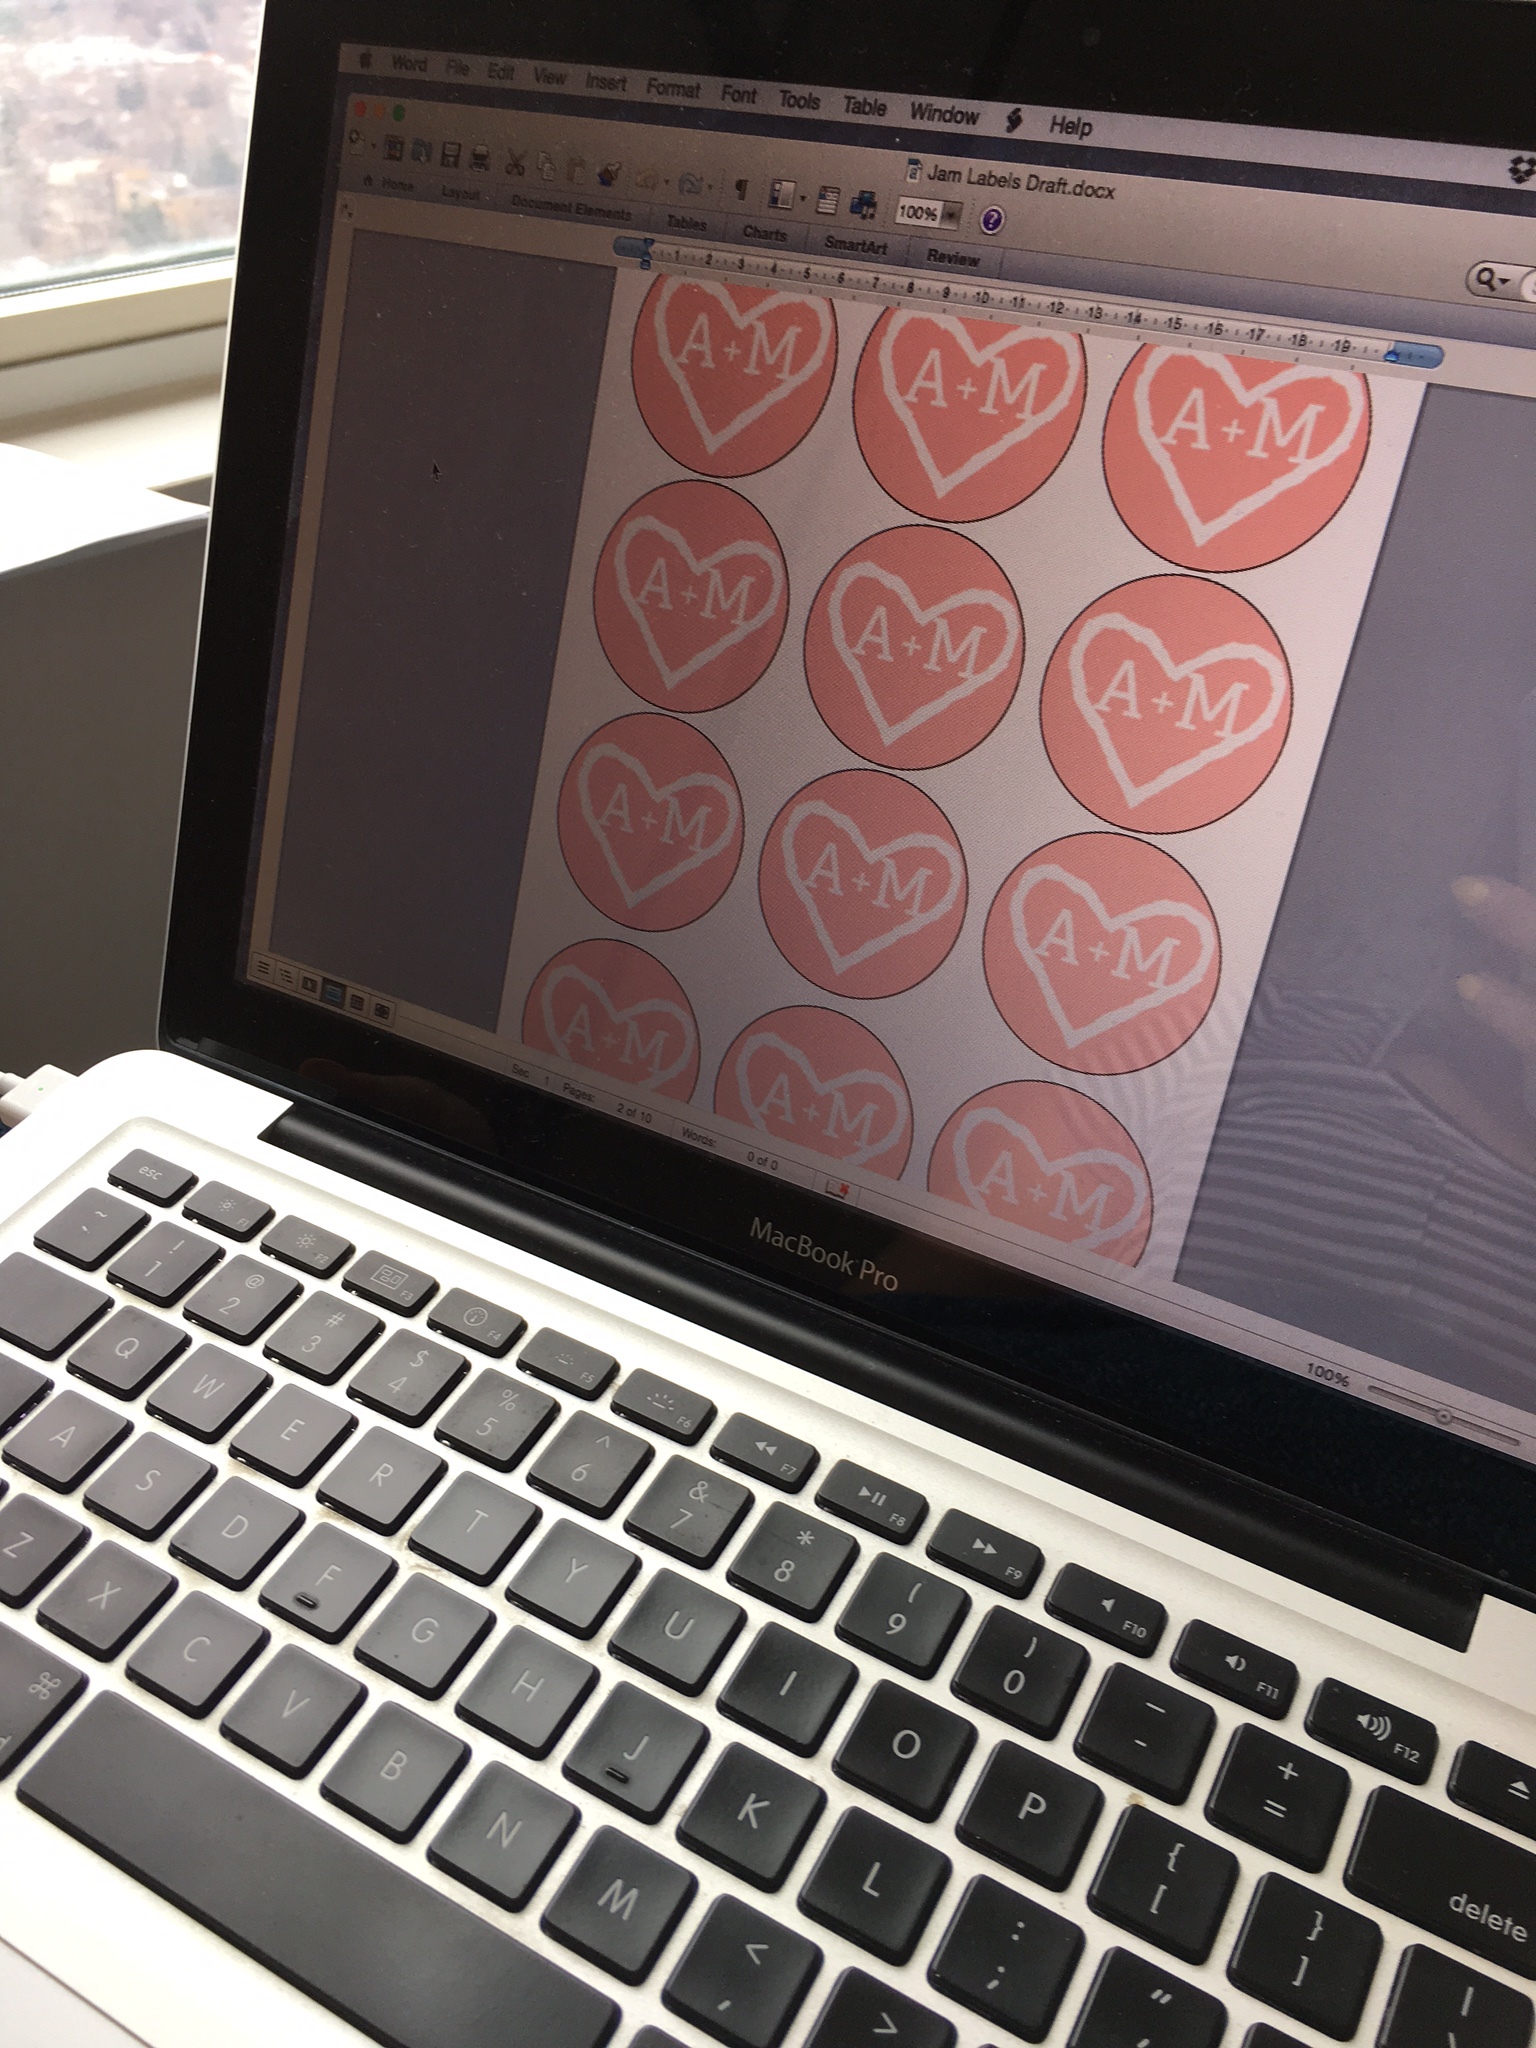
So I gritted my teeth and opened up Word. Easy peasy to add shapes to measure and fill in the background with a design from our cute invites: an A+M heart carve into a tree. <3 And I only had to fight with "Compatibility mode" for a little bit. XD Success! All ready to receive the names of the RSVPed!

Now to set up the registries and send out the invites! Look out February! There will be lots of jams in your future! 

-Andrea

The Half-Assed Hobbyist

Baking and Sewing: Hand in Hand

For ages I've been meaning to start making aprons. For friends, for sale and for fun. The original thought was it would be a neat way to get people interested in meal planning and cooking. (That's right, People, not just women, thank you very much.) But despite having made some designs on paper, I never actually got to down to making anything. 

With the last couple months though, I've had a resurgence of motivation! Yay! So, along with my lady Lesley, I got out the tracing paper and got to work. 

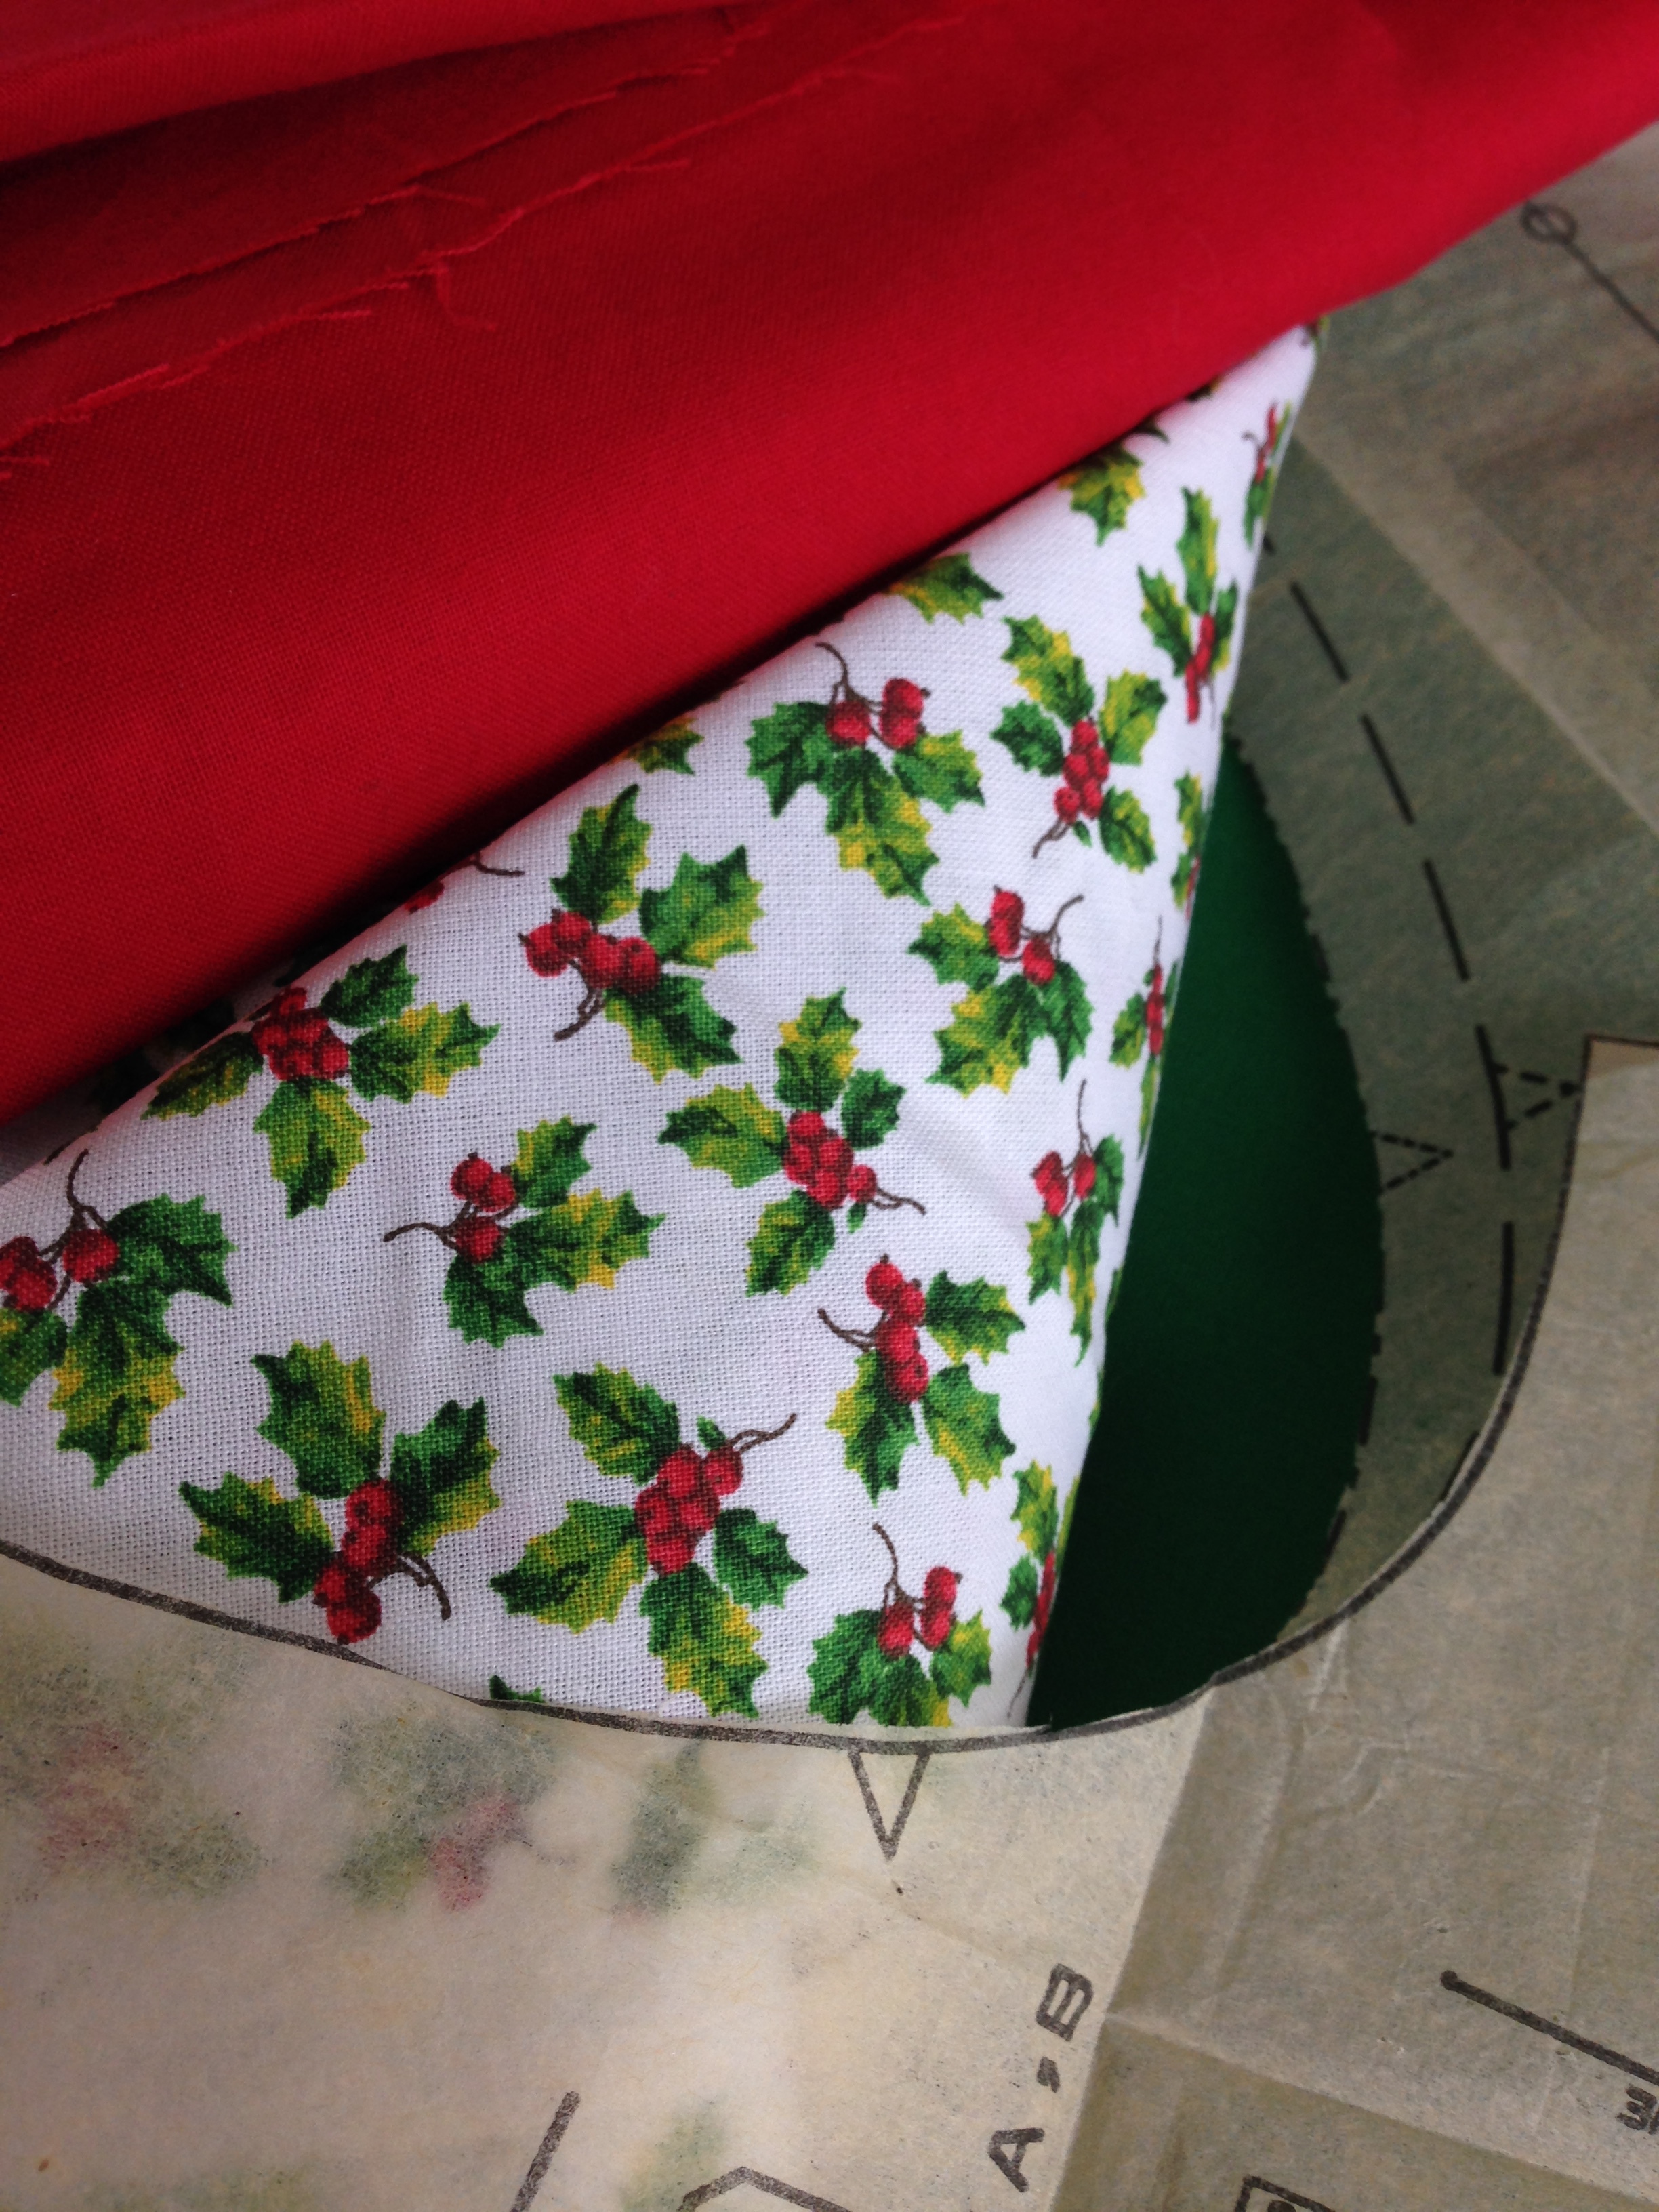
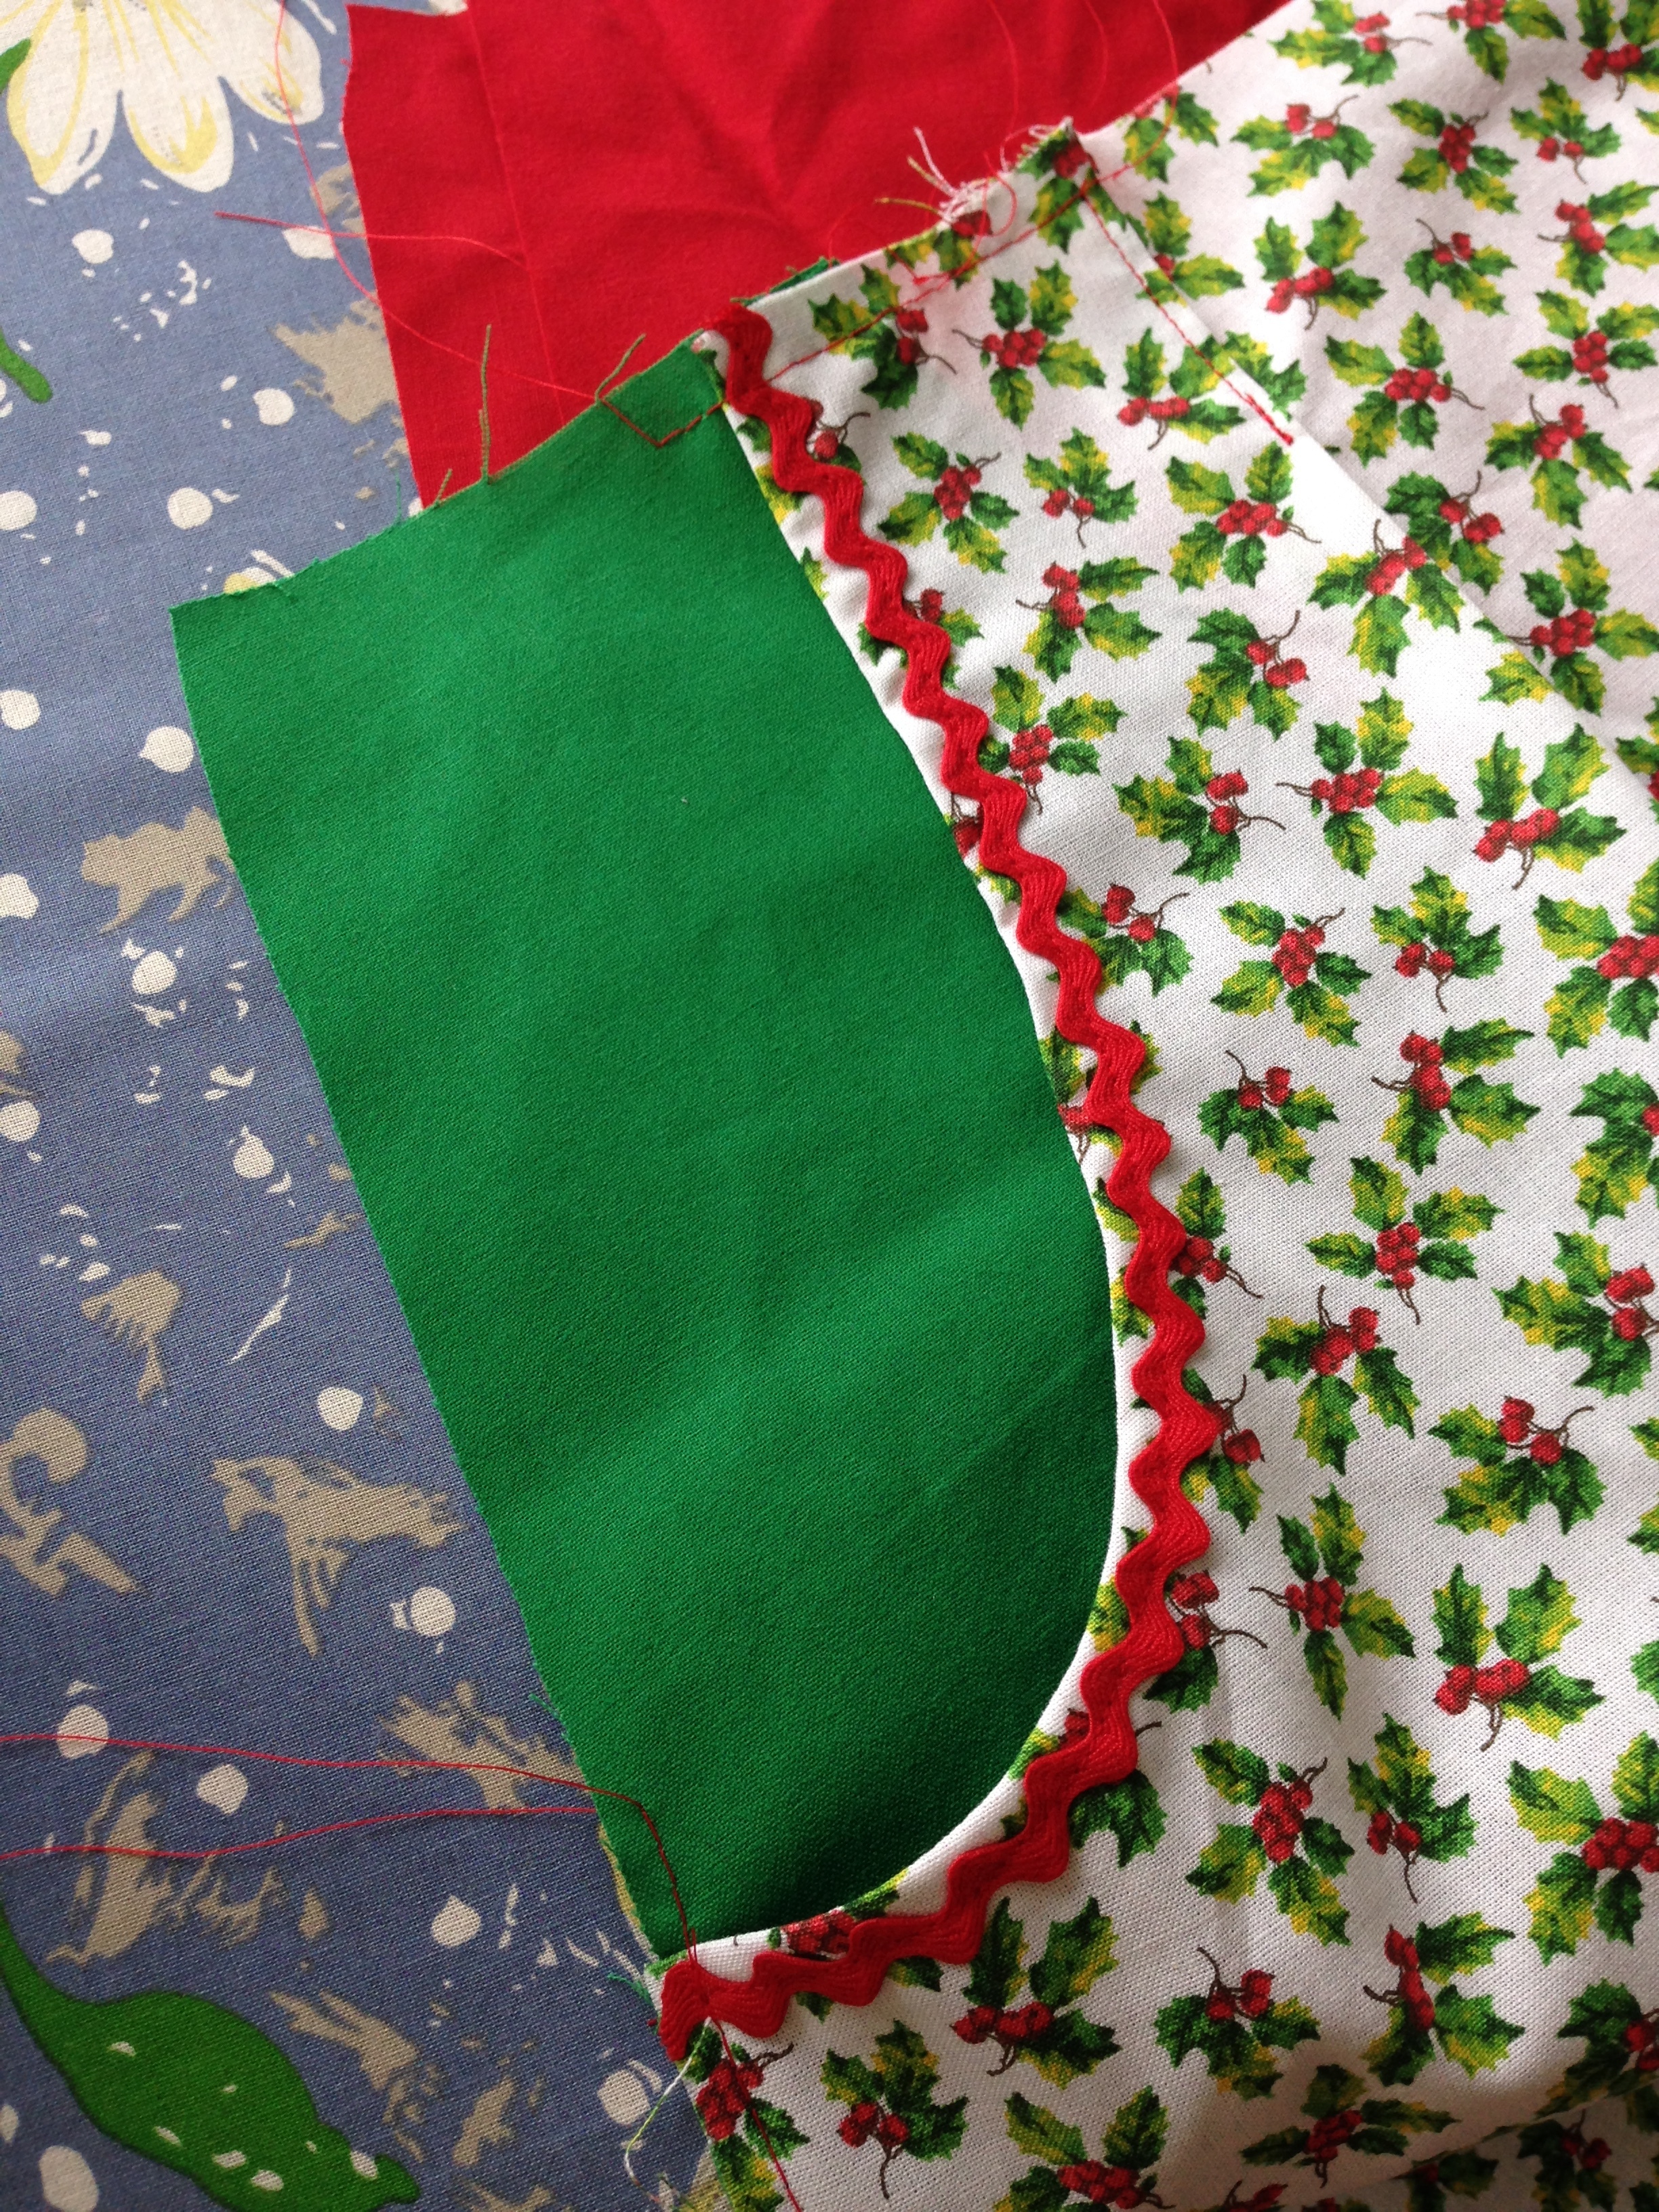
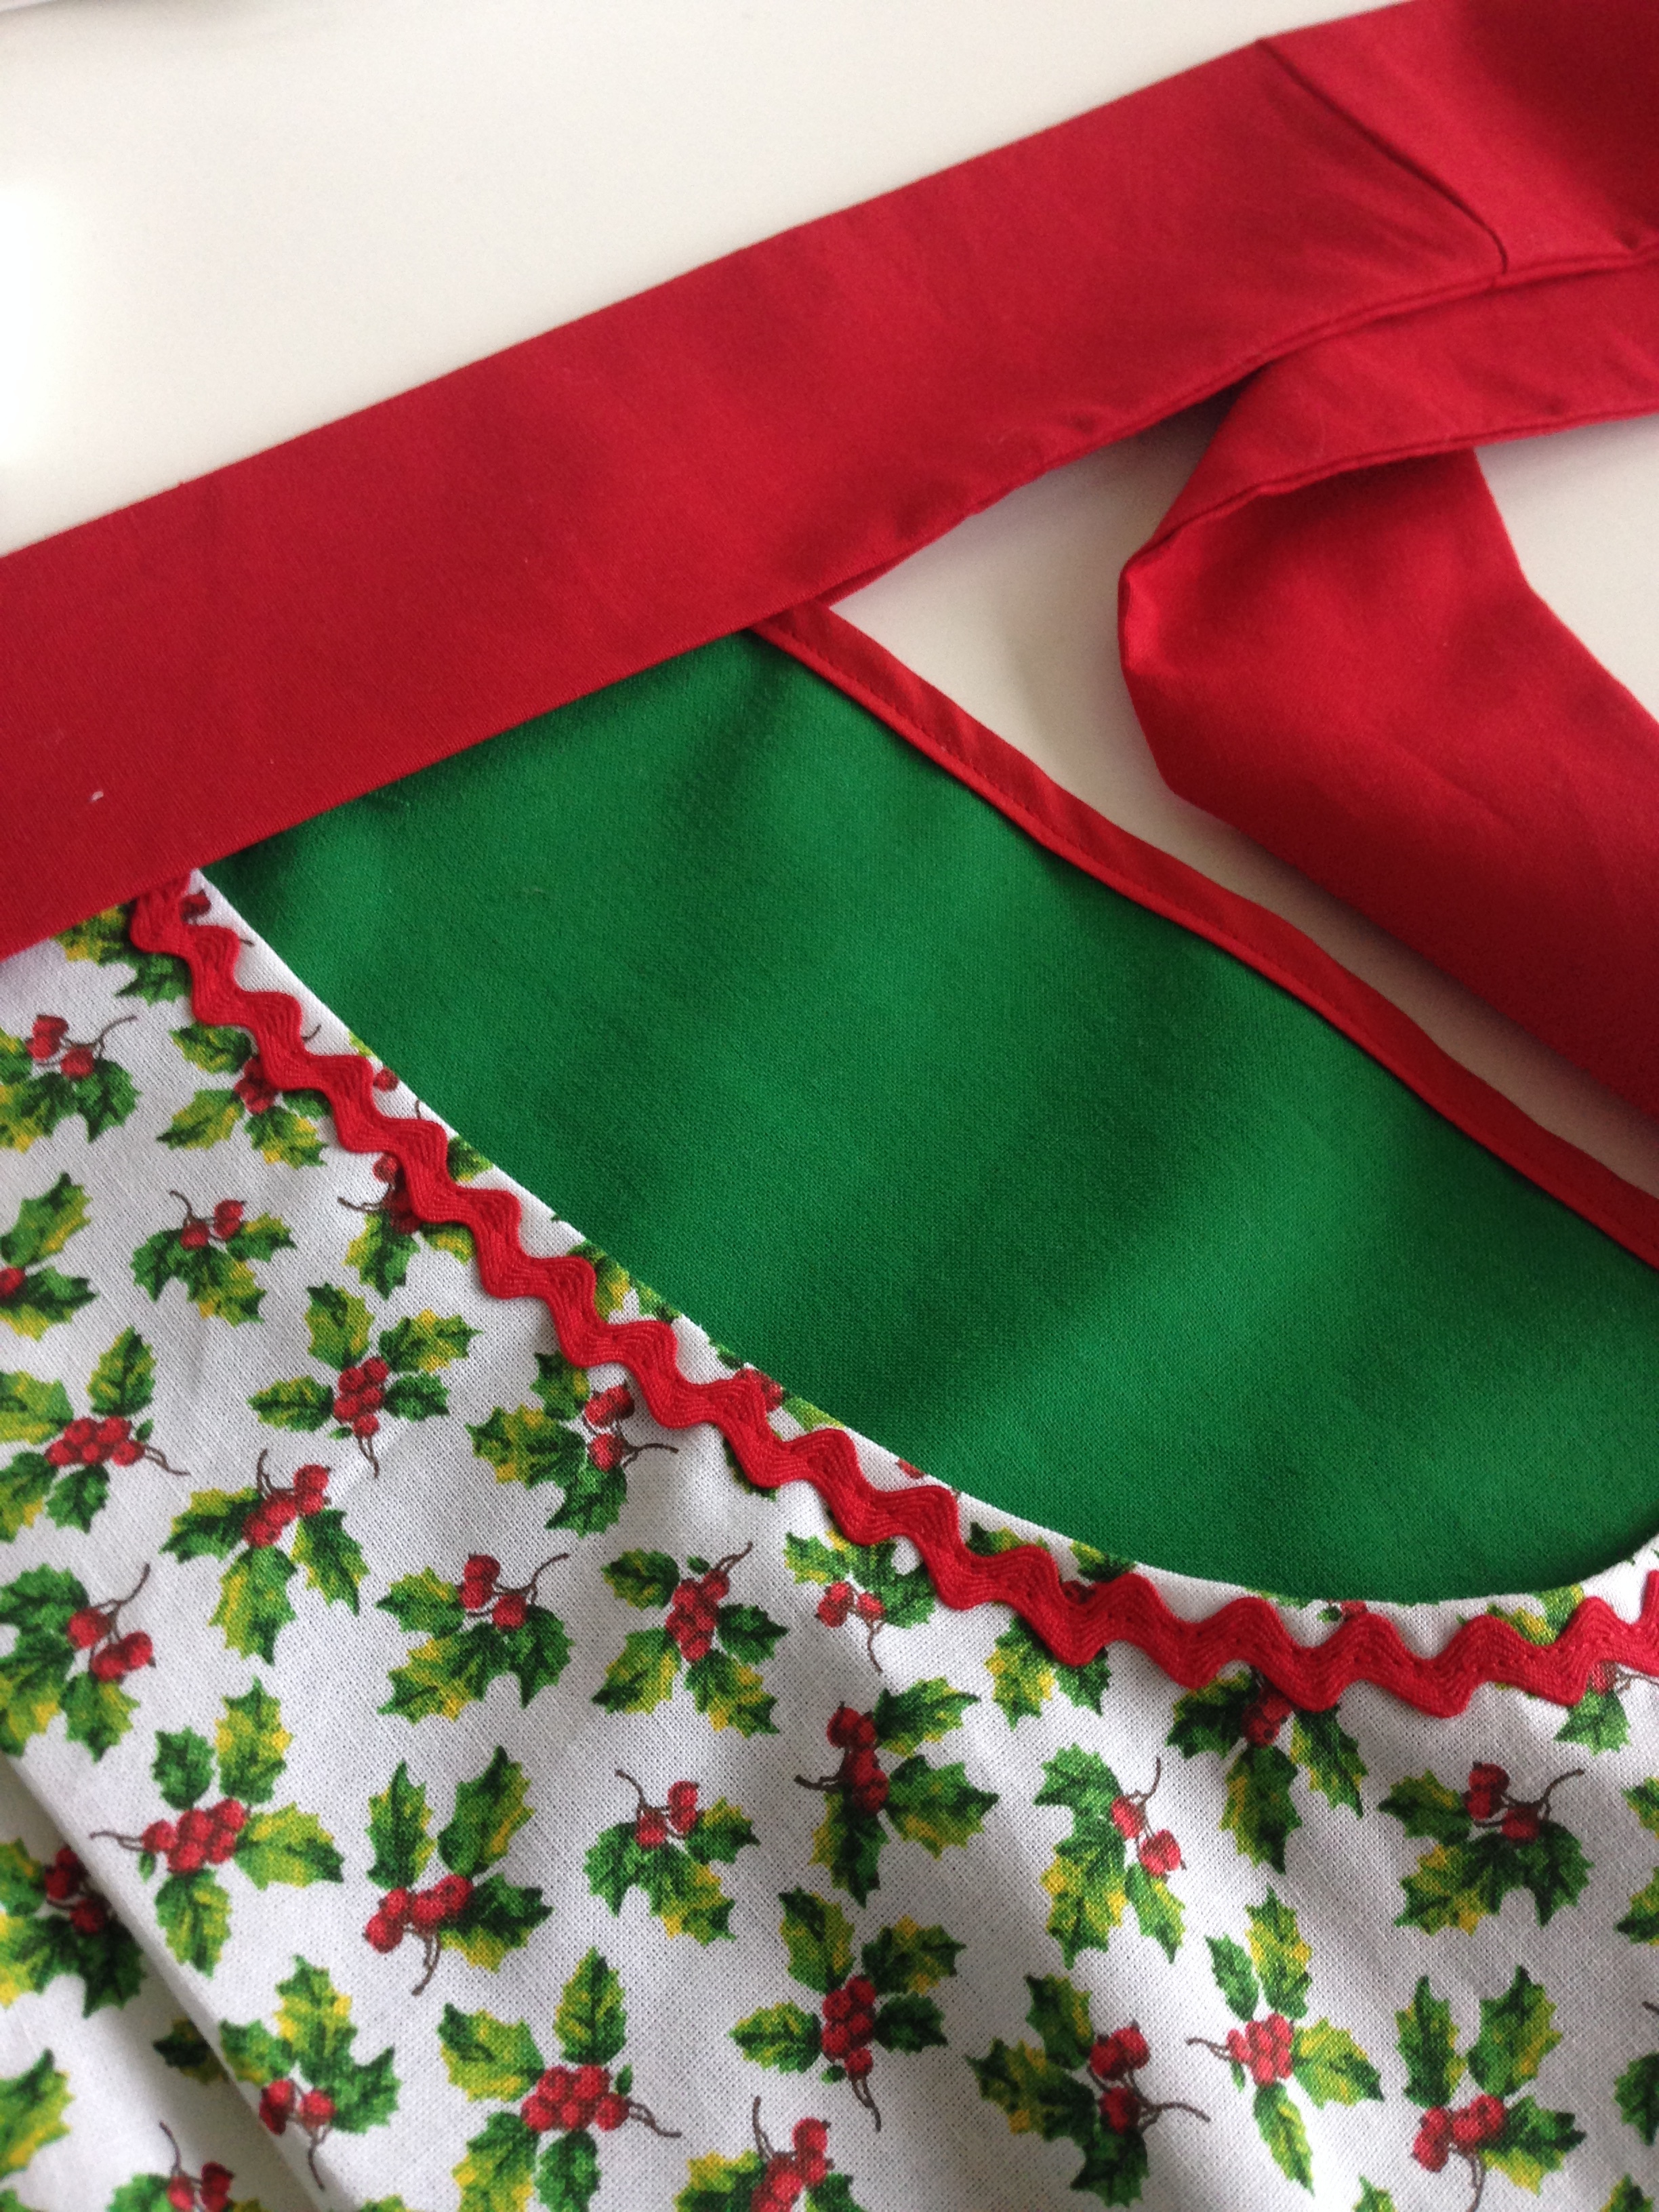
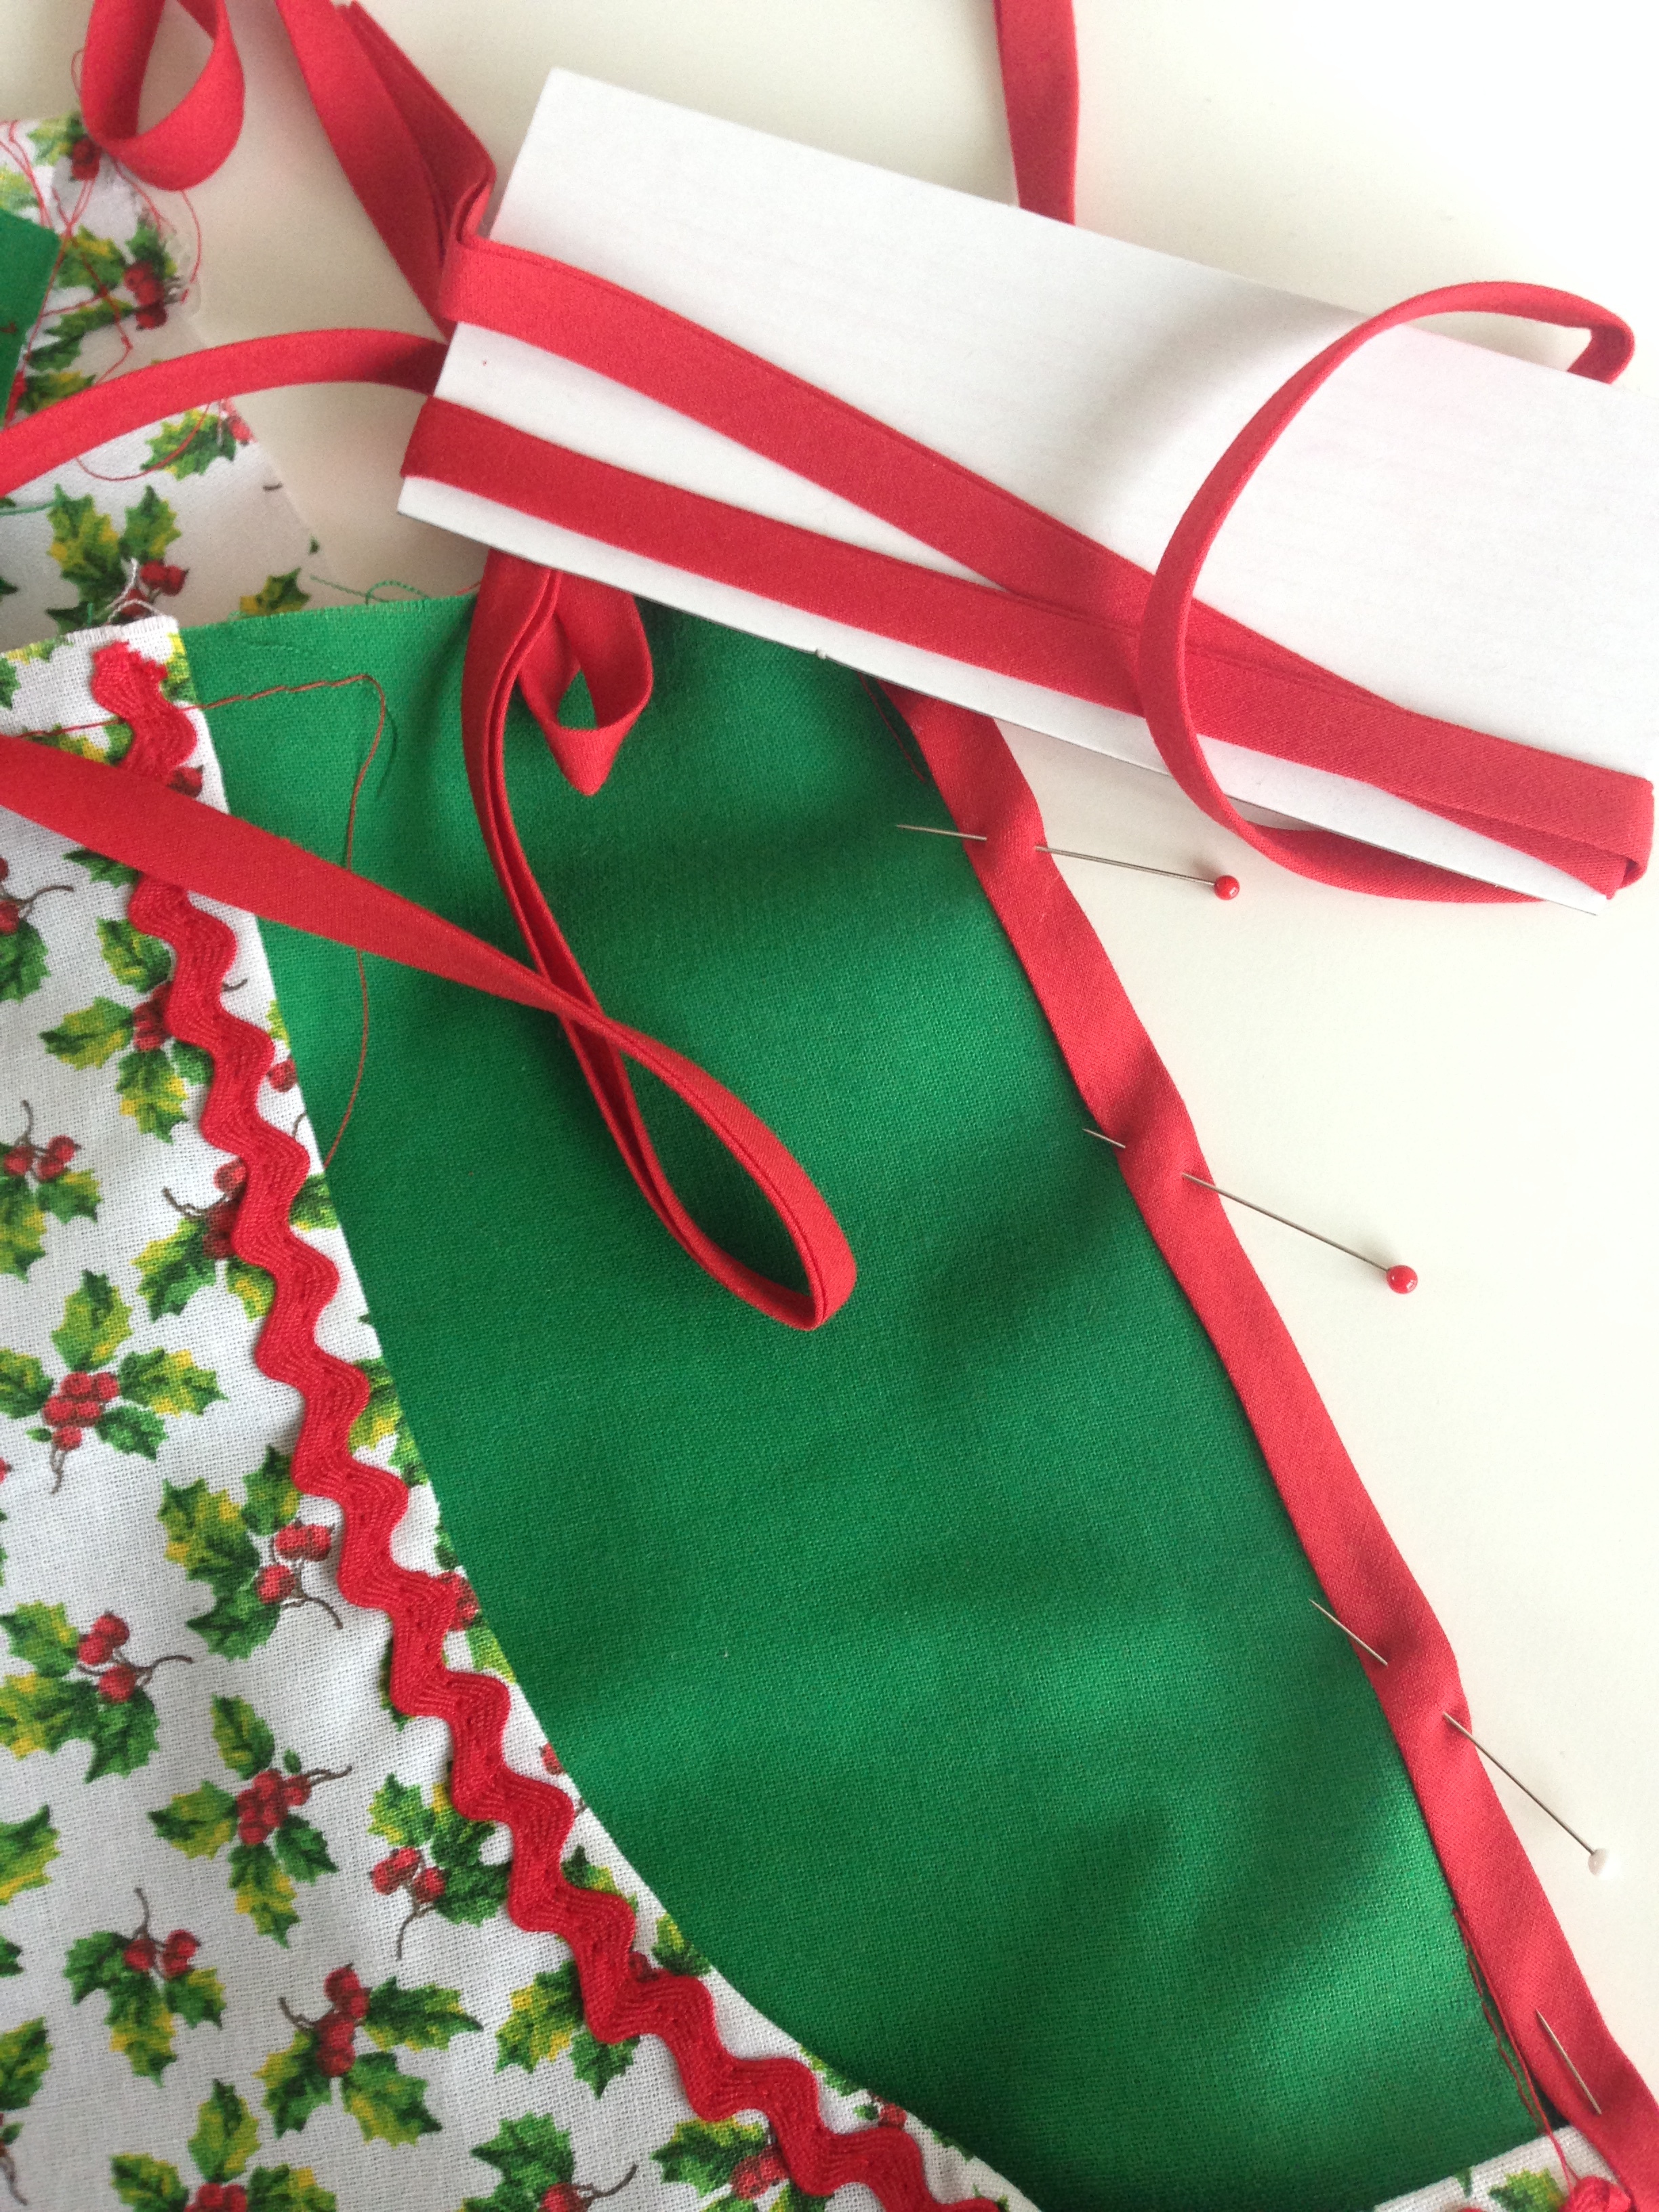
This apron pattern is actually based off the skirt front for the Blue Dress (V9472). I loved the pockets so much that it sprang to mind when I was game planning my project. Also, it meant I had a pattern to work off of, which was perfect too. 

The initial design was to completely copy the skirt front, adding a 3 inch finished belt to use as the tie. And to finish the edges in bias tape. The decorative edging was an after thought. The edging is actually my grandmother's, as found in her old sewing kit that I inherited. 

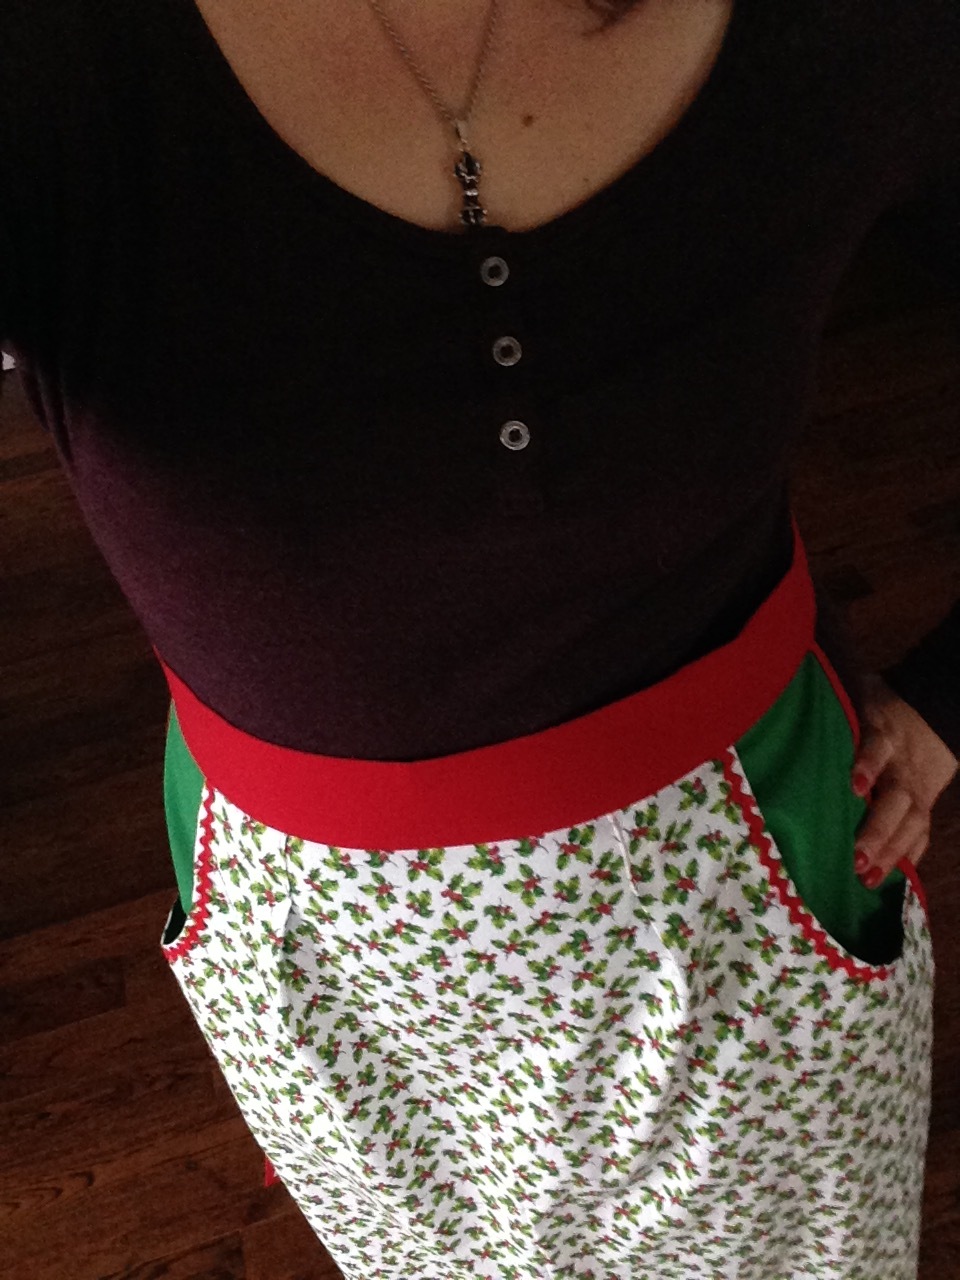
The plan went off without a hitch. Which surprised me... I'll be honest. Usually when I whip up a project something goes a tad awry. But this apron went super smooth. It probably took a total of 2 hours to lazily cut and pin and iron and sew. 

After the final product was around my waist I did decide I wanted to make some changes, should I make this design again. Mainly, deepen the pockets and shorten the length by about 4 inches. Less skirt-y length and more hip apron length. 

I look forward to making more! Maybe even trying to sell some. HMMMM. Haha. We'll see!

-Andrea

The Half-Assed Hobbyist
These cookies have Stollen my heart

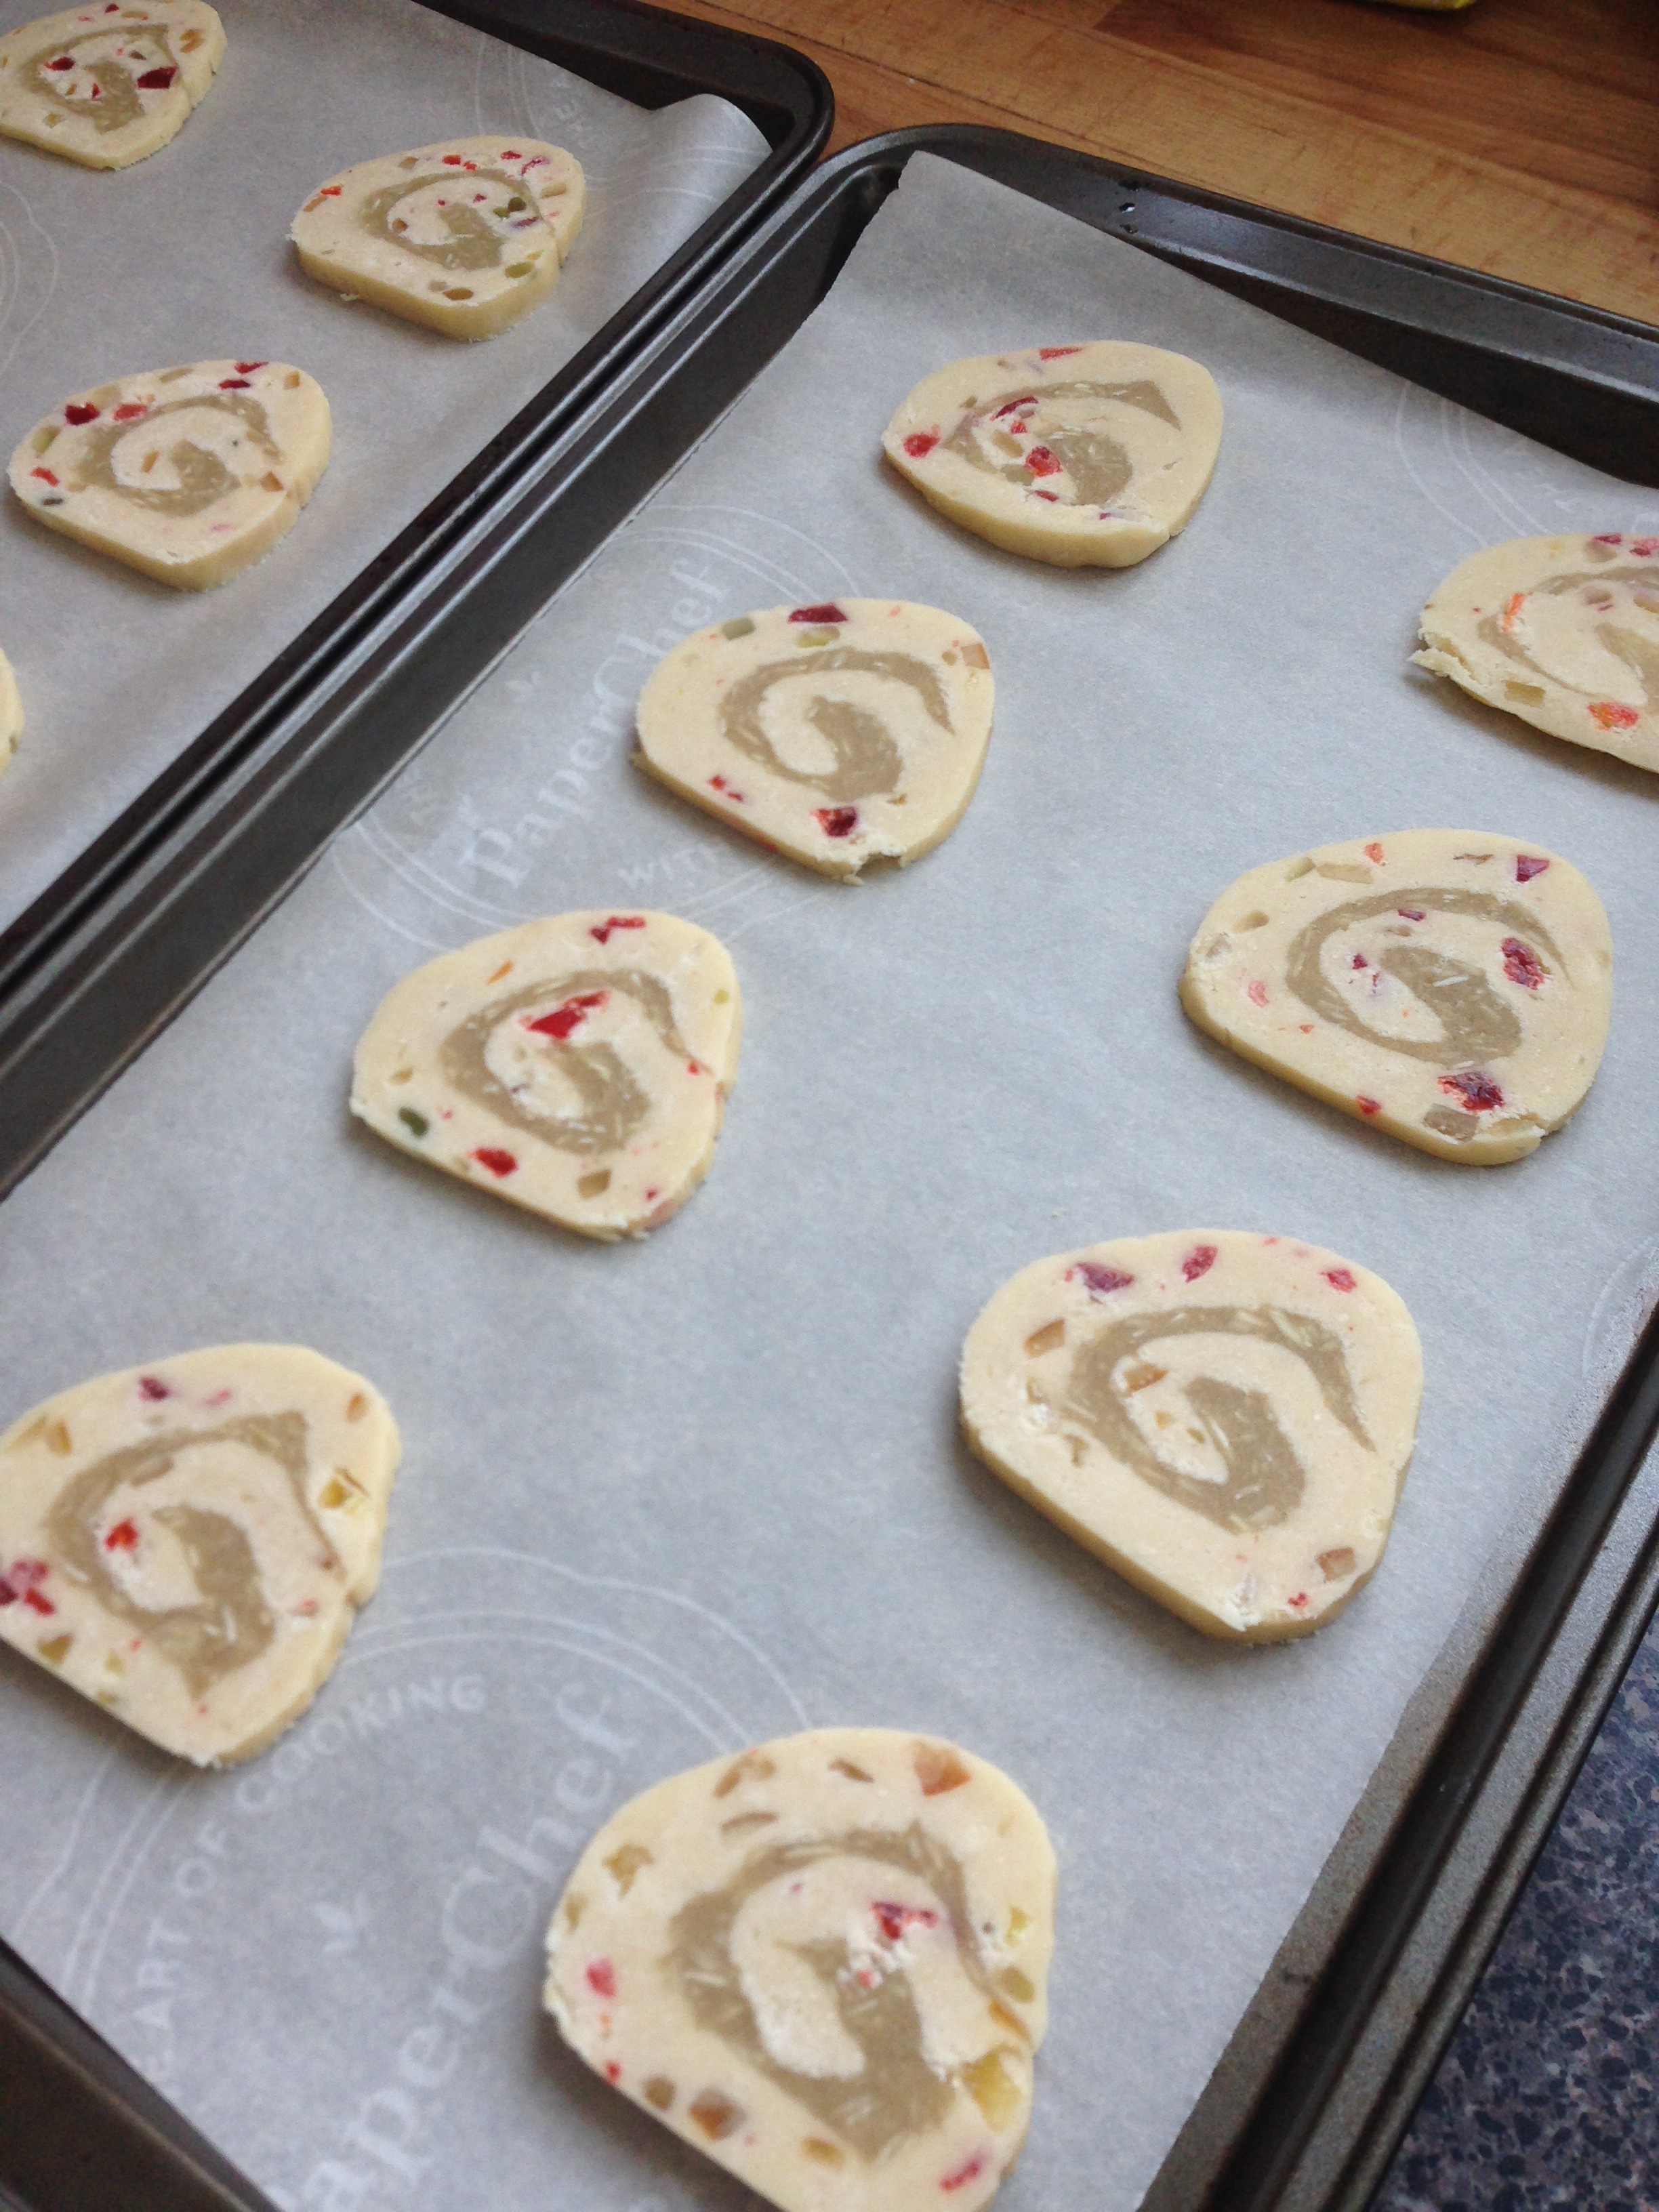
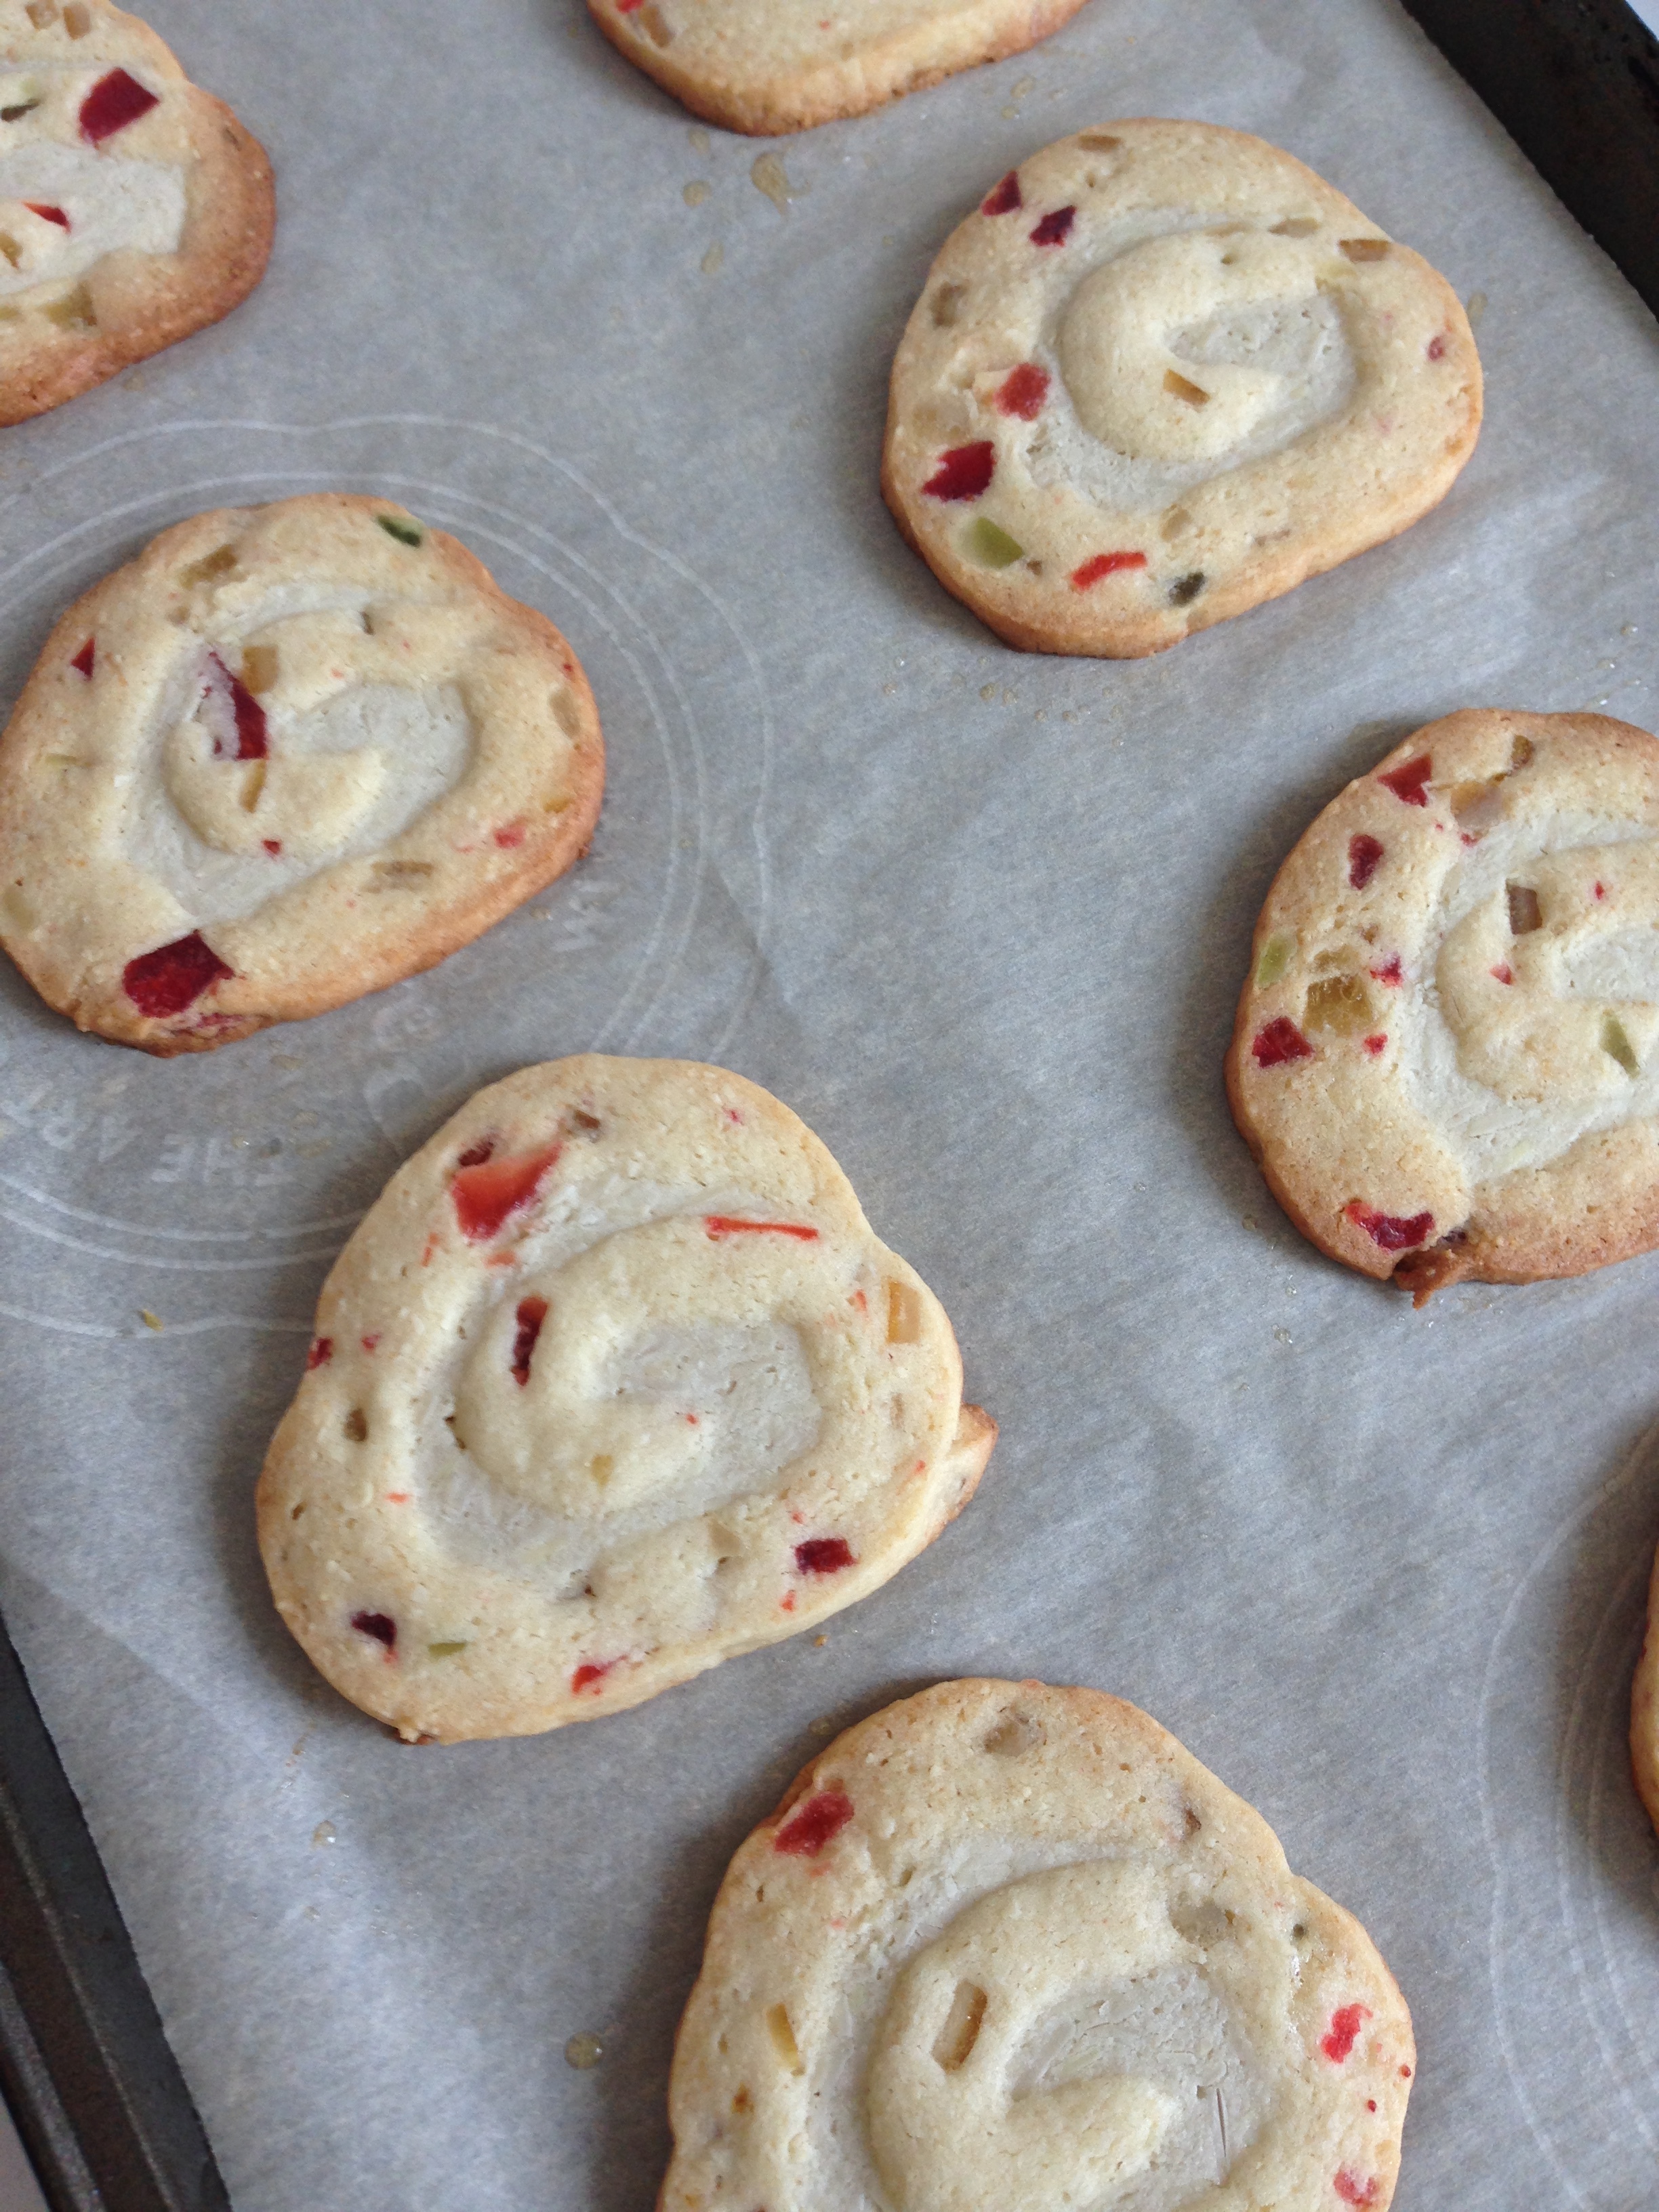
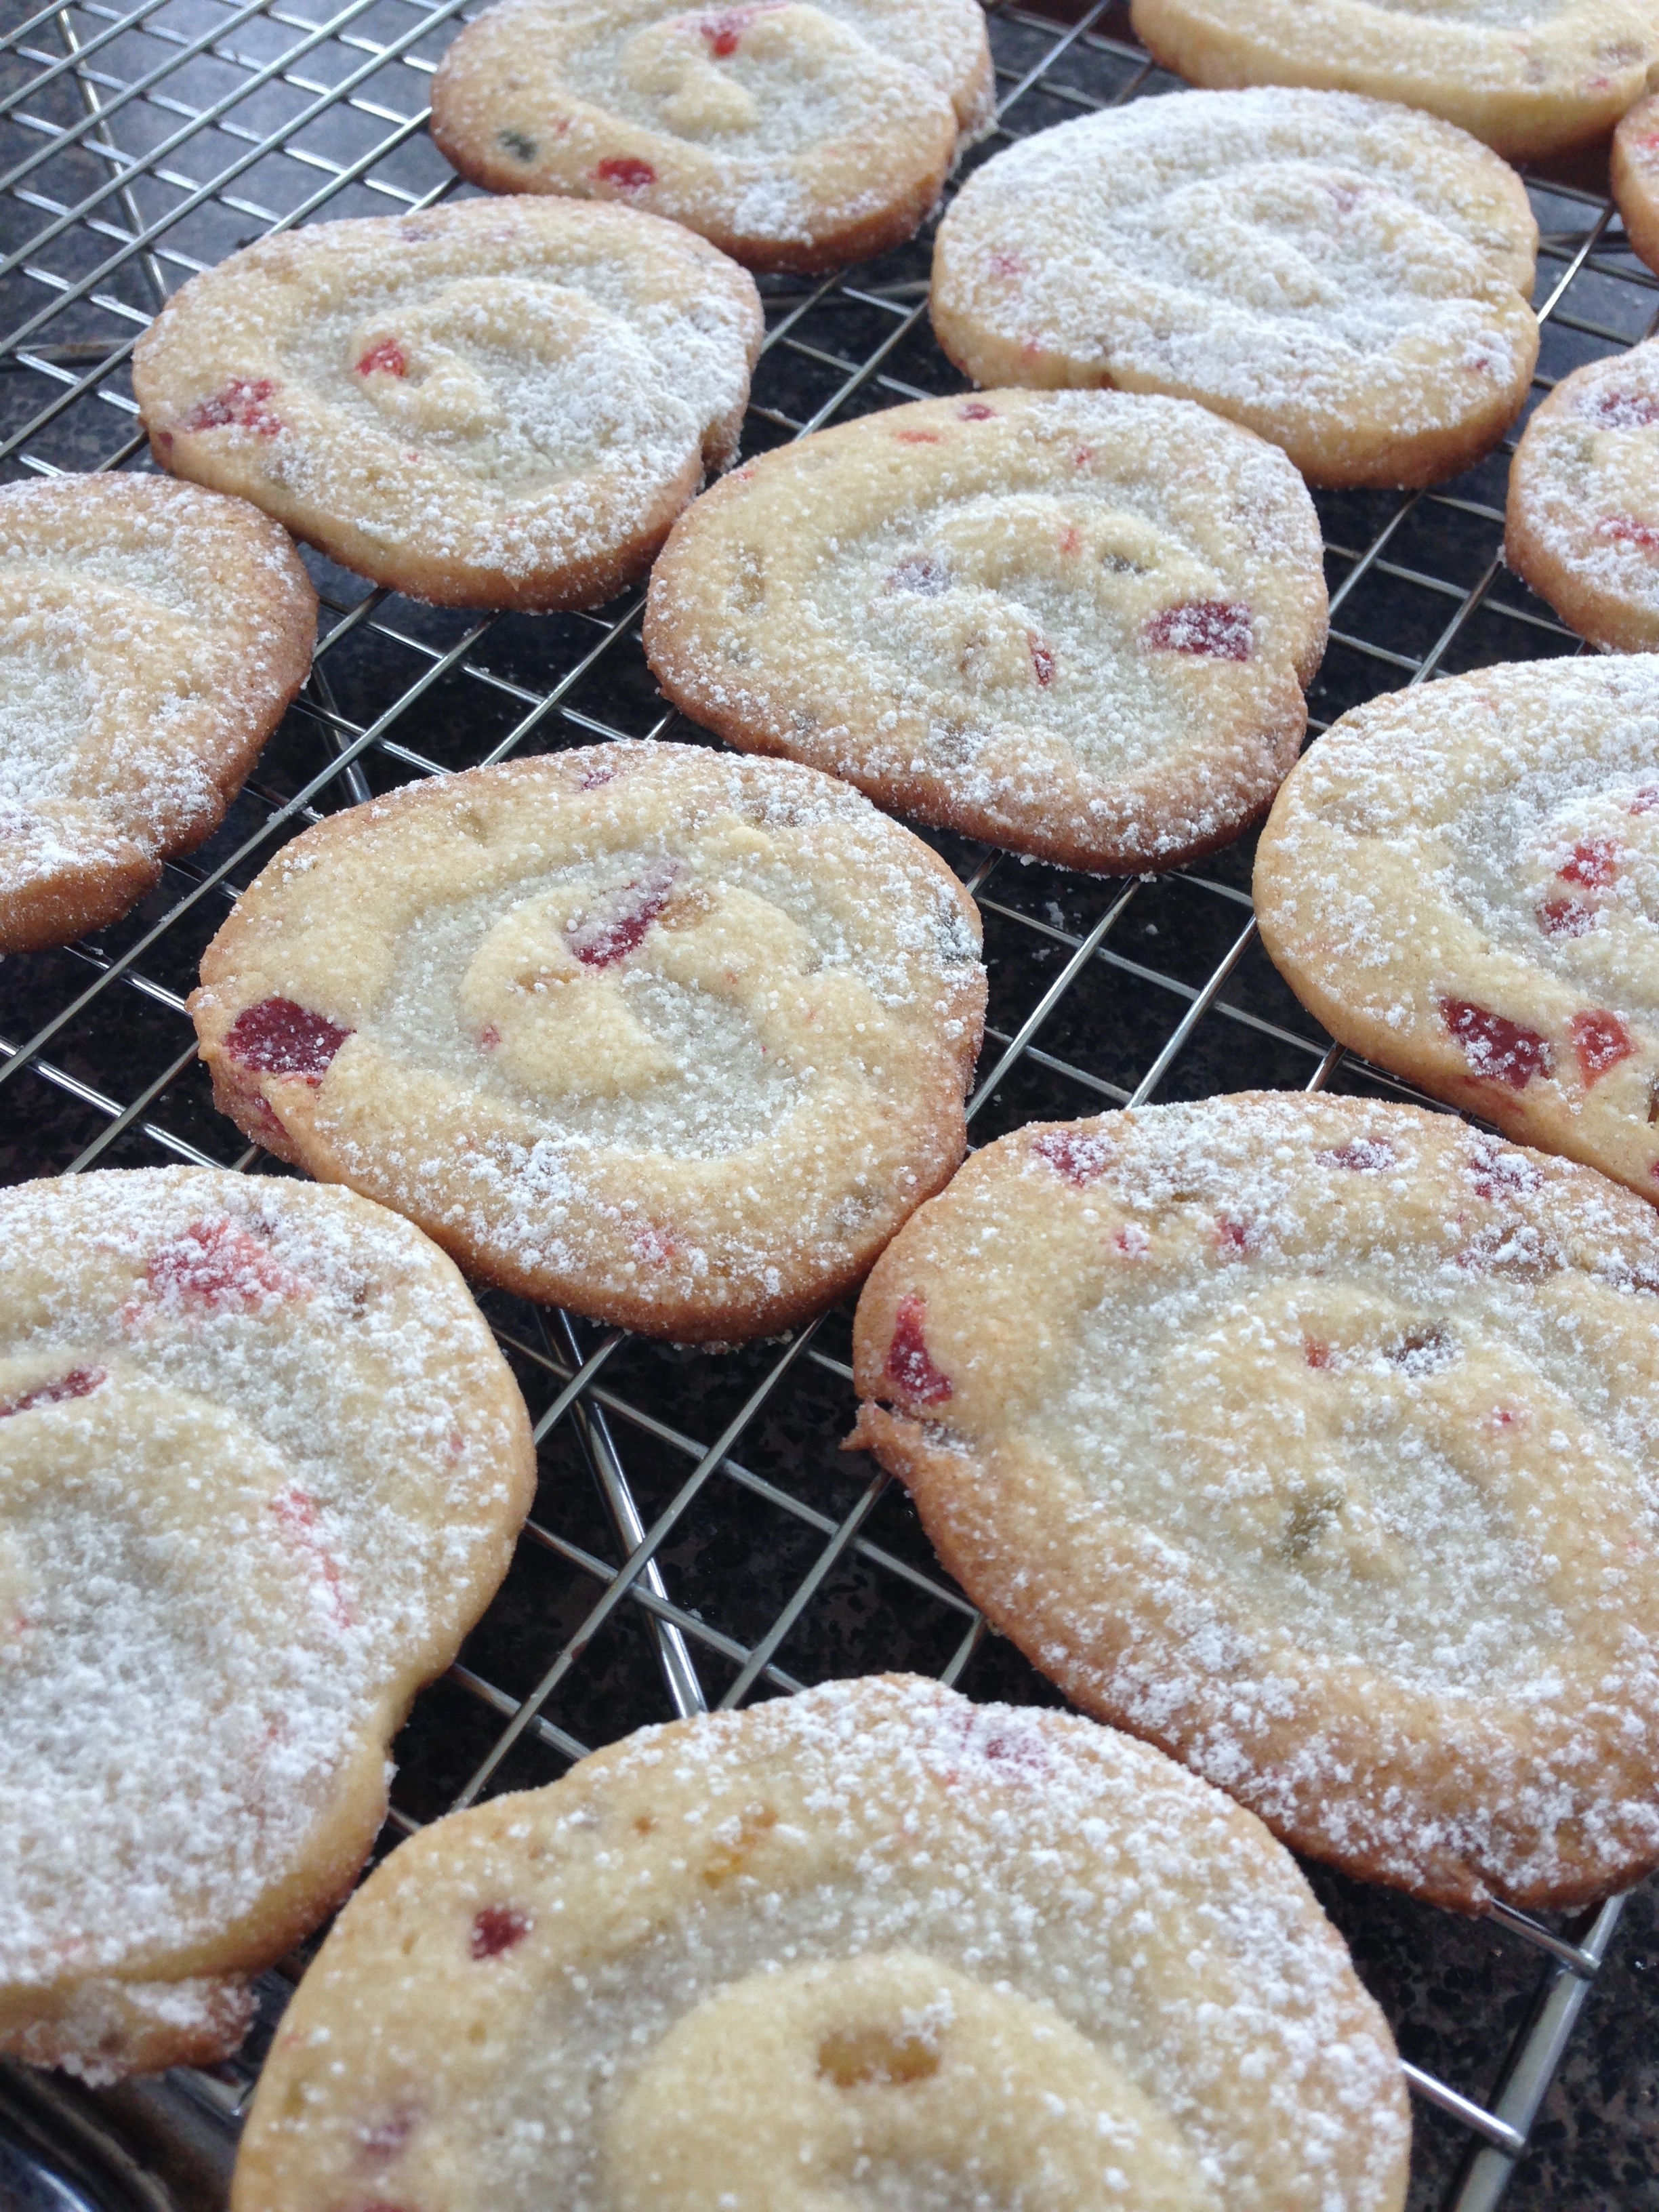
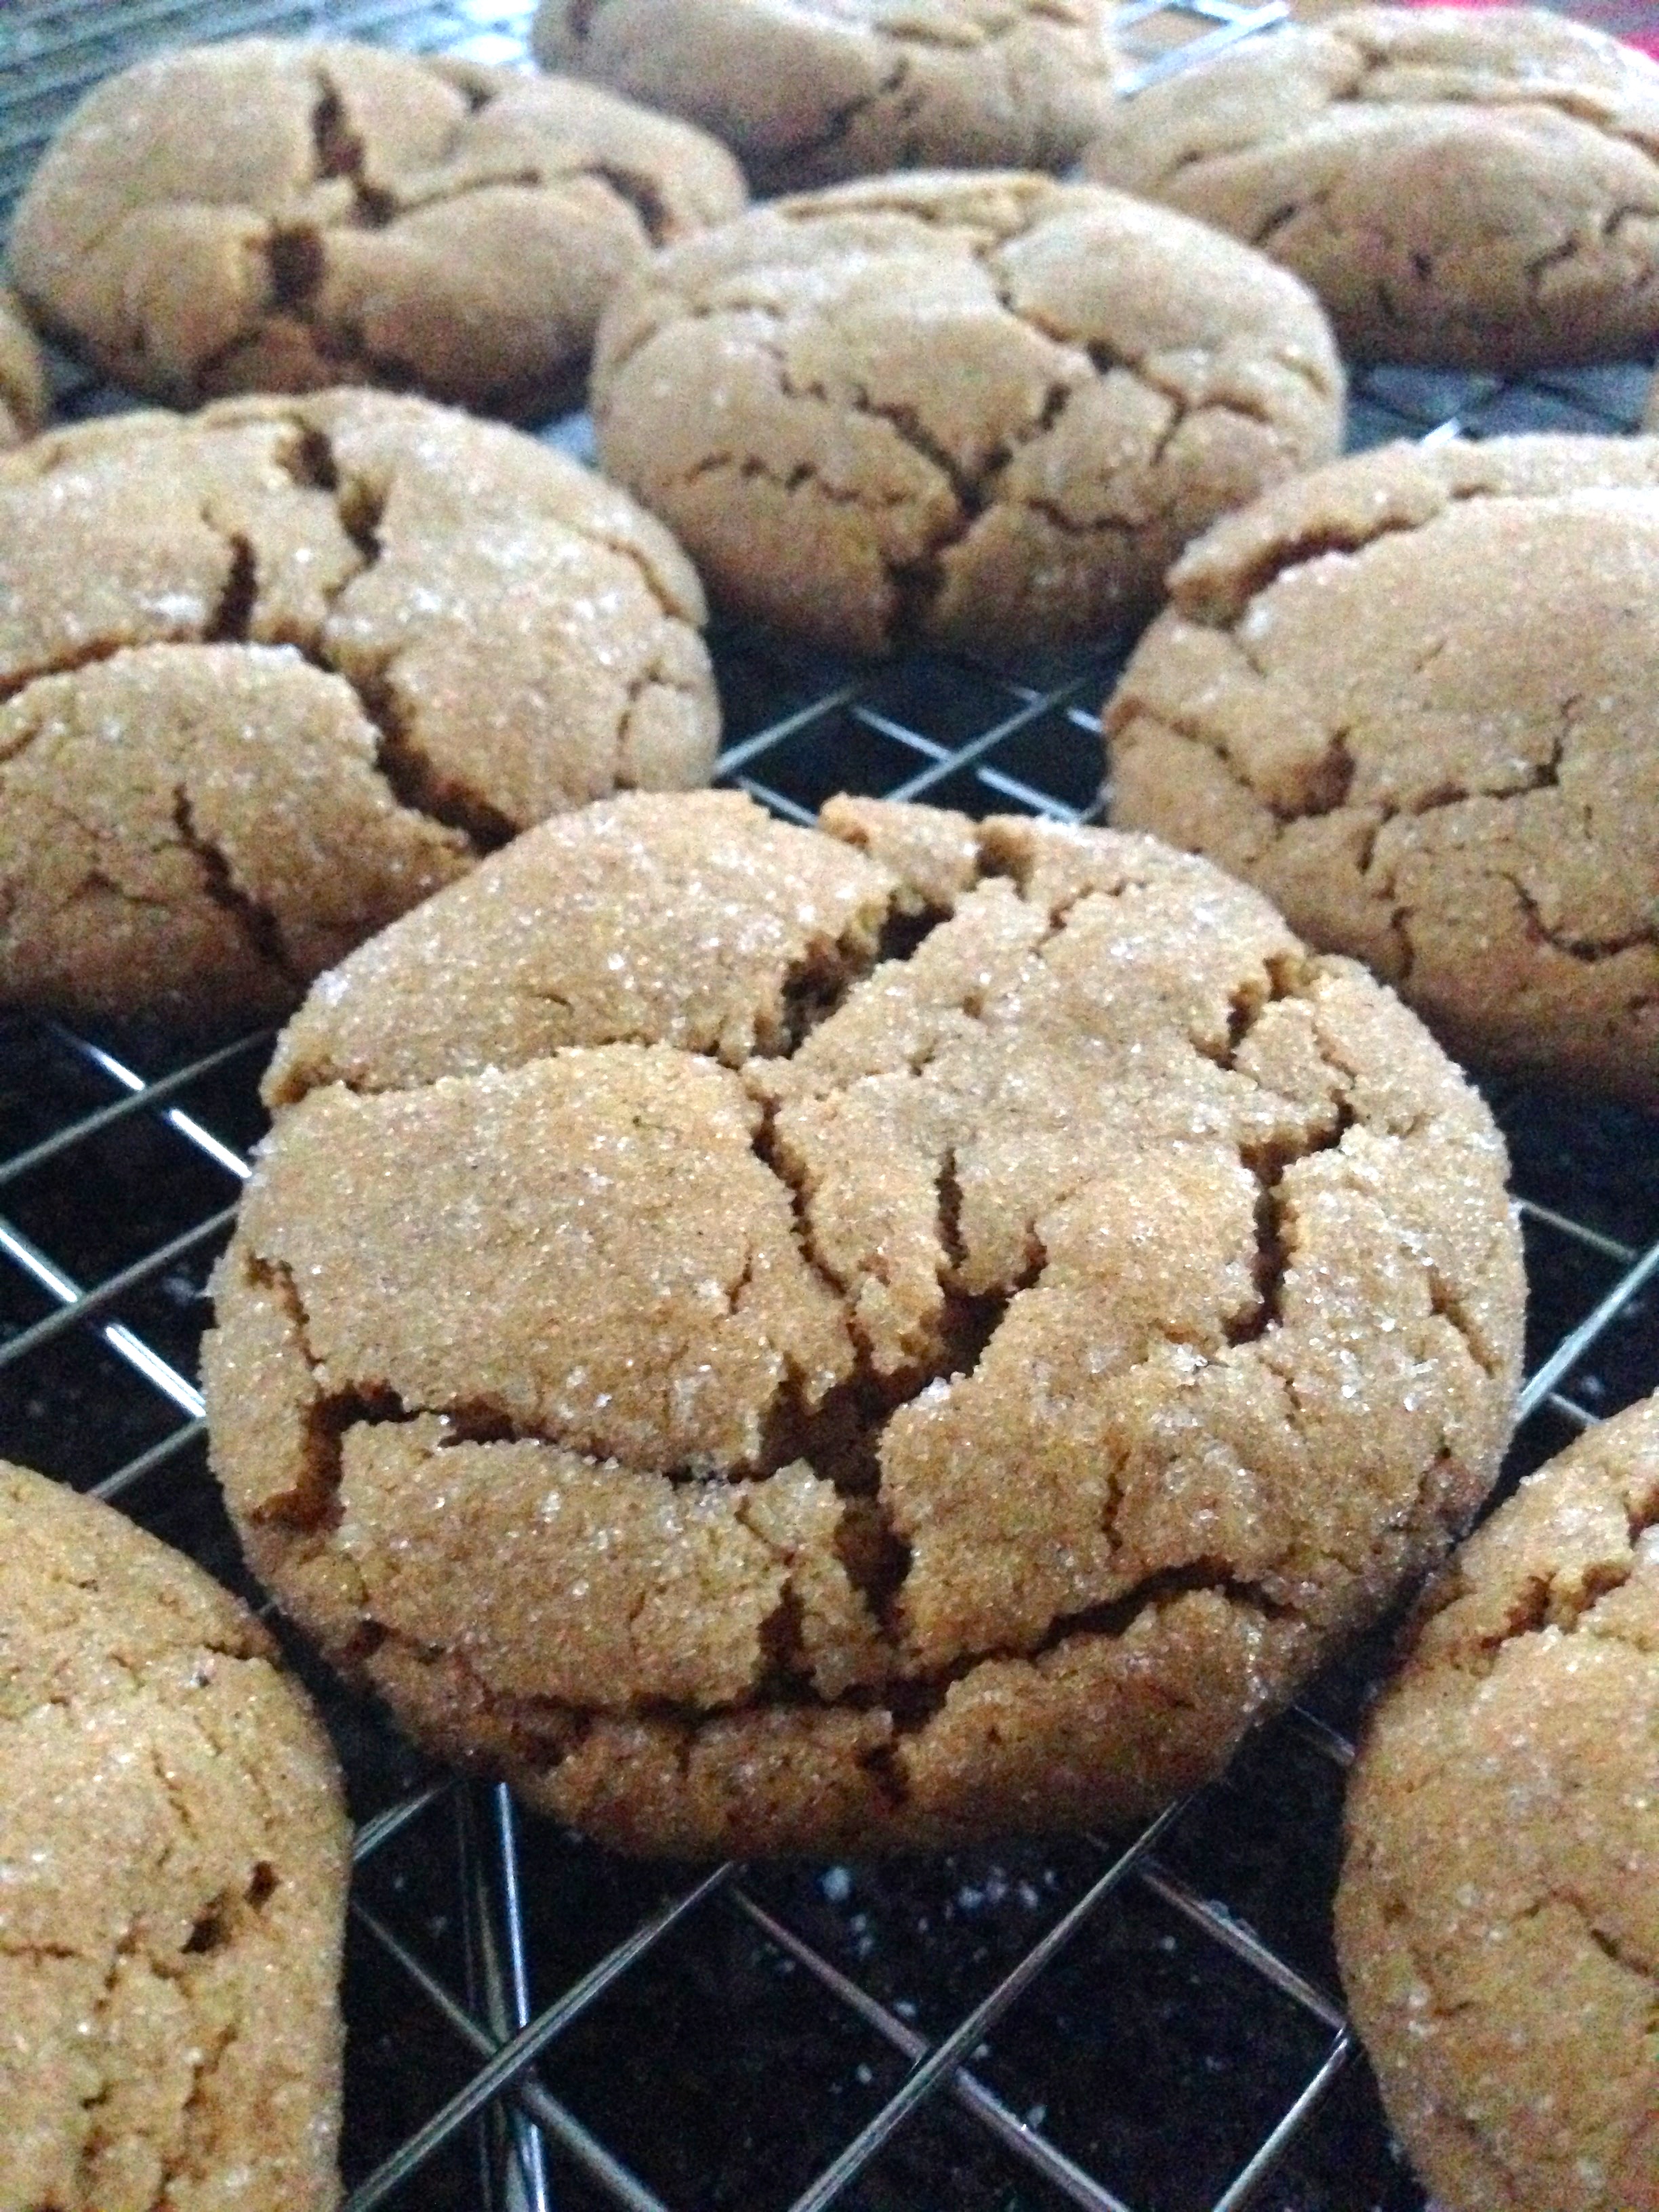
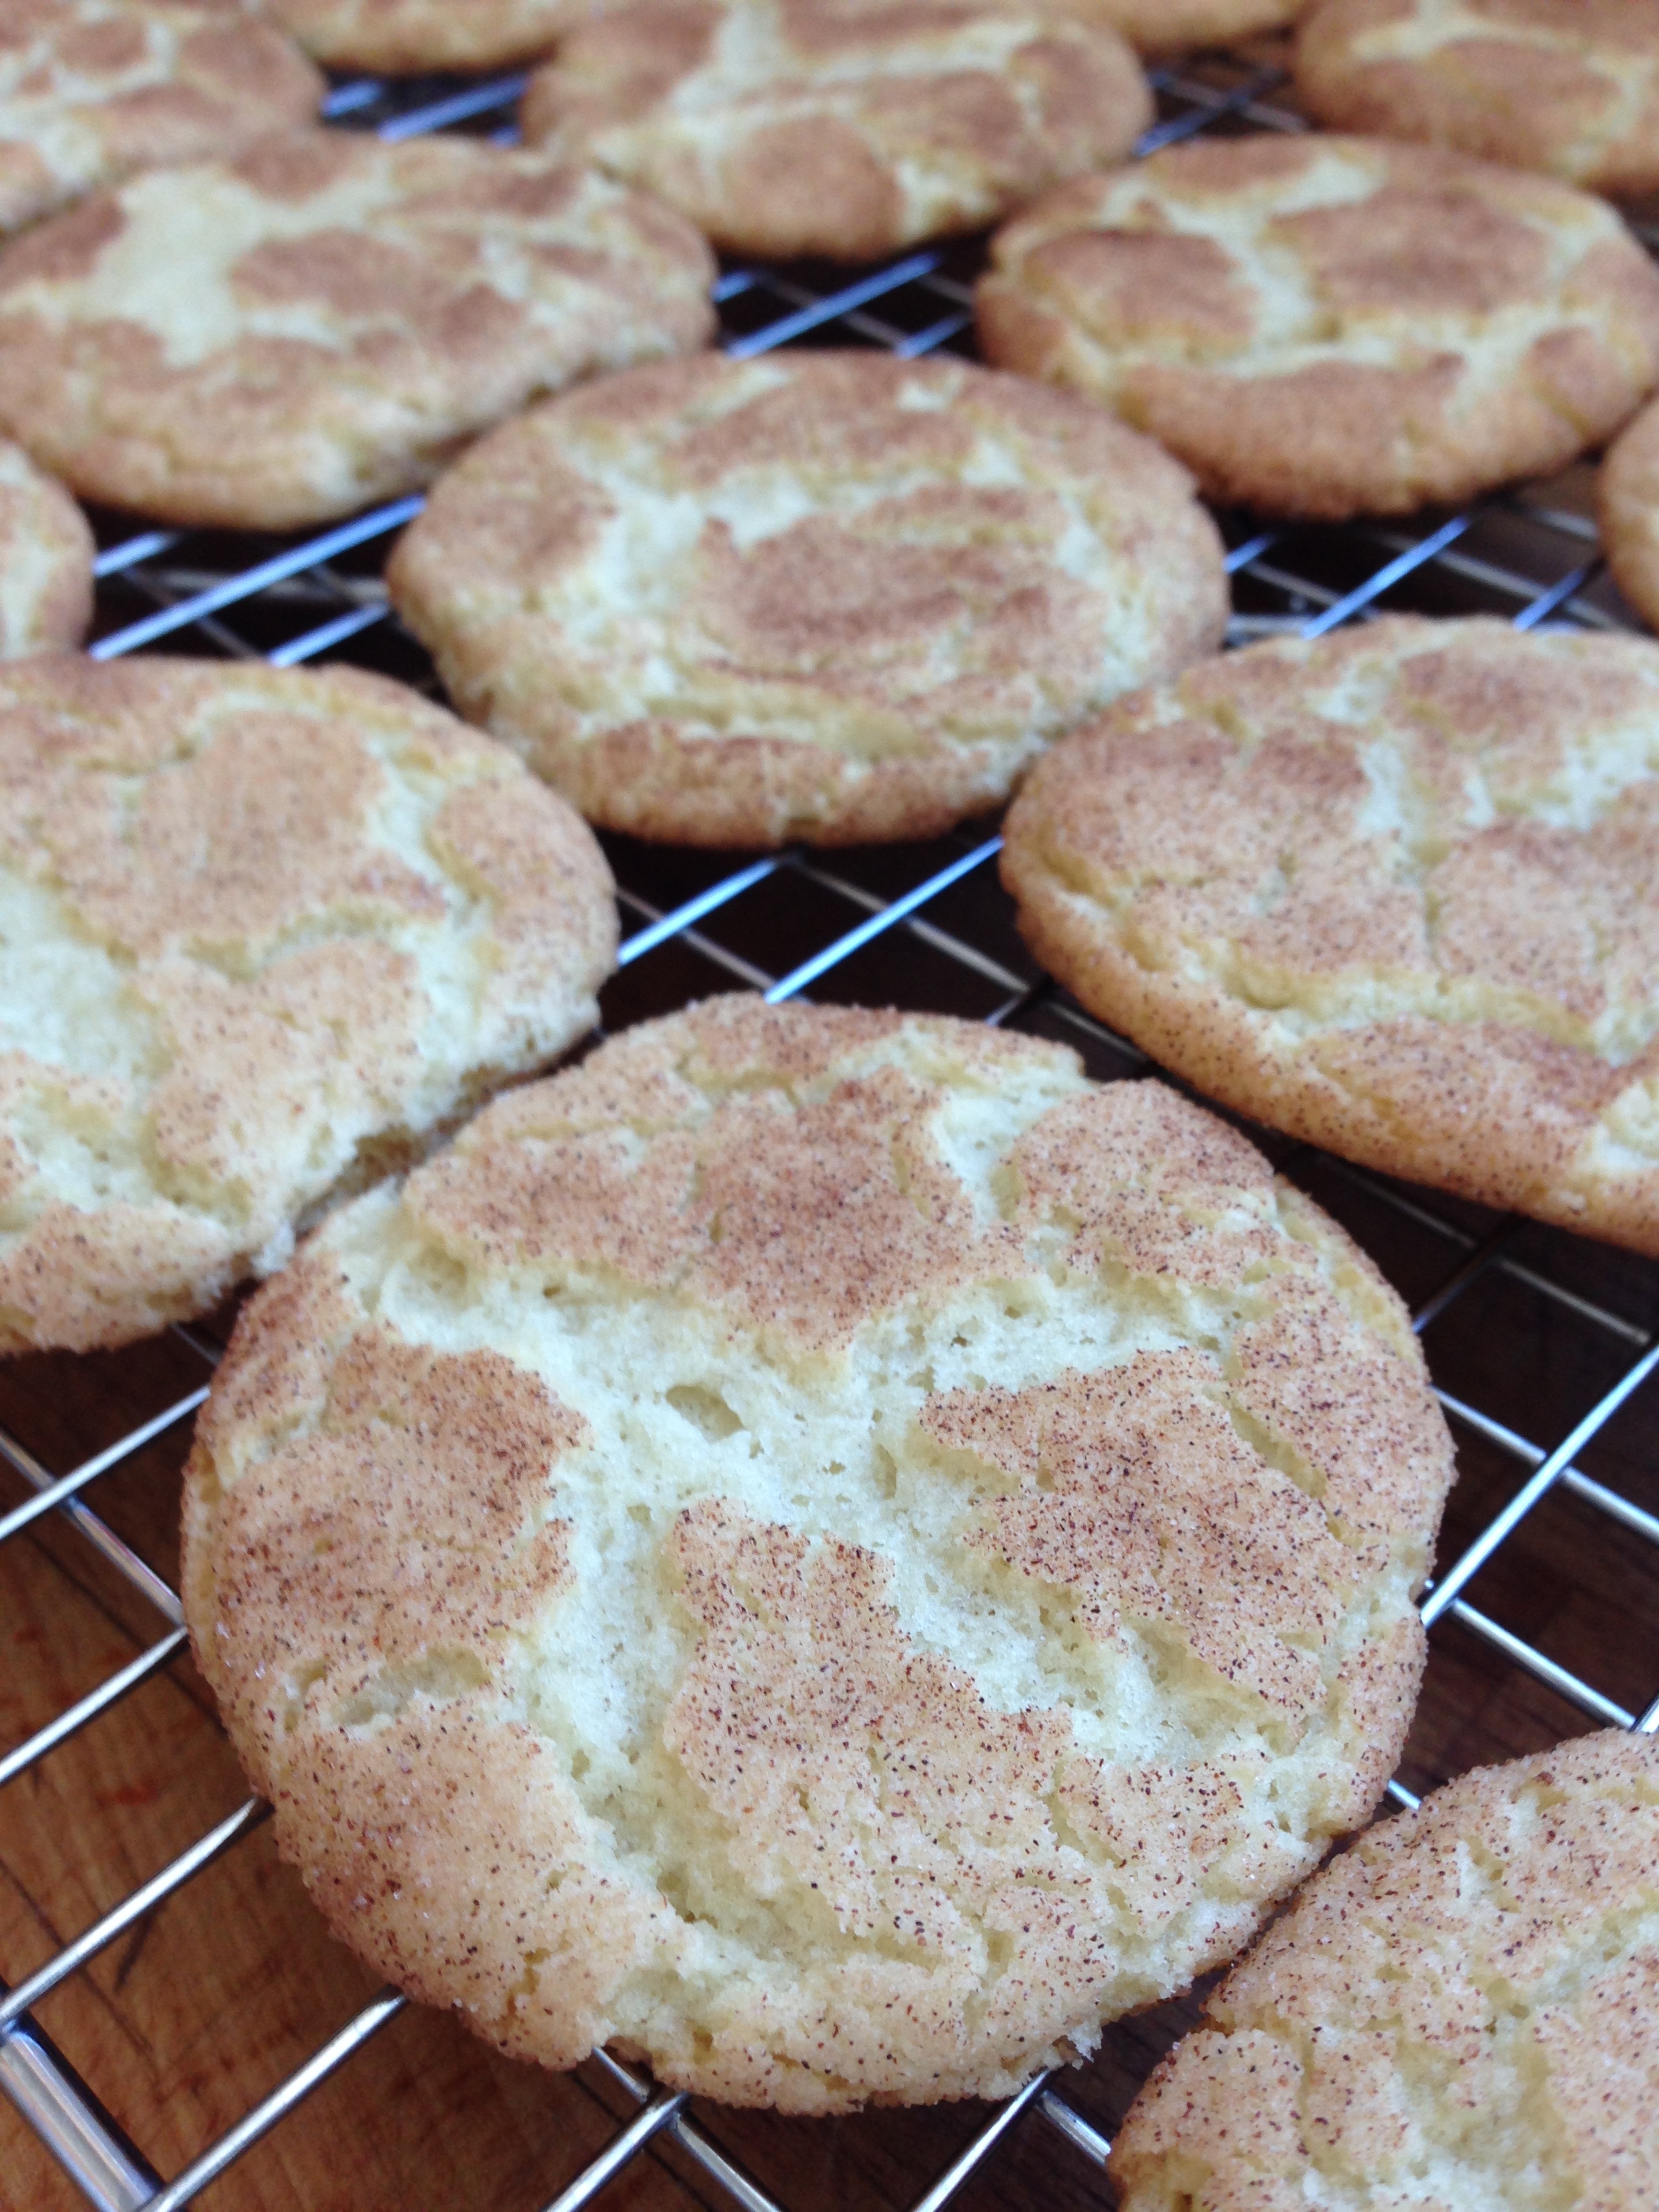
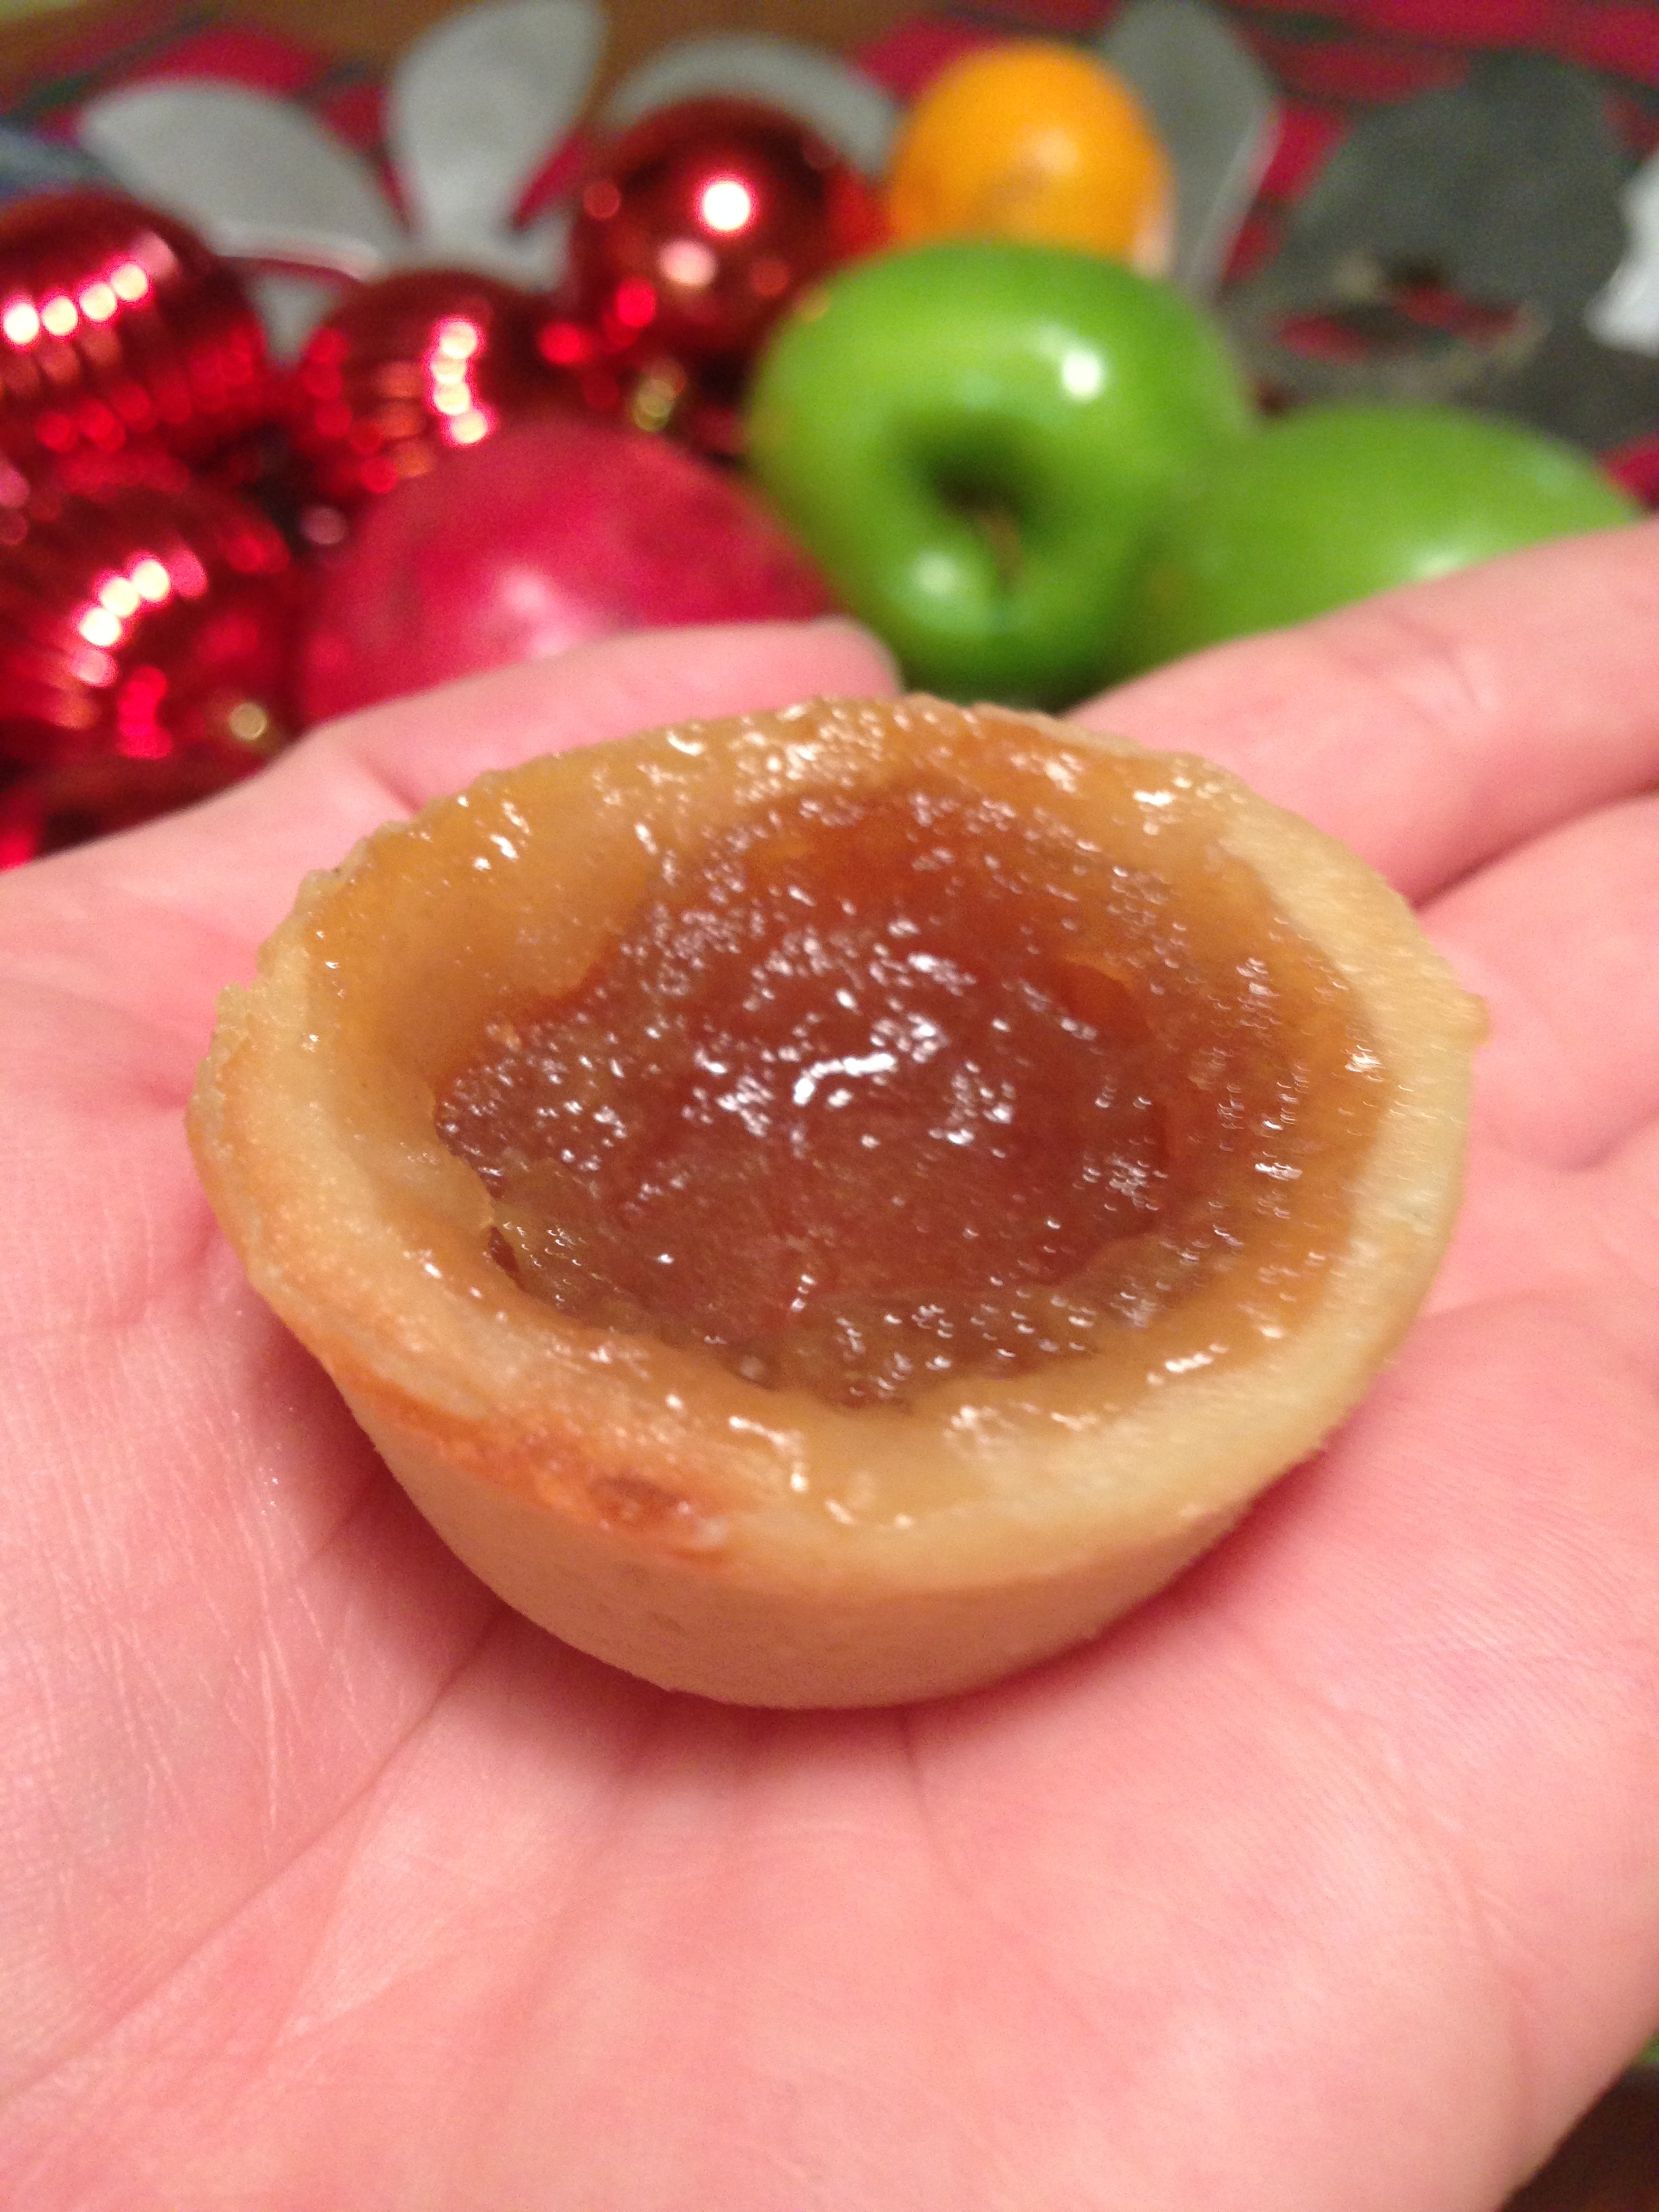
I haven't baked too terribly much in a long time. This winter is different though. I got bit bad by the baking bug. I have a lovely Solstice party coming up and I fully intend on no one leaving hungry. I may have gone a bit over board though: Snickerdoodles, Soft Ginger Cookies, Butter Tarts, Apple pie and the most amazing Stollen Pinwheel Cookies. 

The following cookie recipe is that later named. I found it in a Fine Cooking magazine and it blew my socks off, so I thought I'd share. 

Stollen Pinwheel cookies

These pinwheel holiday cookies are reminiscent of the classic German Stollen, dried fruit and almond paste and memories of winters past. (Note: These cookies need to freeze completely before baking, so allow for 6 hours in the freezer or let them freeze over night.)

Filling Ingredients:
1 1/4 cup almond flour
3/4 cup sliced almonds
1/4 cup granulated sugar
2 large egg whites
1 tsp salt

Dough Ingredients:
1 1/2 cups granulated sugar
1 cup butter, softened
2 large eggs
1 large egg yolk
2 2/3 cups flour, sifted
1 cup almond flour
2 tsp baking powder
1 1/4 tsp salt
1/3 cup dried strawberries or cherries, chopped
1/4 cup dried pineapple, chopped
1/2 cup chopped candied citrus peel
1 tsp vanilla extract

Finishing ingredients:
3/4 cup butter, melted
~2 cups confectioners’ sugar (for dusting)

Making the filling:
1) In an electric mixer, combine the flour, almond slices, sugar, egg whites, and salt.
2) Beat on medium speed until combined, about 1 1/2 minutes. (The almond slices will break apart.) Set aside. 

Making the dough:
1) Using an electric mixer, beat sugar and butter on medium speed until light and fluffy, about 2 minutes.
2) Add eggs and egg yolk. Beat on low until just incorporated. 
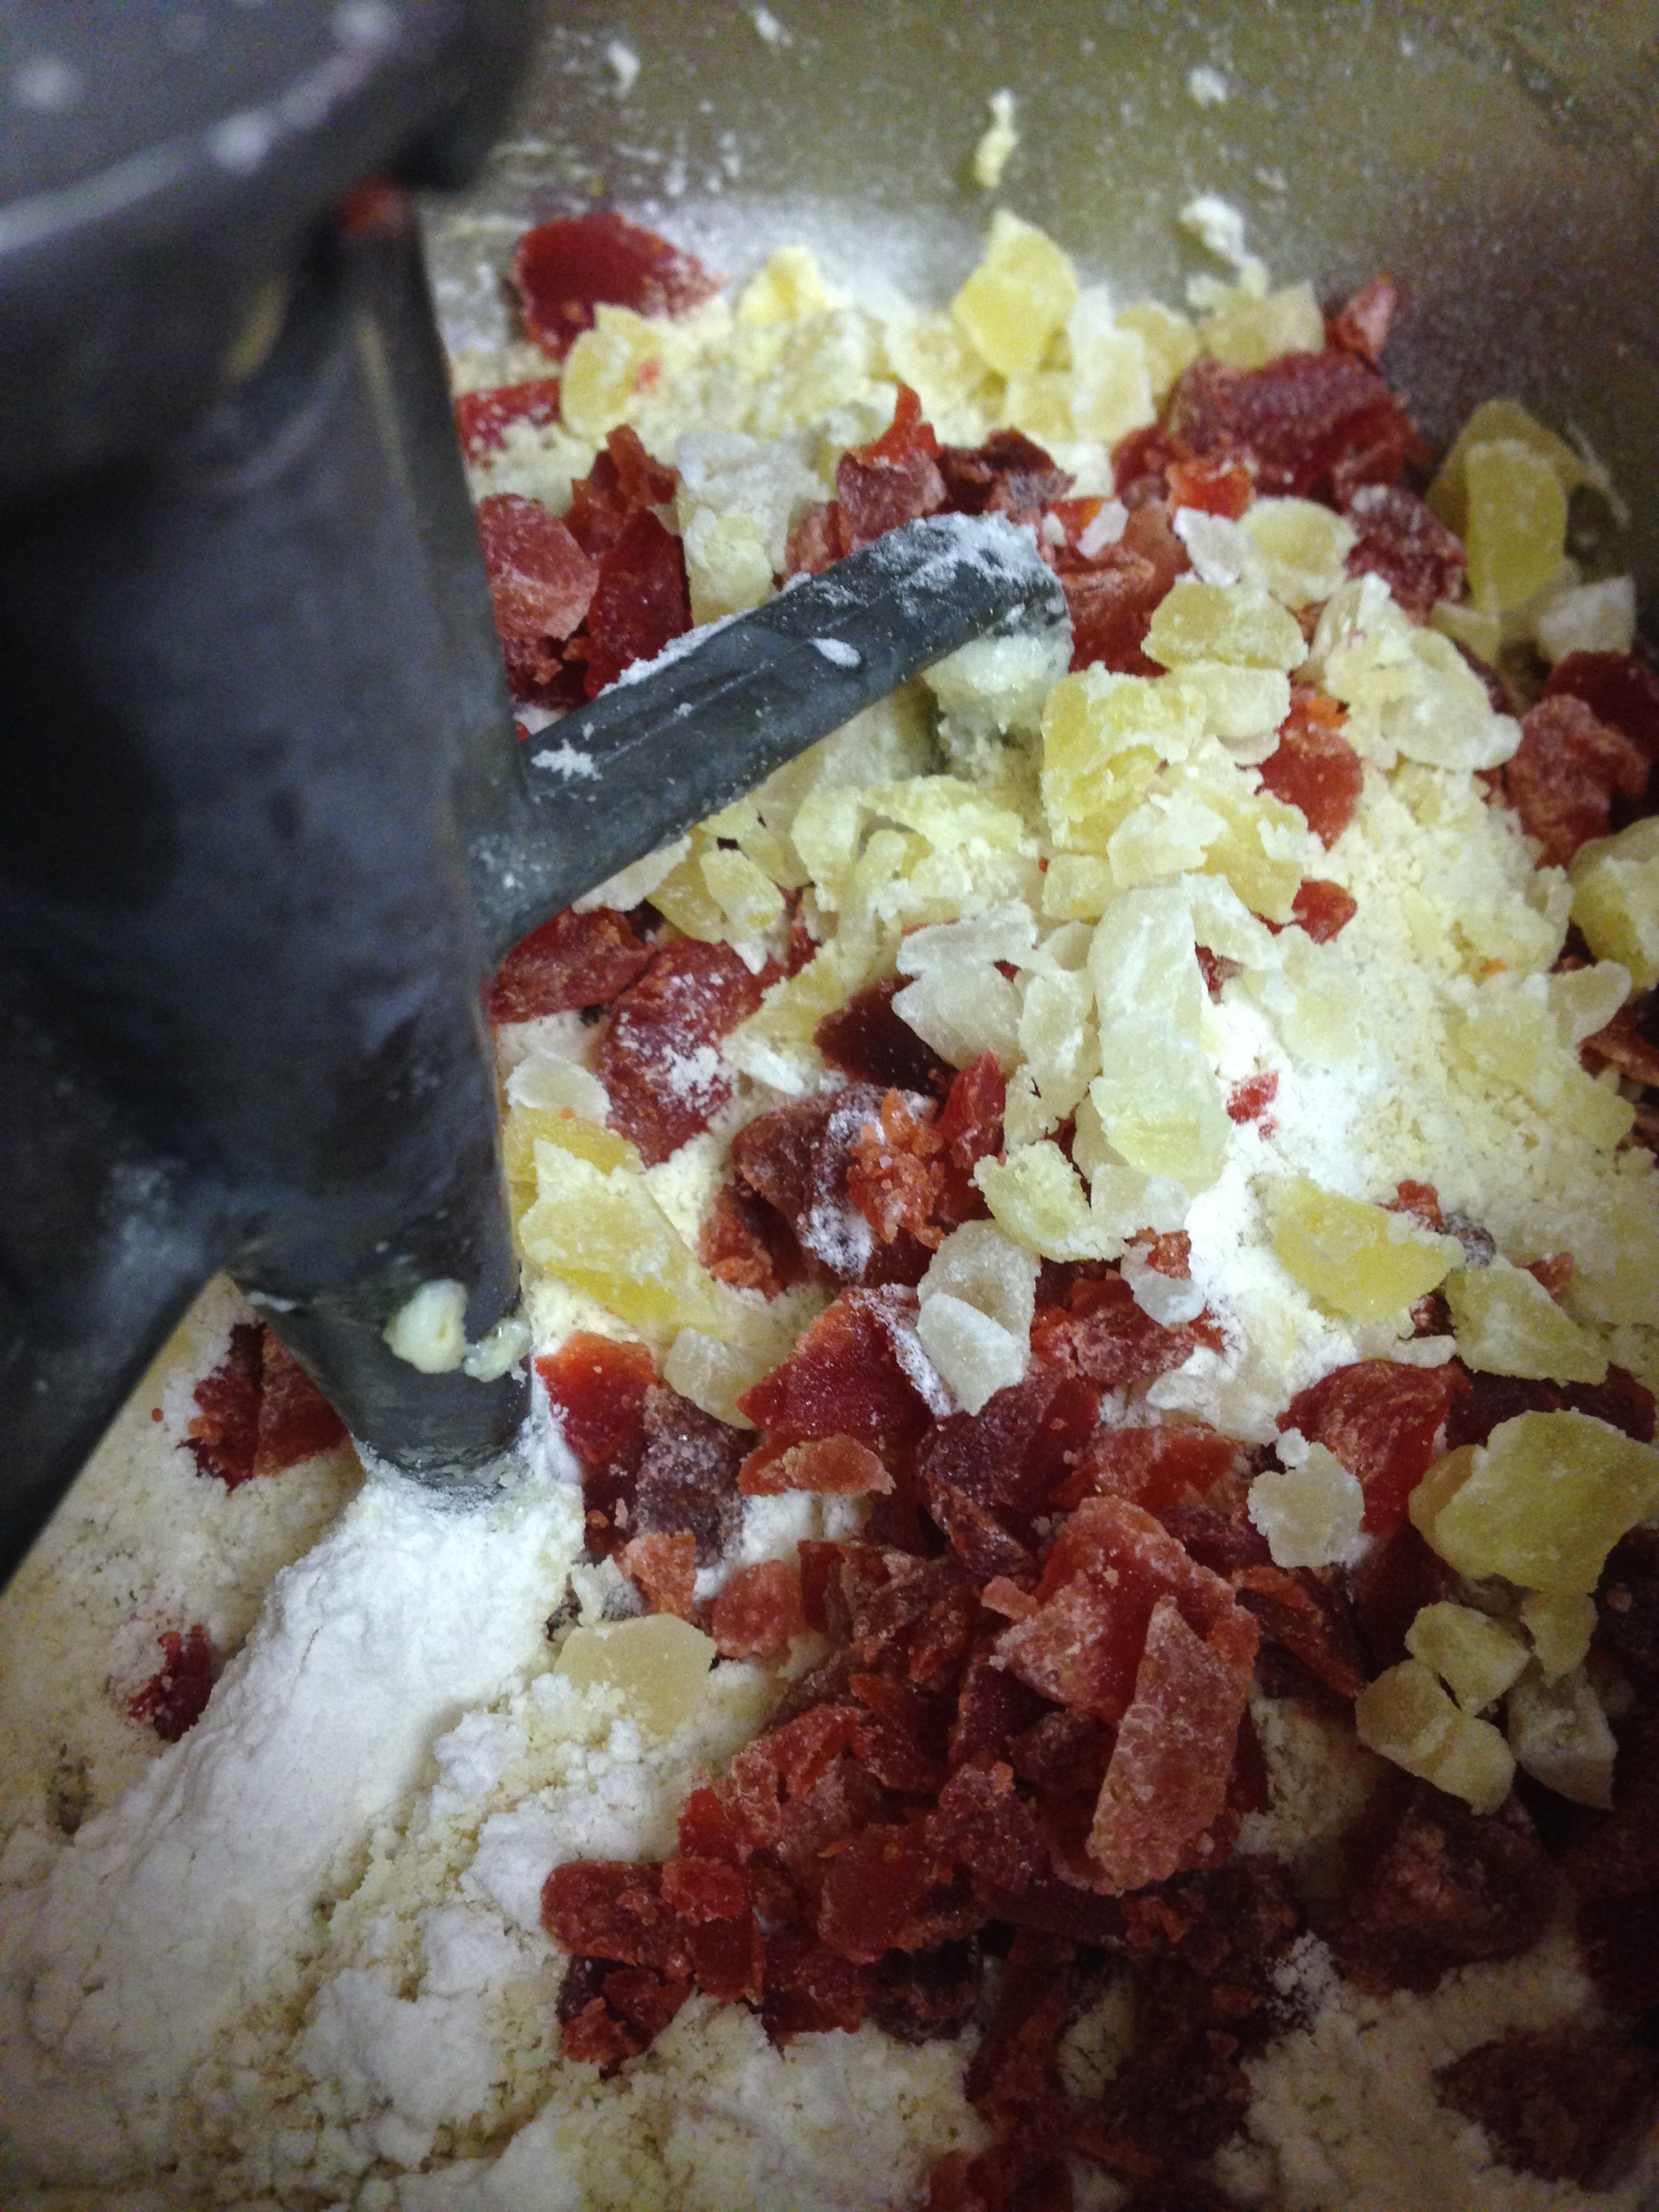
3) Sift in the flours, baking powder and salt. Measure in strawberries, pineapple, candied citrus peel and vanilla. Mix on low just combined. Don’t overmix. 

Assembling the cookies:
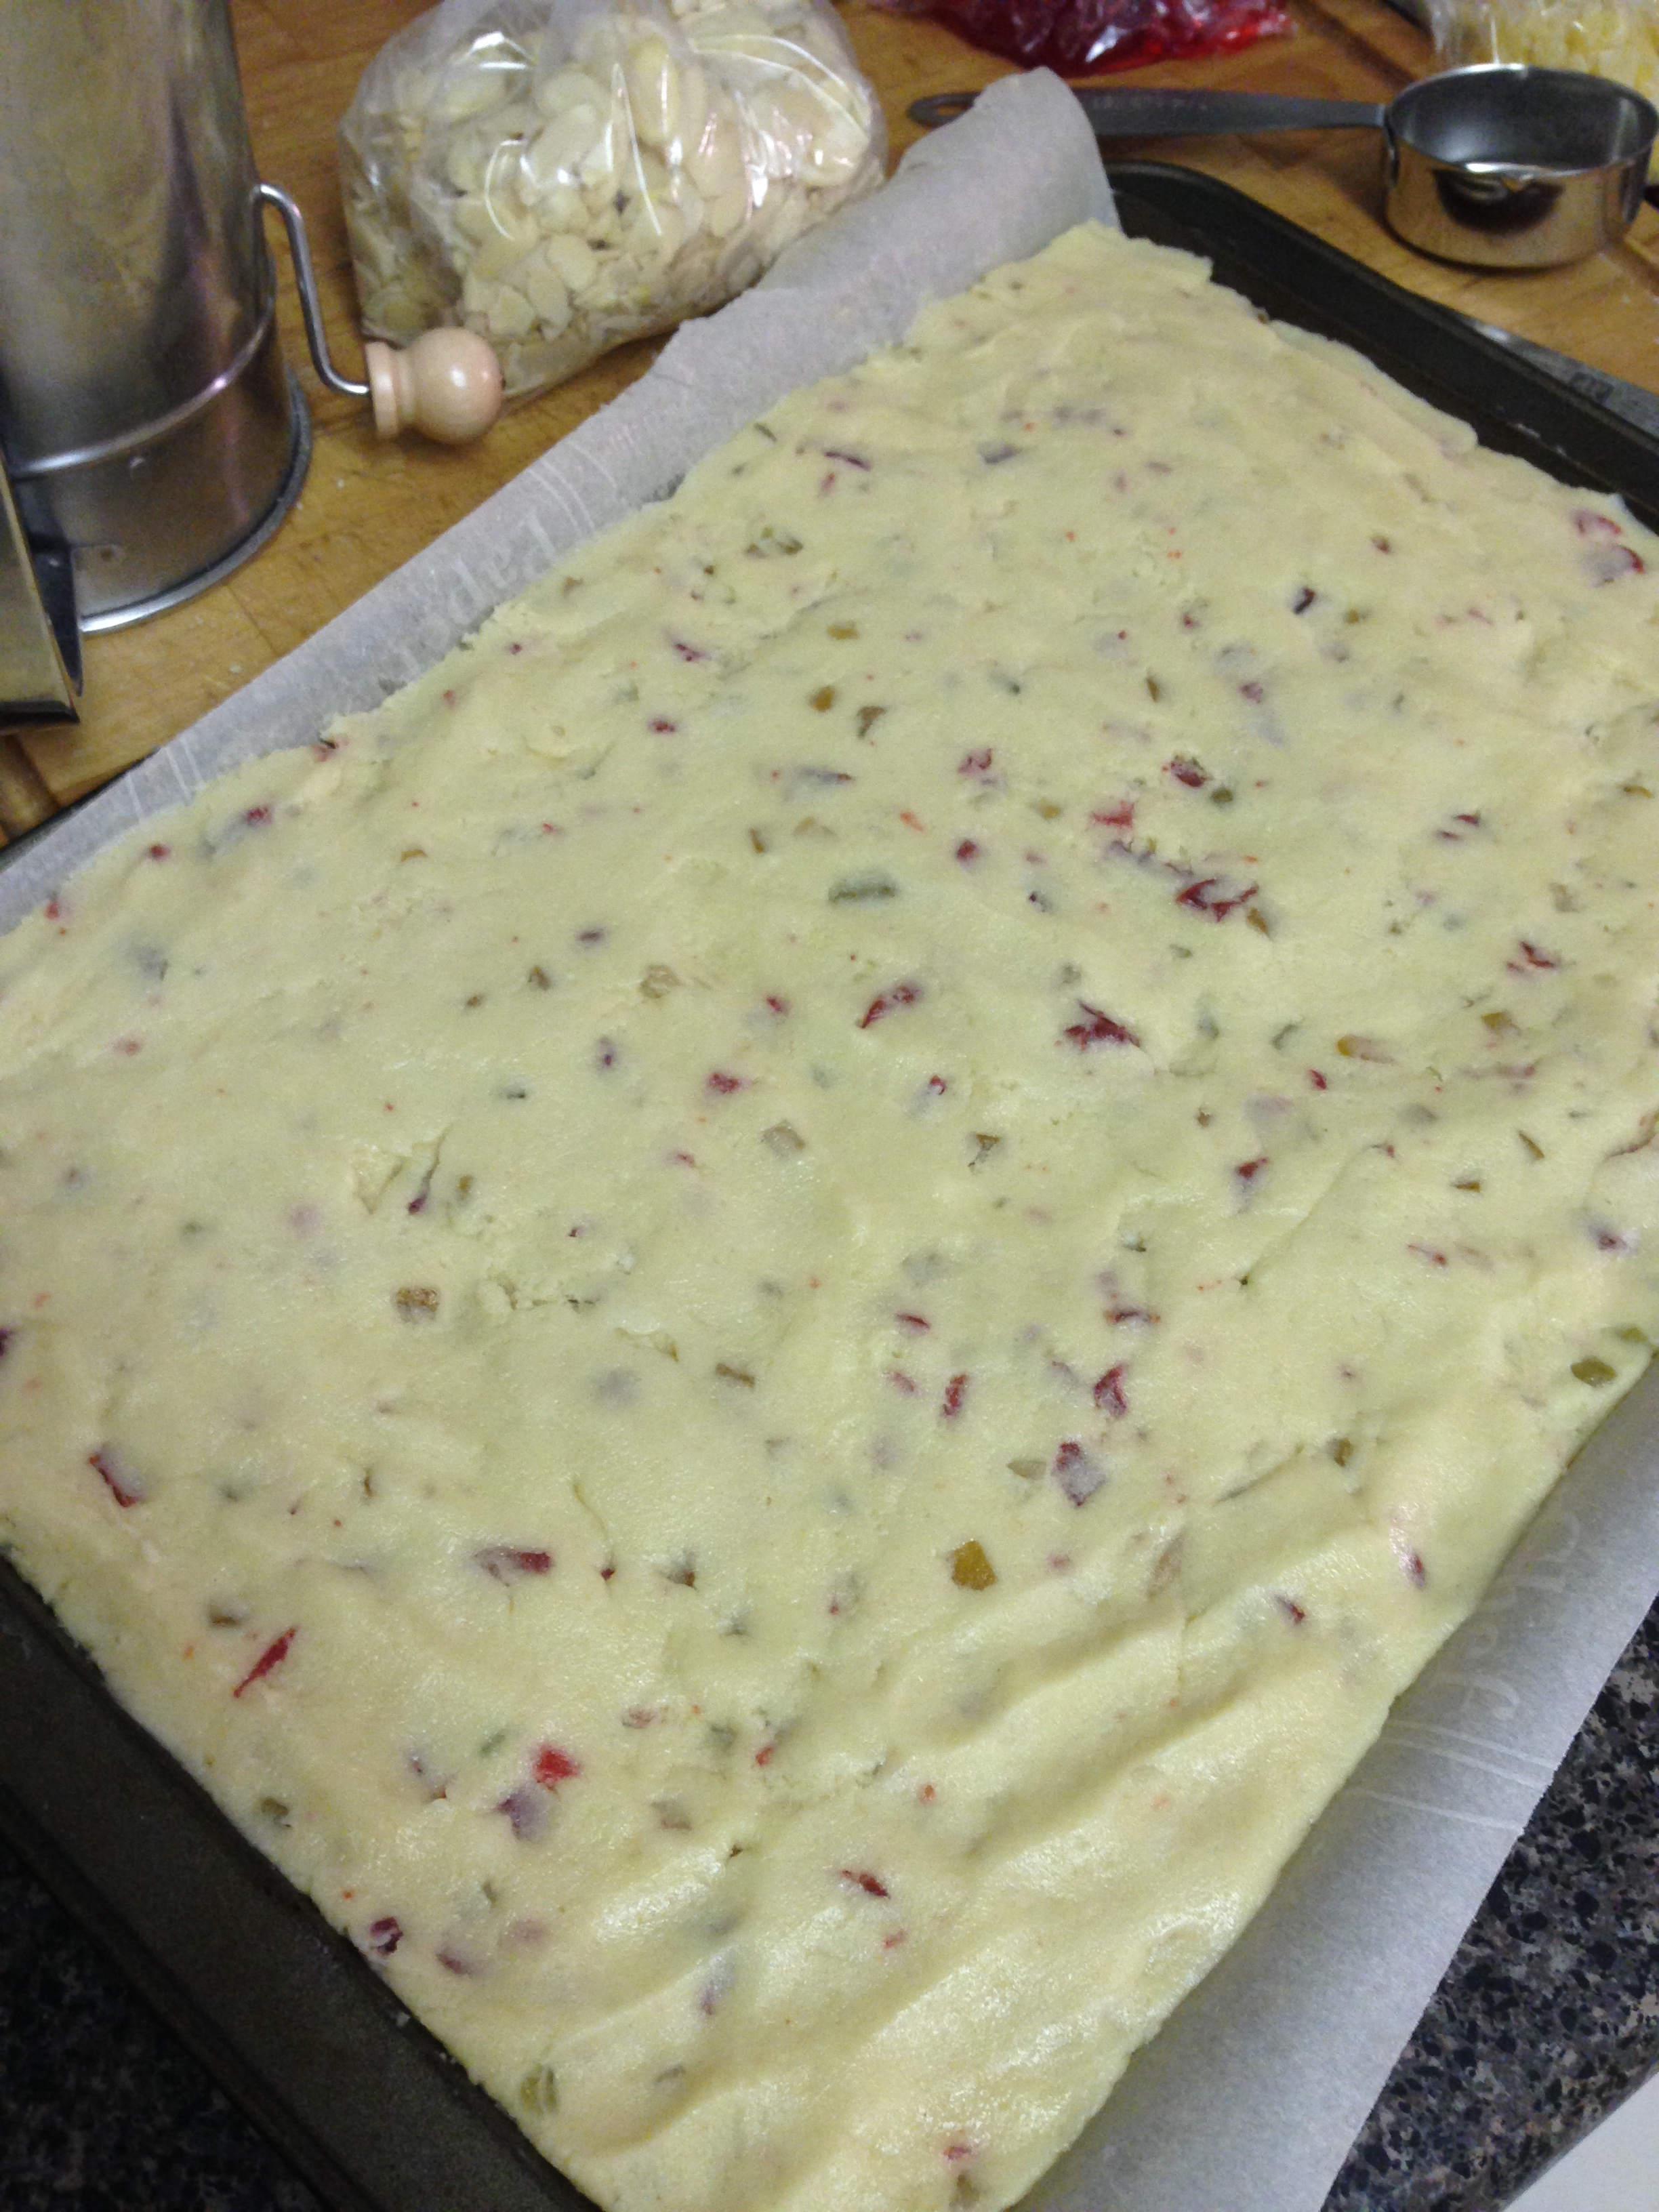
1) Using a rimmed rectangular baking sheet (approx. 9X13’) lined with parchment paper, spread the dough out evenly to about 1/2 inch thick. 
2) Use a second piece of parchment overtop the dough to smooth any bumps flat. Leave covered.
3) Refrigerate the dough until it’s firm but still pliable, about 30 minutes.
4) Remove the top layer of parchment. Spread the almond filling evenly over the top the entire surface of the dough. (If needed, wet your fingers and use them to spread the filling to the edges.)
5) Starting with the long side of the dough, roll the dough tightly around the filling. Peel back the remaining piece of parchment as you roll. 
6) Pinch the long seam closed along the cookie log. Wrap the dough in parchment and freeze until completely solid, about 6 hours or overnight. 

Baking the cookies:
1) Preheat the oven to 350’F.
2) Line 2 baking sheets (or more) with parchment. 
3) Unwrap the cookie log and transfer to a cutting board. 
4) Using a sharp knife, cut log in half and replace one half back into the freezer to keep it solid. 
5) Slice the dough into 1/4 inch medallions. Space the cookies about an inch apart. (If the dough begins to become soft again, replace in the freezer to firm up.)
6) Brush cookies with melted butter.
7) Bake until golden brown, about 12 to 14 minutes. (Rotate baking sheets once during baking if using more than 2 sheets in one oven.)
8) After baking, brush the still warm cookies with melted butter again and dust with confectioners’ sugar. 
9) Let cool on baking sheets for 15 minutes. Then transfer to a rack to cool completely. Store cookies in an airtight container.
 
Makes approx. 54 cookies.

Even if I don't get to go back to AB again this year, it's nice to have that feeling of being close in memory to those you love and miss so much. 

Happy Holidays people! And enjoy the people, the food and the fun of the season. 

<3

-Andrea

The Half-Assed Hobbyist
All the Tin Foil: A Backcountry Apple Pie Story

The season on pie is upon us. And am So excited.

This past July the FiancΓ© and I, with 6 of our lovely friendlies, went backcountry canoeing in Algonquin park for 9 days. For the record, I have never spent more than two days in the backcountry, never mind also canoeing and portaging, but it was the best friend vacation ever.

It was absolutely beautiful. I can't find the words to describe it. But there is nothing quite like travelling in good company on an Ontario lake. 

Now, 8 people in the backcountry, is a lot of people. On top of that, we were also getting more friendlies on day 7 and 8, for a total of 12 people. And people gotta eat. Luckily we had Rob, our master fooder, who had planned out our meals and bought all the foods. About 200lbs of it. Steaks, potatoes, bacon, eggs, clif bars, apples, corn on the cob, oatmeal, and snackies! 

We ate like the kings and queens of the forest. But we had one particular dessert that was a lovely unplanned delight. With a huge bag of apples still left to eat and bannock dry mix to use up, a plan was hatched to make use of the literal metric butt ton of tin foil we'd packed along with us. This plan's hopeful outcome: Back Country Apple Pie. 

Back Country Apple Pie

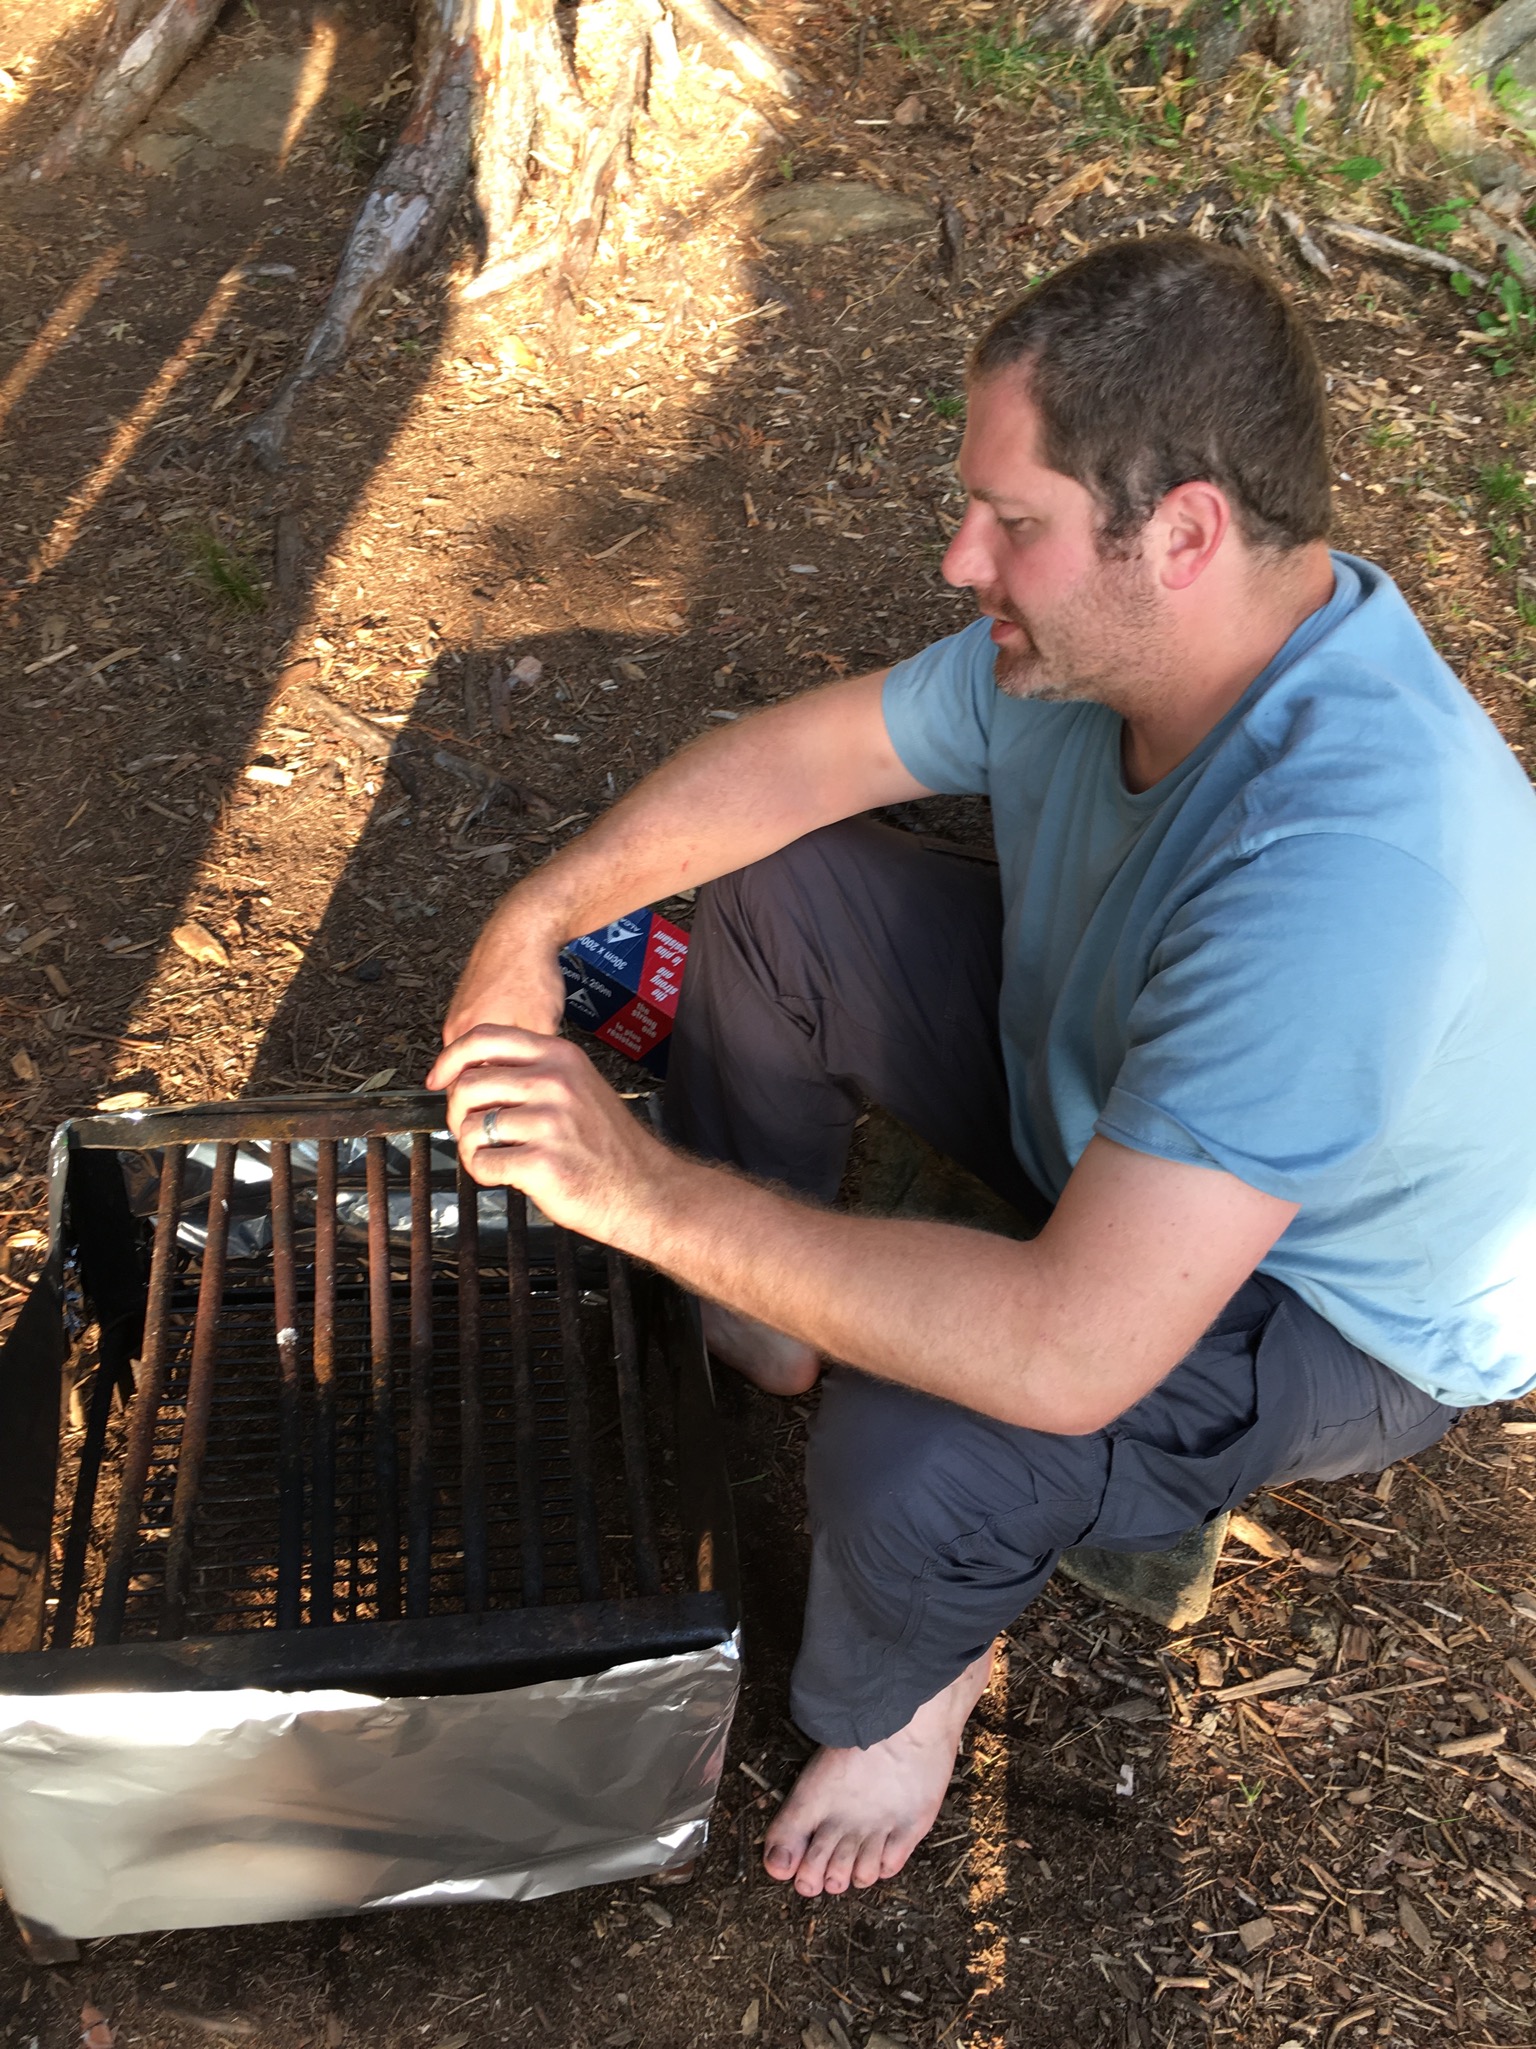
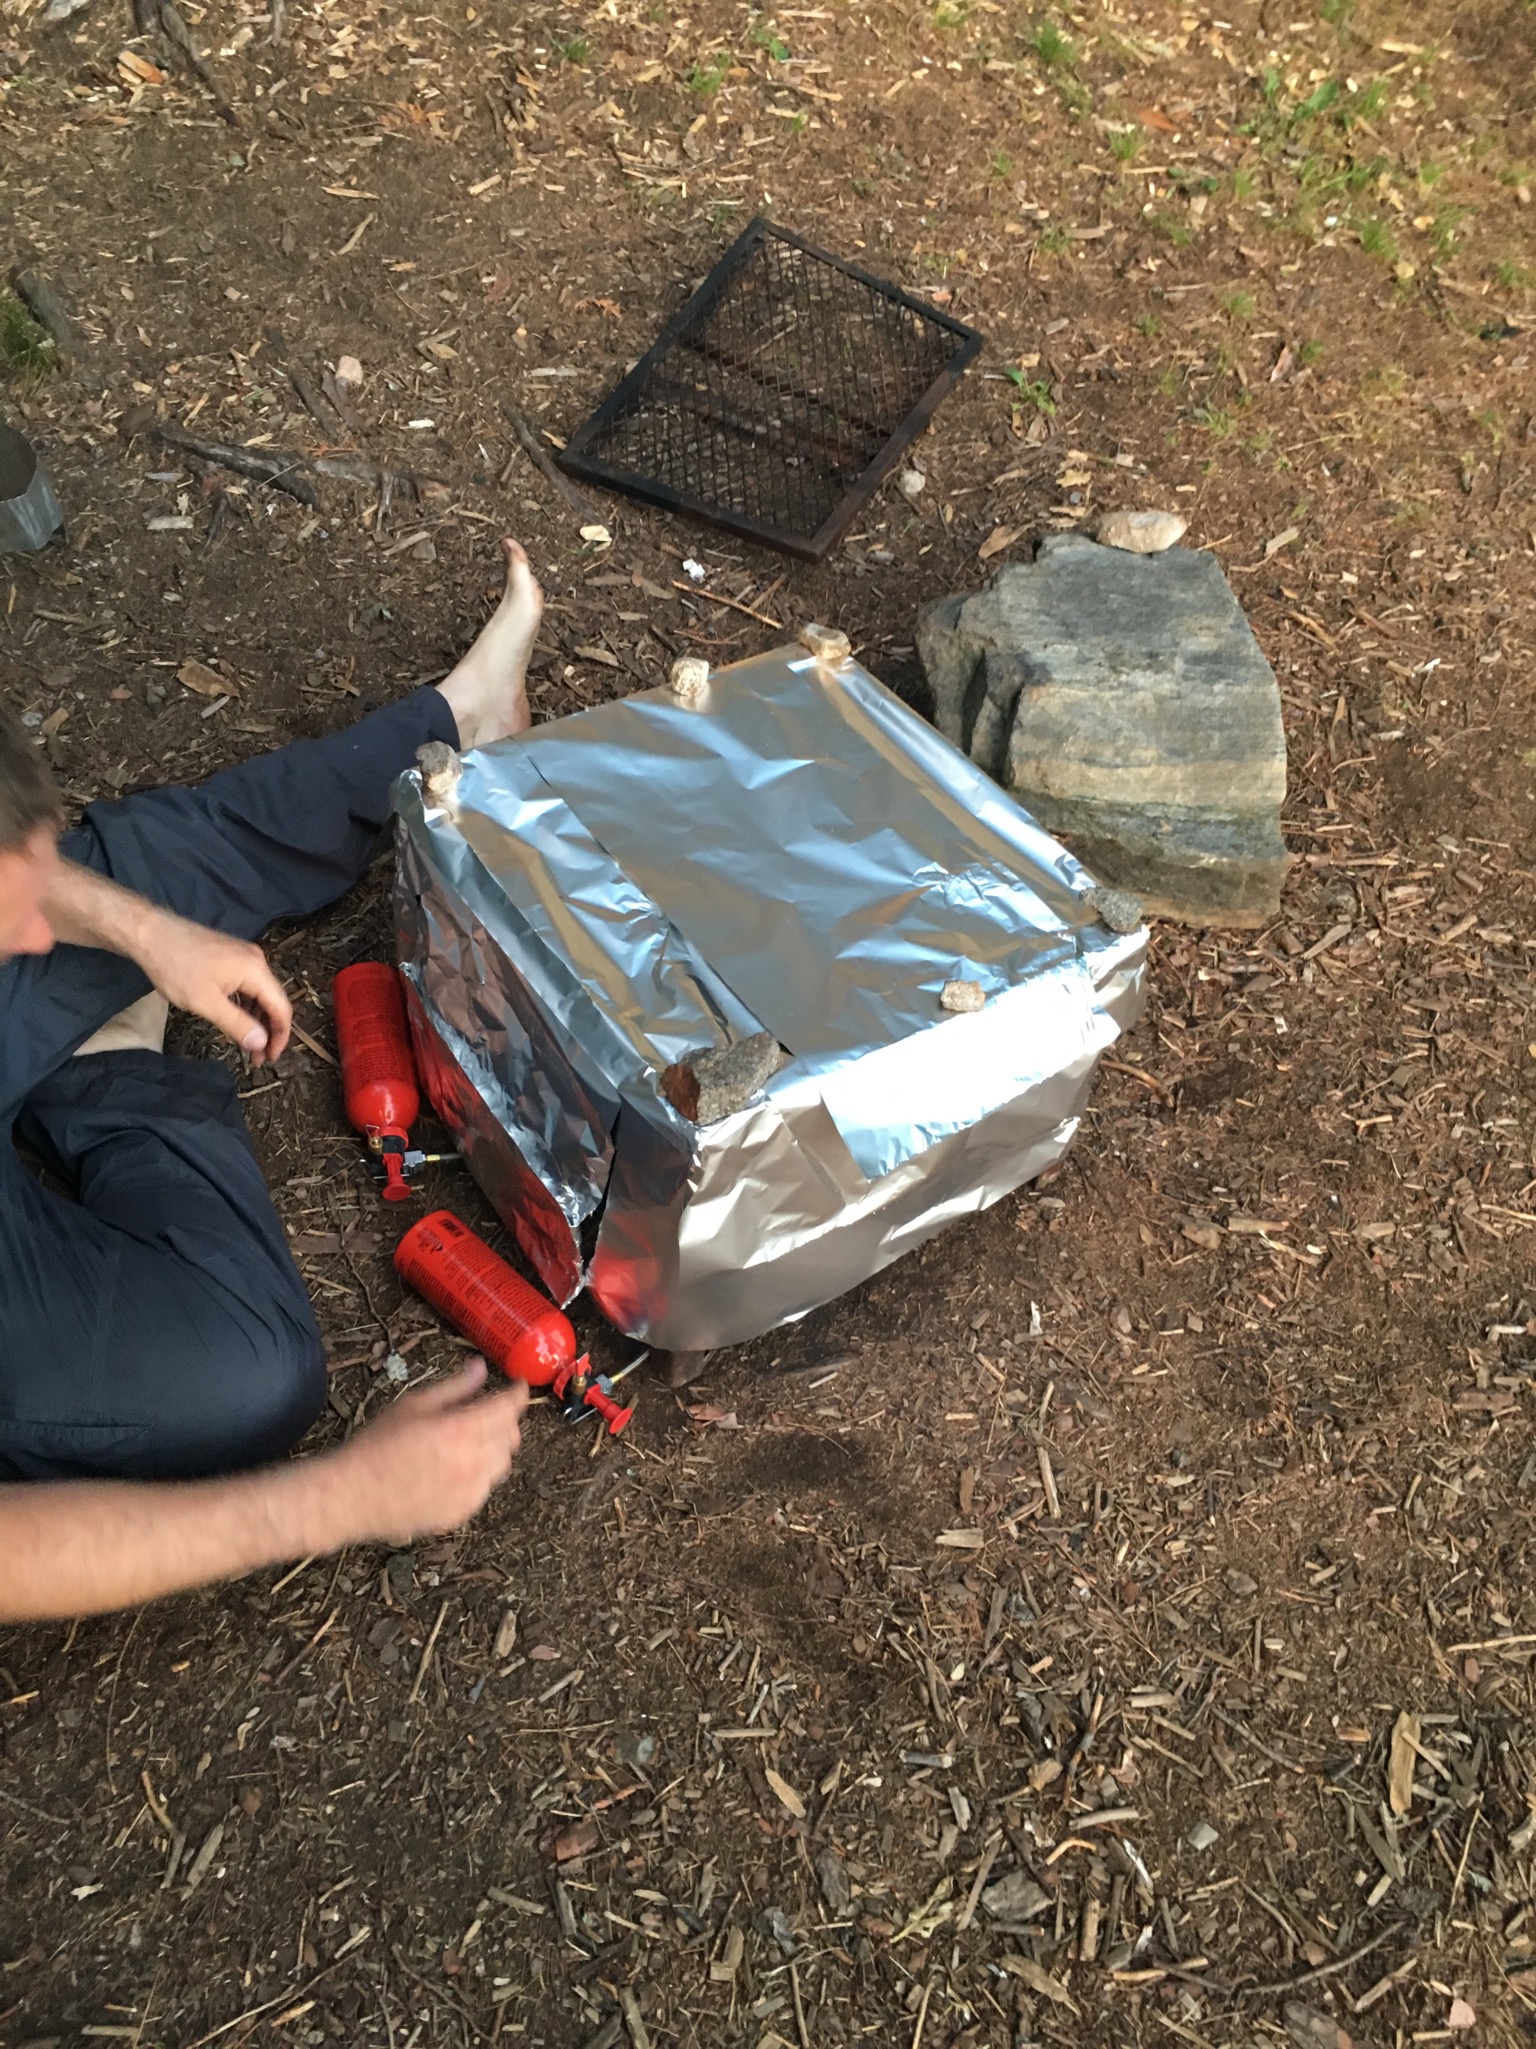
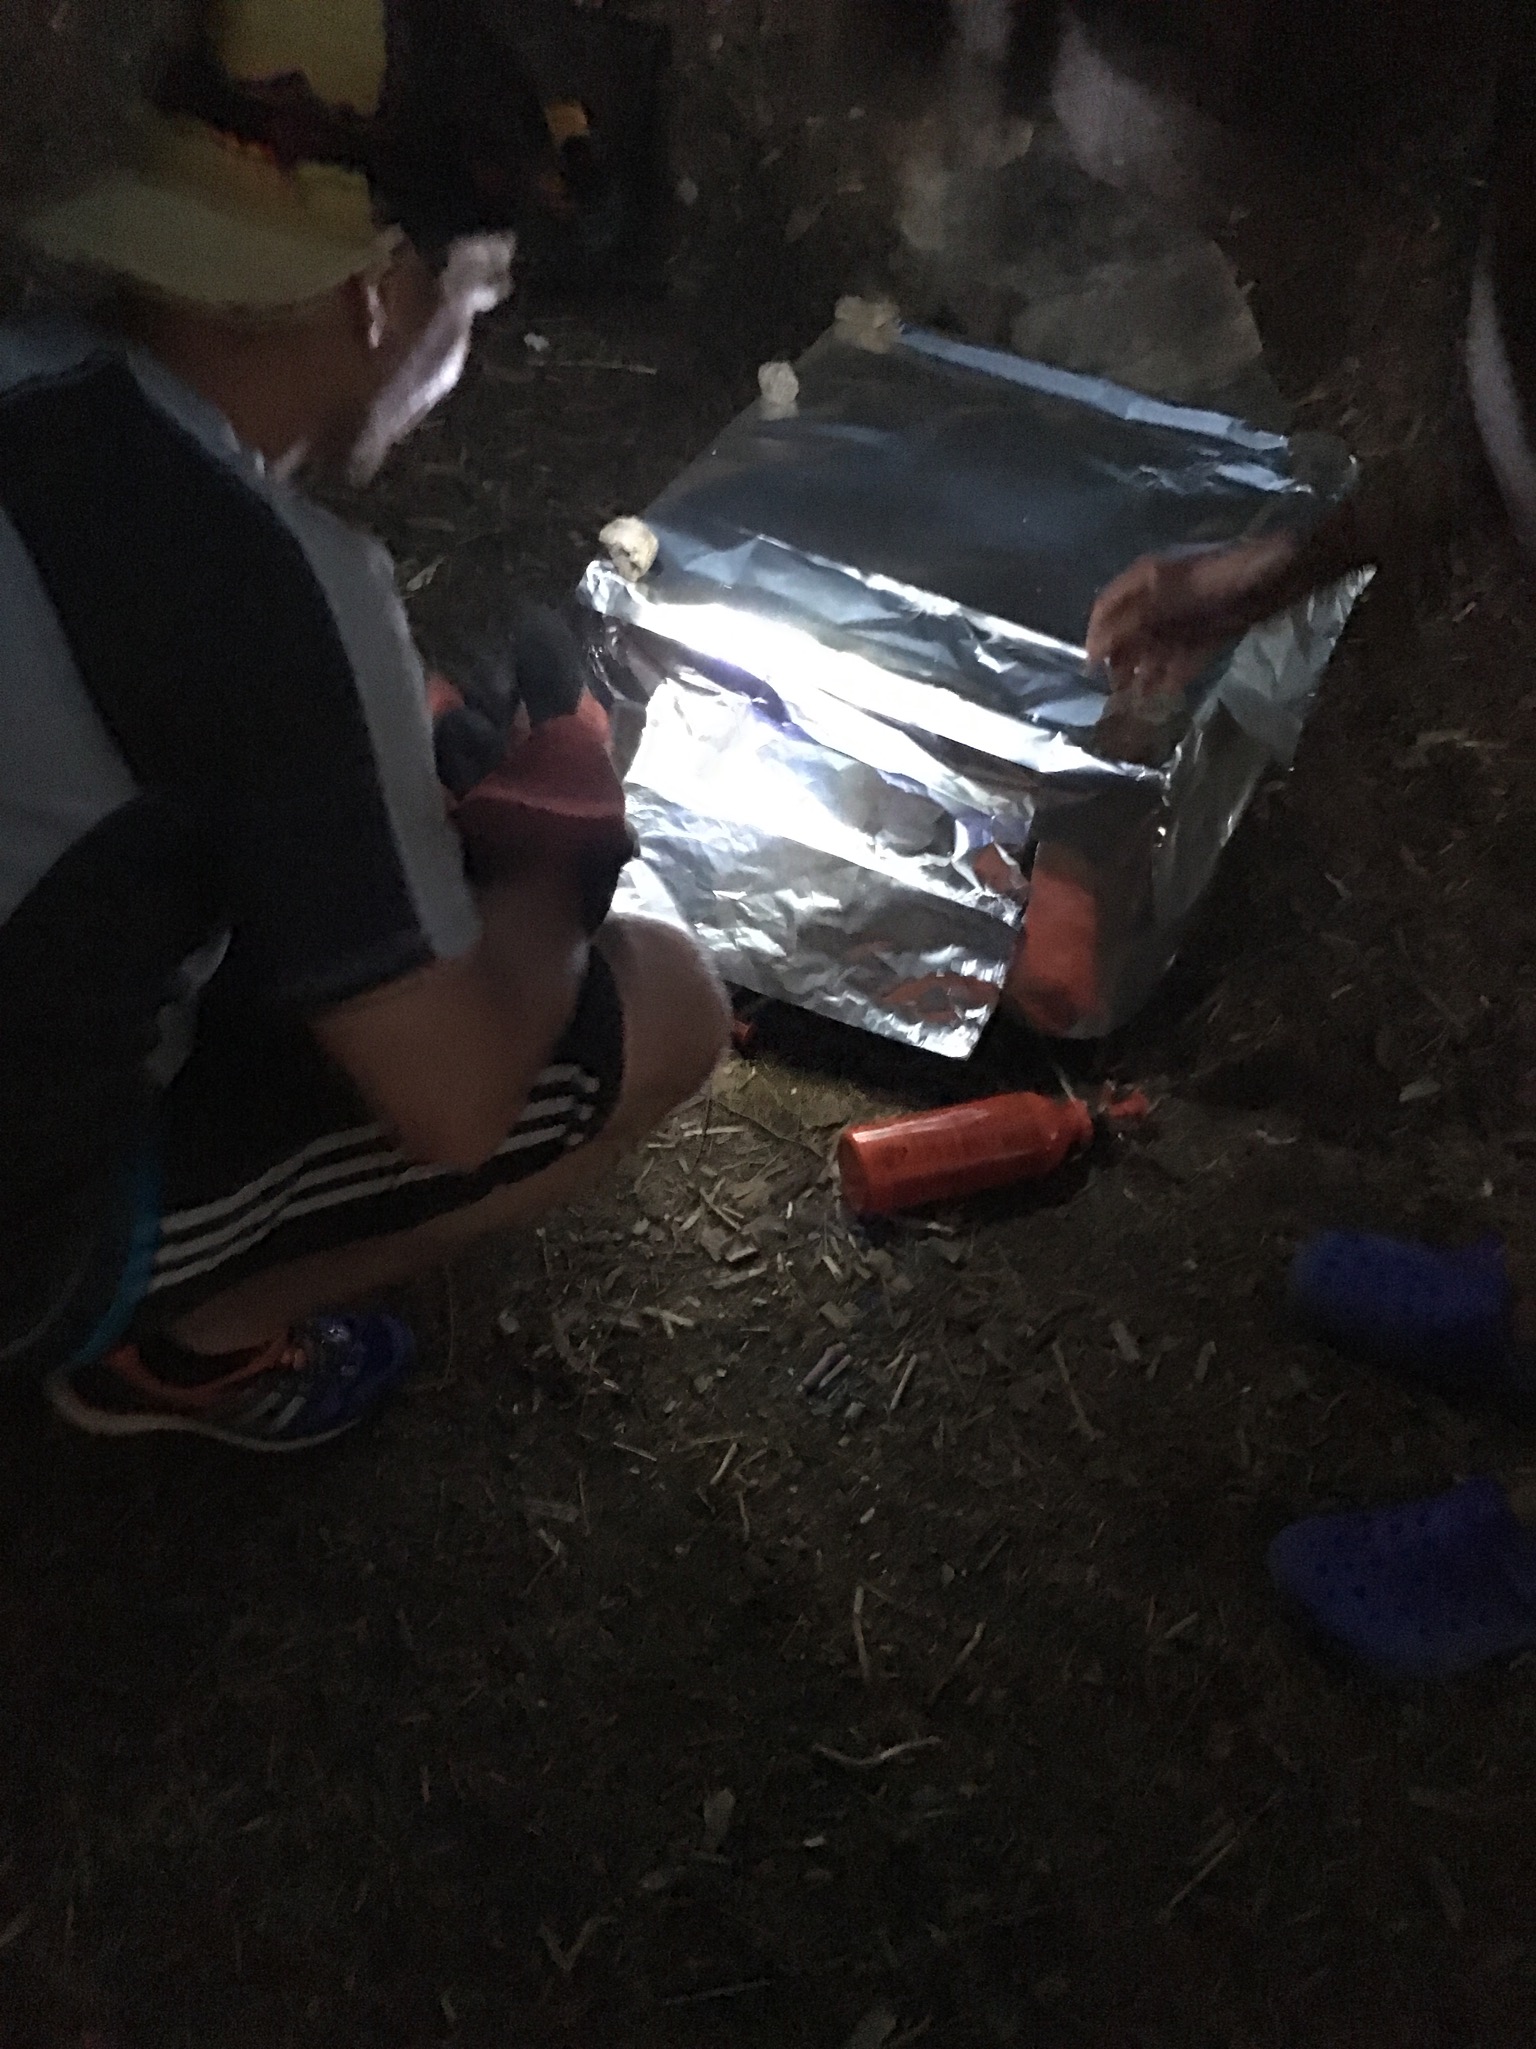
Step one for backcountry apple pie isn't about ingredients. Although important of course, the real trick is having an oven to bake it in. Below is the story of how we built an oven out of a metric butt ton of tin foil, some abandoned grills and a desire for back country pie. The following recipe makes 2 pies, approx. 9' in diameter.

Pie Filling: 
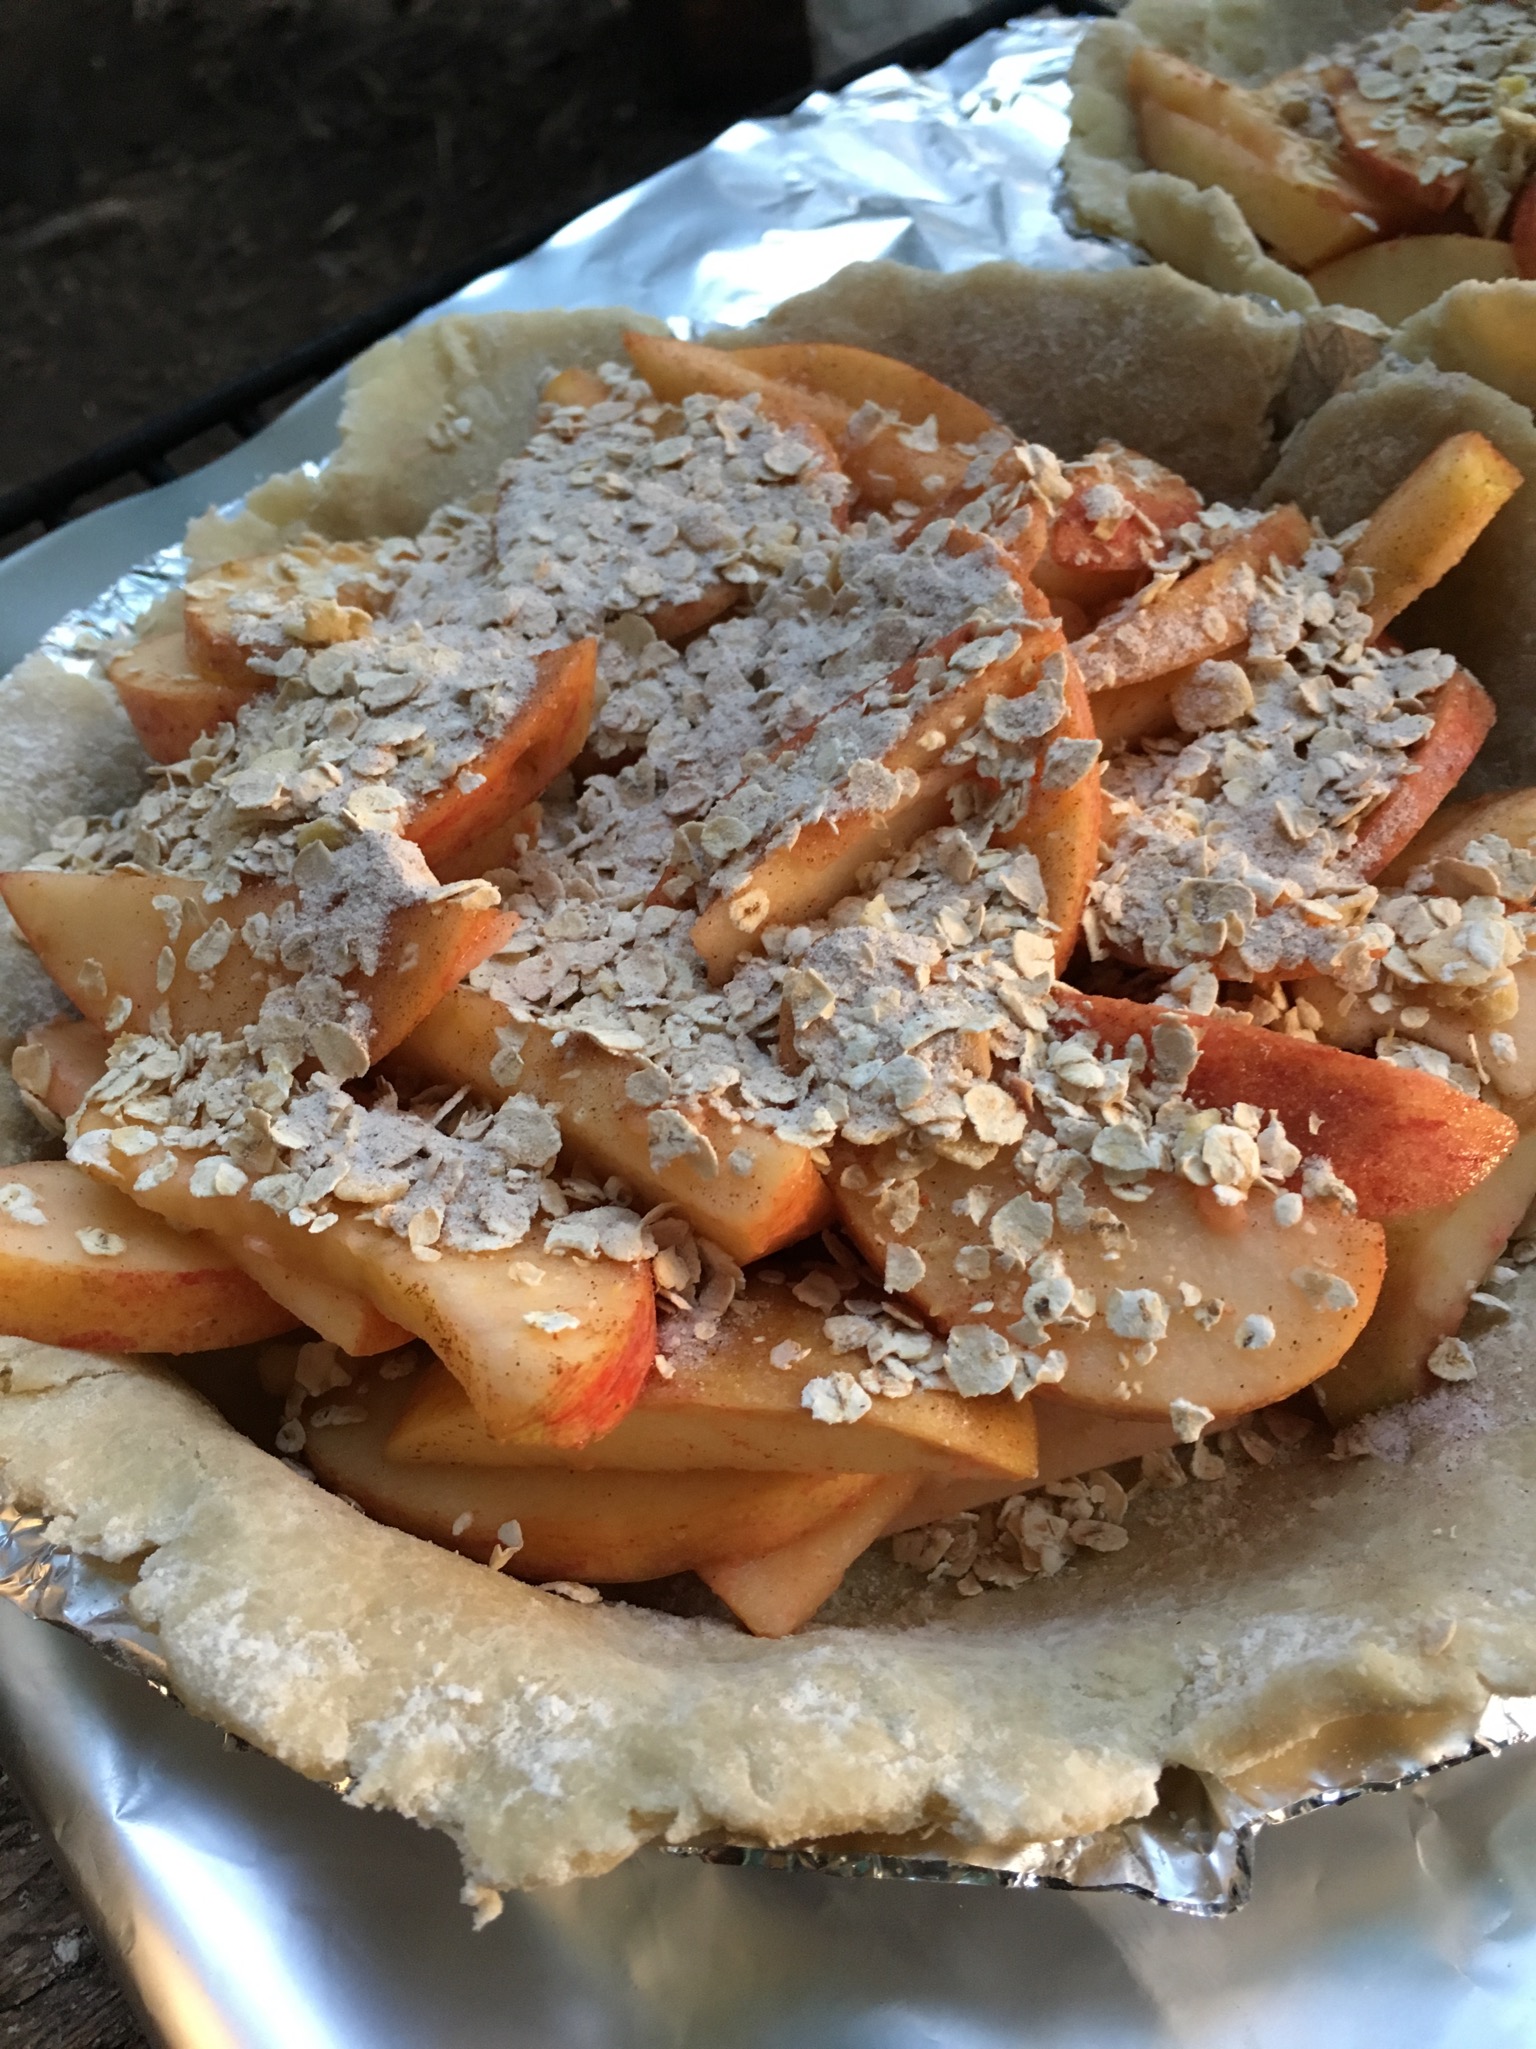
6-8 apples, cored and sliced
1 tsp cinammon
2 TBSP drinking water
2 squirts Mio (concentrated juice flavour. We used the peach one! =D)
Bannok mixture: (dry ingredients can be mixed together in advance and stored in a sealed bag)
2 cups flour
2/3 tsp salt
1 1/3 TBSP baking powder
1/4 cup butter, melted
~1/4 to 1/2 drinking water
Topping:
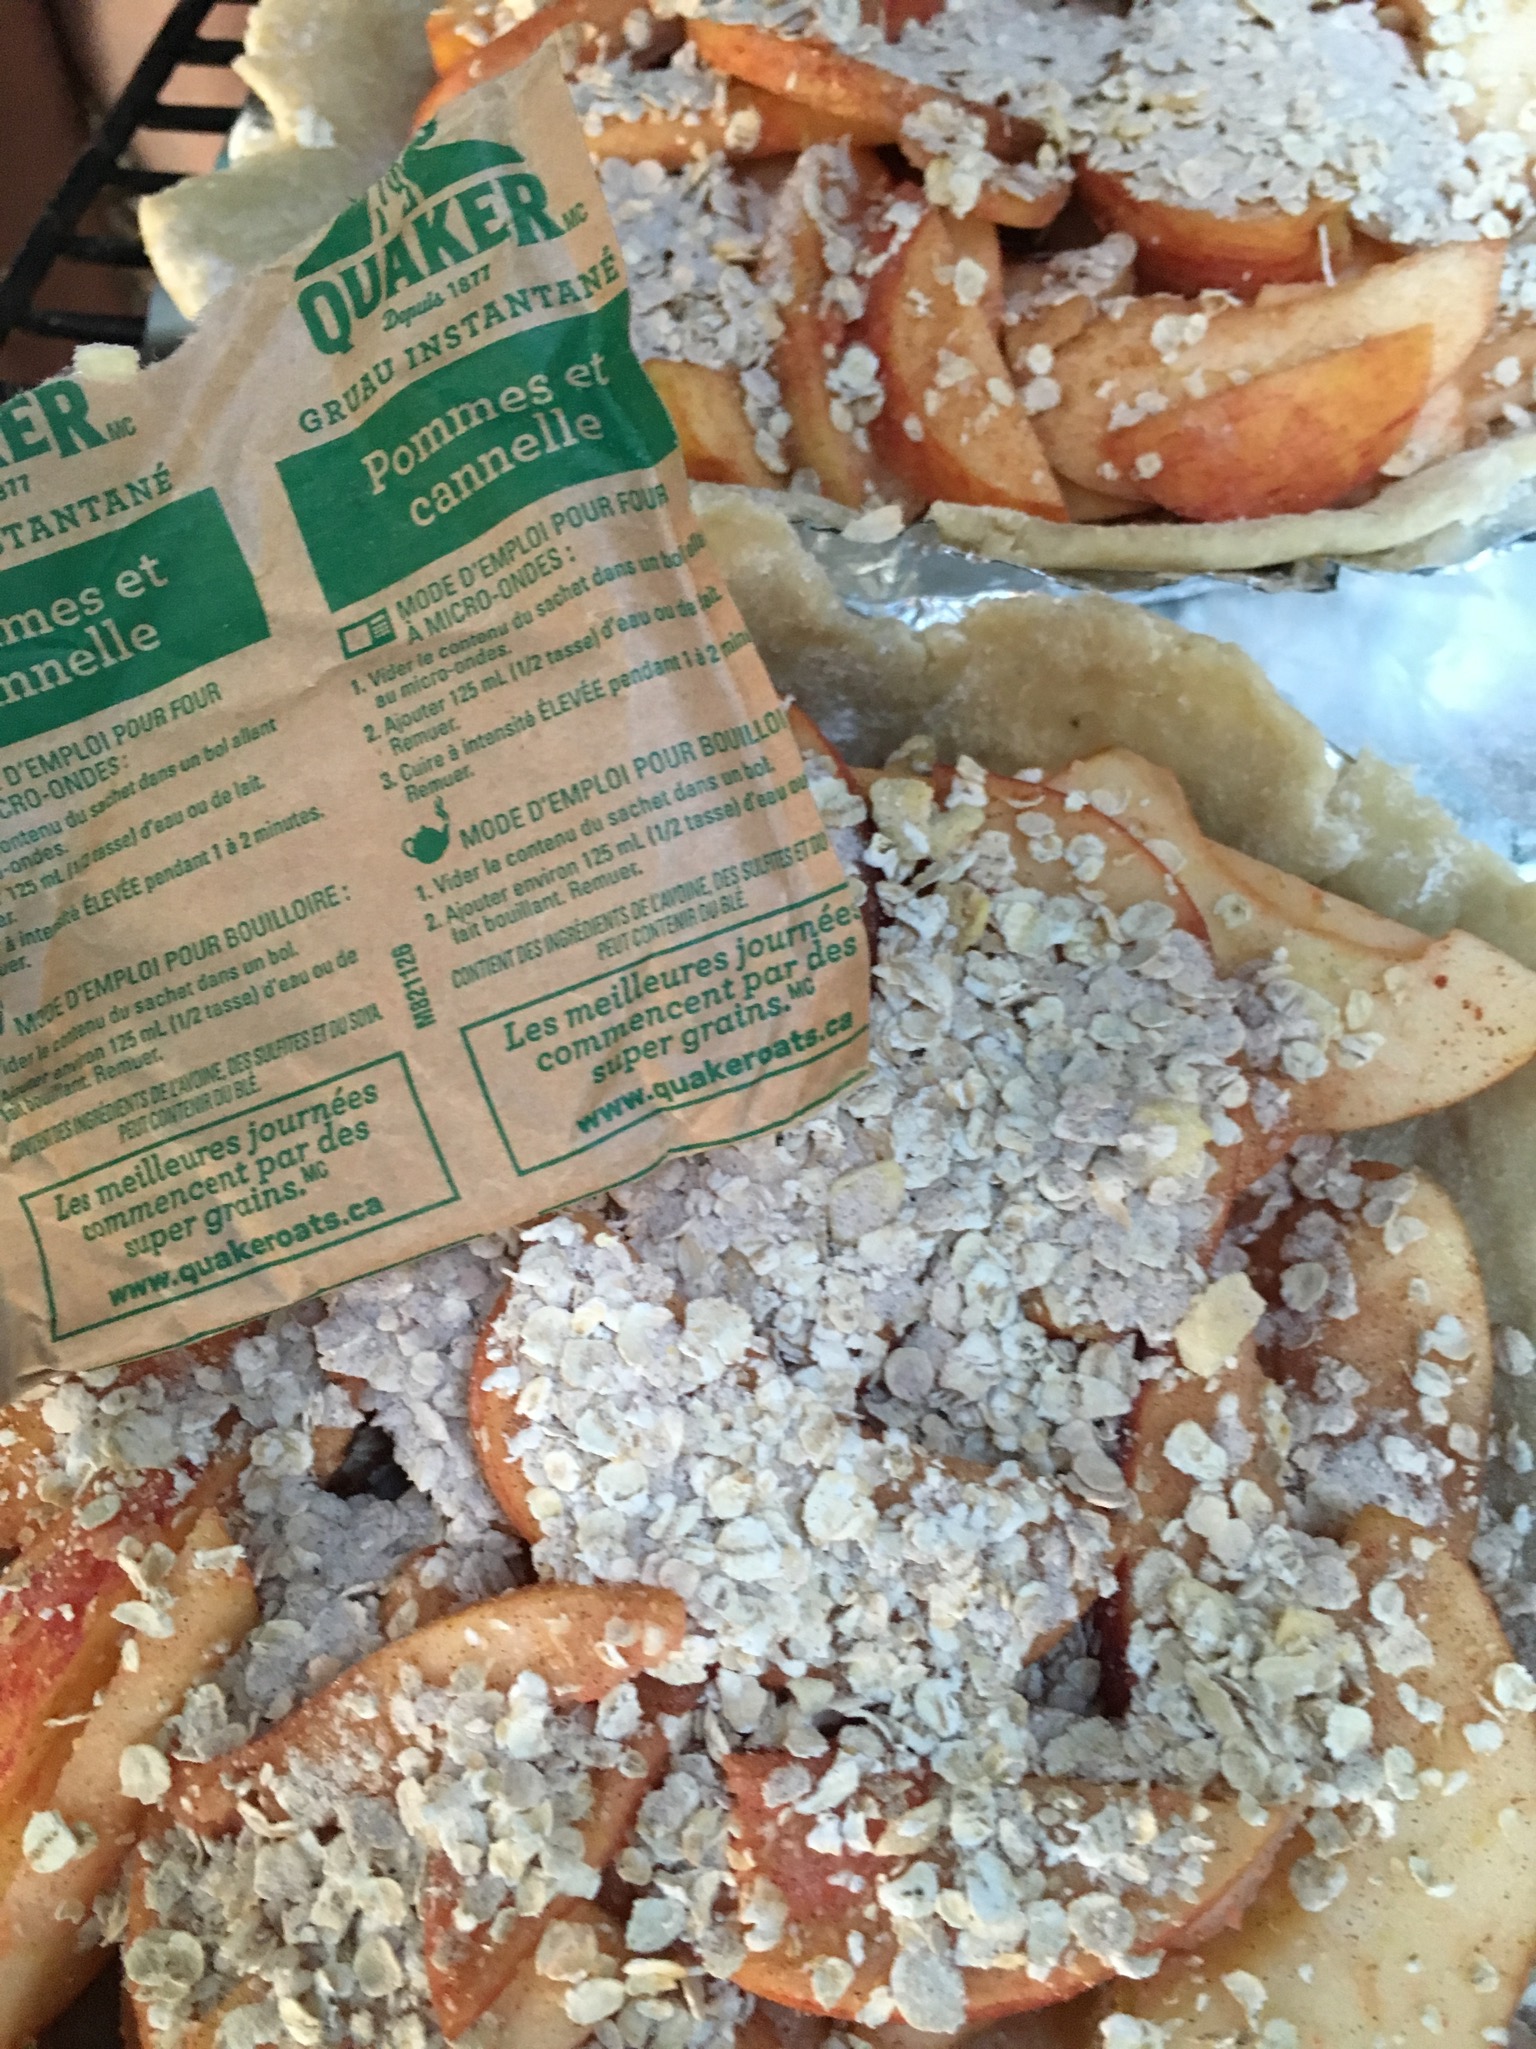
2 packs apple cinnamon instant oatmeal

Making a tin foil oven in the middle of nowhere: 

  1. First, find a discarded metal grate, preferably multiple, that has been left among the various campsites throughout the lake. (No, don't steal them, leaving future campers with none. Jerk.)
  2. Set up the metal grates above the ground leaving space underneath for at least one gas burner. (We used two.) There should be at least 2 inches of clearance between the burner and the bottom of your baking grate. You don't want to burn the pie bottoms!
  3. Cover the interior and exterior of your makeshift oven with tin foil. Make sure to overlap any cracks to keep it as air tight as possible.  
  4. Cut a door flap in your oven. Roll the long ends together a bit to keep it from coming apart.
  5. Place your burners into the oven. Make sure that the gas canisters fit on the outside of the oven. NO EXPLOSIONS PLEASE.
  6. Once you're satisfied that there is enough clearance for your burners and canisters, it's pie time!

Pie Filling:

  1. Wash all your apples in drinking water. (Especially if they've been sitting at the bottom of your bear barrel for 5 days.)
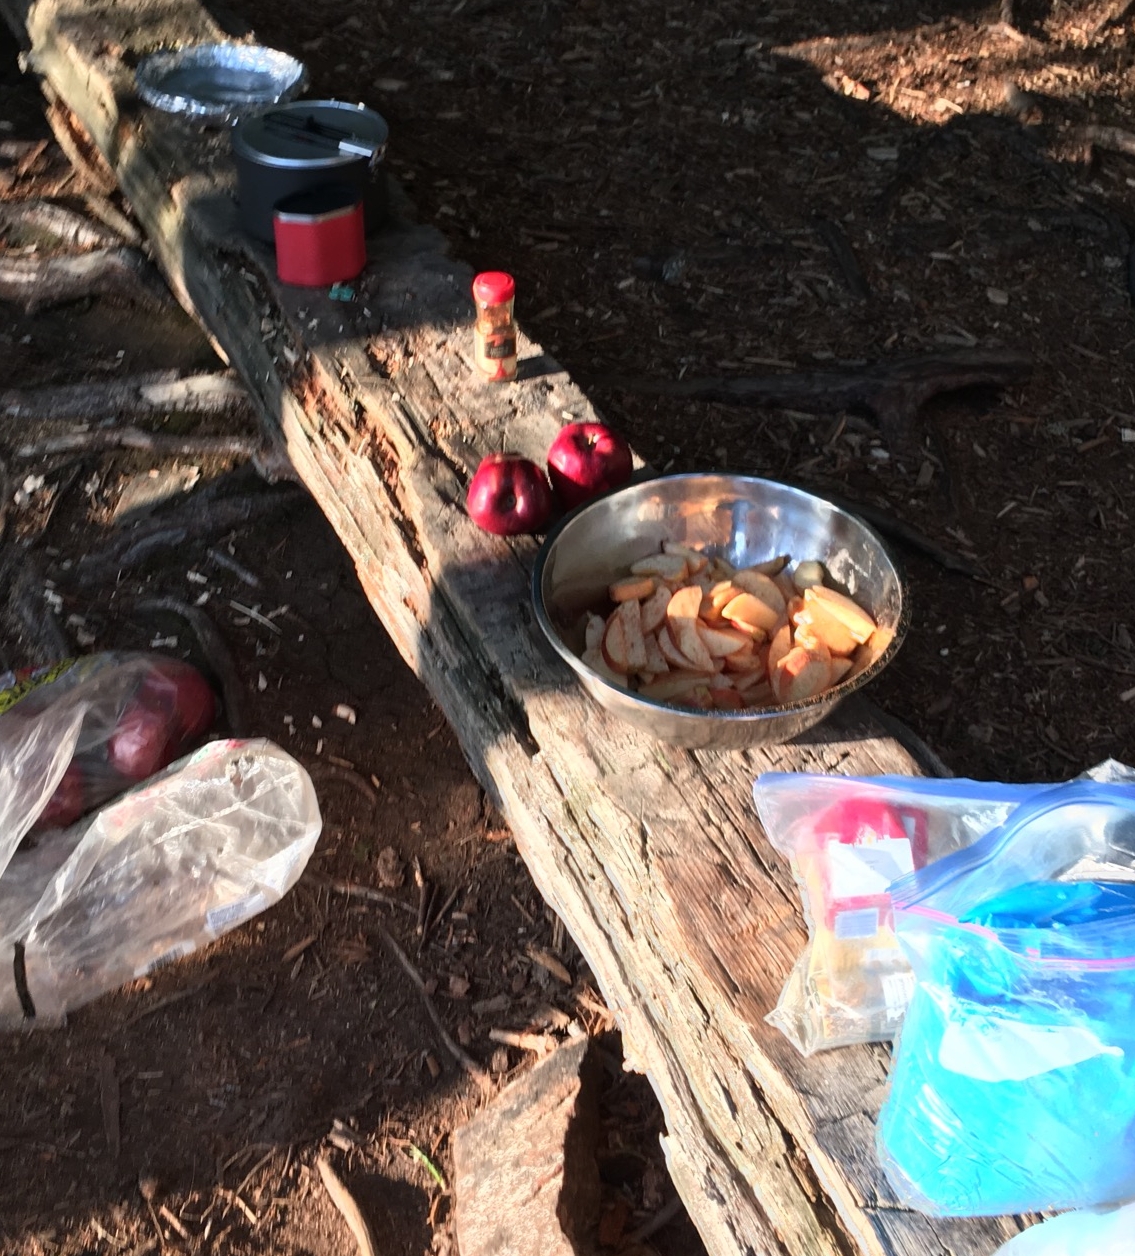
  2. Using a makeshift counter log, remove the cores and slice your apples into a bowl.
  3. Dust your apples with cinnamon.
  4. In a cup, dissolve Mio in drinking water. Pour over apple mixture. Mix together until apples are coated in Mio mixture. 

Pie Crust:

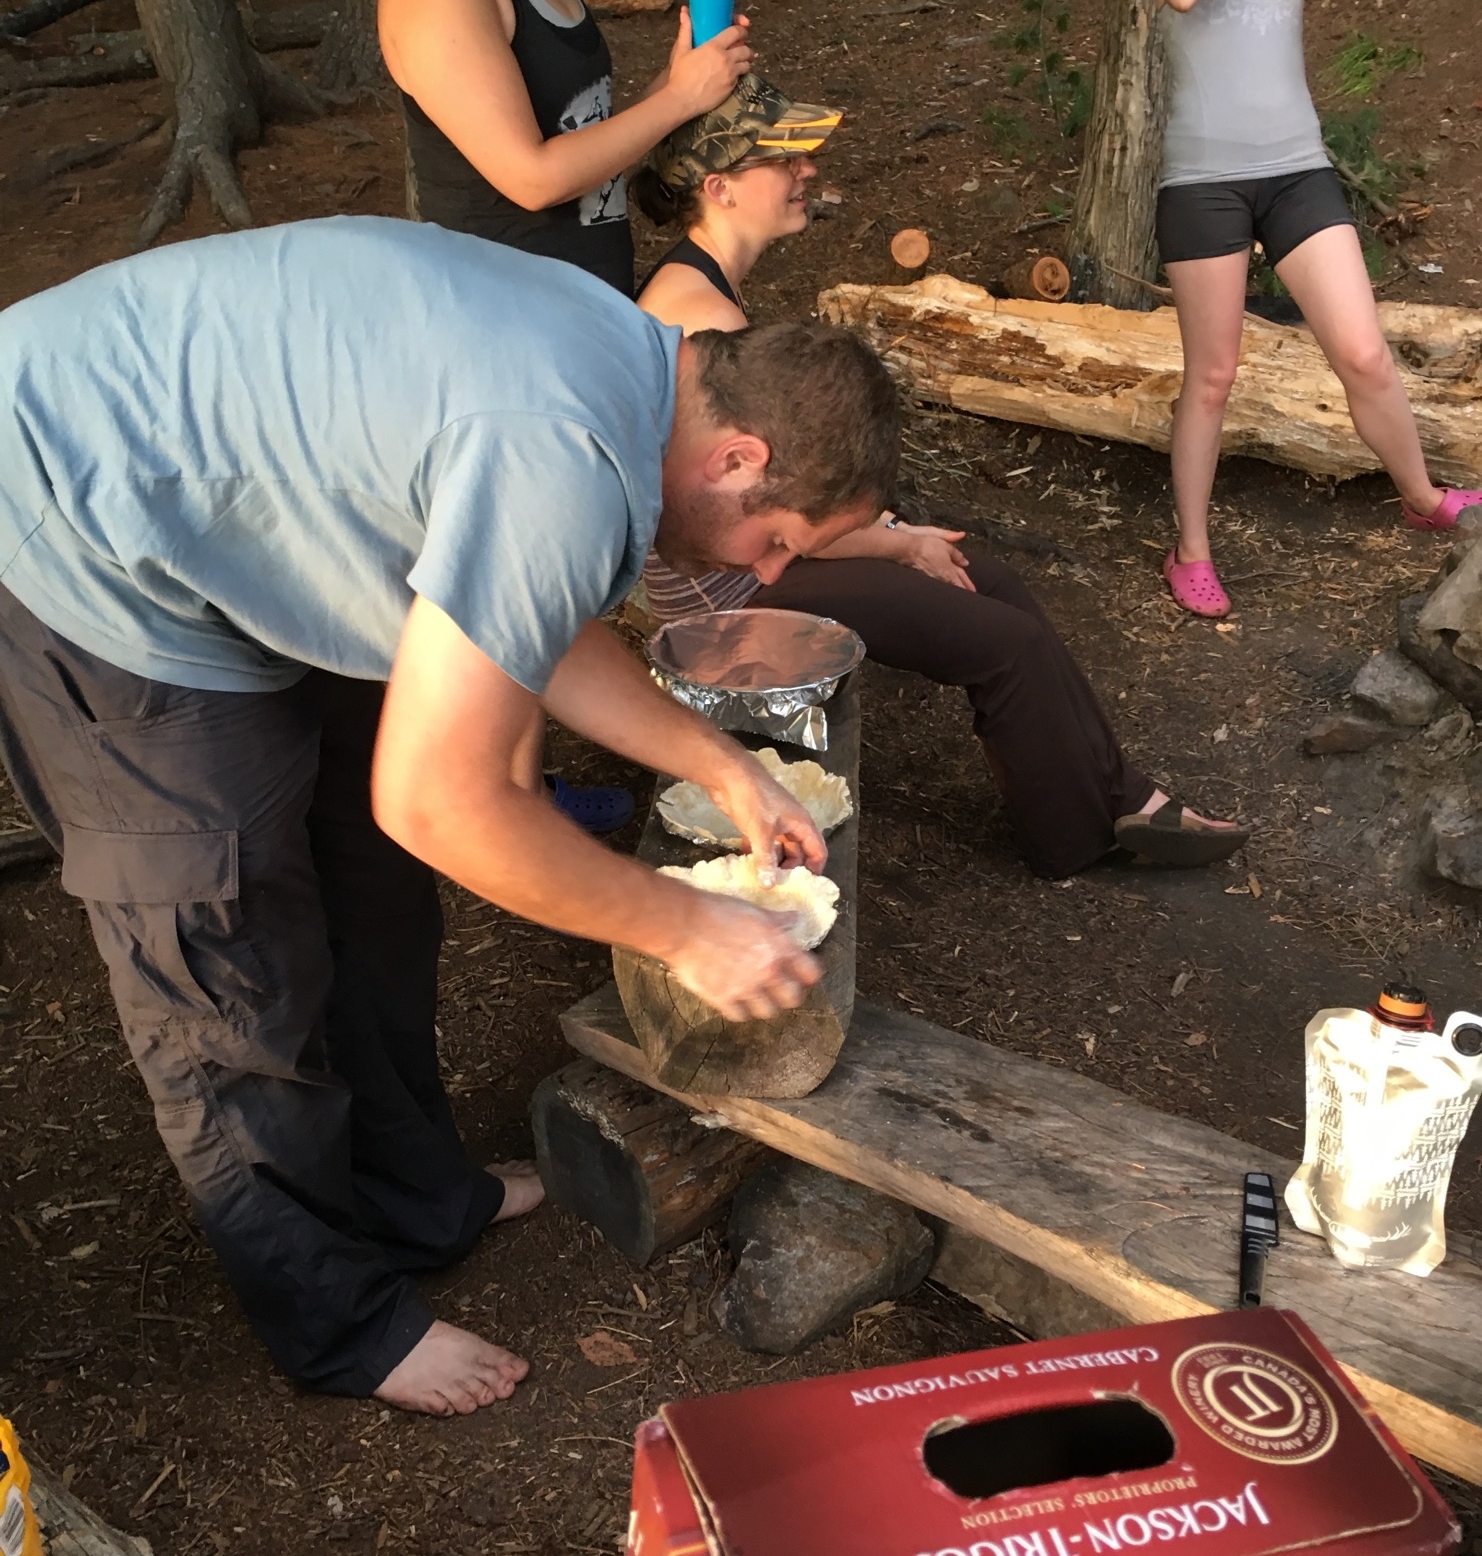
  1. First thing: you need something to bake your pies in. Luckily, with ample tinfoil, this is not a problem. Using a frying pan bottom as a template, form tinfoil into pie plates. Magic!
  2. In a bowl, combine the dry ingredients with the butter. Work the butter into the flour with a fork (or between your thumbs) so that there are no large lumps. 
  3. Add ~1/4 cup of drinking water to the mixture, to start. Continue adding water until the dough starts to come together, using your hands to work the moisture into the dough. 
  4. Once the dough has come together, divide it in half. Using the palm of your hand, press the dough out flat on a cutting board (aka Elsa). It should be less than a 1/4 inch thick. Carefully transfer the dough to your pie plates of magic.

Baking:

  1. Preheat your backcountry oven. To do so, ignited and warm up your burners. Once lit, turn them to moderate-inferno temperature and slowly and carefully position them in the oven. Close the door and let the oven heat up. (We added stones to the top of the oven so the tinfoil wouldn't blow away. We also used the metal shield from the burner kits to keep heat away from the fuel canisters.)
  2.  While the oven is preheating, place the two pie shells on a grate (it will make it easier to move the pies in and out of the oven on the grate rather than two flimsy pie shells separately). Divide the apple mixture into the two pie shells. Top each pie with a package of instant oatmeal. (Apple cinnamon preferable, if you have it!)
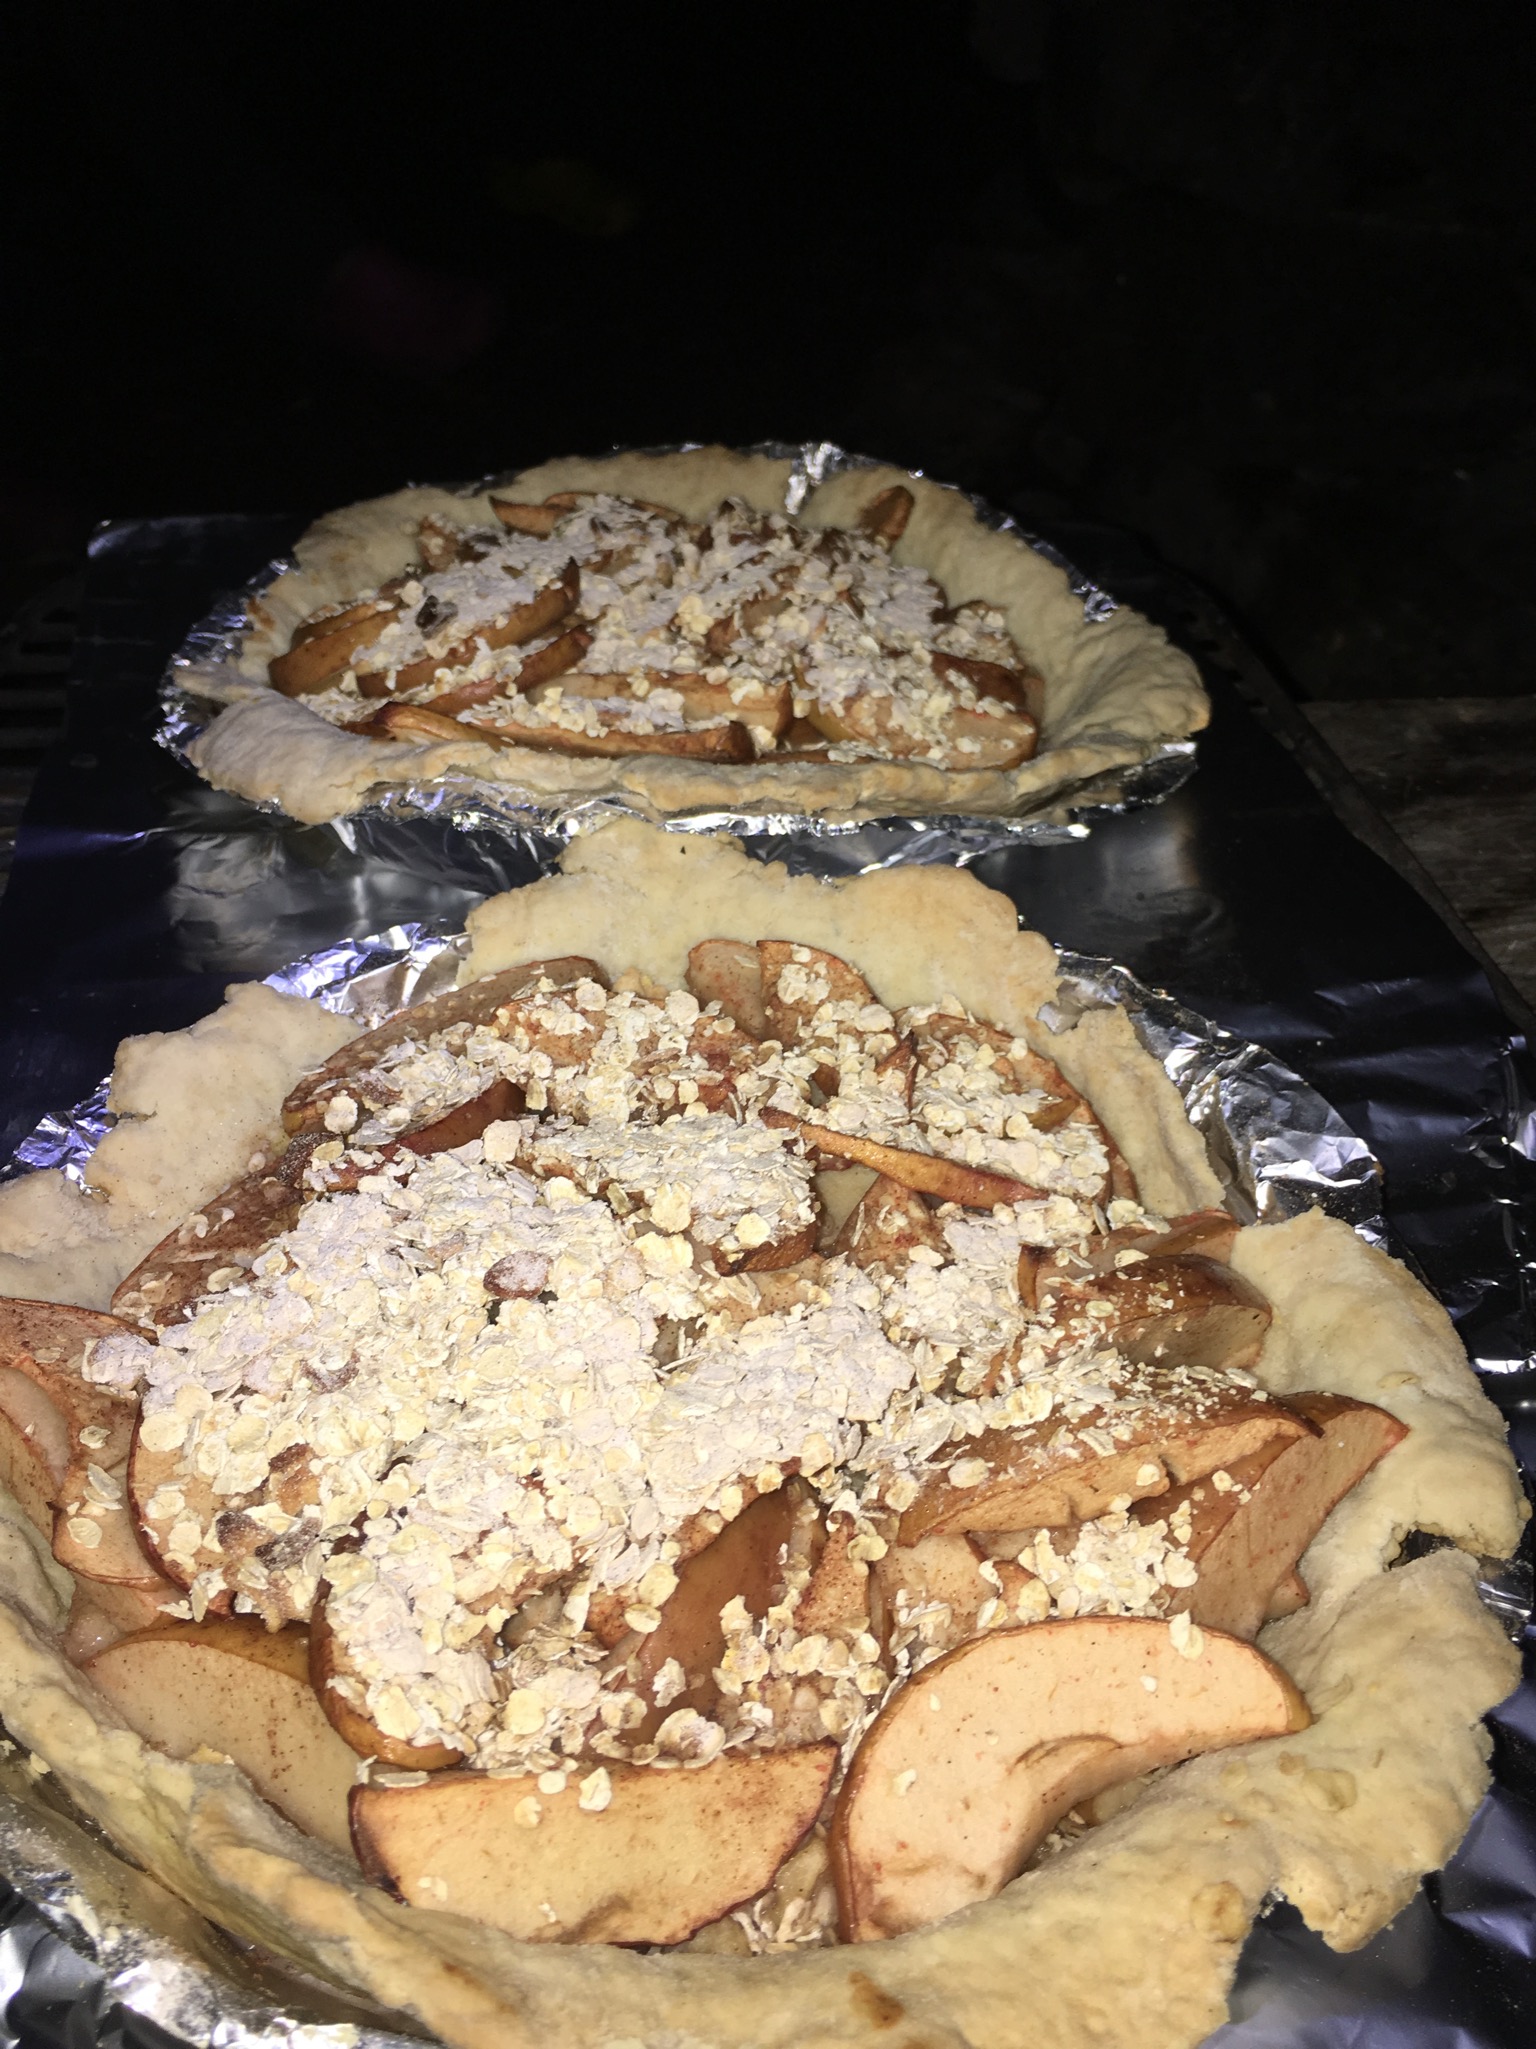
  3. It's bakin' time! Using an oven mit, place your grate carrying the two pies into your oven. Close the door. And put the timer on for an hour. Depending on the ambient temperature and the air tightness of the oven it will take anywhere from 45 minutes to an hour and a half. We also rotated the pies once as well to keep the bottoms from burning. 
  4. Sit back and enjoy that apple pie smell. 
  5. Once the pies are done, which you can tell by how soft the apples are, out the oven they come. Turn off the burners and let the oven cool Completely before attempting to disassemble it. (Or don't and use it again to bake birthday cake!!! =D)
IMG_1989.jpg

It was quite the adventure. TL;DR: Would do again. <3

-Andrea 

The Half-Assed Hobbyist

Β 

Β 

Tomato Babies

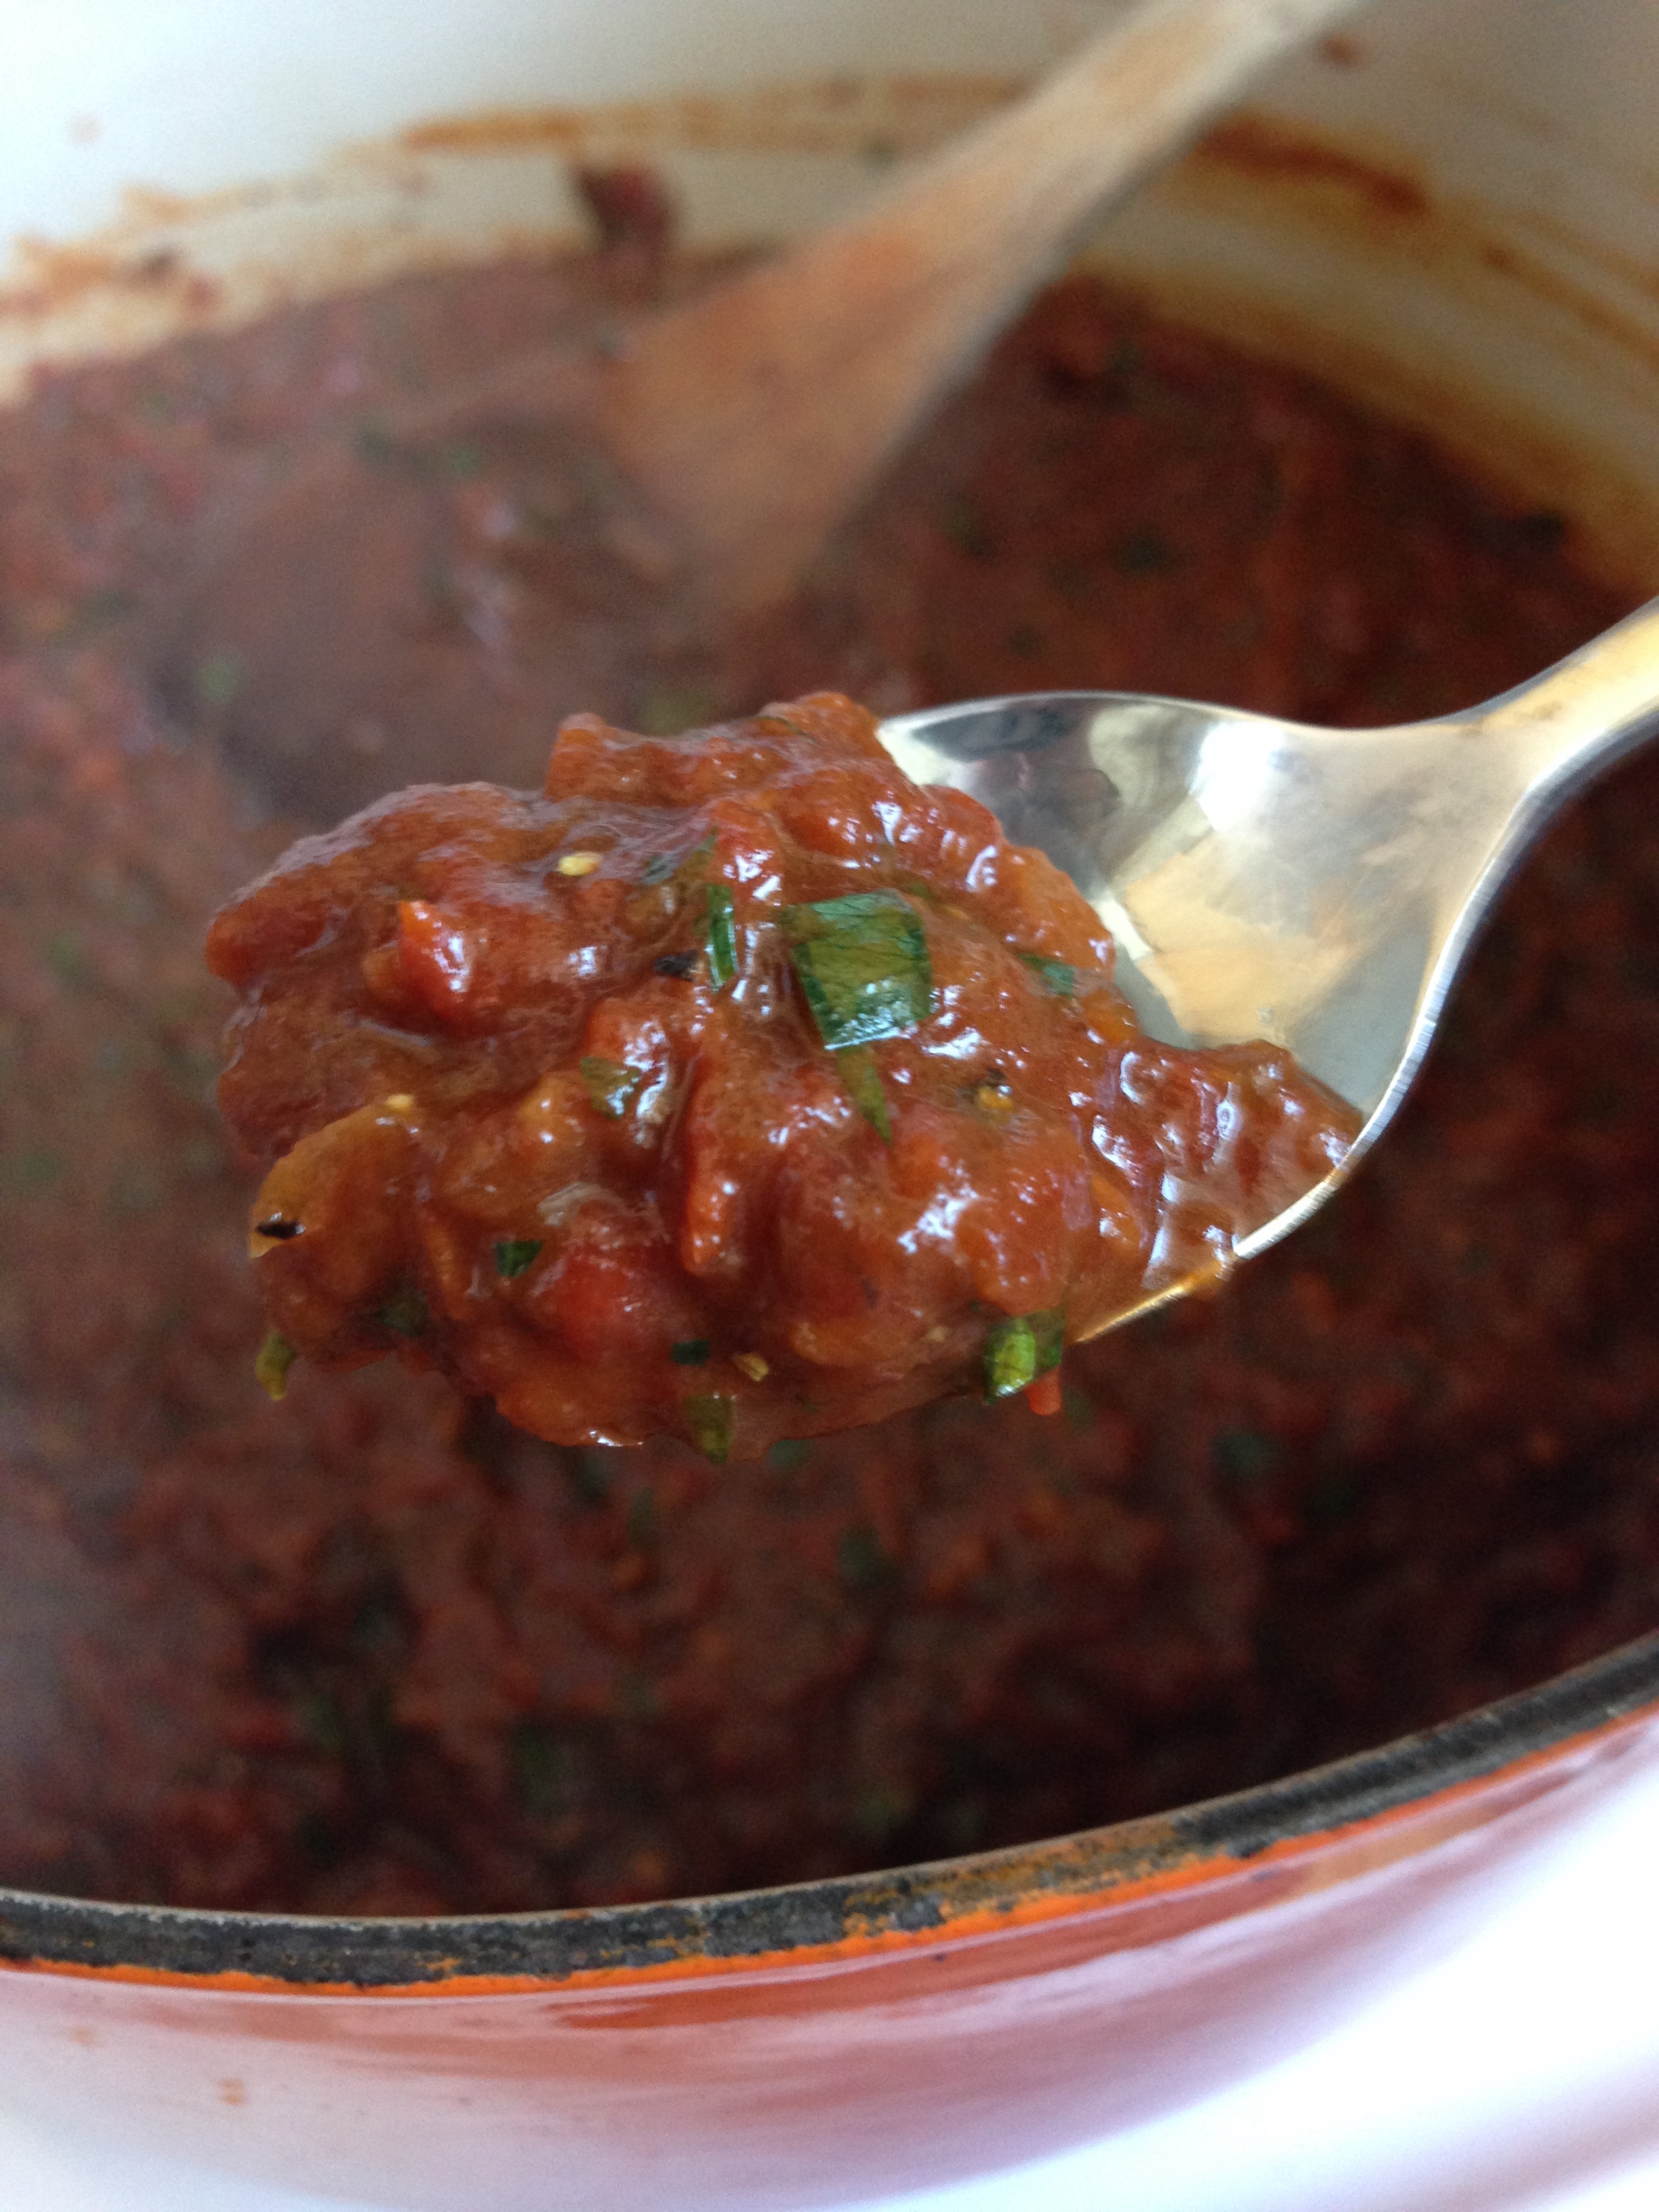
This whole gardening year I have had high hopes that I would have enough tomatoes to make this savoury tomato jam. With the devastating falling over of my giant tomato plants, I thought for sure I would be waiting till next year to achieve this dream. But. My plants had other ideas.

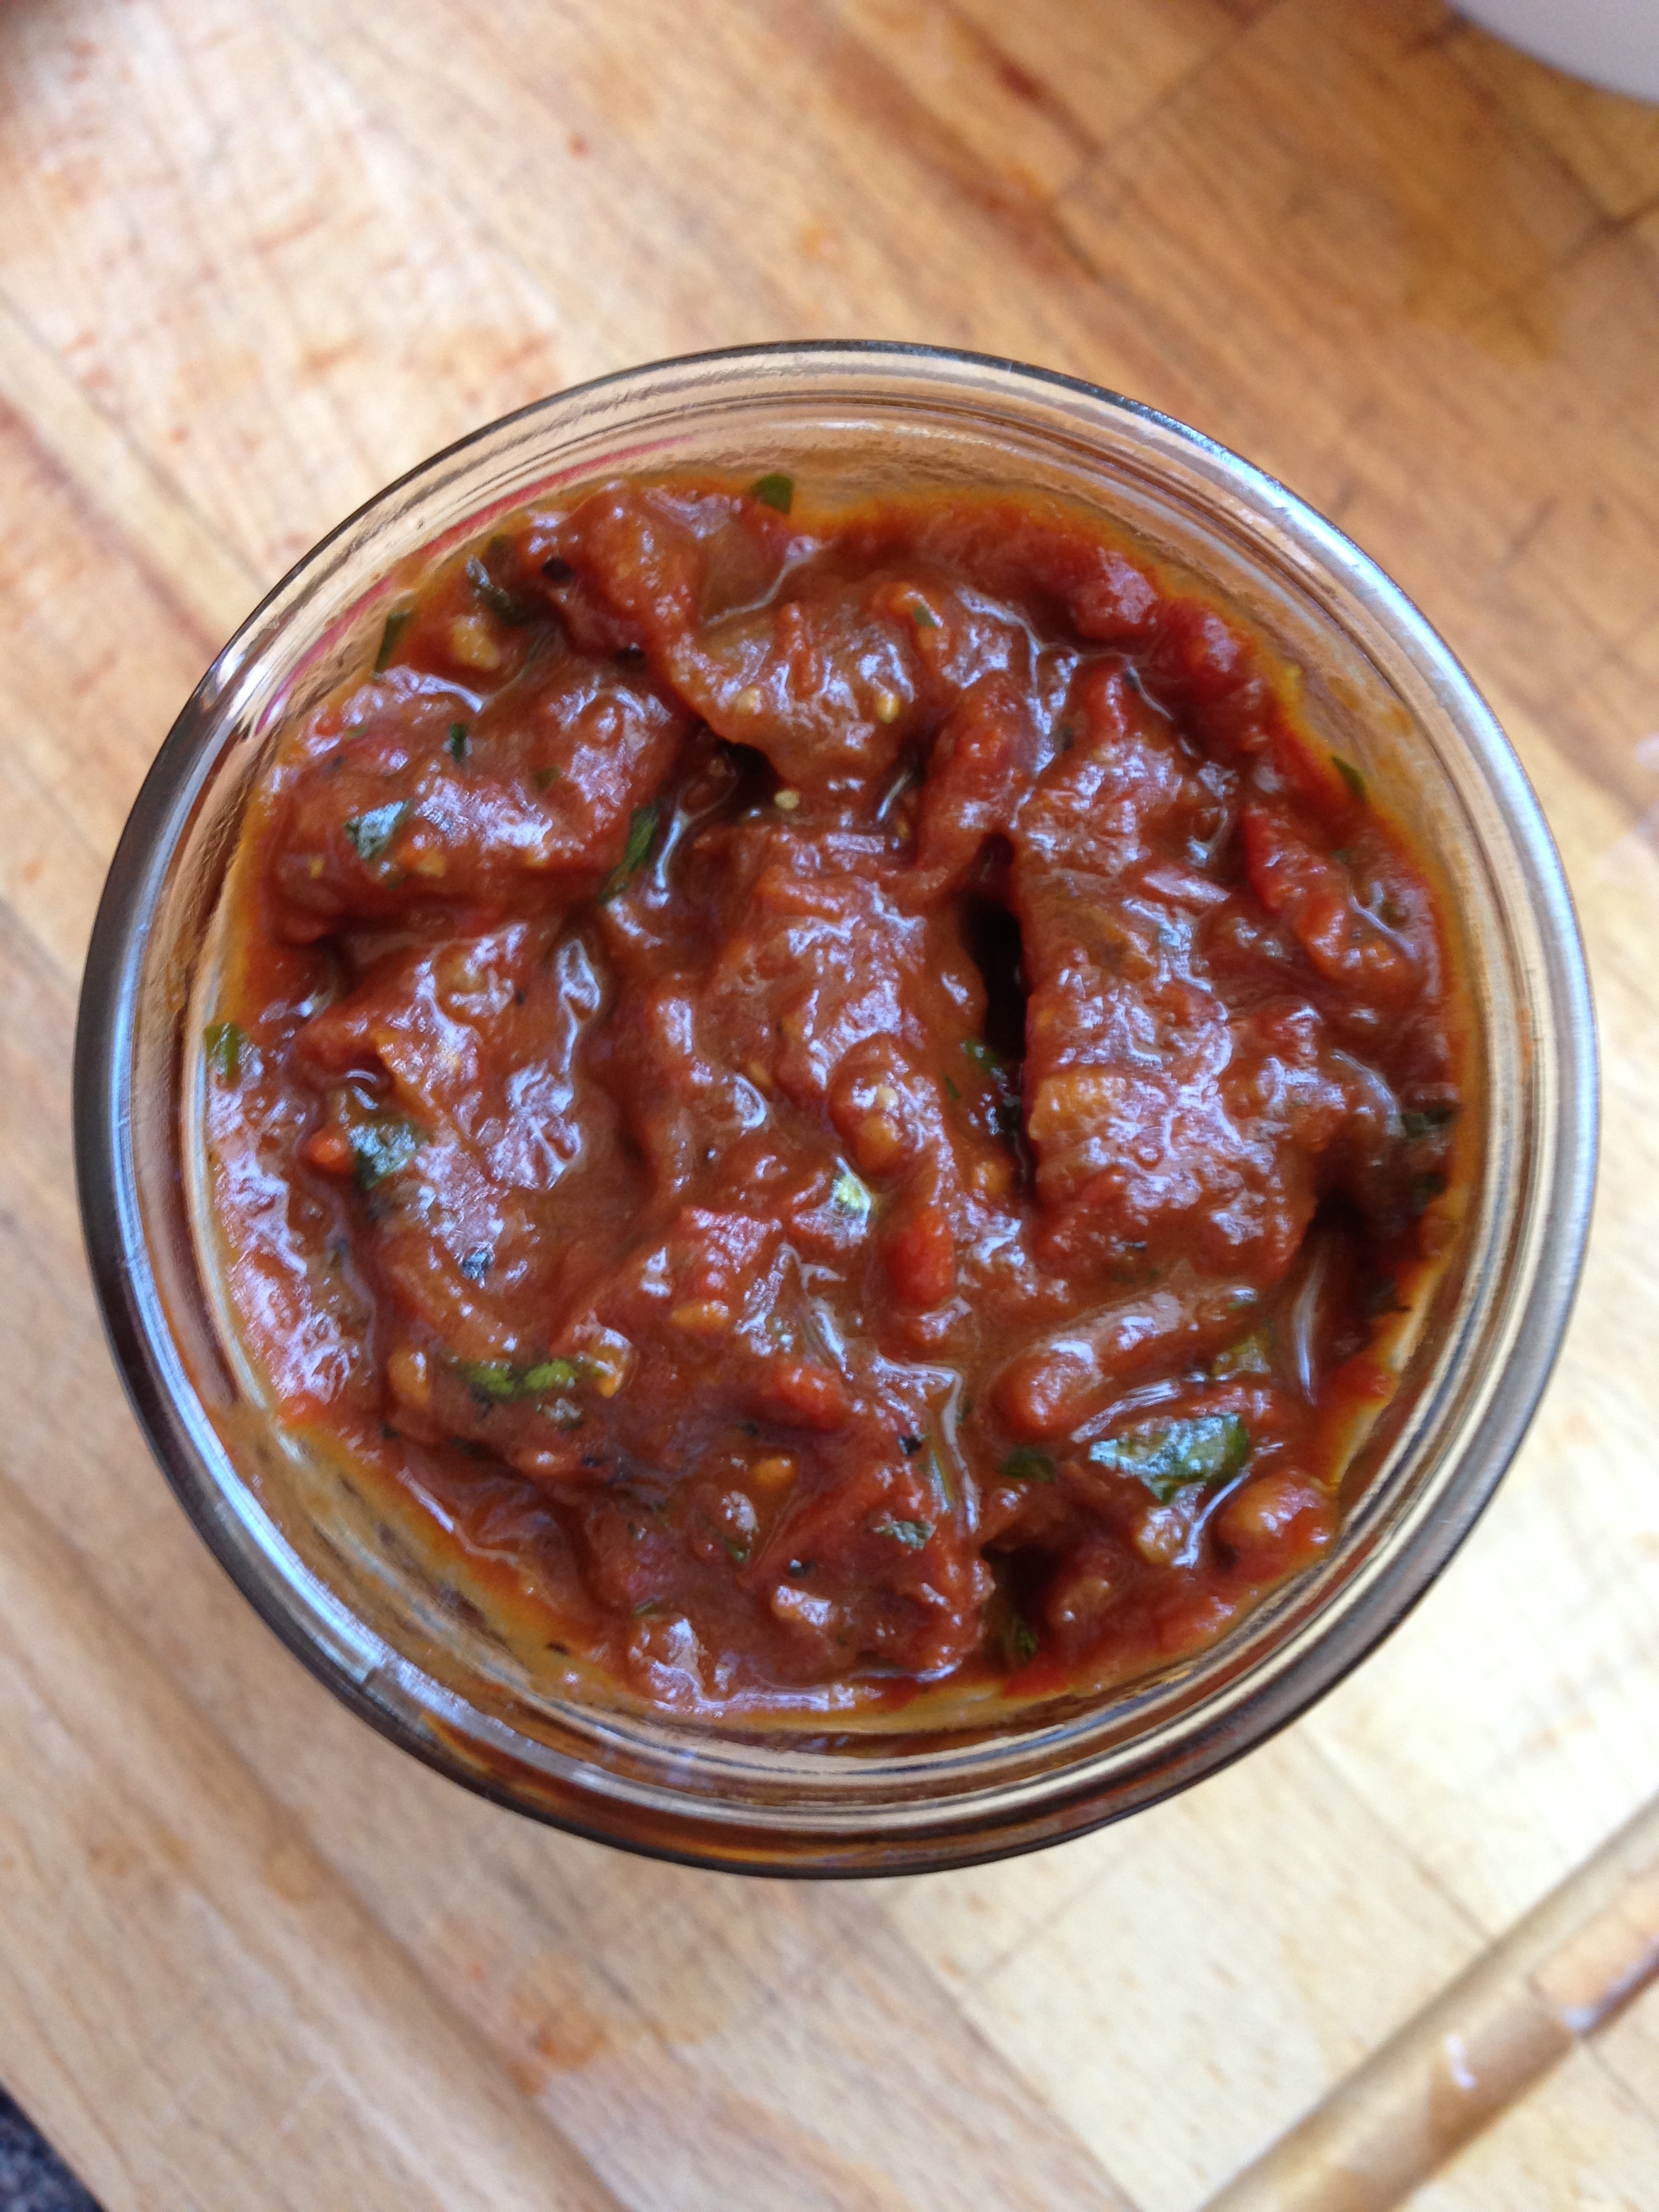
I managed to collect enough for two batches of a savoury tomato jam that was an office favourite at the test kitchen I worked for back in AB. Essentially its the most fancy ketchup analog you'll ever eat. I love it on toast, warmed up on sandwiches, or even by the spoonful. Haha. ;)

Savoury Tomato Jam

In order to can this recipe, I needed to add an acidifier. I chose vinegar so the result is a tangier jam than the original recipe. I would however keep this jam refrigerated and eat it within 2-3 months. More for quality than safety. Also. If you are planning to can this recipe, get your waterbath canner sterilizing jars during the simmering stage of the jam. That way there is a smooth transition from cooking to canning. Makes ~2 cups.

2 TBSP oil
1 cup white onion, chopped
1 TSBP minced garlic (2-4 cloves)
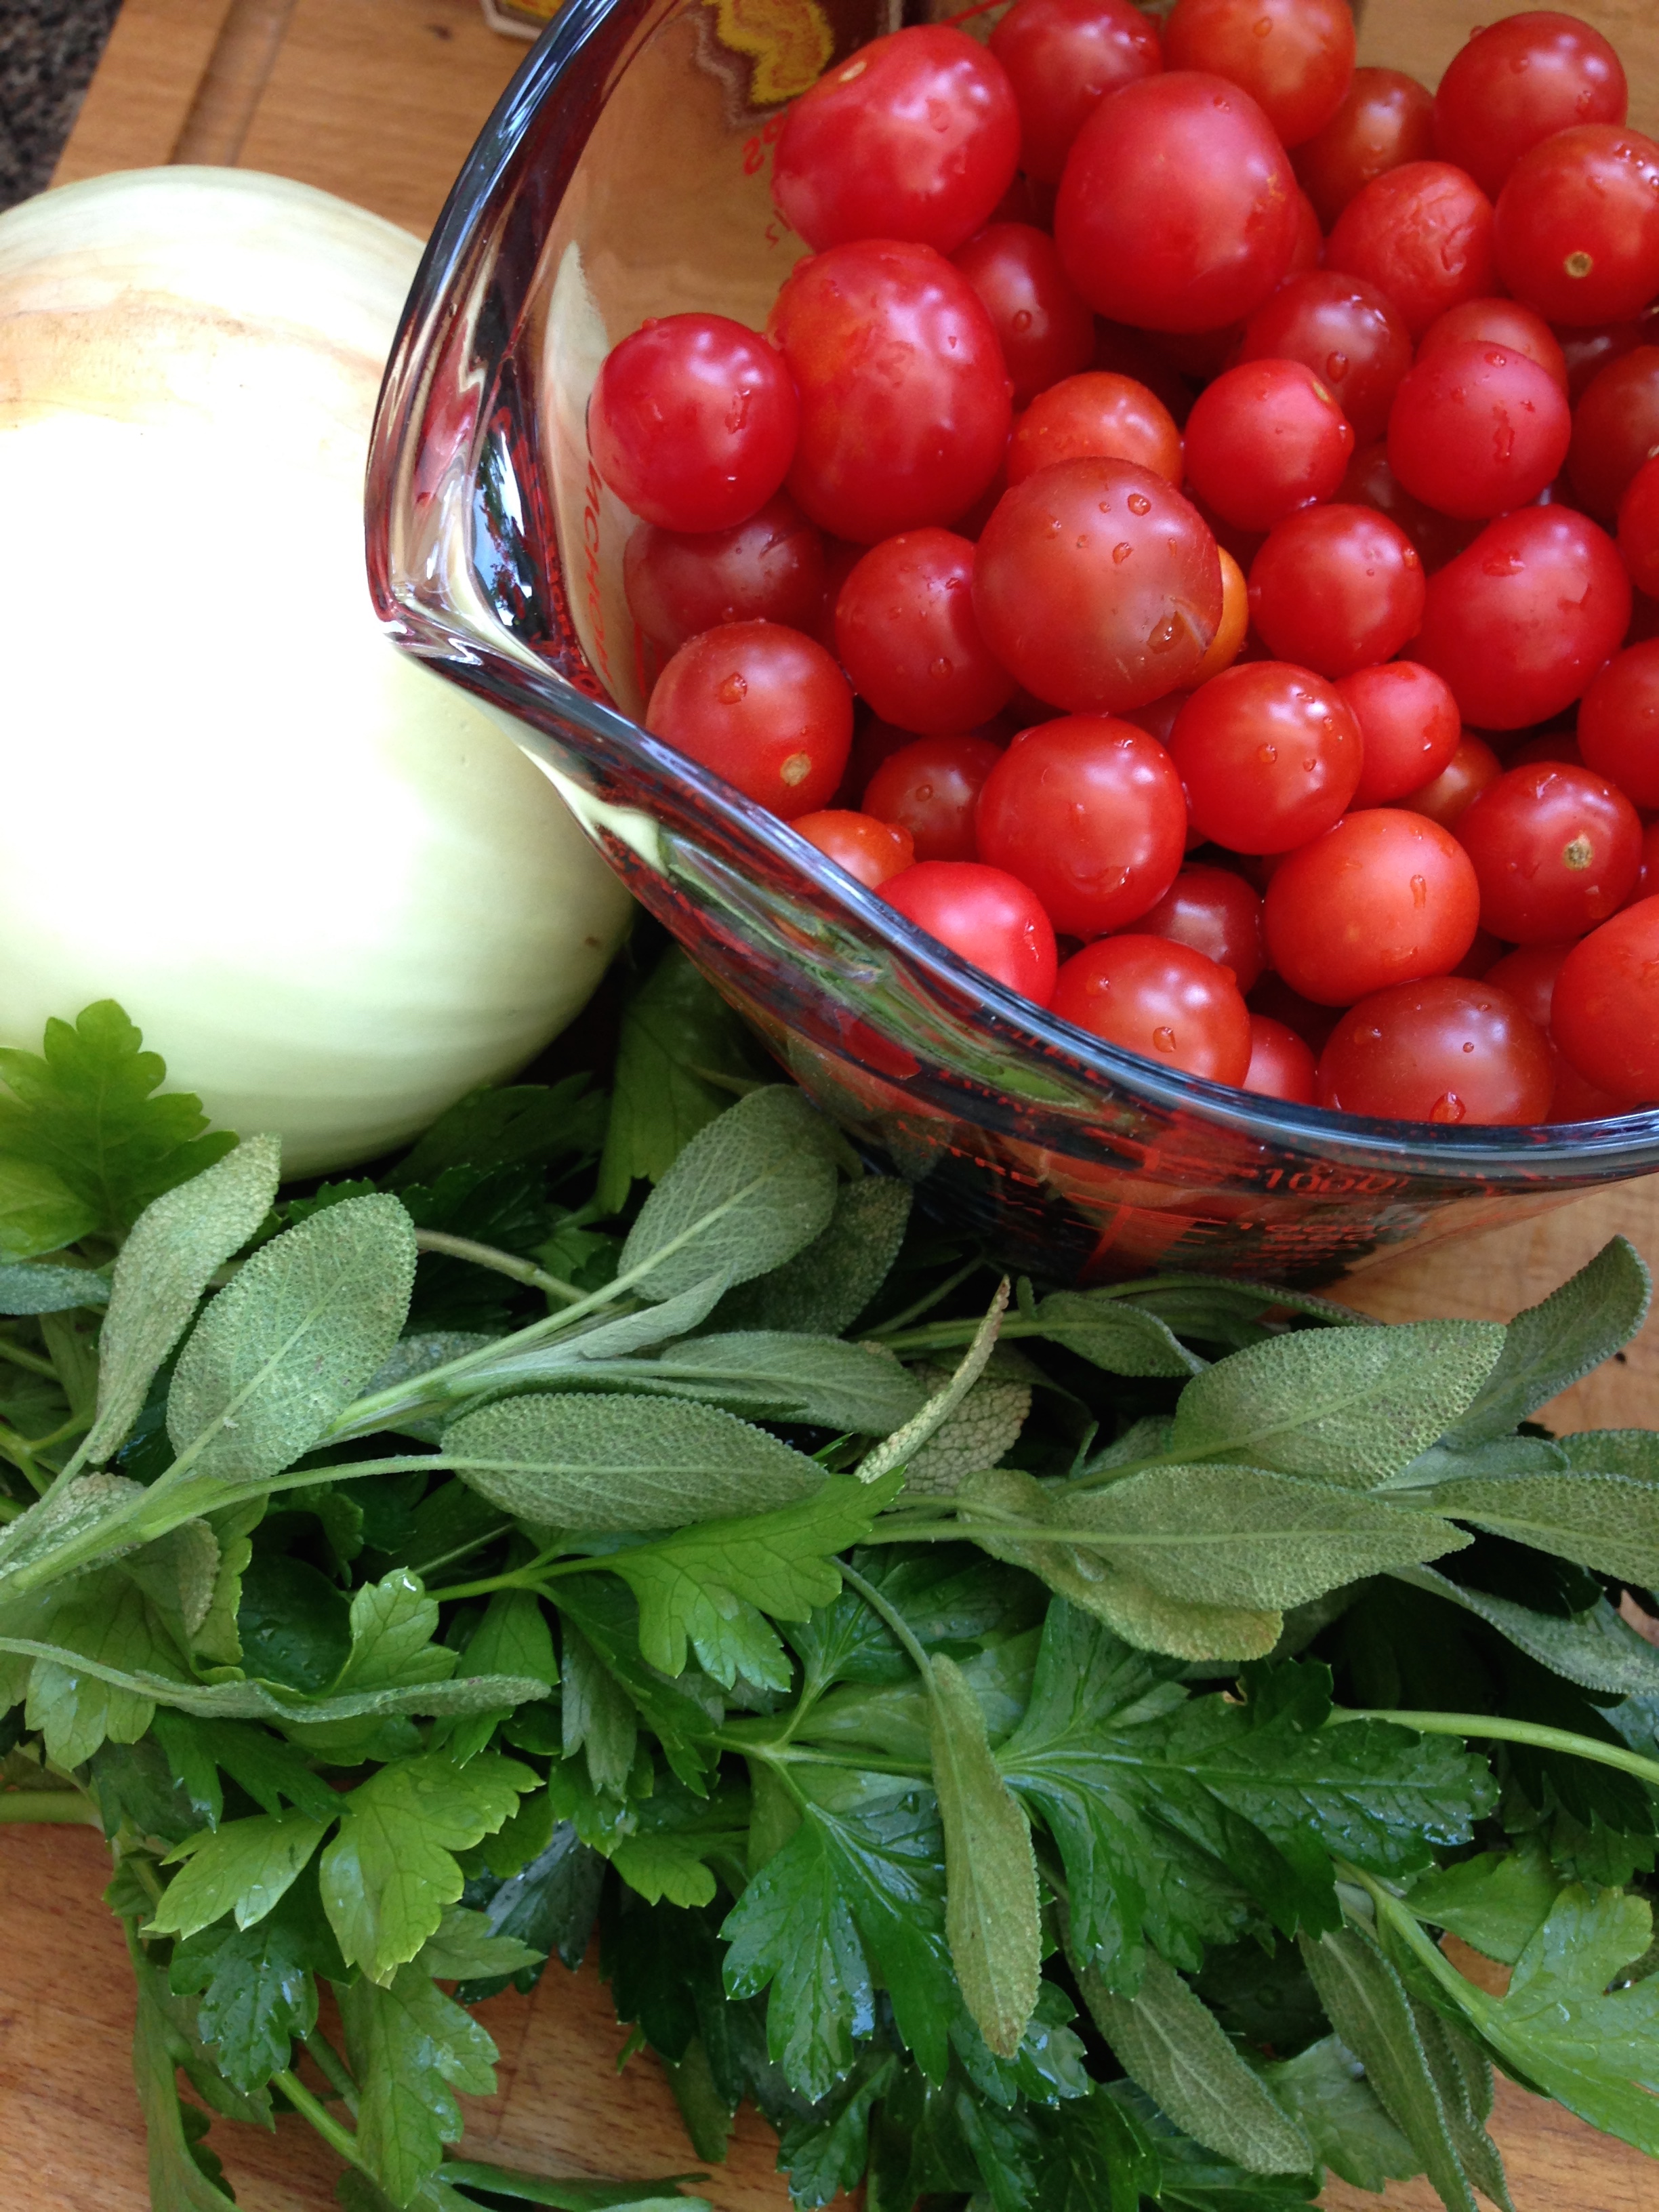
2 cups cherry tomatoes
1/2 cup chopped drained oil-packed dried tomatoes, patted dry
1/2 cup chopped drained canned roasted red peppers, patted dry
1/2 cup tomato juice
1/2 cup balsamic vinegar
1/2 cup white vinegar
2 TBSP fancy molasses
1/4 cup chopped fresh parsley
2 tsp fresh thyme leaves, chopped
1/2 tsp salt
1/4 tsp pepper

  1. In a large dutch oven, with a lid, heat oil over medium heat. Add onion and cook, stirring, for 5 minutes or until onion becomes clear. Add garlic. Cook for 2 more minutes, or until garlic is fragrant. 

  2. Add tomatoes through molasses. Stir together and bring to a boil over high heat. Reduce heat to low and simmer for 20 minutes, covered, stirring occasionally. Remove the lid and continue to simmer for 30 minutes or until the mixture has thickened and most of the liquid has gone. Remove from heat.

  3. Using an emersion blender or food processor, process the jam using an on/off pulse until just about smooth. Don't over pulse the jam, you want a bit of texture left. Add the parsley, thyme, salt and pepper. Pulse just to combine. 

  4. To Can: I did a good post on how to can safely here! It's for fruit jam but the essentials are there. Below is the version for this recipe:

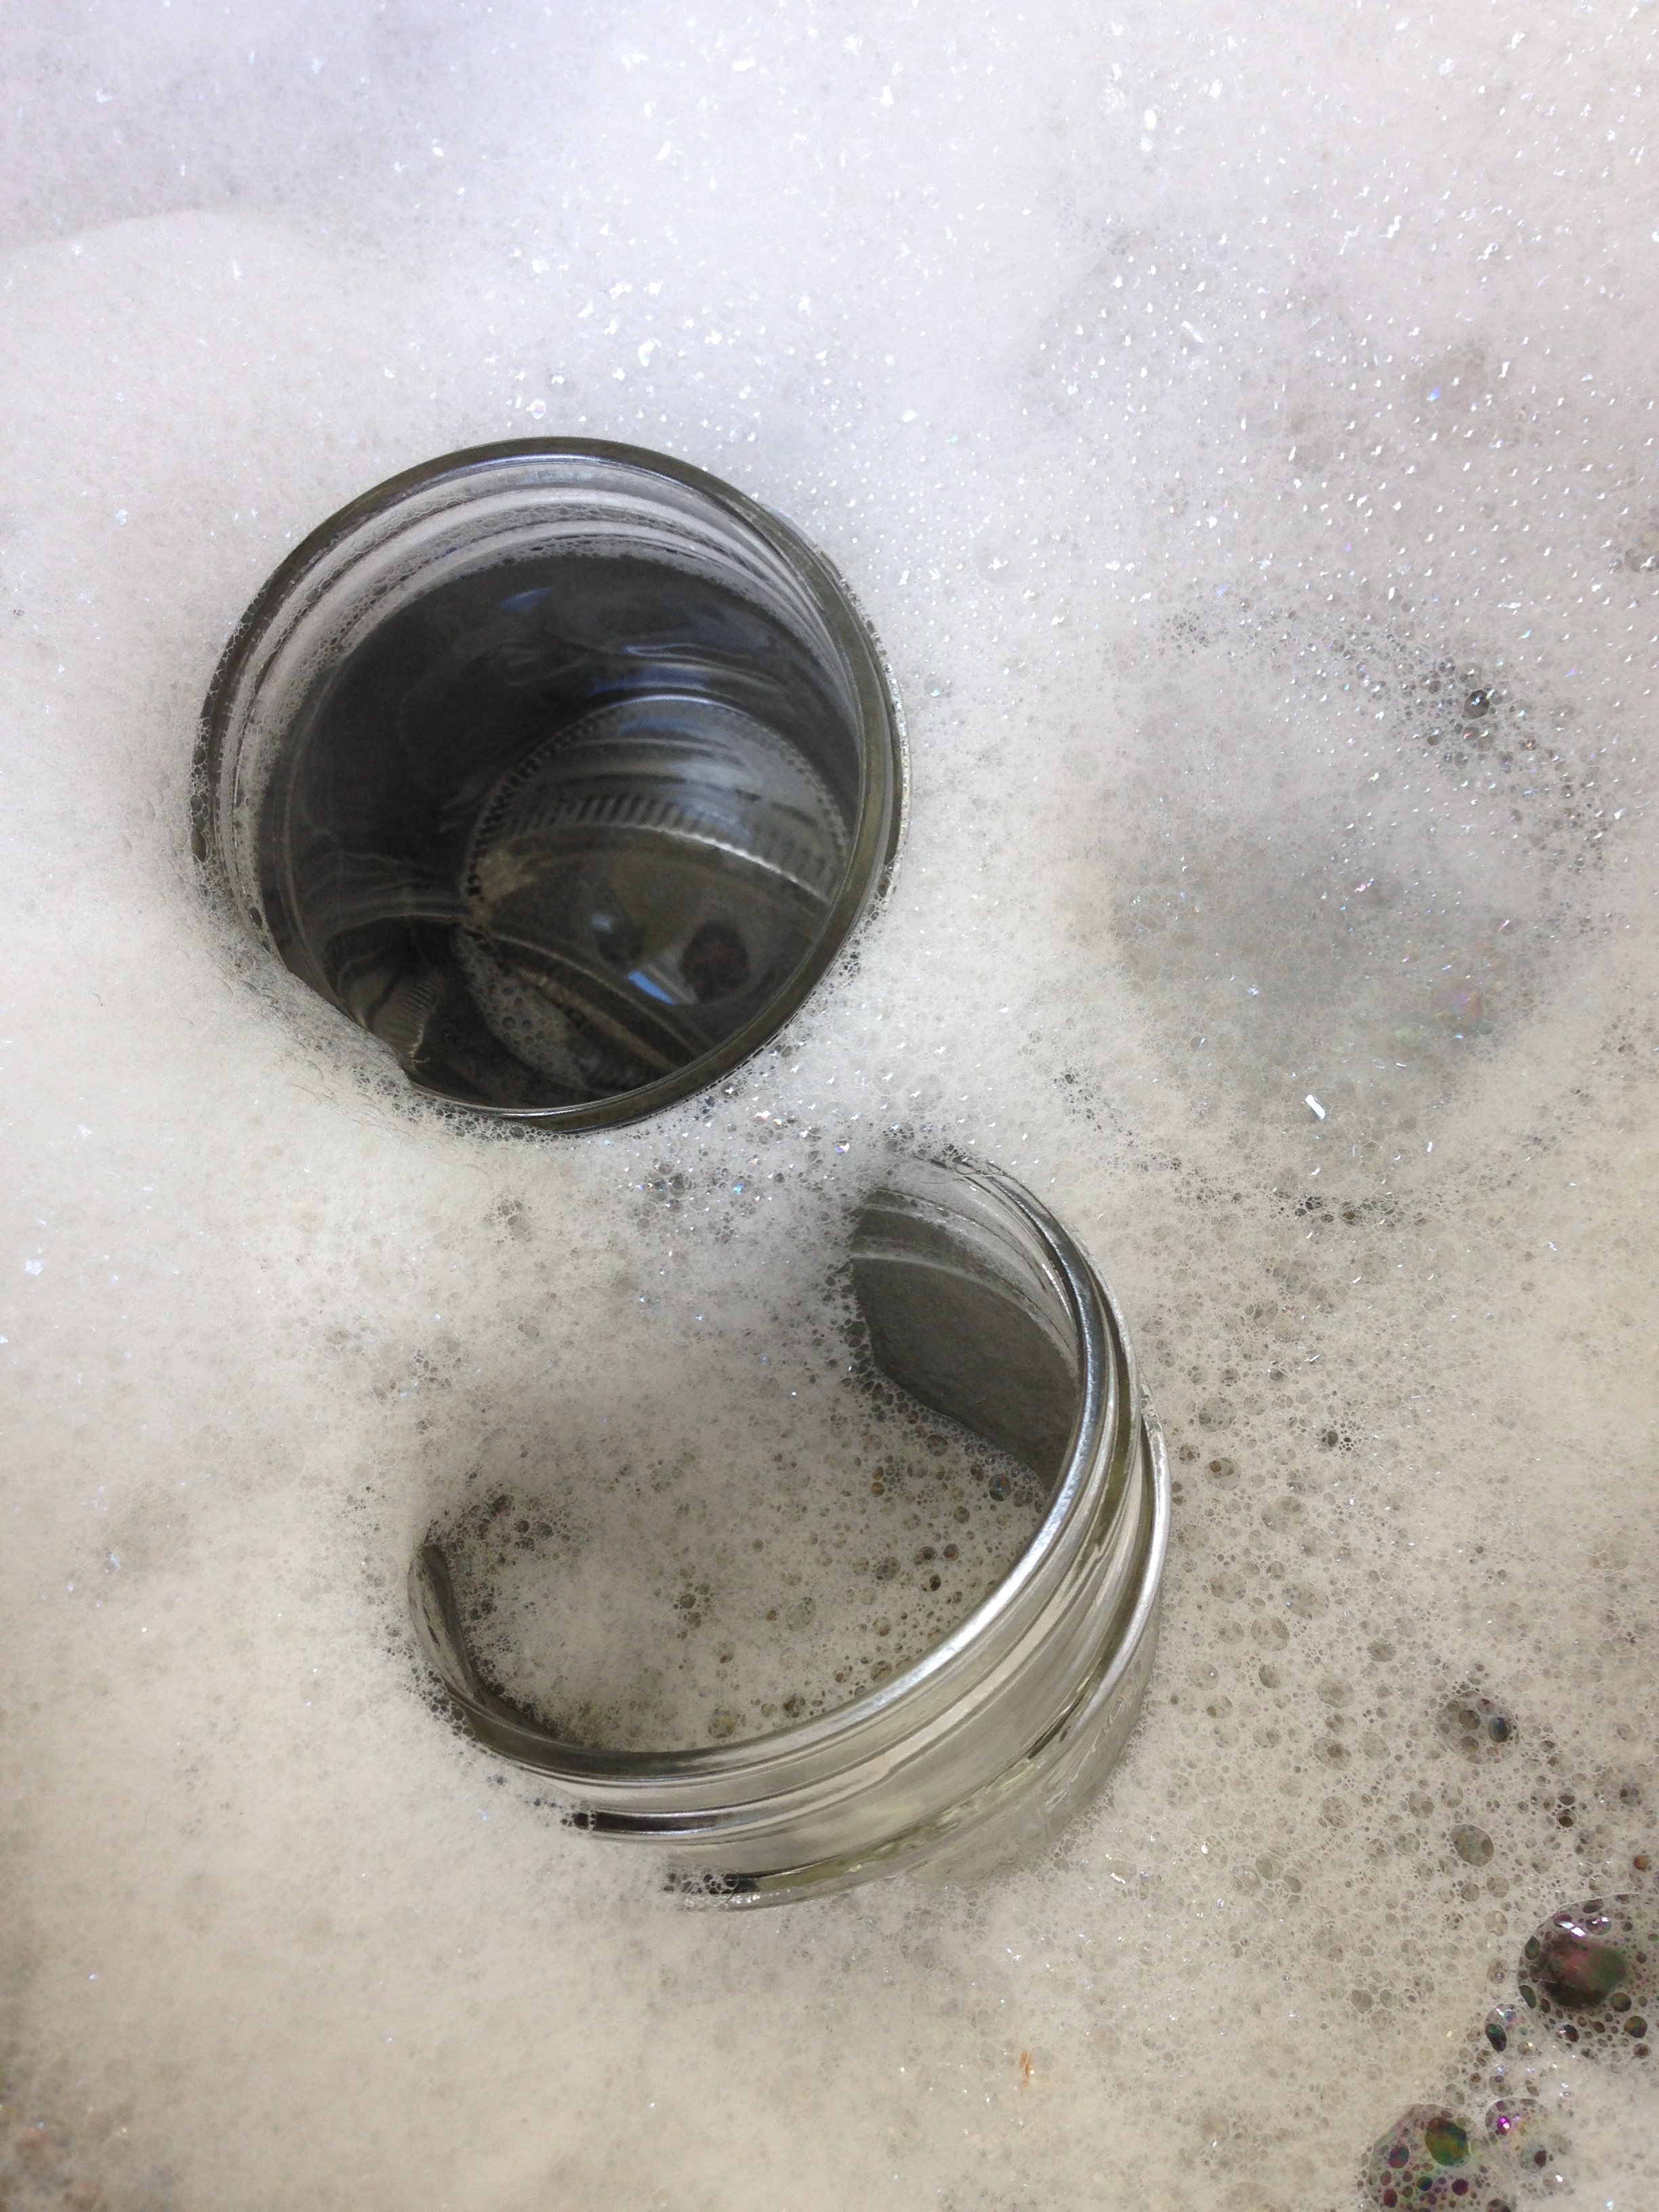
    1. Sterilize All The Things. As mention above, it's best to get this part going during the simmering stage of the jam. Thoroughly wash all jars and screwbands and lids and utensils (jar tongs; wooden spoon; ladle; jar funnel; plastic knife or spoon) in hot soapy water. Rinse clean of all soap residue. Fill the waterbath canner with water (and ~2 TBSP vinegar) and bring the canner to boil. Place all your jars evenly spaced in the canner and boil the jars for at least 10 minutes. (This will sterilize the jars.) Dry all screwbands and utensils and lay them out so they're easily accessible. Also, set a flat bottomed sauce pan filled with water on the stove. Put in the snap lids. Then, from a kettle filled of boiled water, add enough hot water to make the water in the sauce pan warm. This will soften the wax ring on the lids helping the jars seal completely.

    2. Prep All the Ingredients. Having now simmered and food processed the jam, you are ready for canning! ALSO. Make sure your canner is boiling hot! You won't have time to bring it back to a boil after you've started your jam. I also usually have a kettle of boiling water going as well in case I need to top up the canner during the process. 

    3. Start Canning. Now for the fast hot mess that is jam making. Bring your jam back to boil. (Since it is thick it will bubble more that boil. Watch out for white shirts as it may spit at you!) Now that your jam has been sufficiently lava-ed, remove it from the heat. Using the jar tongs, remove a sterilized jar from the boiling canner and empty the water in it back into the canner. Place the jar on your clean counter next to the jam pot. Place the jar funnel on the jar and ladle the jam smoothly up to the recommended head space marker (for my recipe I used a 1/4 inch headspace). Remove the funnel, remove any air bubbles from the jar by running a plastic utensil around the sides of the jar, and wipe the rim with a damp paper towel or clean damp cloth. Place a warmed lid on top. Place a screwband on the jar, then grasp the jar with the jar tongs. Tighten the screwband to ONLY fingertip tight. This literally means using your finger tips only, tighten the screwband until there is enough resistance that it stops. Then, keeping the jar level, lift it up and place it back into the canner. Repeat!

    4. Finish Canning. Now that all your jam has been put in jars in your canner, top up the water with more boiling water from the kettle, if need be (I usually like about 2 inches of water above my cans, if I can get it). Depending on your altitude, you'll need to adjust the time you process the jars. But it's a standard 10 minutes across the board, no matter what. (For Alberta, add an extra 5 minutes.) With the canner lid on, process the jam in the boiling waterbath. After the time is done, remove the jars with the tongs, lifting them straight out of the canner (NO tipping to get water off the top!). Set them down to cool in an out of the way space. From this point on, till they're completely cooled, No Touching! Resist the urge to poke them! As they cool, you'll hear the popping sounds of the snap lids sealing. Even after this has happened, No Touchy! It's a waiting game now. If you did it right, you'll have delicious shelf-stable jam to look forwards. 
    5. Enjoy! Let the jars cool completely. This will take up to 8 hours. After they've cooled, check that all the jars have sealed. The snap lids should be divoted inwards and you should be unable to pry them off with your fingers.** Ta Da!!! Done!

Keep in mind! This recipe is not shelf stable. (Well. It may be that it's shelf stable but as I have not tested it long term I don't recommend that it sits out.) Instead, keep it in you fridge and eat it before 2-3 months. Also. ** If the lid did not seal do not fret! The jam is still good to eat! It just needs to be eaten first and within 2-3 days. =) 
I'm so happy that my little tomato plants did it. From little seeds to 7 foot giants! =) I hope my grandpa would have been proud. <3

-Andrea

The Half-Assed Hobbyist