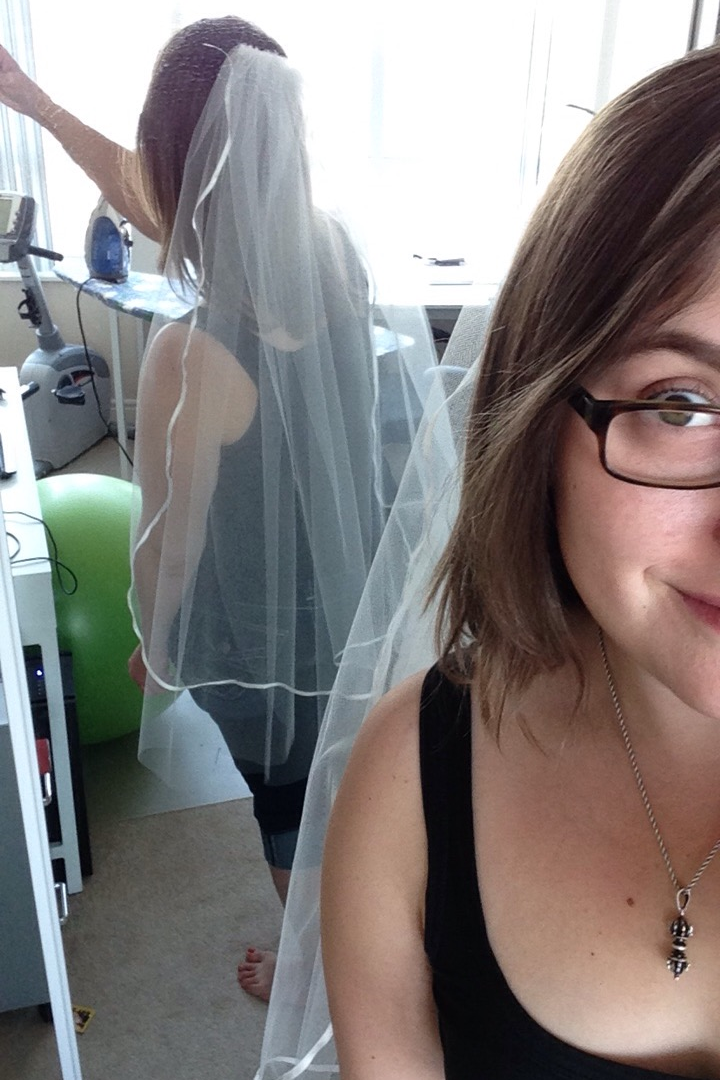
My lovely lady Jessica got married in the Beautiful Rockies of Alberta this past August. It was a simply Breathtaking ceremony, right on a cliff opening up to the Amazing view. Spectacular. I have known Jess since we were 5 years old, and I blatantly stalked her in kindergarten until she became my friend. (True friendships = someone is Always the creeper.) She is one of the most important people in my life and I'm so glad I got to share in her and Jon's day. <3
I also got to make her veil for her too!
Wedding veils are one of the many wedding items that are Stupid expensive. Especially when the actual cost of the mesh and comb and various trimmings is typically no where close to the sale cost of the veil. While shopping for a wedding dress with Jess, we tried on veils that were over $300. Most of which didn't even have any embellishments; straight up mesh on a comb. So I offered to make her a veil instead.
Of course, making a veil in itself has it's issues, not helped by the fact that I moved 3100kms across the country.... But we did it! And here's my story on how.
First thing, what kind of veil did she want? There are many different kinds (which I found out). From variations in length to how many layers to how the mesh falls either down the back or over the shoulders, there are a lot of factors.
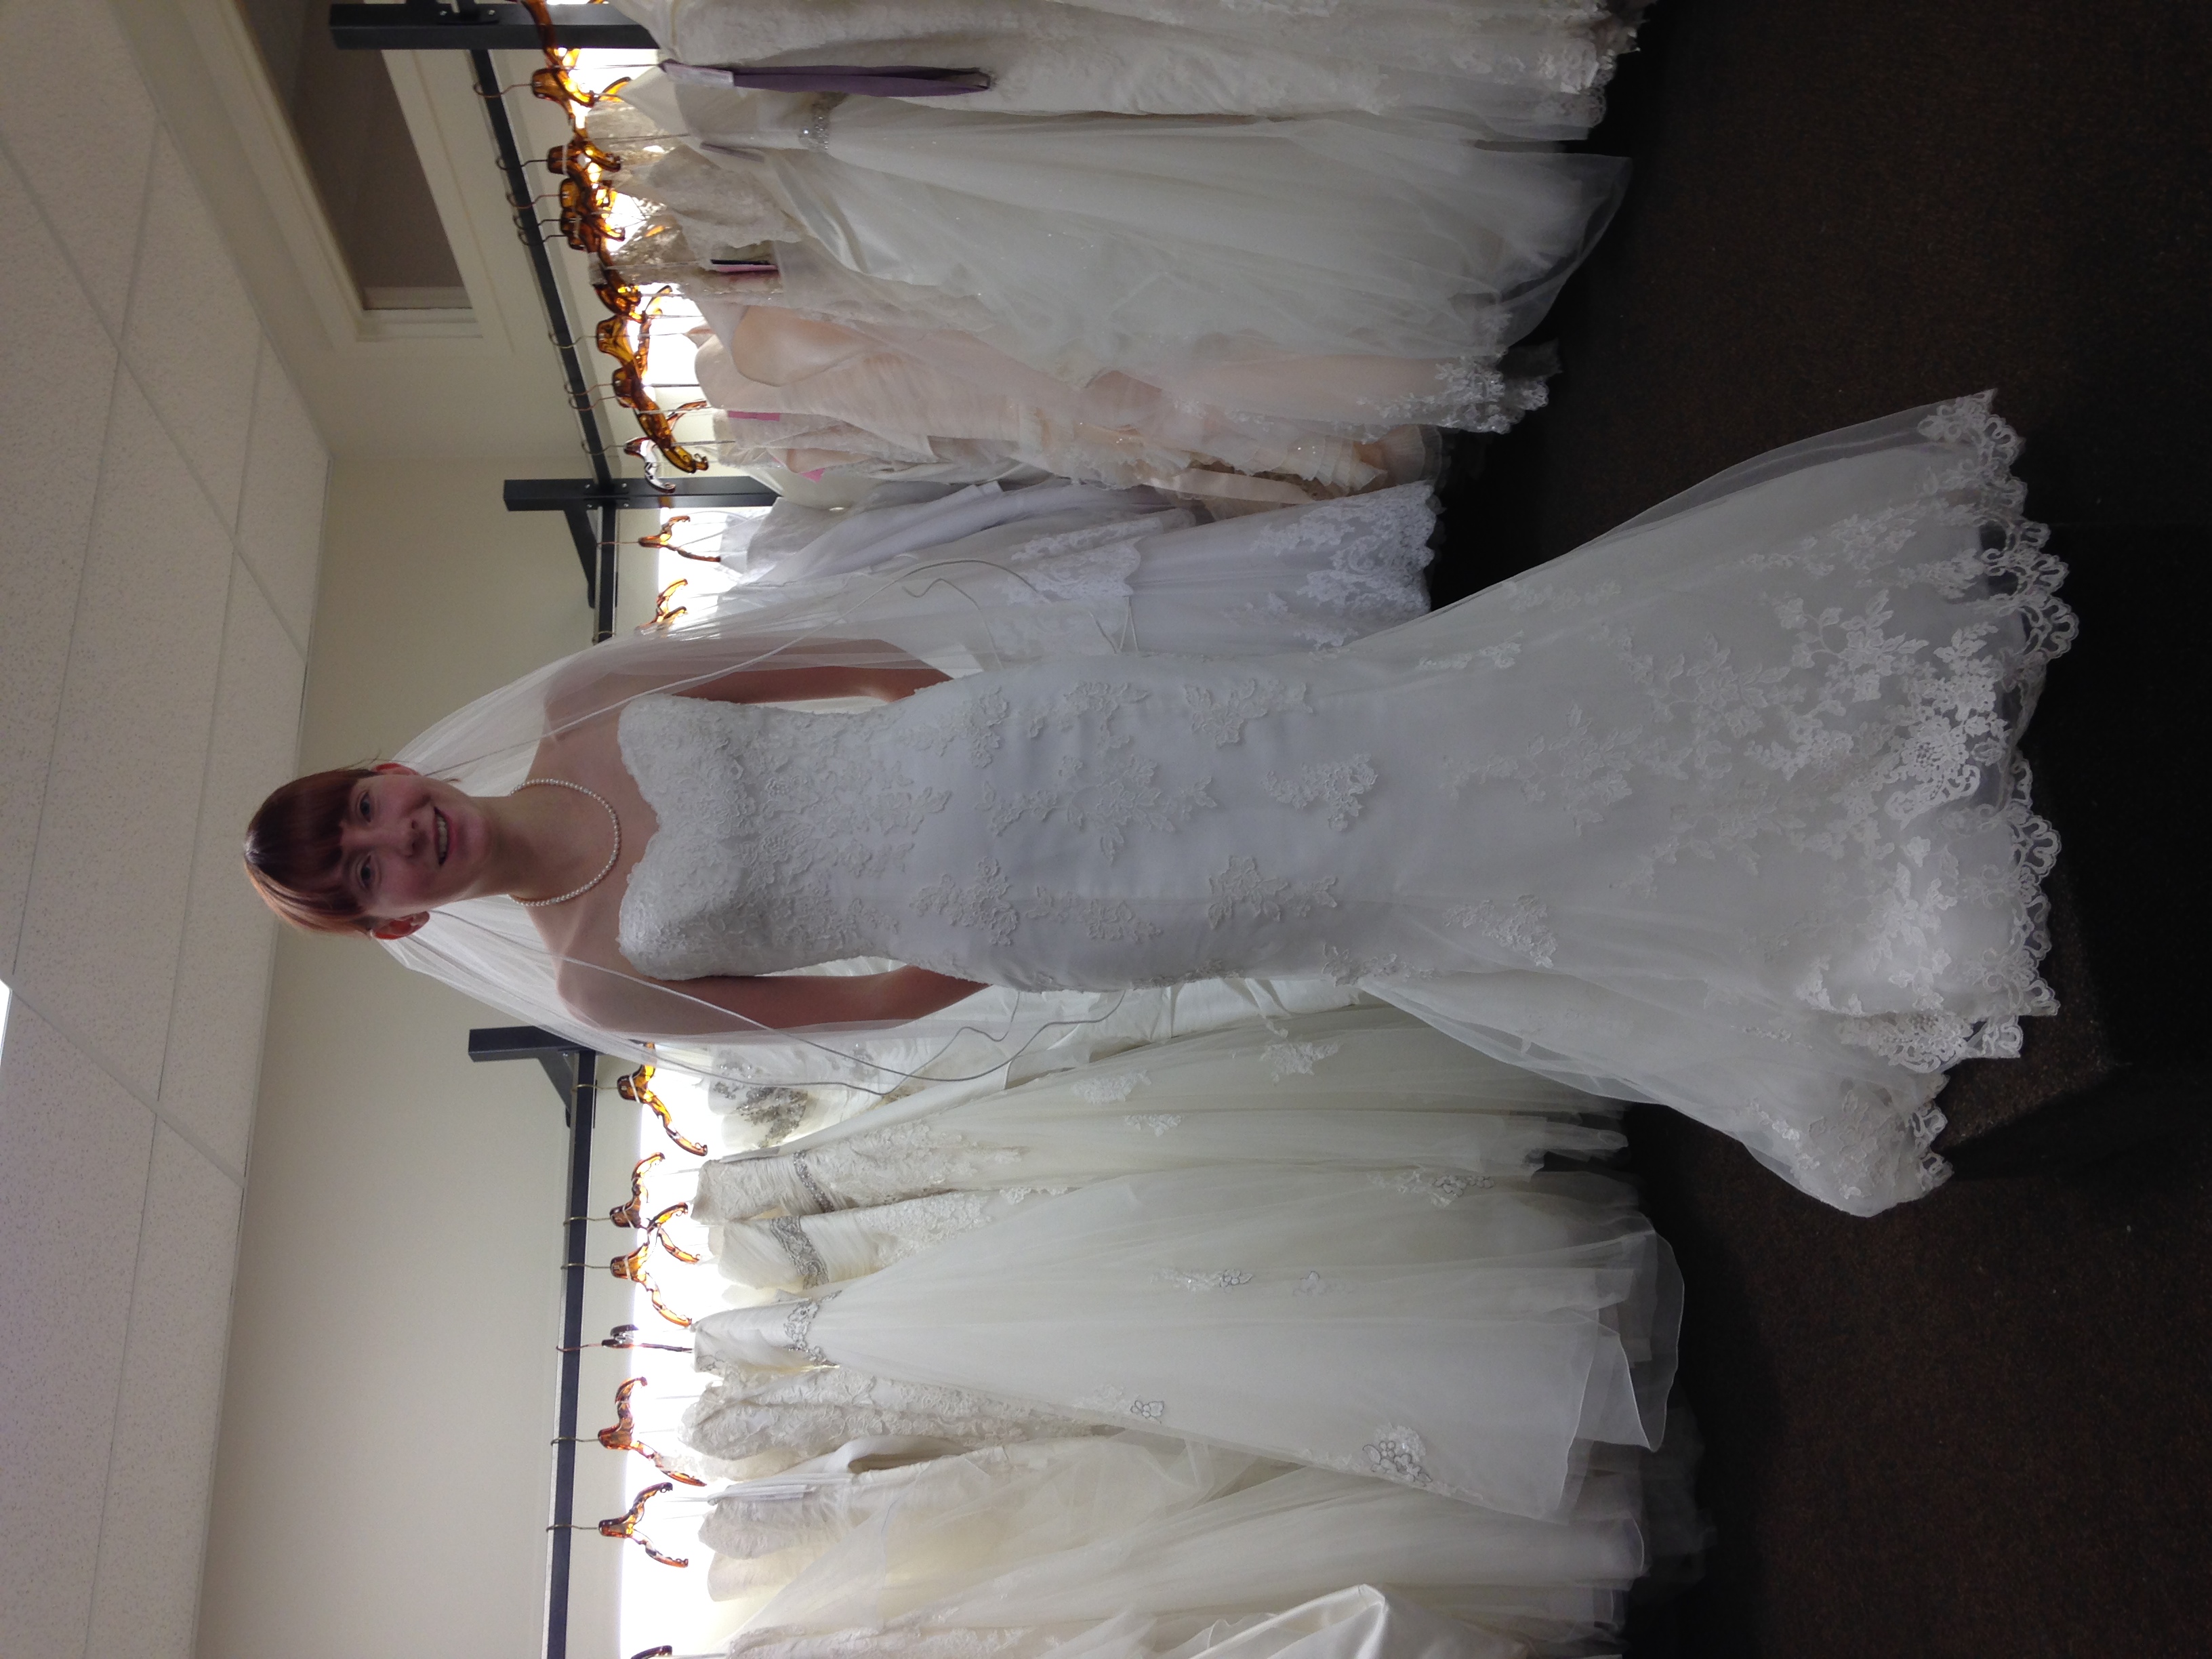

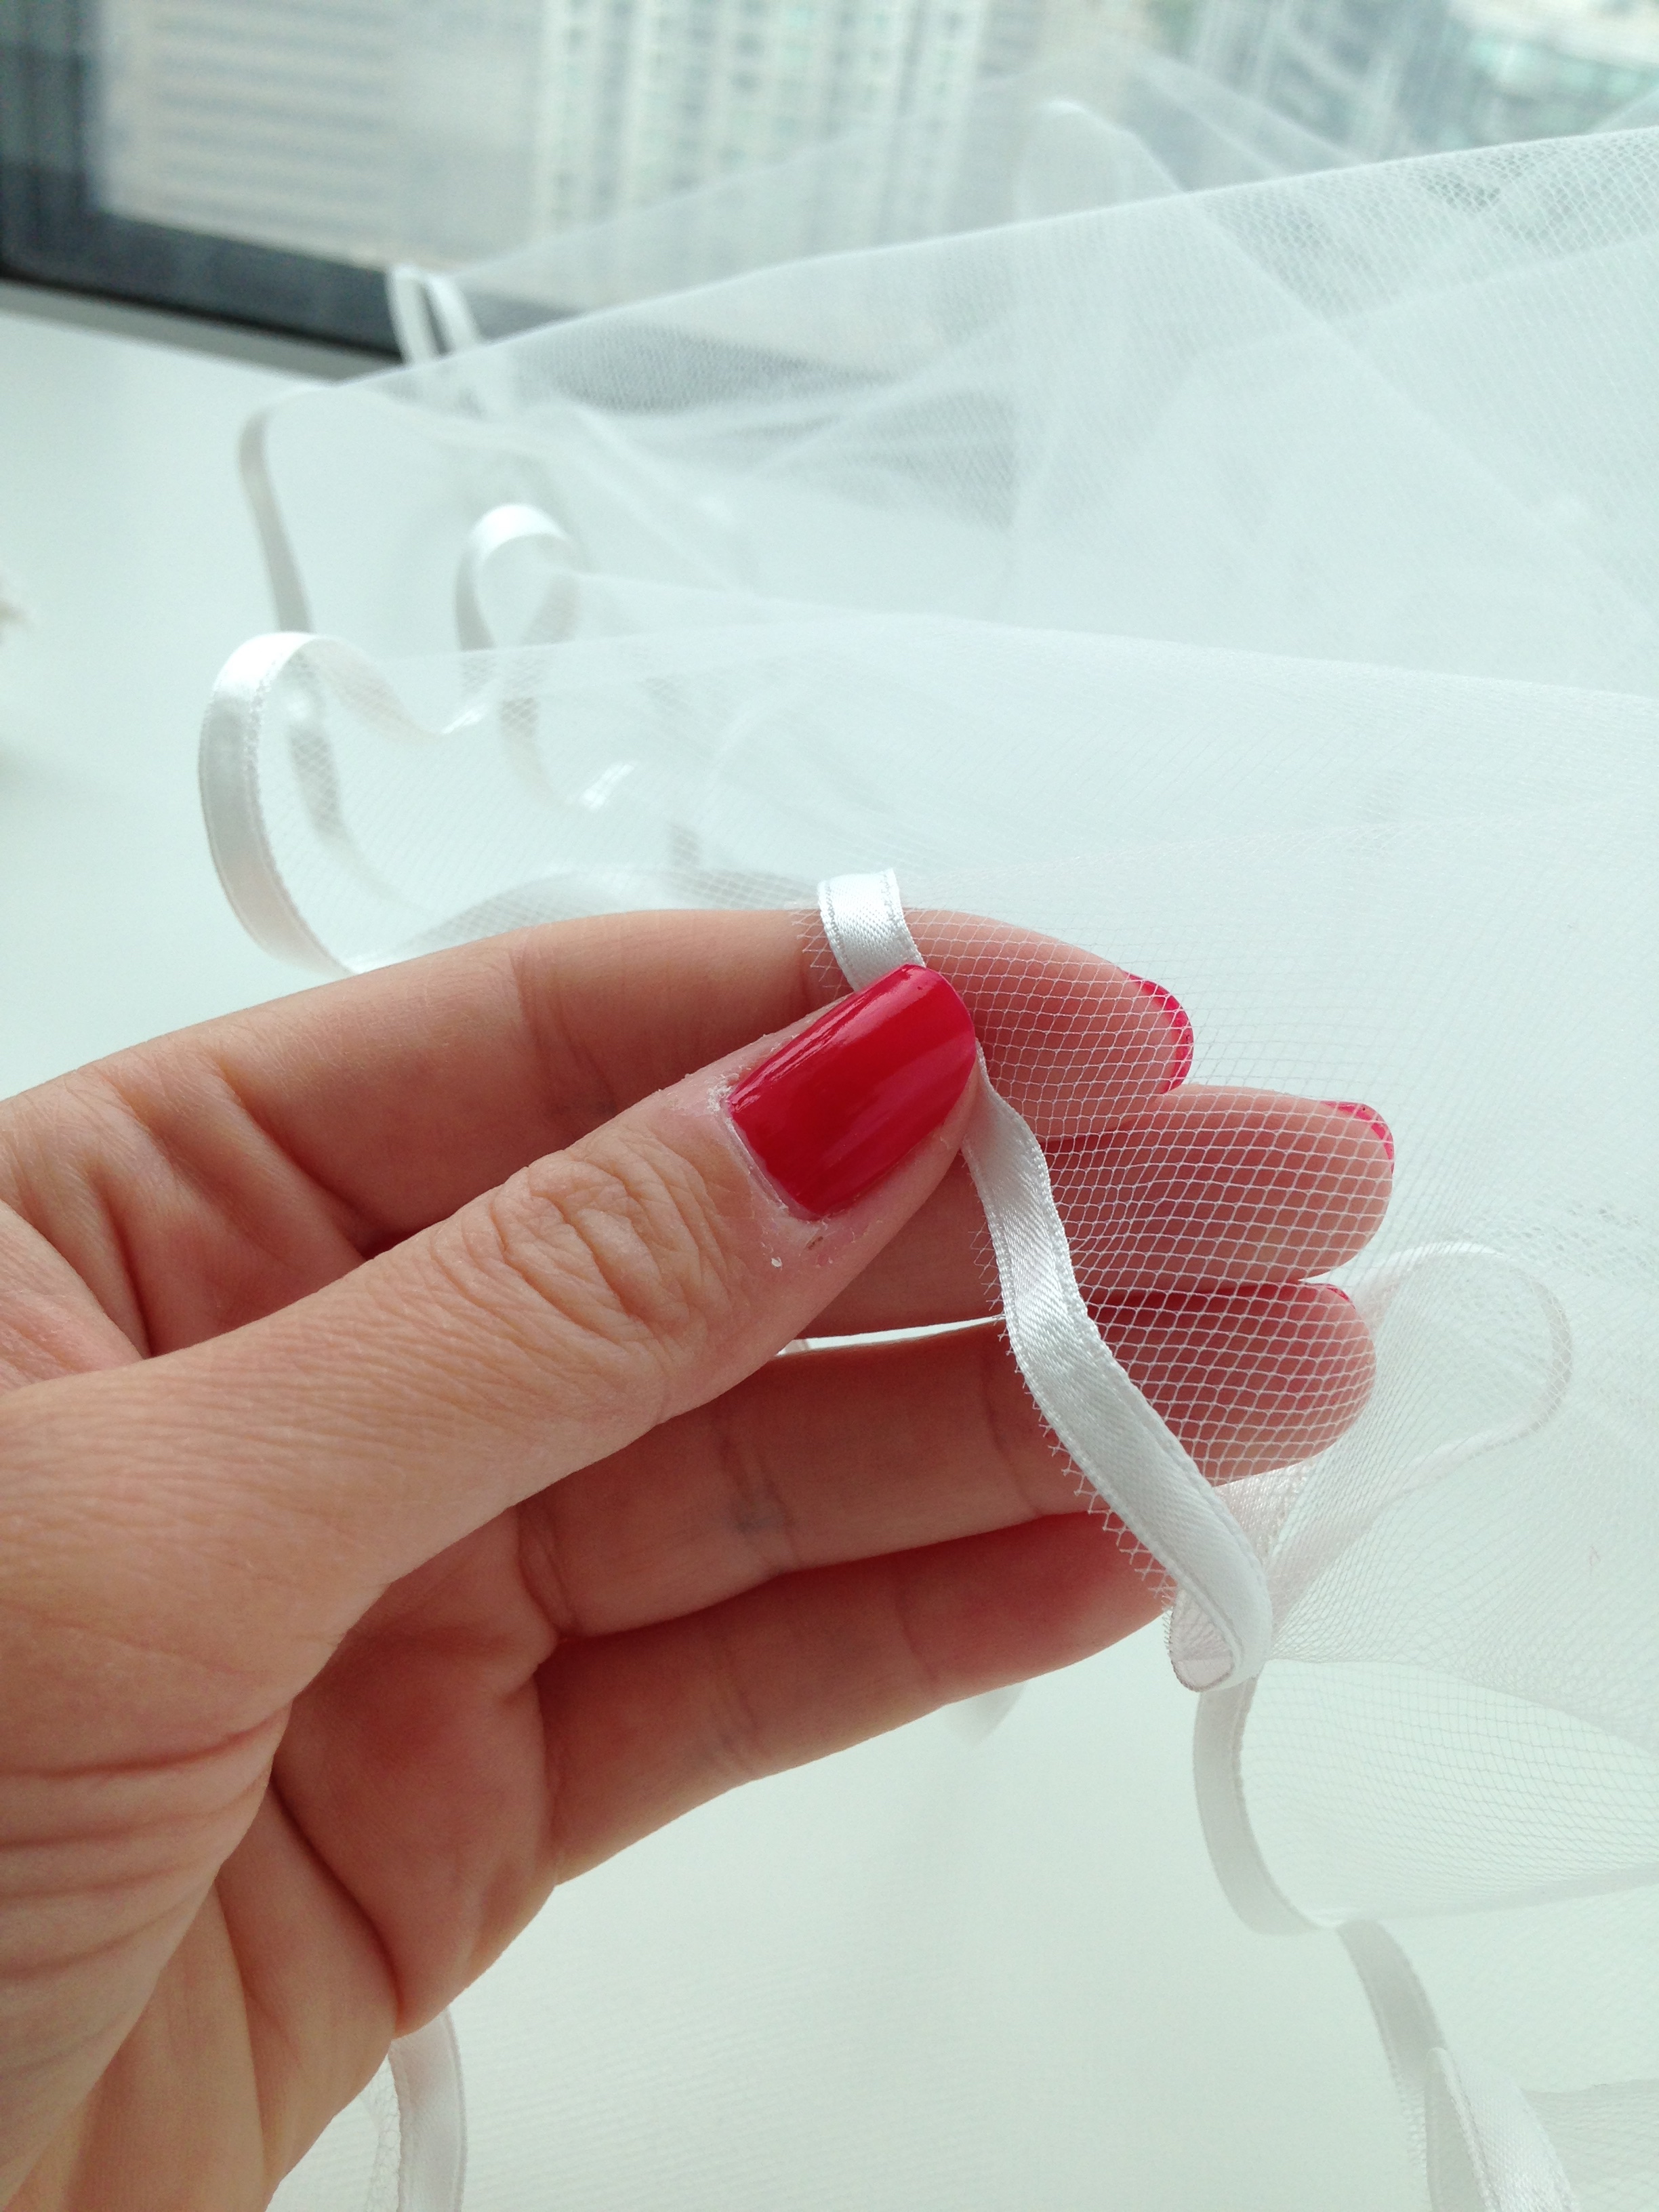
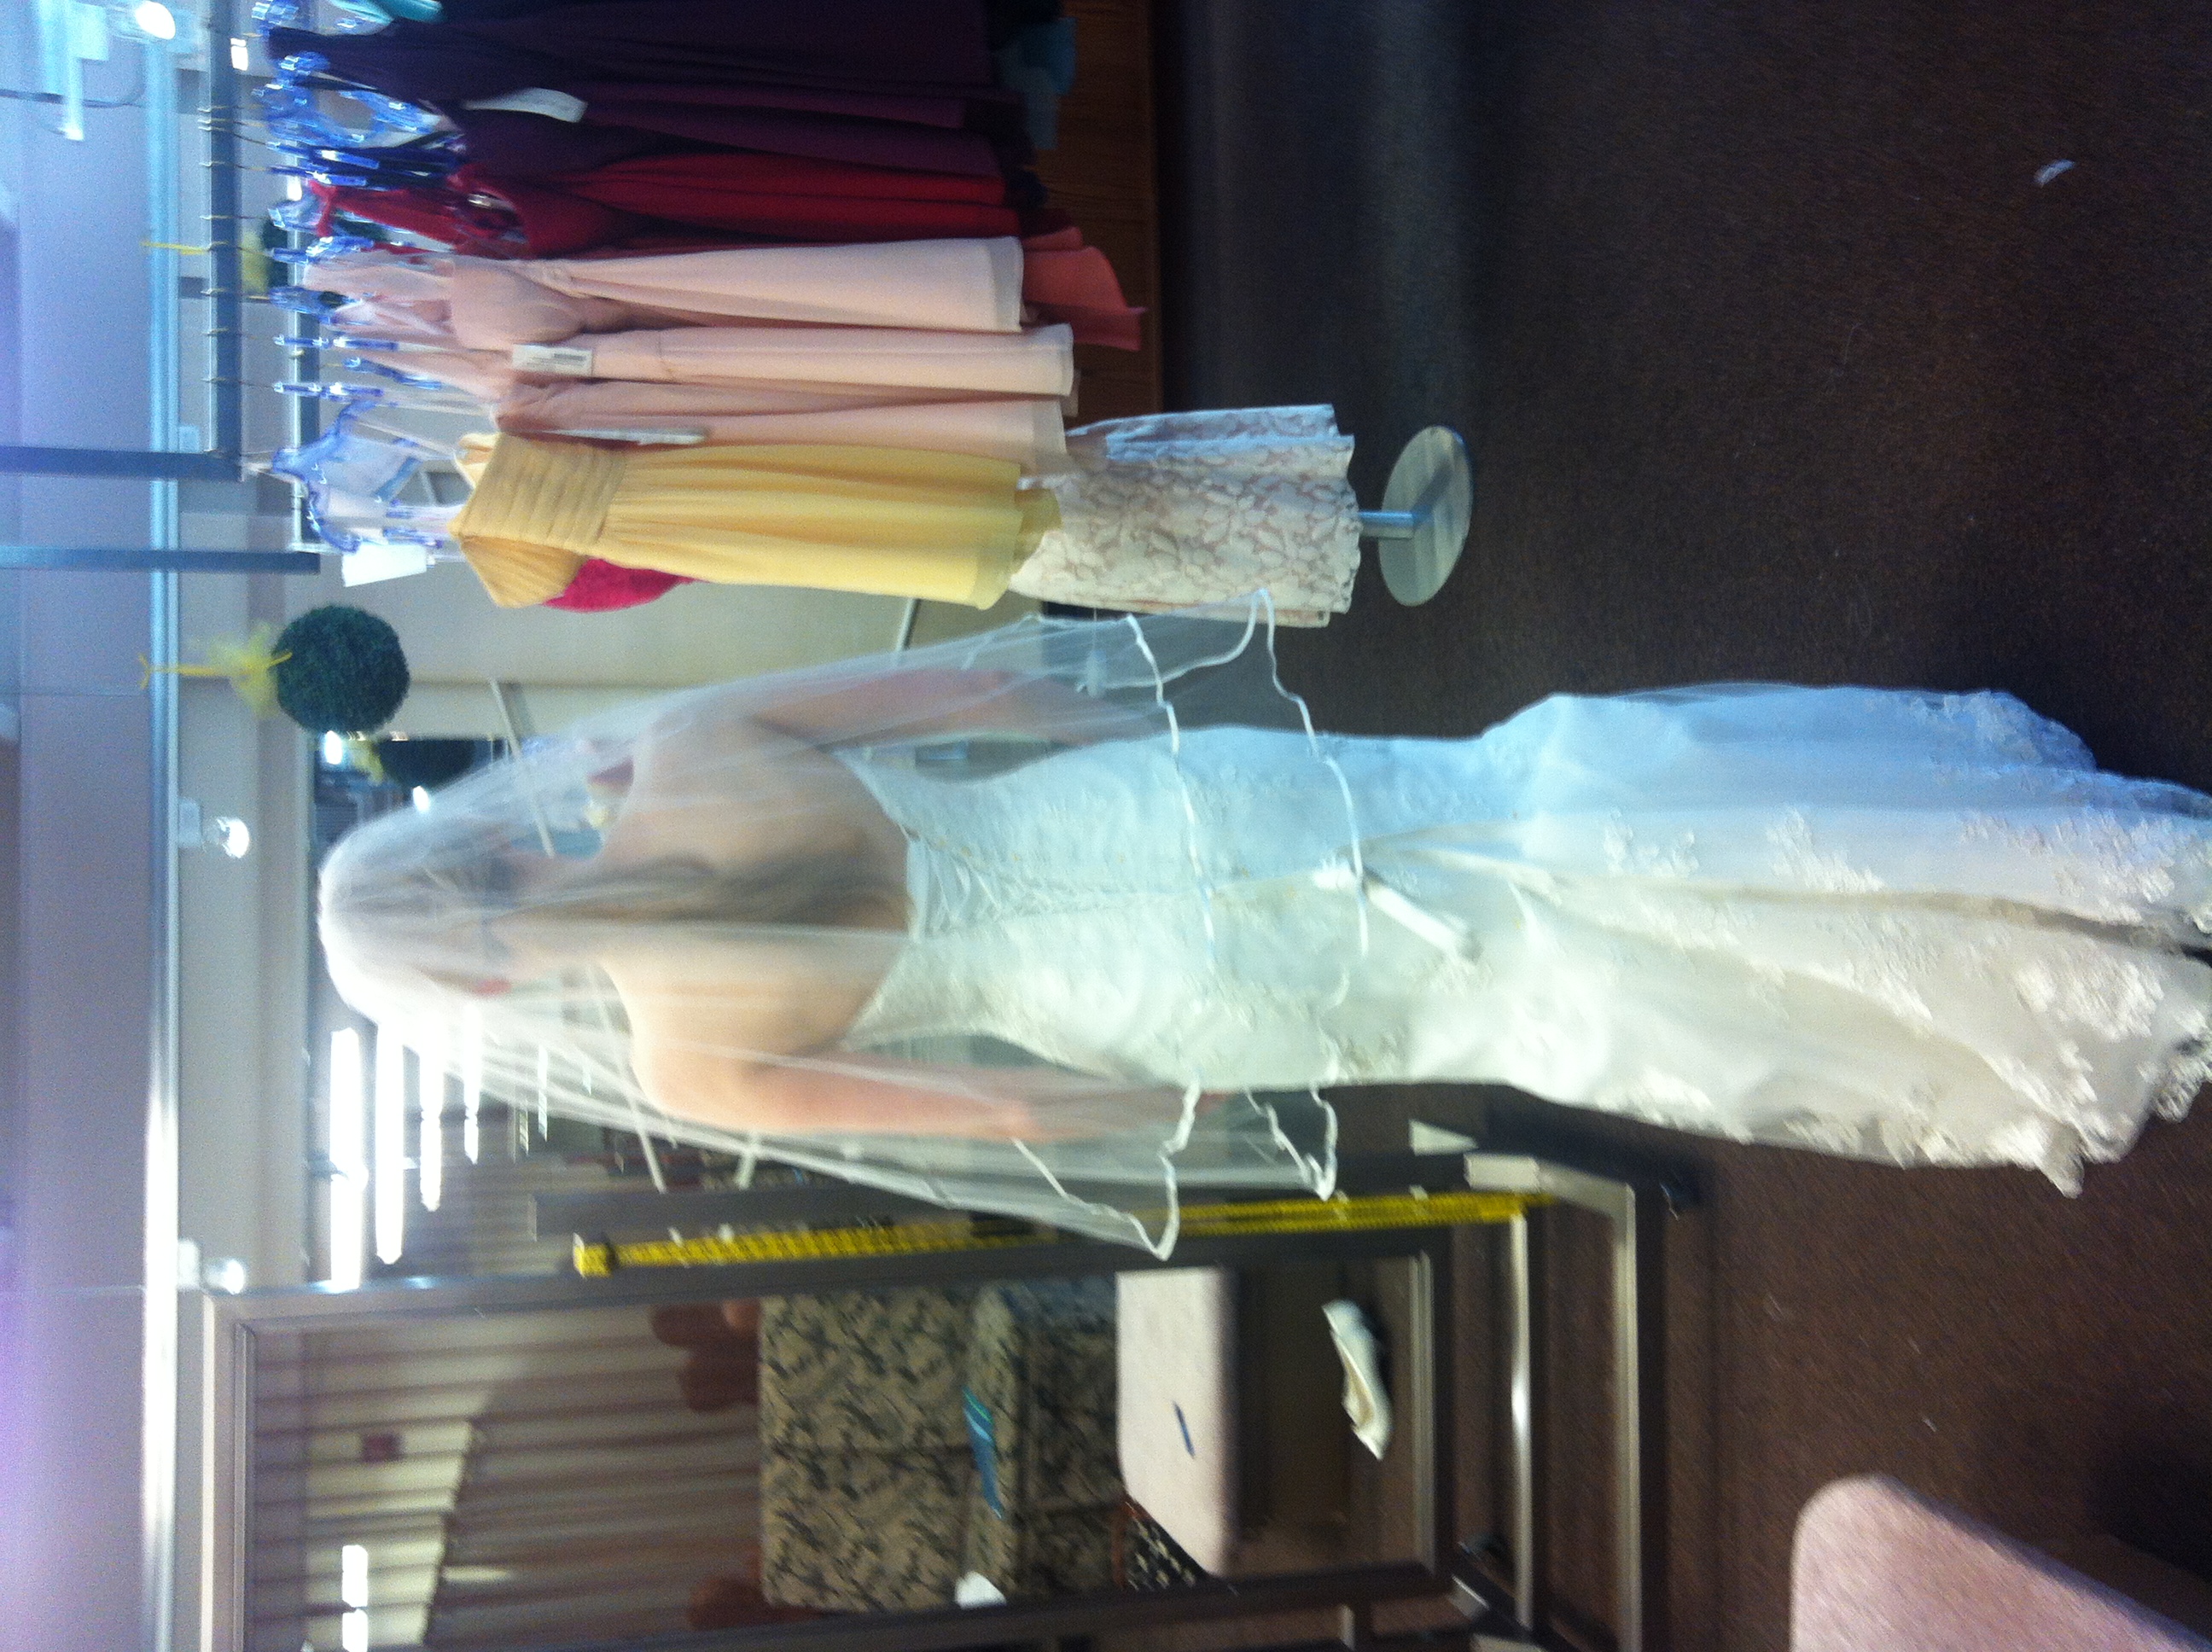
Jess decided on a two tiered veil with a ribbon trim, similar to one she liked from a bridal shop. I started the recreation.
I bought the mesh from a store on Dufferin St called Finer Fabrics Ltd. The place has basically no internet presence. I actually stumbled upon it walking after I went to a very disappointing Fabricland. It was a good thing because Finer Fabrics is Amazing. The guy who owns and runs it is of the old school of tailoring and sewing. Quite a rarity in this day and age. His fabric is of the highest quality. I haven't seen quality like this since the old Sig Plach in Edmonton closed down. I bought his finest Italian ivory mesh and went on my way.
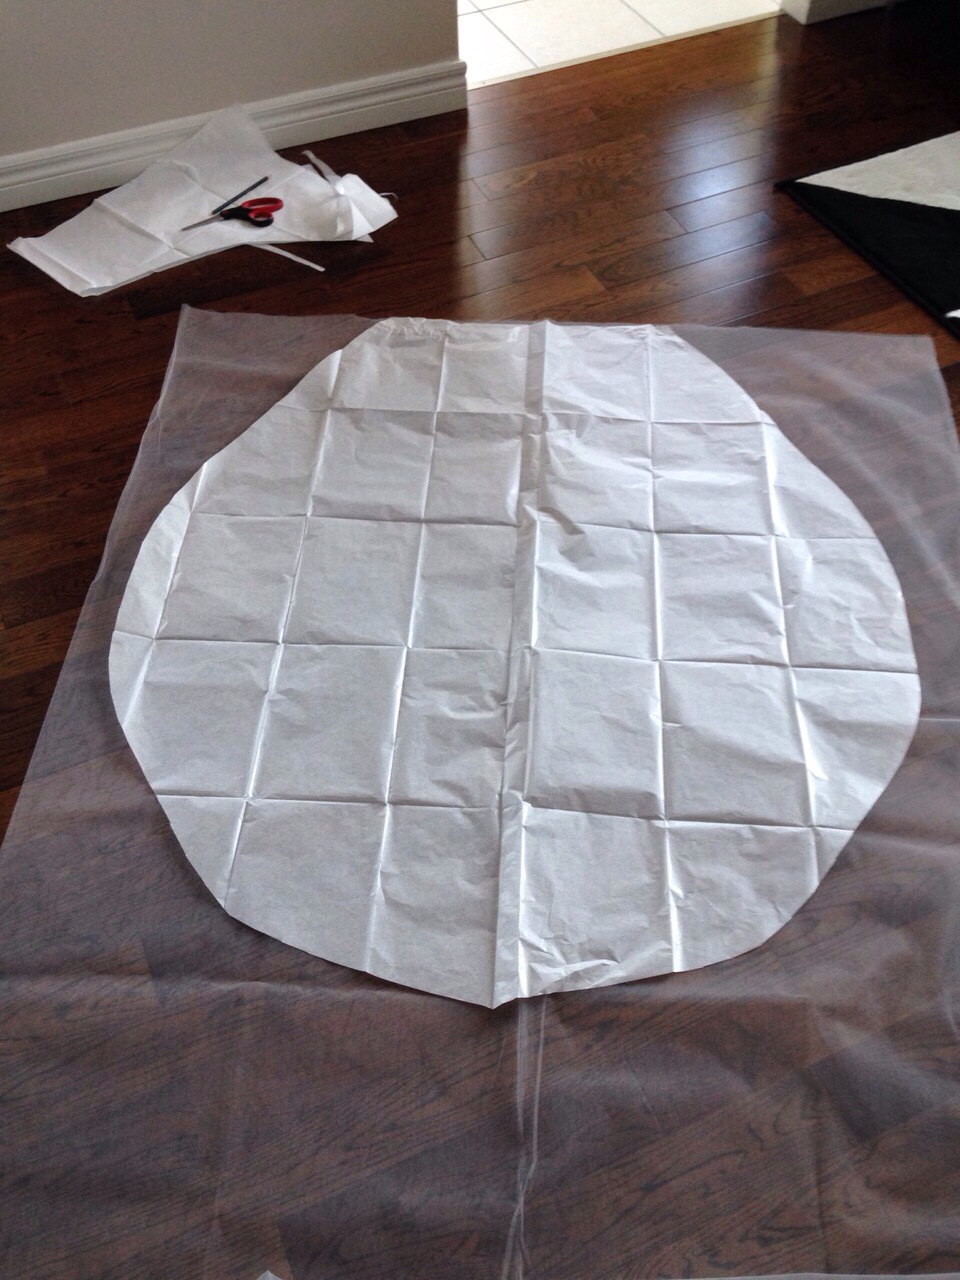
Next was to make a pattern. I have made a veil before but I went a researched patterns anyway, specifically draping. It's about at this point where I started to realize the reason veils are so flipping expensive is because they're annoying to make. Only insane people like dealing with tulle.
Oh wait. (Hah.)
Almost Done!
I found the comb at a bridal store that begrudgingly charged me $5 for it. In retrospect, I could have ordered 30 combs from China for that price, but retrospect is always so well informed.
After I made my pattern to length, via skyped butt measurements, I cut out my mesh and basted the top pieces for gathering. Once gathered to fit onto the comb's length, I basted the two tiers together. Ready for comb attachment! I decided to make fasten the veil right to the comb. I know many designs have detachable mesh/comb, but I didn't want this sucker to go anywhere.
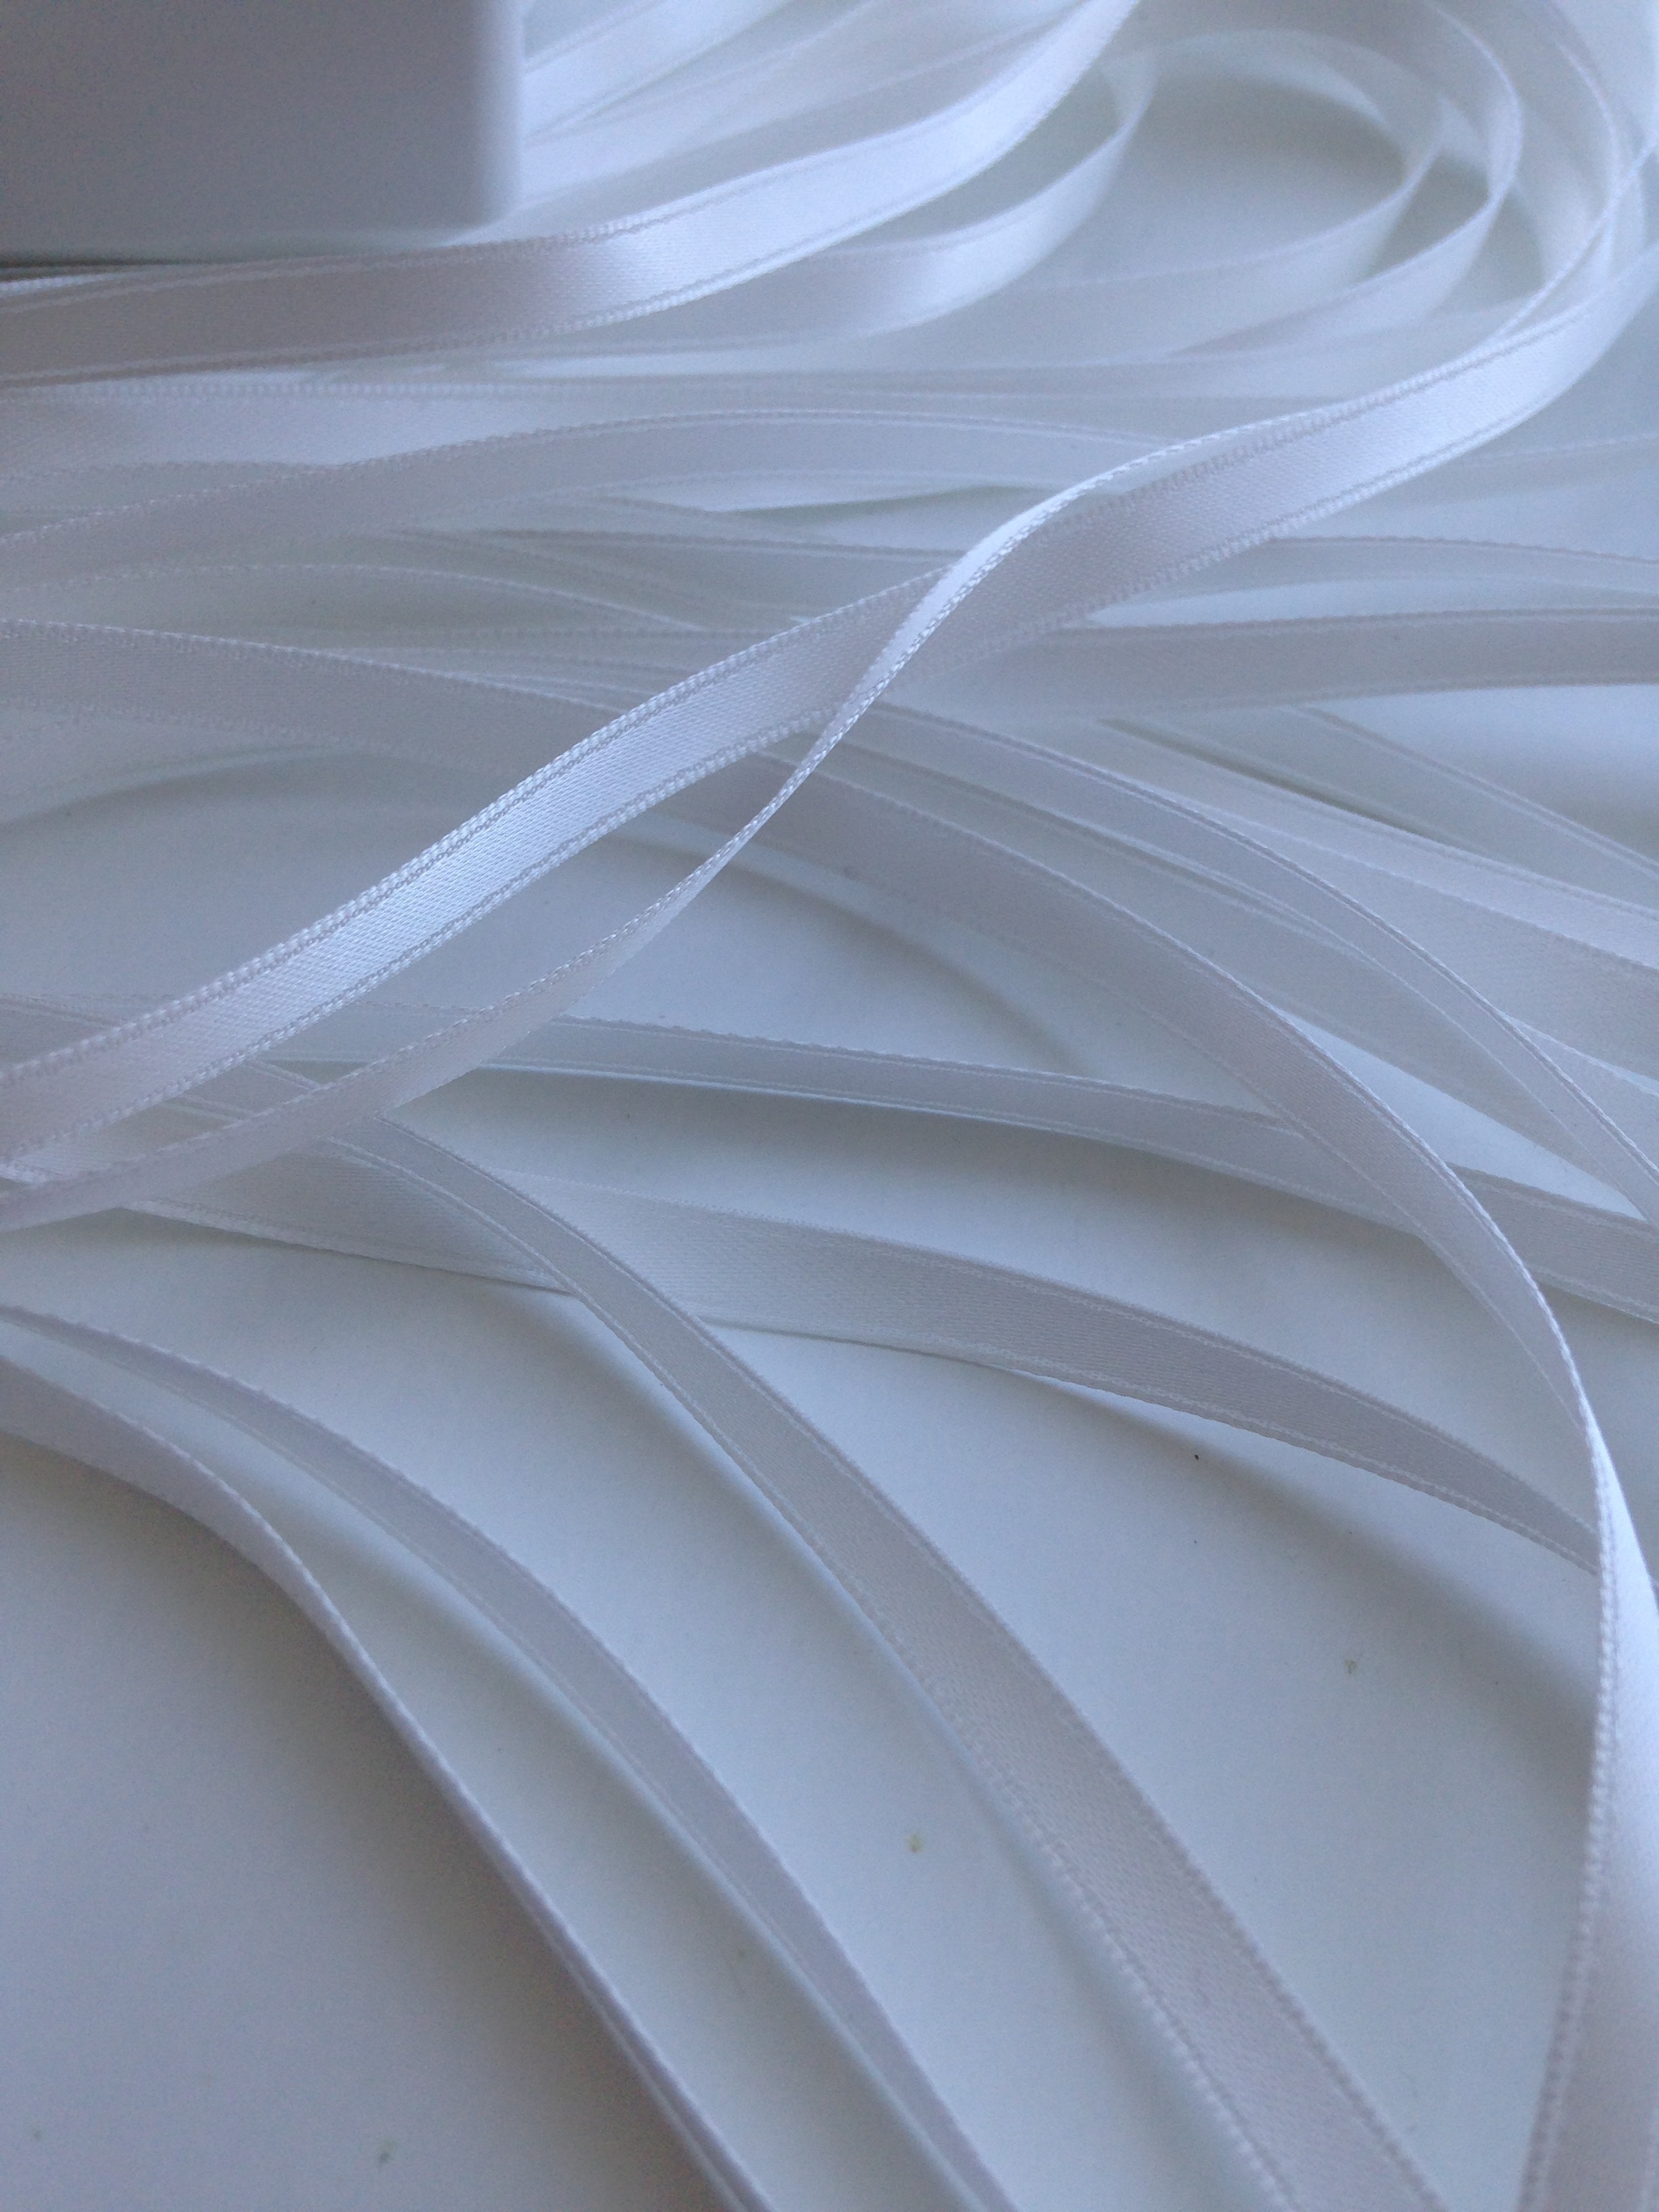
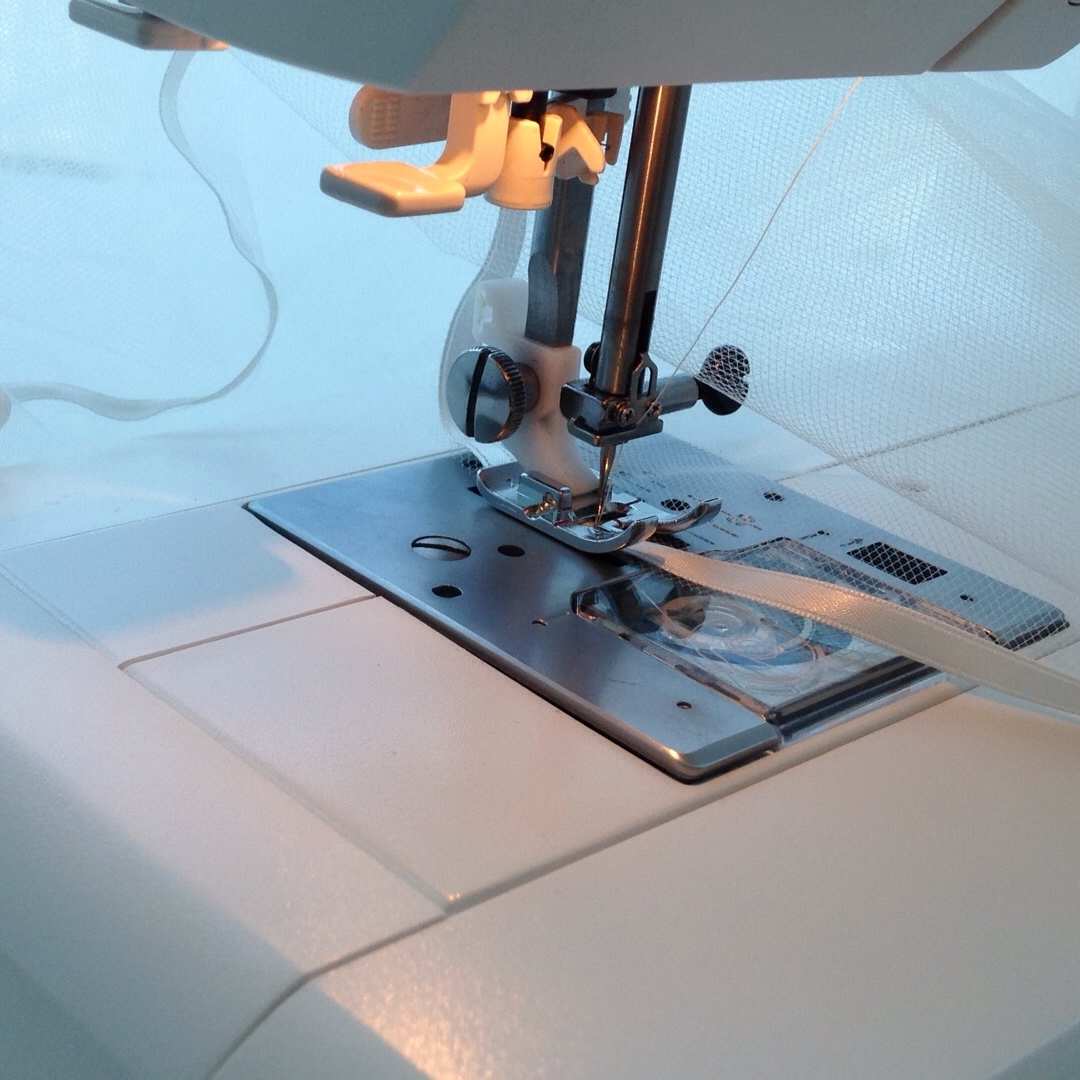
I bought the ribbon from a place called Mokuba on Queen West downtown Toronto. It was ribbon heaven. I had to leave before I got tangled in the lushious ribbon walls. At home, I contoured the veil edges in the ribbon with my handy dandy sewing machine. I used a light zigzag stitch as the mesh is stretchy and I wanted it to lay flat. Success!!
Once finished I shipped it across the country with the BF (he was off to bachelor party on a houseboat in the shuswaps). Unfortunately it got mega smooshed. Sadly it did not retain it's ribboned wooshies over the flight. Also, the dress had been finished, and in the final fitting, decisions were made. The final decision was the viel wasn't what she wanted. No worries though. $38 down isn't bad at all.
And I had a new example to go off of!
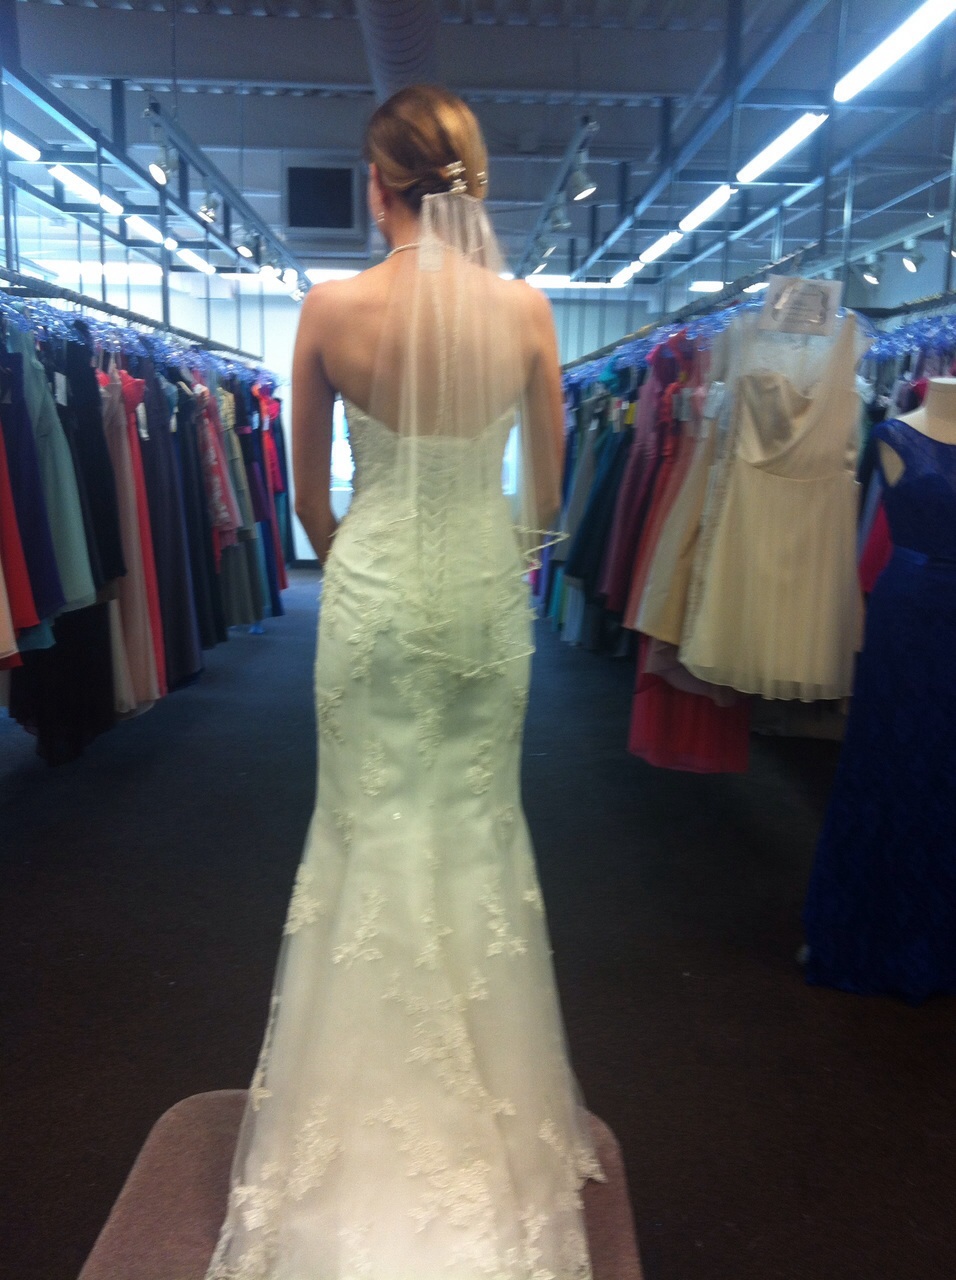
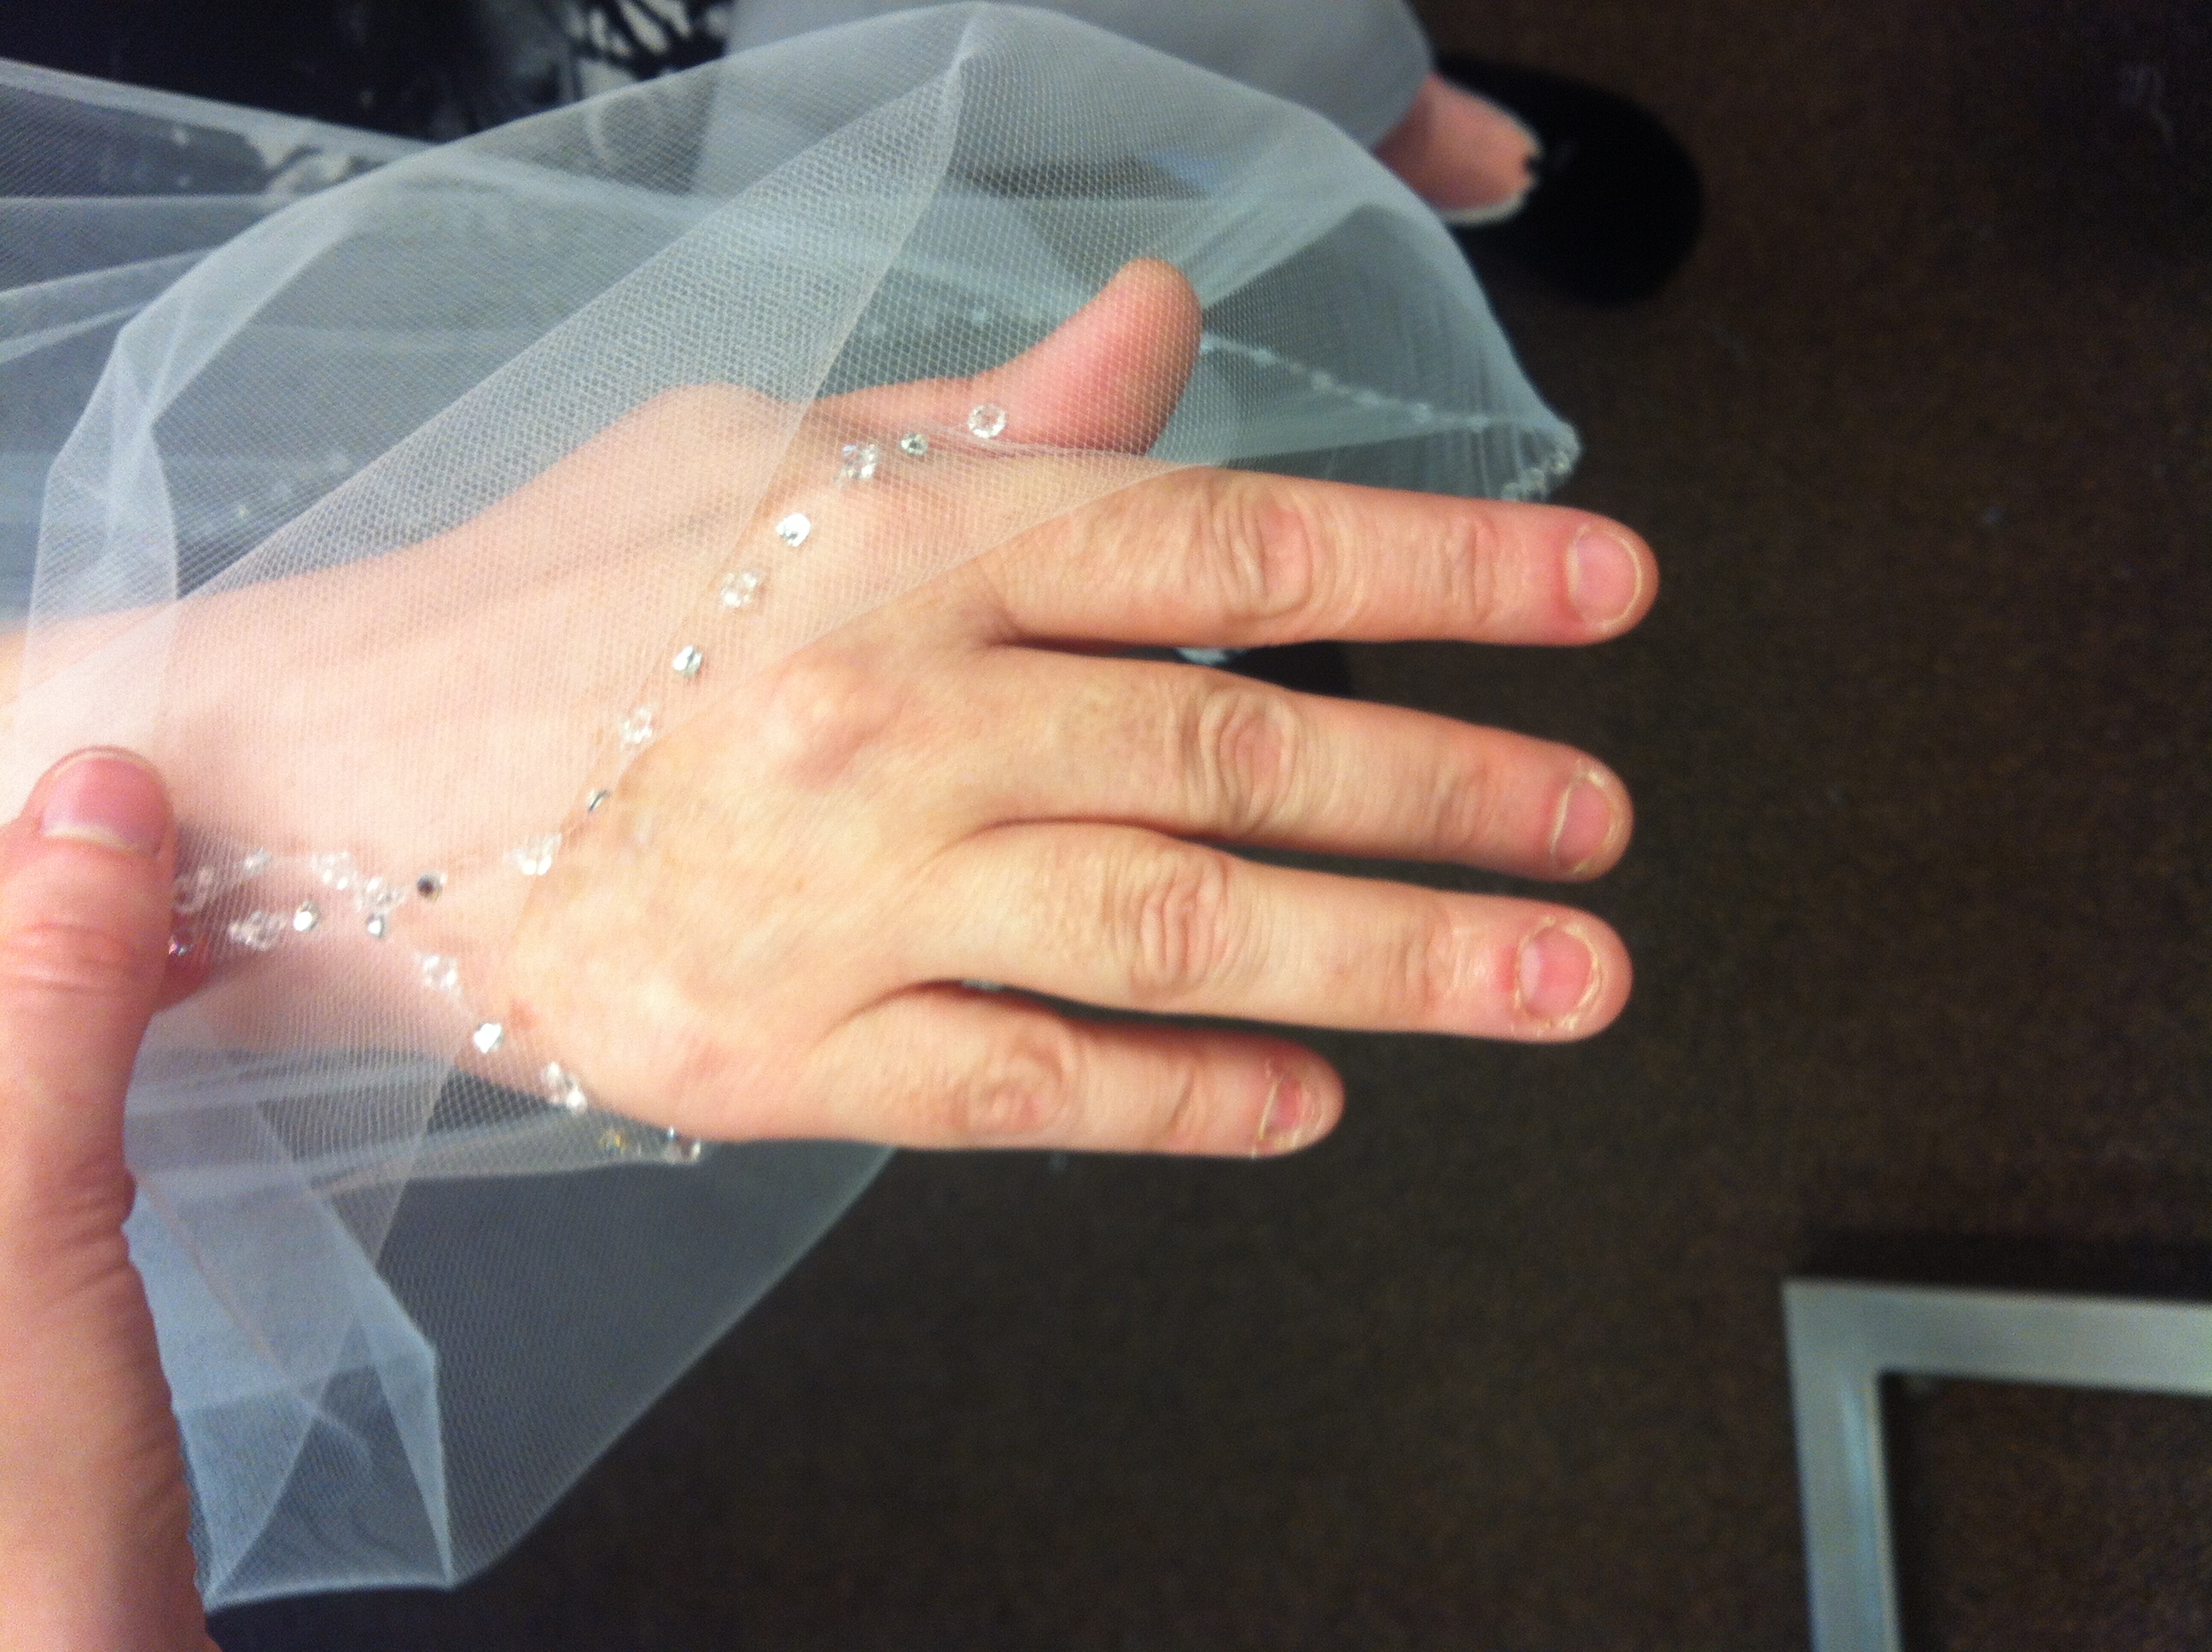
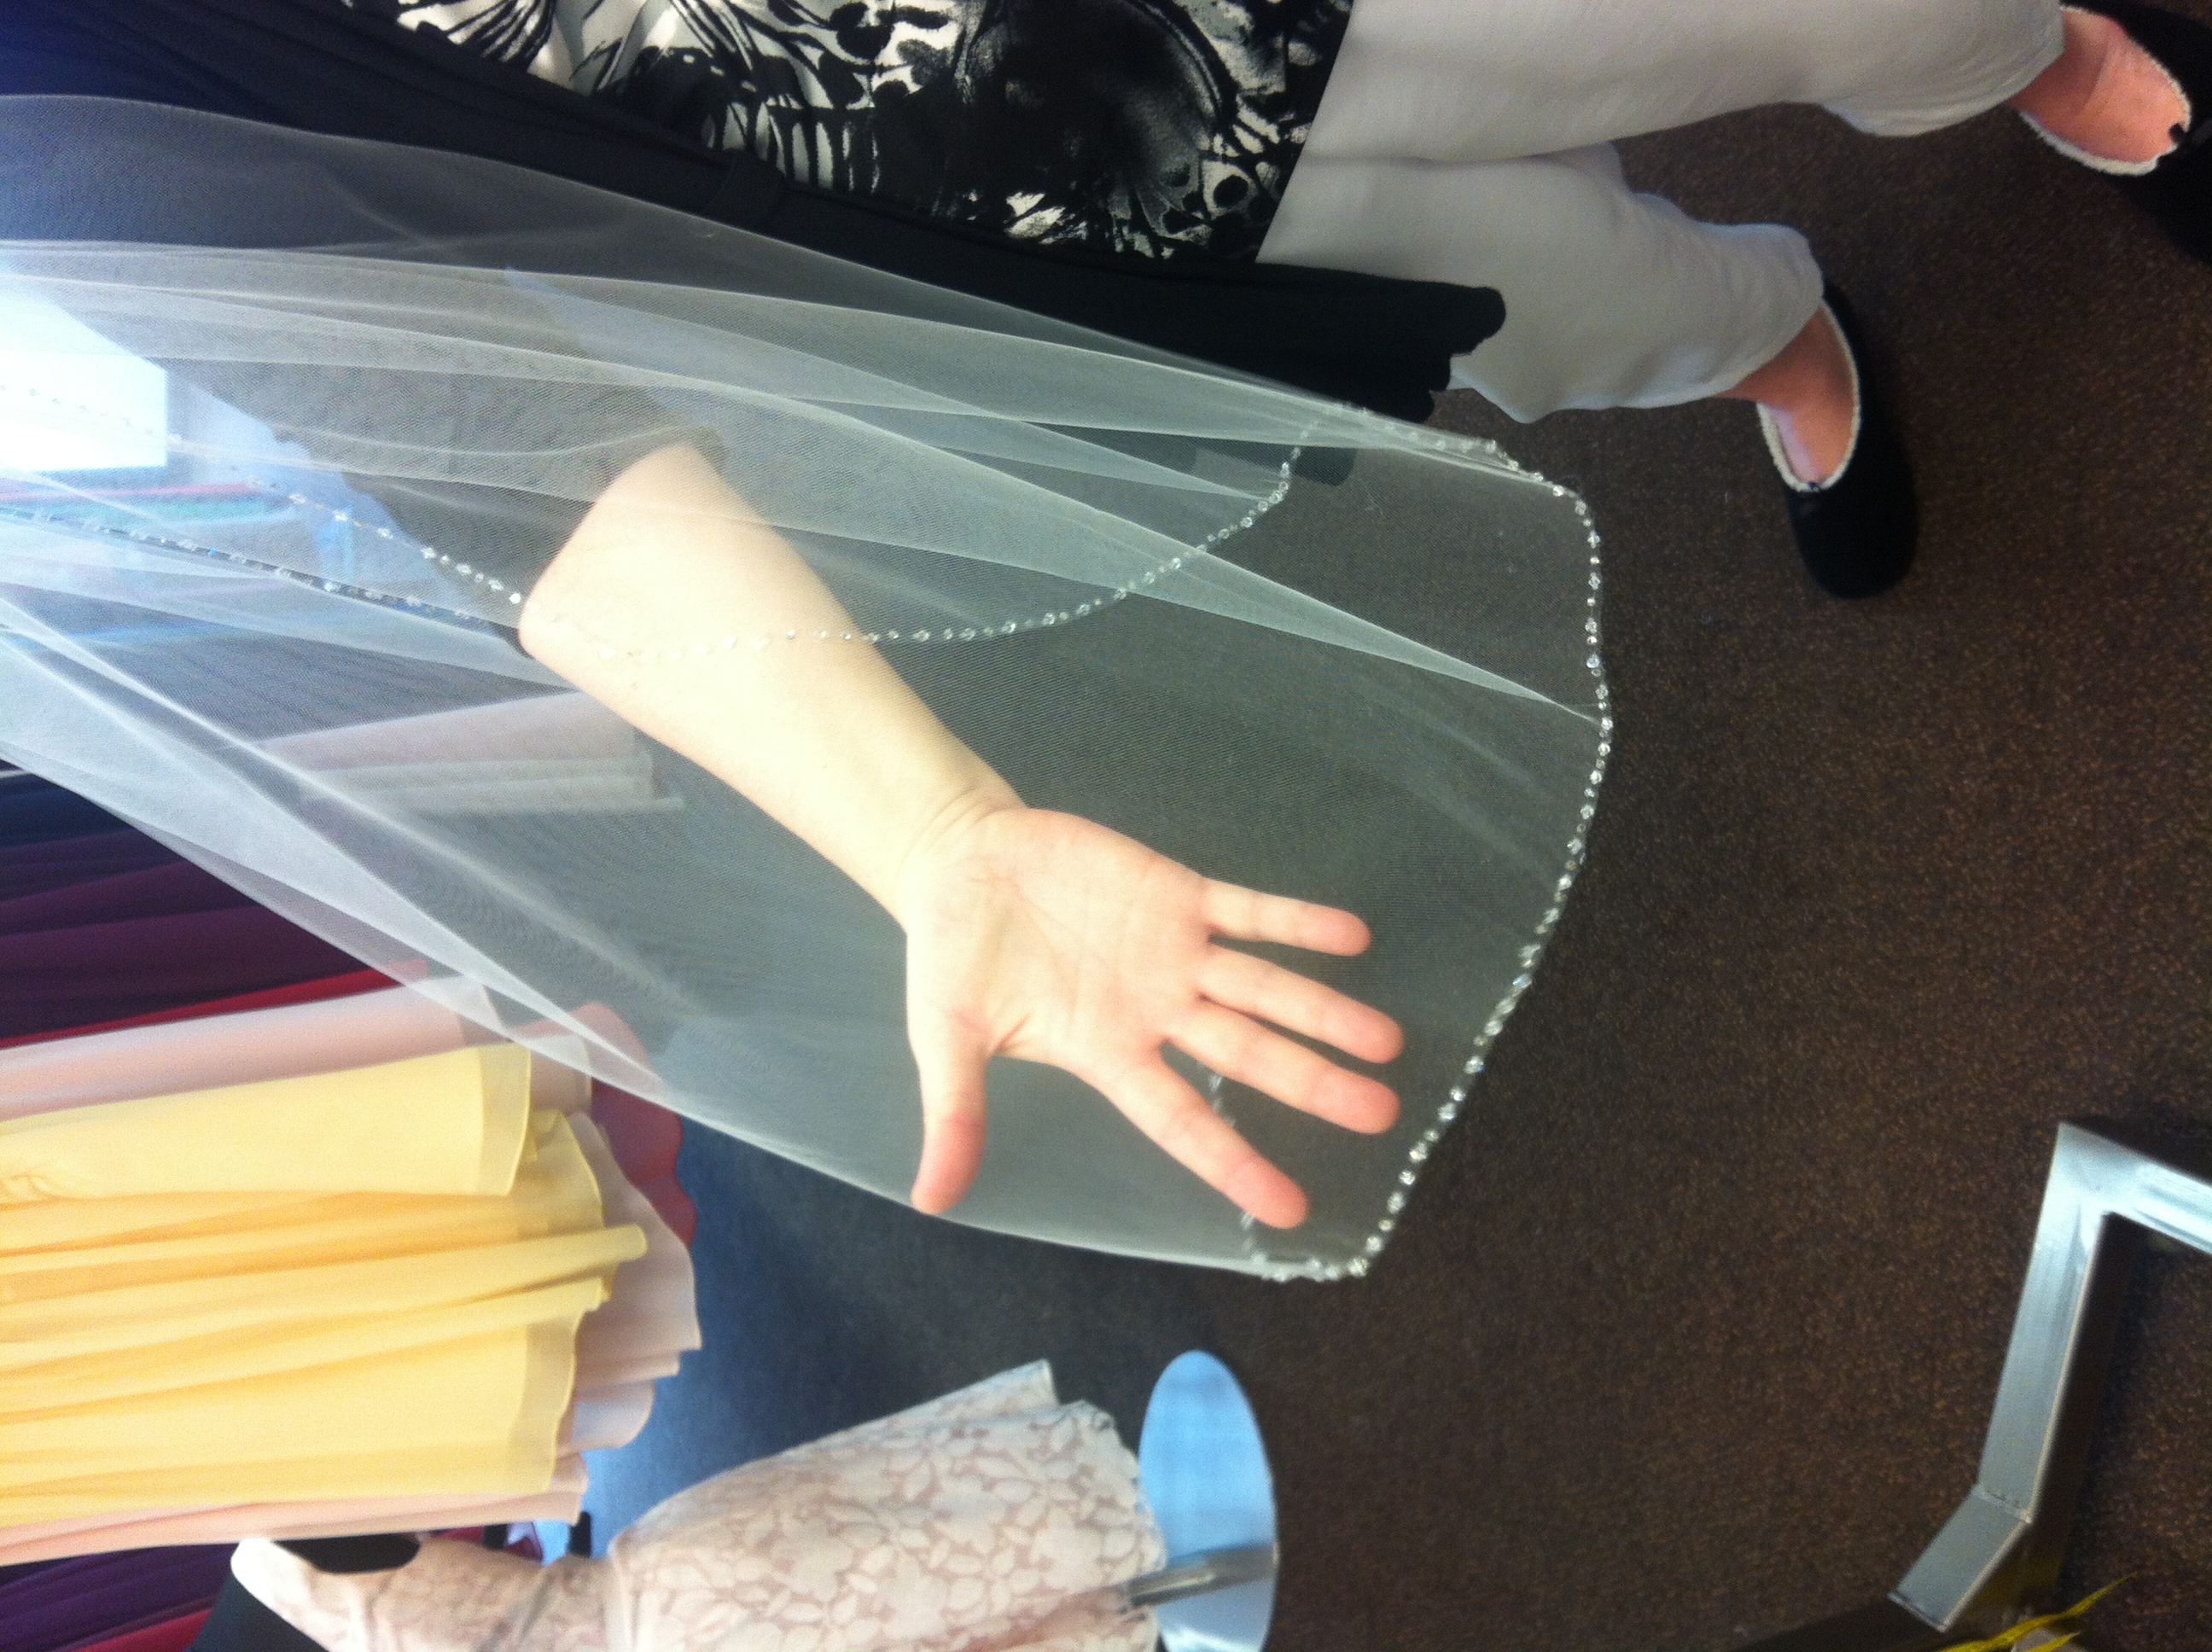
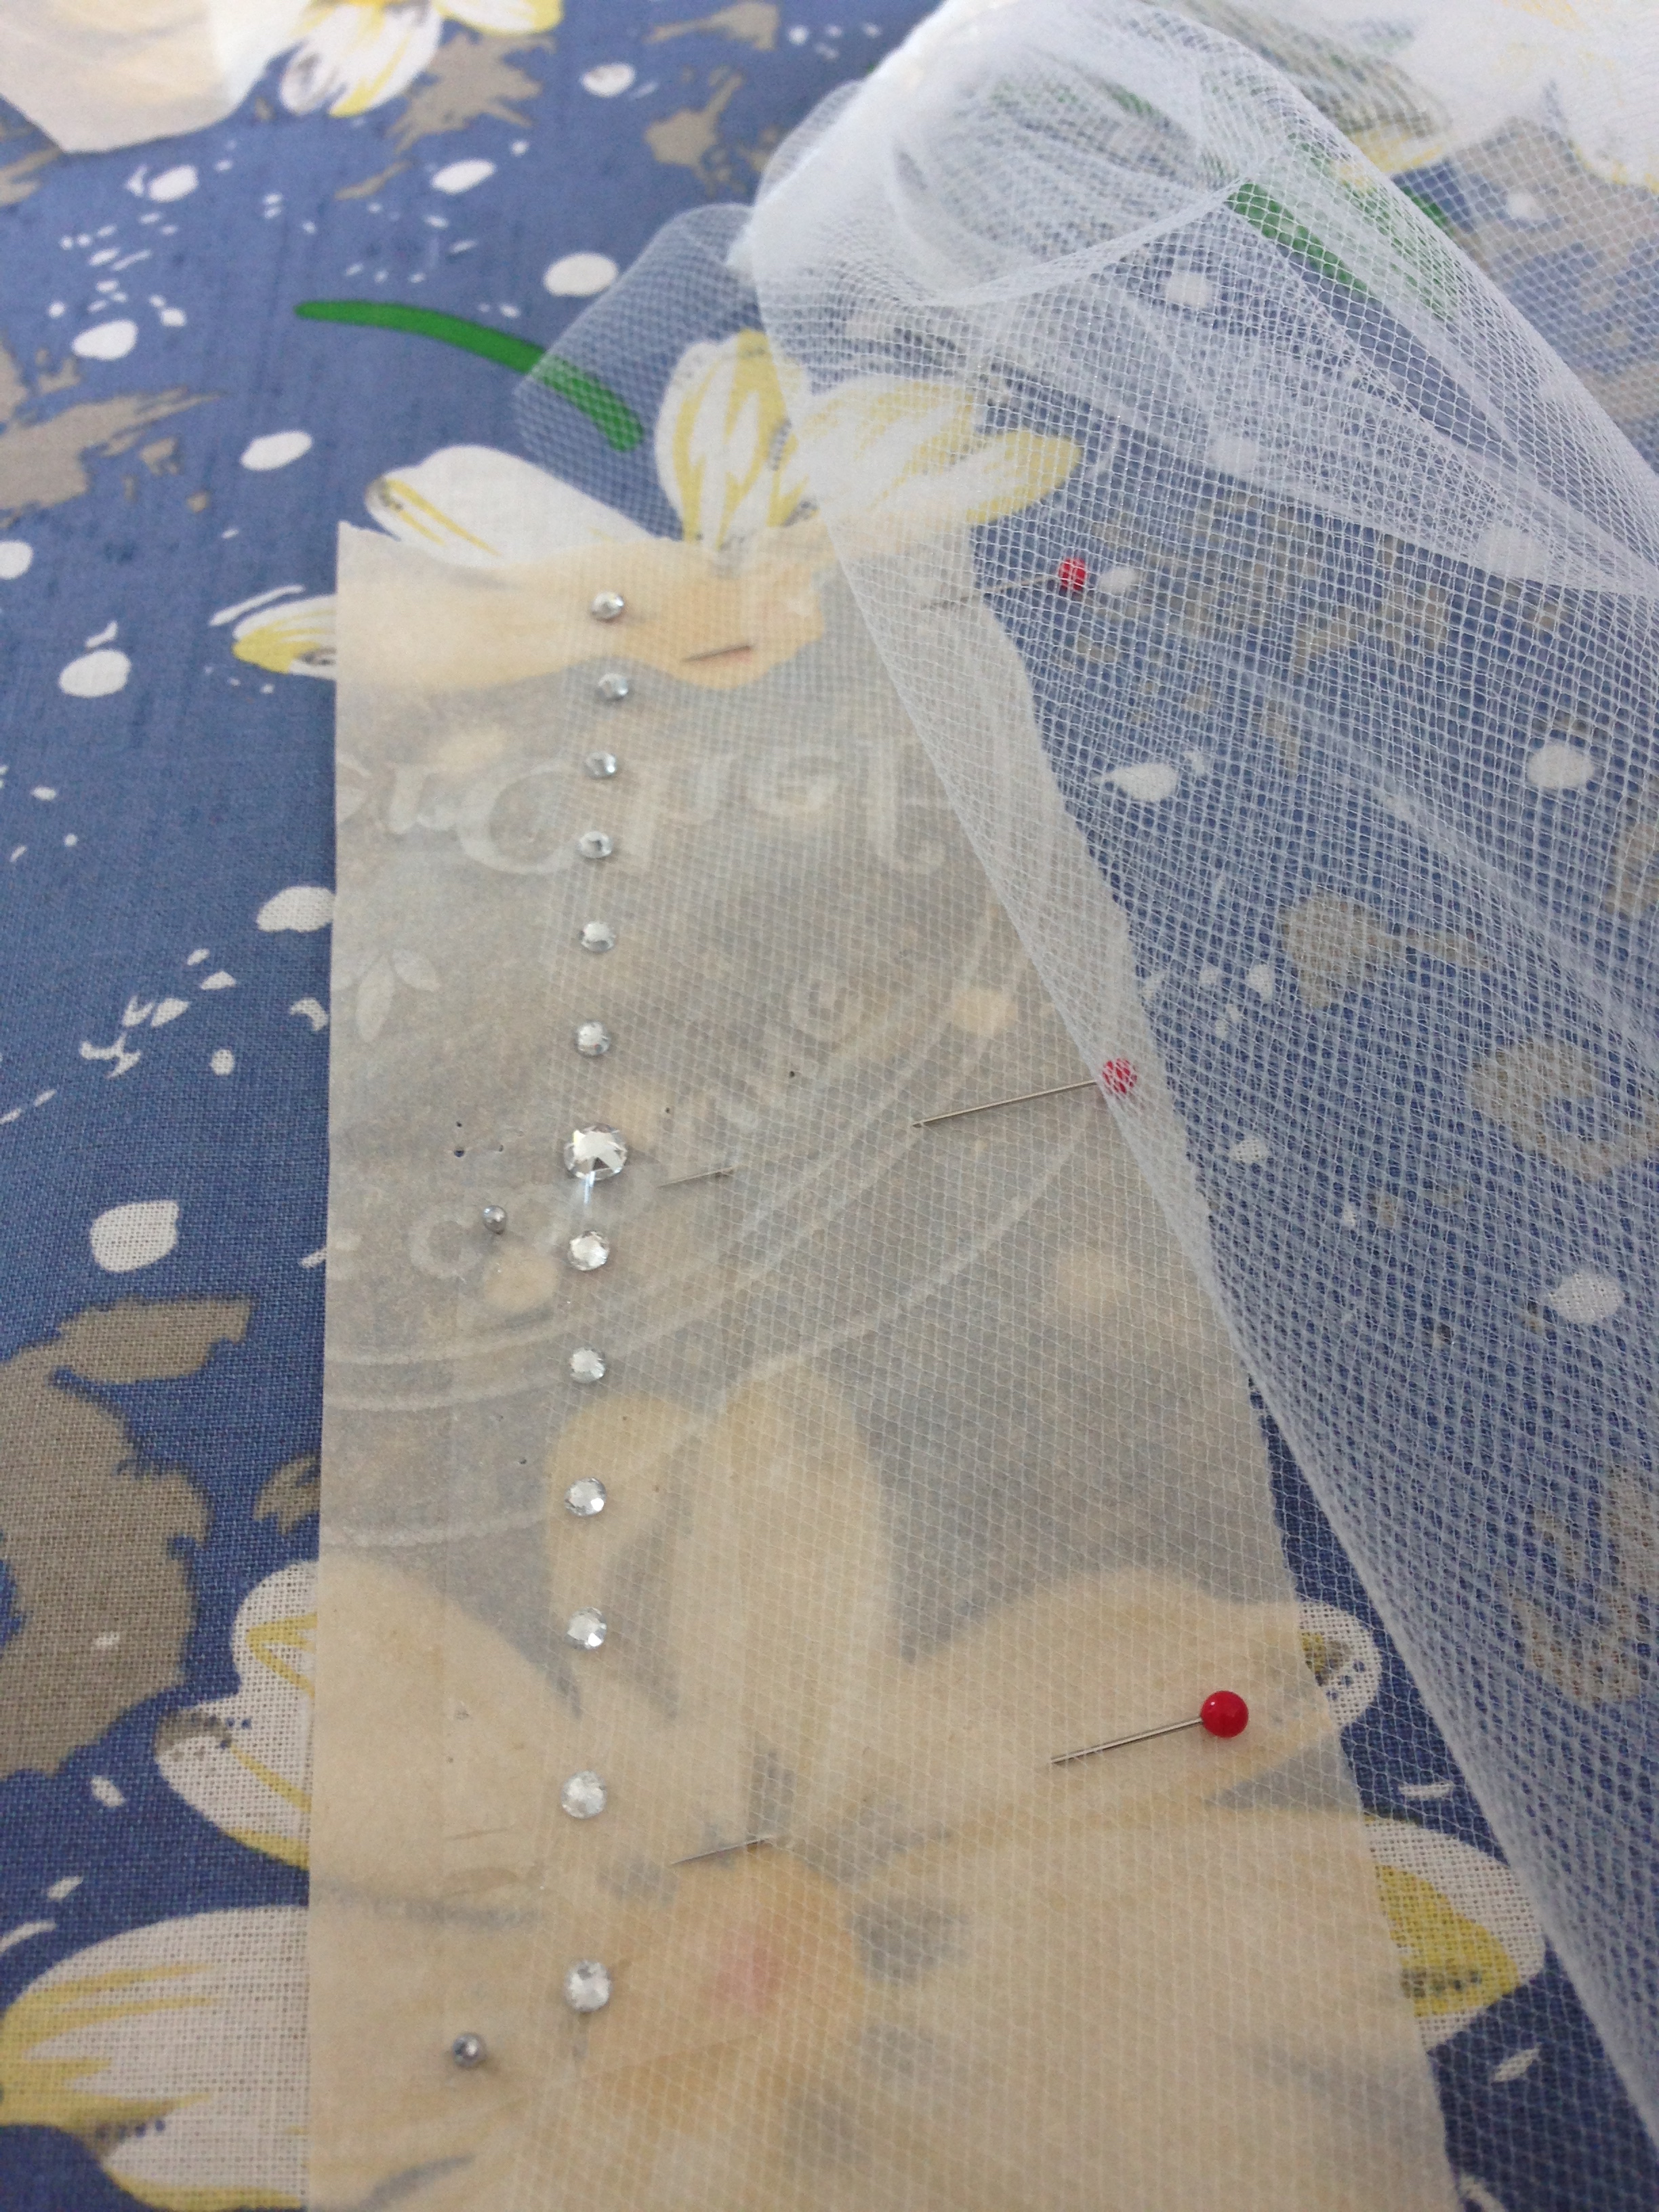

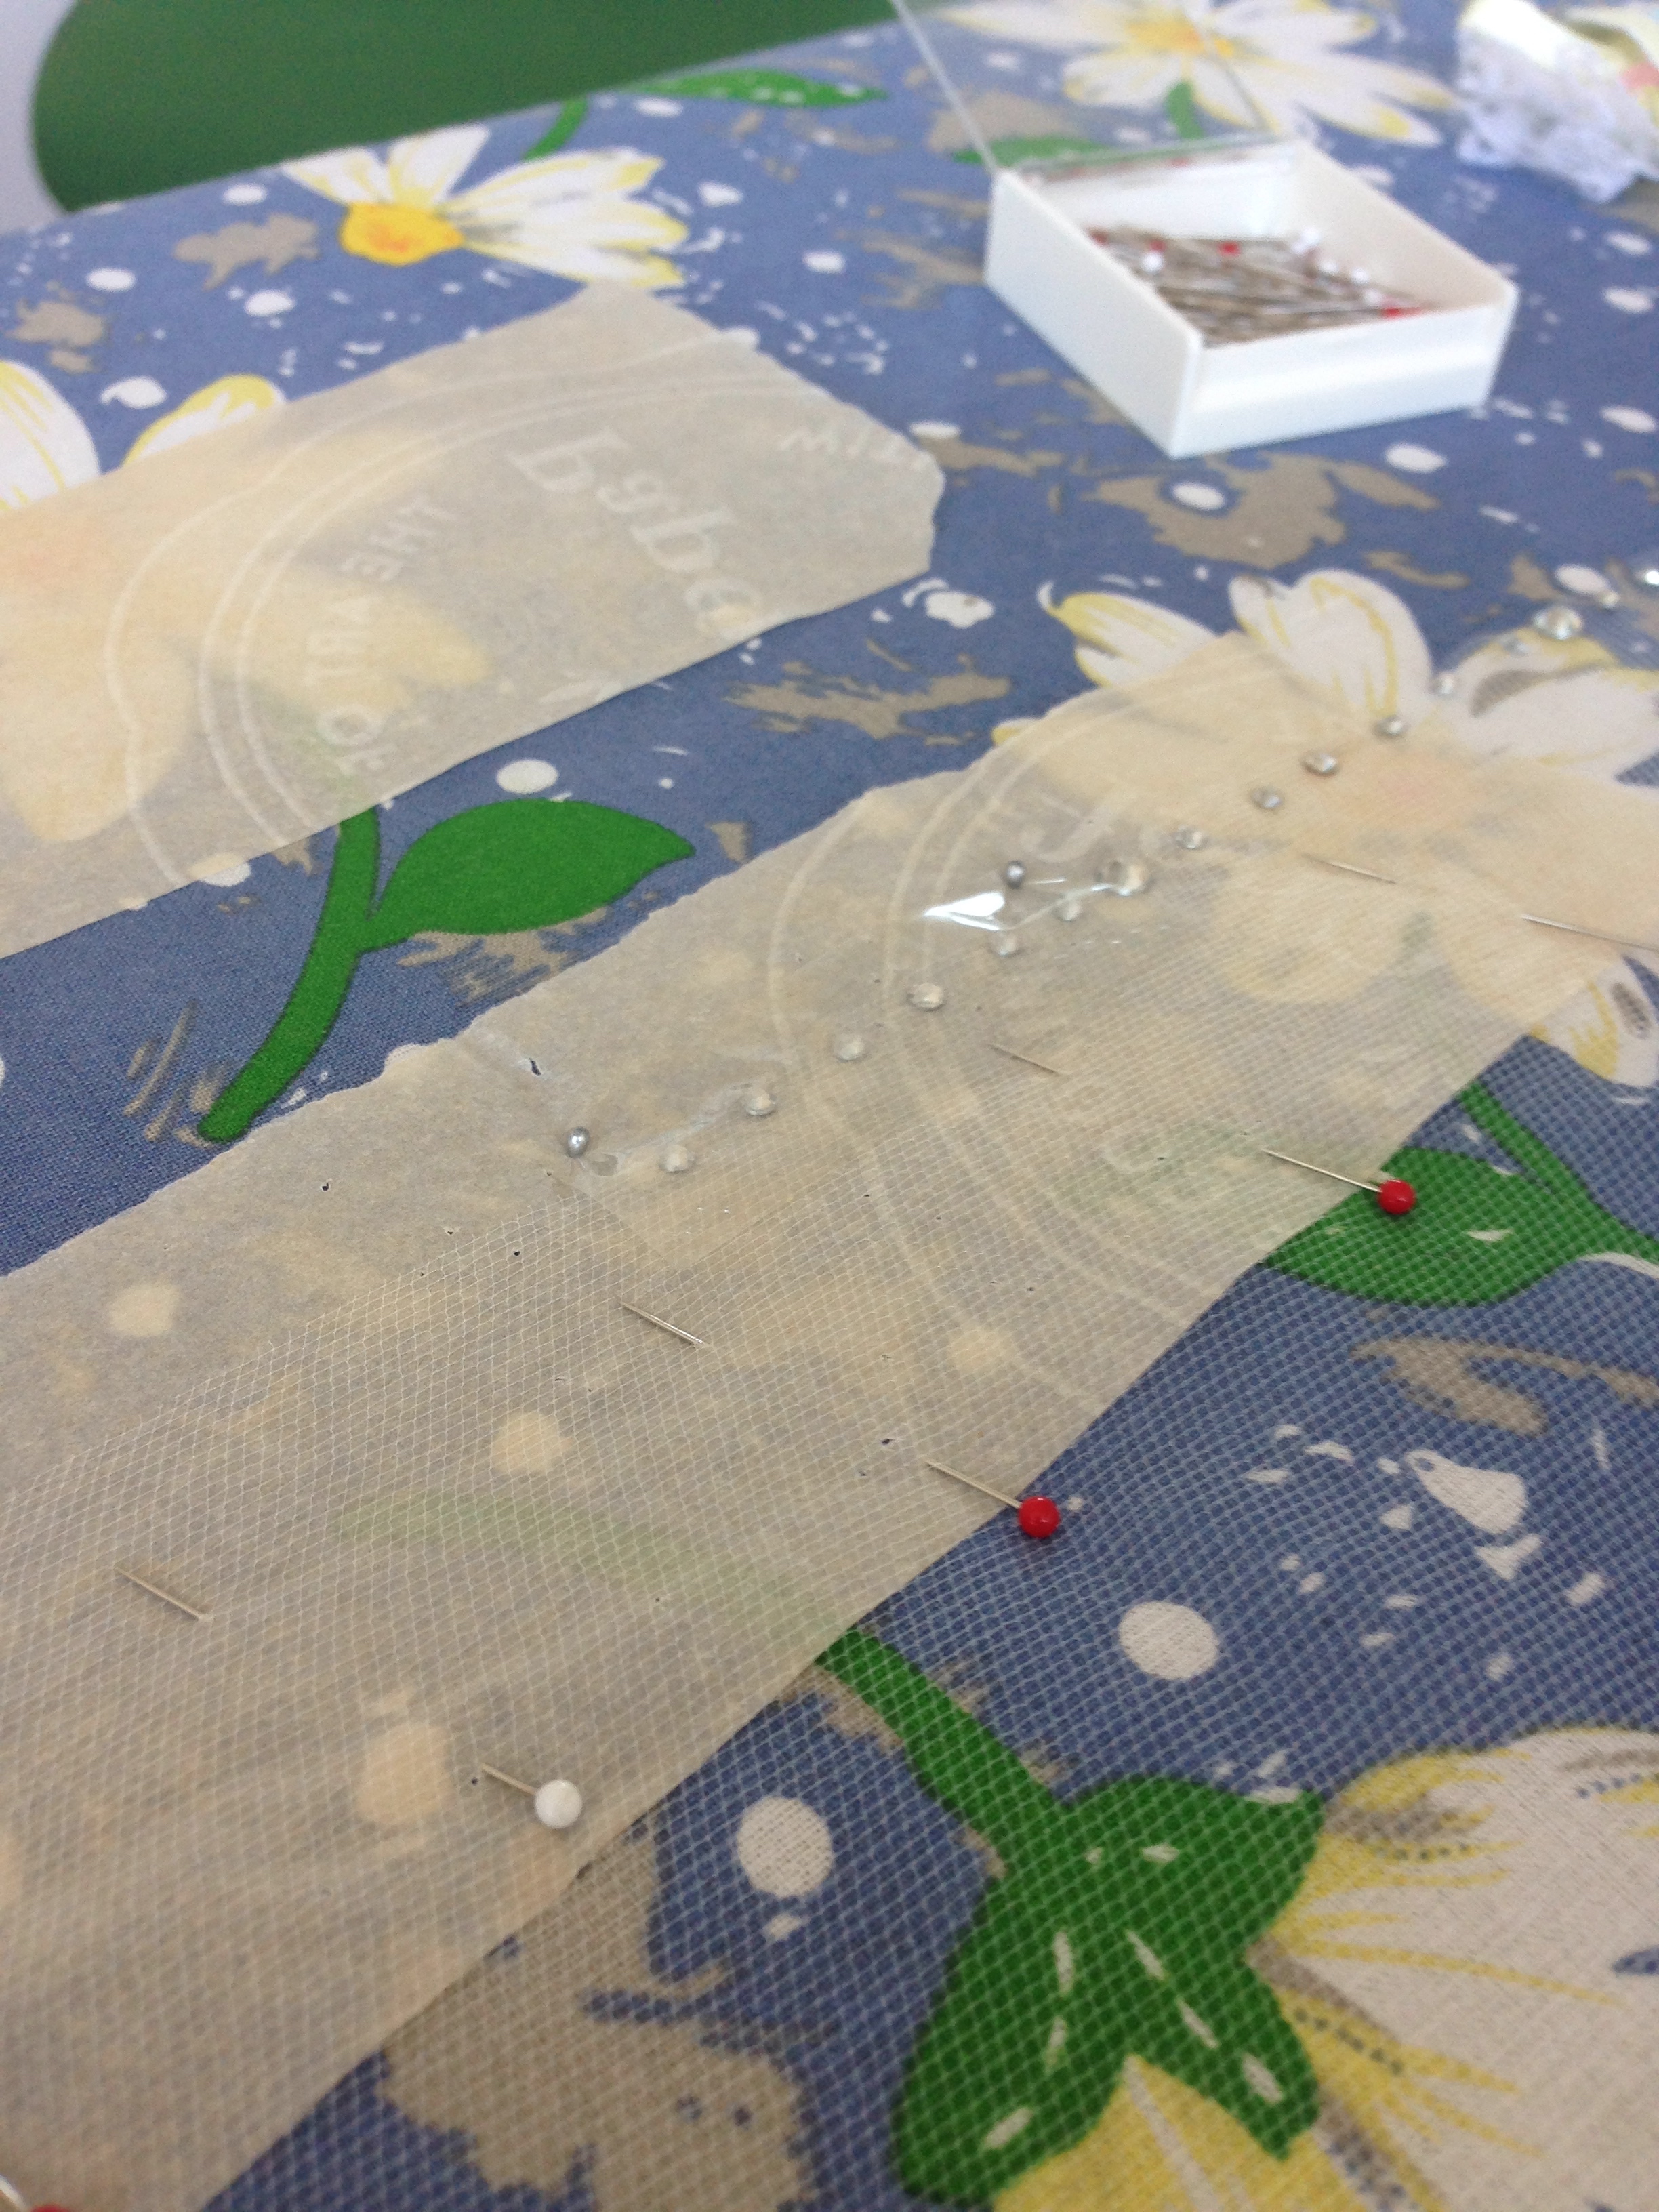
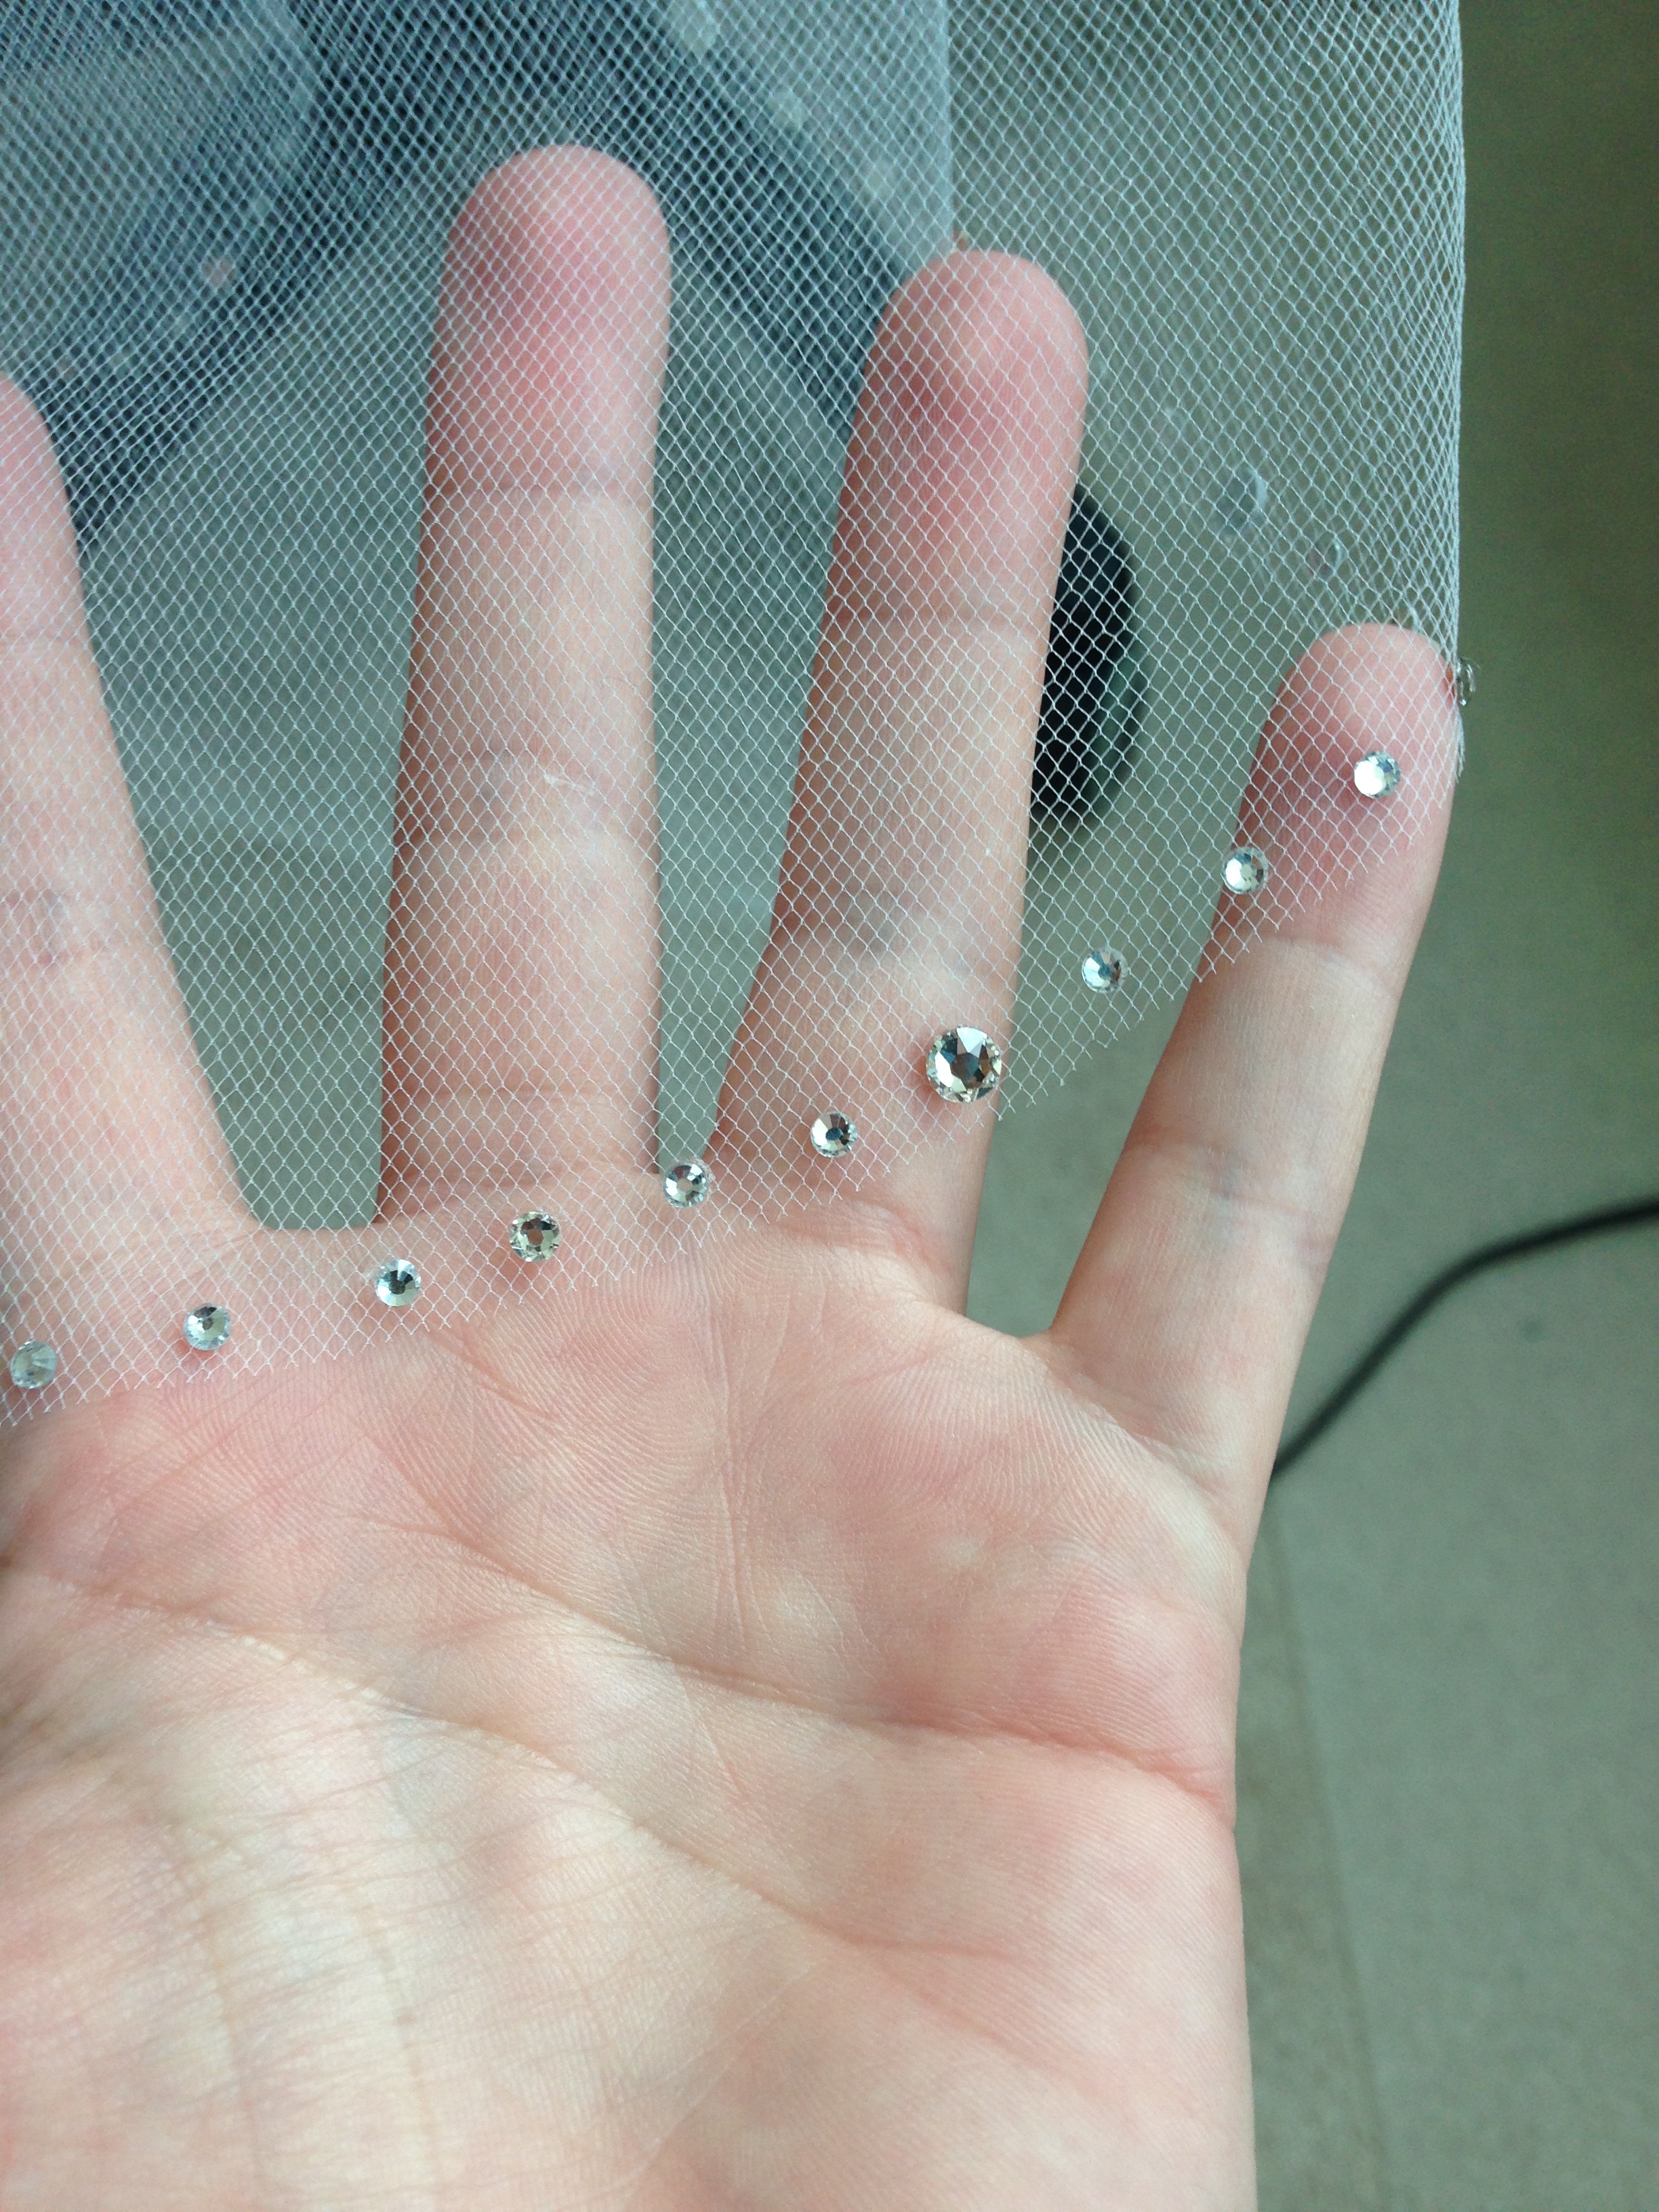

Instead of a two tiered veil, the new veil would be a single veil, with bling! Super easy pattern to make: Similar tear drop form as the previous veil but with less width. The tip to gathering edge is the length from the nap of the neck to the top of the butt. About 2/3rds of the way down the centre line is where the veils width is the widest, to create the loopies that whoosh into the tip. (This is All technical jargon. My apologies. -winky face-)
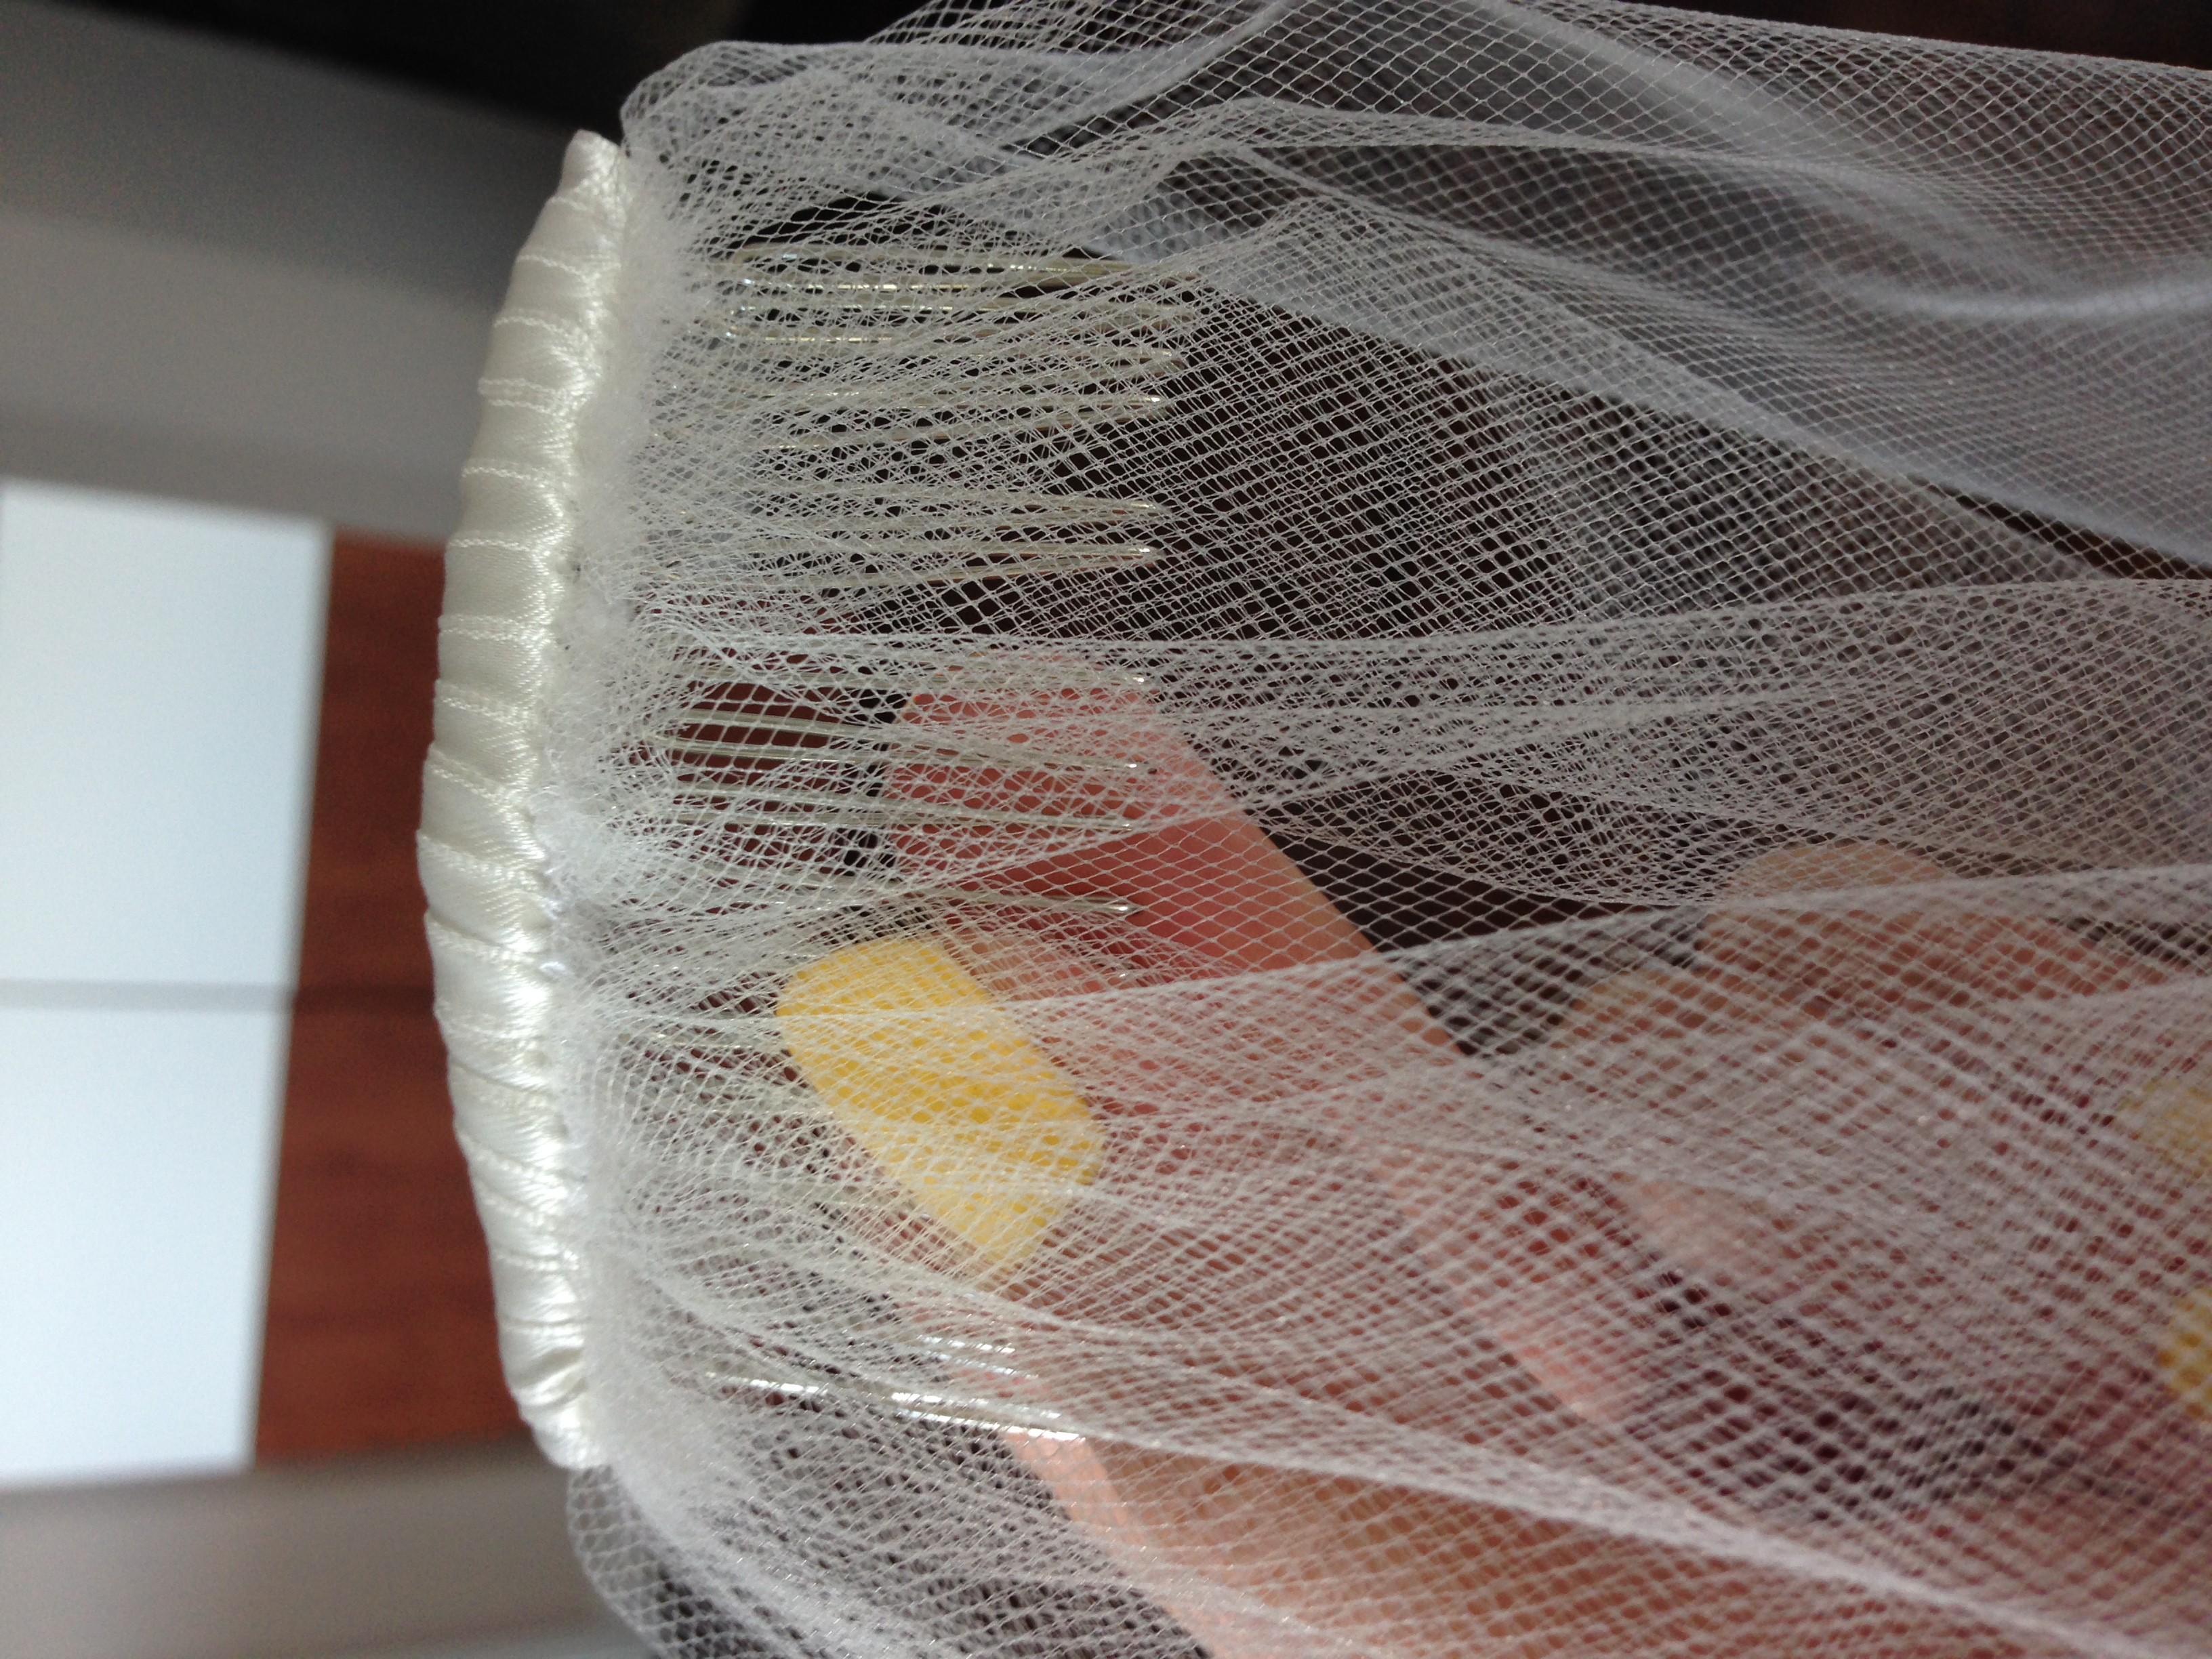
Since the hairstyle was also solidified now I knew the comb piece would be visible. I wrapped it up in the ribbon I had left over from the first veil. Waste not, want not.
Now for the part I'd never done before: gem stones on mesh. I went to The Place I'm Not Allowed To Go (AKA Michaels) to see what they had in iron on gems. Turns out they have a lovely selection! So I bought some 'made in china' crystals and some Swarovski crystals too. It Is going to be a fancy wedding after all. (For the record, Swarovski crystals are made in china too.)
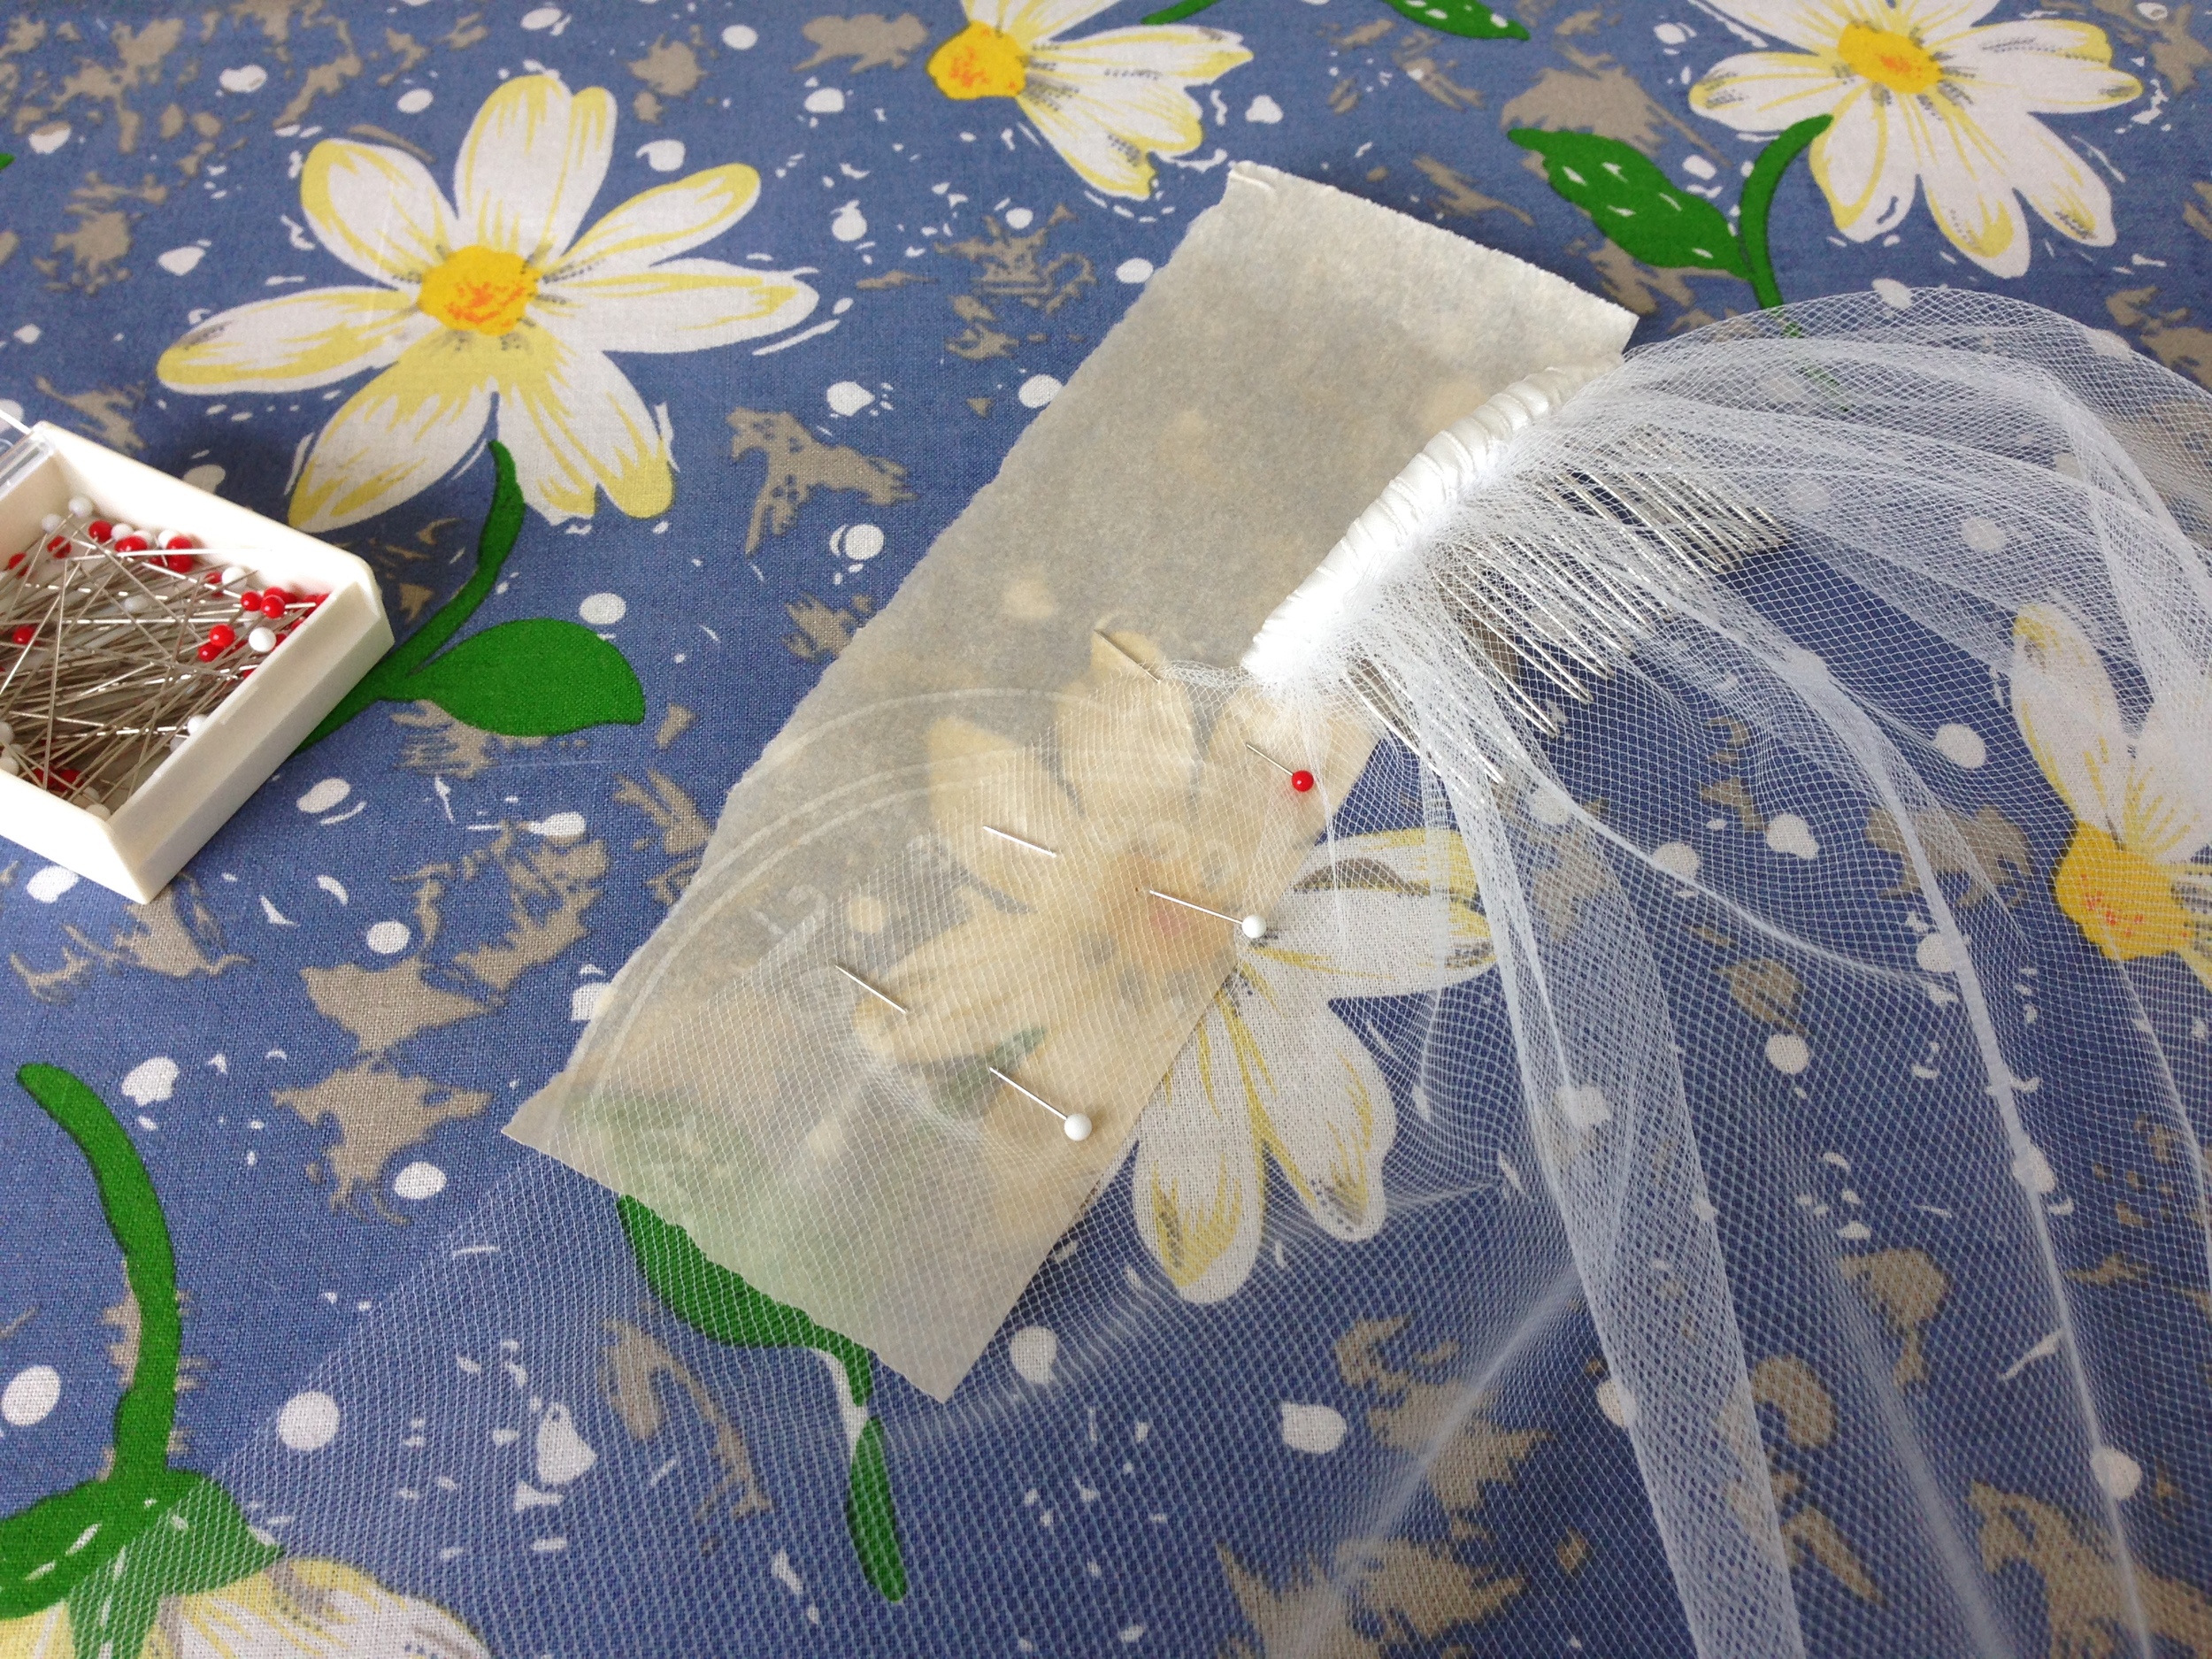
I even researched how to bedazzle. (Haha.) Hilariously enough, there are Many Many youtube videos that have different ways of doing this. I found the best way for me was to use a plastic adhesive sheet to stick and move my laid out pattern of gems onto the pinned down veil edge, where I could iron on the gems. This worked rather well after I got the temperature right, and figured out that if I put parchment under the veil the gems would stop adhering to my ironing board.... Pictures of my process are above!
Also, because of sheer paranoia, I went over the backs of each gem with a glue and silver leaf mixture. That's right. I'm official a crazy veil making lady now.
But it did turn out beautiful.
It was an exciting adventure and I'm so glad I got to do it. <3 Love you Jess!
-Andrea
The Half-Assed Hobbyist

