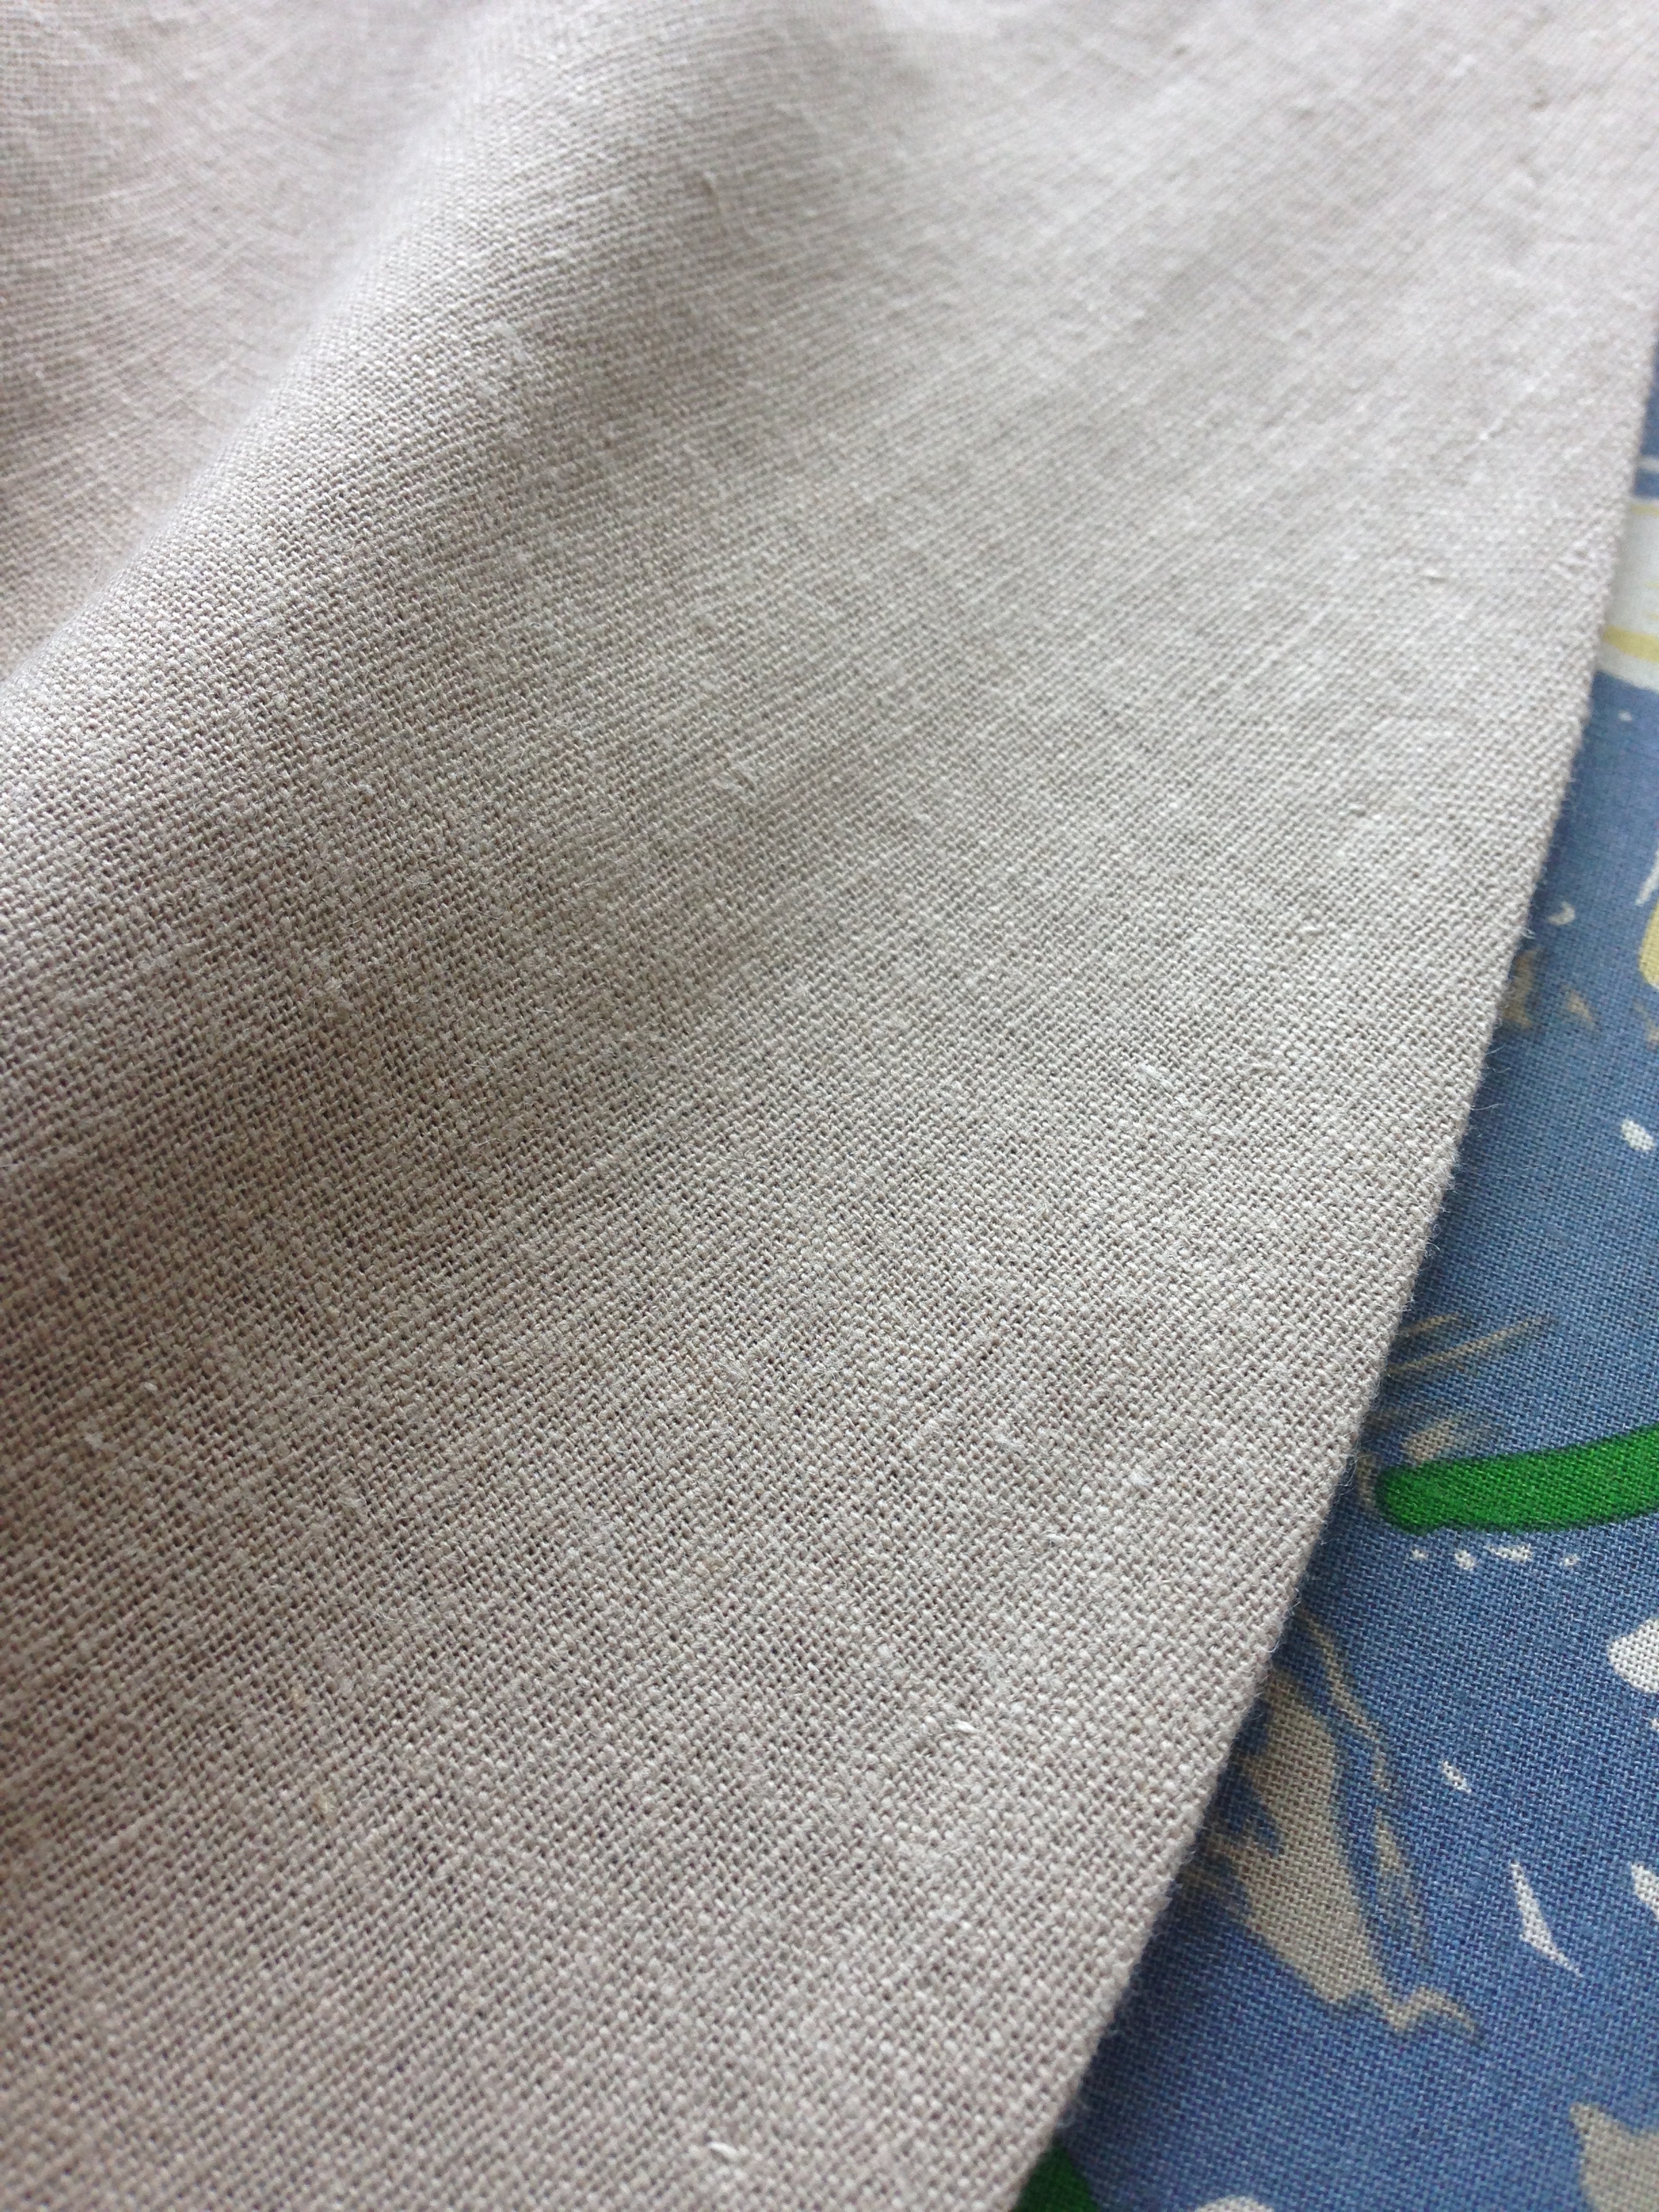
It's usually the case, when I find a pattern I like, that it's an ancient vogue pattern. The Fiancé's Mum went pattern hunting, and after my brief adventure back in AB this past spring, I borrowed one of her hunting spoils. (At some point I should start giving them back.... or straight up start saying 'stealing' instead of 'borrowing'.) Anyways! It's a lovely full length dress with pleats and tucks at the waist. Perfect for the hot summer coming up. And! I have a ridiculous stash of linen to use up. So no fabric shopping required. (Score...? -cries-)
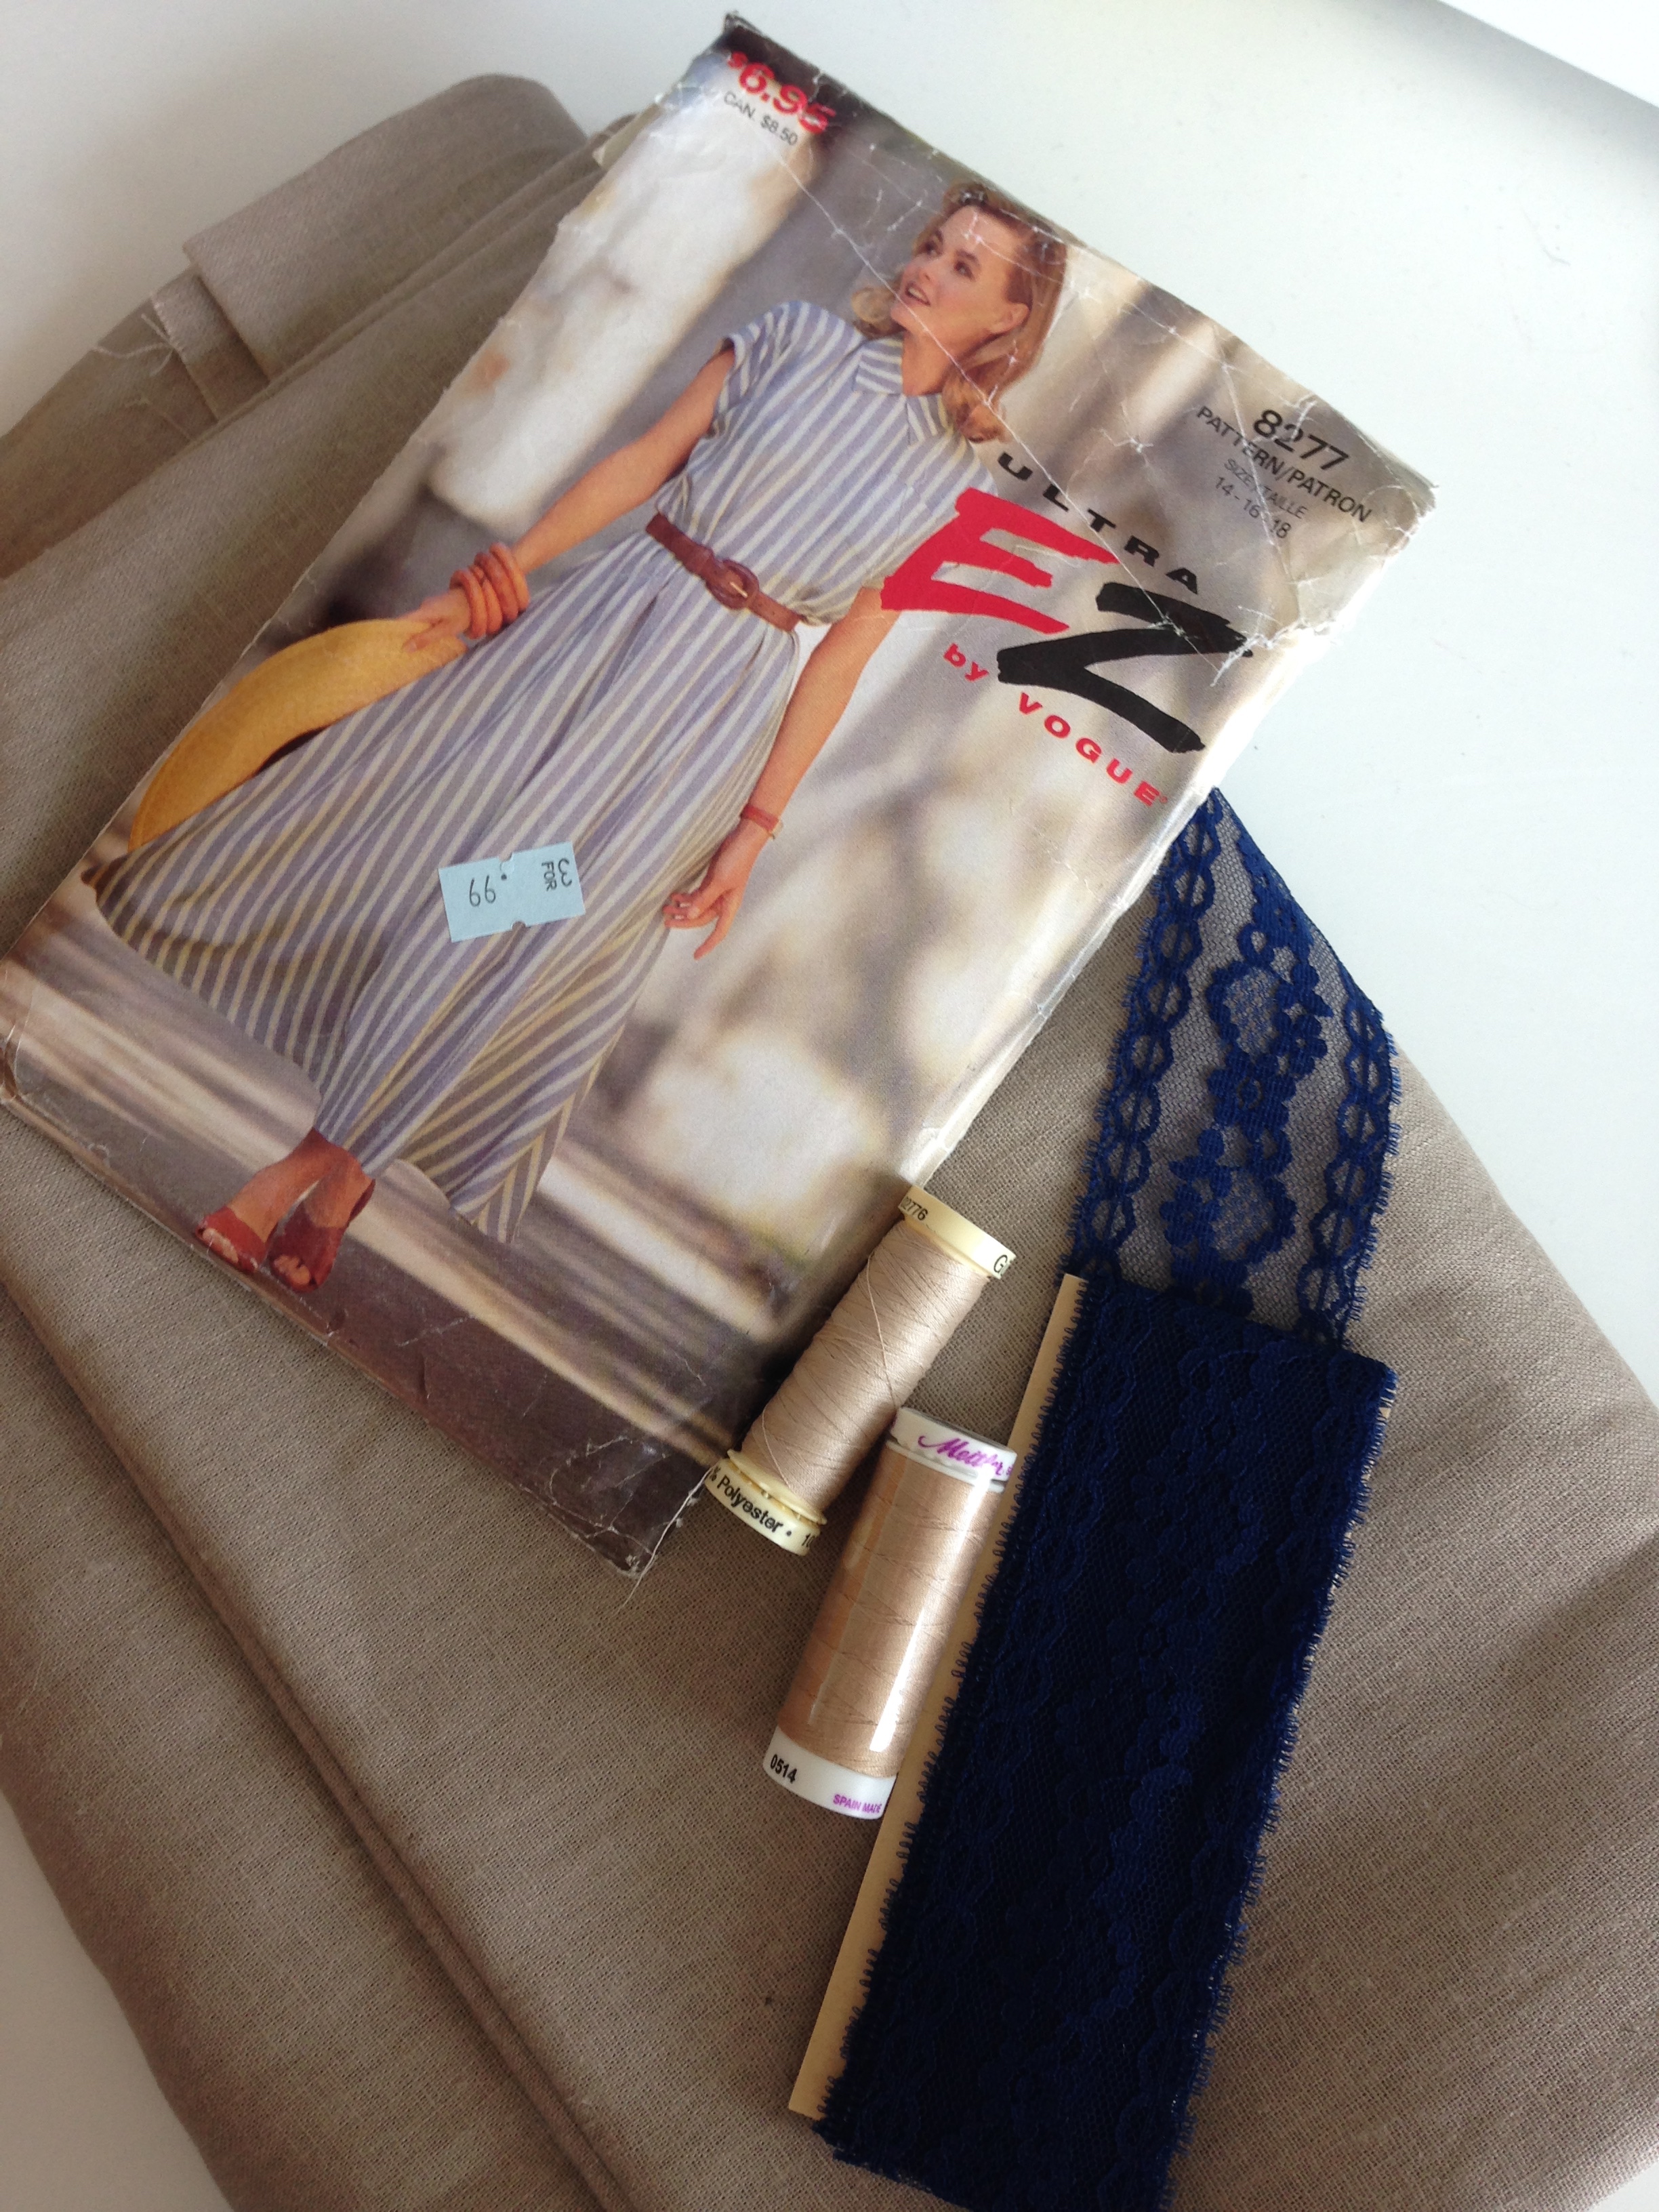
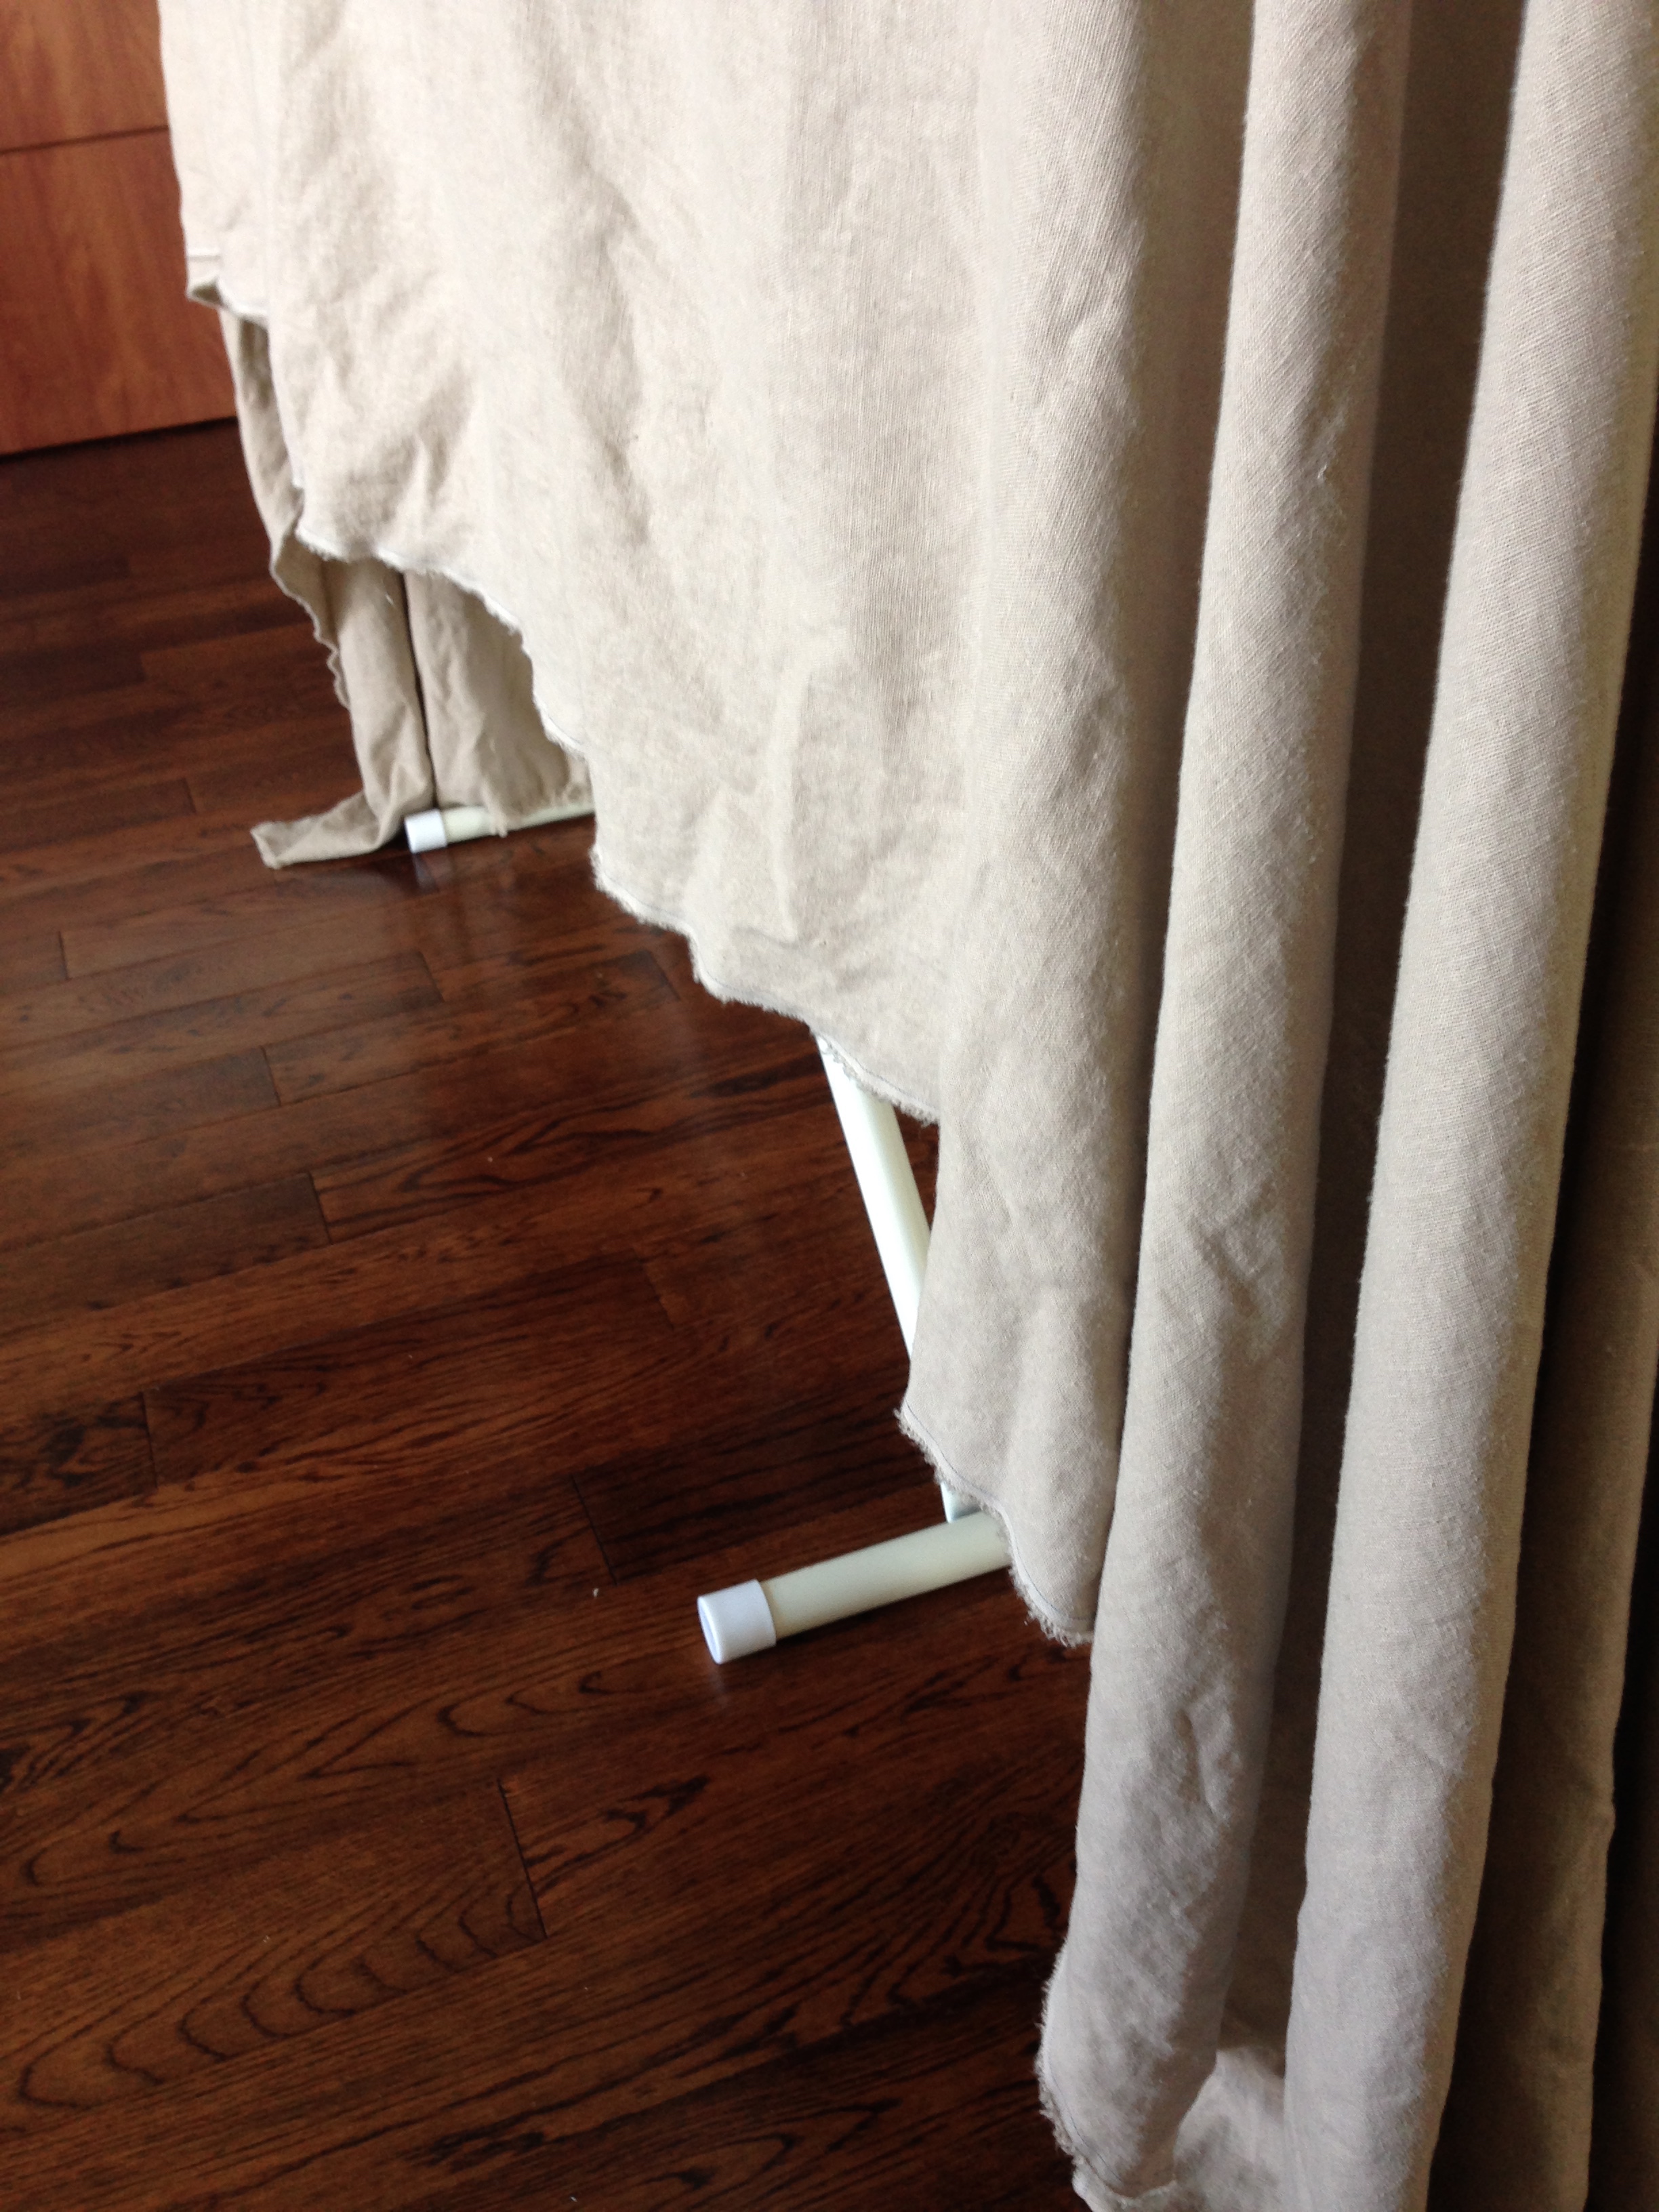
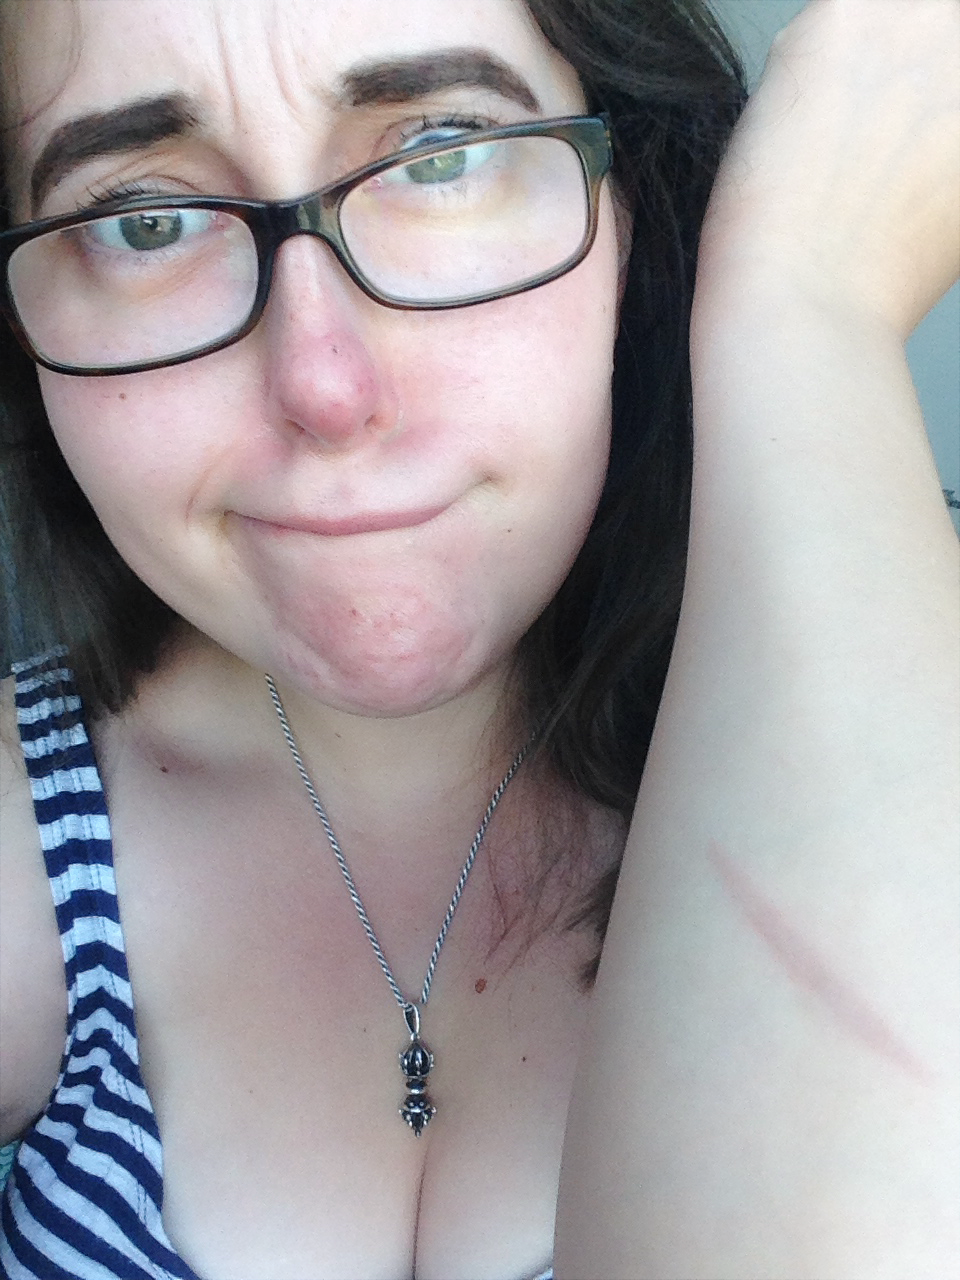
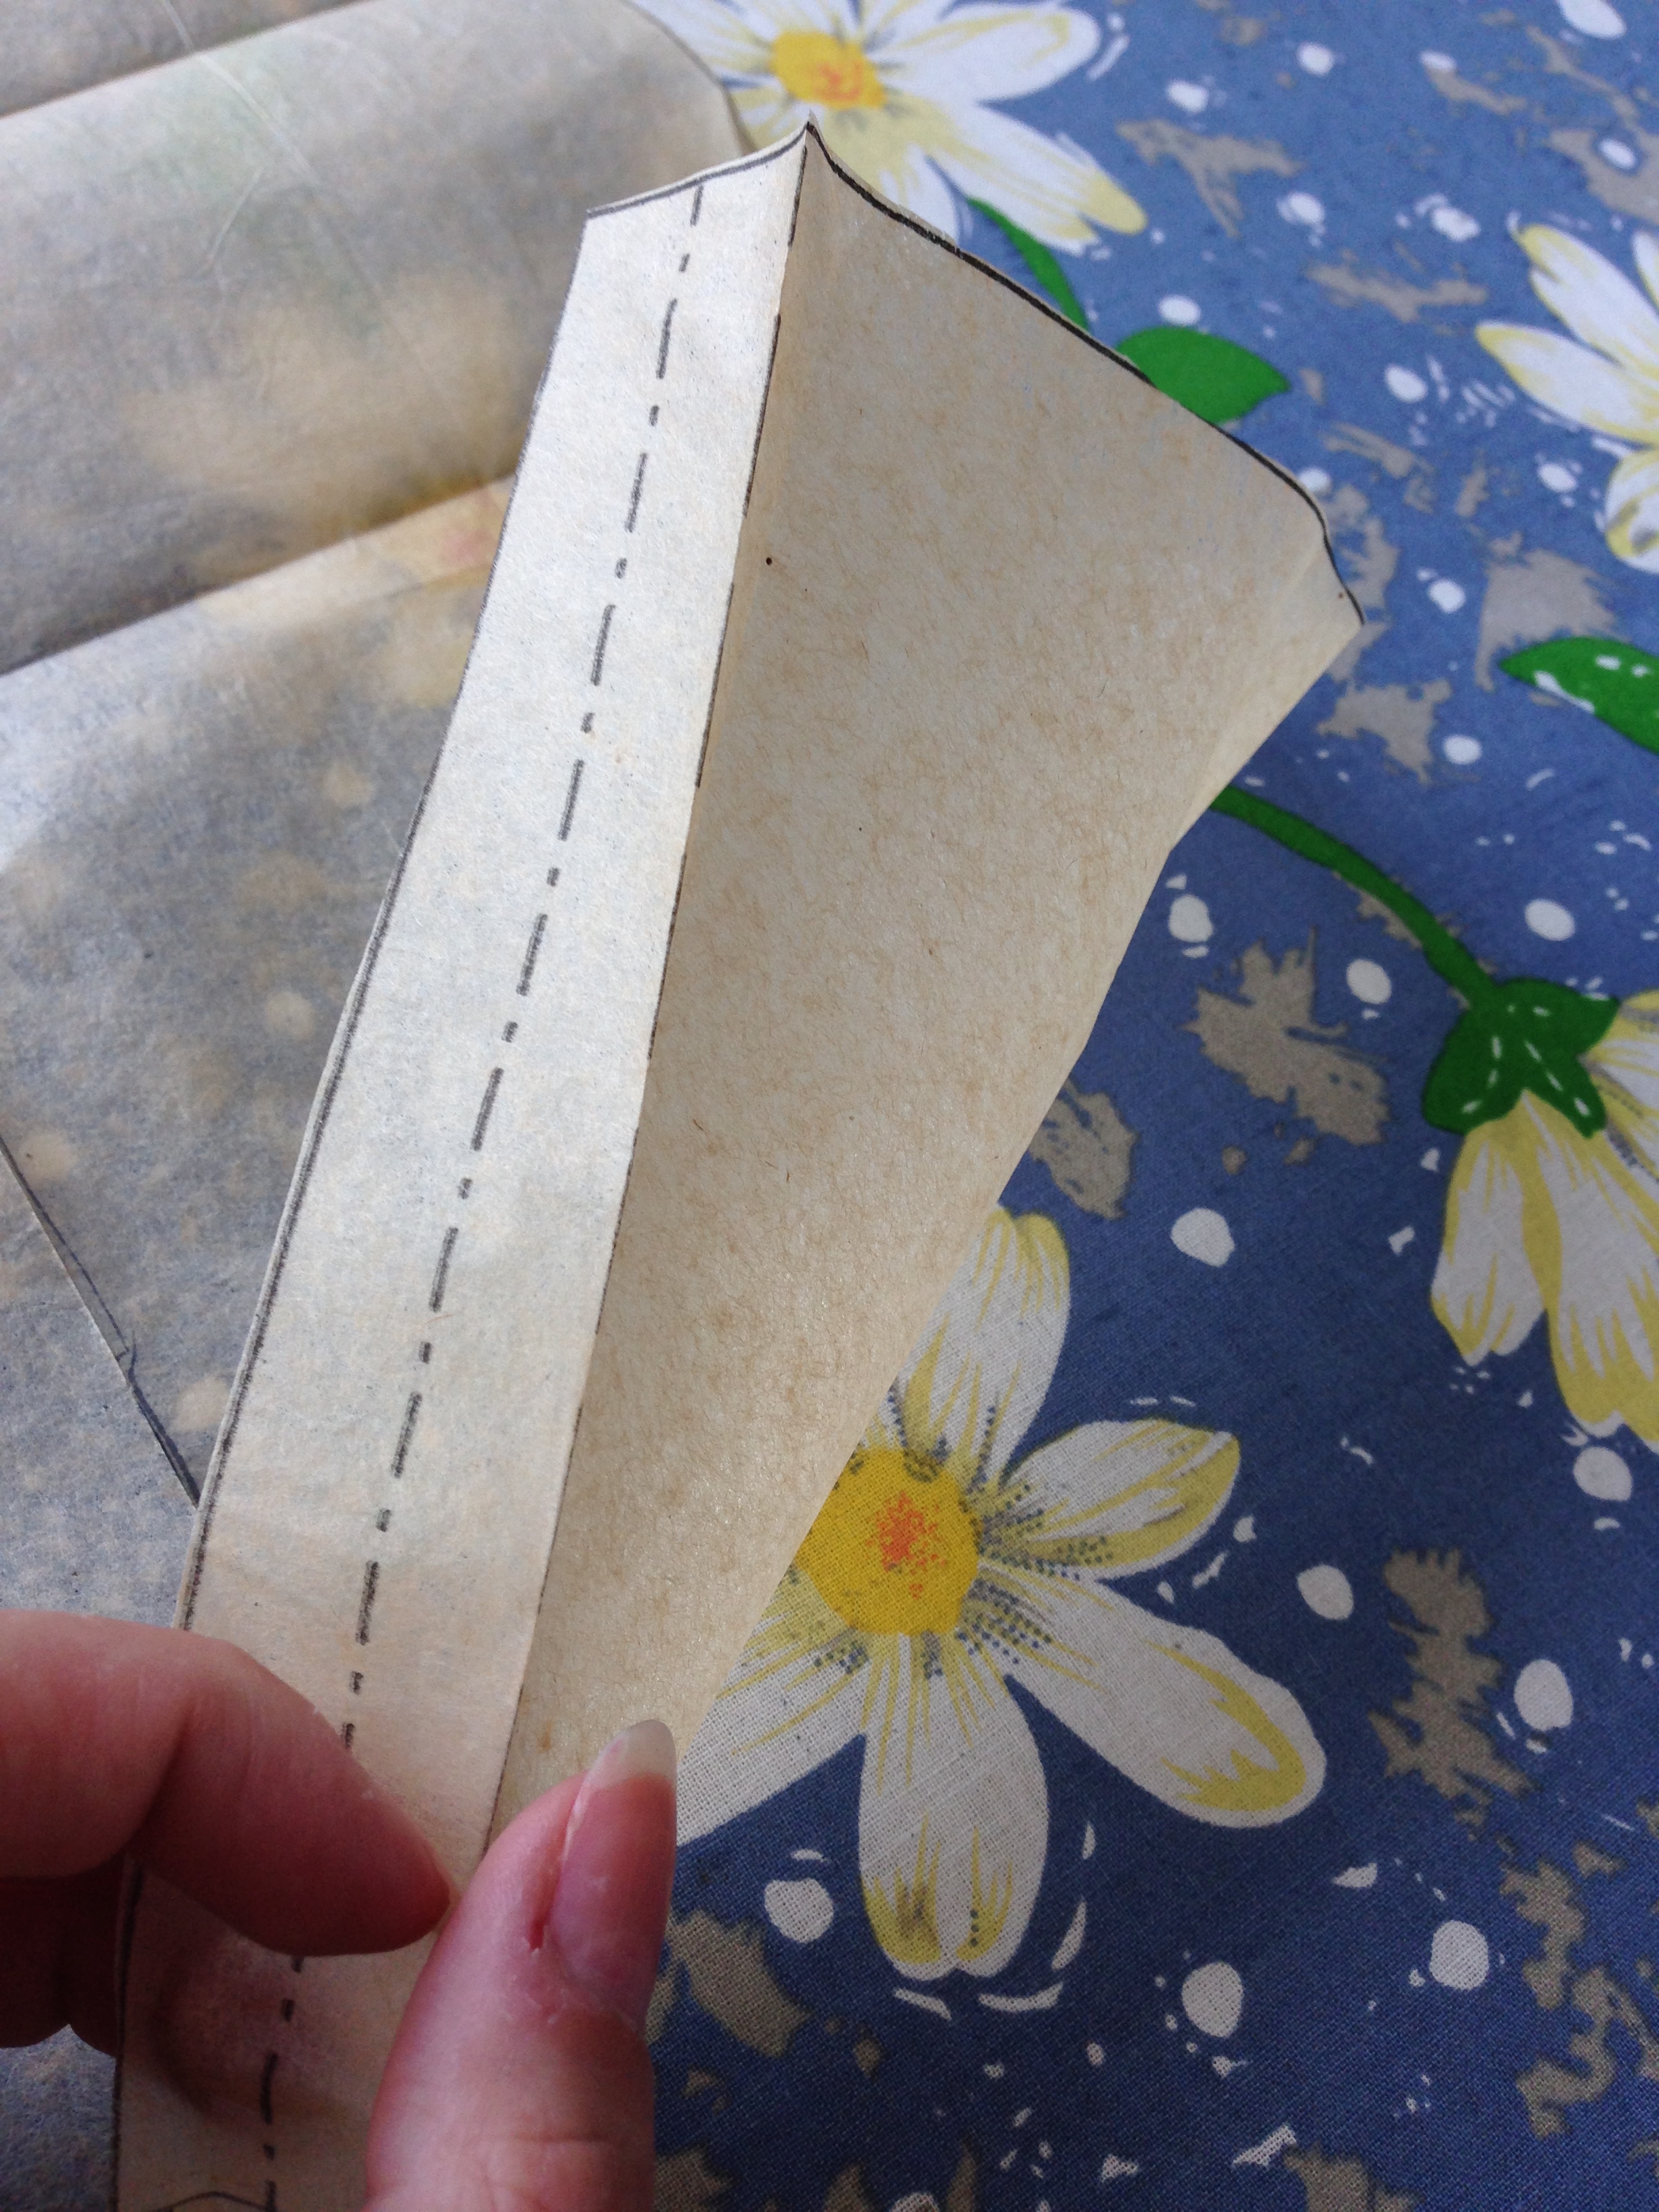
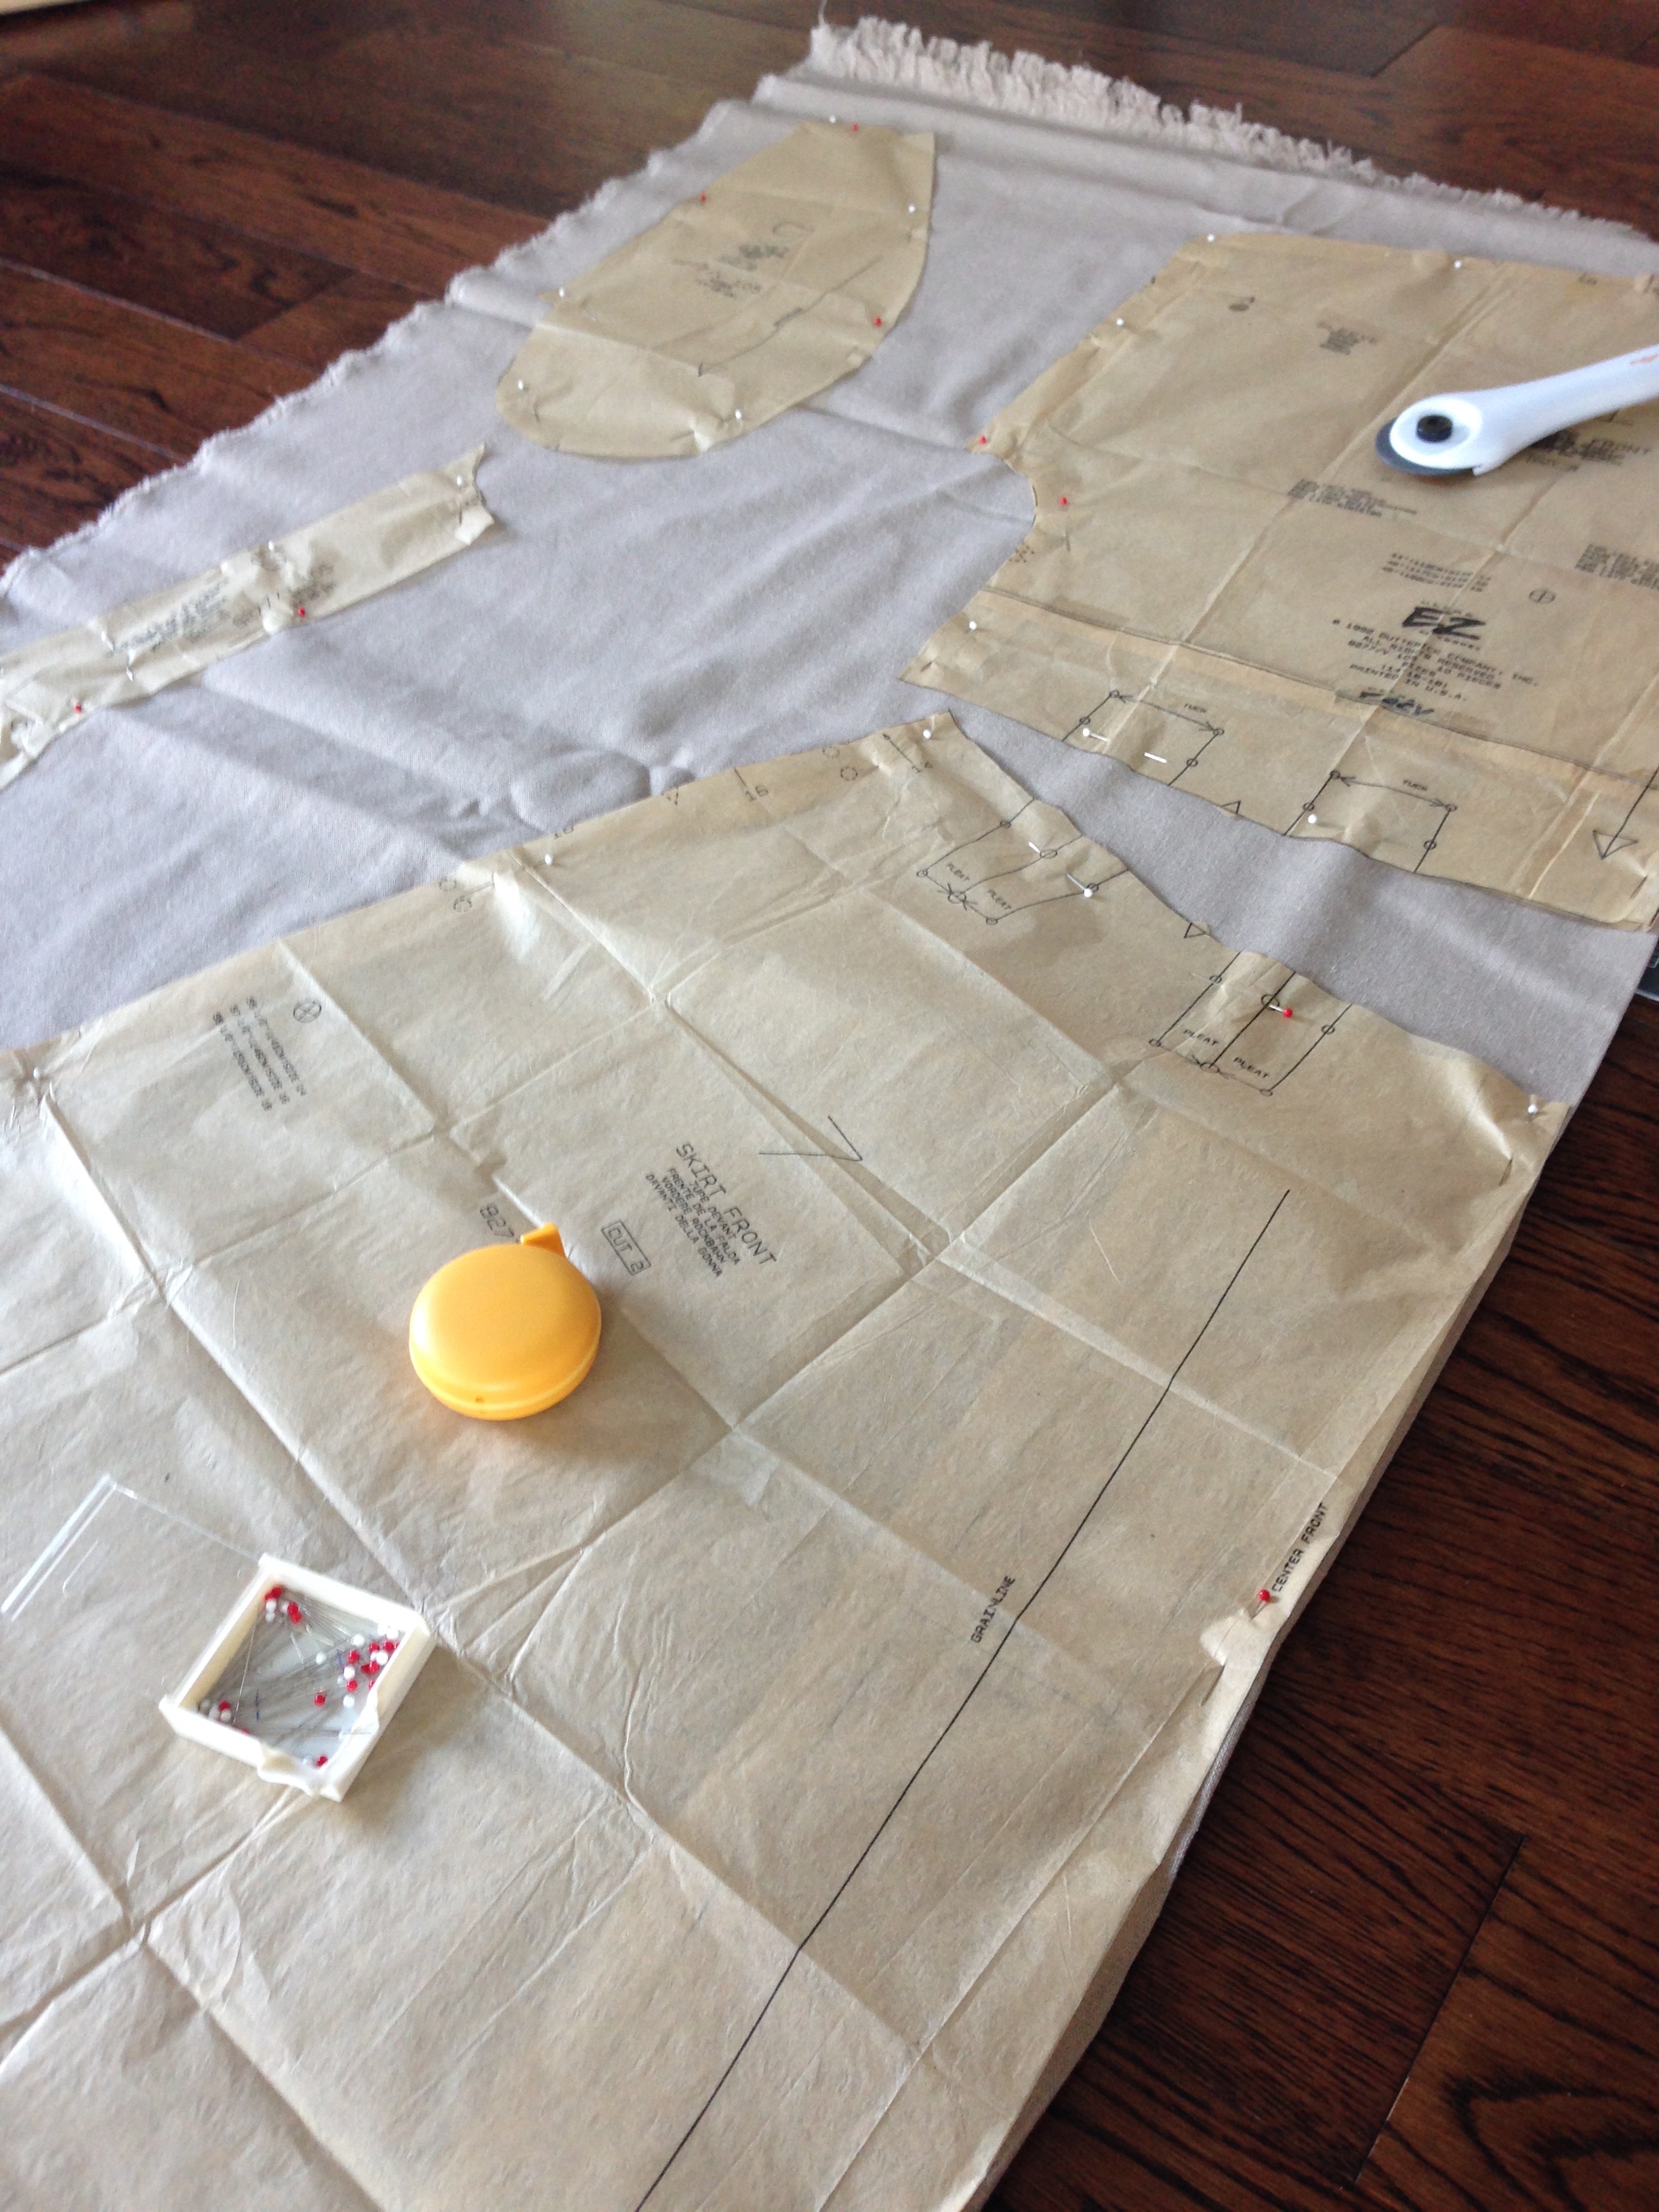

The pattern itself, being a rummage sale find, had already been cut. Luckily, for the largest size! Because it's such a very block-y pattern though, I made the executive decision to iron the pattern to the smallest size. No tracing necessary. Fabric washed, dried and ironed, it was pattern cutting time! (I will admit to needing to work on my spatial awareness... as I ironed my arm with the linen setting. Booo.)
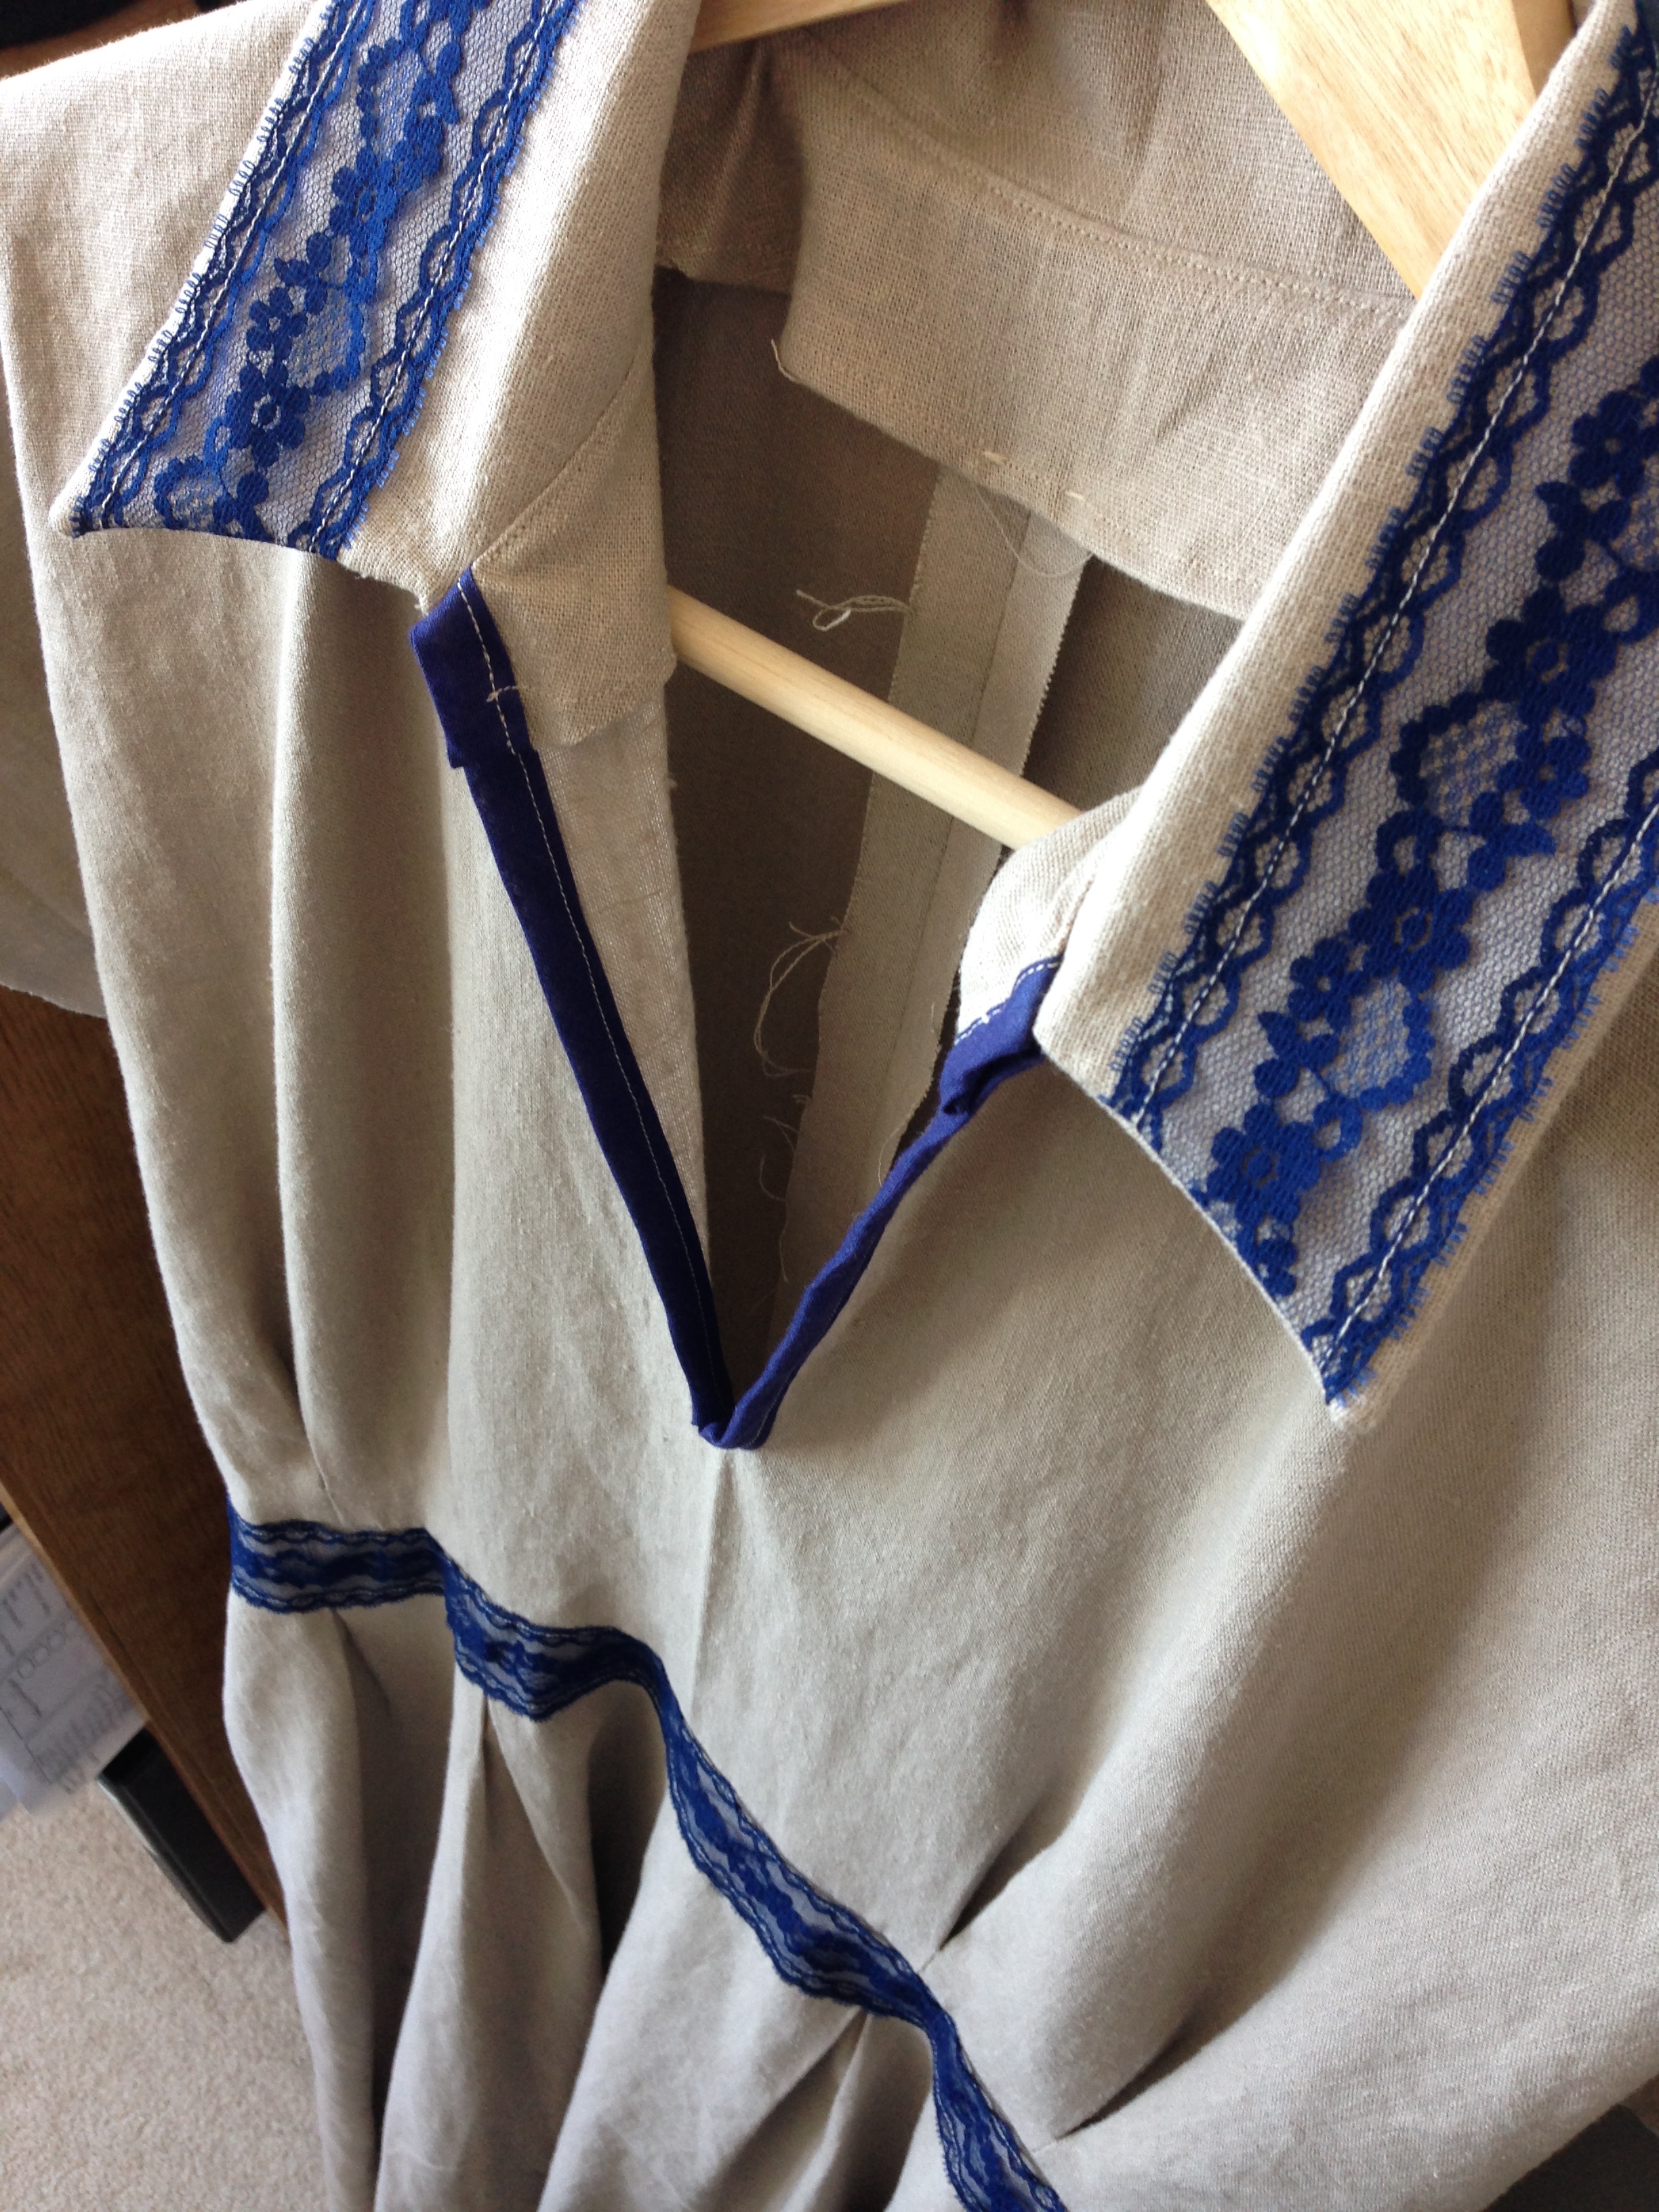
My grand master plan for this dress was to technically Not make this dress. Specifically, after getting the pattern home and reading up on it's construction, I realized that the dress was done up using 12 hidden welt button holes all up the front of the dress. Nuuuuuupe. Not going there in a linen dress. So I edited the pattern so that it would have a V-neck at the collar and a side zipper for boob-ular access. Sounds complicated but essentially I cut the front skirt and bodice on the fold and made a slit in the bodice front for the V-neck, finishing it with bias tape. Bam!
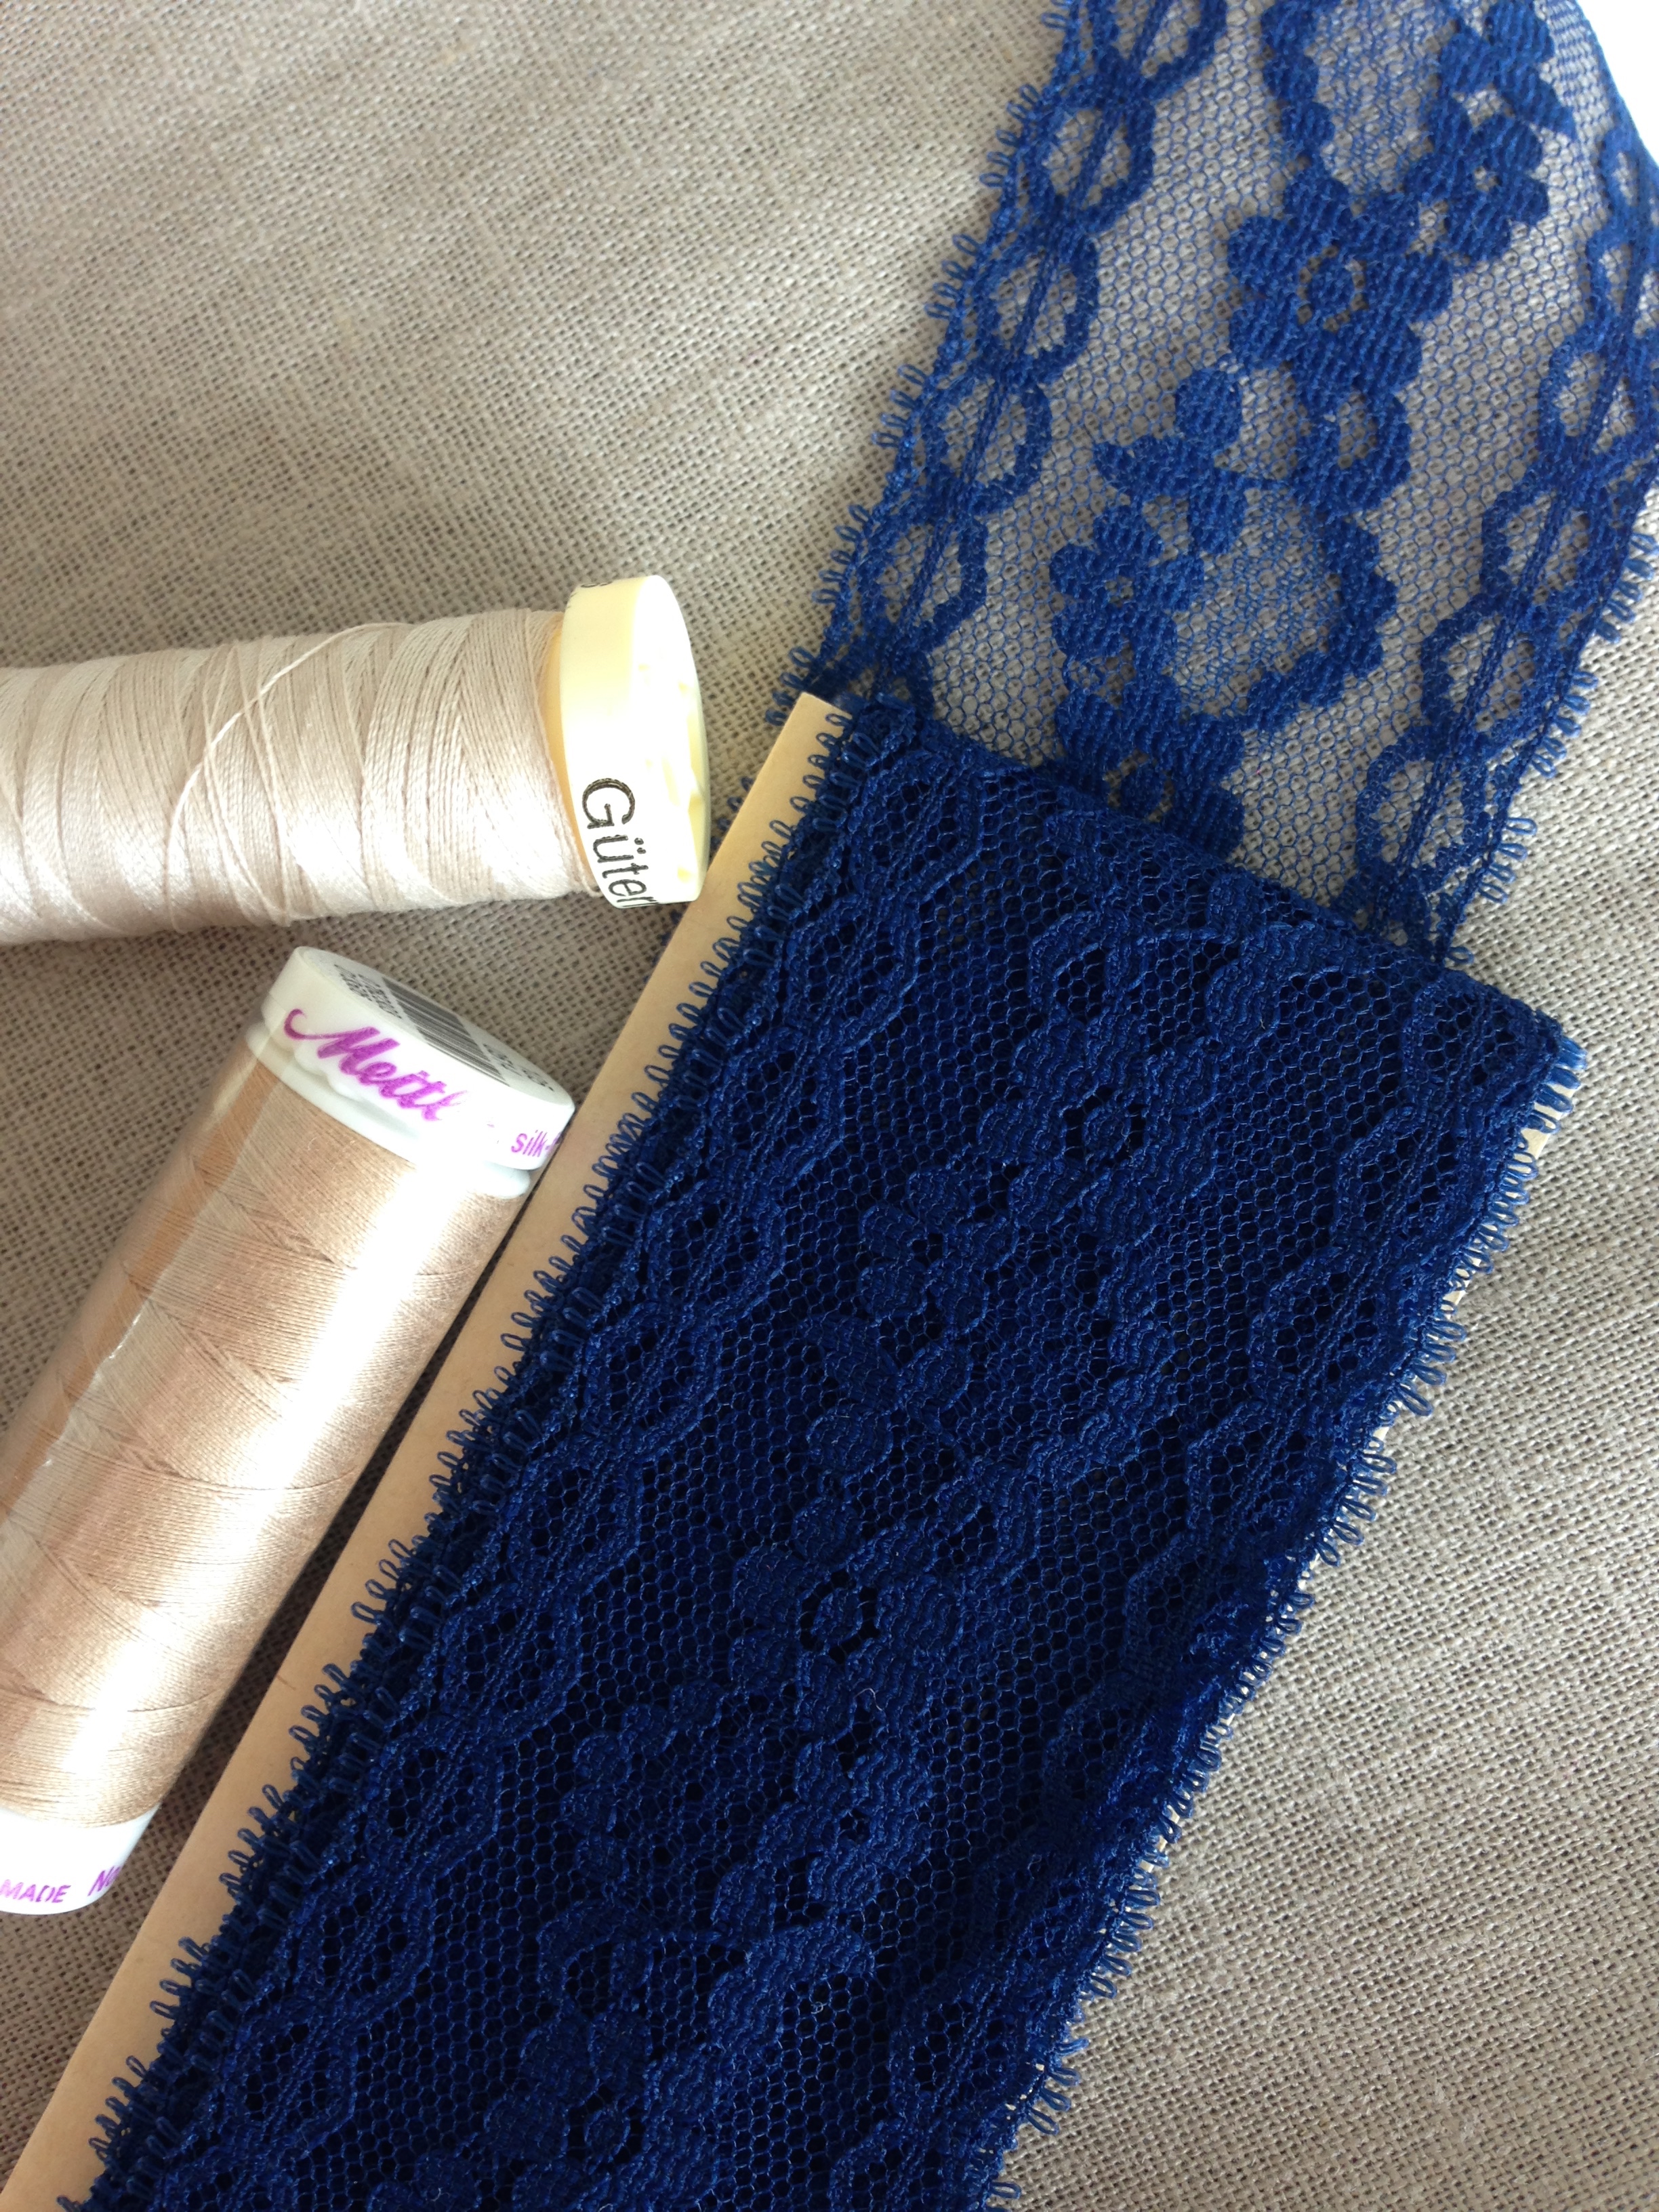
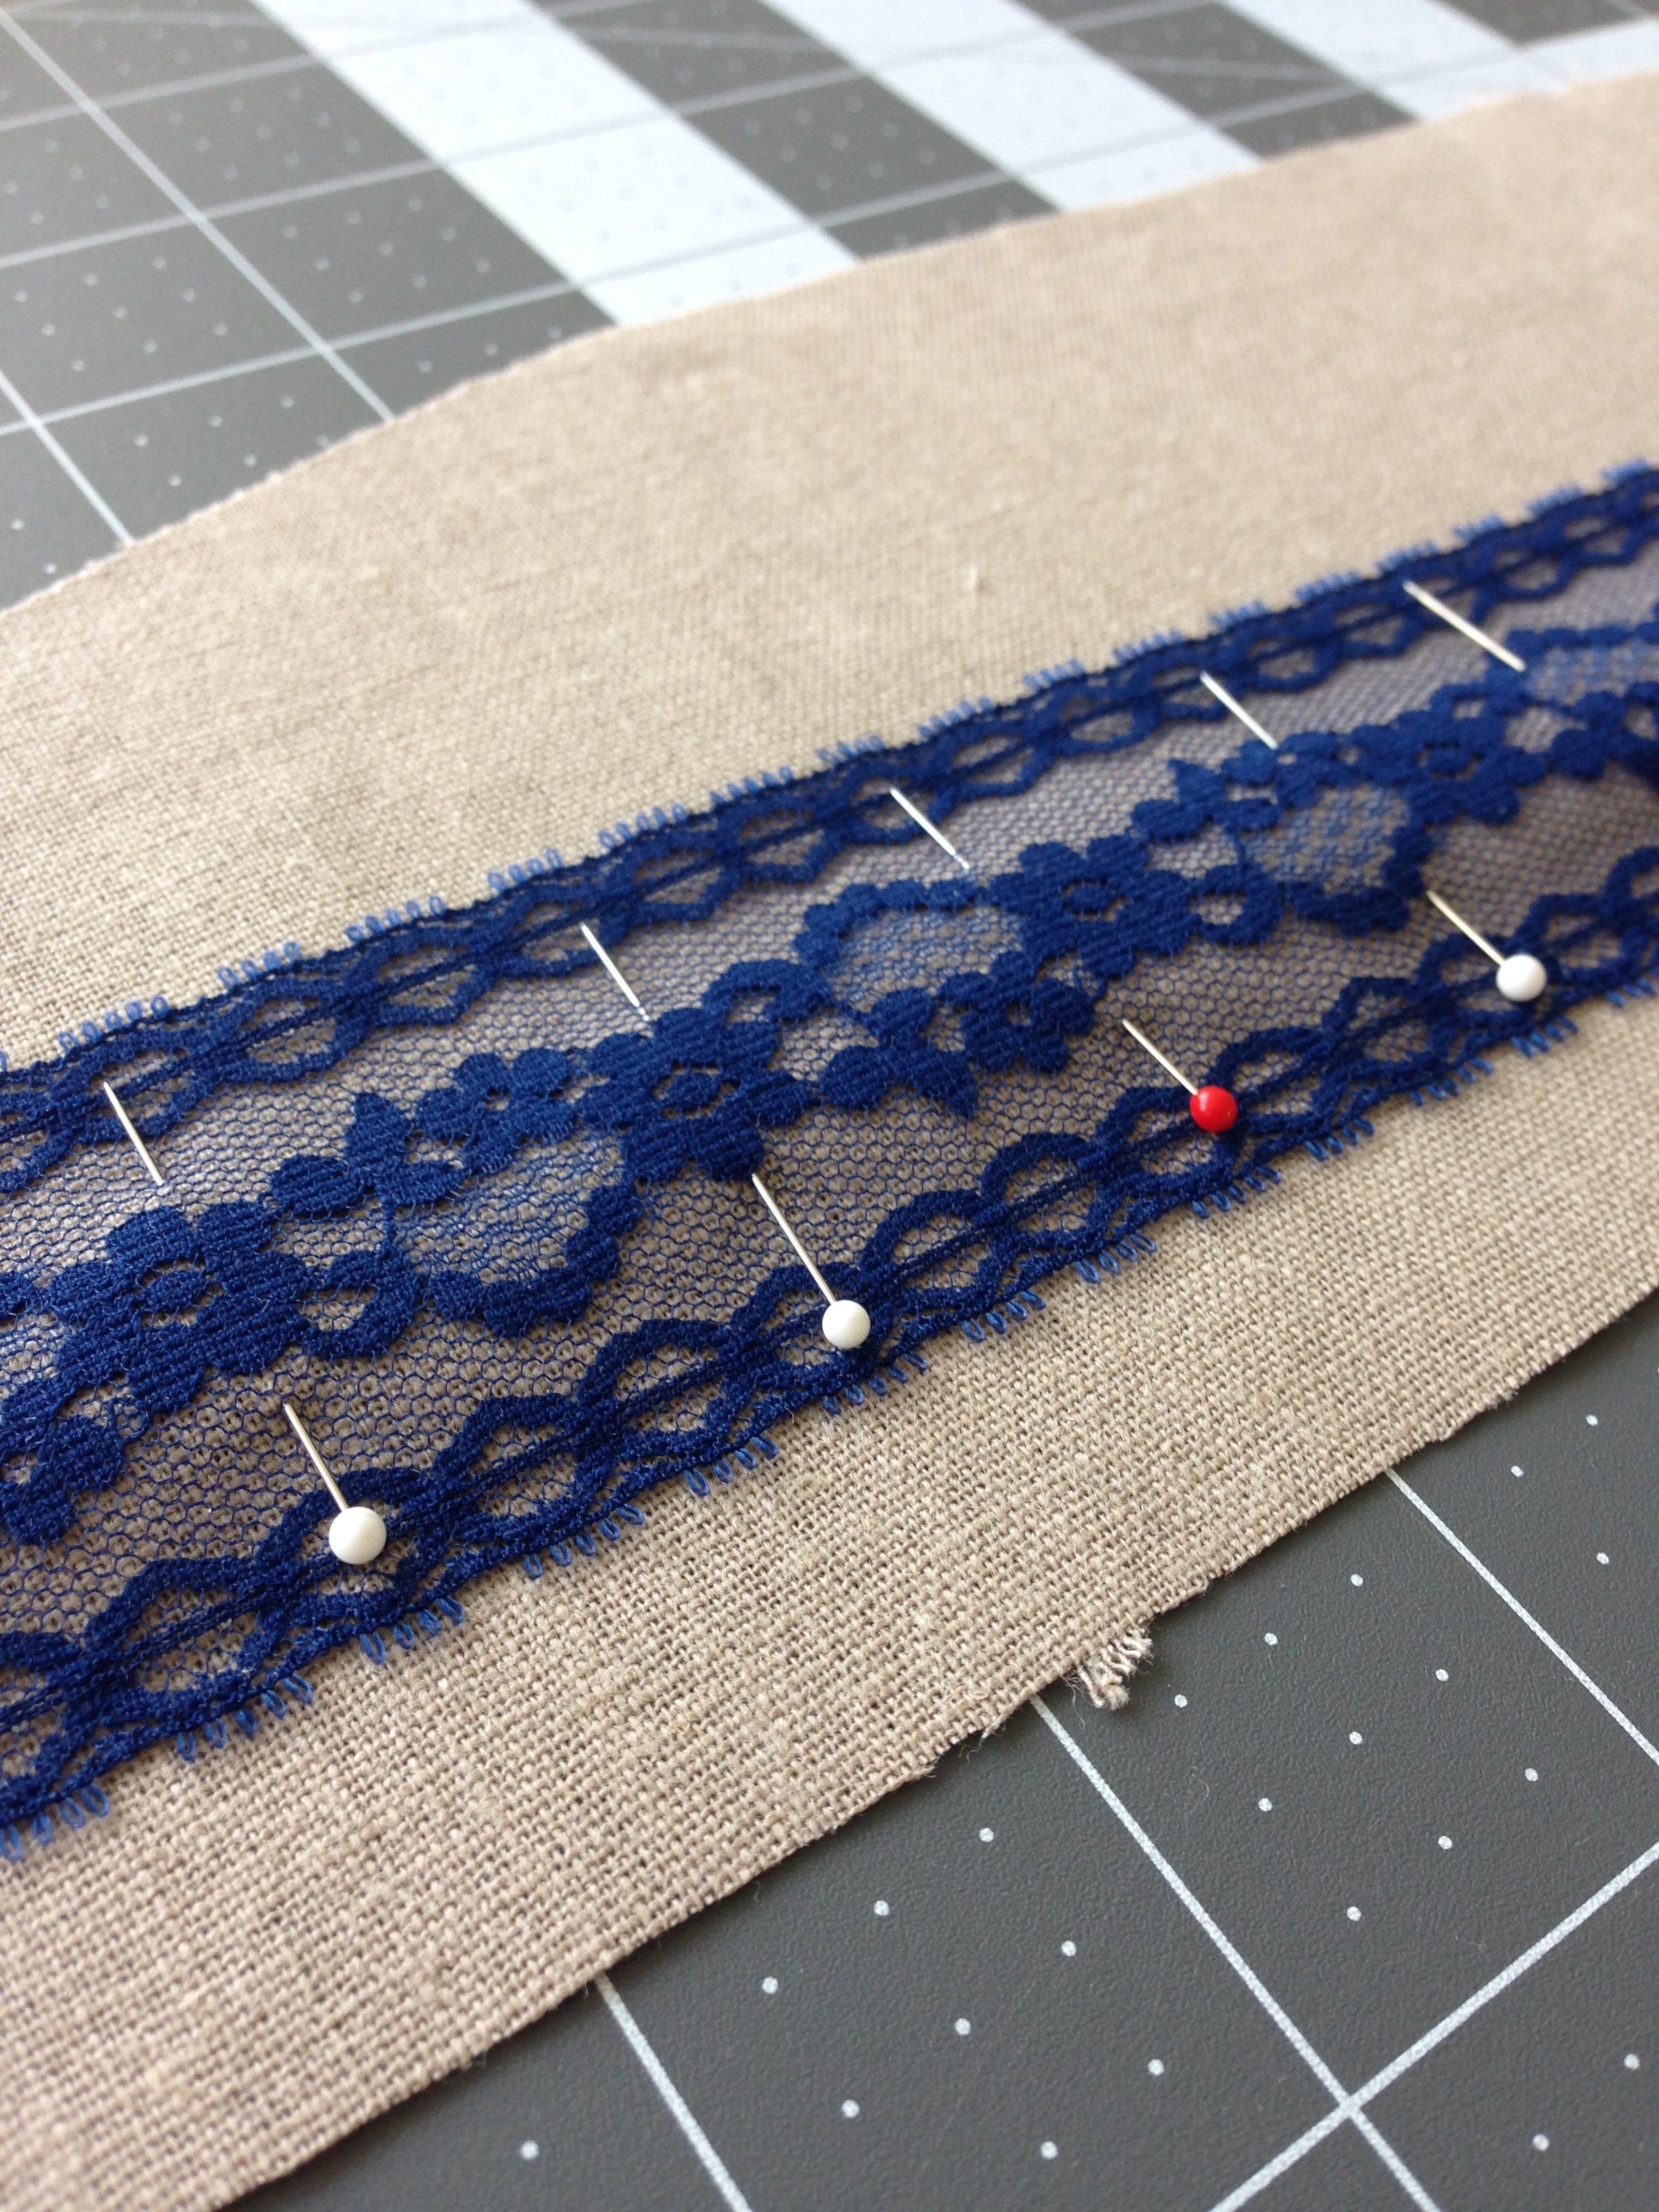
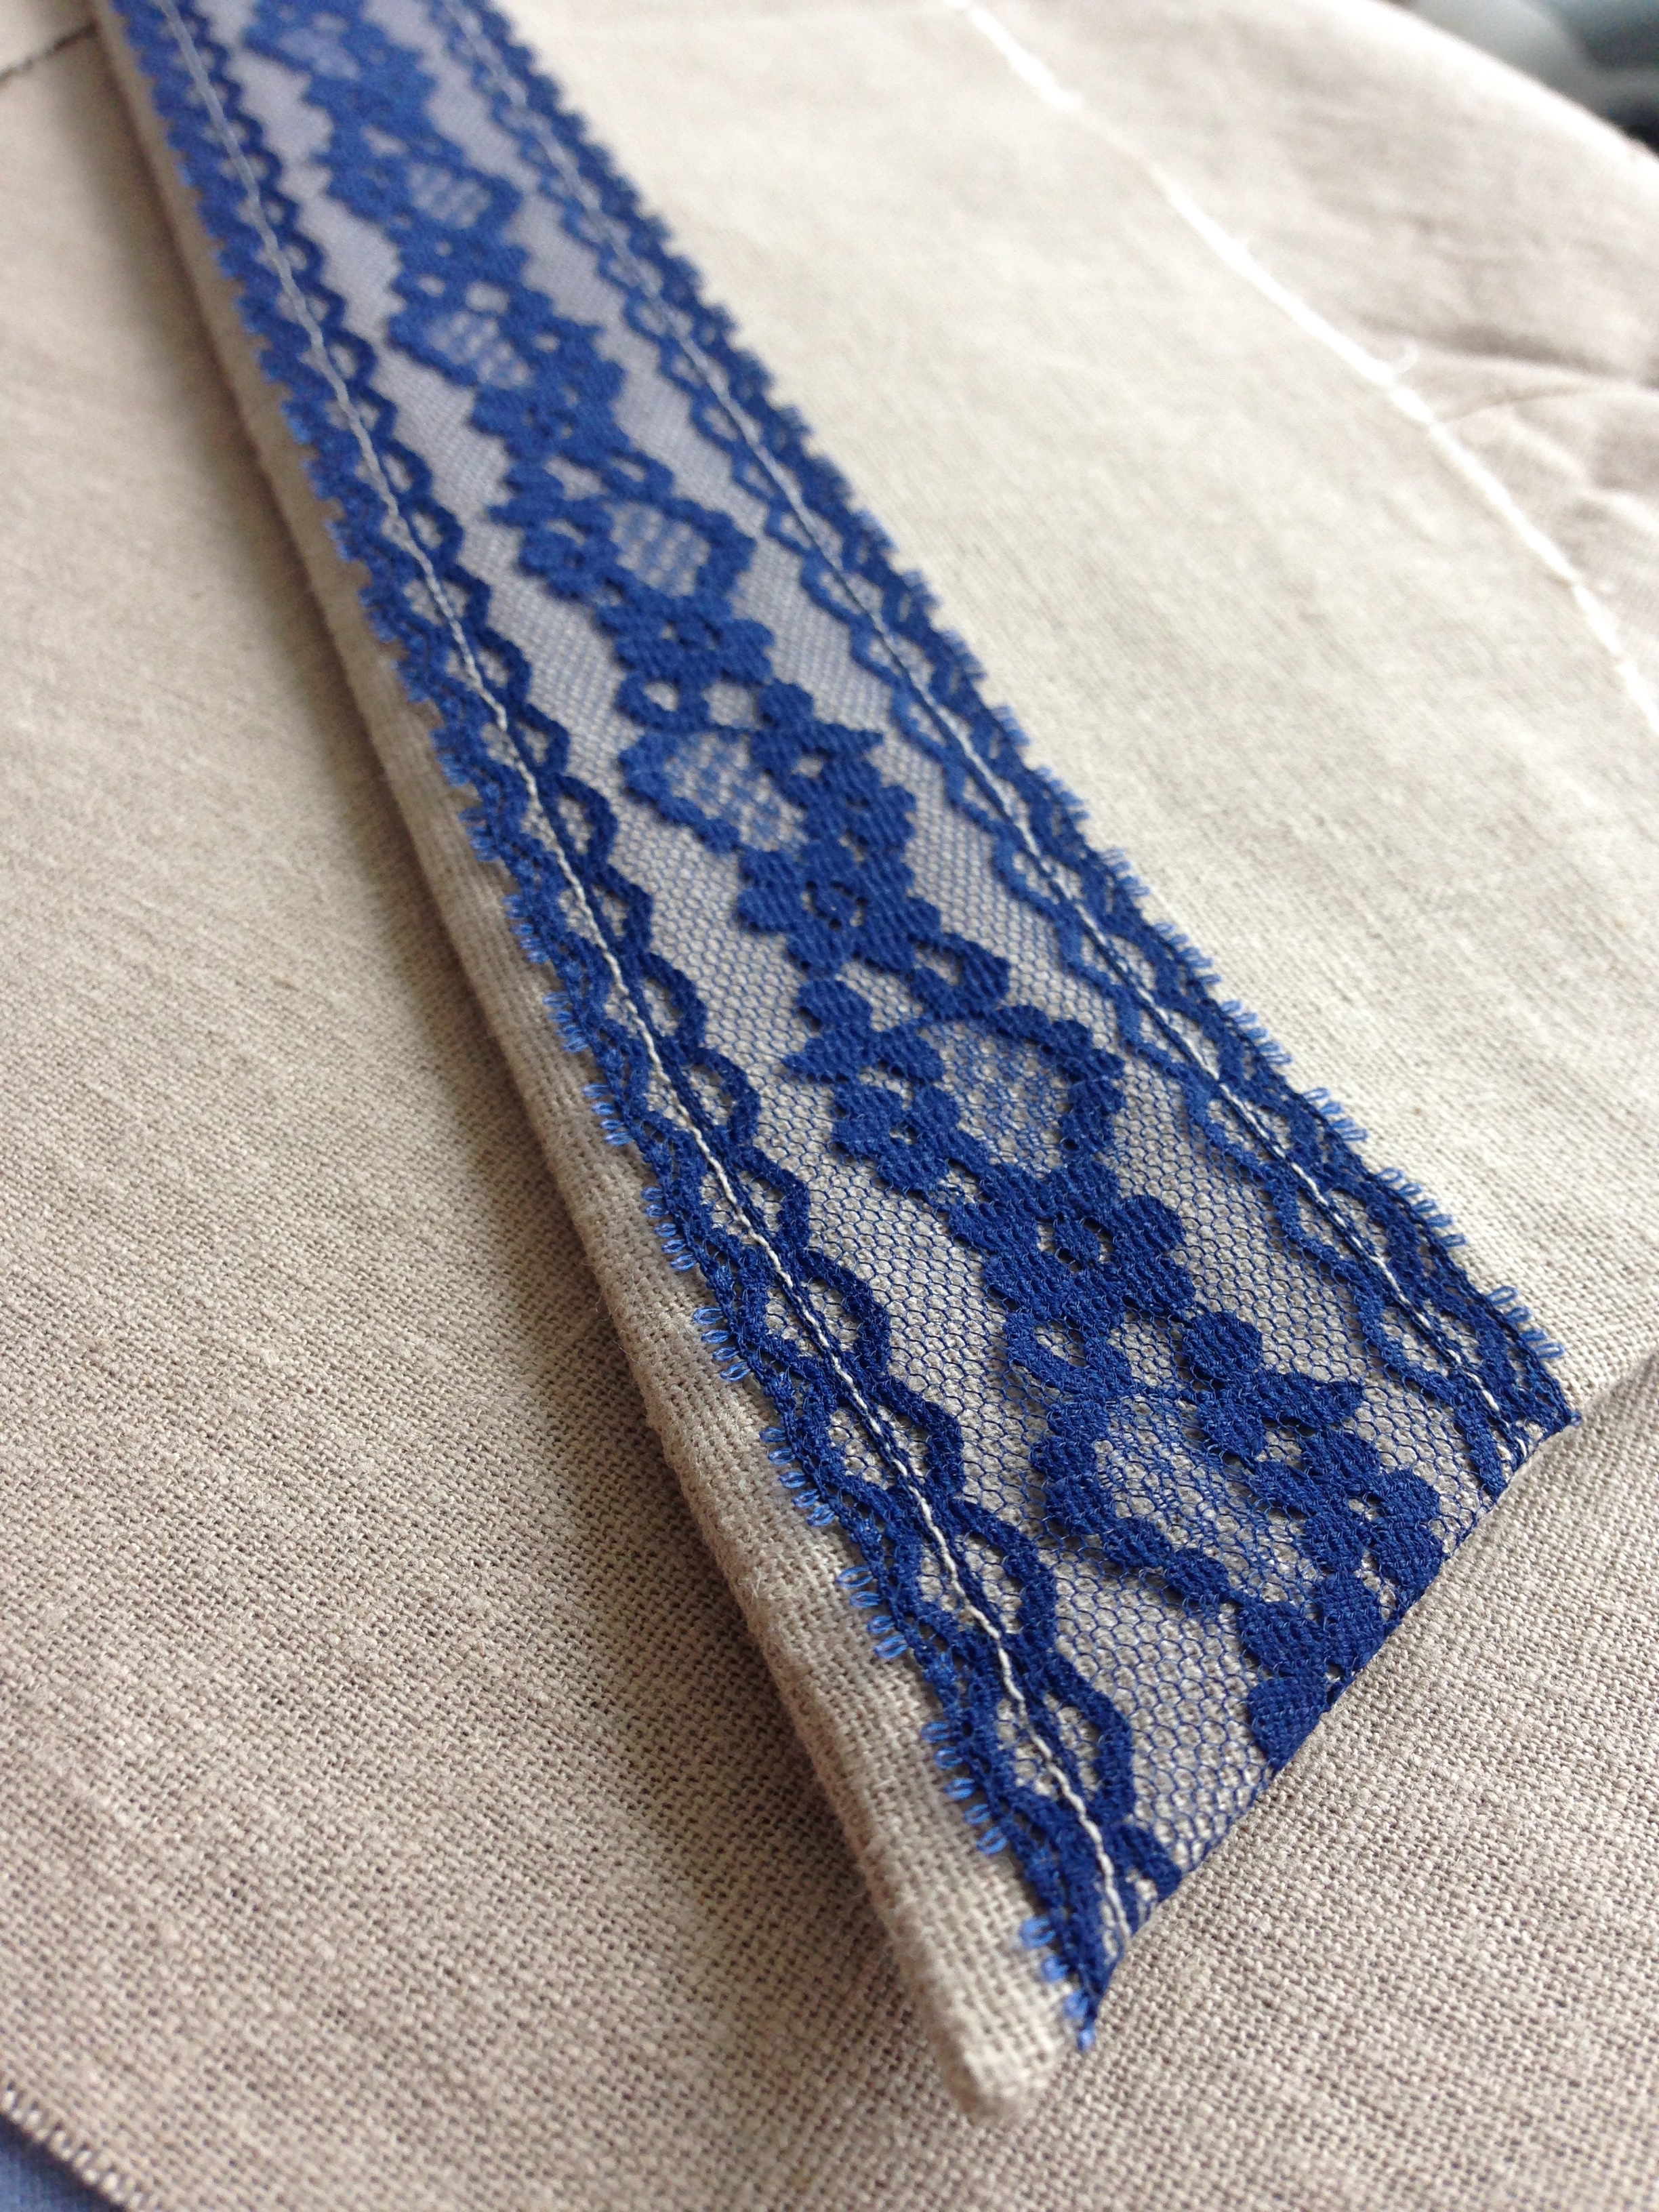
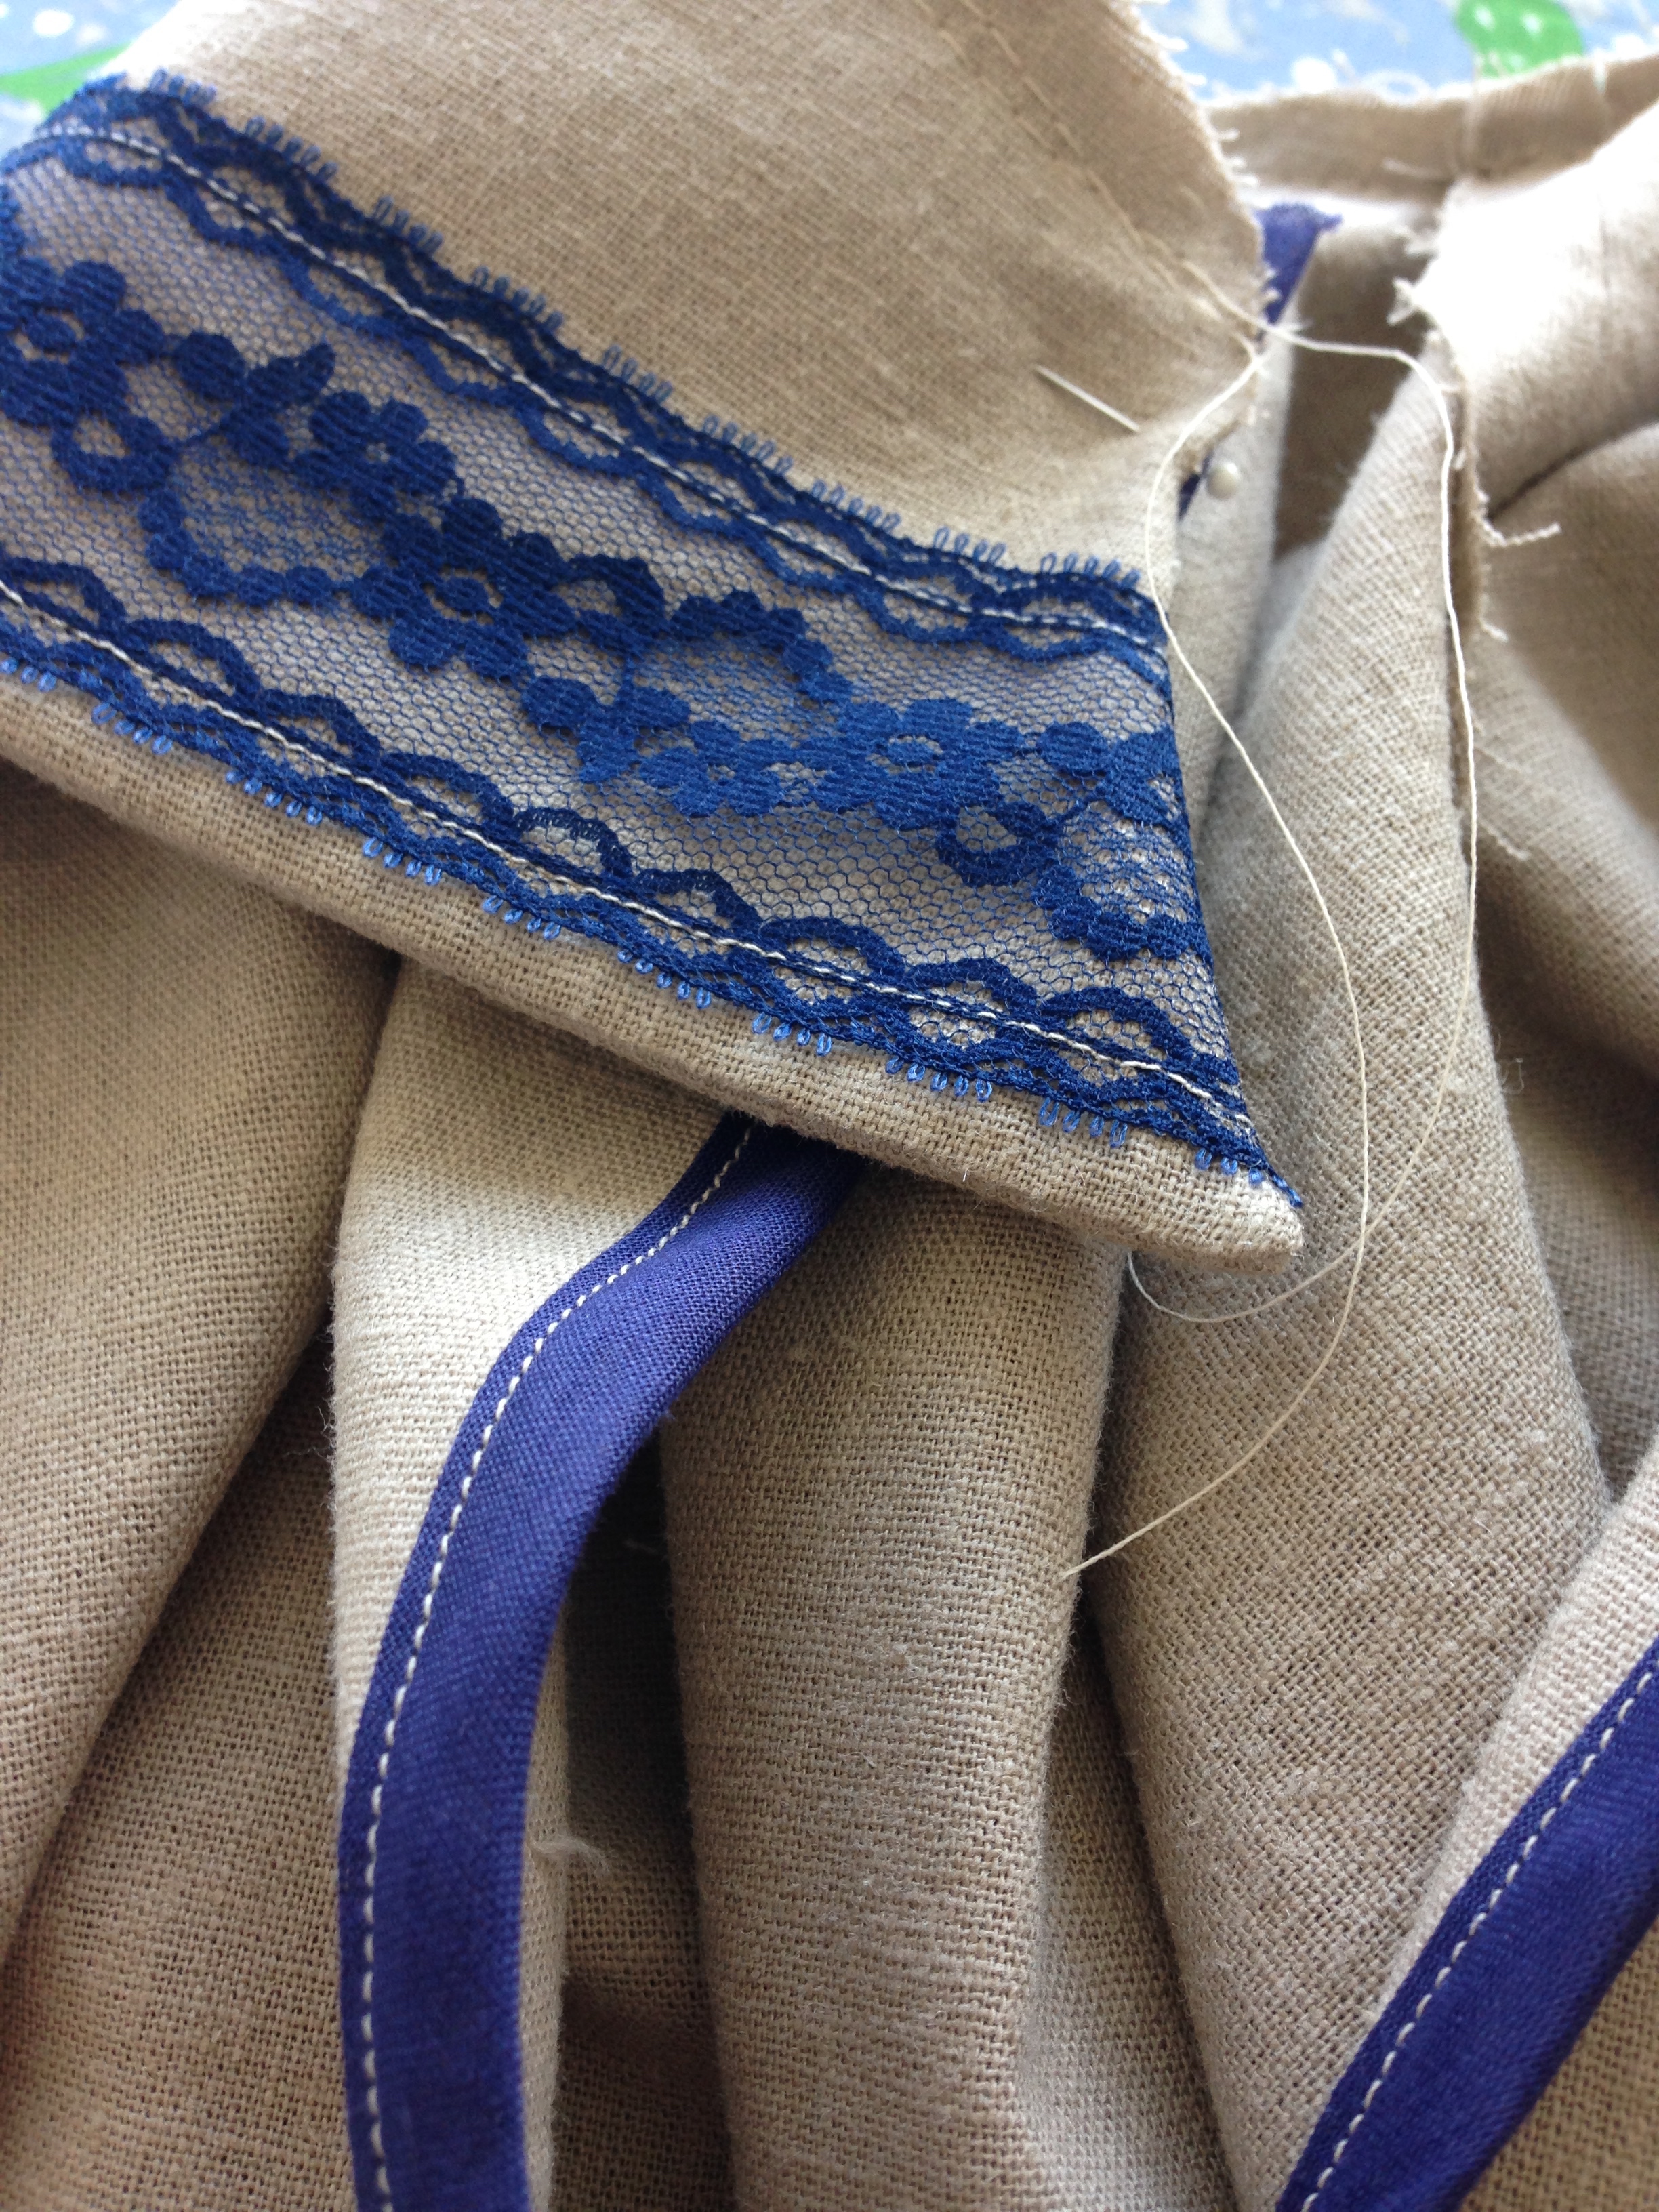
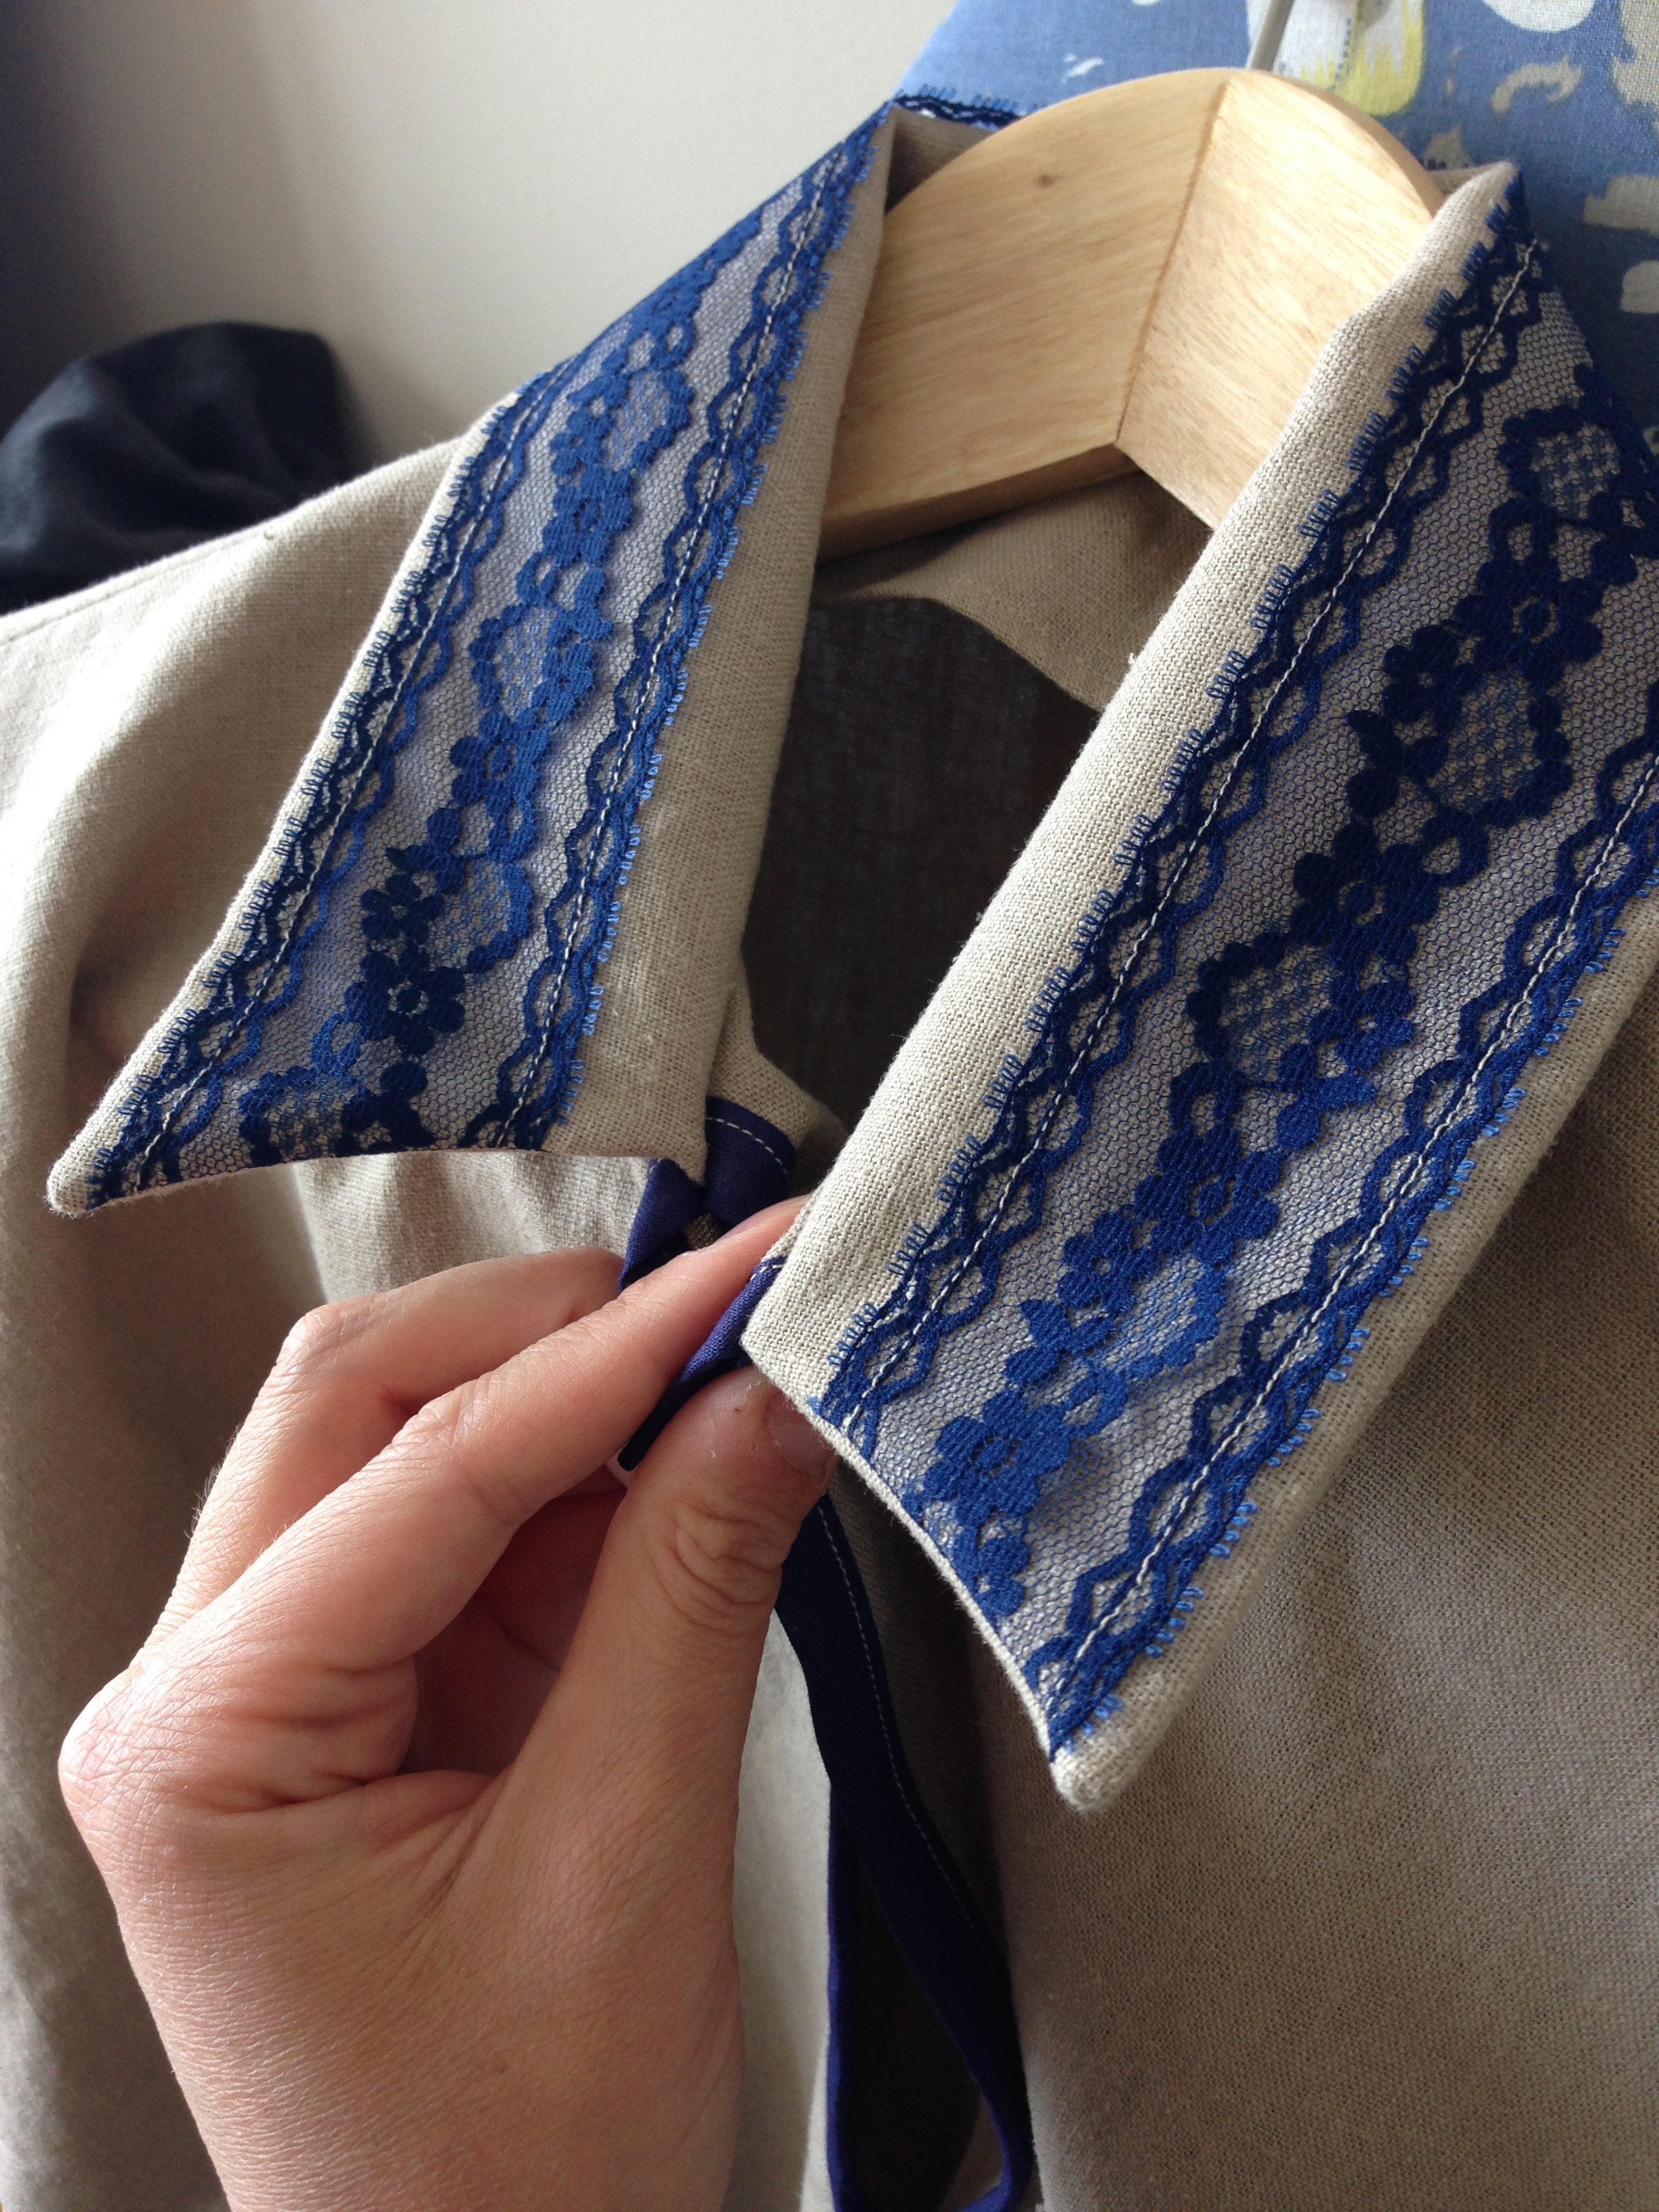
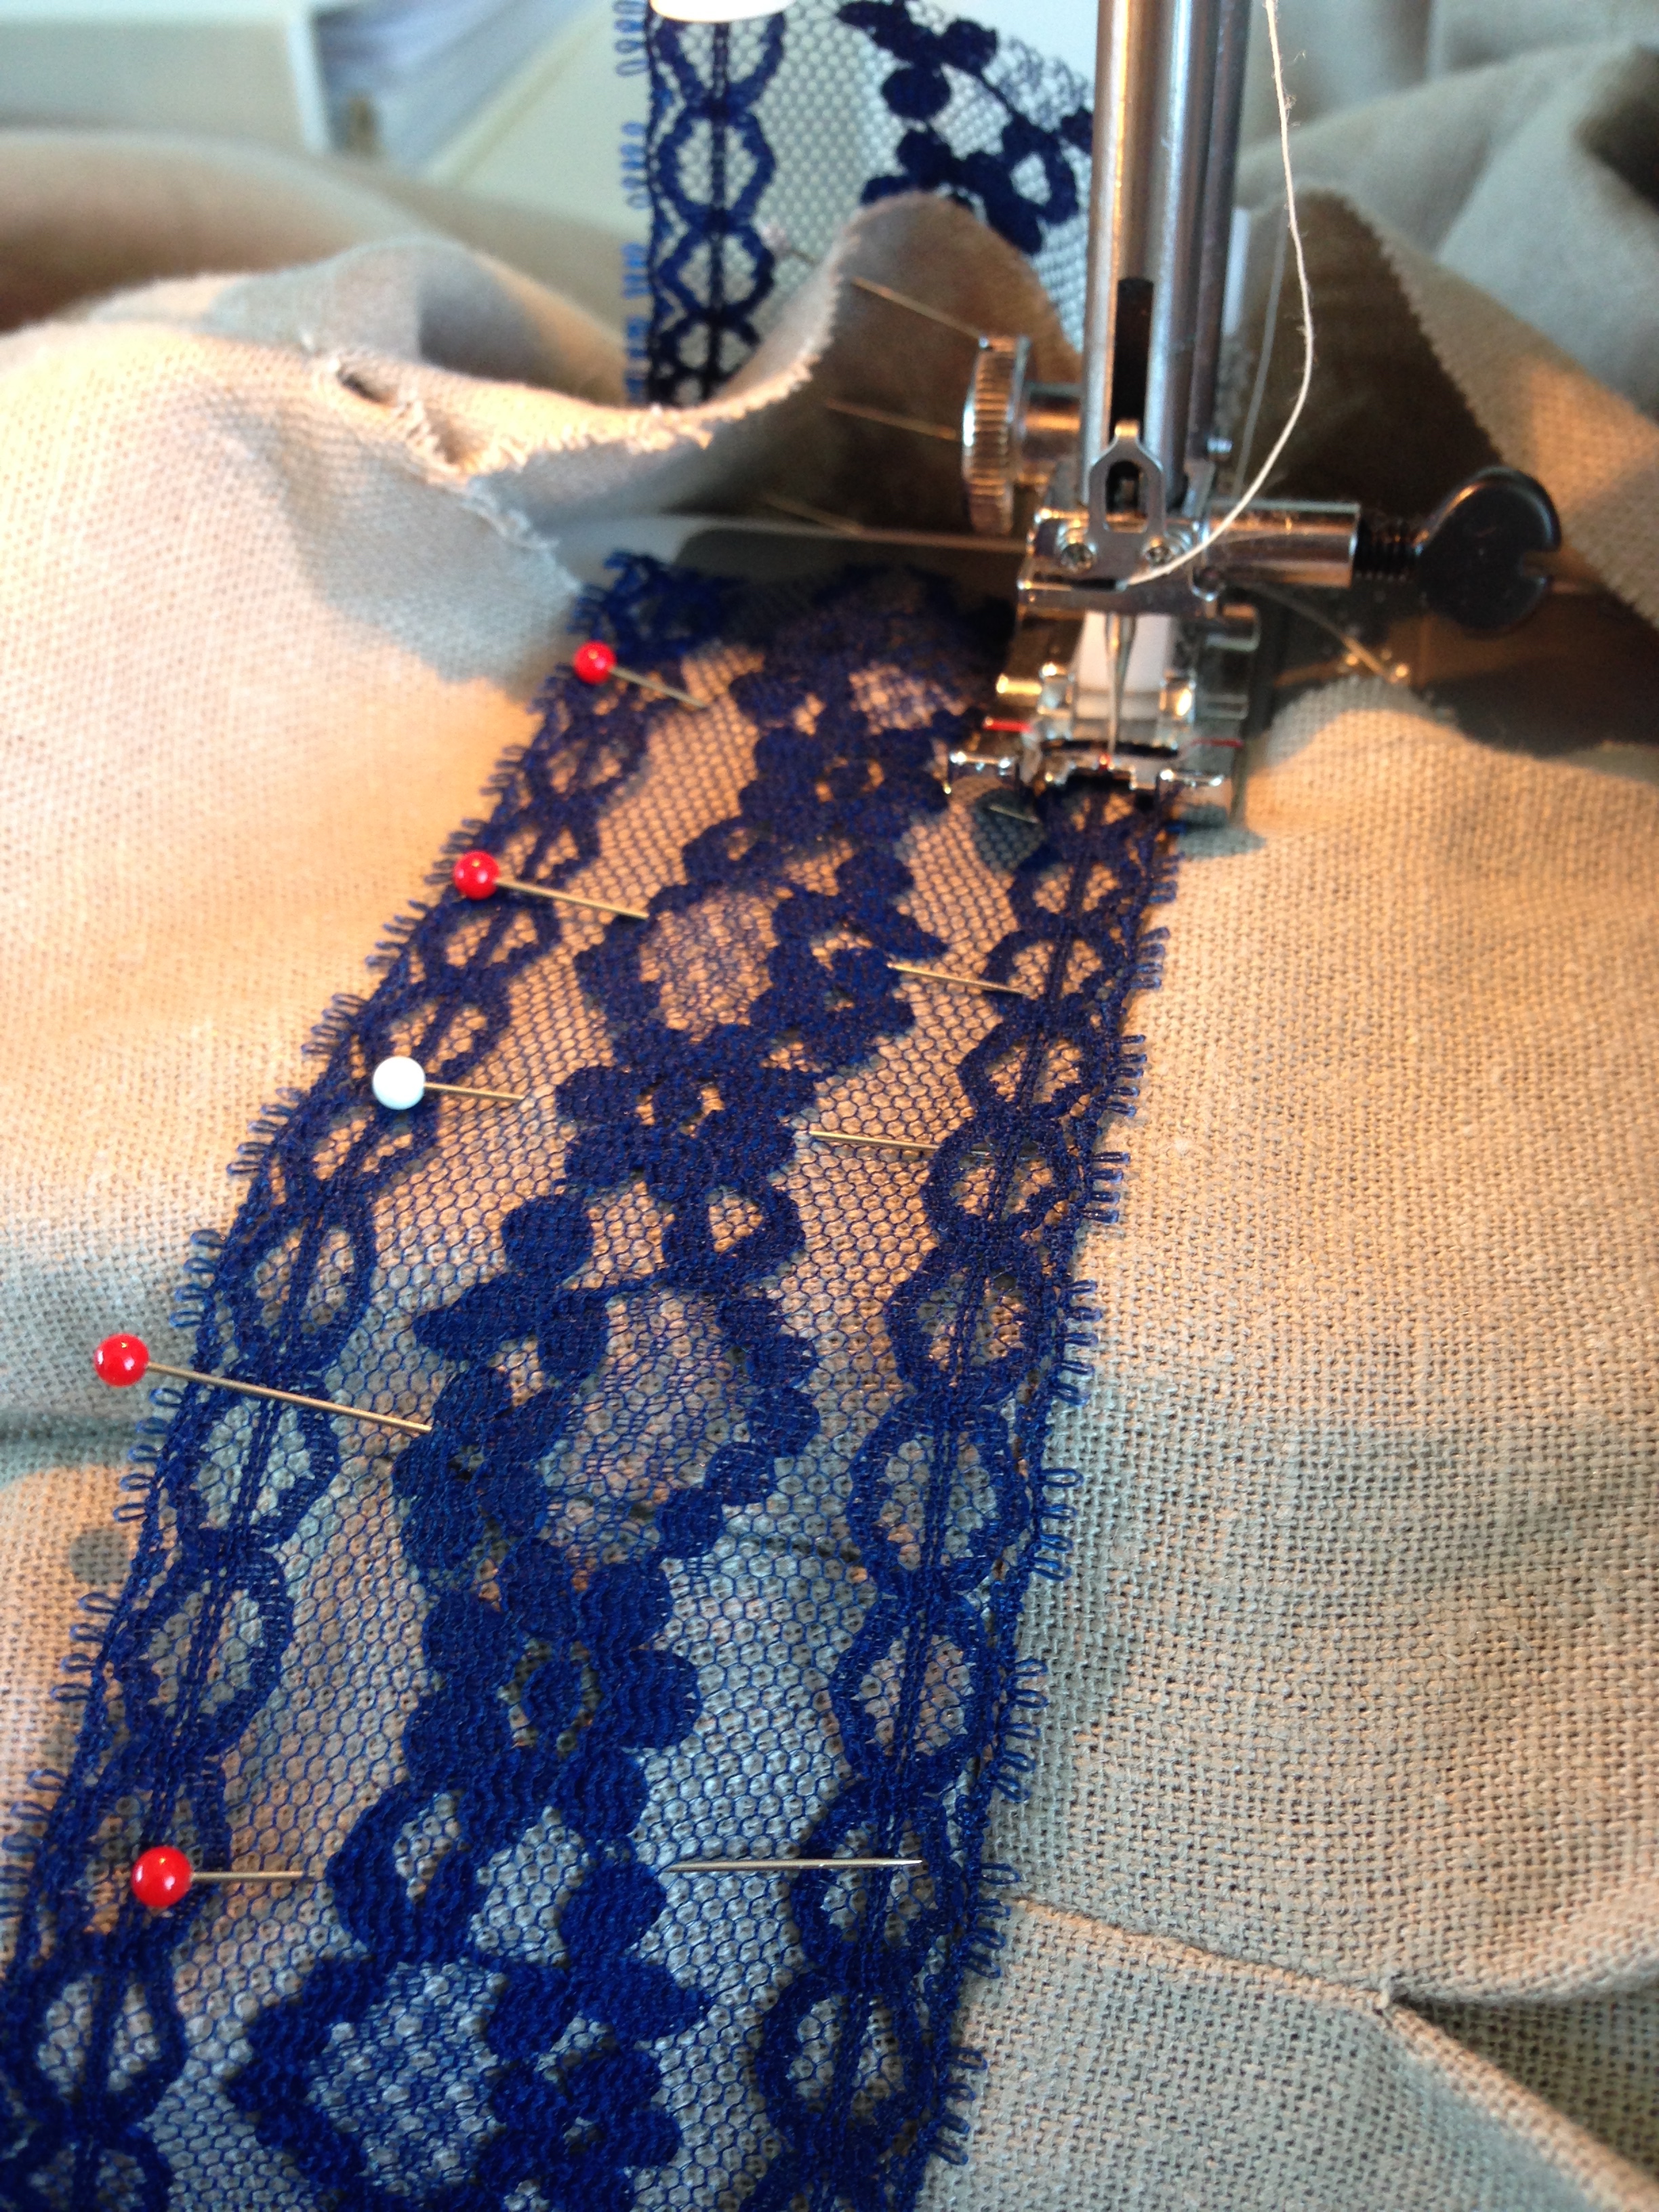
Another grand master detail was the blue lace. I have this old wicker sewing kit, an heirloom from my grandmother, and inside it is about a million different laces, bias tapes, ribbons and appliqués. This lace is my favourite. Delicate and feminine but not super frilly.
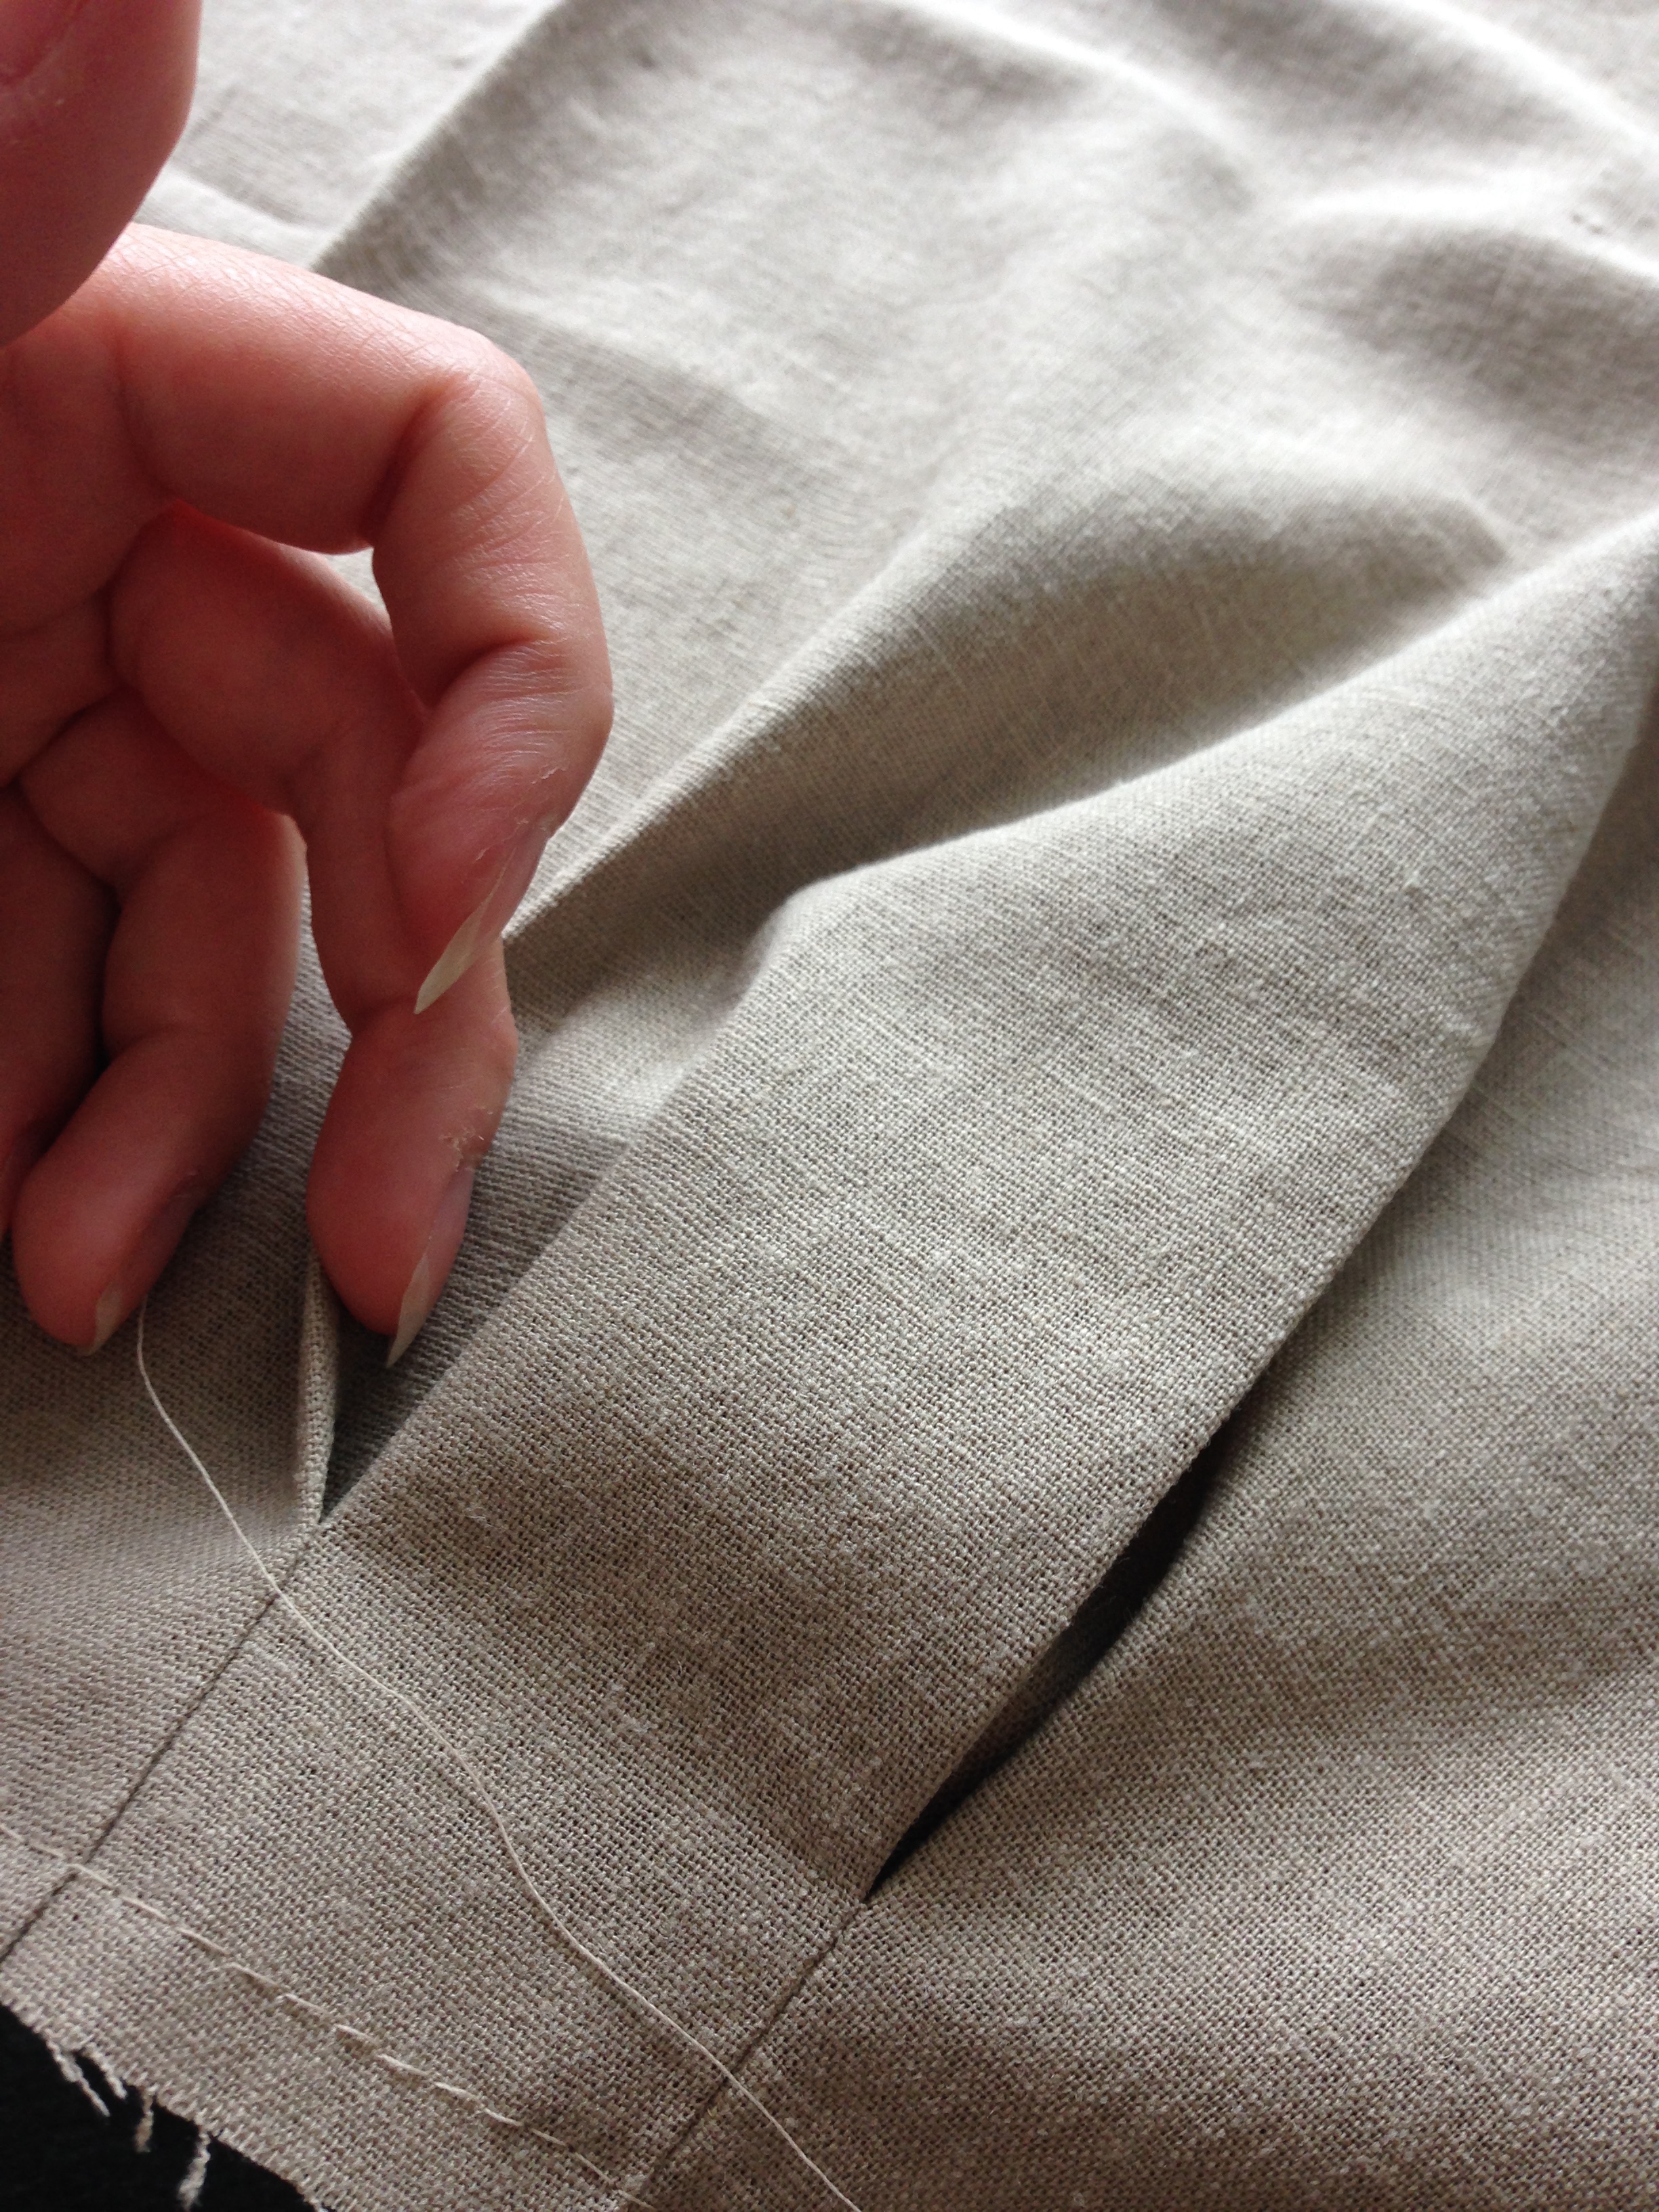
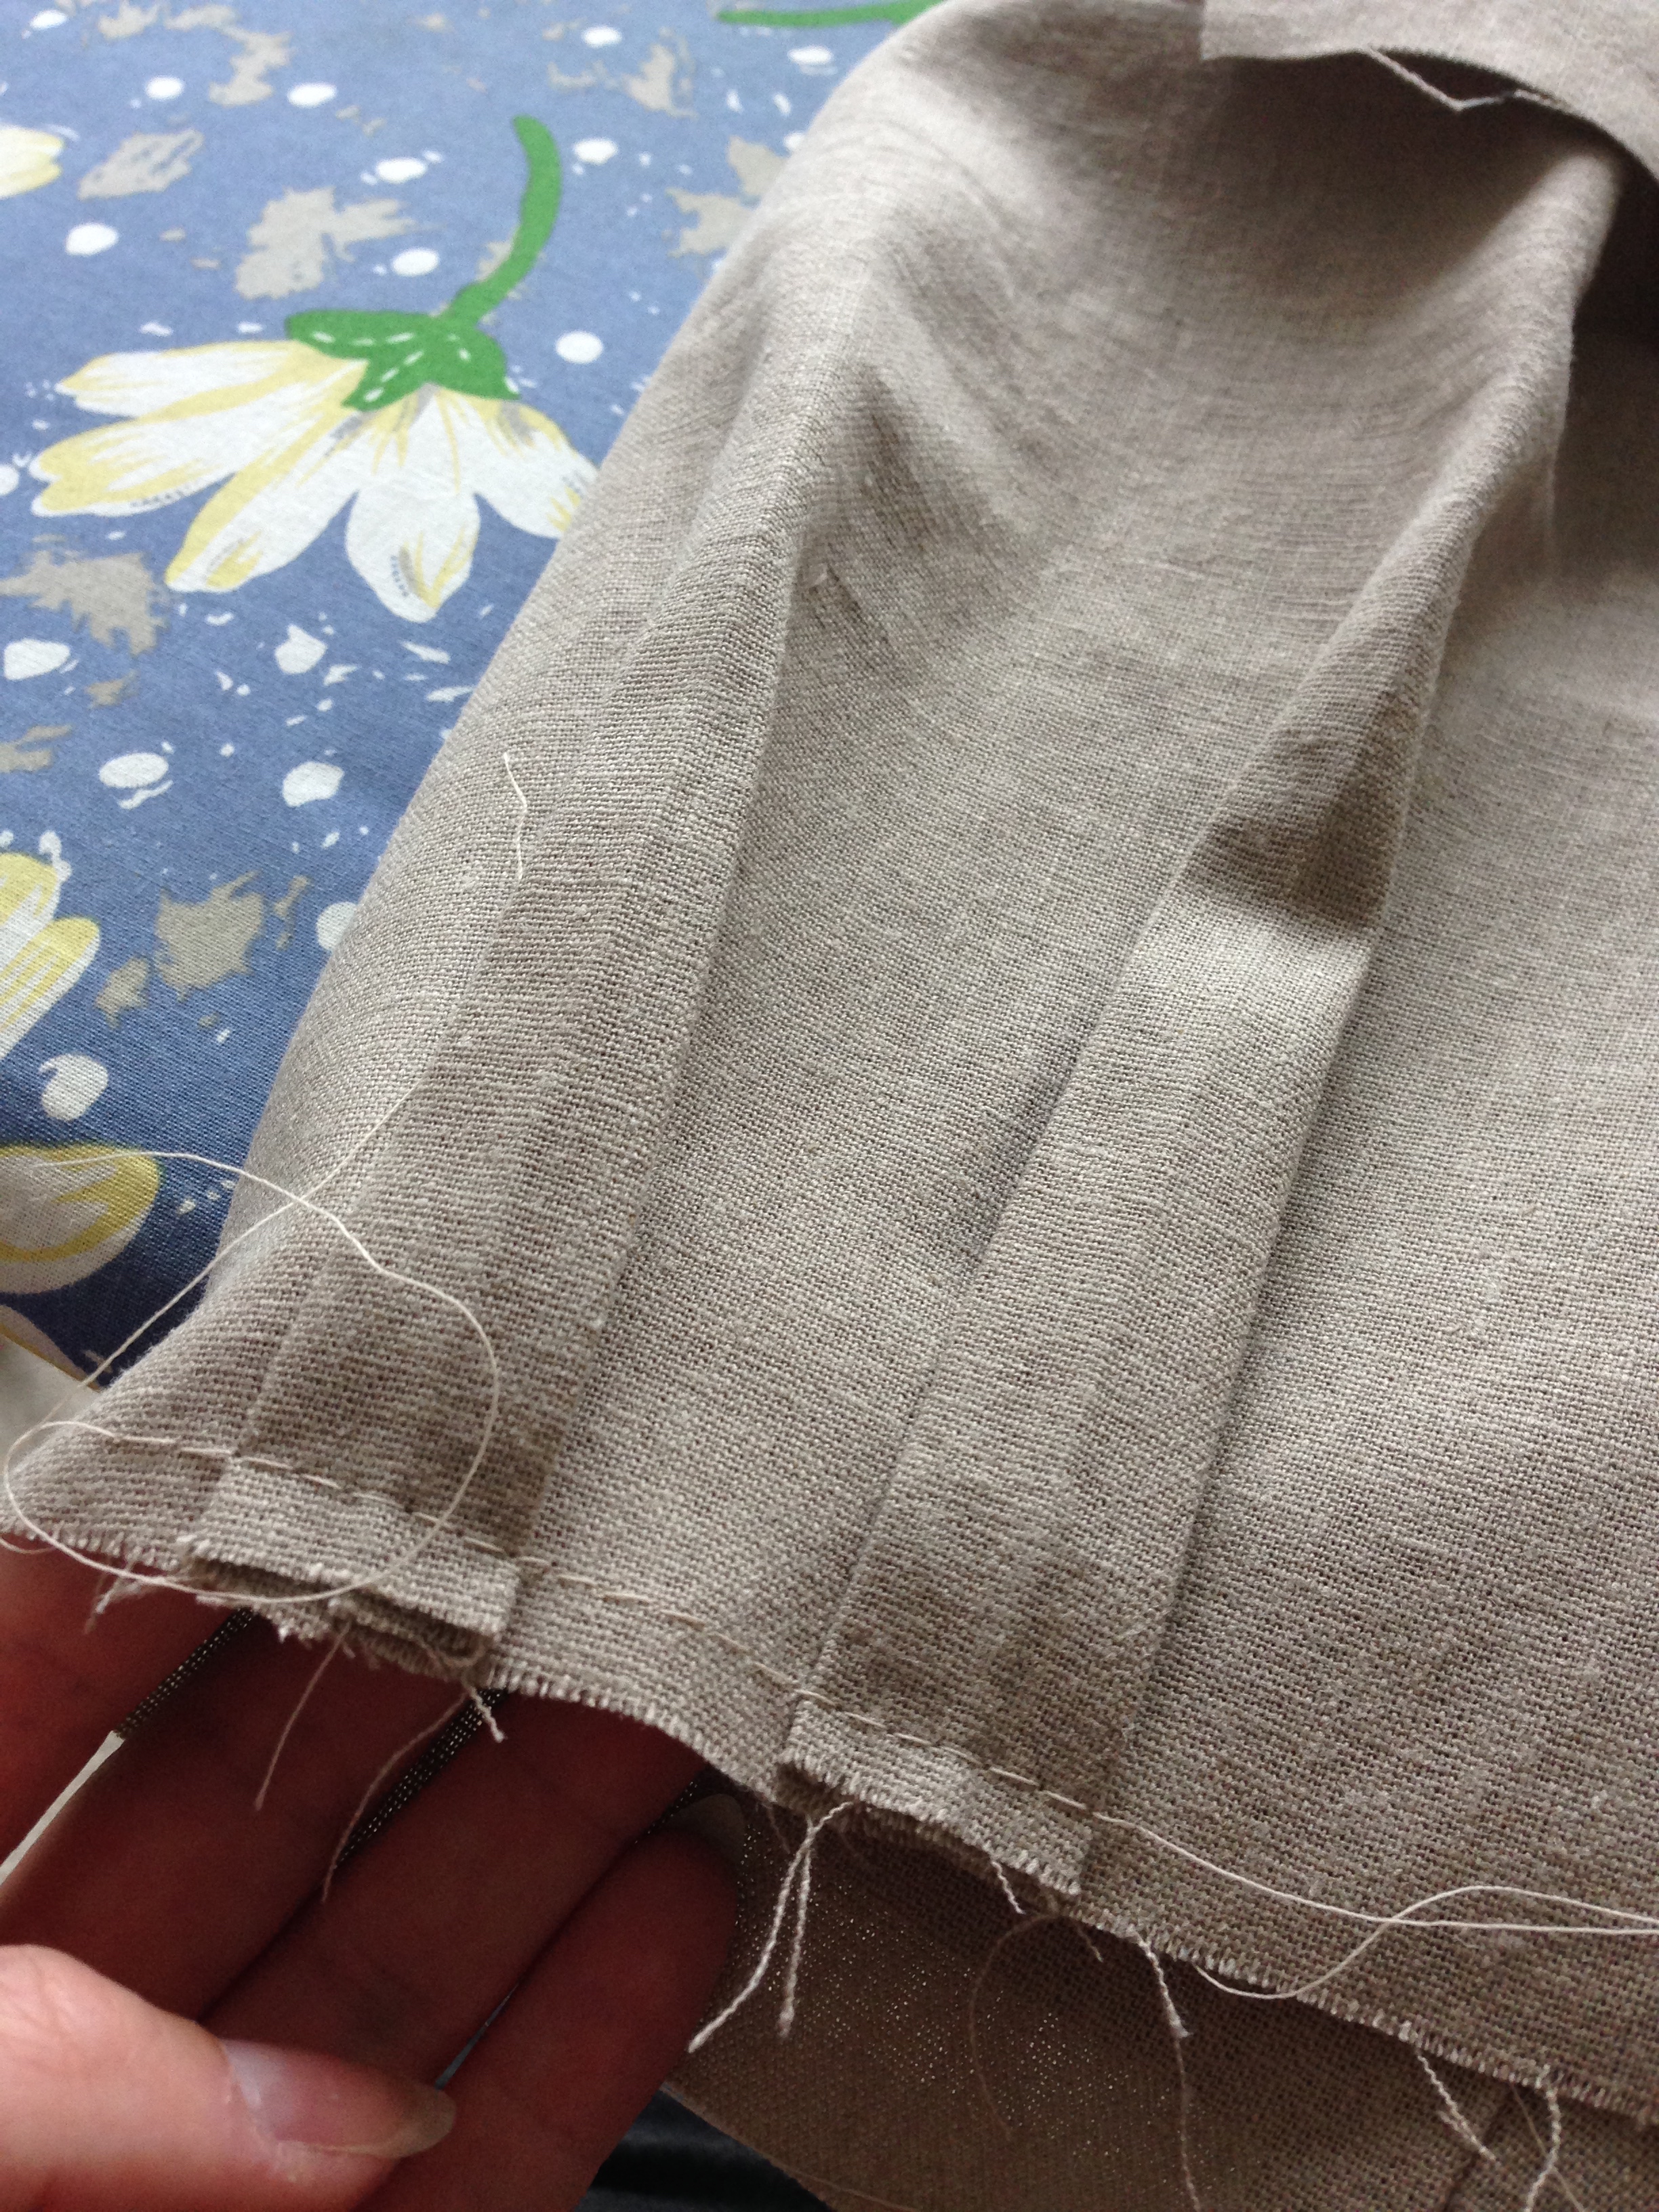
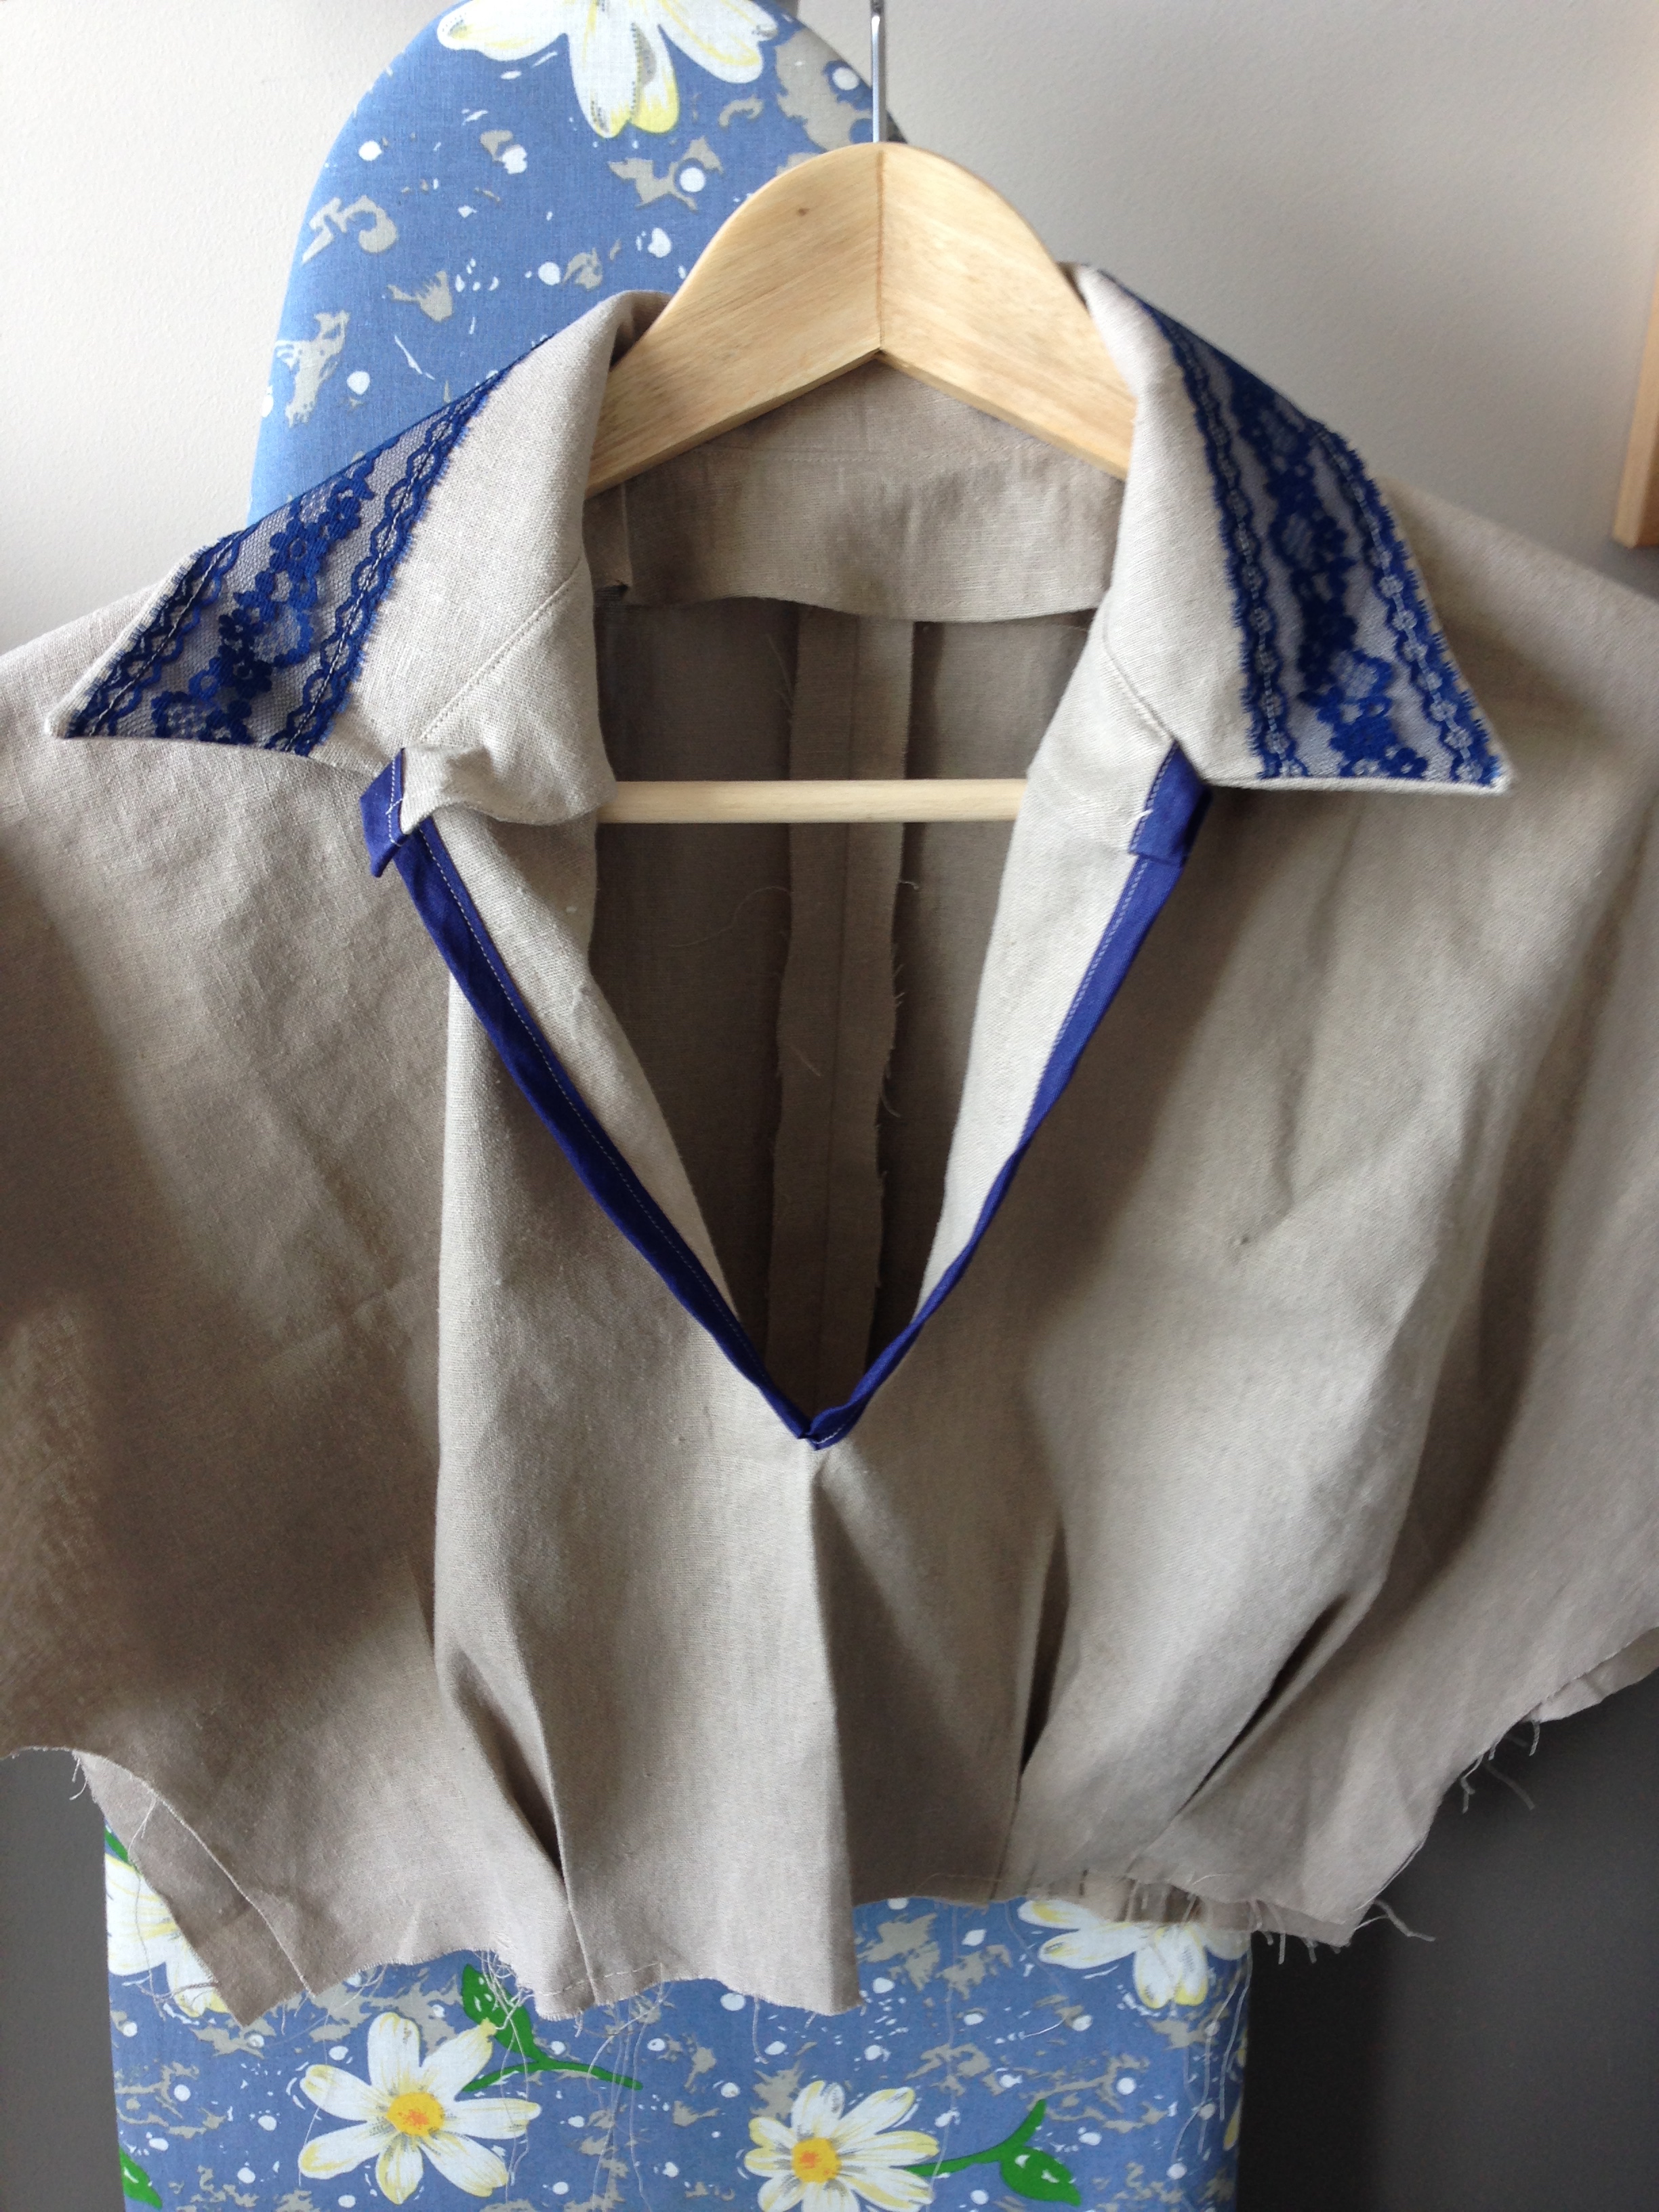
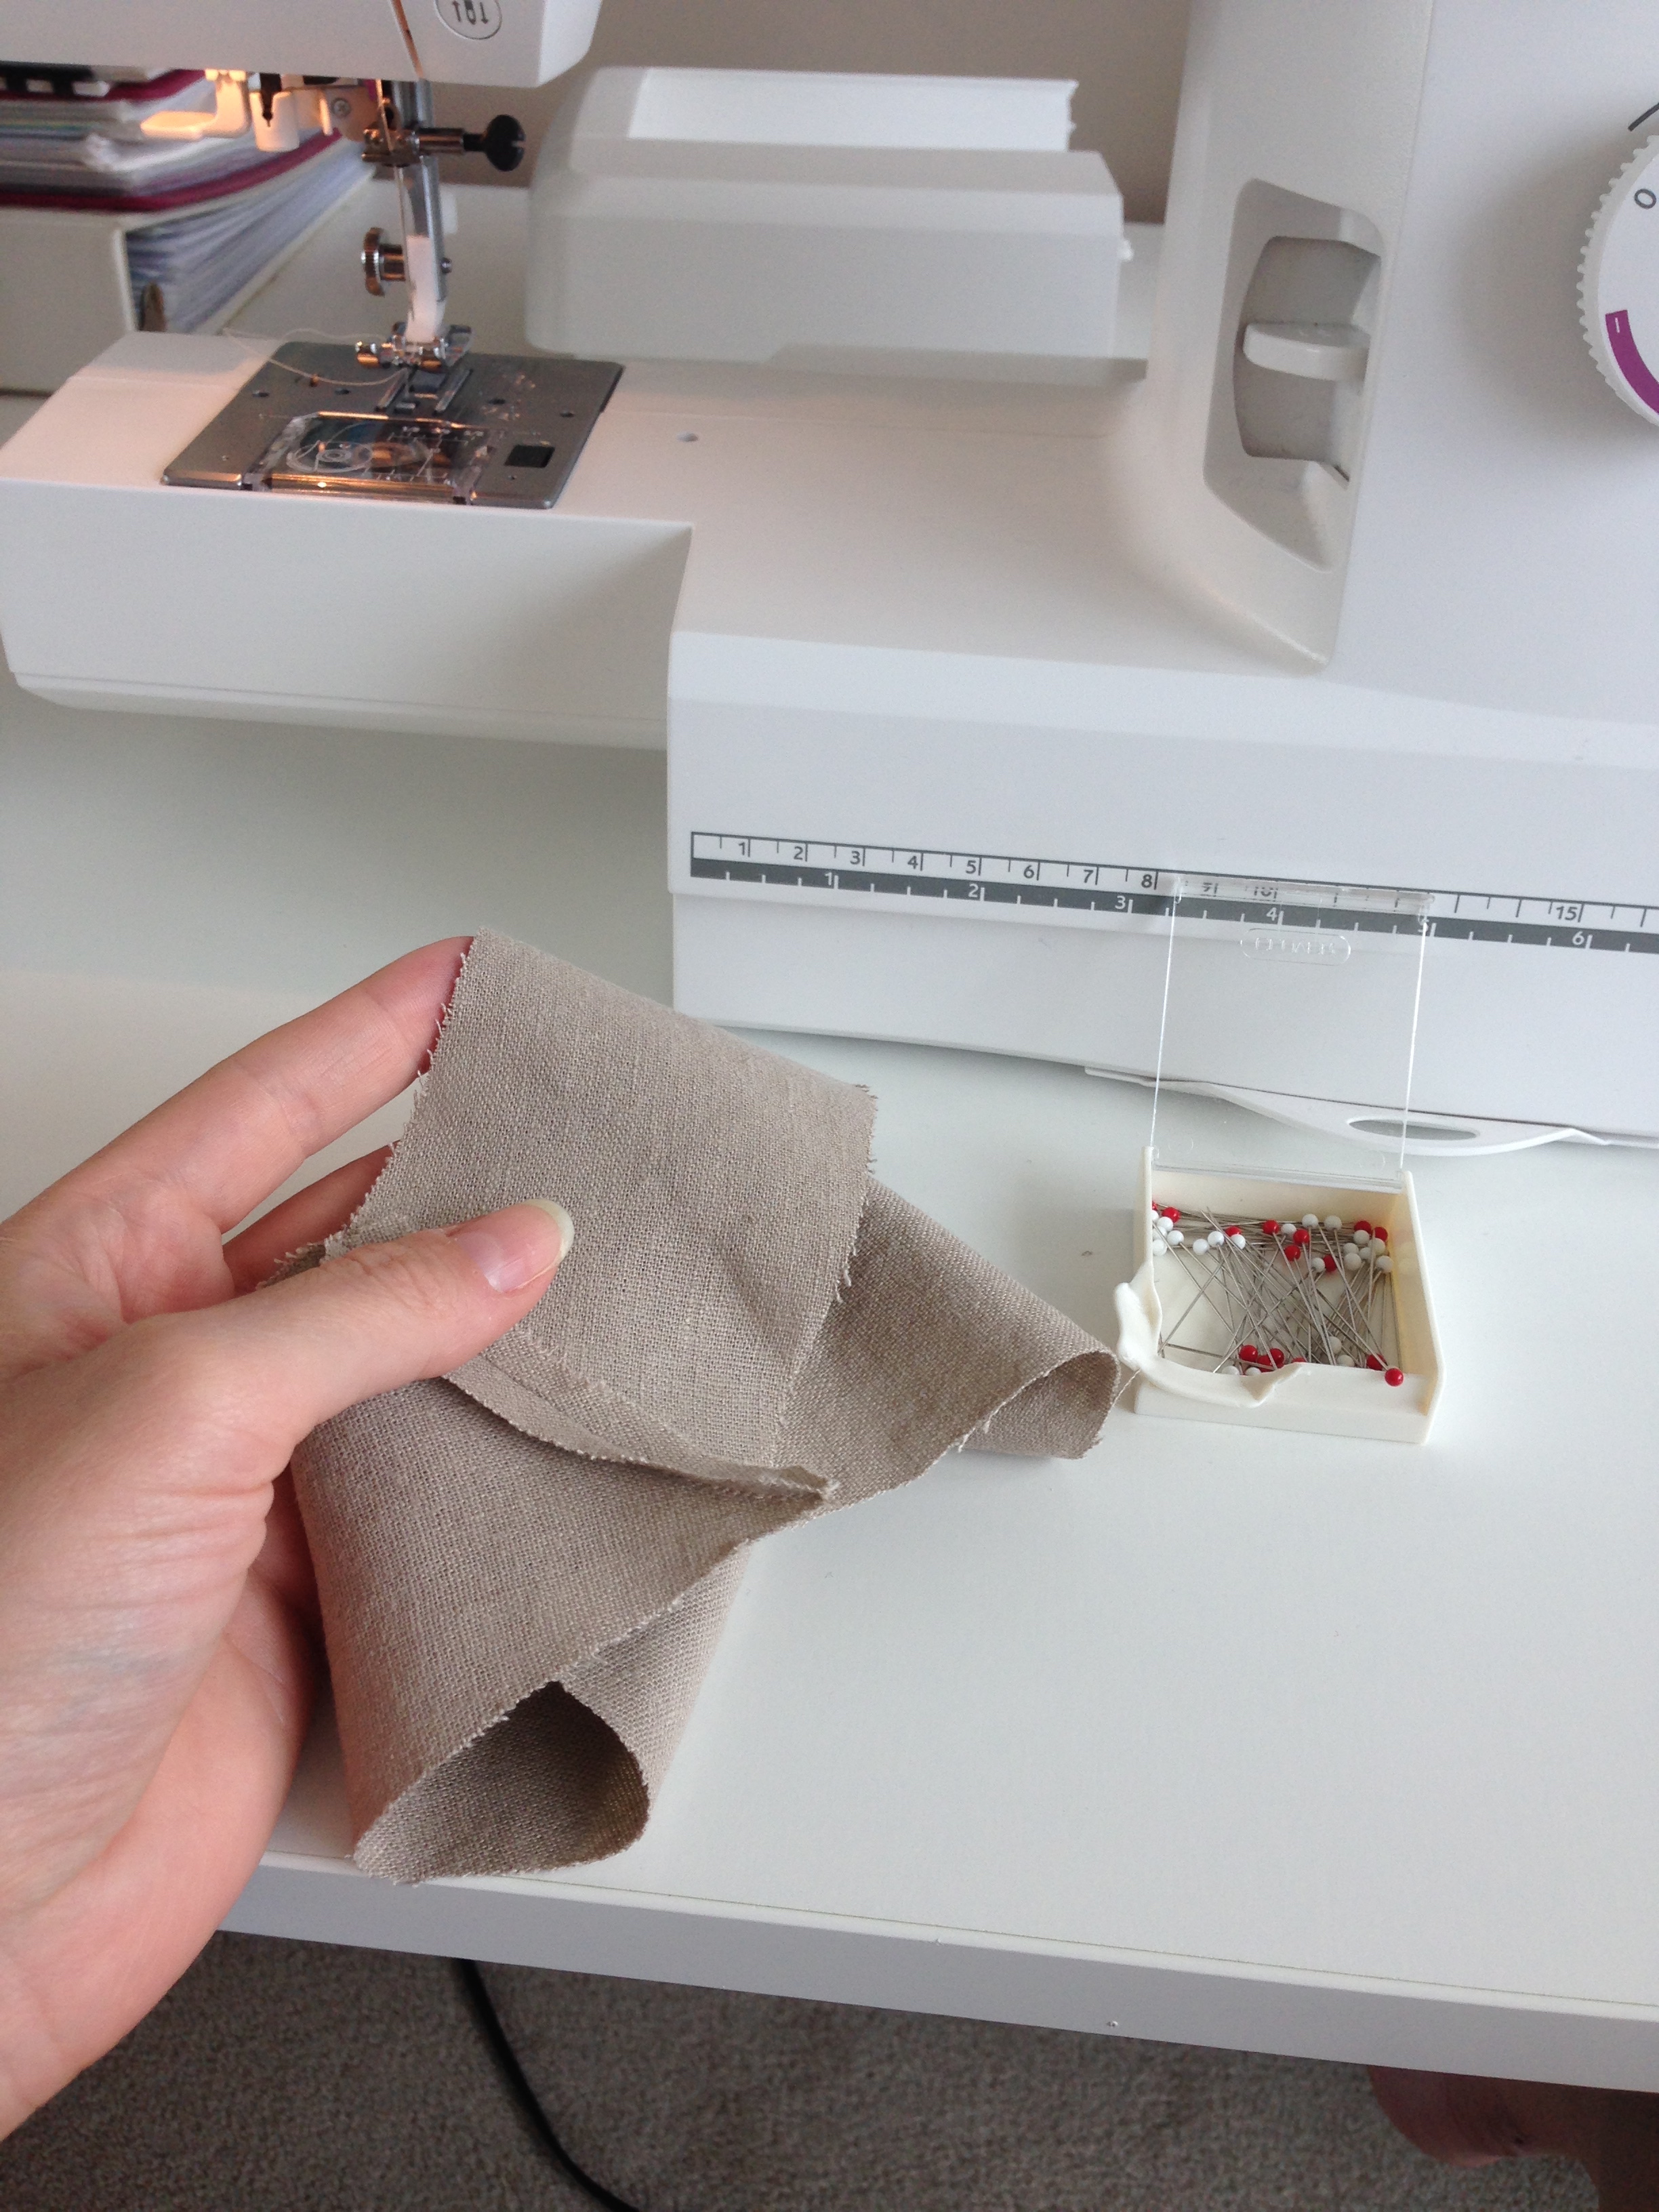
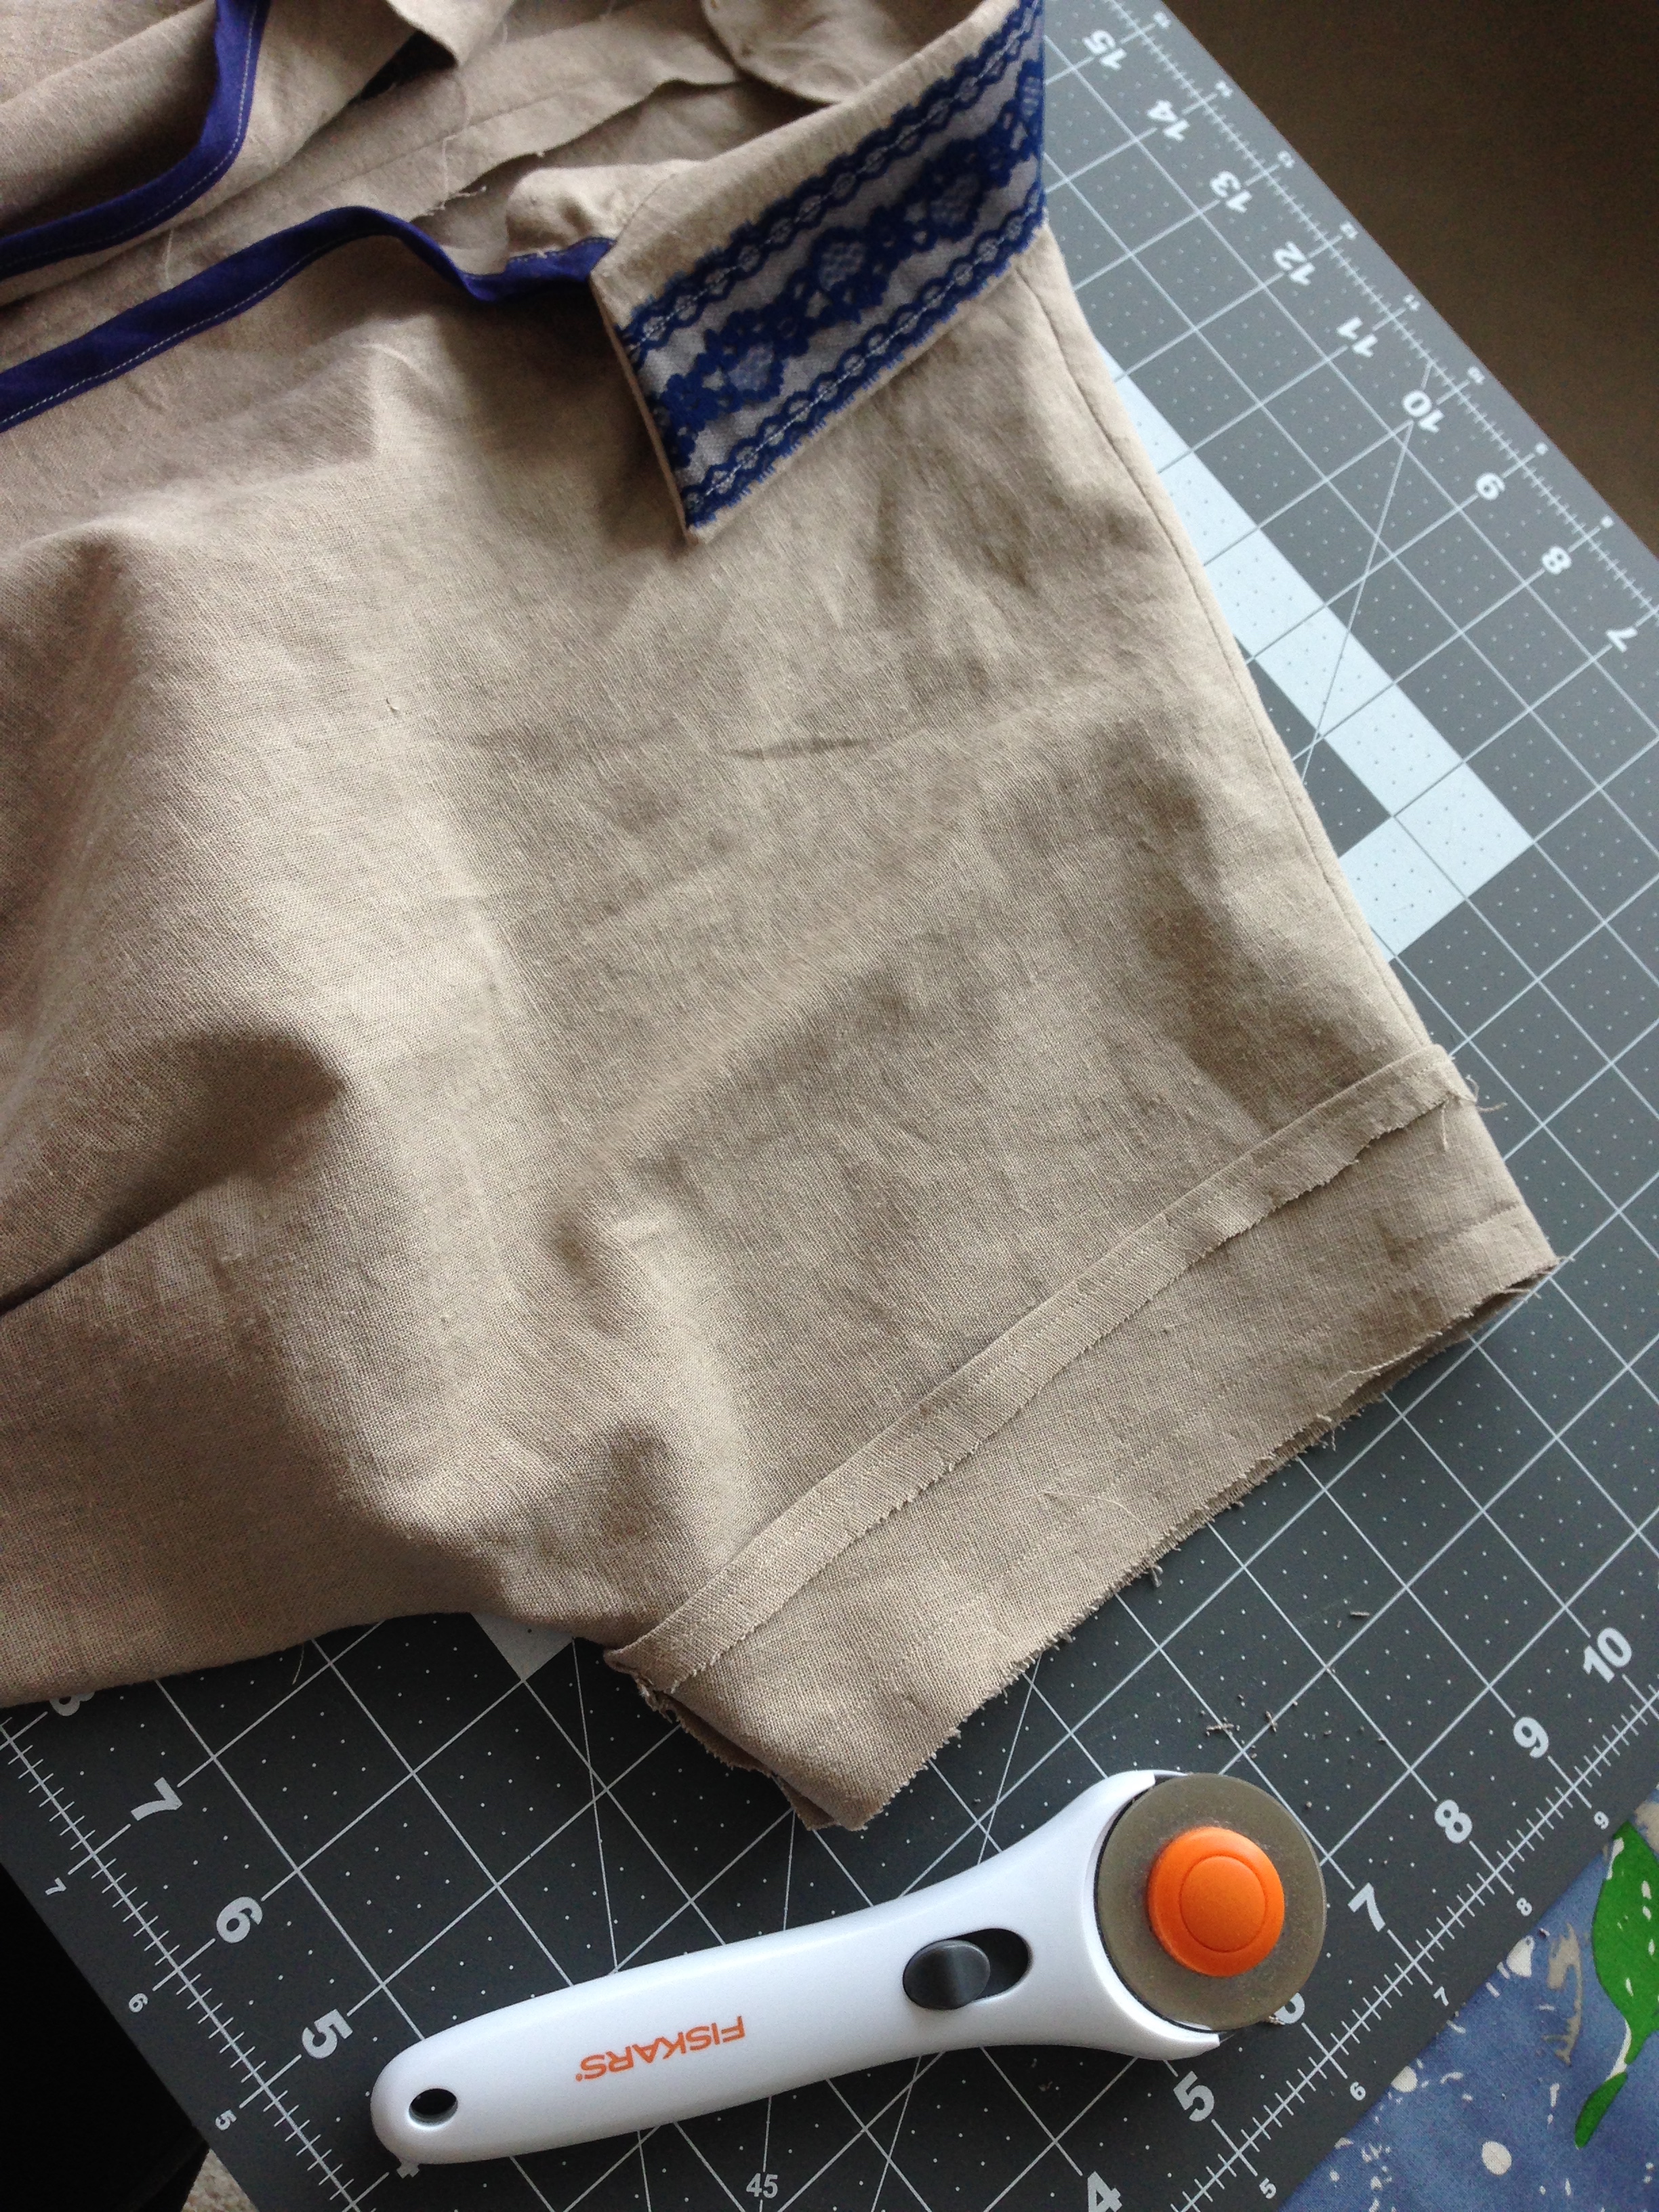

Fabric cut, detailing planned, I got to work constructing the bodice. The front and back bodice include tucks at the waist, which I've never done before. Simple enough though! Except, after all the construction was finished, I figured out there is a sense of direction to them... Shhhhh. Note for future projects.
This was also my first collared project too. But the collar went perfectly. -pats self on back- Go go gadget planning skills! The lace attached before sewing the edge seams was a bit stressful but with a measuring tape and a dream, there is a way! The sleeves, with an interfacing sleuthily invisibly stitched to inside of the sleeve, was the perfect way to finish to bodice. Simple lines. Simple form. Love love LOVE.
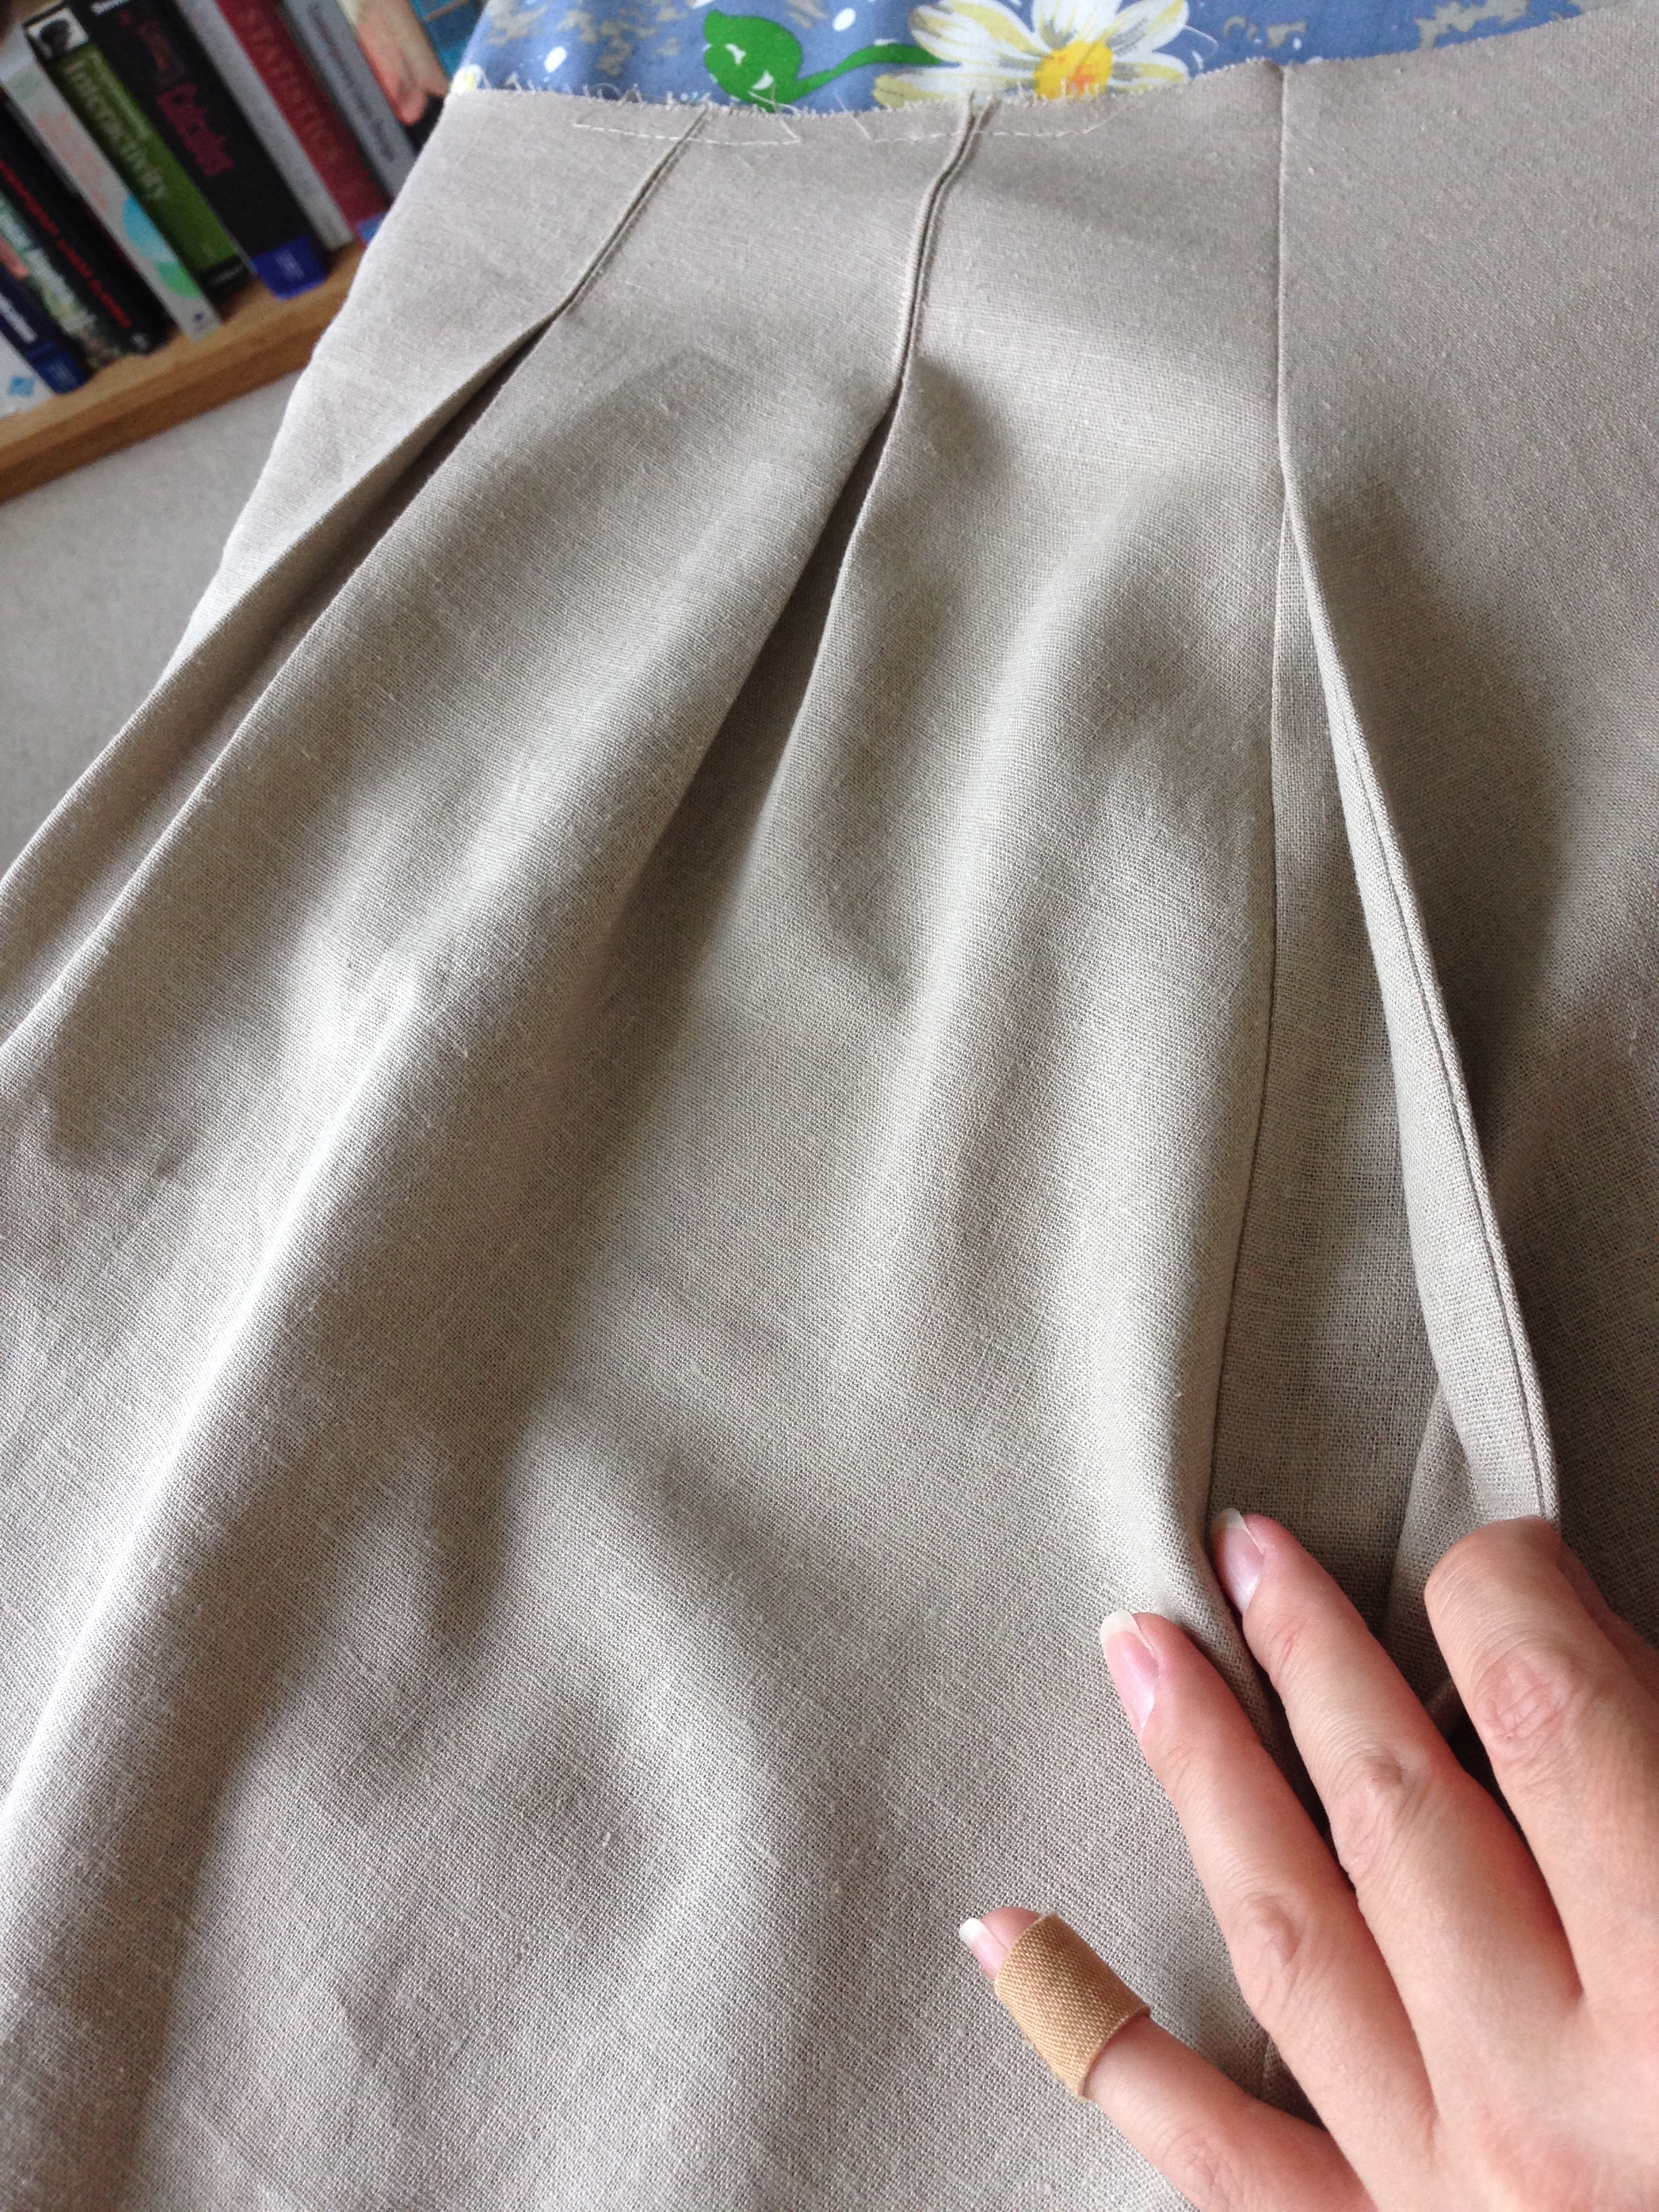
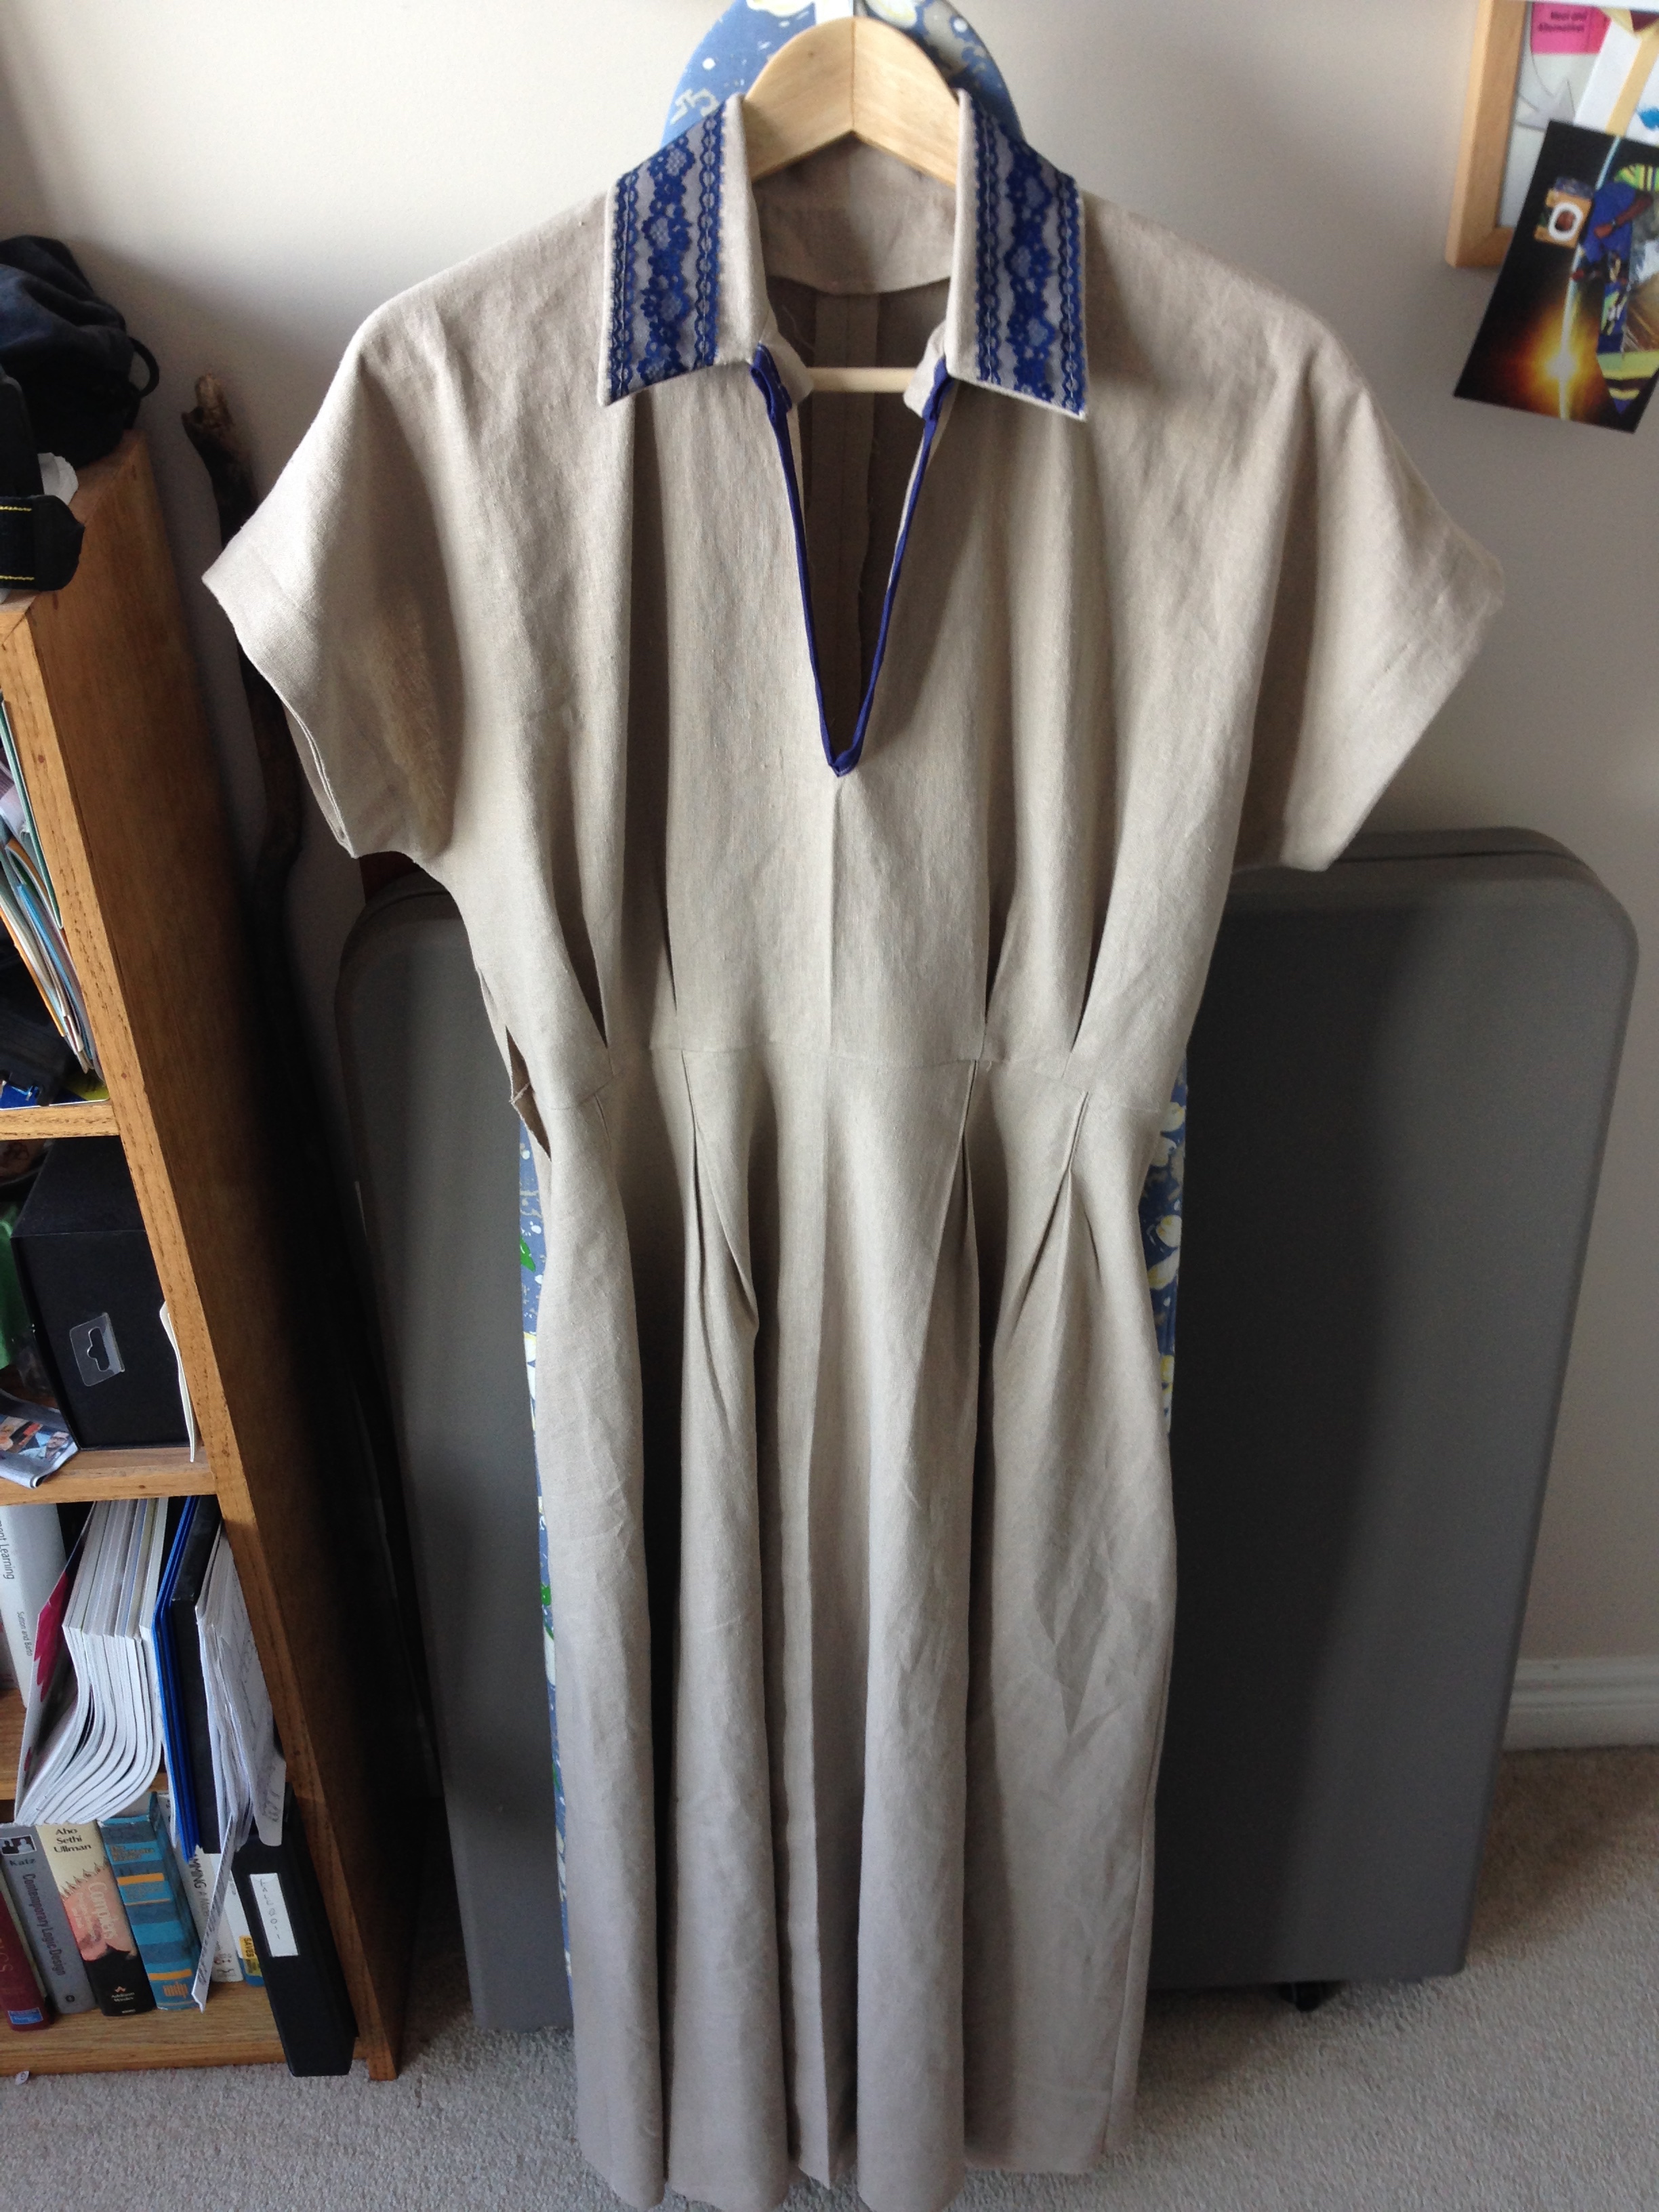
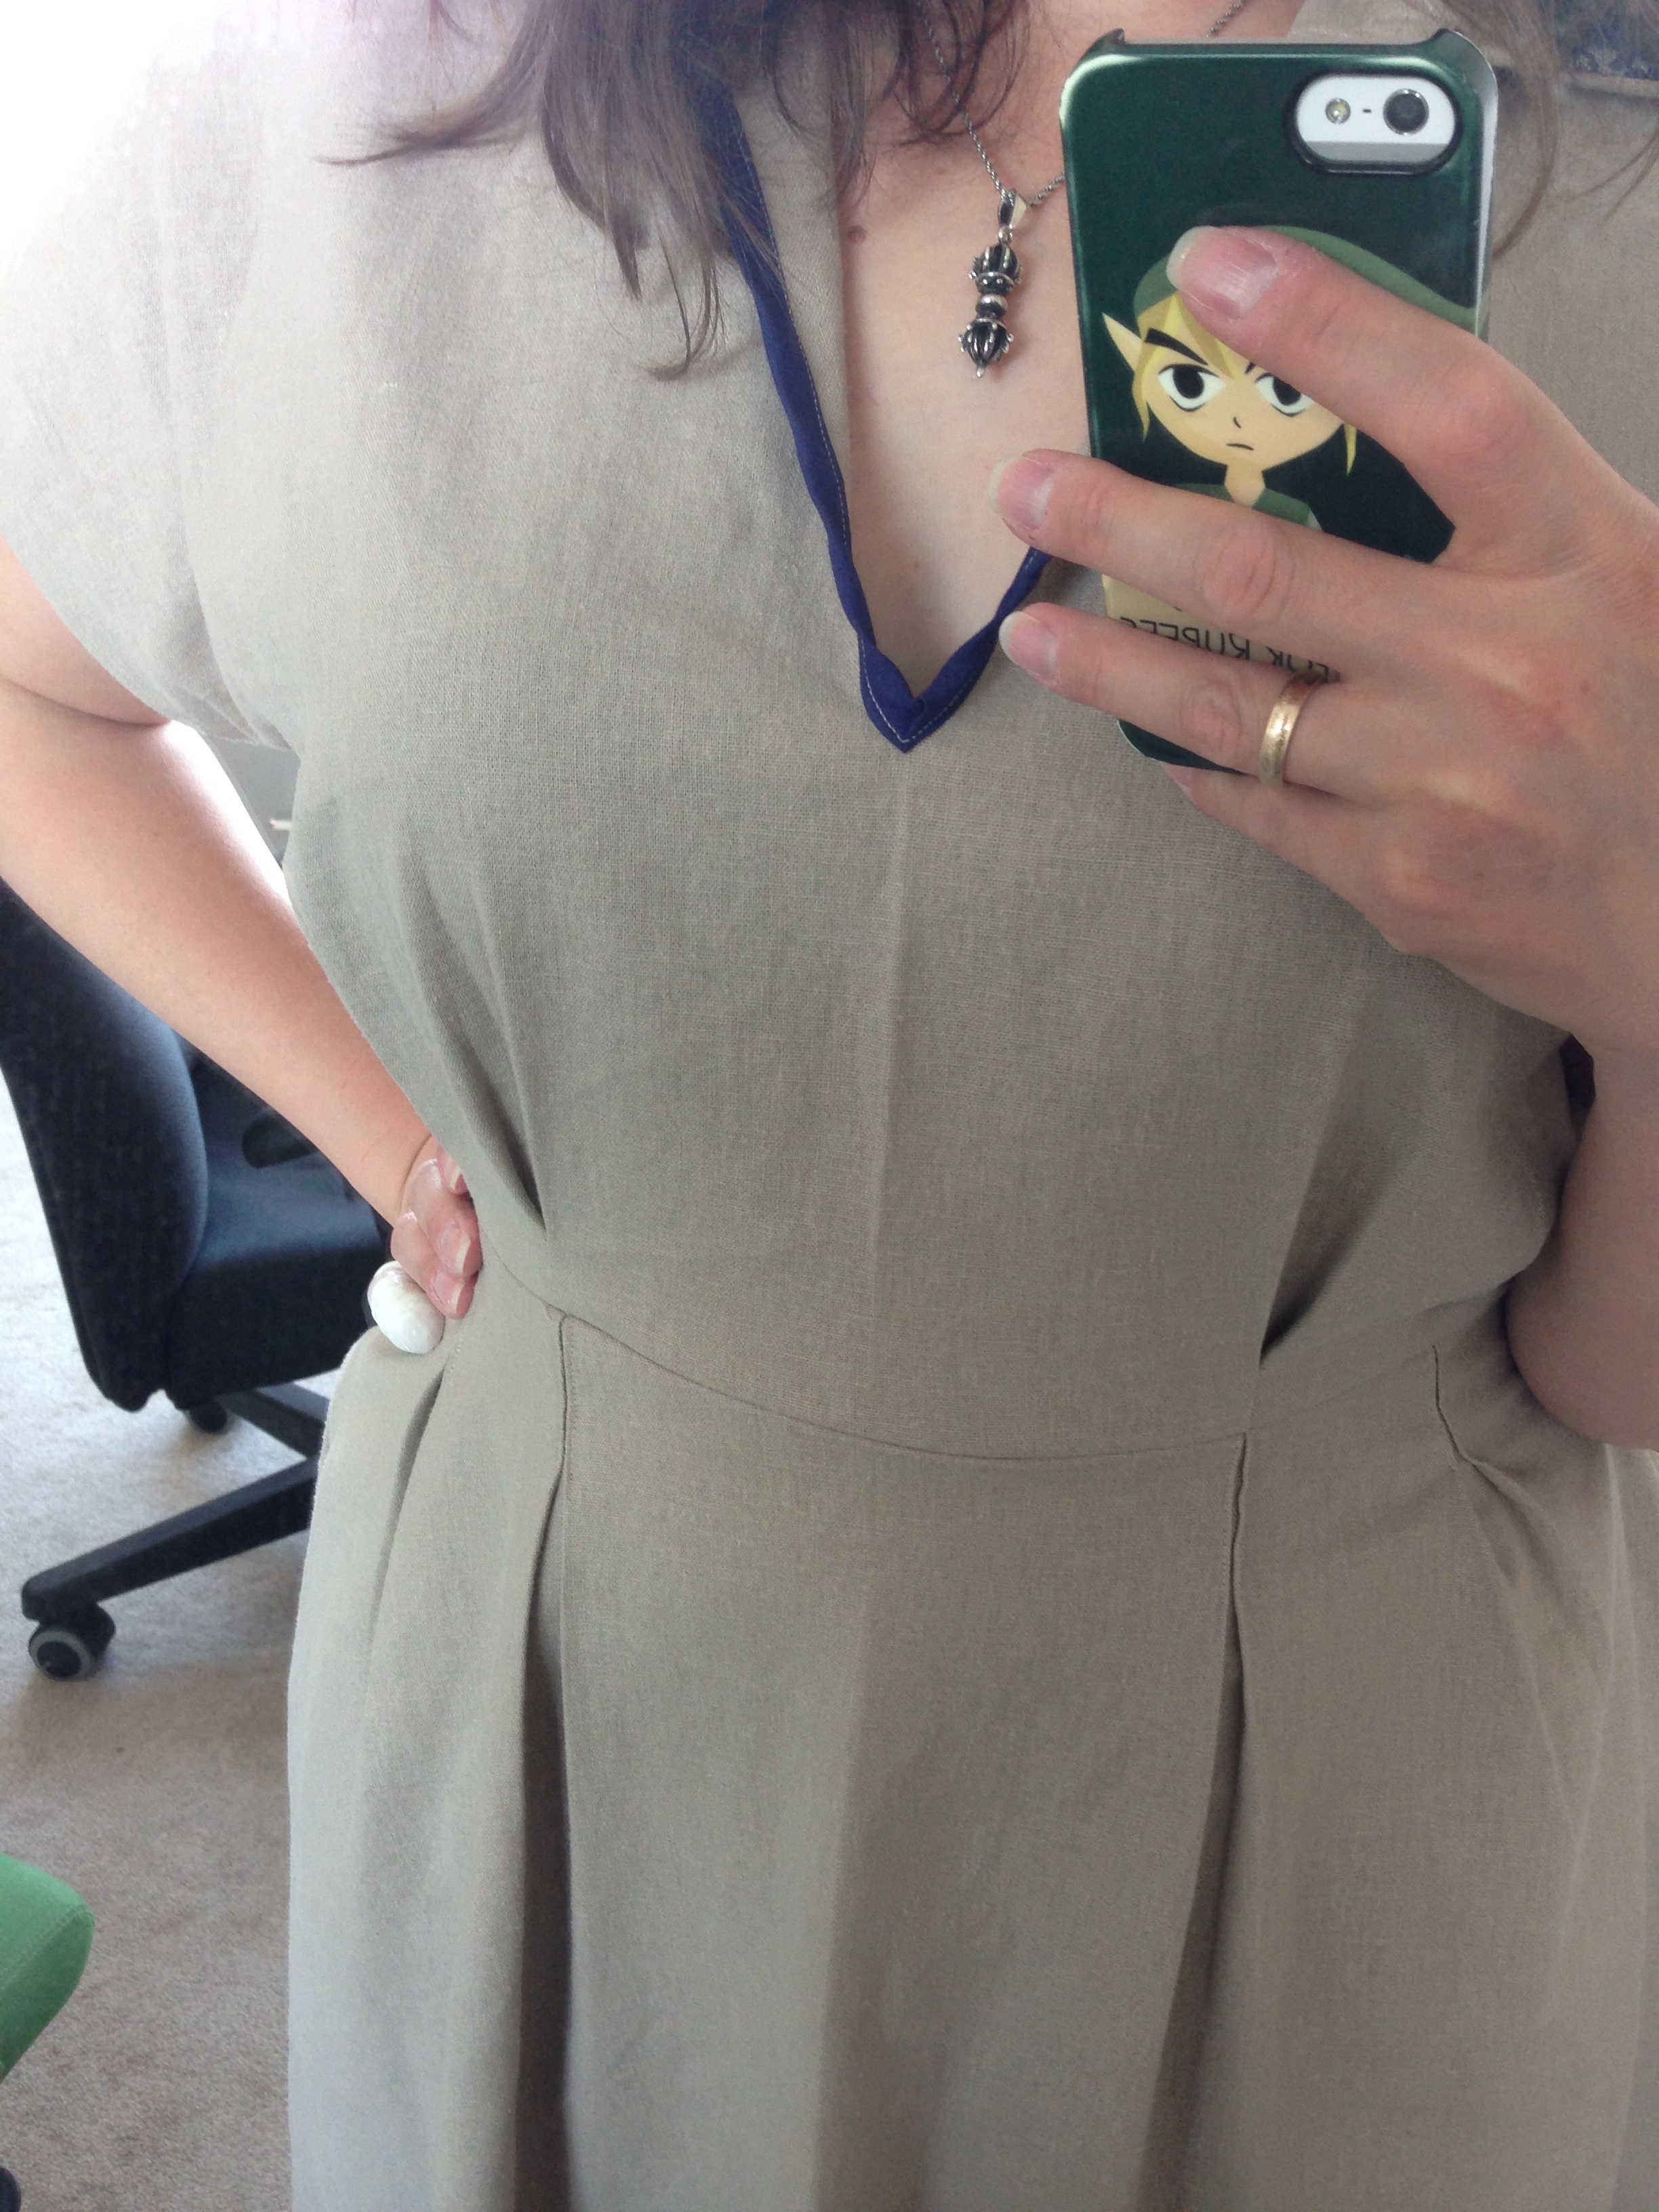

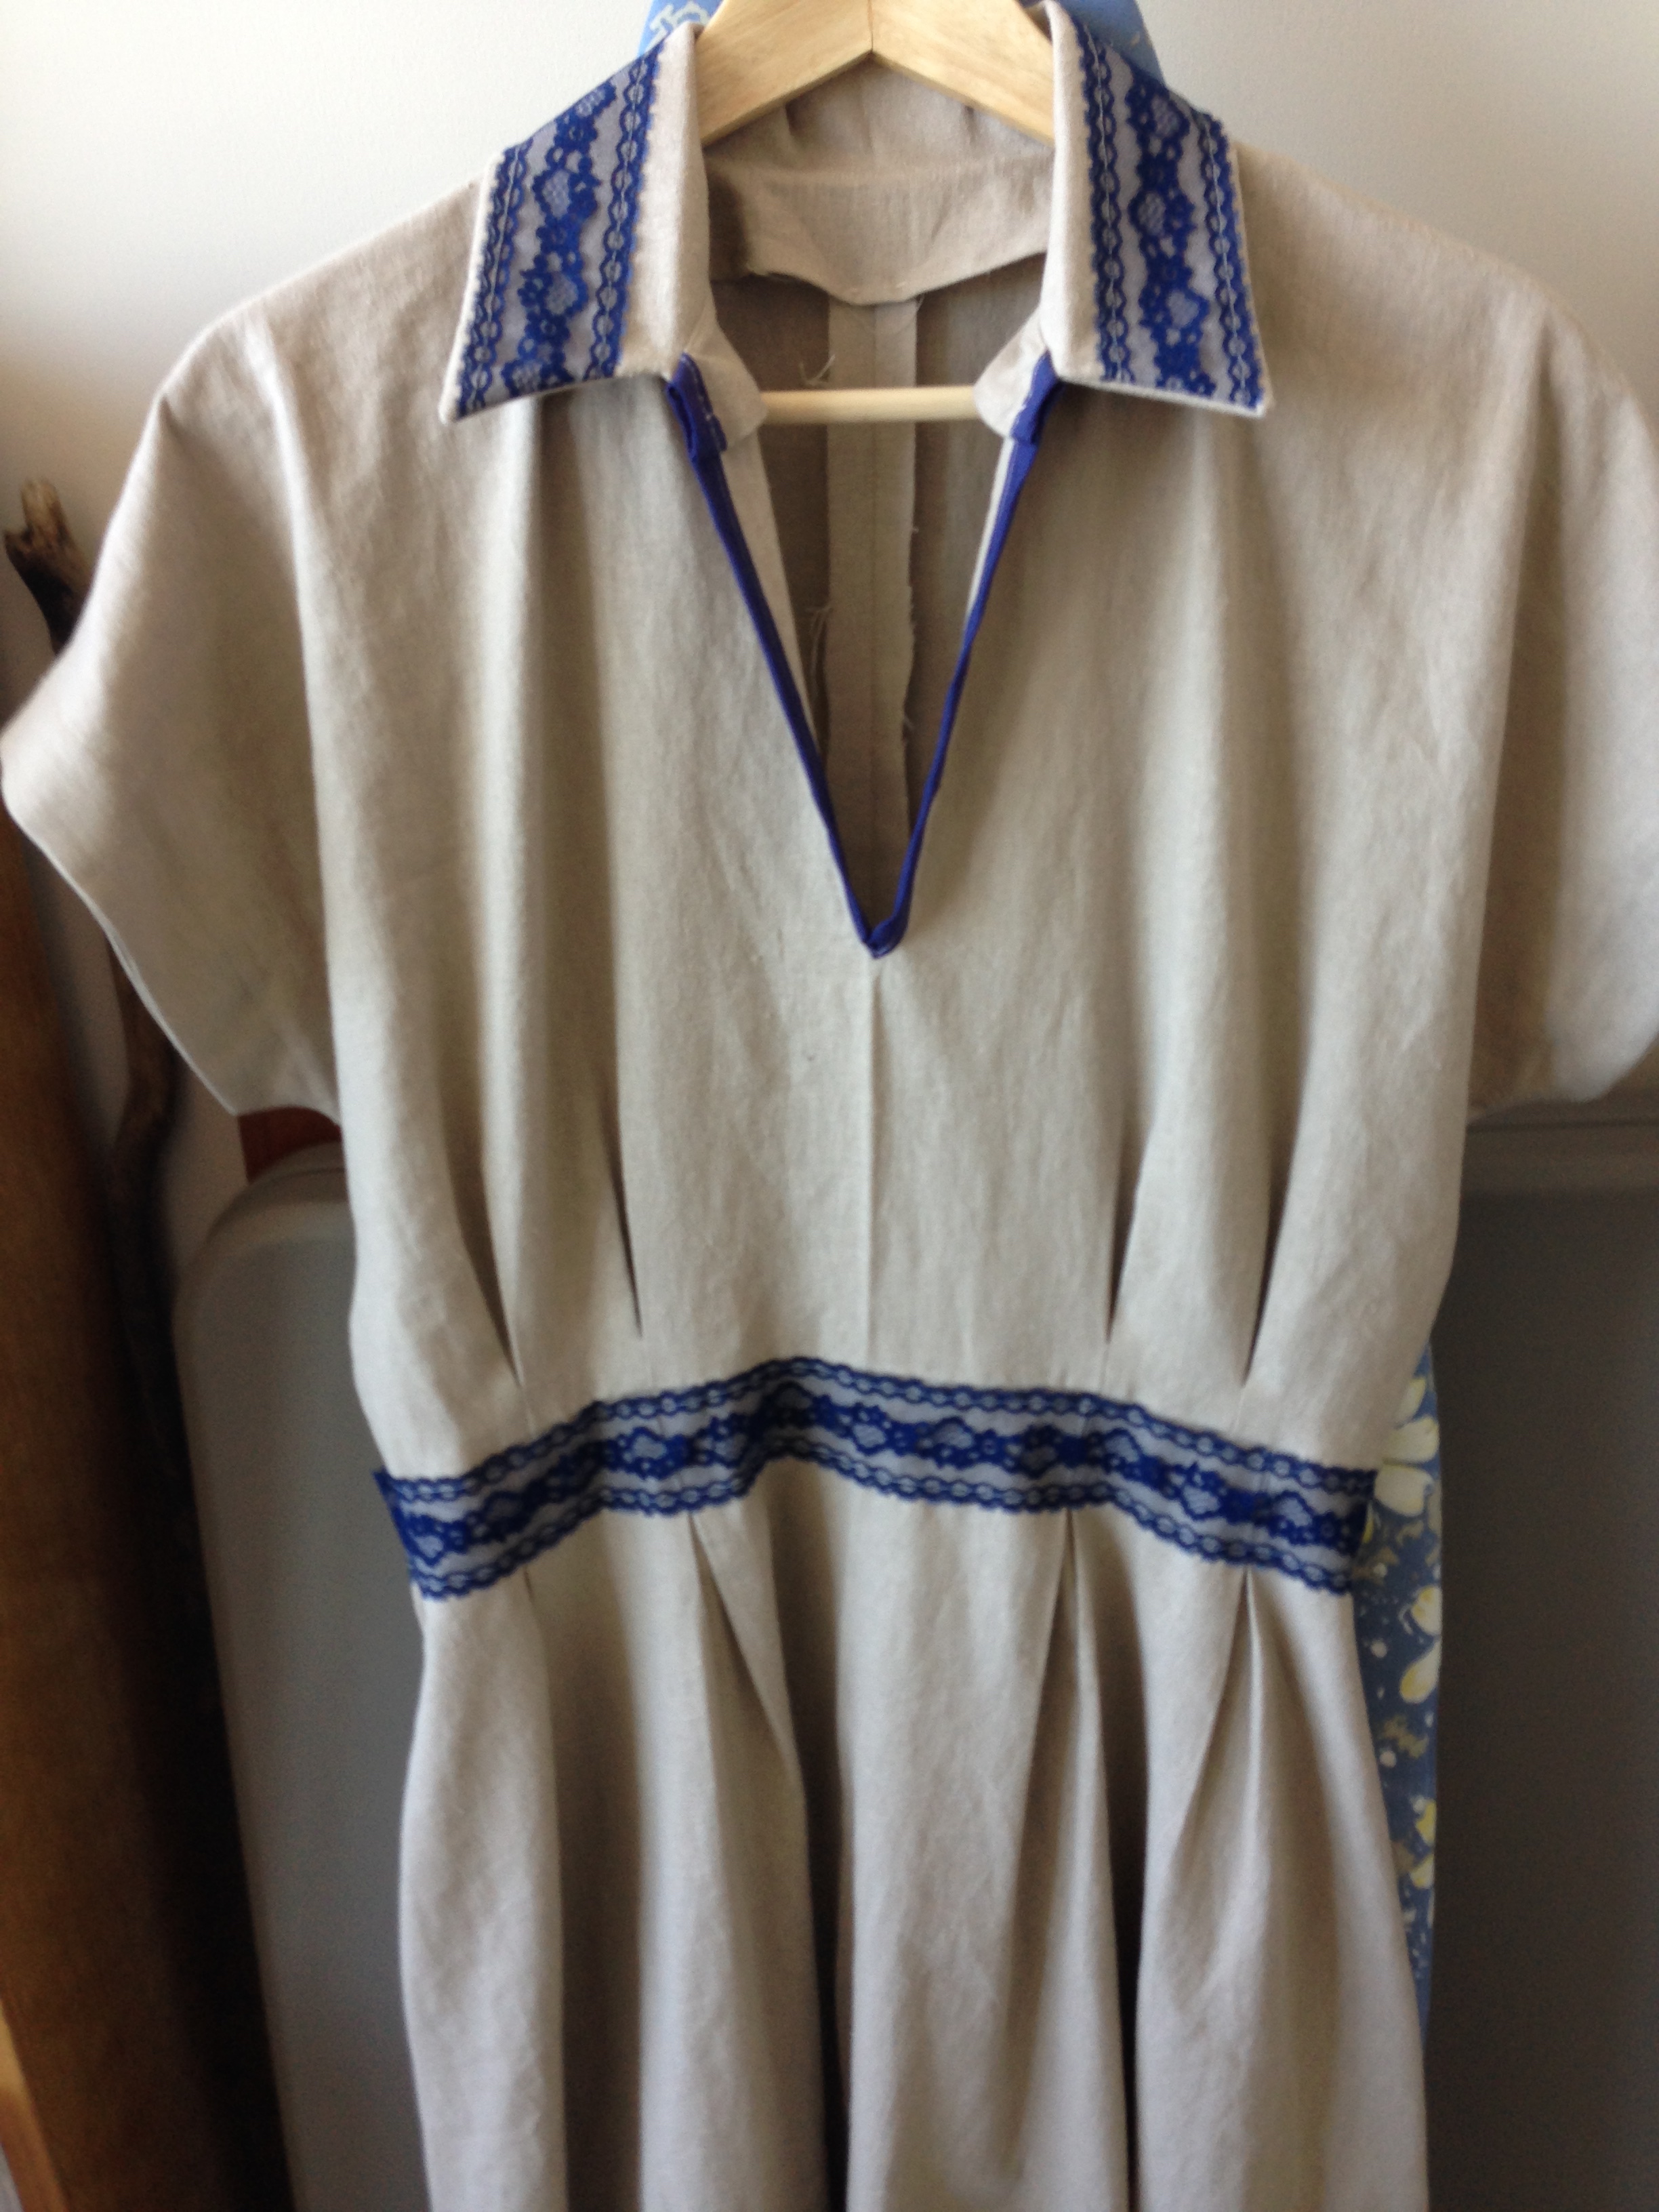
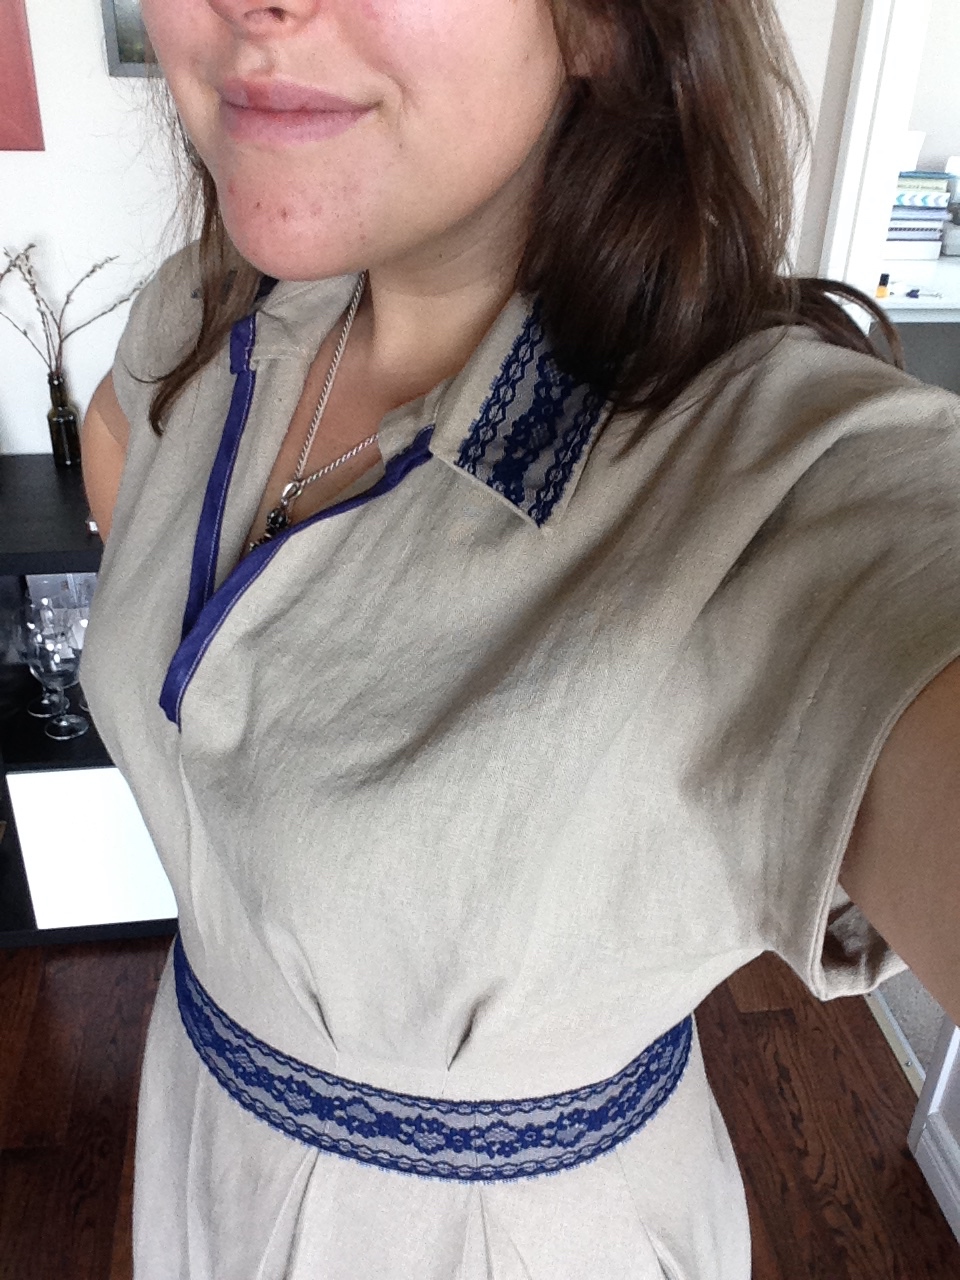
Next was the skirt construction. Another bonus of this pattern: Pockets. Always pockets. The pleats in the skirt front make for a very nice waist too and match up with the tucks in the bodice, you know, if you don't mess up the tuck sense. Lol. Back to raving about pockets. Since I had changed my pattern to include a side seam, and I didn't want to fuss with the pockets in the zipper so I moved them down about 9cm. I'm pretty tall so the pockets are still within normal-not-knee-cap pocket range. Success! Now was the moment of truth. Measured, cut and stitched, the waist fit like a dream. One could say it was by design. Ehhhhh? =D
Now the finishing bits that are always the most boring and typically the most complicated: Zippers and hems. But first! More lace appliqué around the waist! Probably the calm before the zipper.
So. Keeping in mind that I major edited this pattern, I had planned for the side zipper to sit above the pocket (so I didn't have to fuss with sewing a seam AND a pocket in the same line of stitches. Uck.) I had two options: Invisible zipper that was orange tan or regular zipper that colour matched. My colour coordination got the better of me and I decided to make it regular.
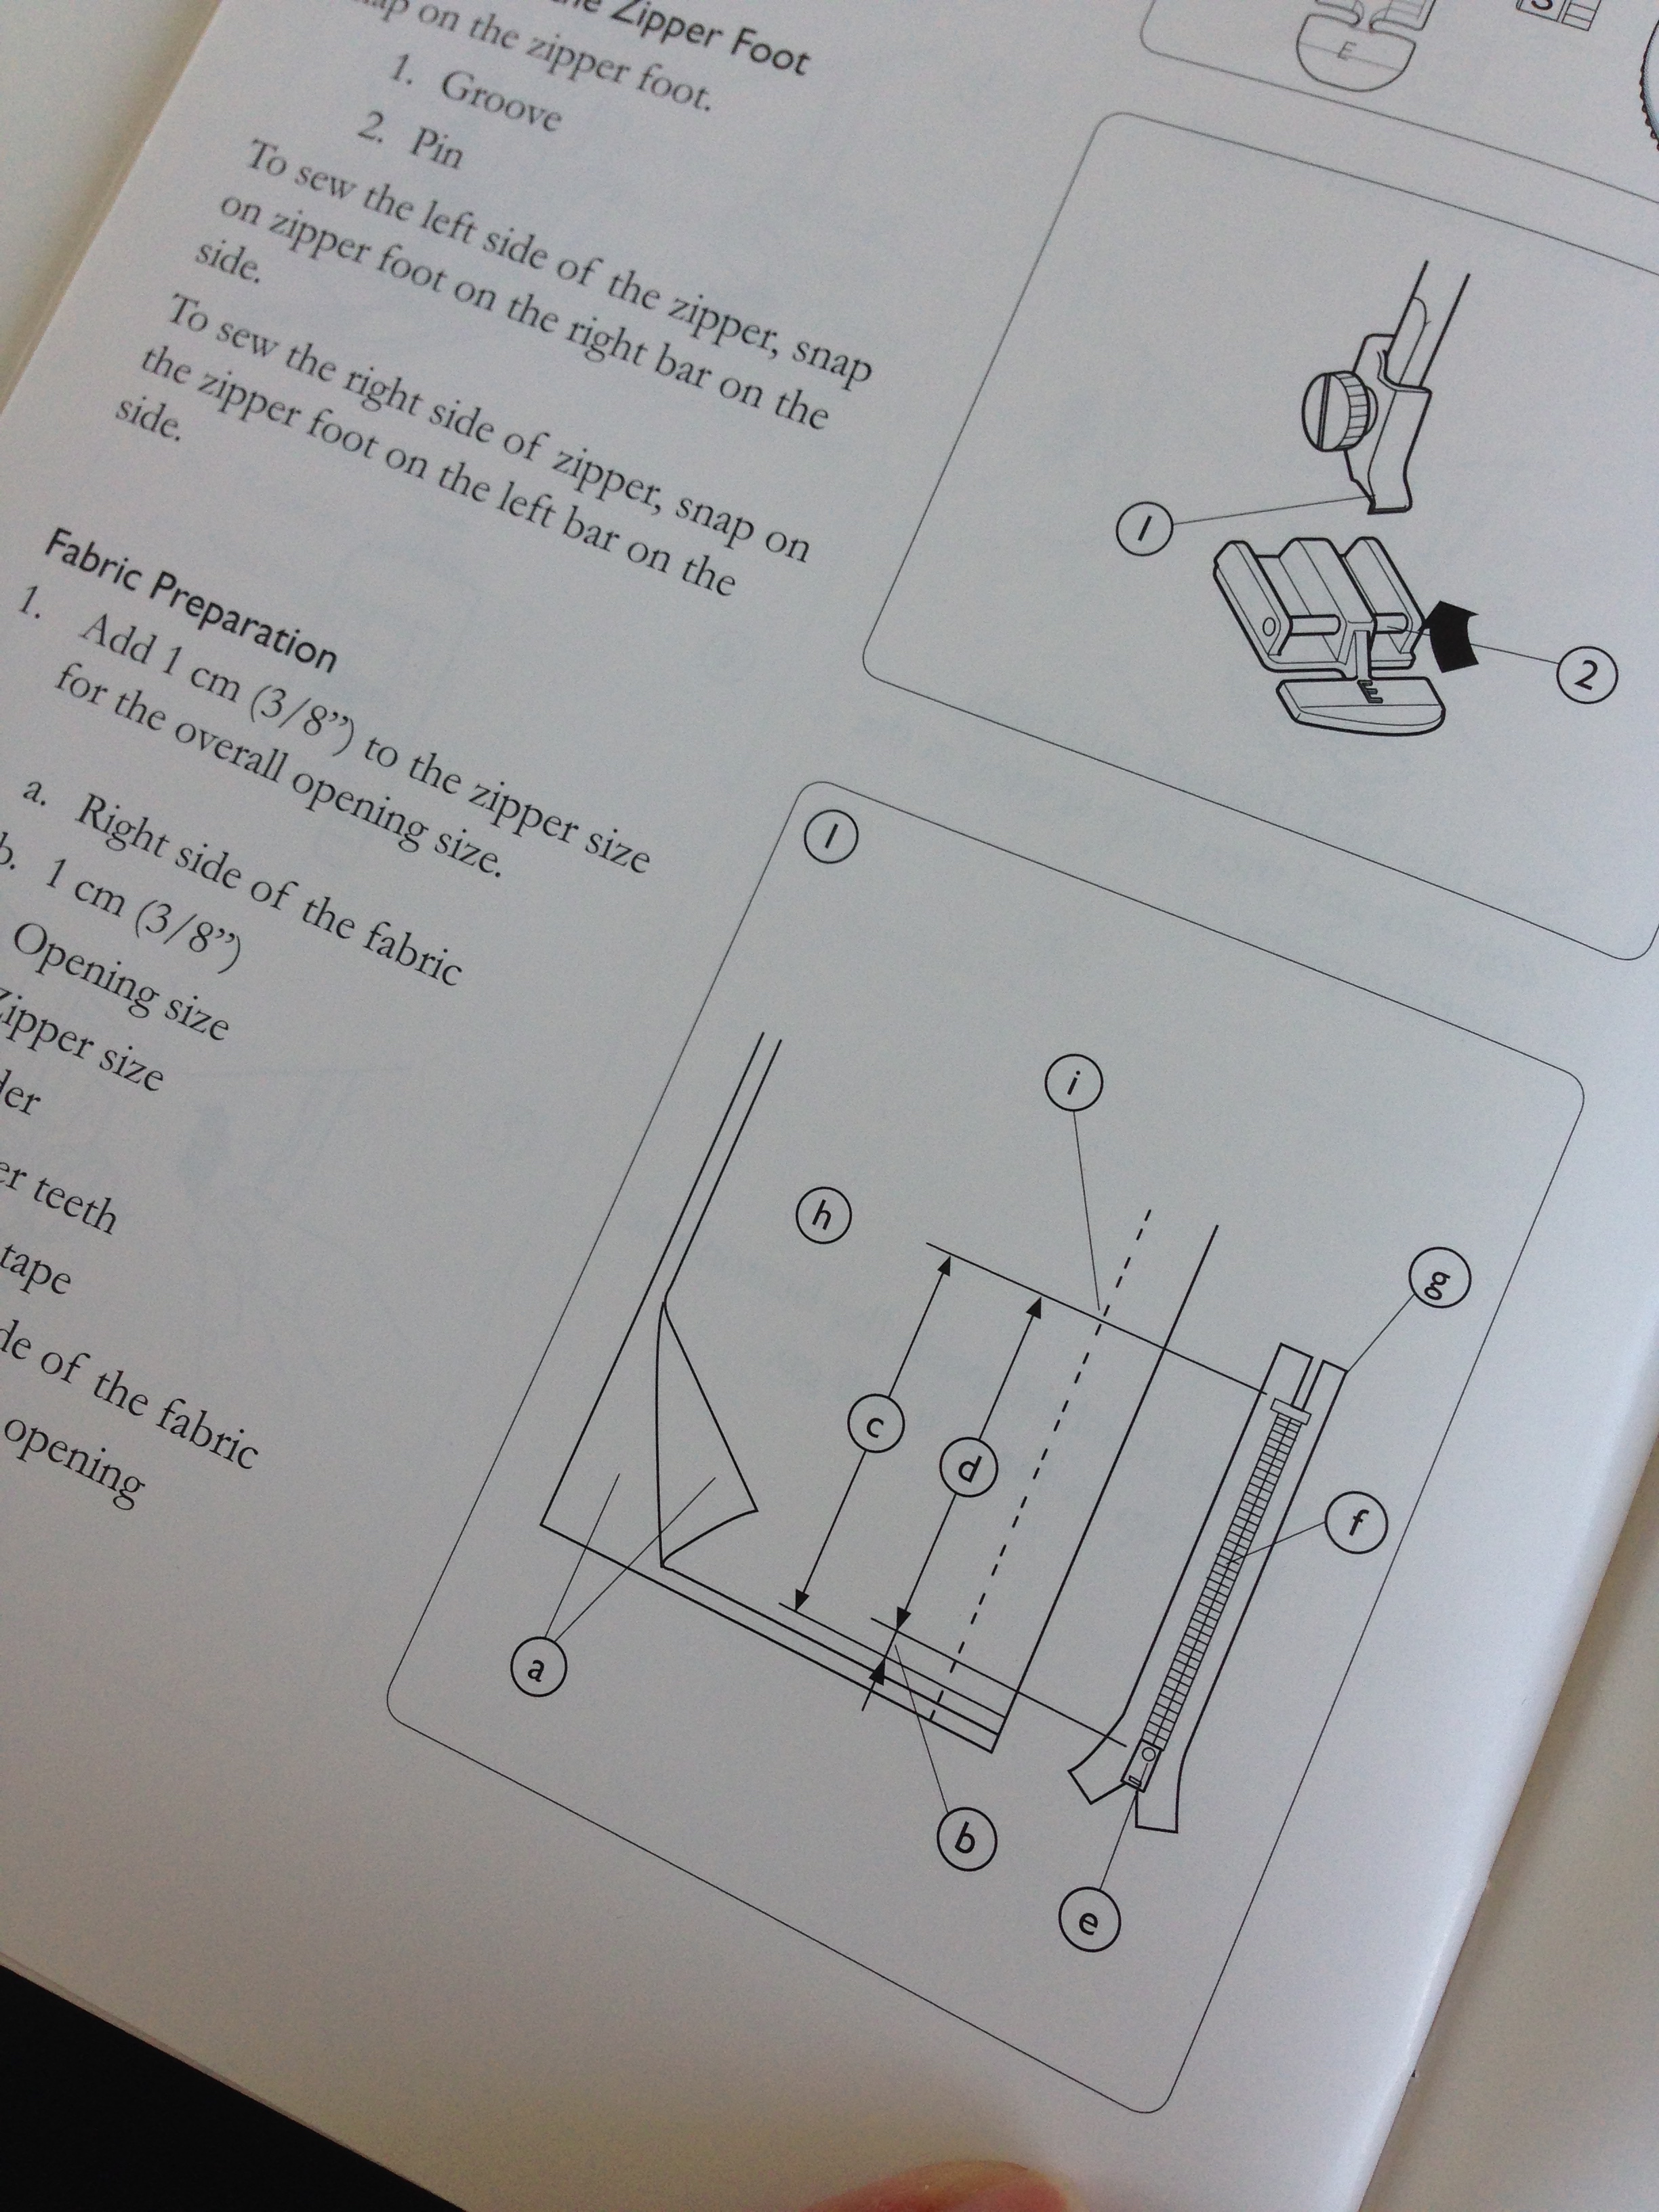
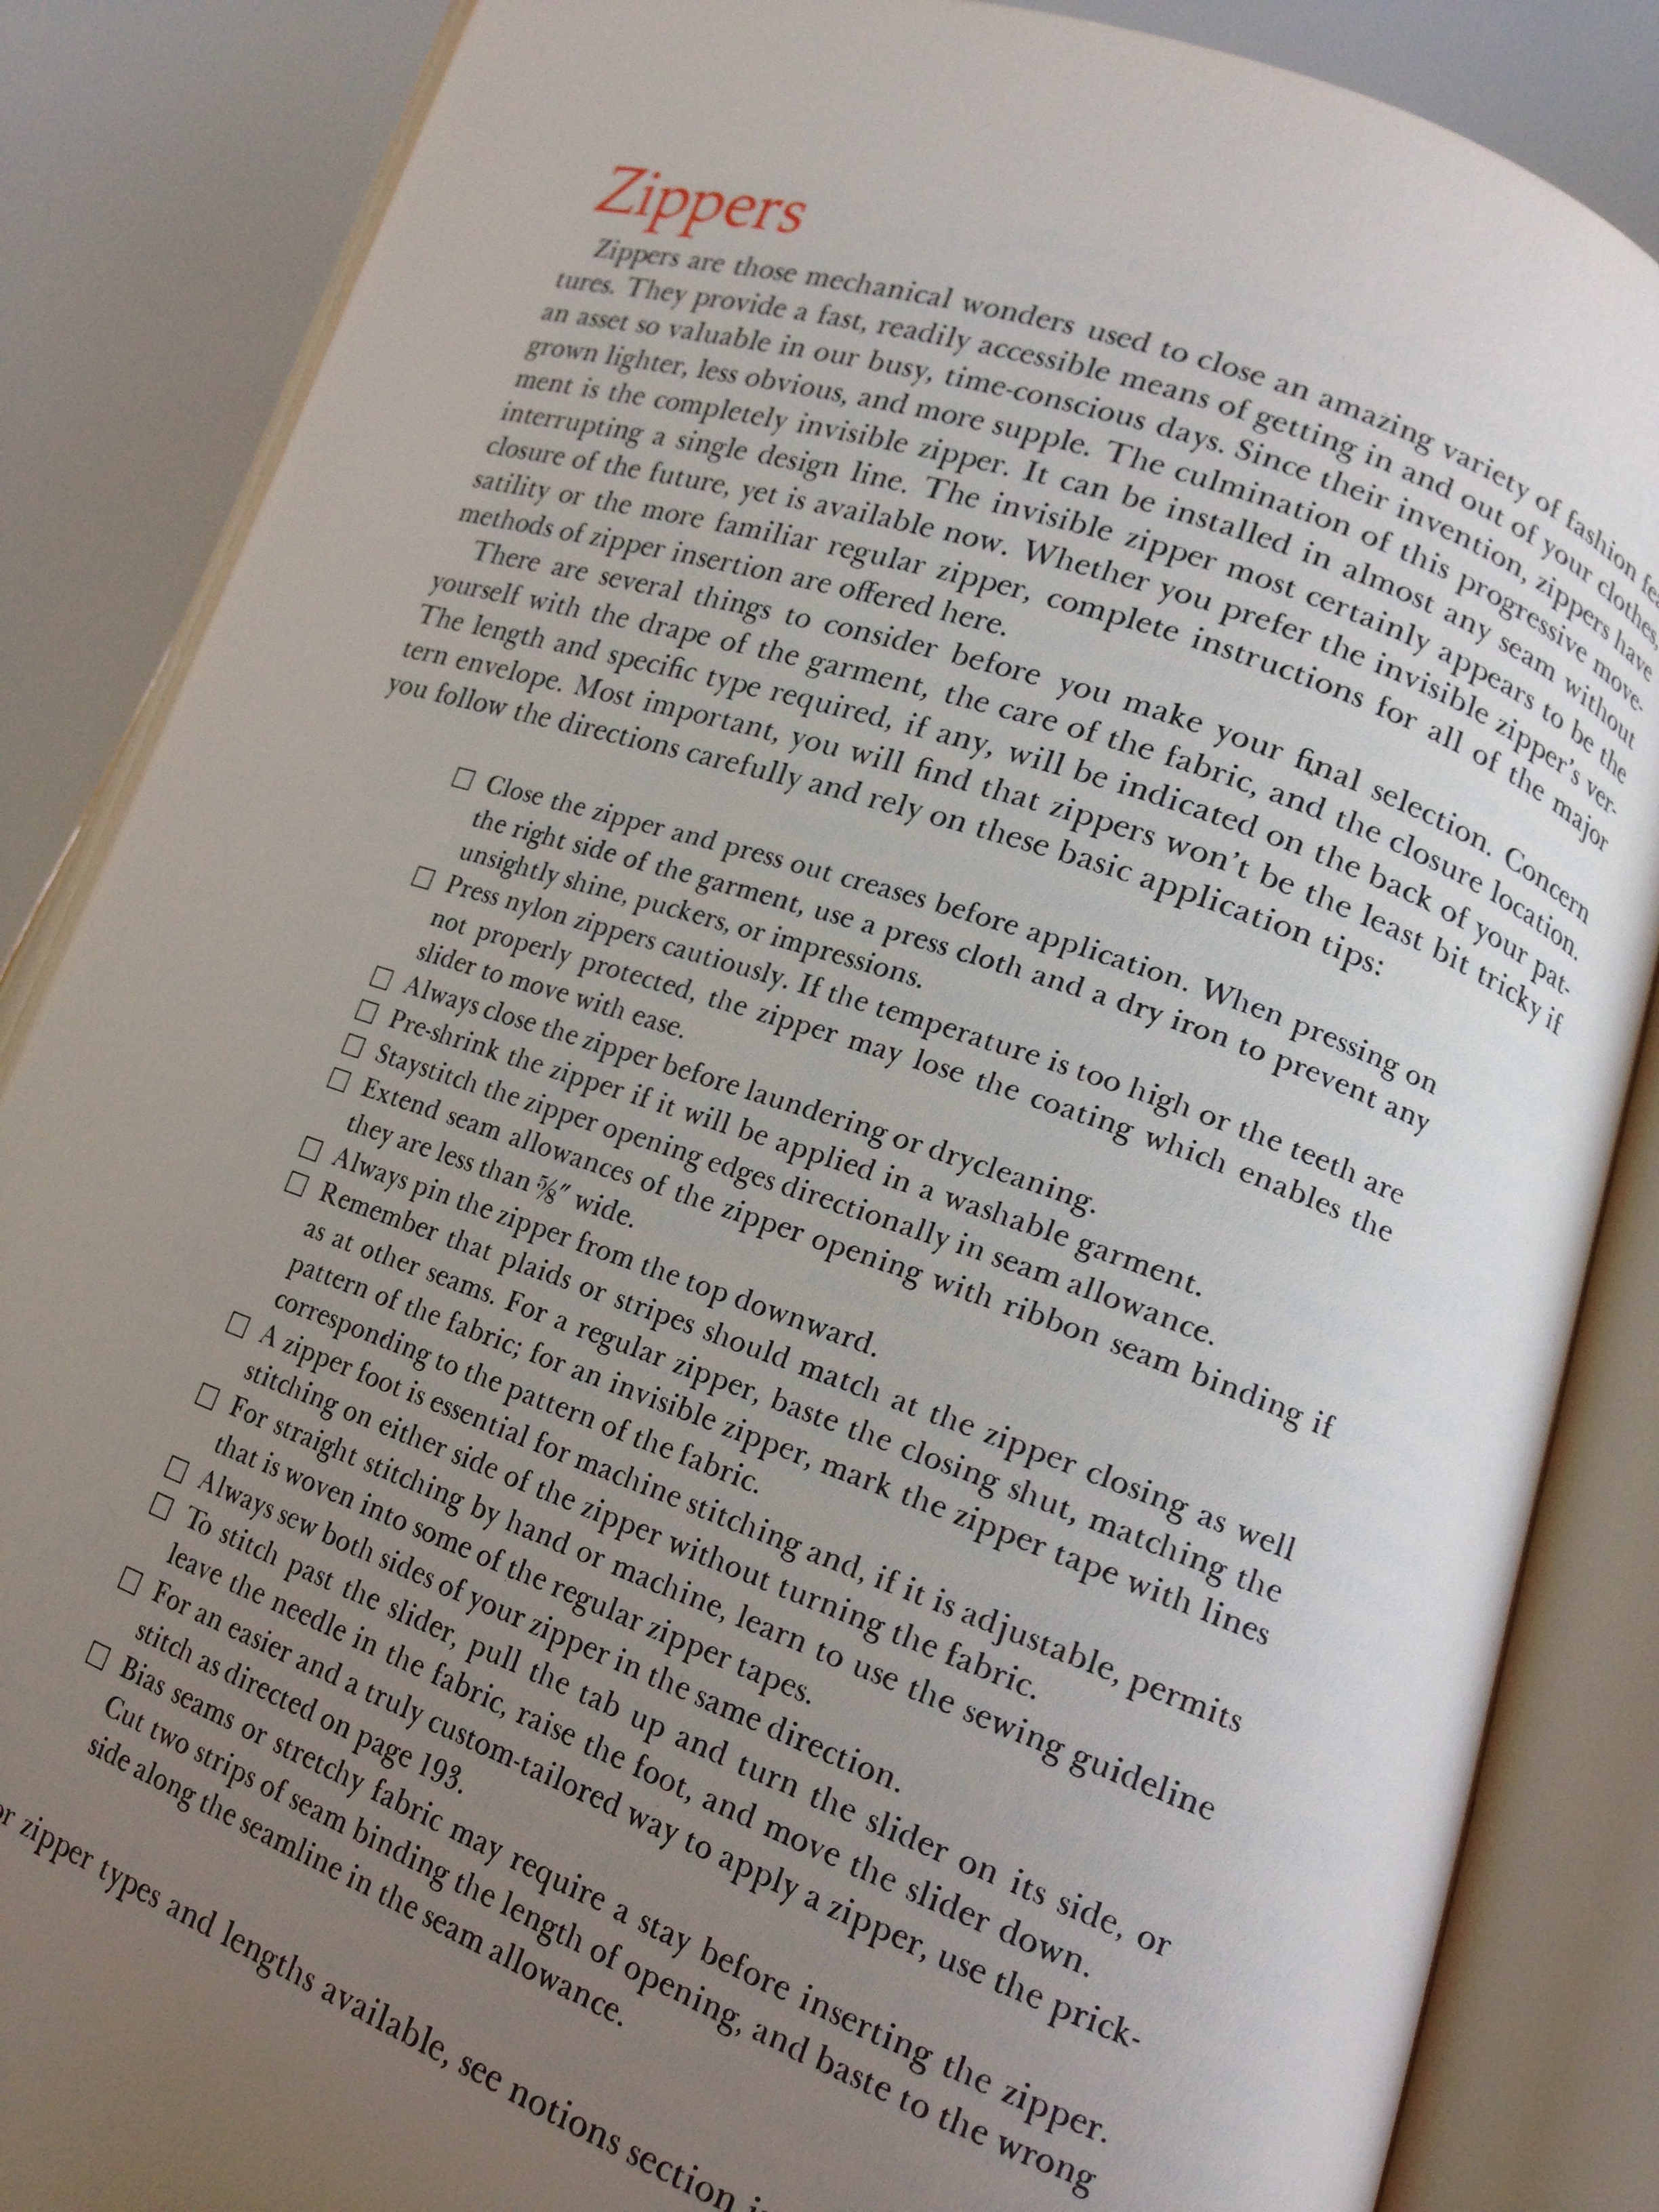
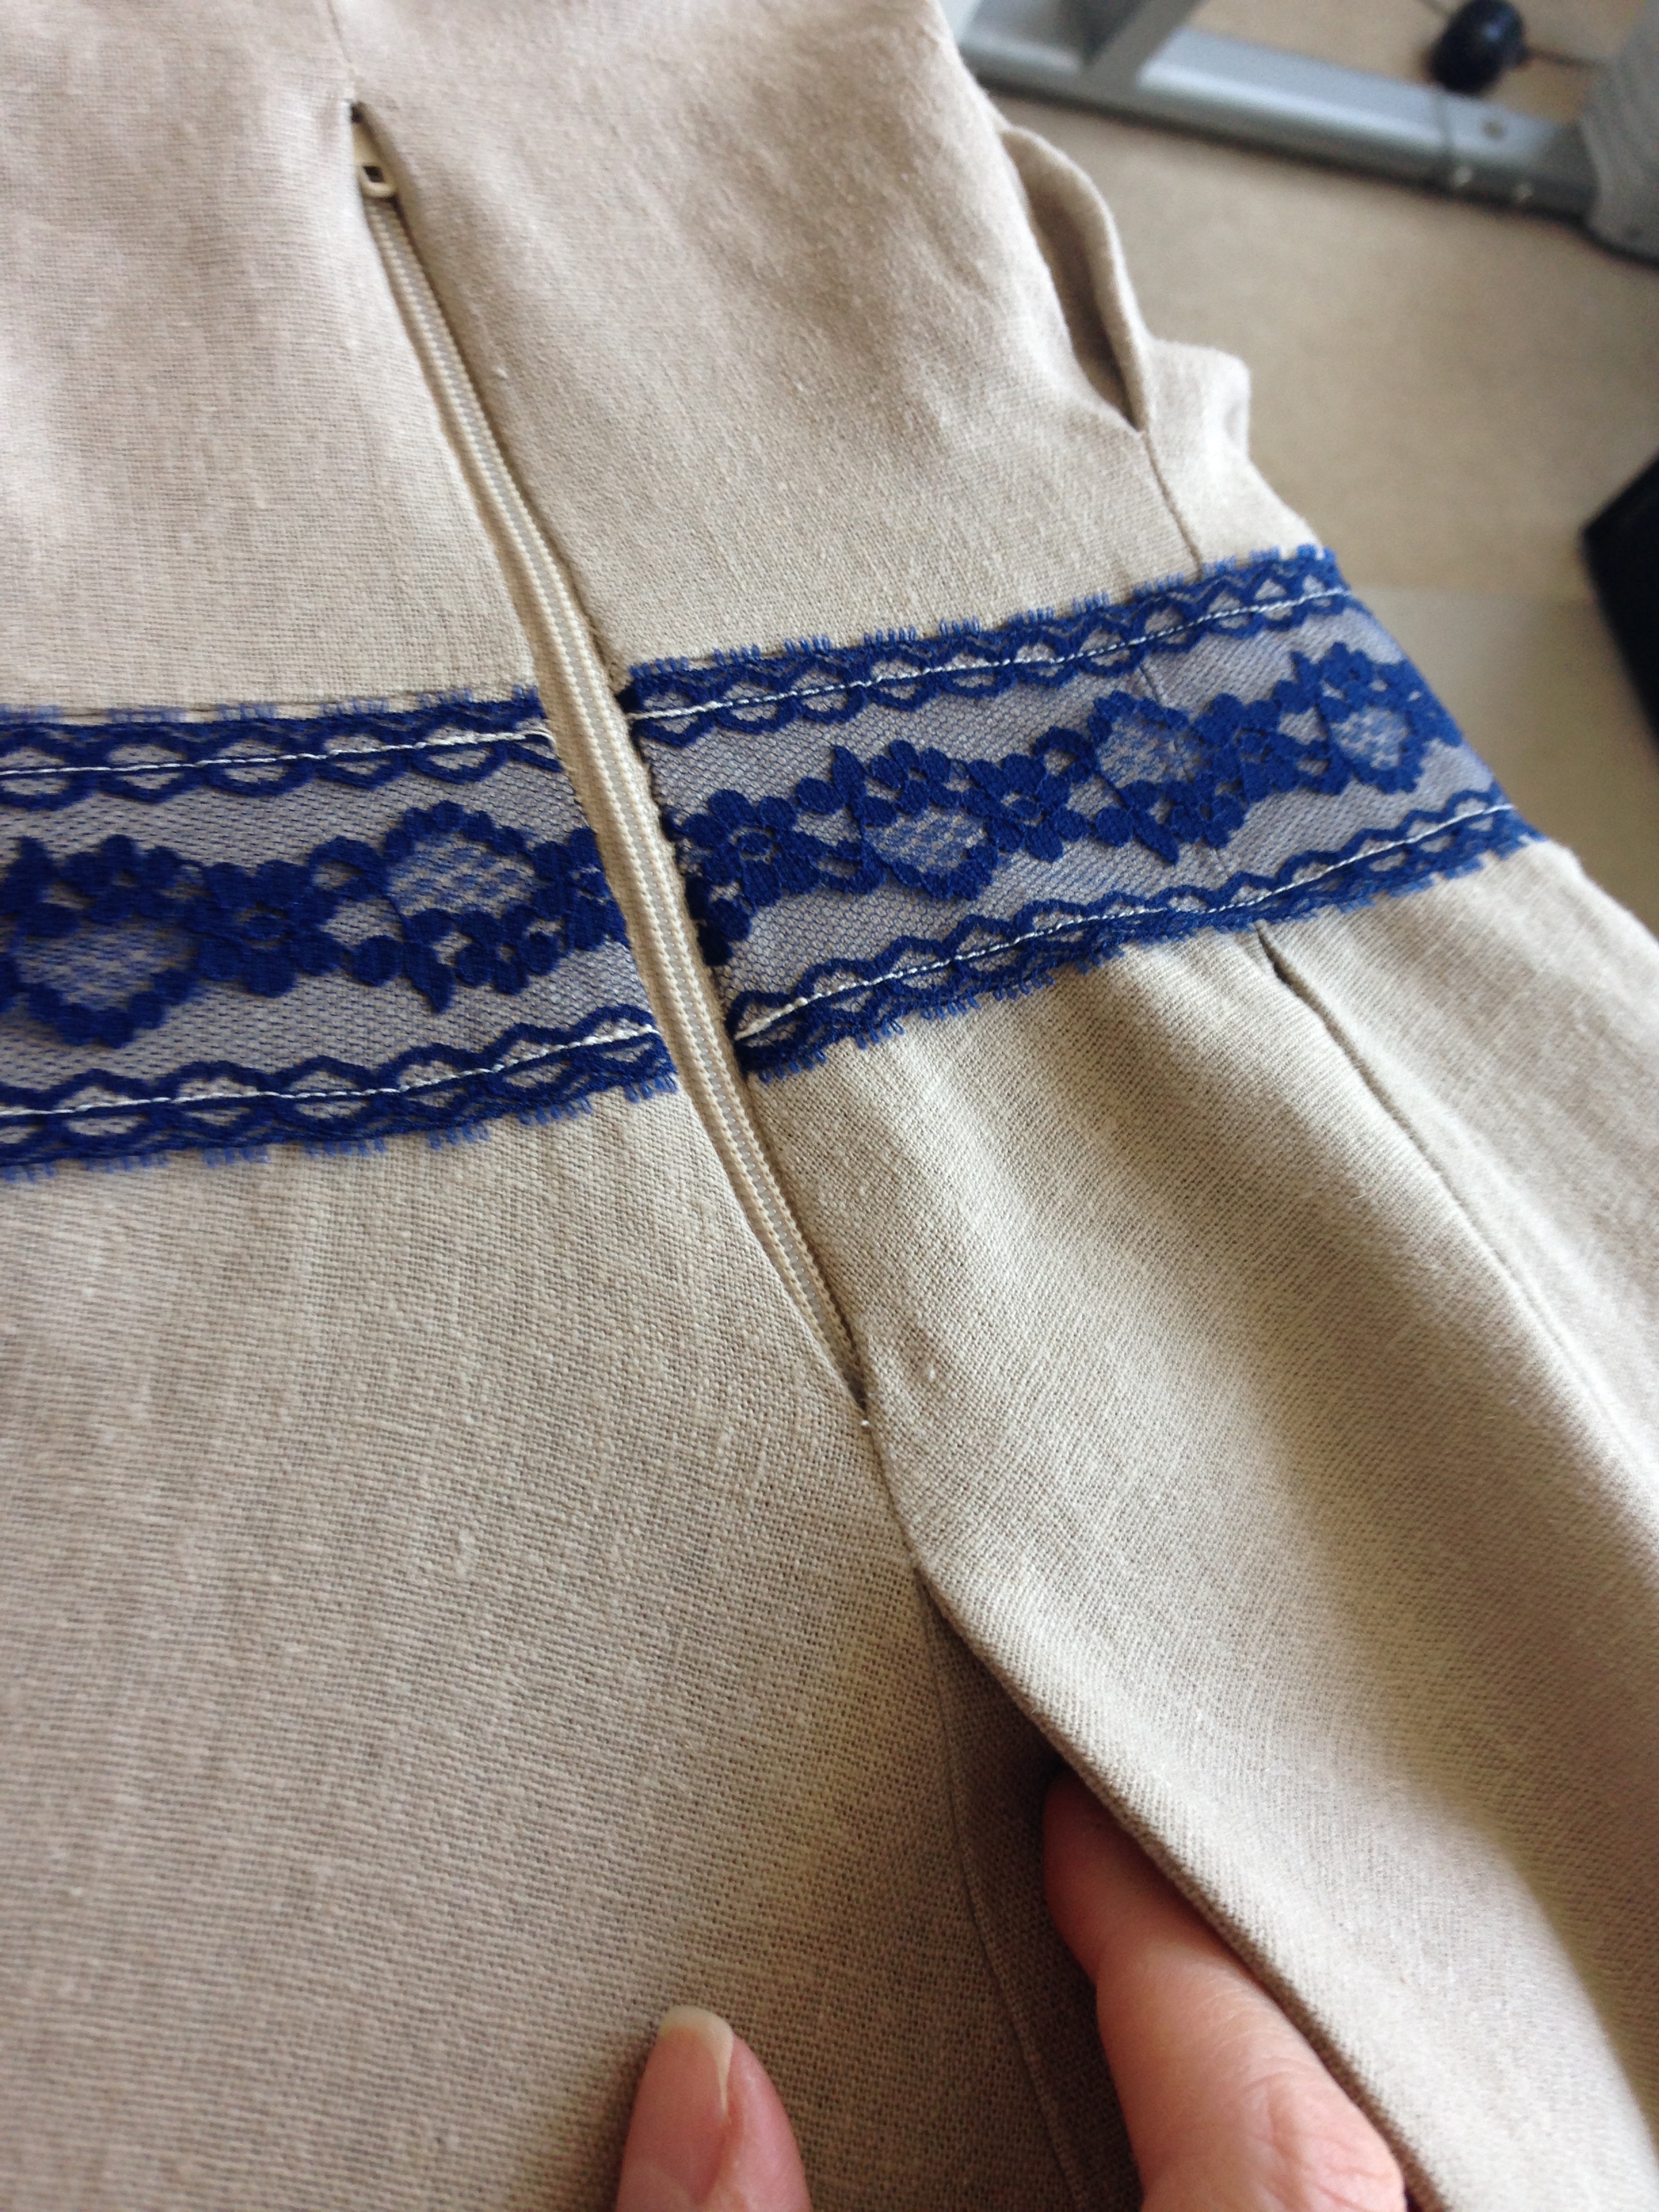
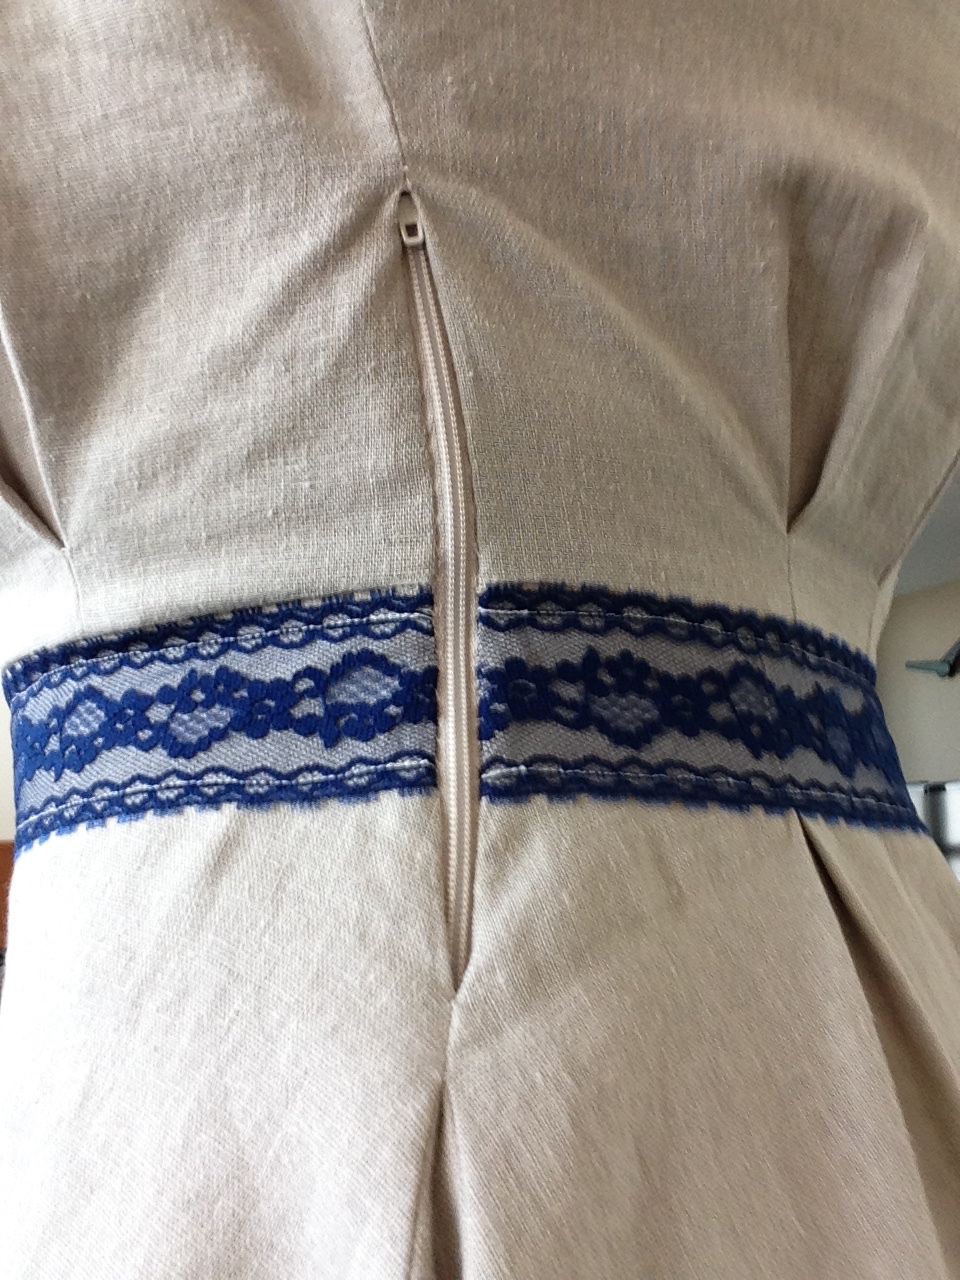
Now to plan how I wanted to sew it in. There are a couple pretty standard ways of zippering. But unfortunately, I had not left lots of extra fabric in my seam allowance to do most of them. Minus planning points. I used my zipper foot to stitch as close as I could to the zipper teeth on both sides, making sure that the first places I stitched were to secure the lace in the right spots. No shifting allowed! I did some hand stitching afterwards to reduce the gap but it's still pretty visible. Good thing it's the same colour as the linen, eh?
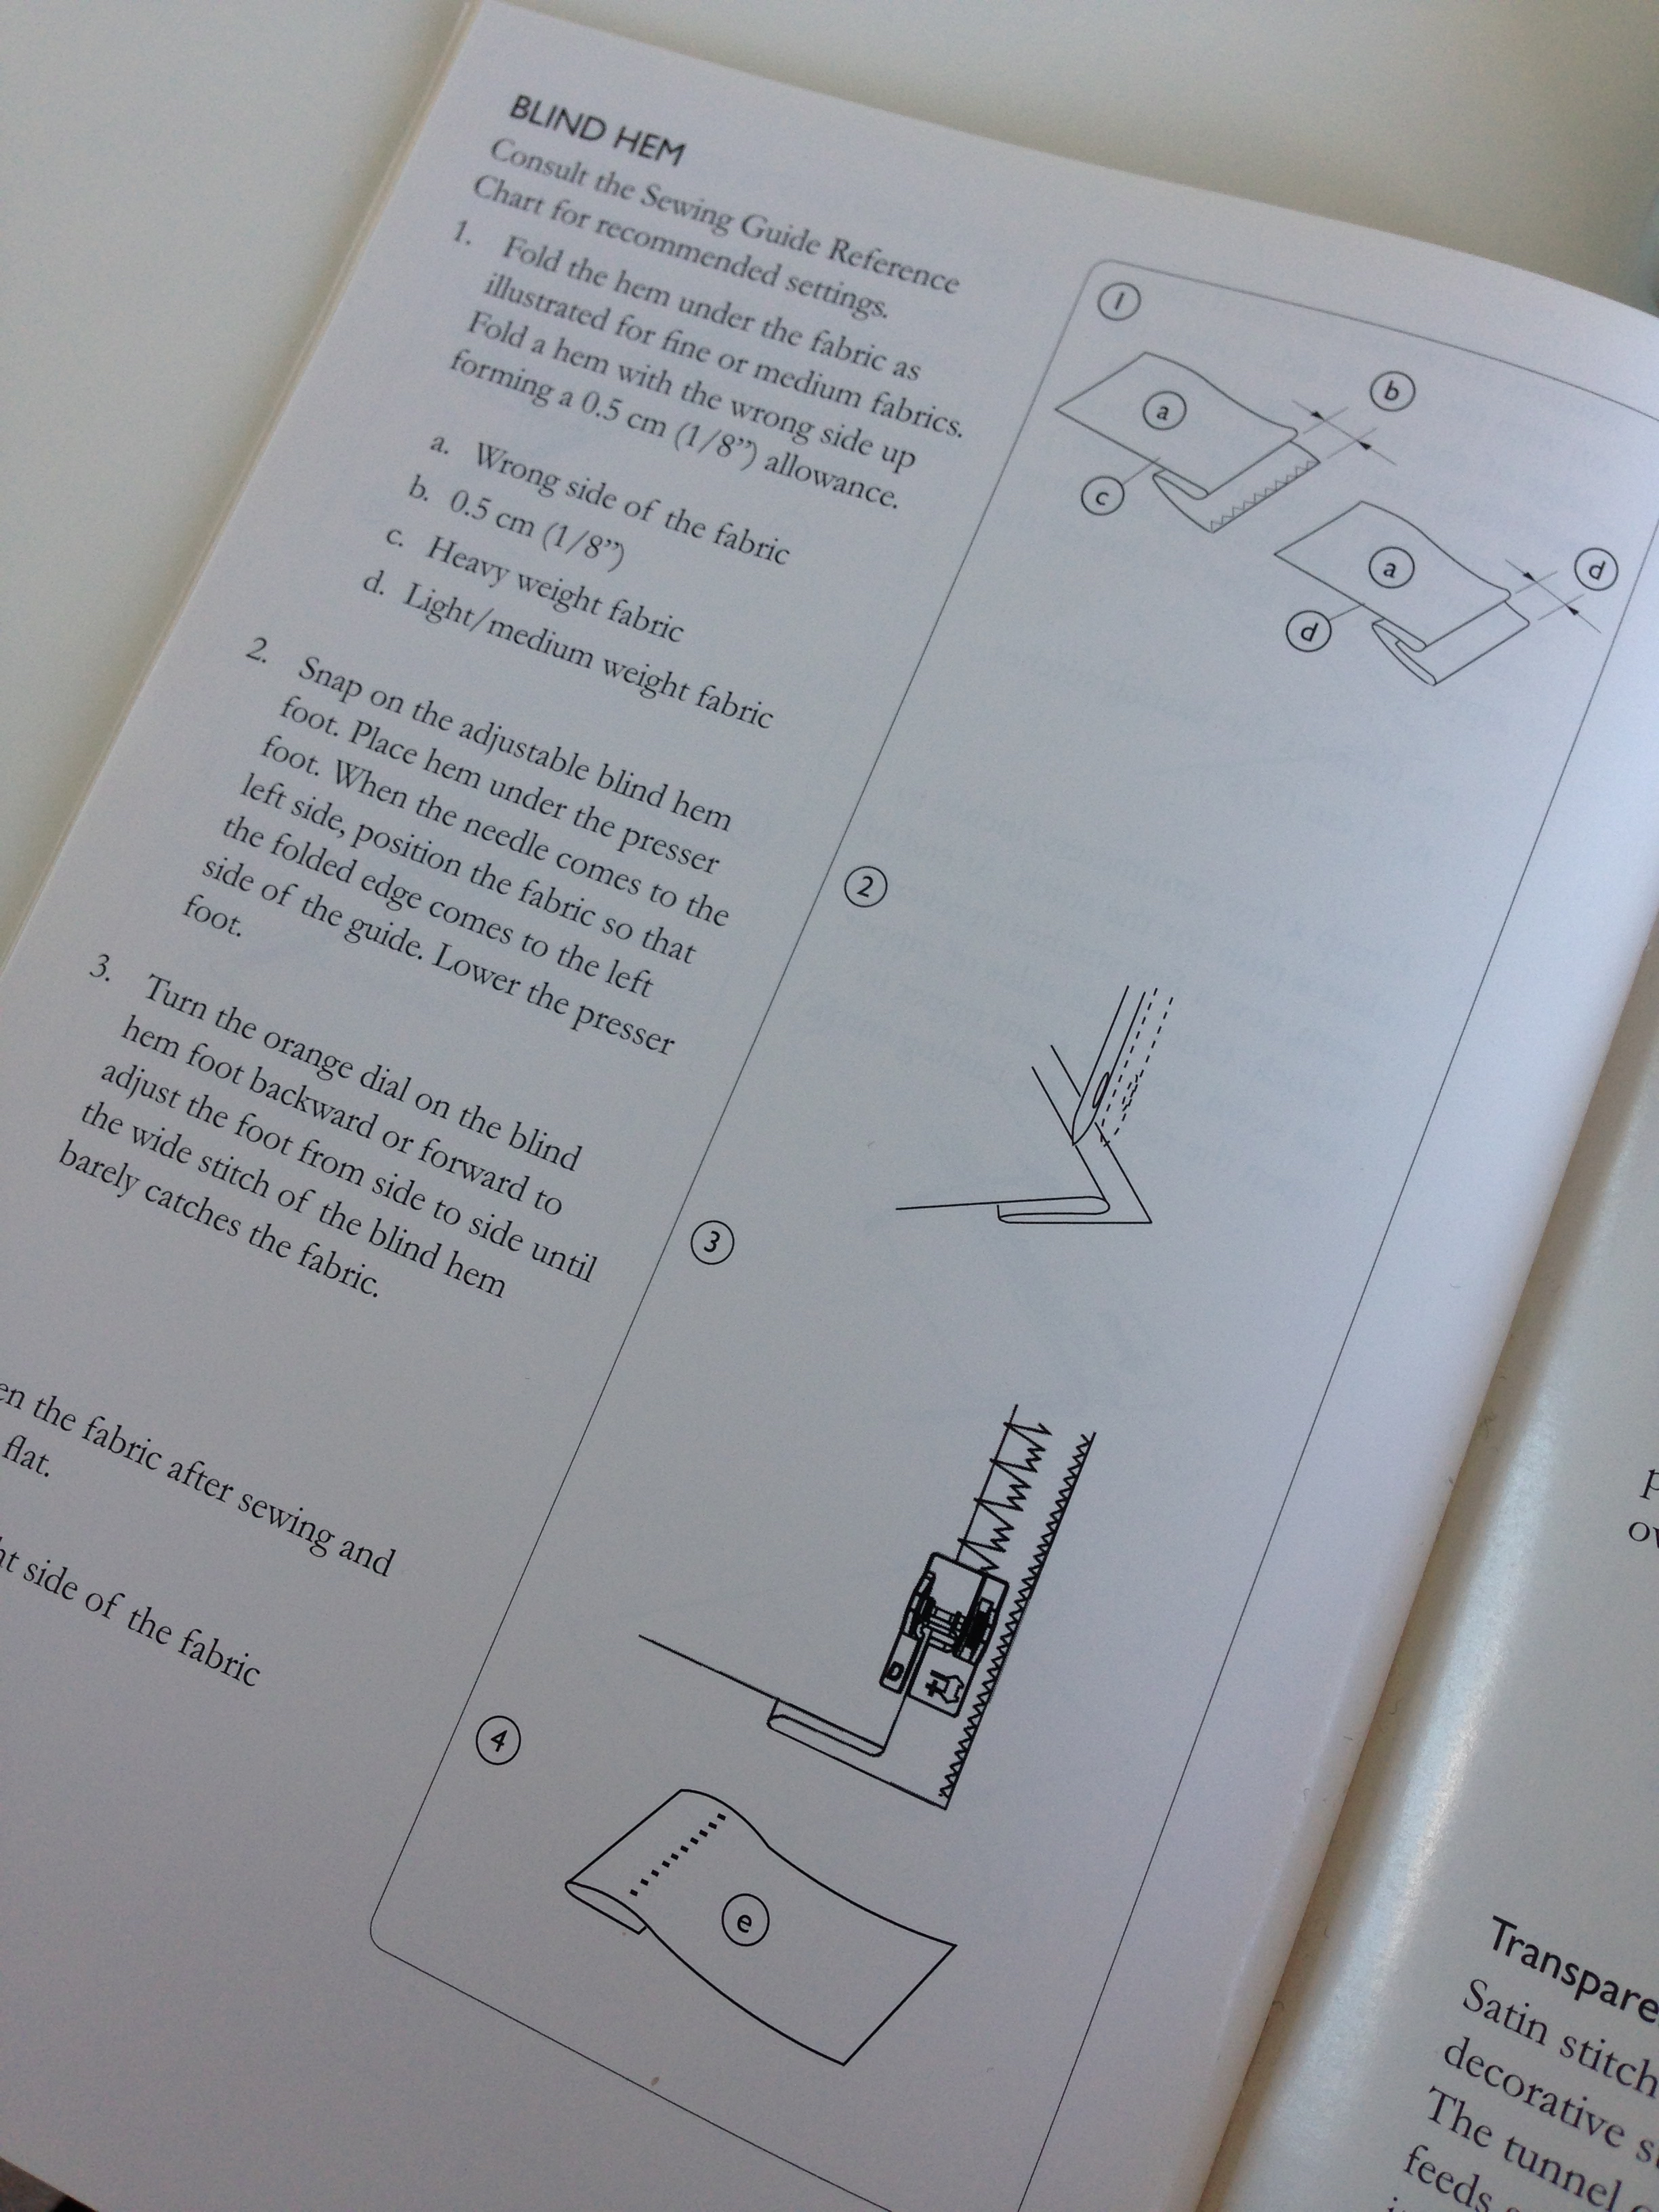
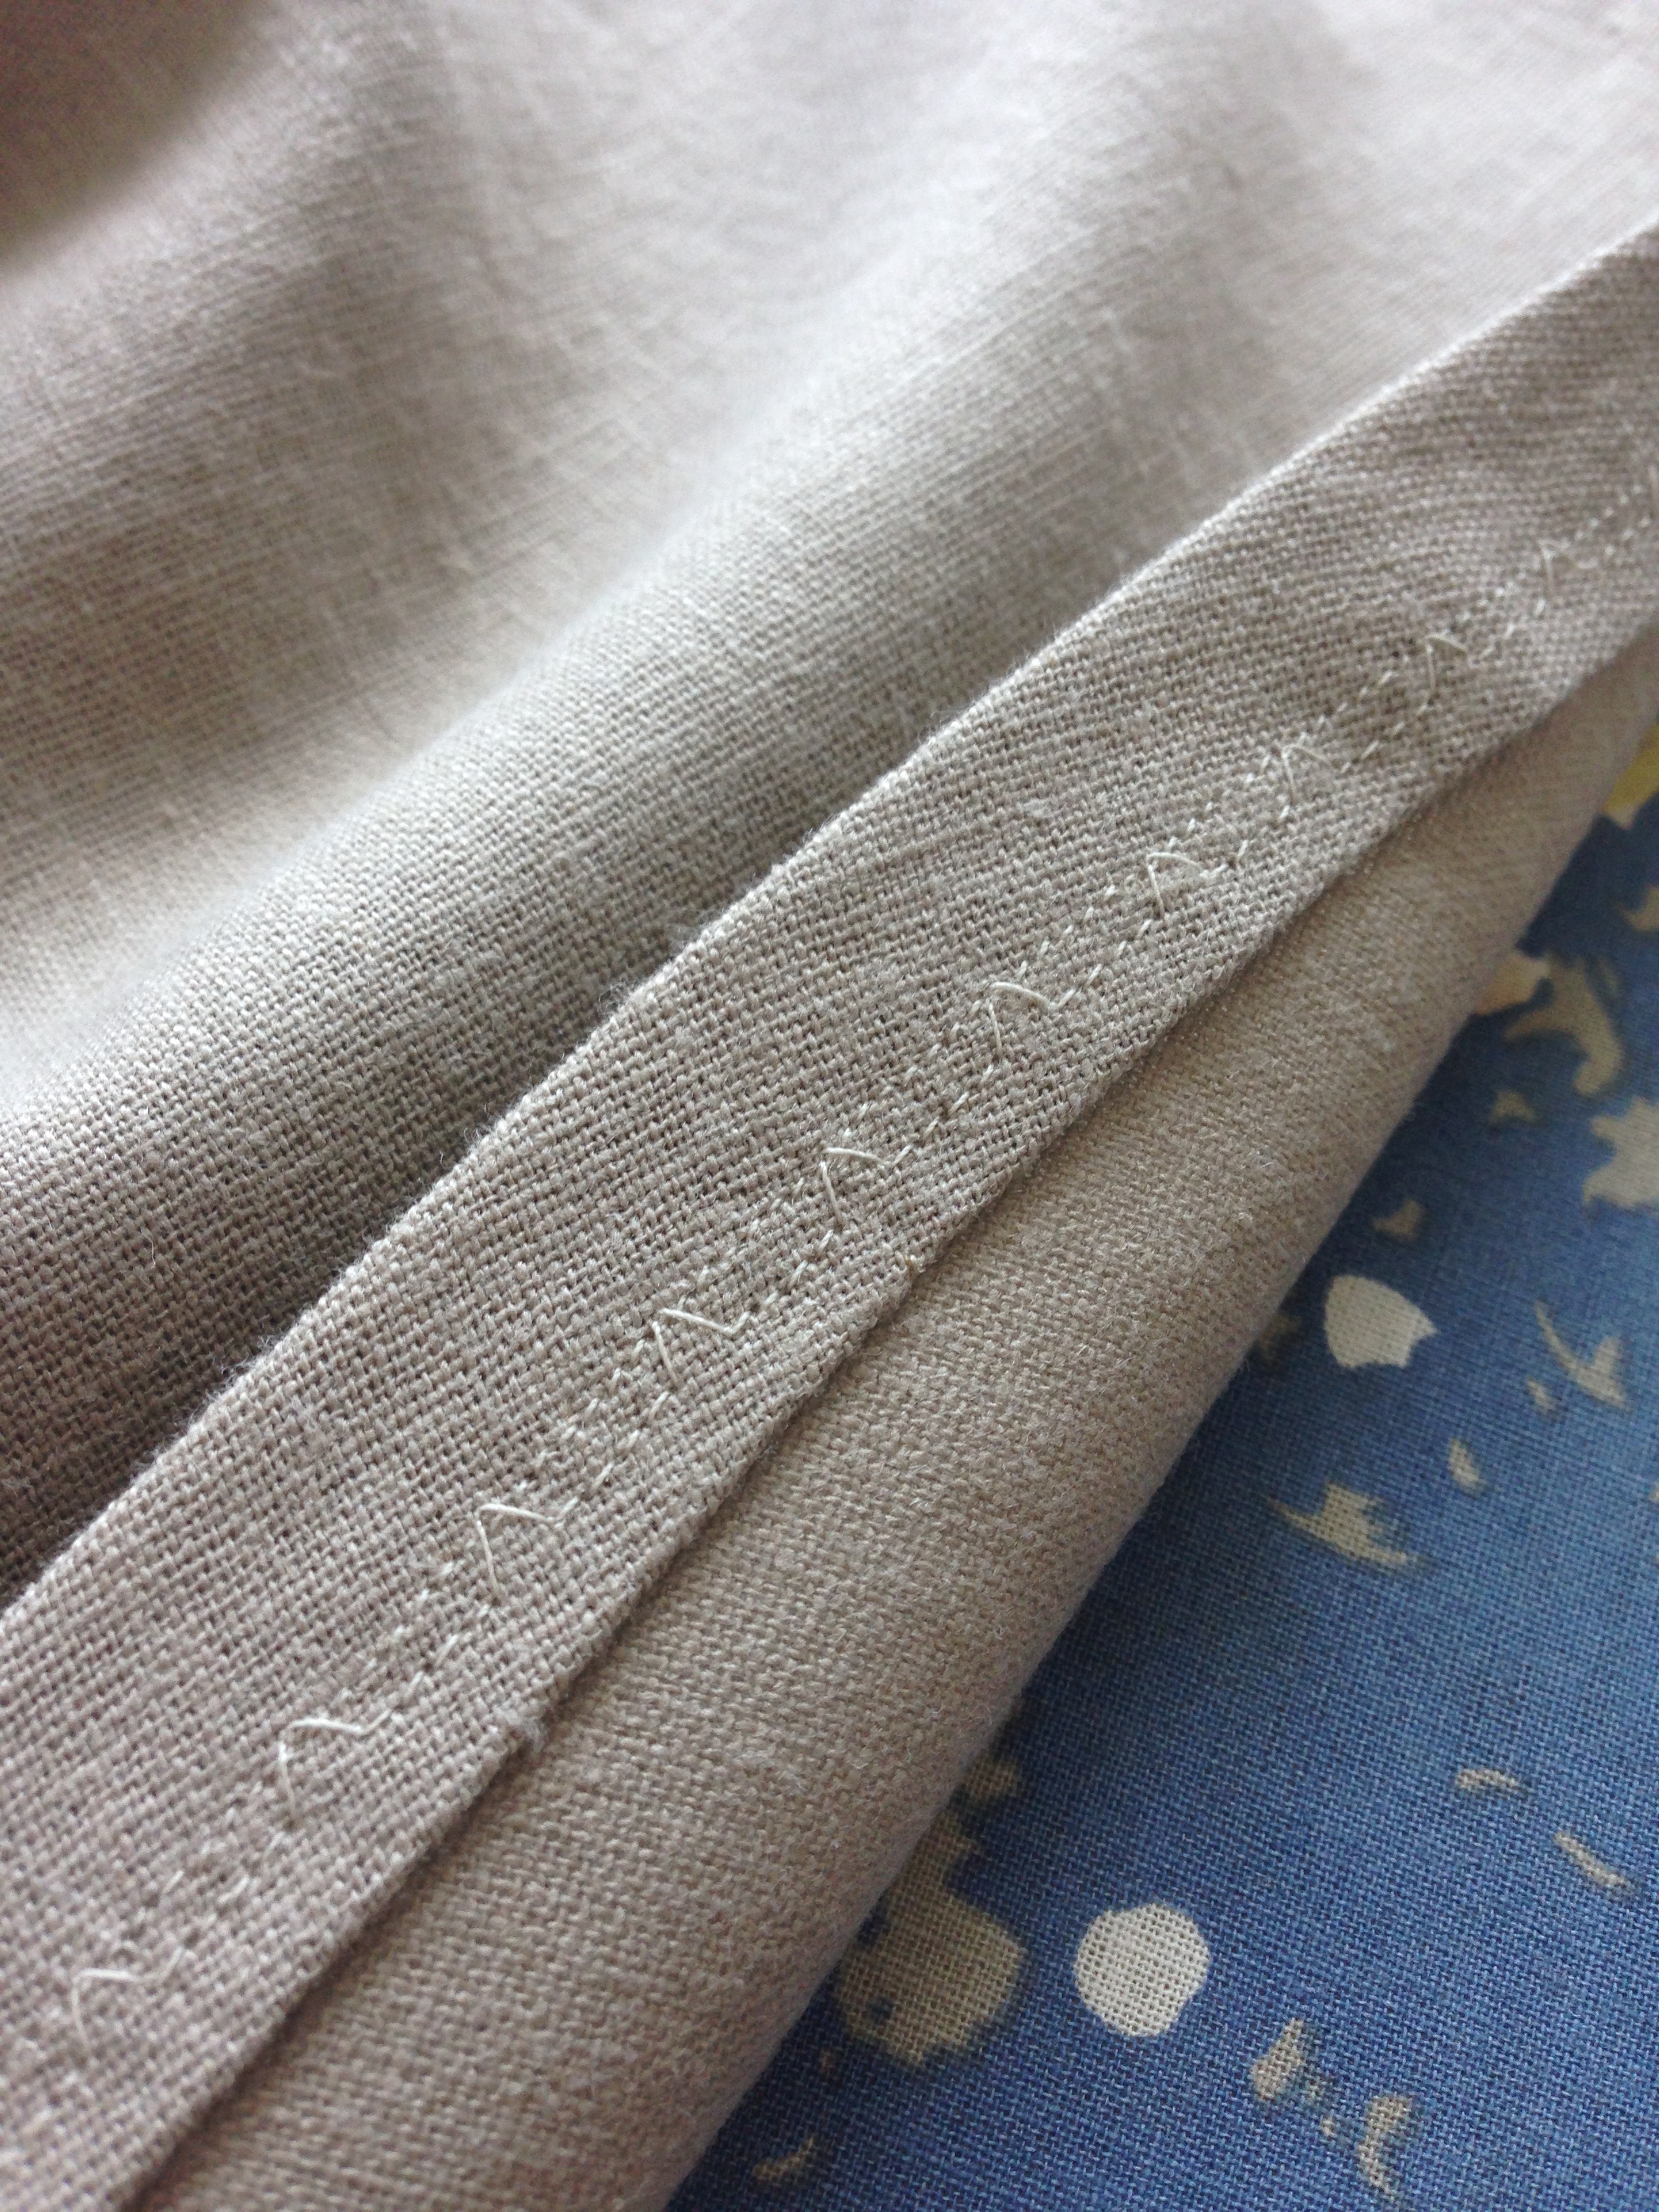
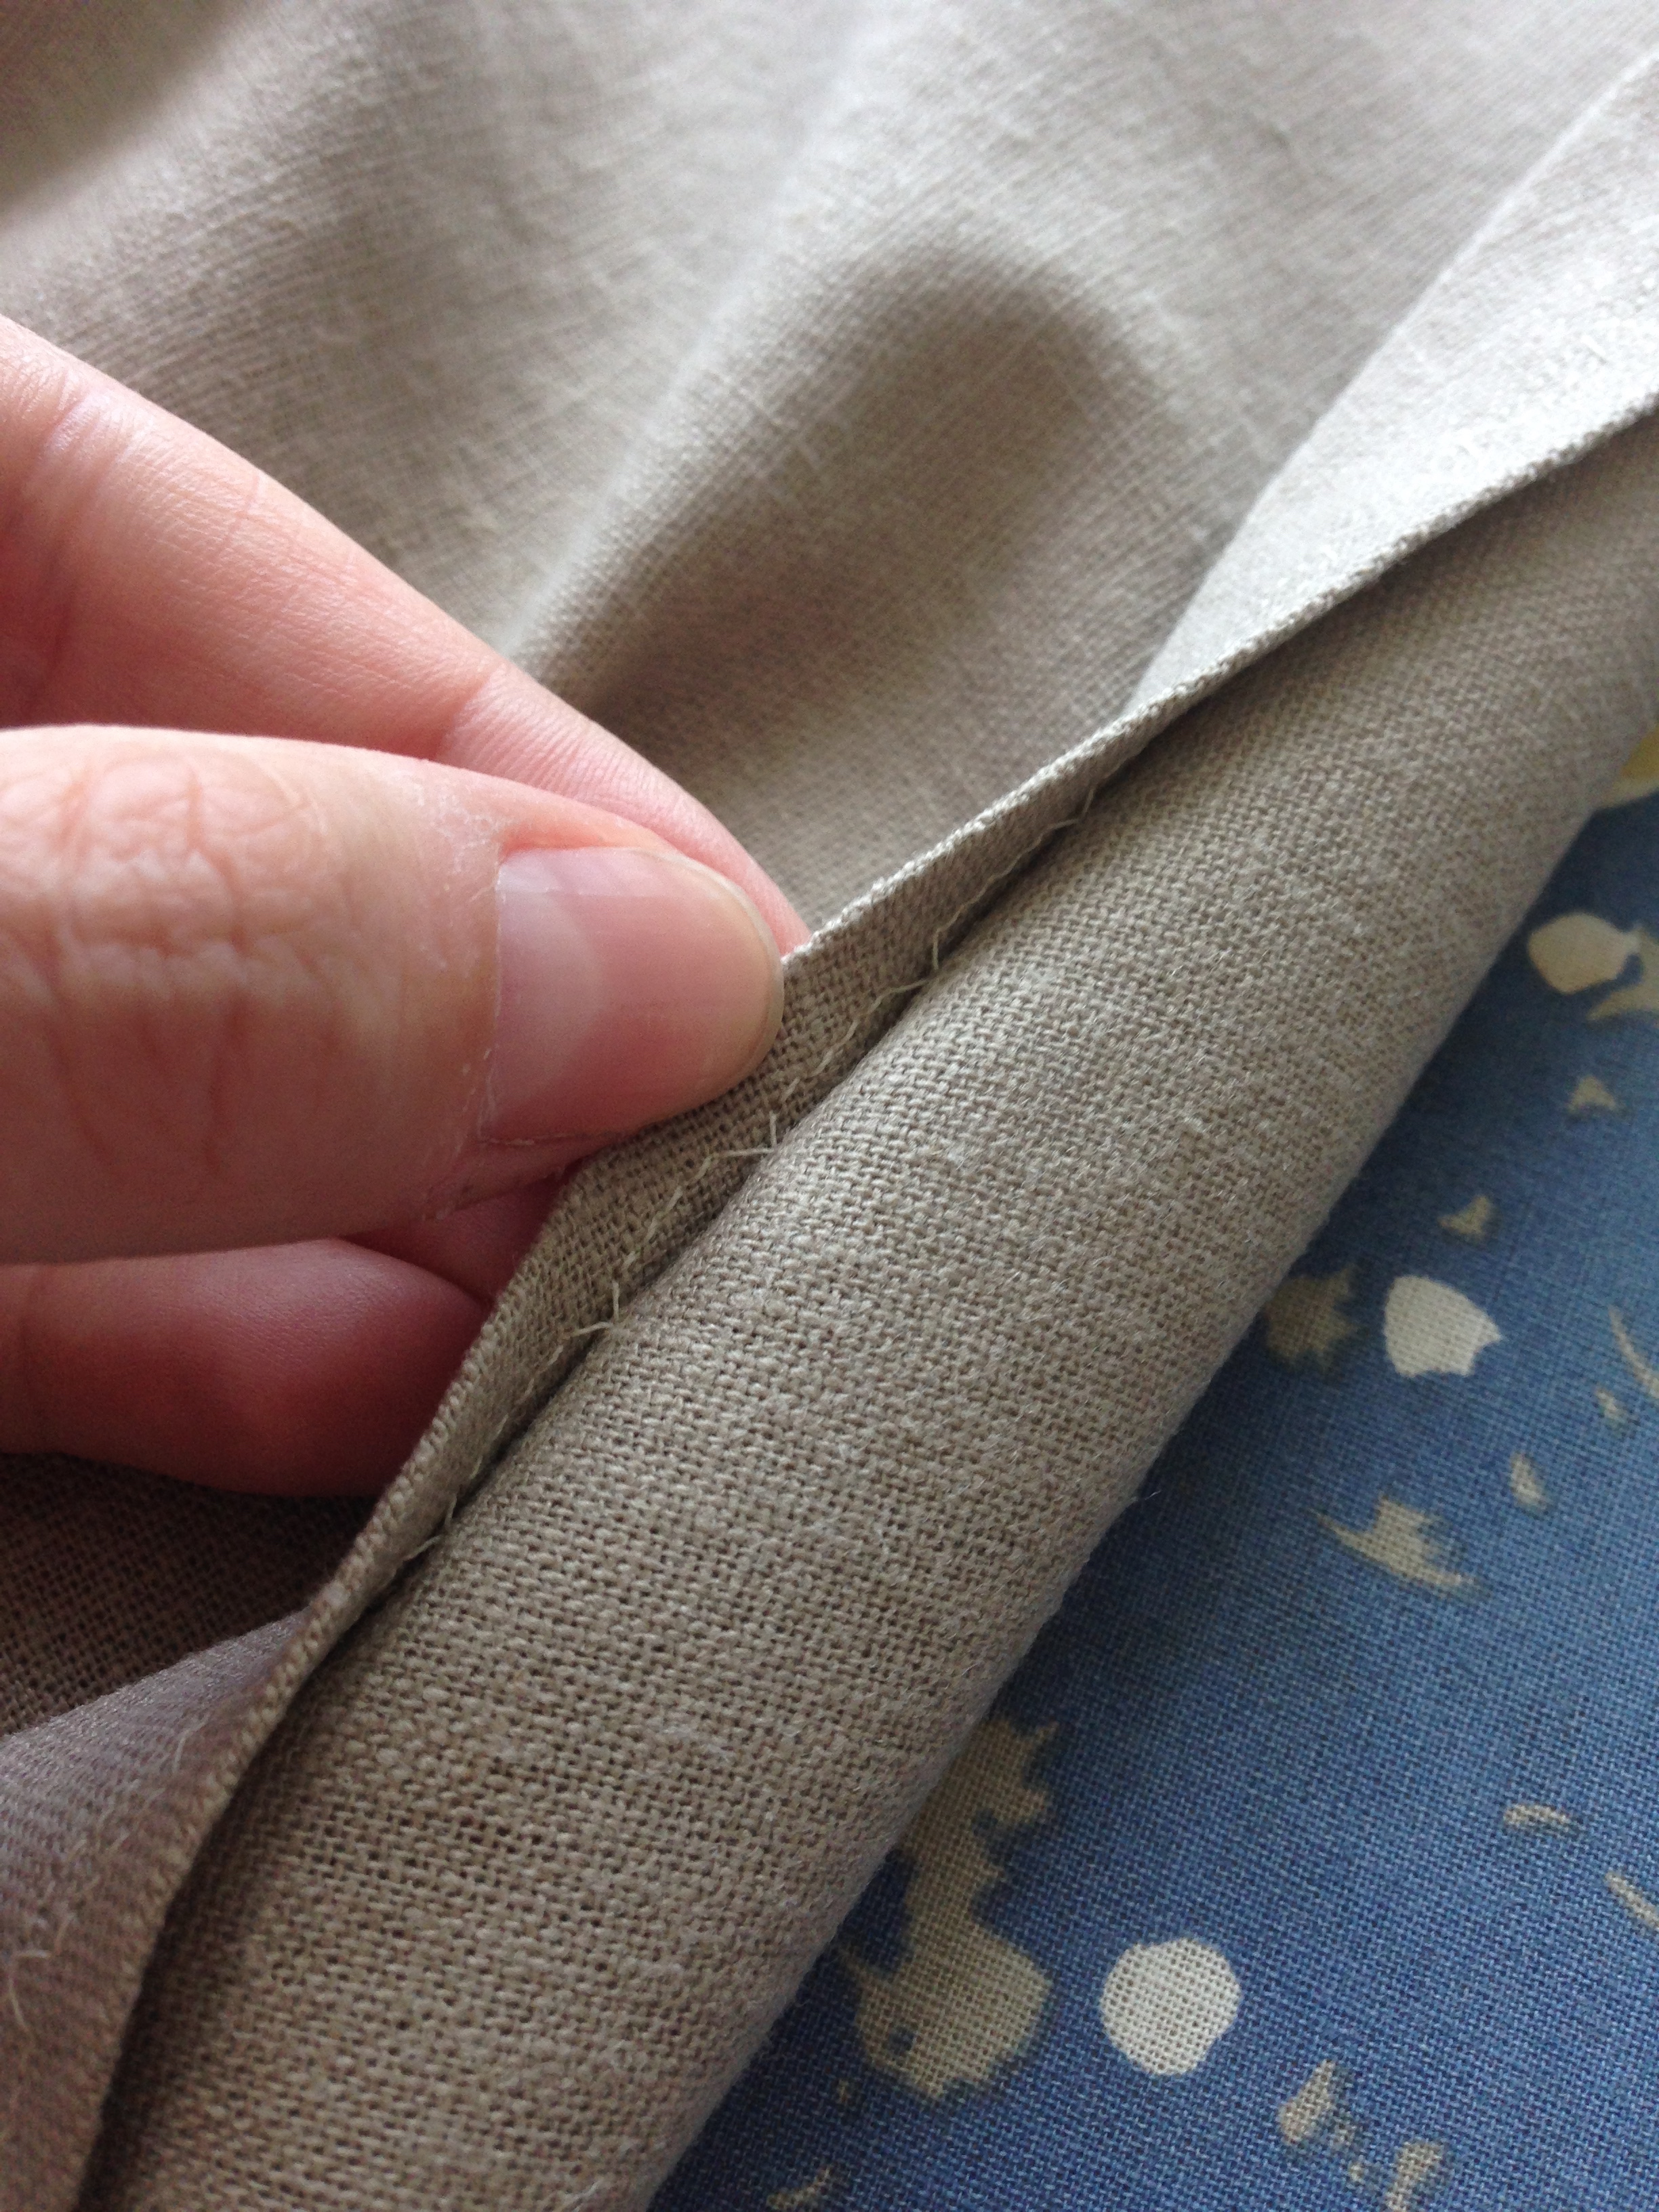
With the zipper in place, it was hemming time! I decided to mirror the stitching I did for finishing the sleeves, making the hem invisible (more commonly called a blind hem). It's a neat trick using a machine stitch instead of by hand (which is the more traditional way of doing it.) Essentially it's a periodic zig-zag stitch where you place the zig-zag to Just Barely catch the front fabric of the skirt. Then when the hem is turned out and pressed, it's like there is no stitching at all. Magic. =D
AND DONE. Well. I suppose I should case all my seams. But that's for another day. Until then, I'll lightly wear it ;) Haha.
-Andrea
The Half-Assed Hobbyist