Linen Love

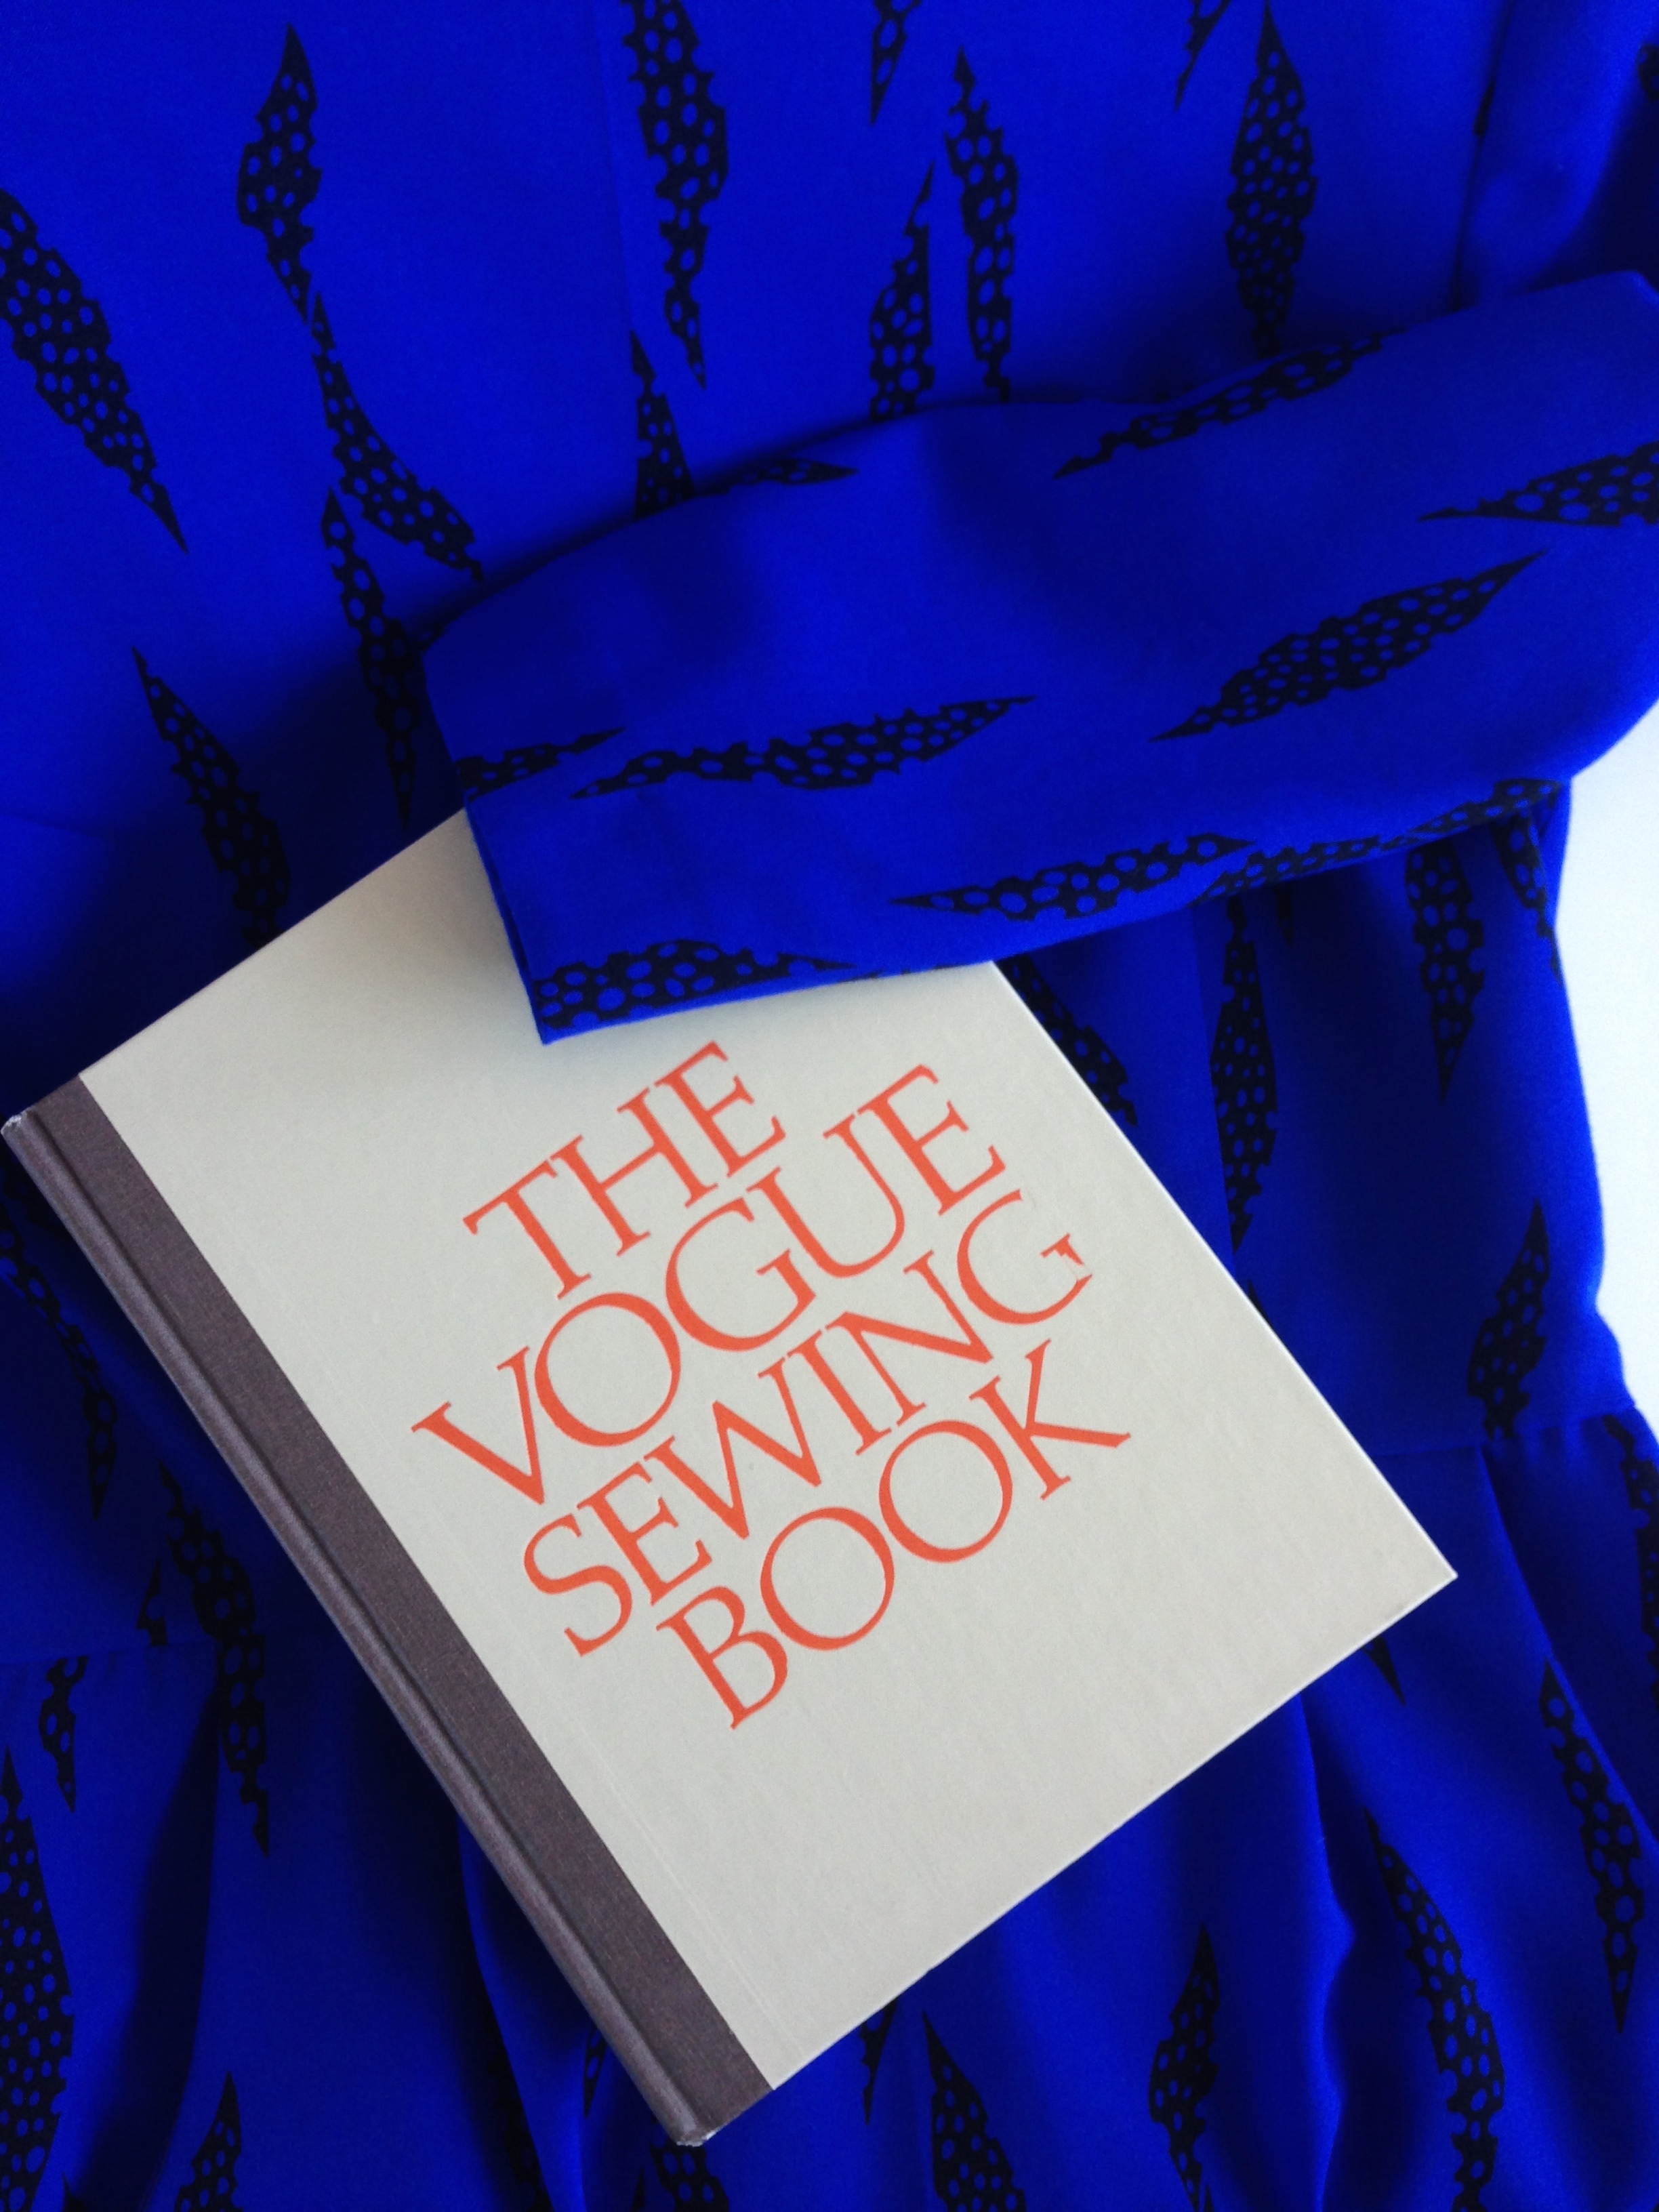
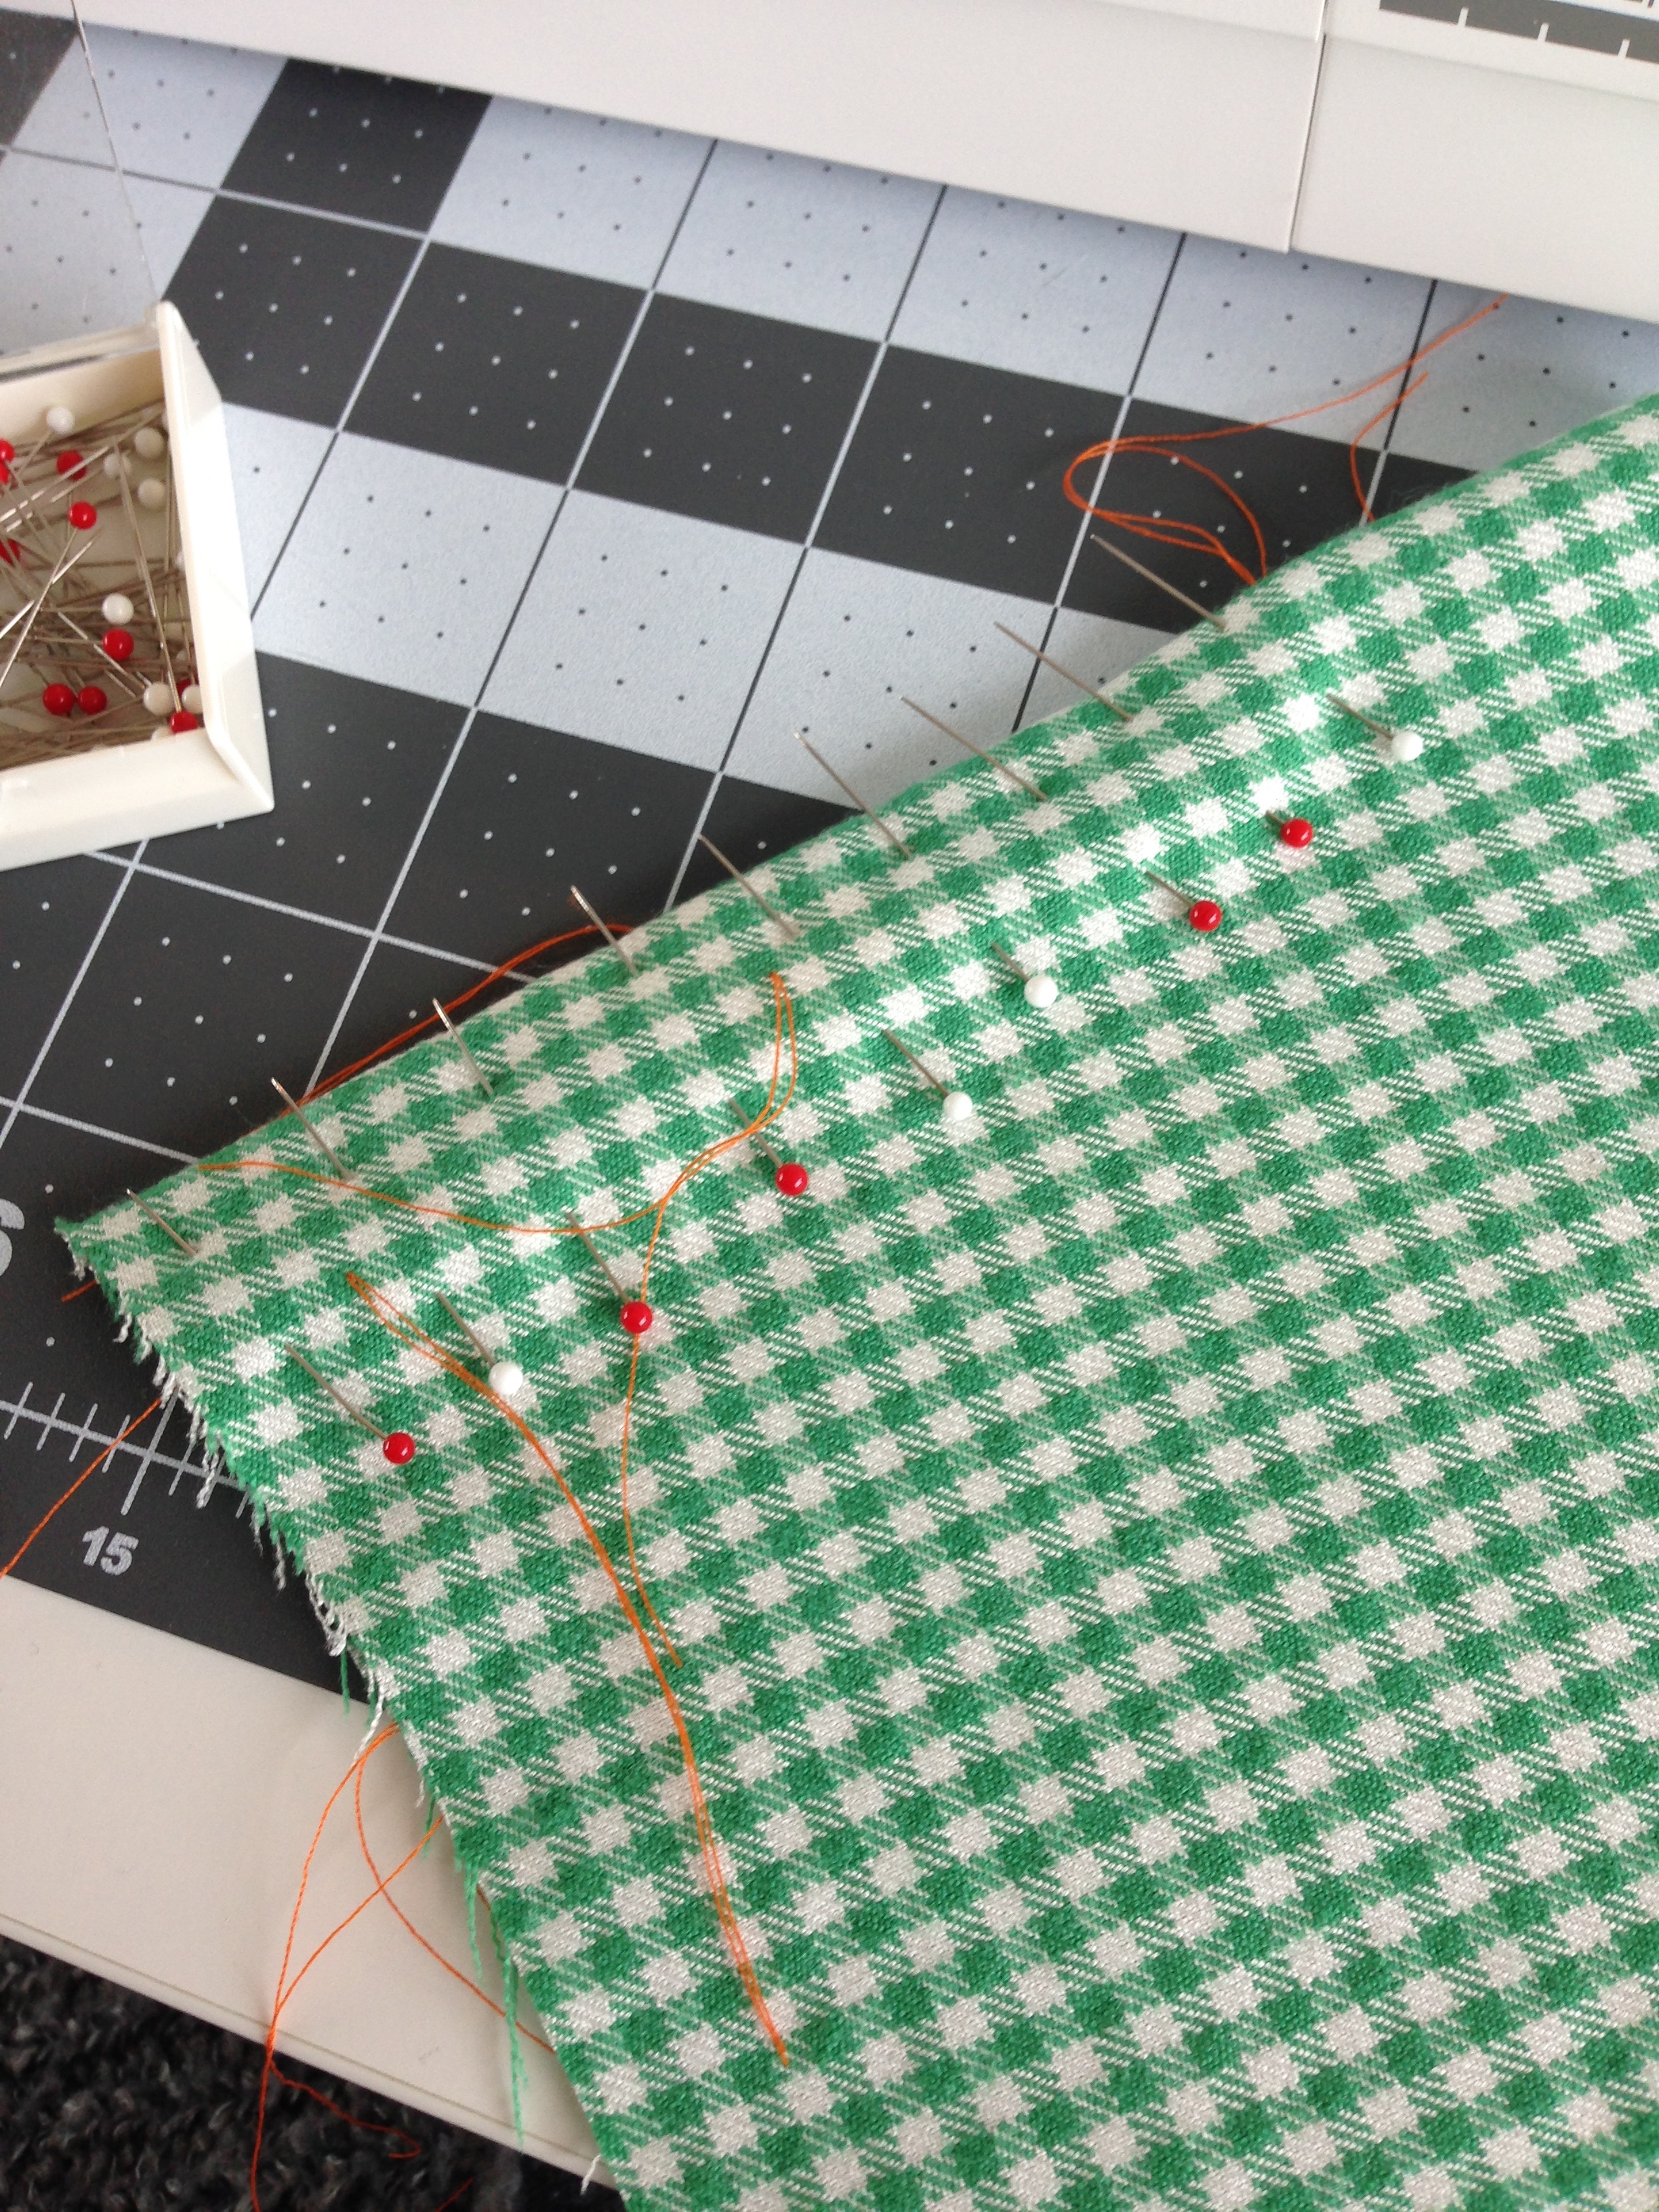
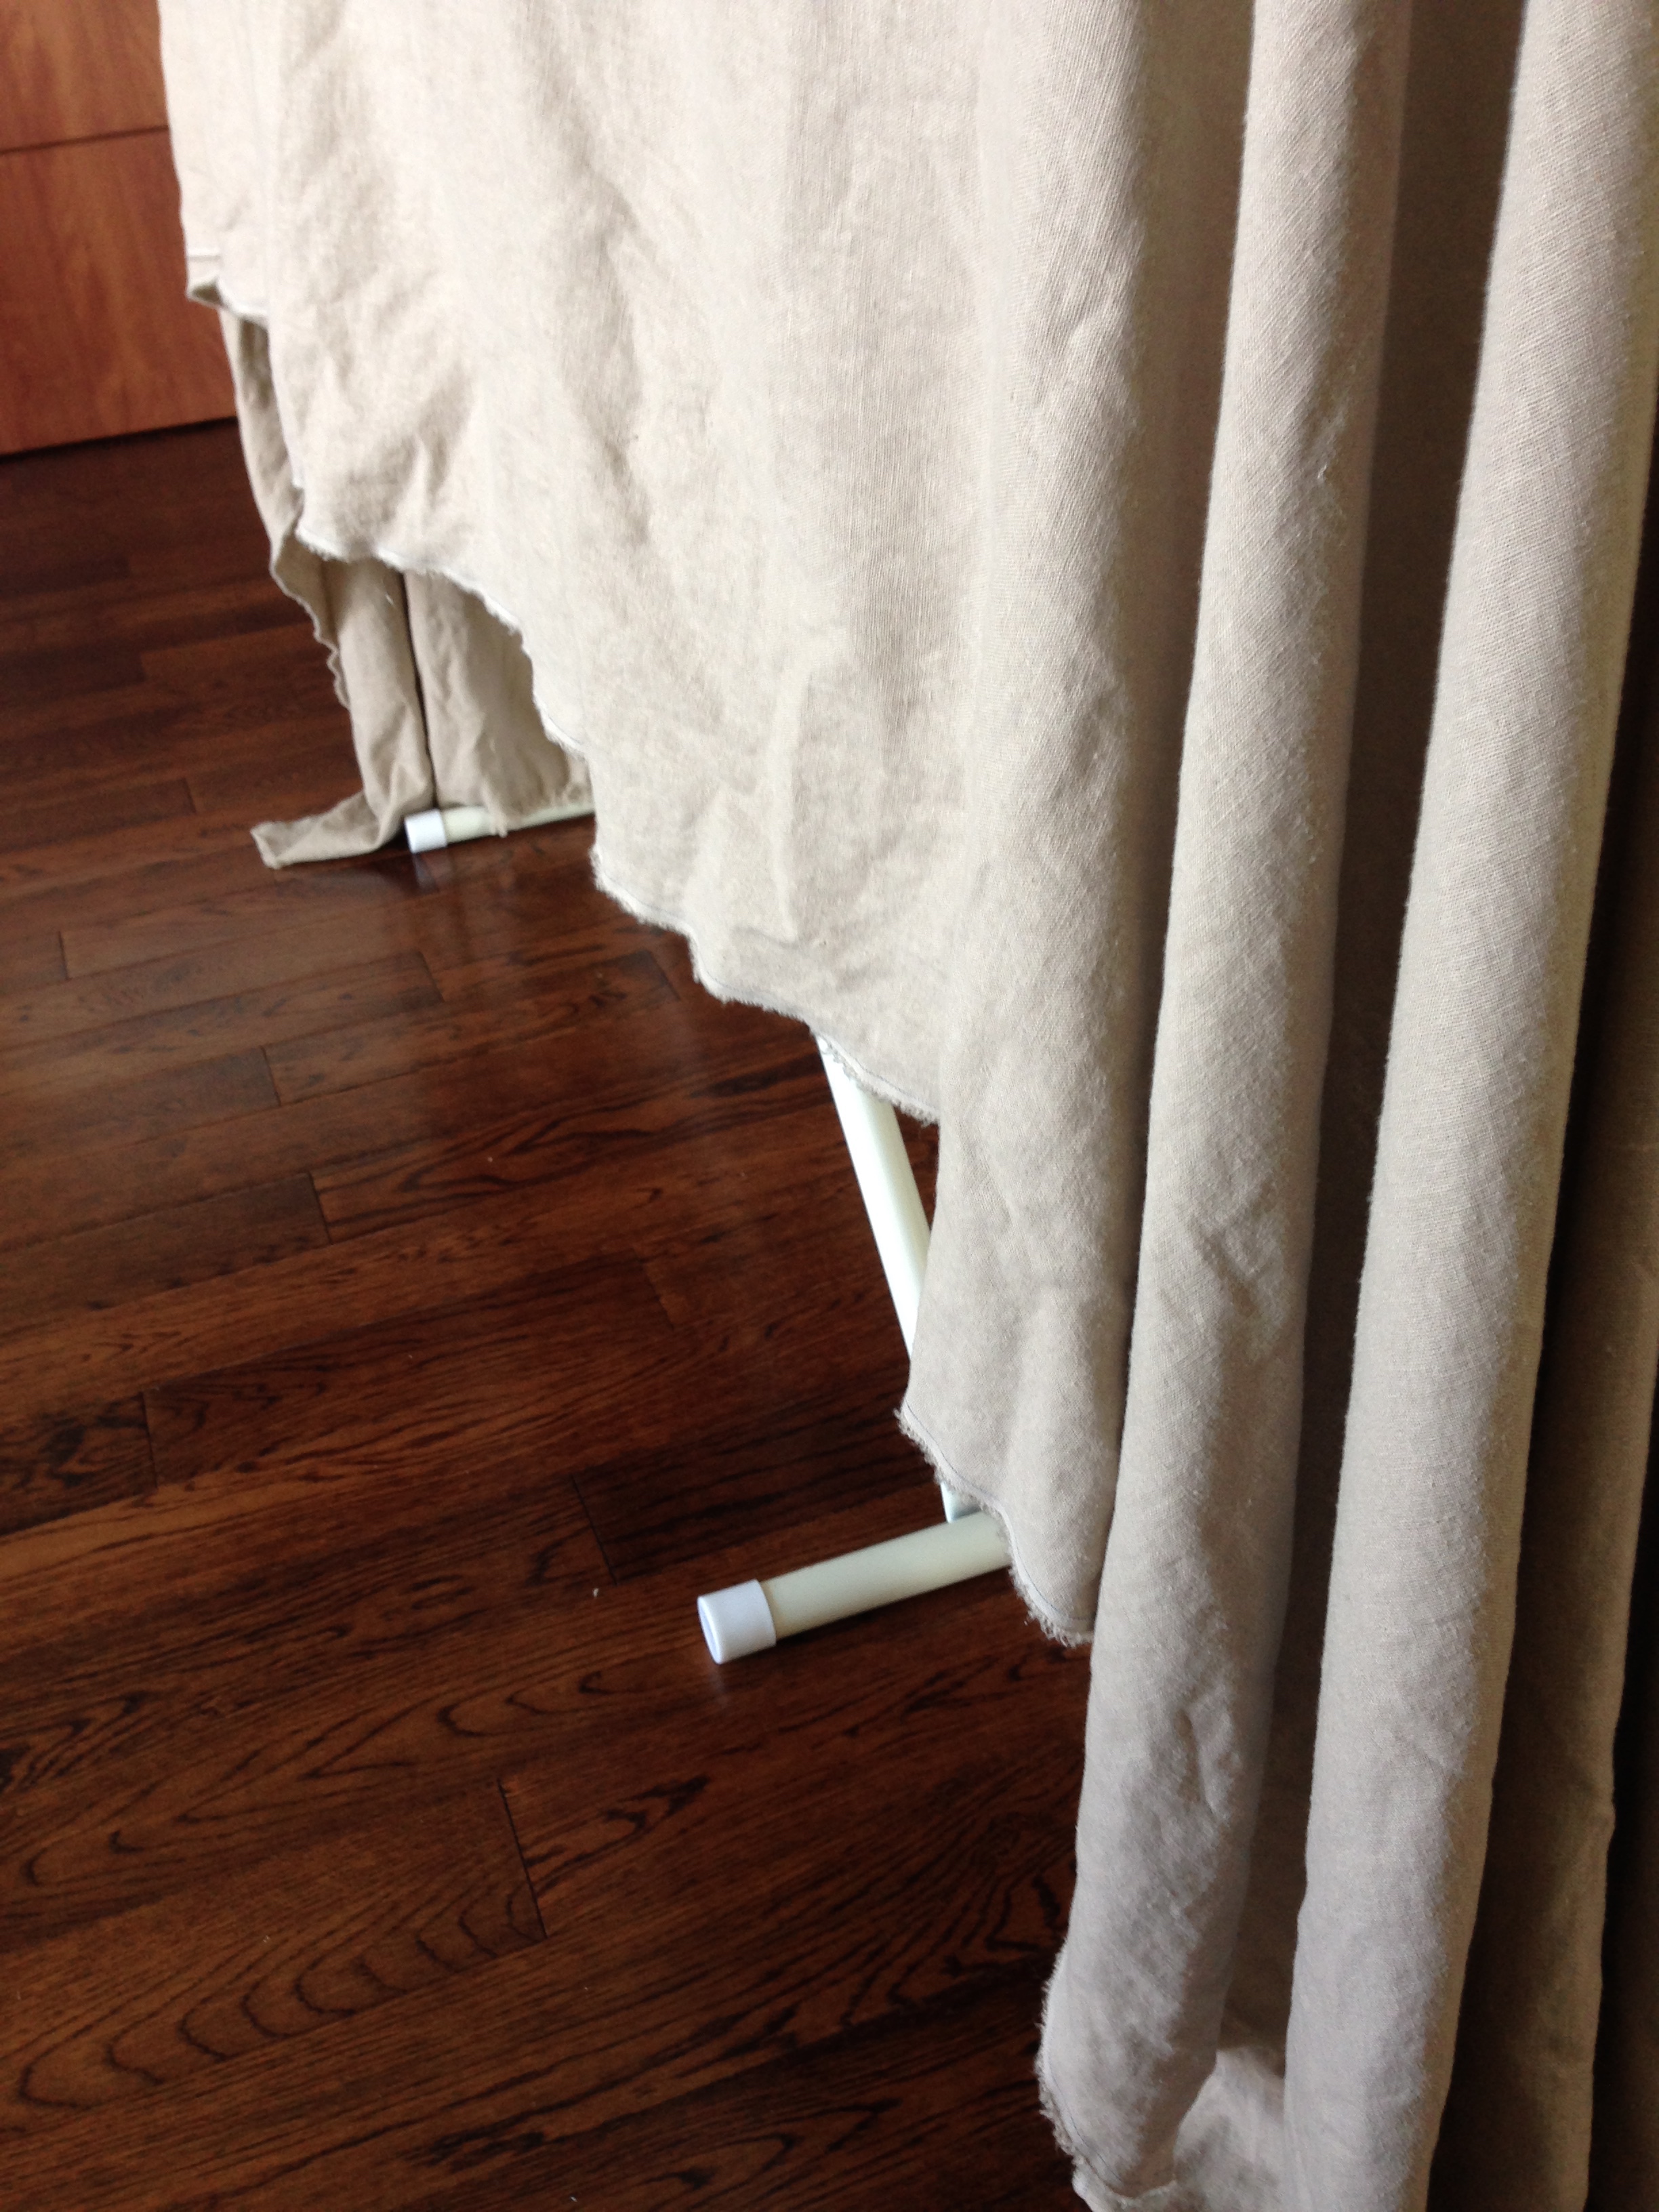
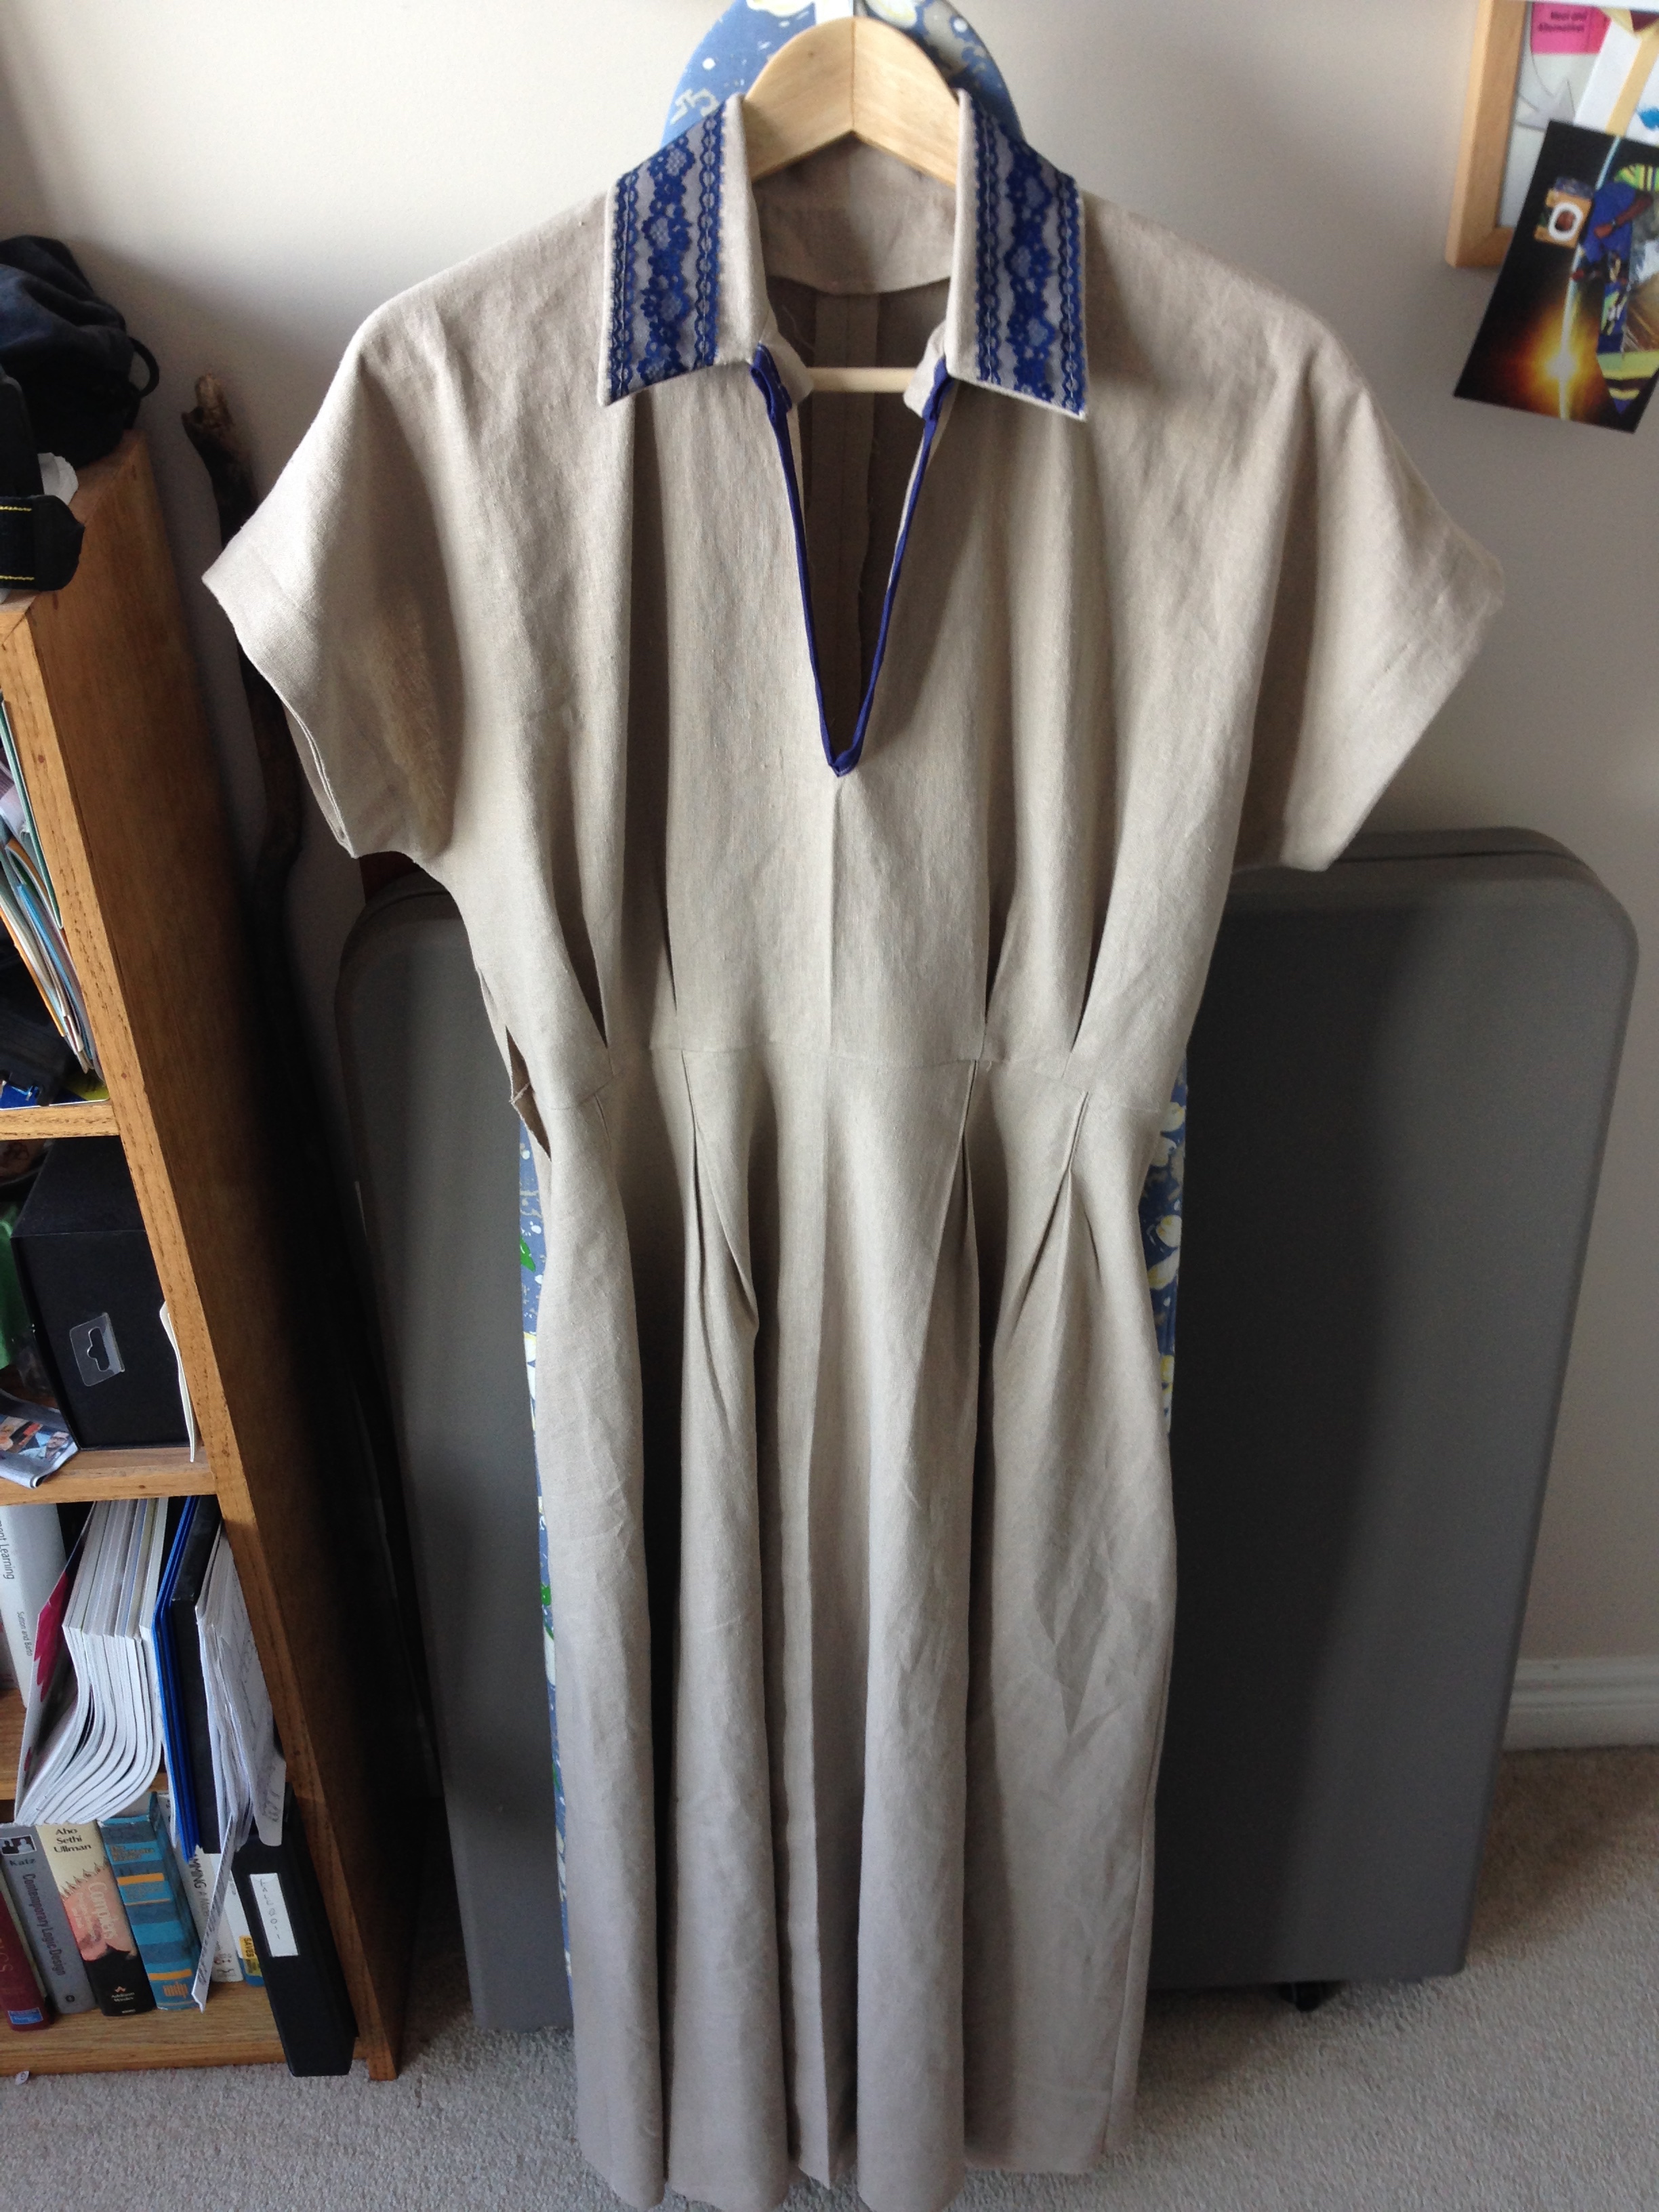
It's usually the case, when I find a pattern I like, that it's an ancient vogue pattern. The Fiancé's Mum went pattern hunting, and after my brief adventure back in AB this past spring, I borrowed one of her hunting spoils. (At some point I should start giving them back.... or straight up start saying 'stealing' instead of 'borrowing'.) Anyways! It's a lovely full length dress with pleats and tucks at the waist. Perfect for the hot summer coming up. And! I have a ridiculous stash of linen to use up. So no fabric shopping required. (Score...? -cries-)

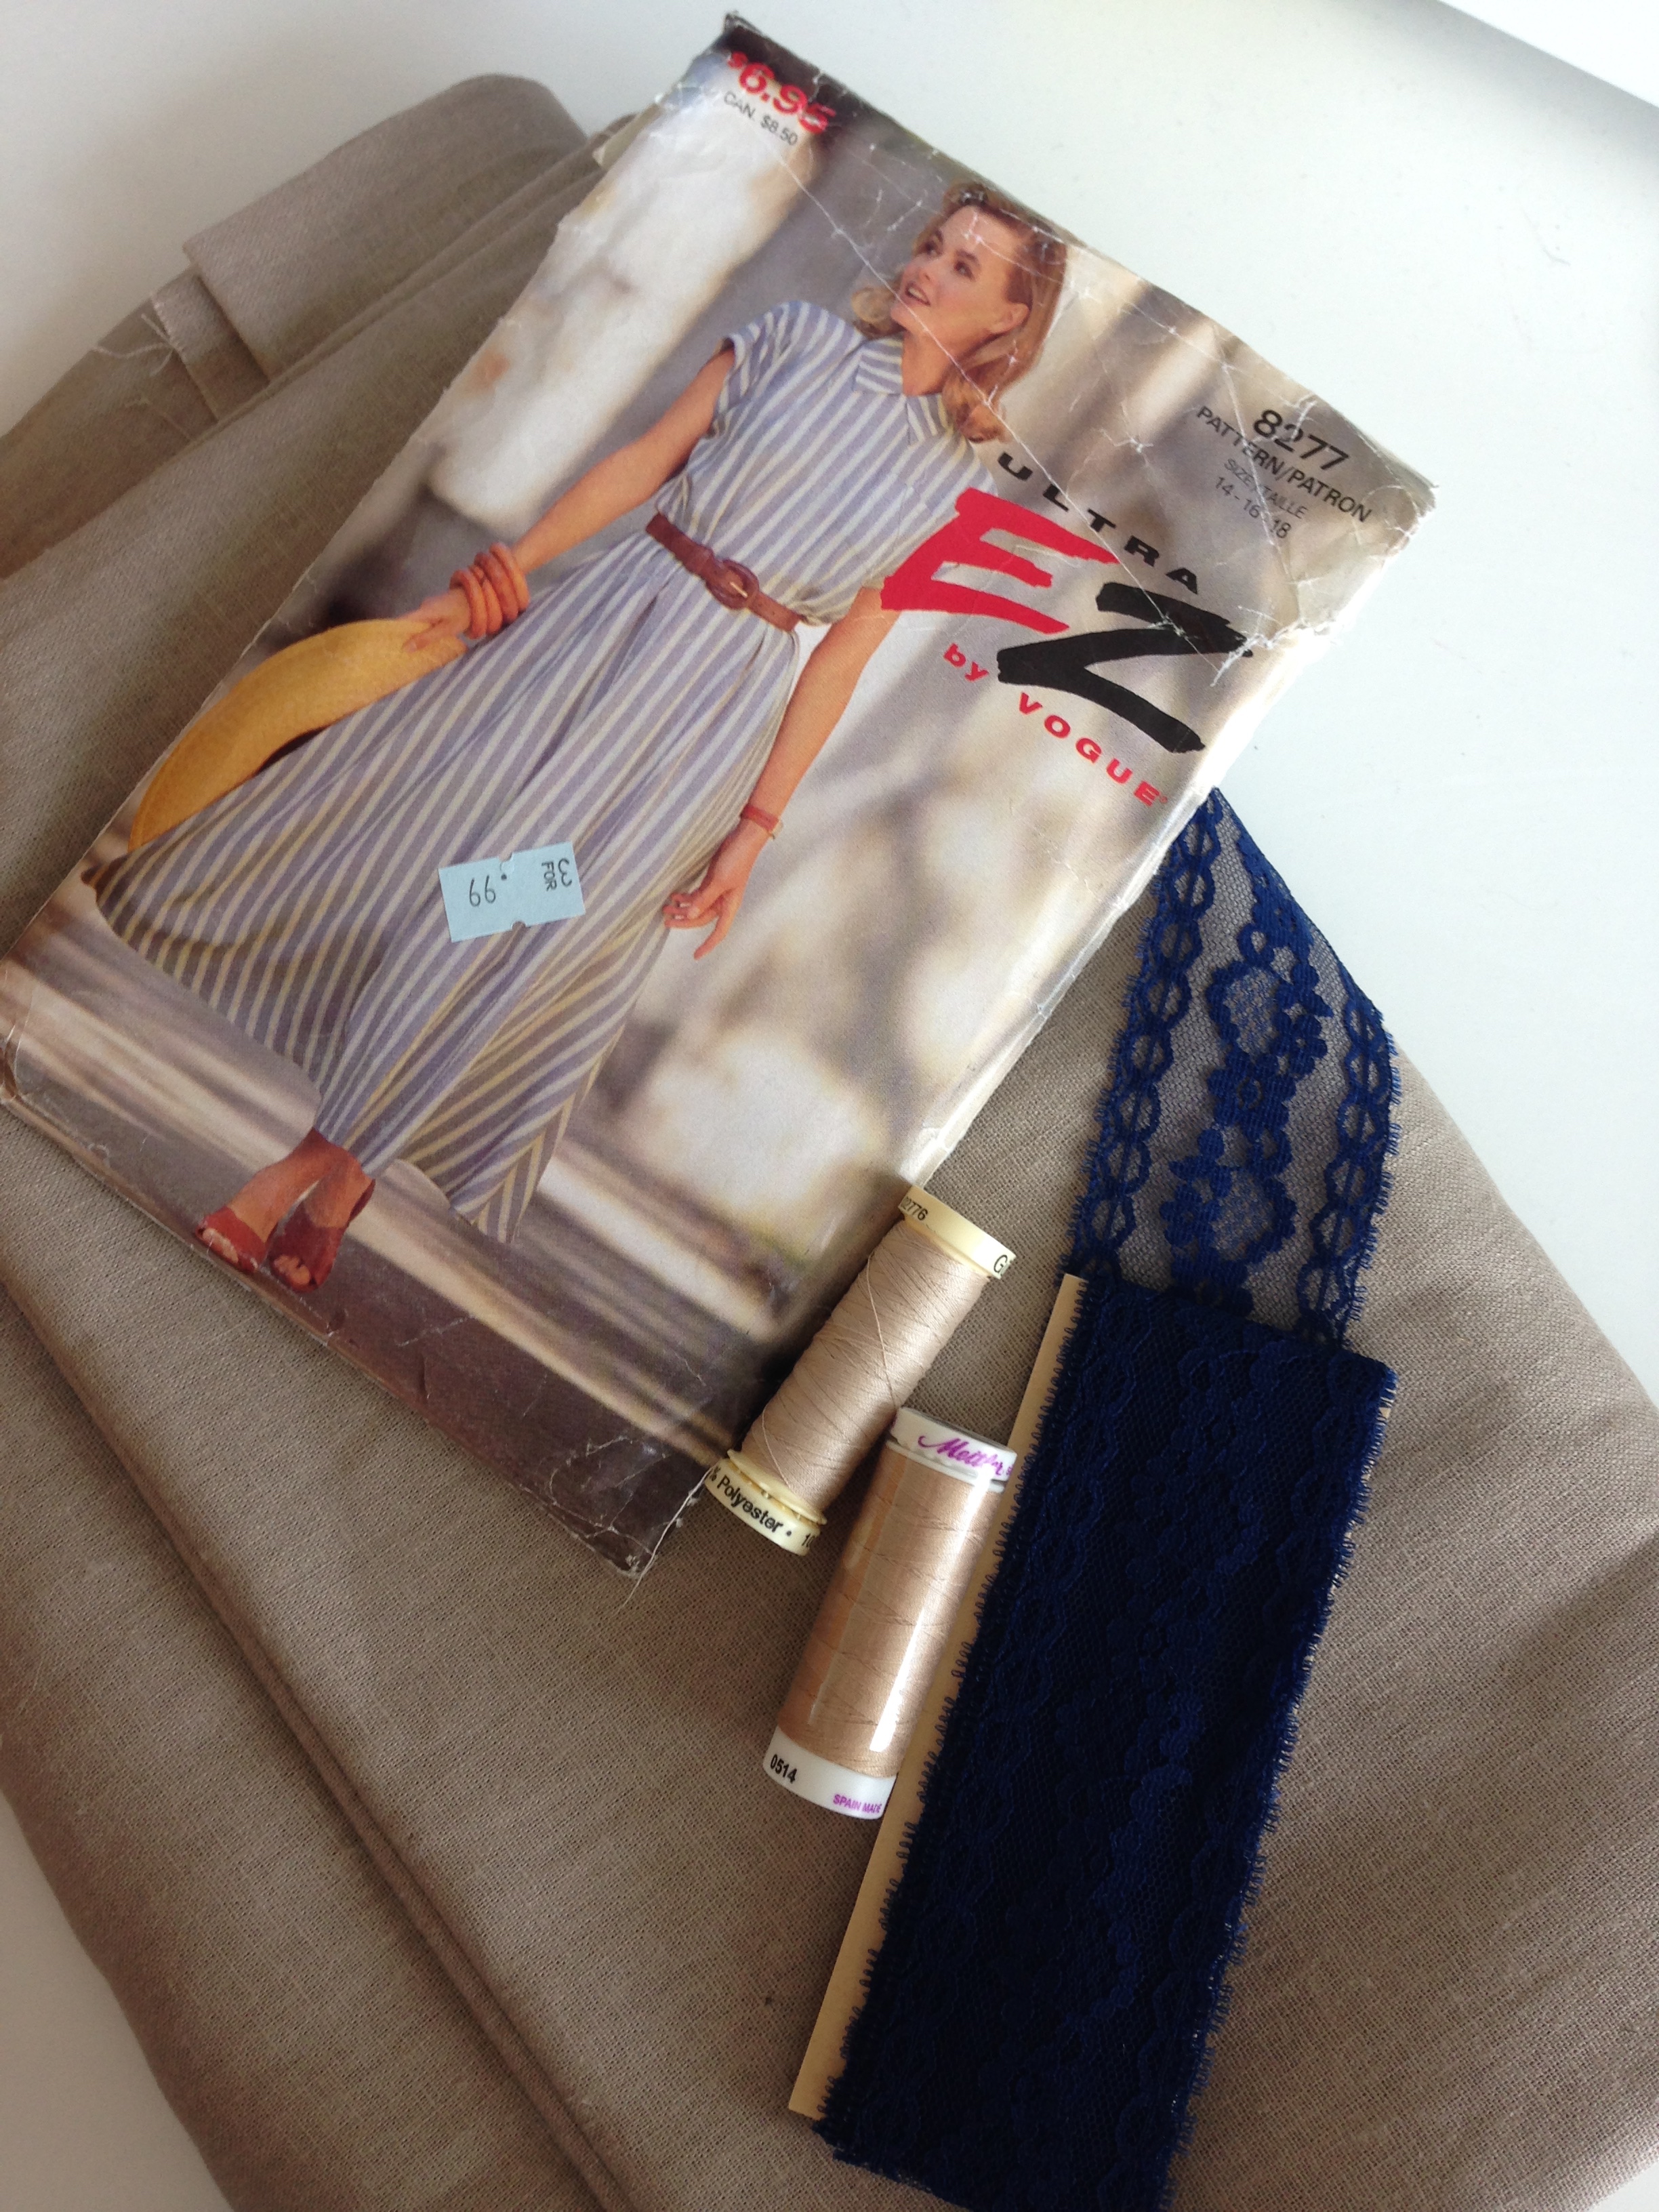
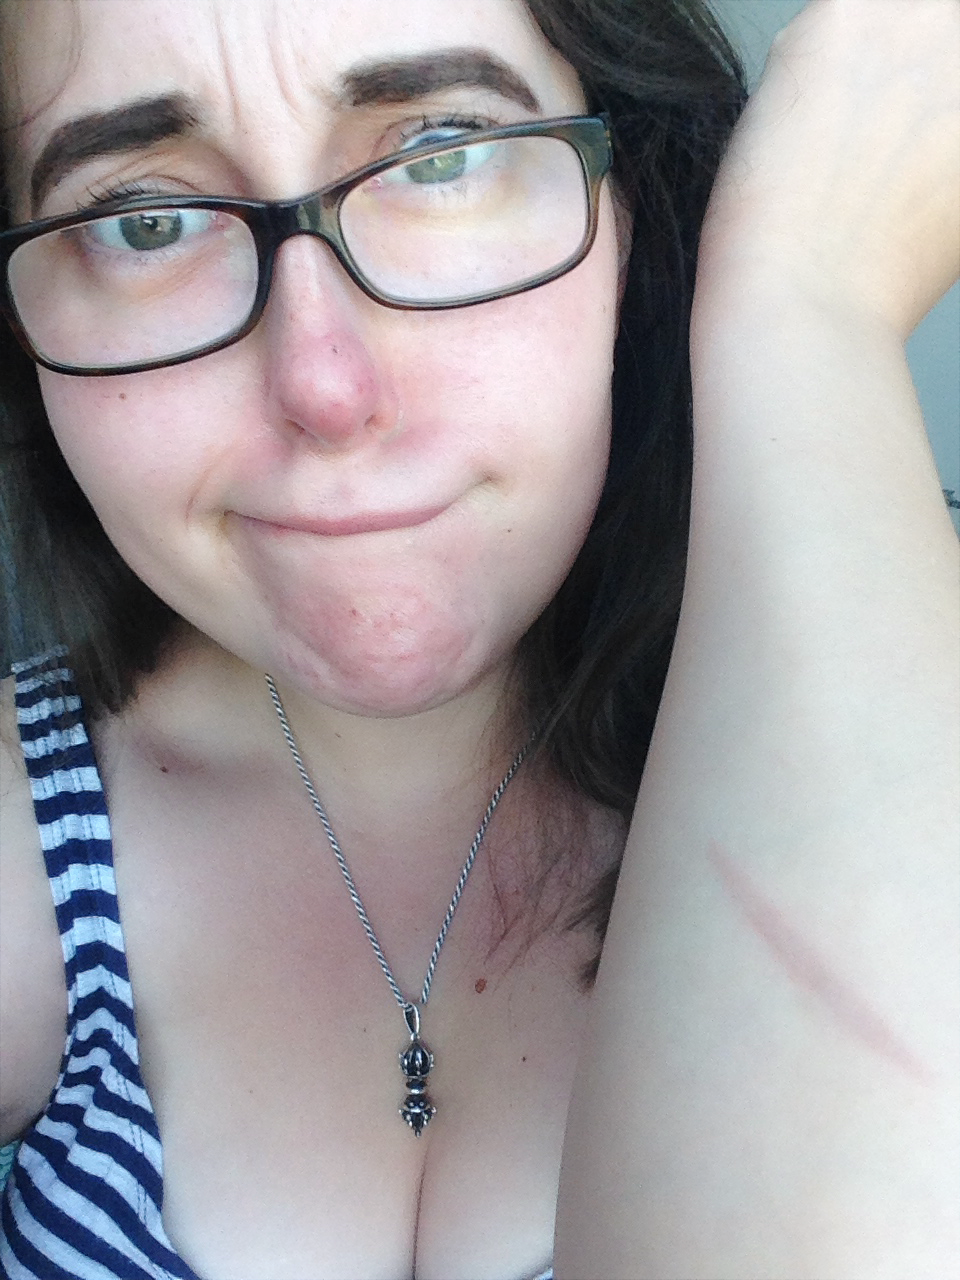
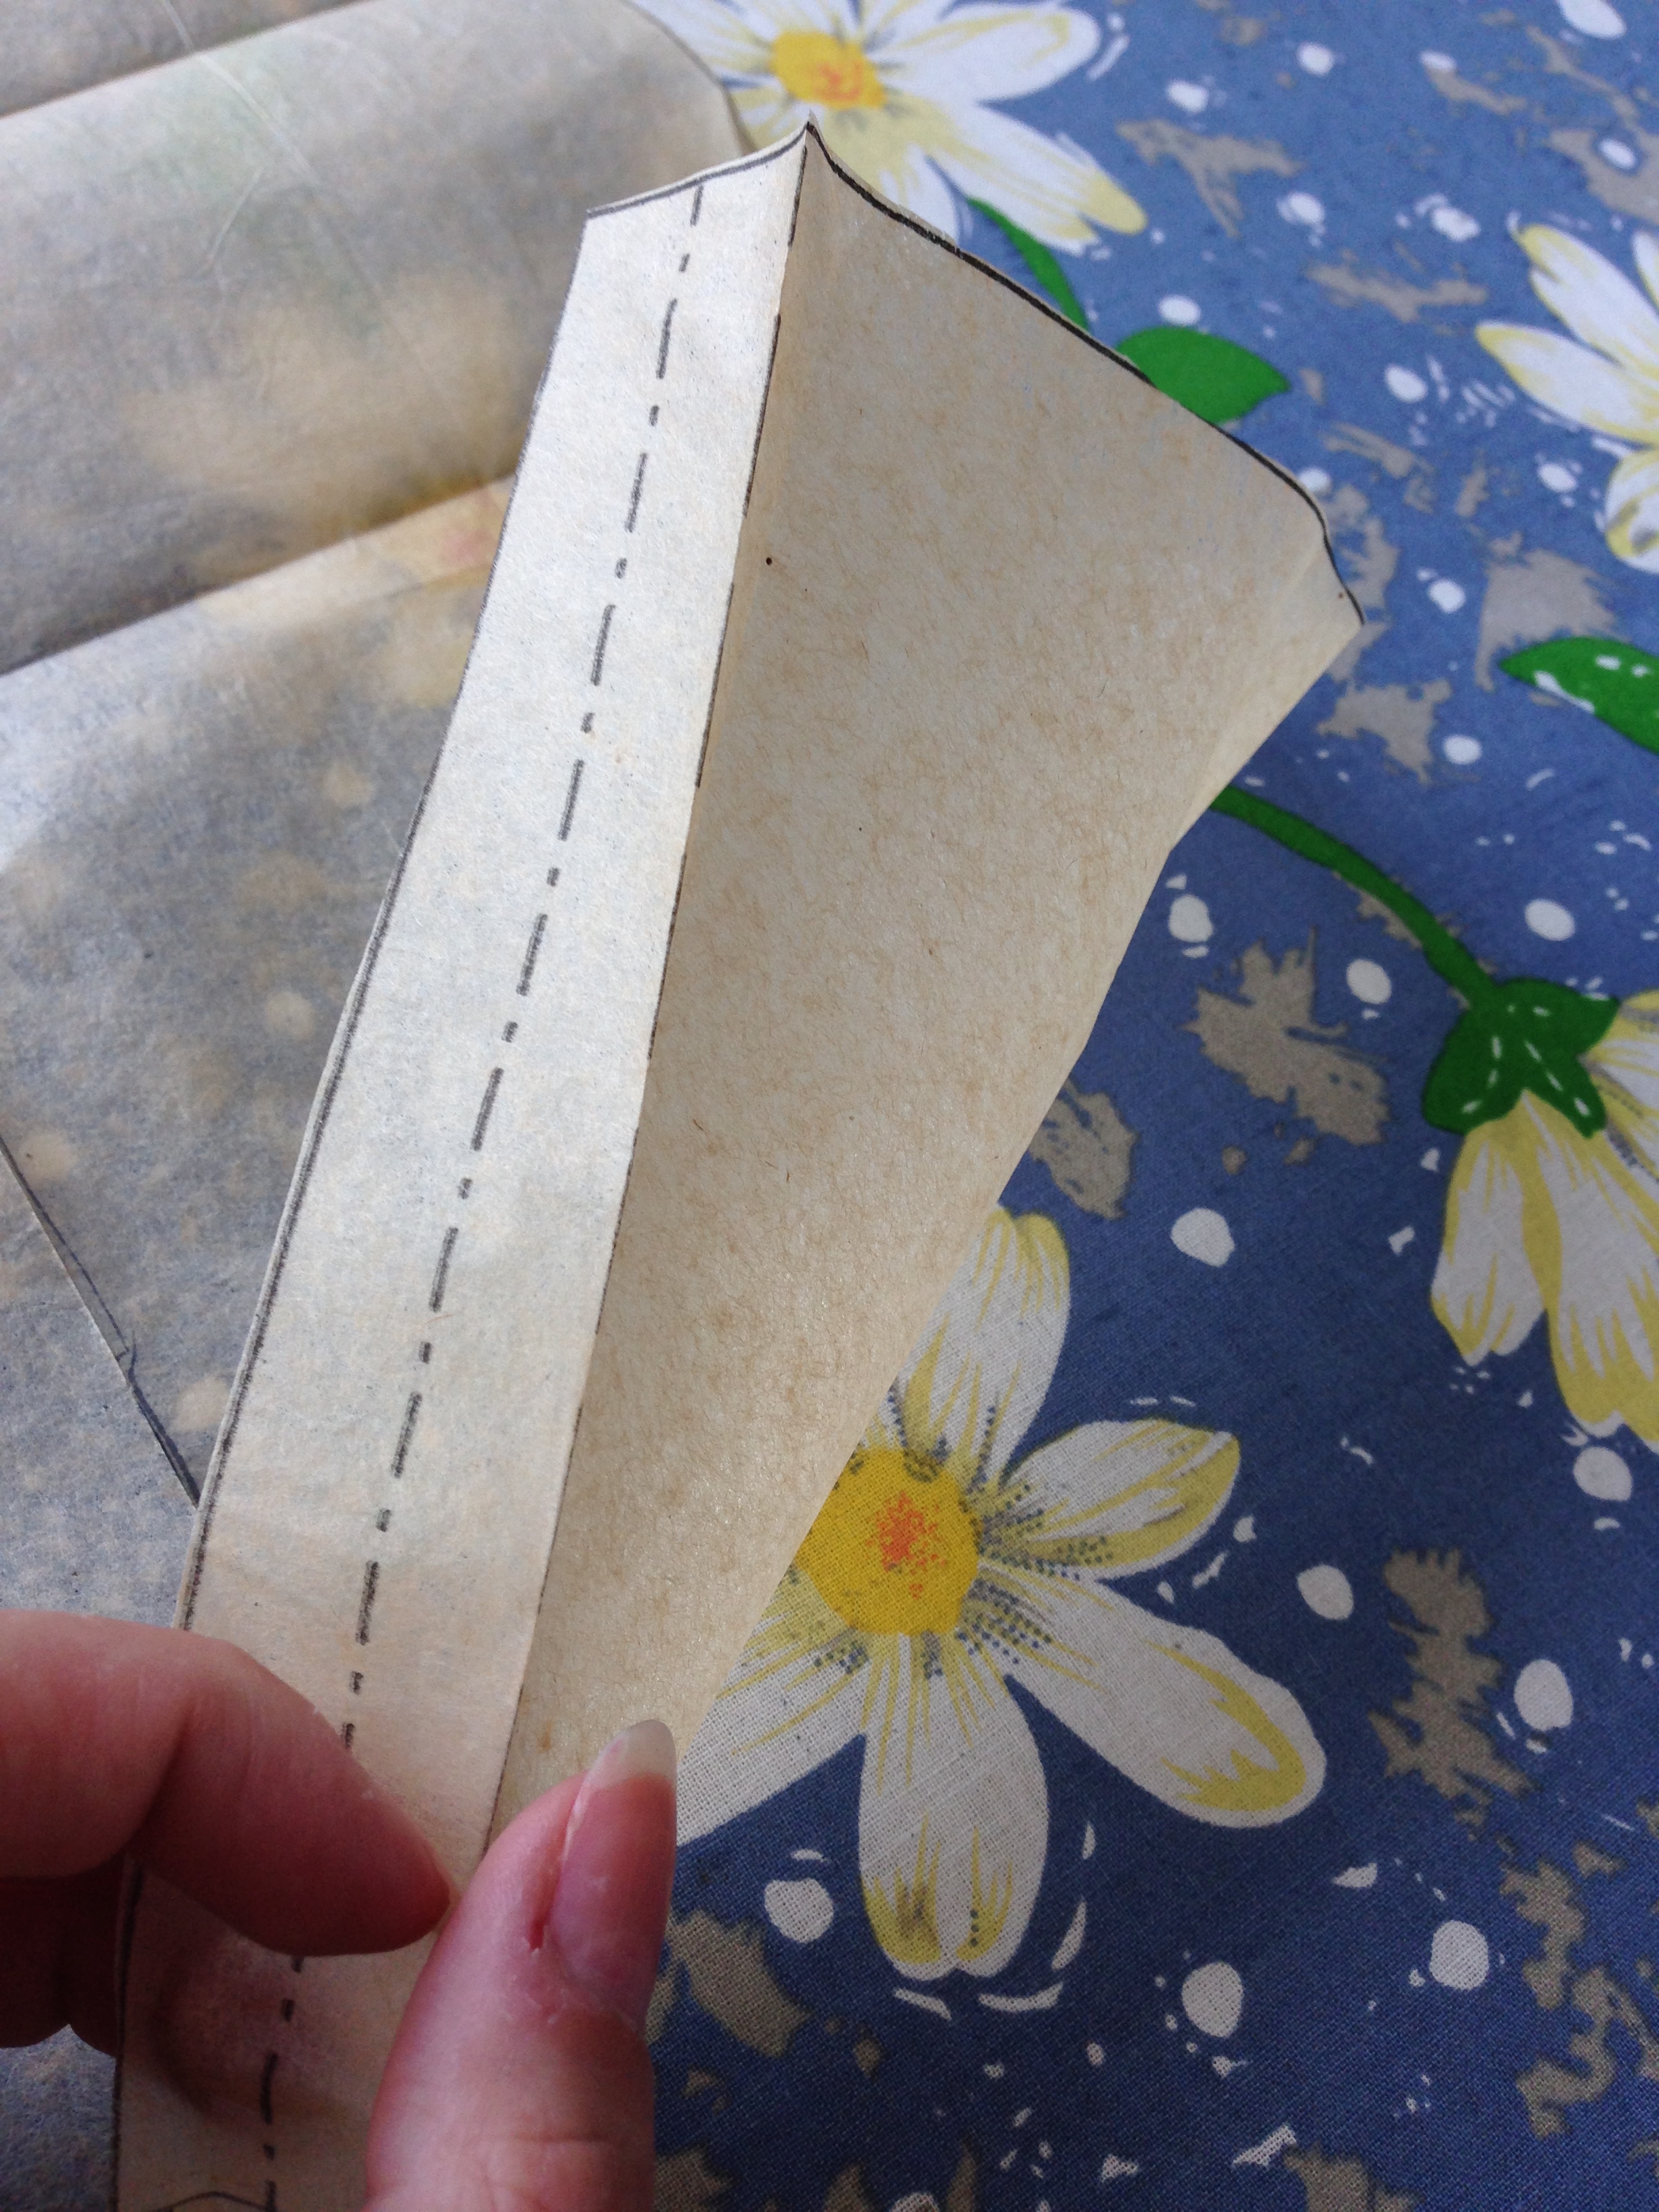
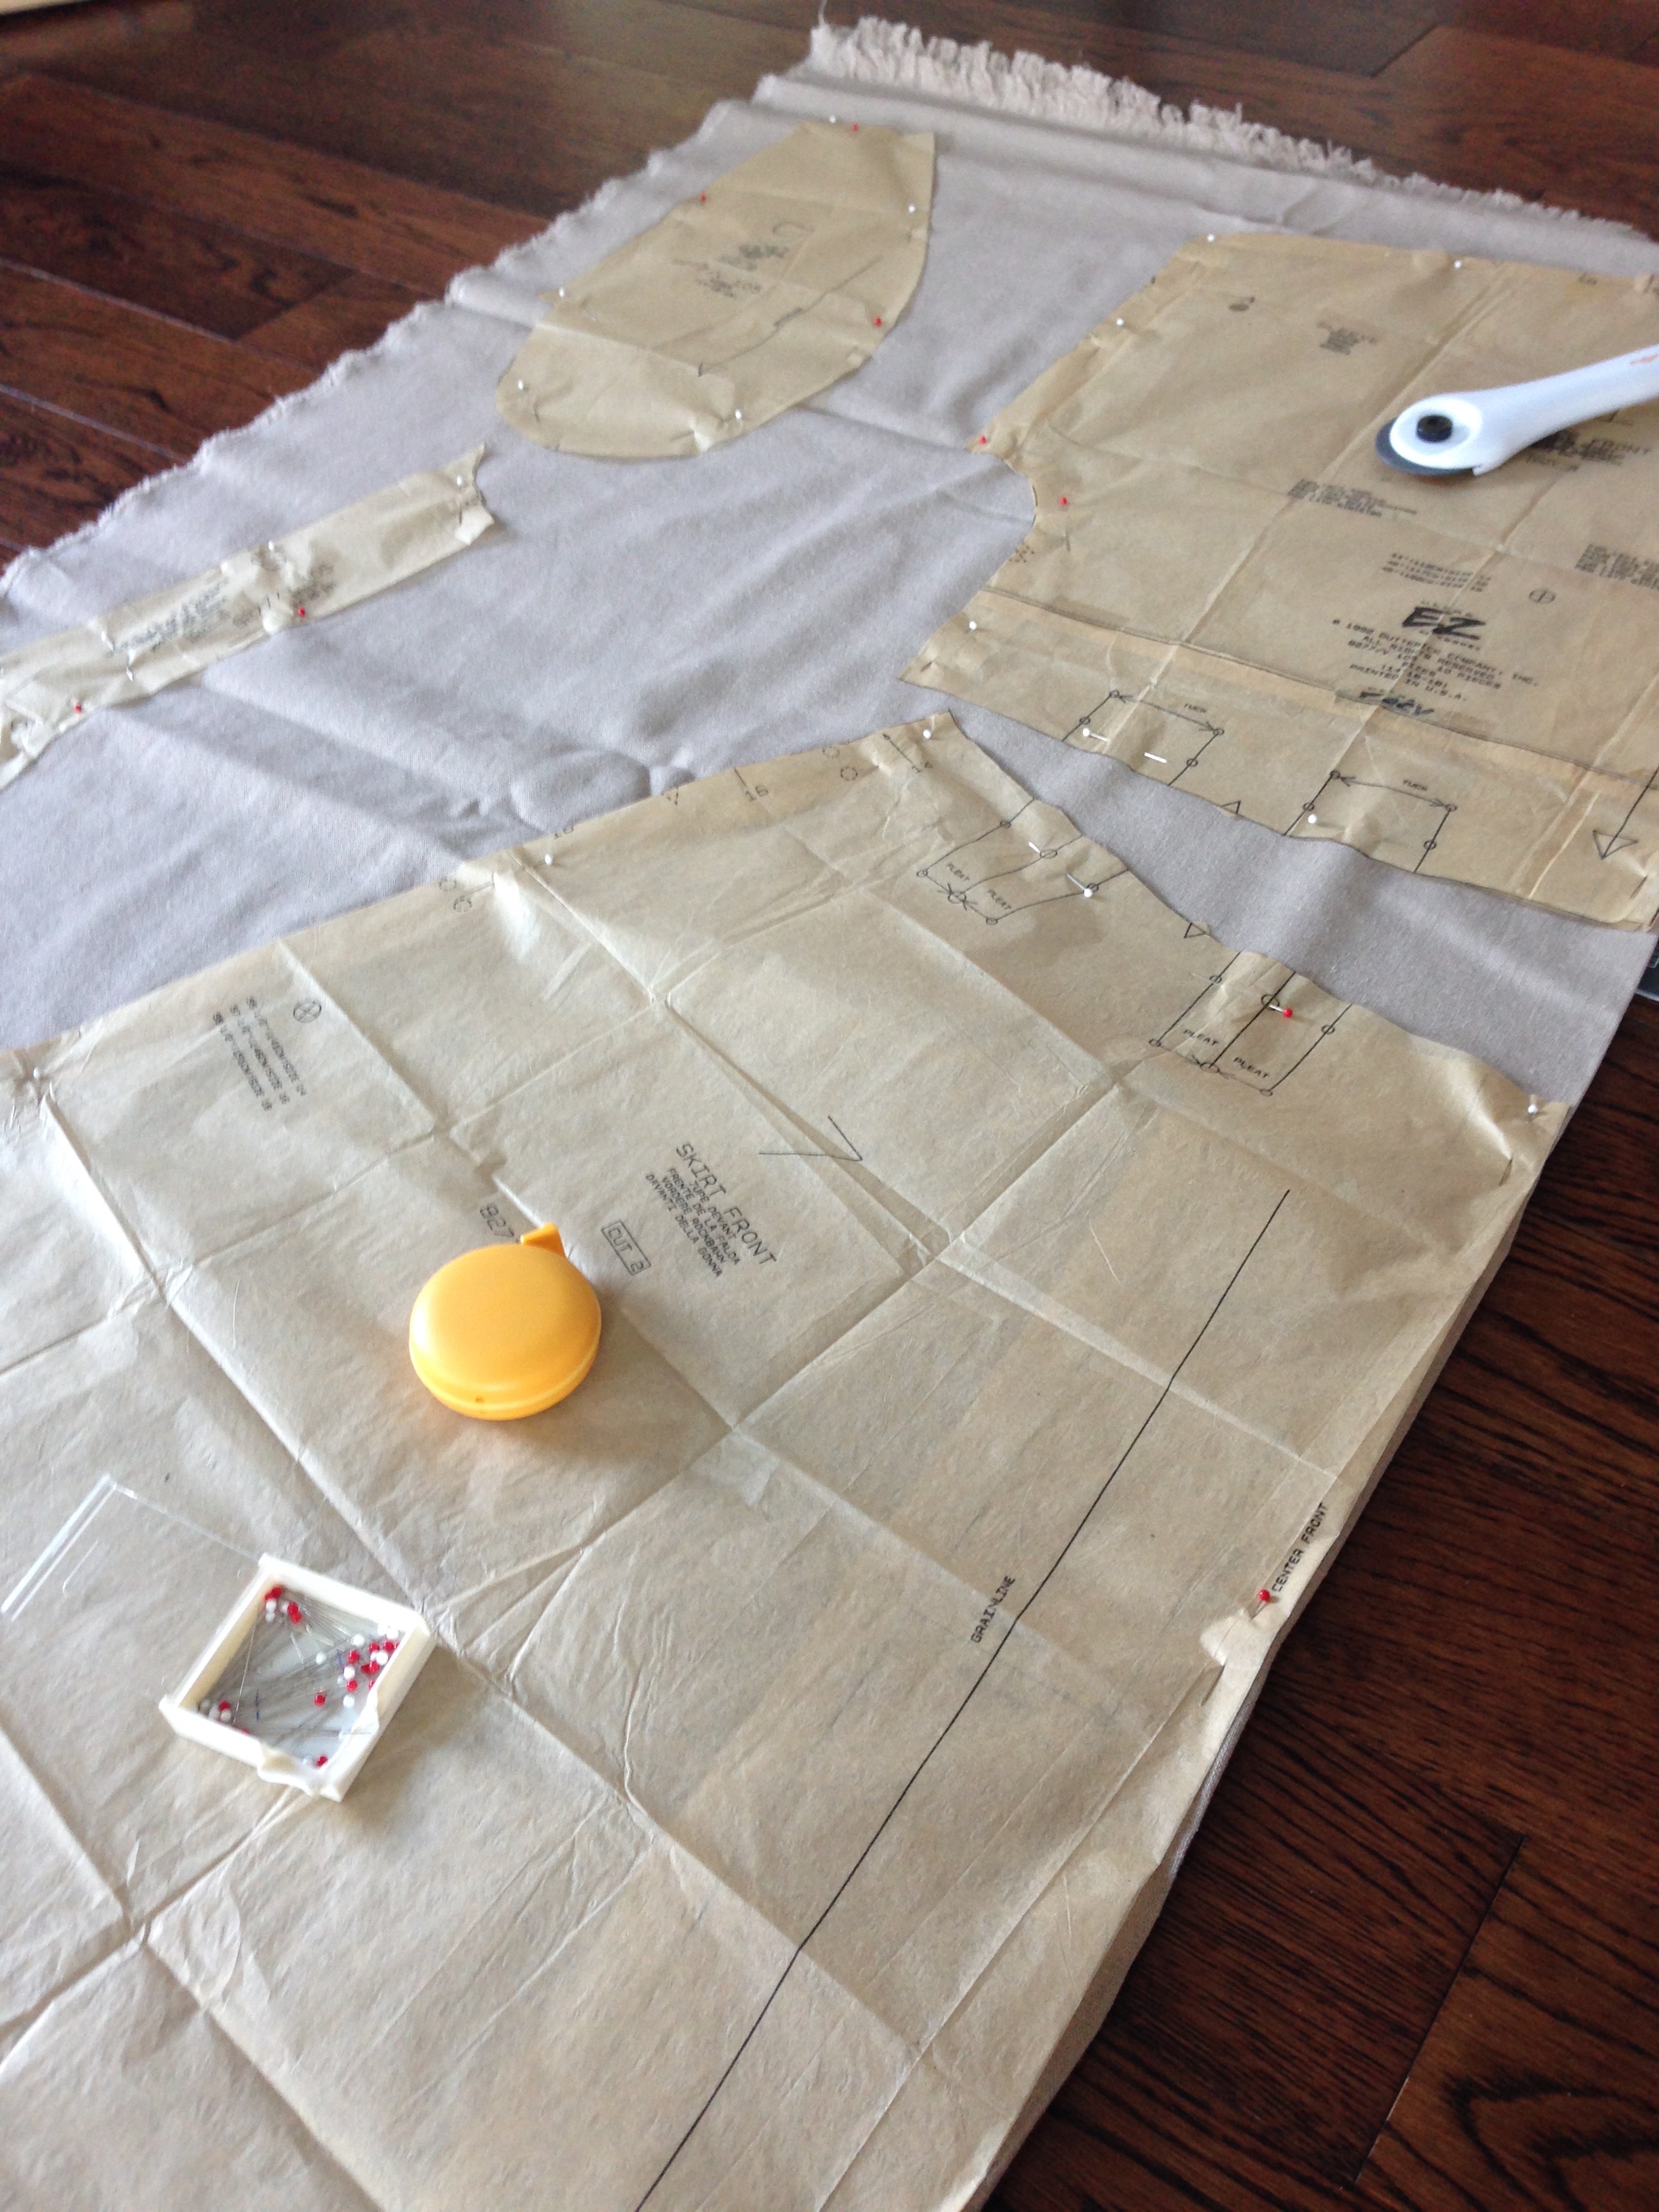
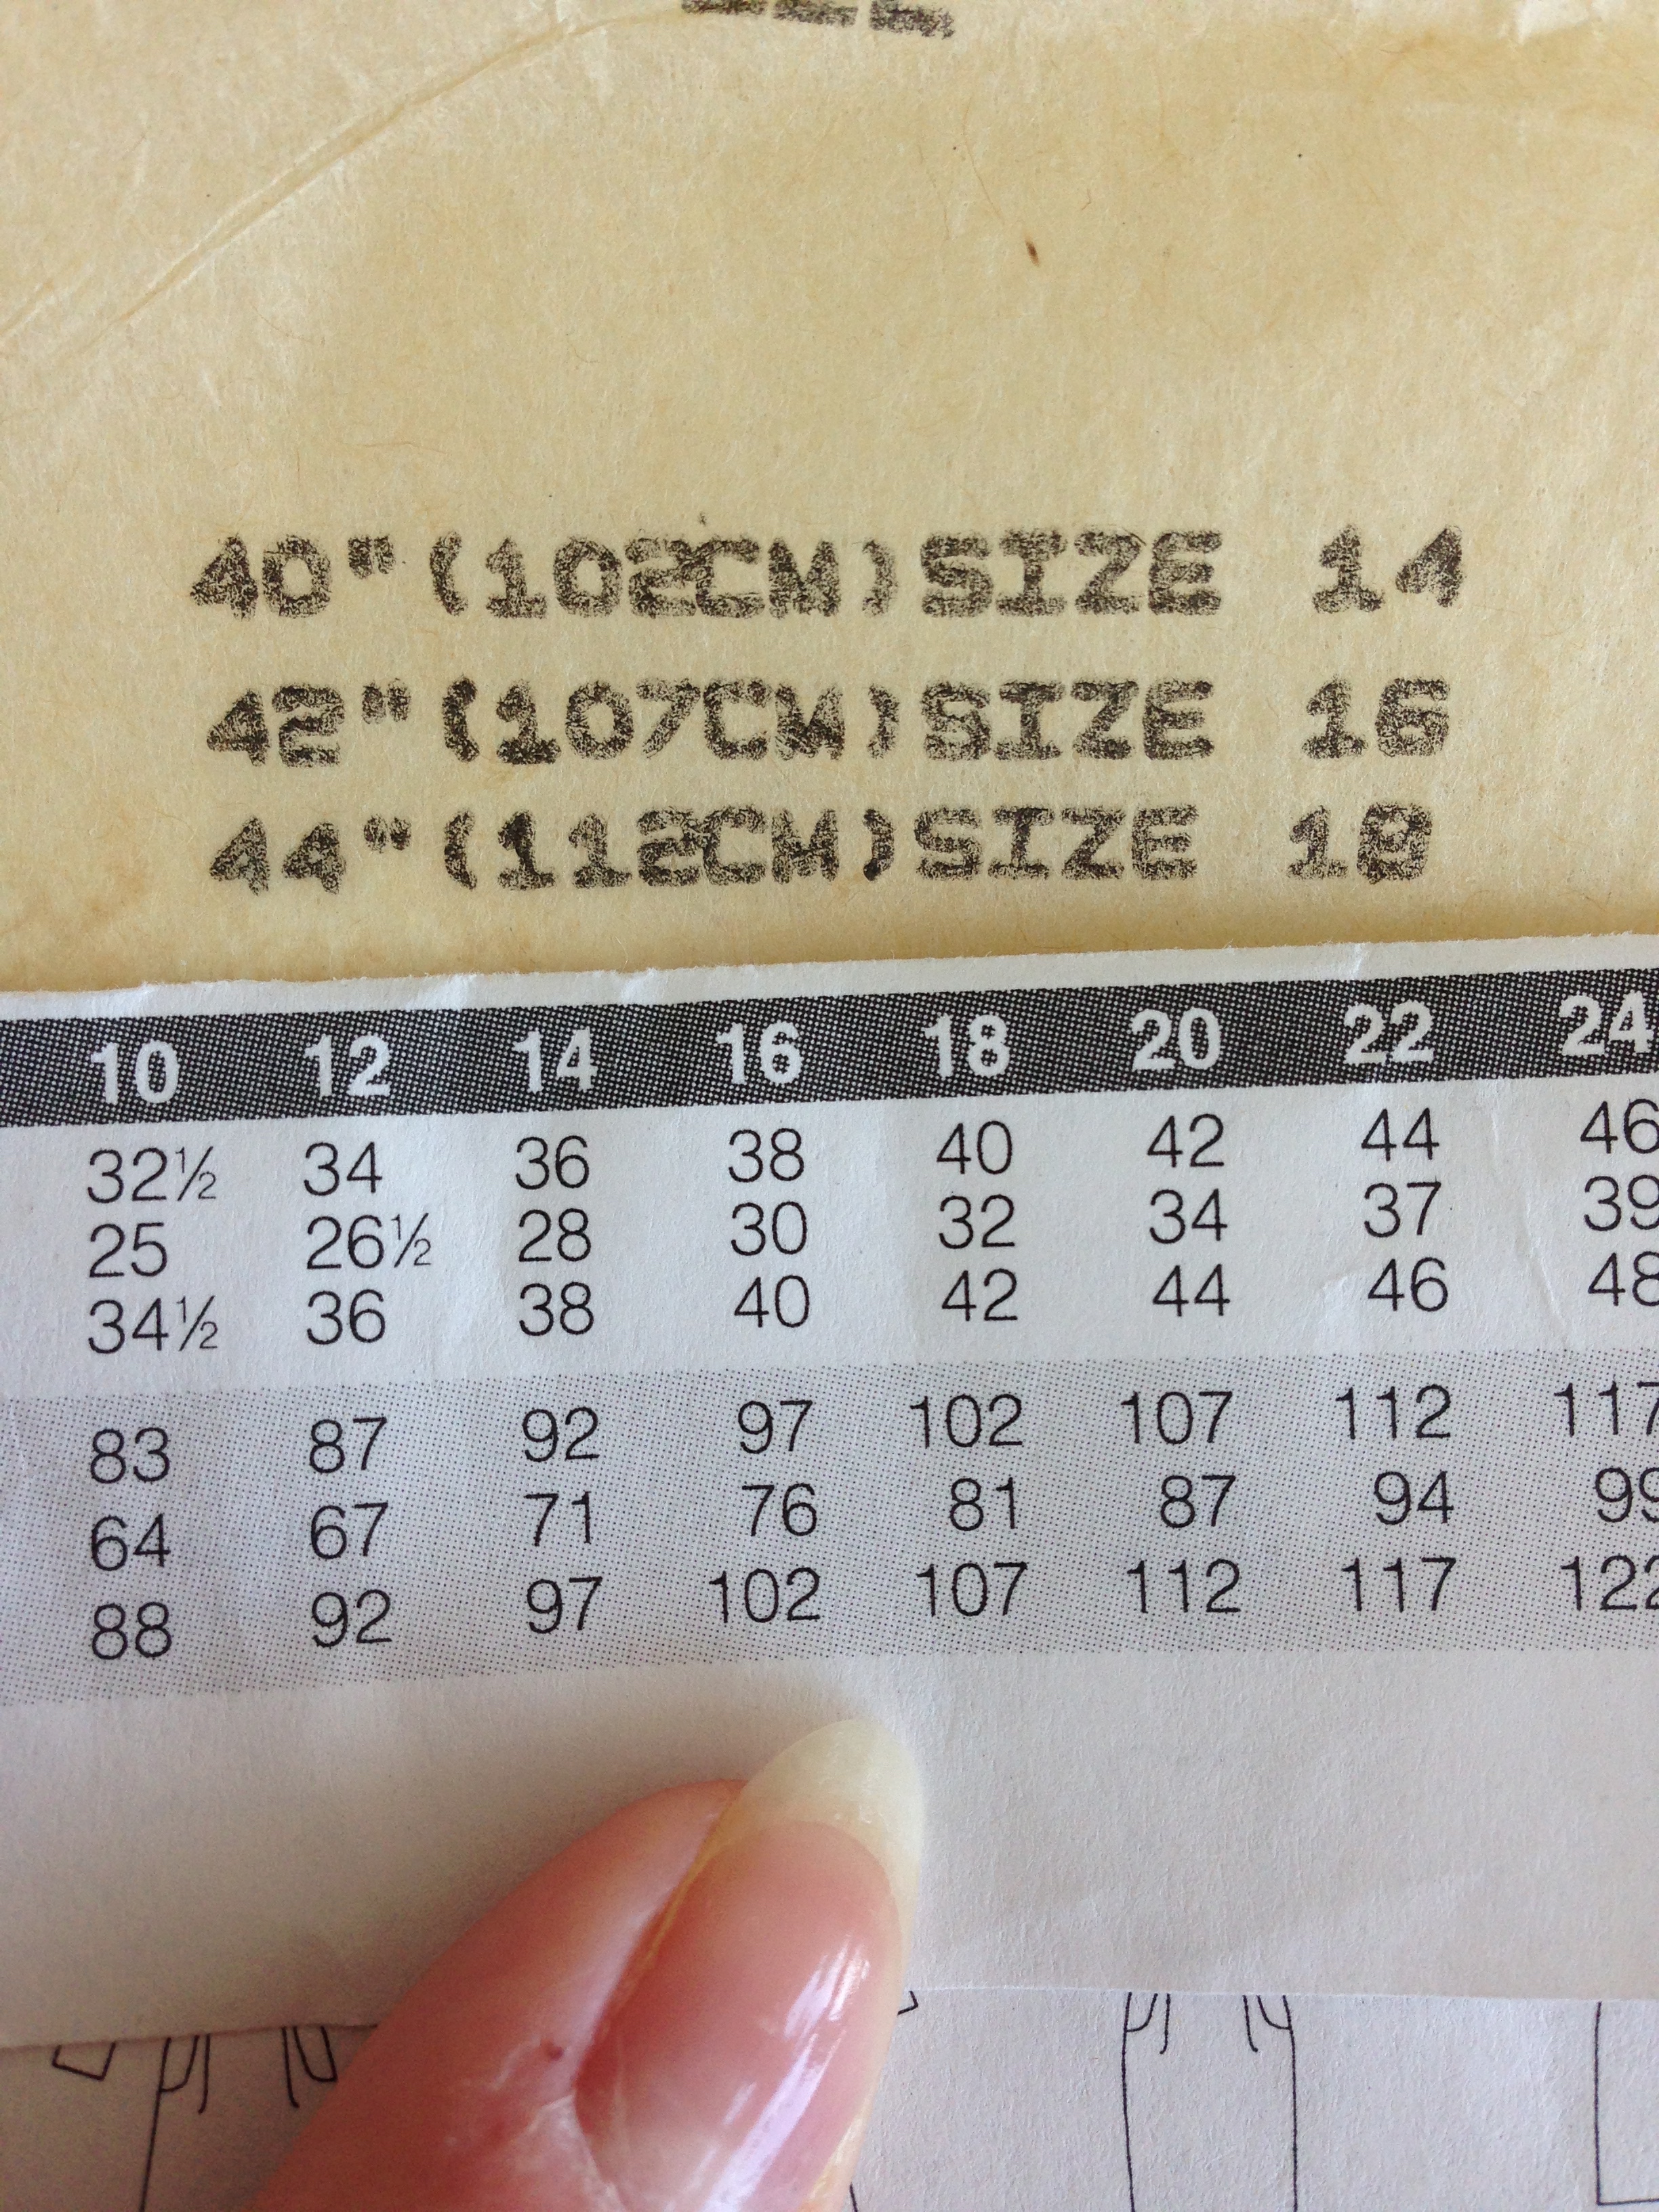
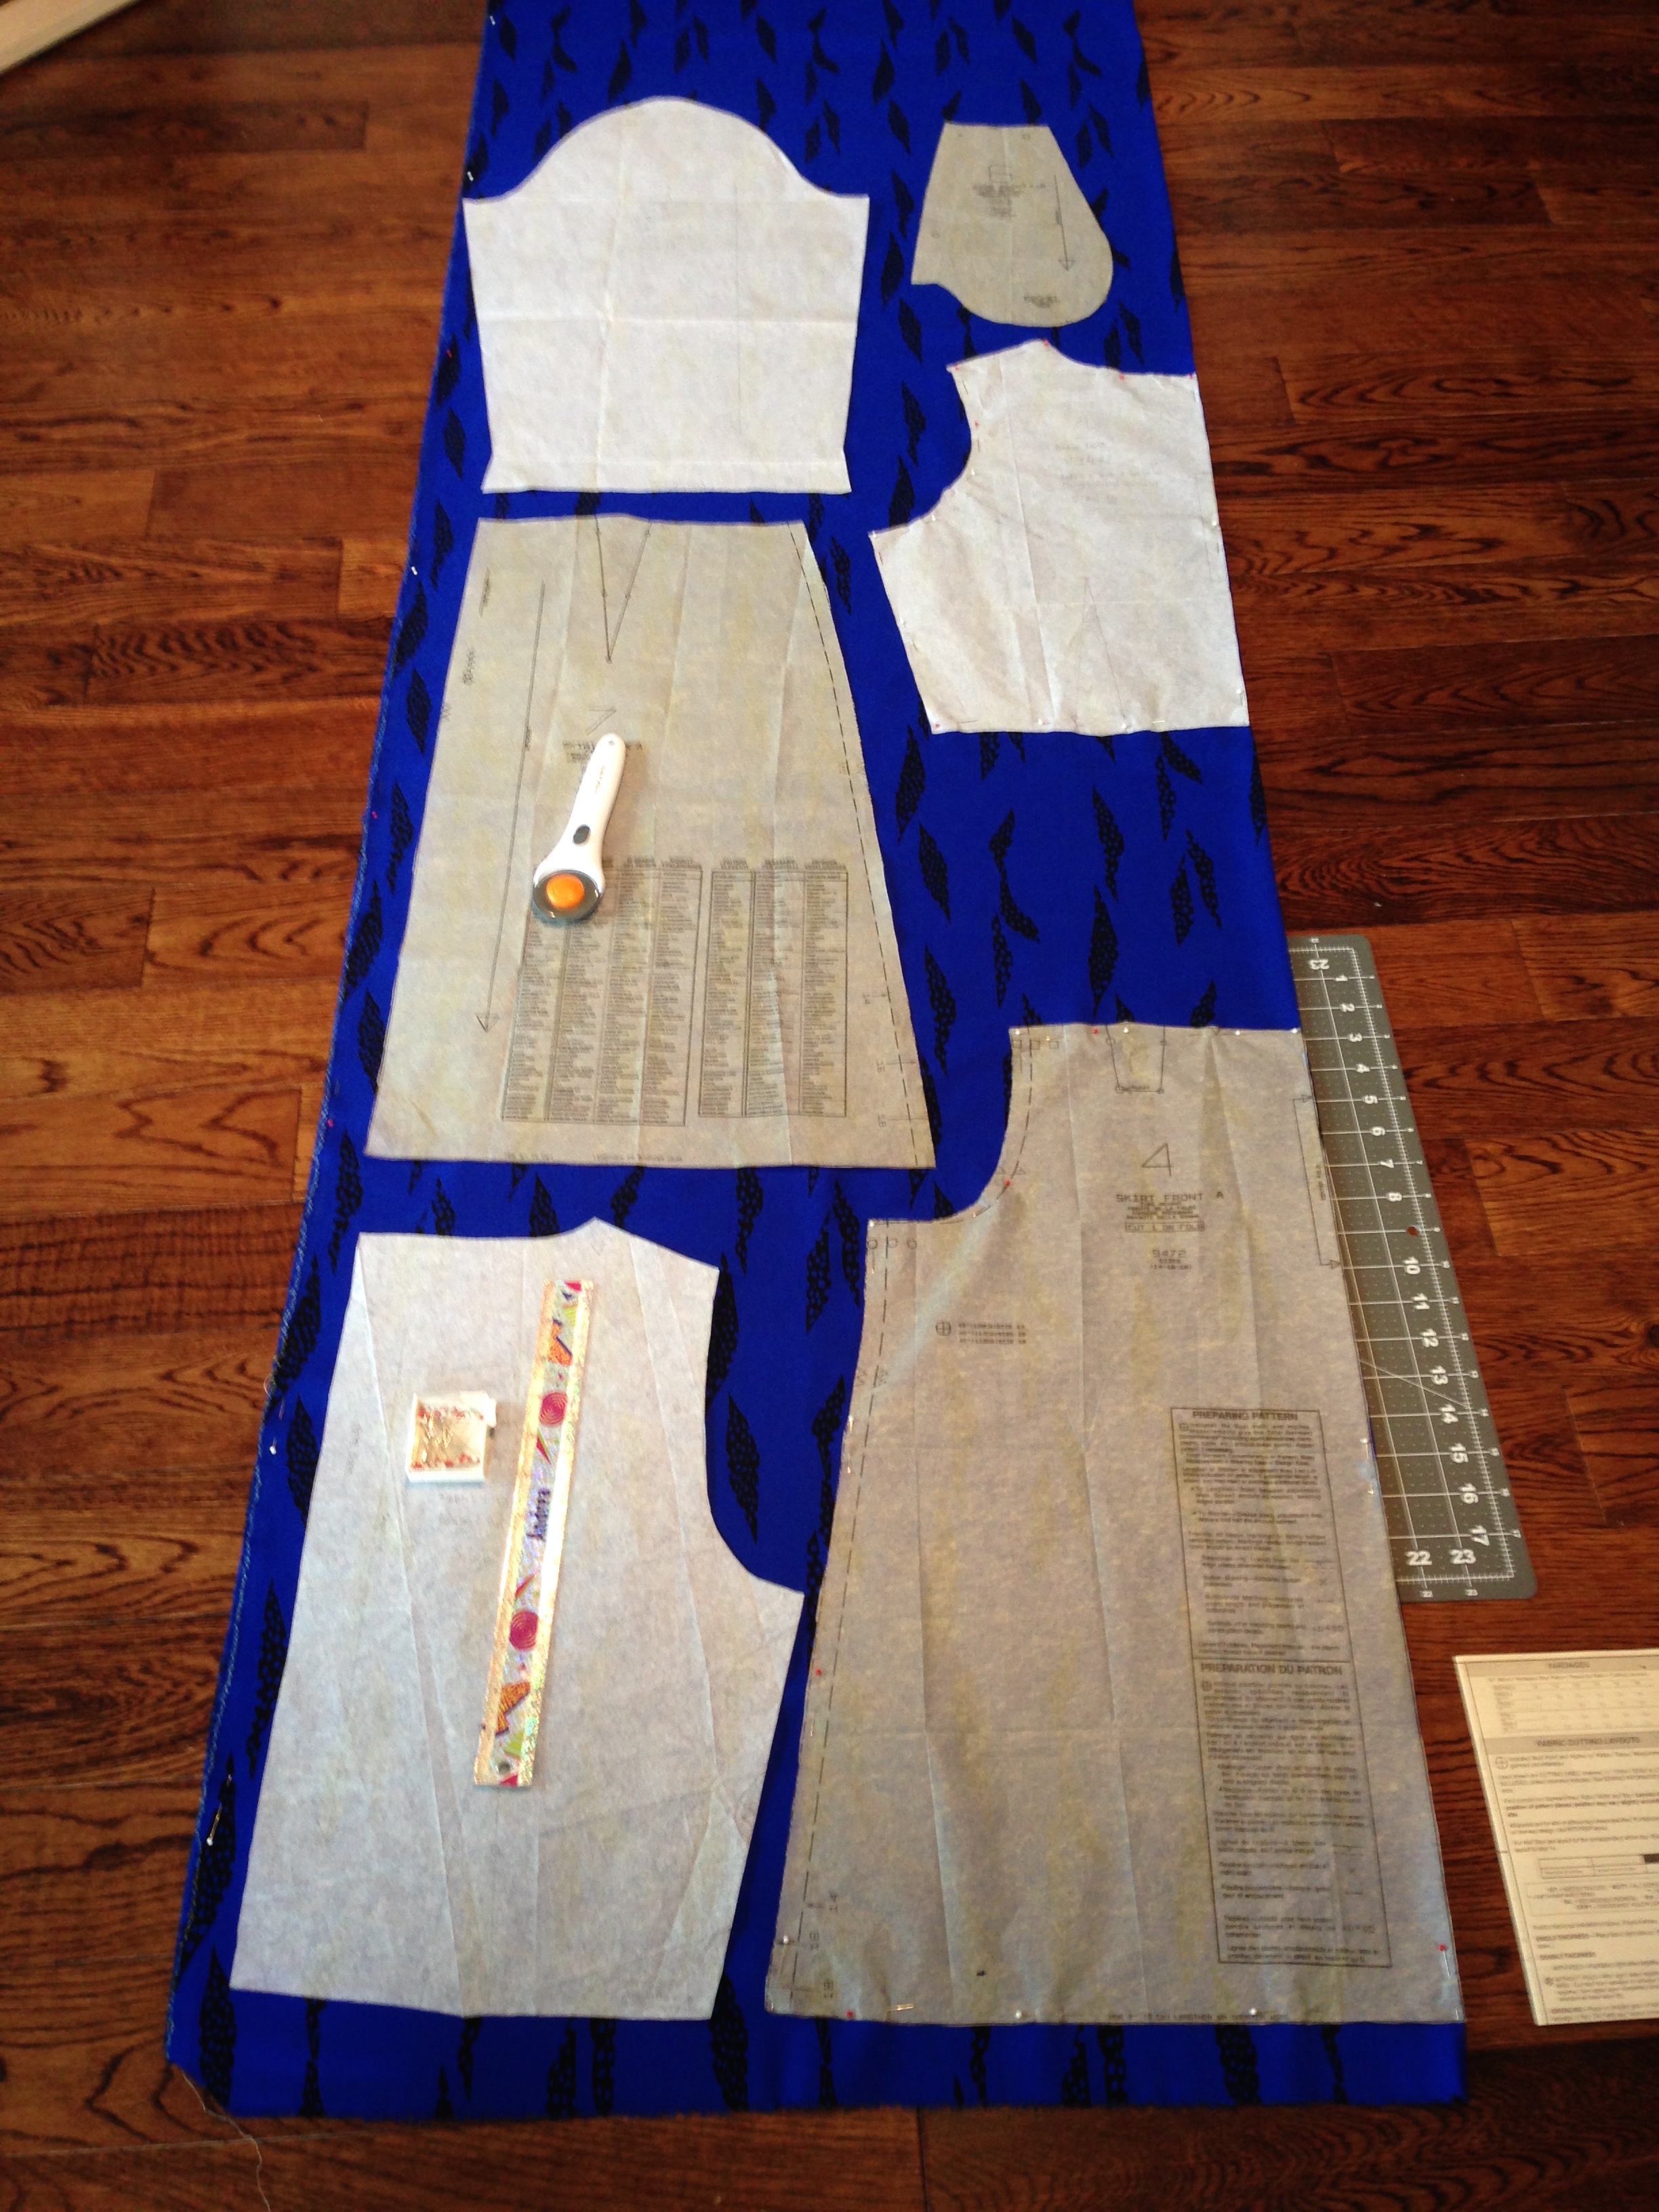
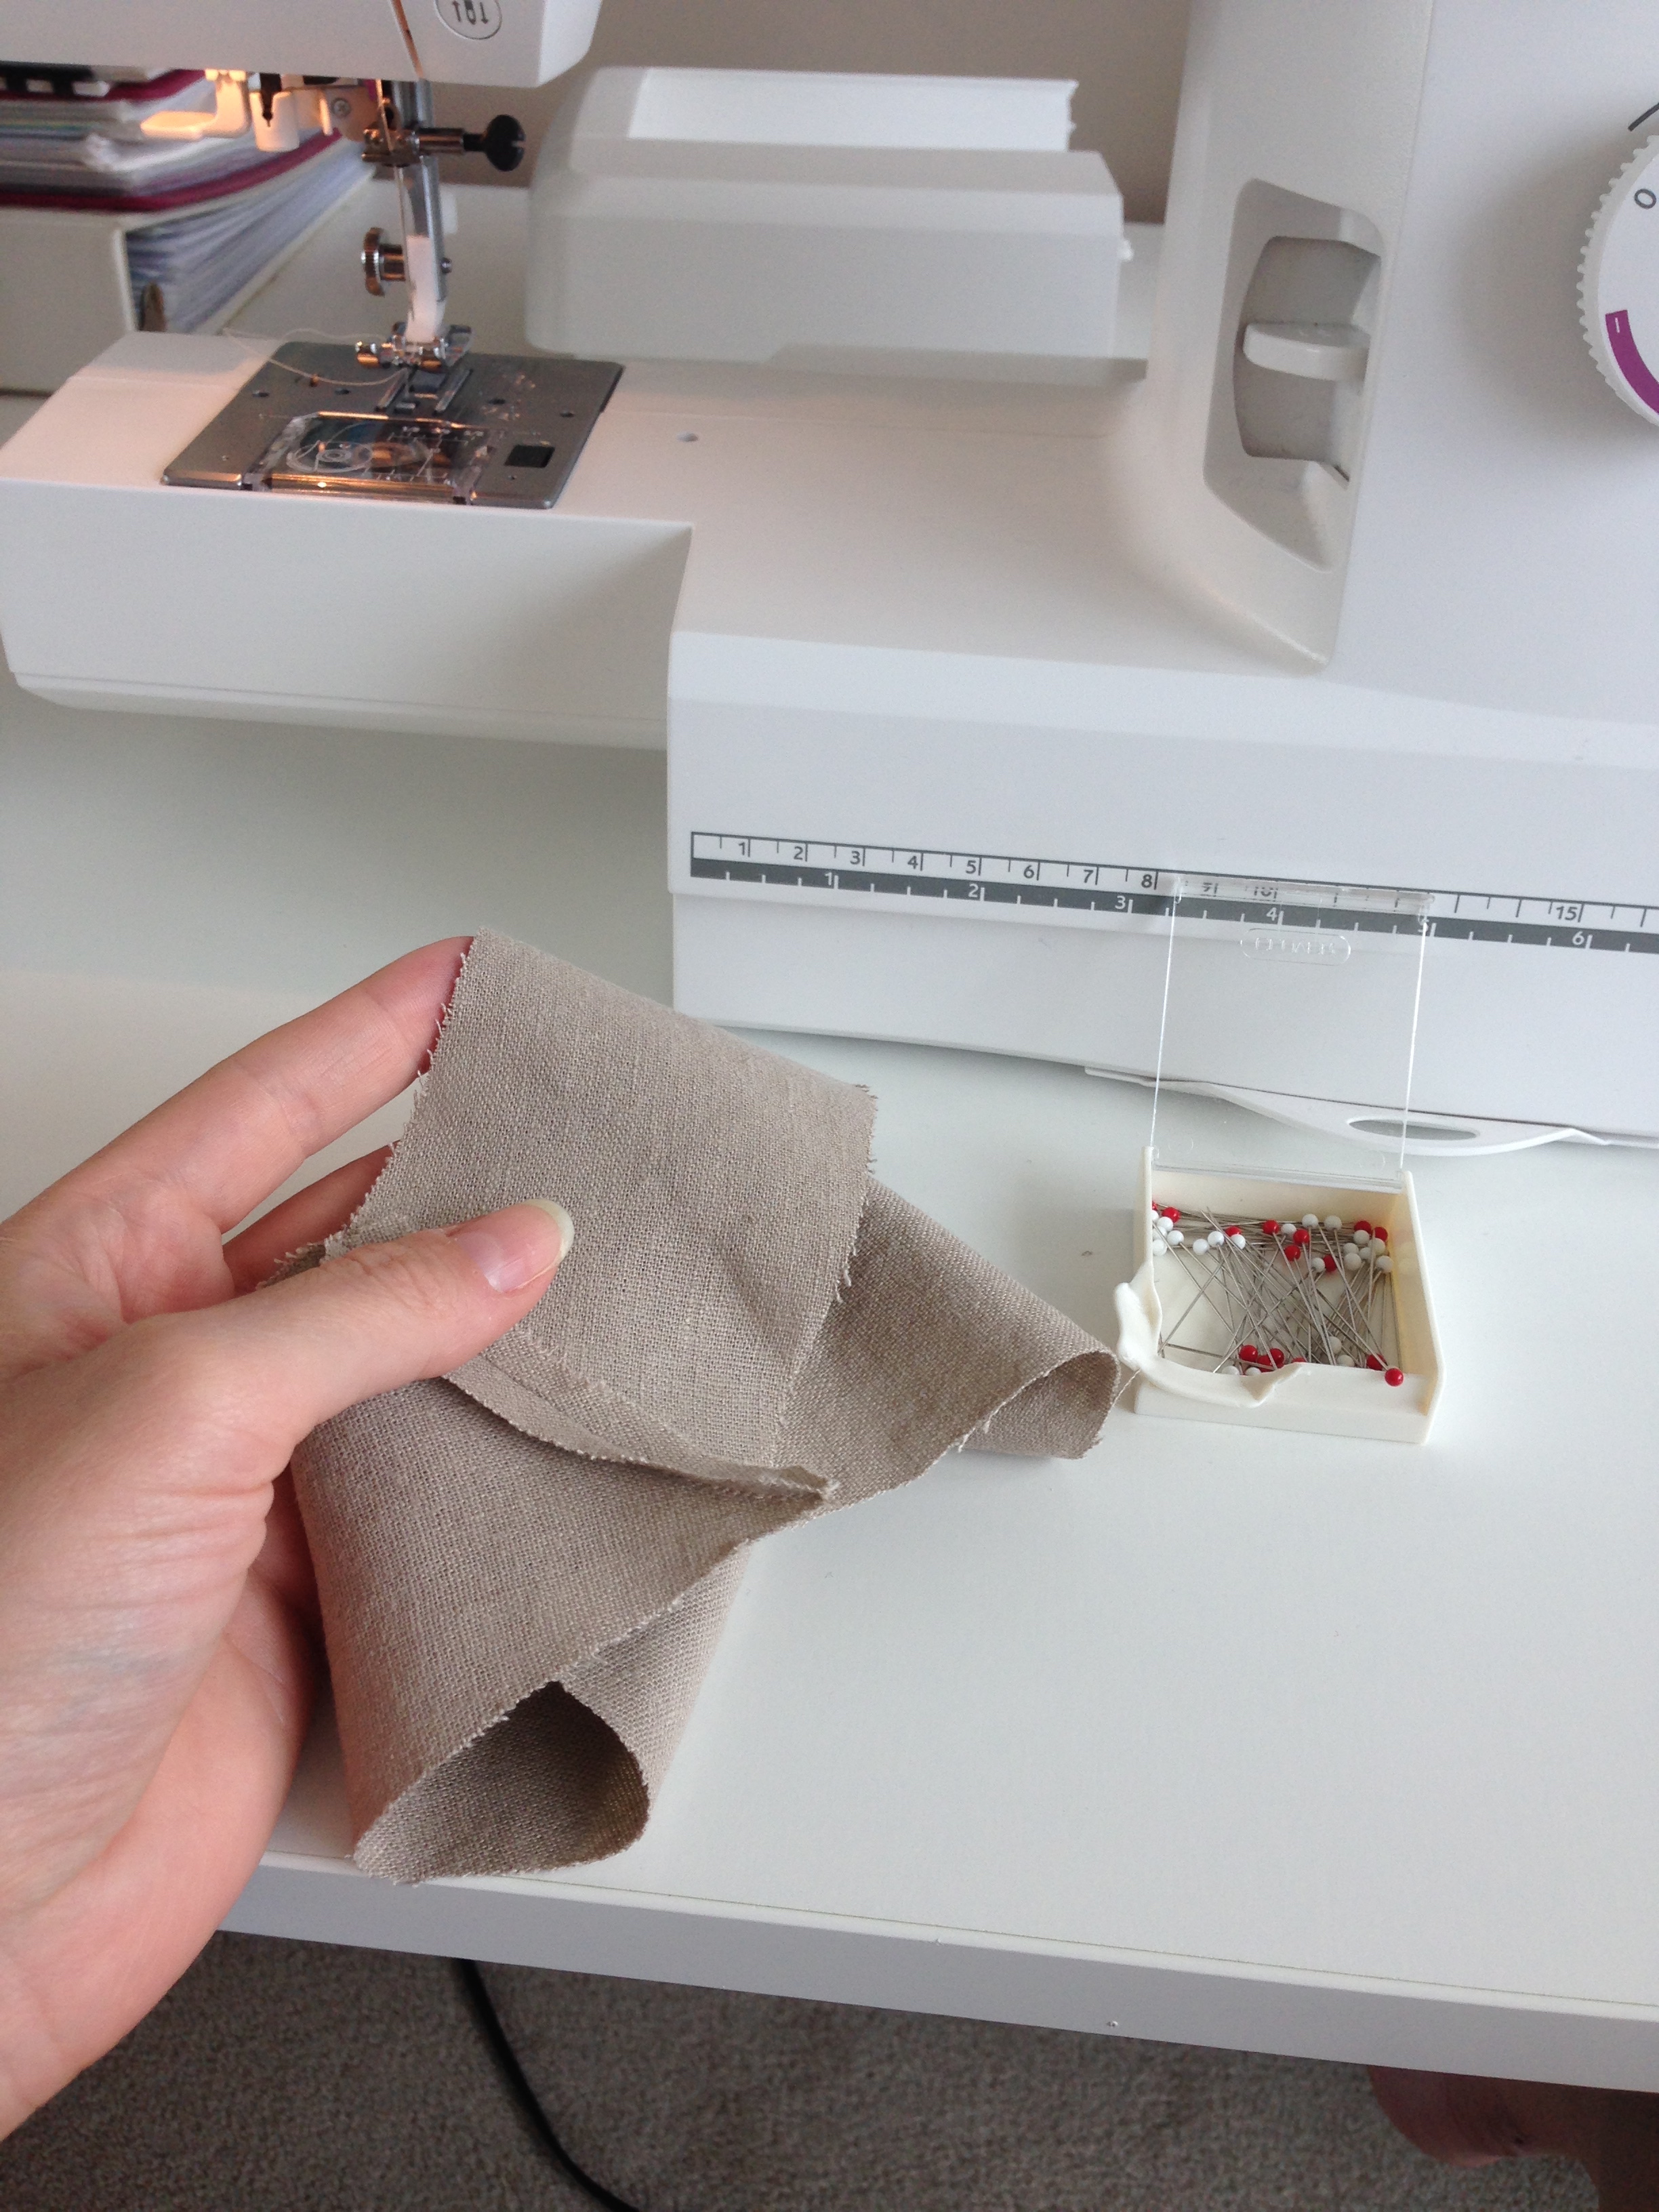
The pattern itself, being a rummage sale find, had already been cut. Luckily, for the largest size! Because it's such a very block-y pattern though, I made the executive decision to iron the pattern to the smallest size. No tracing necessary. Fabric washed, dried and ironed, it was pattern cutting time! (I will admit to needing to work on my spatial awareness... as I ironed my arm with the linen setting. Booo.)

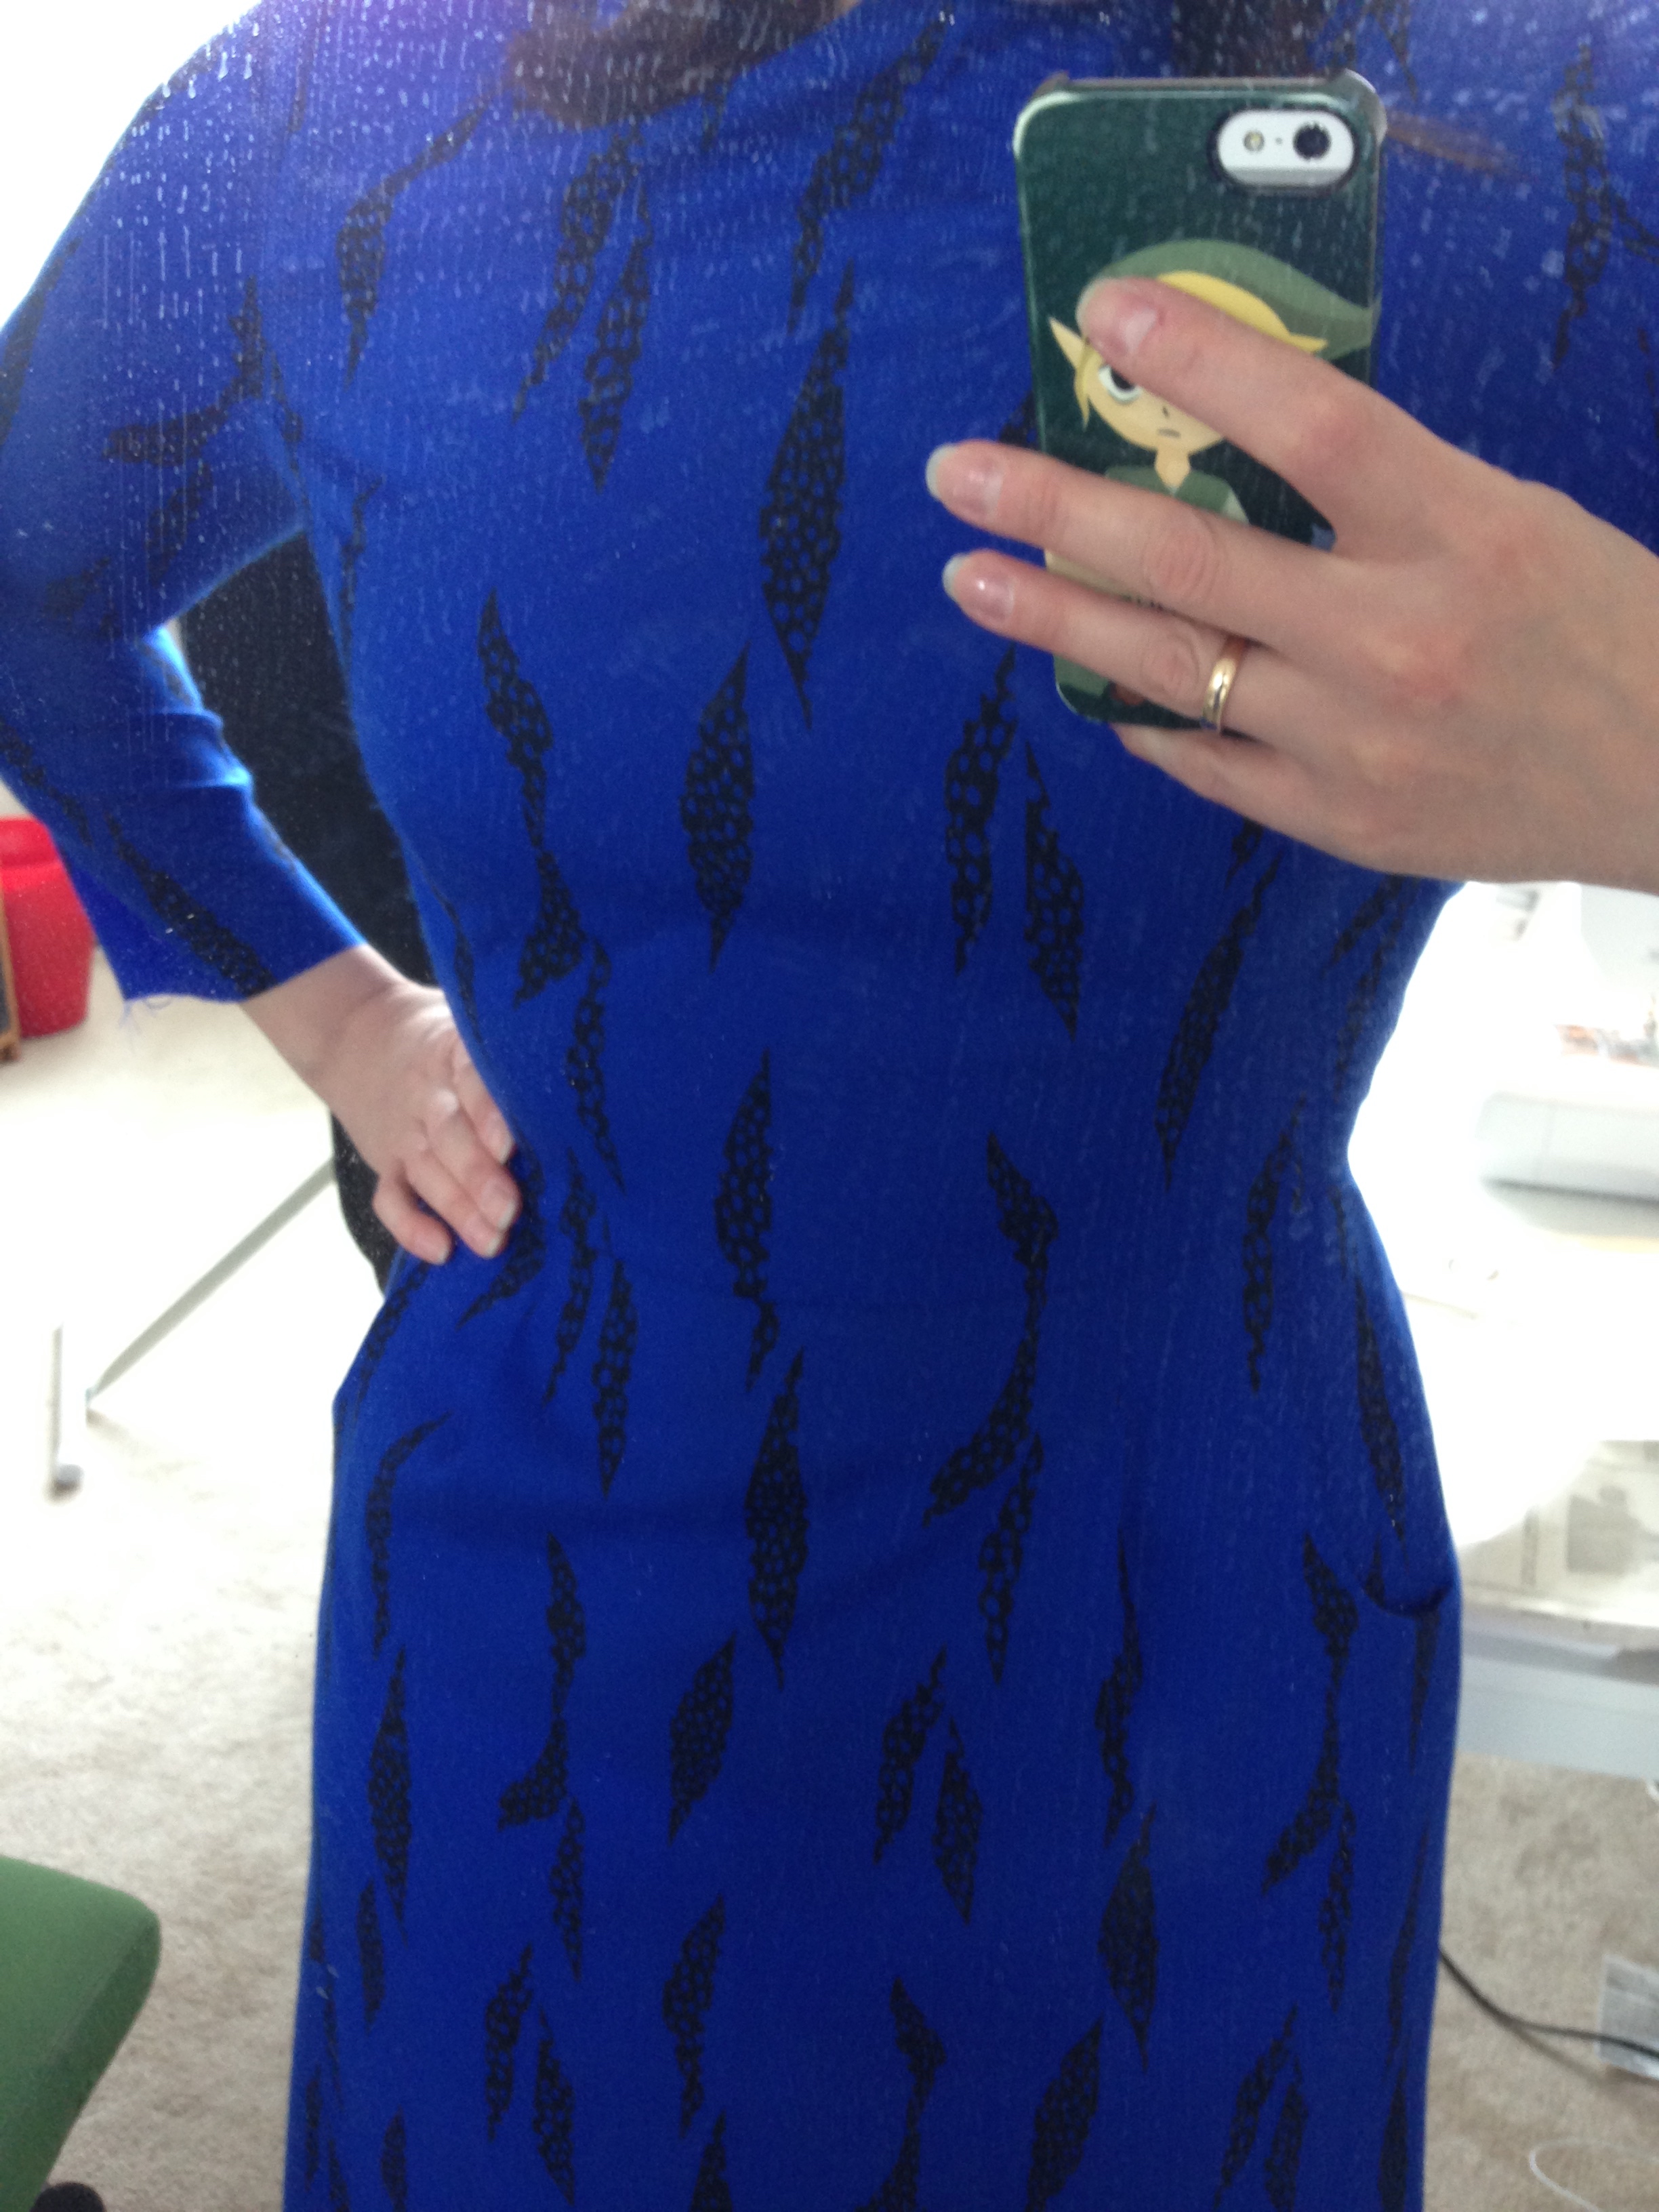
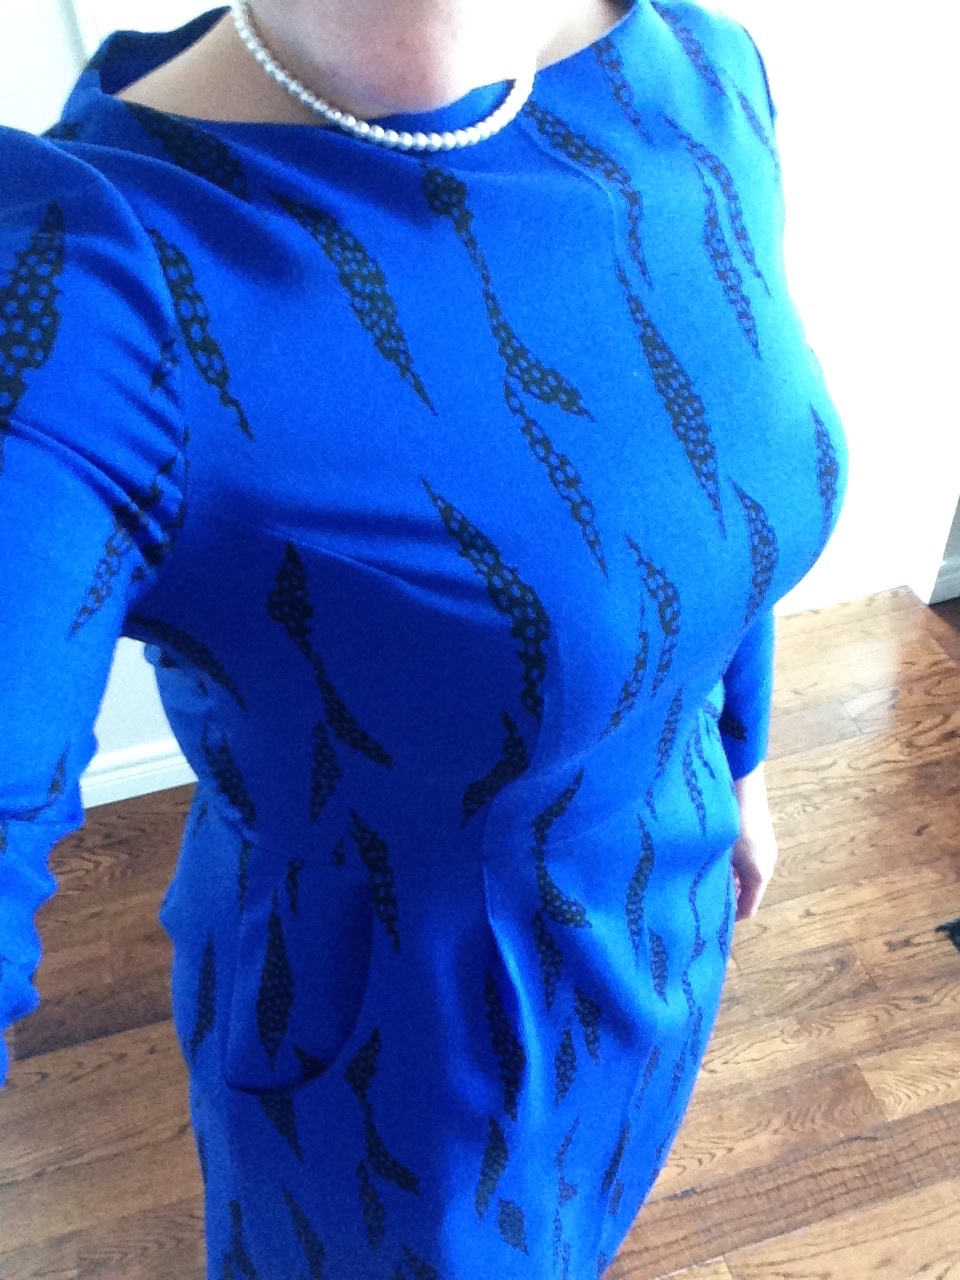
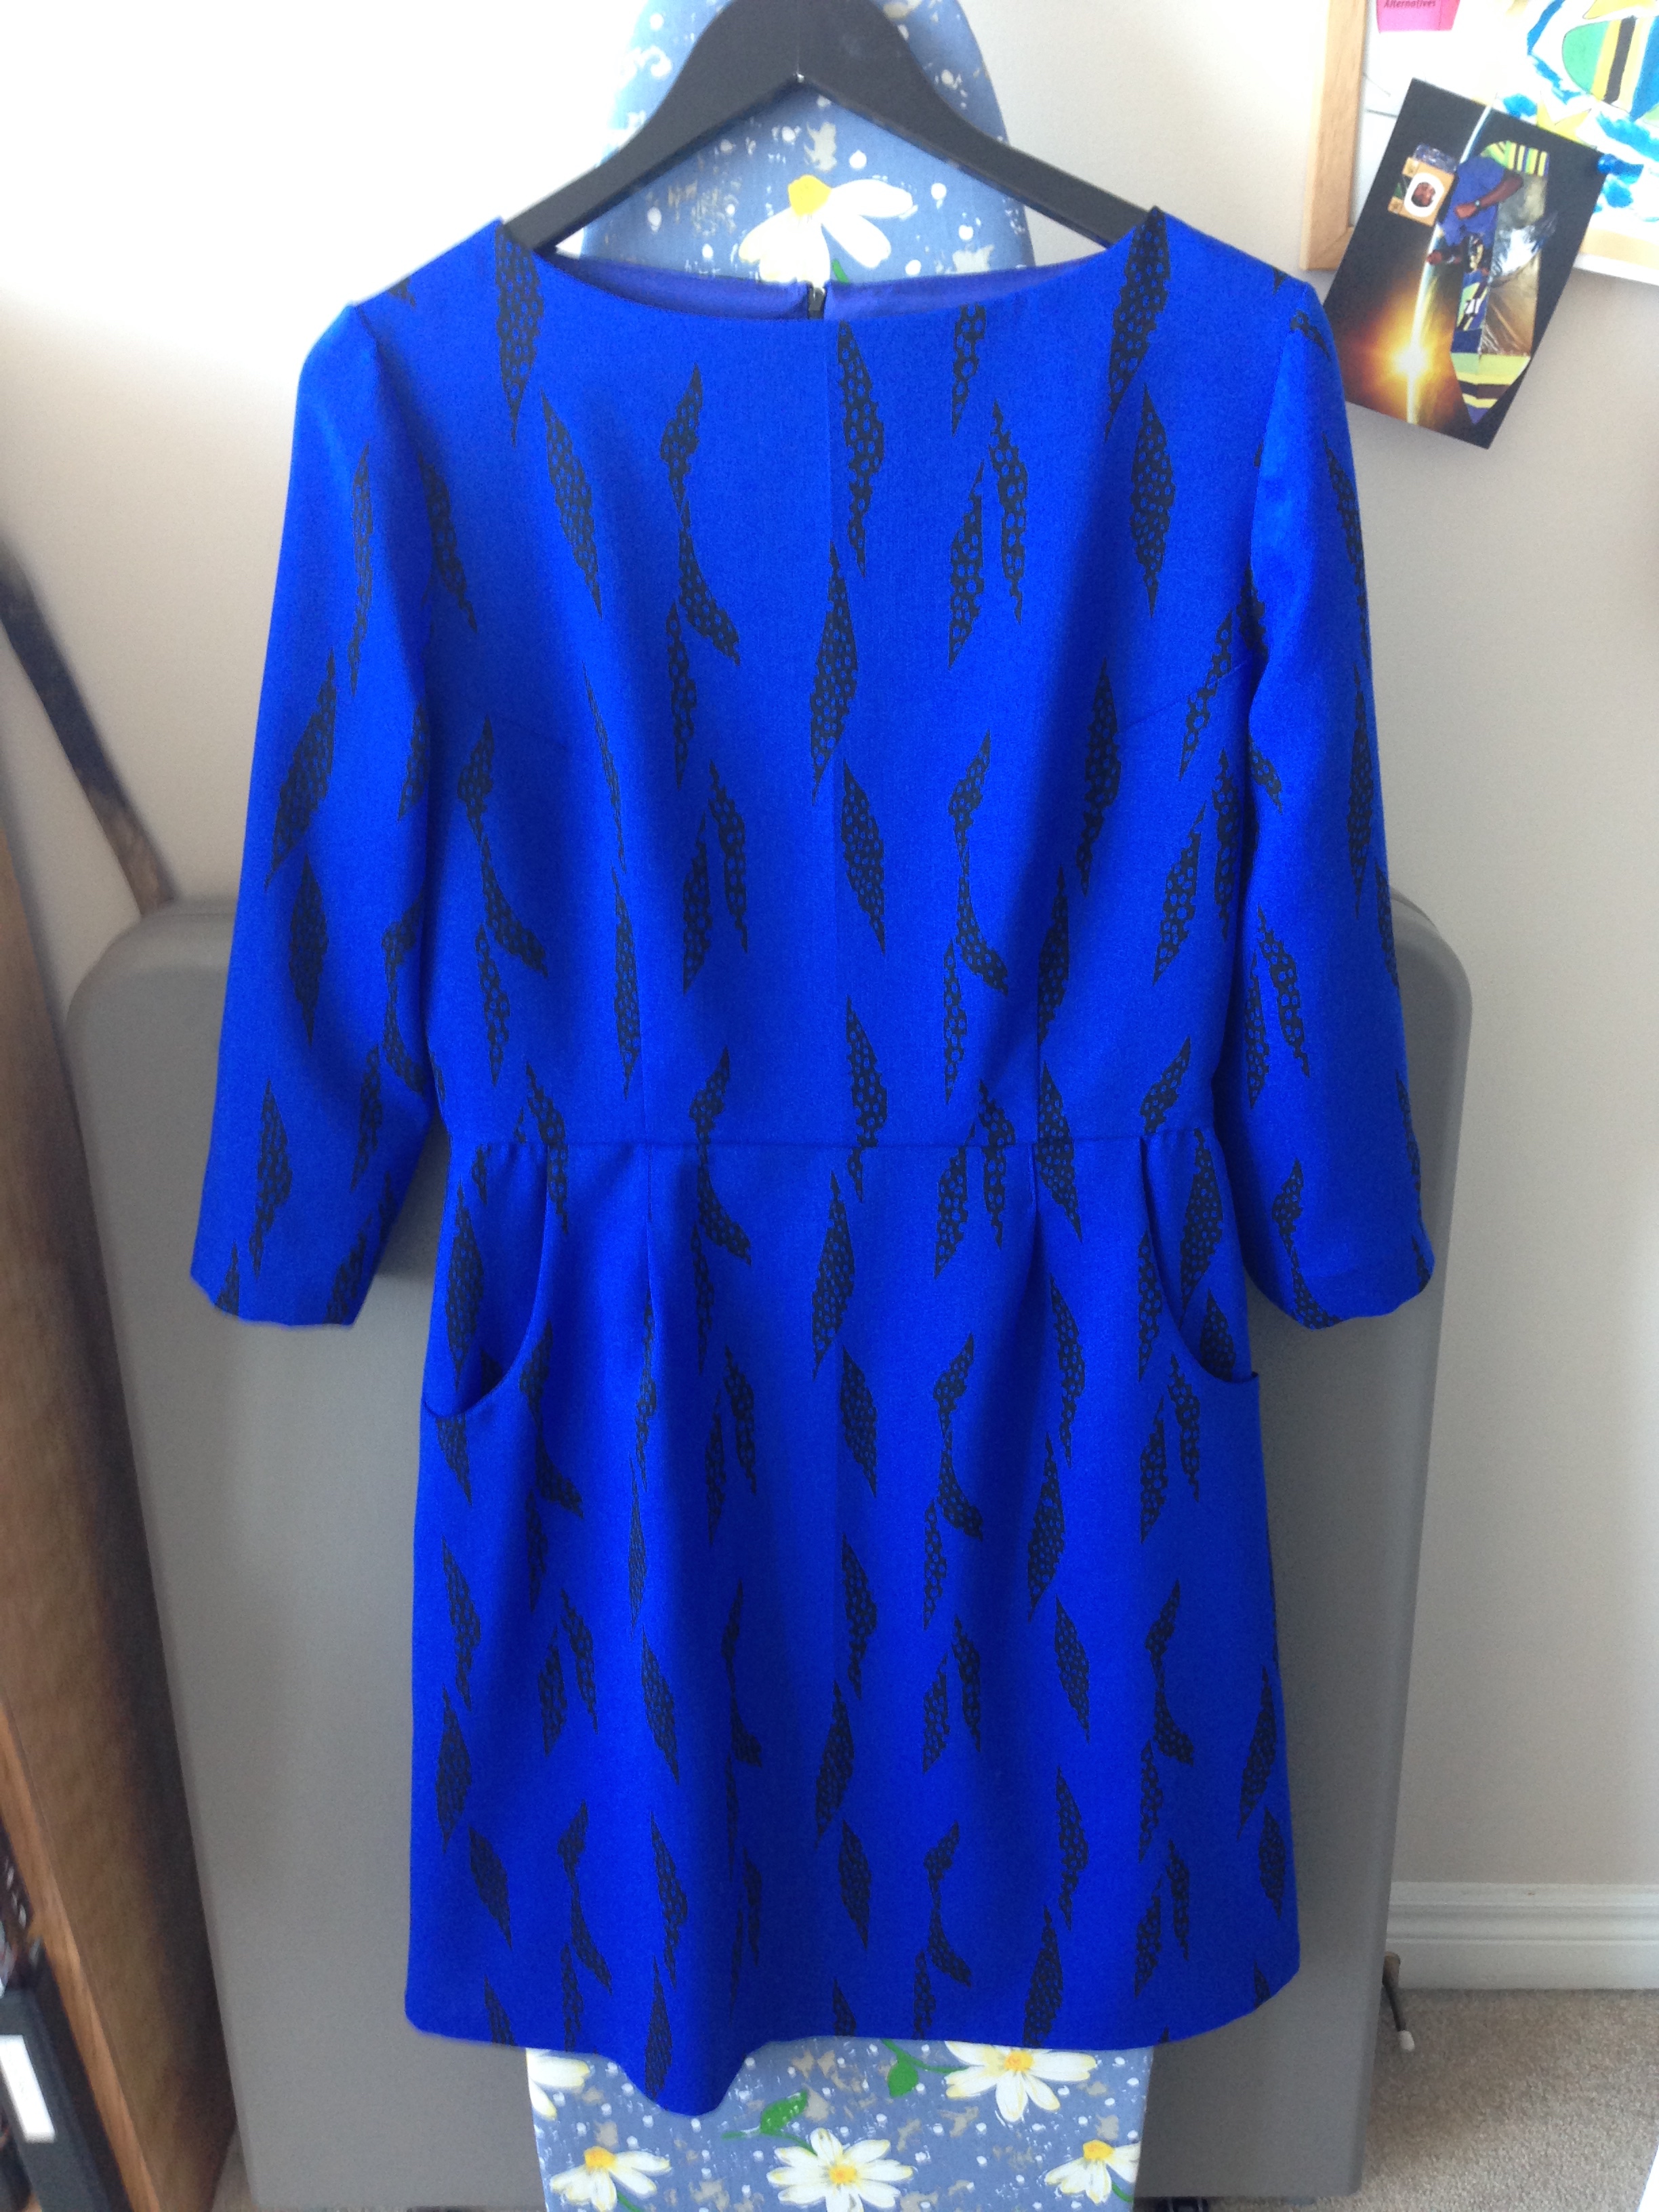
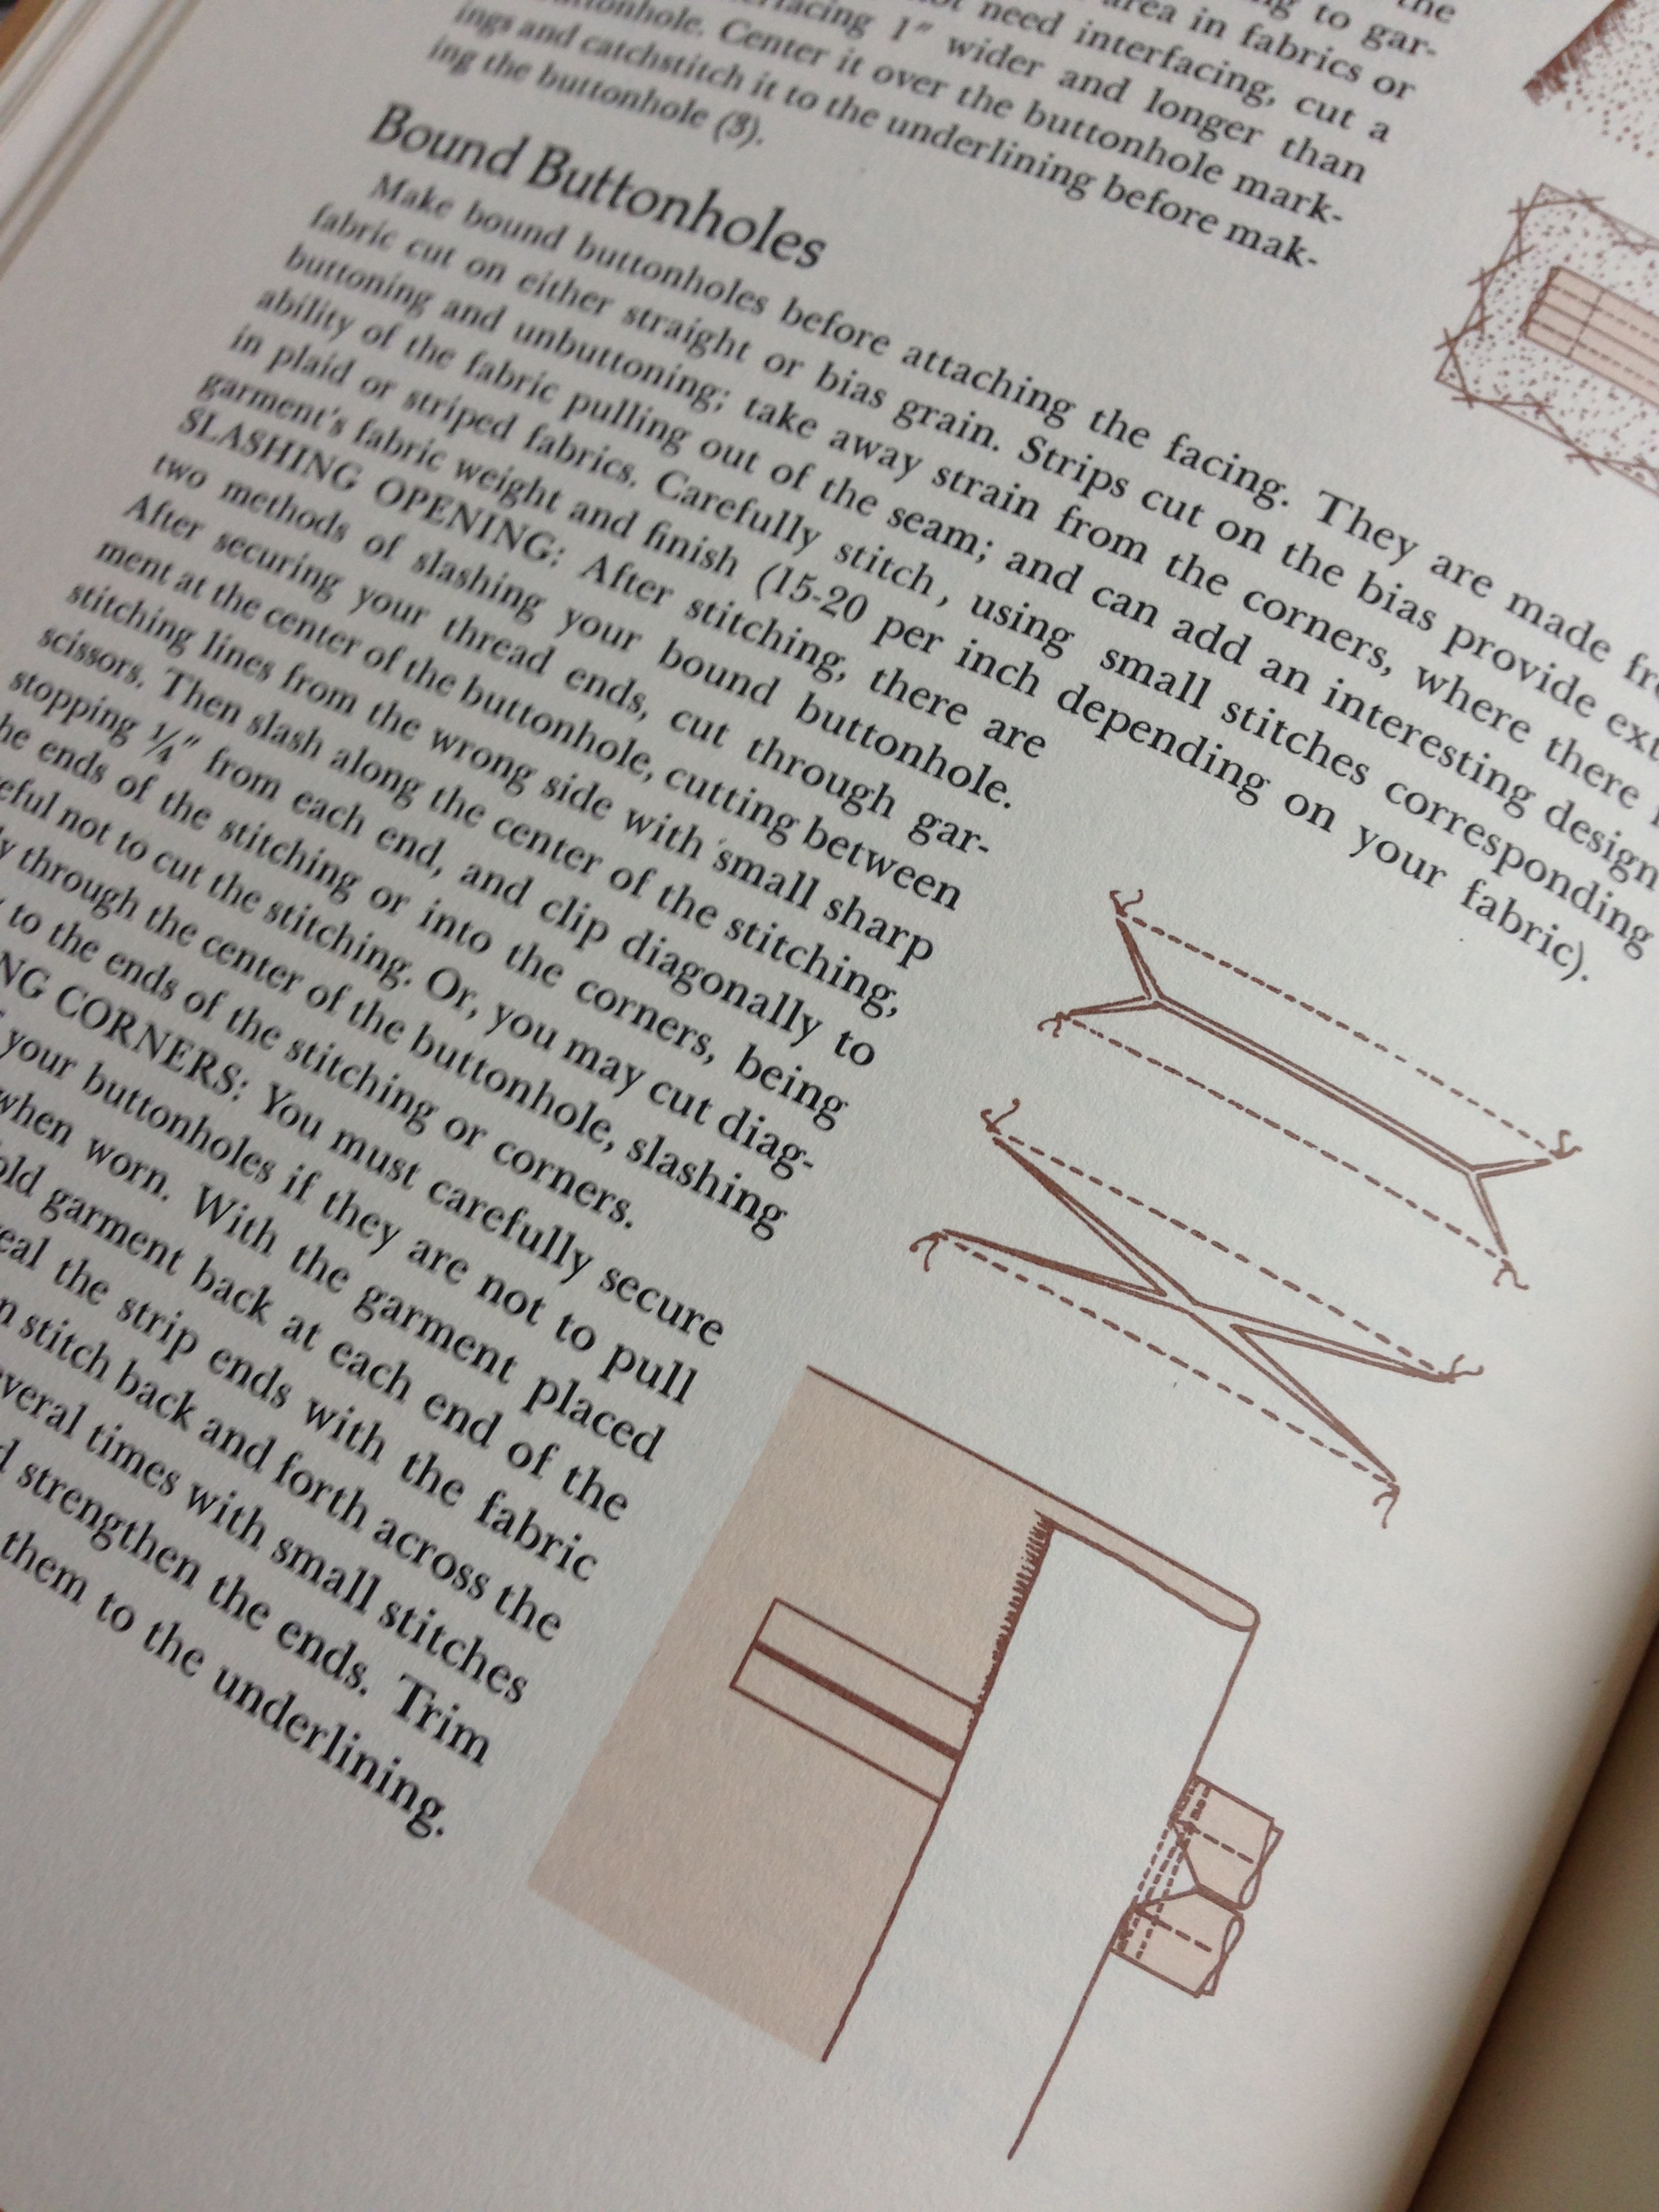
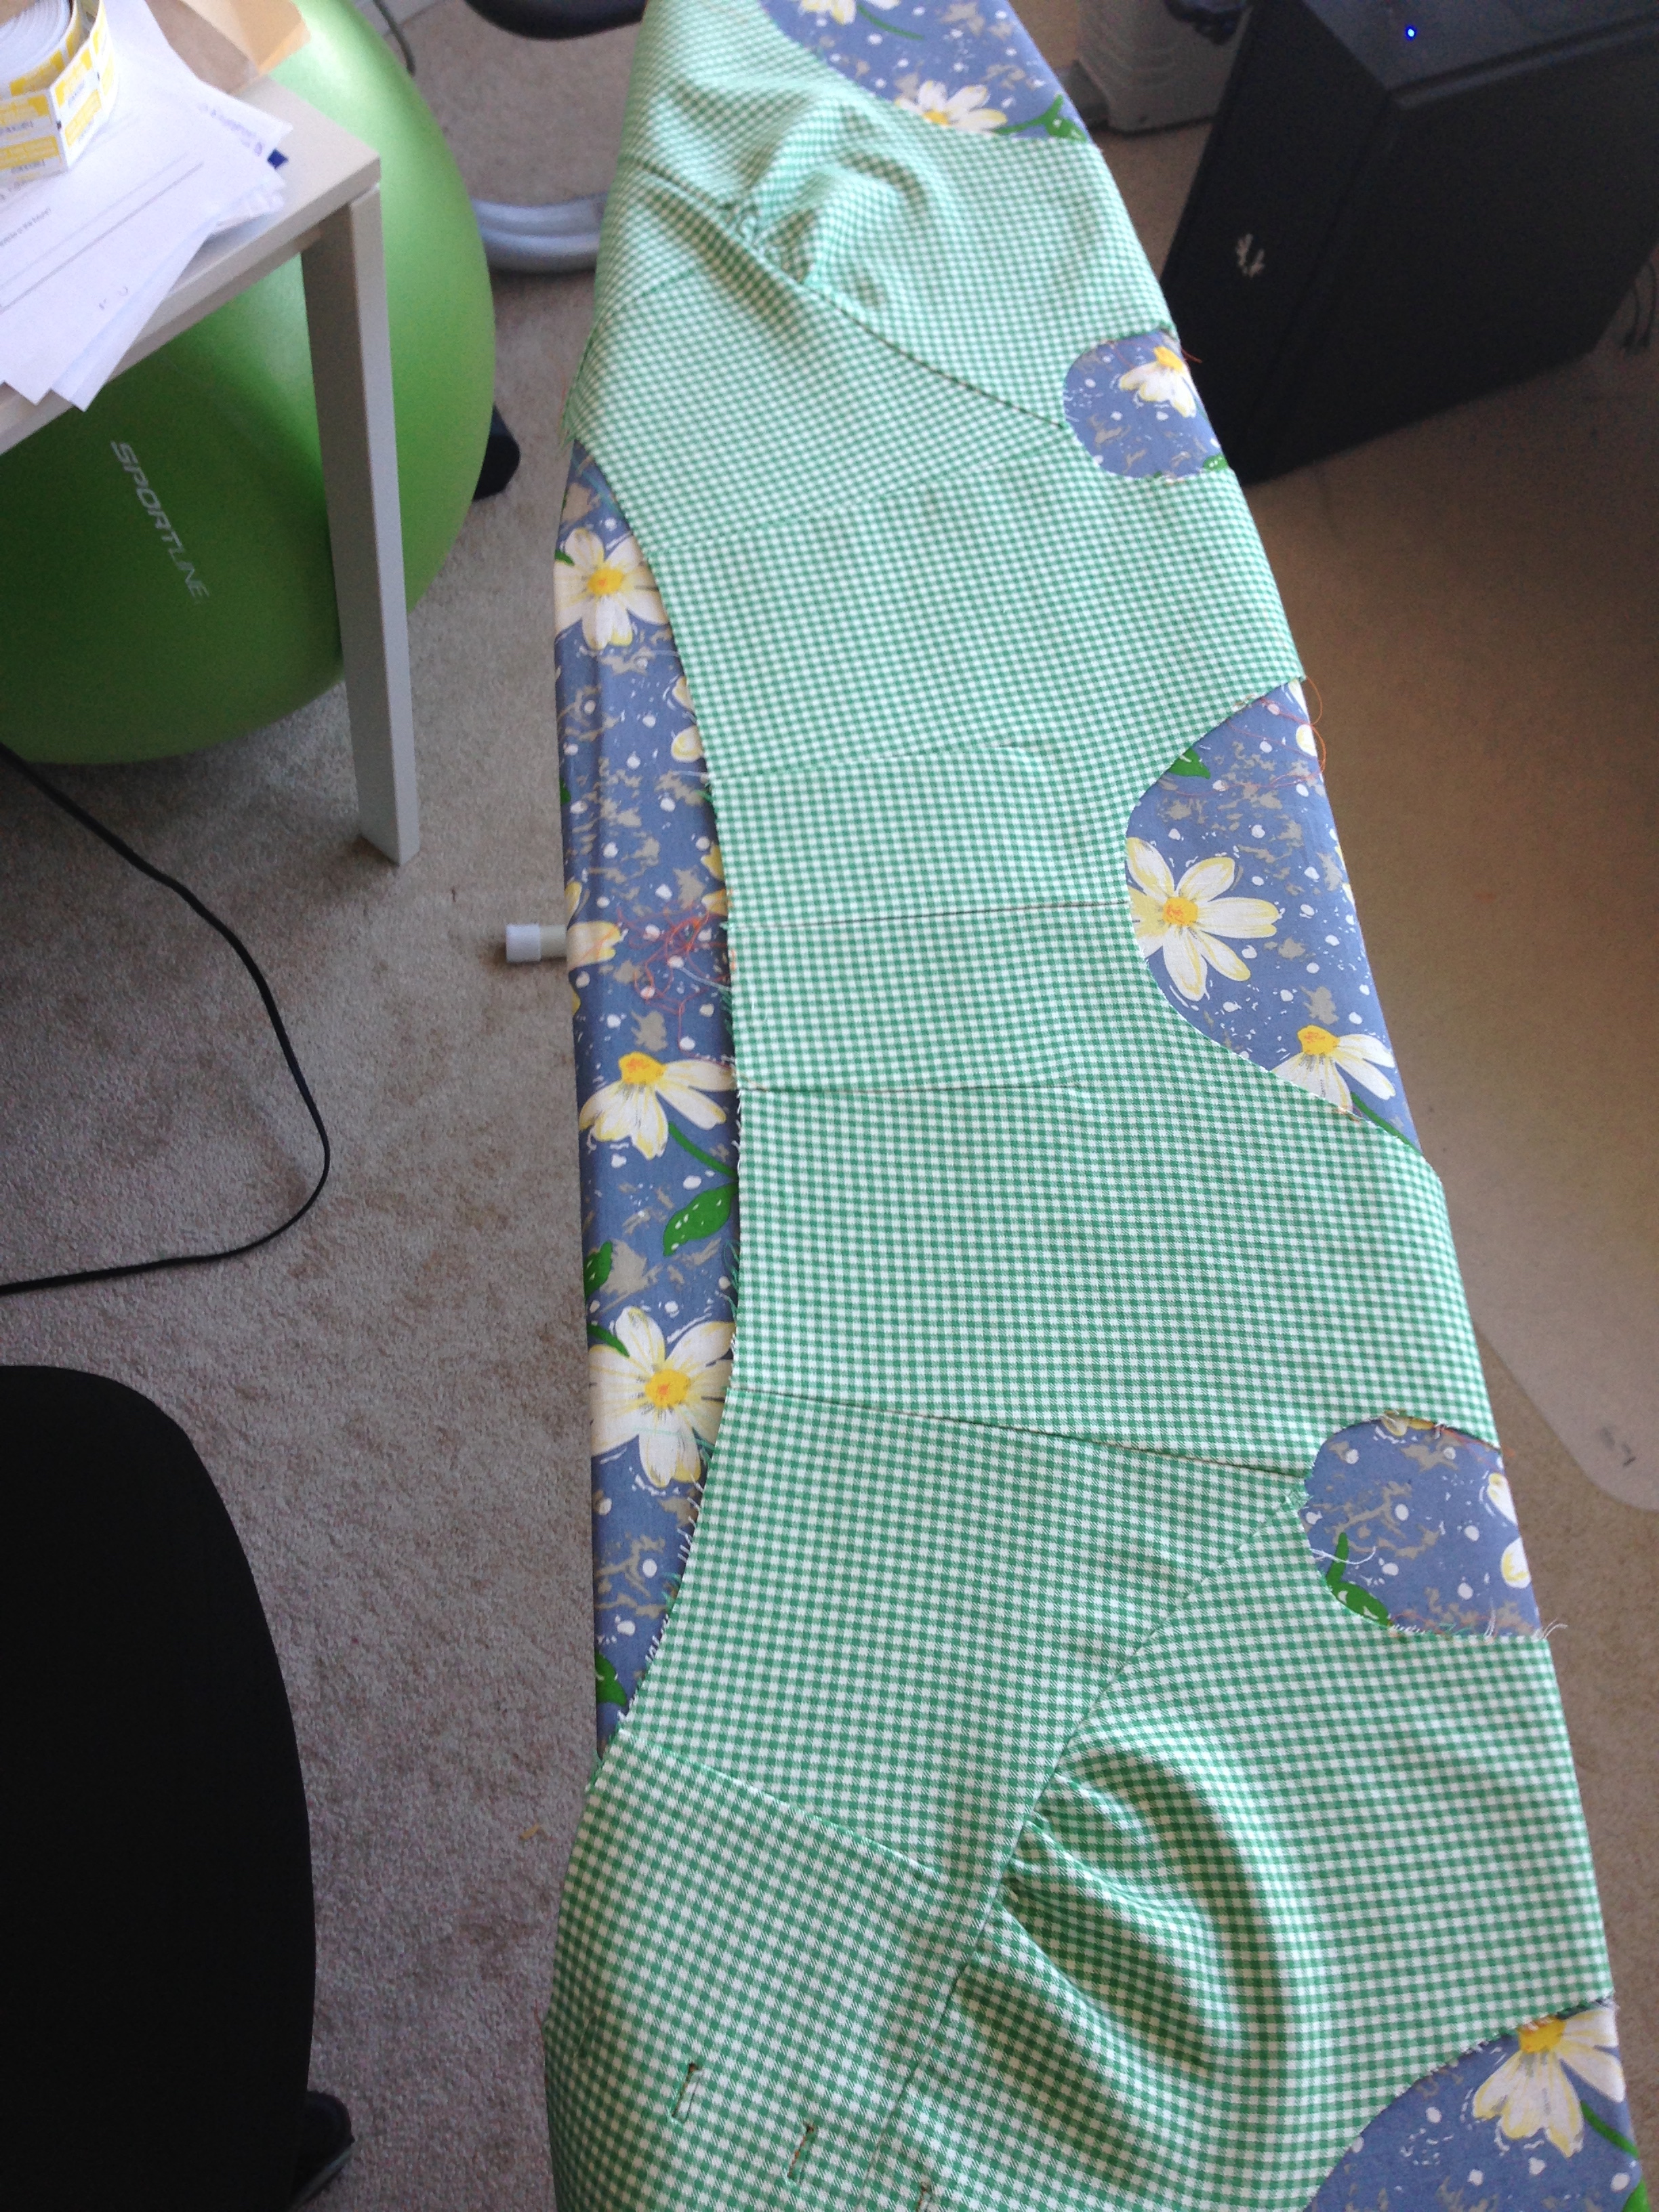
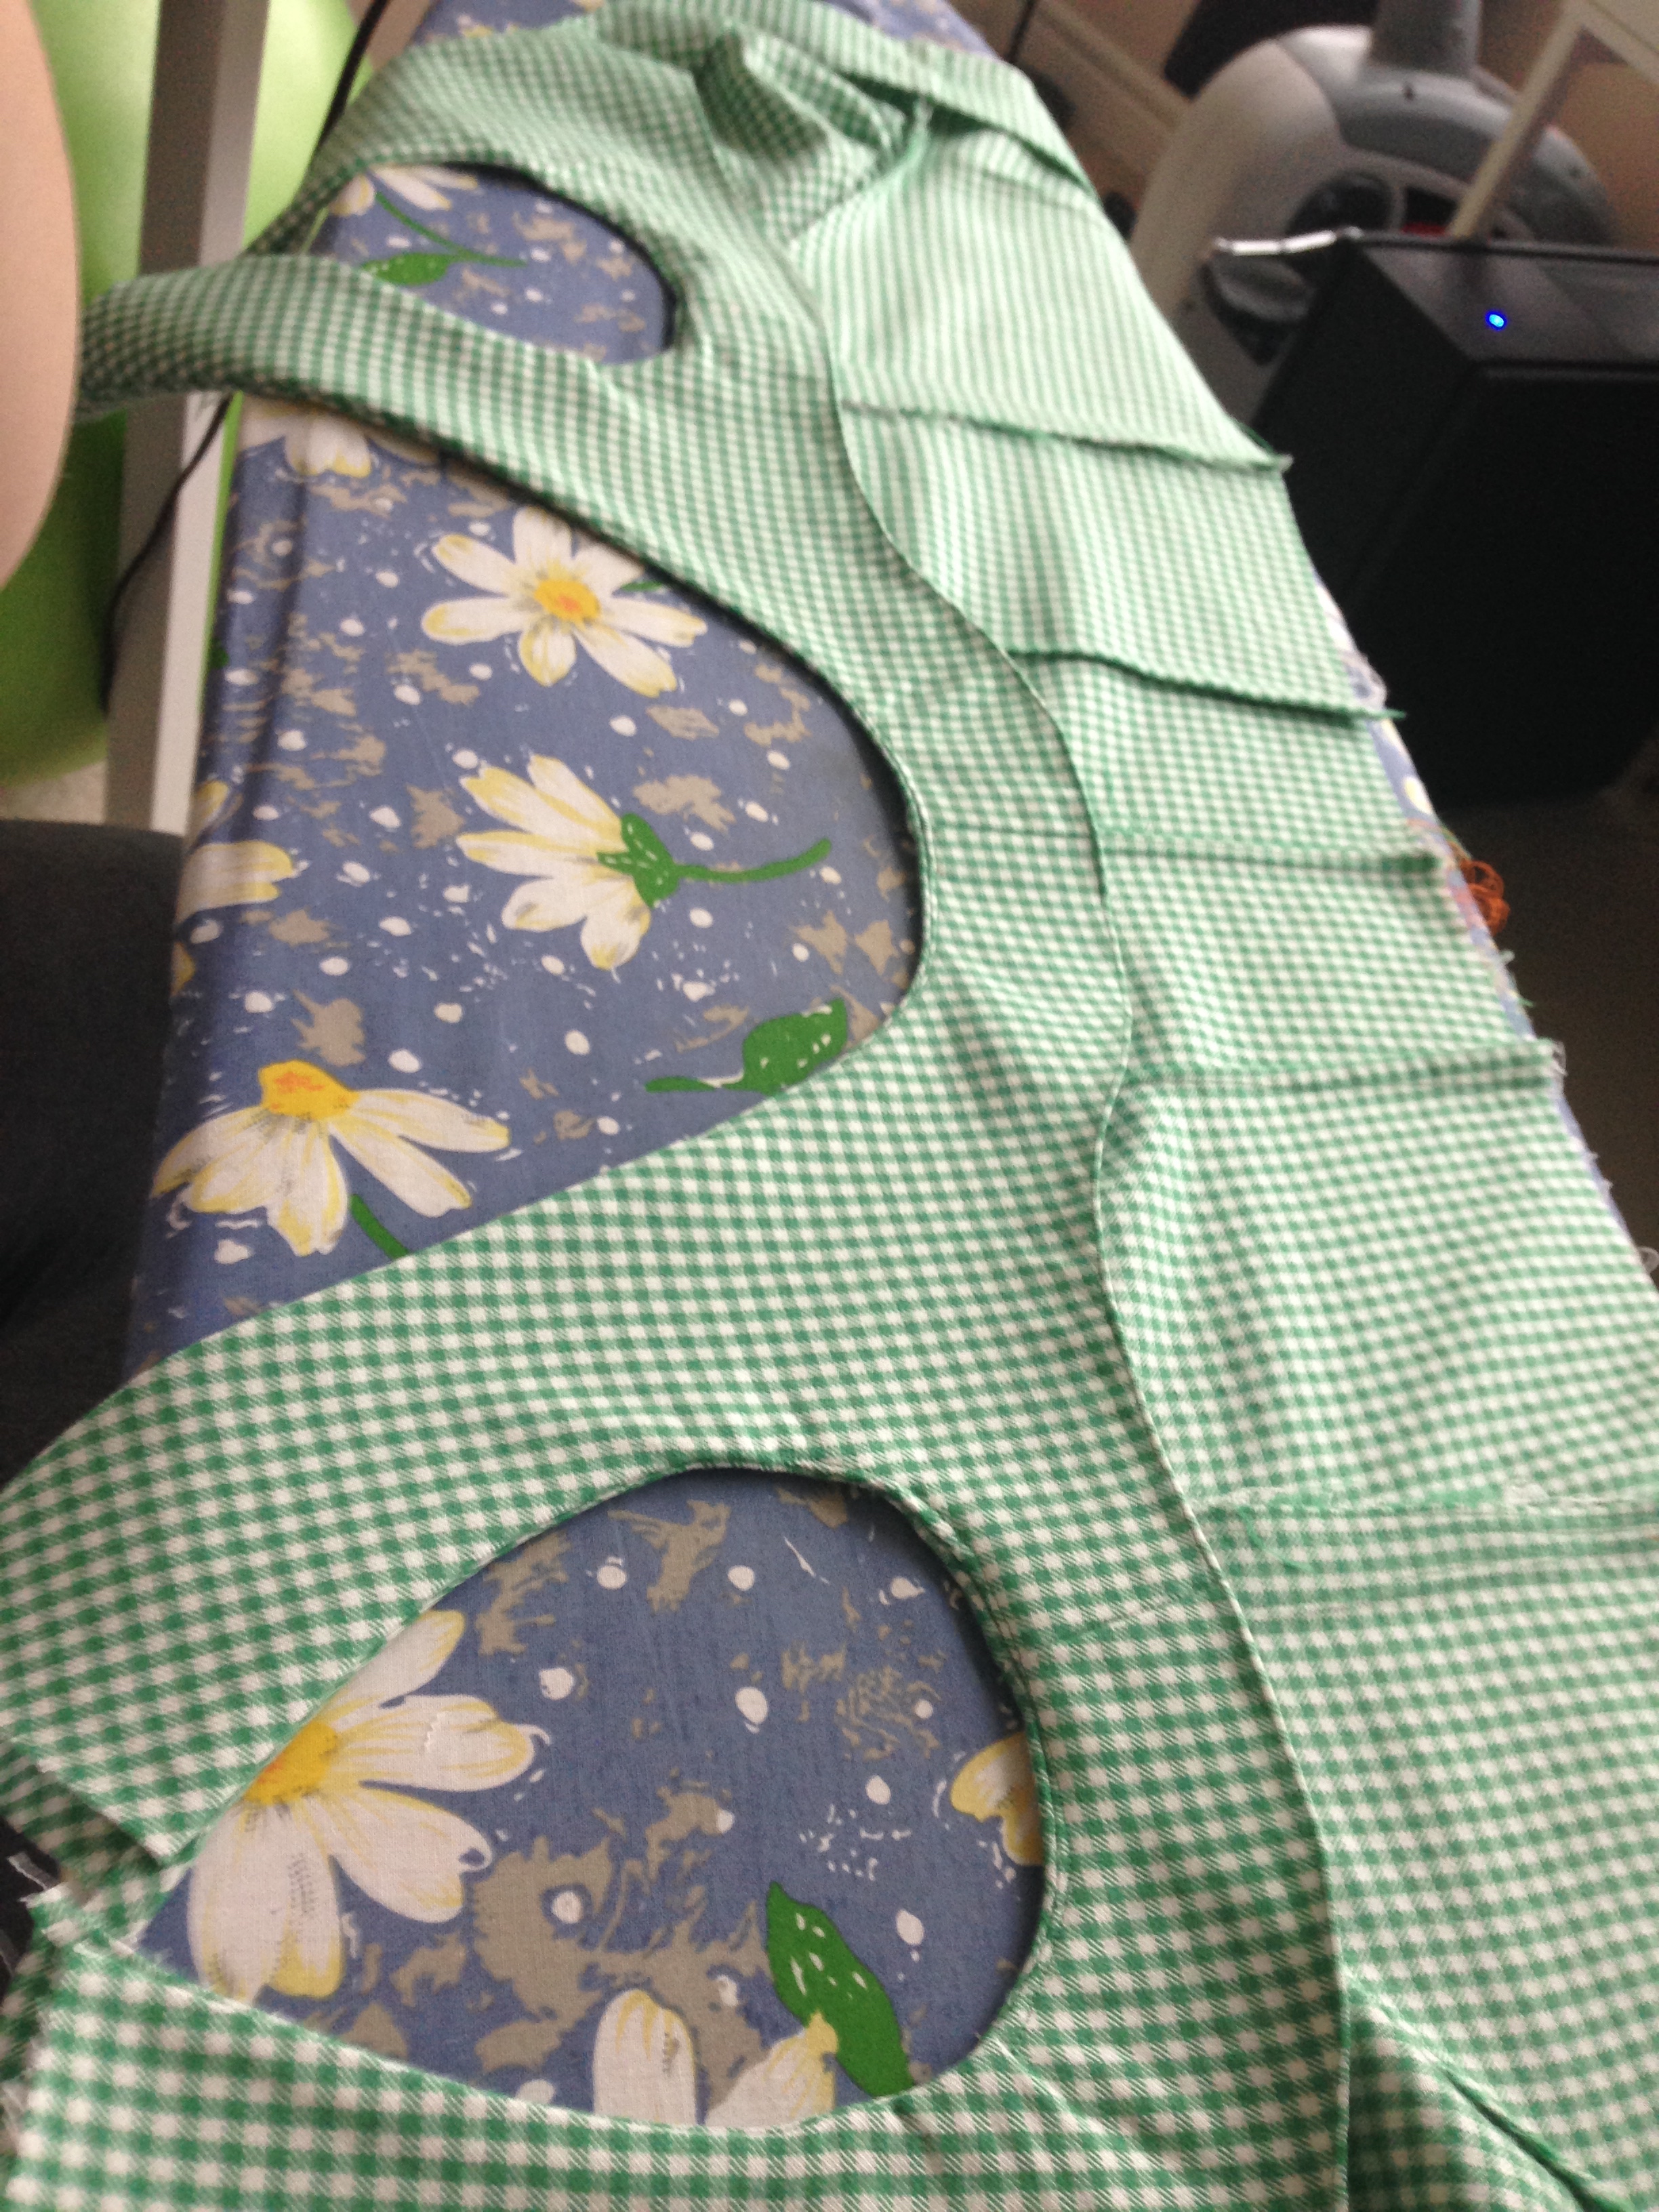
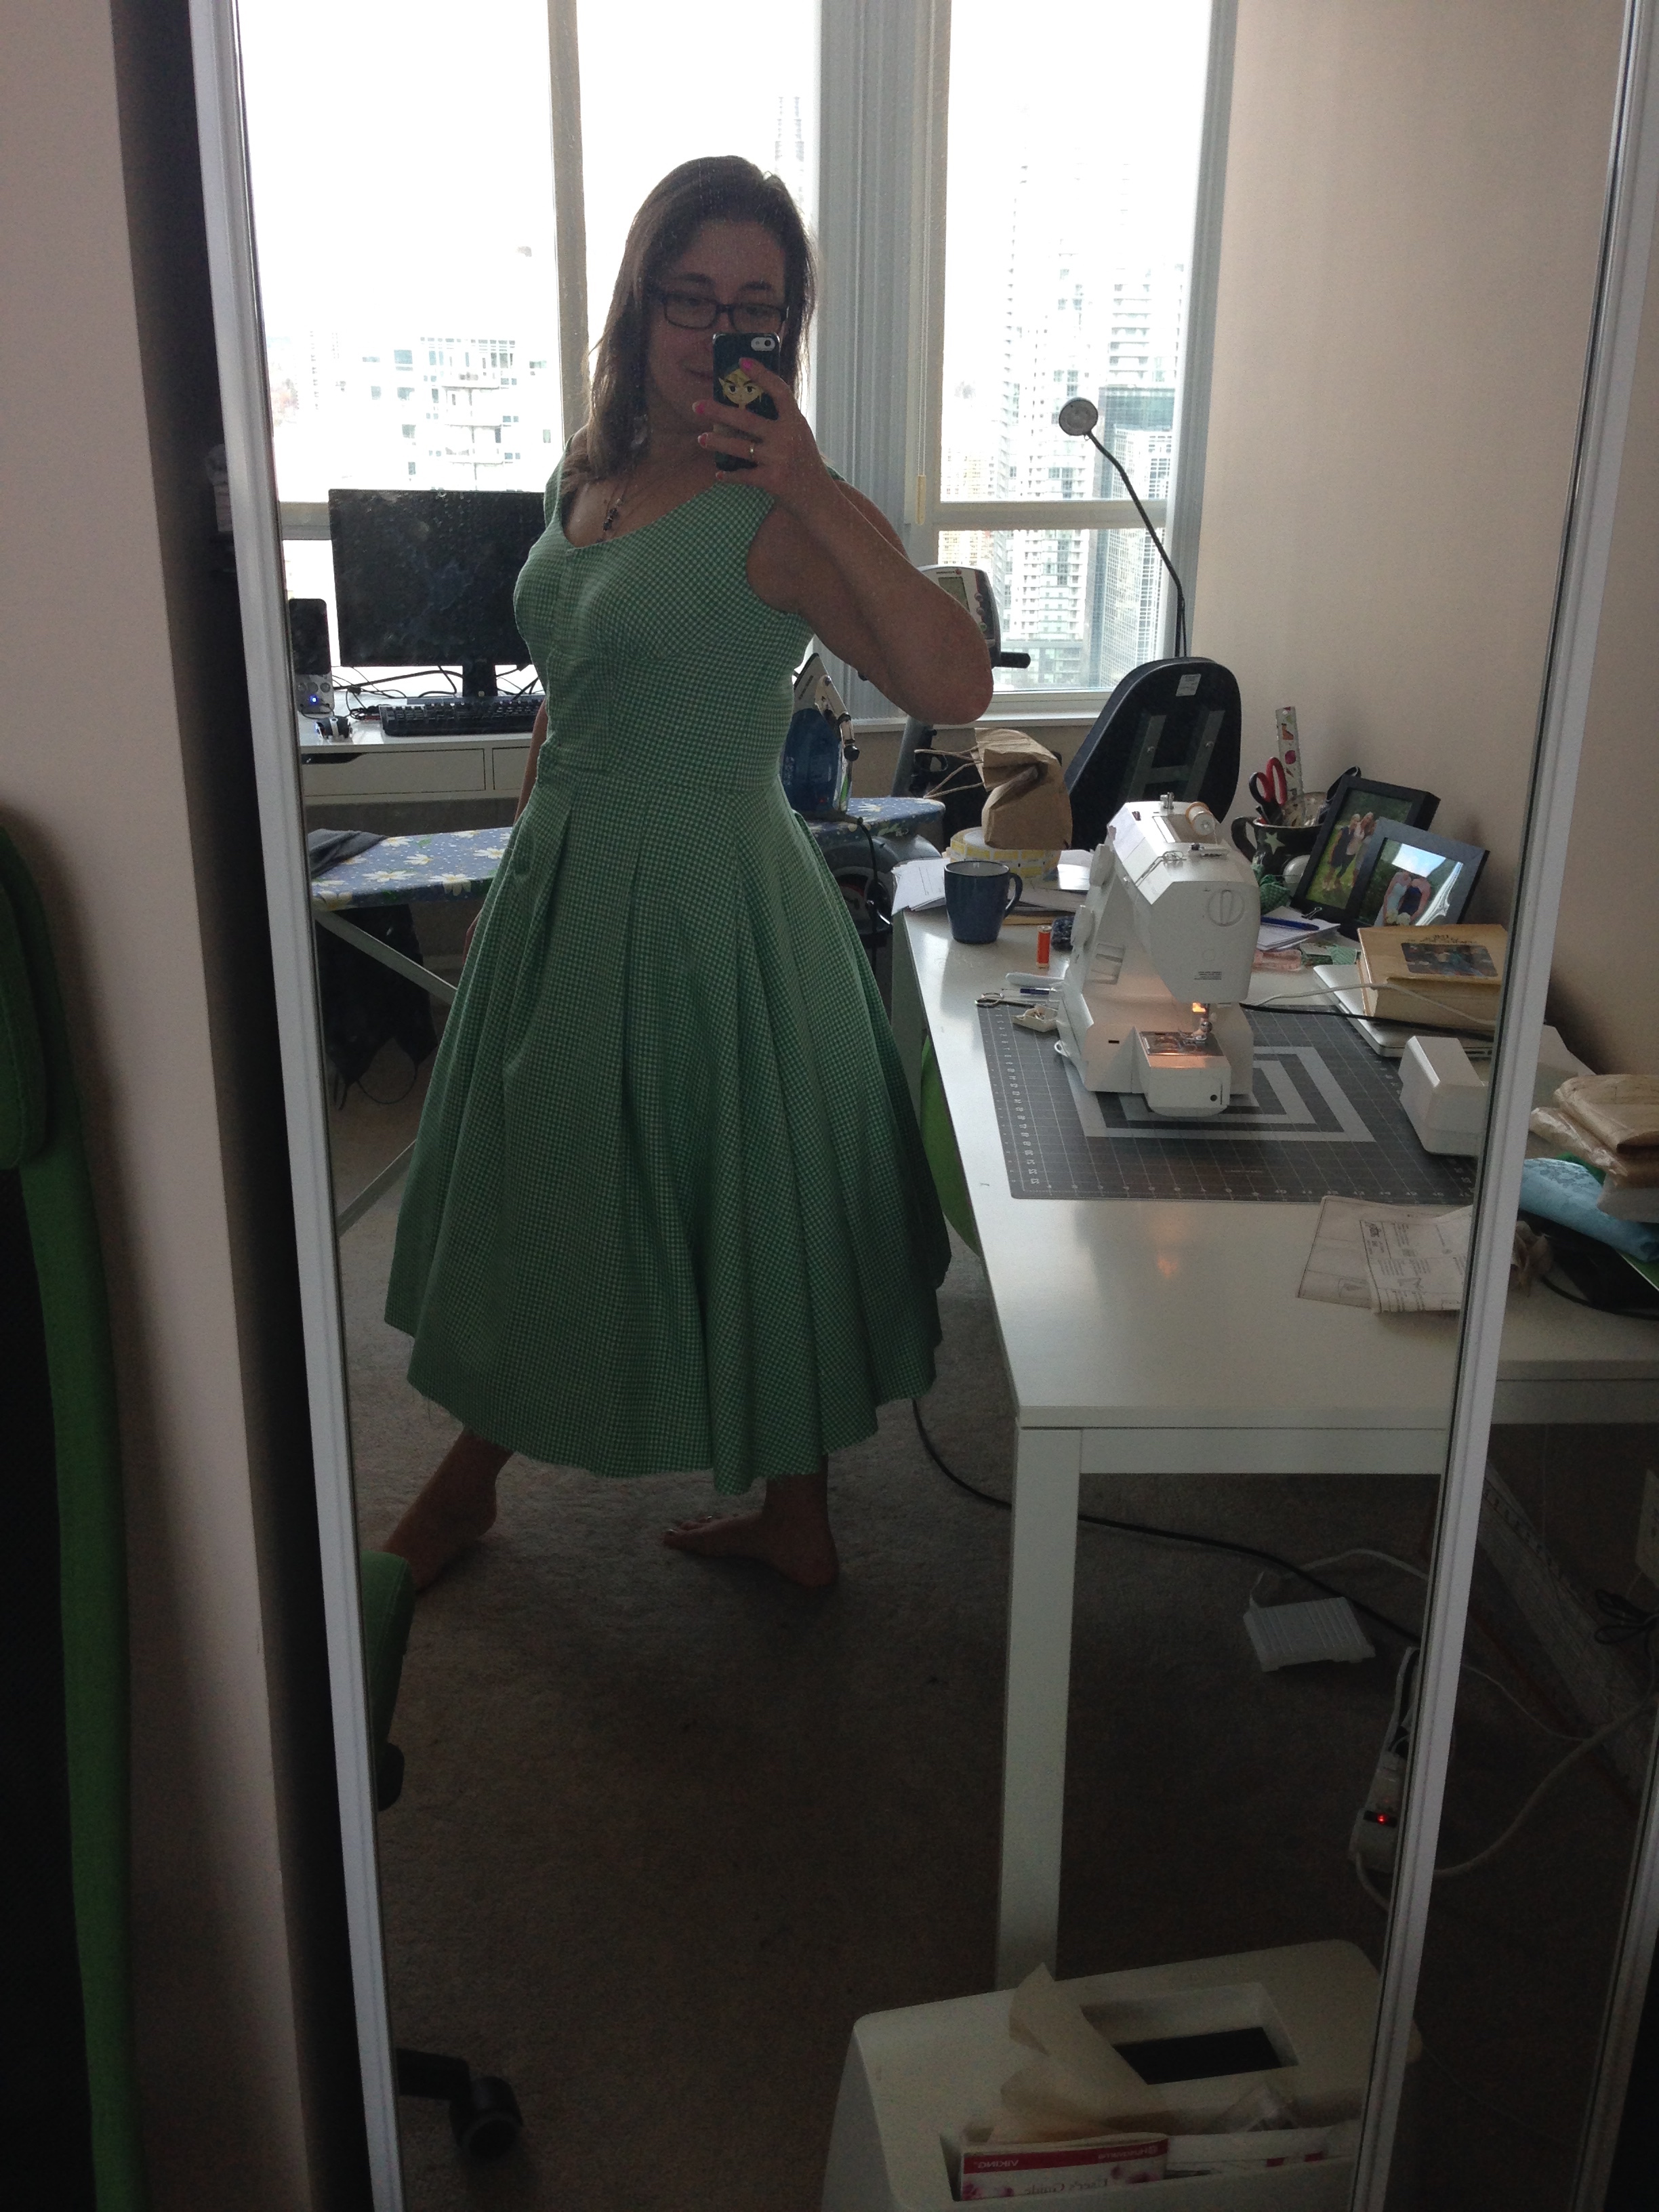
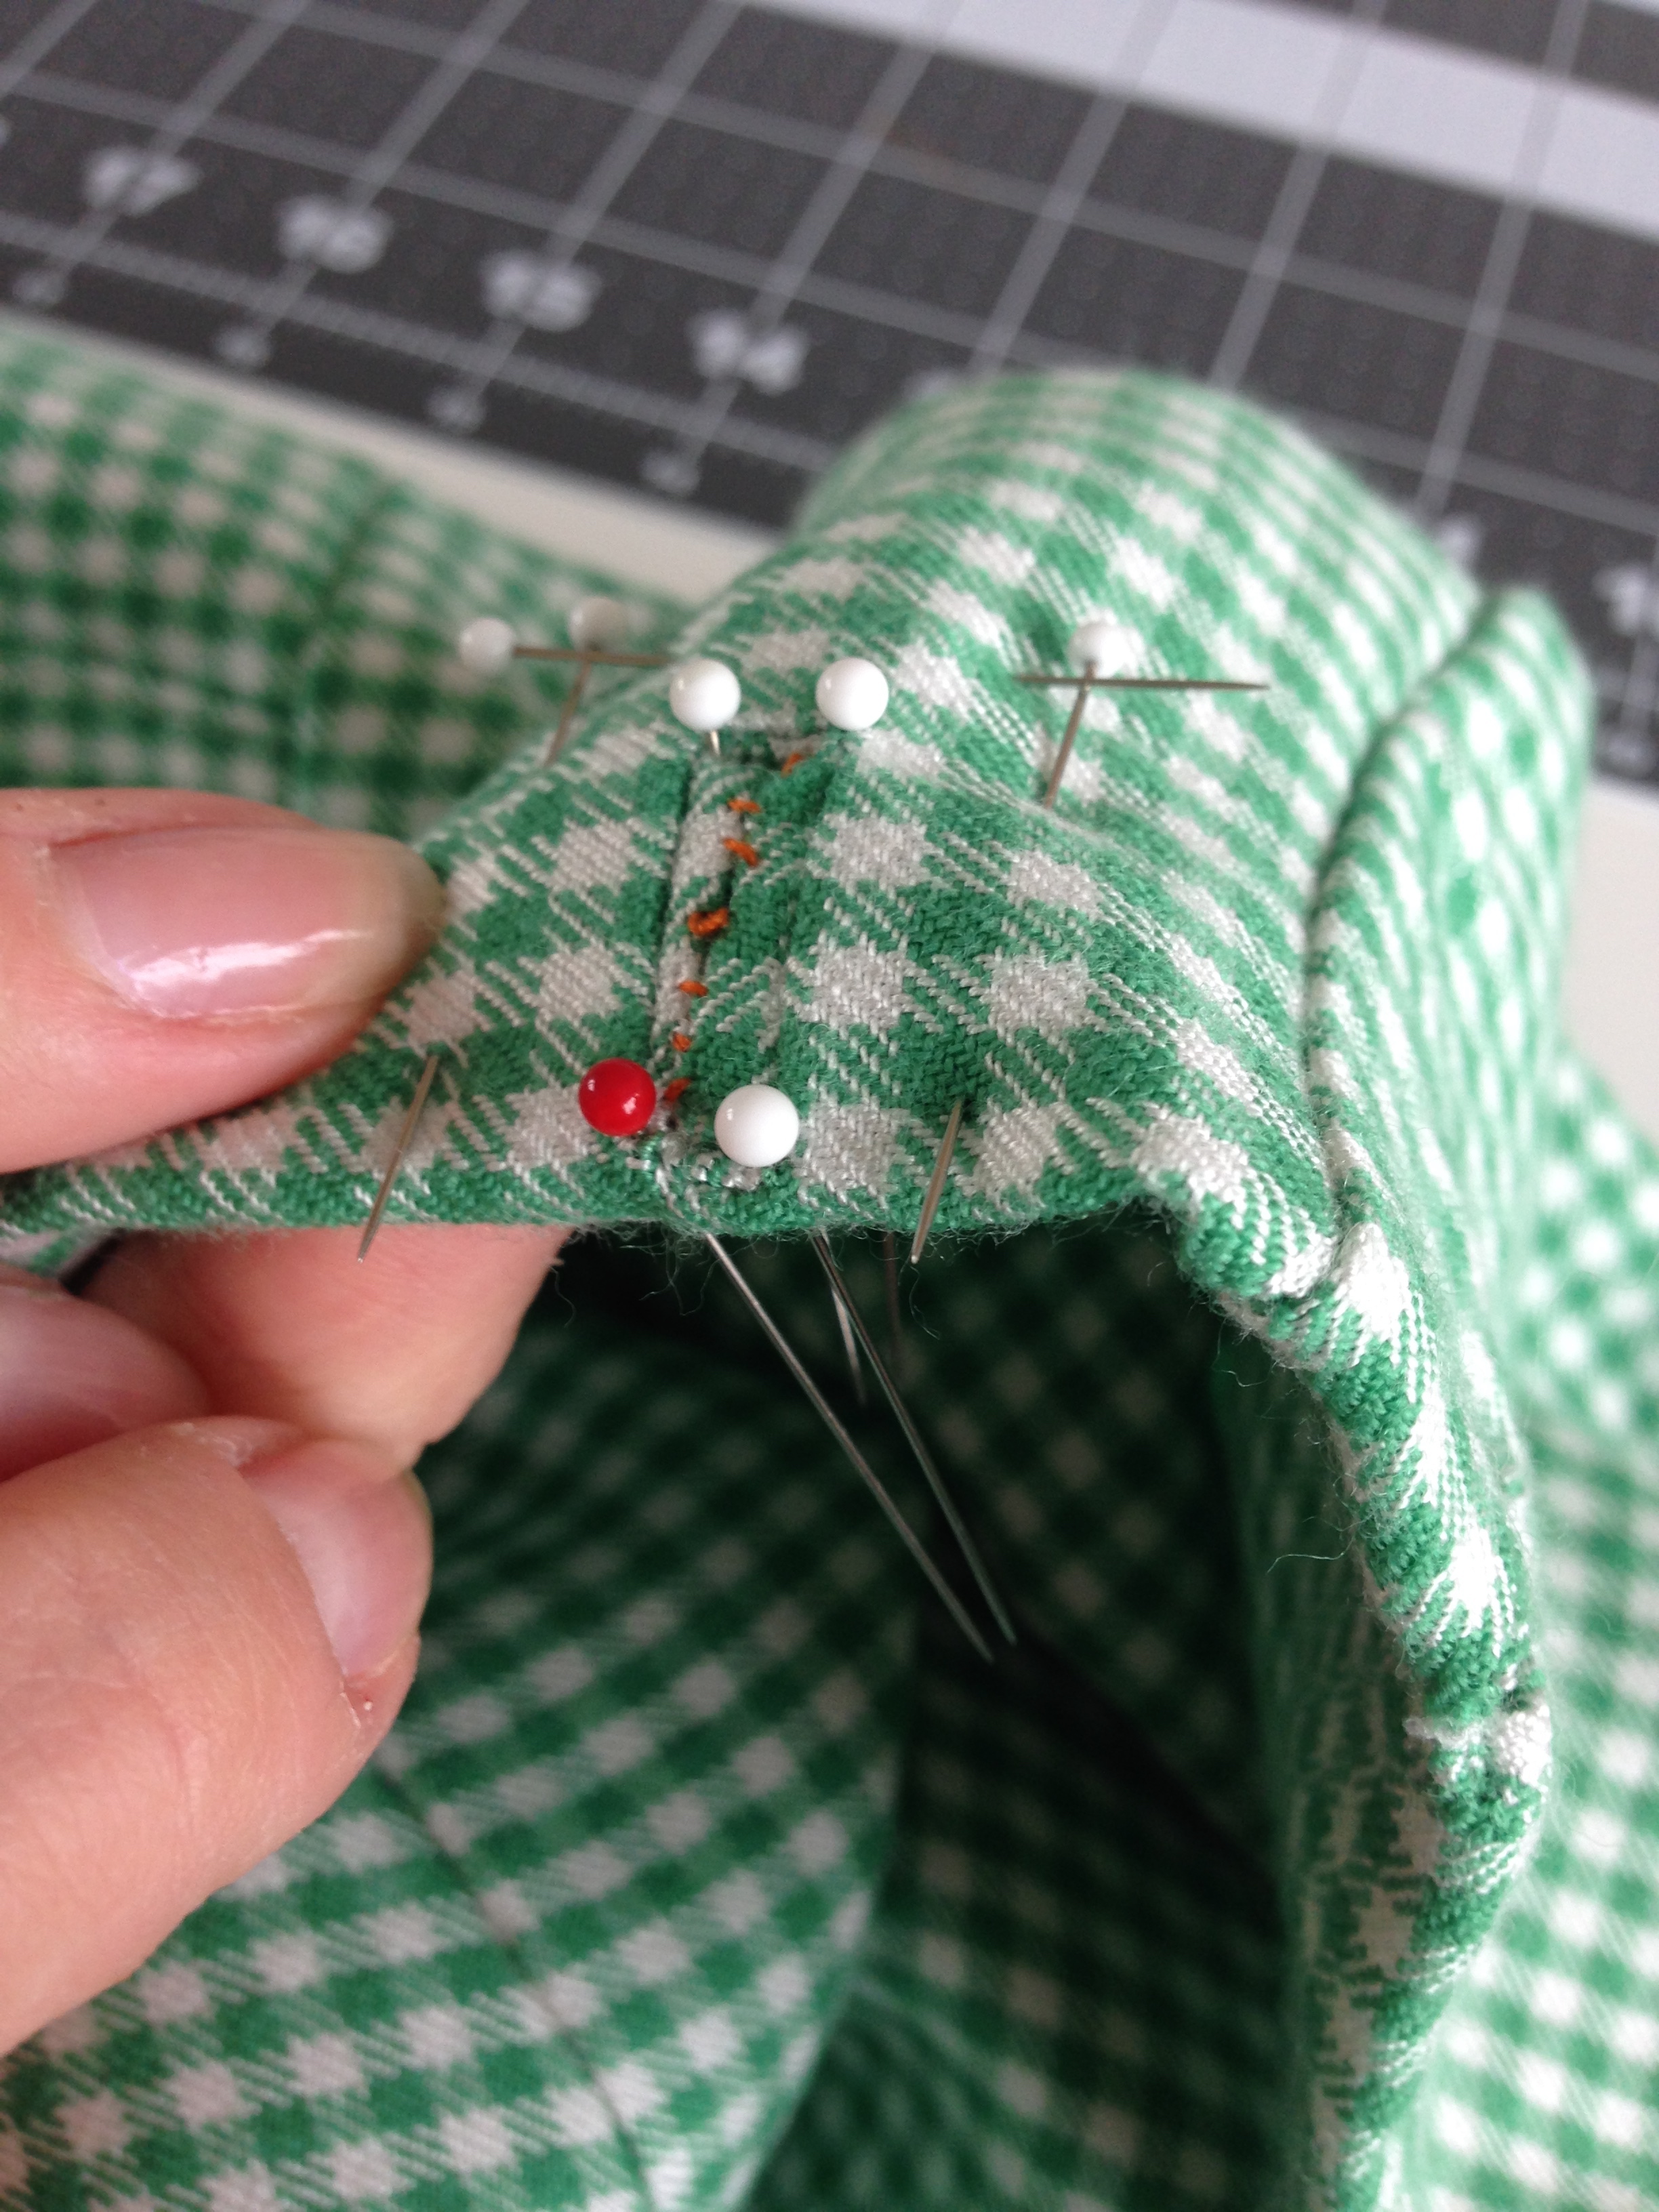
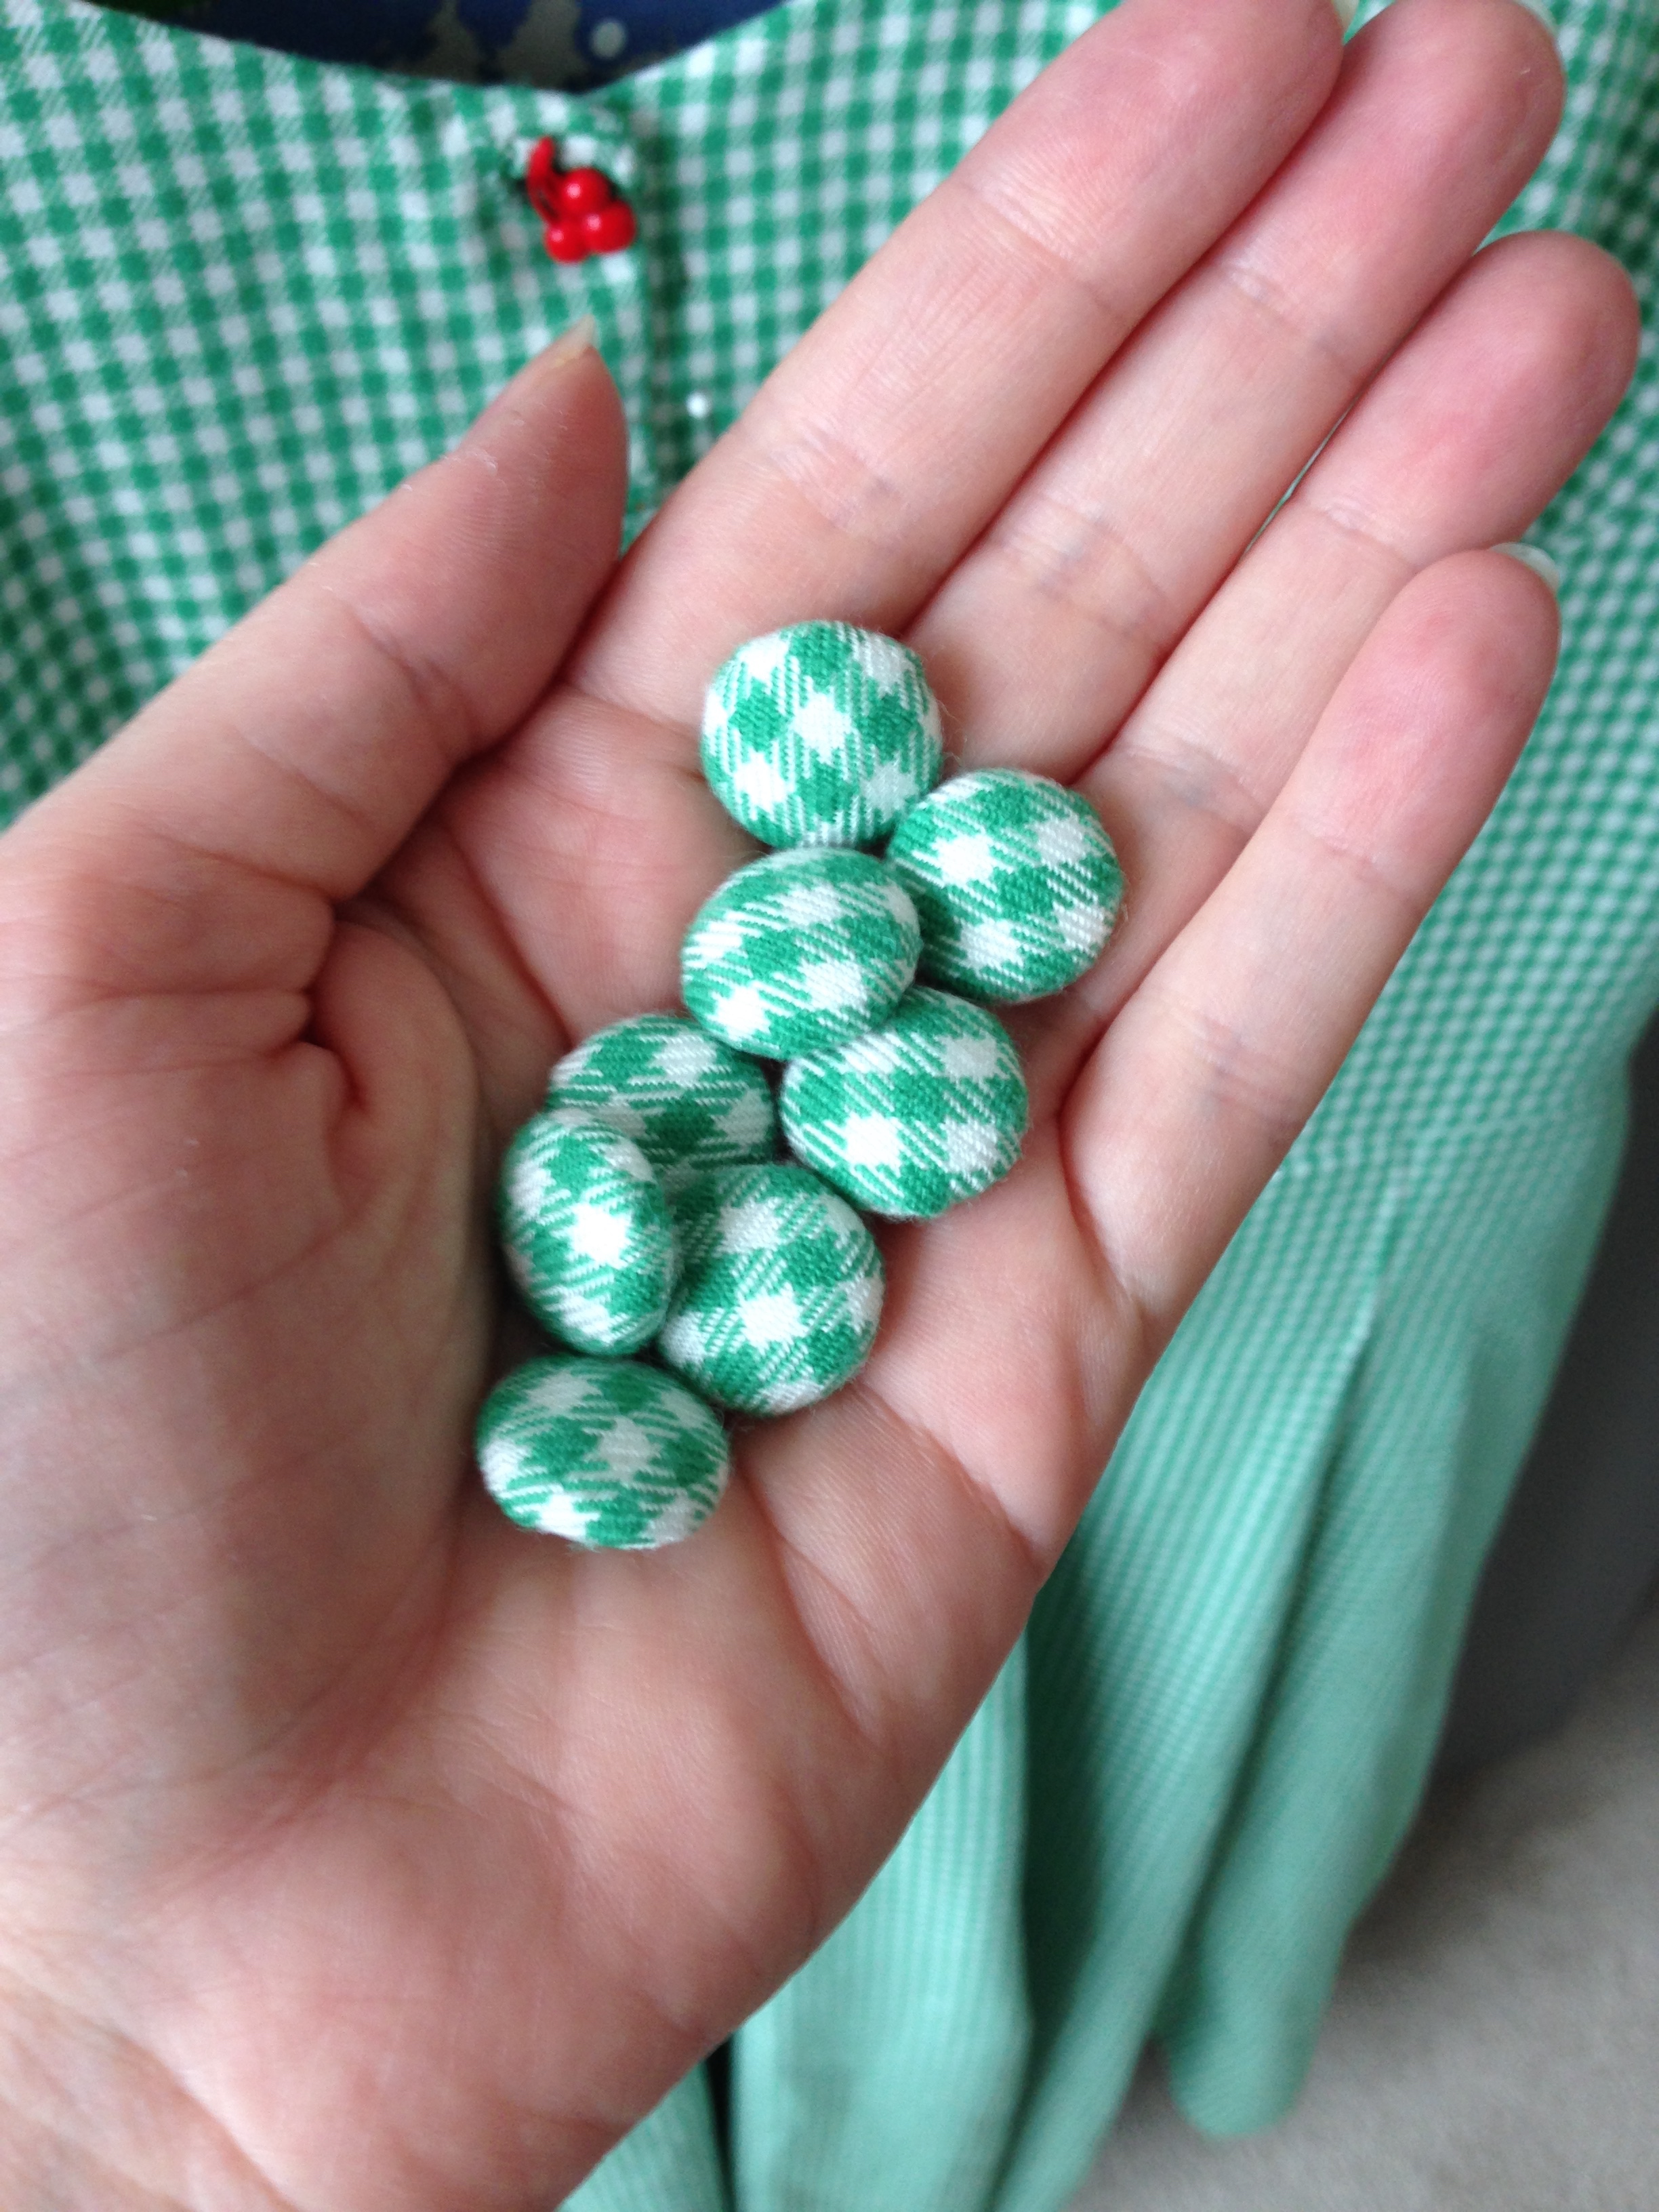
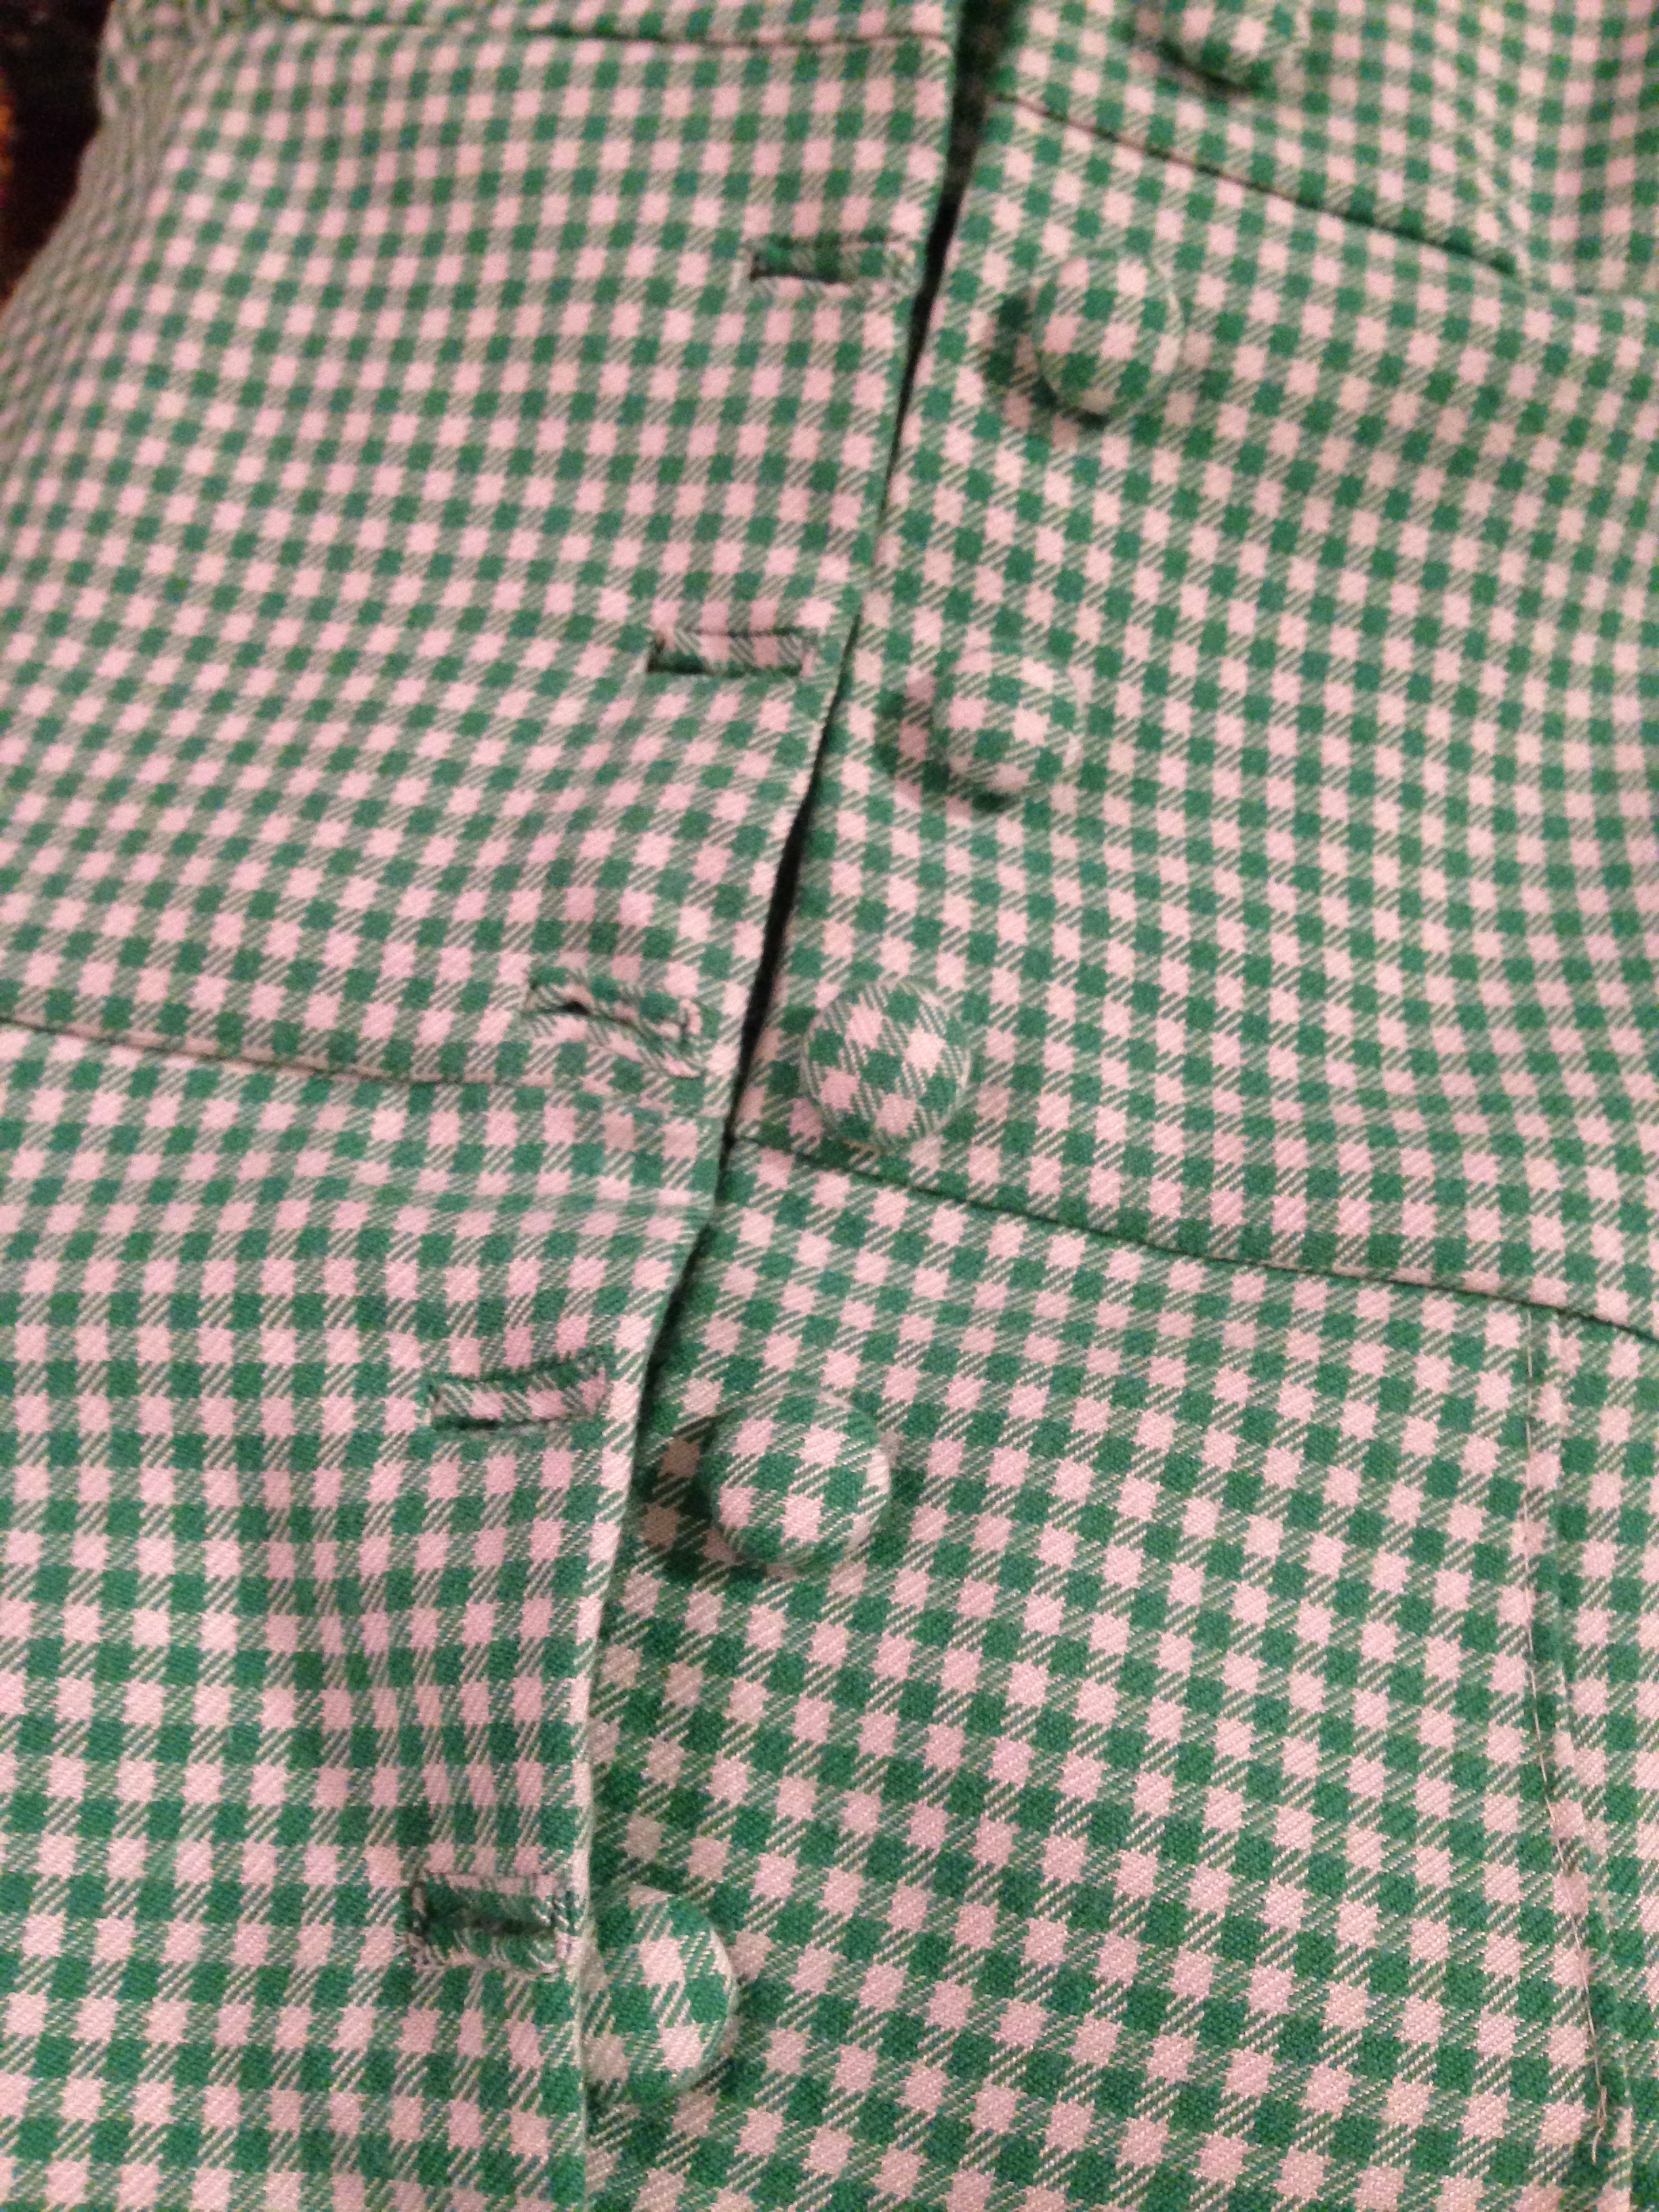
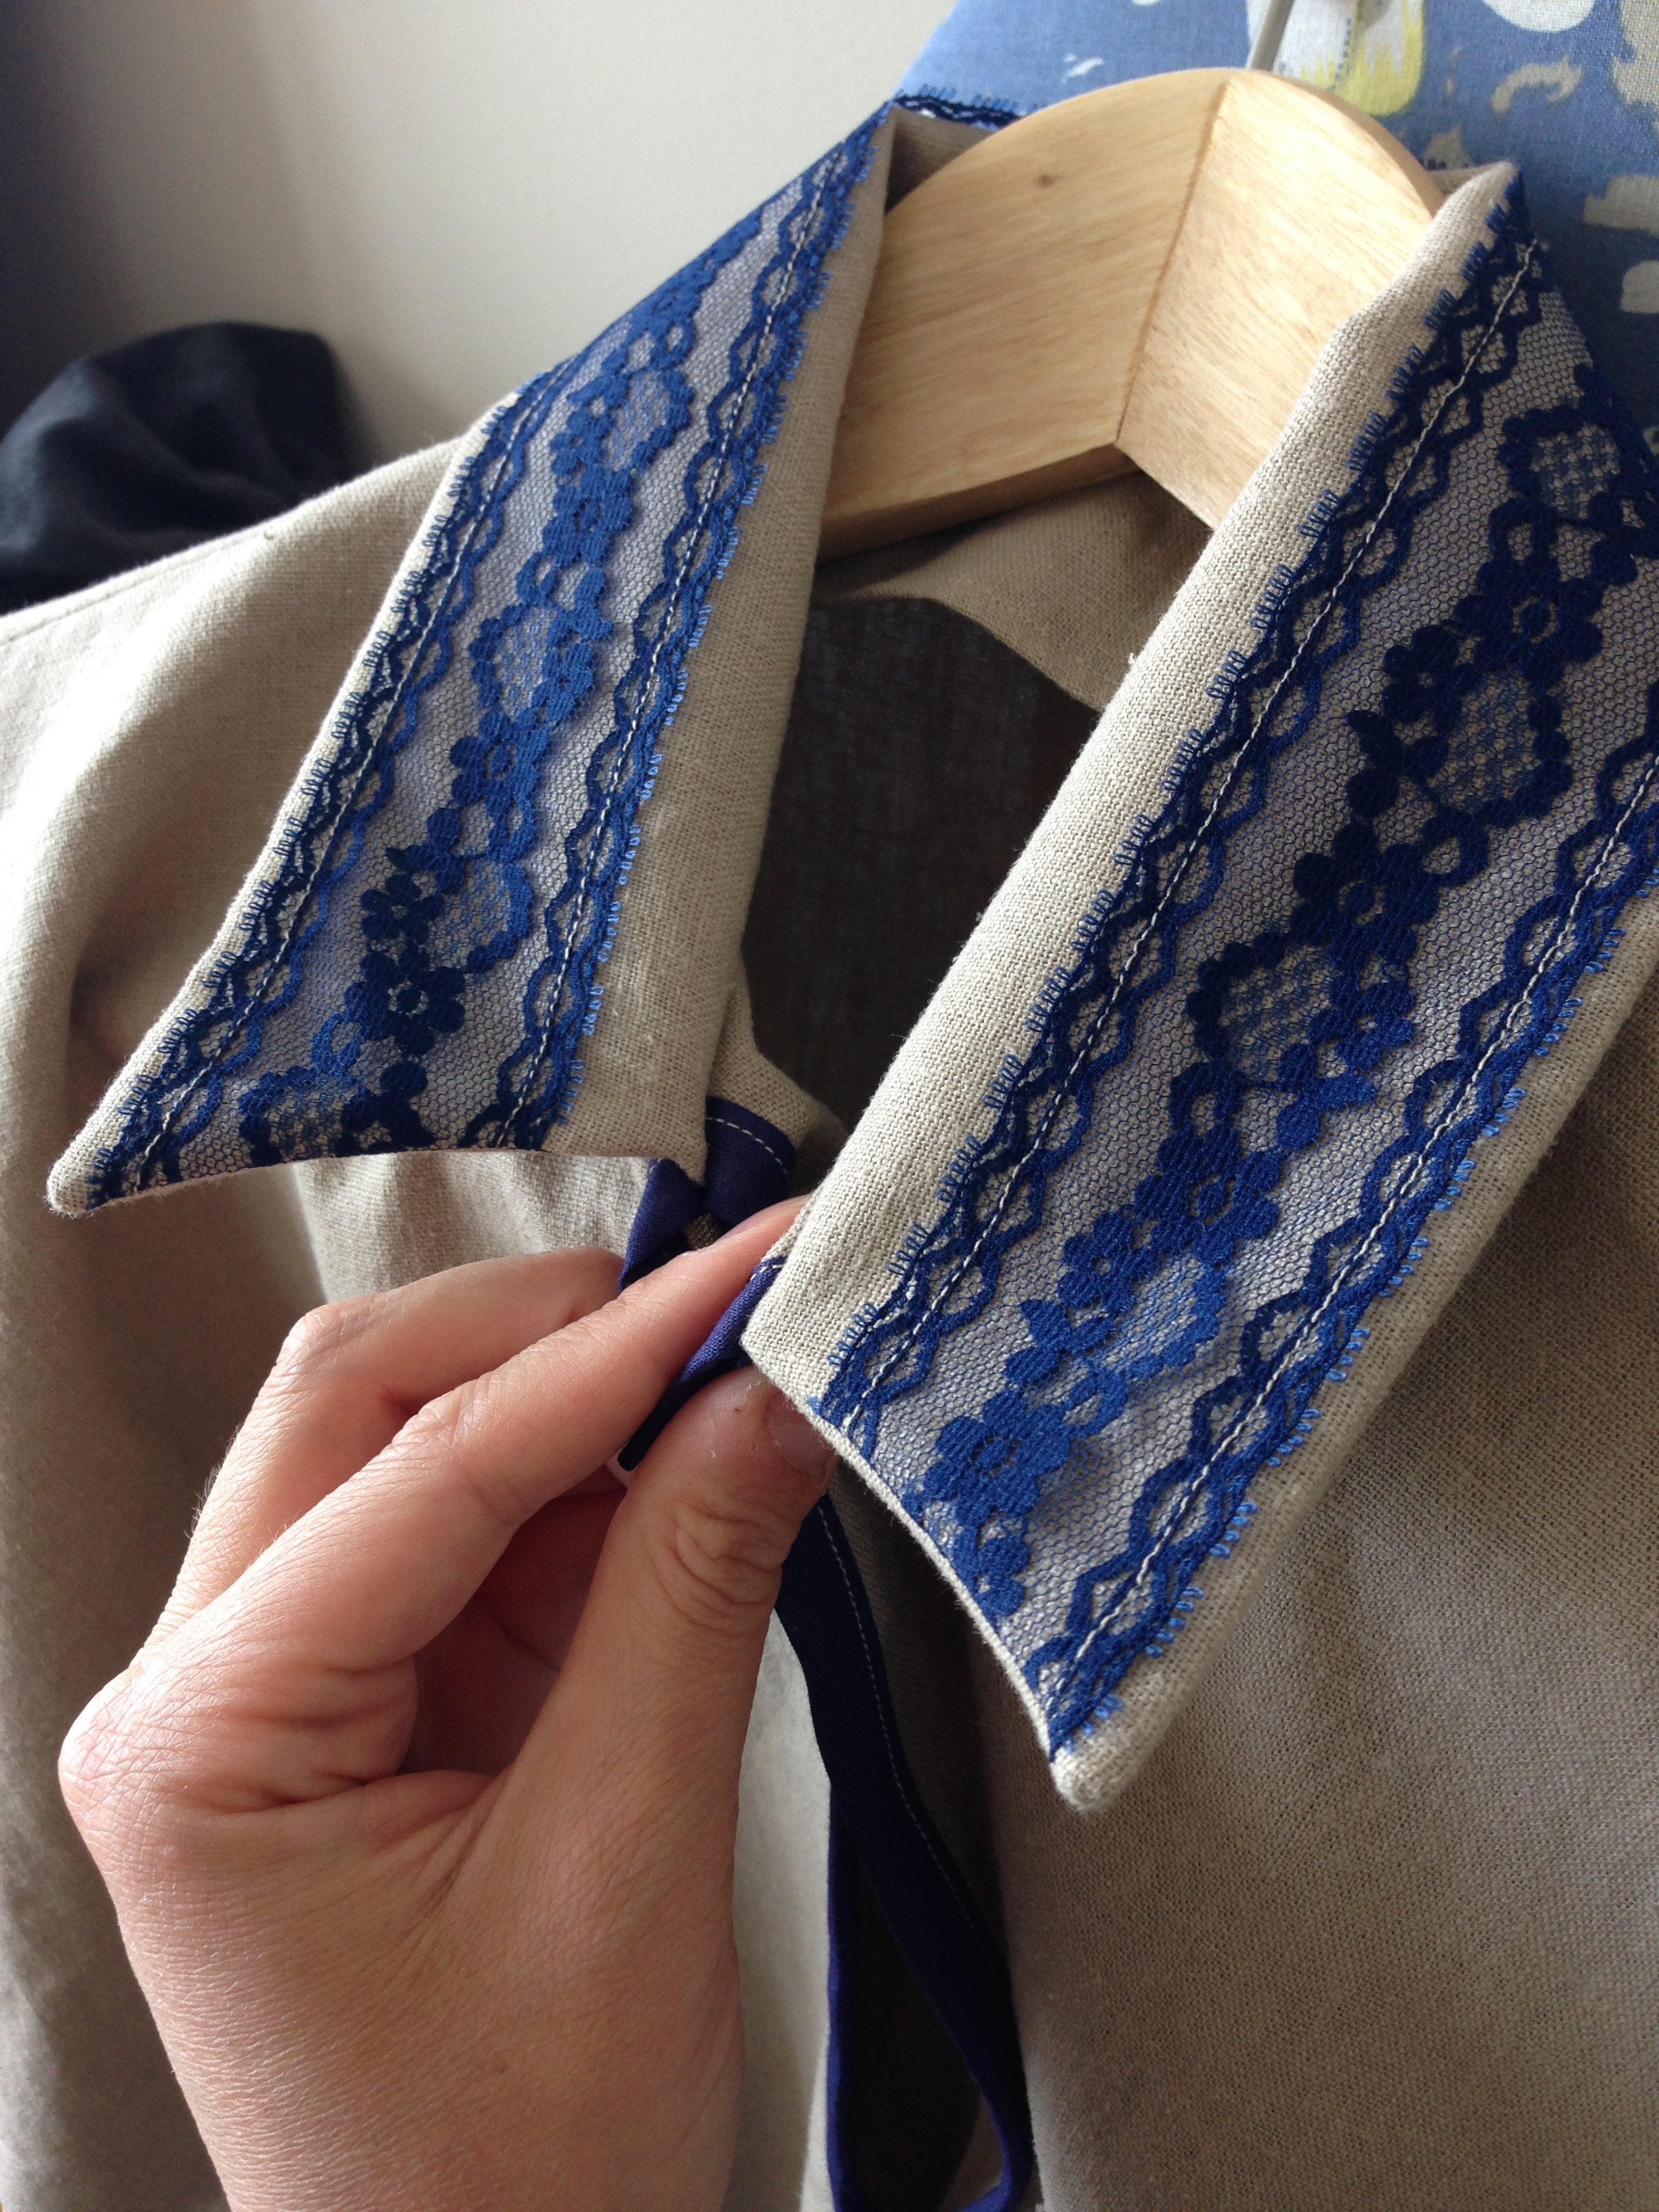
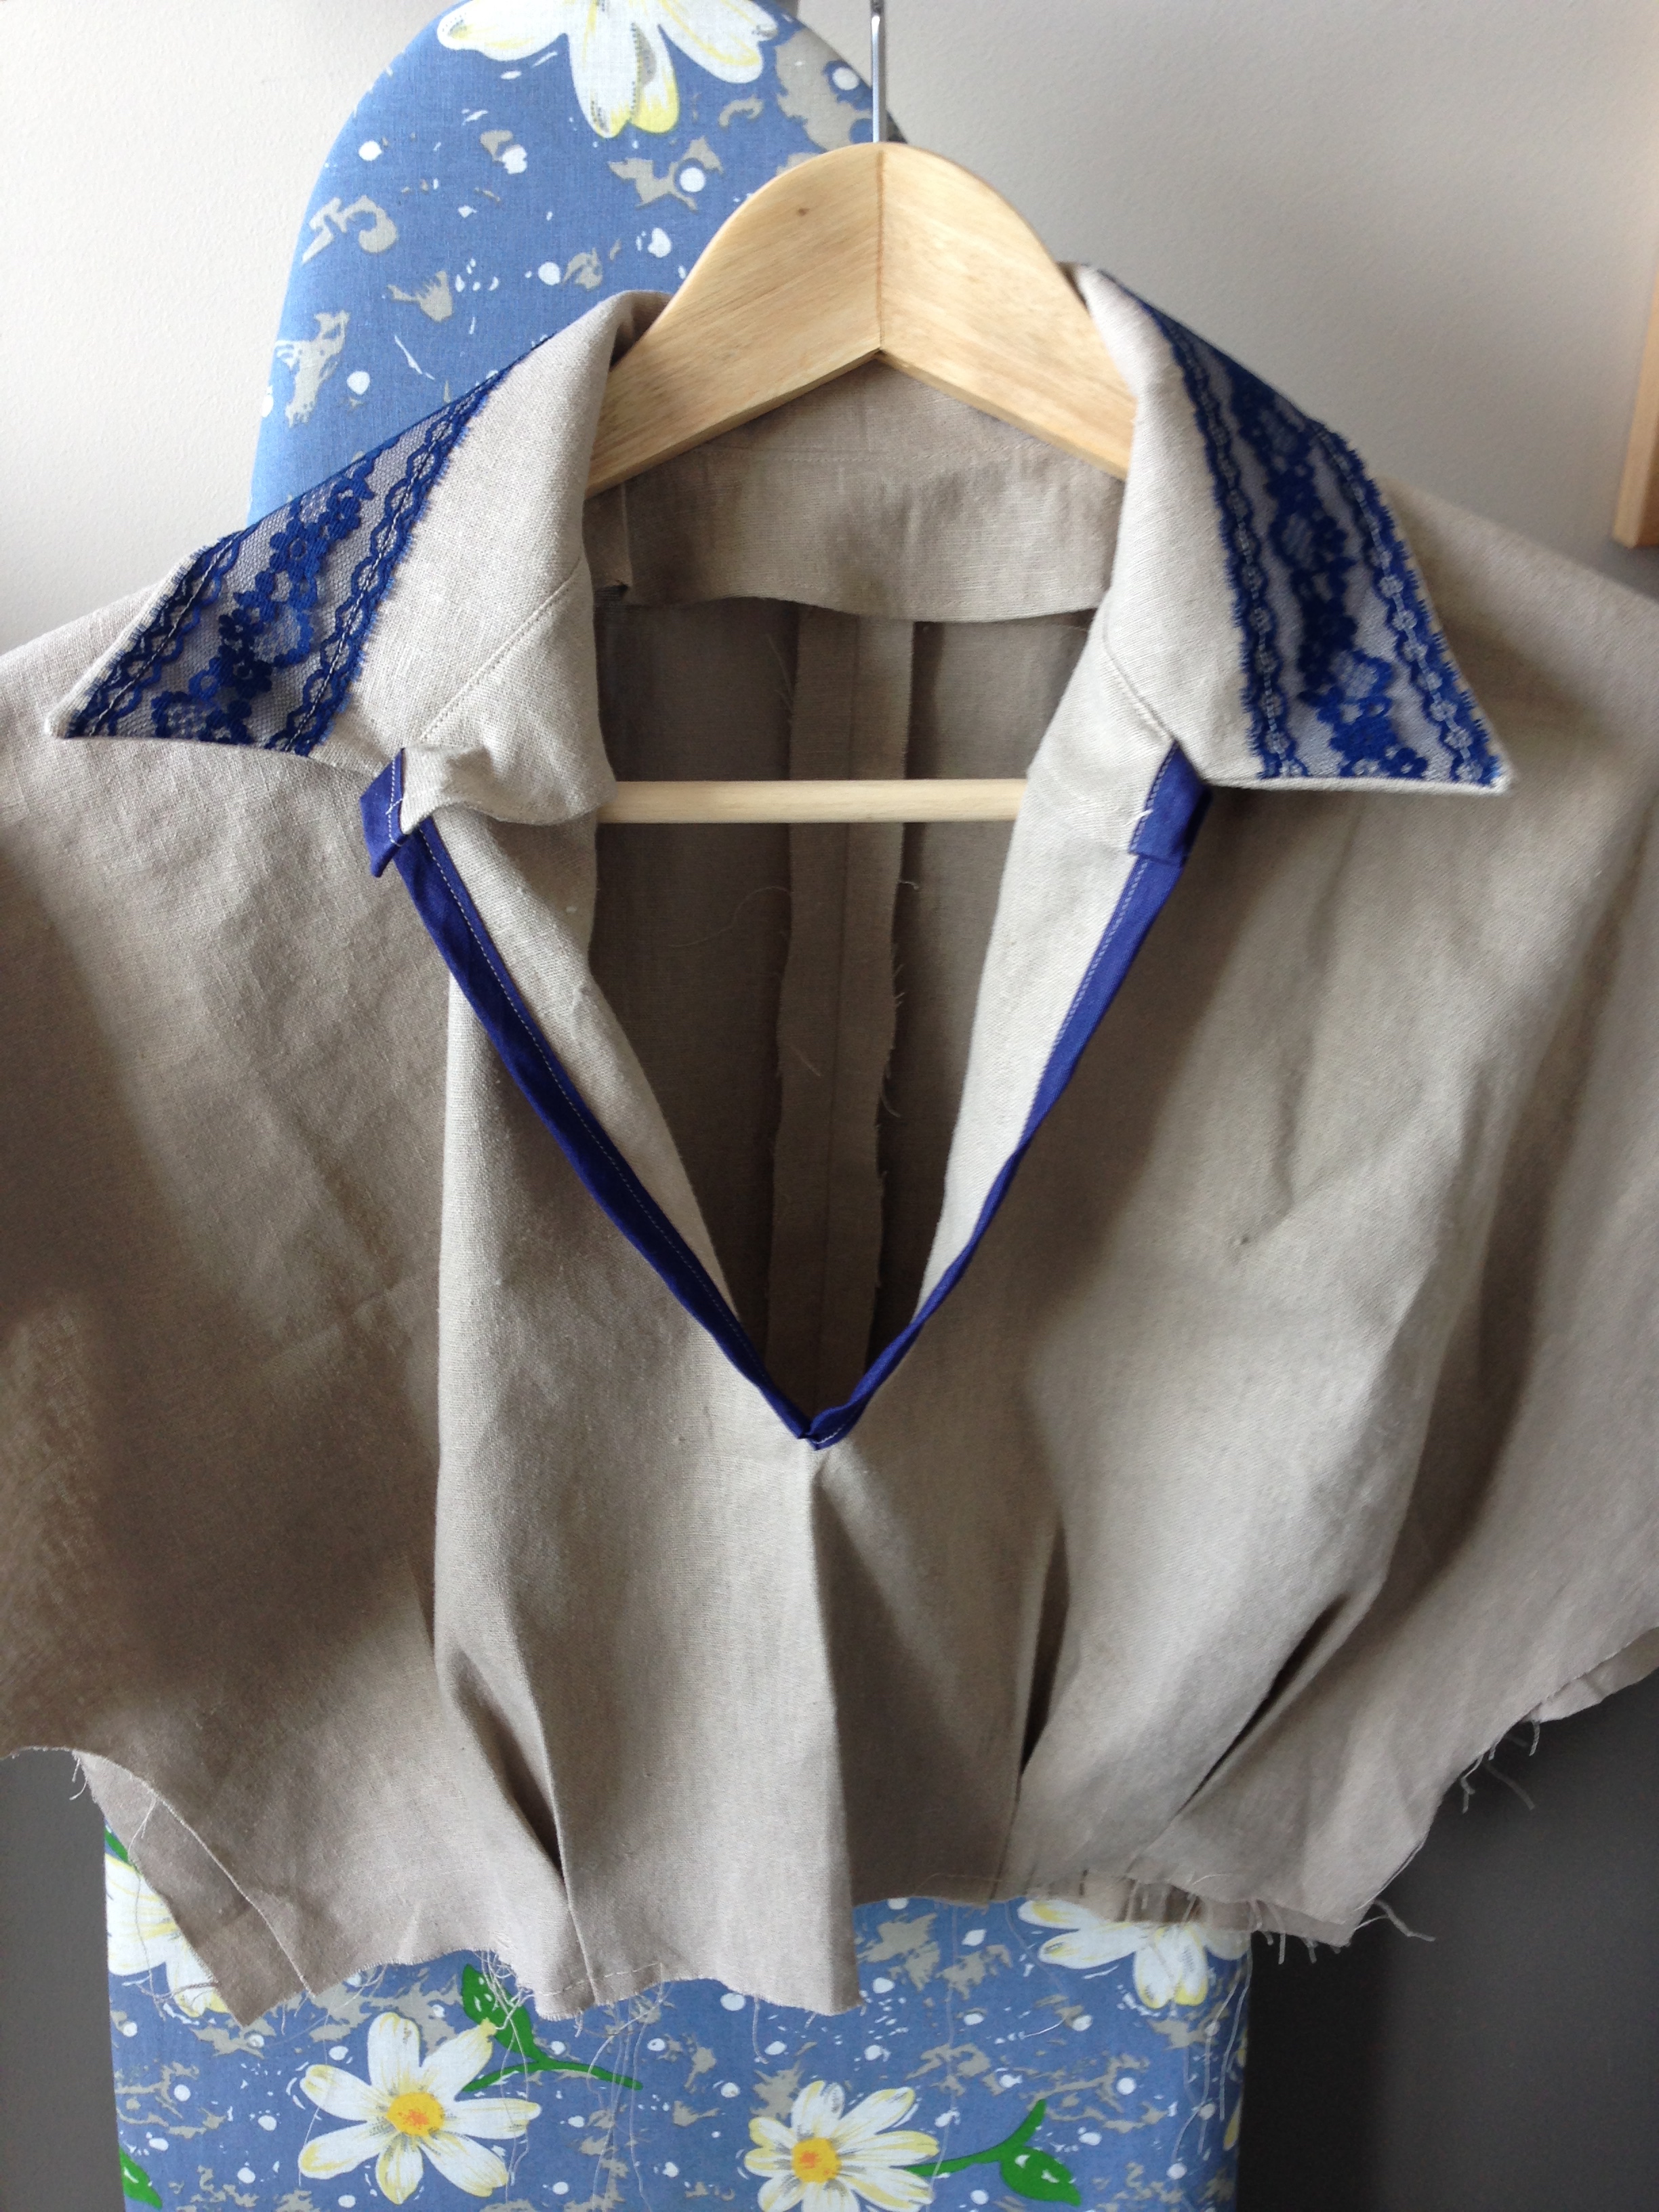
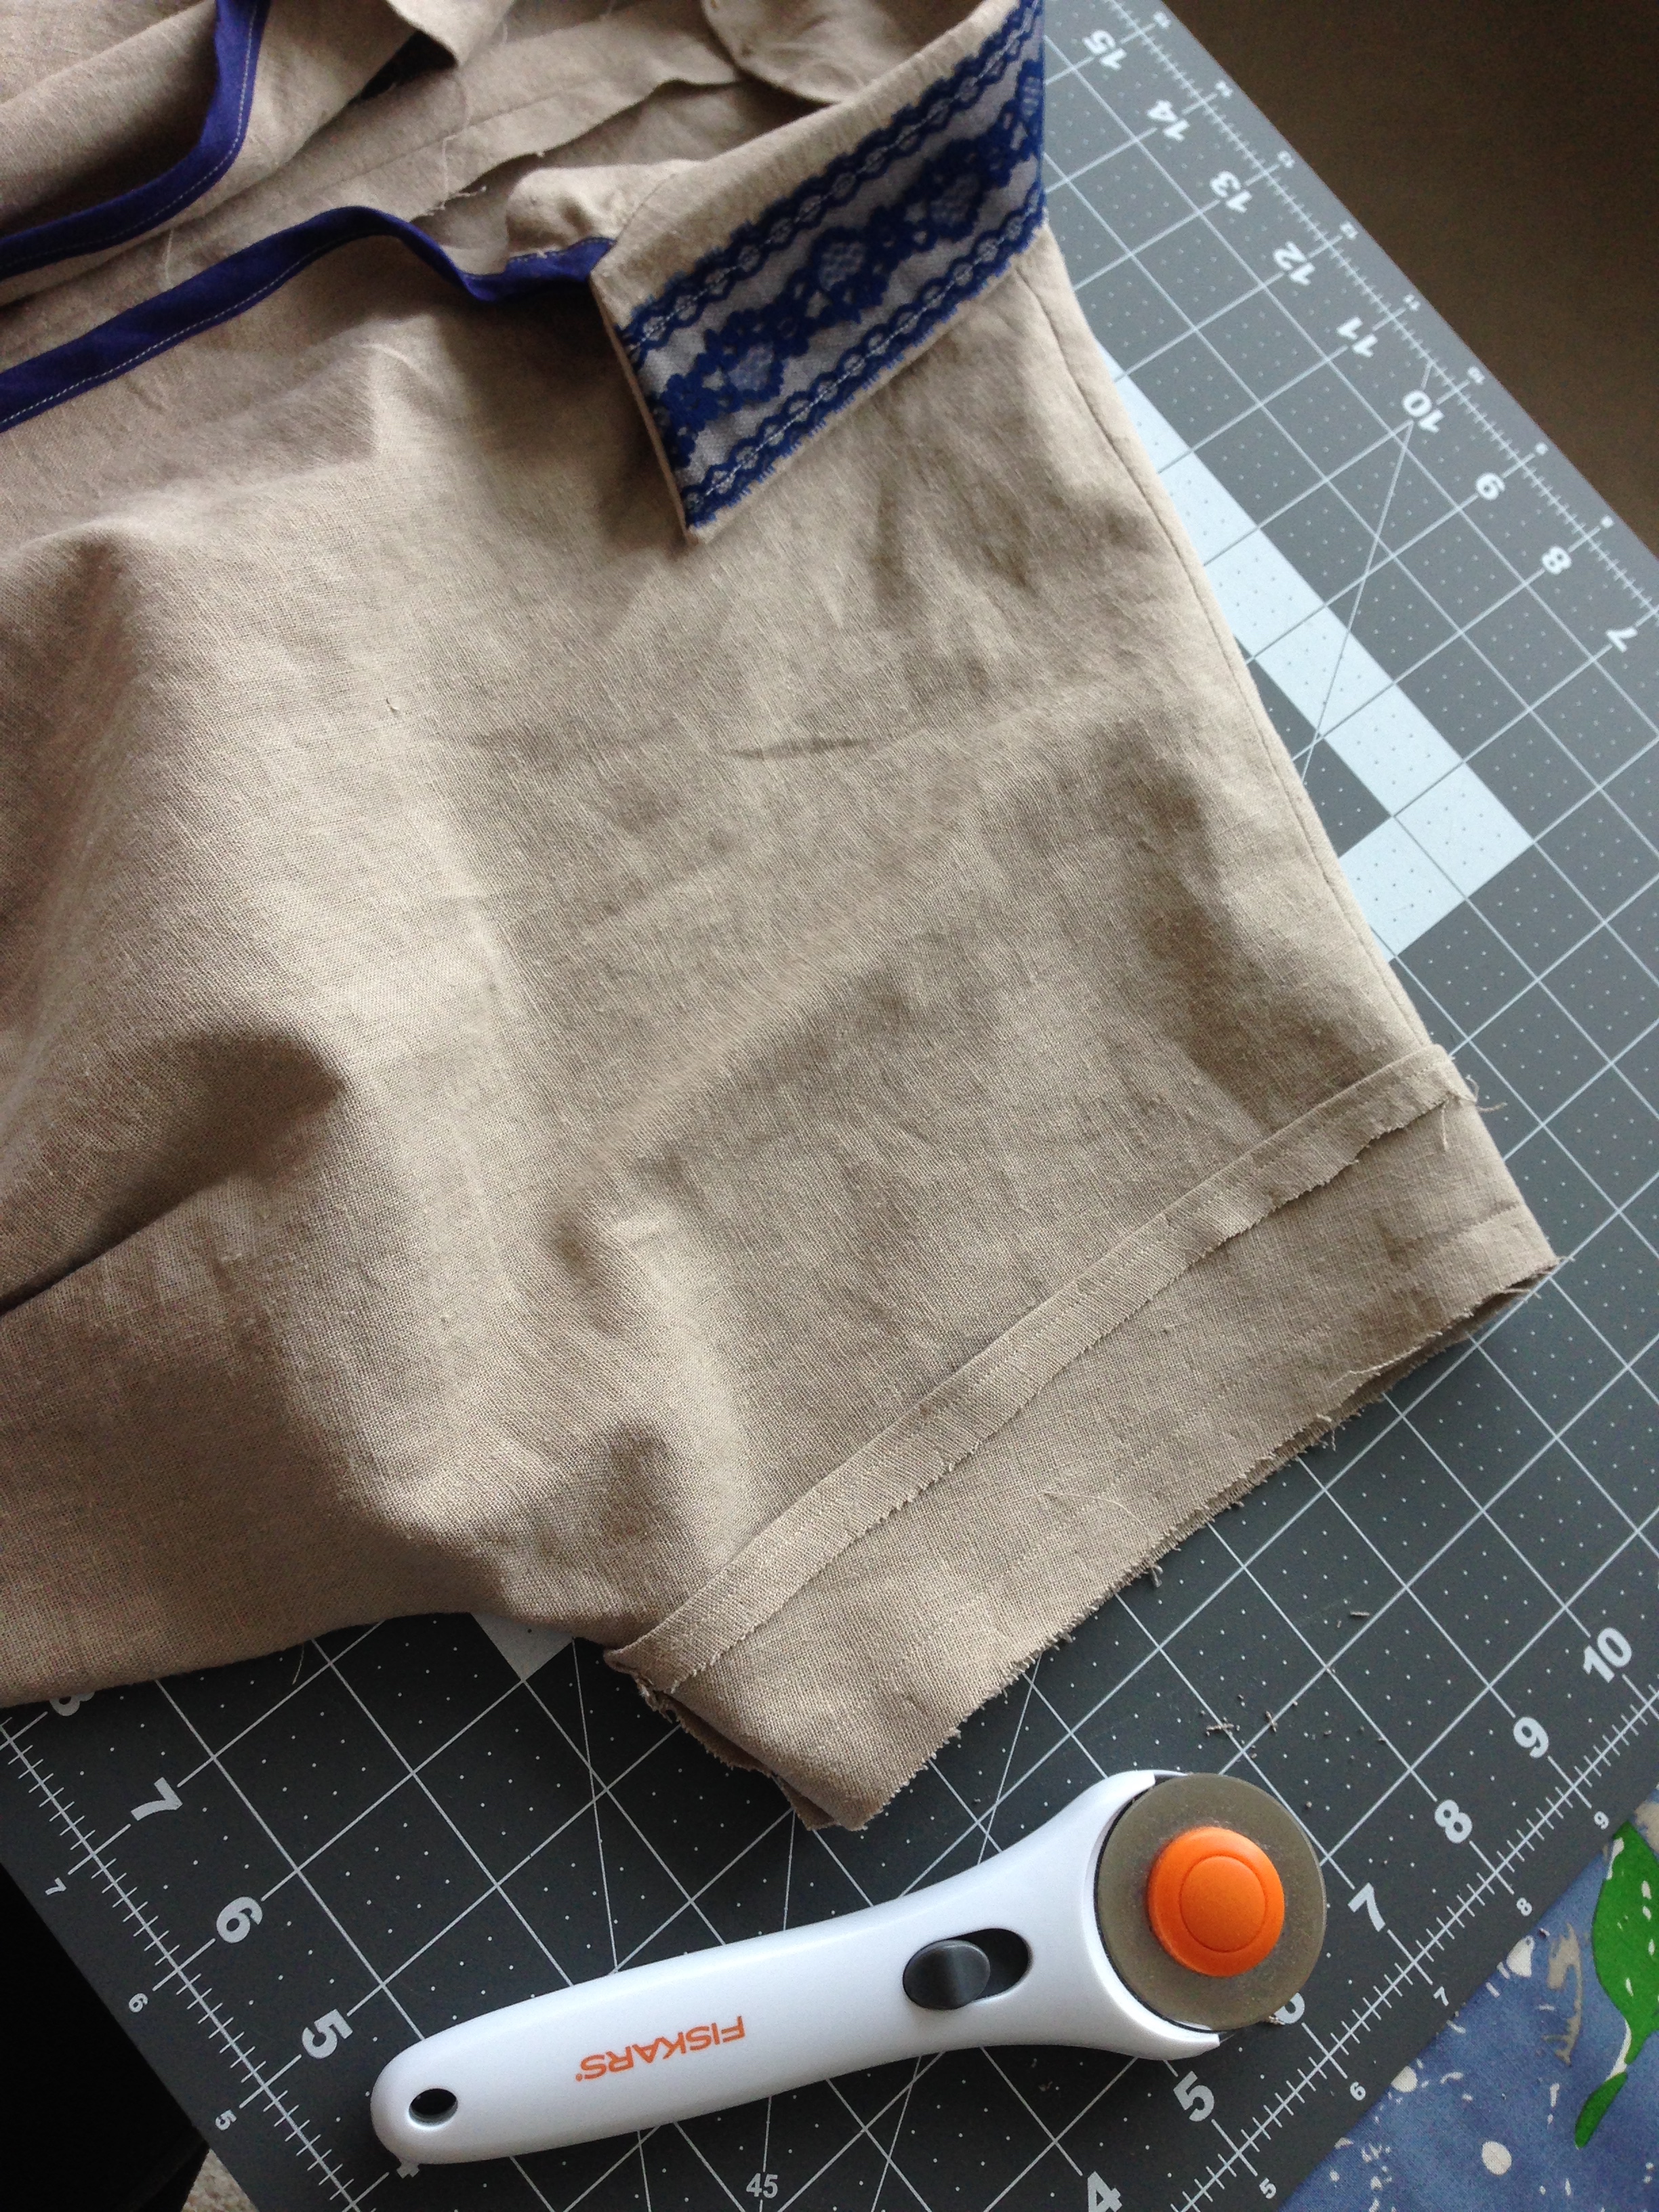
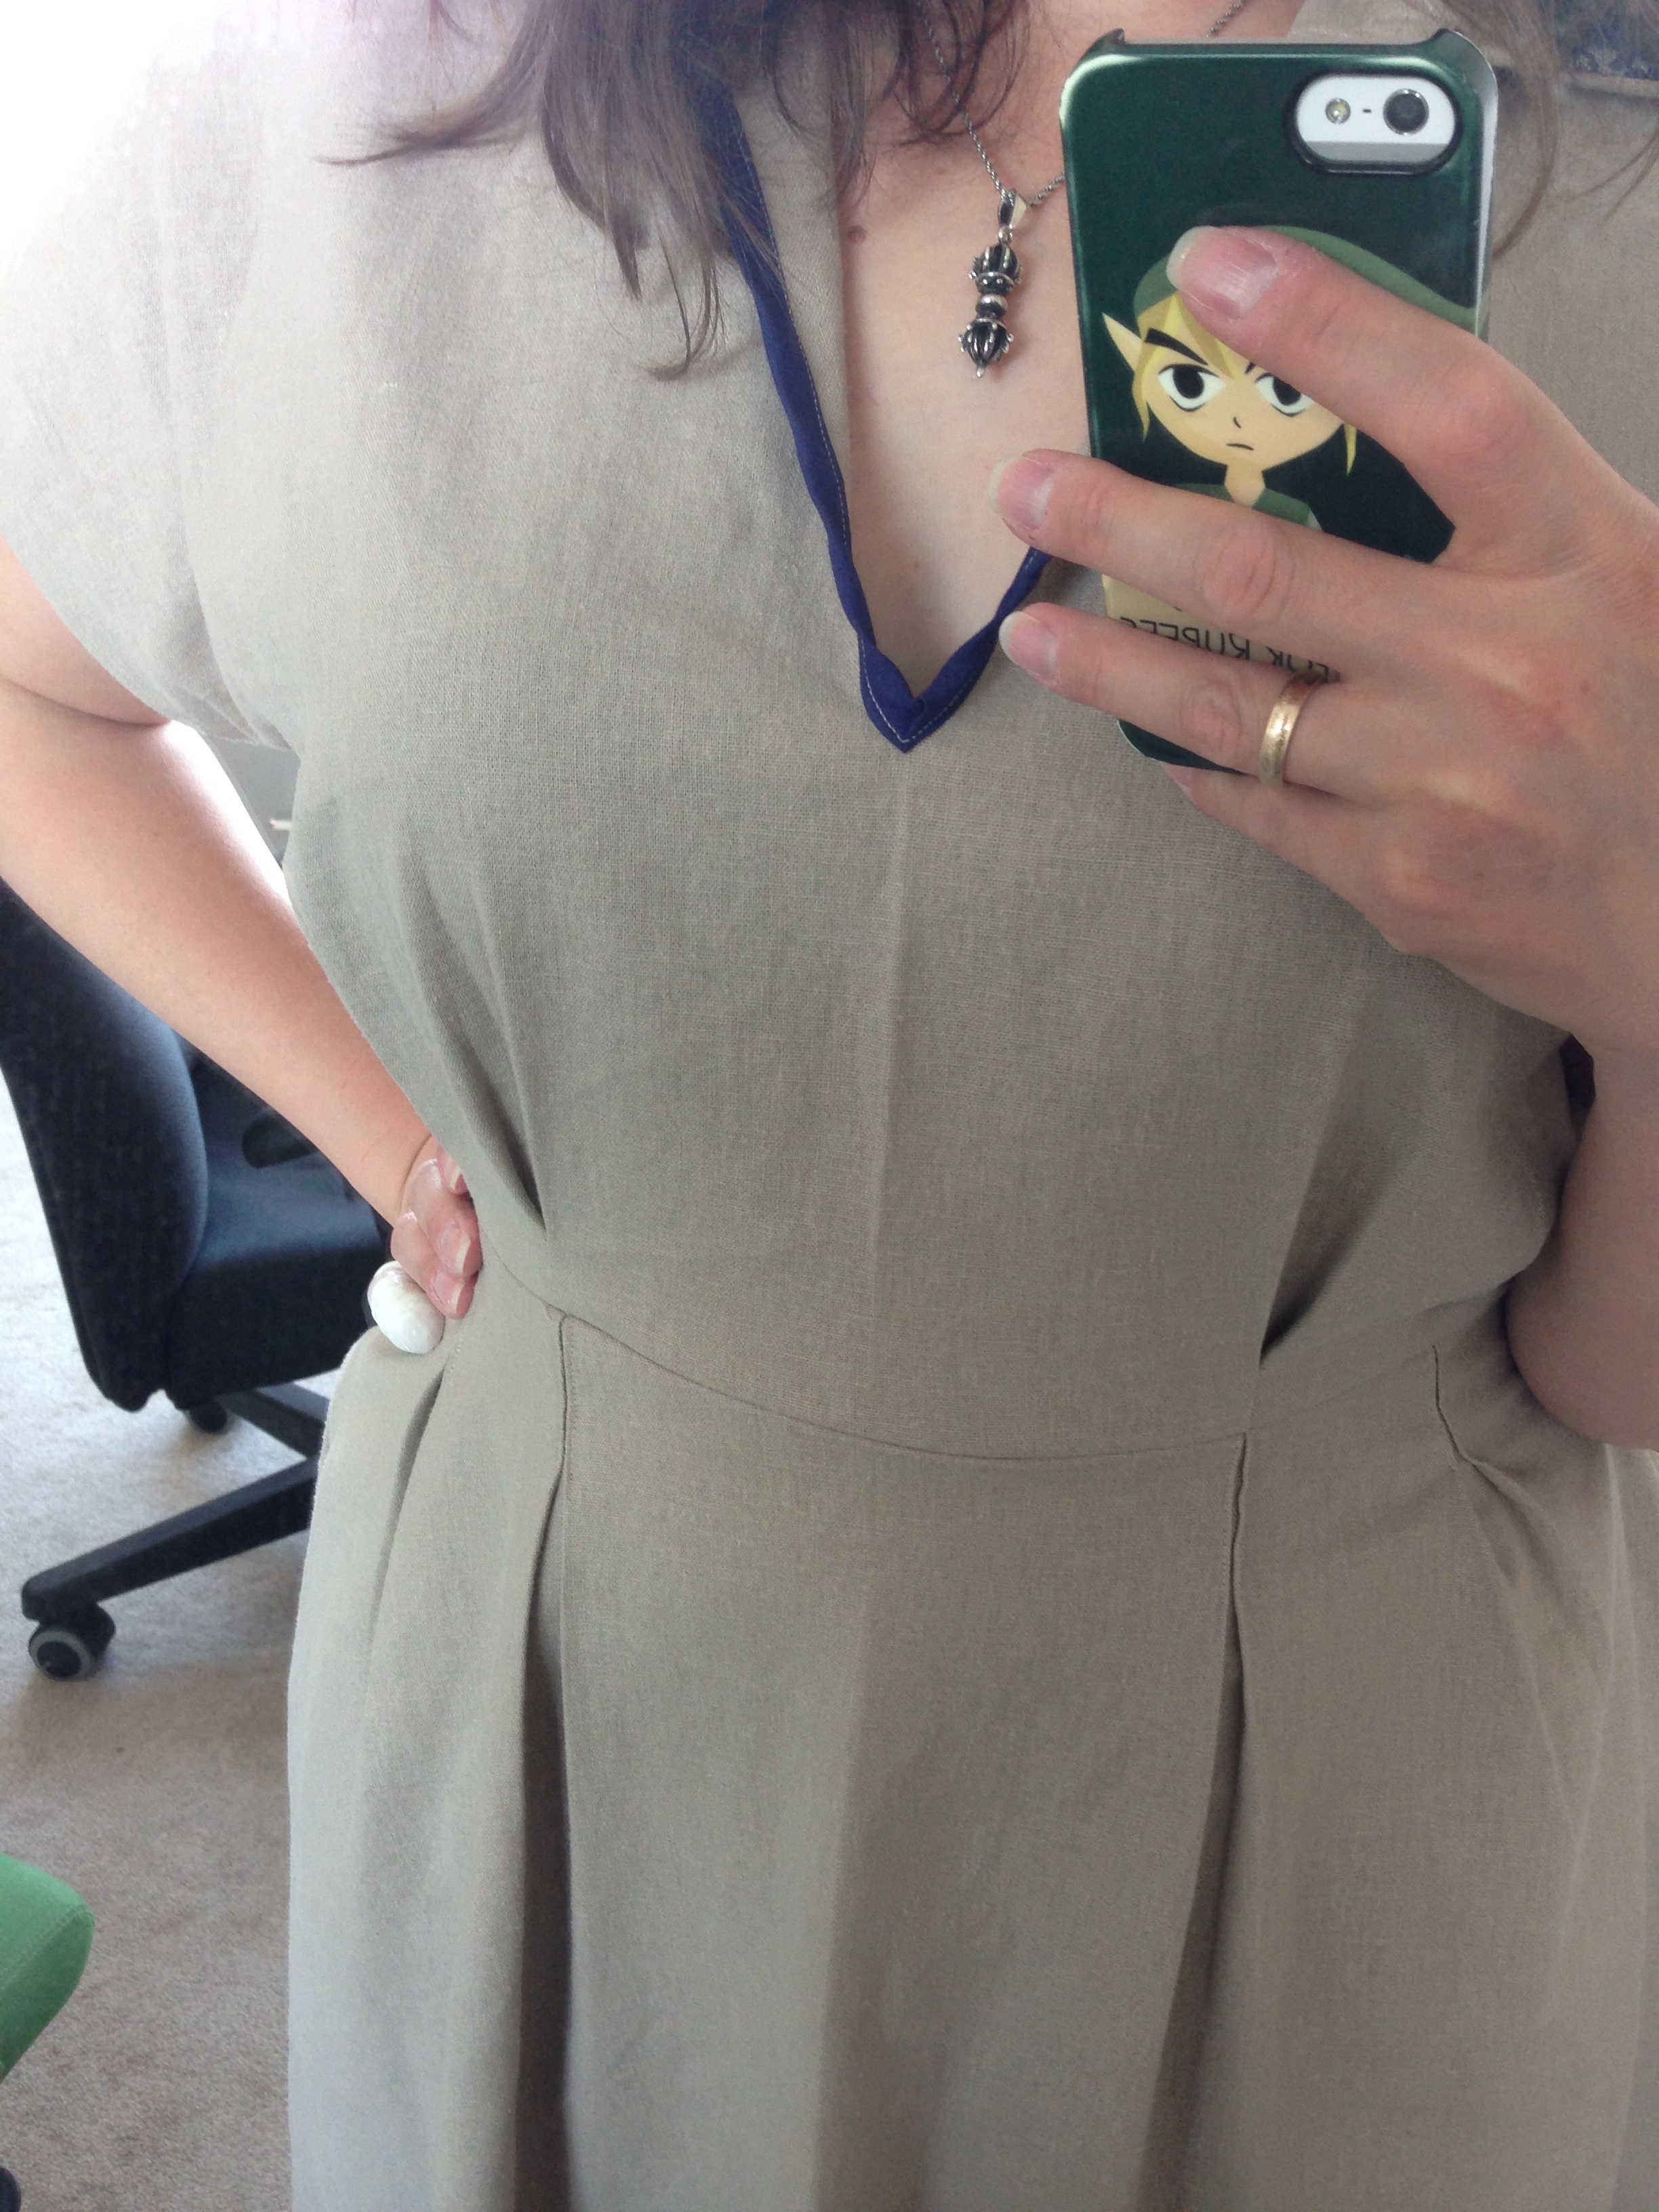
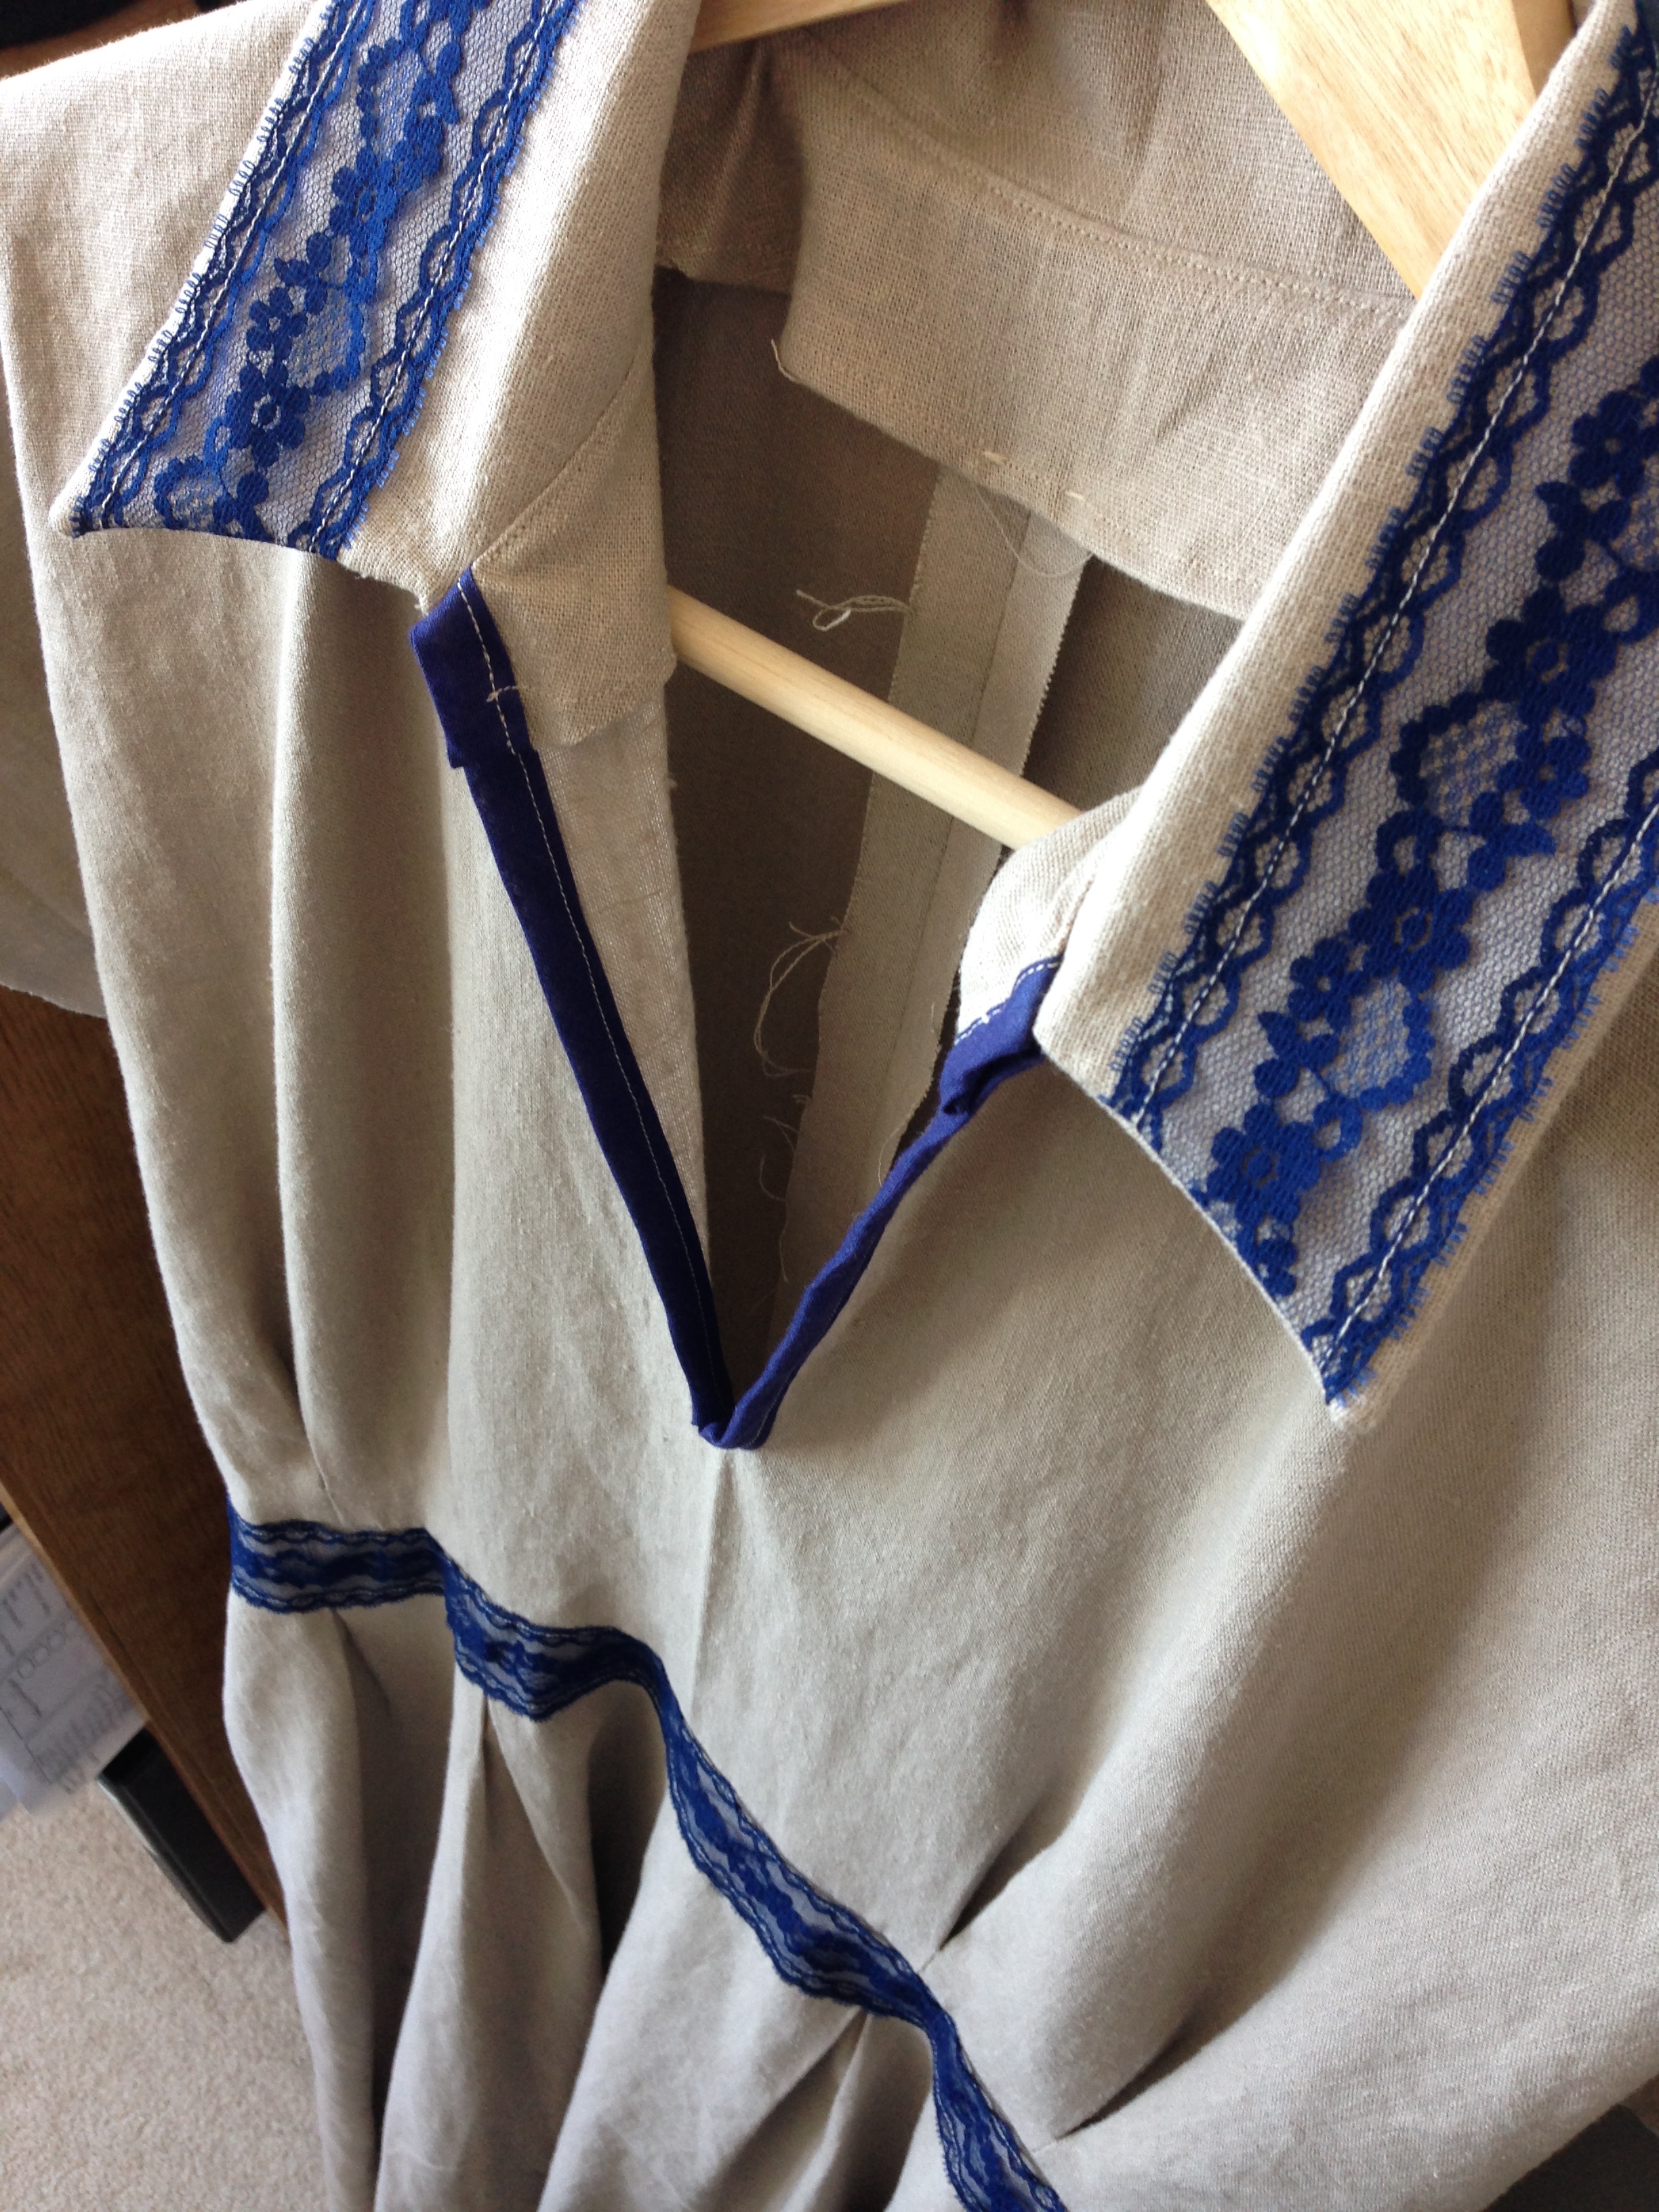
My grand master plan for this dress was to technically Not make this dress. Specifically, after getting the pattern home and reading up on it's construction, I realized that the dress was done up using 12 hidden welt button holes all up the front of the dress. Nuuuuuupe. Not going there in a linen dress. So I edited the pattern so that it would have a V-neck at the collar and a side zipper for boob-ular access. Sounds complicated but essentially I cut the front skirt and bodice on the fold and made a slit in the bodice front for the V-neck, finishing it with bias tape. Bam!  

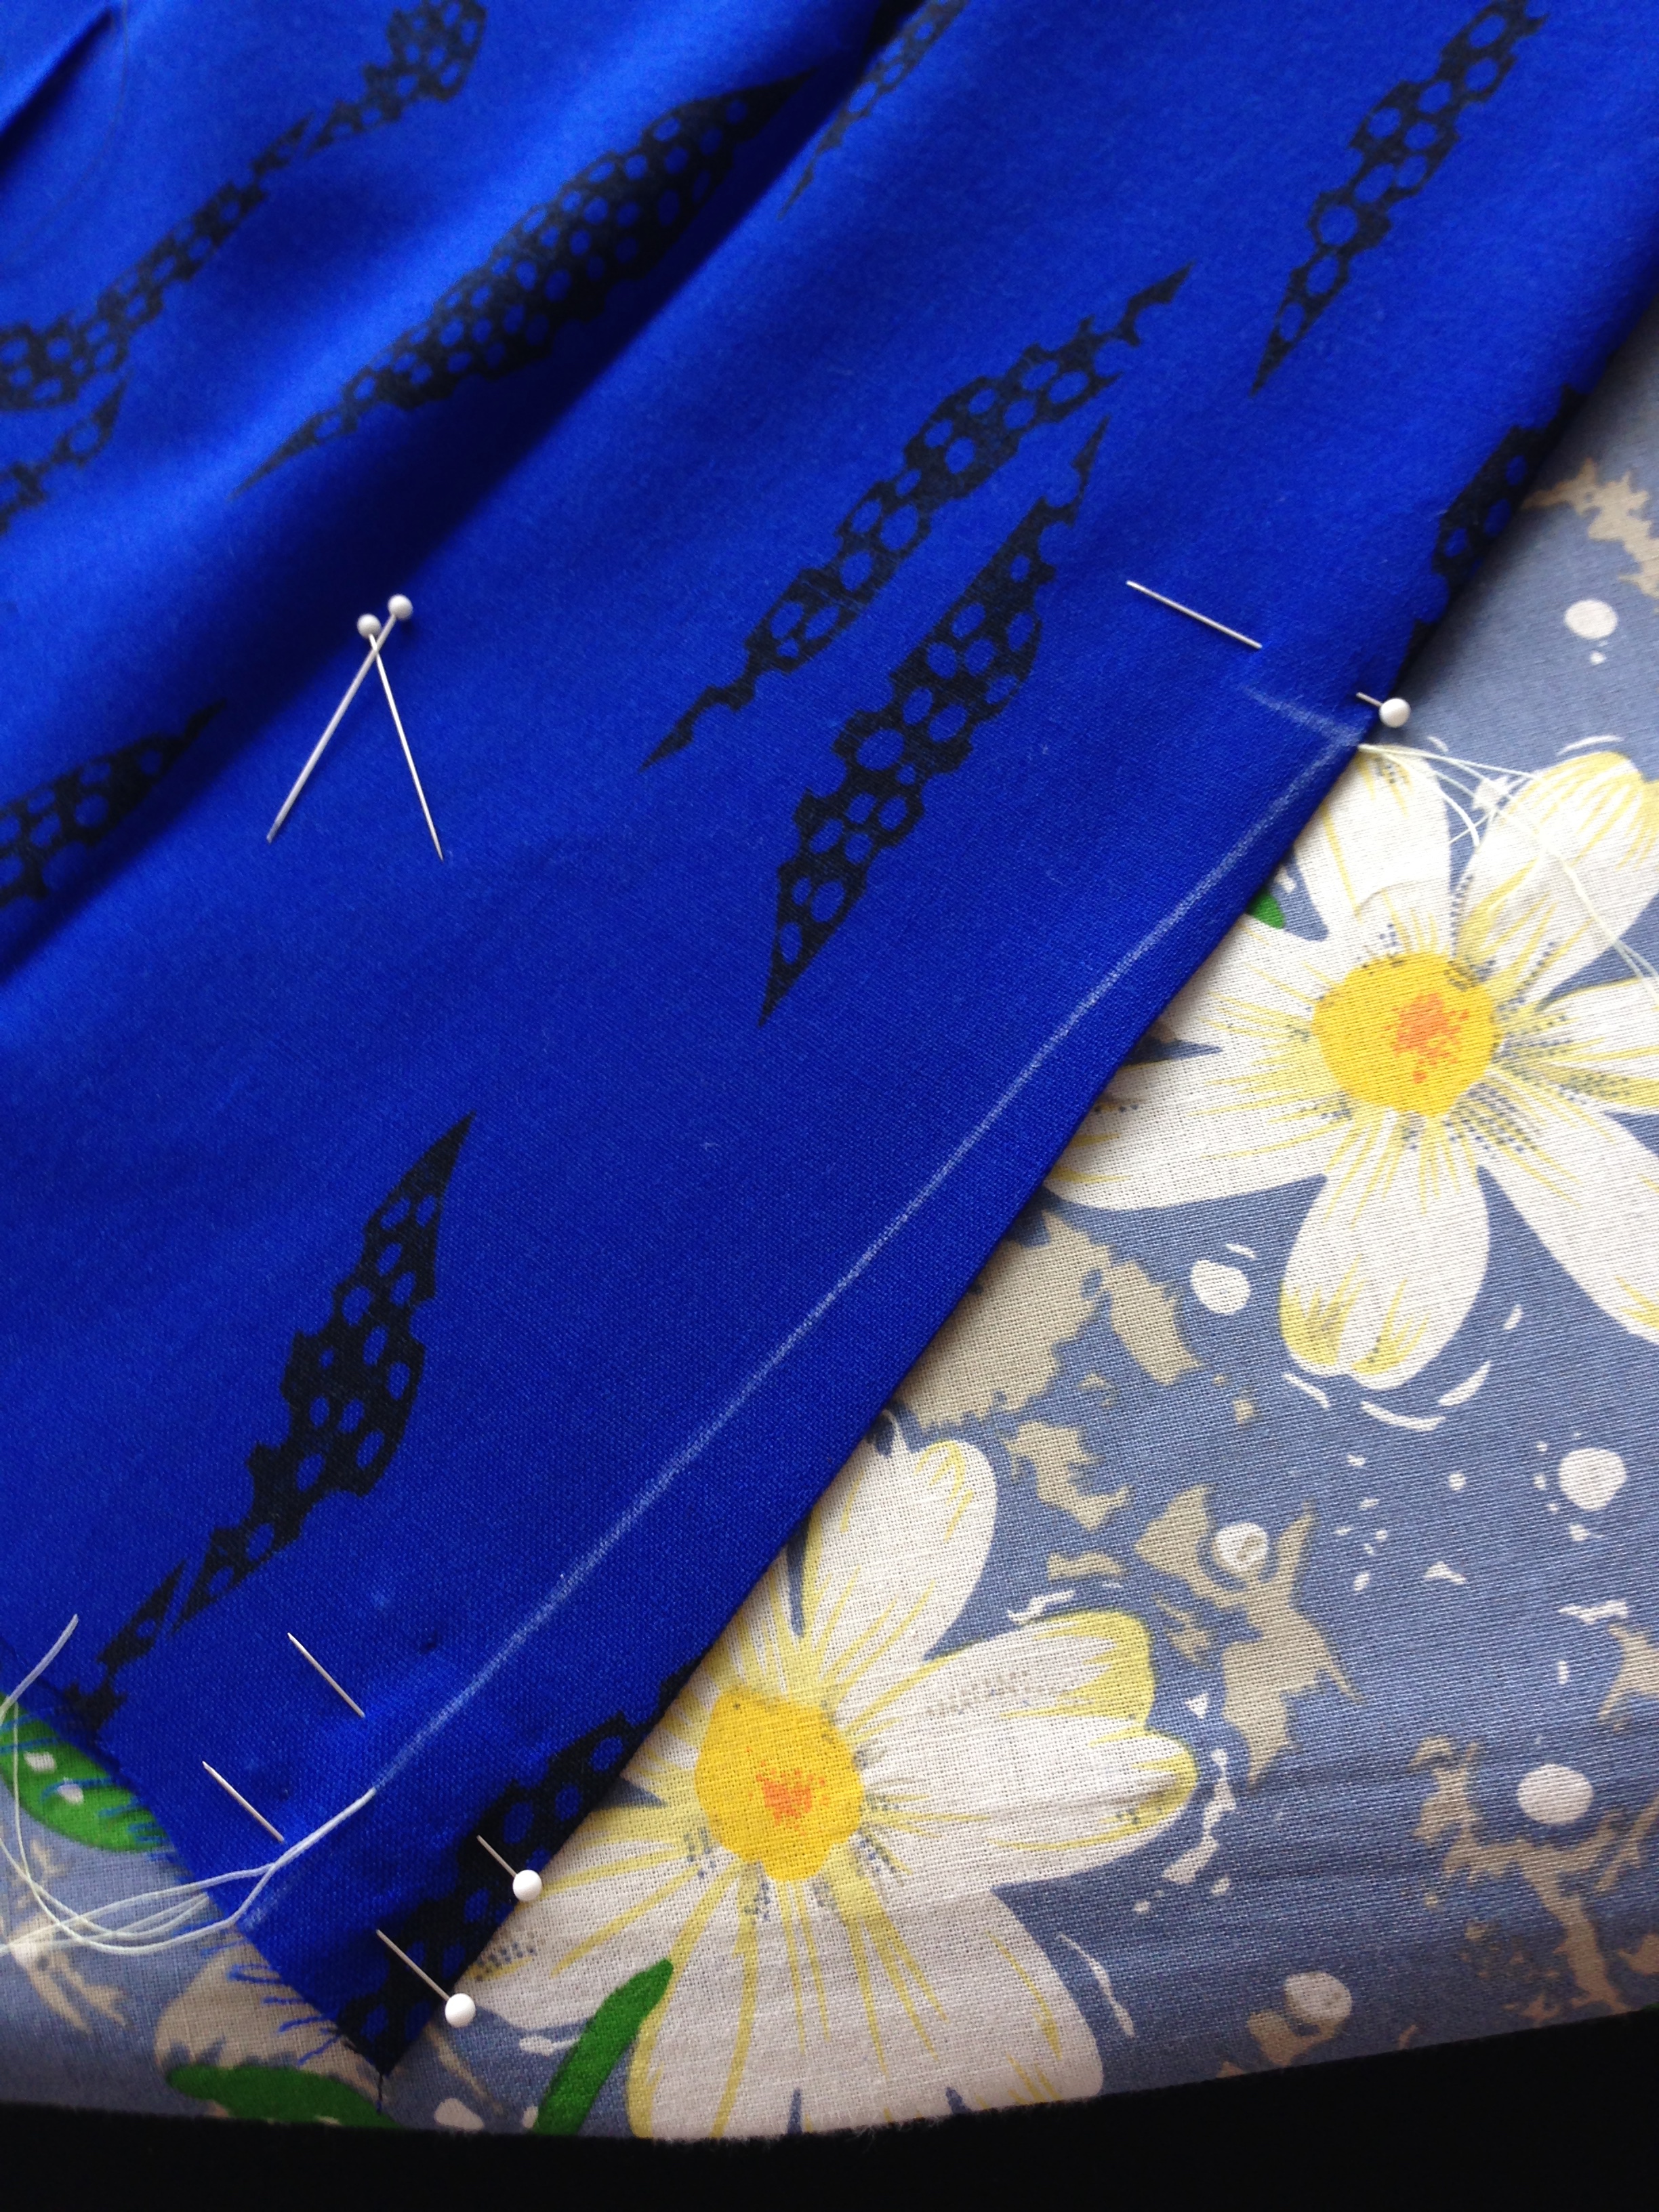
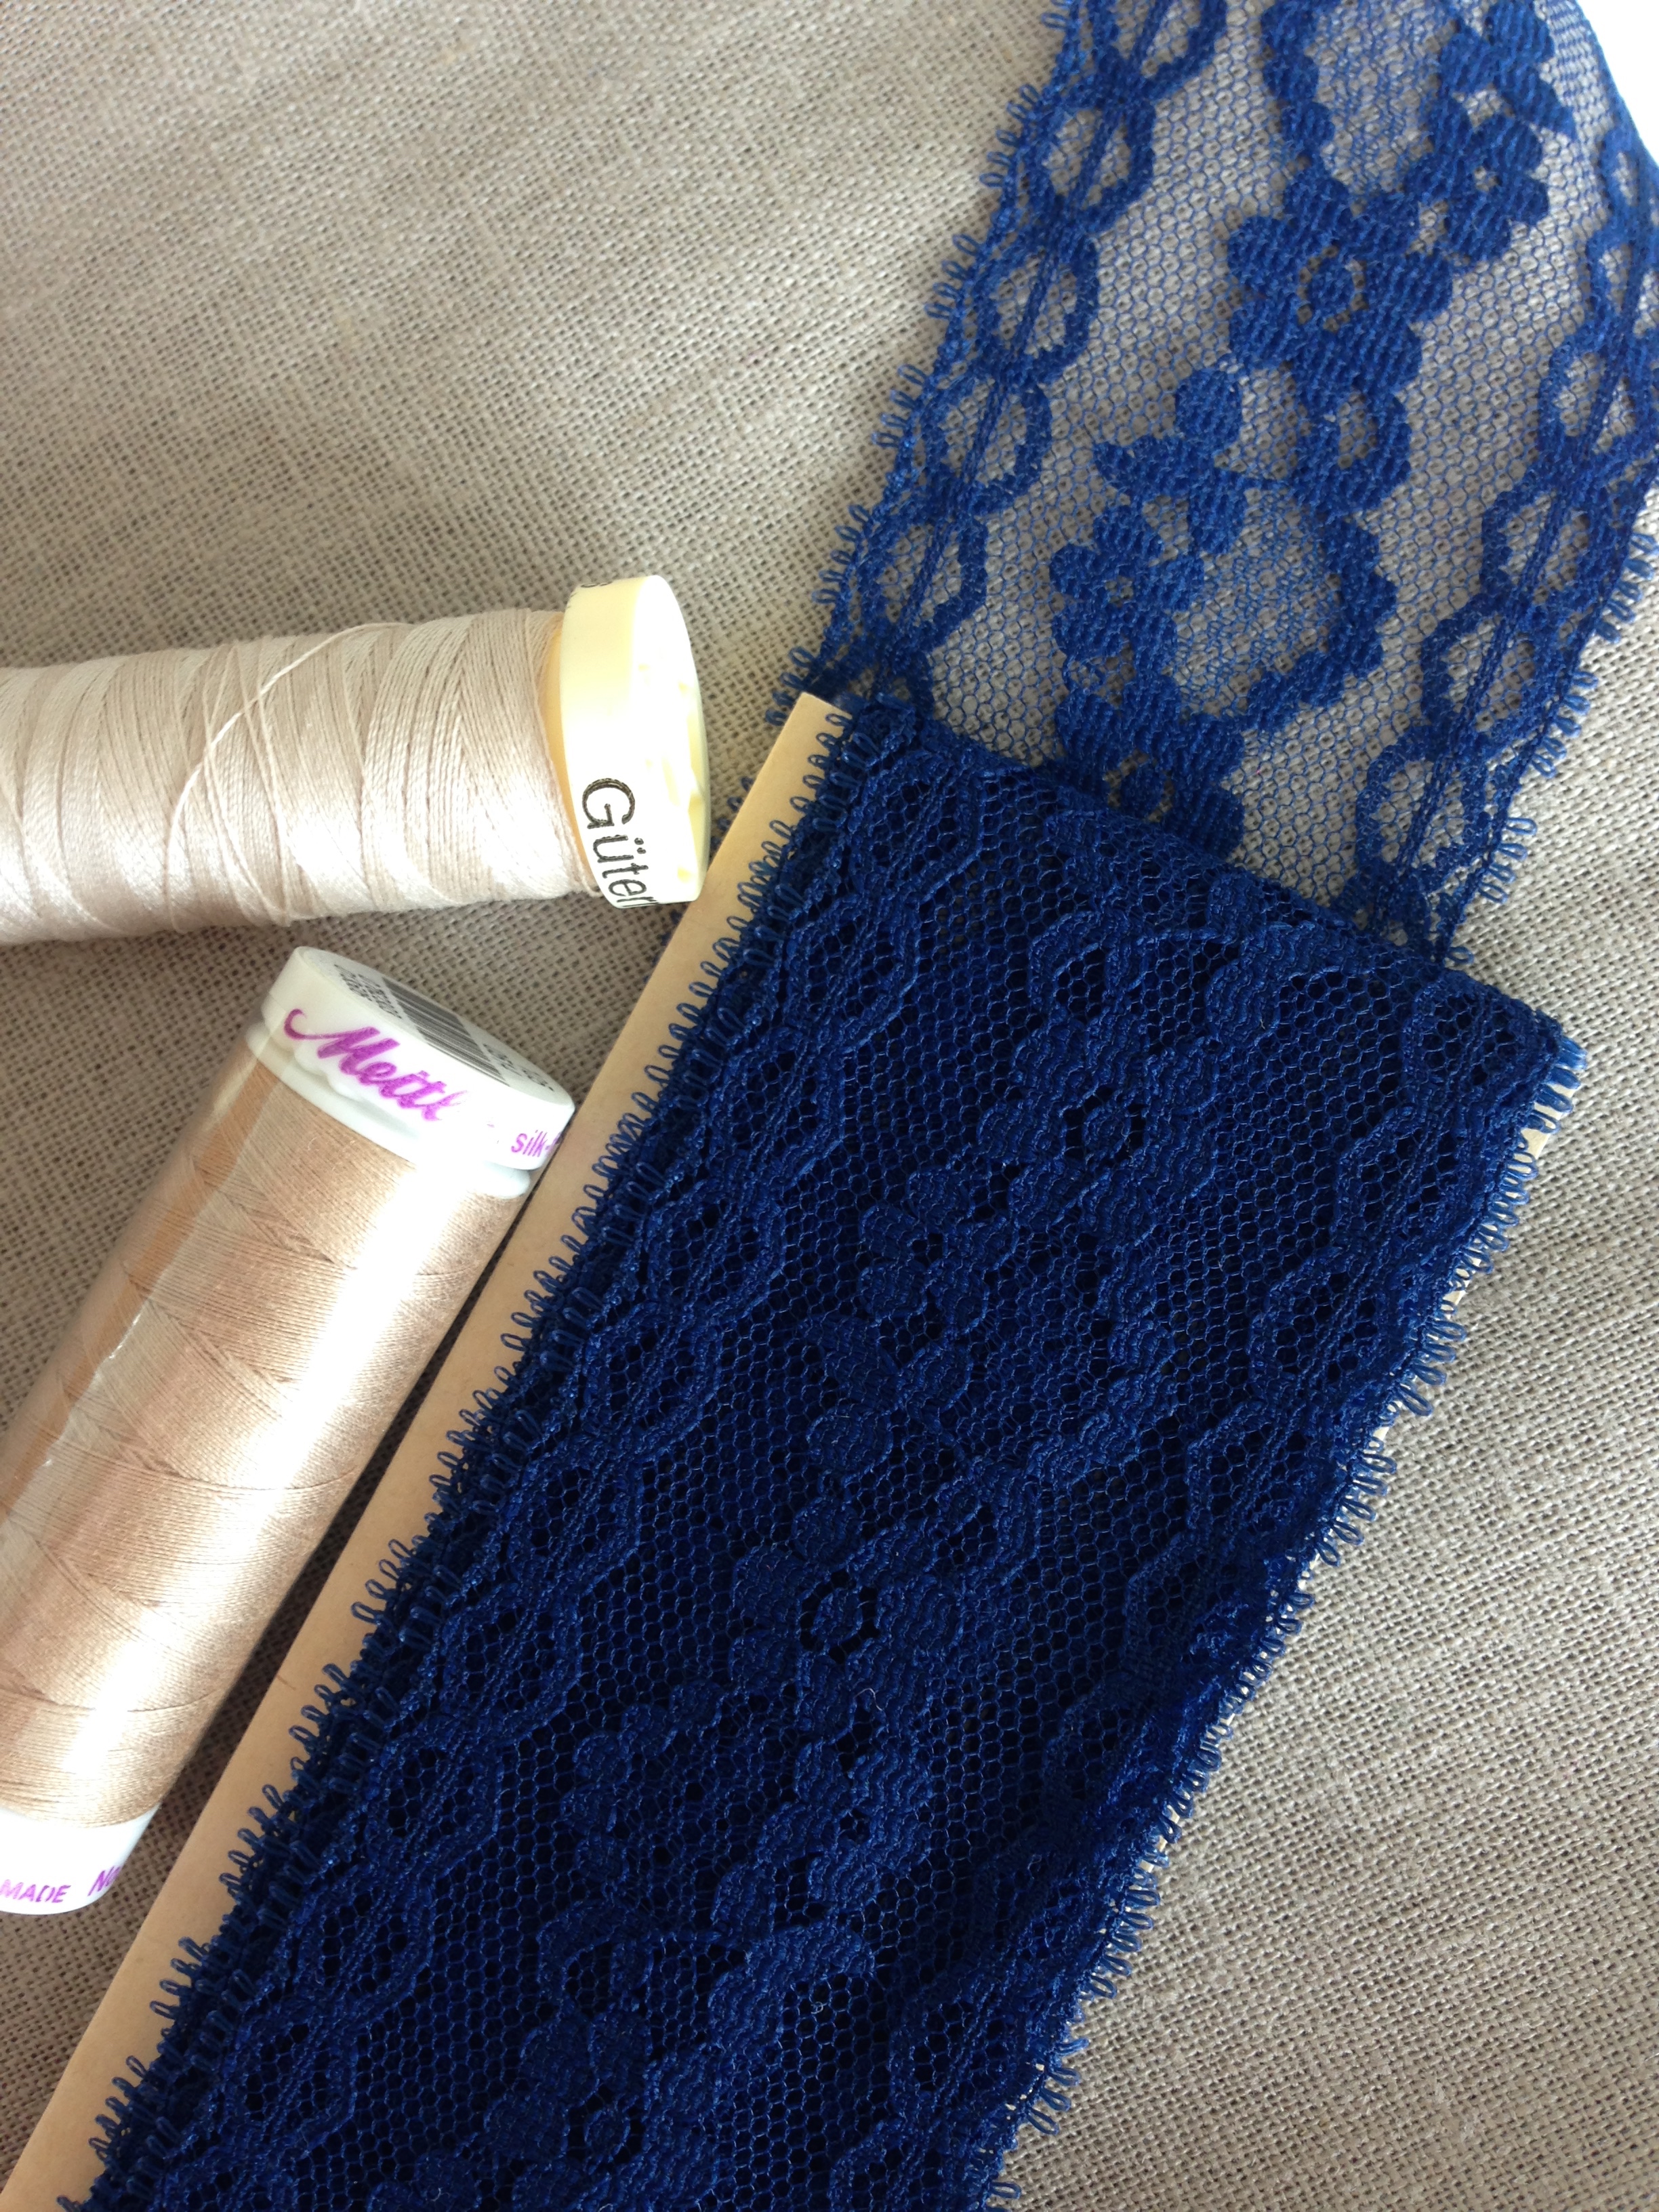
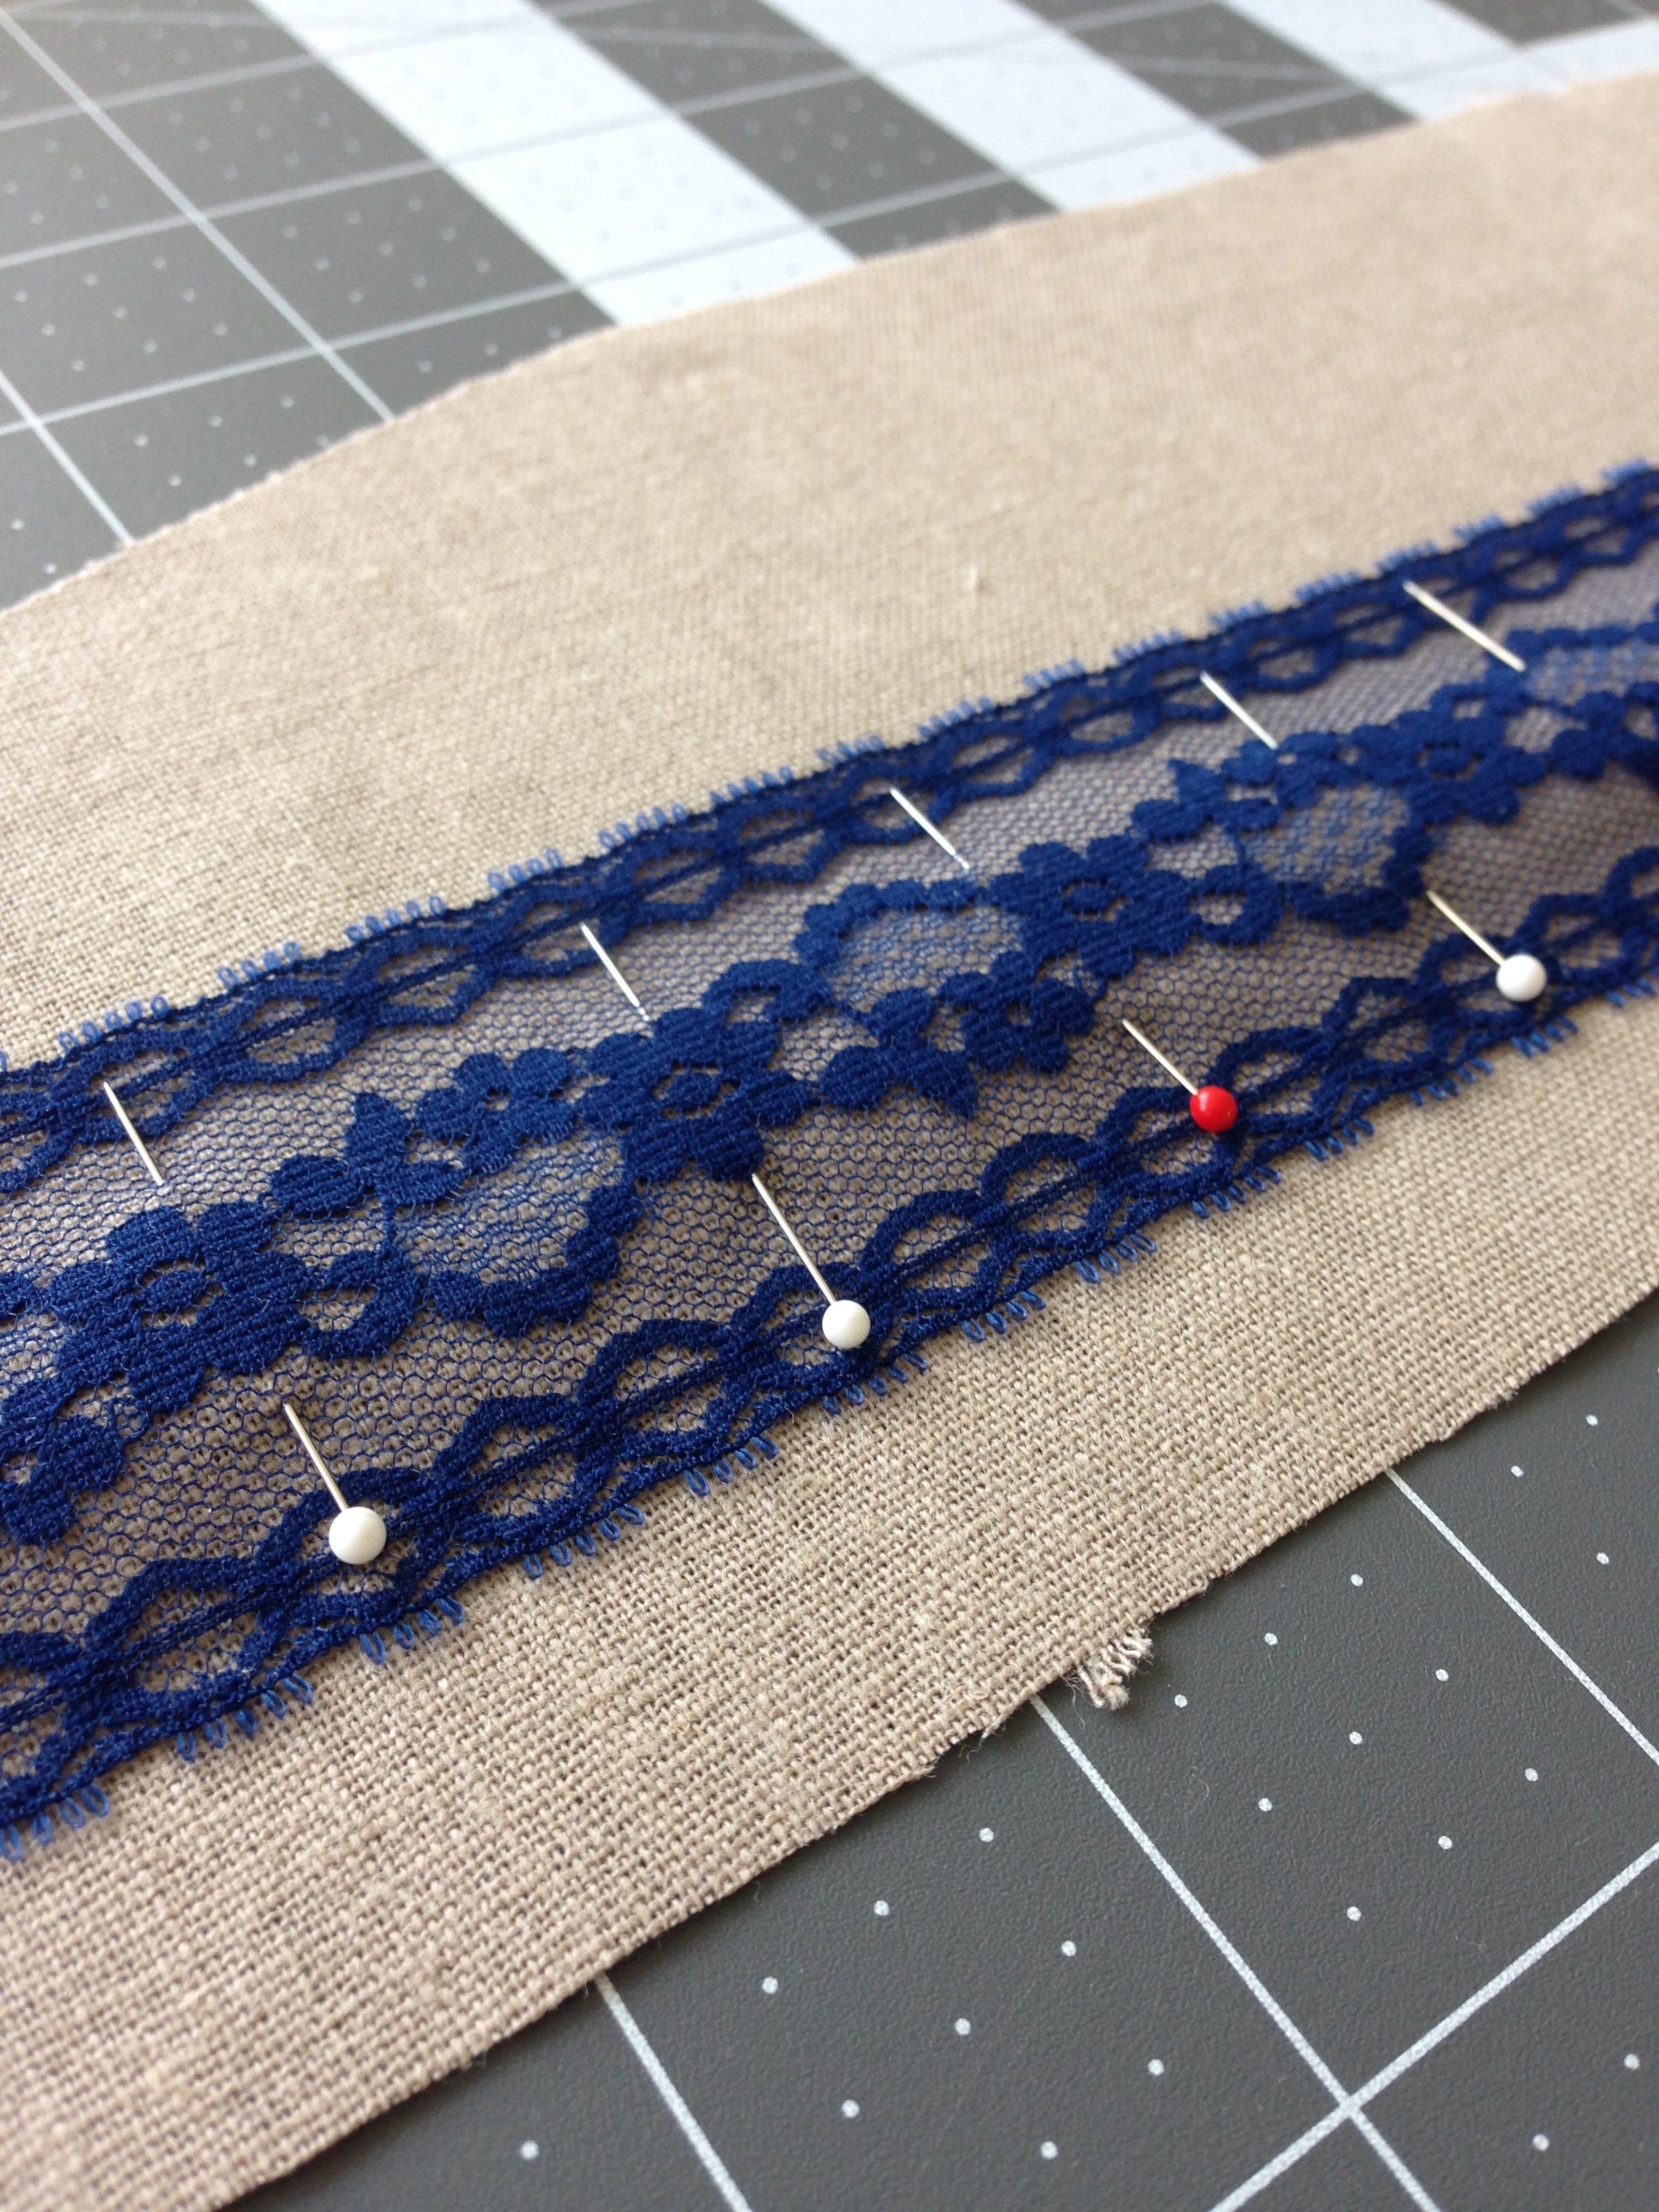
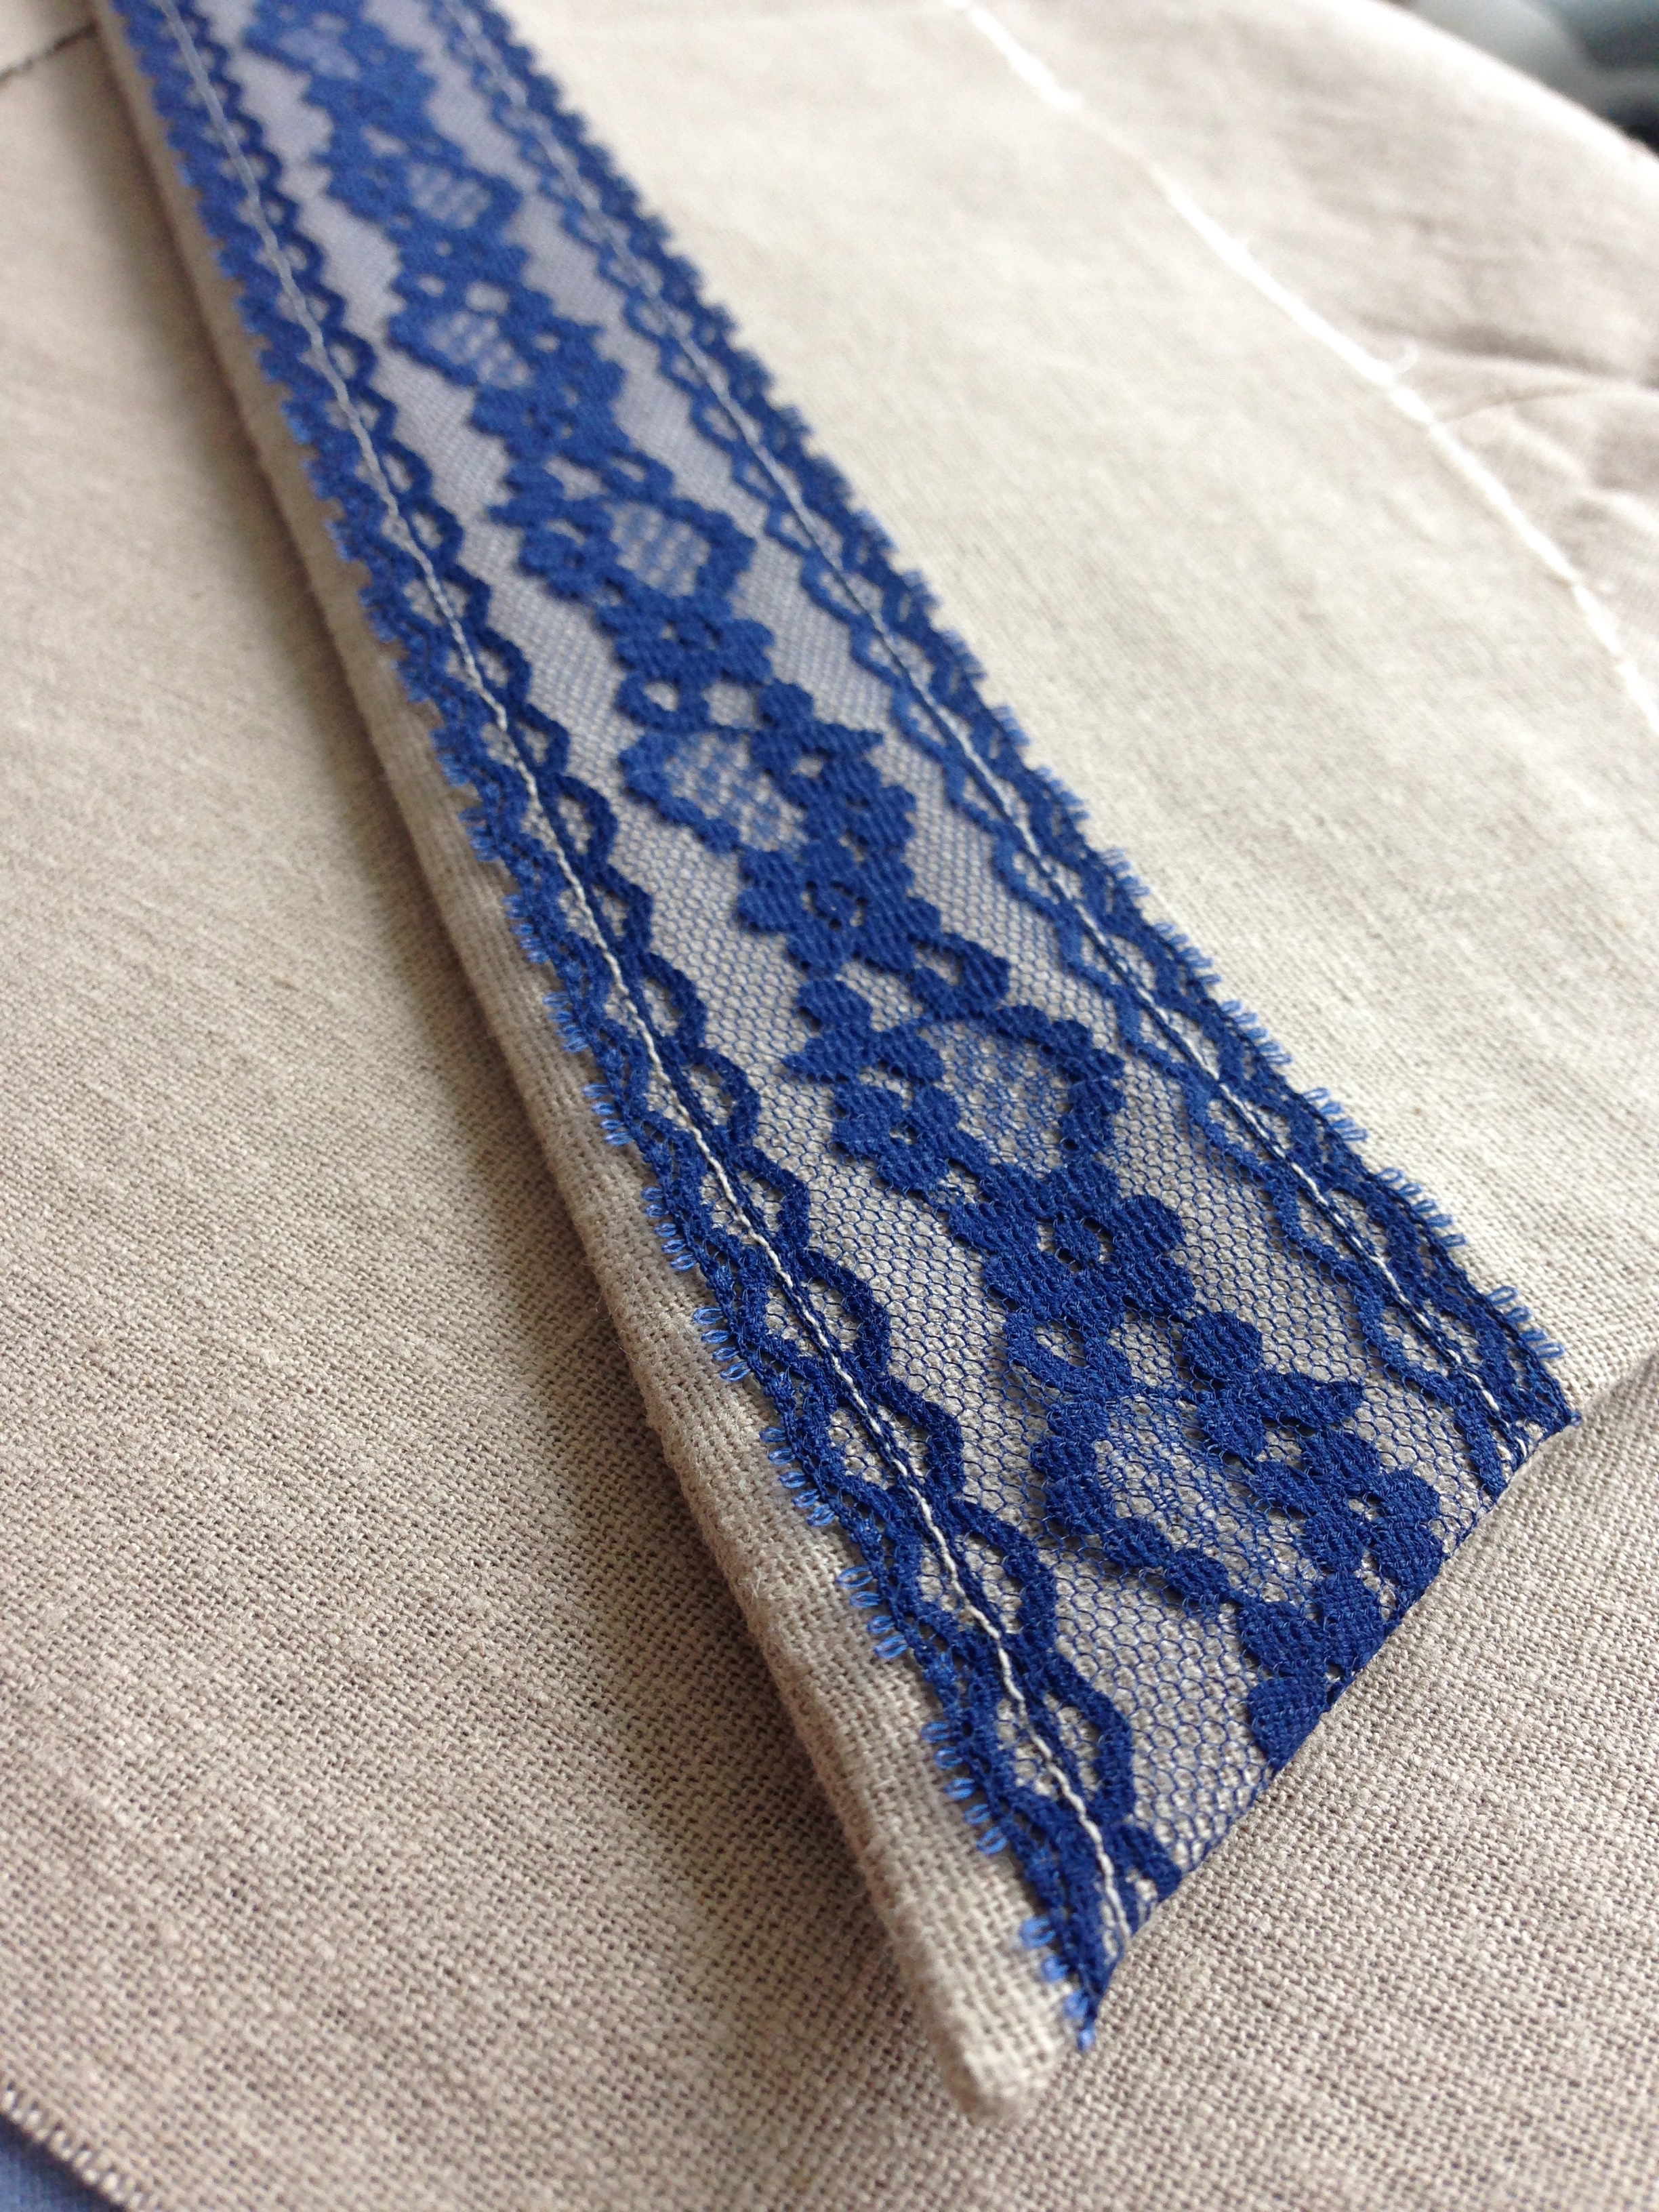
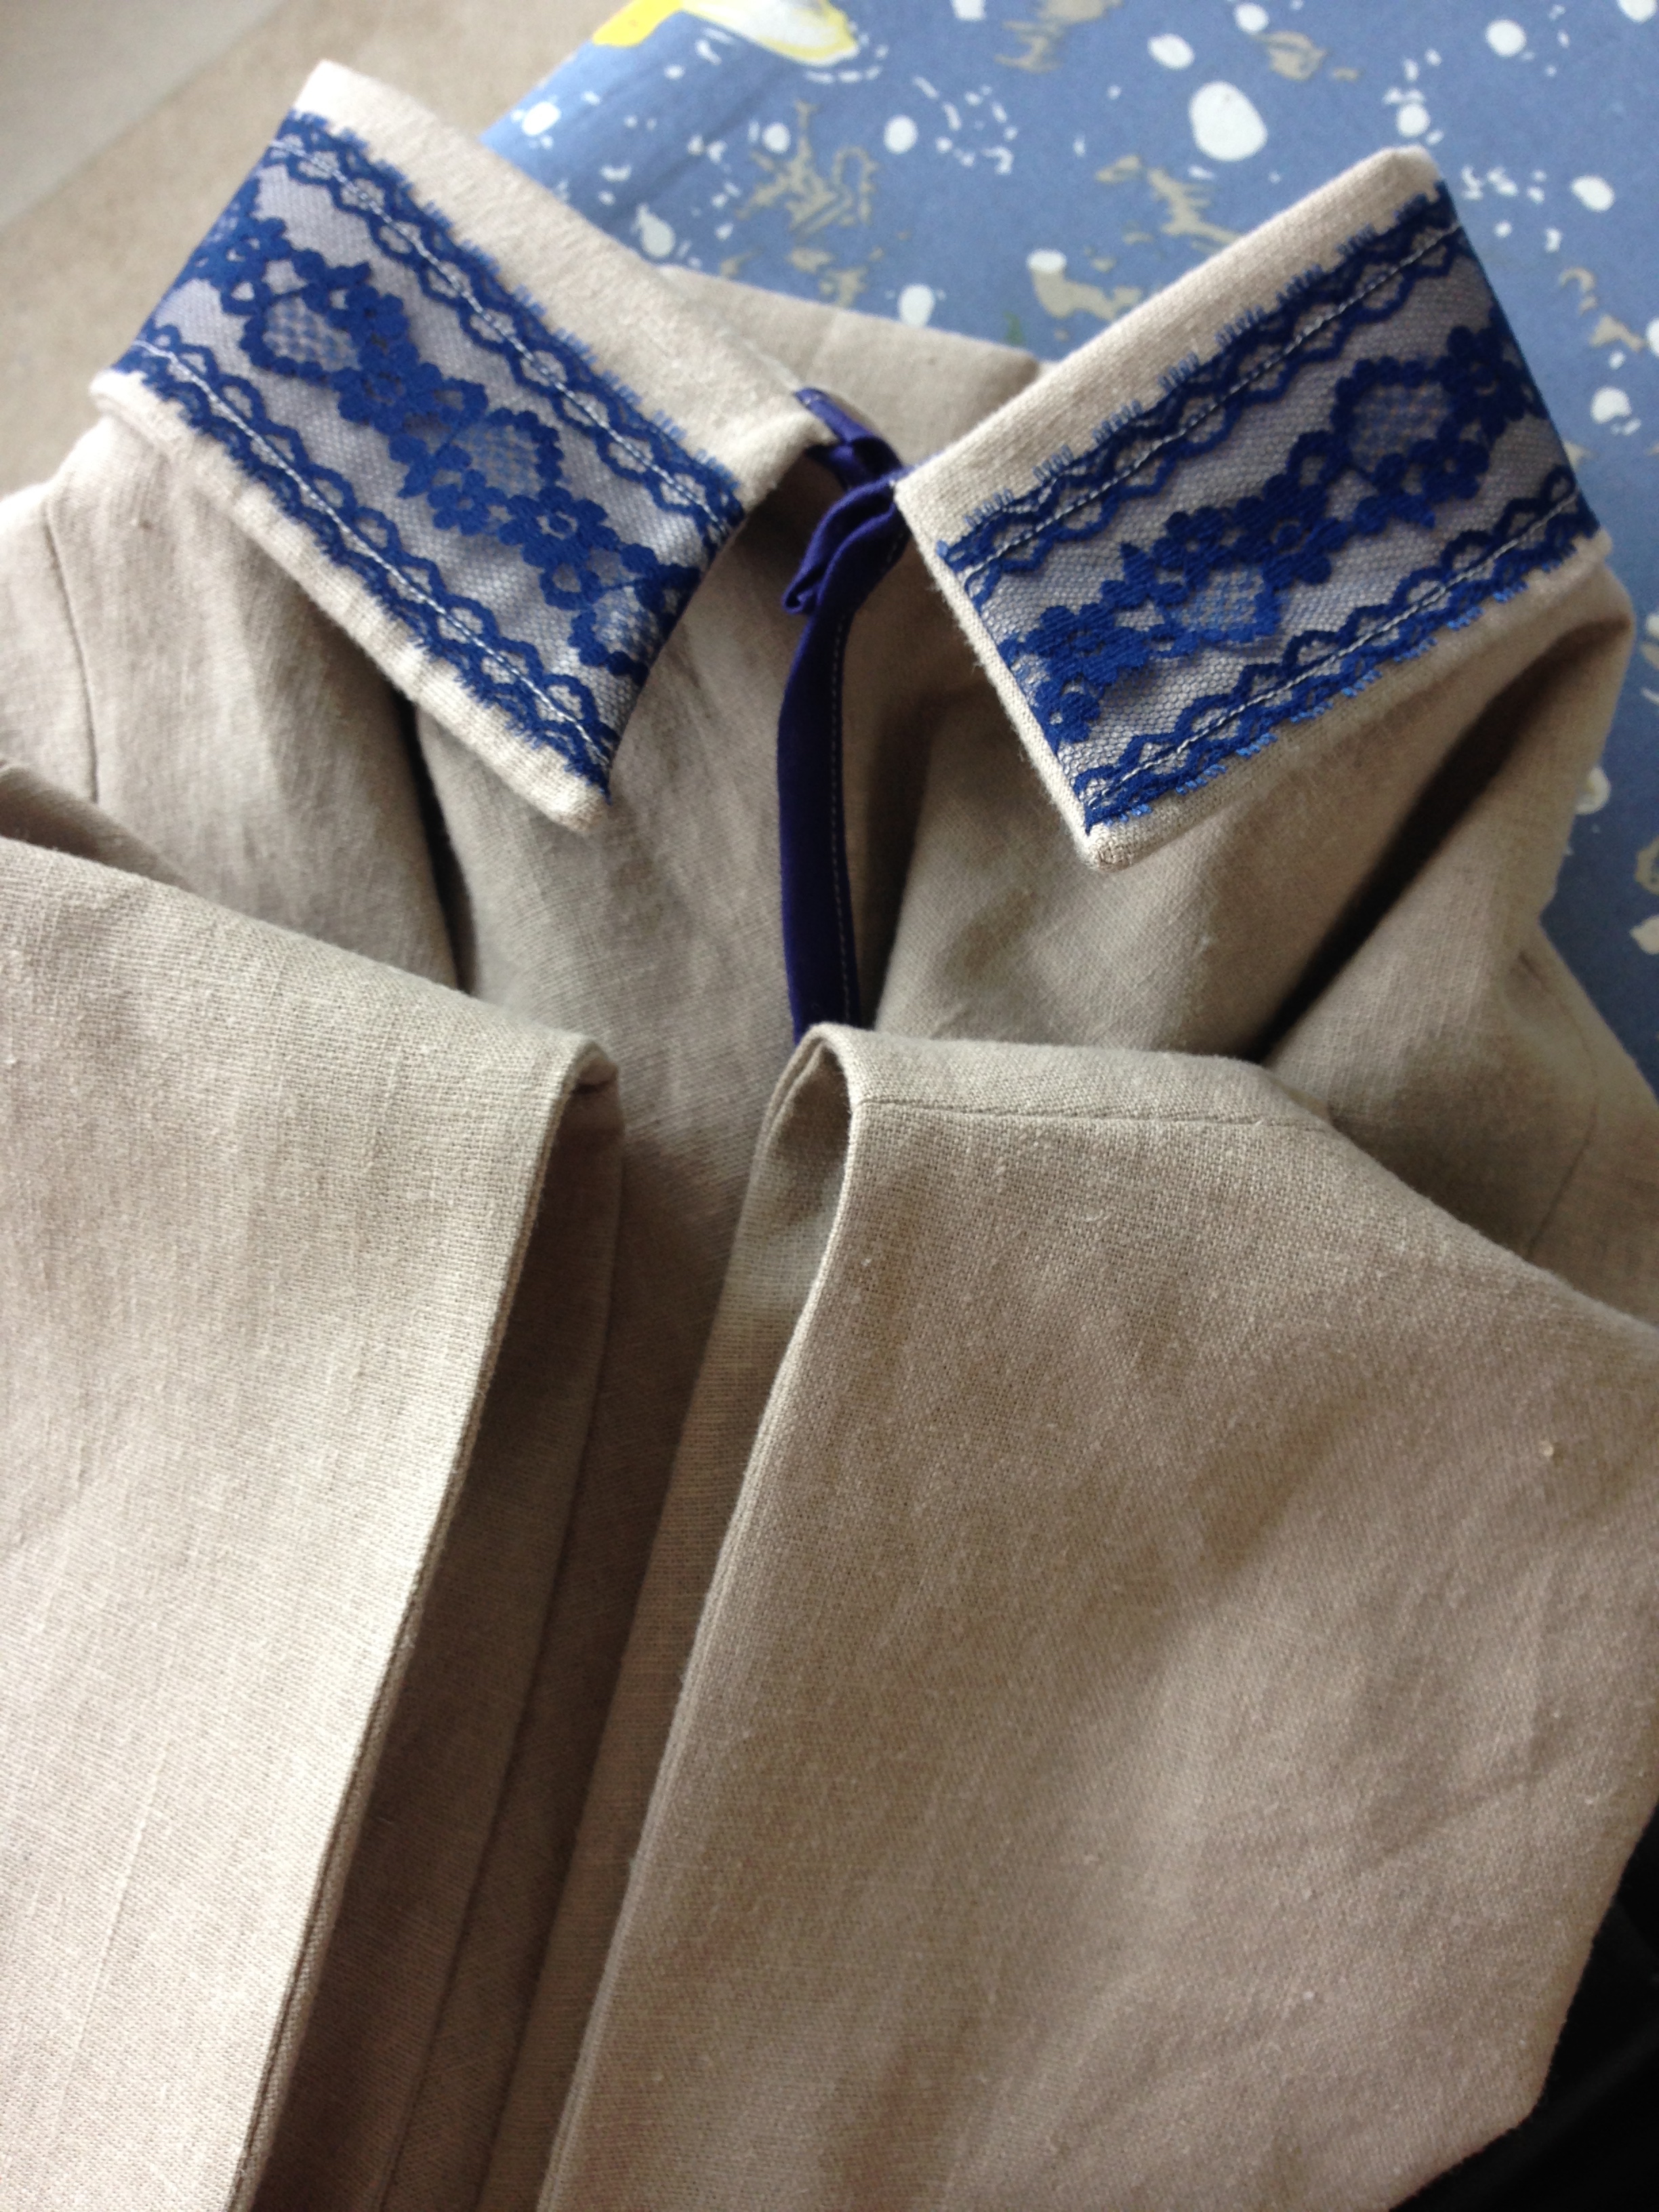
Another grand master detail was the blue lace. I have this old wicker sewing kit, an heirloom from my grandmother, and inside it is about a million different laces, bias tapes, ribbons and appliqués. This lace is my favourite. Delicate and feminine but not super frilly. 

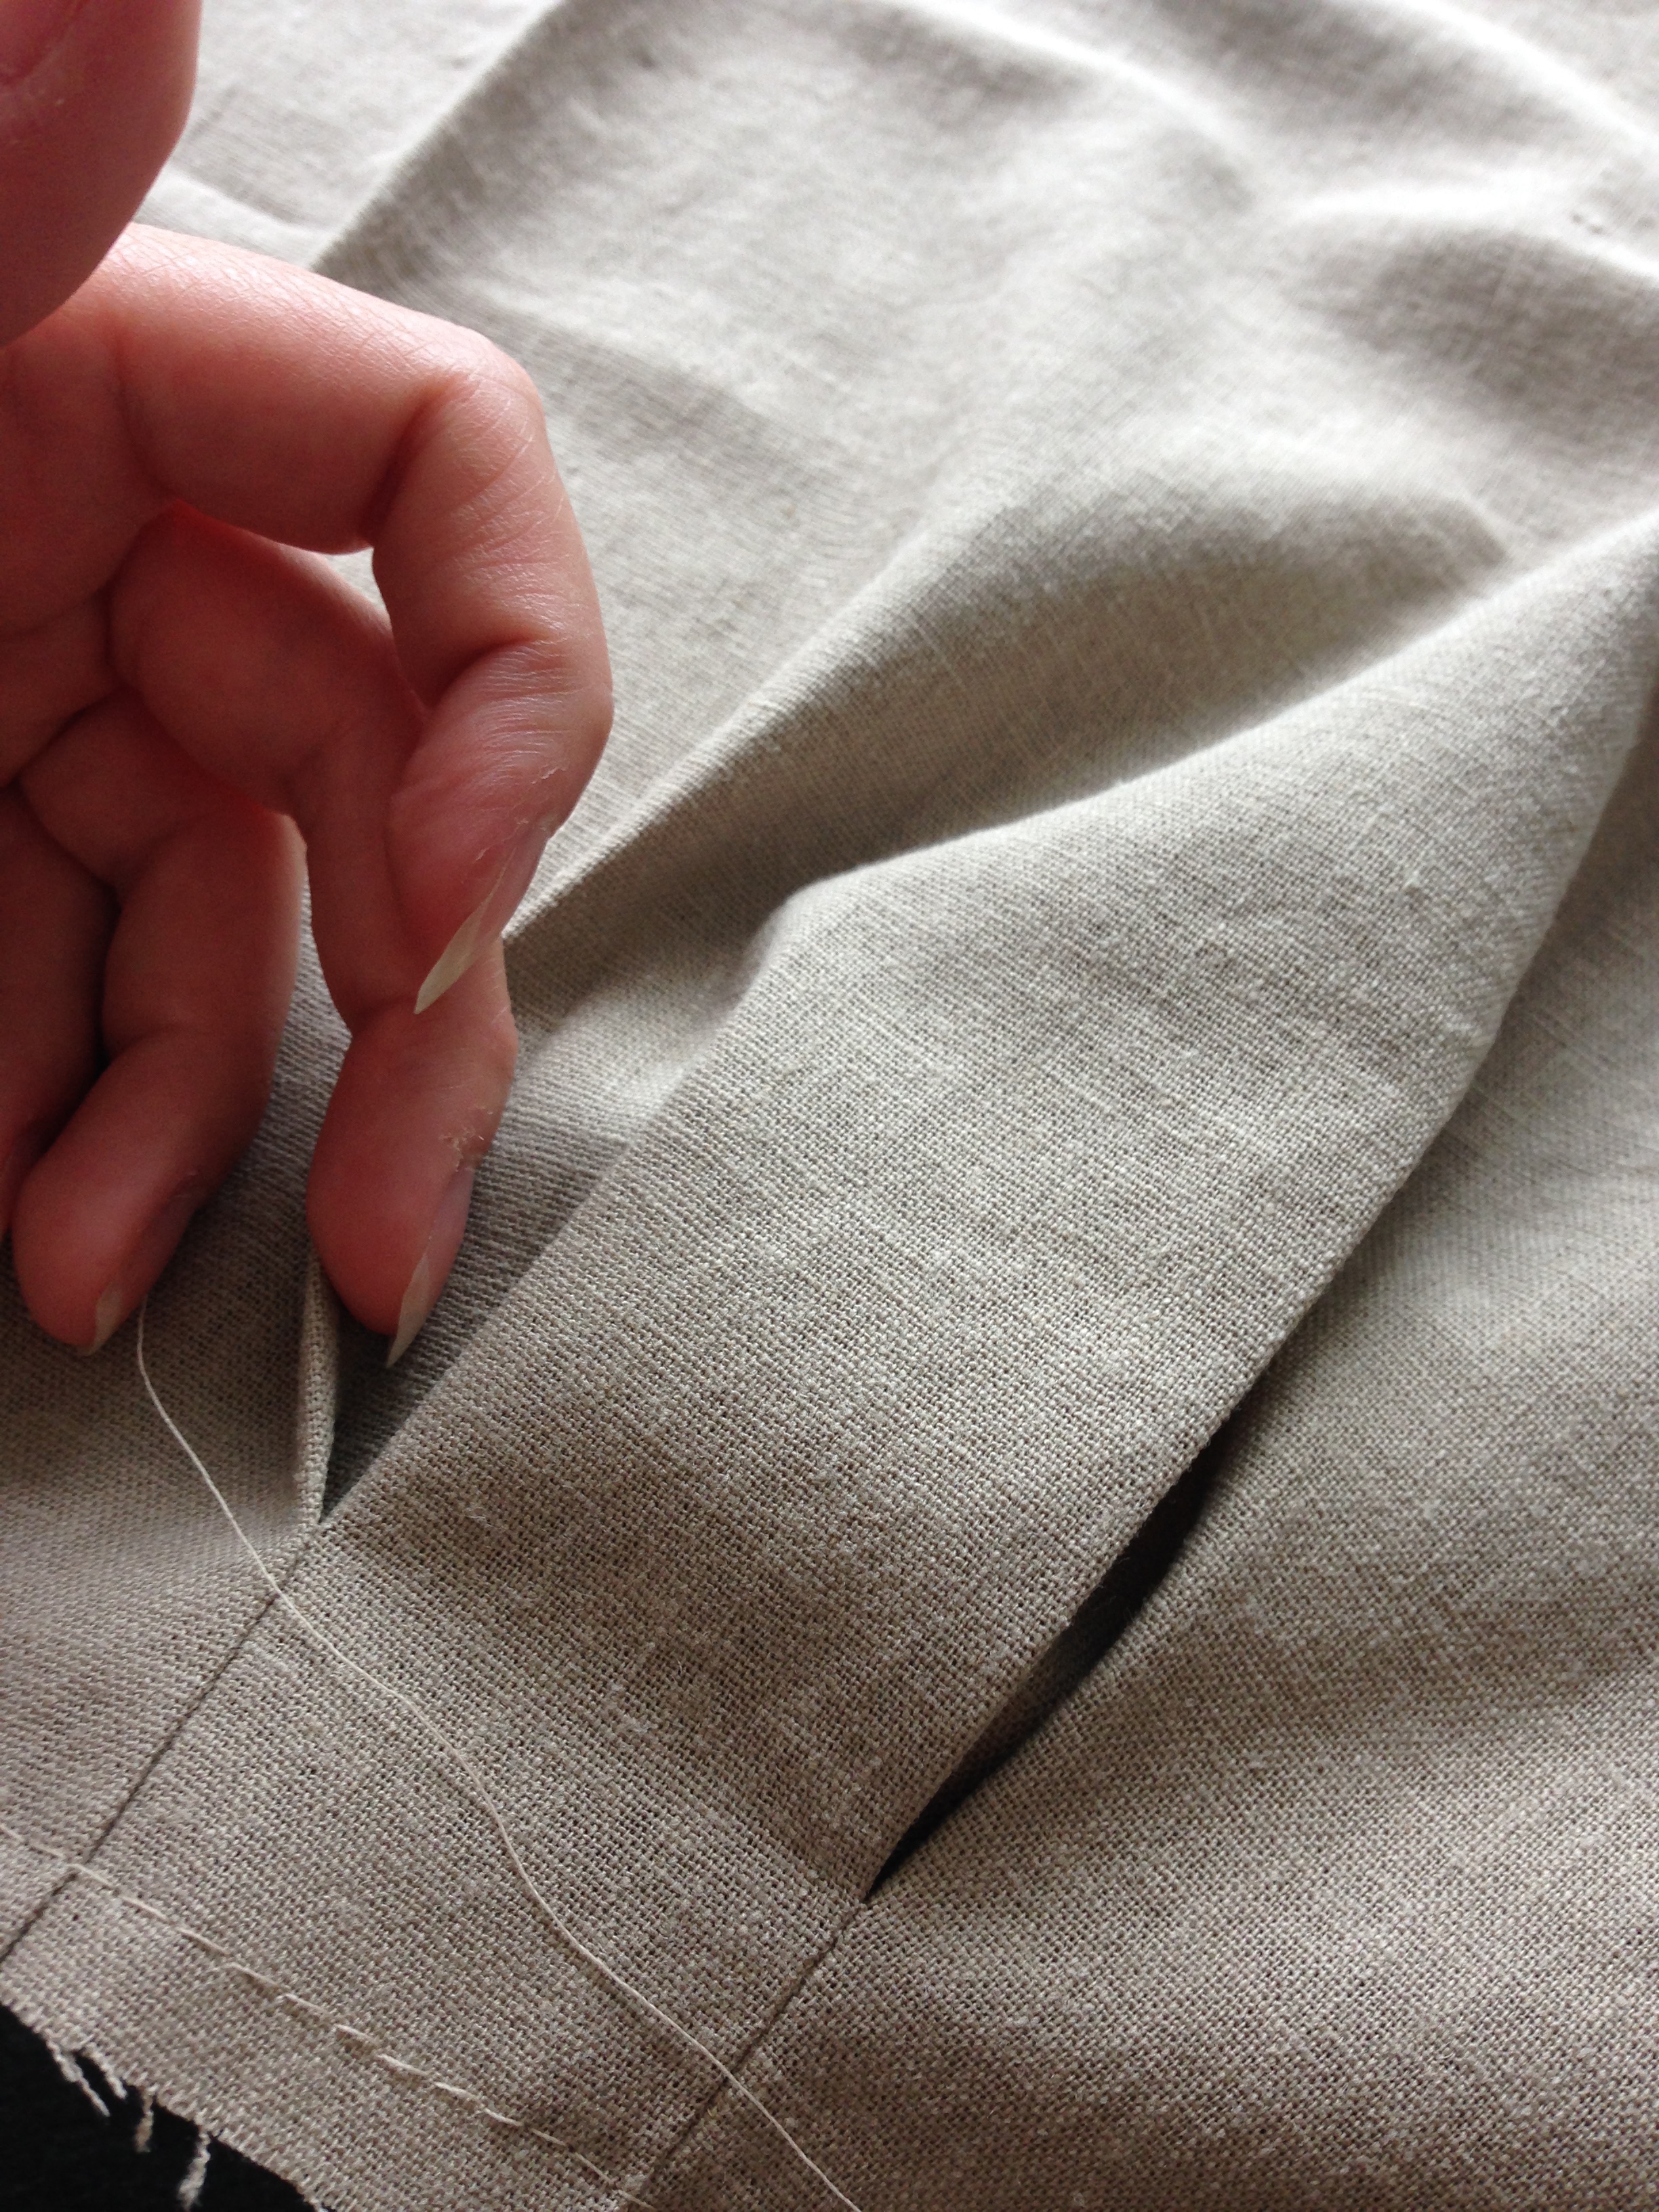
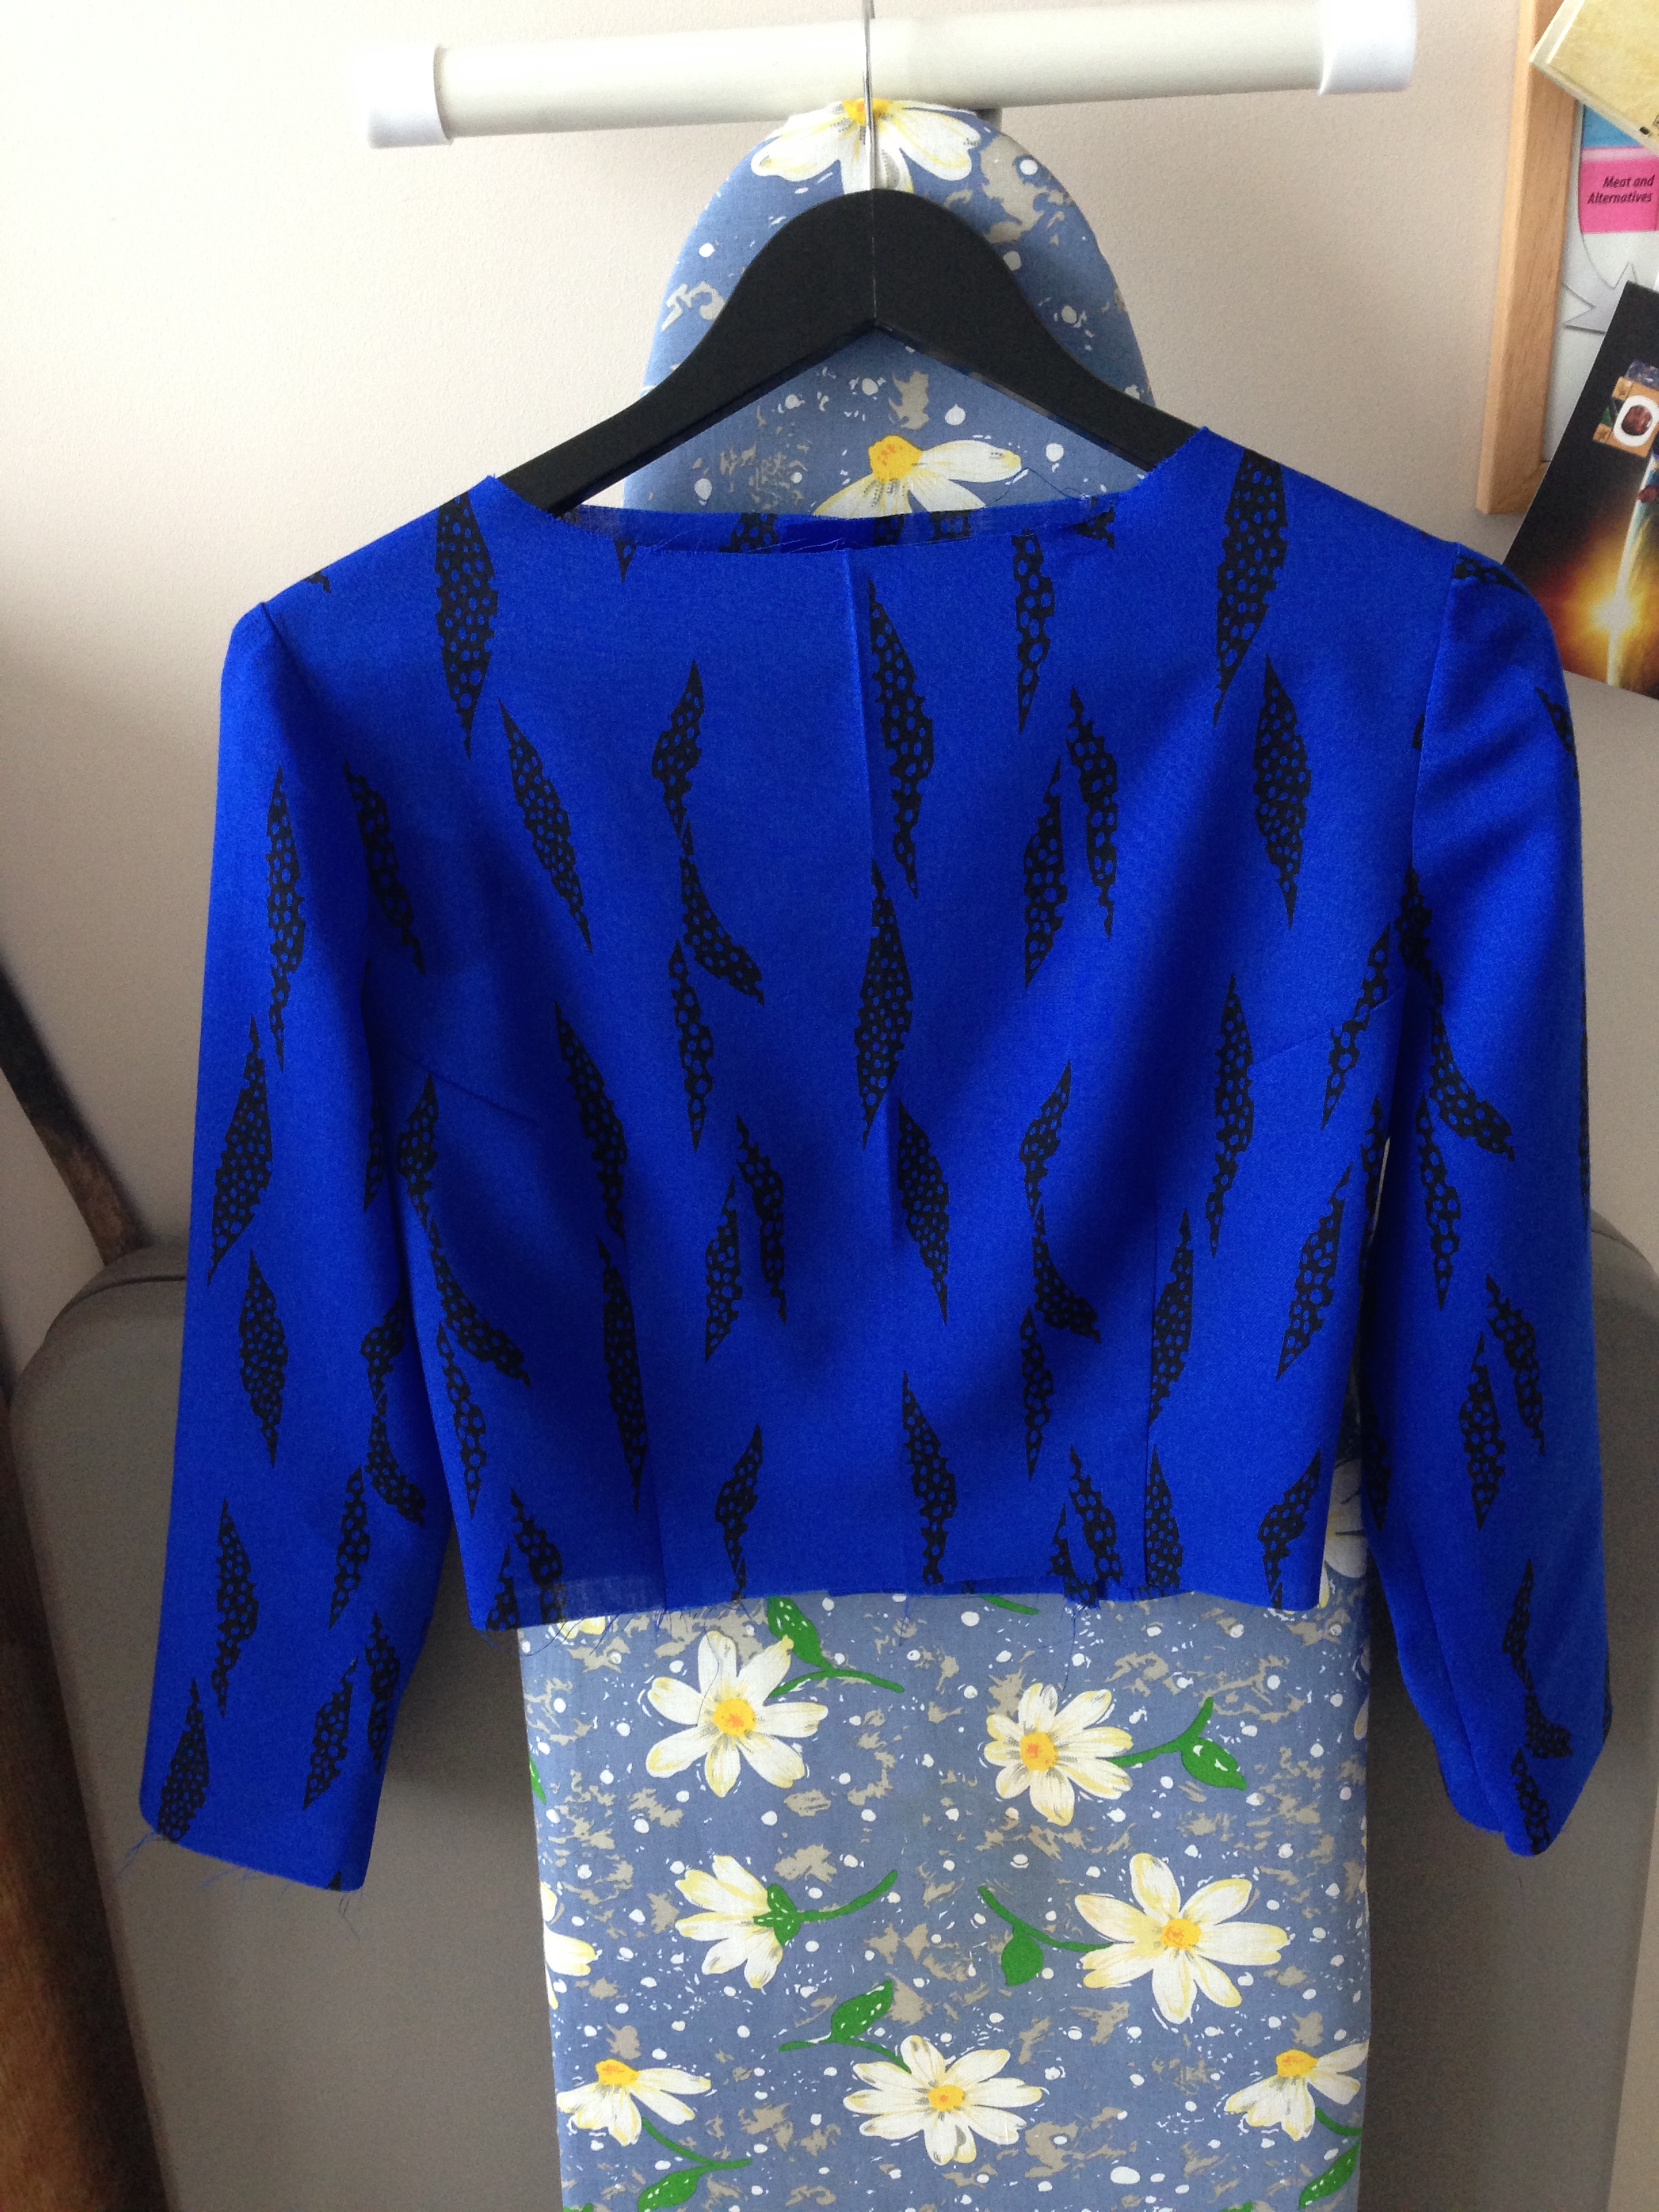
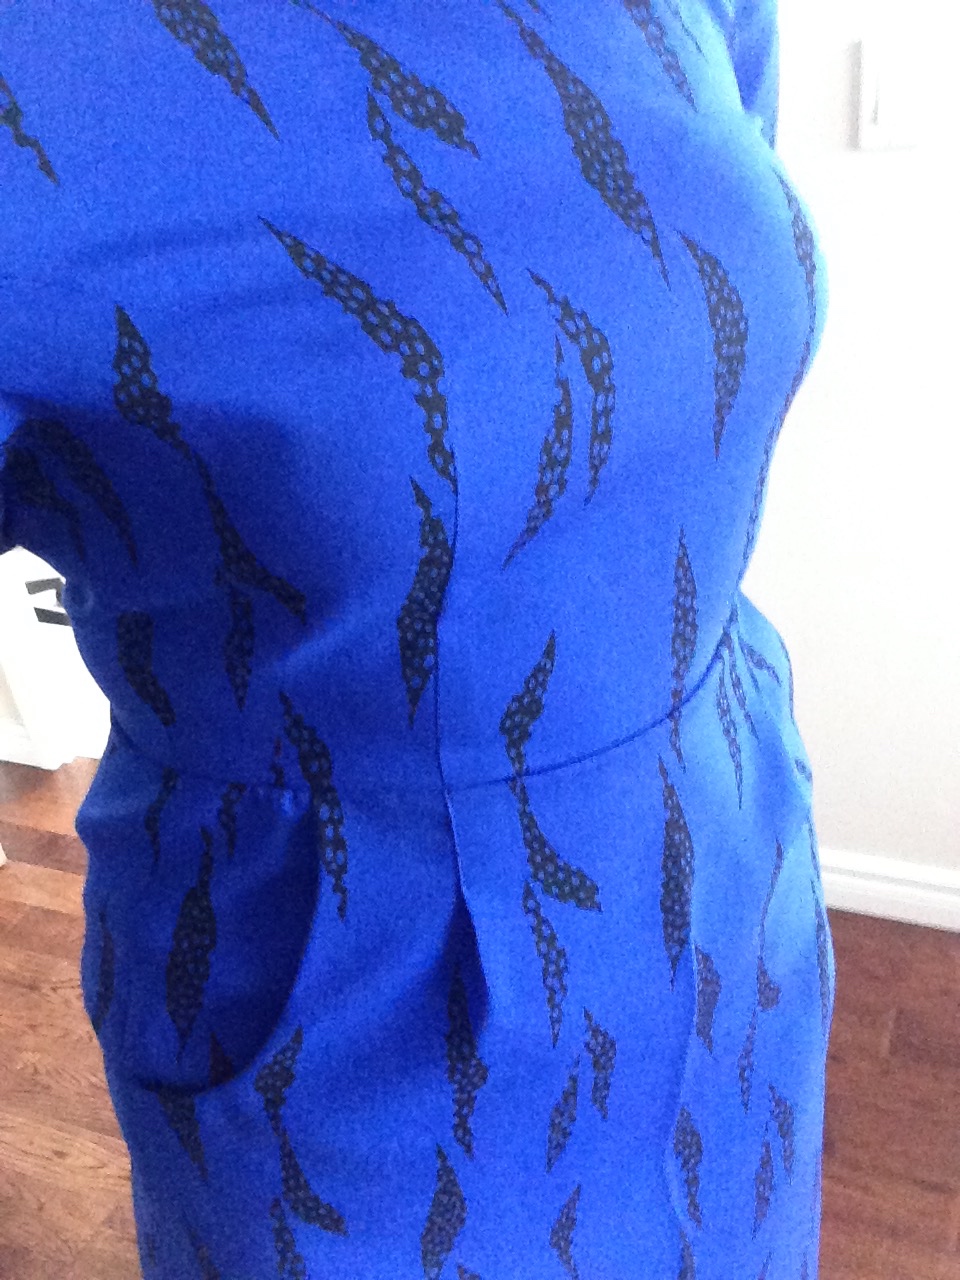
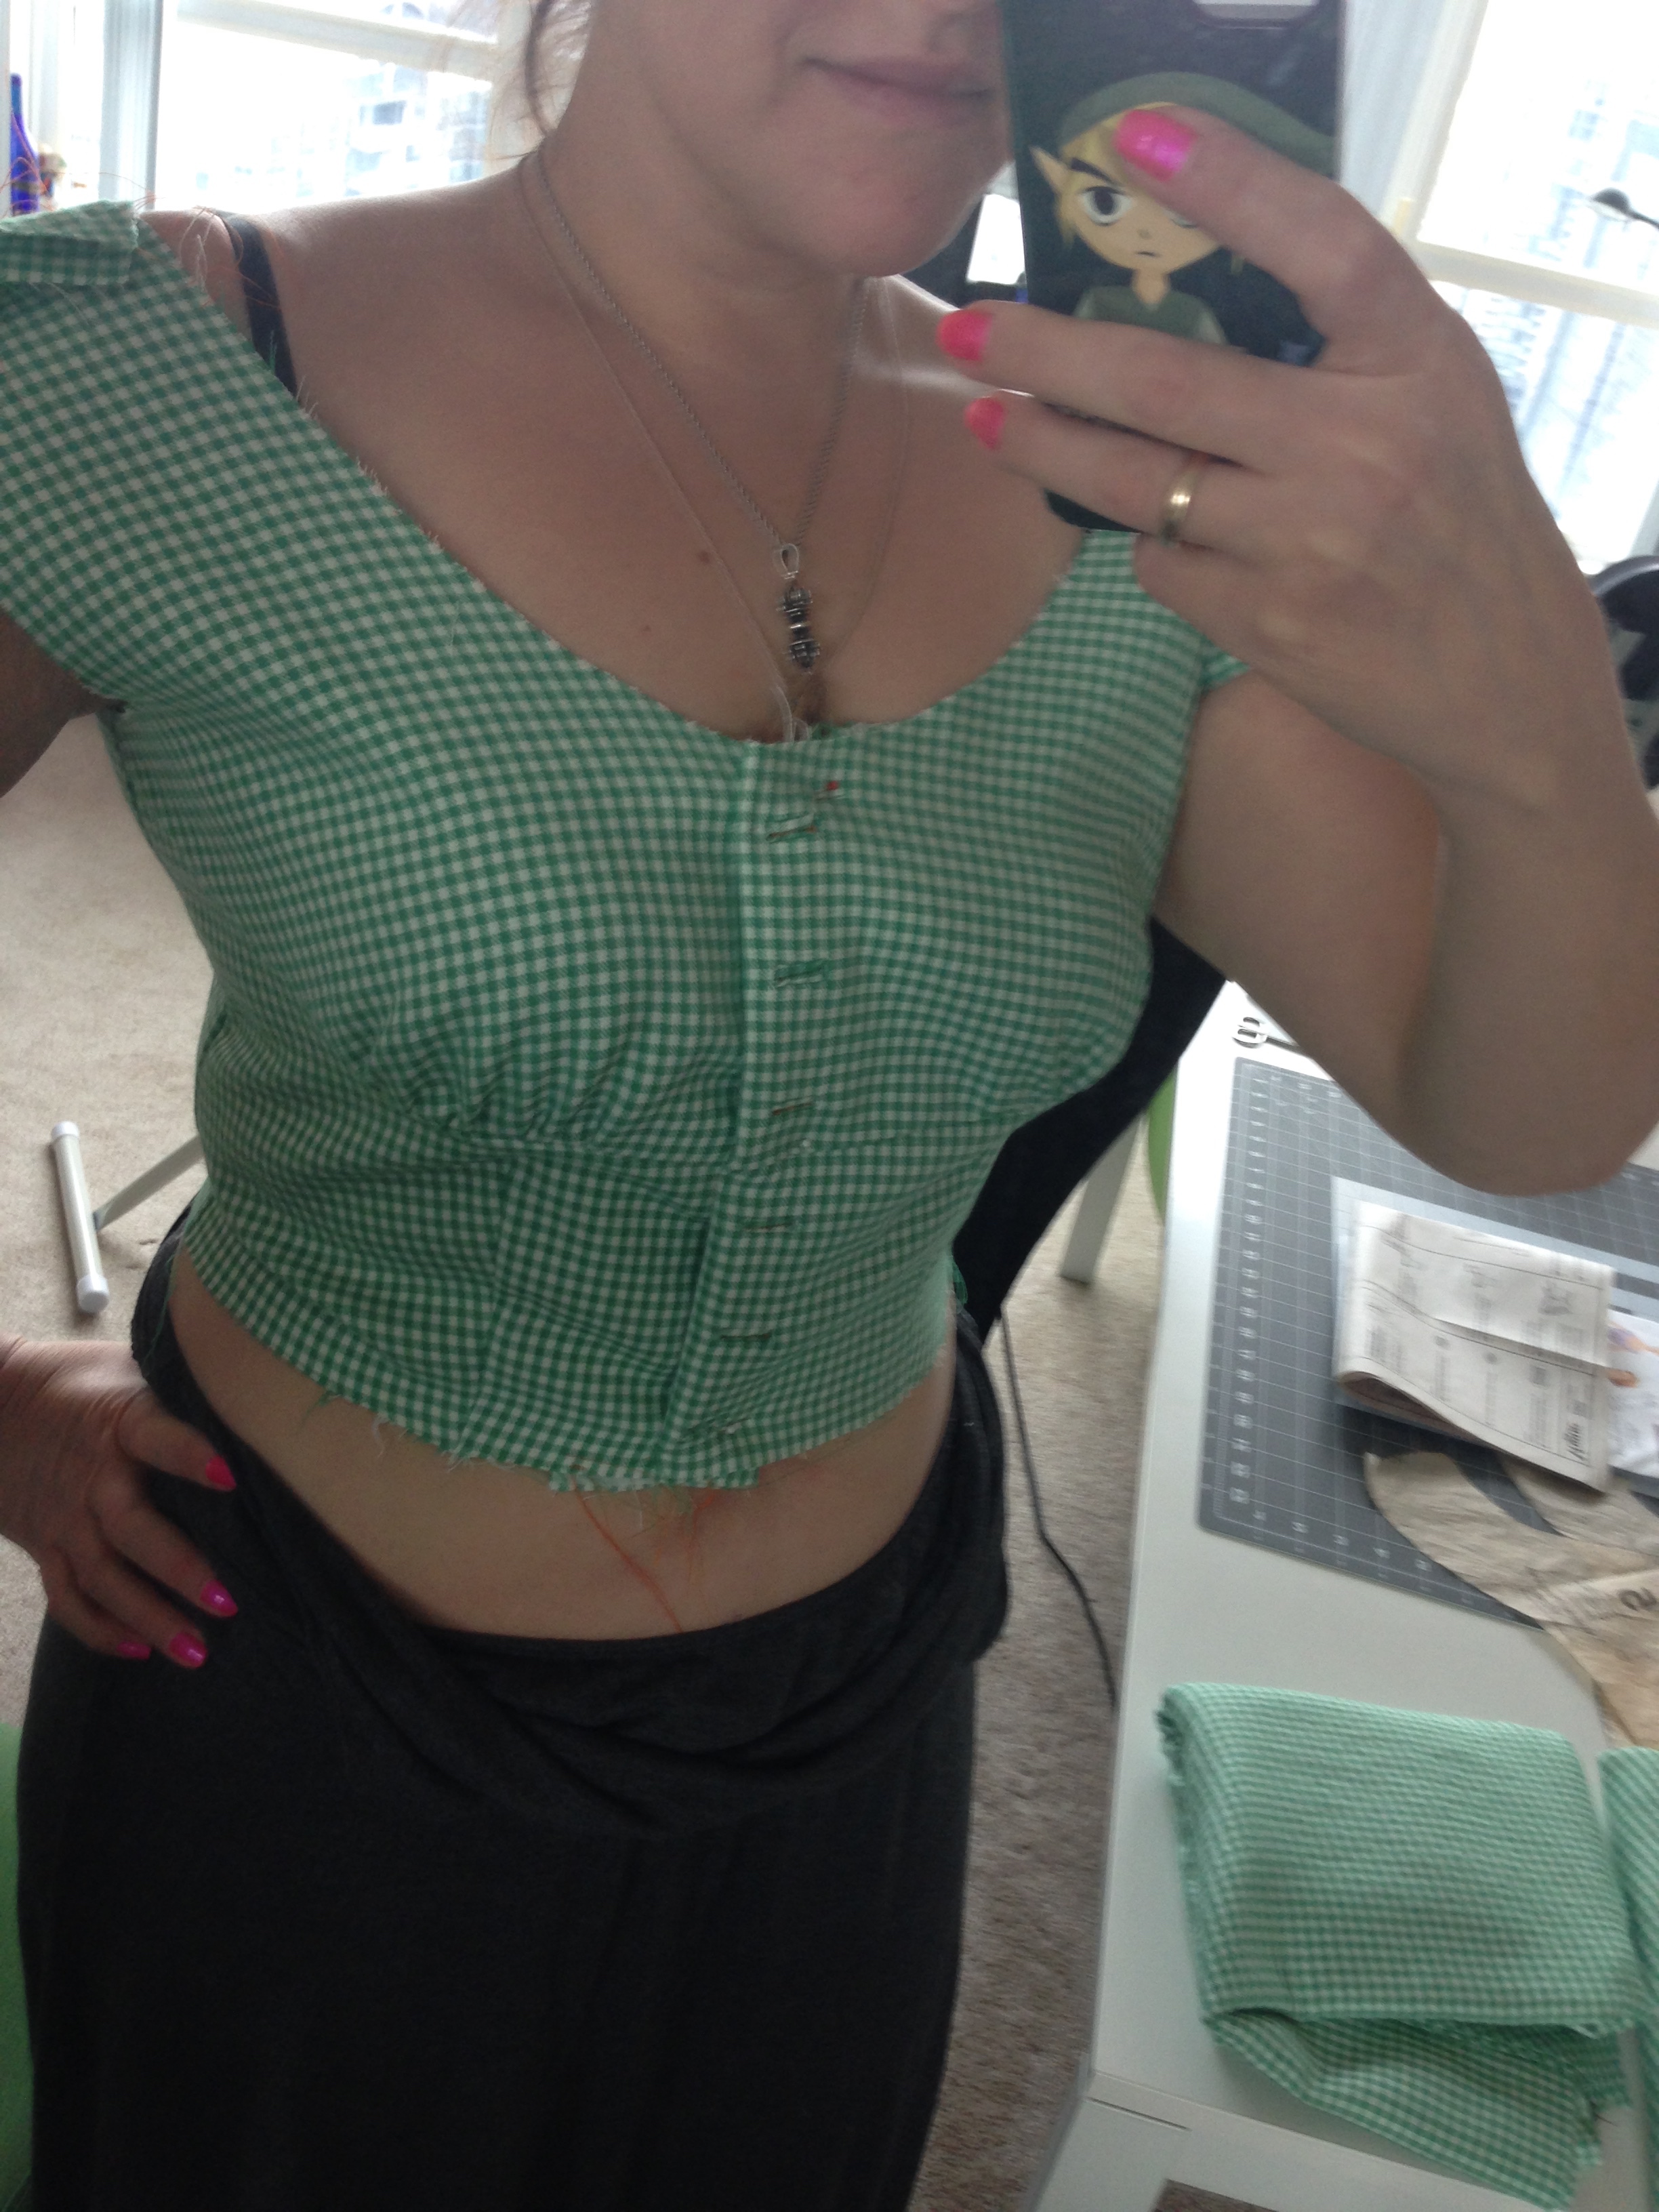
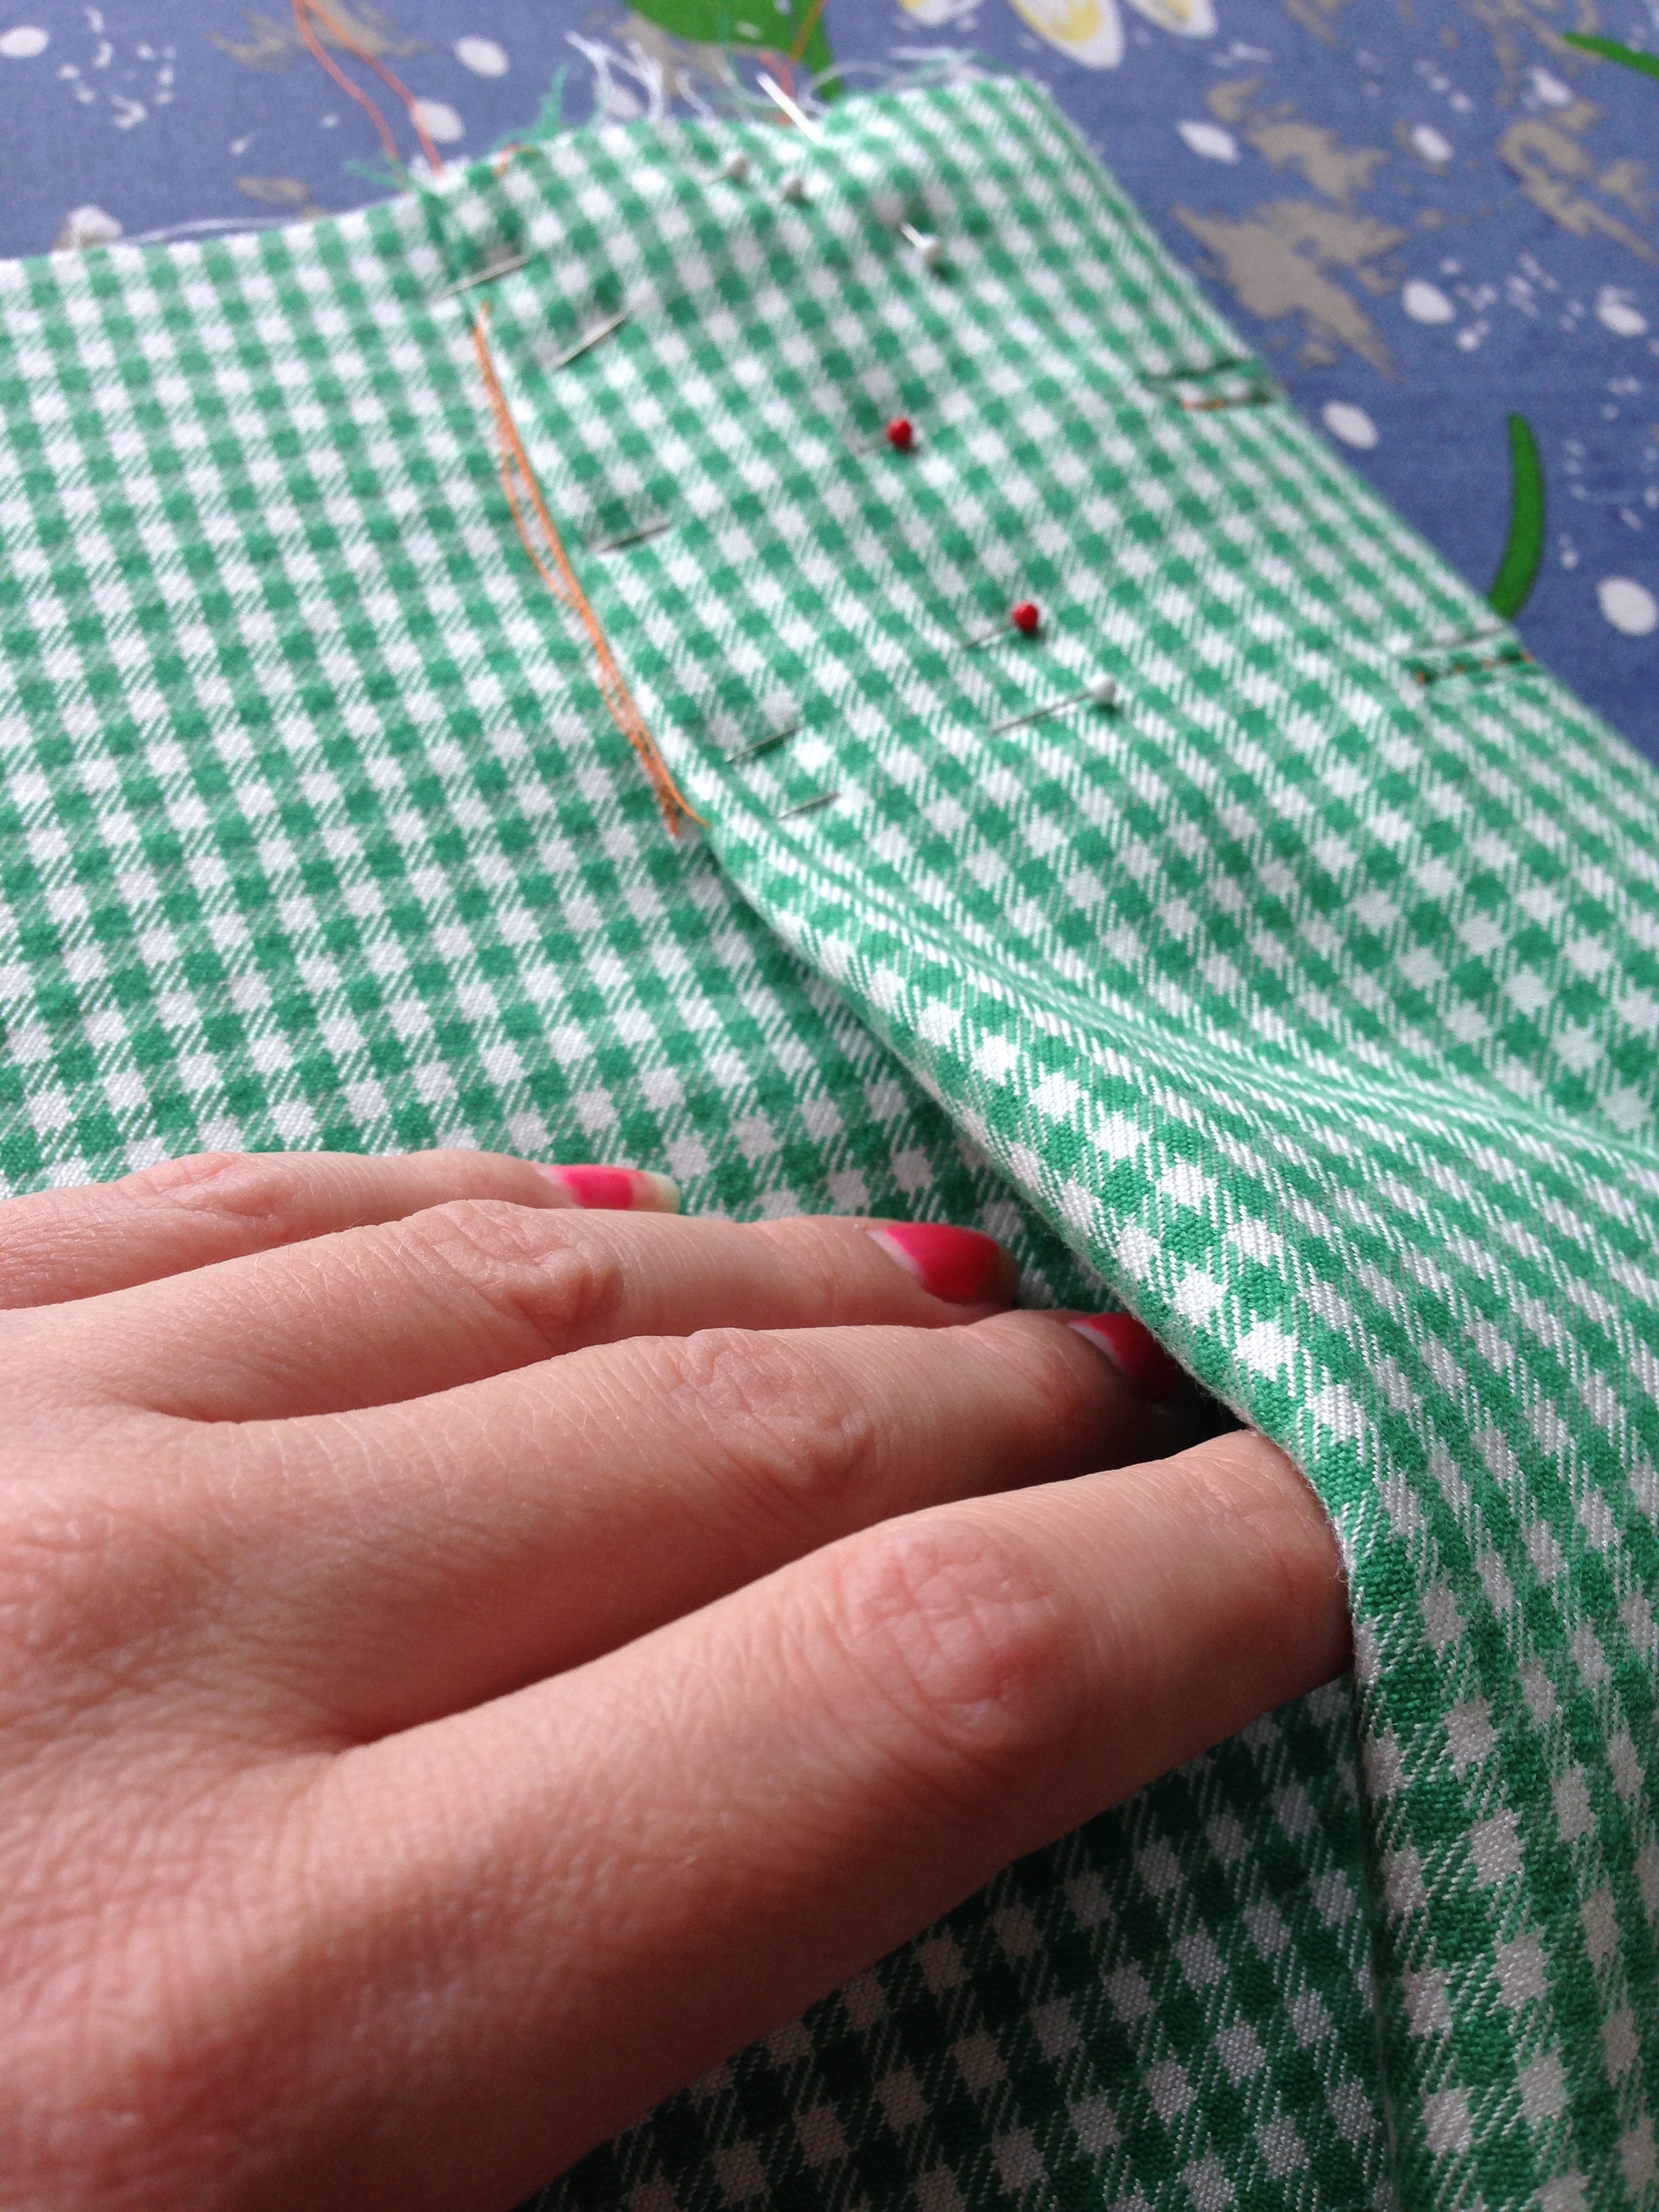
Fabric cut, detailing planned, I got to work constructing the bodice. The front and back bodice include tucks at the waist, which I've never done before. Simple enough though! Except, after all the construction was finished, I figured out there is a sense of direction to them... Shhhhh. Note for future projects. 

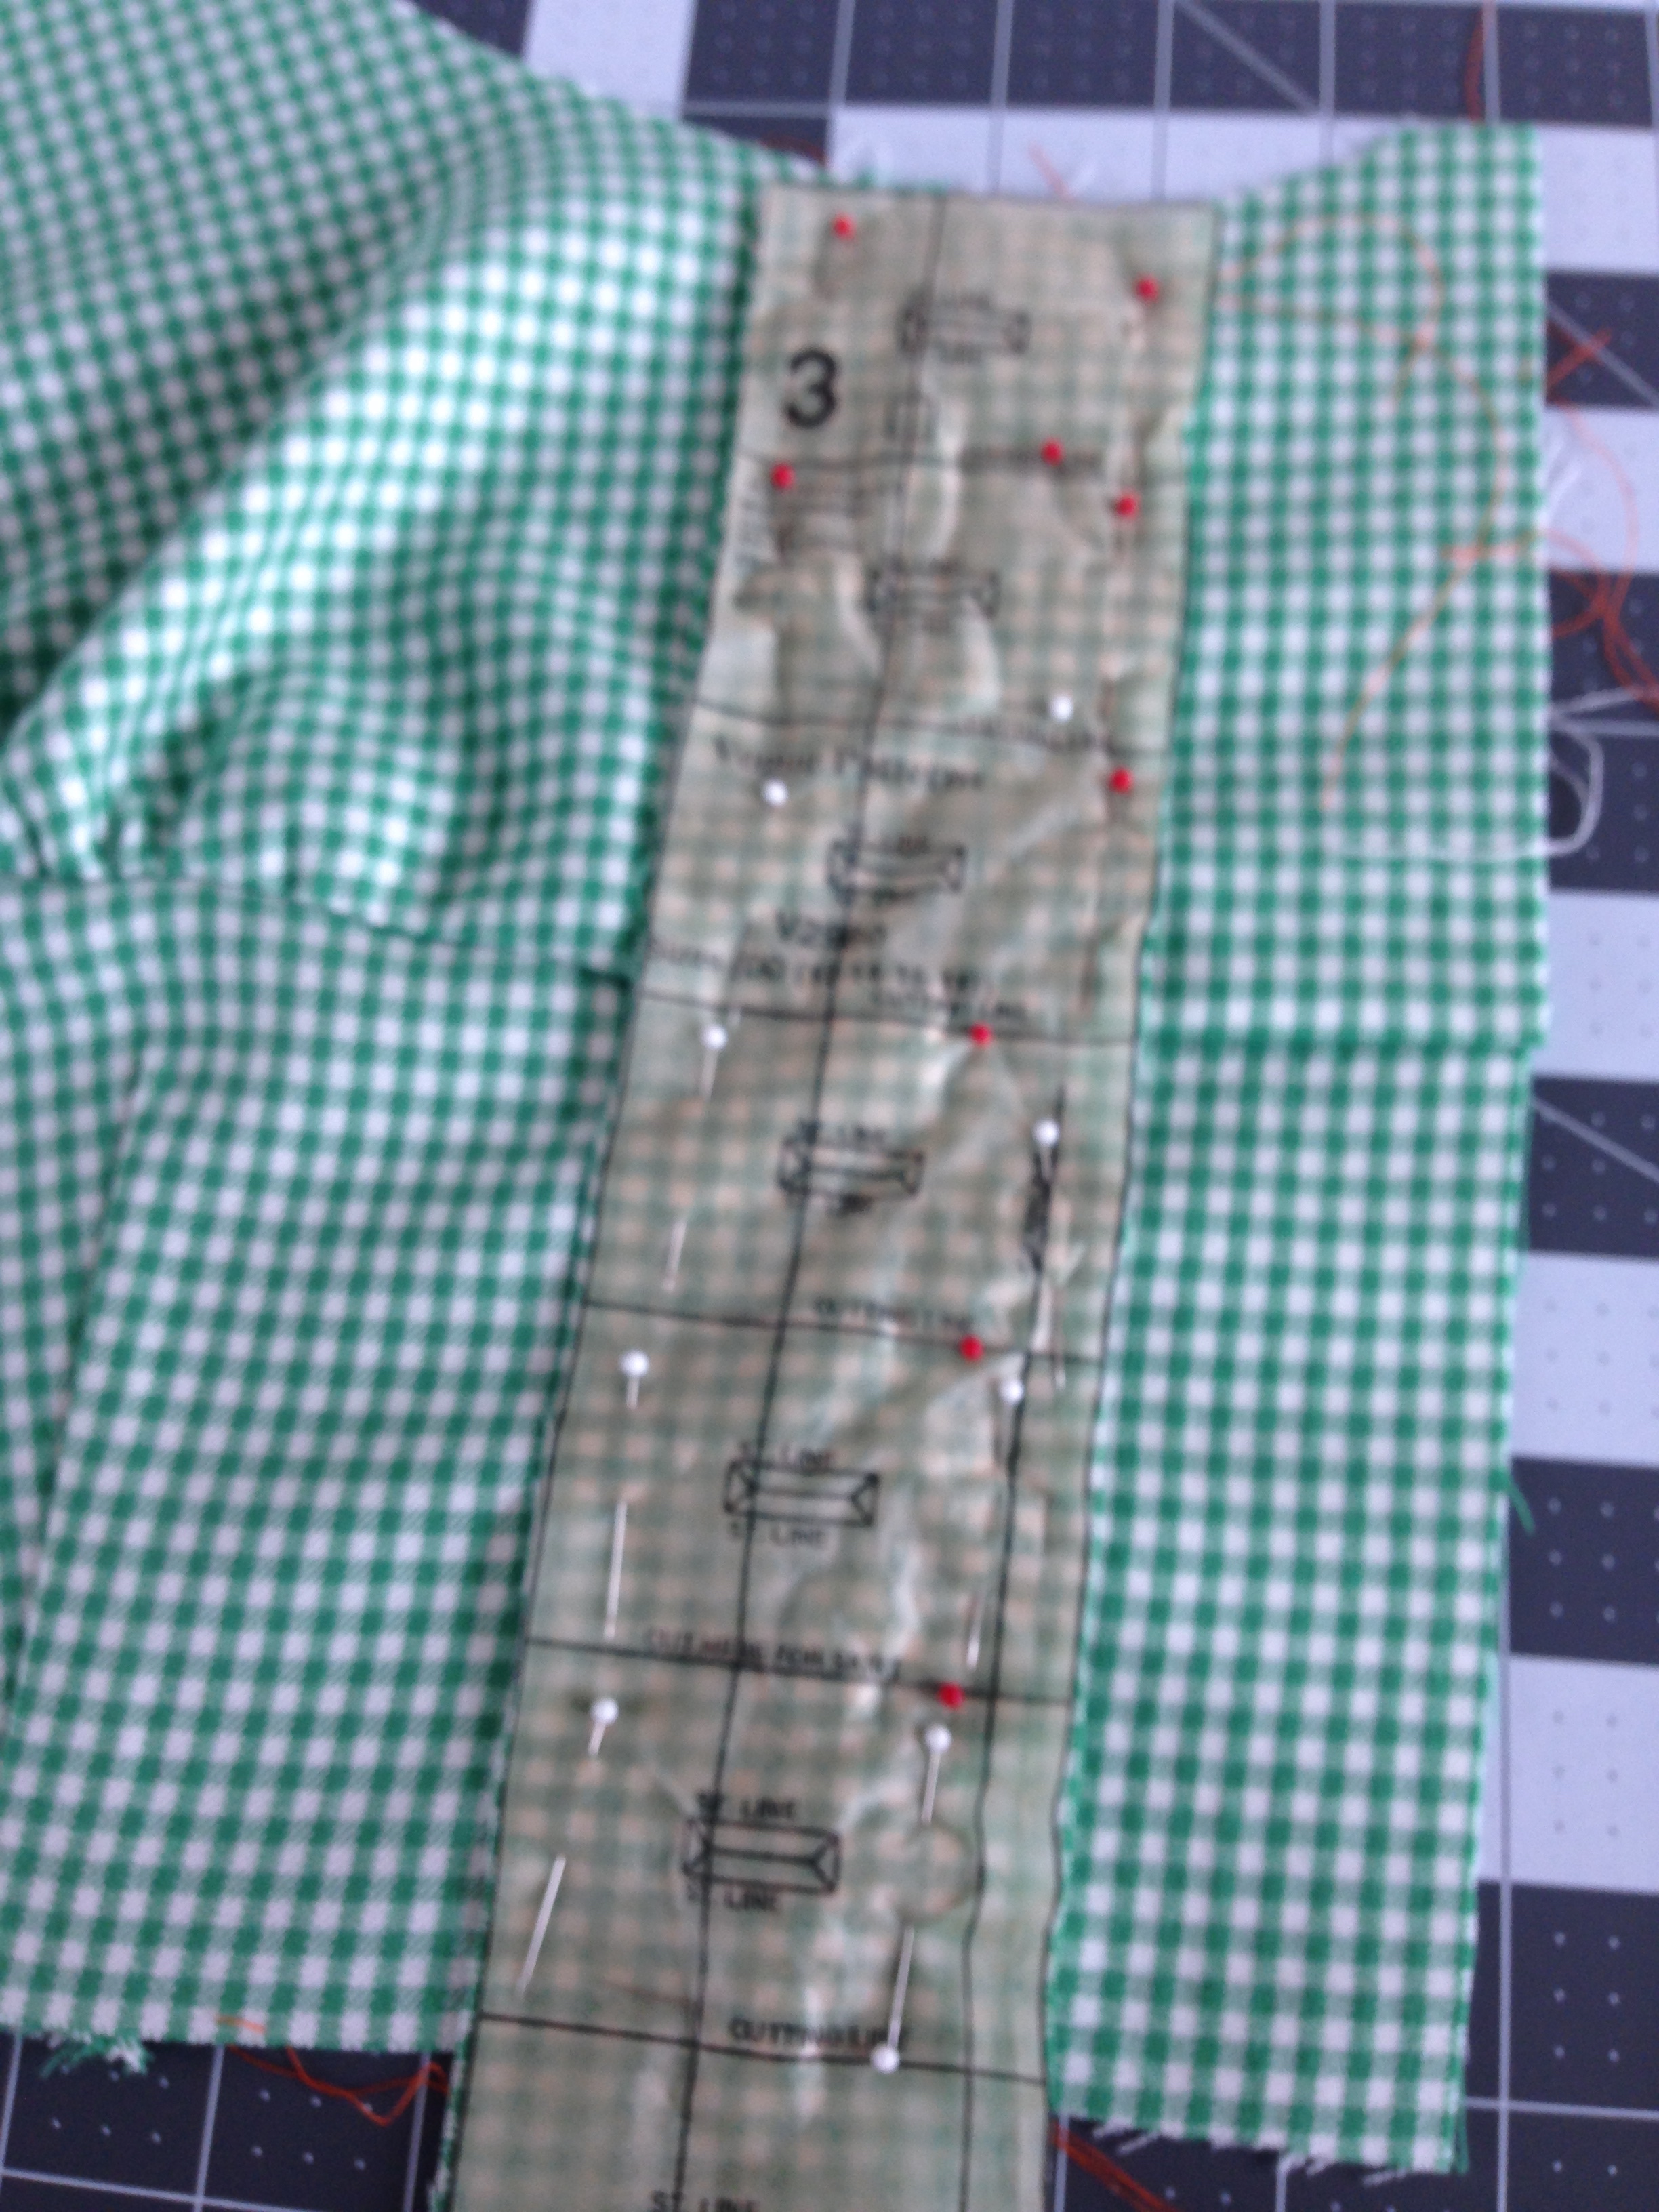
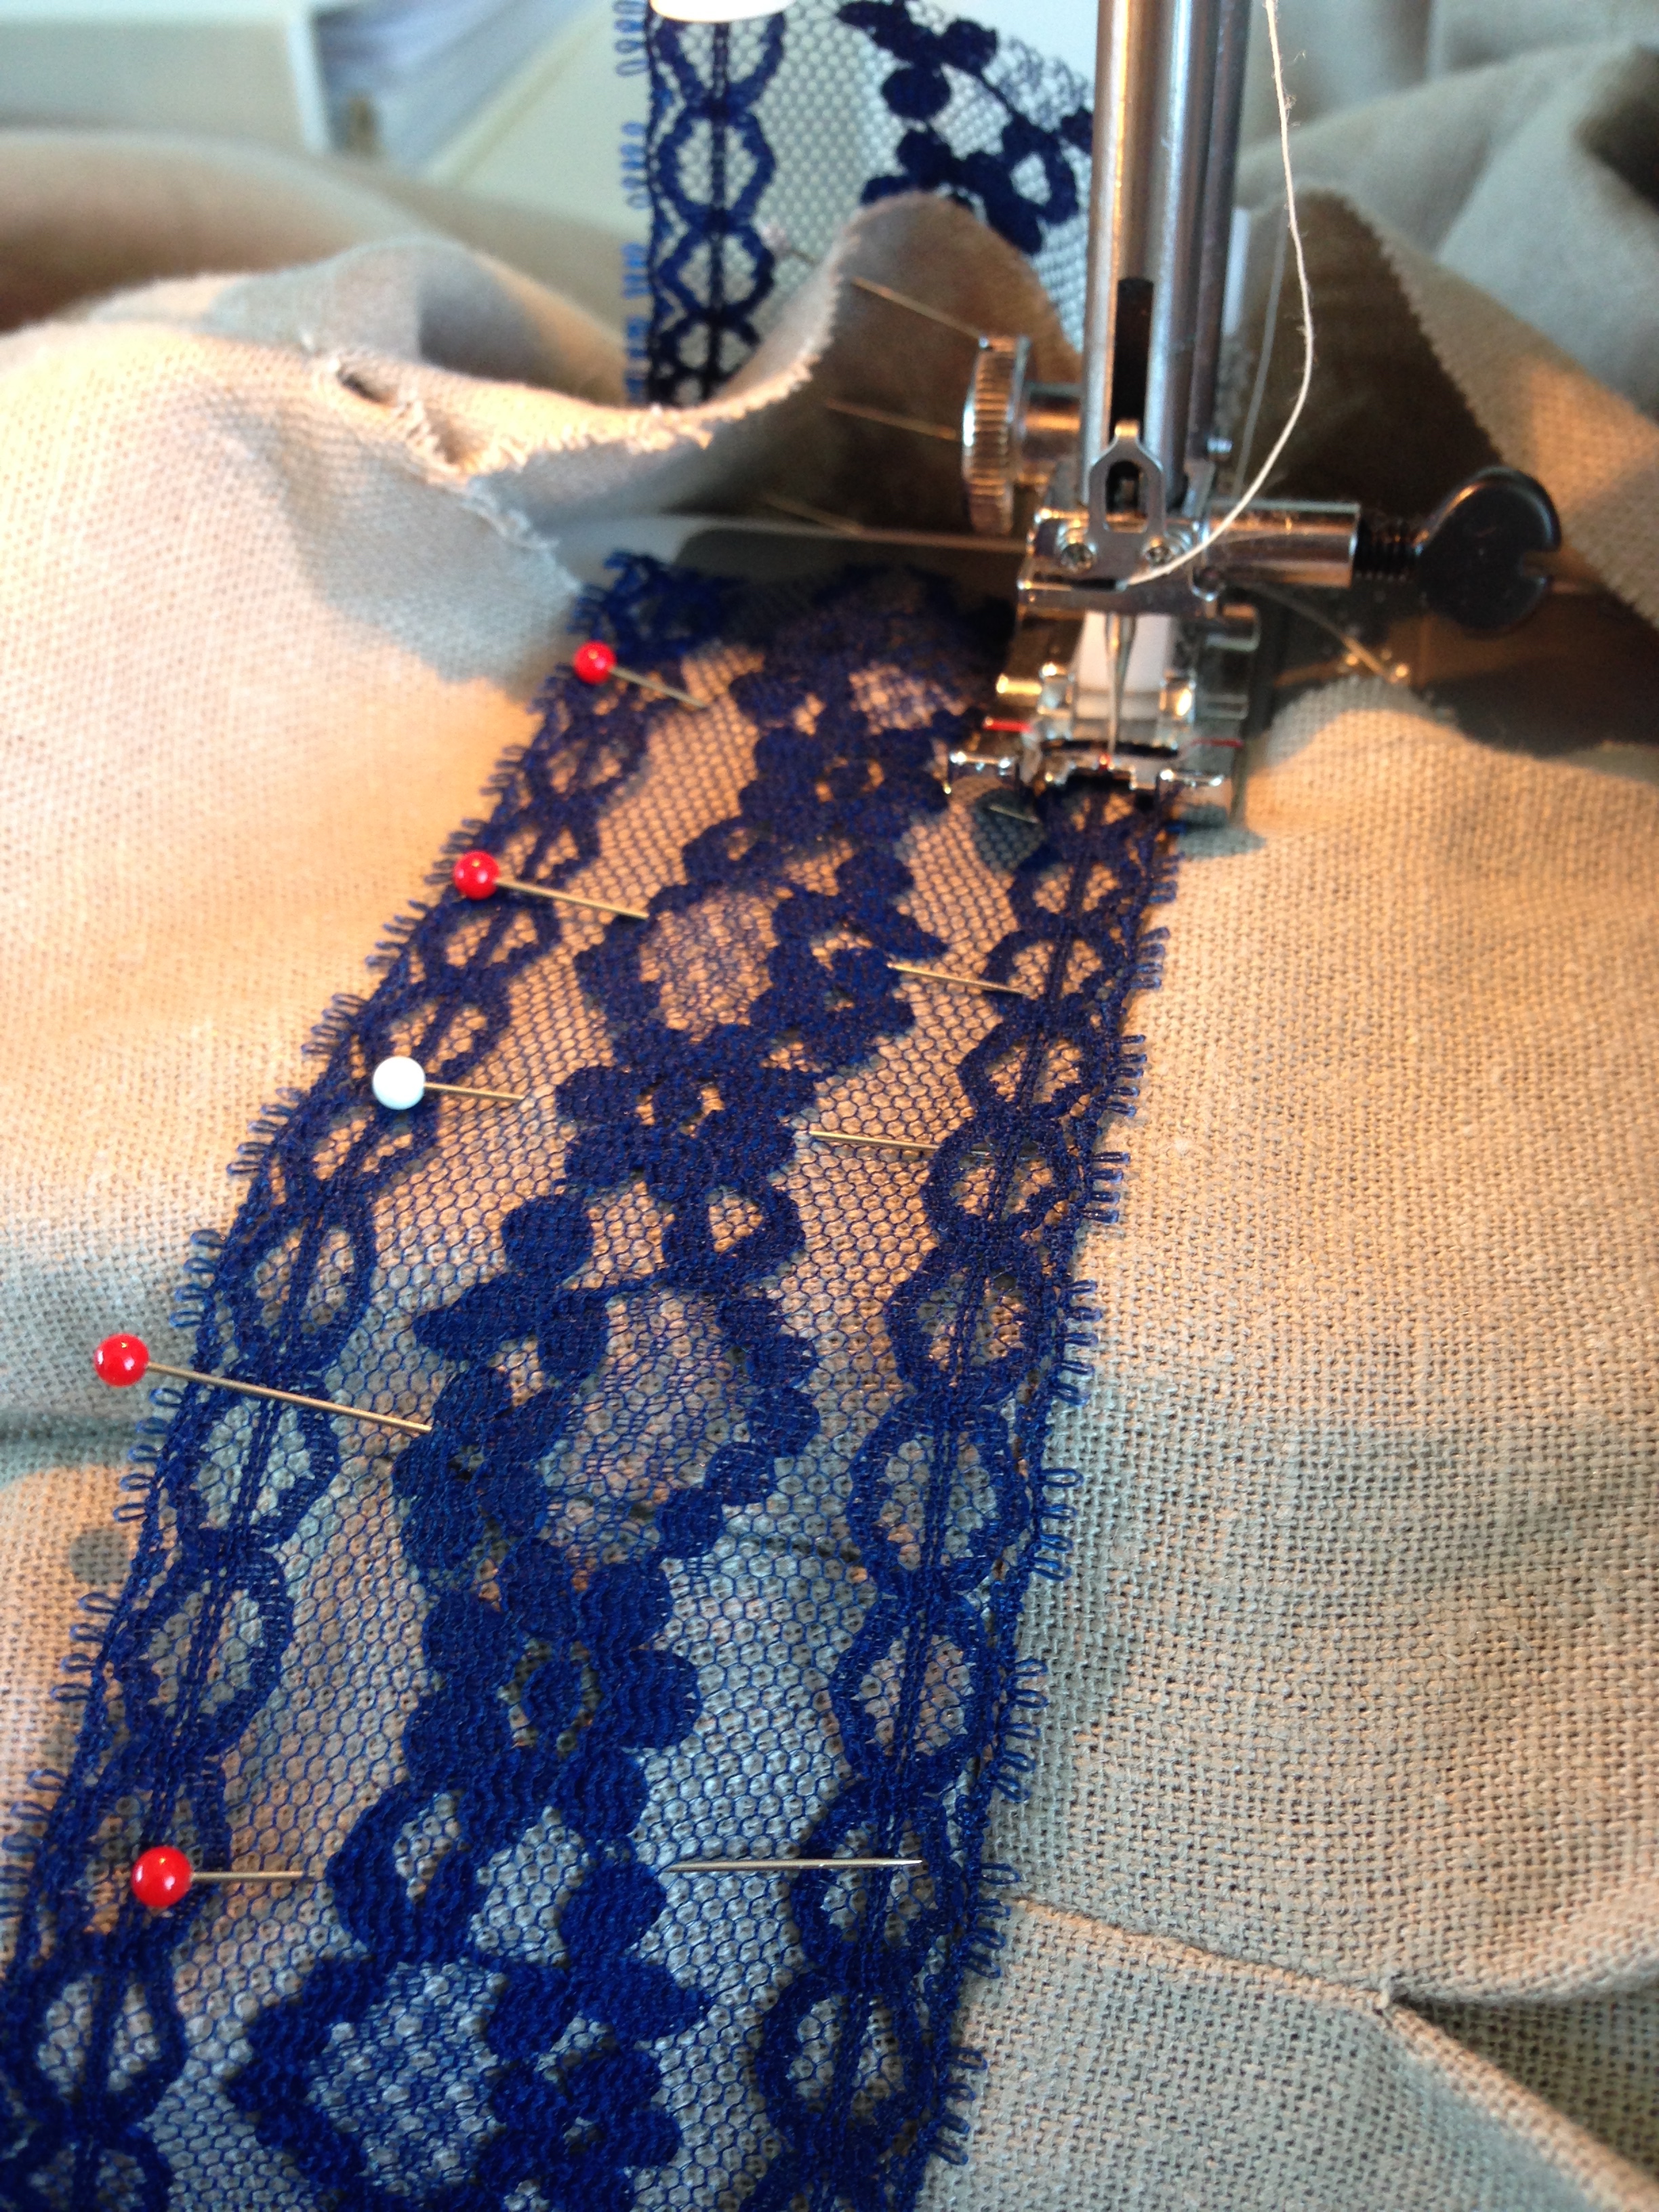
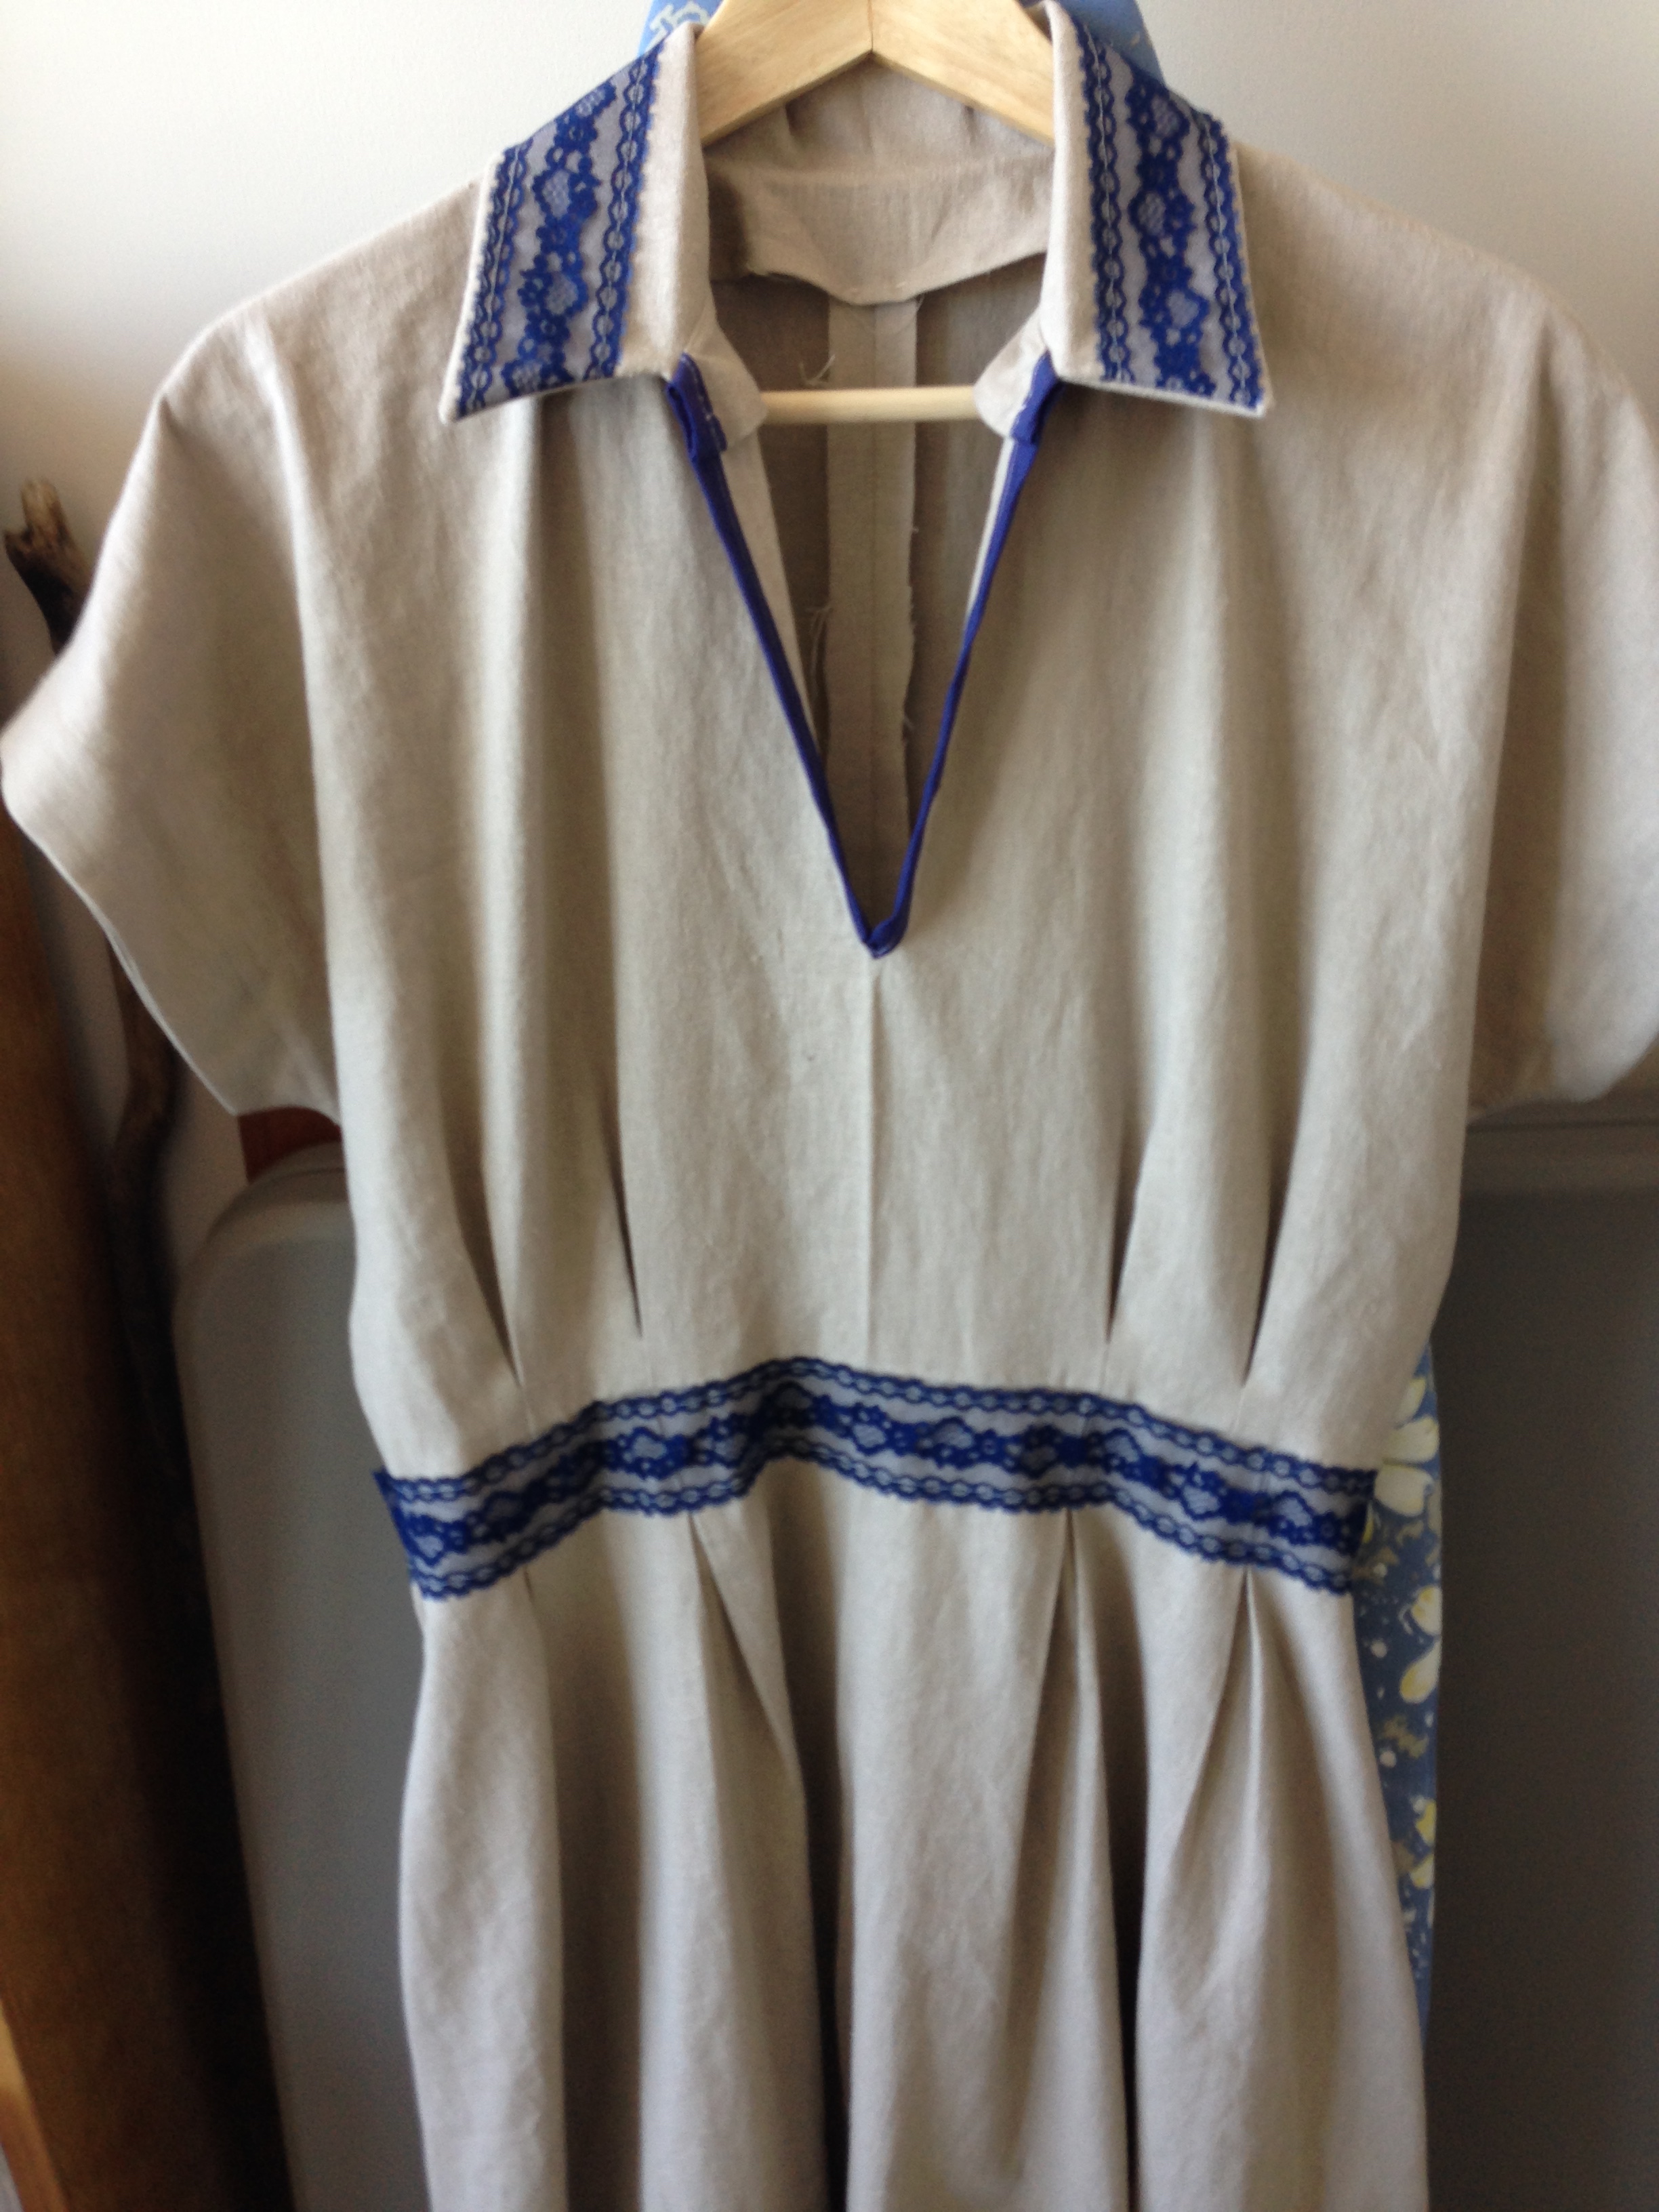
This was also my first collared project too. But the collar went perfectly. -pats self on back- Go go gadget planning skills! The lace attached before sewing the edge seams was a bit stressful but with a measuring tape and a dream, there is a way! The sleeves, with an interfacing sleuthily invisibly stitched to inside of the sleeve, was the perfect way to finish to bodice. Simple lines. Simple form. Love love LOVE.

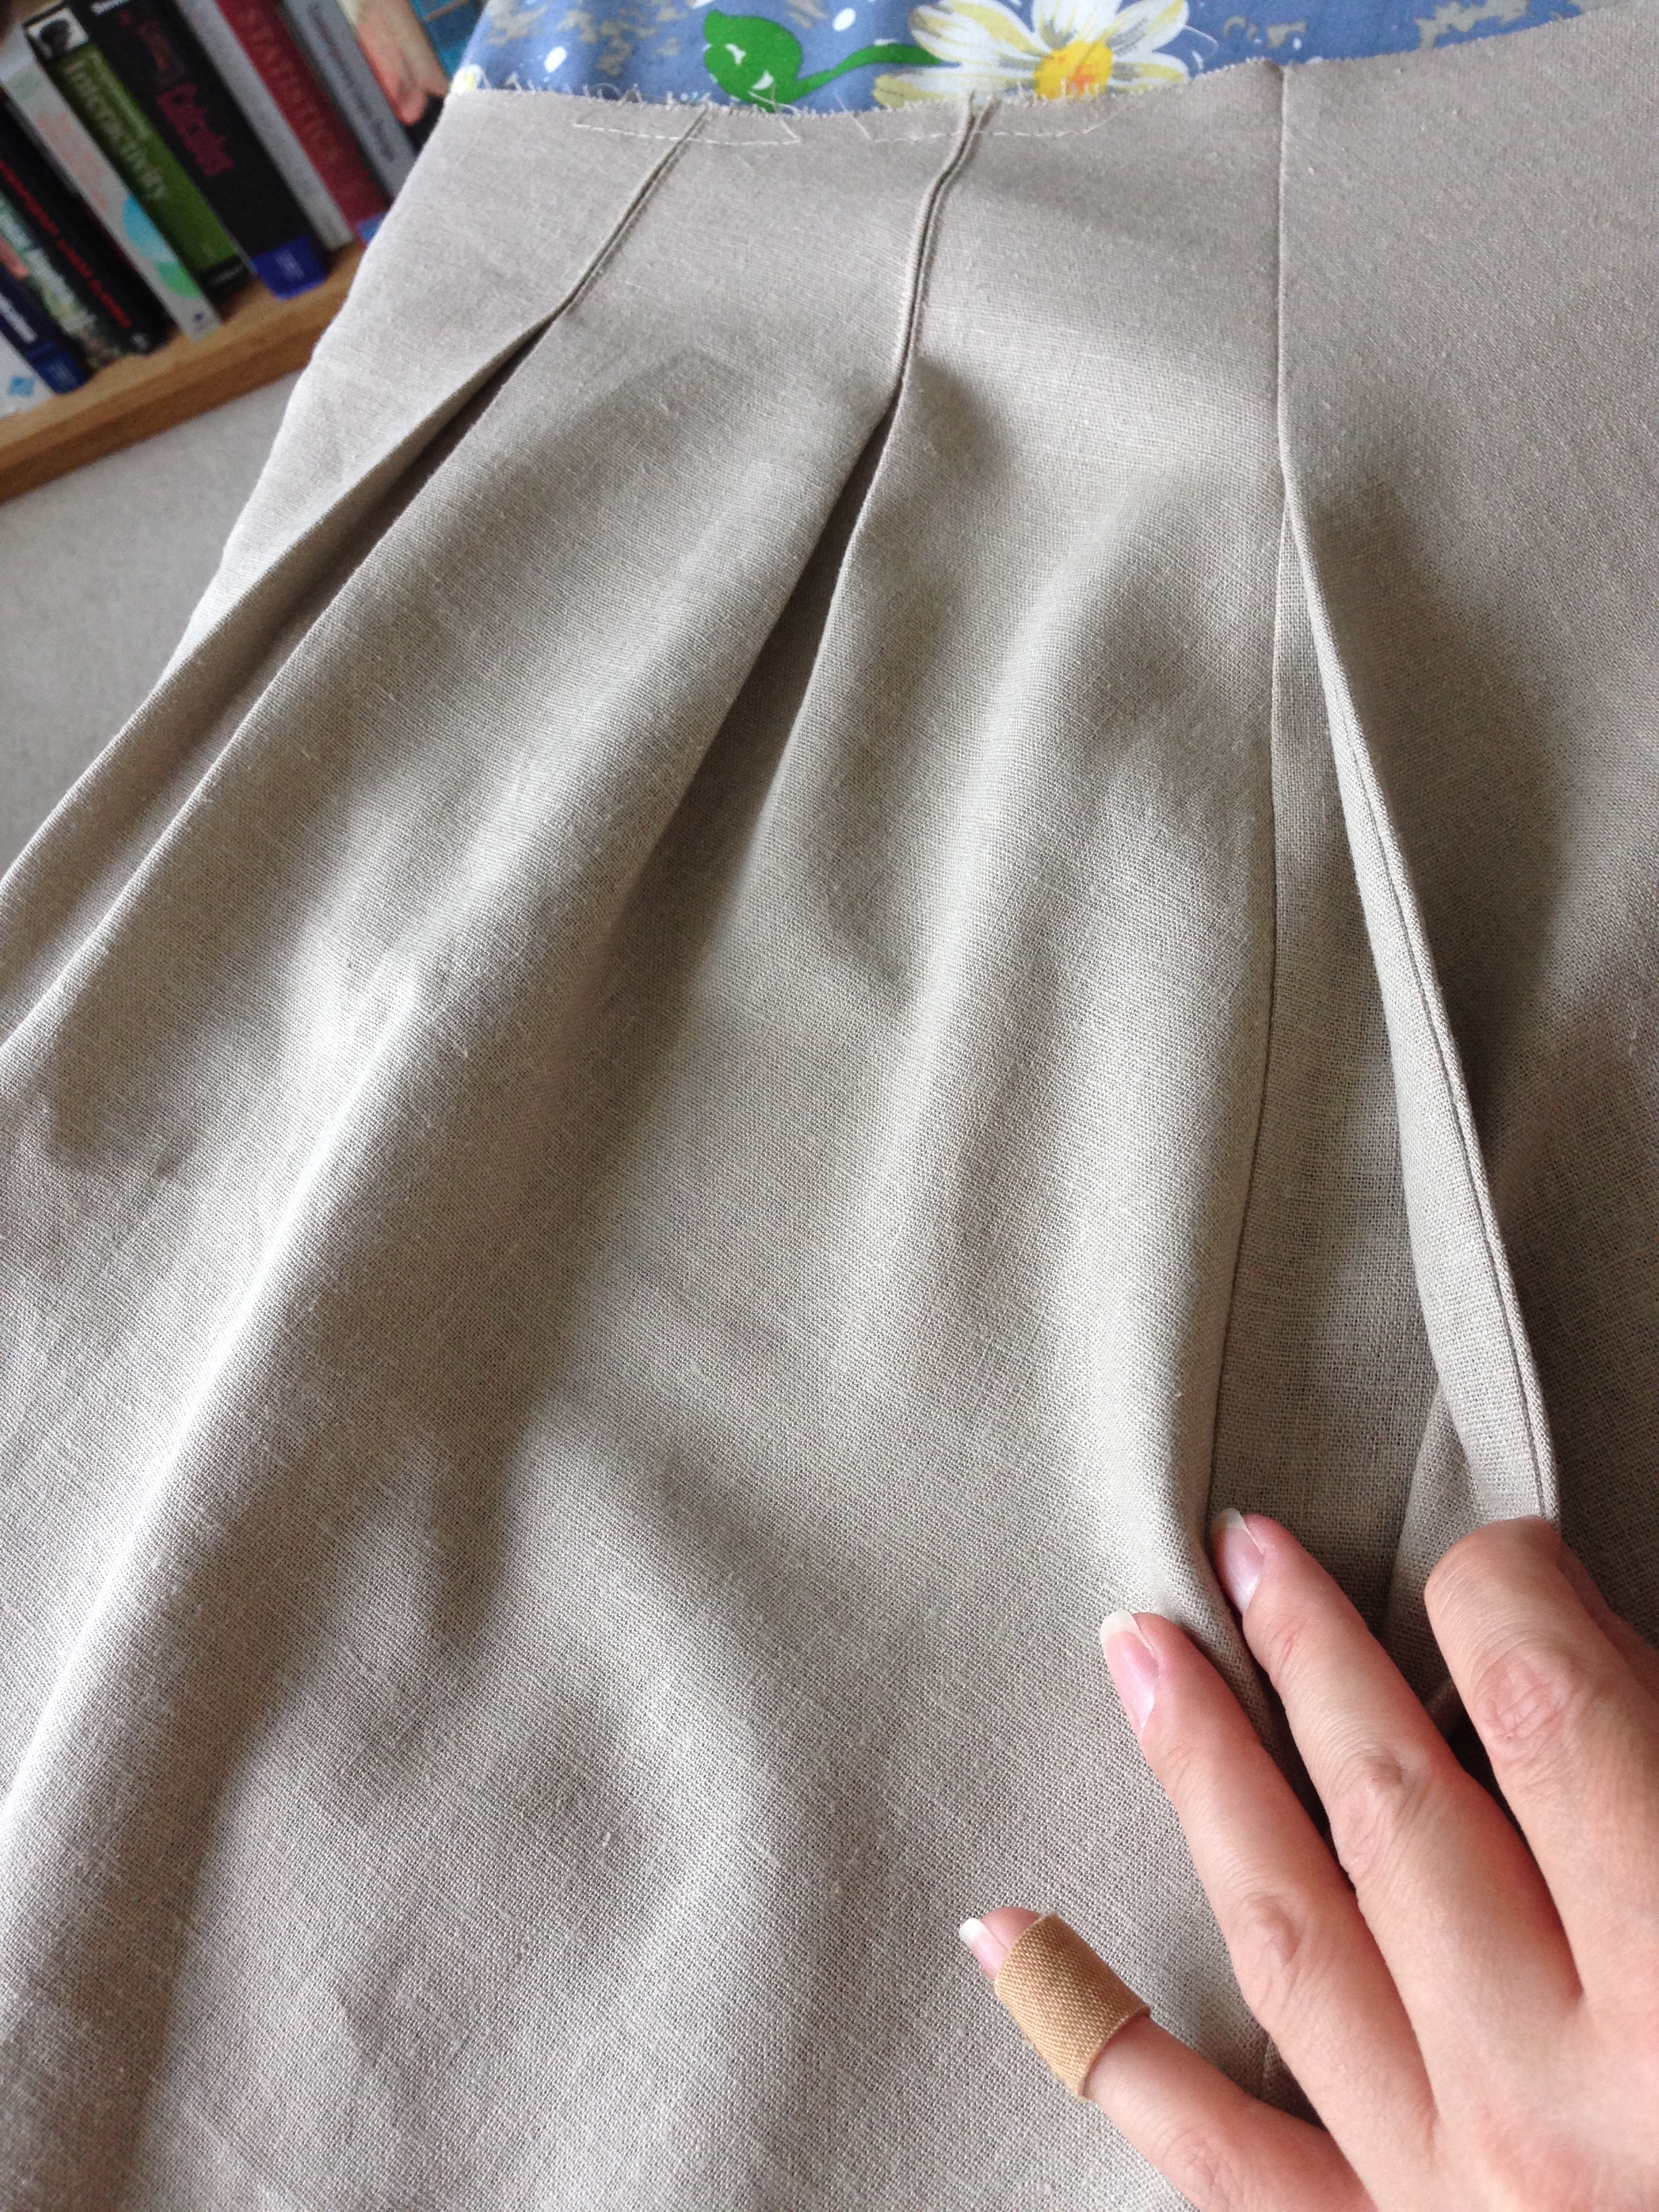
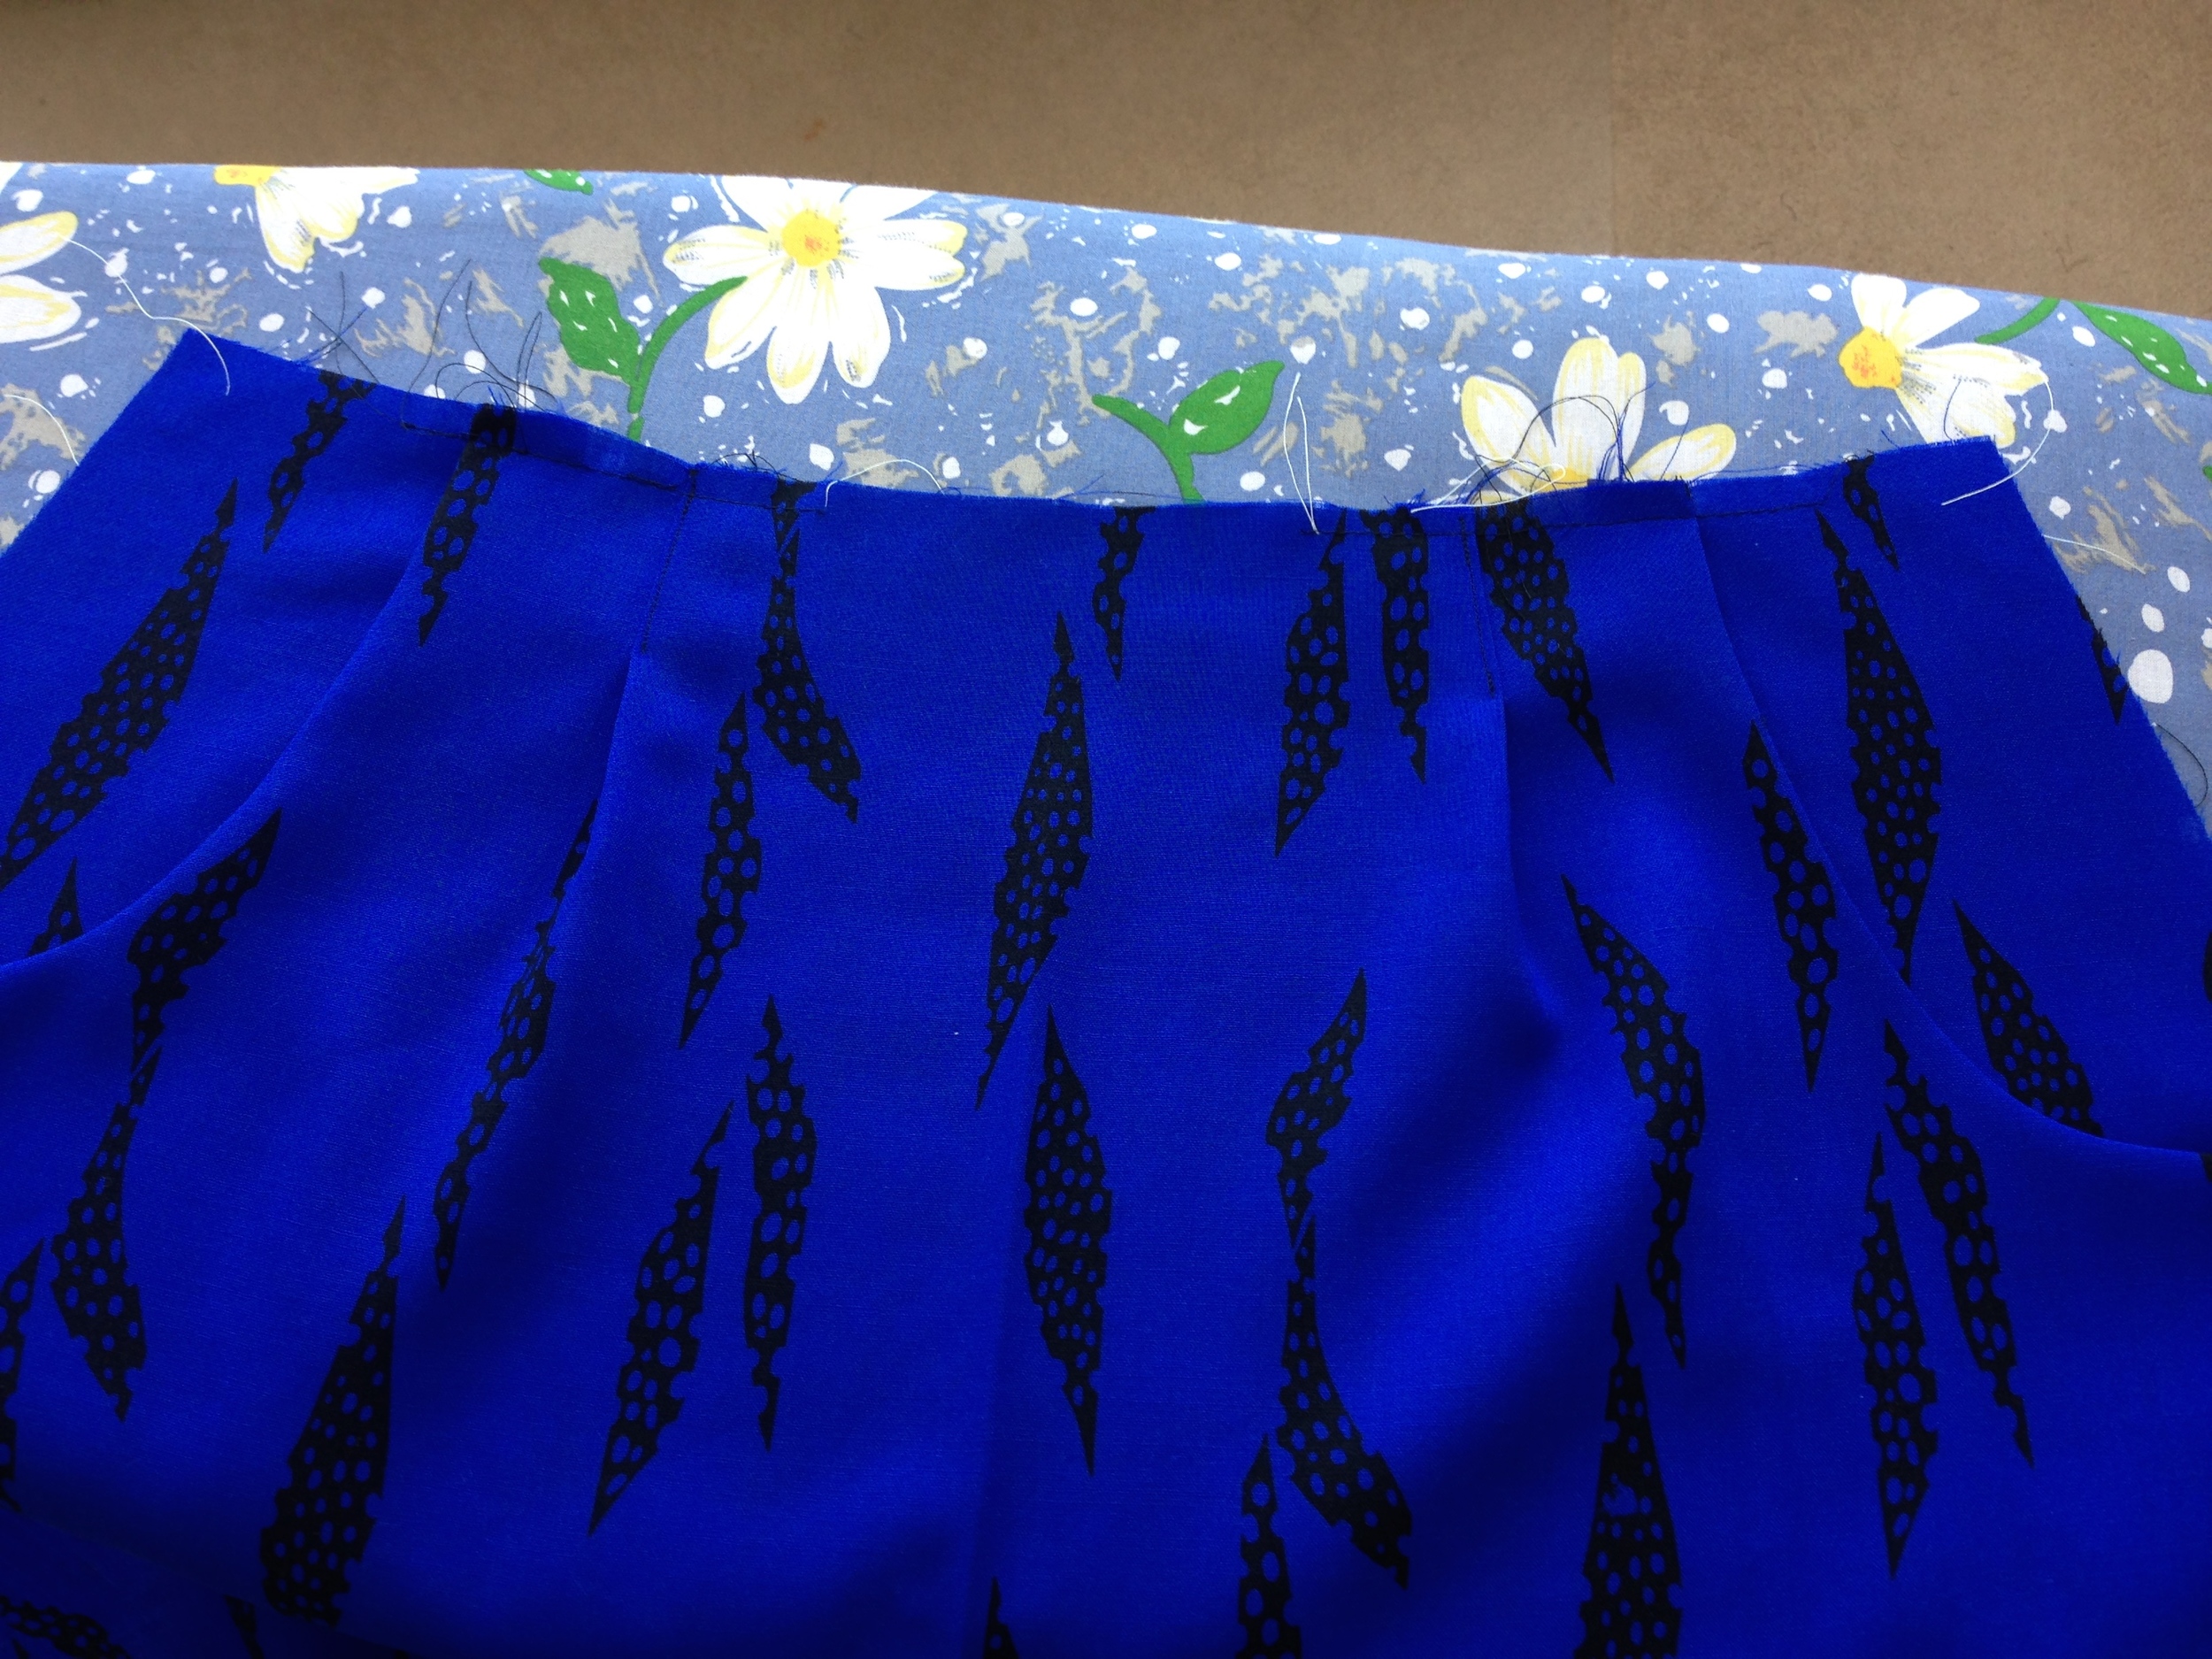
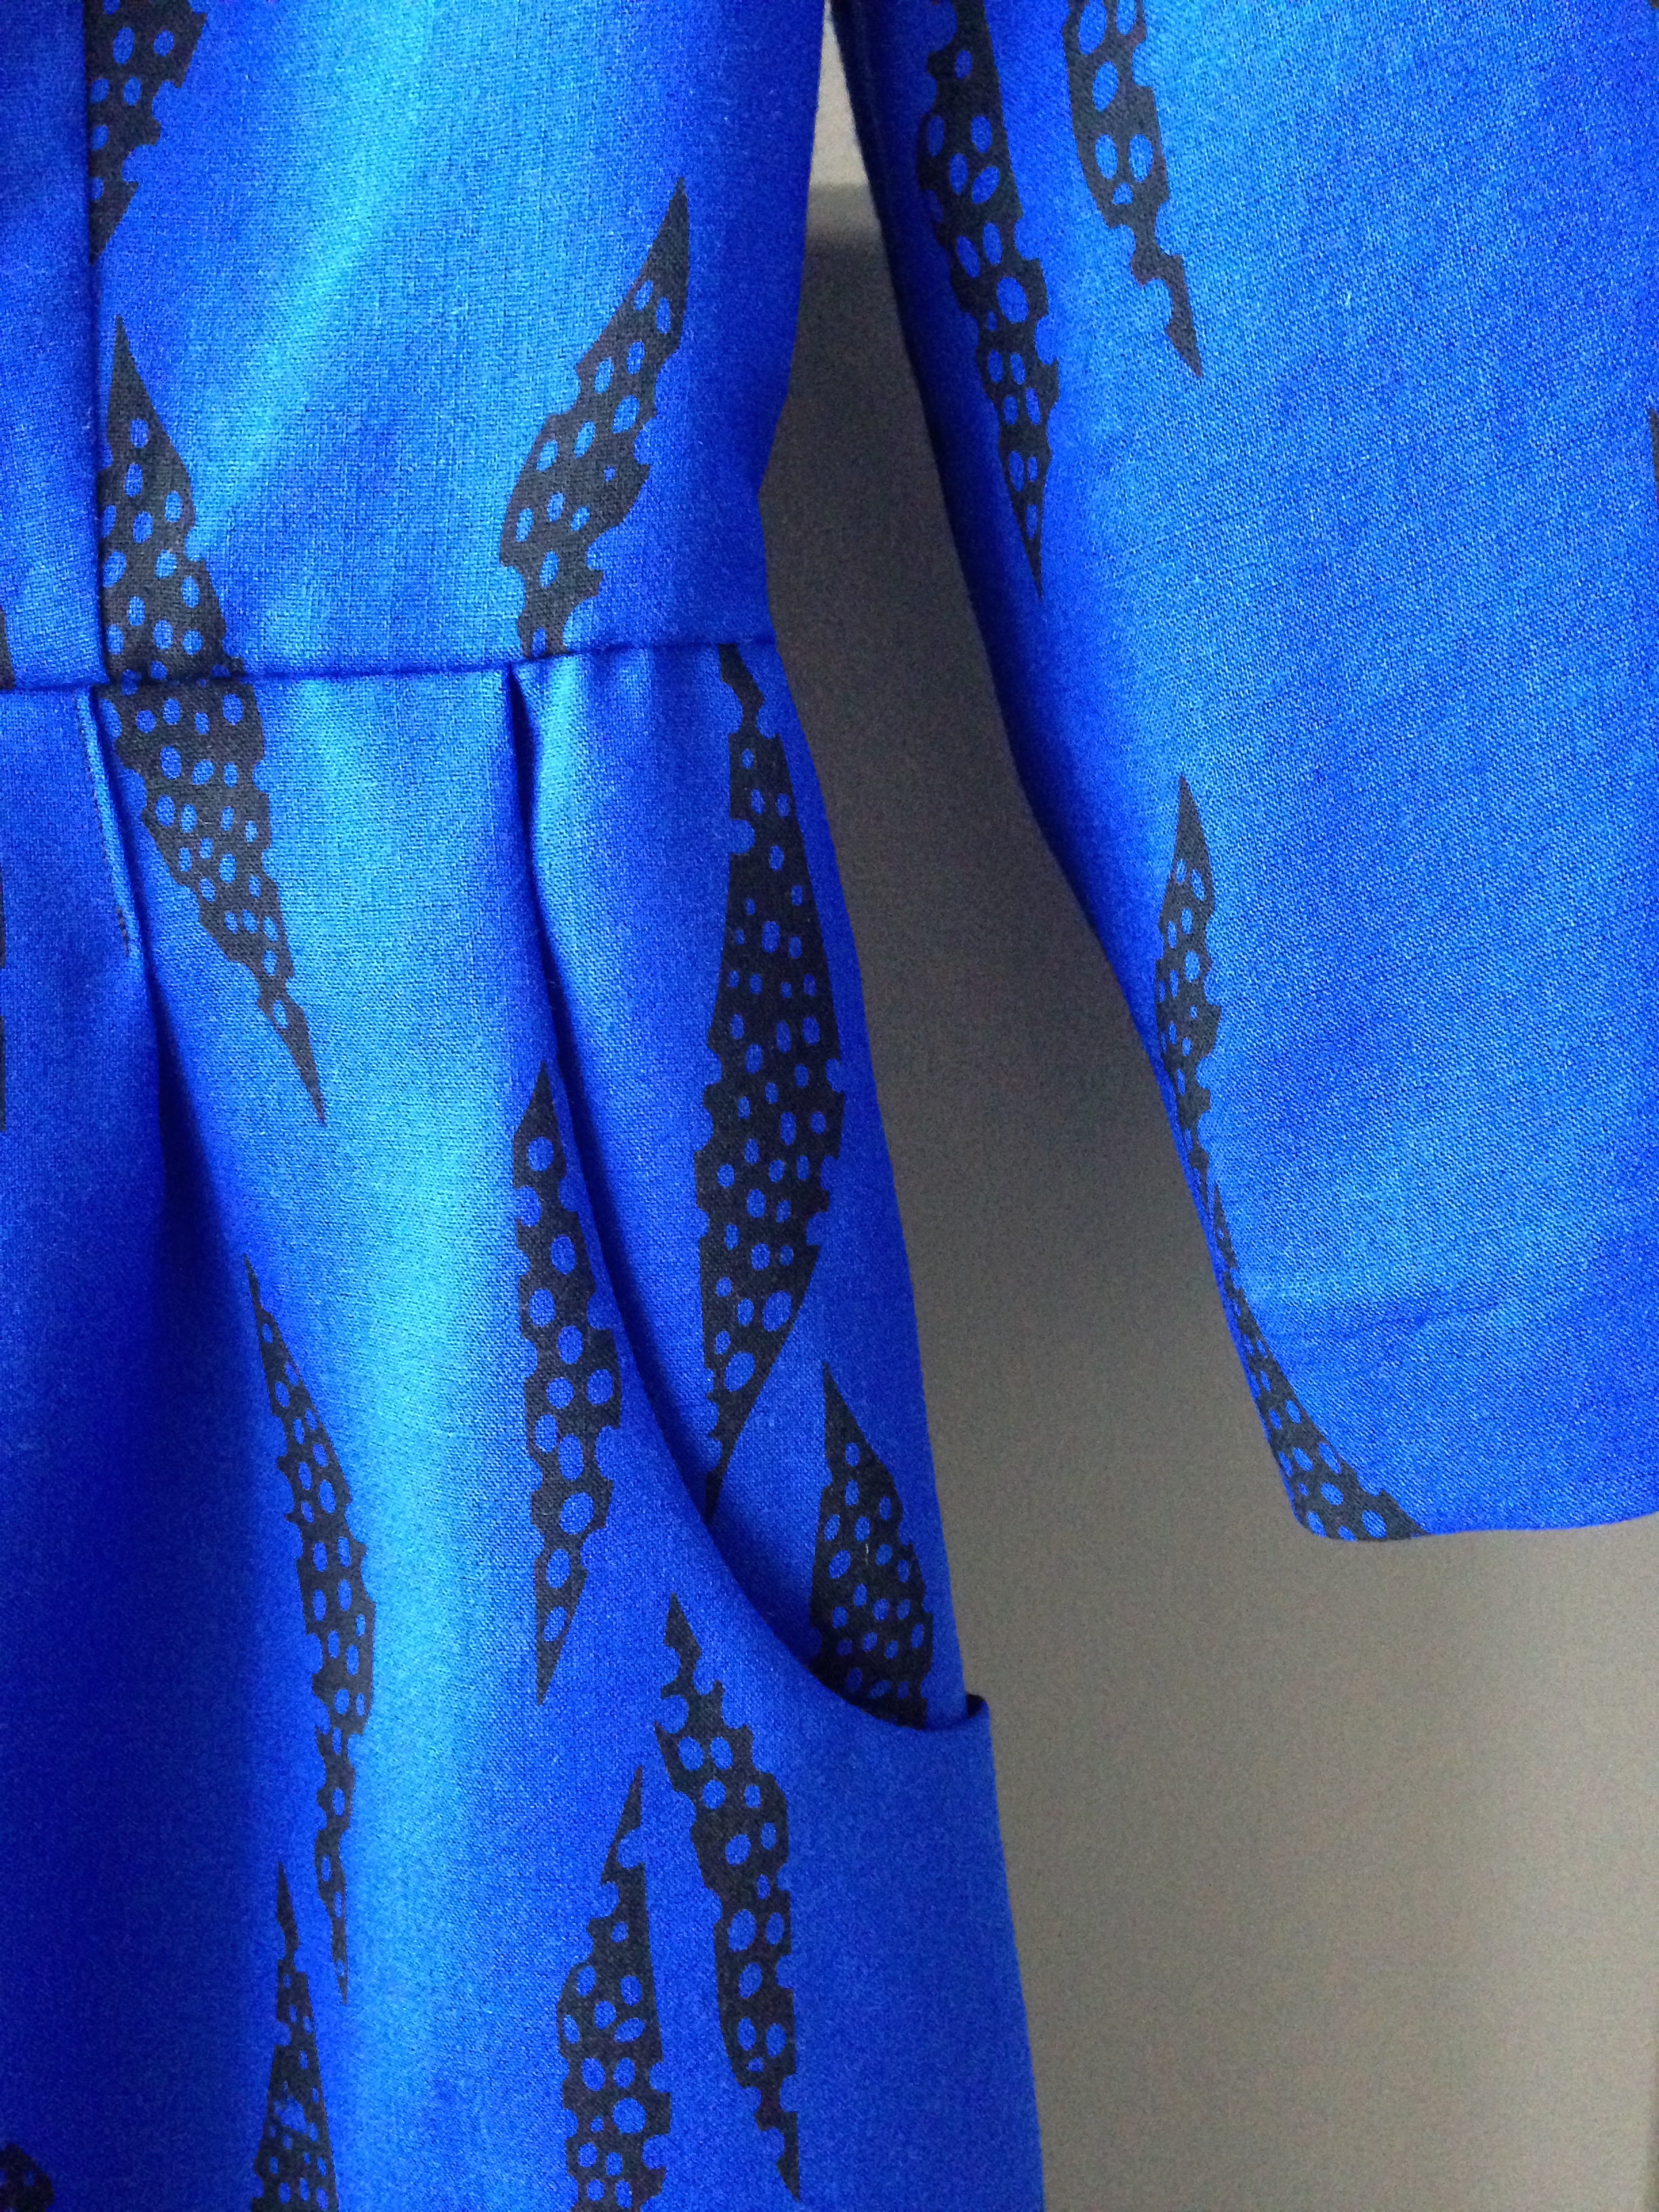
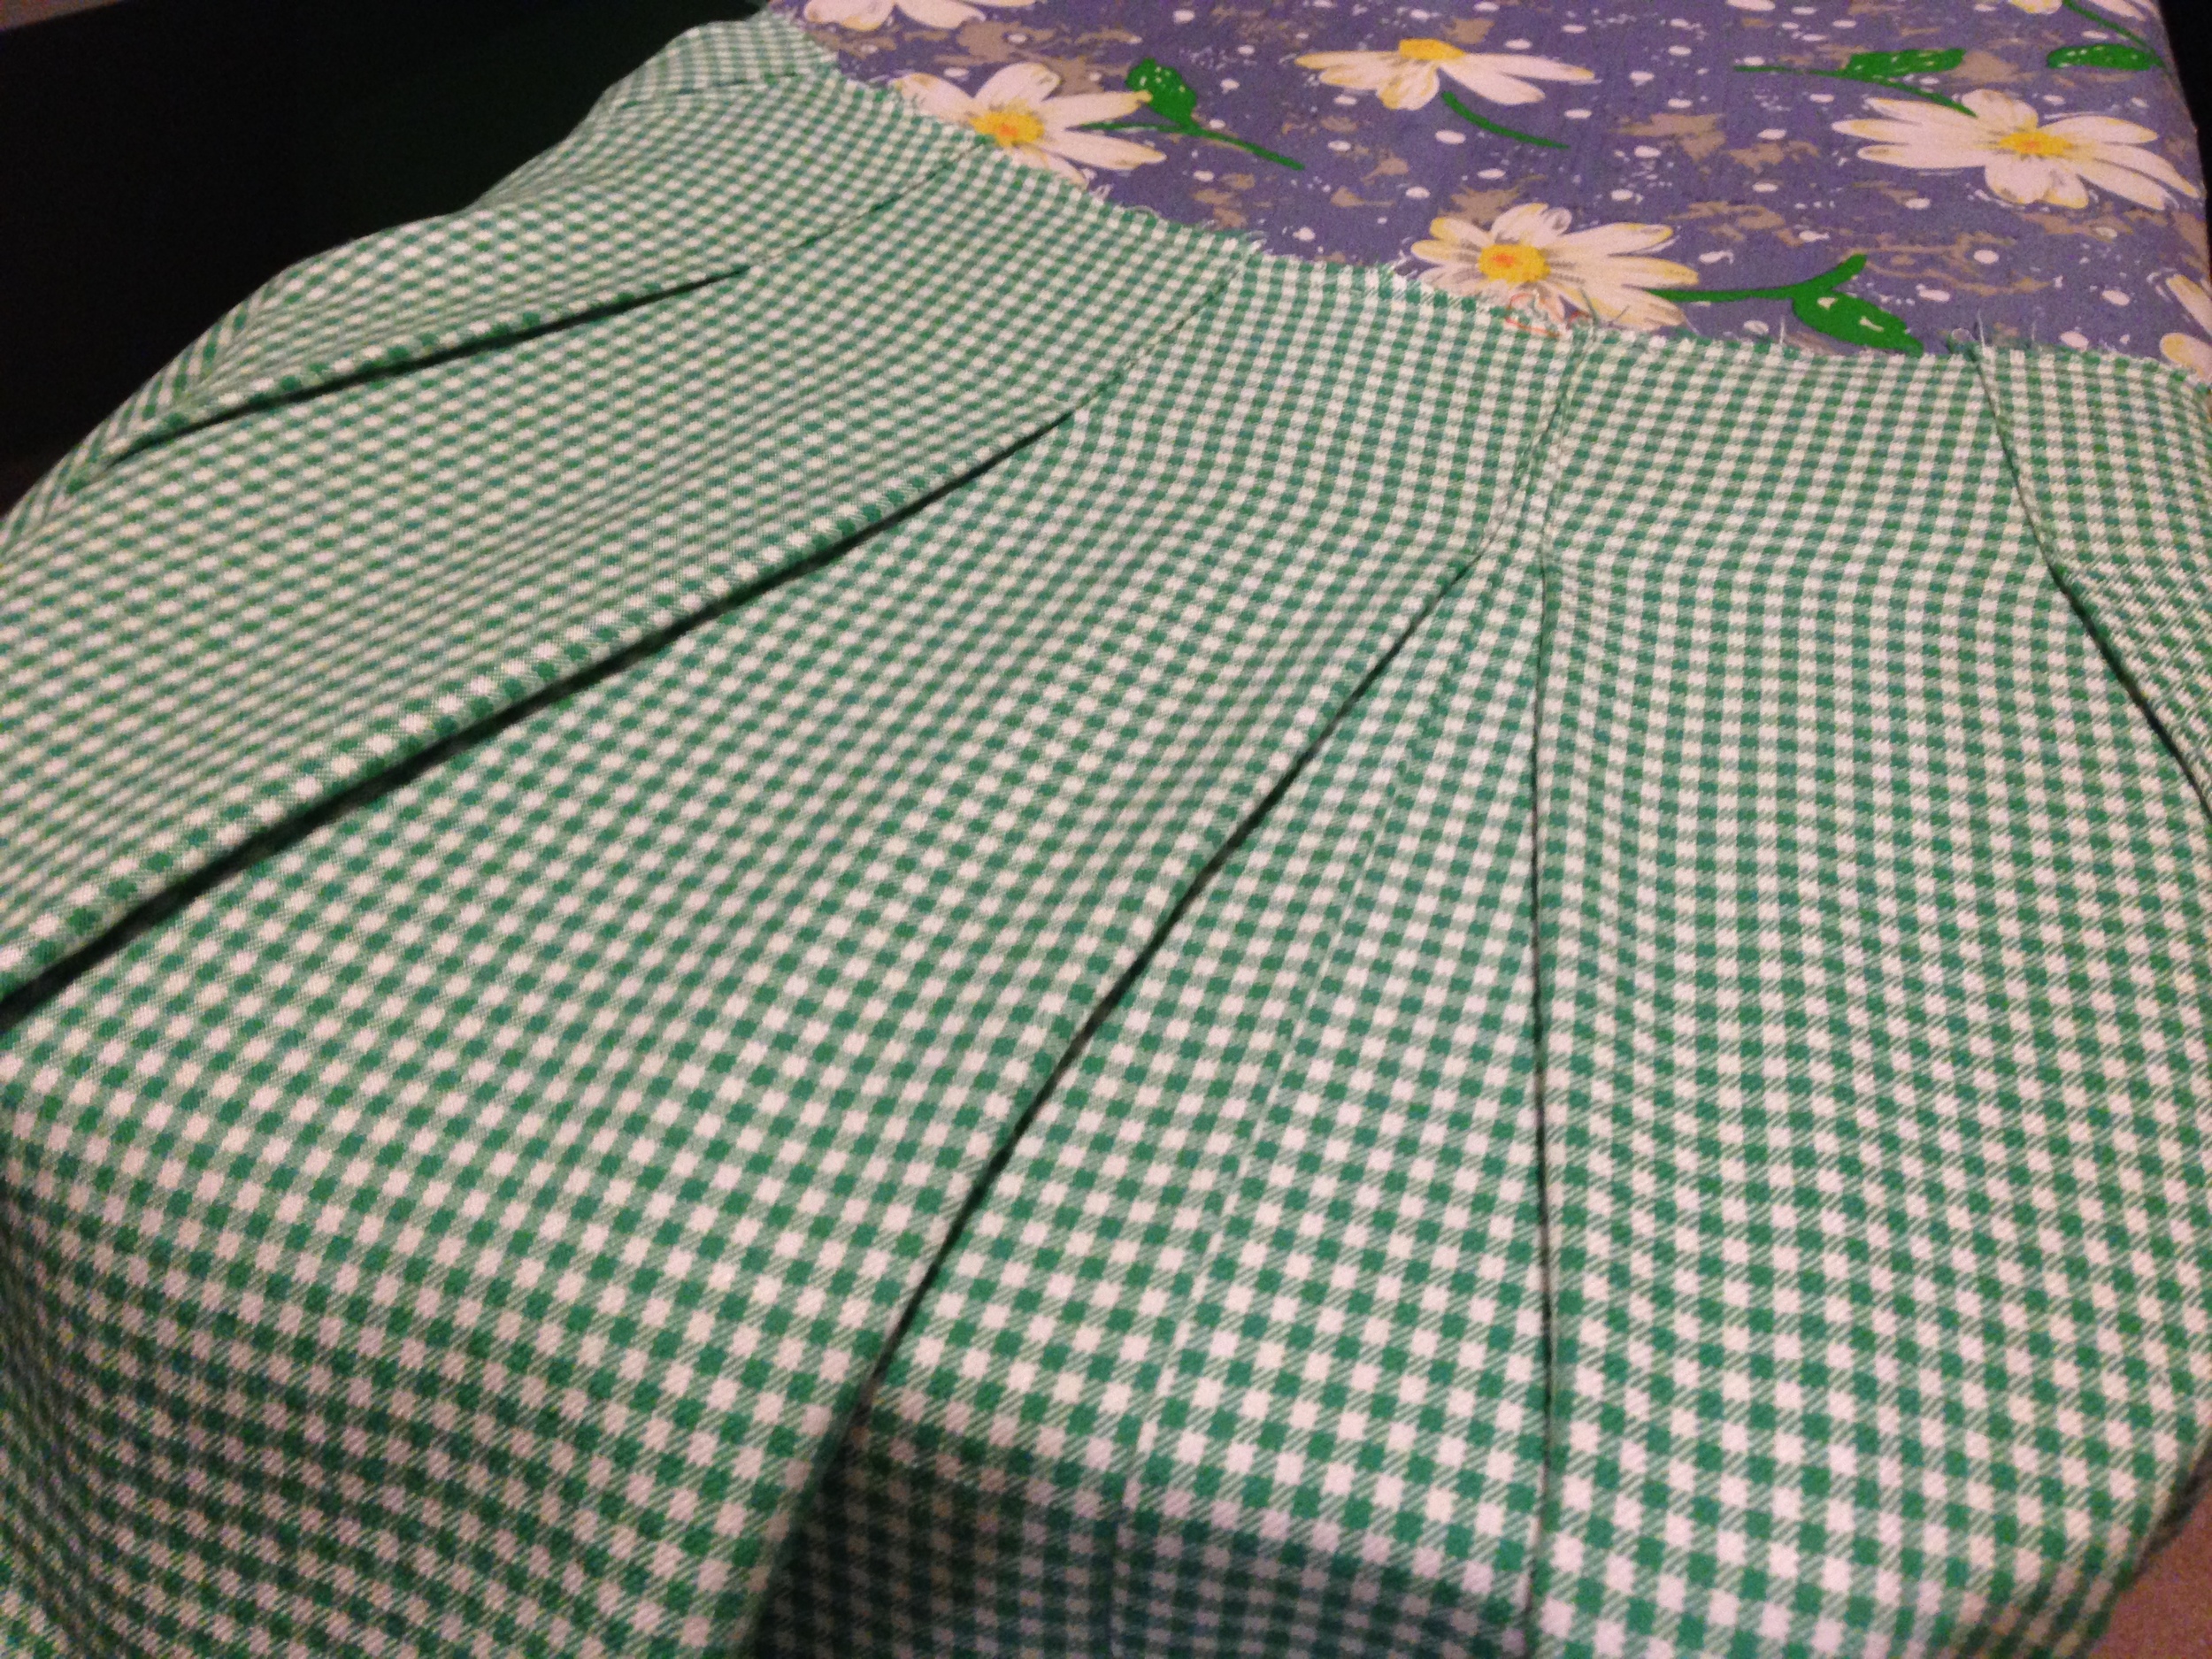
Next was the skirt construction. Another bonus of this pattern: Pockets. Always pockets. The pleats in the skirt front make for a very nice waist too and match up with the tucks in the bodice, you know, if you don't mess up the tuck sense. Lol. Back to raving about pockets. Since I had changed my pattern to include a side seam, and I didn't want to fuss with the pockets in the zipper so I moved them down about 9cm. I'm pretty tall so the pockets are still within normal-not-knee-cap pocket range. Success! Now was the moment of truth. Measured, cut and stitched, the waist fit like a dream. One could say it was by design. Ehhhhh? =D

Now the finishing bits that are always the most boring and typically the most complicated: Zippers and hems. But first! More lace appliqué around the waist!  Probably the calm before the zipper. 

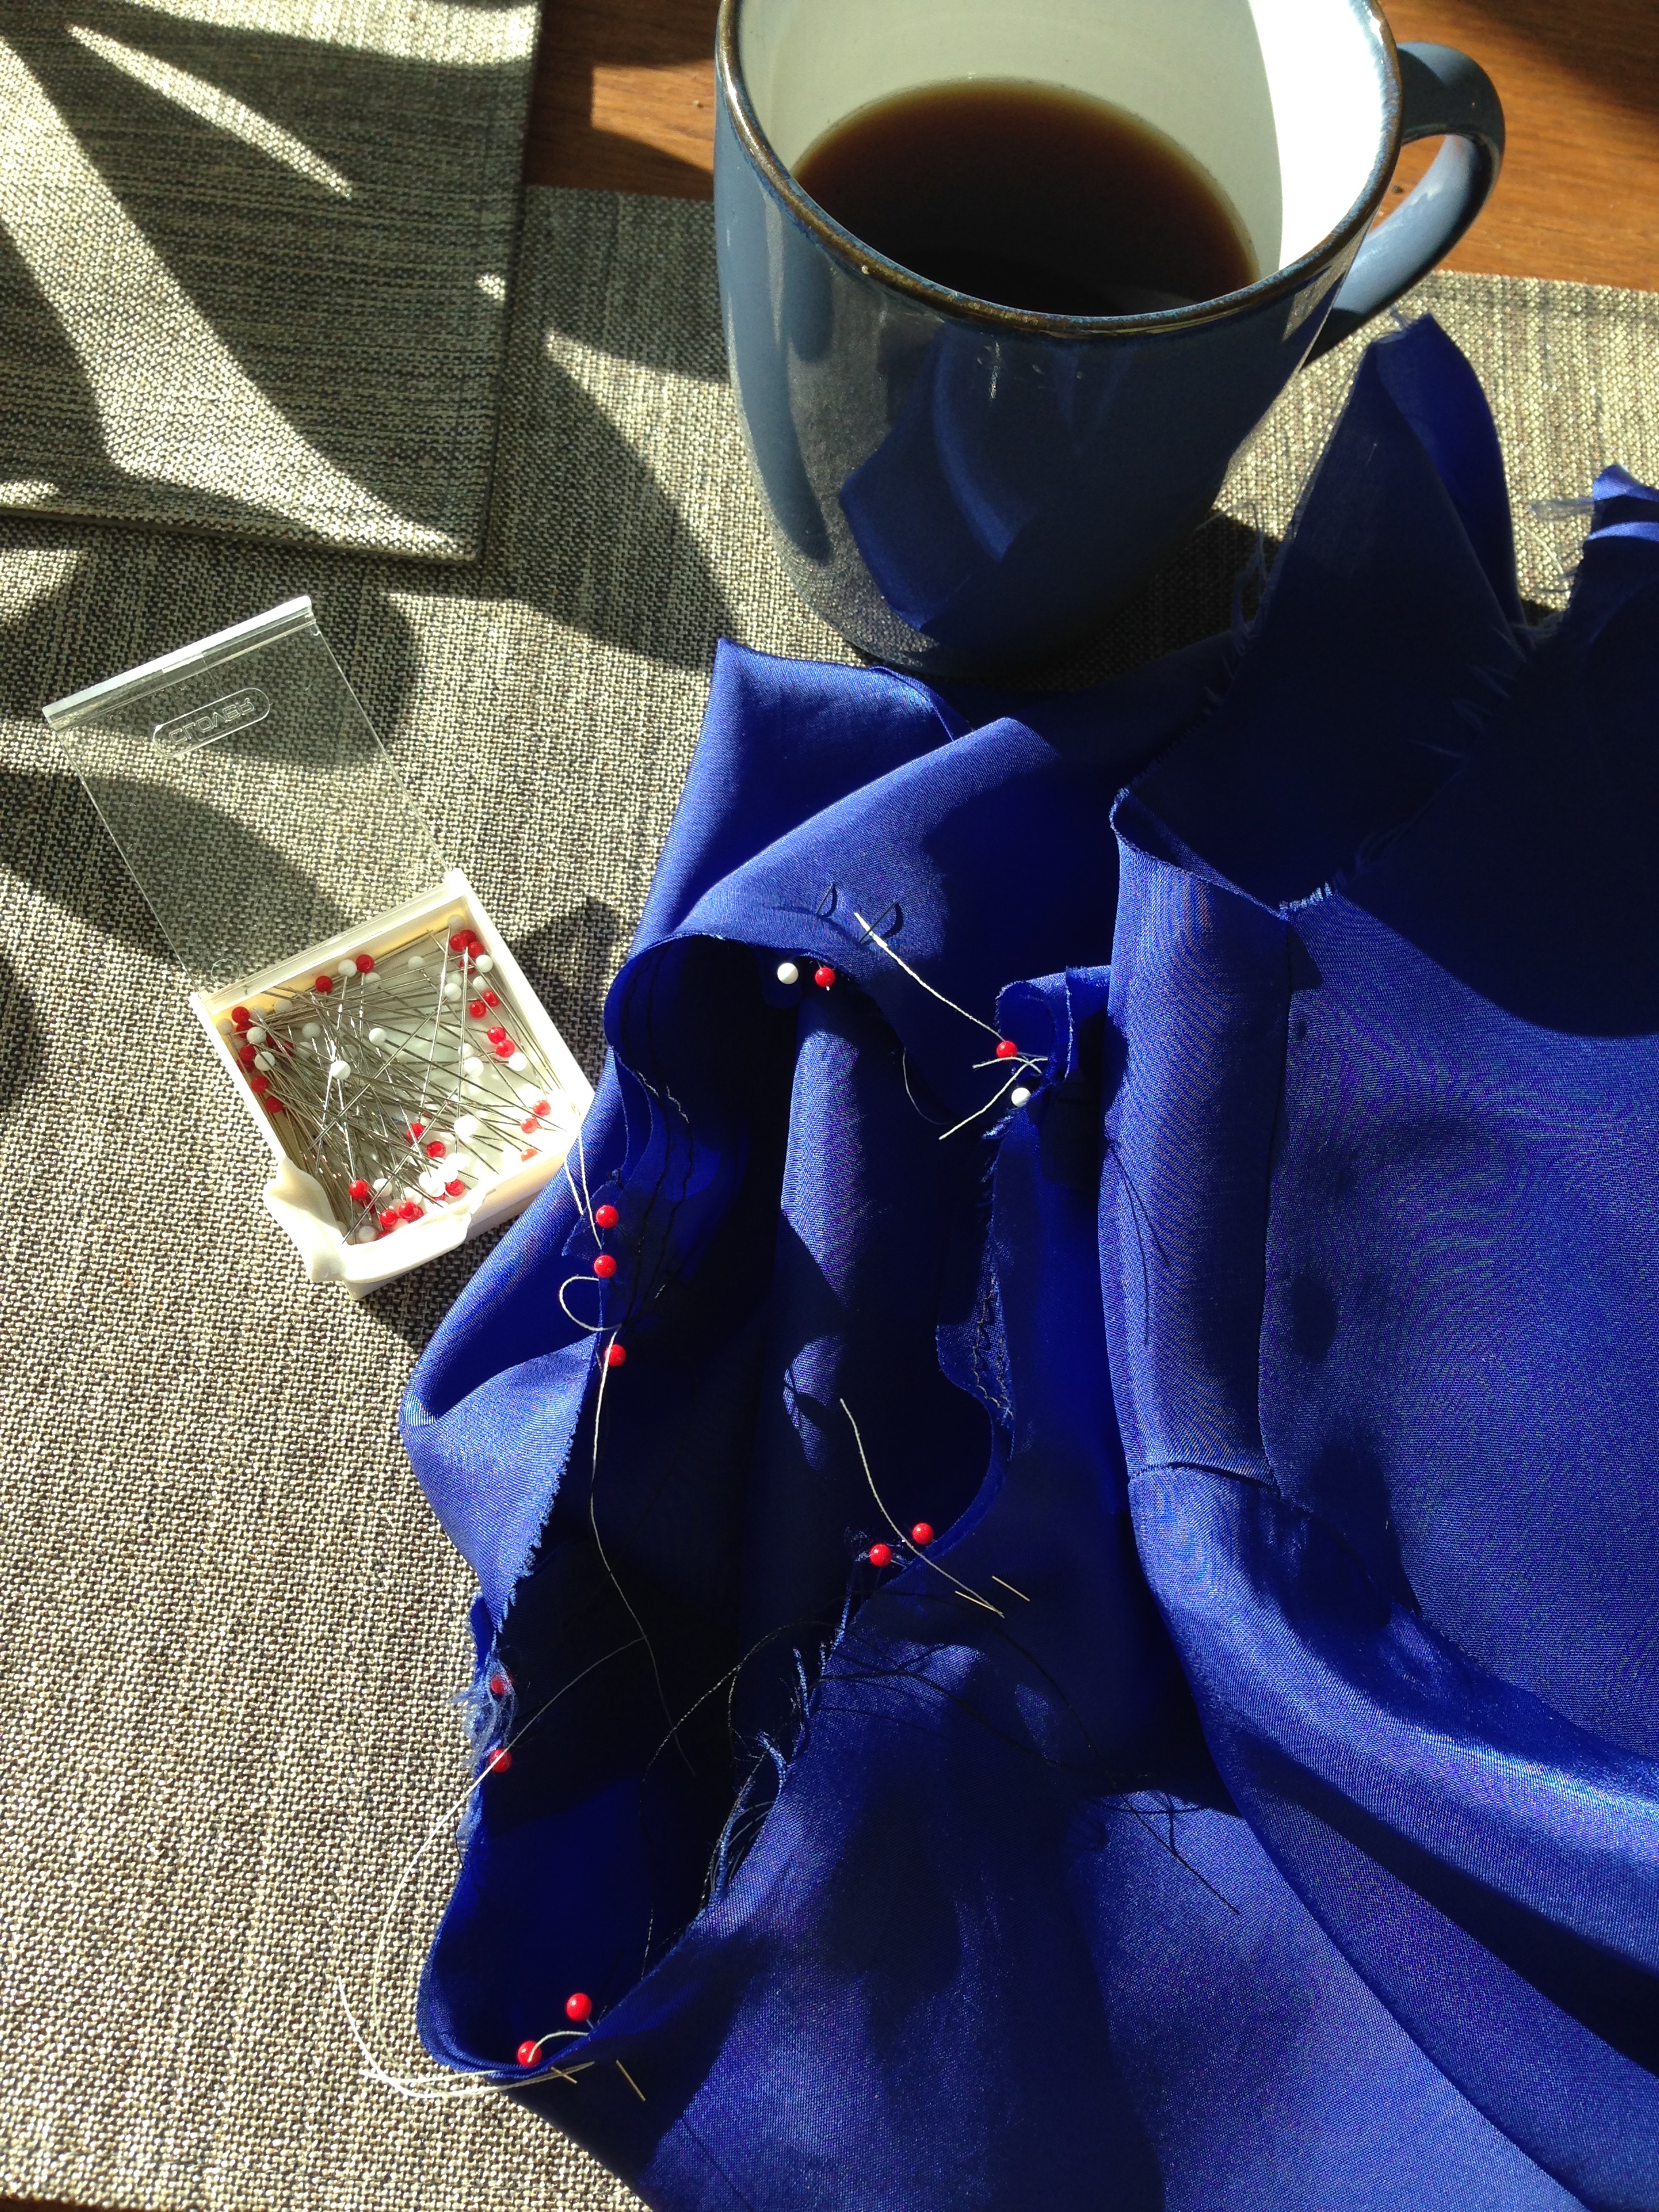
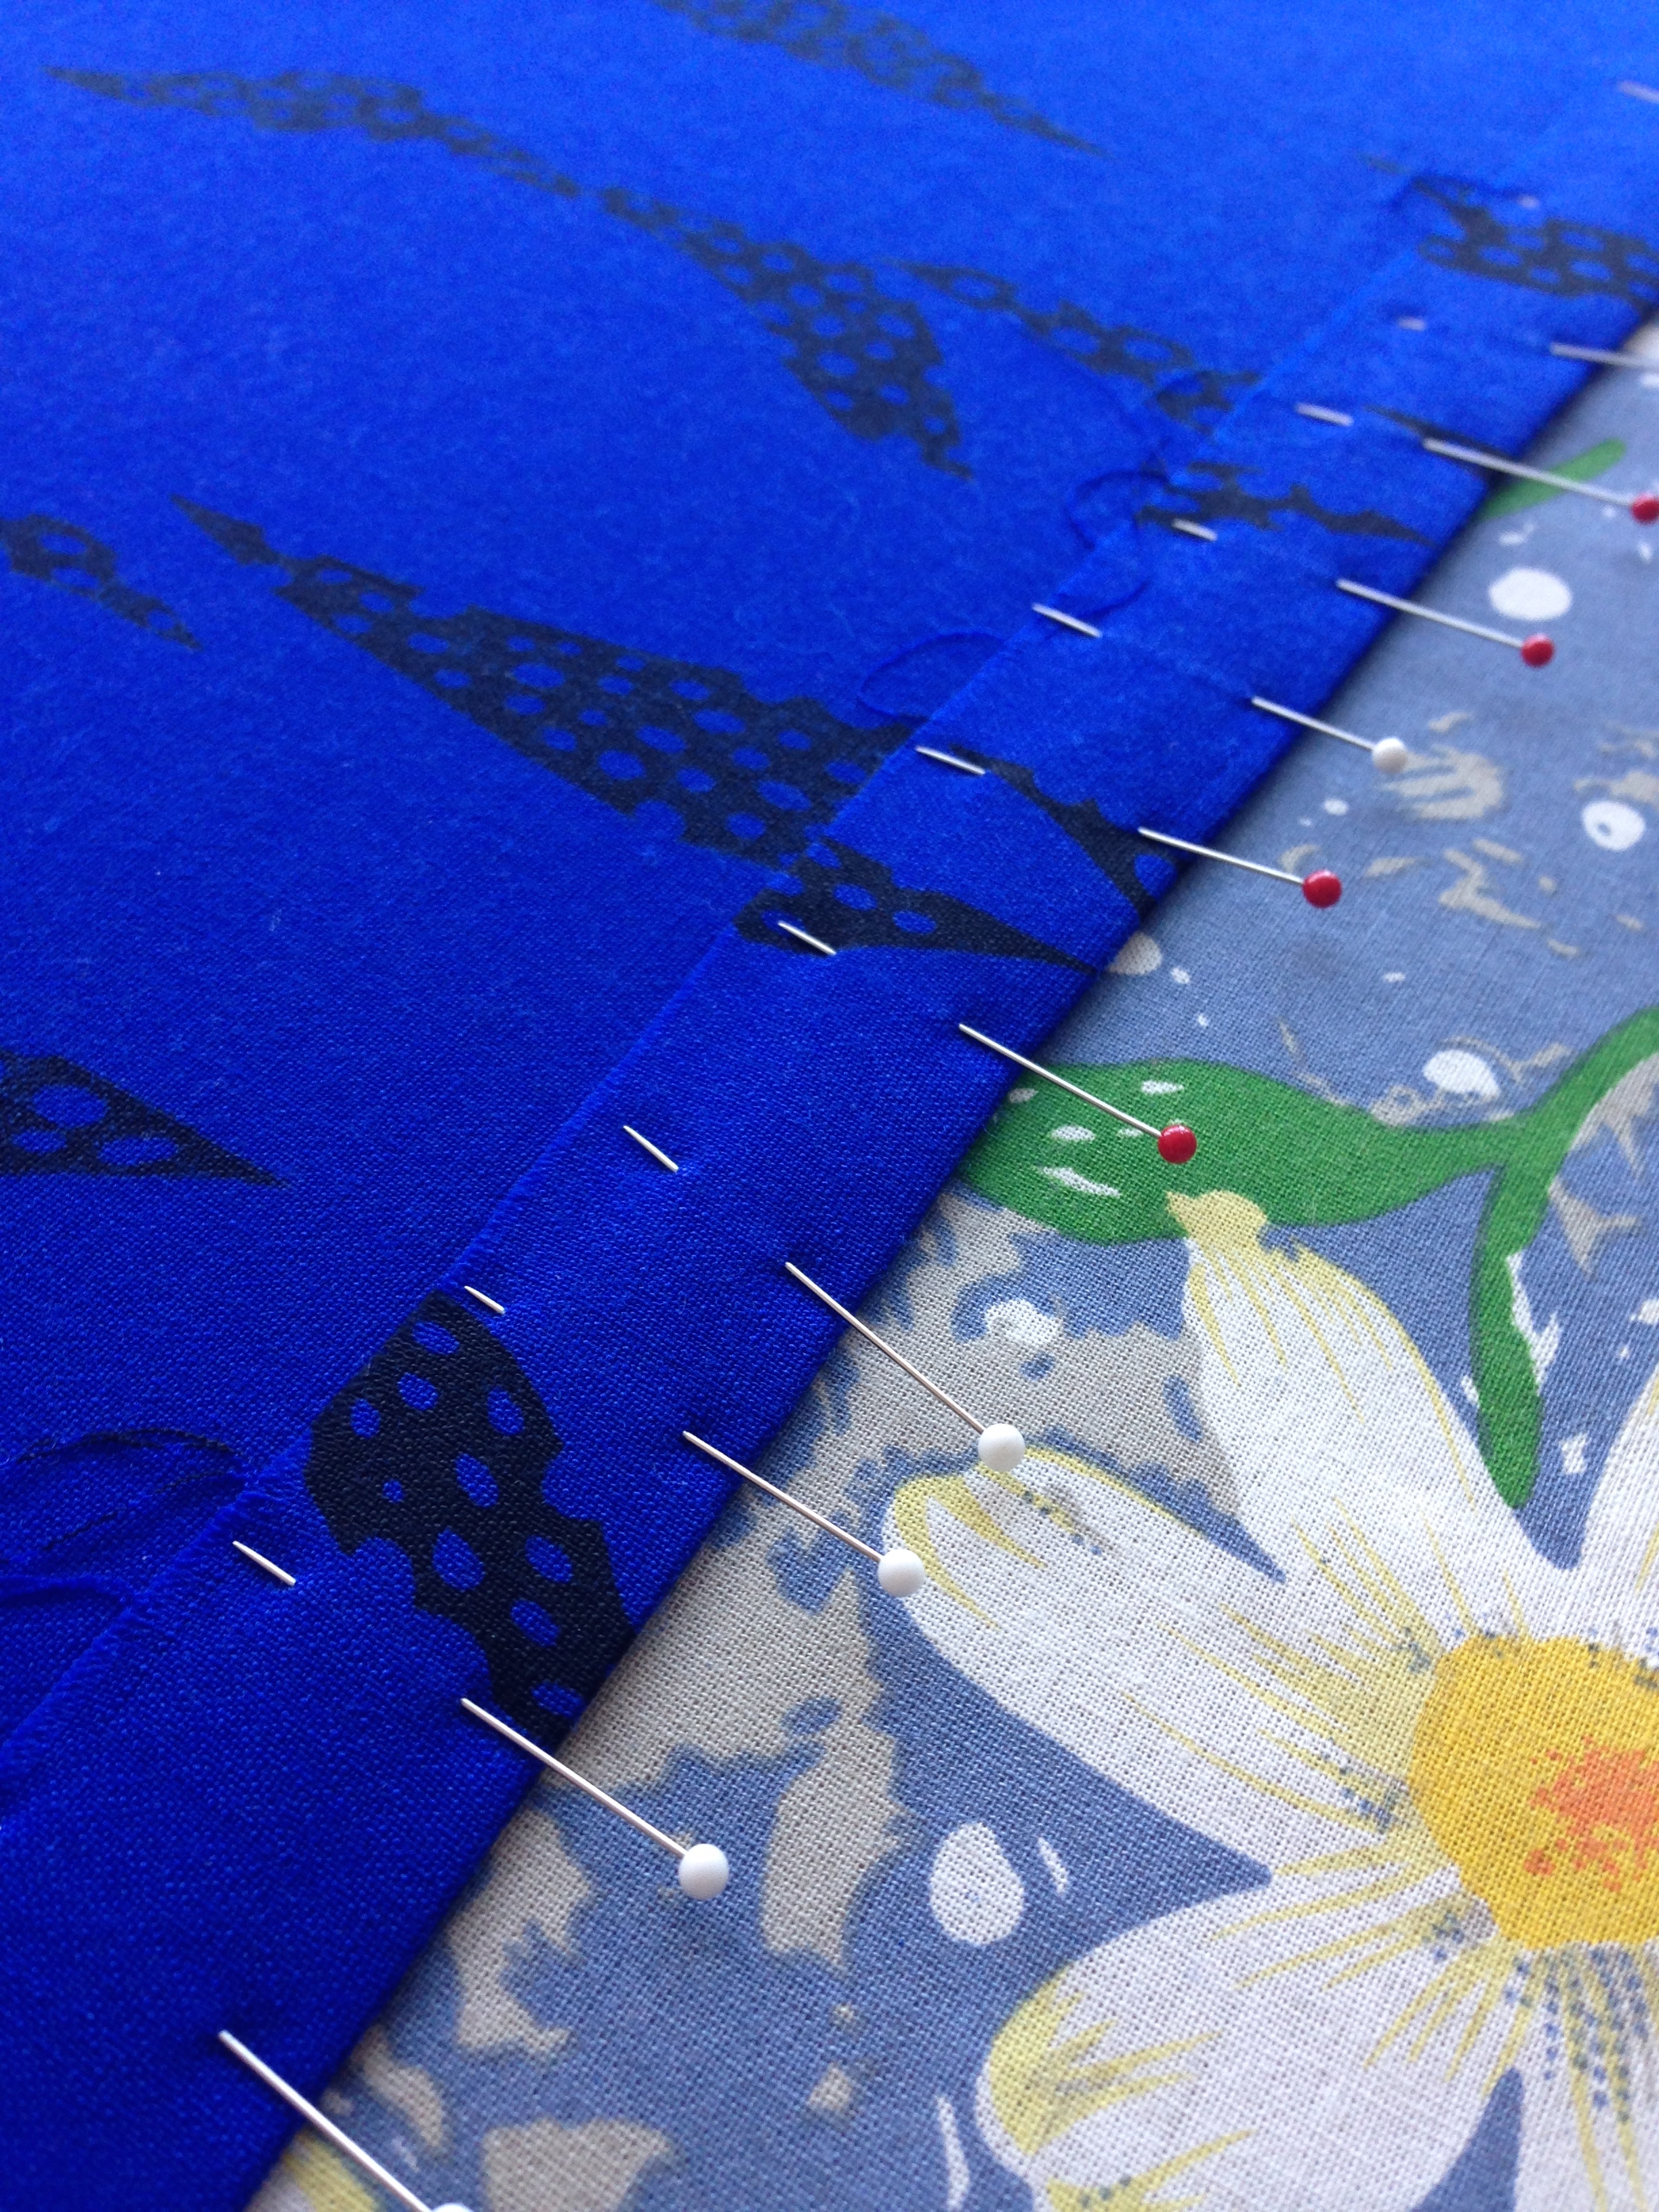
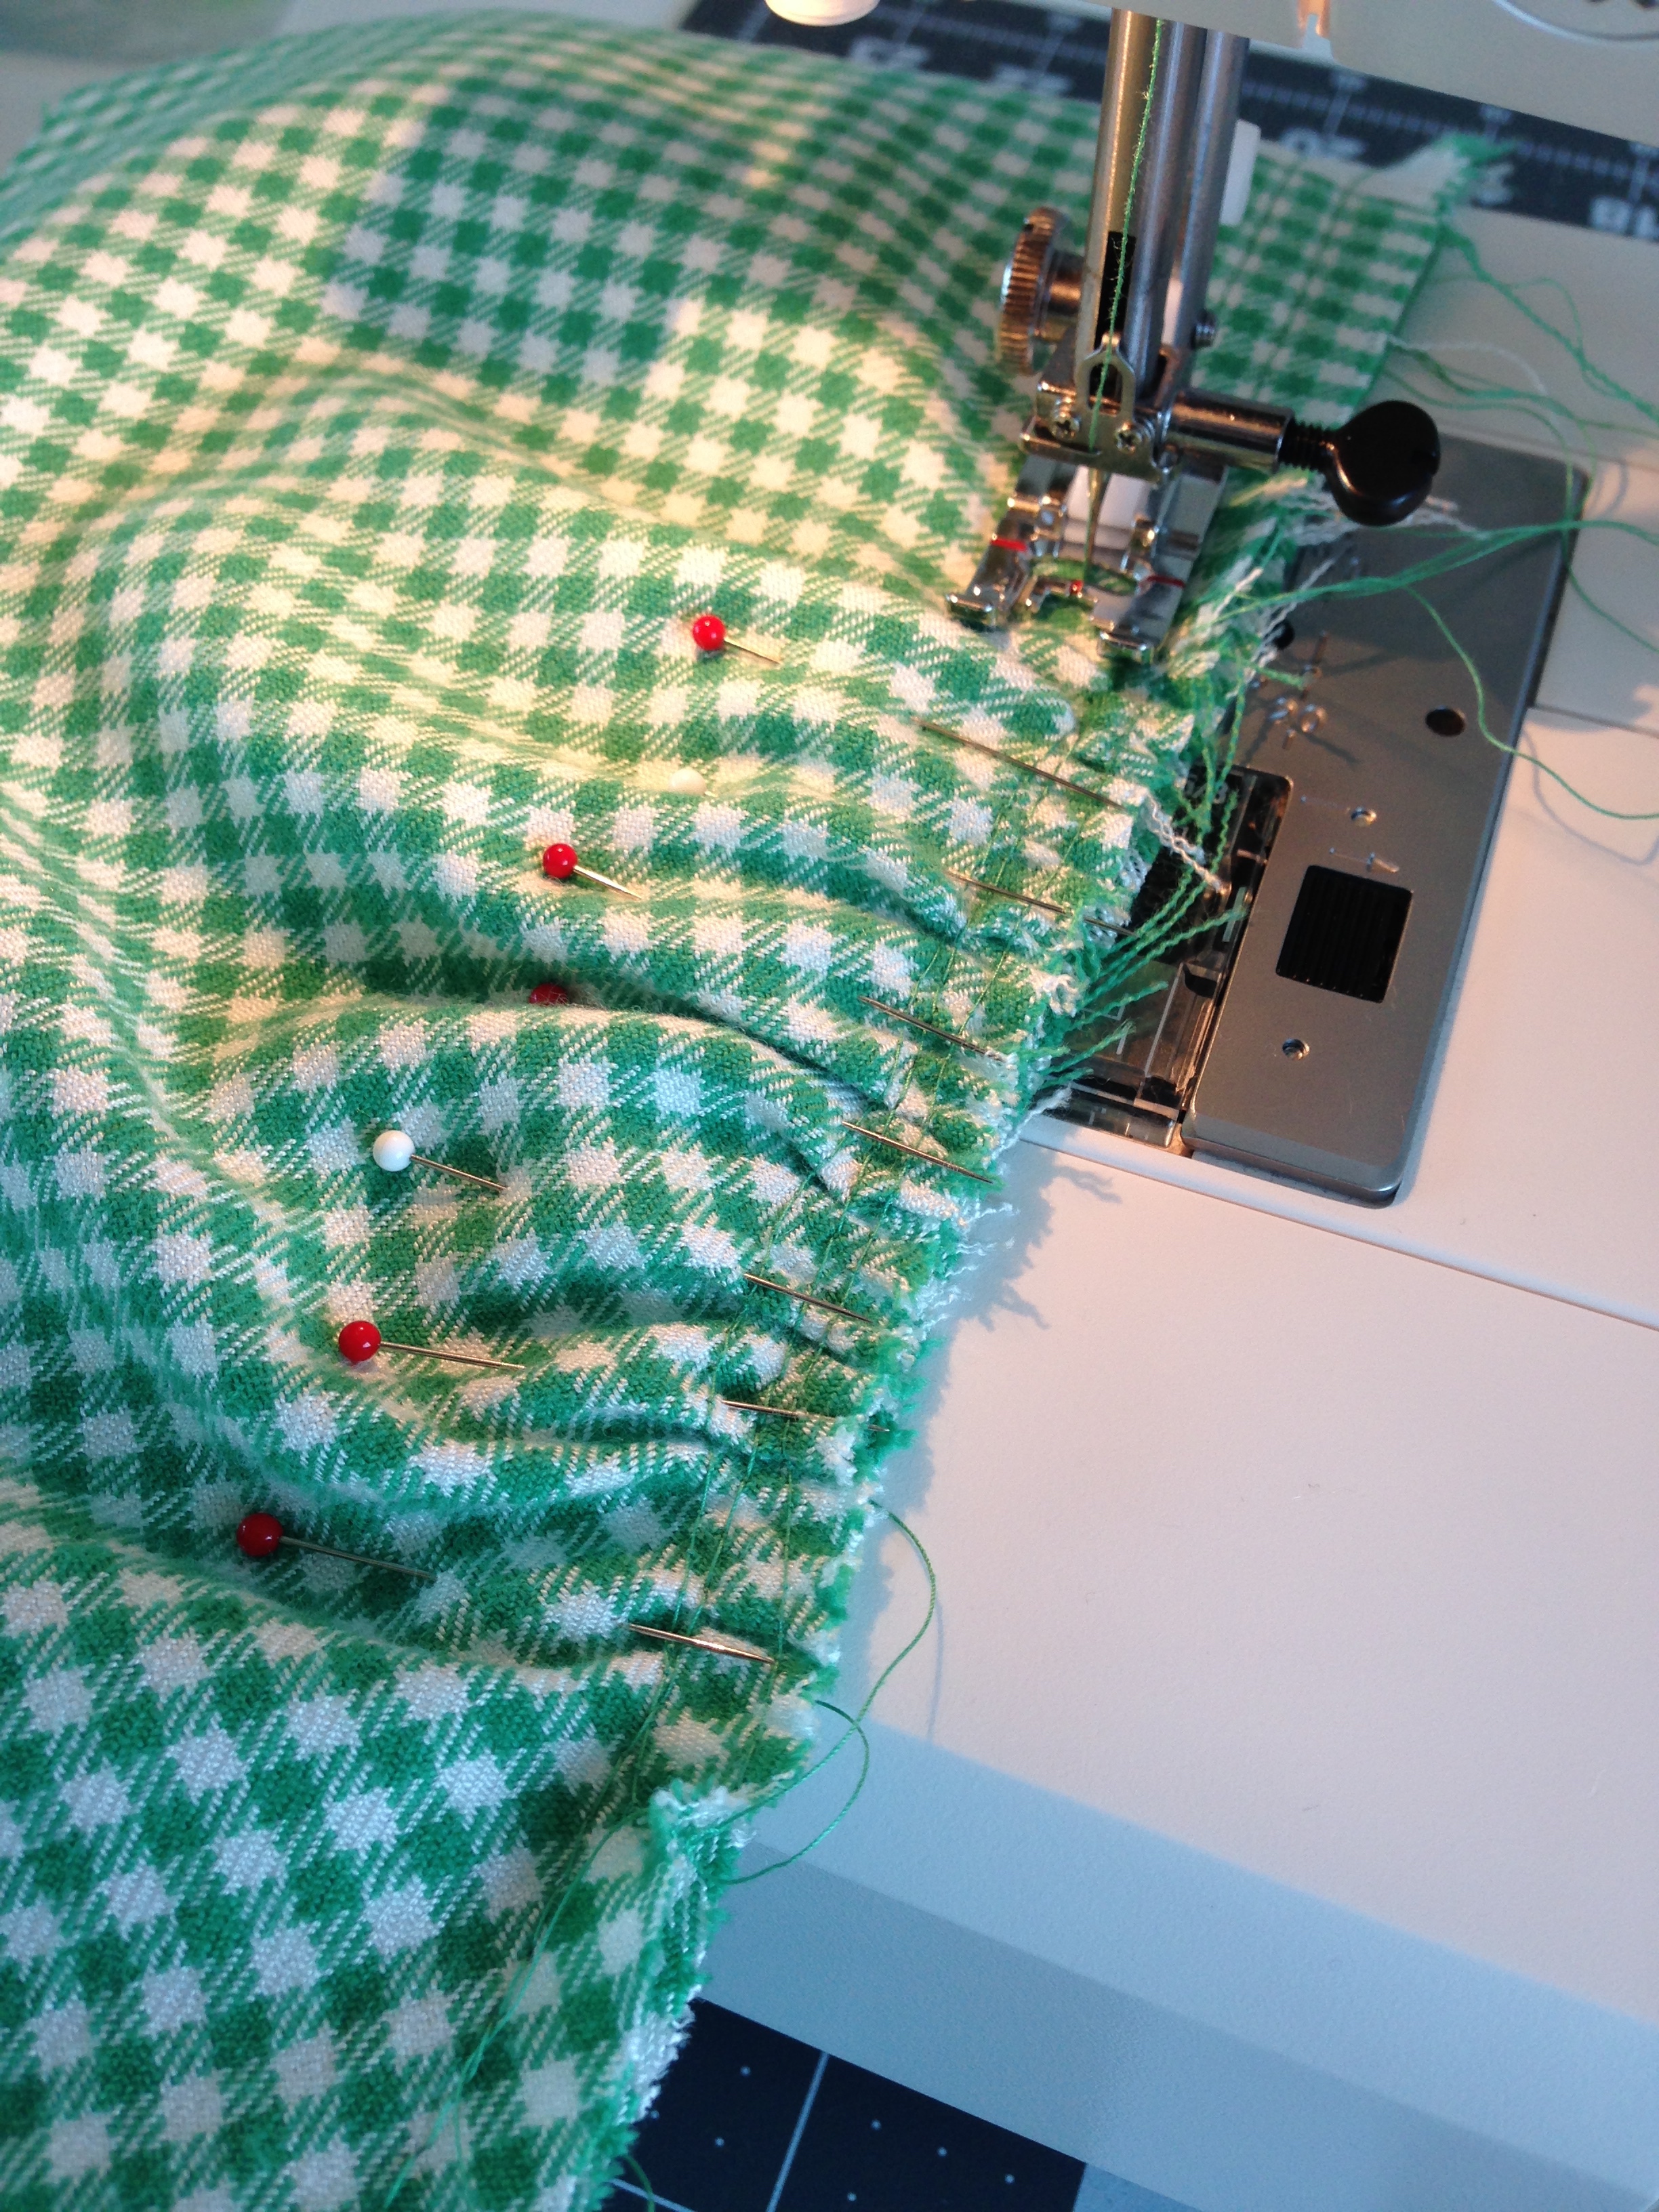
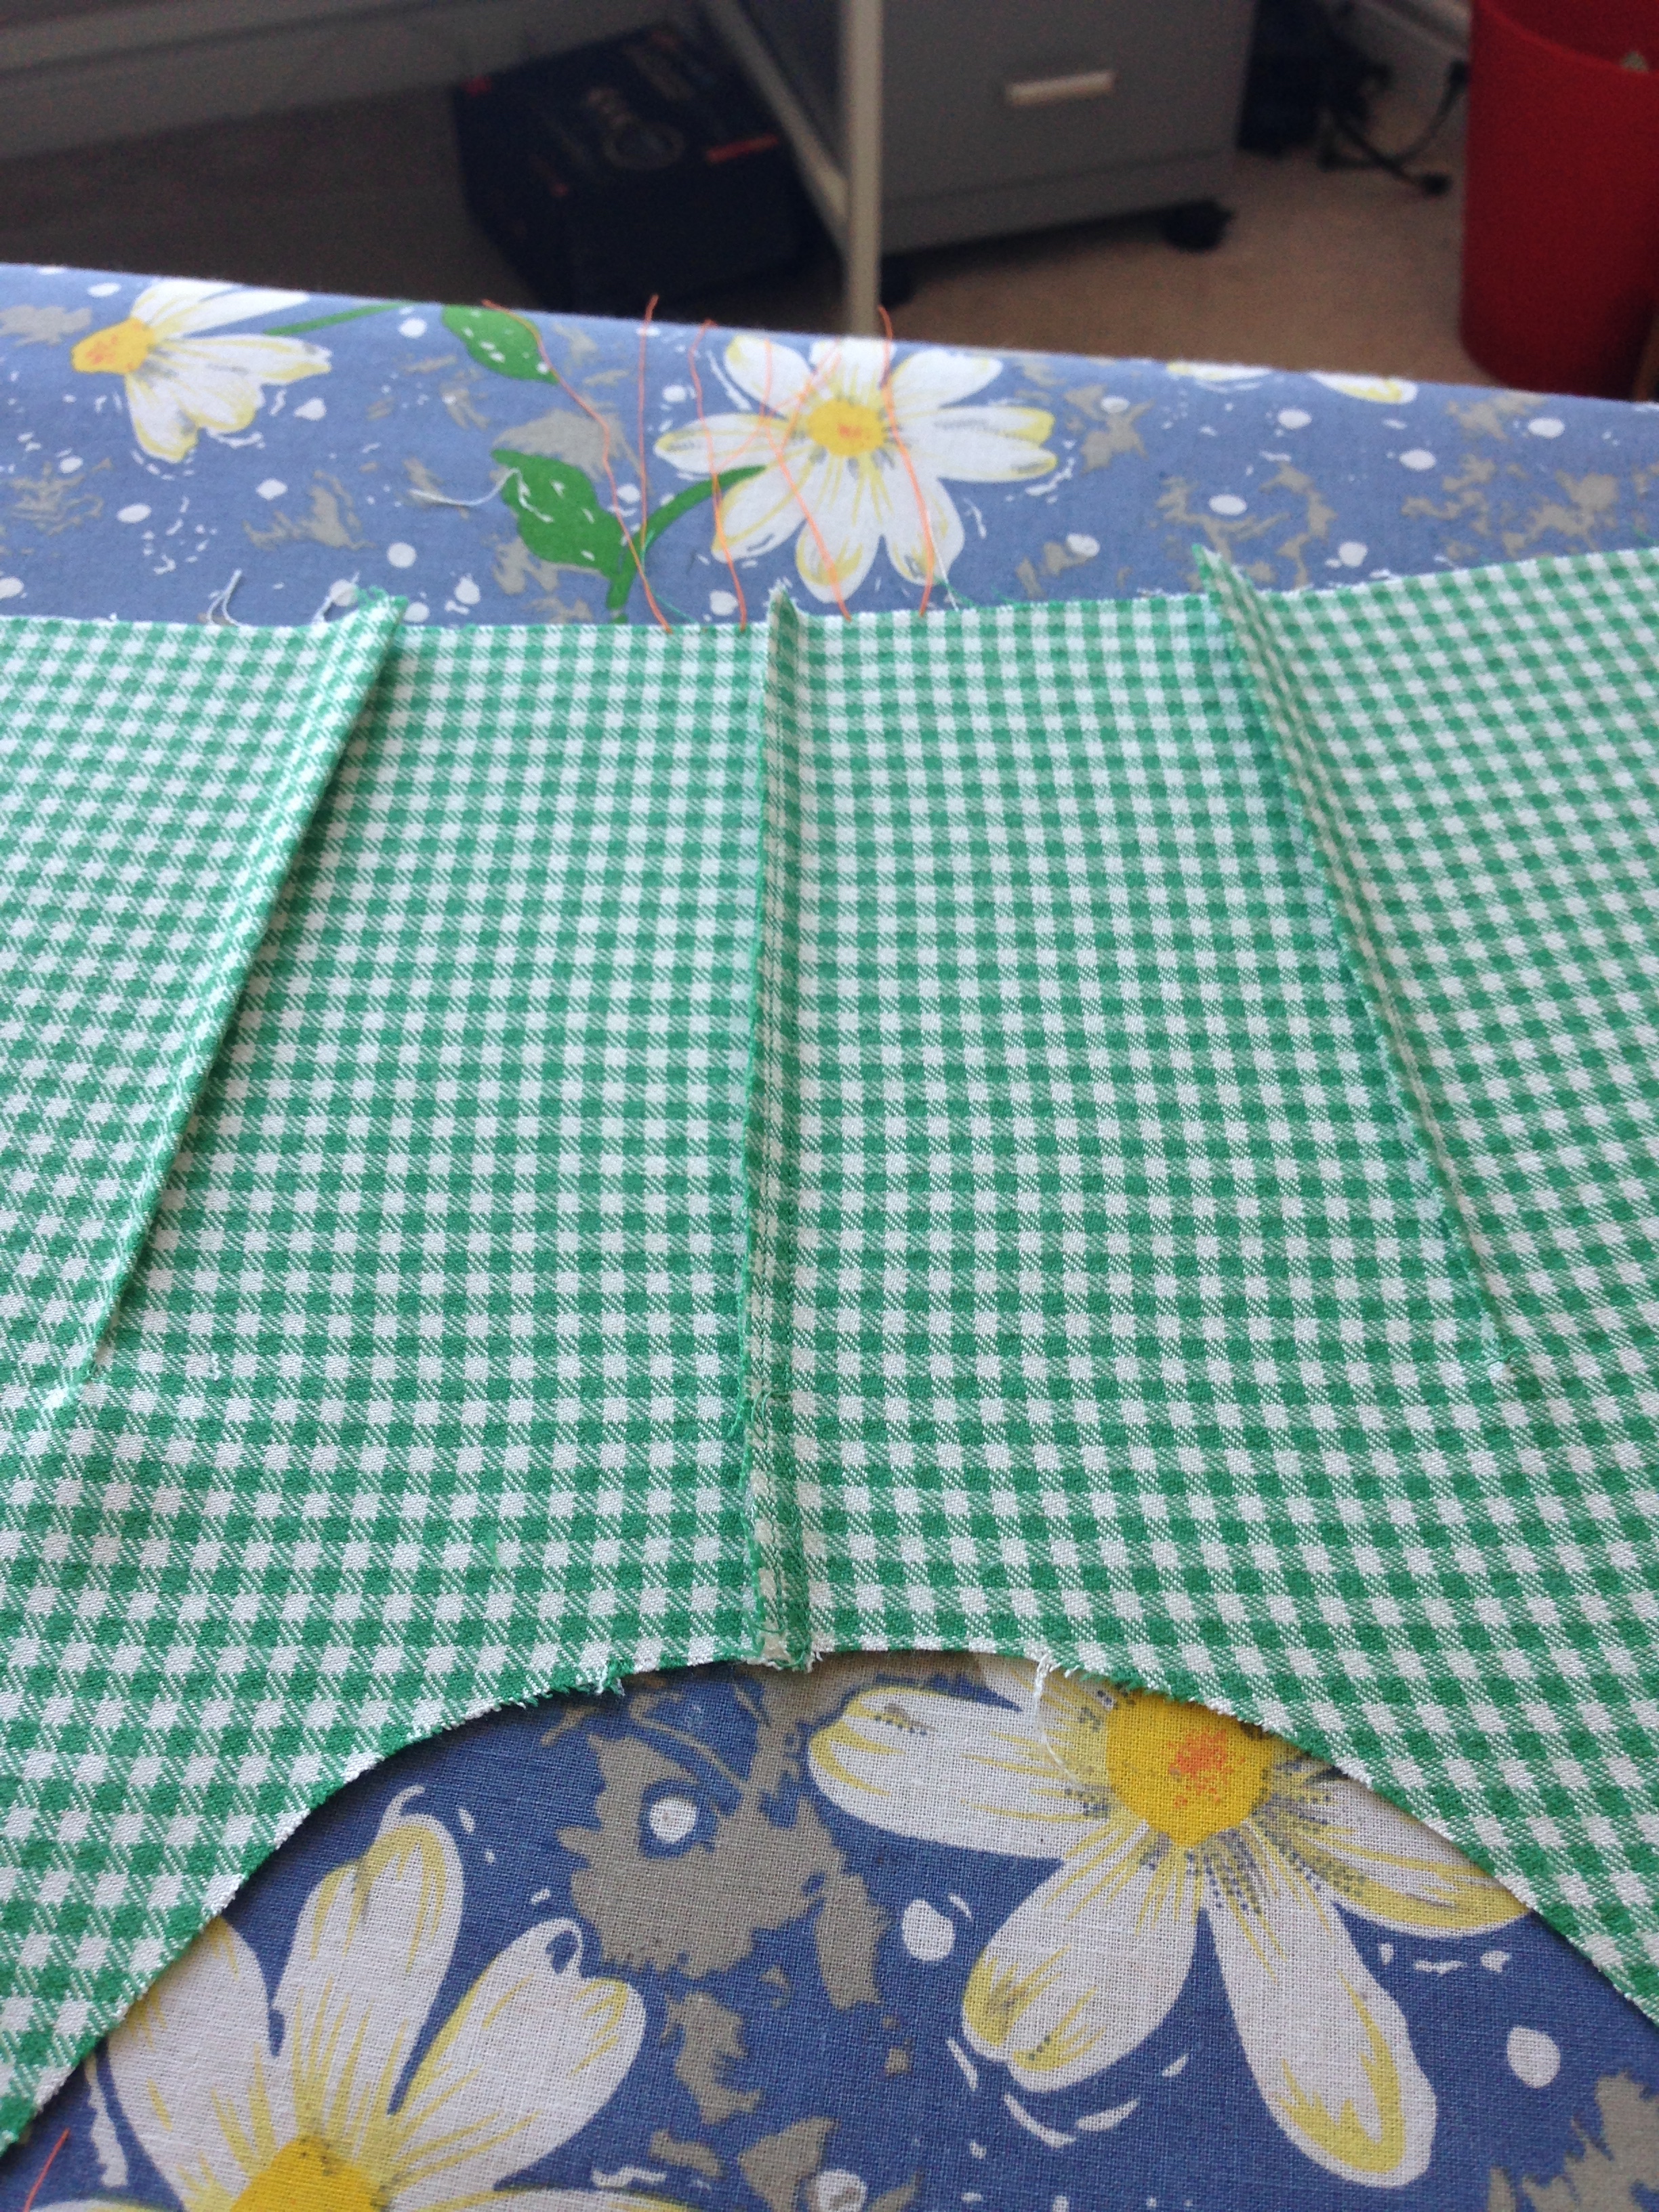
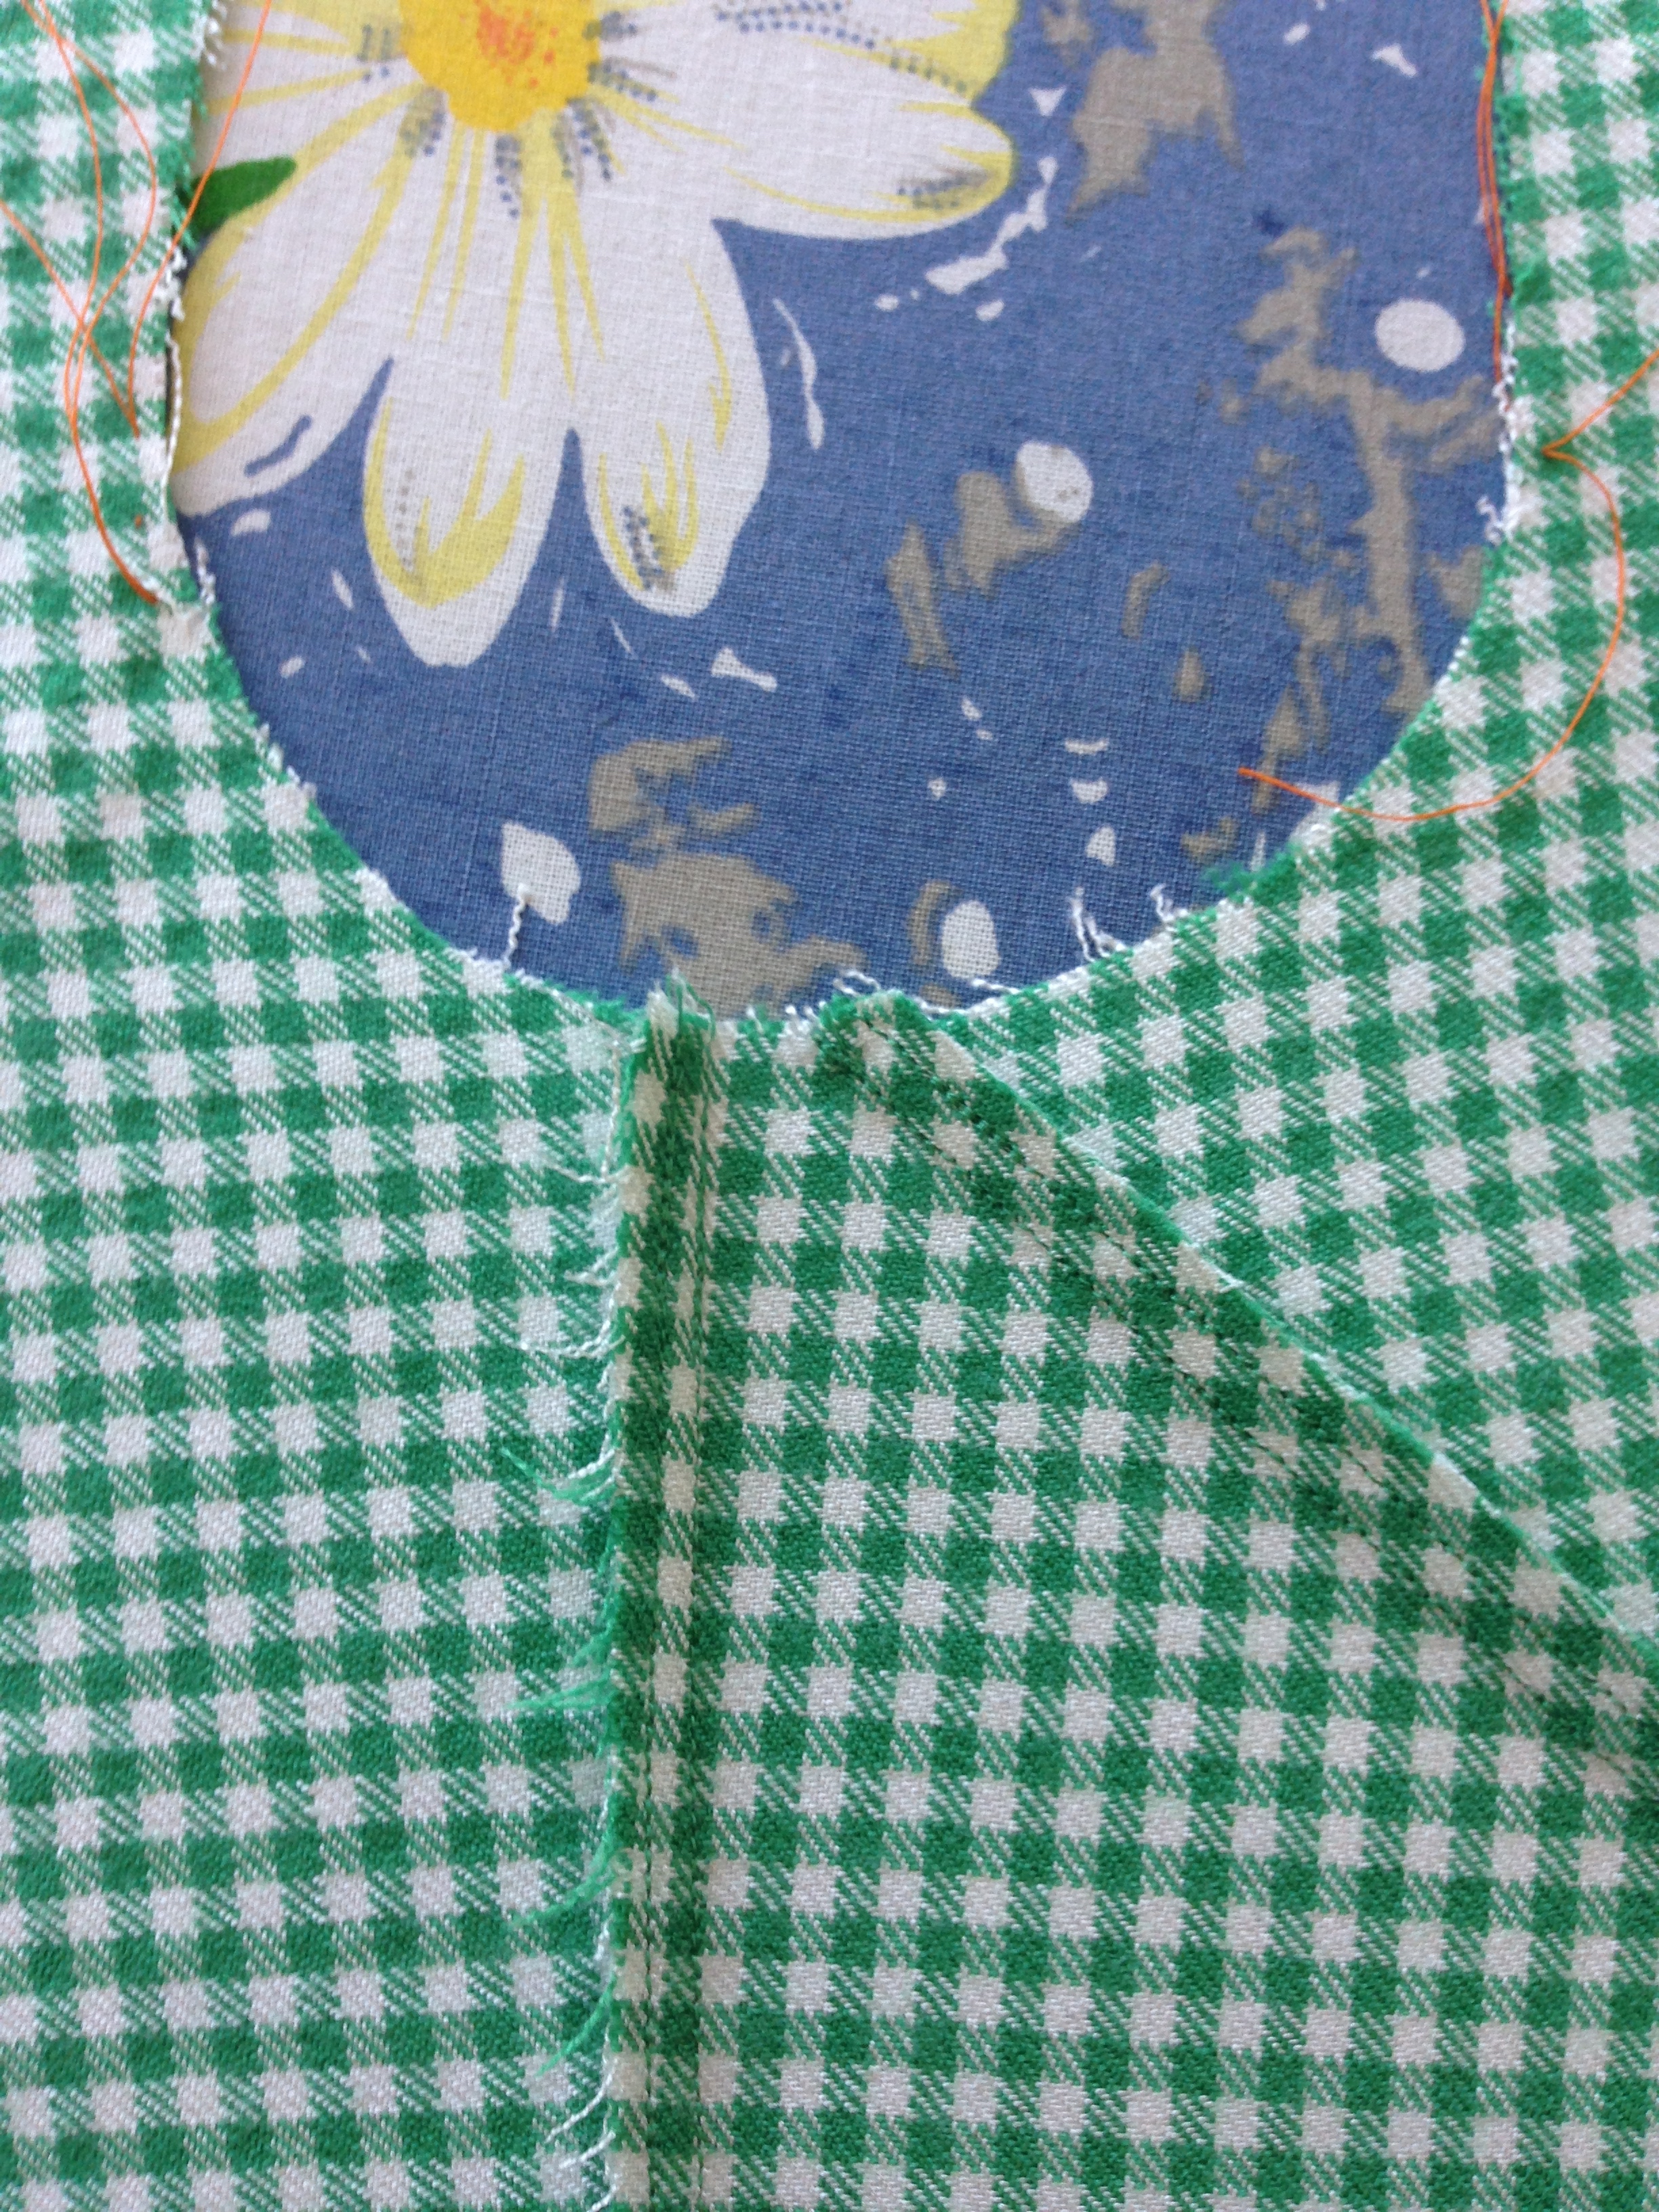
So. Keeping in mind that I major edited this pattern, I had planned for the side zipper to sit above the pocket (so I didn't have to fuss with sewing a seam AND a pocket in the same line of stitches. Uck.) I had two options: Invisible zipper that was orange tan or regular zipper that colour matched. My colour coordination got the better of me and I decided to make it regular.

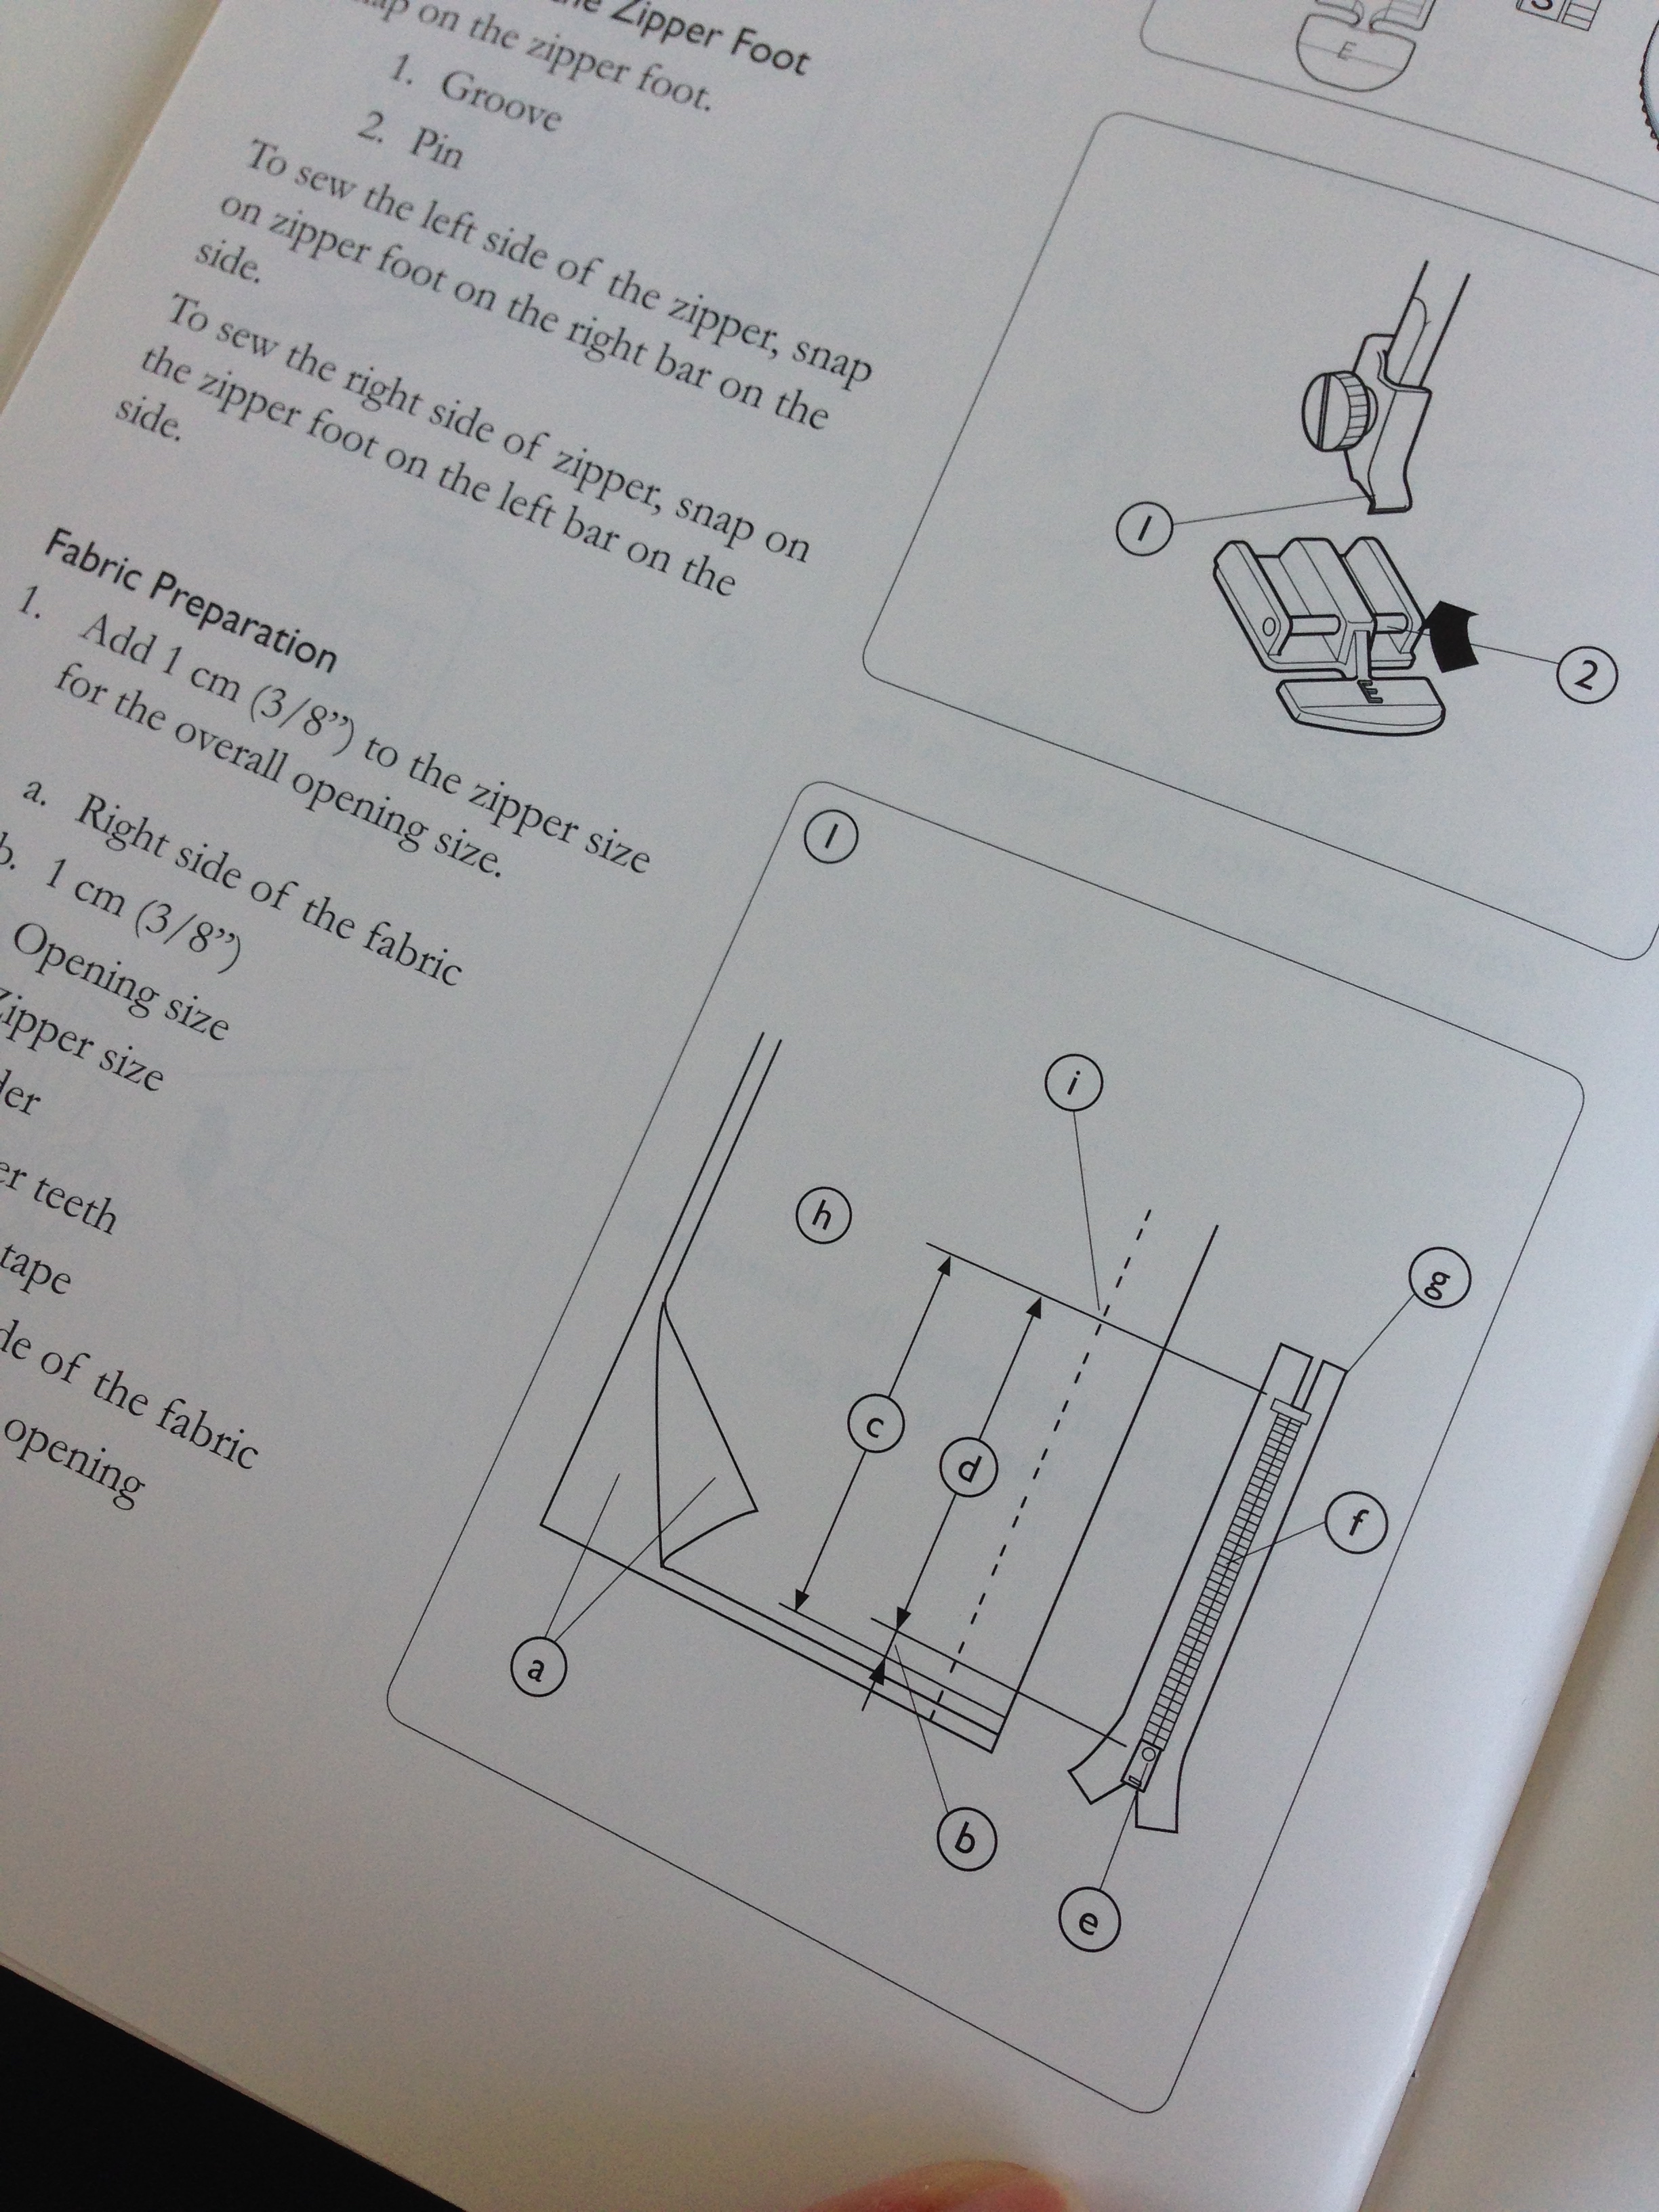
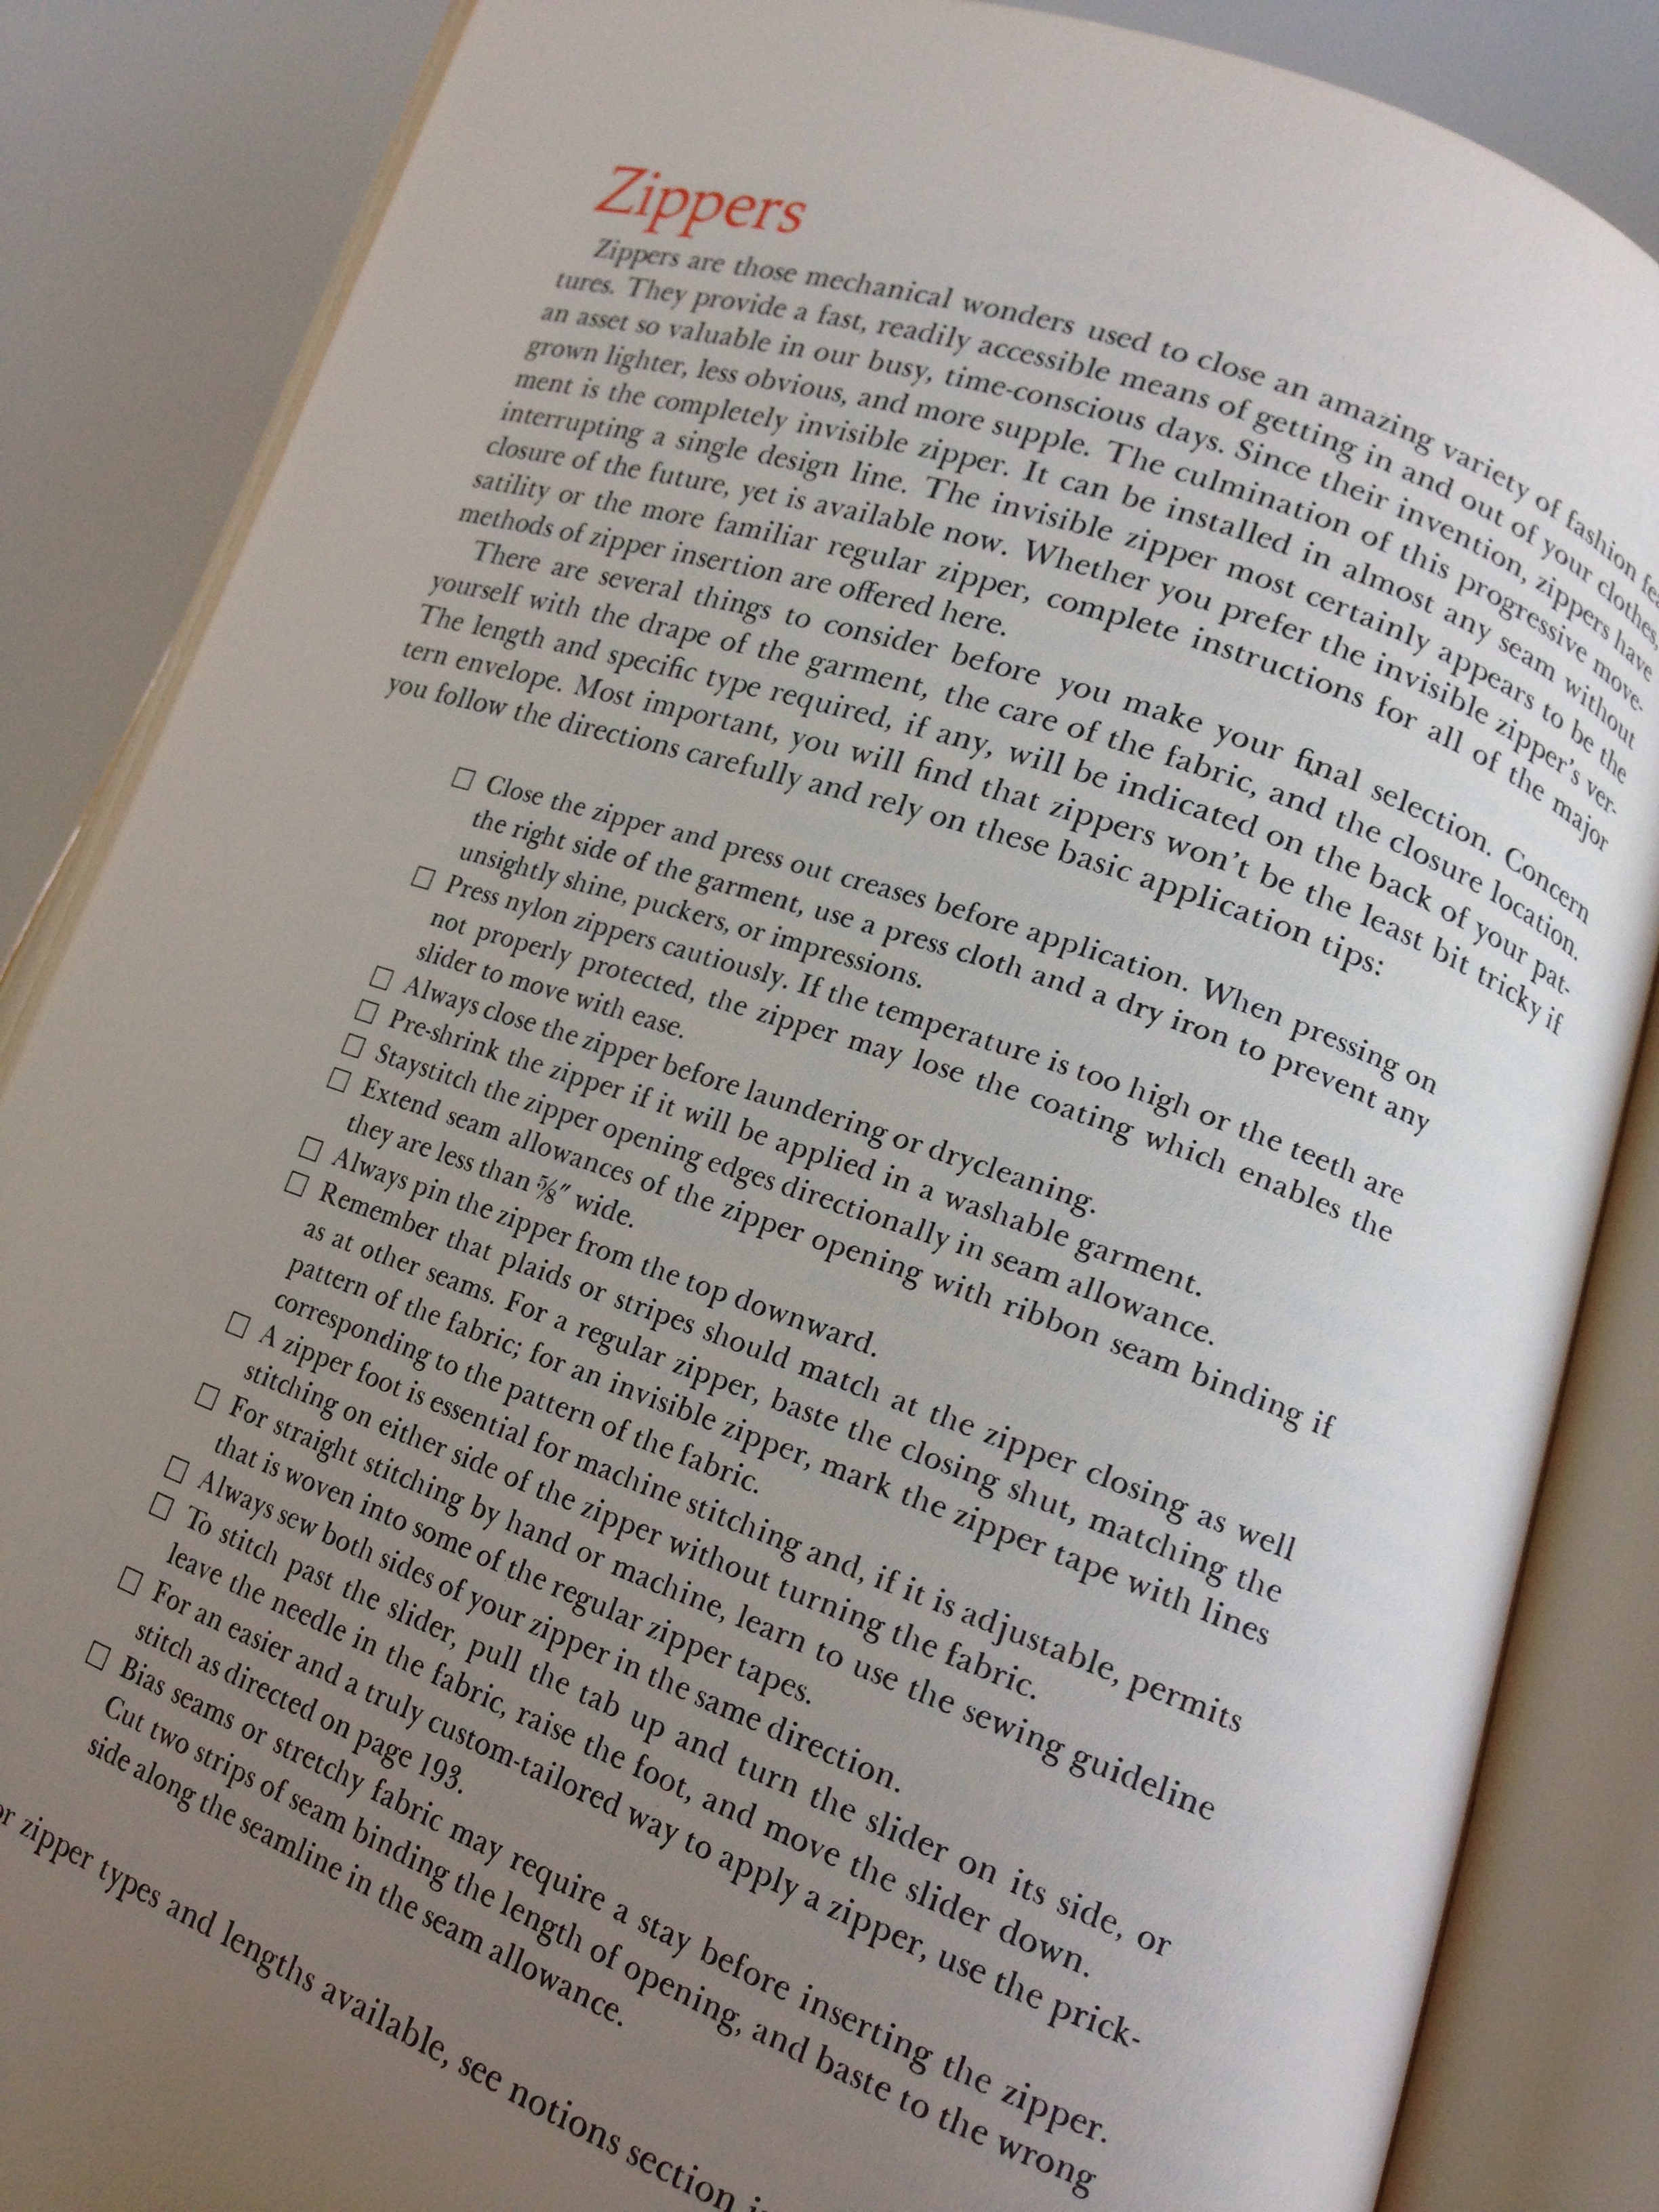
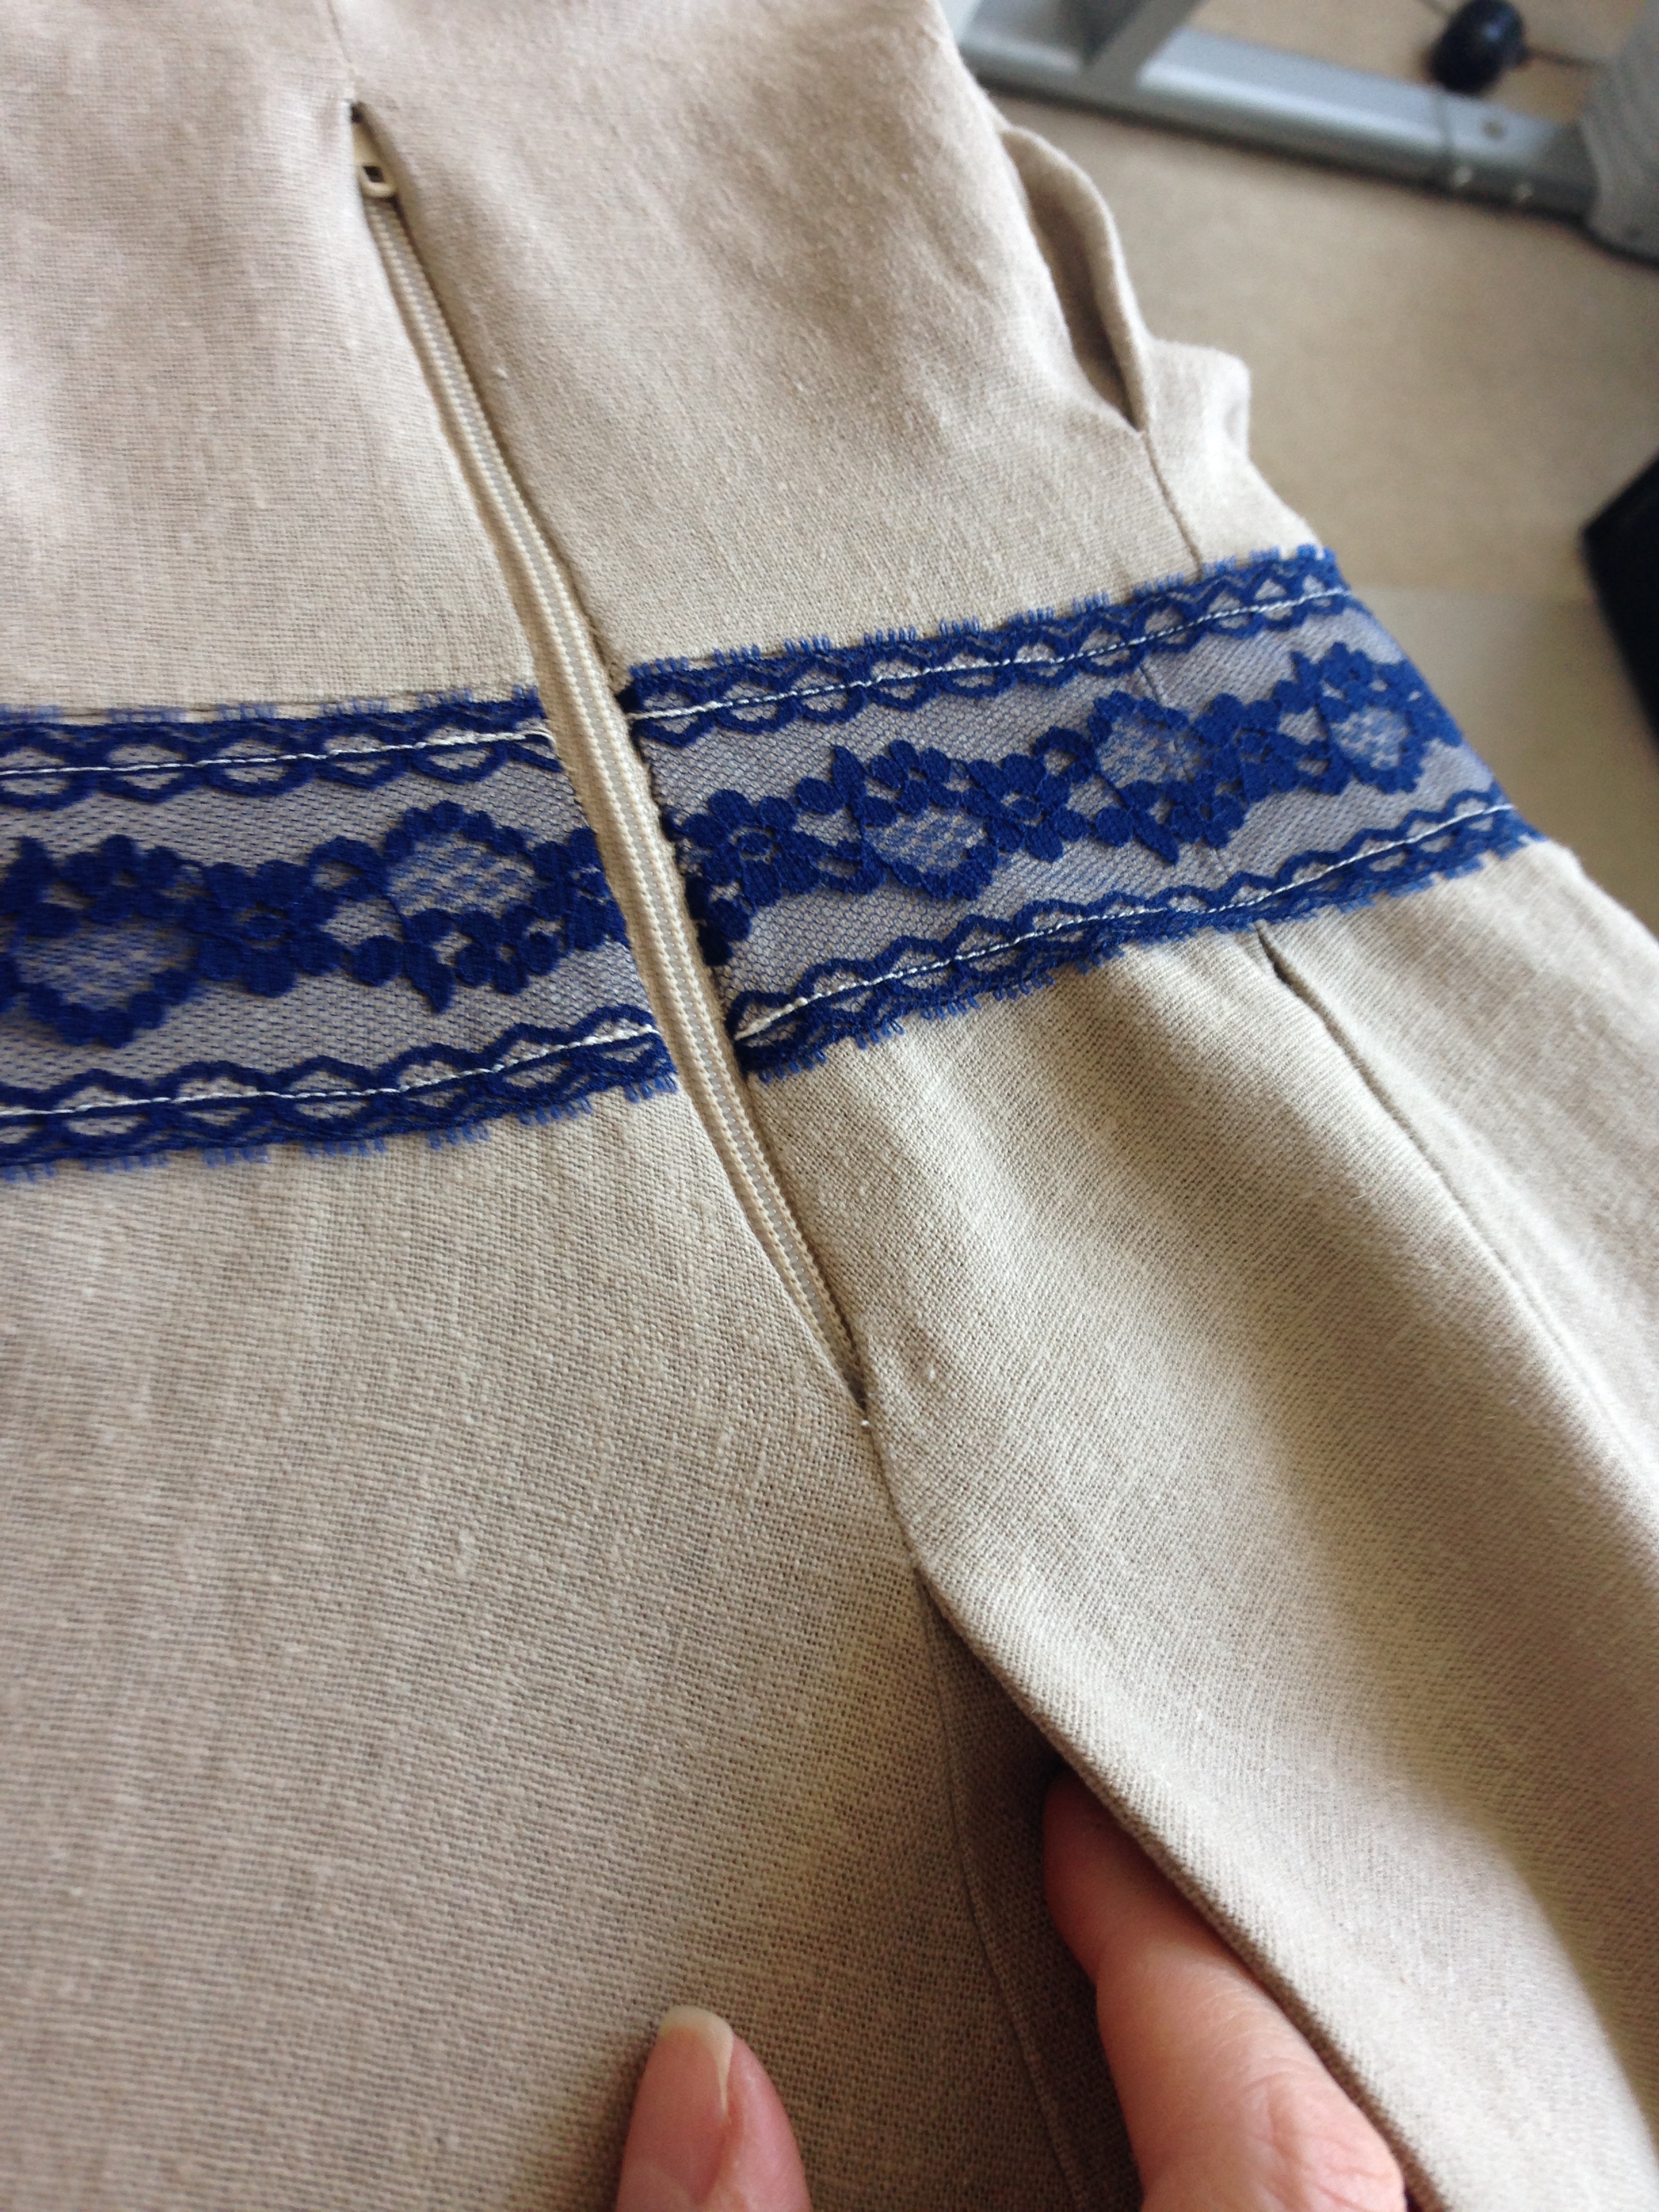
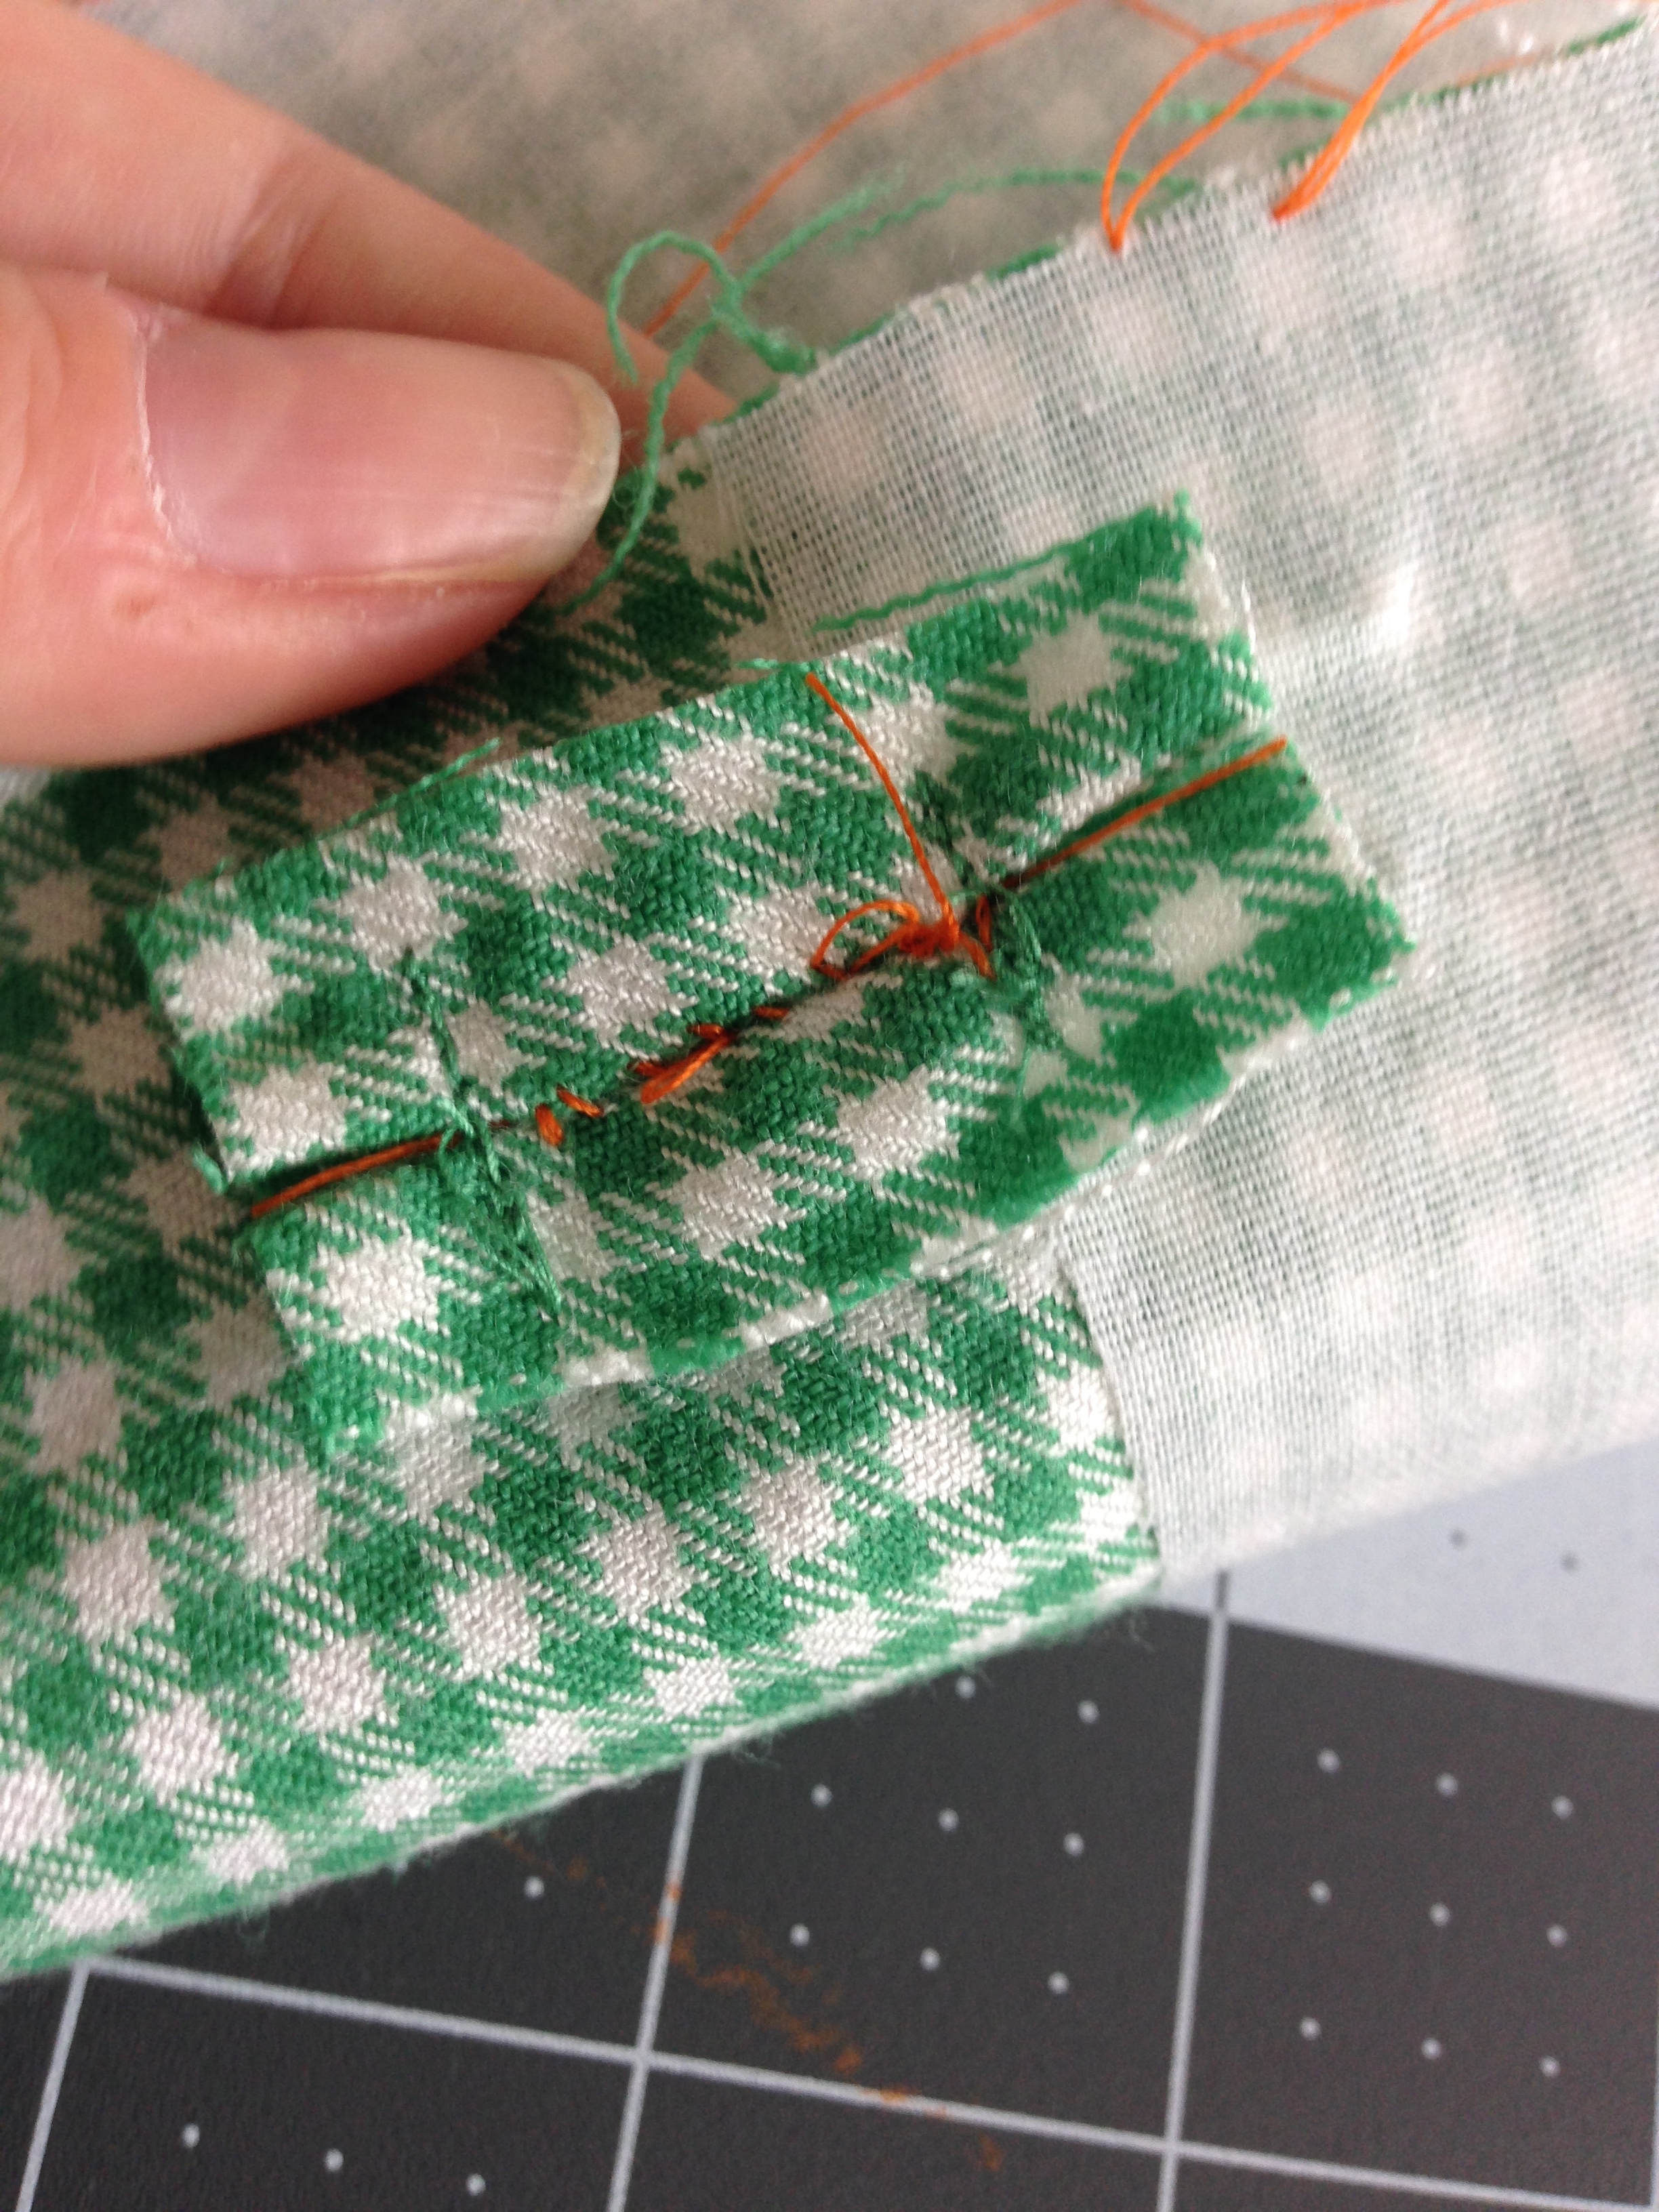
Now to plan how I wanted to sew it in. There are a couple pretty standard ways of zippering. But unfortunately, I had not left lots of extra fabric in my seam allowance to do most of them. Minus planning points. I used my zipper foot to stitch as close as I could to the zipper teeth on both sides, making sure that the first places I stitched were to secure the lace in the right spots. No shifting allowed! I did some hand stitching afterwards to reduce the gap but it's still pretty visible. Good thing it's the same colour as the linen, eh? 

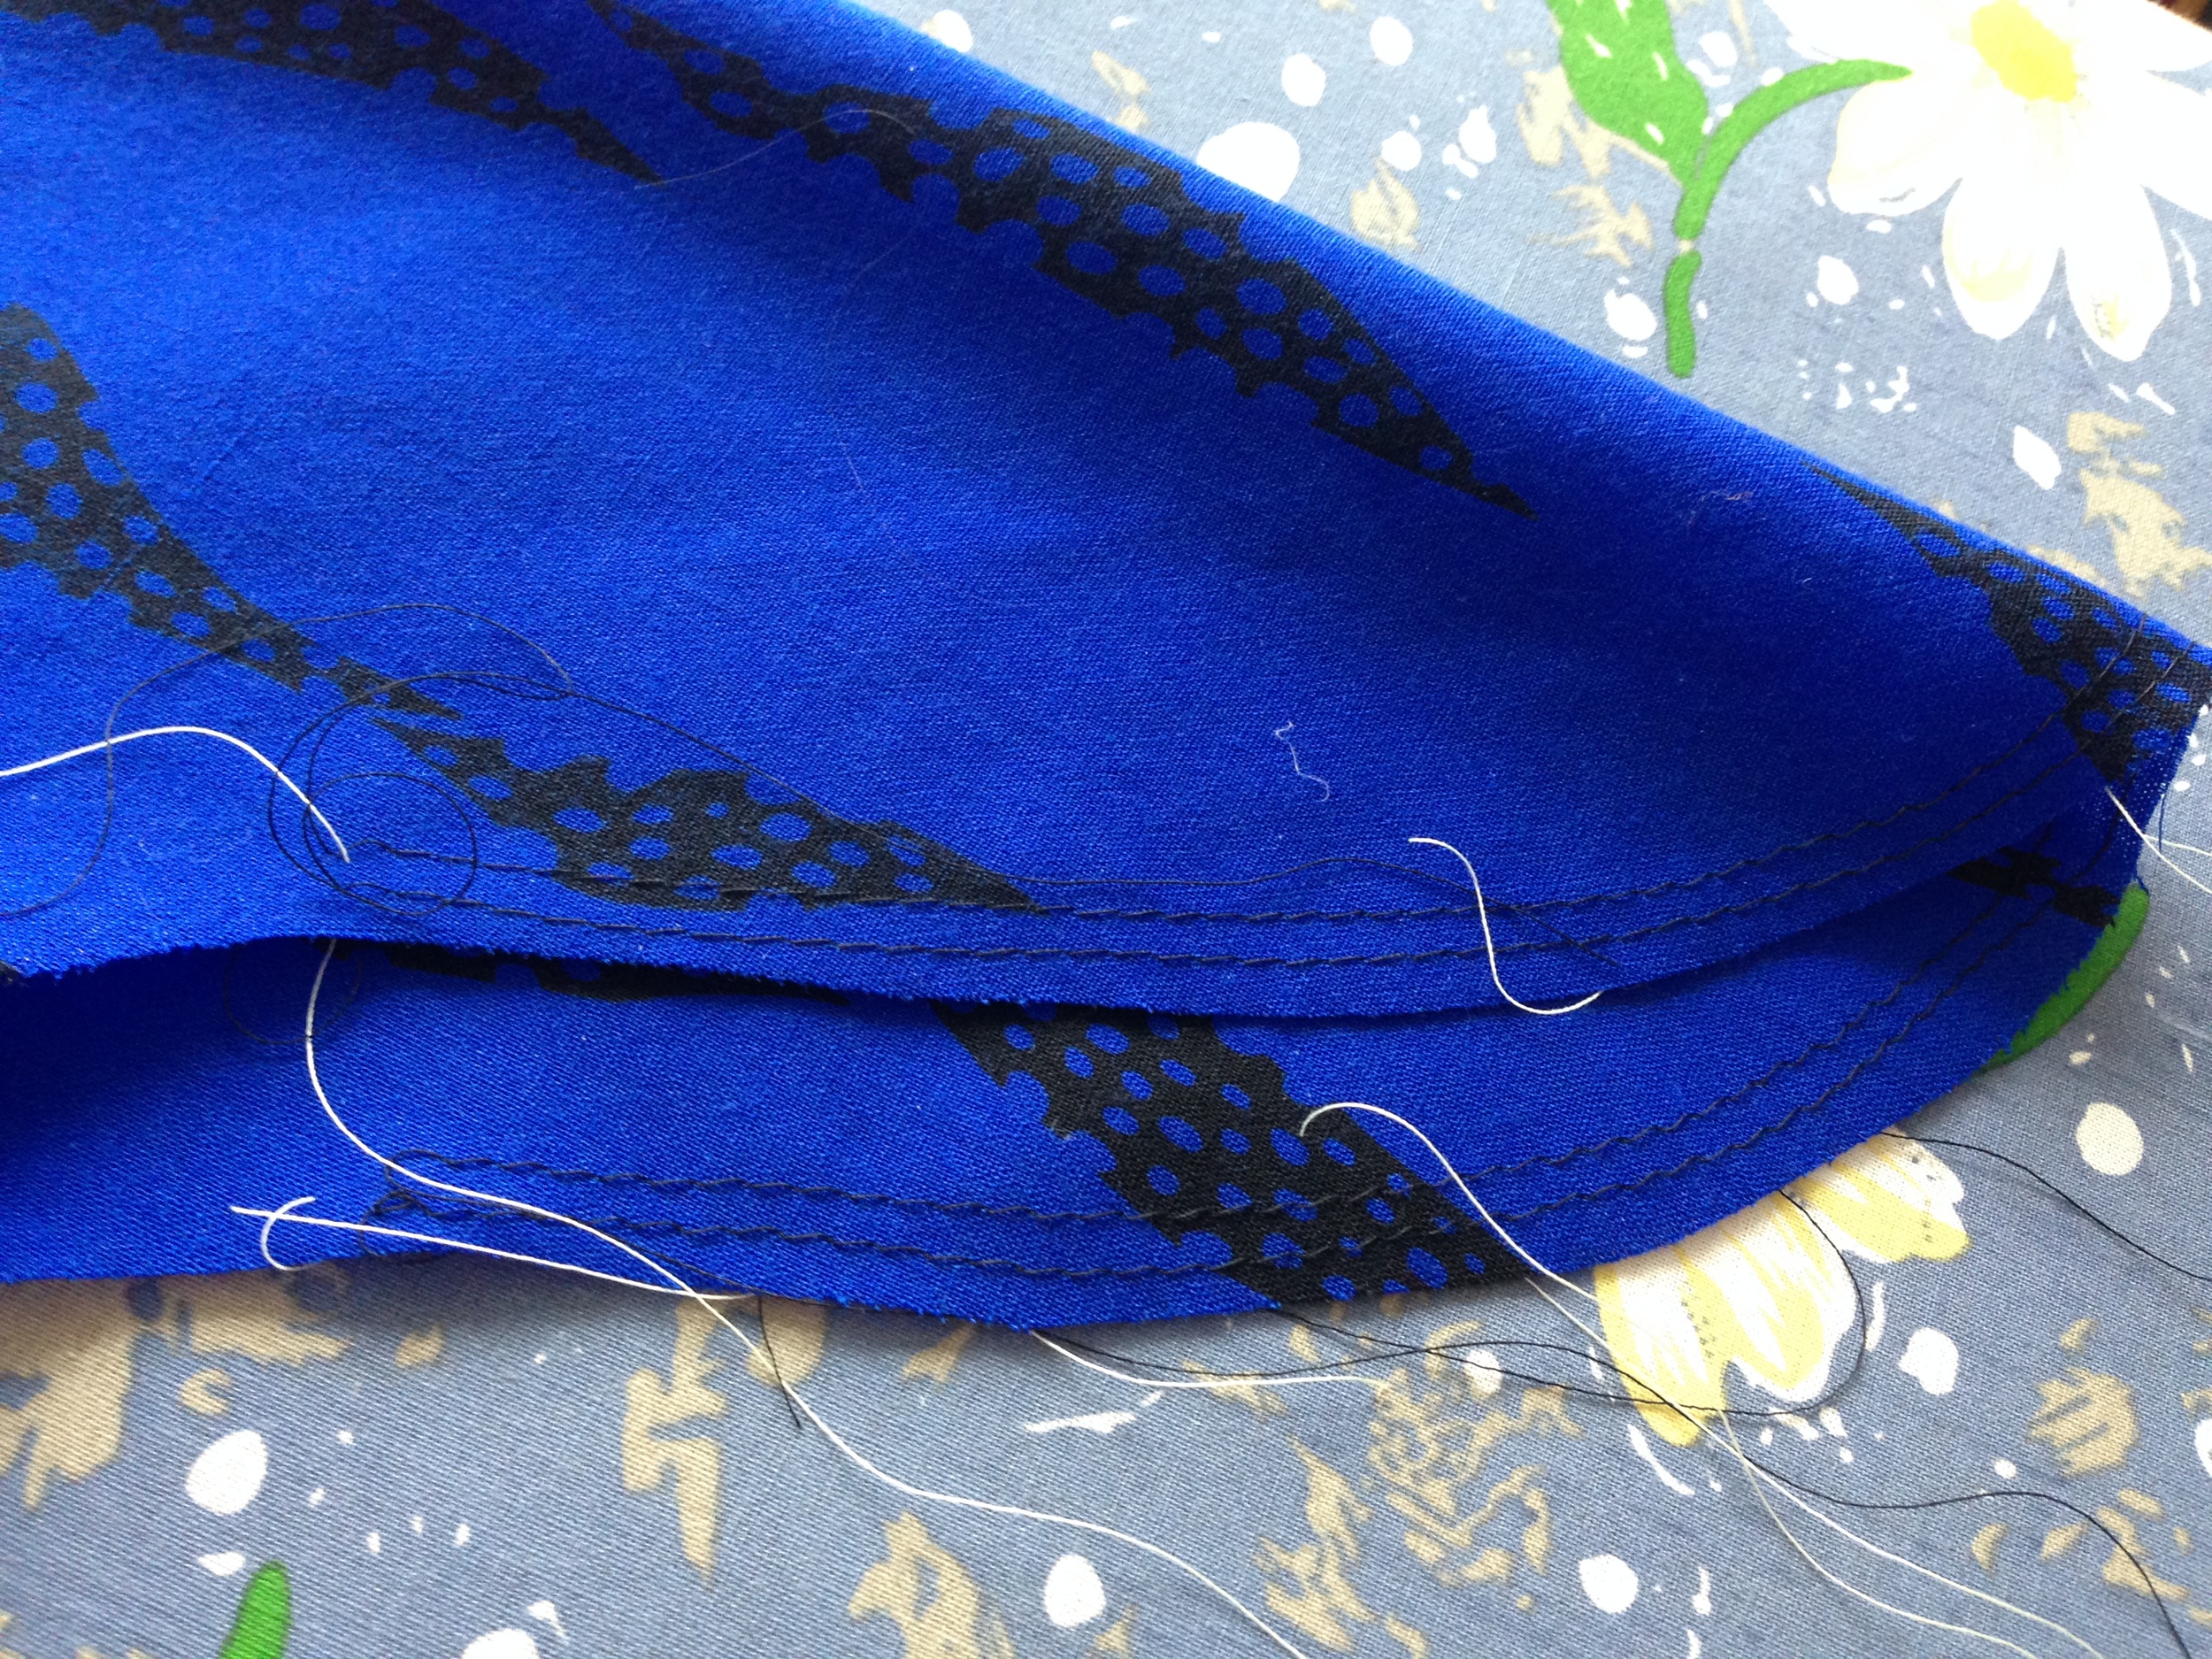
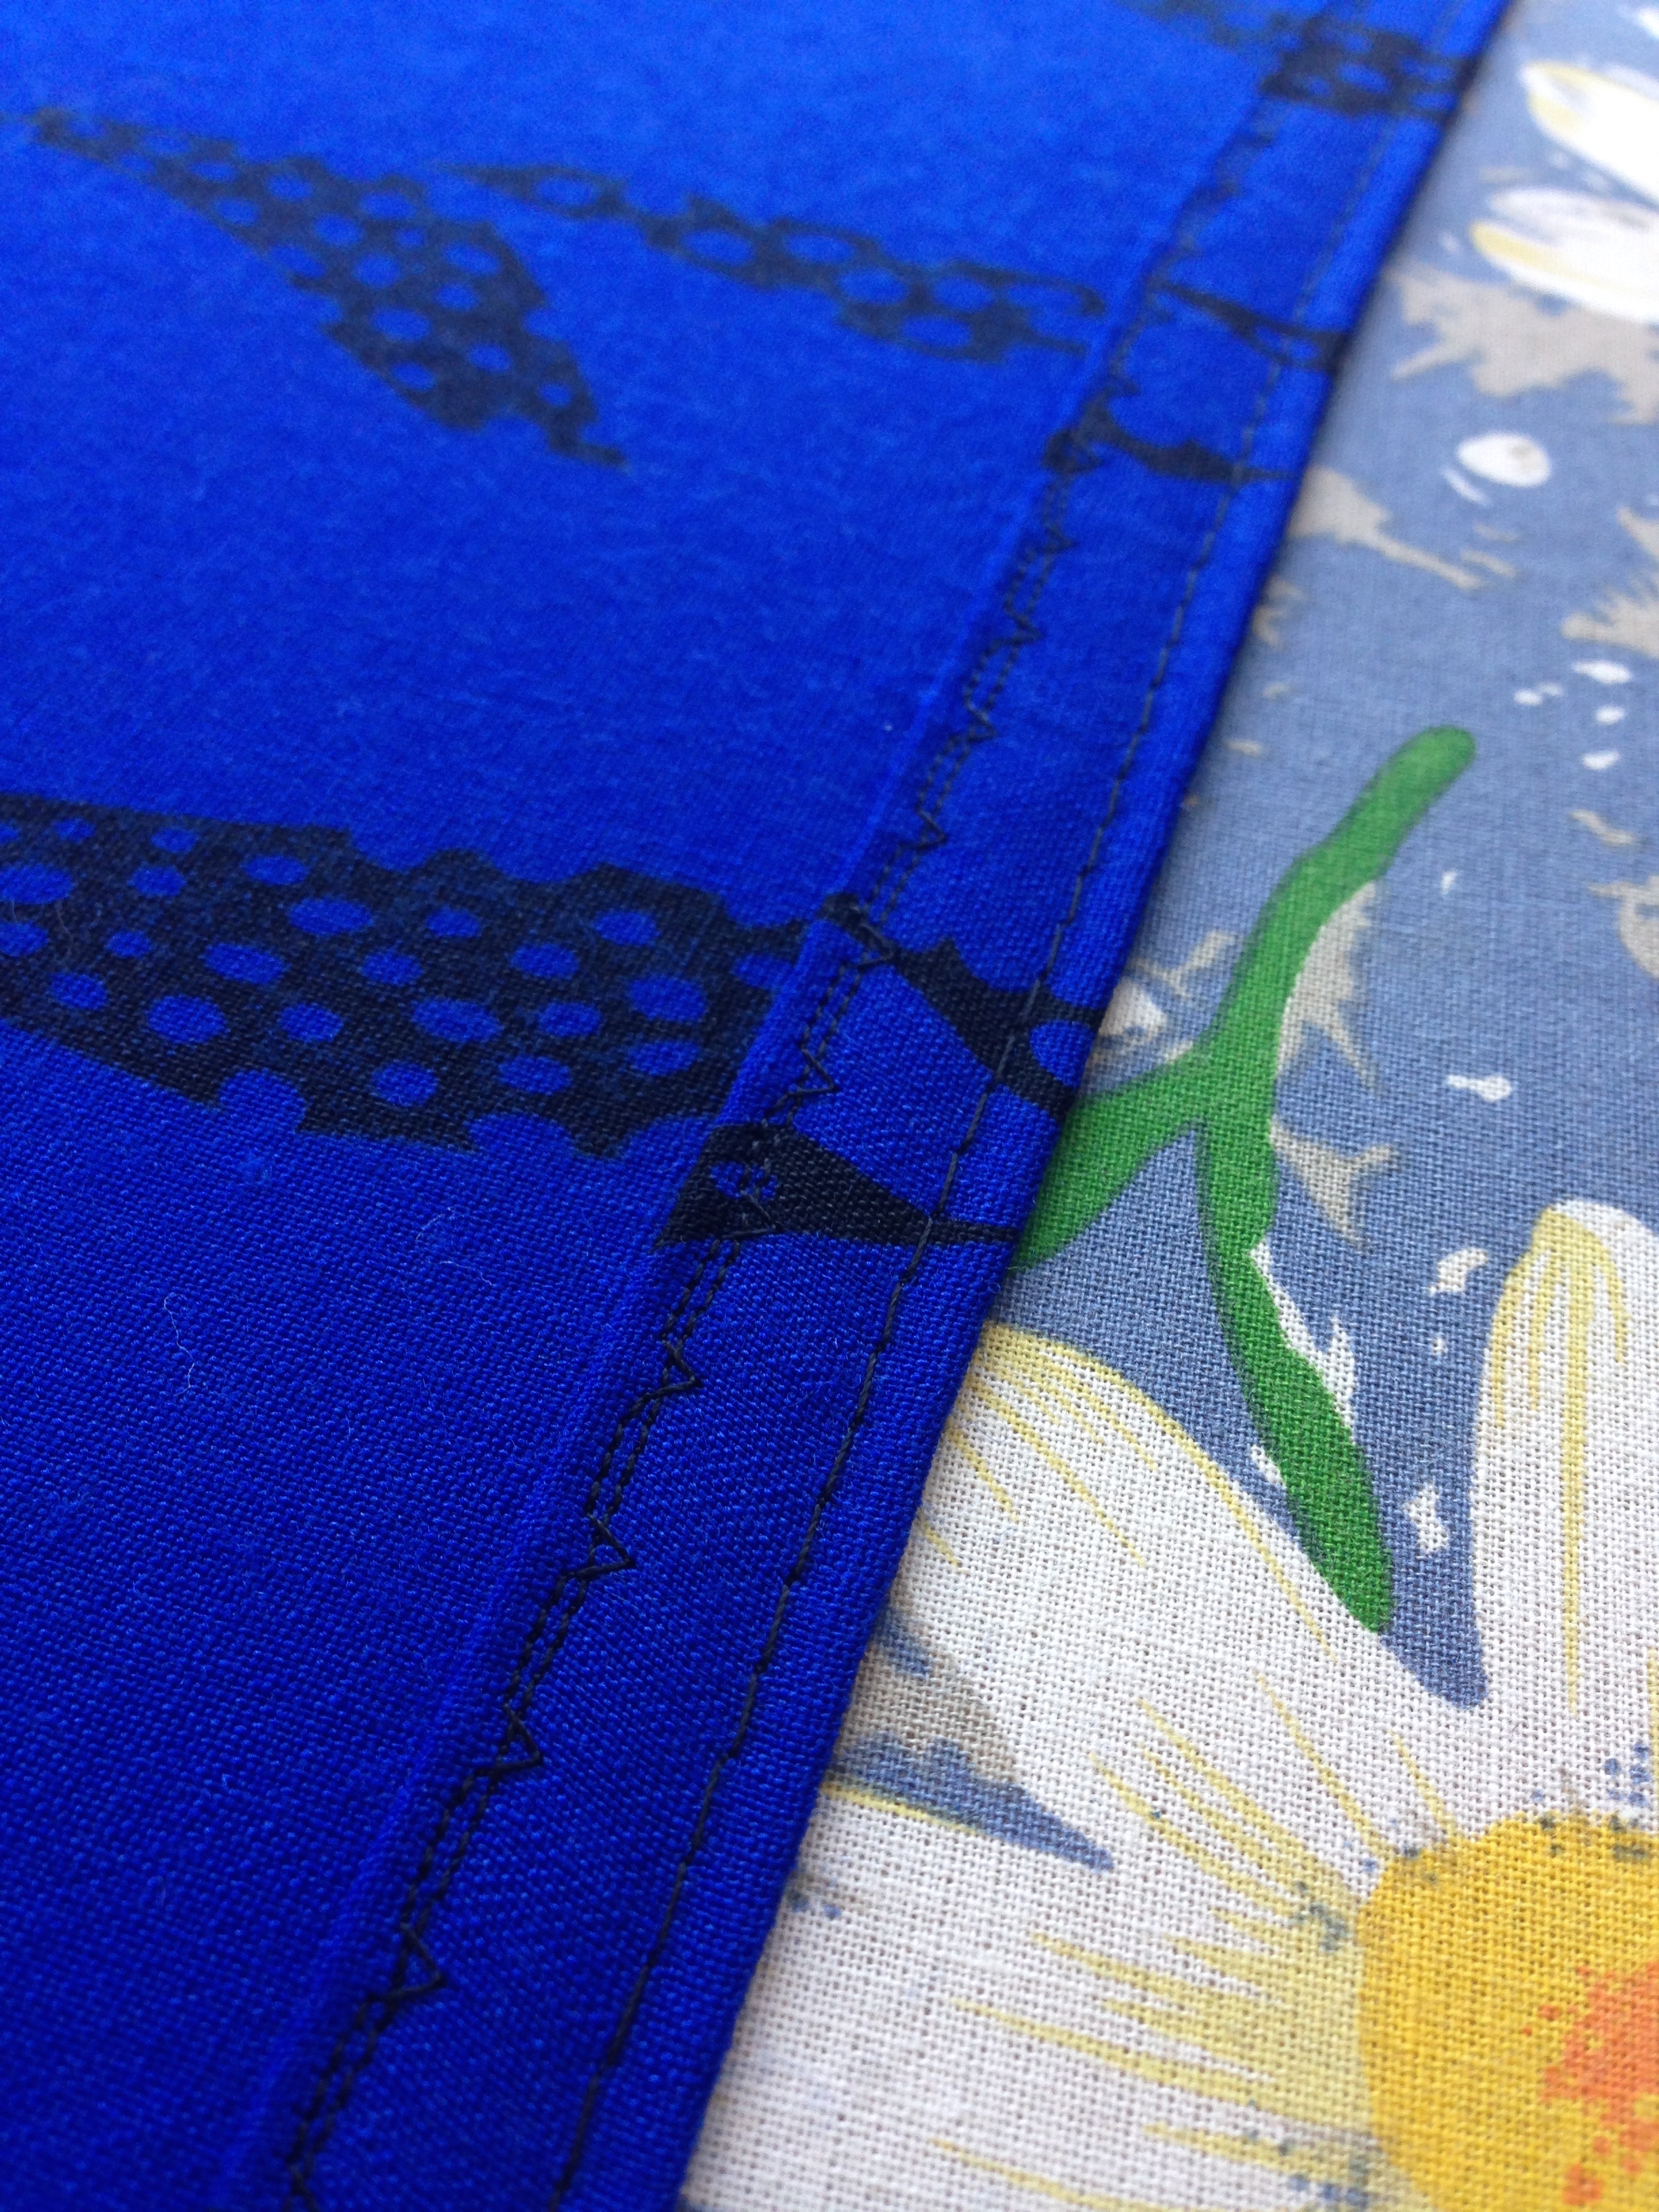
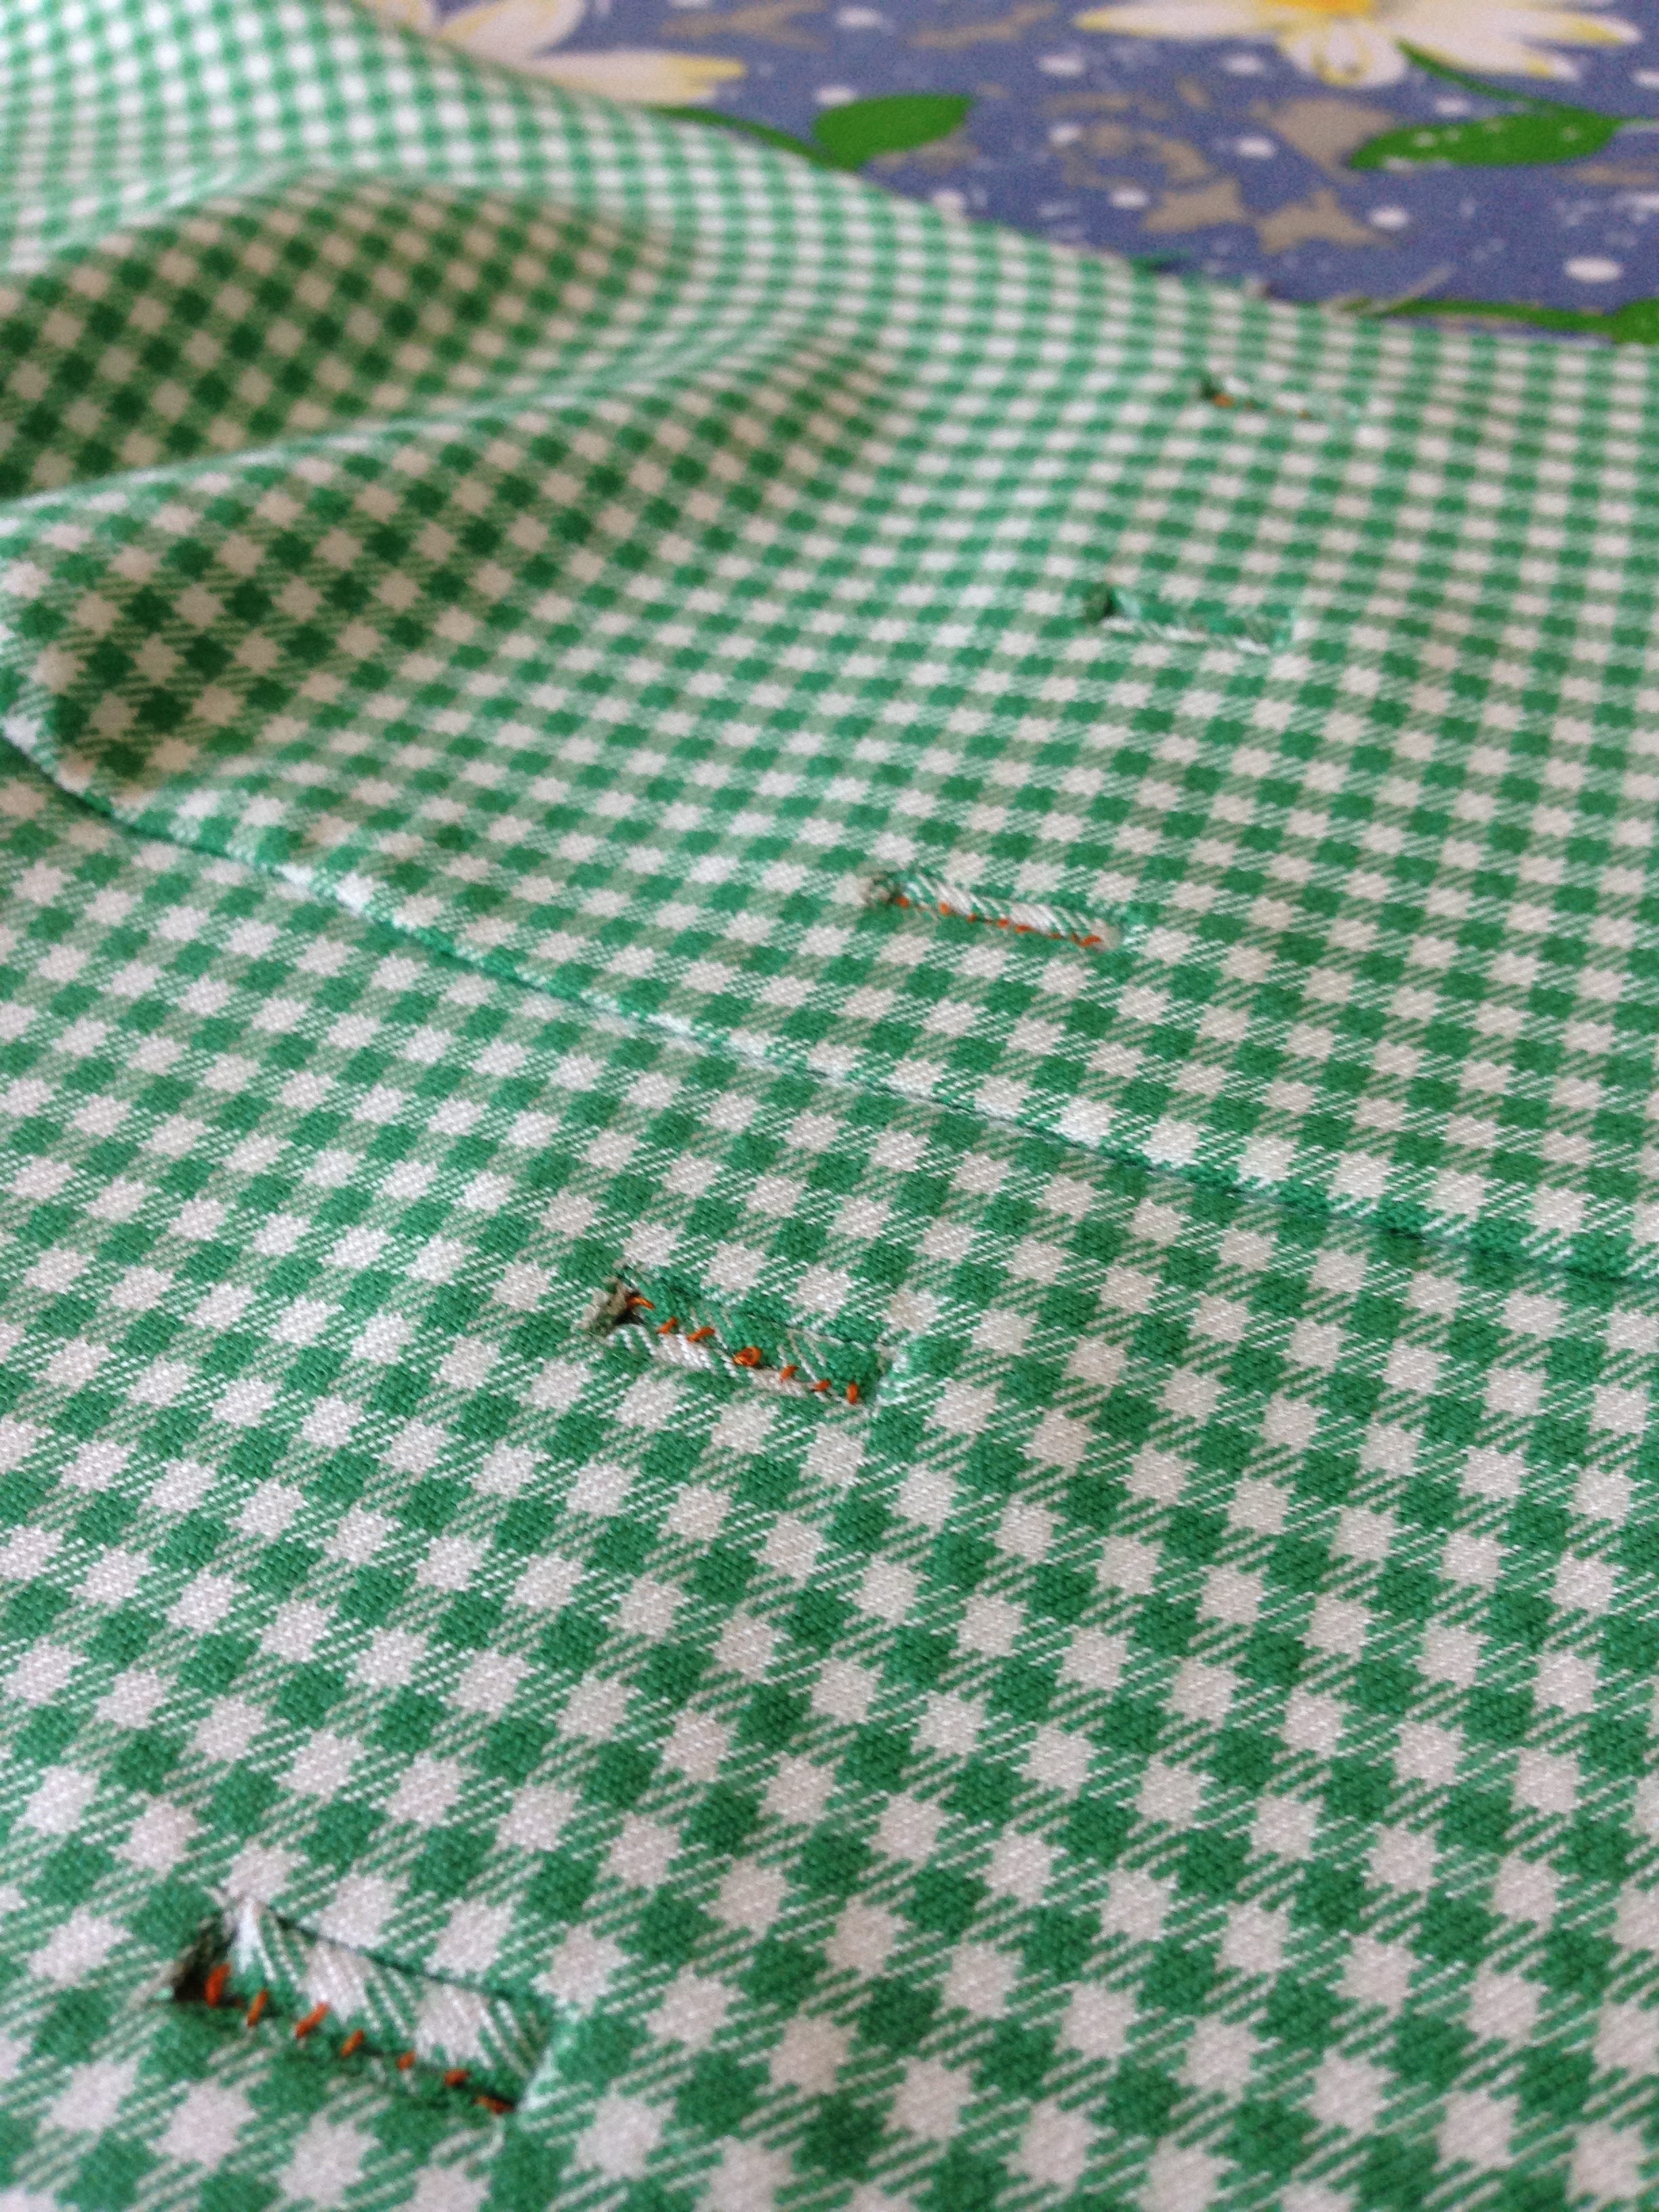
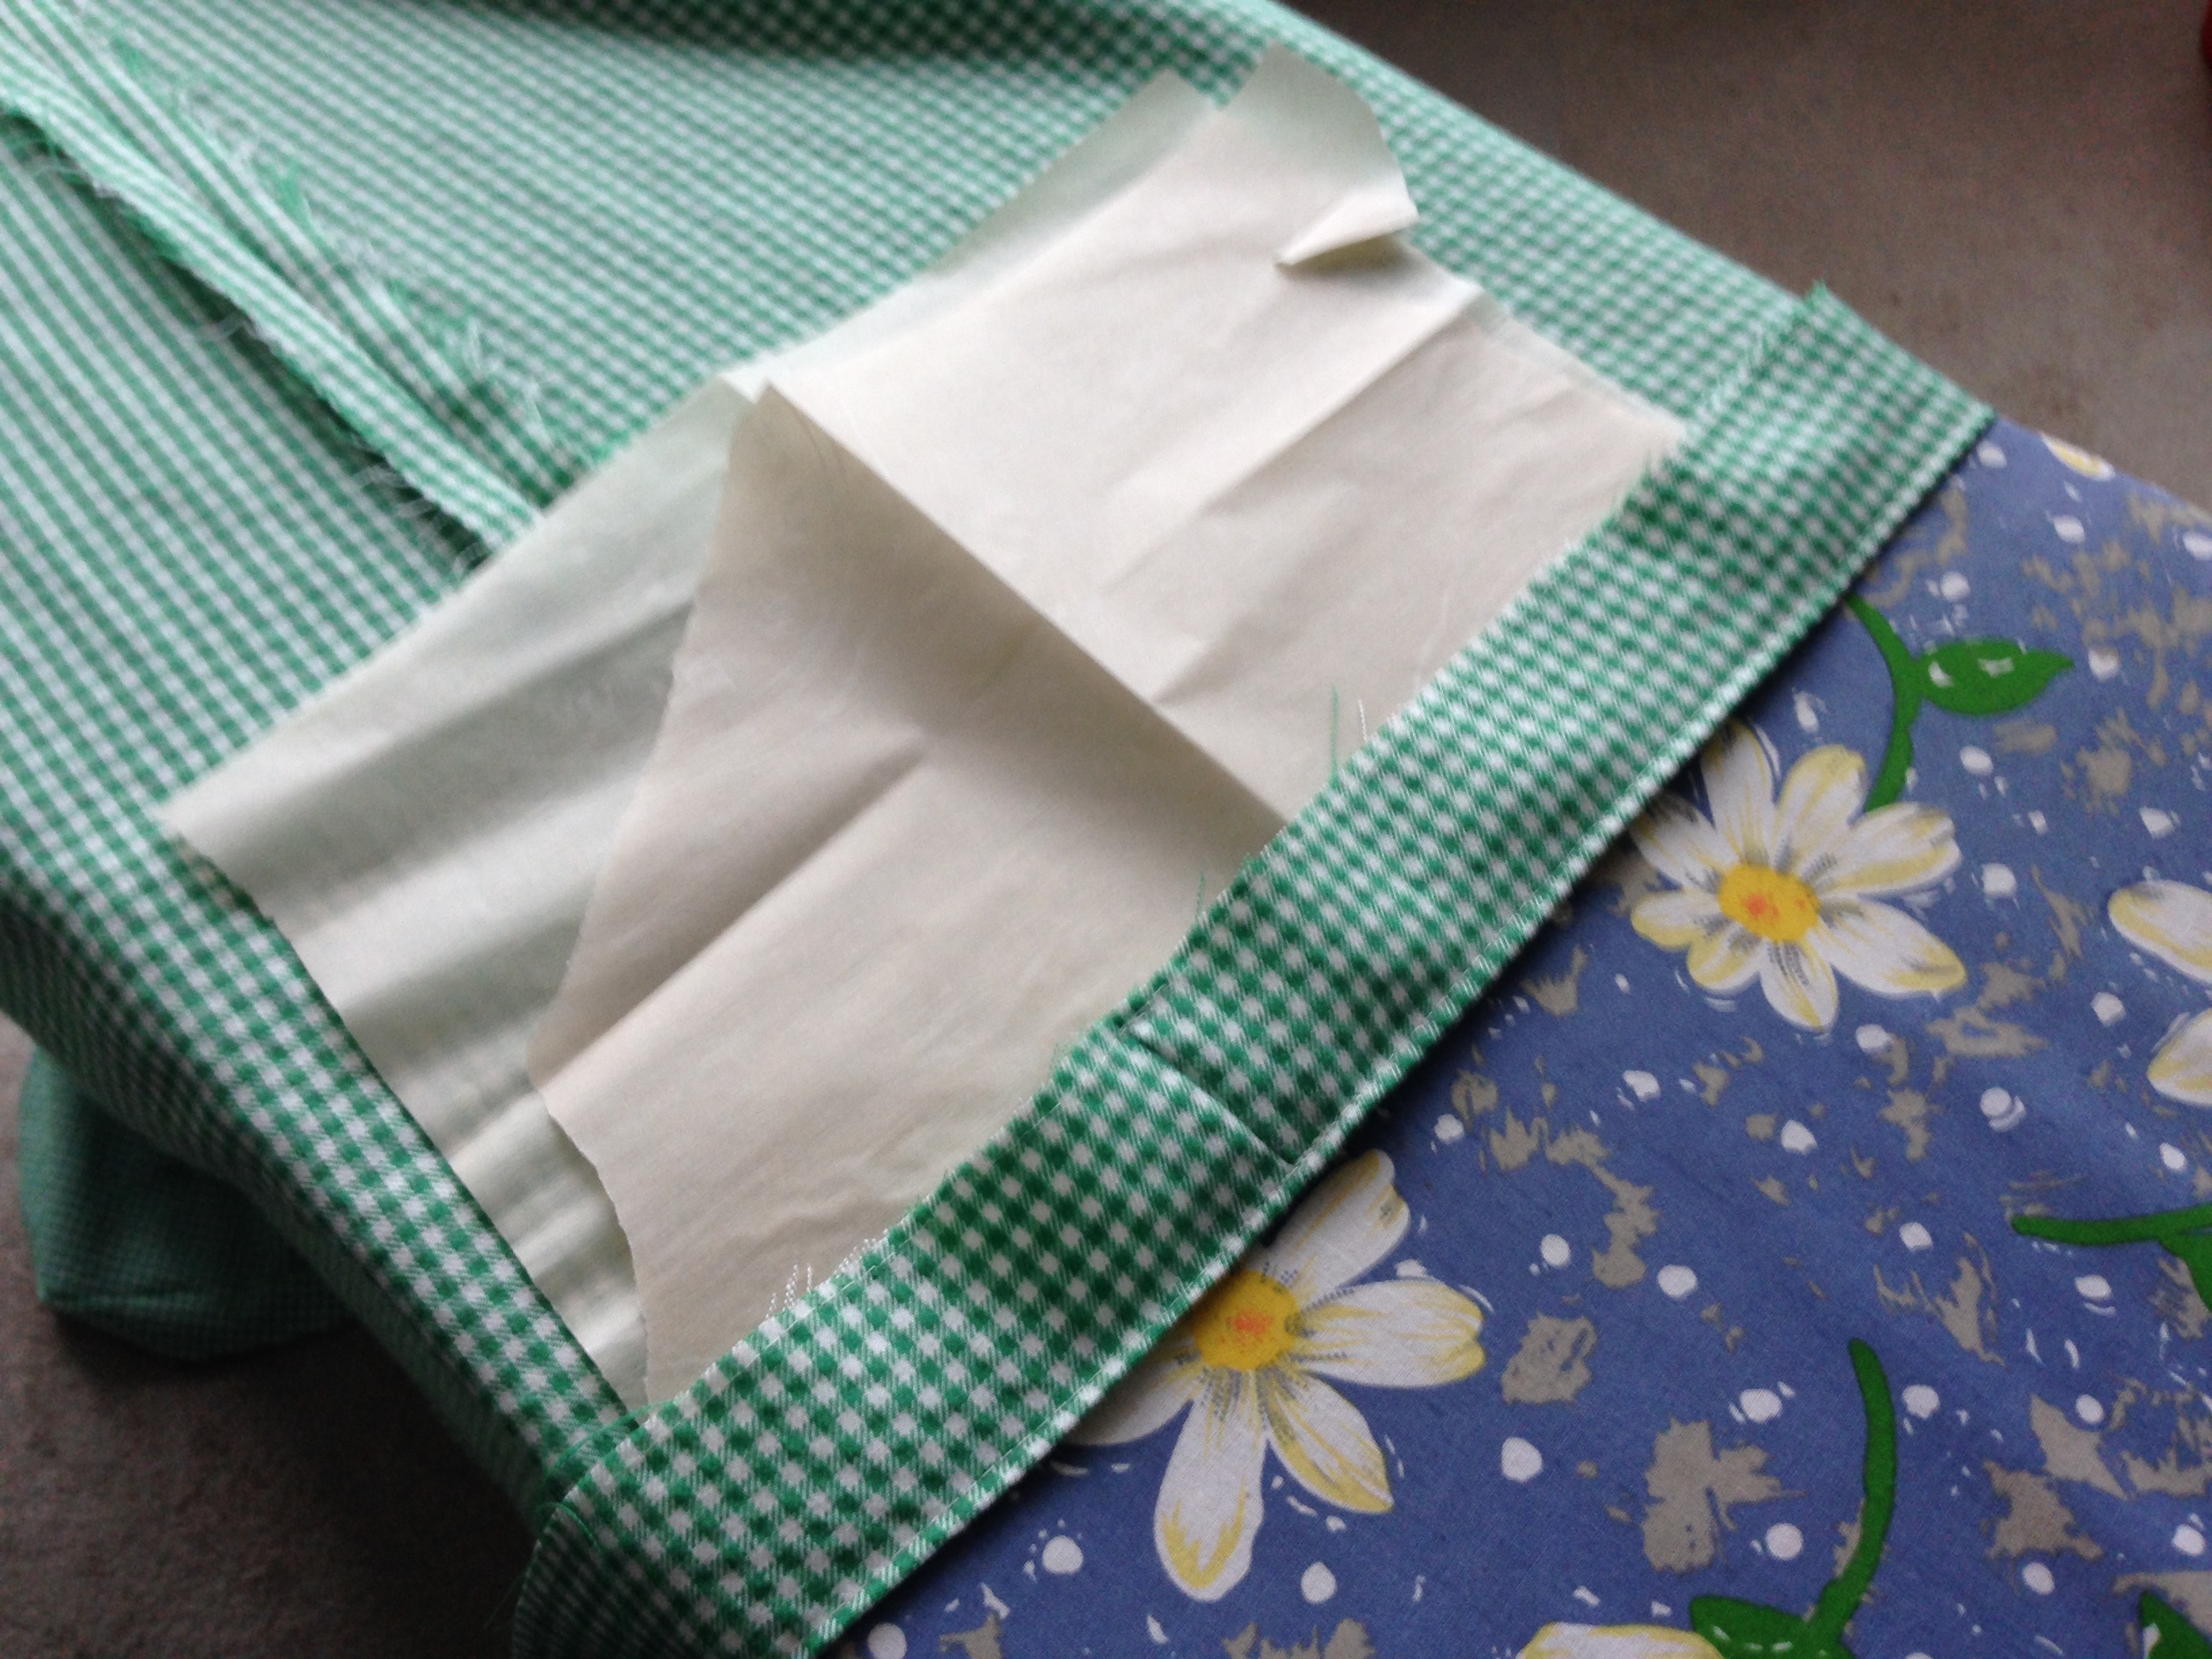
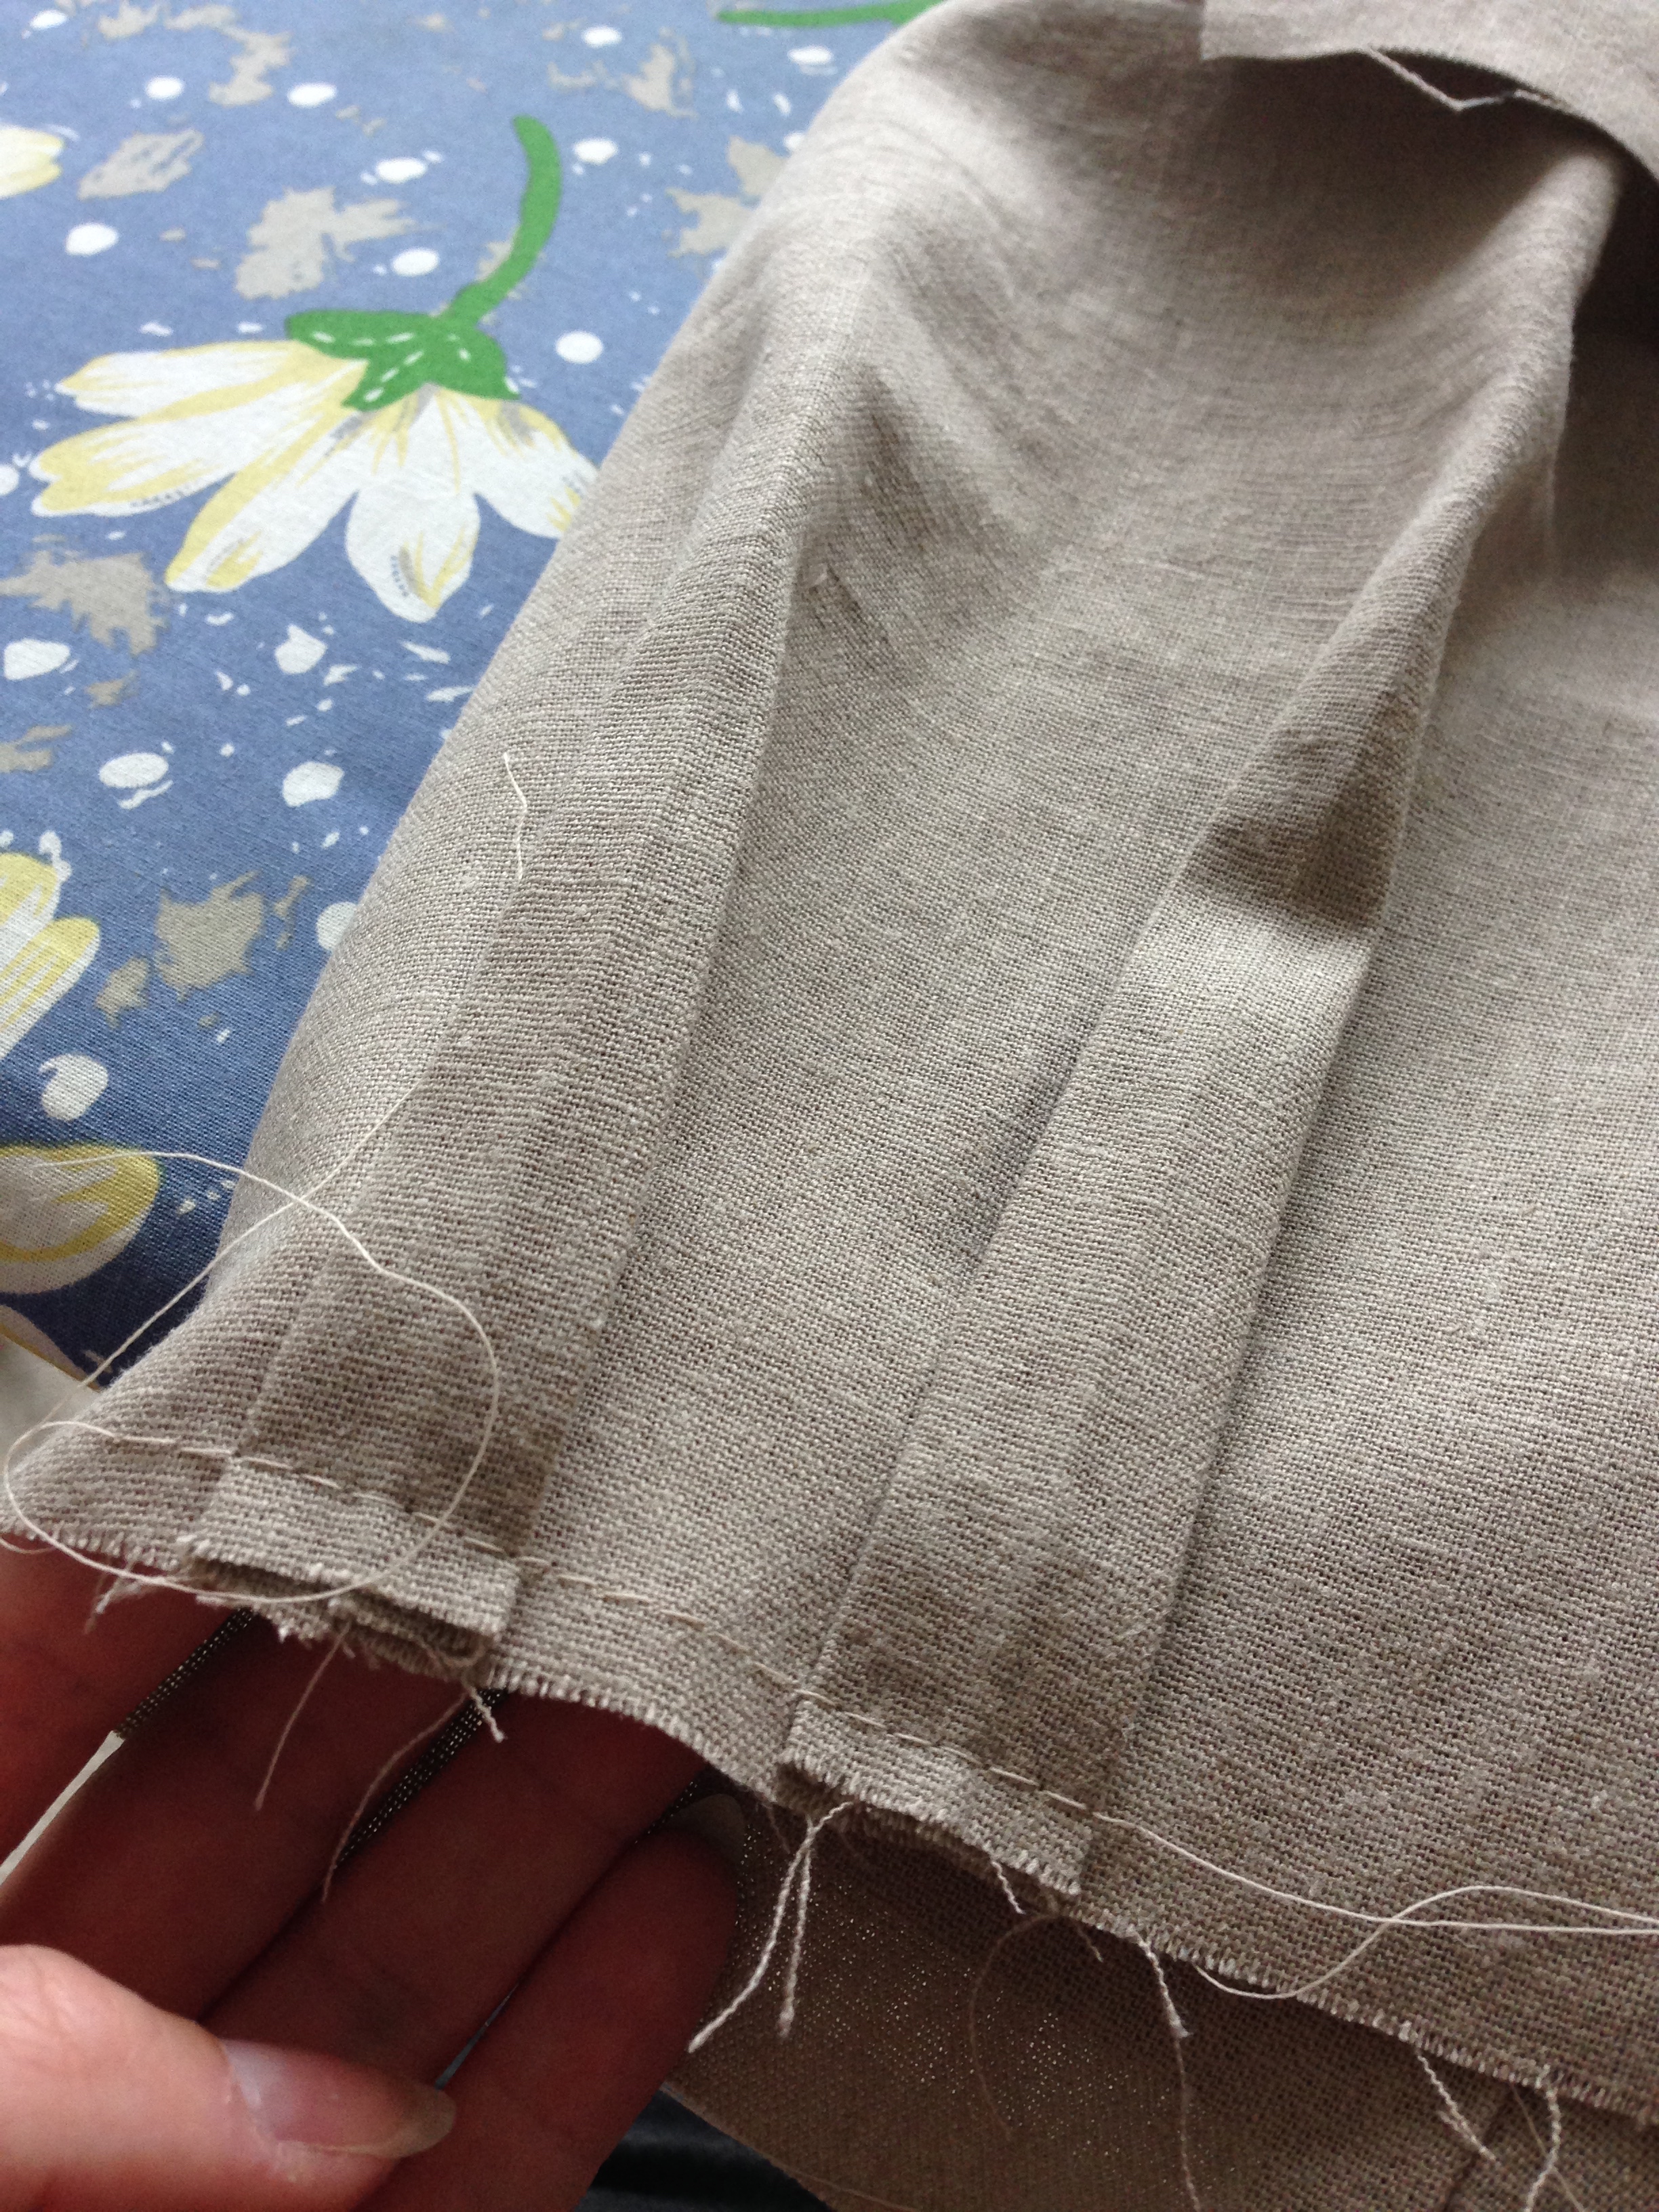
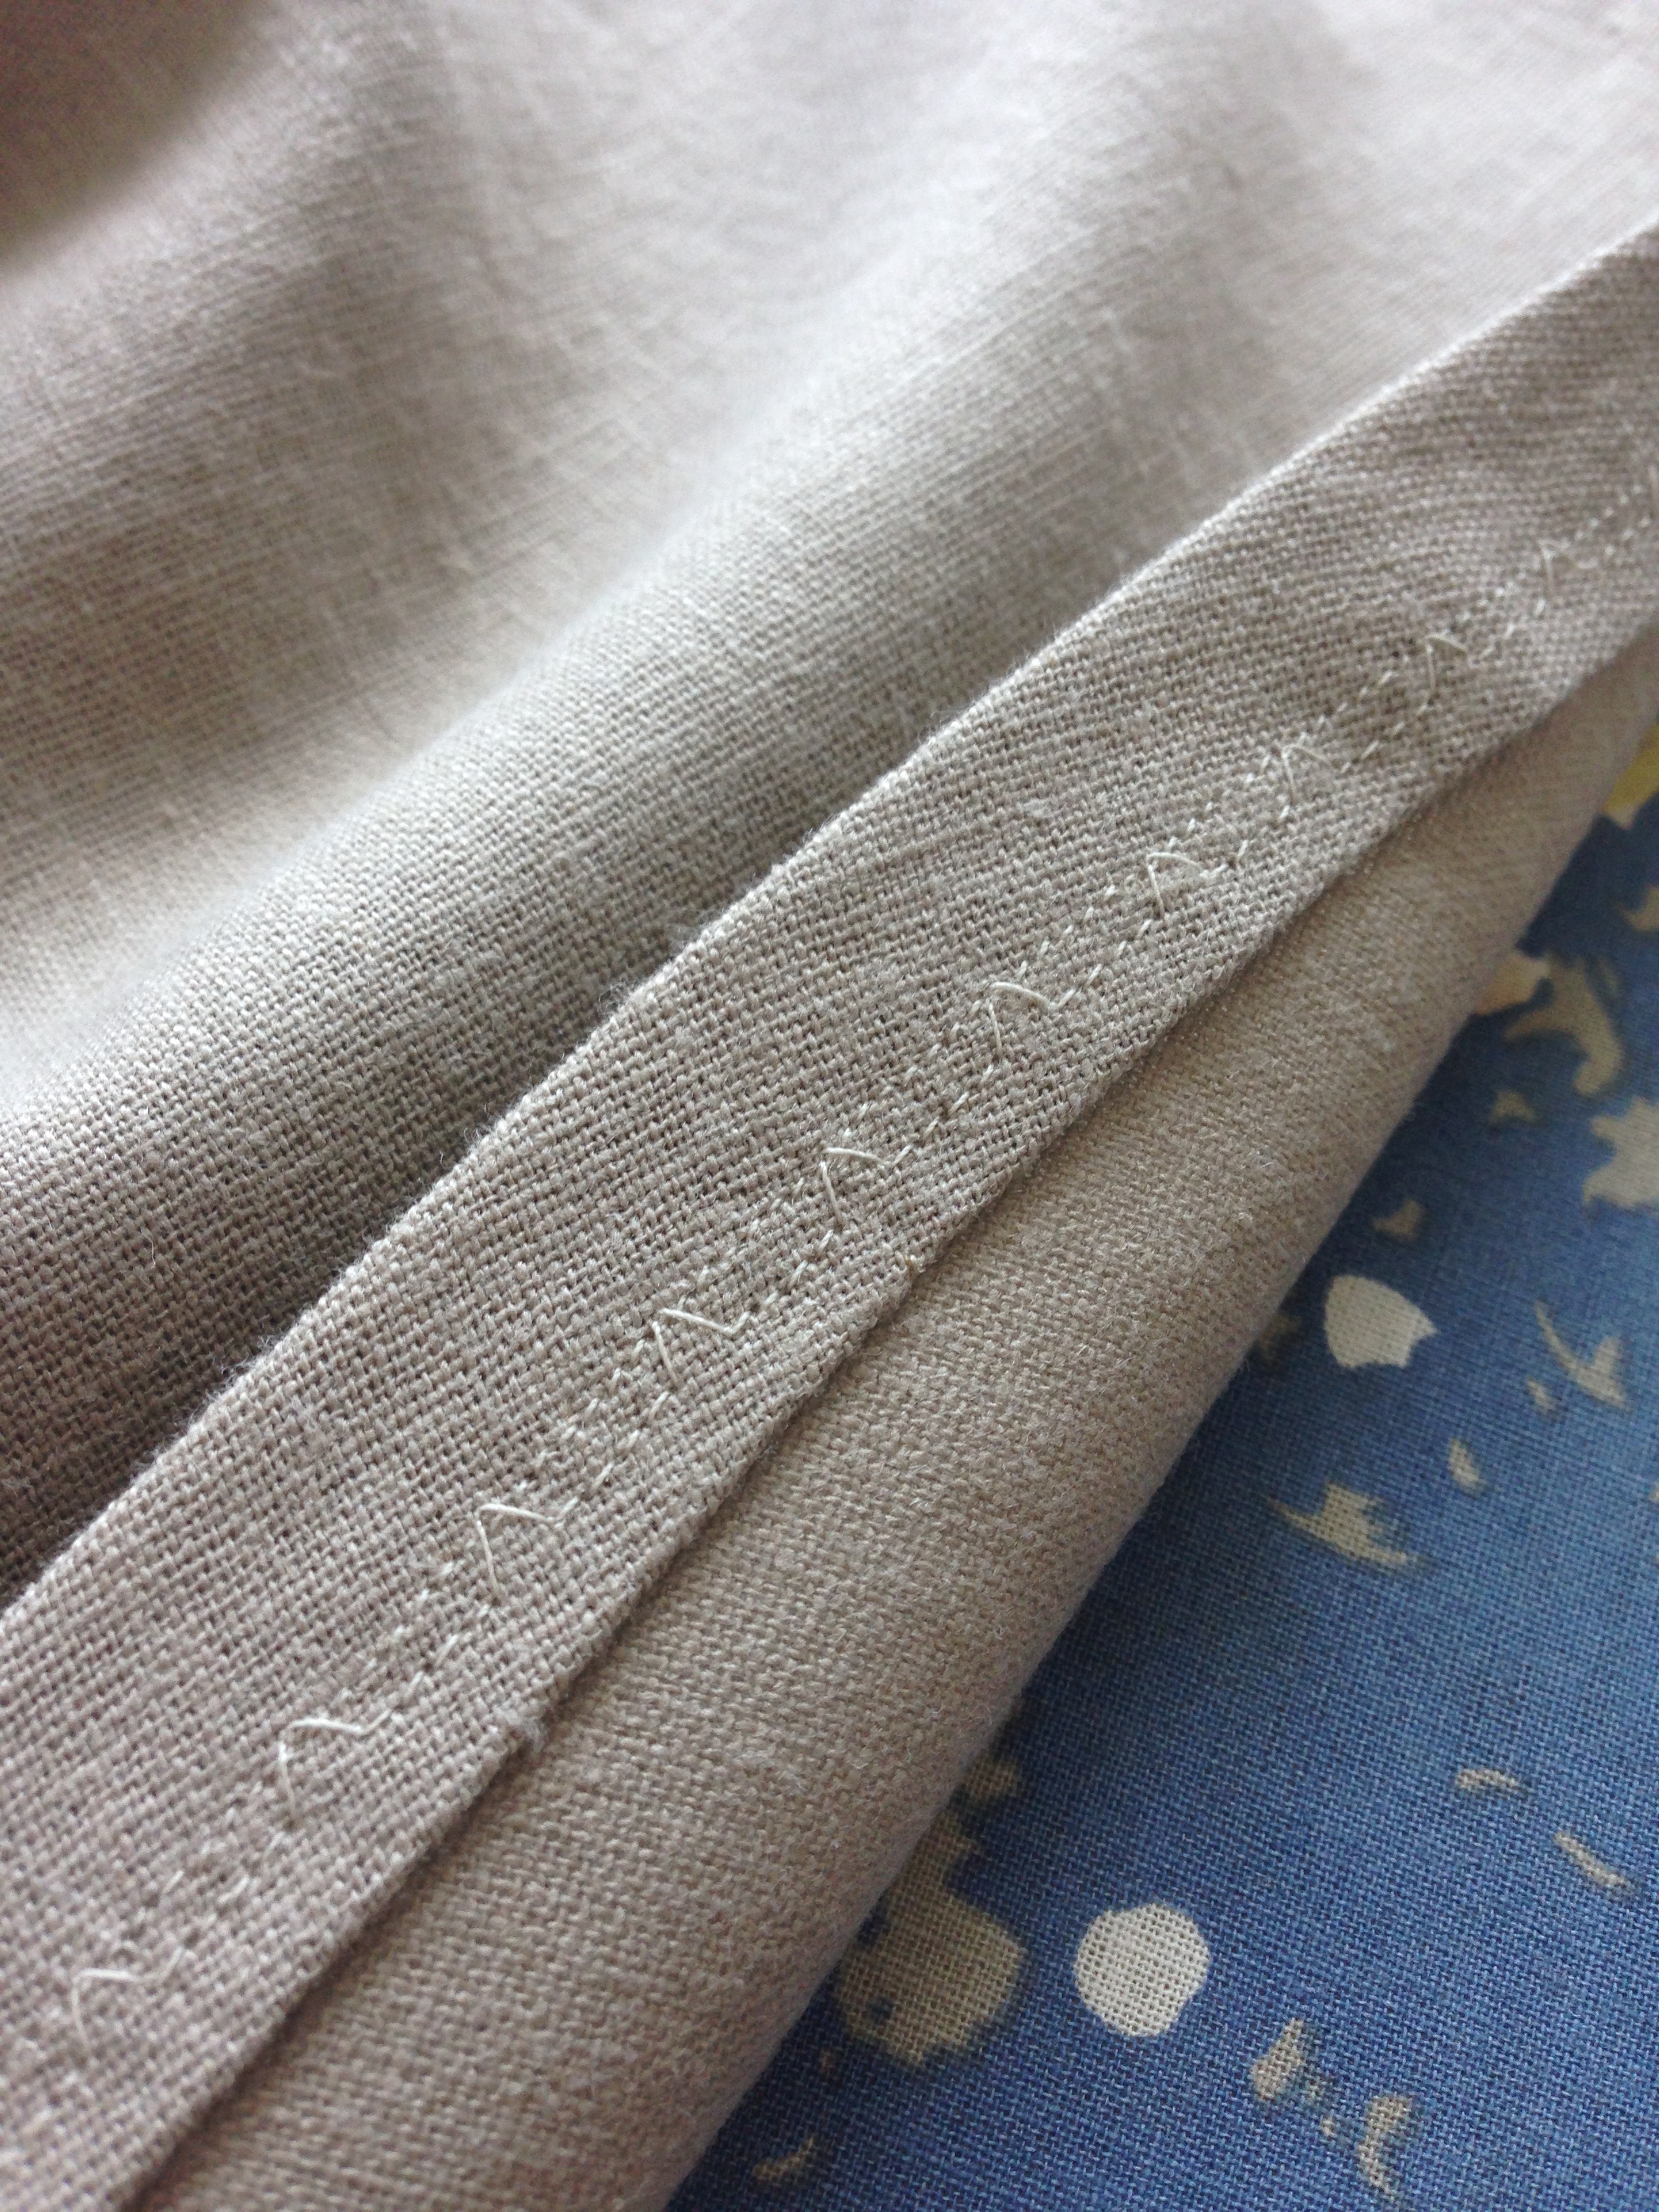
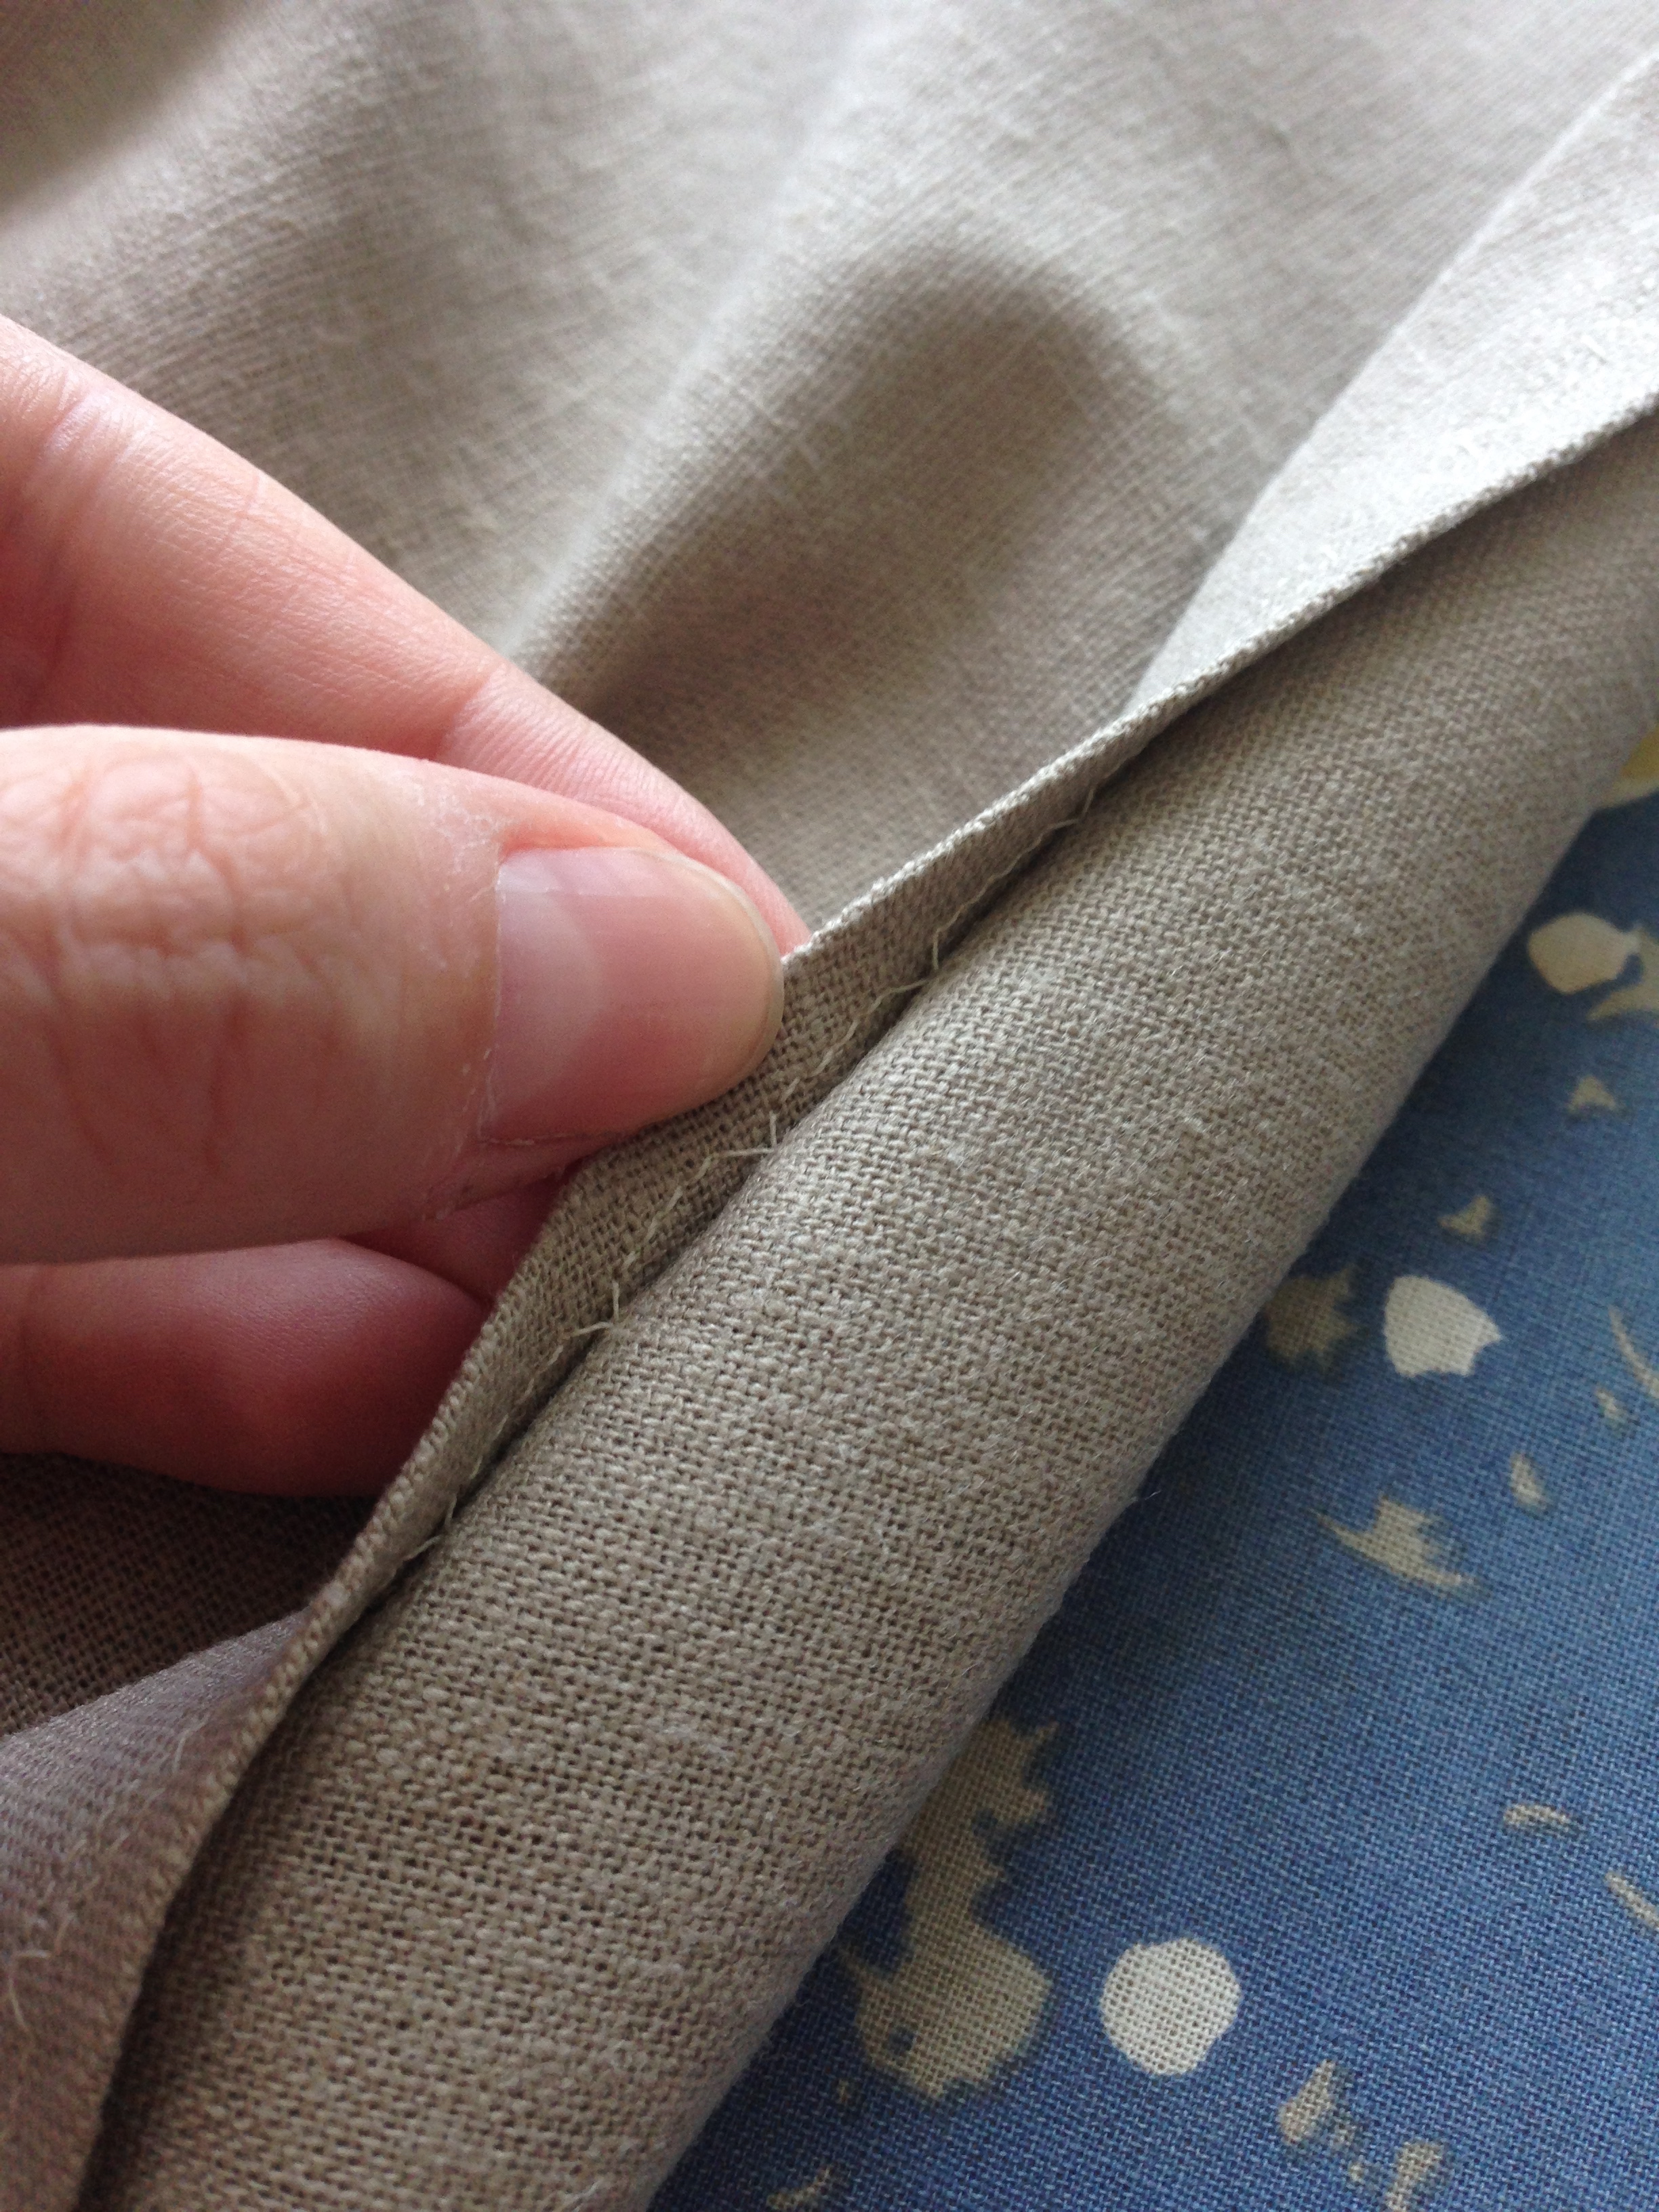
With the zipper in place, it was hemming time! I decided to mirror the stitching I did for finishing the sleeves, making the hem invisible (more commonly called a blind hem). It's a neat trick using a machine stitch instead of by hand (which is the more traditional way of doing it.) Essentially it's a periodic zig-zag stitch where you place the zig-zag to Just Barely catch the front fabric of the skirt. Then when the hem is turned out and pressed, it's like there is no stitching at all. Magic. =D

AND DONE. Well. I suppose I should case all my seams. But that's for another day. Until then, I'll lightly wear it ;) Haha. 

-Andrea

The Half-Assed Hobbyist

"Very" Easy Vogue: The Blue Linen Dress

There are many gem fabrics hidden away in my Rubbermaid treasure trove. This patterned blue linen is one of my favourites. A seaweed like swoosh on an electric blue that doesn't wash out. Mega love. I can't remember which fabric shop I bought it from, probably Sig Plach in Edmonton, but it's sat in my closet, along with a .50 cent church rummage sale Vogue pattern (V9472), for at least 3 years. 

Engage, sewing plans! =)

I have sewn with linen before and I have to say, it is probably my favorite material to work with. It doesn't fray too badly, it's light in weight and holds ironed creases like a dream. Fabric Sploosh! (Which can actually happen! Yay washable fabric! Lol.)

Anywho! I needed some notions and lining so I hit up a store called Designer Fabrics on Queen West. Dangerzone. I have not gone fabric shopping in a Long Long time. As per The Rules, I must use up my million tonnes of Rubbermaid imprisoned fabric first. But there were some really unique crepes.... that I restrained myself from buying. #hardknocklife

Meanwhile, at home, my fabric a washin' and a dryin' (cold water and low heat), I got started by being a good pattern owner, and tracing out the bodice pieces. Since it was a used rummage sale pattern, the skirt had already been cut out. Good thing the sizing on the pattern package was wrong! Two more inches of leeway. Yay! Project point!

The cutting part is always the most stressful part of any project for me. Especially when it's a fabric I can't get more of, like this one. Once it's gone, that's it, that's all, folks! Which is probably why I ironed this linen fabric four times to procrastinate laying out the pattern. I did eventually psych myself out enough to do it though. Took a lot of measuring to make sure that the seaweed pattern would meet at the waist seam but eventually it was cutting time! (Also, the lining for the bodice. That got a tad less ceremoniously cut out too. Rotary cutter for the Win!)

At this point, everything was cut and in another attempt to be a good sew-er, I tagged all the pattern markings onto the fabric with thread. I have since been told by my lovely lady who actually works in the costuming industry in Toronto that no one really does that unless it's Haute Couture. Lol. Well slap on an expensive tag with my name on it! It's Haute Couture meets Half-Assed-ed-ness!

This pattern is a "Very Easy, Very Vogue" pattern. Having previous experience with Vogue patterns, this title can be a bit of a misnomer. Specifically, Vogue patterns assume you know what you're doing.... Which is a fair assumption for someone who has previous pattern experience. It is not particularly forgiving if you've never sewn from a pattern before though. Skills like ease stitching and easing in the sleeves, or even slipstitching the entire bodice and lining together are both techniques used that I would not expect someone who has just picked up their first pattern to inherently know. 

Anyways. Regardless of the pattern ease (Heh heh), this dress nails "Very Vogue" very well. (So 50% right in the title. Not bad?) The pattern has two features that I super love, 1) The Bateau-ish/Princess neckline.  I love the simple high shoulder scoop. It's super elegant and sits well on regular and wide shoulders. And 2) The Pockets. Oh Gad. The pockets! They are designed to be a dramatic and visible. I really think they Make this dress. As I said before, this pattern was a rummage sale find and it's previous owner loved the pockets so much that only the skirt pieces were even cut out. I don't blame them. I'd cut a pattern for those pockets too. 

Anywho! I got trotting, getting the darts ironed and sewn for the bodice and the lining. The sleeves had to be eased in but the fullness of the shoulder was #worthit.  Then it was on to skirt! Two pleats, two darts, and pockets sewn and basted into the skirt front. It was possibly the easiest skirt I've ever made. (Vogue! What's happening here! No convoluted hand-stitched pocket finishes? Disappoint.) The entire time I was holding my breath though; Please let the fabric pattern match up, oh please, oh please! Well Go Go Gadget math skillz, they did. Check mark. 

The "lining and finishing", as it's outlined in the pattern instructions, were a bit more dubious than the gloriously simple skirt construction. While putting in zippers, hand-stitching lining, and hemming sleeves have never been my favourite pass times, for this project I straight up was didn't wanna. Maybe it was the finality of this project being done (or more likely the billion other things on the go...) but it took some time to get down to it. The zipper has three minor puckers, the lining is a half cm off (I'M NOT FIXING IT D= Sorry Heather), but the hems are Perfect. Good enough for meeeee. Finished! It fits like a dream too. Hur hur, almost like it was made to fit. ;)

I should, at some point, take better pictures of all my projects. Maybe when this dismal "spring" smartens up in Toronto. Until then though! 

(Also, next project? I have no idea. That's a new feeling. Dun Dun DUN.)

-Andrea

The Half-Assed Hobbyist


The Green Gingham Dress

I'll hopefully take a better picture. Eventually.... ;)

I'll hopefully take a better picture. Eventually.... ;)

After the inspiration (or more likely guilt) of not having sew-ed in ages, and, having no outdoorsy fun planned for this winter, I decided it was high time to get out the ol' fabric stockpile and figure out what project I could while away the gloomy non-snow-filled months of Ontario winter.

I started this project in November and finished it mid-December. And looky looky! I'm finally posting about it! Yay! It's happening! (Shhhhhh. Let me have this one....) The pattern was a Vogue vintage pattern, V2960.

Anyways. After all the fun cutting out and ironing on interfacing and such I got to working the bodice. I've made quite a few dresses in my day, notably my Plaid Pink Ballgown. This would be the first dress with buttonholes though, and down the front none the less. (Why I do these things to myself only a good therapist can discover.)

The bodice pattern was super easy to put together! (Gasp! Vogue pattern instructions being straight forward??!!) And the fabric worked beautifully with all the darts (Gingham Power!). But, because everything has it's snags, after I started cutting my welt buttonholes, I realized that the buttonhole pattern piece I was measuring from was wrong side/right side, making my buttonholes a whole half inch over from where they were supposed to live.

-cries-

Ah well. I'm not called the half-assed hobbyist because everything goes well all the time. Live and Learn! My buttonholes would just live dangerously close to the fabric edge, just how I like it.

Next was the skirt. My favourite part! But actually. I love skirts. If wind didn't exist, I would wear skirts everyday. -She says, thinking about the global ramifications of a windless world on general ecosystems-

I've never done folded pleats like this before, so I got out my lovely old Vogue sewing paperwei- I mean, book. Very good advice, which I took and Actually followed. Ironing every pleat fold before pining it where it needed to be sewn, and ironing again. All the Ironing. But it worked! Success! Learning!

Bodice and skirt sewn, it was time for the hard part: dealing with the off-center welt buttonholes I'd messed up already. Never fear! My unabashed desire to plow onward afforded me some courage, which without, I would still be desperately sobbing in a corner clinging to the gingham dress dreams of yesteryear.

The buttonholes. It was almost a stand-off. At first I thought I'd just move over the seam allowance but because of the interfacing that idea was a no go. I'd have to deal with the buttonholes being closer to the edge than recommended.  So I focused on button making. Now there's a story. It took me 3 hours stuck in Toronto traffic to get those plastic buttons. I could have walked it in 2. Sigh.

The covered buttons finished (YAY for easy rotary cutter circles), it was time to finish the welt buttonholes. Cutting time! I fitted the bodice so that despite the half inch extra it fit well. I ironed the lovely interfacing as flat as possible without scorching the wool. Success! Using my vogue book as a guideline, I used four pins, one in each corner of the welt, to indicate where to cut a small slit for each buttonhole opening. I finished them as I went. All but the last buttonhole wasn't stable enough to take buttoning. Luckily the last button was more for symmetry, so I sewed the button directly overtop of it, just for show, so it avoids any tearing. And the rest was a matter of pinning the buttonholes in place over where I wanted the buttons, marking and affixing.

Last but not least was the hem. Urk. I hate hemming. Luckily, my new fancy sewing machine has a million wonderful stitches to do a nice easy pick-up hem thing.

BAM!

One project down!

NEXT!

-Andrea

The Half-Assed Hobbyist