Tart the Second

Previously, I never understood the real desire to make a tart when you could easily make it be a pie instead. Pie > Tart; Or so I thought. 

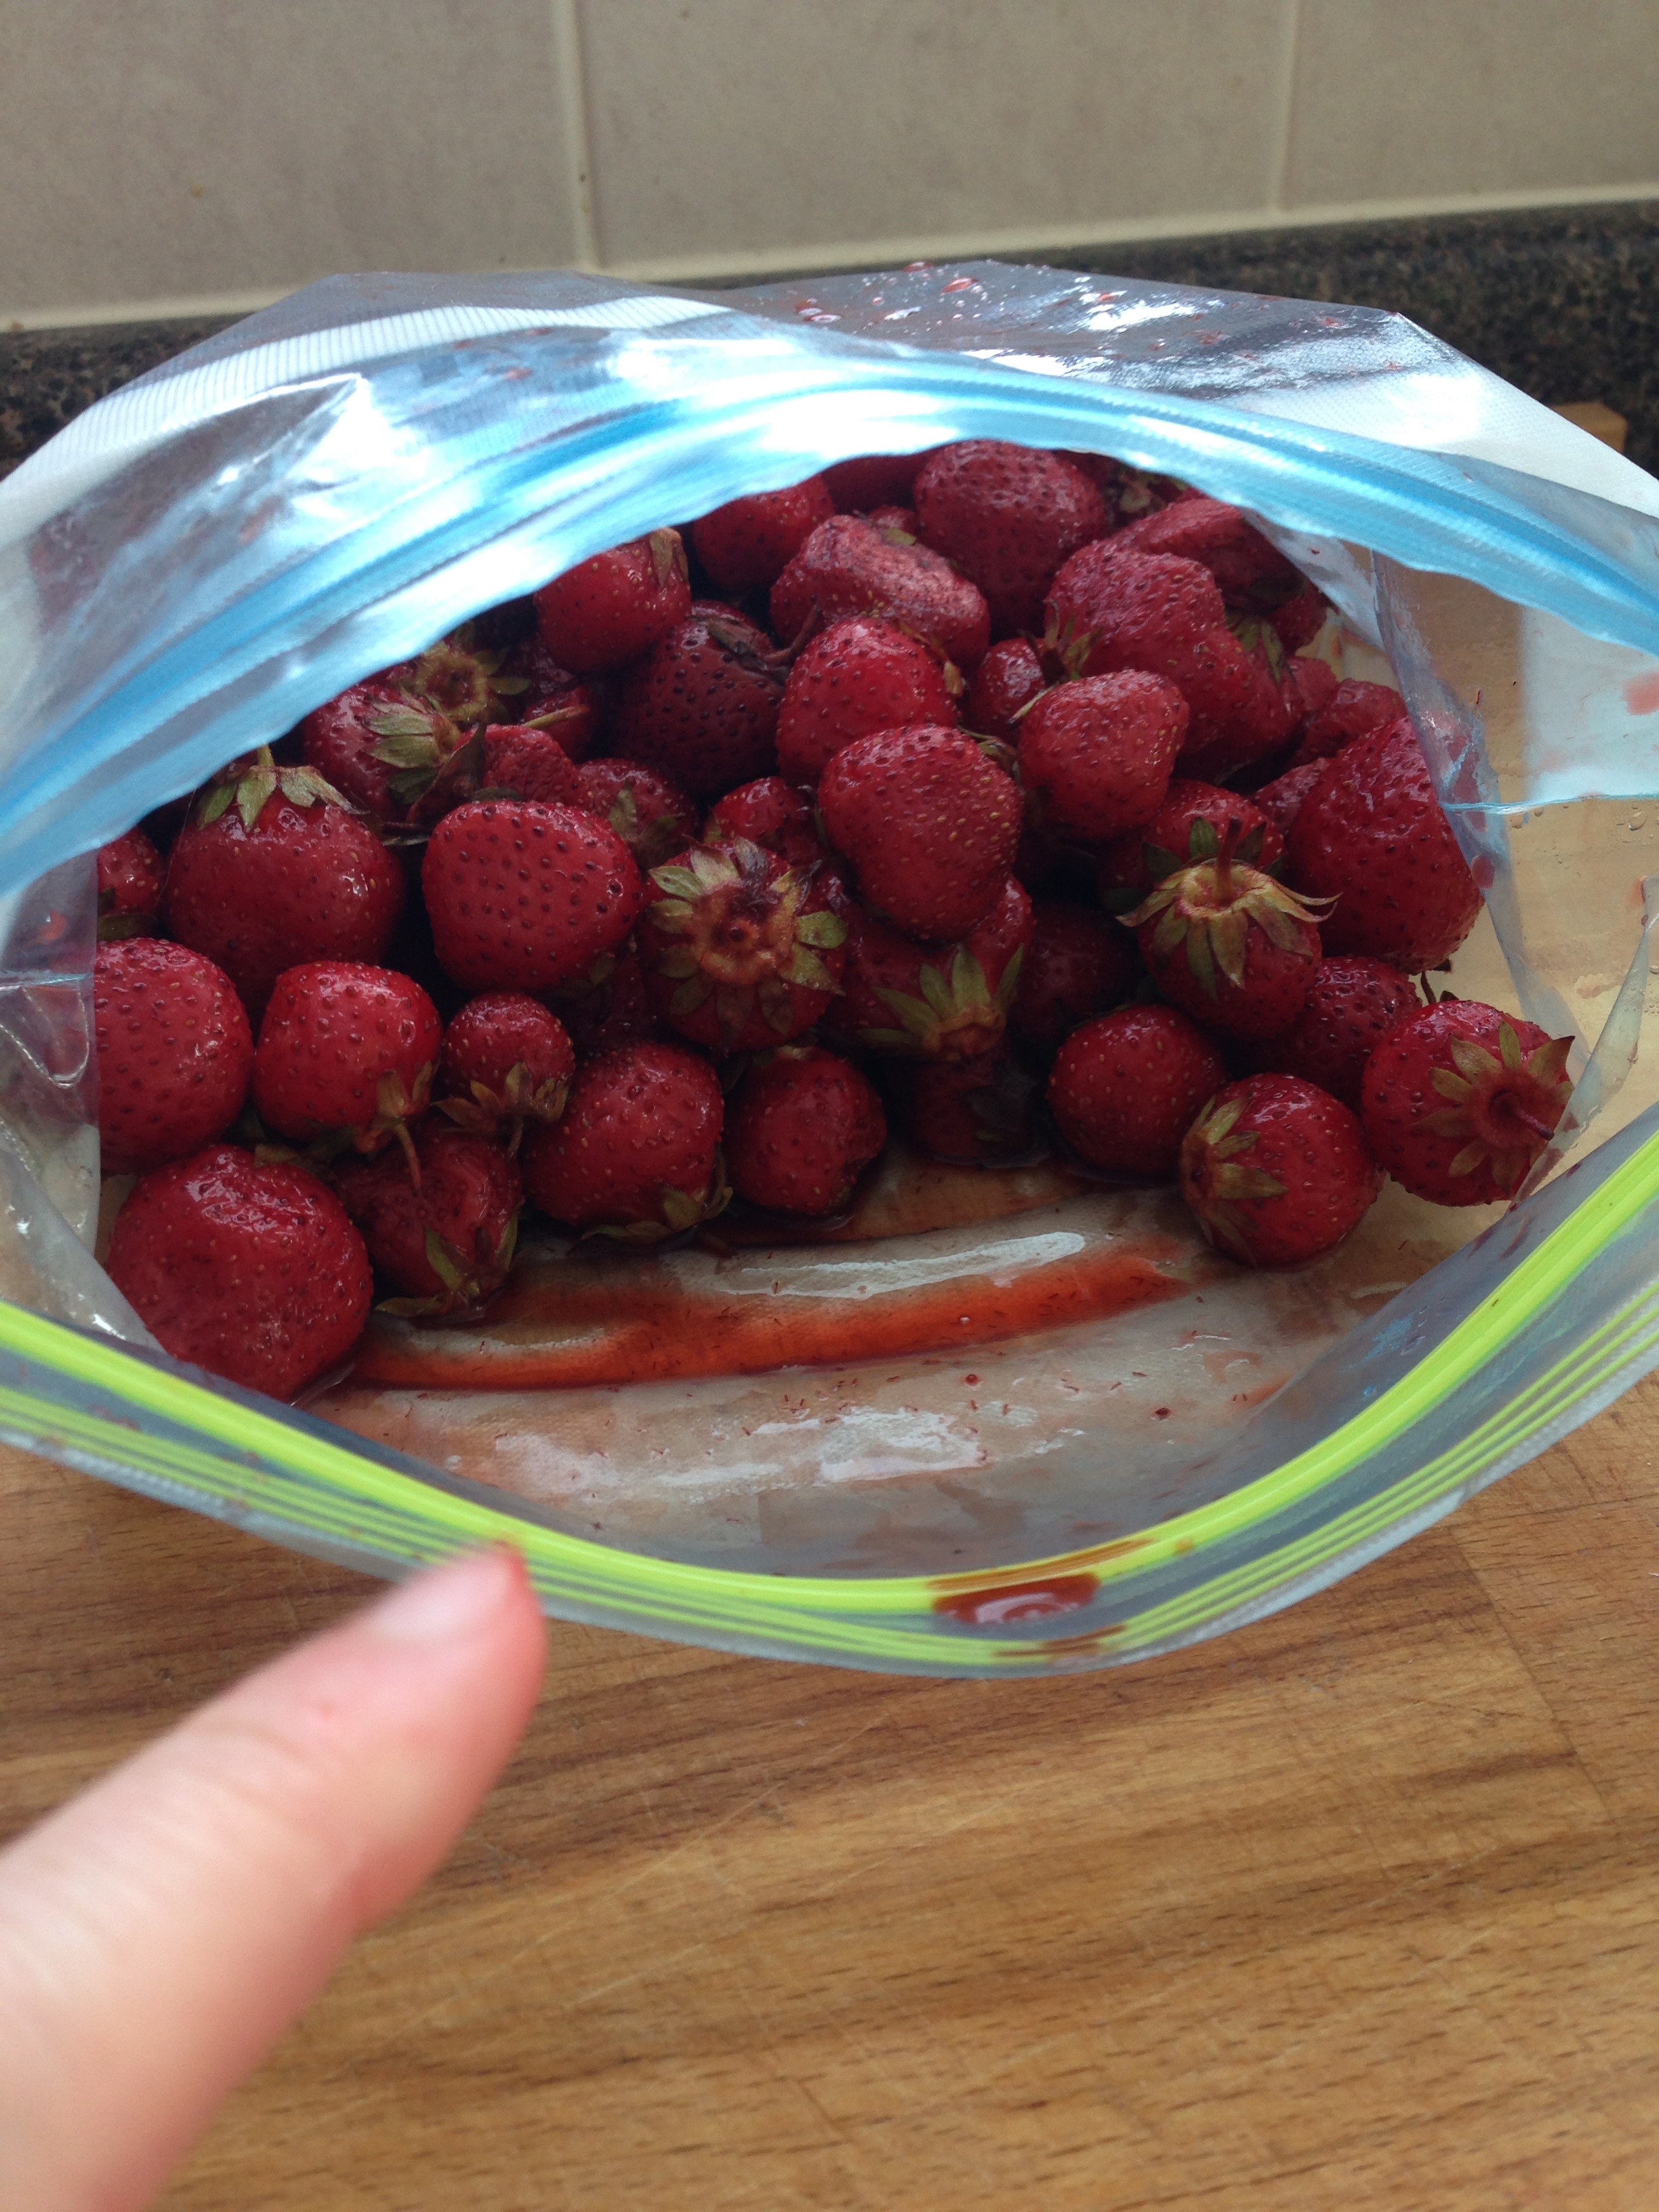
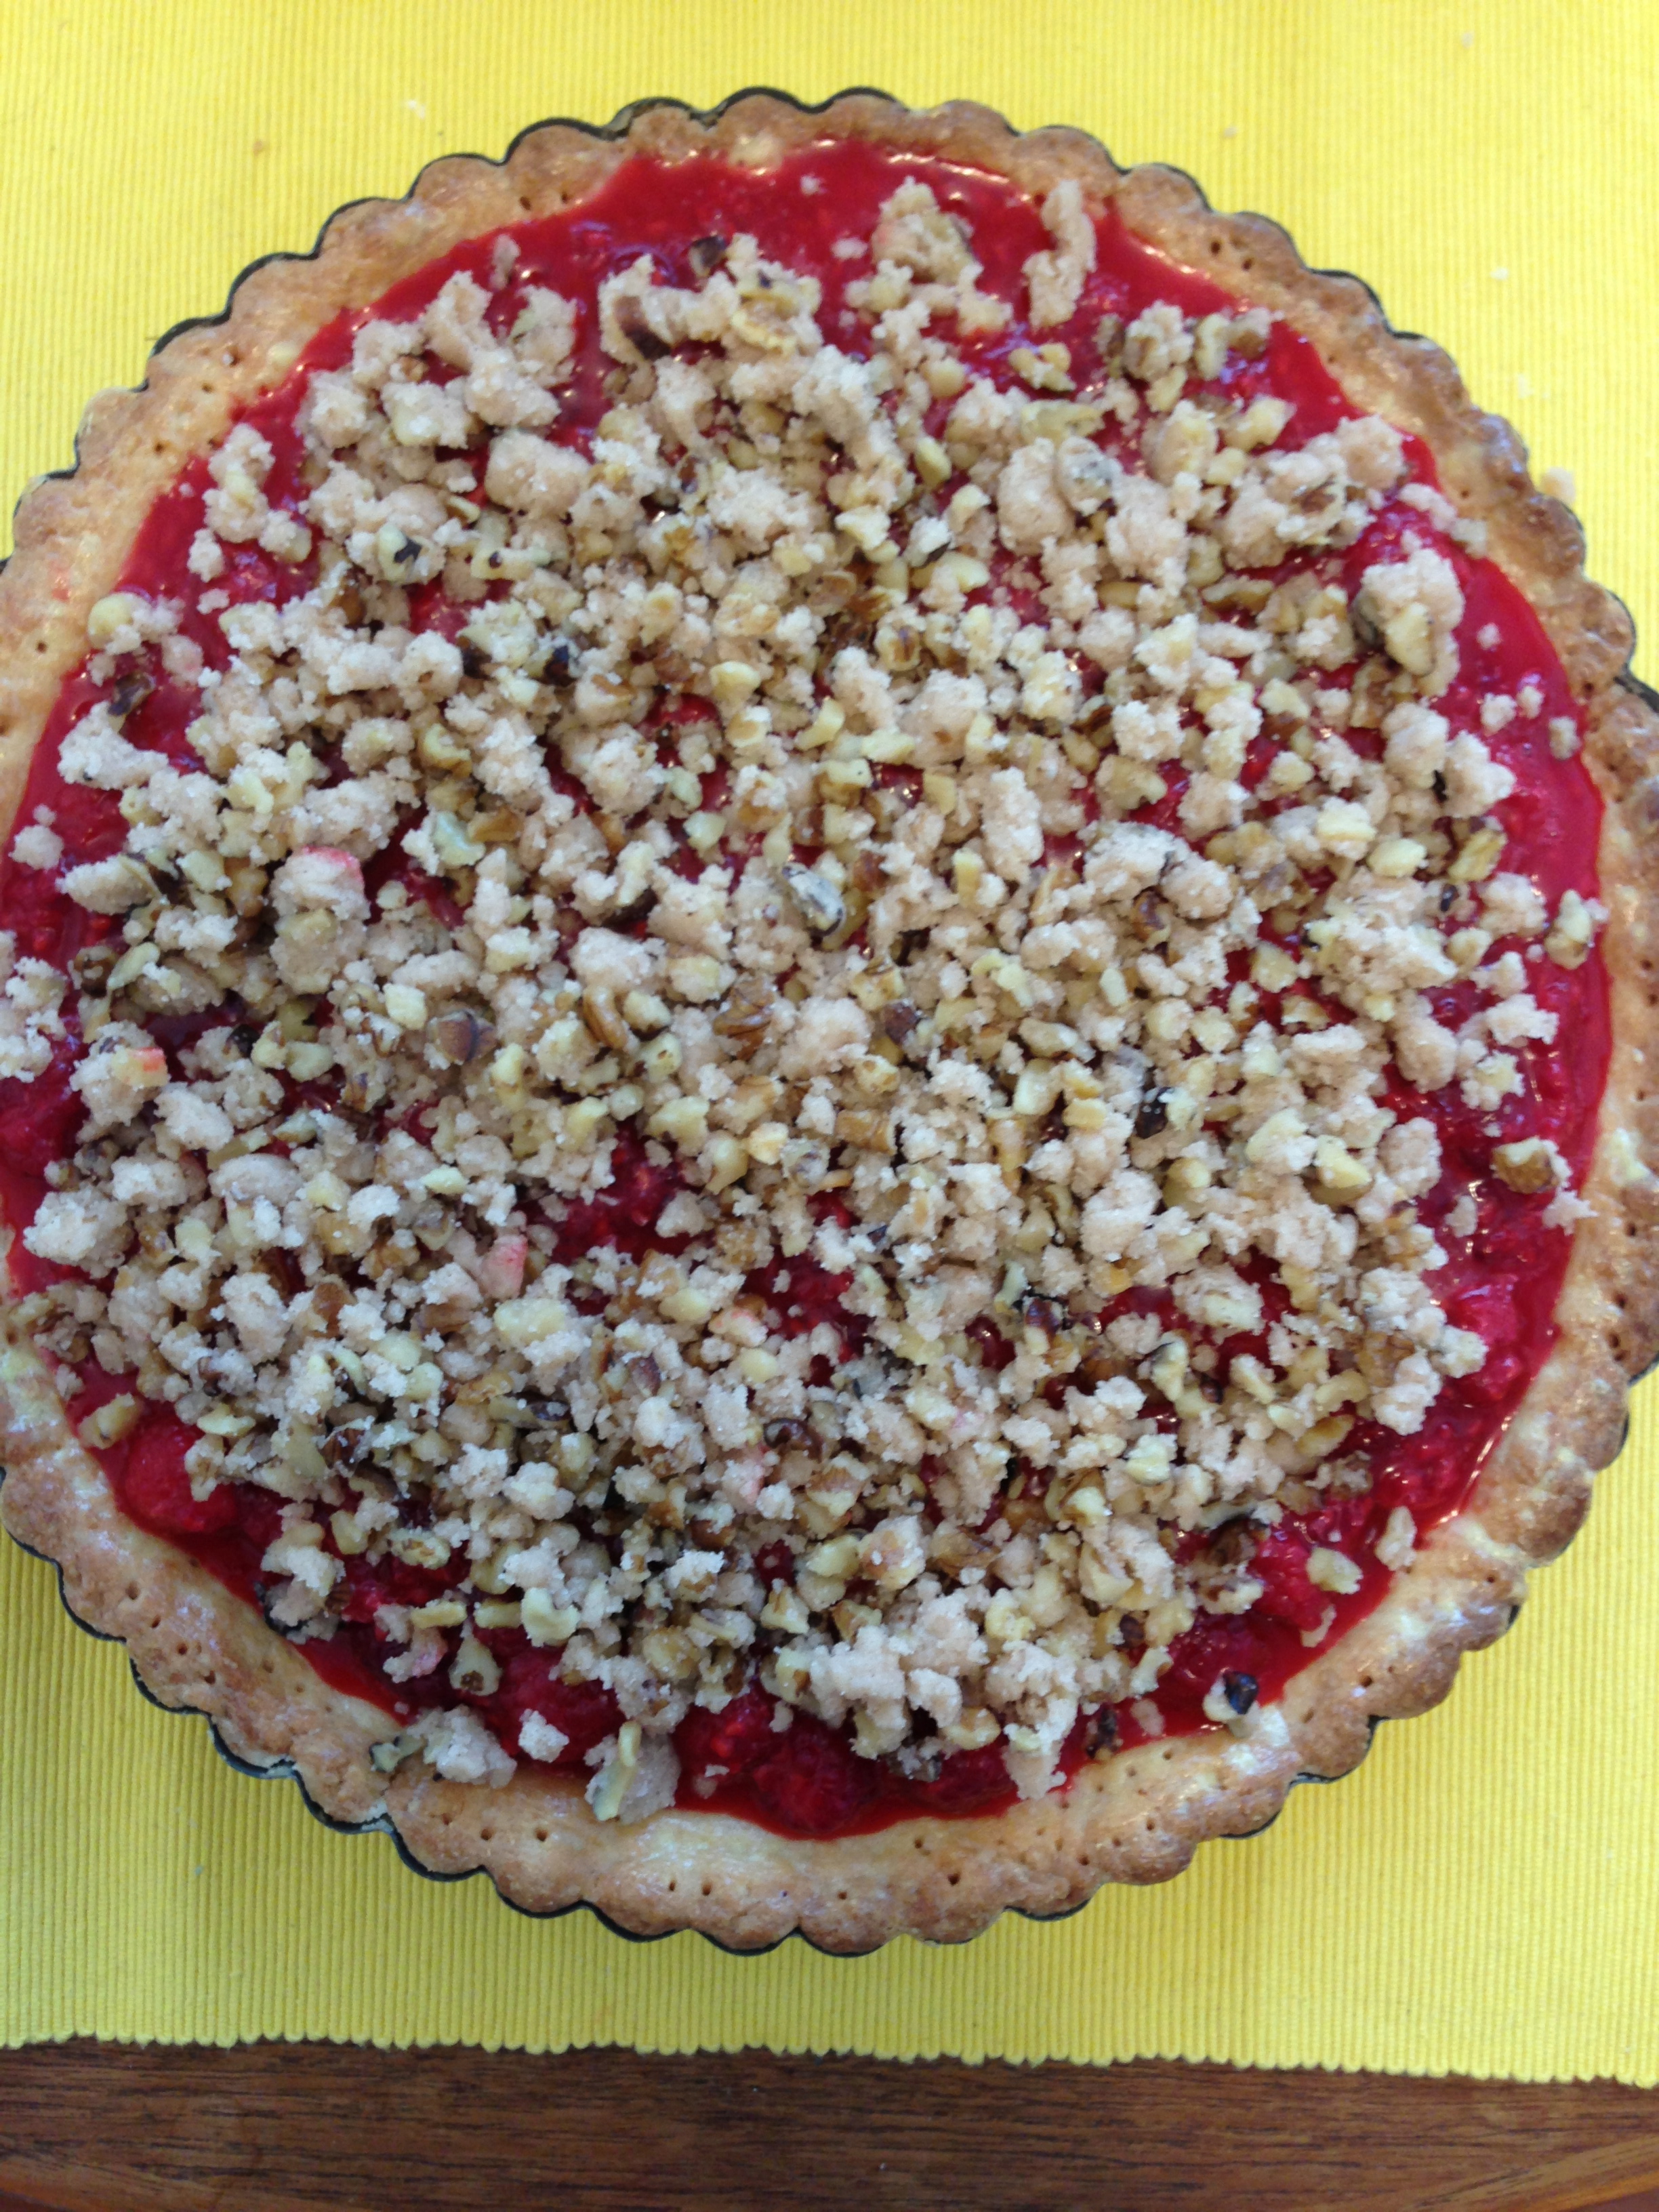
The first tart I ever made was a raspberry tart with a crumble topping for my bestie Jess' 25th birthday. It was splendiferous, made from fresh raspberries that I'd picked late that summer. So when my buddy Lesley came and stayed with me, bringing a bag of fresh wild strawberries she'd picked, the call for tart echoed softly in my brain. (-taaaart taaaaart taaaaart-)

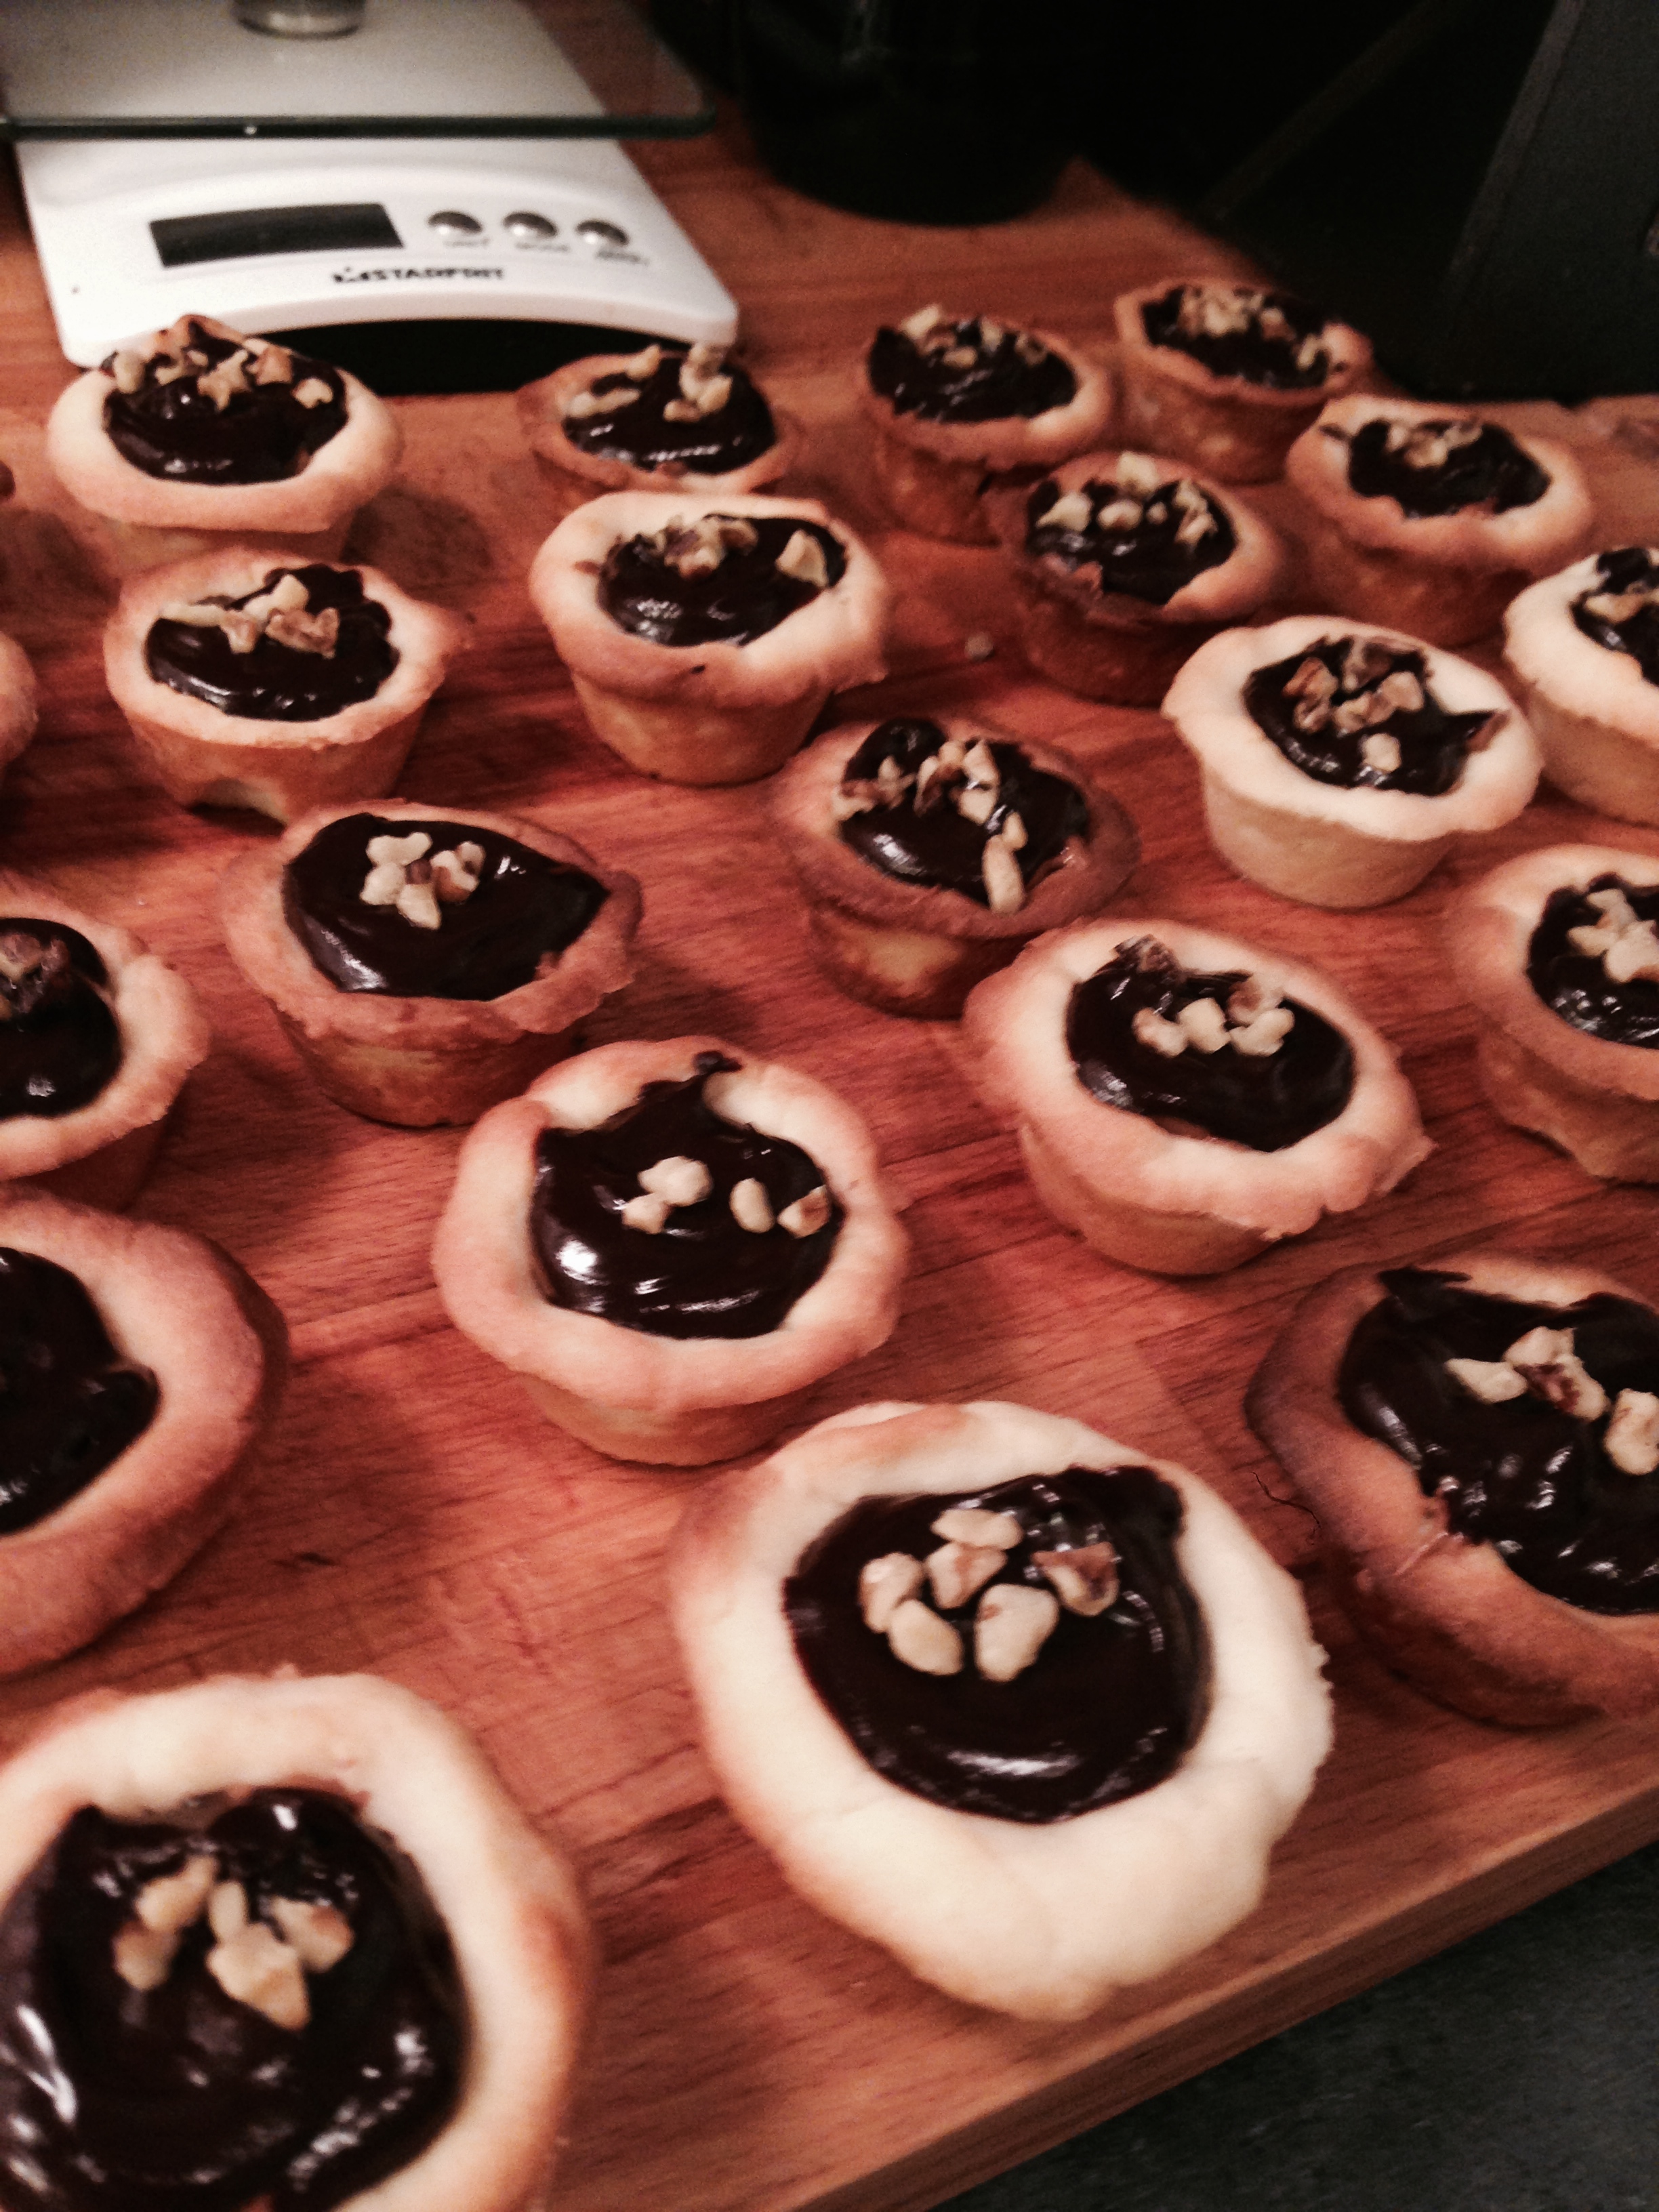
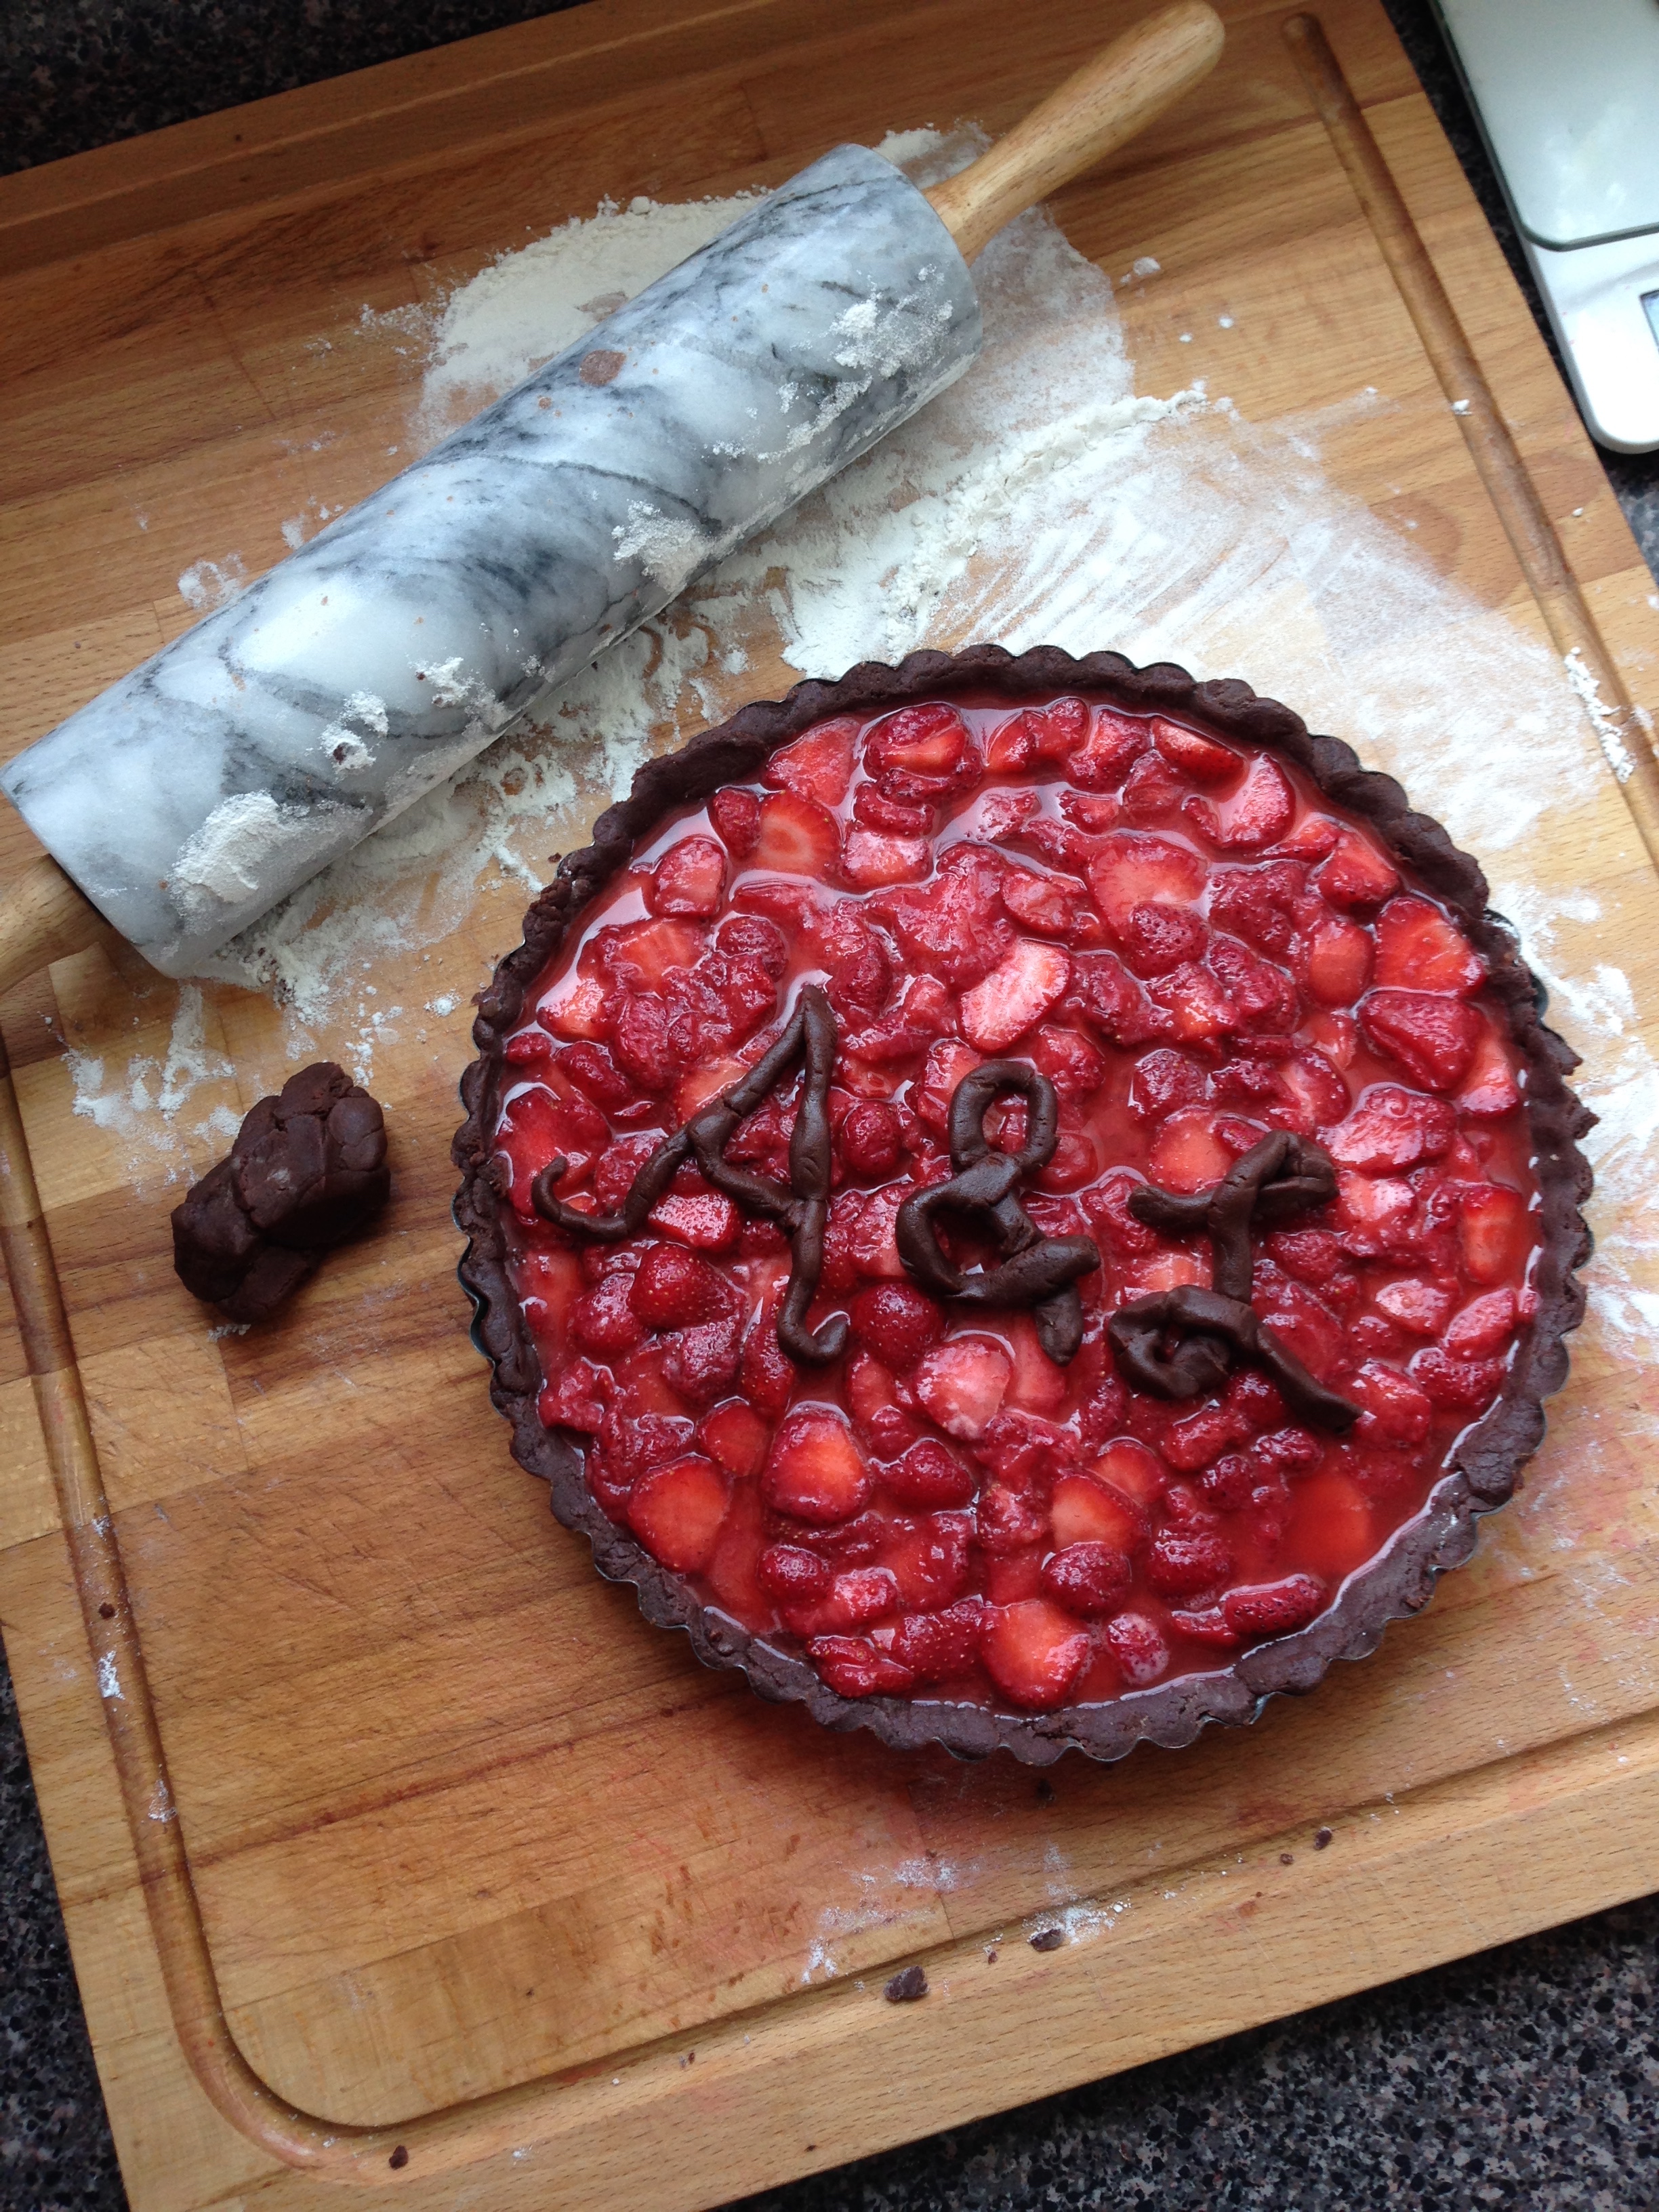
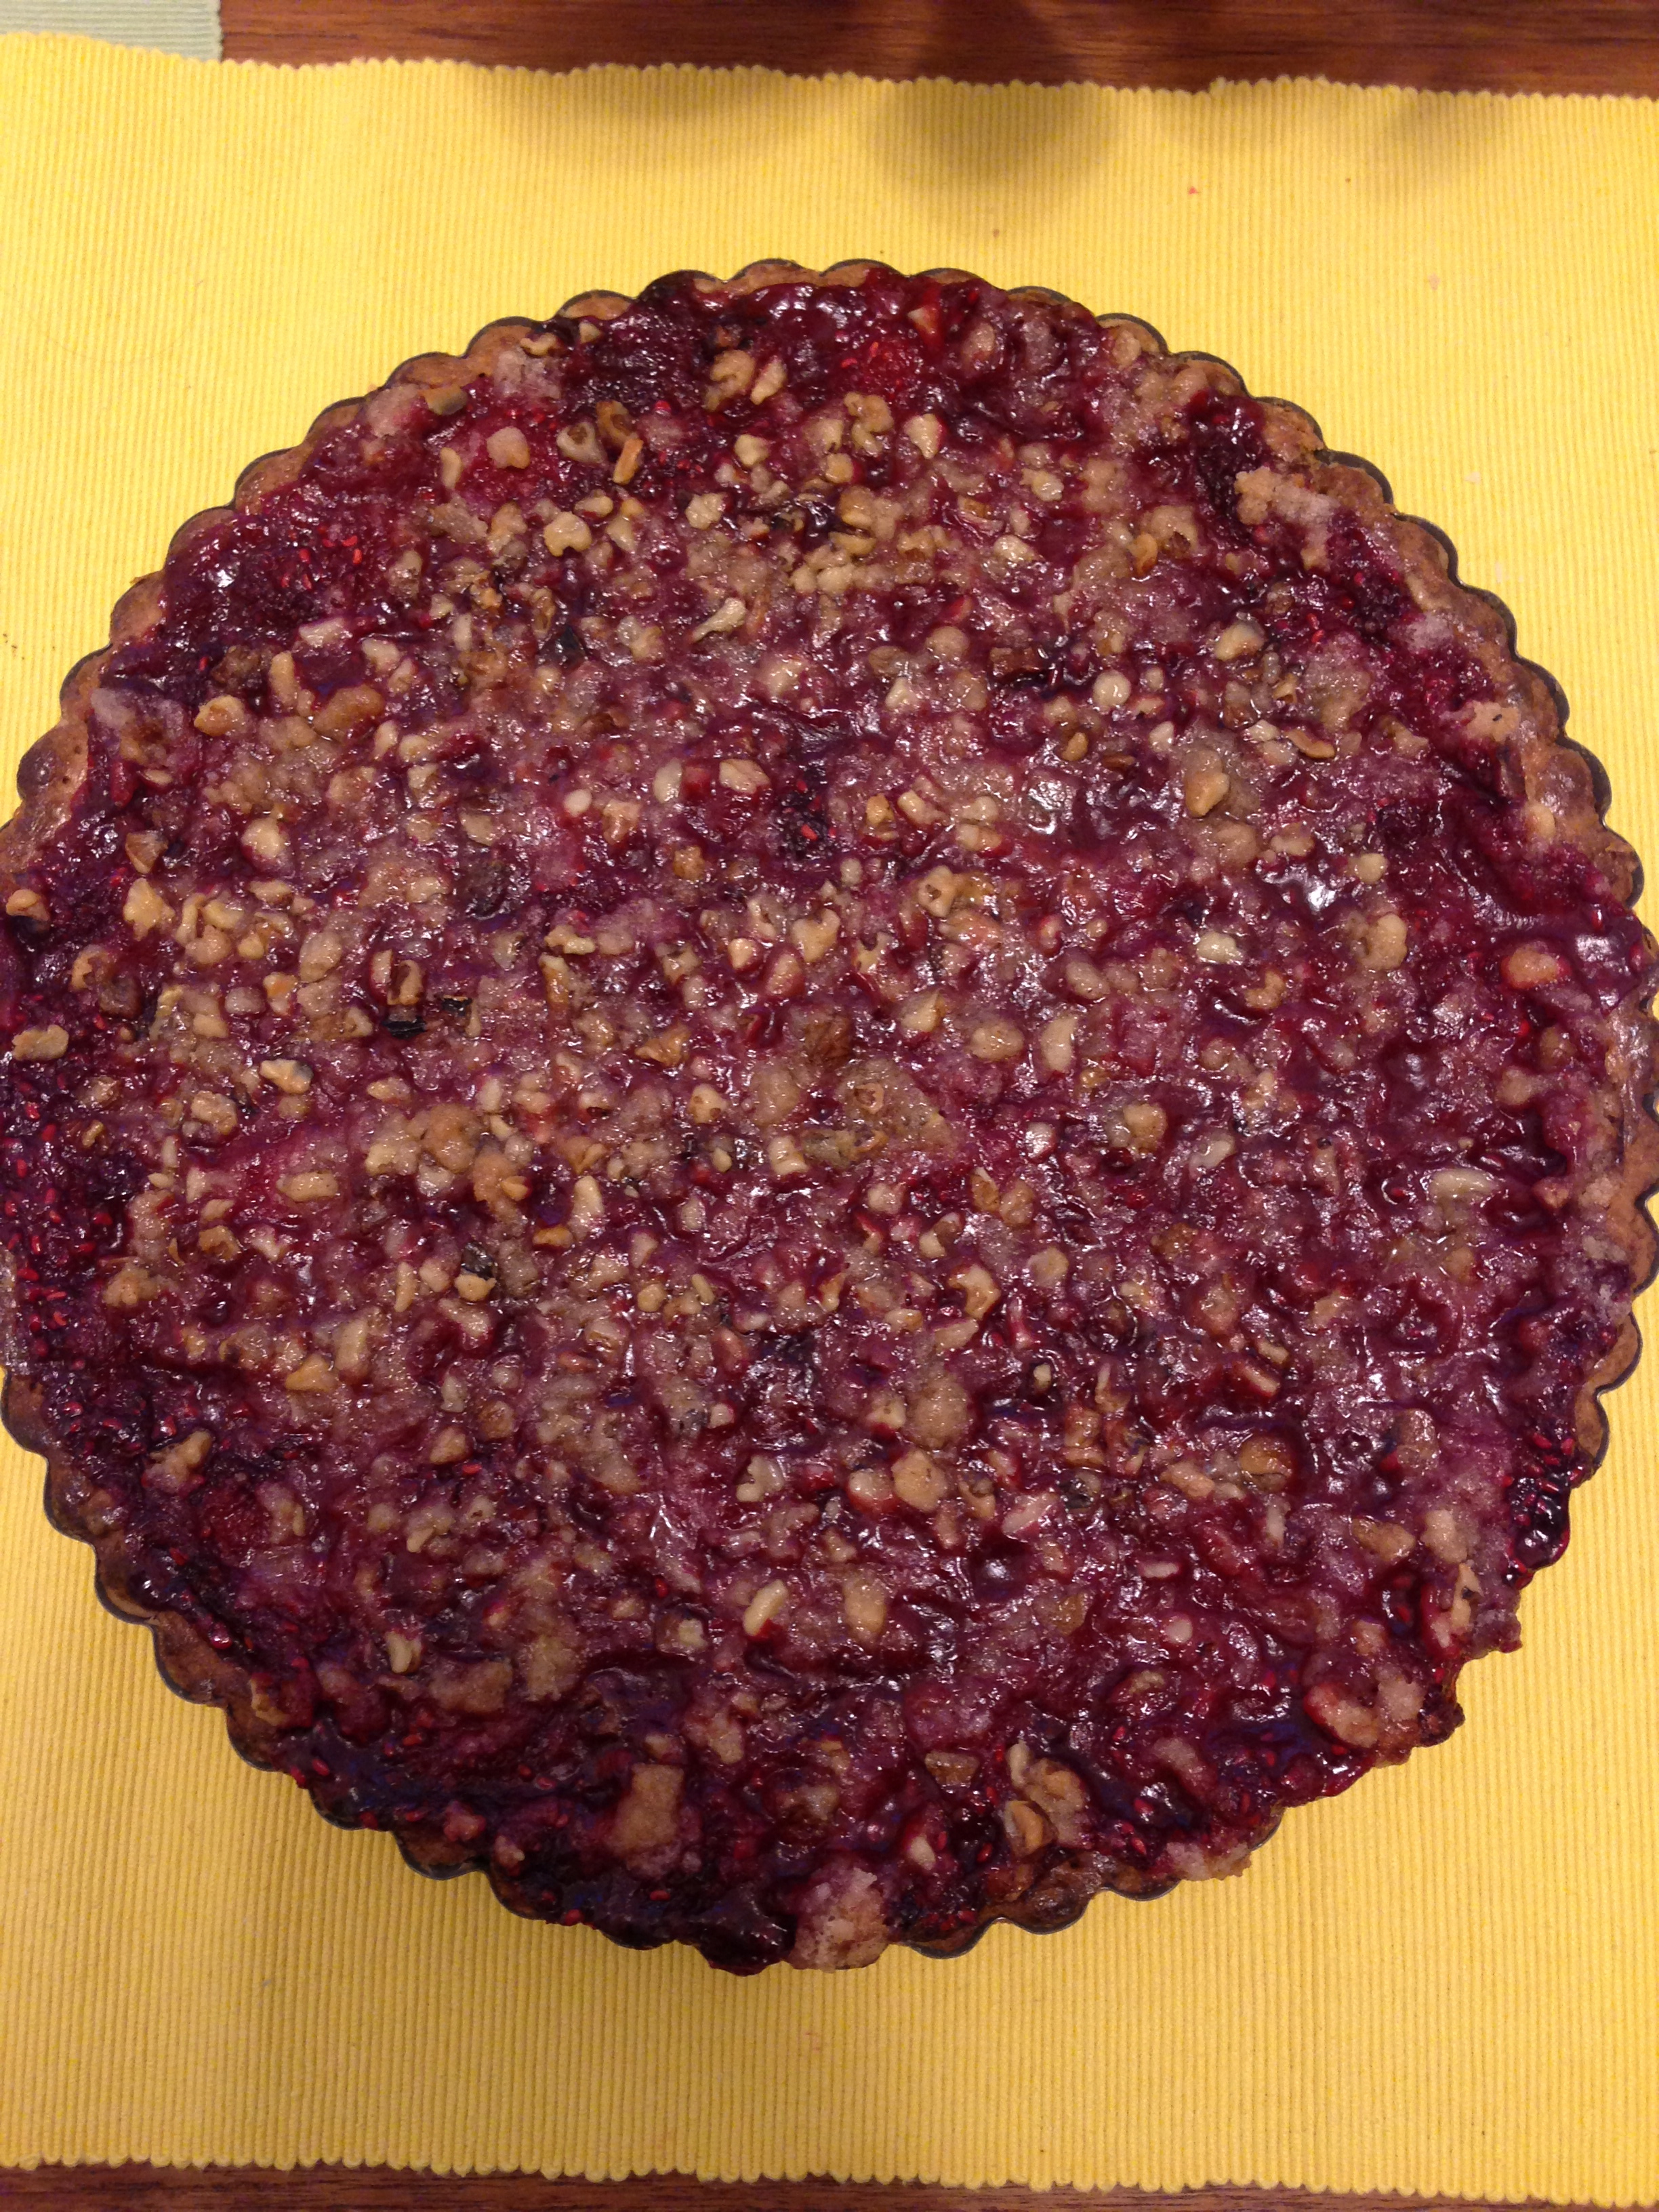
Wild Strawberry Chocolate Tart

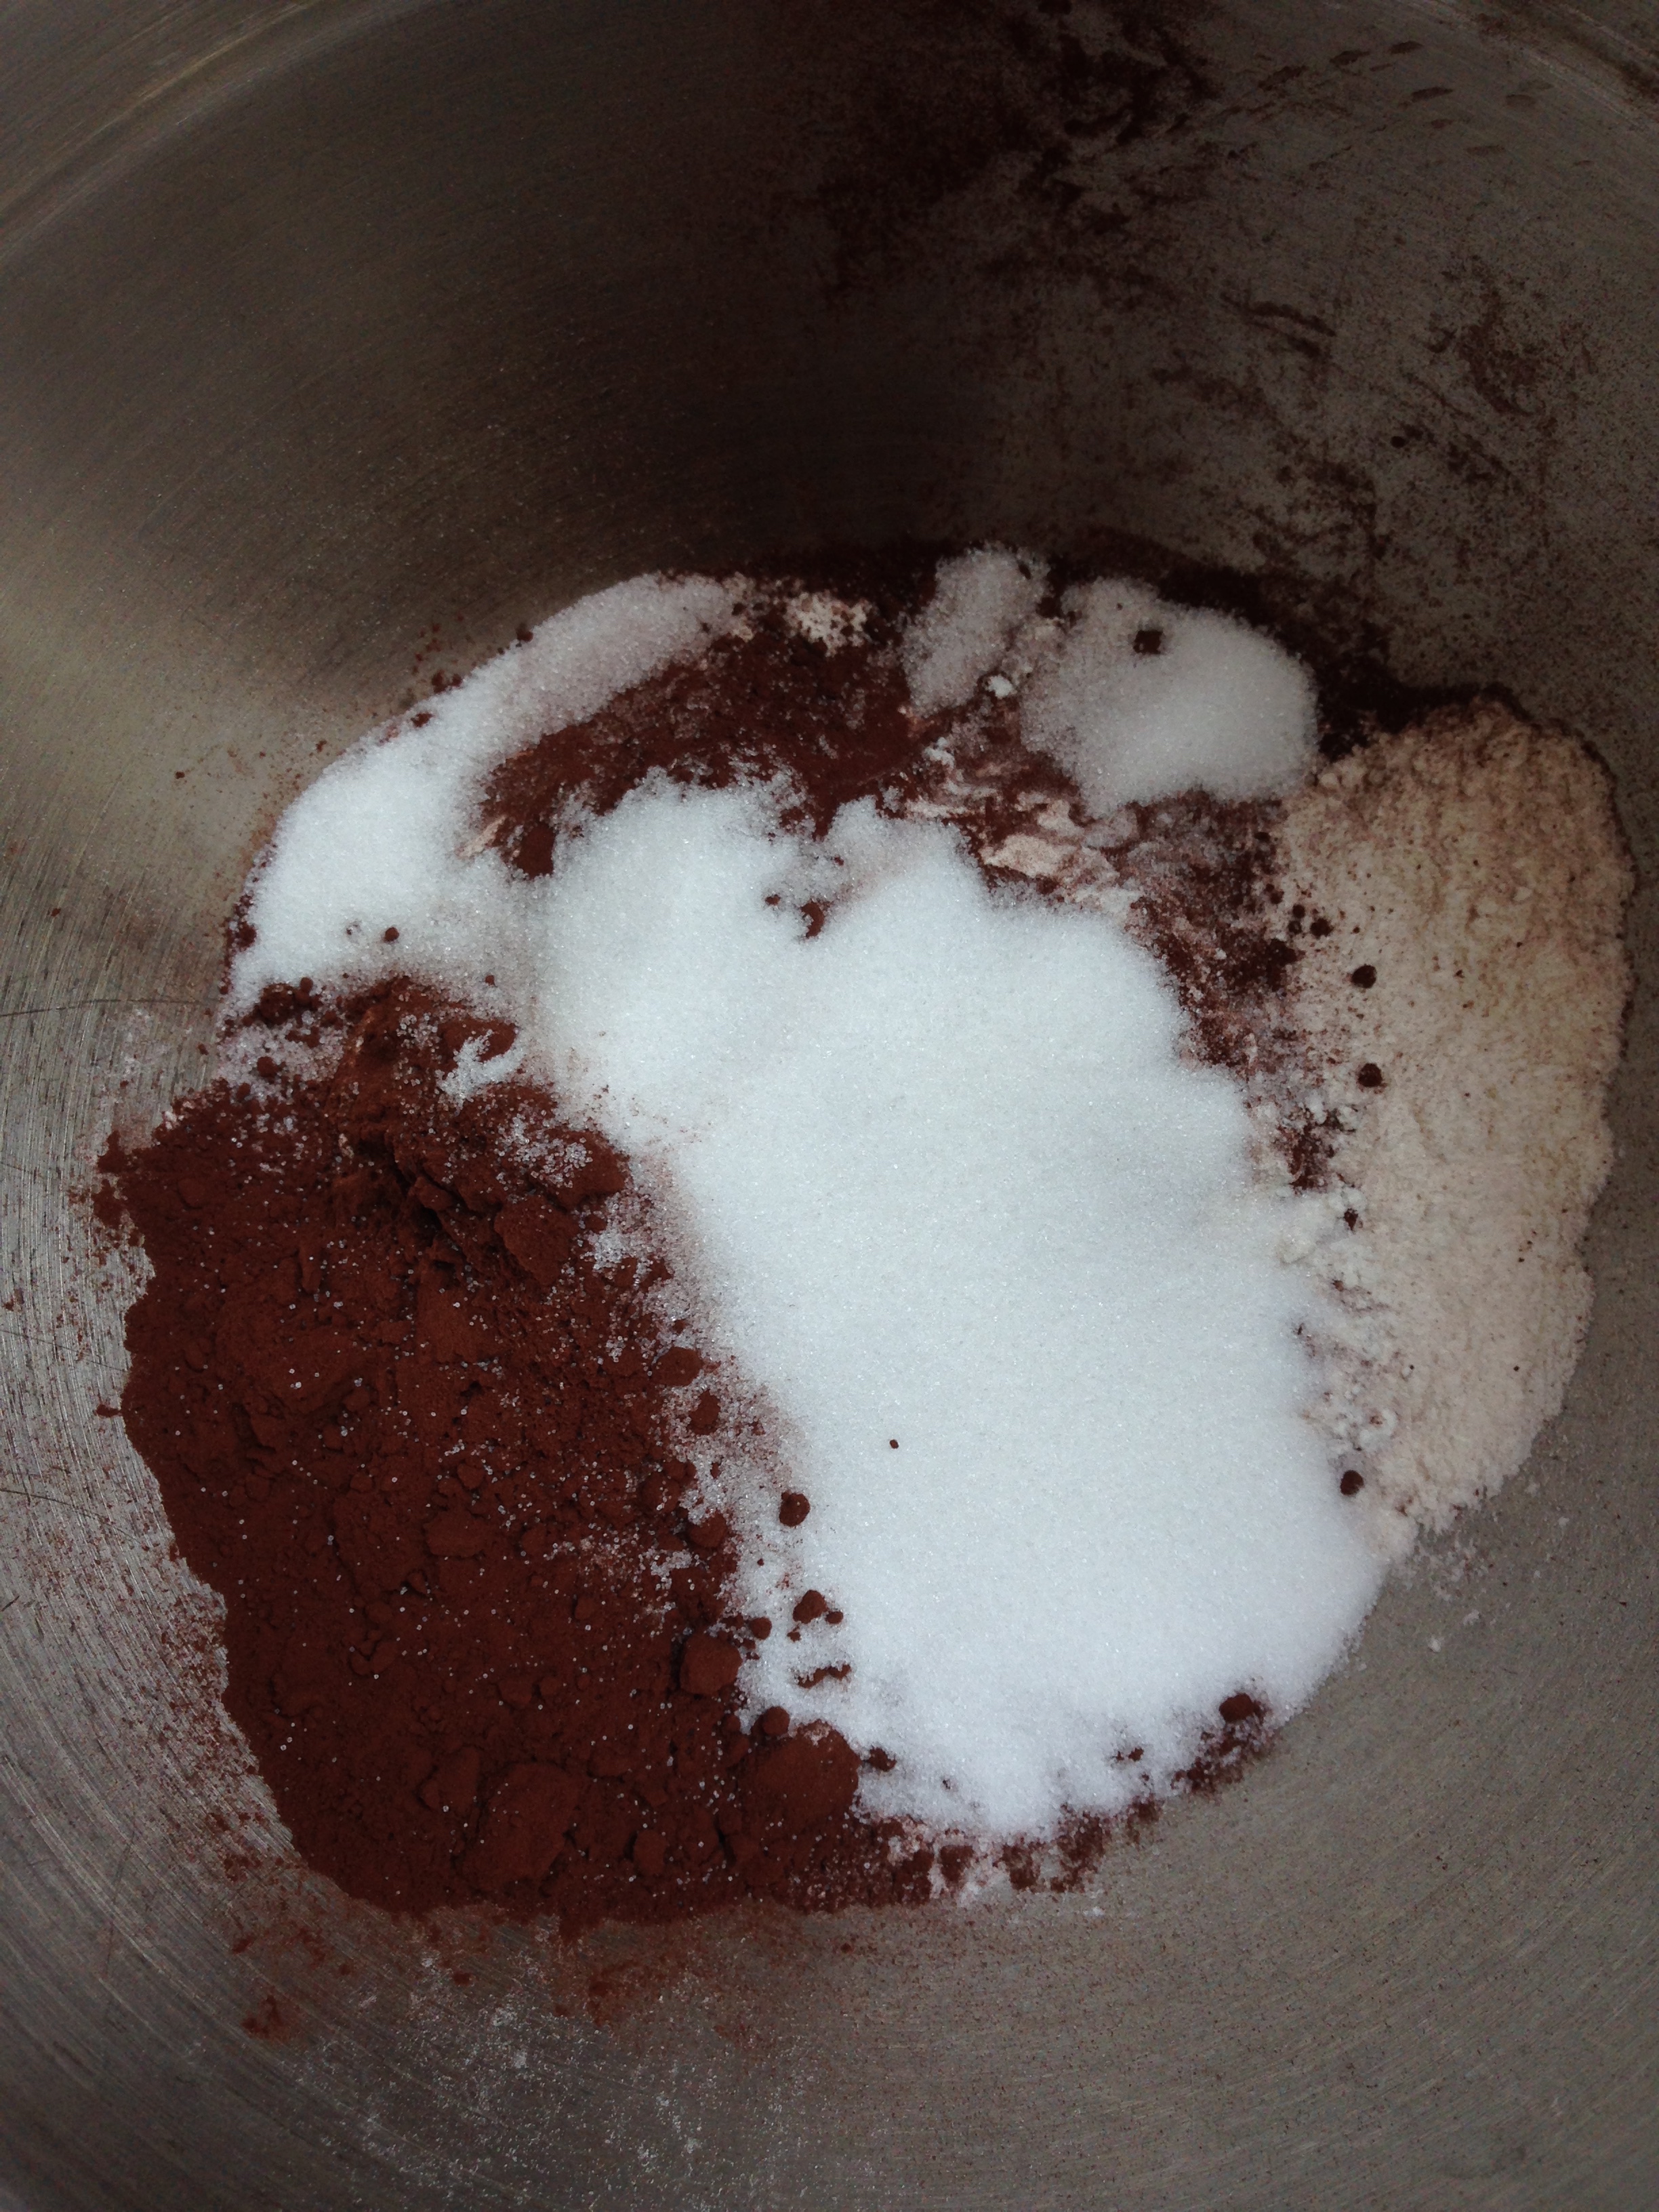
Chocolate Press-in Pastry:

1 1/4 cups flour
1/4 cups cocoa powder
2 TBSP sugar
1/4 tsp salt
1/4 cup butter (cold)
1/4 cup margarine (cold)
1 egg yolk
1 tsp vinegar

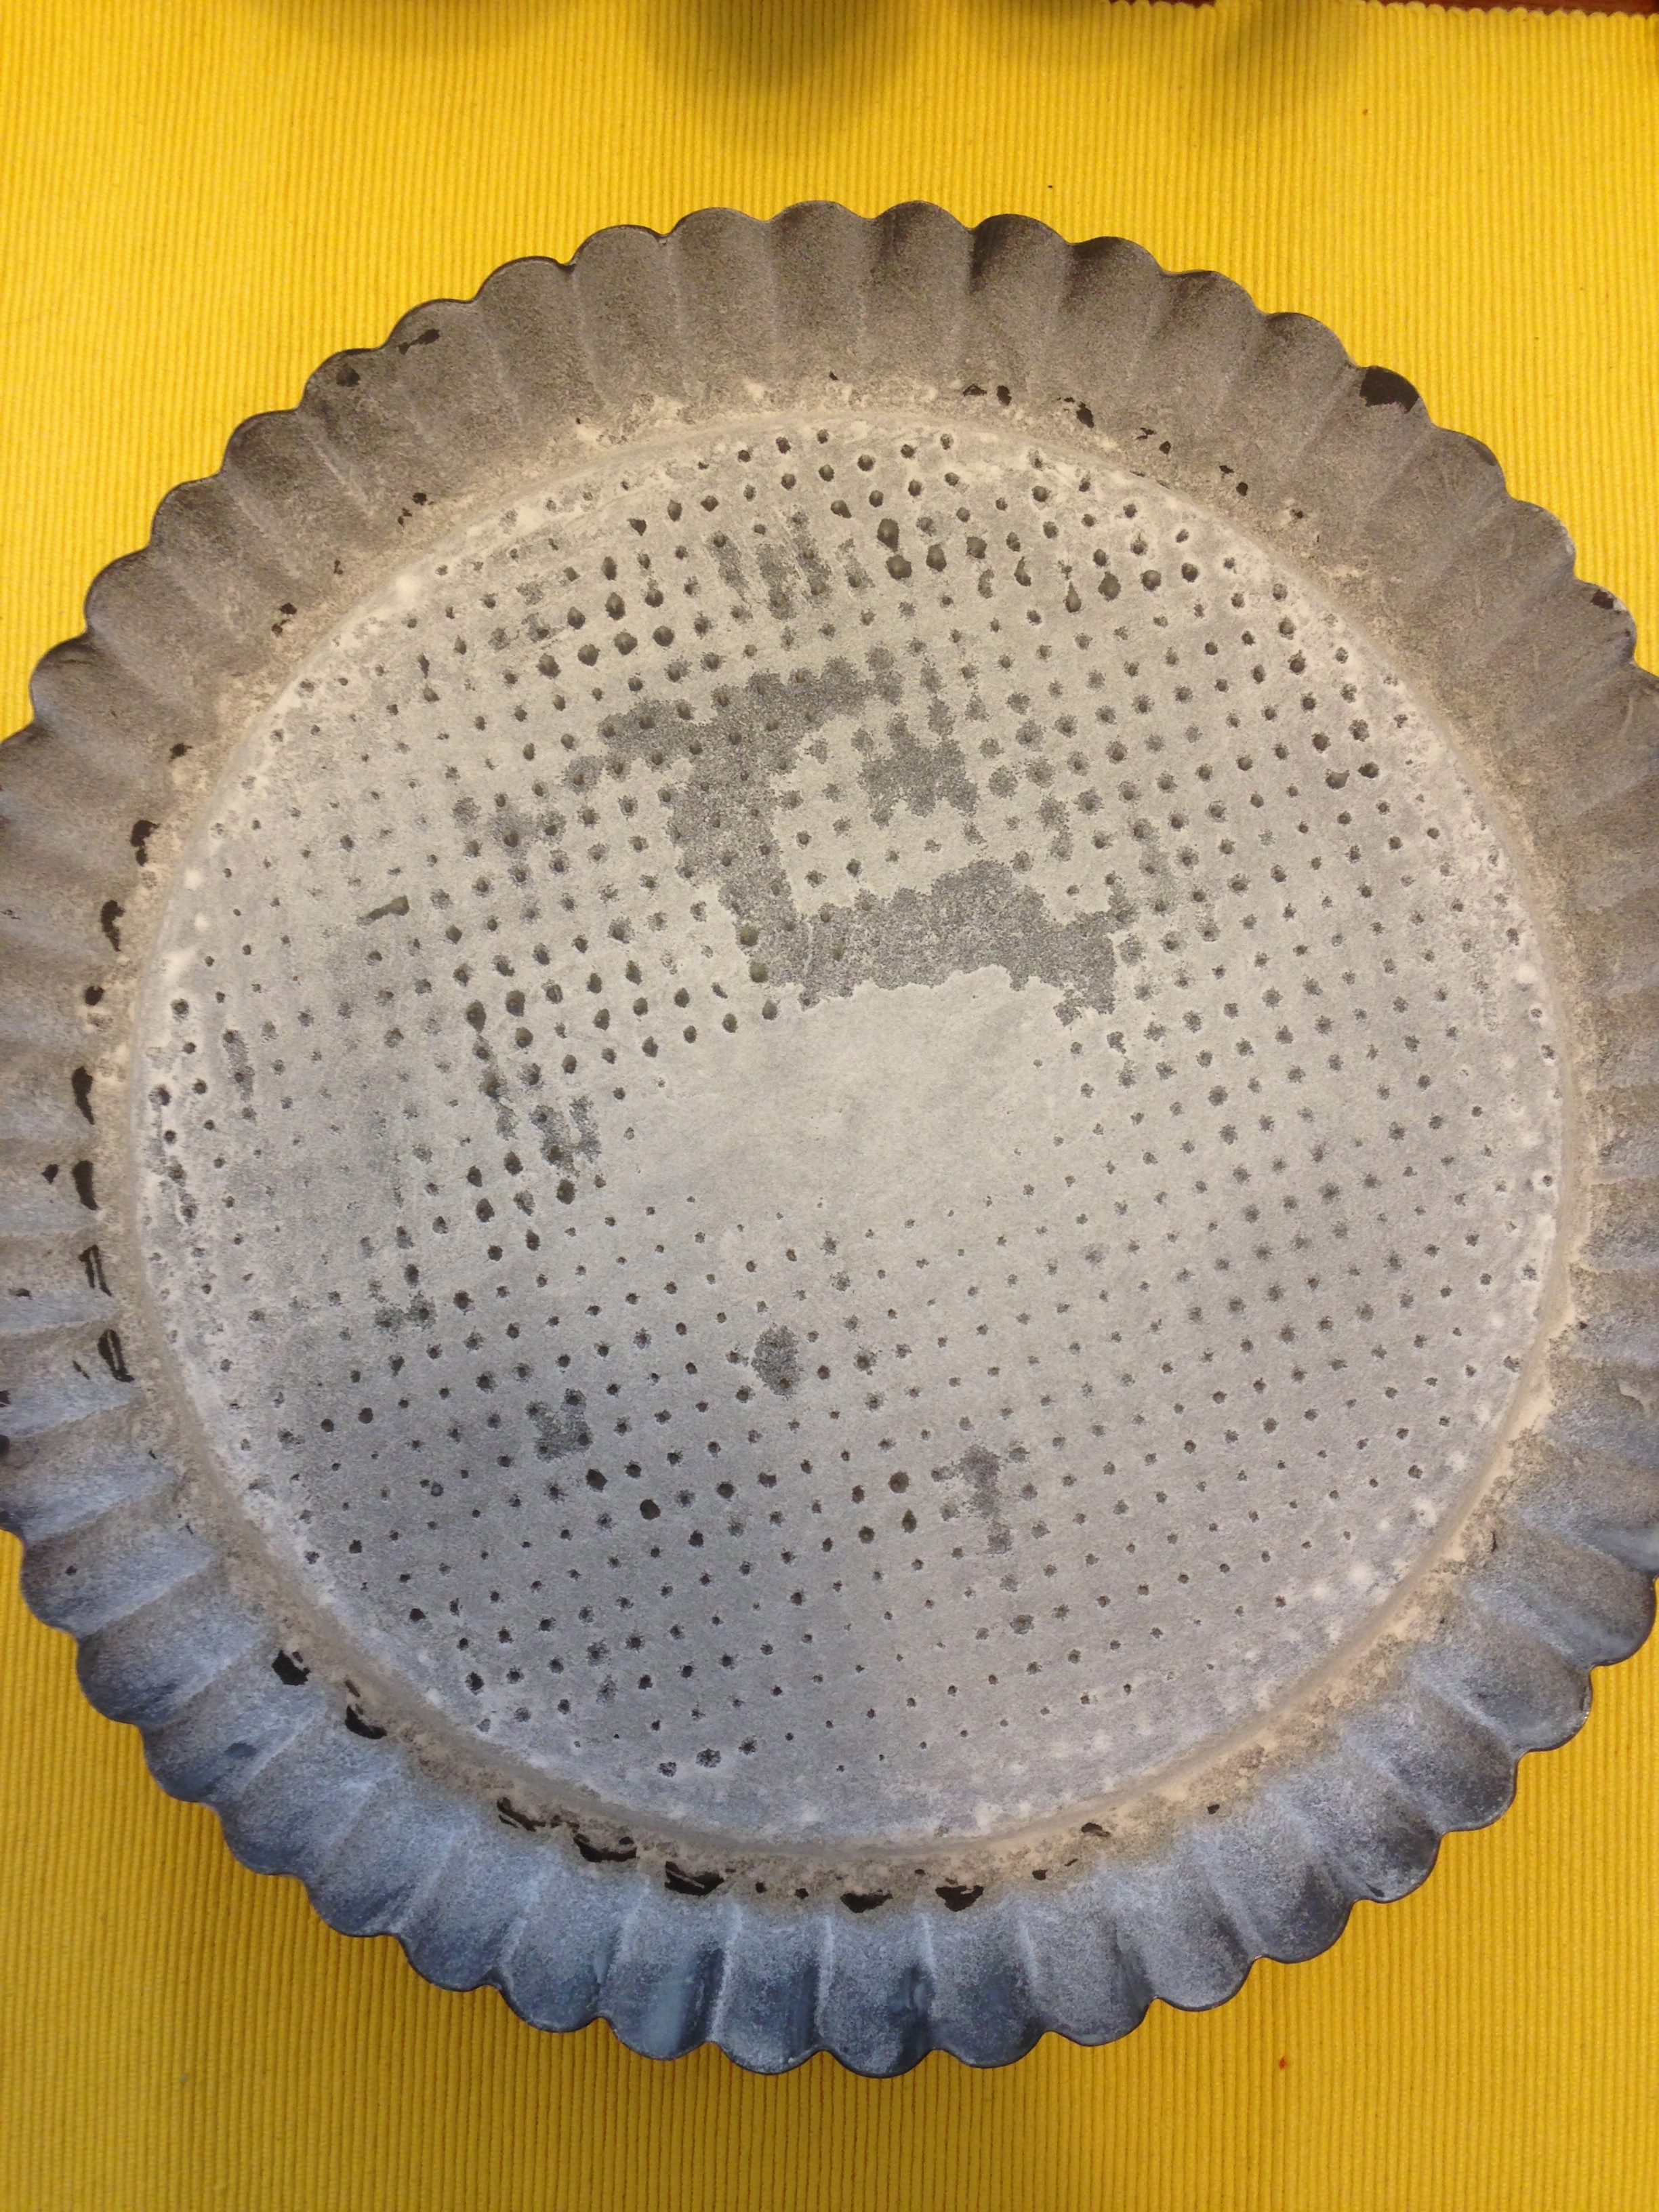
  1. Oil and flour a ~9 inch tart pan. Set aside.
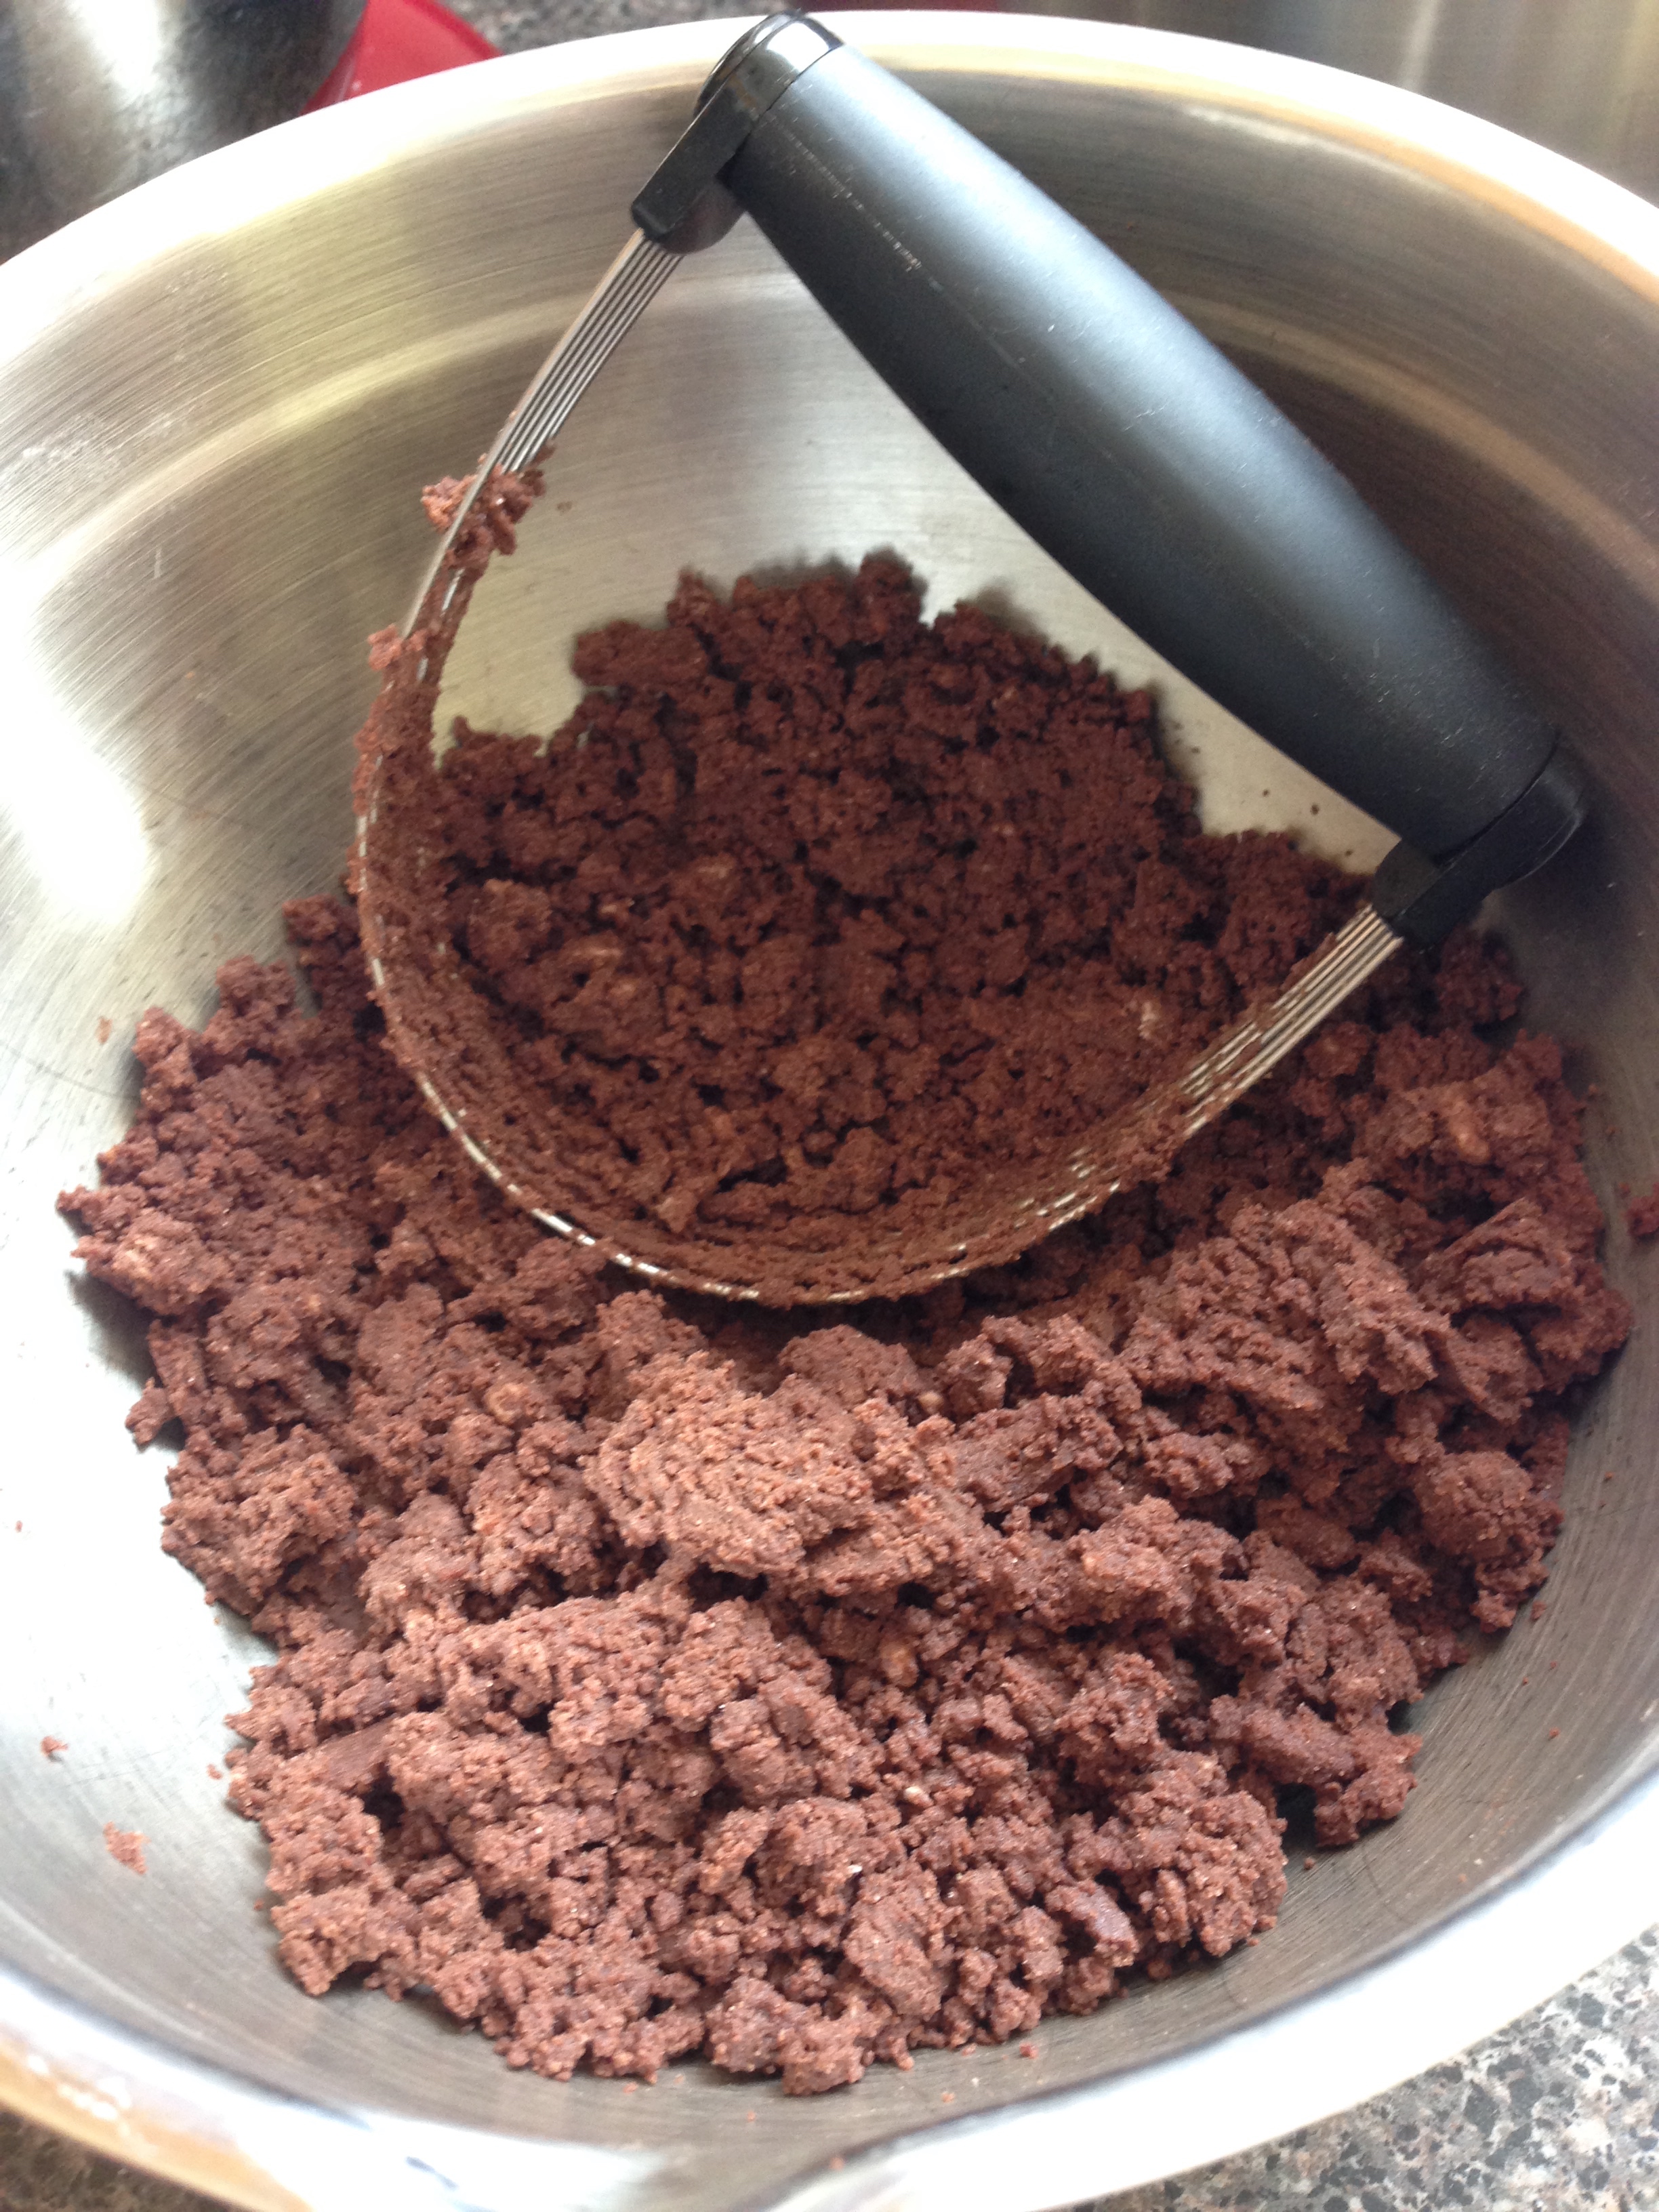
  2. Combine flour through salt in a bowl. Stir together.
  3. Add cold butter and margarine. Using a pastry blender or fork, cut butter and margarine into dry ingredients until smaller that pea sized lumps remain. 
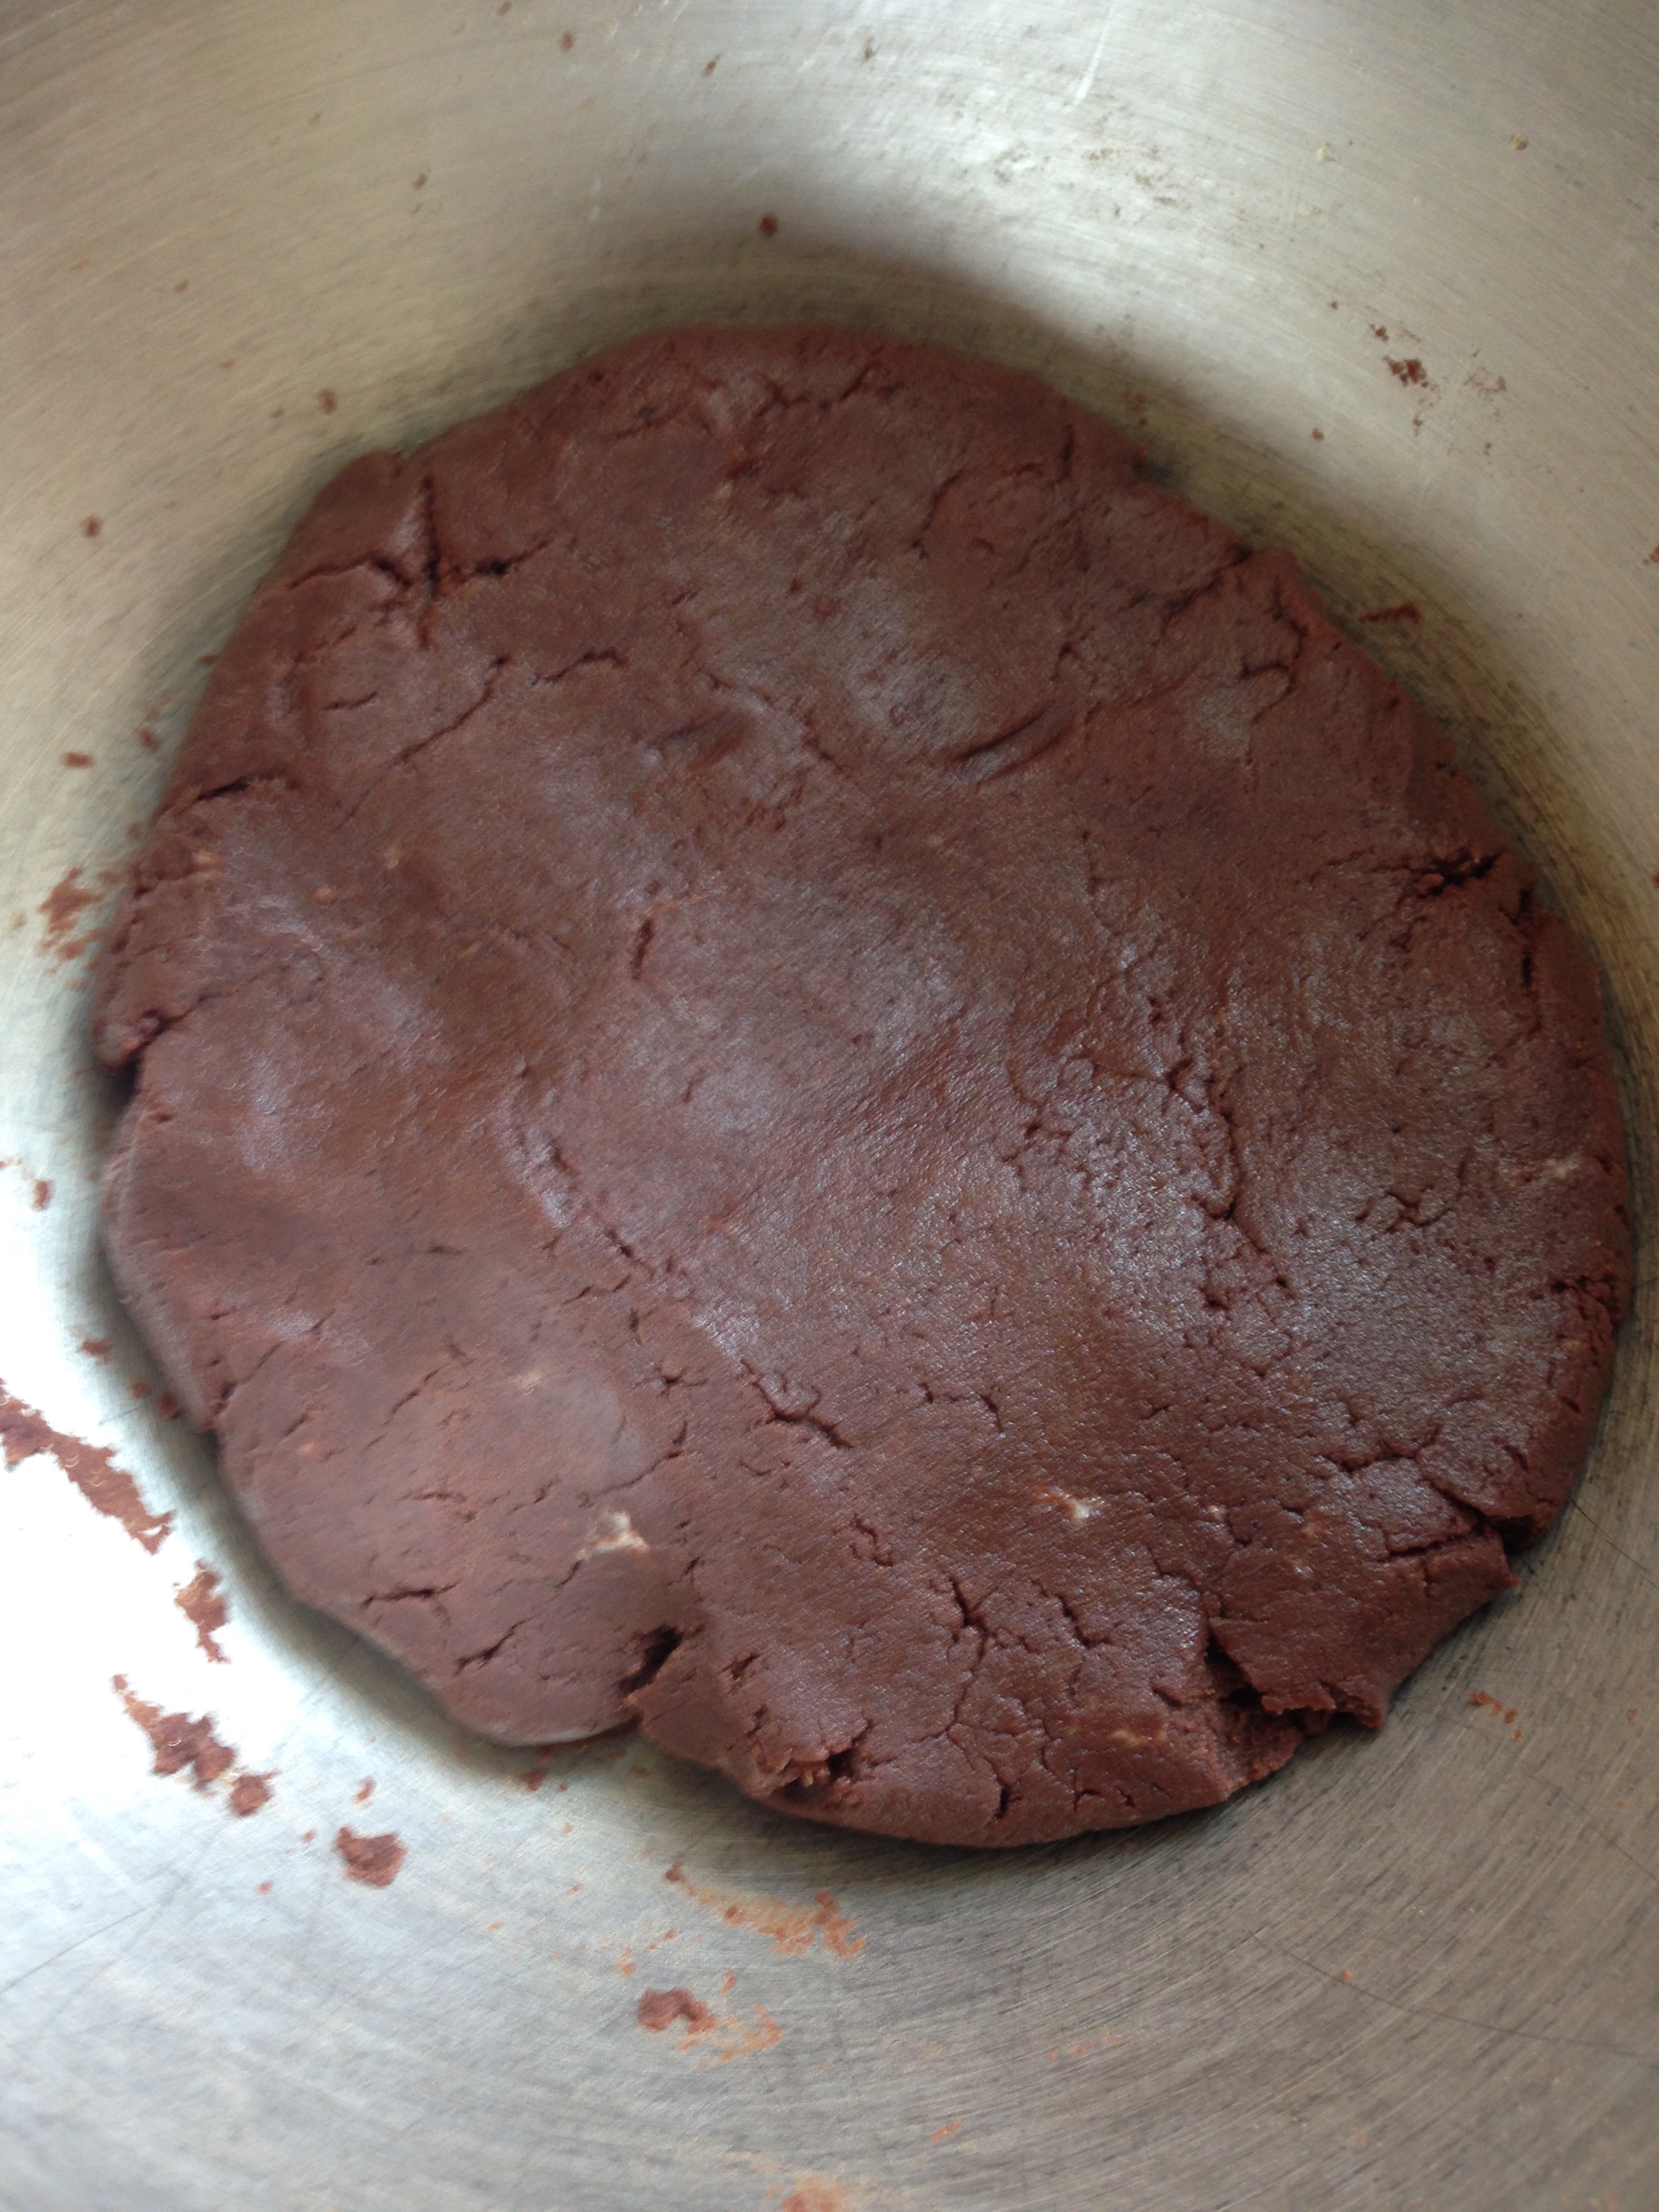
  4. In a cup, add egg yolk and vinegar. Using a fork, whisk egg and vinegar together. Pour liquid over tart mixture and stir to combine. 
  5. Form pastry into a disc. Wrap in plastic wrap and refrigerate for 30 minutes. 
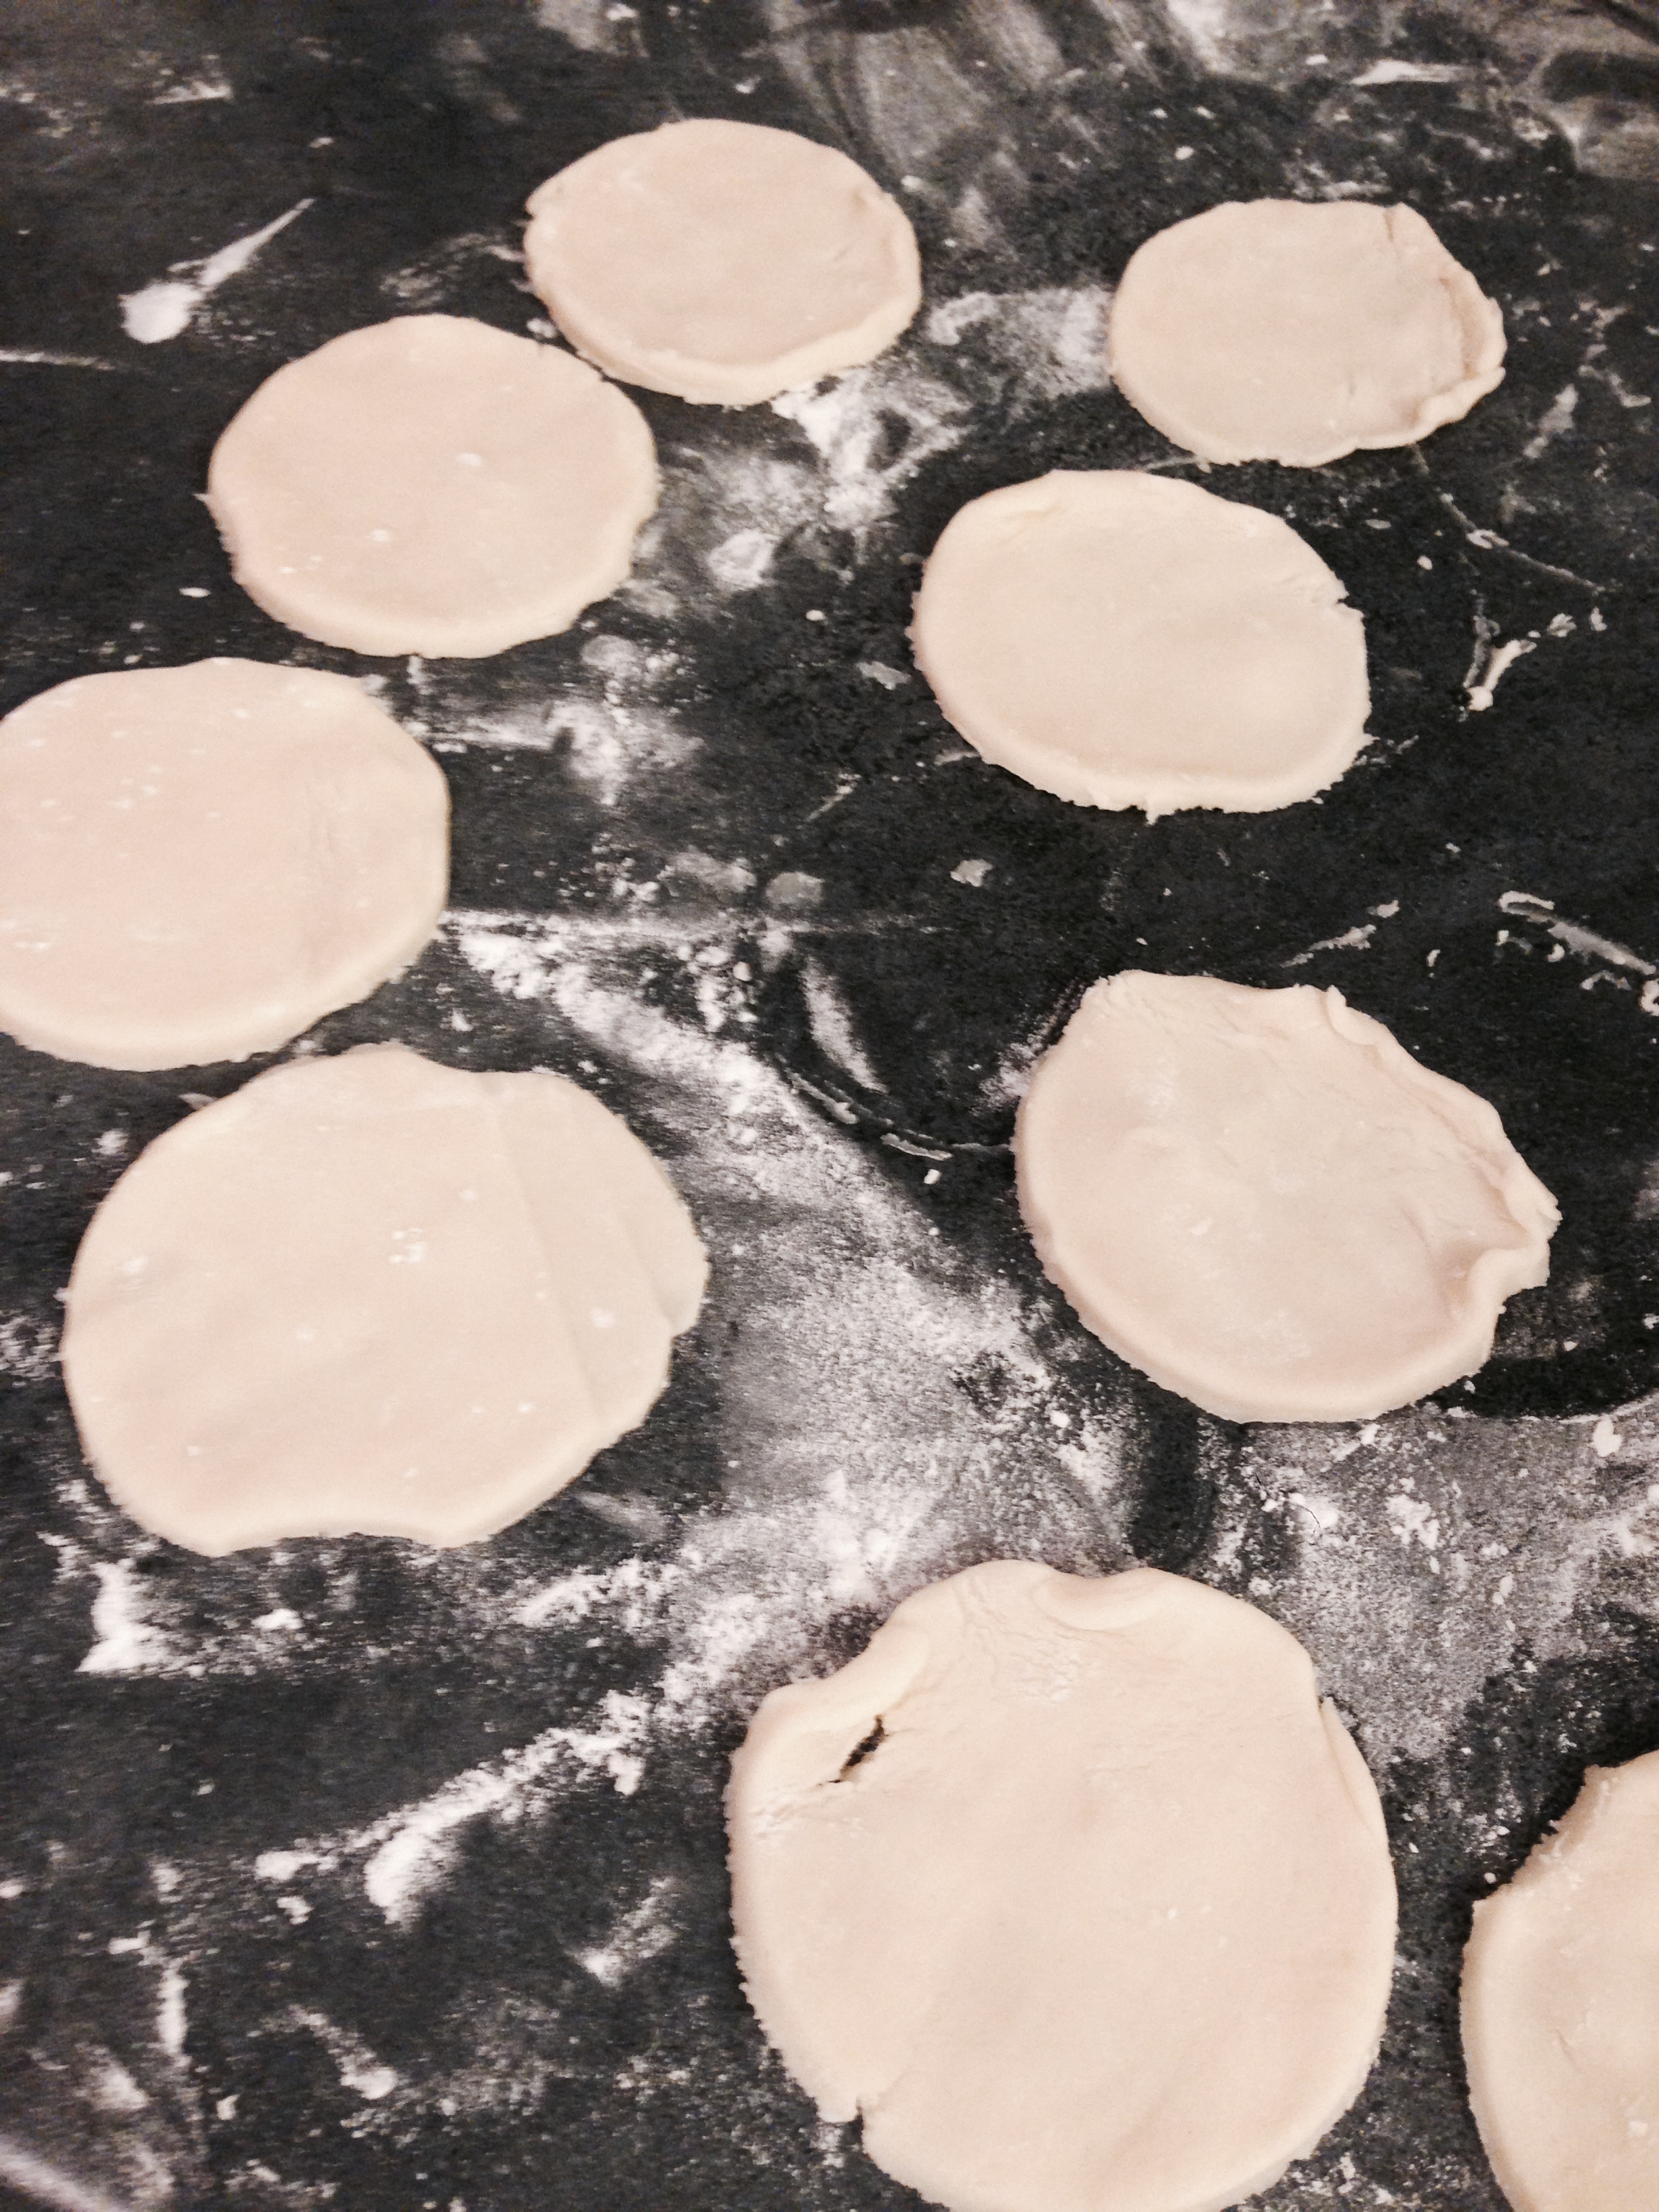
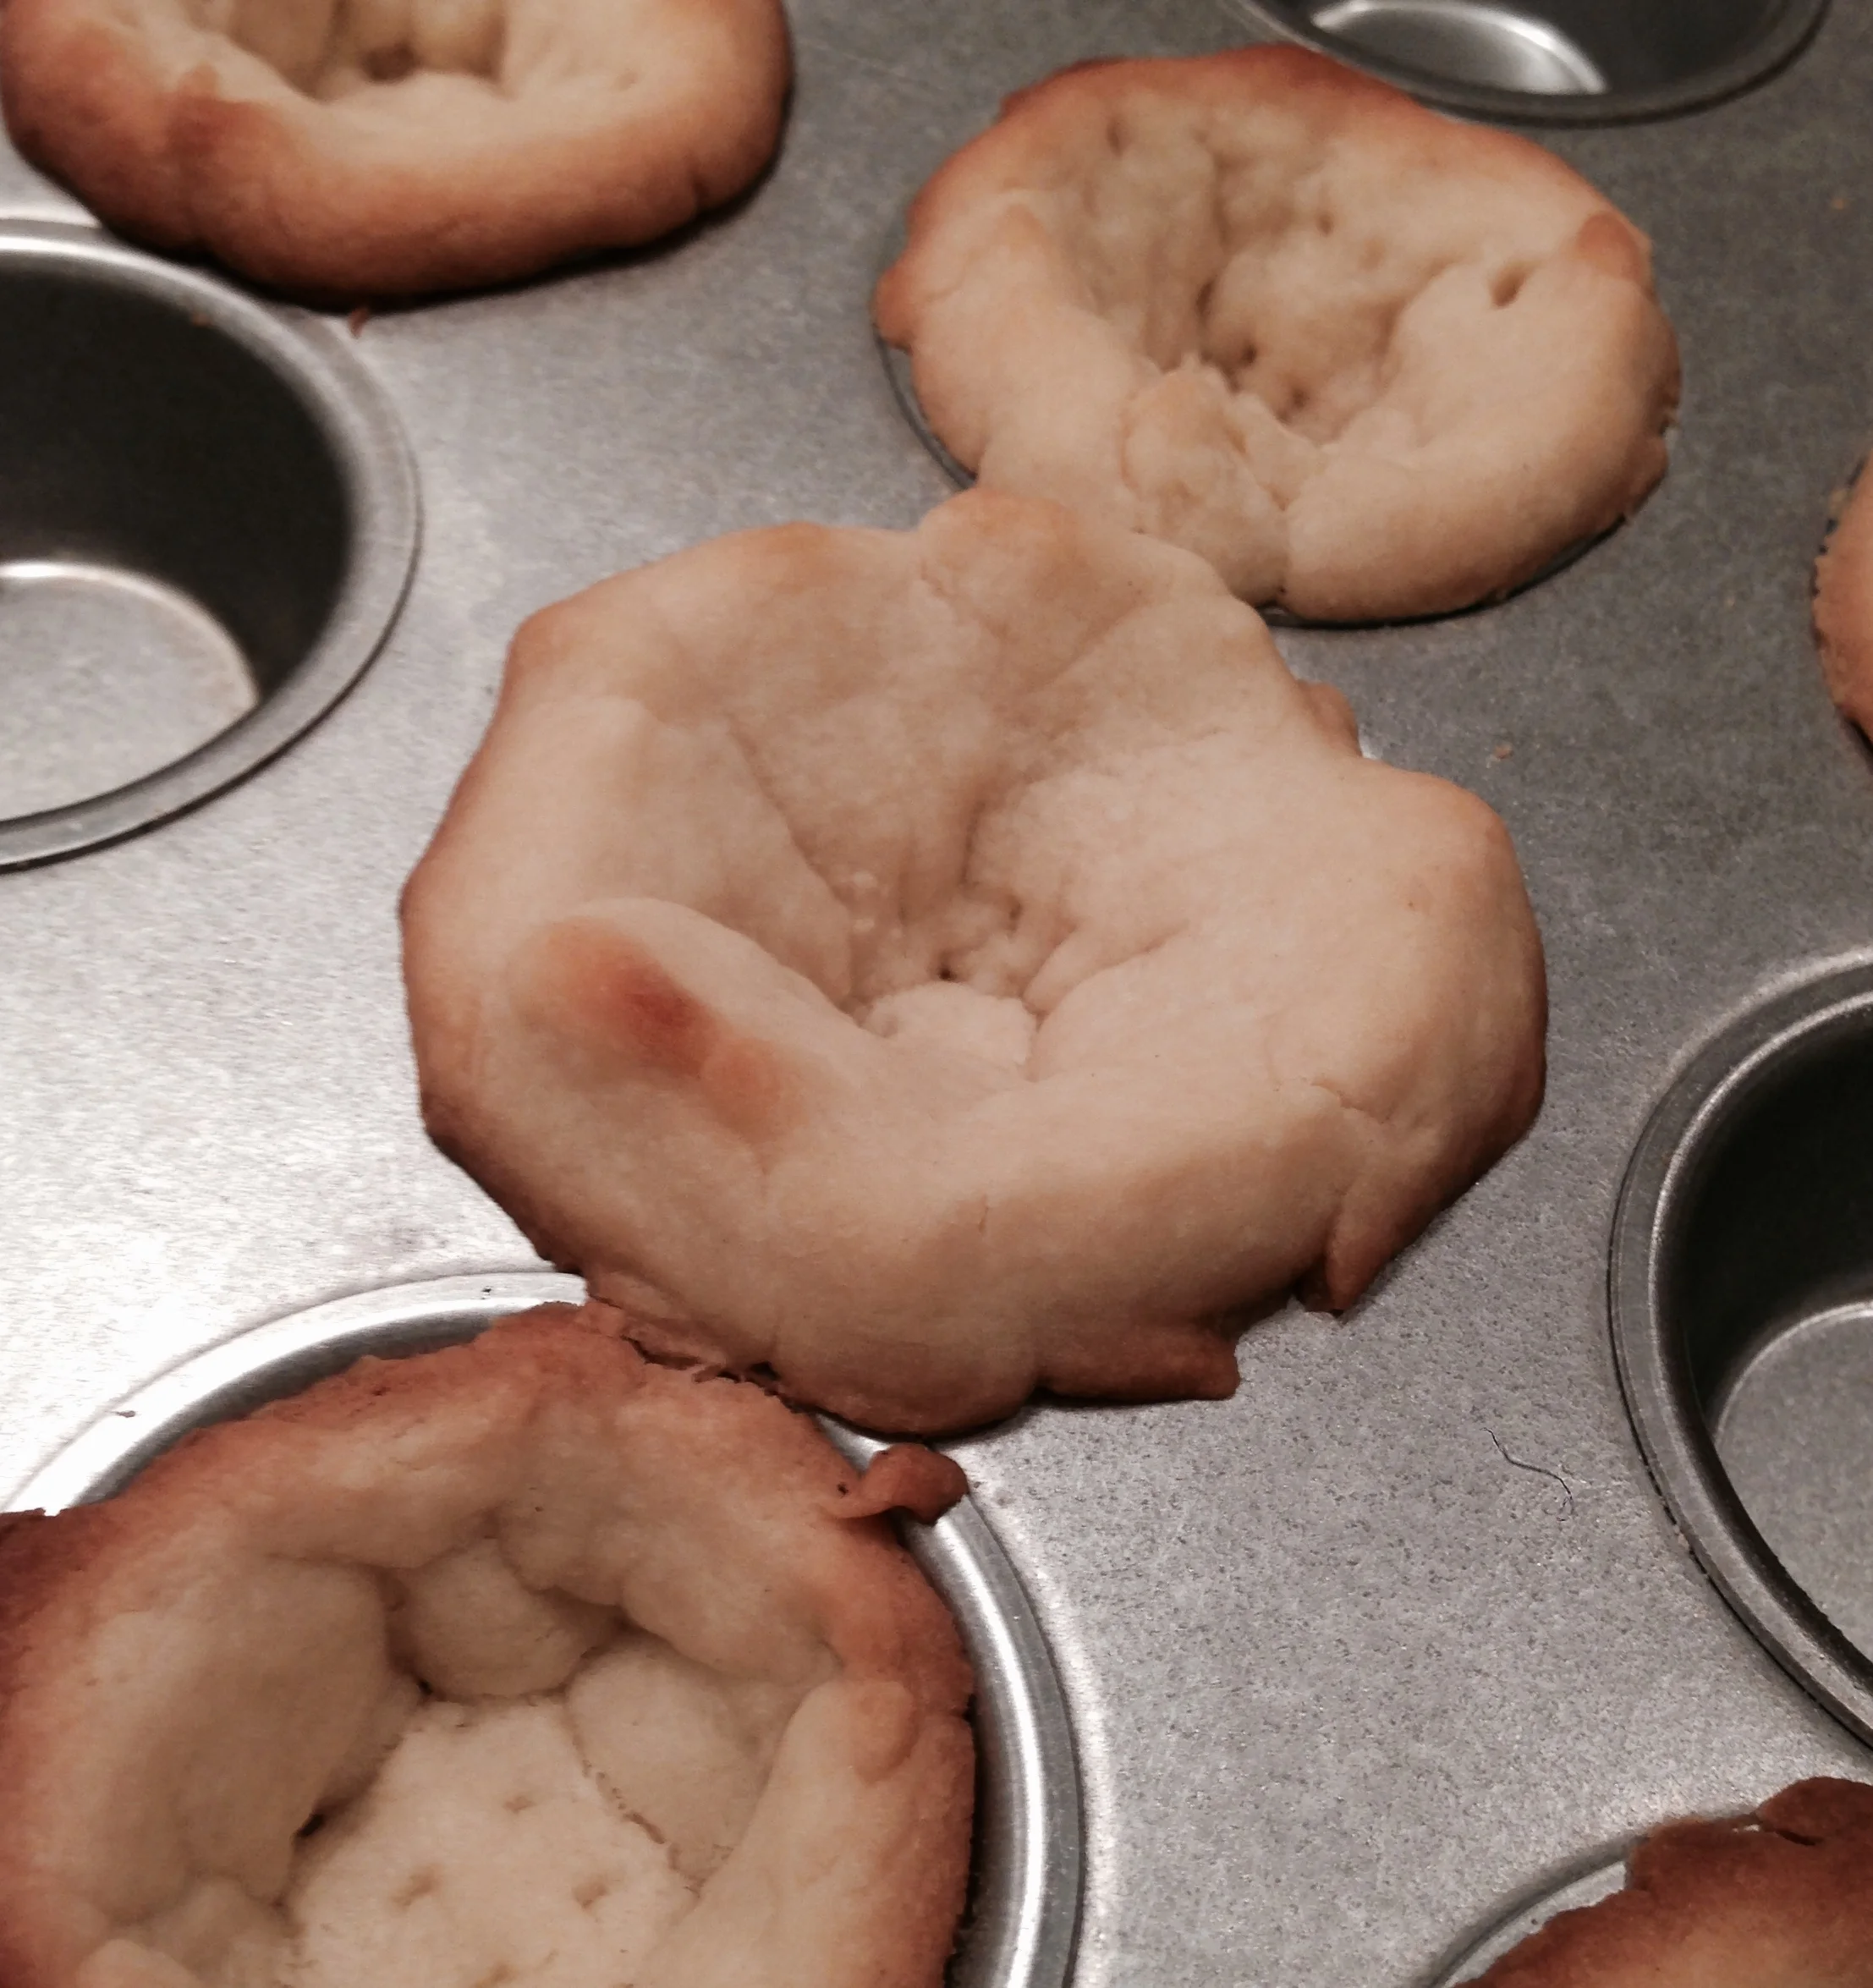
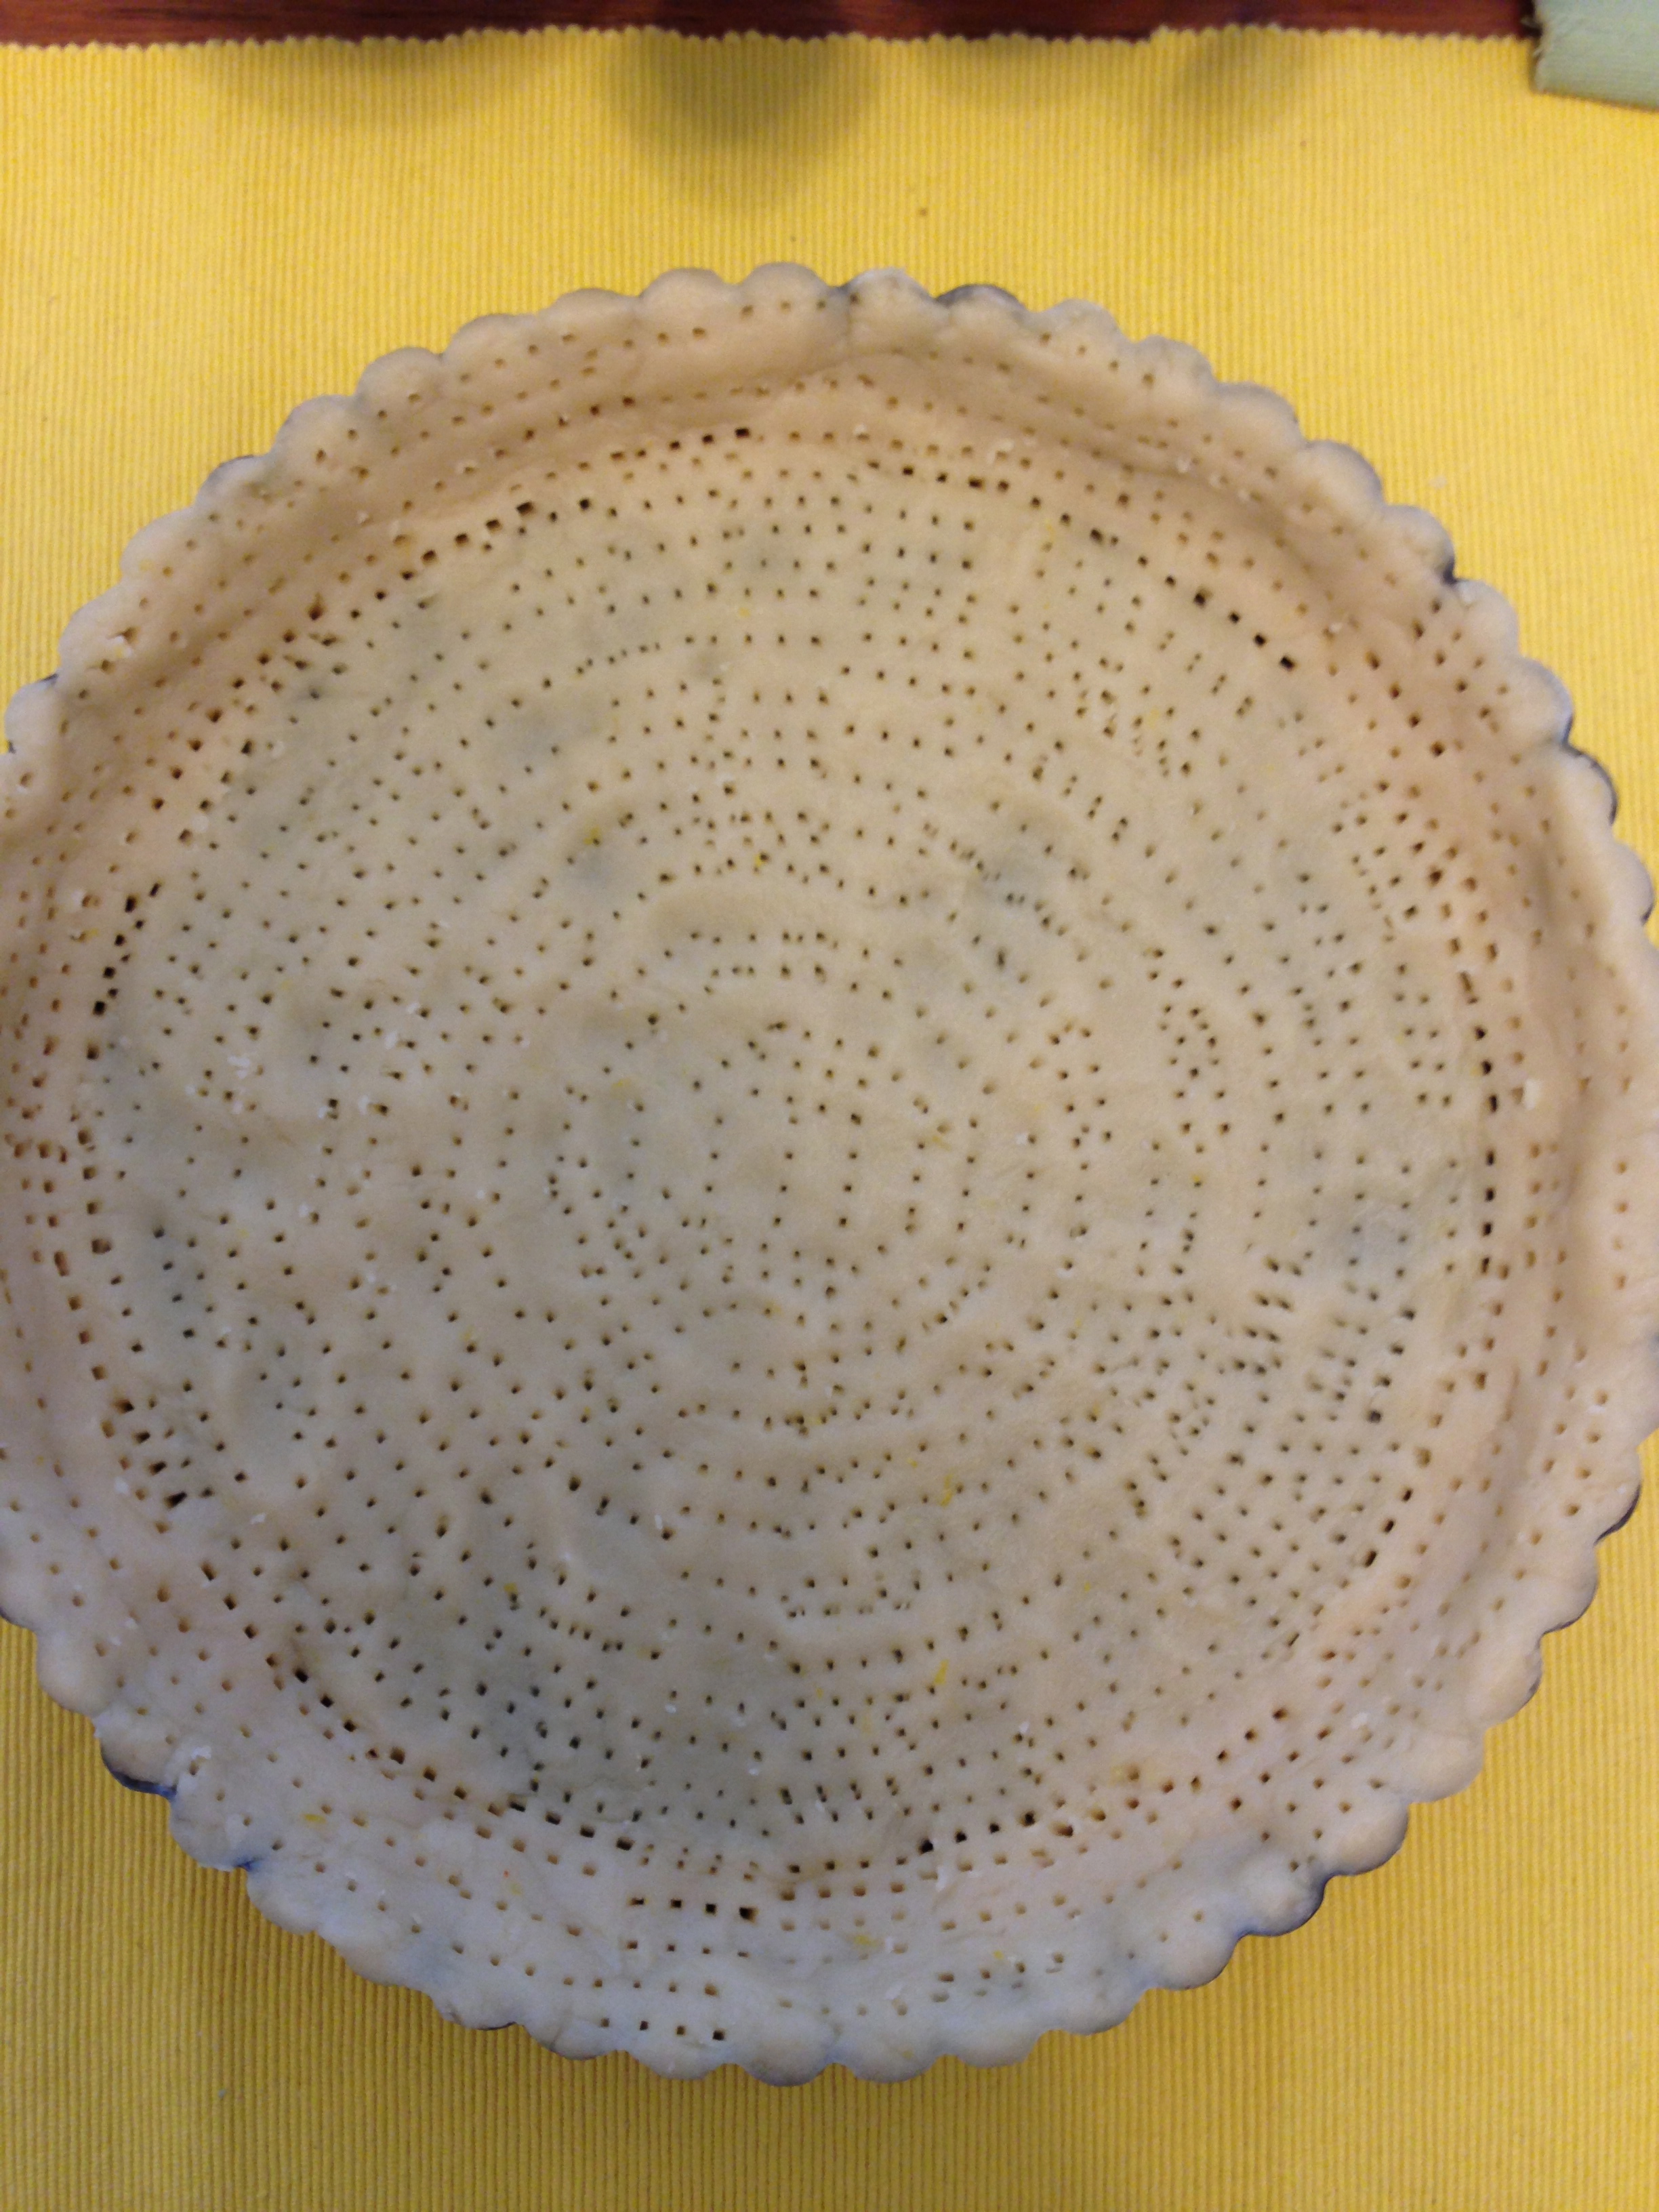
  6. On a floured surface, roll out pastry to ~1 cm thick. The pastry is Very Soft. It will tear when you go to move it to the tart pan. That's ok. Just pat the pieces together. (Also, start pre-heating the oven to 375'.)
  7. Pat the pastry evenly into the tart shell. (If you kept the separated egg white around from the egg that was used, brush it onto the surface of the pastry.)
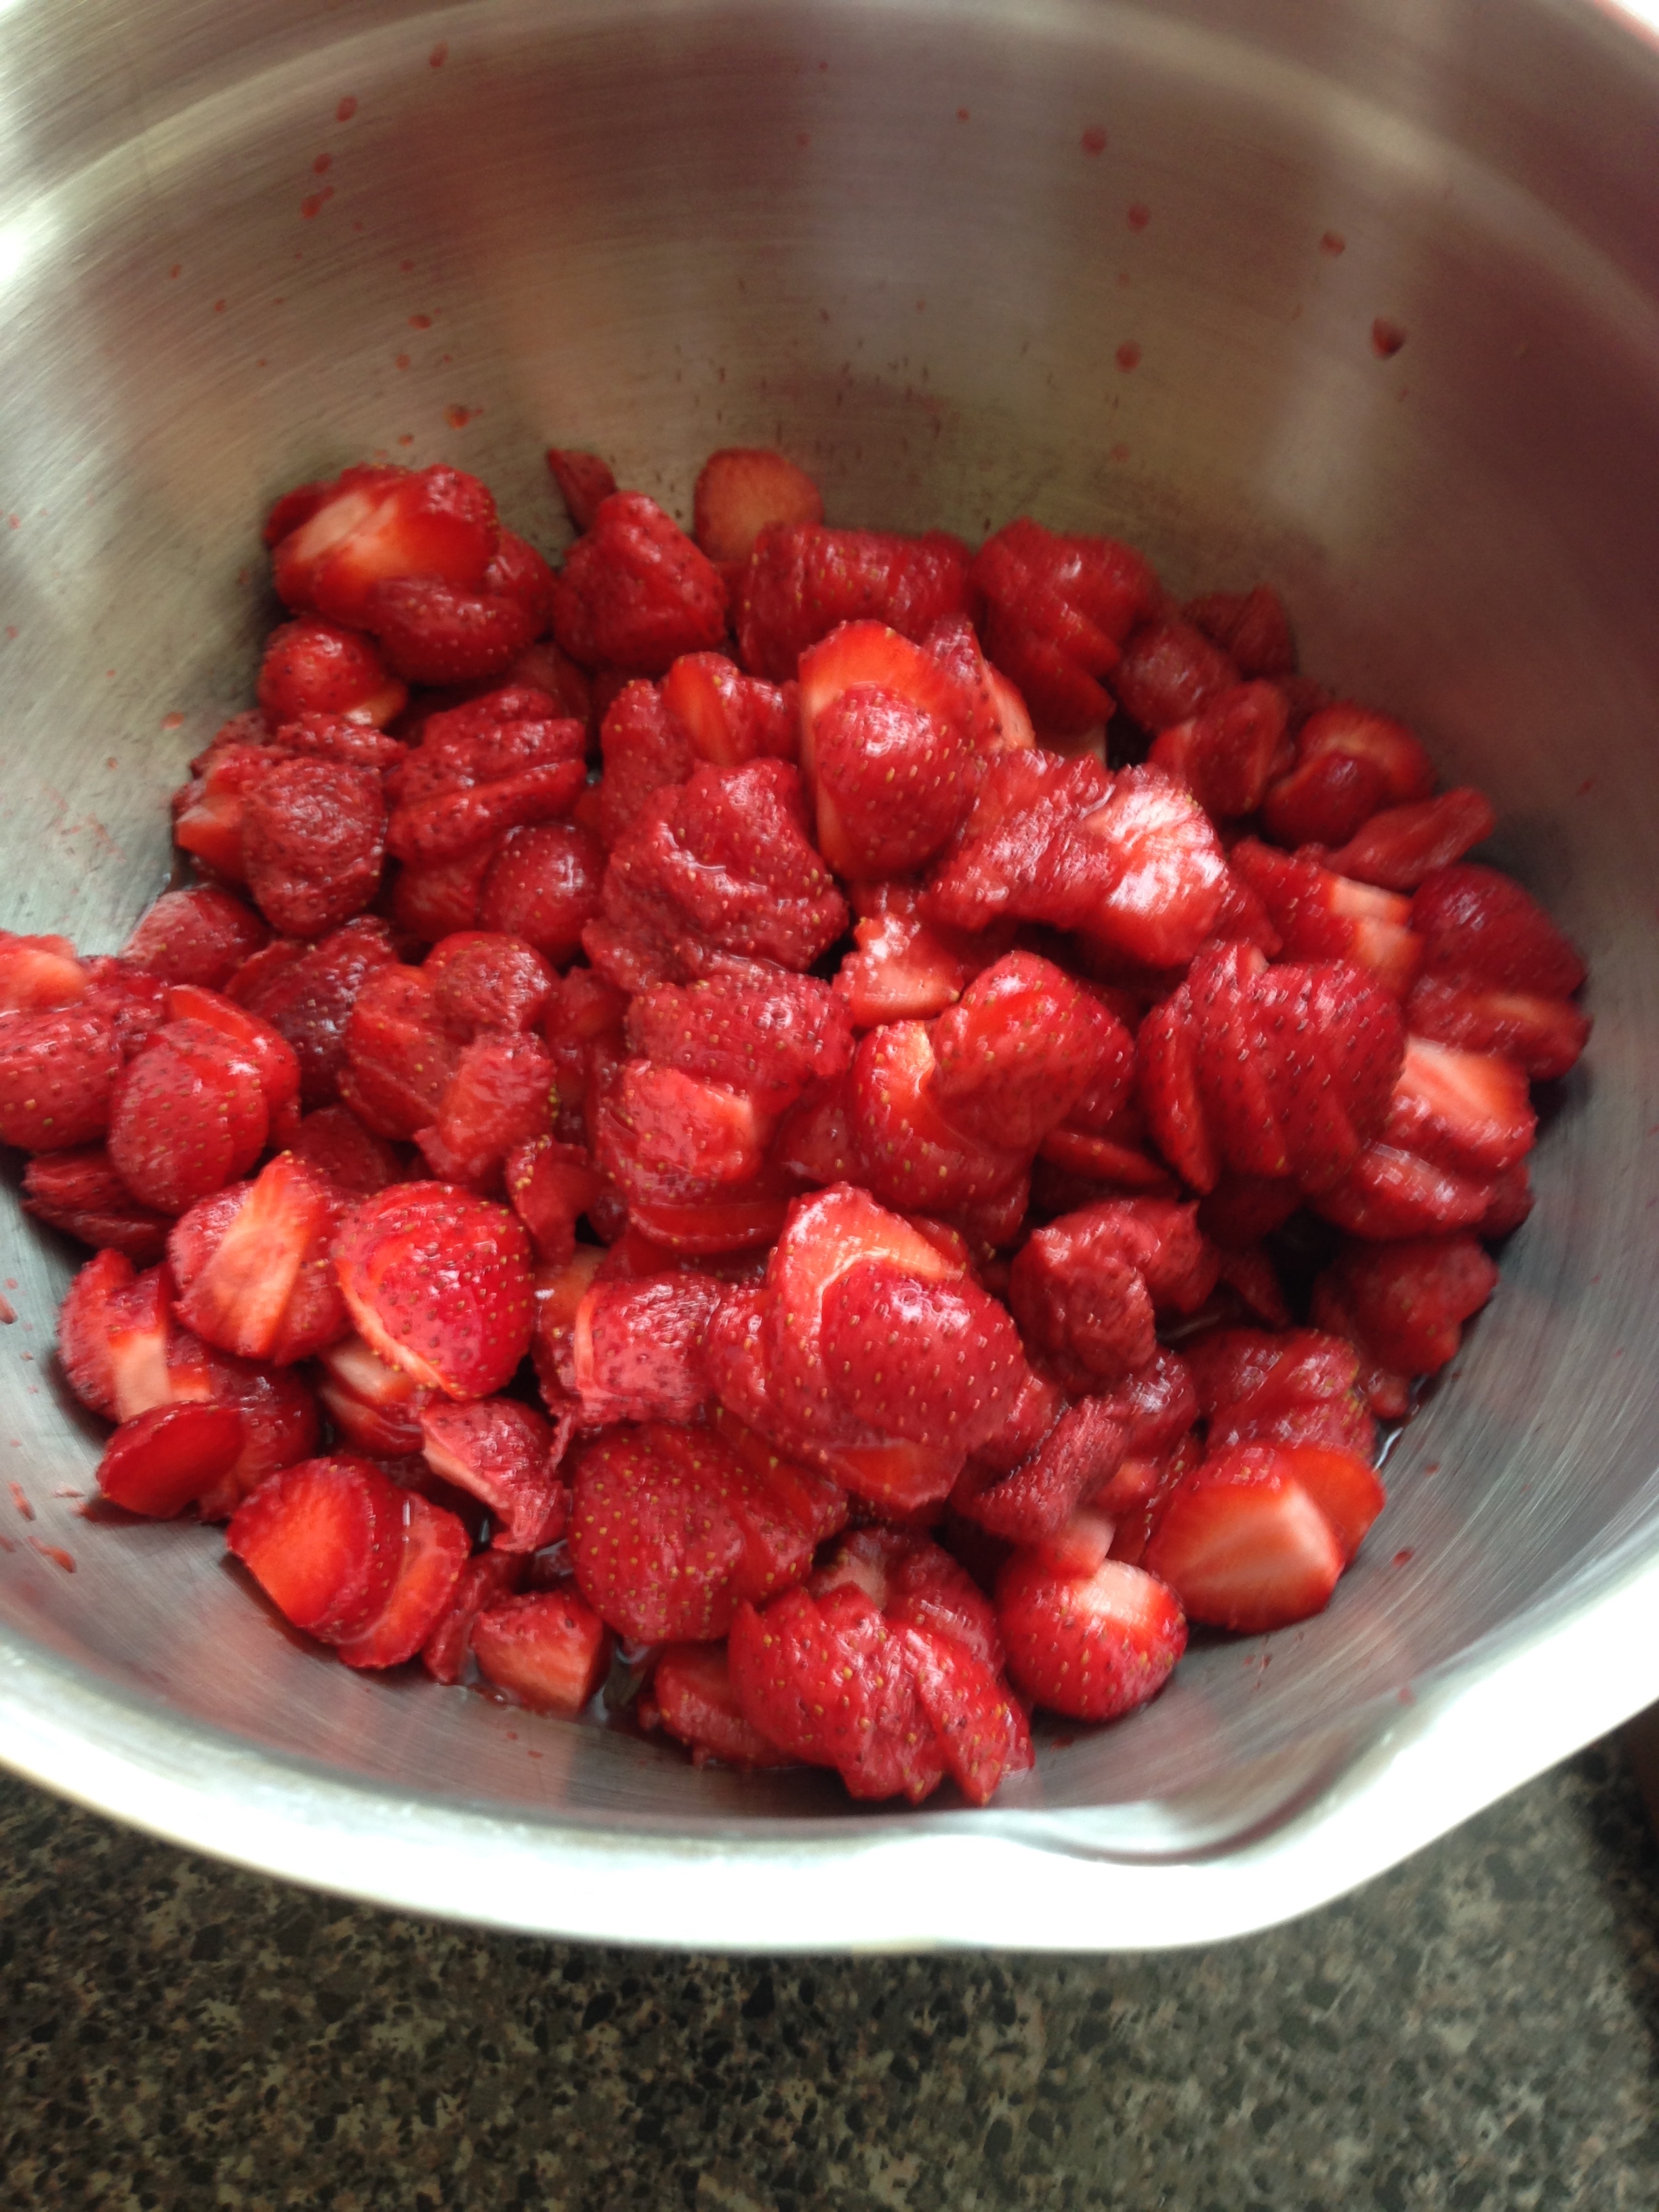
Strawberry Filling:

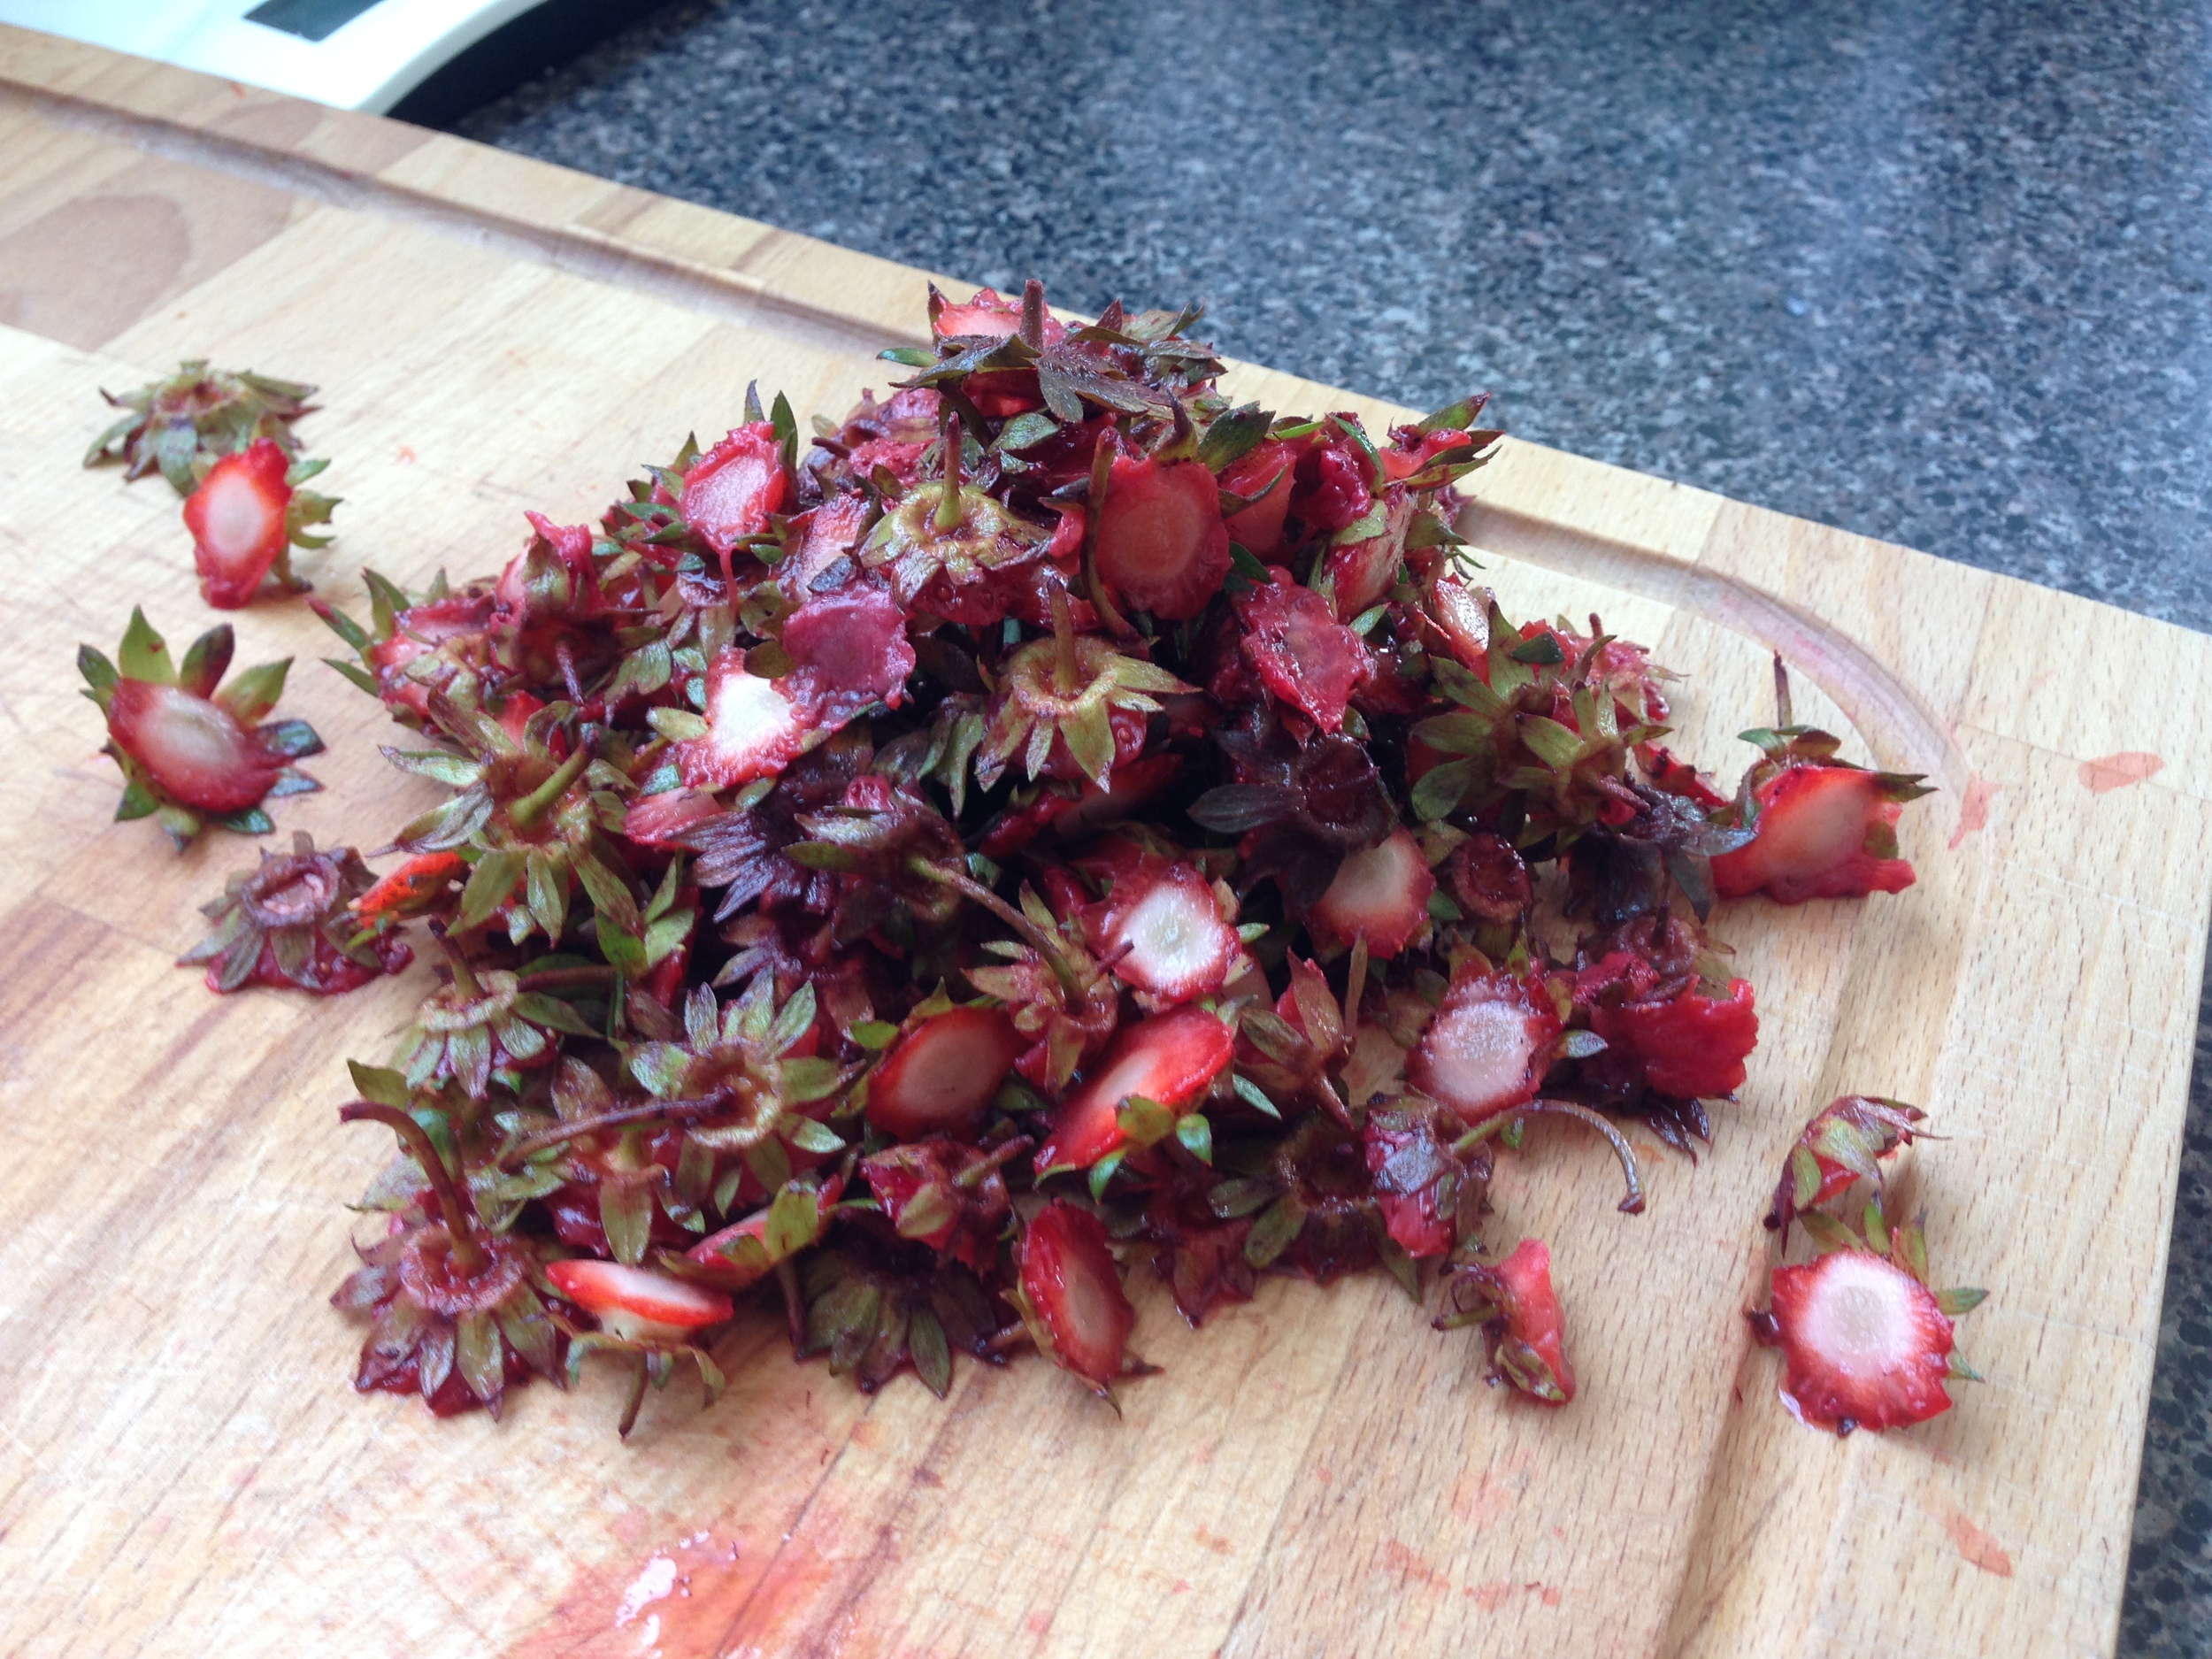
2 cups wild strawberries, headed and sliced
1/2 cup sugar
1 tsp cinnamon
1 tsp vanilla
1 TBSP flour

  1. Combine all filling ingredients together in a bowl. Stir together.
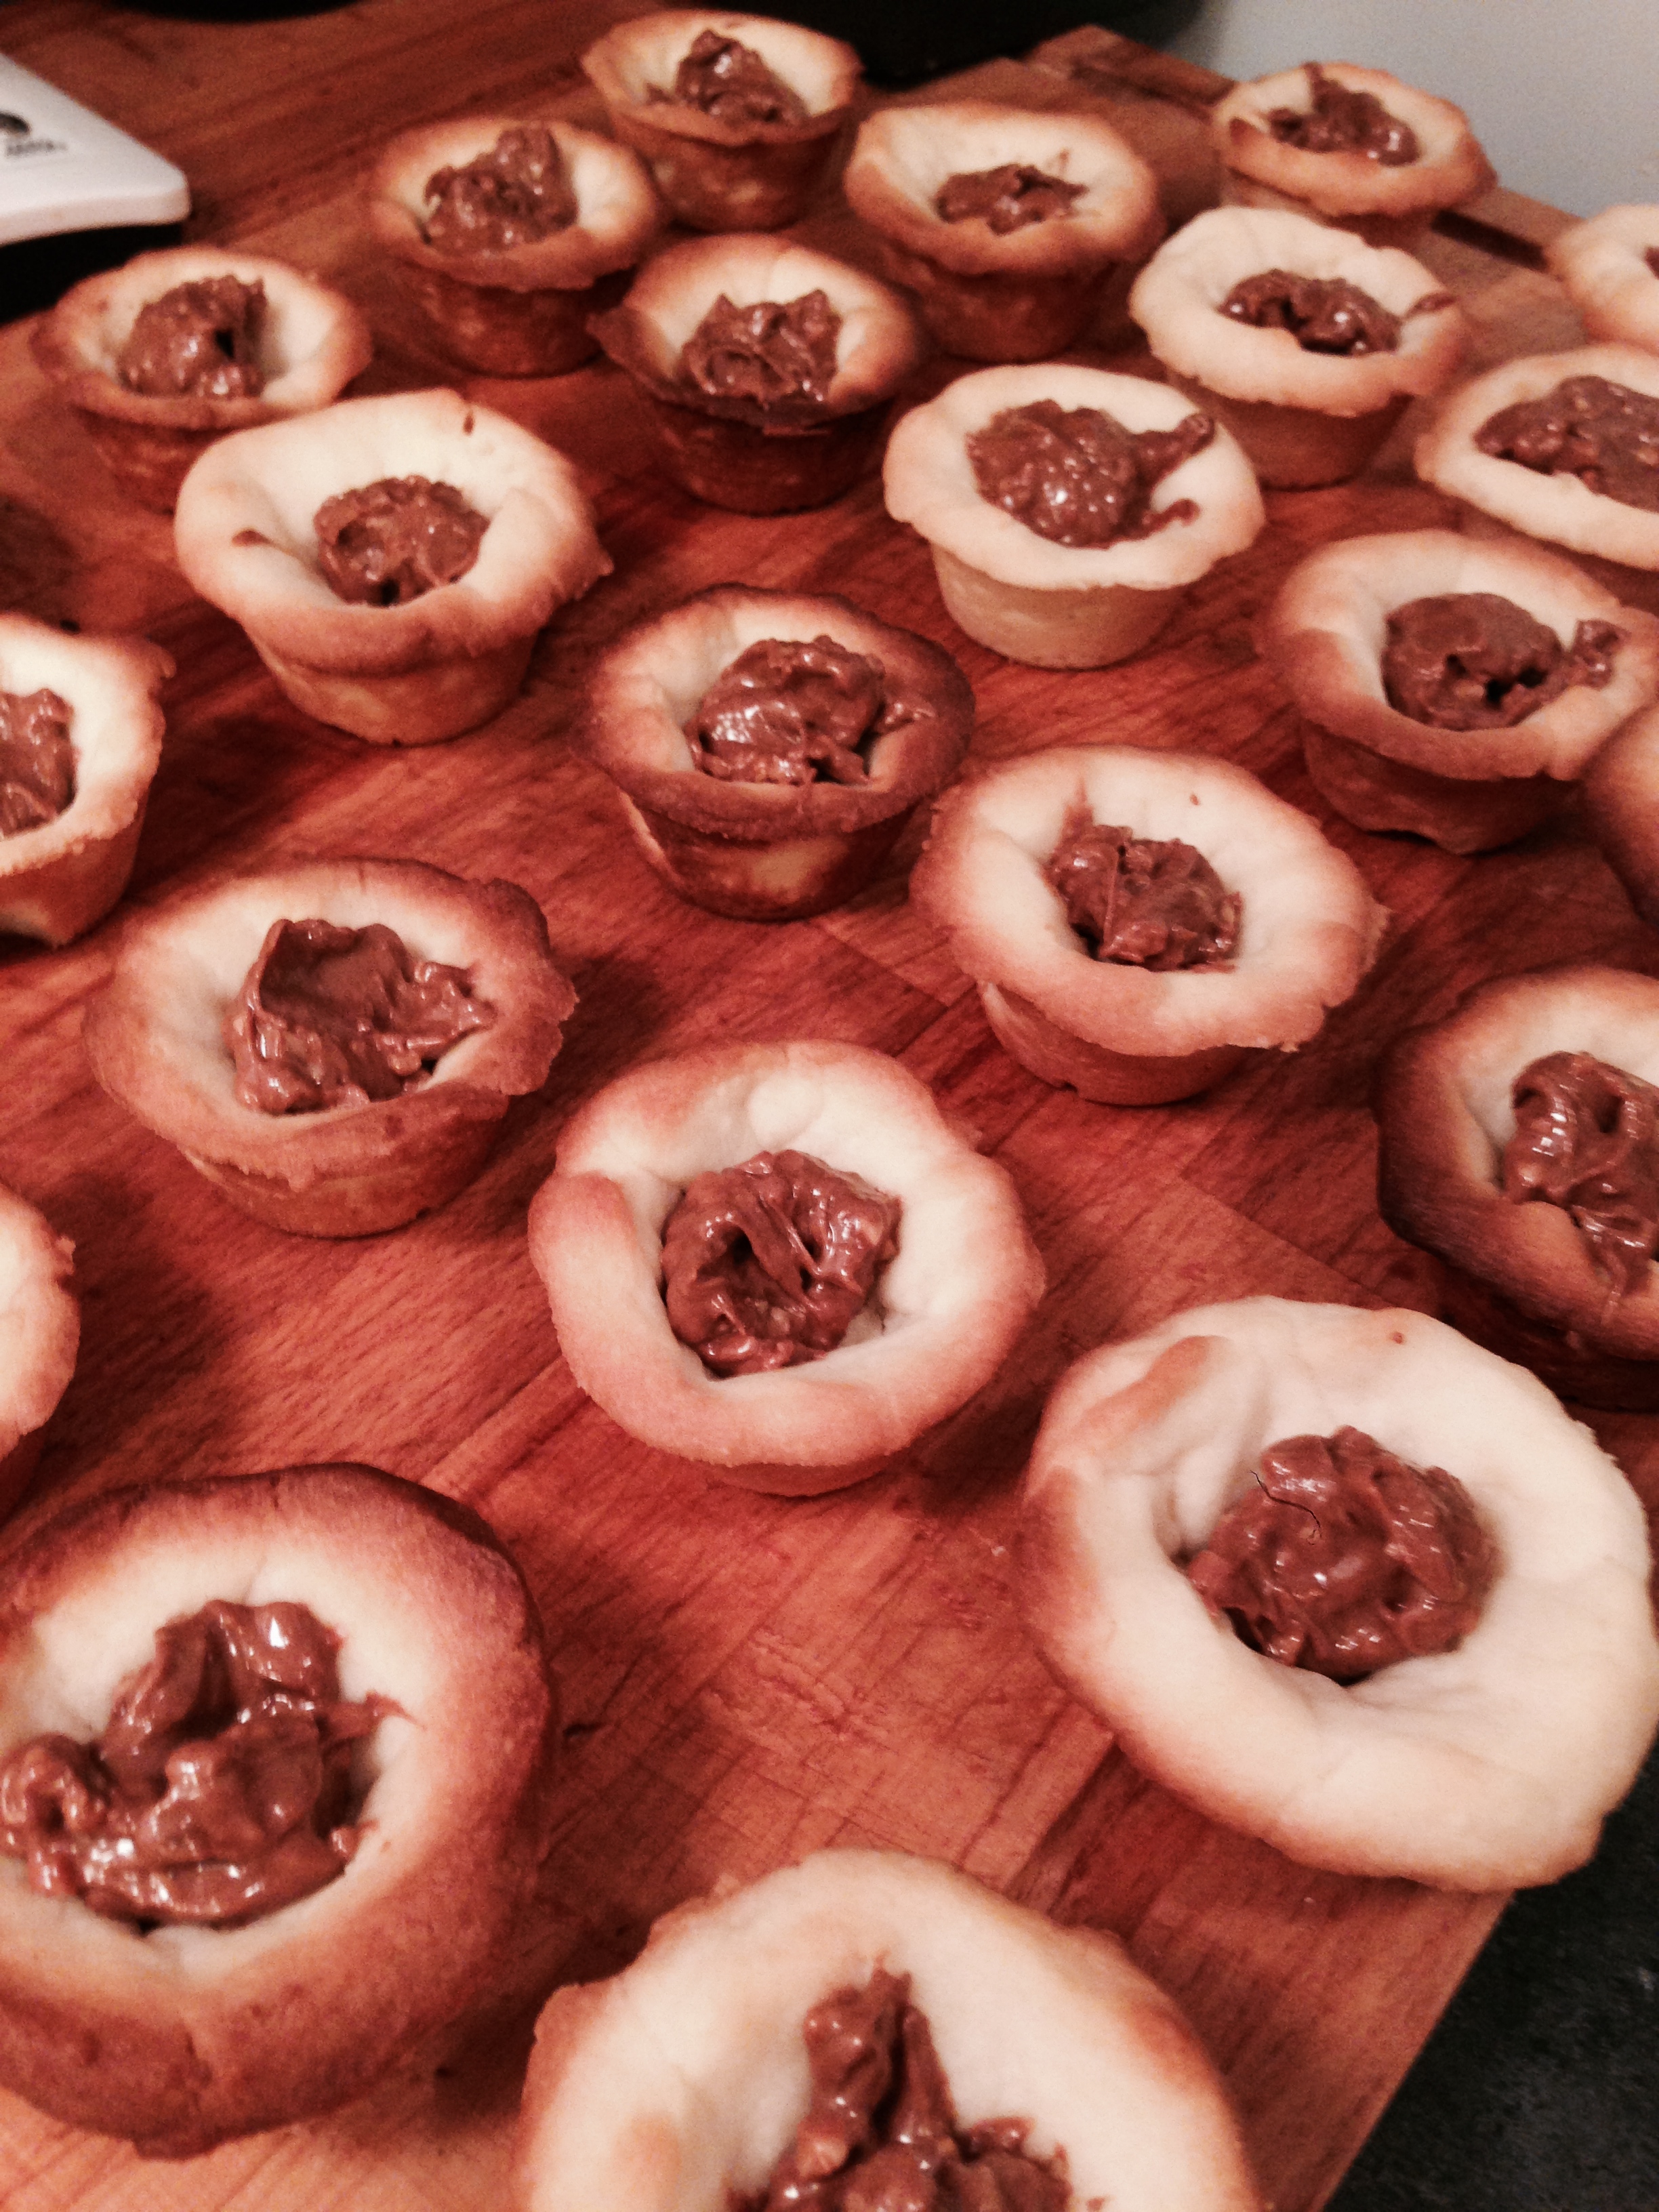
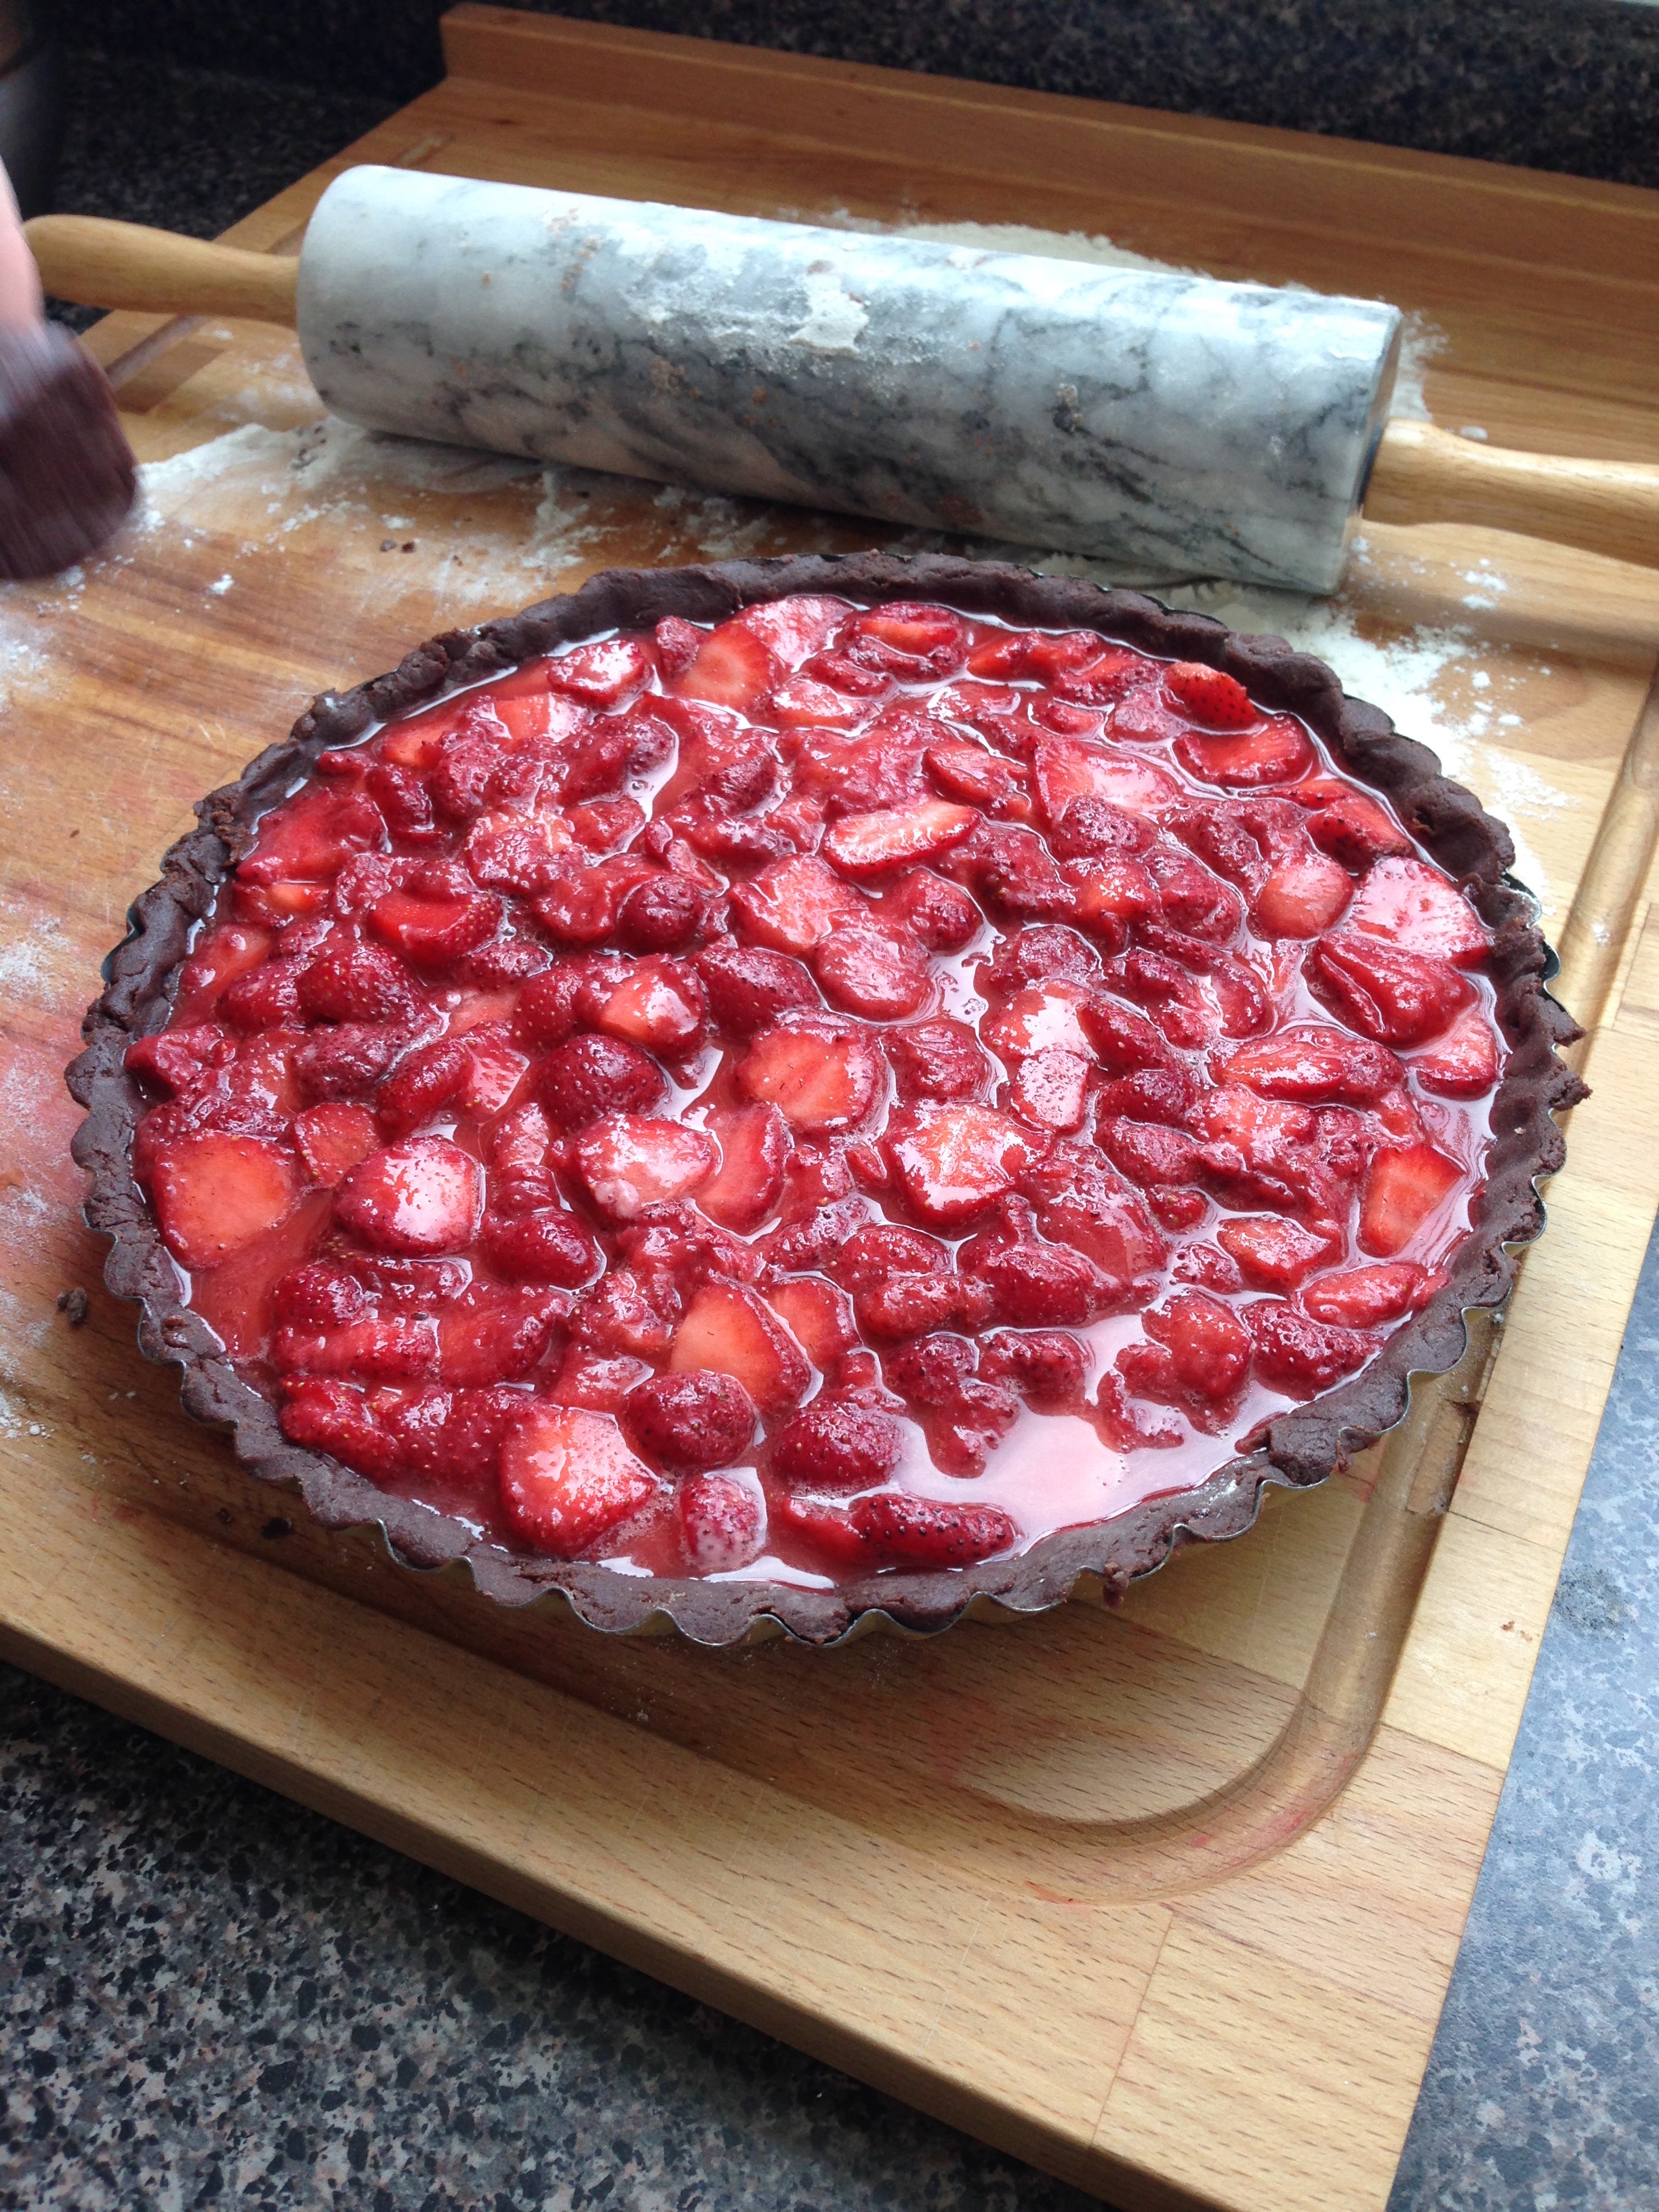
  2. Pour filling into prepared tart shell.
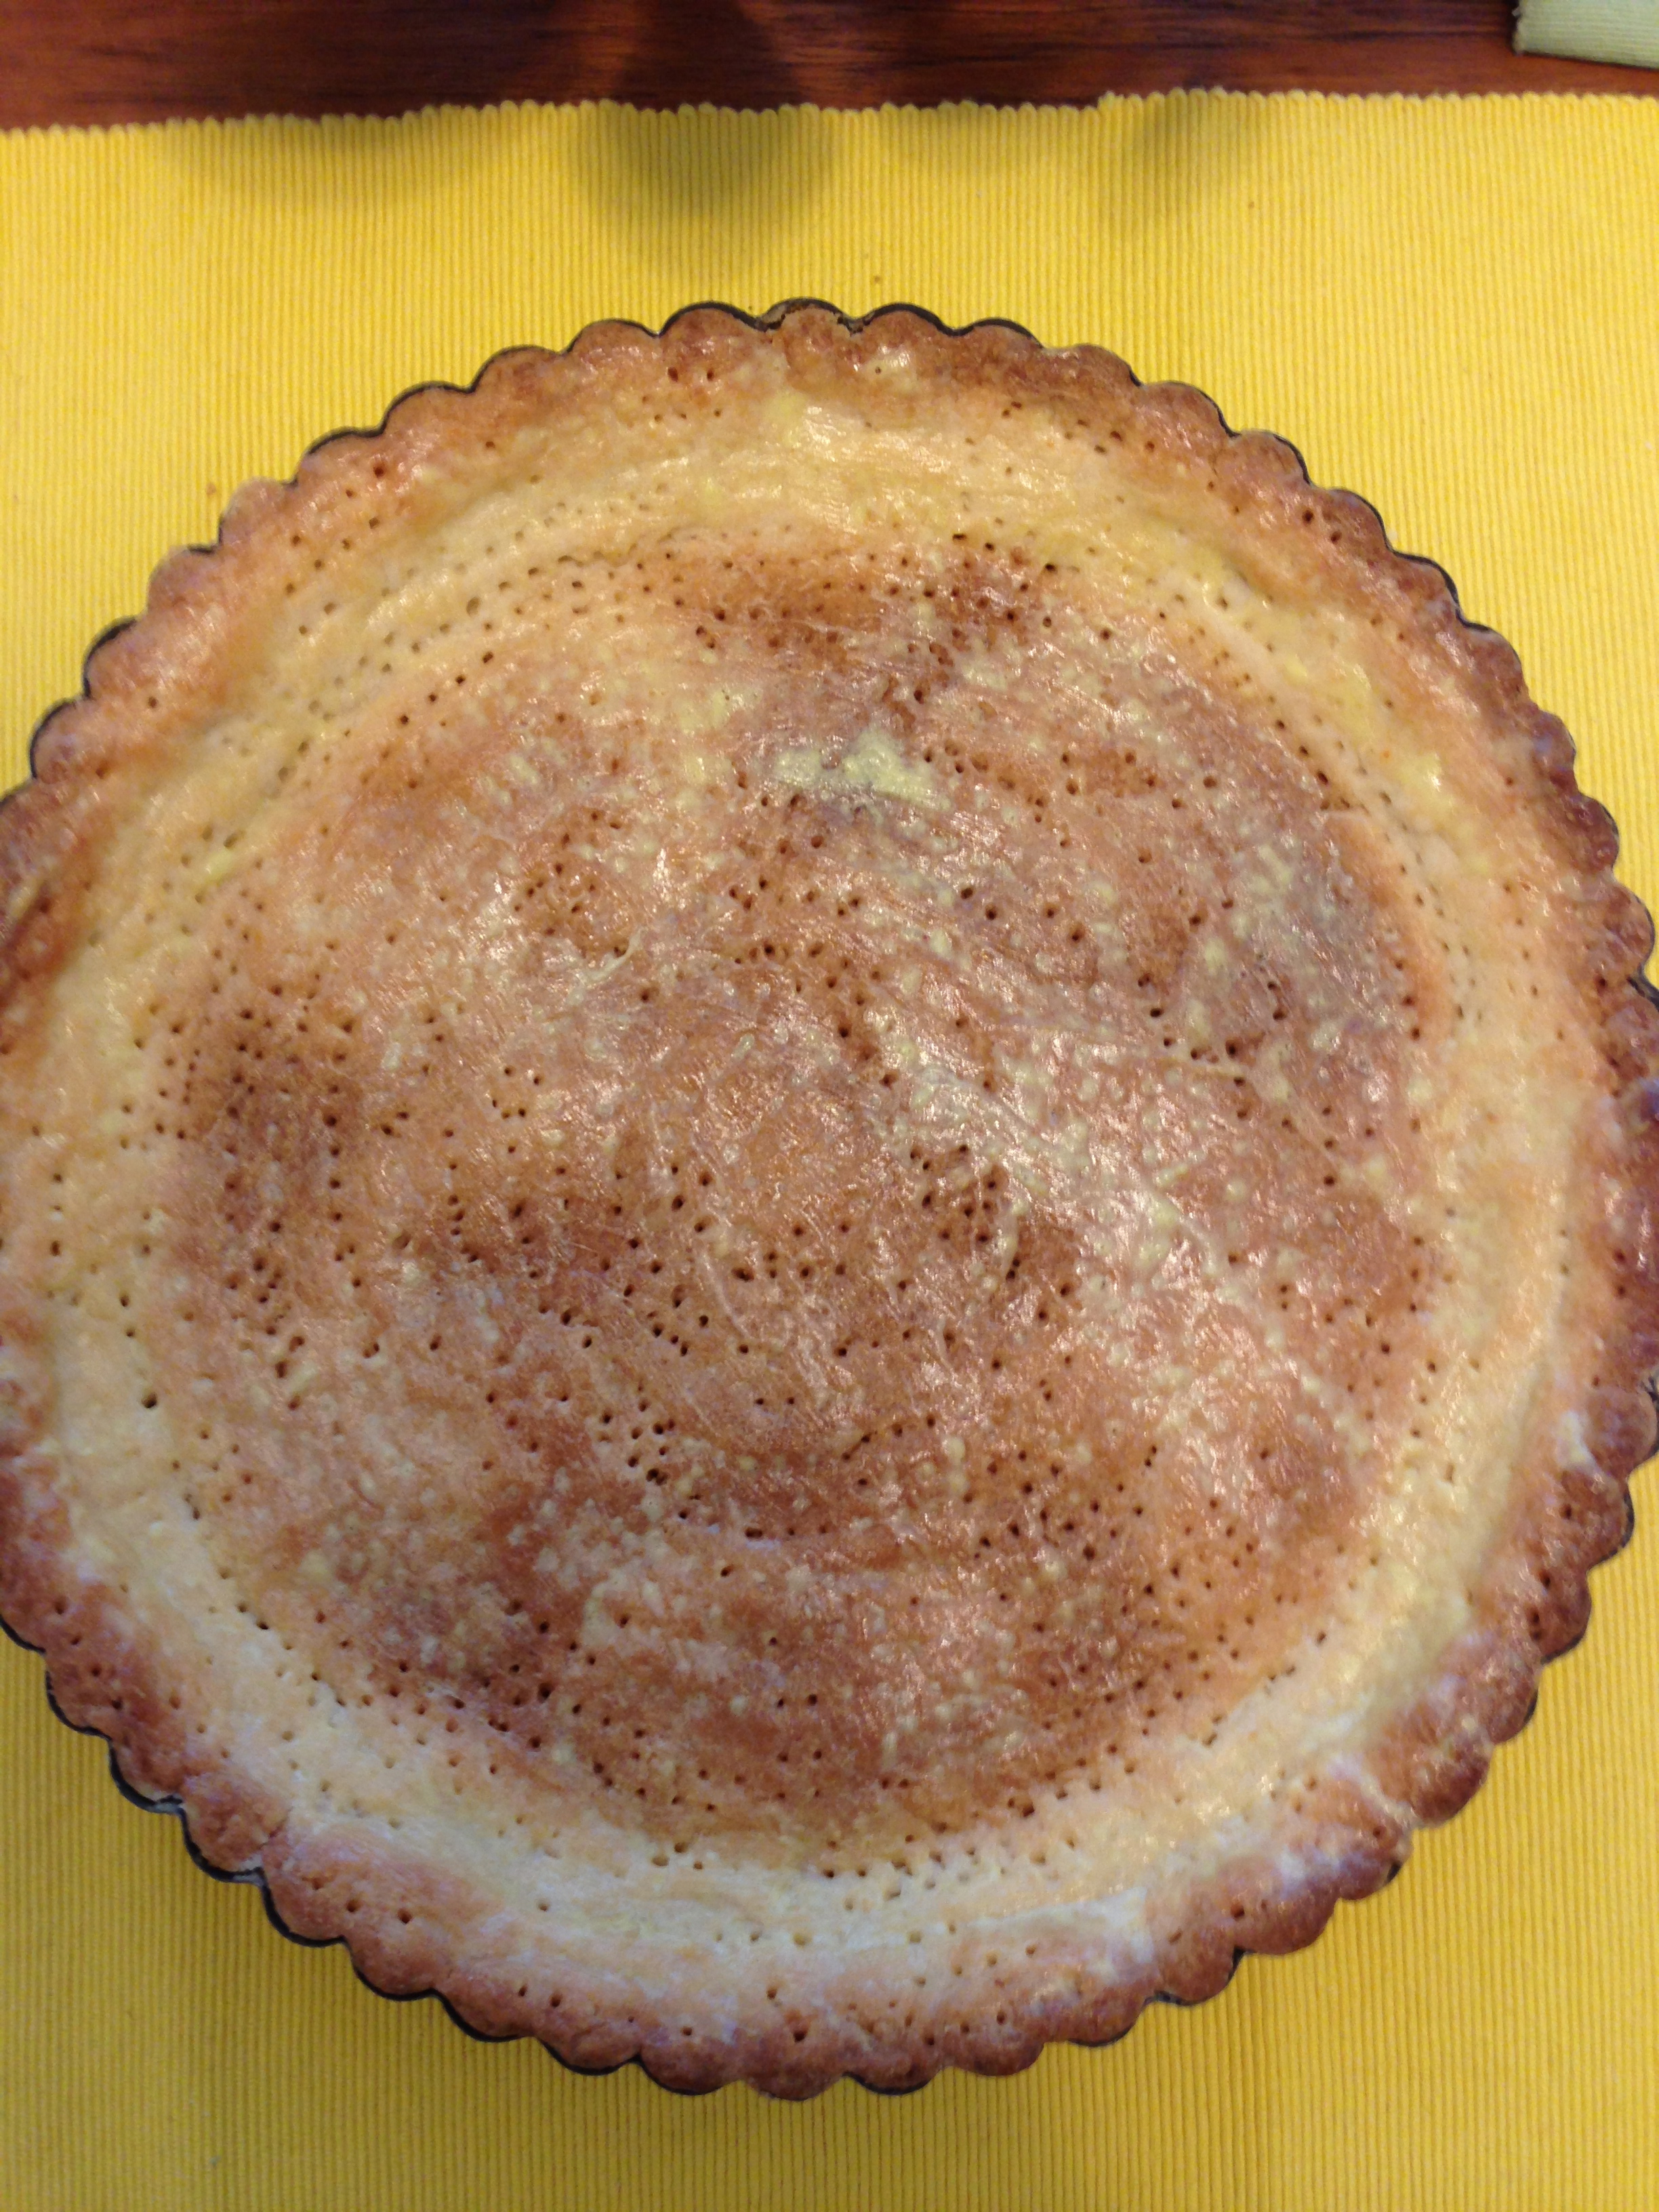
  3. Bake at 375' for about 40 minutes.

While I think I will always have a preference for pie, tarts will now have their place seated at the what-to-do-with-fresh-berries table in the Conference Hall A of my brain. 

-Andrea

The Half-Assed Hobbyist

ย 

ย 

The Cheesecake

Dinner's at 6!

Dinner's at 6!

This past easter, I put on a dinner party. Main reason (we're not religious in the slightest): I wanted turkey. So I cooked a 14lbs turkey with all the fixings and had some friends come to enjoy cocktails and appies and, what turned out to honestly be the main attraction, a Spumoni Cheesecake.

I'd made this cheesecake recipe before, back when I was working in the test kitchen at the Blue Flame Kitchen in Edmonton. All I really remembered about it though was that it was mind blowingly good. And for someone that's lactose-intolerant to want to eat a cheesecake, it is a big thing. 

Below is the recipe, adapted from the BFK website. But really, the pictures and smiles speak for themselves. 

Spumoni Cheesecake

Crust
6 shortcake biscuits, coarsely broken (about 1 cup)
1 cup shelled roasted pistachios
1/4 cup butter, chilled and cubed
1 tbsp sugar

Filling
24 oz cream cheese, cubed and softened
1 cup red candied cherries
3/4 cup sugar
1/3 cup whipping cream
3 eggs
2 tsp vanilla

1 cup chopped candied mixed fruit

Topping
1 1/2 cups sour cream
1/4 cup sugar
2 squares bittersweet chocolate, chopped, melted and cooled (~4 mins in microwave on low)
1 tsp vanilla

  1. Preheat oven to 350F. Grease a 10 inch springform pan.
  2. To prepare crust, place biscuits, pistachios, butter and sugar in a food processor. Process, using an on/off motion, until mixture is crumbly. Press mixture evenly onto bottom of the prepared pan. Bake crust for 10 minutes. Cool crust completely in pan on a rack. 
  3. Reduce oven temperature to 325F. 
  4. To prepare filling, place filling ingredients (cream cheese through vanilla) in a food processor. Process, using an on/off motion, until combined. Continue blending until mixture is smooth and pale pink. Transfer to a bowl and stir in candied mixed fruit. Pour filling into prepared pan, over crust.
  5. Bake cheesecake for 1 hour or until centre of cheesecake is puffed and jiggles slightly when shaken. 
  6. While cheesecake is baking, take sour cream out of the fridge, measure it into a bowl, and let sit on the counter to come to room temperature. 
  7. Start preparing the topping about 10 minutes before cheesecake is done. To make topping,  combine sour cream, sugar, cooled melted chocolate and vanilla. Remove cheesecake from oven and spread topping evenly over cheesecake. 
  8. Continue baking for 10 minutes. Remove cheesecake from oven and cool completely on a rack. Cover and refrigerate cake for 8 hours or up to 24 hours. 
  9. To serve, remove sides of springform pan. Decorate top of cake with pistachios and cherries. Cut cake with a warm knife. 

So if you're in the mood for a crazy good dessert that will make you fight your inner glutton (so you stop eating cheesecake for breakfast for the rest of the week), defs try making this cheesecake. 

Much recommended.

-Andrea (and inner glutton)

The Half-Assed Hobbyist

The Chocolate Hazelnut Tarts

As part of Christmas Baking 2013.

To make sure that I survive the Christmas season, I attempt to give myself diabetes with amazing homemade desserts. I had two Christmas and 13 people to get sugared so, along with the Chiffon cake, I made these Chocolate Hazelnut Tarts.

First thing I made was the tart shells. More out of necessity as the grocery store was dangerously low on tart shell stock. Plus, my sister had given me a mini tart shell pan 3 years ago and I had never used it.... So I thought I'd break it in. 

IMG_3170.jpg

Sweet Vanilla Tart Shells

(From the Blue Flame Kitchen; Changed a little by me!)

1 cup (250 mL) butter, softened 
3/4 cup (175 mL) icing sugar 
4 tsp (20 mL) vanilla 
2 cups (500 mL) flour 
1 tsp (5 mL) salt
ย 

  1. Preheat oven to 400ยบF.
  2. Using medium speed of an electric mixer, beat together butter and icing sugar until fluffy.  Using low speed, beat in vanilla.  Gradually beat in flour and salt just until combined. Gather dough into a ball; divide in half.  Flatten each half into a disc shape.  Wrap each disc with plastic wrap and refrigerate for 1 hour or until firm. 
  3. Remove one disc of dough from refrigerator.  On a lightly floured surface, roll out dough 1/8 inch (3 mm) thick.  Using a floured 3 inch (7.5 cm) cookie cutter, cut dough into rounds.  Transfer each round to a mini tart pan using your fingers to press pastry into a tart shell shape. Prick bottom of tart shells all over with a fork. Repeat procedure with remaining disc of dough. Bake for 10 minutes or until tart shells are light golden around edges.  Cool completely in pans on racks. Remove tart shells from pans. 

Now, that my lovely, slightly deformed tart shells were cooling, I started making my ganache for the filling.

Chocolate Hazelnut Tarts

(From The Blue Flam Kitchen; Also, changed by me)

8 ounces Bernard Callebaut bittersweet chocolate drops
1/2 cup whipping cream
~1/4 cup Bernard Callebaut chocolate hazelnut spread
~24 mini baked tart shells
2 tbsp finely chopped walnuts

  1. Combine chocolate and cream in a 4 cup microwave-safe bowl.
  2. Microwave, uncovered, on medium (50% power), stirring twice, for 1 1/2 minutes or just until chocolate is melted and mixture is smooth.
  3. Spread 1 tsp chocolate hazelnut spread on bottom of each tart shell. Spoon about 1 tsp of chocolate mixture on top, covering hazelnut spread underneath.
  4. Sprinkle with walnuts.
  5. Refrigerate for at least 1 hour or up to 3 days.

So good. It's a strange recipe but I like it. You can also top of the tarts with flaked sea salt, if you have it. Also good. 

-Andrea

The Half-Assed Hobbyist