Olympics for Dessert People

Everyone's got the olympic fever! 

My friend Jess was having an olympic party to watch the opening ceremonies last week-ish so I thought I'd spend that day playing with fondant. 

IMG_3847.jpg

My previous experience with fondant (kinda NSFW) was rather pleasing. My friend Mandy decided that combining our baking skills would yield the best dirty birthday cake ever. I think she was right on. (Soon we will start an adult novelty cake business. Hah.)

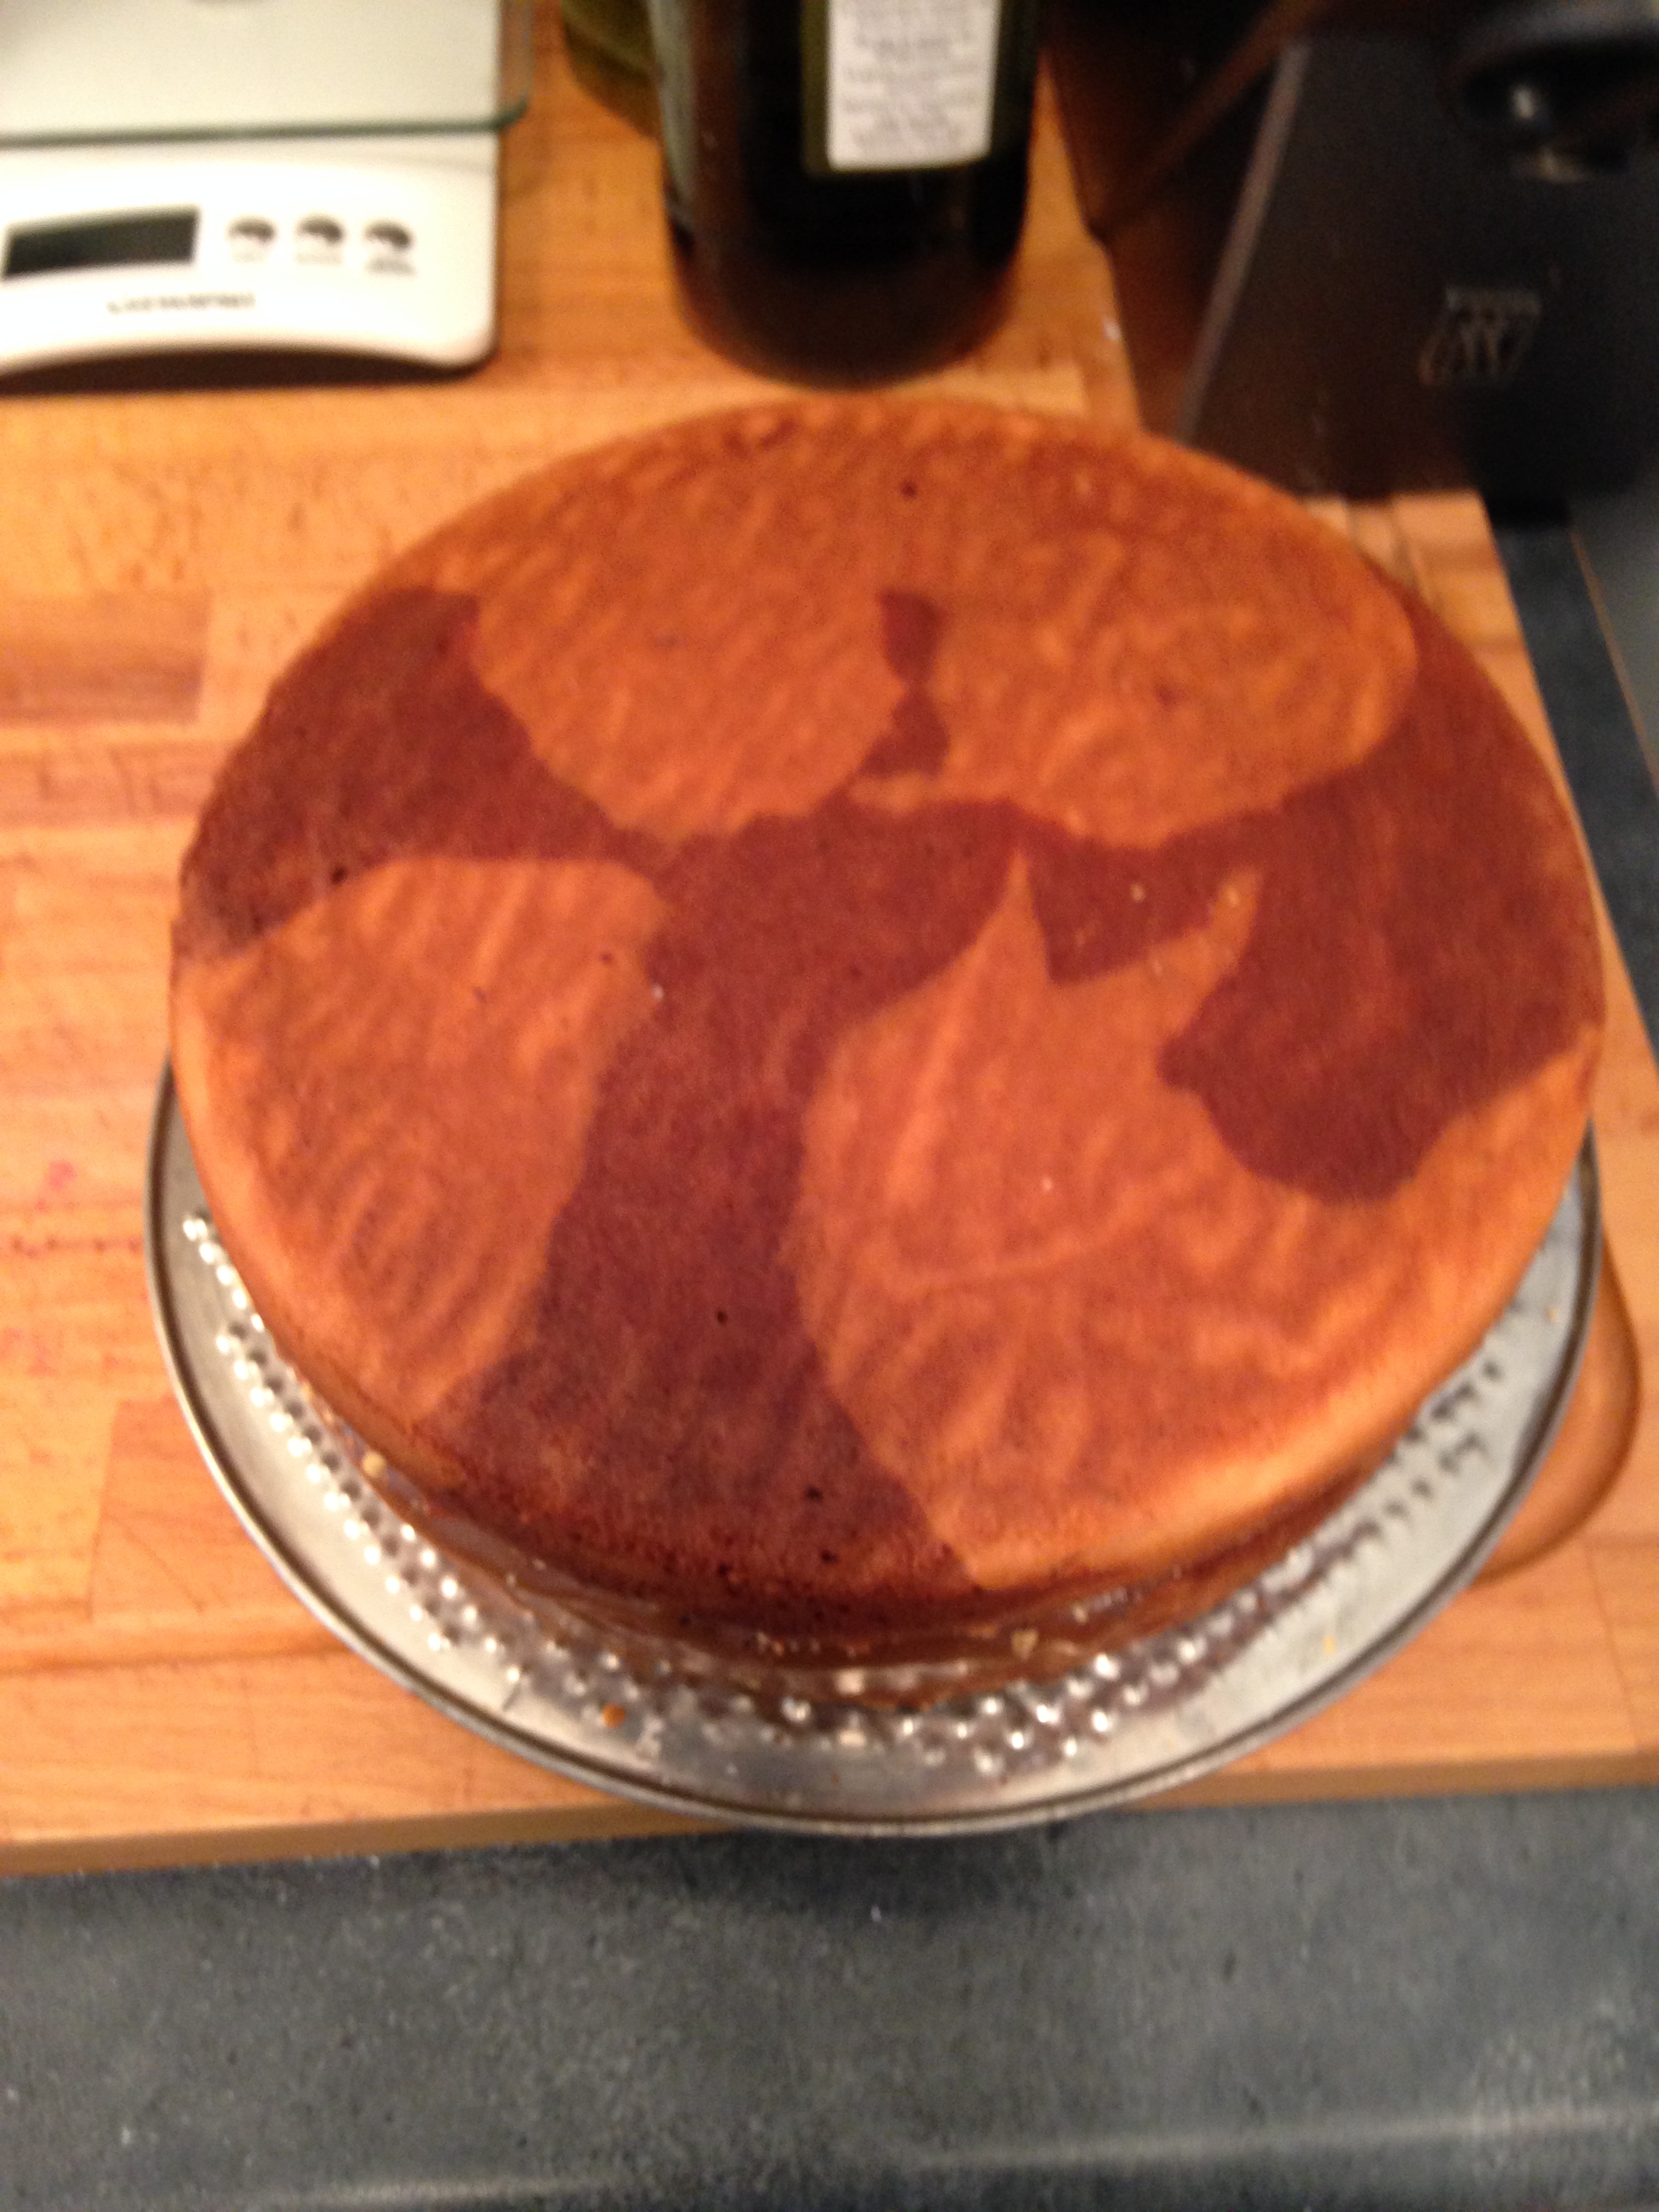
So for this next, non-dirty, attempt to fondant-arize a cake, I was going to make a more simple marble cake with caramel and toasted hazelnut centre. (Ok, maybe not simple. Just not penis shaped.)

Marble Cake

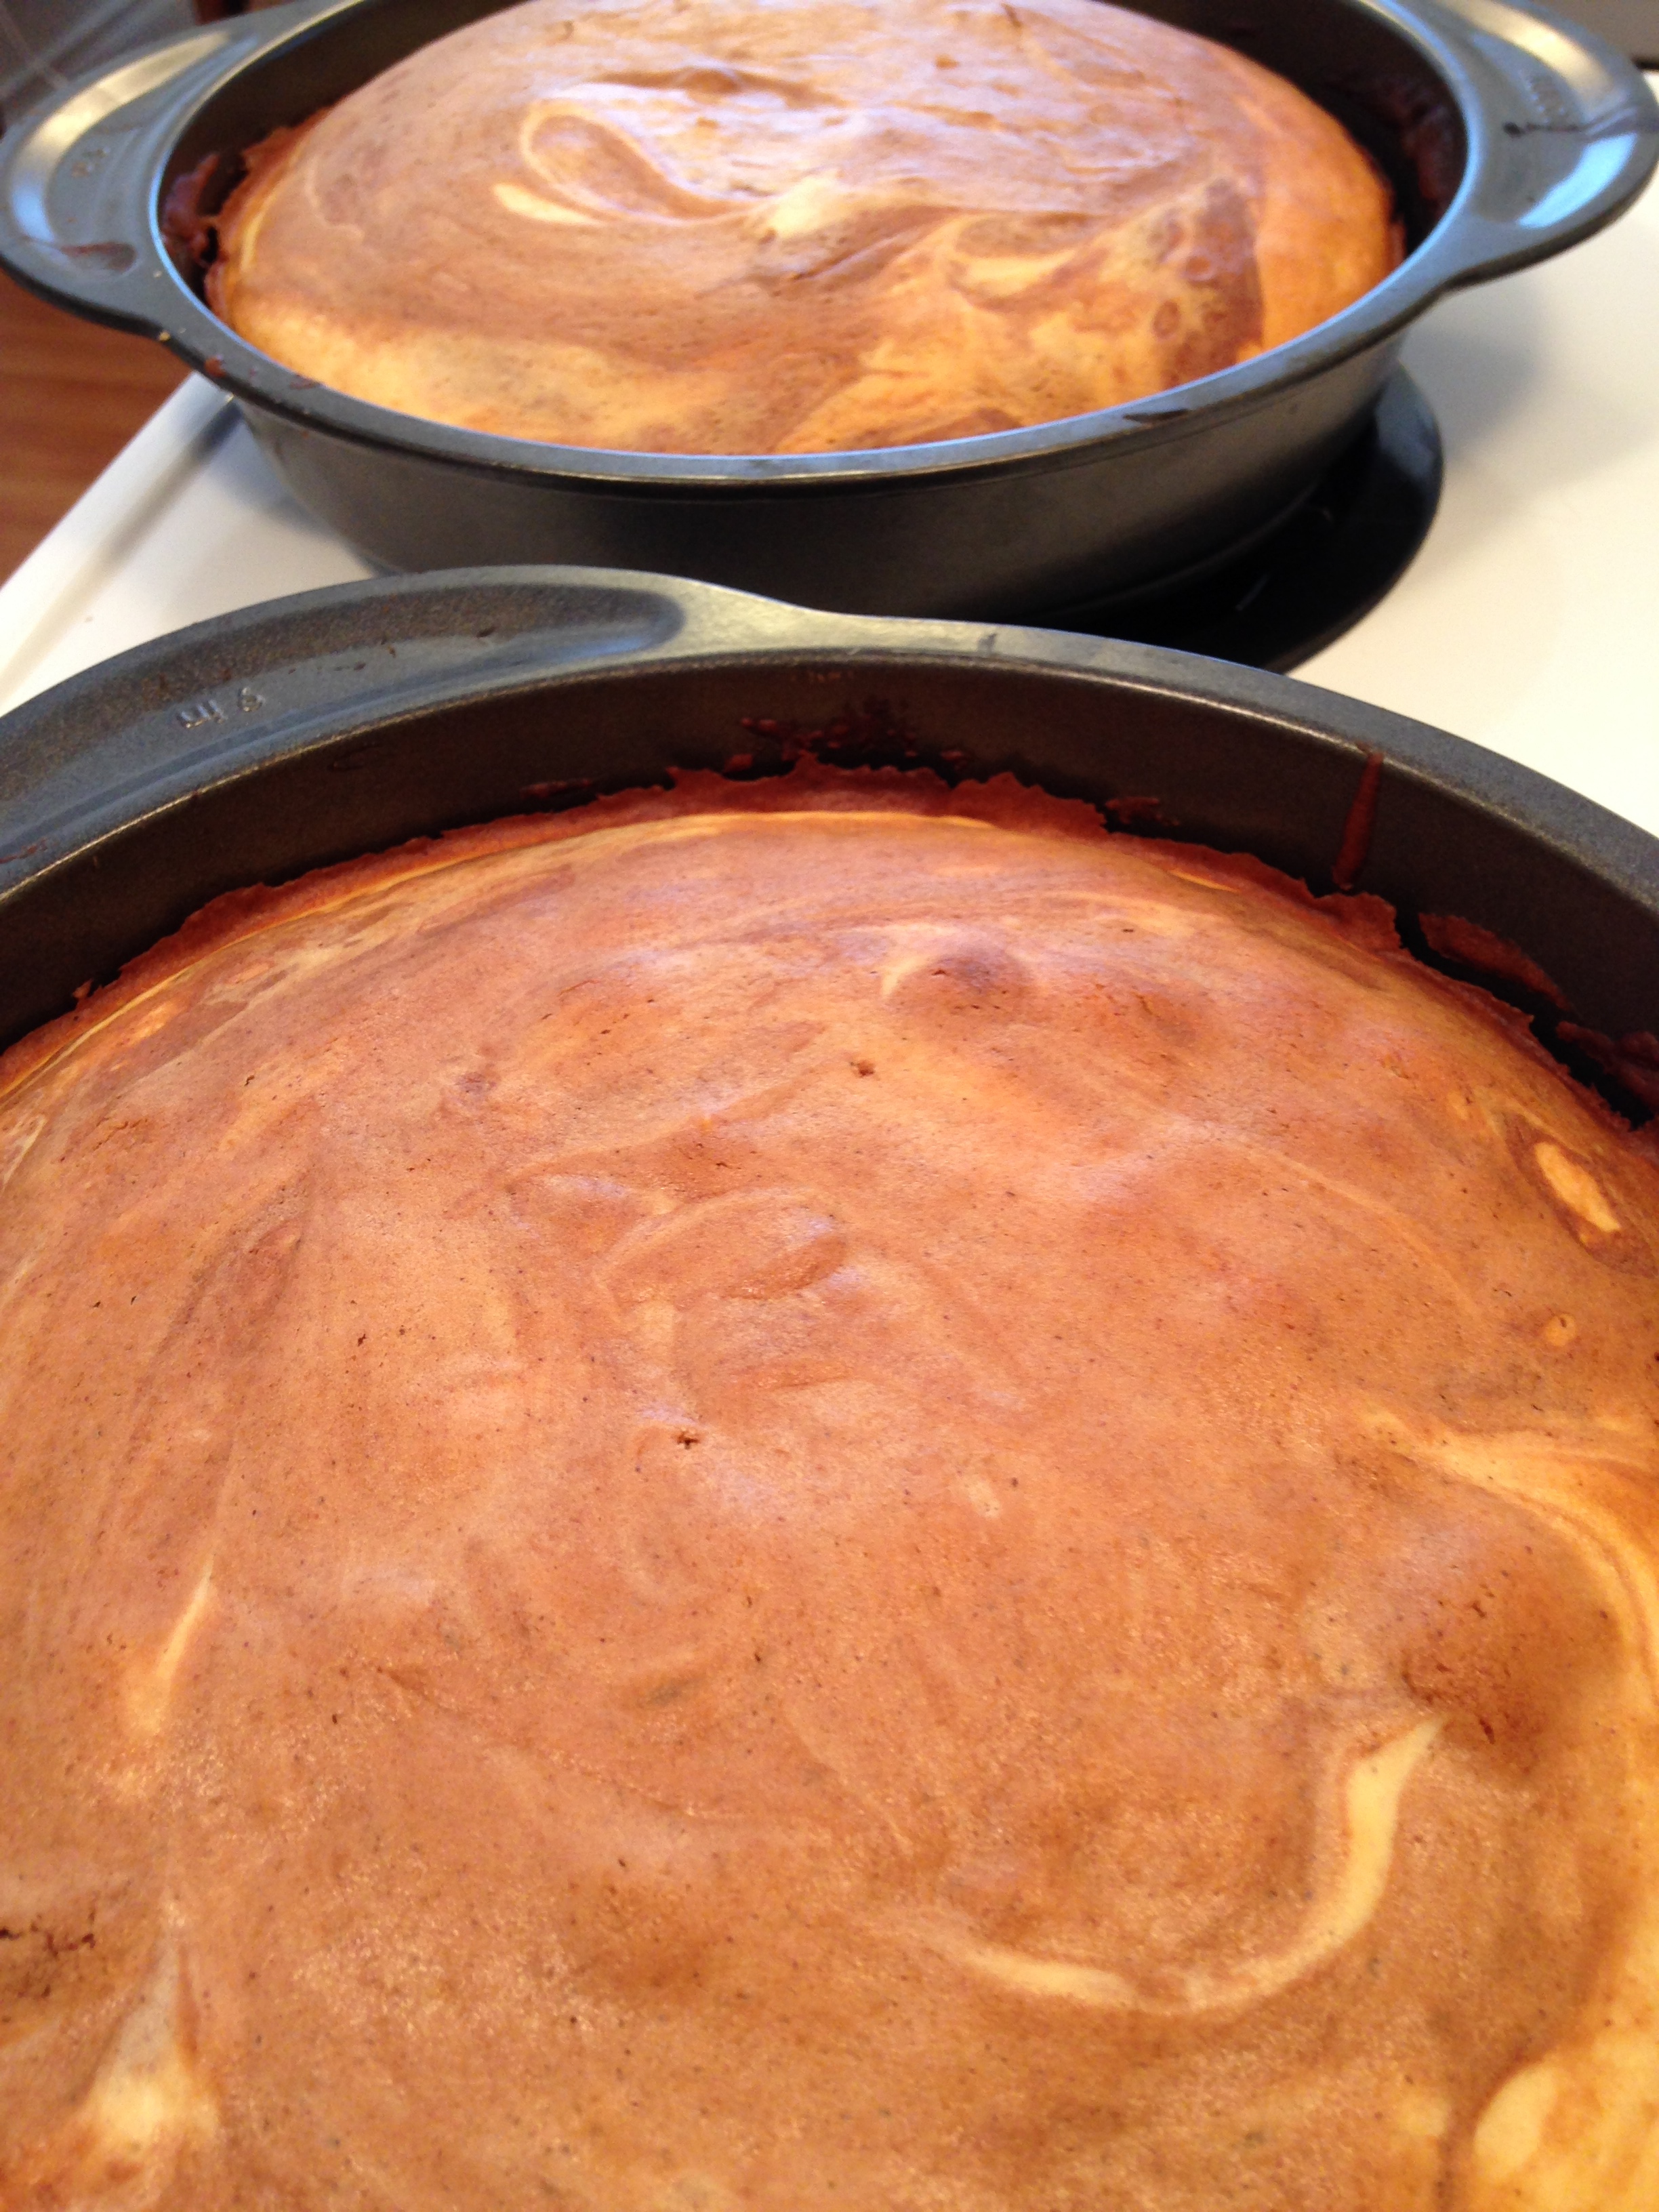
For this cake I used a recipe out of The Joy of Cooking. I over baked it a little so it was a bit chewier than I would have liked, but still ok. (Or rather everyone at the party politely ate it anyway.) 

2 1/4 cups cake flour
2 1/2 tsp baking powder
1/2 tsp salt
1 cup milk
1 tsp vanilla
1 1/4 cups sugar
1/2 cup butter
4 large egg whites
1/4 tsp cream of tartar

1 1/2 oz melted chocolate, cooled
1 tsp cinnamon
pinch of ground cloves
1/8 tsp baking soda

  1. Preheat oven to 350. Grease and flour 2 X 9-inch round pans. 
  2. Combine the flour, baking powder and salt in a bowl. Set aside.
  3. Combine the milk and vanilla. Set aside. 
  4. In an electric mixer, beat sugar and butter together until light and fluffy. (About 5 mins.)
  5. Stir into sugar/butter mixture the dry ingredients, in three parts, alternating with milk mixture, in two parts, until smooth.
  6. Separate batter into two separate bowls. Add melted chocolate, cinnamon, cloves and baking soda to one batch of batter. Stir until combined. Set both bowls aside. 
  7. In a clean bowl, using electric mixer on high, whisk egg whites and cream of tartar together until stiff peaks form. 
  8. Fold half of whipped eggs into each batter bowl. 
  9. Spoon batter into prepared pans, alternating between white and chocolate. 
  10. Bake for around 20-25 minutes or until a toothpick comes out clean. (Careful not to over bake!!)
  11. Let cool in pans for 10 minutes. Remove from pans and cool completely. 

Caramel Filling

I used a simple homemade caramel. Not to fancy. I topped the filling with toasted hazelnuts though.

1 cup butter
2 cups packed brown sugar
1/4 cup cream
1 teaspoon vanilla extract

  1. In a saucepan, over medium heat, melt the butter.
  2. Once melted, stir in the brown sugar and cream. Heat until all sugar is dissolved and caramel thickens, about 10 minutes.
  3. Remove from heat and stir in vanilla.
  4. Let cool completely before using. (About 2 hours in the fridge.)

Fondant

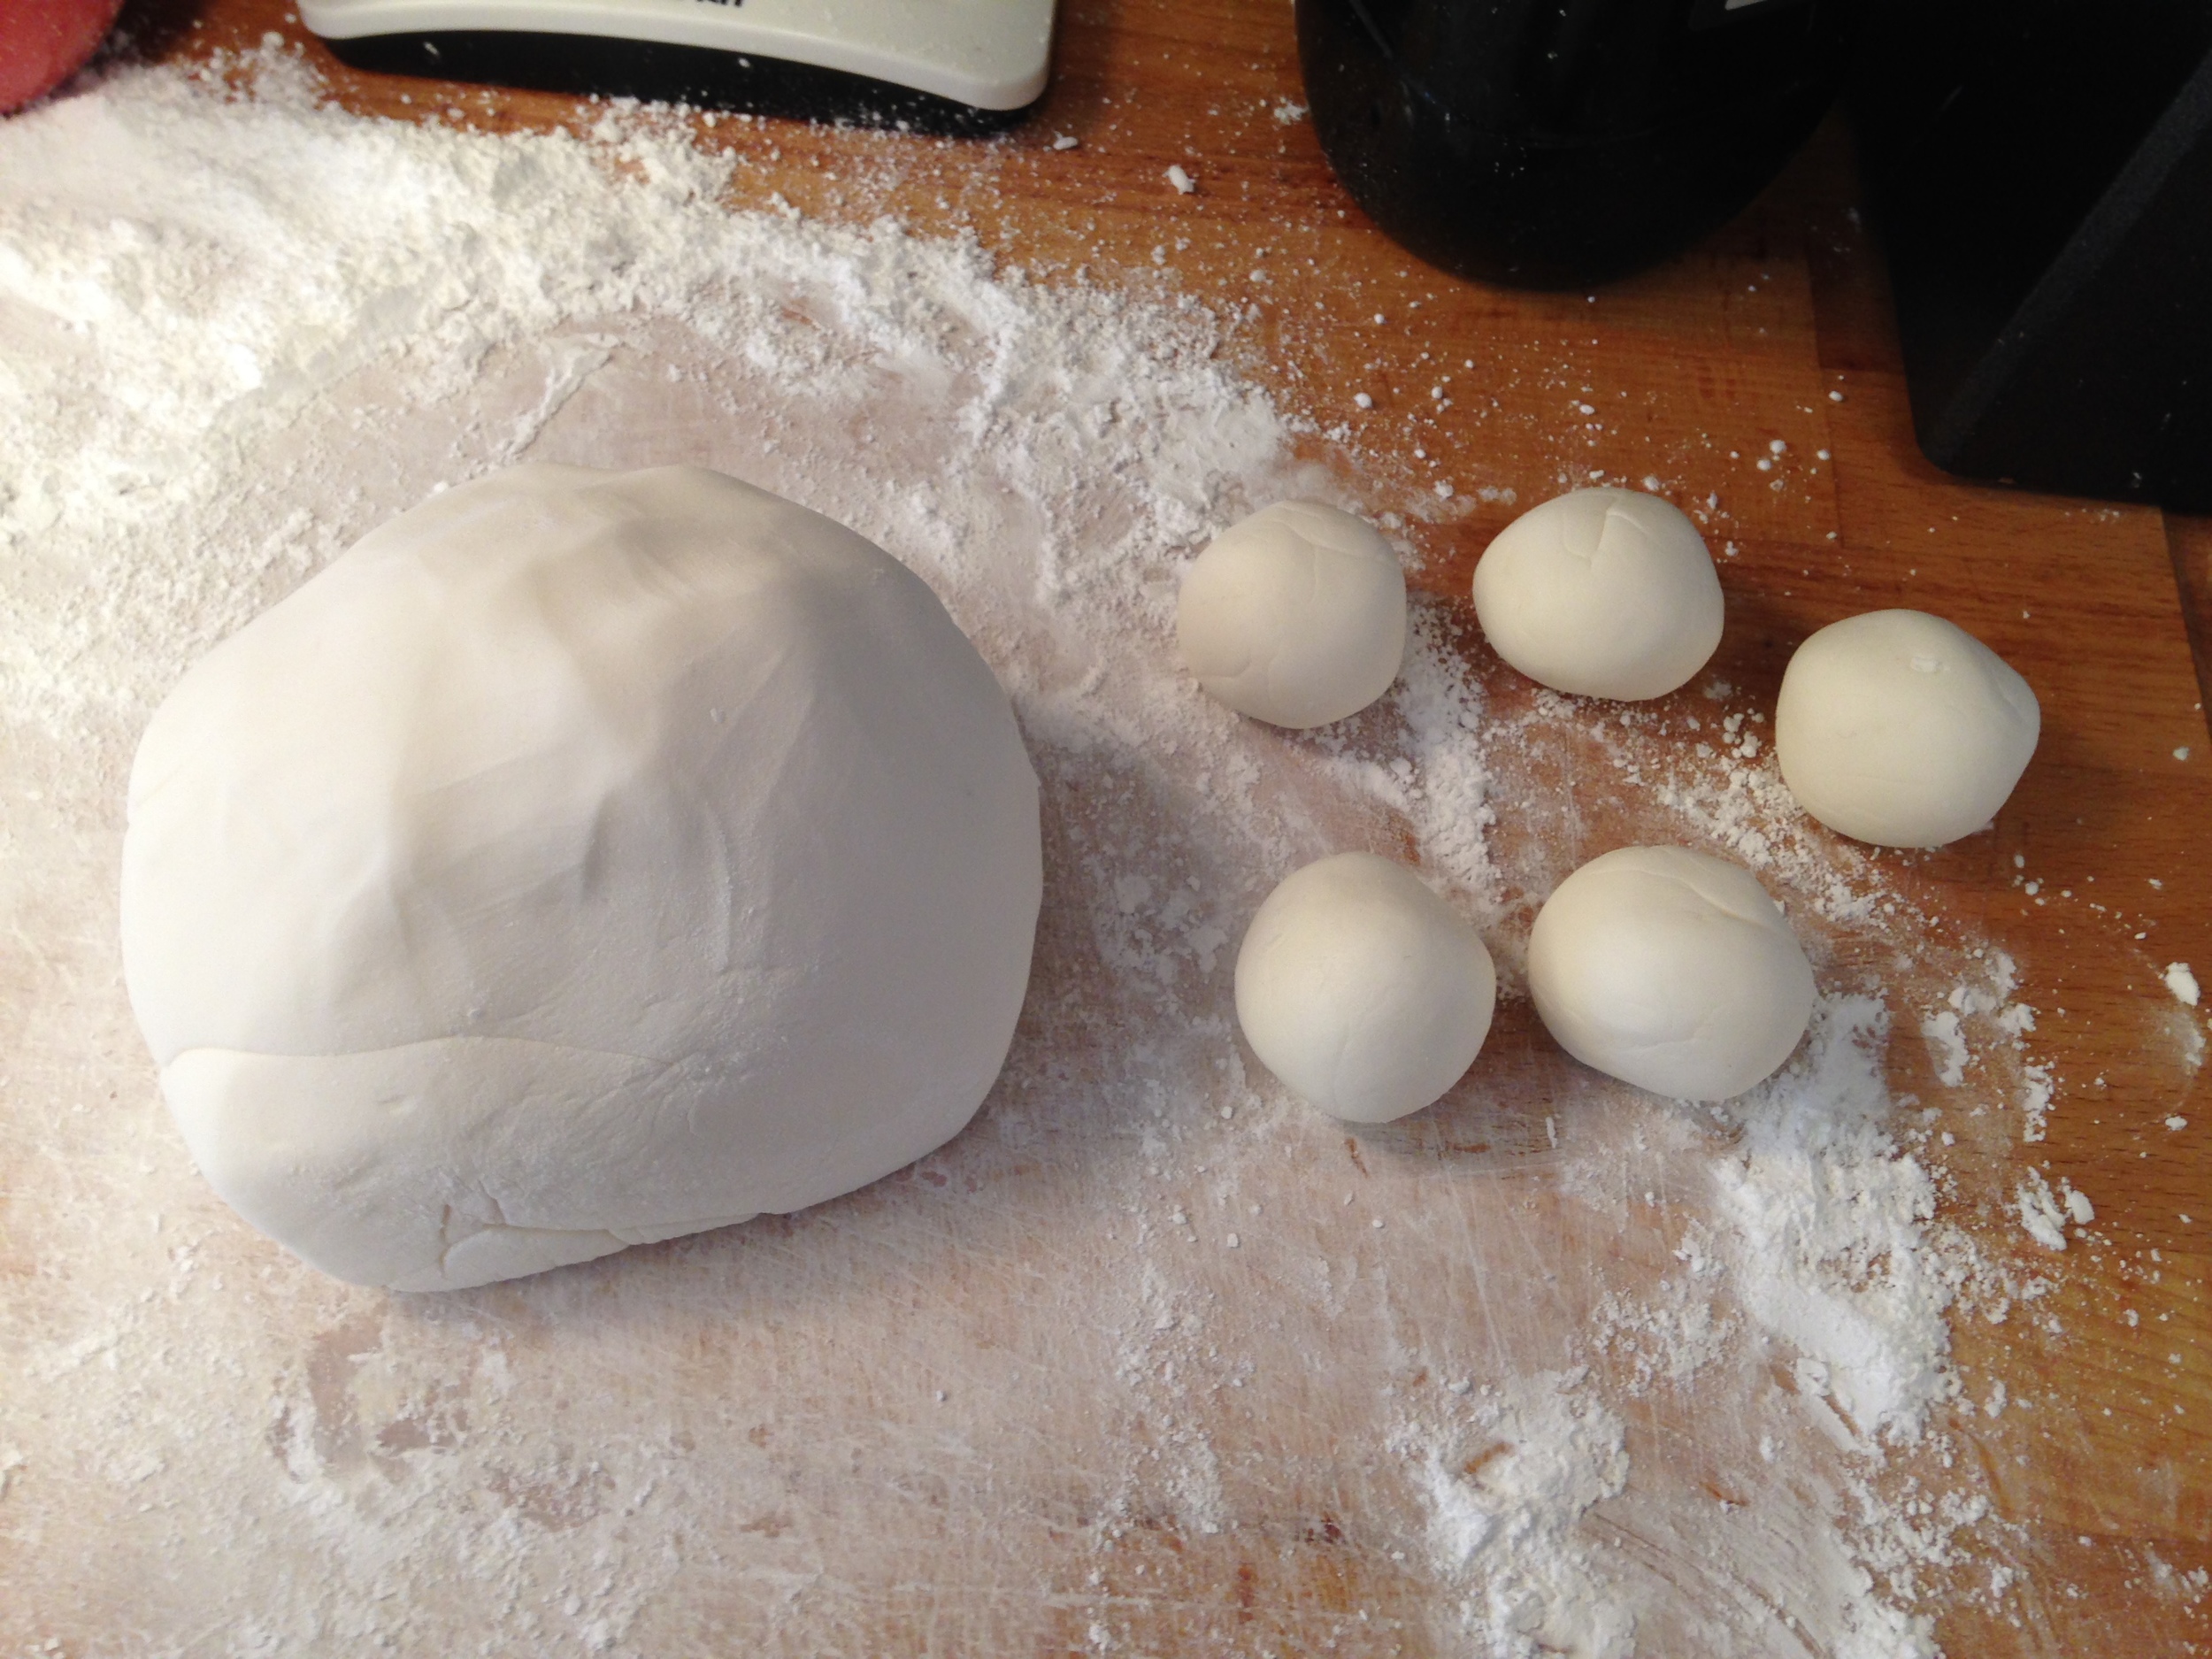
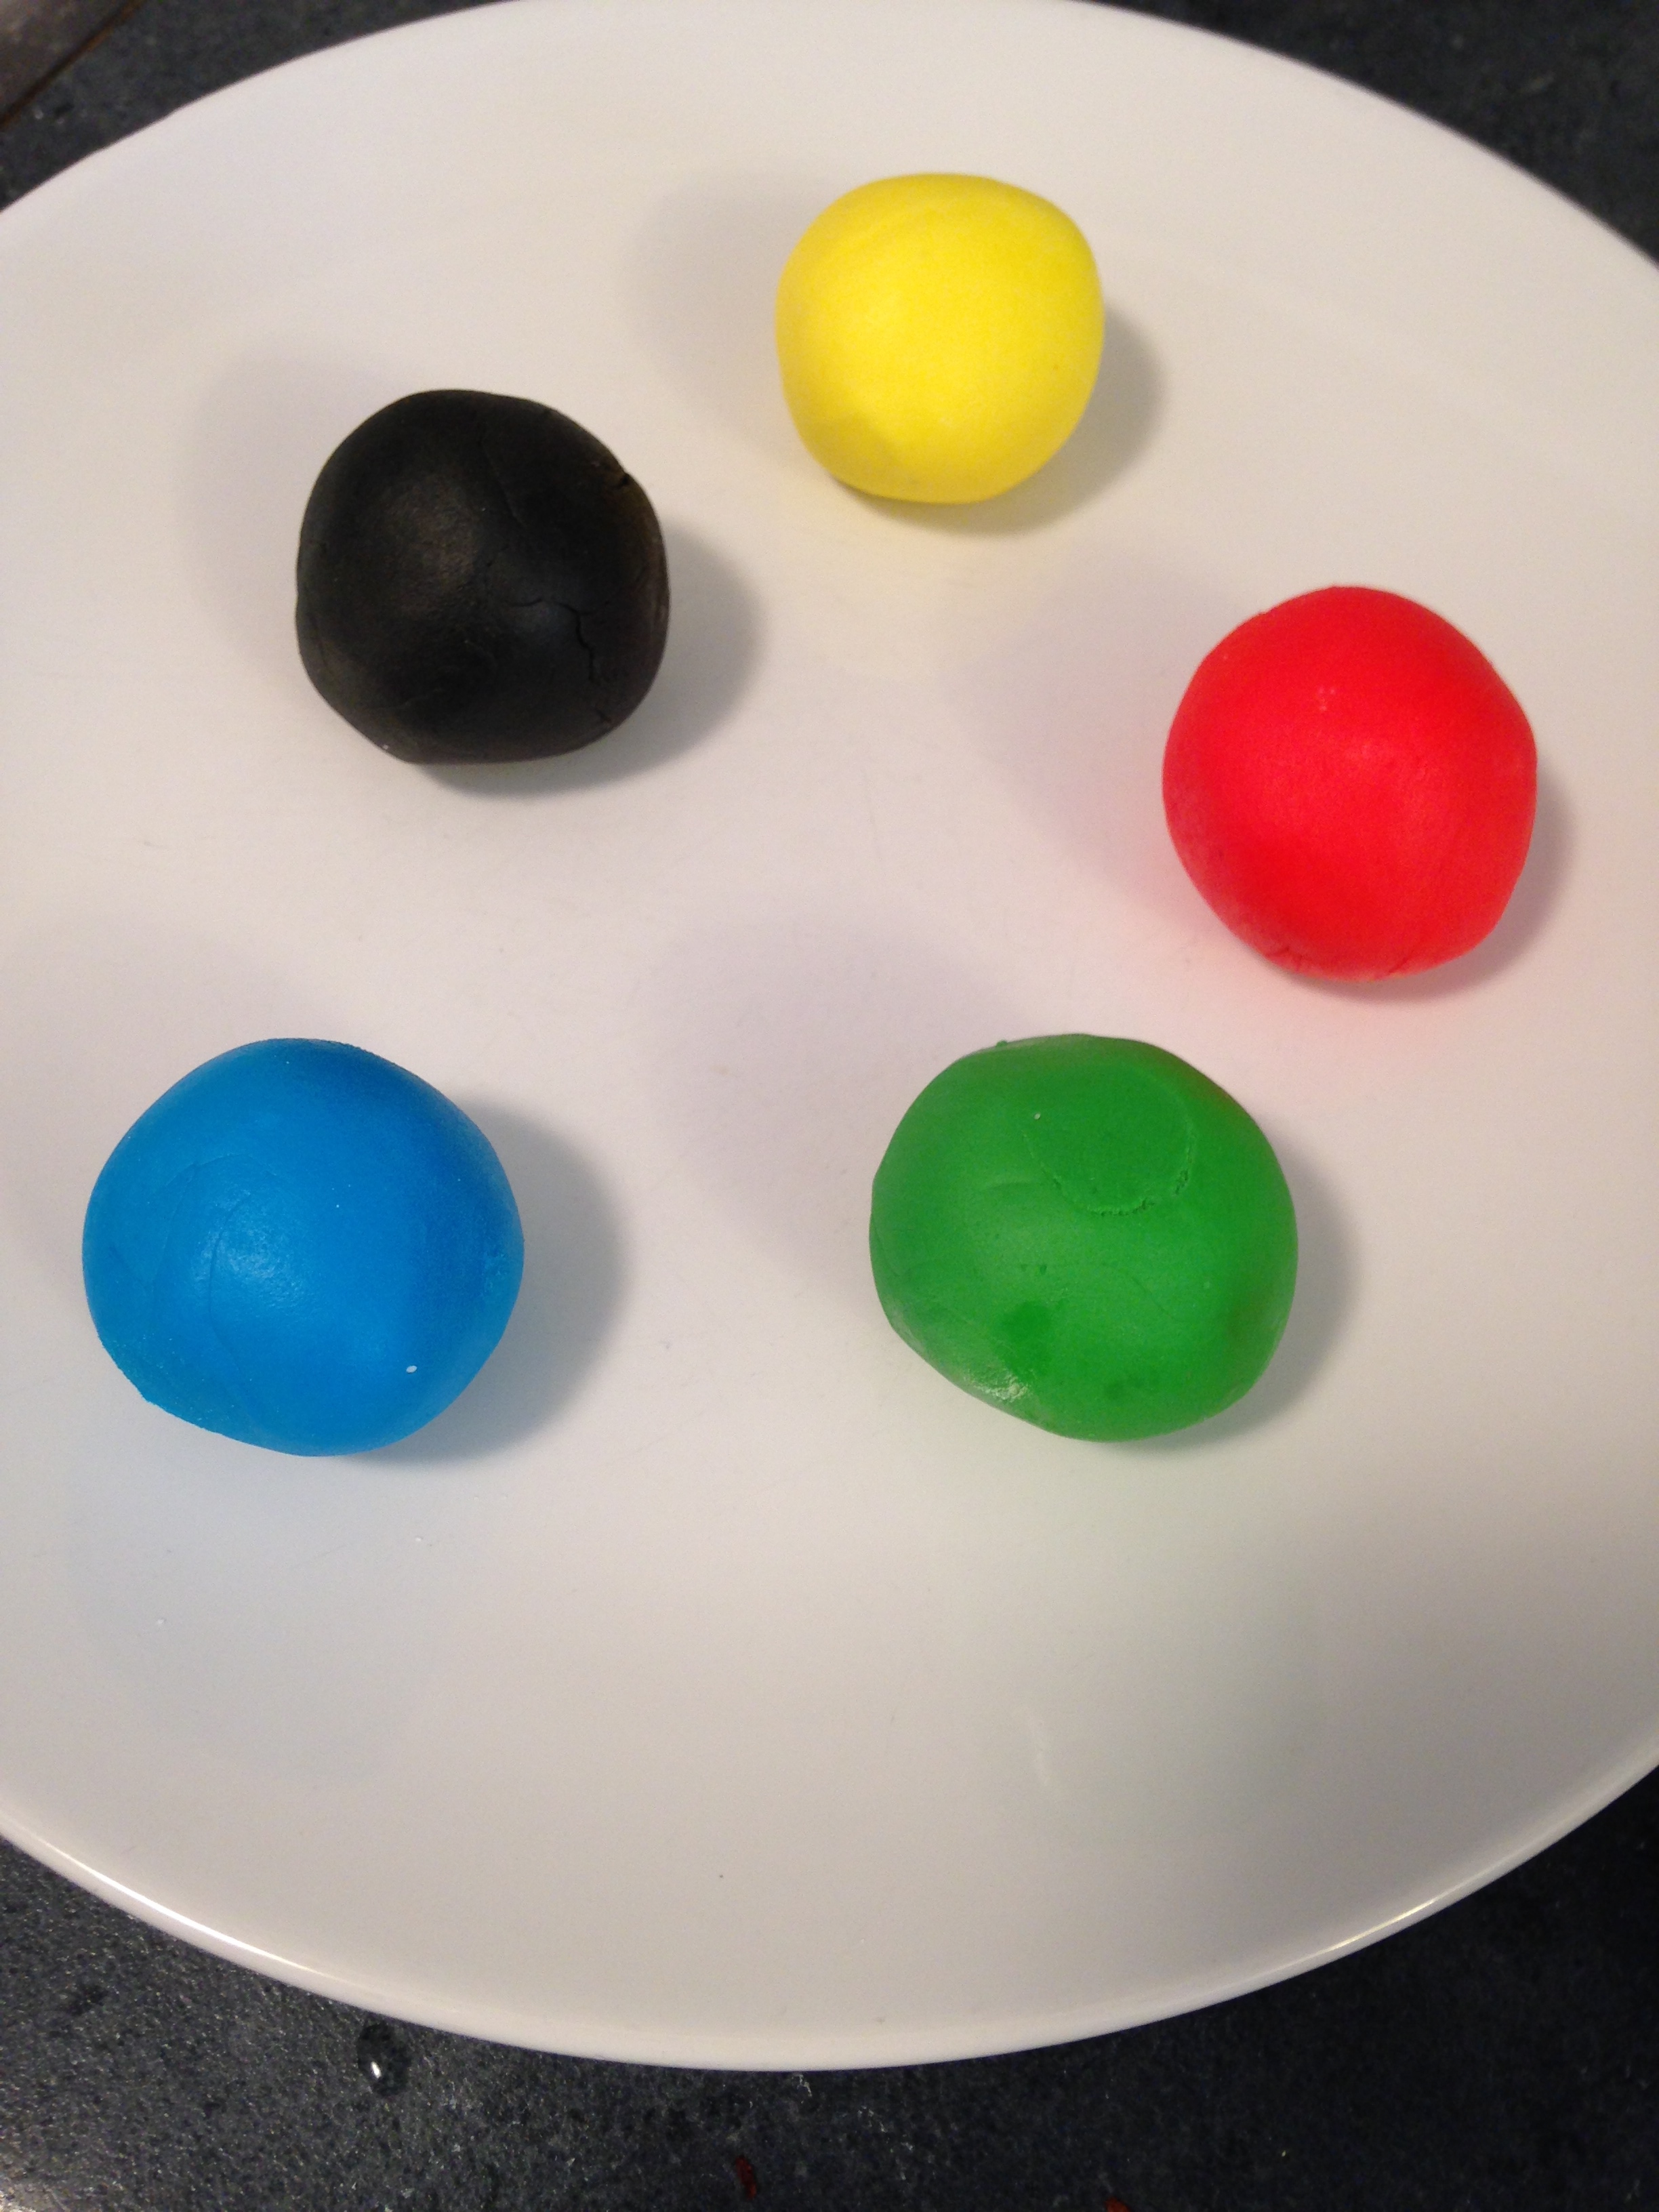
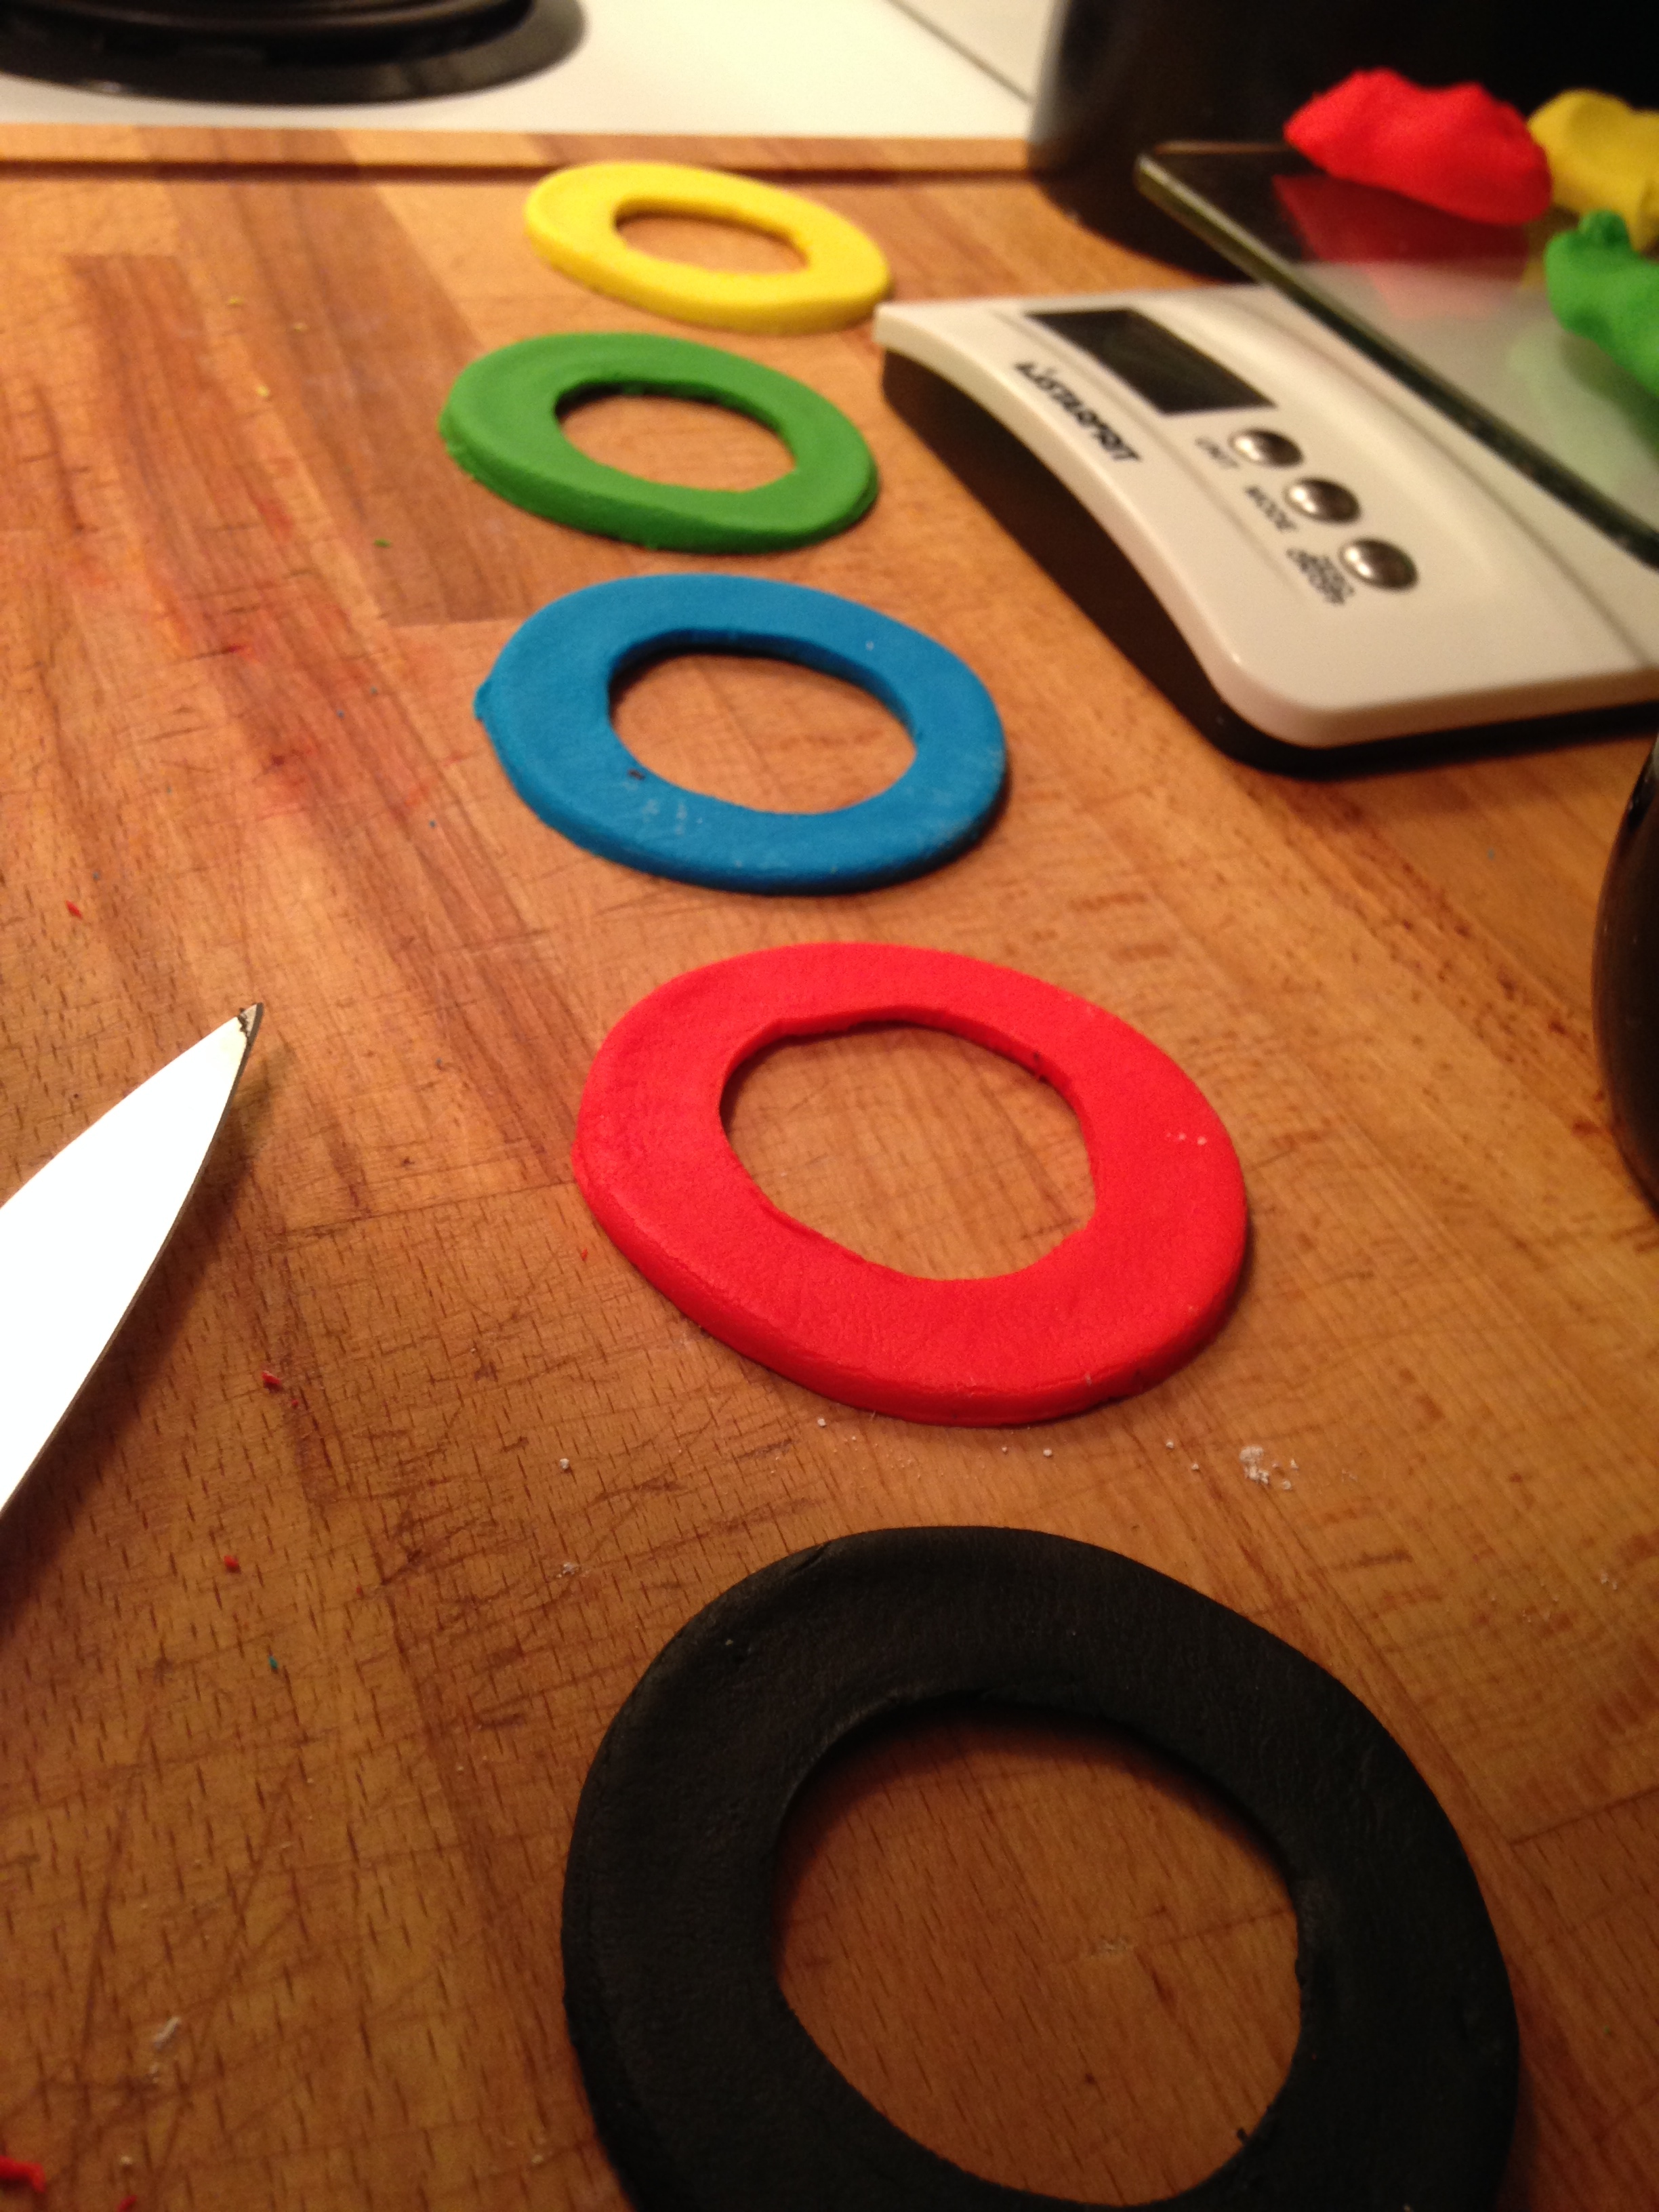
I used a super simple marshmallow fondant. Being the second time I've made this it went a loooot faster. For the Olympic rings, I separated out 5 X 3 ounce pieces of the finished fondant. I use concentrated colour from Wilton (it's meant for icing colour so yay!). Basically, put the colour in the centre of the ball of fondant and knead it until the colour is solid. If you don't have gloves you can try using plastic wrap mittens to keep the colour off your fingers. Key being TRY.

8 ounces miniature marshmallows (4 cups not packed, or half of a 16-ounce bag)
2 tbsp water
1 pound icing sugar (4 cups), plus extra for kneading and rolling it out

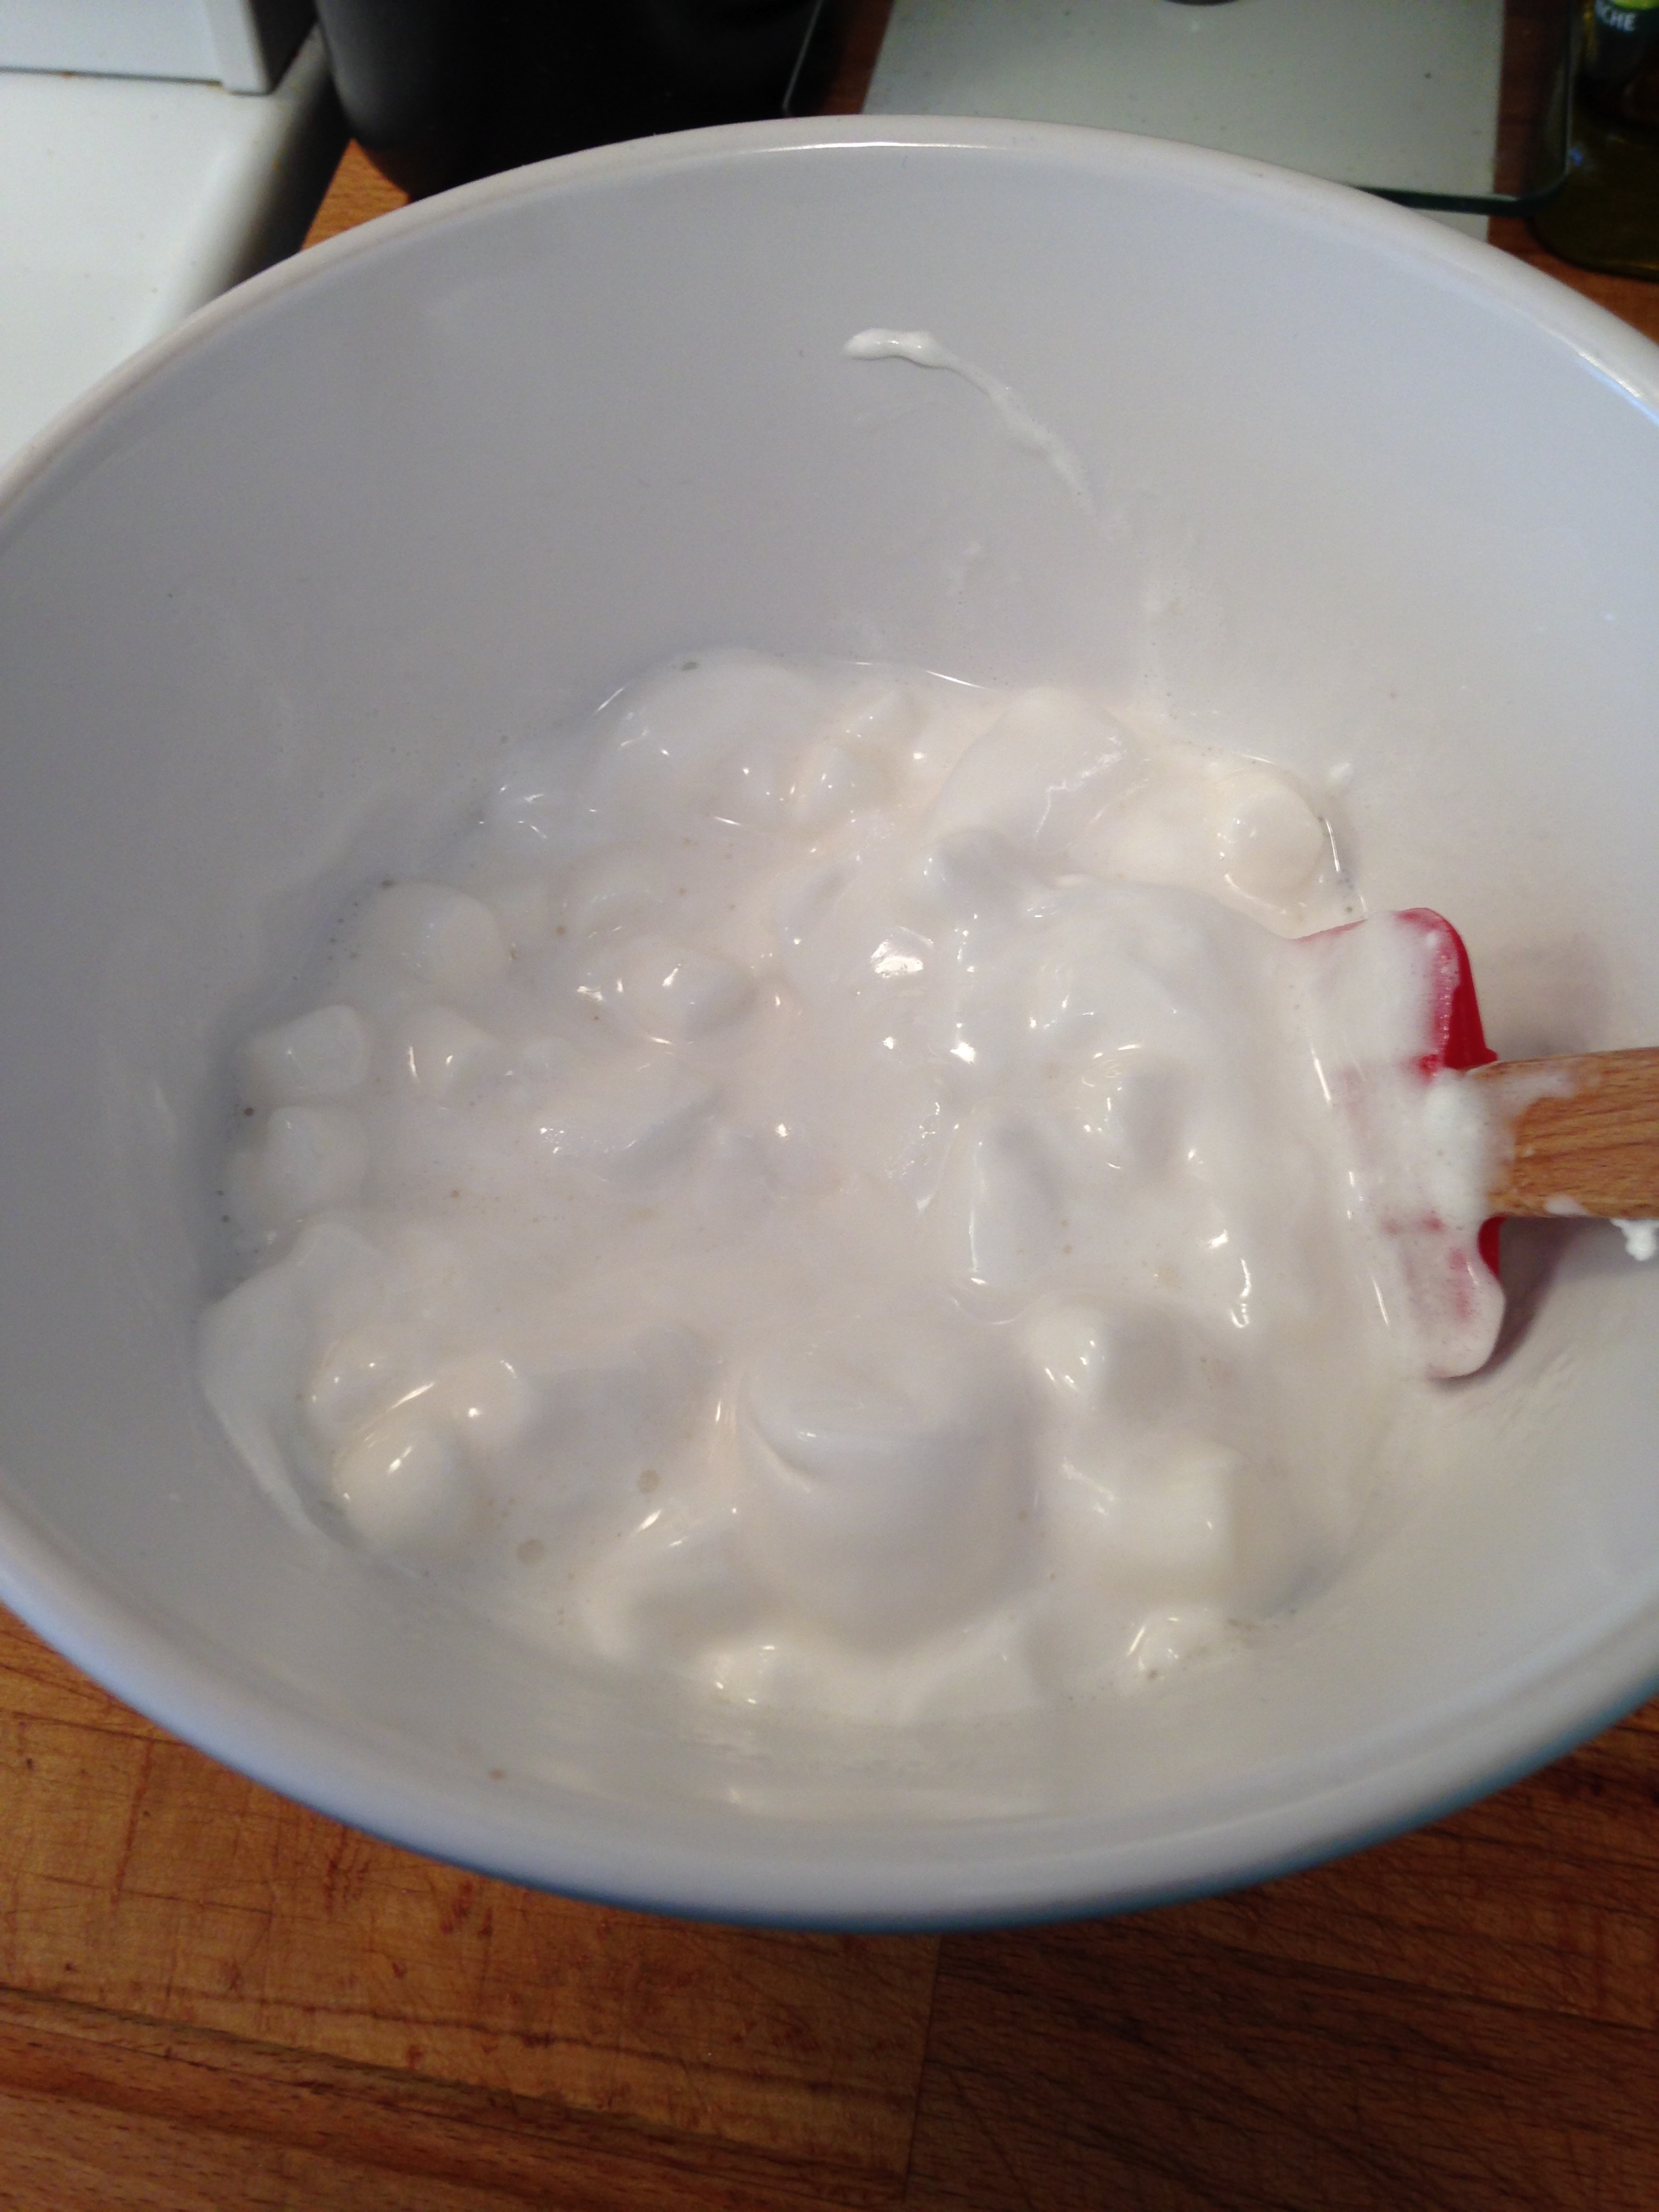
  1. Place the marshmallows and water in a large microwave-safe bowl. Microwave on high for 1 minute, until the marshmallows are puffy and expanded.
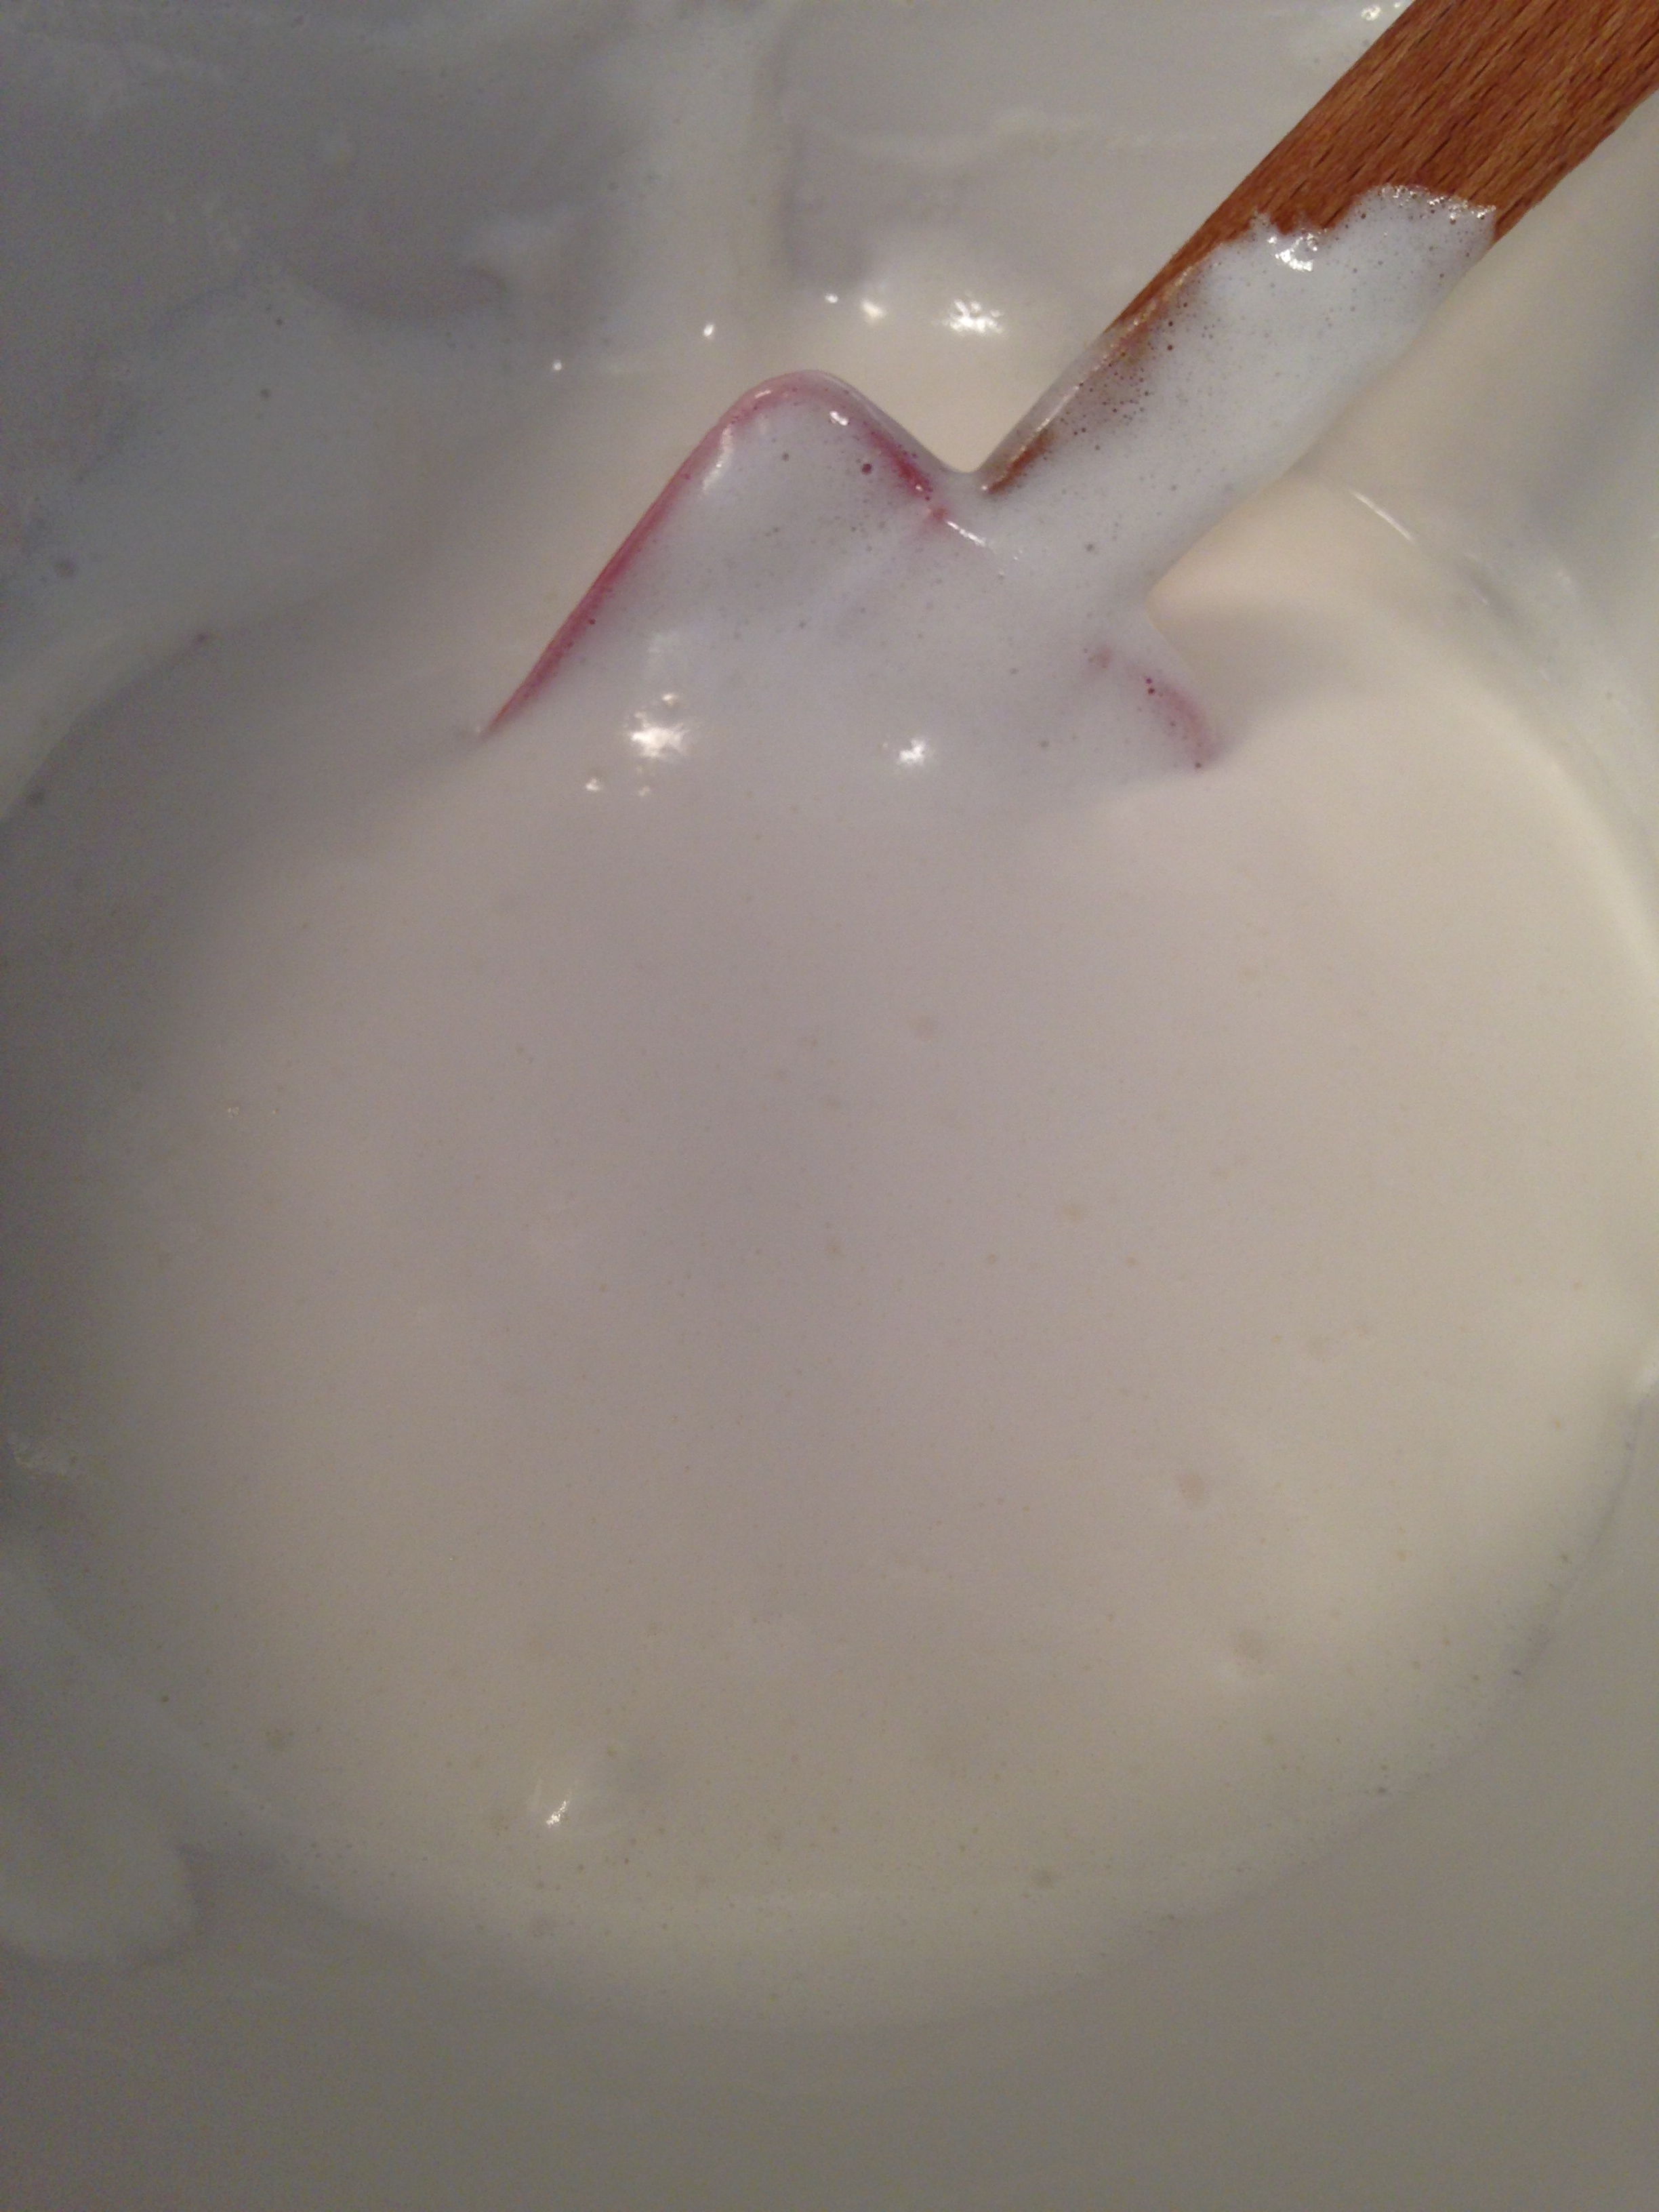
  2. Stir marshmallows with a rubber spatula until they are melted and smooth. (If some unmelted marshmallow pieces remain, return to the microwave for 30-45 seconds, until the marshmallow mixture is entirely smooth and free of lumps.)
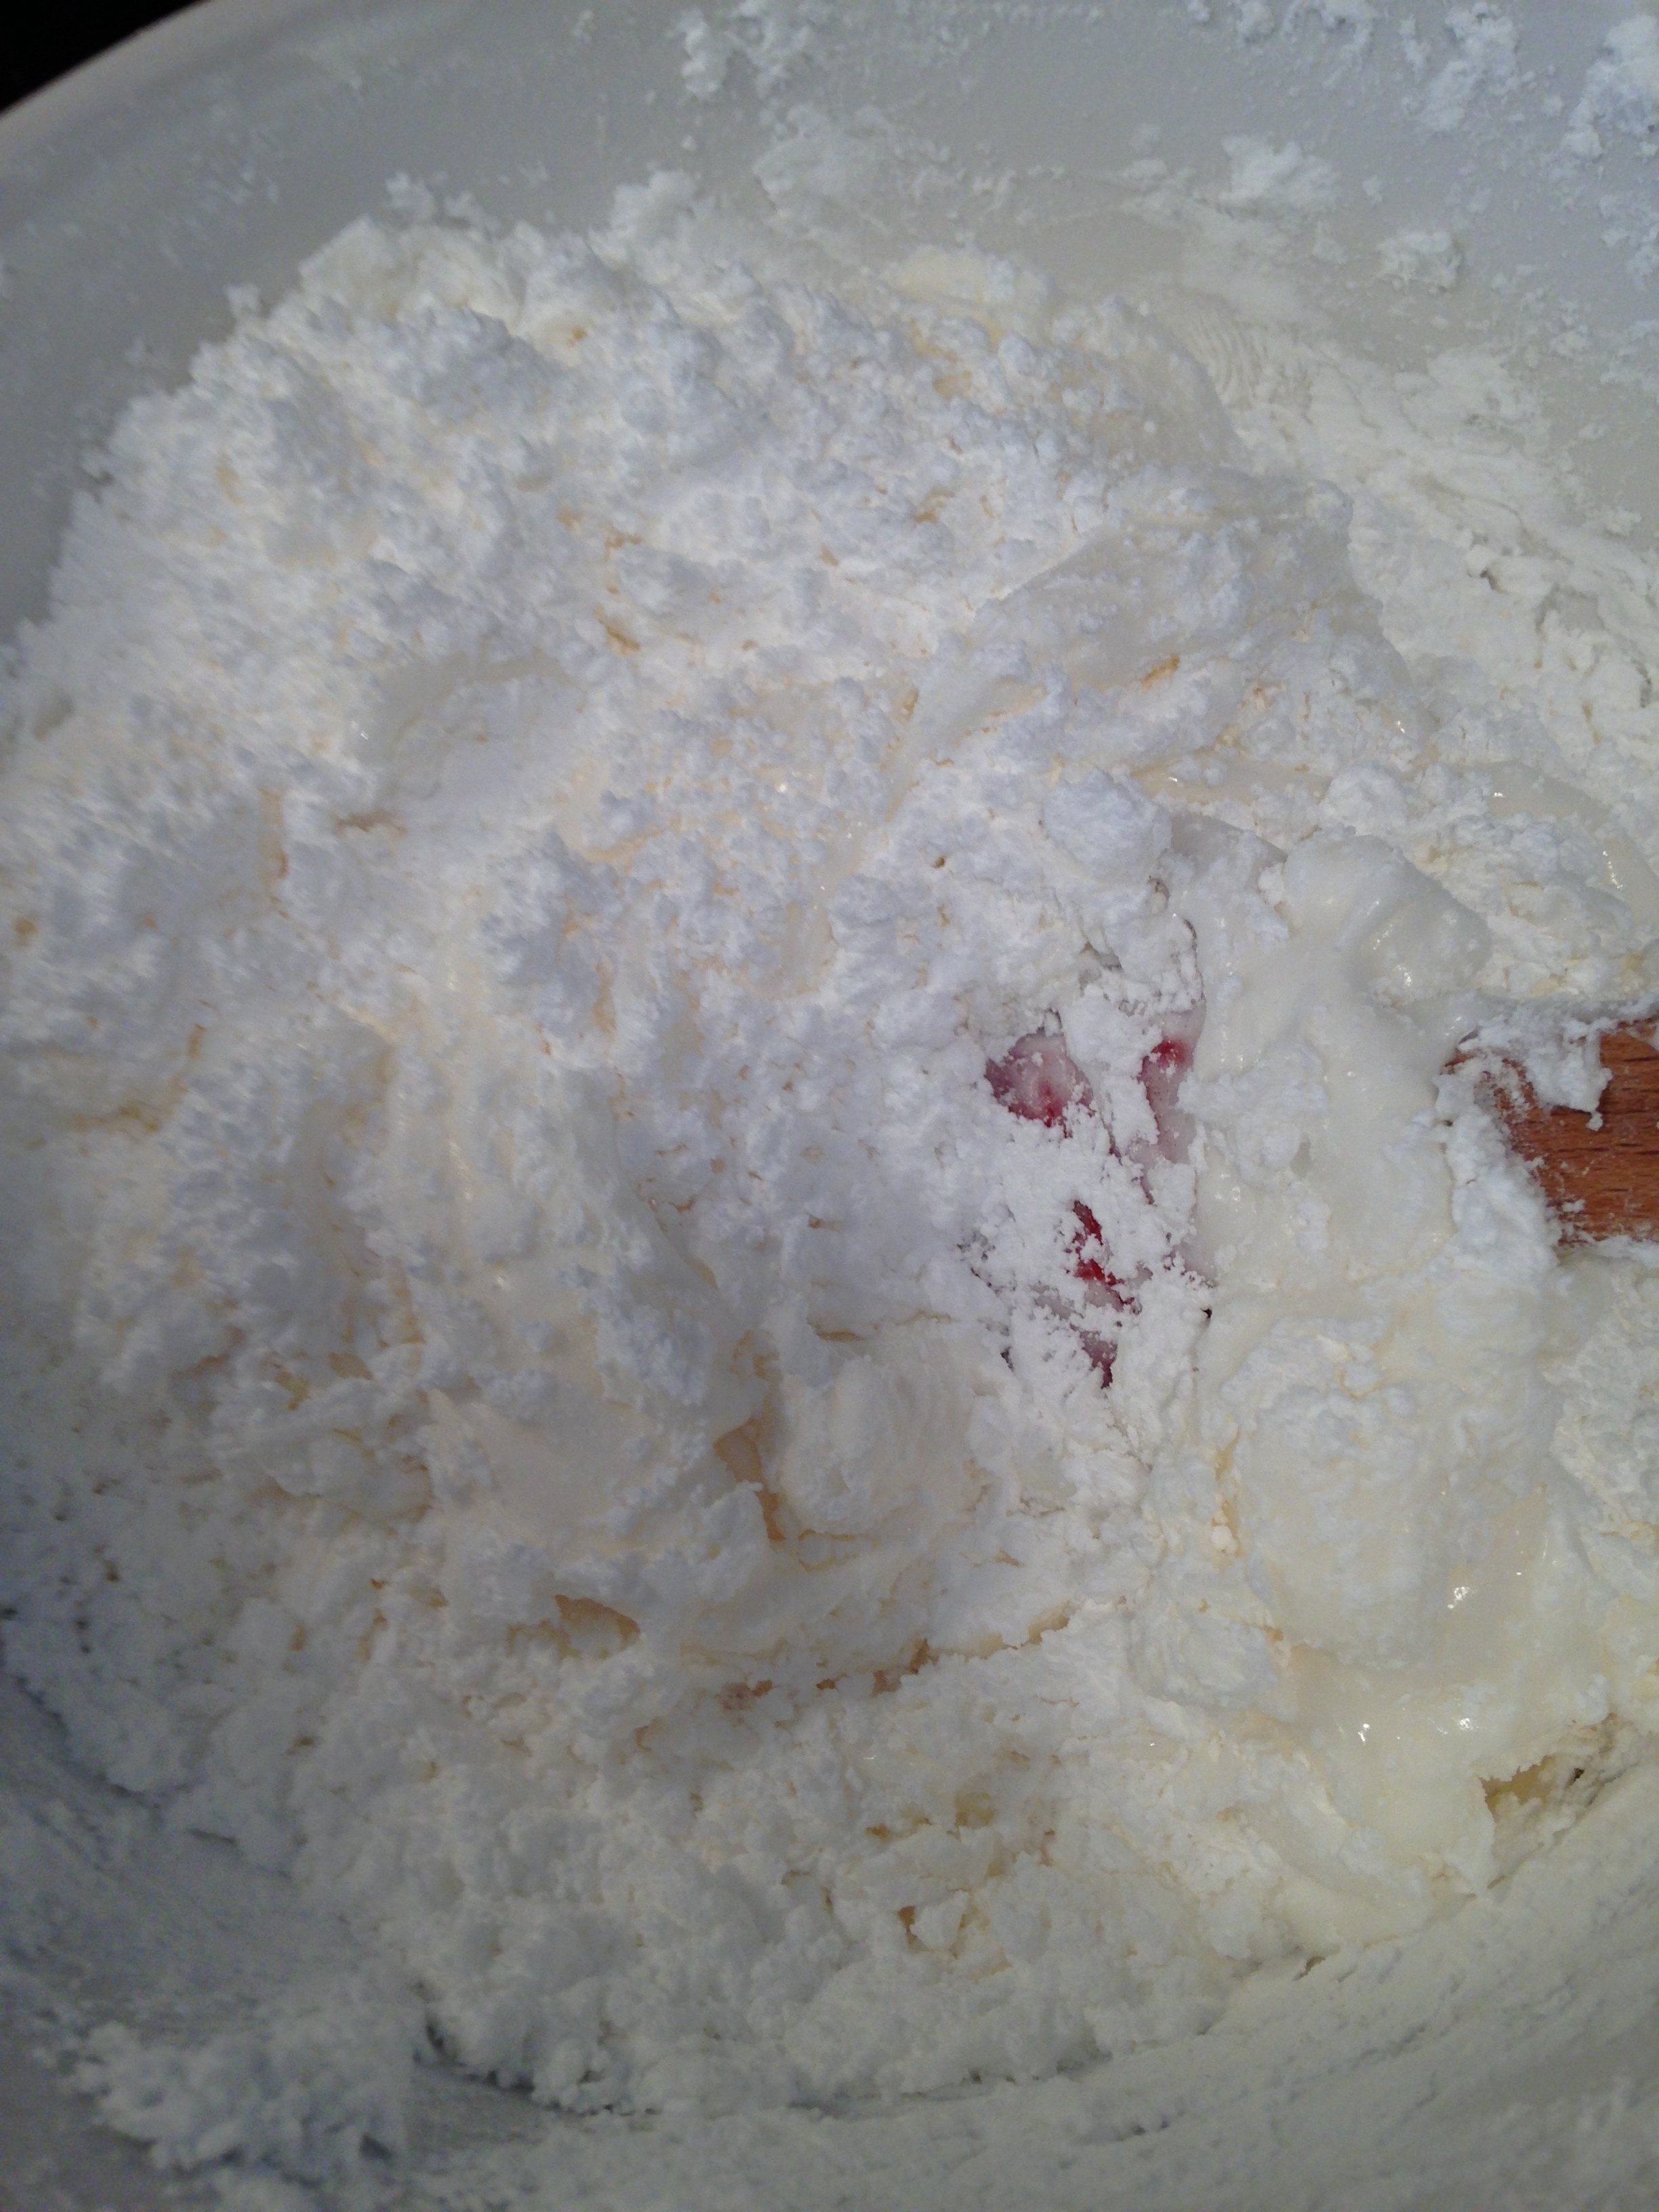
  3. Add the icing sugar and begin to stir with the spatula. Stir until the sugar begins to incorporate and it becomes impossible to stir anymore.
  4. Sprinkle icing sugar on a clean and dry counter. Scrape out the marshmallow goo onto prepared counter. It will be sticky and lumpy, with lots of sugar that has not been incorporated yet. Begin to knead the fondant mixture like dough, working the sugar into the marshmallow goo with your hands.
  5. Continue to knead the fondant until it smoothes out and loses its stickiness. Add more sugar if necessary, but stop adding sugar once it is smooth. (Too much sugar will make it stiff and difficult to work with.) Once the fondant is a smooth ball, it is ready to be used.
  6. To roll out the fondant, cover a clean and dry counter in icing sugar. Using a rolling pin, start rolling the ball of fondant out by making cross like strokes with your rolling pin. Flip the flattened fondant ball over and repeat. Eventually you will get the point where you don't have to flip it anymore. Roll it to about 1 or a half centimetres. Pick it up gently and centre it over your cake. Lay it down and then cut off the excess using a sharp knife. 
IMG_4153.jpg

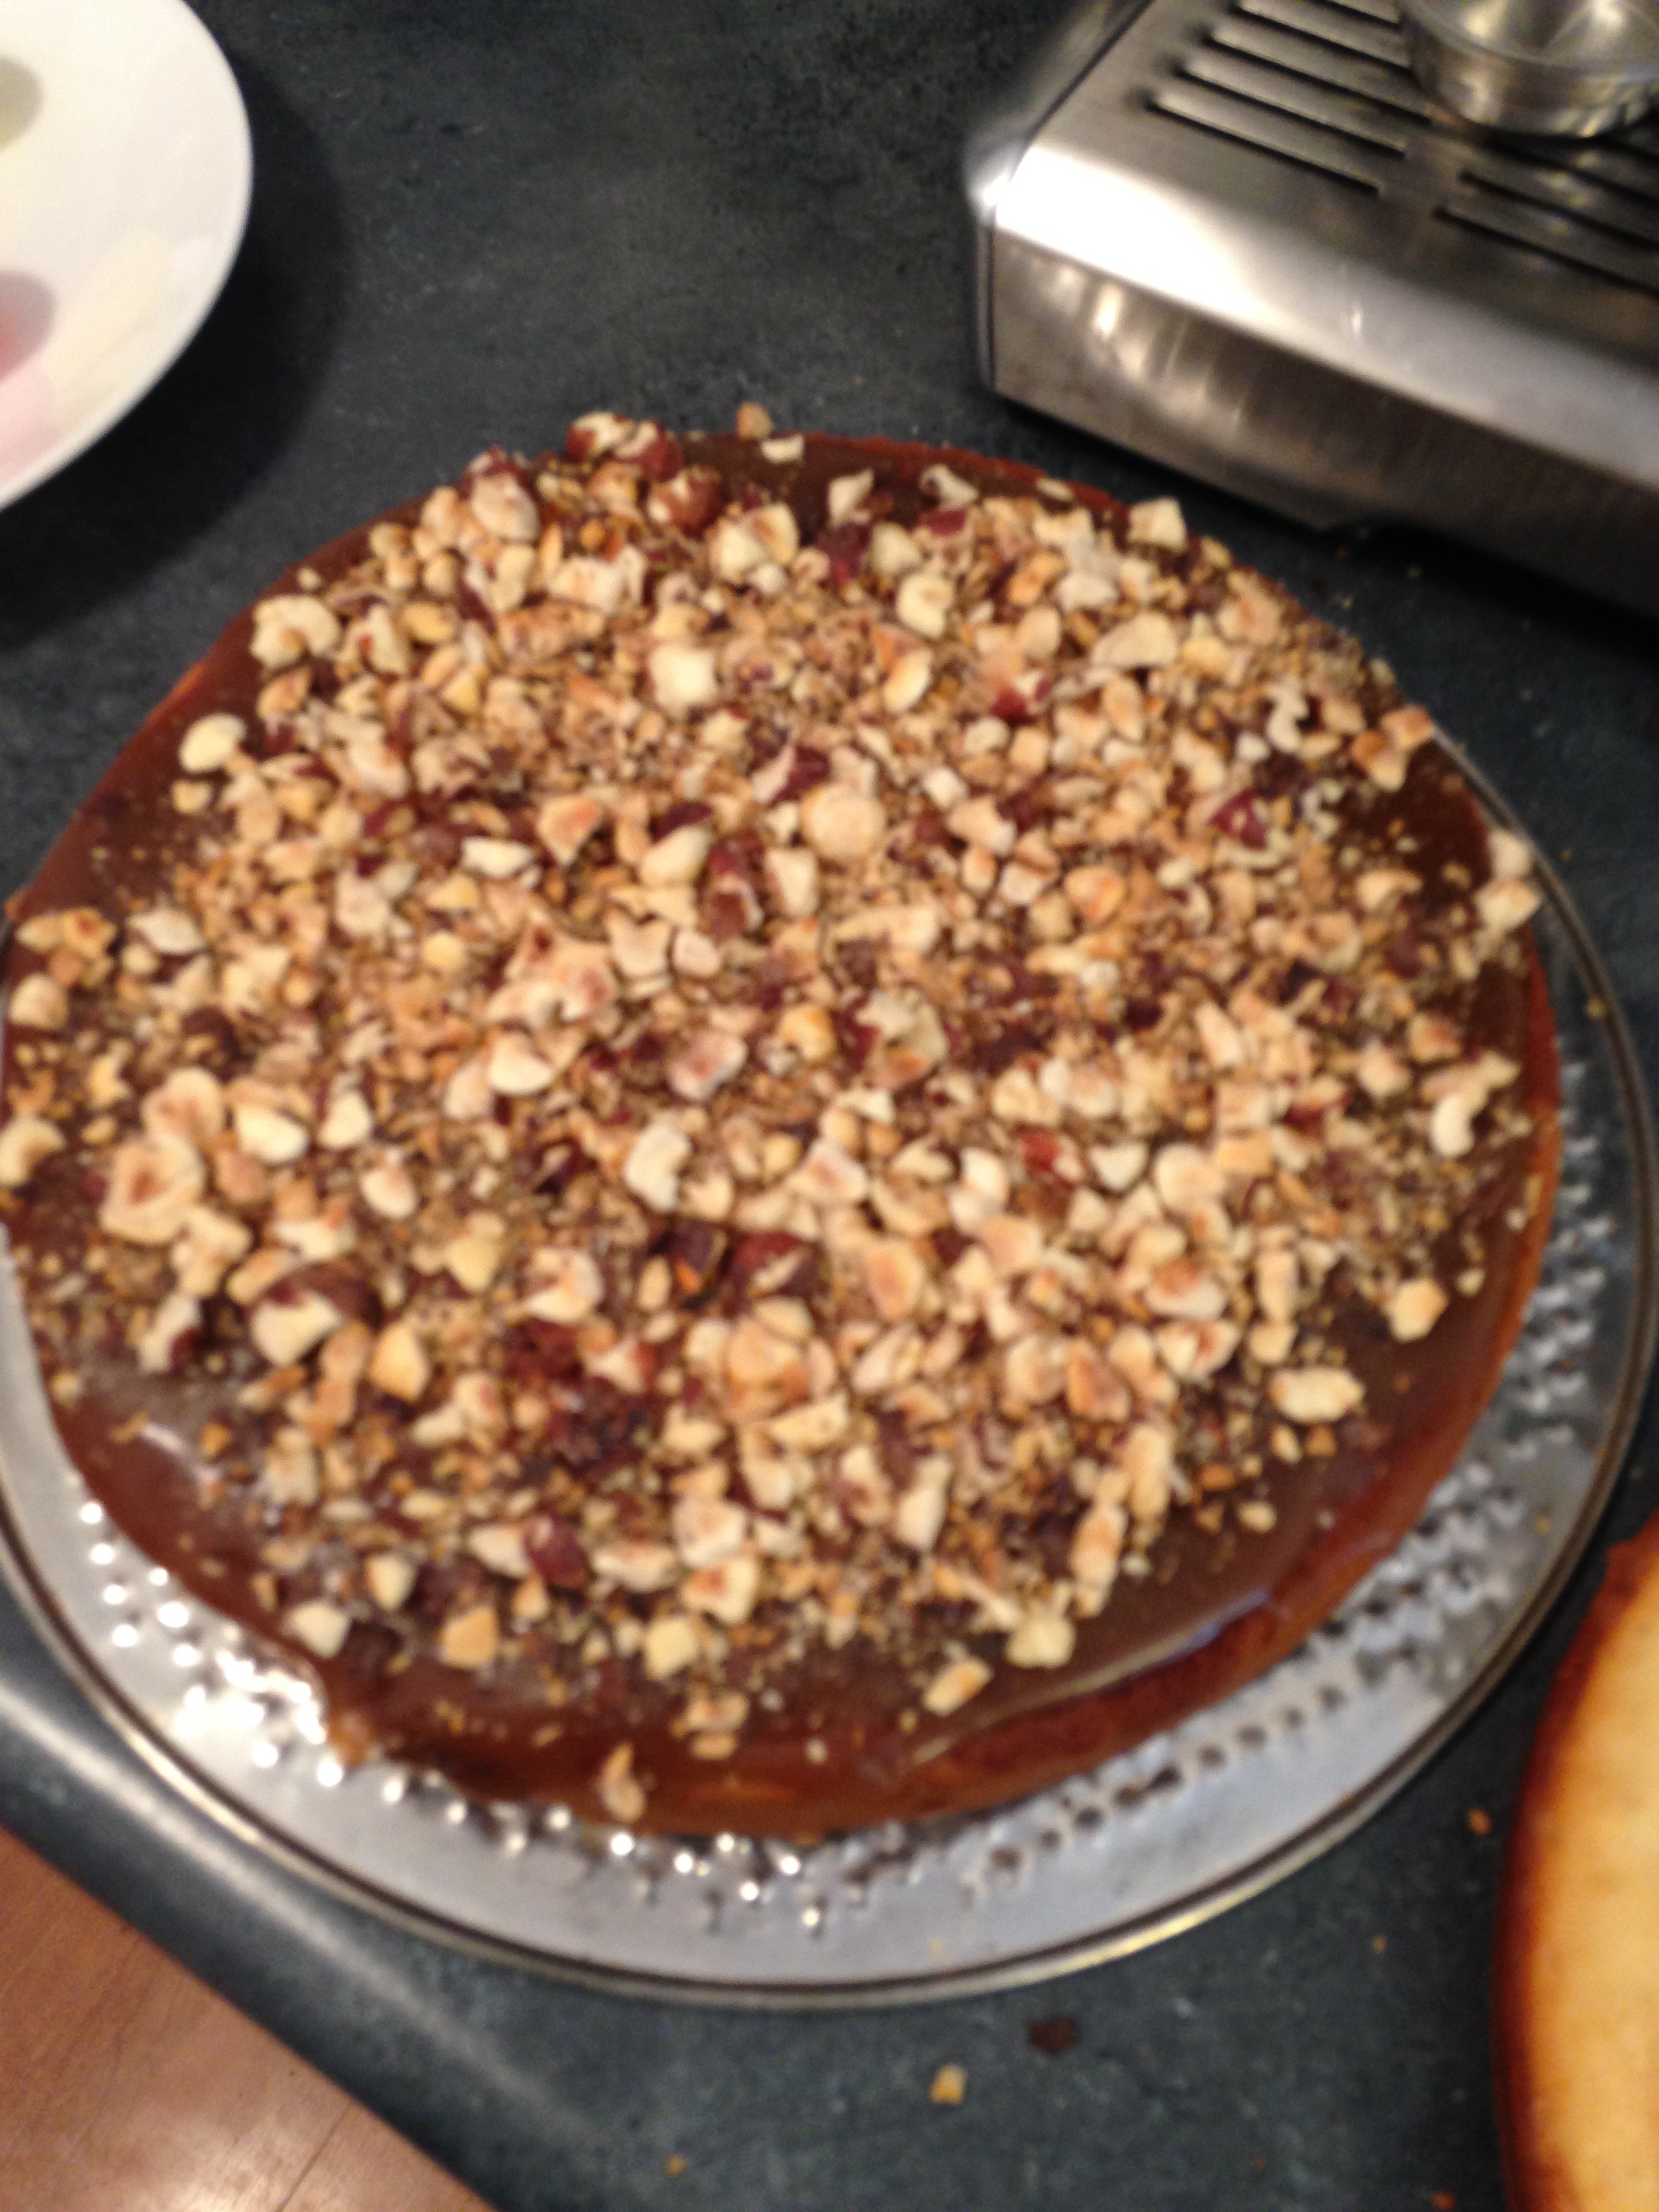
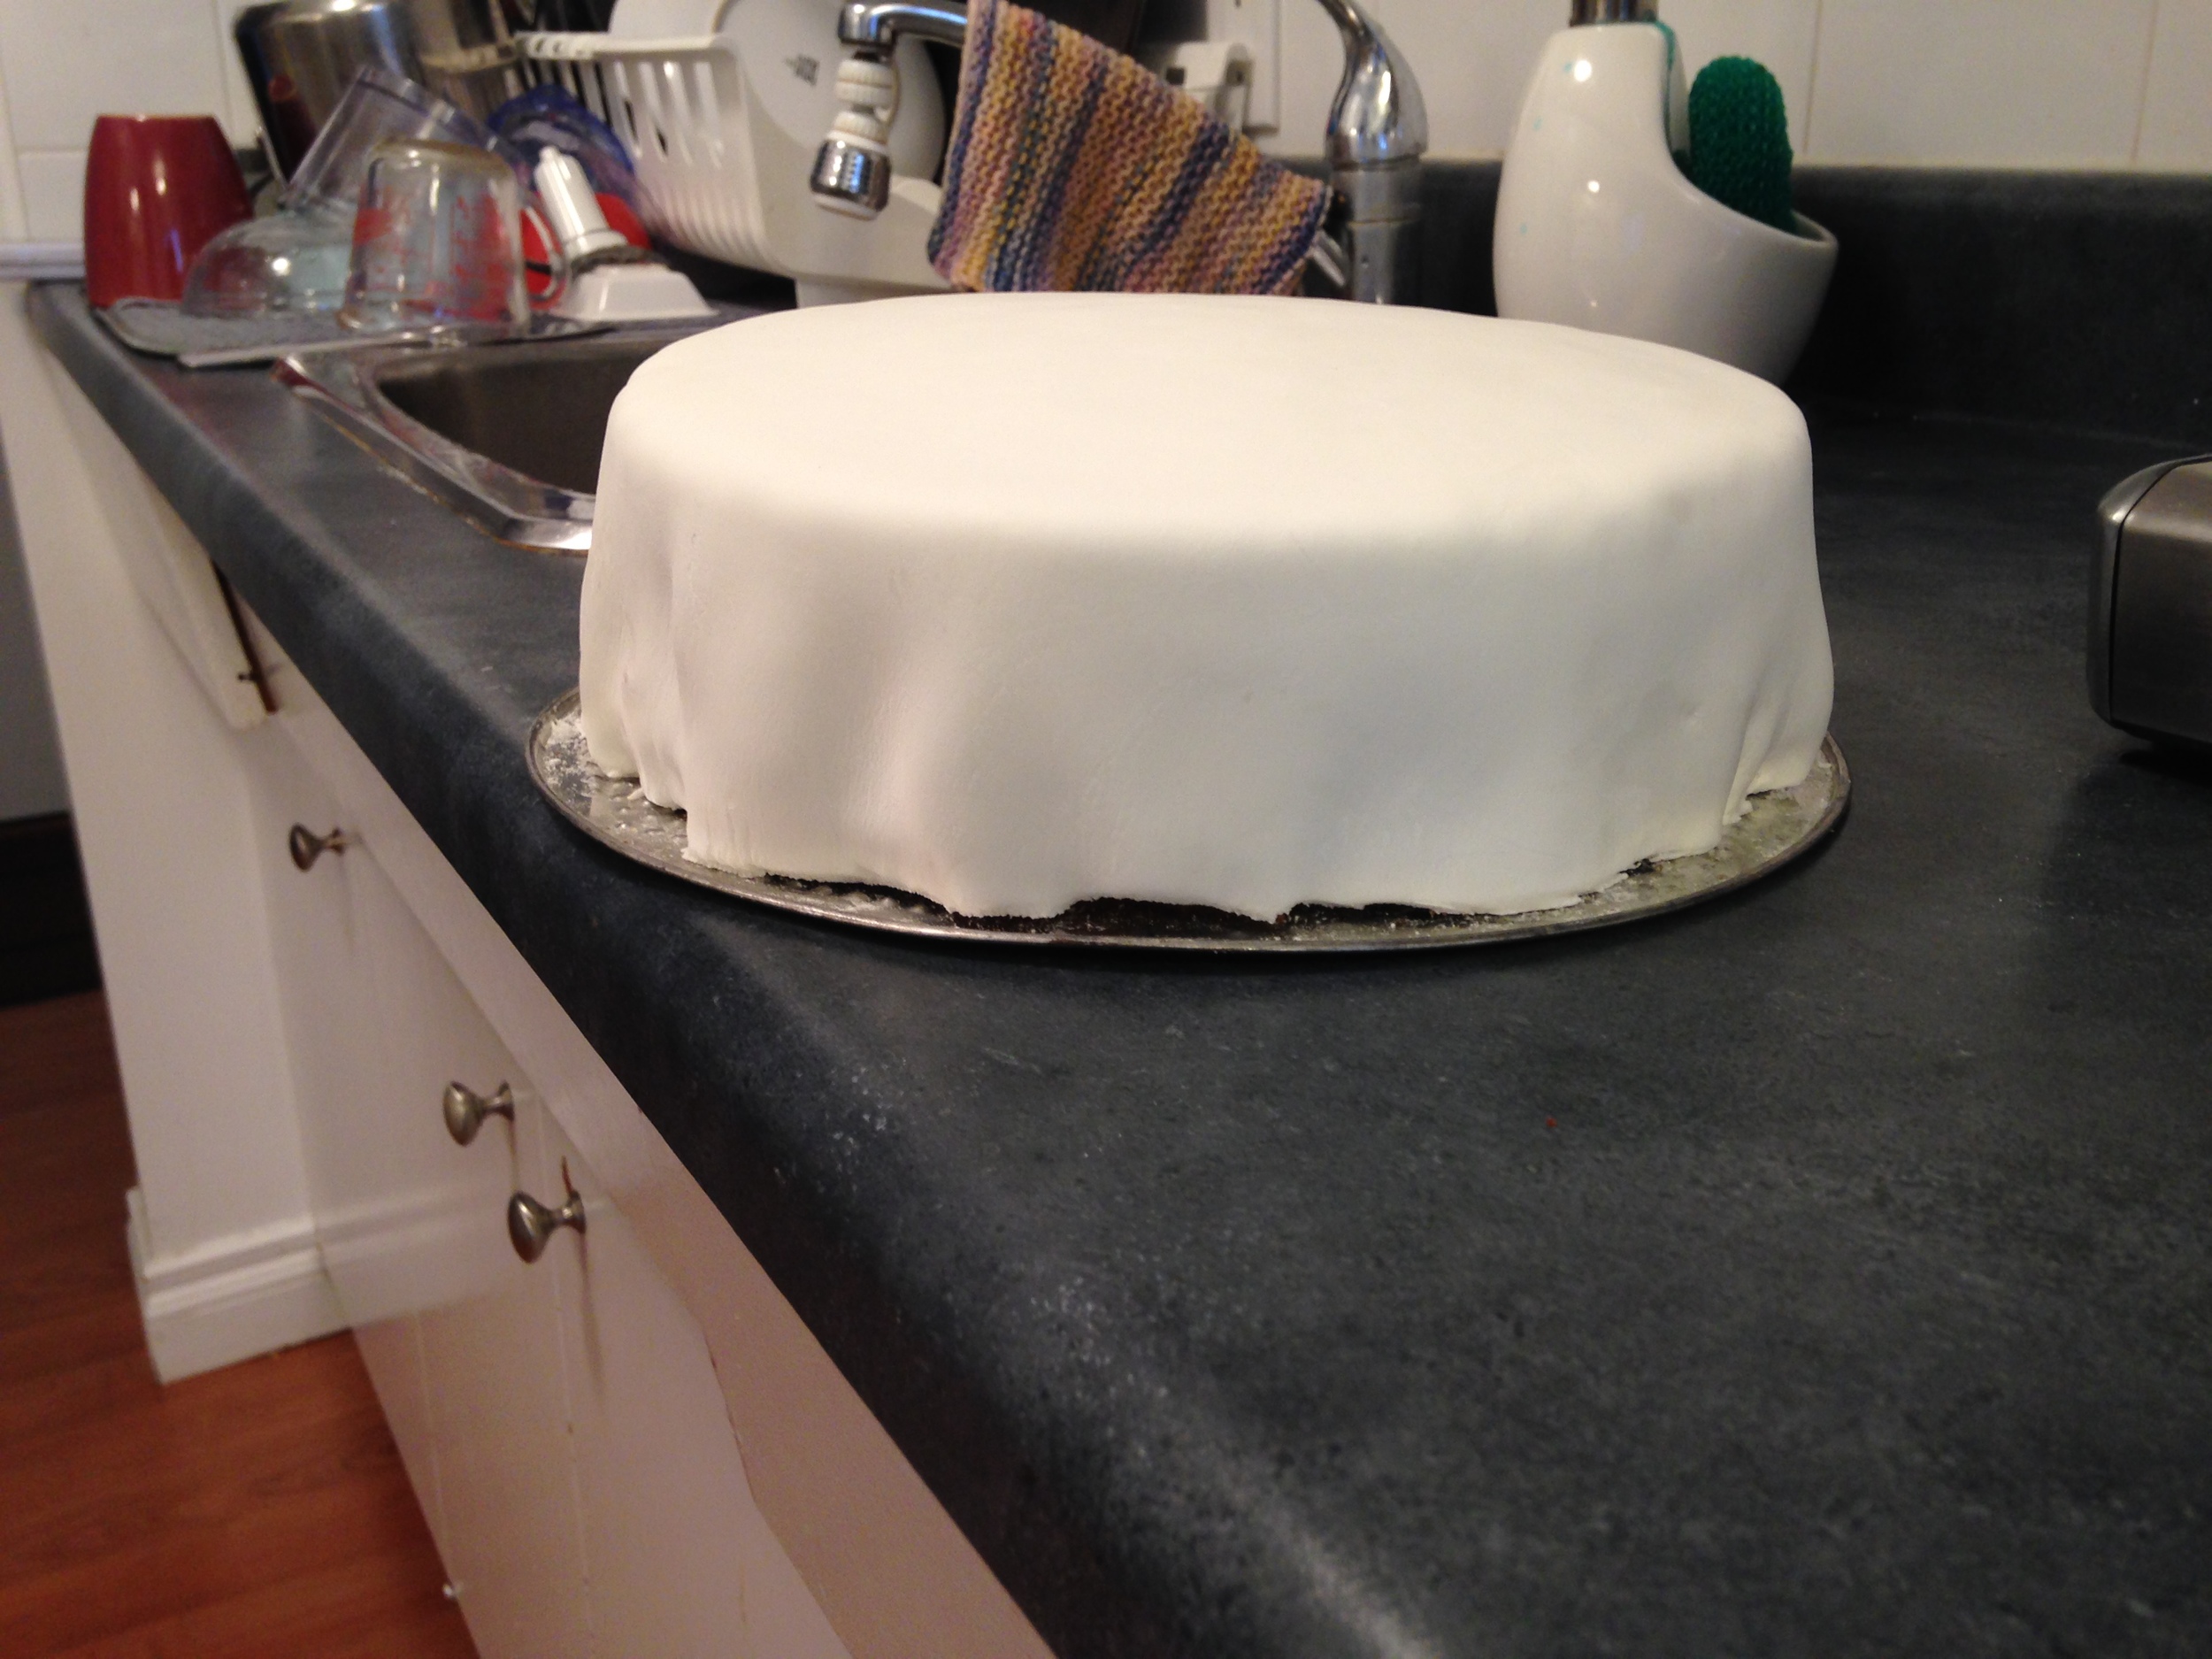
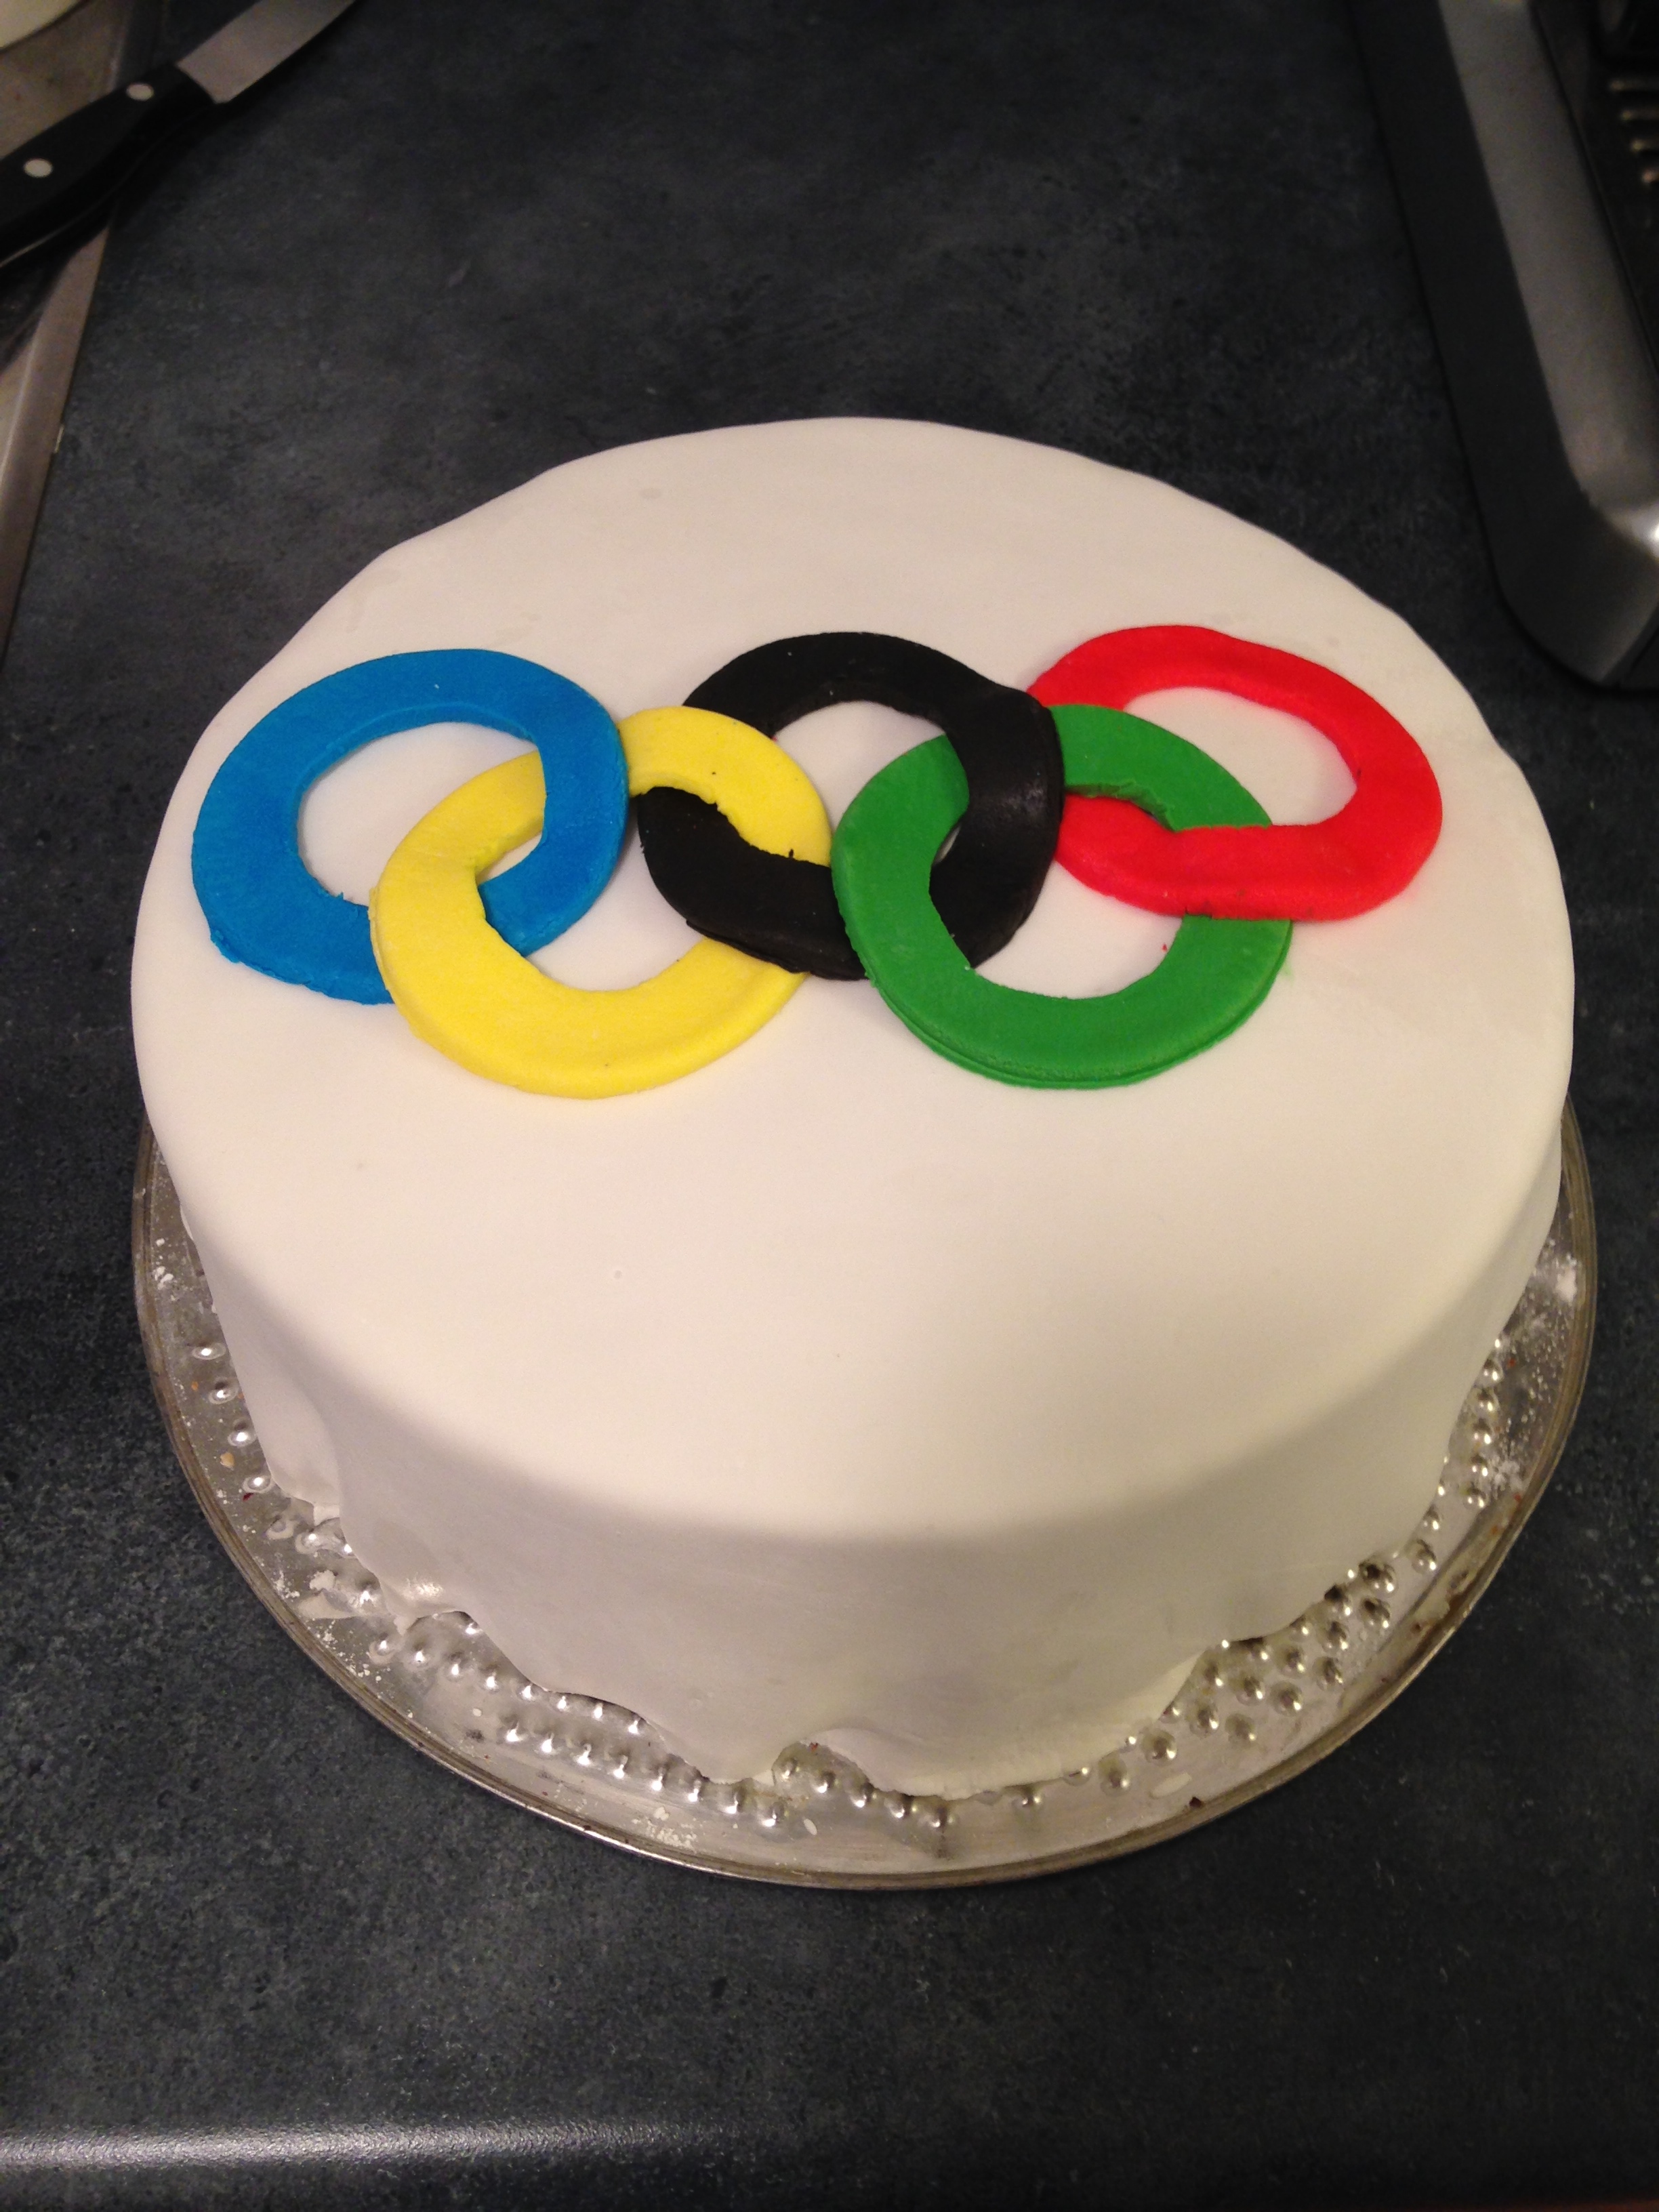
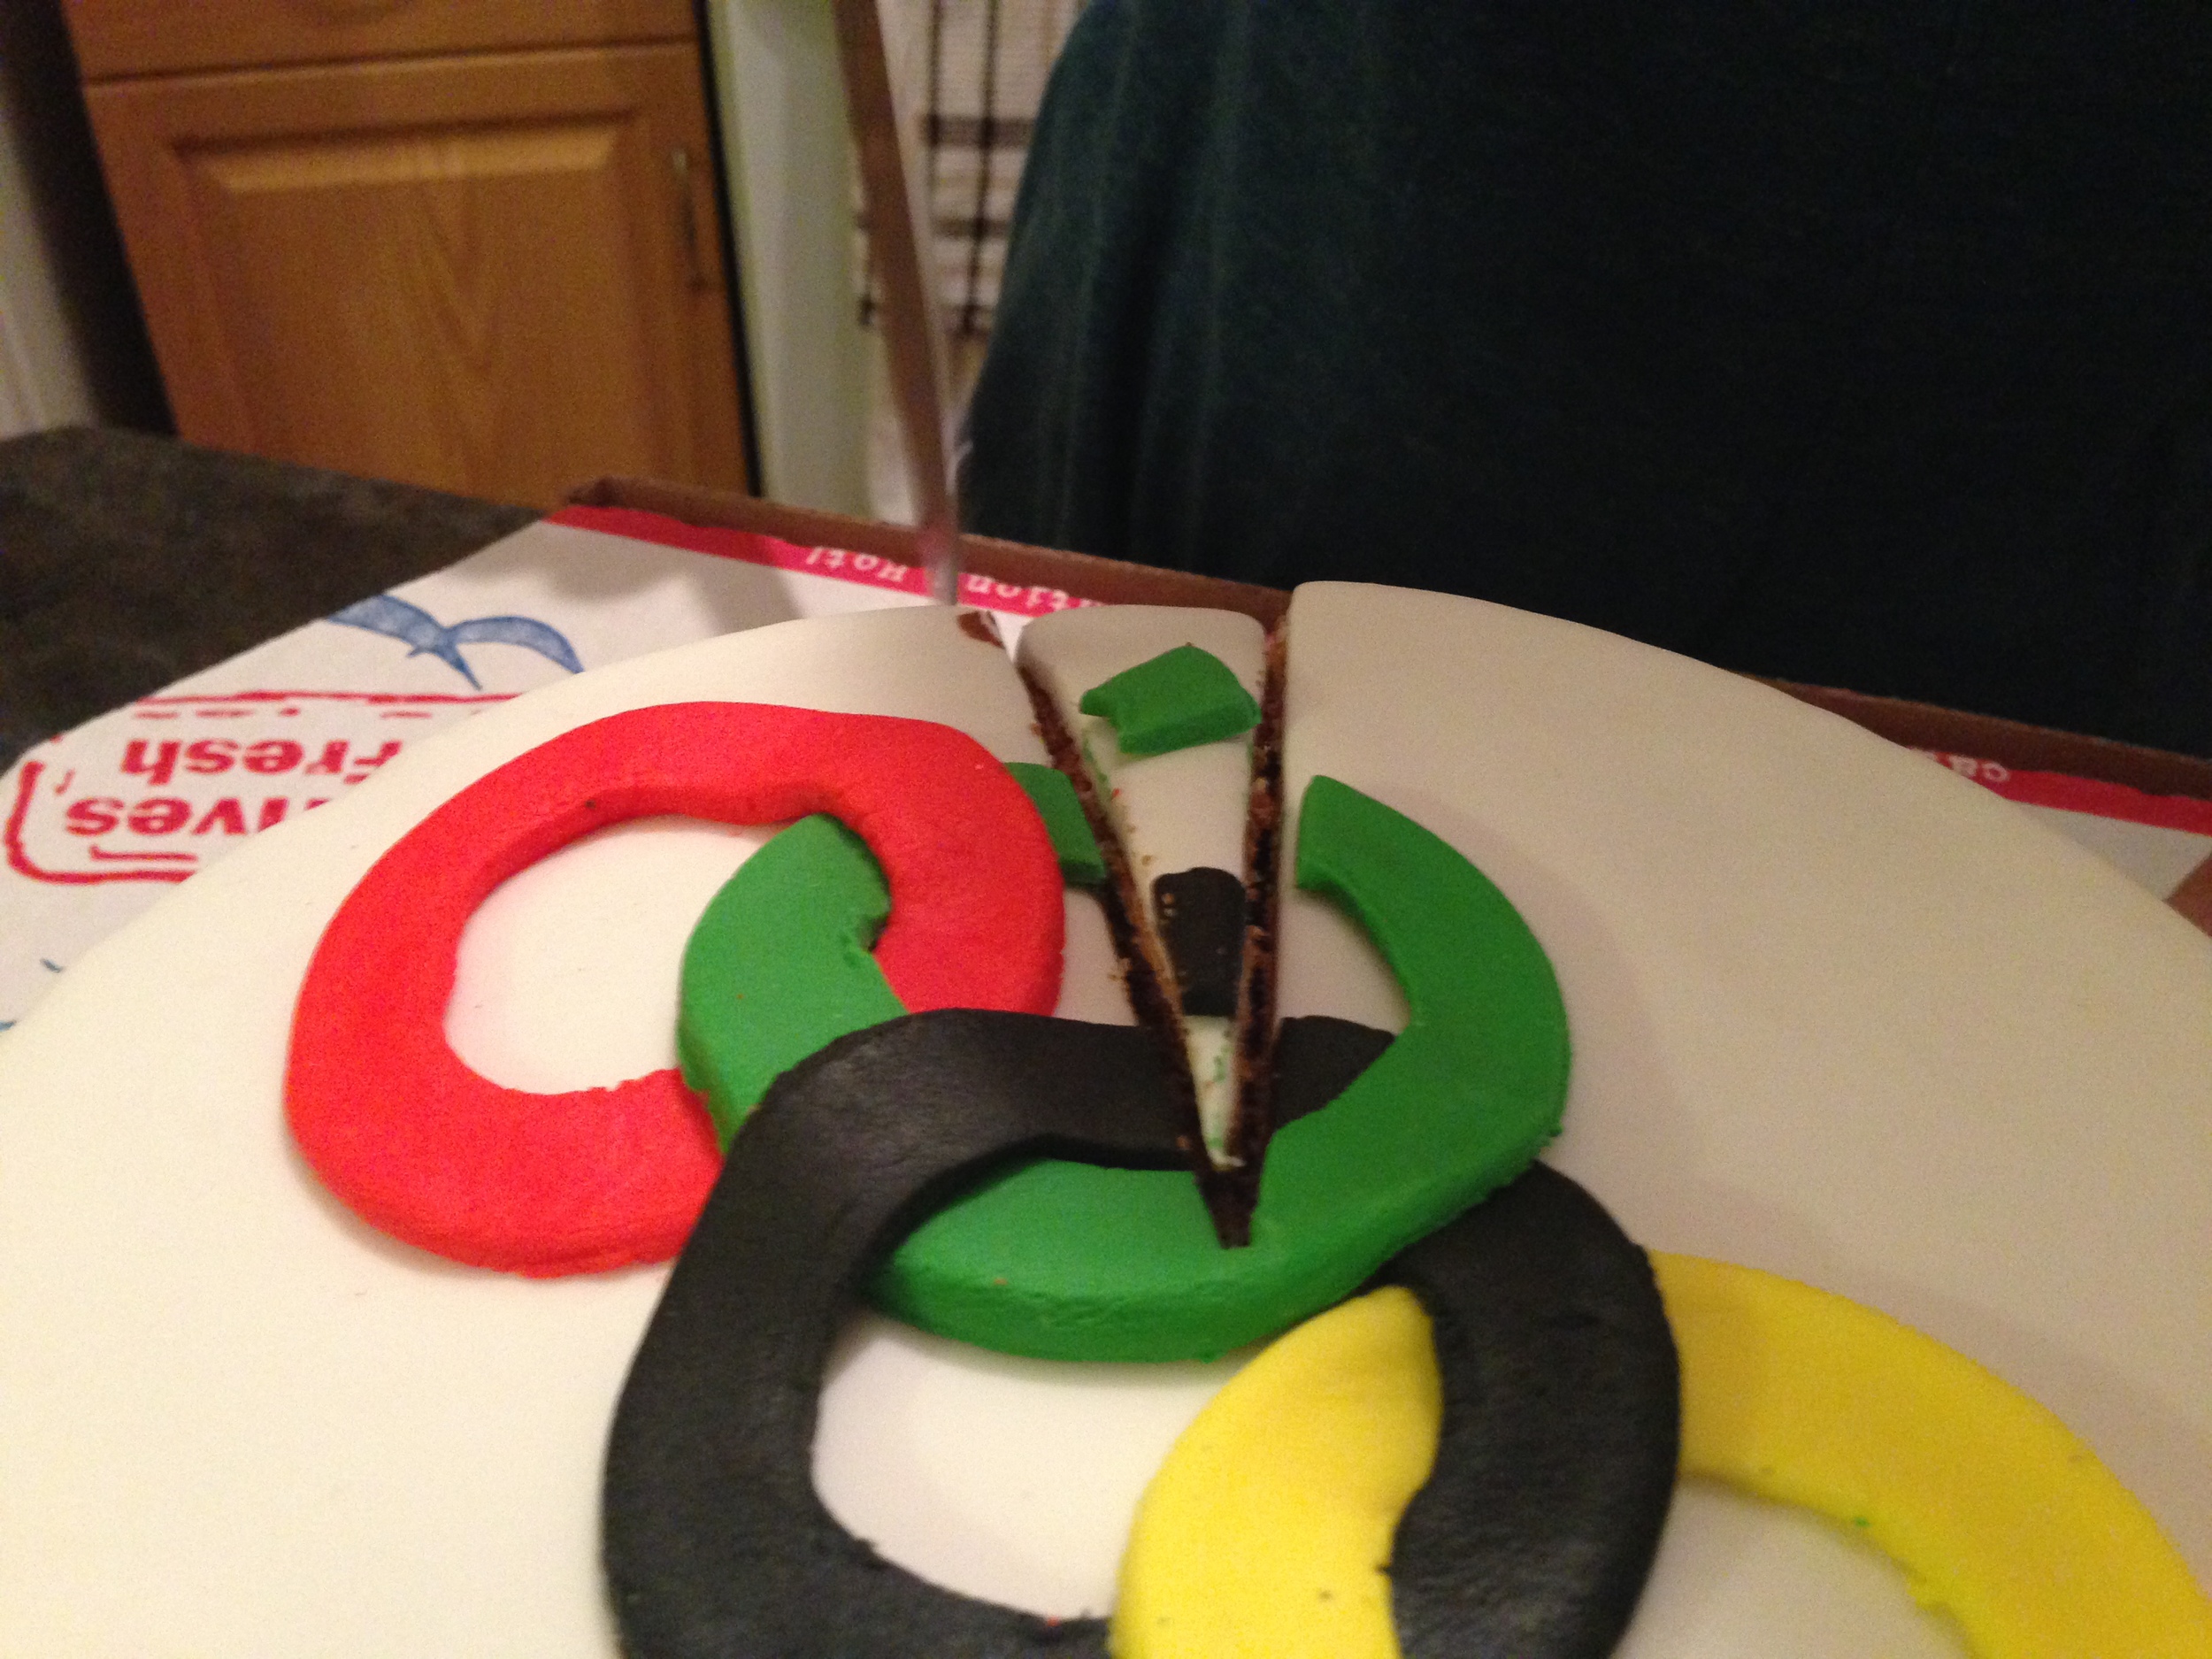
Once the caramel filling was cooled, and the cake too, I placed the bottom cake layer on a plater, spread the caramel filling on top, sprinkled on the toasted hazelnuts, and placed the second cake layer on top. Then it was rolling out the white fondant and laying it over the cake. Lastly, I cut out the rings using a variety of cup rims as cookie cutters. Et Voila! Edible Olympic rings.

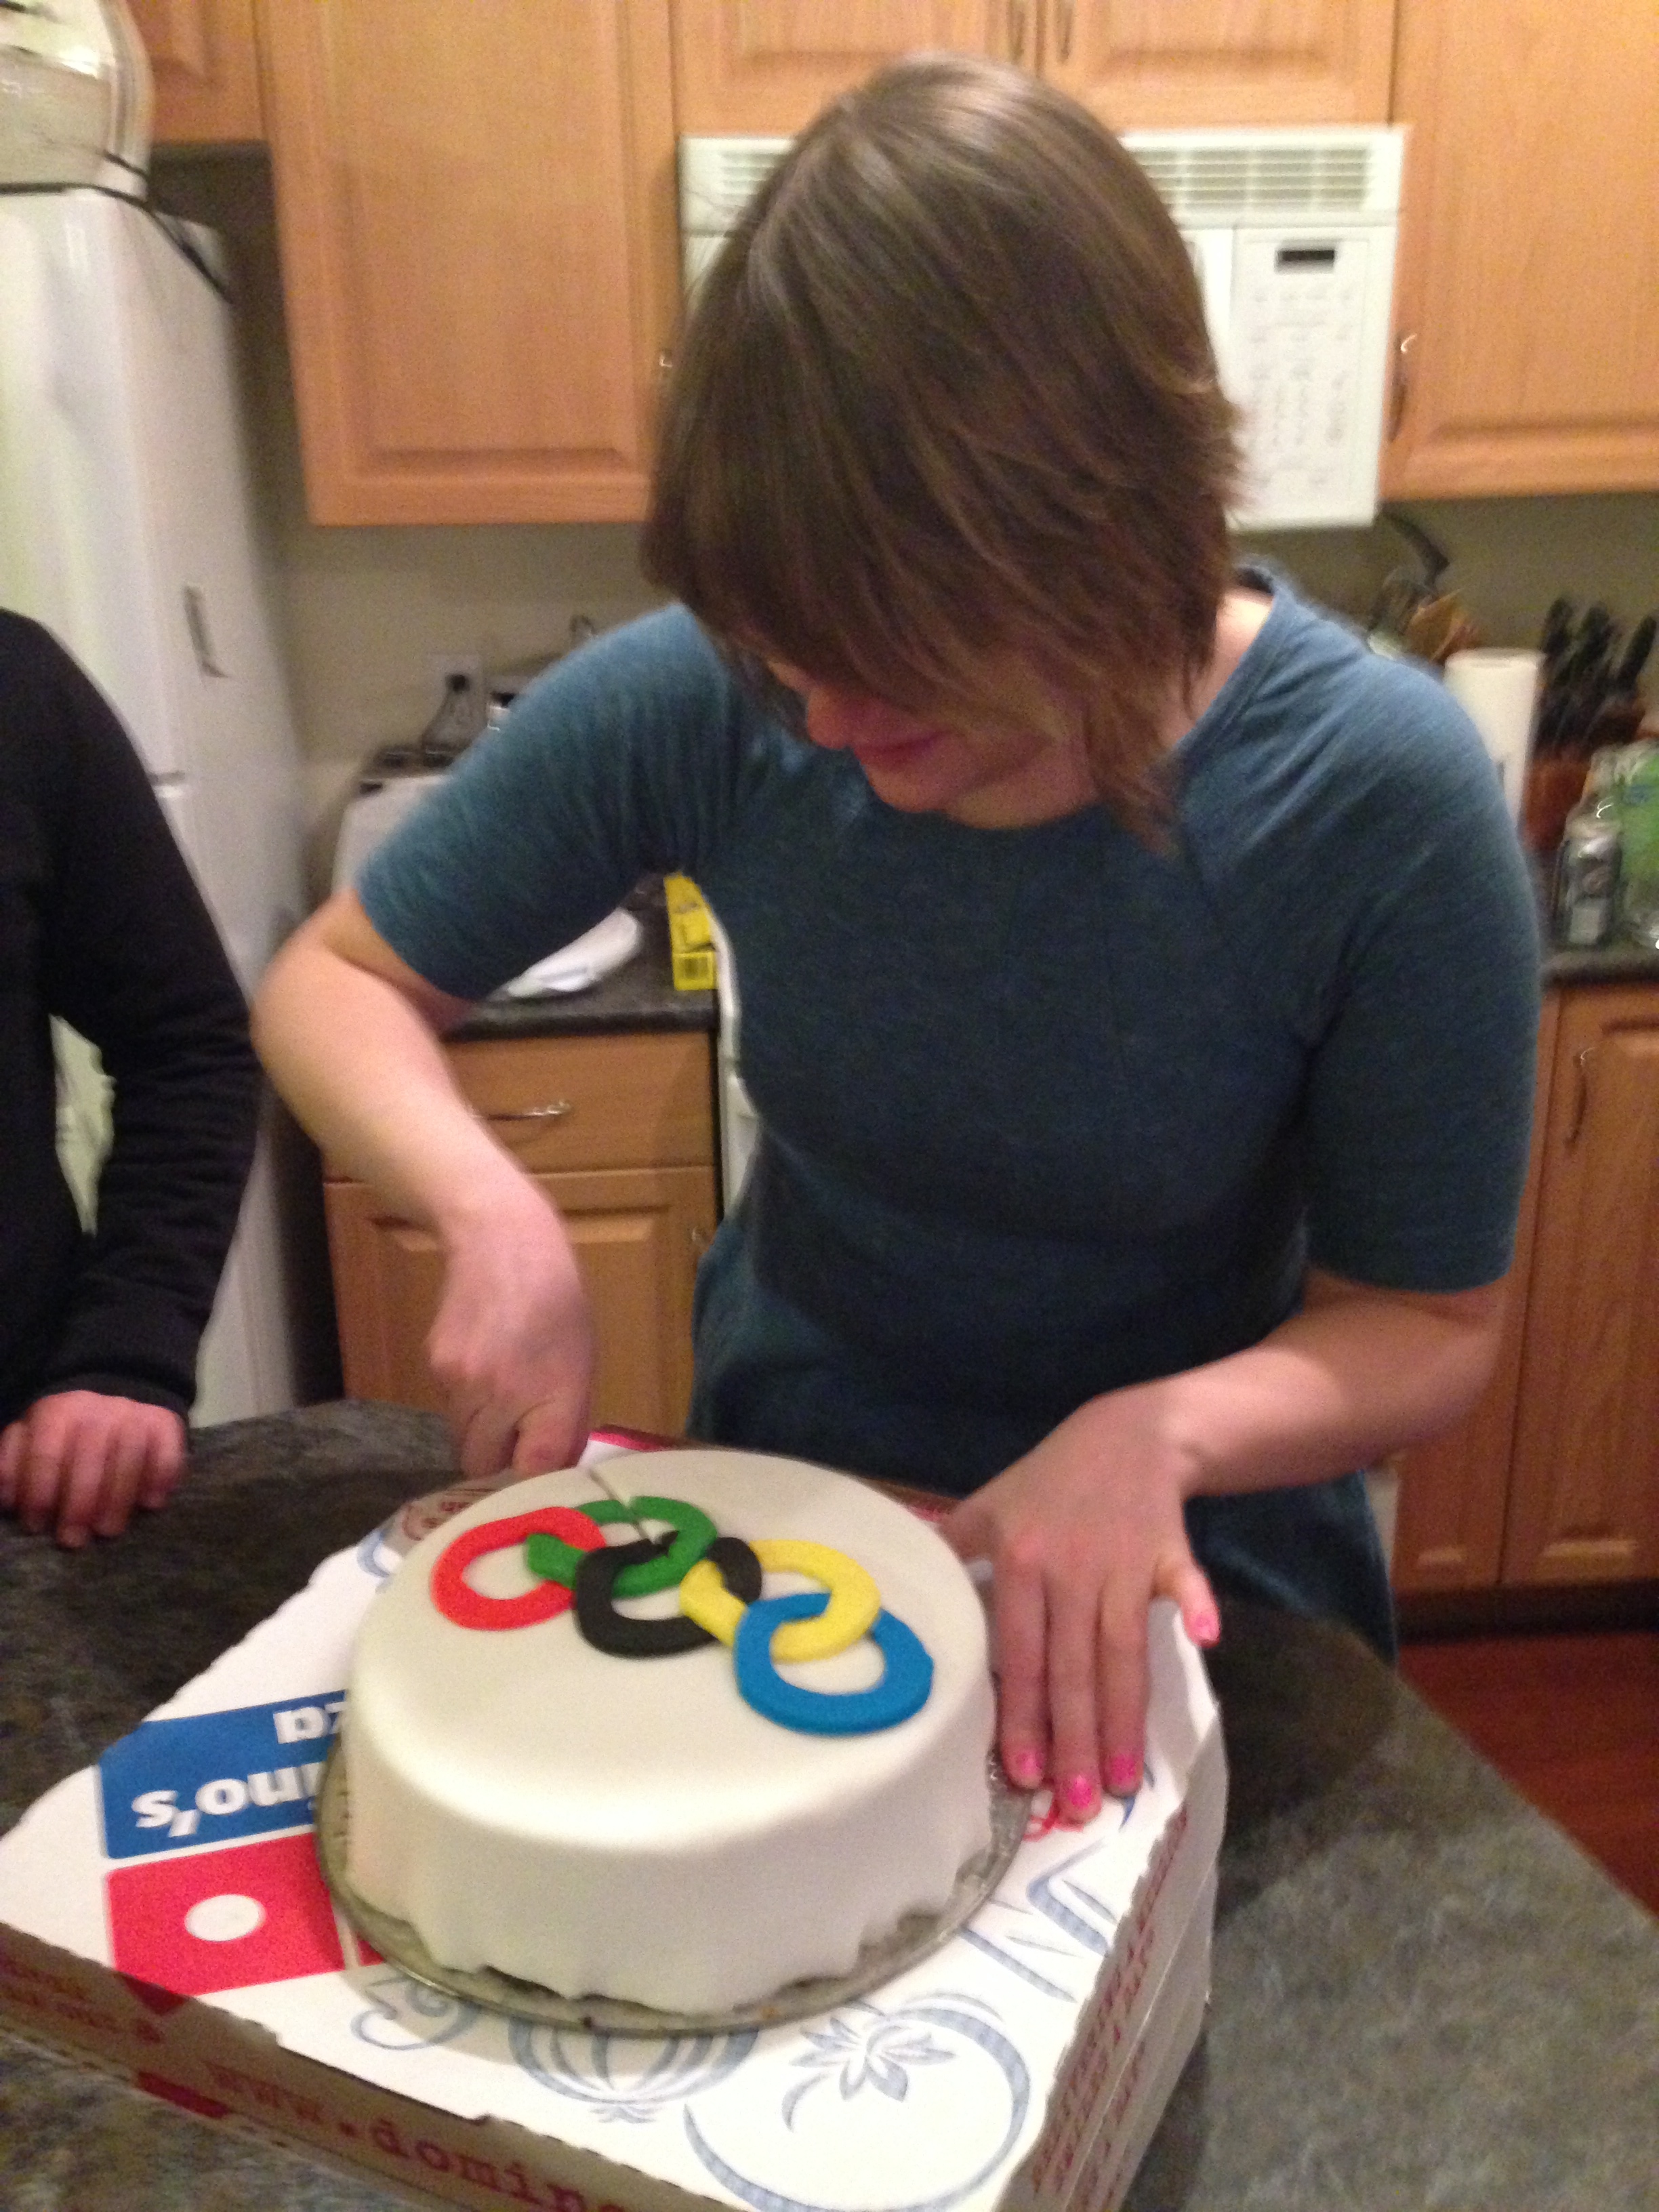
Watching the Winter Olympics is very inspiring. But, really, the best part is listening to the snow boarding commentary while eating cake. So Clutch Man. So Clutch.

Cheers!

-Andrea

The Half-Assed Hobbyist

Macarons: The 5 Pound Story

For the last couple years macarons have taken the dessert world and sat on it. Like a rather fat child sits on it's littler sibling so it can't move. (True story.)

I had some of these amazing sugar-filled 'cookies' at The Duchess bakery in December and have been wondering ever since how hard they really are to make (especially since they charge a $1.25 each). So I went online and found a couple recipes. The first one I decided to try was this, from yumsugar.com. It had very thorough instructions and included reasons why you beat down the batter and tap the baking sheets after you pipe out the macaron shells. So I went and bought some almond flour and a jar of maraschino cherries and set to work. 

fig. 1 (aka Fail)

fig. 1 (aka Fail)

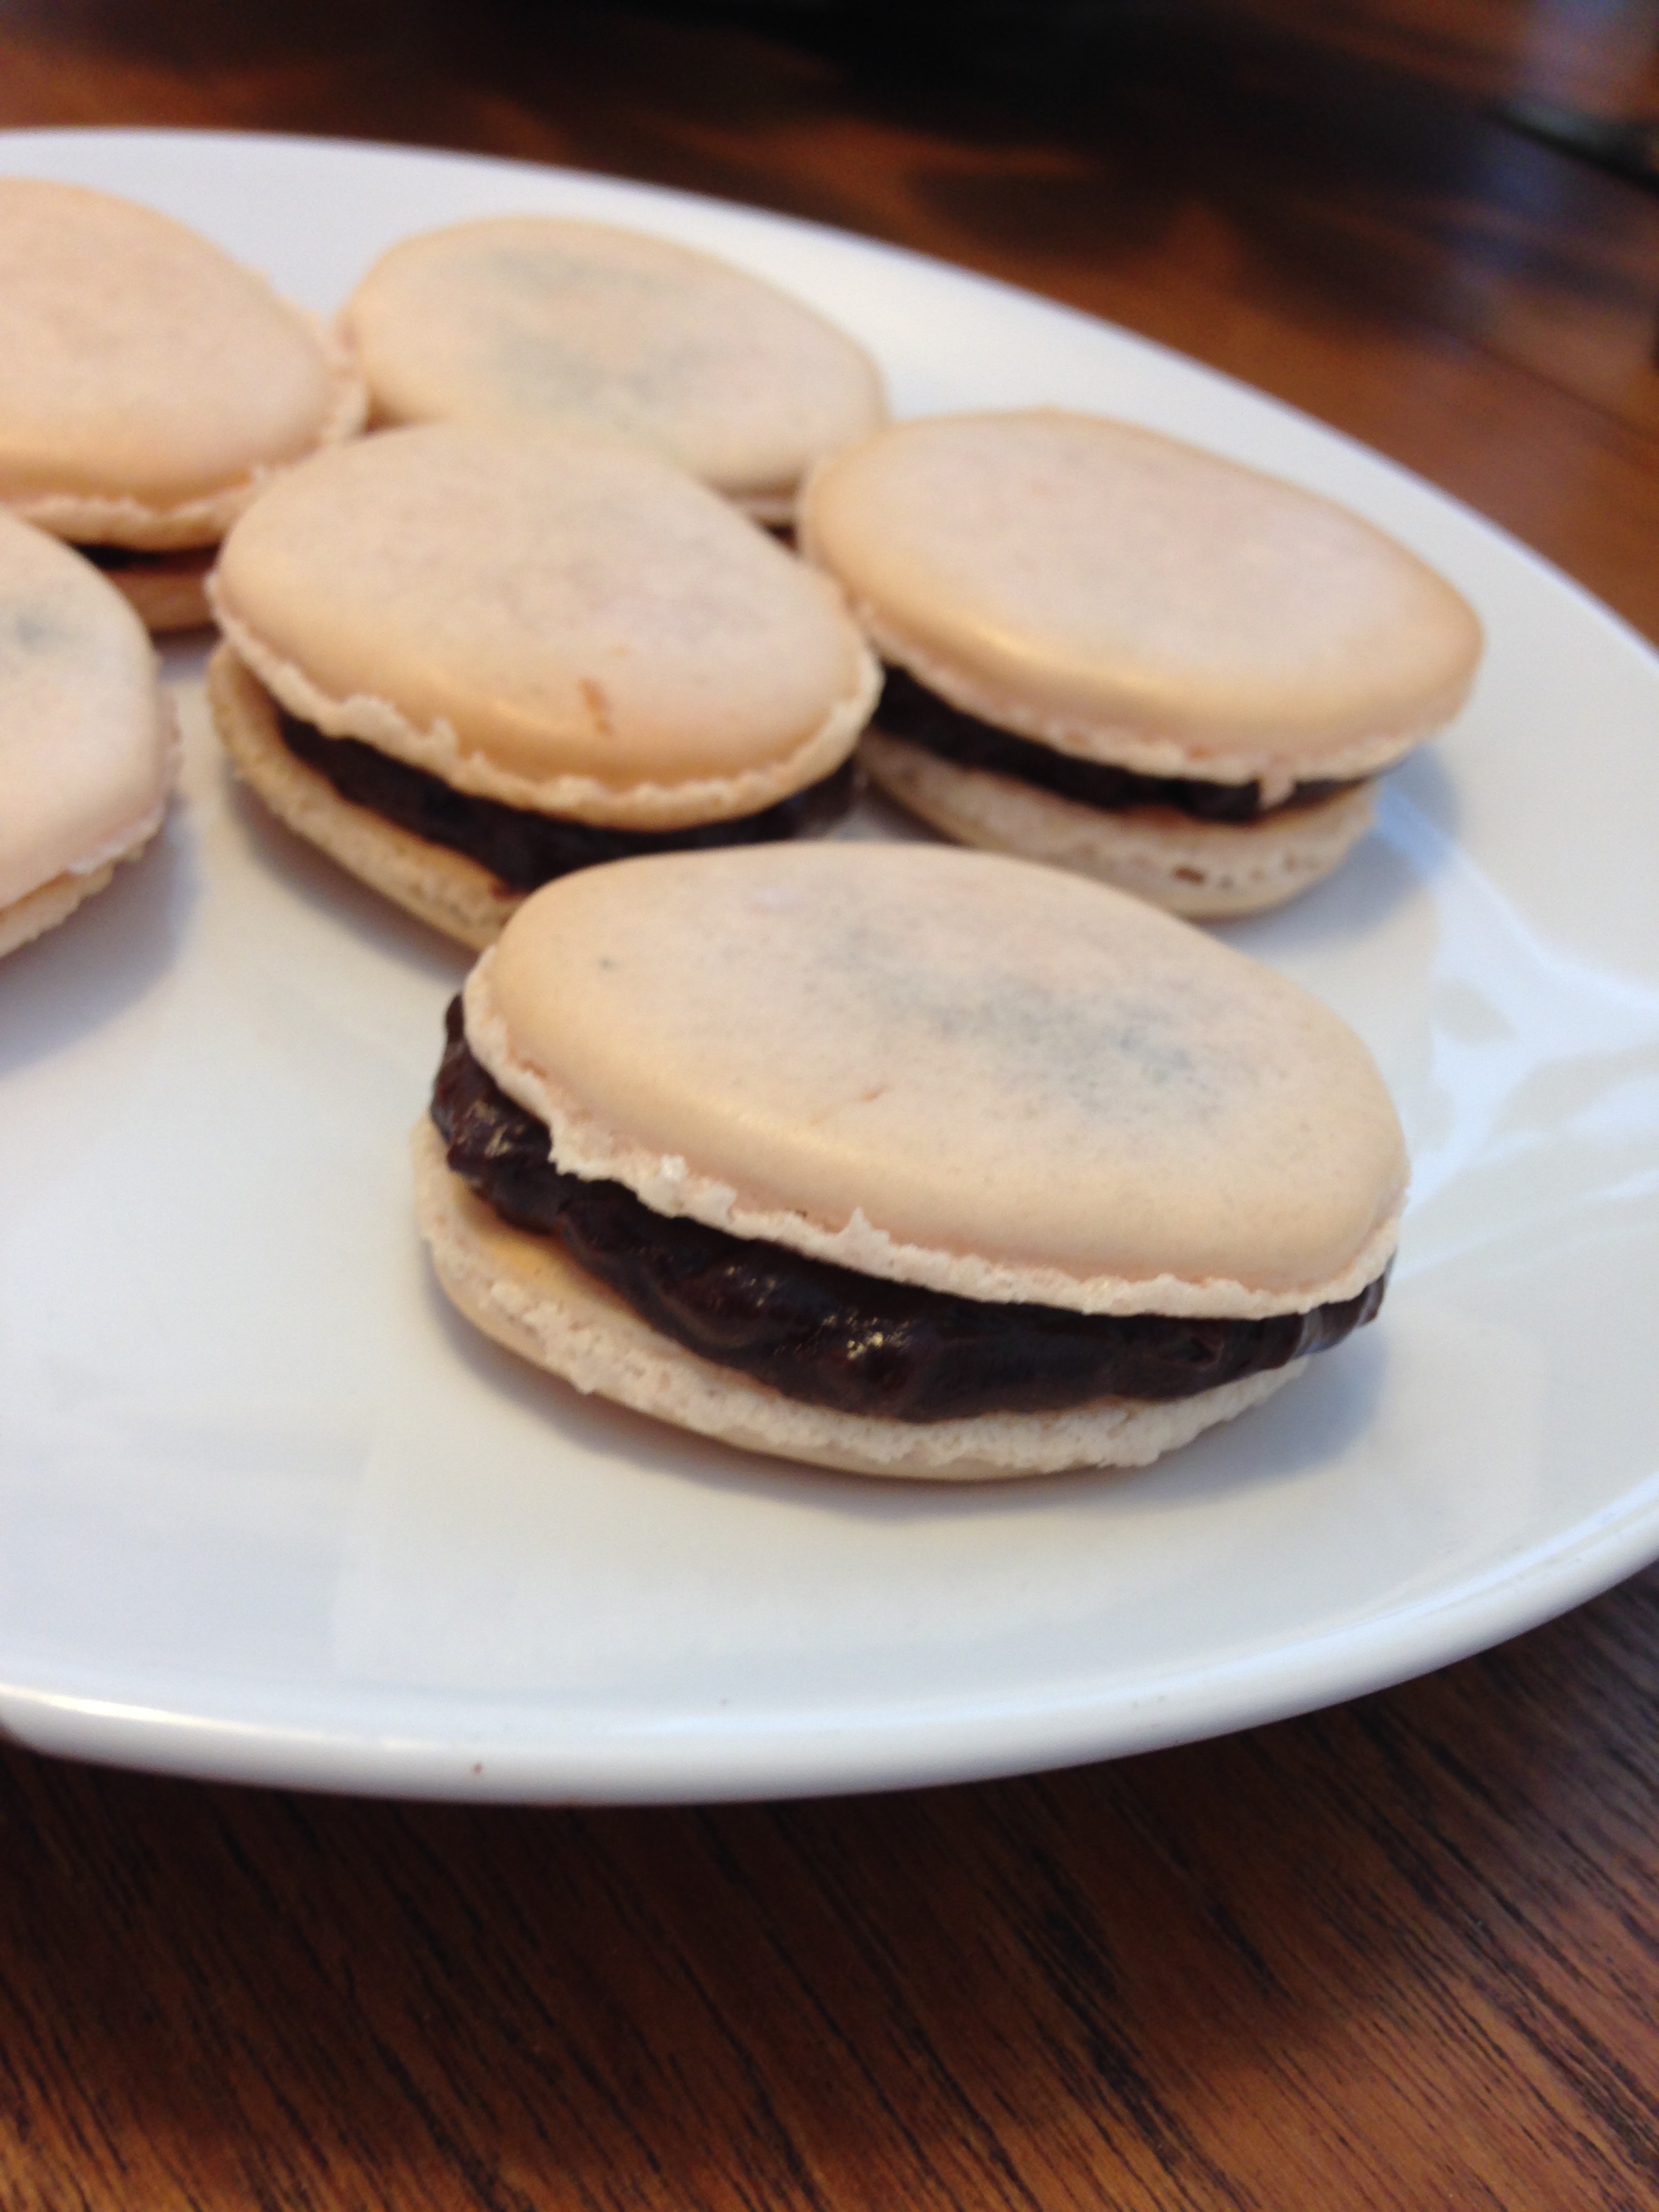
Whenever I make meringues I use pasteurized egg whites out of the carton (I don't necessarily trust my ability to cook meringue properly...) which takes away the annoying 'cracking and separating an egg' issue. No shells to worry about! Yay! First step was to whip the eggs into a meringue, then to add the sugar till the meringue was stiff (which totally went swimmingly - and by that I mean I added all the sugar at once). Now, in keeping to my desire to wing it, potentially messing up my baking (Re: first time I made drop meringue cookies in fig. 1), I promptly changed the recipe from its original by adding maraschino cherry syrup. 

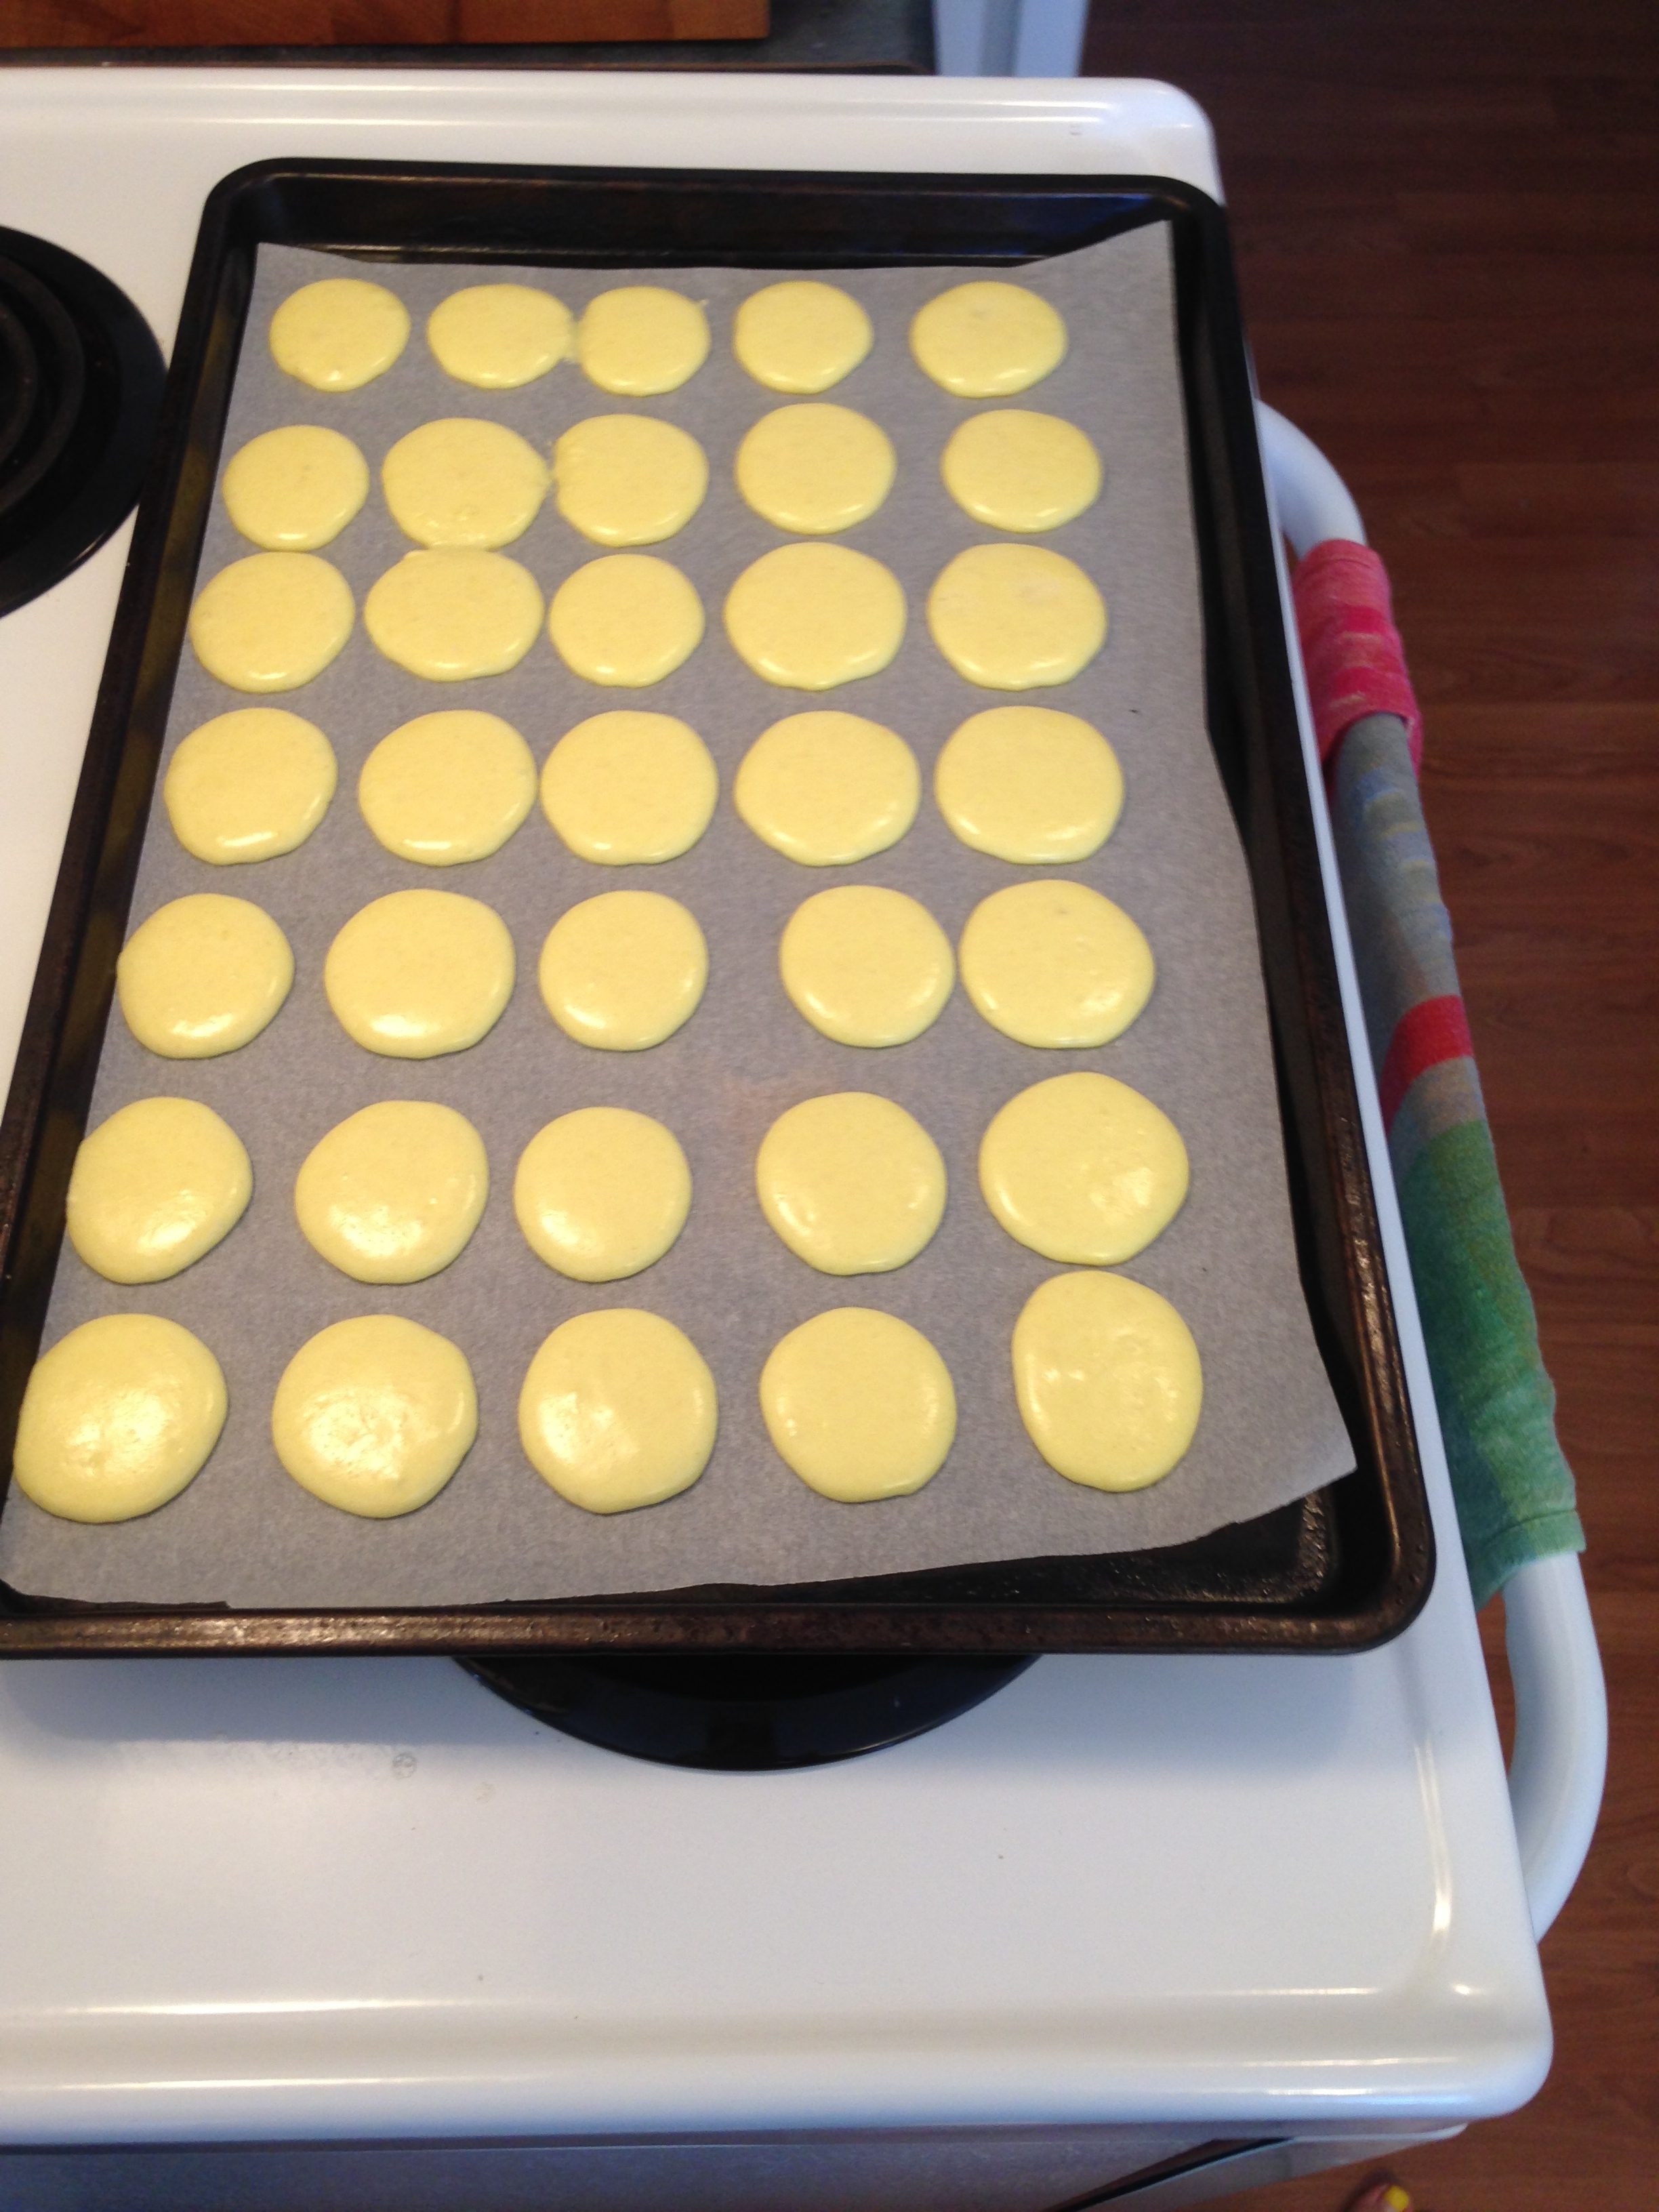
All was not lost though. The batter was still pipeable so I attempted to pipe odd circular shapes onto my parchment paper covered bakeware. Obviously I had ignored all the preparation notes telling me to draw out 1 inch circles on the underside of my parchment paper. Because really, how hard could it be? (Famous last words.)

I ended up with a lot of very oblong macaron shells. But! They still were identifiable as macaron shells. Team Andrea Wings Baking: 1; Team Reality: 0. I made a quick ganache with chopped up maraschino bits, spooned and topped all the macarons, and called it a relative success! 

Blazoned with courage from not failing as hard as usual, I decided to make my friend Julia some lemon macarons for her birthday. I started with the filling first because I read the instructions this time! It needed to chill for 2 hours before I could use it. Go go gadget reading skills!

Lemon Macarons

(as seen on the Fine Cooking website)

7 3/8 oz (1 3/4 cups plus 2 TBS) confectioners’ sugar
4 3/8 oz (1 1/4 cups plus 2 TBS) almond flour
4 large egg whites, at room temperature
1/4 cup granulated sugar

  1. Prepare bakeware by lining 3 pans with parchment paper. On the underside of each piece of parchment paper draw 1 inch circles about 1 1/2 inches apart.
  2. Measure out and sift together confectioners' sugar and almond flour.
  3. Whip egg on med-high setting with an electric mixer until foamy. 
  4. Continue whipping eggs, adding 1 TBS of granulated sugar gradually till meringue is glossy and stiff peaks form. (If you can lift out a spoon and a straight peak comes out and doesn't fall, it's done.)
  5. Add half of shifted sugar mixture to meringue. Fold in ingredients till almost combined. Add remainder of sugar mixture. Continue to fold until combined. (The meringue will deflate a little, that's ok!)
  6. Using a piping bag with a 1/2 inch round tip (I used a litre food storage bag with a corner snipped off), fill half of batter into bag and pipe 1 inch circles holding the piping bag perpendicular to the baking sheet. 
  7. Once done, pick up the baking sheet and tap it down on the counter sharply. This will burst any air bubbles in the batter and give the shell its macaron bubbly base.
  8. Let the meringues sit in the open air for 20 - 30 minutes. This drys the outer shell. 
  9. Bake at 250F for 13 - 15 minutes. After the first 2 minutes, open the oven door to release any moisture. Also, rotate the baking sheet halfway through cooking time. 
  10. Take parchment off tray and let the shells cool completely. Fill, cover and refrigerate for at least 3 hours before serving. 

Lemon Curd

(as seen on the Fine Cooking website)

3 large eggs
1 large egg yolk
1/2 cup granulated sugar
1/2 cup fresh lemon juice
1 1/2 oz (3 TBS) unsalted butter
1/4 tsp pure vanilla extract
1/8 tsp salt

  1. In a heatproof bowl, combine eggs and egg yolk. Whisk together. Continue whisking while adding sugar gradually. Whisk until combined. Set aside.
  2. In a saucepan, heat lemon juice and butter over med-high heat until just about to boil. Remove from heat.
  3. Whisk hot lemon mixture into egg mixture gradually (one ladle scoop at a time) until all combined. (This is called tempering the eggs.)
  4. Return lemon/egg mixture to the saucepan. 
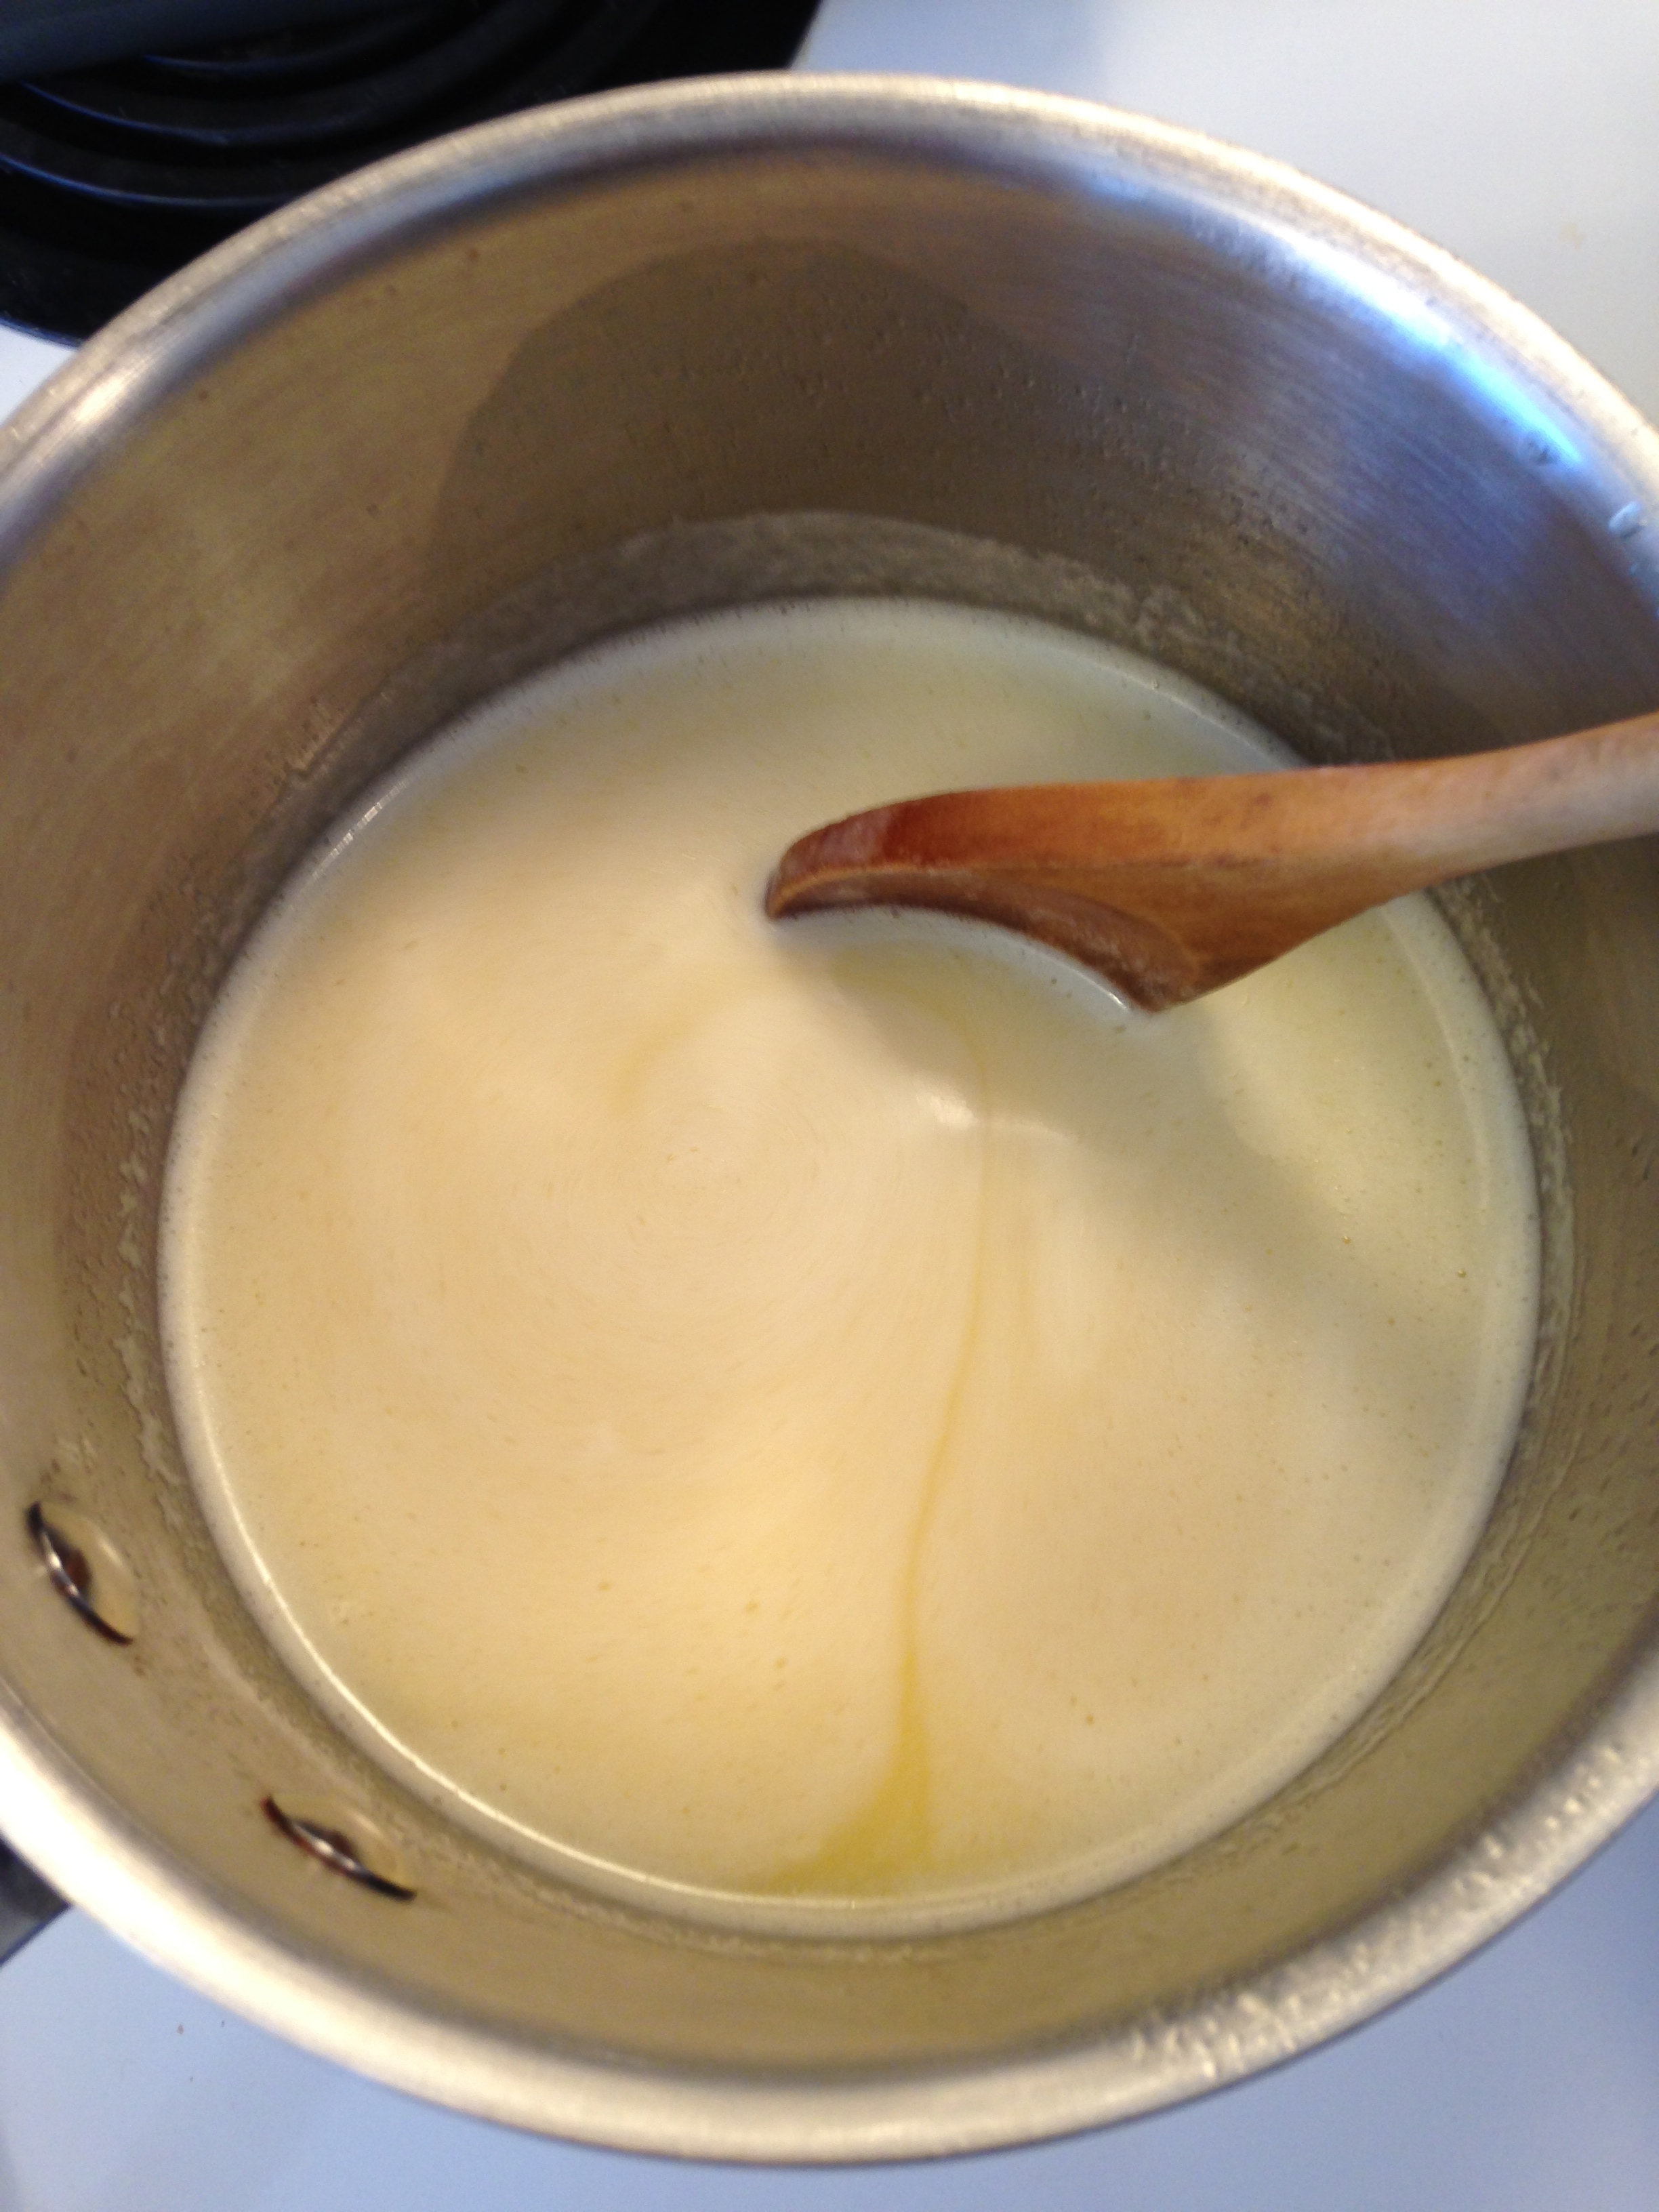
  5. Over medium heat, cook lemon/egg mixture until it starts to thicken. Stir constantly with a wooden spoon. When you can coat the back of the wooden spoon with the curd and draw a line through it without the trail running, the curd is done. Remove from heat.
  6. Strain the hot liquid to remove any overcooked egg bits. 
  7. Add vanilla and salt to strained curd. Stir to combine. 
  8. Refrigerate, covered, for 2 hours, before using. (Place plastic wrap directly on top of the liquid so no skin forms.)

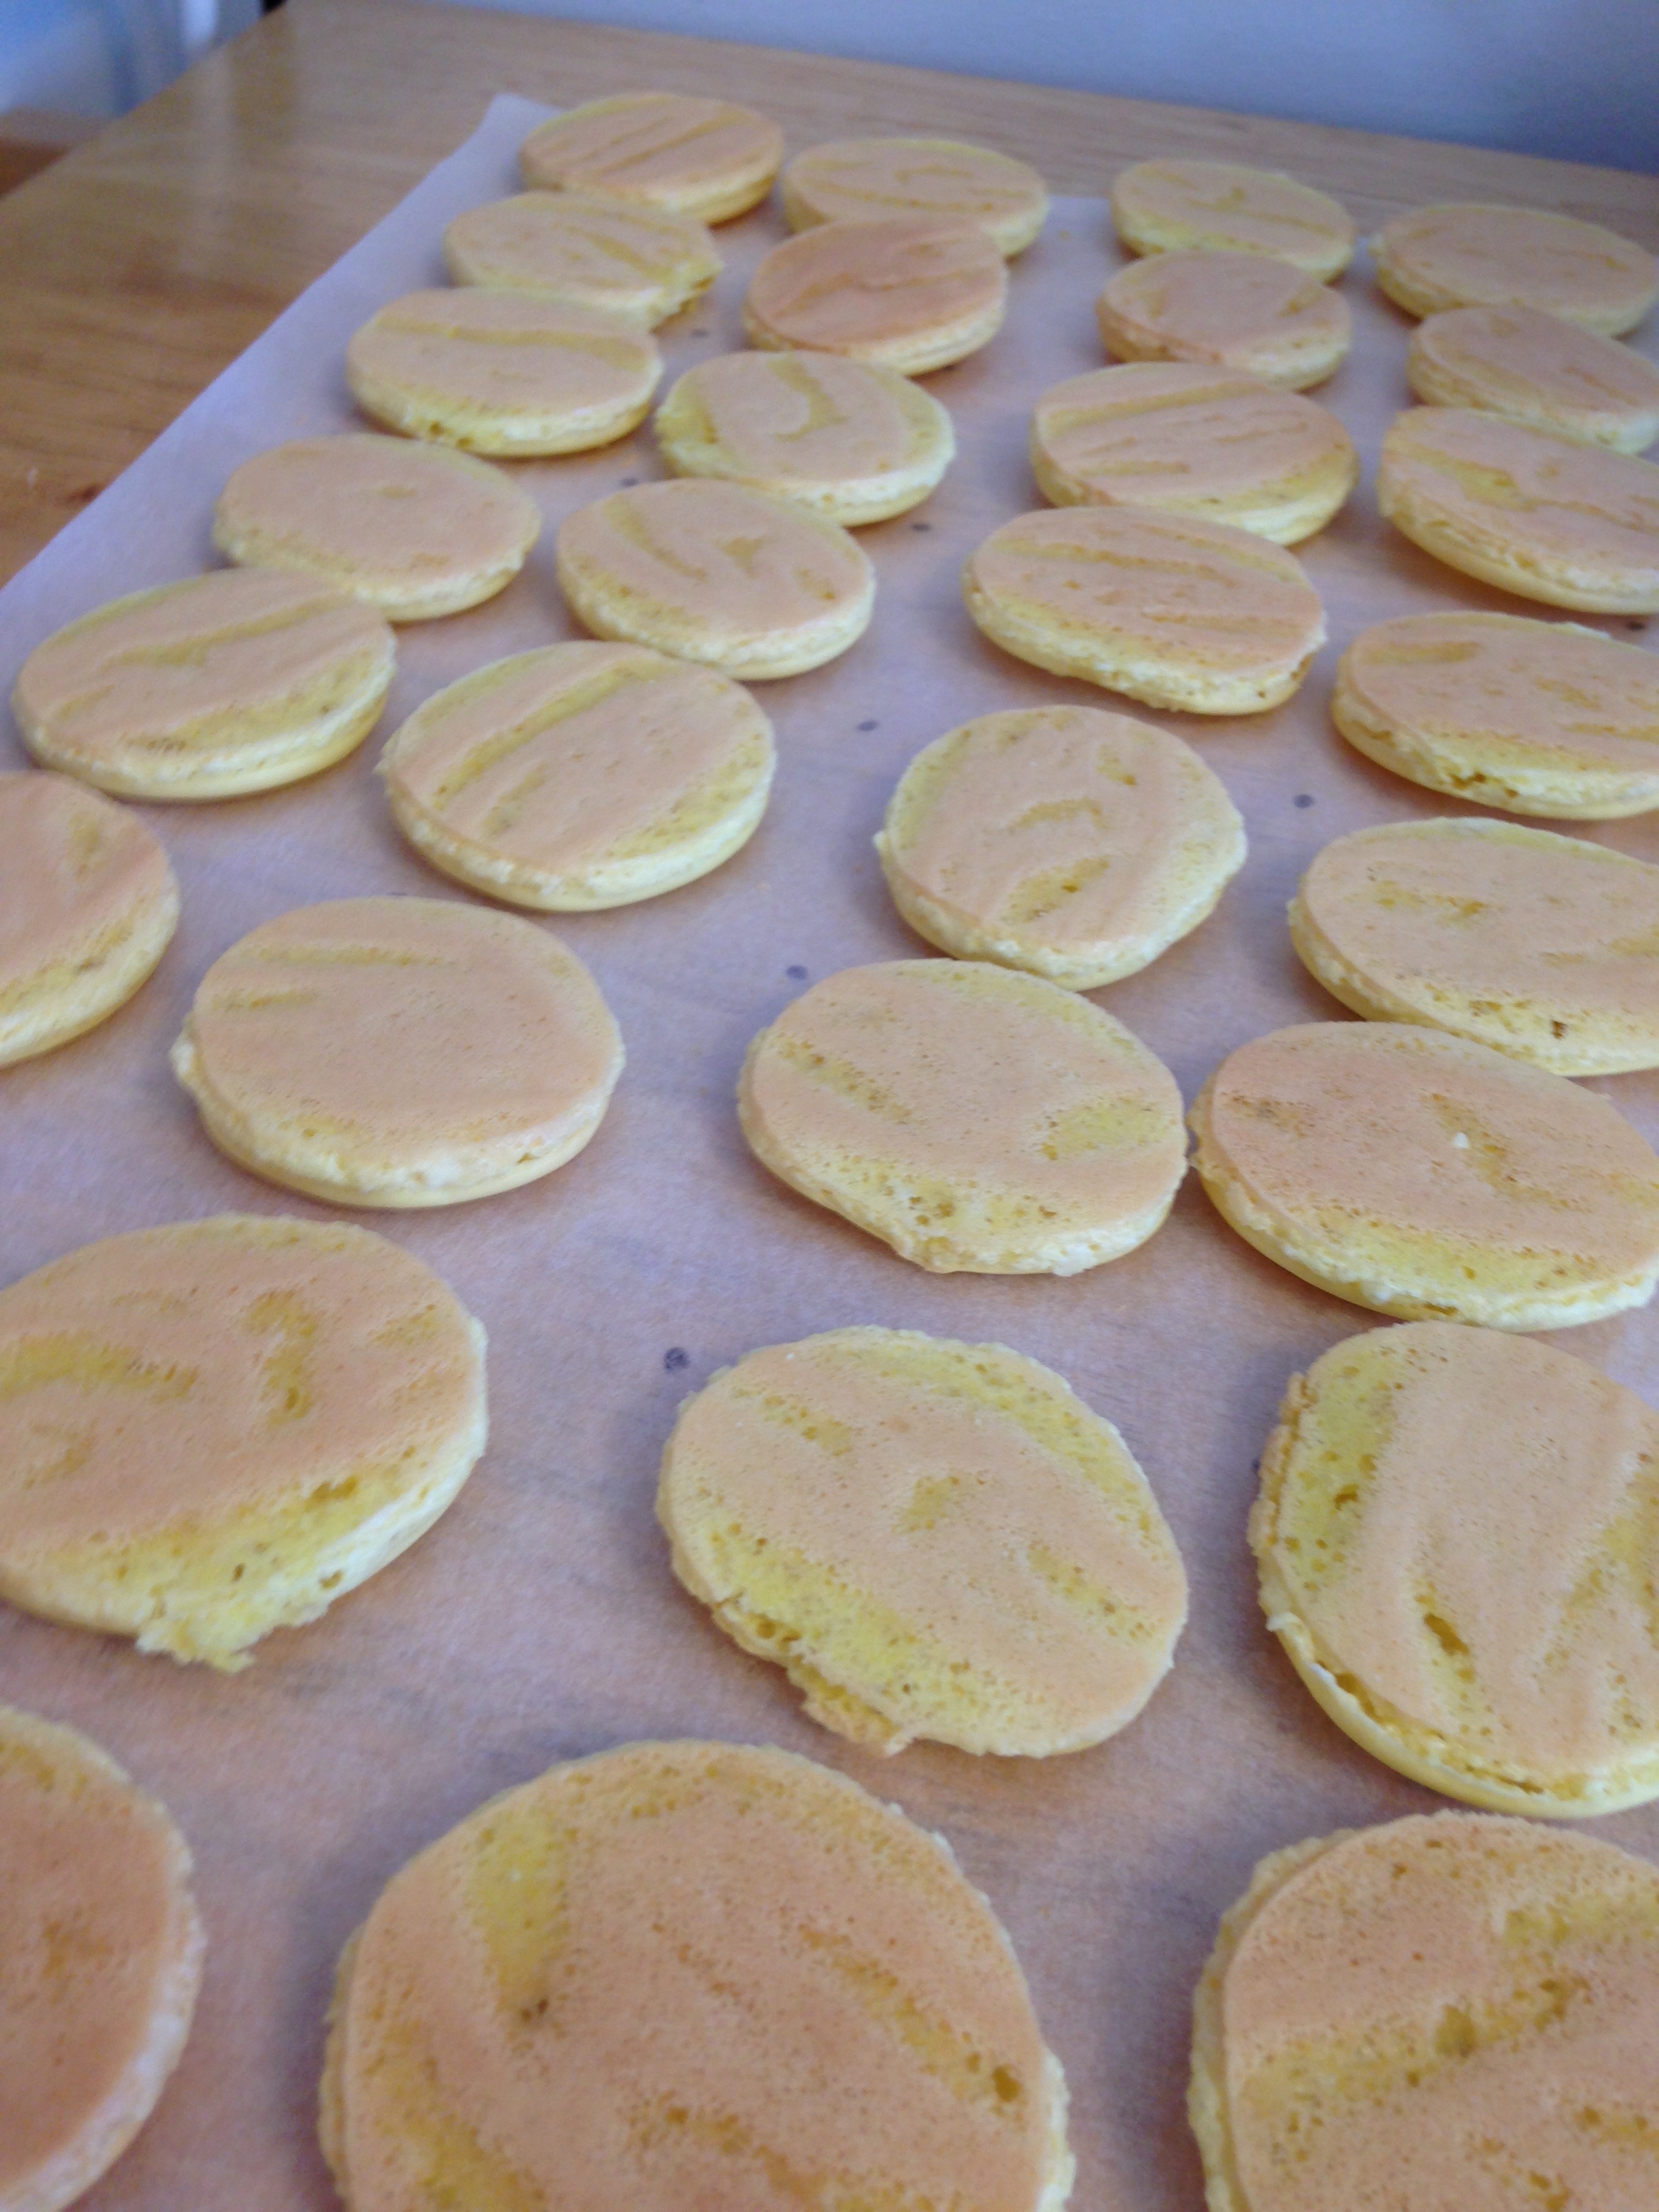
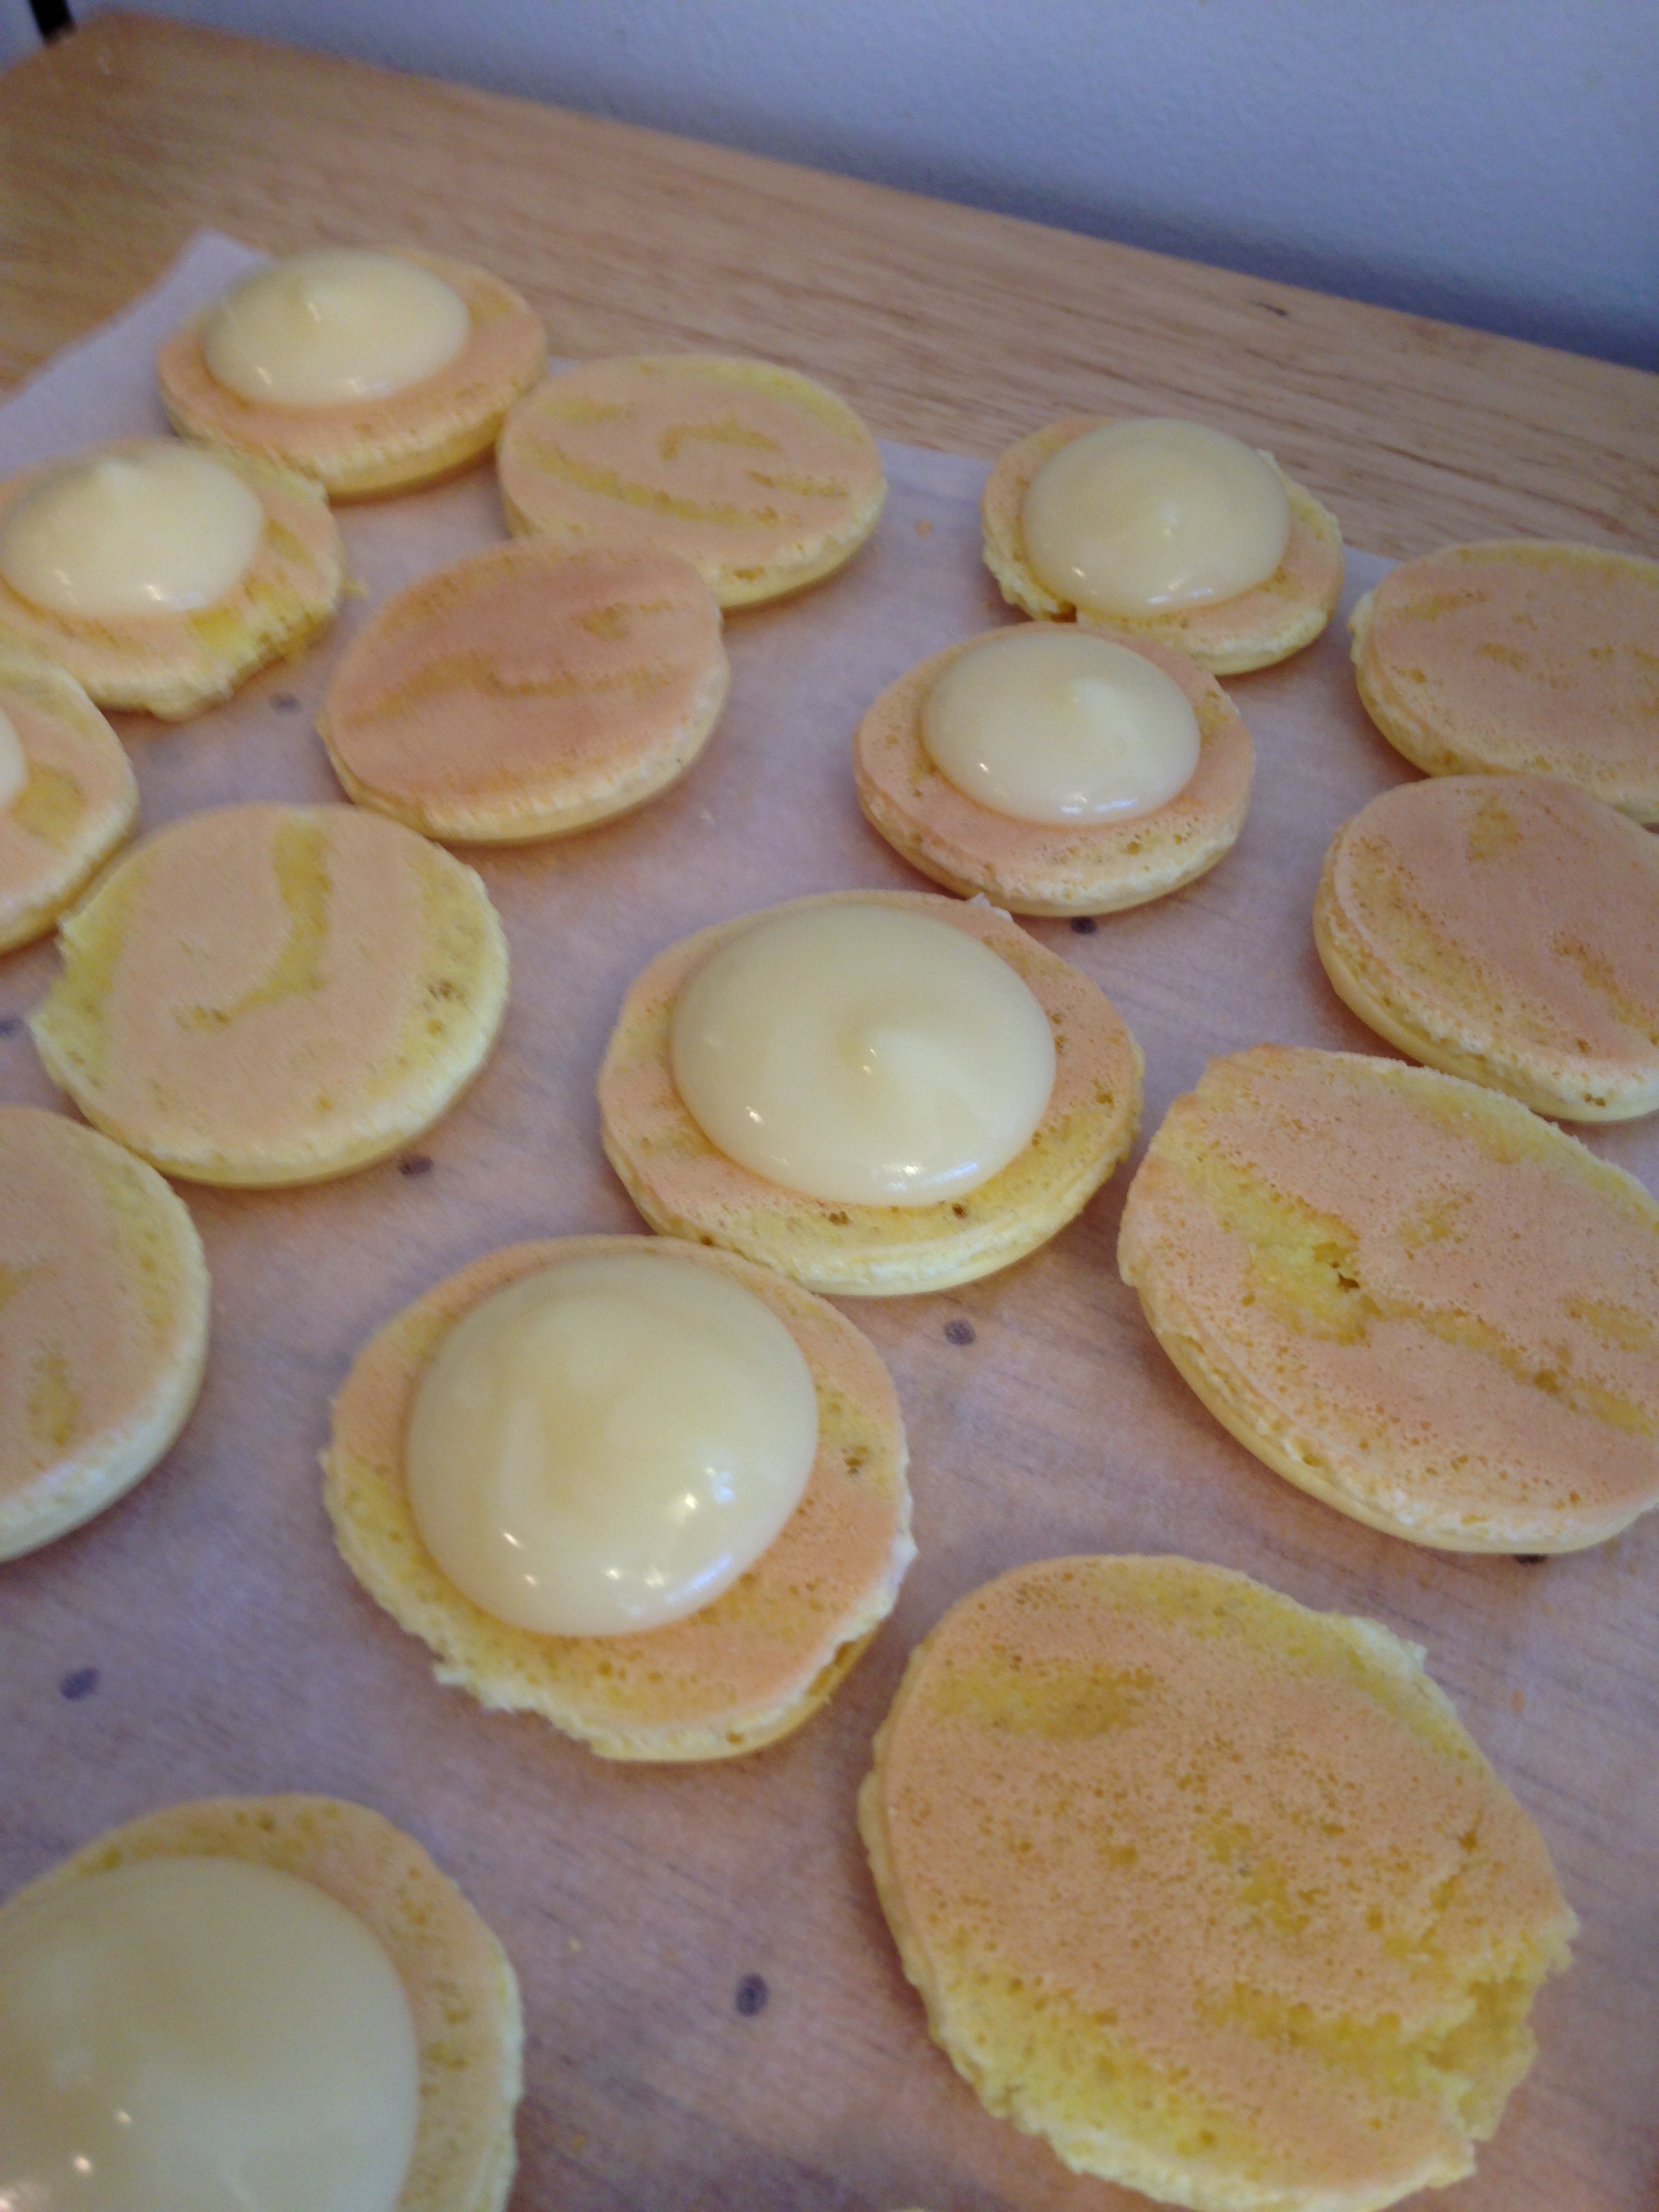
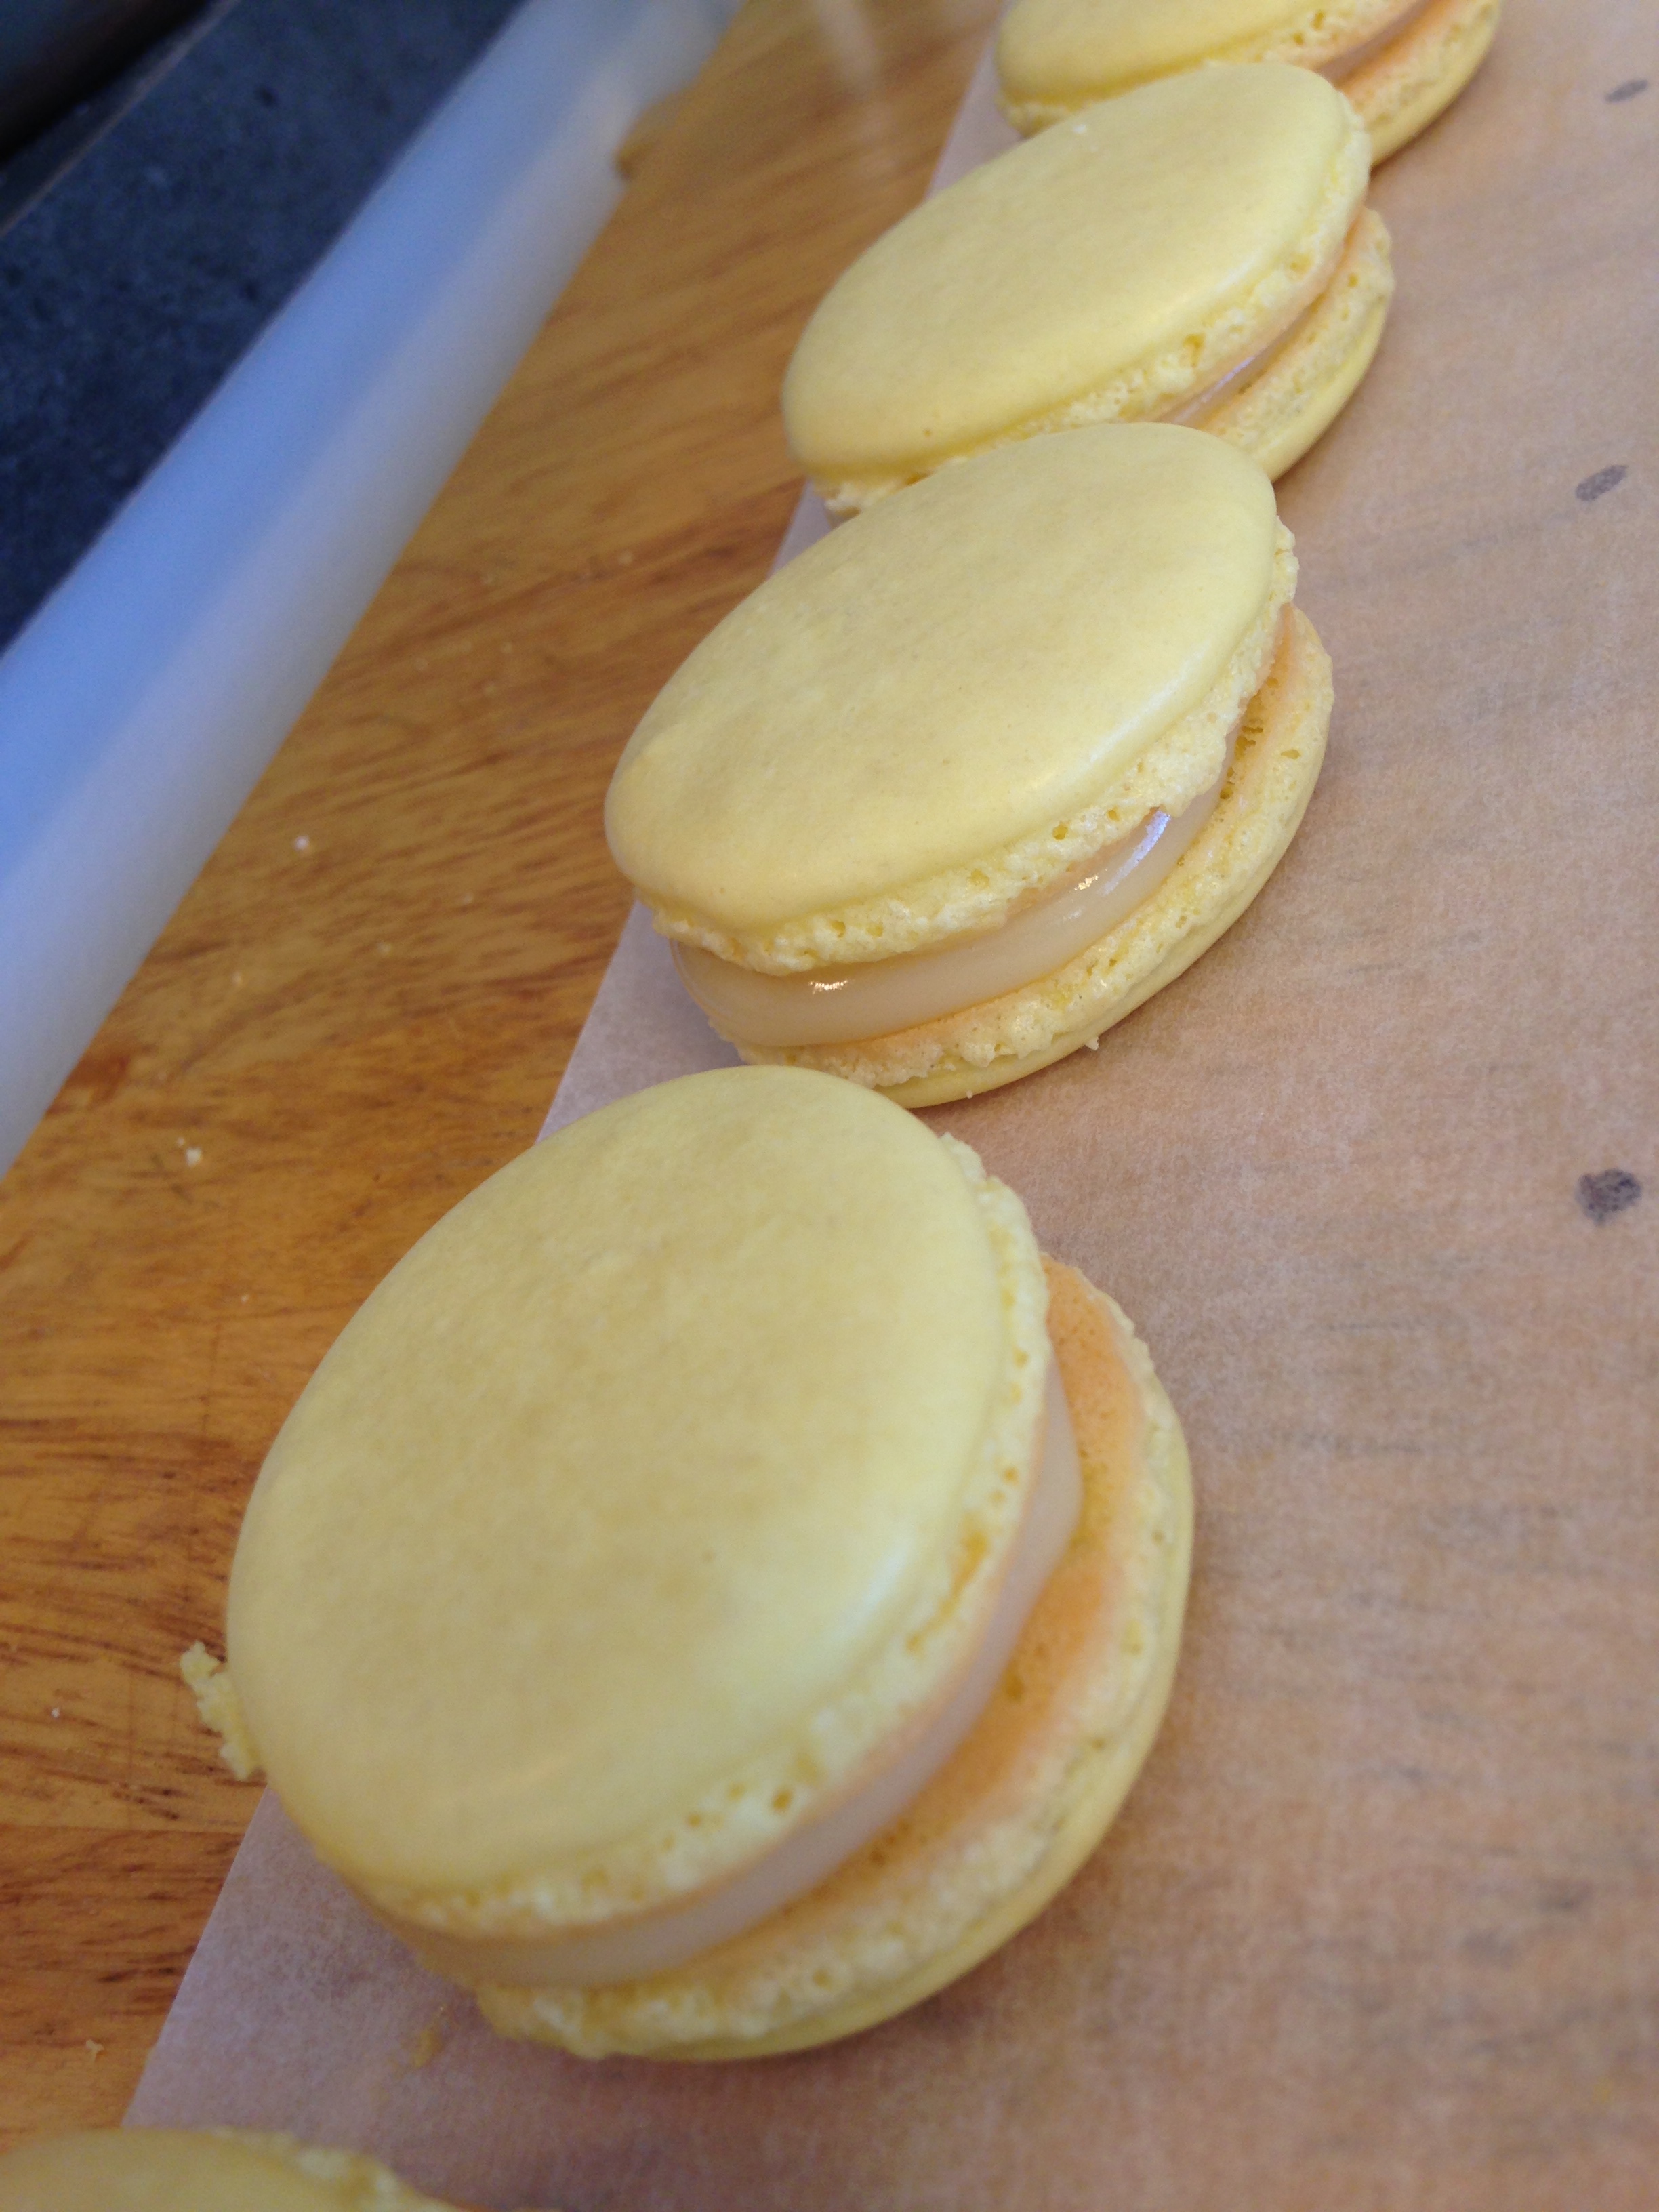
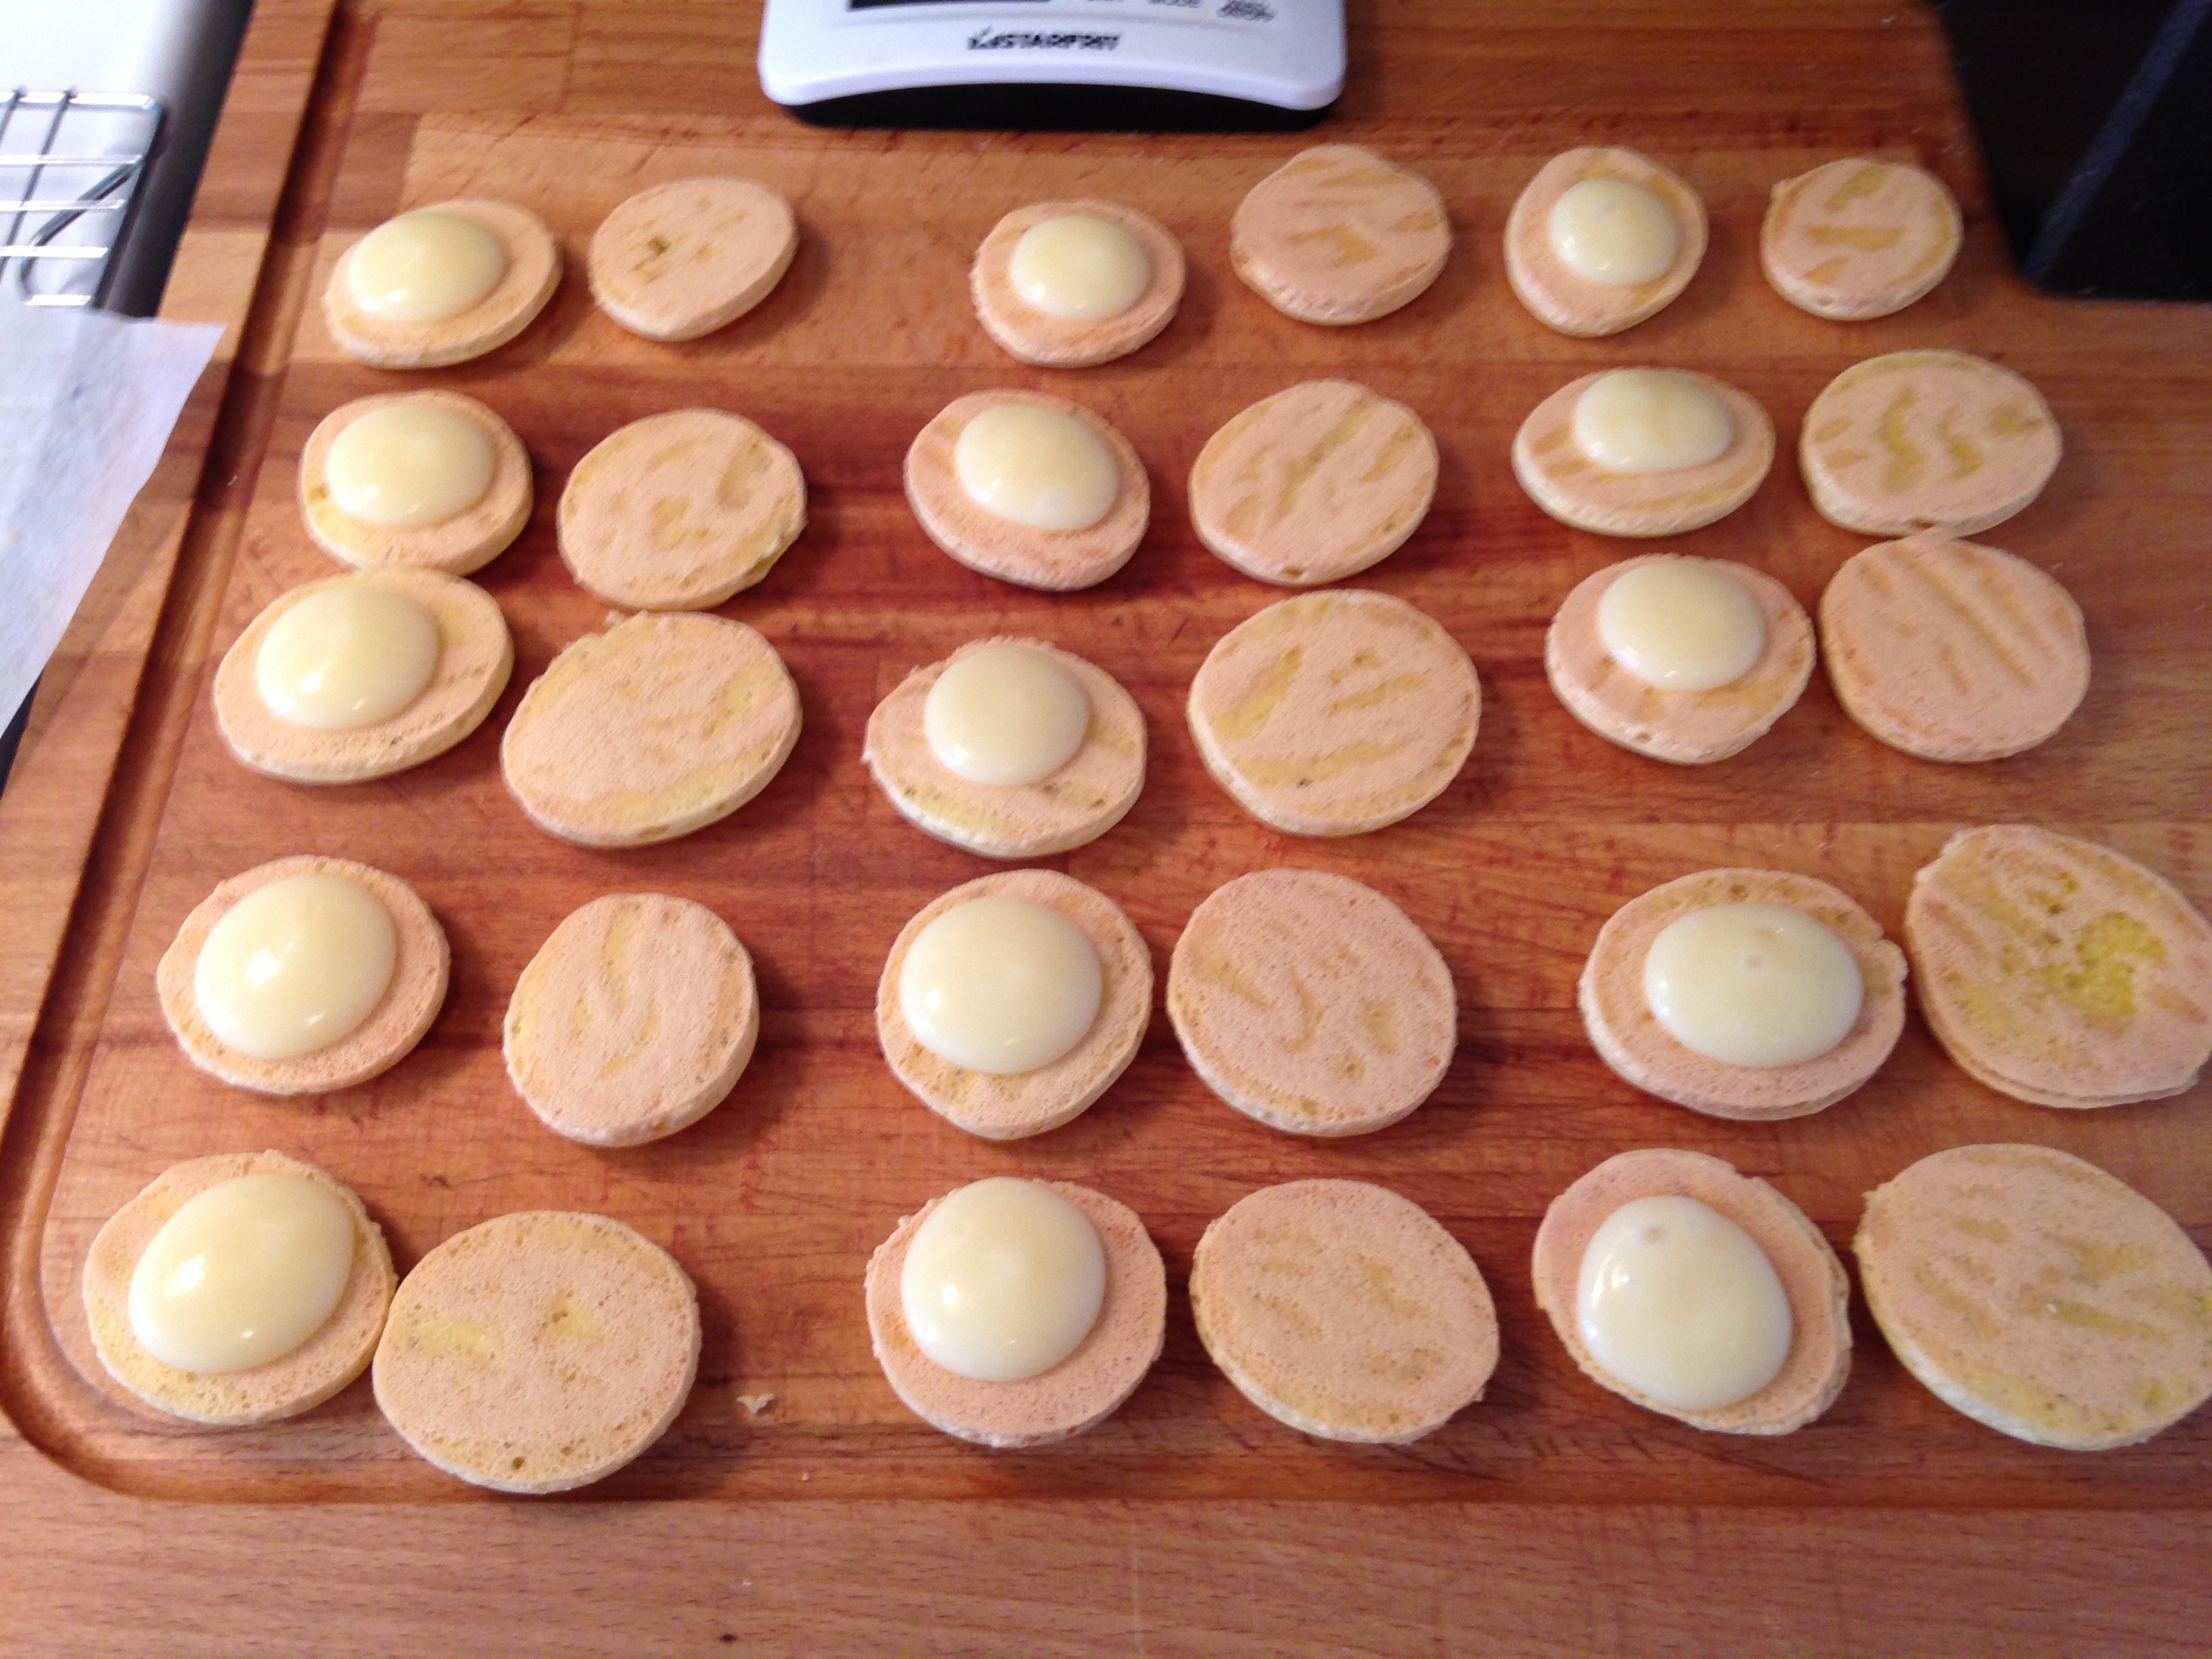
It worked out very well the second time around. The shells came out perfect despite my defunct oven (it has constant menopause; sometimes it's too hot, sometimes it's too cold). Even the lemon curd, which ended up being runnier than I think was intended, absorbed into the meringue shells making them super soft and lovely. 

Needless to say, after sampling my work, multiple times, I seem to have gained a lot of sugar weight.... Blast. Team Reality is the winner.

For Now. 

-Andrea

The Half-Assed Hobbyist