Plum'in It.

I've been super busy this past week at a new jobbins so here's an oldie but a goodie recipe!

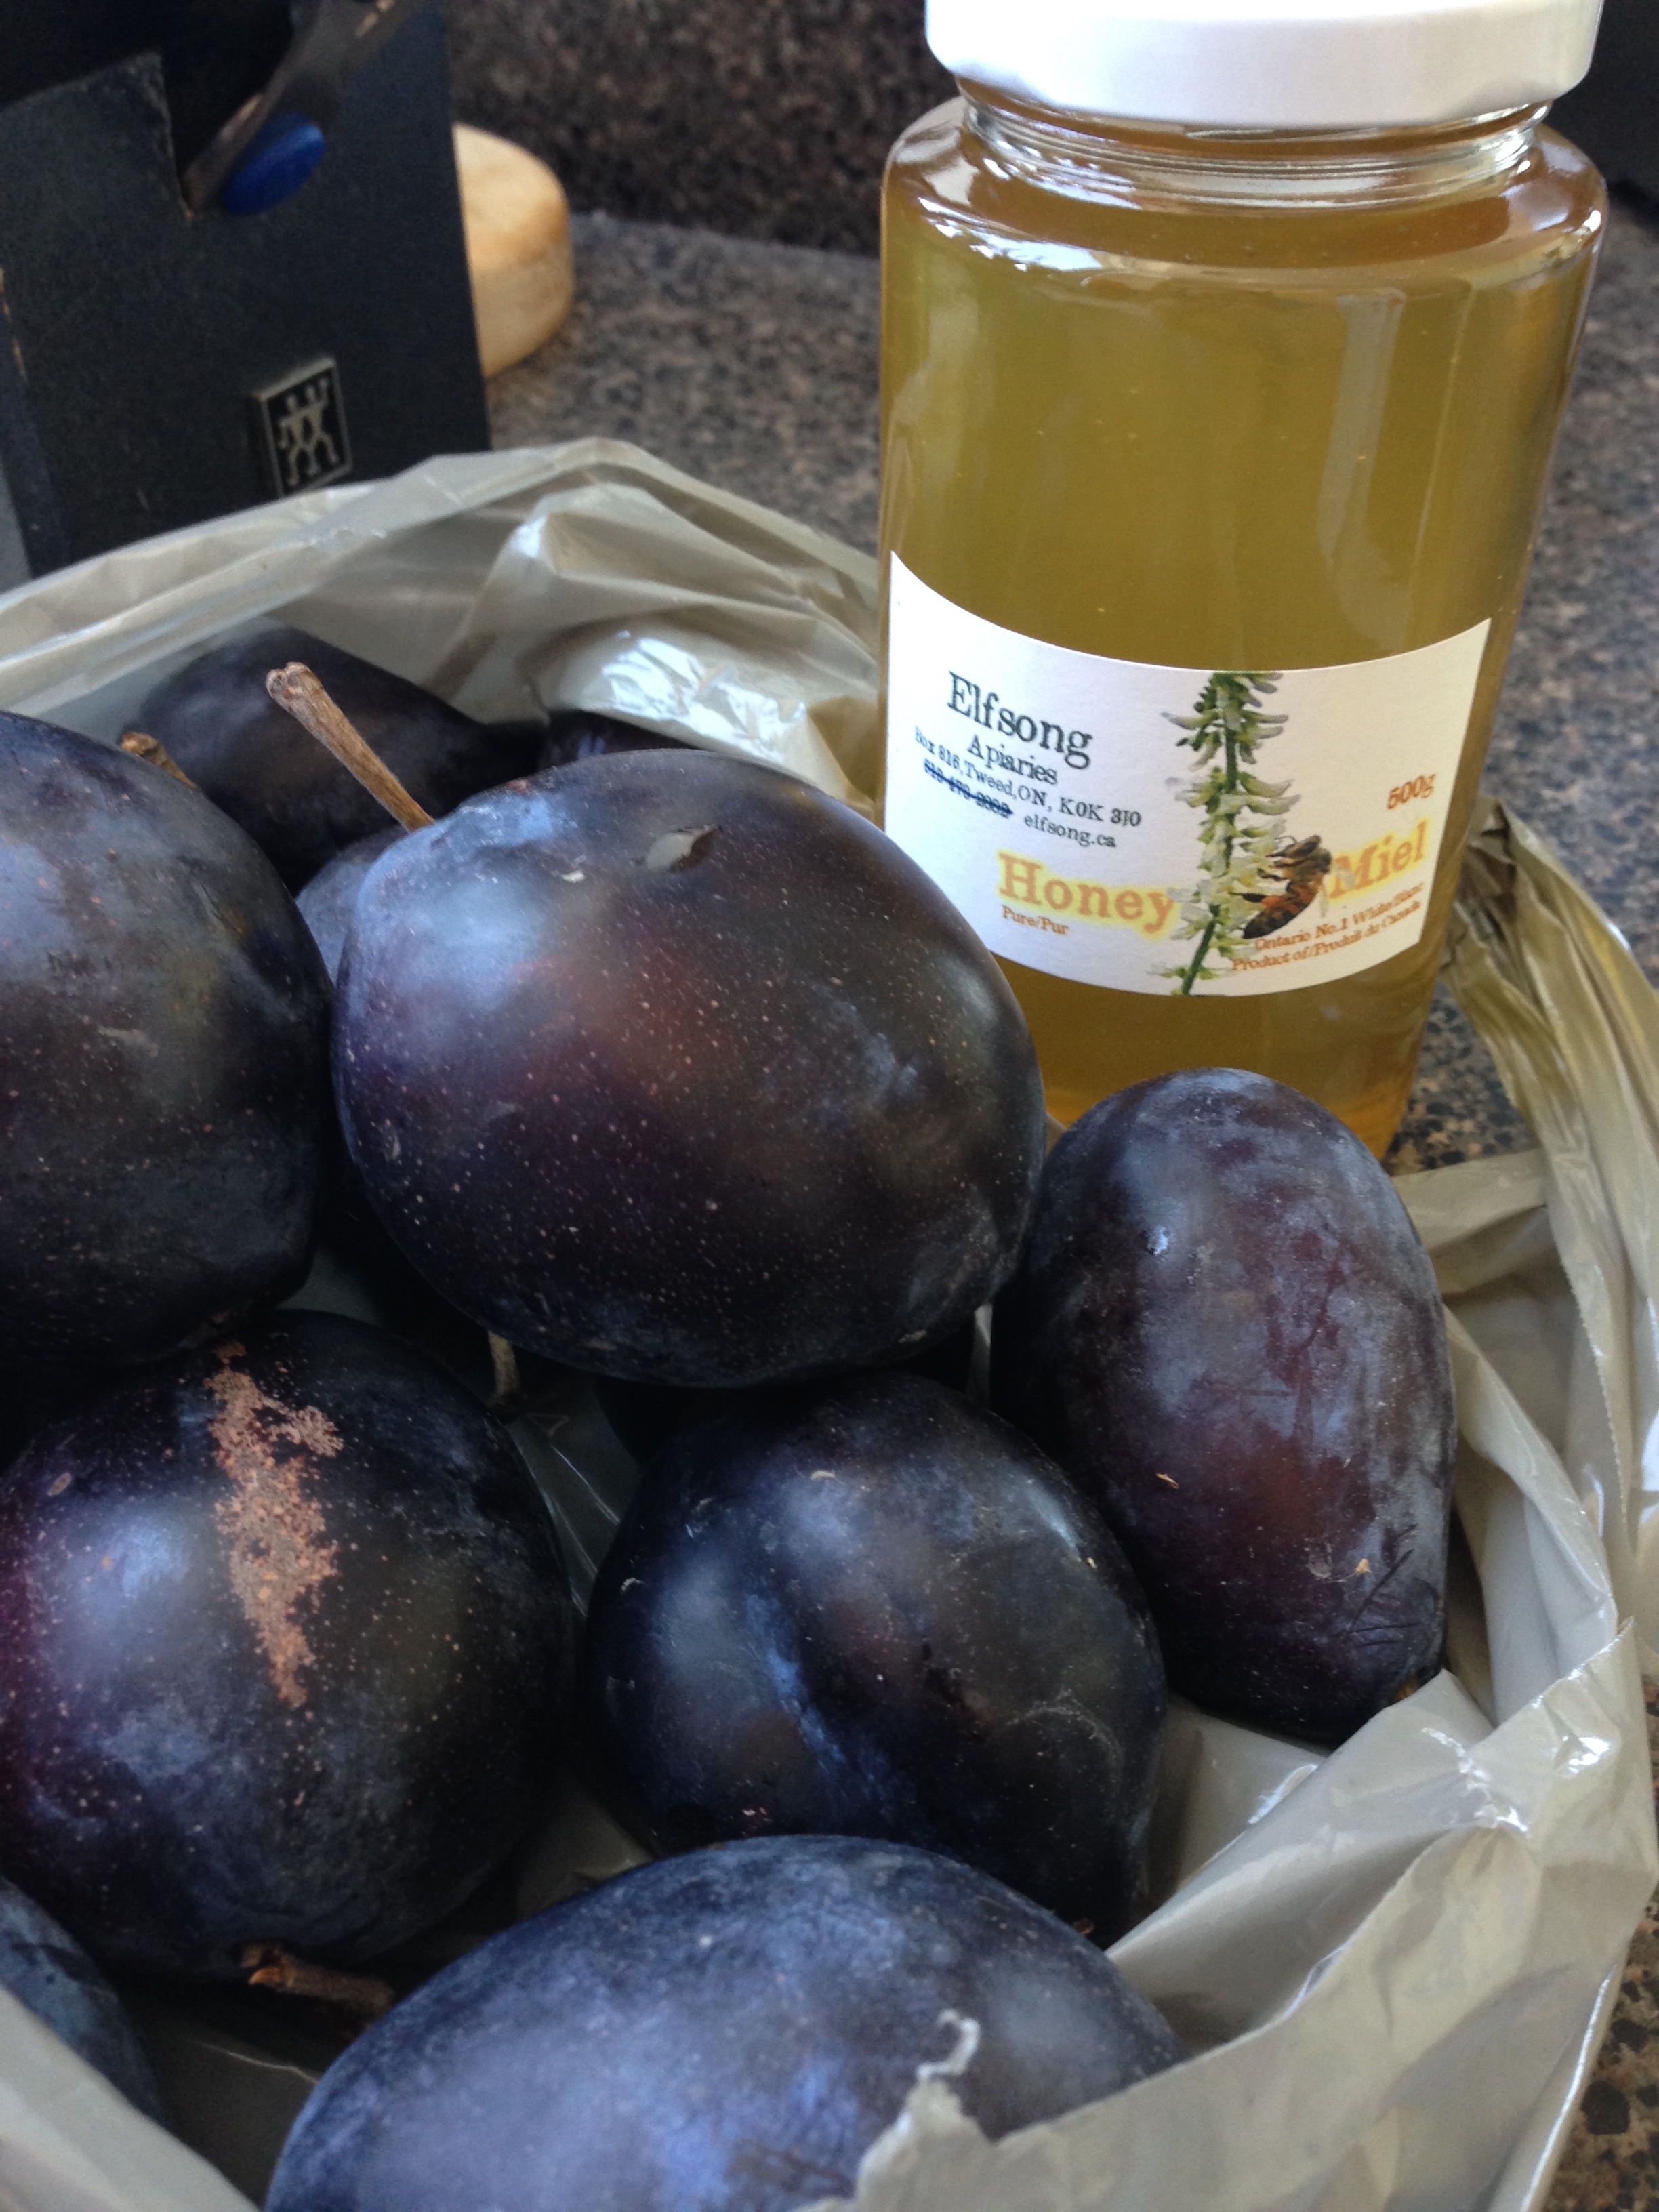
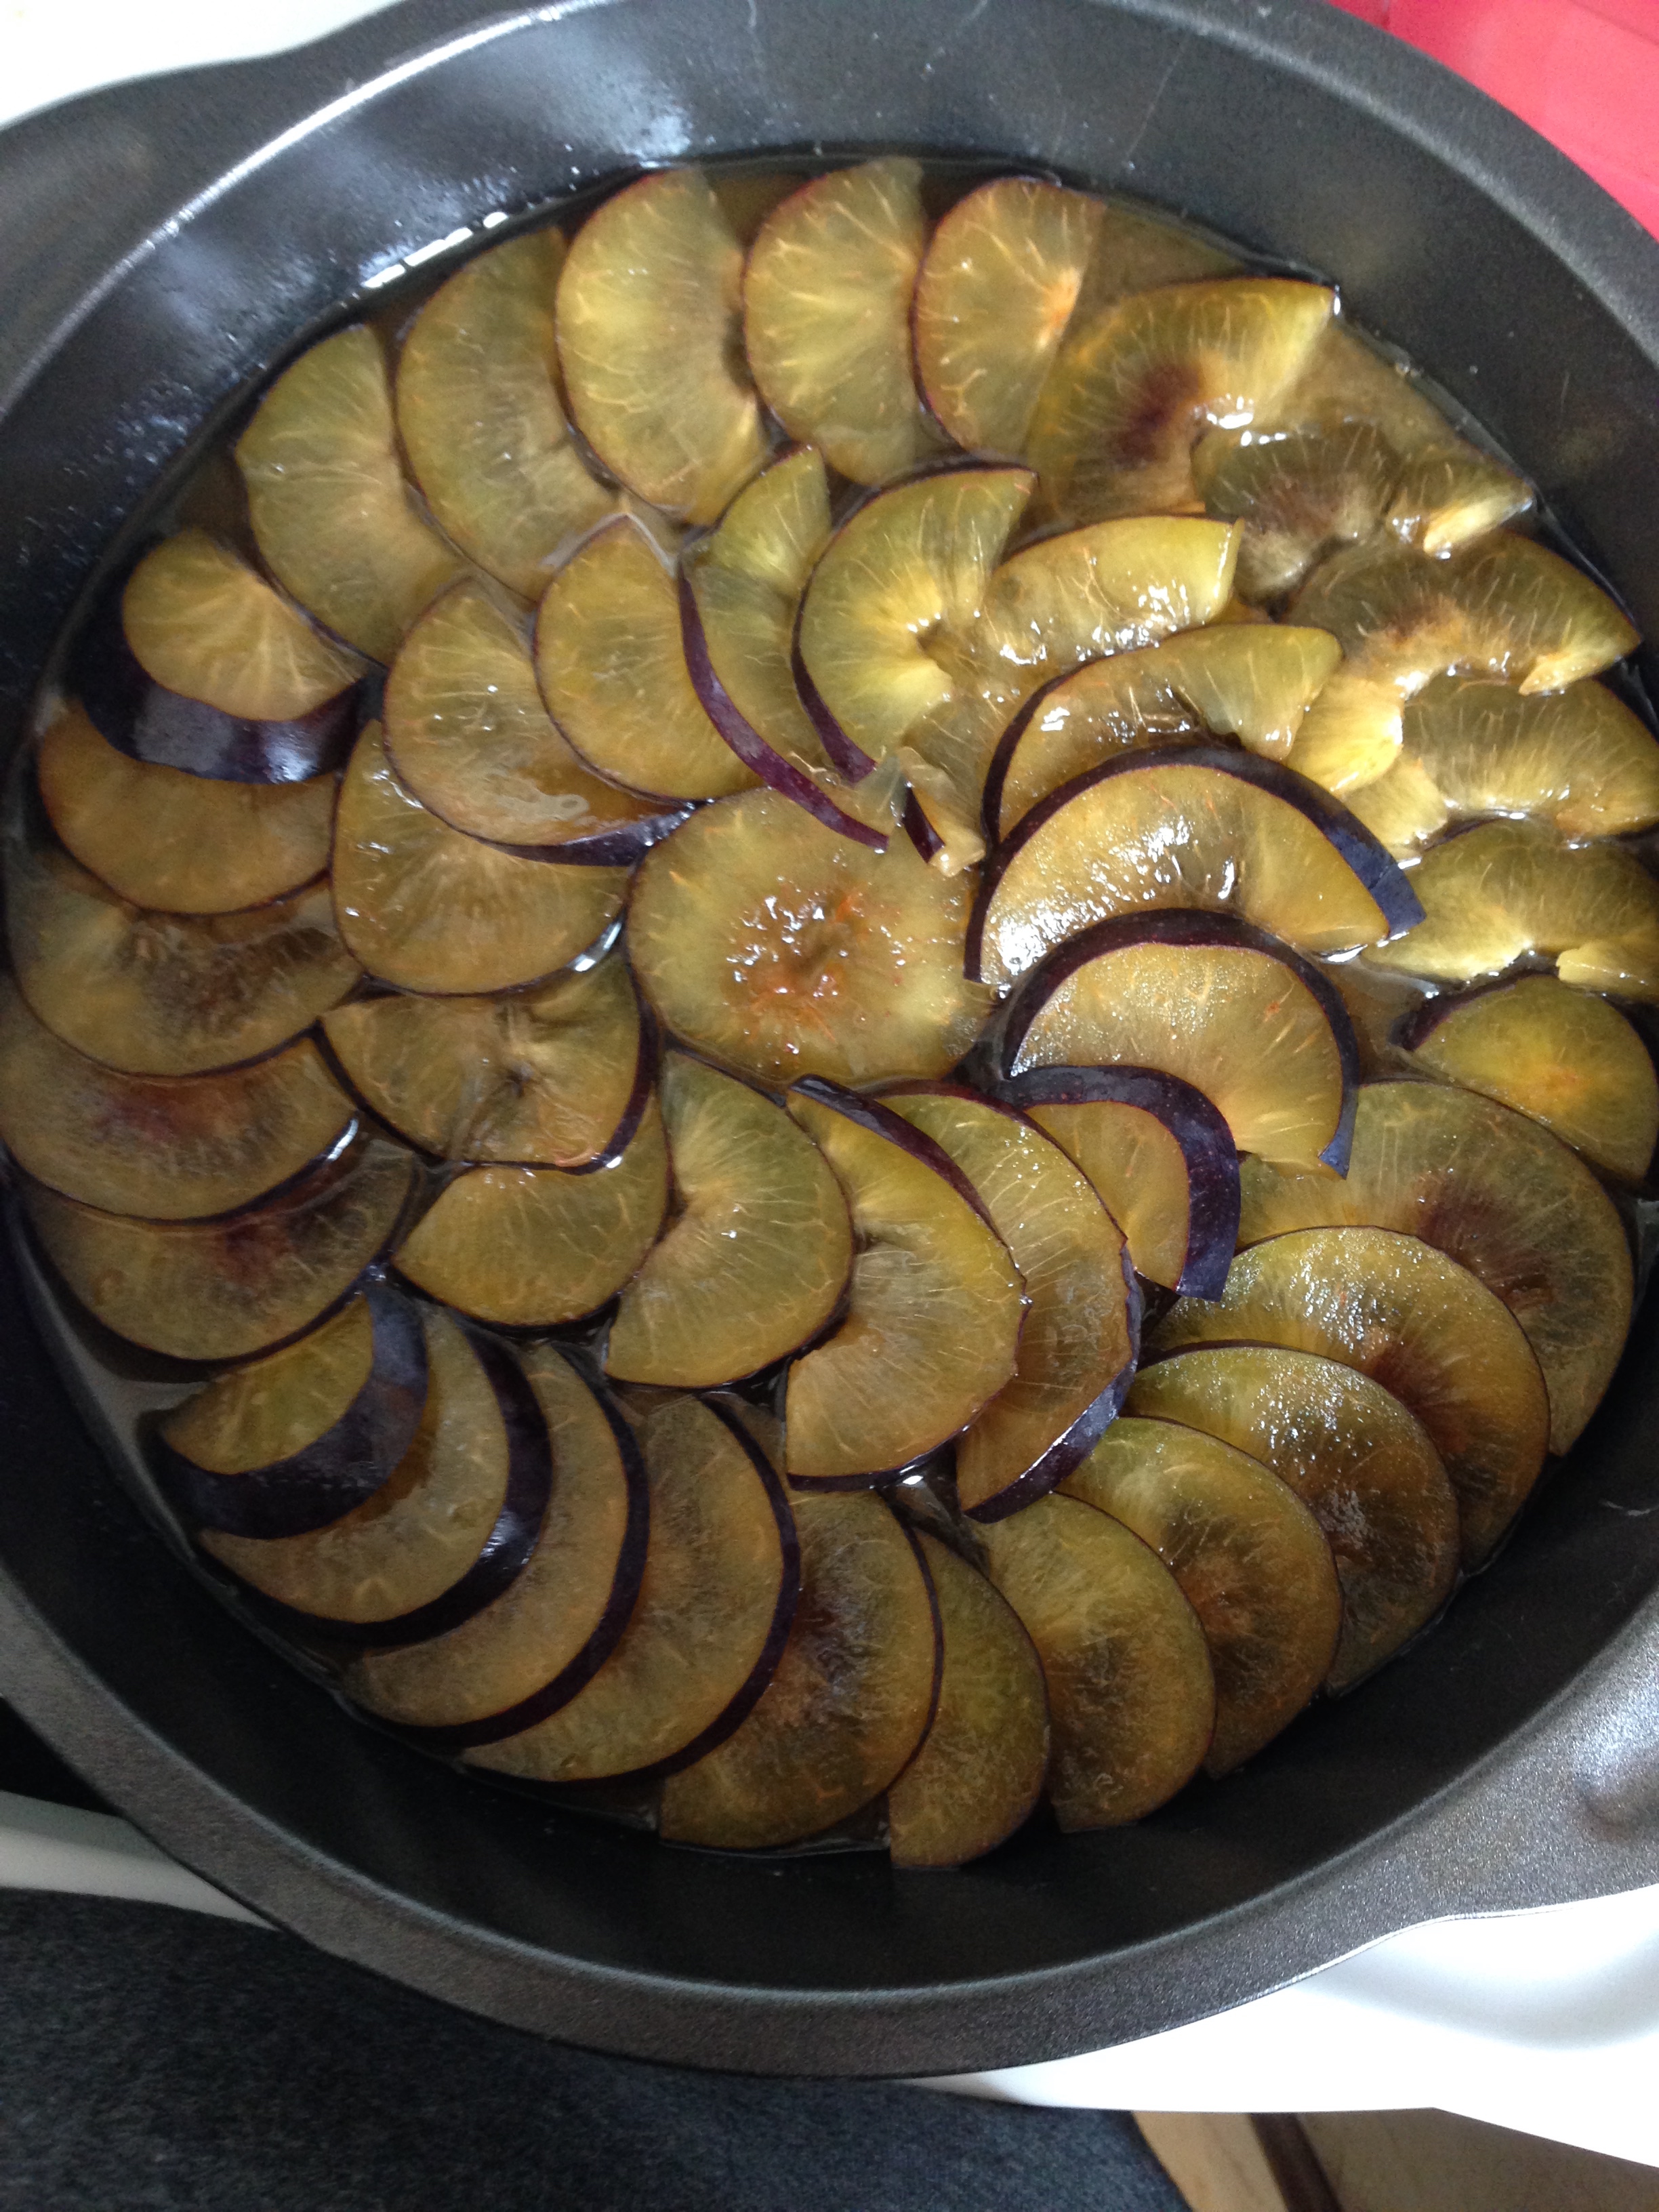
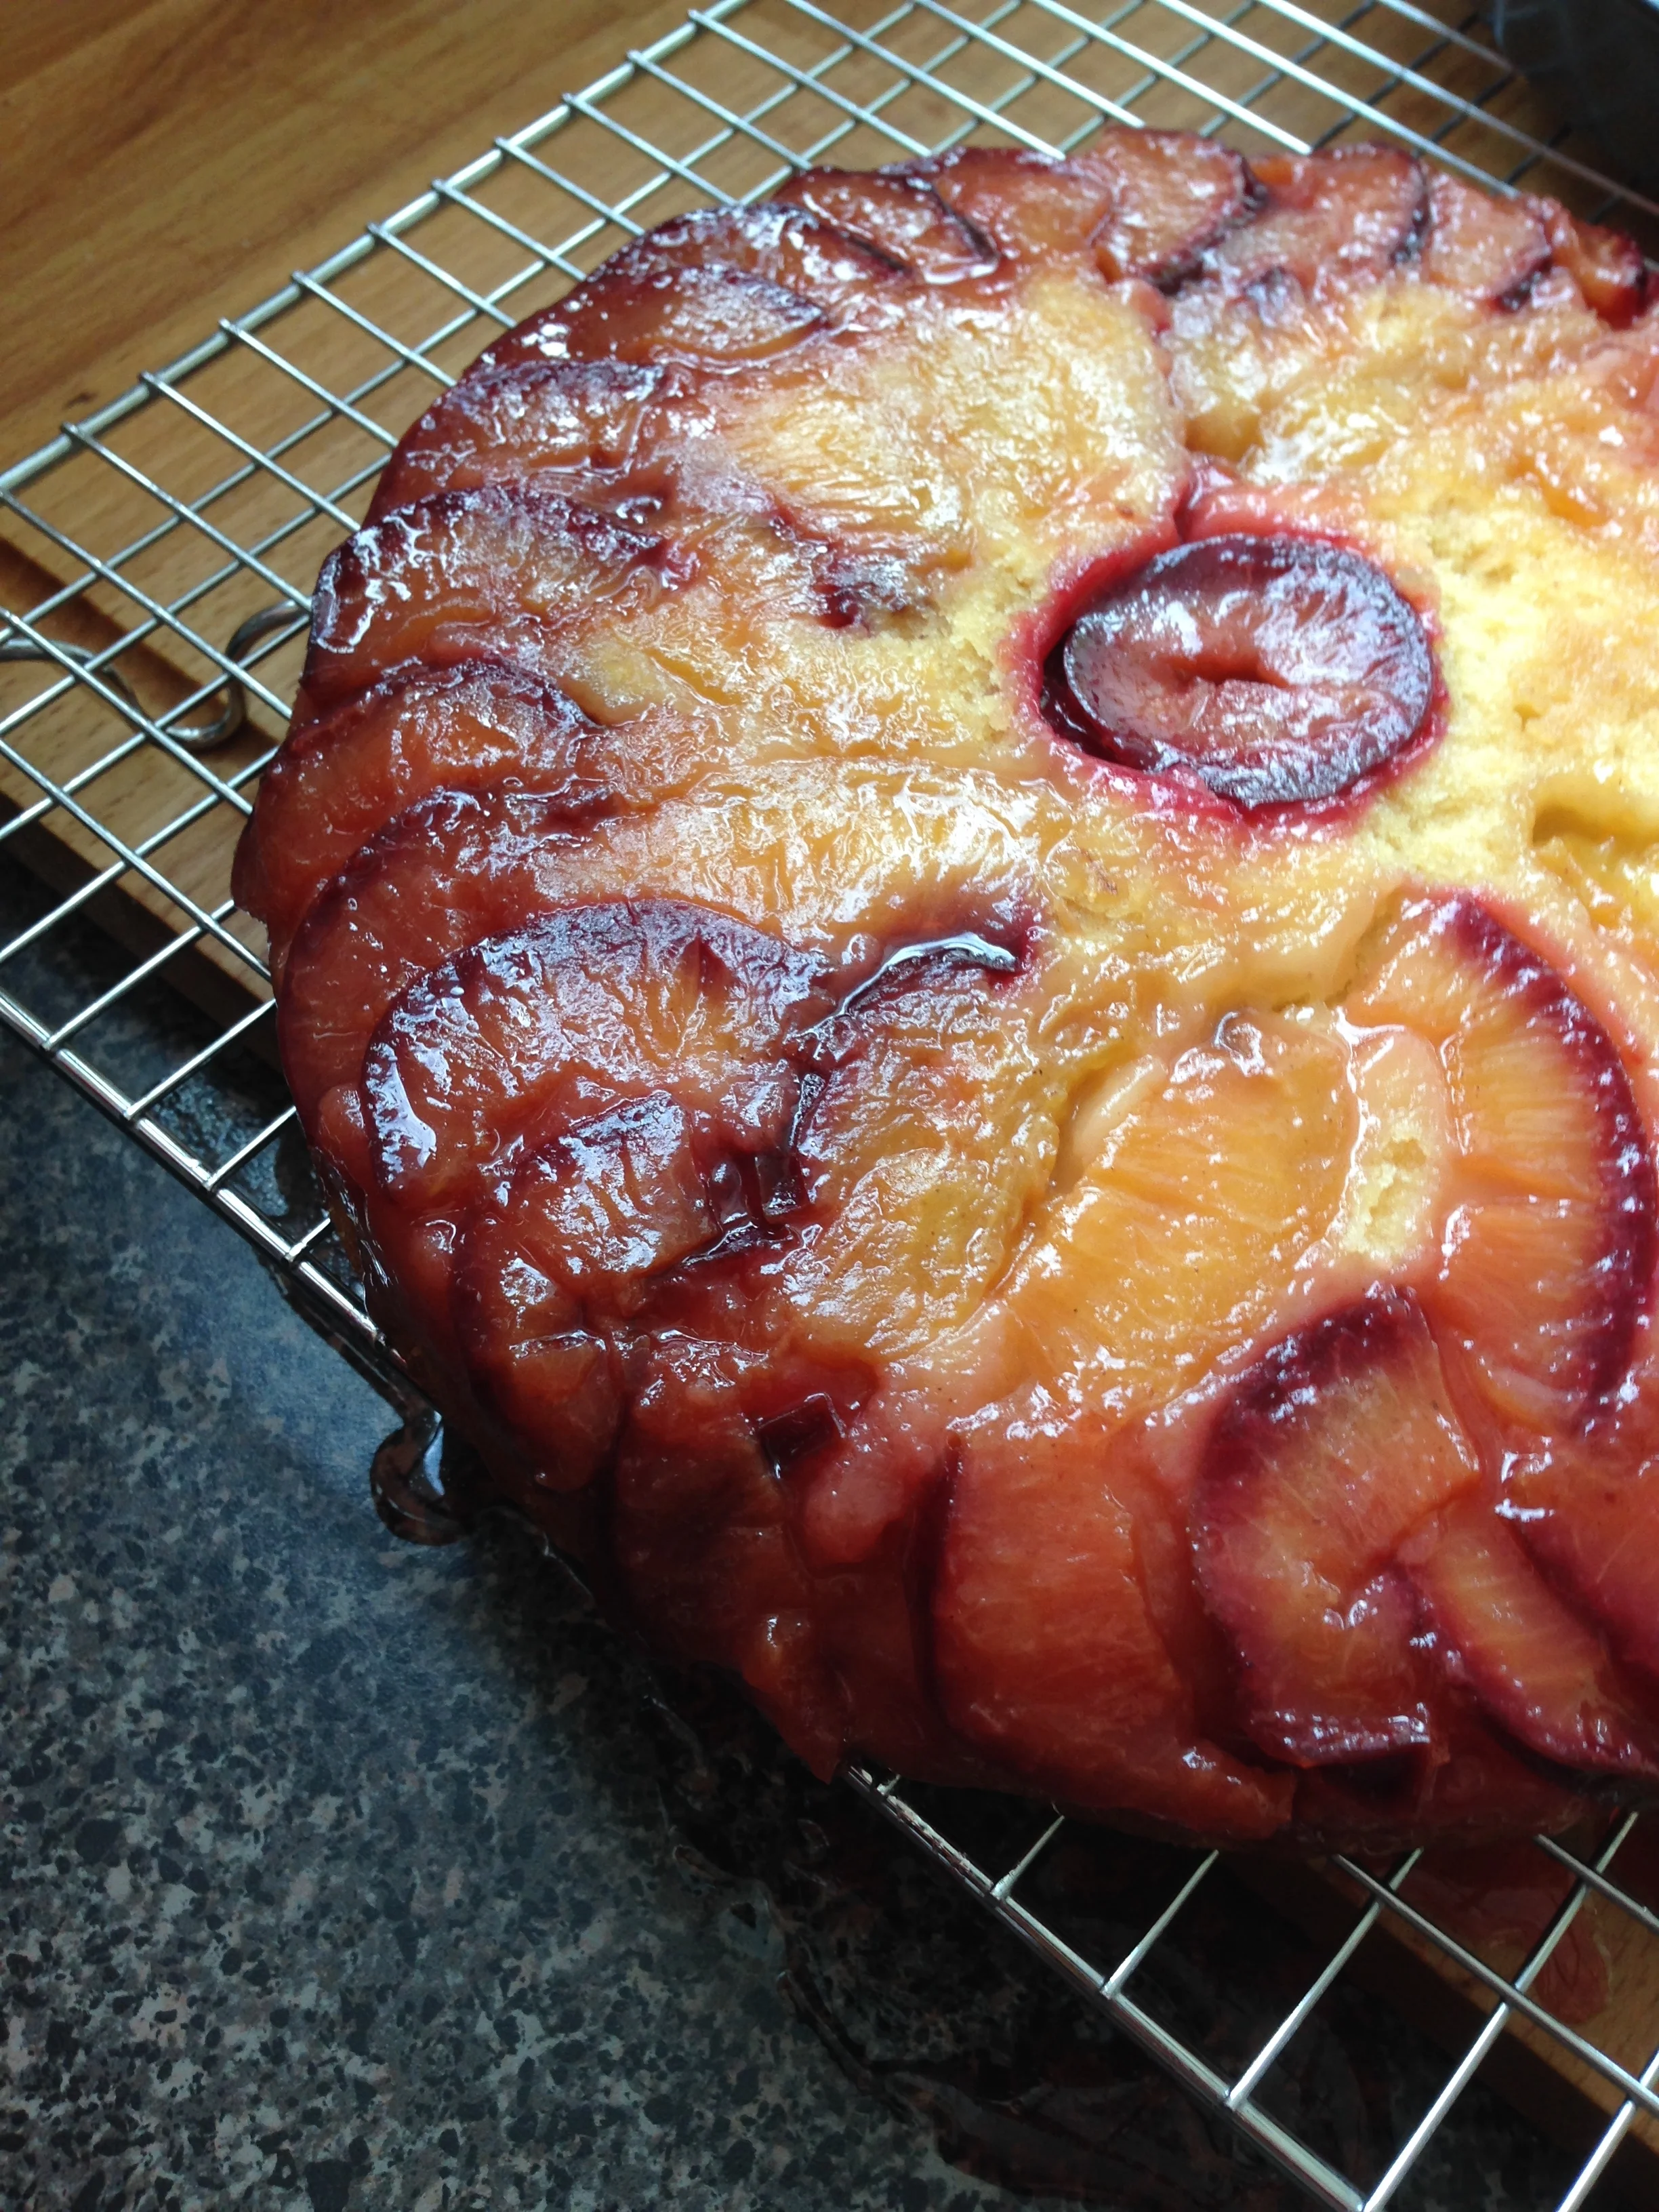
I've done a similar recipe here but I changed it up a bit. I used blue plums (that were in season at the time, yay!) and some clover honey from the local market. 

Blue Plum and Honey Upside-down Cake

12 Blue Plums, sliced thinly

4 TBSP butter
1/4 cup brown sugar
1/4 cup clover honey
1/2 tsp ground cinnamon

1 1/4 cup flour
1 1/4 tsp baking powder
1/4 tsp salt

4 TBSP butter
3/4 cups granulated sugar
1 egg, well beaten
1/2 milk
1 tsp vanilla

9 inch round pan

  1. To slice plums: With a sharp knife, make a slit around the centre of the plum, all the way around the pit. Twist one half of fruit off the pit. Remove the pit. Slice up the plum flesh. 
  2. Preheat your oven to 350'F.
  3. Combine butter, sugar, honey and cinnamon in the round baking pan. Place pan in the oven for 2 minutes until butter is melted. Stir melted butter mixture in the pan together thoroughly. Arrange the sliced plums on top of the sugar mixture in the baking pan. Set aside.
  4. In a bowl, combine flour, baking powder and salt. Set aside. 
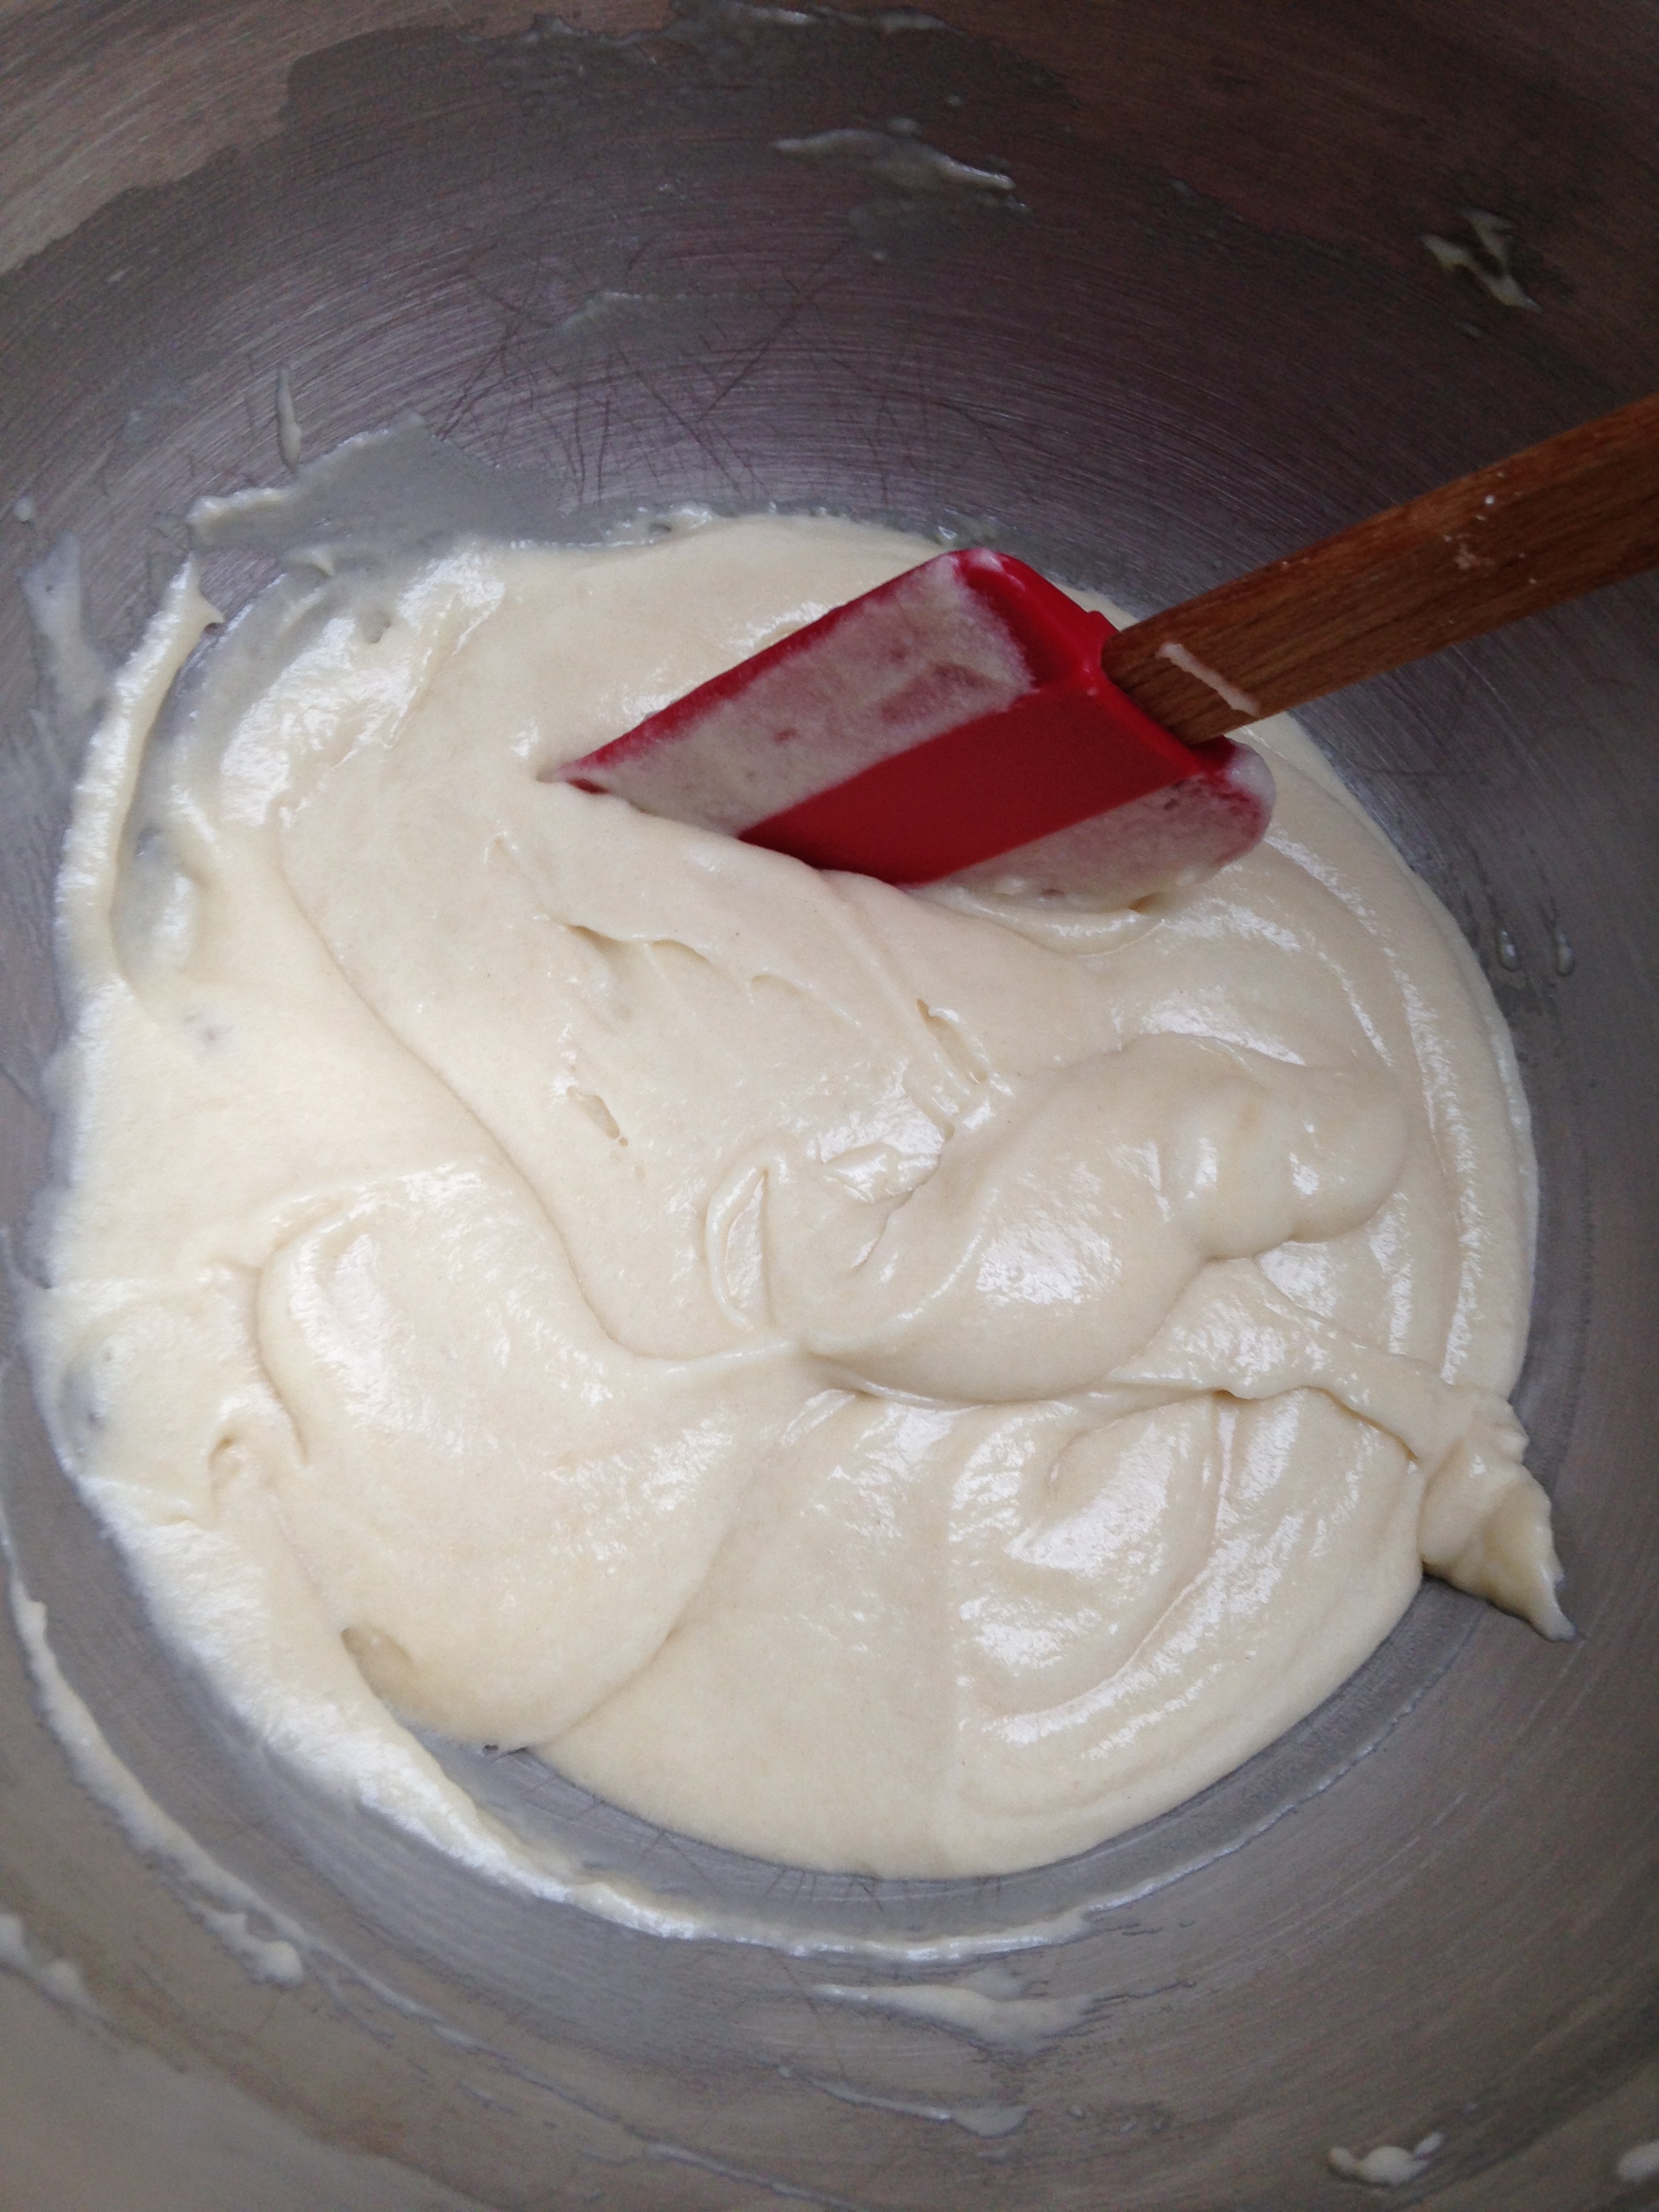
  5. In an electric mixer, cream butter. Add sugar and beat until butter is light and fluffy. (It will literally change colour. From butter yellow to a light white yellow.)
  6. Add pre-beaten egg. Stir. 
  7. Now combine flour and milk in with the sugar/egg mixture, alternating between adding milk and flour mixture. Mix each part until smooth before adding the next part. 
  8. Stir in vanilla. 
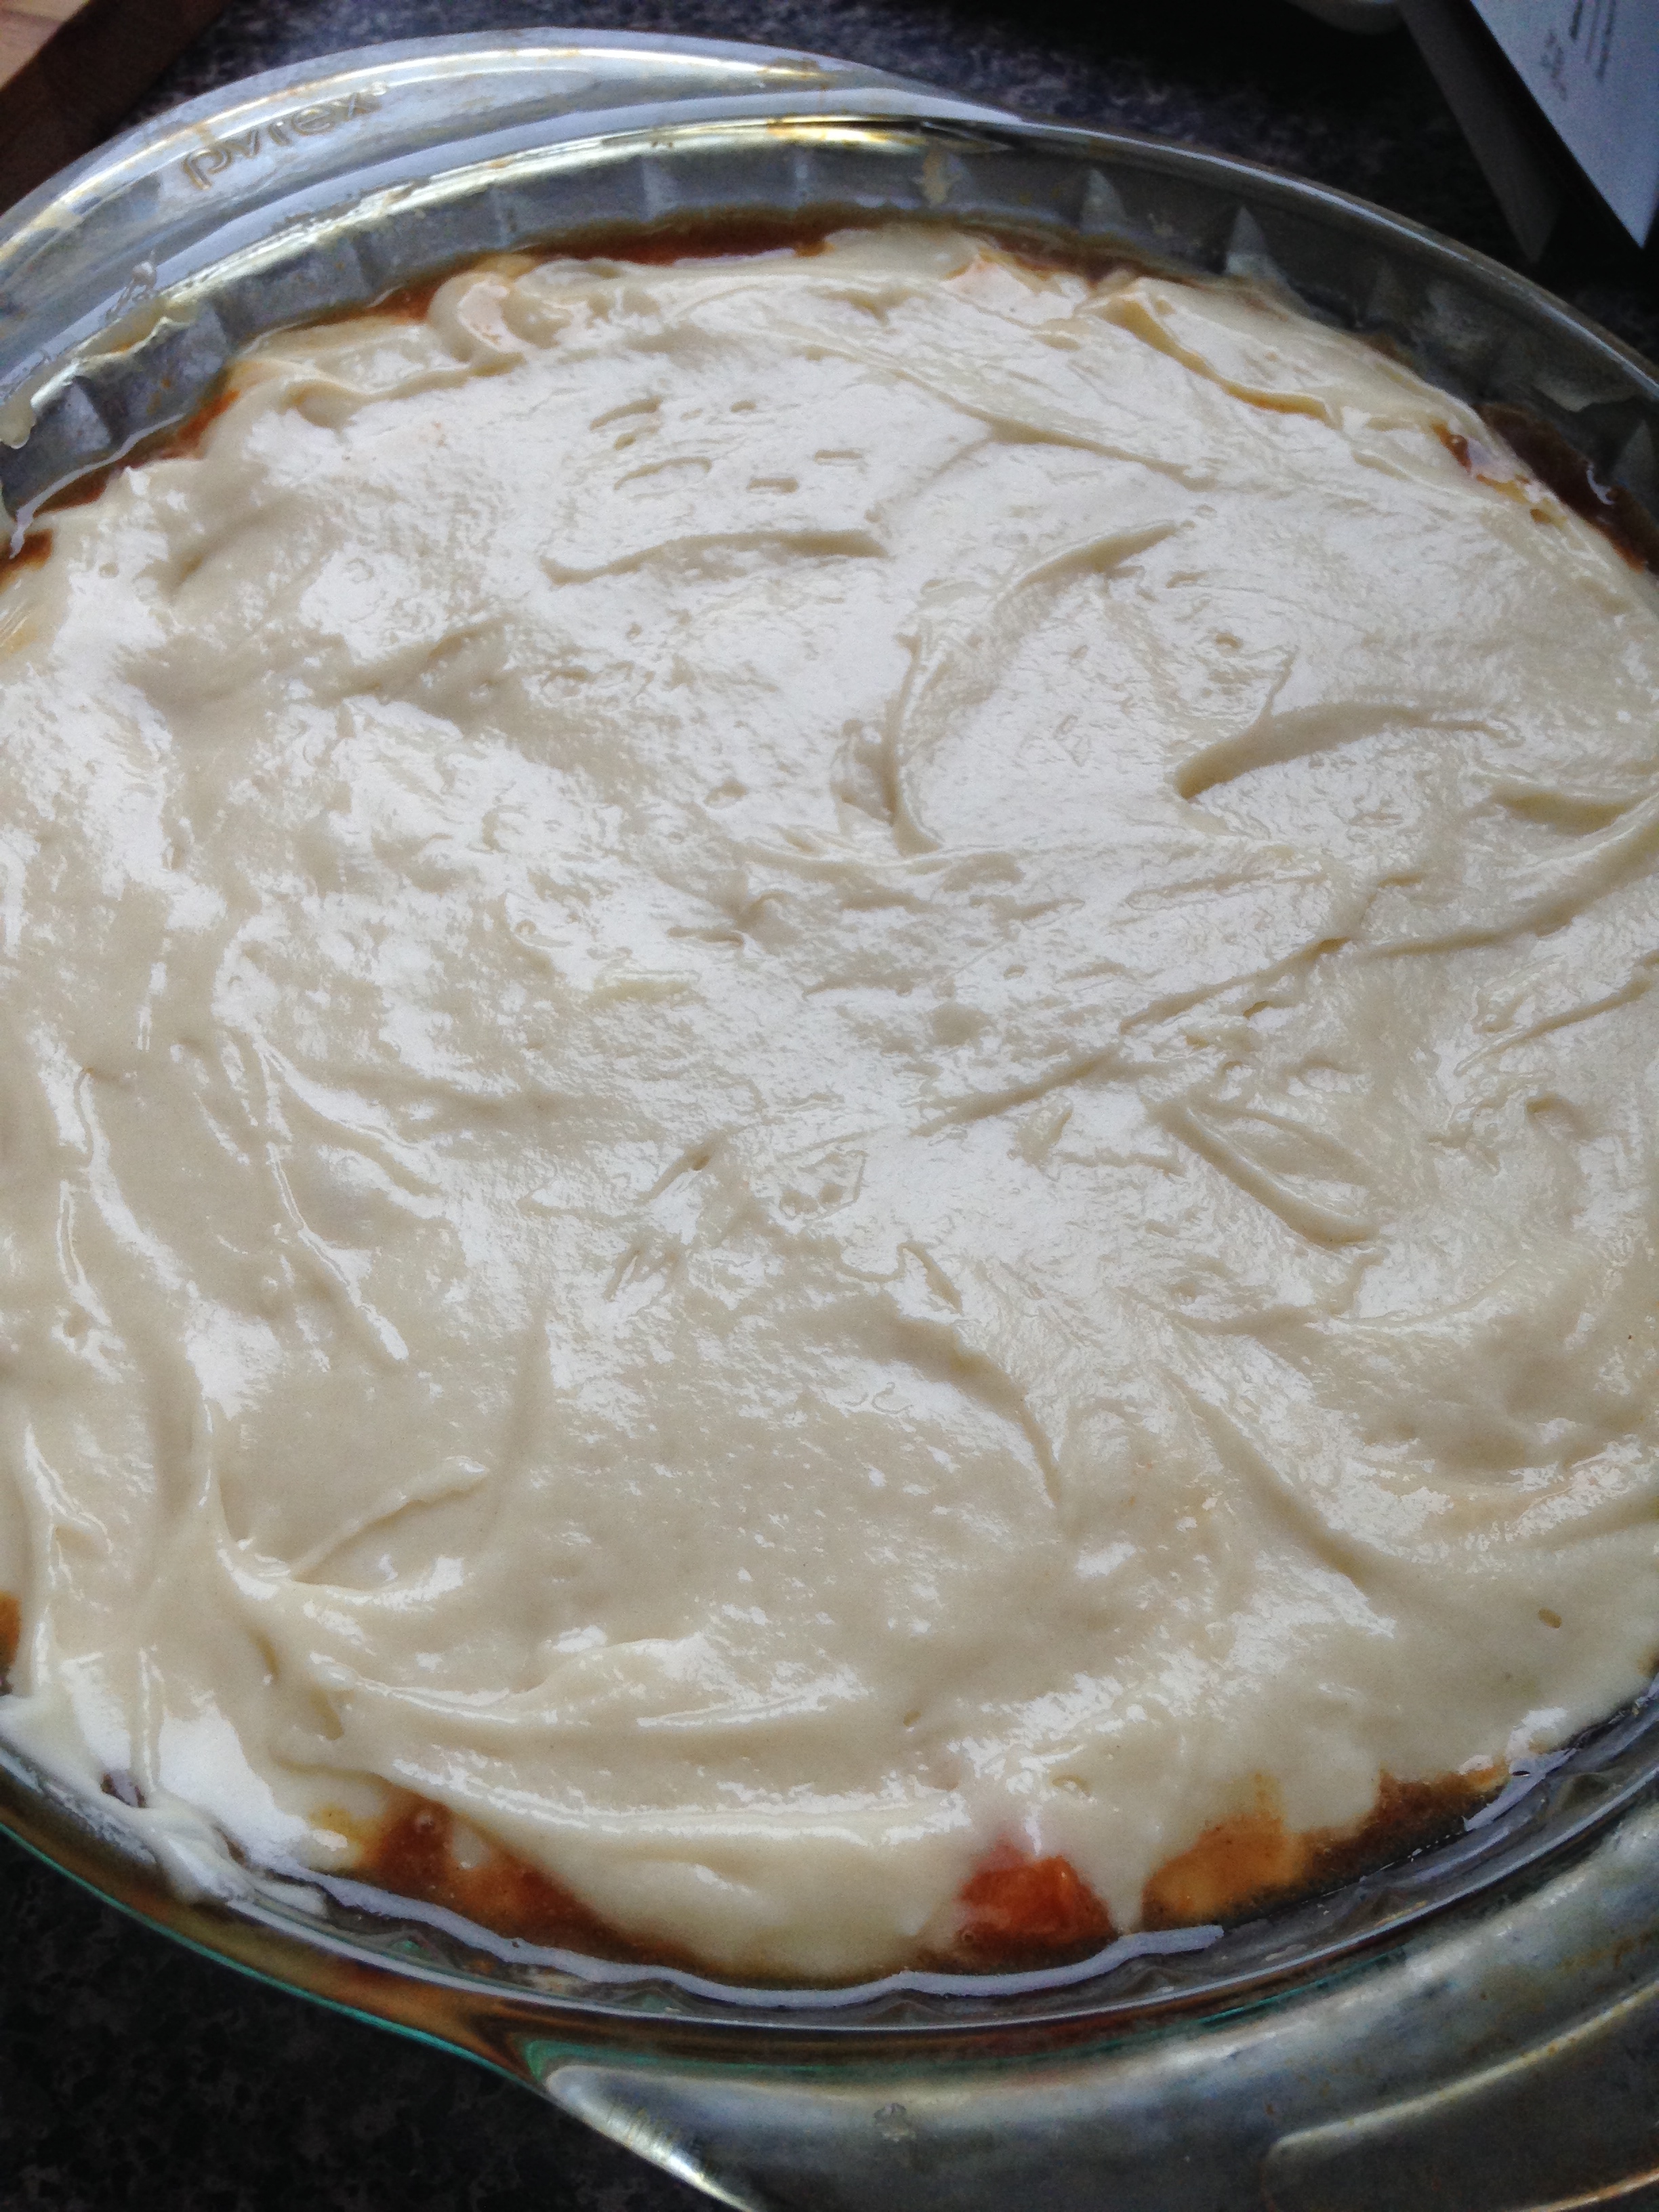
  9. Pour cake batter on top of the plums in the baking pan. Smooth the top so all the plums are covered. 
  10. Bake for ~50 minutes or until a fork inserted into centre of cake comes out clean. 
  11. After it's done baking, let cool for an hour before you flip it out onto a serving platter. Serve warm or let cool completely and top with icing sugar. 

De-ricious!

And hopefully I'll be able to share some of  my work-y endeavours soon! (Confidentially agreements are weird....)

-Andrea

The Half-Assed Hobbyist
Apricots and Oven Testing

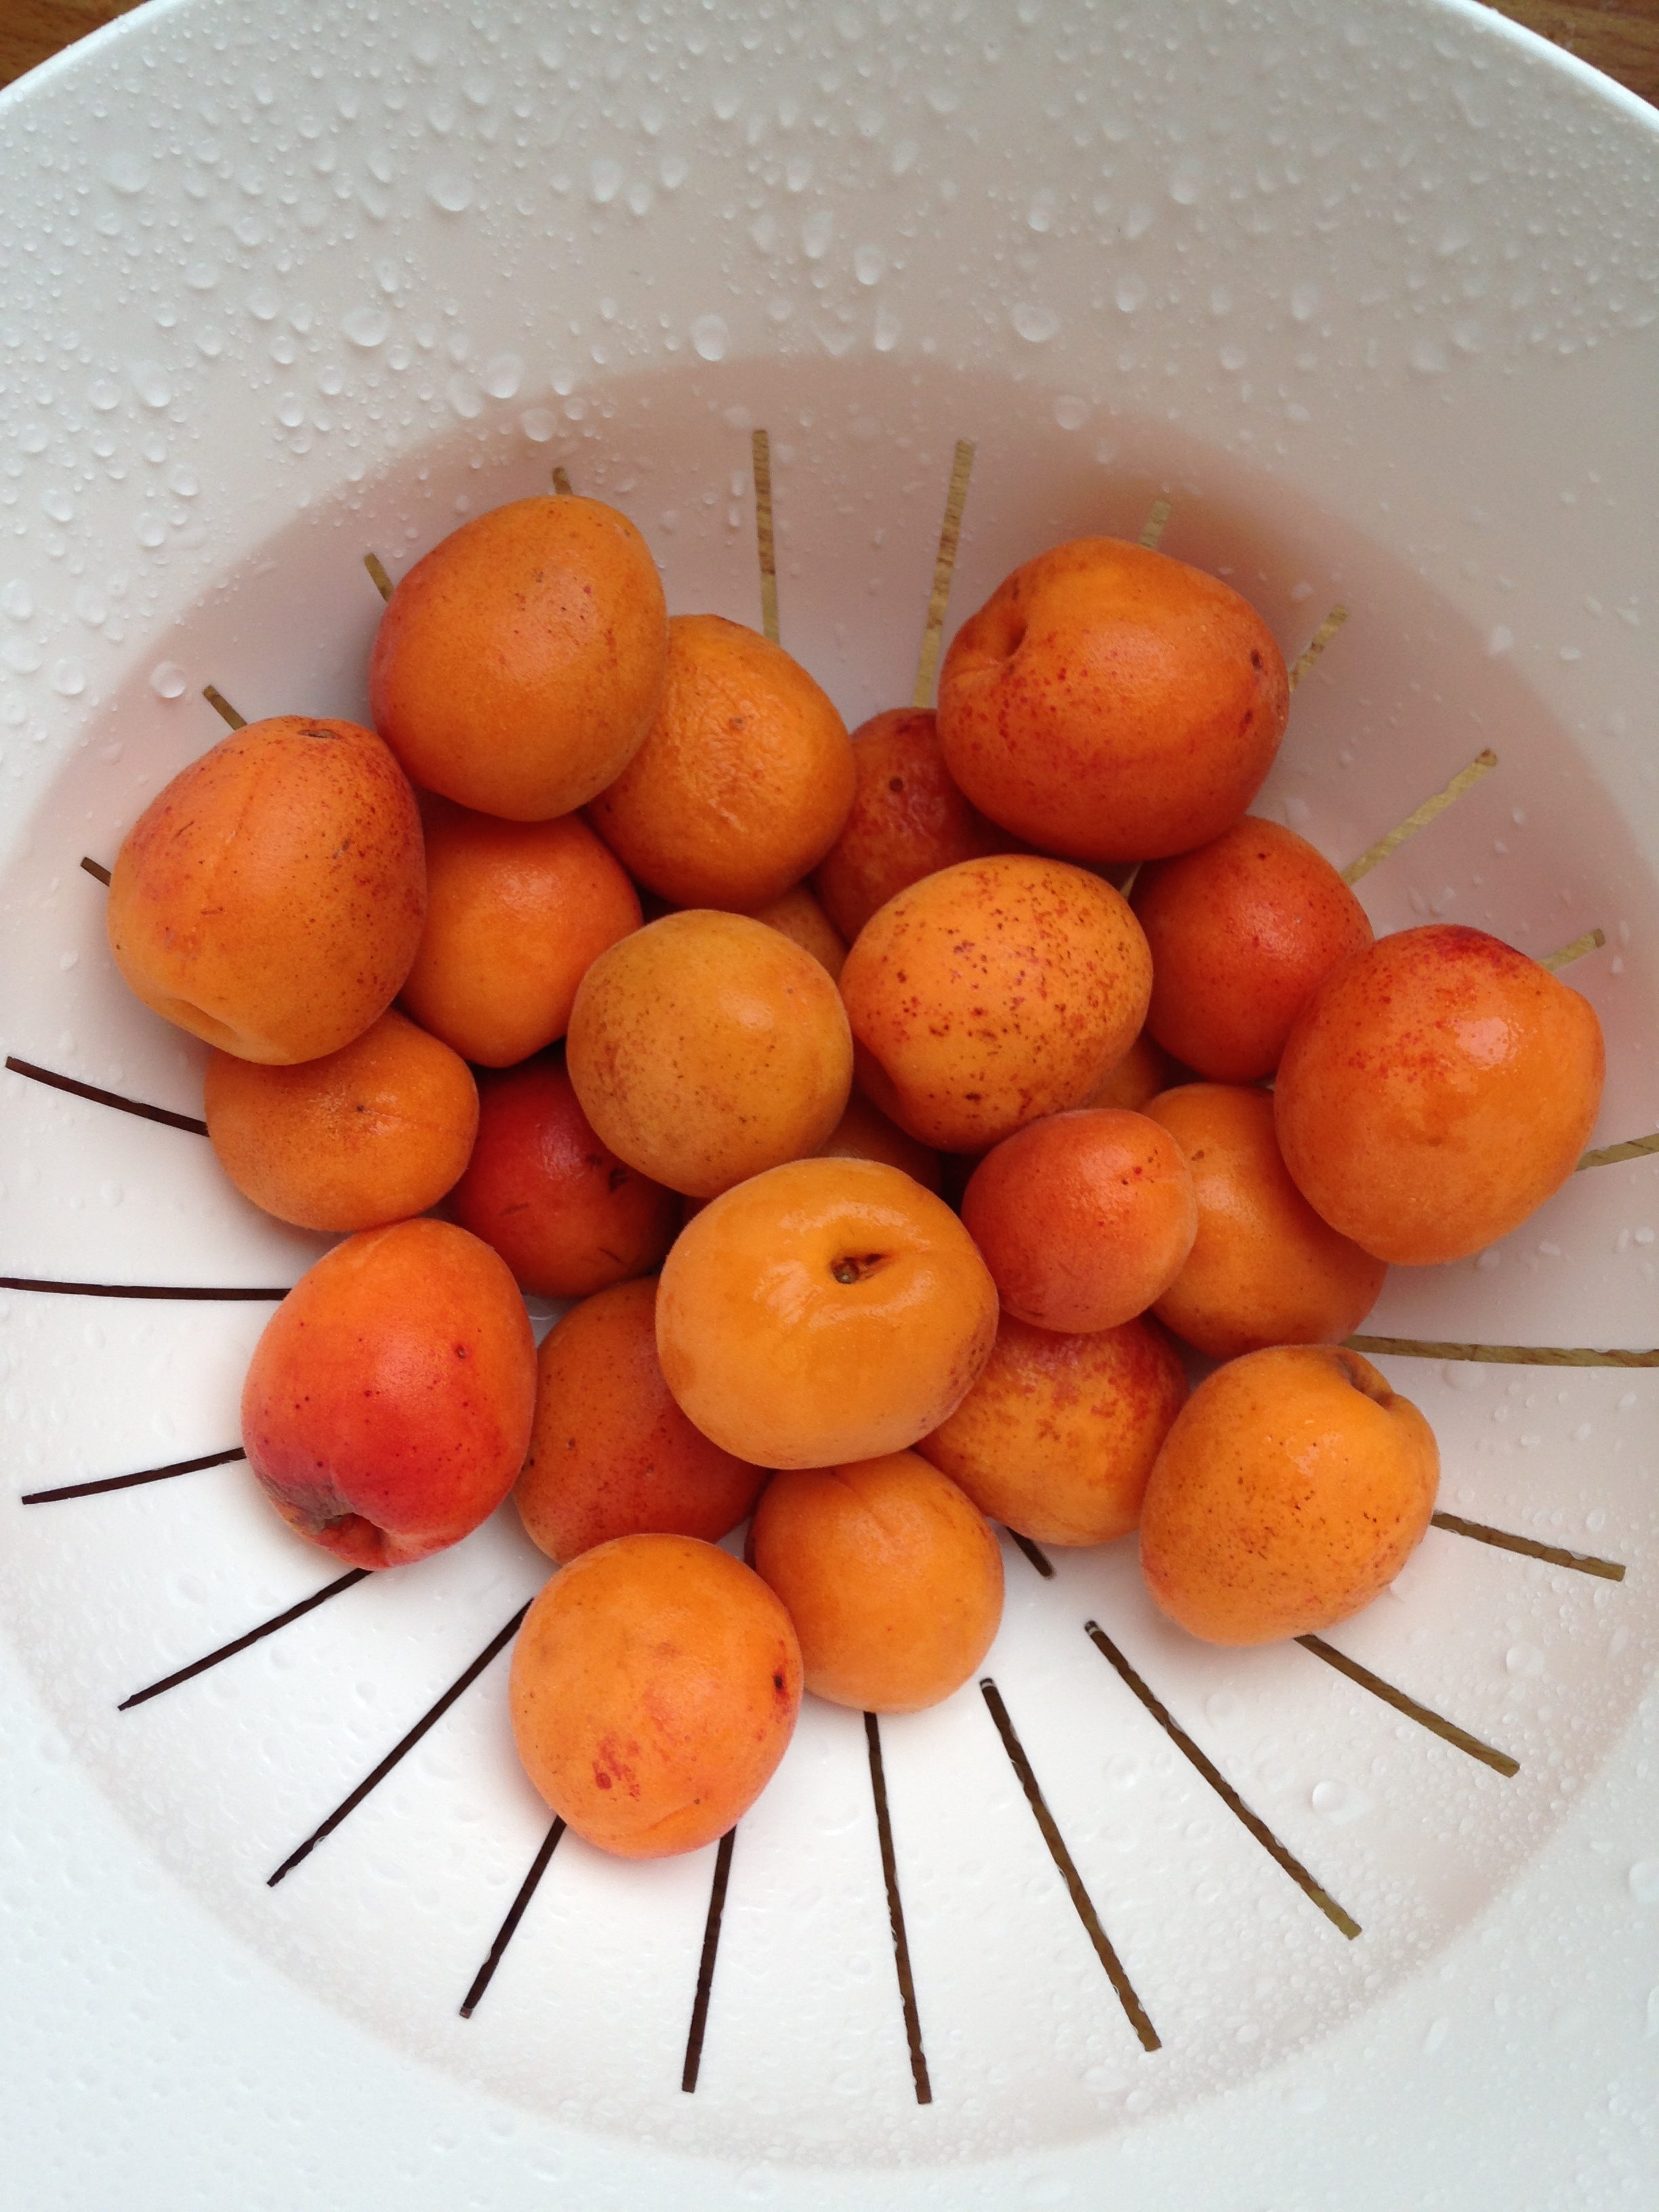
During the trip to the market last week I also bought a basket of apricots. The trouble with buying a basket of one thing is, with only two people around, typically whatever it is starts to go bad before it's gone. This was the unfortunate case with my lovely apricots. They were juicy and firm and delicious, but they were ripe and ready and we couldn't eat them fast enough. 

Step in stage right, fresh fruit cakes. I'm not quite sure the history of upside-down cakes but whoever masterminded them hopefully realized how incredibly convenient they are. Got too much fruit but don't want to make a pie crust or crumble? Well then, make a lazy coffee cake. 

Also, more convenience, this afforded a perfect opportunity to test my new oven! Double win!

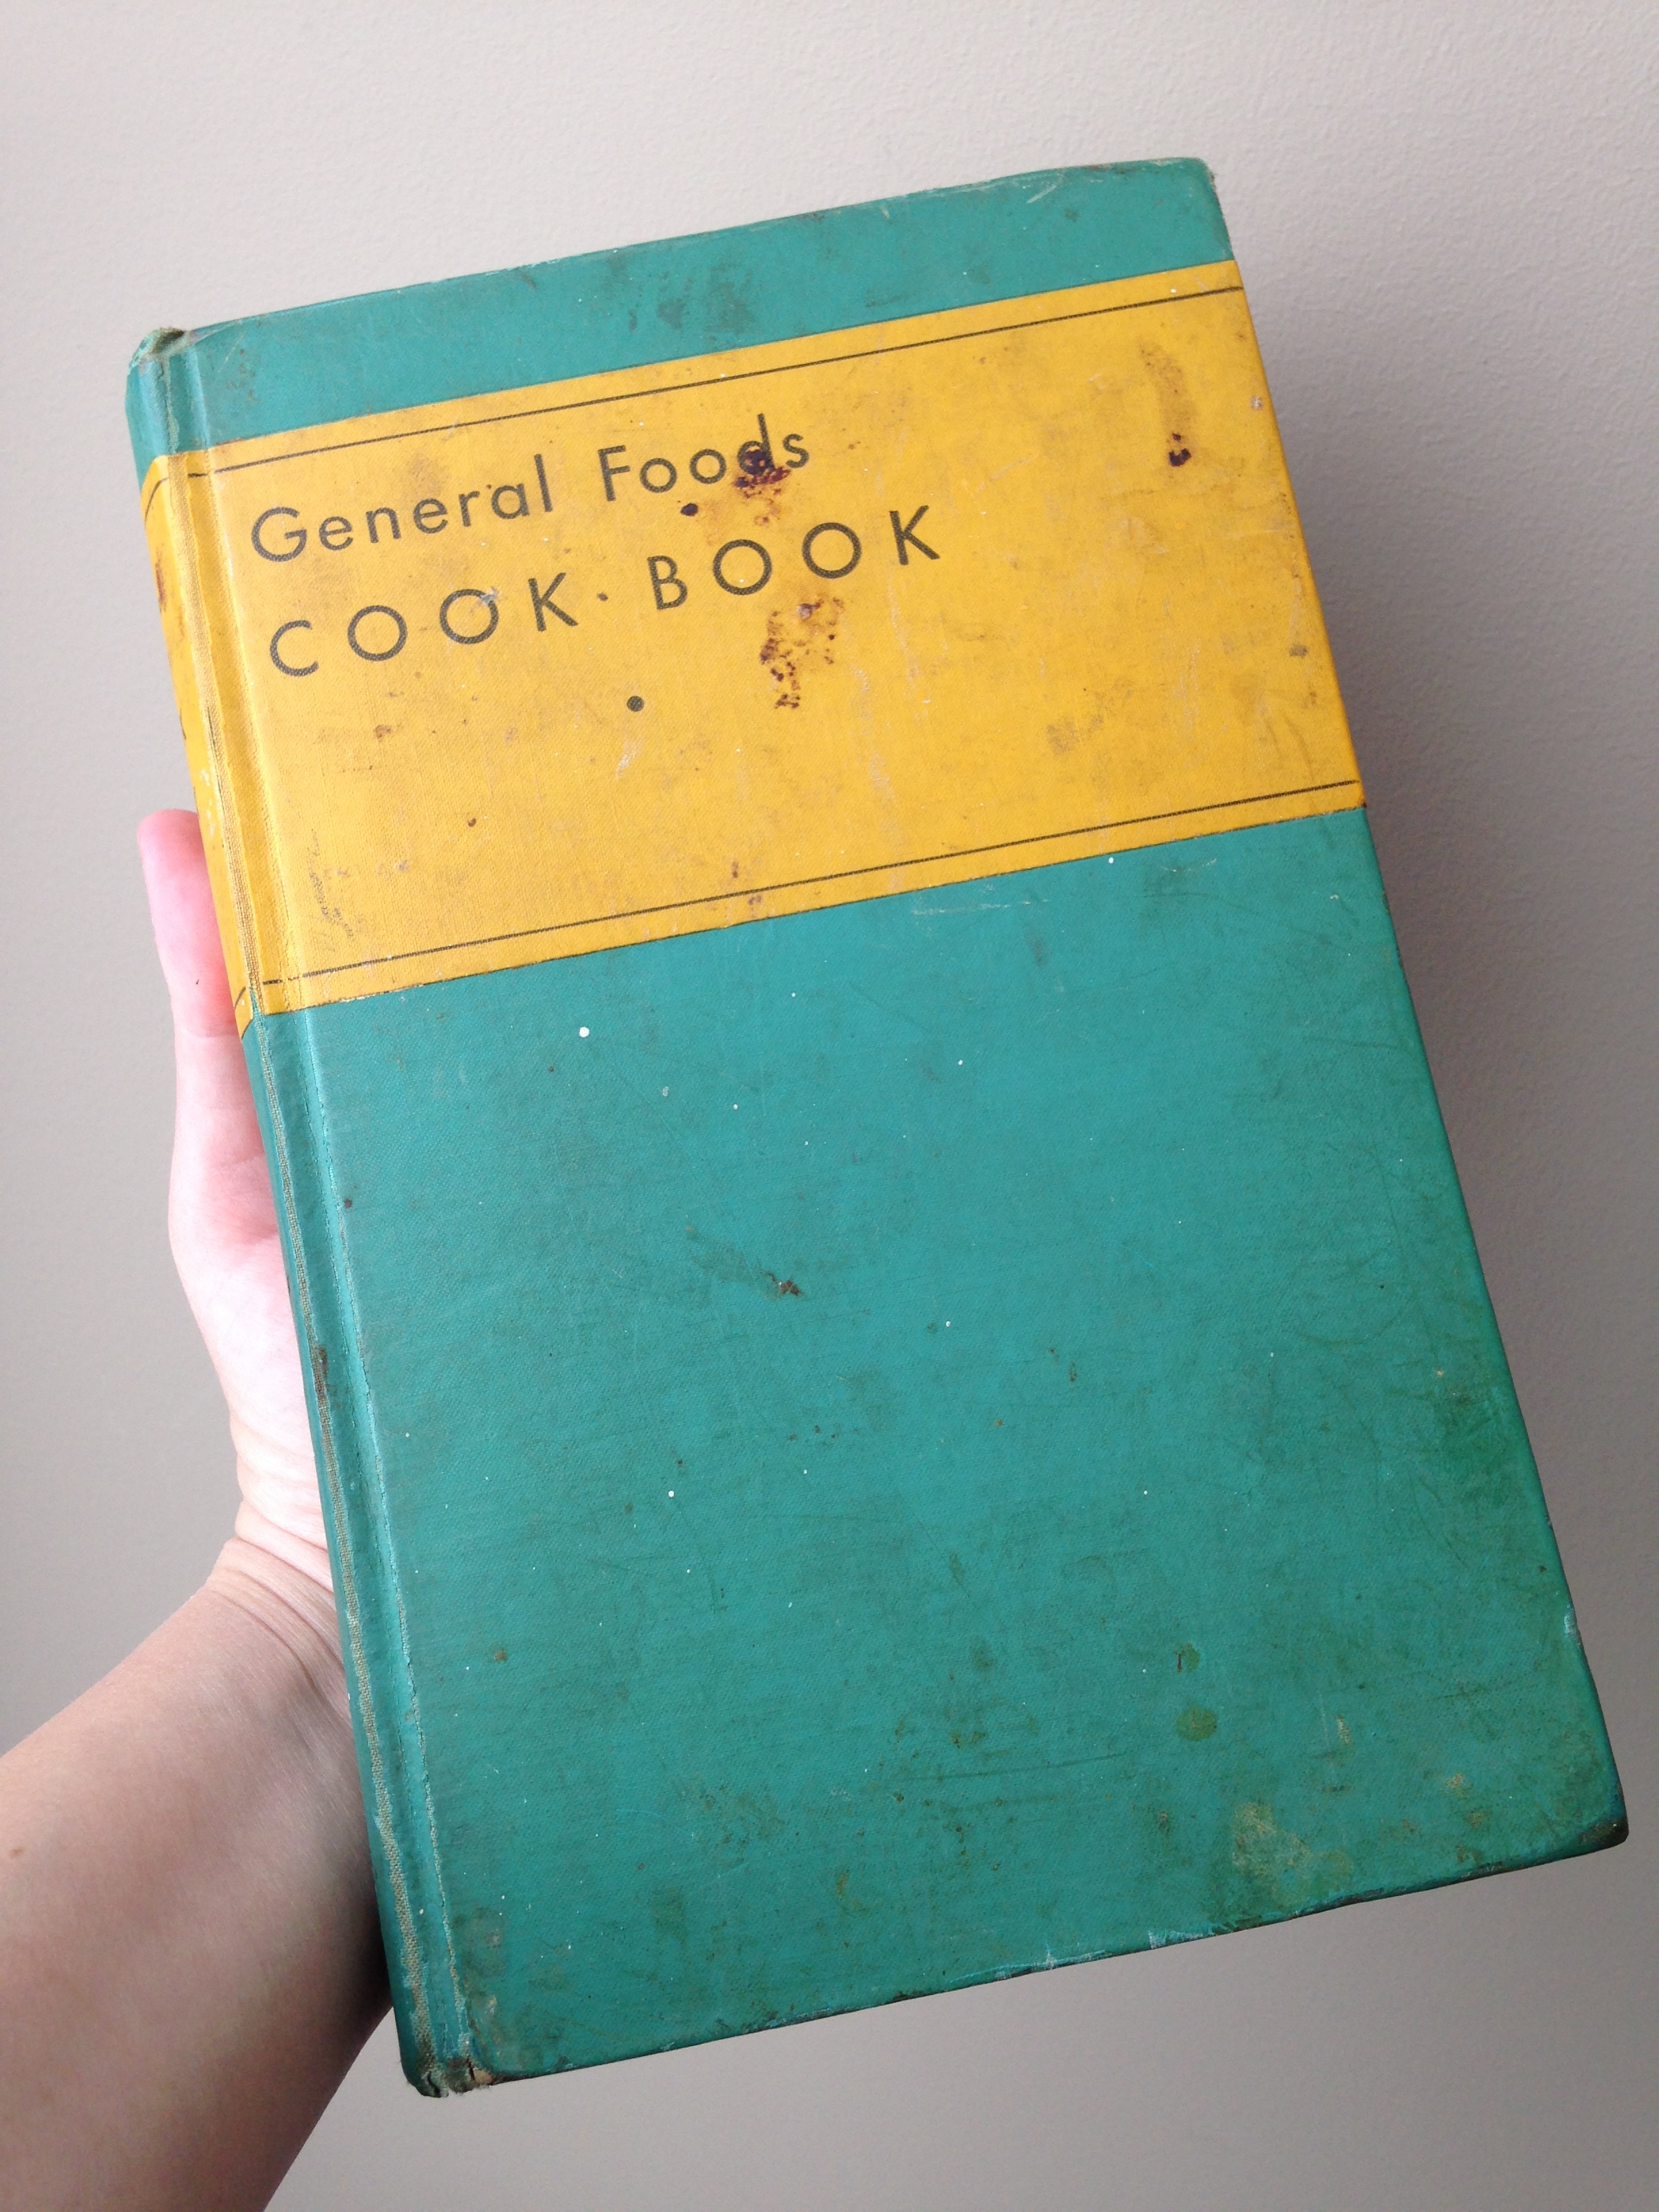
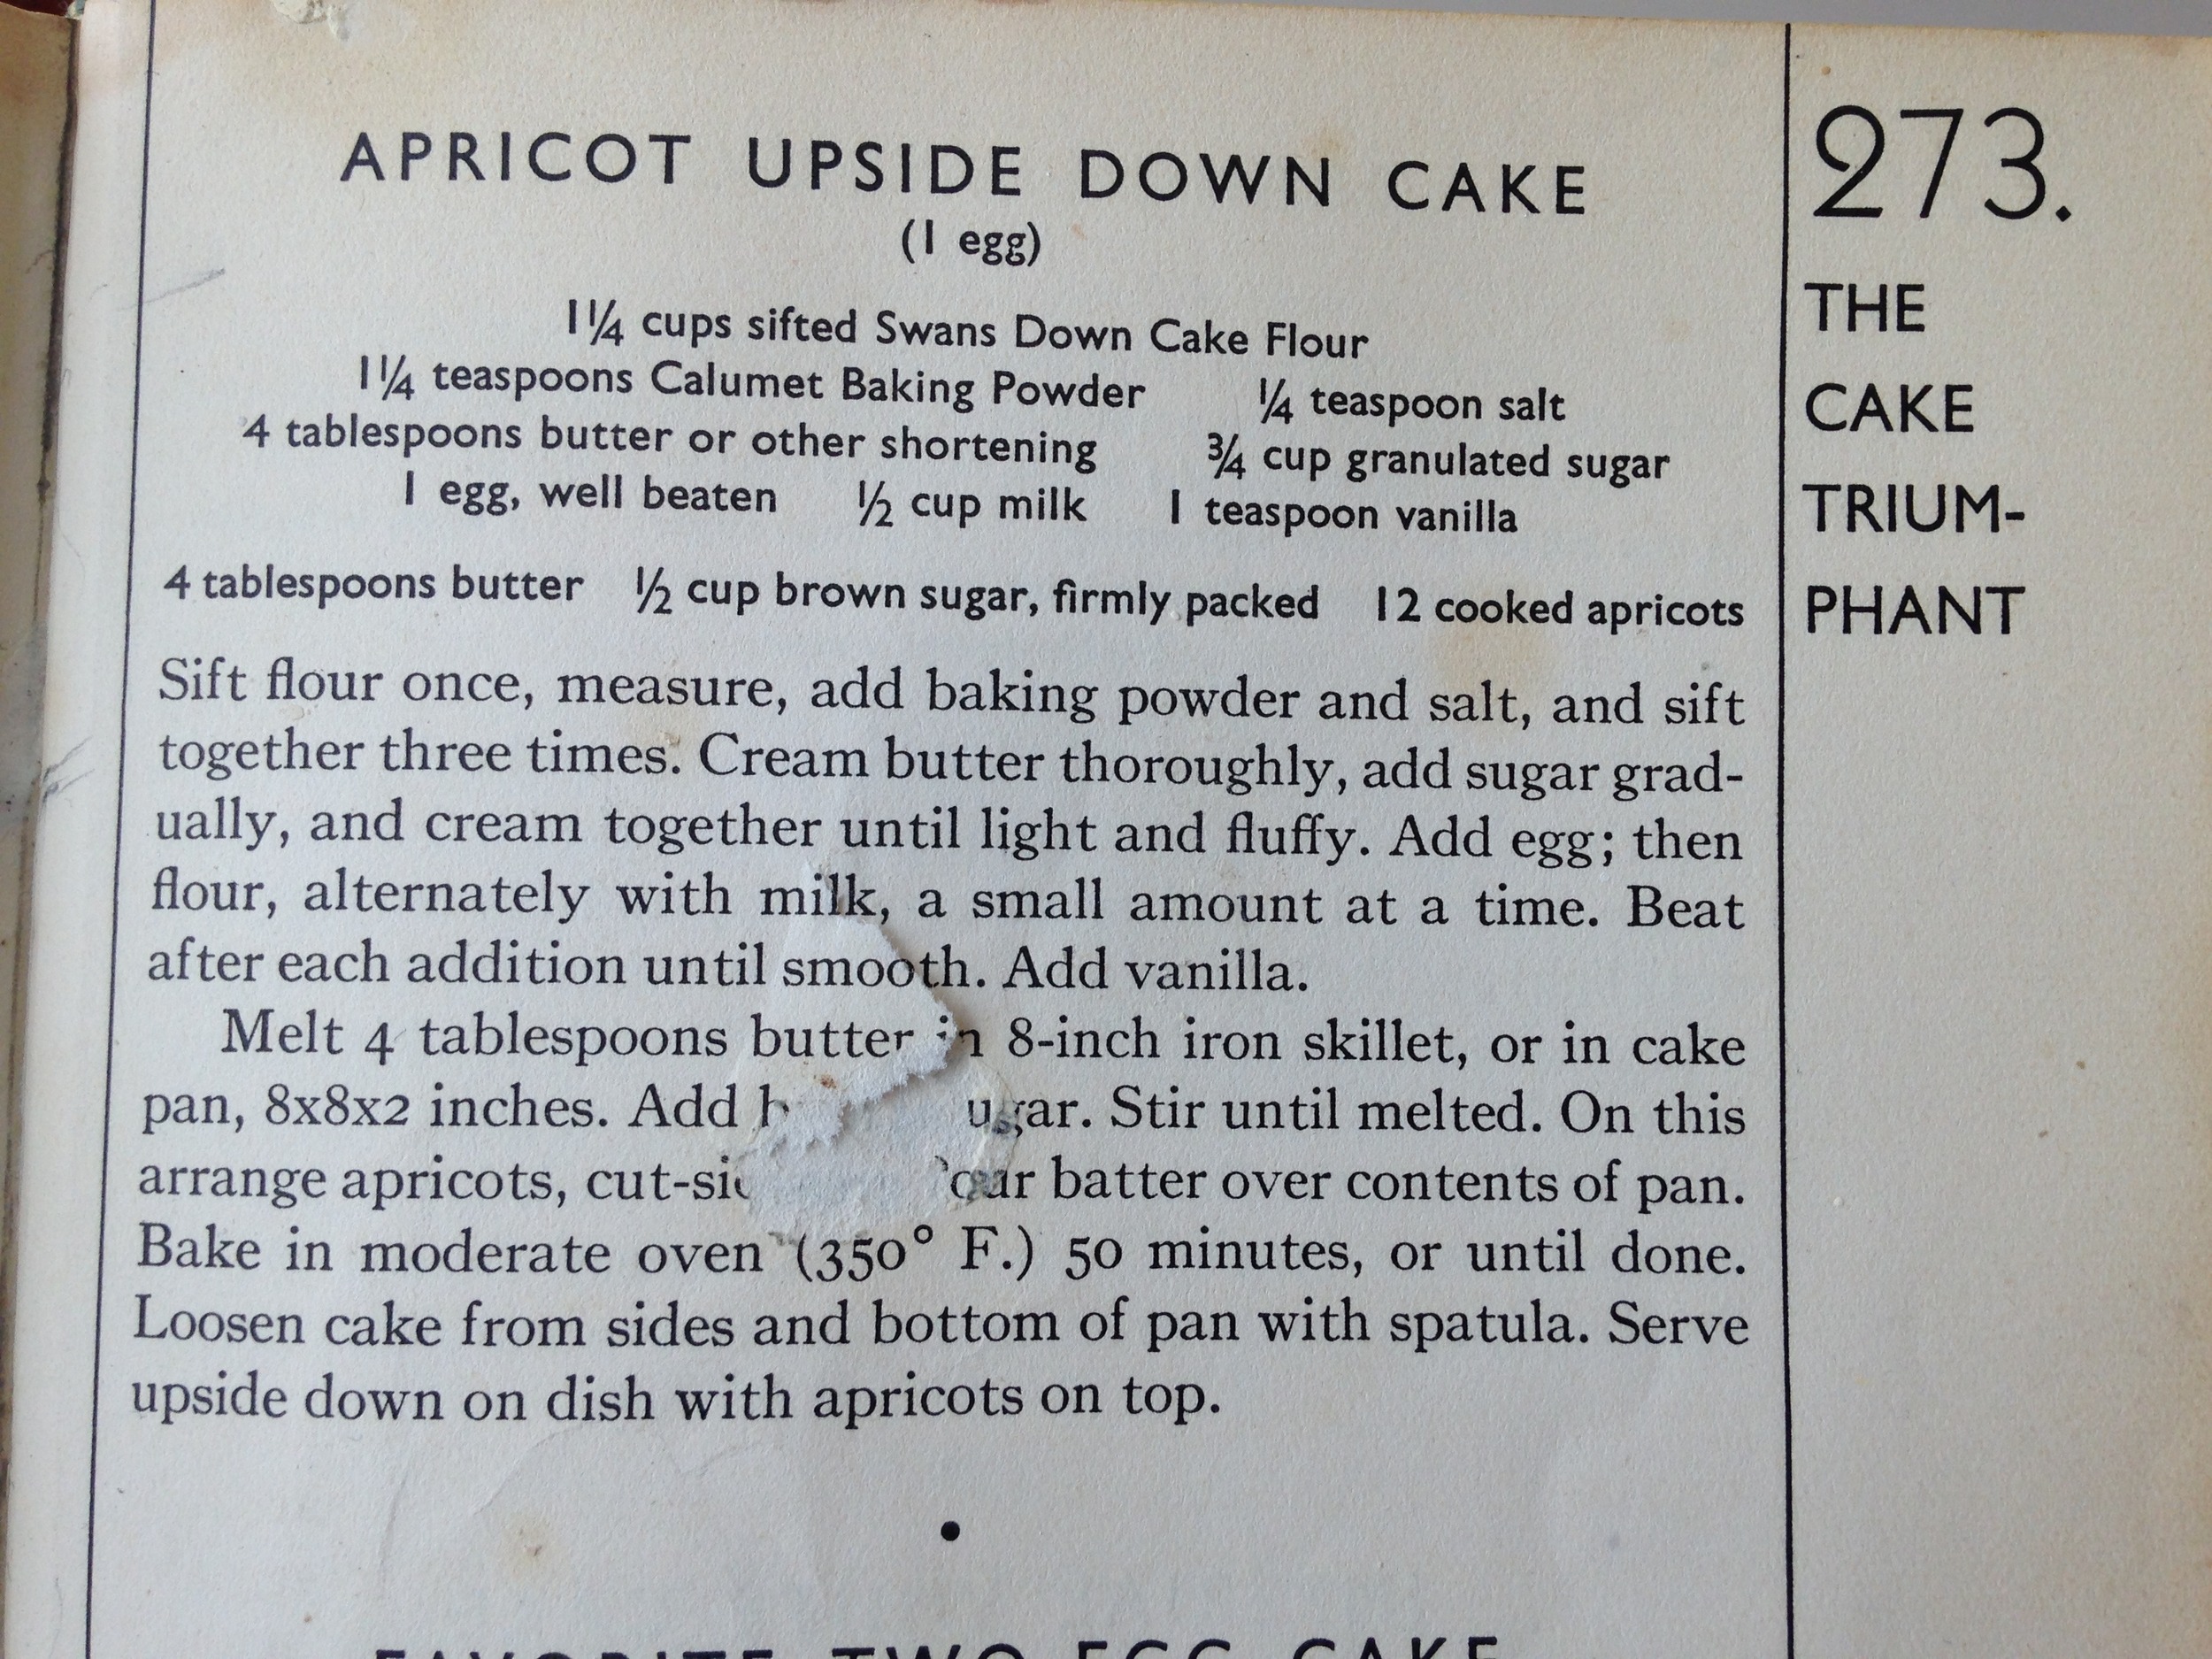
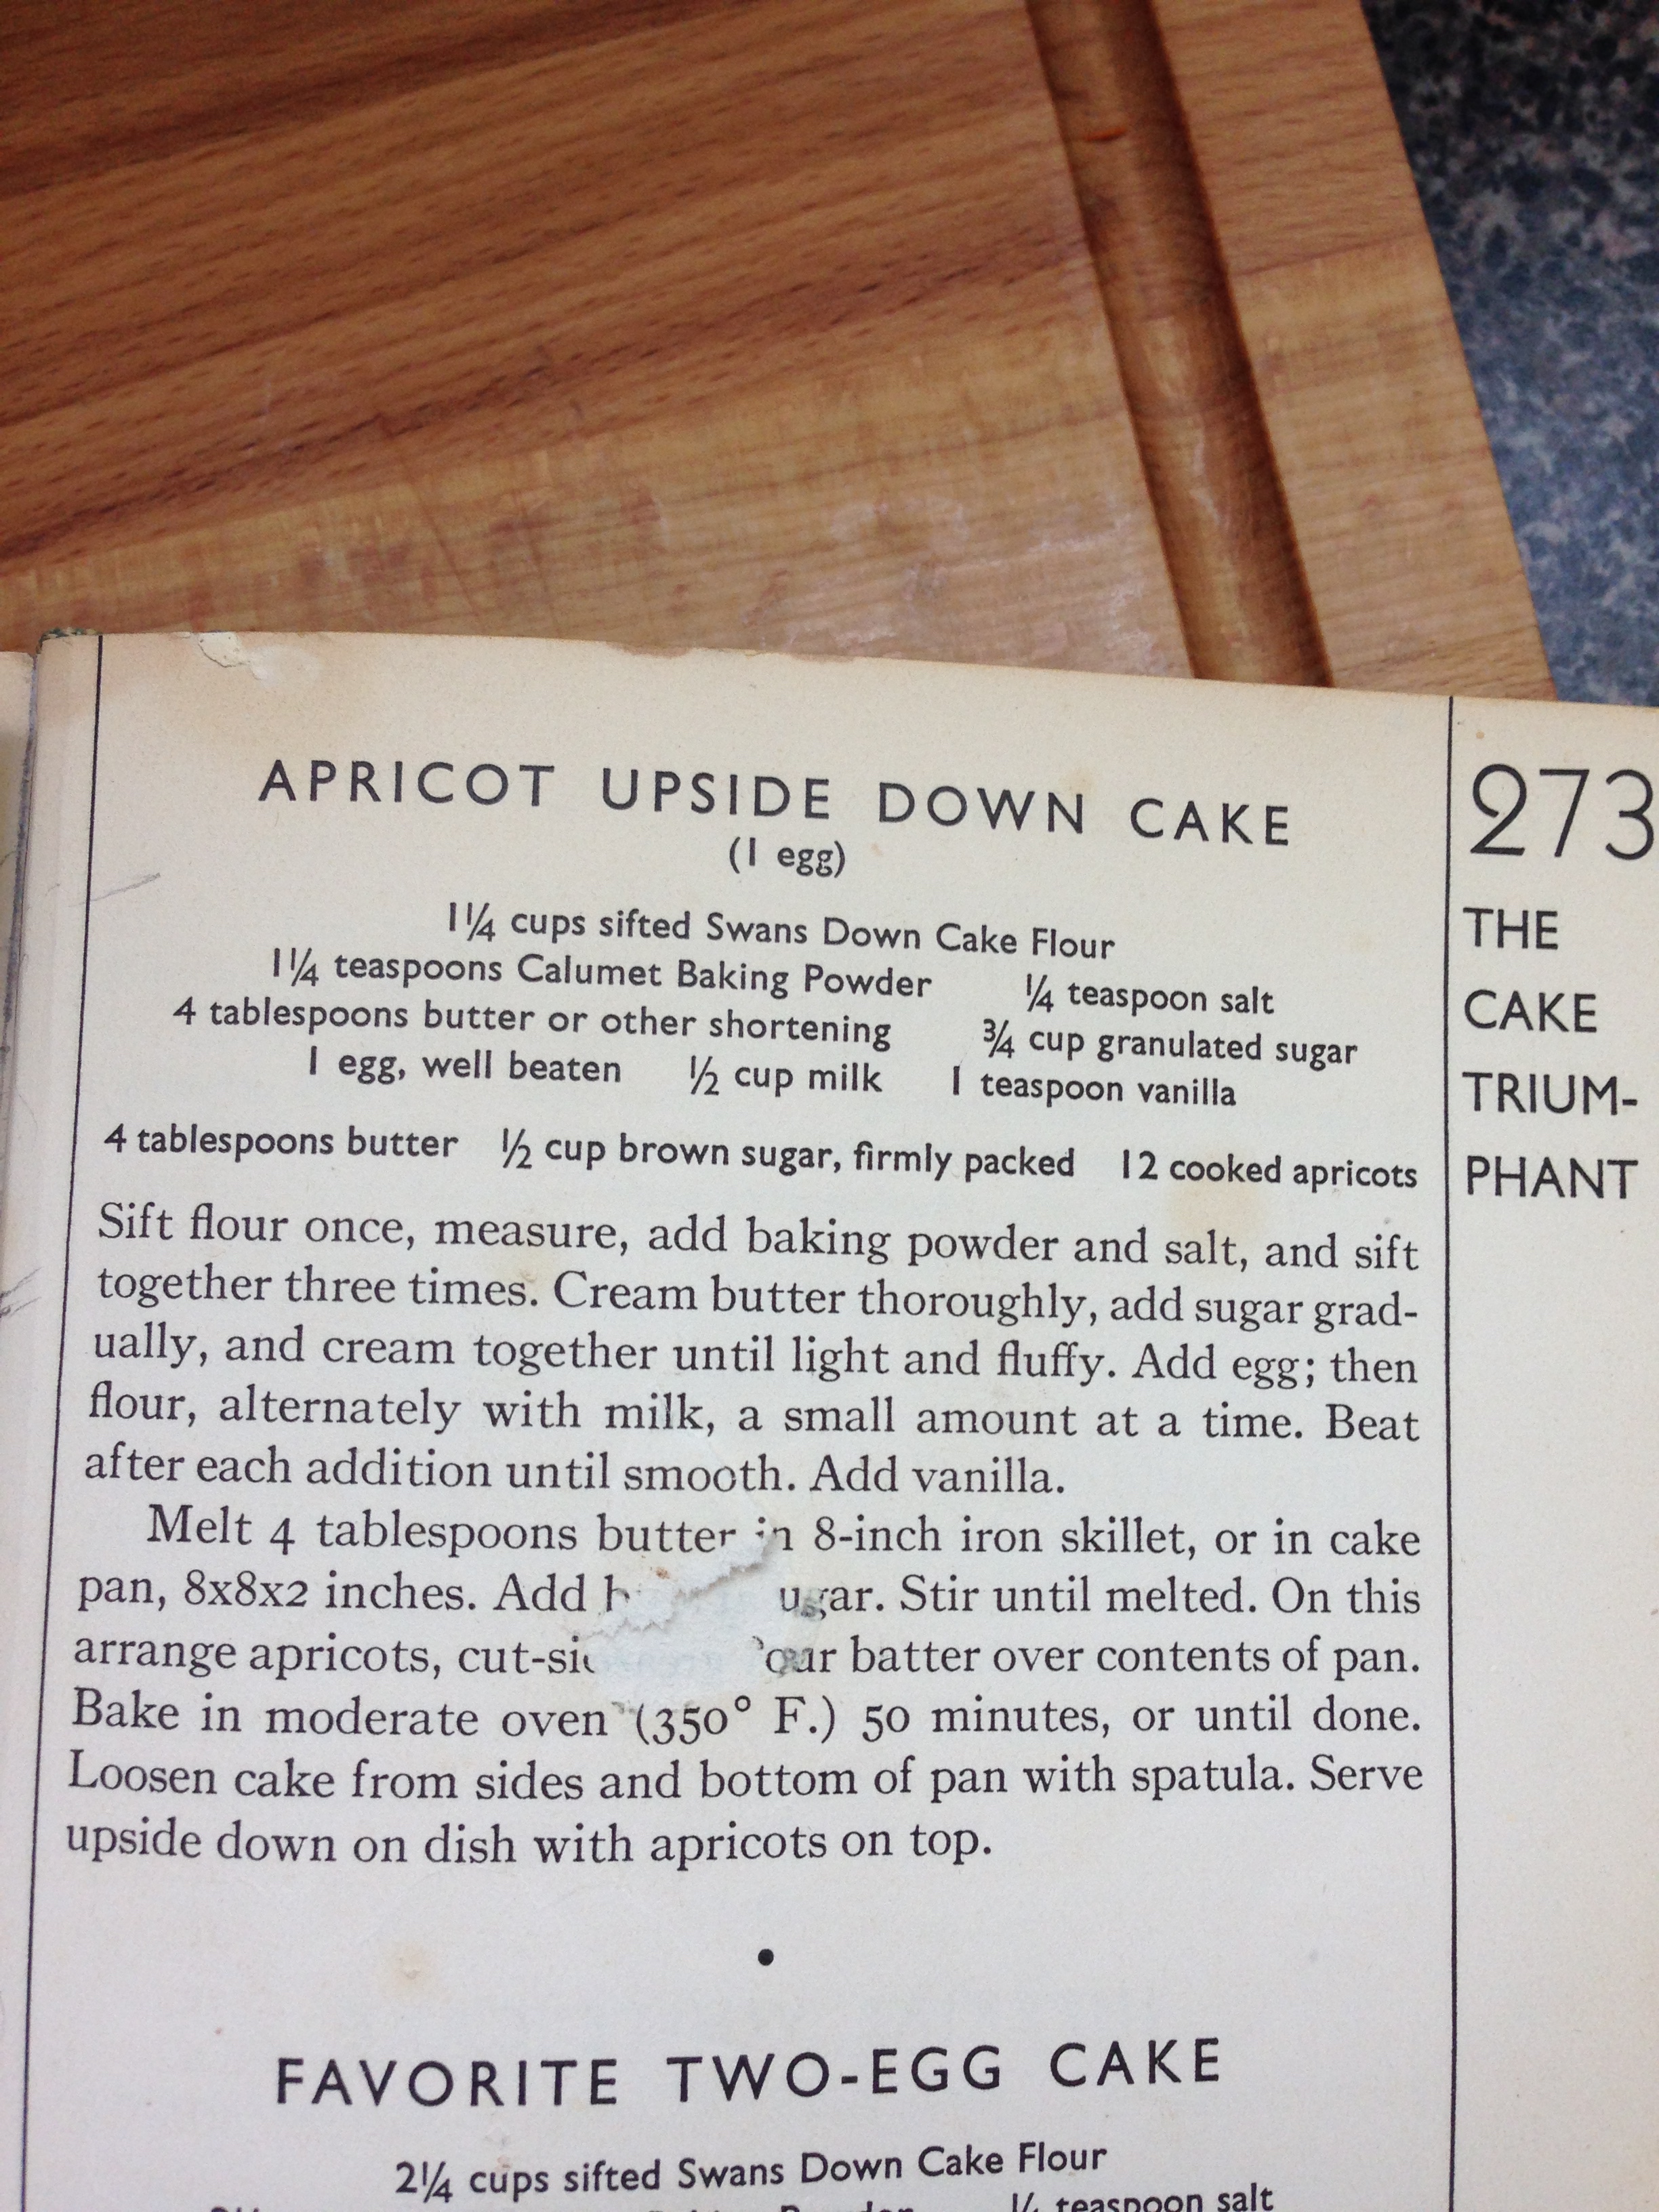
I got this recipe from my Grandmother's 1932 General Foods cookbook. It may be almost a century old but it still makes a cake that tastes amazing!

Apricot Upside-down Cake

12 small apricots, blanched, skinned and sliced

4 TBSP butter, melted
1/2 cup brown sugar
(1/2 tsp ground cinnamon, optional)

1 1/4 cup flour (cake flour, if you have it!)
1 1/4 tsp baking powder
1/4 tsp salt
4 TBSP butter
3/4 cups granulated sugar
1 egg, well beaten
1/2 milk
1 tsp vanilla

8X8X2 inch baking pan (Or a 9 inch circlular pan.)

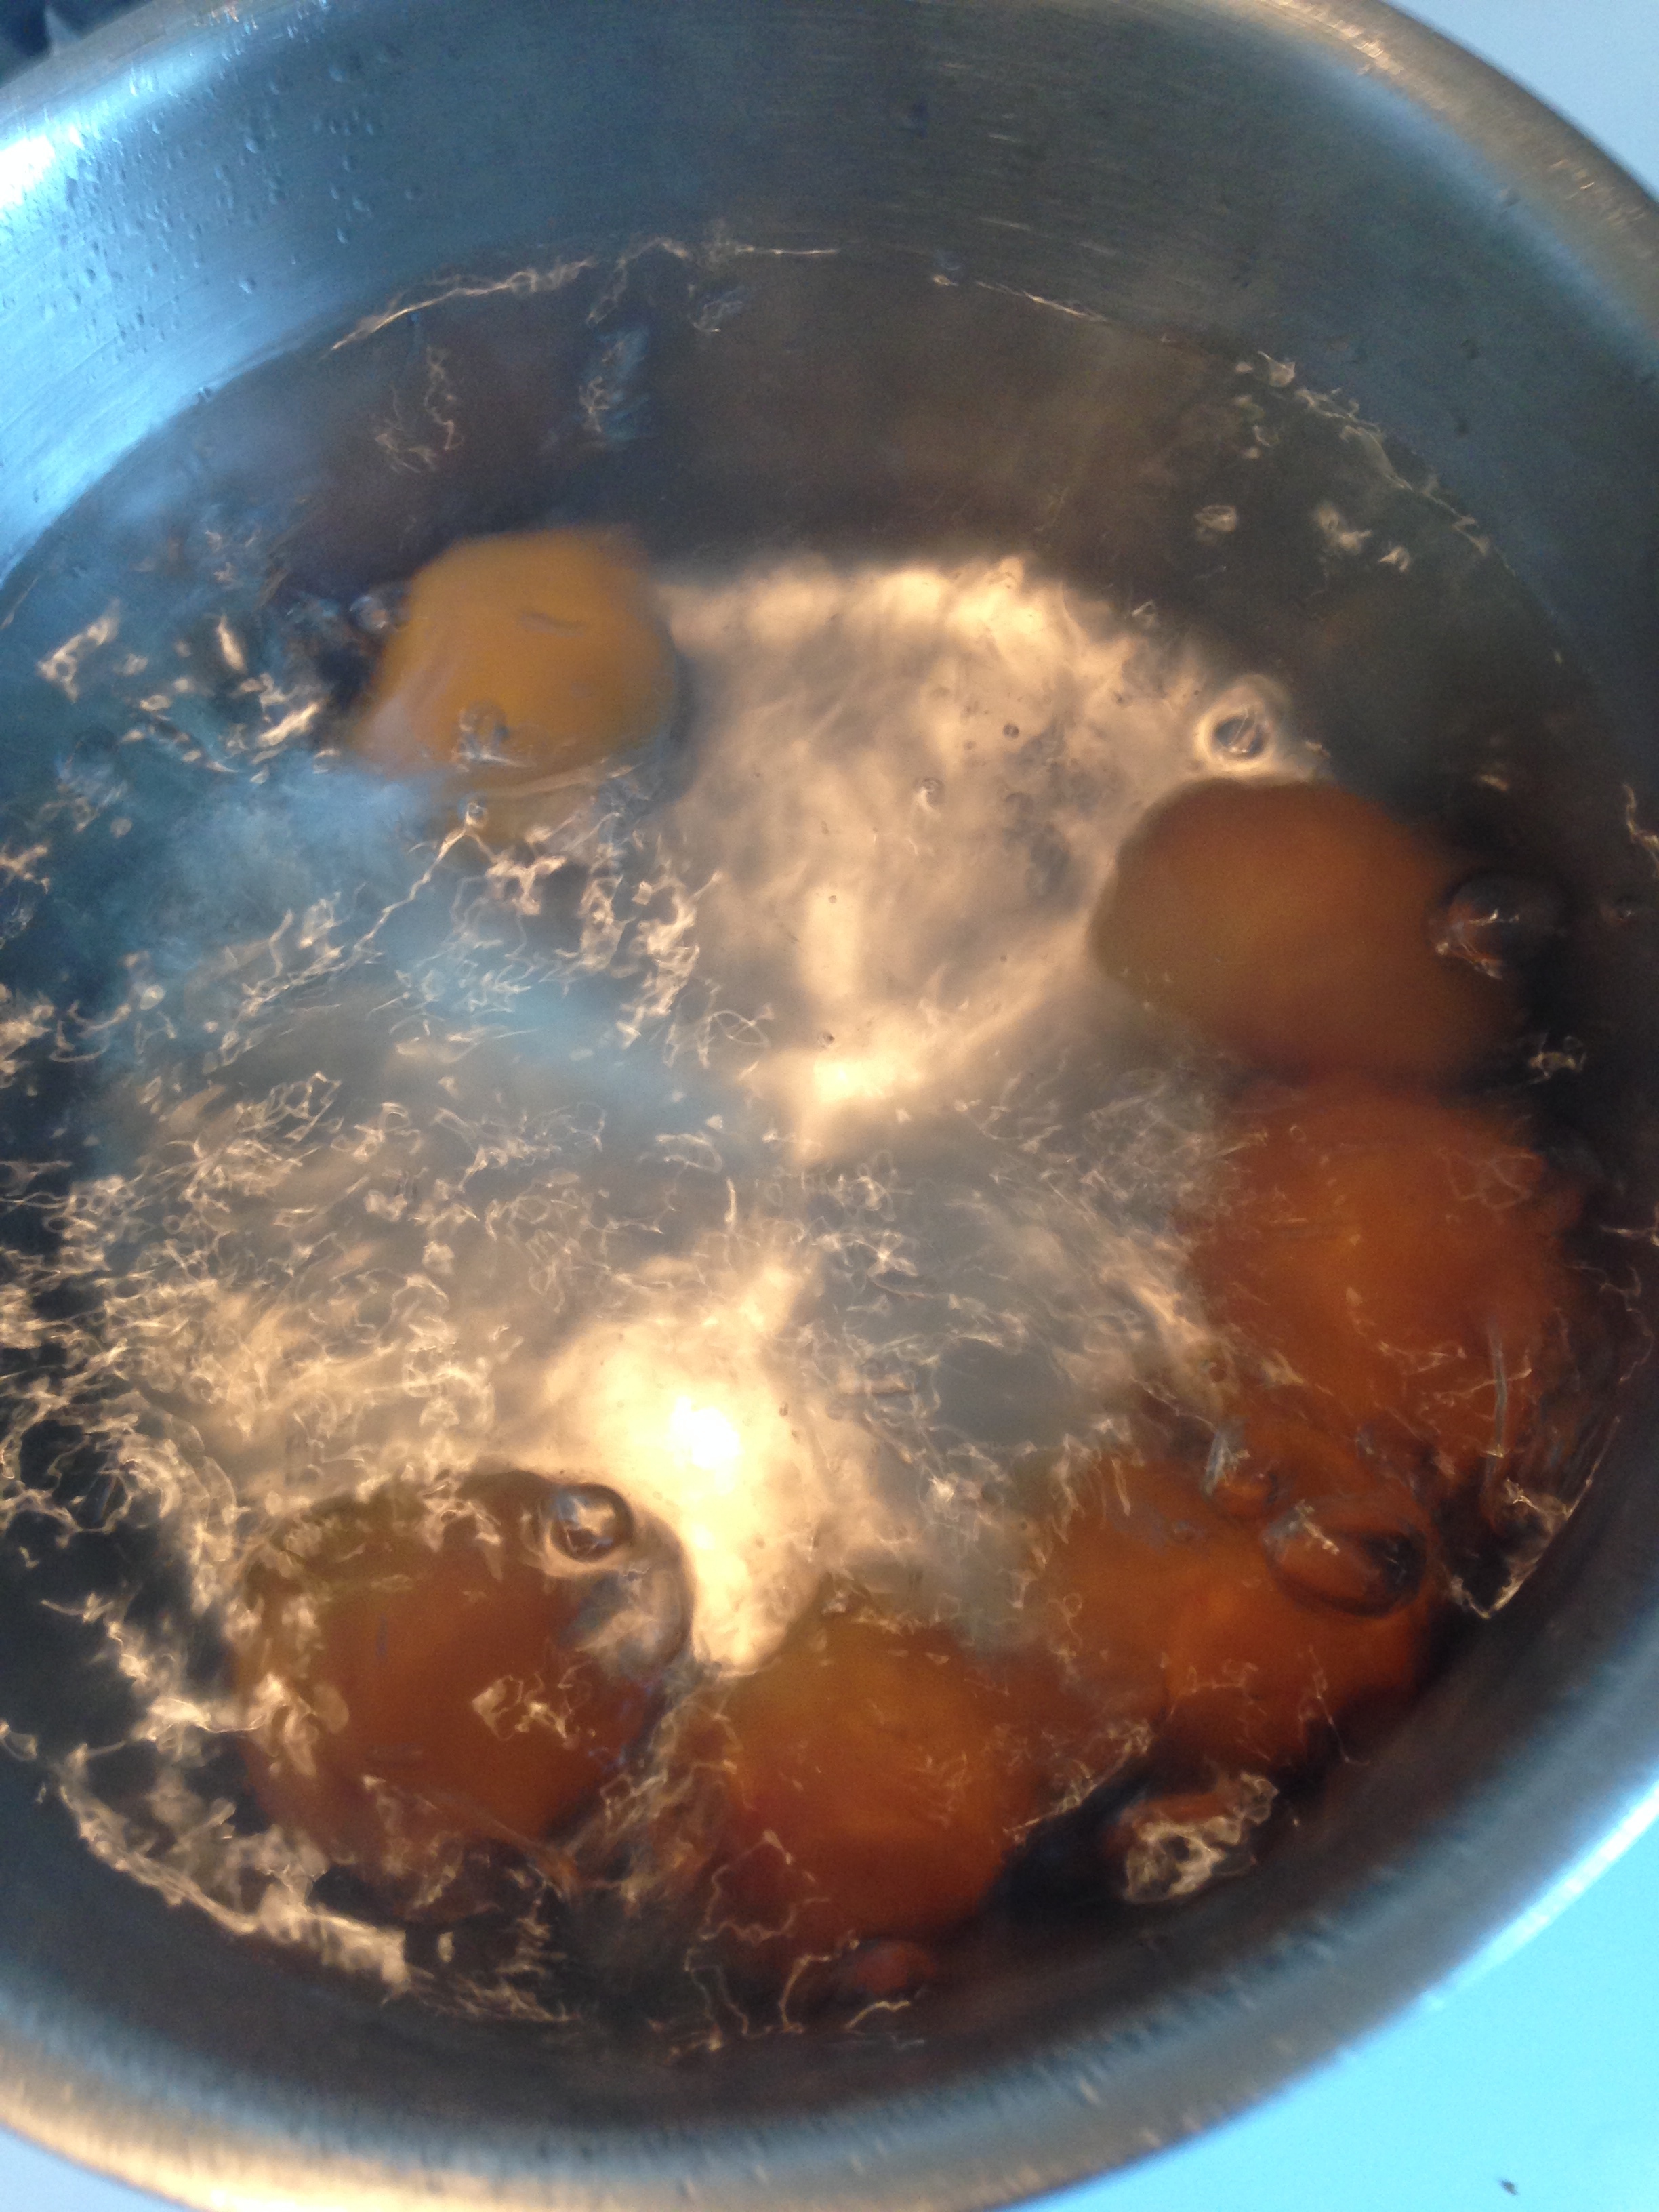
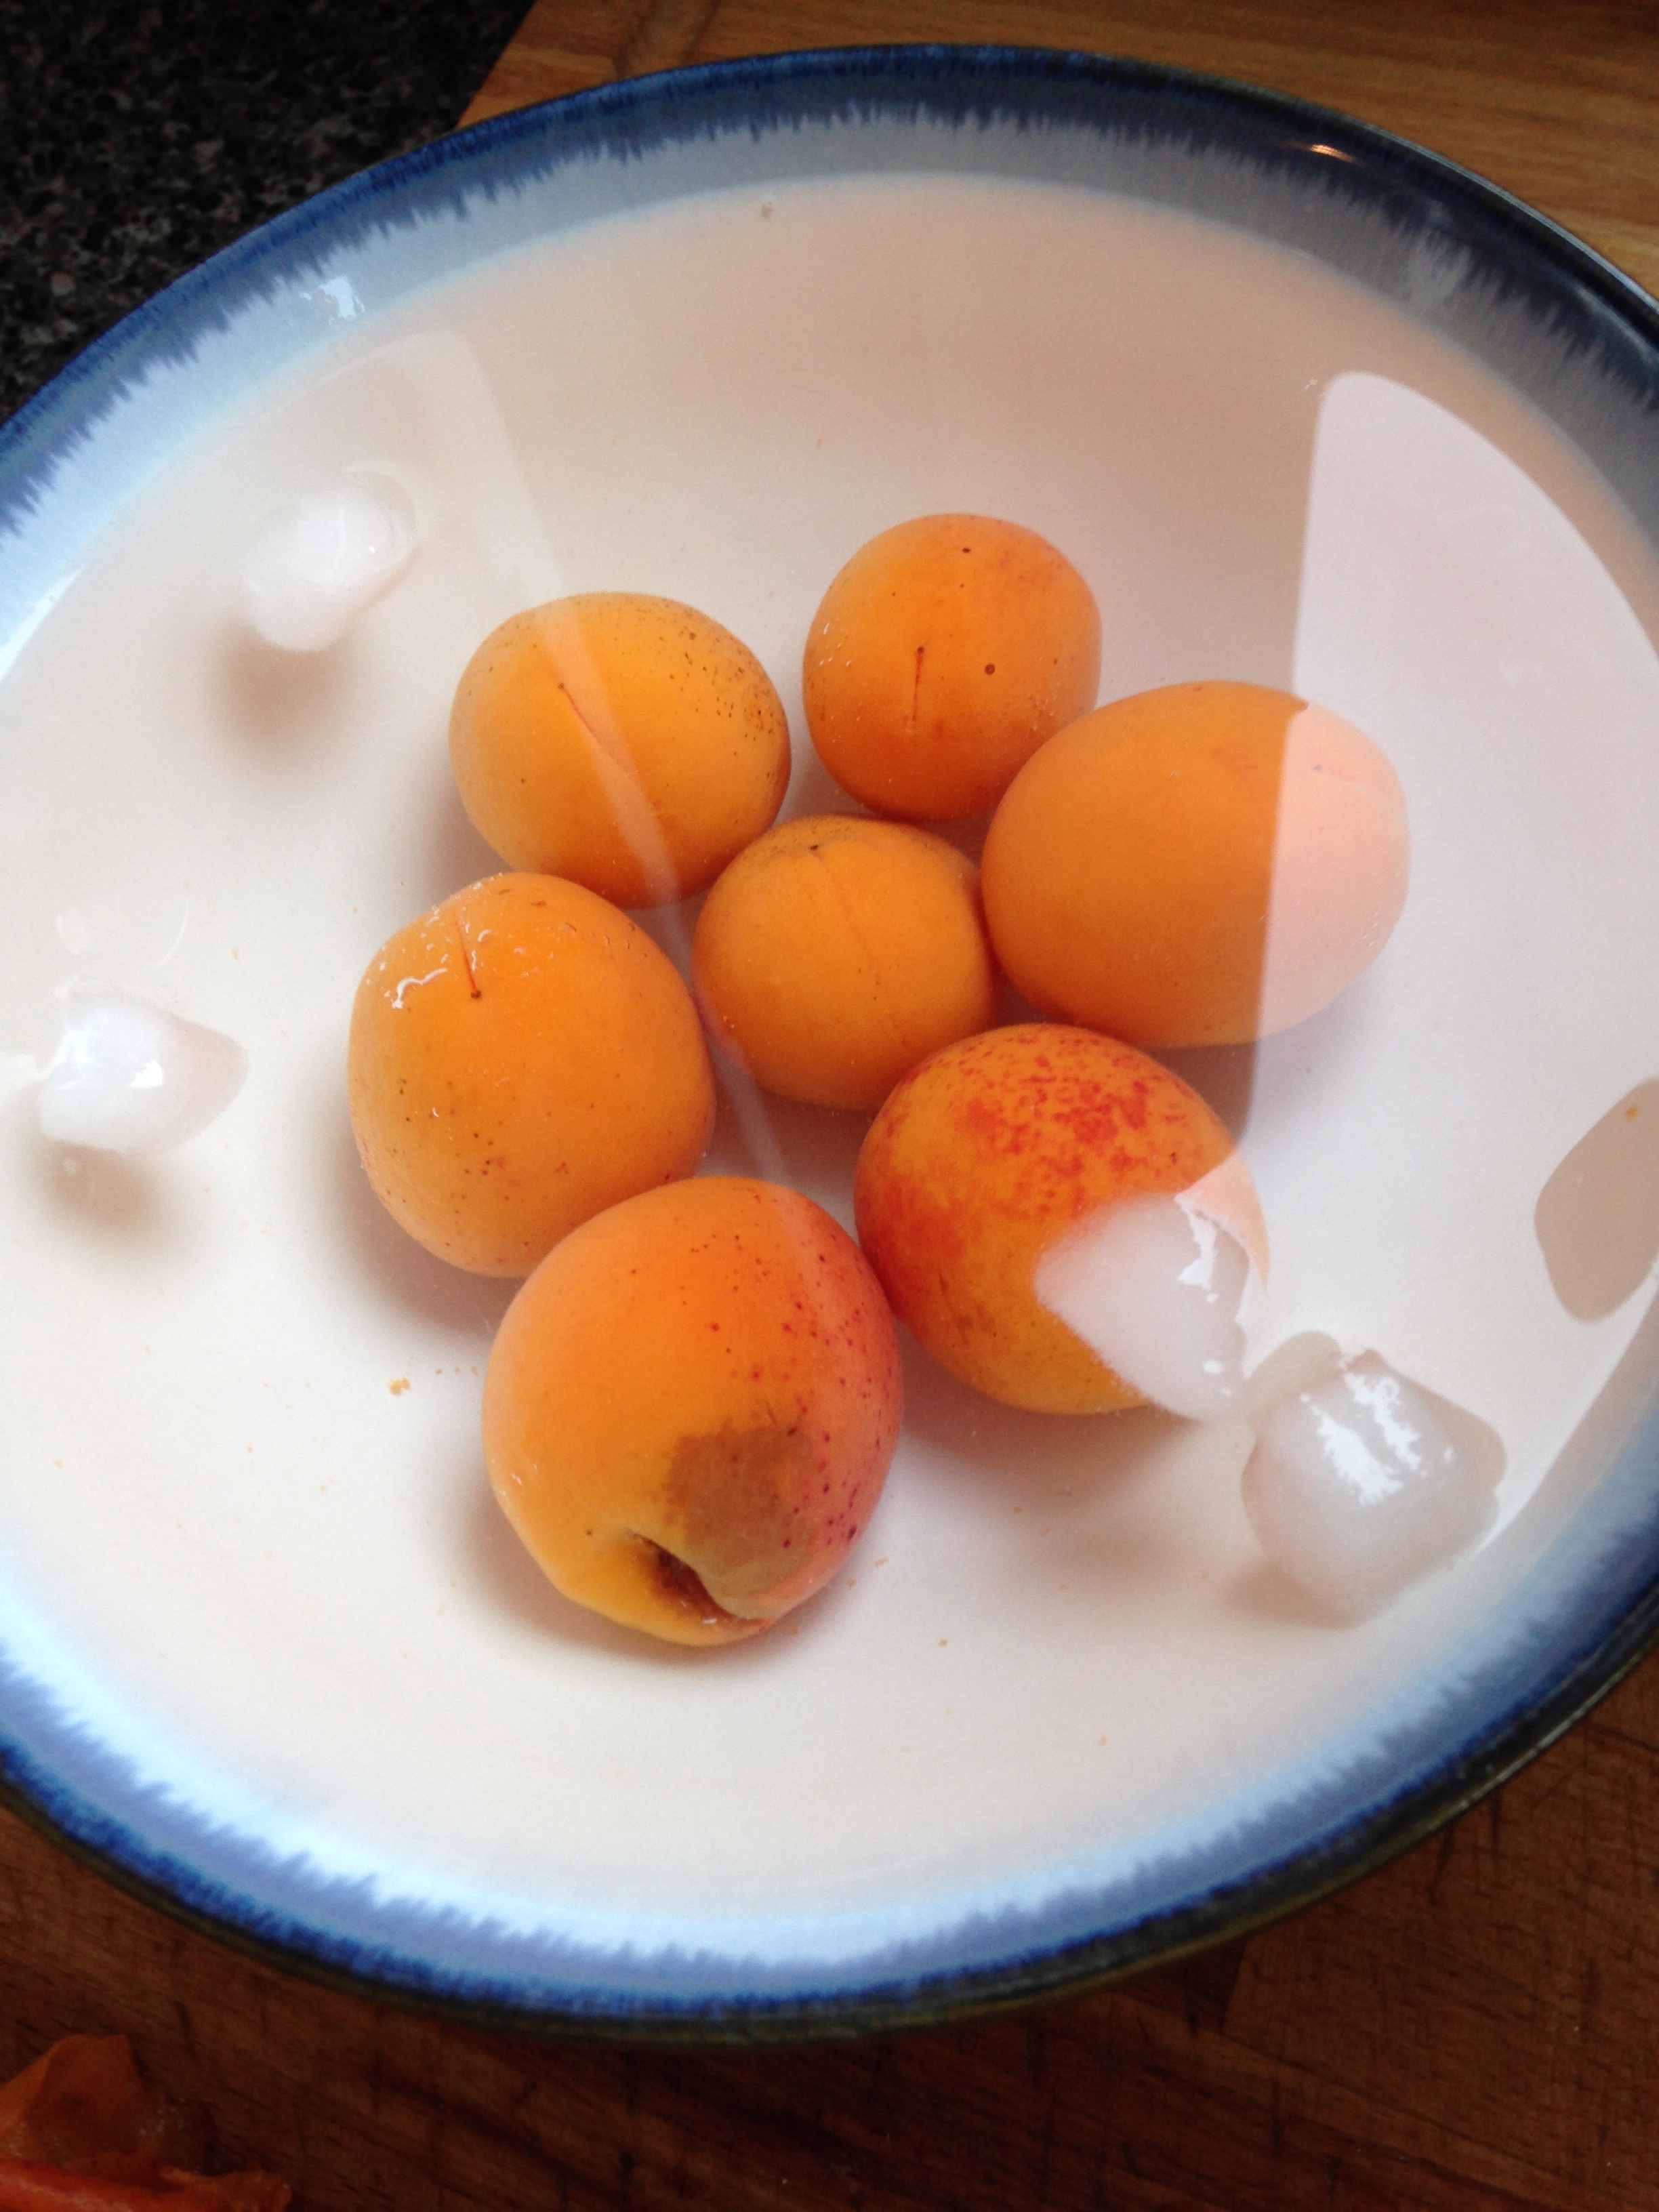
  1. To blanch apricots: ash apricots. Set a pot of water to boil. Also, set out a bowl of ice water. After the water is boiling, immerse apricots in the boiling water for no more than 30 seconds. Using a slotted spoon, scoop them out and place them immediately into the ice water bowl. Let them cool completely.
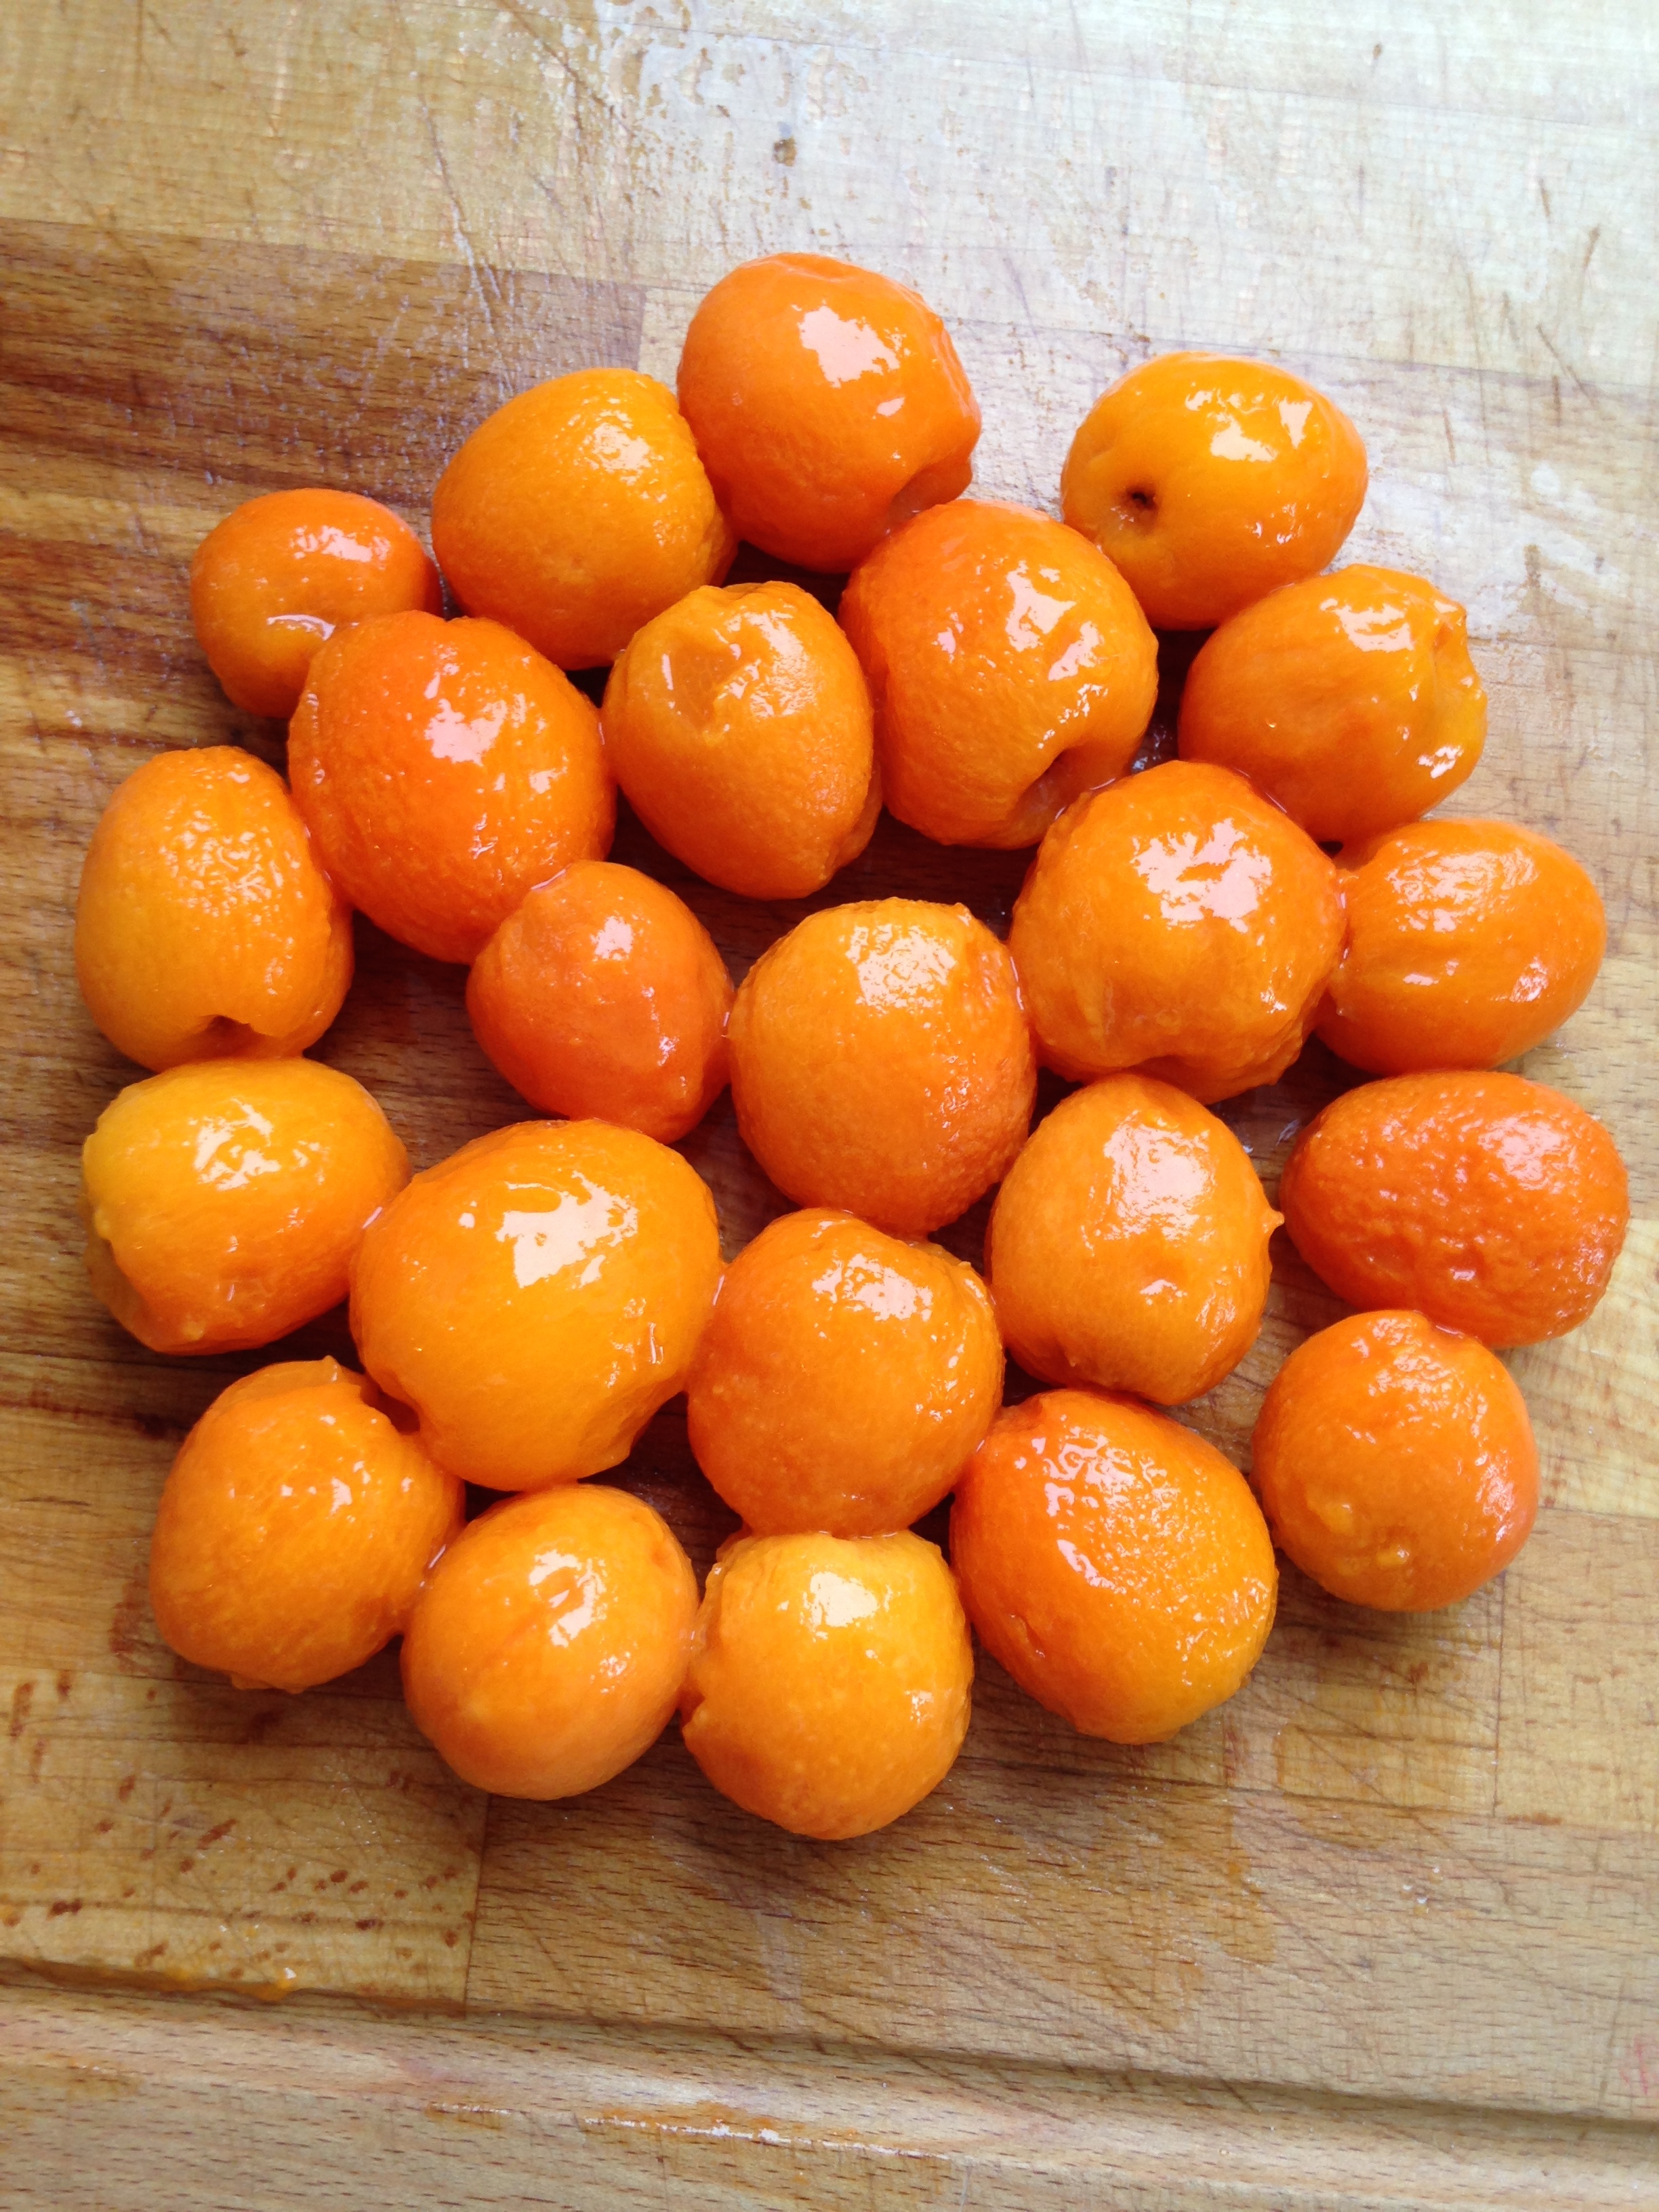
    To skin apricots: After the fruit is cooled, using your hands, peel off the skins of the apricots. They should come off easily. (Note: if the apricot isn't ripe, the skin will not loosen.) 
    To slice apricots: With a sharp knife, make a slit around the centre of the apricot, all the way around. Remove the pit. Slice up the rest of the apricot flesh. 
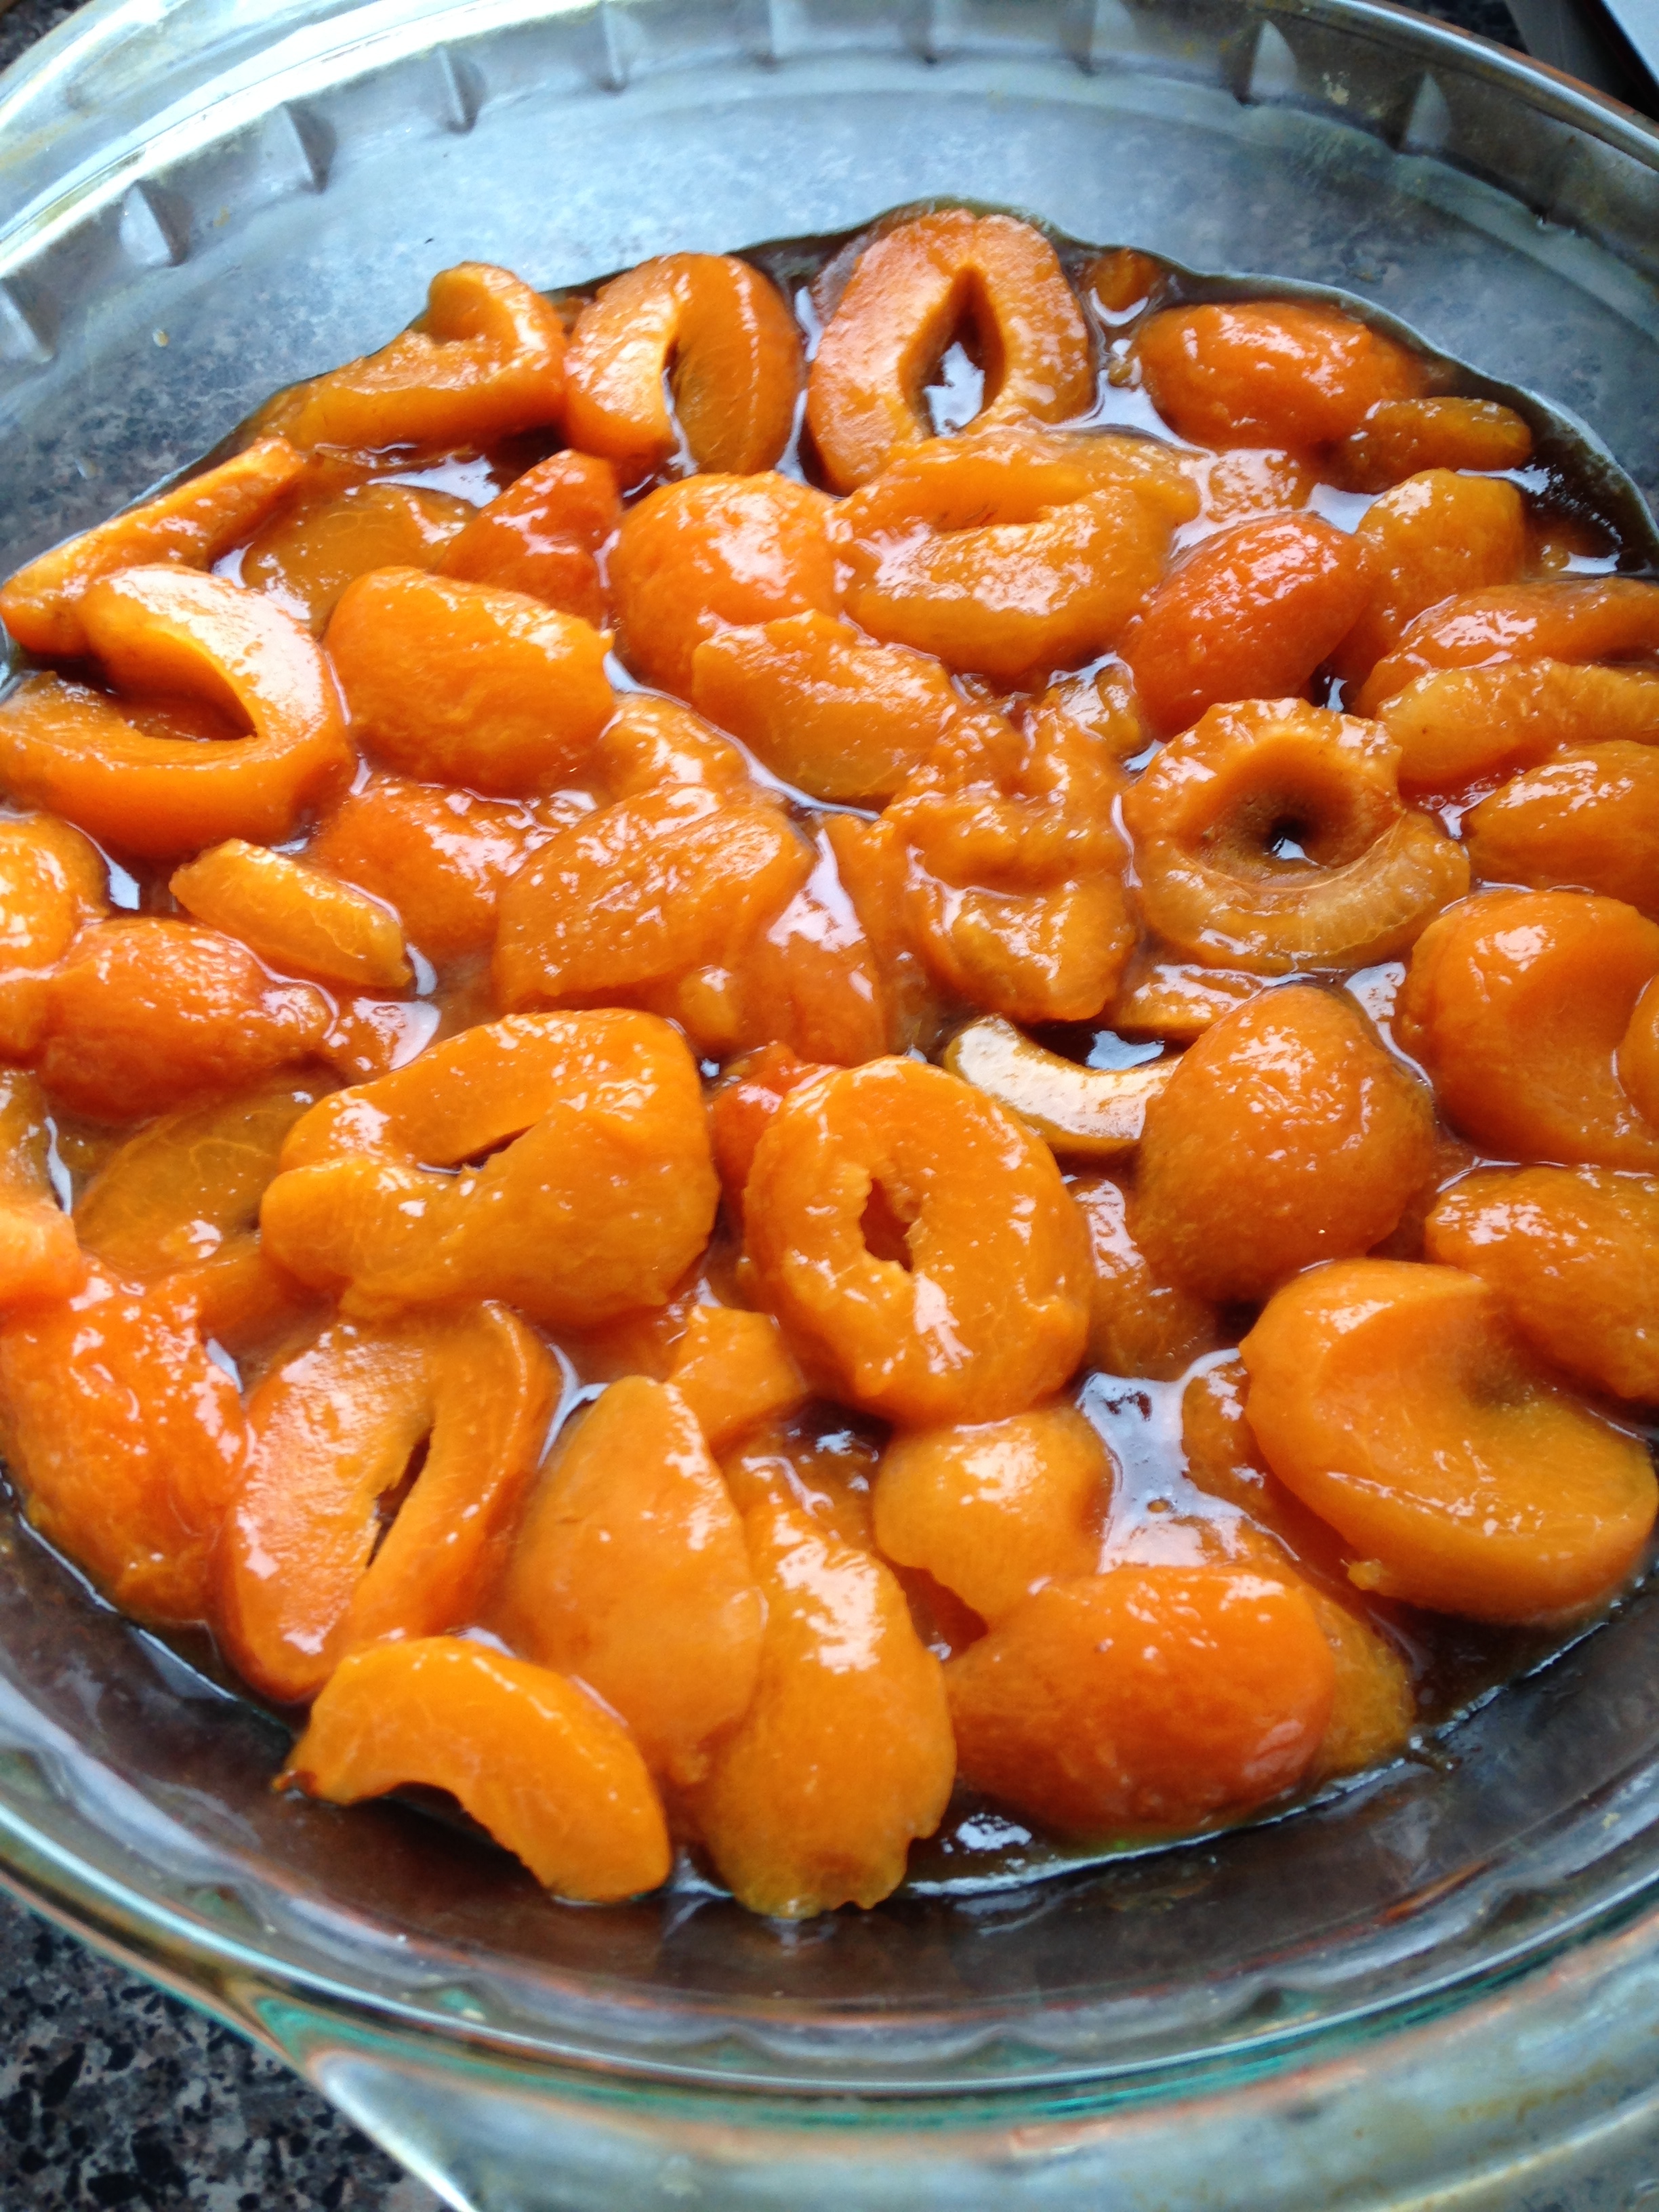
  2. In a microwave safe bowl, melt butter. Add brown sugar. Mix thoroughly. Pour sugar mixture into the bottom of your baking pan. Arrange the sliced apricots on top of the sugar mixture in the baking pan. Set aside.
  3. Preheat your oven to 350'F.
  4. In a bowl, combine flour, baking powder and salt. Set aside. 
  5. In an electric mixer, cream butter. Add sugar and beat until butter is light and fluffy. (It will literally change colour. From butter yellow to a light white yellow.)
  6. Add pre-beaten egg. Stir. 
  7. Now combine flour and milk in with the sugar/egg mixture, alternating milk and flour mixtures. Mix each part until smooth before adding the next part. 
  8. Stir in vanilla. 
  9. Pour cake batter on top of apricots in the baking pan. Smooth the top so all the apricots are covered. I found it easier to carefully scoop batter rather than spreading it around. 
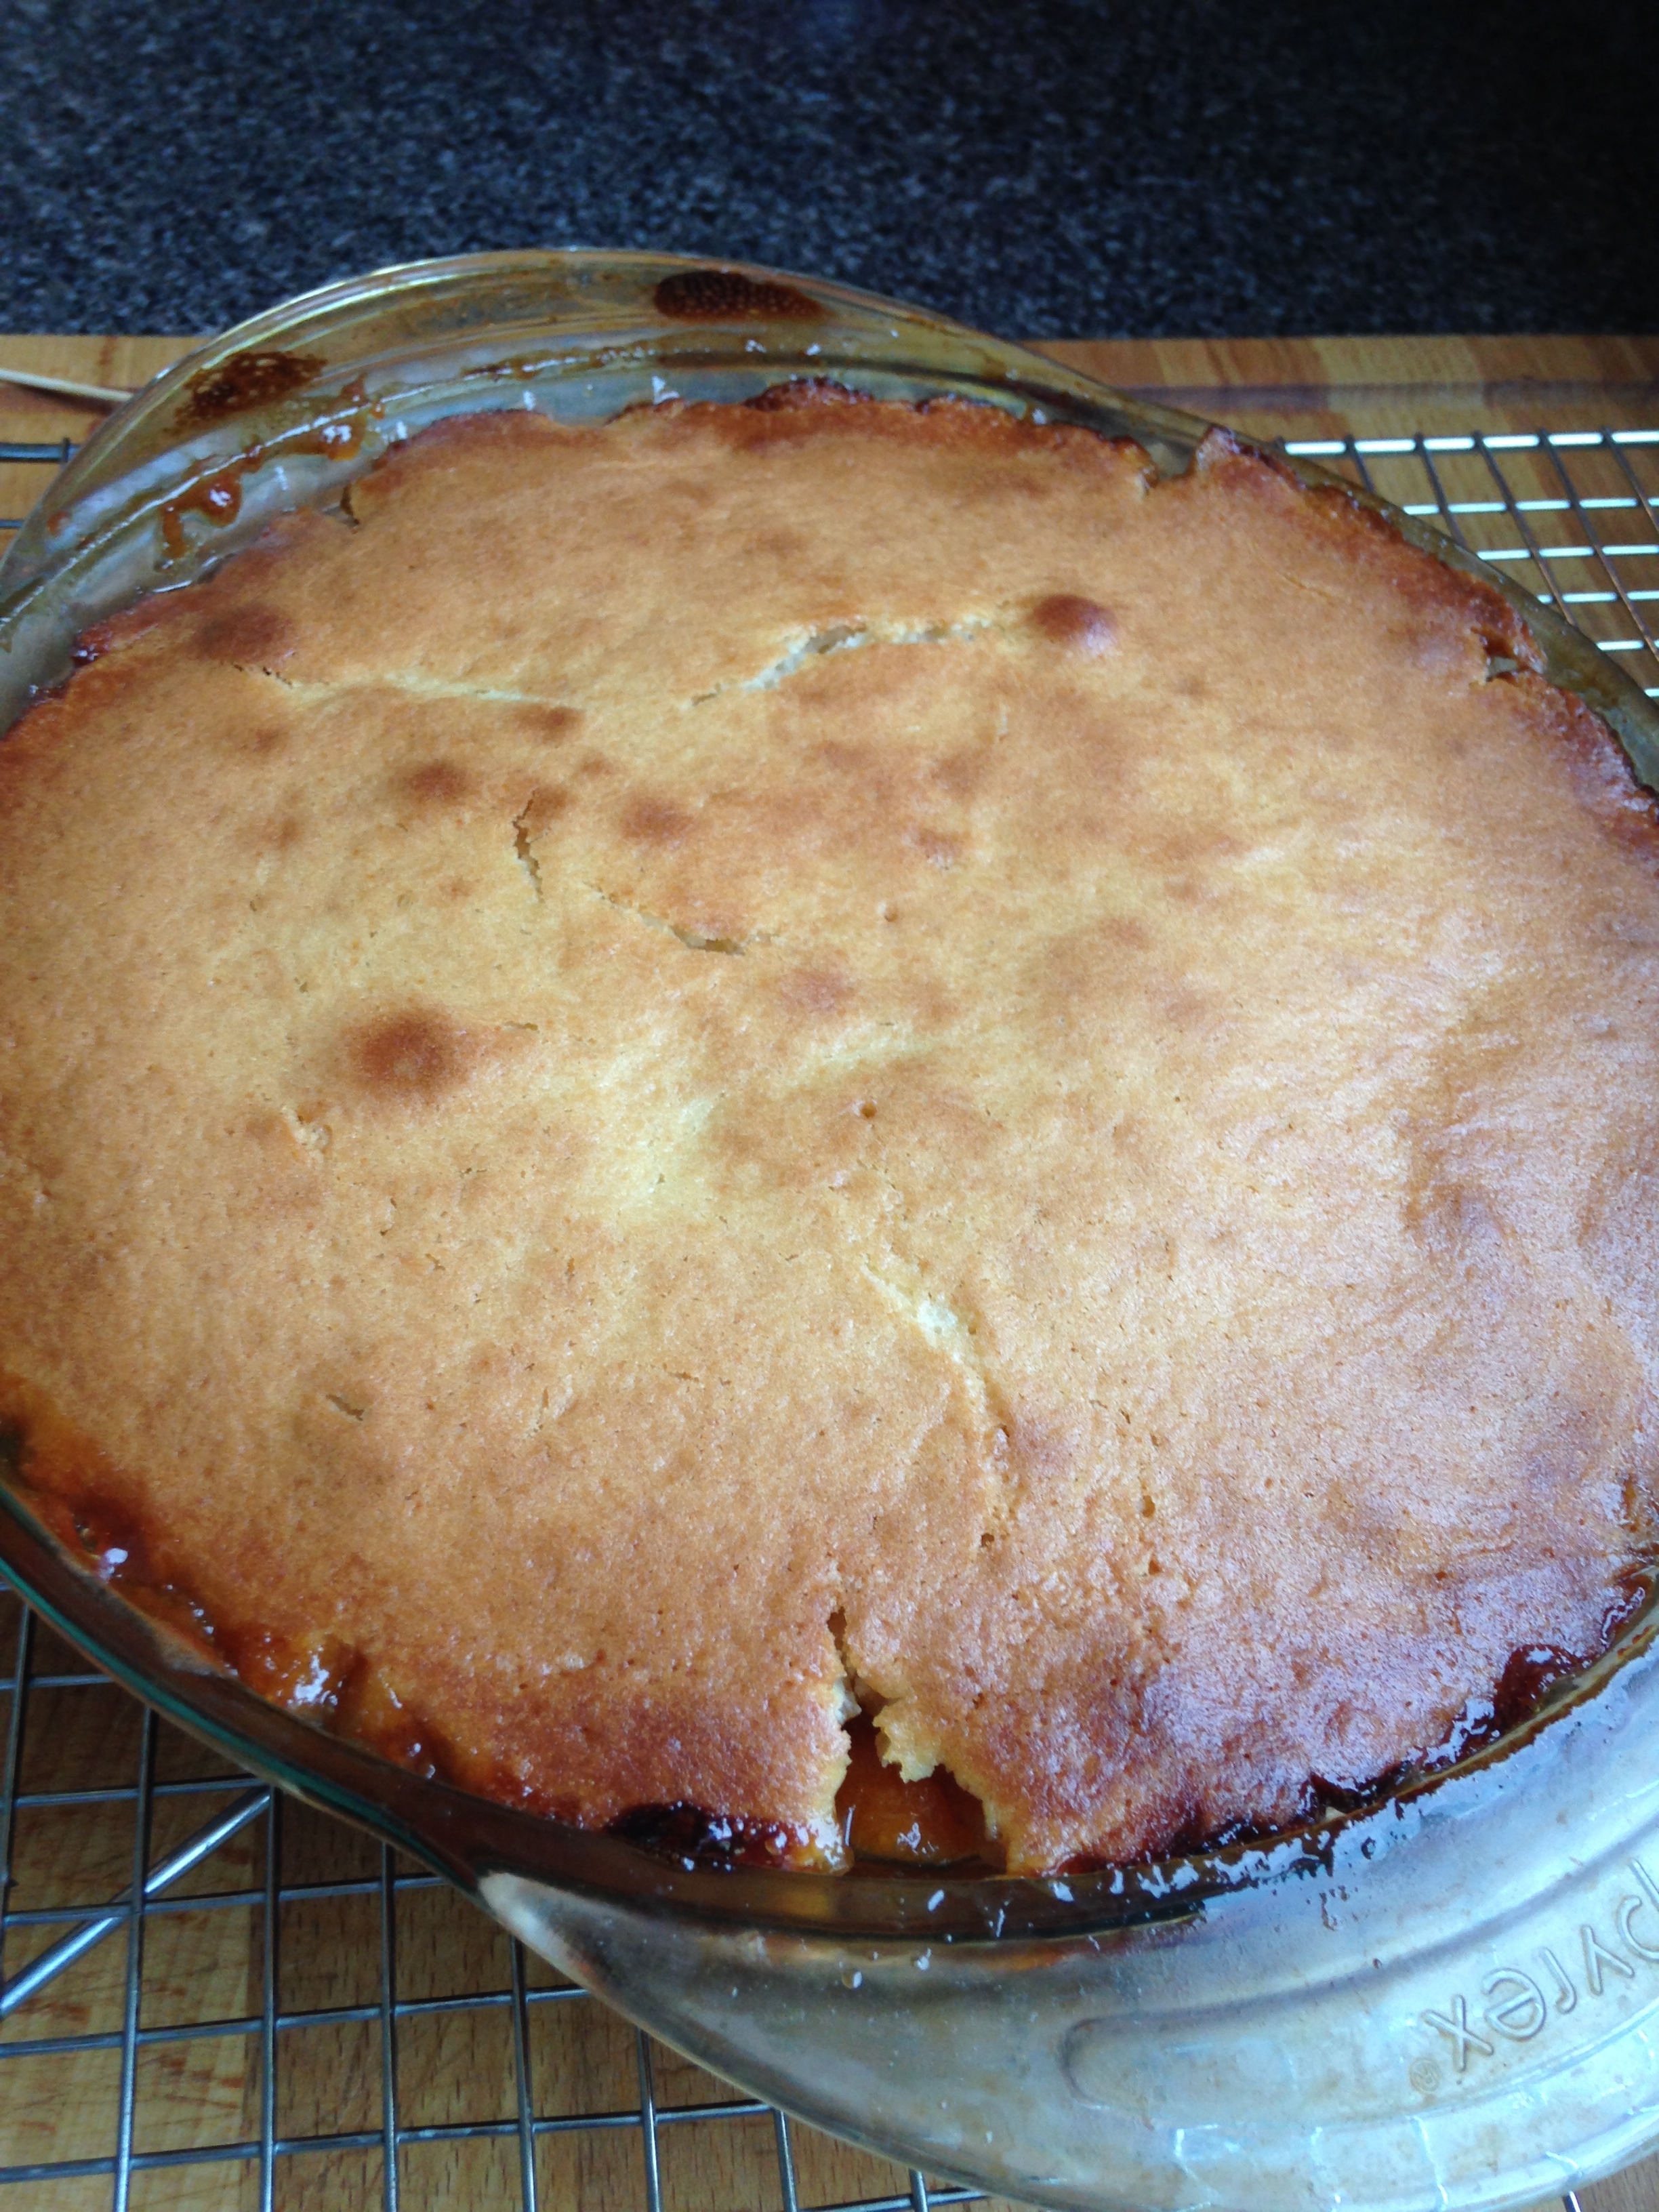
  10. Bake for ~50 minutes or until a fork inserted into centre of cake comes out clean. 
  11. After it's done baking, let cool for an hour before you flip it out onto a serving platter. Serve warm or let cool completely and top with icing sugar. 

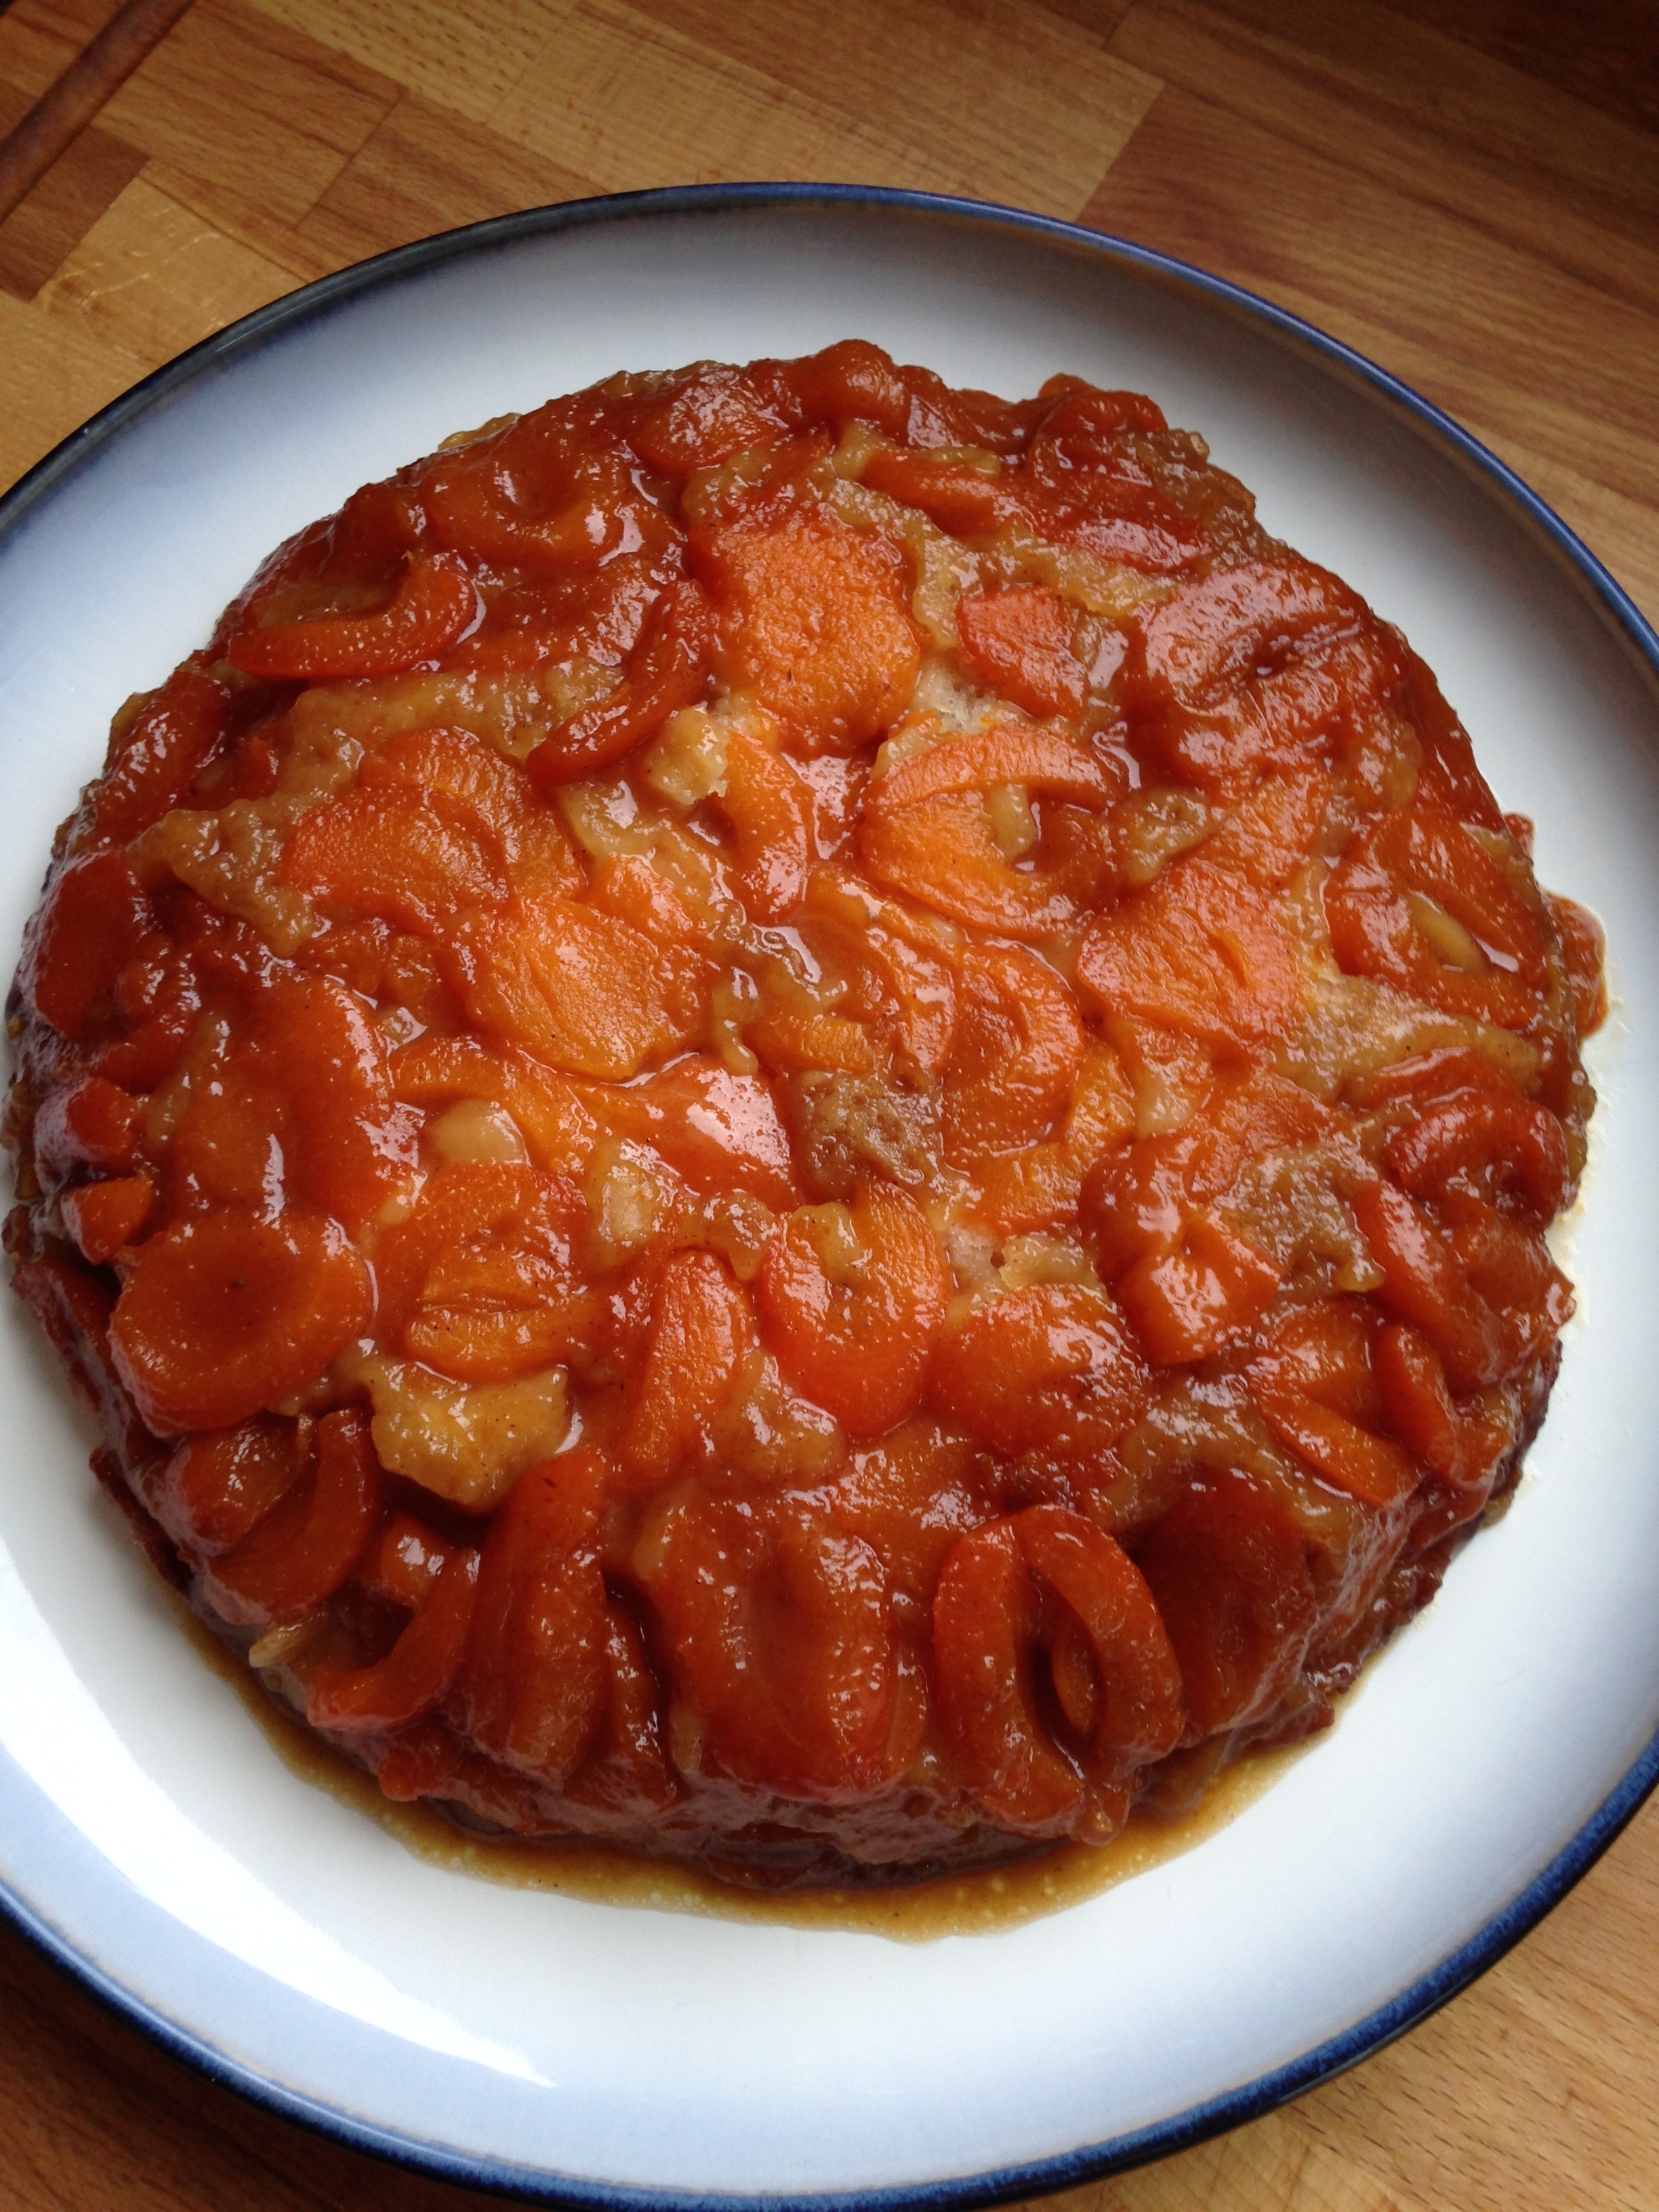
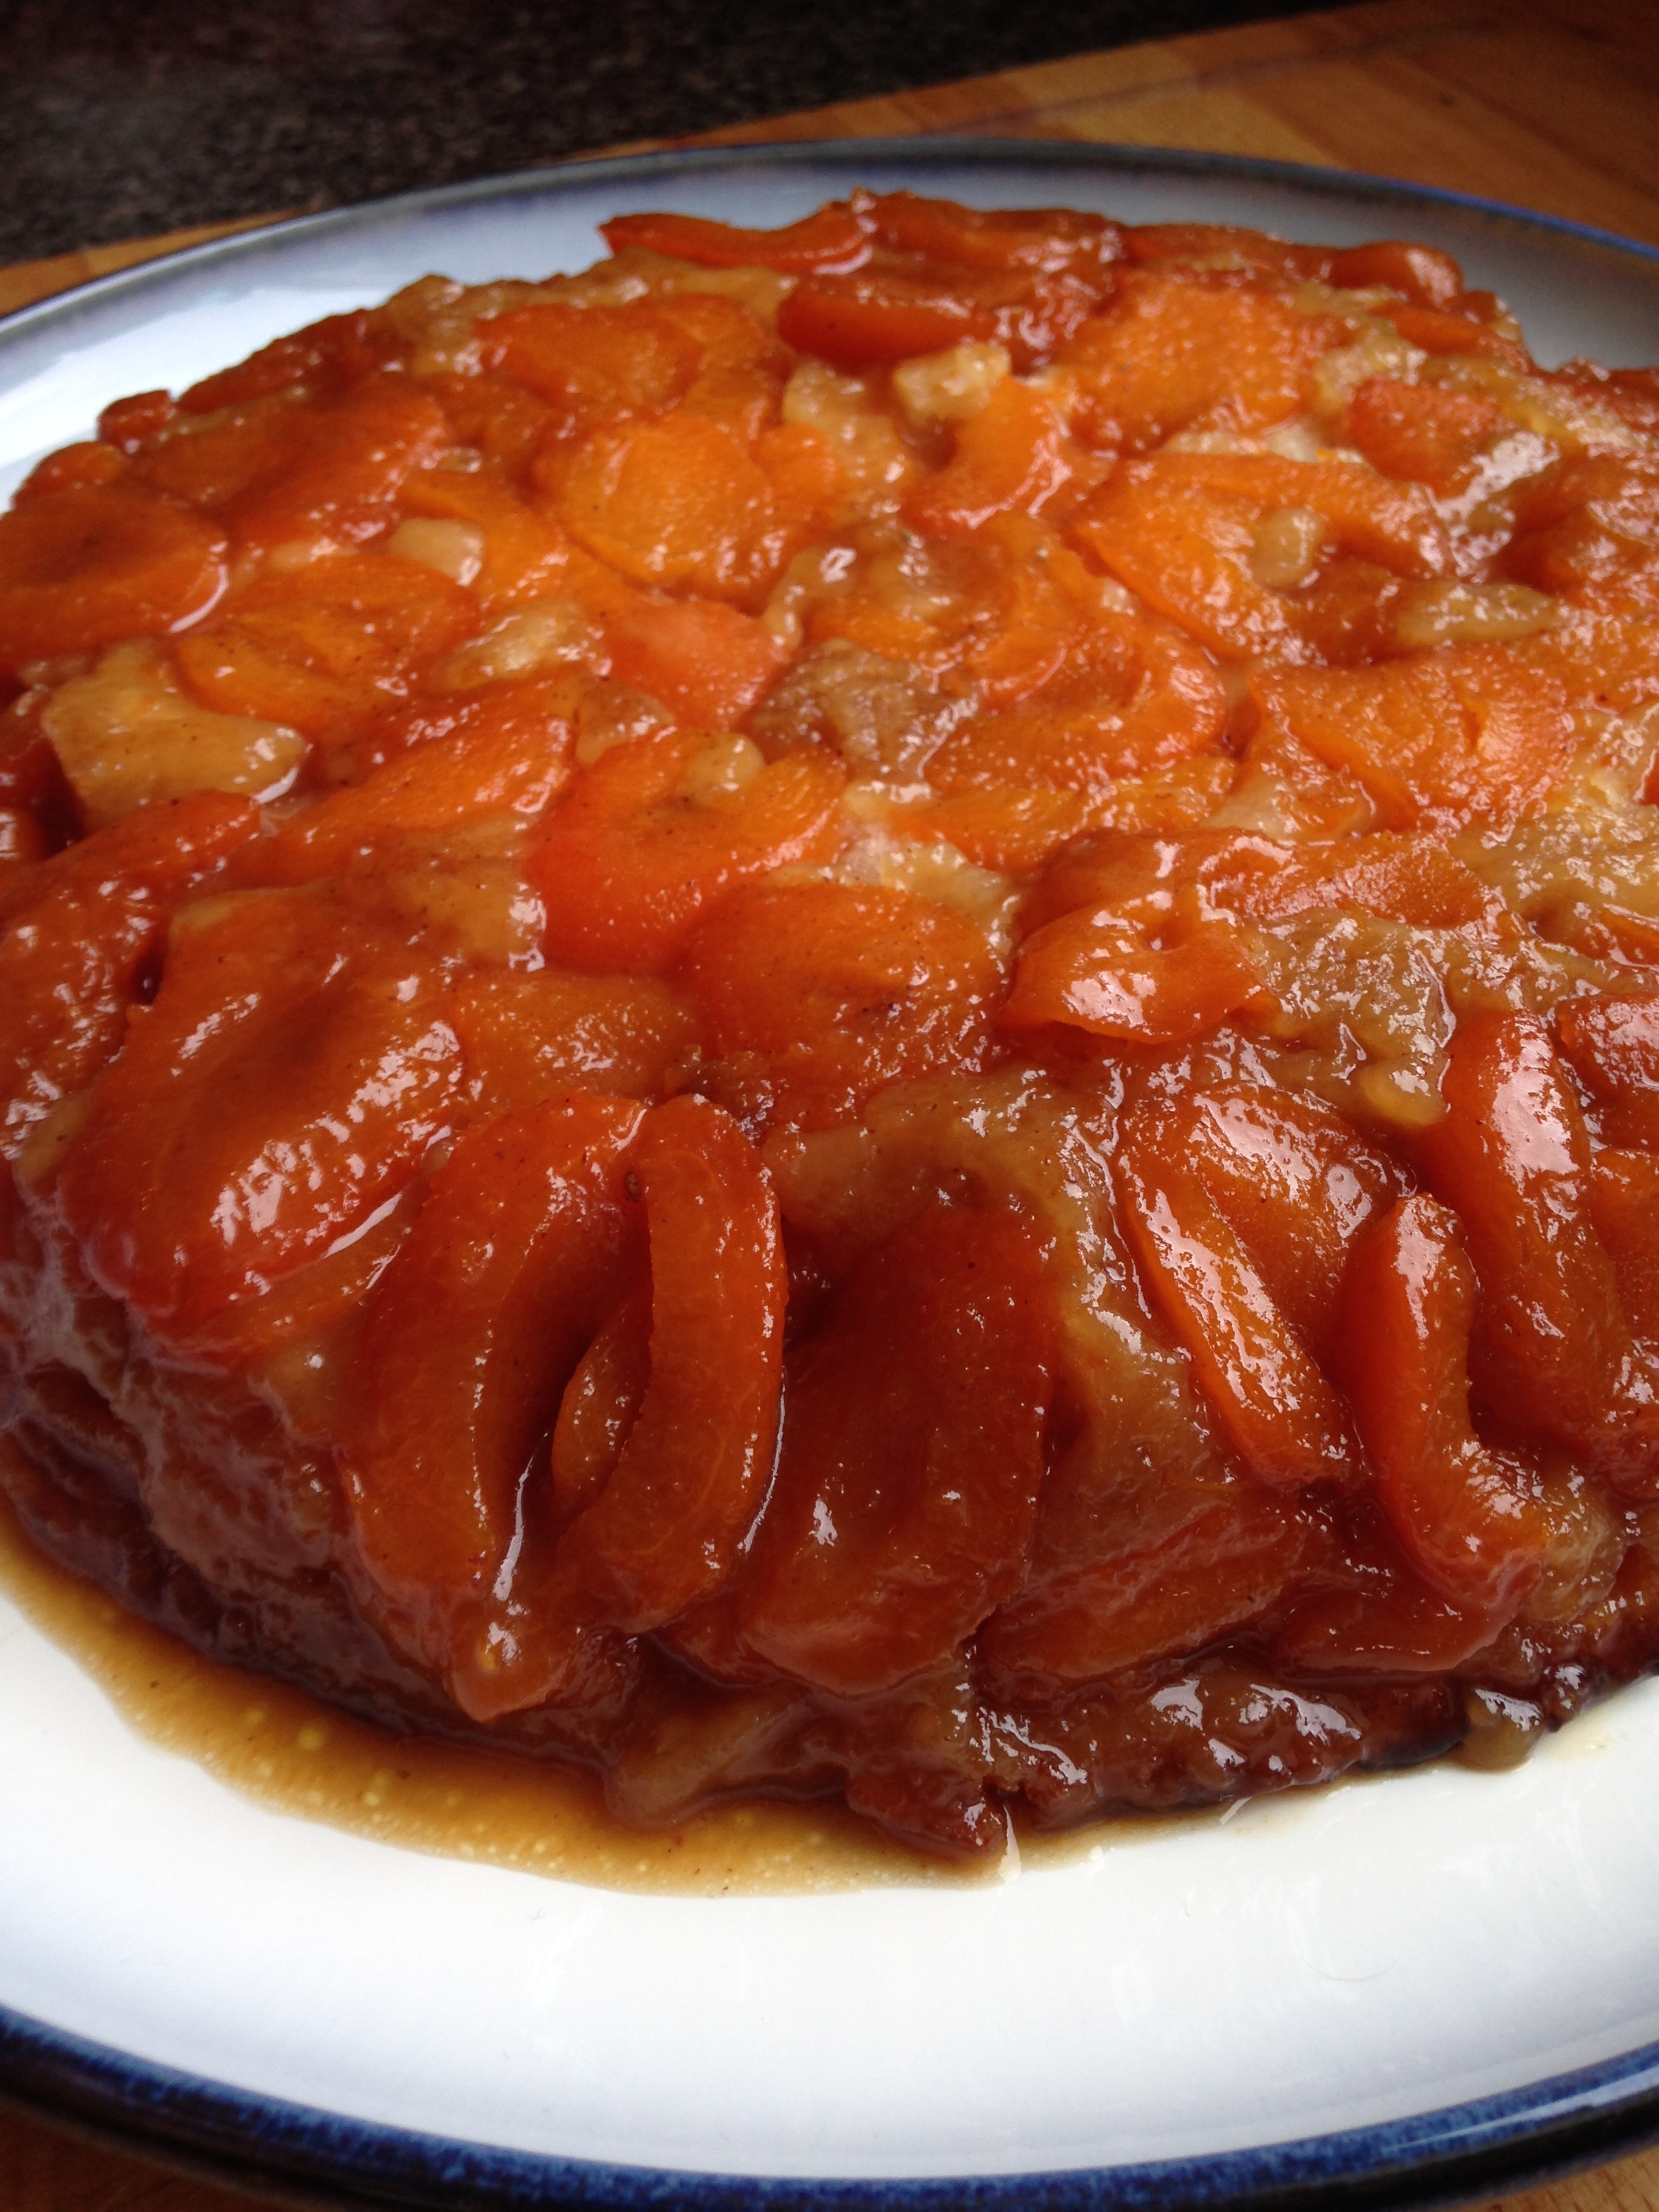
I definitely was too impatient to wait for it to cool enough and as a result most of the syrup leak to the bottom of the cake, making it stick to the serving plate it was on. Oh well. Still tasted amazing! I even froze some of it so we'll see if it keeps well. I was hoping to save it for a while... but a have a cake hankering just writing this post. Haha. Also my oven has passed it's test with flying colours. It seems to bake evenly and keep it's temperature very well. Thank you kitchen gods!

Cheers!

-Andrea

The Half-Assed Hobbyist

Olympics for Dessert People

Everyone's got the olympic fever! 

My friend Jess was having an olympic party to watch the opening ceremonies last week-ish so I thought I'd spend that day playing with fondant. 

IMG_3847.jpg

My previous experience with fondant (kinda NSFW) was rather pleasing. My friend Mandy decided that combining our baking skills would yield the best dirty birthday cake ever. I think she was right on. (Soon we will start an adult novelty cake business. Hah.)

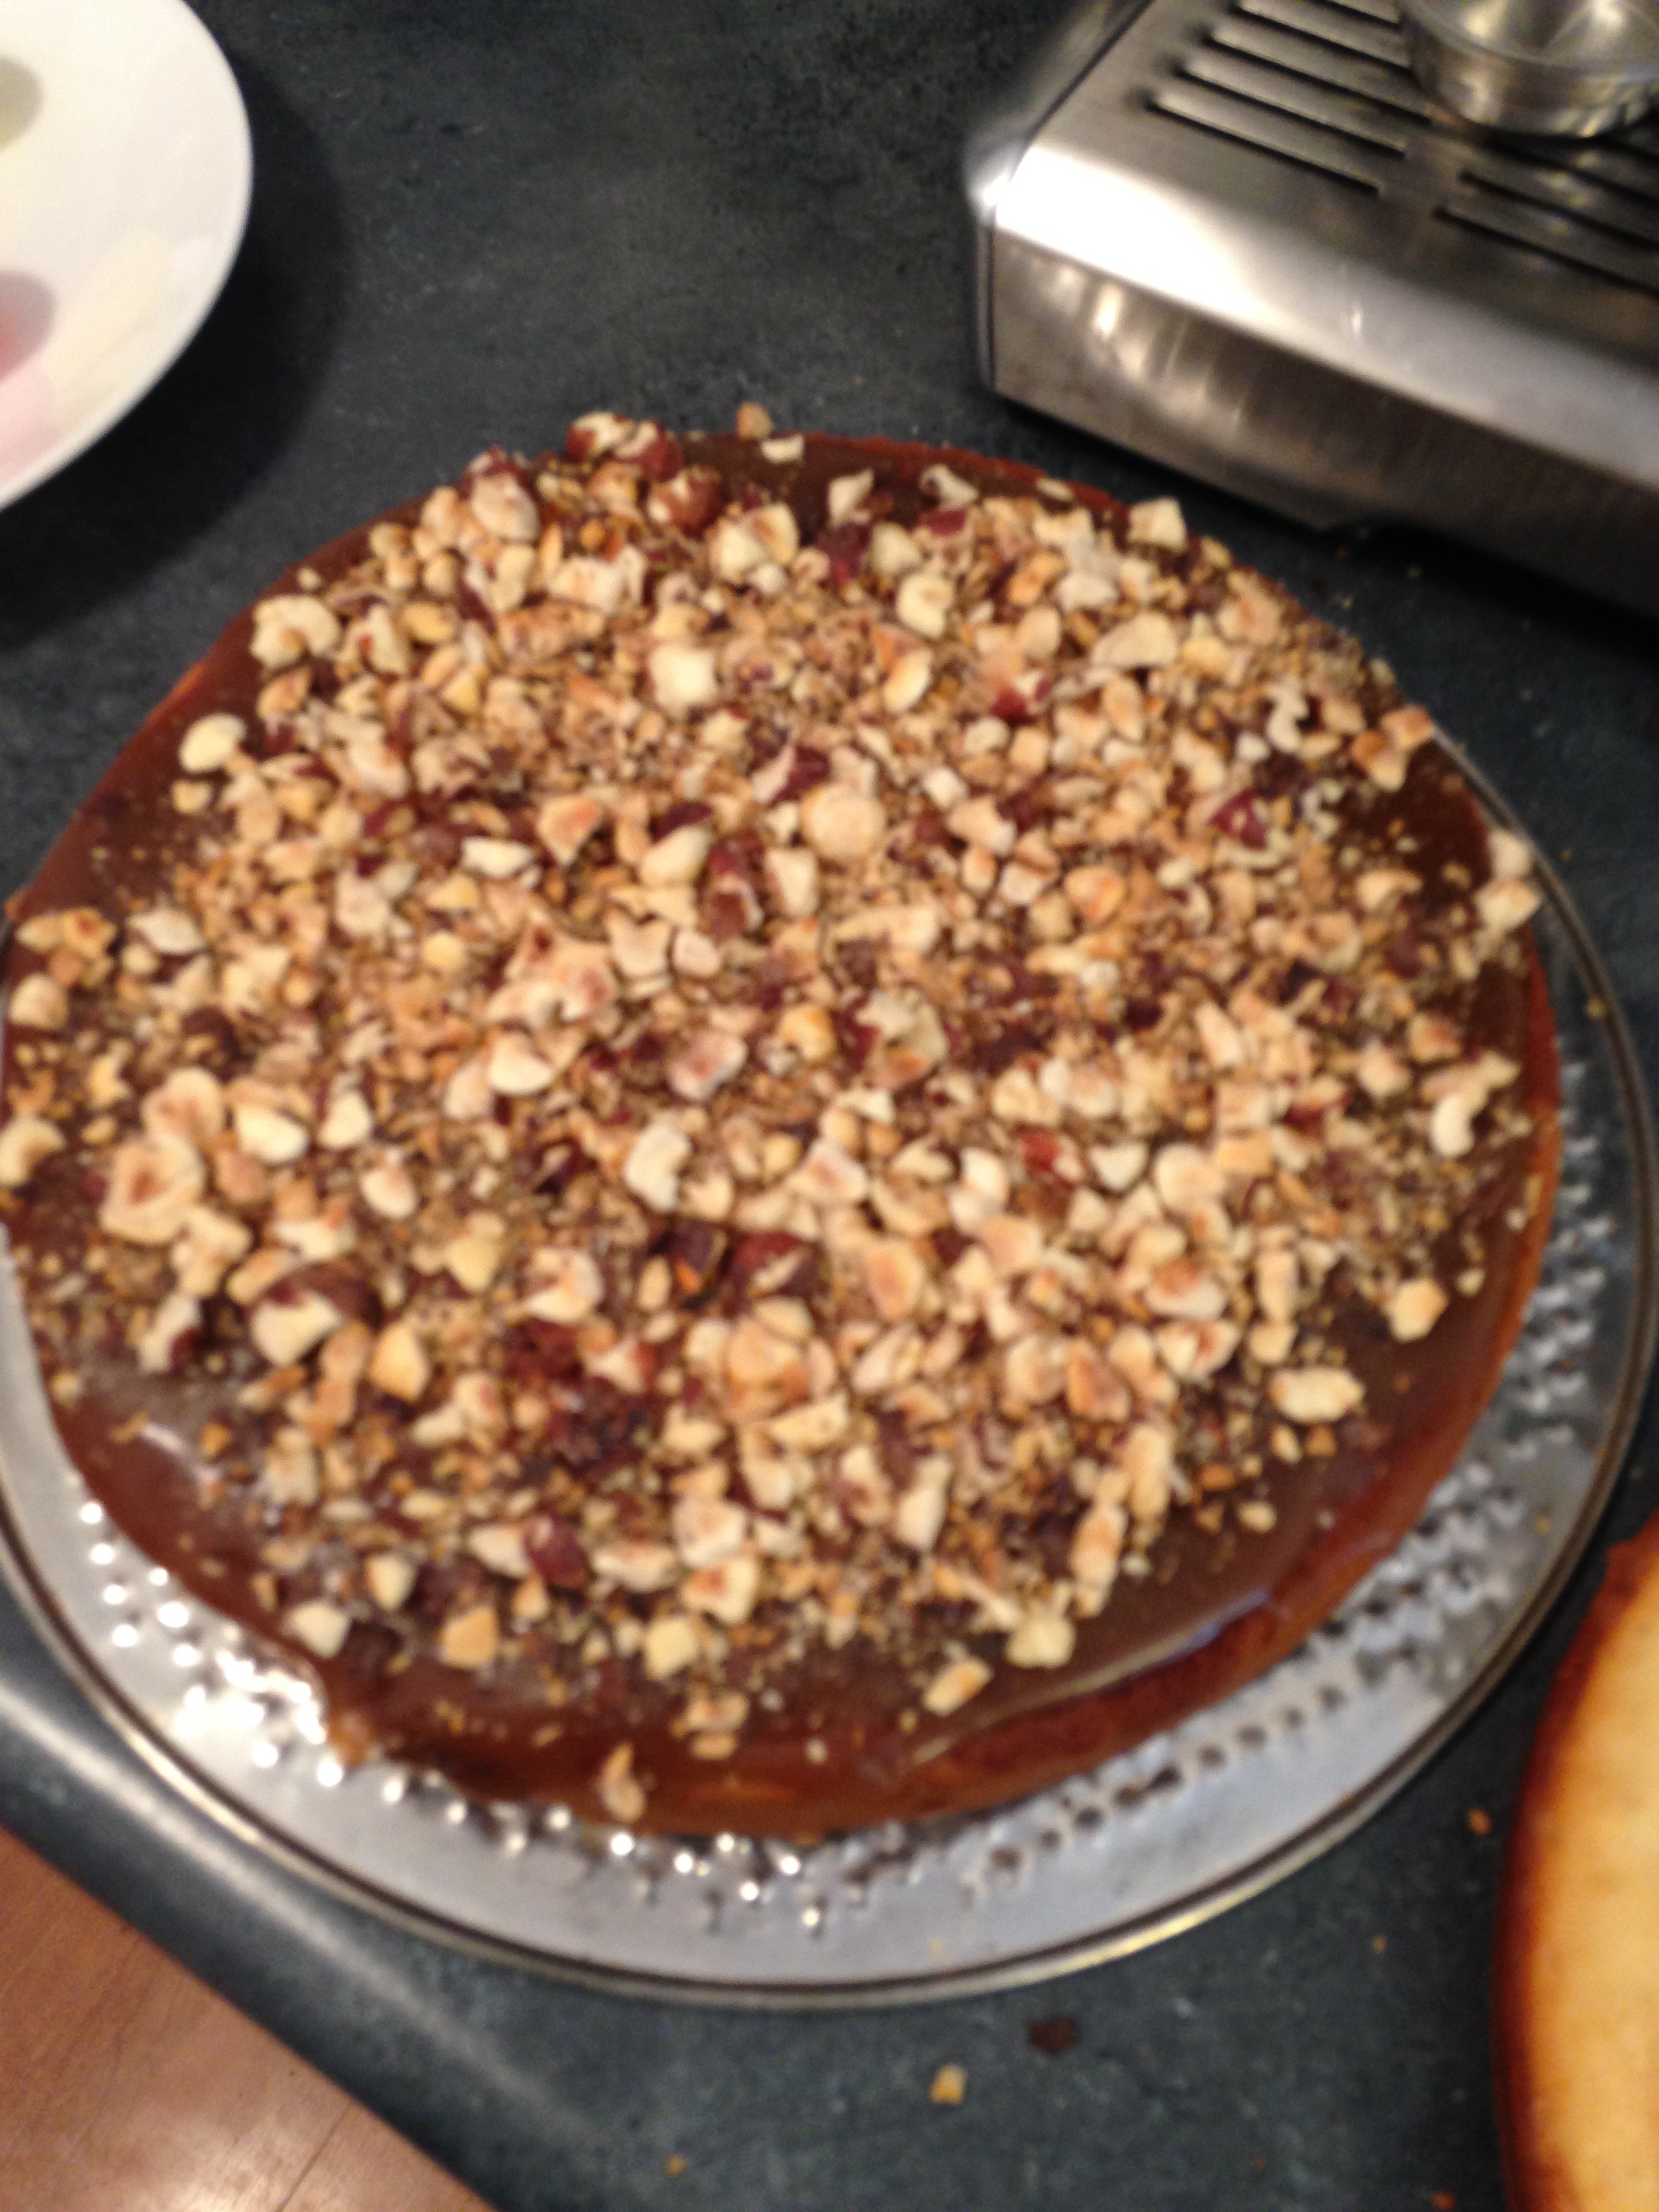
So for this next, non-dirty, attempt to fondant-arize a cake, I was going to make a more simple marble cake with caramel and toasted hazelnut centre. (Ok, maybe not simple. Just not penis shaped.)

Marble Cake

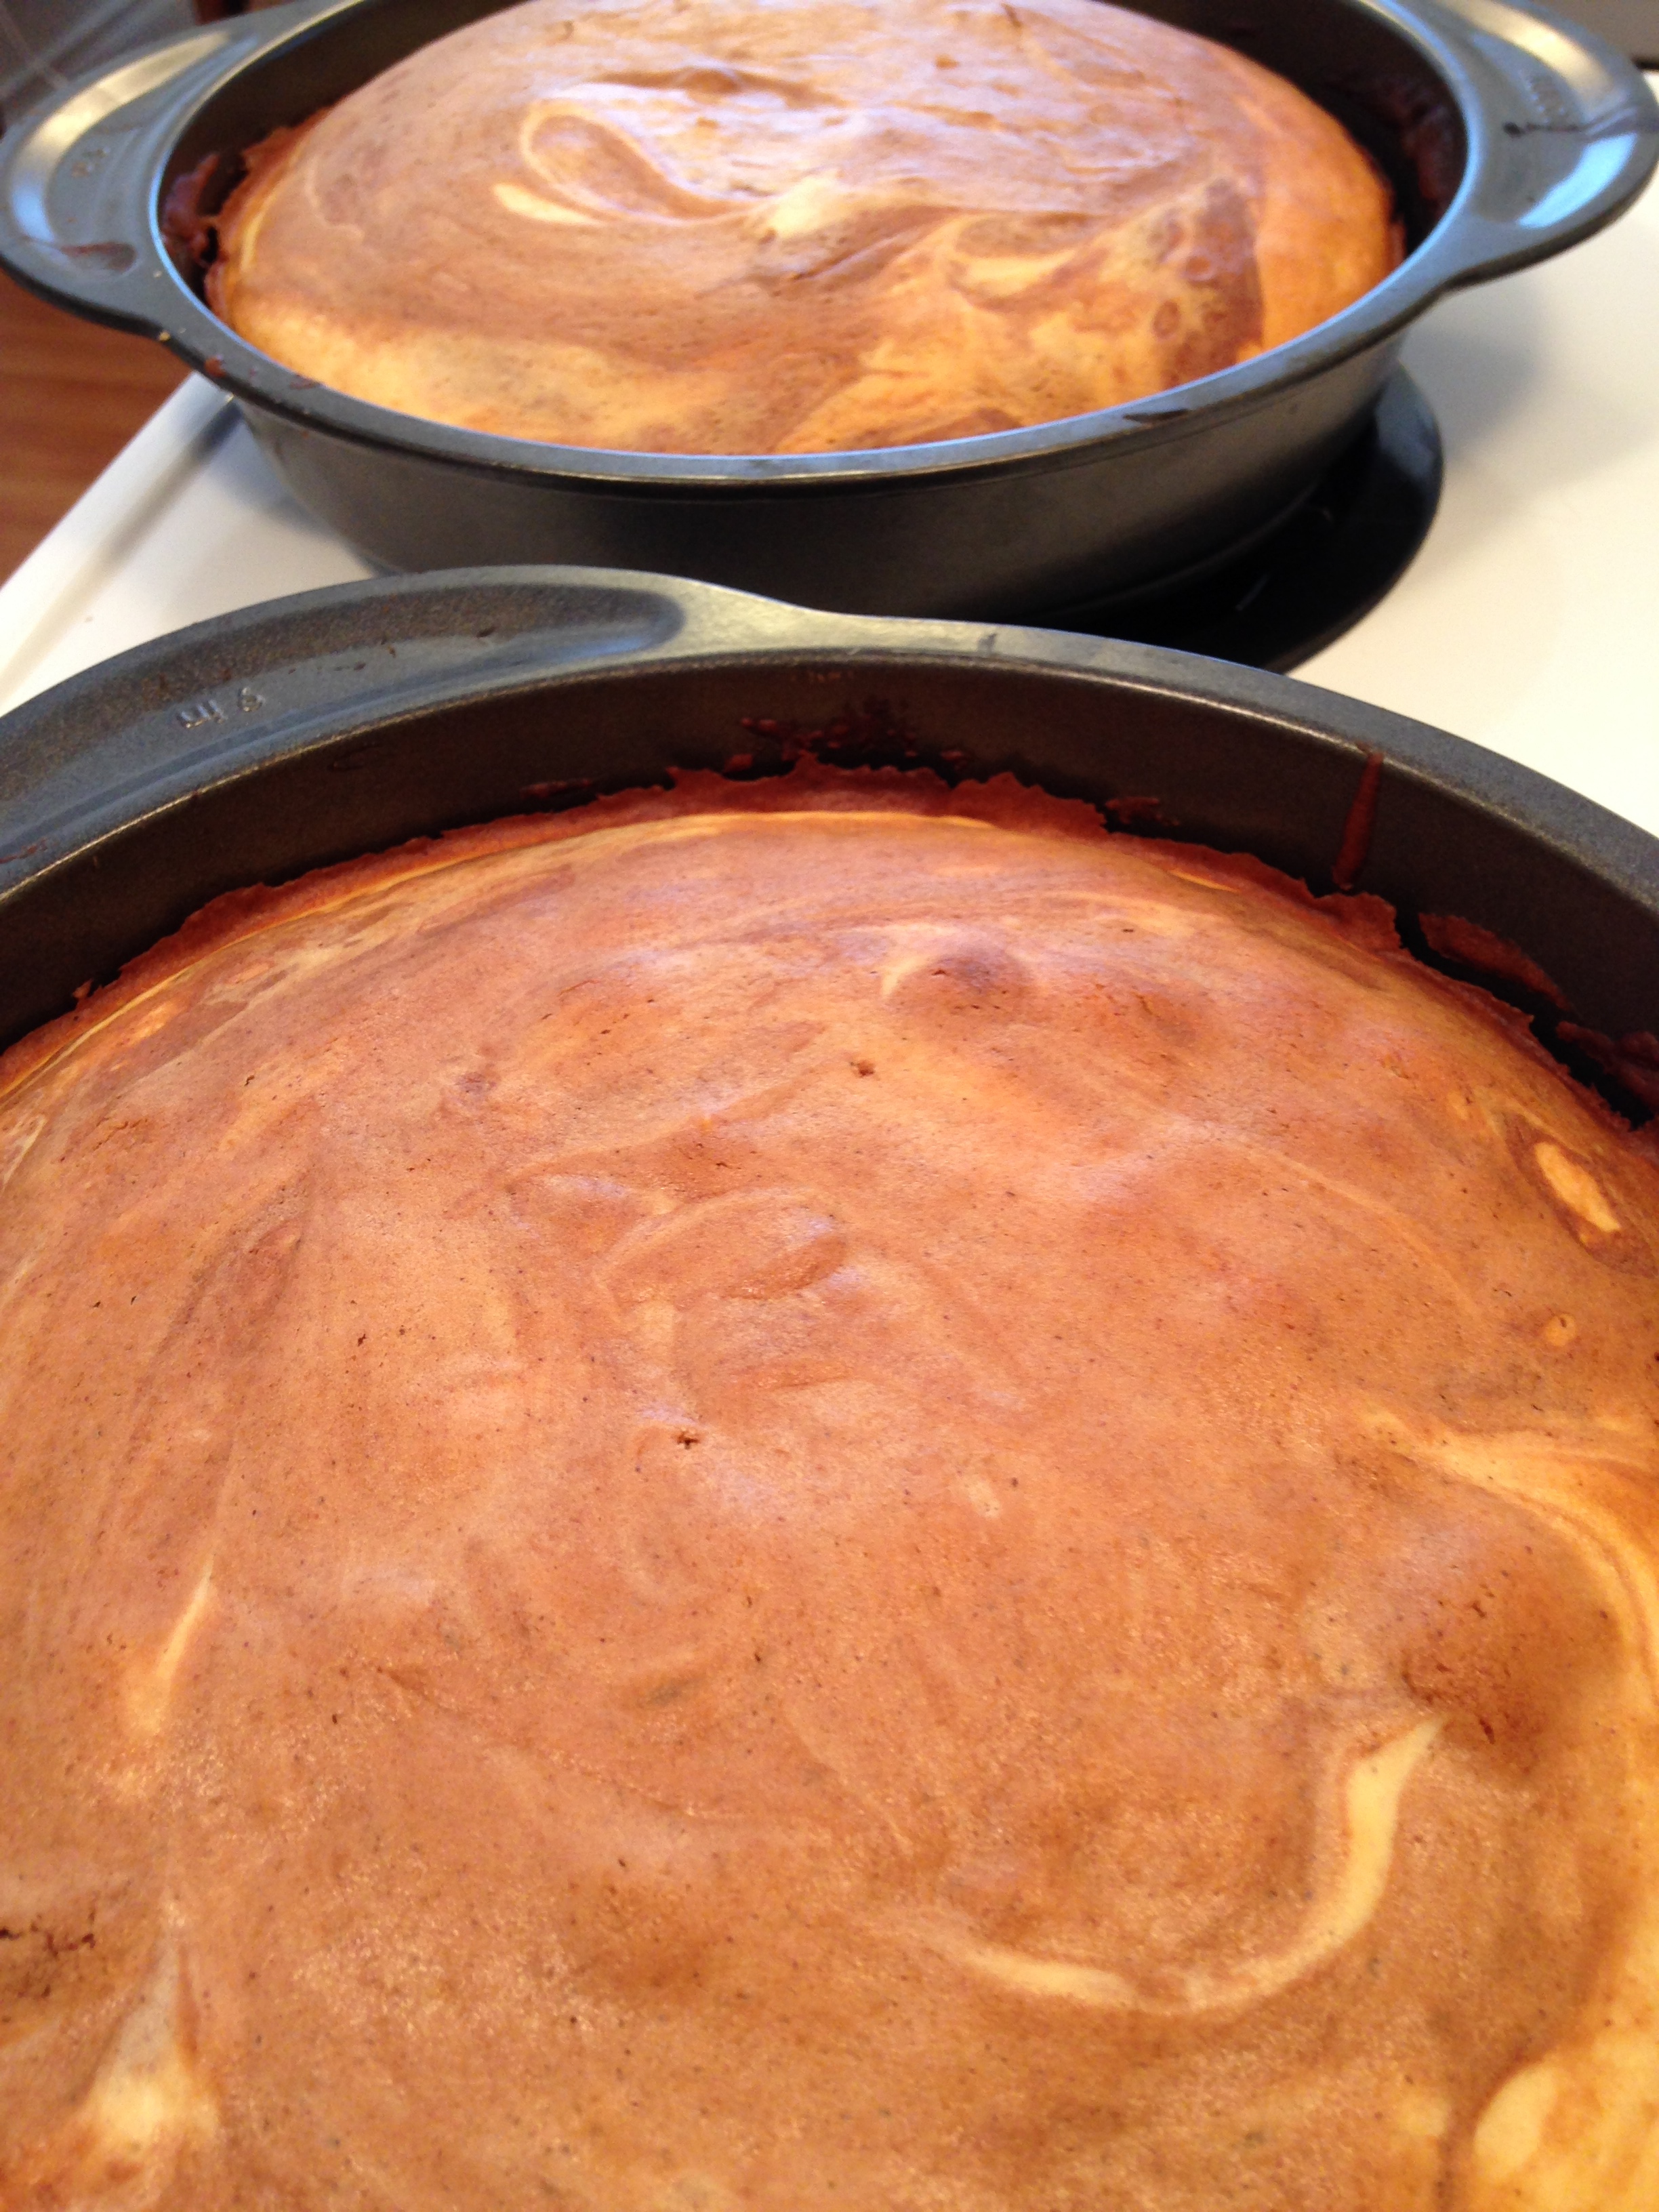
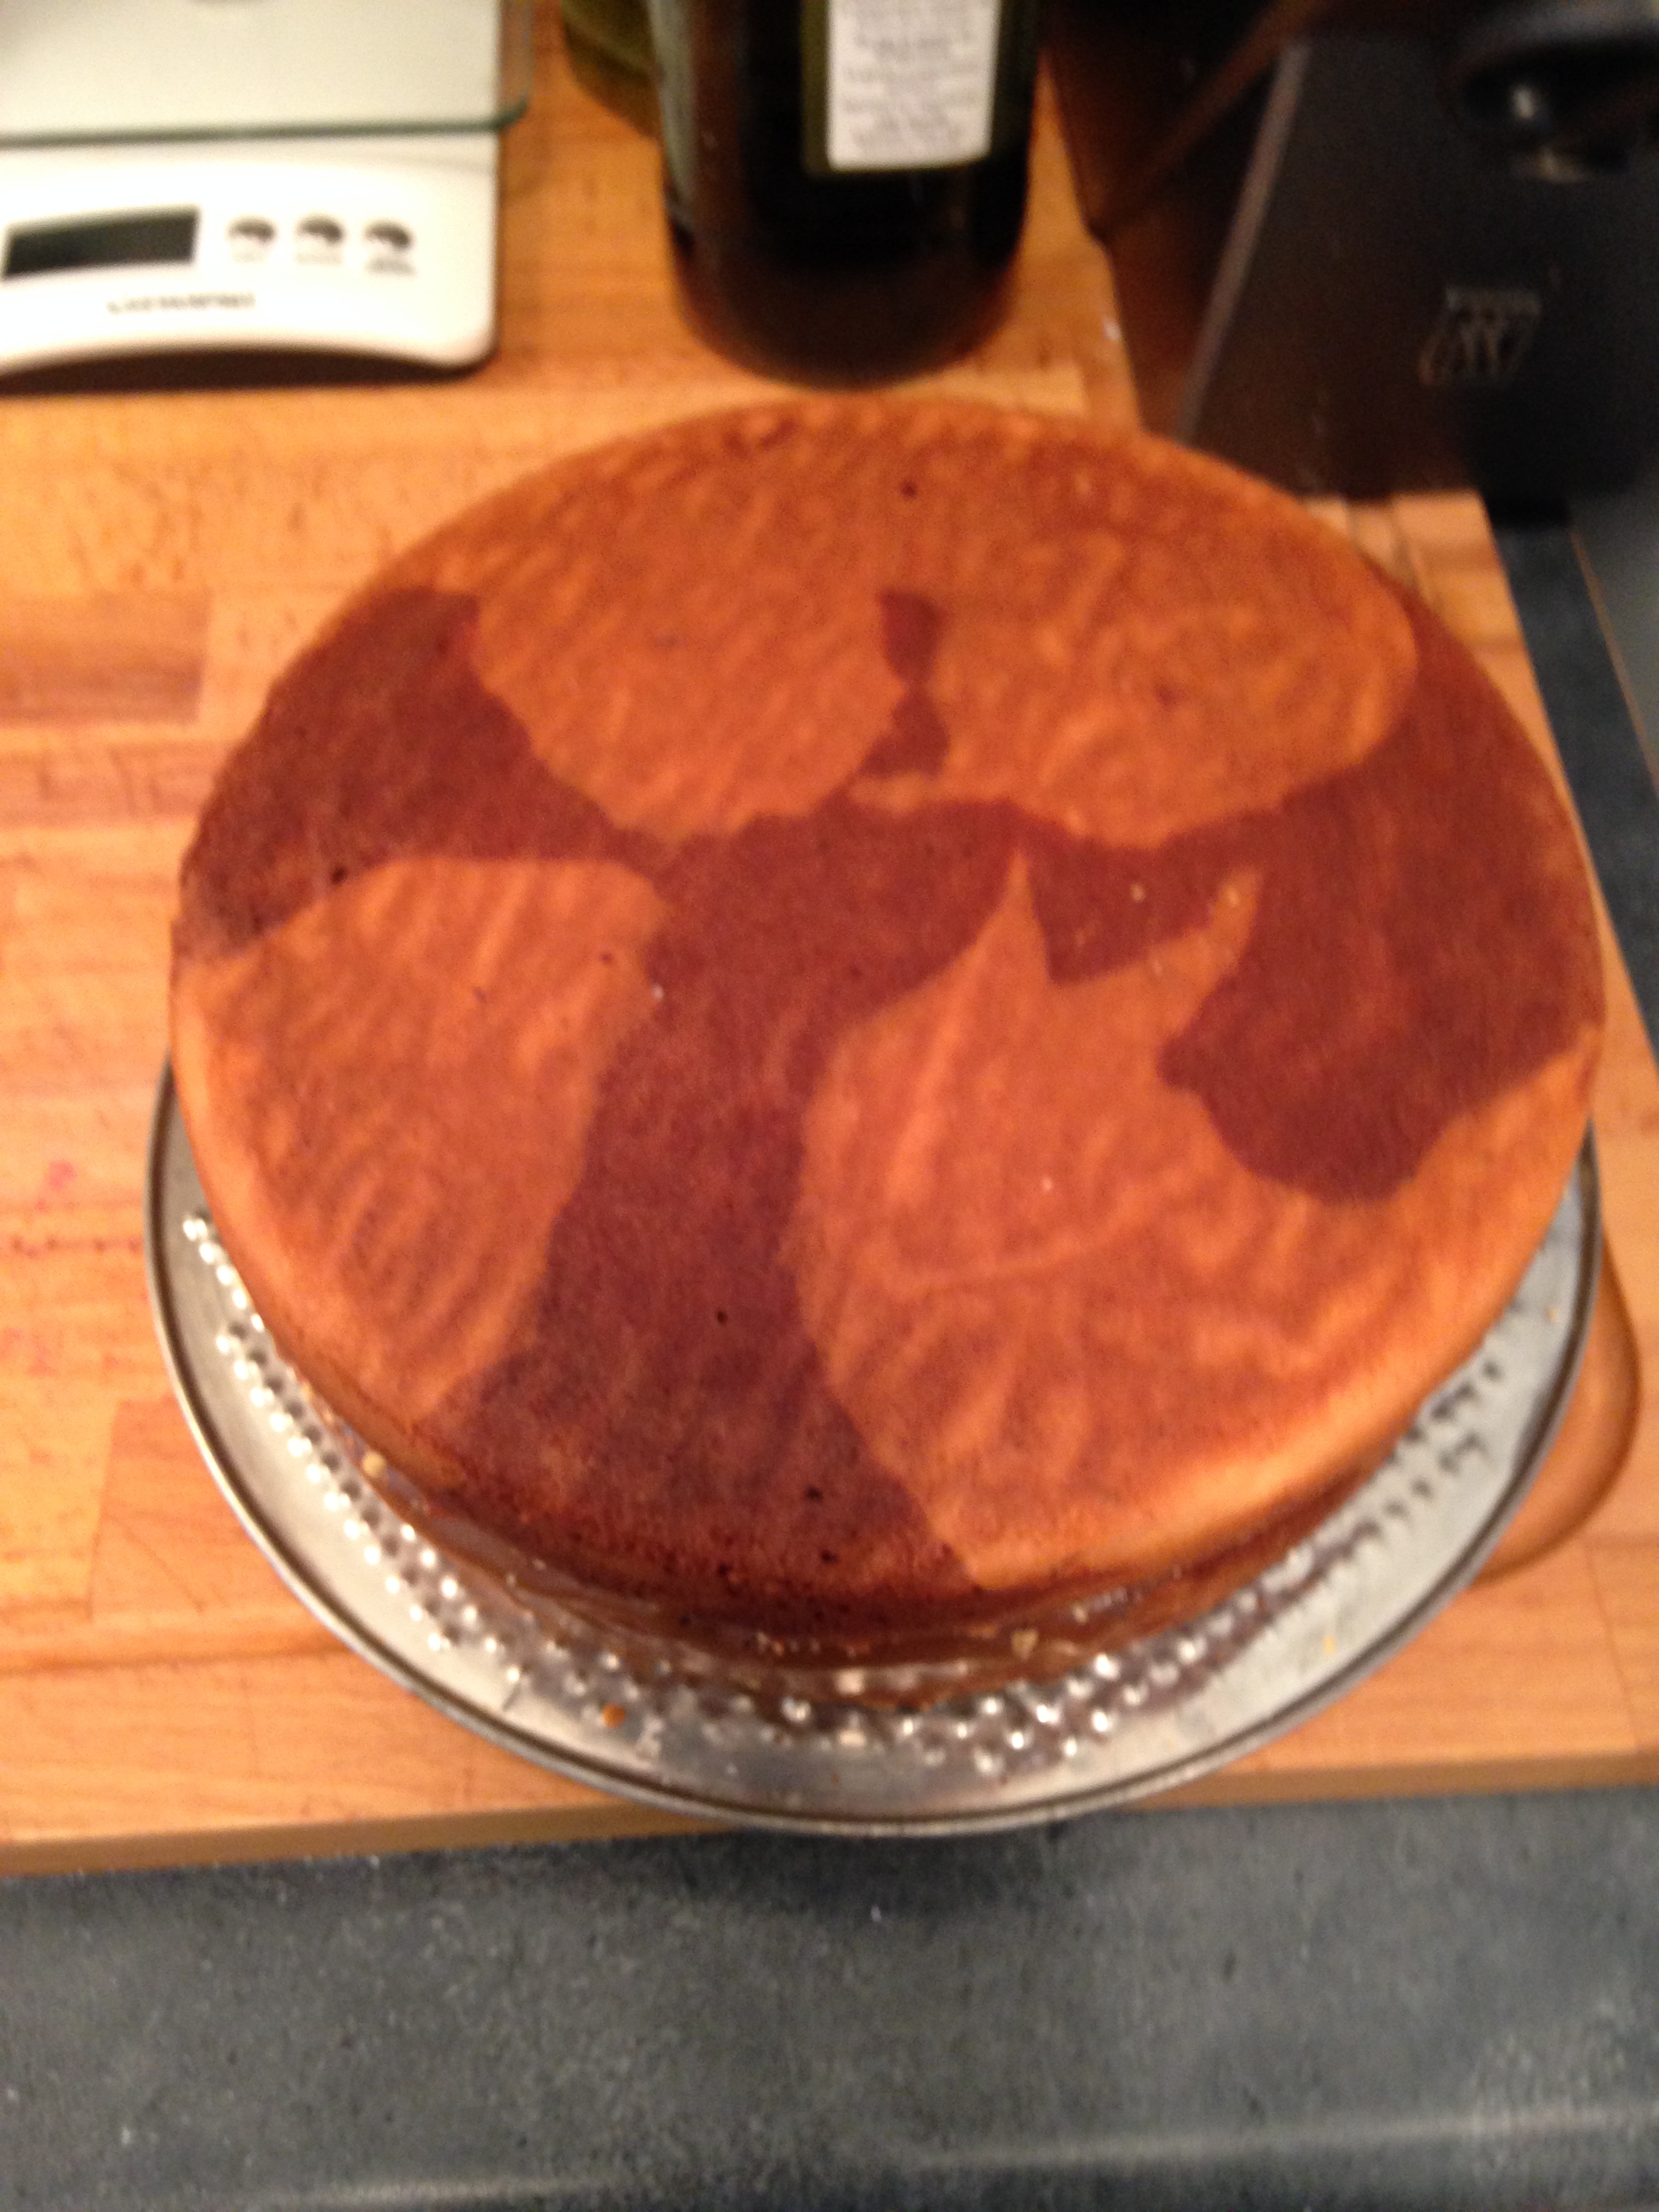
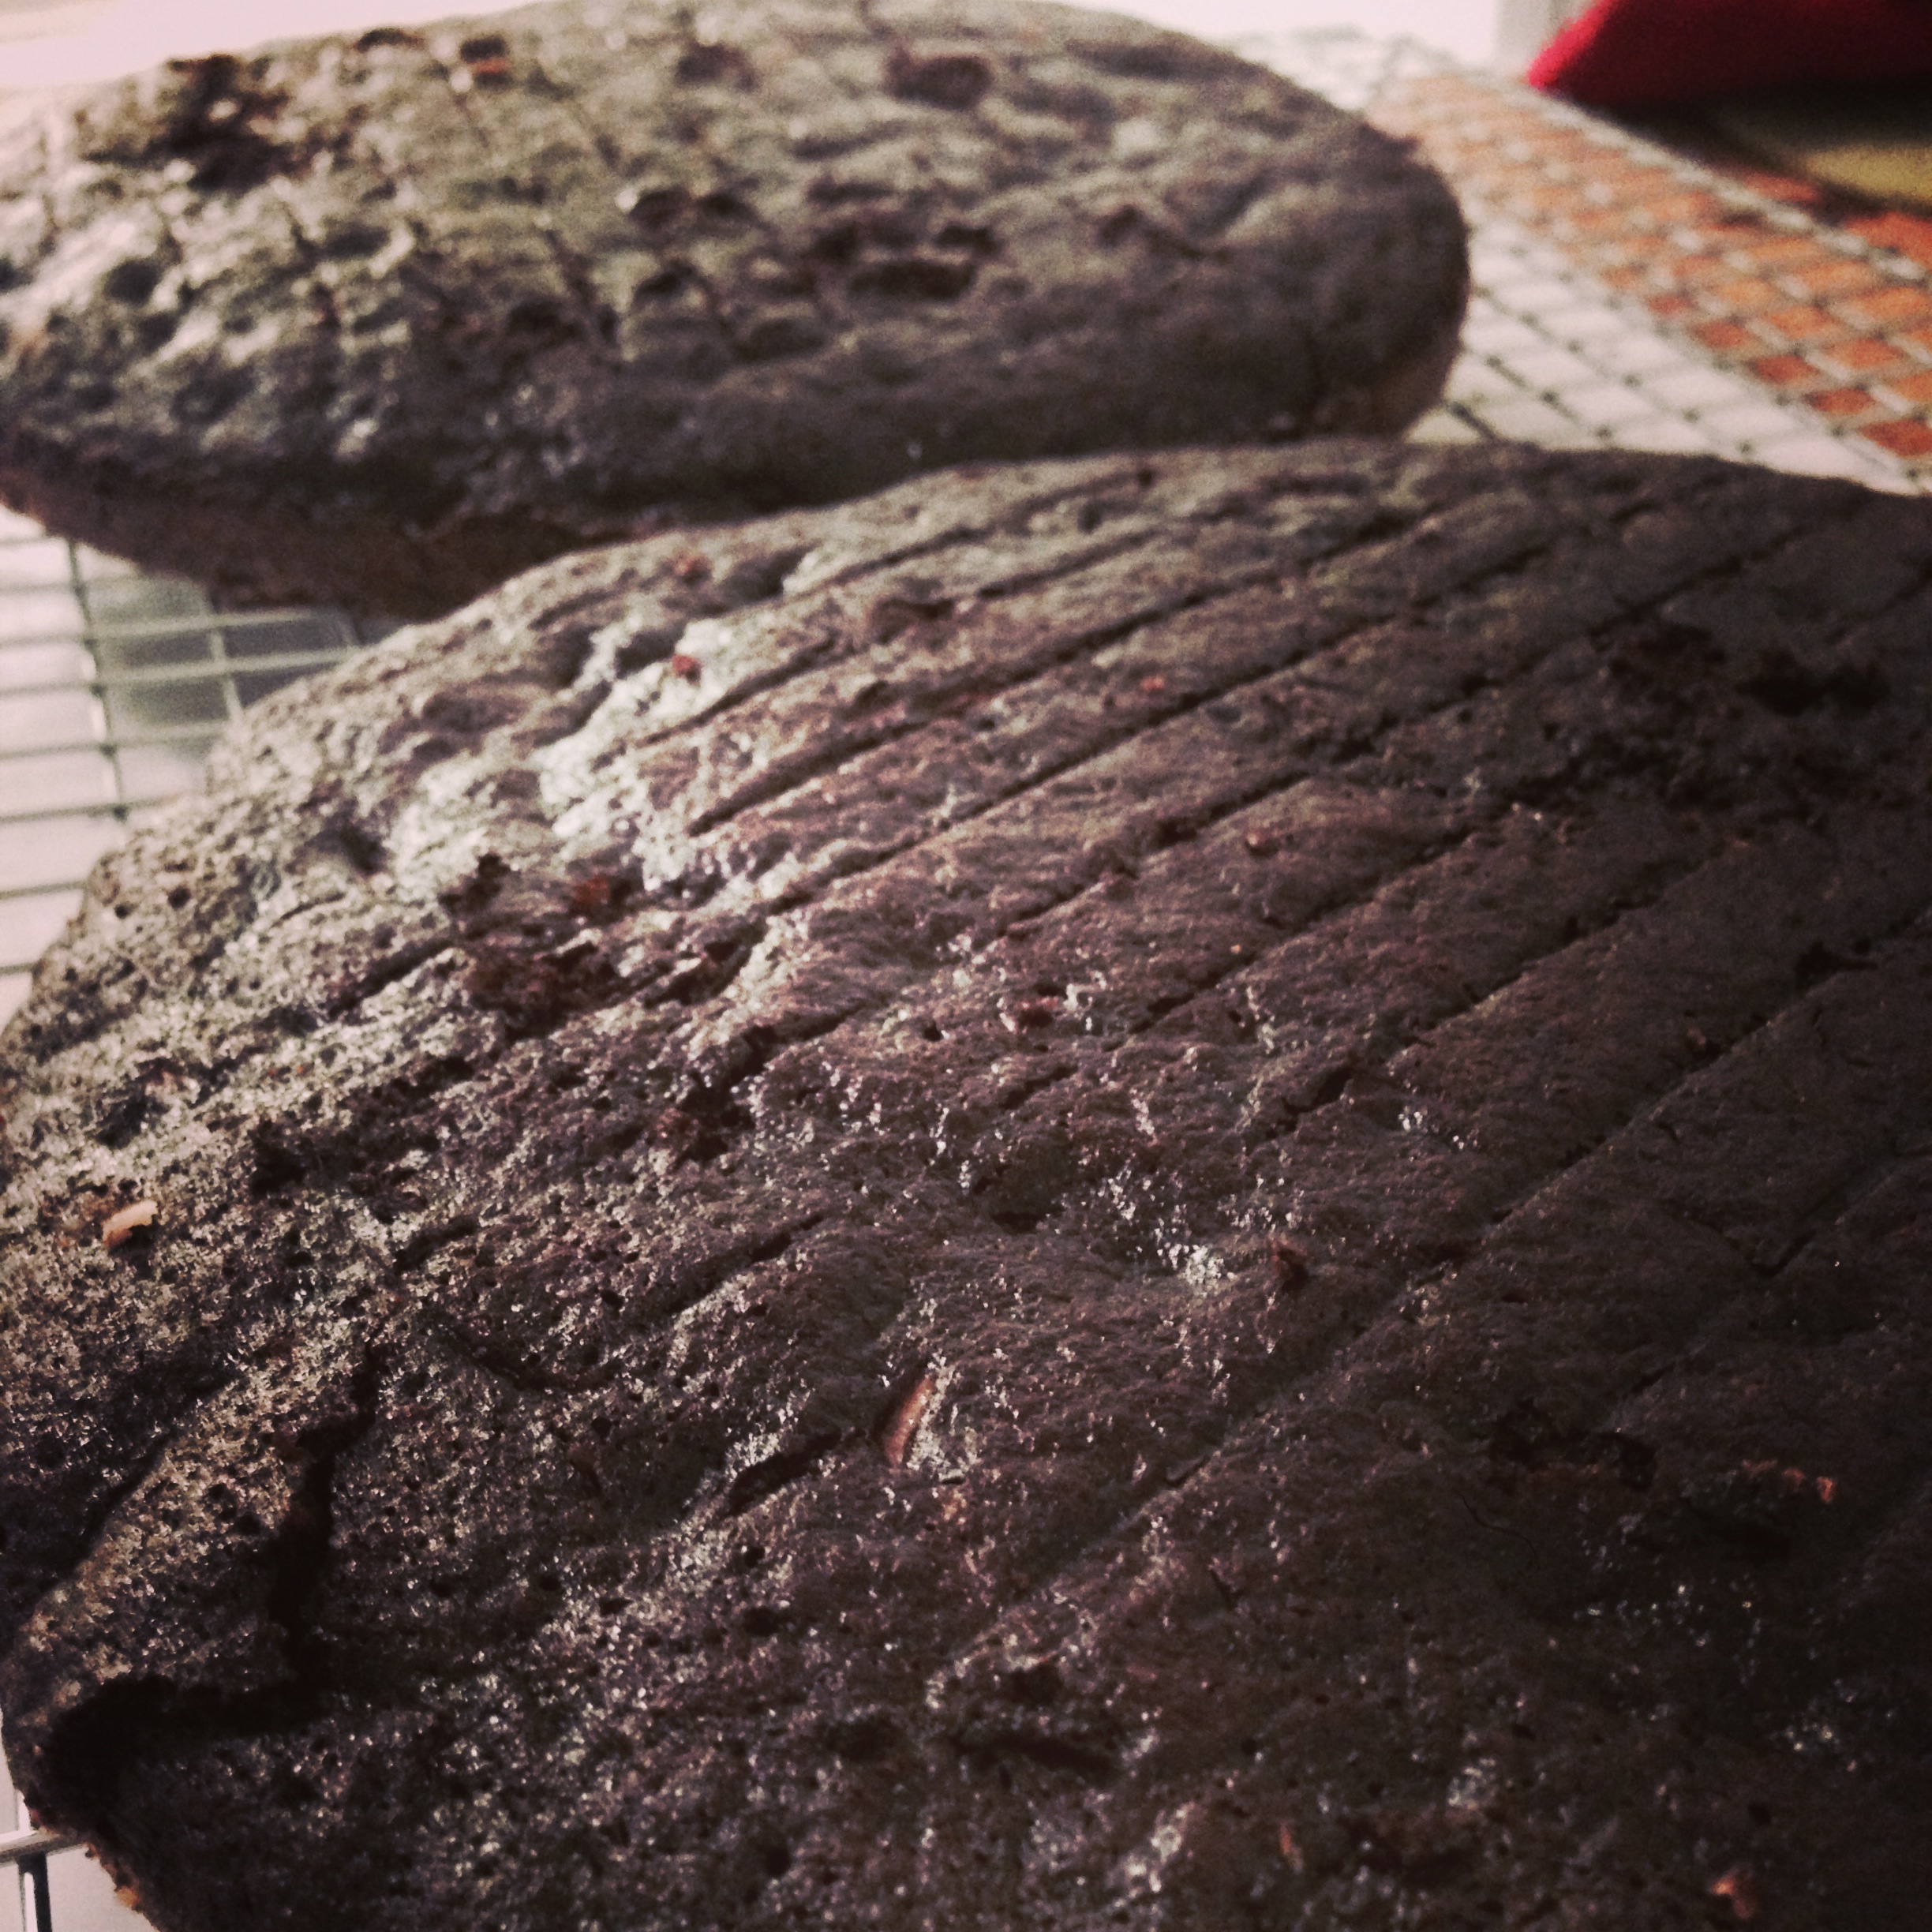
For this cake I used a recipe out of The Joy of Cooking. I over baked it a little so it was a bit chewier than I would have liked, but still ok. (Or rather everyone at the party politely ate it anyway.) 

2 1/4 cups cake flour
2 1/2 tsp baking powder
1/2 tsp salt
1 cup milk
1 tsp vanilla
1 1/4 cups sugar
1/2 cup butter
4 large egg whites
1/4 tsp cream of tartar

1 1/2 oz melted chocolate, cooled
1 tsp cinnamon
pinch of ground cloves
1/8 tsp baking soda

  1. Preheat oven to 350. Grease and flour 2 X 9-inch round pans. 
  2. Combine the flour, baking powder and salt in a bowl. Set aside.
  3. Combine the milk and vanilla. Set aside. 
  4. In an electric mixer, beat sugar and butter together until light and fluffy. (About 5 mins.)
  5. Stir into sugar/butter mixture the dry ingredients, in three parts, alternating with milk mixture, in two parts, until smooth.
  6. Separate batter into two separate bowls. Add melted chocolate, cinnamon, cloves and baking soda to one batch of batter. Stir until combined. Set both bowls aside. 
  7. In a clean bowl, using electric mixer on high, whisk egg whites and cream of tartar together until stiff peaks form. 
  8. Fold half of whipped eggs into each batter bowl. 
  9. Spoon batter into prepared pans, alternating between white and chocolate. 
  10. Bake for around 20-25 minutes or until a toothpick comes out clean. (Careful not to over bake!!)
  11. Let cool in pans for 10 minutes. Remove from pans and cool completely. 

Caramel Filling

I used a simple homemade caramel. Not to fancy. I topped the filling with toasted hazelnuts though.

1 cup butter
2 cups packed brown sugar
1/4 cup cream
1 teaspoon vanilla extract

  1. In a saucepan, over medium heat, melt the butter.
  2. Once melted, stir in the brown sugar and cream. Heat until all sugar is dissolved and caramel thickens, about 10 minutes.
  3. Remove from heat and stir in vanilla.
  4. Let cool completely before using. (About 2 hours in the fridge.)

Fondant

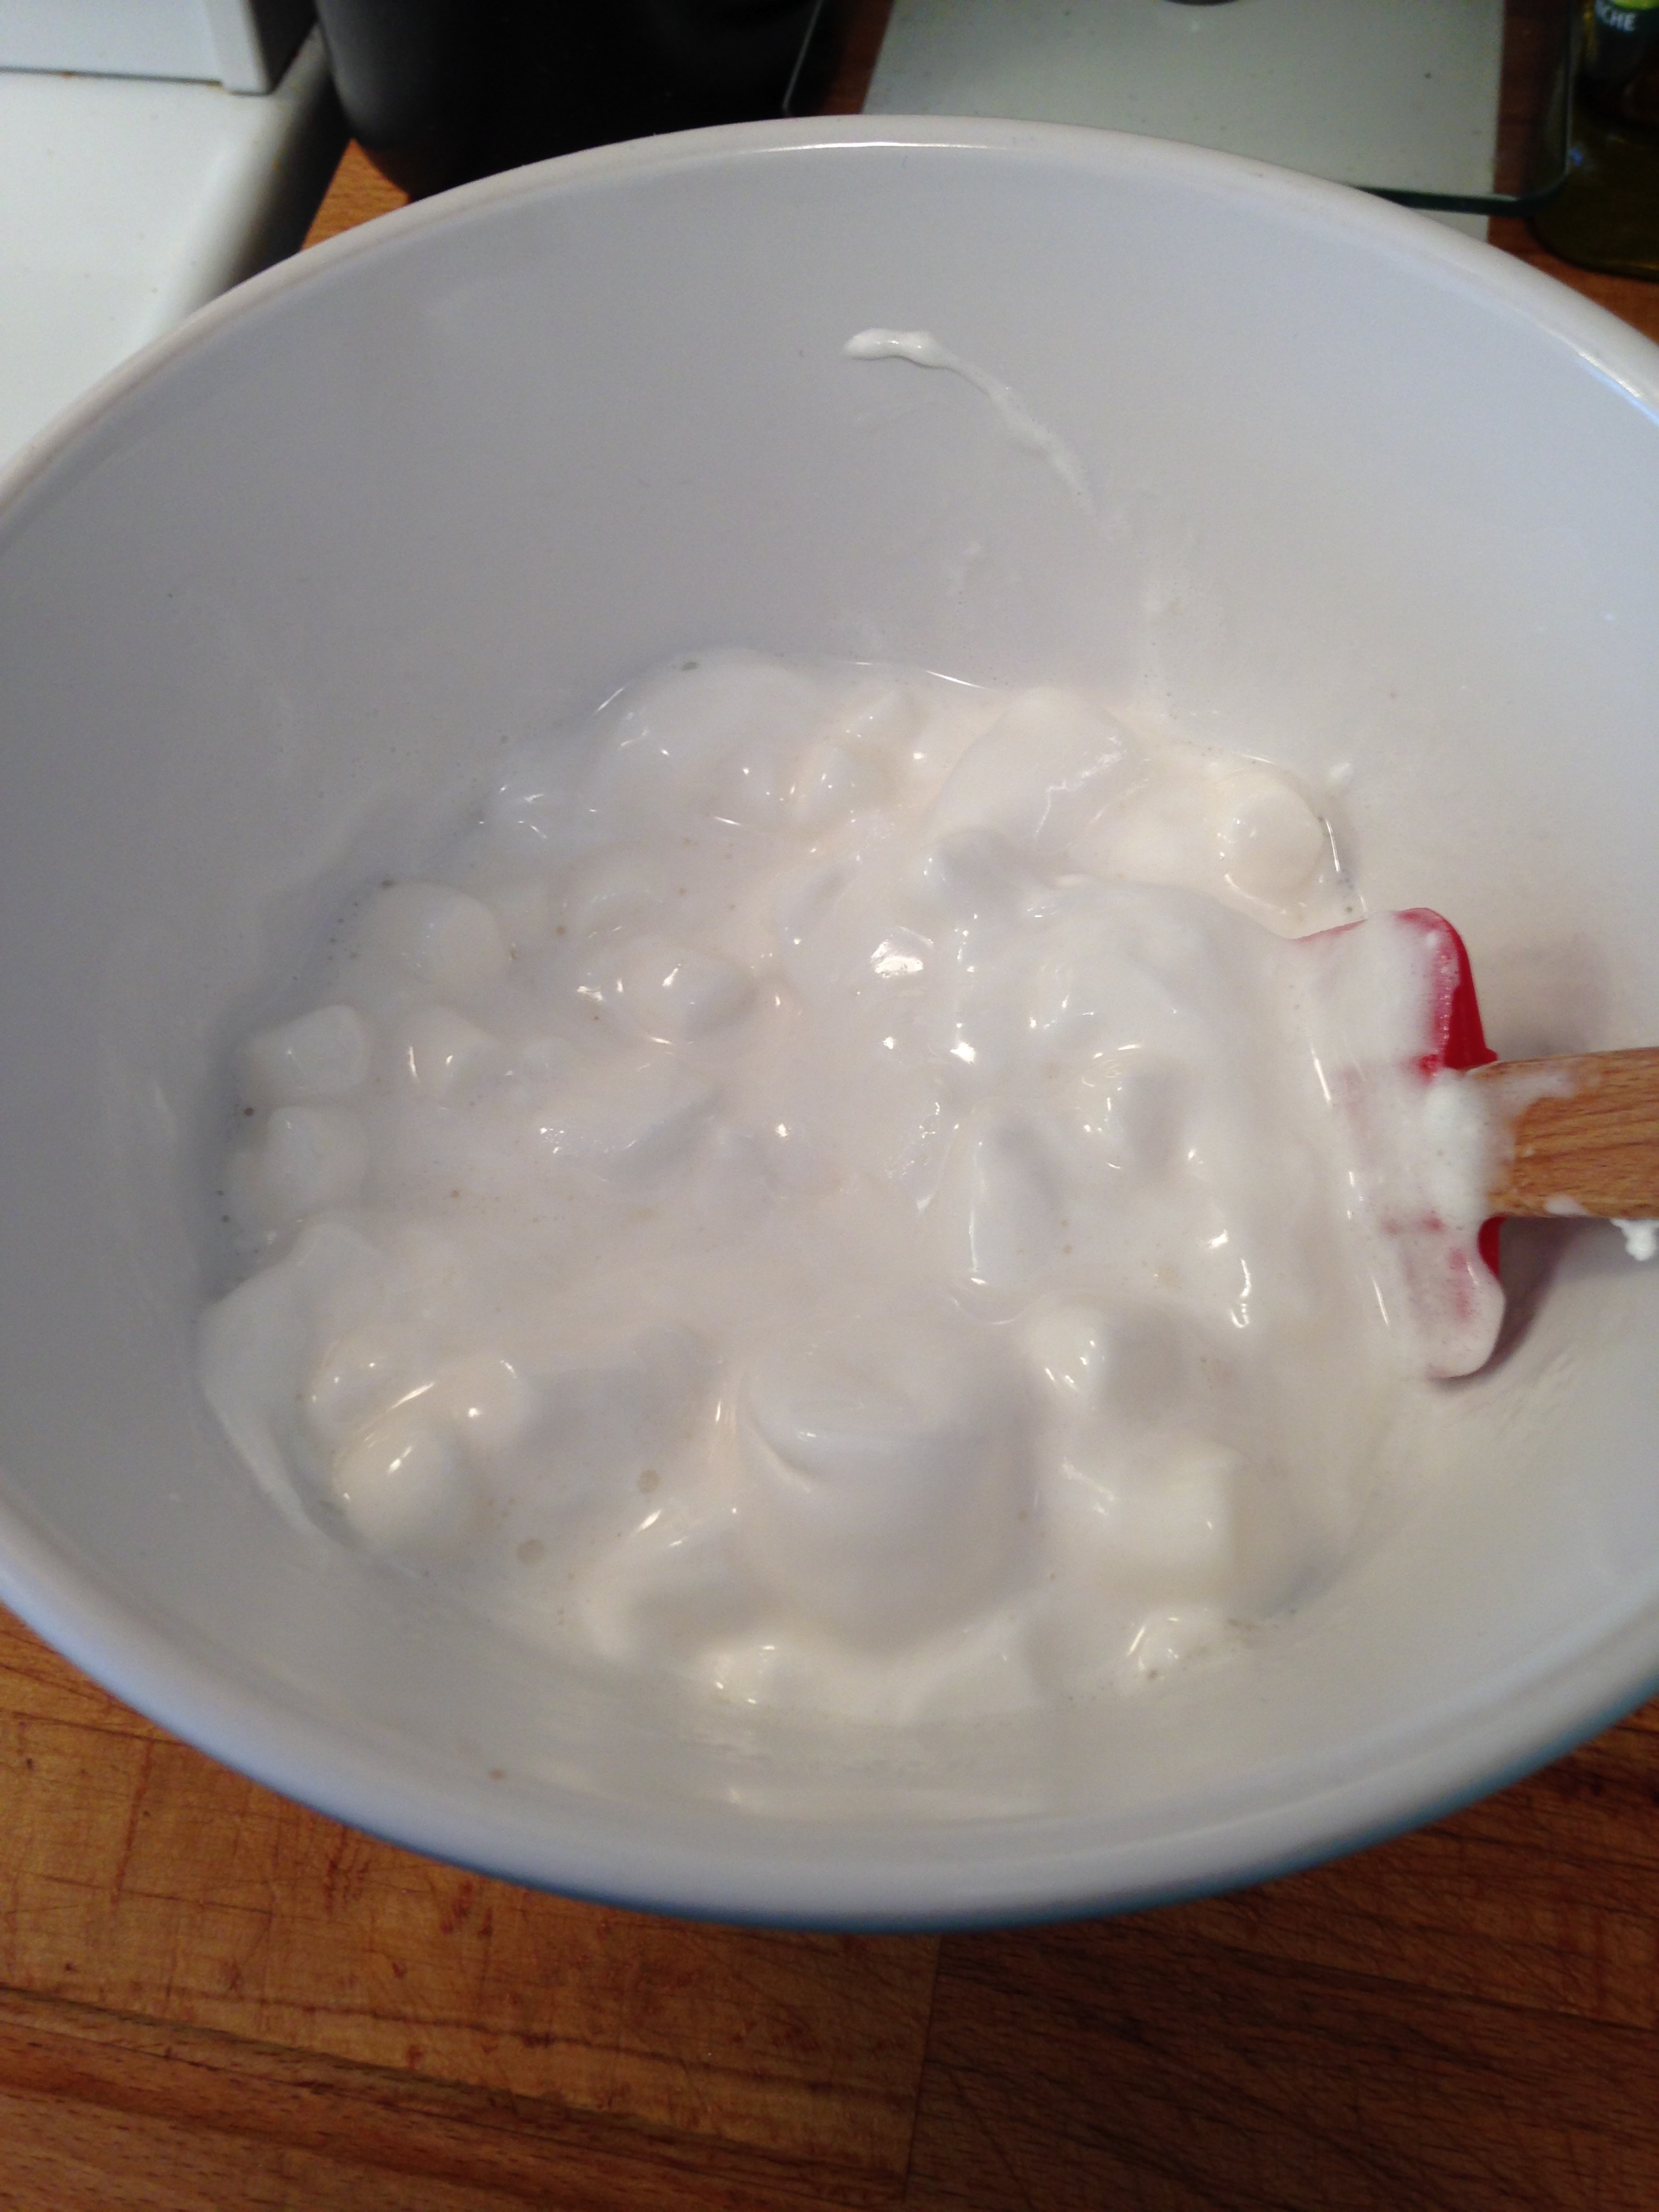
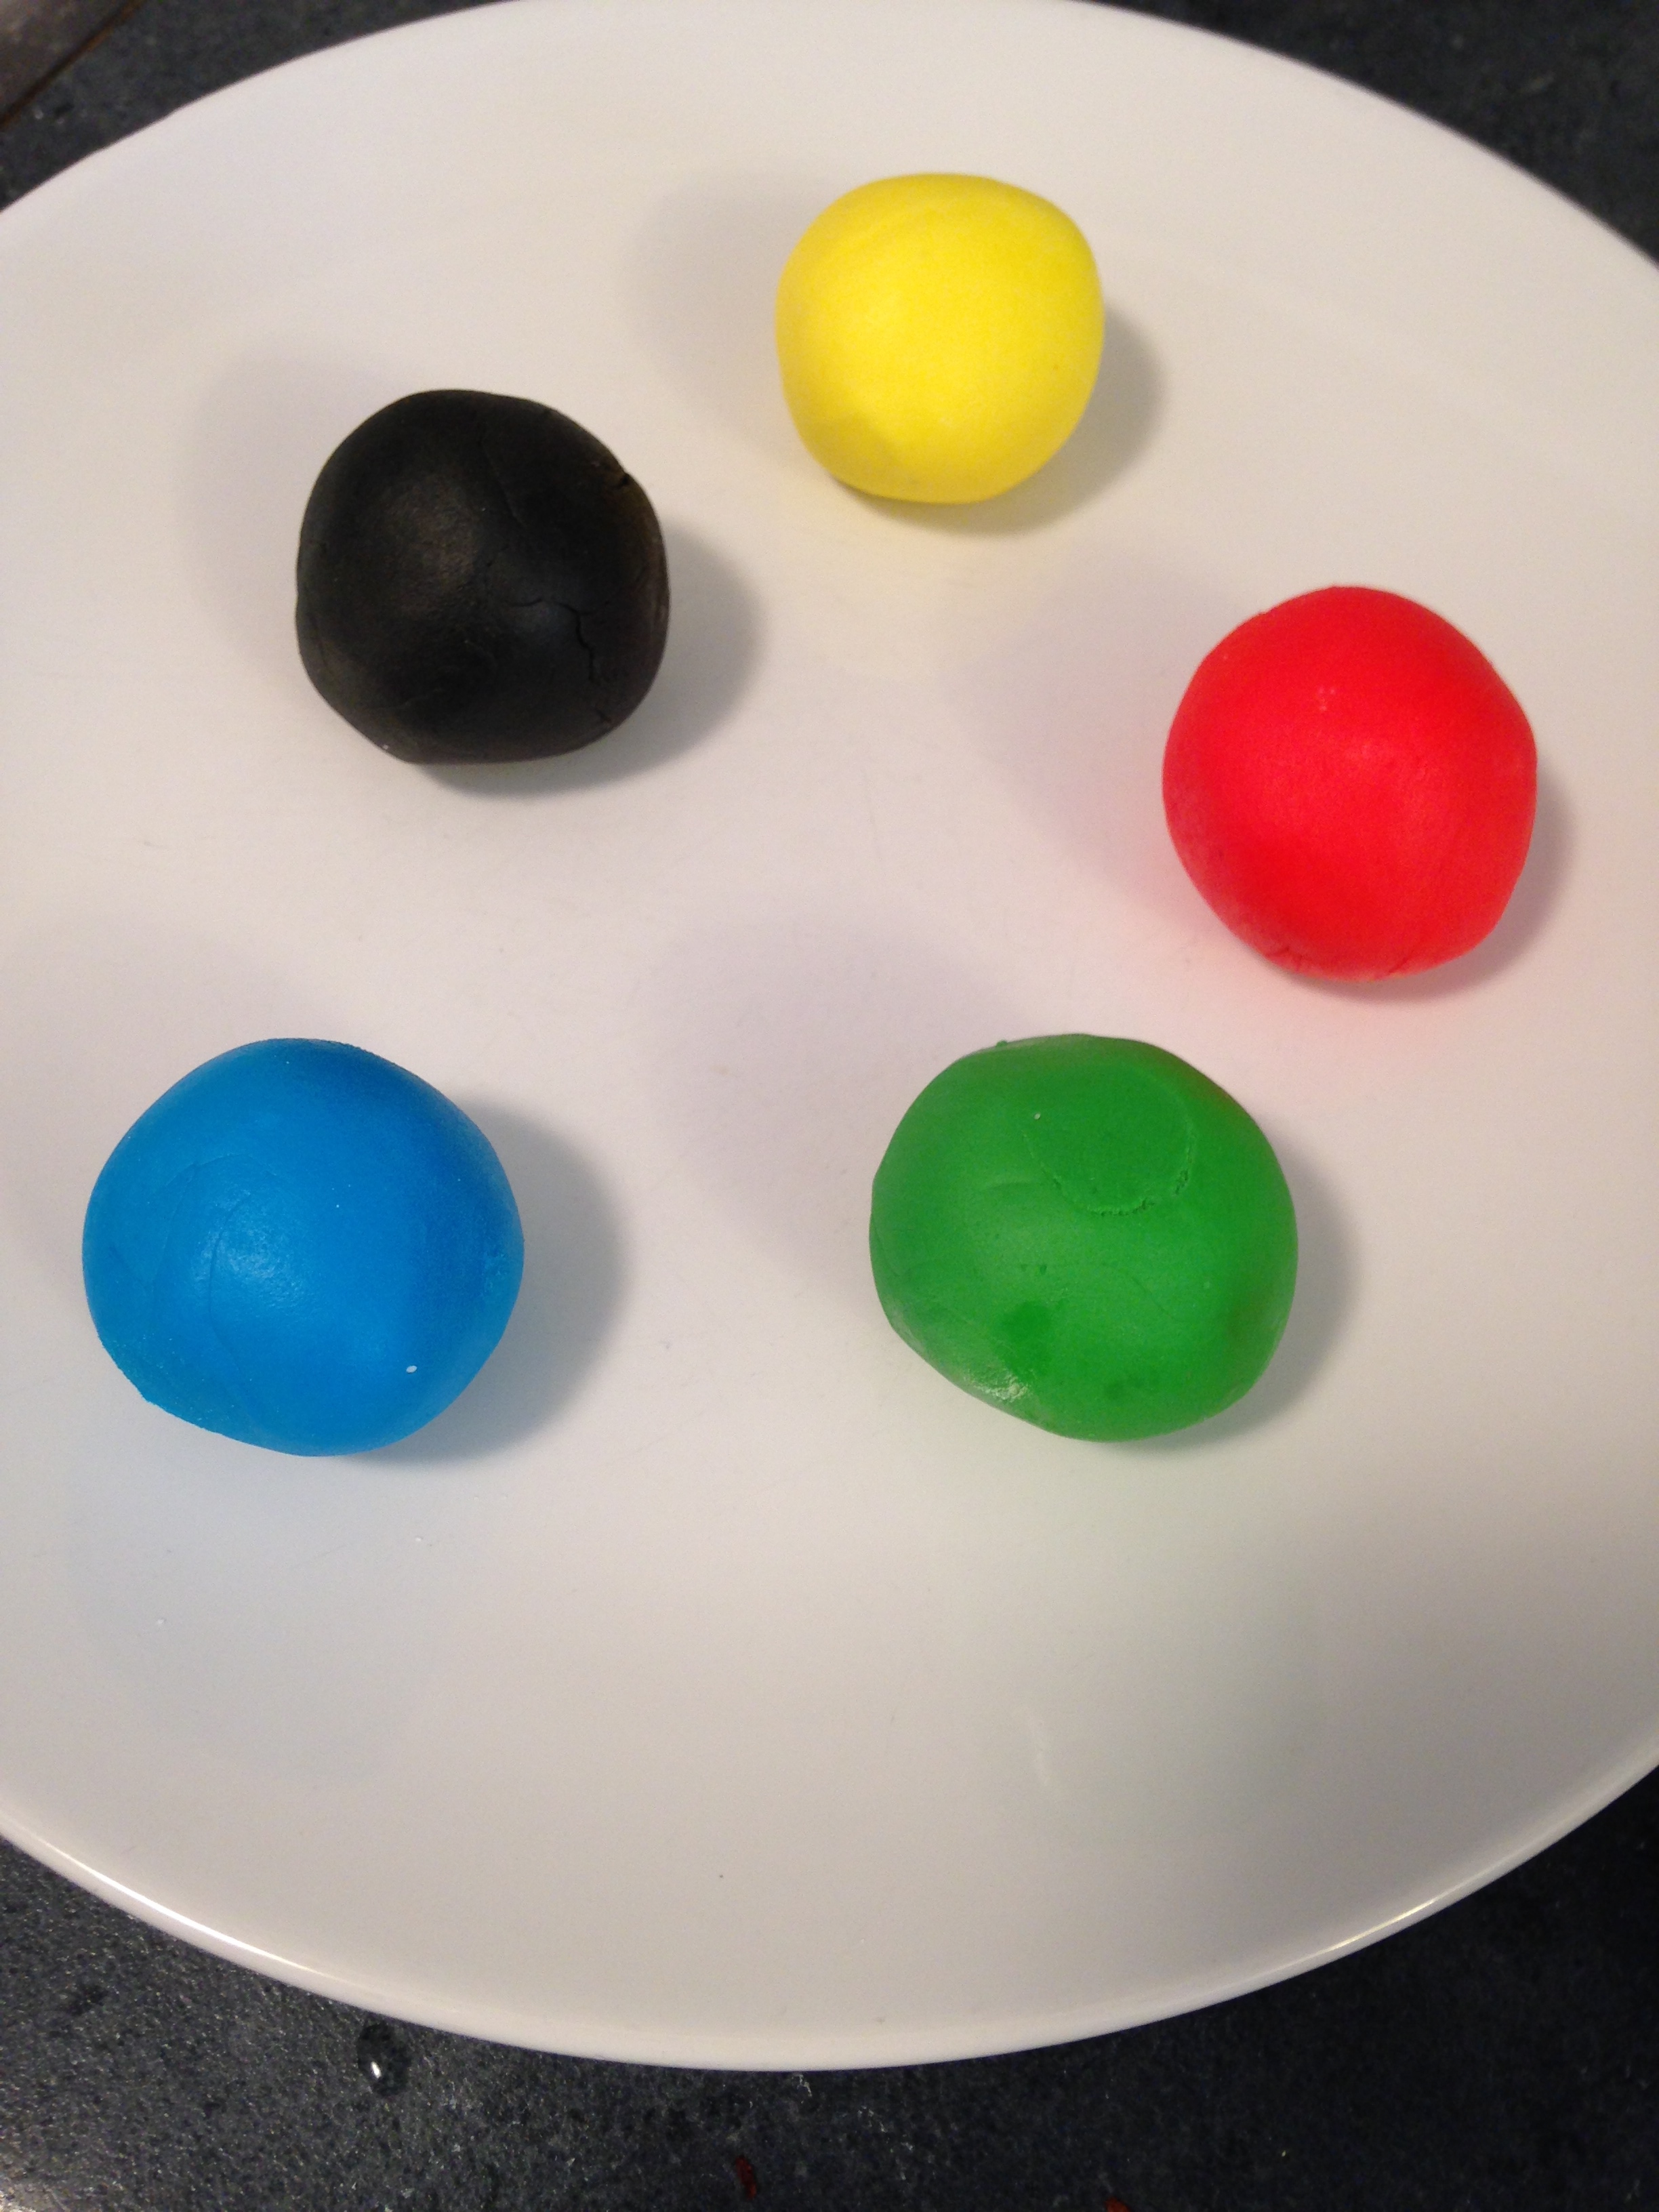
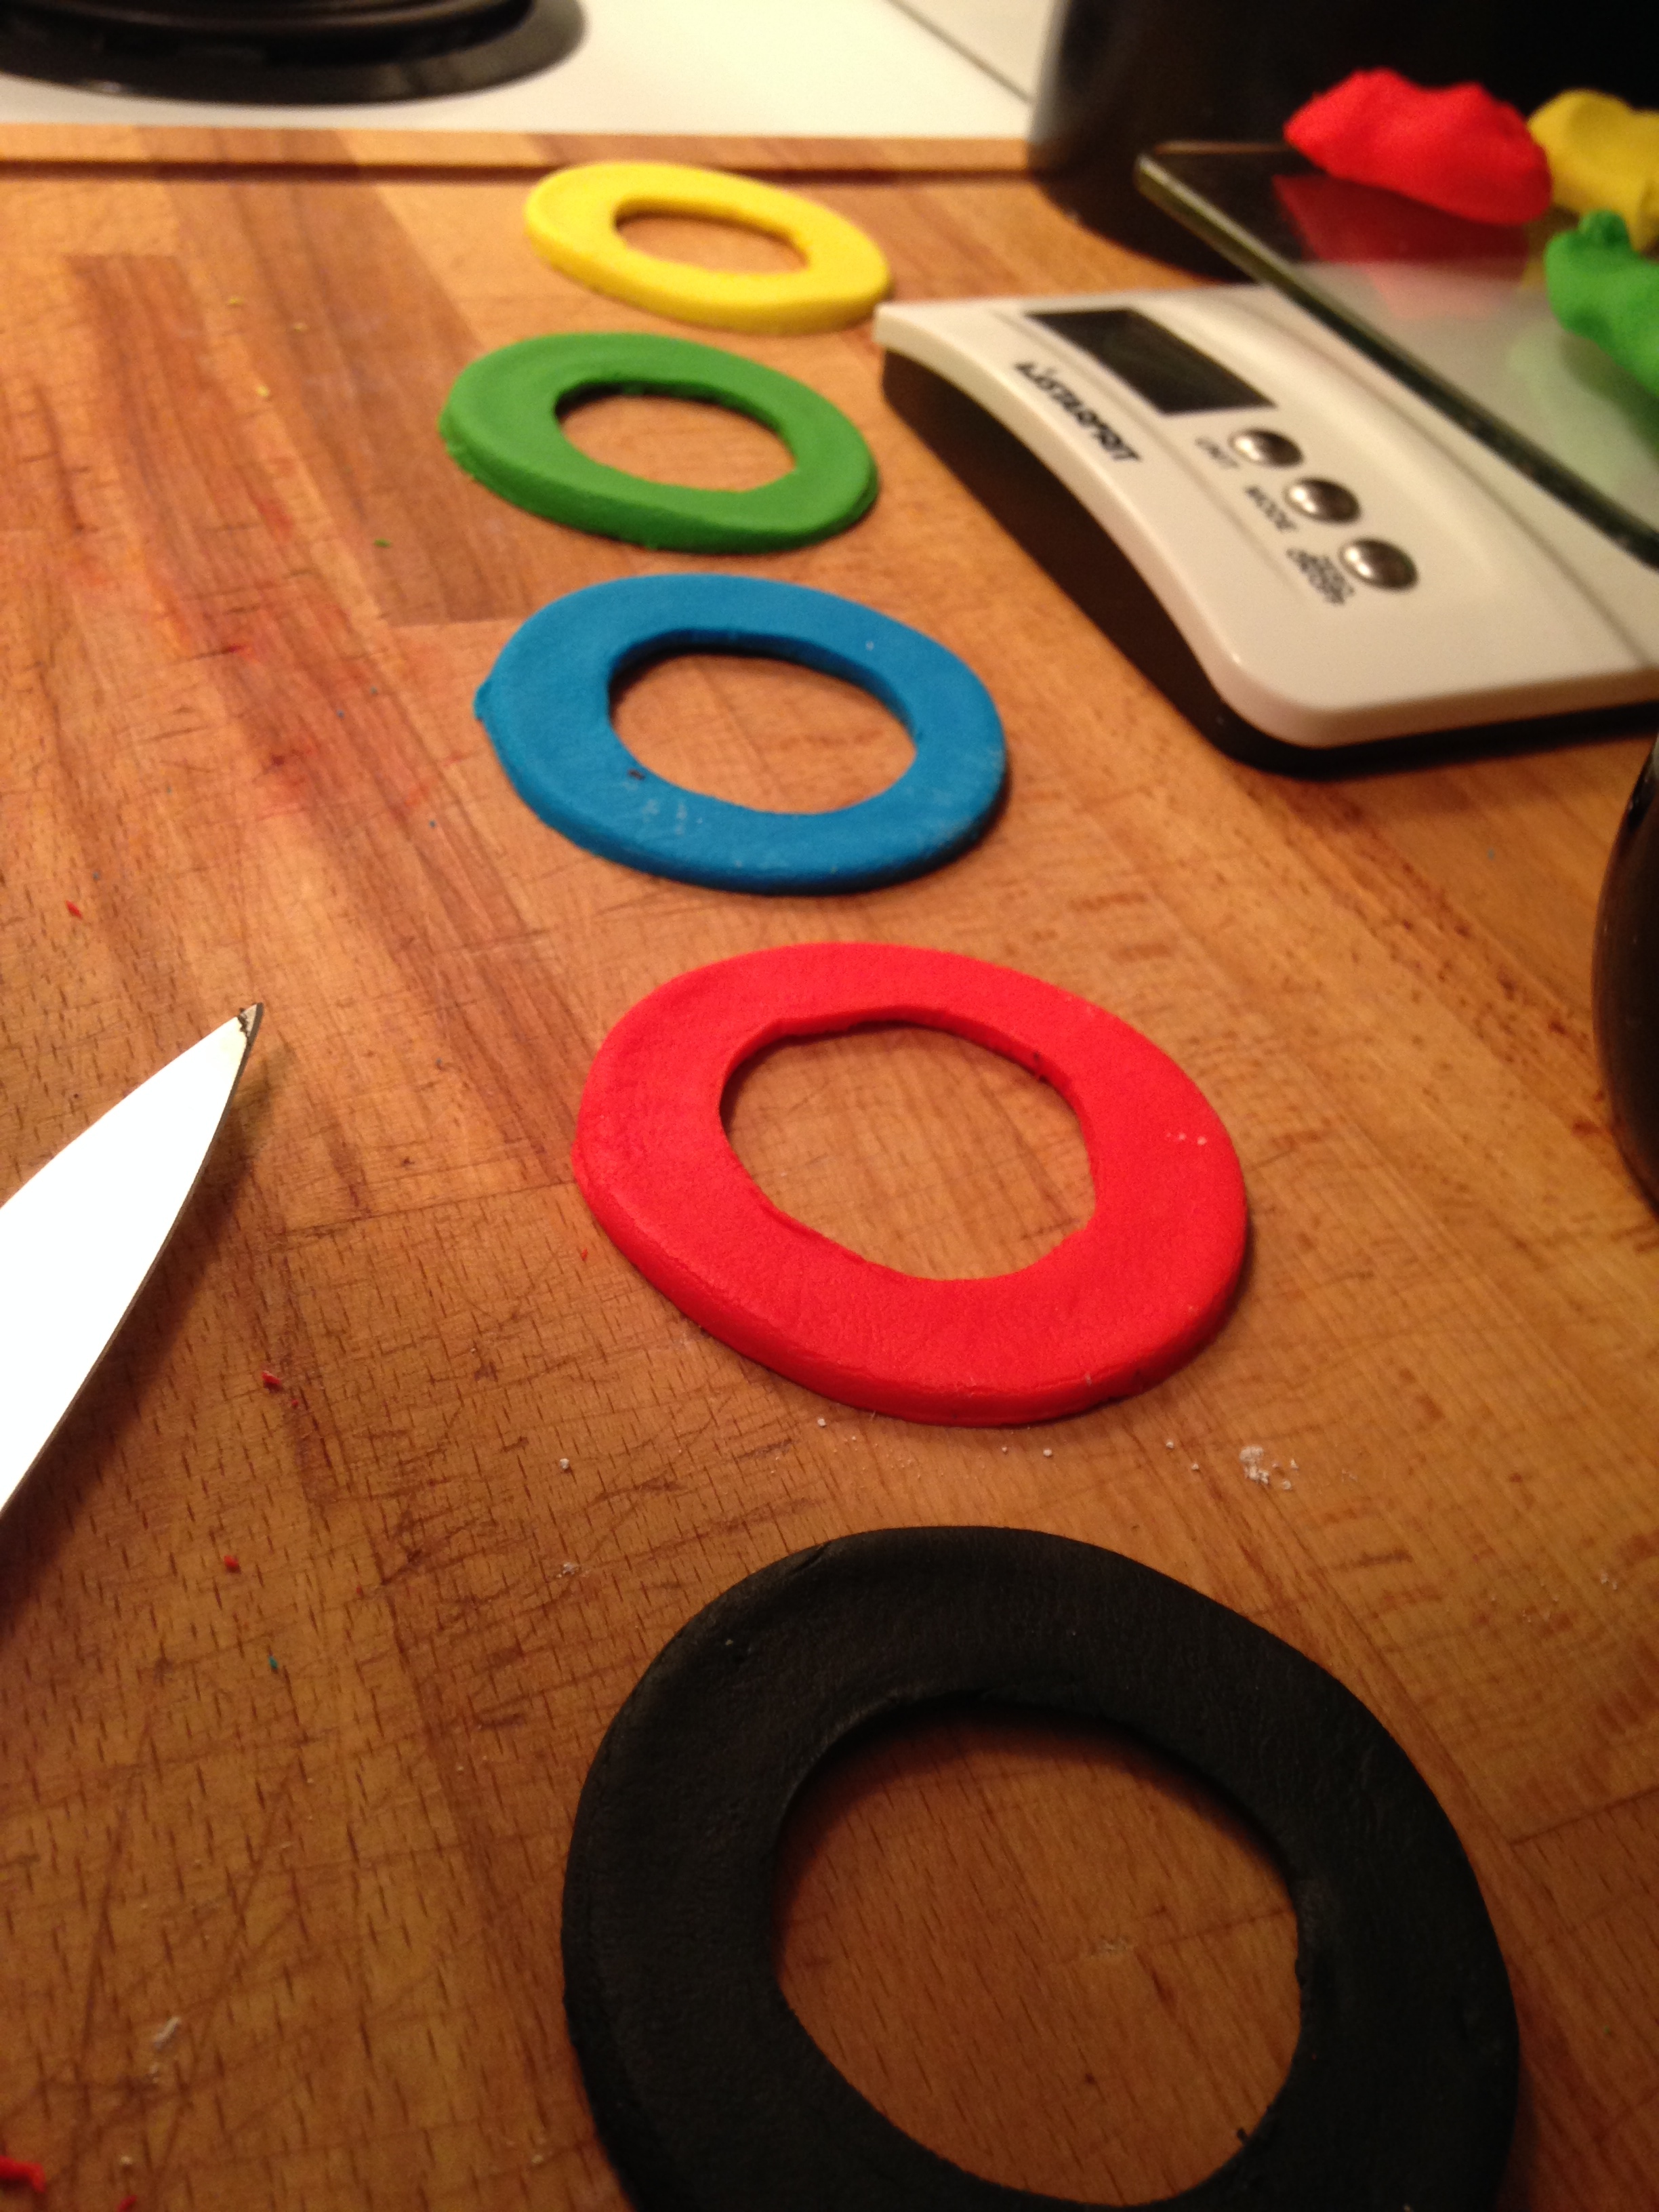
I used a super simple marshmallow fondant. Being the second time I've made this it went a loooot faster. For the Olympic rings, I separated out 5 X 3 ounce pieces of the finished fondant. I use concentrated colour from Wilton (it's meant for icing colour so yay!). Basically, put the colour in the centre of the ball of fondant and knead it until the colour is solid. If you don't have gloves you can try using plastic wrap mittens to keep the colour off your fingers. Key being TRY.

8 ounces miniature marshmallows (4 cups not packed, or half of a 16-ounce bag)
2 tbsp water
1 pound icing sugar (4 cups), plus extra for kneading and rolling it out

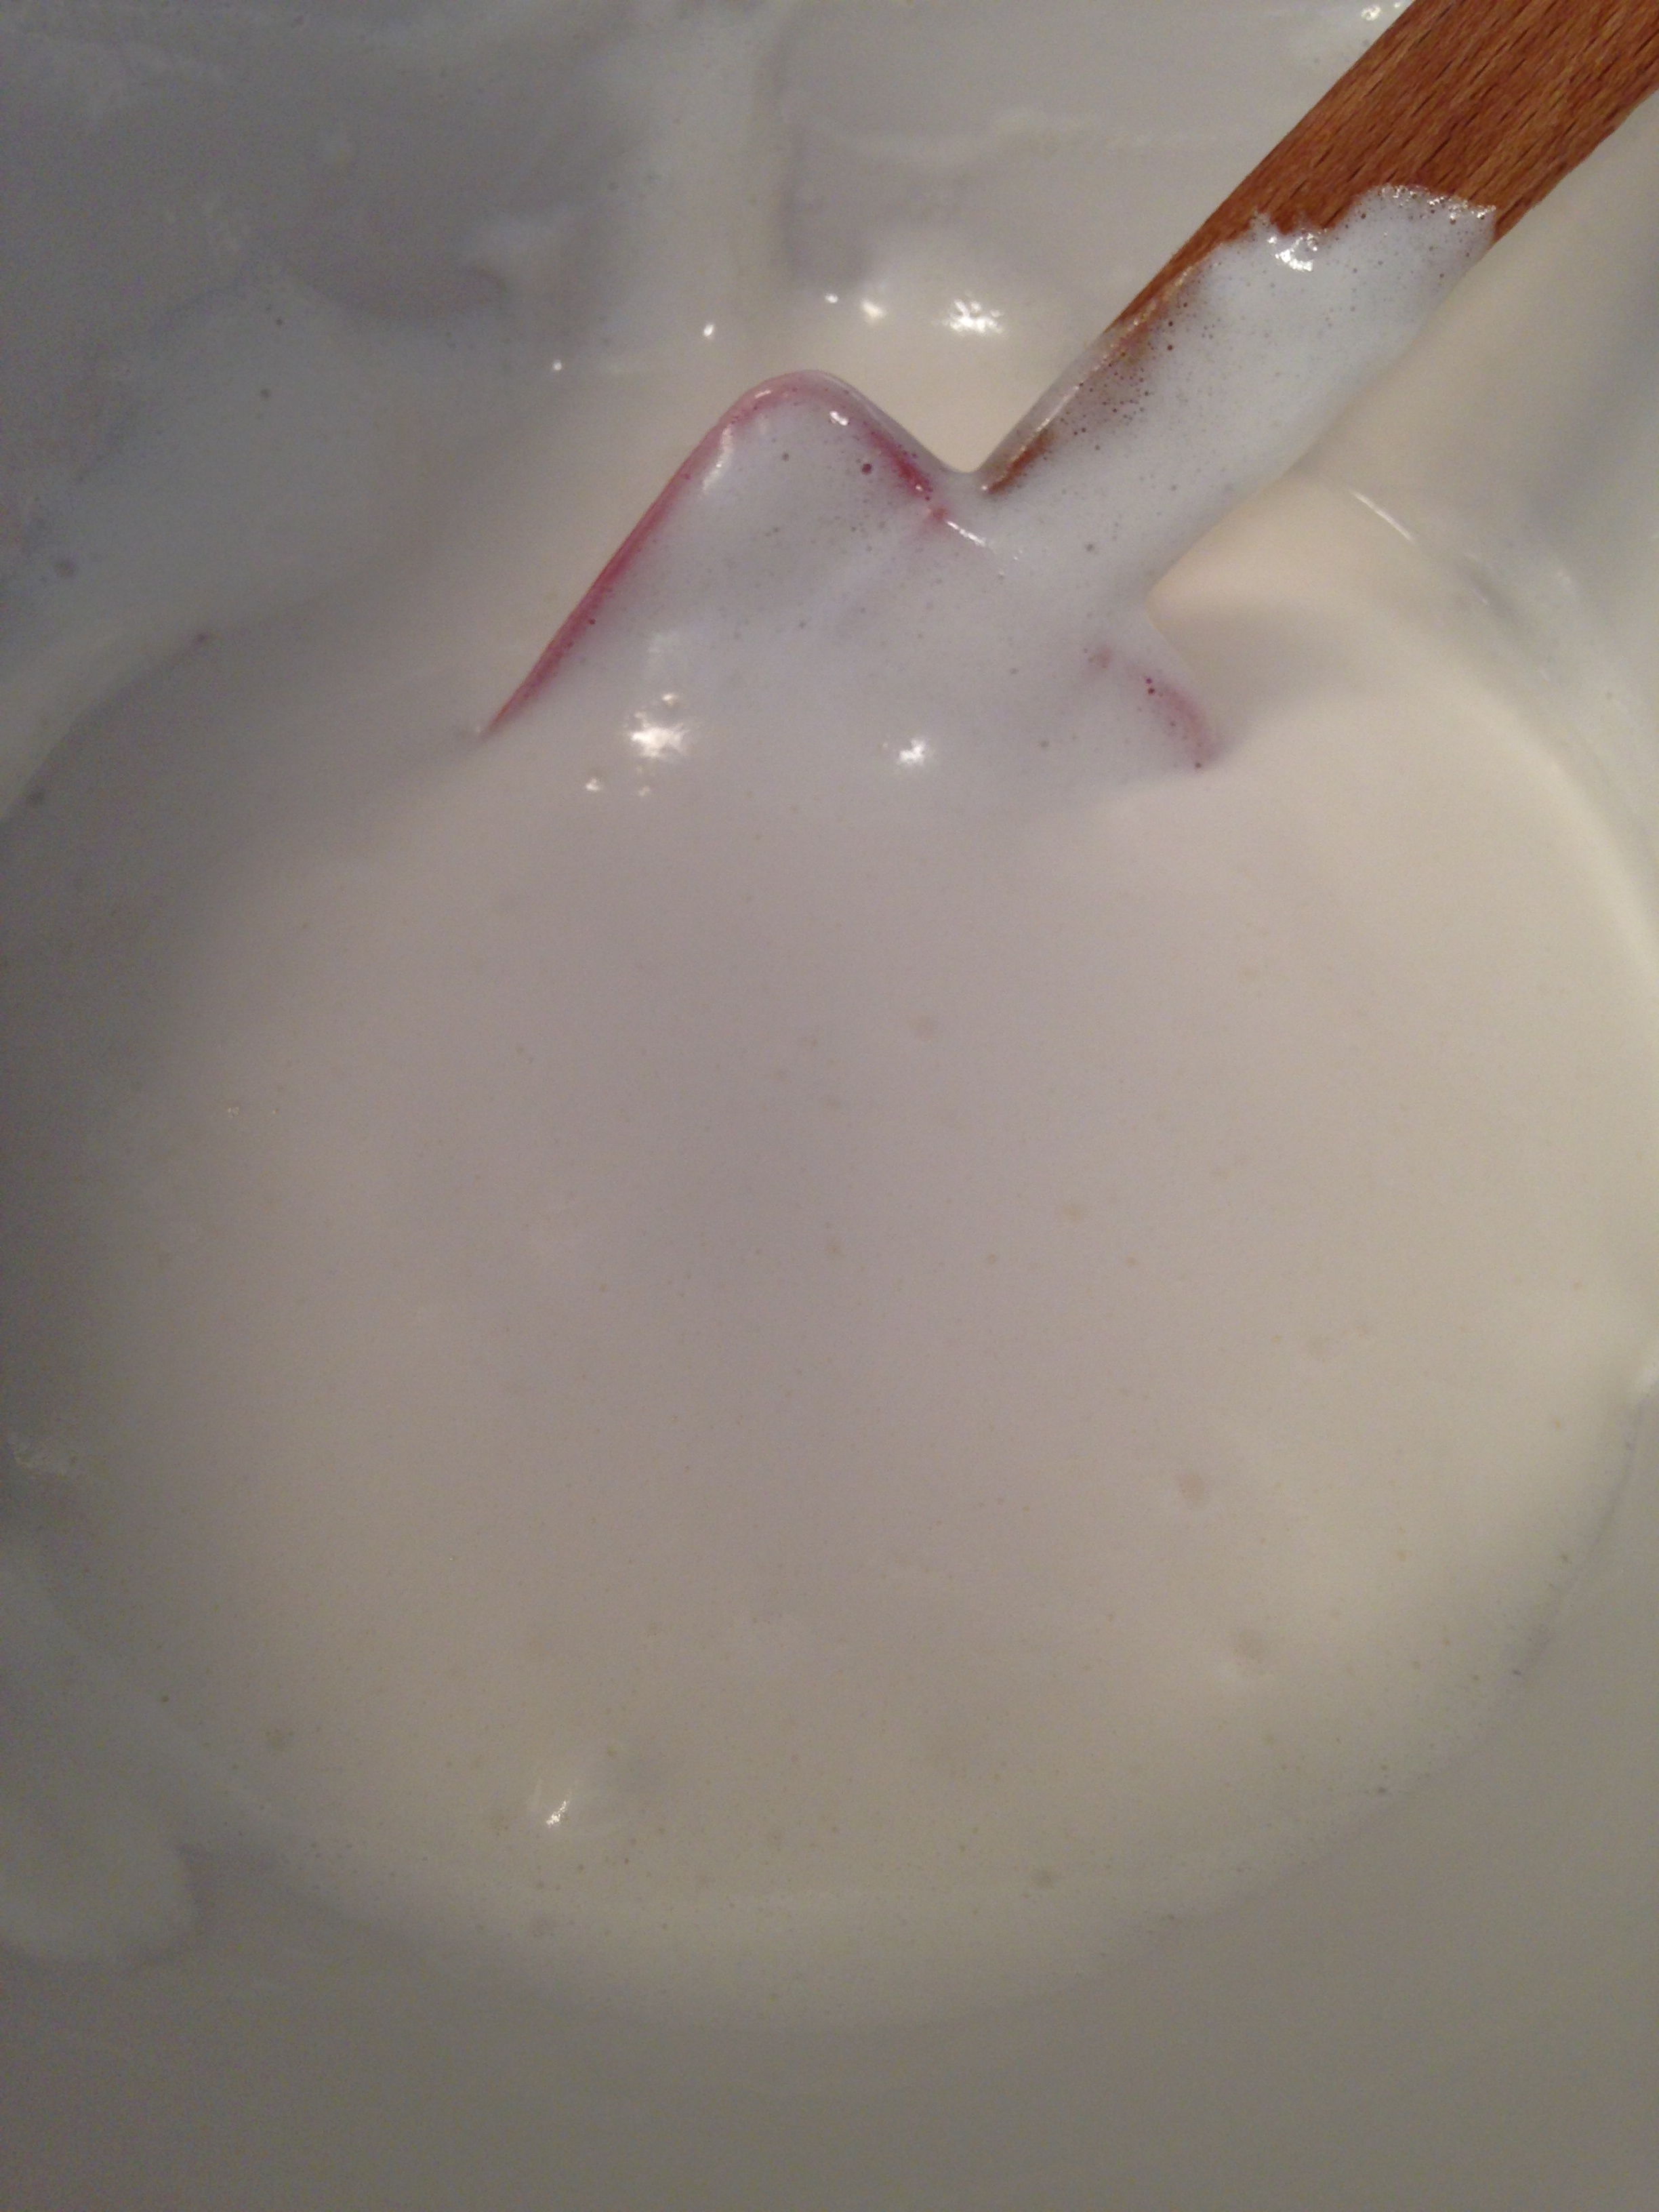
  1. Place the marshmallows and water in a large microwave-safe bowl. Microwave on high for 1 minute, until the marshmallows are puffy and expanded.
  2. Stir marshmallows with a rubber spatula until they are melted and smooth. (If some unmelted marshmallow pieces remain, return to the microwave for 30-45 seconds, until the marshmallow mixture is entirely smooth and free of lumps.)
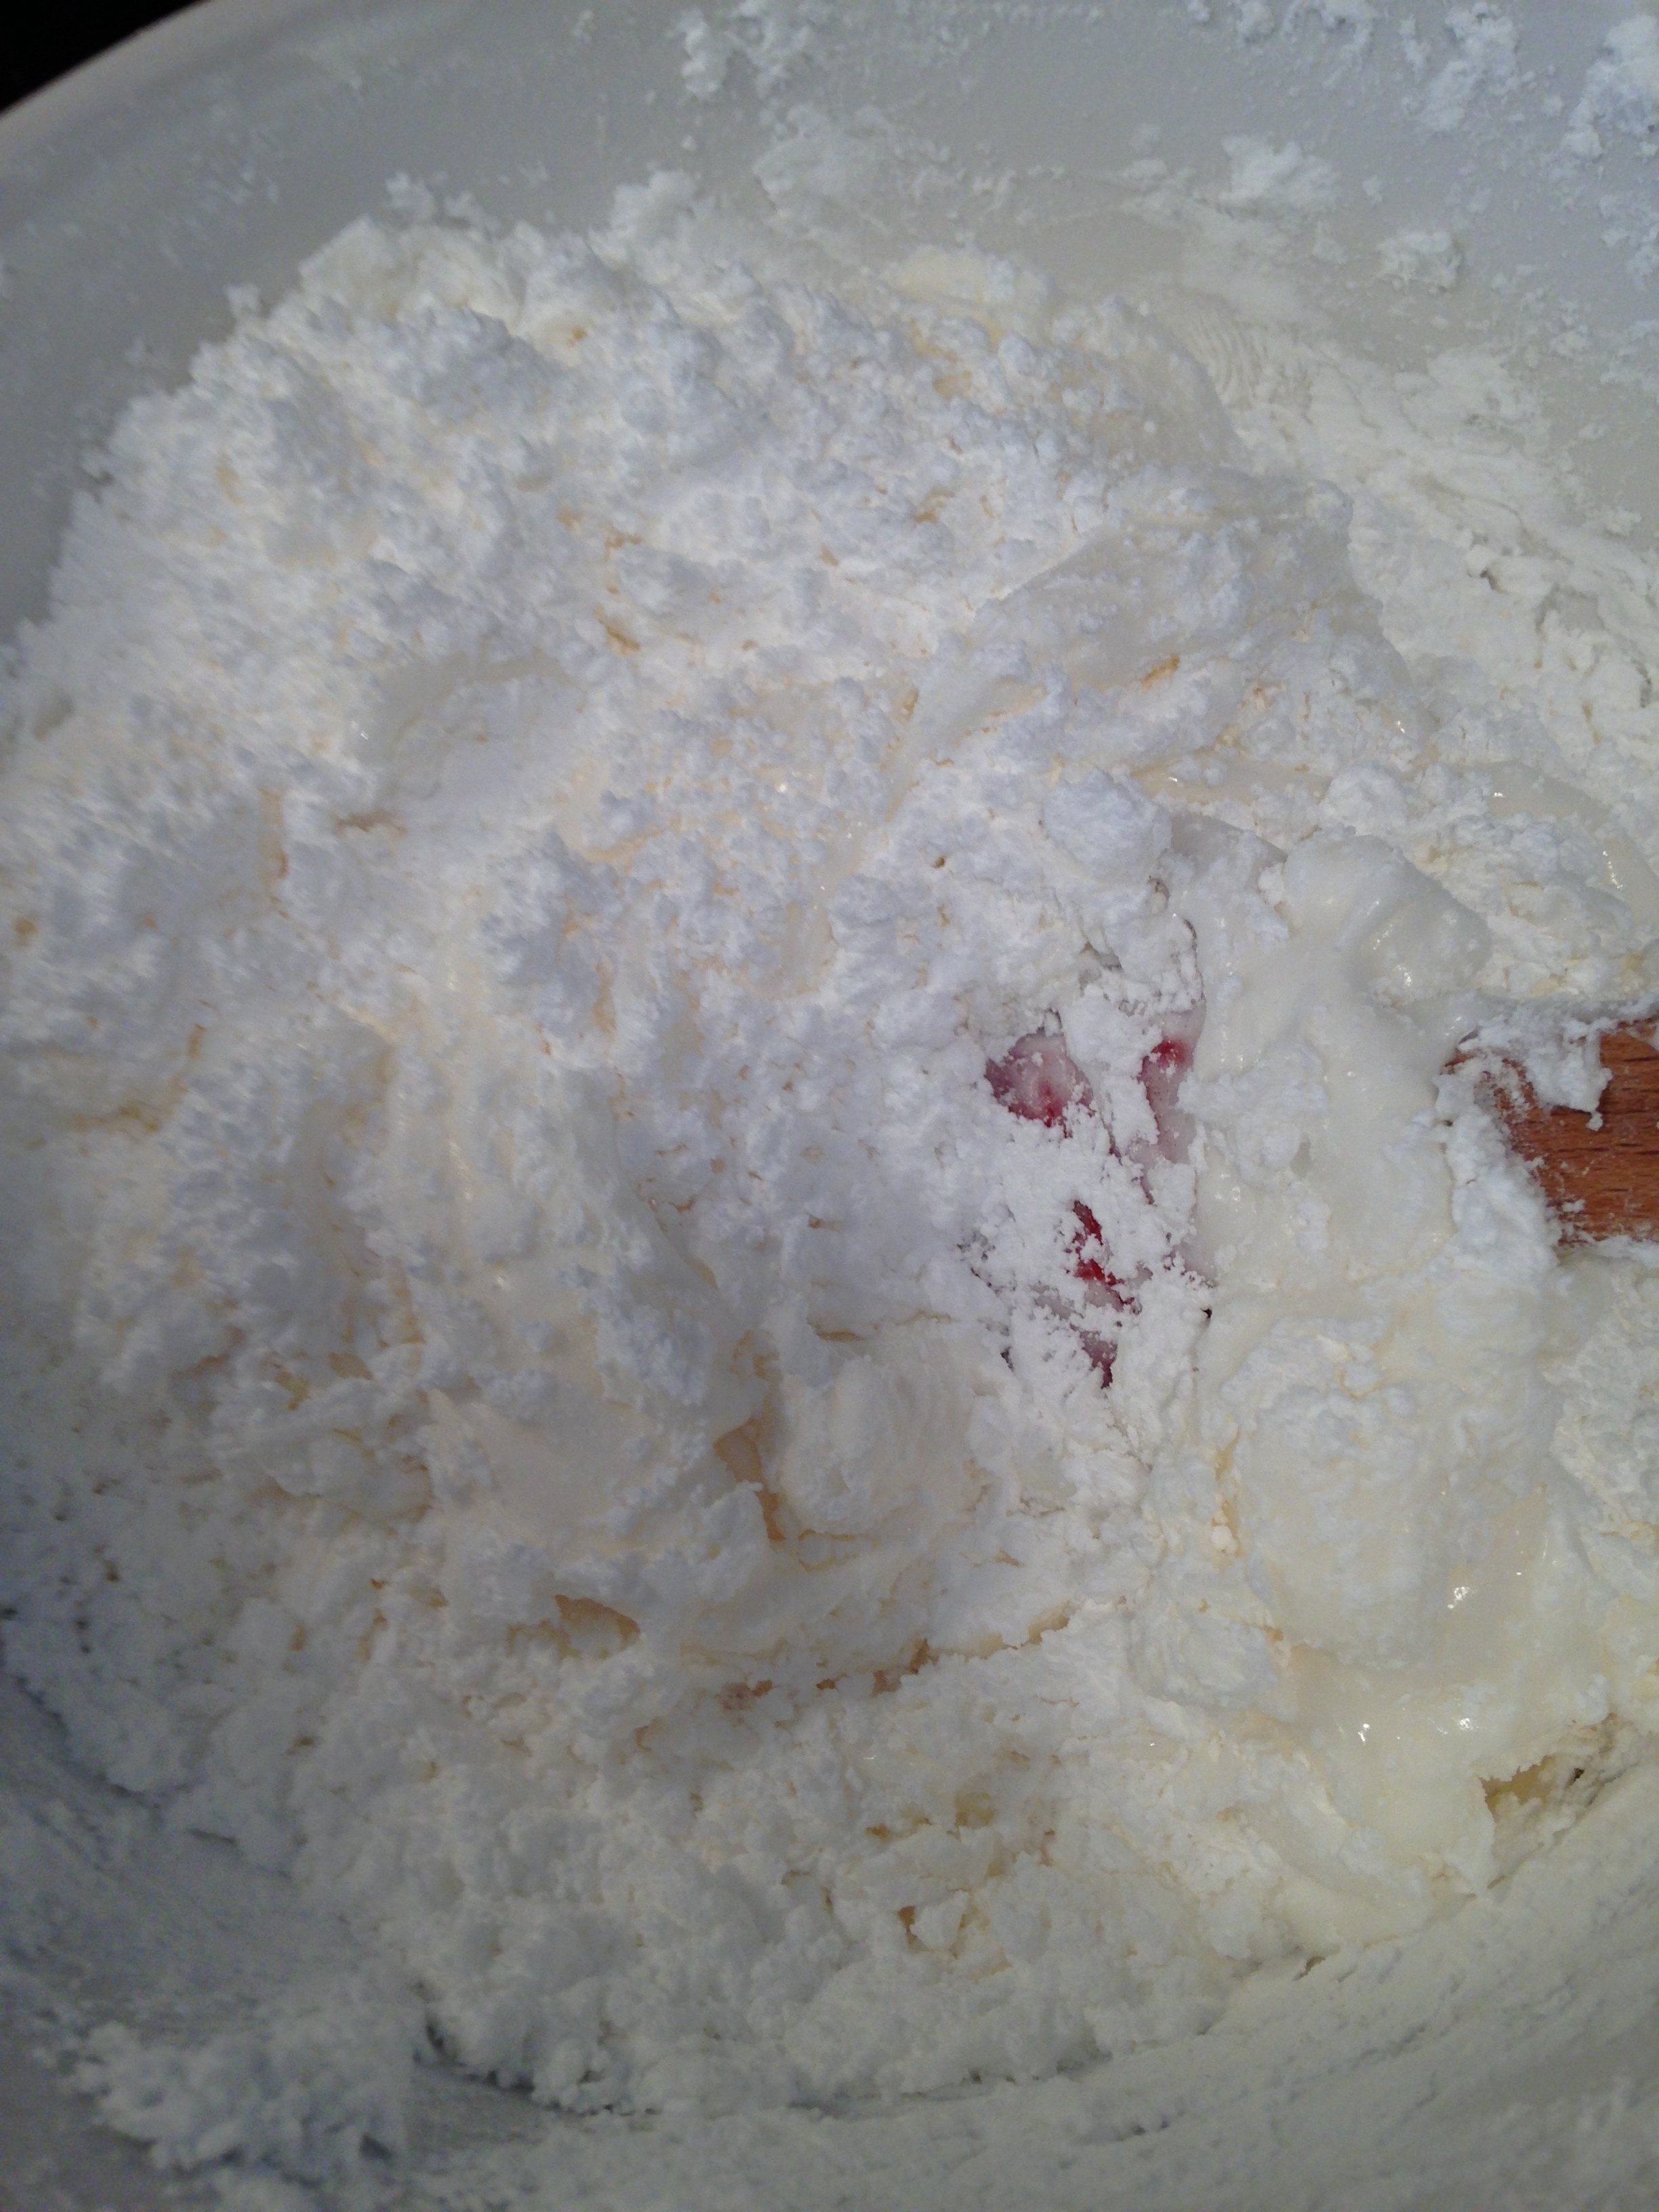
  3. Add the icing sugar and begin to stir with the spatula. Stir until the sugar begins to incorporate and it becomes impossible to stir anymore.
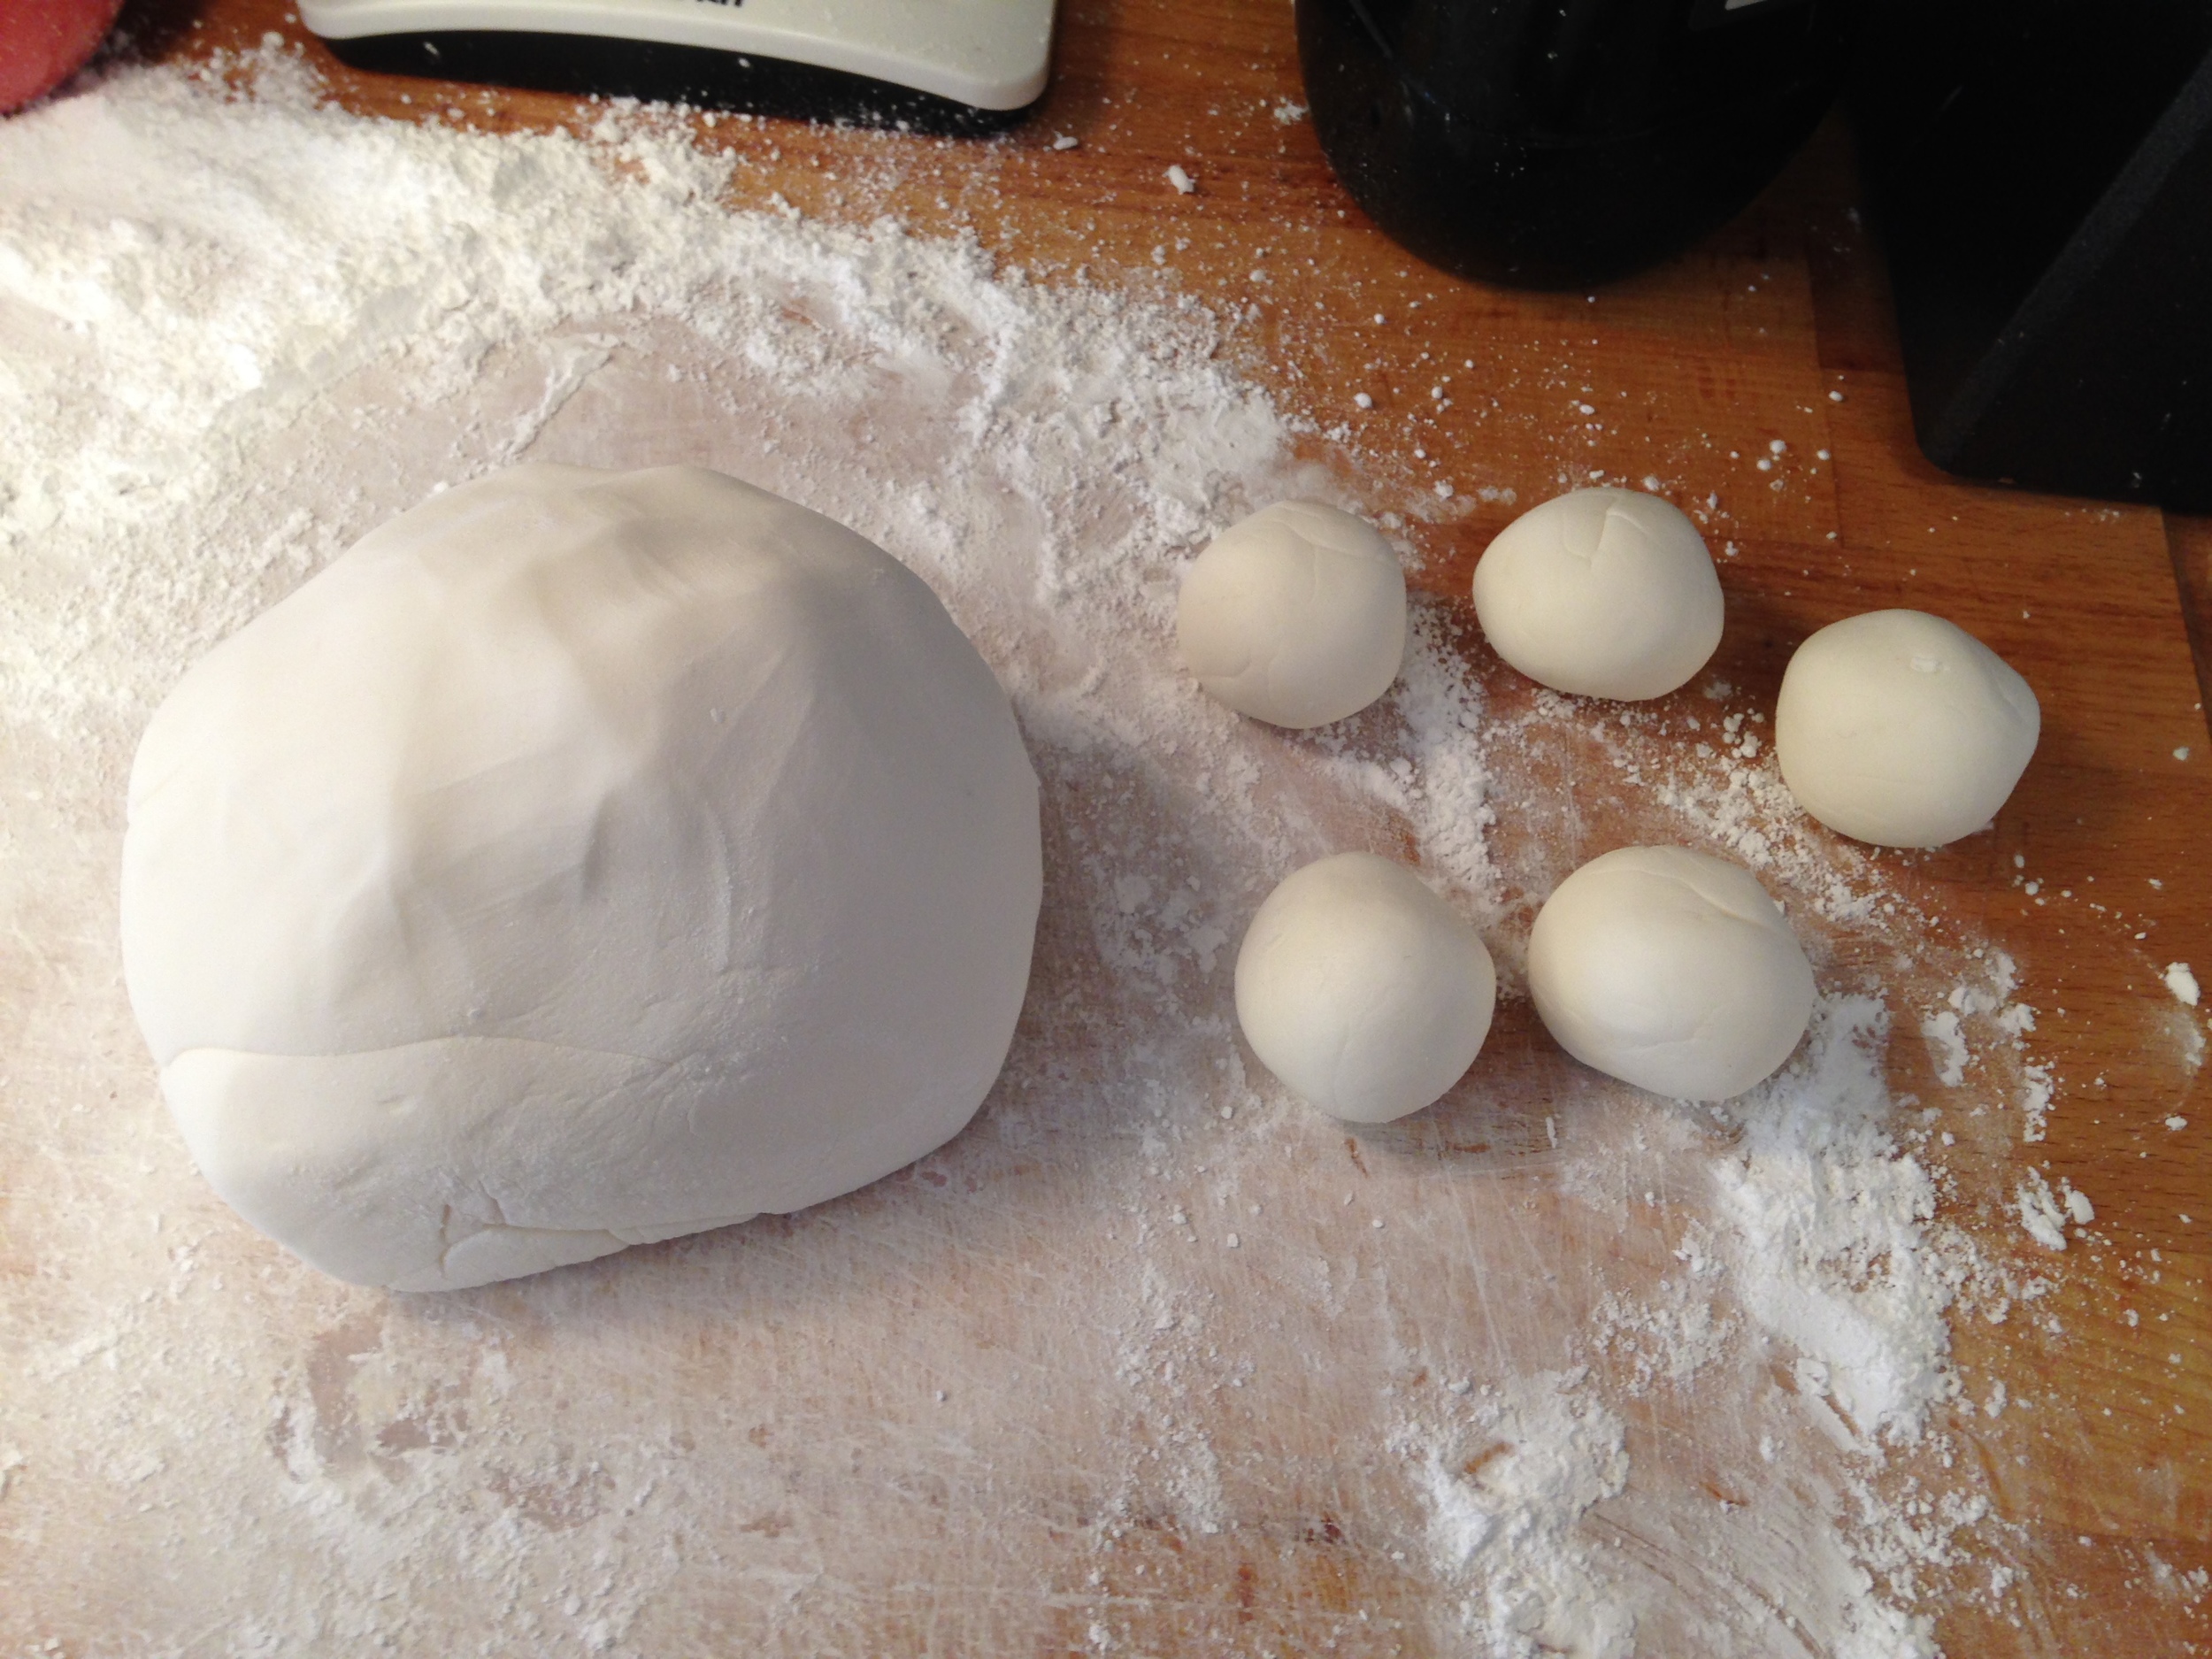
  4. Sprinkle icing sugar on a clean and dry counter. Scrape out the marshmallow goo onto prepared counter. It will be sticky and lumpy, with lots of sugar that has not been incorporated yet. Begin to knead the fondant mixture like dough, working the sugar into the marshmallow goo with your hands.
  5. Continue to knead the fondant until it smoothes out and loses its stickiness. Add more sugar if necessary, but stop adding sugar once it is smooth. (Too much sugar will make it stiff and difficult to work with.) Once the fondant is a smooth ball, it is ready to be used.
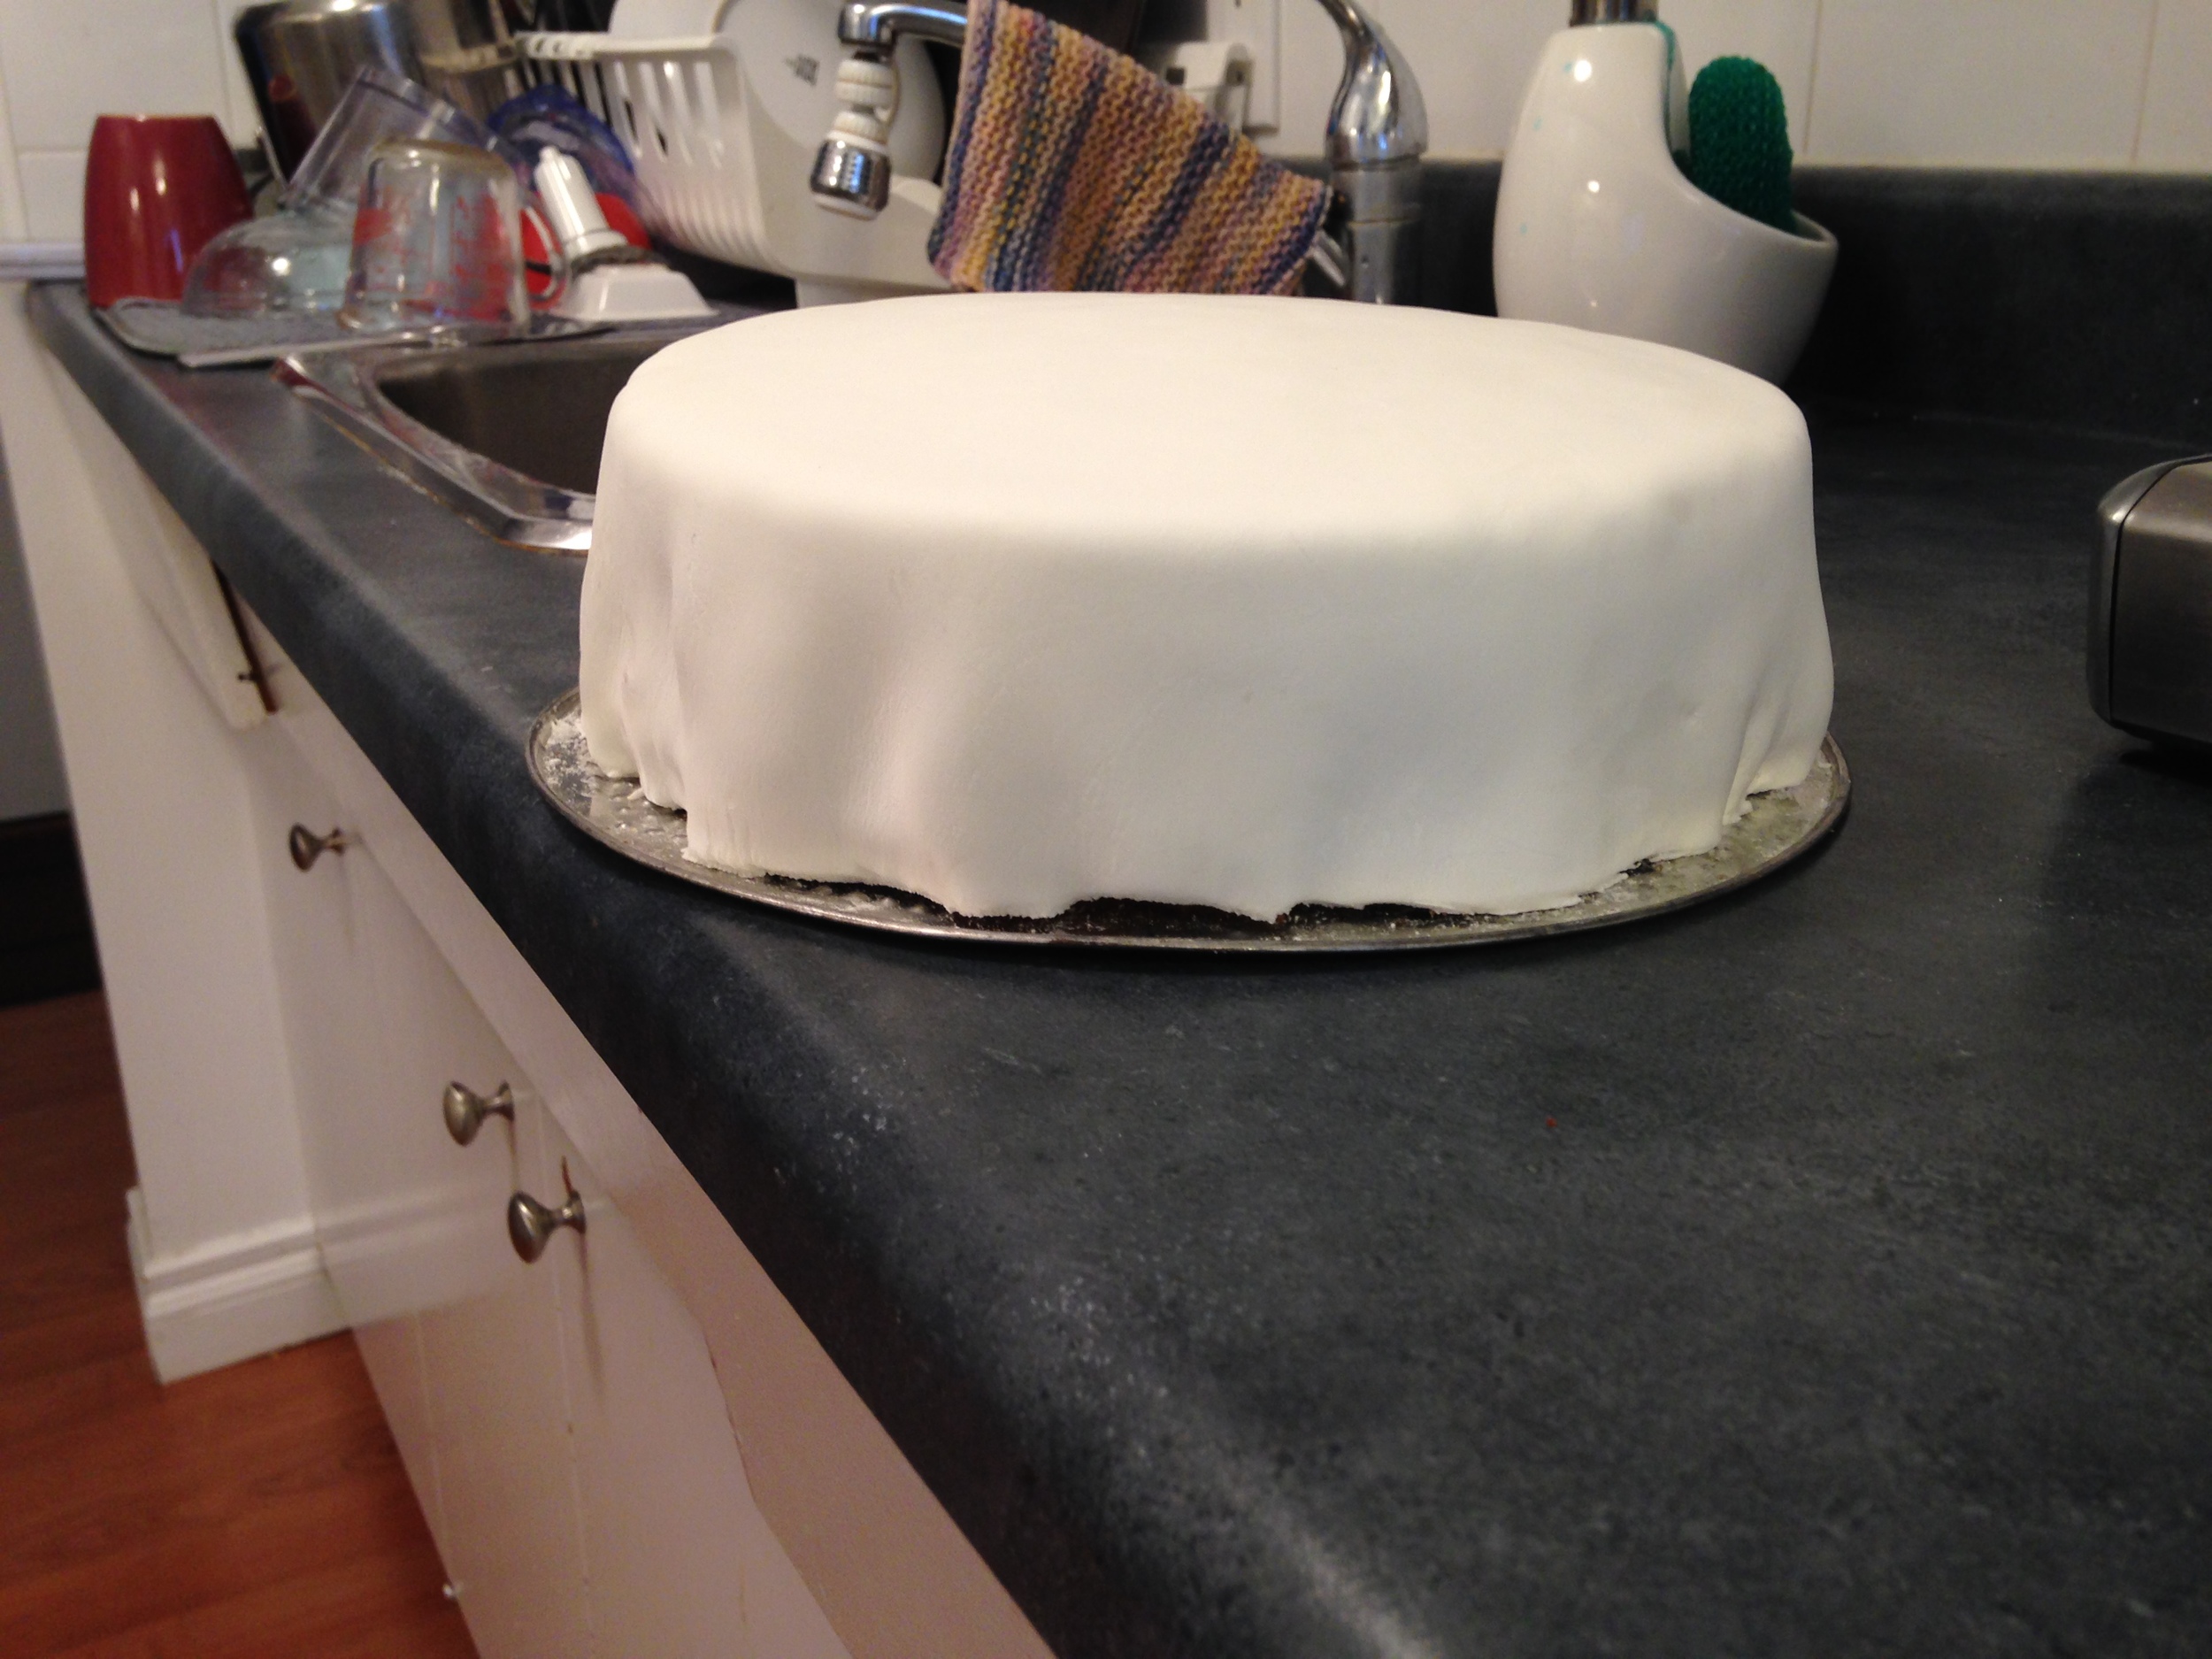
  6. To roll out the fondant, cover a clean and dry counter in icing sugar. Using a rolling pin, start rolling the ball of fondant out by making cross like strokes with your rolling pin. Flip the flattened fondant ball over and repeat. Eventually you will get the point where you don't have to flip it anymore. Roll it to about 1 or a half centimetres. Pick it up gently and centre it over your cake. Lay it down and then cut off the excess using a sharp knife. 
IMG_4153.jpg

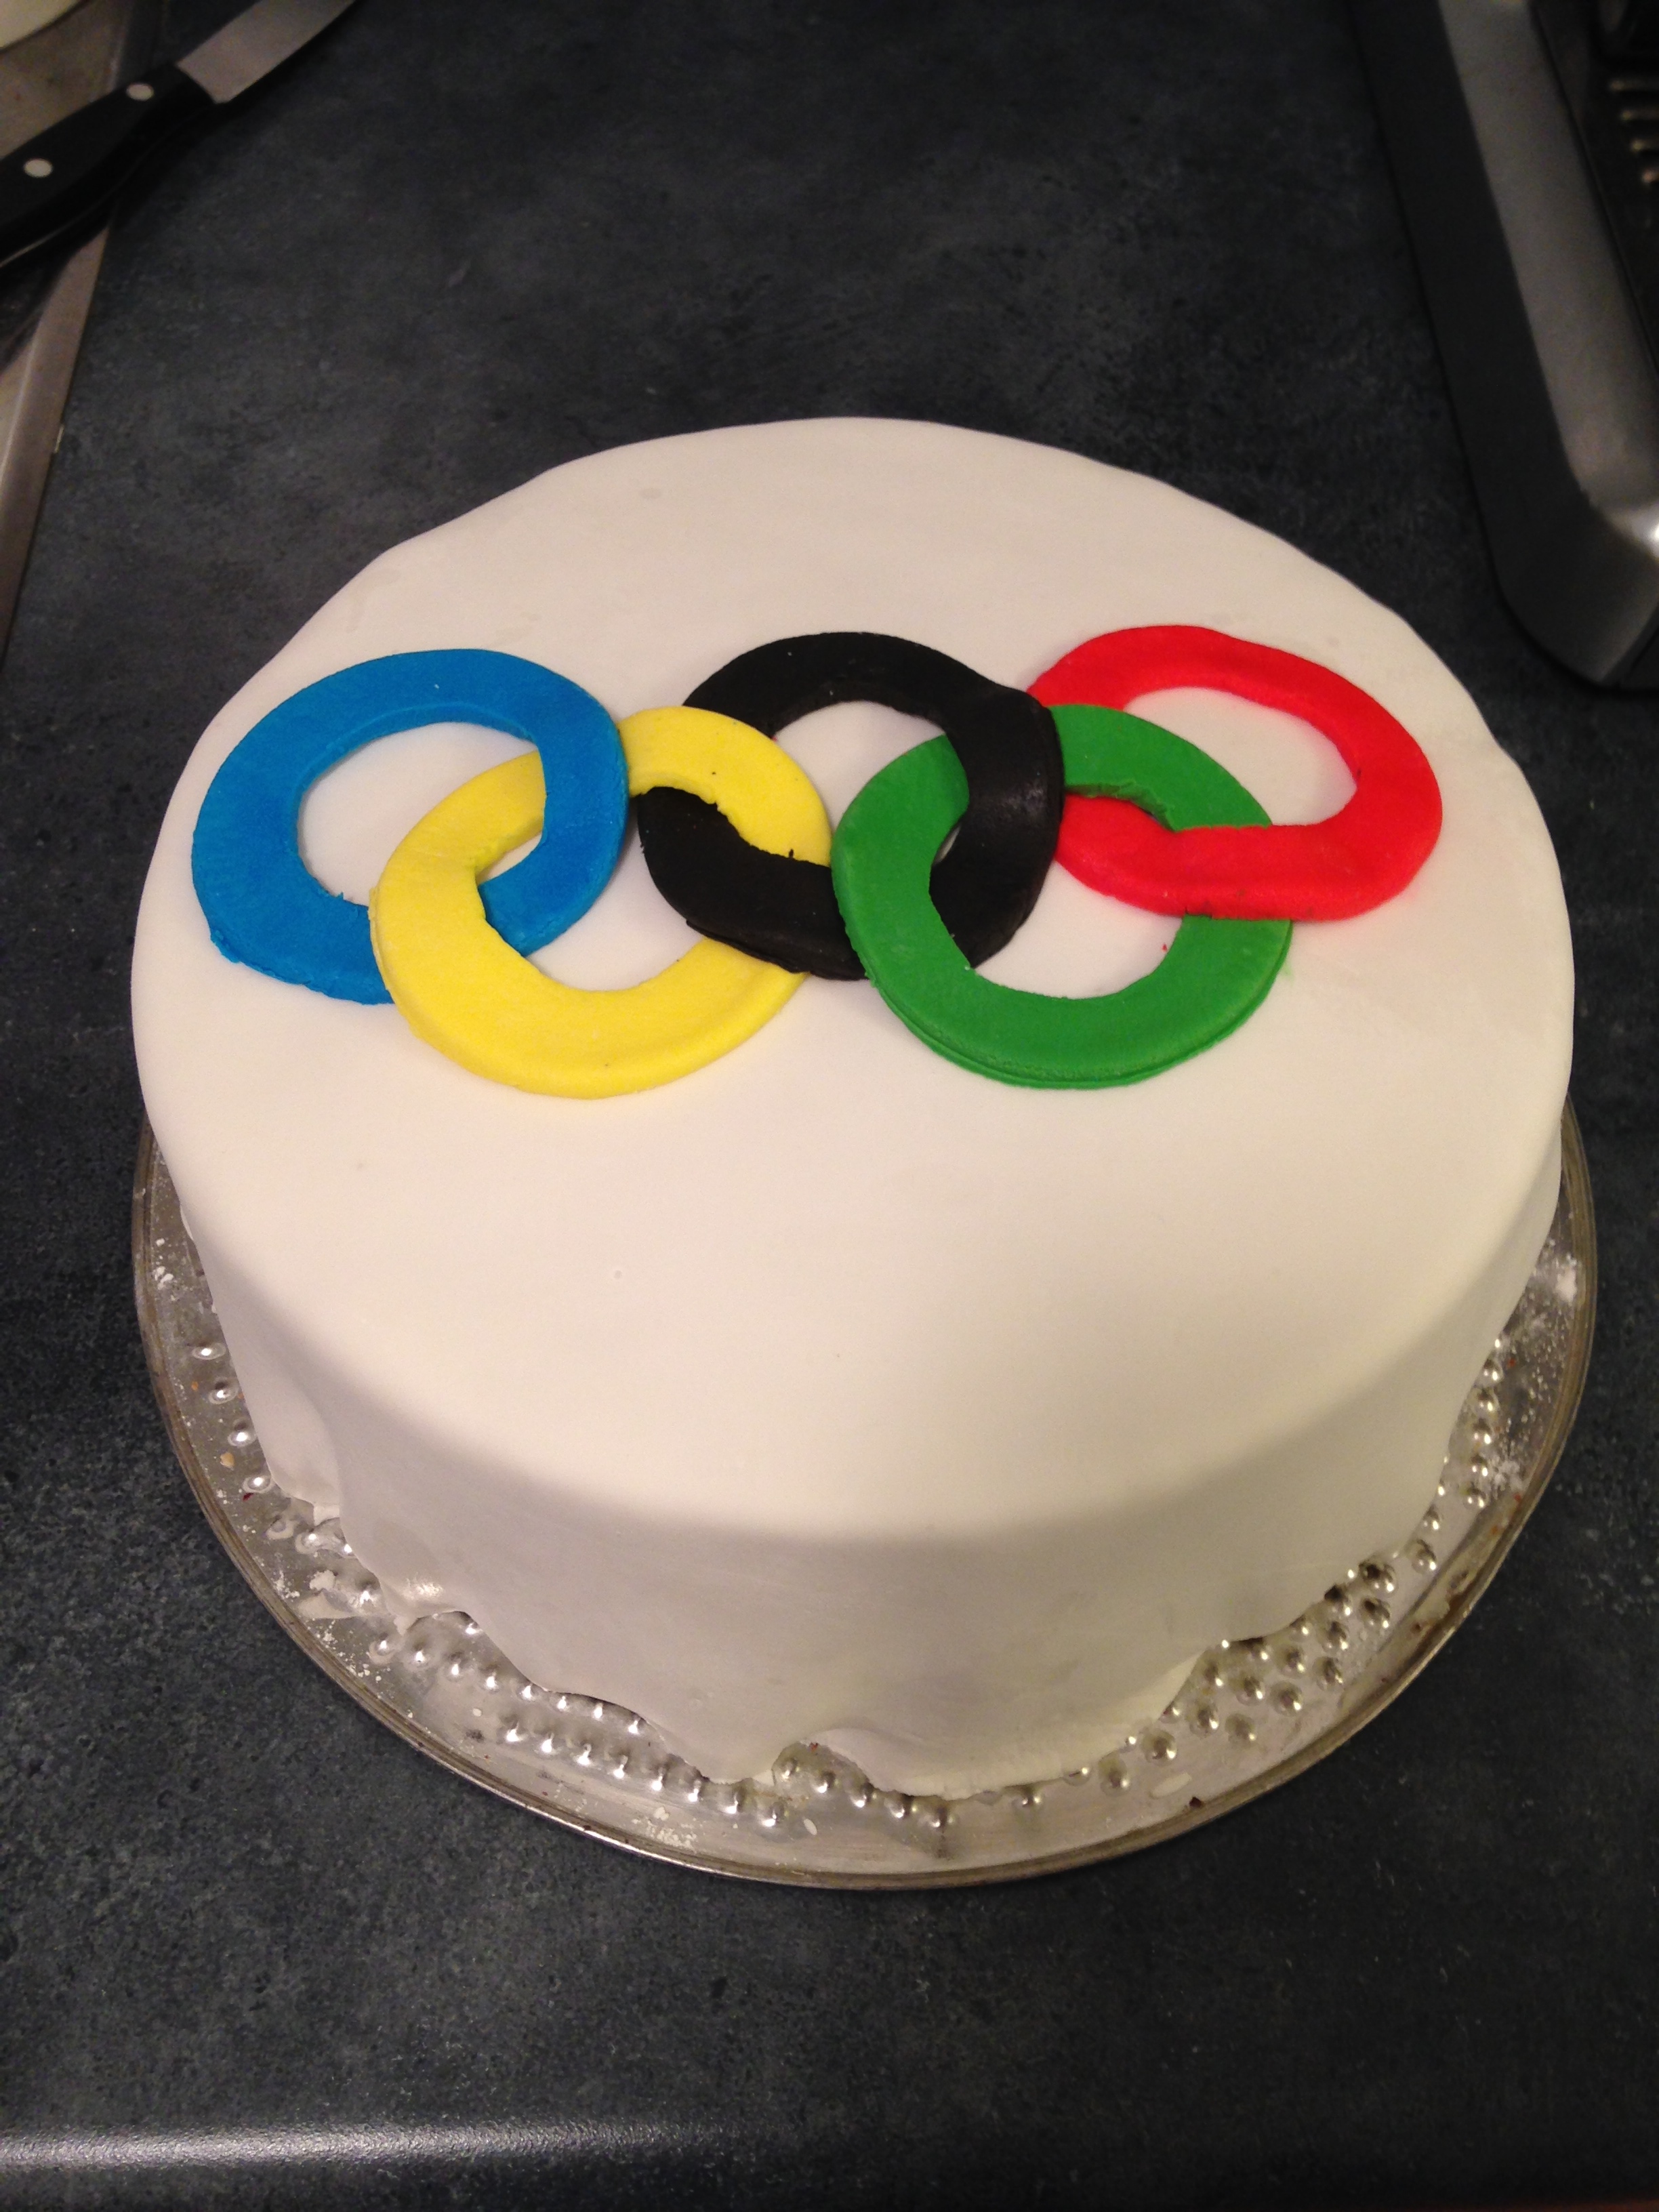
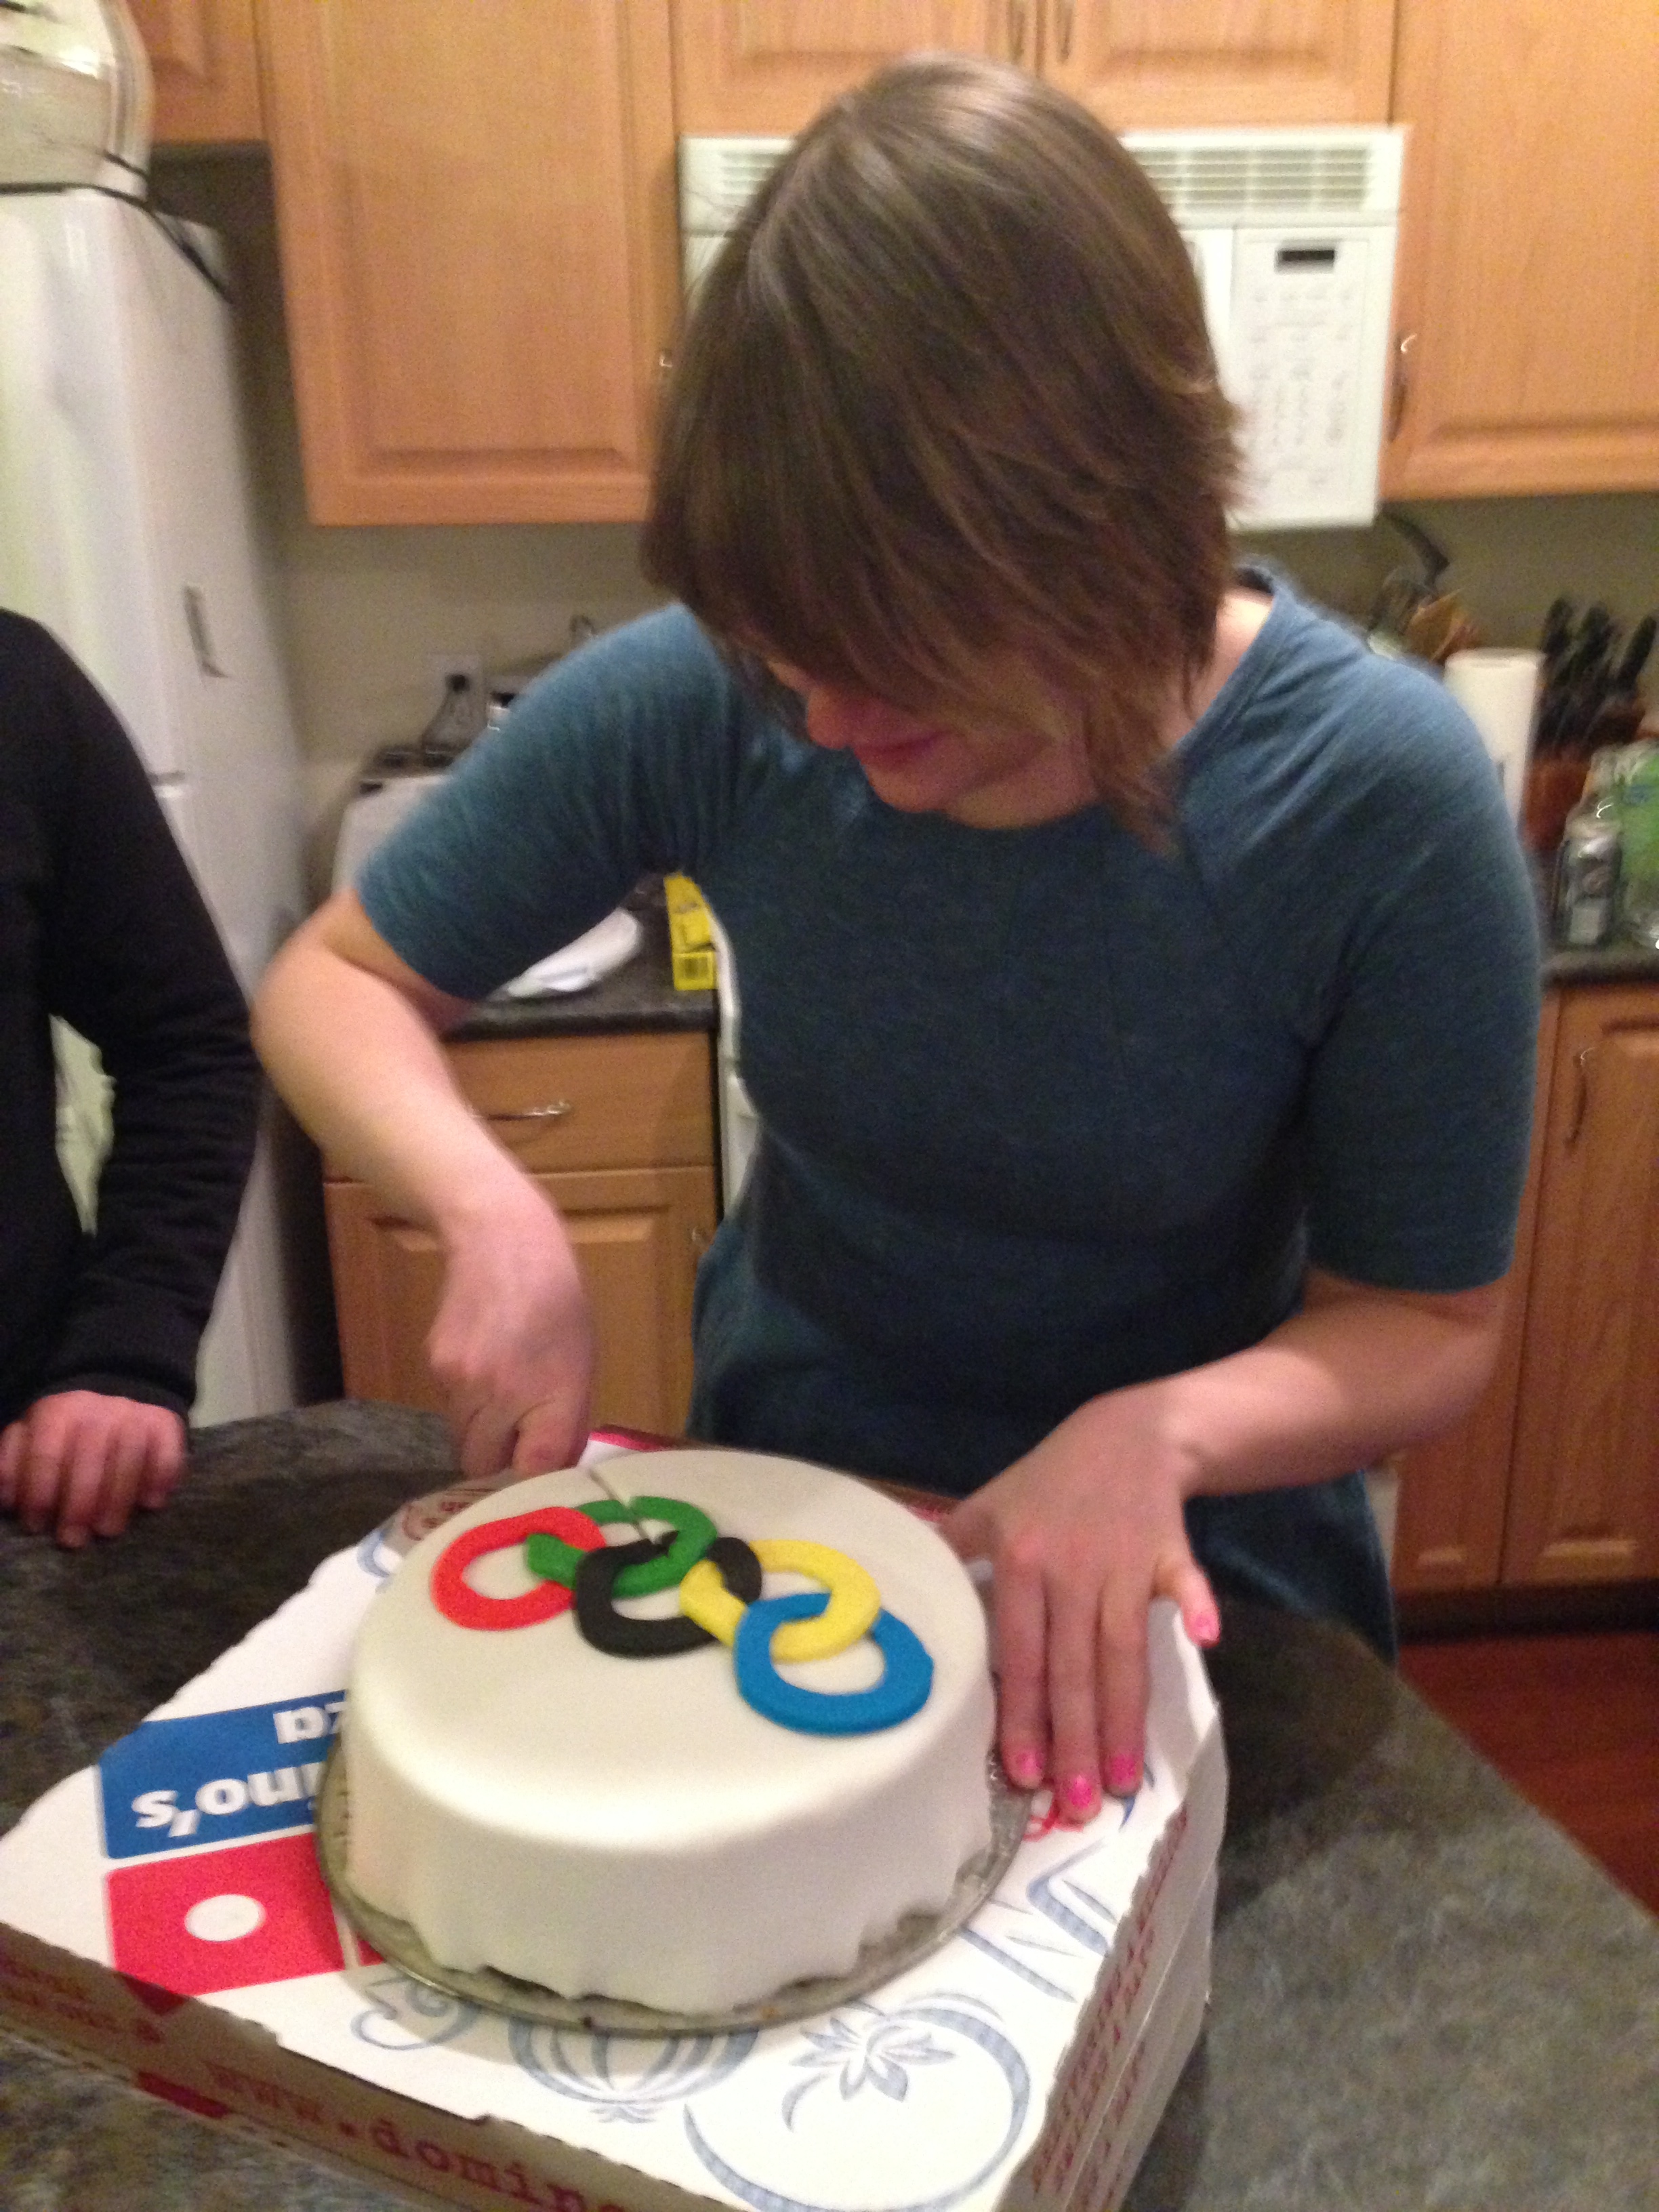
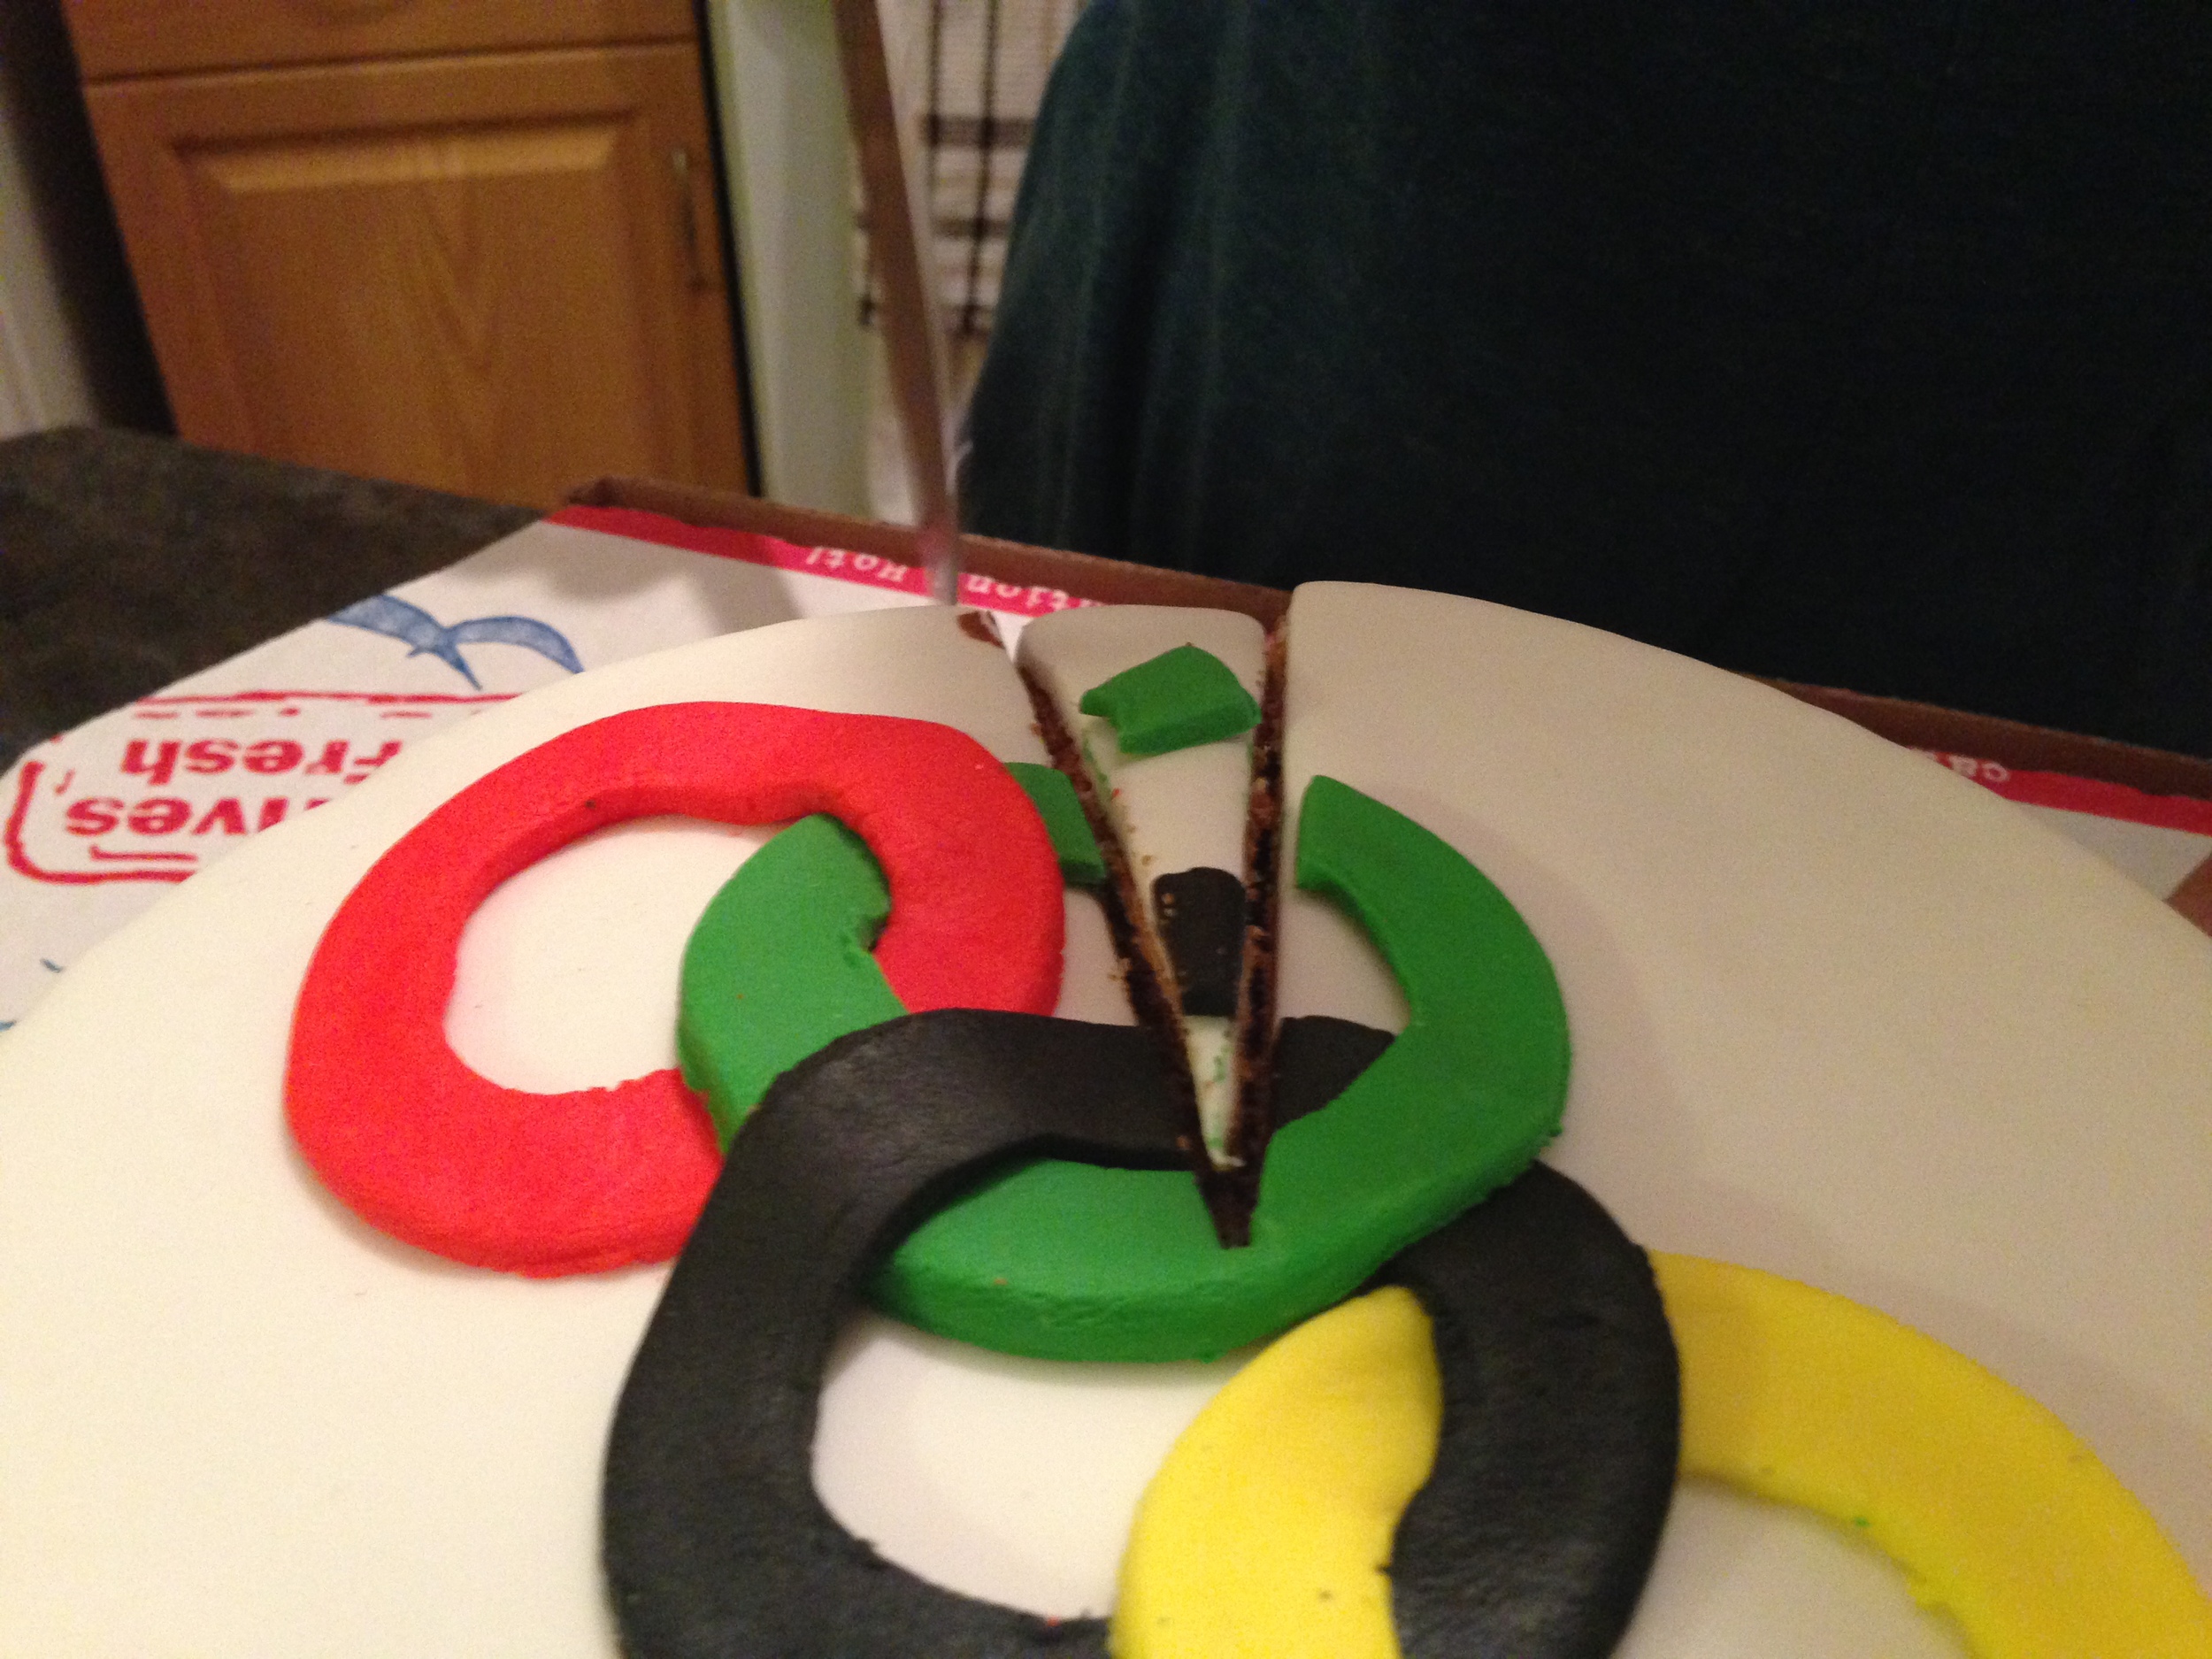
Once the caramel filling was cooled, and the cake too, I placed the bottom cake layer on a plater, spread the caramel filling on top, sprinkled on the toasted hazelnuts, and placed the second cake layer on top. Then it was rolling out the white fondant and laying it over the cake. Lastly, I cut out the rings using a variety of cup rims as cookie cutters. Et Voila! Edible Olympic rings.

Watching the Winter Olympics is very inspiring. But, really, the best part is listening to the snow boarding commentary while eating cake. So Clutch Man. So Clutch.

Cheers!

-Andrea

The Half-Assed Hobbyist

The Baked Alaska

As part of Christmas Baking 2013.

The last sugar filled treat I made during the battle of Christmas 2013. This was the first dessert I actually ate and the last one I made. (I made the Chiffon Cake and the Chocolate Hazelnut Tarts first.)

Baked Alaska

(Based off the Blue Flame Kitchen recipe. Changes made by me!)

An 9 inch round layer of your favourite Cake! (See below for my favourite)
Ice Cream (I used Cherry Vanilla)
1/4 cup pasteurized egg whites (Easy to find in your local grocers egg isle)
1/8 tsp cream of tartar
1/4 cup sugar

  1. Make the cake (boxed or otherwise); let it cool. Cover it in the ice cream, about an inch and a half thick. Wrap in plastic wrap and freeze flat for at least 2 hours (preferably on a sheet of tinfoil for easy transferring.)
  2. Preheat oven to 500ºF.
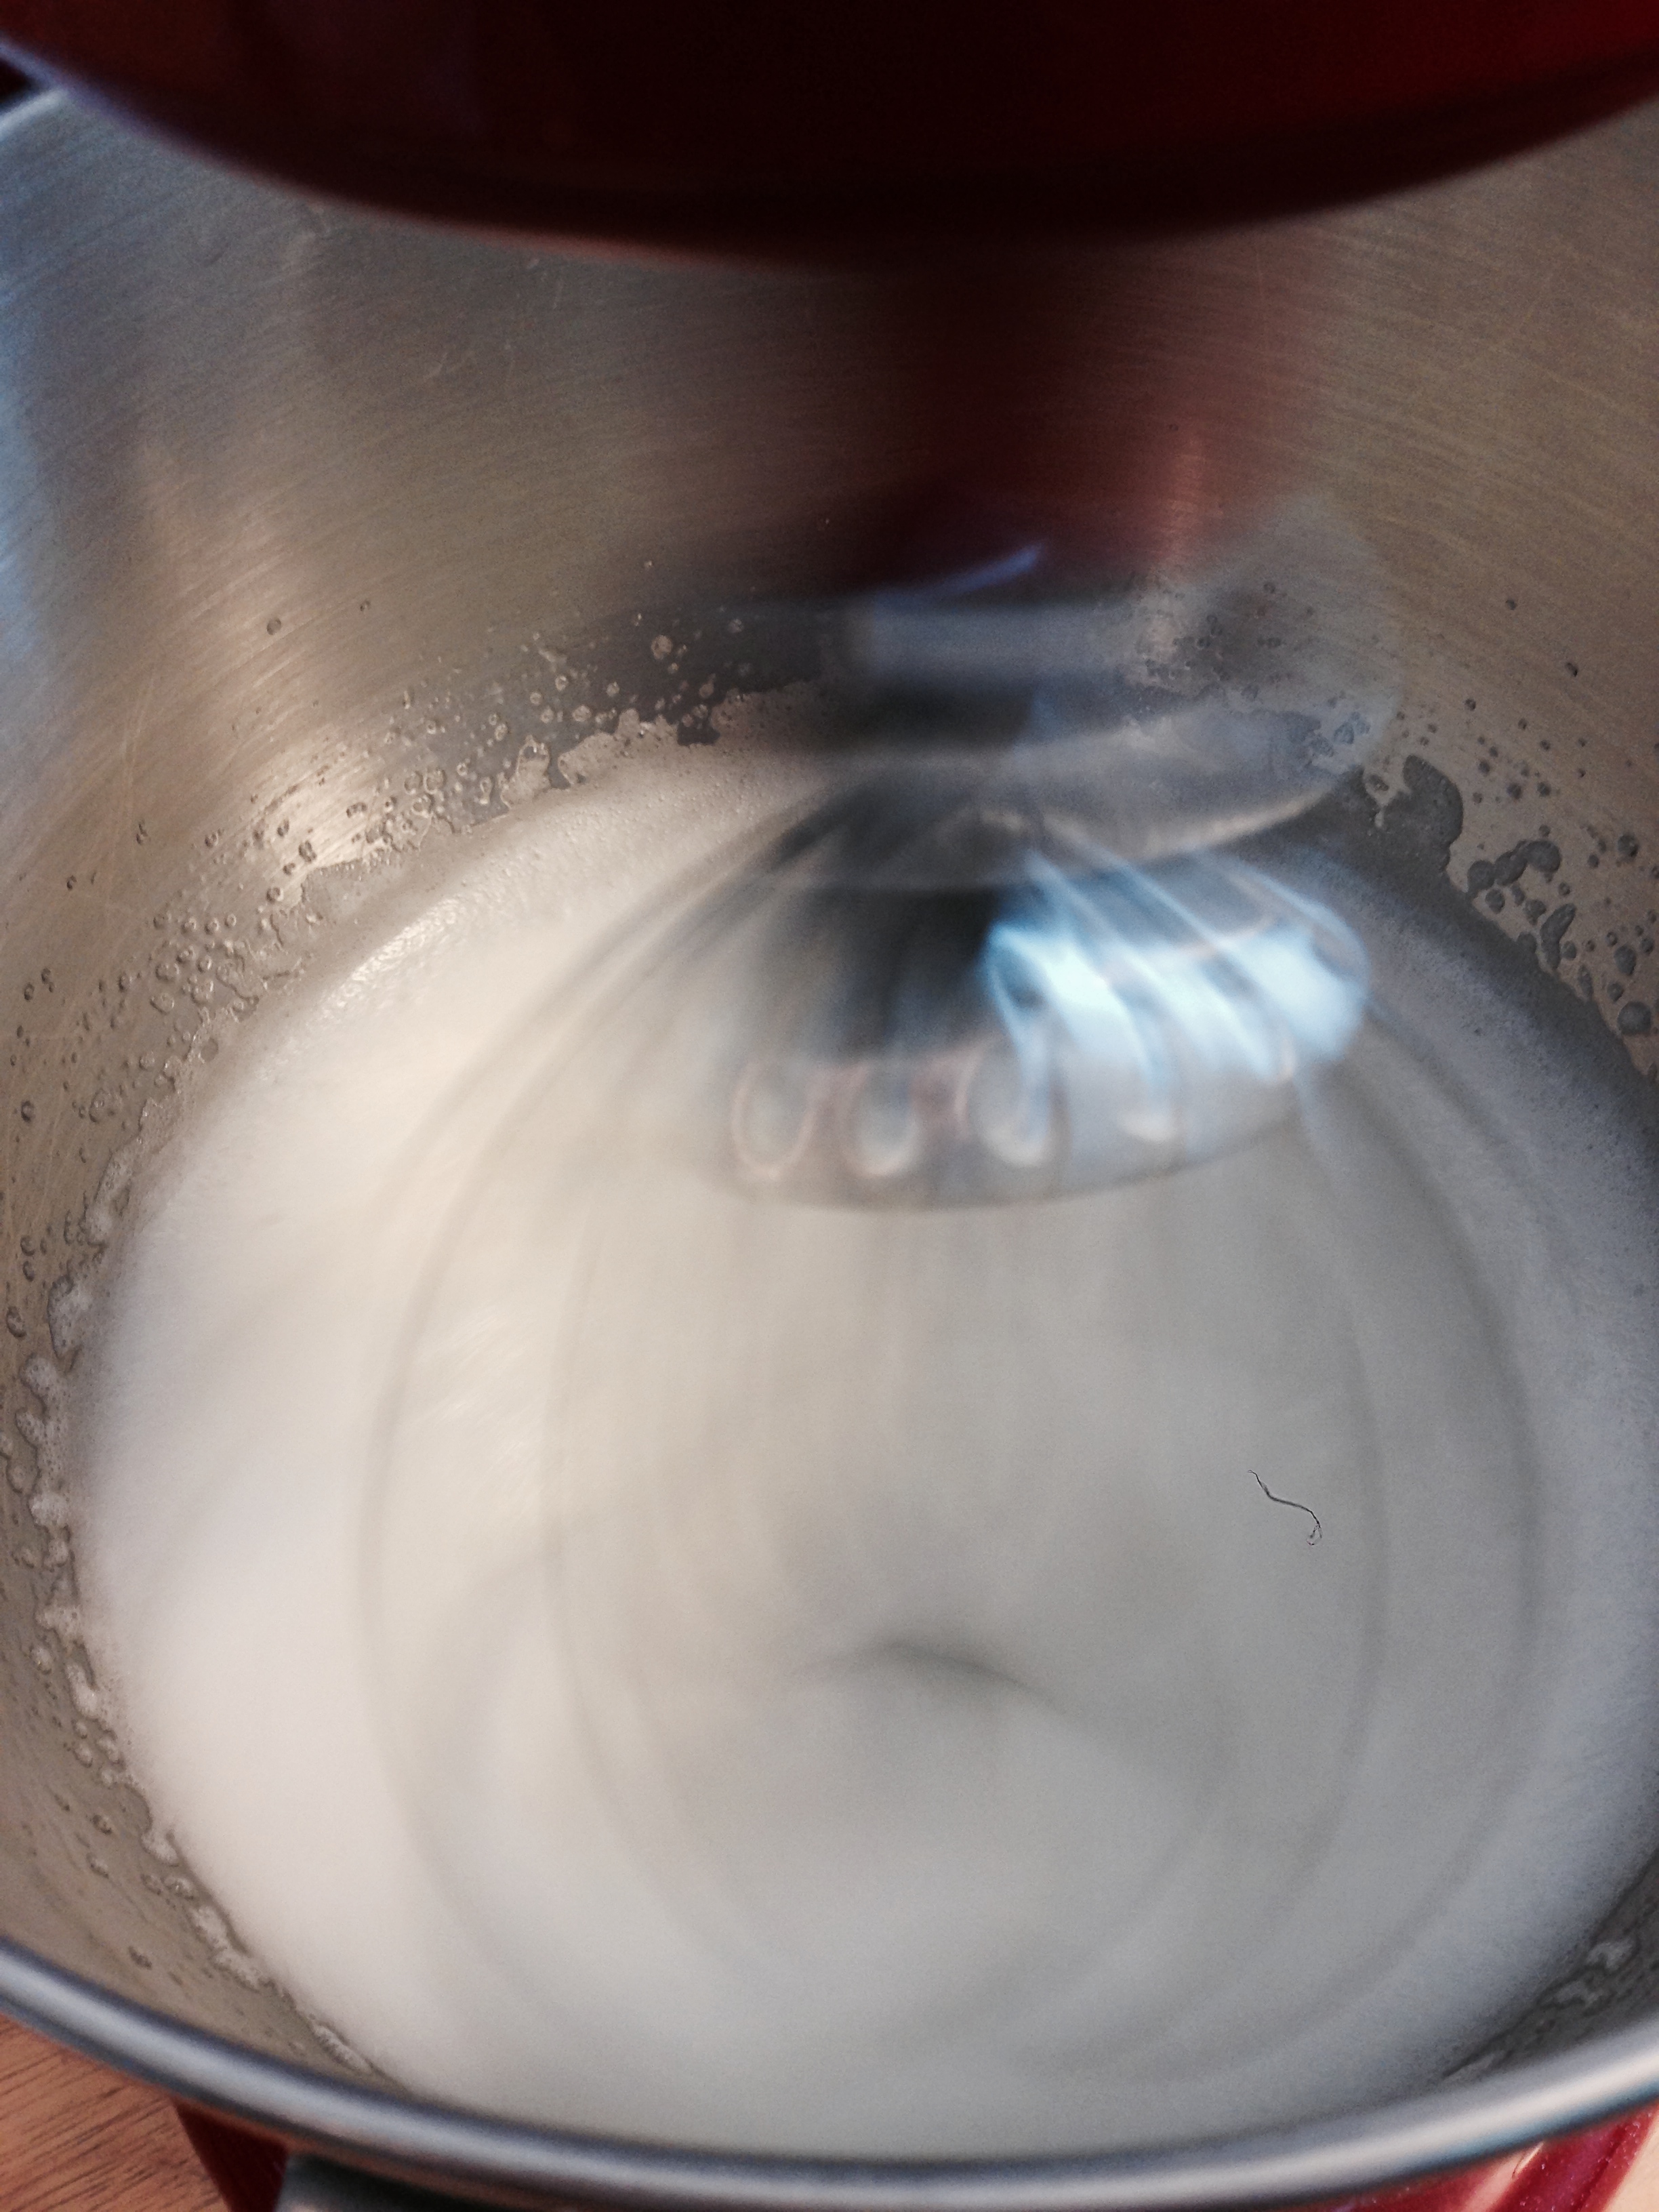
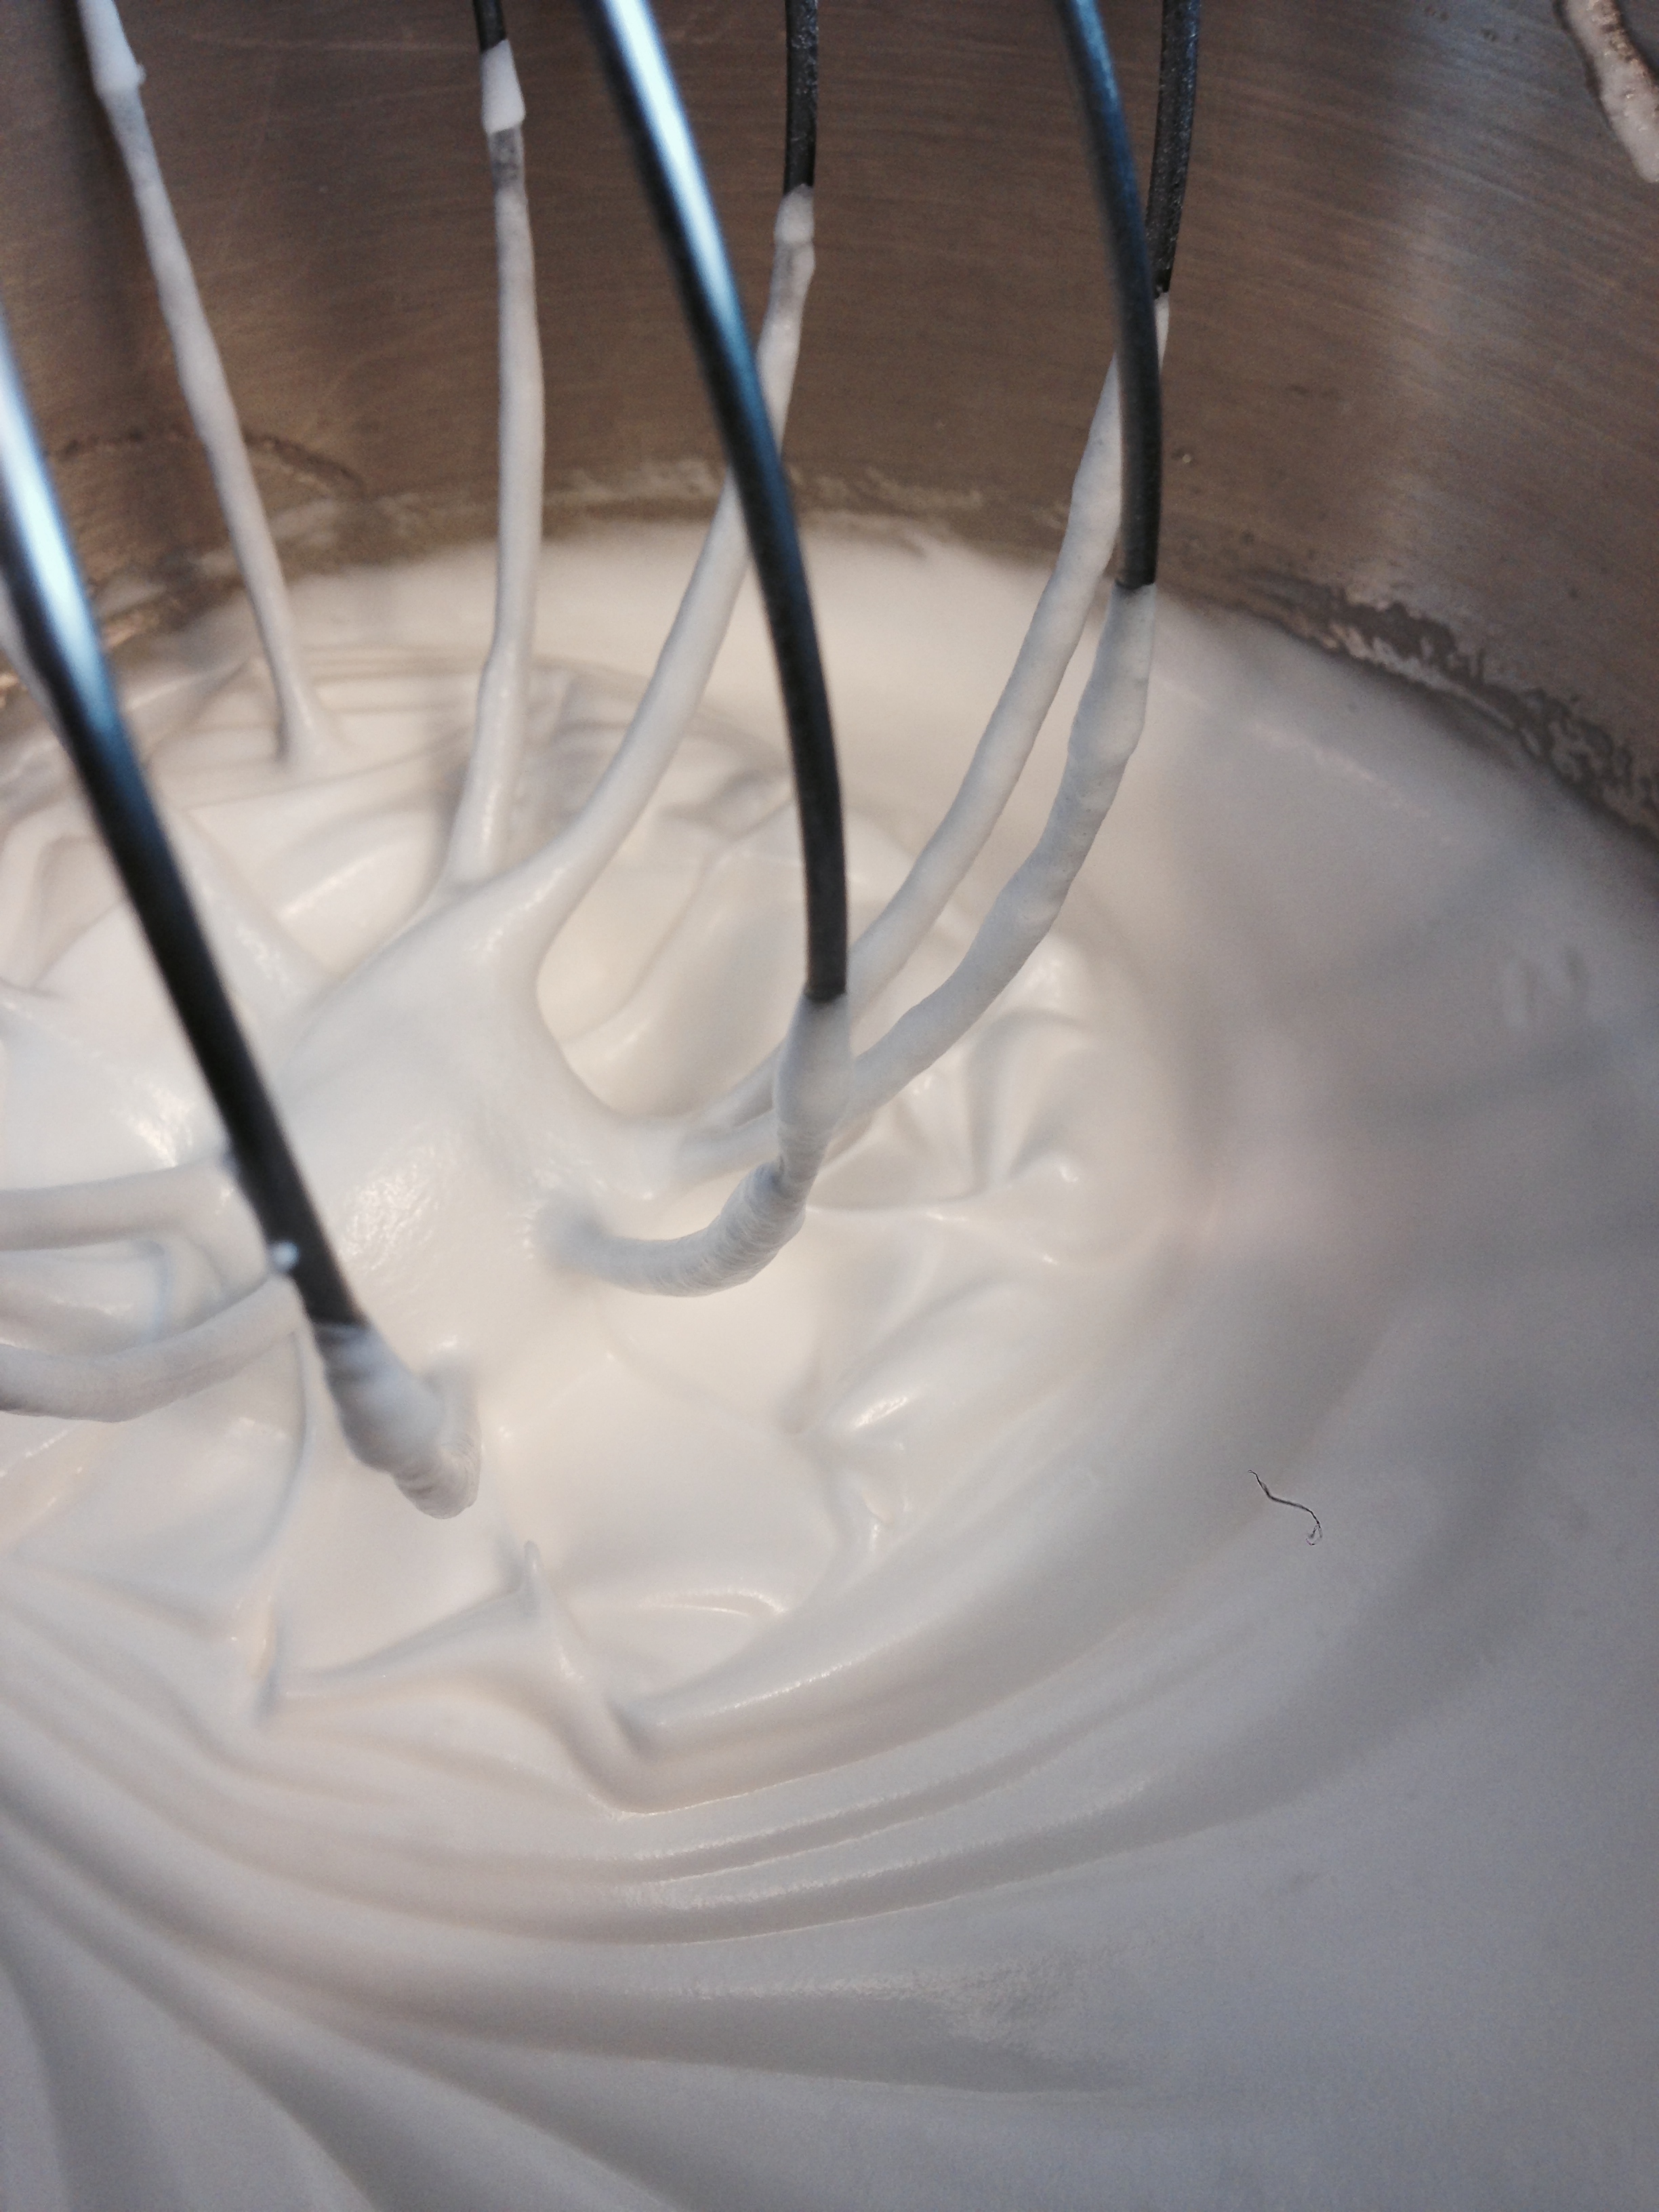
  3. Prepare the meringue by whipping the egg whites and cream of tartar with an electric mixer until soft peaks form. Add sugar, 2 TSBP at a time, to egg mixture until stiff peaks form. (If you can put your finger in meringue and when you pull it out the meringue's peak does not collapse, it's done!)
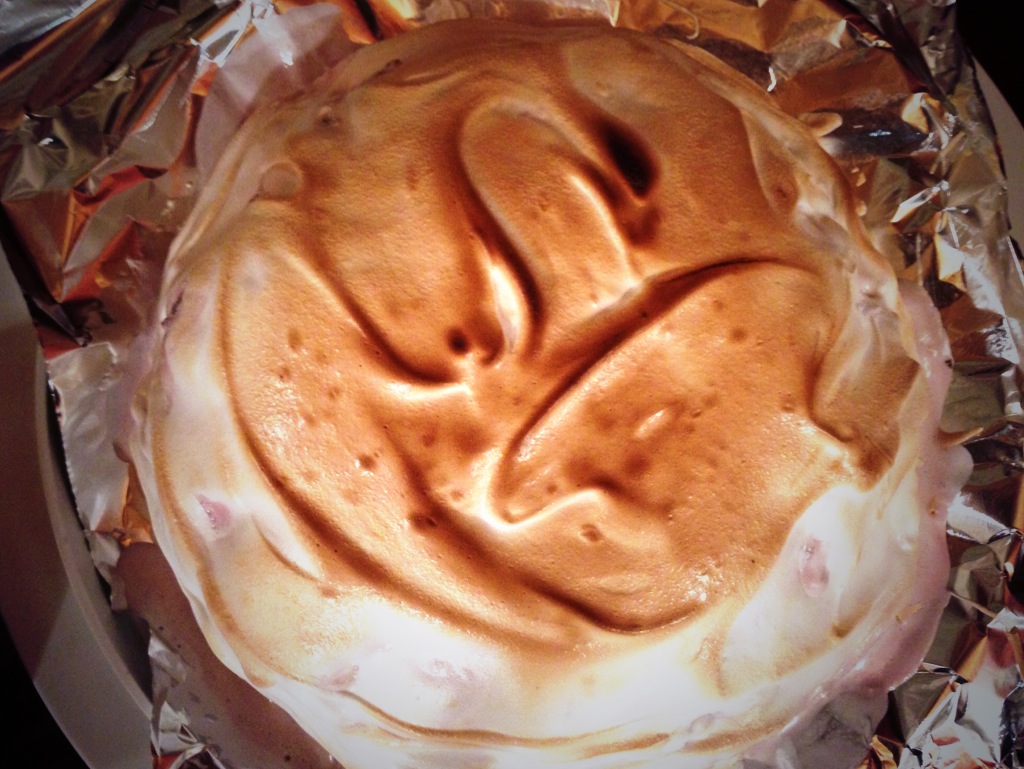
  4. Remove the cake from the freezer. Quickly spoon meringue on top of cake, using a silicon spatula to spread the meringue over the top and sides of the ice cream and cake. (You can do fancy twirly motions to get some nice swooshy patterns.)
  5. Bake until meringue is lightly browned, about 6 minutes. (You can also put the broiler on at the same time to hasten the browning. But WATCH IT. The browning reaction happens within seconds.) Serve immediately! 
IMG_3092.jpg

Chocolate Zucchini Cake 

I used this recipe from the For the Love of Cooking.net. It's my favourite chocolate zucchini muffin recipe and it easily turned into a great cake layer for my baked alaska! I made the recipe exactly they way it said but split the batter into two 9 inch round baking pans. Baked at 350ºF for about 30 minutes. Easy!

And thus concludes the crazy baking of 2013. I did make some pretty delicious hot chocolate mix as well. But they were for Christmas presents. (Mind, I had to sample to see if it was any good! Just a bit though. Honest!)

-Andrea

The Half-Assed Hobbyist
The Chiffon Cake

As part of Christmas Baking 2013.

My family has a whirlwind tradition of doing everything Christmasy on one day. Christmas Eve. It's typically a very smoothly scheduled day where my sister and I visit all the parents and all the family in the course of 8 hours. 

In order to survive I make lots and lots of sweets. 

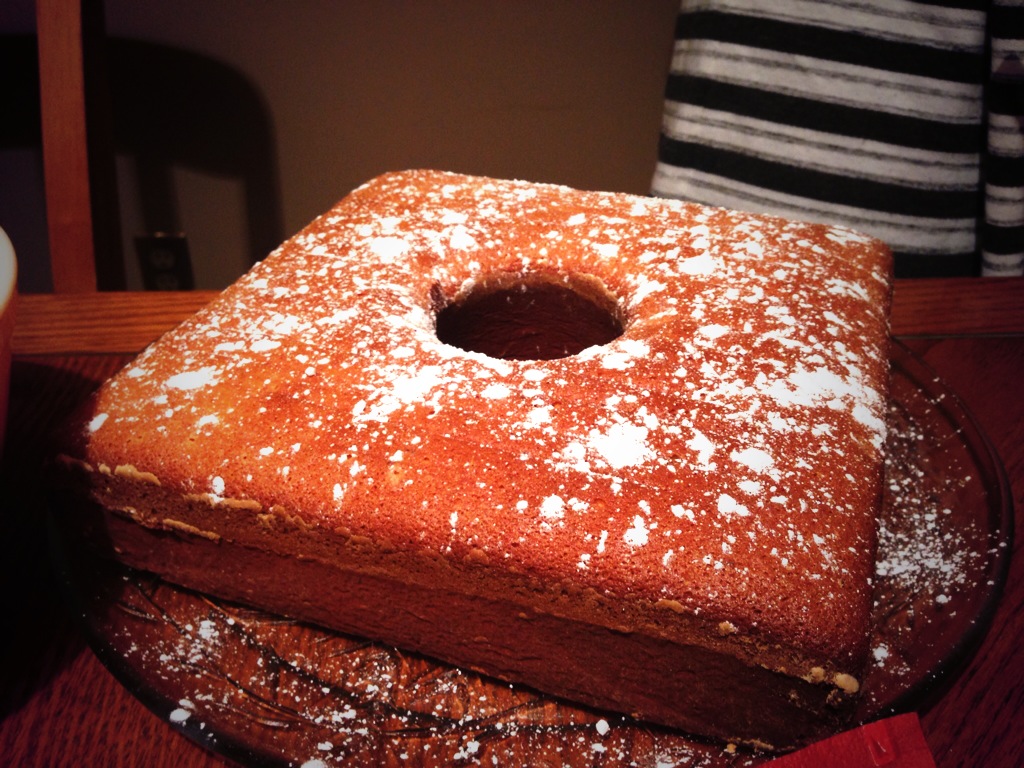
The chocolate shop I worked at over Christmas was going through a chocolate product shortage because of the flood in Calgary early 2013, so I had to find some less chocolatey alternatives to my regular chocolate cake with chocolate ganache and chocolate frosting. First on my list was a lemon and vanilla chiffon cake. Basically a fancy angel food cake. 
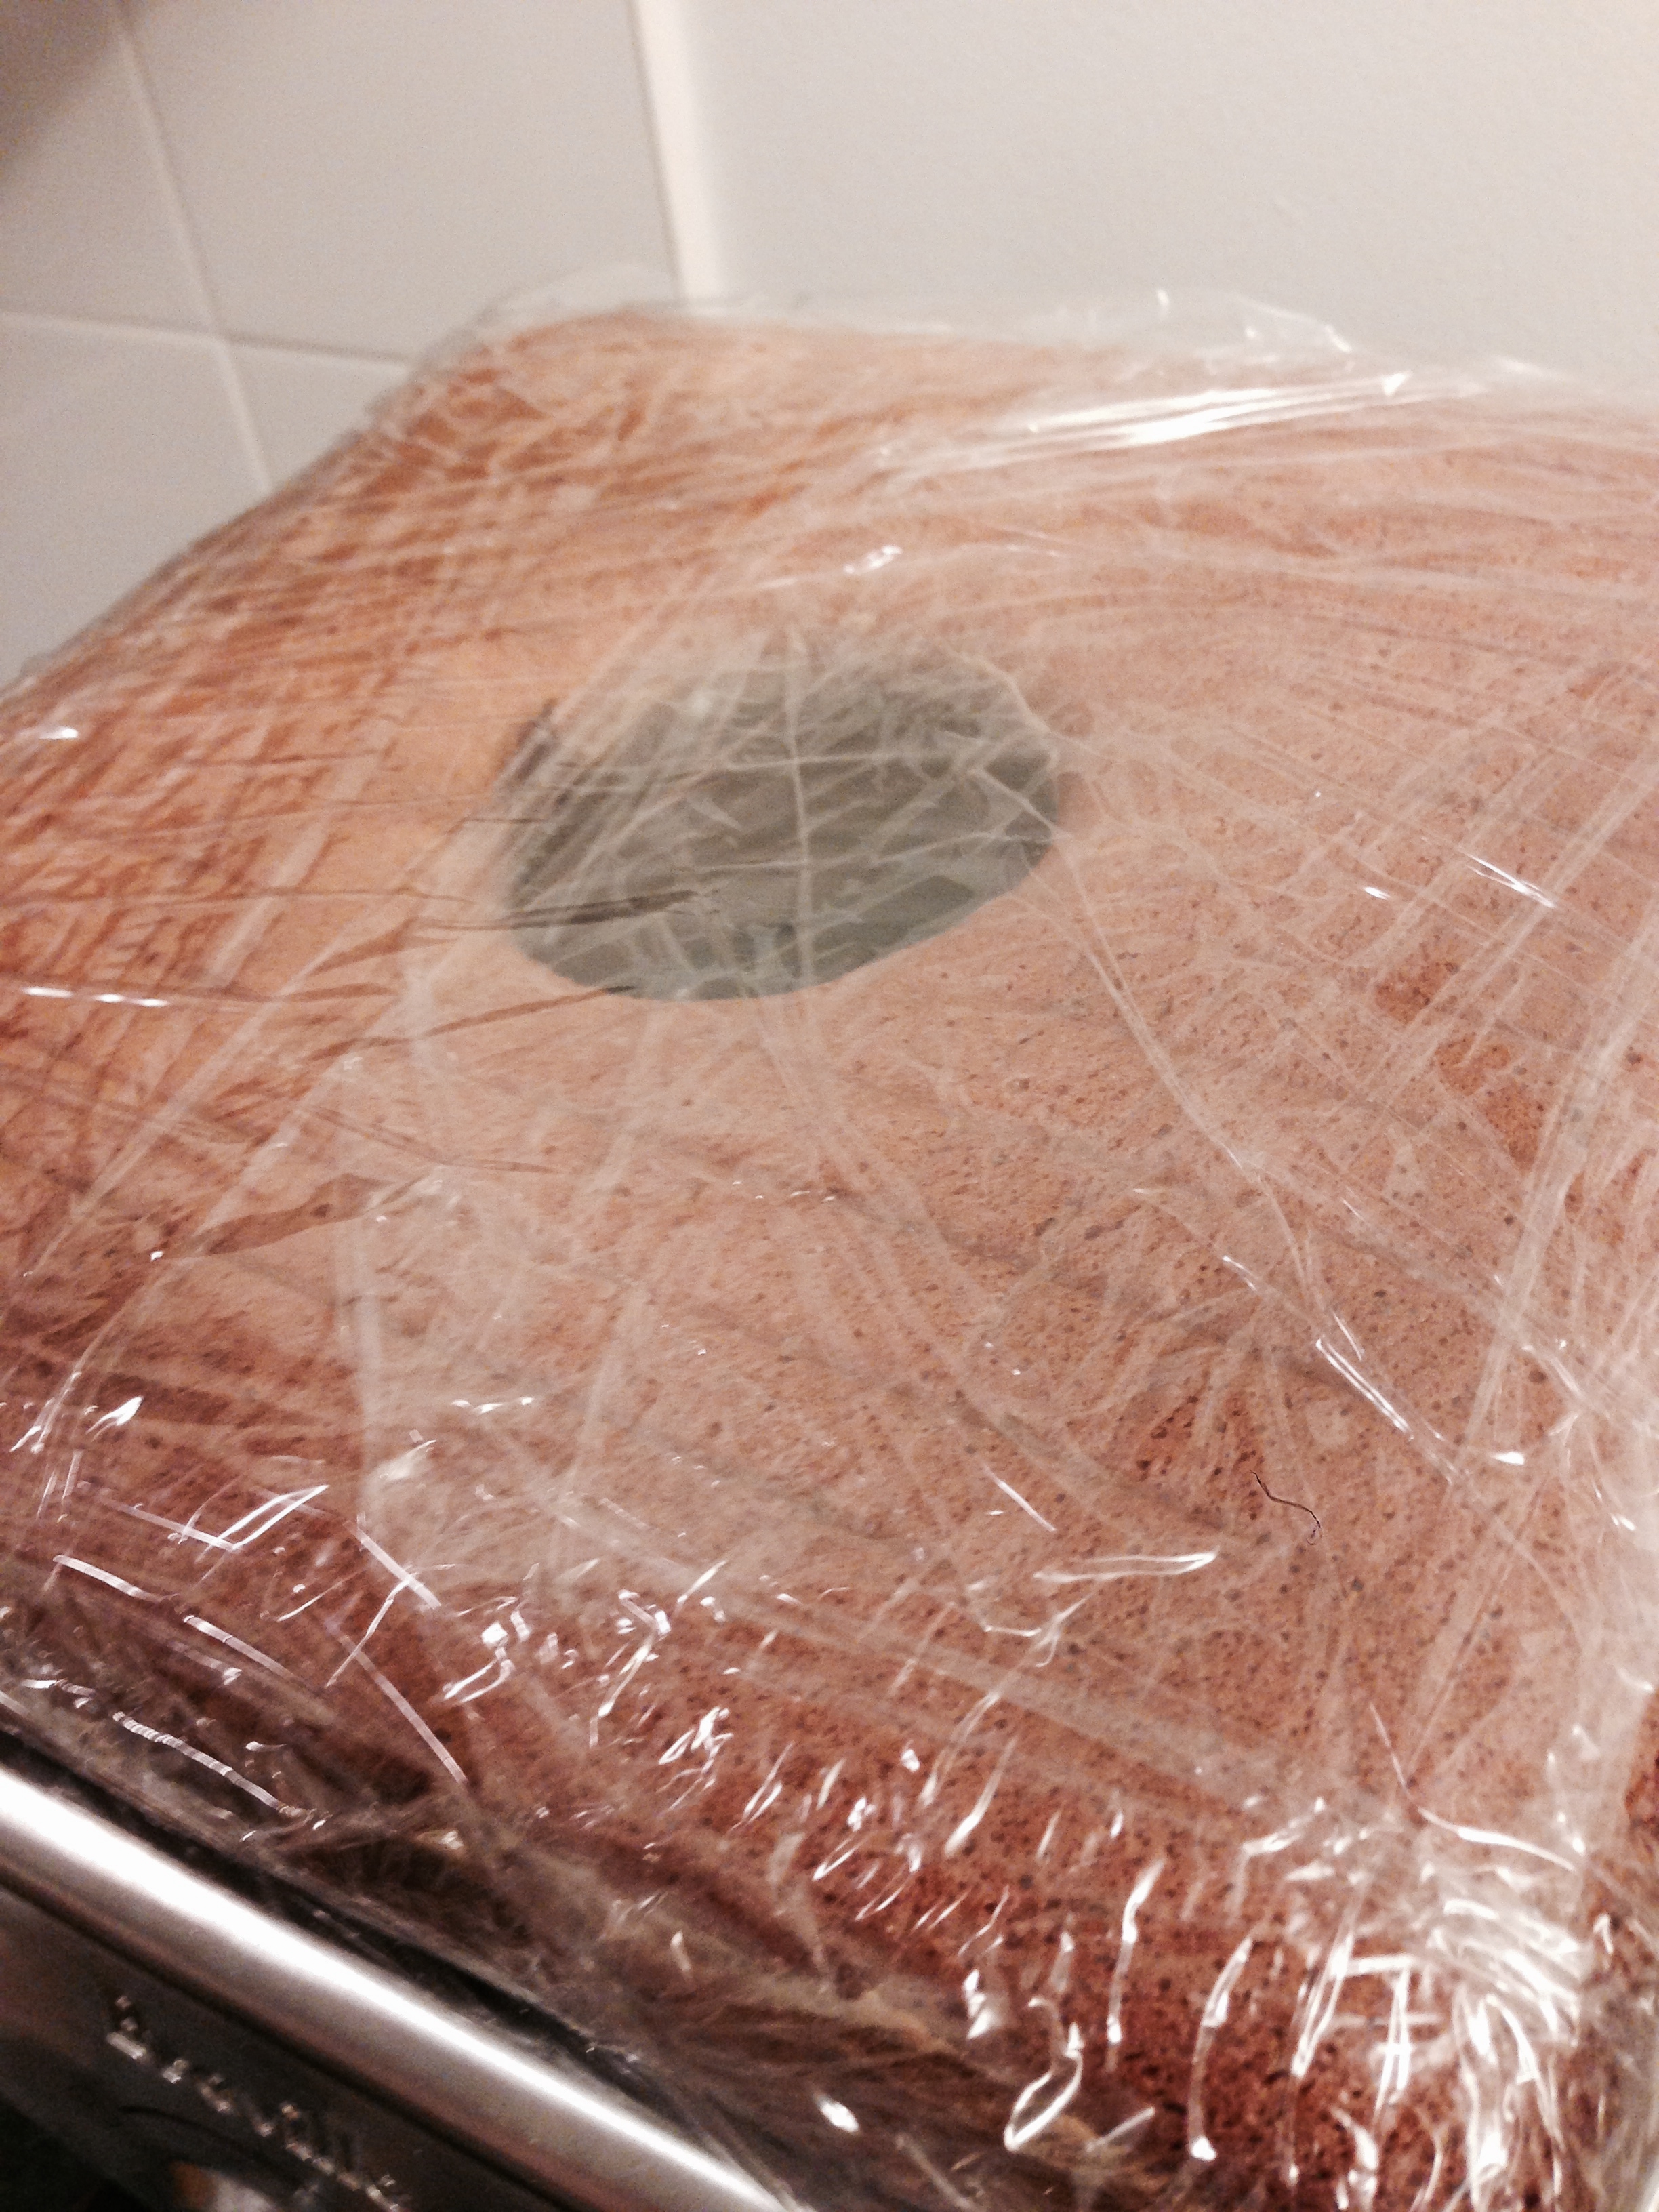
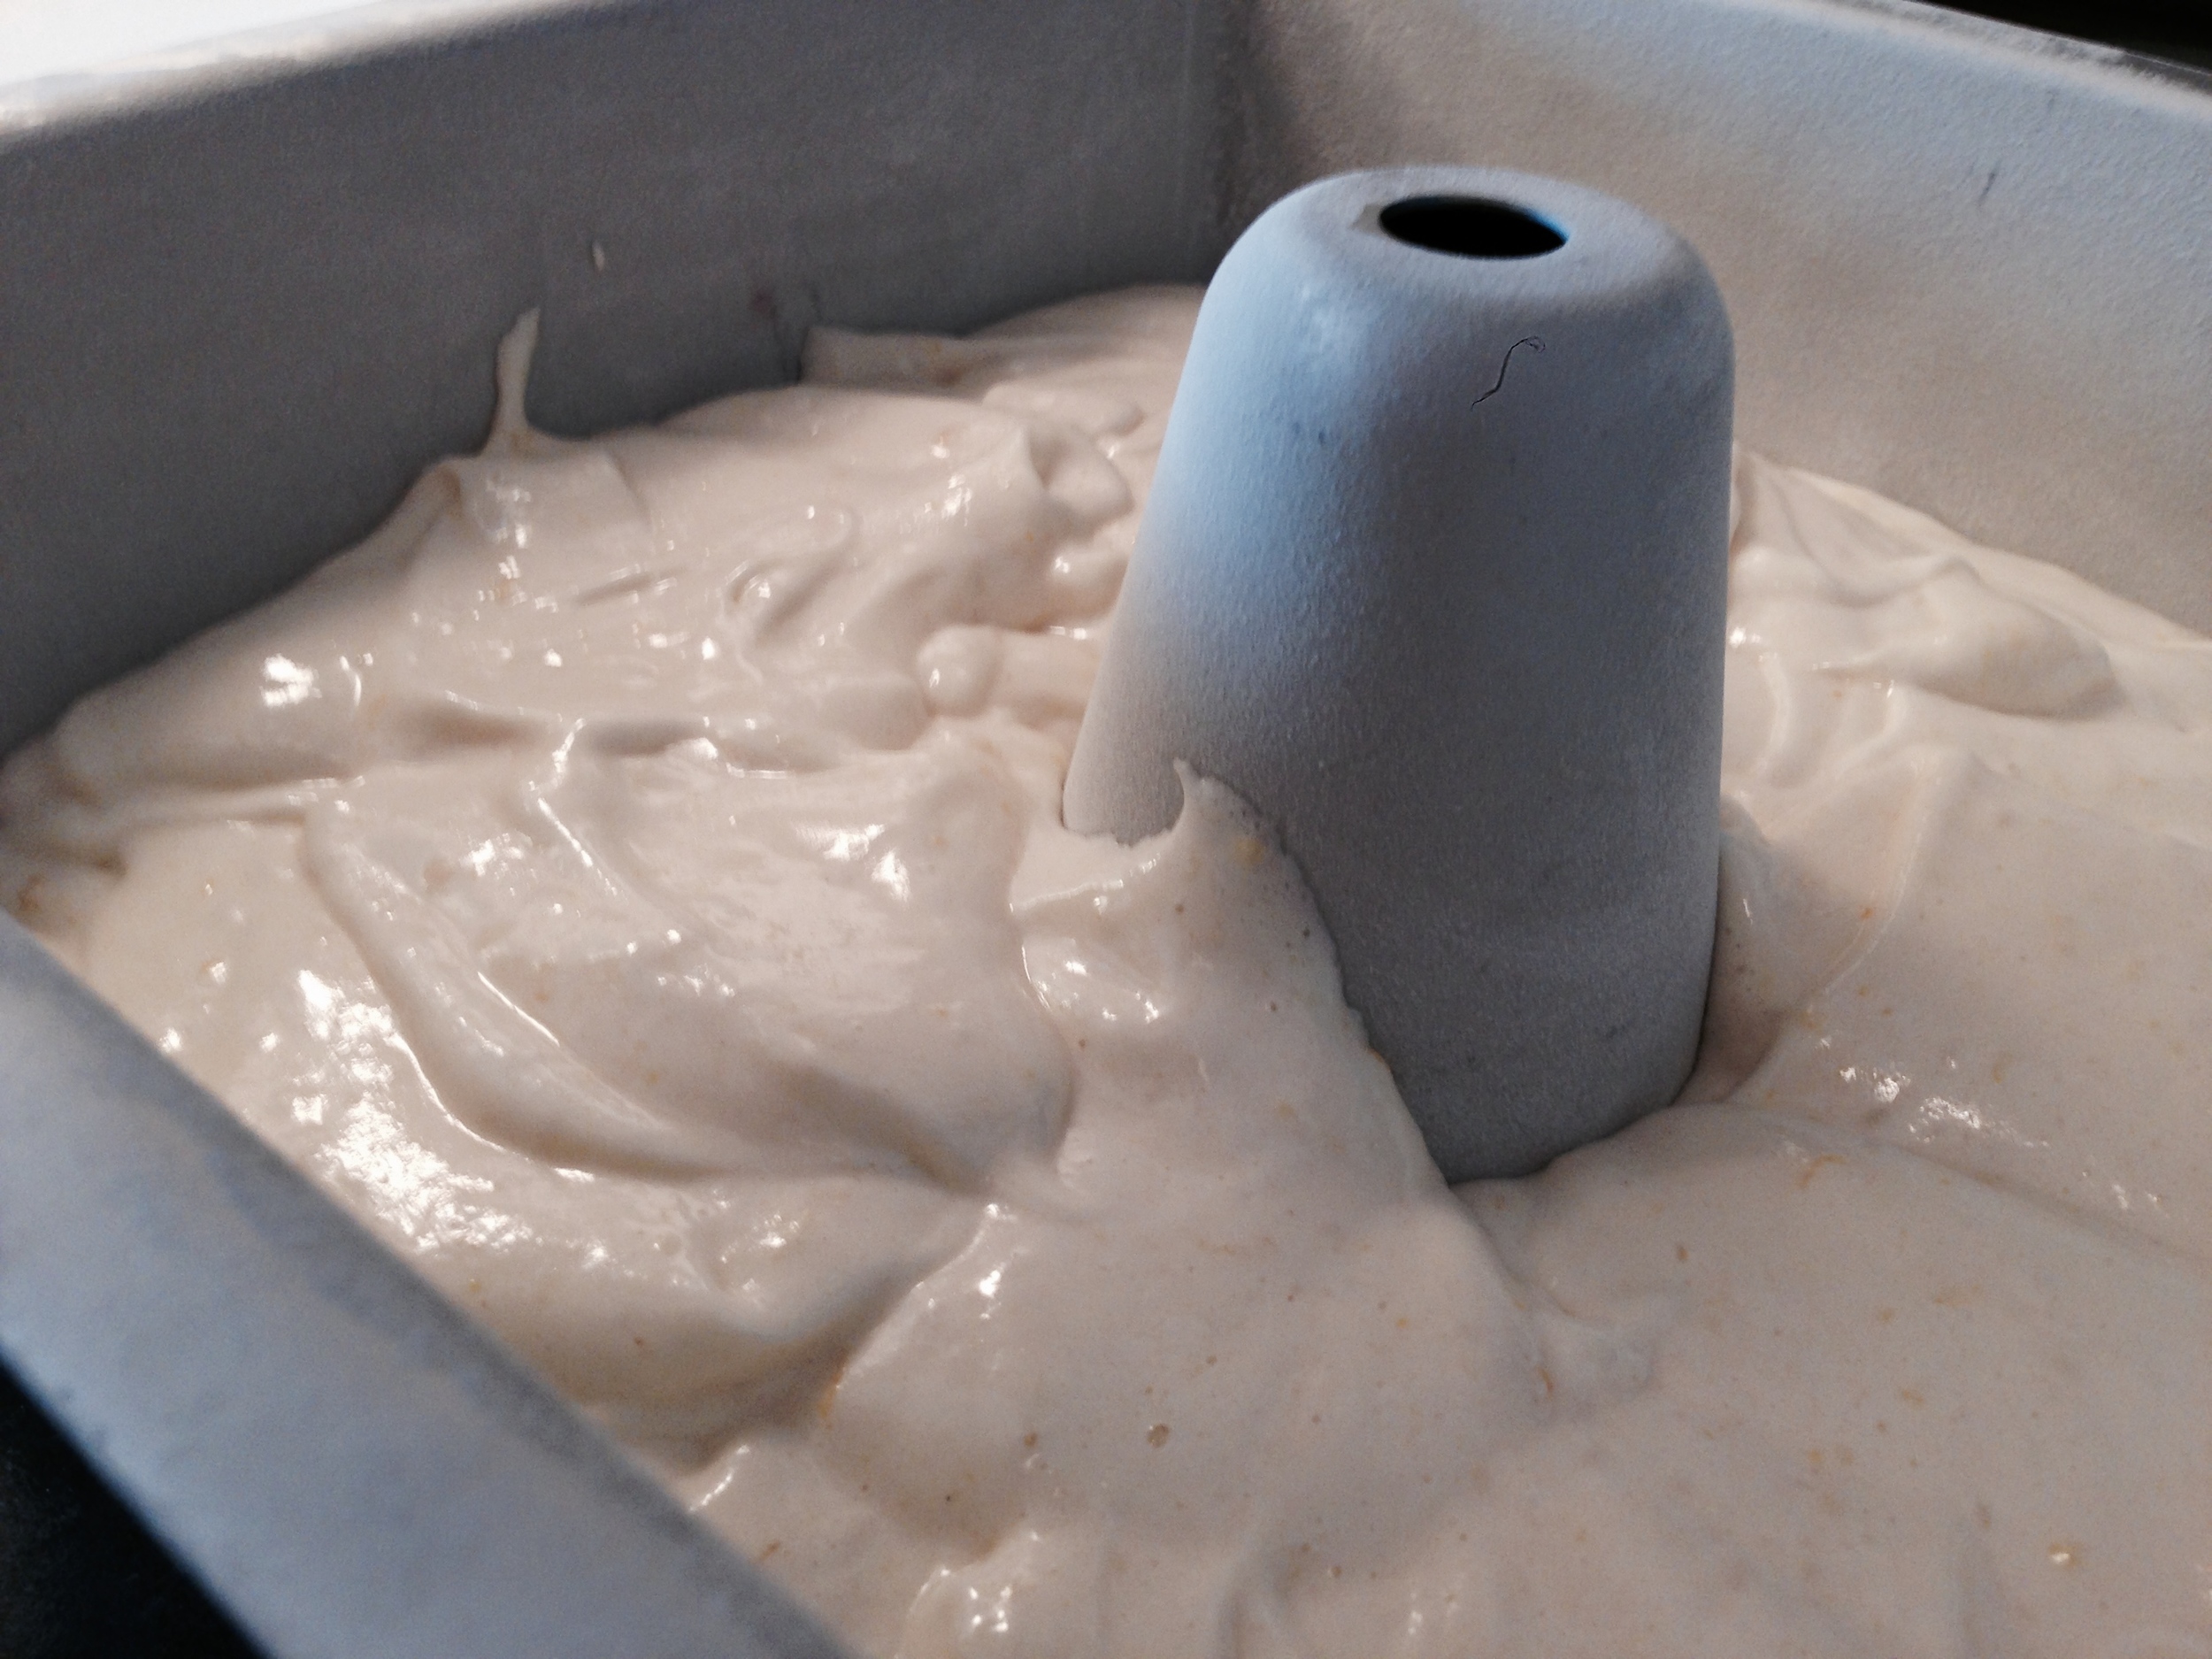
I've never made angel food cake before. I even had to go out and buy a pan. And since I might as well make it as impossible as I can for this cake to turn out, I bought a square angel food pan! Neat!  

The recipe I used was from my Canadian Living Complete Baking book for Sunshine cake. I used the just regular, non-passover recipe. 

Sunshine Cake 

(from Canadian Living's The Complete Canadian Living Baking Book; also changed a bit by me!)
2 egg yolks
7 eggs, separated
1 1/2 cups granulated sugar
1 2/3 cups cake and pastry flour
2 tbsp grated lemon rind
1/4 cup lemon juice
1 tbsp (15 mL) vanilla
1/2 tsp (2 mL) salt

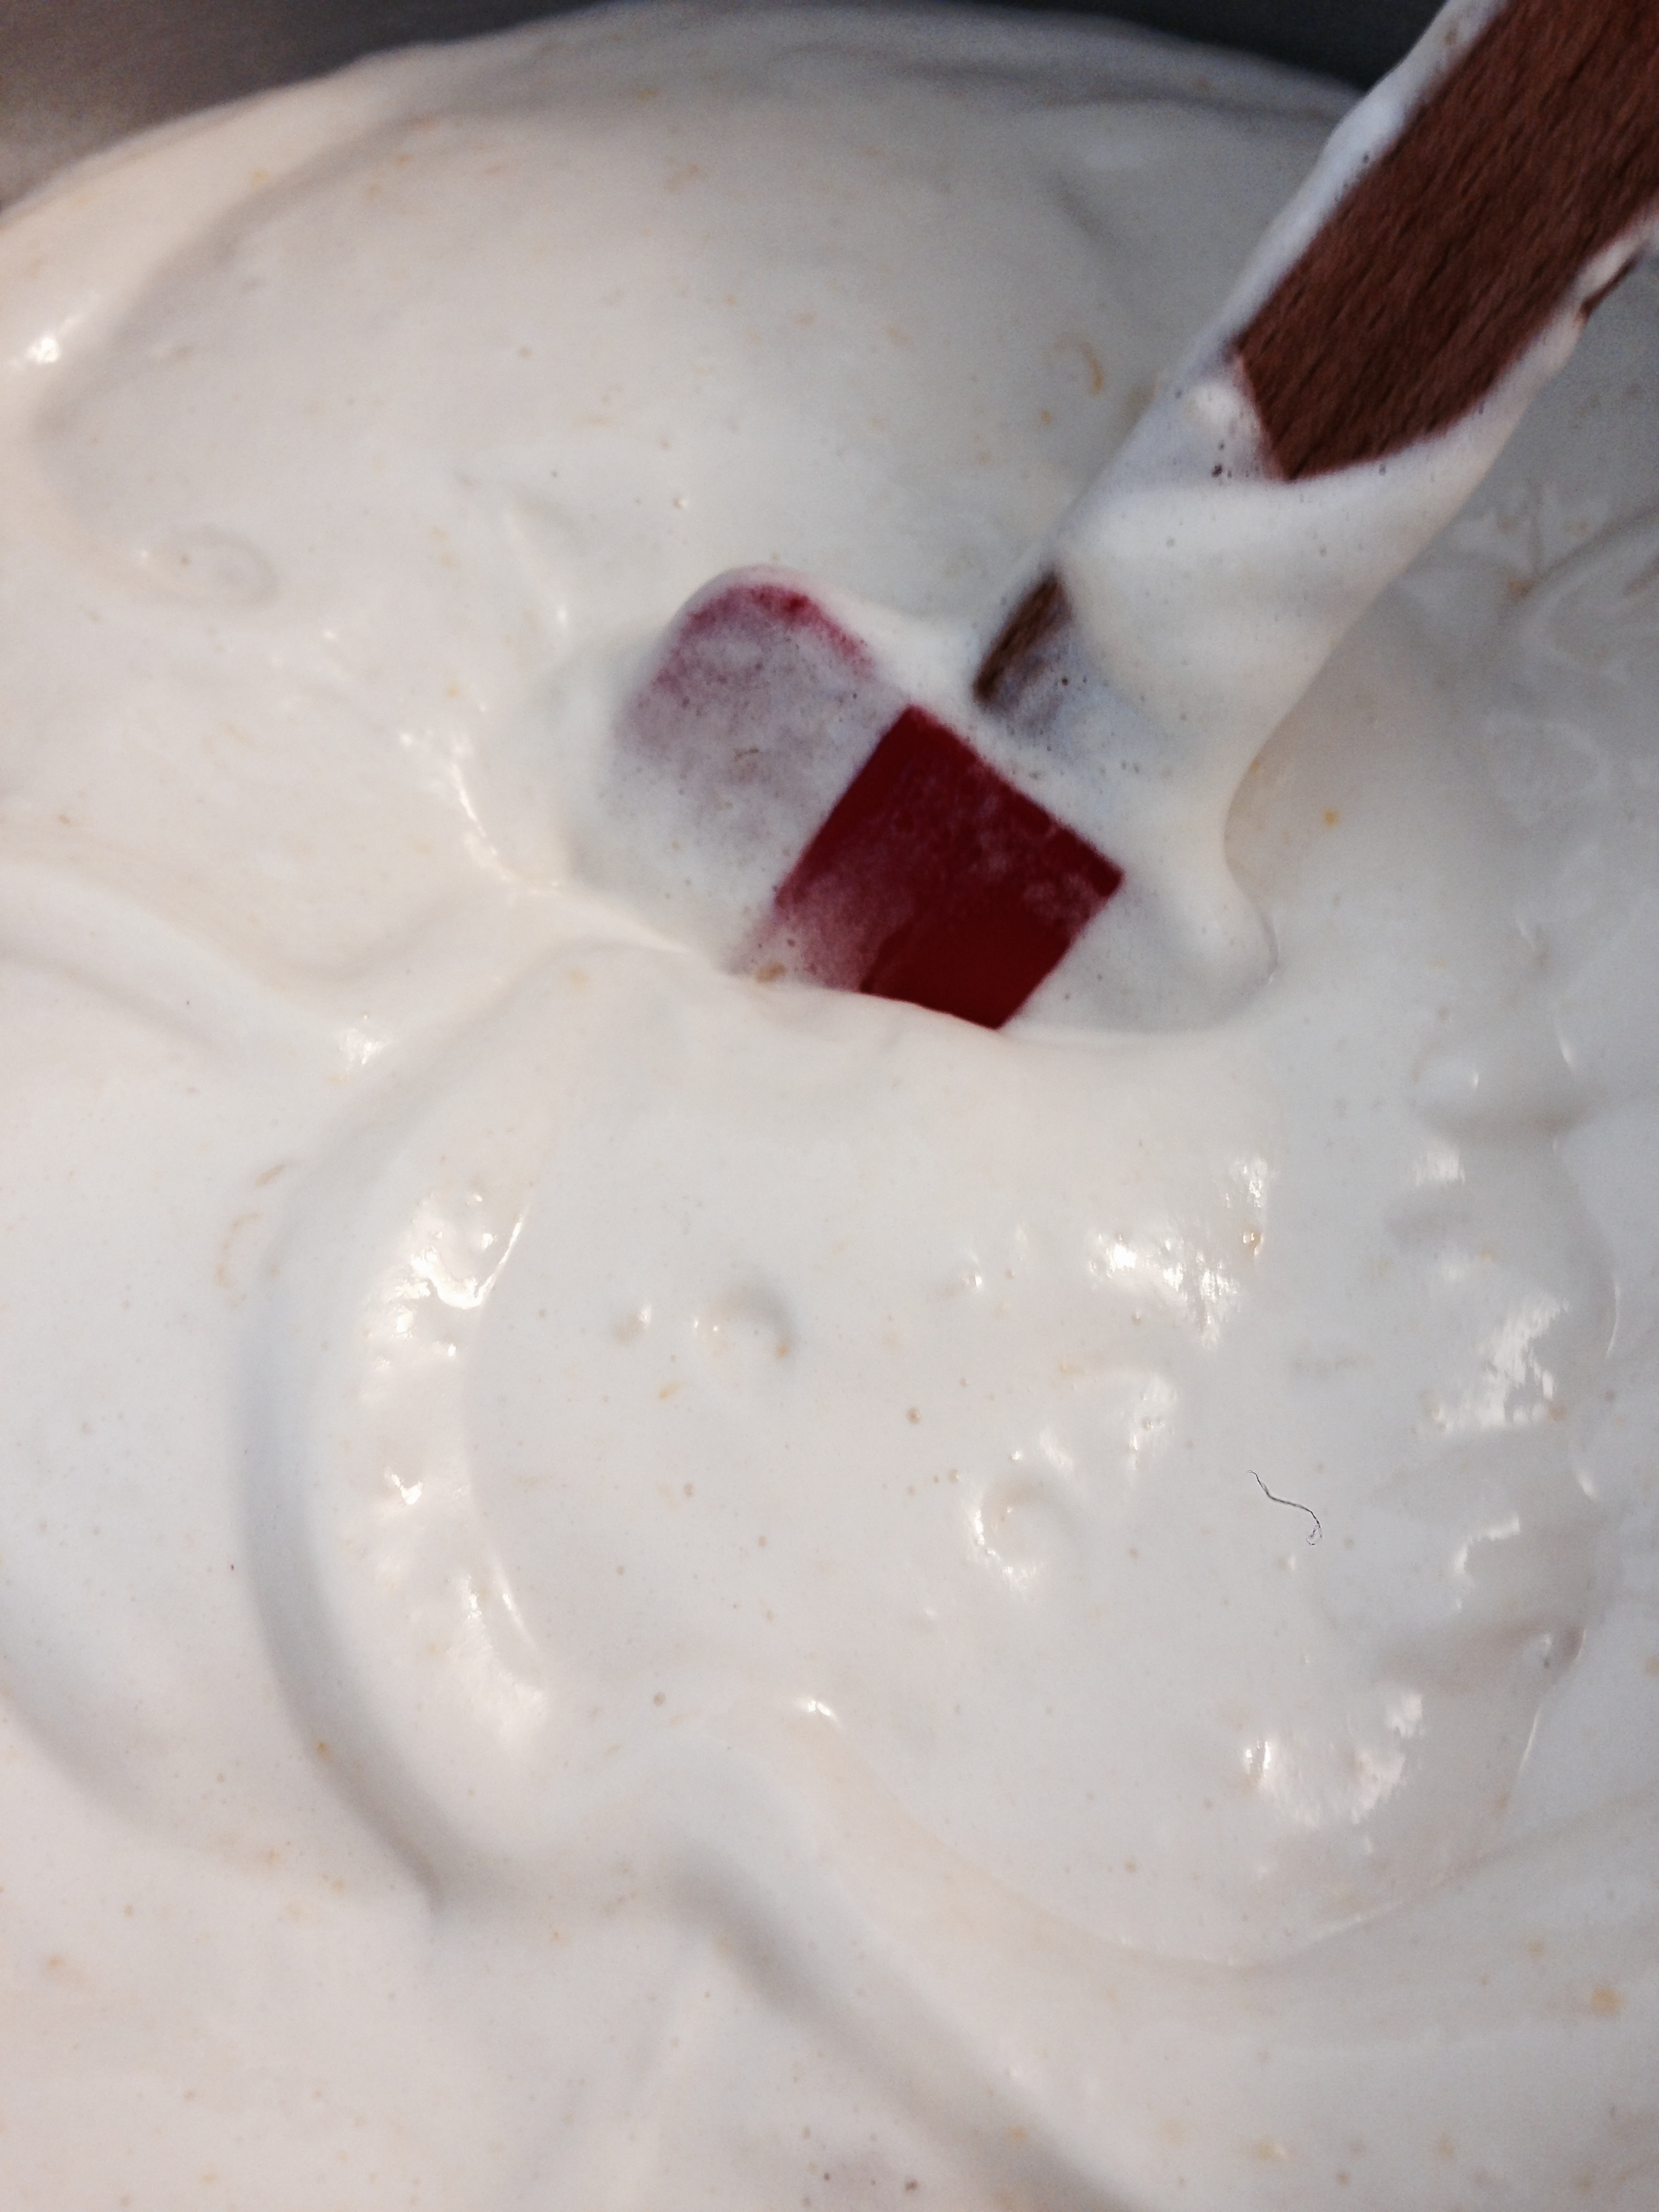
  1. In large bowl, beat together 9 egg yolks, half of sugar, all of flour, lemon rind and juice, and vanilla until blended. Set aside.
  2. In separate large bowl and with clean beaters, beat egg whites with salt until soft peaks form. Beat in remaining sugar, 2 tbsp (25 mL) at a time, until stiff peaks form.
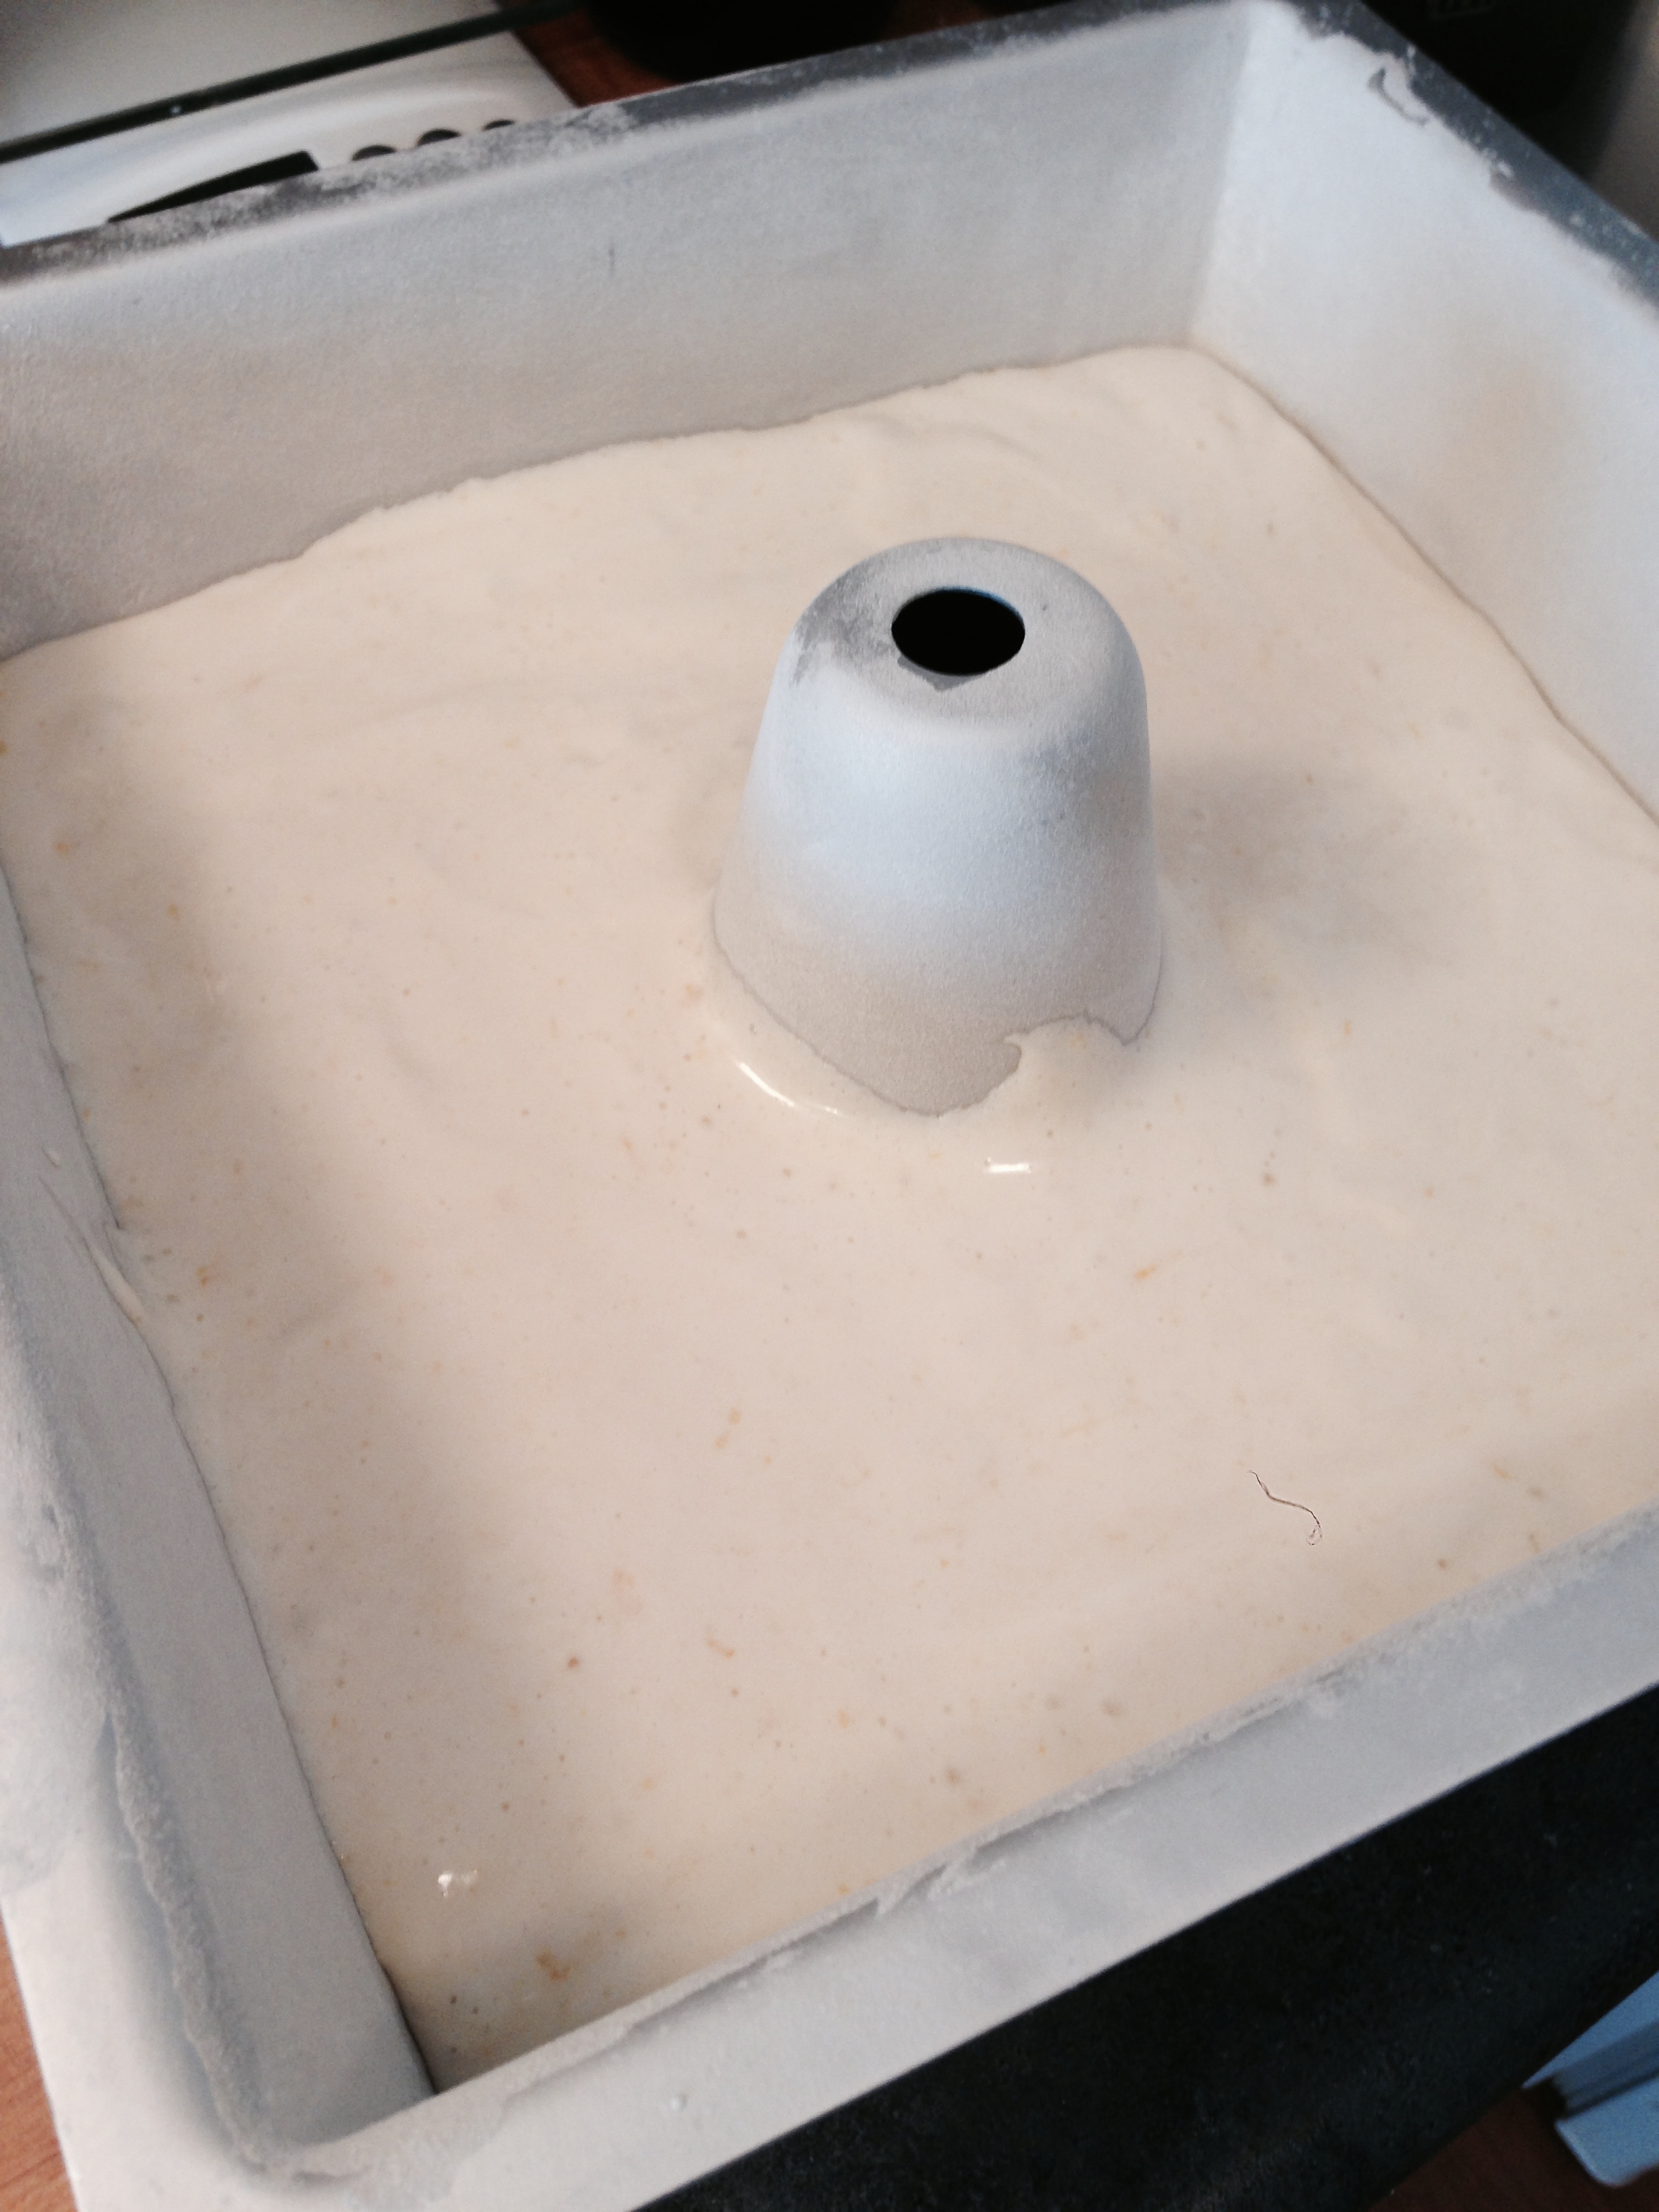
  3. With spatula, gently fold one-third of the egg whites into yolk mixture; fold in remaining whites just until no streaks remain. Scrape into prepared pan; smooth top. Bake in centre of 350°F oven until top springs back when lightly touched, about 50 minutes.
  4. Turn pan upside down and let cake hang on legs attached to pan or on inverted funnel, or bottle, until cooled, about 3 hours. Run long palate knife around centre and side of pan, pressing blade against pan and reaching to bottom to loosen cake. Unmould onto cake plate. (Make-ahead: Cover with plastic wrap; store for up to 24 hours.)

I definitely tried very hard to follow the recipe....  But I really don't like oranges in cake so I changed it to lemon zest and lemon juice instead. Even with the acidity change the cake still was very fluffy. 

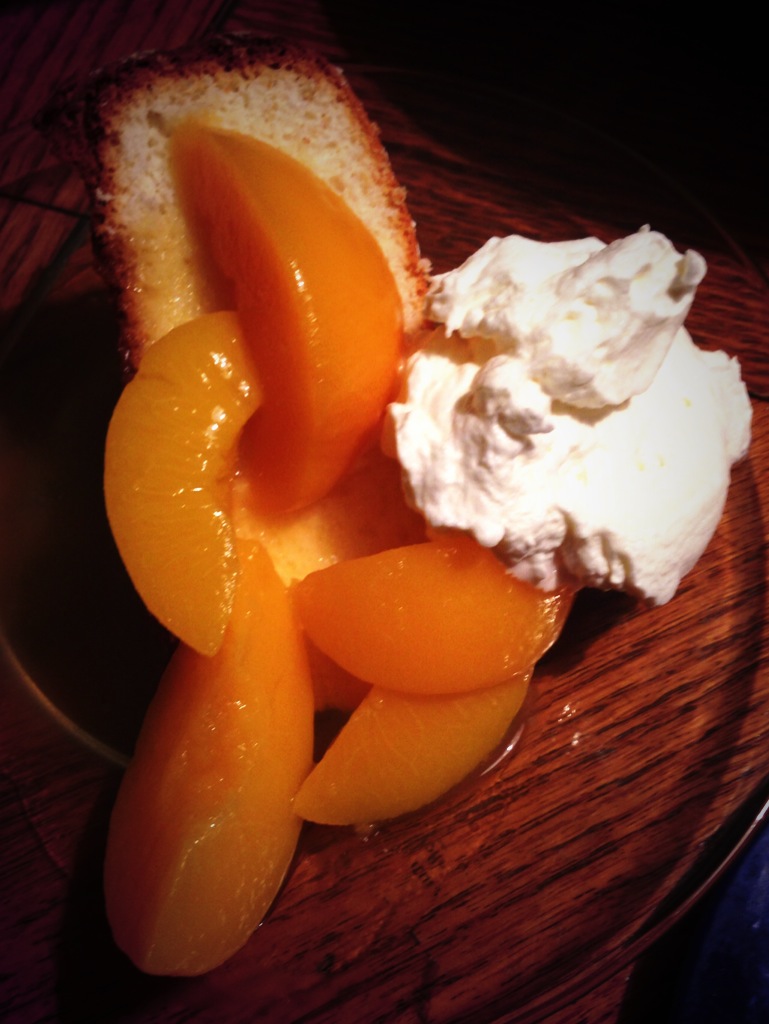
When trying to make the peaches, I'll admit to a giant fail. With all the family gathered around me, I attempted to light the whiskey I'd brought on fire. Flambéed peaches! Sounds fancy, right? I thought so too. It turns out though that a regular 40% alcohol won't work. As I tried many times, my expectant and soon to be disappointed family surrounding me, waiting. The whiskey light briefly (very briefly) so I called it done and poured it into the peaches, rather sad that it hadn't really worked. 


But, regardless, it was still pretty delicious. Whipped cream covered and very whiskey-ed peach covered vanilla and lemon chiffon cake. Yum!

-Andrea

The Half-Assed Hobbyist