My glee cannot be contained. It's my second favourite time of year! (My favourite time being reserved for when gorging on pumpkin pie after all meals is 'socially acceptable'.) Canning Season has begun! Yay!!!!
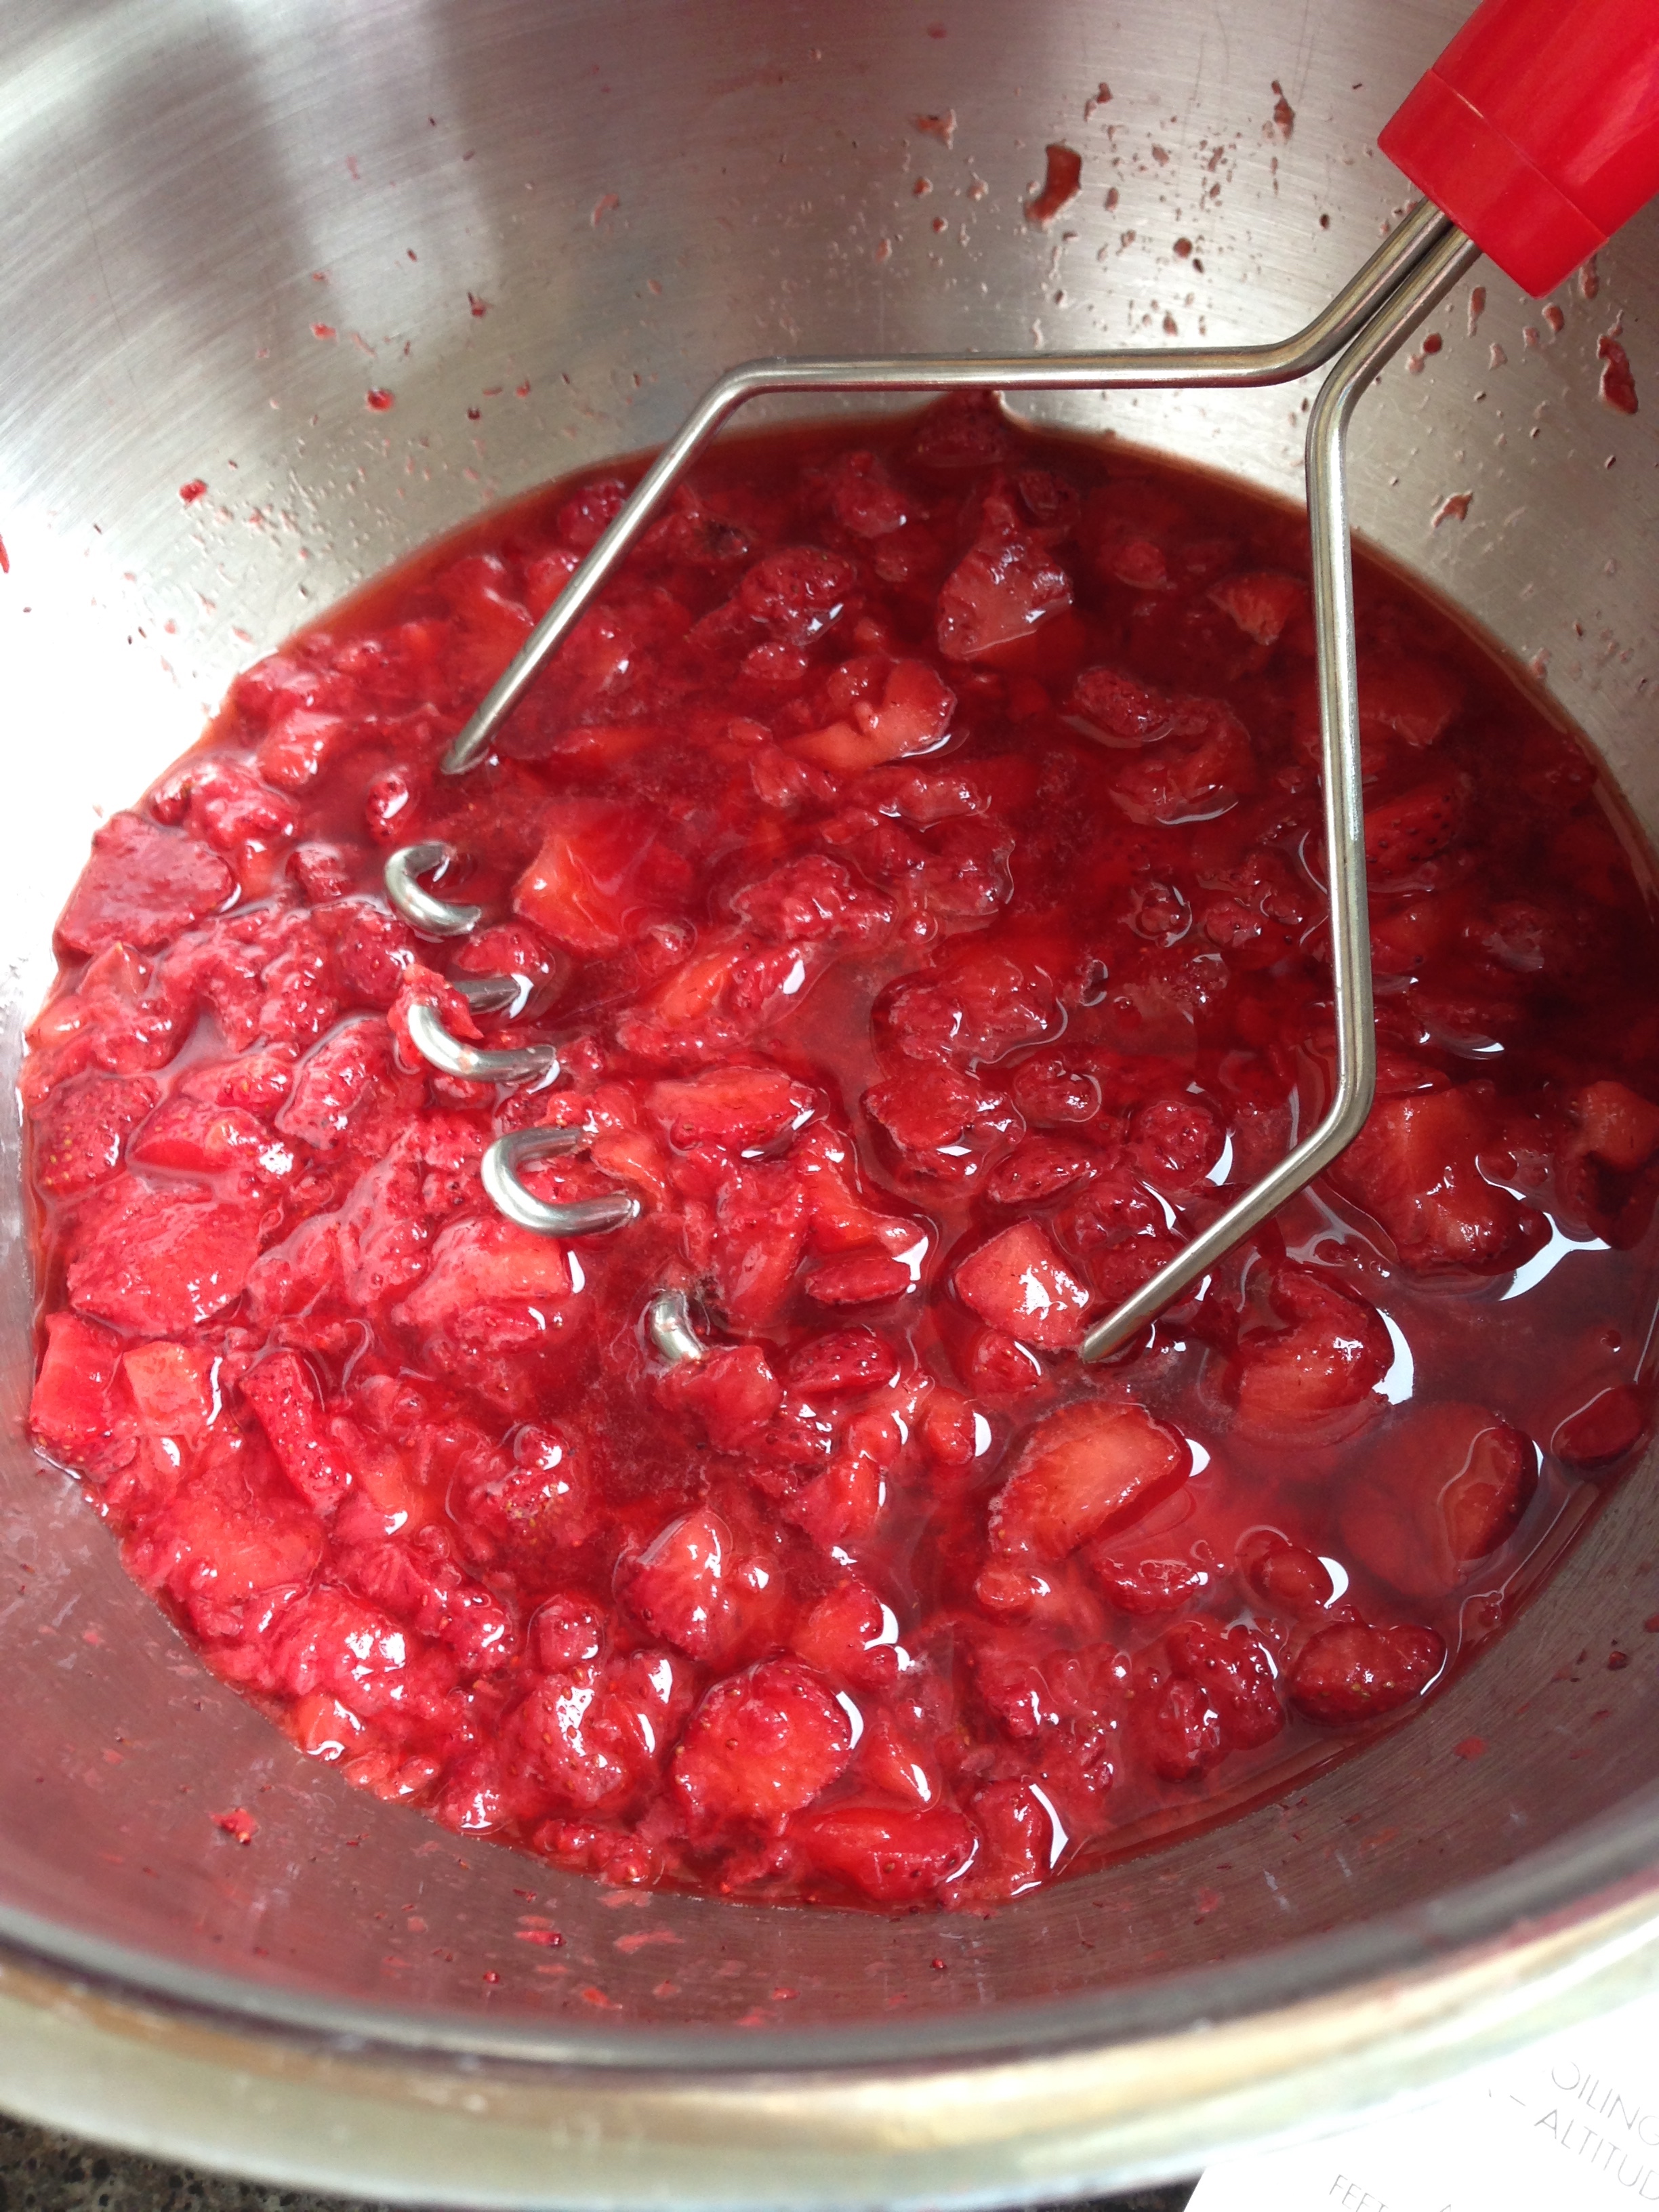
Now, as I am land locked and car-less, driving out to find u-picks (which are apparently not that big a thing in the GTA) has been an issue. However! My lovely lady friend Lesley came to visit me after she went backpacking around the Maritimes, and brought a special treat: wild strawberries from St Hubert. Obviously we had to work to do. These berries weren't going to eat themselves! So we made a tart and, with the leftovers, some wild strawberry jam.
This isn't my first time round the jamming bend. In 2013, the BF and I picked a ridiculous amount of fruit and I made a ridiculous amount of jam. Nom. I used the same process this time round as I did before:
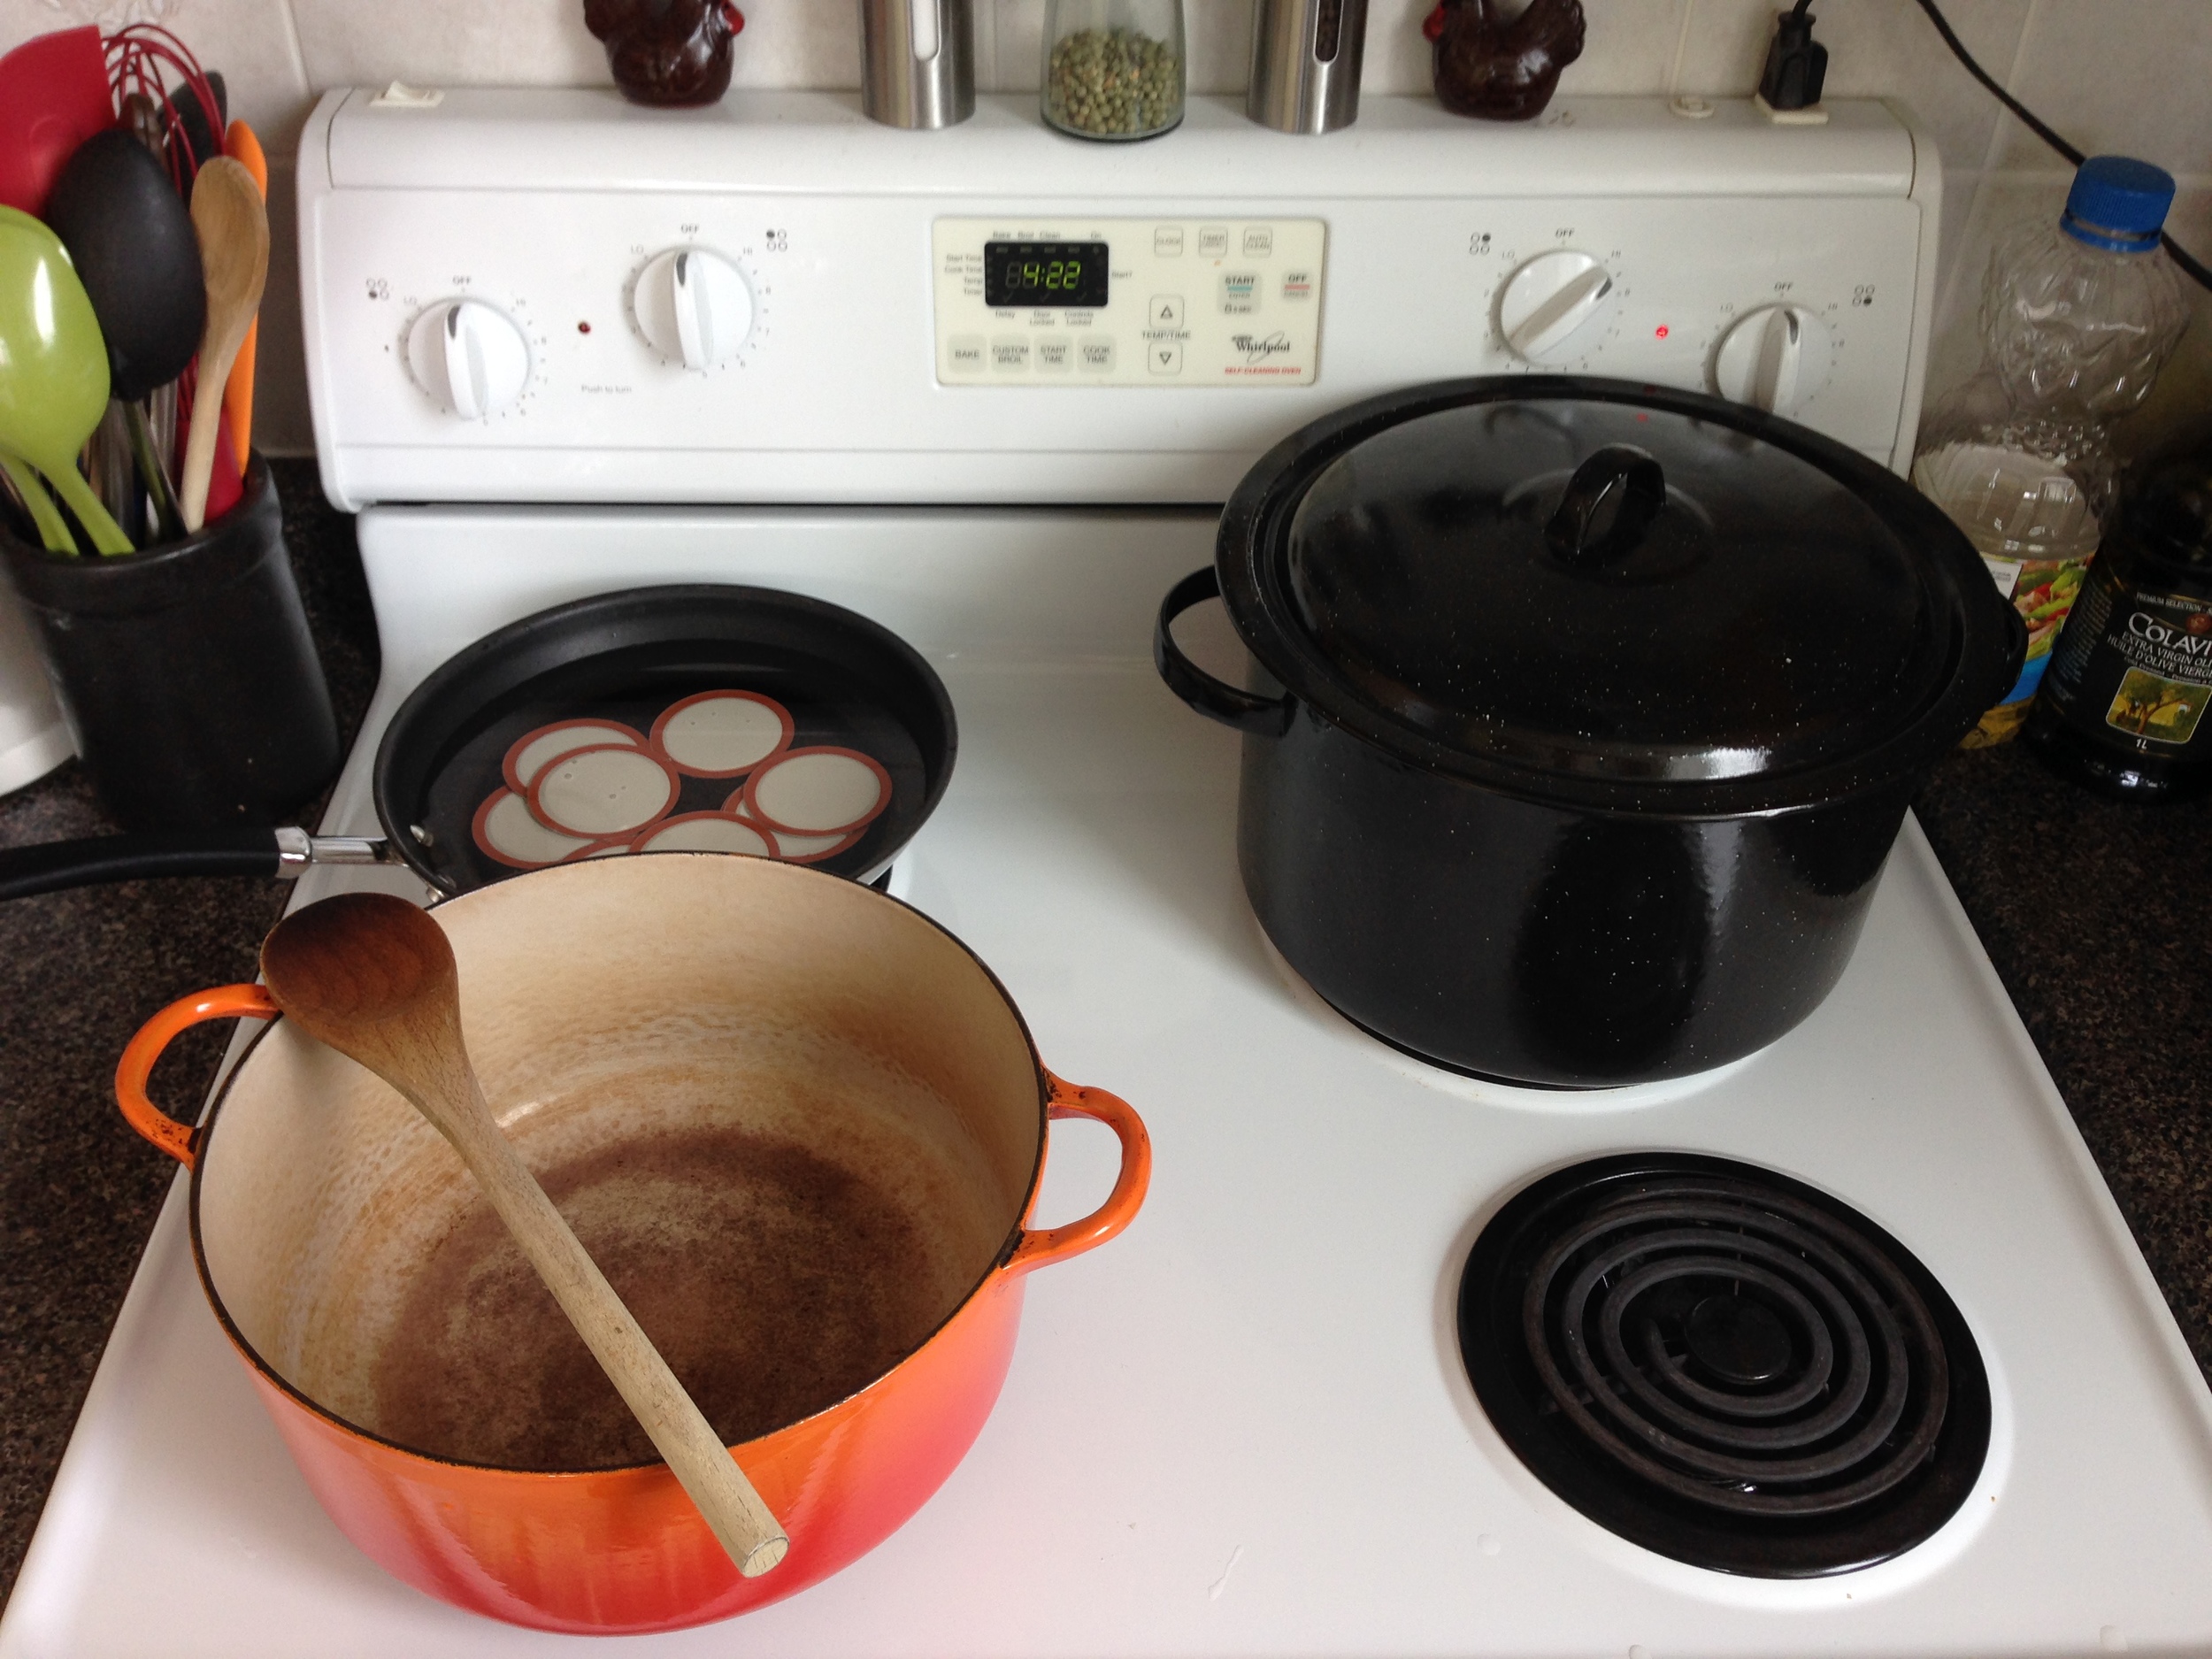
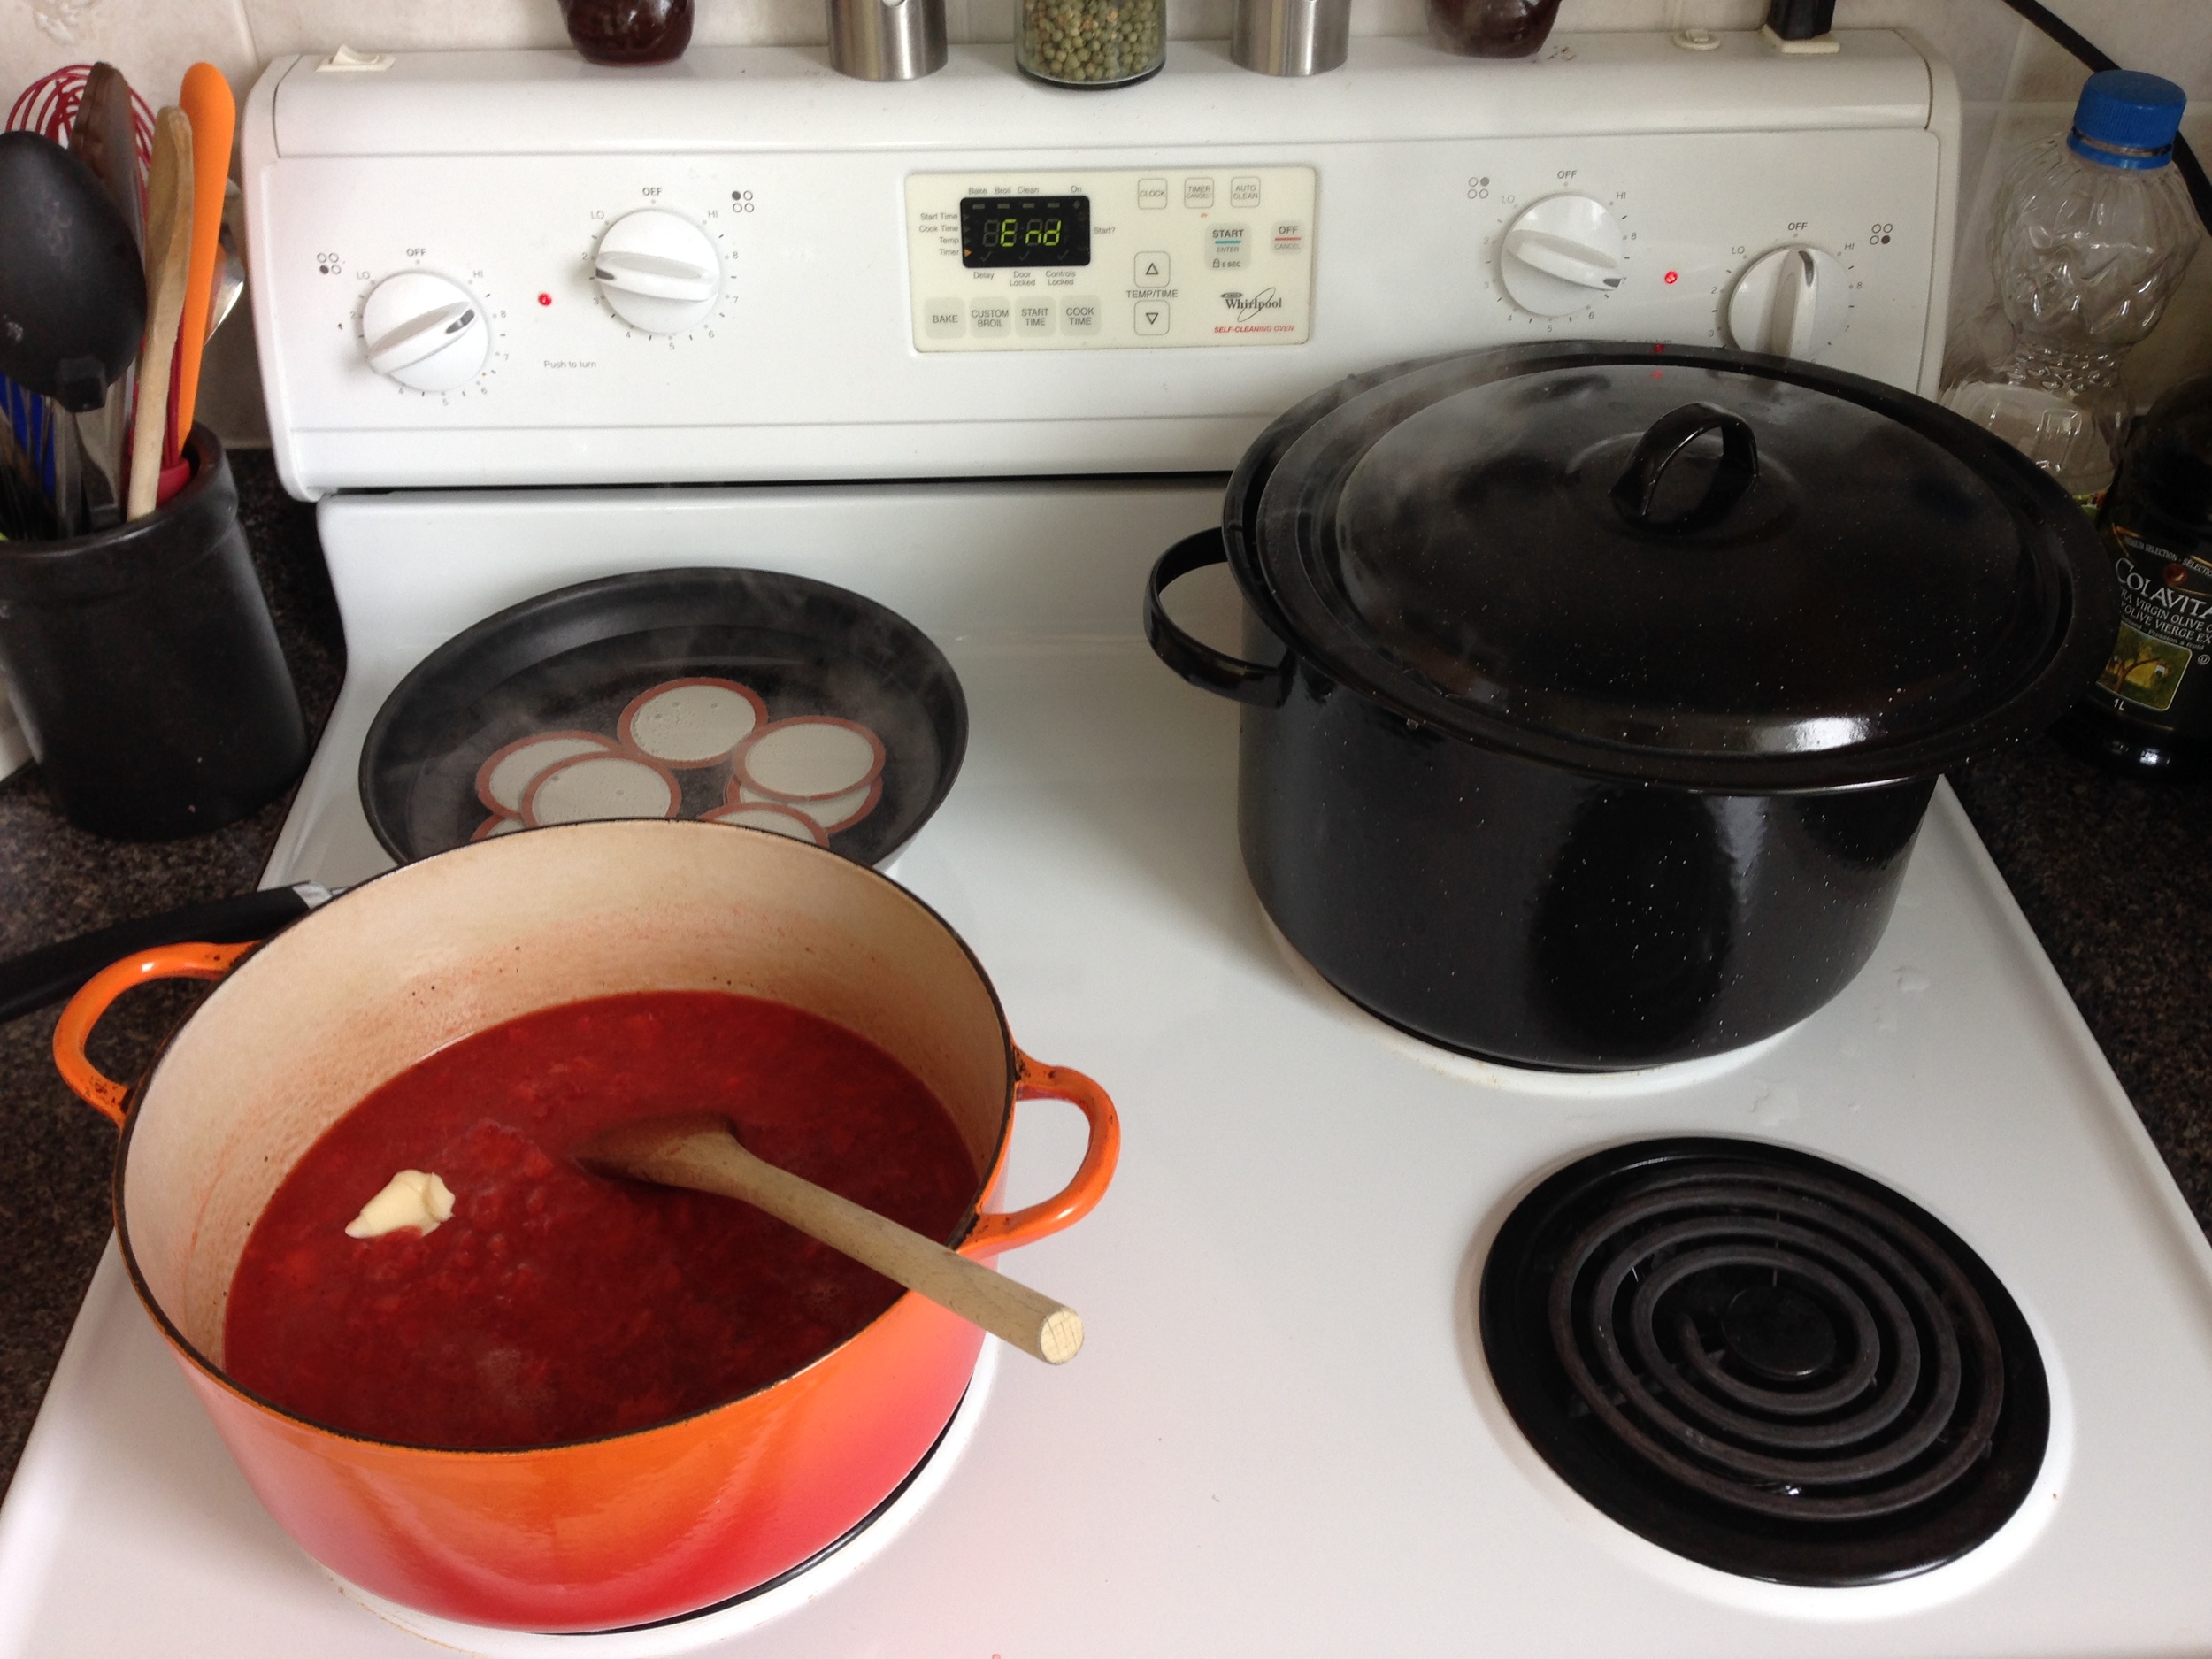
- Sterilize All The Things. Thoroughly wash all jars and screwbands and lids and utensils (jar tongs; wooden spoon; ladle; jar funnel; plastic knife or spoon) in hot soapy water. Rinse clean of all soap residue. Fill the waterbath canner with jars and water (and ~2 TBSP vinegar) and bring the canner to boil. Place all your jars evenly spaced in the canner and boil the jars for at least 10 minutes. (This will sterilize the jars.) Dry all screwbands and utensils and lay them out so they're easily accessible. Also, set a sauce pan filled with water over medium-low heat on the stove (don't boil the water though!). Put in the snap lids. This will soften the wax ring on the lids helping the jars seal completely.
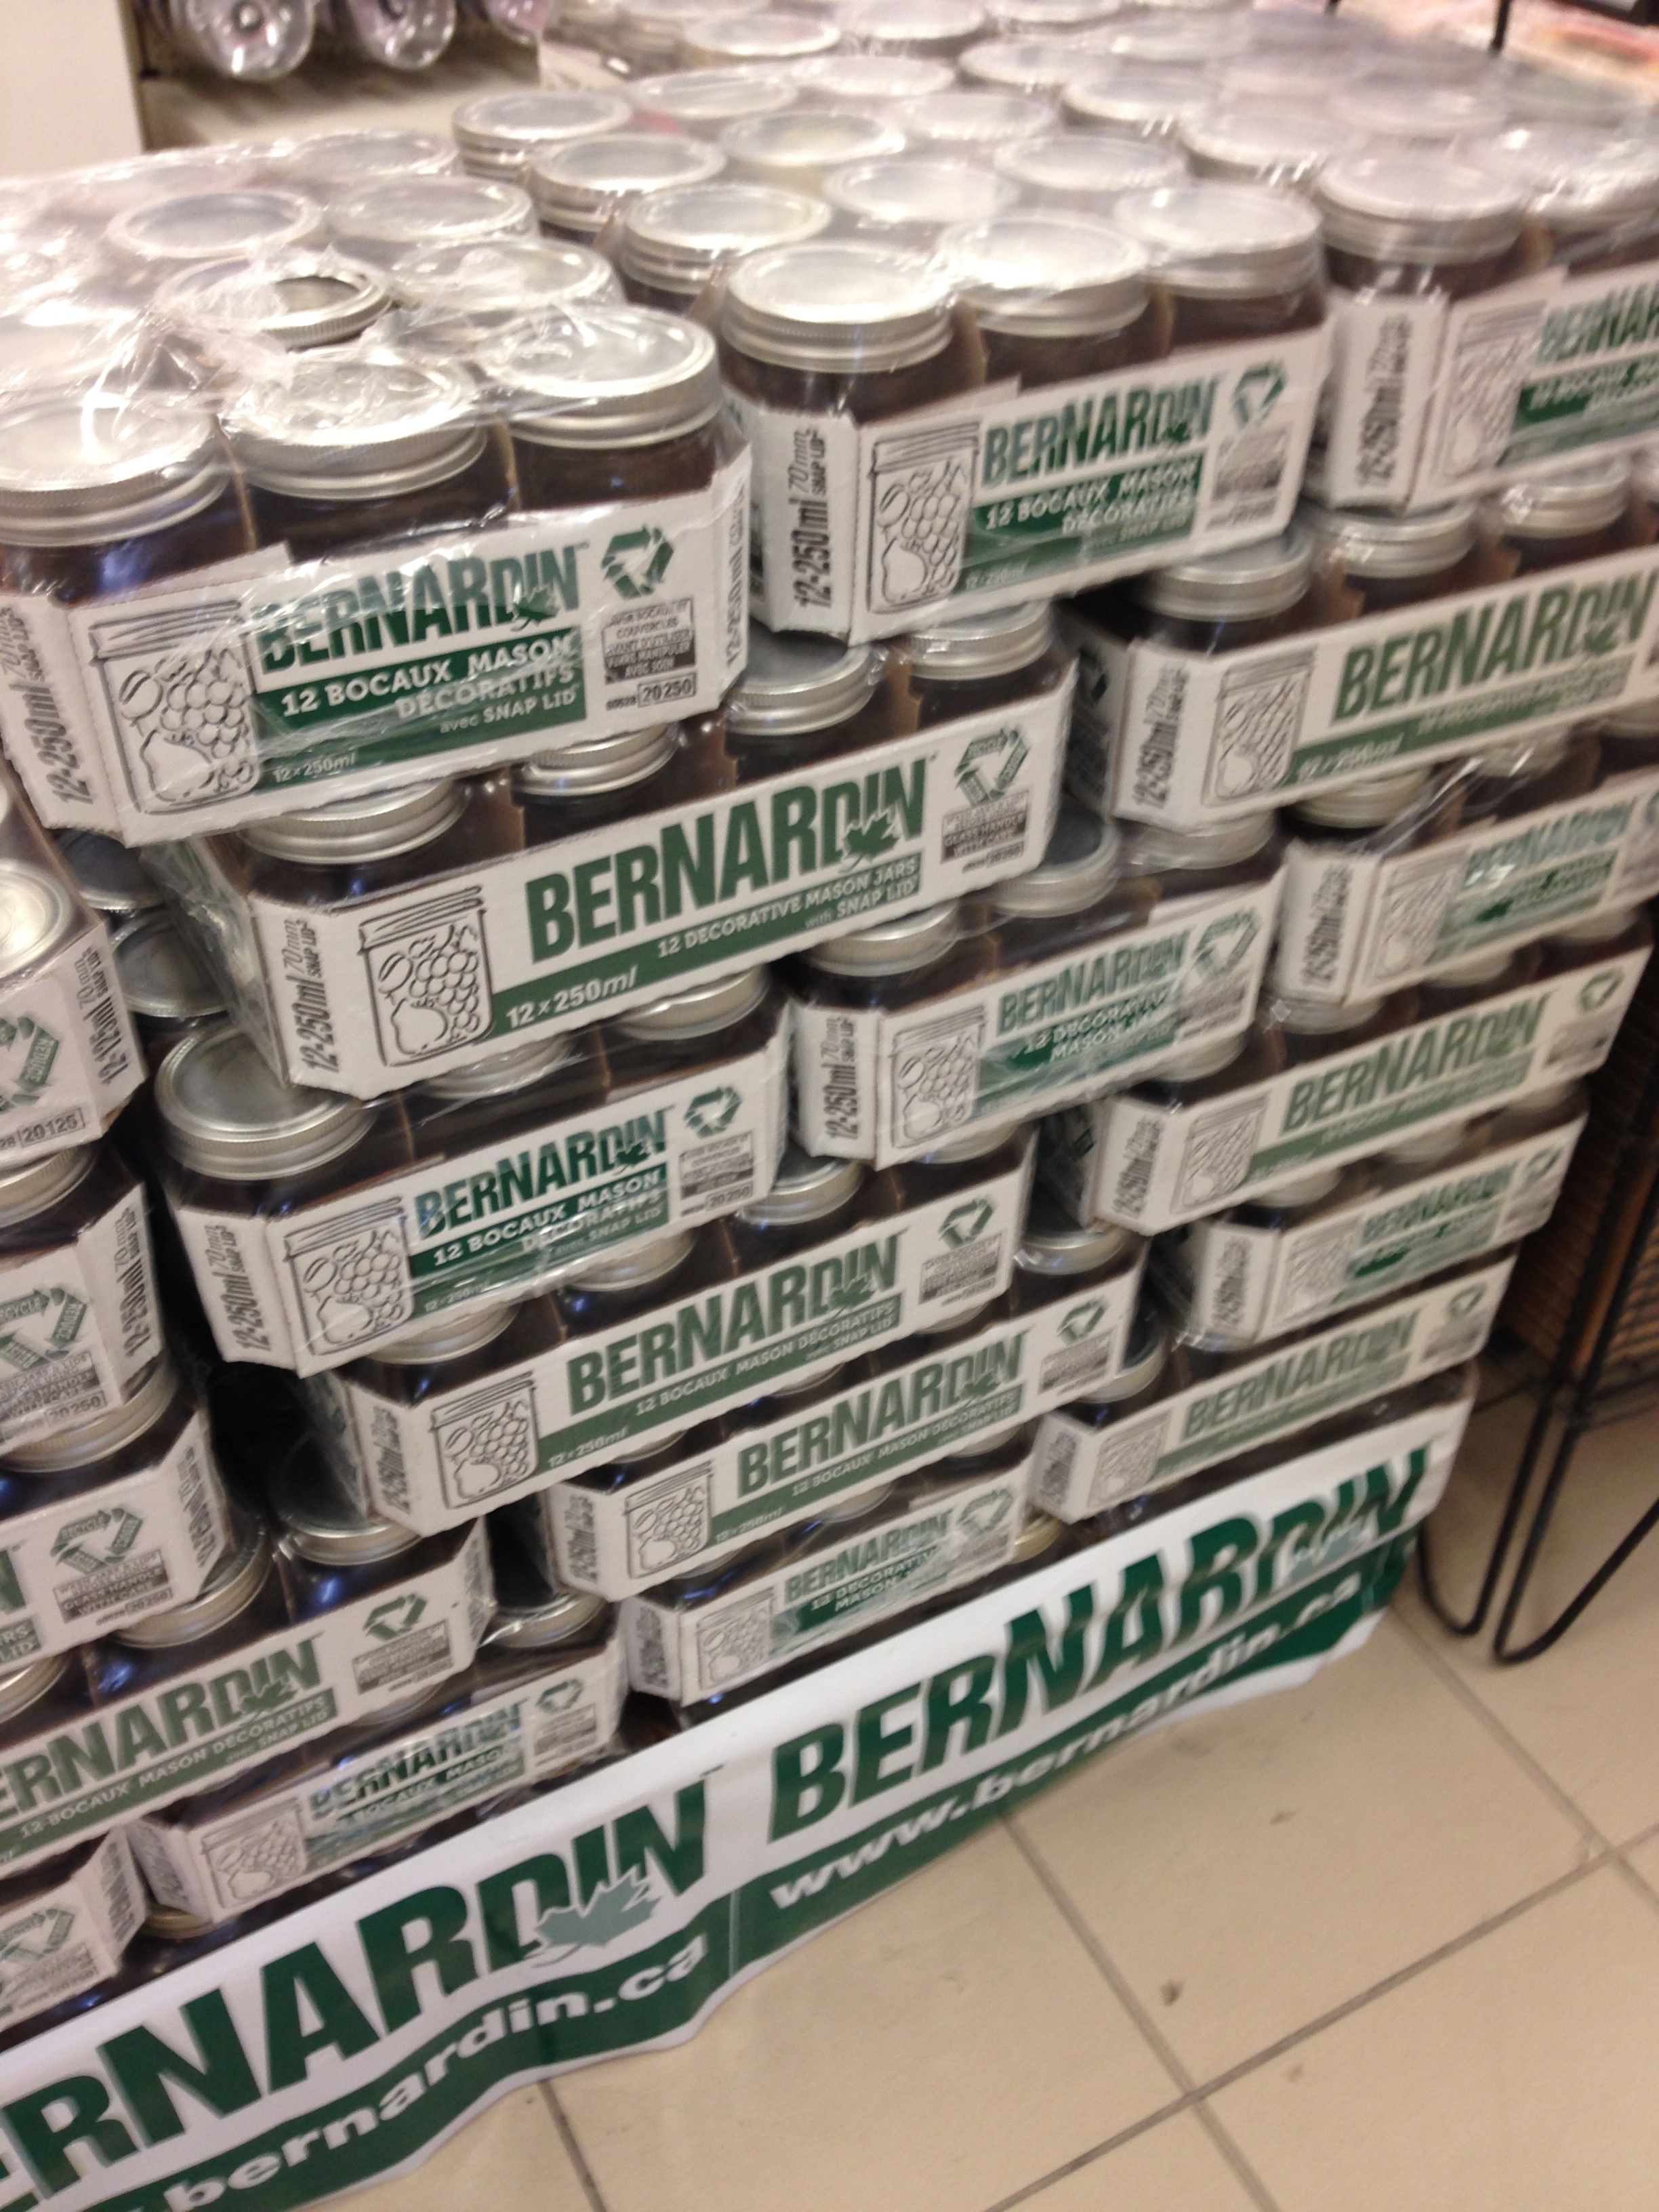
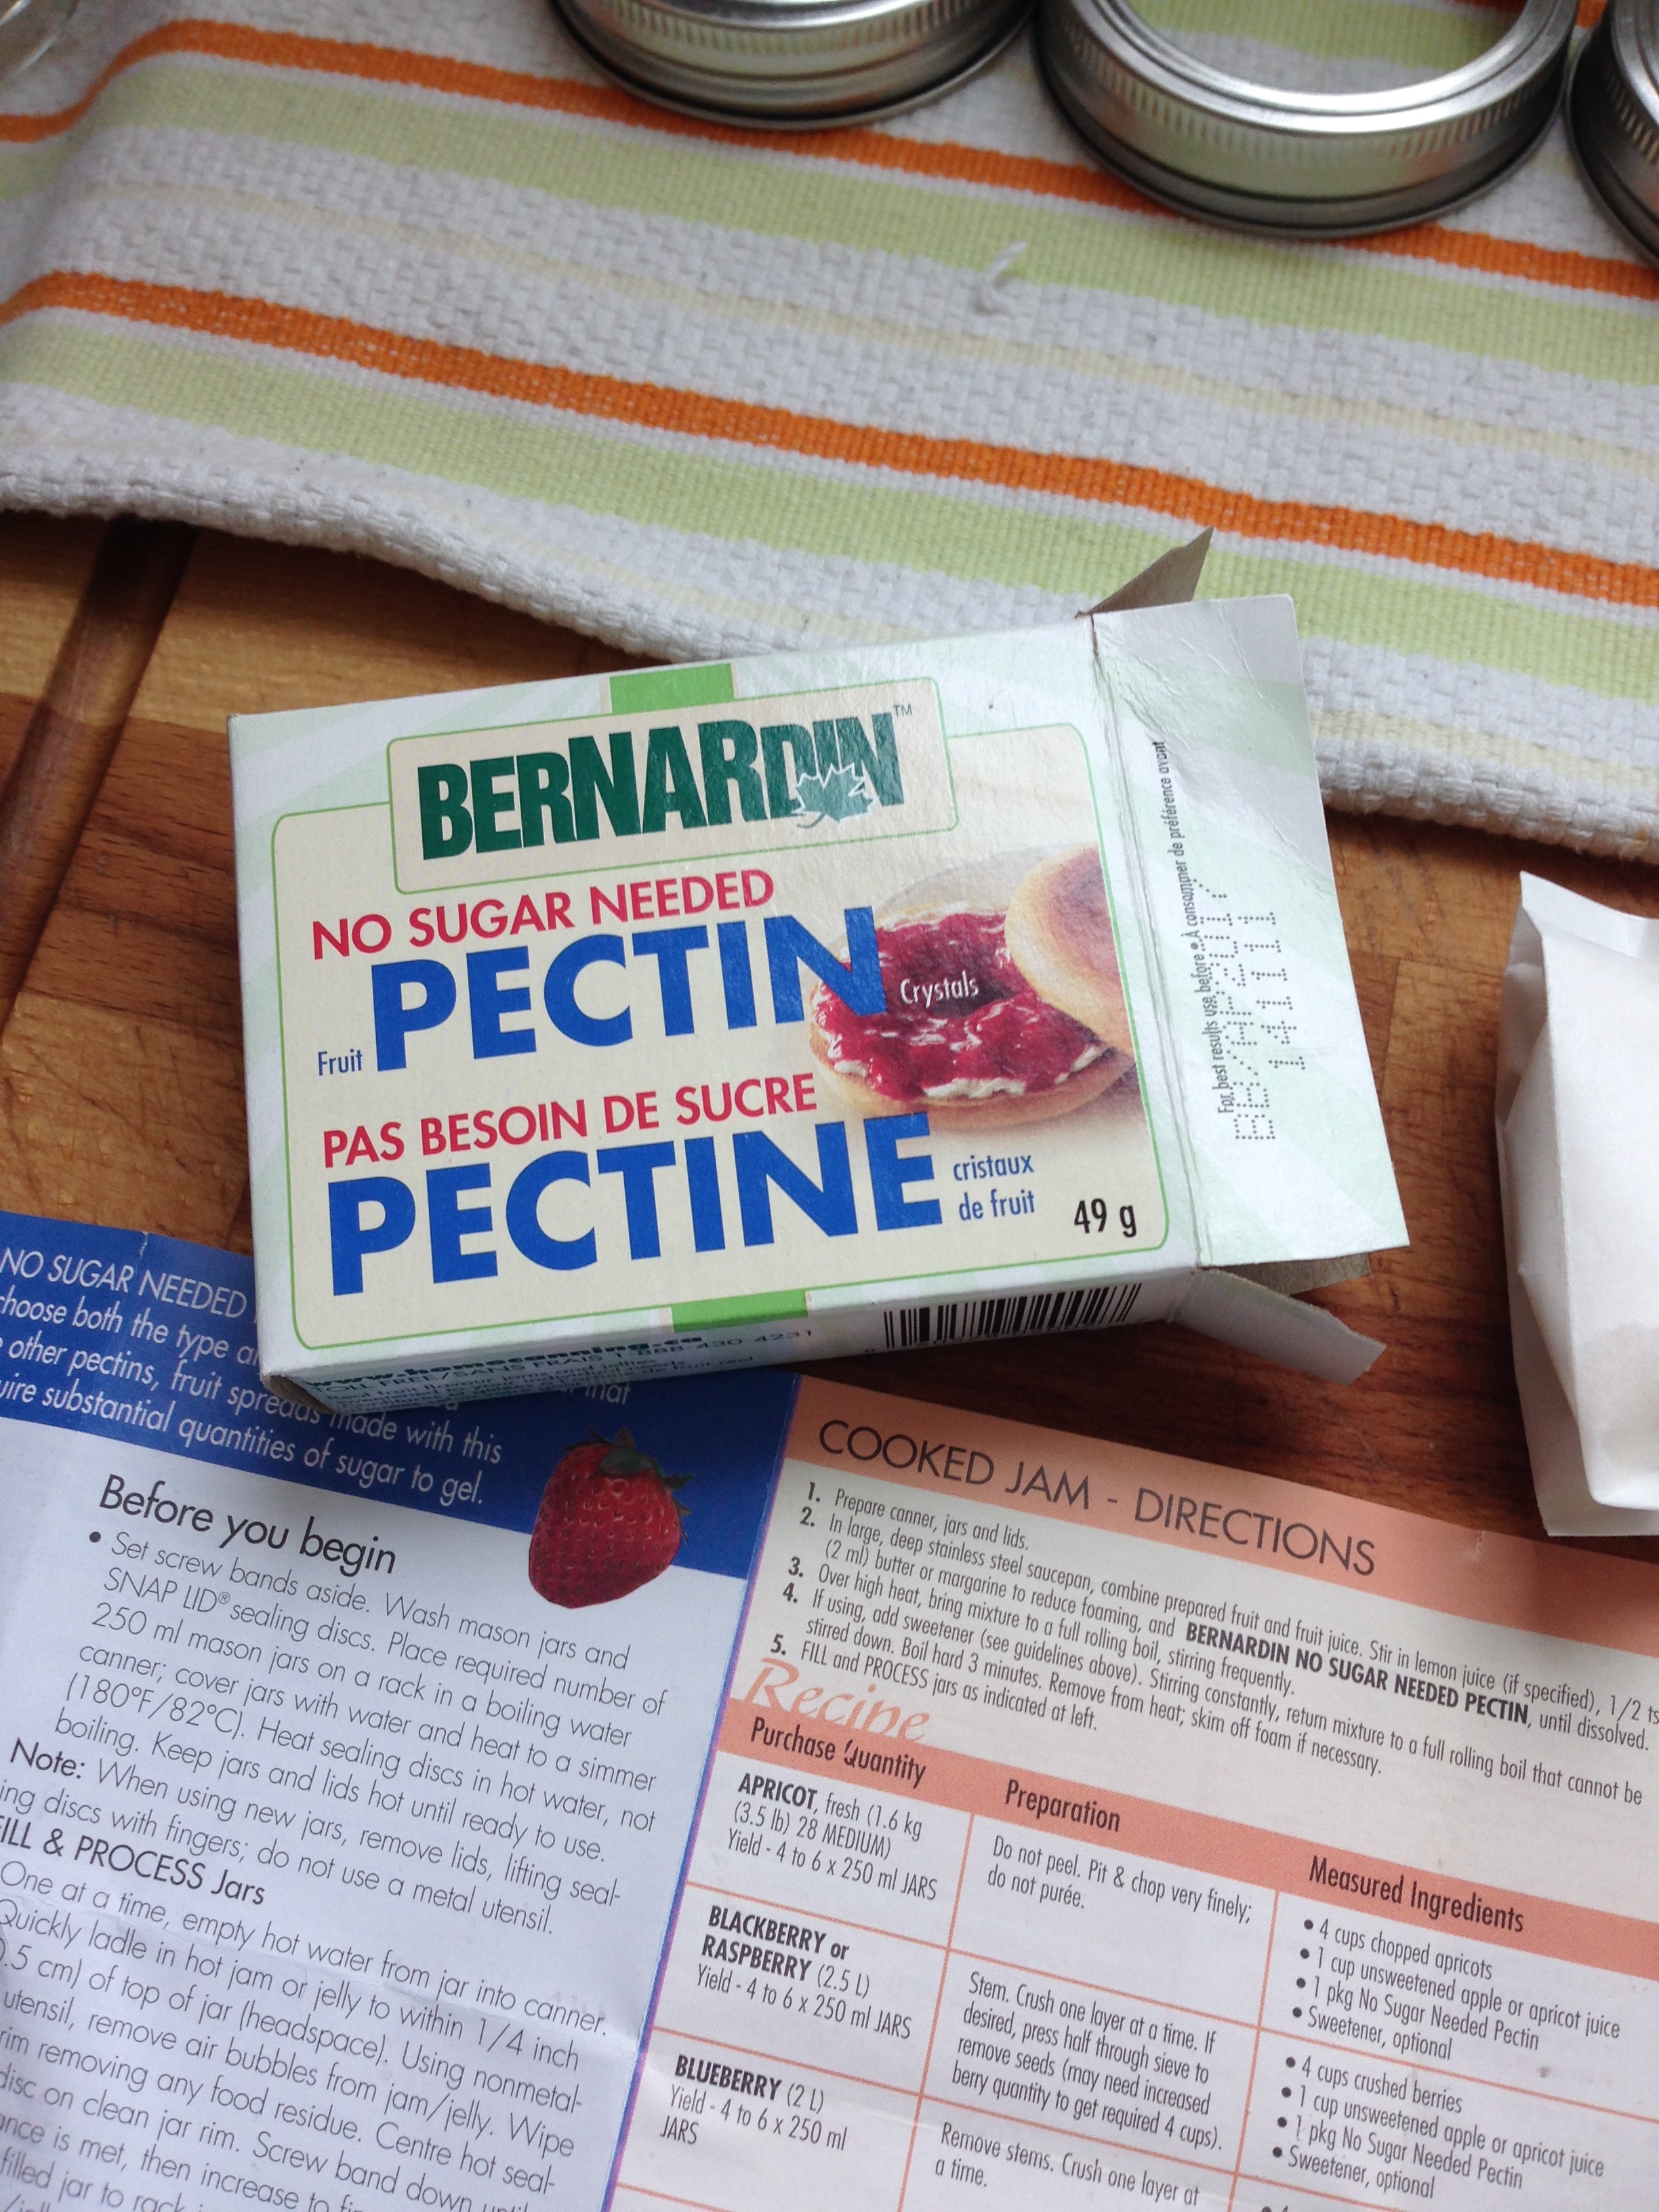
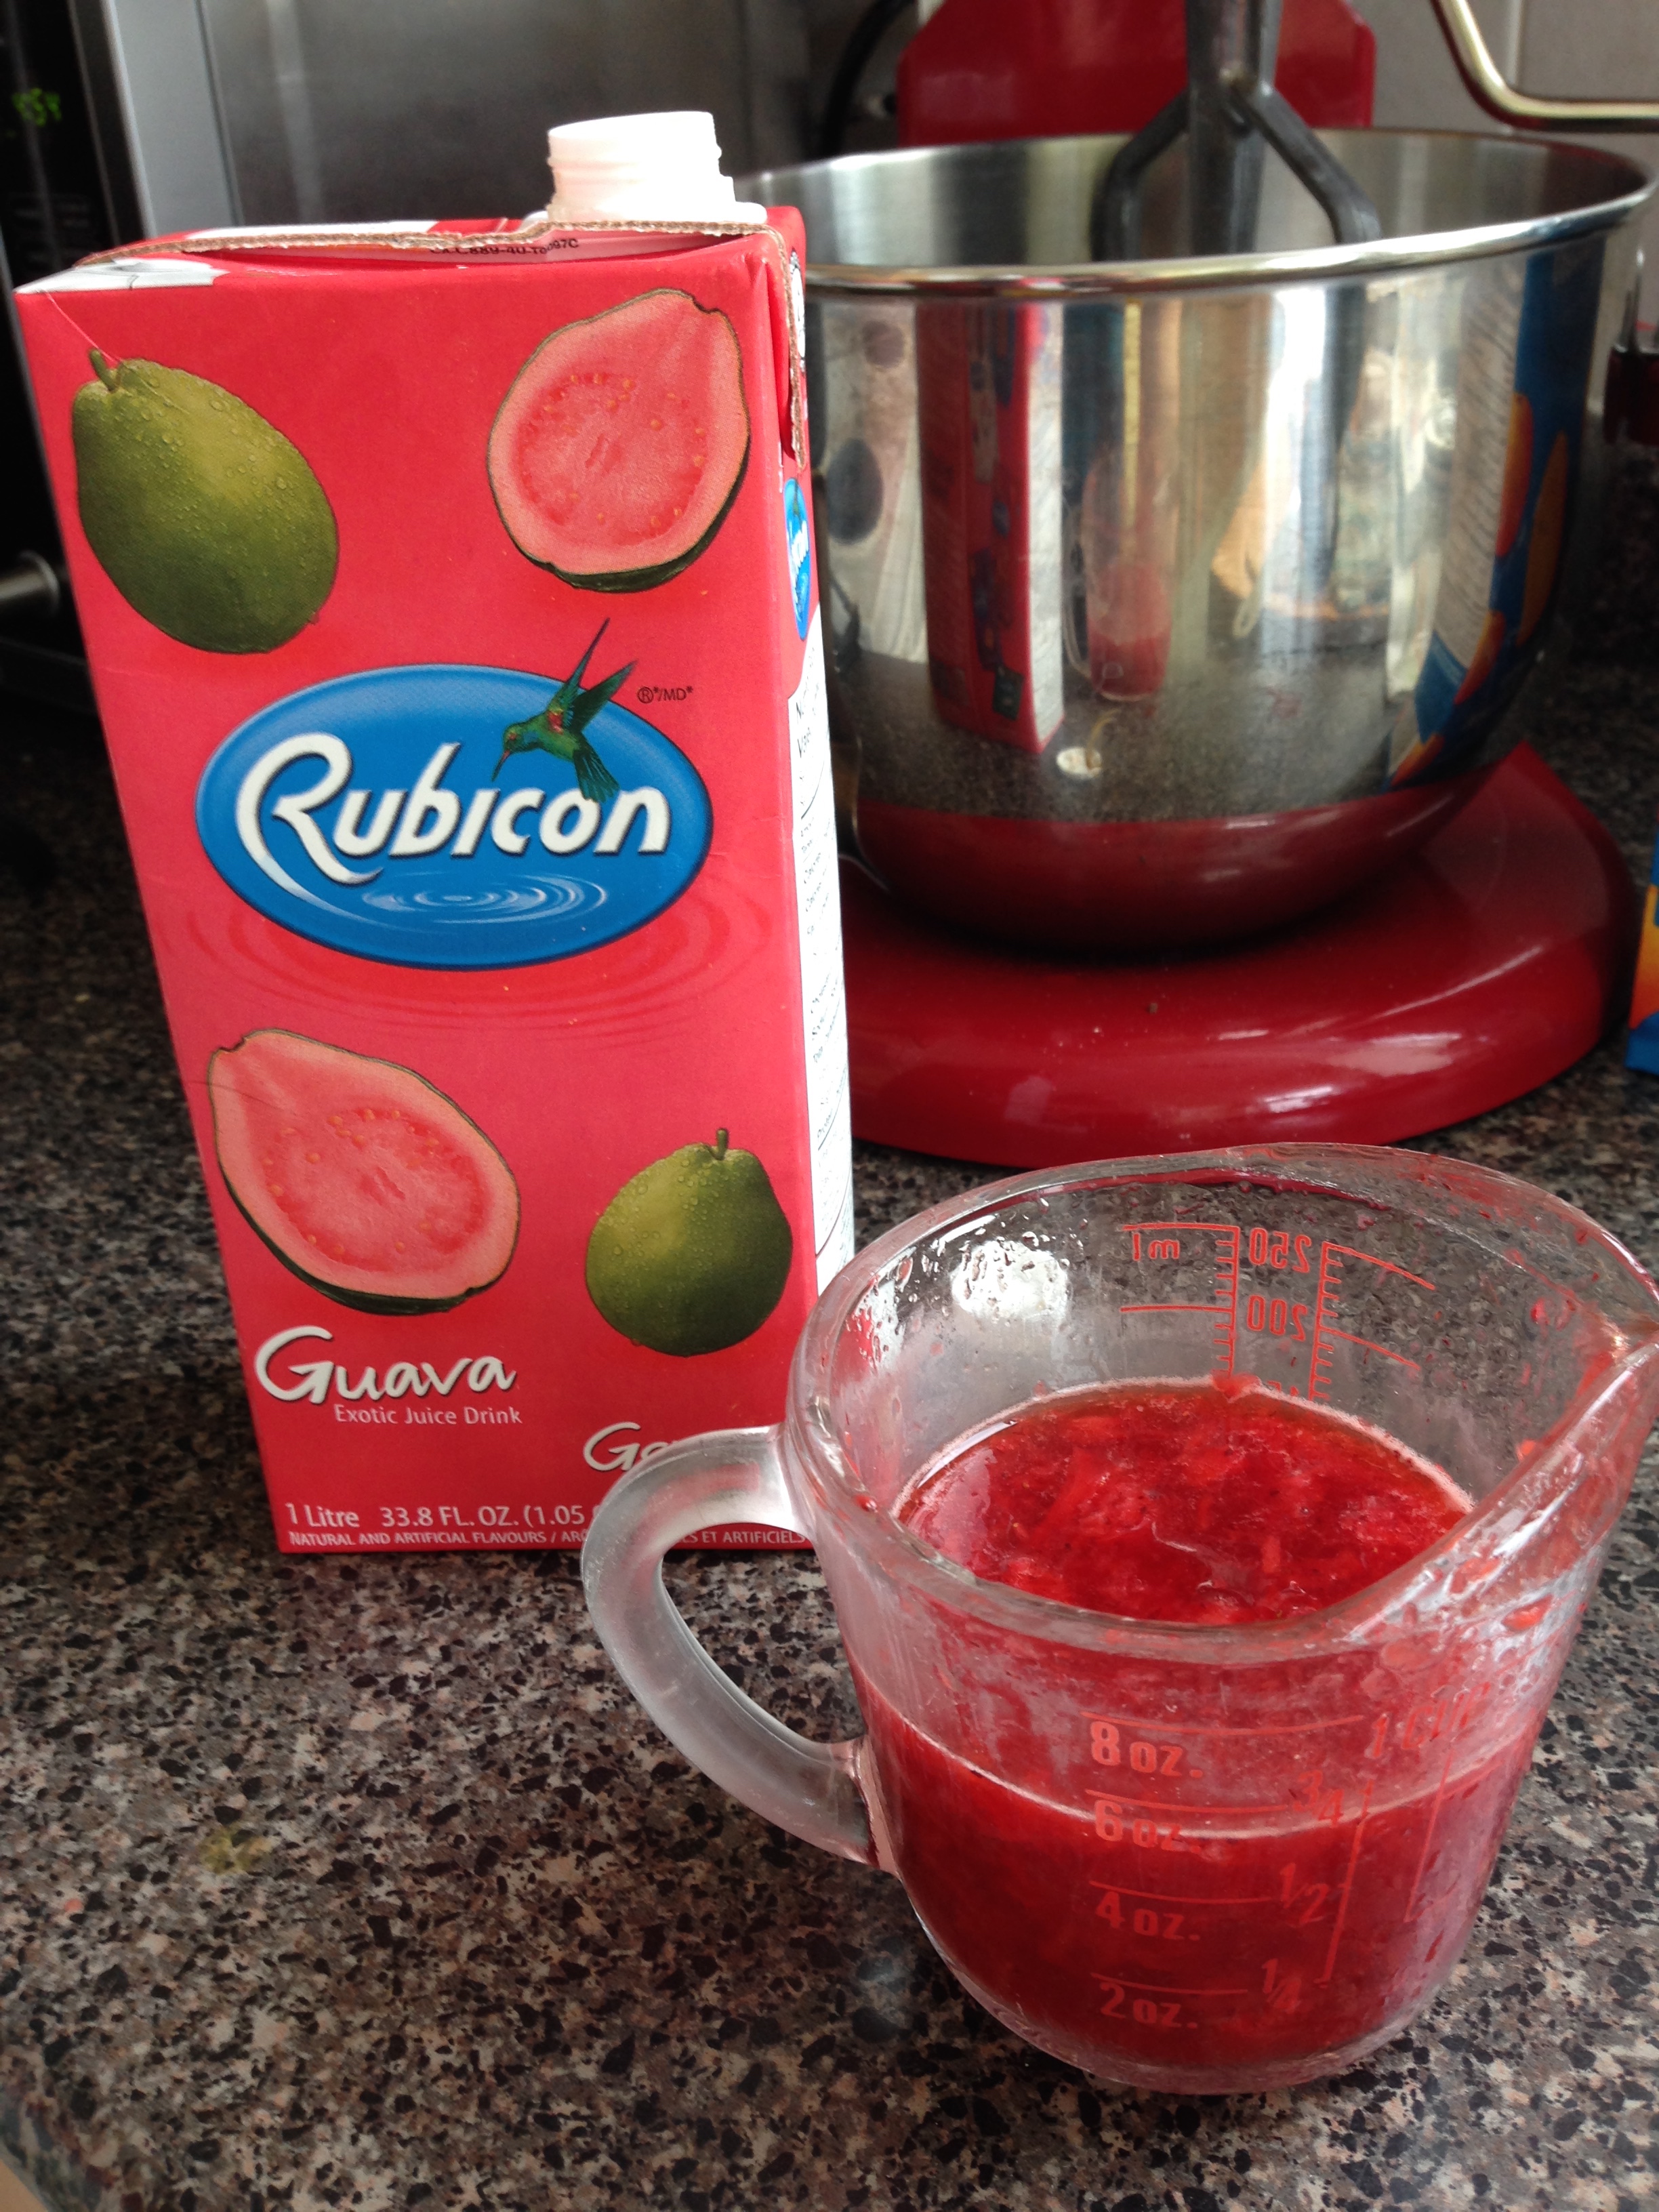
- Prep All the Ingredients. Read the recipe through and assemble all the ingredients you'll need. Make sure you find a reputable recipe to follow. I use Bernardin as my mainstay. Mash and then measure the fruit, measure out the sugar, get the pectin pack ready (I used a sugar-reduced pectin for the strawberries. No particular reason other than I wanted to try it). Once everything is prepped you can Start. ALSO. Make sure your canner is boiling hot! You won't have time to bring it back to a boil after you've started your jam. I also usually have a kettle of boiling water going as well in case I need to top up the canner during the process.
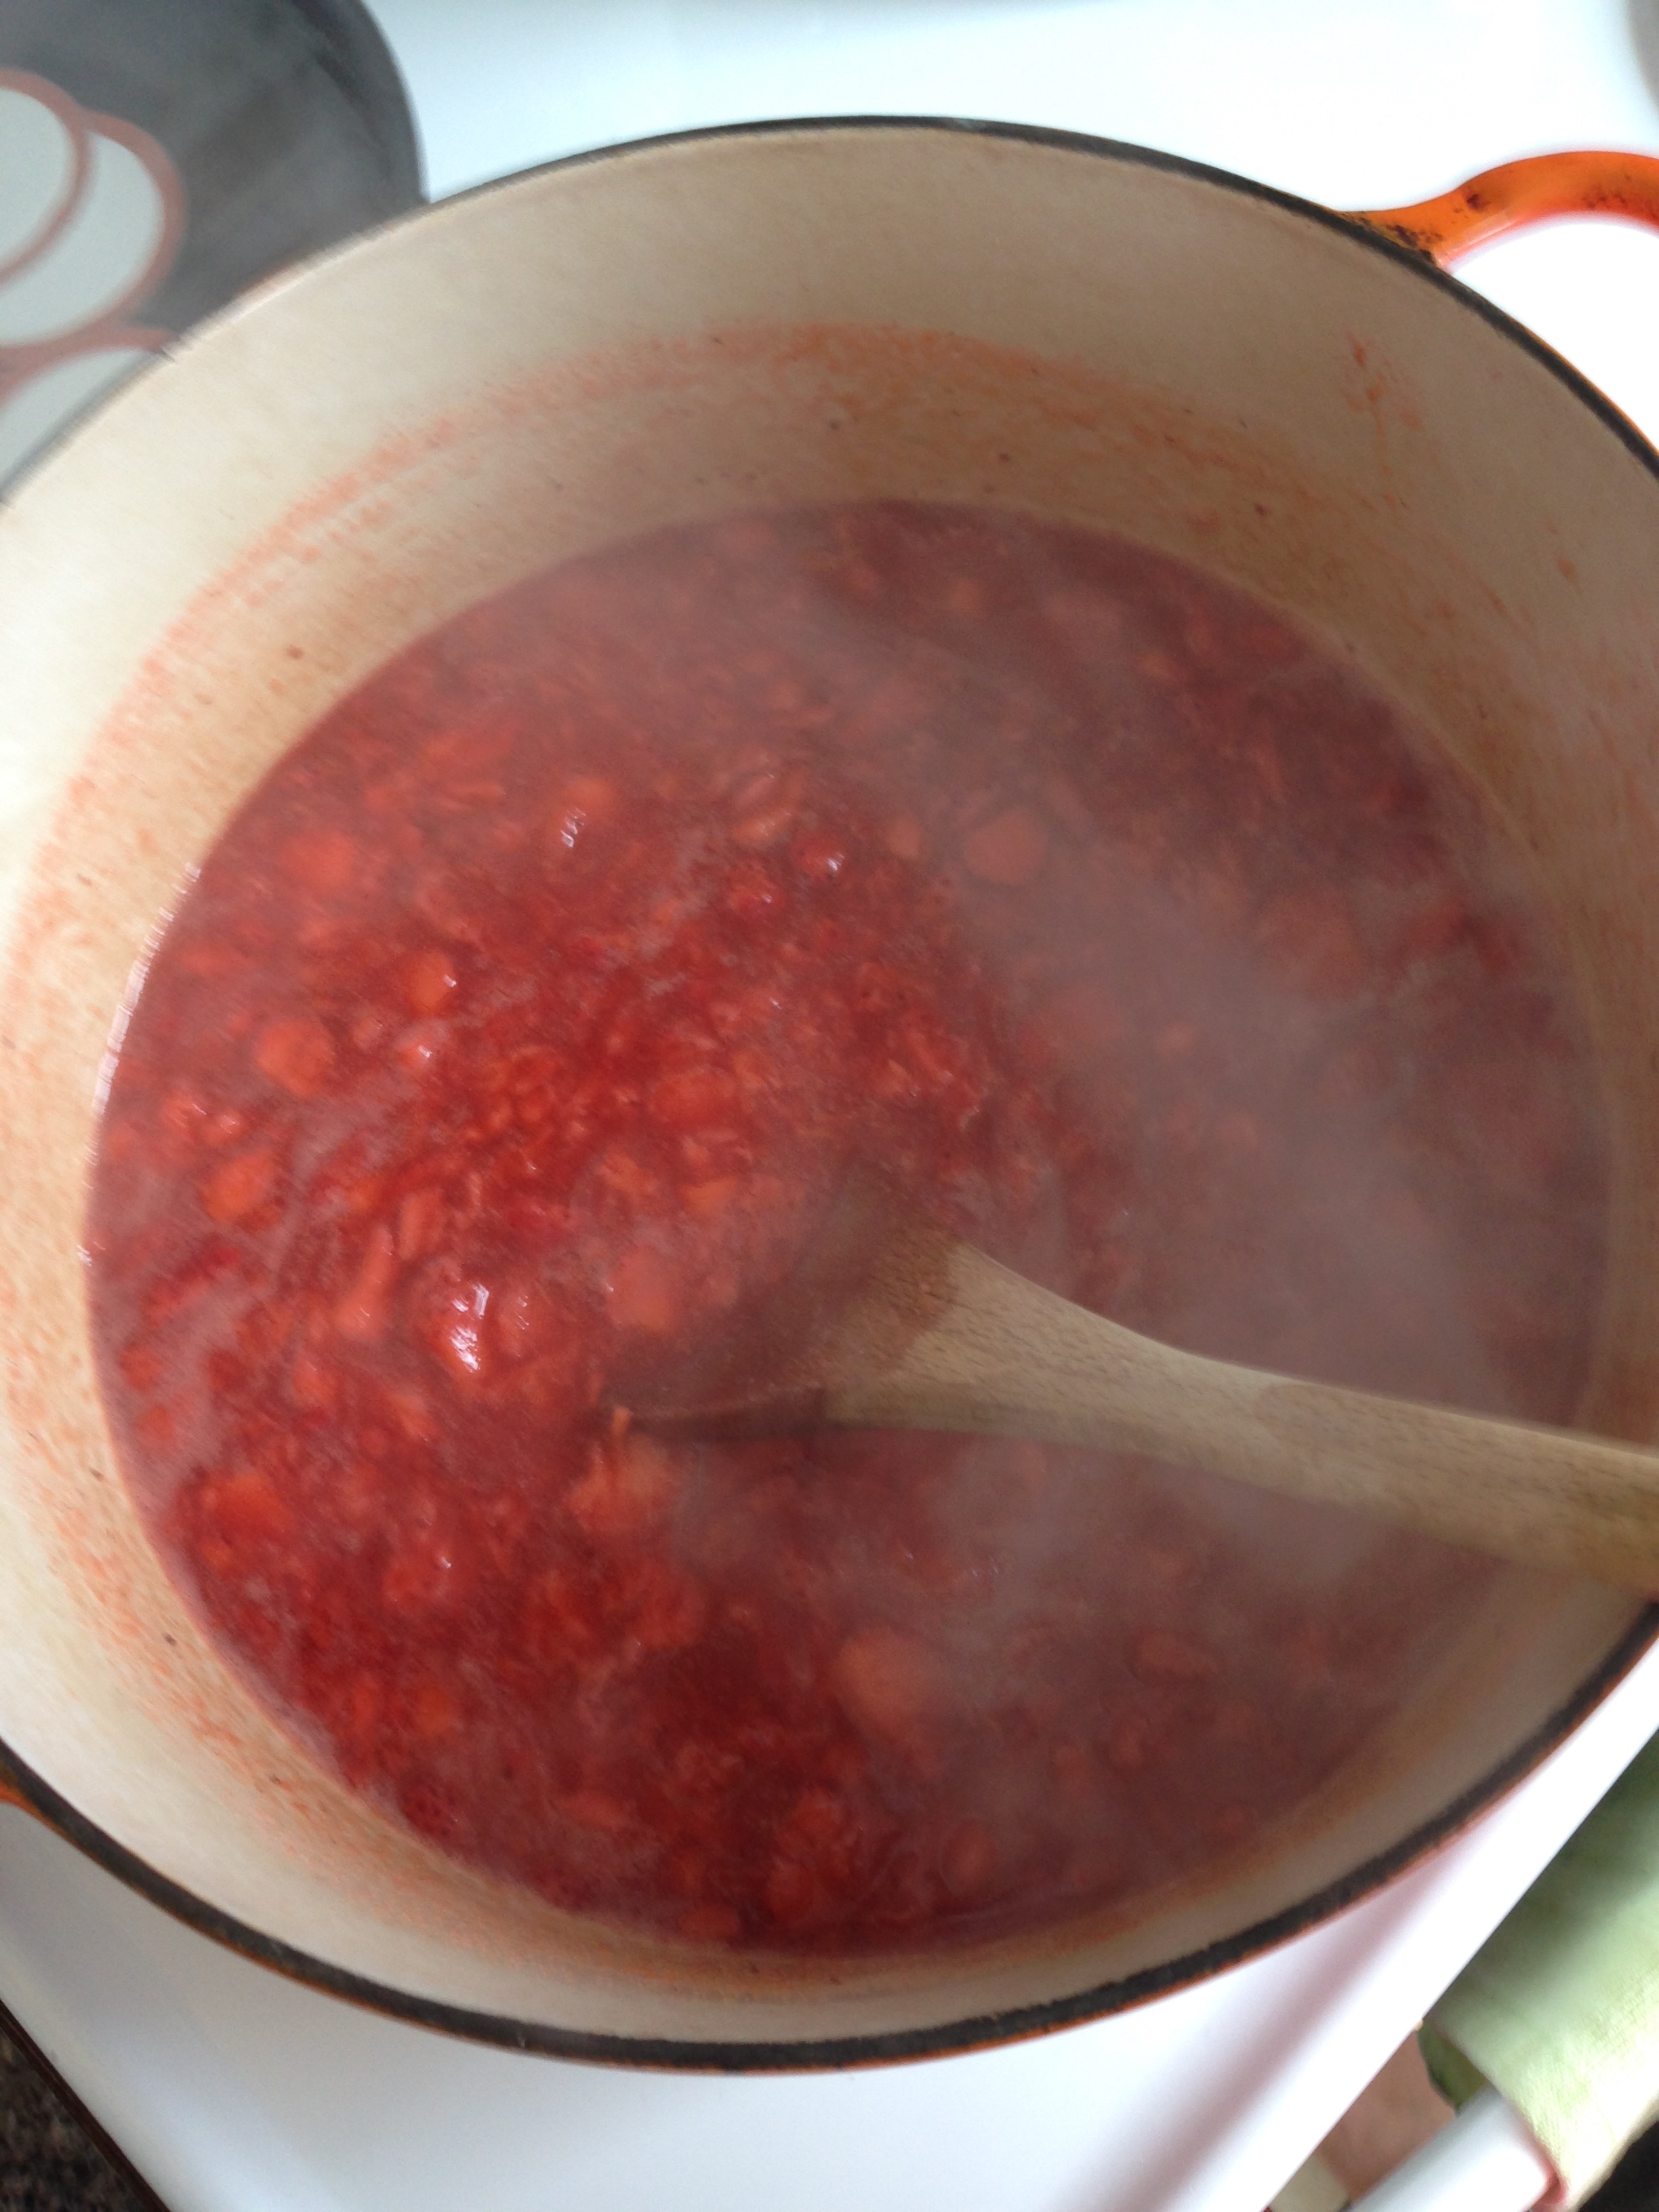
- Start Jamming. Now for the fast hot mess that is jam making. Add fruit, juice, pectin and margarine to a large pot, making sure that there's lots of room in the pot as the jam will expand to almost double when it's boiling. Stir well so all the pectin powder is dissolved. Now add heat! Bring the jam to a rolling boil over high heat. You'll know a 'rolling boil' when you see it. It's bubbling sugar paste that doesn't stir down. Think molten sugar lava. Add your sugar and stir well and fast to combine. Continue stirring until the mixture comes back to a rolling boil. Boil and stir for as long as the recipe says (for me it was 3 minutes). After the time is up, take the pot off the heat and prepare to fill your jars! (Sometimes a 'skin' or 'foam' may form on the top of your jam. Use a slotted spoon to scoop it off. It can be discarded in the sink for now.)
- Start Canning. Now that your jam has been sufficiently lava-ed, using the jar tongs, remove a sterilized jar from the boiling canner and empty the water in it back into the canner. Place the jar on your clean counter next to the jam pot. Place the jar funnel on the jar and ladle the jam smoothly up to the recommended head space marker (my recipe called for a 1/4 inch headspace). Remove the funnel, wipe the rim with a damp paper towel or clean damp cloth. Place a warmed lid on top. Place a screwband on the jar, then grasp the jar with the jar tongs. Tighten the screwband to ONLY fingertip tight. This literally means using your finger tips only, tighten the screwband until there is enough resistance that it stops. Then, keeping the jar level, lift it up and place it back into the canner. Repeat!
- Finish Canning. Now that all your jam has been put in jars in your canner, top up the boil water with more boiling water from the kettle, if need be (I usually like about 2 inches of water above my cans, if I can get it). Depending on your altitude, you'll need to adjust the time you process the jars. But it's a standard 10 minutes across the board, no matter what. For Alberta, I had to add an extra 5 minutes, but good ol' Toronto is set at the standard 10. With the canner lid on, process the jam in the boiling waterbath for the required time. After the time is done, remove the jars with the tongs, lifting them straight out of the canner (NO tipping to get water off the top!). Set them down to cool in an out of the way space. From this point on, till they're completely cooled, No Touching! Resist the urge to poke them! As they cool, you'll hear the popping sounds of the snap lids sealing. Even after this has happened, No Touchy! It's a waiting game now. If you did it right, you'll have delicious shelf-stable jam to look forwards.
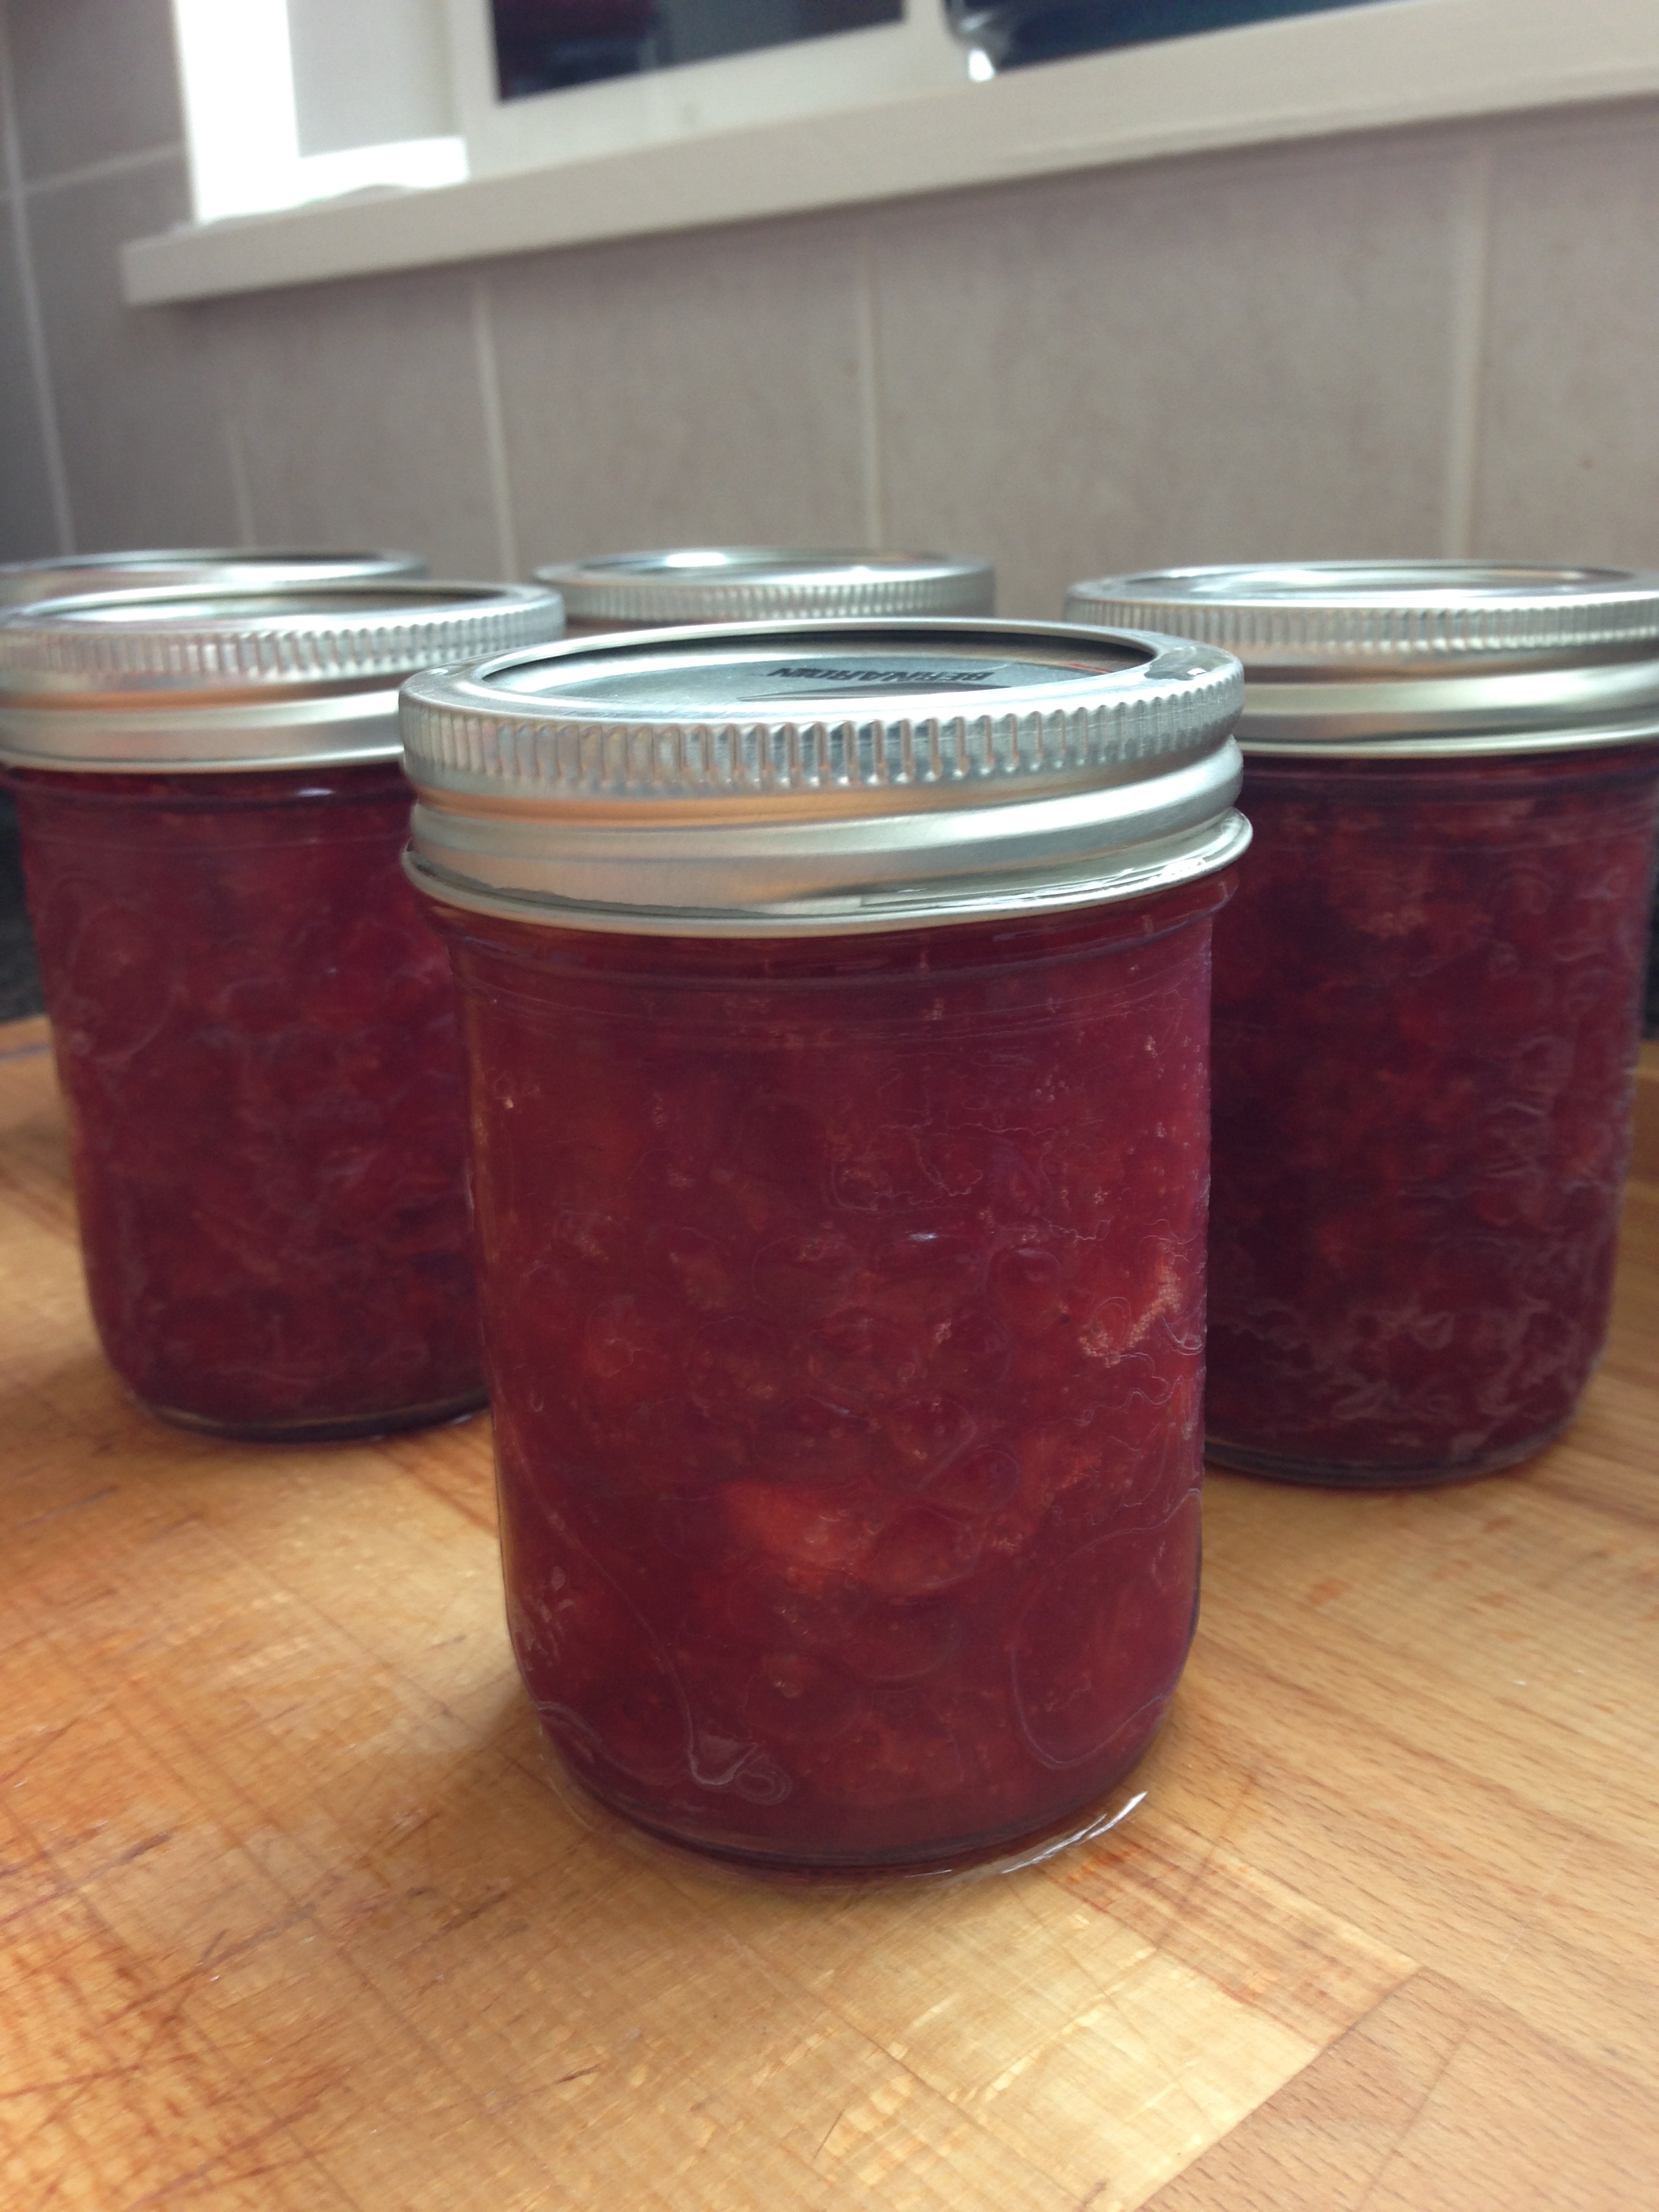
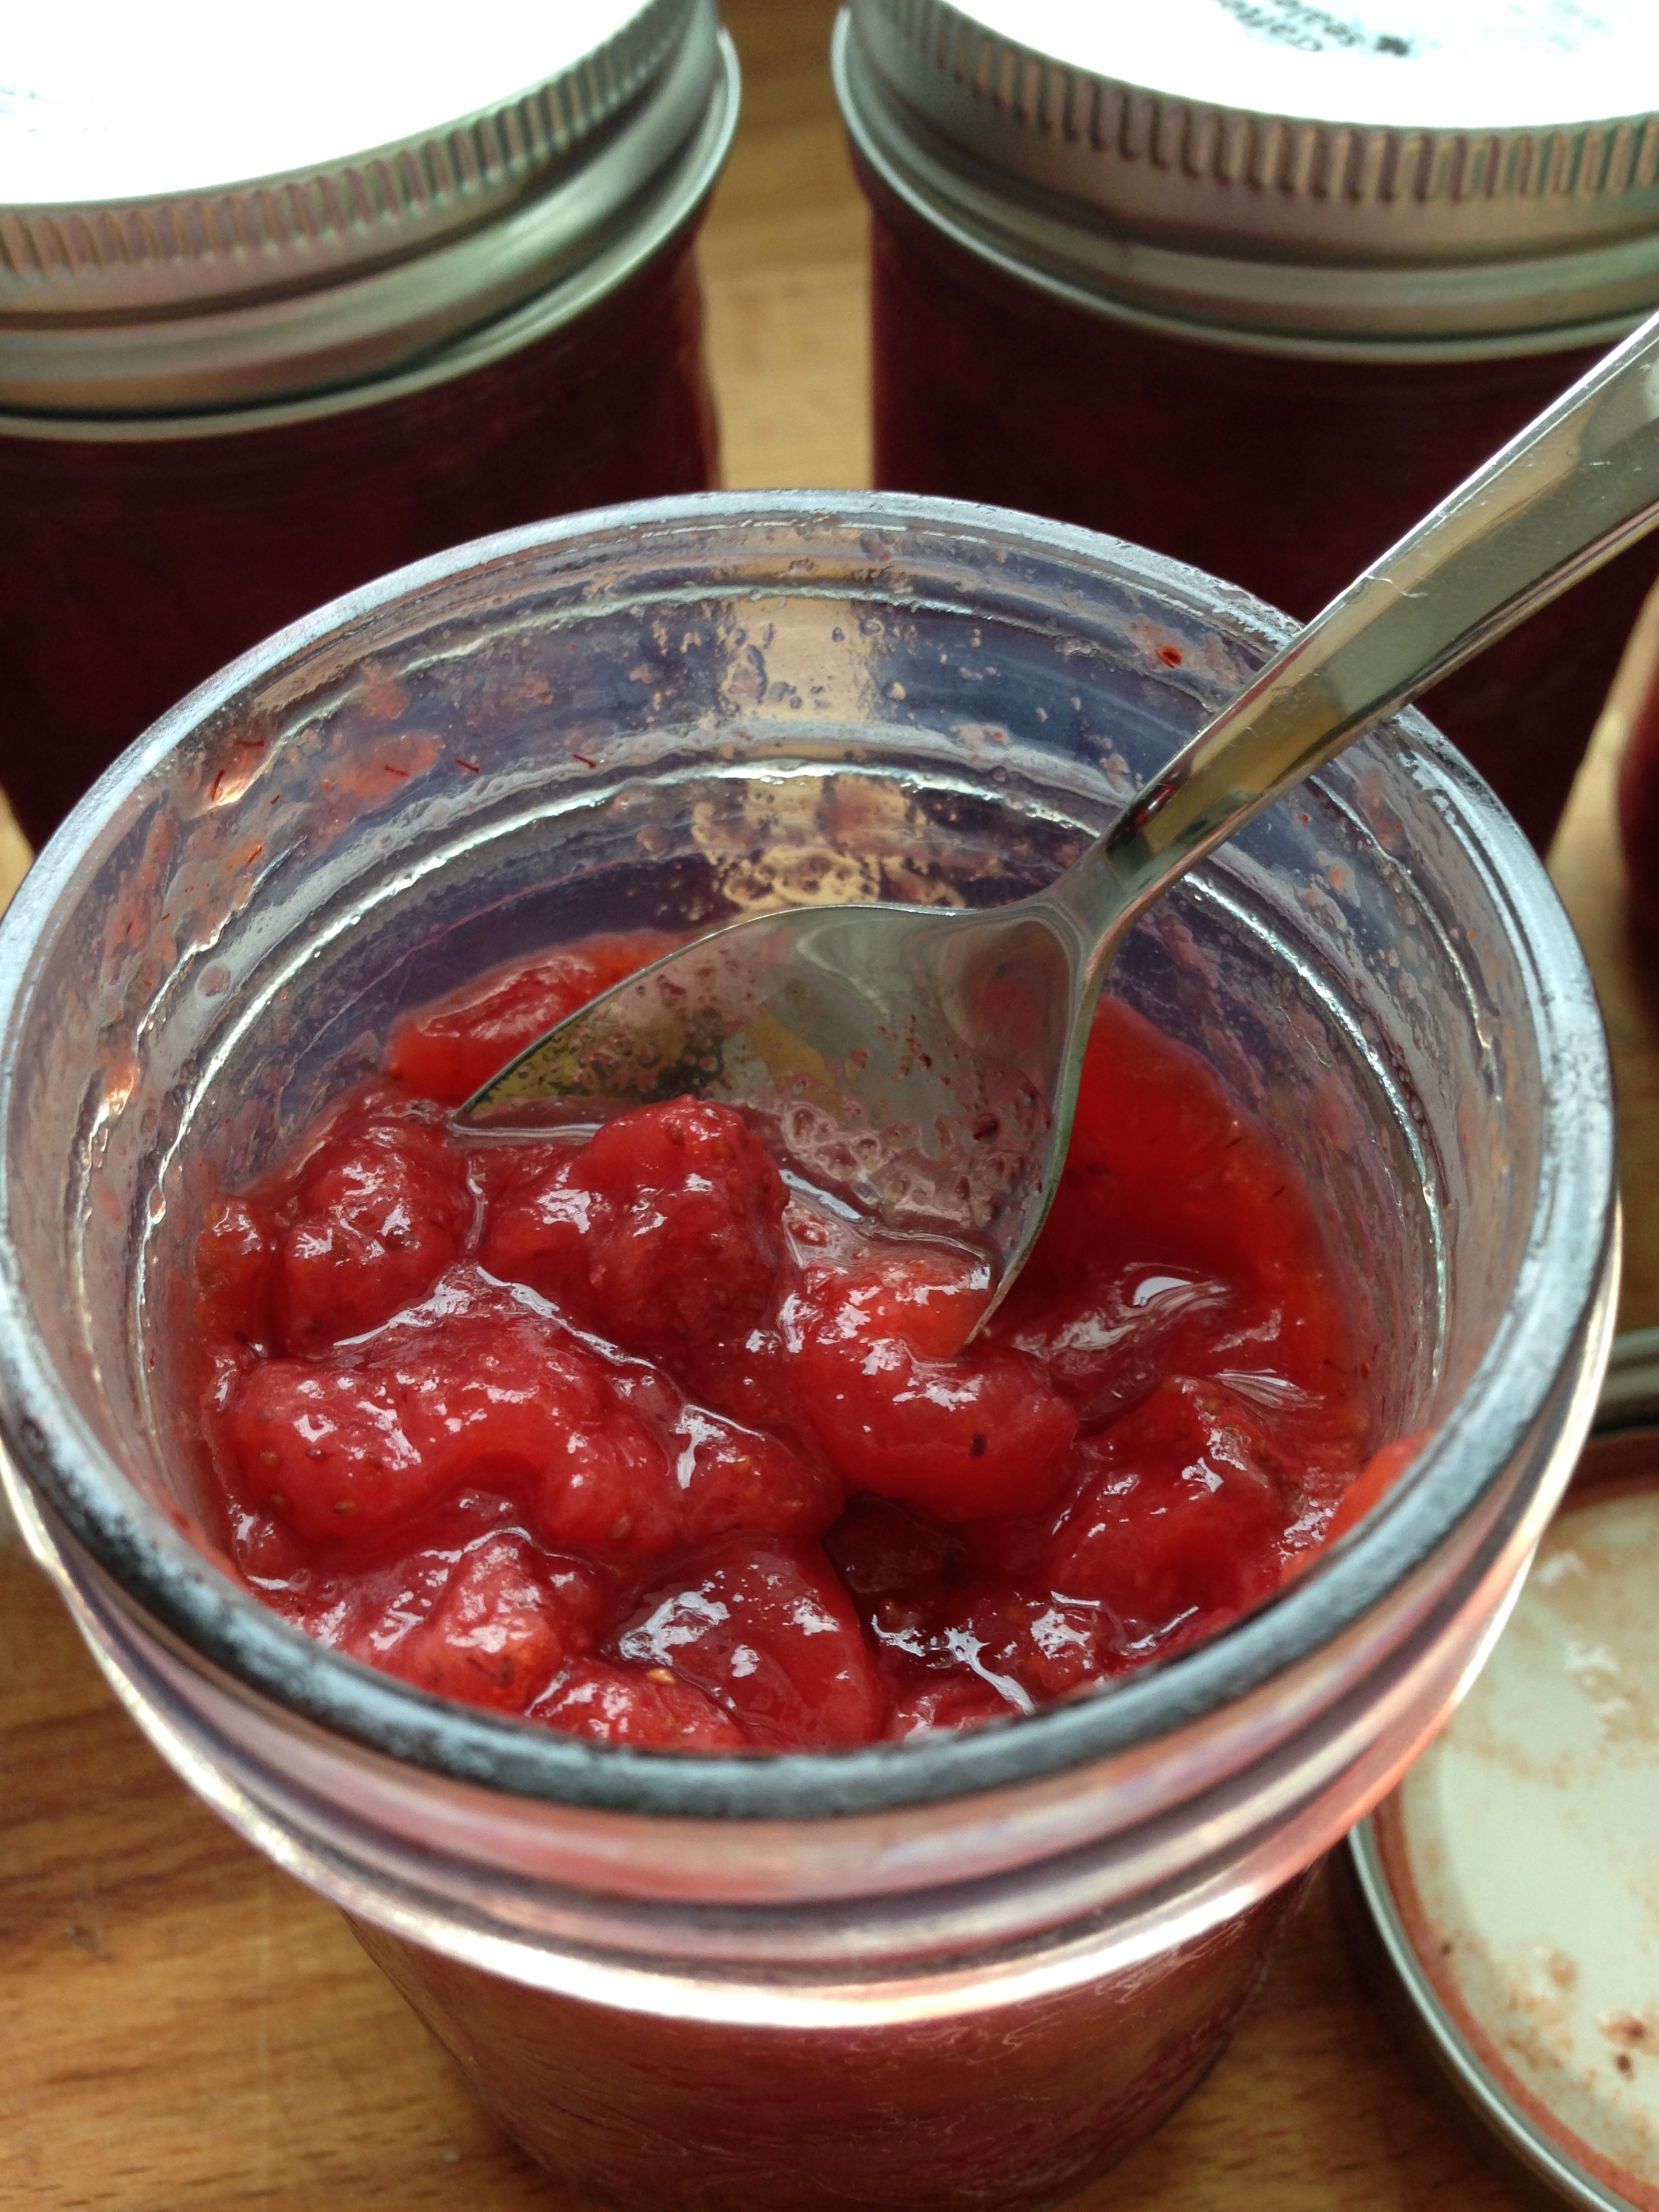
- Enjoy! Let the jars cool completely. This will take up to 8 hours. I usually leave mine sit for 12 to 24 hours. After they've cooled, check that all the jars have sealed. The snap lids should be divoted inwards and you should be unable to pry them off with your fingers.** Ta Da!!! The jam is now shelf stable! Label the jam with the date and the contents and bask in the glory that is homemade jam.
Also eat the jam. By the spoonful. Obviously.
But yah! I look forward to more canning to come! I want to try pickles this year. And maybe peaches...? Definitely marmalade. All the Things! (As Always.)
-Andrea
The Half-Assed Hobbyist
** If the lid did not seal do not fret! The jam is still good to eat! It just needs to live in the fridge and be eaten first. I don't recommend attempting to re-can the jars. Instead, bake something with jam! Oooo. That's a good idea actually. Hmmmm. Haha.