Jam-uary

It's a new year! Yay!

Now usually January is a slow month. After the holiday parties and year end snafus, January is typically cold and dull, just the perfect time to sit back and chill after the craziness. 

Unless you're planning a wedding.... and you realize that it's approaching in almost 100 days. -cries- The Fiancé and I have been very due diligent. Ordering invites, finalizing catering and DJs, booking photographers and officiants, etc. But there are a couple remaining to-dos that I've been procrastinating. 

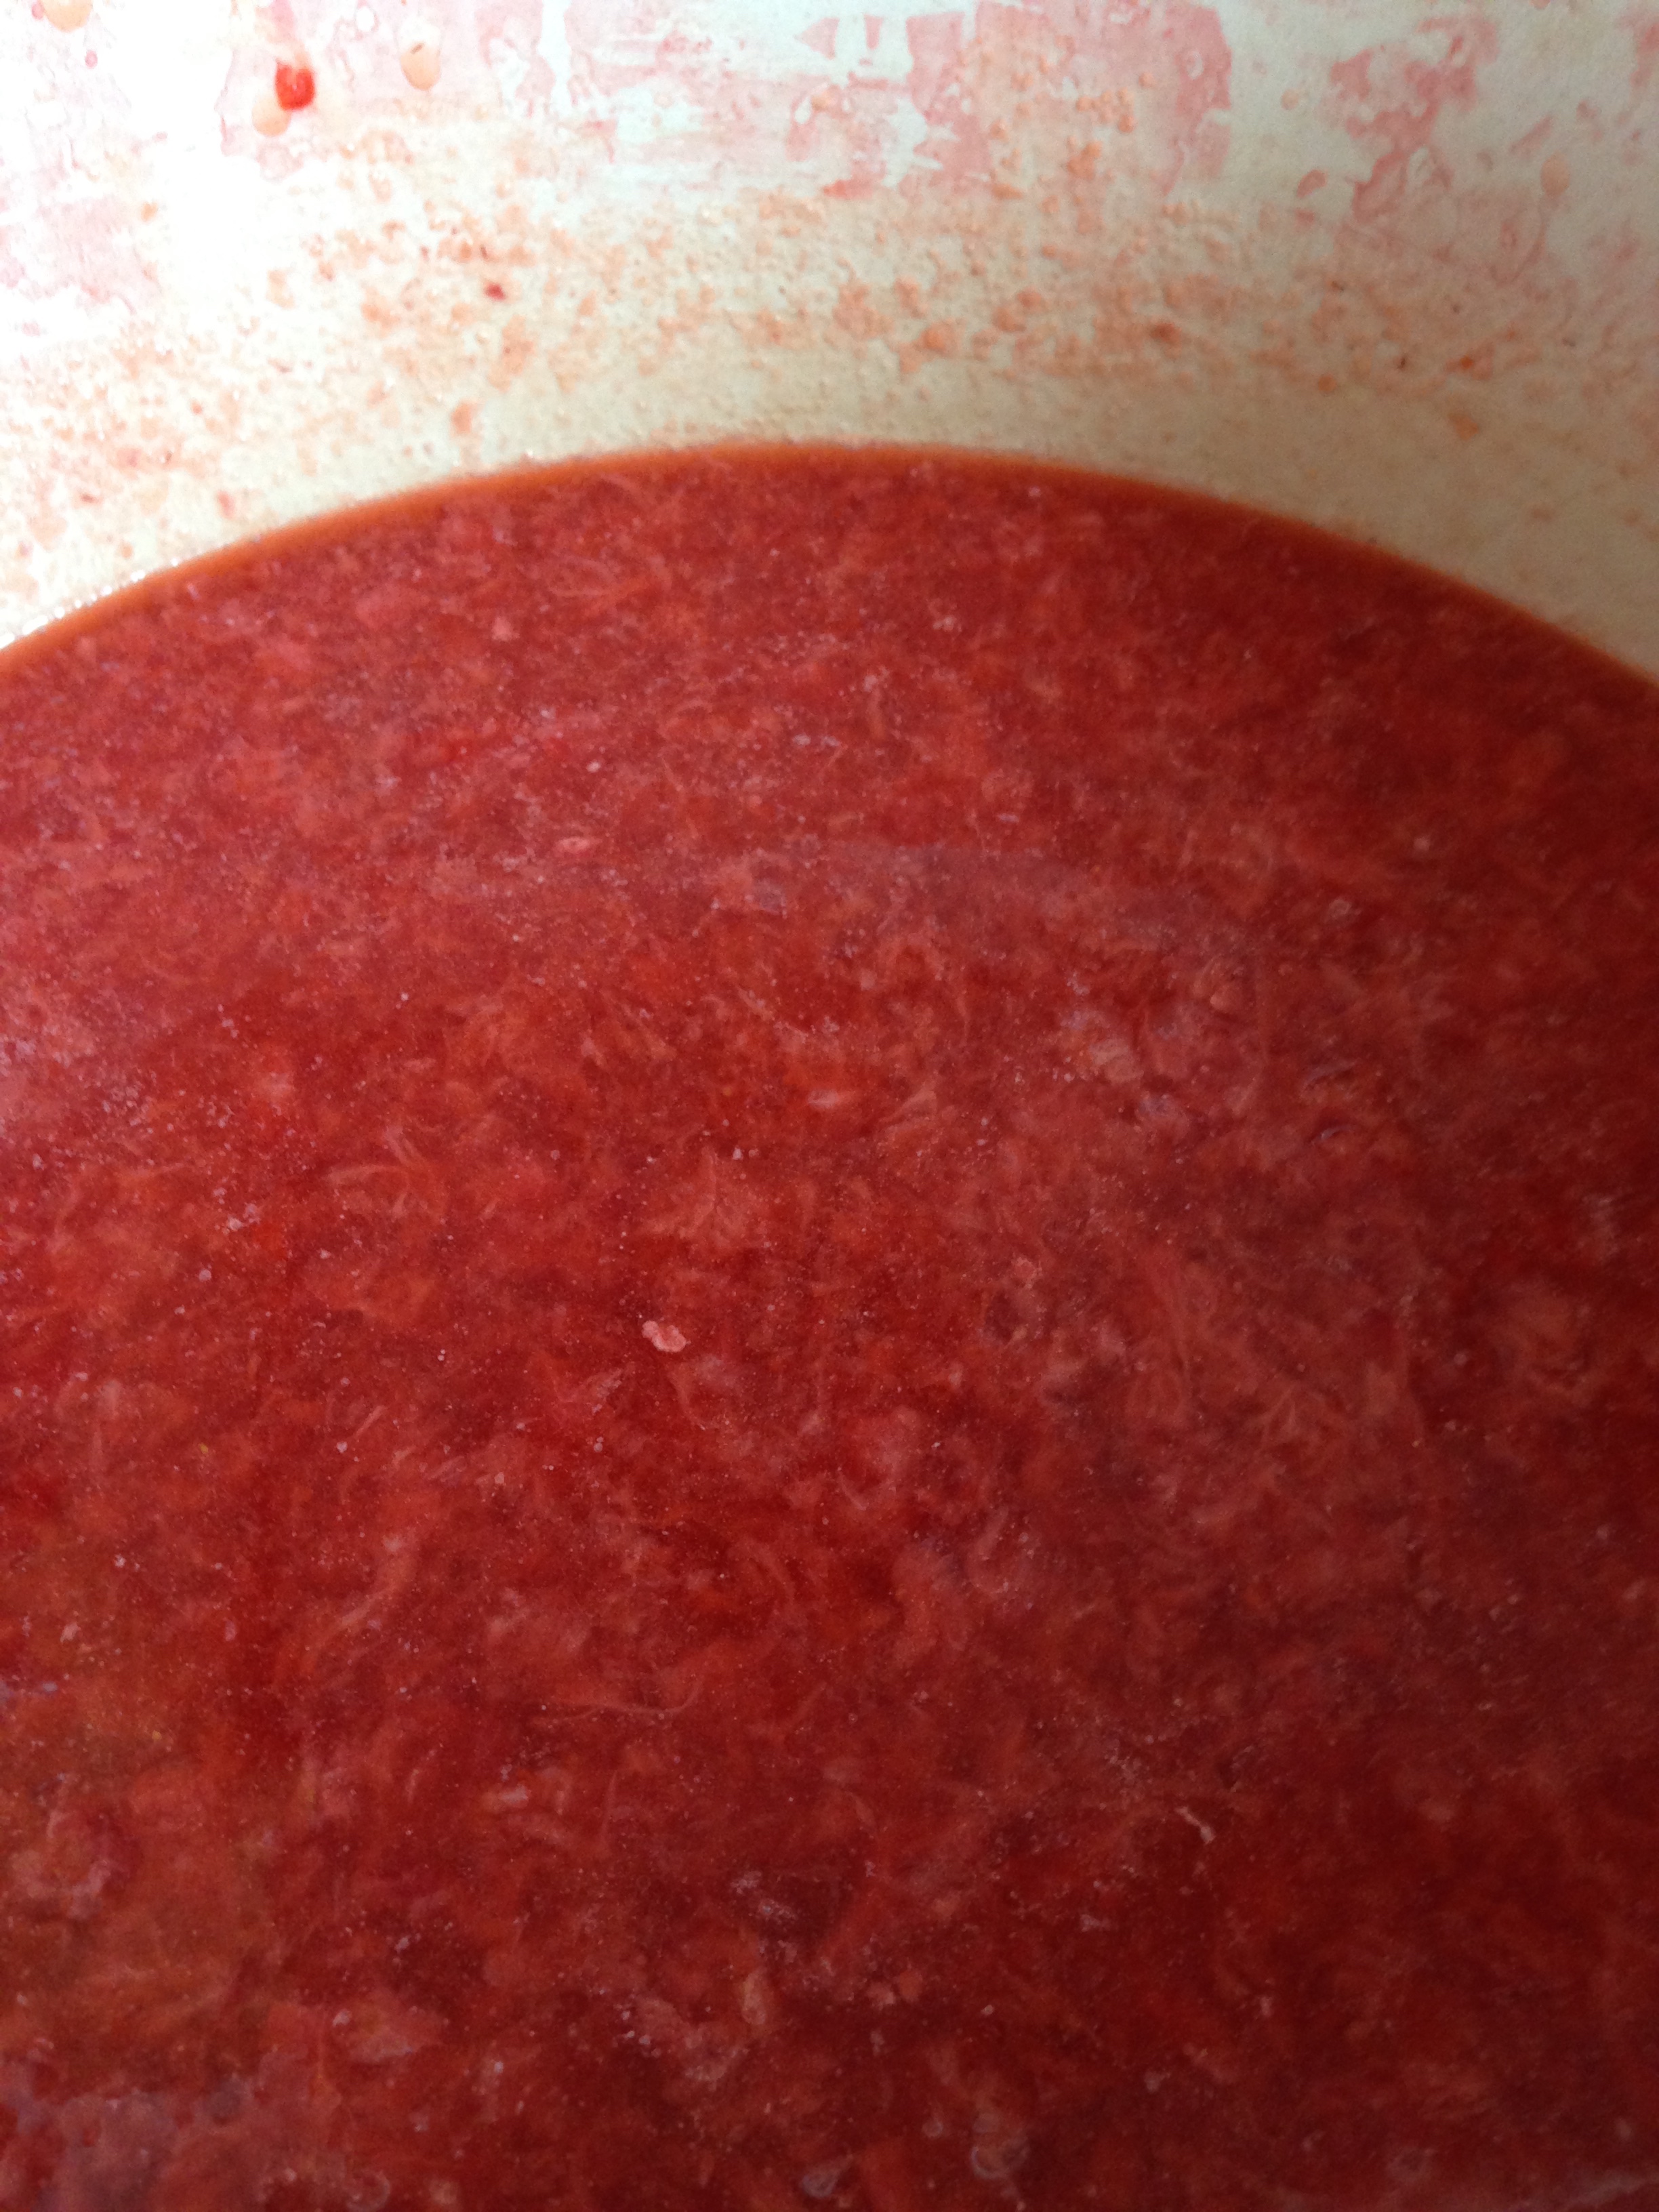
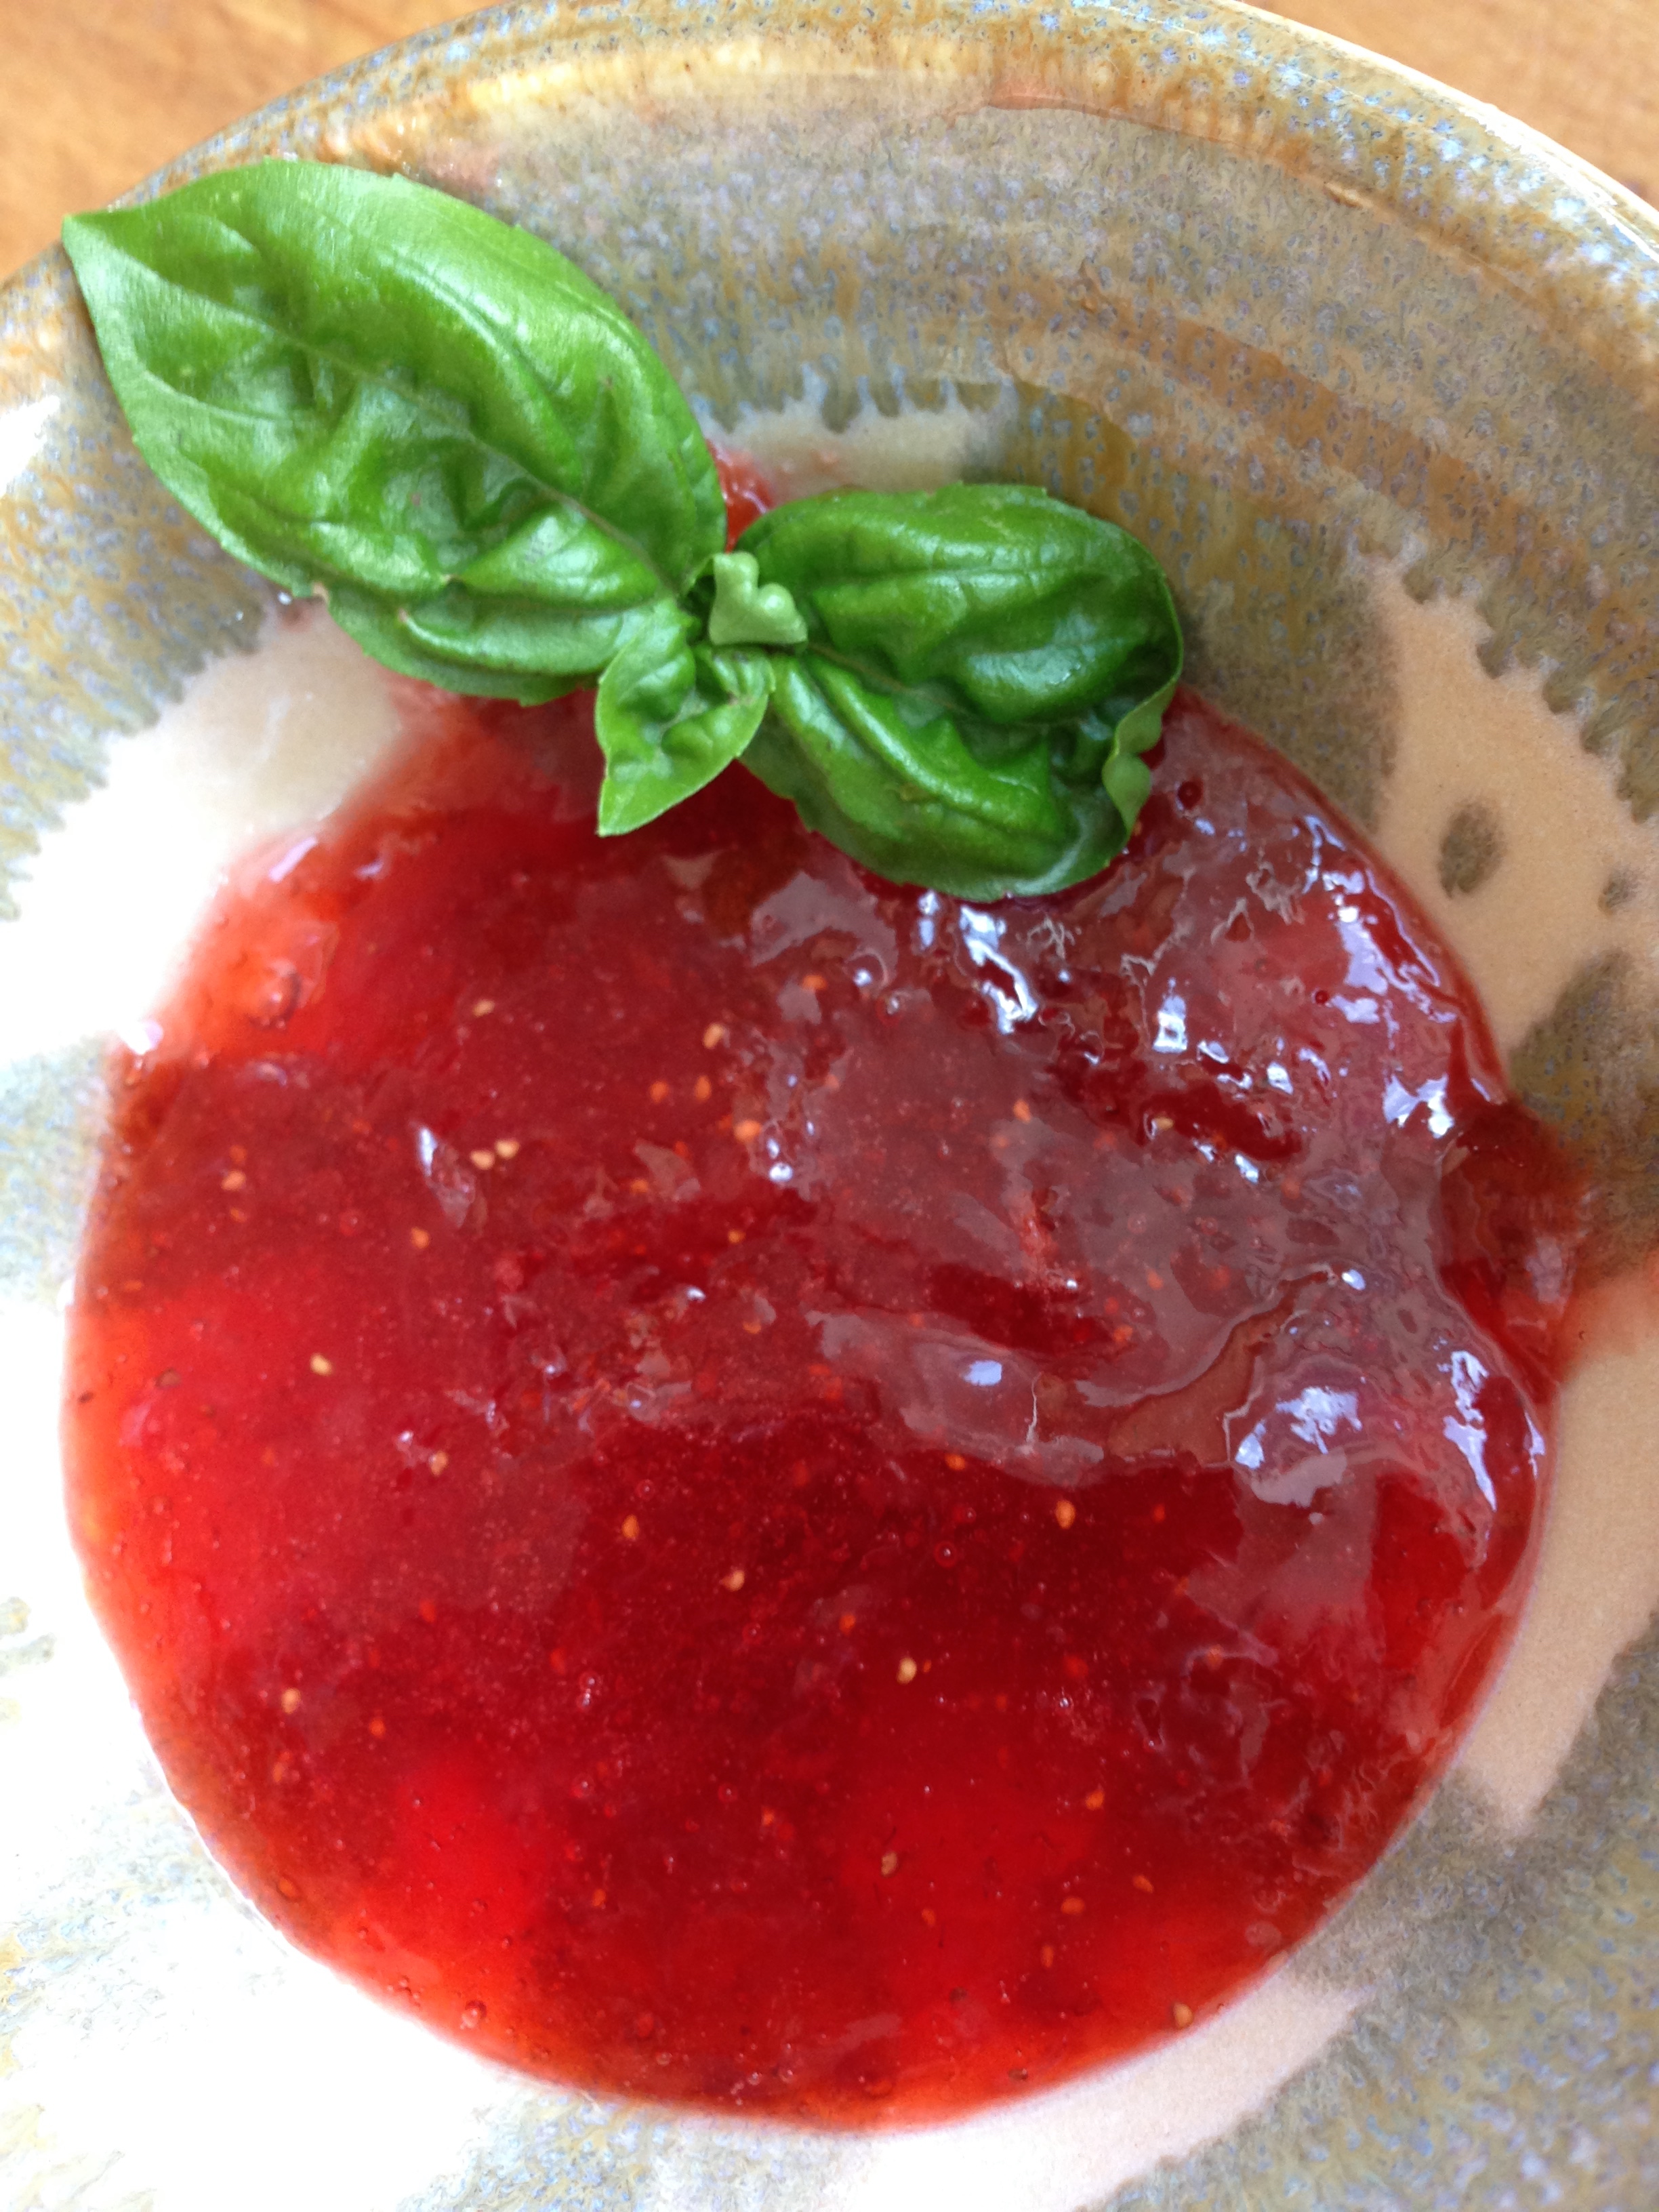
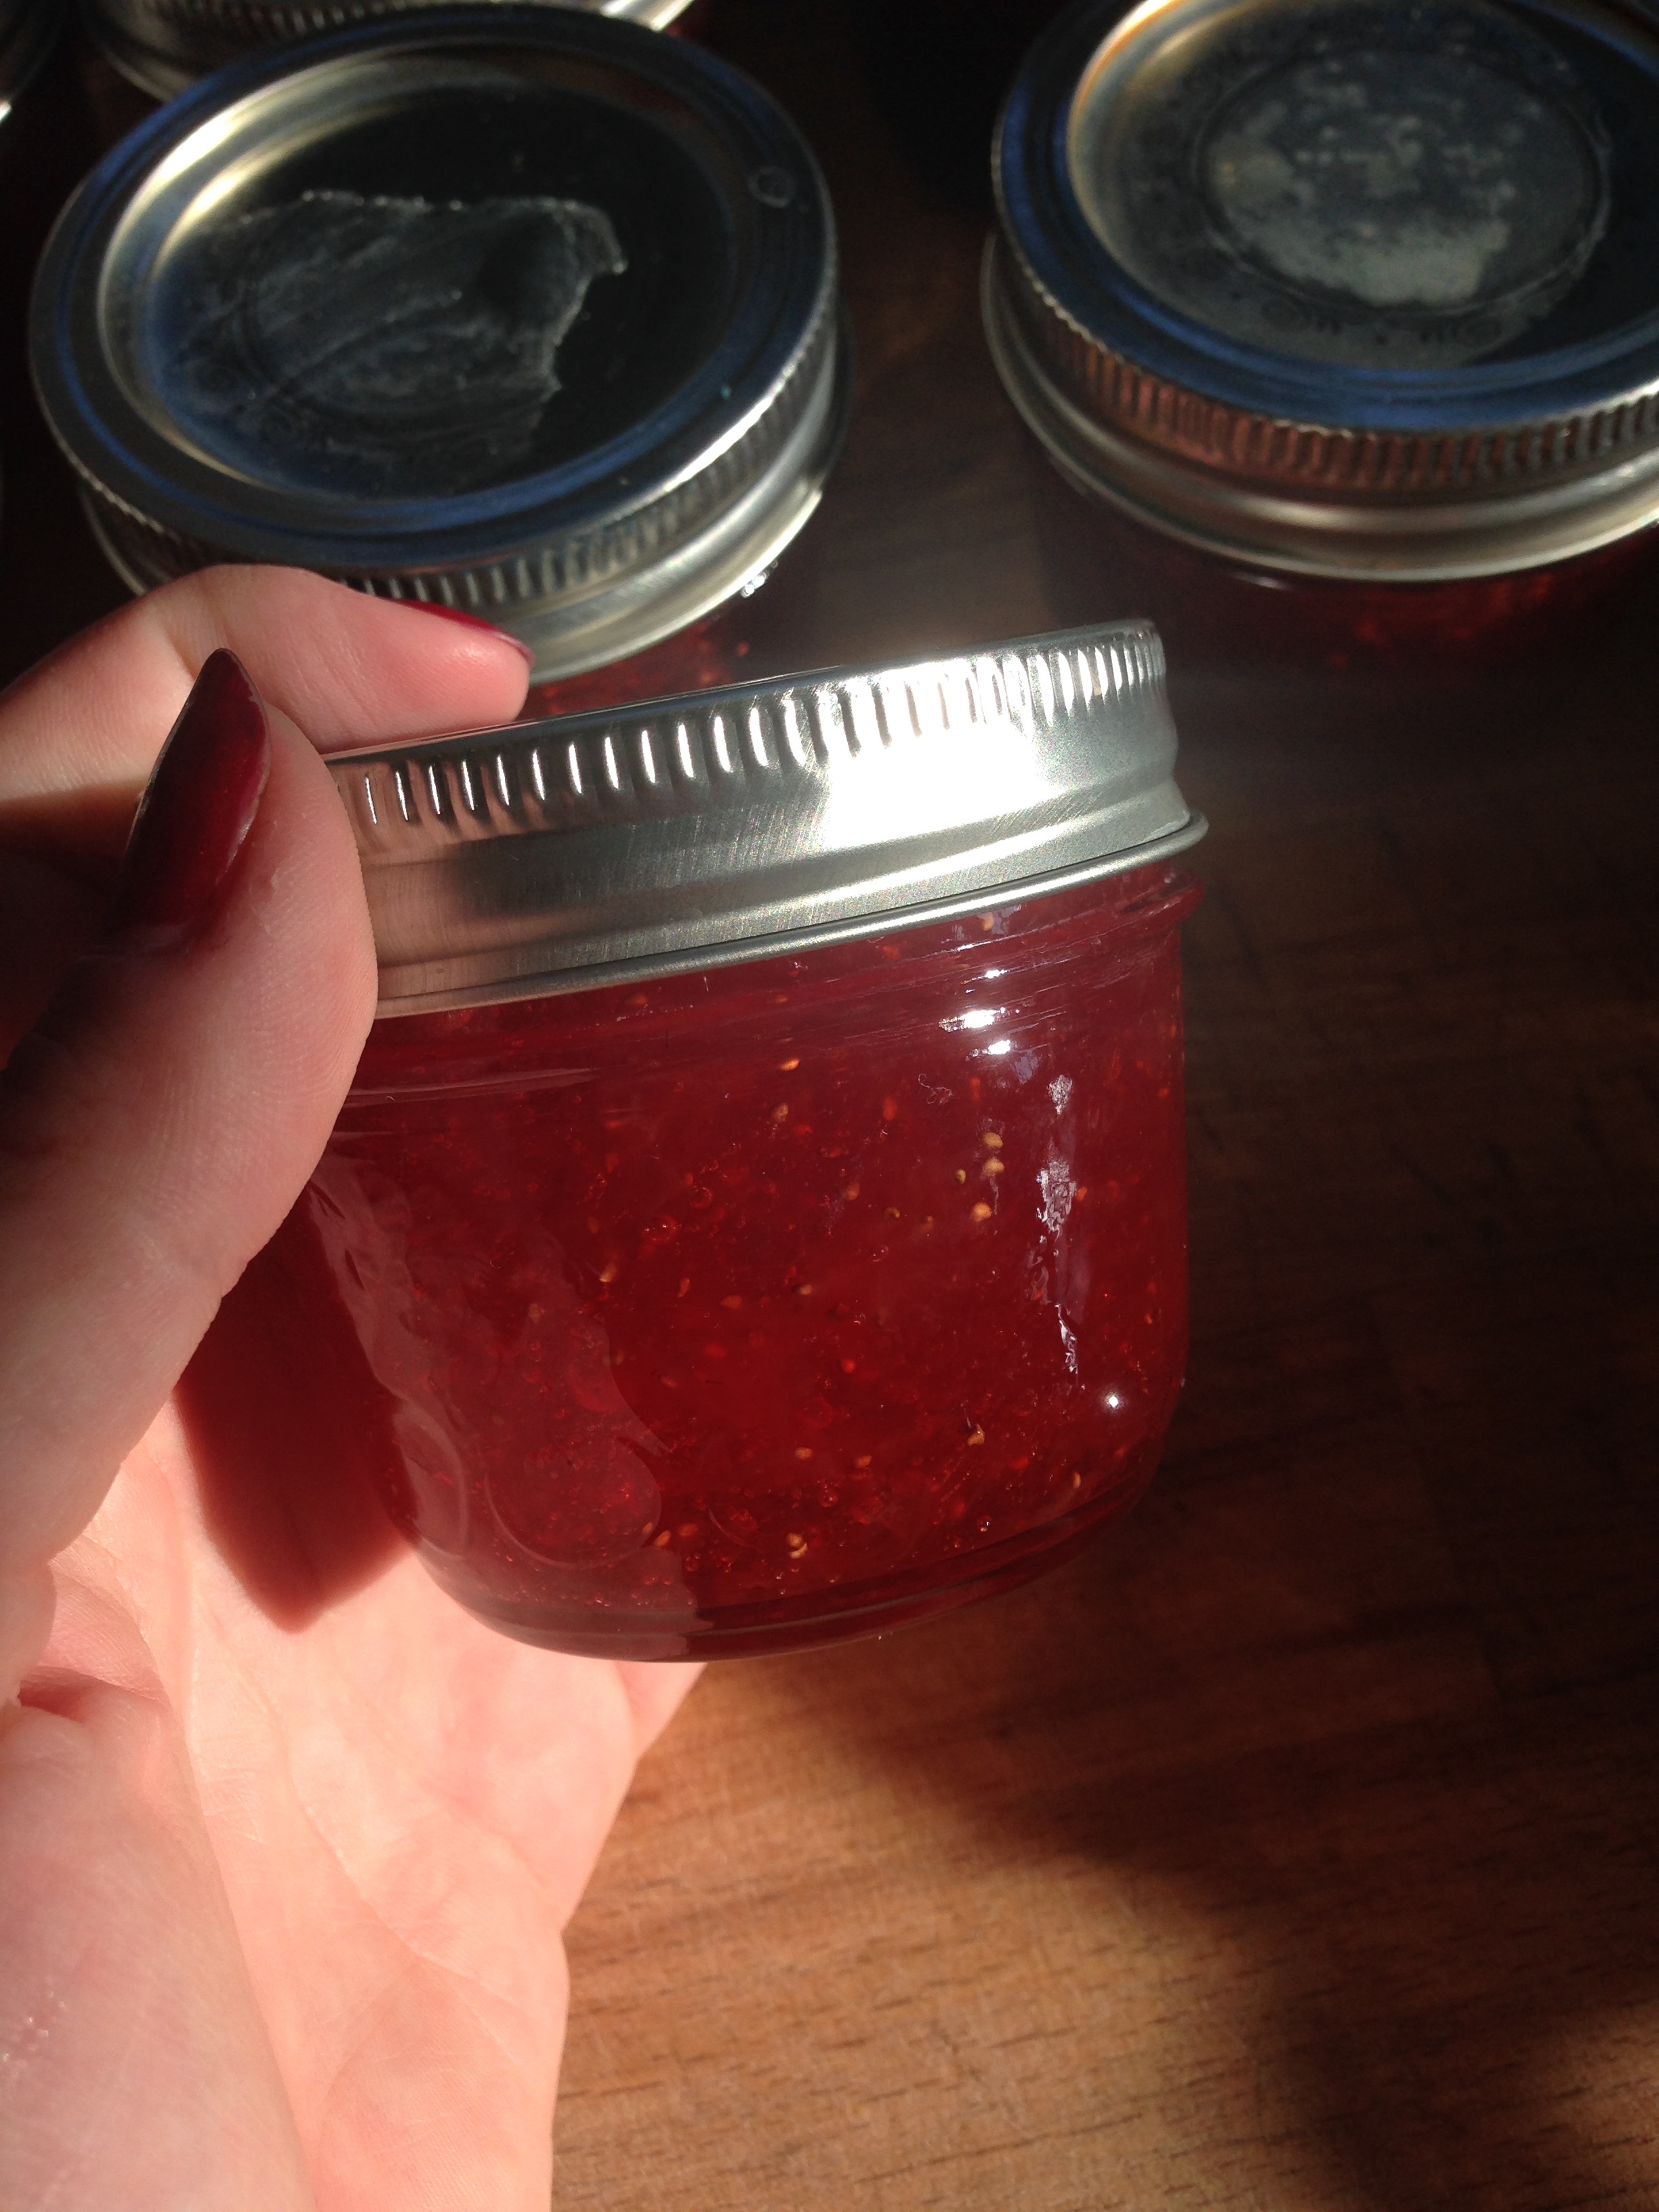
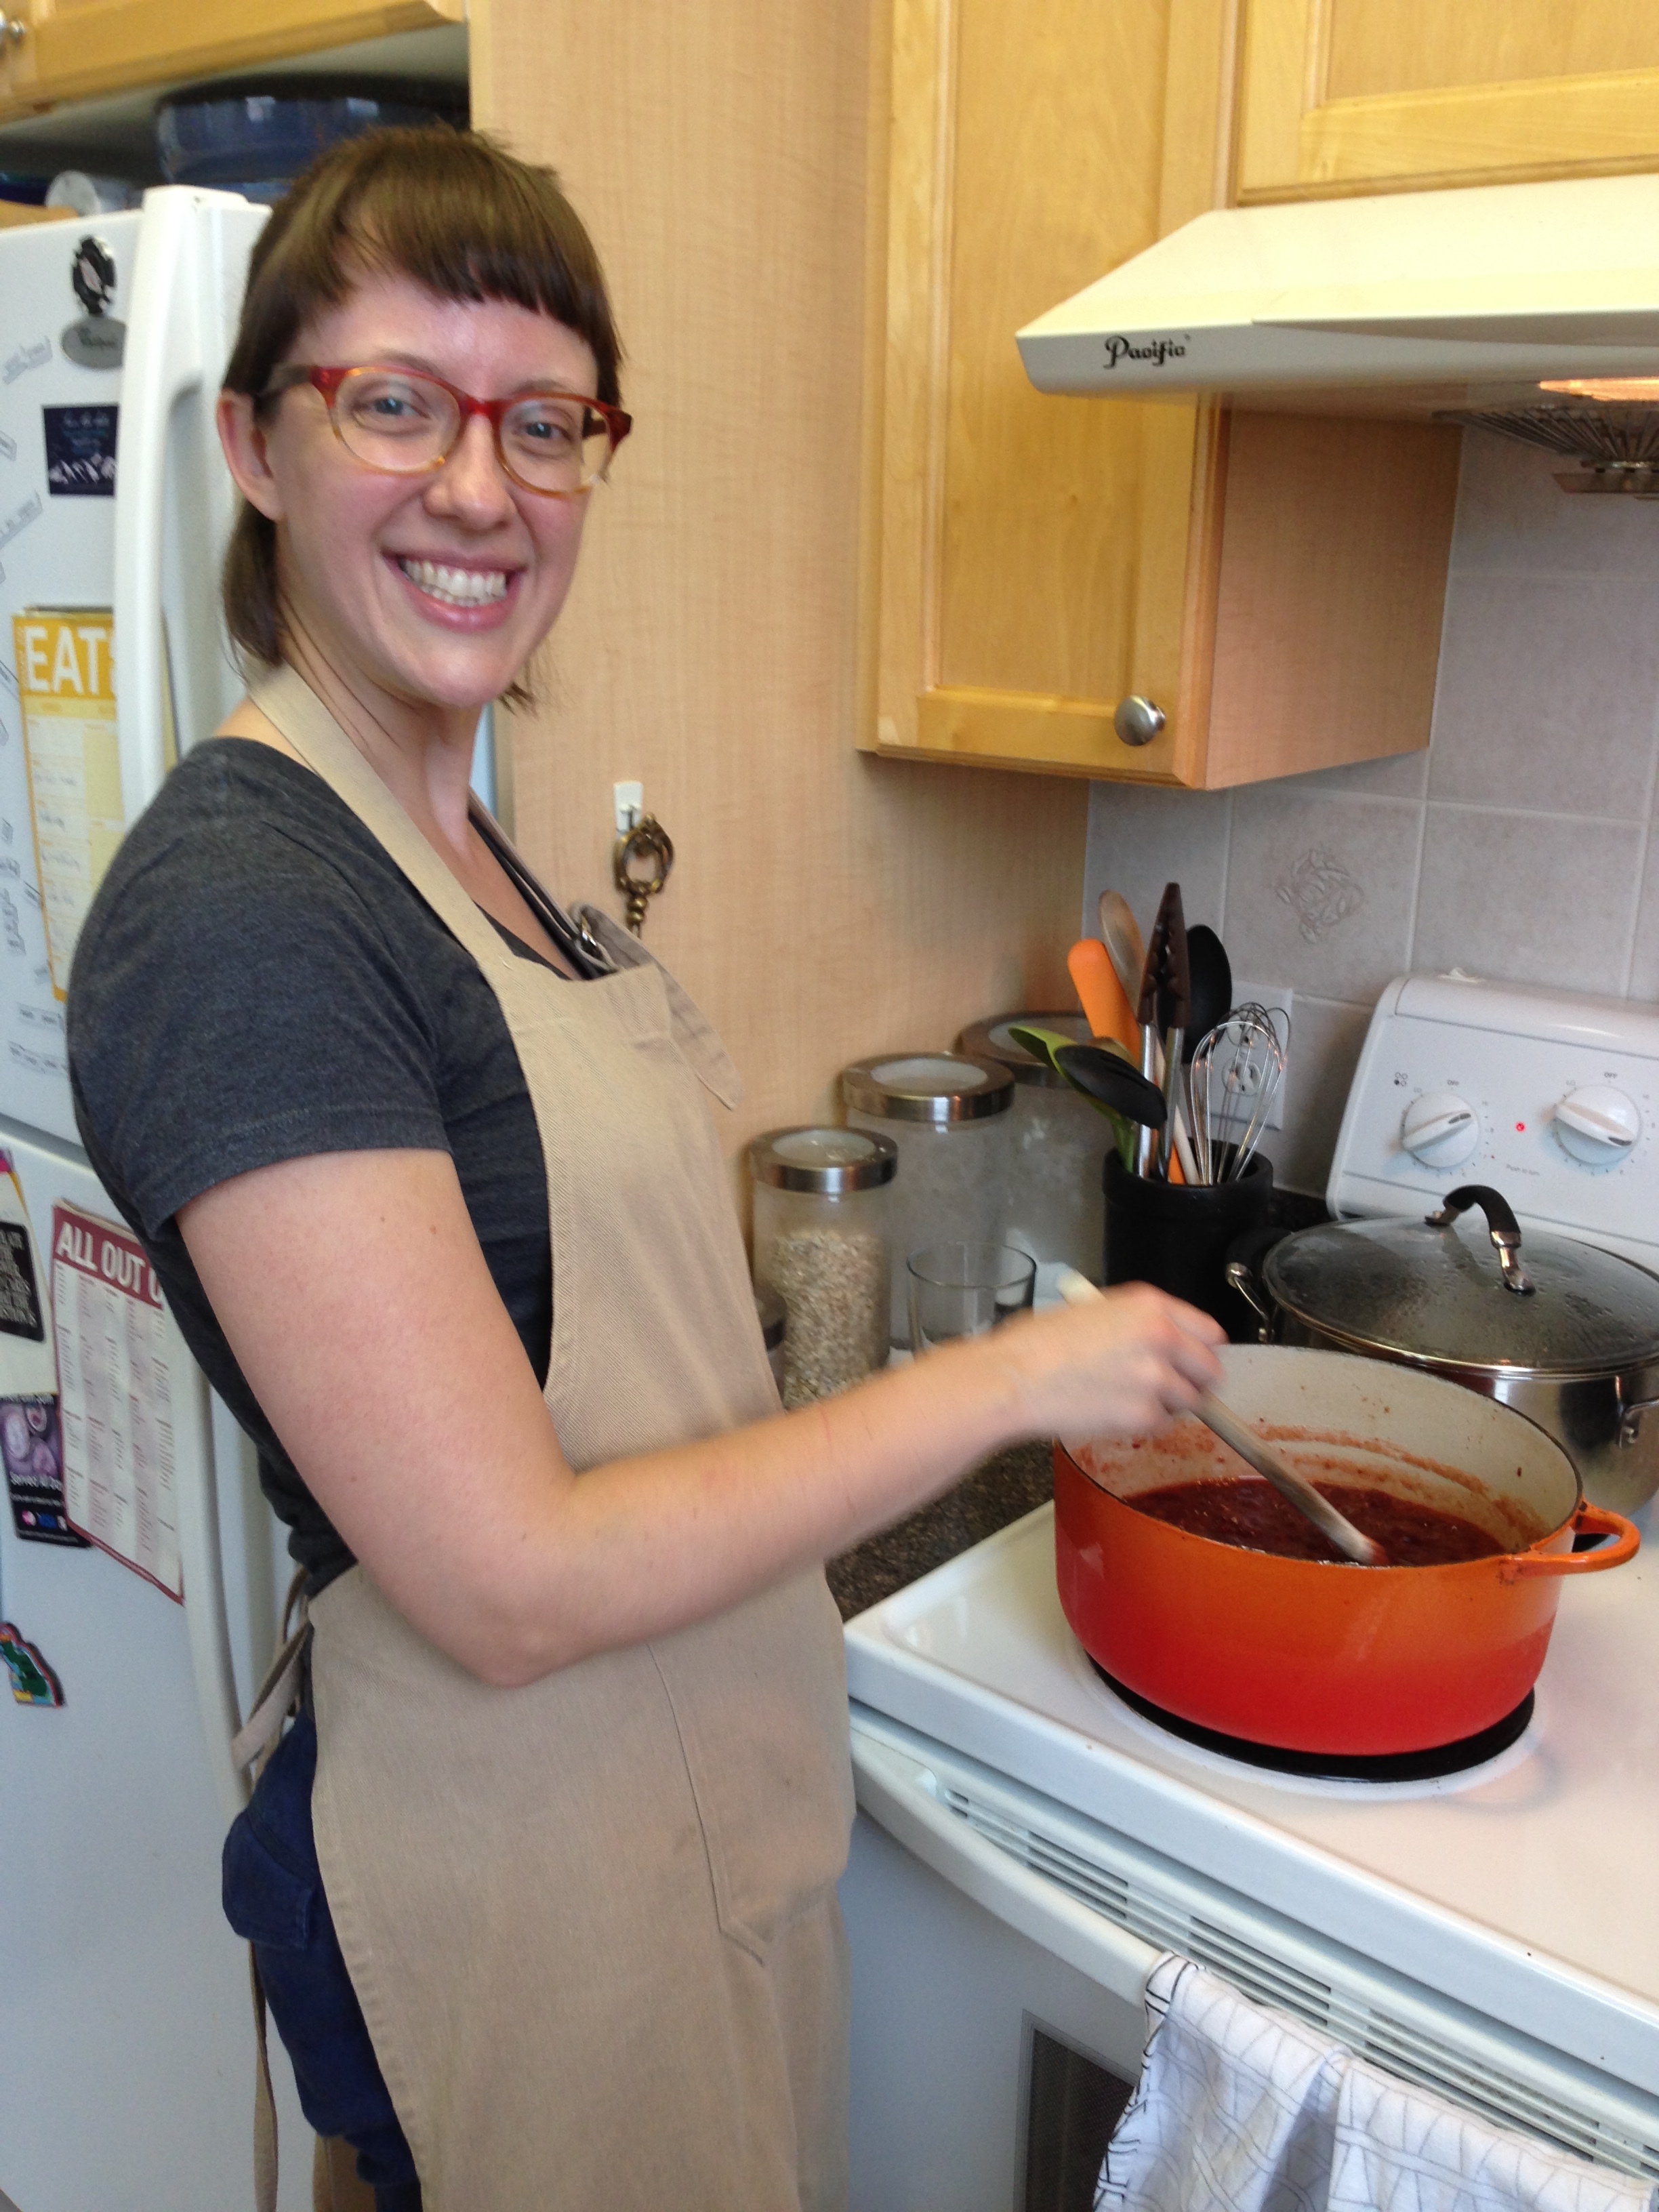
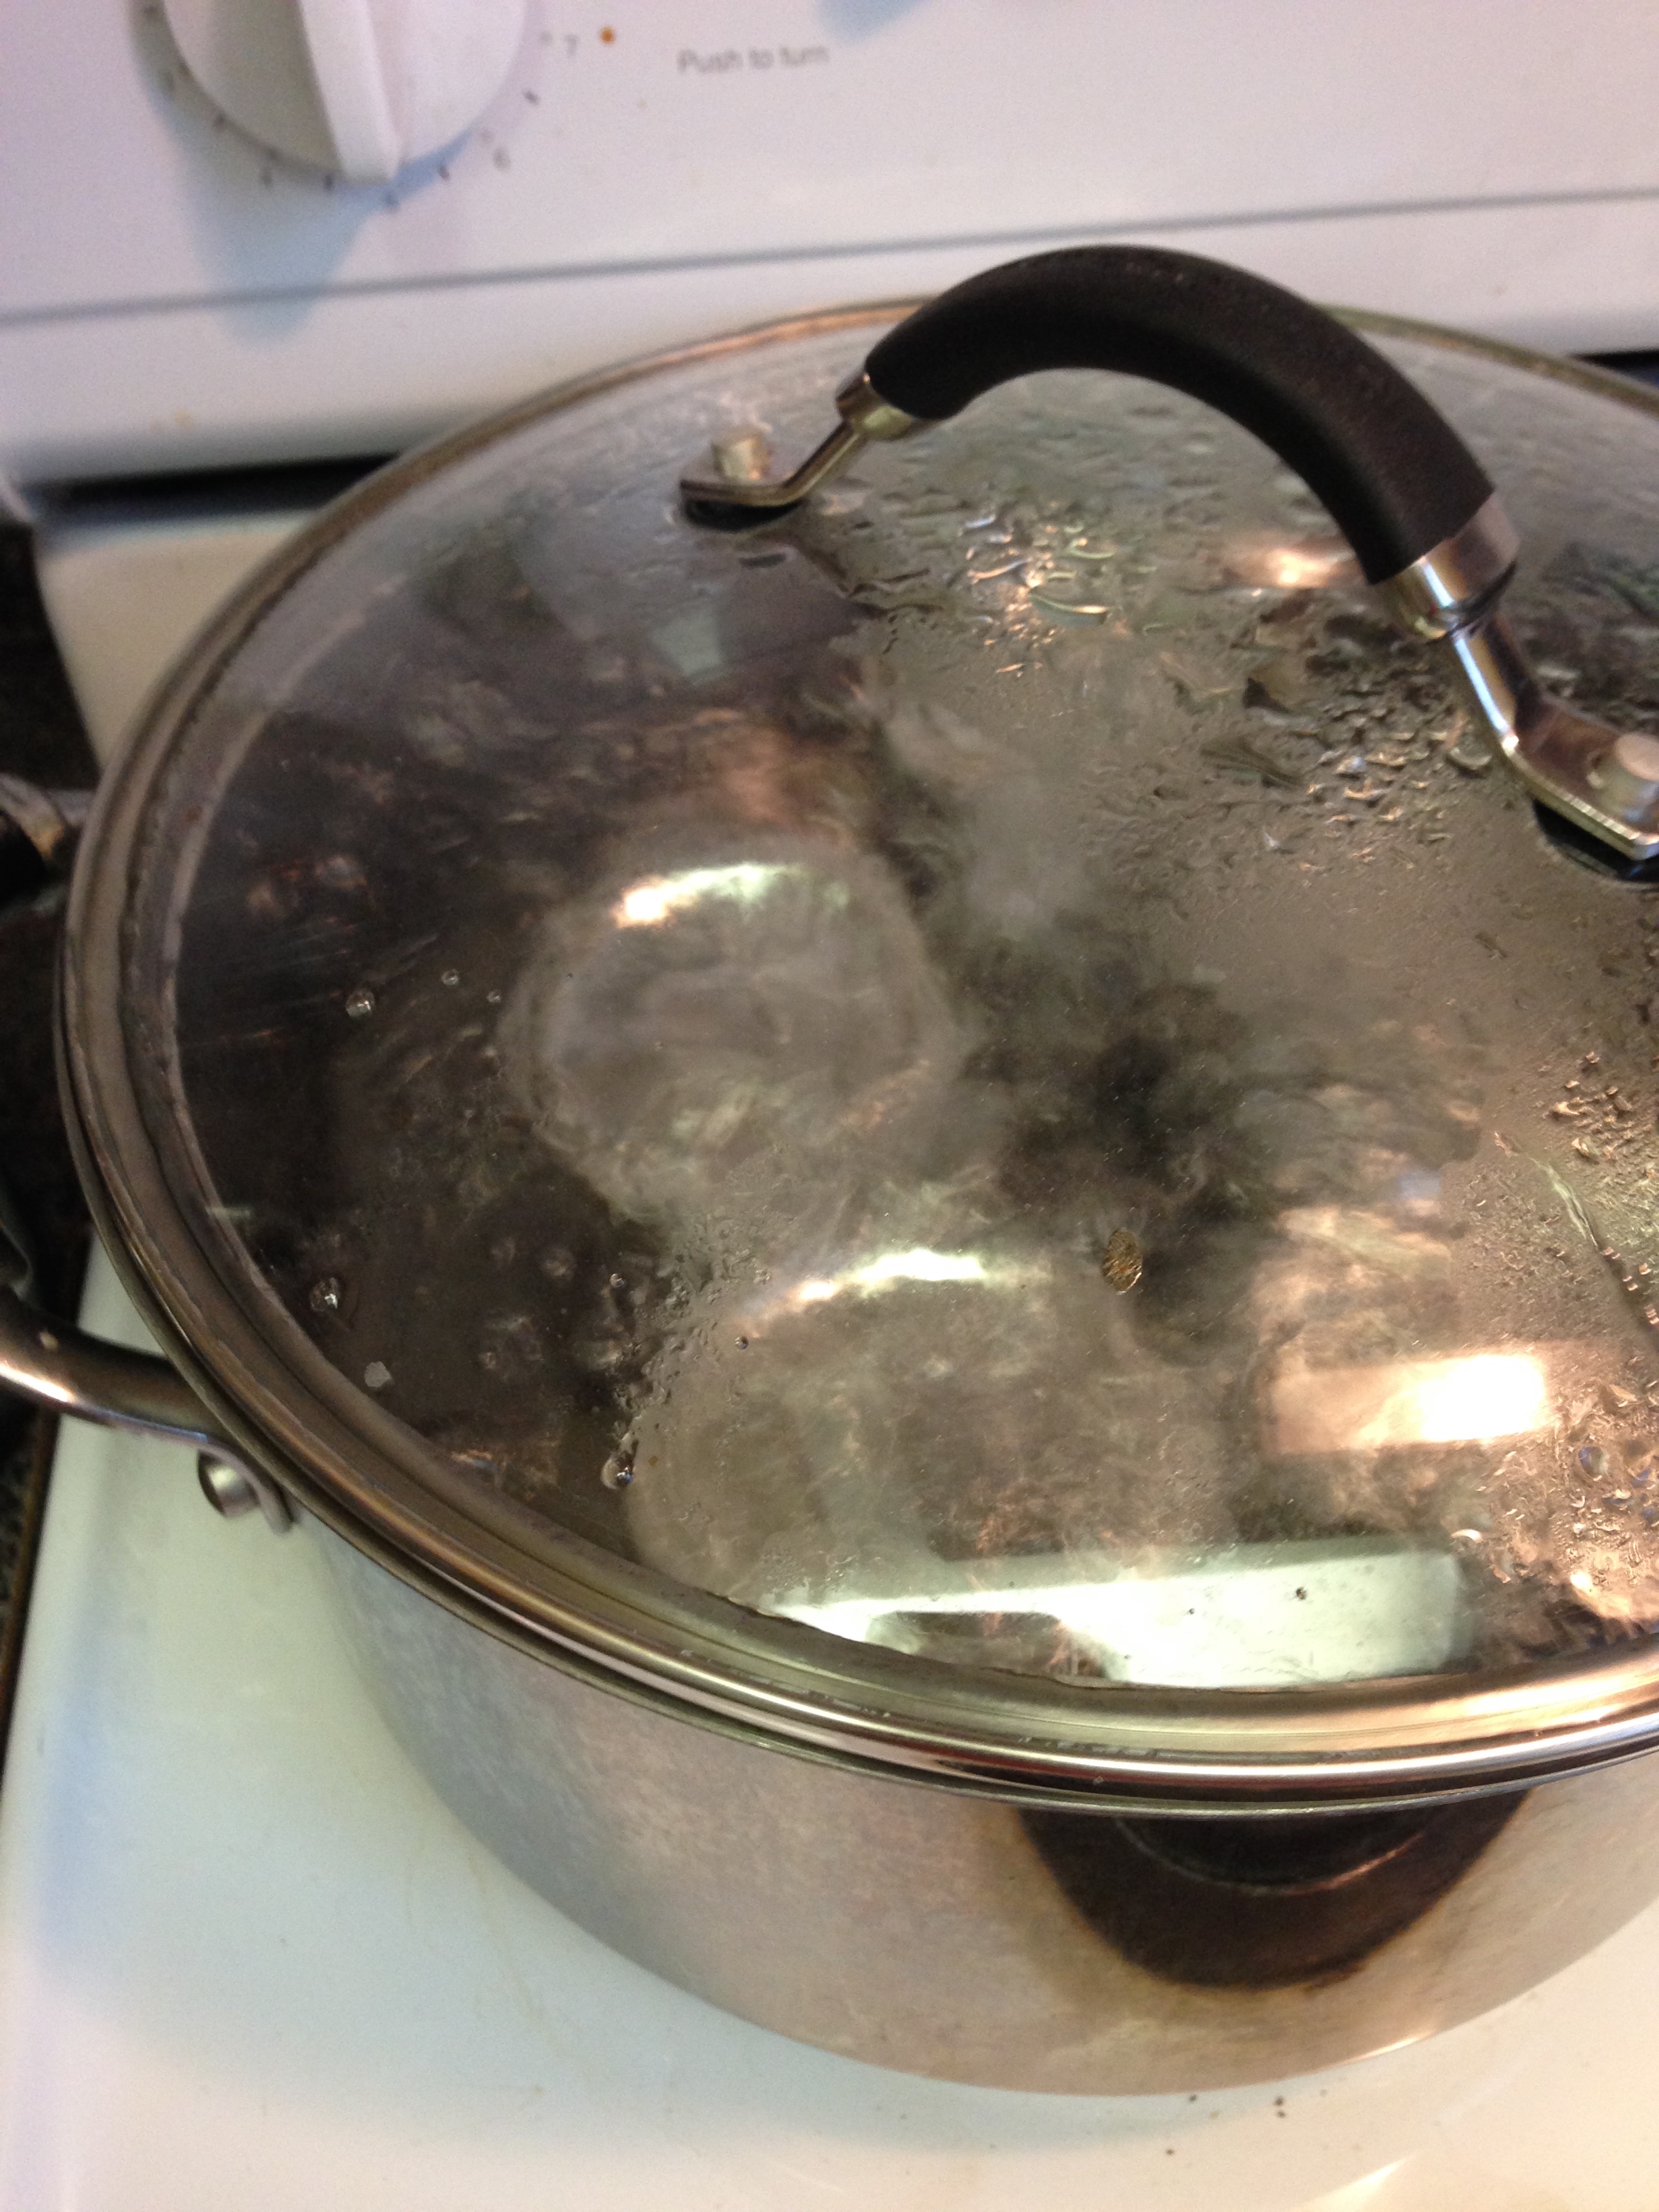
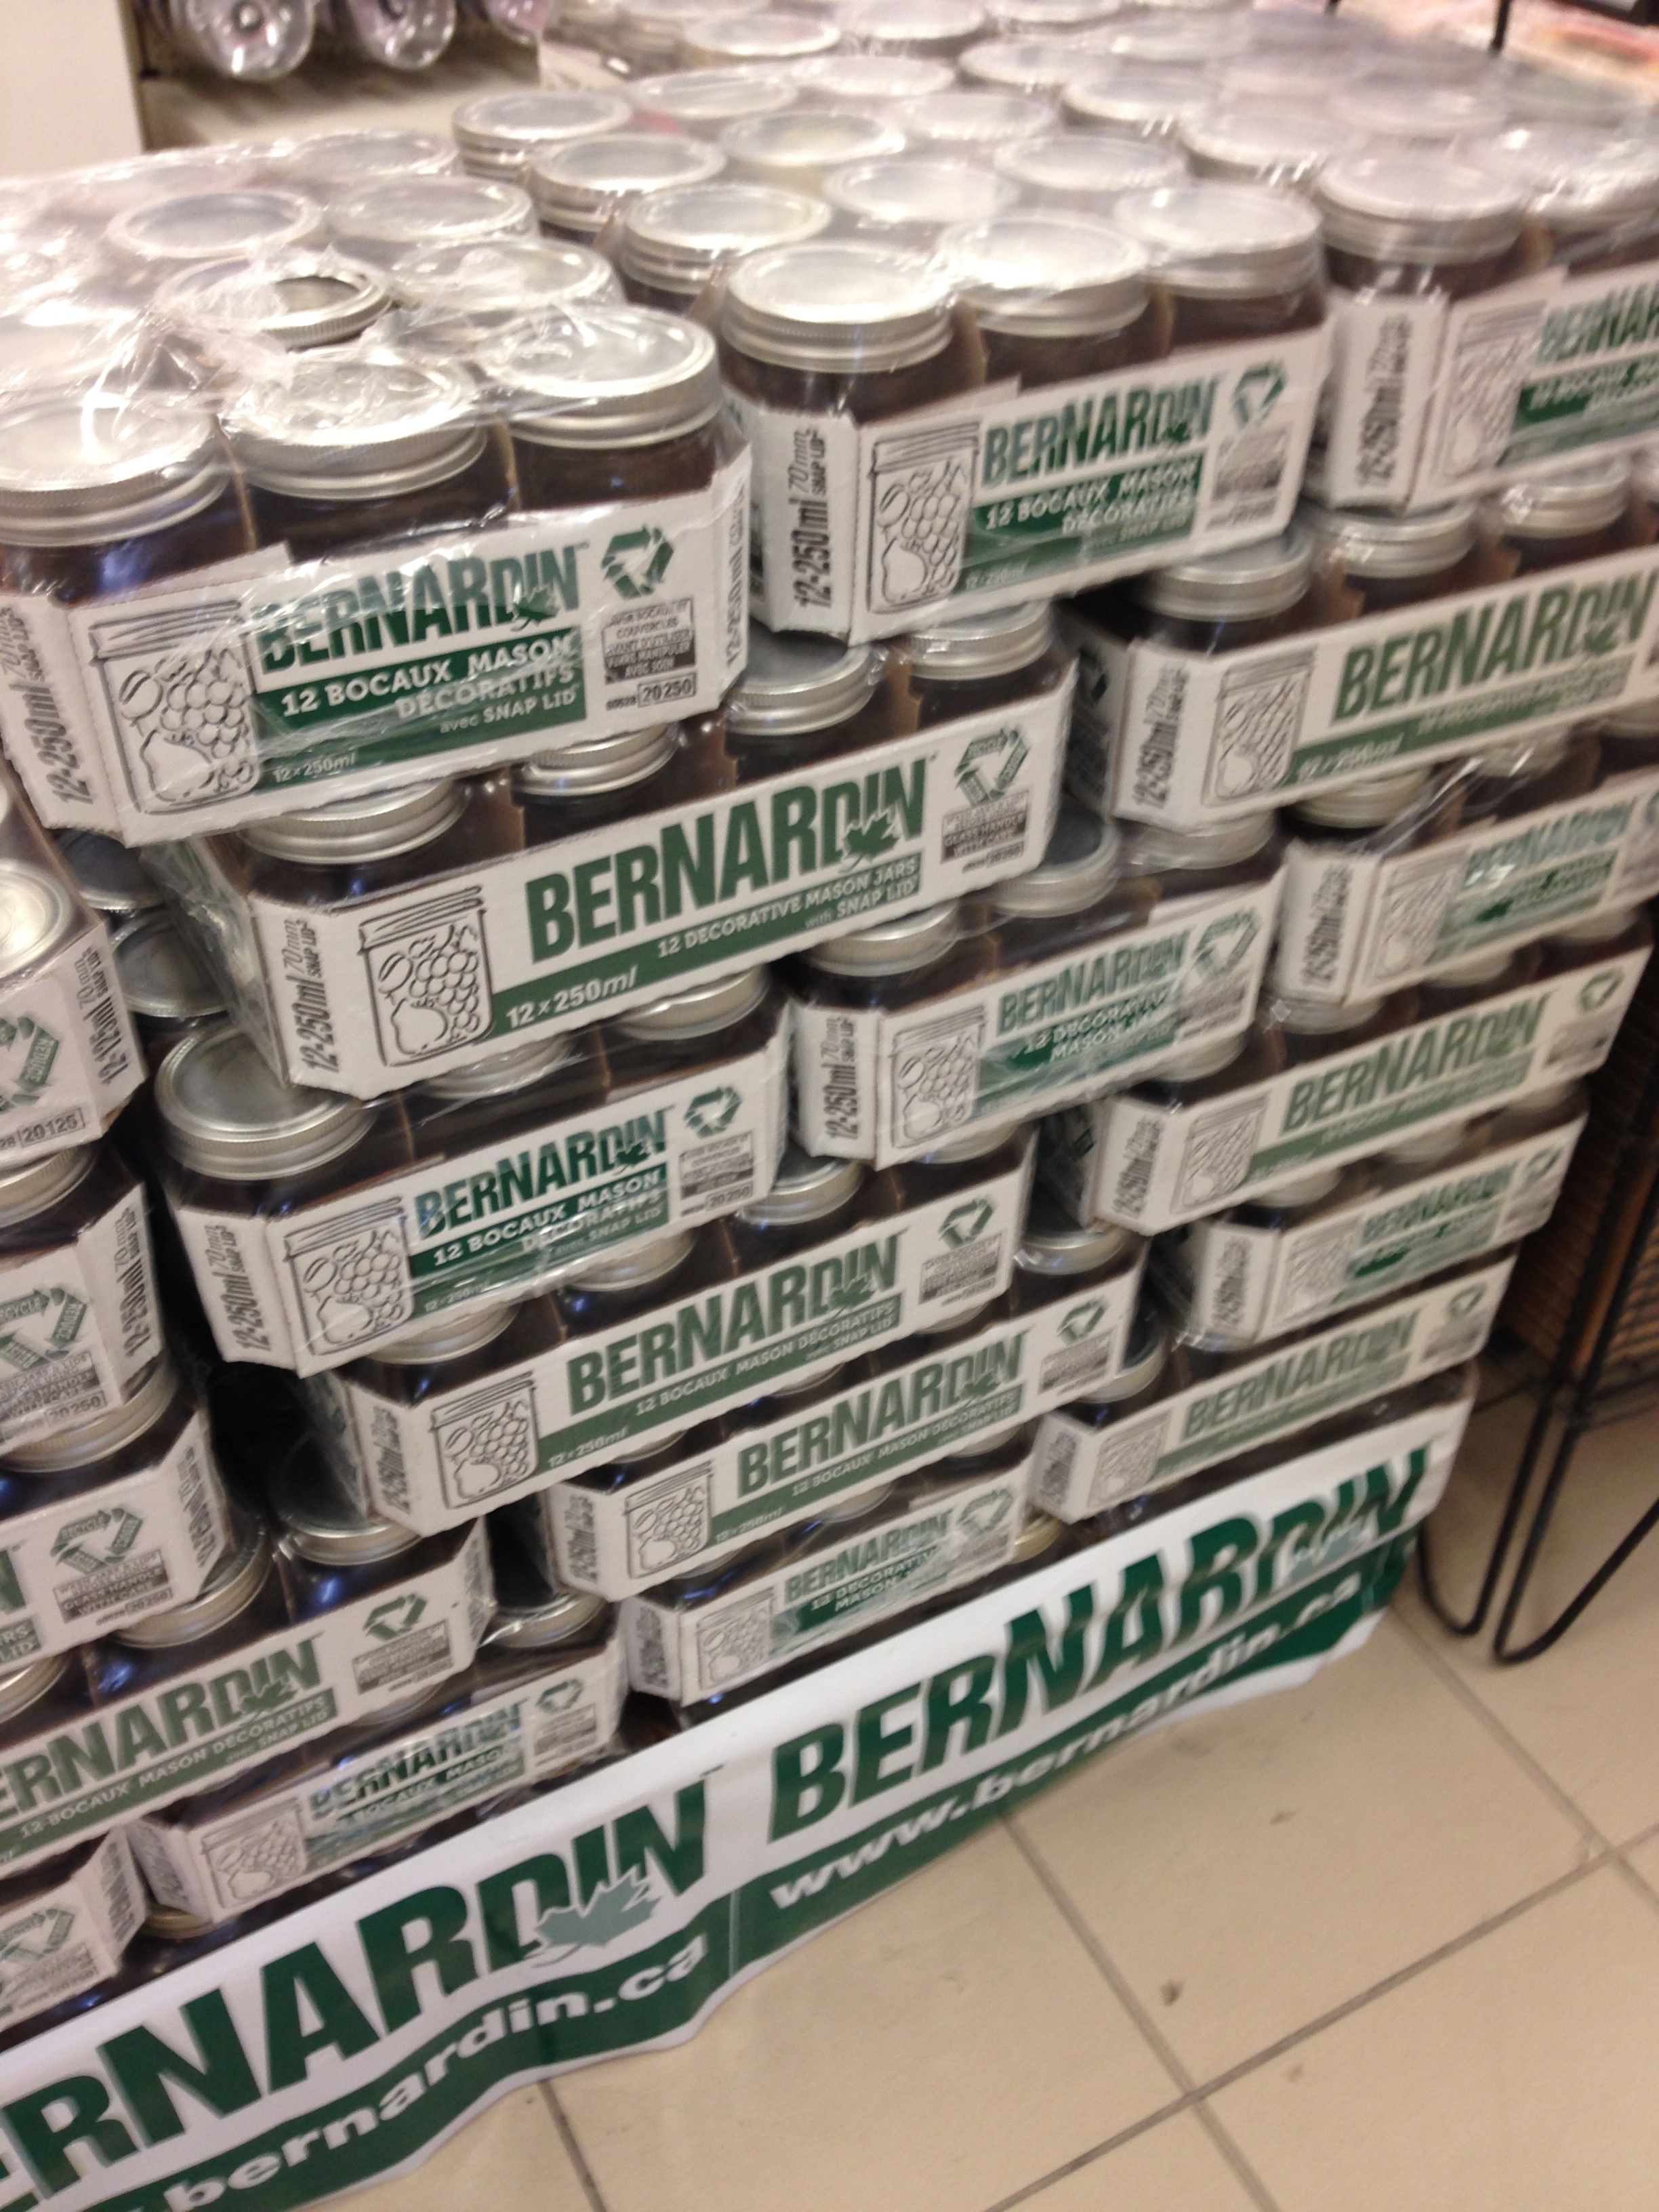
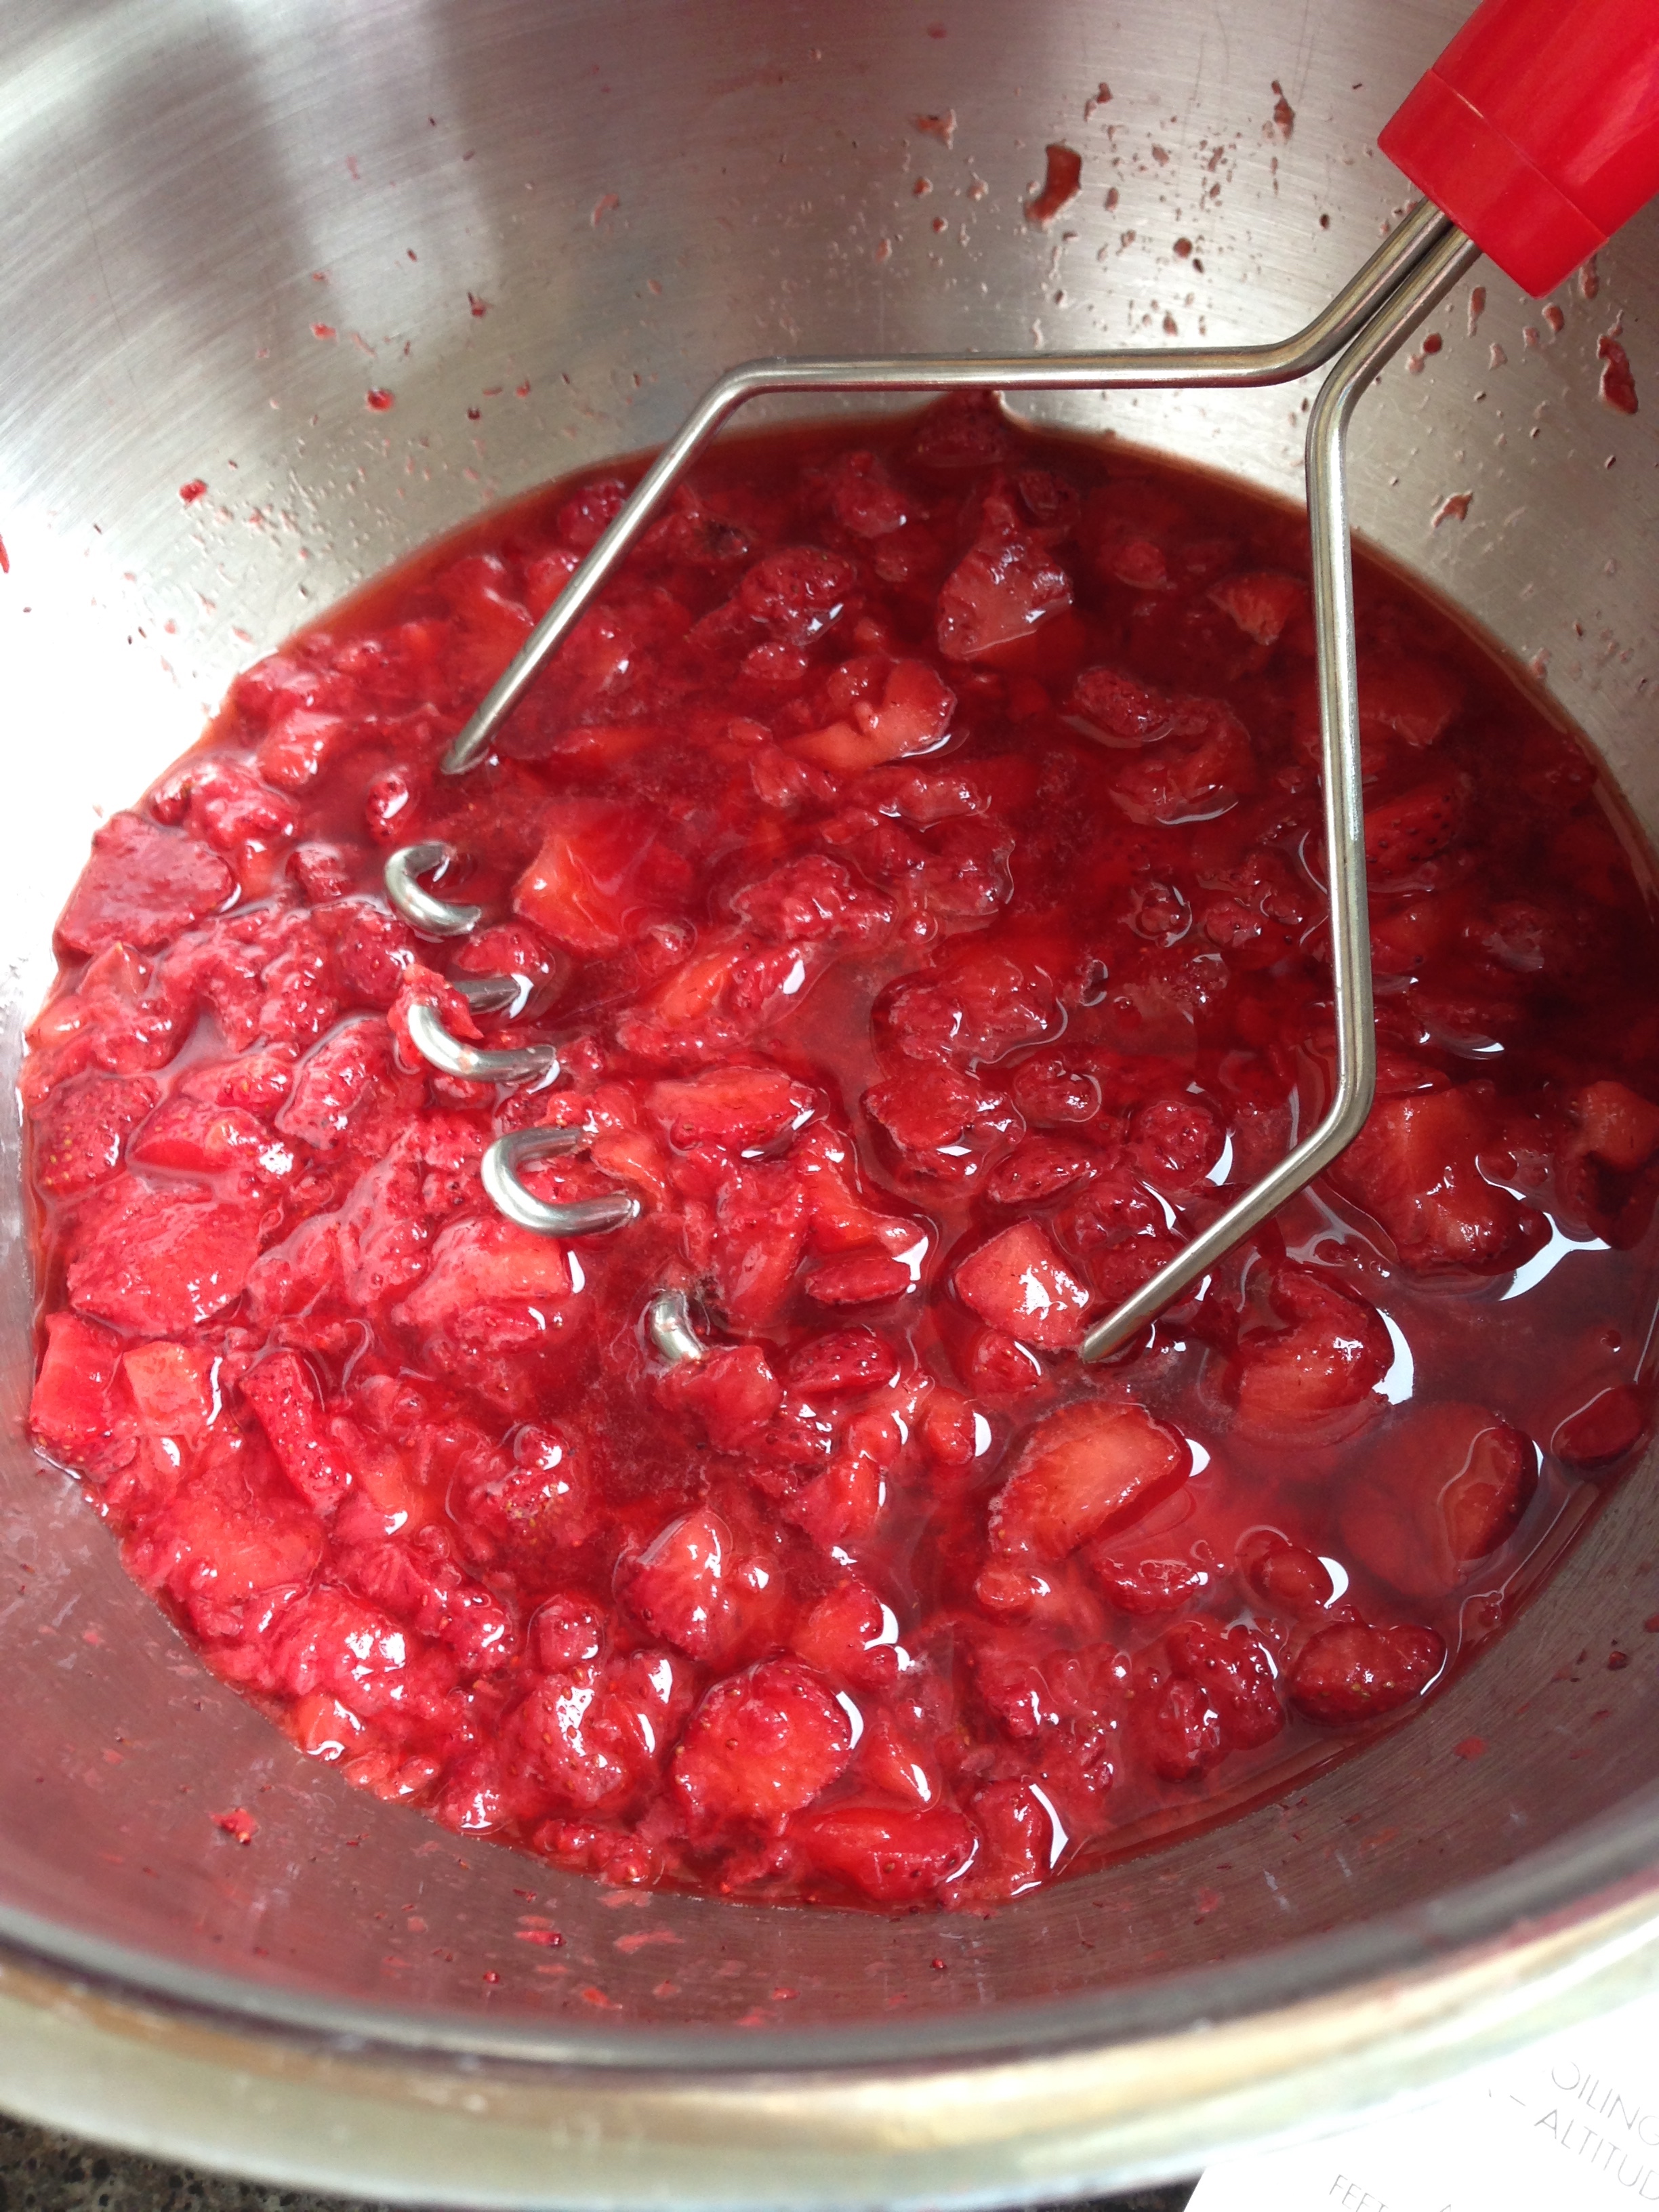
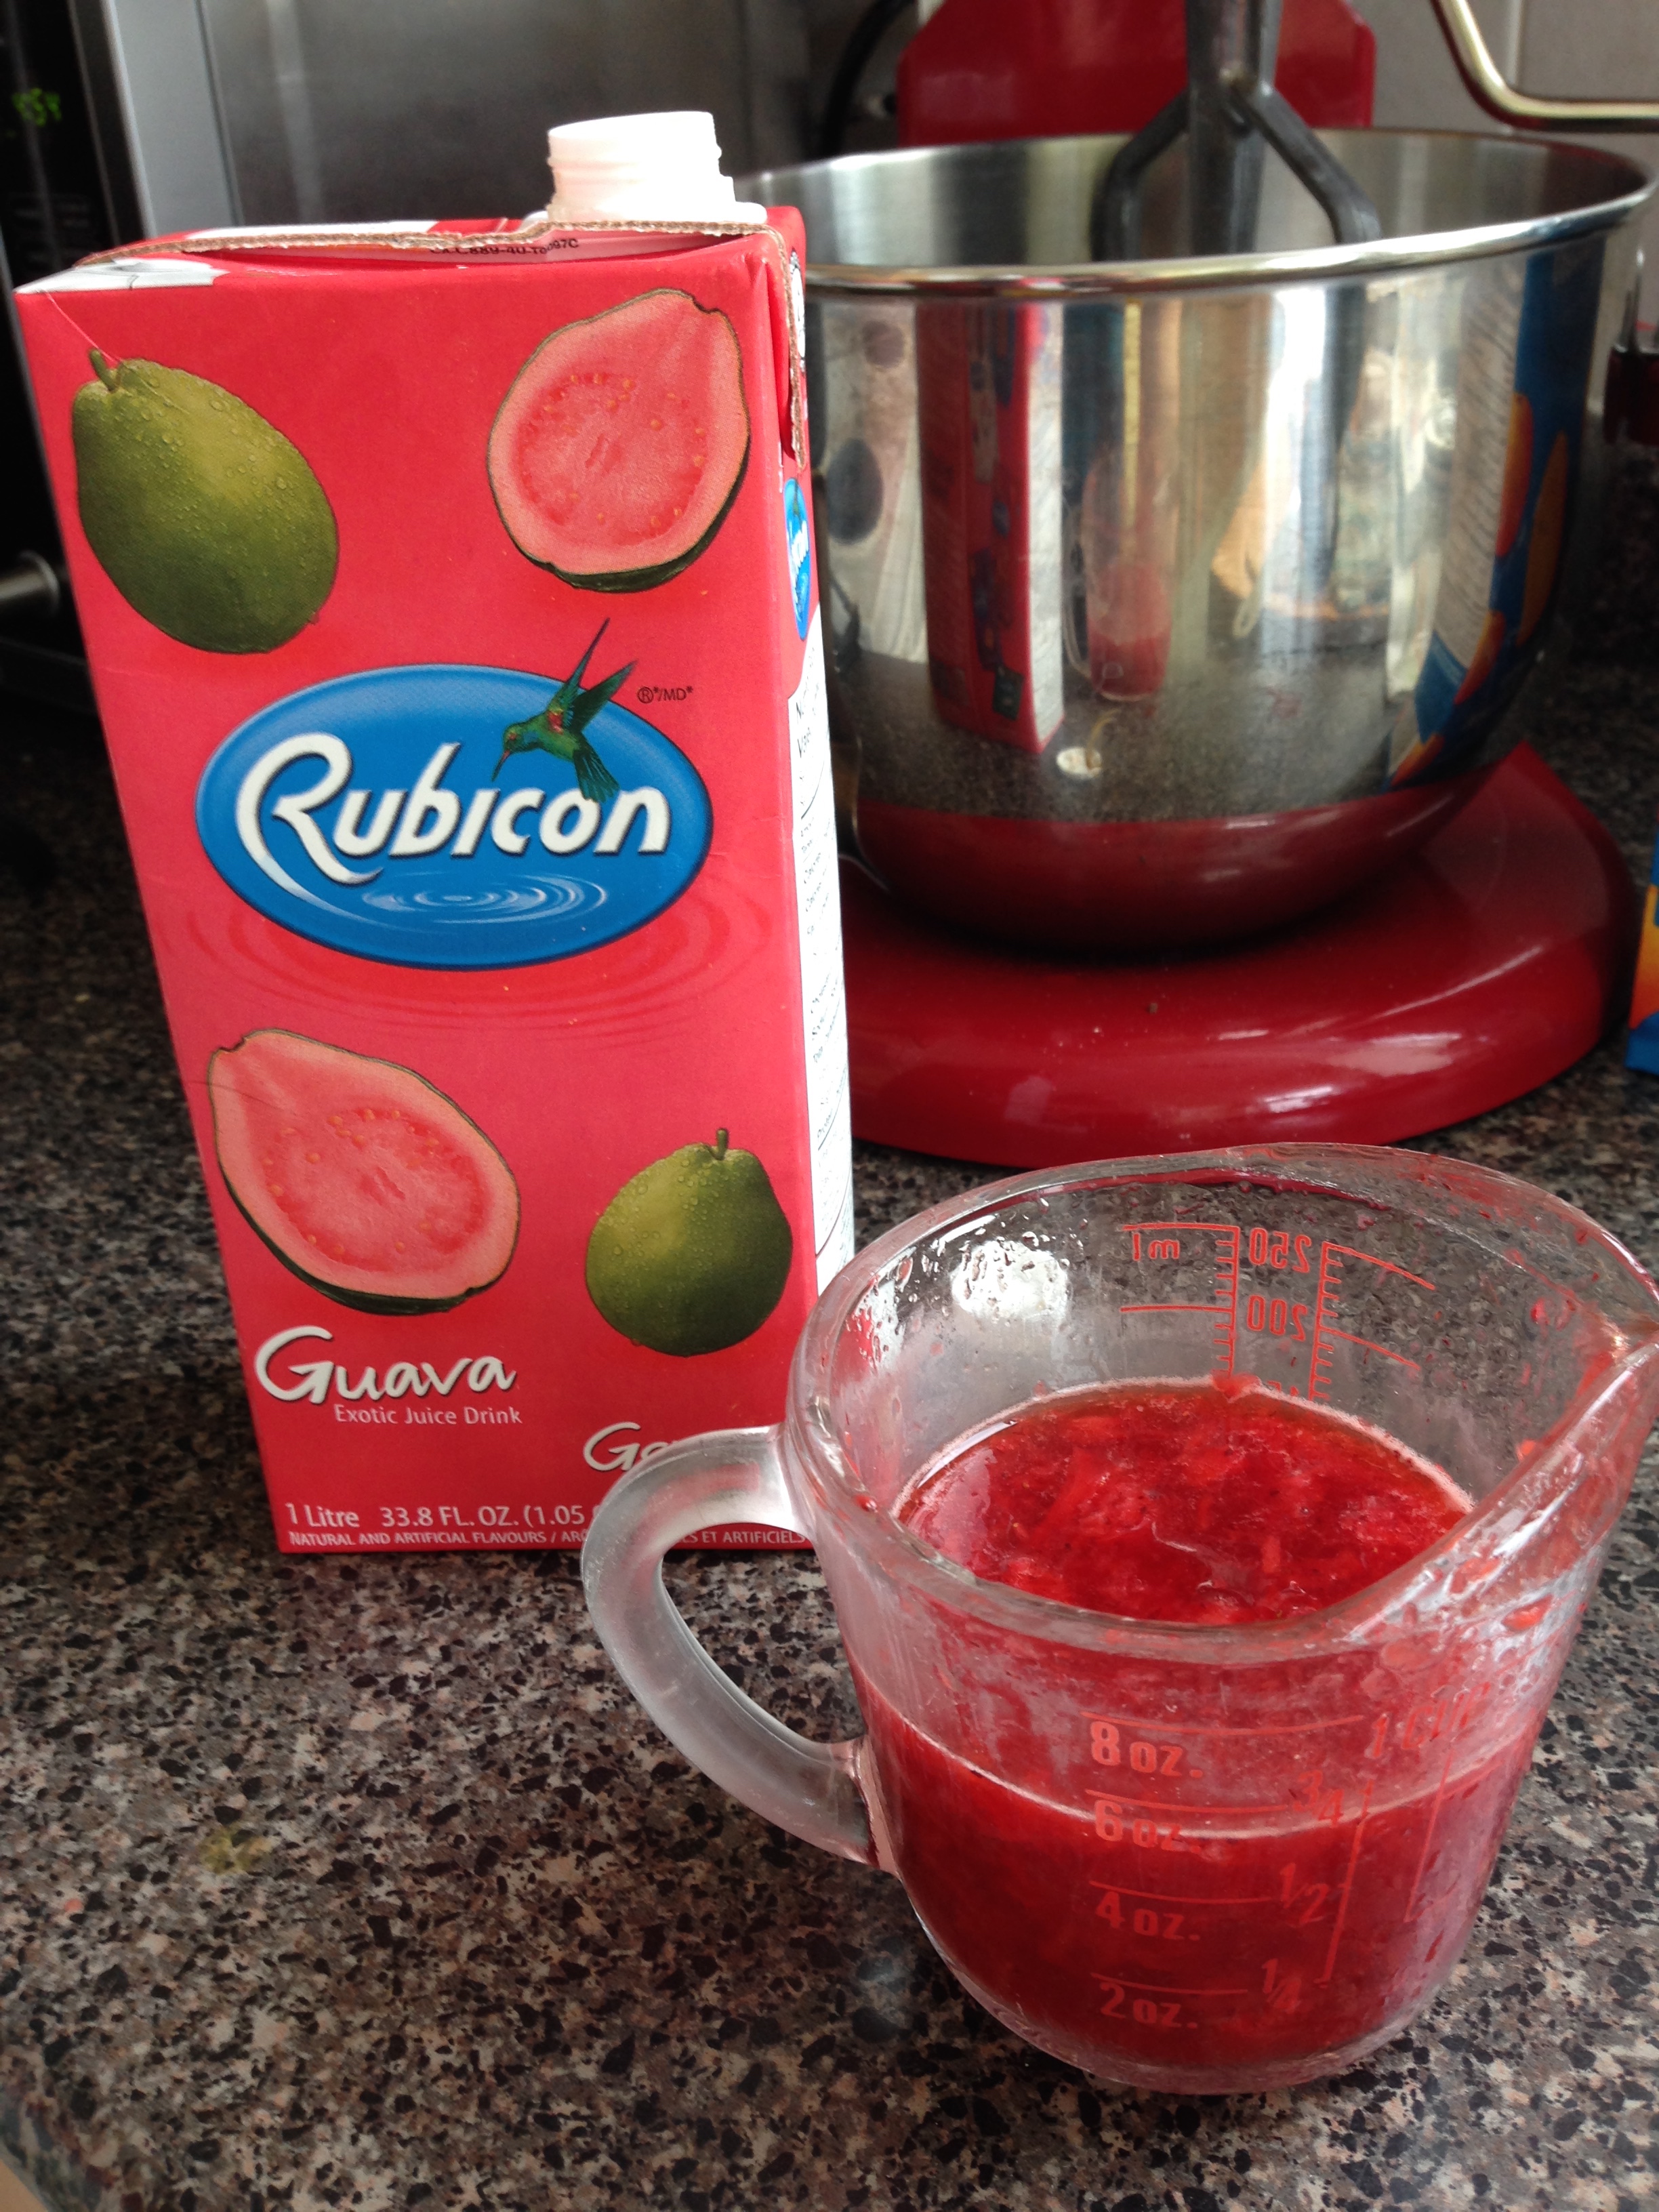
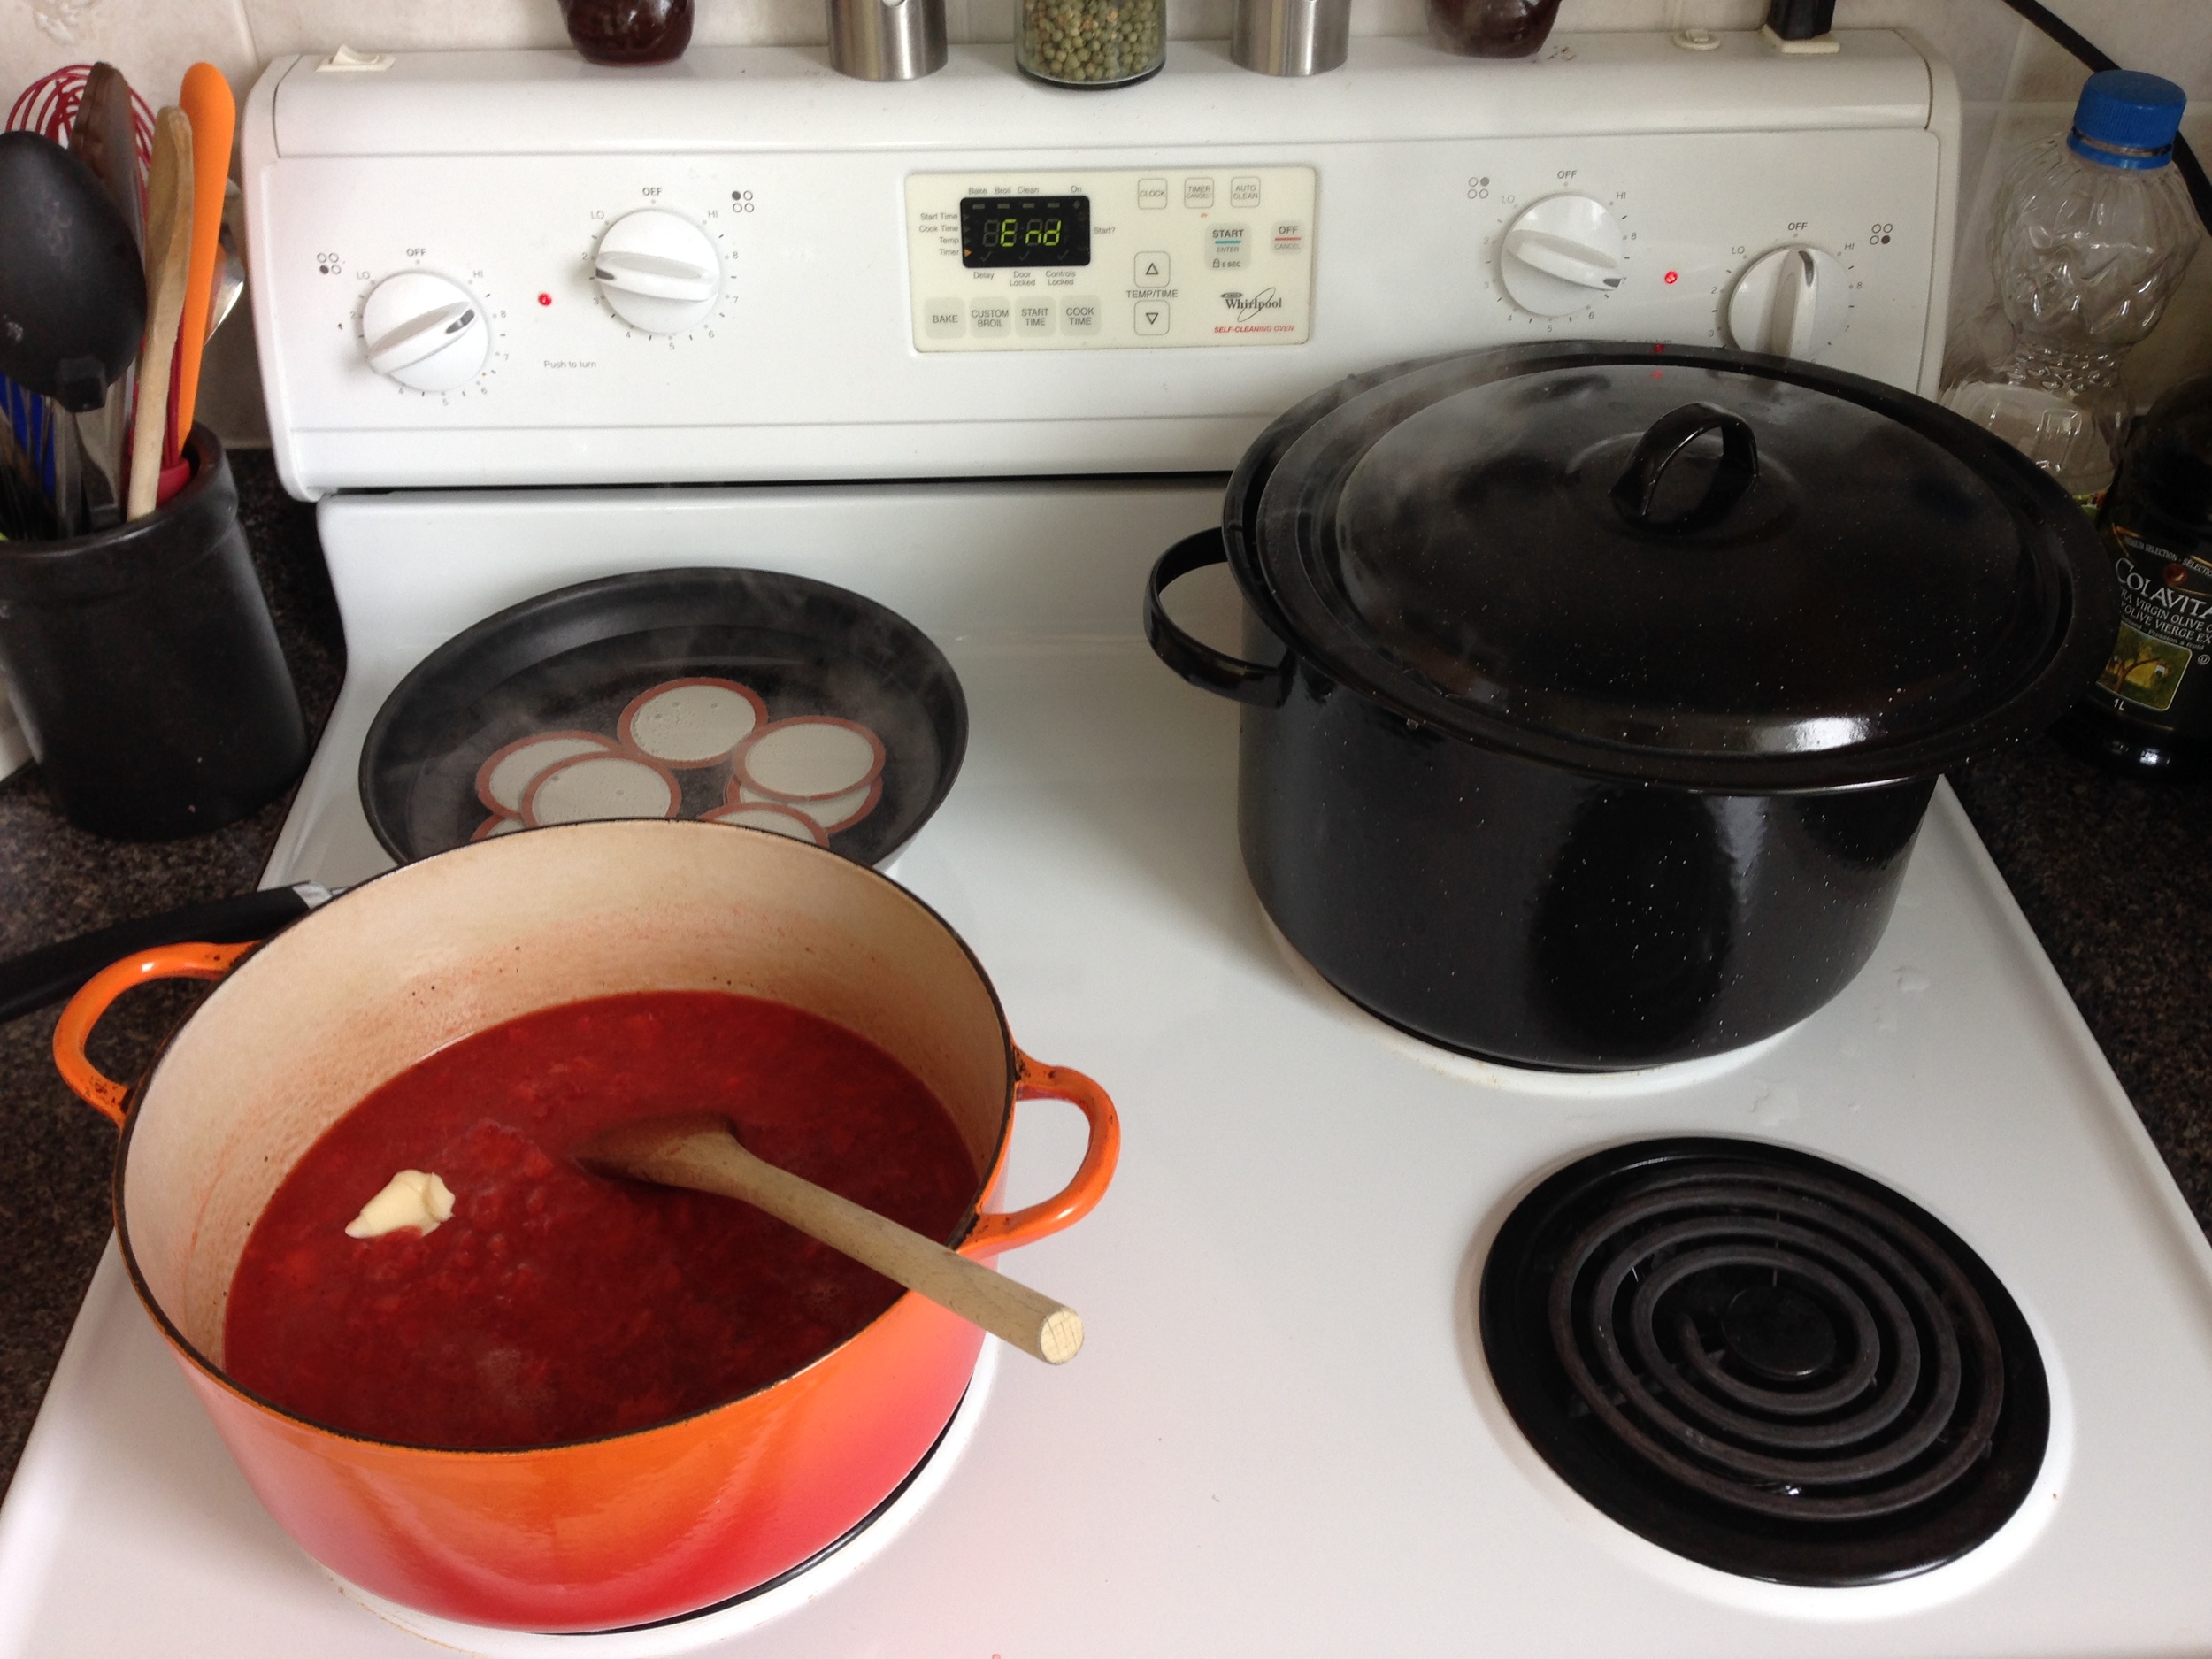
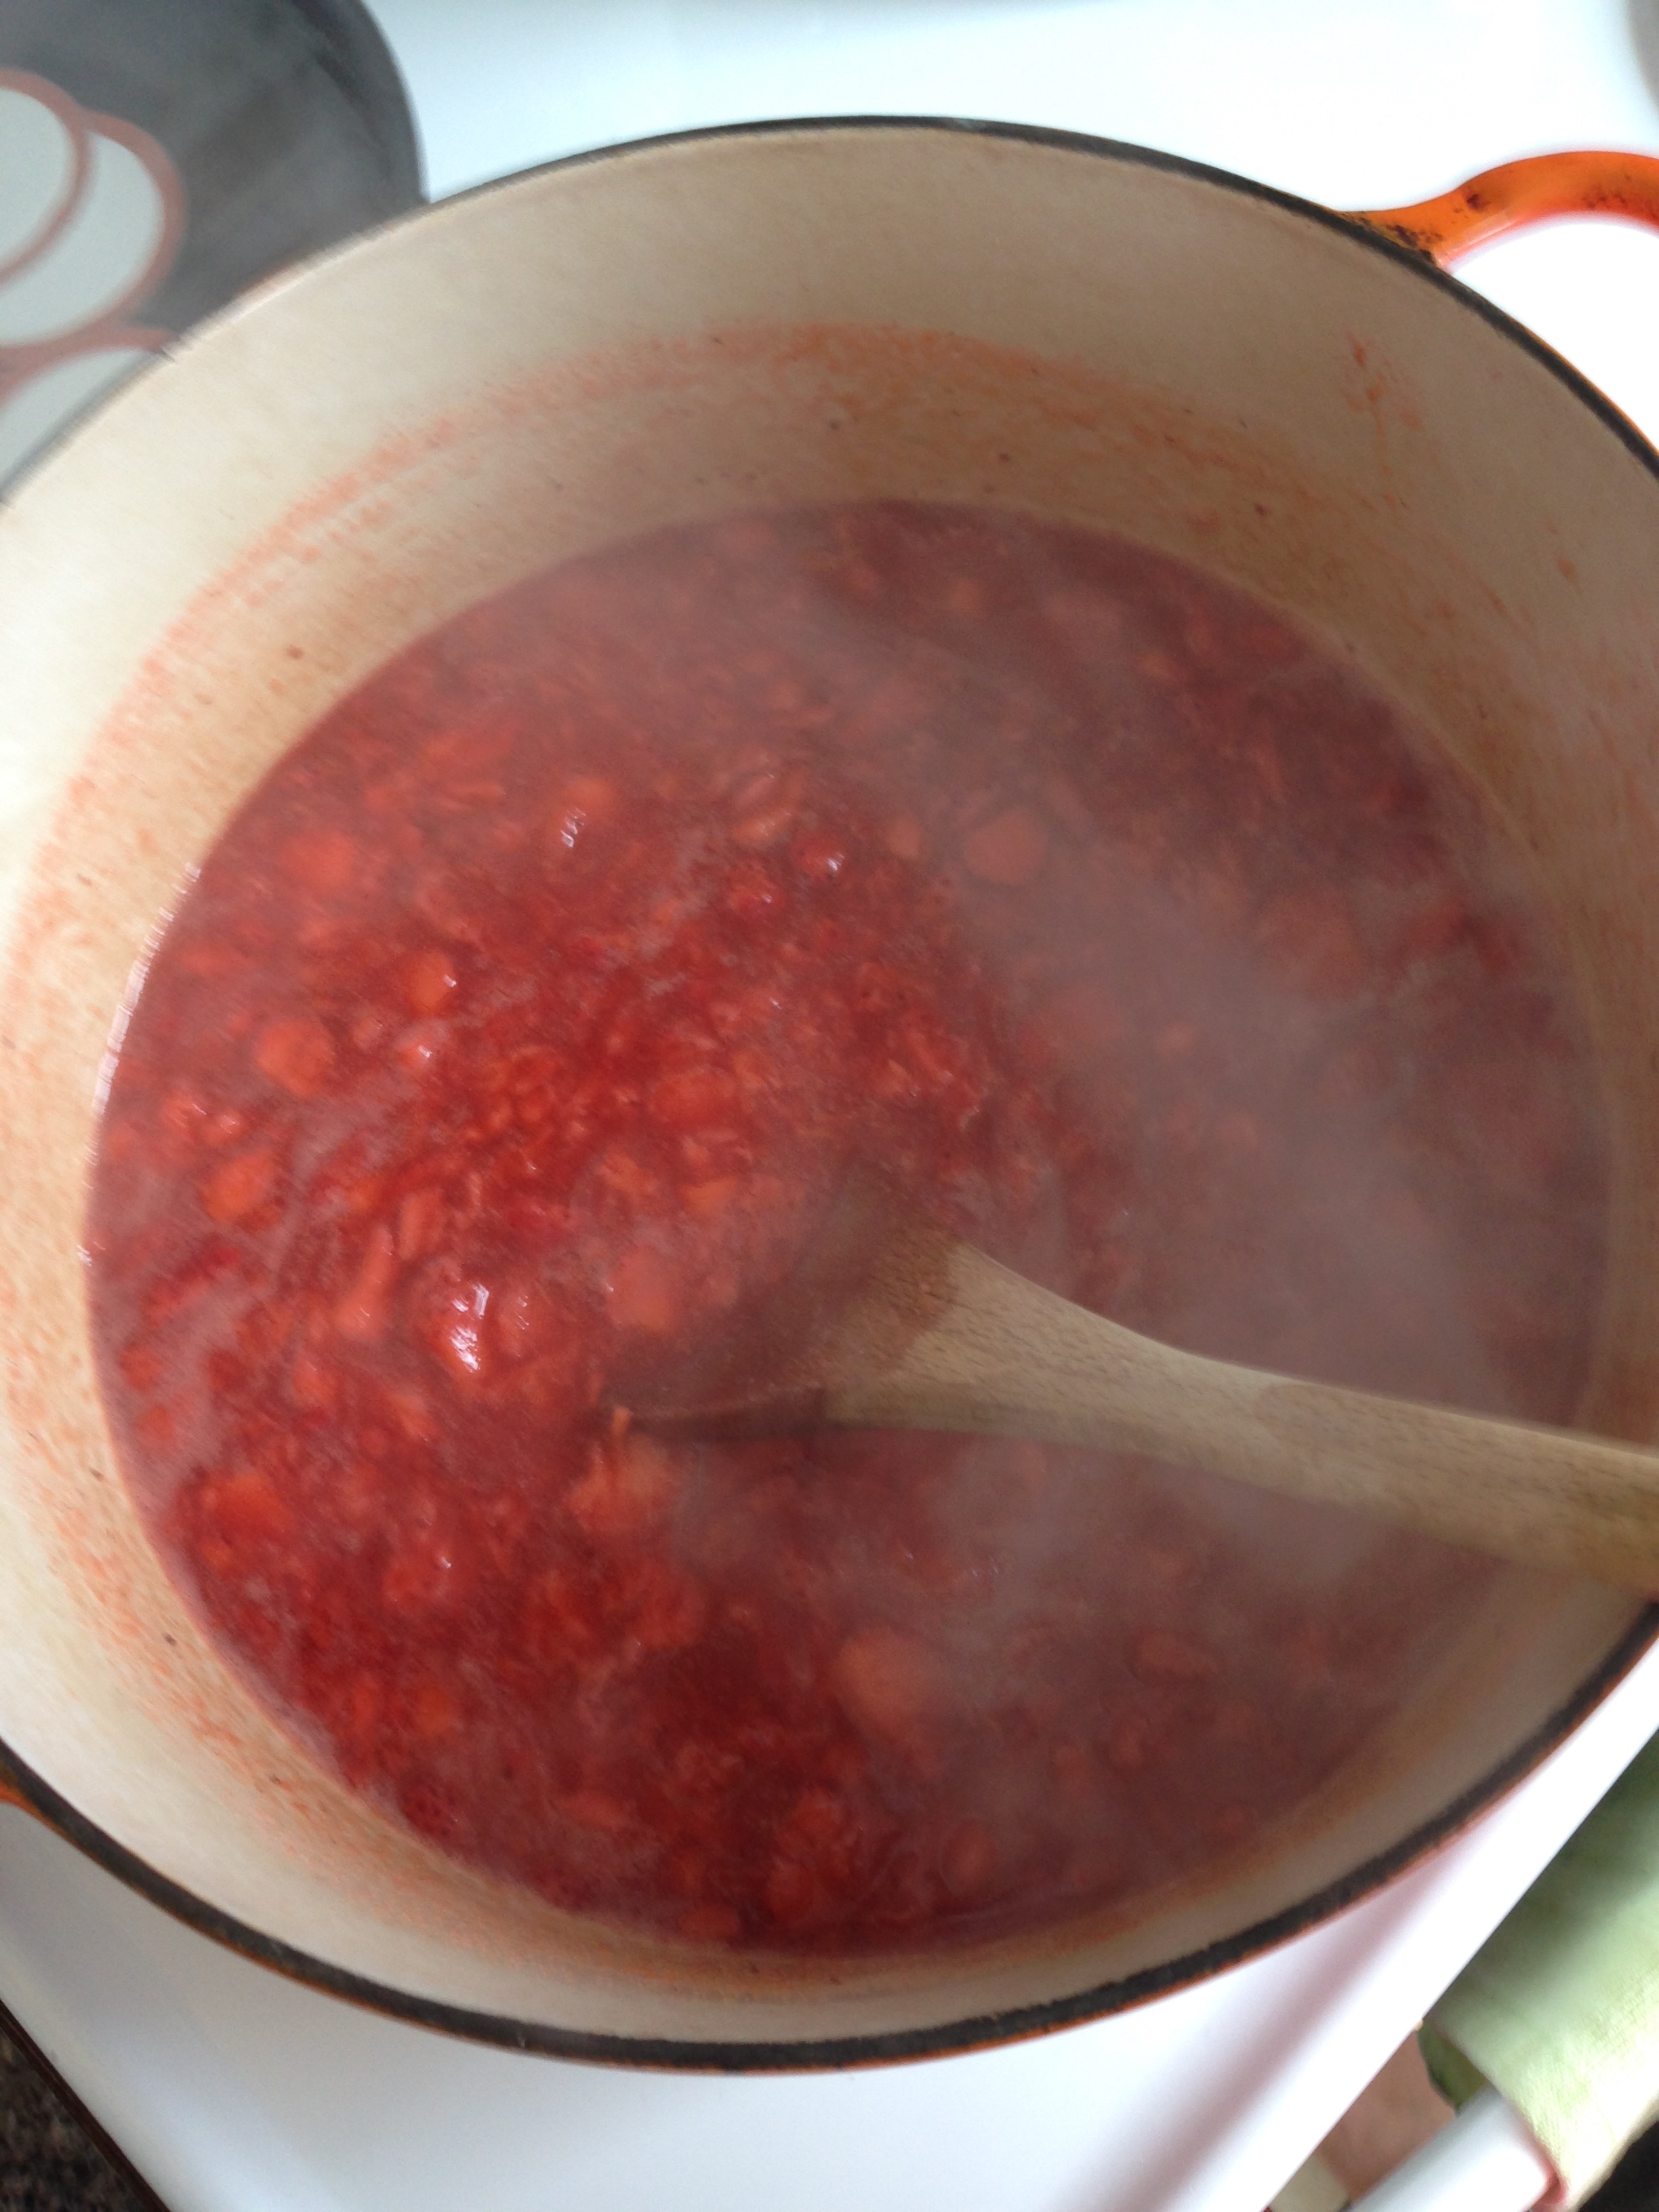
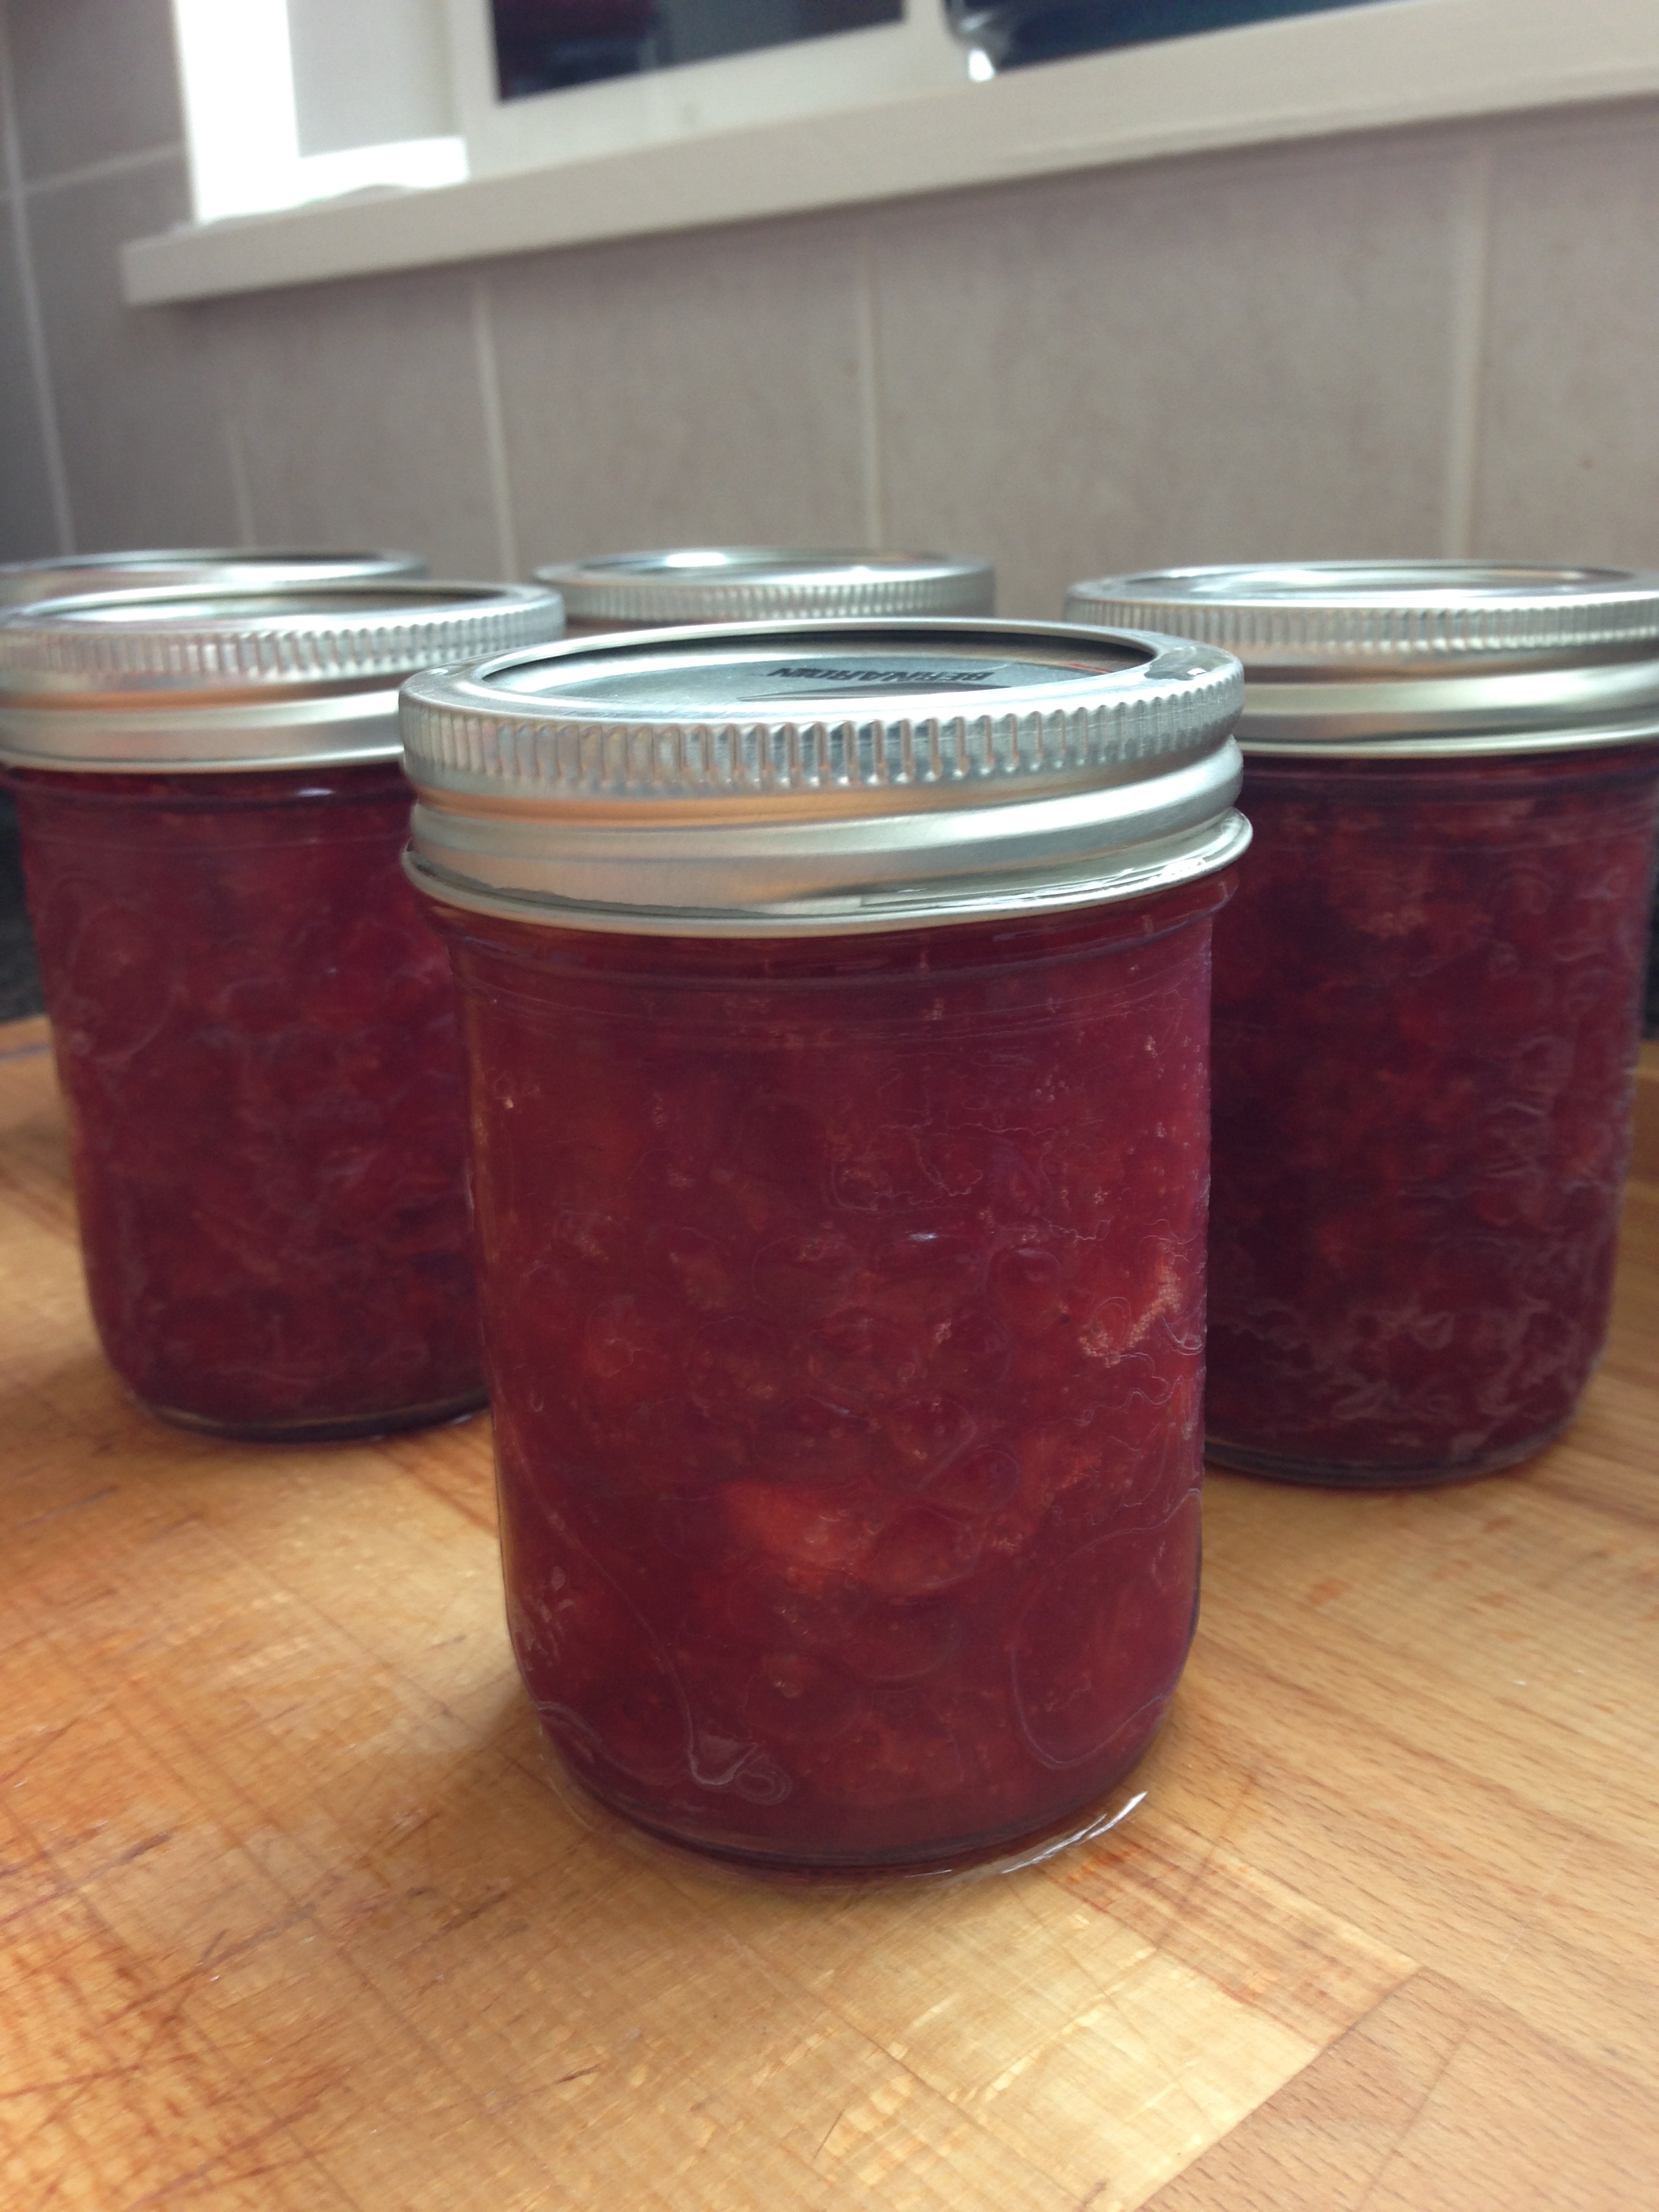
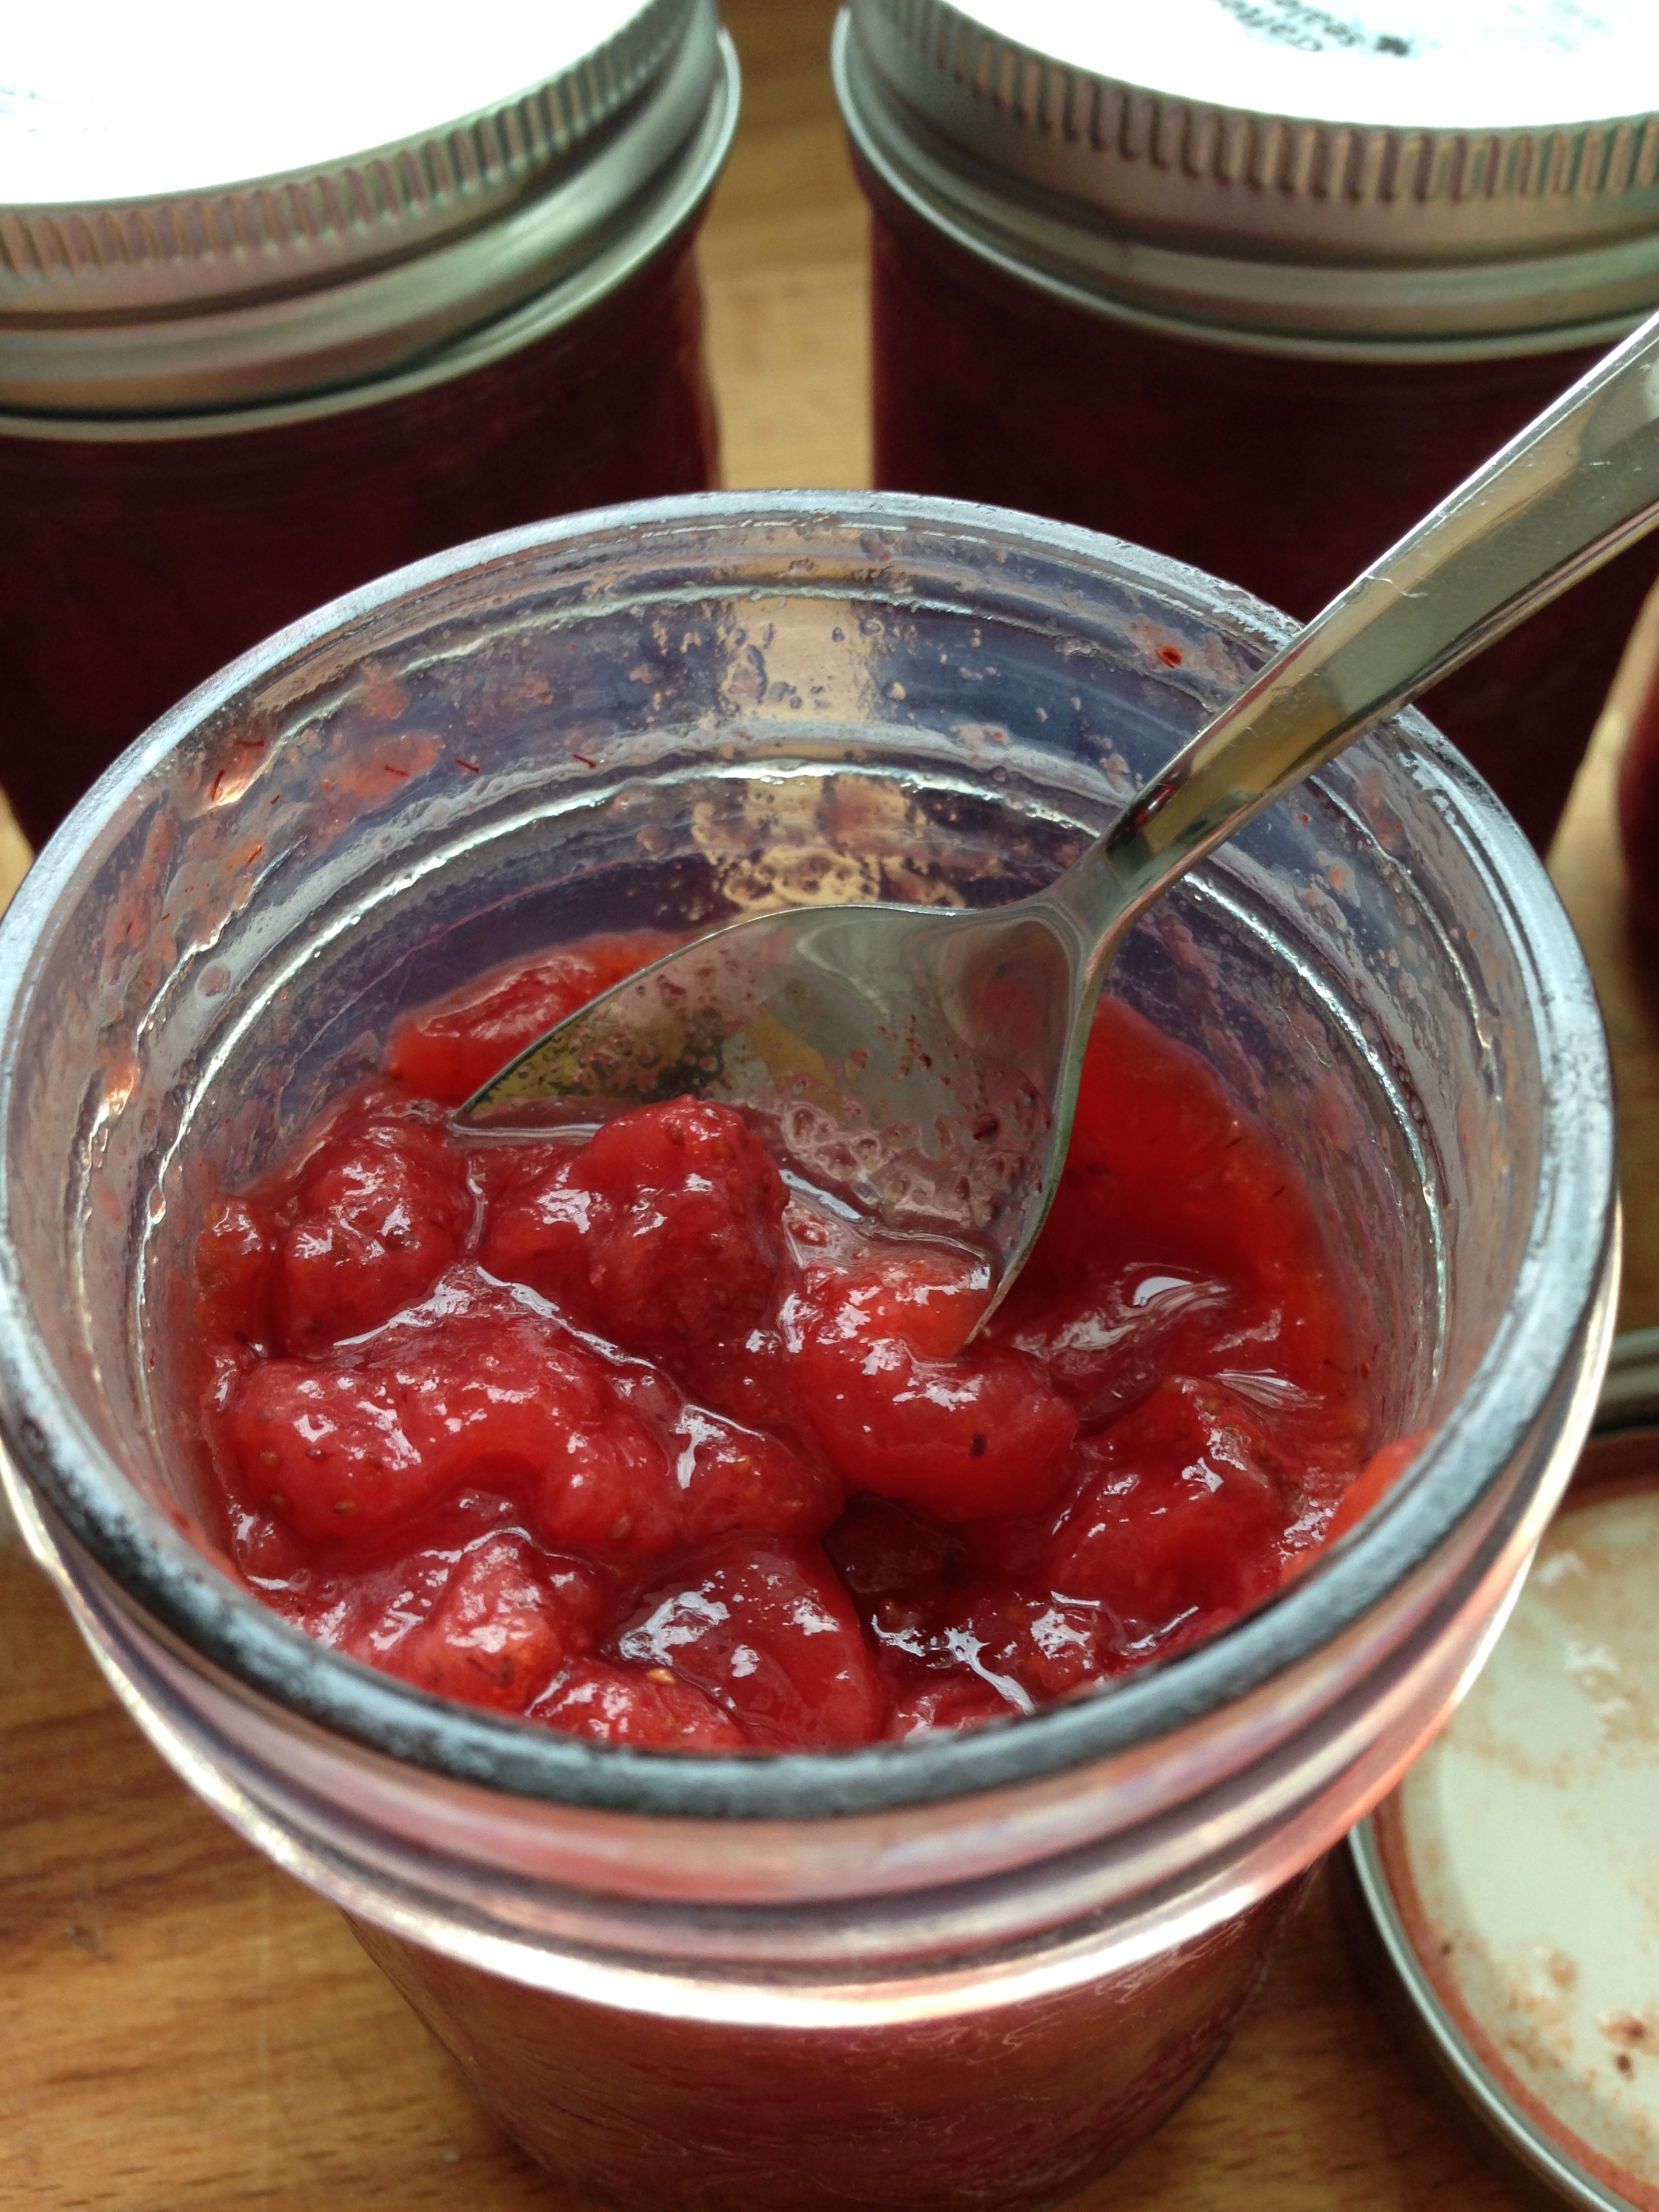
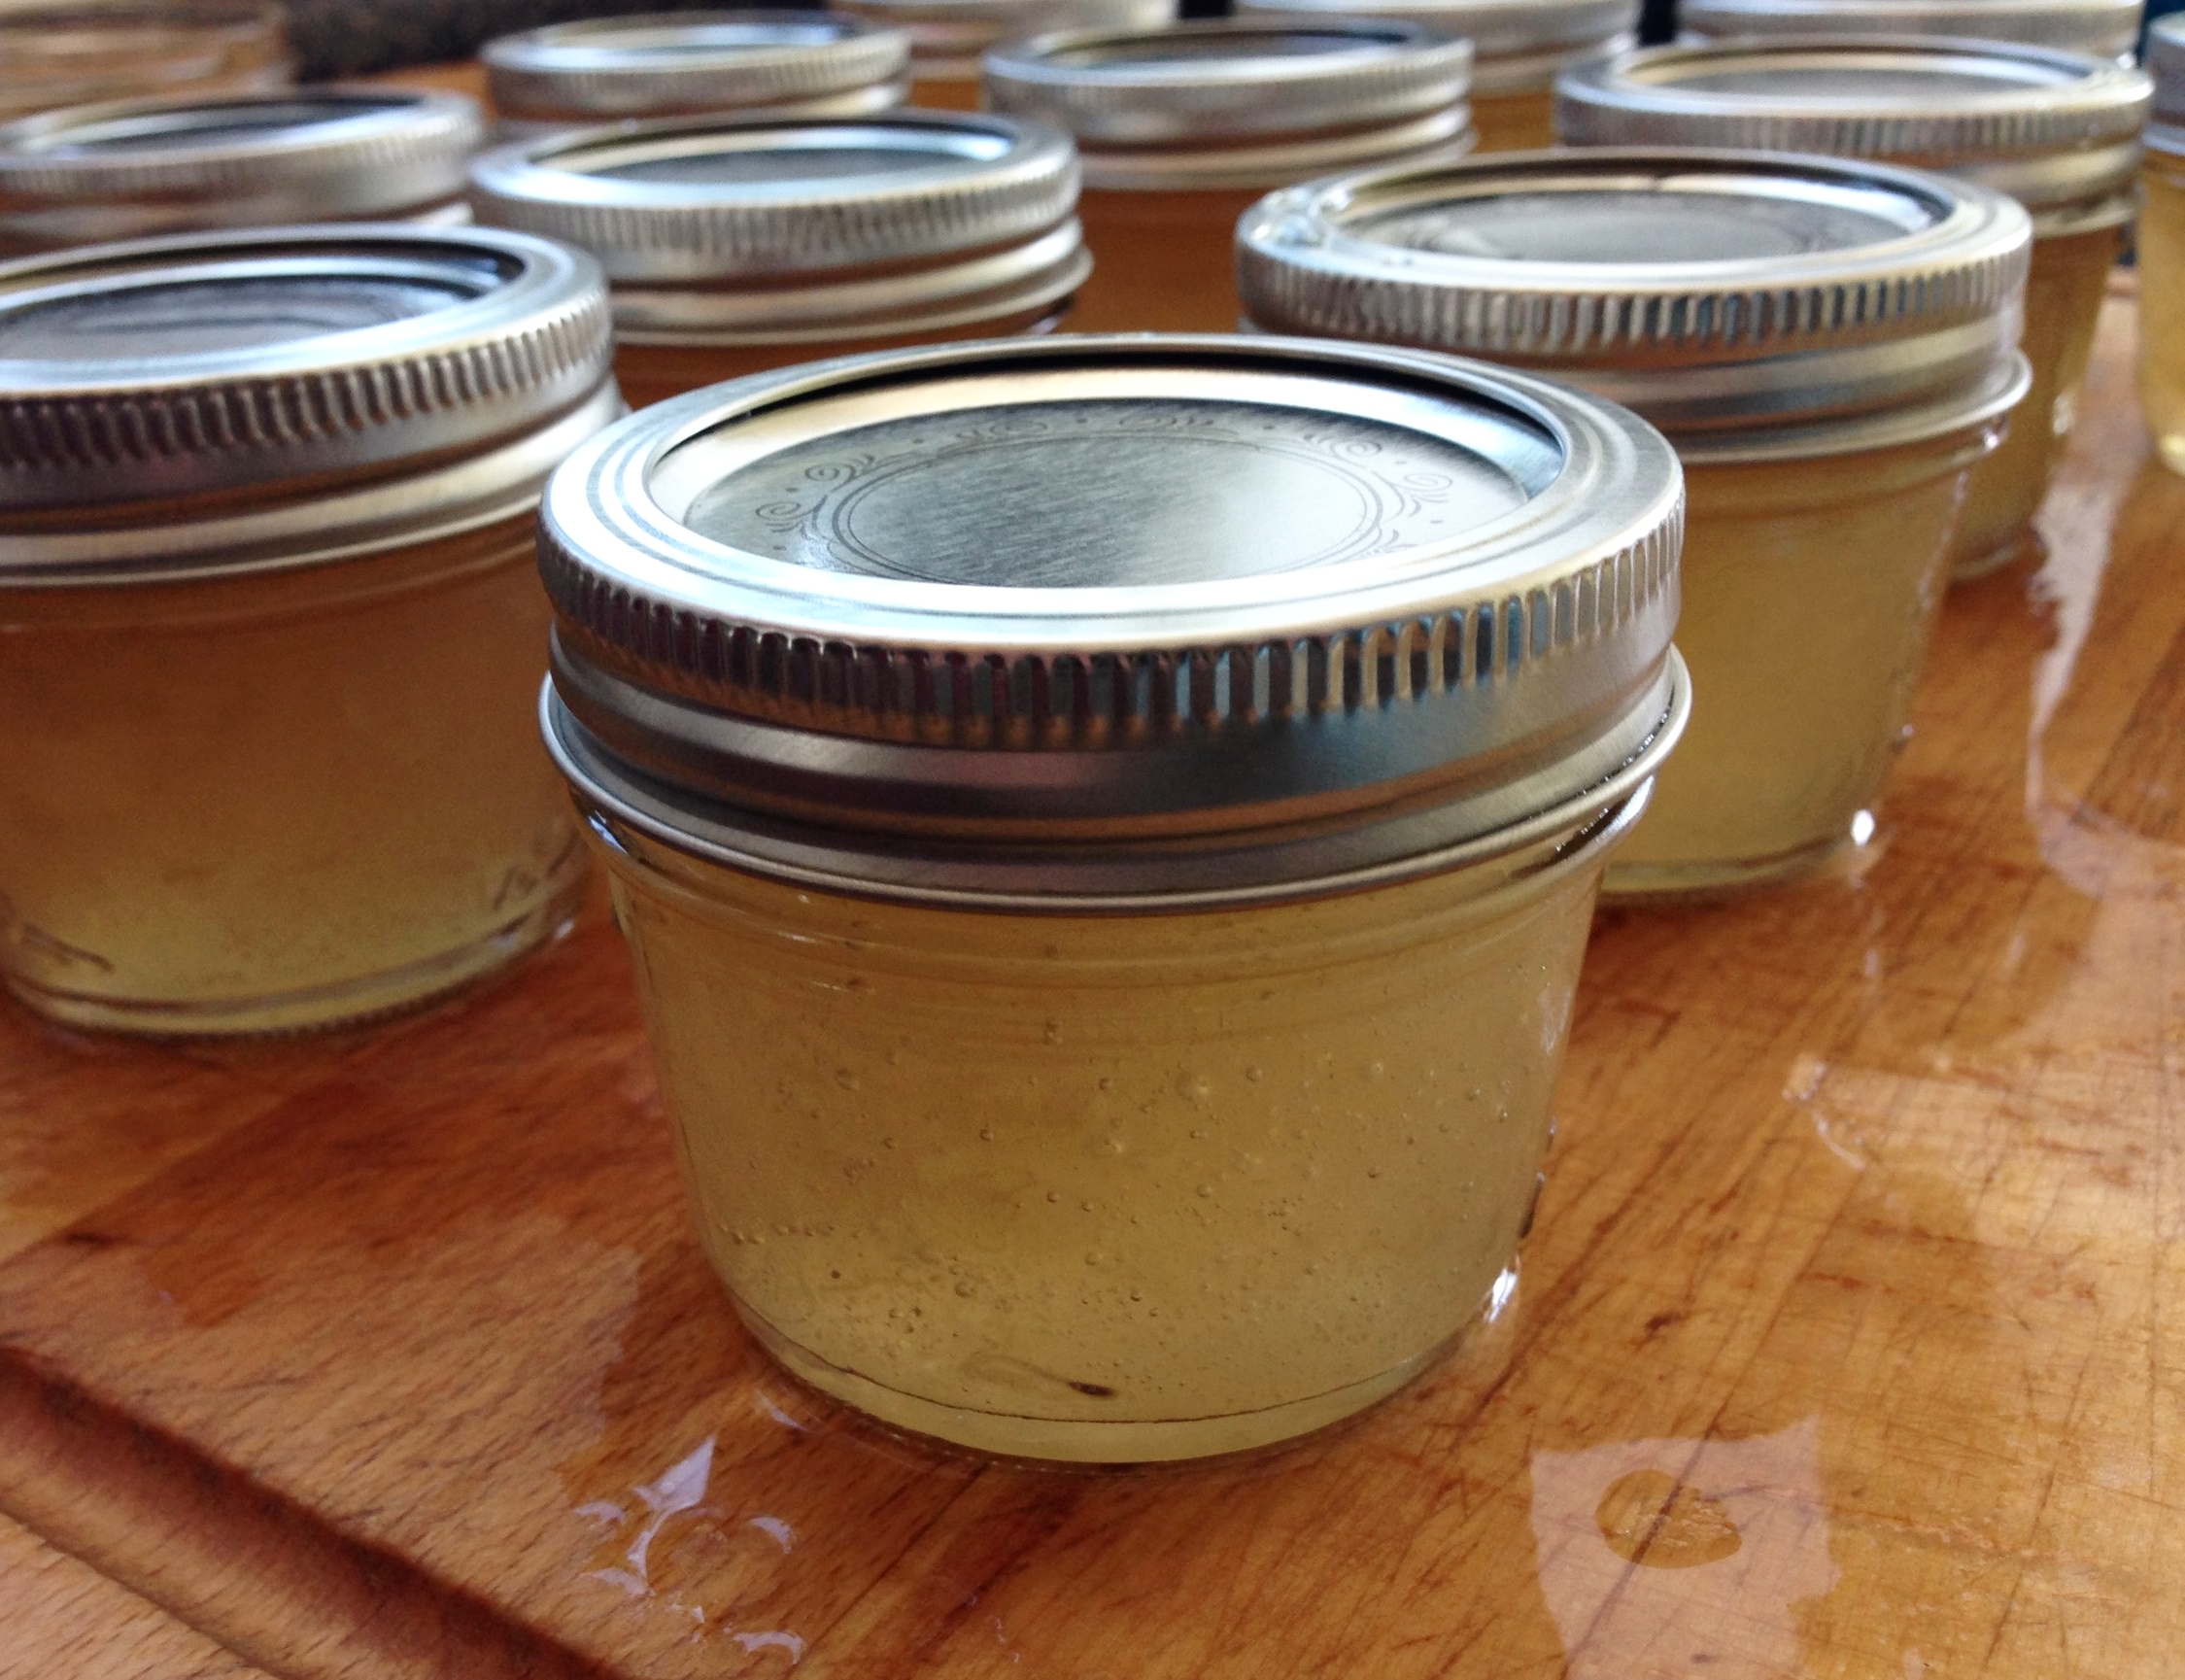
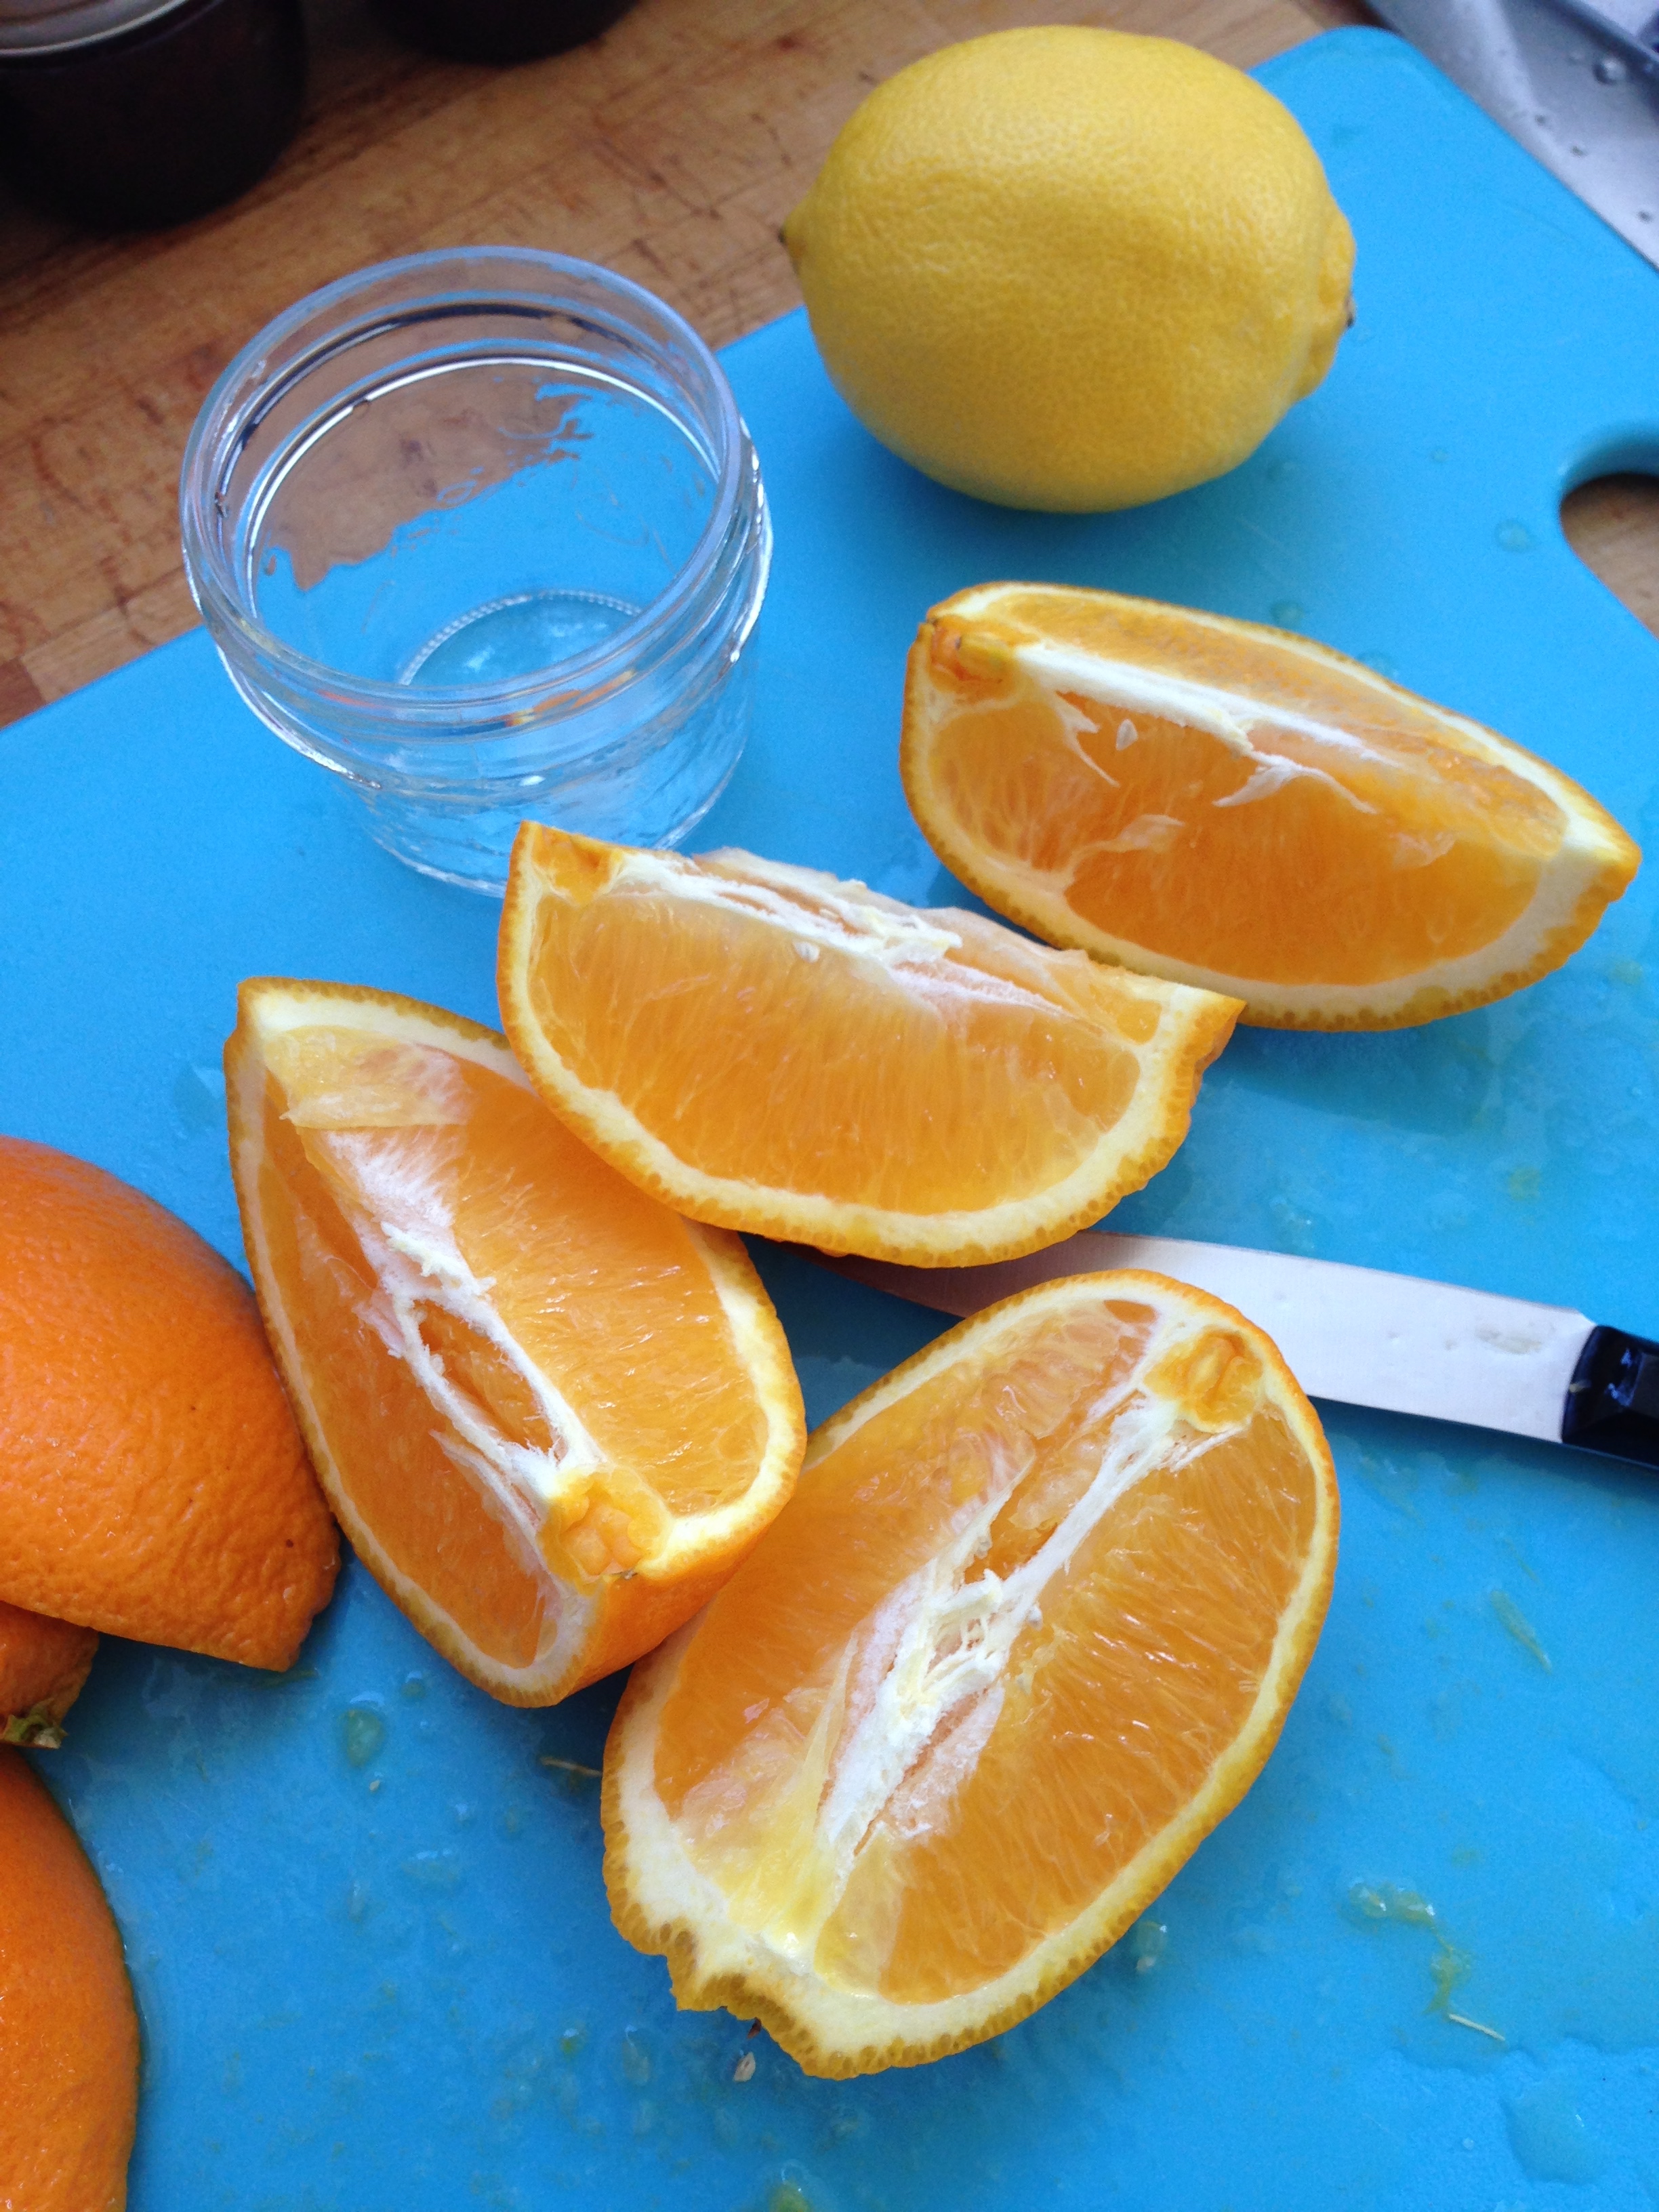
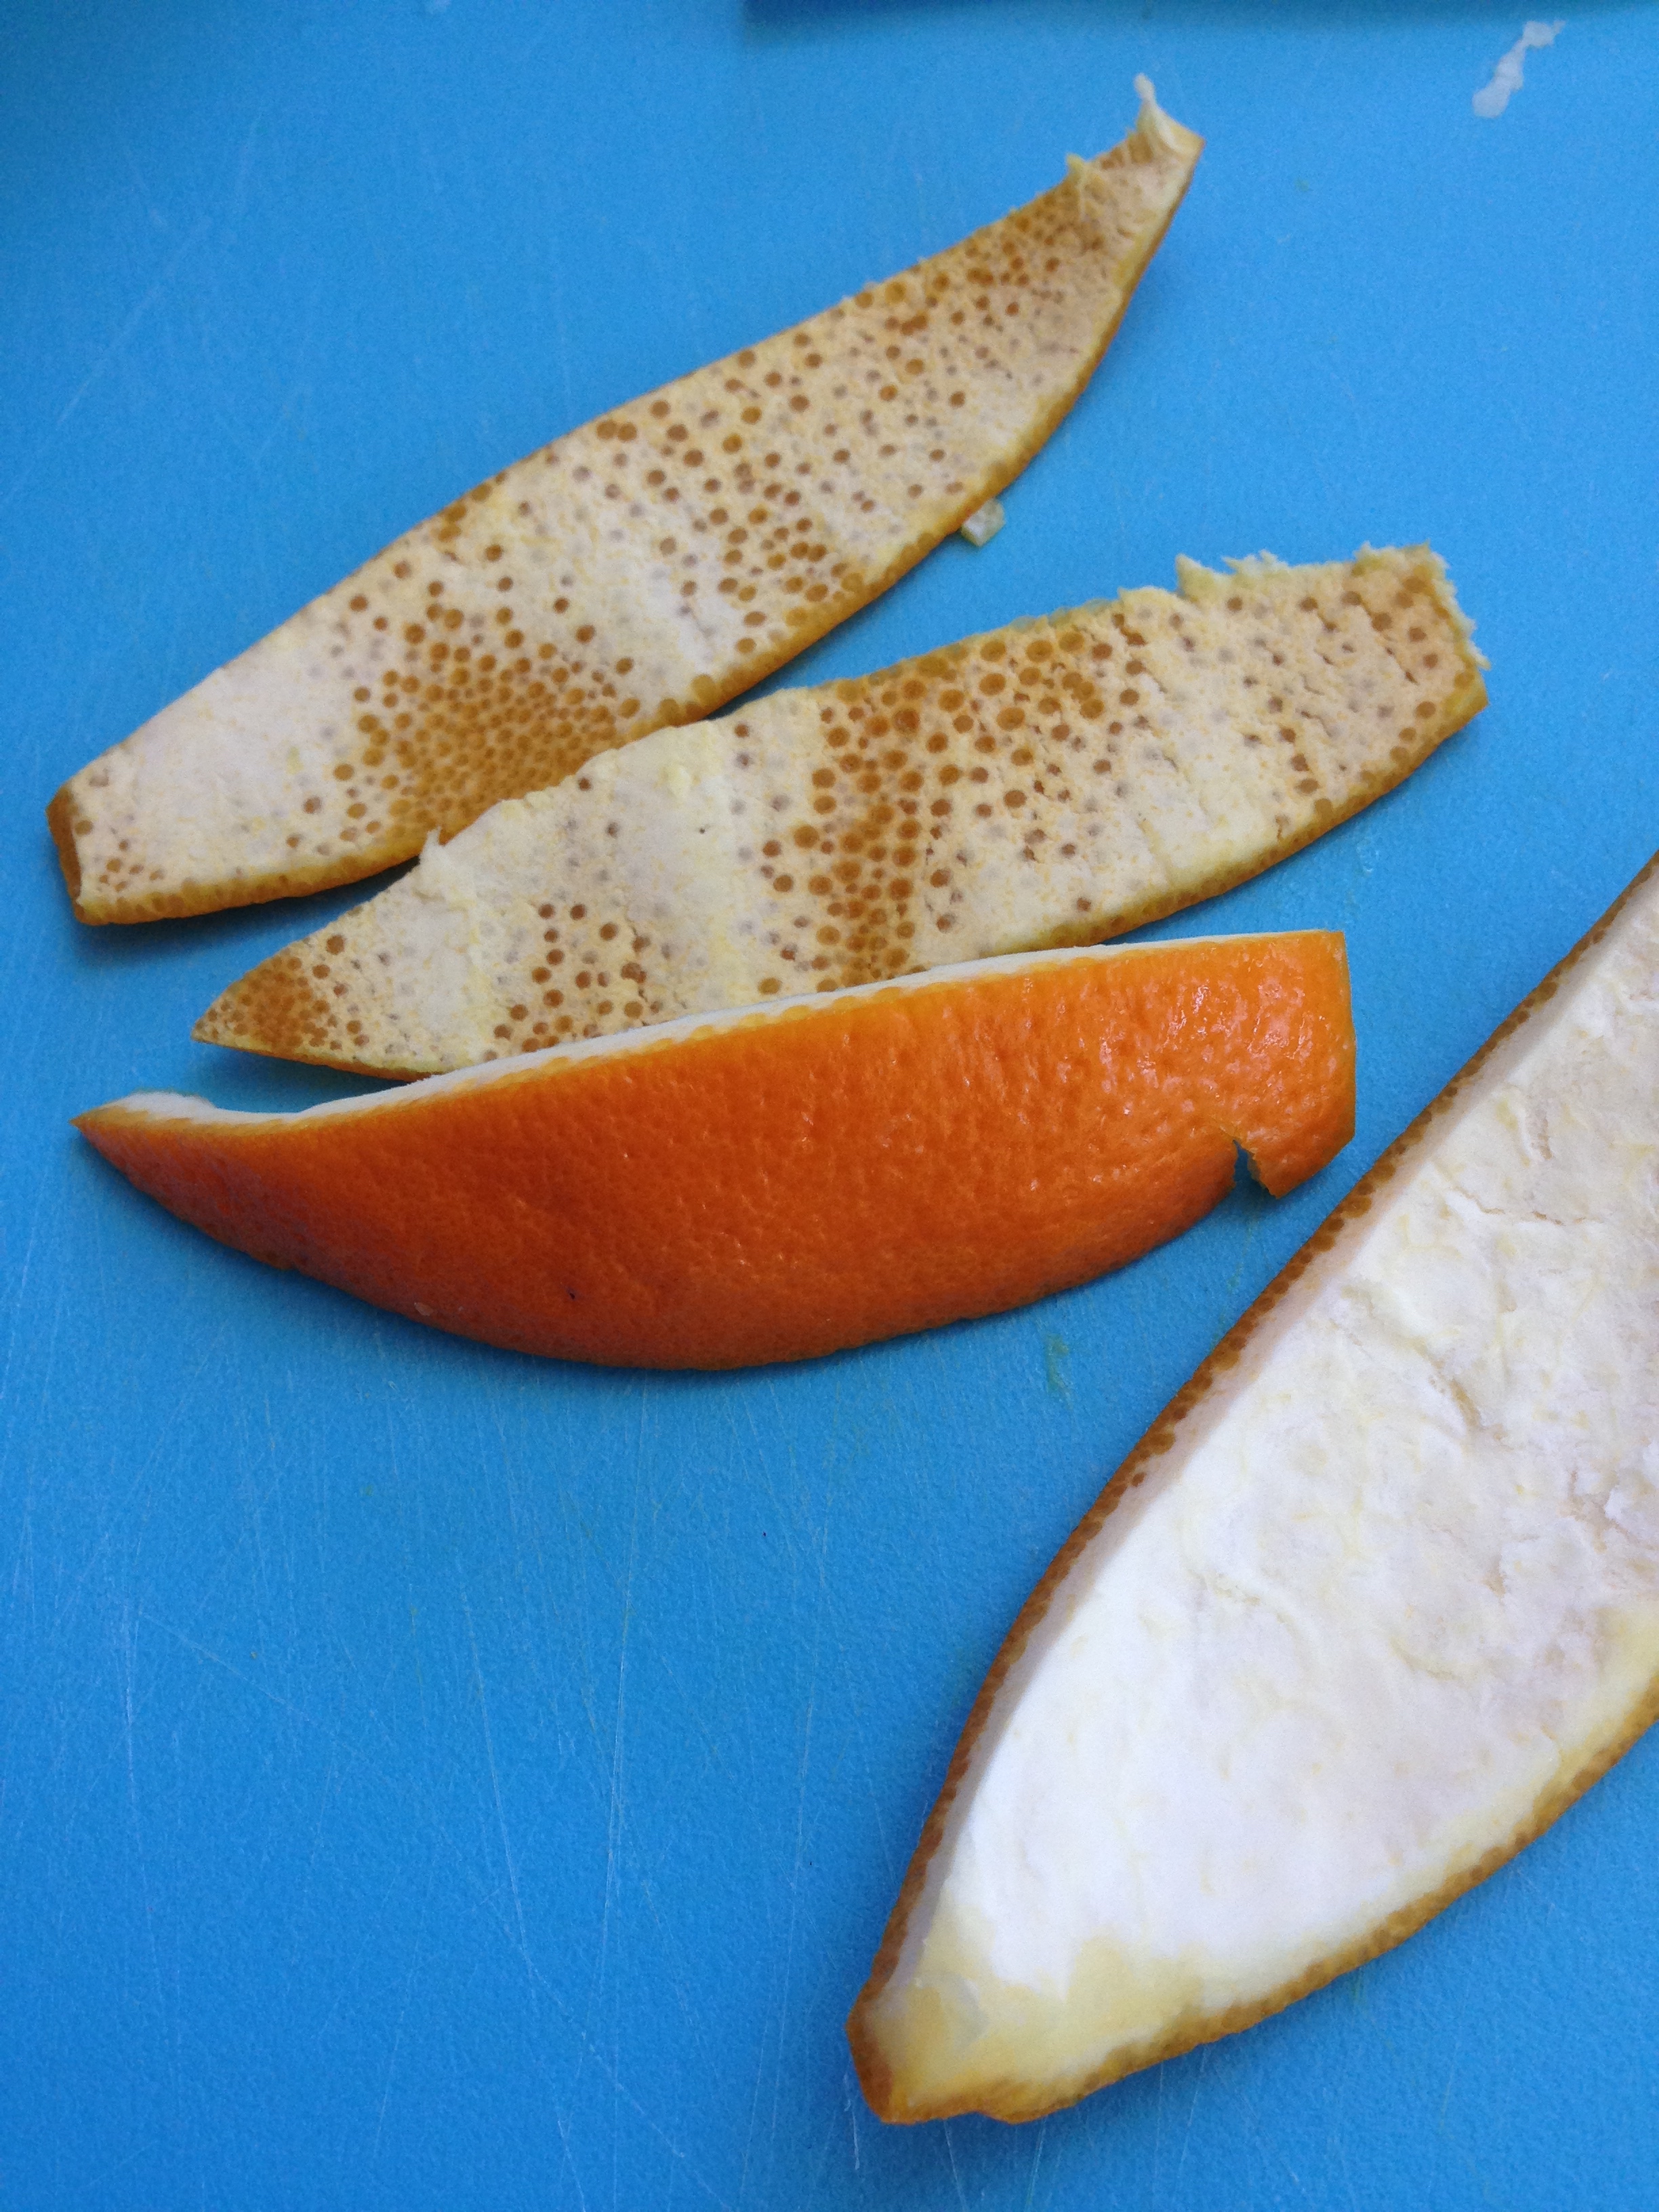
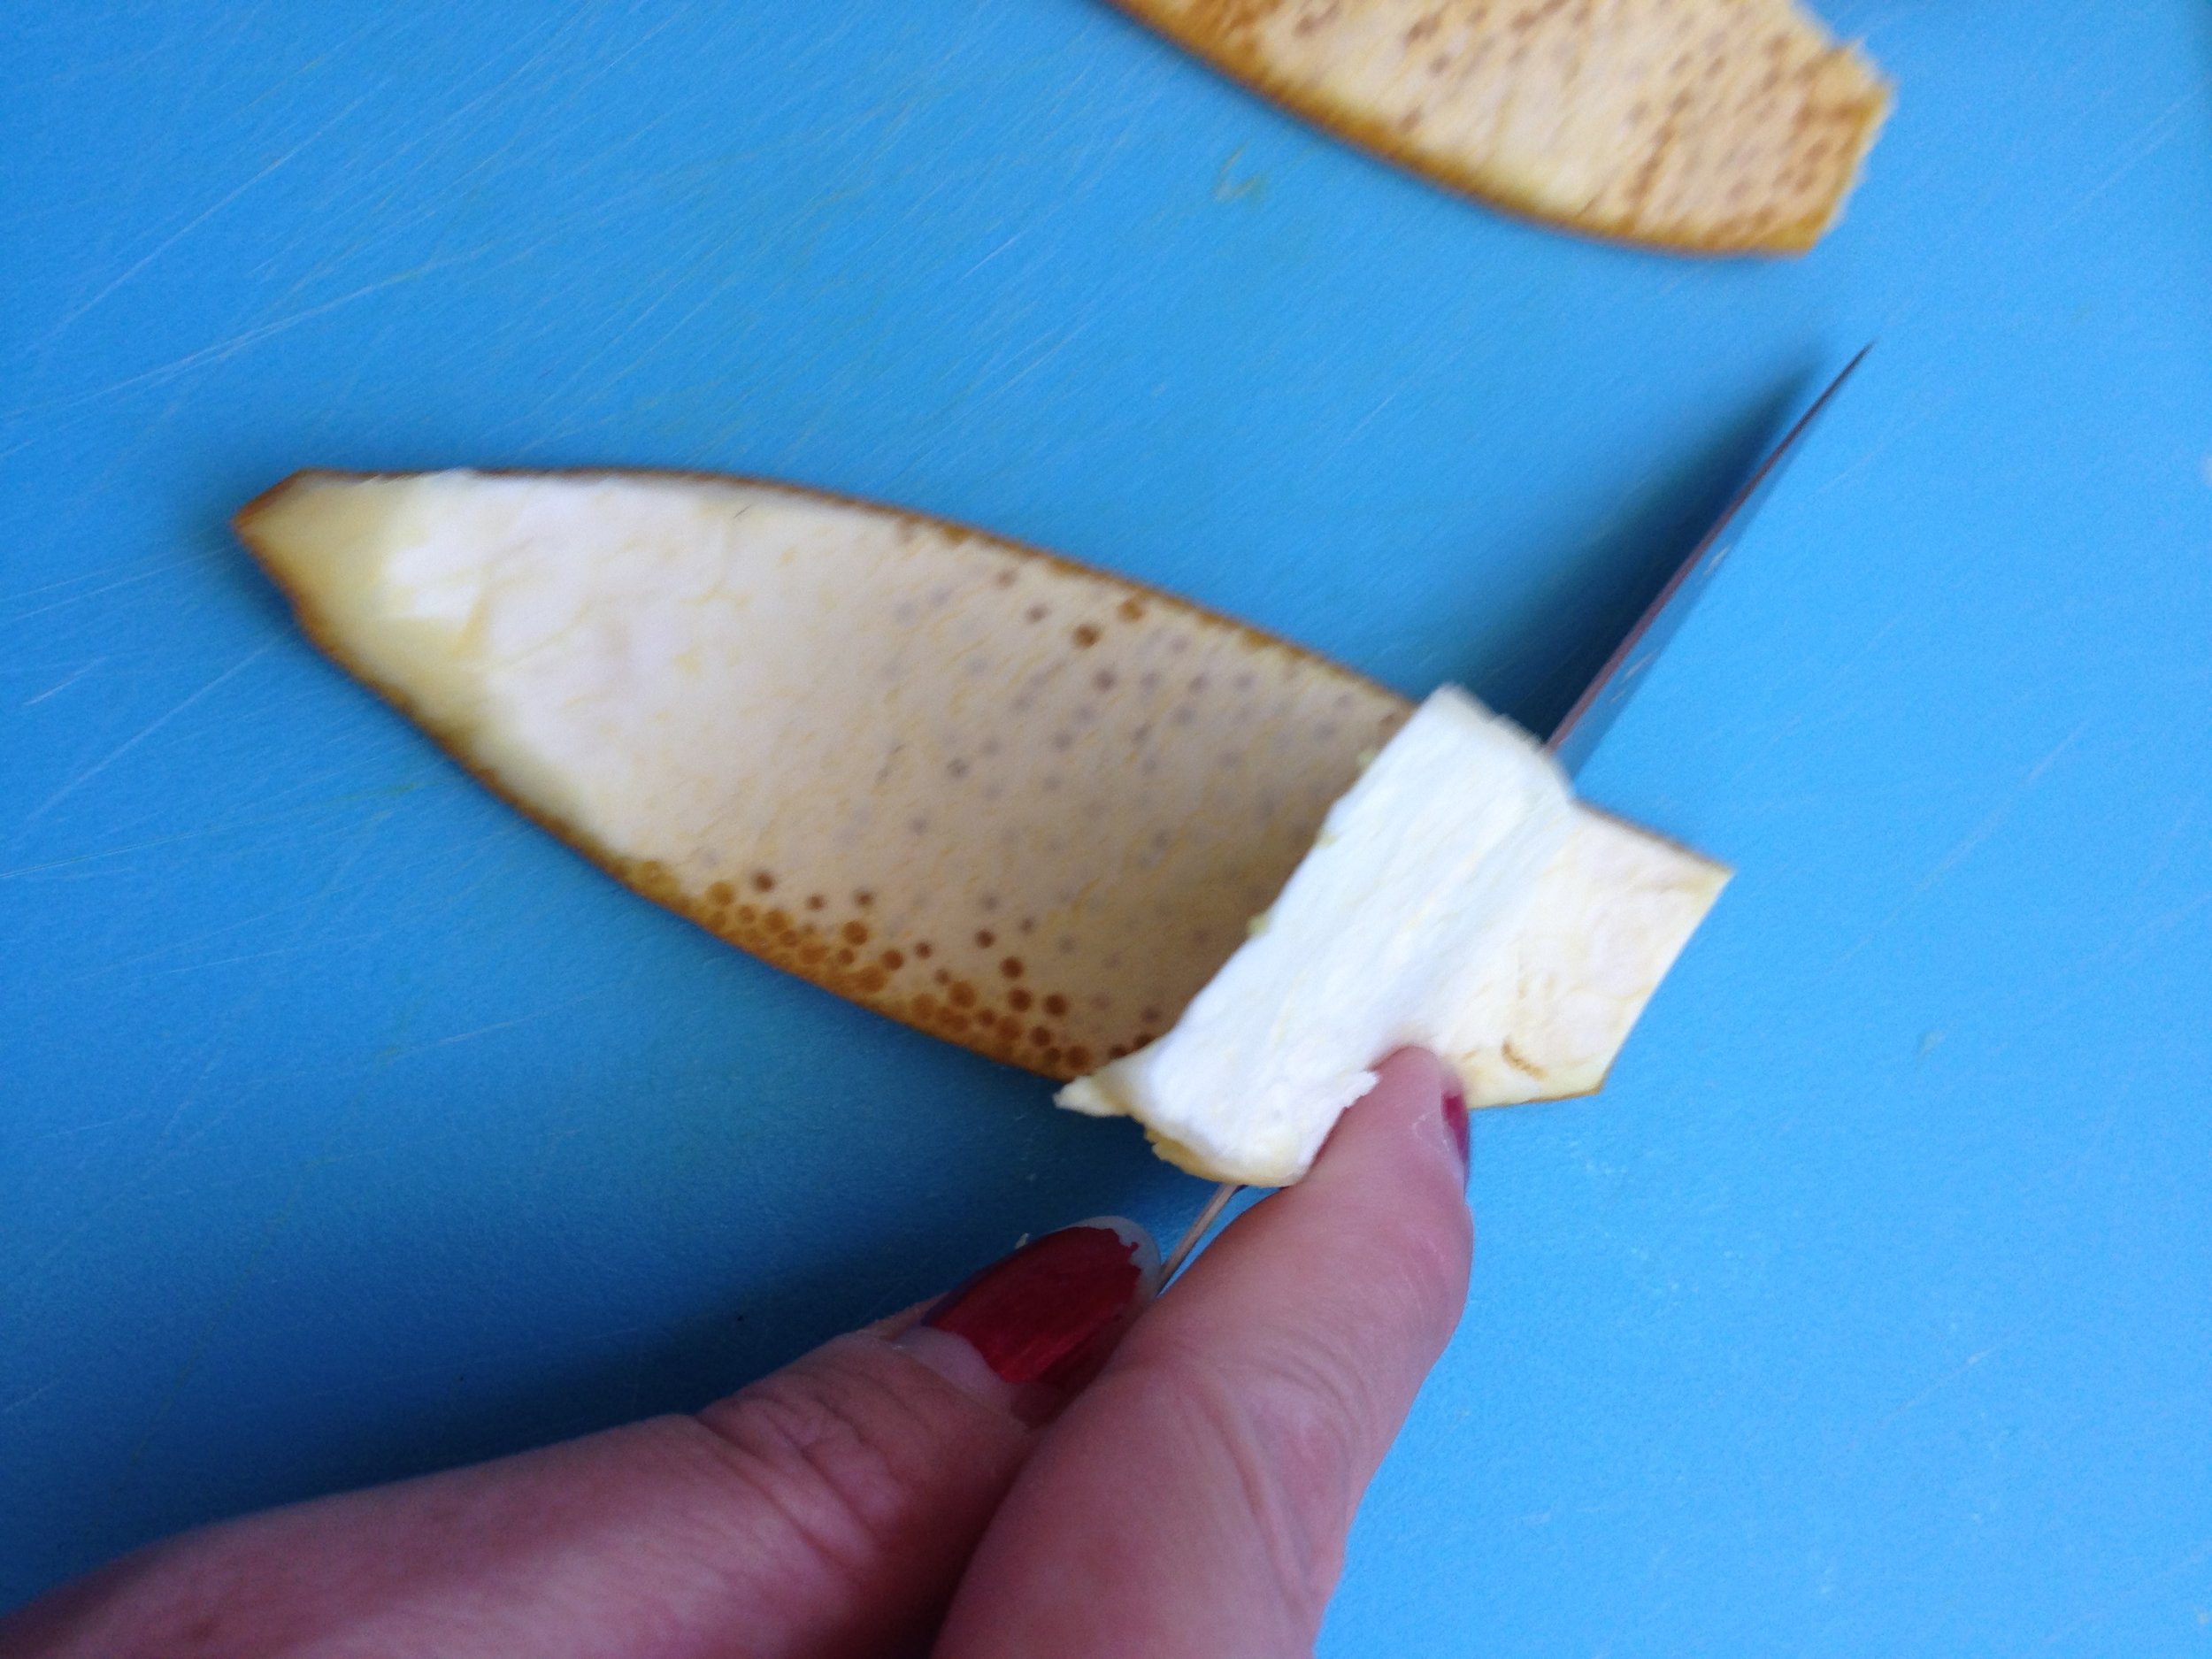
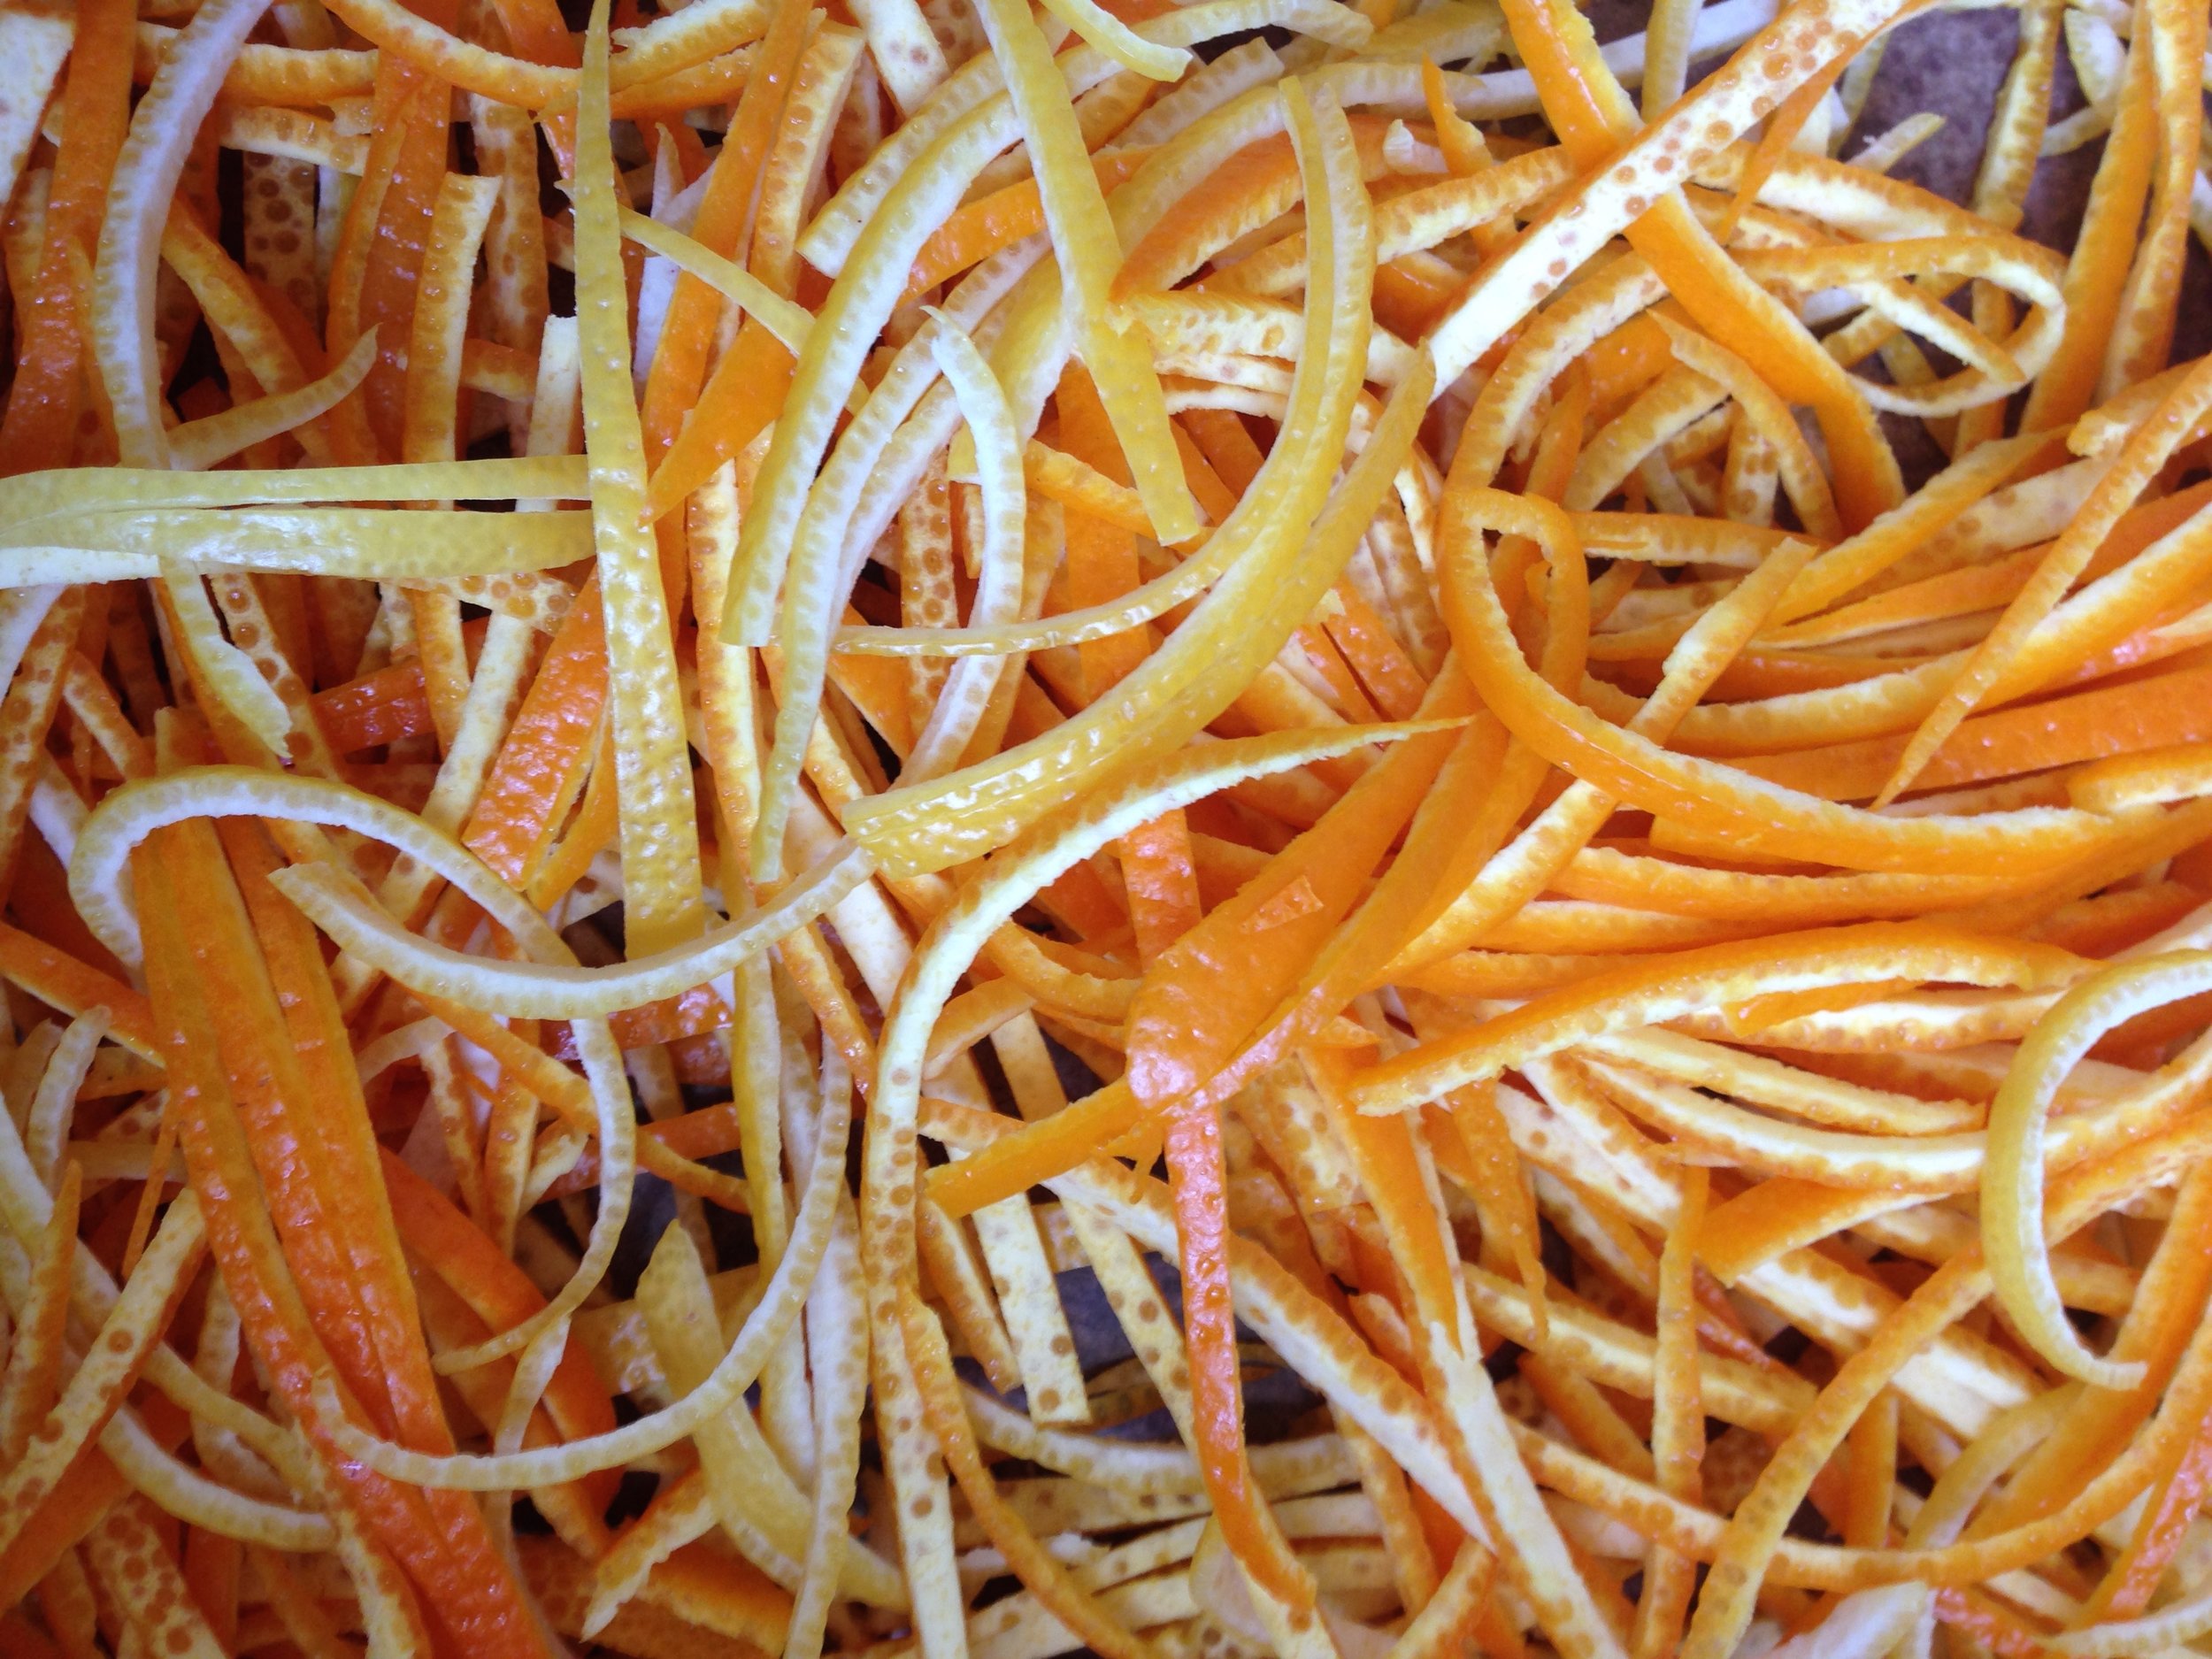
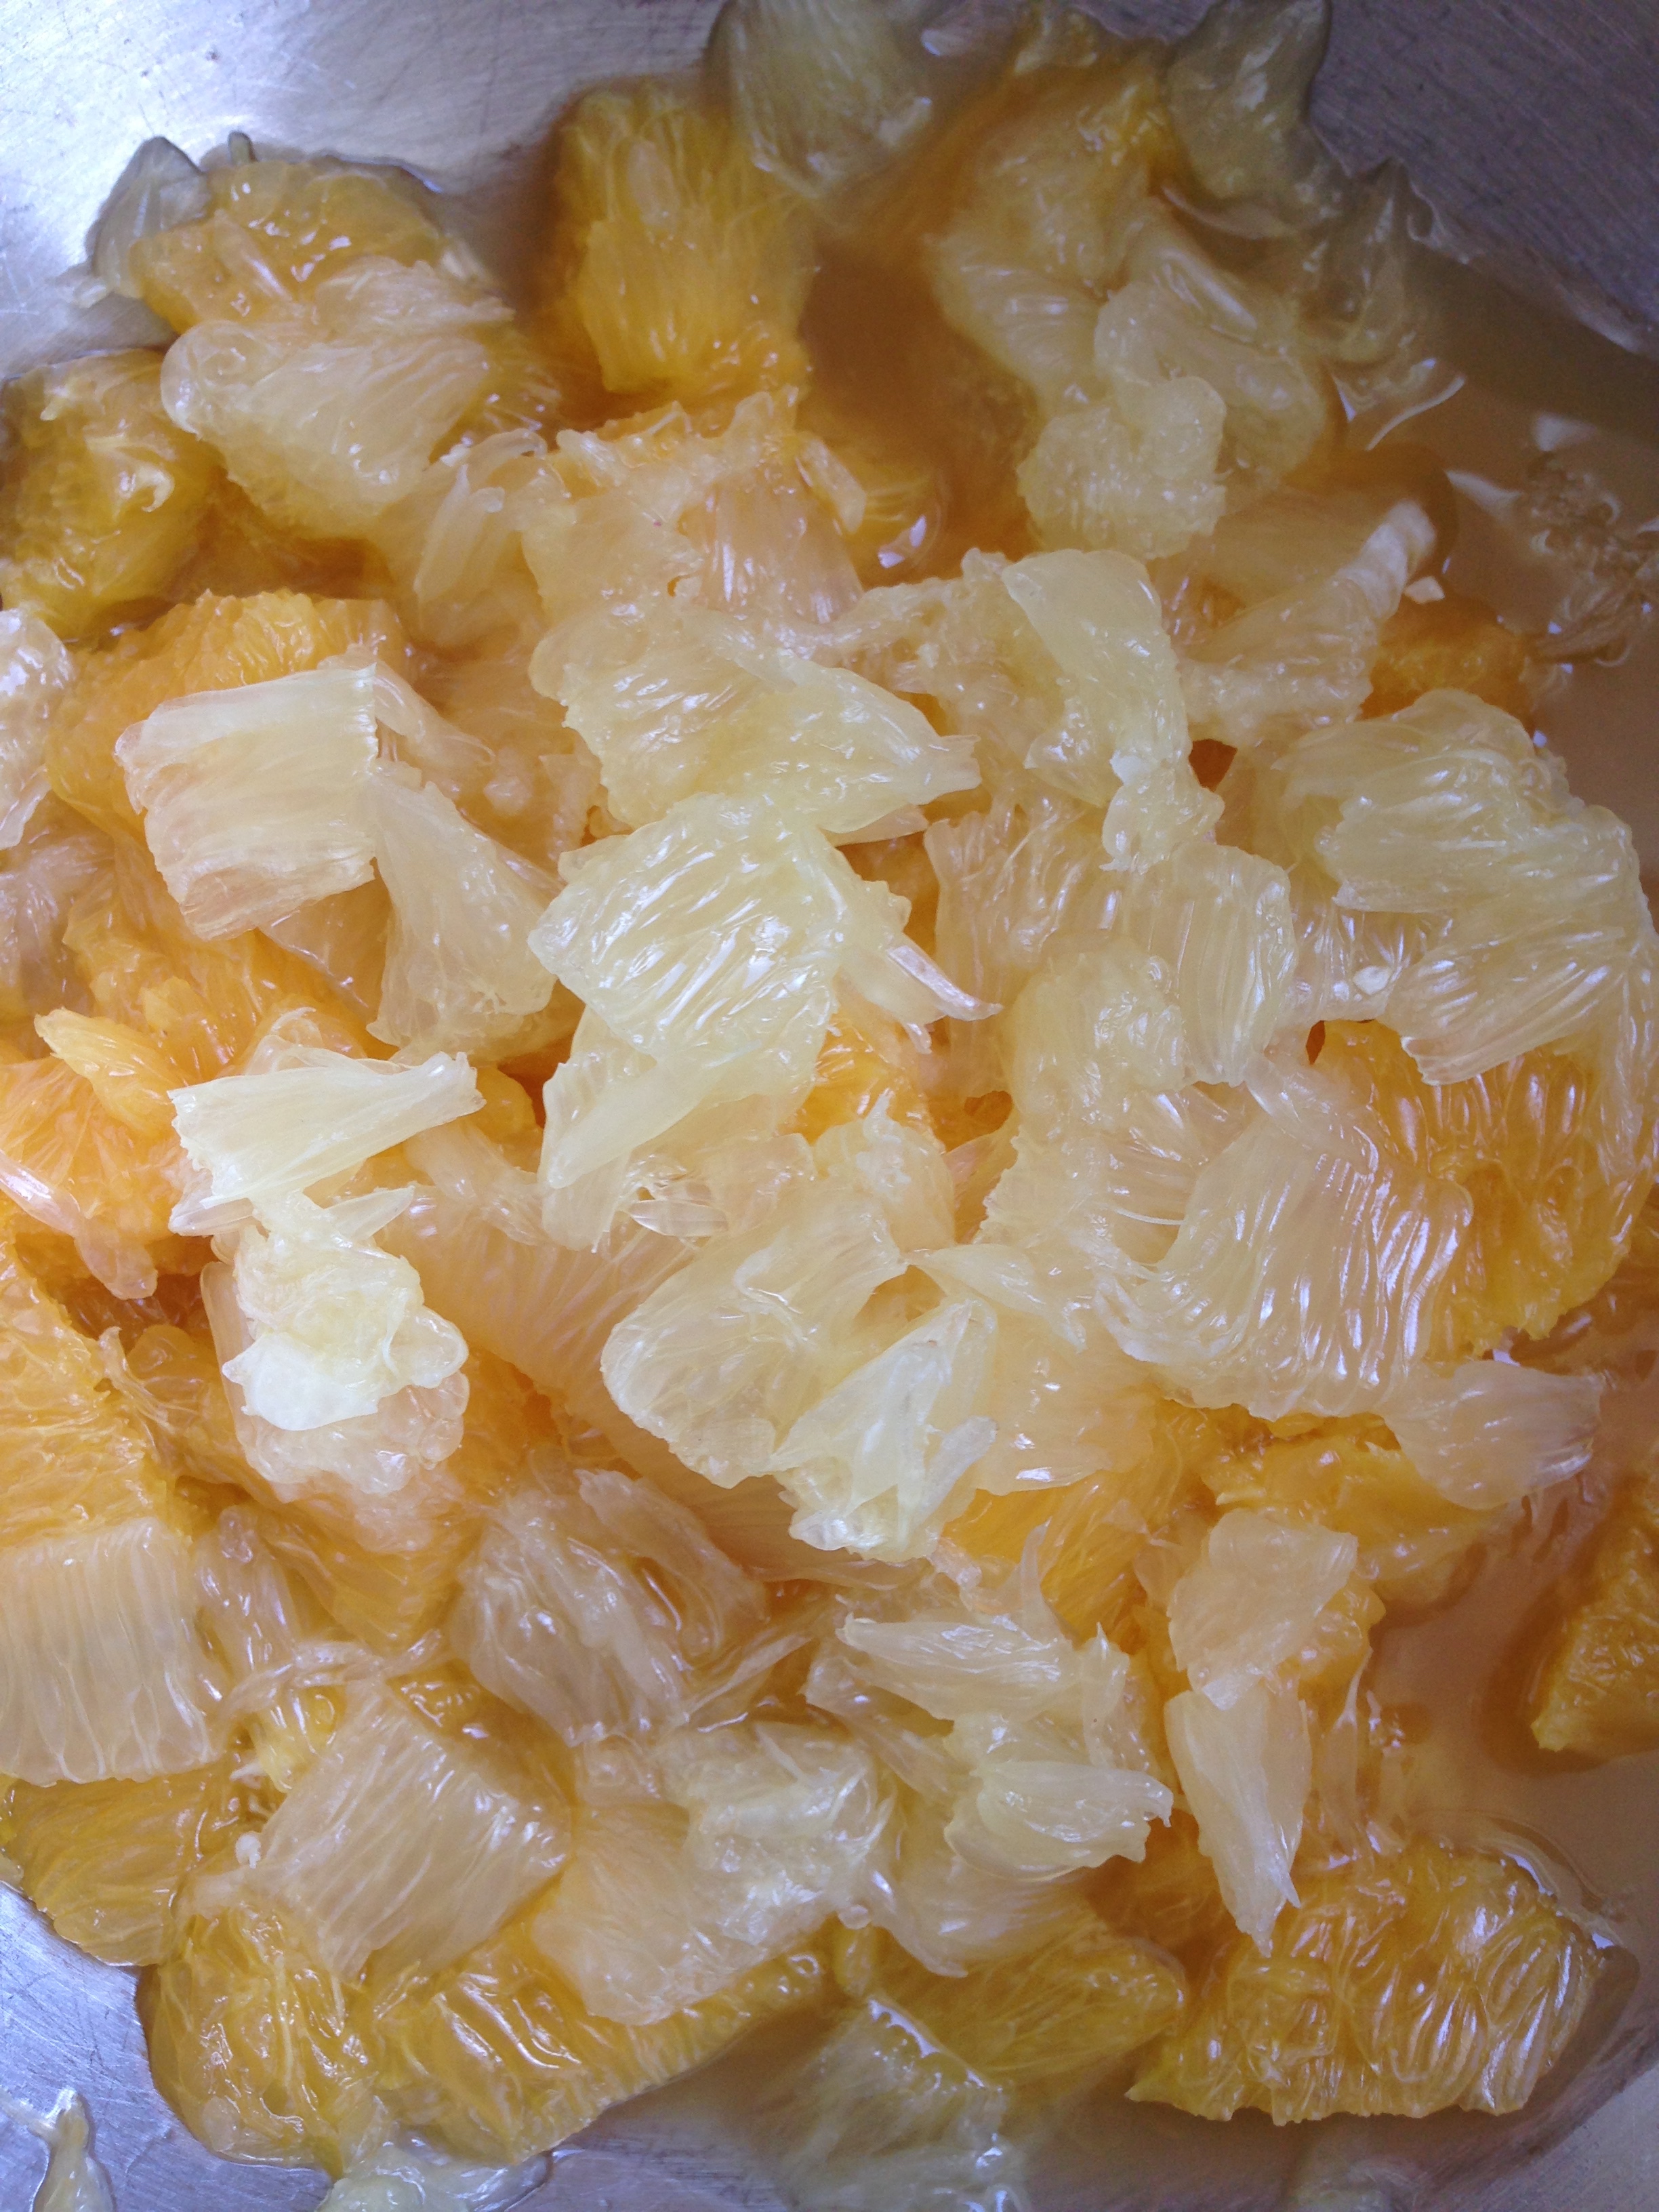
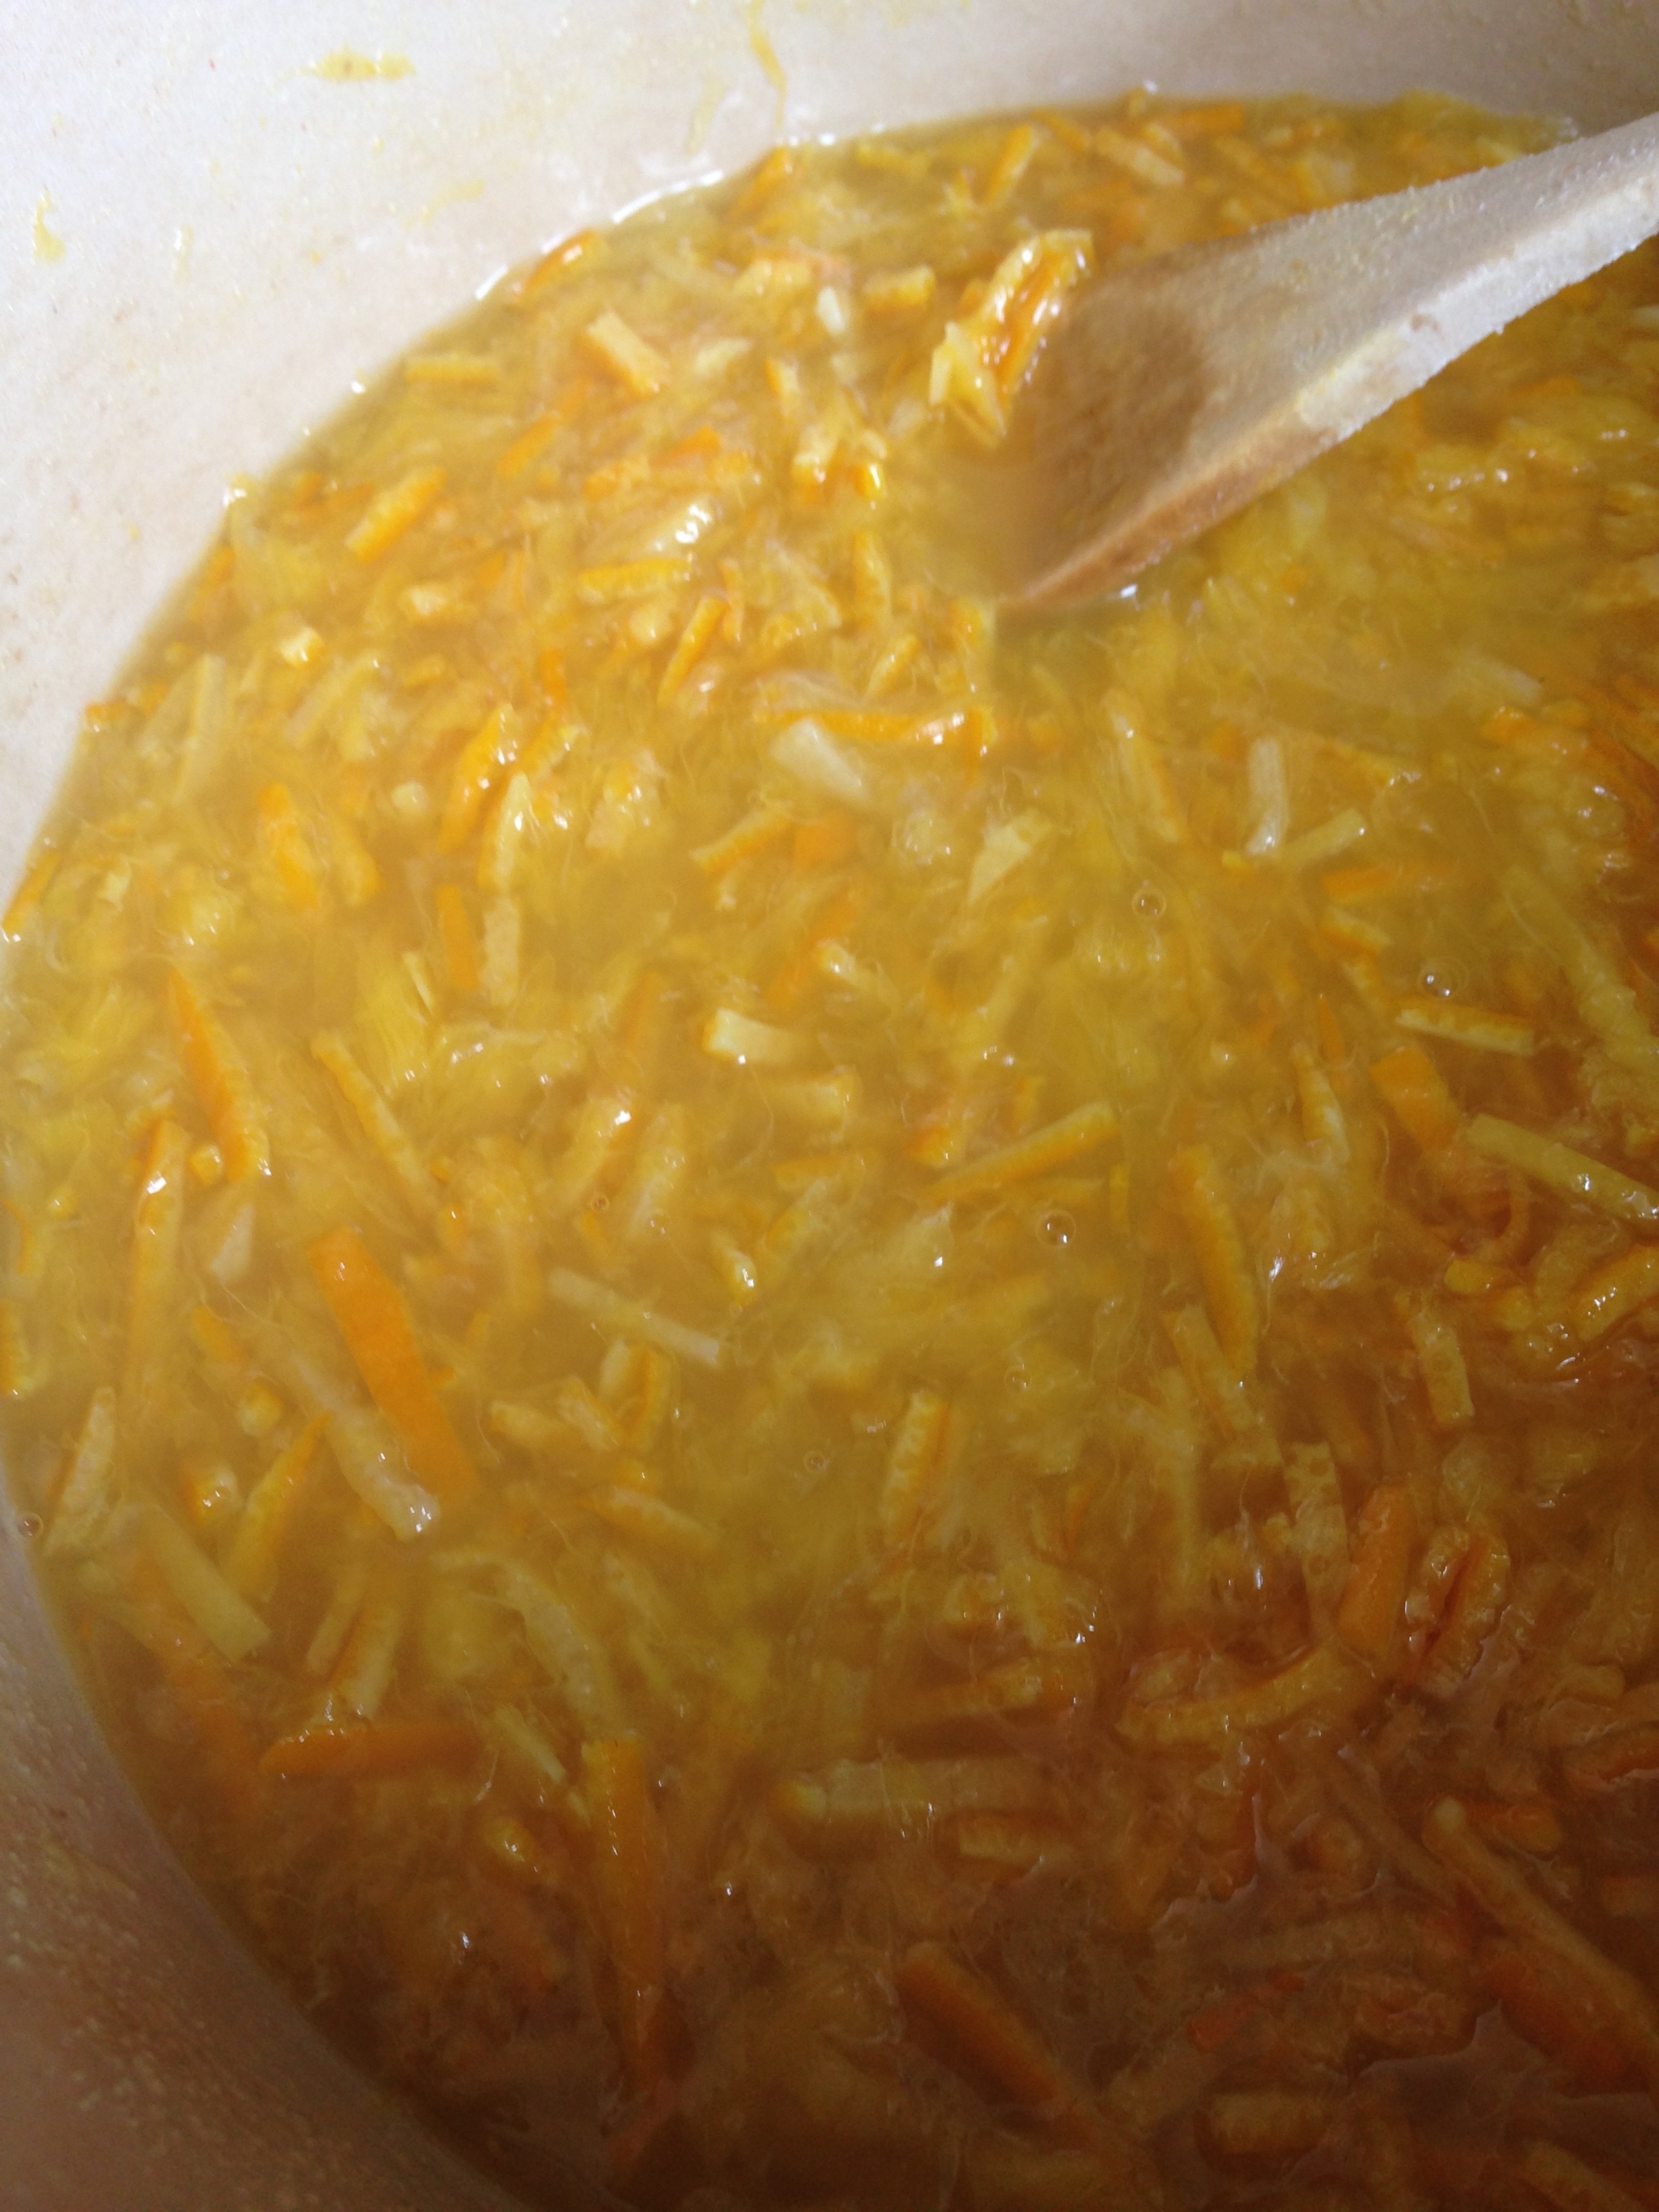
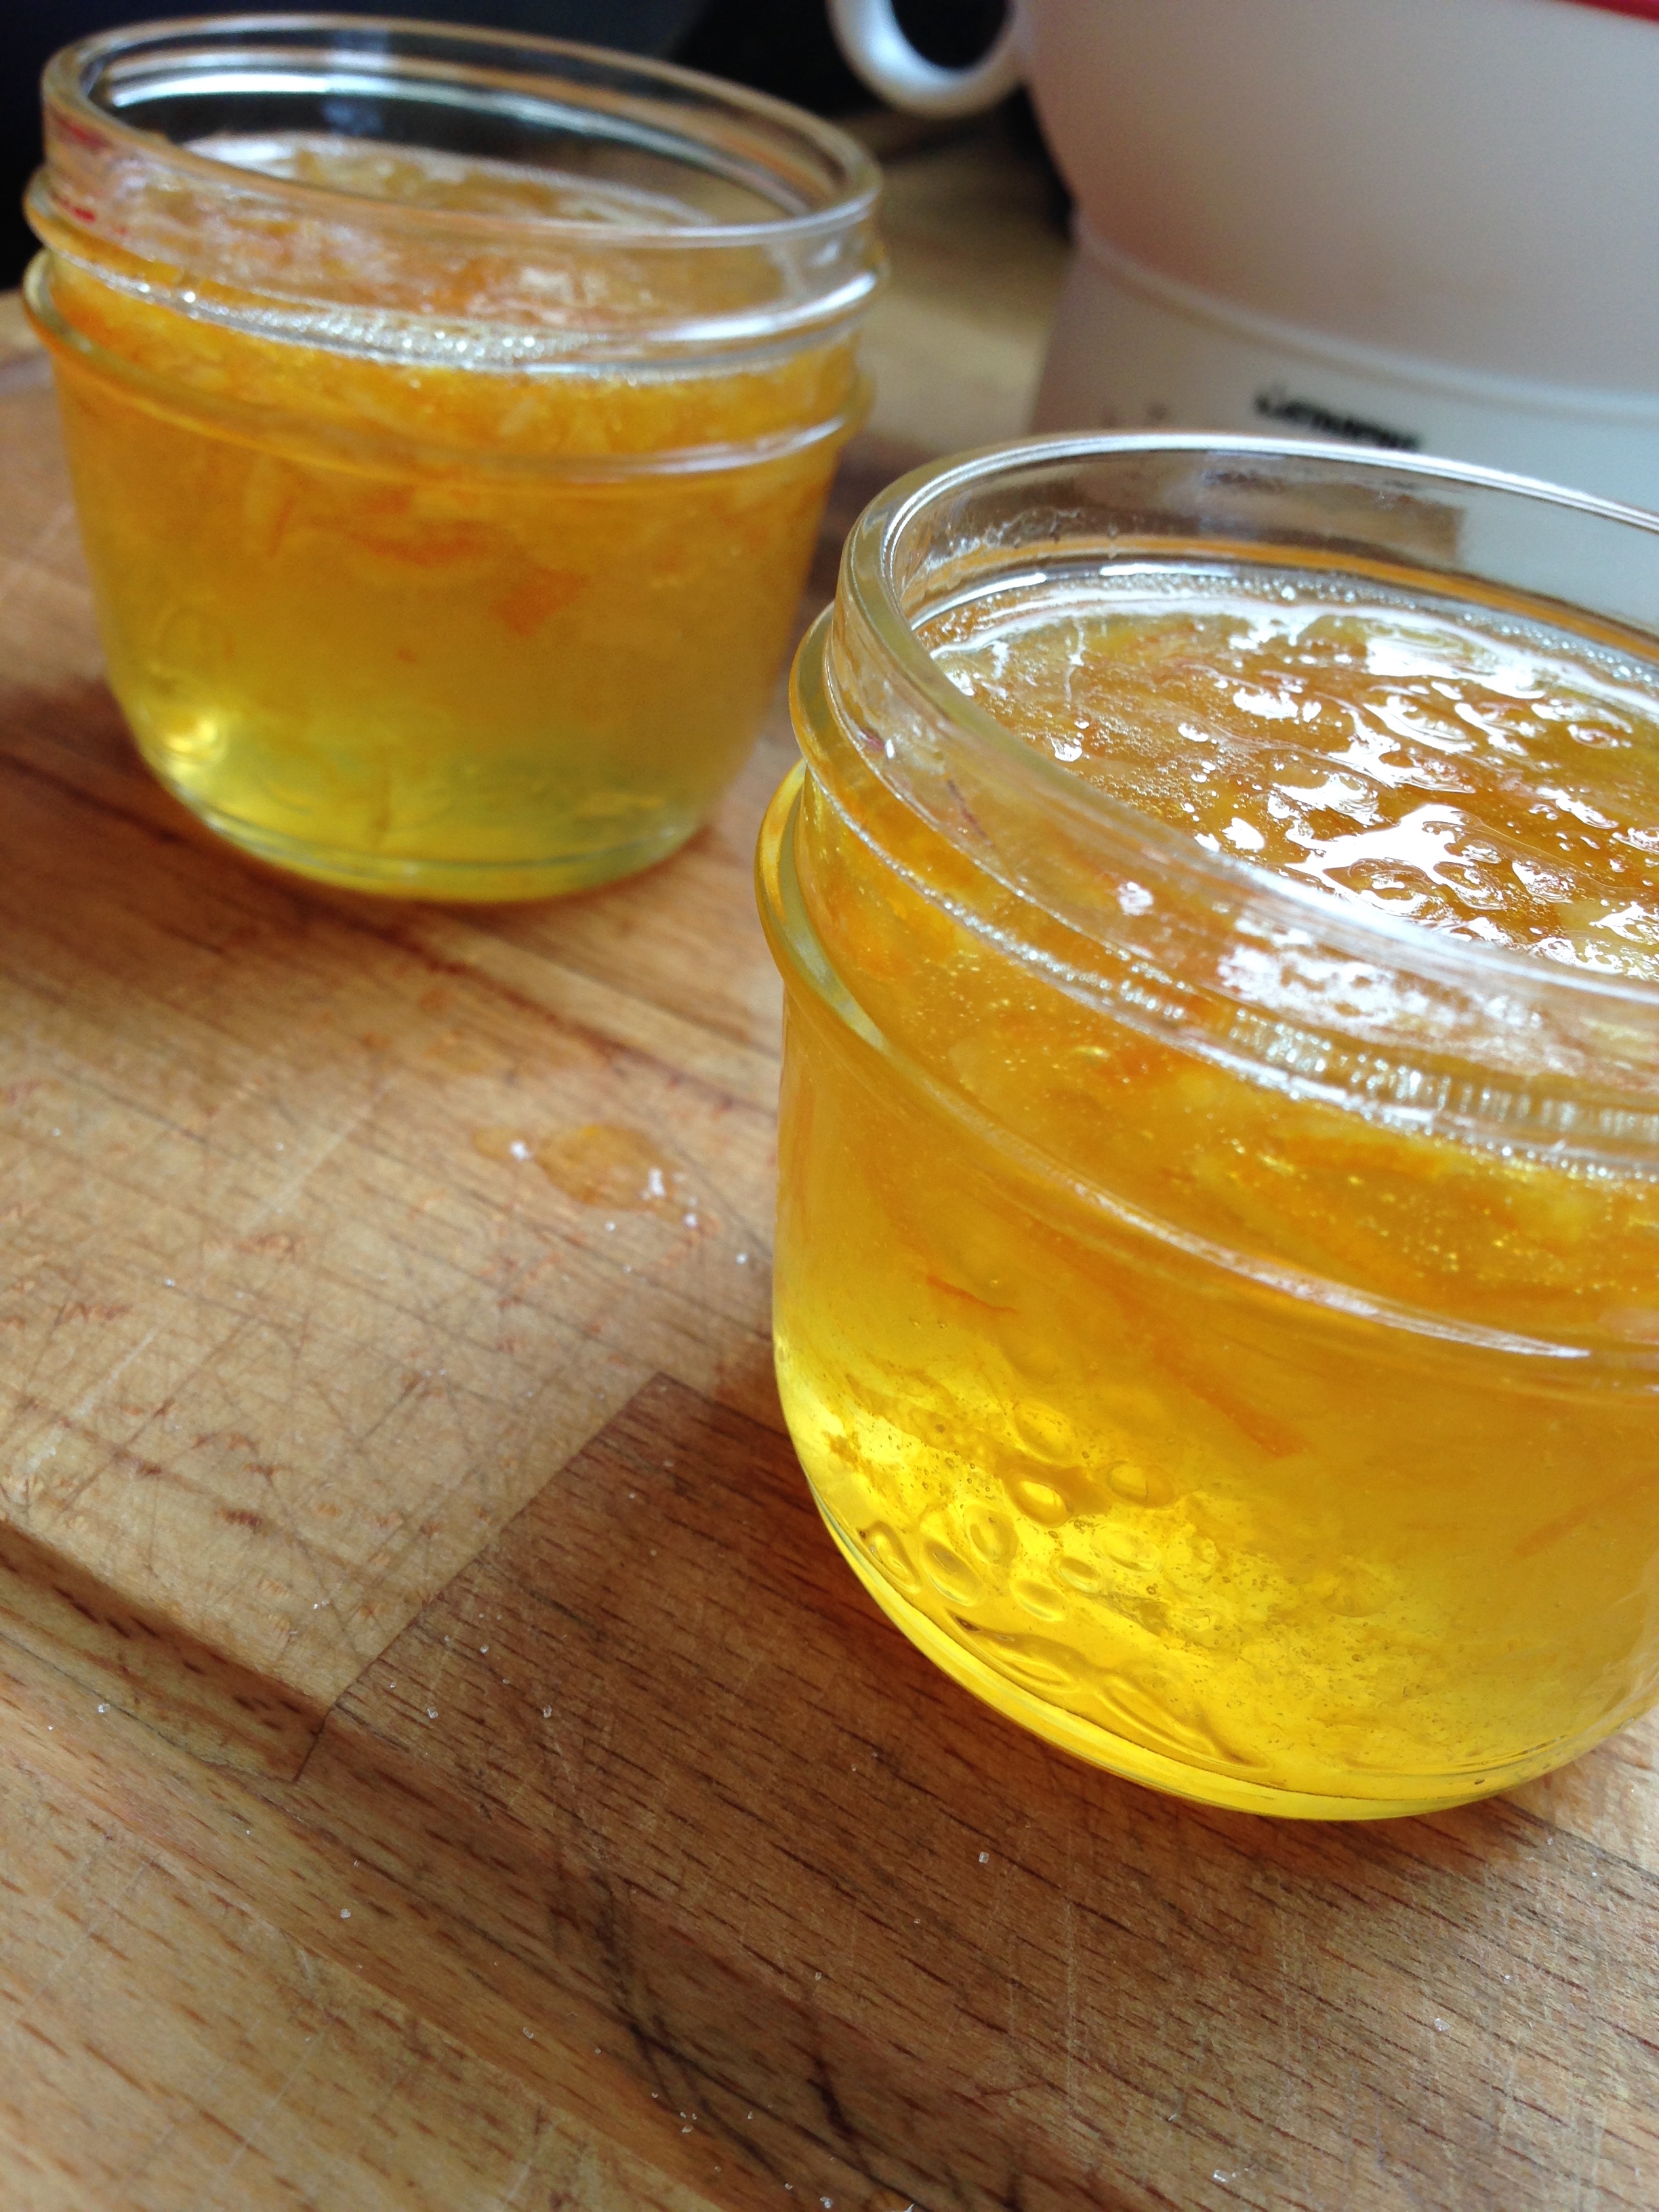
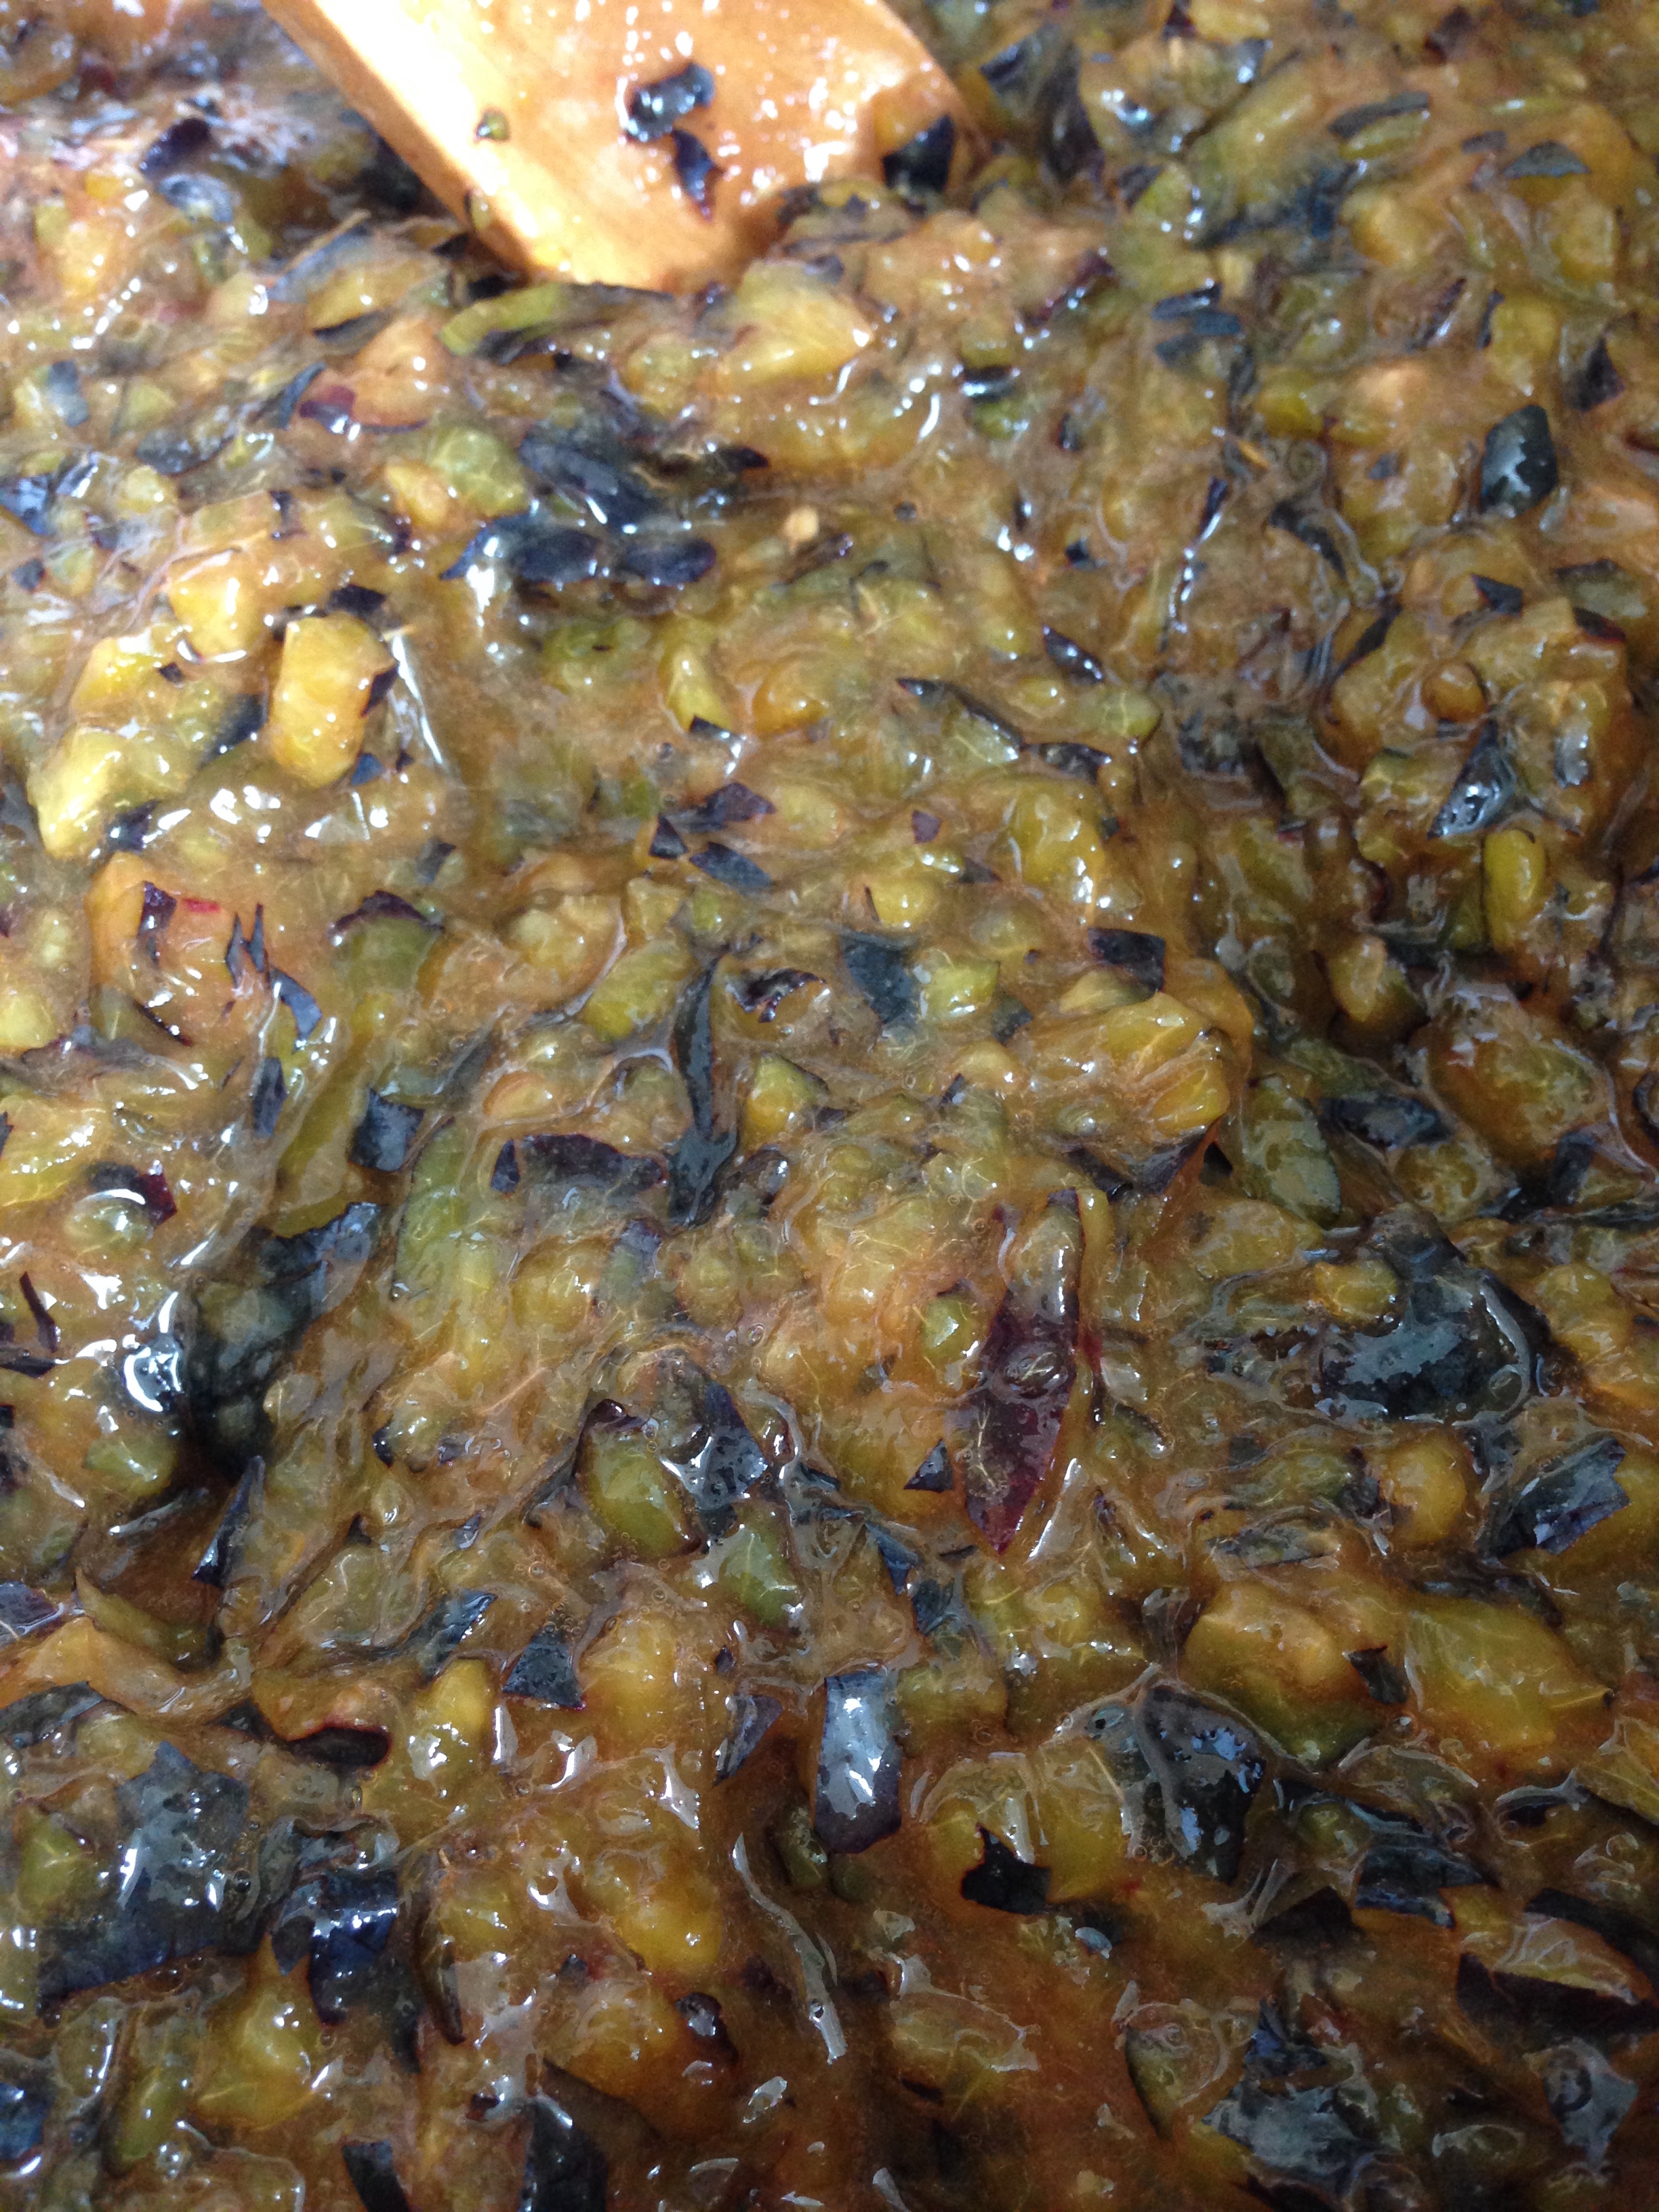
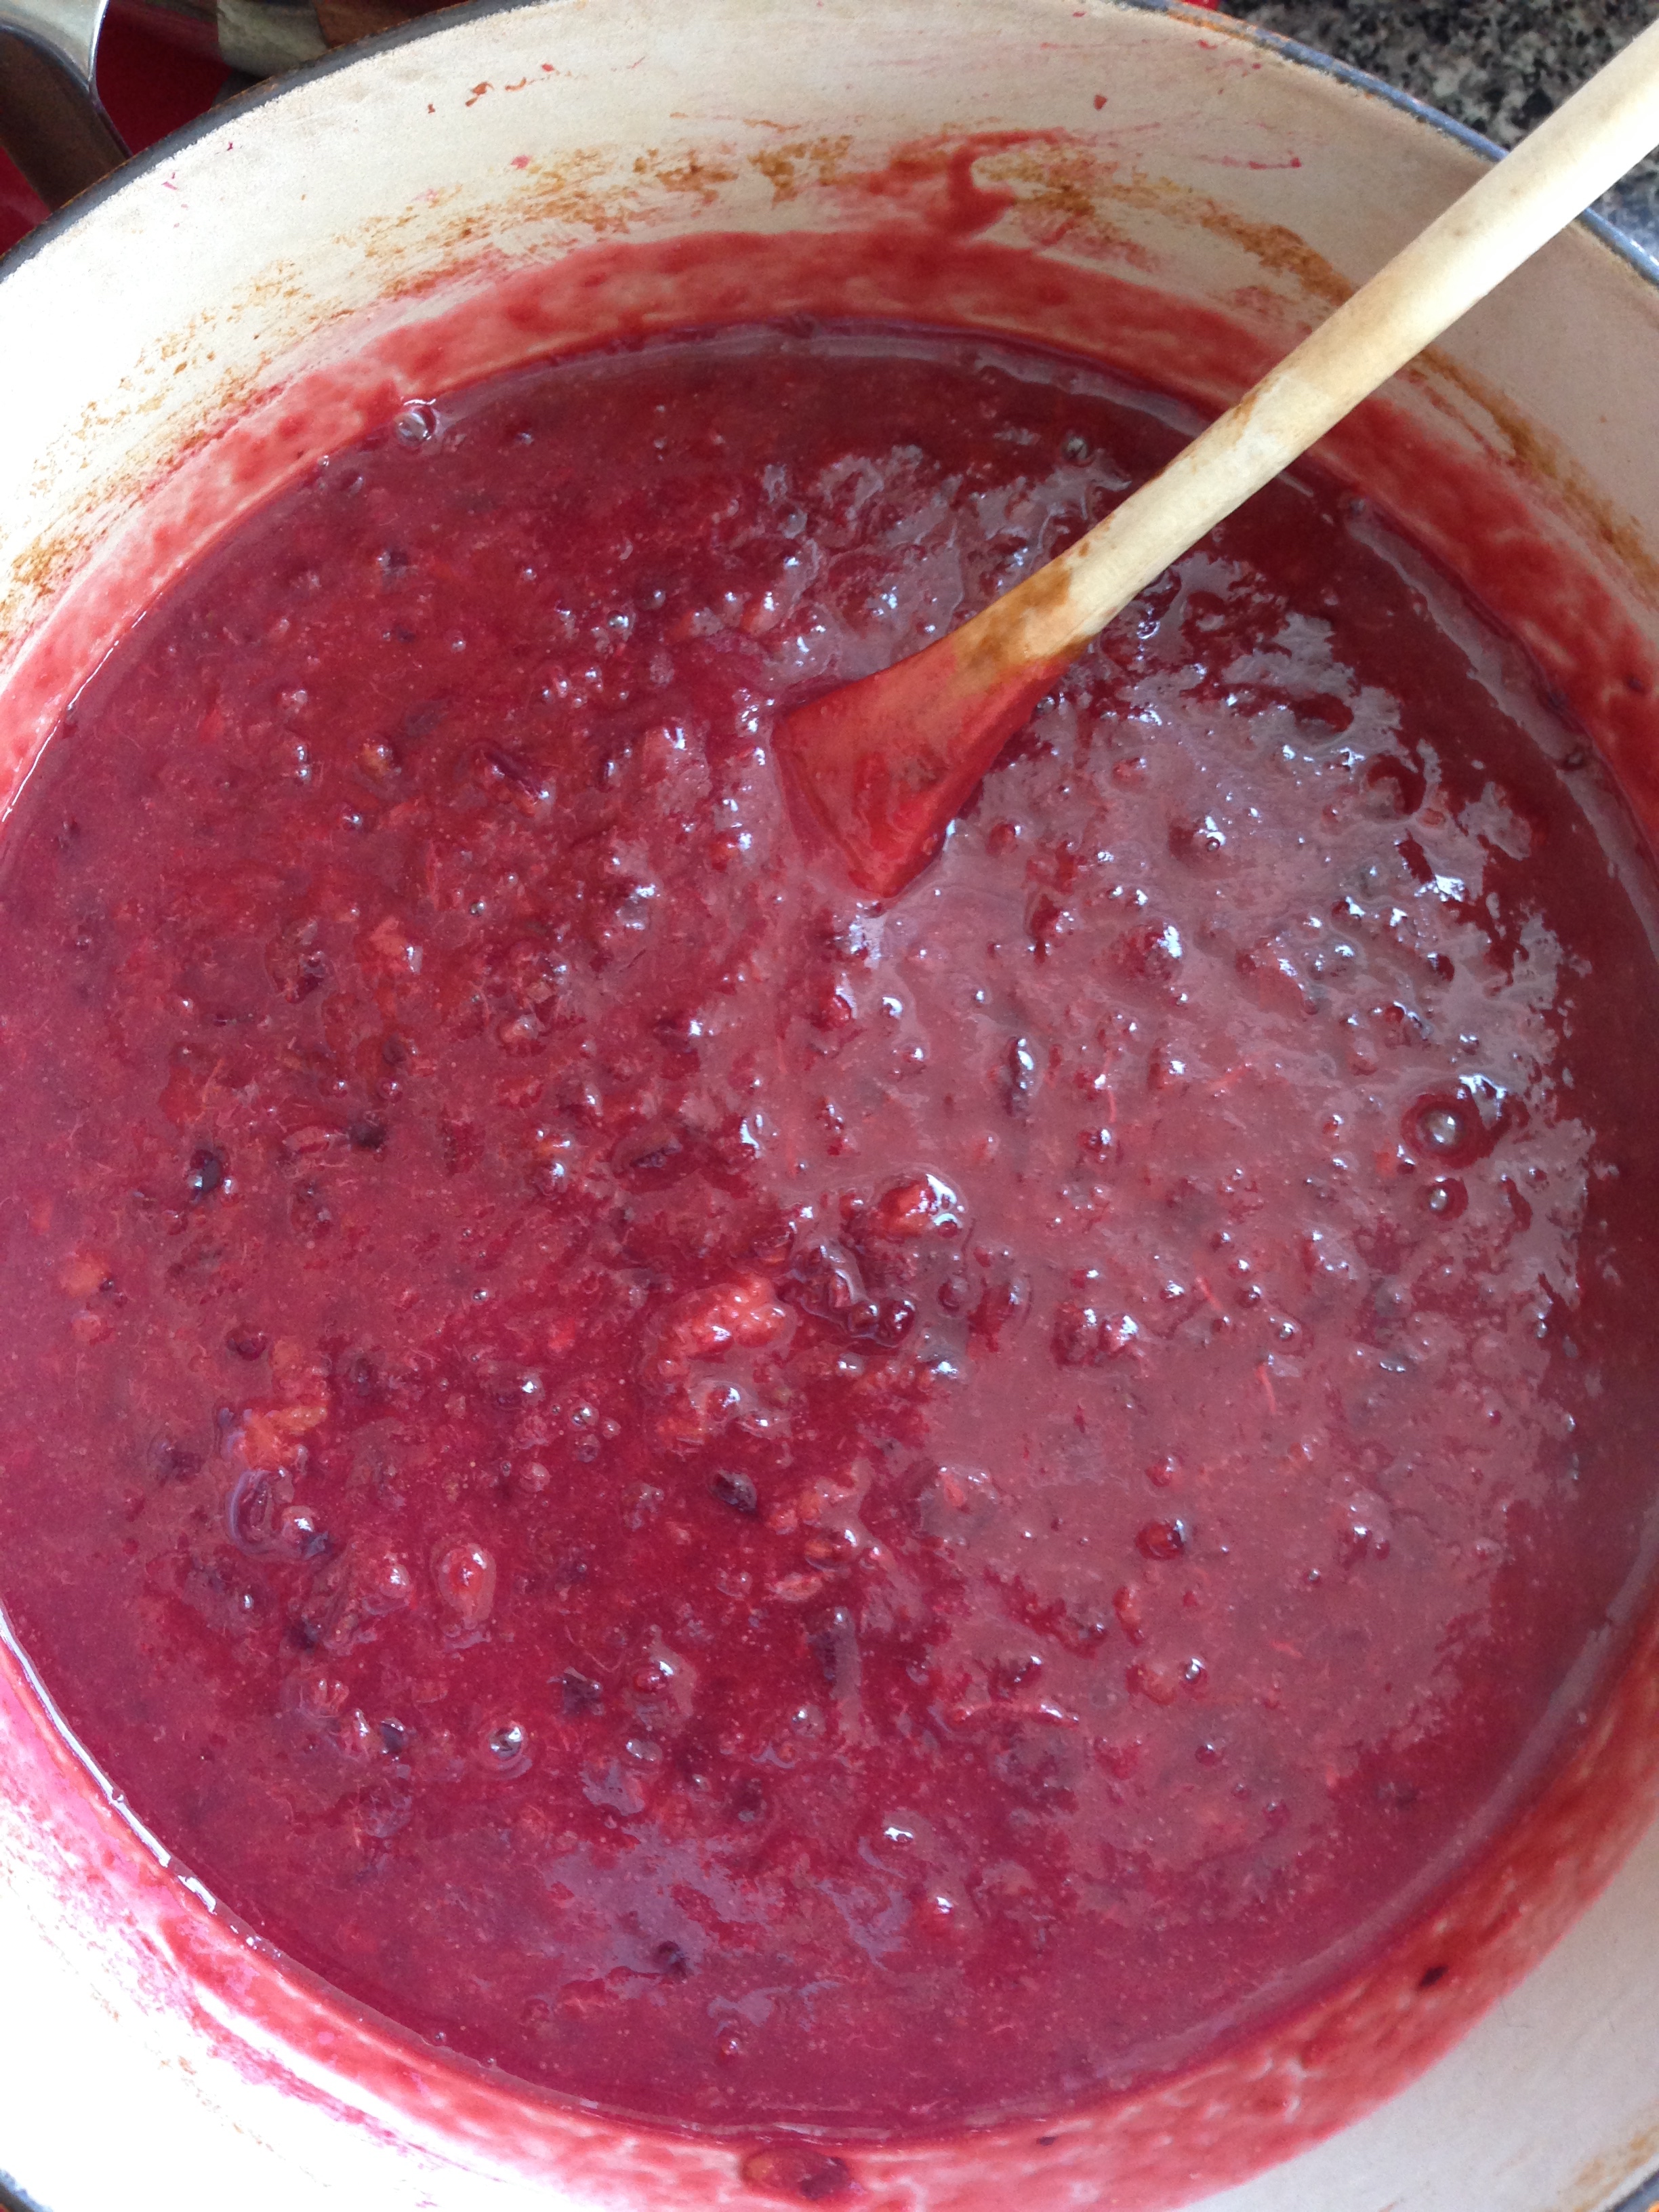
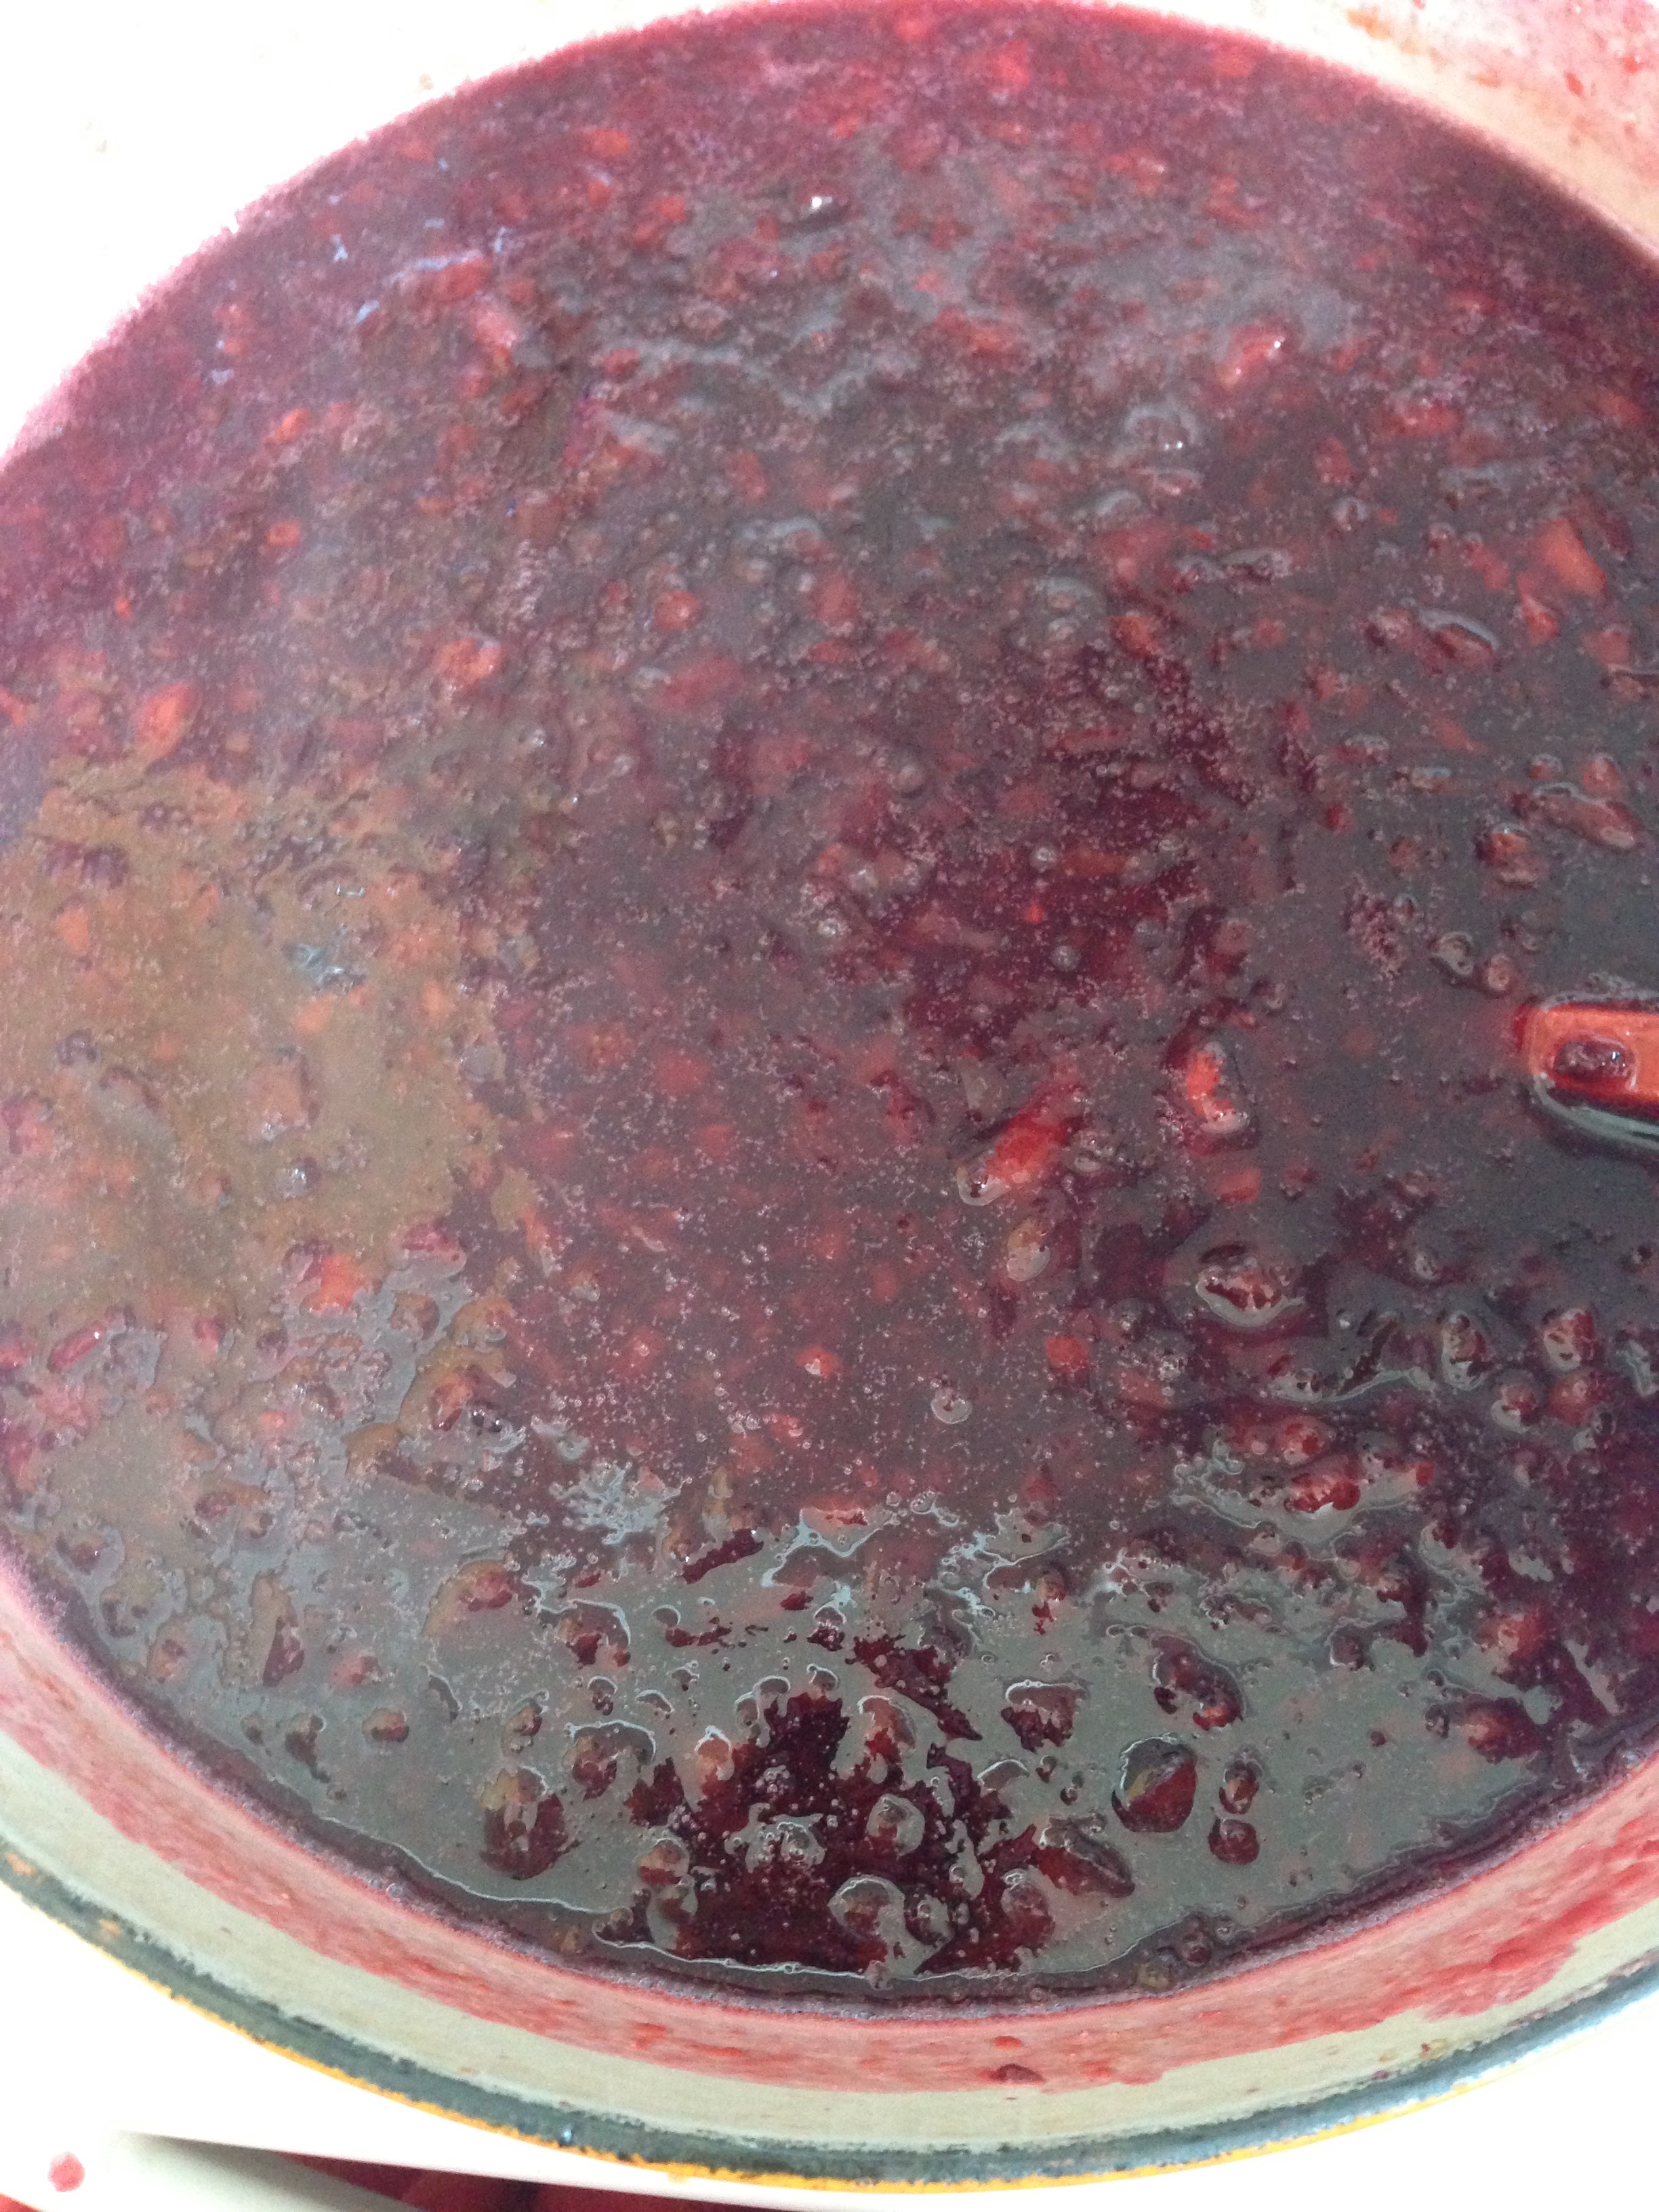
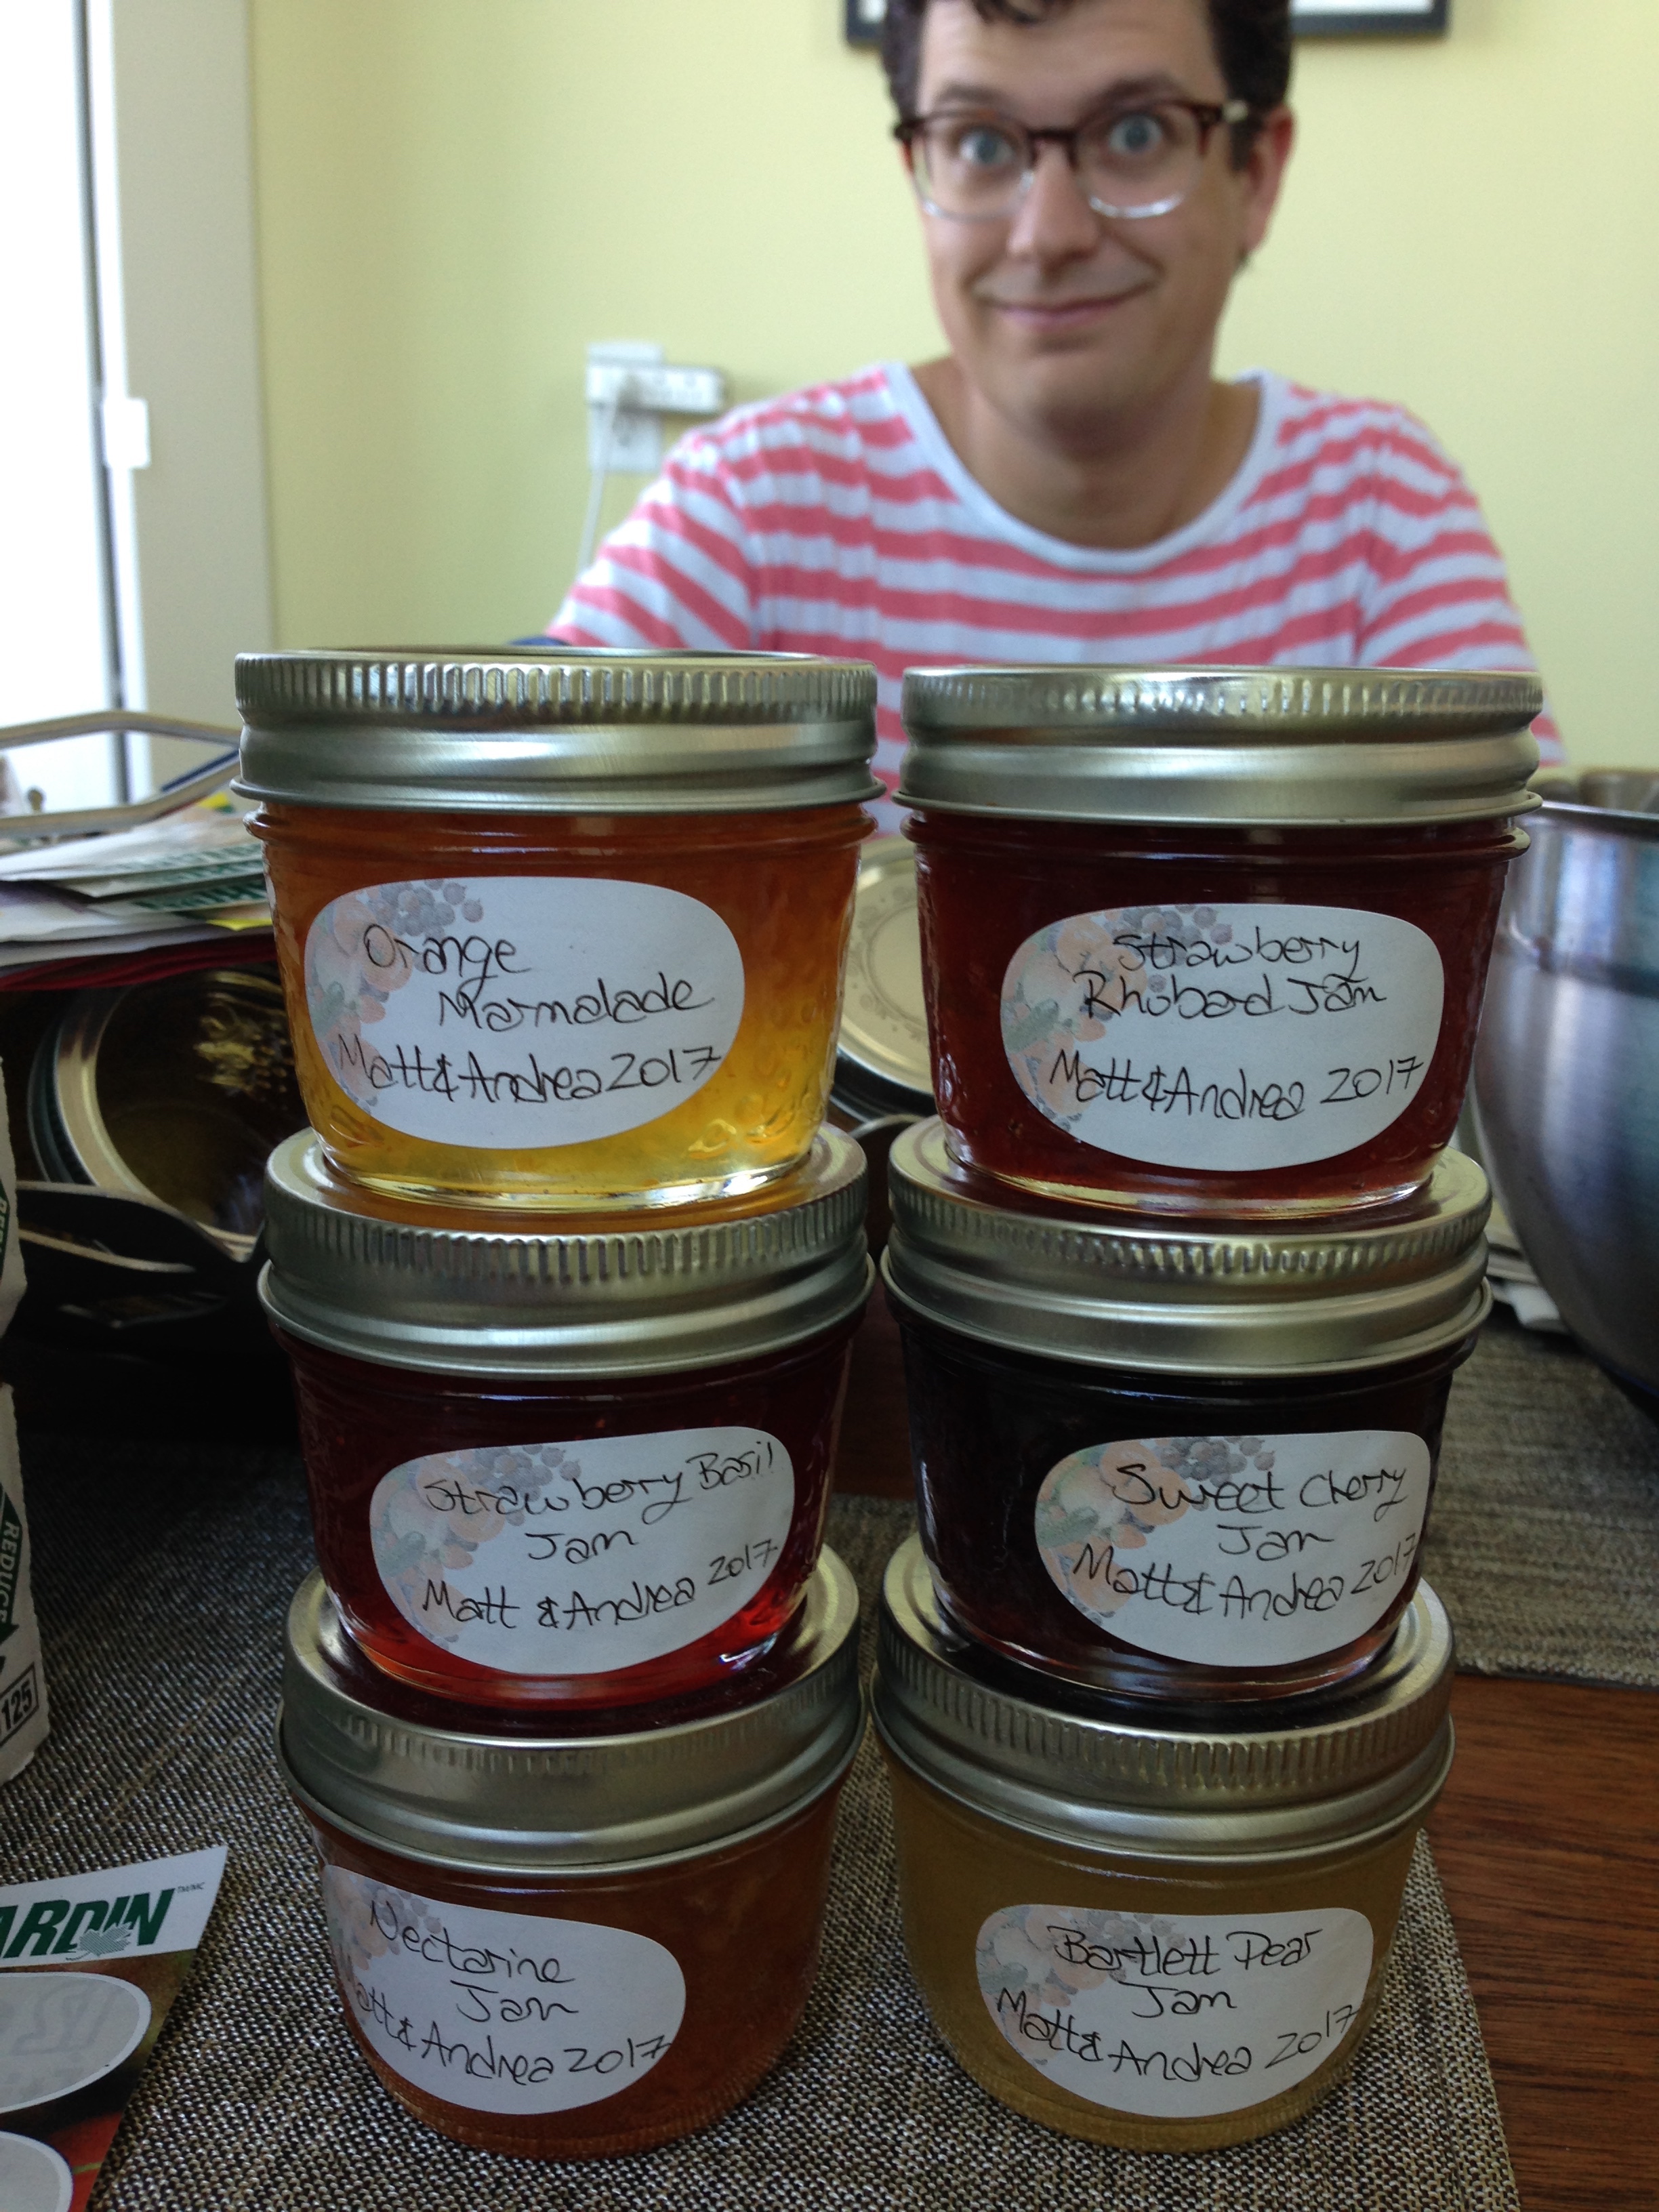
This past summer, along with some friendlies, I endeavoured to handmake all my wedding favours. My chosen craft: Jam. (Of course my favours are food! Duh.) Guest list all counted out, I had to make at least 100 jars, if I intended on making them place card holders as well. Turned out the summer had been much more productive on the favours front than any other point in the idea's life. I made strawberry basil, strawberry rhubarb, sweet cherry, pear, orange marmalade, nectarine, and blue plum. And also peach jam. But that wasn't for favours... I wanted some jam too! ;) 

My favourites would have to be the marmalade and the nectarine jams on toast. But the best, by far, and by the spoonful, has to be the sweet cherry jam. When I first had a taste of it I had to sit on the ground, my knees were so weak. No jokes.   

That being said, for those who will be attending the wedding, there will be no choosing of favourites! The Fiancé is making a jam allocation protocol so there is no sore feelings about who's getting what jam. All the jams are excellent. I just like those three best personally. XP

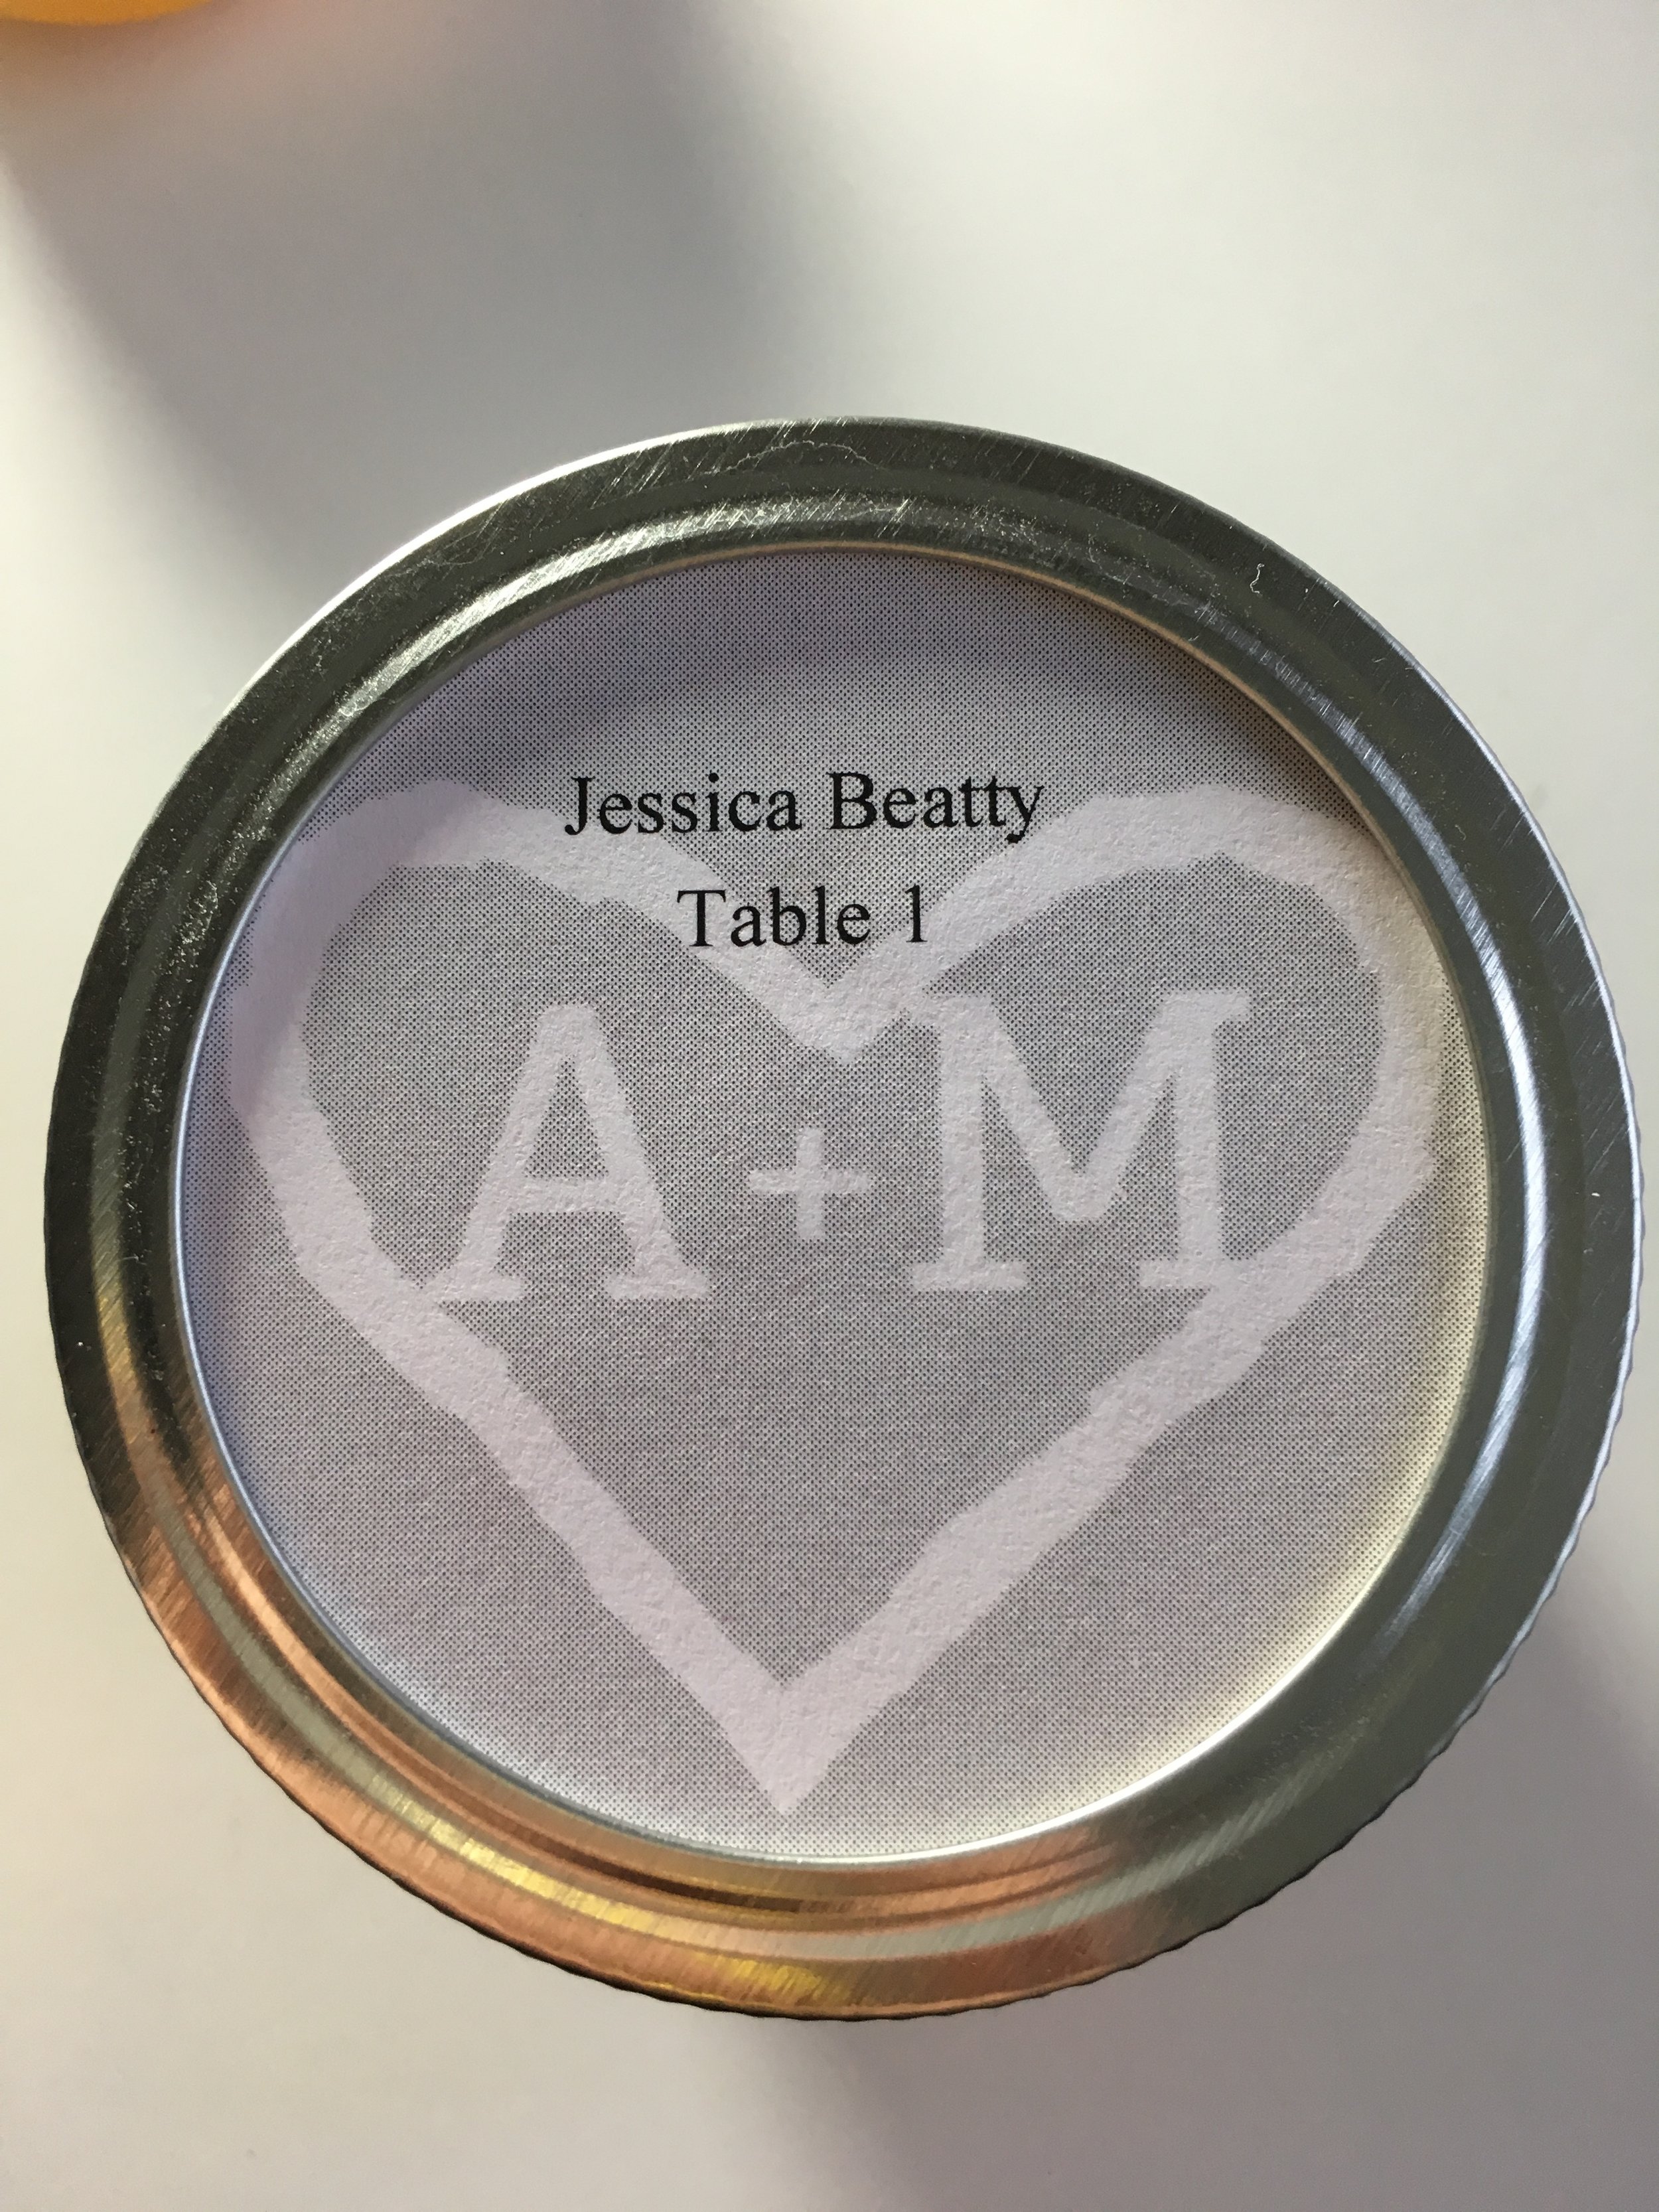
Jam and allocation done. I wanted to have a double use for these favours as place cards. 

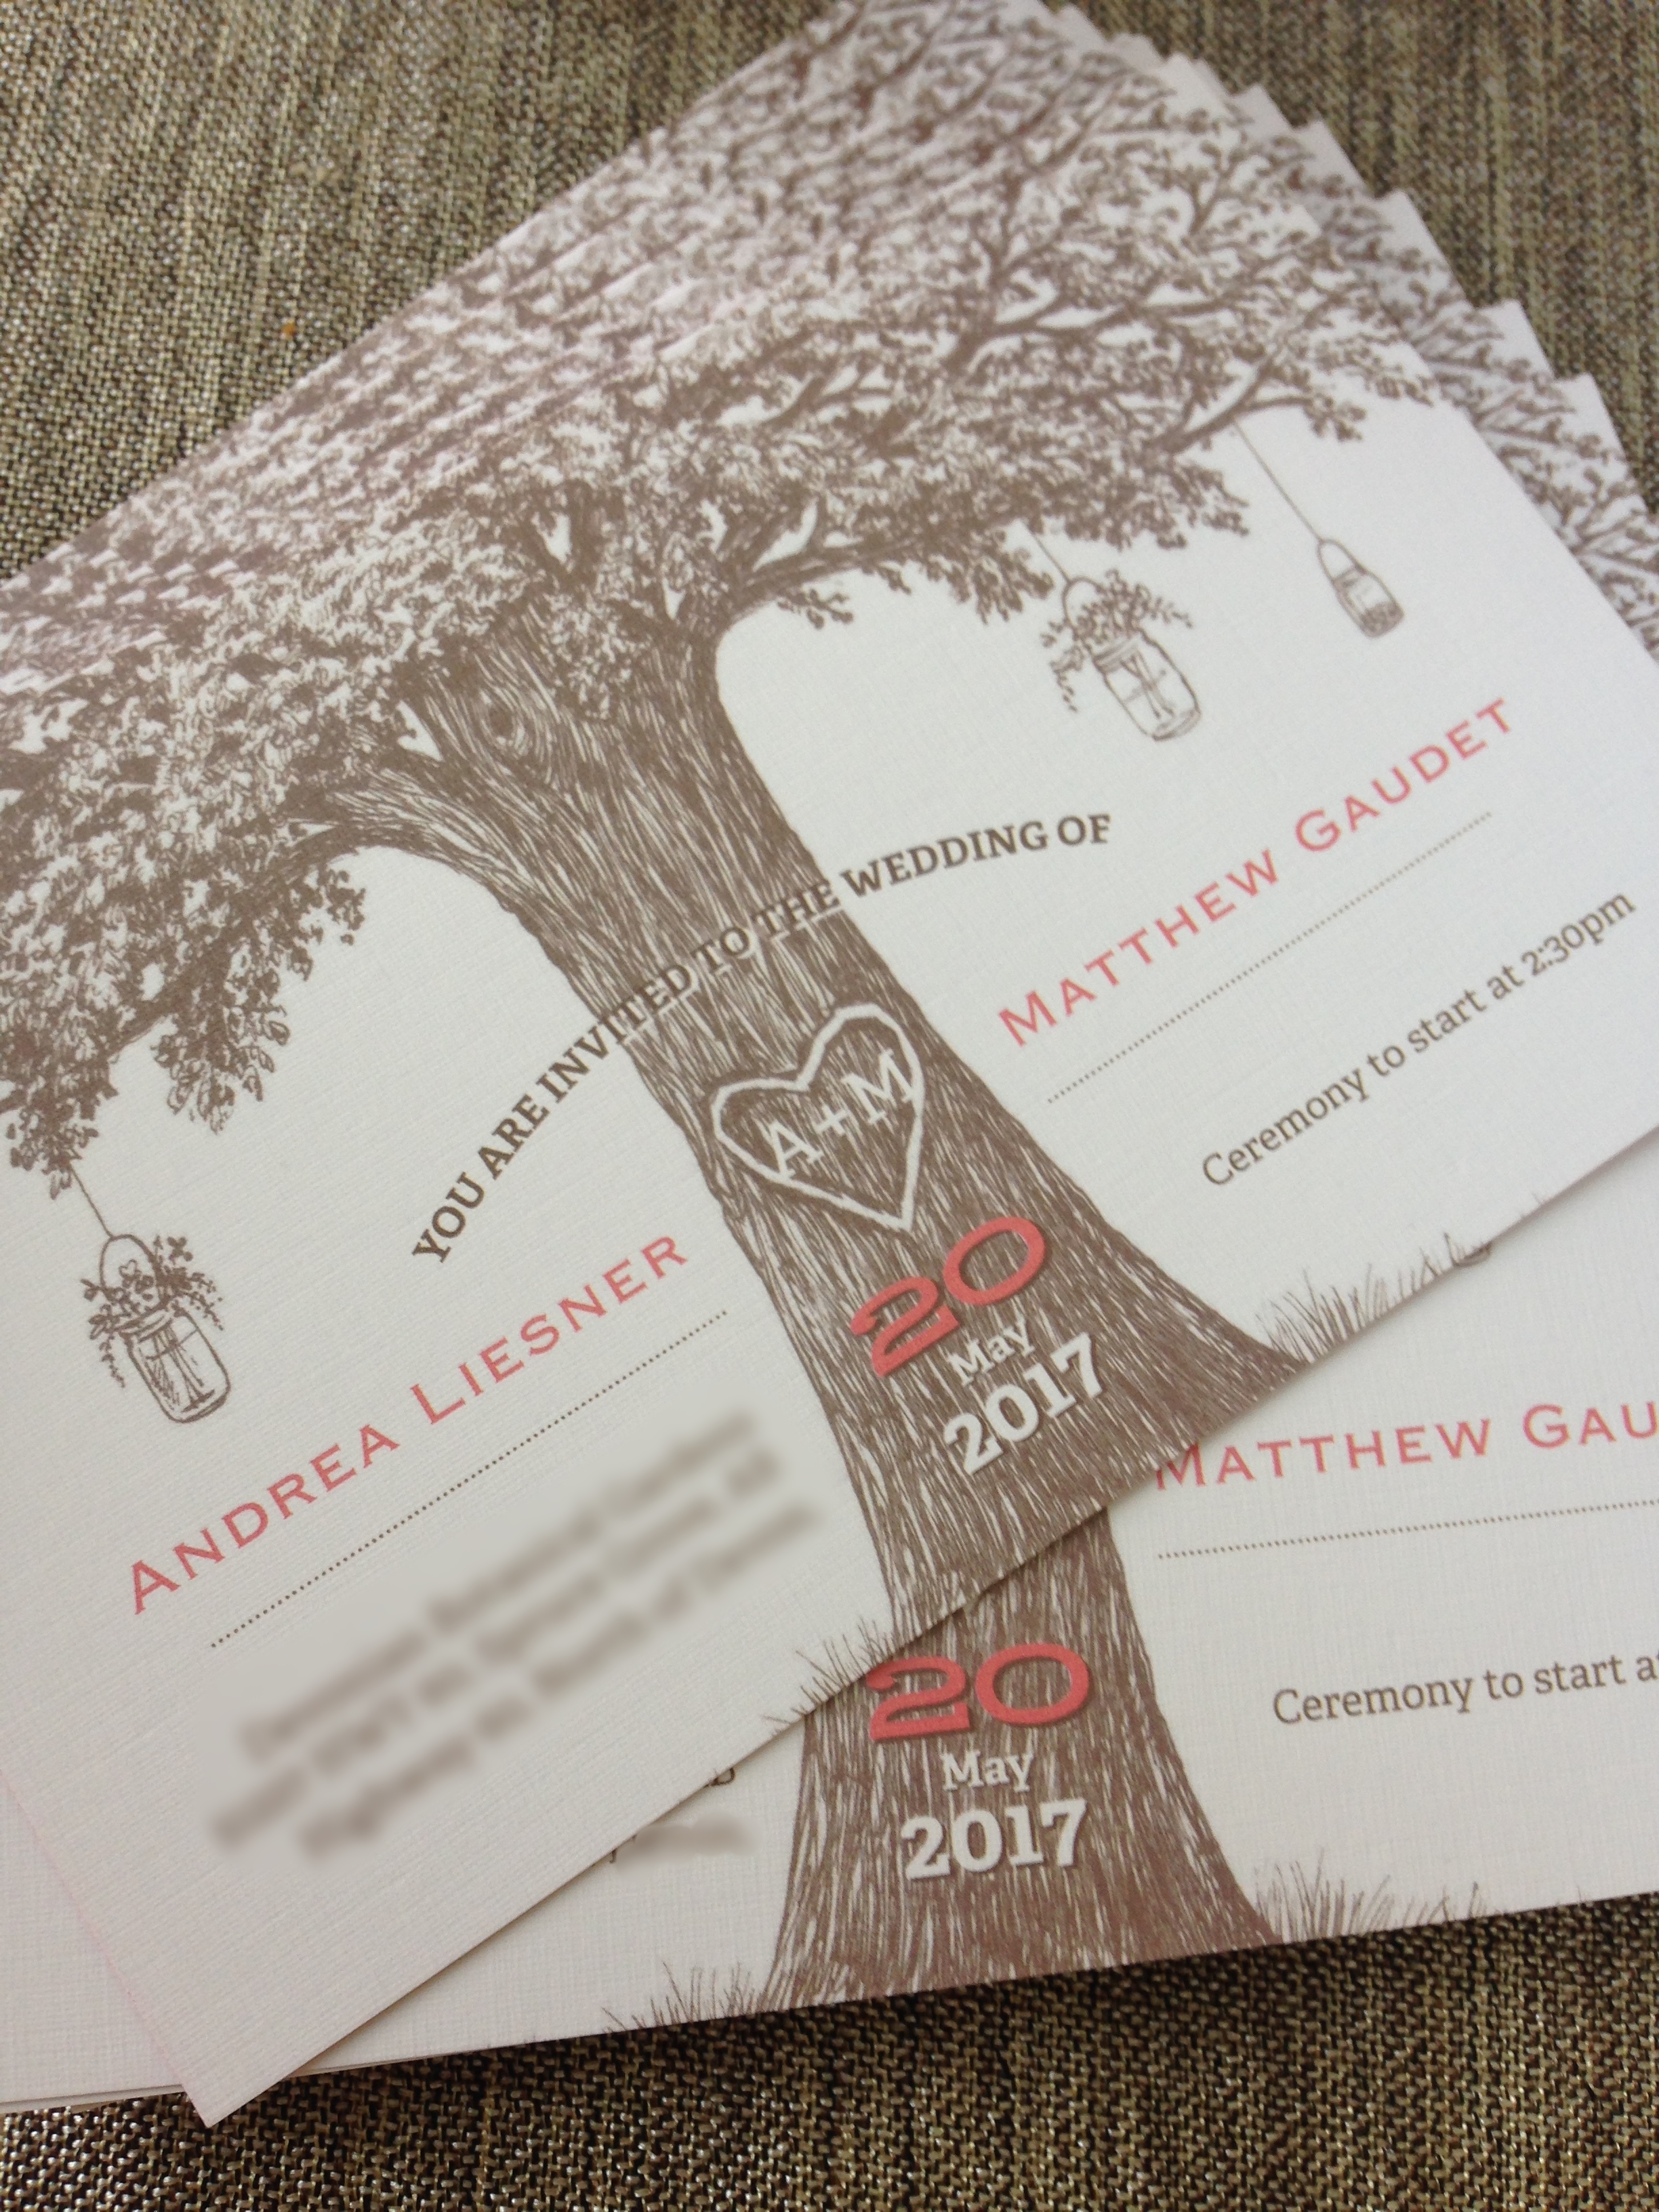
We used vista print for our invites. They have so many add ons using the design theme, from mouse pads to printed tees. Unfortunately, they didn't have jam labels. Come on internet! Why you fail me now? =(

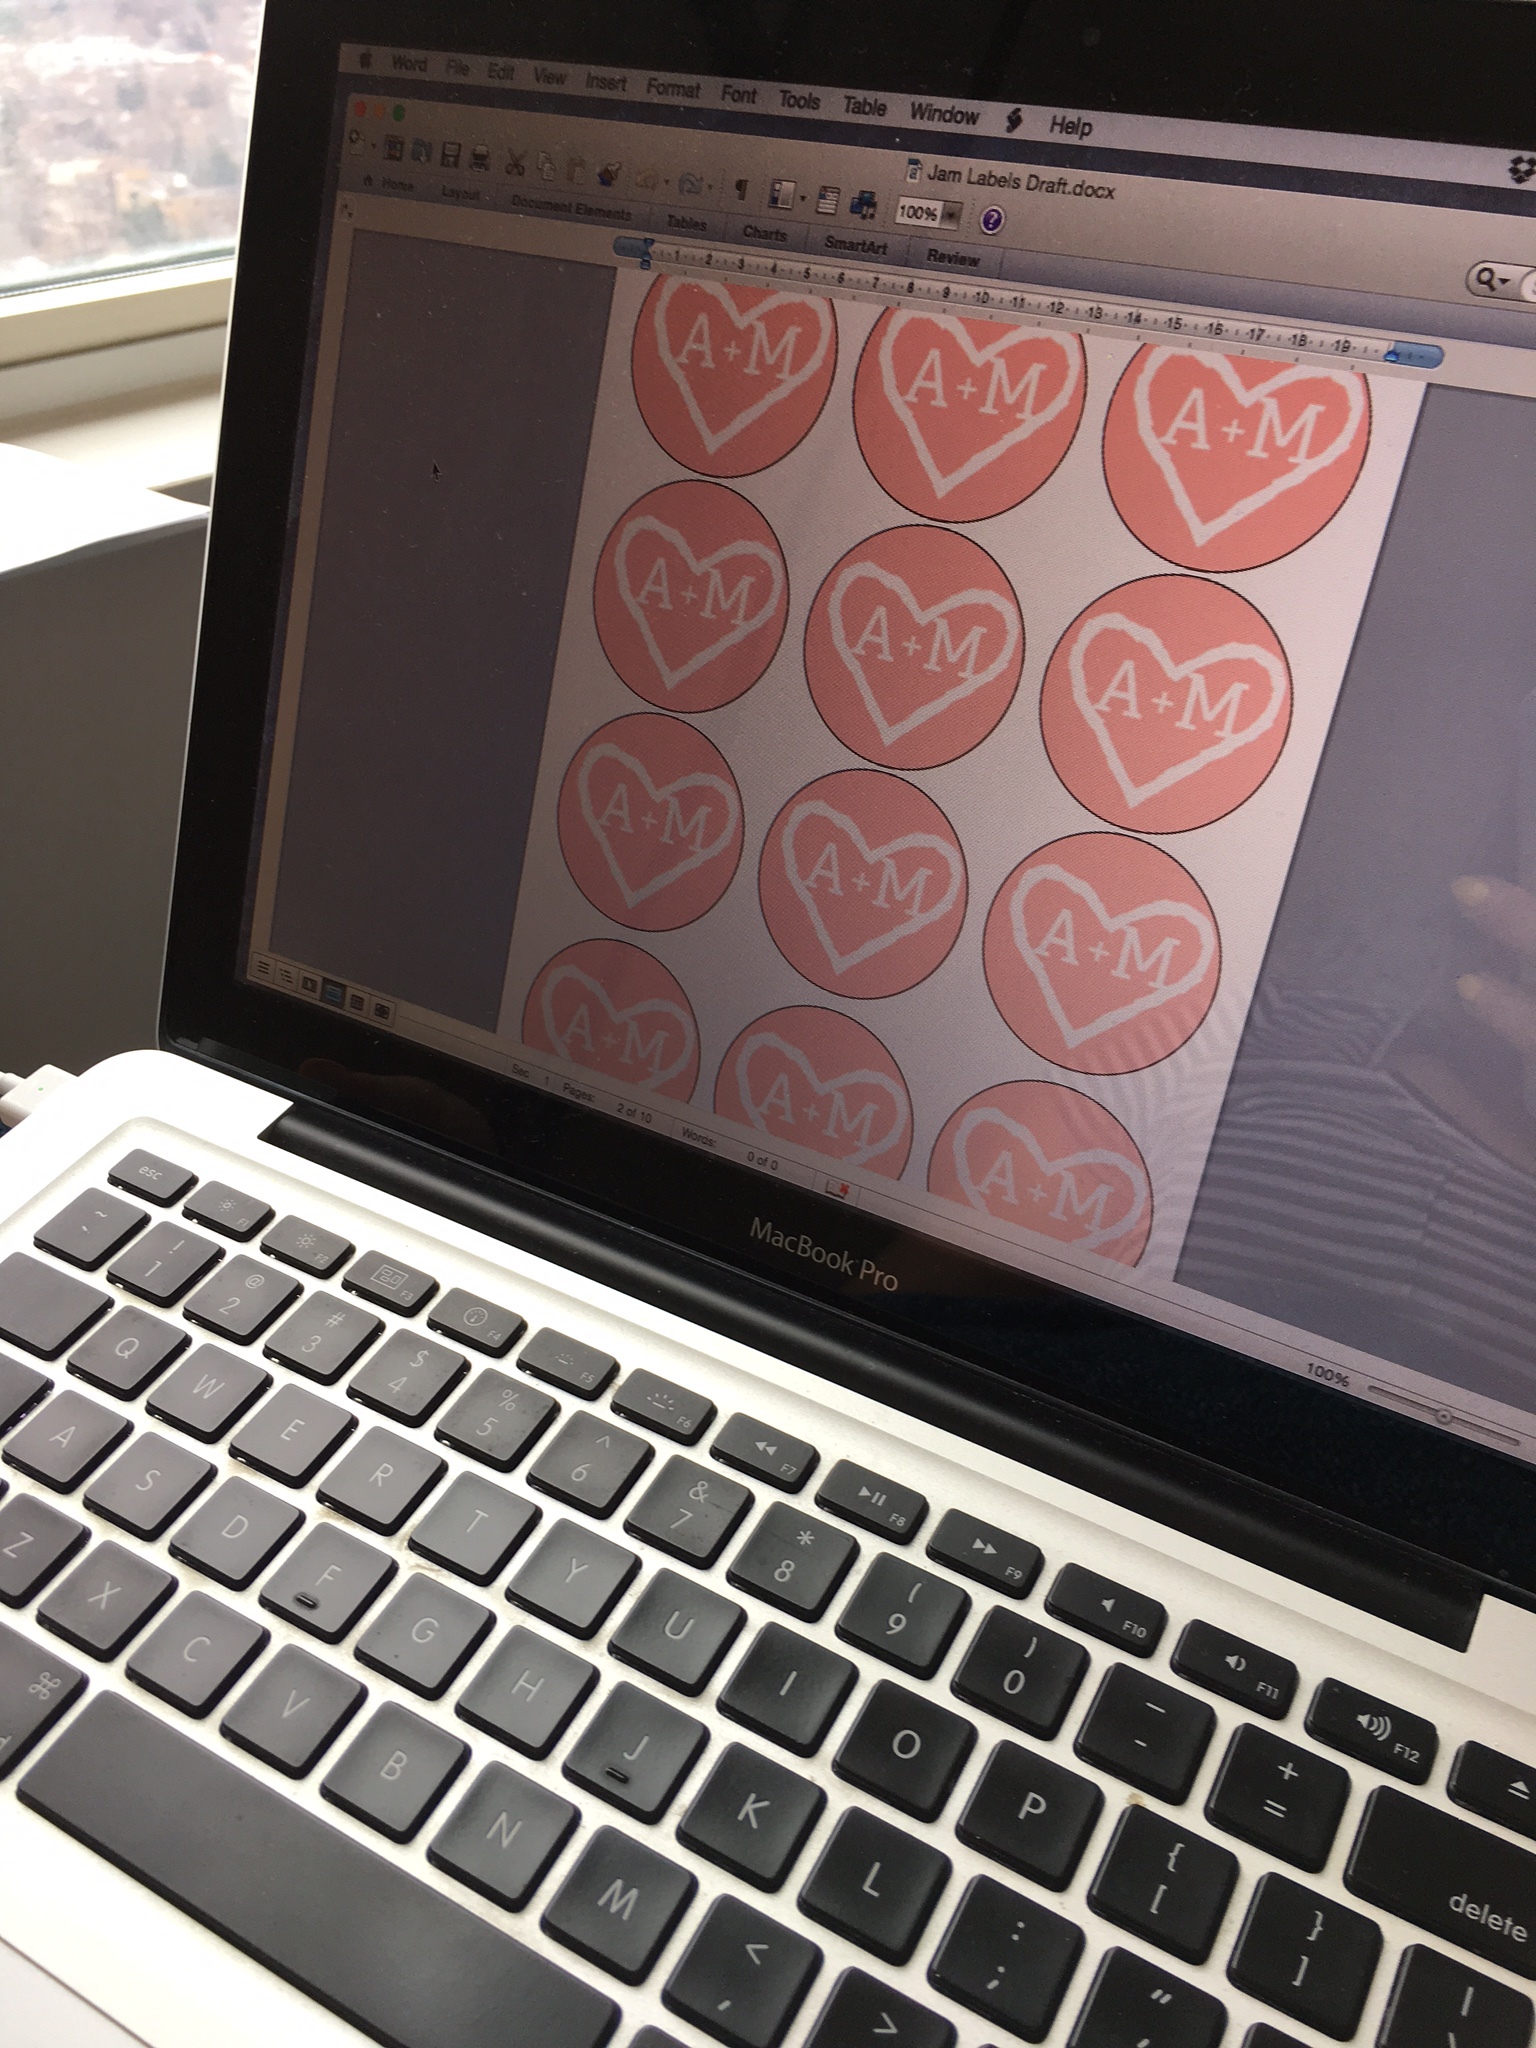
So I gritted my teeth and opened up Word. Easy peasy to add shapes to measure and fill in the background with a design from our cute invites: an A+M heart carve into a tree. <3 And I only had to fight with "Compatibility mode" for a little bit. XD Success! All ready to receive the names of the RSVPed!

Now to set up the registries and send out the invites! Look out February! There will be lots of jams in your future! 

-Andrea

The Half-Assed Hobbyist

Tomato Babies

This whole gardening year I have had high hopes that I would have enough tomatoes to make this savoury tomato jam. With the devastating falling over of my giant tomato plants, I thought for sure I would be waiting till next year to achieve this dream. But. My plants had other ideas.

I managed to collect enough for two batches of a savoury tomato jam that was an office favourite at the test kitchen I worked for back in AB. Essentially its the most fancy ketchup analog you'll ever eat. I love it on toast, warmed up on sandwiches, or even by the spoonful. Haha. ;)

Savoury Tomato Jam

In order to can this recipe, I needed to add an acidifier. I chose vinegar so the result is a tangier jam than the original recipe. I would however keep this jam refrigerated and eat it within 2-3 months. More for quality than safety. Also. If you are planning to can this recipe, get your waterbath canner sterilizing jars during the simmering stage of the jam. That way there is a smooth transition from cooking to canning. Makes ~2 cups.

2 TBSP oil
1 cup white onion, chopped
1 TSBP minced garlic (2-4 cloves)
2 cups cherry tomatoes
1/2 cup chopped drained oil-packed dried tomatoes, patted dry
1/2 cup chopped drained canned roasted red peppers, patted dry
1/2 cup tomato juice
1/2 cup balsamic vinegar
1/2 cup white vinegar
2 TBSP fancy molasses
1/4 cup chopped fresh parsley
2 tsp fresh thyme leaves, chopped
1/2 tsp salt
1/4 tsp pepper

  1. In a large dutch oven, with a lid, heat oil over medium heat. Add onion and cook, stirring, for 5 minutes or until onion becomes clear. Add garlic. Cook for 2 more minutes, or until garlic is fragrant. 

  2. Add tomatoes through molasses. Stir together and bring to a boil over high heat. Reduce heat to low and simmer for 20 minutes, covered, stirring occasionally. Remove the lid and continue to simmer for 30 minutes or until the mixture has thickened and most of the liquid has gone. Remove from heat.

  3. Using an emersion blender or food processor, process the jam using an on/off pulse until just about smooth. Don't over pulse the jam, you want a bit of texture left. Add the parsley, thyme, salt and pepper. Pulse just to combine. 

  4. To Can: I did a good post on how to can safely here! It's for fruit jam but the essentials are there. Below is the version for this recipe:

    1. Sterilize All The Things. As mention above, it's best to get this part going during the simmering stage of the jam. Thoroughly wash all jars and screwbands and lids and utensils (jar tongs; wooden spoon; ladle; jar funnel; plastic knife or spoon) in hot soapy water. Rinse clean of all soap residue. Fill the waterbath canner with water (and ~2 TBSP vinegar) and bring the canner to boil. Place all your jars evenly spaced in the canner and boil the jars for at least 10 minutes. (This will sterilize the jars.) Dry all screwbands and utensils and lay them out so they're easily accessible. Also, set a flat bottomed sauce pan filled with water on the stove. Put in the snap lids. Then, from a kettle filled of boiled water, add enough hot water to make the water in the sauce pan warm. This will soften the wax ring on the lids helping the jars seal completely.

    2. Prep All the Ingredients. Having now simmered and food processed the jam, you are ready for canning! ALSO. Make sure your canner is boiling hot! You won't have time to bring it back to a boil after you've started your jam. I also usually have a kettle of boiling water going as well in case I need to top up the canner during the process. 

    3. Start Canning. Now for the fast hot mess that is jam making. Bring your jam back to boil. (Since it is thick it will bubble more that boil. Watch out for white shirts as it may spit at you!) Now that your jam has been sufficiently lava-ed, remove it from the heat. Using the jar tongs, remove a sterilized jar from the boiling canner and empty the water in it back into the canner. Place the jar on your clean counter next to the jam pot. Place the jar funnel on the jar and ladle the jam smoothly up to the recommended head space marker (for my recipe I used a 1/4 inch headspace). Remove the funnel, remove any air bubbles from the jar by running a plastic utensil around the sides of the jar, and wipe the rim with a damp paper towel or clean damp cloth. Place a warmed lid on top. Place a screwband on the jar, then grasp the jar with the jar tongs. Tighten the screwband to ONLY fingertip tight. This literally means using your finger tips only, tighten the screwband until there is enough resistance that it stops. Then, keeping the jar level, lift it up and place it back into the canner. Repeat!

    4. Finish Canning. Now that all your jam has been put in jars in your canner, top up the water with more boiling water from the kettle, if need be (I usually like about 2 inches of water above my cans, if I can get it). Depending on your altitude, you'll need to adjust the time you process the jars. But it's a standard 10 minutes across the board, no matter what. (For Alberta, add an extra 5 minutes.) With the canner lid on, process the jam in the boiling waterbath. After the time is done, remove the jars with the tongs, lifting them straight out of the canner (NO tipping to get water off the top!). Set them down to cool in an out of the way space. From this point on, till they're completely cooled, No Touching! Resist the urge to poke them! As they cool, you'll hear the popping sounds of the snap lids sealing. Even after this has happened, No Touchy! It's a waiting game now. If you did it right, you'll have delicious shelf-stable jam to look forwards. 

    5. Enjoy! Let the jars cool completely. This will take up to 8 hours. After they've cooled, check that all the jars have sealed. The snap lids should be divoted inwards and you should be unable to pry them off with your fingers.** Ta Da!!! Done!

Keep in mind! This recipe is not shelf stable. (Well. It may be that it's shelf stable but as I have not tested it long term I don't recommend that it sits out.) Instead, keep it in you fridge and eat it before 2-3 months. Also. ** If the lid did not seal do not fret! The jam is still good to eat! It just needs to be eaten first and within 2-3 days. =) 

I'm so happy that my little tomato plants did it. From little seeds to 7 foot giants! =) I hope my grandpa would have been proud. <3

-Andrea

The Half-Assed Hobbyist

Get Jammin'

My glee cannot be contained. It's my second favourite time of year! (My favourite time being reserved for when gorging on pumpkin pie after all meals is 'socially acceptable'.) Canning Season has begun! Yay!!!!

Now, as I am land locked and car-less, driving out to find u-picks (which are apparently not that big a thing in the GTA) has been an issue. However! My lovely lady friend Lesley came to visit me after she went backpacking around the Maritimes, and brought a special treat: wild strawberries from St Hubert. Obviously we had to work to do. These berries weren't going to eat themselves! So we made a tart and, with the leftovers, some wild strawberry jam. 

This isn't my first time round the jamming bend. In 2013, the BF and I picked a ridiculous amount of fruit and I made a ridiculous amount of jam. Nom. I used the same process this time round as I did before:

  1. Sterilize All The Things. Thoroughly wash all jars and screwbands and lids and utensils (jar tongs; wooden spoon; ladle; jar funnel; plastic knife or spoon) in hot soapy water. Rinse clean of all soap residue. Fill the waterbath canner with jars and water (and ~2 TBSP vinegar) and bring the canner to boil. Place all your jars evenly spaced in the canner and boil the jars for at least 10 minutes. (This will sterilize the jars.) Dry all screwbands and utensils and lay them out so they're easily accessible. Also, set a sauce pan filled with water over medium-low heat on the stove (don't boil the water though!). Put in the snap lids. This will soften the wax ring on the lids helping the jars seal completely.
  2. Prep All the Ingredients. Read the recipe through and assemble all the ingredients you'll need. Make sure you find a reputable recipe to follow. I use Bernardin as my mainstay. Mash and then measure the fruit, measure out the sugar, get the pectin pack ready (I used a sugar-reduced pectin for the strawberries. No particular reason other than I wanted to try it). Once everything is prepped you can Start. ALSO. Make sure your canner is boiling hot! You won't have time to bring it back to a boil after you've started your jam. I also usually have a kettle of boiling water going as well in case I need to top up the canner during the process. 
  3. Start Jamming. Now for the fast hot mess that is jam making. Add fruit, juice, pectin and margarine to a large pot, making sure that there's lots of room in the pot as the jam will expand to almost double when it's boiling. Stir well so all the pectin powder is dissolved. Now add heat! Bring the jam to a rolling boil over high heat. You'll know a 'rolling boil' when you see it. It's bubbling sugar paste that doesn't stir down. Think molten sugar lava. Add your sugar and stir well and fast to combine. Continue stirring until the mixture comes back to a rolling boil. Boil and stir for as long as the recipe says (for me it was 3 minutes). After the time is up, take the pot off the heat and prepare to fill your jars! (Sometimes a 'skin' or 'foam' may form on the top of your jam. Use a slotted spoon to scoop it off. It can be discarded in the sink for now.)
  4. Start Canning. Now that your jam has been sufficiently lava-ed, using the jar tongs, remove a sterilized jar from the boiling canner and empty the water in it back into the canner. Place the jar on your clean counter next to the jam pot. Place the jar funnel on the jar and ladle the jam smoothly up to the recommended head space marker (my recipe called for a 1/4 inch headspace). Remove the funnel, wipe the rim with a damp paper towel or clean damp cloth. Place a warmed lid on top. Place a screwband on the jar, then grasp the jar with the jar tongs. Tighten the screwband to ONLY fingertip tight. This literally means using your finger tips only, tighten the screwband until there is enough resistance that it stops. Then, keeping the jar level, lift it up and place it back into the canner. Repeat!
  5. Finish Canning. Now that all your jam has been put in jars in your canner, top up the boil water with more boiling water from the kettle, if need be (I usually like about 2 inches of water above my cans, if I can get it). Depending on your altitude, you'll need to adjust the time you process the jars. But it's a standard 10 minutes across the board, no matter what. For Alberta, I had to add an extra 5 minutes, but good ol' Toronto is set at the standard 10. With the canner lid on, process the jam in the boiling waterbath for the required time. After the time is done, remove the jars with the tongs, lifting them straight out of the canner (NO tipping to get water off the top!). Set them down to cool in an out of the way space. From this point on, till they're completely cooled, No Touching! Resist the urge to poke them! As they cool, you'll hear the popping sounds of the snap lids sealing. Even after this has happened, No Touchy! It's a waiting game now. If you did it right, you'll have delicious shelf-stable jam to look forwards. 
  6. Enjoy! Let the jars cool completely. This will take up to 8 hours. I usually leave mine sit for 12 to 24 hours. After they've cooled, check that all the jars have sealed. The snap lids should be divoted inwards and you should be unable to pry them off with your fingers.** Ta Da!!! The jam is now shelf stable! Label the jam with the date and the contents and bask in the glory that is homemade jam. 

Also eat the jam. By the spoonful. Obviously. 

But yah! I look forward to more canning to come! I want to try pickles this year. And maybe peaches...? Definitely marmalade. All the Things! (As Always.)

-Andrea

The Half-Assed Hobbyist  


** If the lid did not seal do not fret! The jam is still good to eat! It just needs to live in the fridge and be eaten first. I don't recommend attempting to re-can the jars. Instead, bake something with jam! Oooo. That's a good idea actually. Hmmmm. Haha.