


One of my good friends is getting married. Not just getting married though. She's getting married Harry Potter style. For real. (My friends are cooler than yours.) Anyway! For a semi-wedding/real life gift, I'm making the happy couple Hogwarts Robes to wear while they greet their guests at the reception. (The Hogwarts away for Hogwarts reception. Complete with Harry Potter themed bar and four long house tables under a ceiling of candles. Again. Cooler than yours.)
One would think making a HP robe is an easy task. I searched for patterns to buy to make a tailored robe for the bride-to-be and her wizard fiancee but there were no such official patterns to be had. Enter my journey through the blog-o-shpere to find out how others of 'my kind' were getting on without patterns to purchase.
One real good blog was this one. Now, while I definitely took little of their advice, it gave me my base courage to enter a Fabricland and find a 'close enough' pattern that I could alter to be the magnificent robe fit for a first dance as husband and wife.
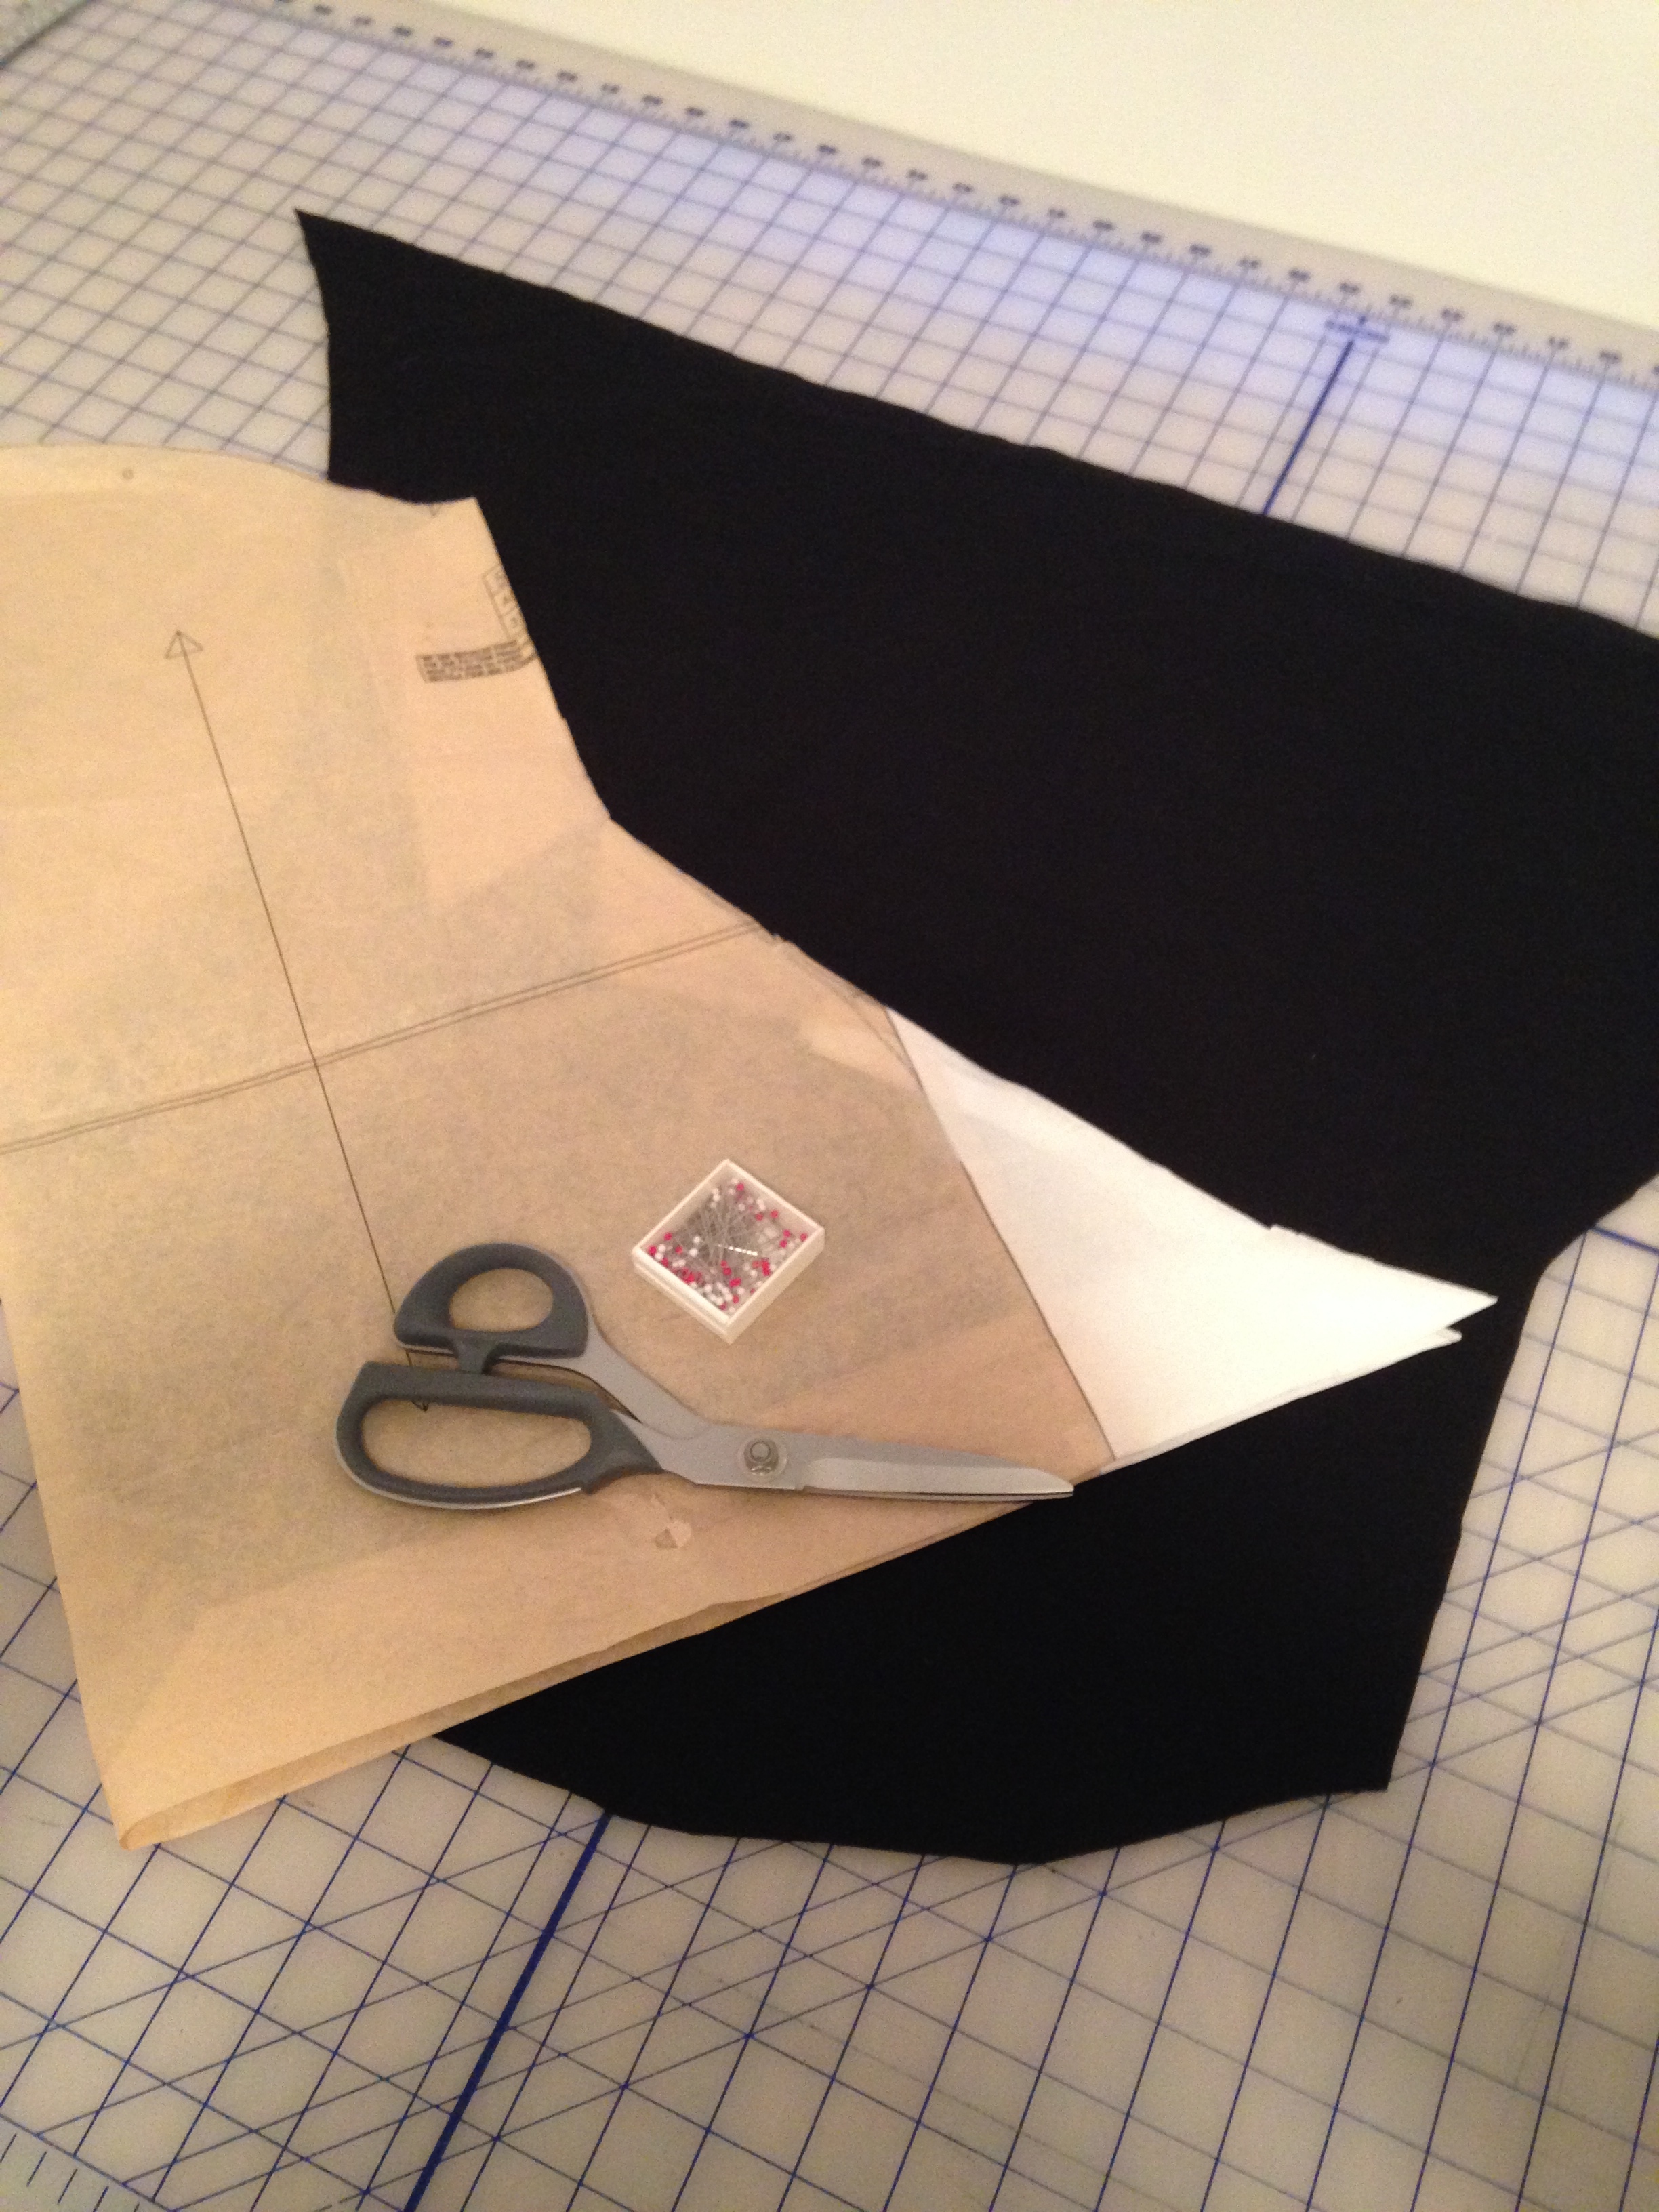
I have to admit, it took me for freaking ever to get started. First thing I had to do was make a draft version of the robe using the "close enough" pattern I'd purchased. I used Simplicity 5840, pattern B. From the draft robe I could make alterations and then transfer those alterations to the pattern. And then actually make the final robe and tailor it to Madame Bride.
Fig 1
Easier said than done though. The pattern I used was waaaaay to big. Like many other bloggy-inclined, I was referencing a couple screen shots from various HP movies to get an idea of the fit. Fig 1 is one of the best to get an idea of how fitted it is buttoned up. So the first alteration was to take in the side seams about 12 cm. Straight from the armpit down to the hem.
The second alteration was to the sleeves. I had to shorten the part that met the body of the robe by 6 cm a side (thank gad for easy drop shoulders). Also, the sleeves in the movie have a long and straight cuff on them, so I had to alter the flare of the original pattern as well. Plum 1 (below) has the best example of the fit and drape of the sleeve on Miss Parkinson. Fitted along the top of the arm and then a dramatic flare at the elbow.
Plum 1
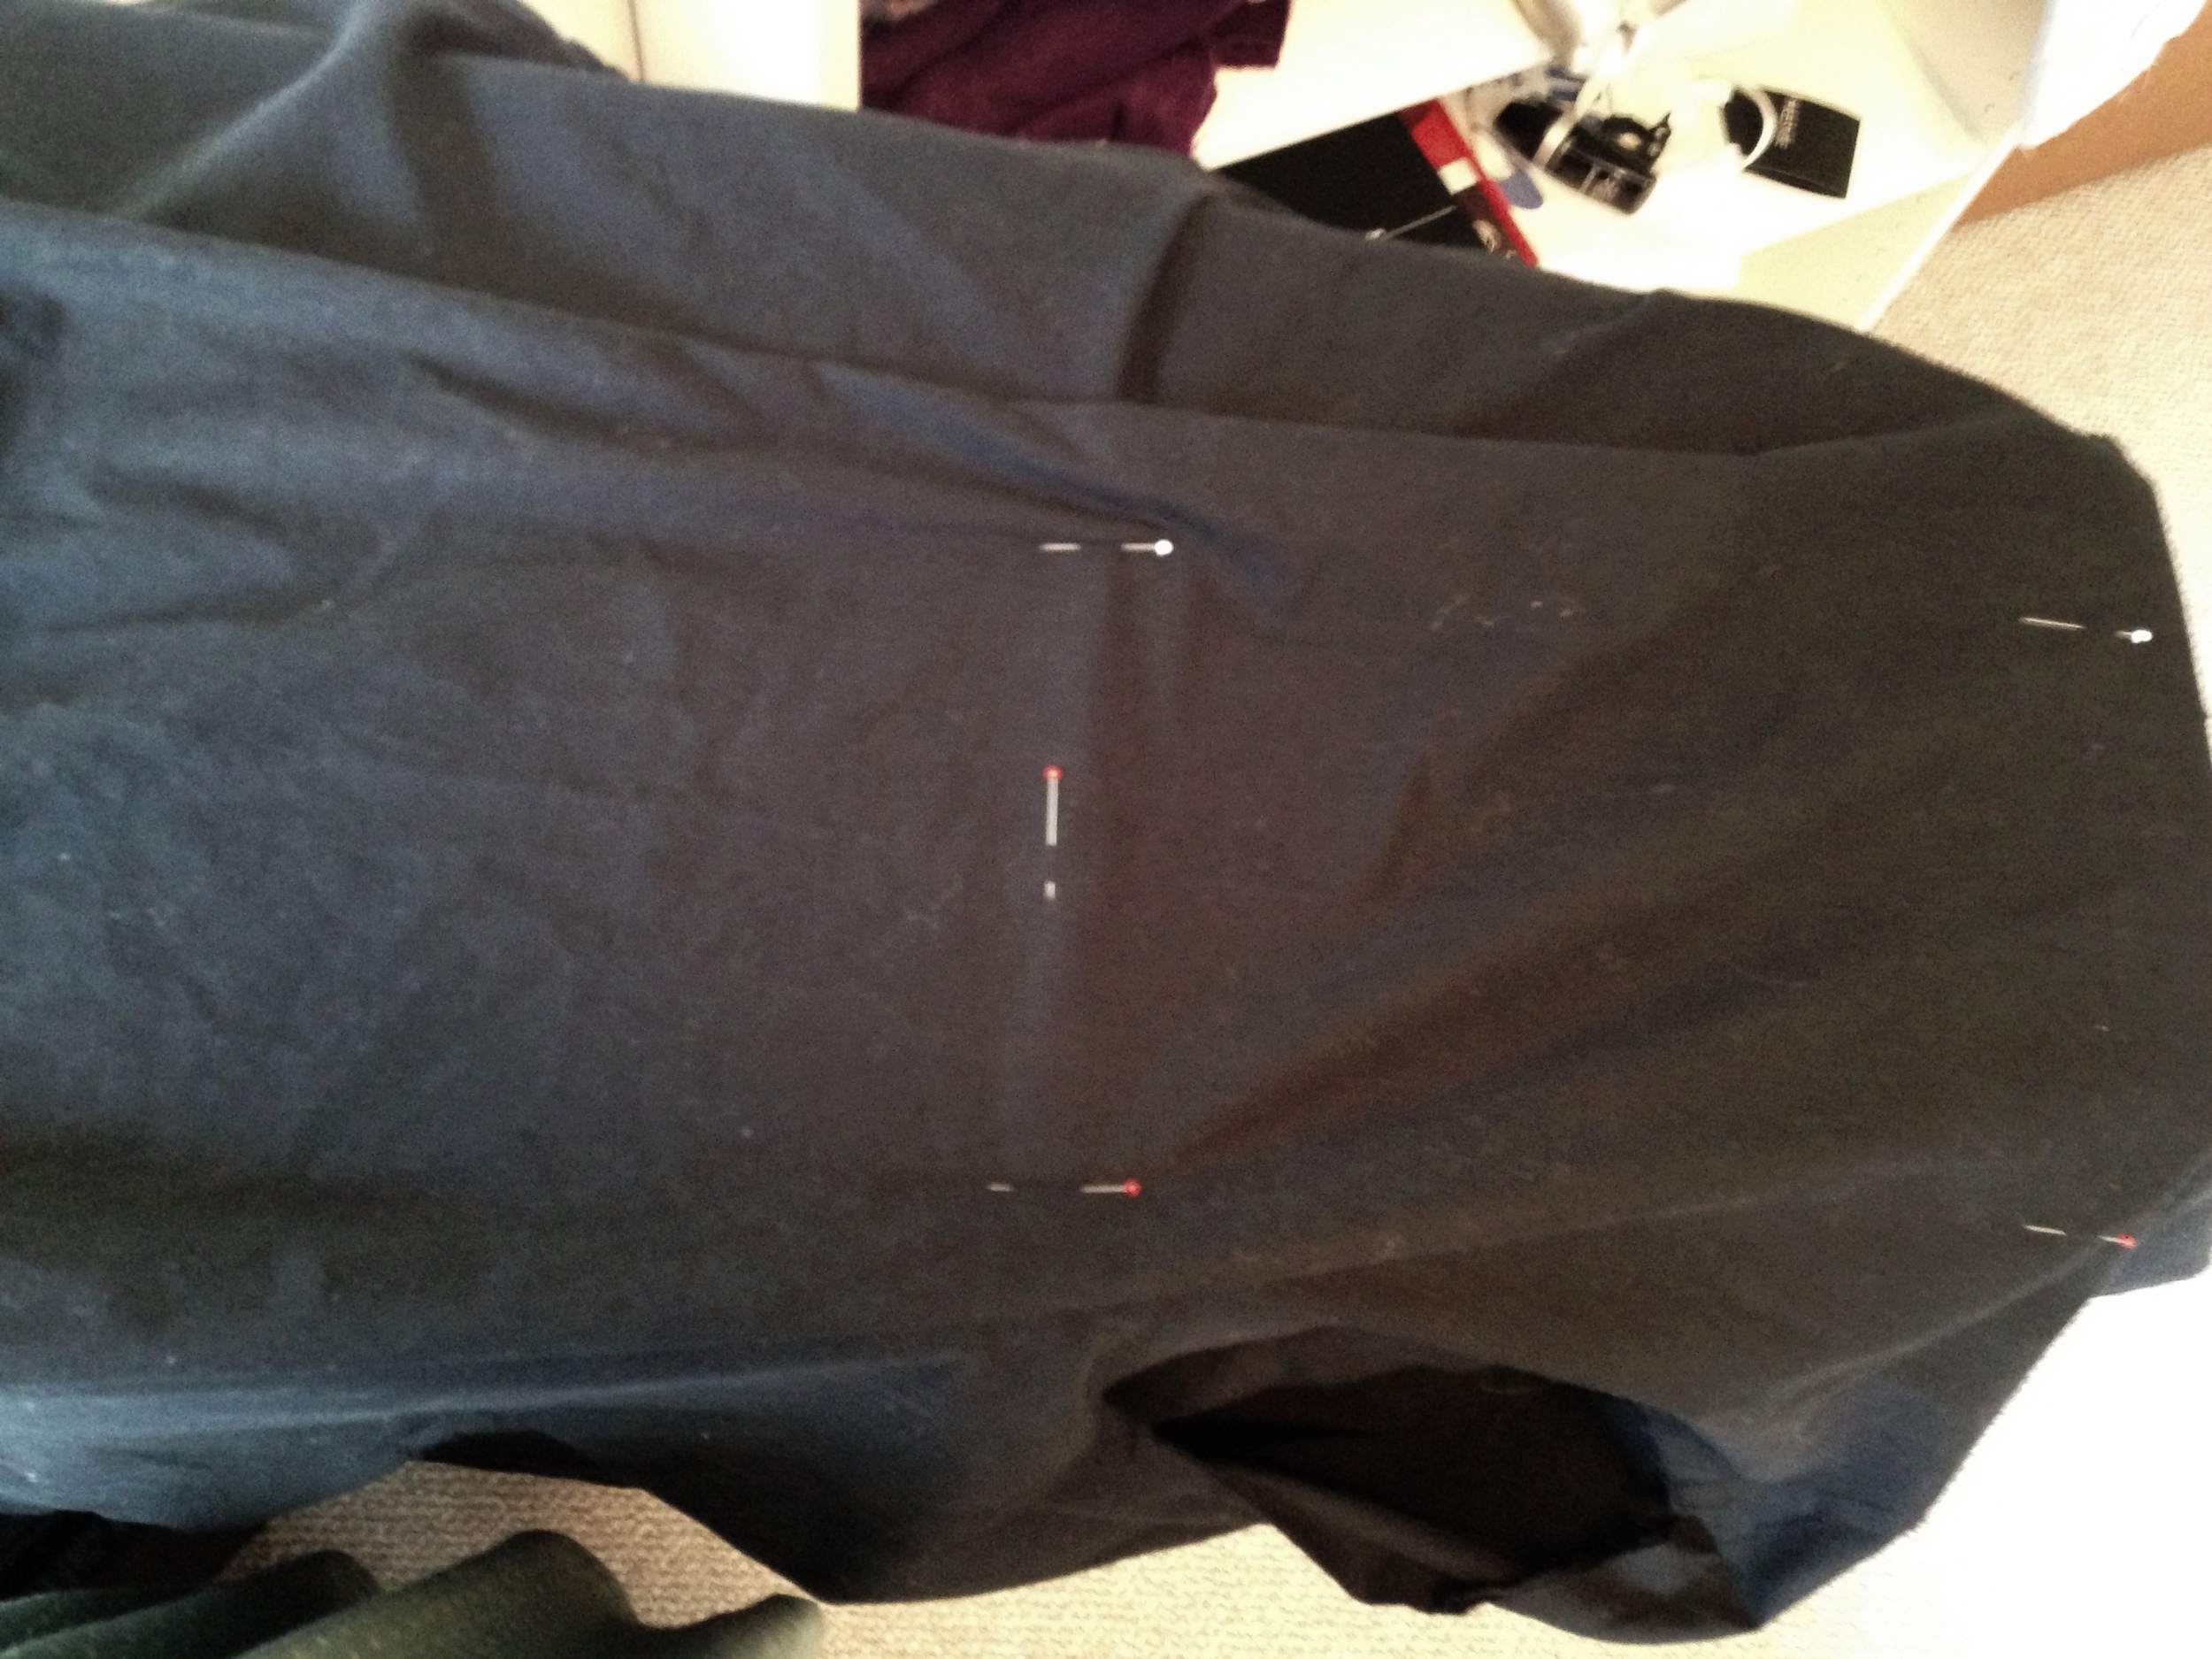
After the sleeves were altered, cut and sewed in, I still had a rather large expanse of fabric at the back. So tailored darts, yay! Now, I don't have any high definition views of the back of the robes so I'm going to pretend that some fancy Hogwarts students have darts in their robes. I did two darts, each centered over a shoulder blade. They run from near the nap (about 5 cm lower) to the top butt region.
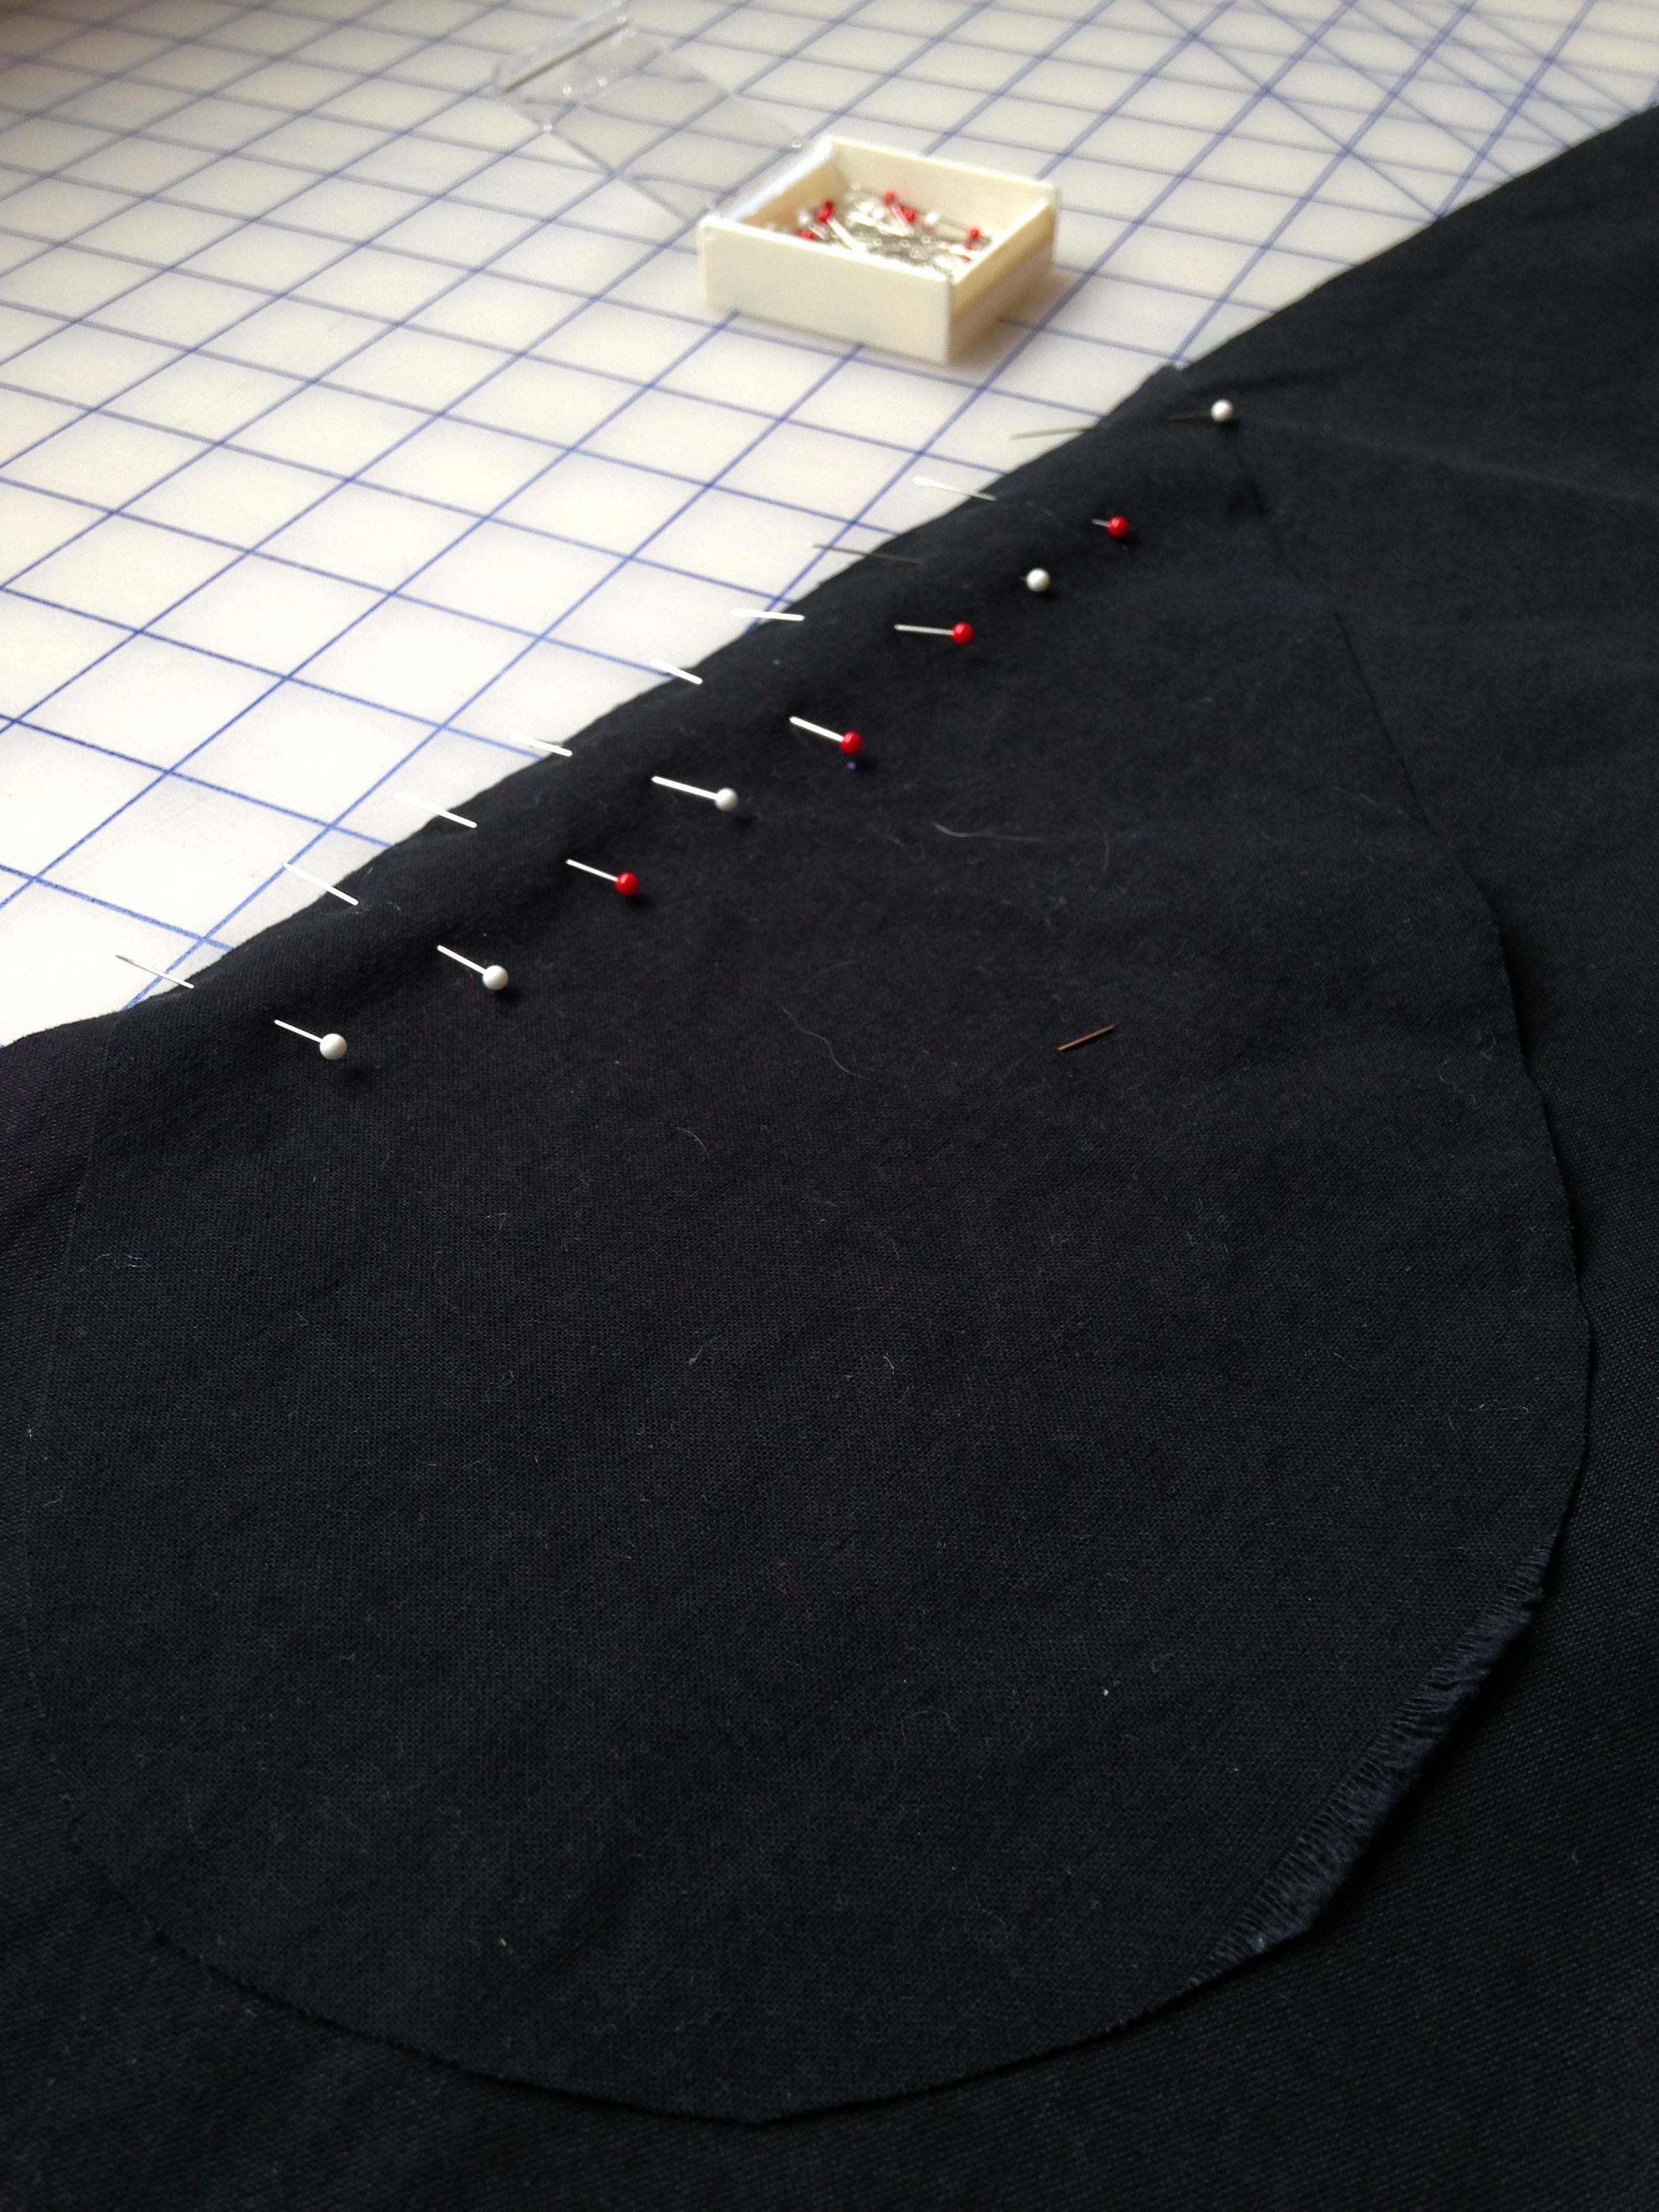
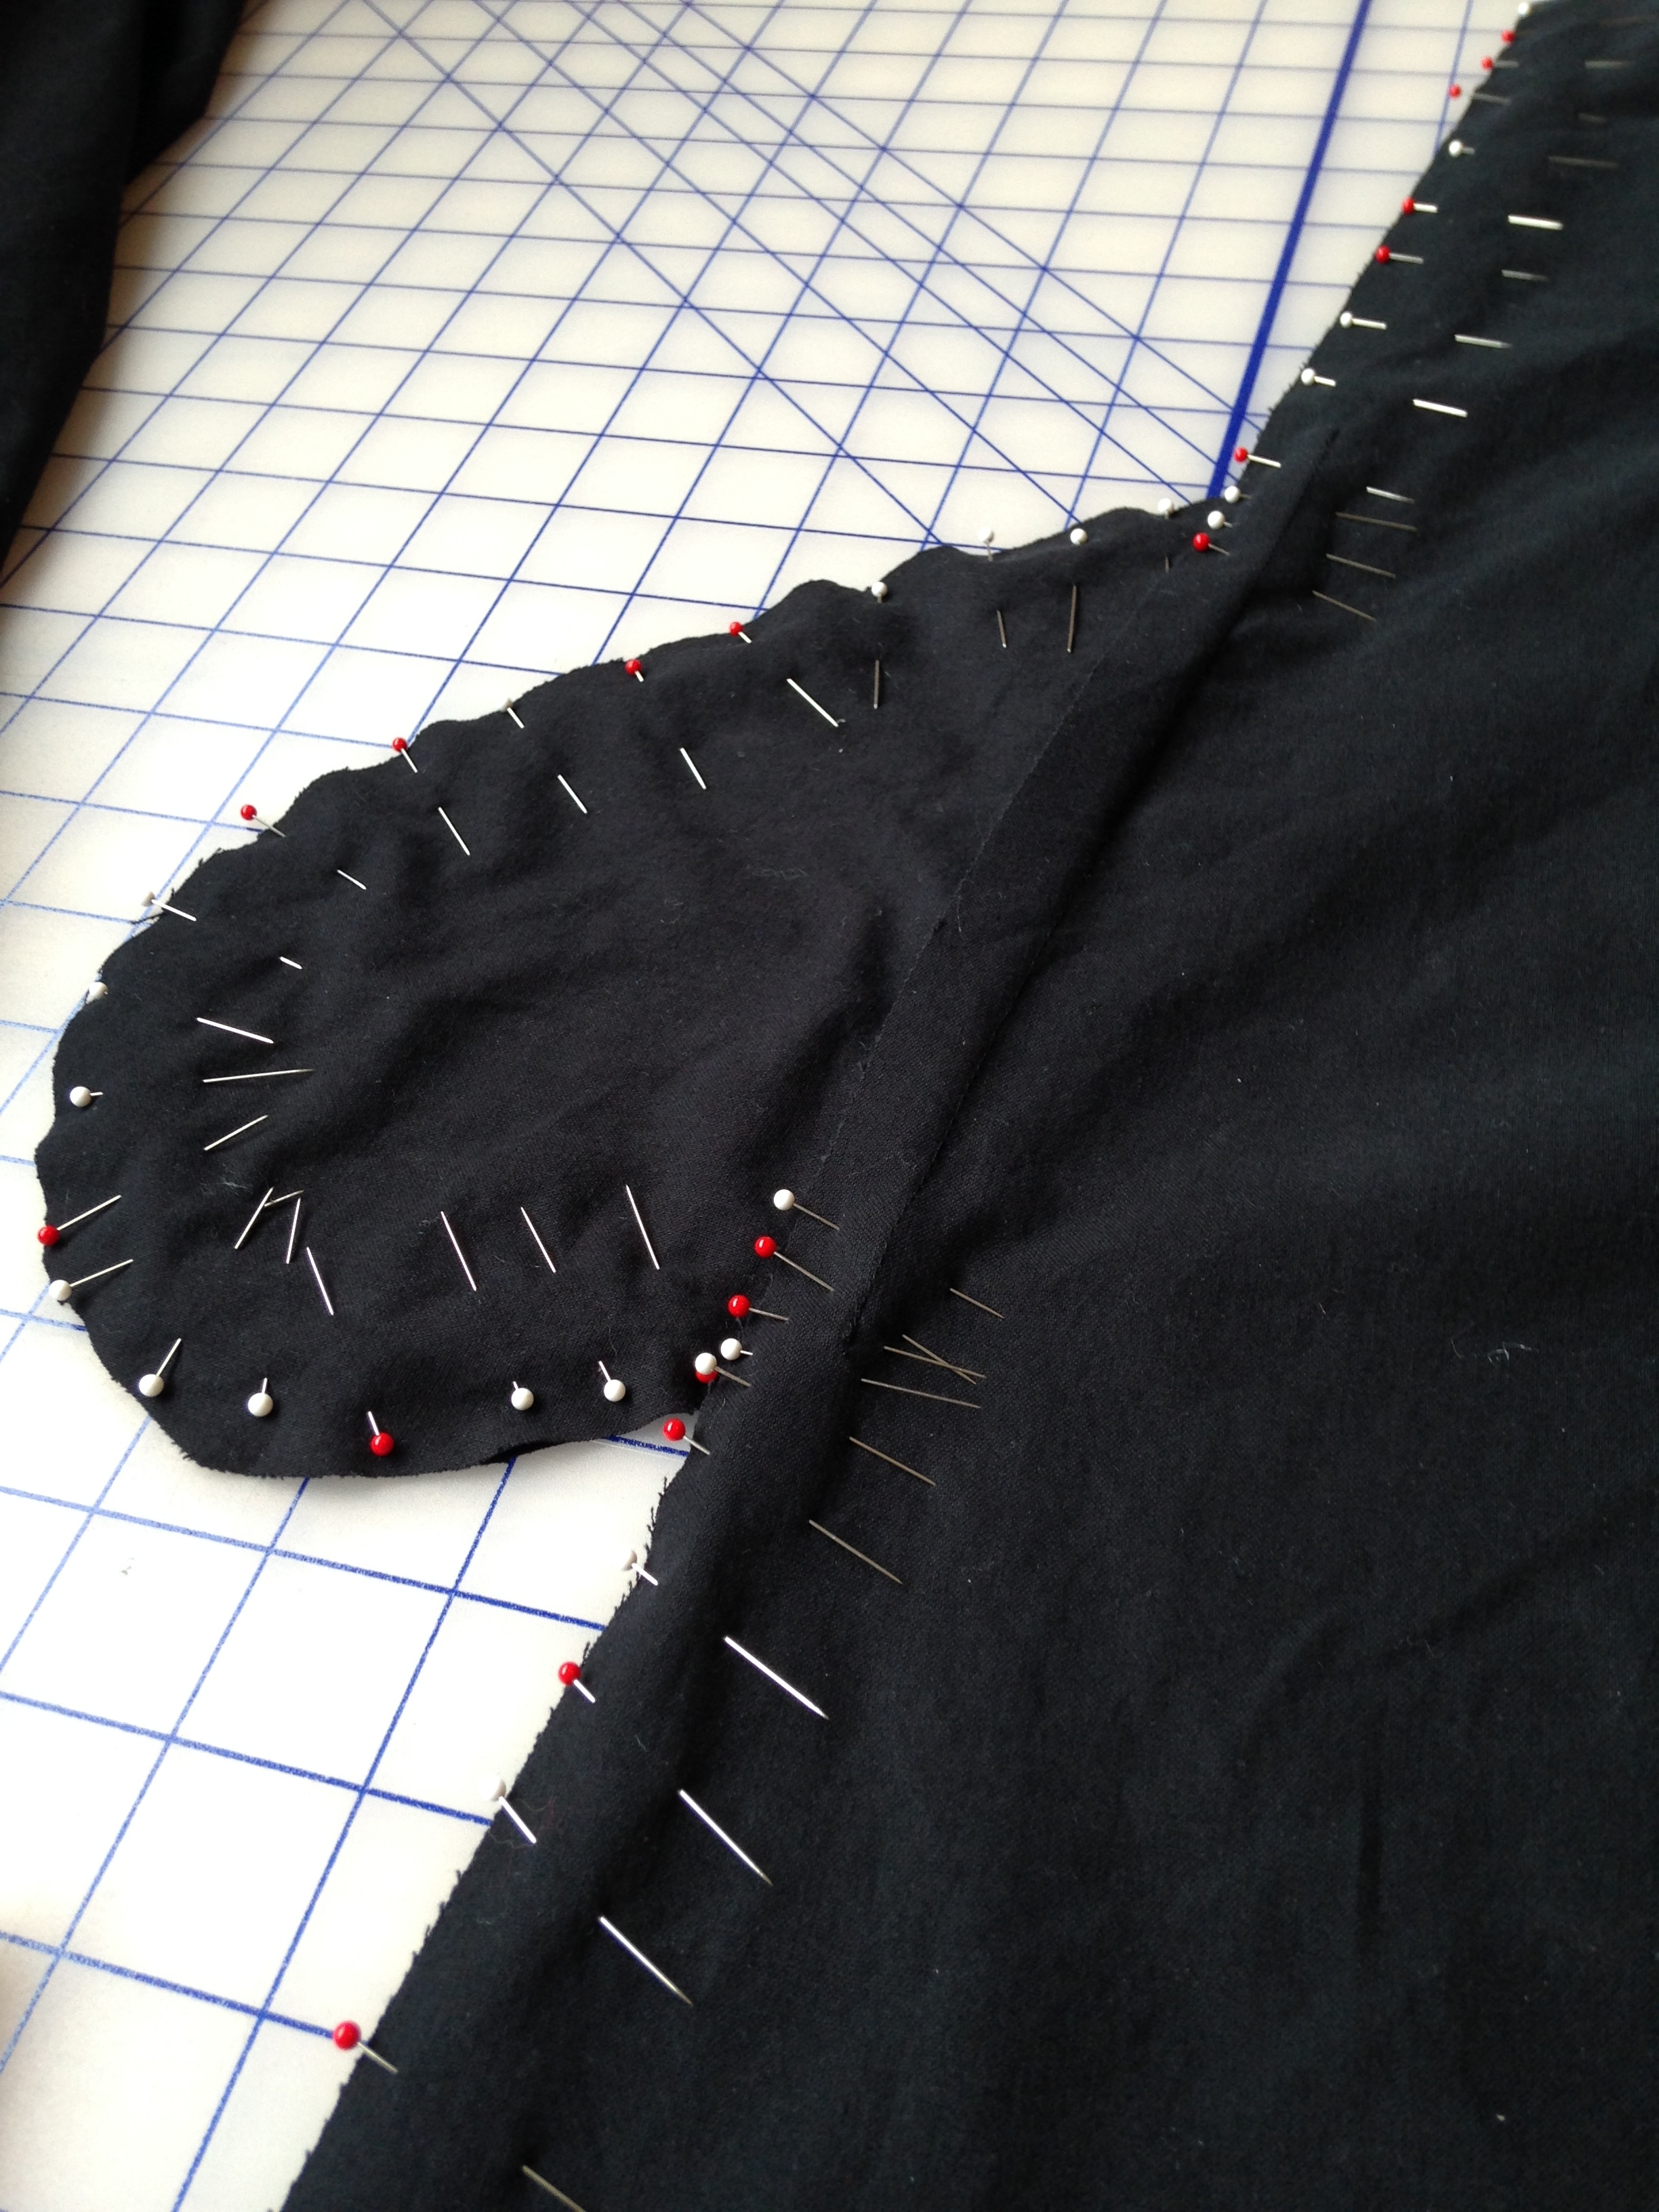
Next, the hood. To get that telltale Hogwarts hood drape on the chest was a bit difficult to do with this pattern. The original pattern had a droopy hood, meant to look elegant in velvet, but that wasn't going to work for an as-close-as-possible HP robe.

I see your back! Haha!
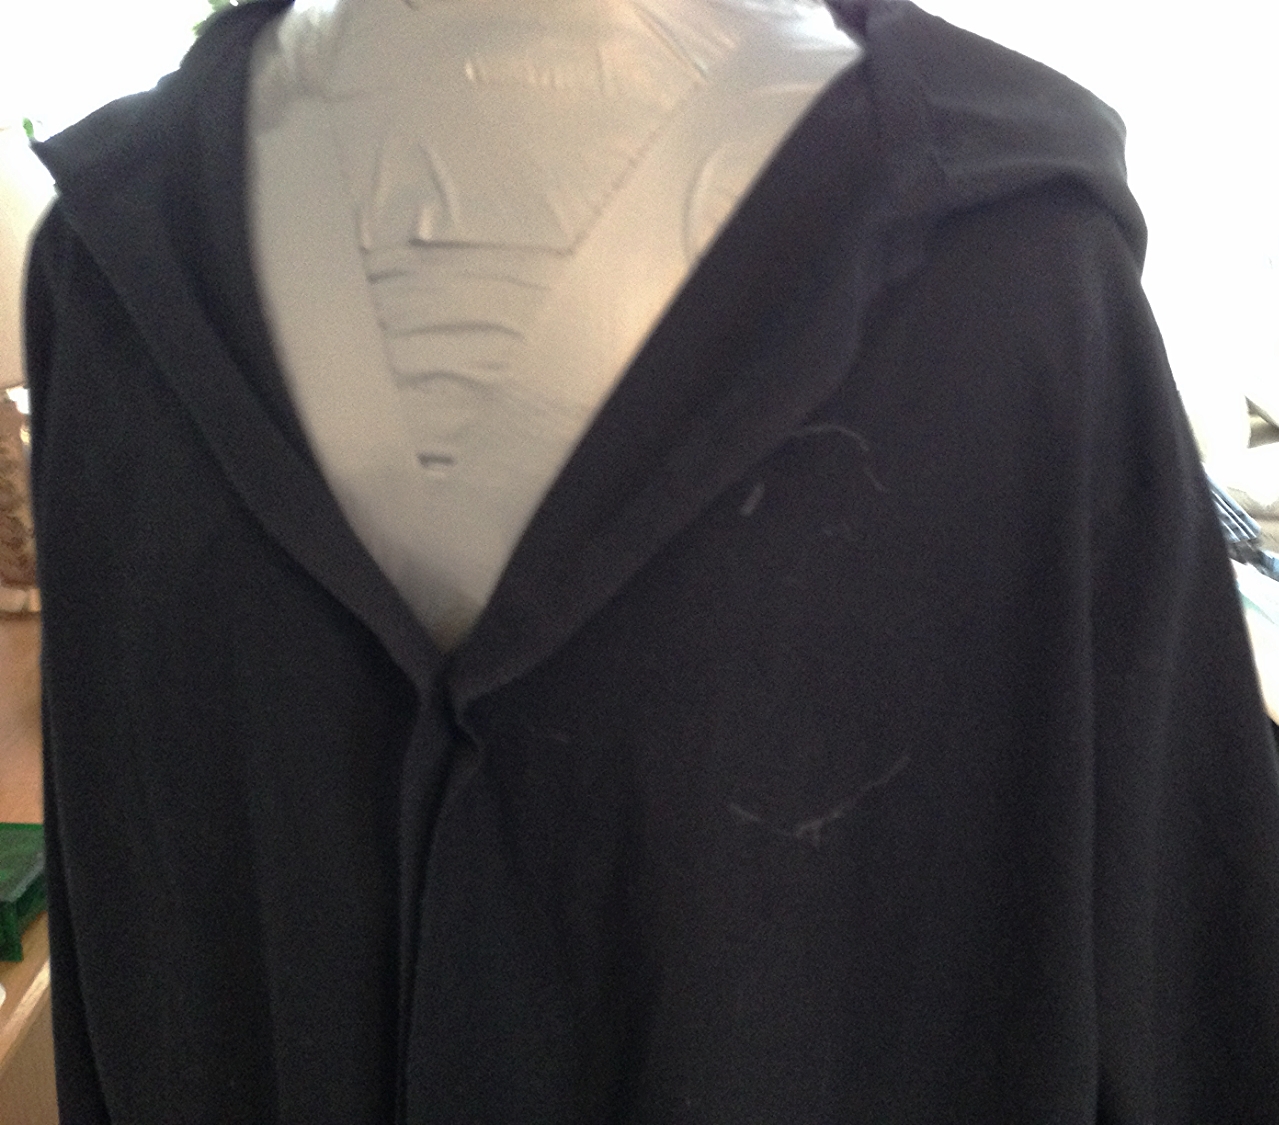
The length and shear pointedness of the hood was hard to figure too. I knew that the hoods from the third movie on were rather pointier than their predecessors, but the only clip I could really find that had good views of the hood, front and back, was in the third movie at the first Care of Magical Creatures class scene. From this I figured: 1) the hood has to be long enough that when it's up the tip still falls around the neck/upper back area; 2) the tip is indeed pointy; 3) the hood needs to be wide enough at the neck that when it's down the lining can be seen on the chest; 4) Again, when the hood is up, there should be no sagging of extra fabric at the connection between the hood and the robe front. Lots the think about.
I extended the hood point (a little too much in the draft - I shortened it more in the final robe), and I pressed and taped together the patterns hood darts so my hood would be smooth at the seams (no sagging!). Luckily the hood was wide enough as it was so I didn't have to alter the neck seam, yay!

Ooooooooooo!
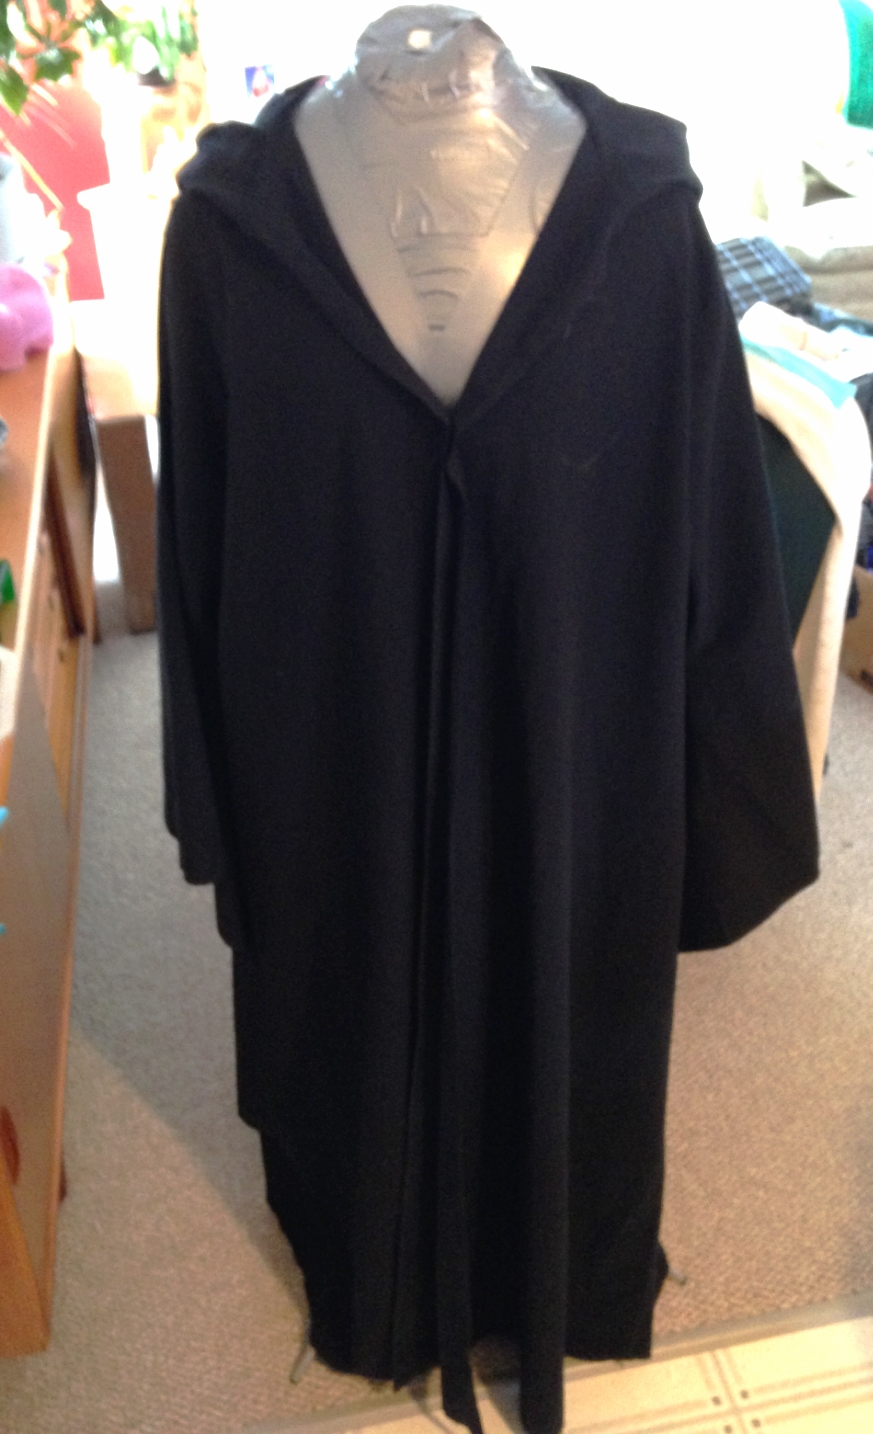
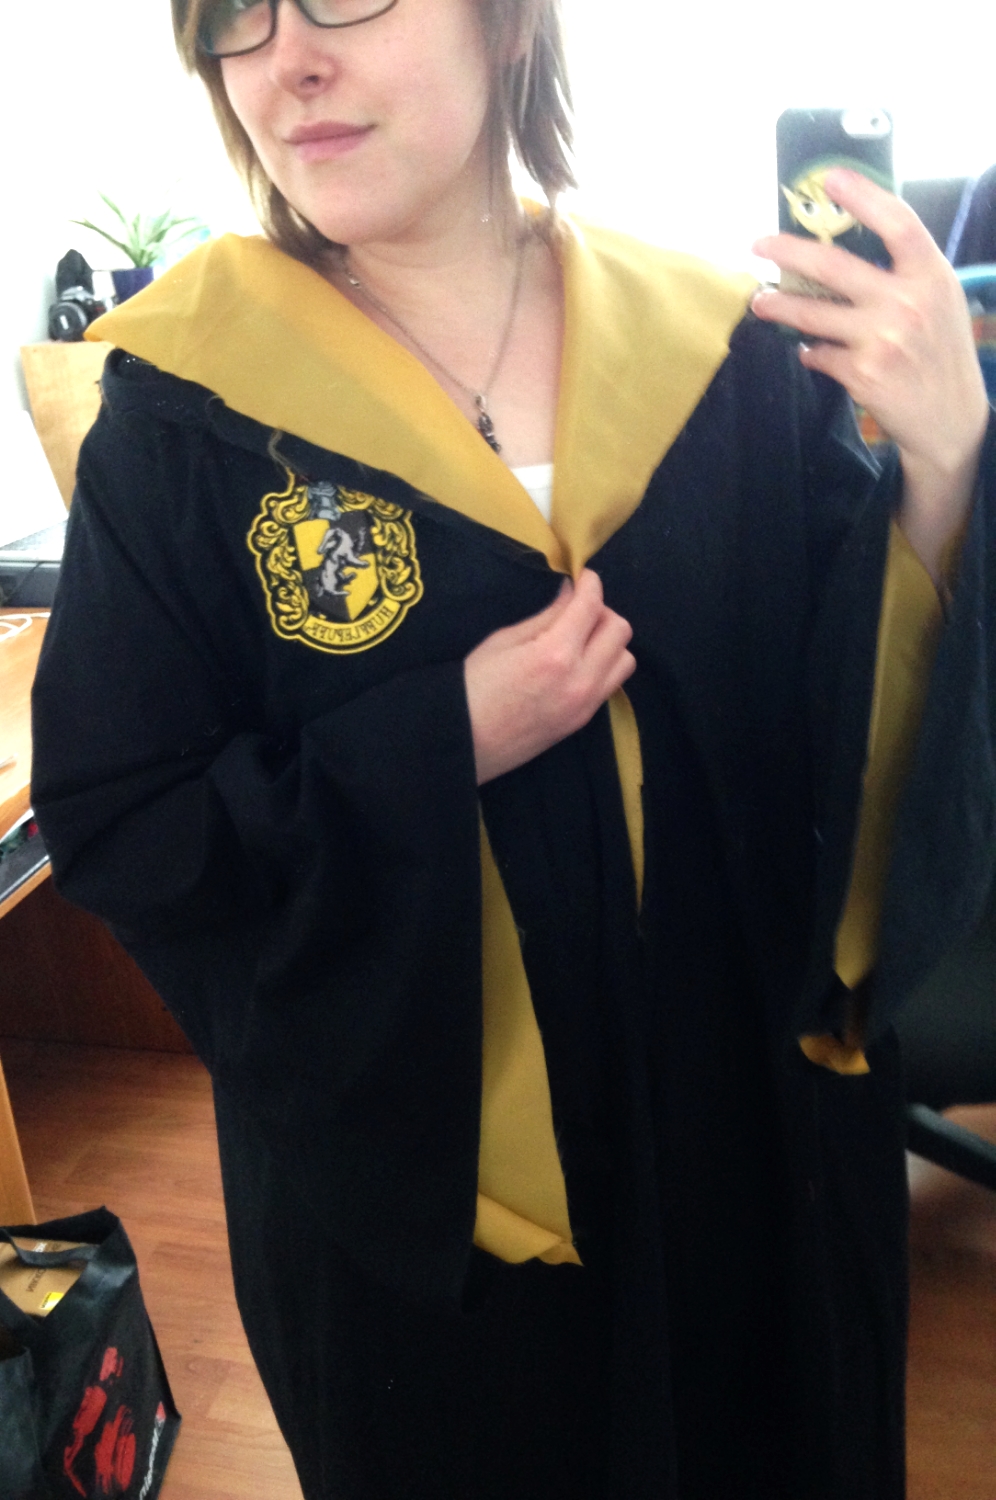
Hood = Achieved! After that success there was one more obstacle to tackle. The Lining.
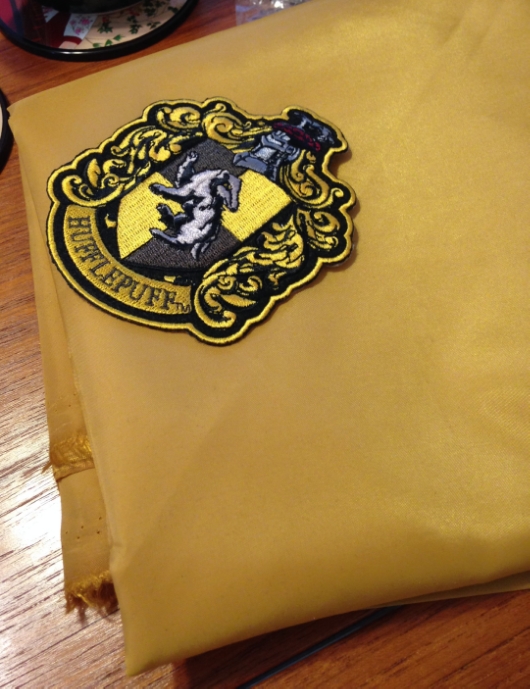
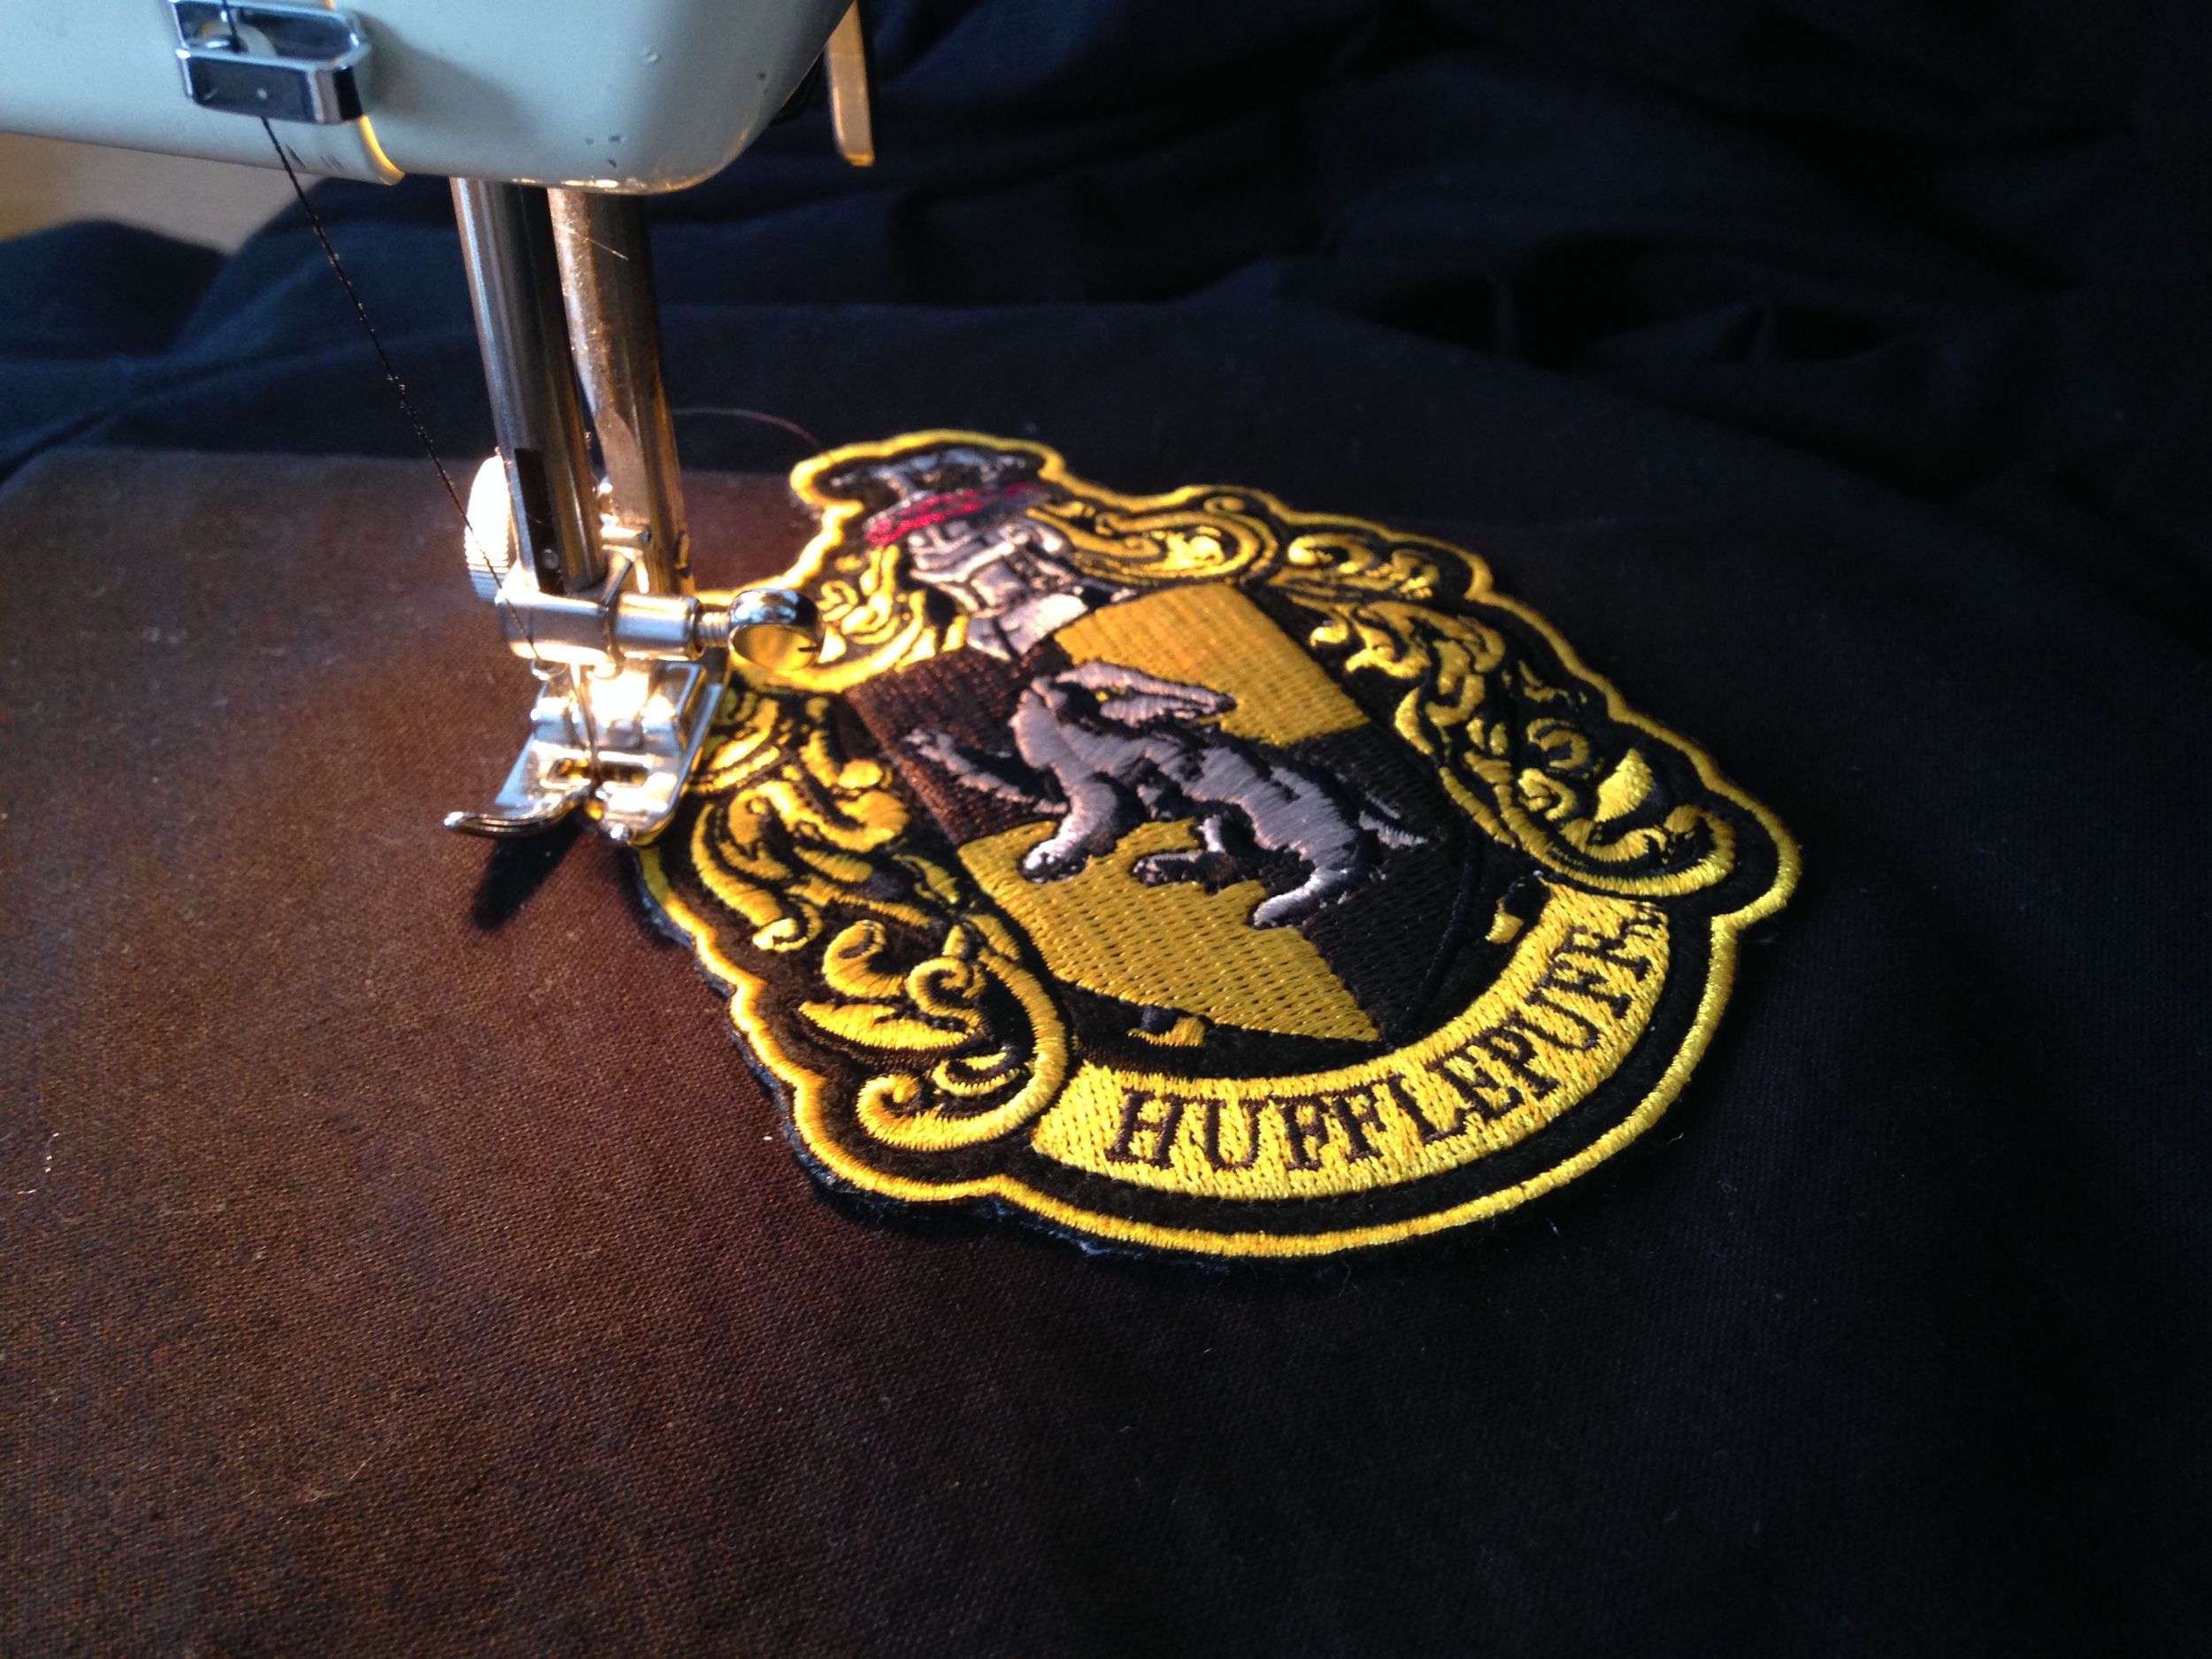
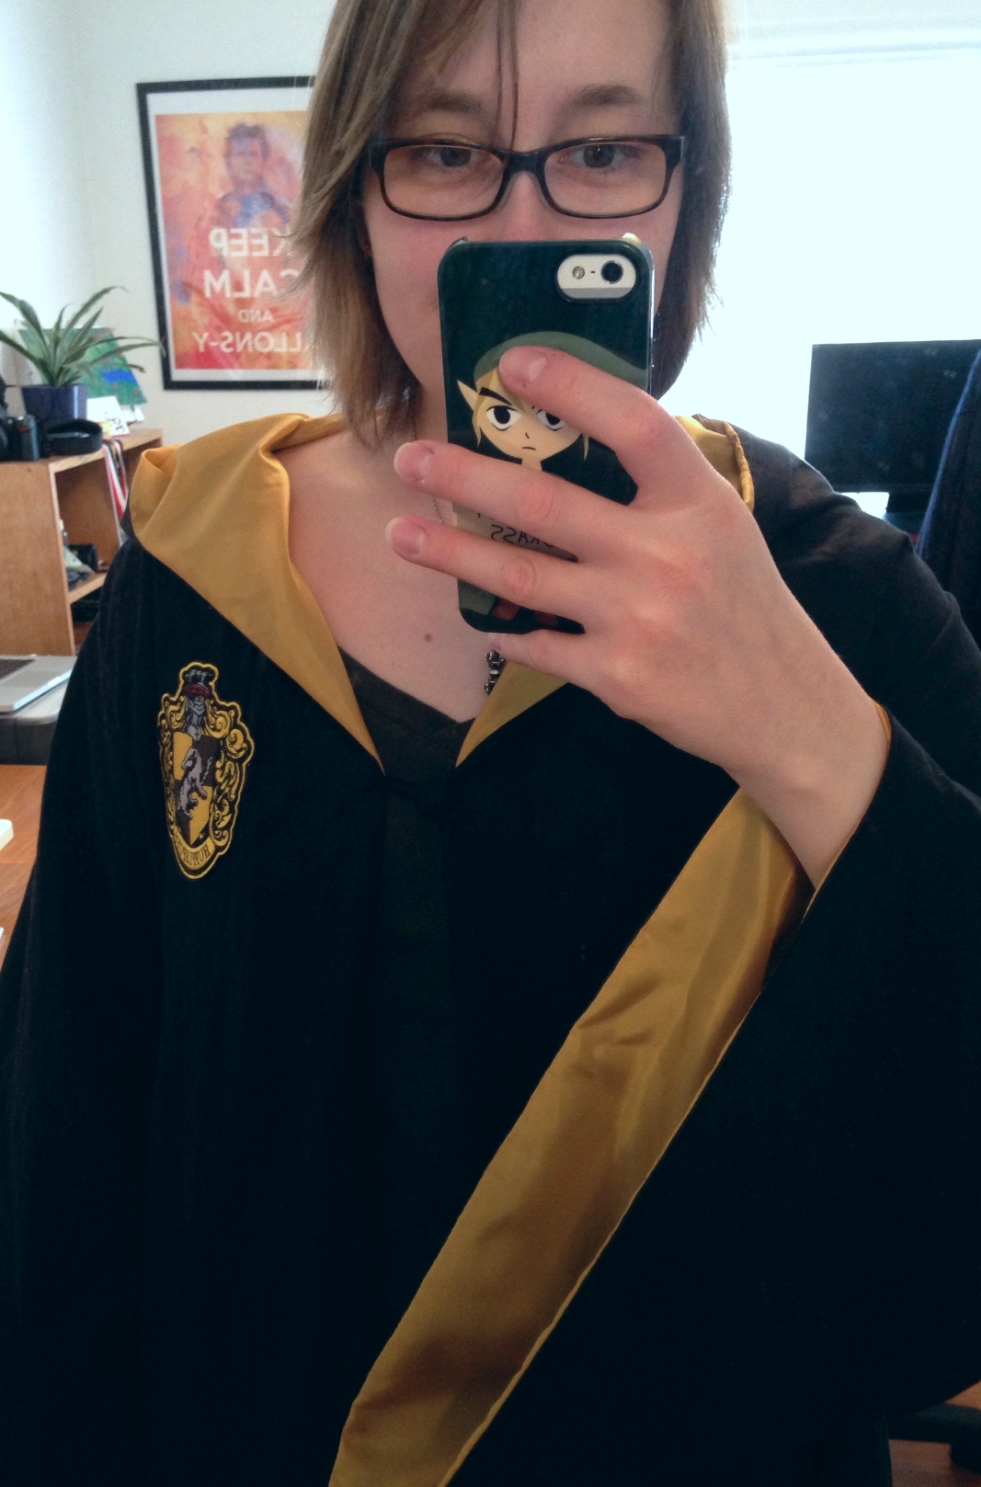
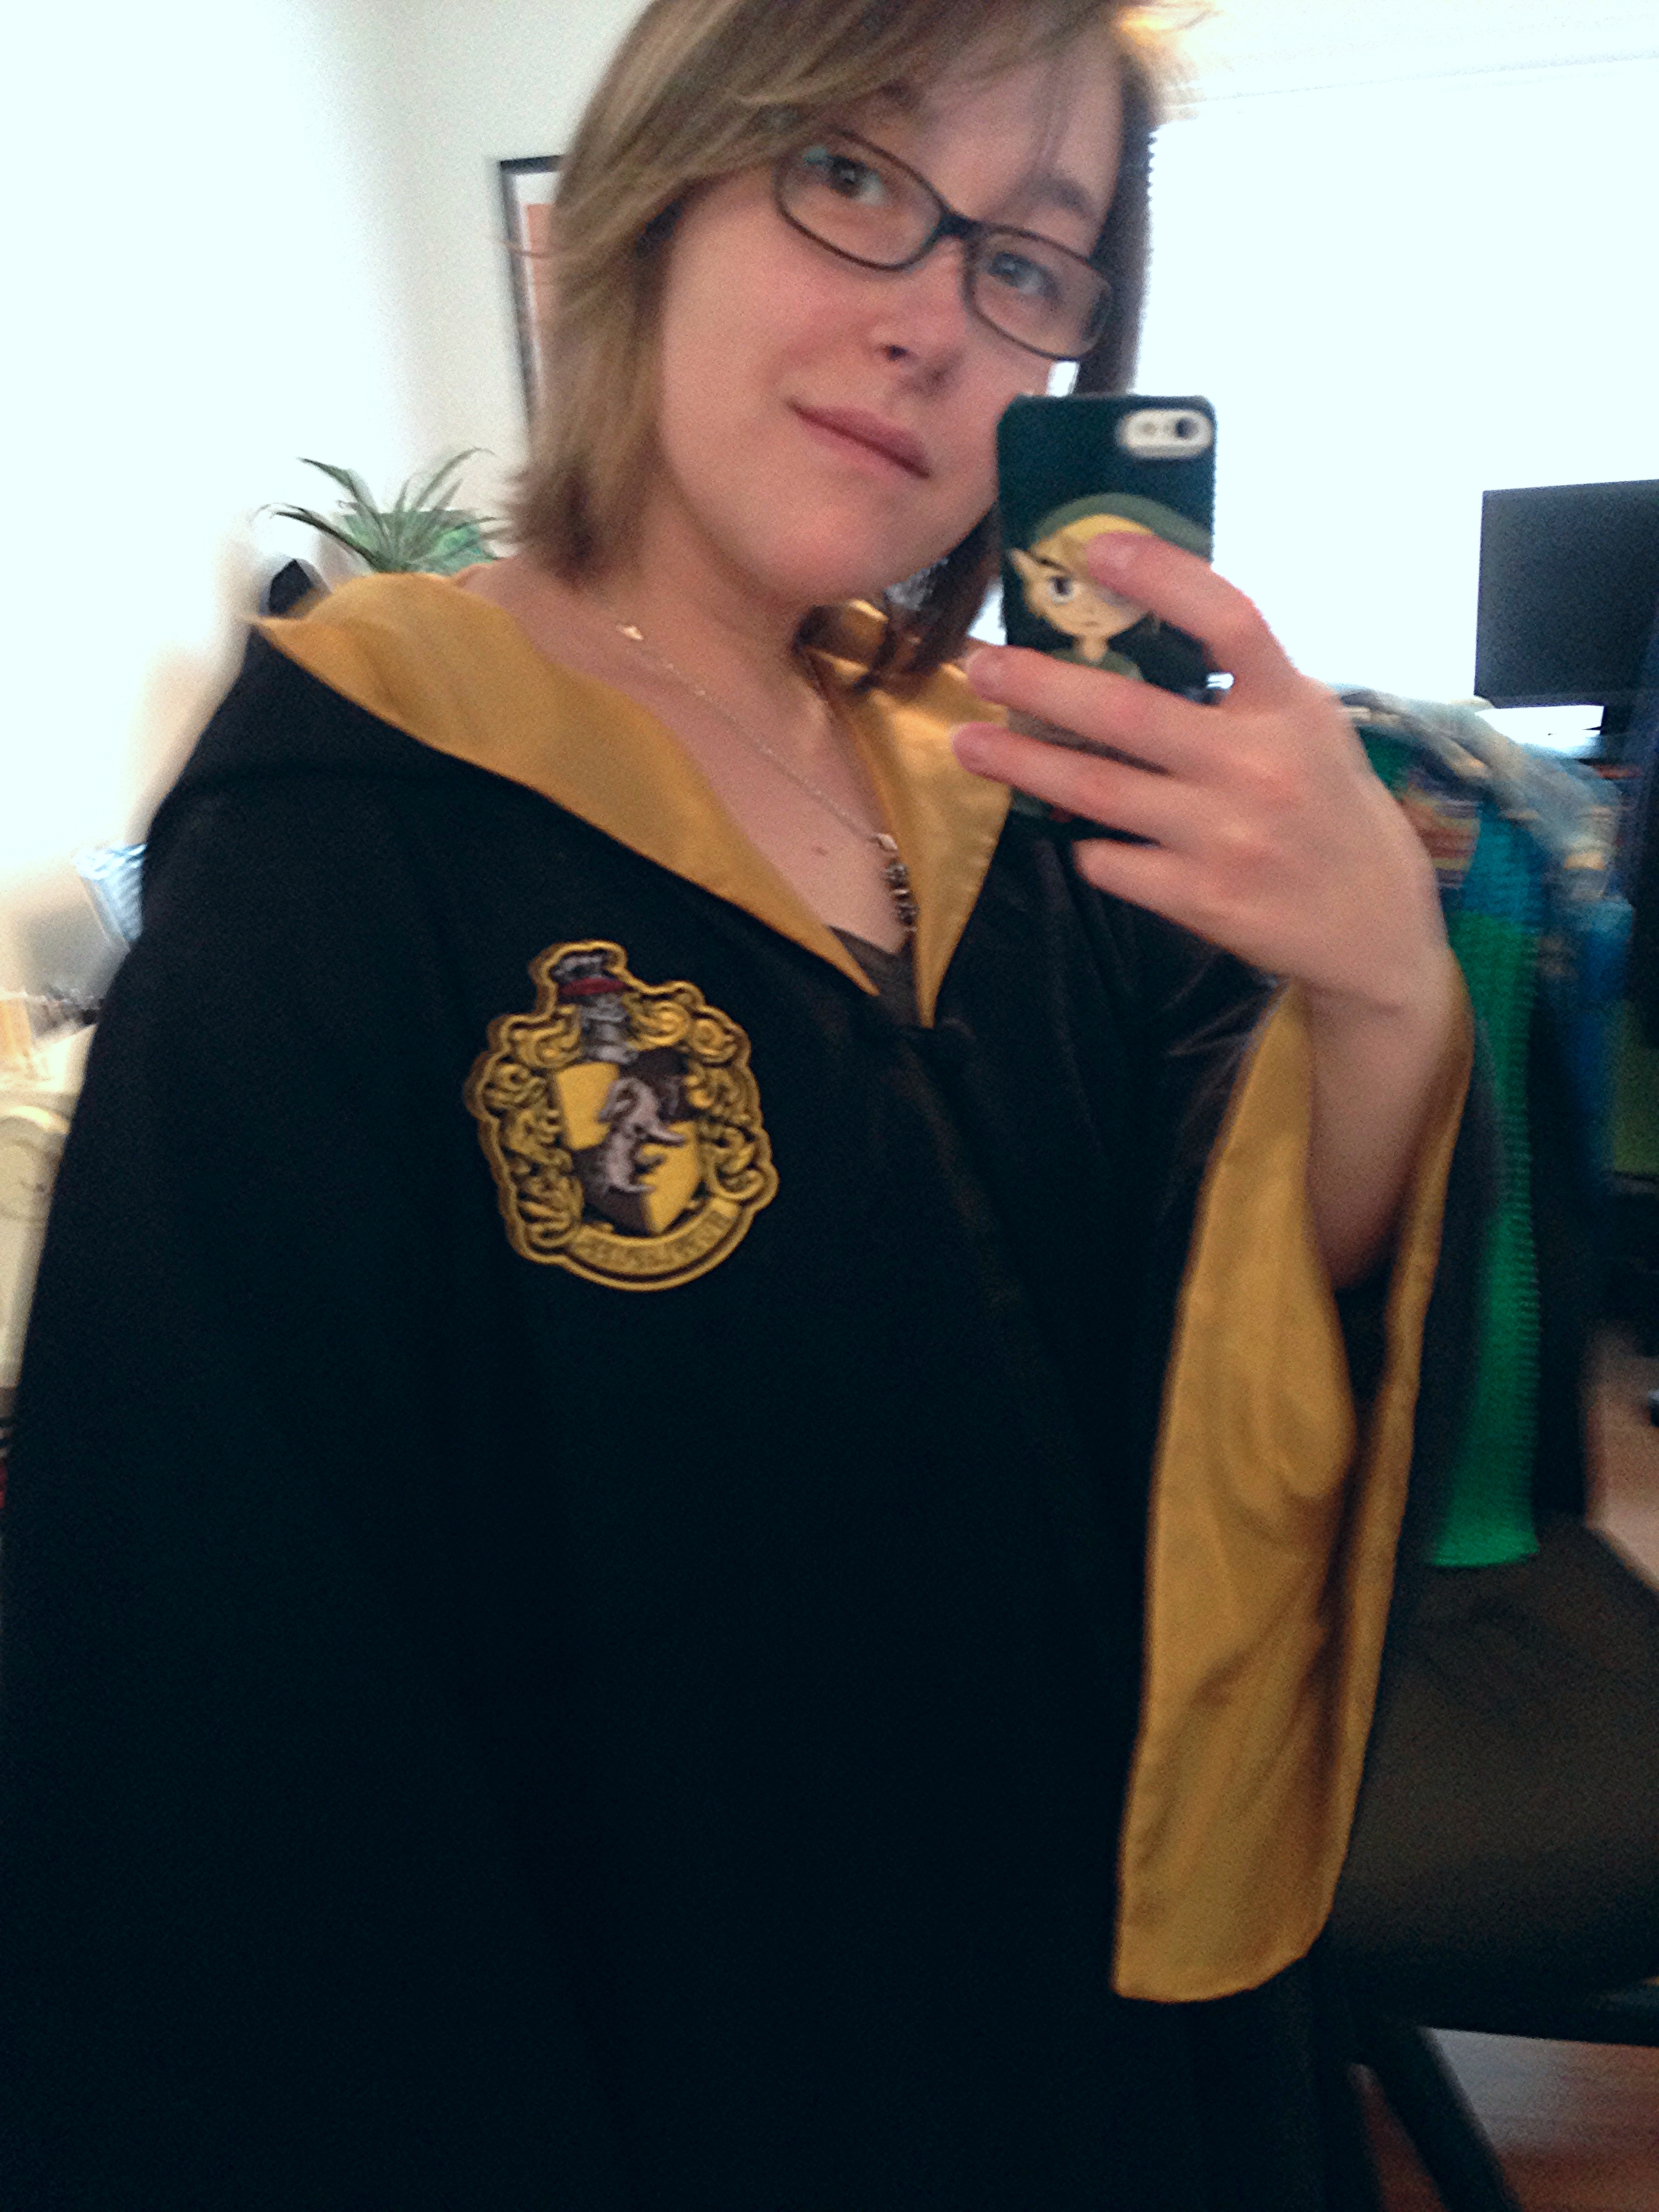
From the third movie on, each robe is lined with the house colour of its student. My friend is a proud Hufflepuff, so, verily suiting, a Hufflepuff robe she will have. Looking back at Fig and Plum 1, we can see that the cuffs are lined, the front of the robes are lined and the hoods are lined too. However, there are No Visible Seams at the chest. Gross. This meant that some fancy planning work would be required.
Lining Design
Now, many of the blogs I've visited that have detailed how they've made their own robes have only lined the first foot of the robe front. This is a very clever way to work it. Instead of lining the whole of the robe, making it rather difficult to sew and also much heavier than strictly necessary, they've cut out one, long, piece of lining to go from the base hem on one side, up along the robe front, into the hood, down the other side of the chest, back to the hem. Essentially, they've figured out how to make it so that there are no seams at the hood and chest connections. Brilliant.
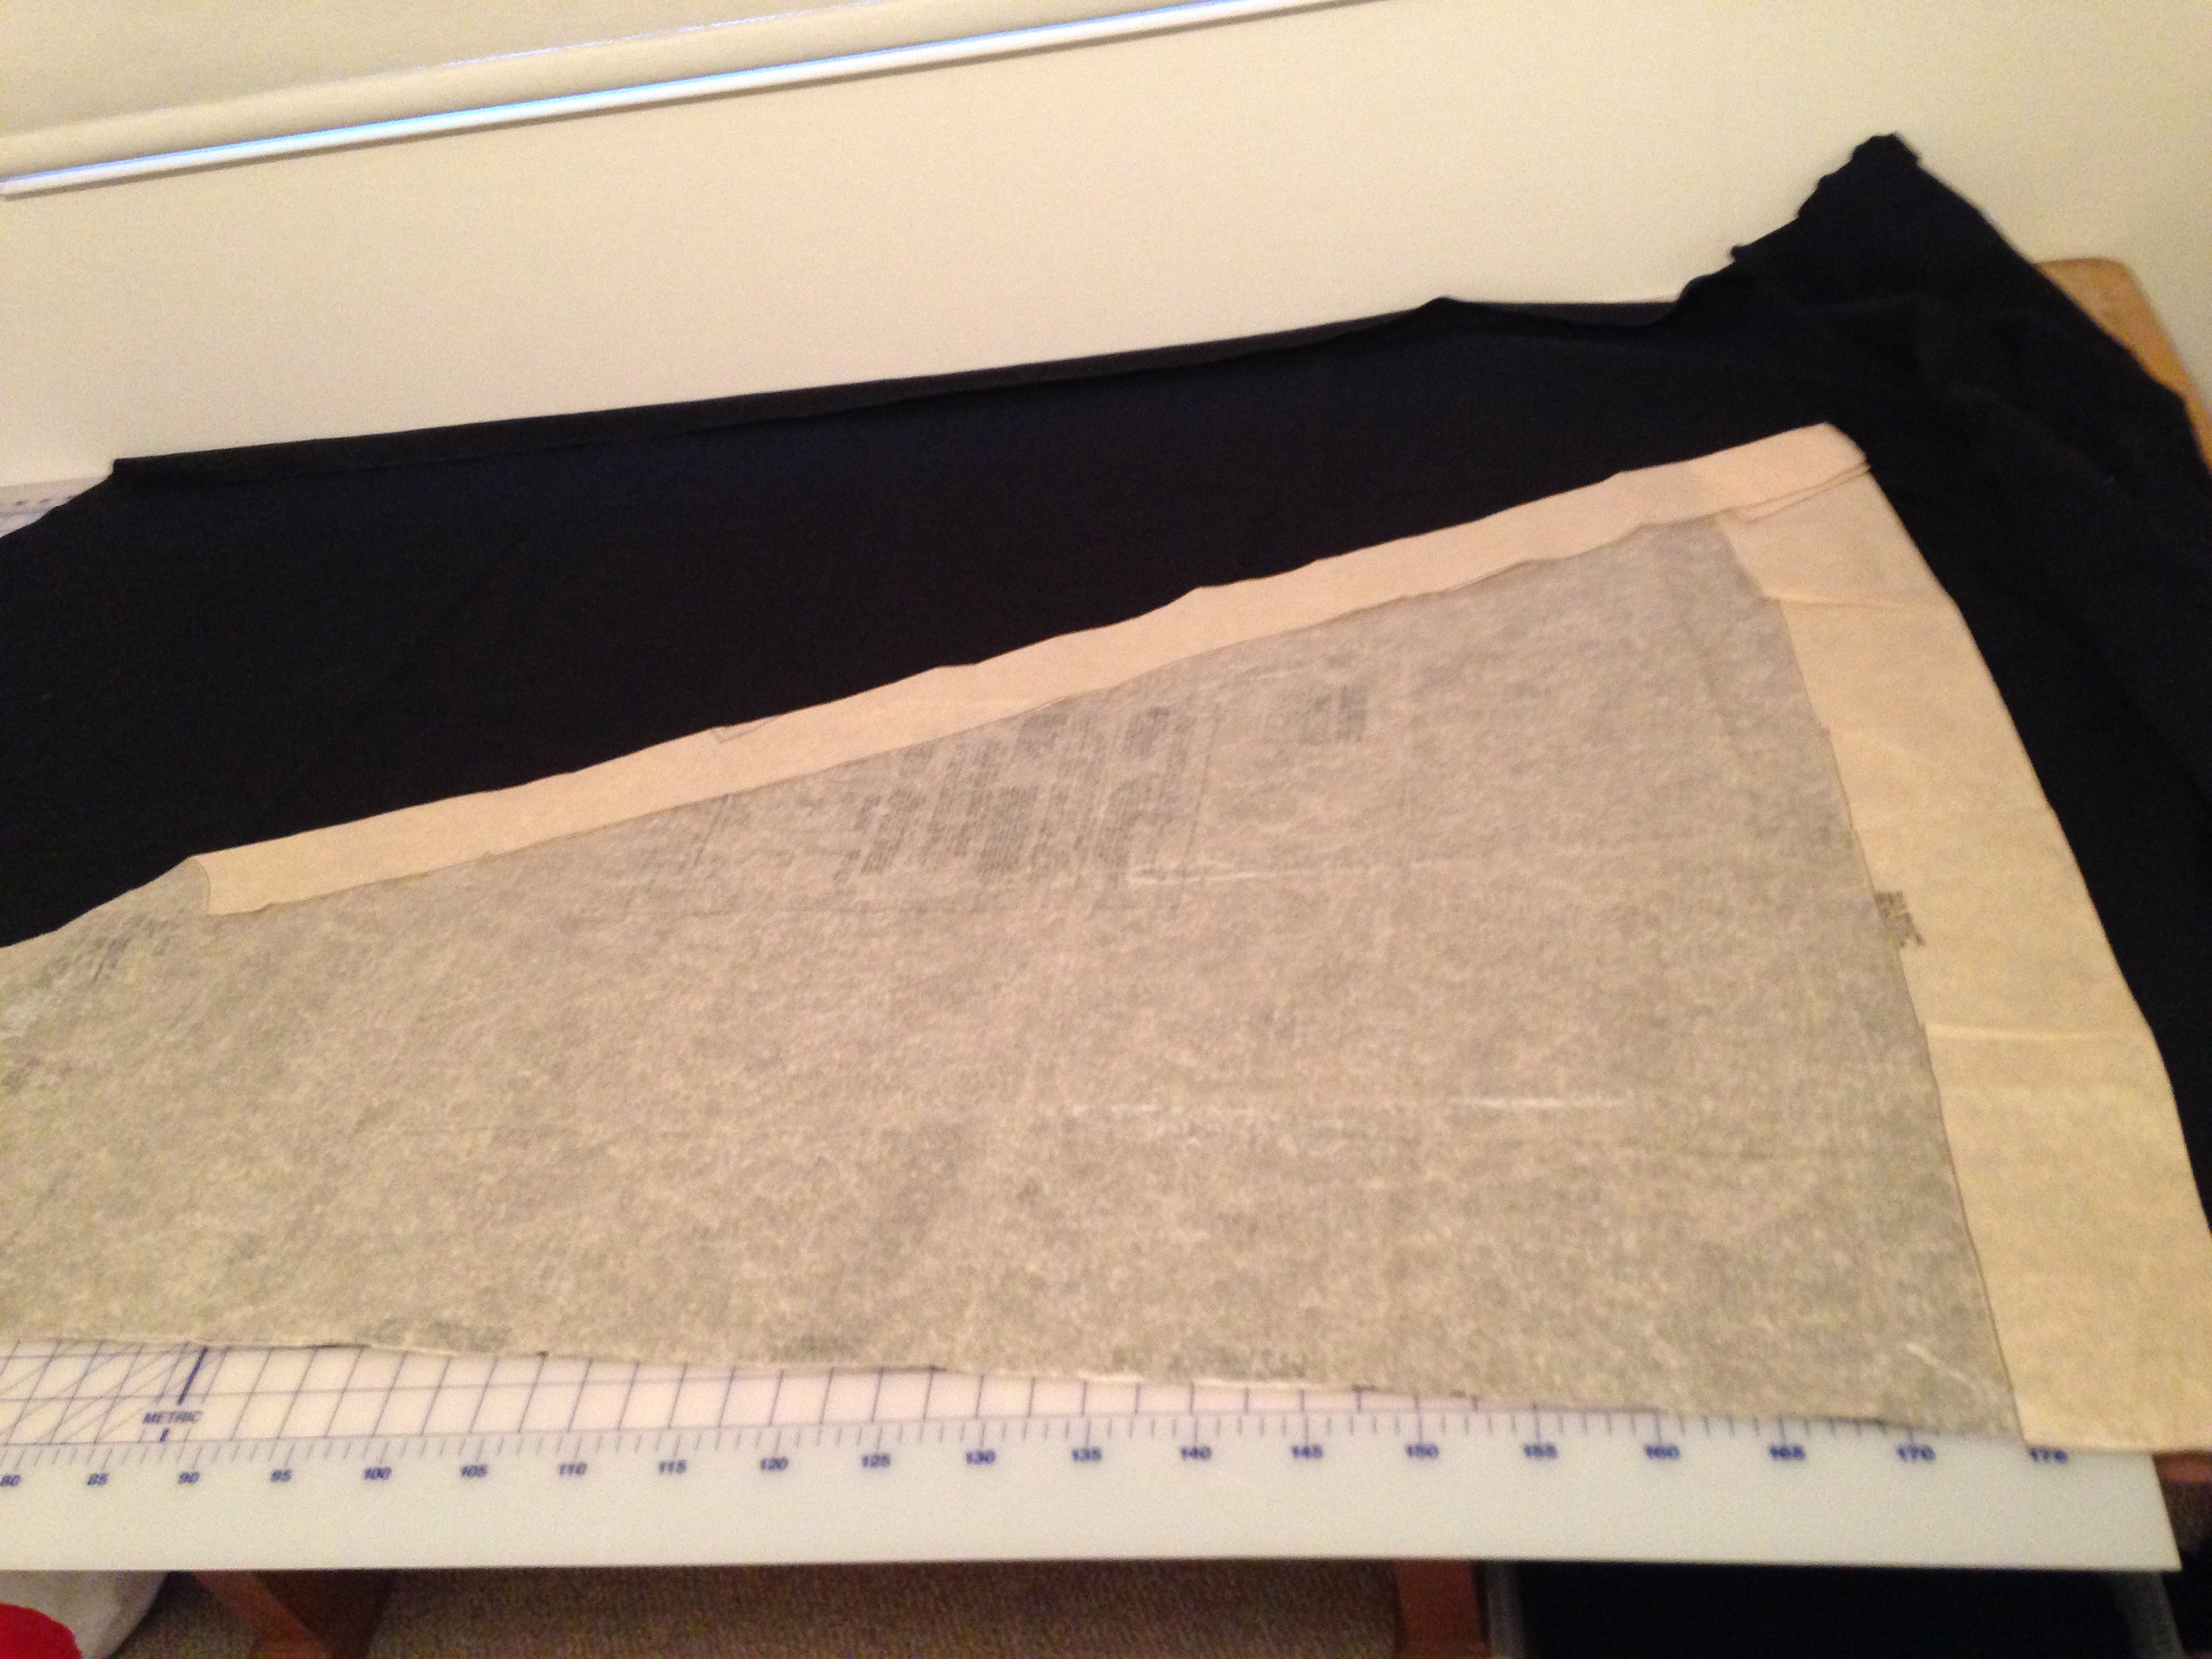
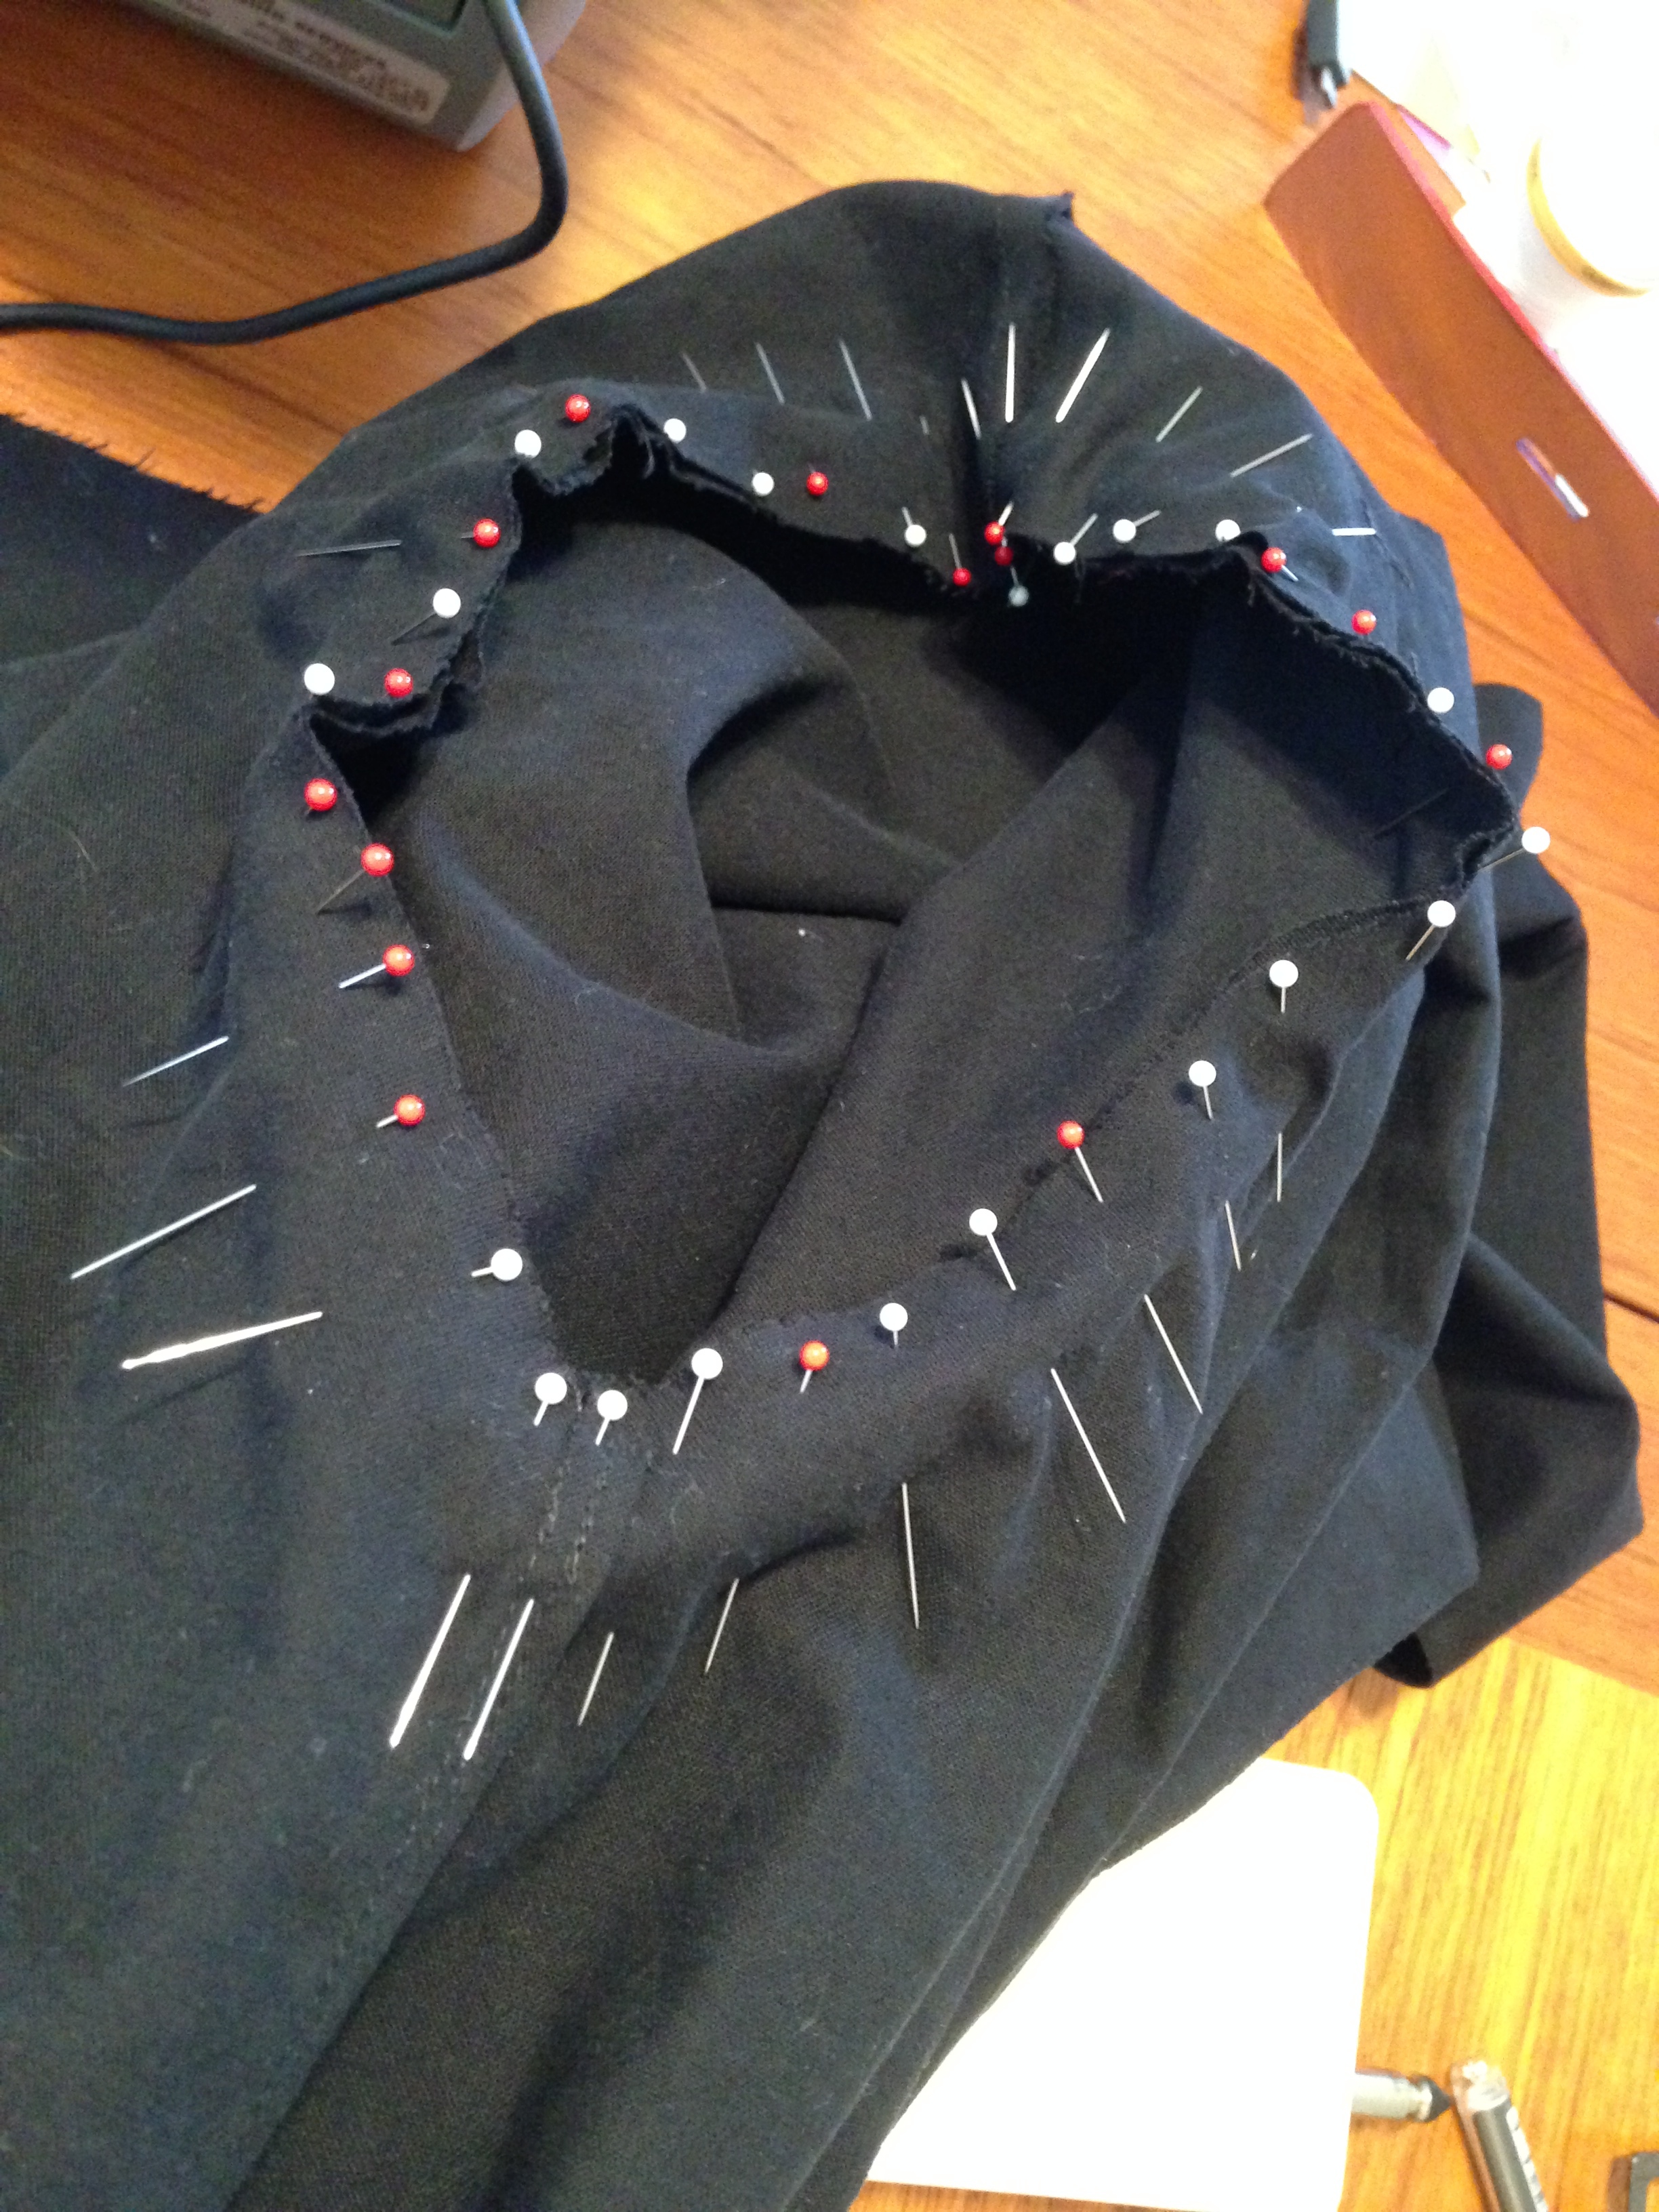
But because apparently I enjoy making more work for myself than necessary, I decided to line the whole of the robe. Then the inside seams would be covered too. Easy enough... Or so I thought. Basically I had to make a copy of the robe I had just made with lining, with one very important difference: The robe front had to be one piece up into the hood. I drew it all out (above) and then set to work.
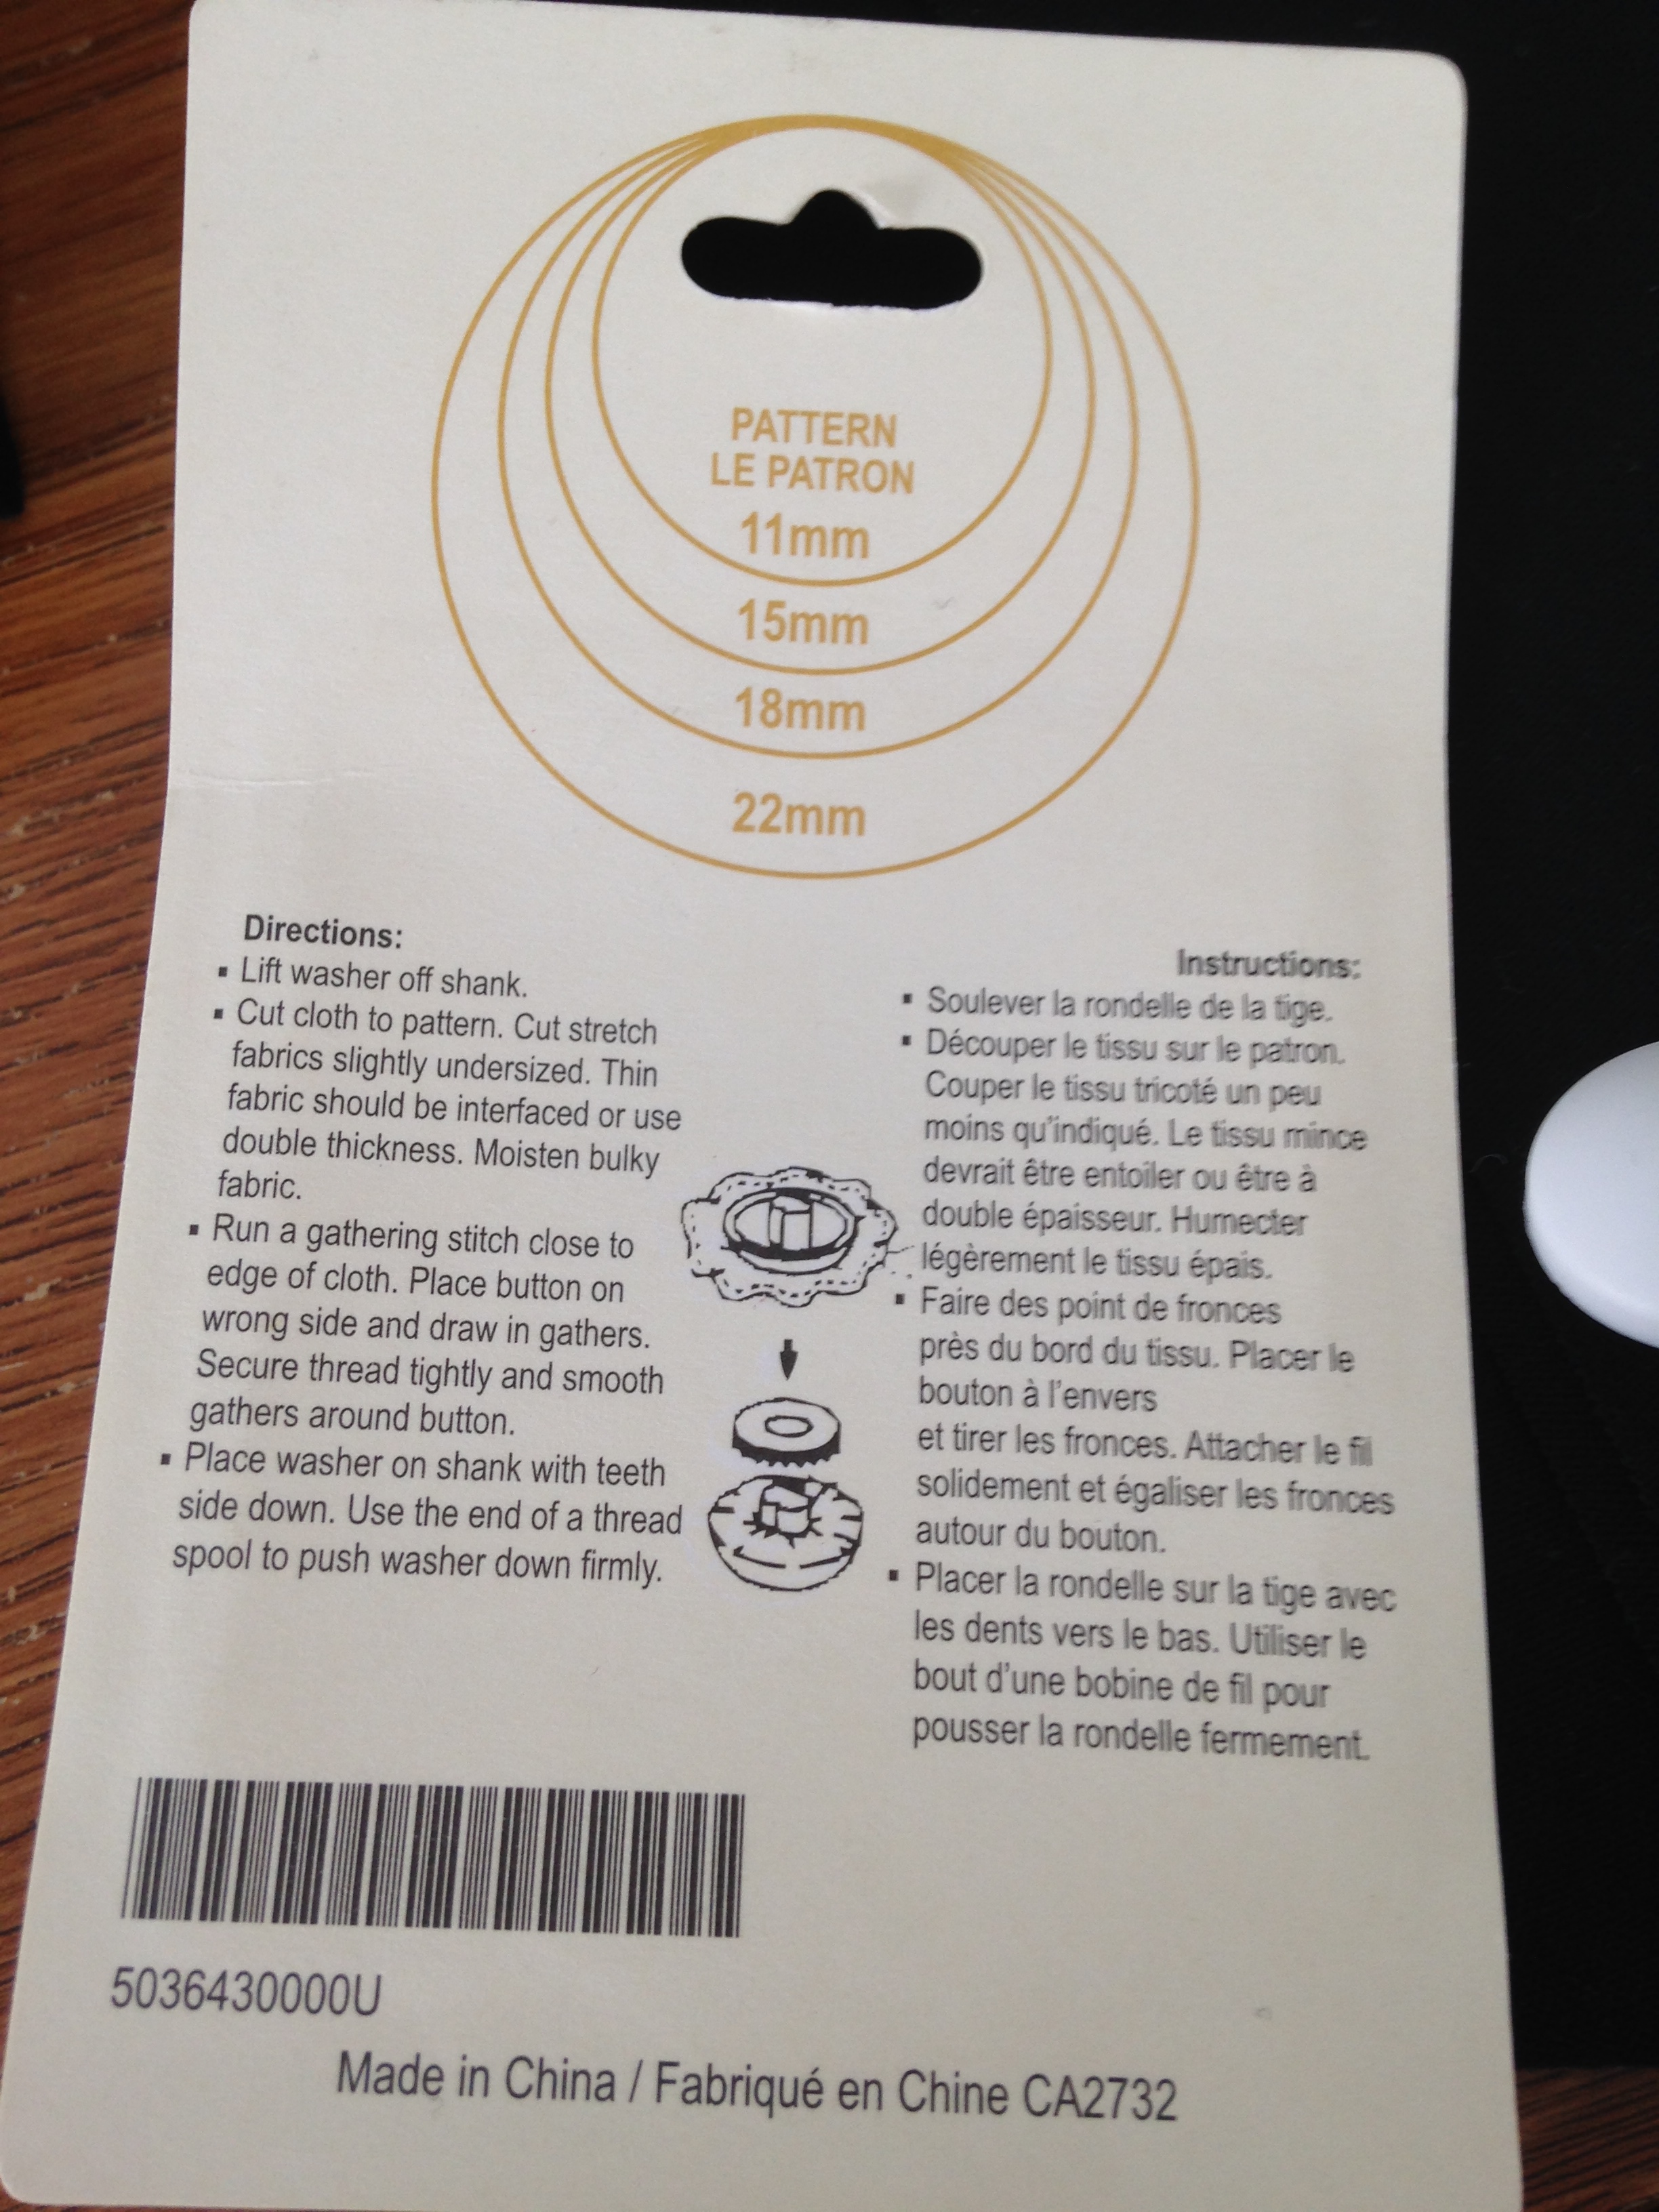
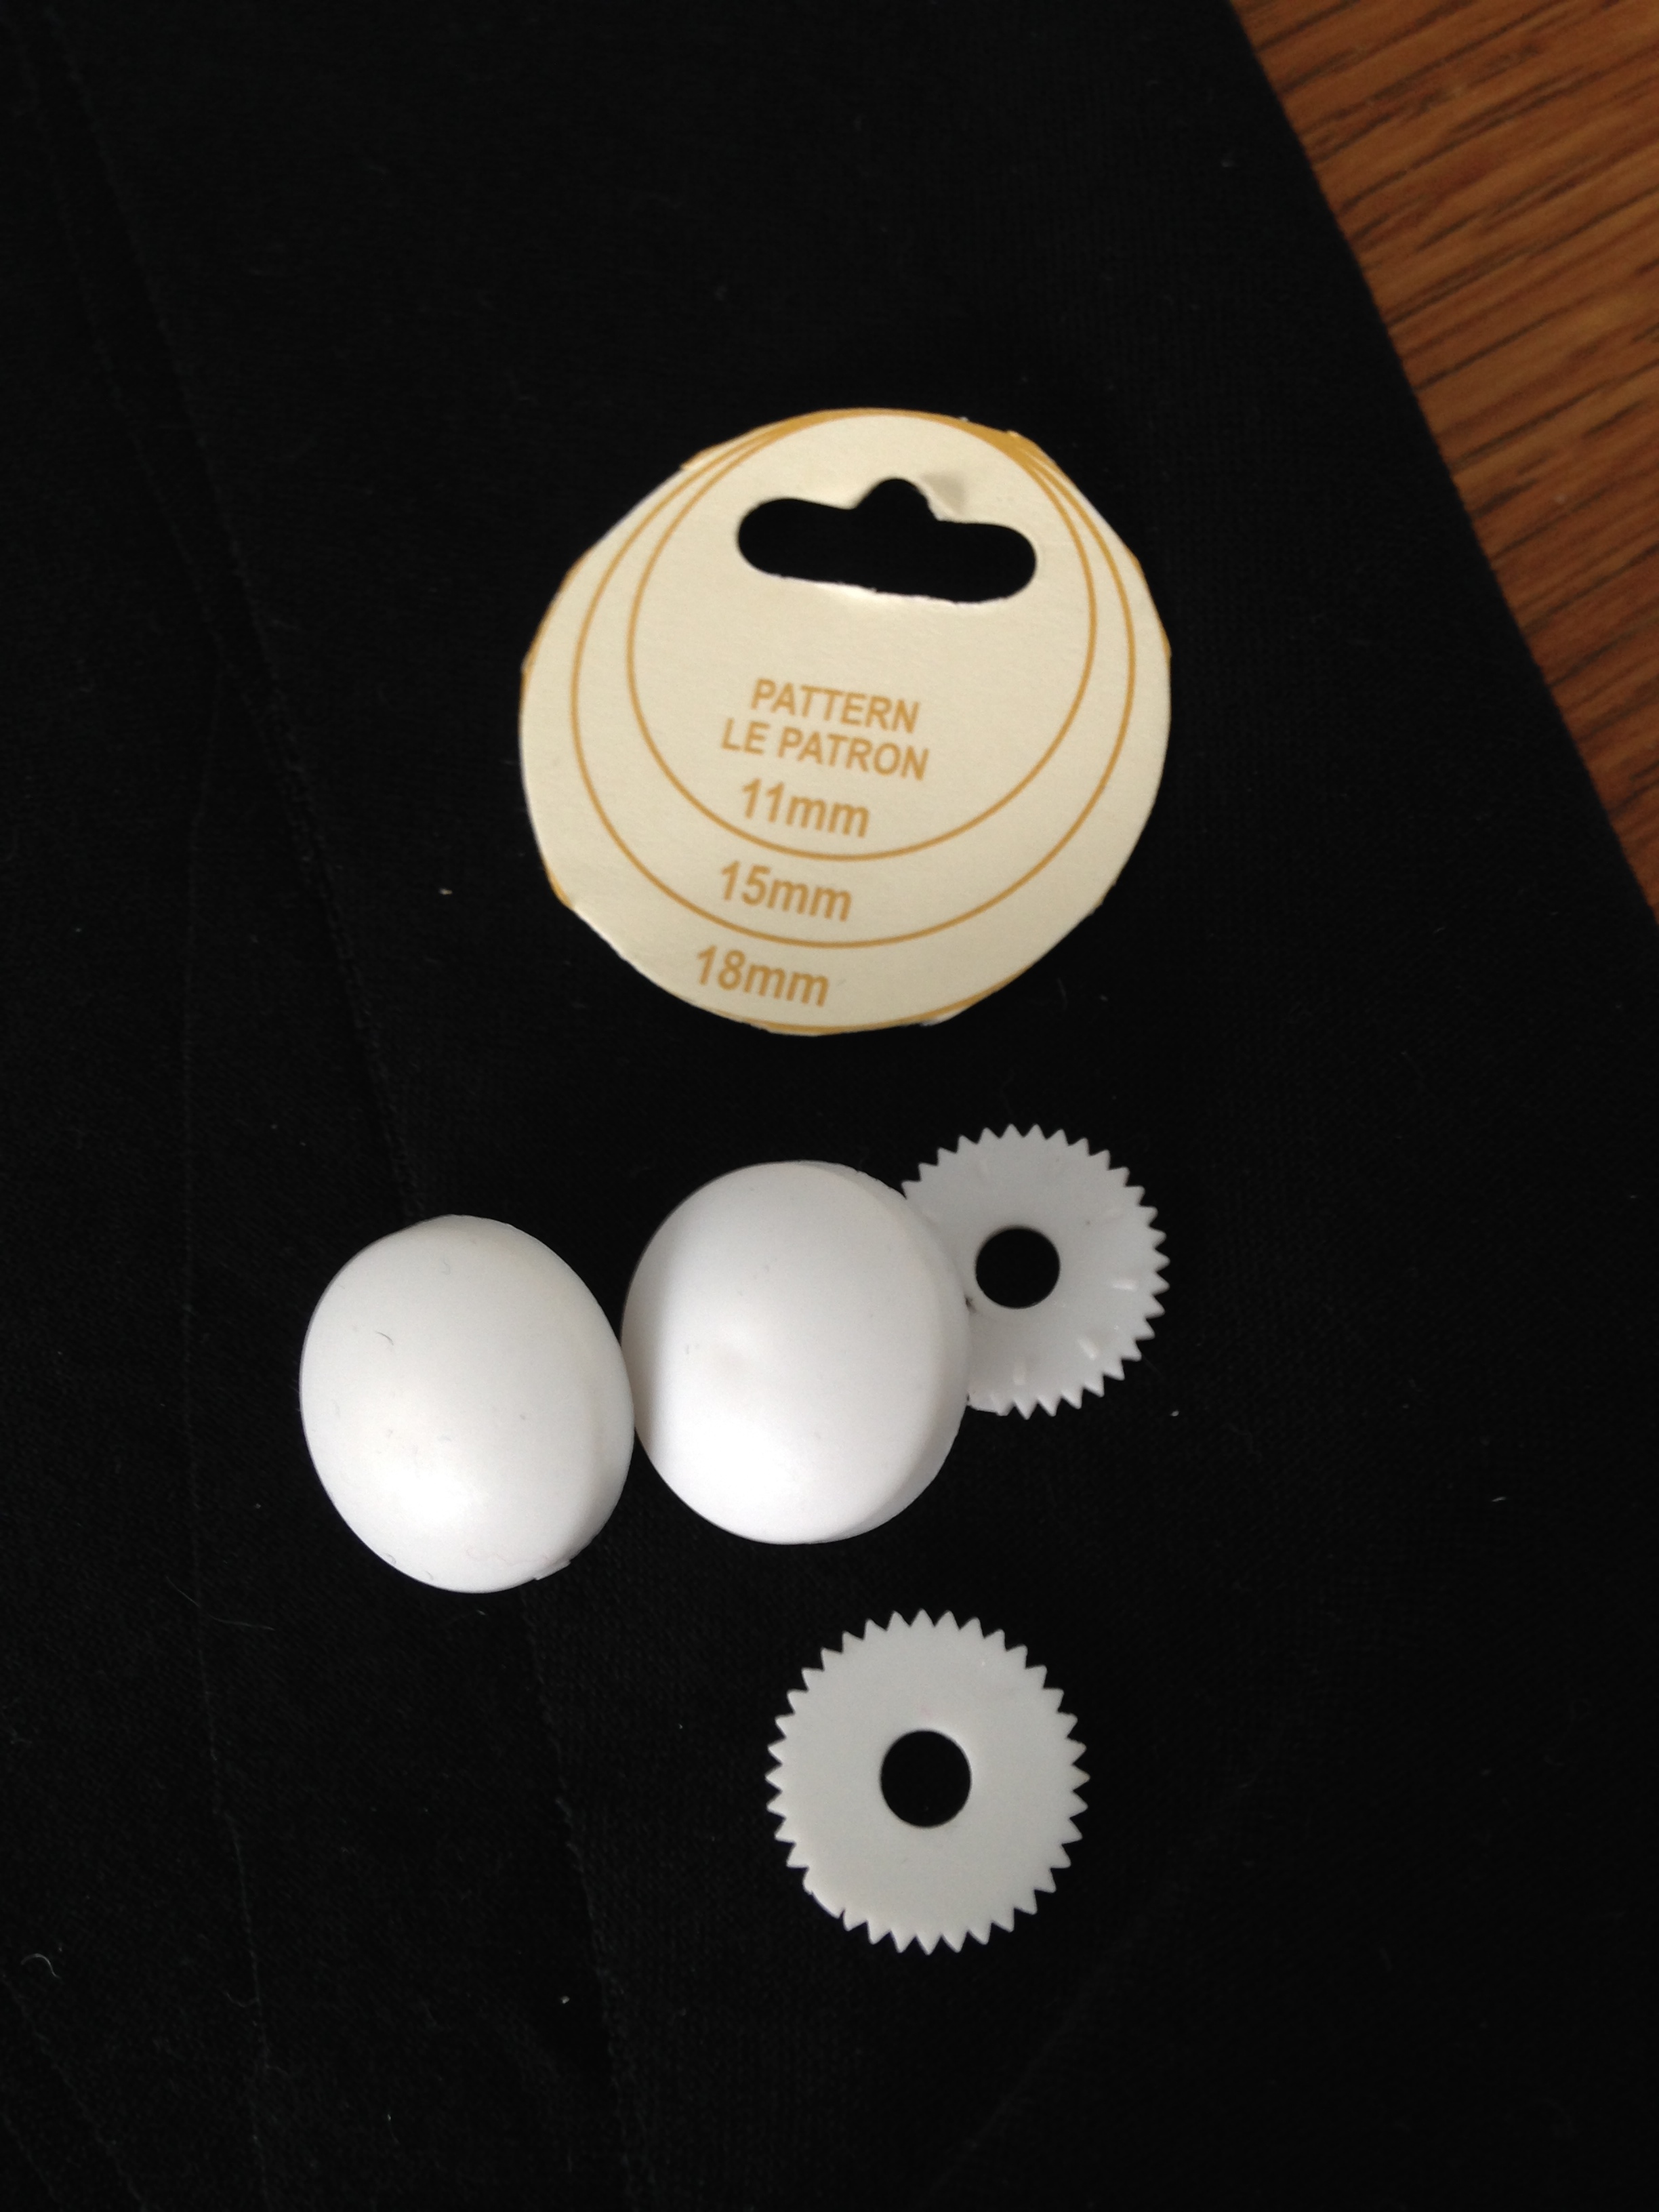
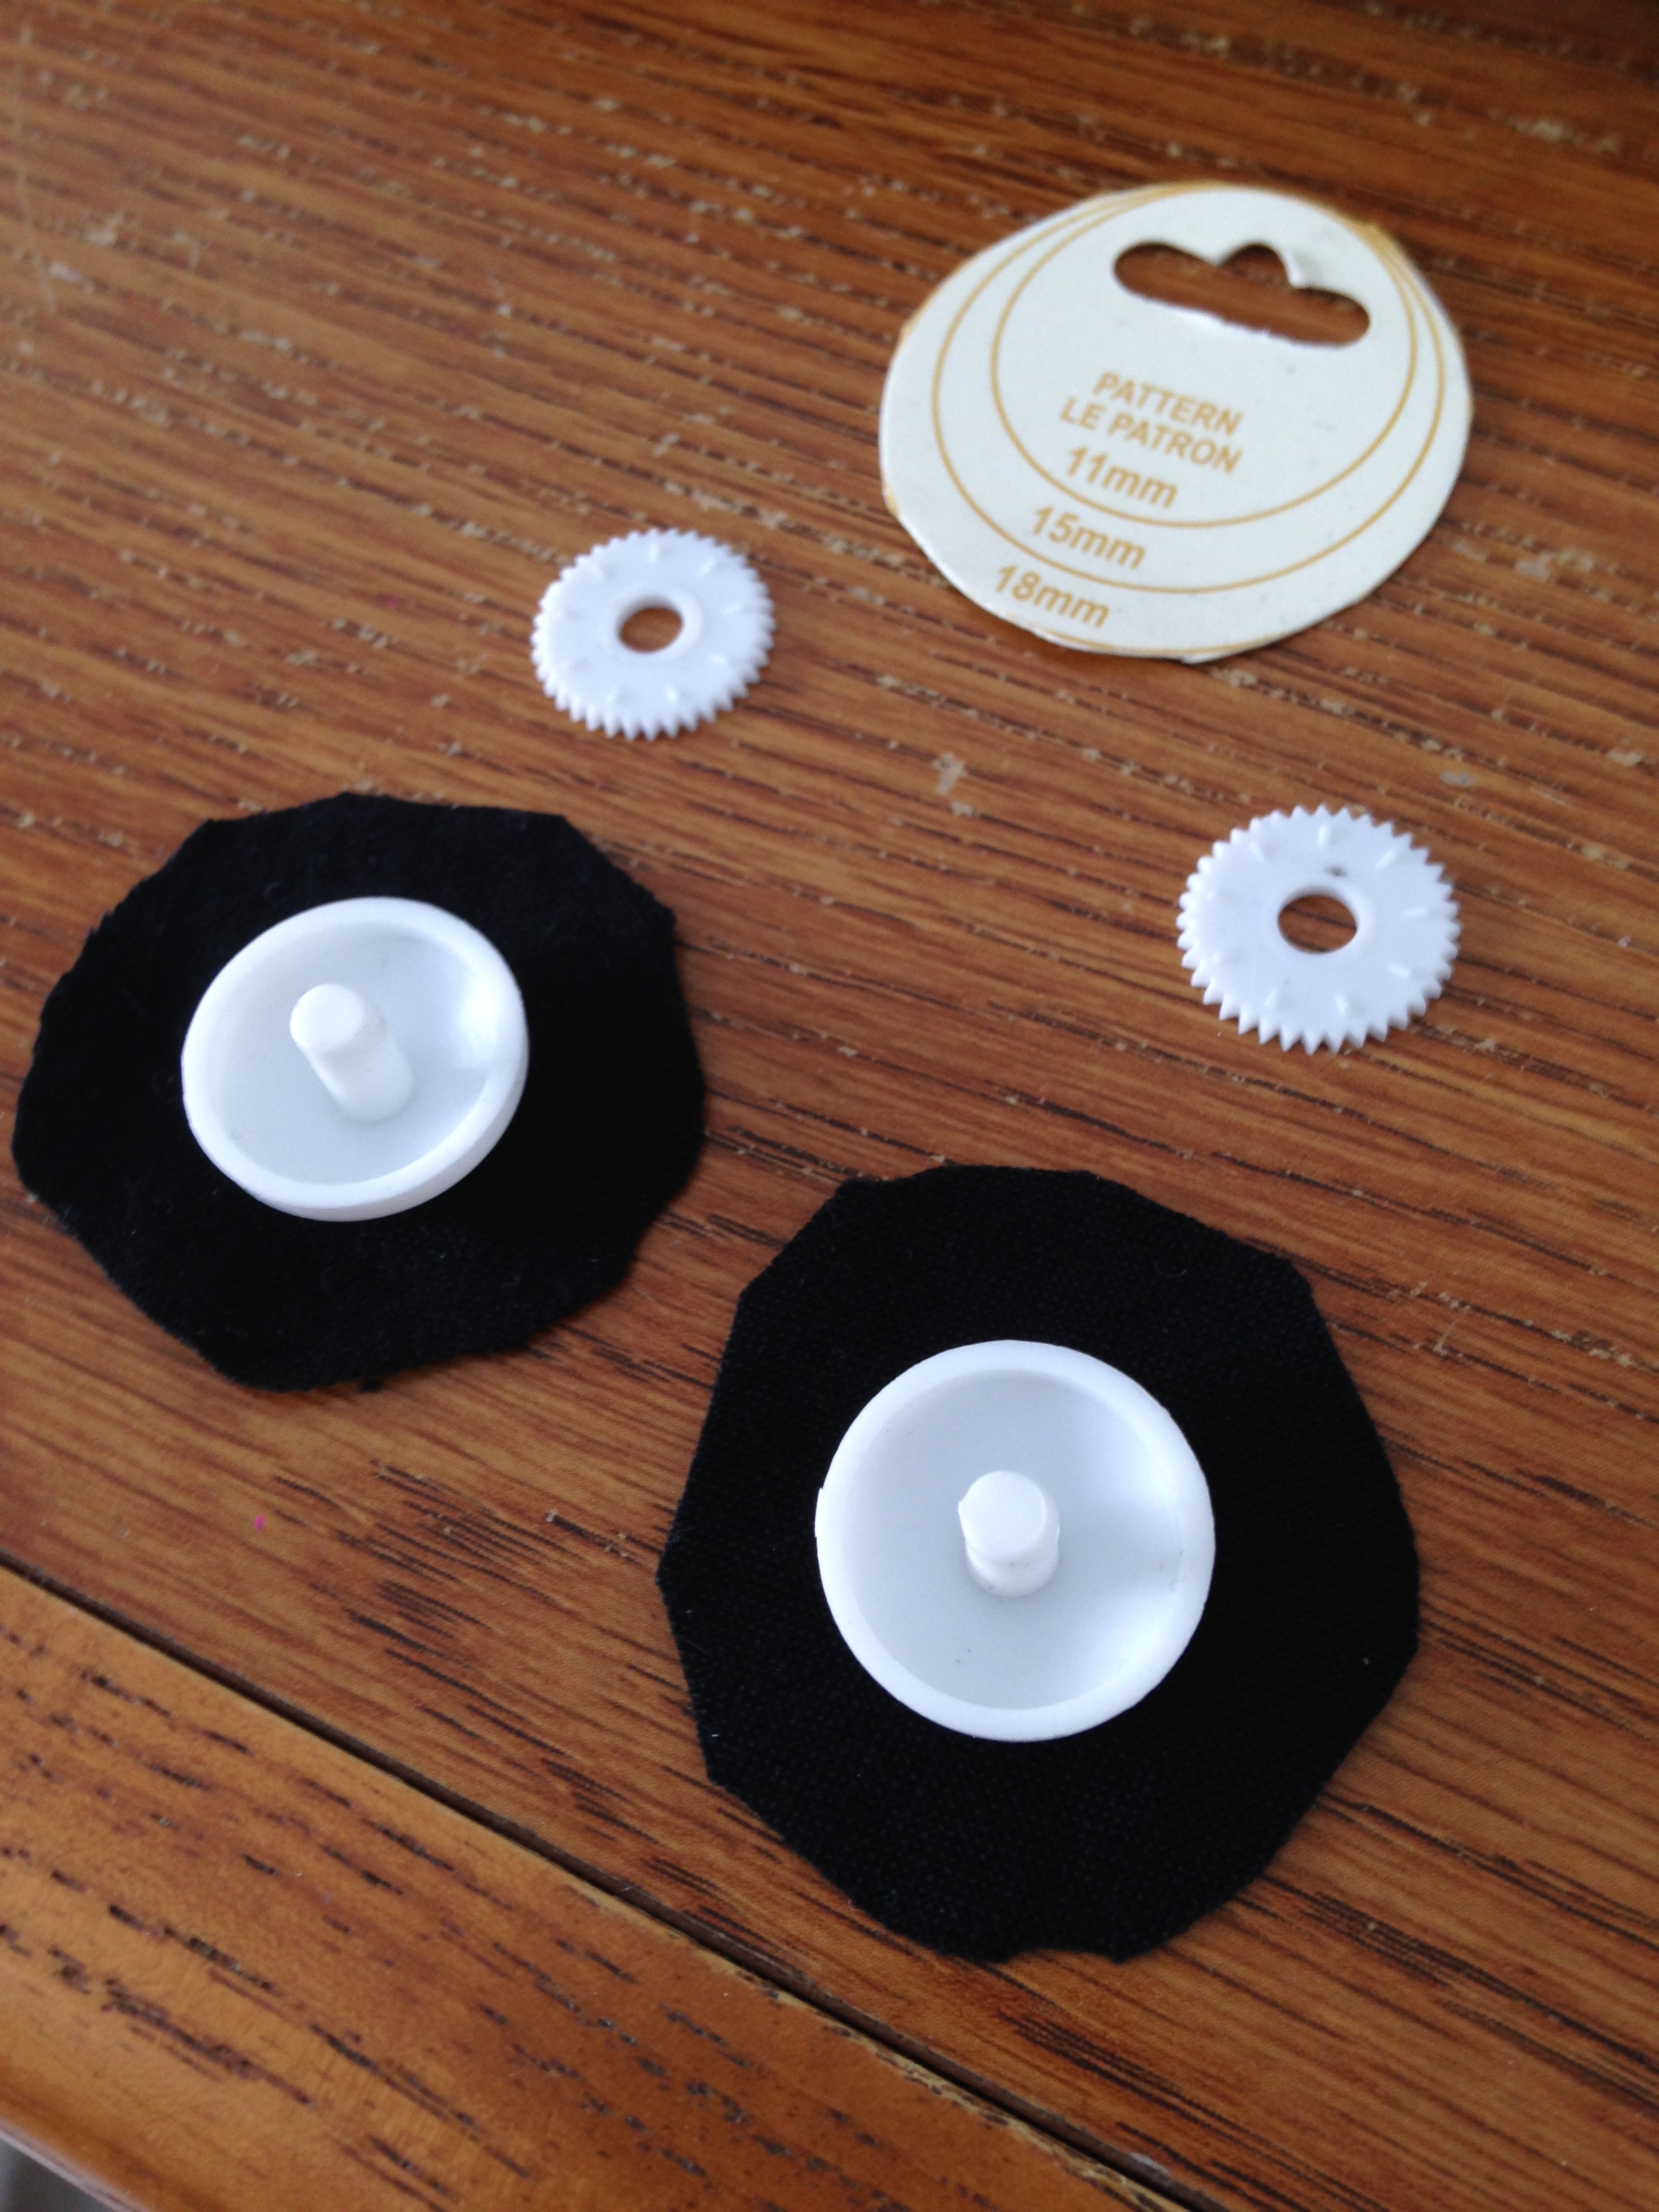
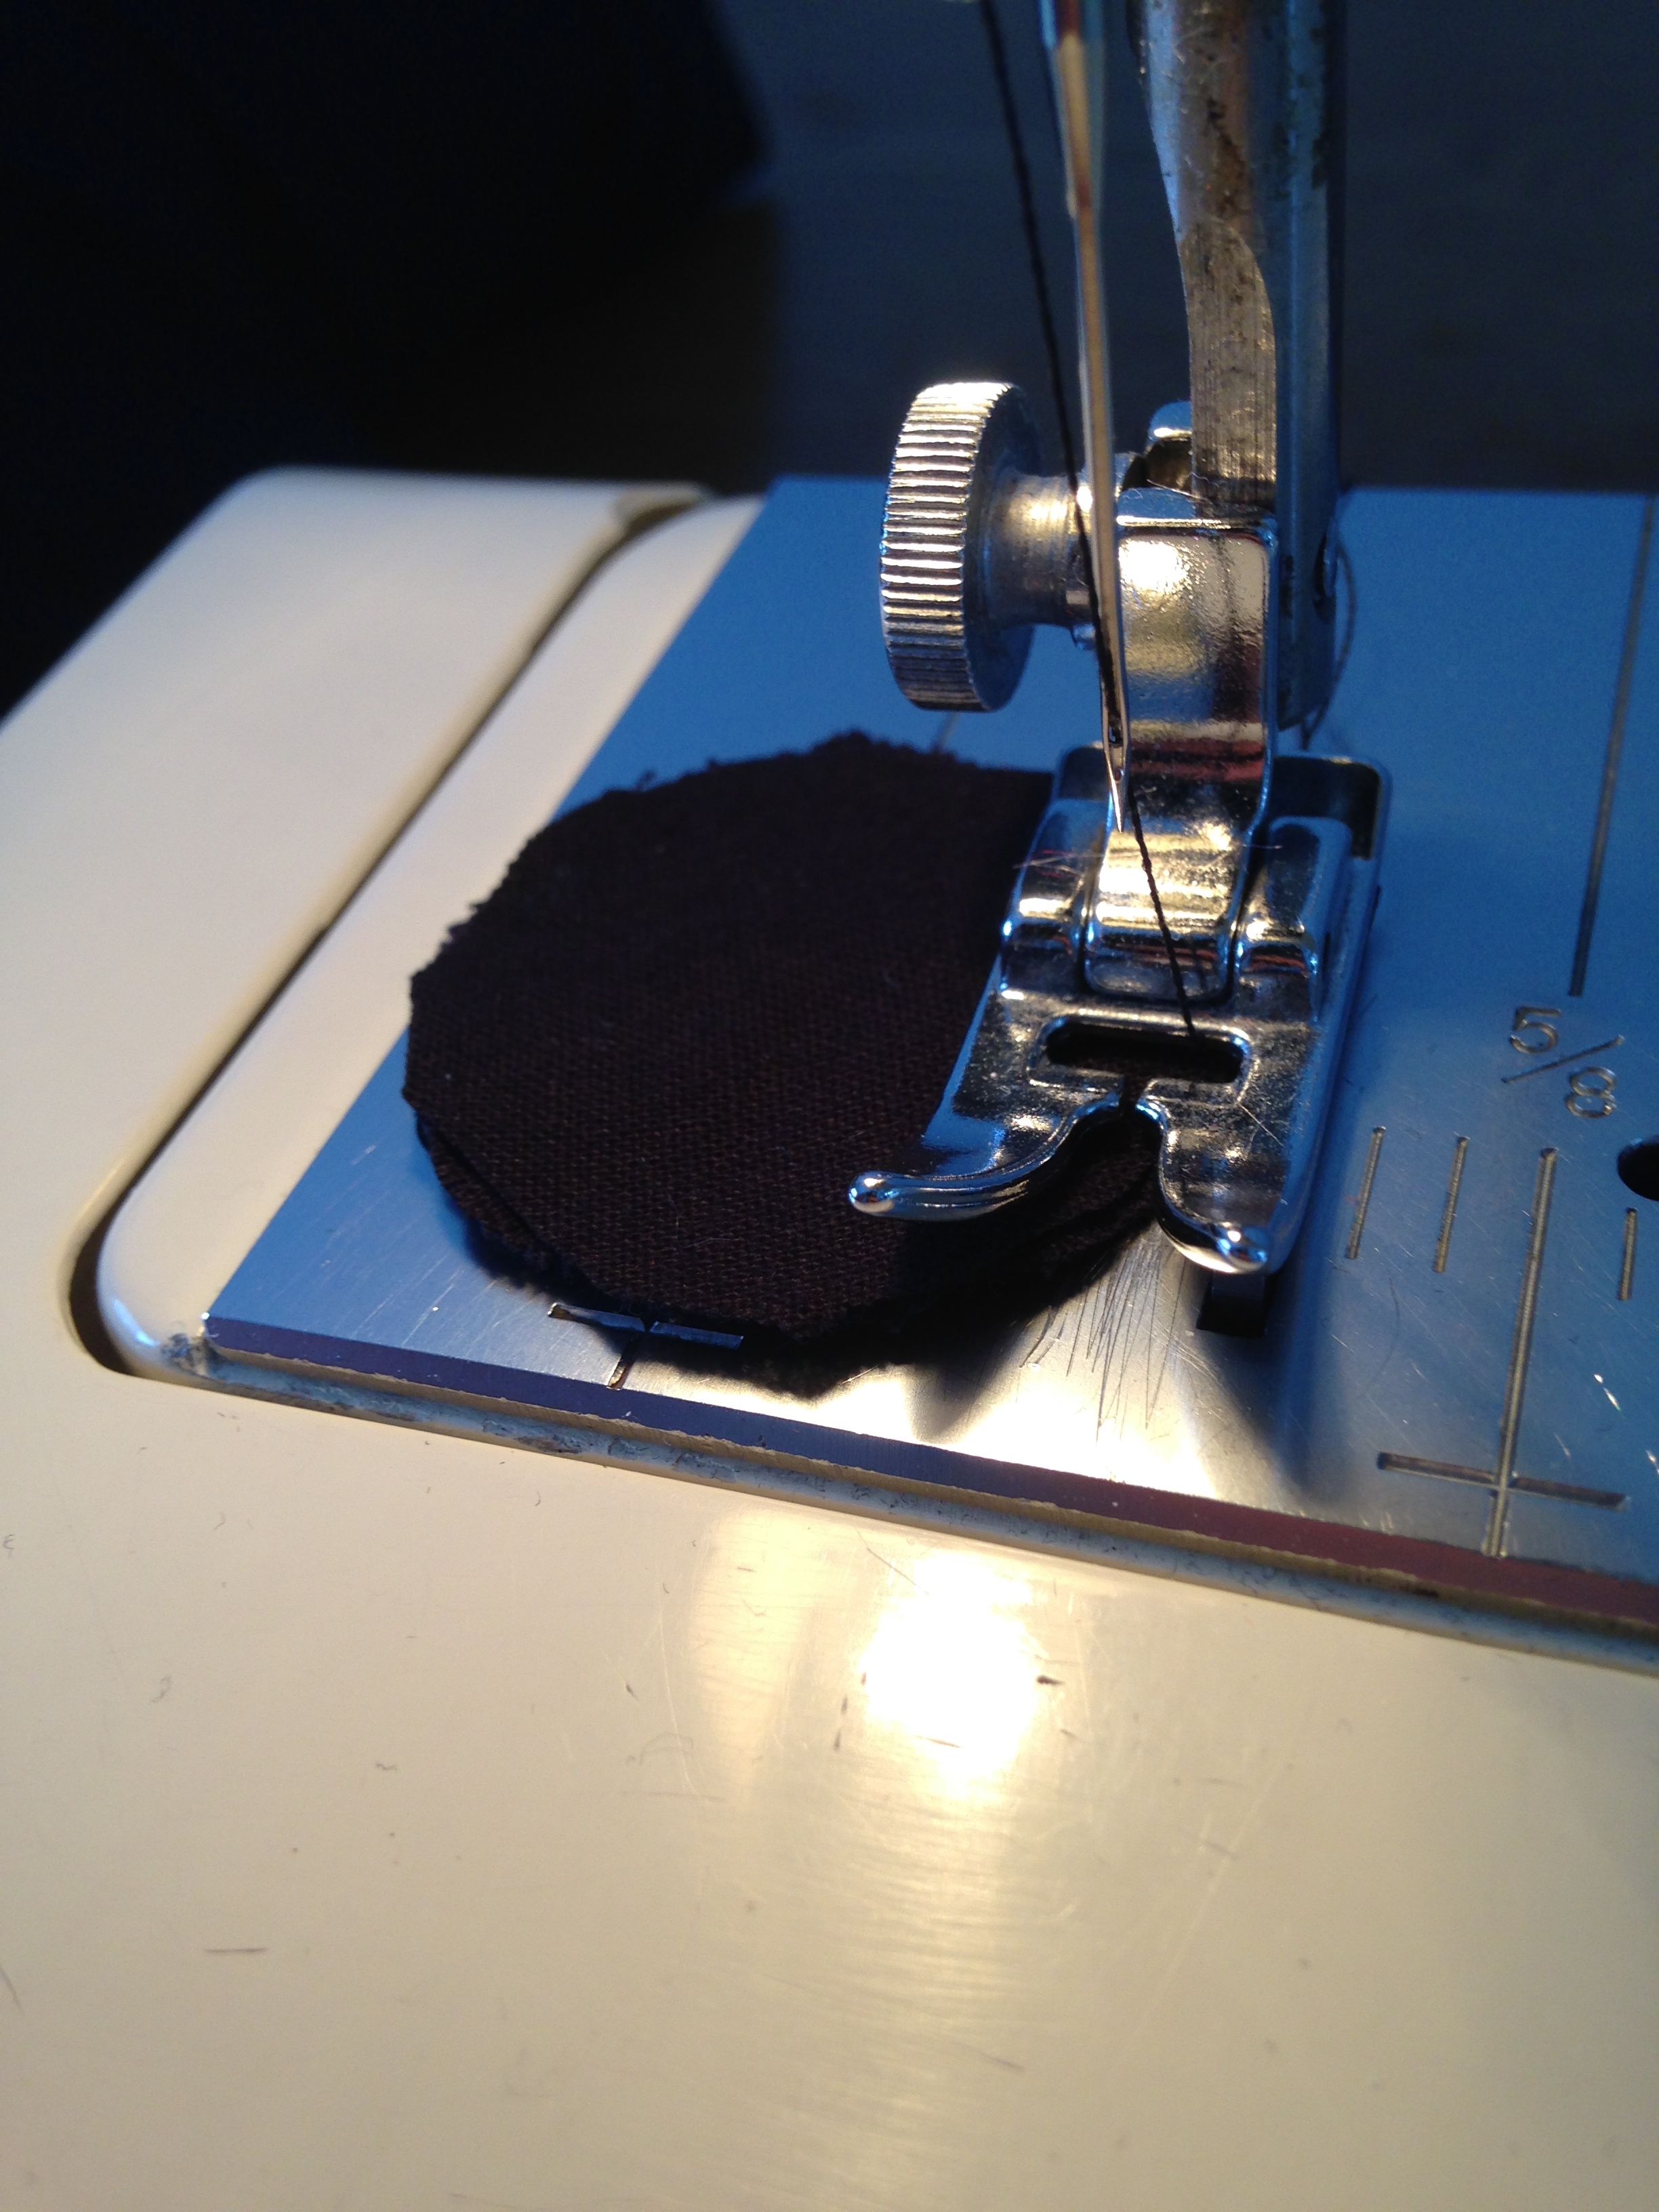

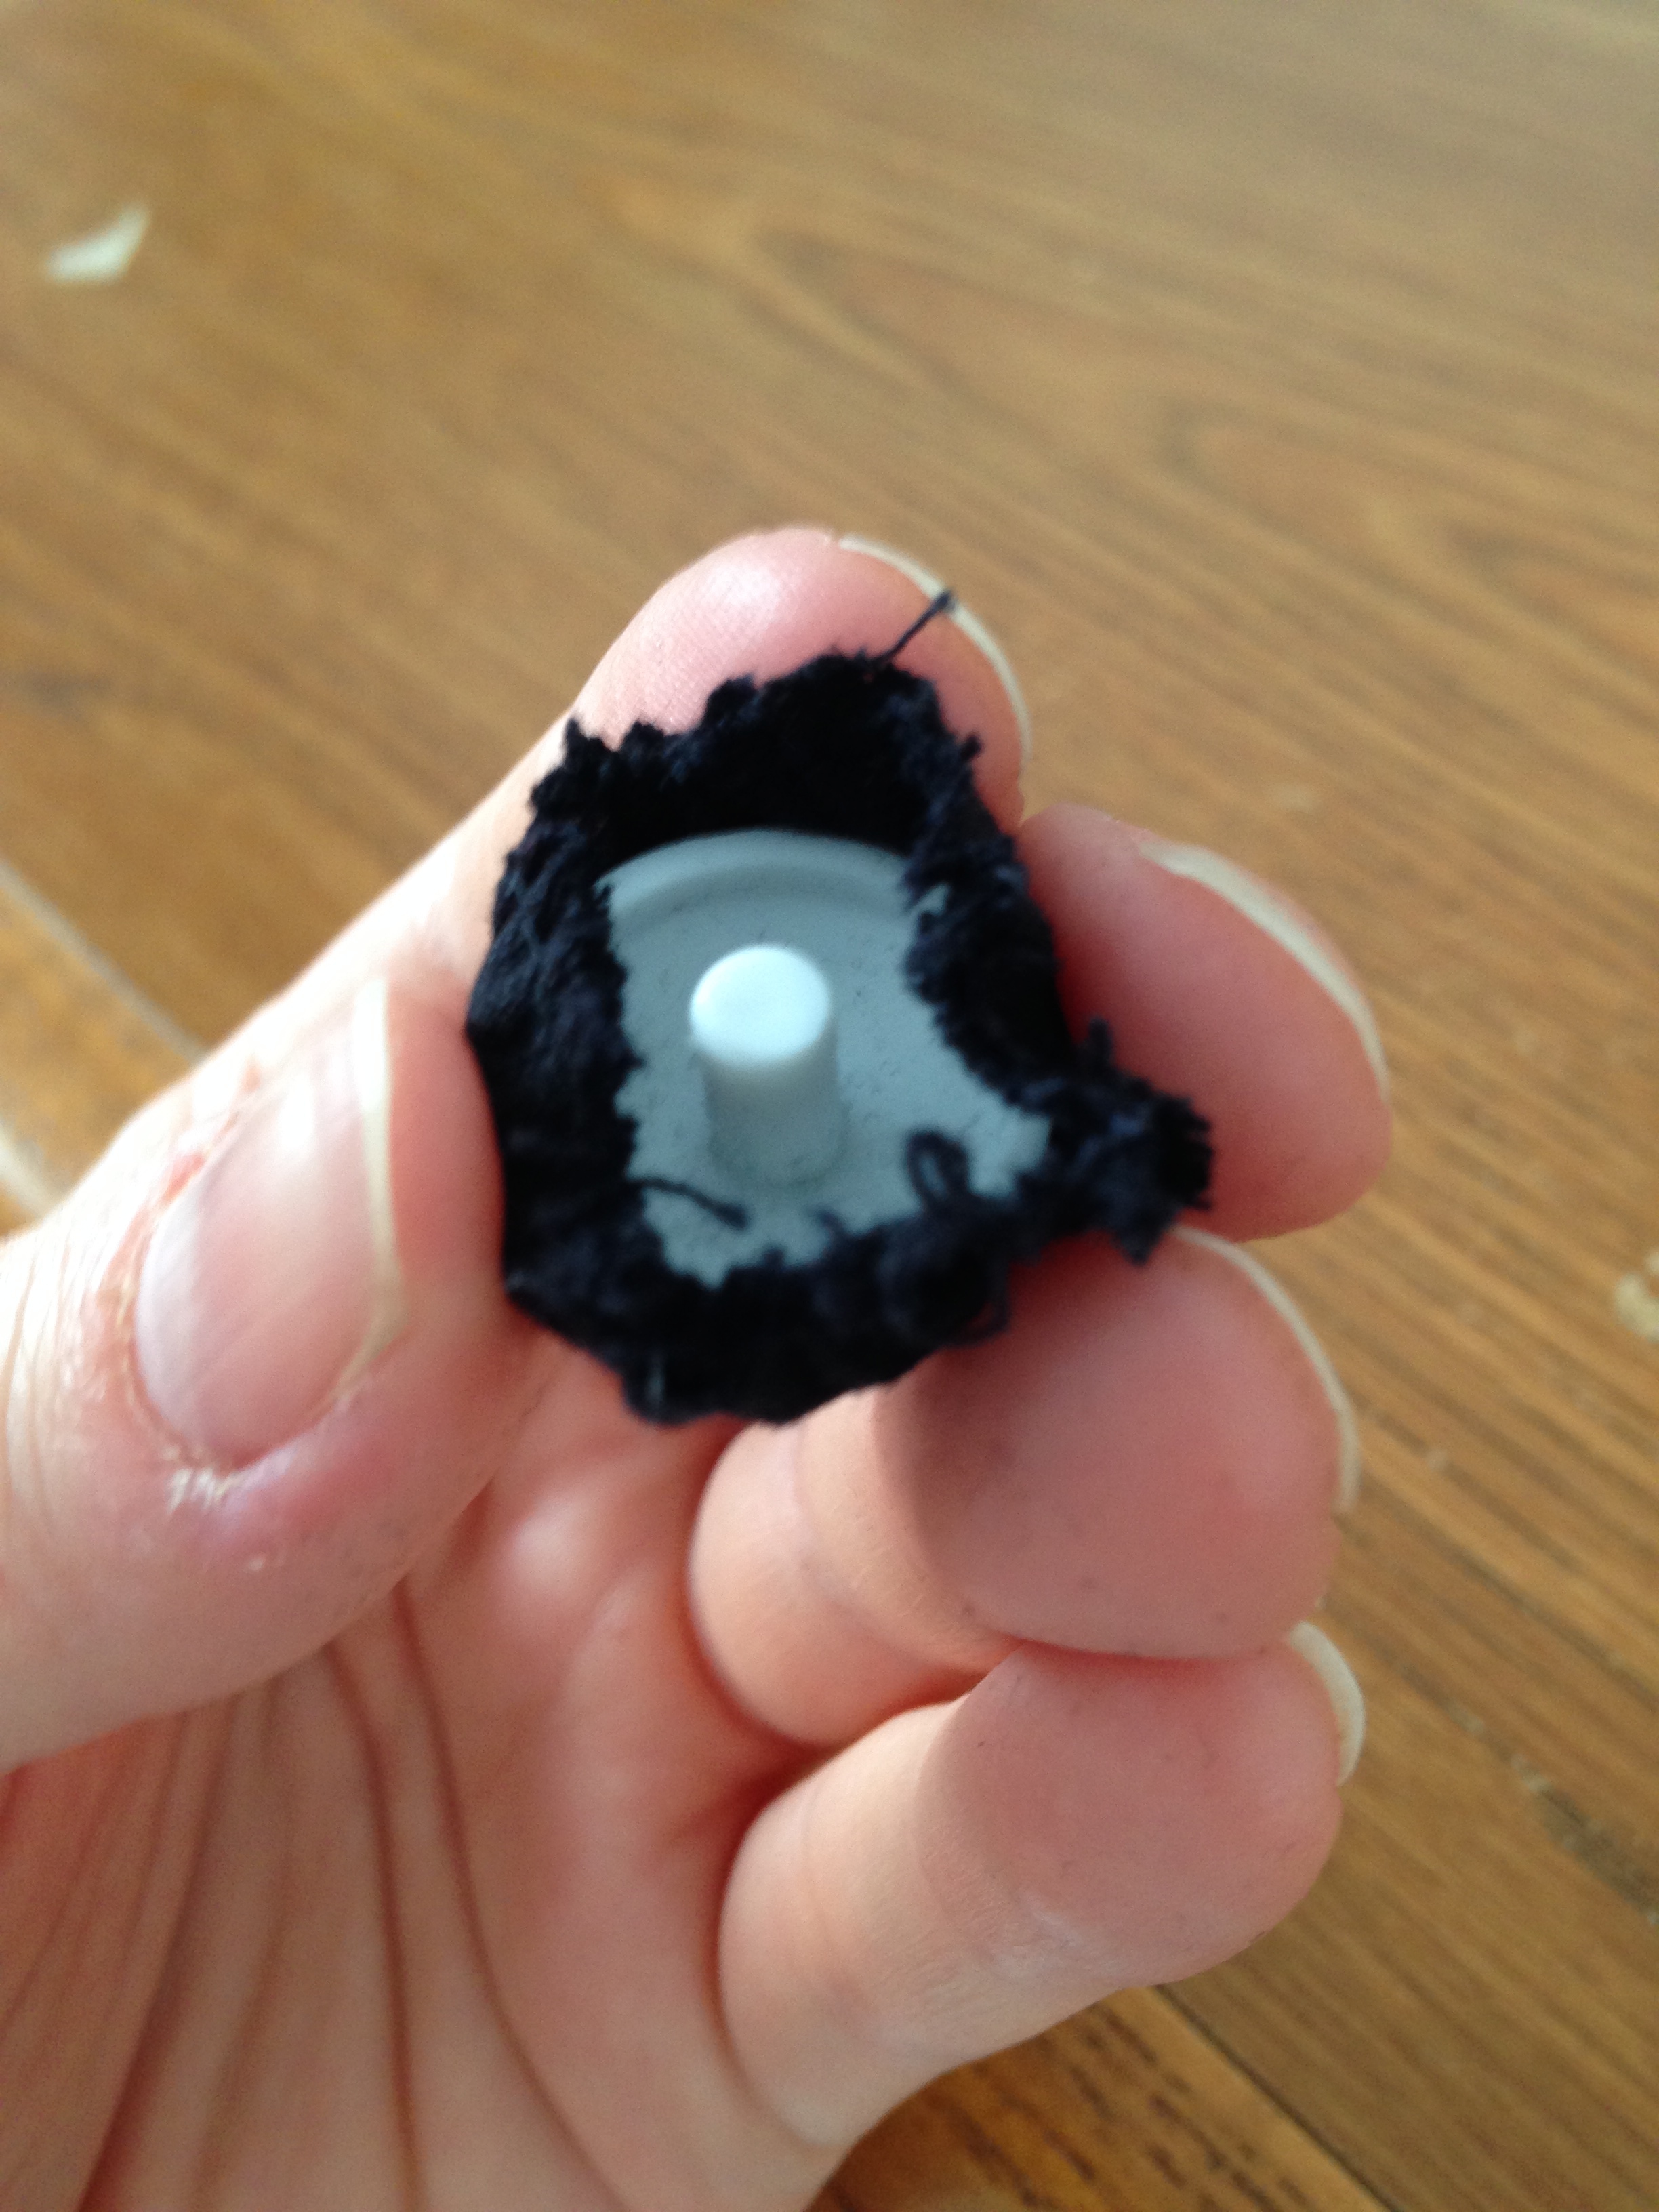

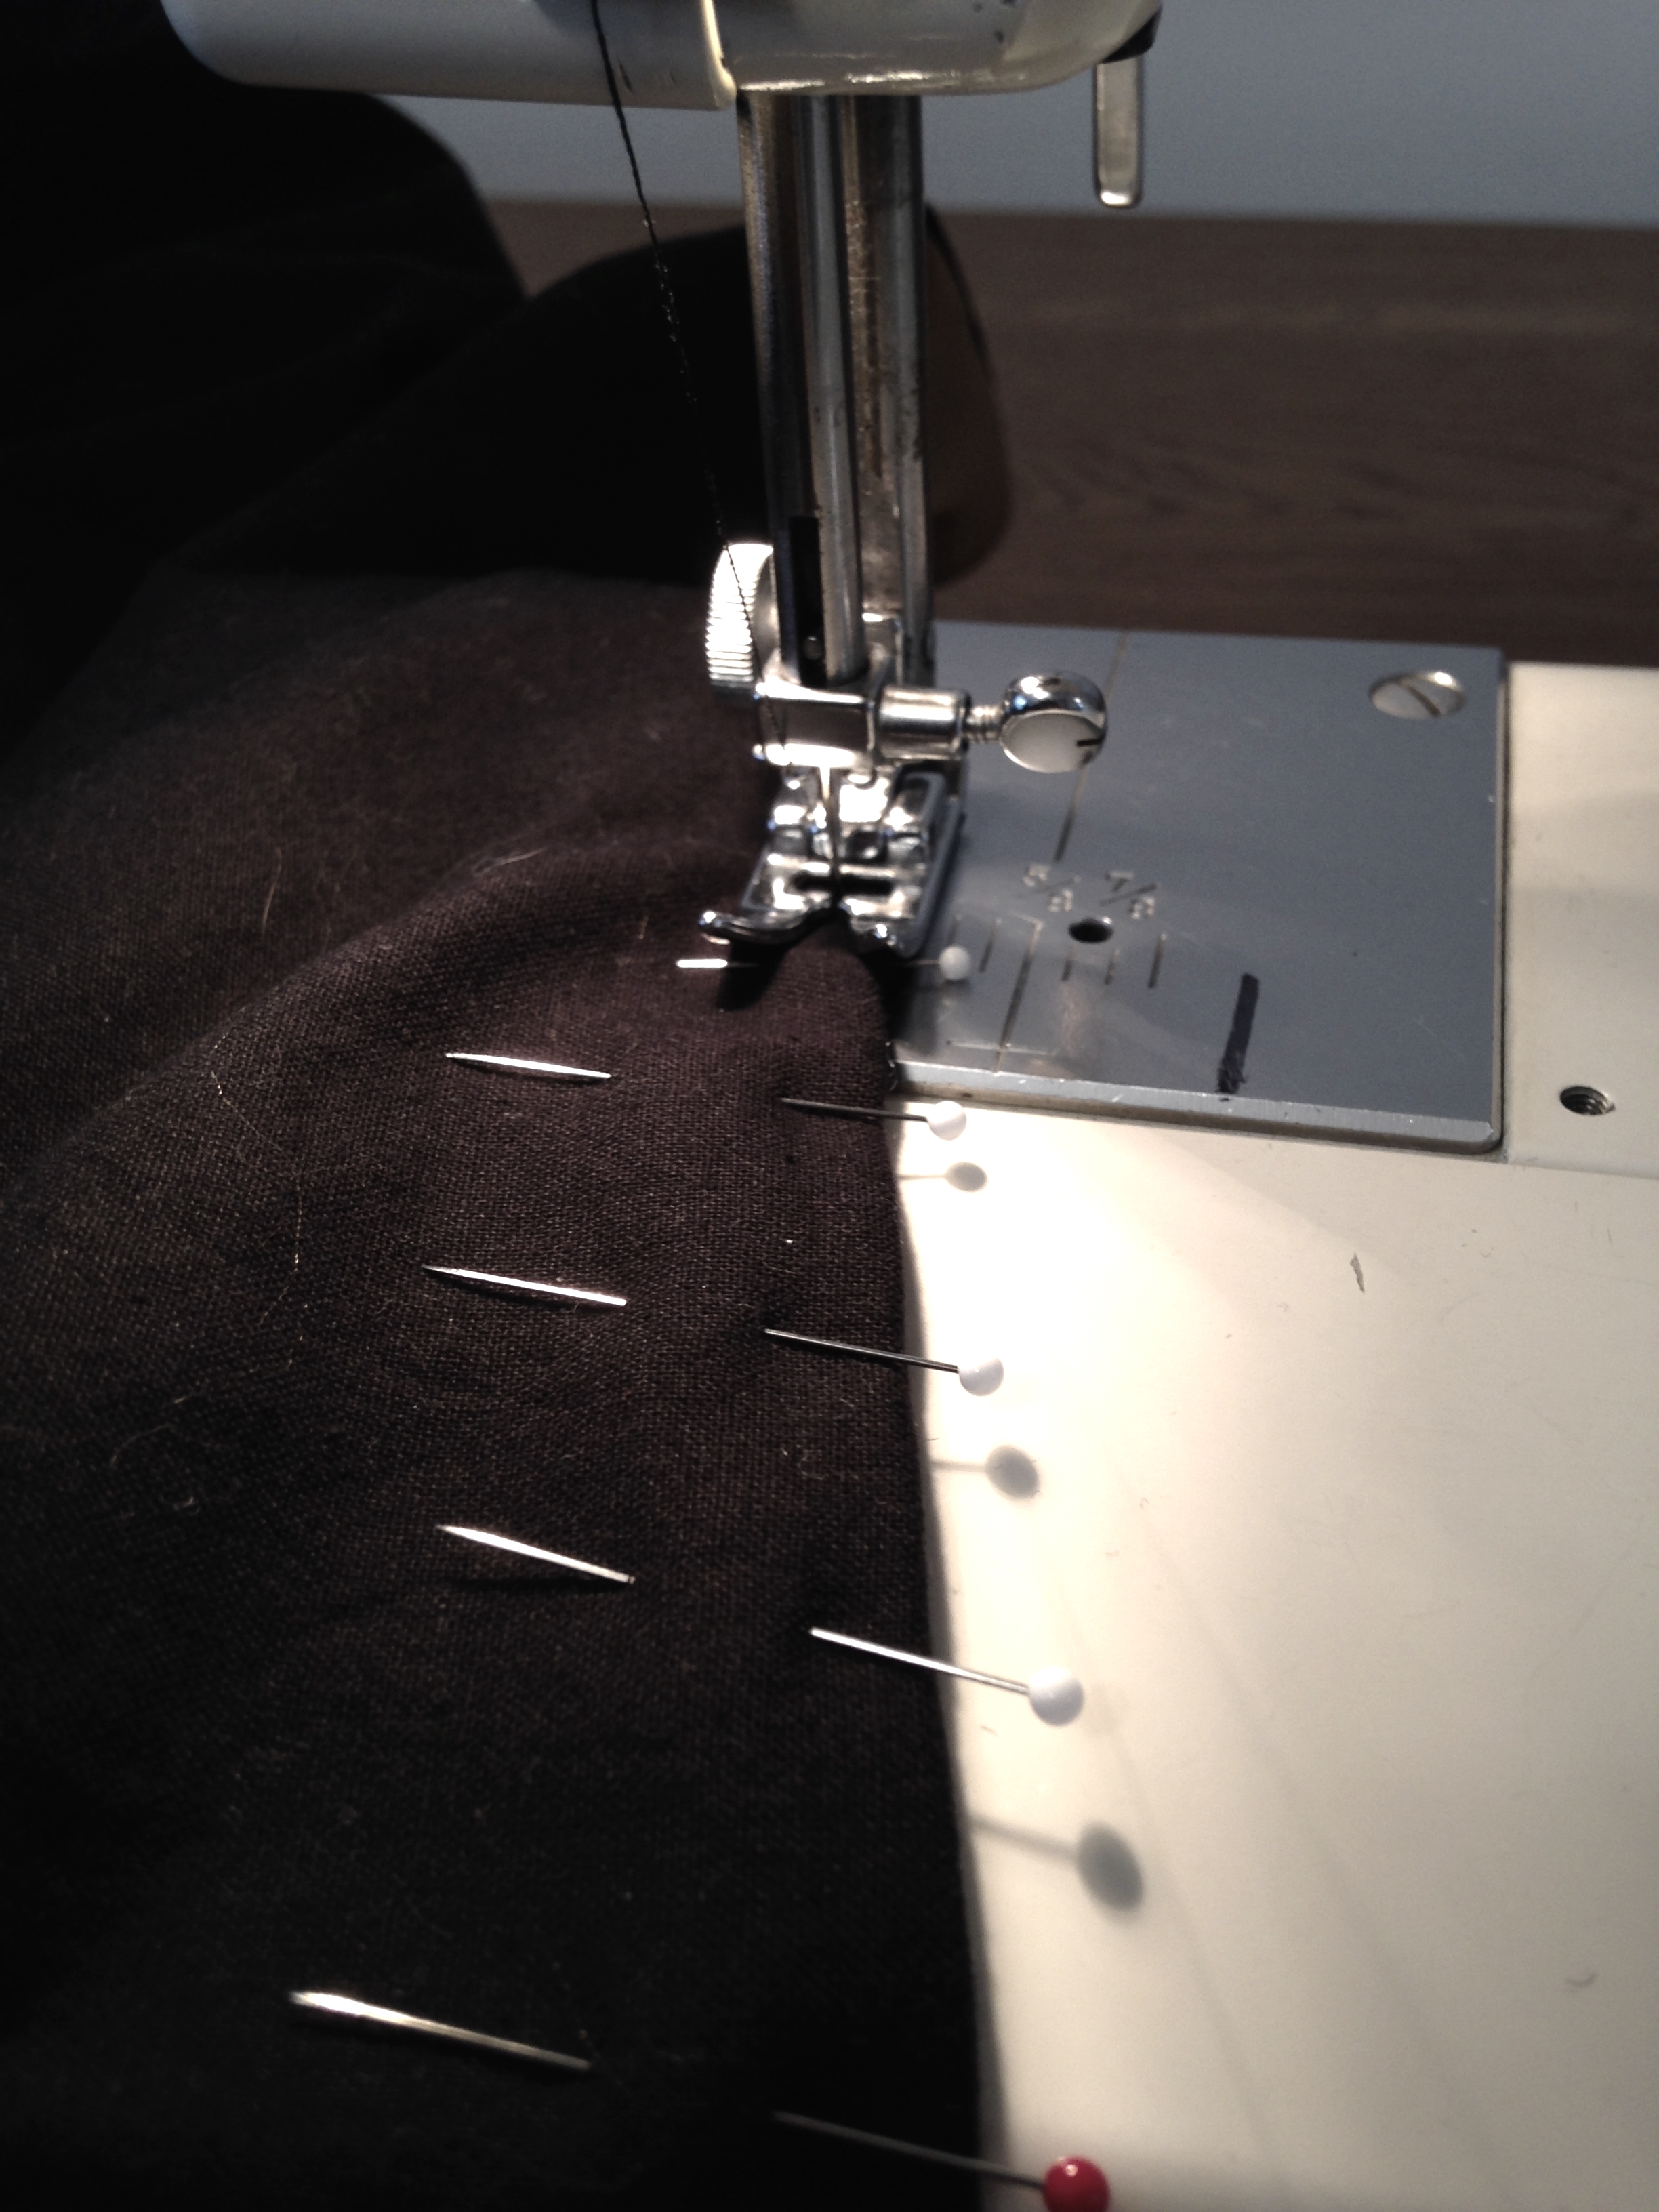
After the lining robe was sewed together - I basted the sleeve lining to the robe lining at the armhole because I'd need to be able take them apart to turn the robe right side out after I'd done the cuff seams - I positioned and stitched the crest to the front left robe breast. Then, after the lining was sewed to the robe front seam (hem to hood to hem), I made up the buttons. I bought plastic buttons to cover in fabric so they look just like the original robe buttons (see gallery beside). I had sewn a piece of looped black cord in the centre of the breast in the robe front seam to use as my clasp. So it was a case of button positioning and a happily ever after. These little details done, I finished the cuffs, detached the sleeve lining at the armhole, turned them right side out and sewed the sleeve lining to robe lining again. I tacked the lining at the hood point, shoulder seams and under arm seams so the lining wouldn't shift around too much and then started on the hem. Doing the hem last, I was able to fully incase all the seams. How professional!
All in all, this project was amazingly fun to put together. I got to spend a lot of 'research time' rewatching all the movies and rereading all the books. And Lesley and I got to spend hours together being giant sewing nerds. It was all so worth it.

I'll post pictures of the actual wedding after it happens in July. But until then, just be happy with a glimpse at the AMAZING invite.
Eeeeee! So Excited!!!
Cheers!
-Andrea
The Half-Assed Hobbyist