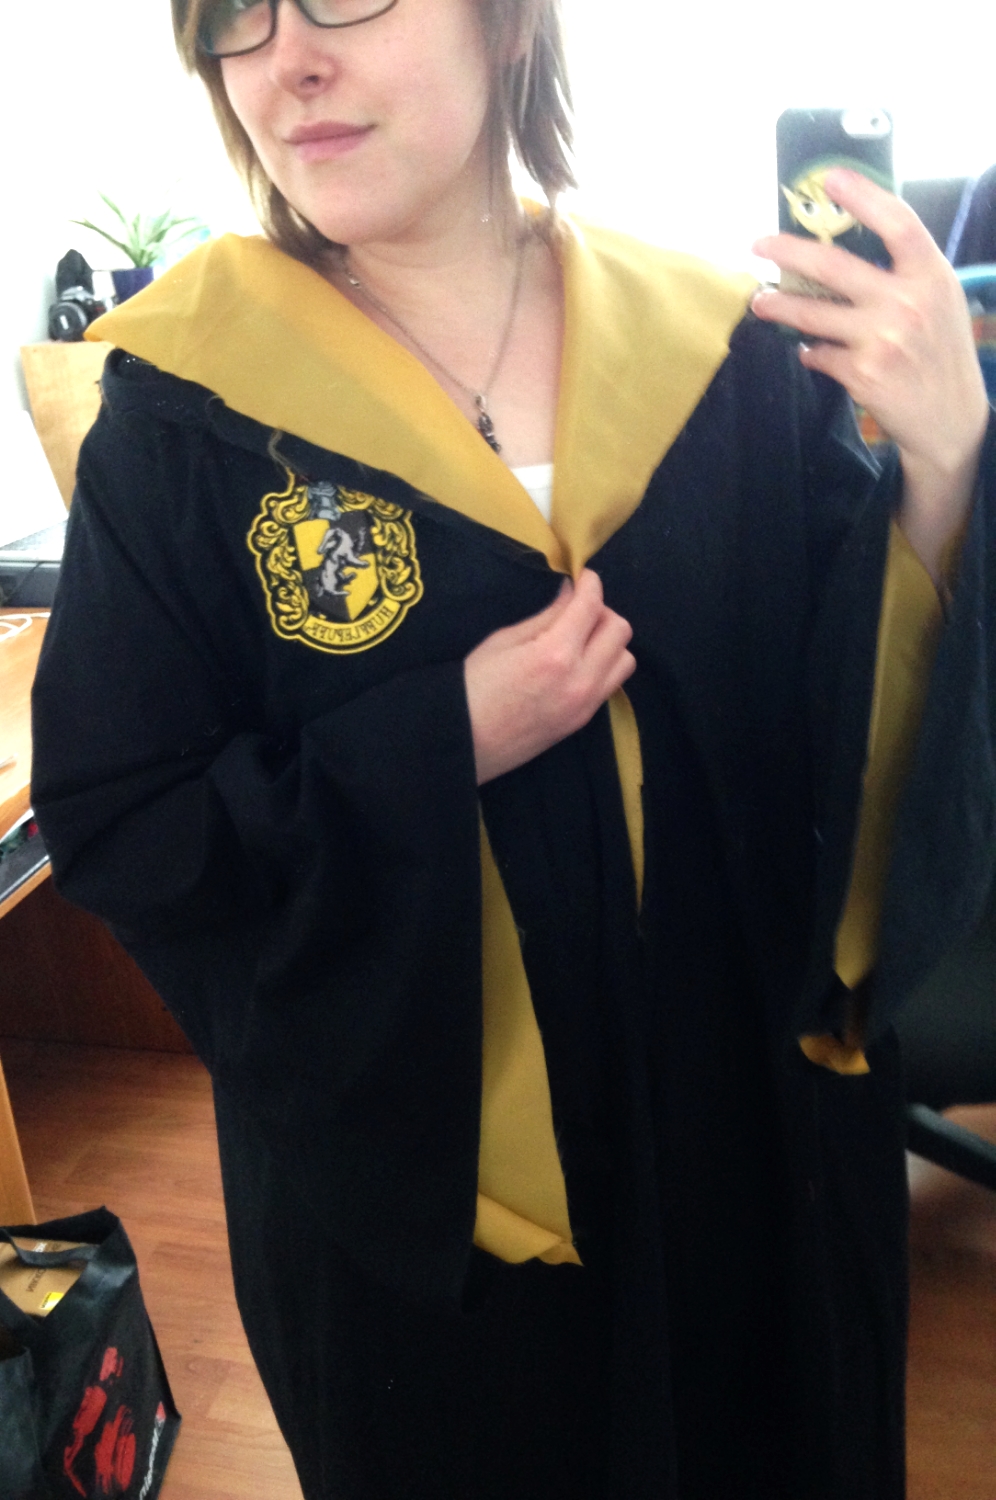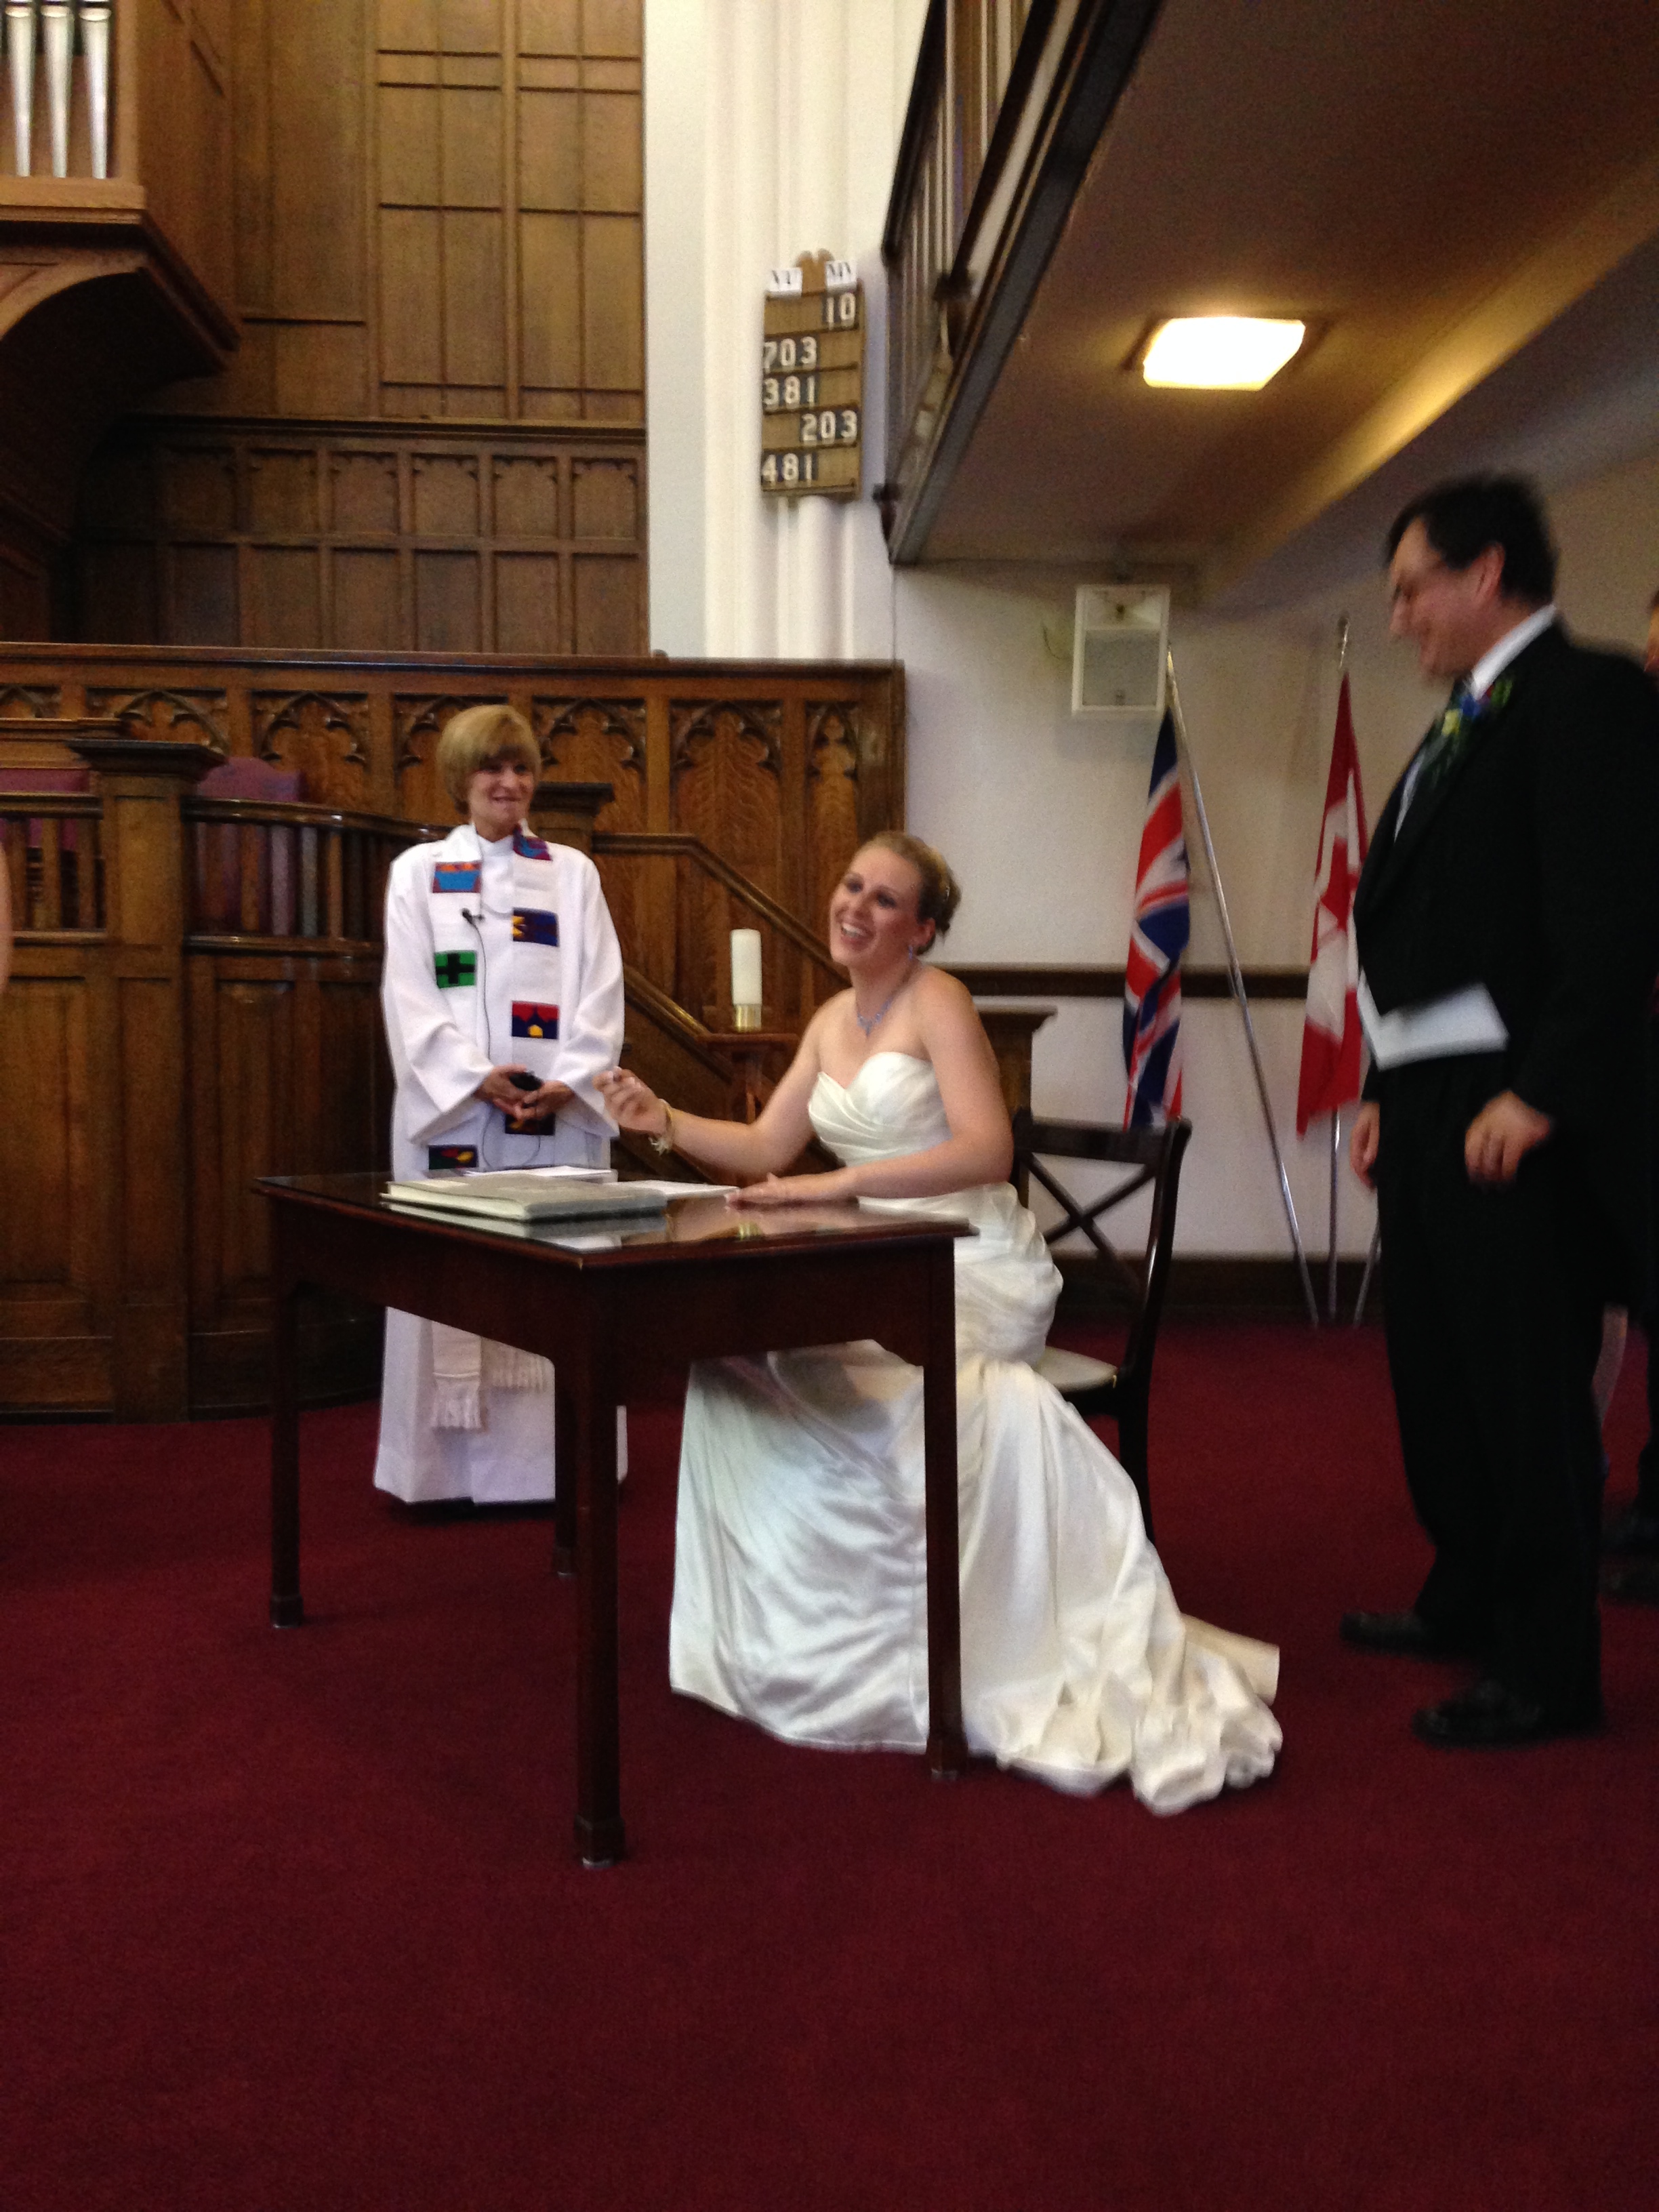
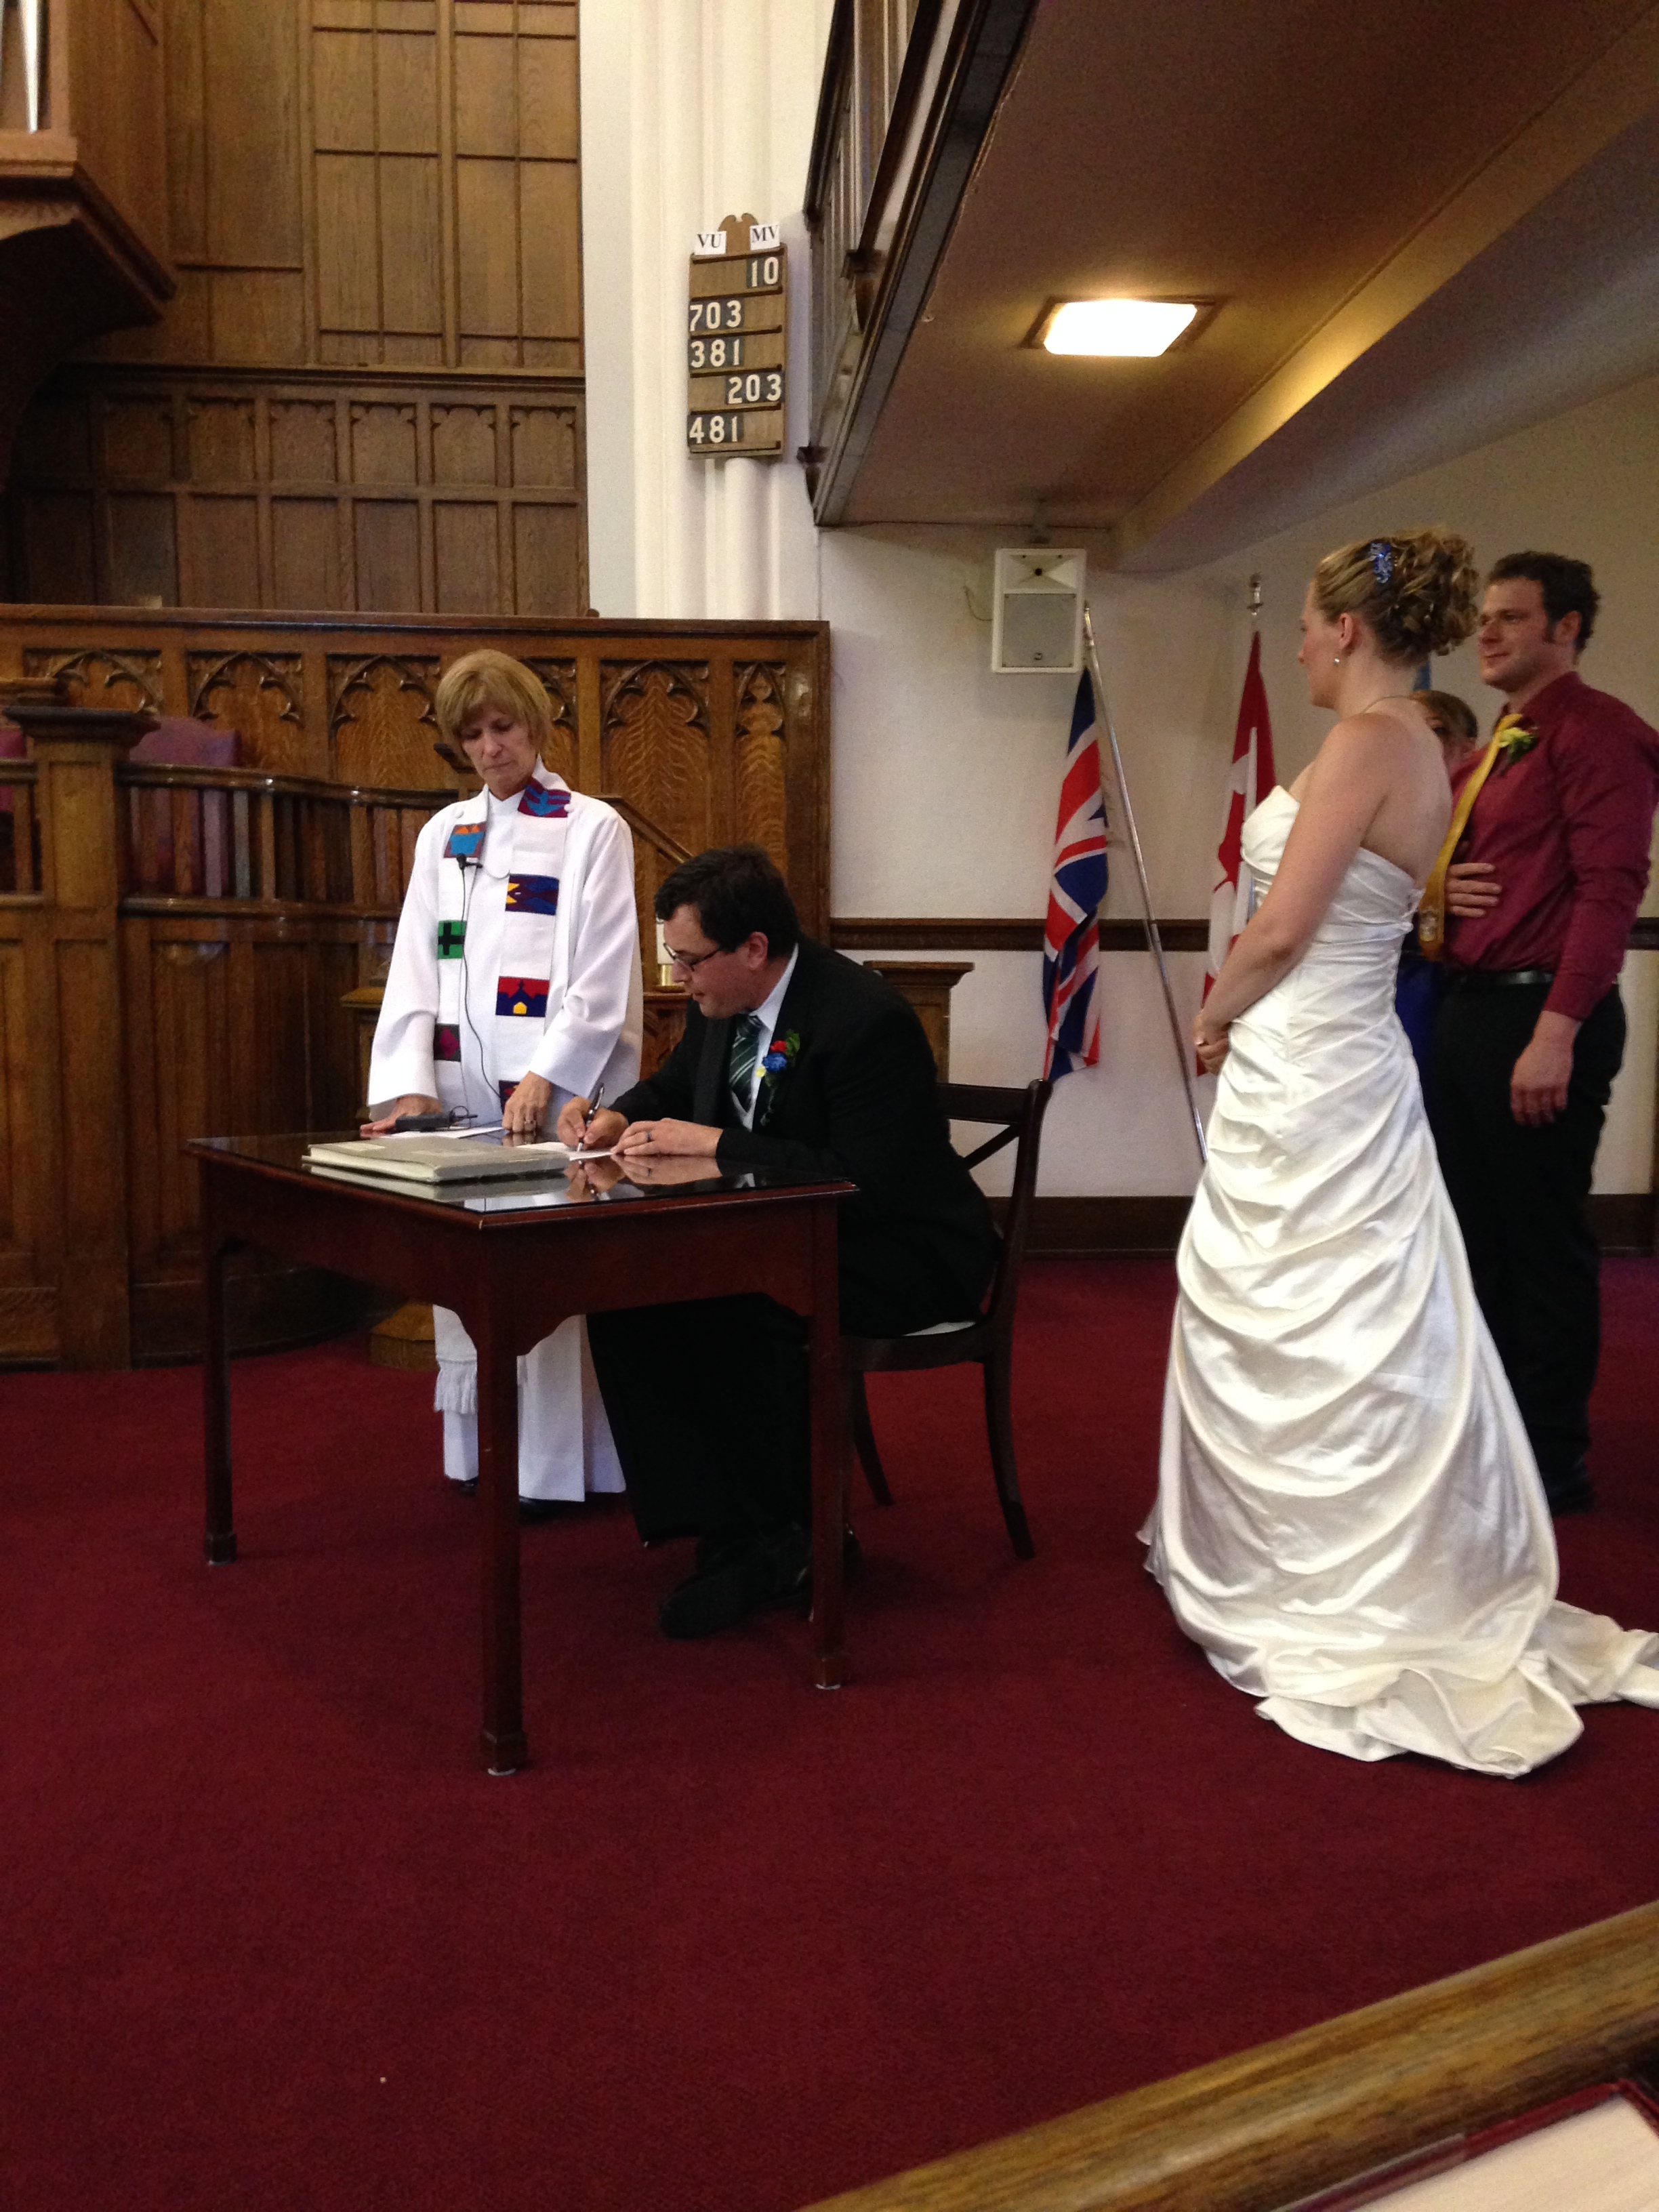


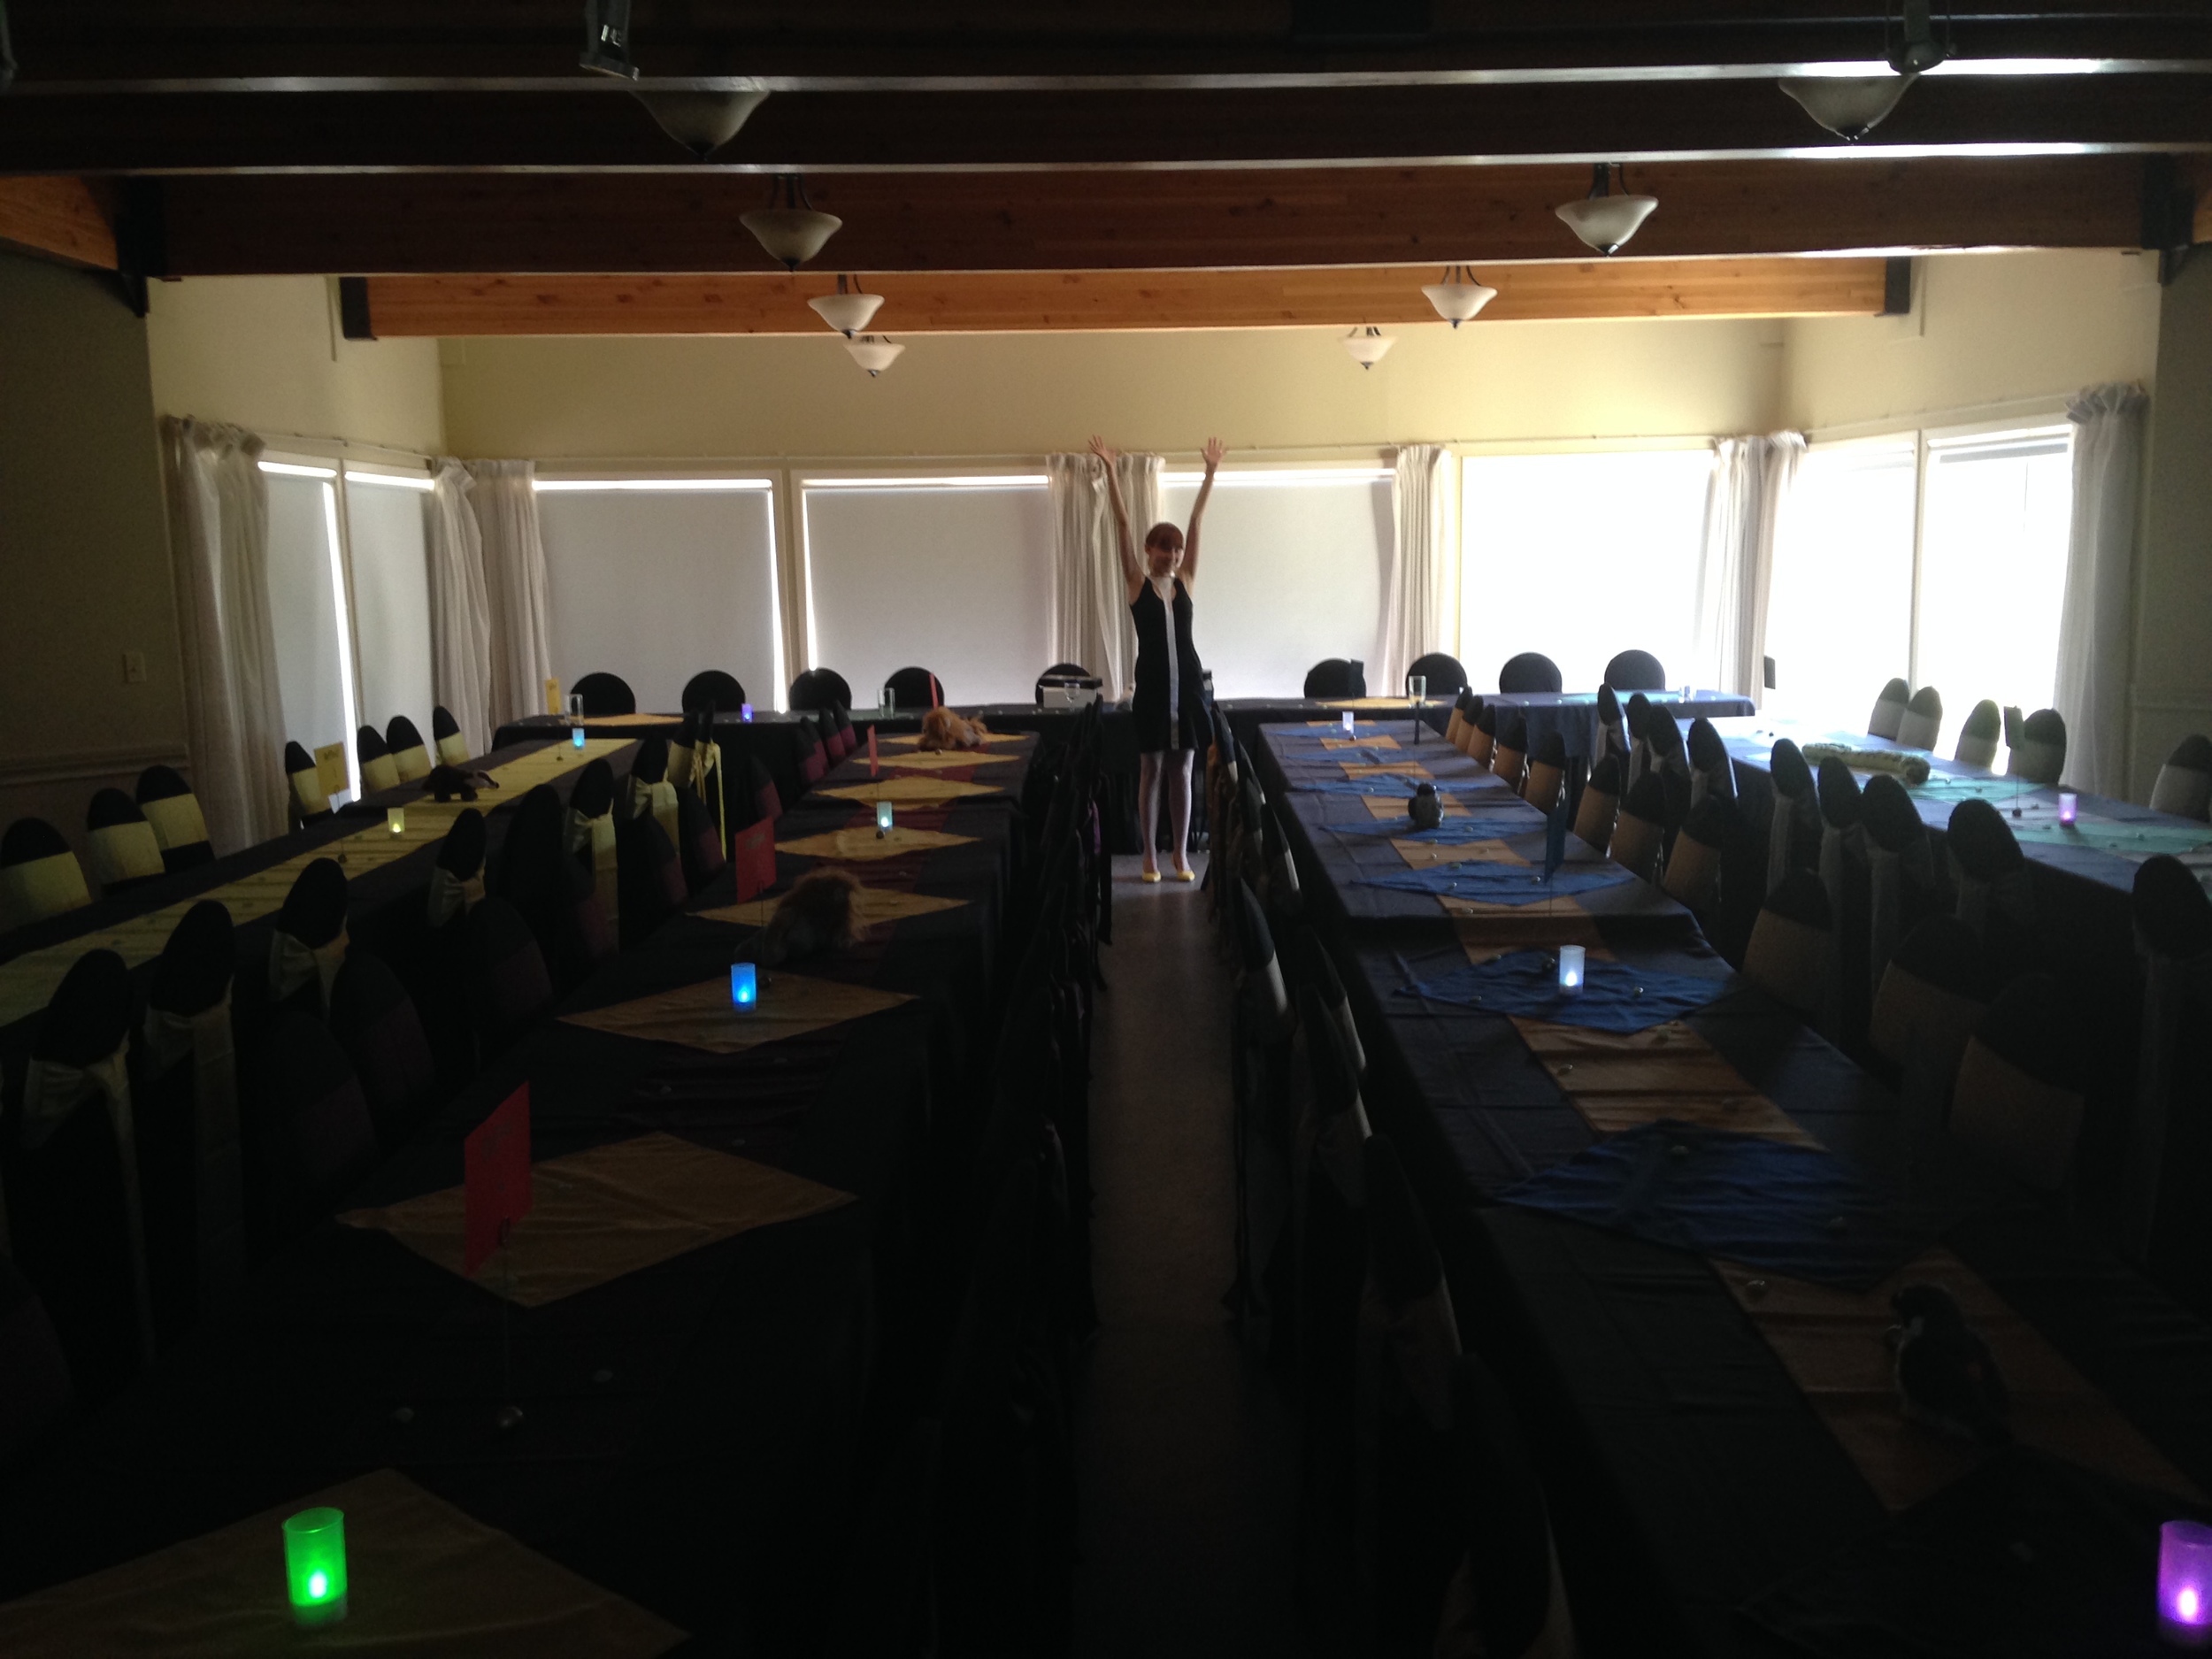


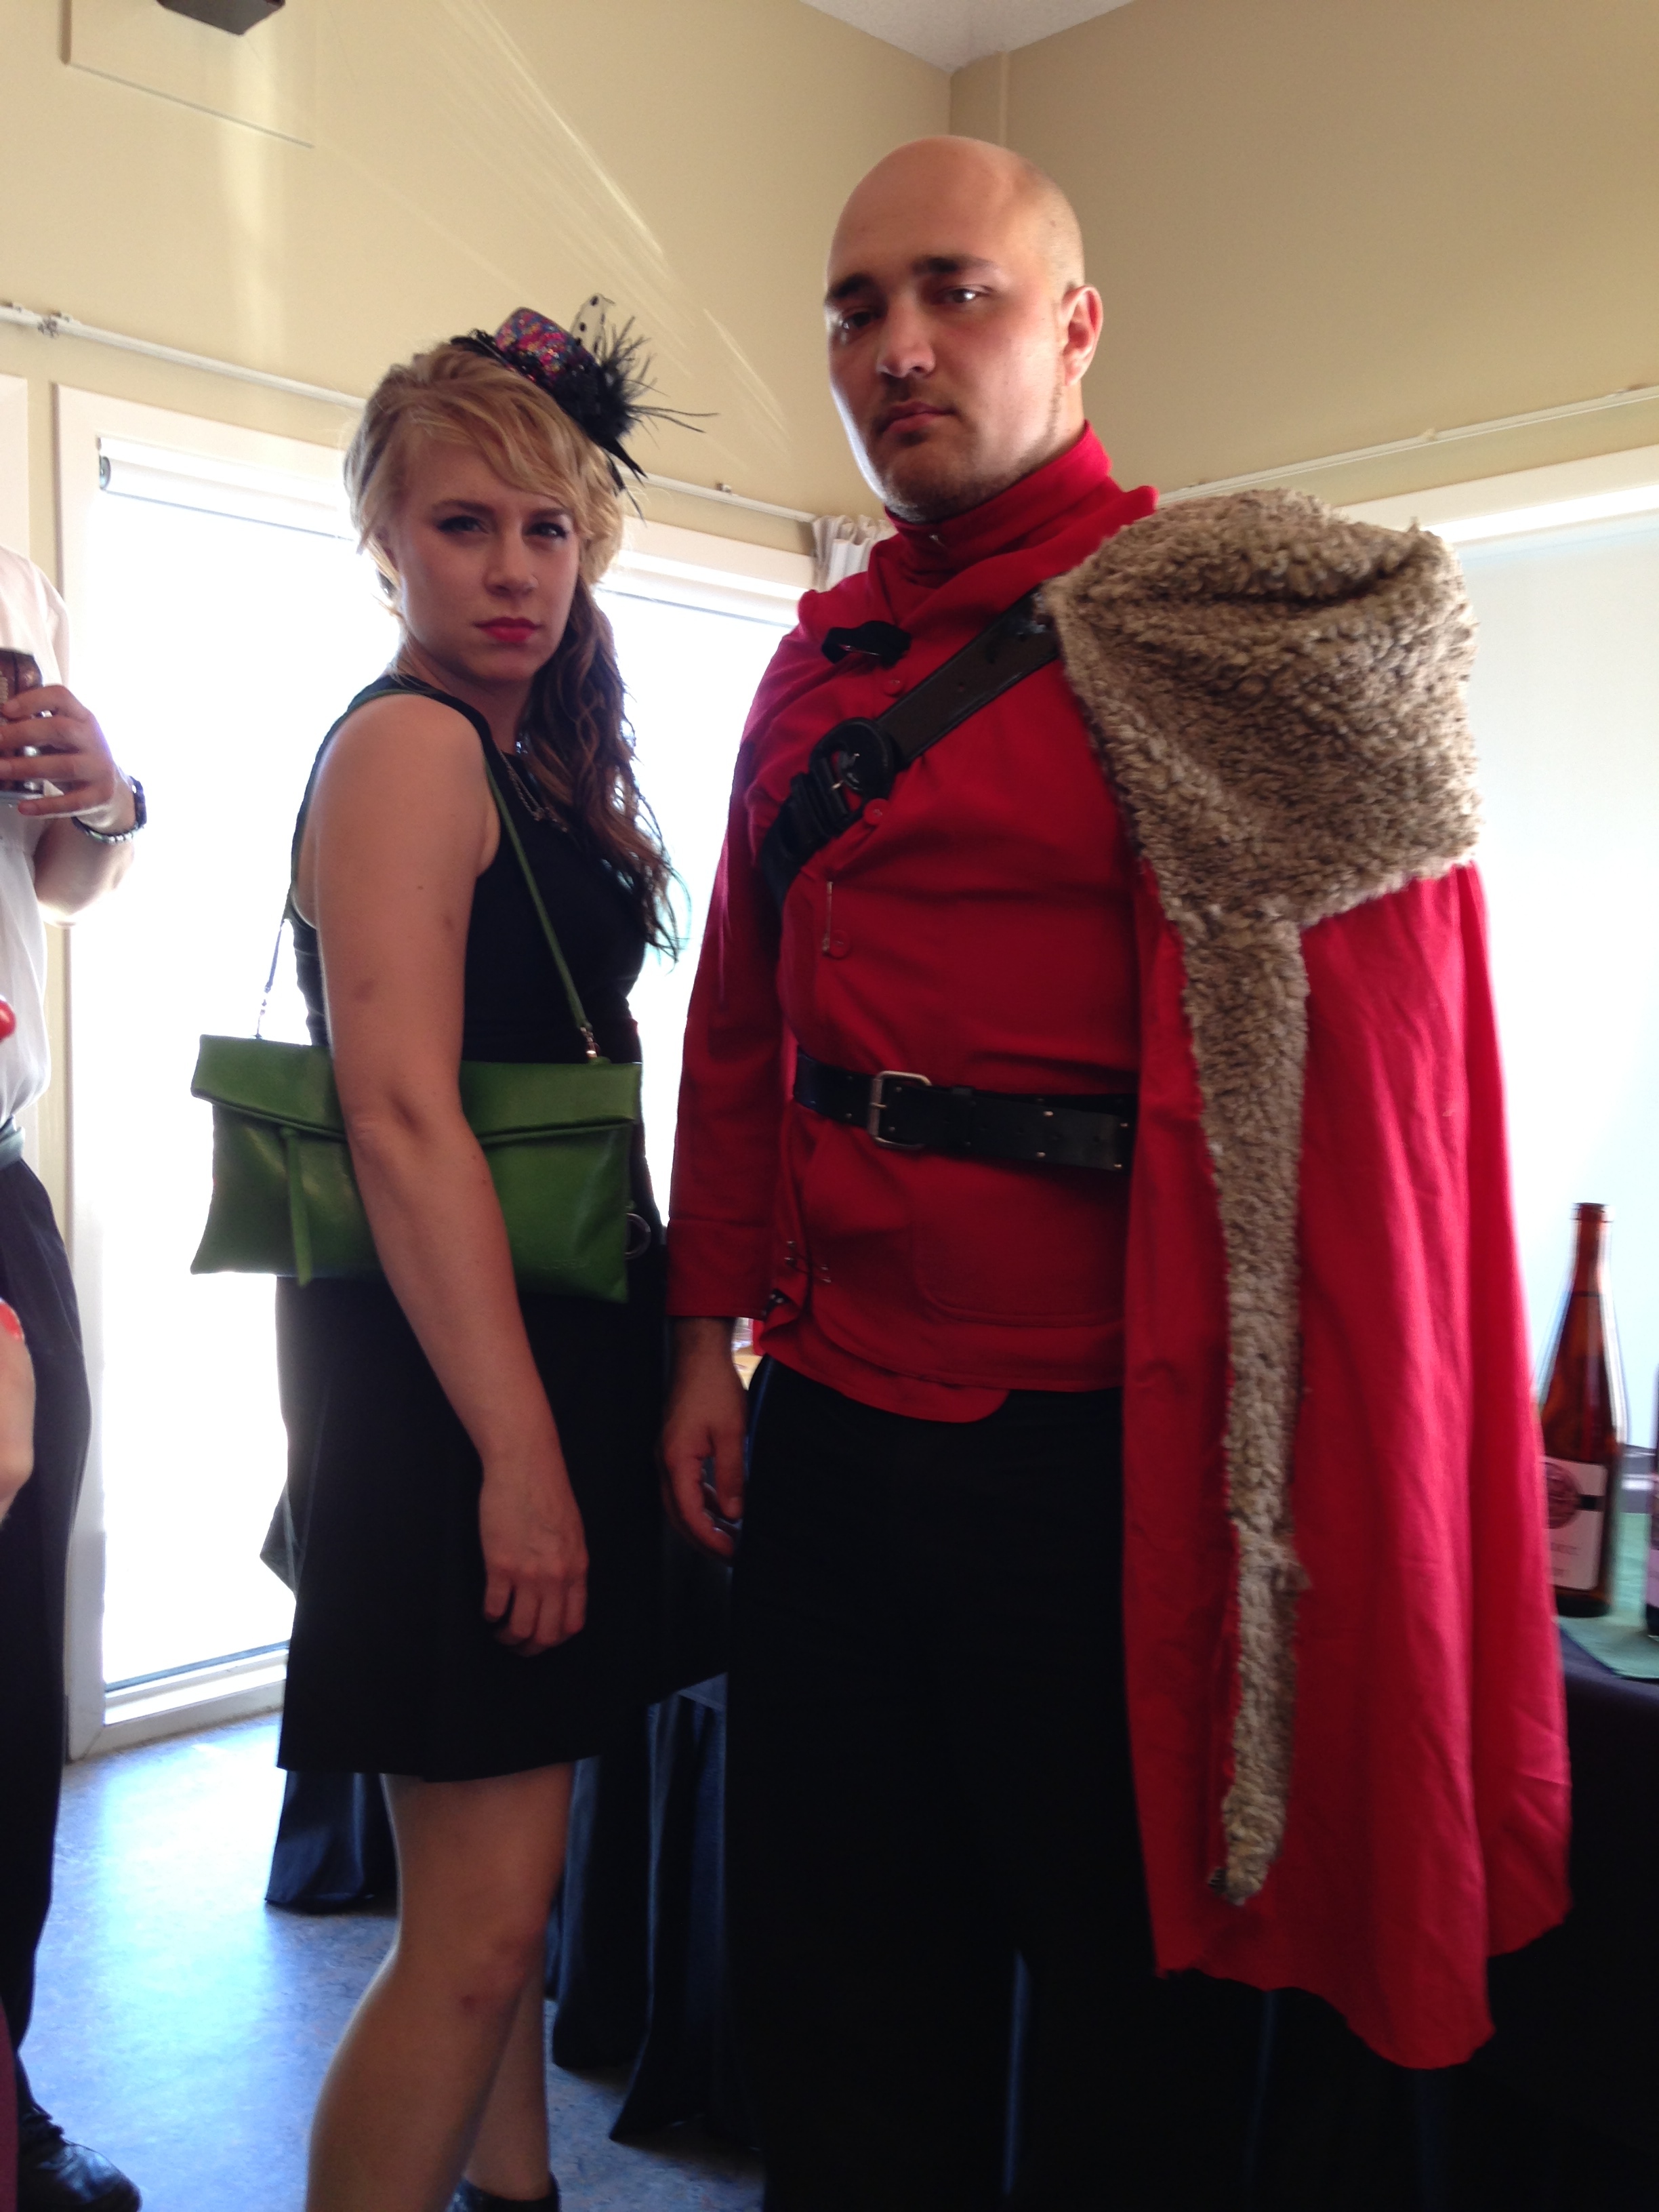
So if you missed it, this past summer I helped a friend of mine achieve the most amazing themed wedding: The Harry Potter Wedding. I made the bride and groom Hogwarts school robes and various other HP themed items that I'll enumerate below. But really, who am I kidding, the pictures speak for themselves. It was an insanely amazing time!
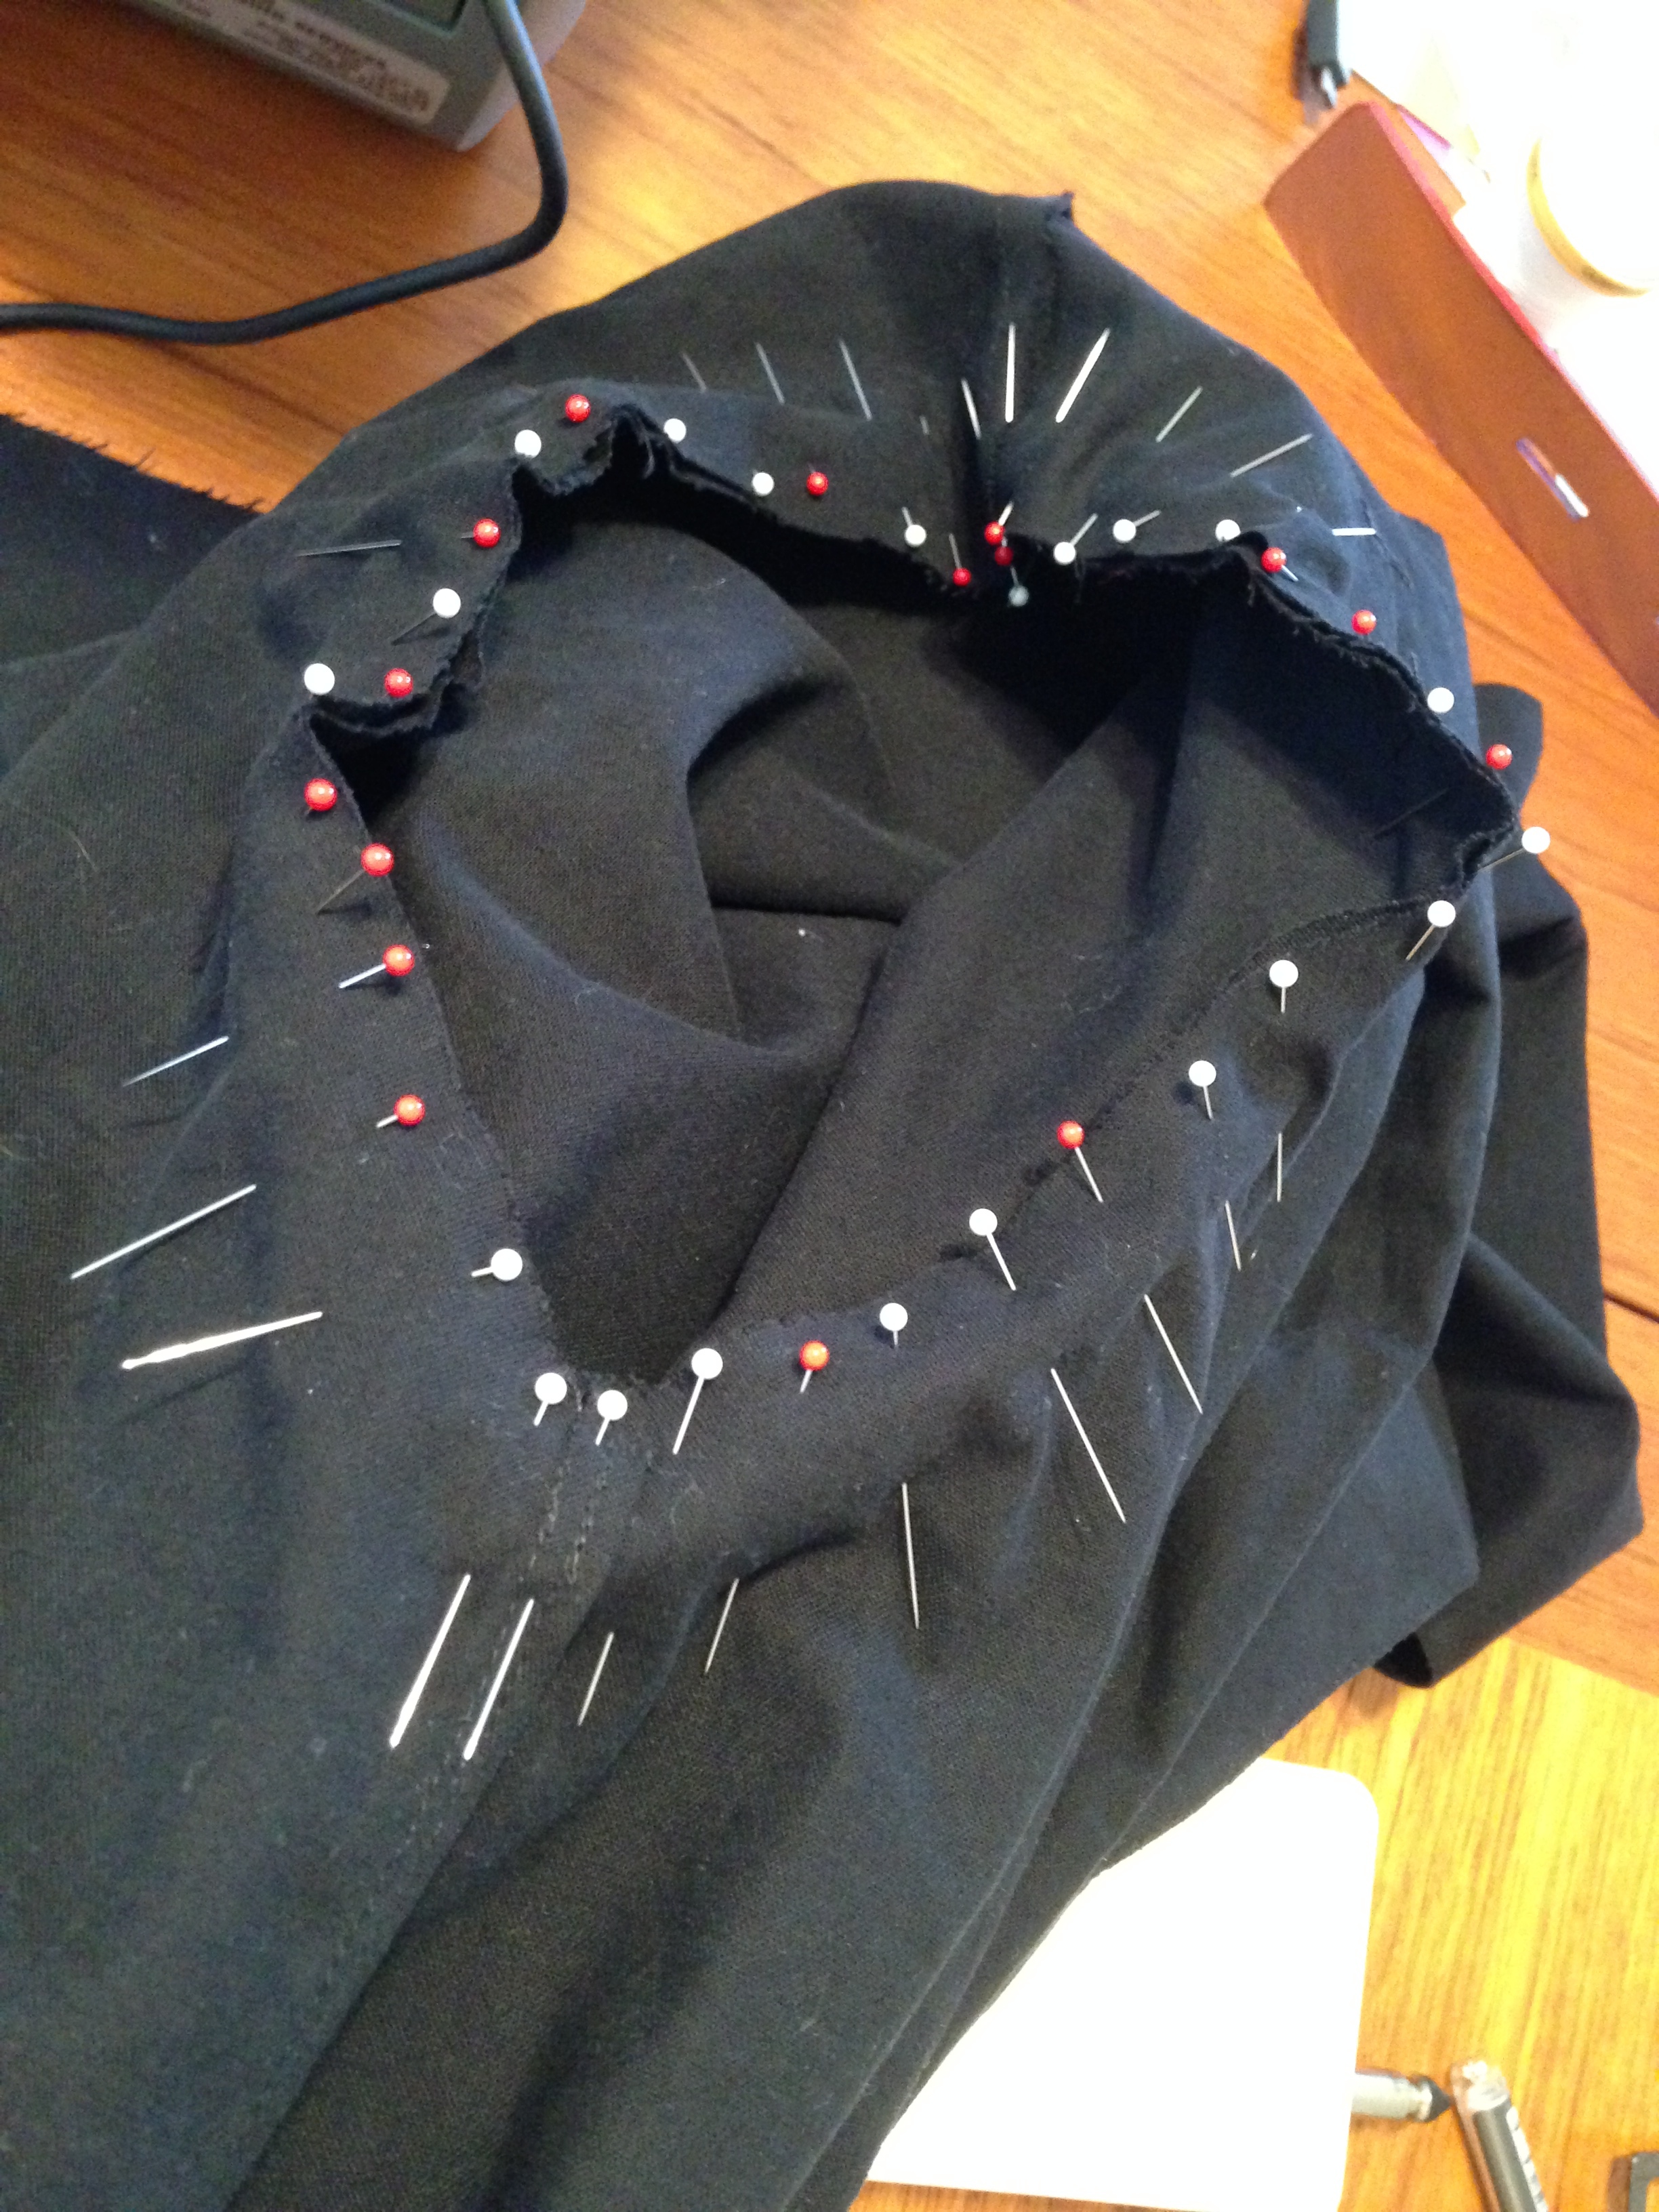
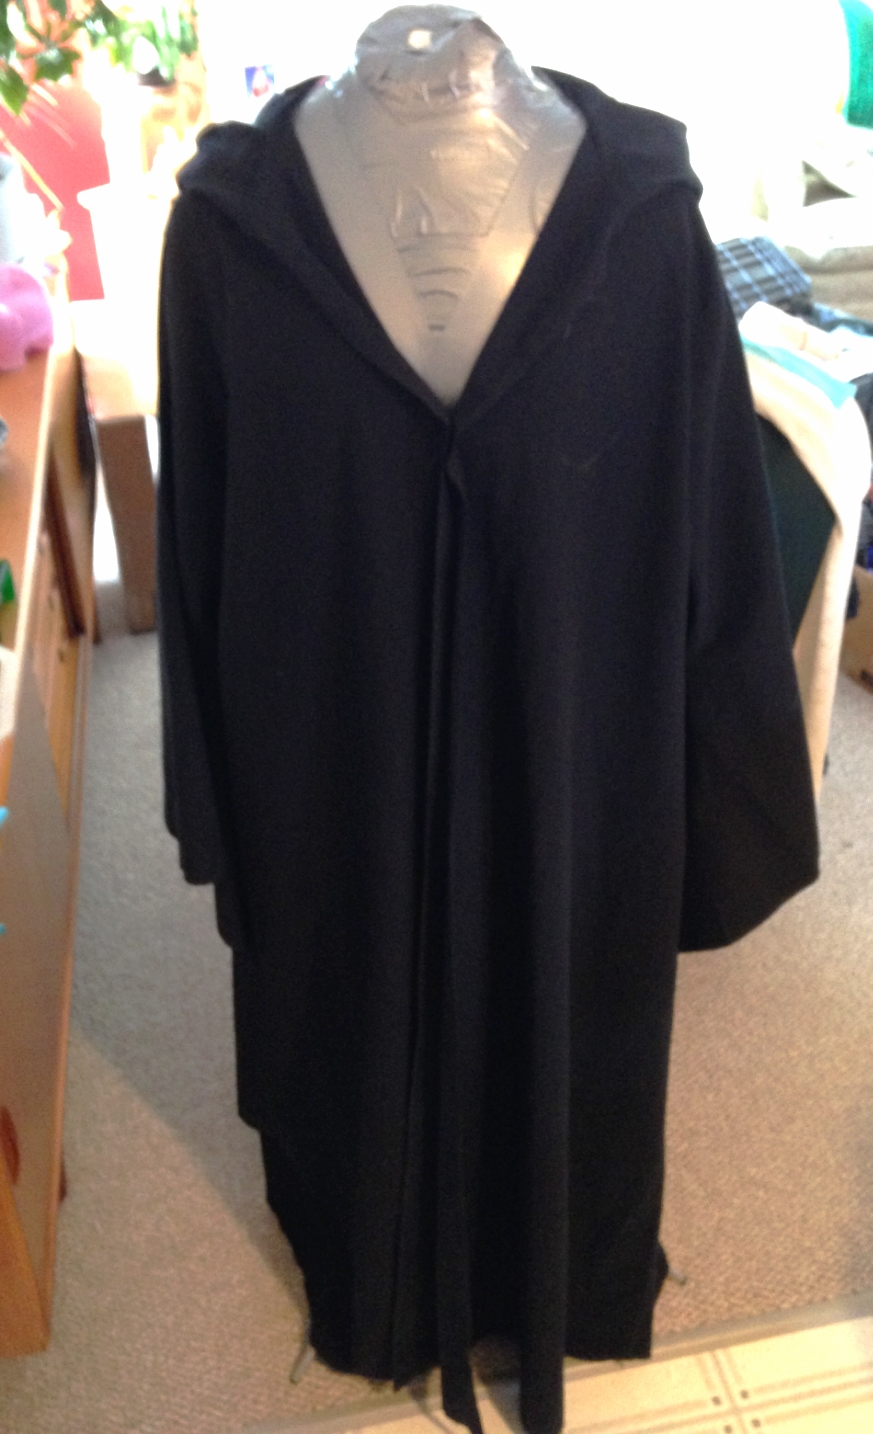
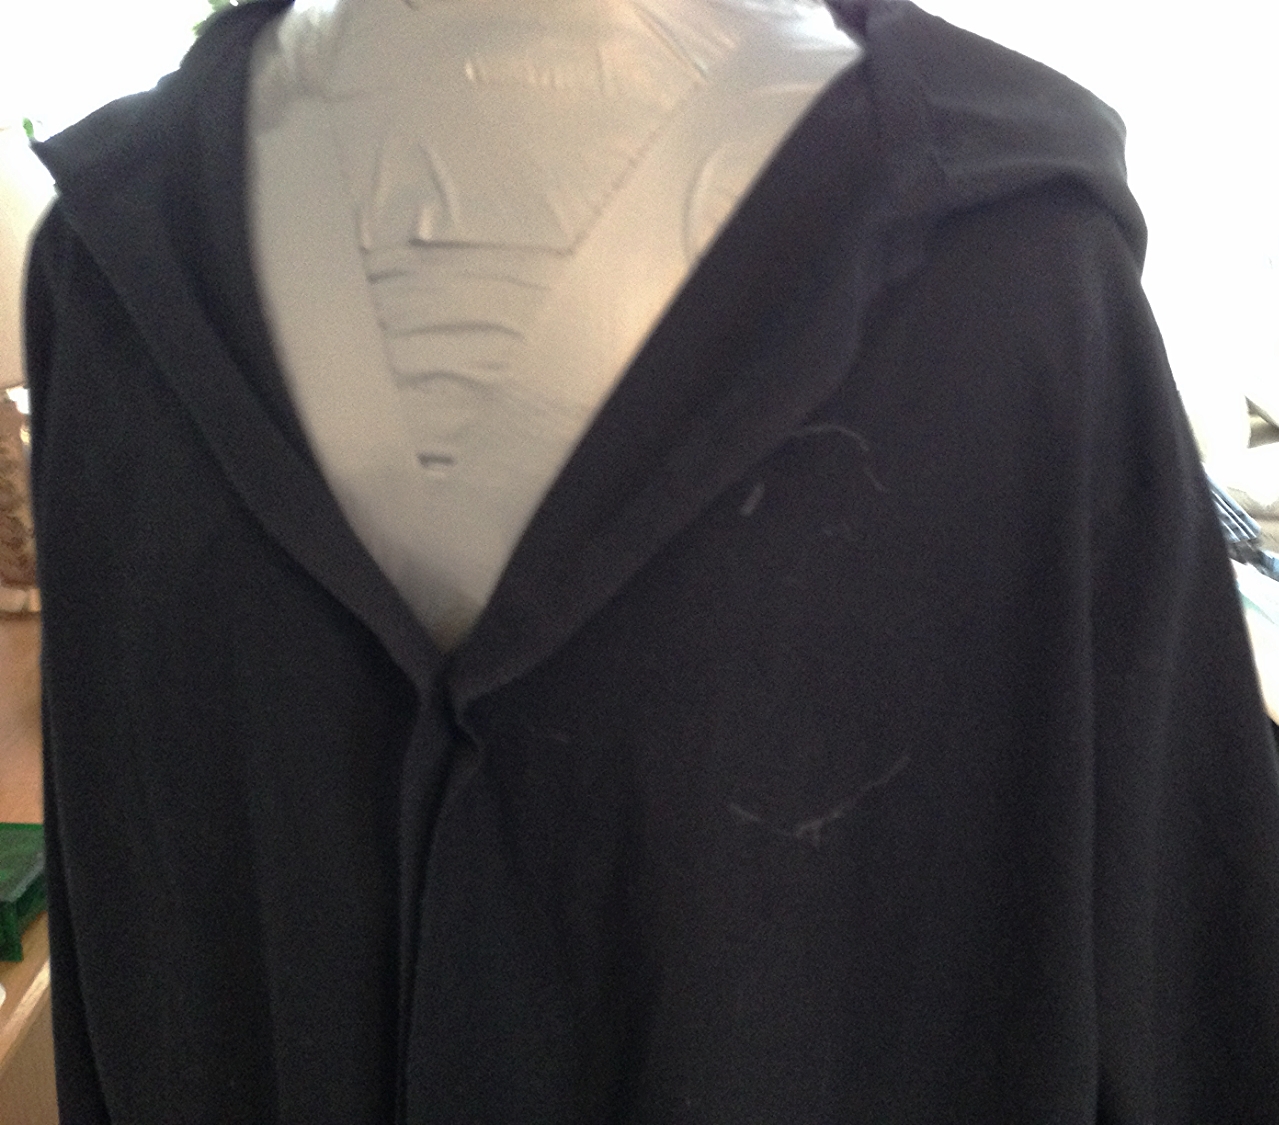
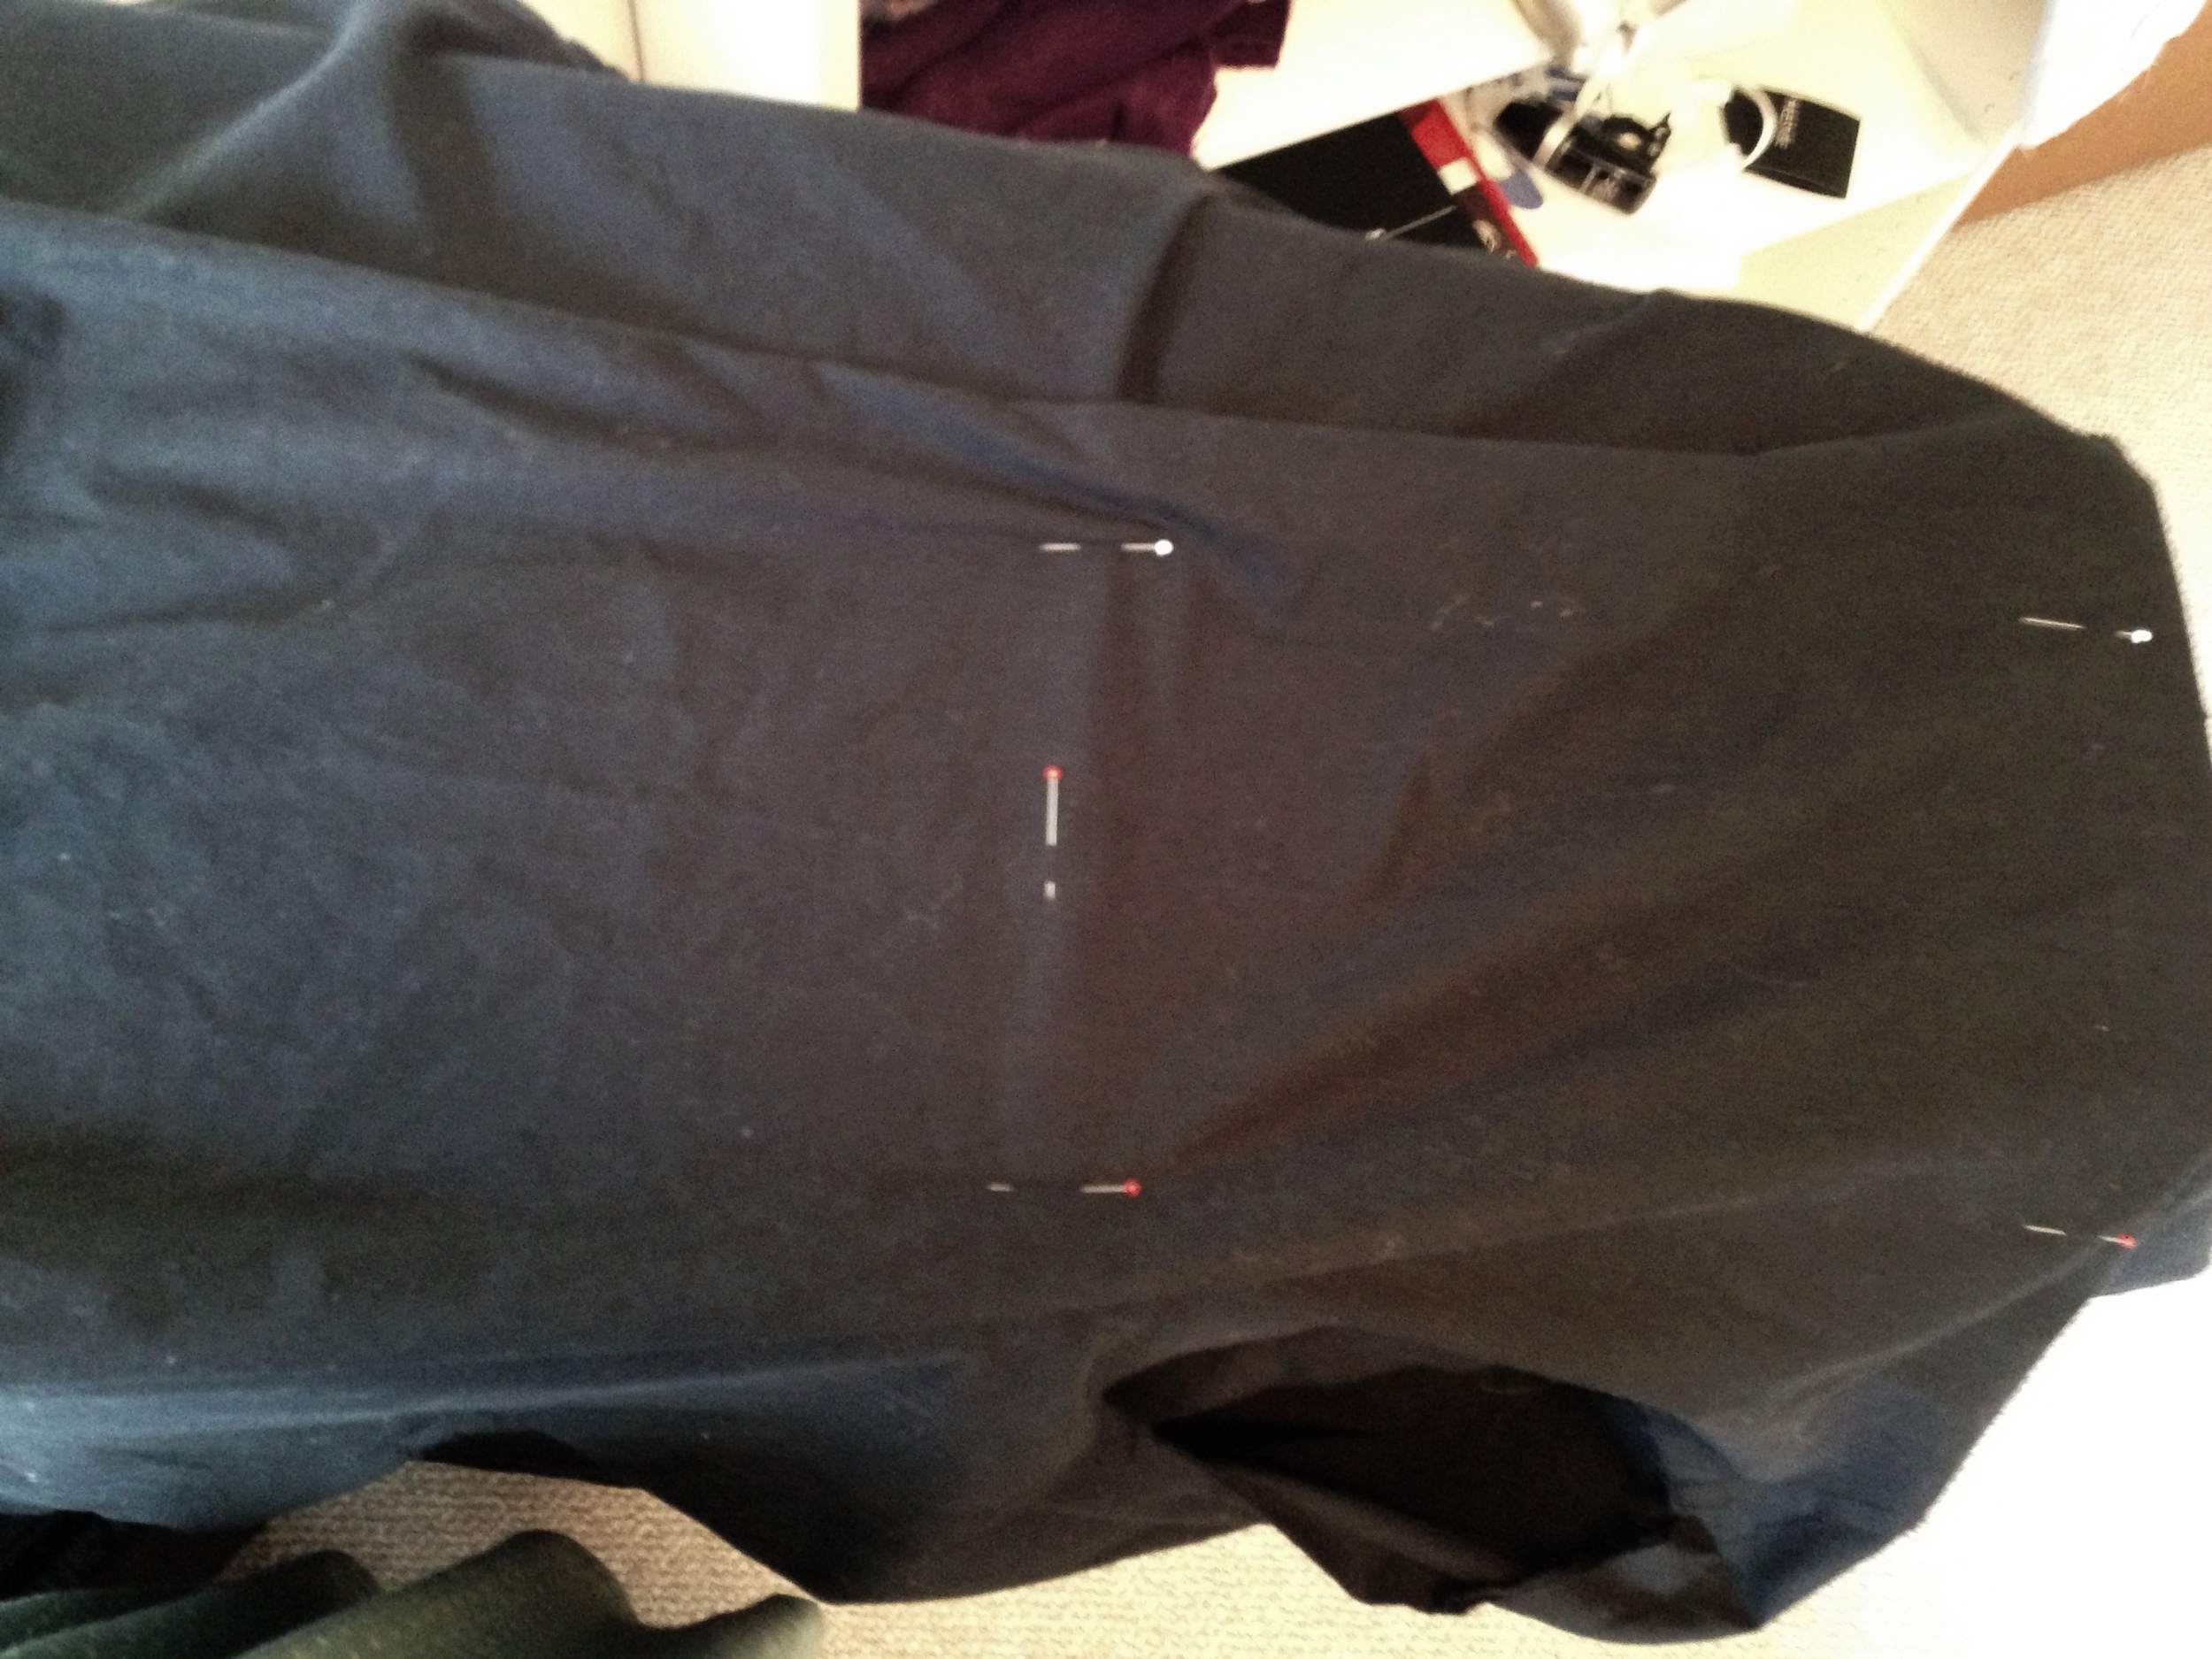
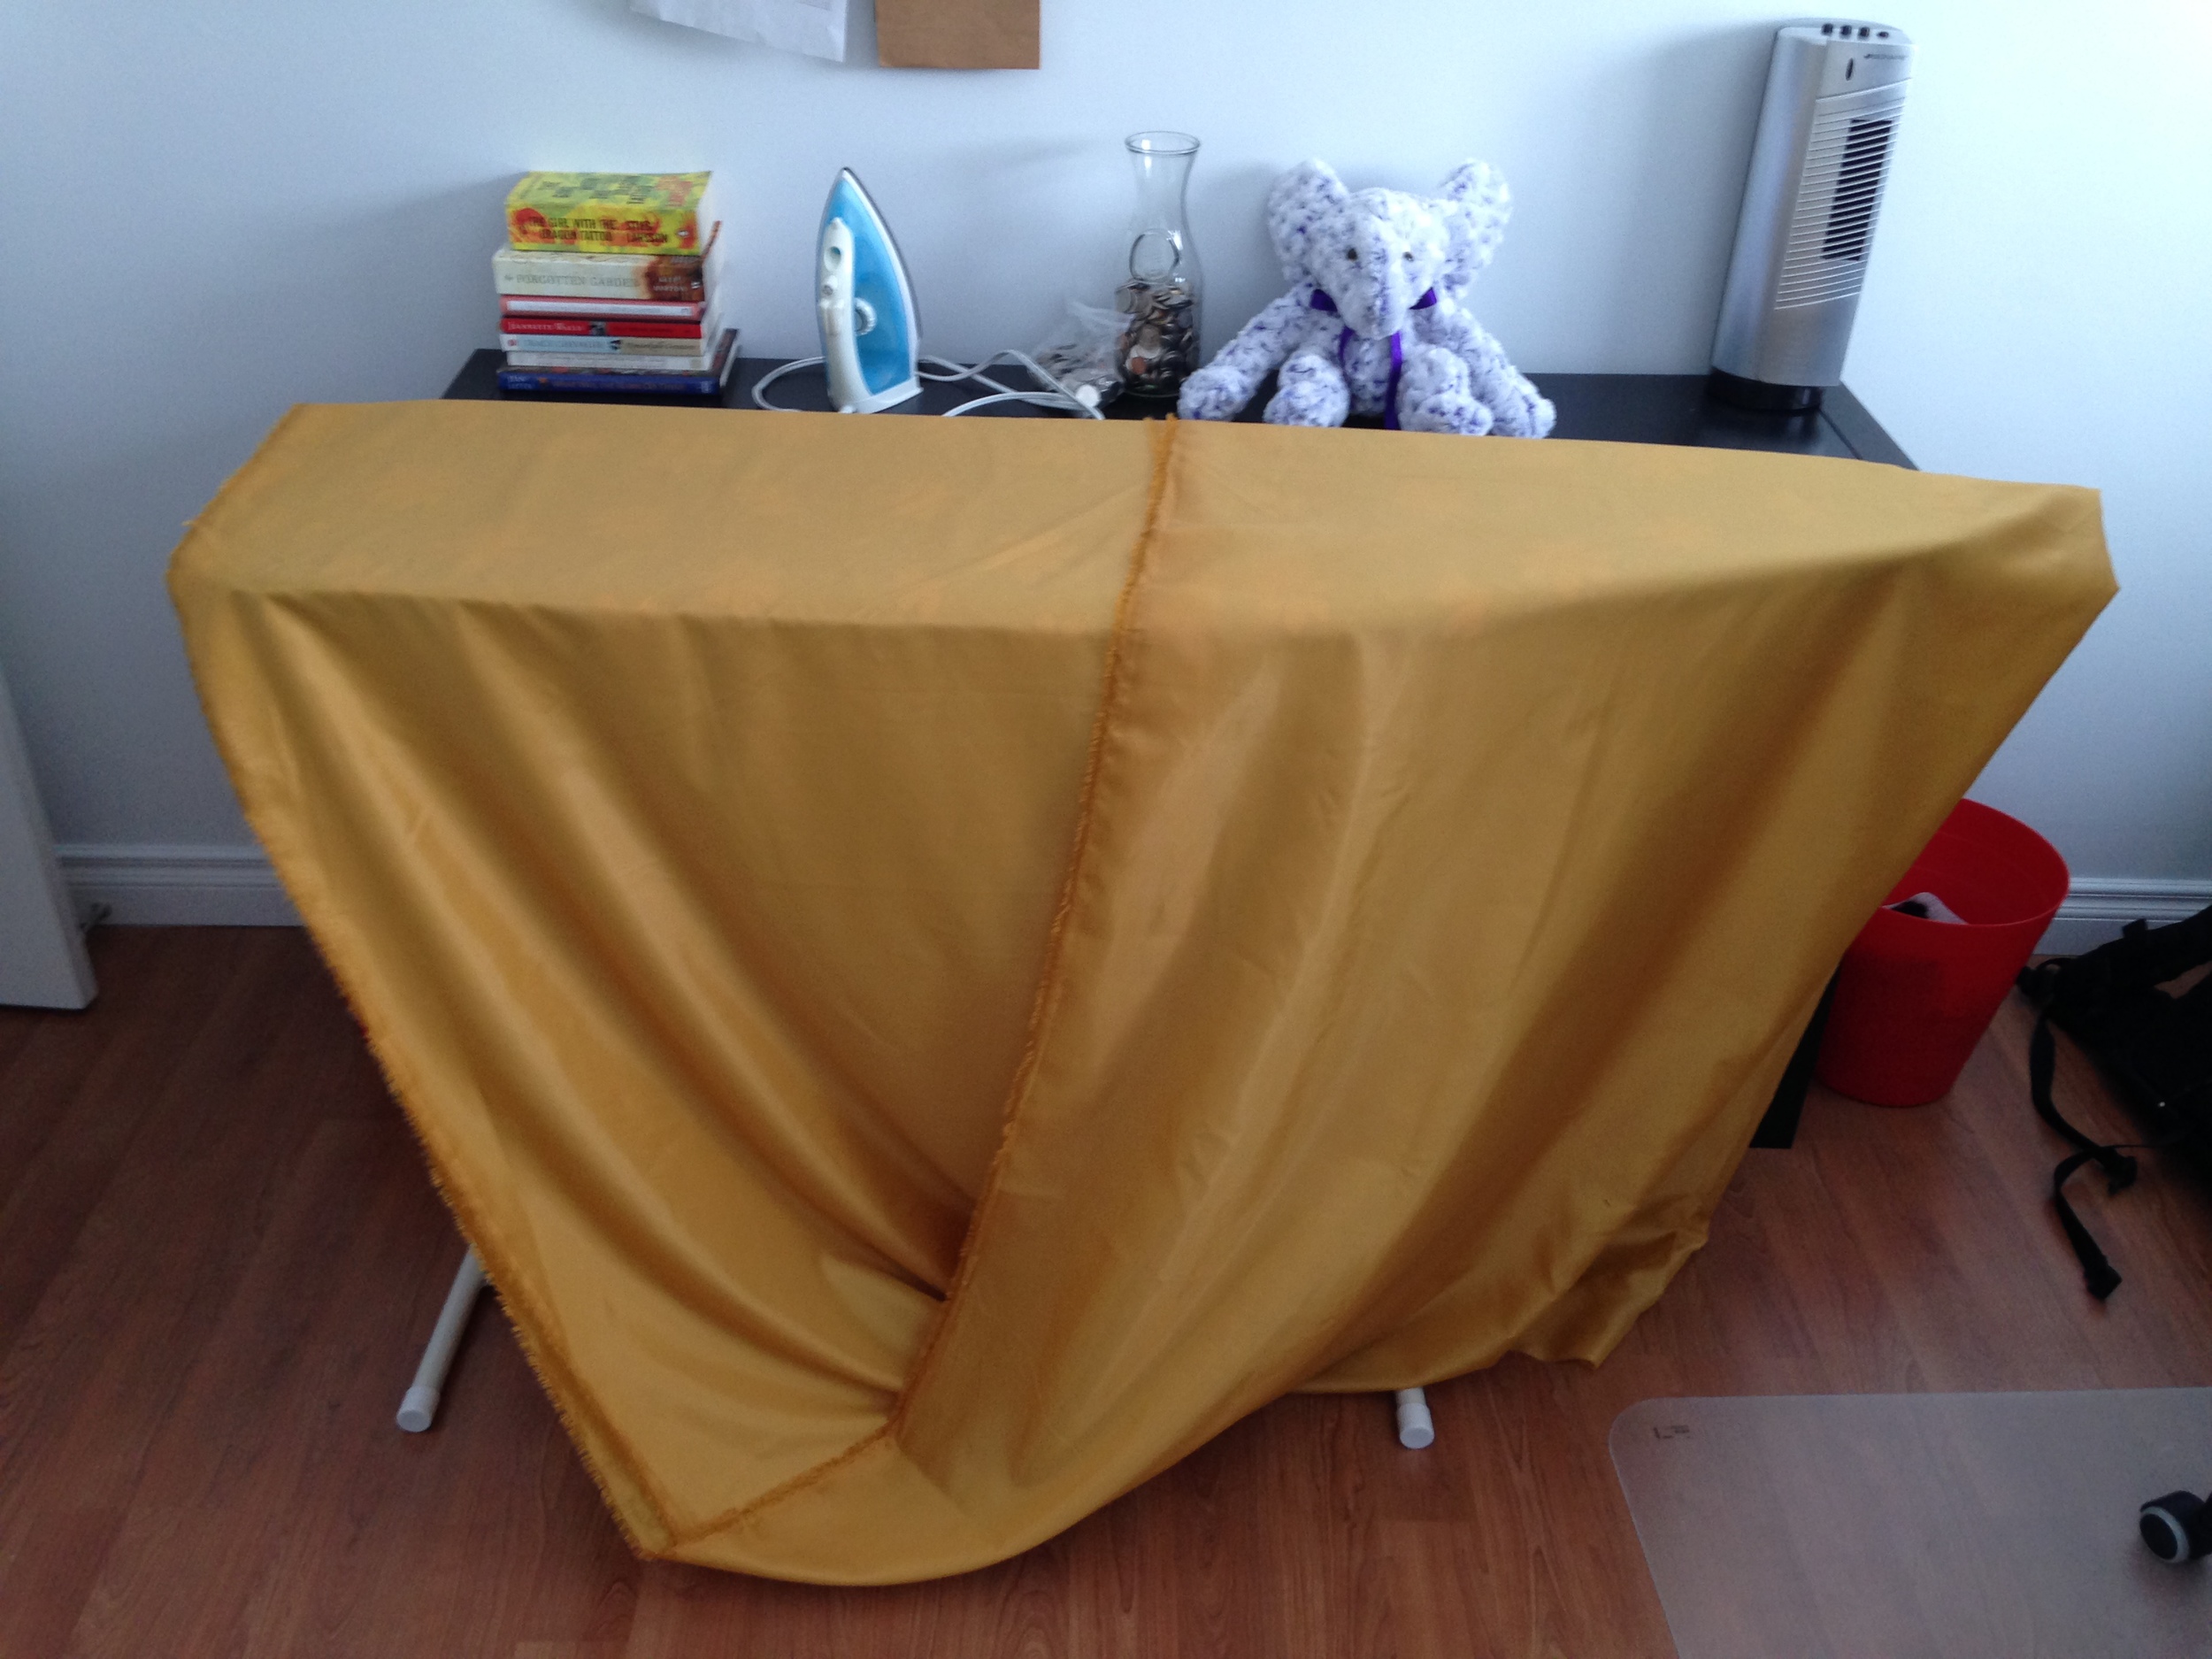
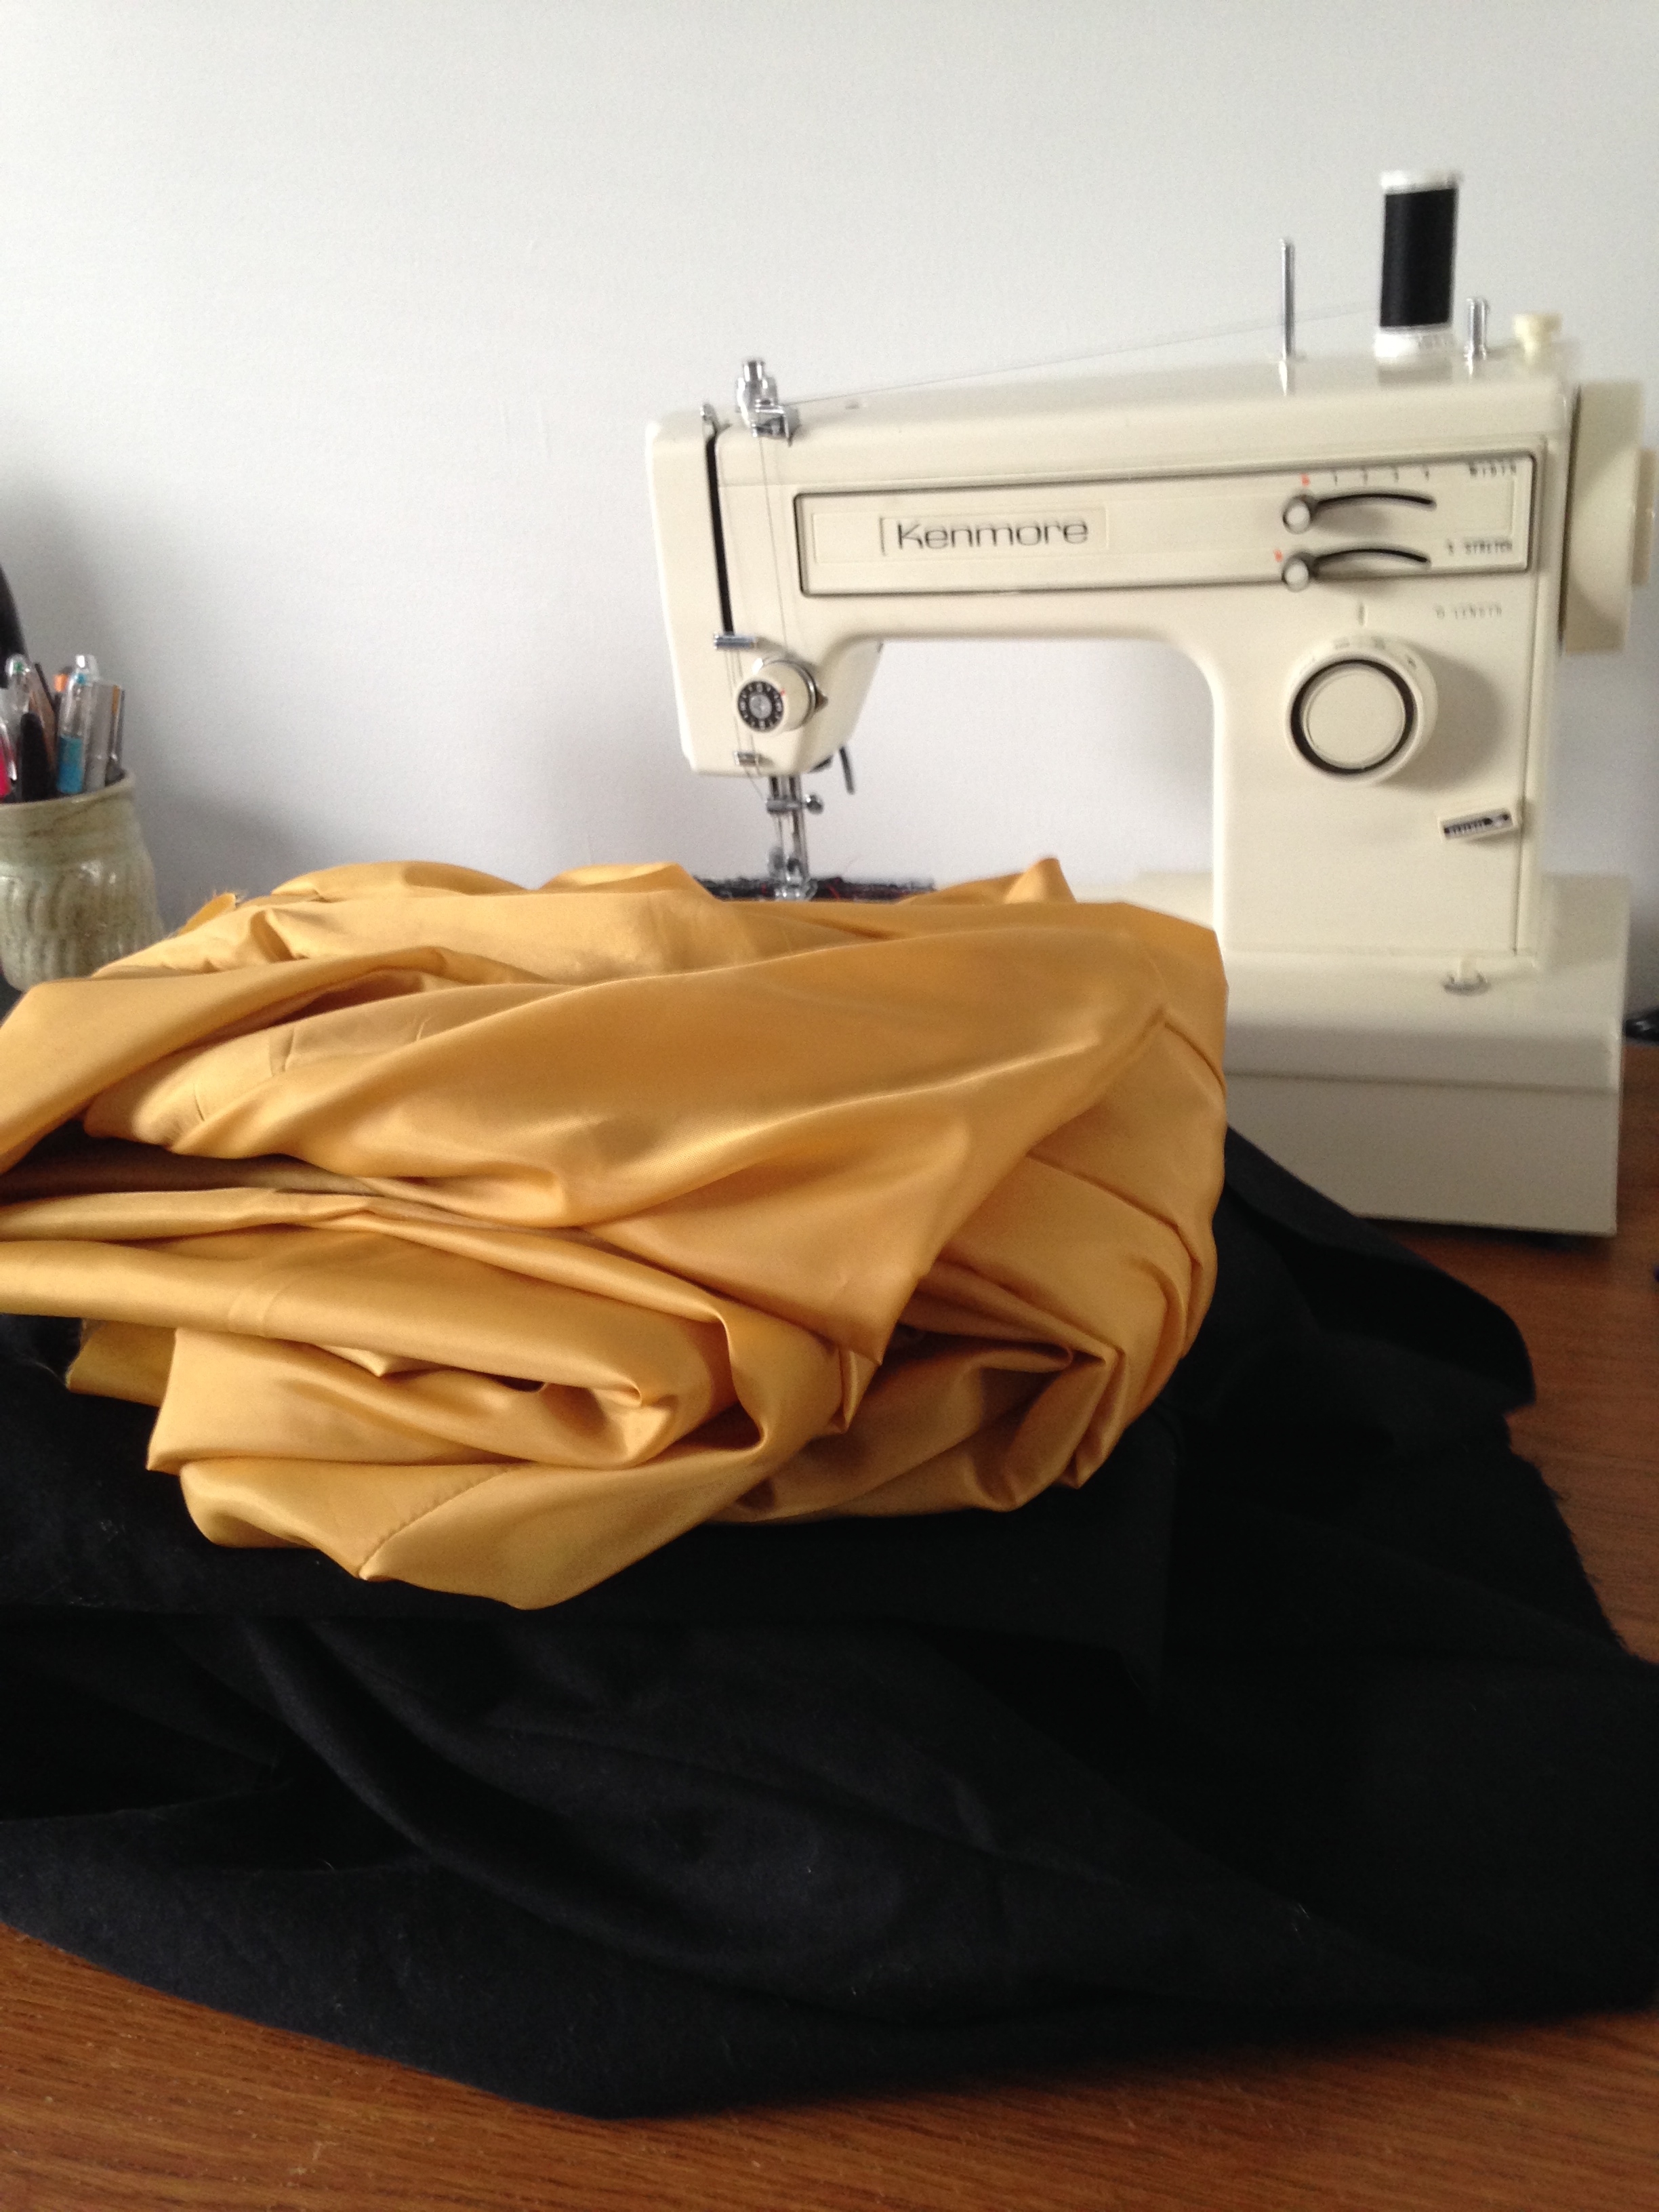
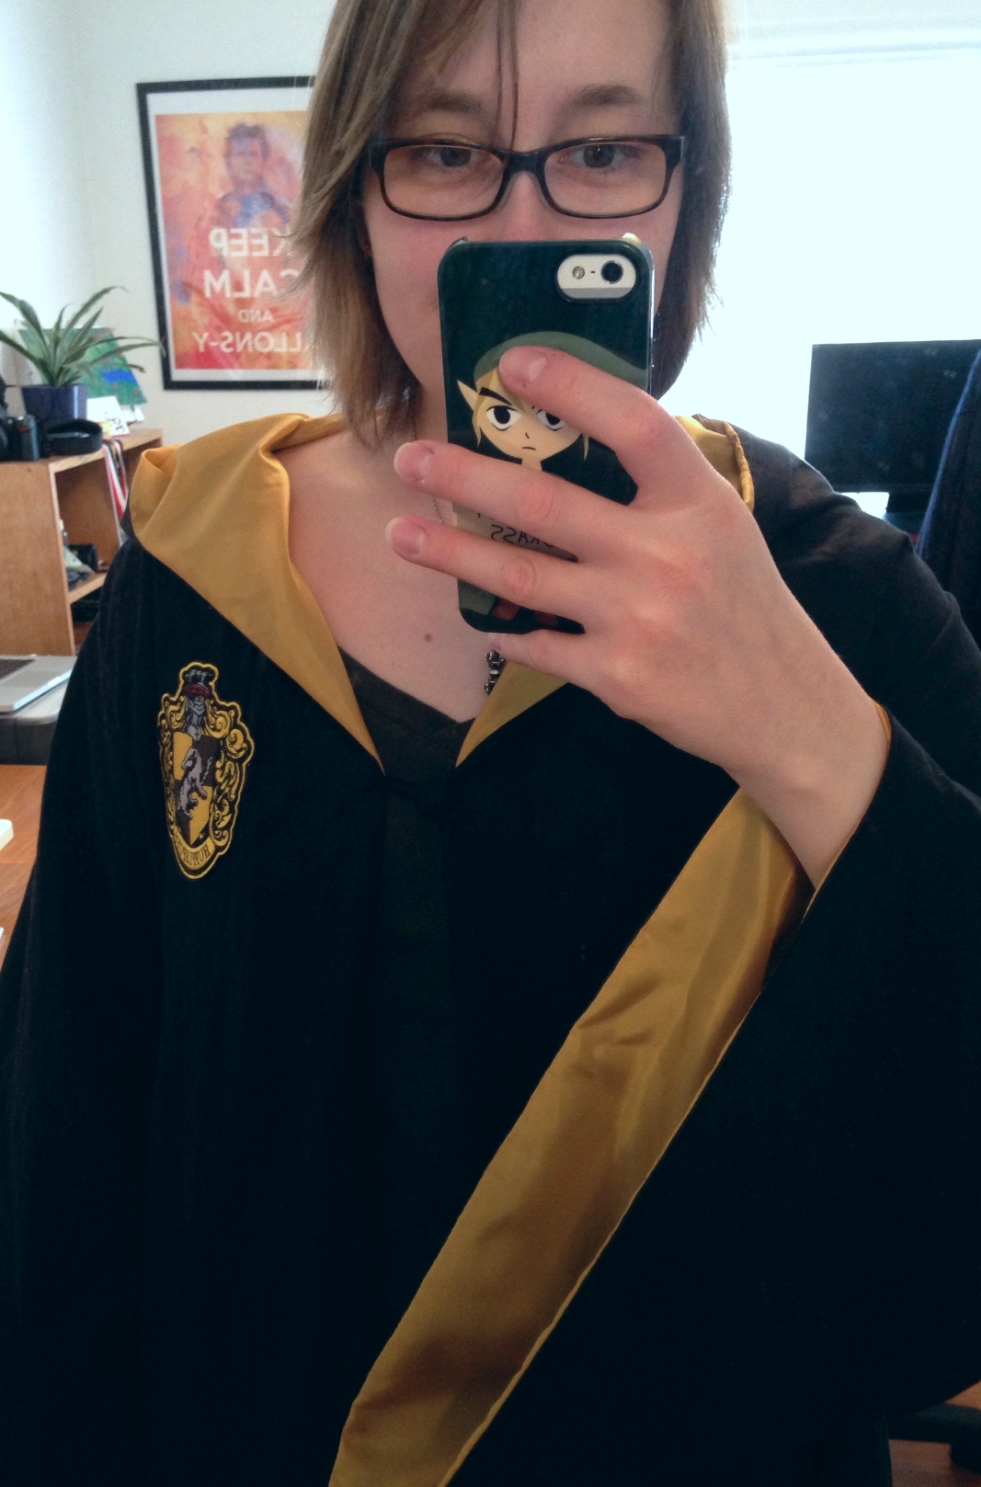
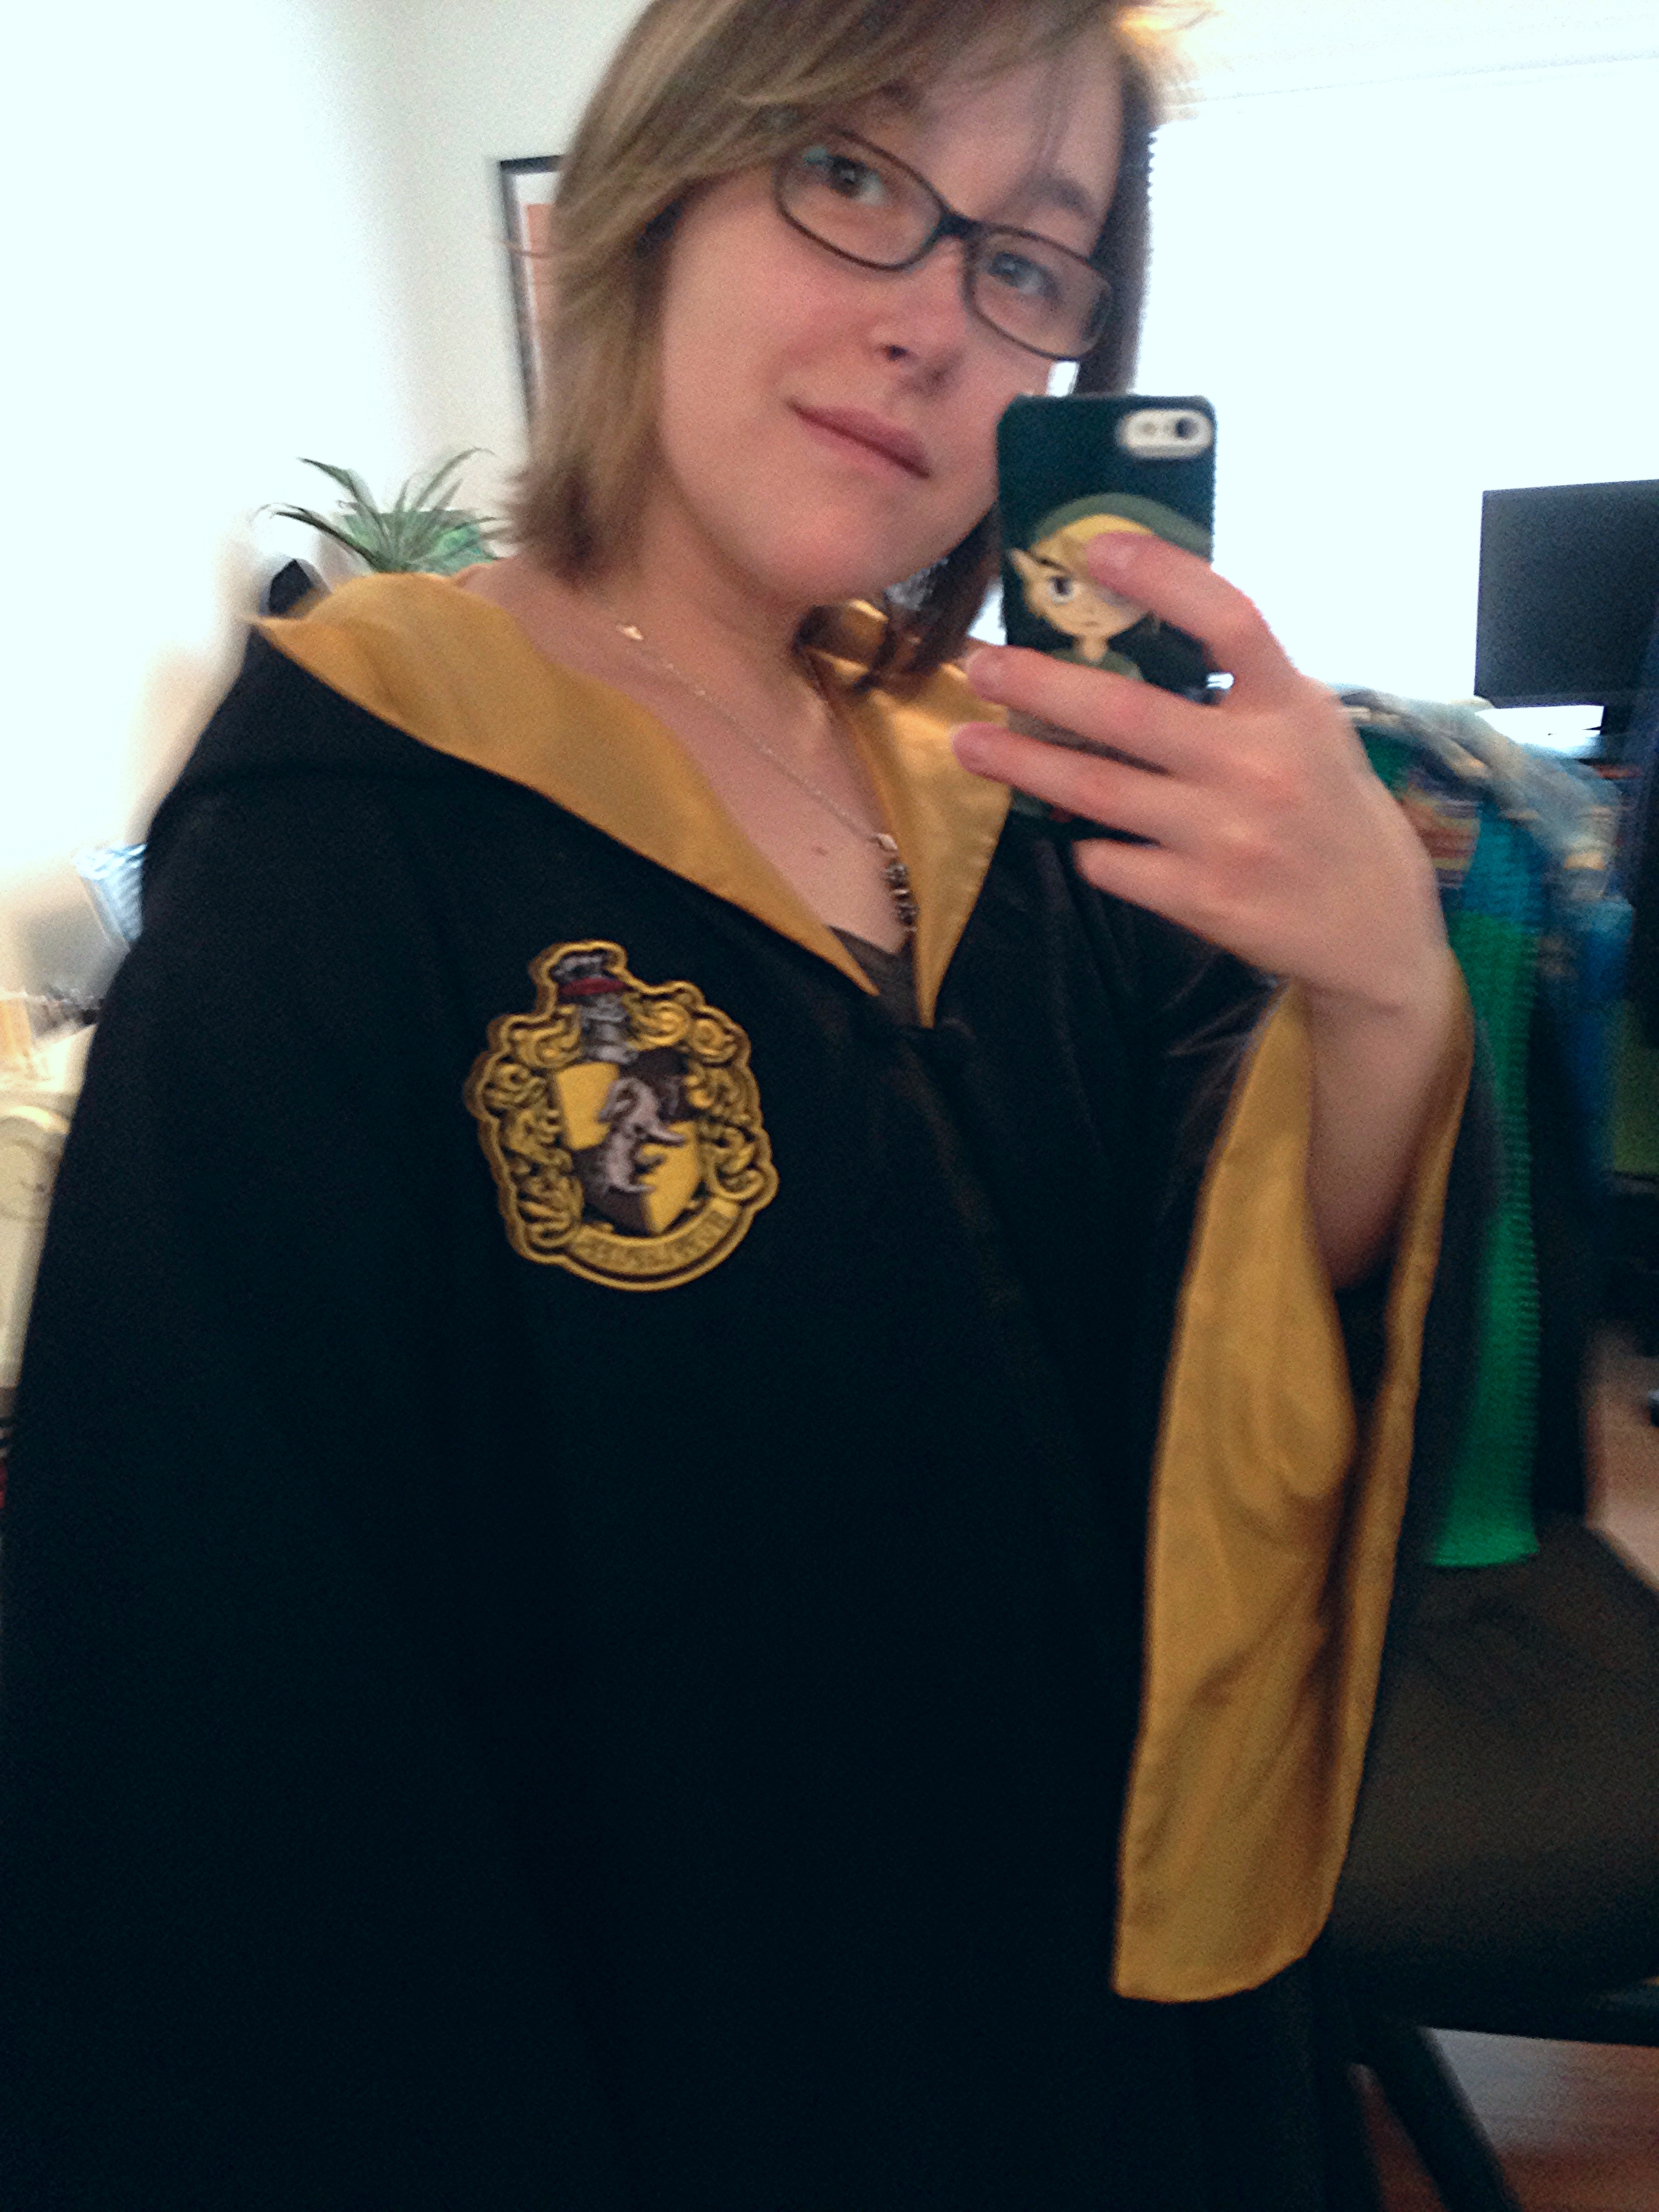
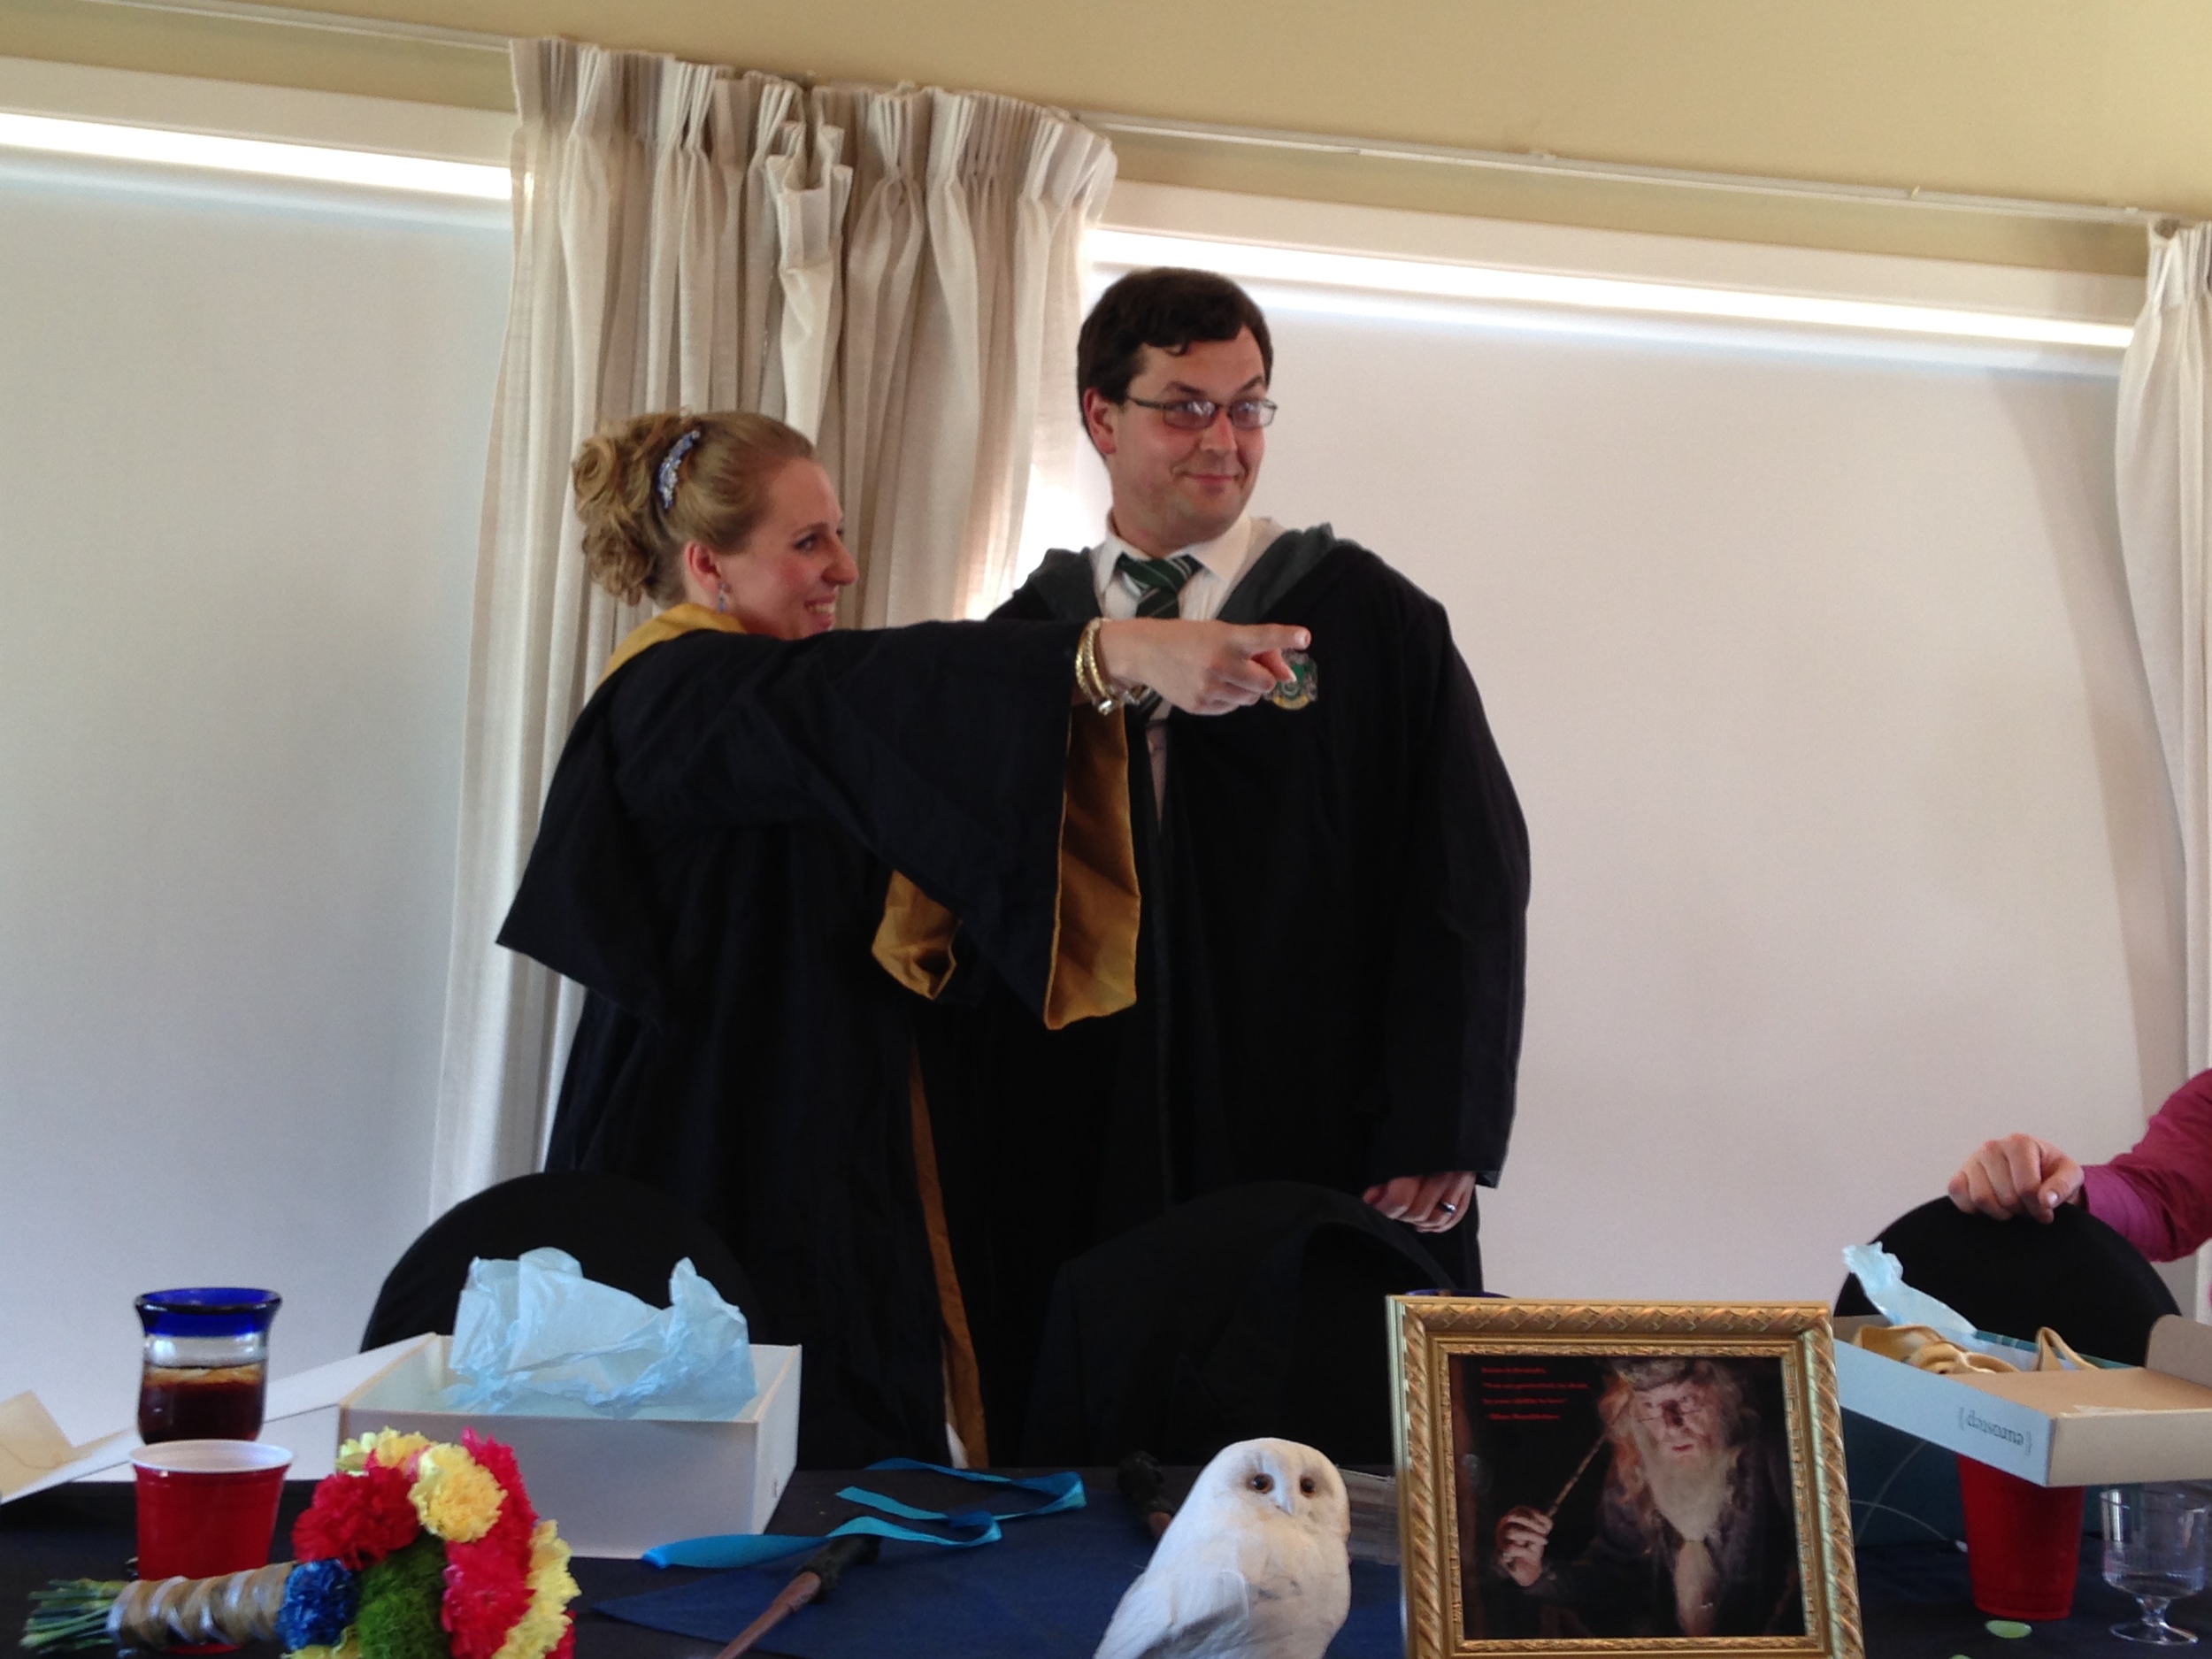
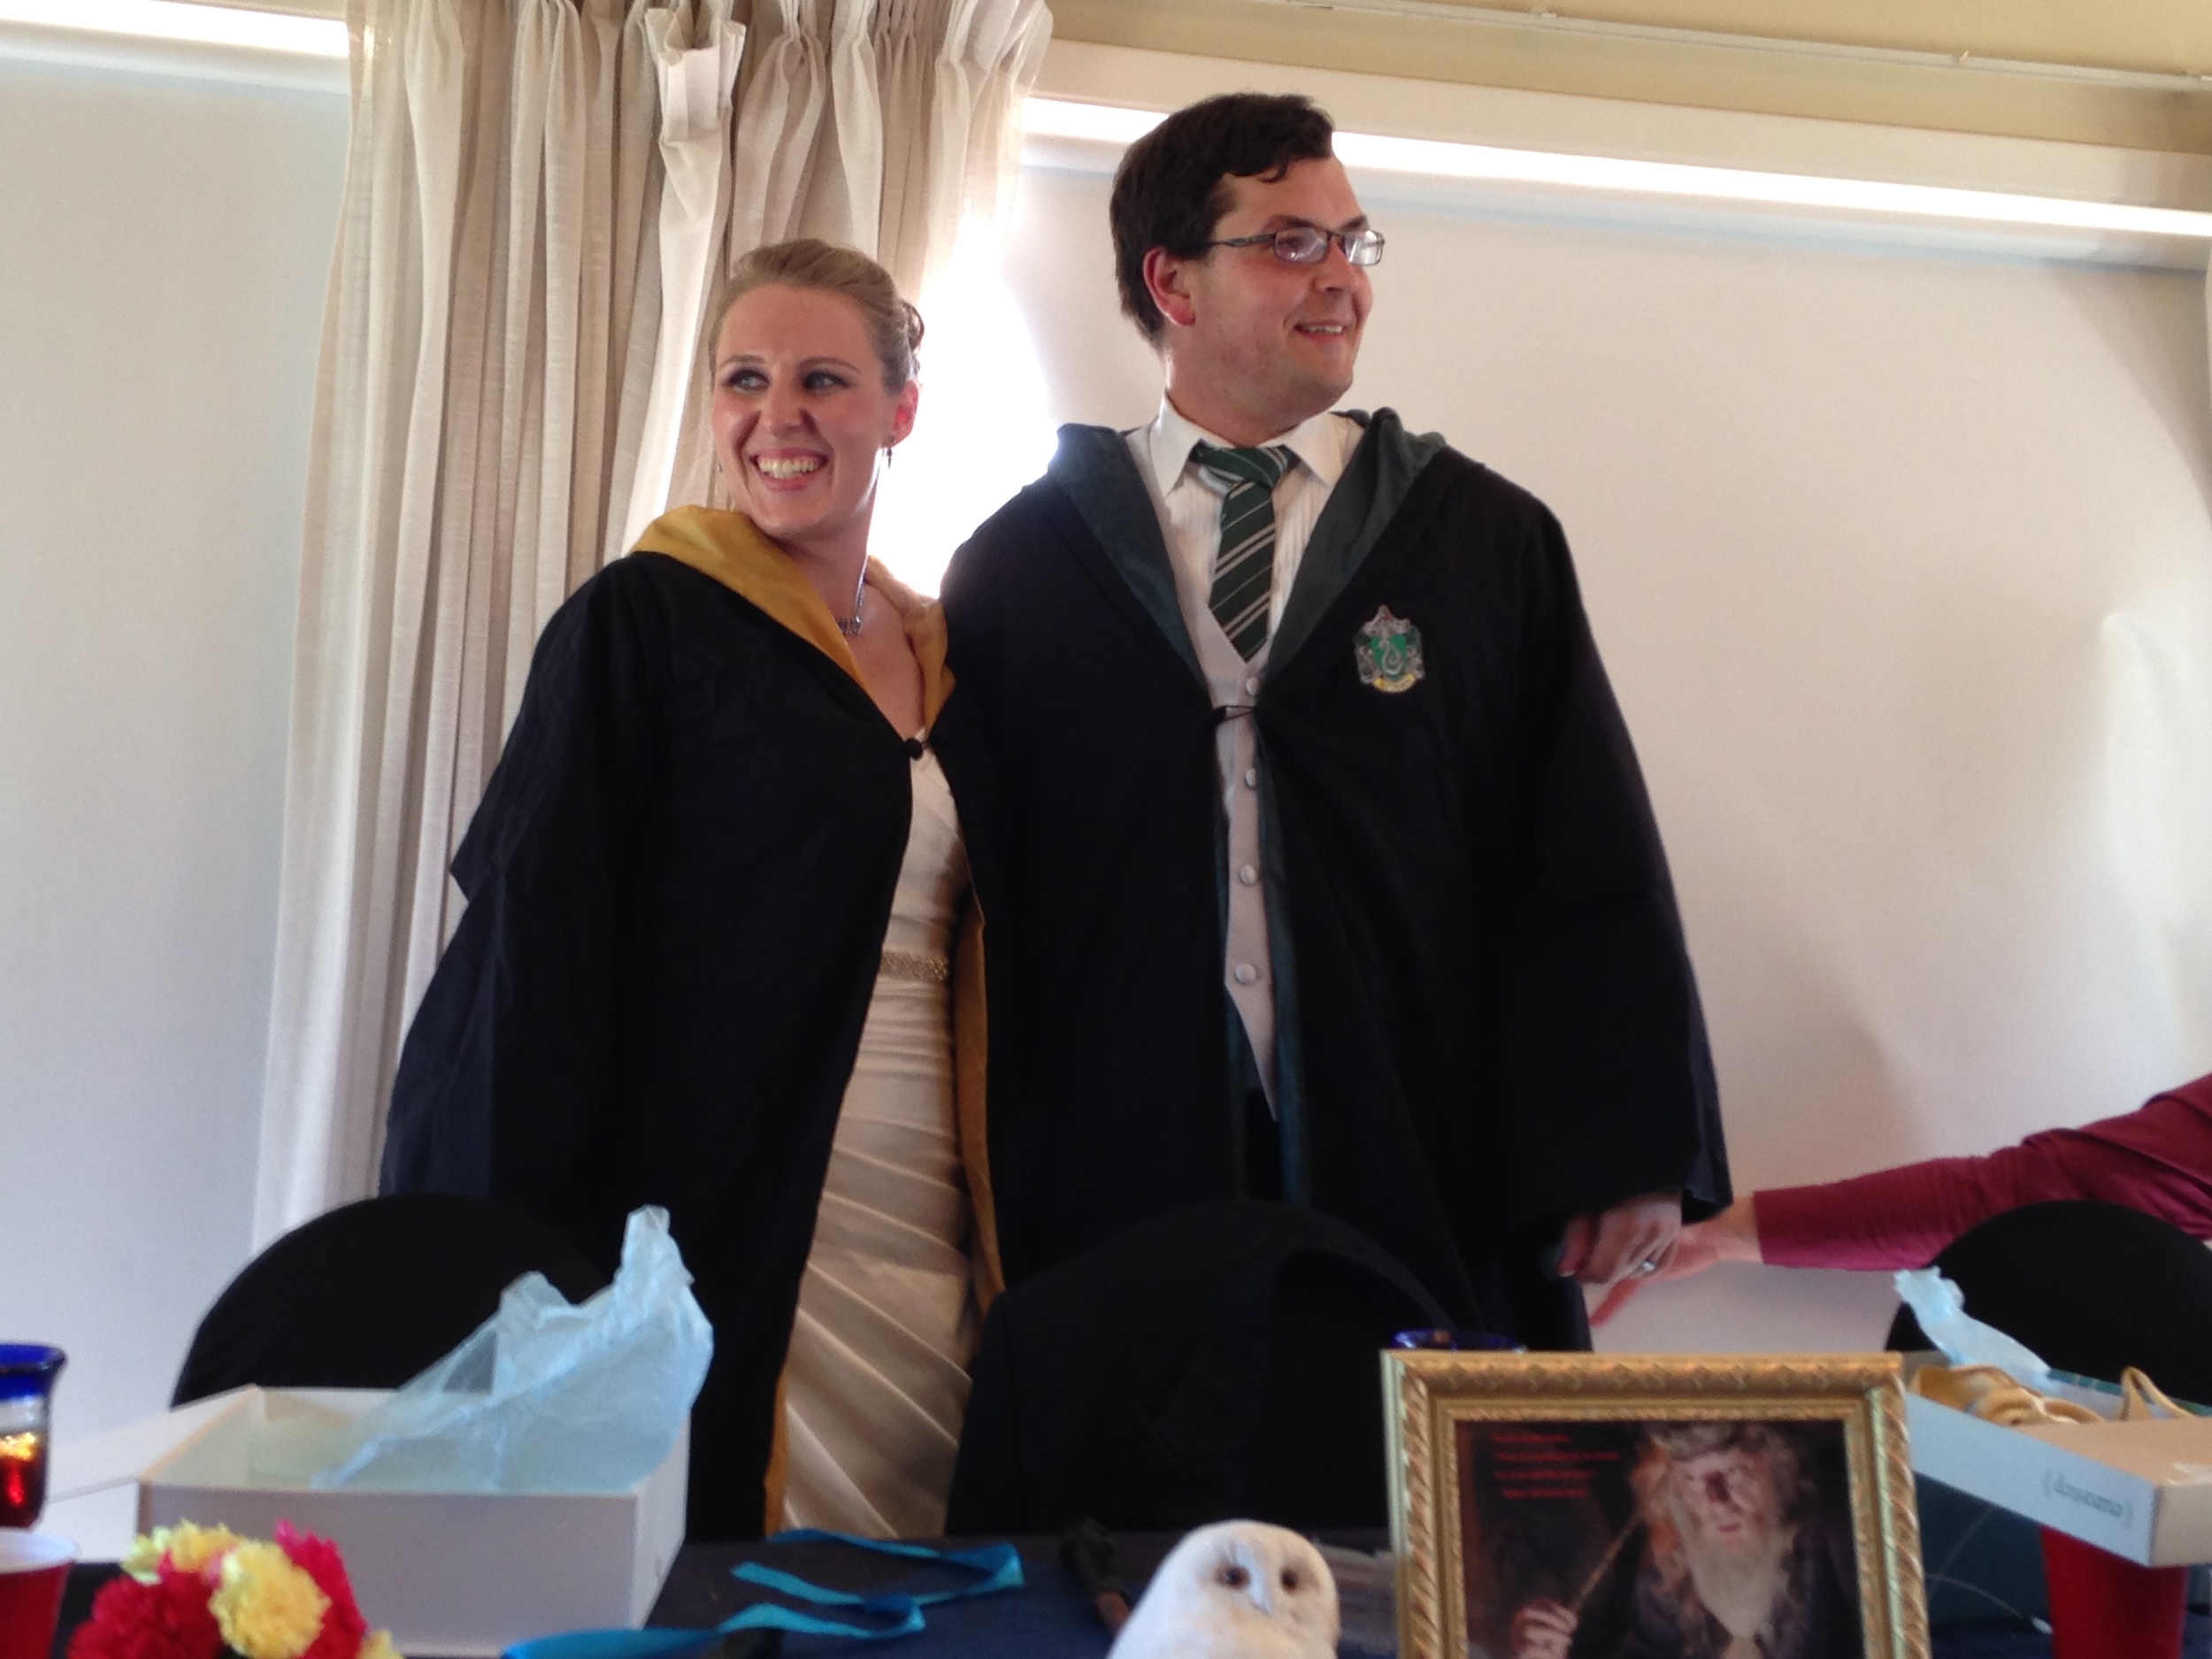
The first thing I made were, of course, the Hogwarts robes for the bride and groom. No Harry Potter themed wedding would be complete without tailored robes! (I did a full post on how I made them here.)

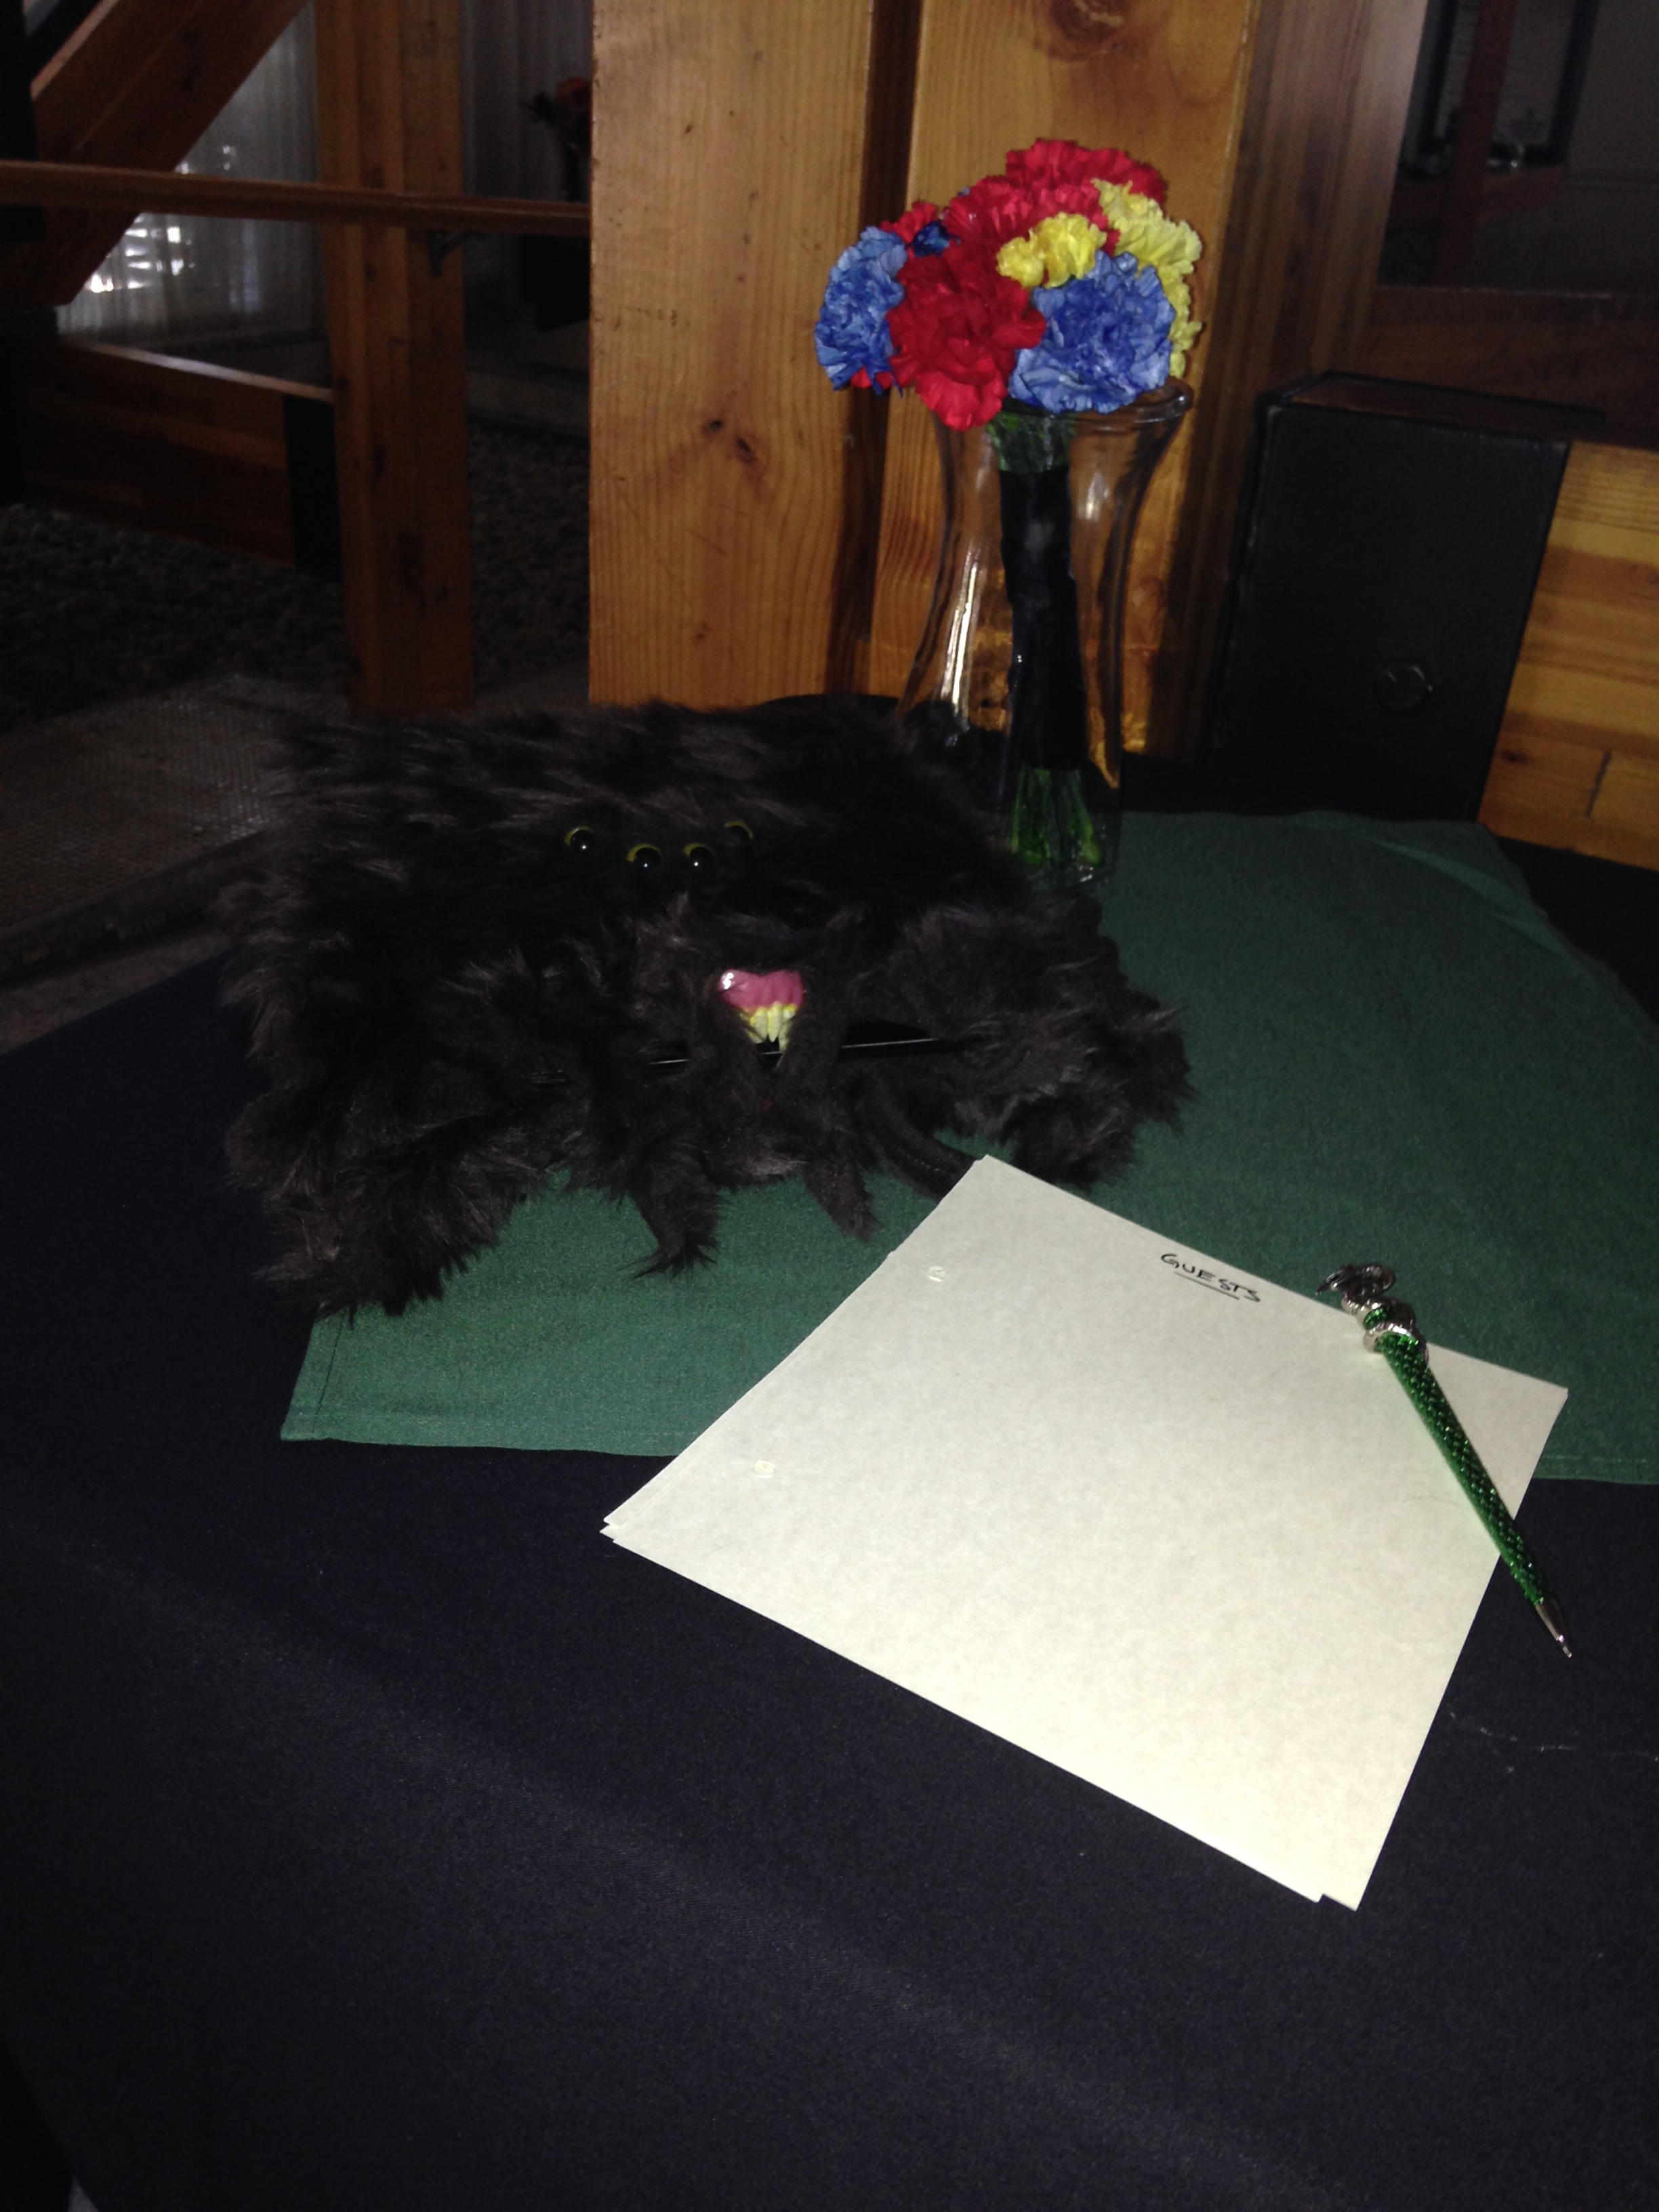
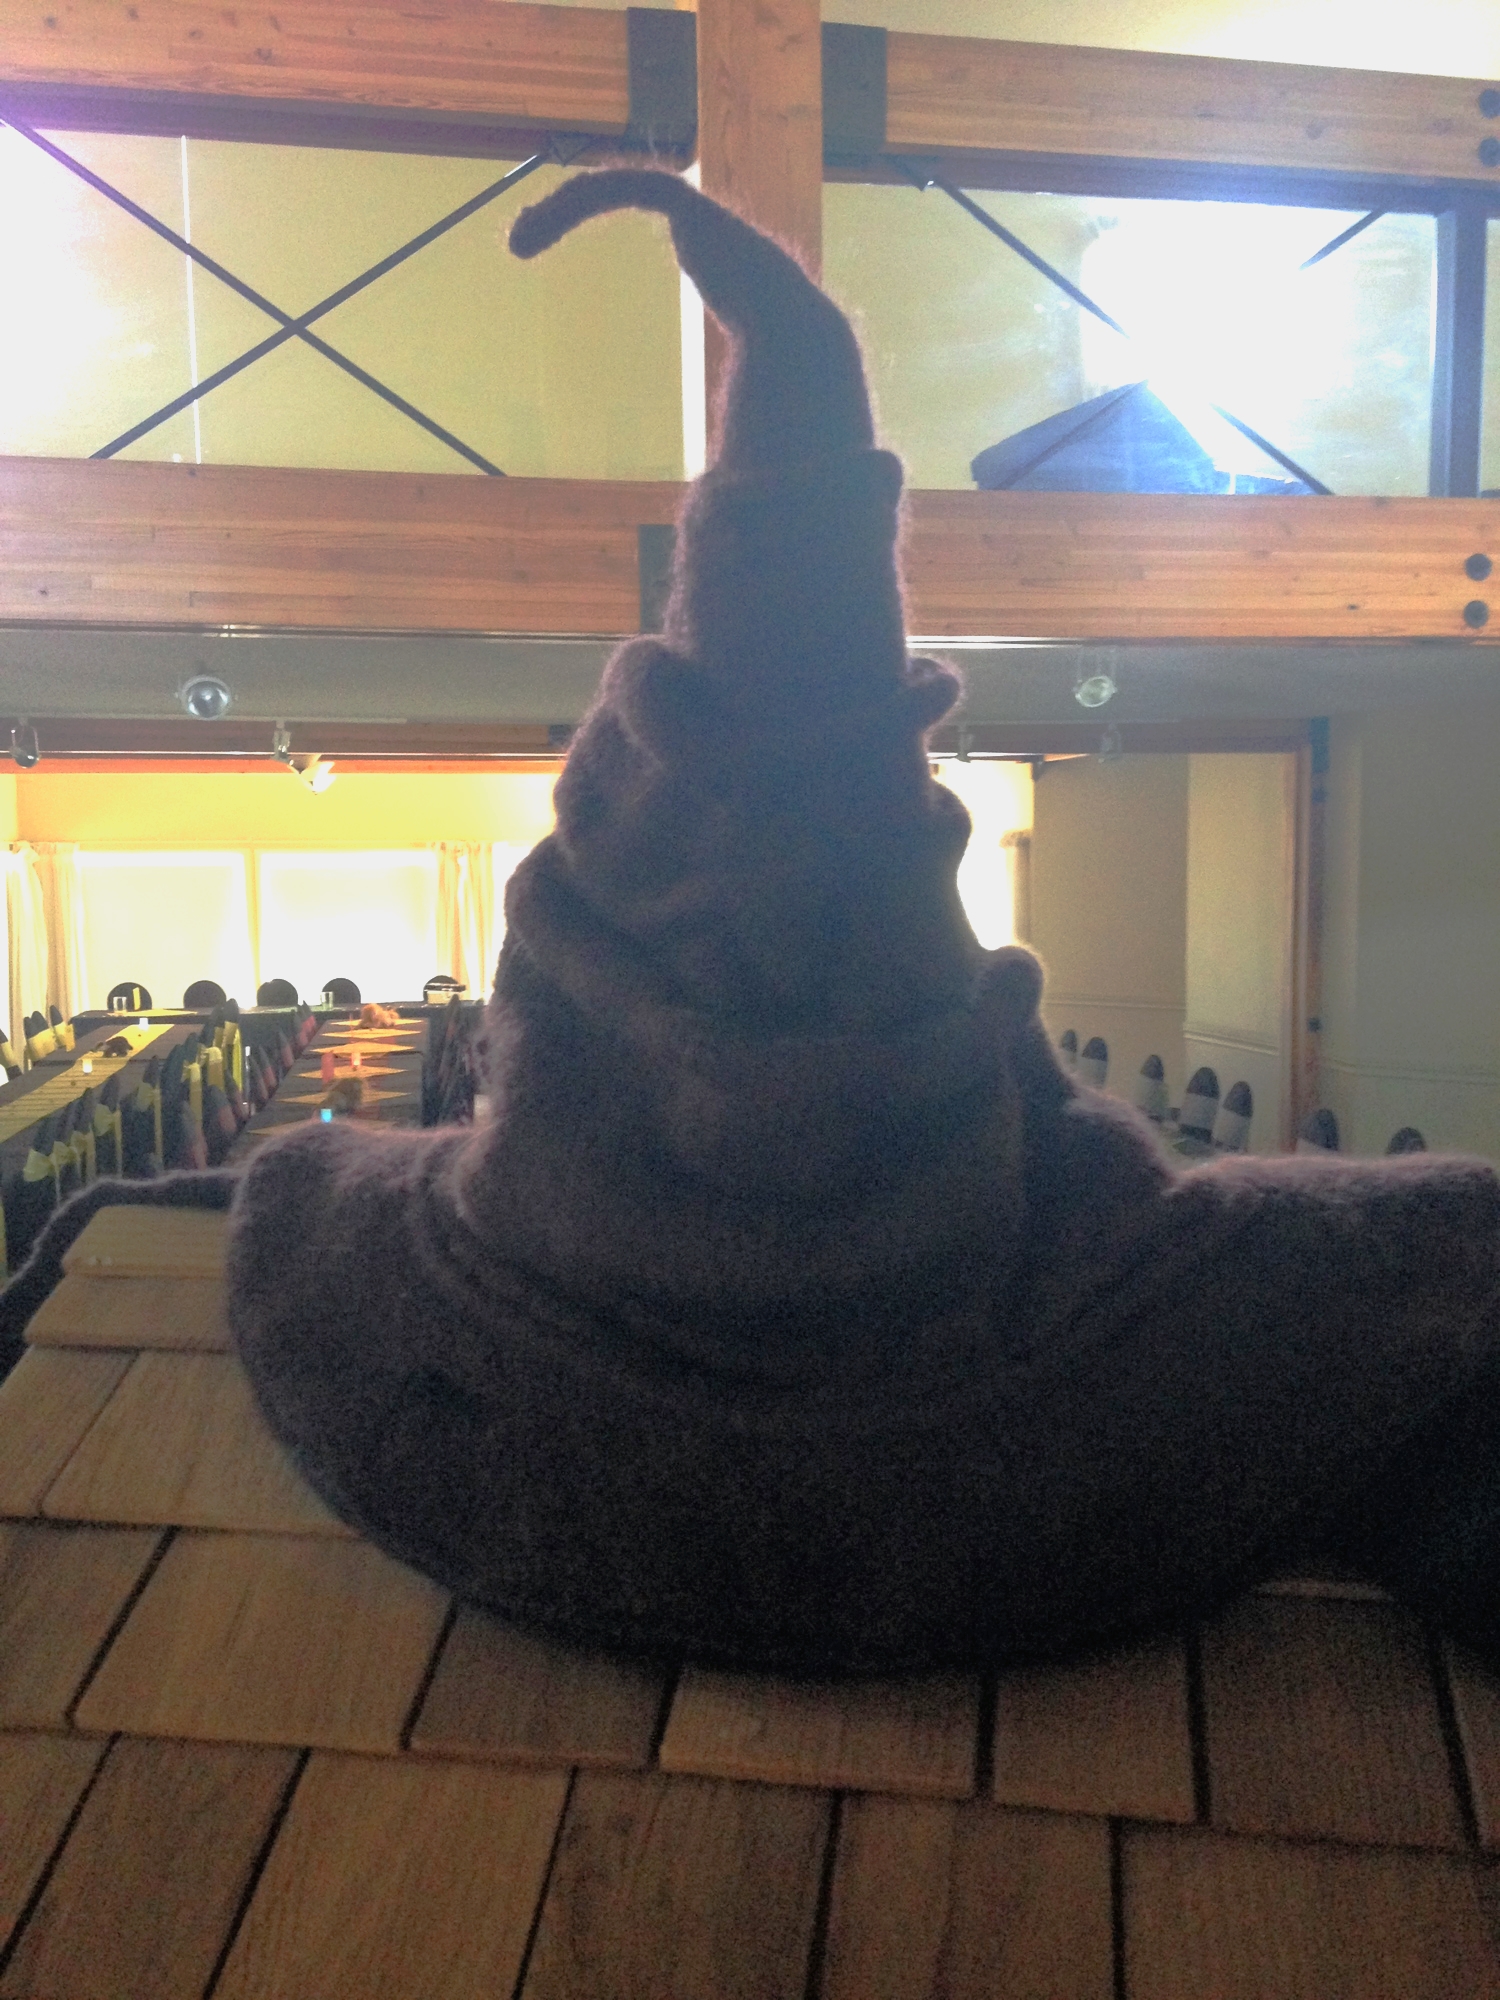
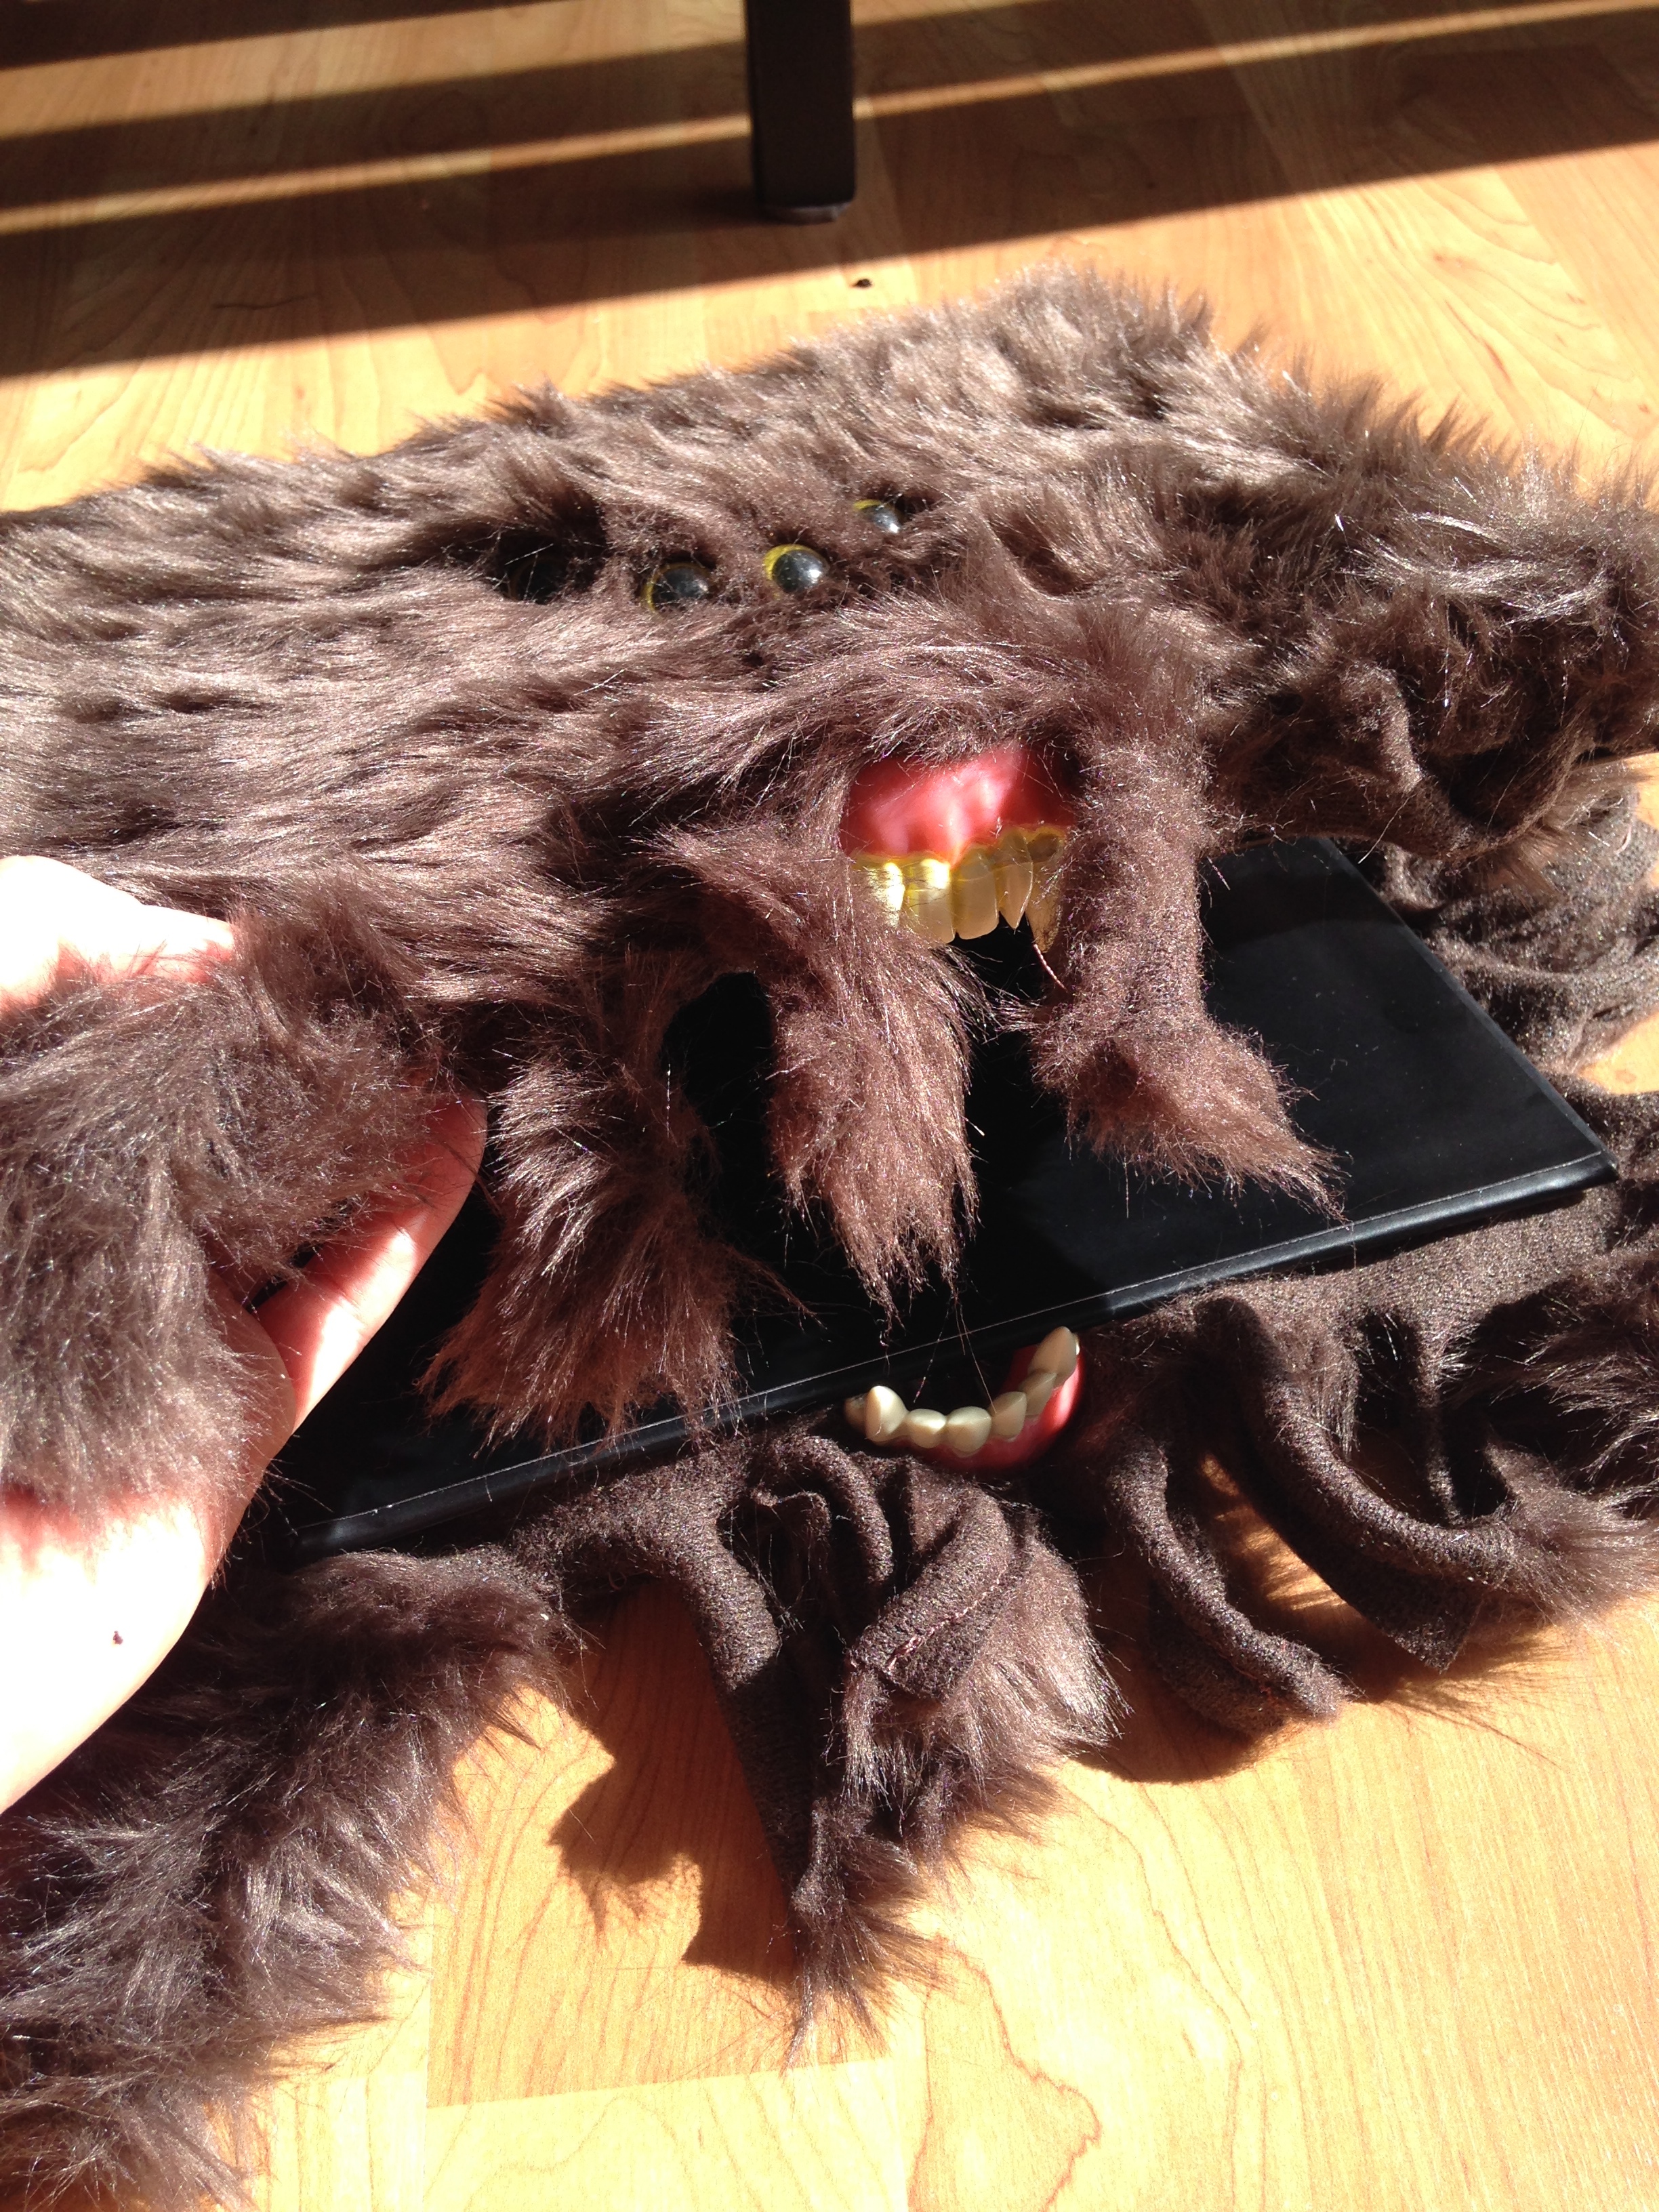
I also had a hand in making the guest book. The Monster Guest Book of Monsters that is.
Monster Guest Book of Monsters
Materials:
Guest book binder (prefeably a cheap one with it's own inserts)
Brown faux fur (enough to cover the outside of your binder and over lap by at least 3 inches)
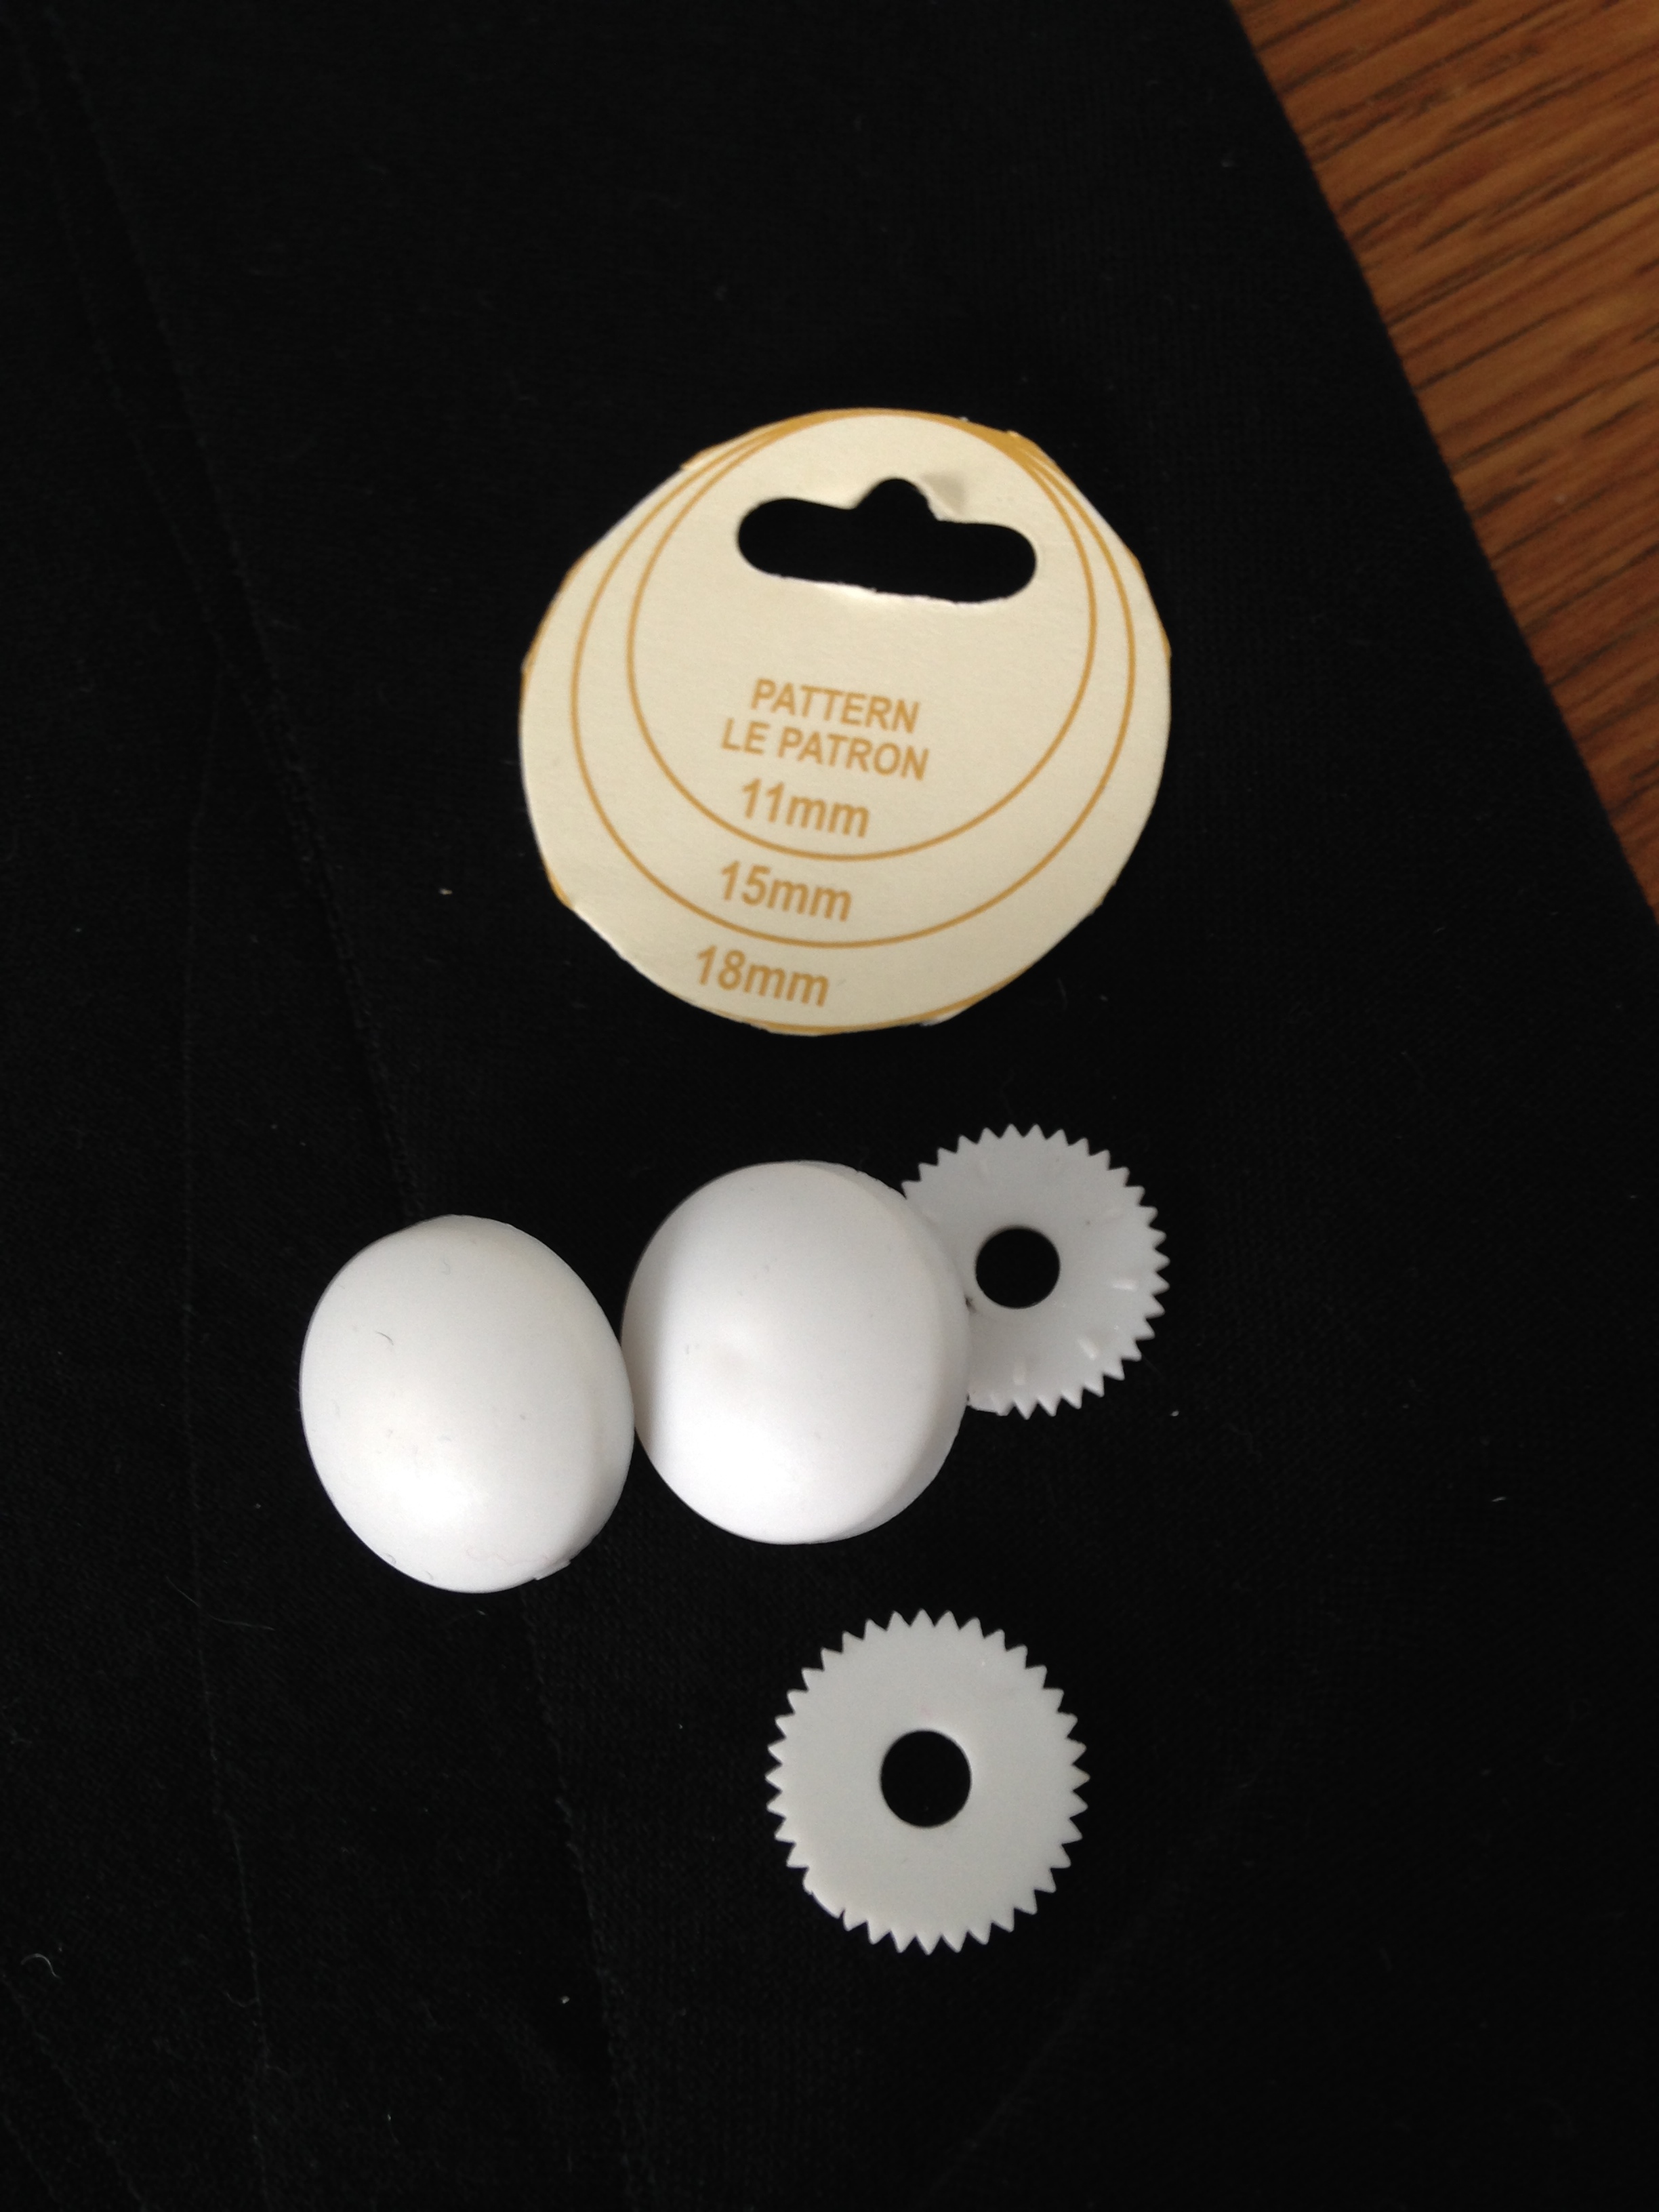
4 fake eyes, yellow
One set of fake vampire teeth (2 pieces)
A hot glue gun
Packing tape
Scissors
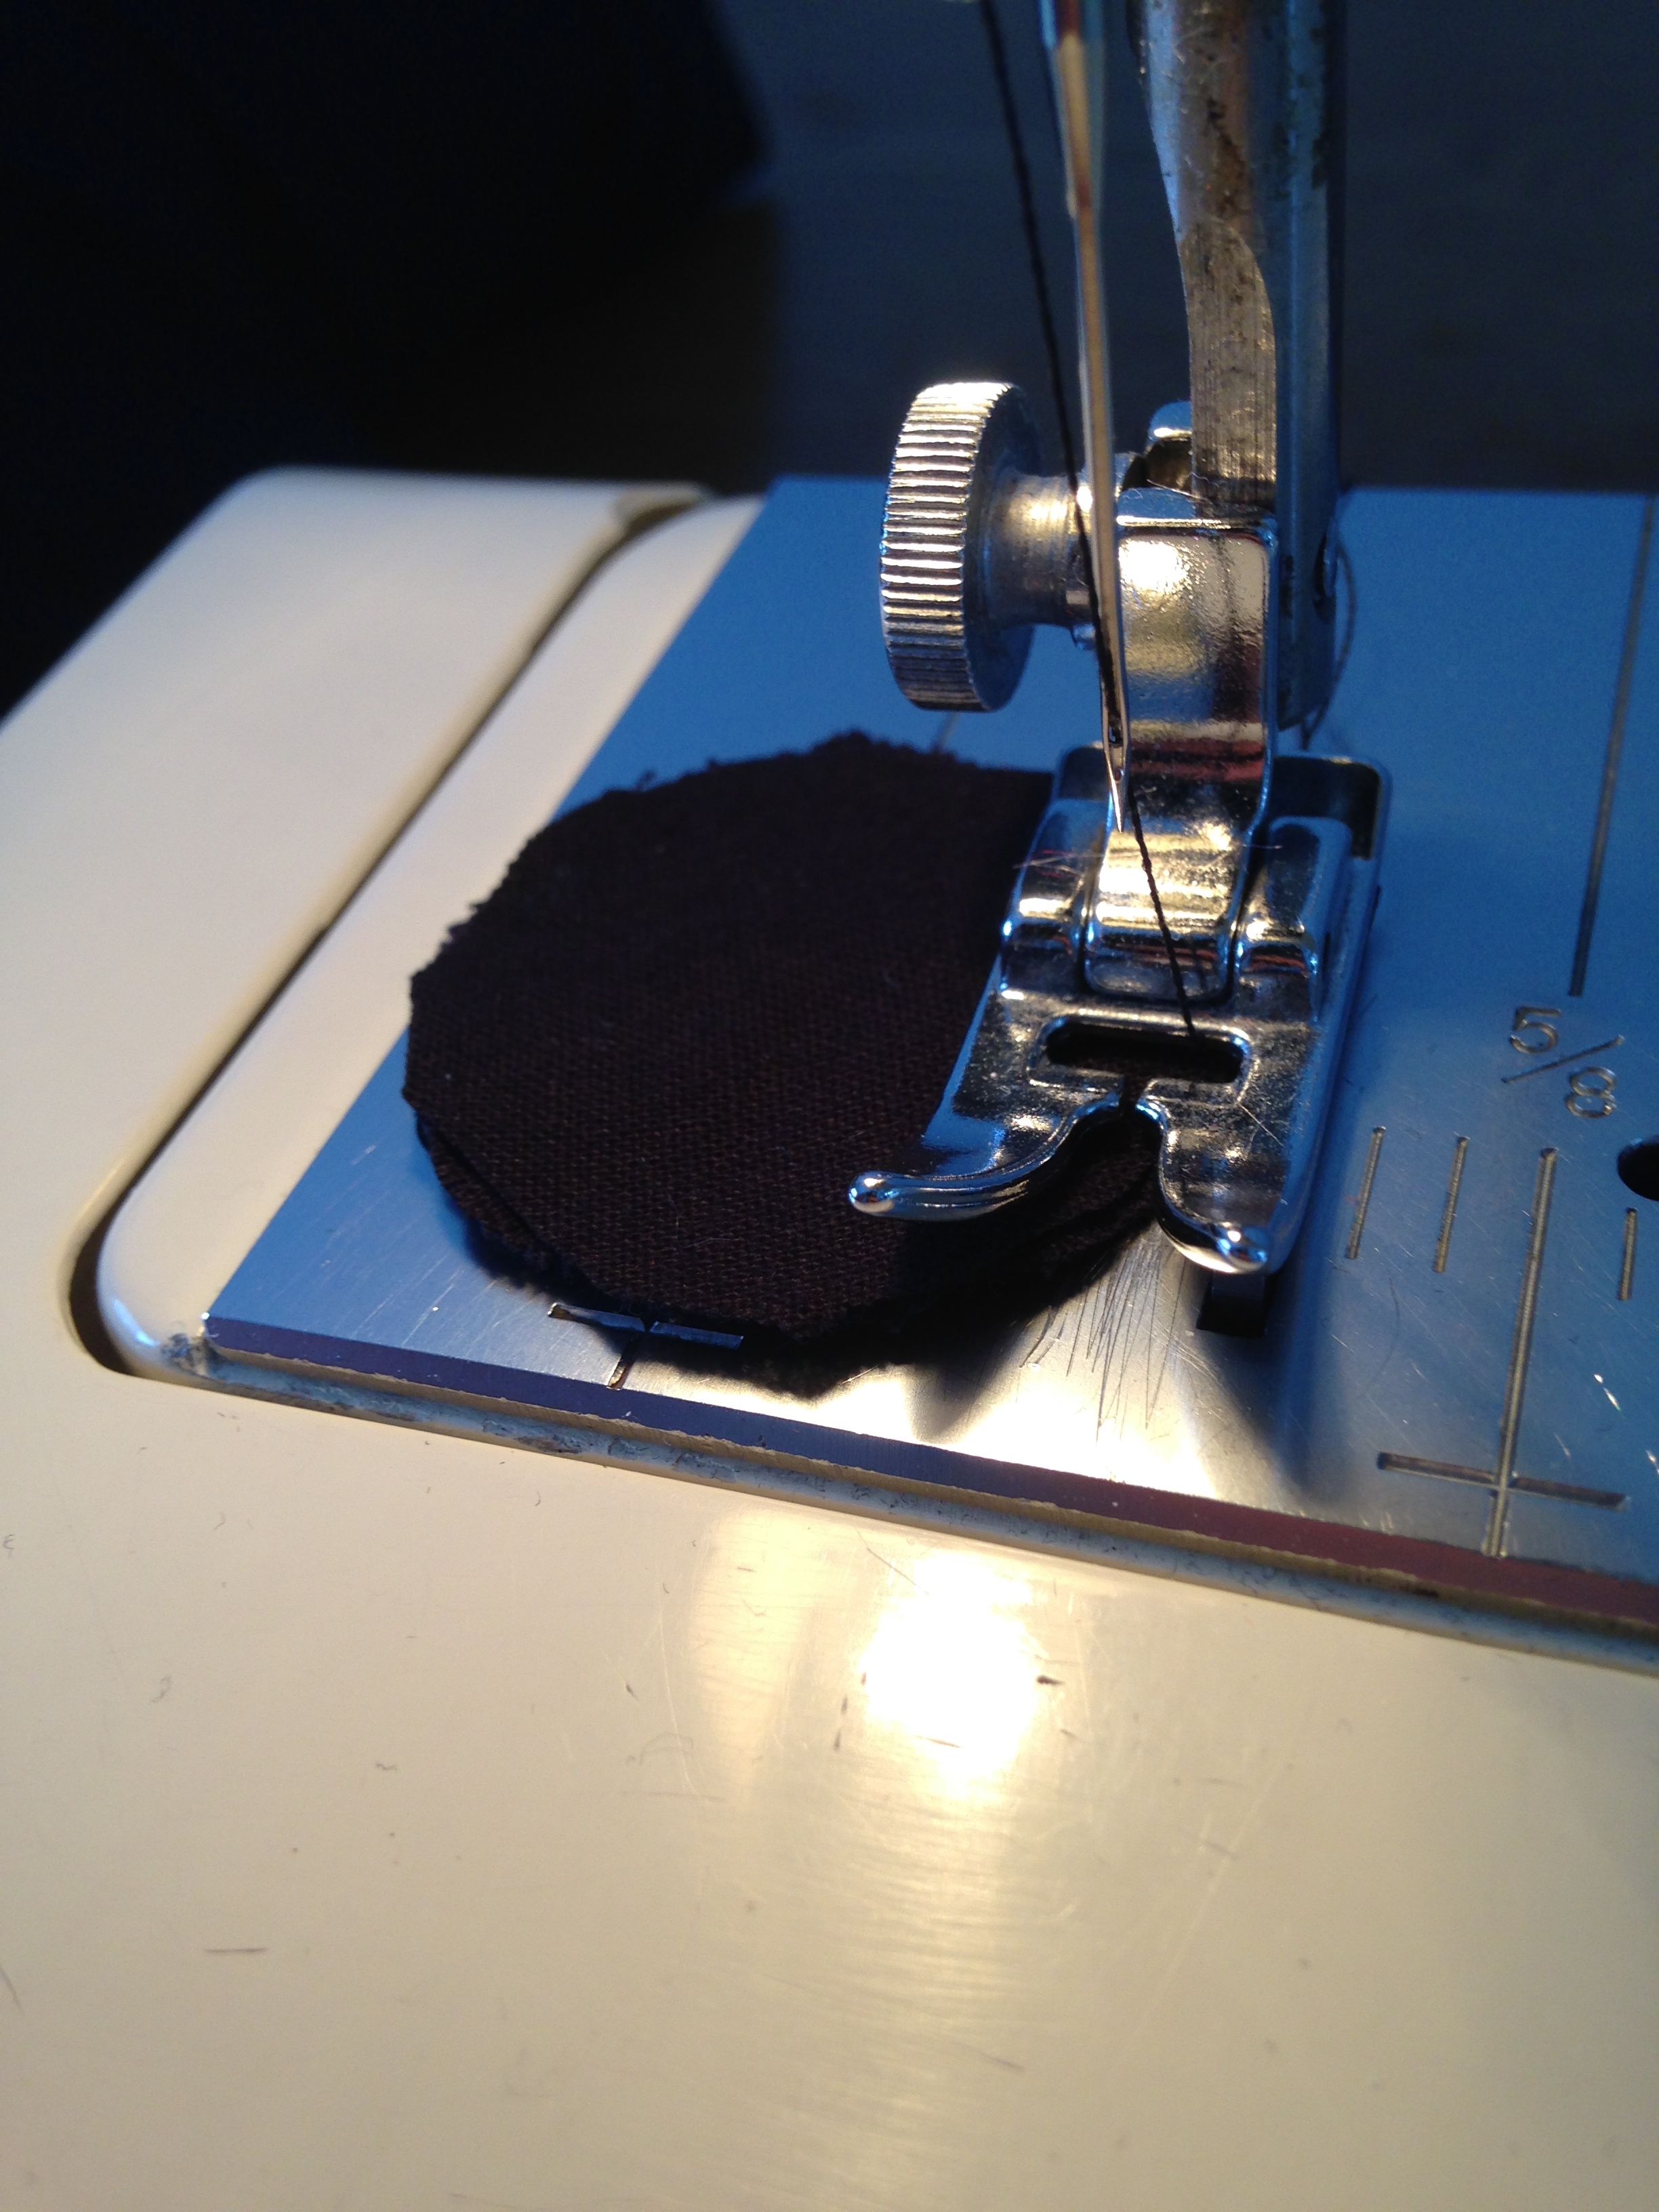
Sewing machine (optional, but it makes it go faster)

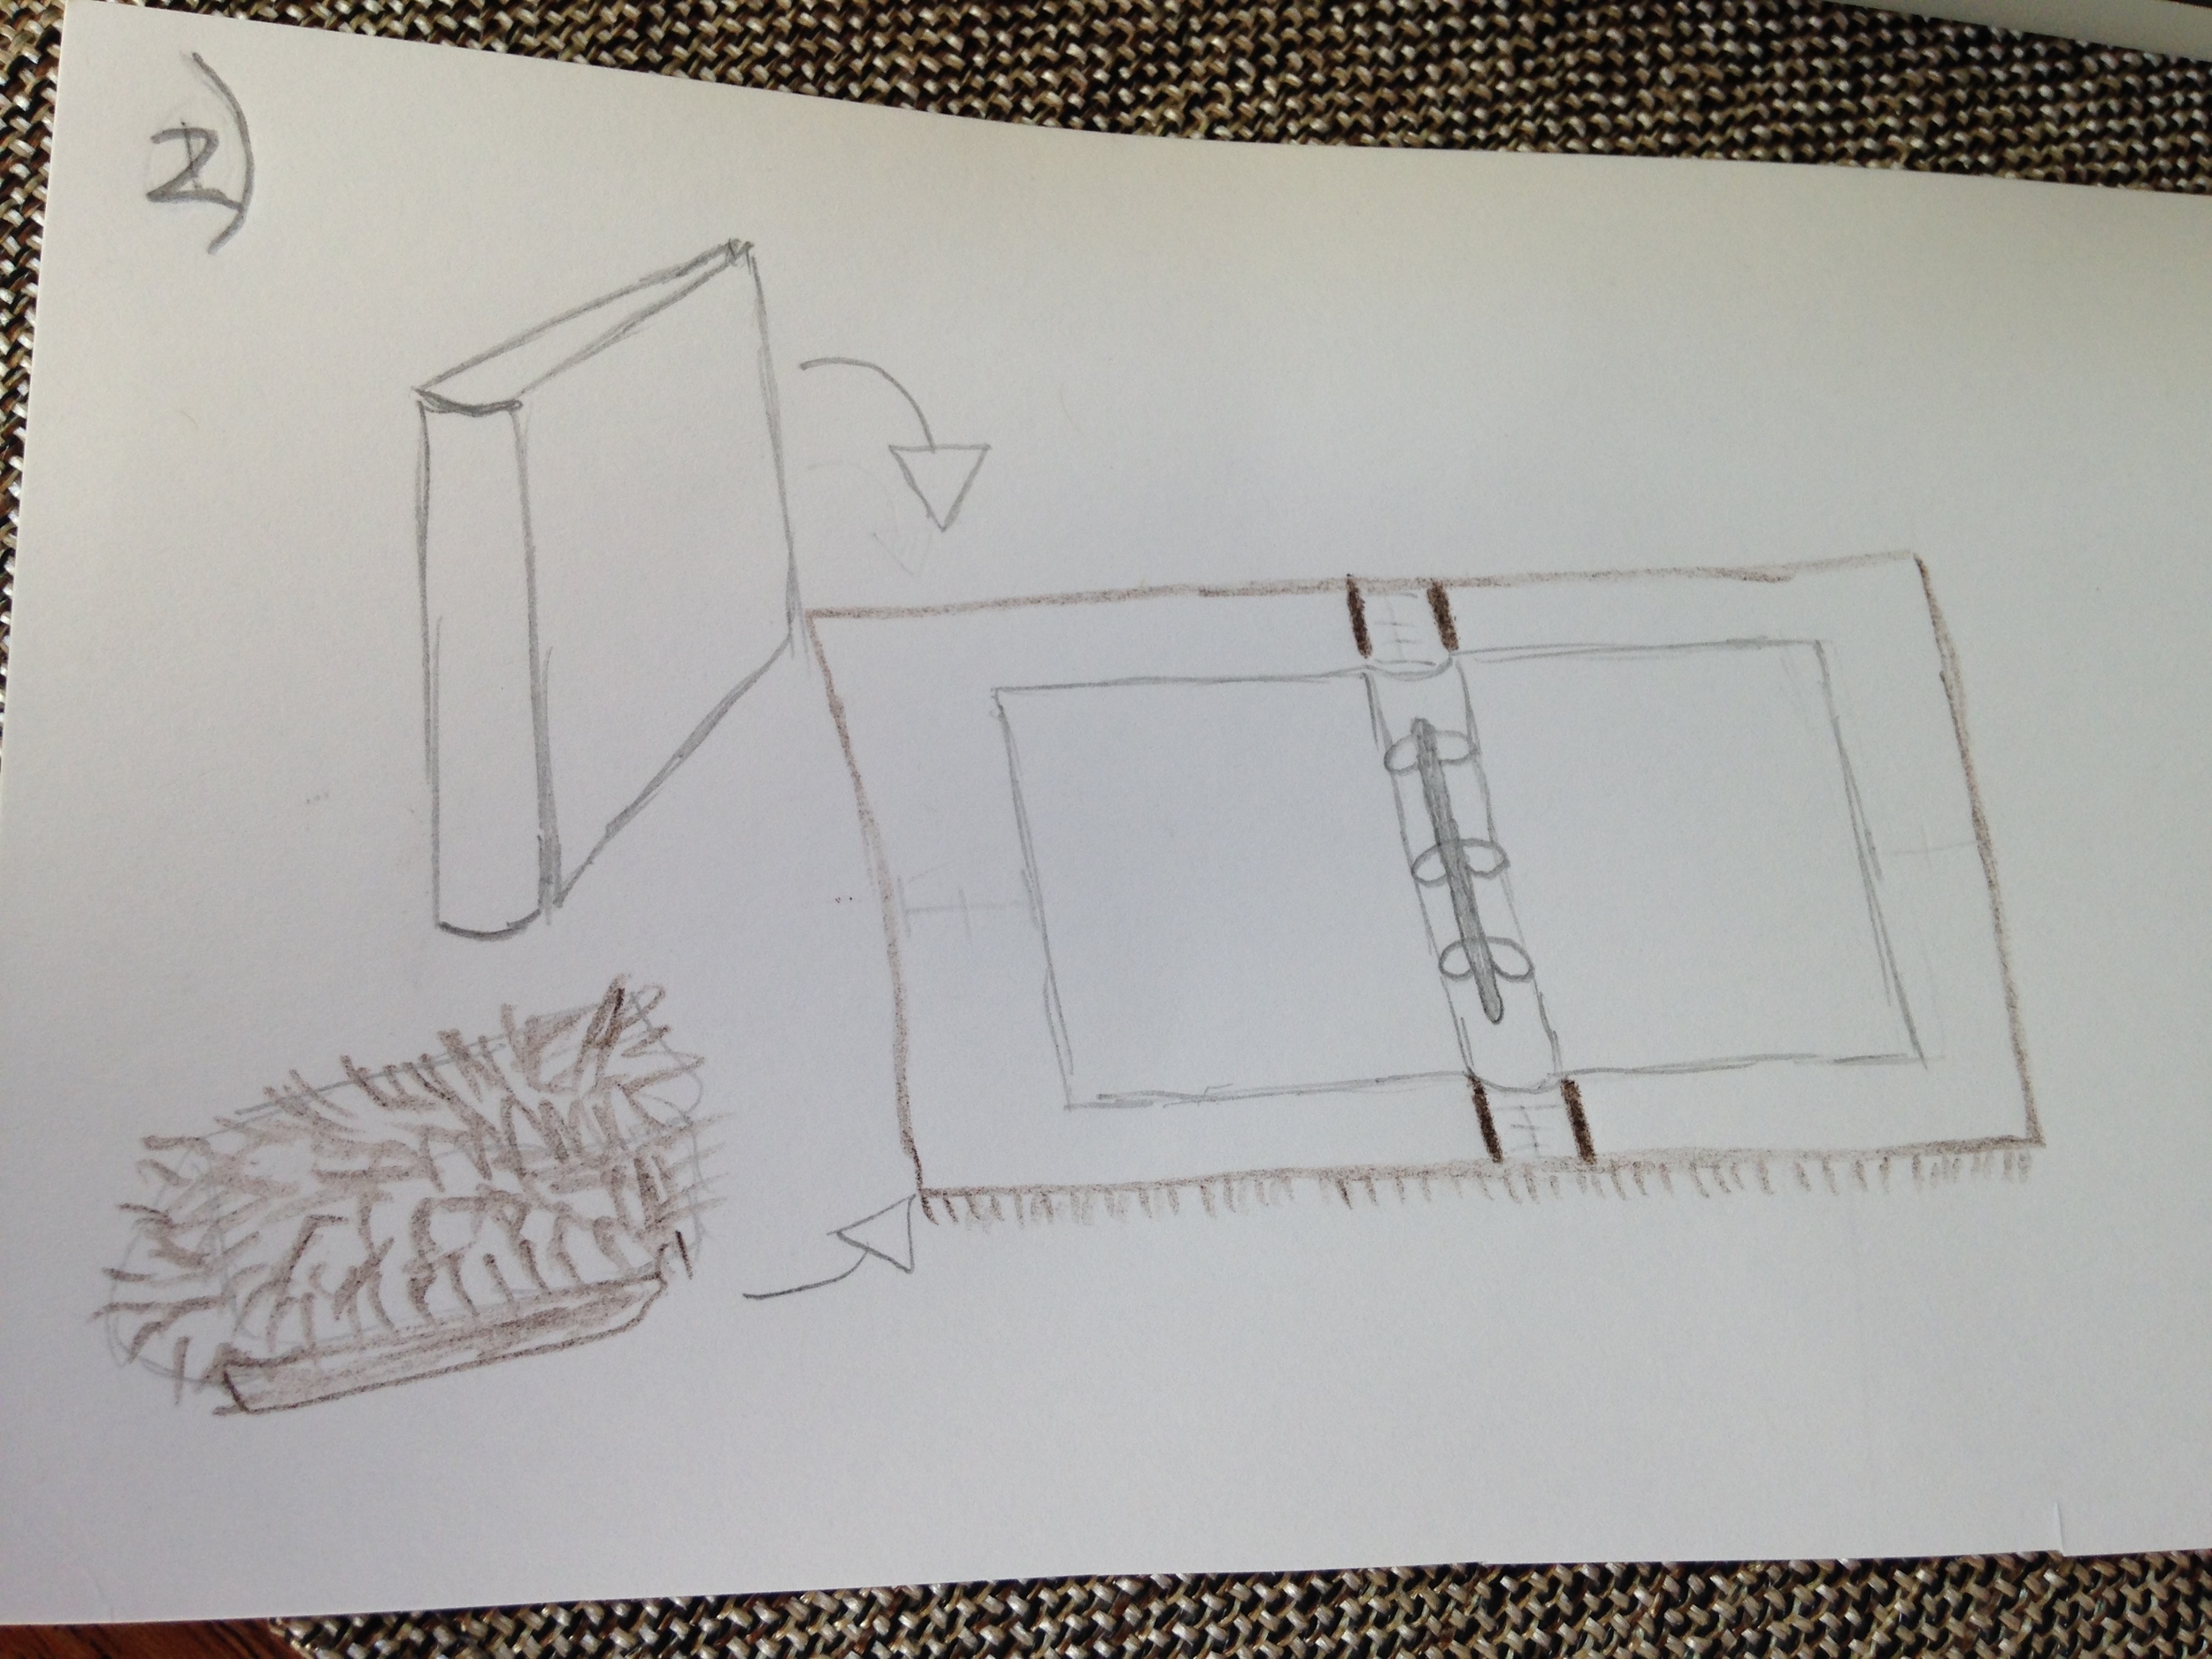

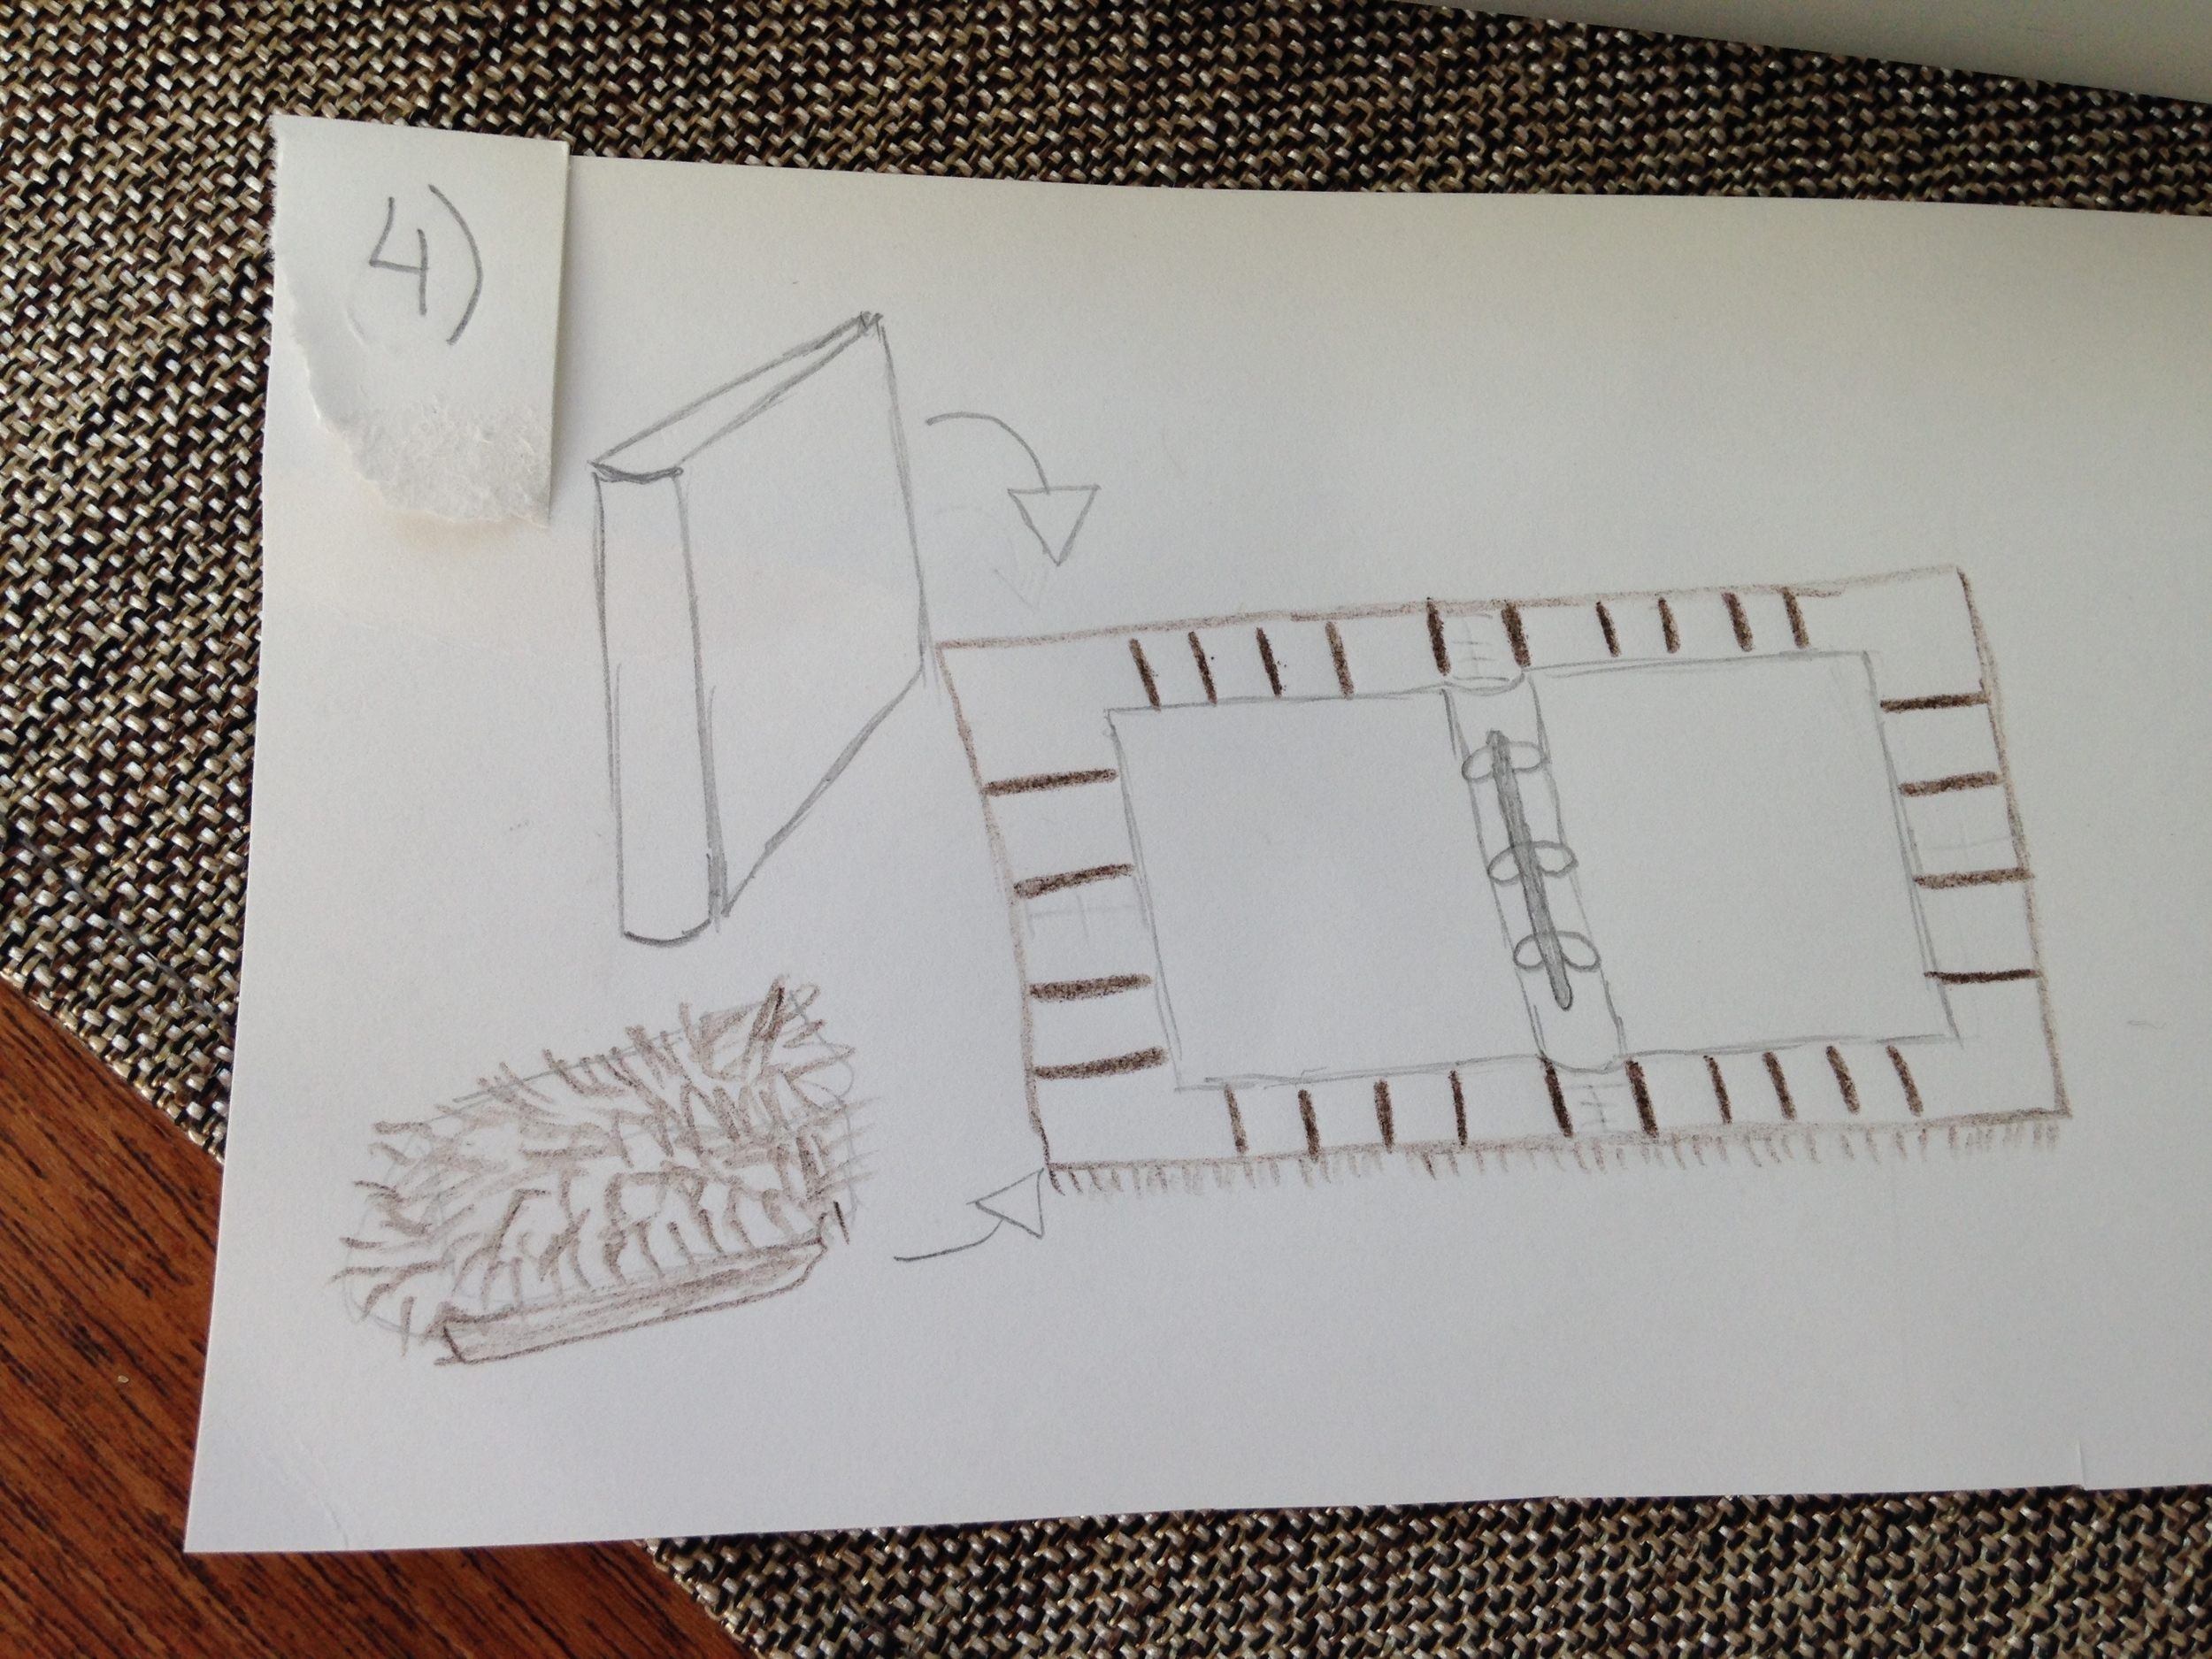

- Lay your binder flat on top of your faux fur. Centre your binder on your faux fur (wrong side - nonfuzzy side) so that it has an equal over lap on all sides.
- Make four cuts, two on each side, in line with the binder's spine.
- Make approx. 4 cuts on each of the horizontal sides.
- Make approx. 4 cuts on each of the vertical sides.
- Cut strips diagonally from each of the four corners.
- With the sewing machine, sew right sides together, with a ~0.5 cm seam, of all strips except those that line up with the binder spine. This will make the tendrils that come off the cover. For the 4 corners tendrils, sew right sides together and then turn the tendrils right side out. (You may need a pencil or chopstick to help turn them right side out.)
- Hot glue gun the vampire teeth to the centre edges of the vertical sides (aka the mouth opening). You may need to also use packing tape to keep the teeth secure.
- Hot glue gun the spine flaps to the inside of the binder spine.
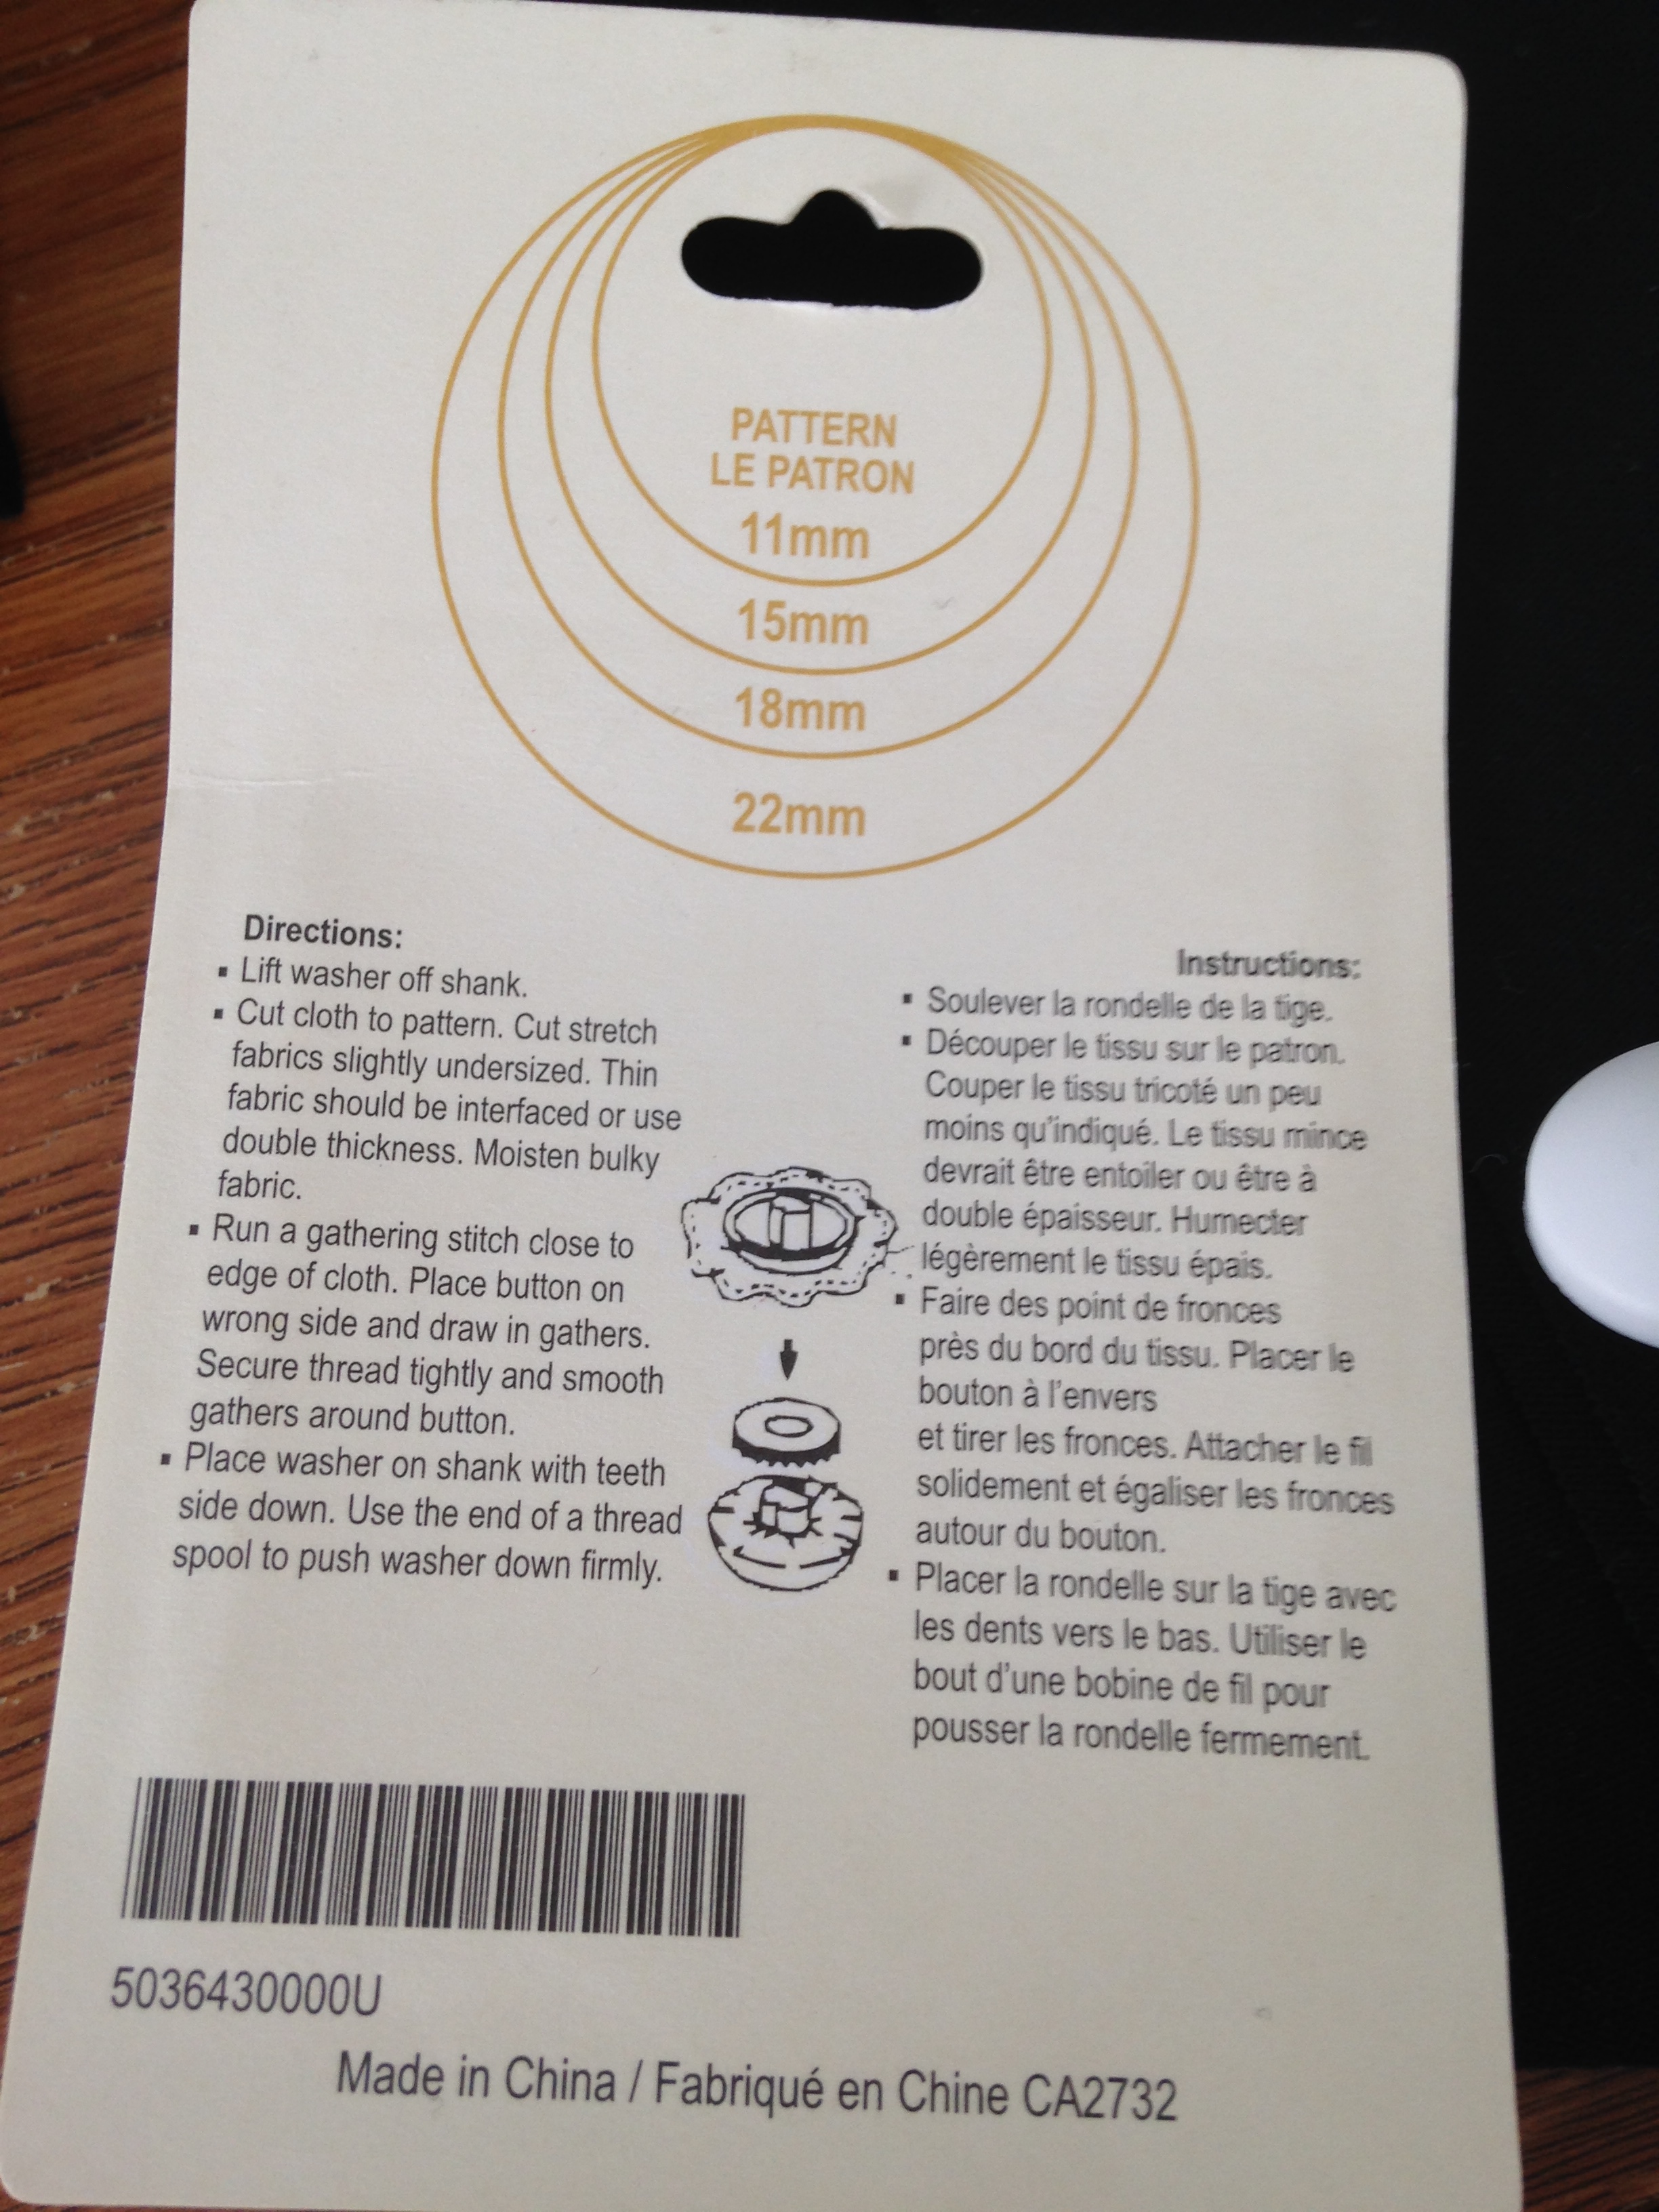
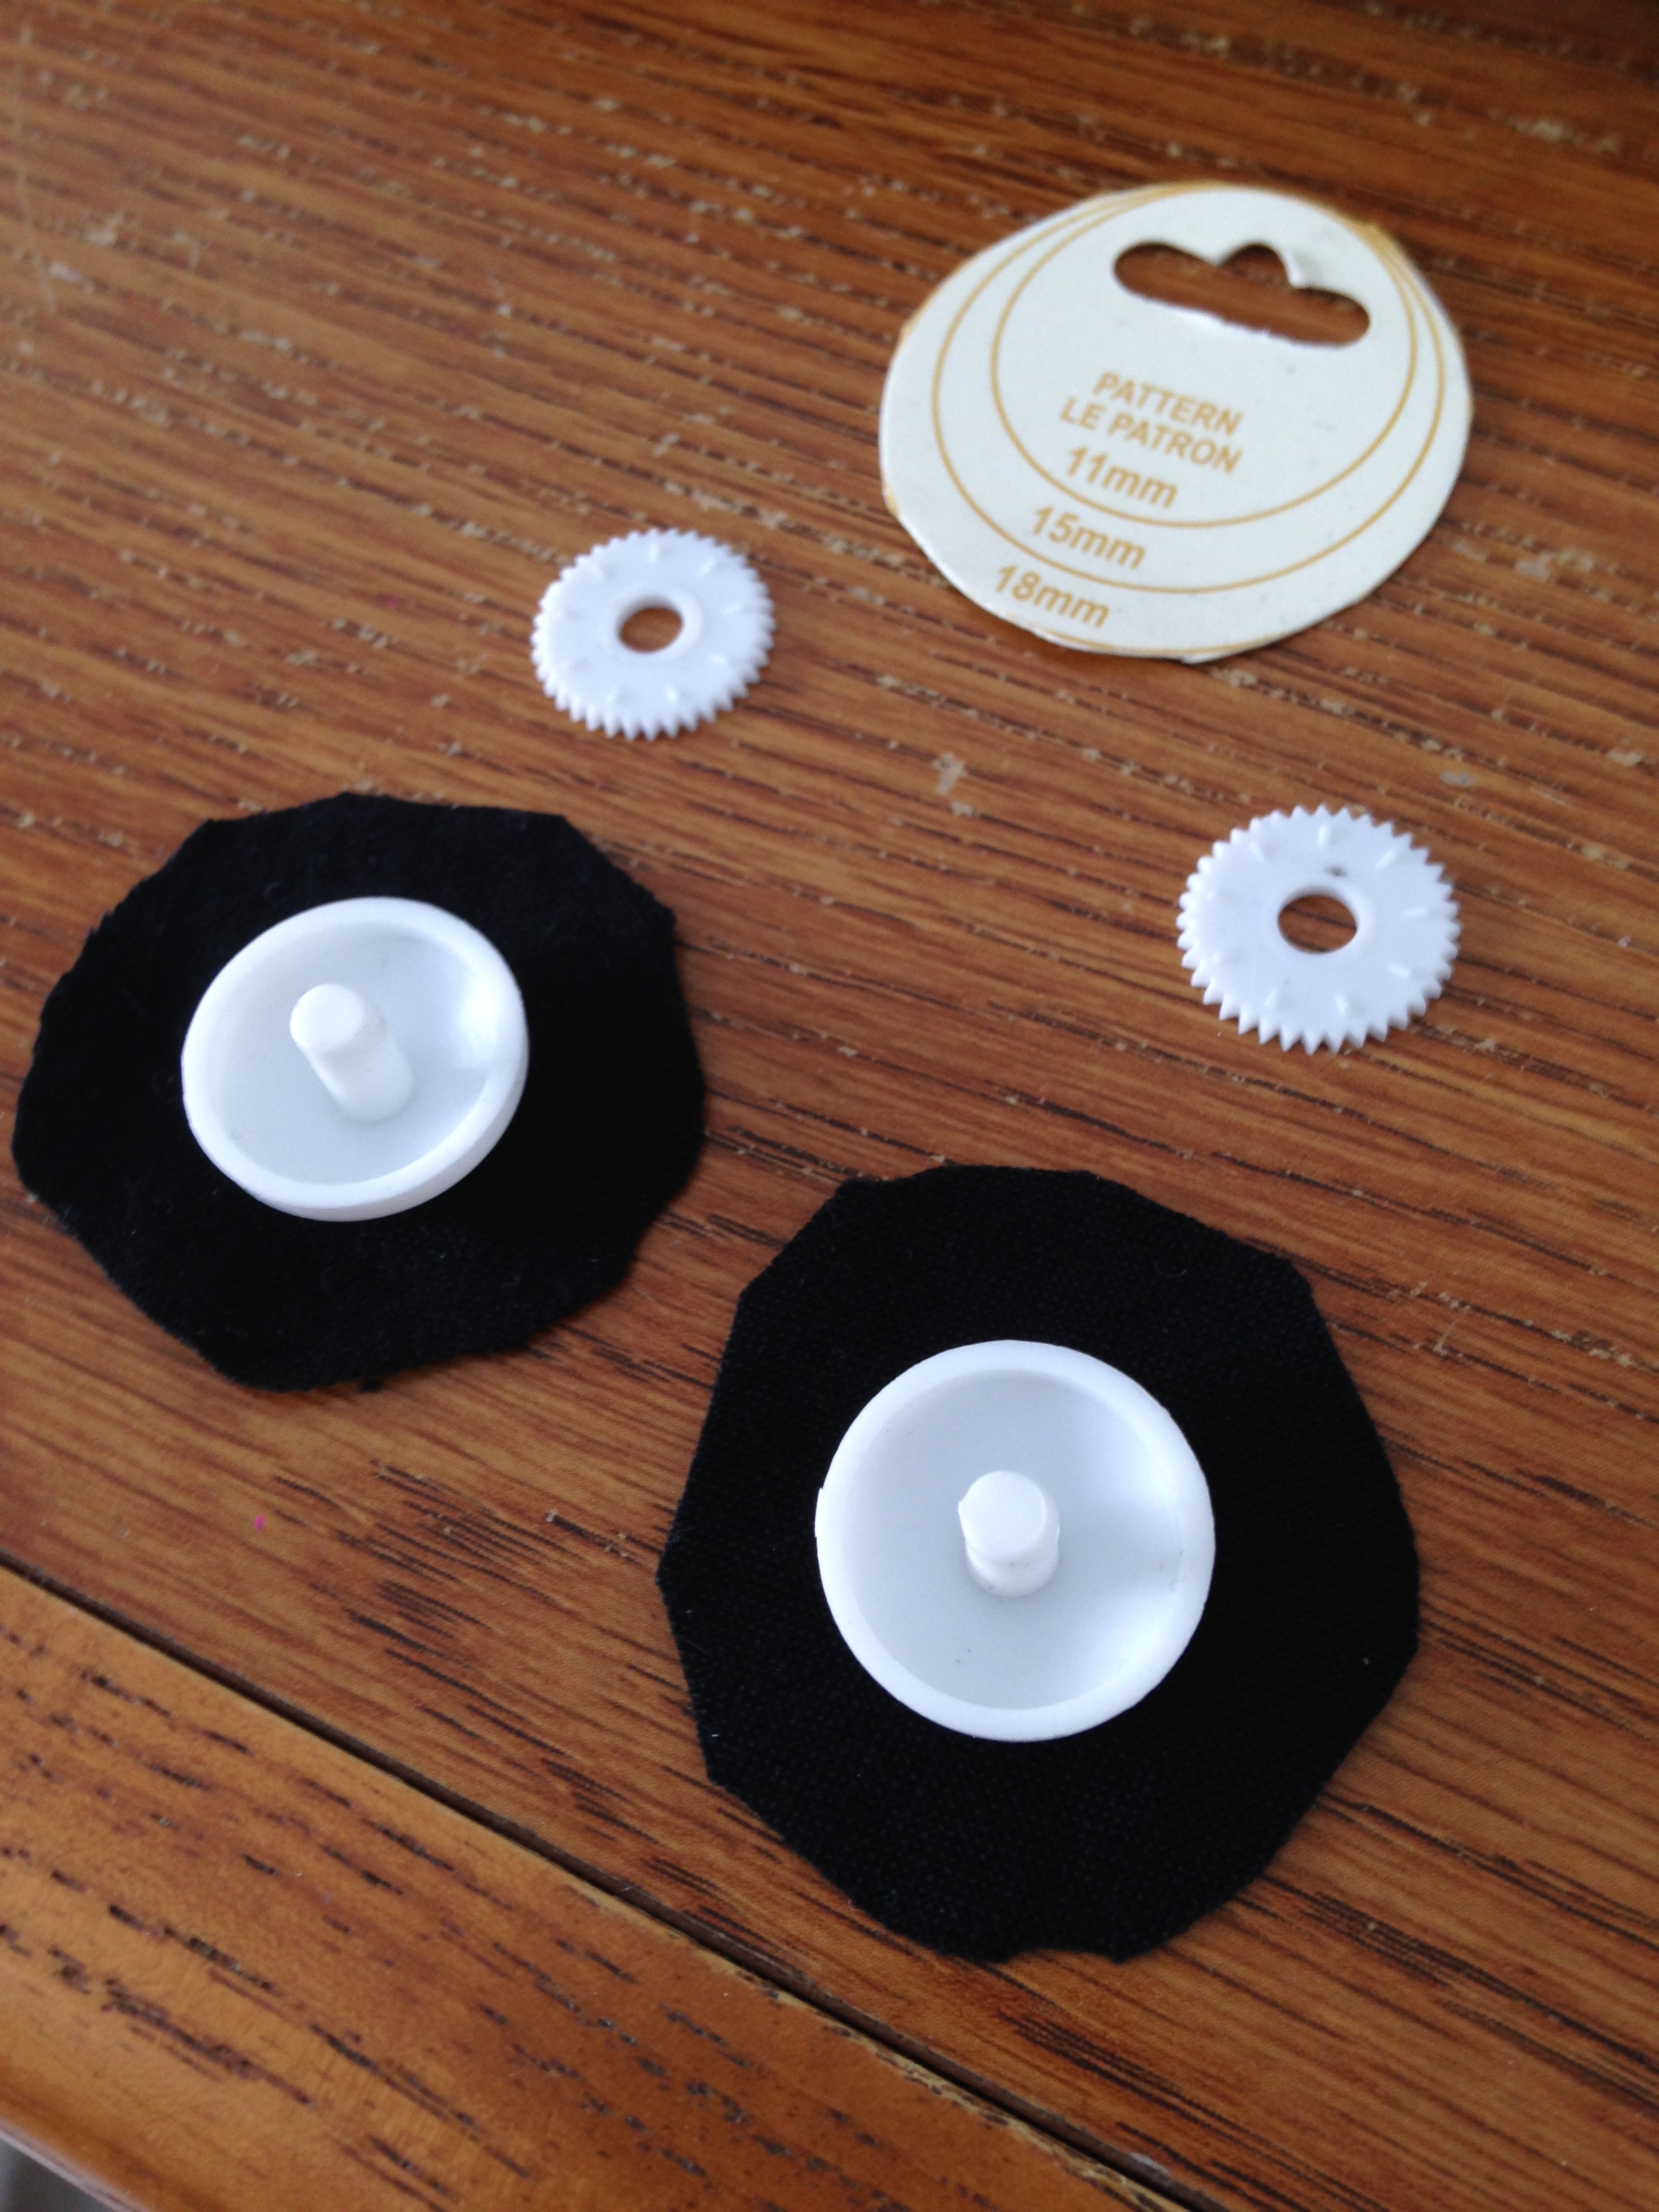
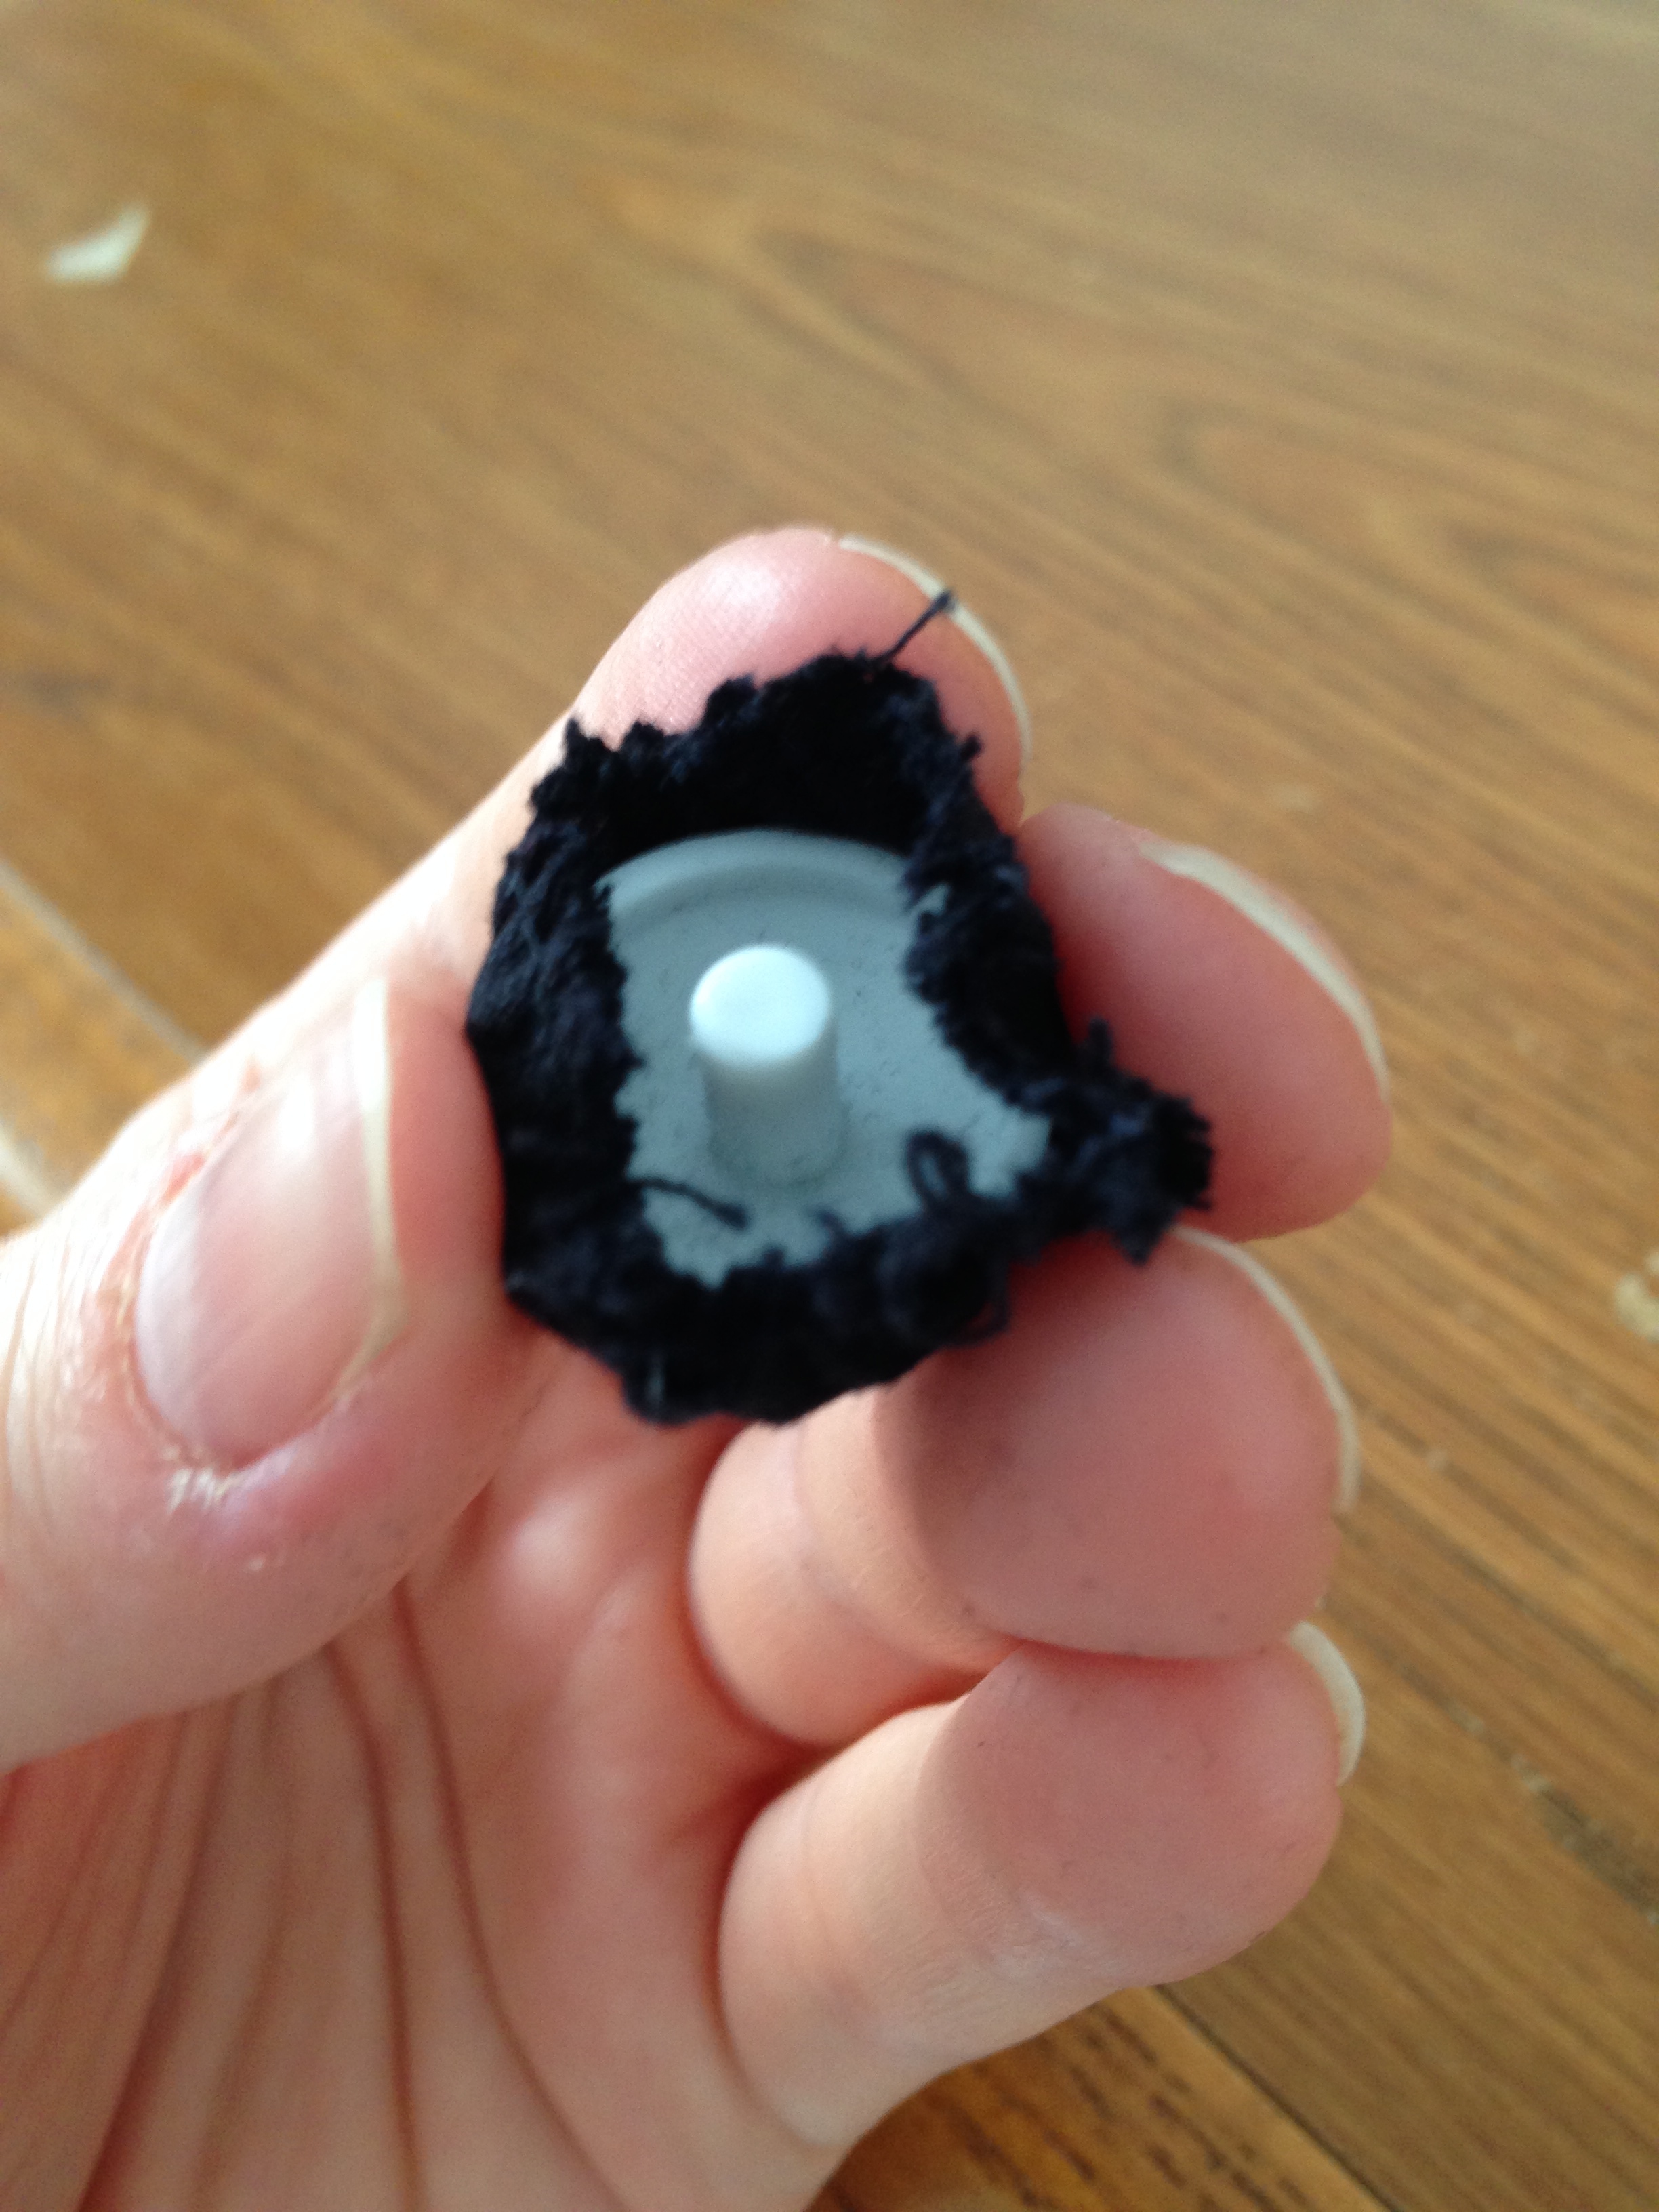
- Flip over the now fuzzied binder. To place the eyes, draw a semi-circle on the wrong side (nonfuzzy side) in the centre of the 'top' cover of your monster. Evenly disperse the eyes along the semi-cirlce and mark where you'd like the eyes to go. Then go ahead and attach the eyes, making sure the pupil ends up peeping out of the fur on the right side. Attaching the eyes will depend on the type of fake eyes you get. Usually they comes with instructions. I cut a small hole for each of my eyes and pierced through the slits with the eye posts. Then I fastened the eye posts with a plastic washer.
- Gluein' time! Hot glue gun the cover fabric to the binder covers. Make sure that your eyes are pointing forwards, towards the monster mouth. Also arrange your tendrils in a way that makes them looks 'natural'.
- You're done! Now do up some HP themed pages to put besides your furry fiend and let the crowd sign away!
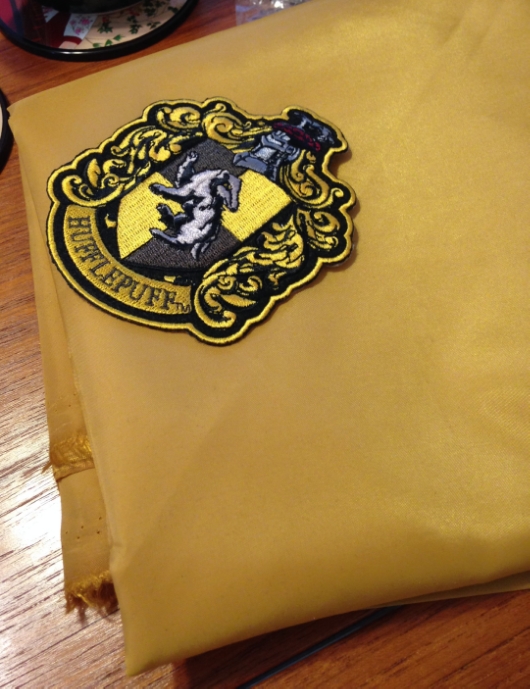
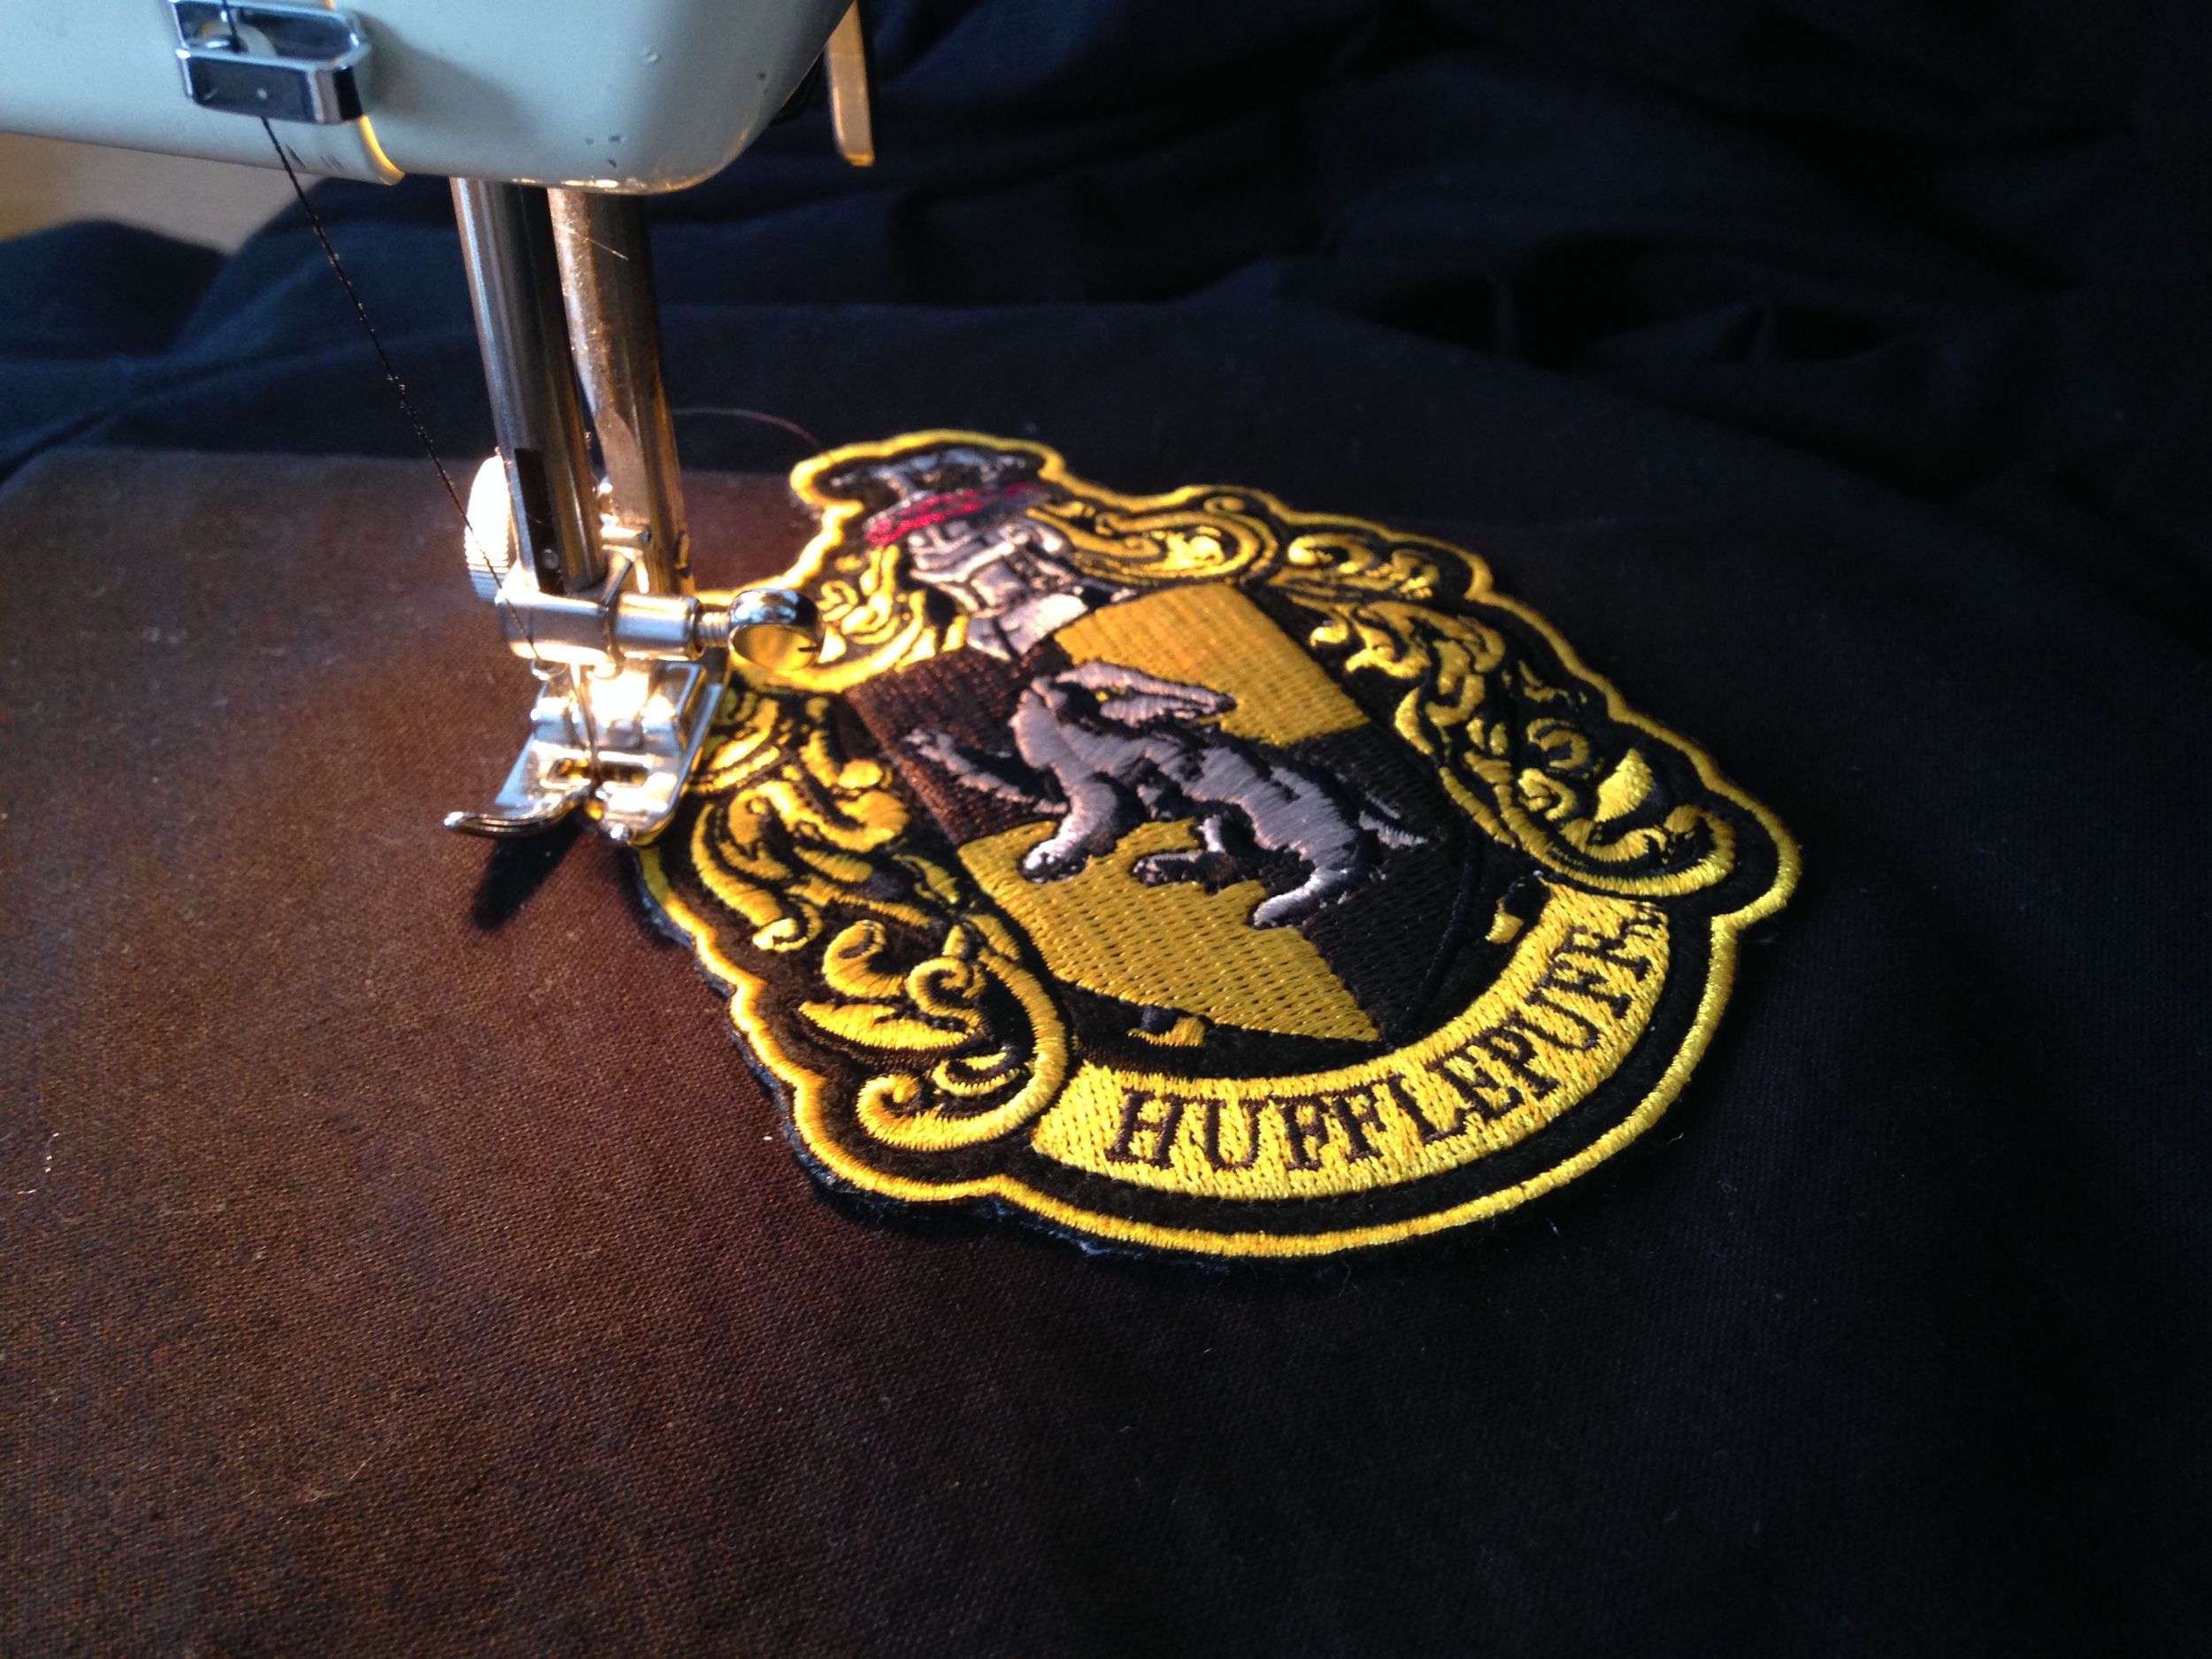
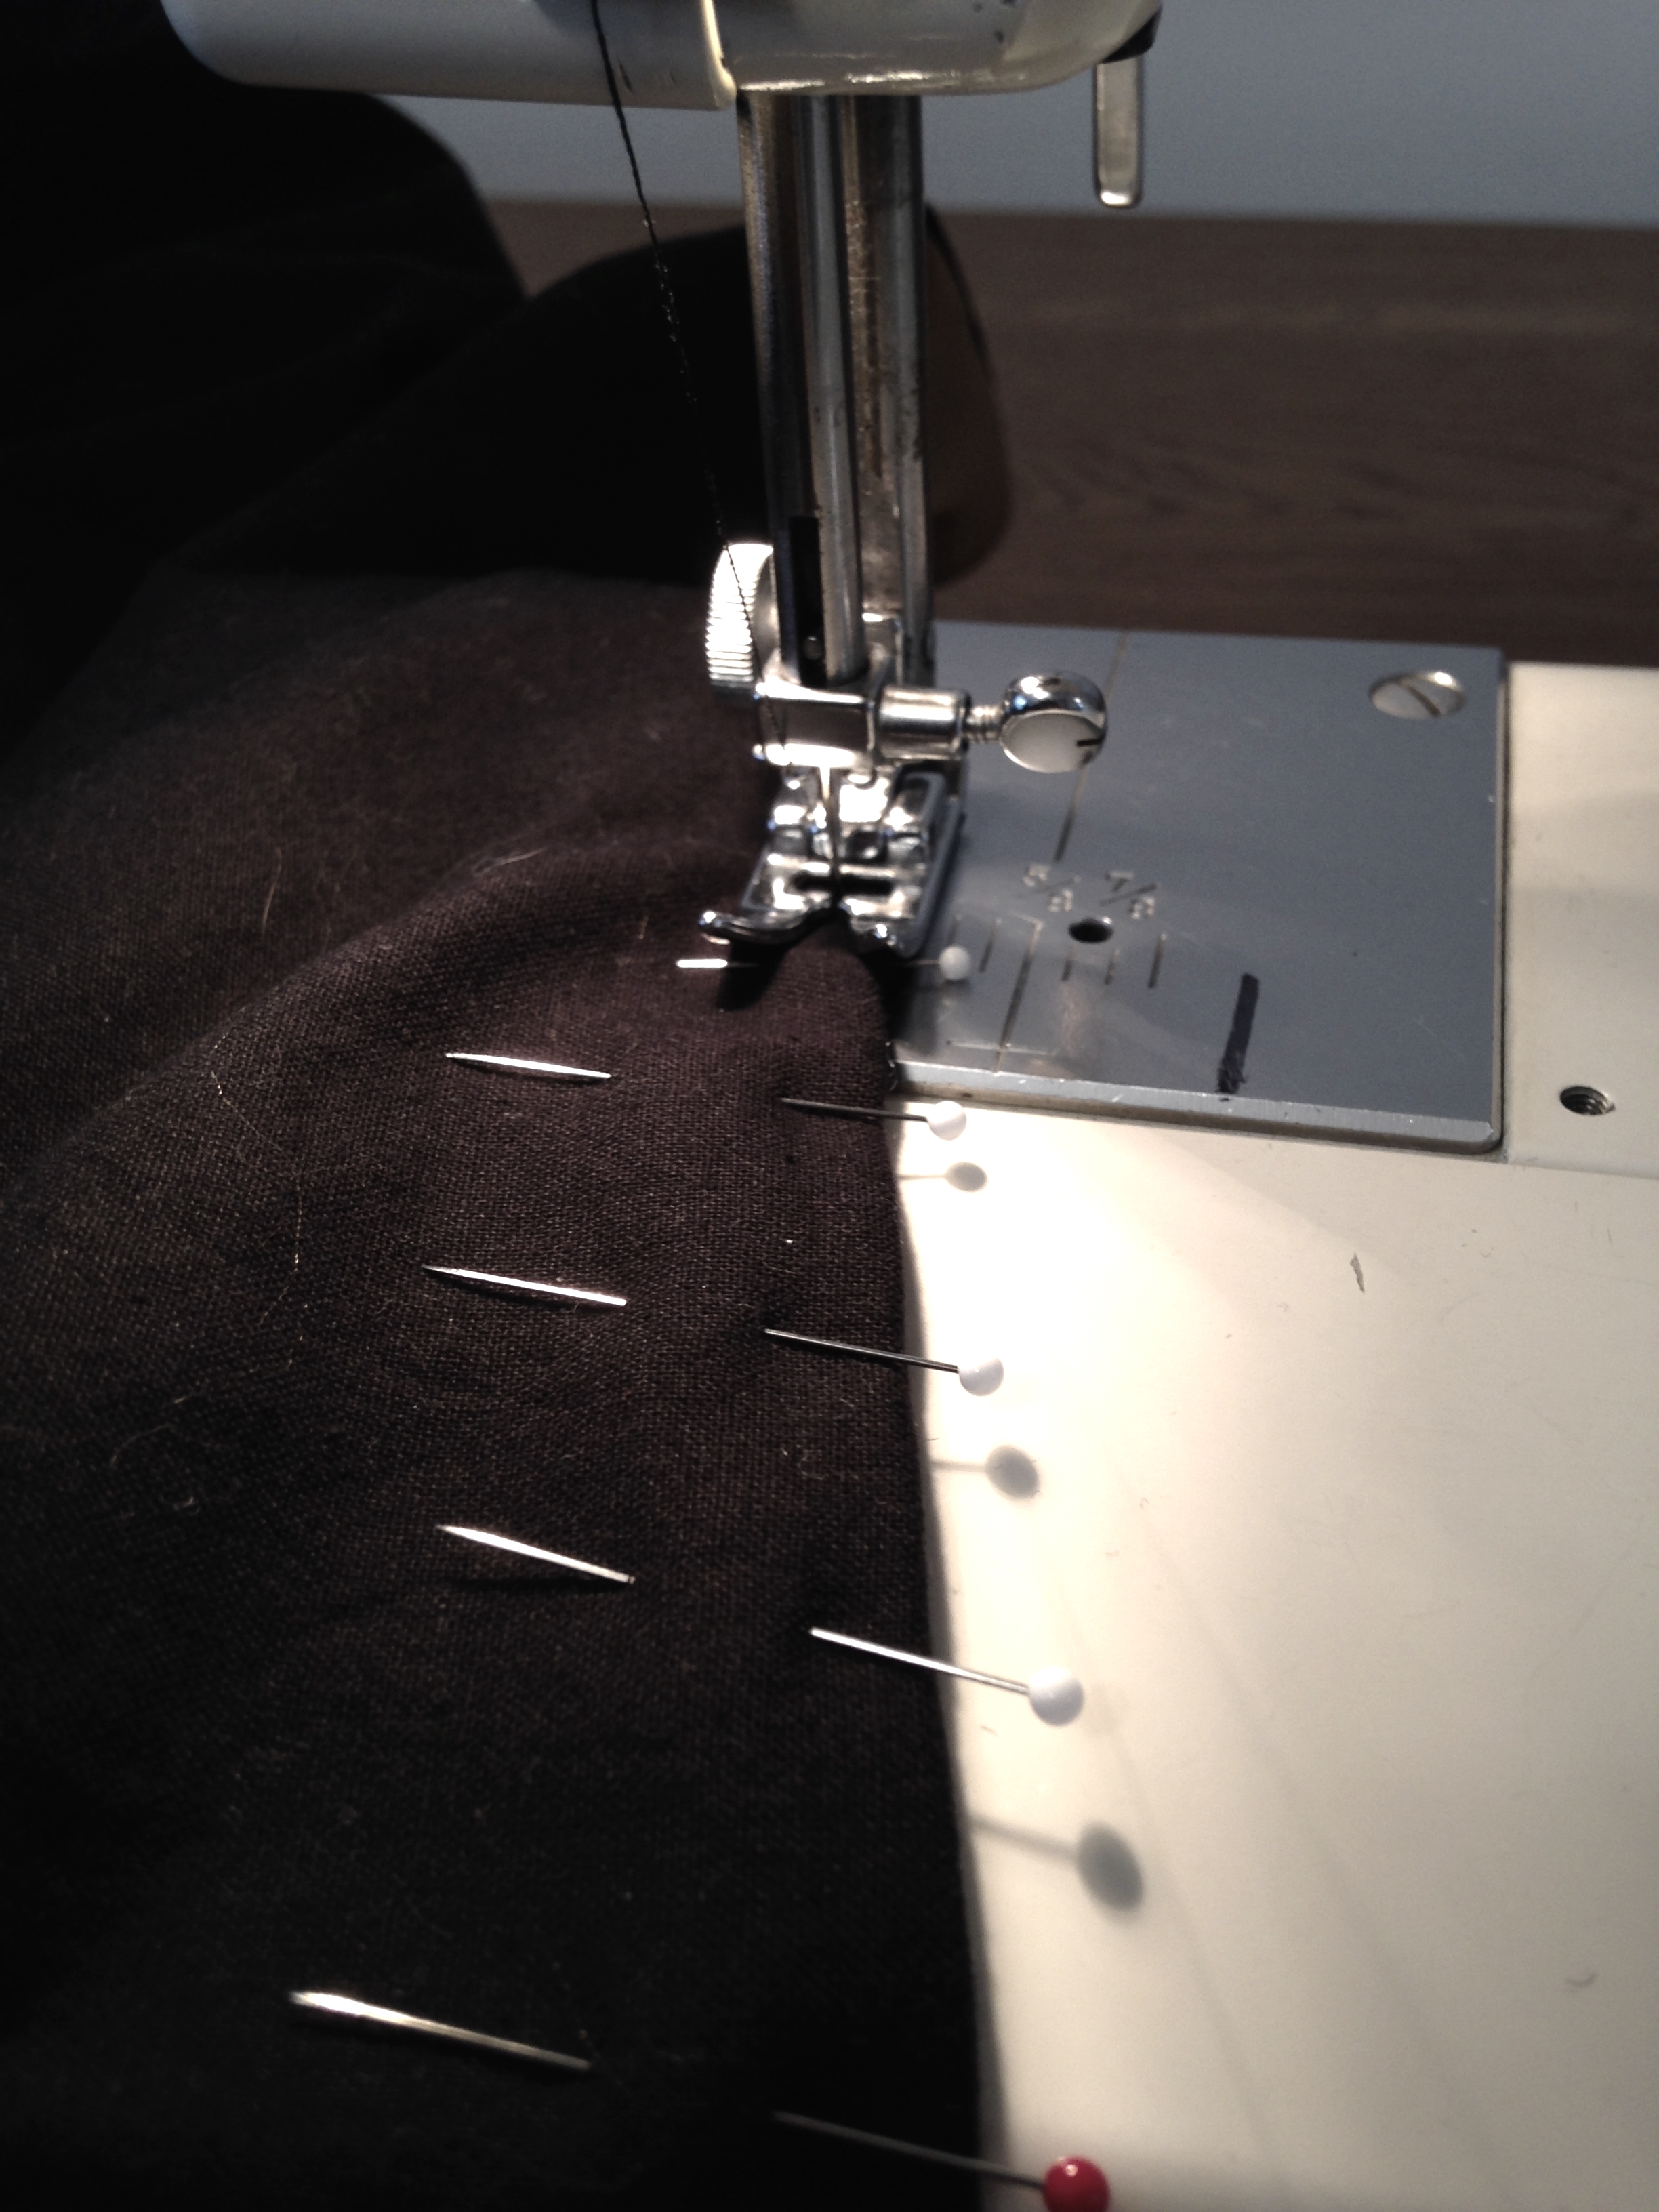
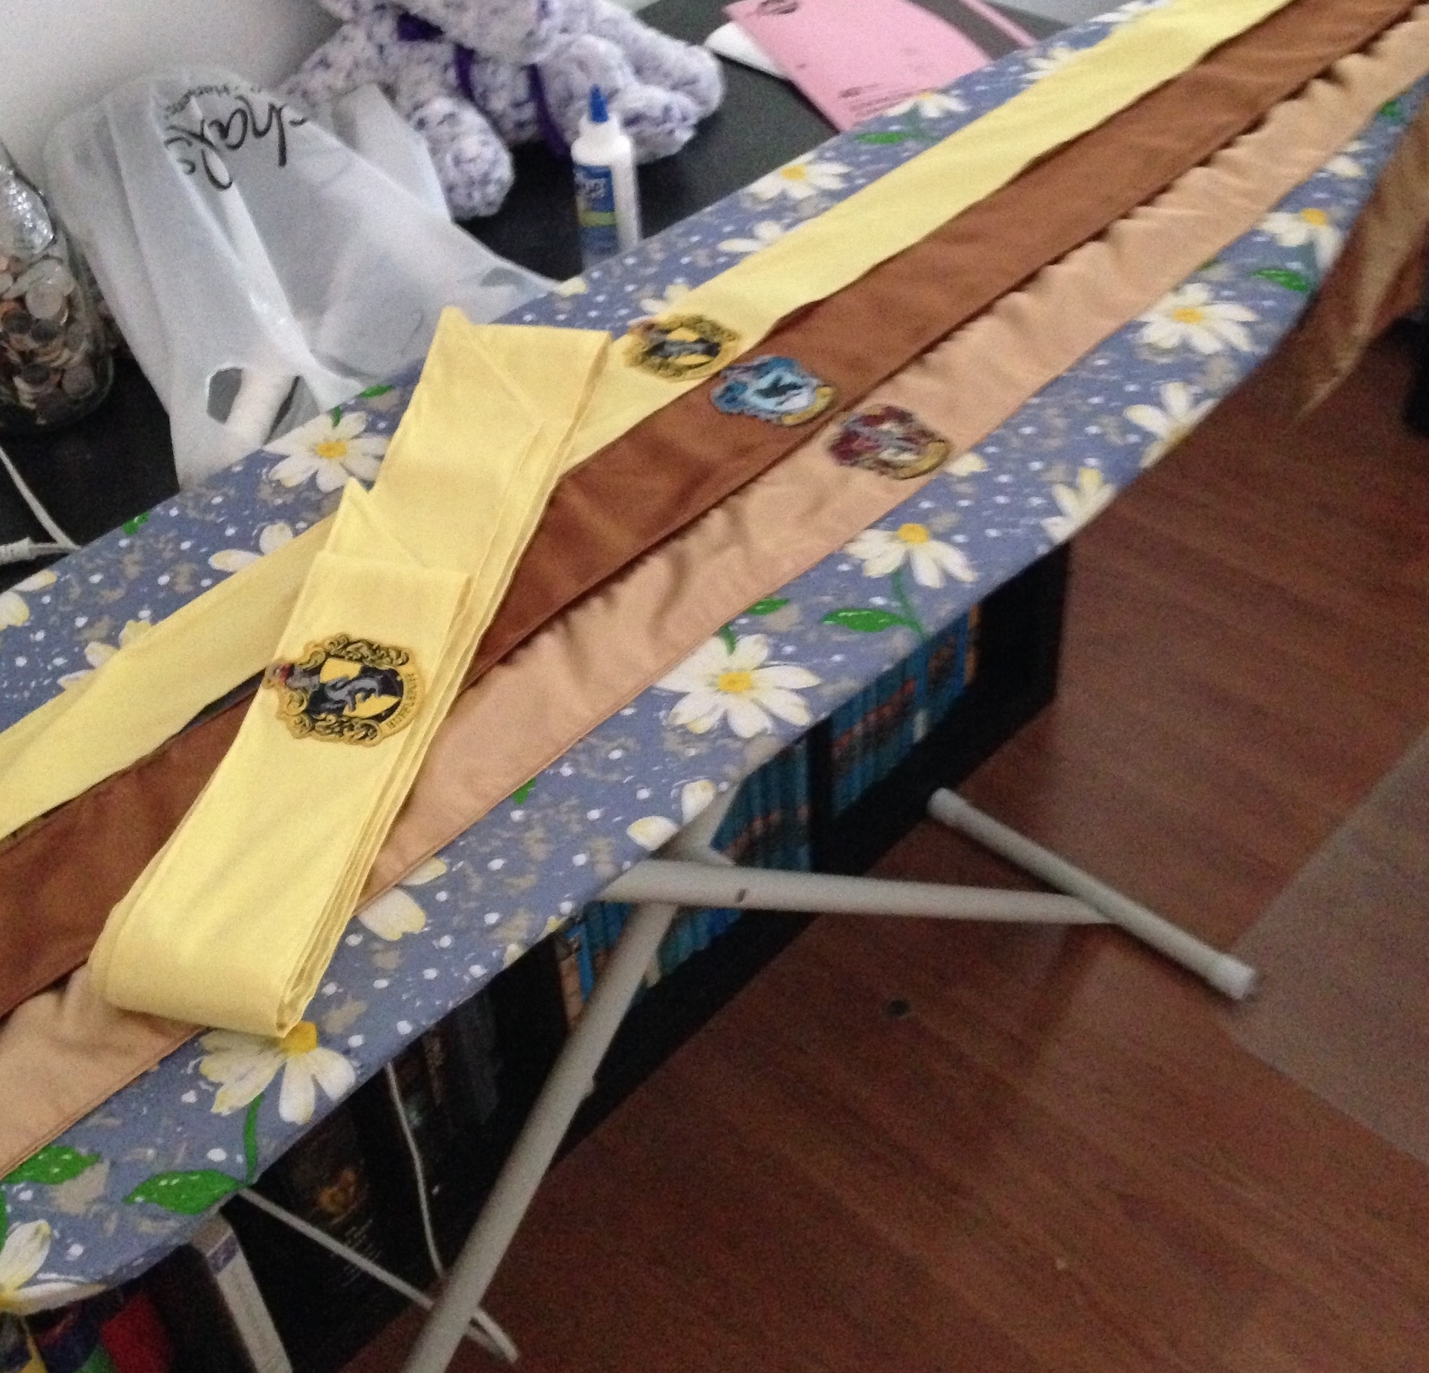
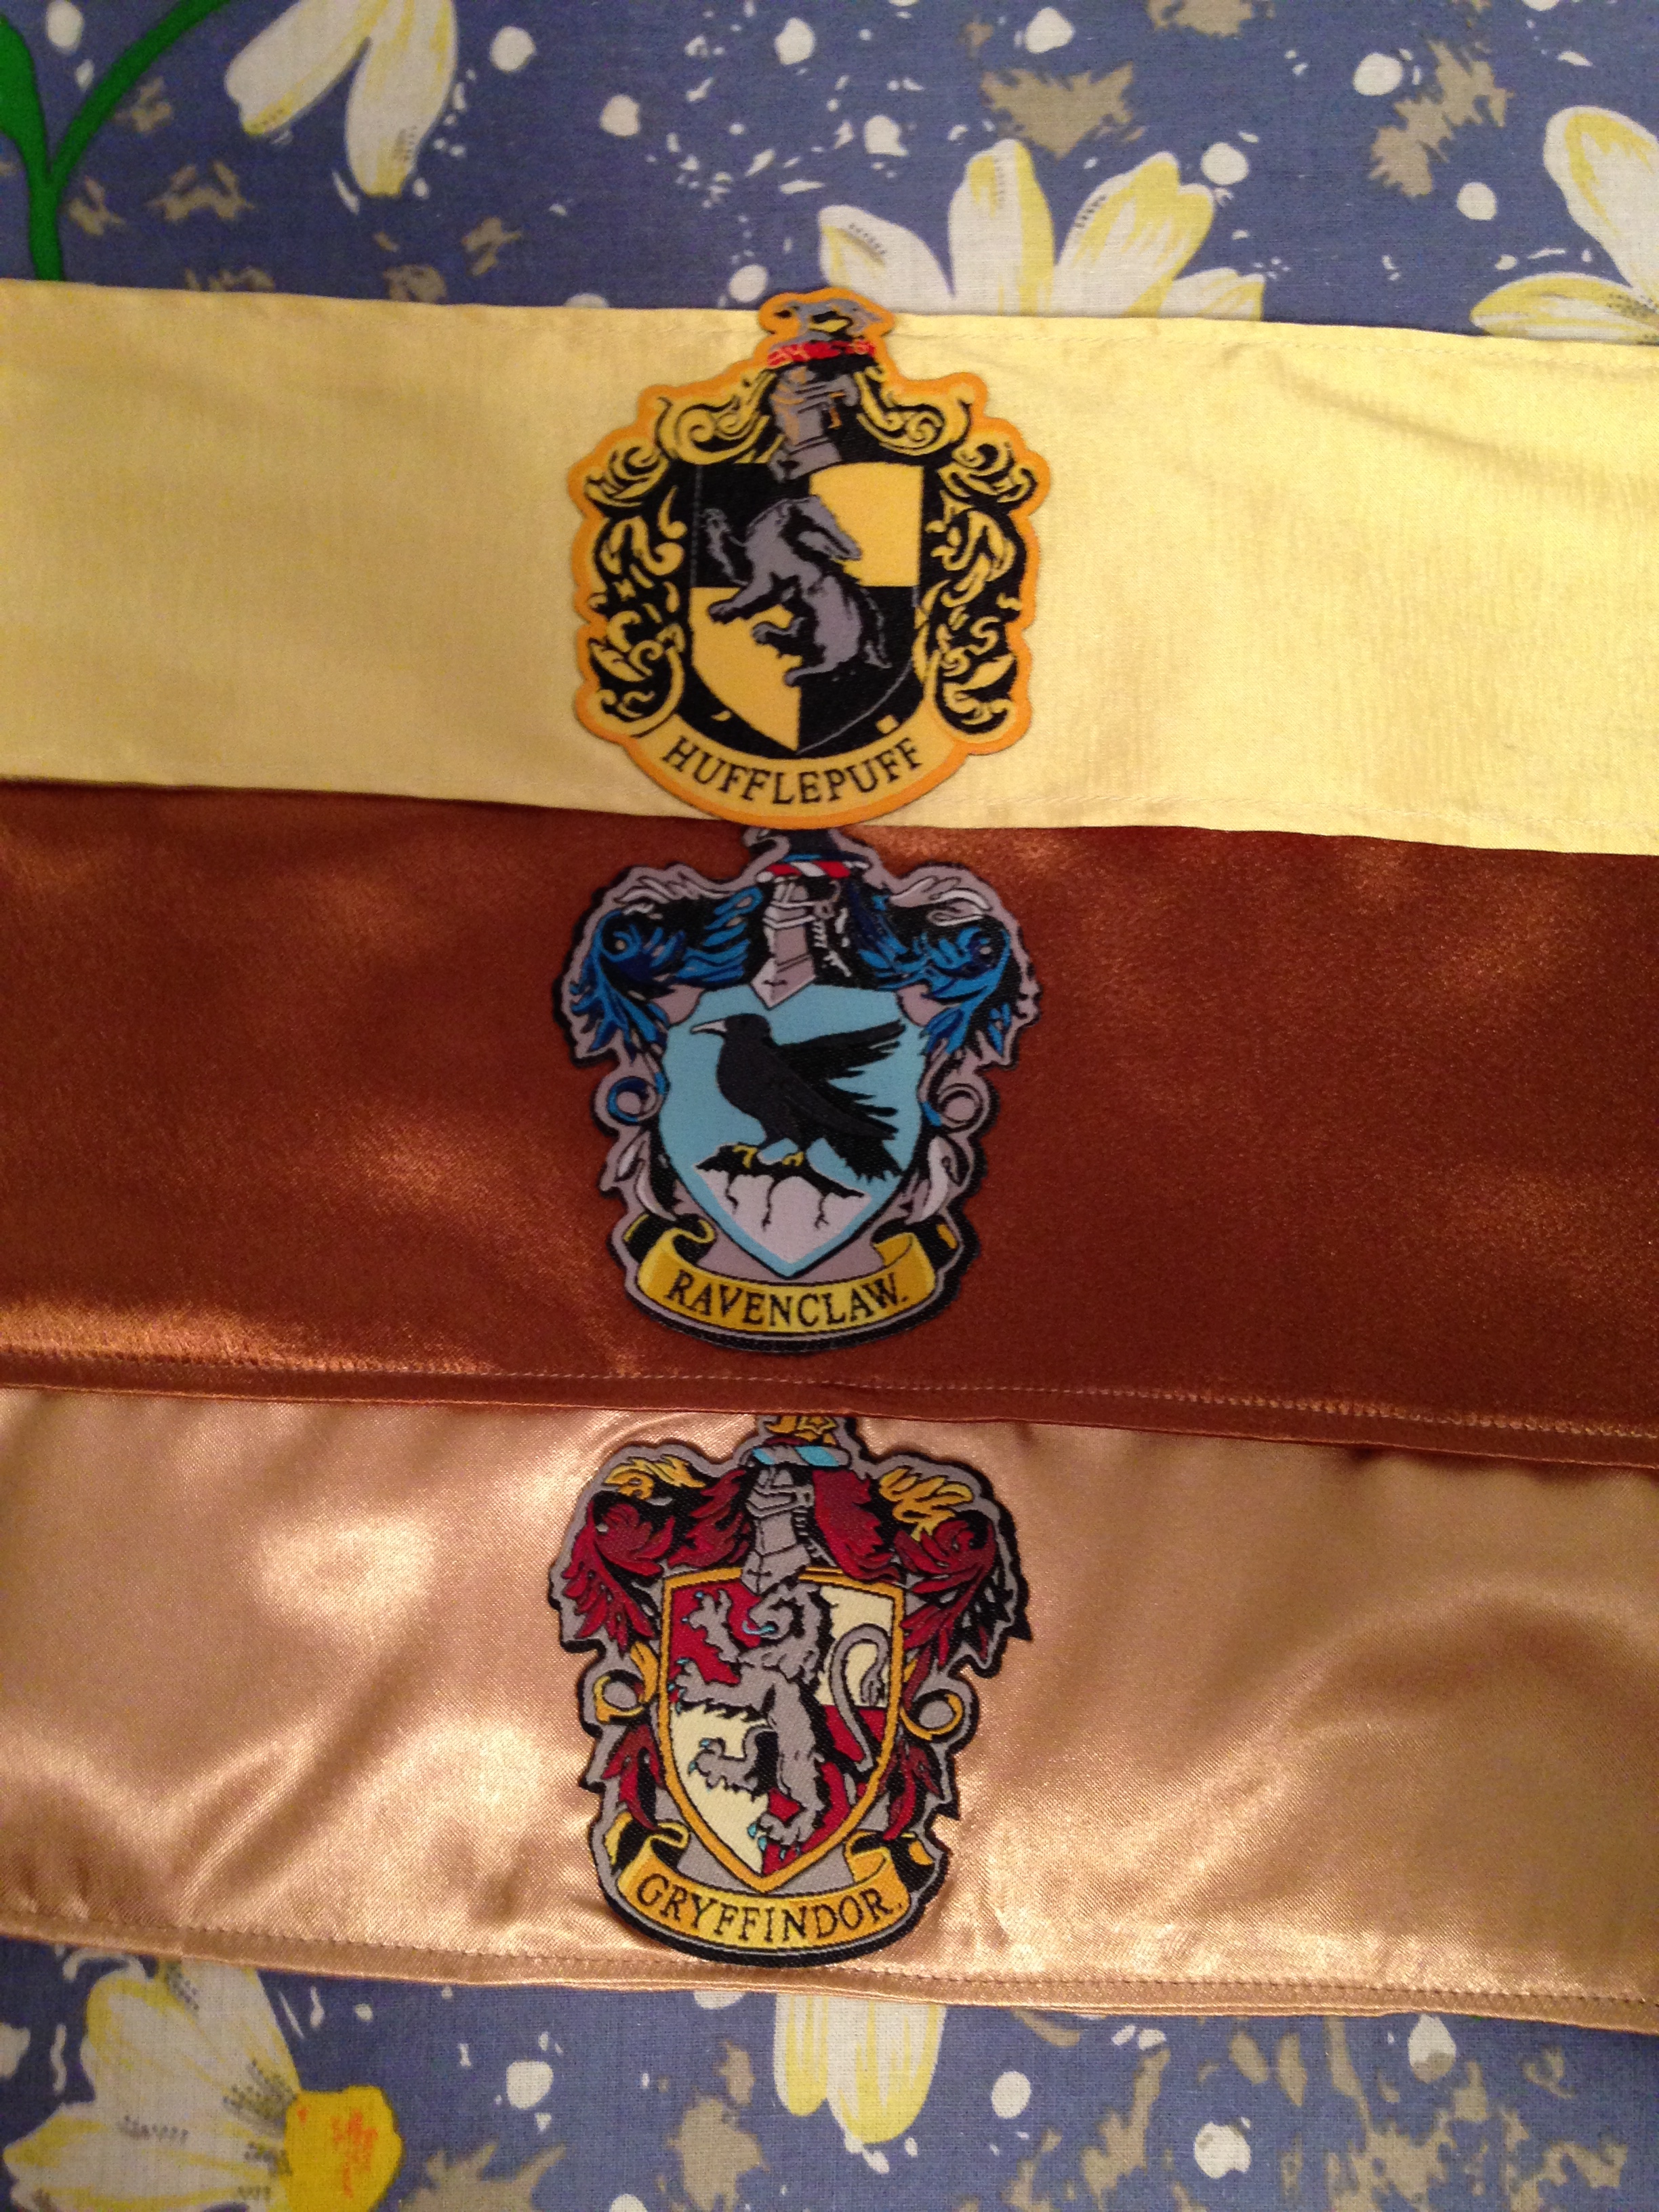
The bridal party was also dressed up in Hogwarts themed colours. For the ladies who wished them, I helped make crested sashes for their dresses. The original project head had purchased a great old sewing machine that unfortunately had a timing problem. So the project came to me, haha. I think they turned out pretty good!
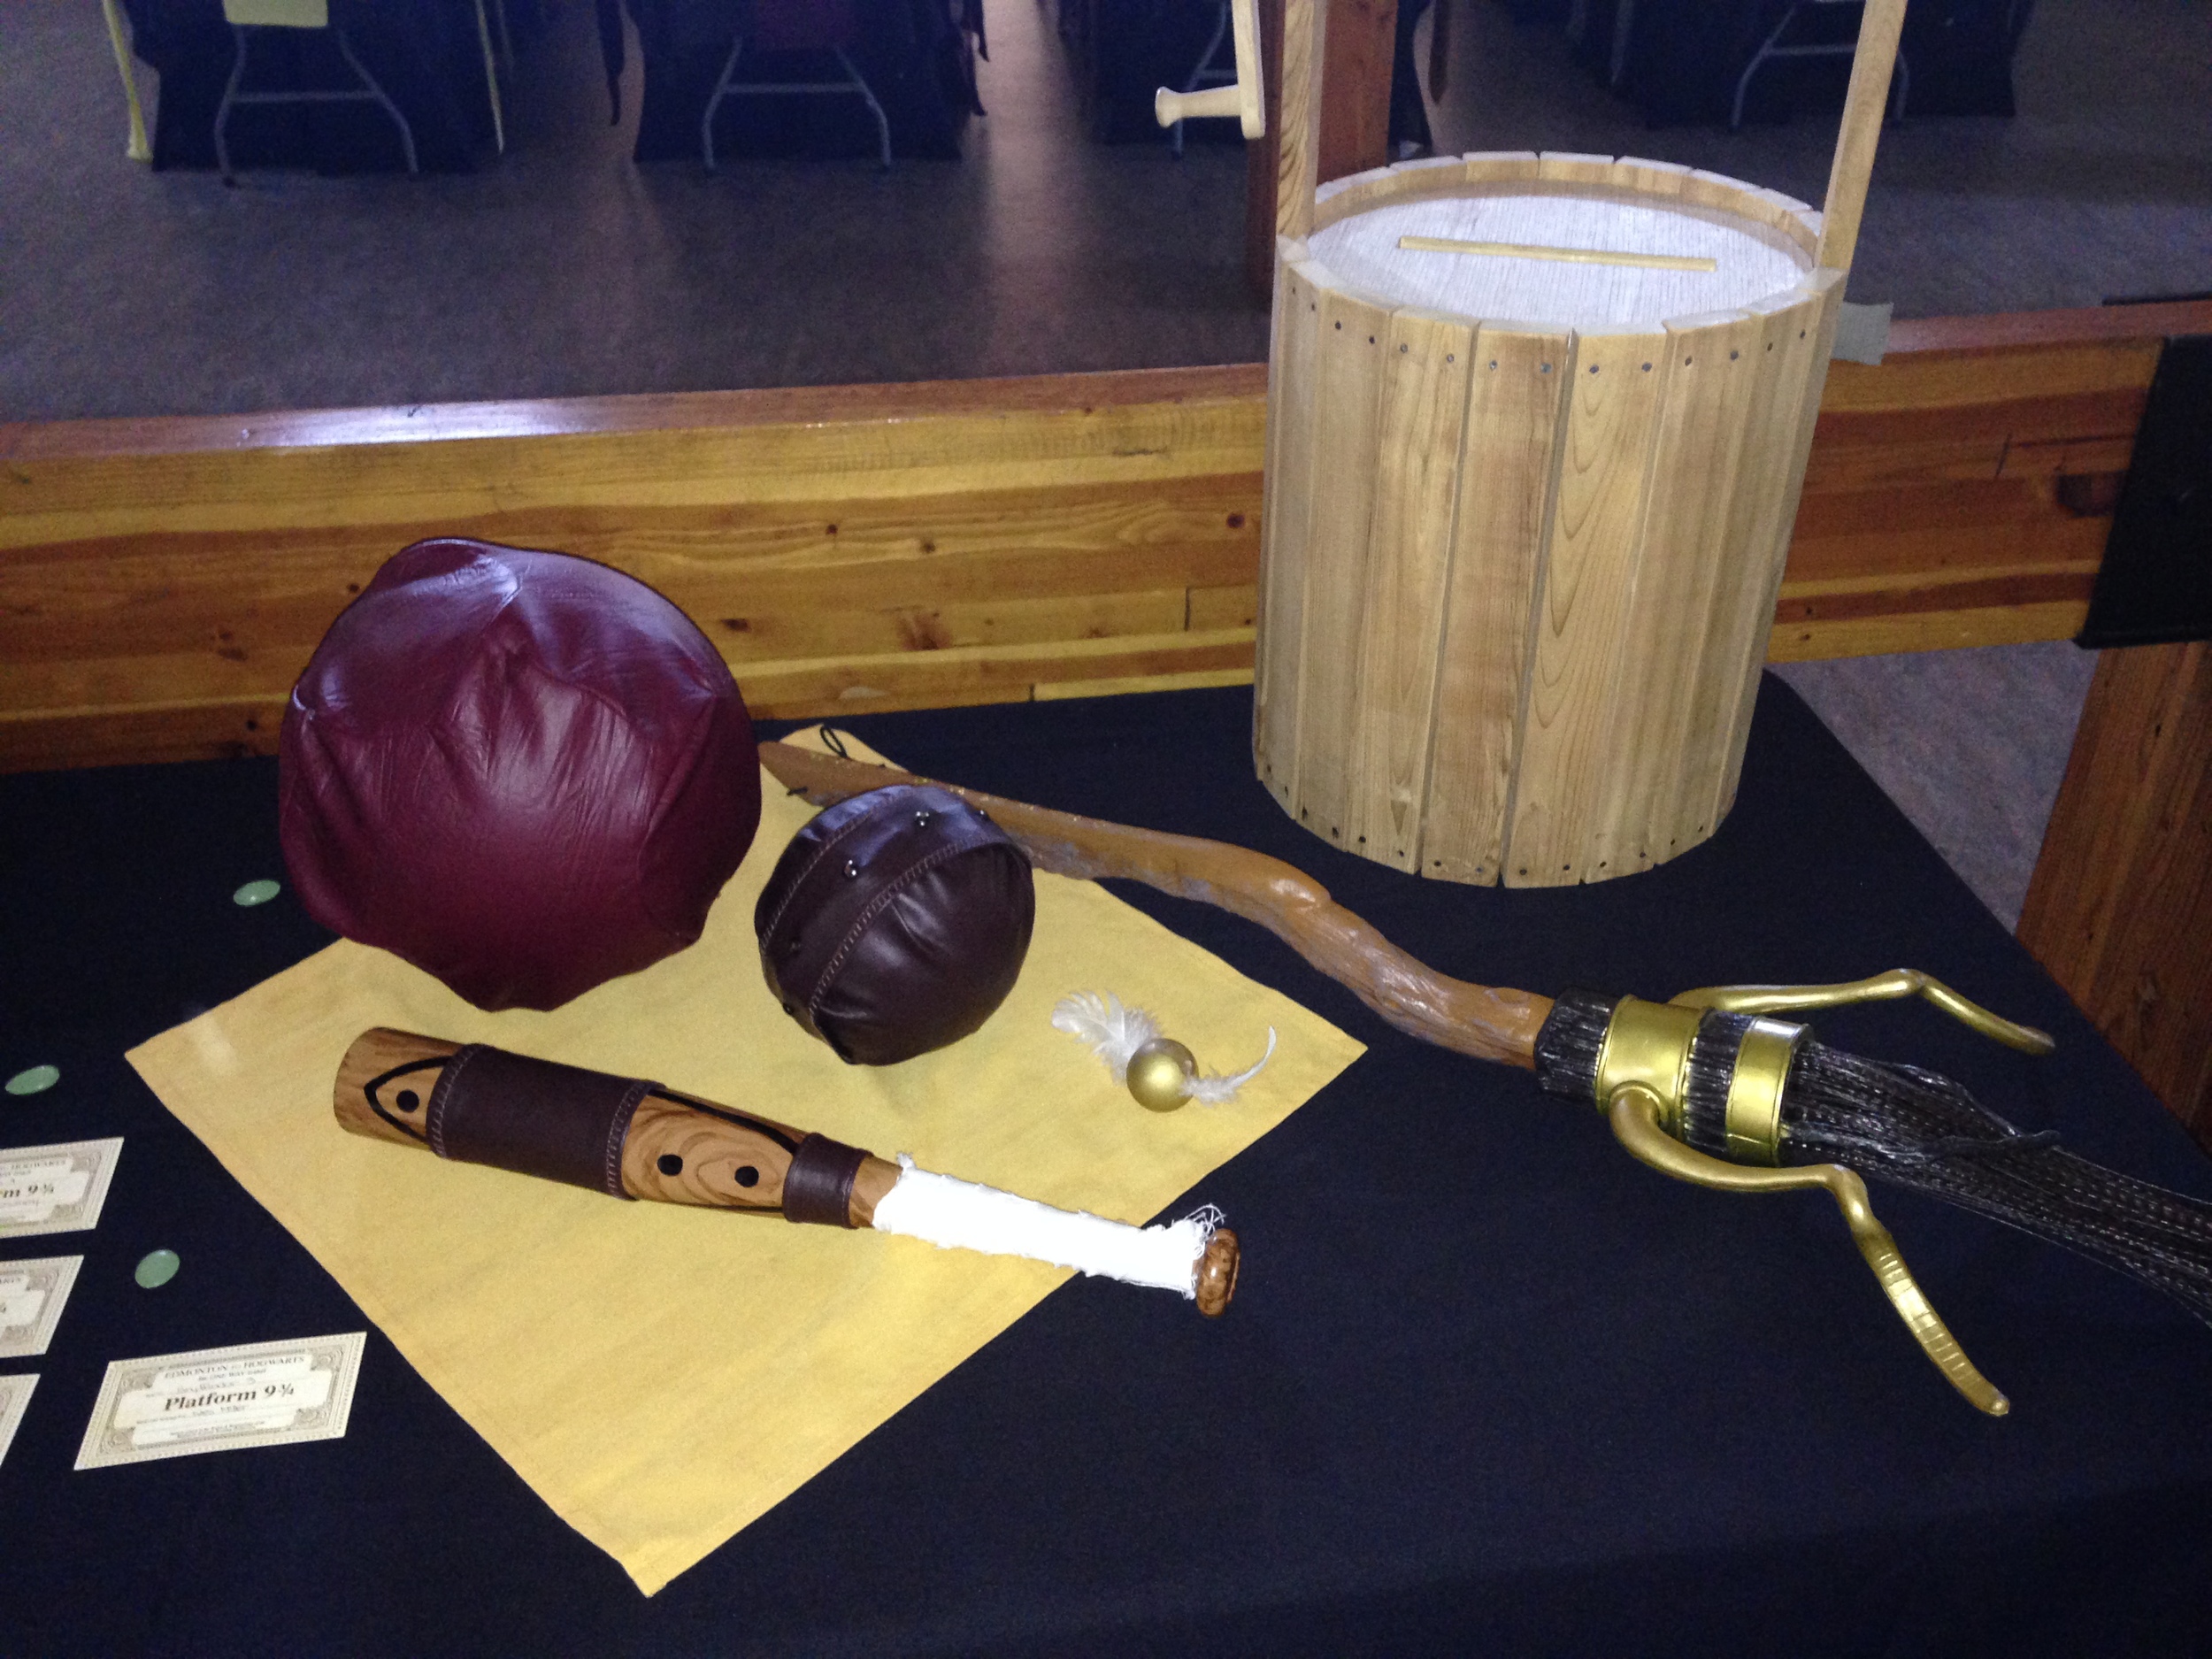
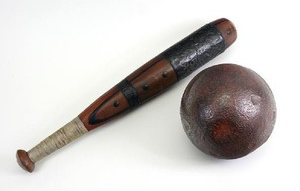
I also made some quidditch themed decorations: a bludger and it's bat, and the Quaffle.

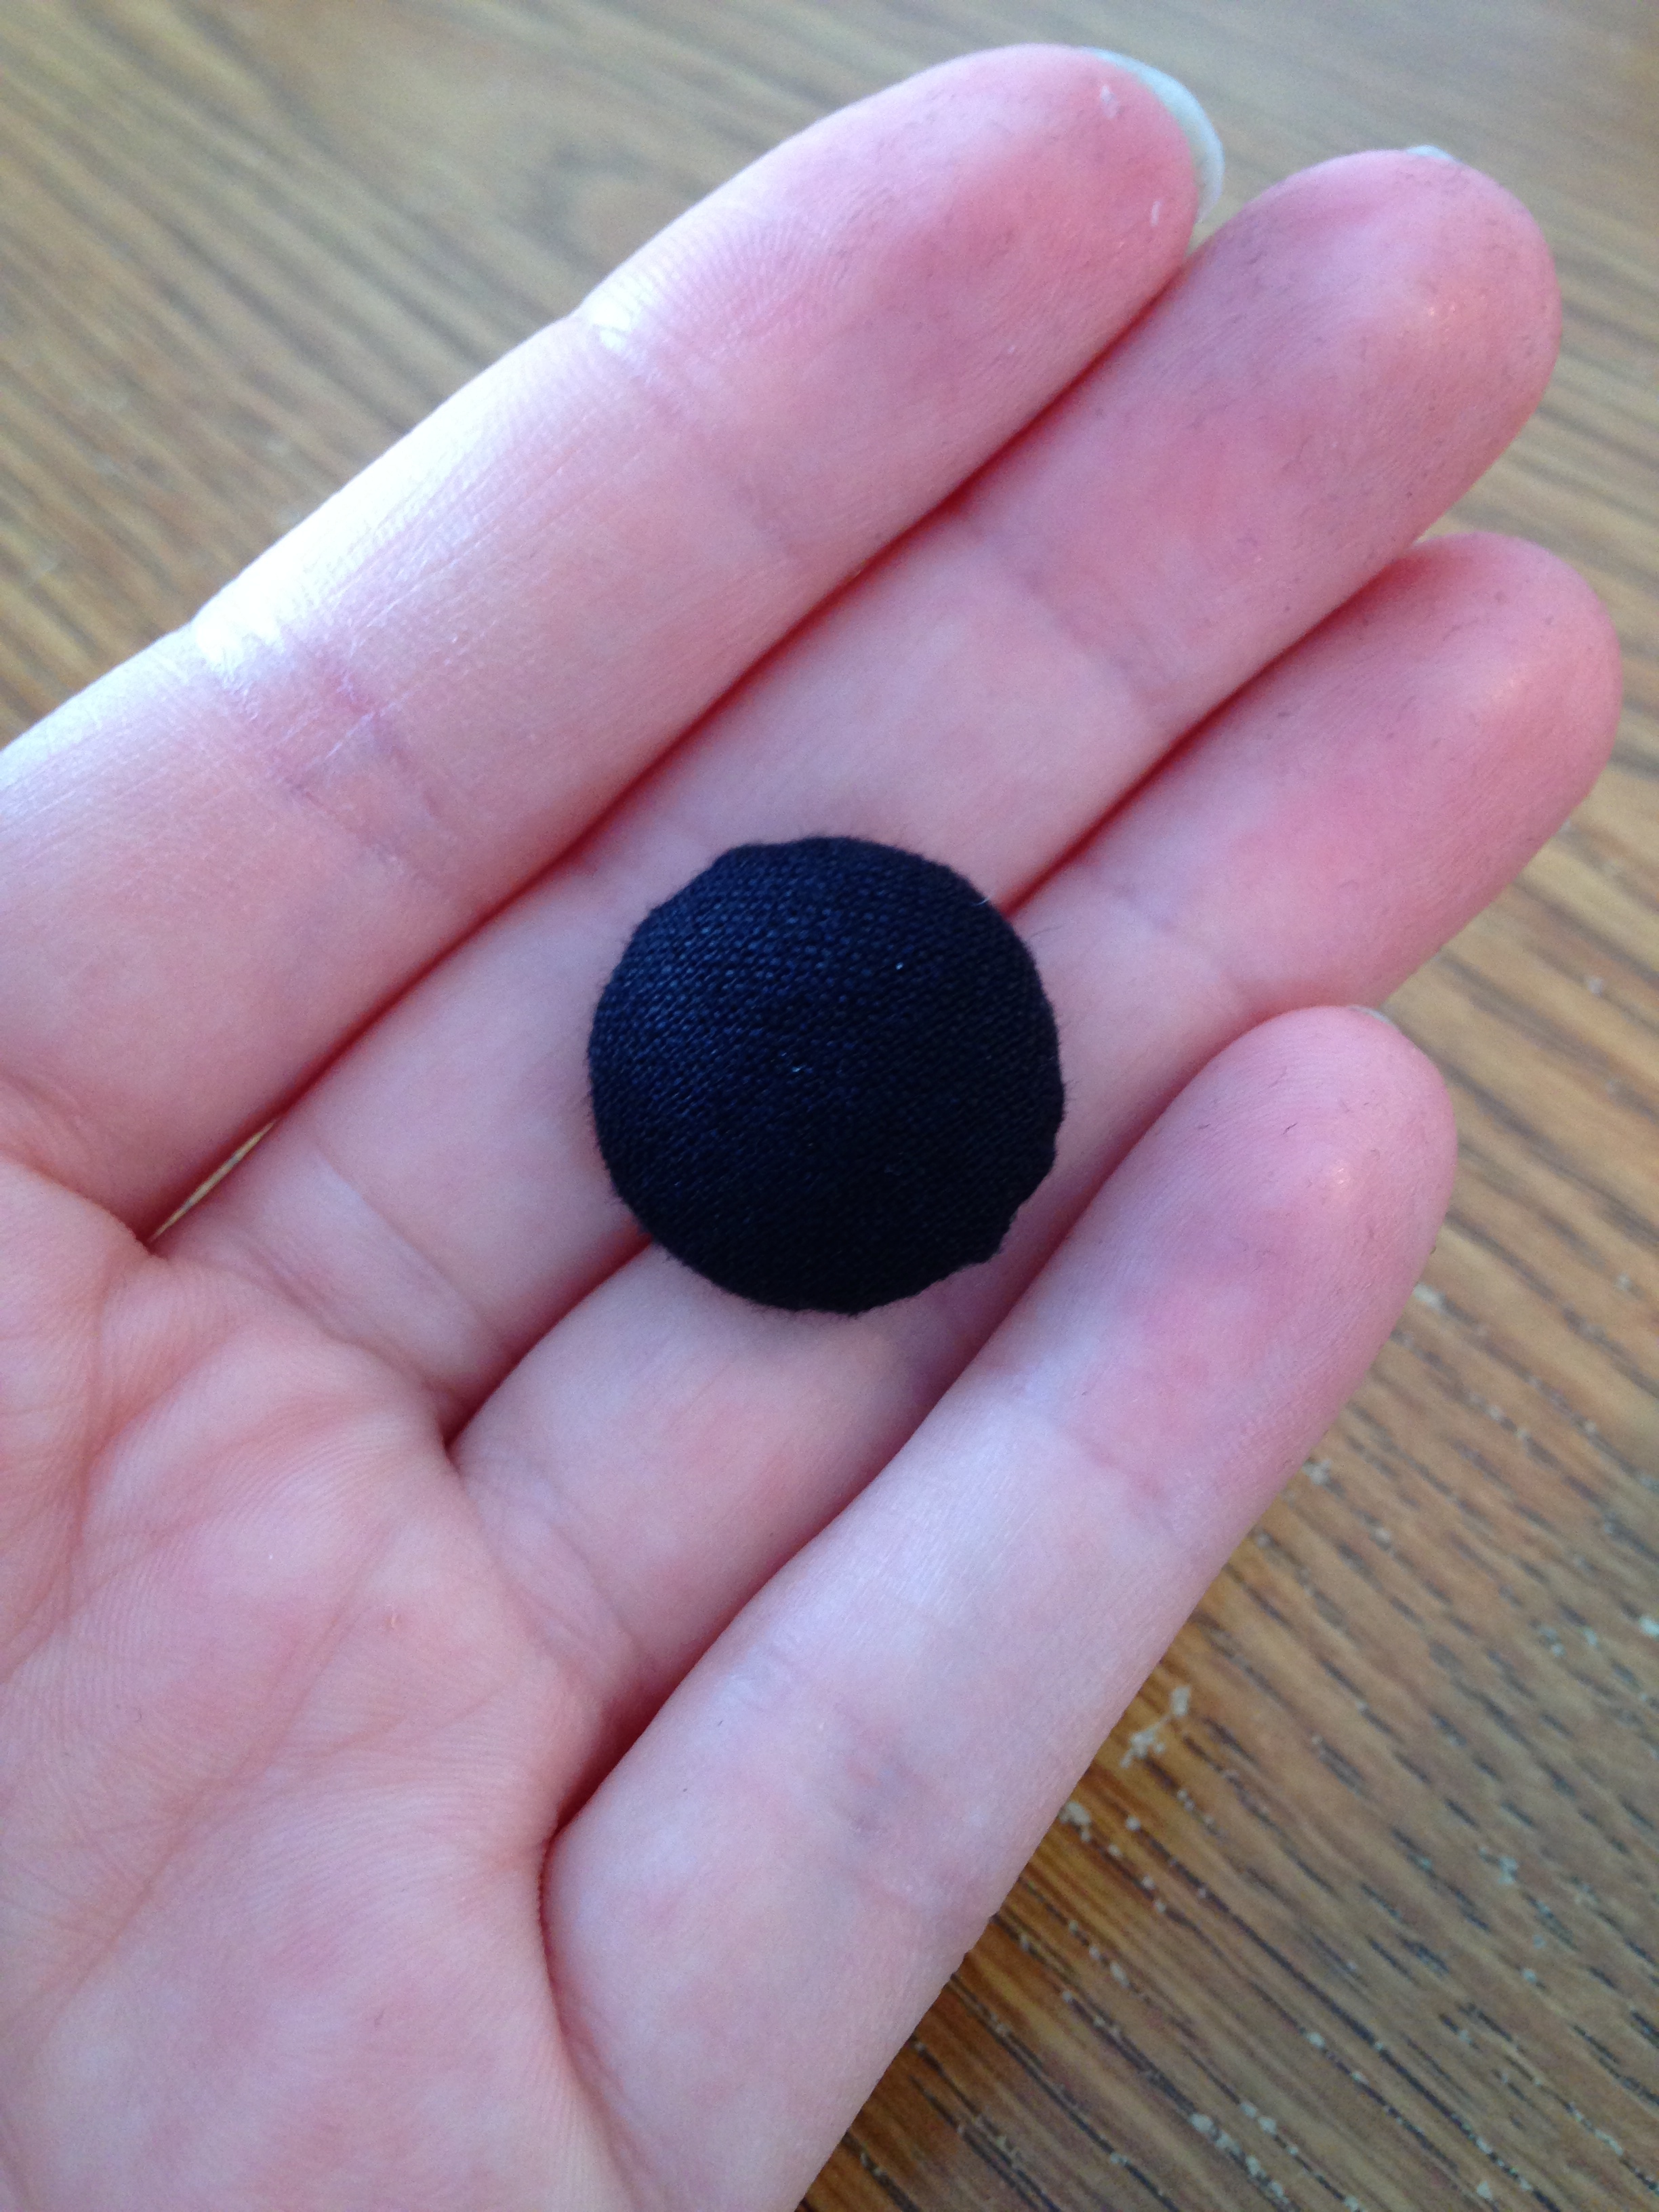
Bludger
Materials:
6 inch foam sphere
Parchment\pattern paper
Pencil/pen
Brown or black leather
Leather needles (both for the machine and hand)
Upholstery tacks

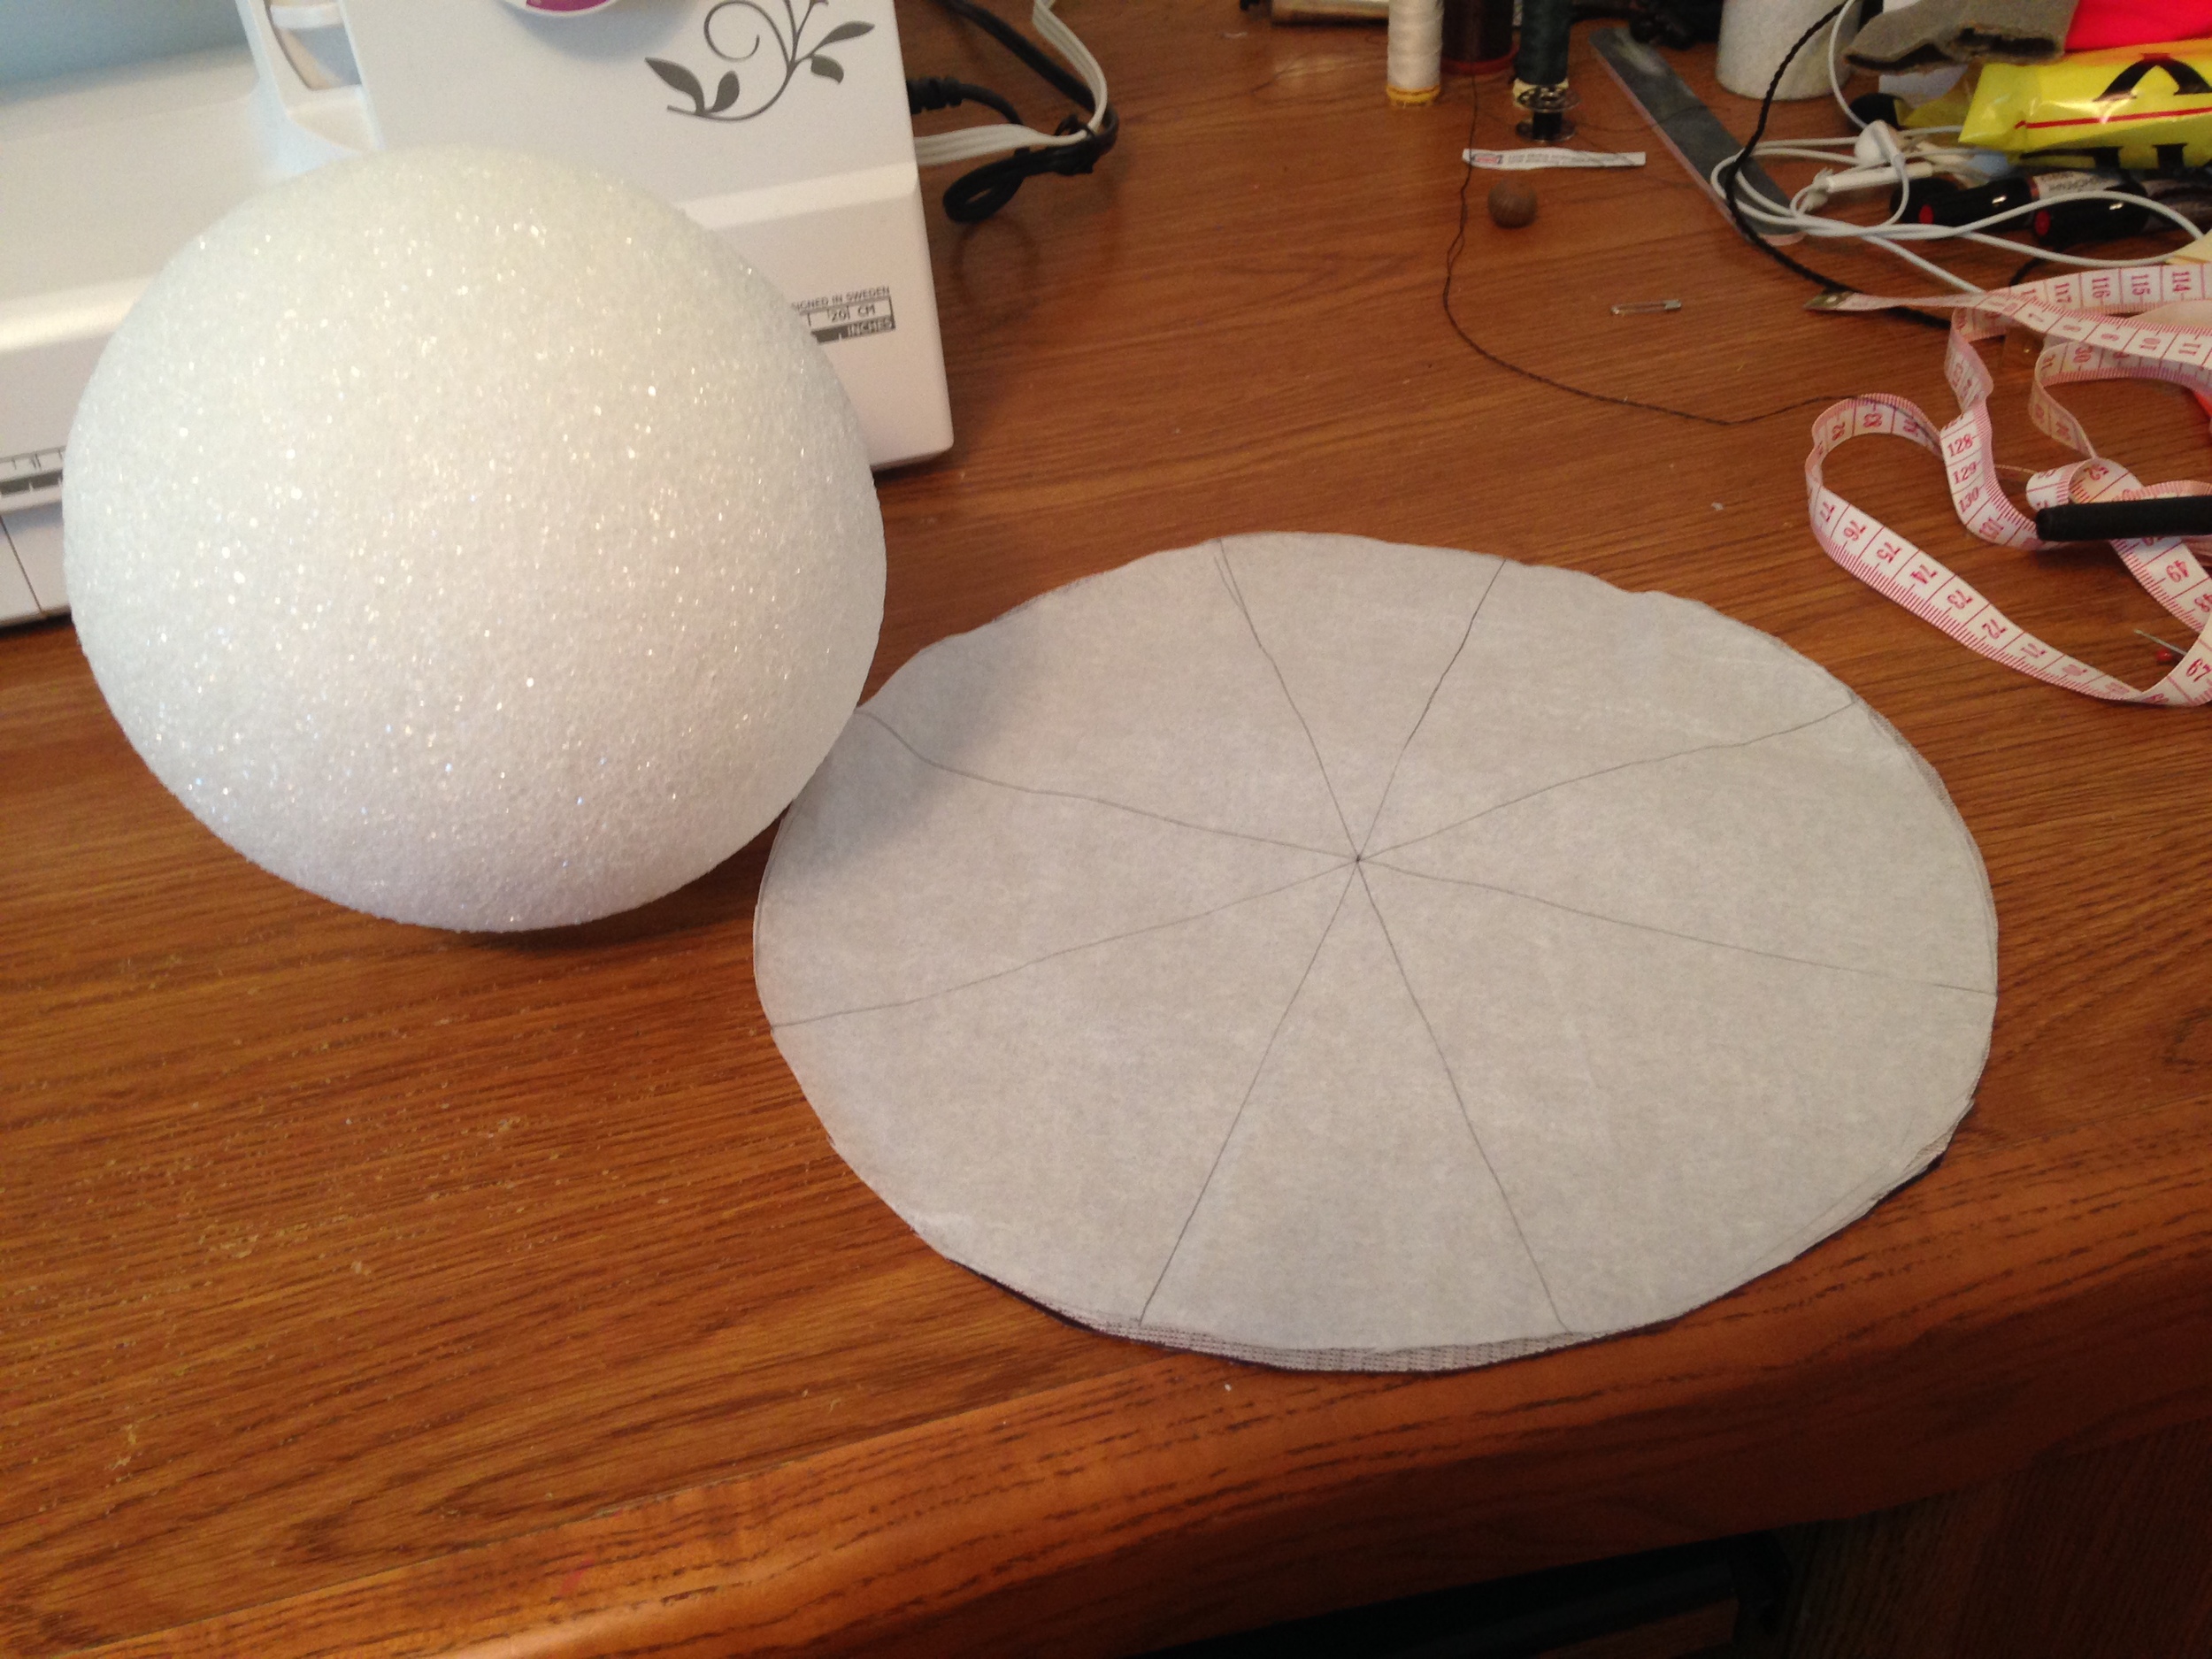
Create a pattern AKA Math Time!!
Think of the problem in 2D first. To cover the sphere we will need to cover the circumference of the 6 in diameter (3 in radius). So, using some handy math skills:
Circumference = 2πr = 2*π*3 in = 18.85 in
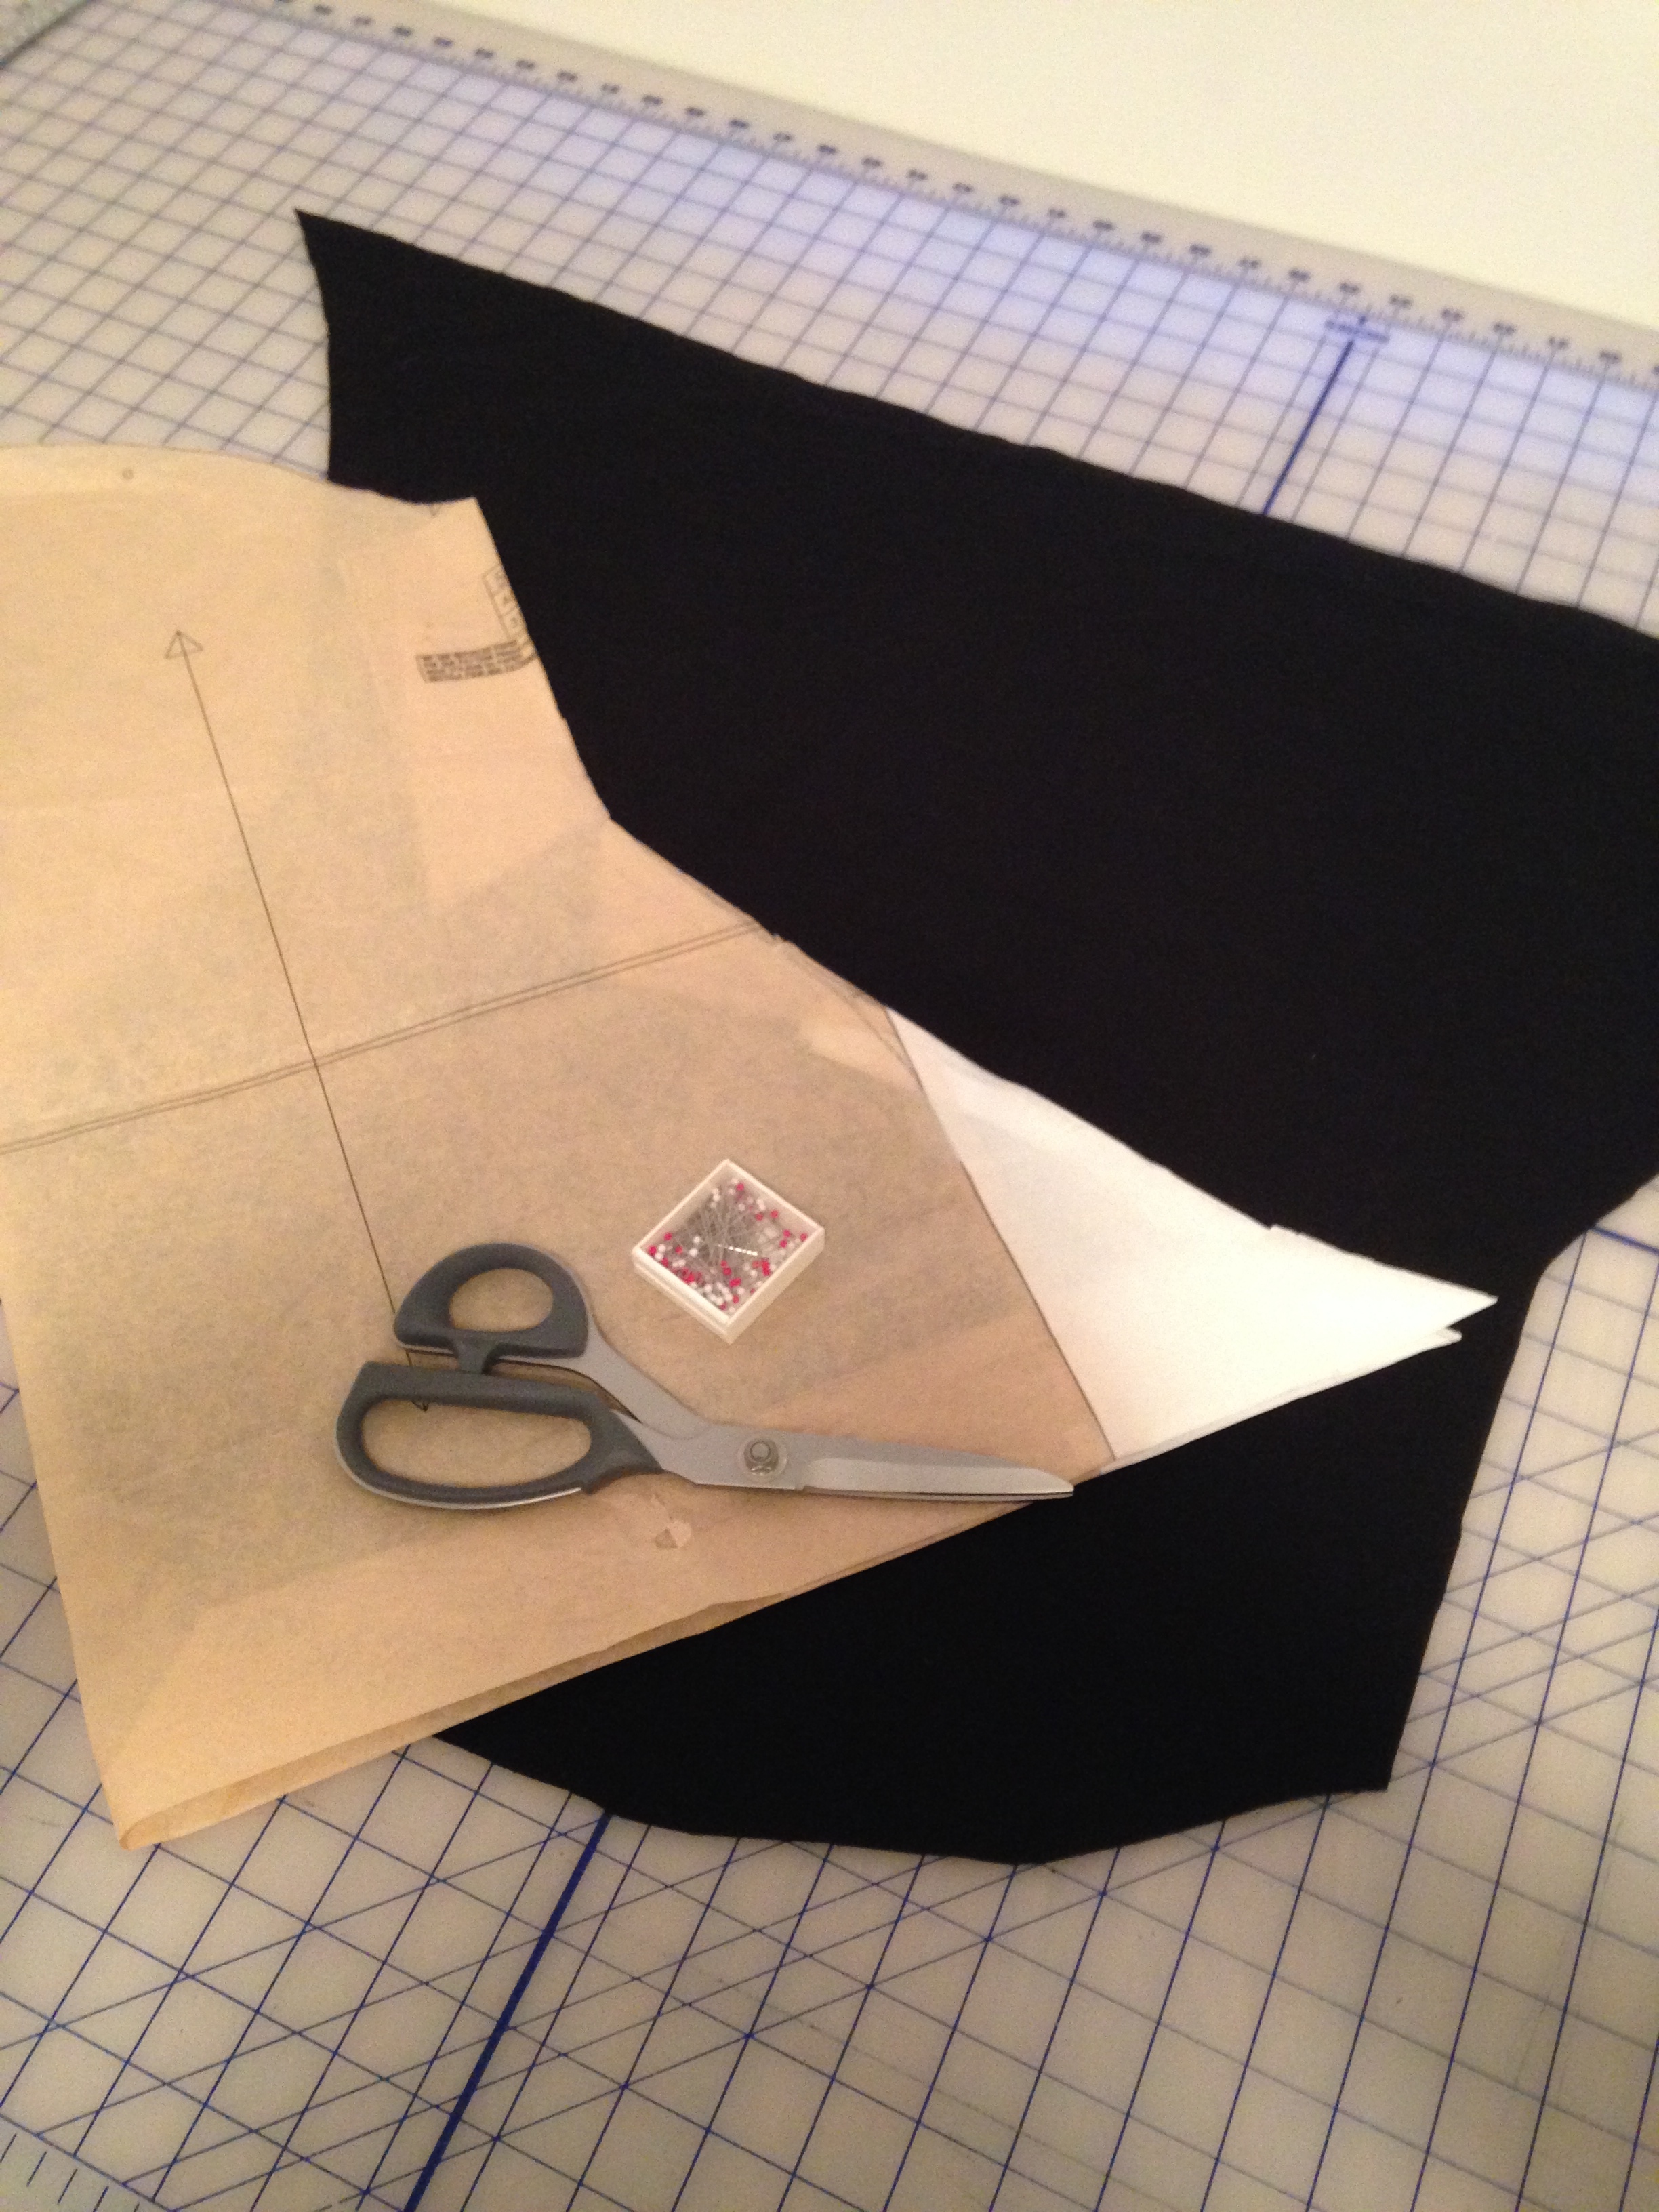
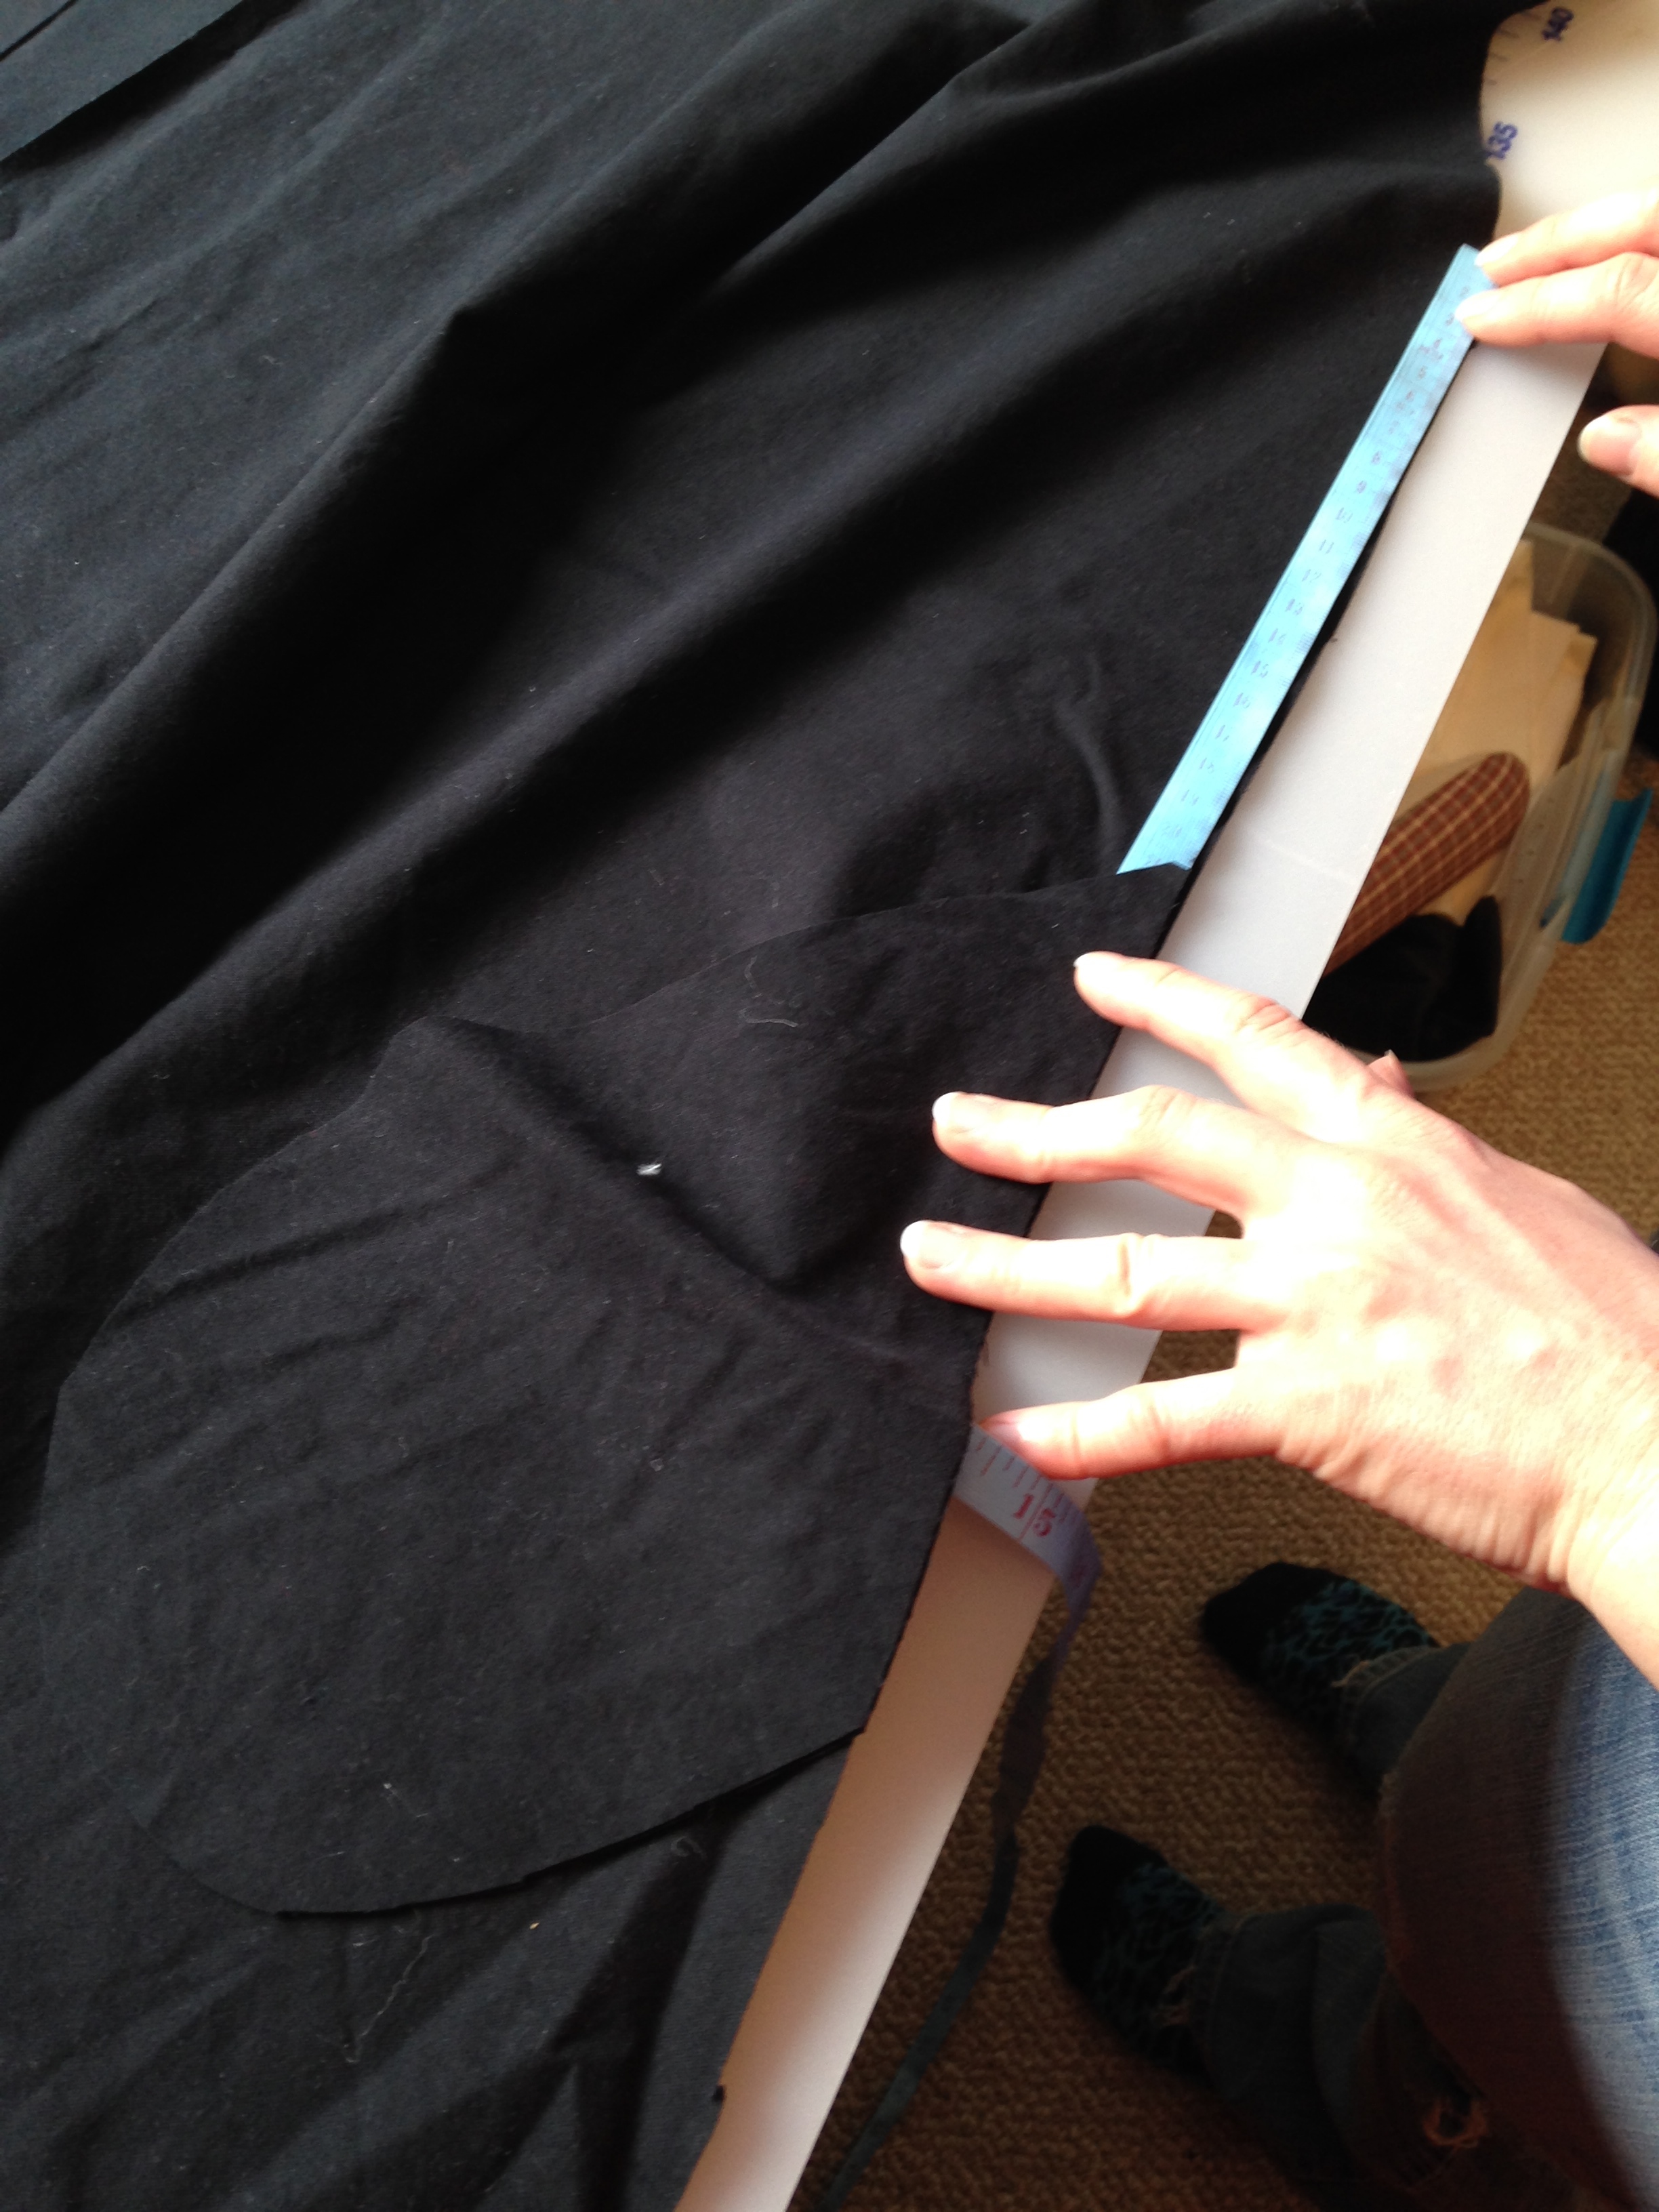
So we have a circumference of almost 19 inches to cover. If we divide this in half we can find out the diameter of our pattern circle needed to cover the ball.Using pattern paper, draw a 10 in diameter circle (this includes a seam allowance). Easiest way is to use a compass but if you don't have one then use a ruler. Draw a 10 in line, marking the centre at 5 in. Then, matching centres, draw another 10 in line perpendicular to the first. Now draw more 10 in lines, matching centres at 5 in, until you can comfortably sketch out the circle. Tada! Cut out your pattern!
Cut two circles from your black or brown leather. It may be easiest to draw out the circles on the back of the leather and cut them out following that. Every time you pin leather the pin holes will remain afterwards. So careful!
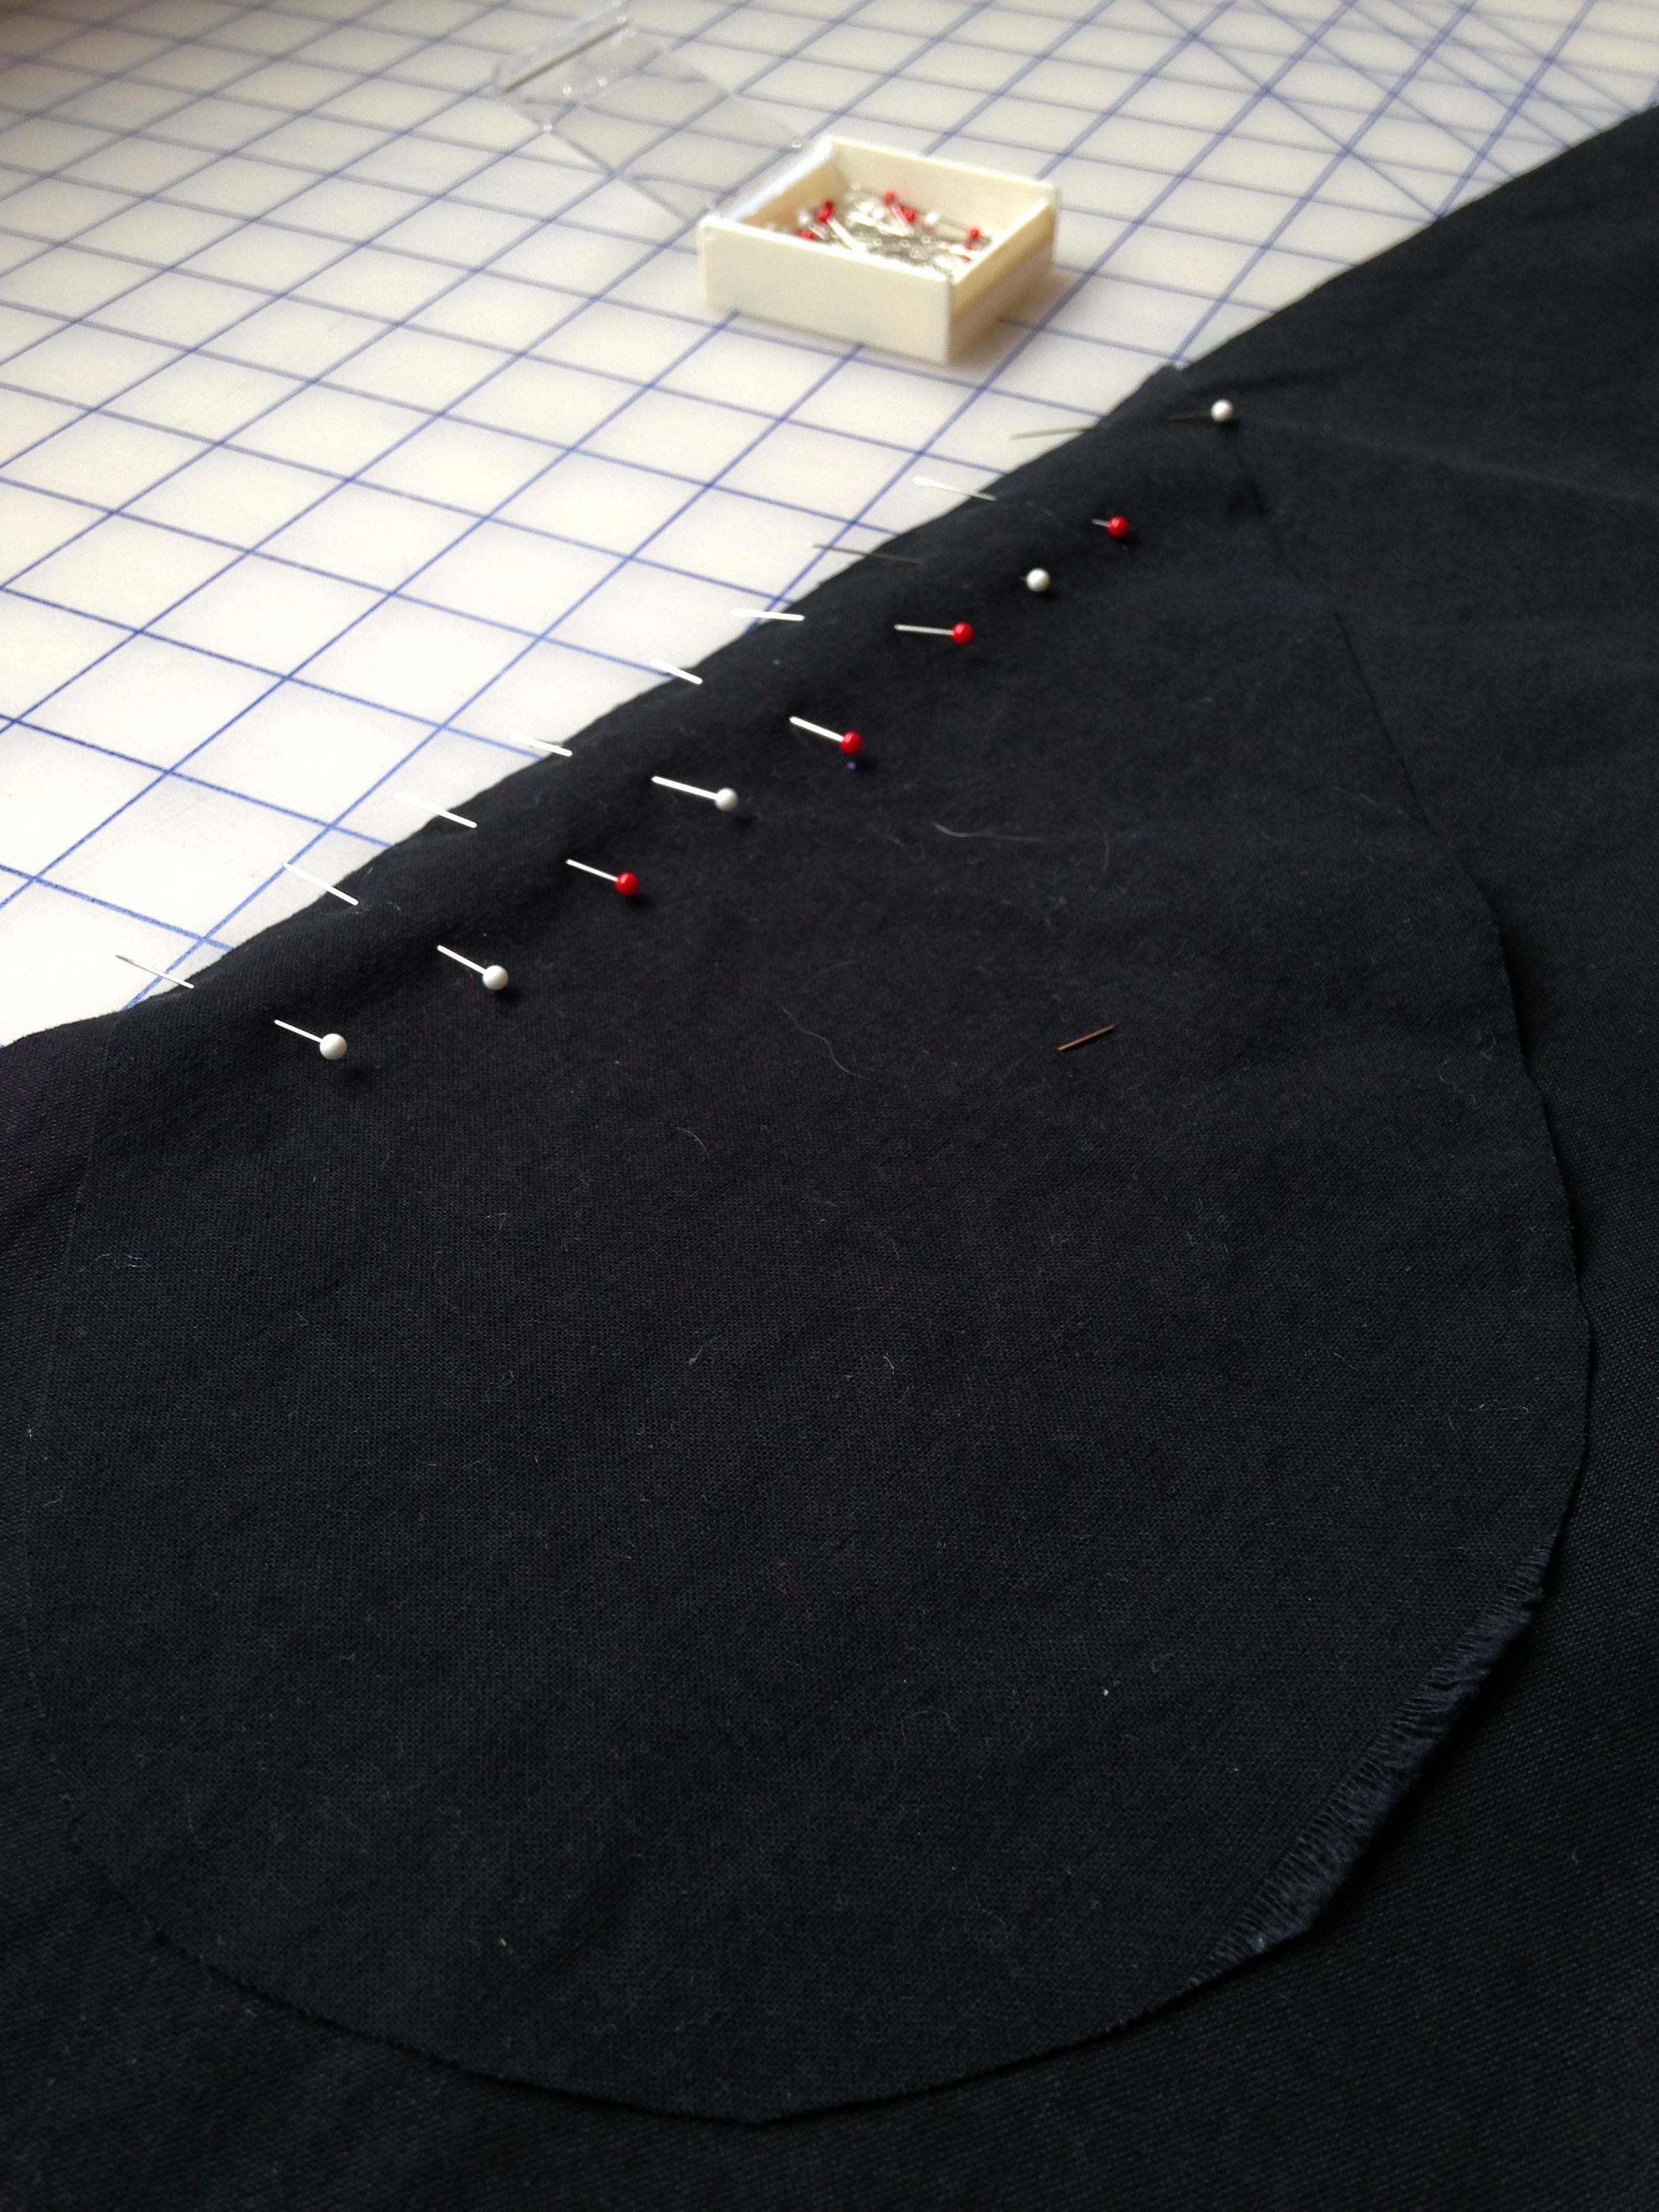
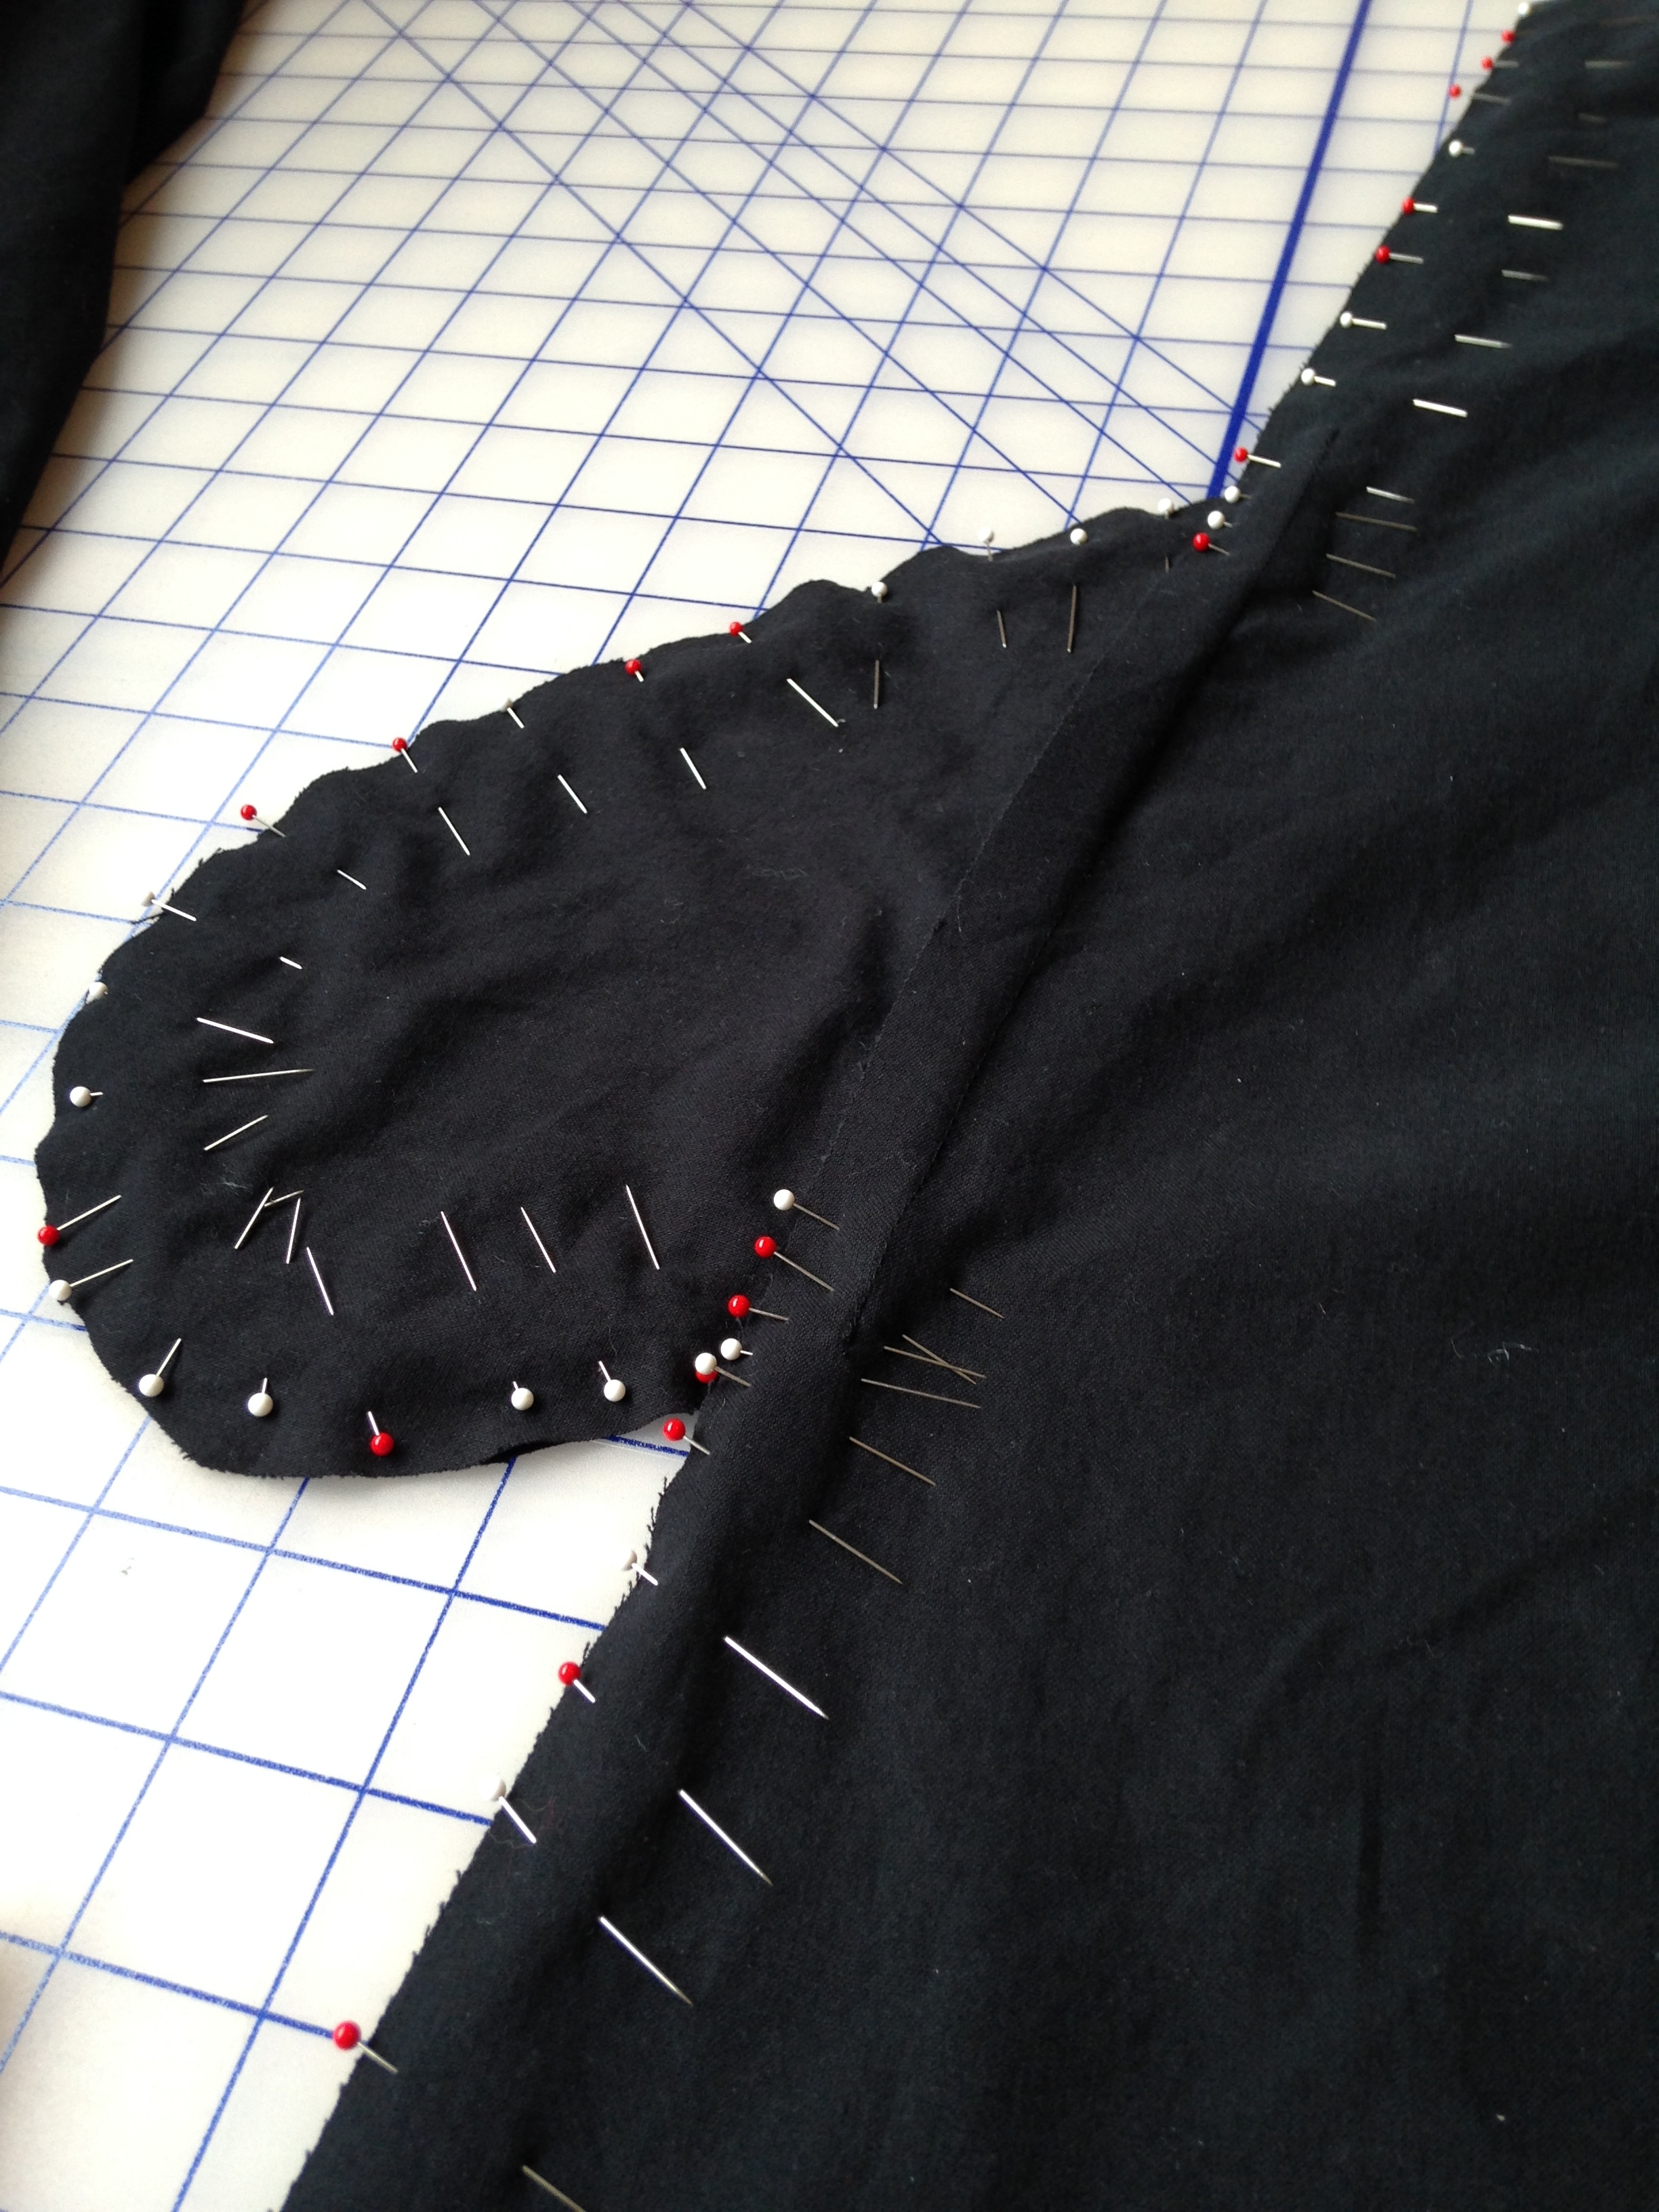
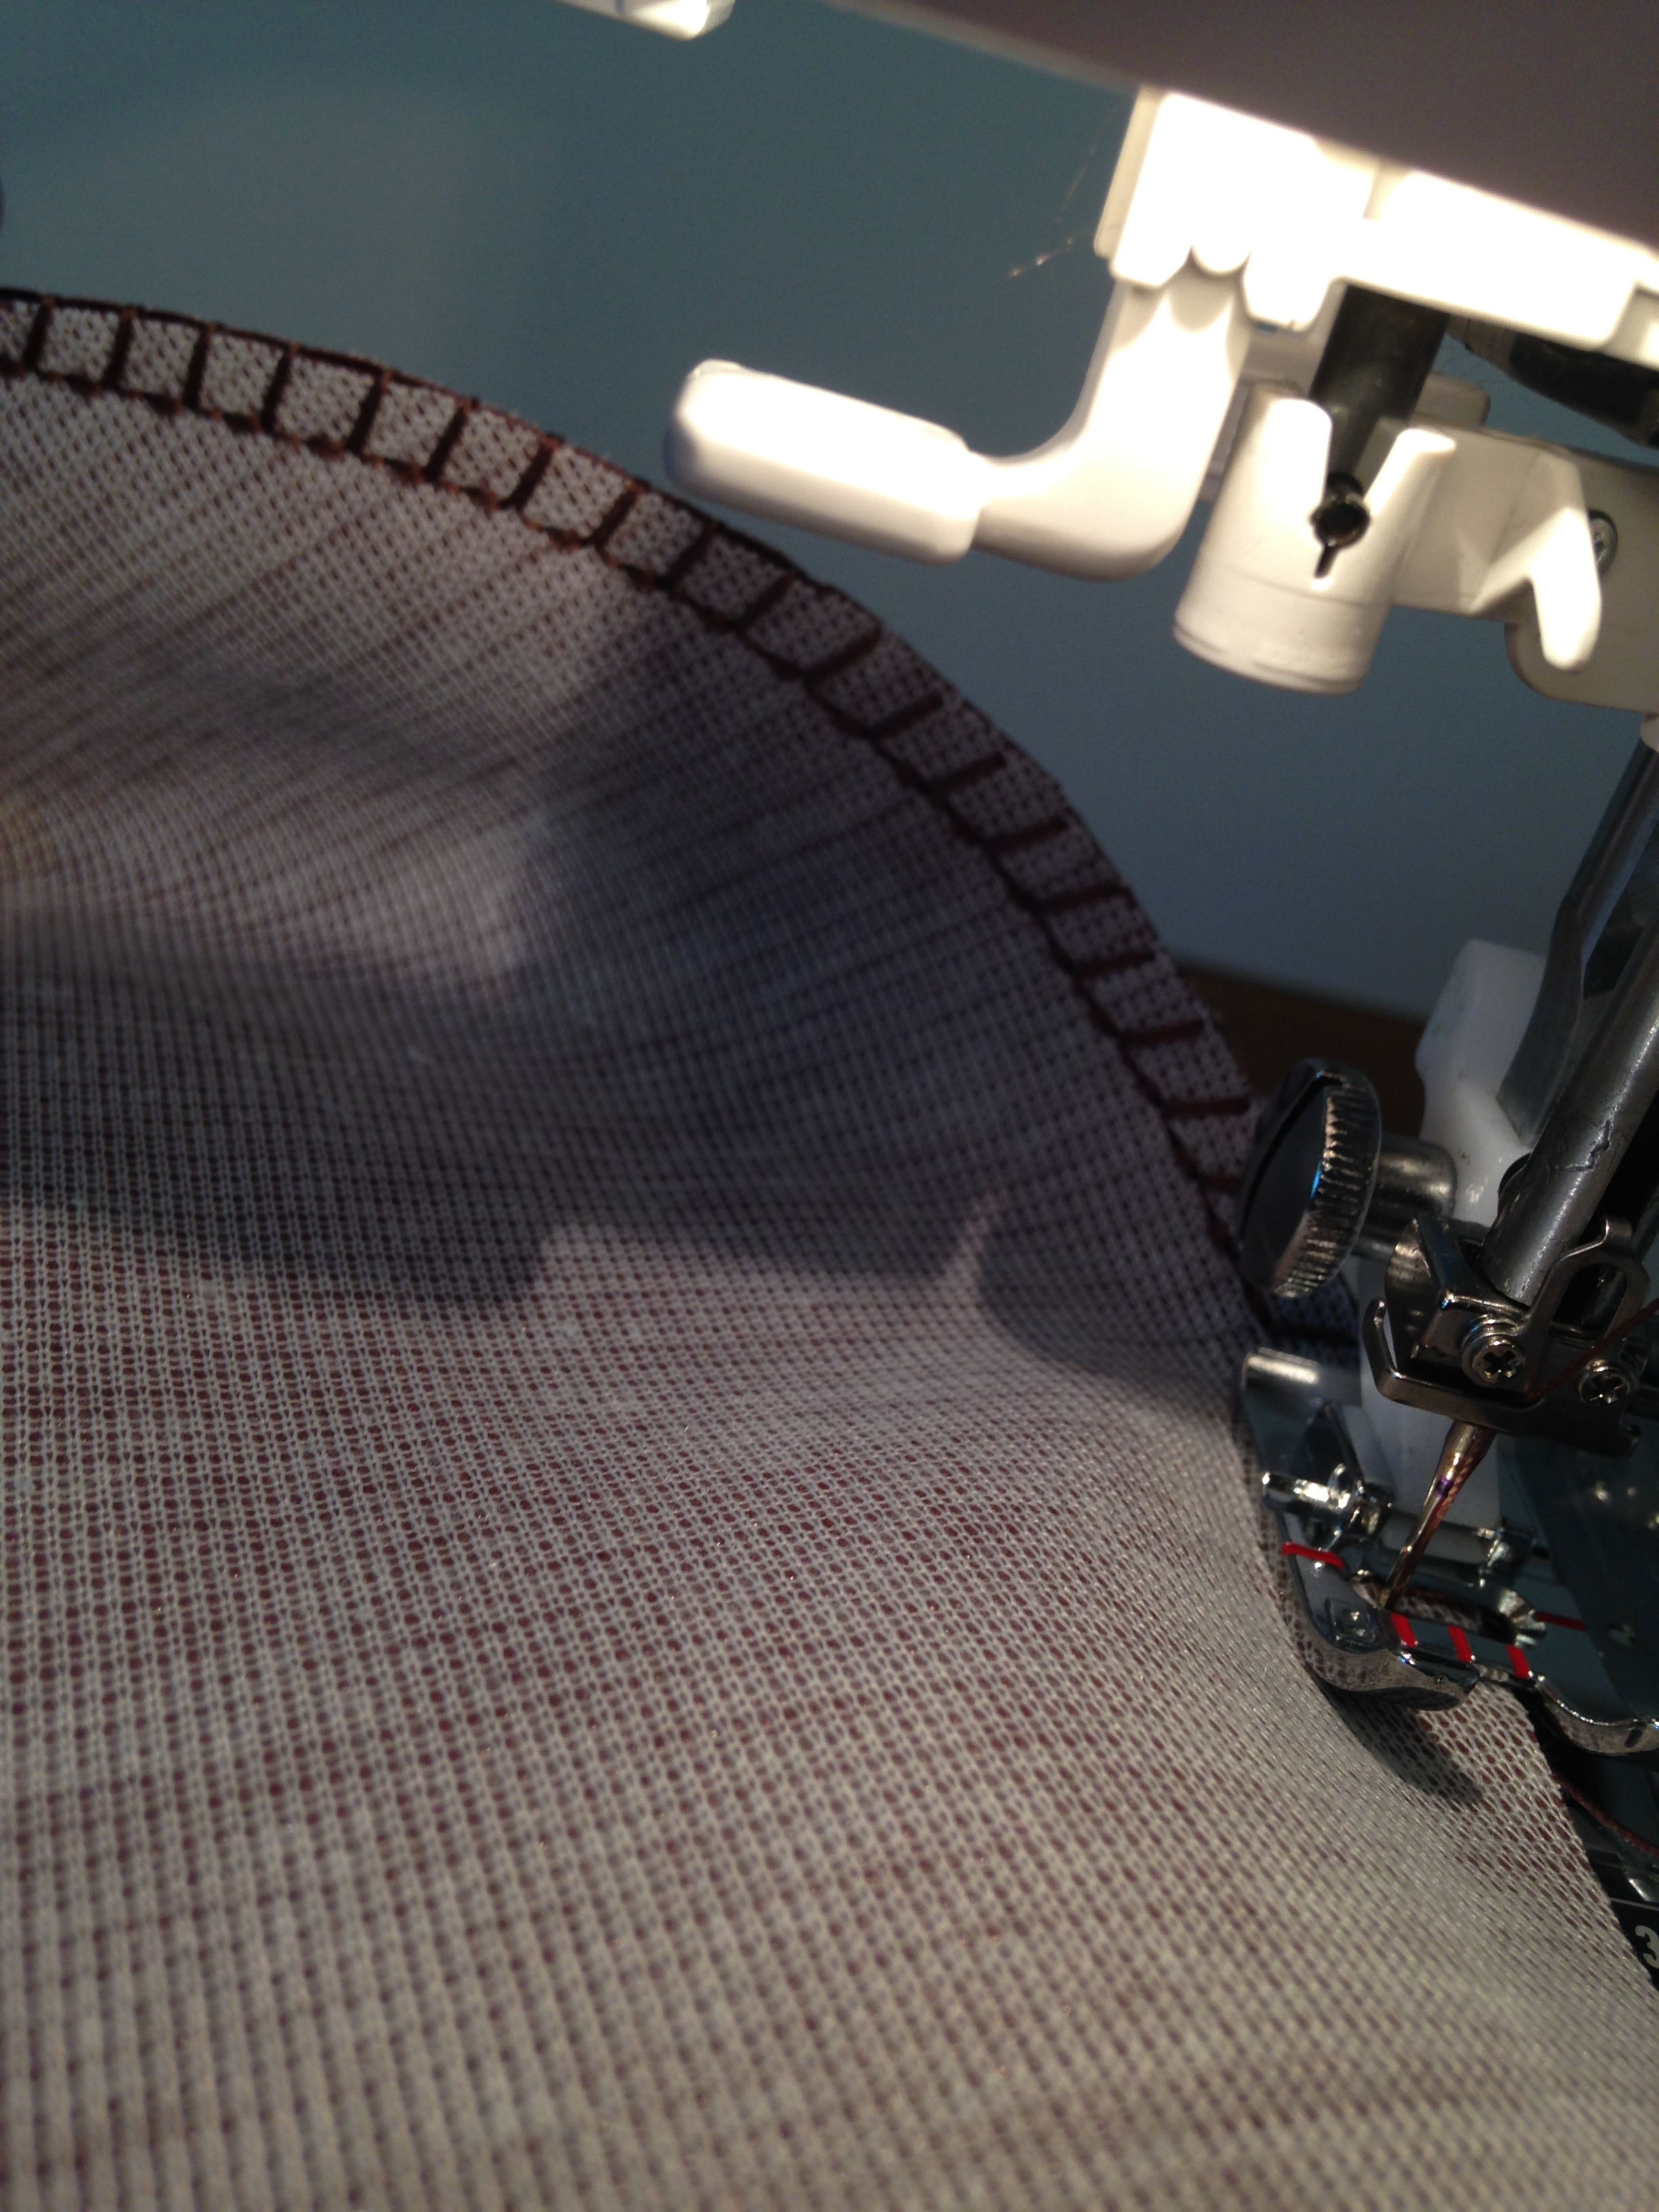
Right sides together, using a leather needle, heavy duty thread and the leather stitch setting on your machine (if you're using one), sew half way around the leather circles. Make sure you back stitch at the beginning and end of each stitch.
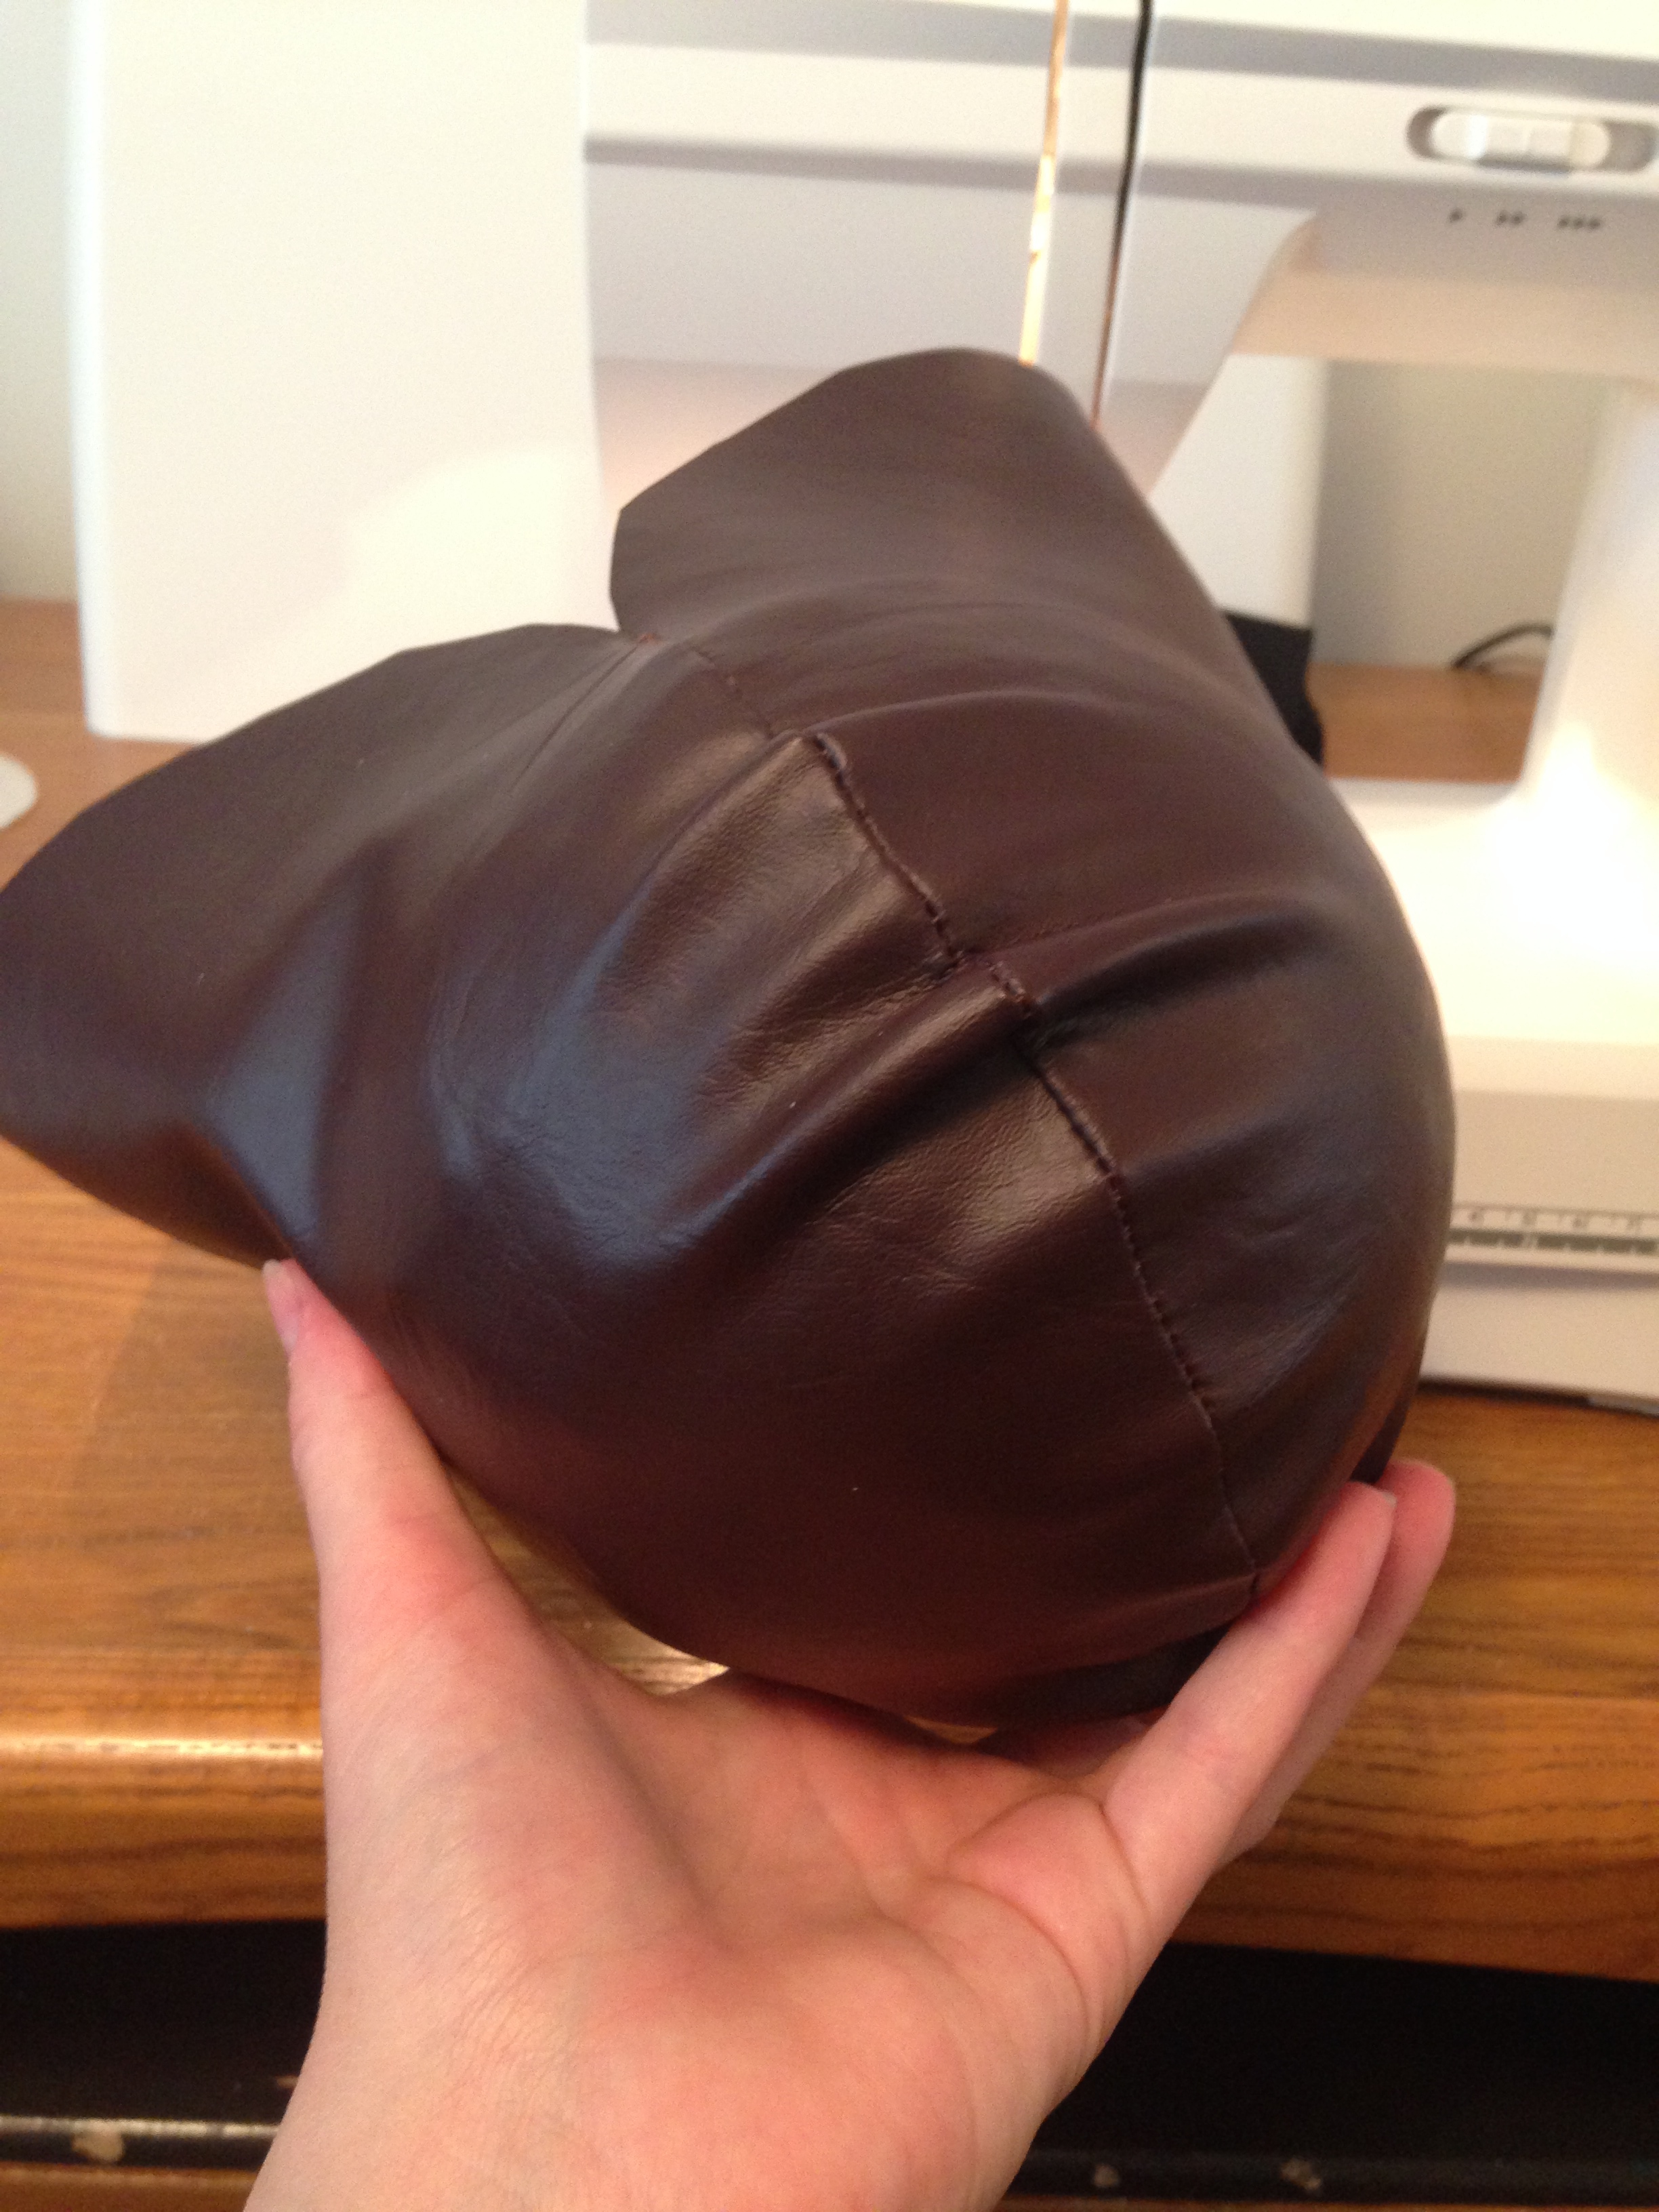
Turn the covering right side out and stuff the foam sphere snuggly inside it. I used a piece of cotton to wrap the ball first so it slid into the leather easier.
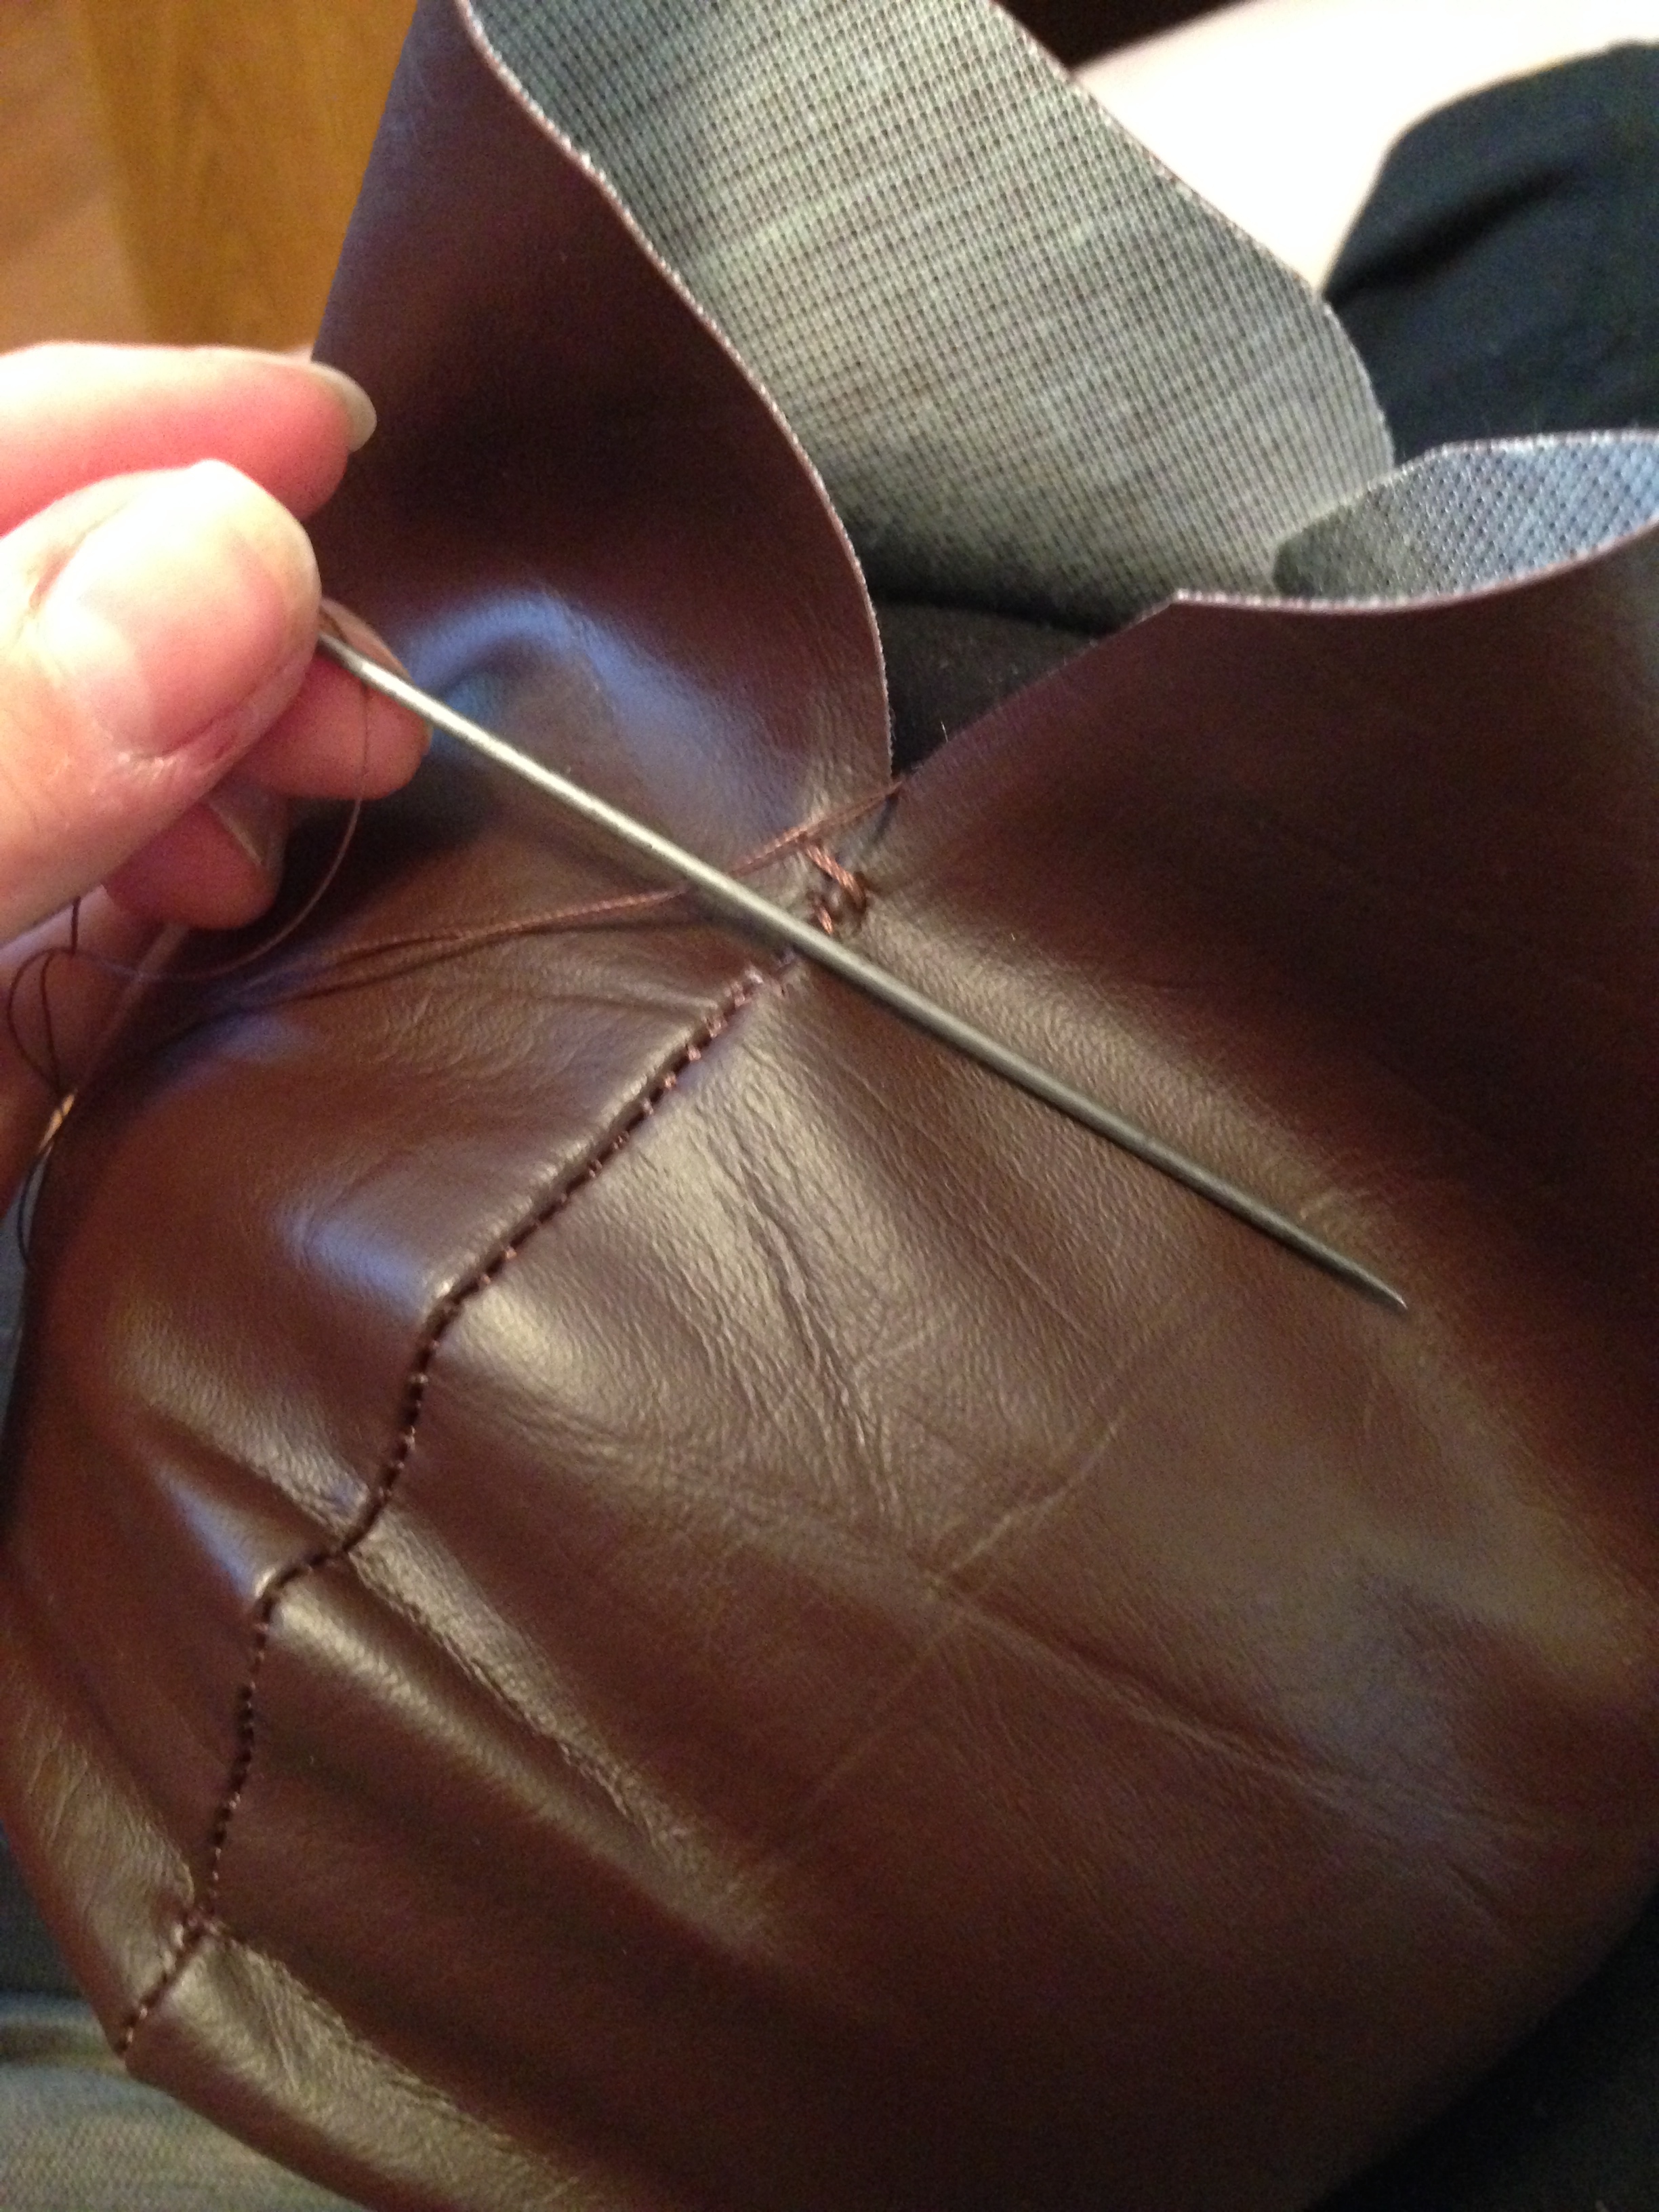
Now for some hand stitching. I bought a faux leather, truth be told, so it was very thin and I didn't need to pre-peirce the leather. I used a slip stitch along the seam line to close up the opening and encase the ball, making sure to pull the leather tight as I went.
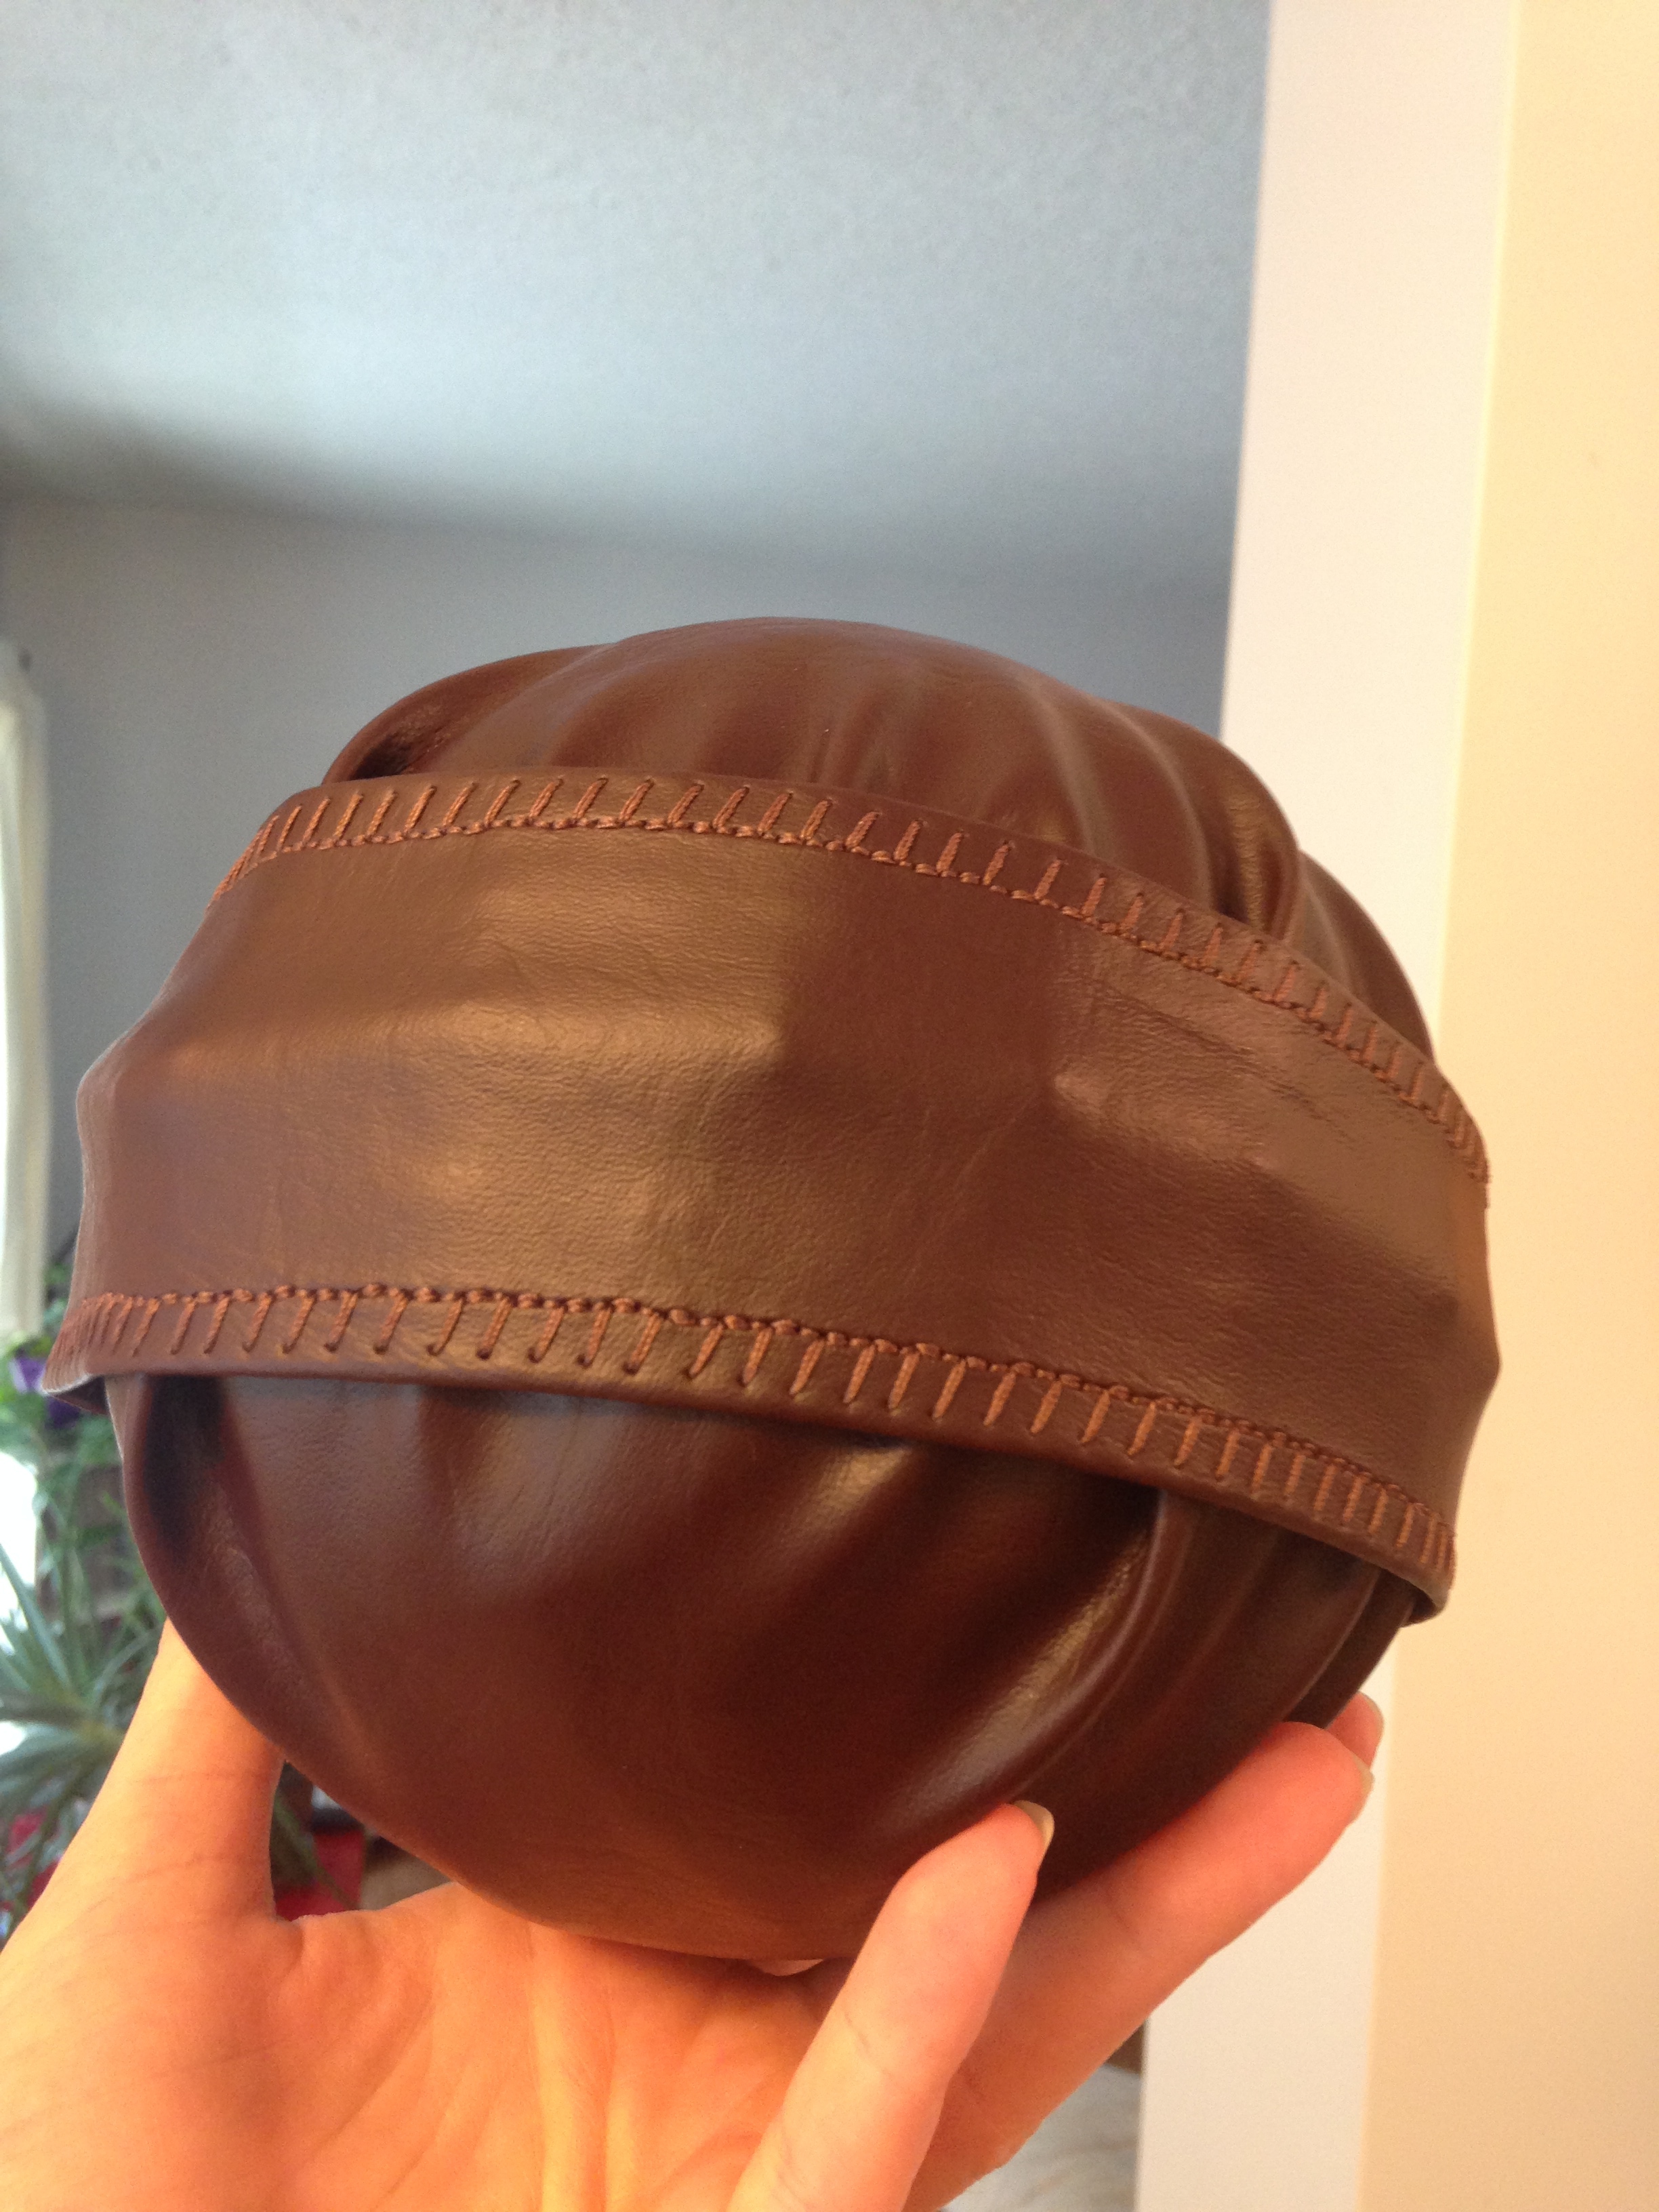
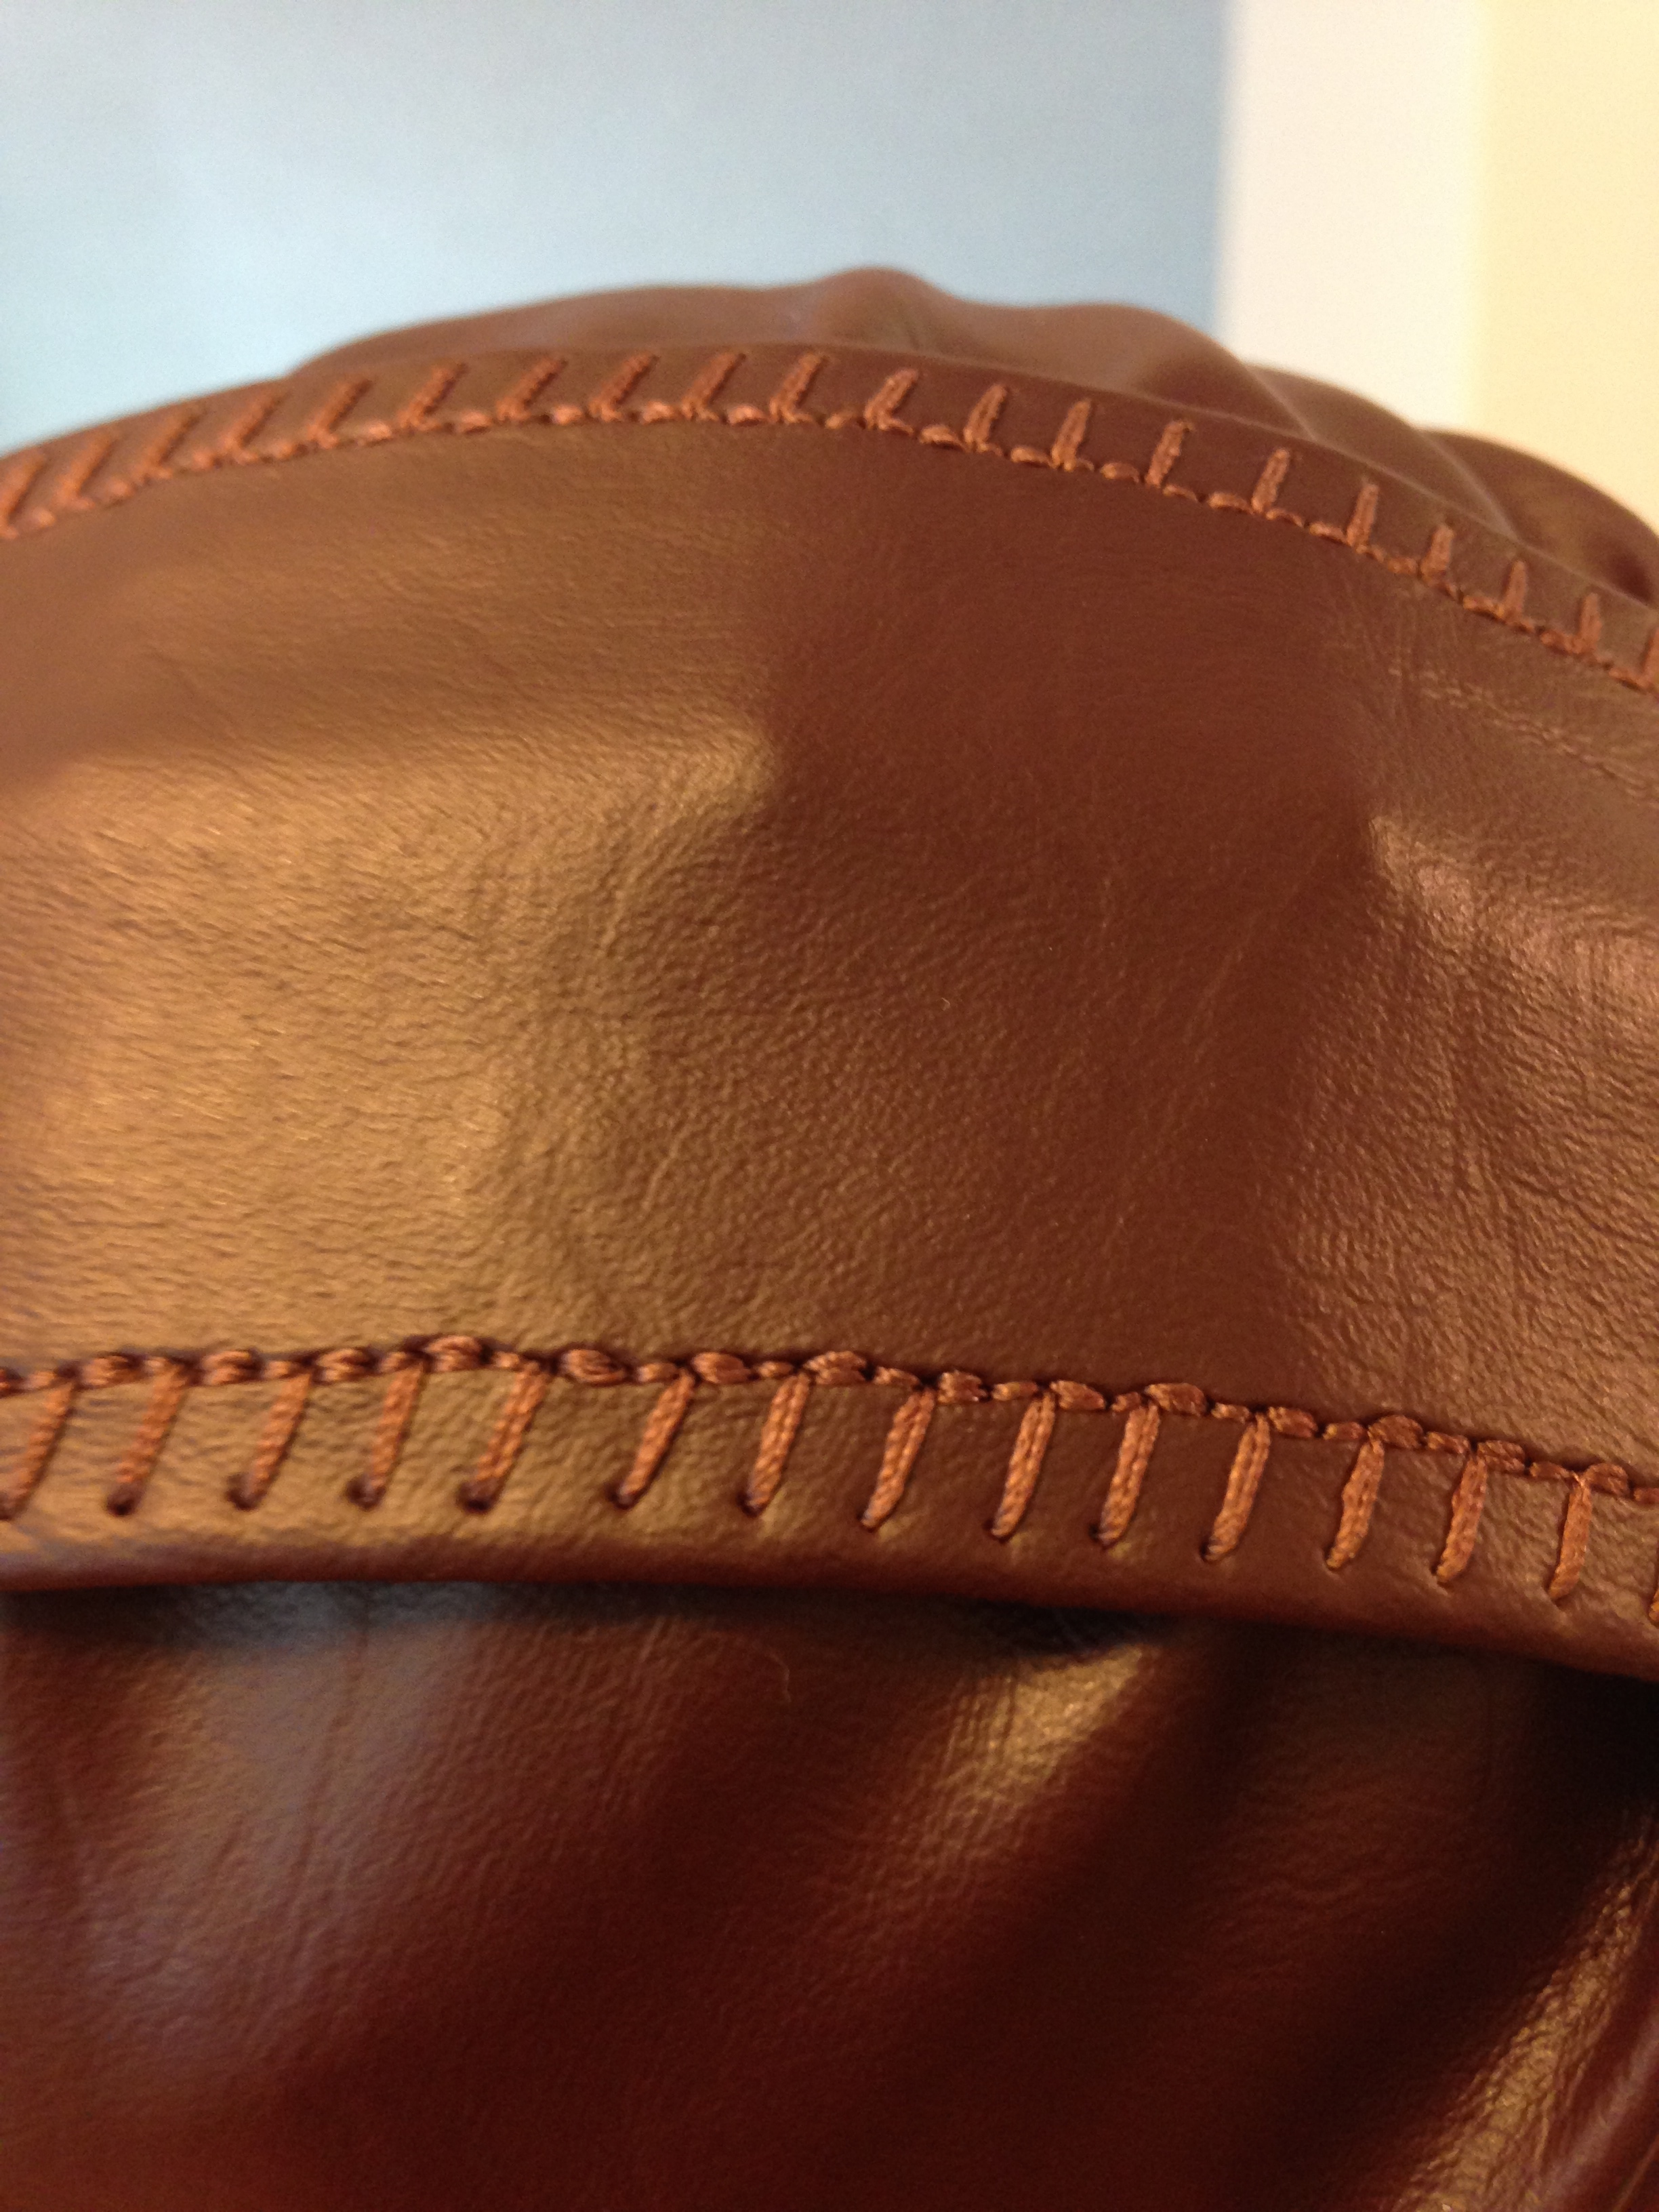
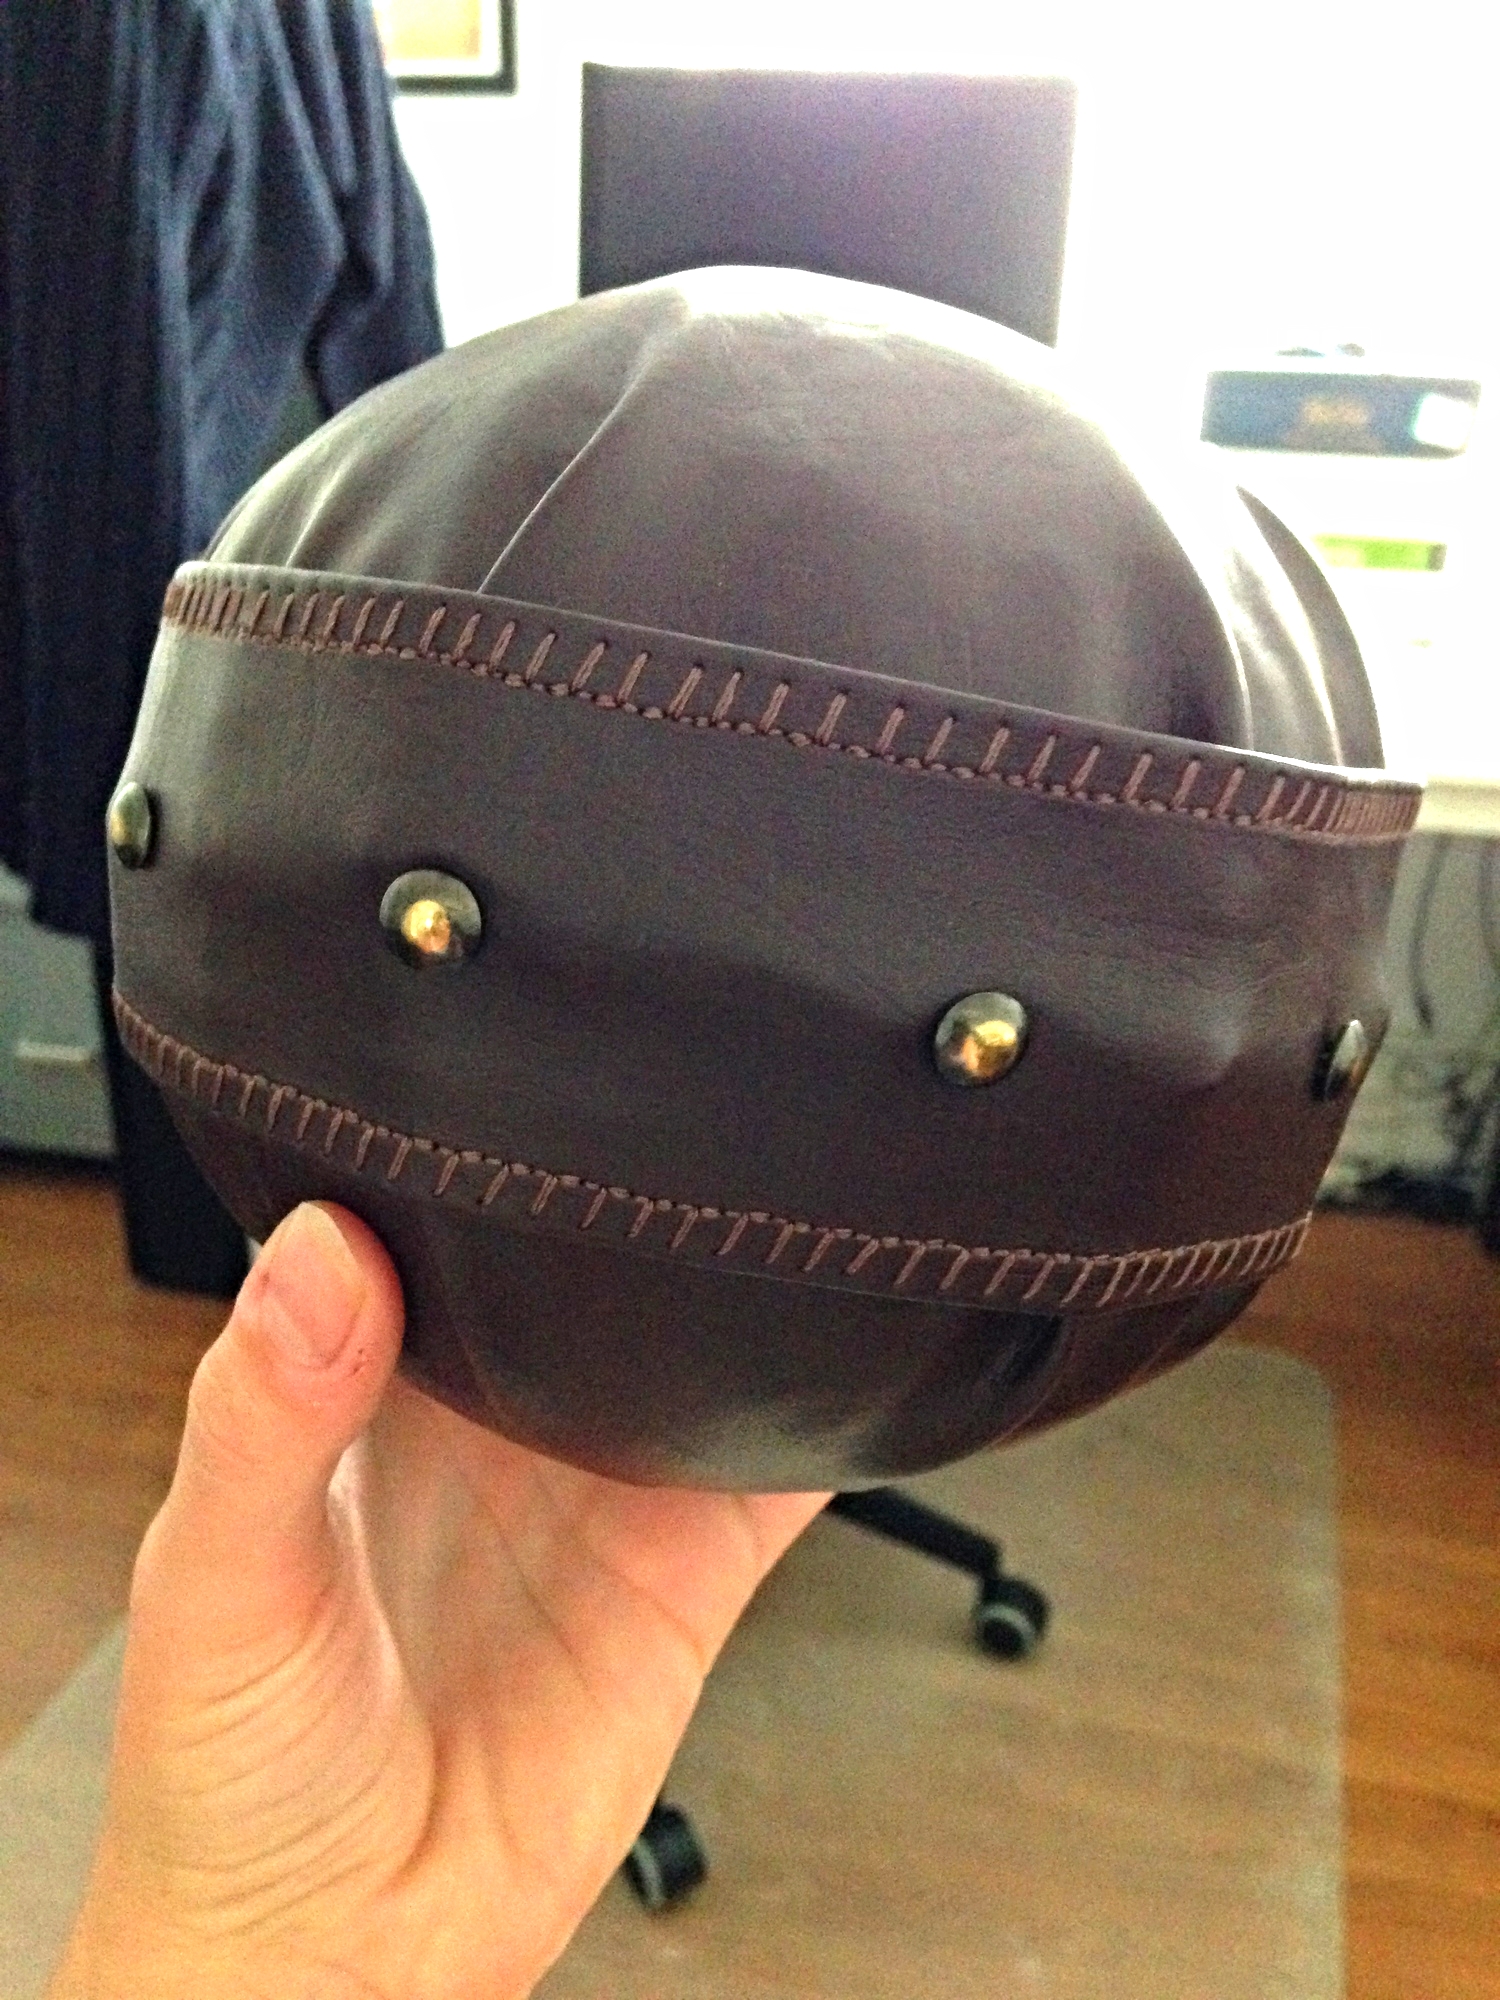
Because the ball looked a little lumpy I decided to add the embellishments: the strap with decorative leather stitching and the upholstery tacks. The strap was an 11 inch strip that I sewed together so that it fit tightly over the centre of the ball. Then, using my fingers, I punched the upholstery tacks around the circumference of the ball into the centre of the strap. TaDa! Bludger!


Bat
Materials:
1 aluminium softball bat (children's sized if possible)
A metal saw
... or 1 Dad who has a garage full of tools
Fine grit sandpaper
Brown spray paint
Brown acrylic paint
White linen cut into a metre long strip
Black or brown Marker
Paper and a pencil

- First, go and buy a cheap metal softball bat. Preferably a child's sized one because the beater's bats are smaller than regular bats.
- After you've bought your bat it's time to cut it down to size. Now, using a metal saw and a vice, I made two cuts into the bat handle (pictures). The first cut removed the handle base (which will be reattached later). The second cut shortened the handle. Then I inserted a piece of copper pipe that fit snuggly into the hollow bat. I replaced the handle base by putting it onto the remaining sticking out copper pipe. Then I taped everything together. The copper pipe inside makes the connection strong.
- Now it's sanding time. With the sandpaper, I sanded the glossy surface of the metal down. This will help the paint adhere.
- Outside, I evenly coated the bat in brown spray paint. I did this in two parts, letting the paint dry in between each part. 1) Hold the handle and spray the bat; 2) Hold the now dry bat and spray the handle. (I rigged up a stand so that the bat could dry hands free!)
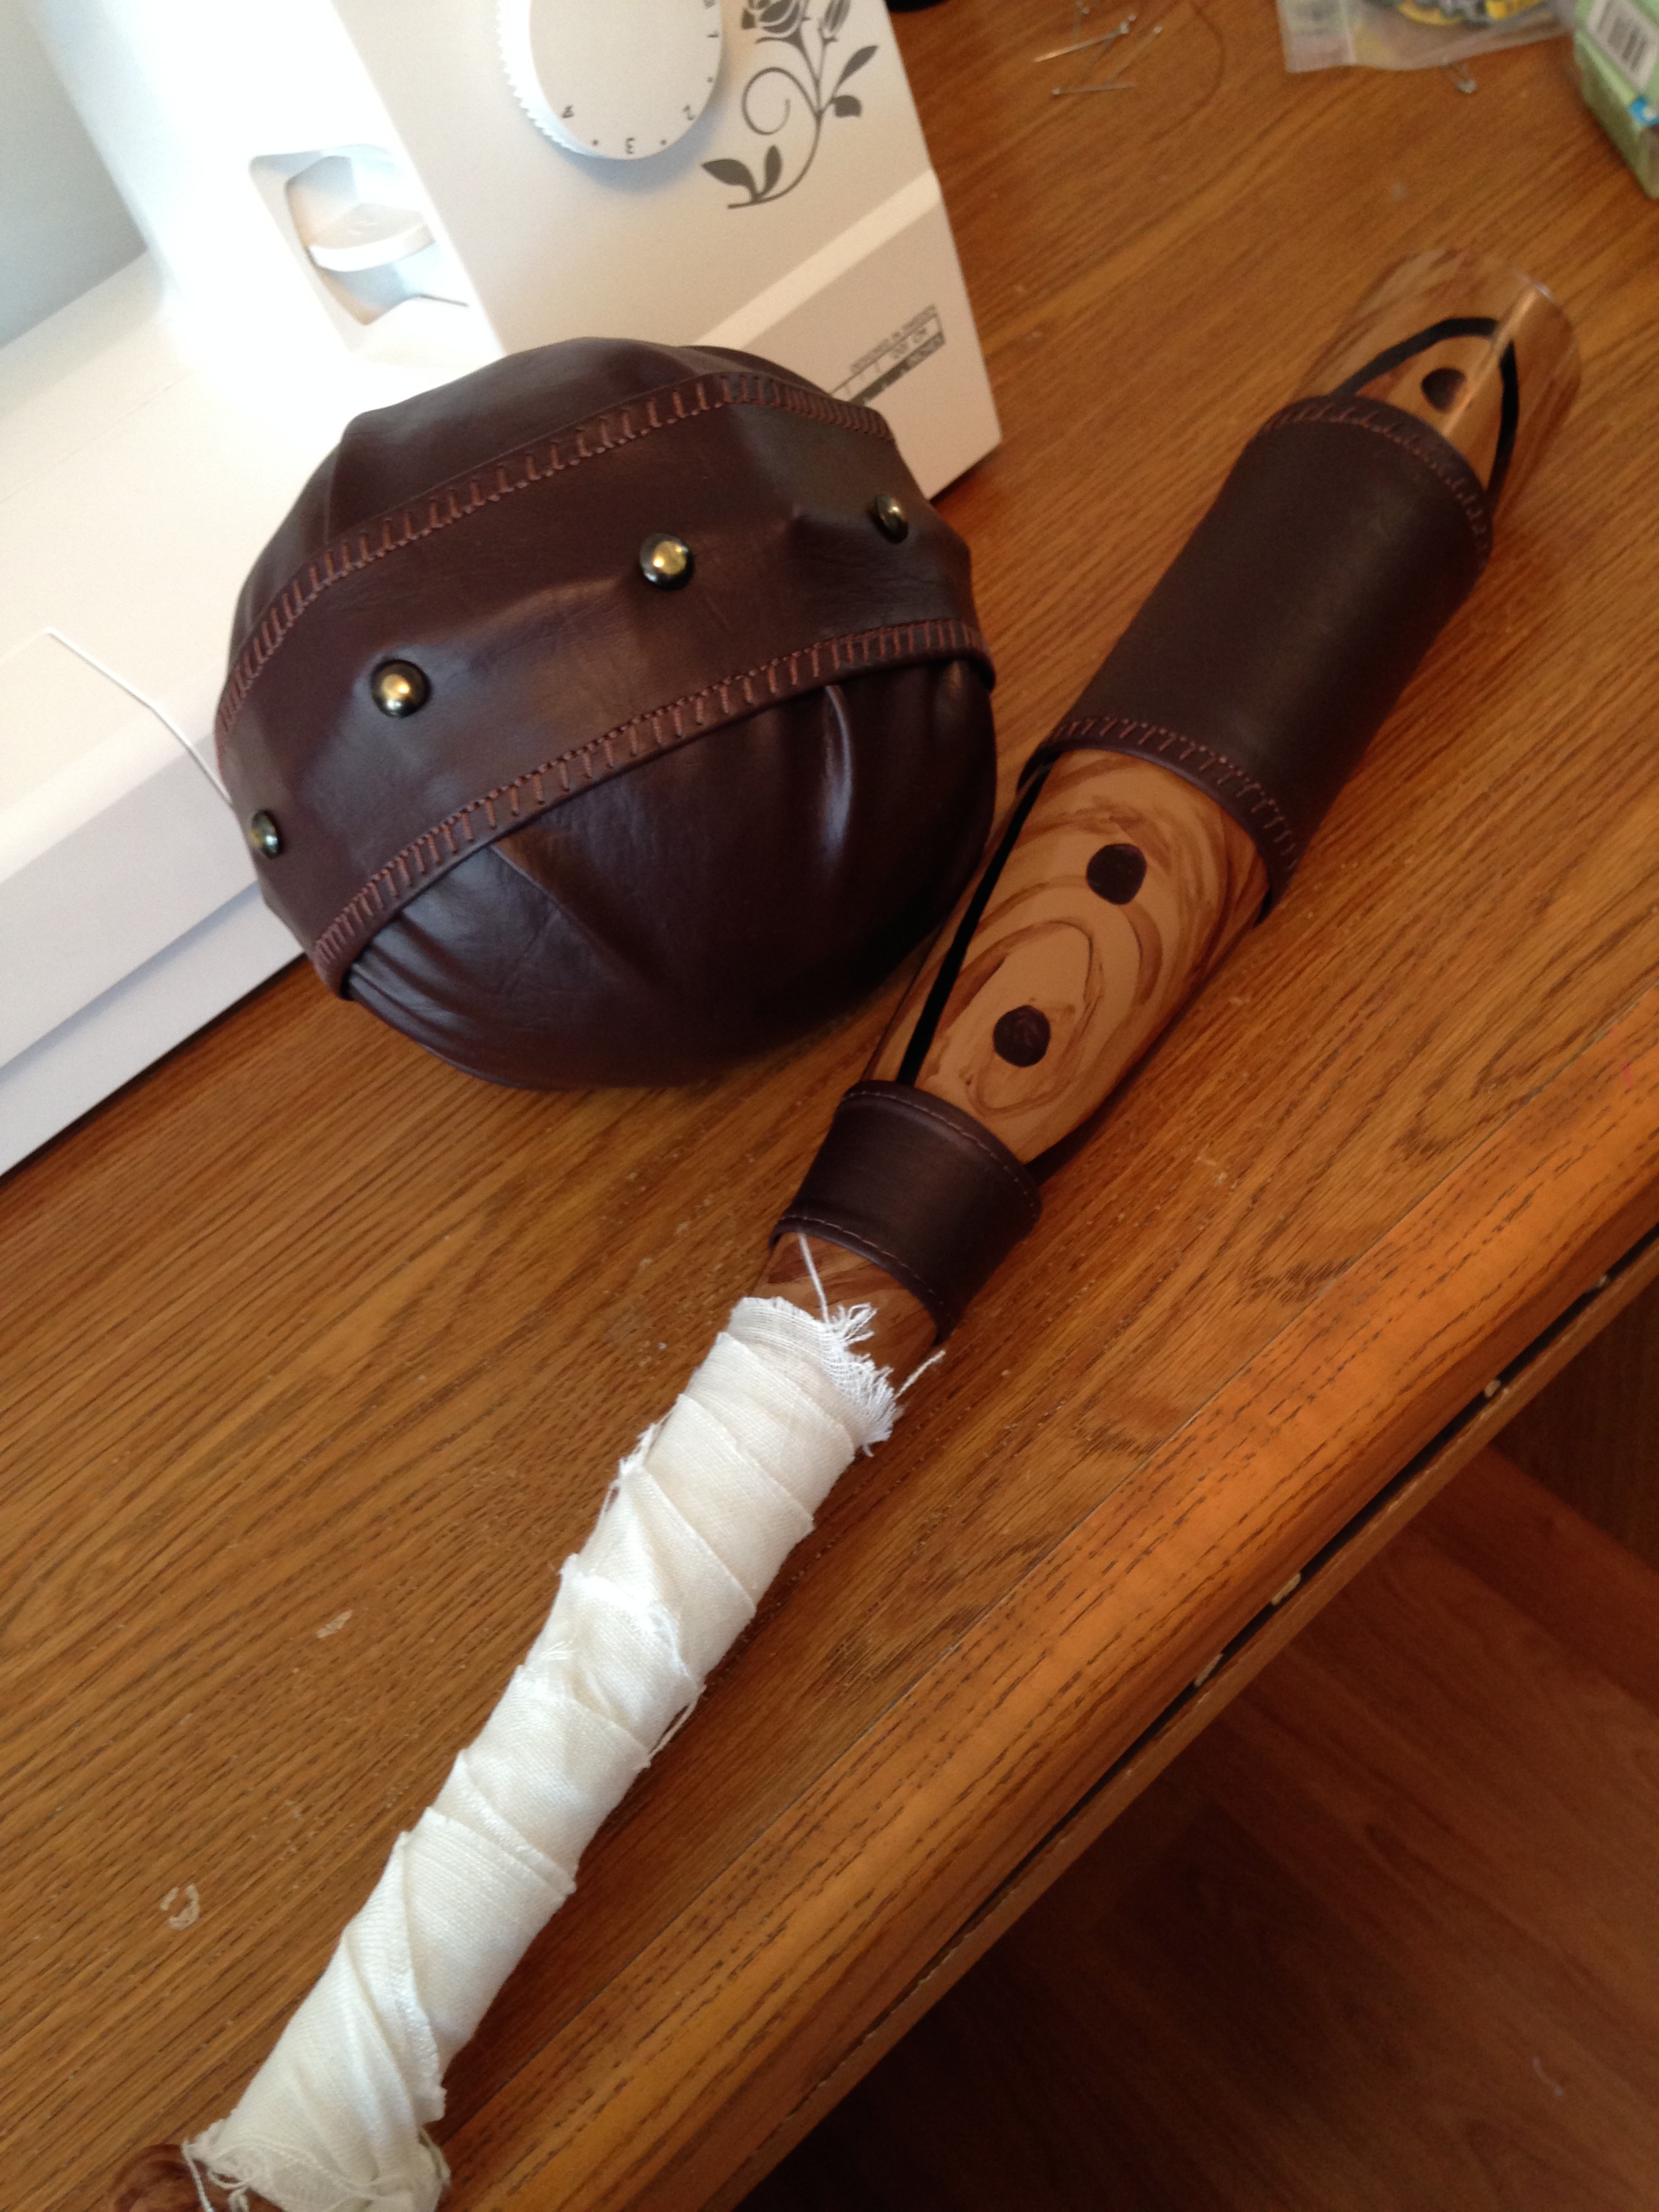
- I recommend that you paint the wood-like design onto the bat at this point. (I wrapped the handle next, but it's much better to get the painting out of the way first.) I used brown acrylic paint and brushed some wood-like knots and grain lines onto the bat. No need to be too elaborate! Just enough to get the point across. Let it dry.
- Next, I took a meter long strip of linen, leaving a 3 inch end tail, and tightly wrapped the linen up and then back down the handle. I tied a knot with the initial tail and the remaining strip.
- Now it's time to draw on the tell-tale bat markings. Using a pencil, I sketched out lines. When you're happy with them, using a marker, fill in the lines. (Wait to fill in the dots until after the leather strips are finished.)
- For the larger leather strip at the top of the bat, I measured the circumference of the bat and made a band, exactly like the one for the bludger, that will fit snuggly. Once done, I slipped it onto the bat and slide it down. It should be very snug. For the small leather strip, I took the piece of paper and wrapped it around the bat at the handle. I then drew two straight lines on the paper around the bat where I want the band to be. When you uncurl the paper you see the pattern you need to use to make a straight band that fits snuggly on the bat. (Also, don't forget to add some seam allowances before you cut out your leather! Or, like me, you'll have to redo it.) The I slipped it over the end of the handle and up until it fits snuggly just above the linen.
- Marker in the dots and voila! Fini!

Quaffle
Materials:
10 inch foam sphere
Parchment\pattern paper
Pencil and ruler
Protractor
Leather needles (both for the machine and hand)
Red leather
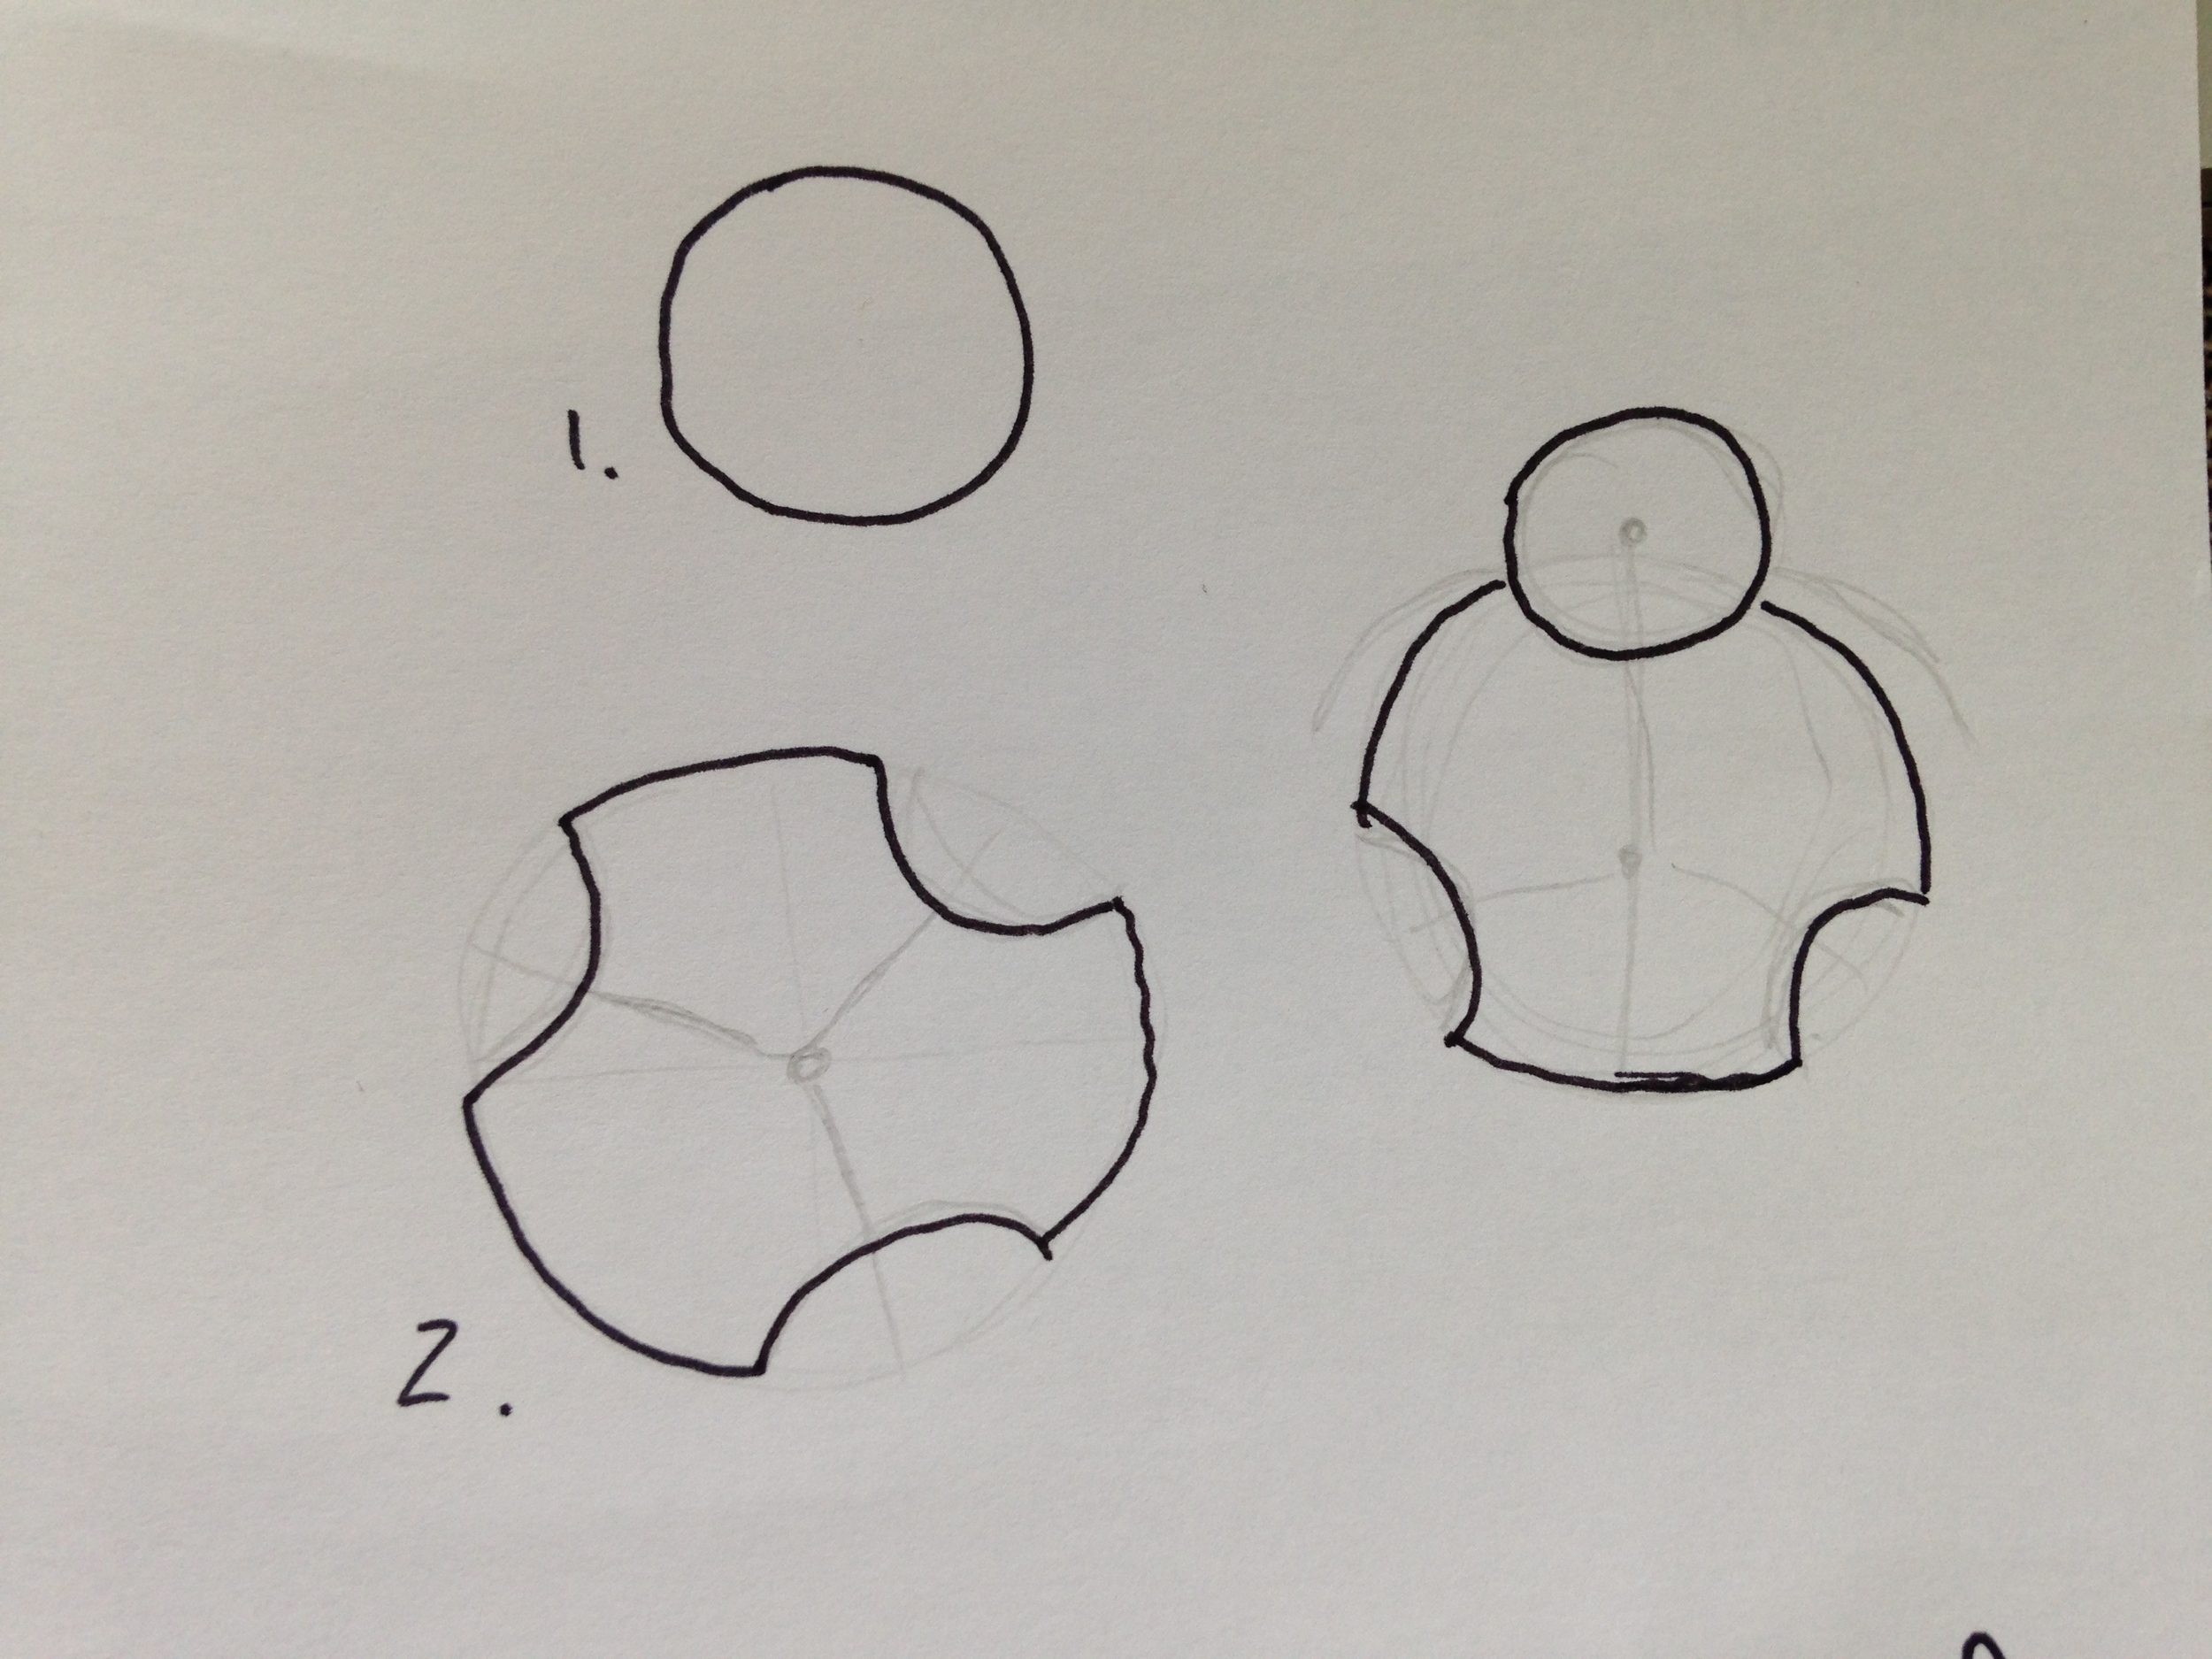
- It's pattern time again! Now the quaffle is a minor math nightmare. We use the same concepts as the bludger but the quaffle has a pattern to it. It has 4 small round insets and in-between pieces that surround them. Lucky for us the ball has a repeating pattern! So we just need to make two pattern pieces: the round inset and the in-between piece.
So:
Circumference = 2πr = 2*π*5 in = 37.7 in
So we have a circumference of almost 38 inches. Drawing out the pattern, we can see that if we take the centre of an inset circle, on opposite side of the sphere is the edge of an in-between piece. So, if we divide the circumference in half we can find out the distance between these two points which is approximately 19 inches.
These 19 in must include half the diameter of the circle (the circle radius) and diameter of the in-between piece. So, if we make the circle radius 3 inches (our circle pattern will be 6 in diameter plus seam allowance extra), that leaves 16 inches left for the diameter of the in-between piece. Draw out these circles either using a compass or the technique we used for the bludger pattern.
The in-between piece pattern is not yet done. This is the part where you do need a protractor. Elementary school all over again. Mark the centre of your circle. Then draw three lines, 120' from each other, radiating from the centre of the in-between piece. Where the line hits the edge of the pattern piece, match up the centre of the circle pattern piece you made to the line and the edge of the in-between piece. Trace a semi-circle onto the in-between piece. Cut out the semi-circle and then repeat this for the other two lines. Your pattern piece should now look like the one drawn above. Yay! - Now that the dreadful pattern is complete, draw out the pattern on the back of your leather and cut out 4 circles and 4 in-between pieces.
- Now comes the logistical sewing nightmare part: Stitching together the circle and the in-between pieces. I started stitching the in-between pieces together at their seams. Then, after, I sewed in the circle pieces. Make sure you leave two in-between sides and the respective circle open so you can slip the styrofoam ball inside. (See my quaffle head picture above.)
- Slip in the styrofoam ball. Since it's large you may have to use some force to get it all the way in.
- It's closing time! Using the same slip stitch as the bludger, sew up the remaining seams on the quaffle by hand. And there you have it! At this point you can smash in the circle insets. The styrofoam underneath will break down with a couple good whacks. =) (It's a nice way to vent frustration after sewing leather too. Haha.)
Congratulations again to Amanda and Aaron! Love you guys! Thank you for letting me be part of your day. <3
-Andrea
The Half-Assed Hobbyist