Orchid Roots look like an Ood's Moustache

Well someone had to say it. 

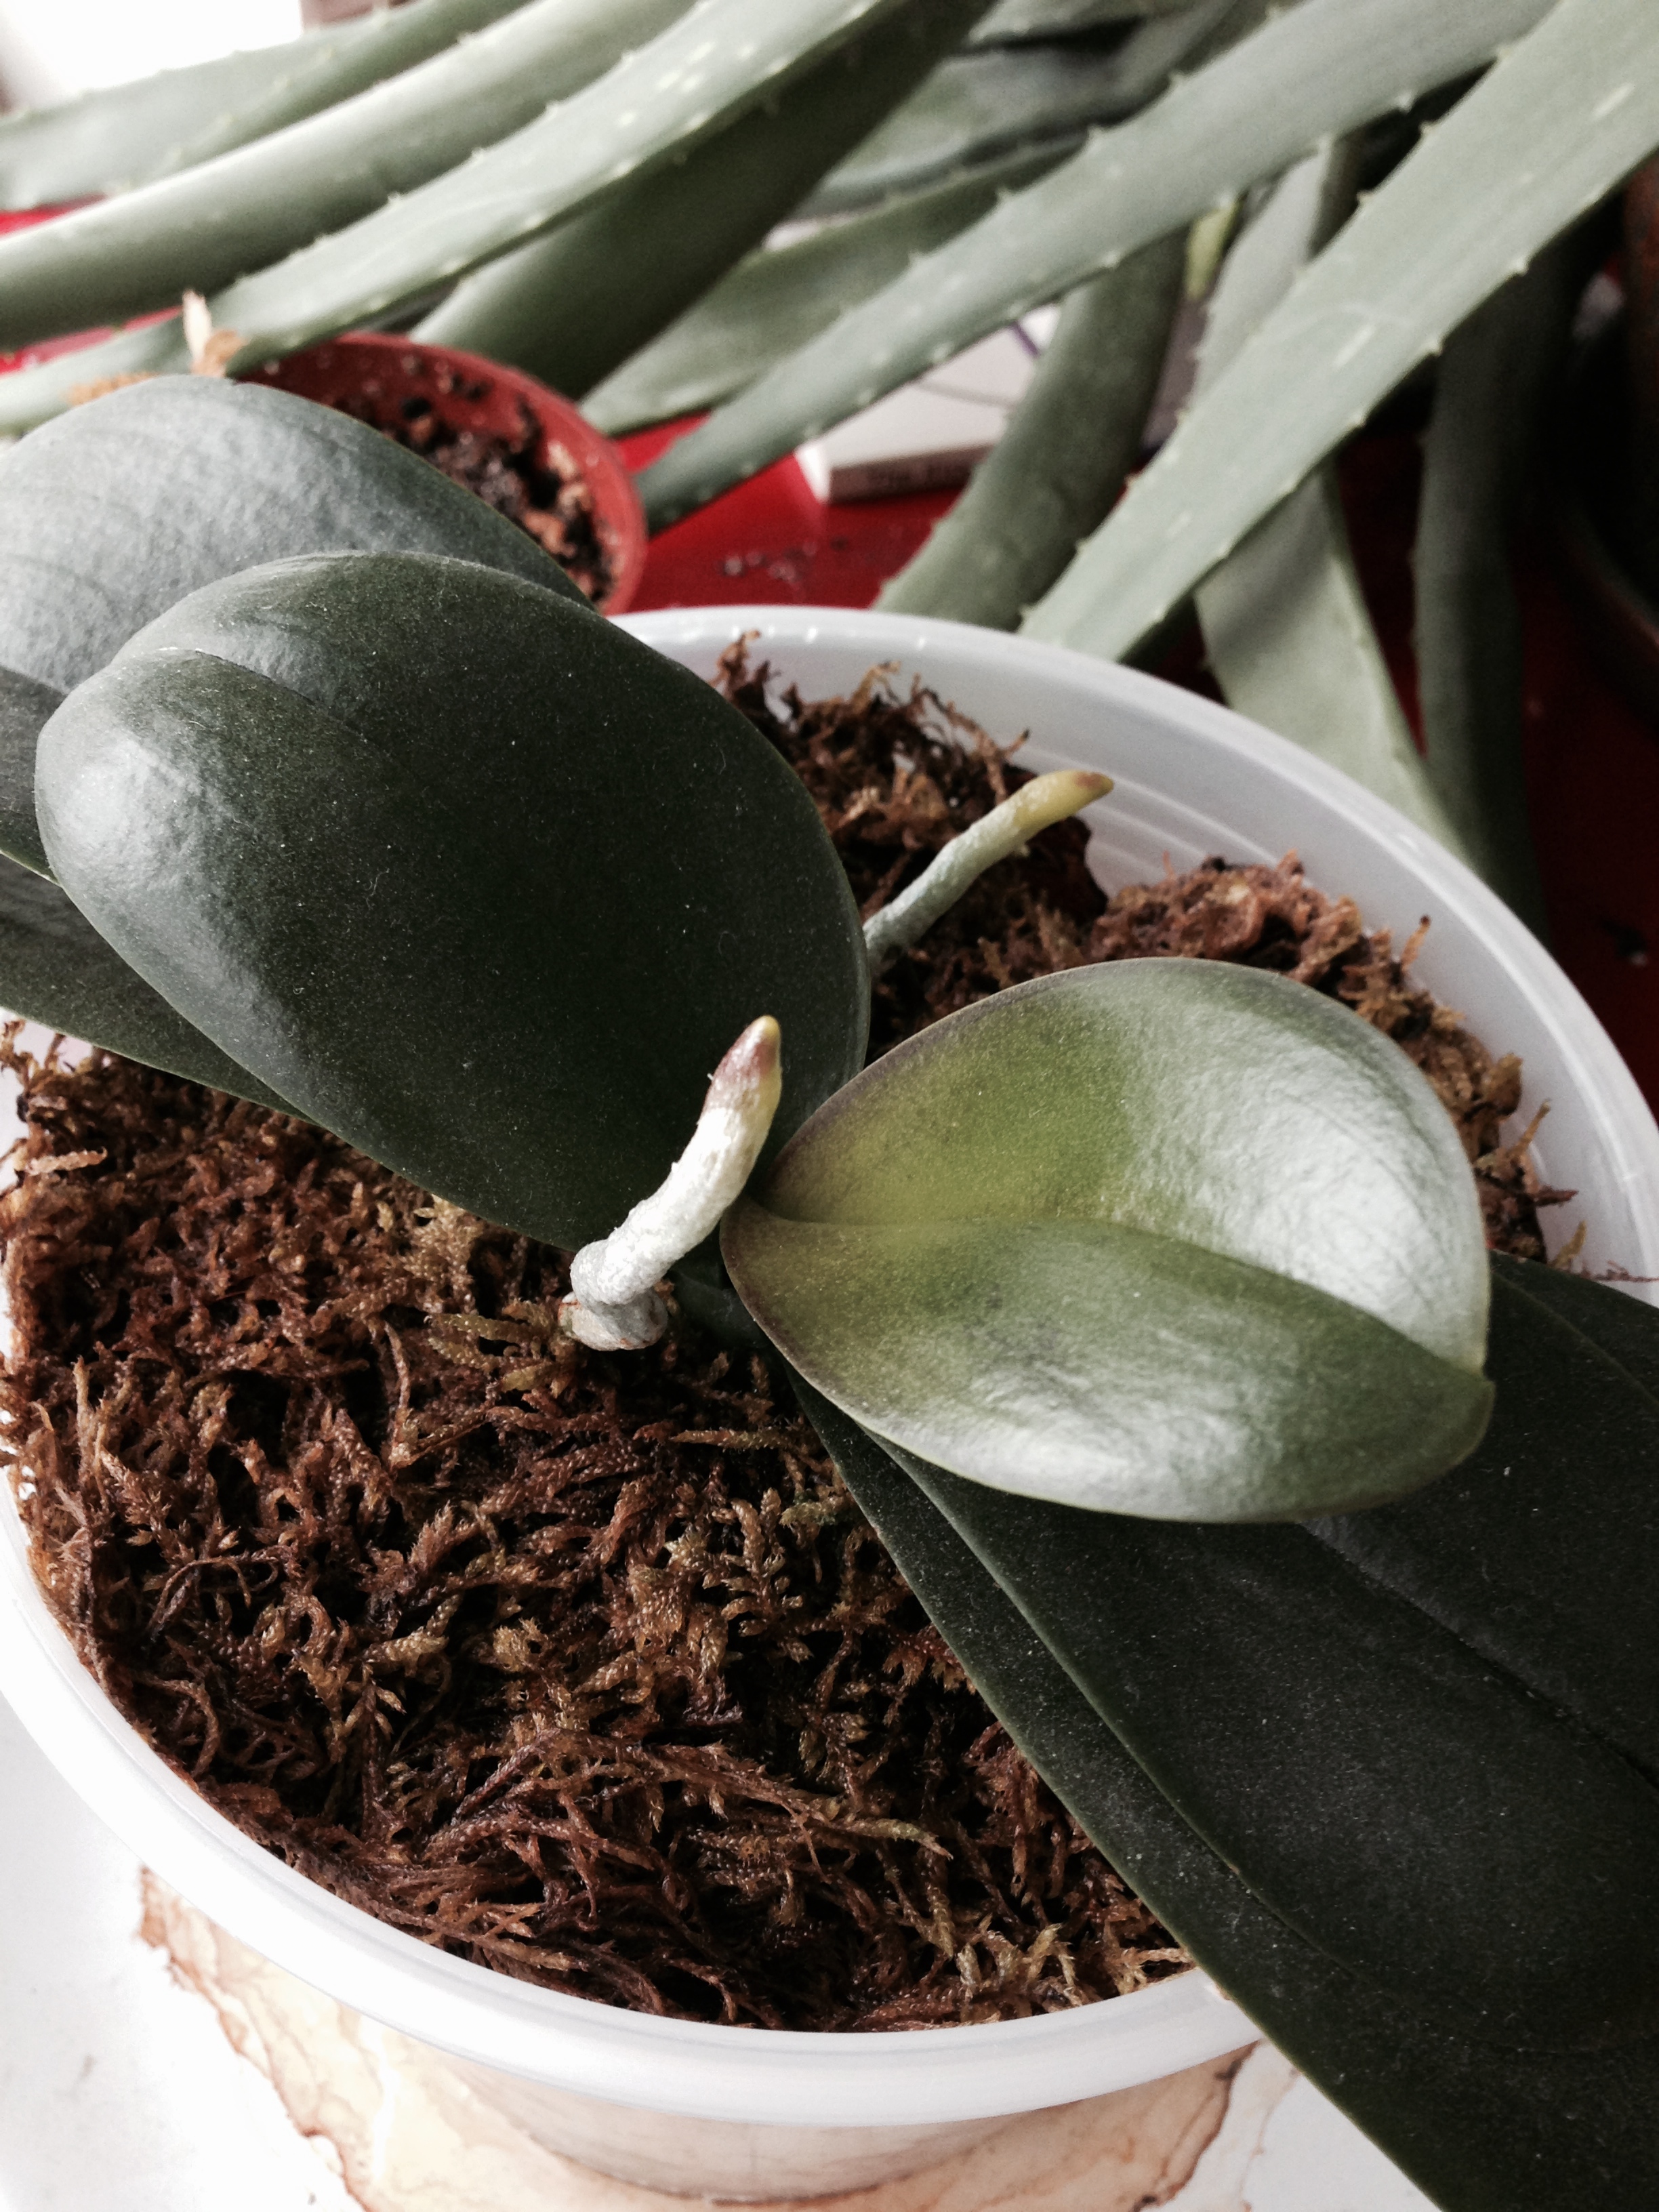
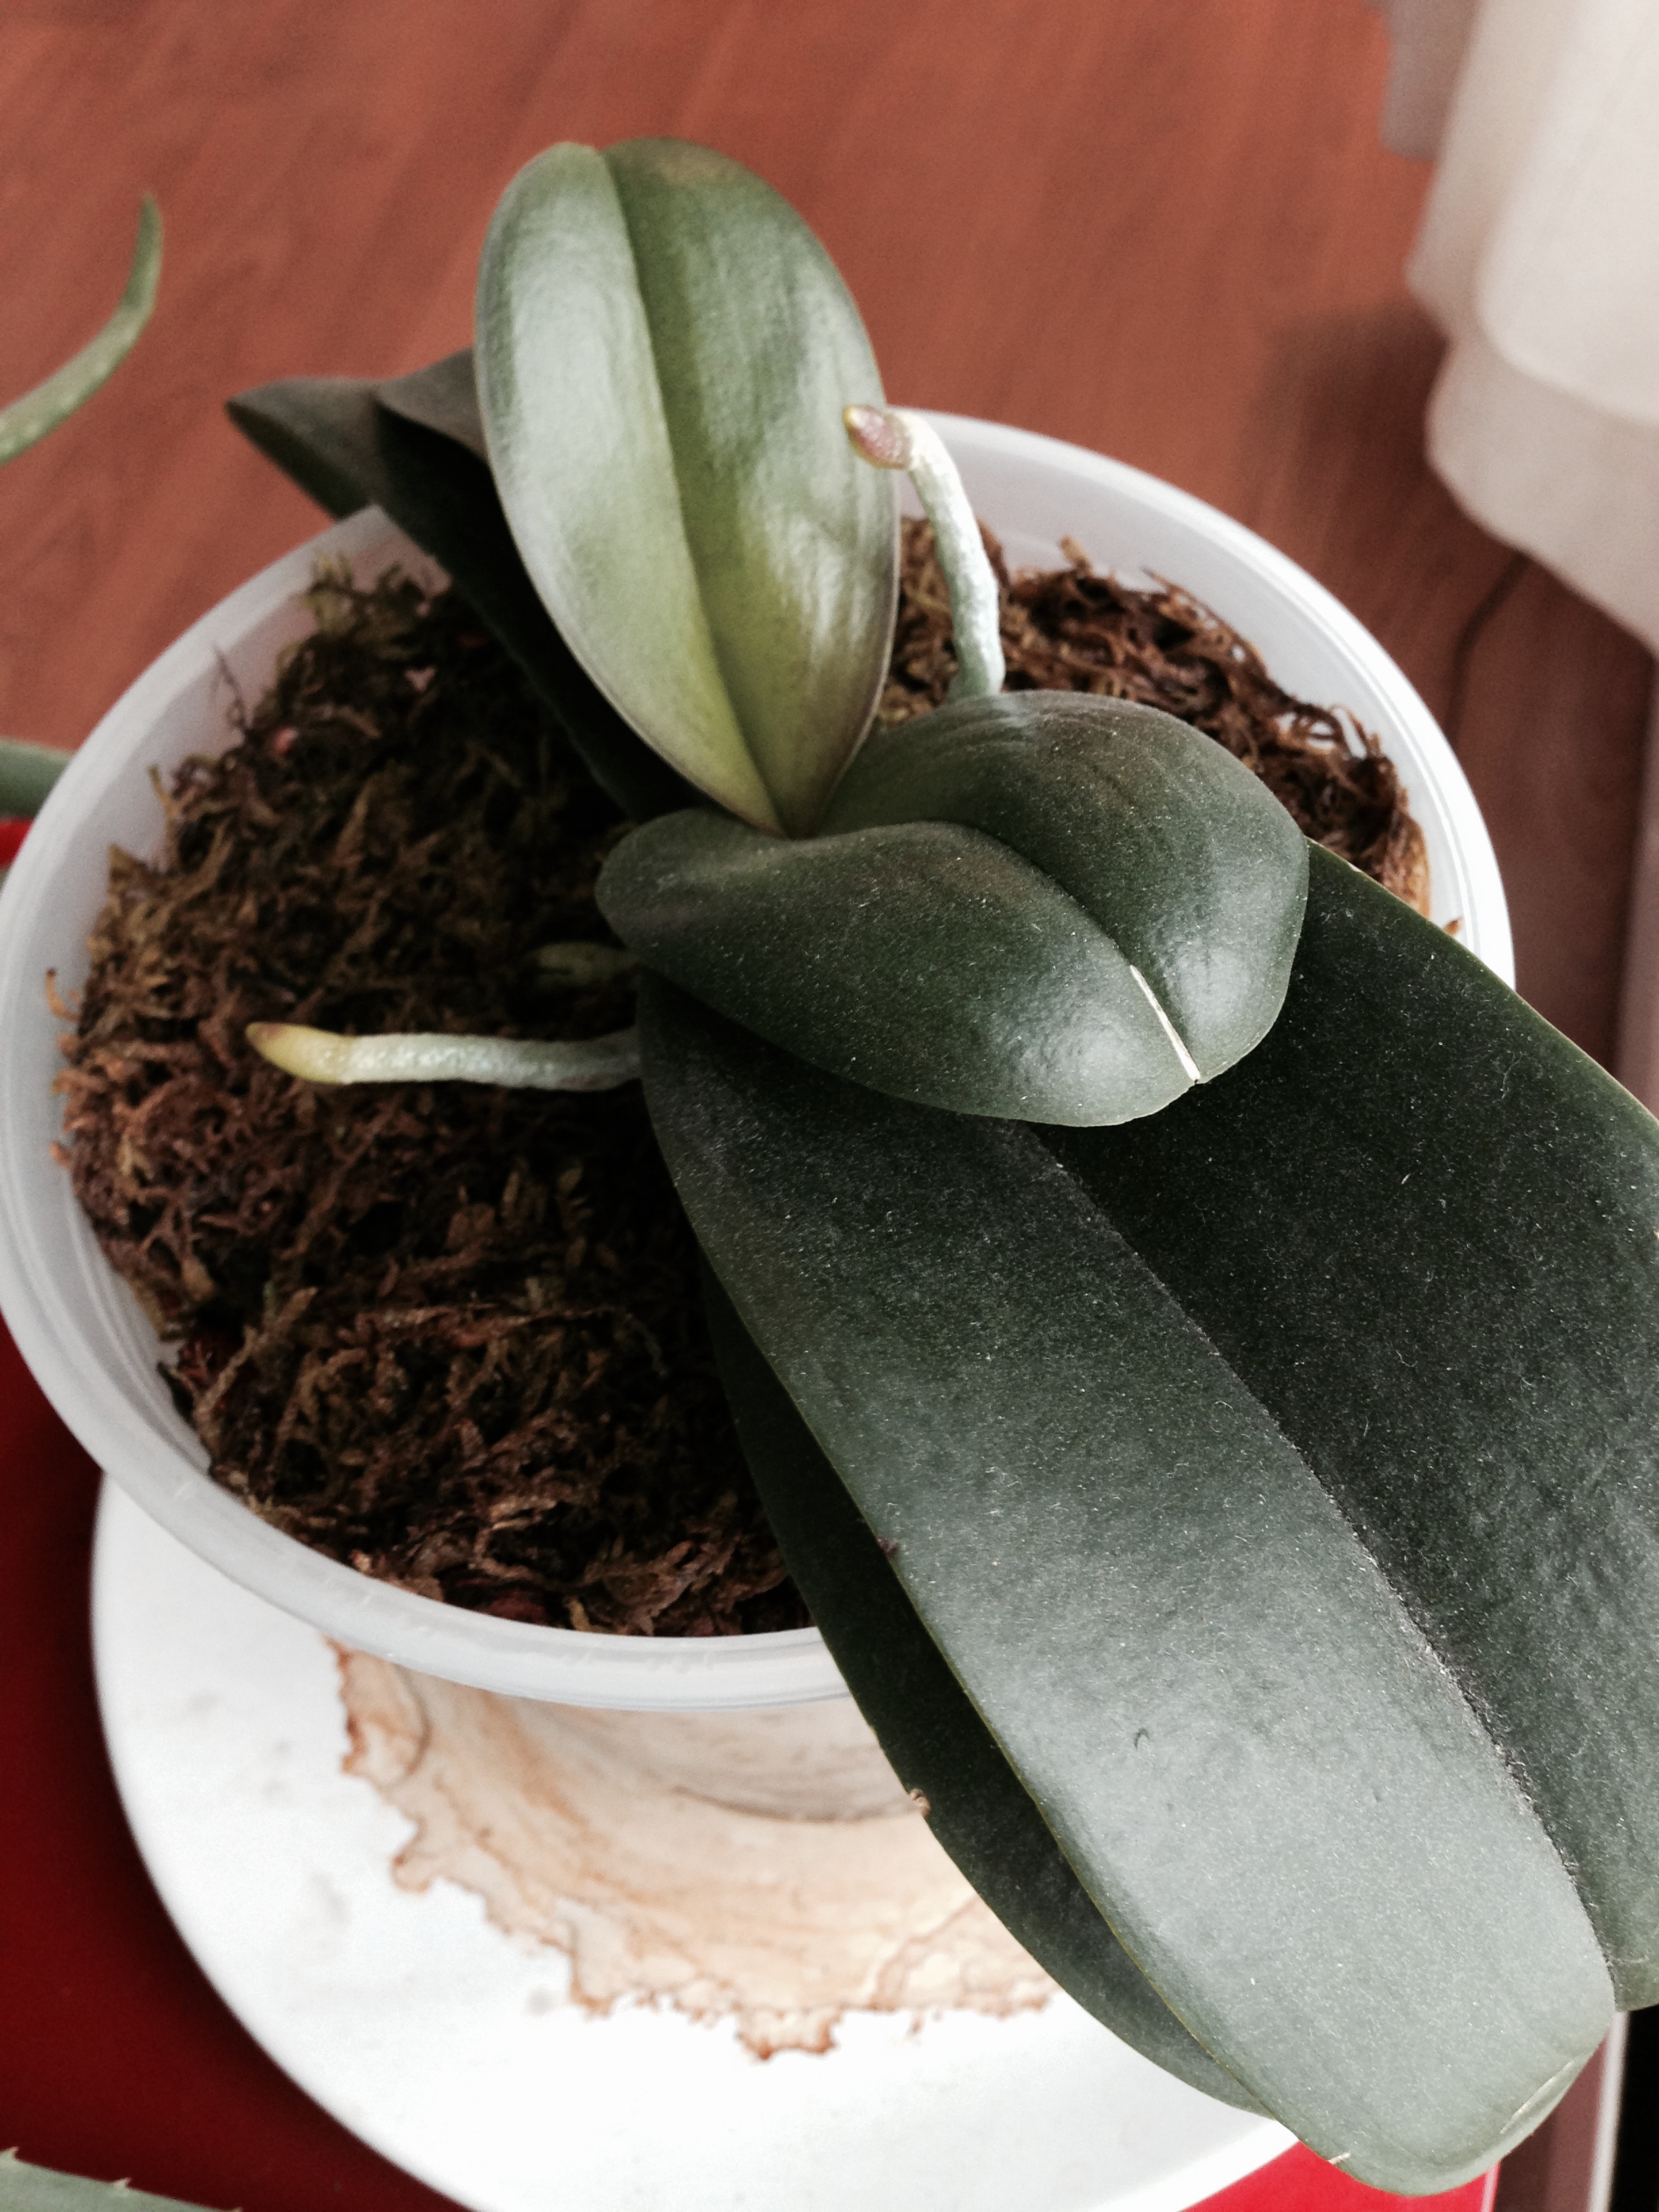
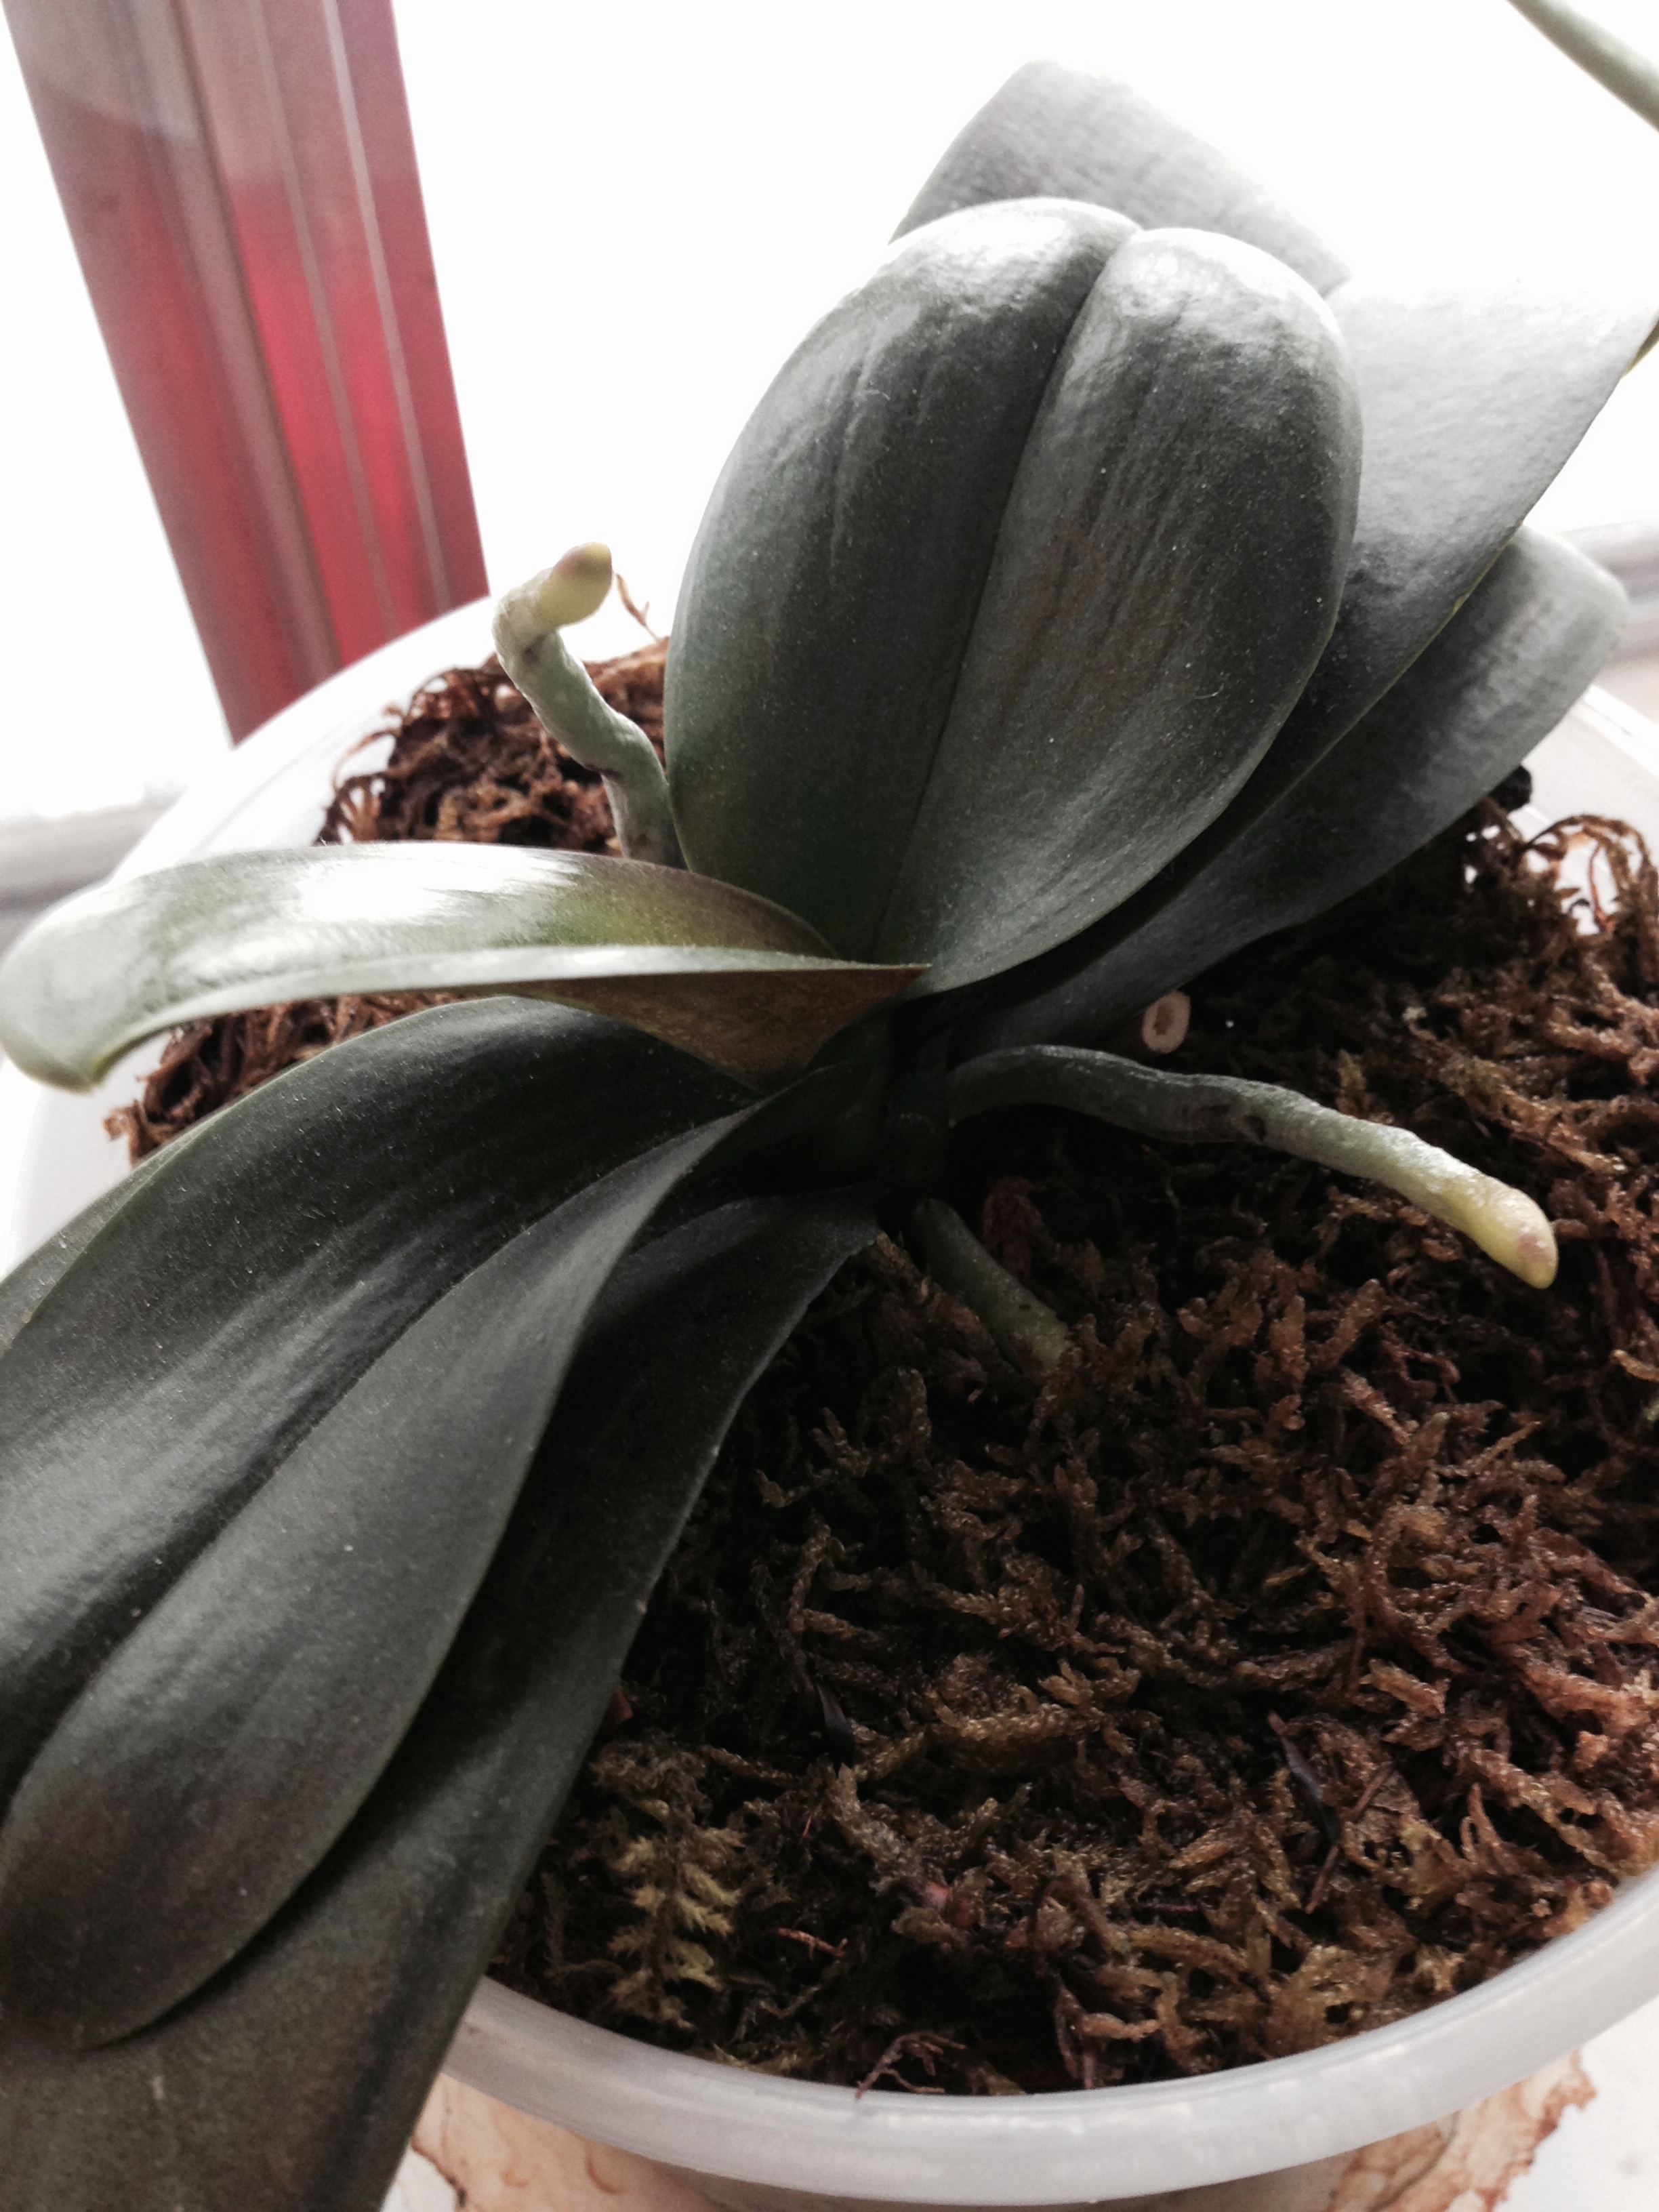
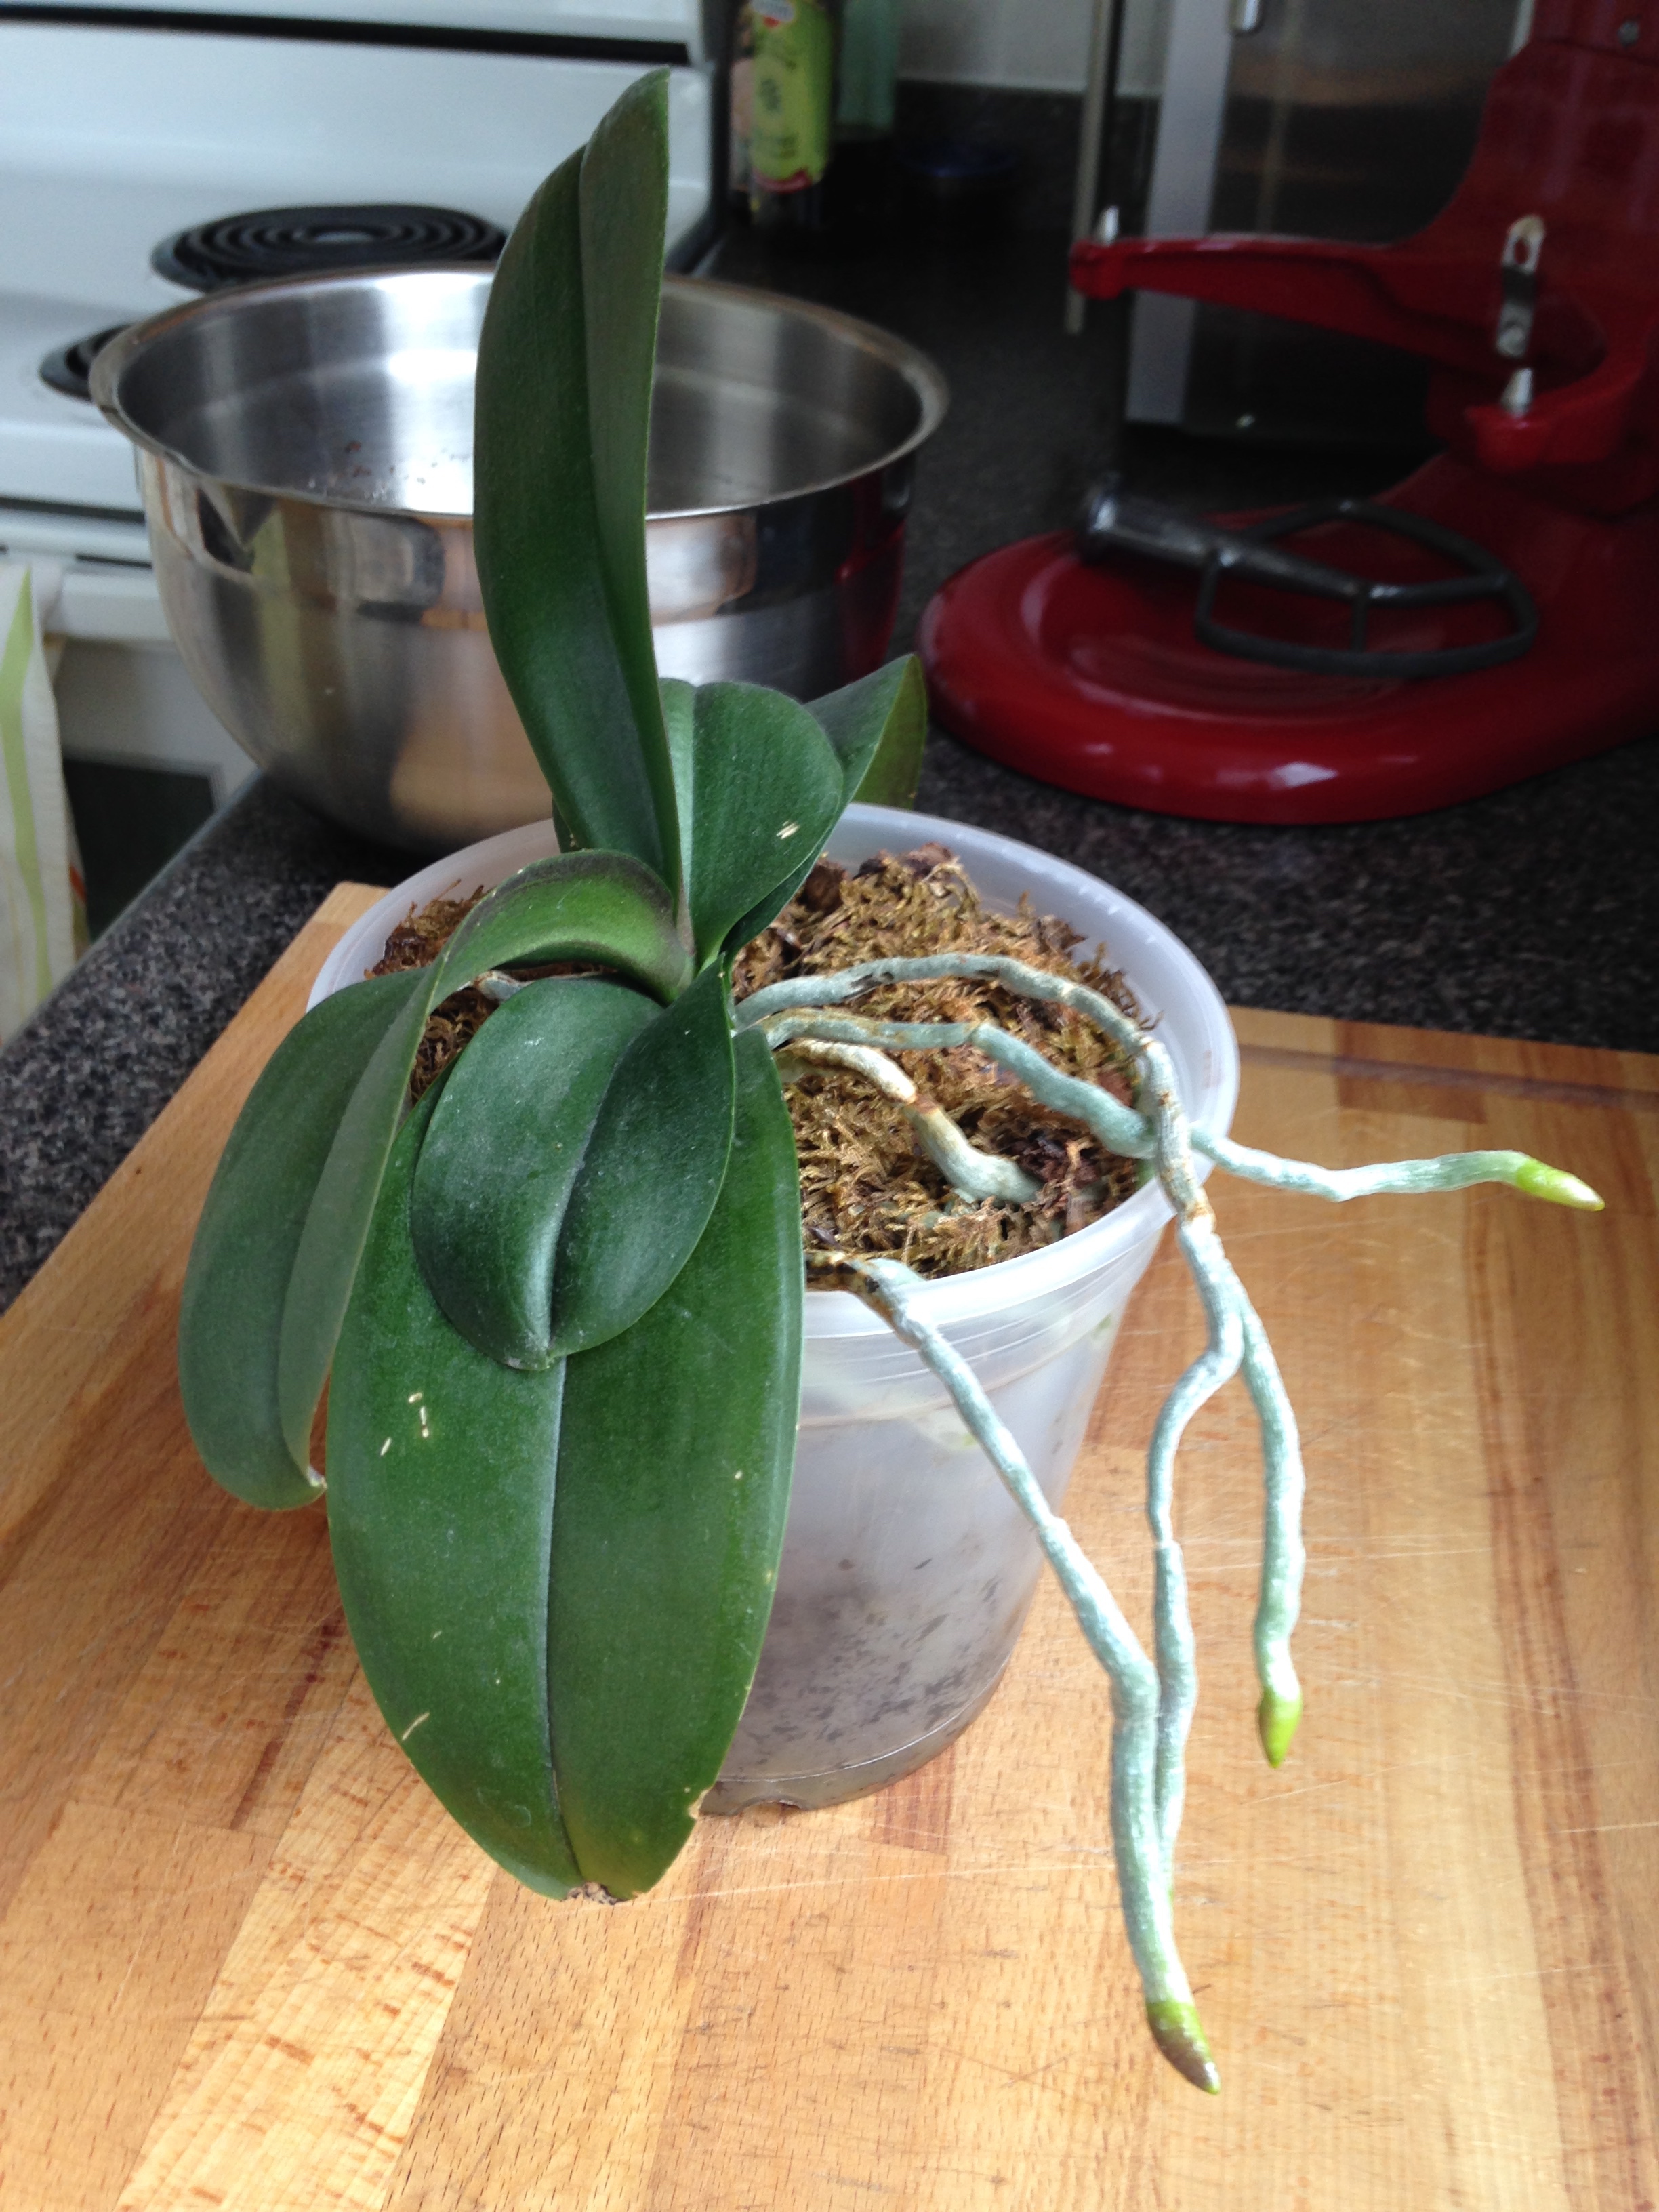
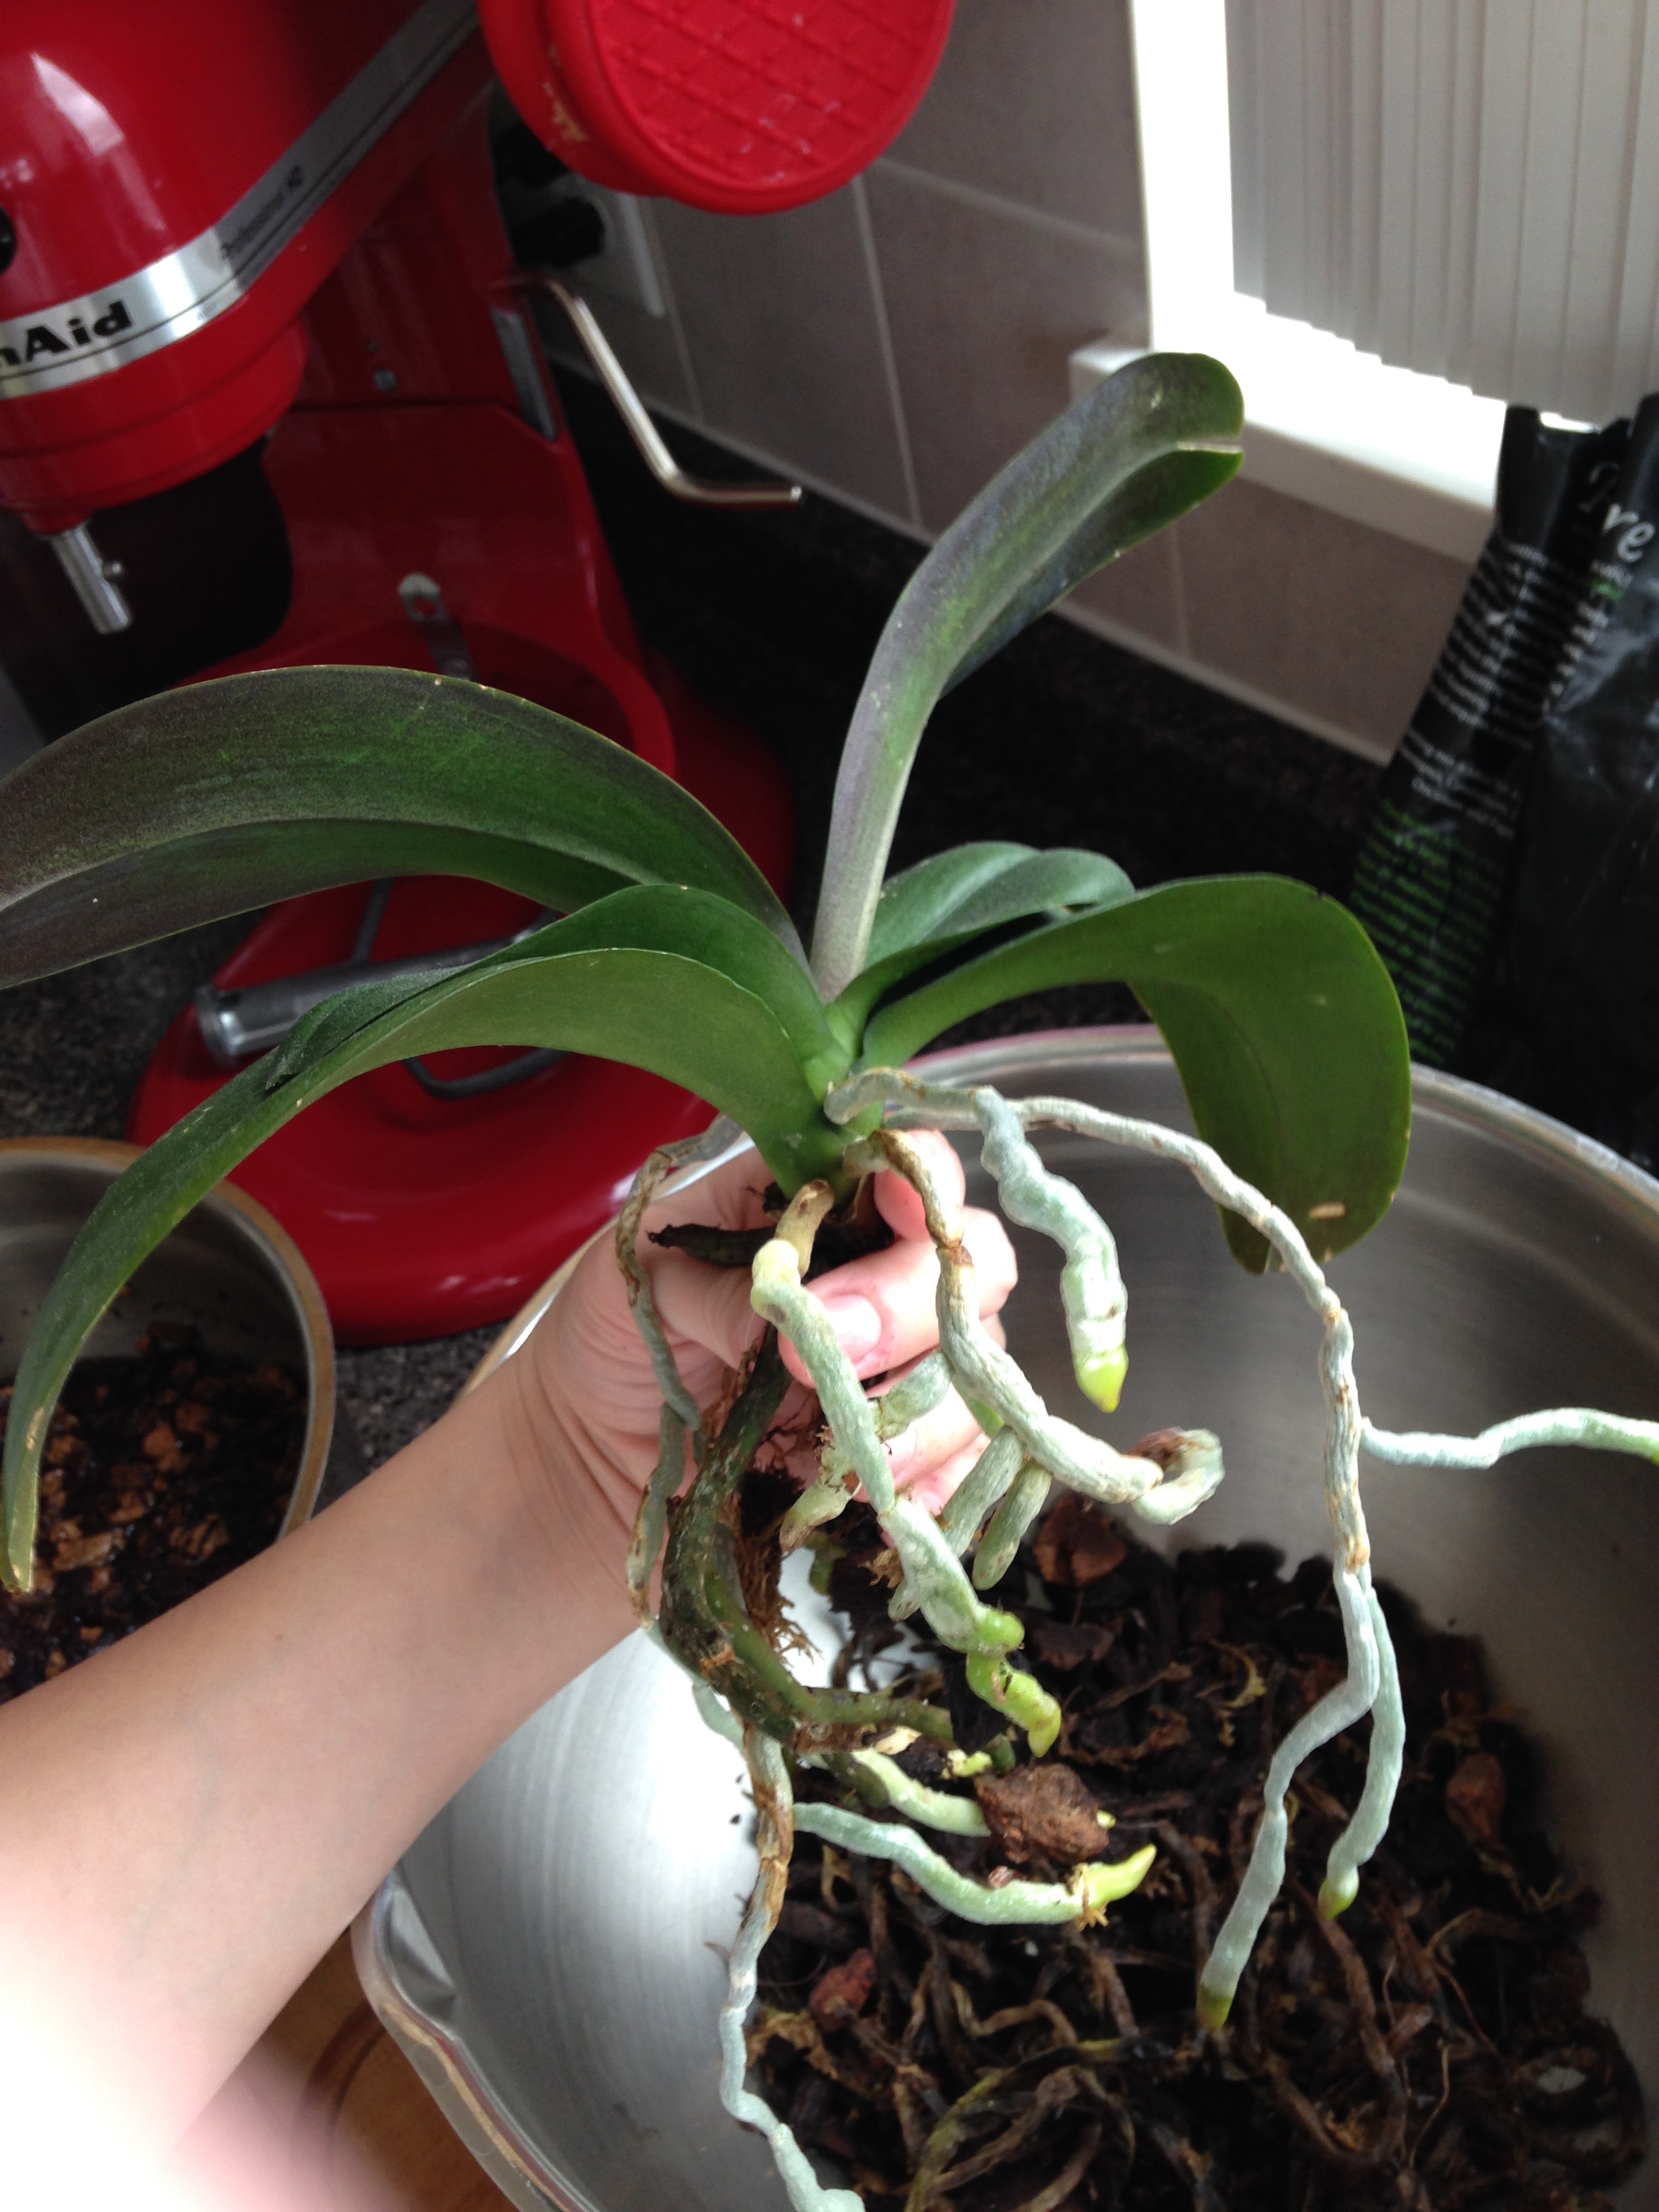
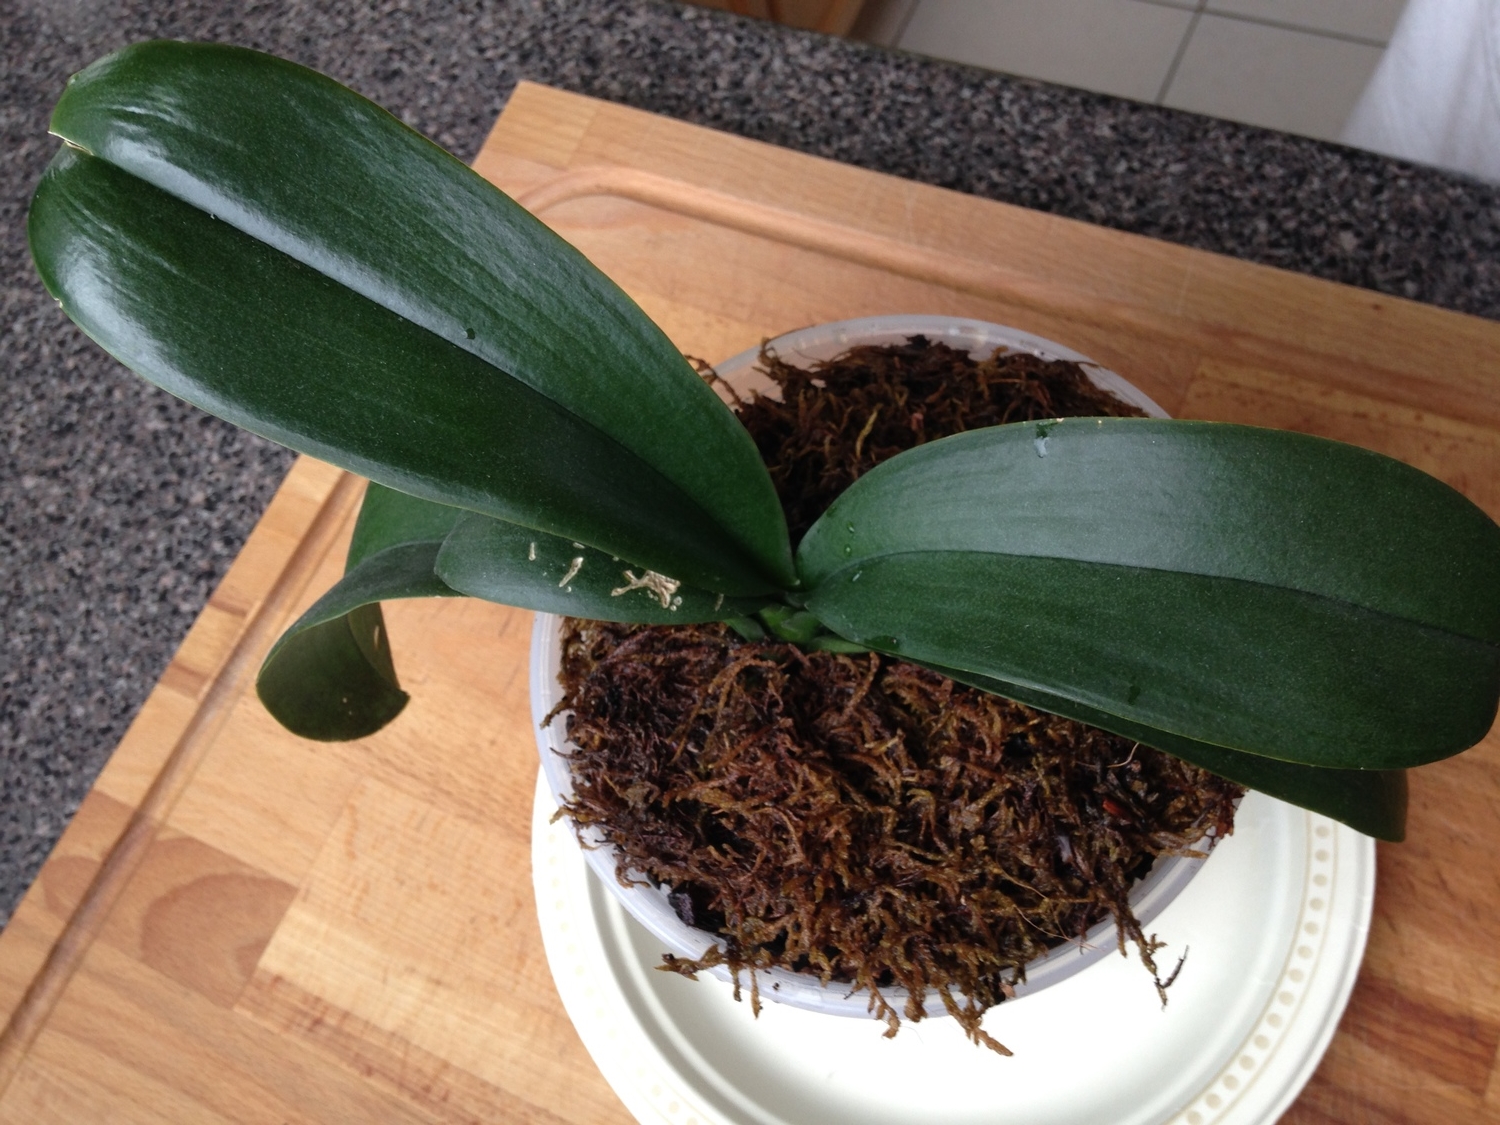
I recently repotted my orchid (for the second time) and, frankly, the roots look like an Ood's moustache. (Doctor Who Reference. Check). That being said, I hope that Ood's actual moustaches are made of much more hardy stuff.

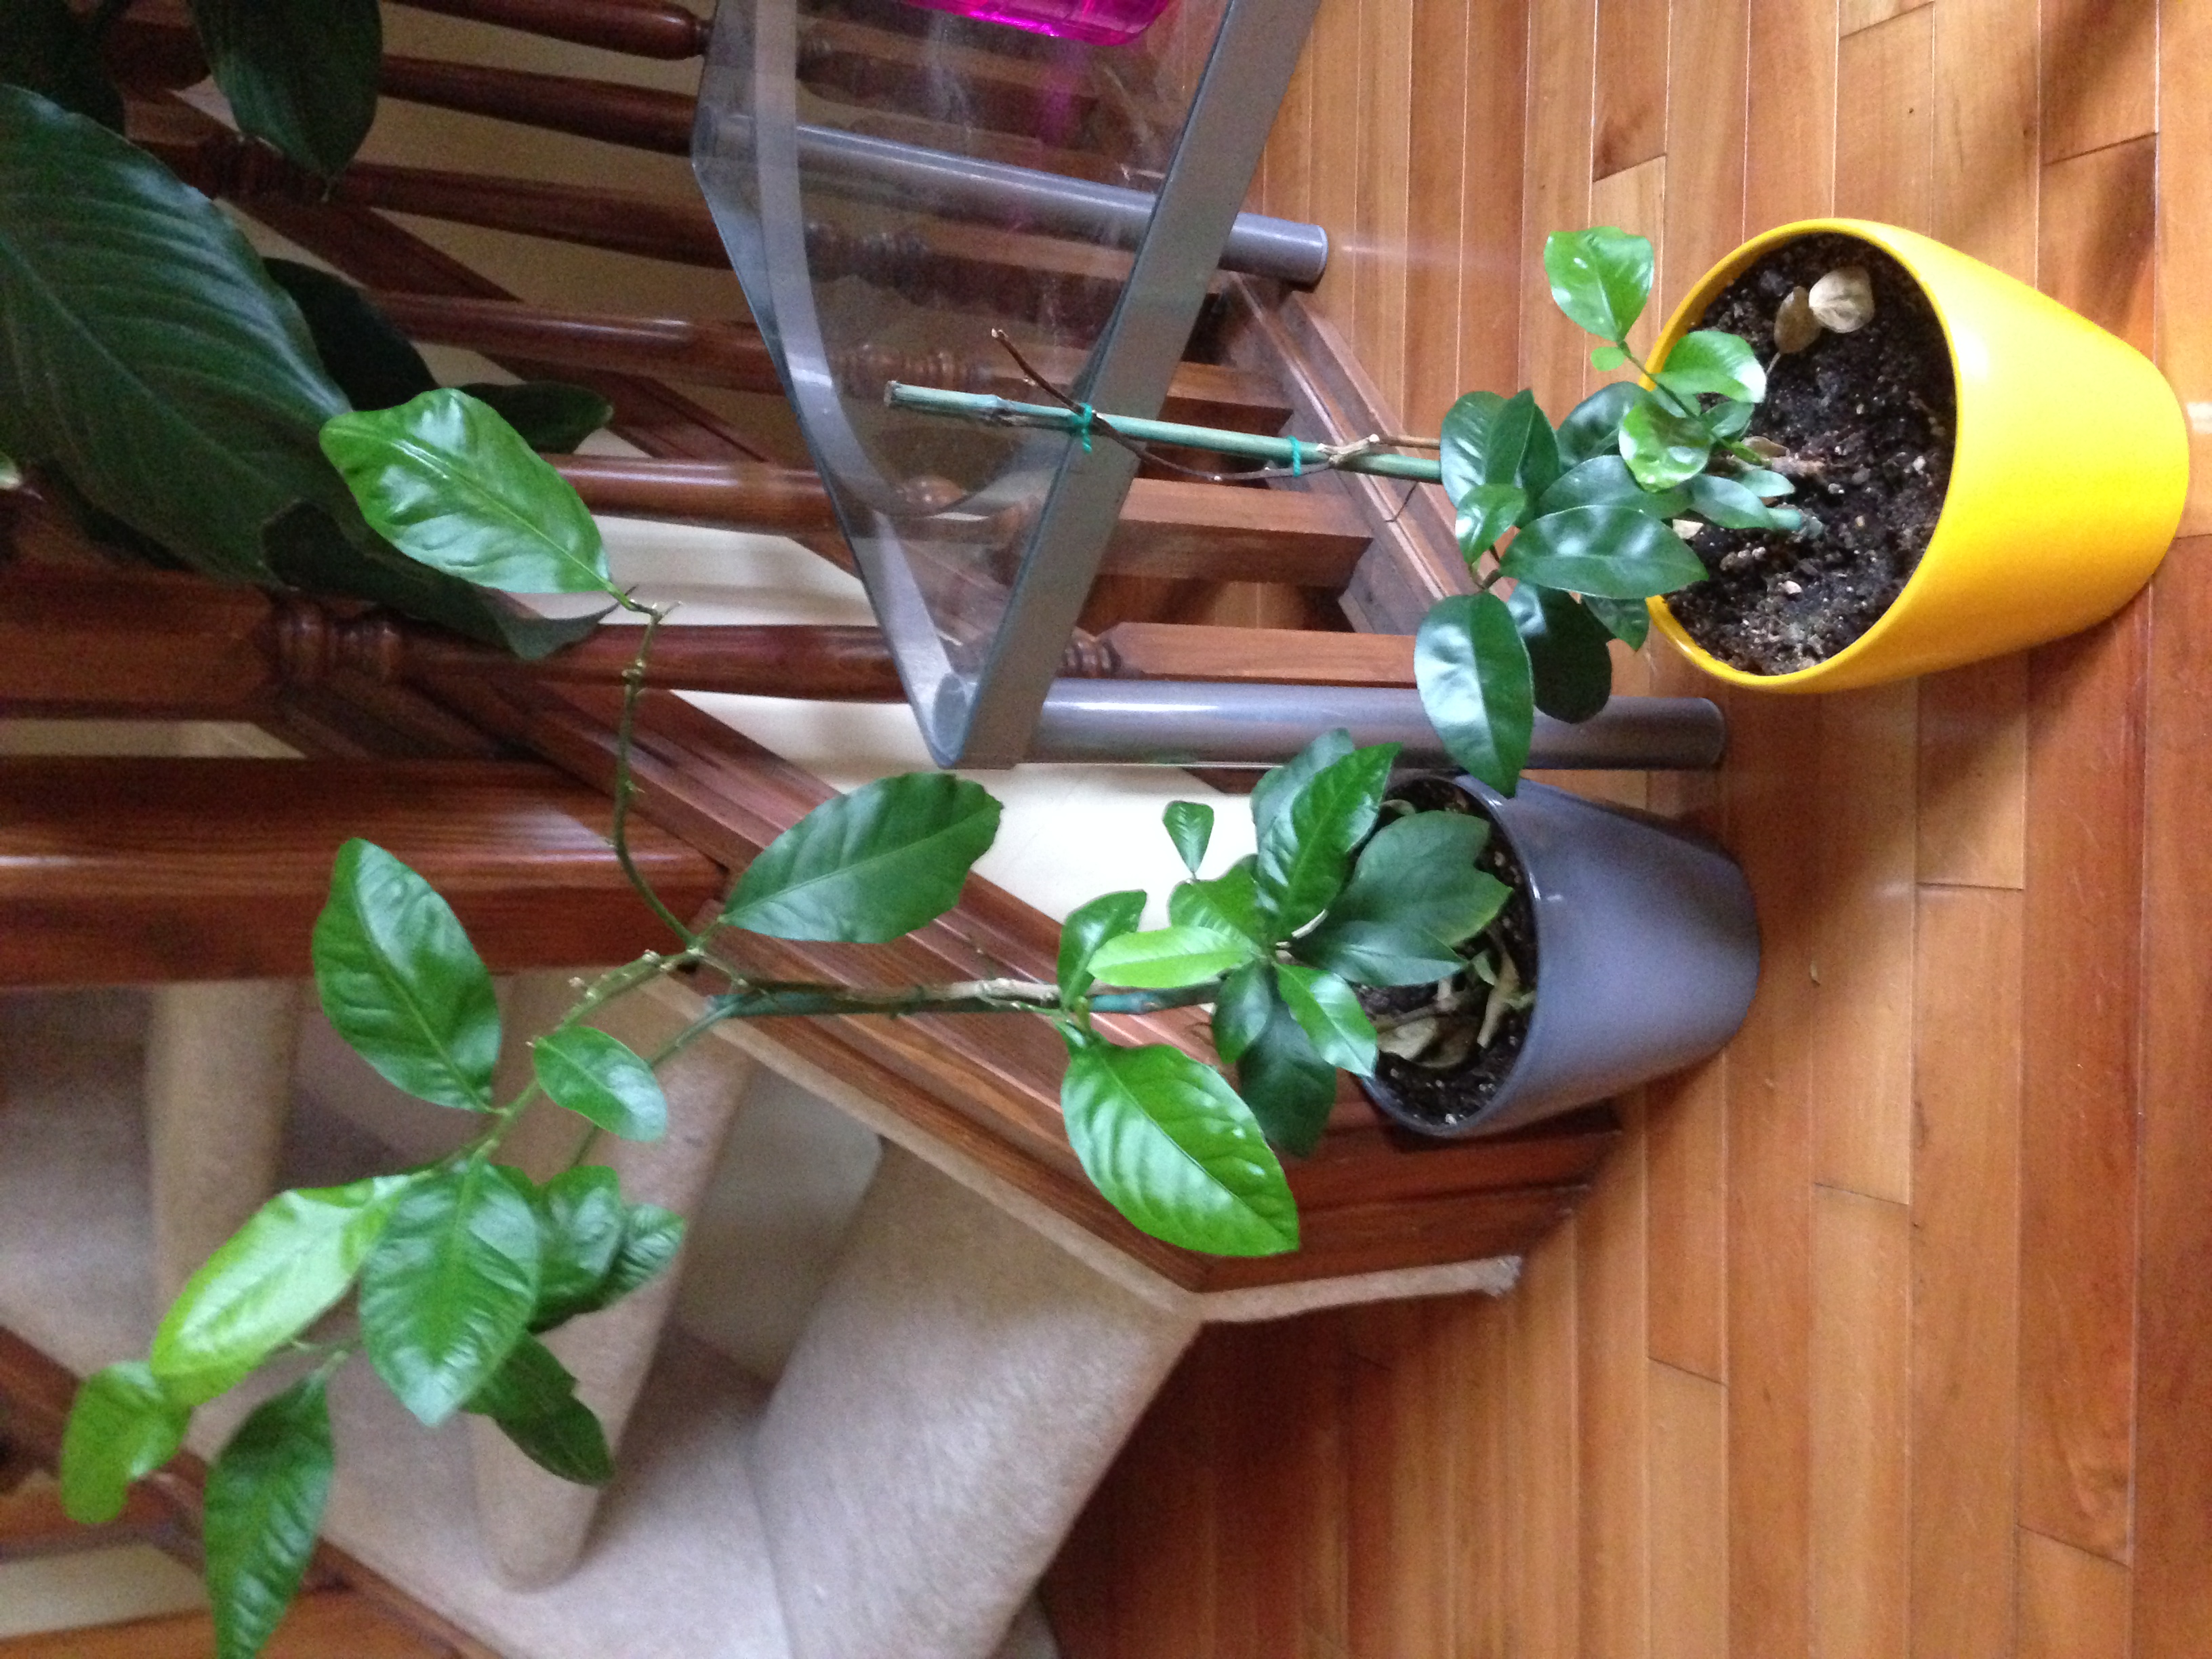
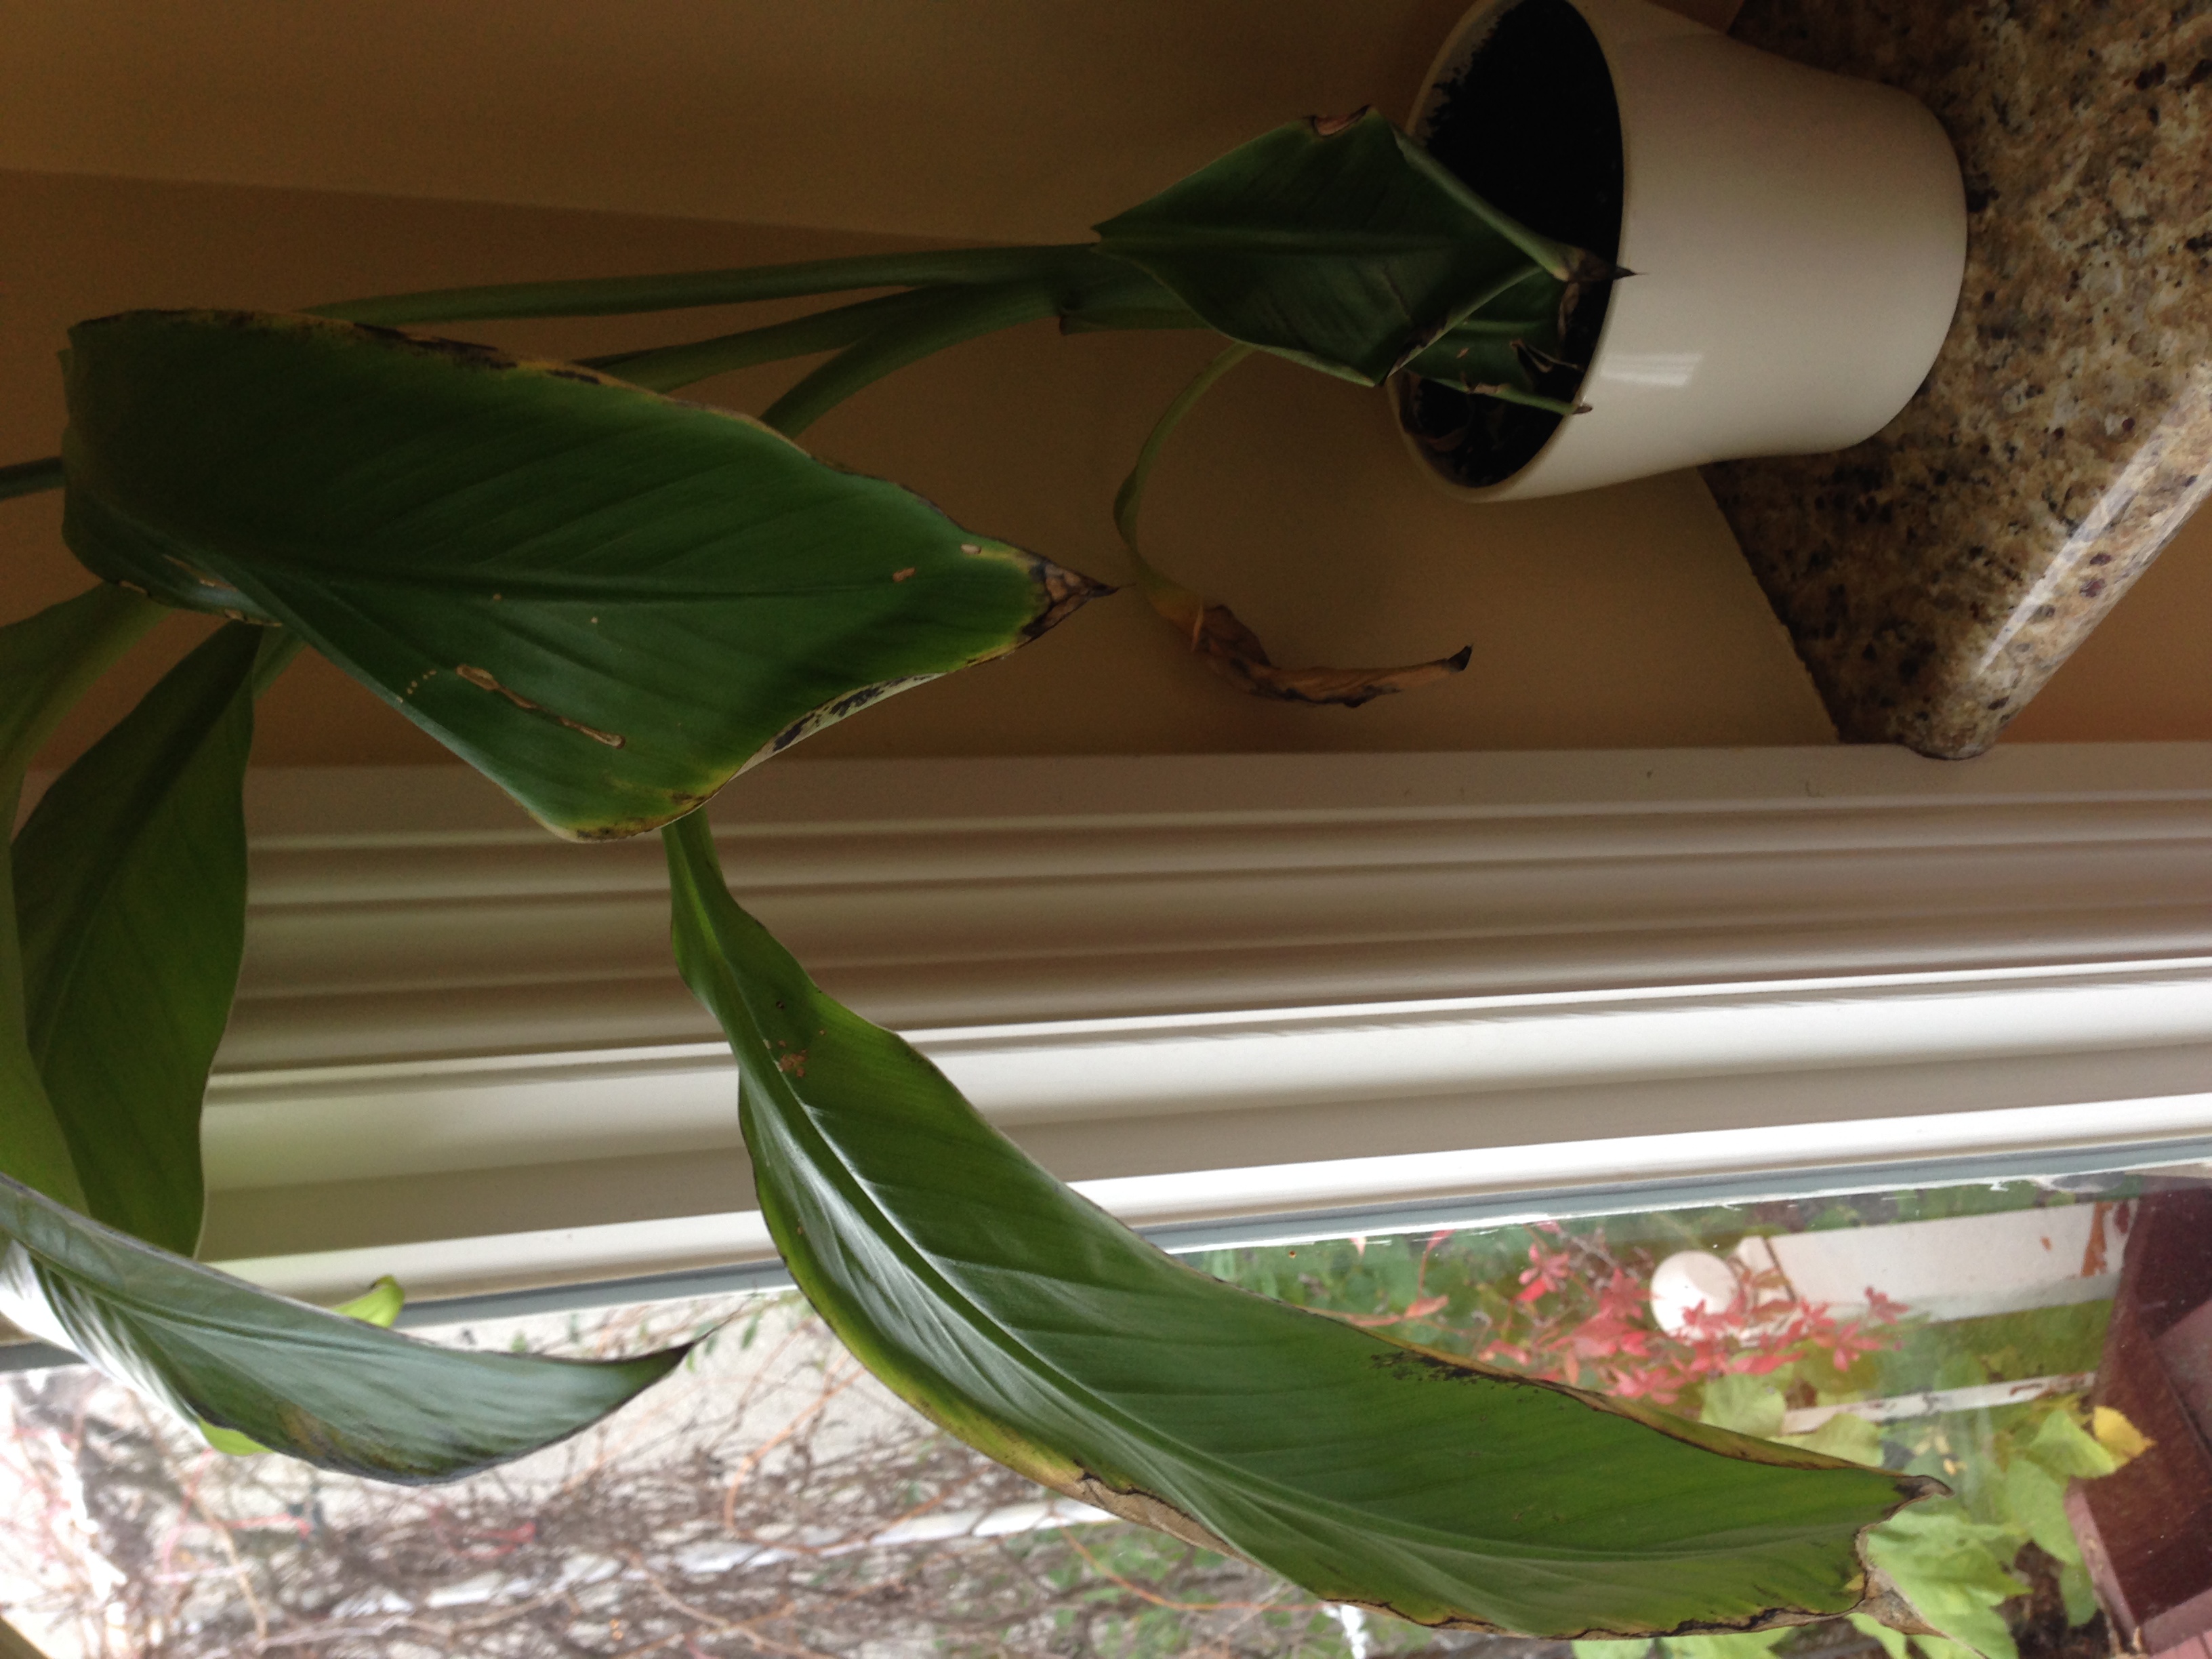
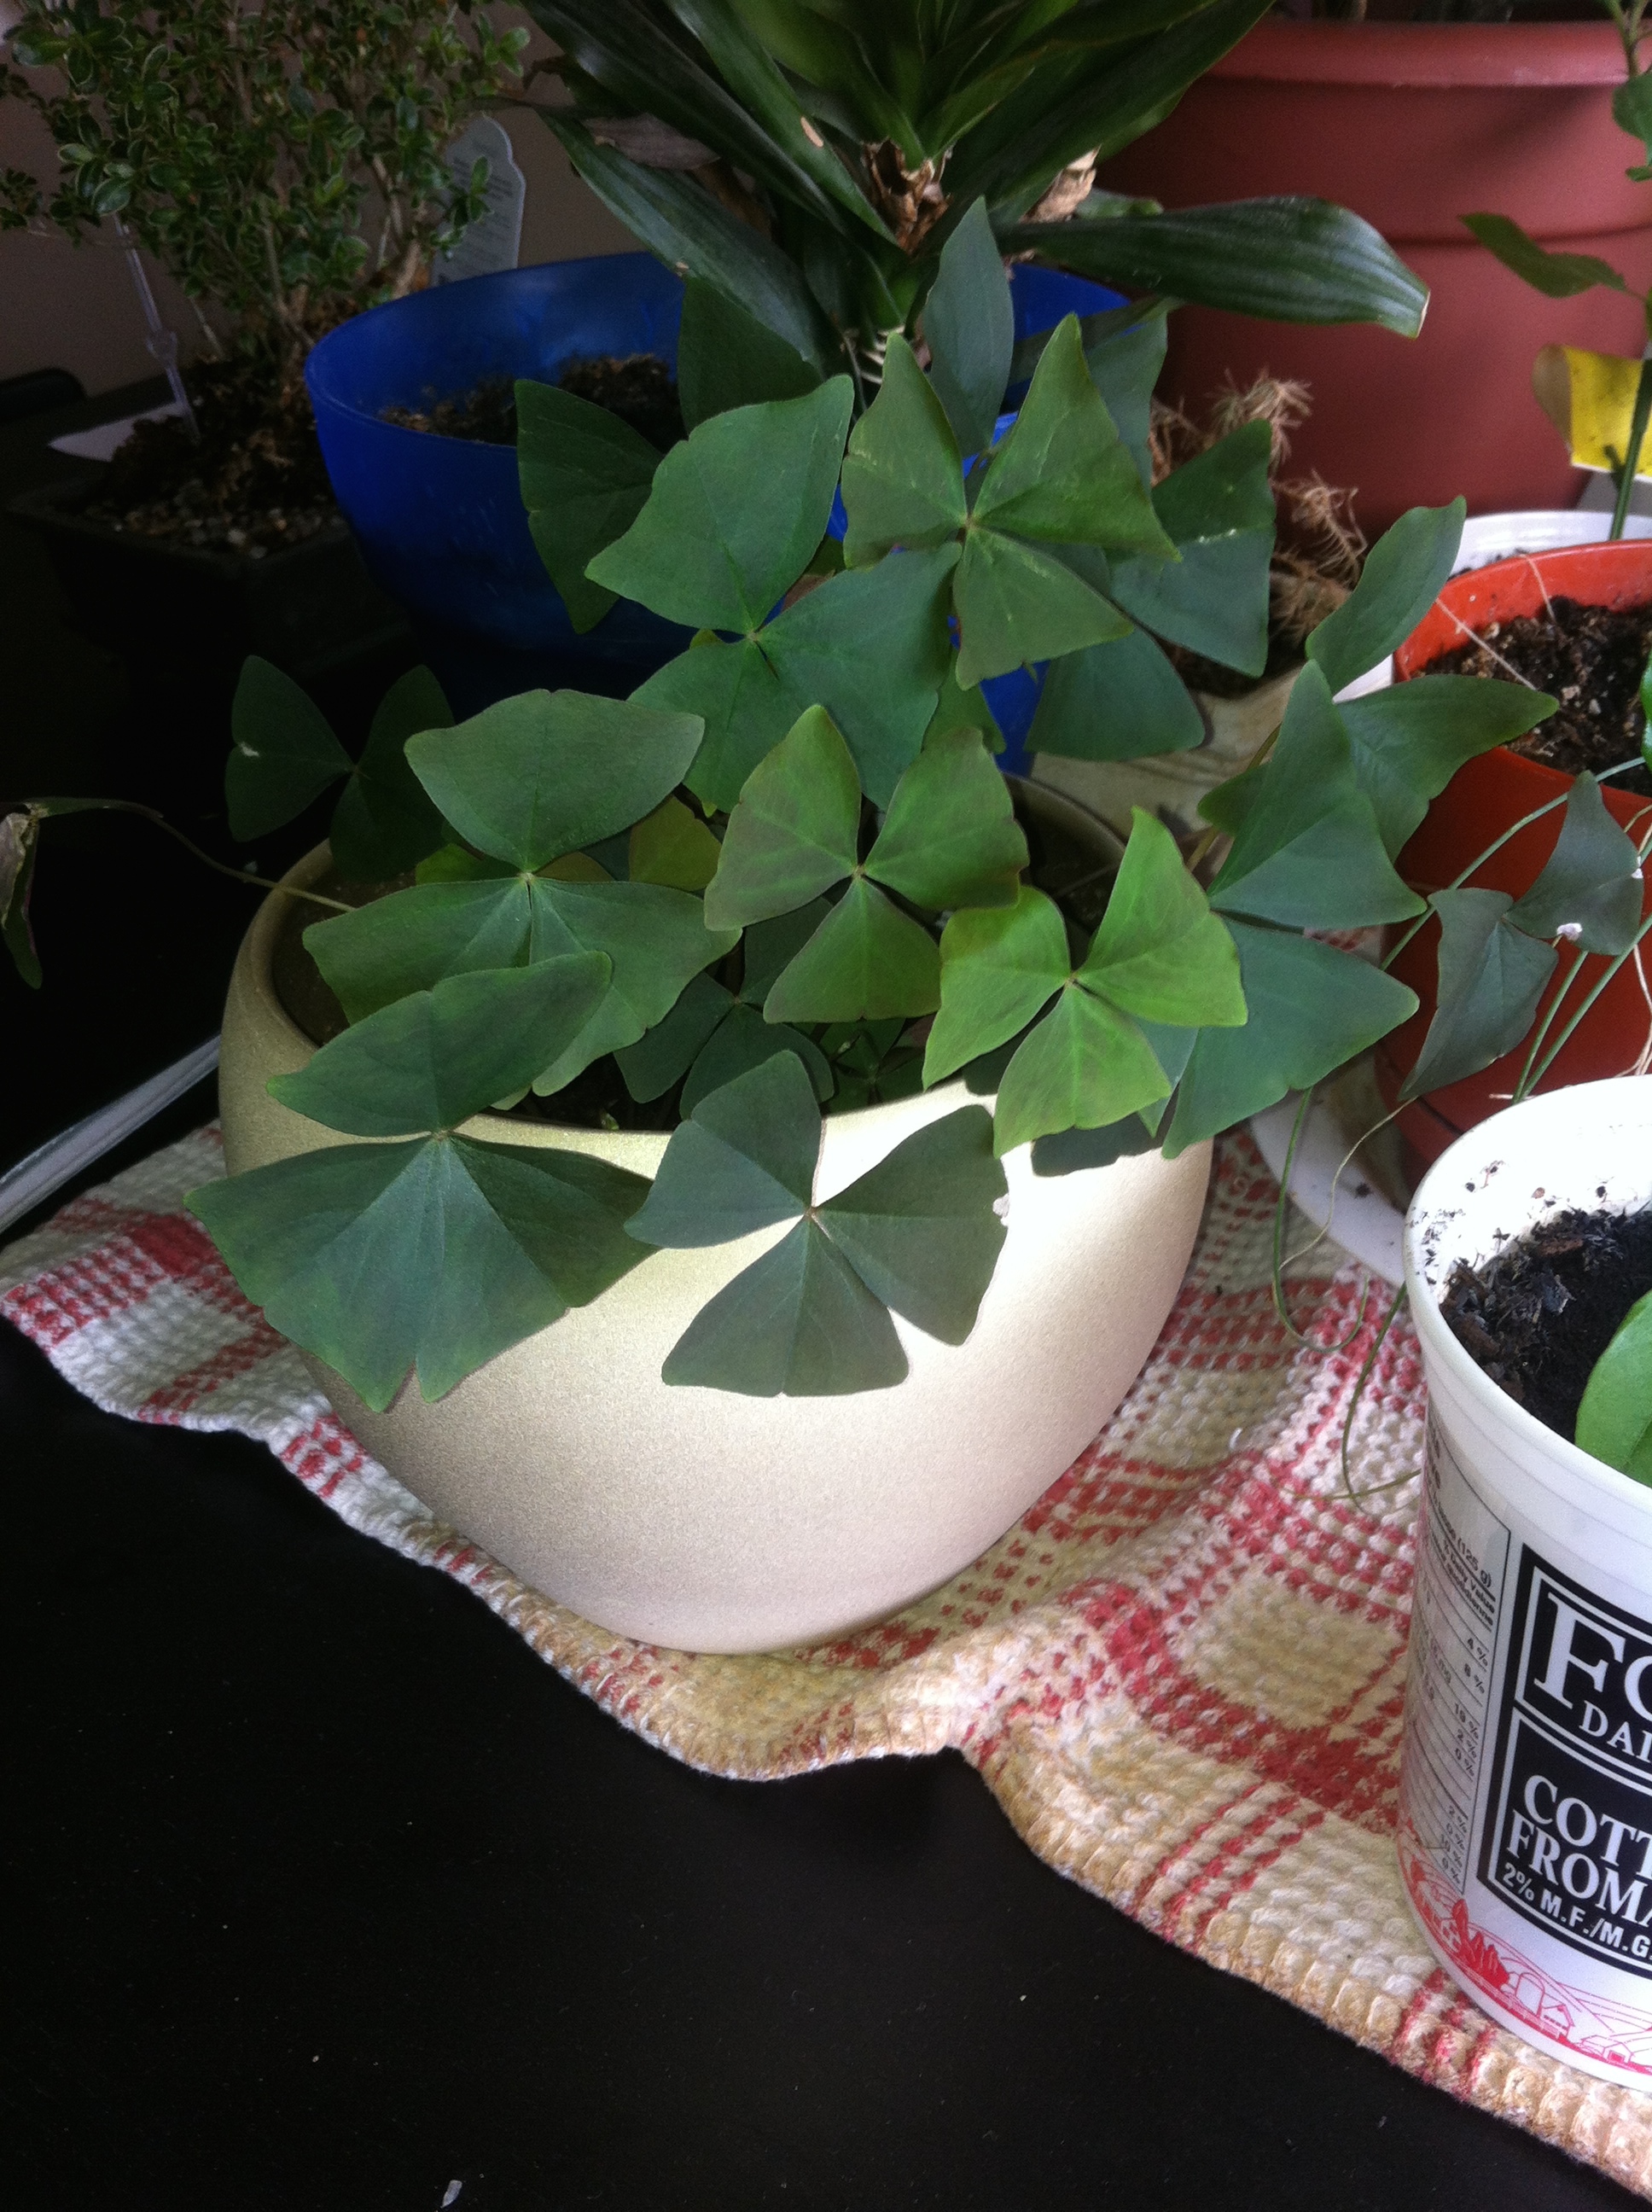
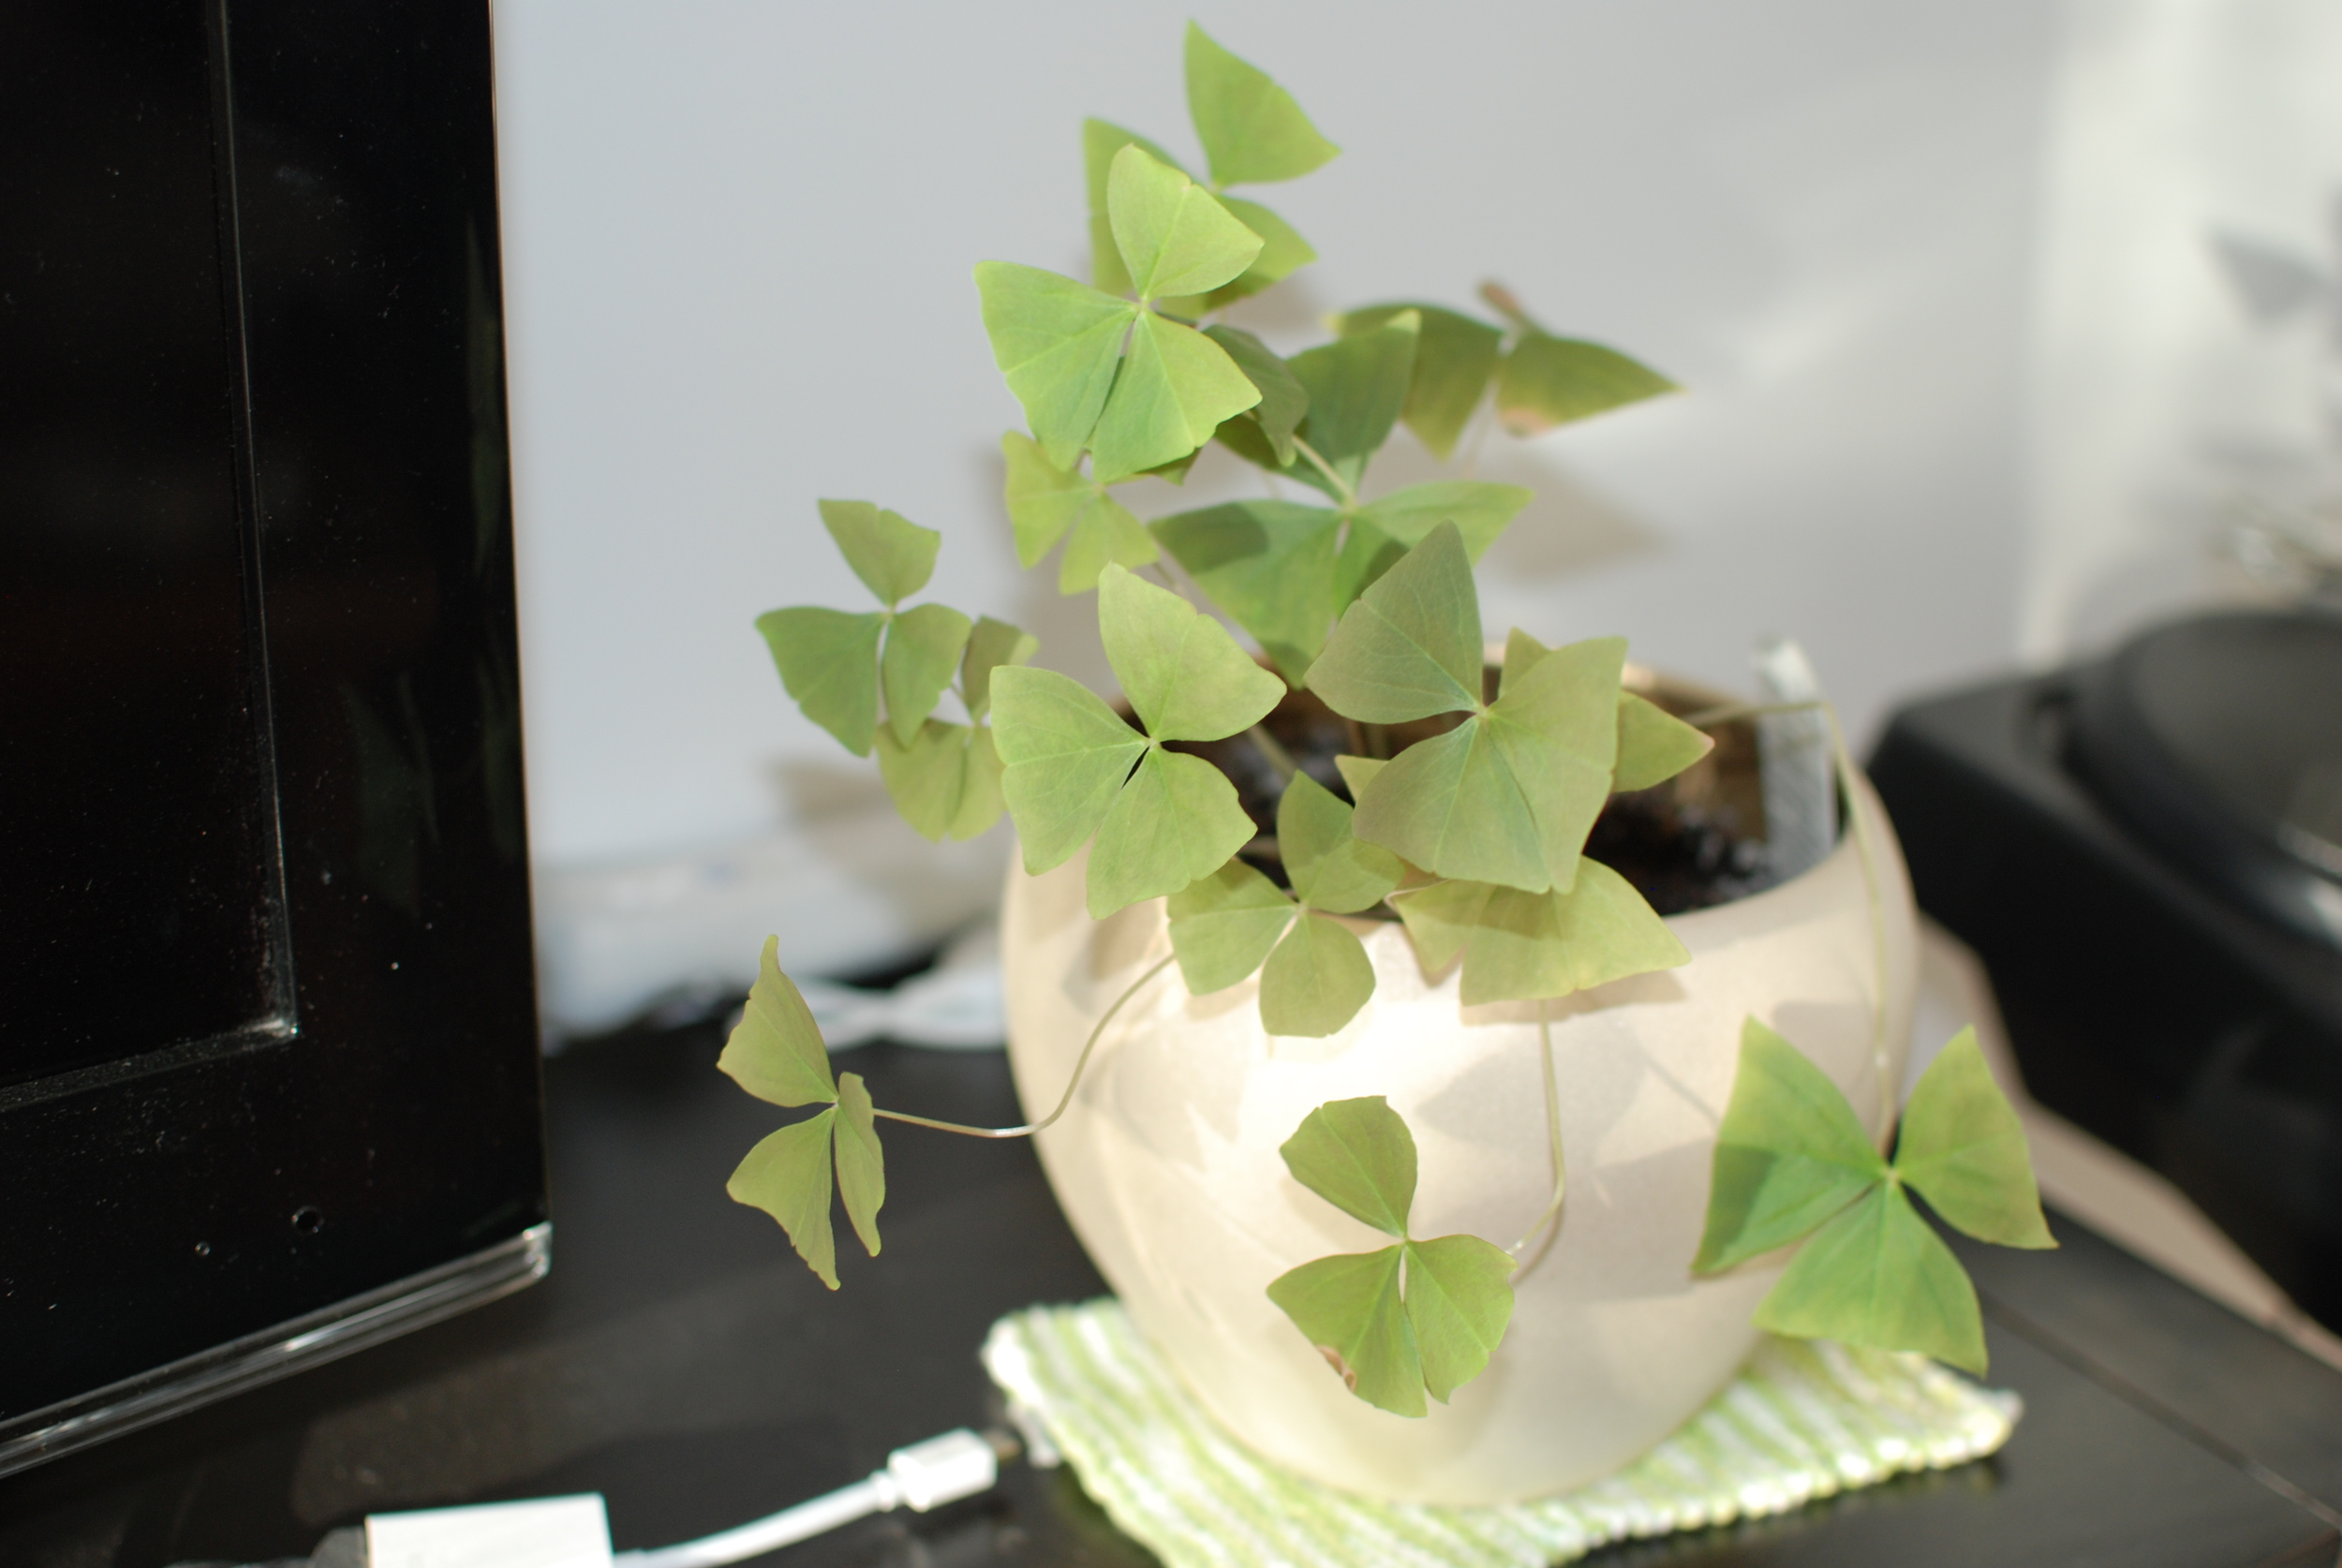
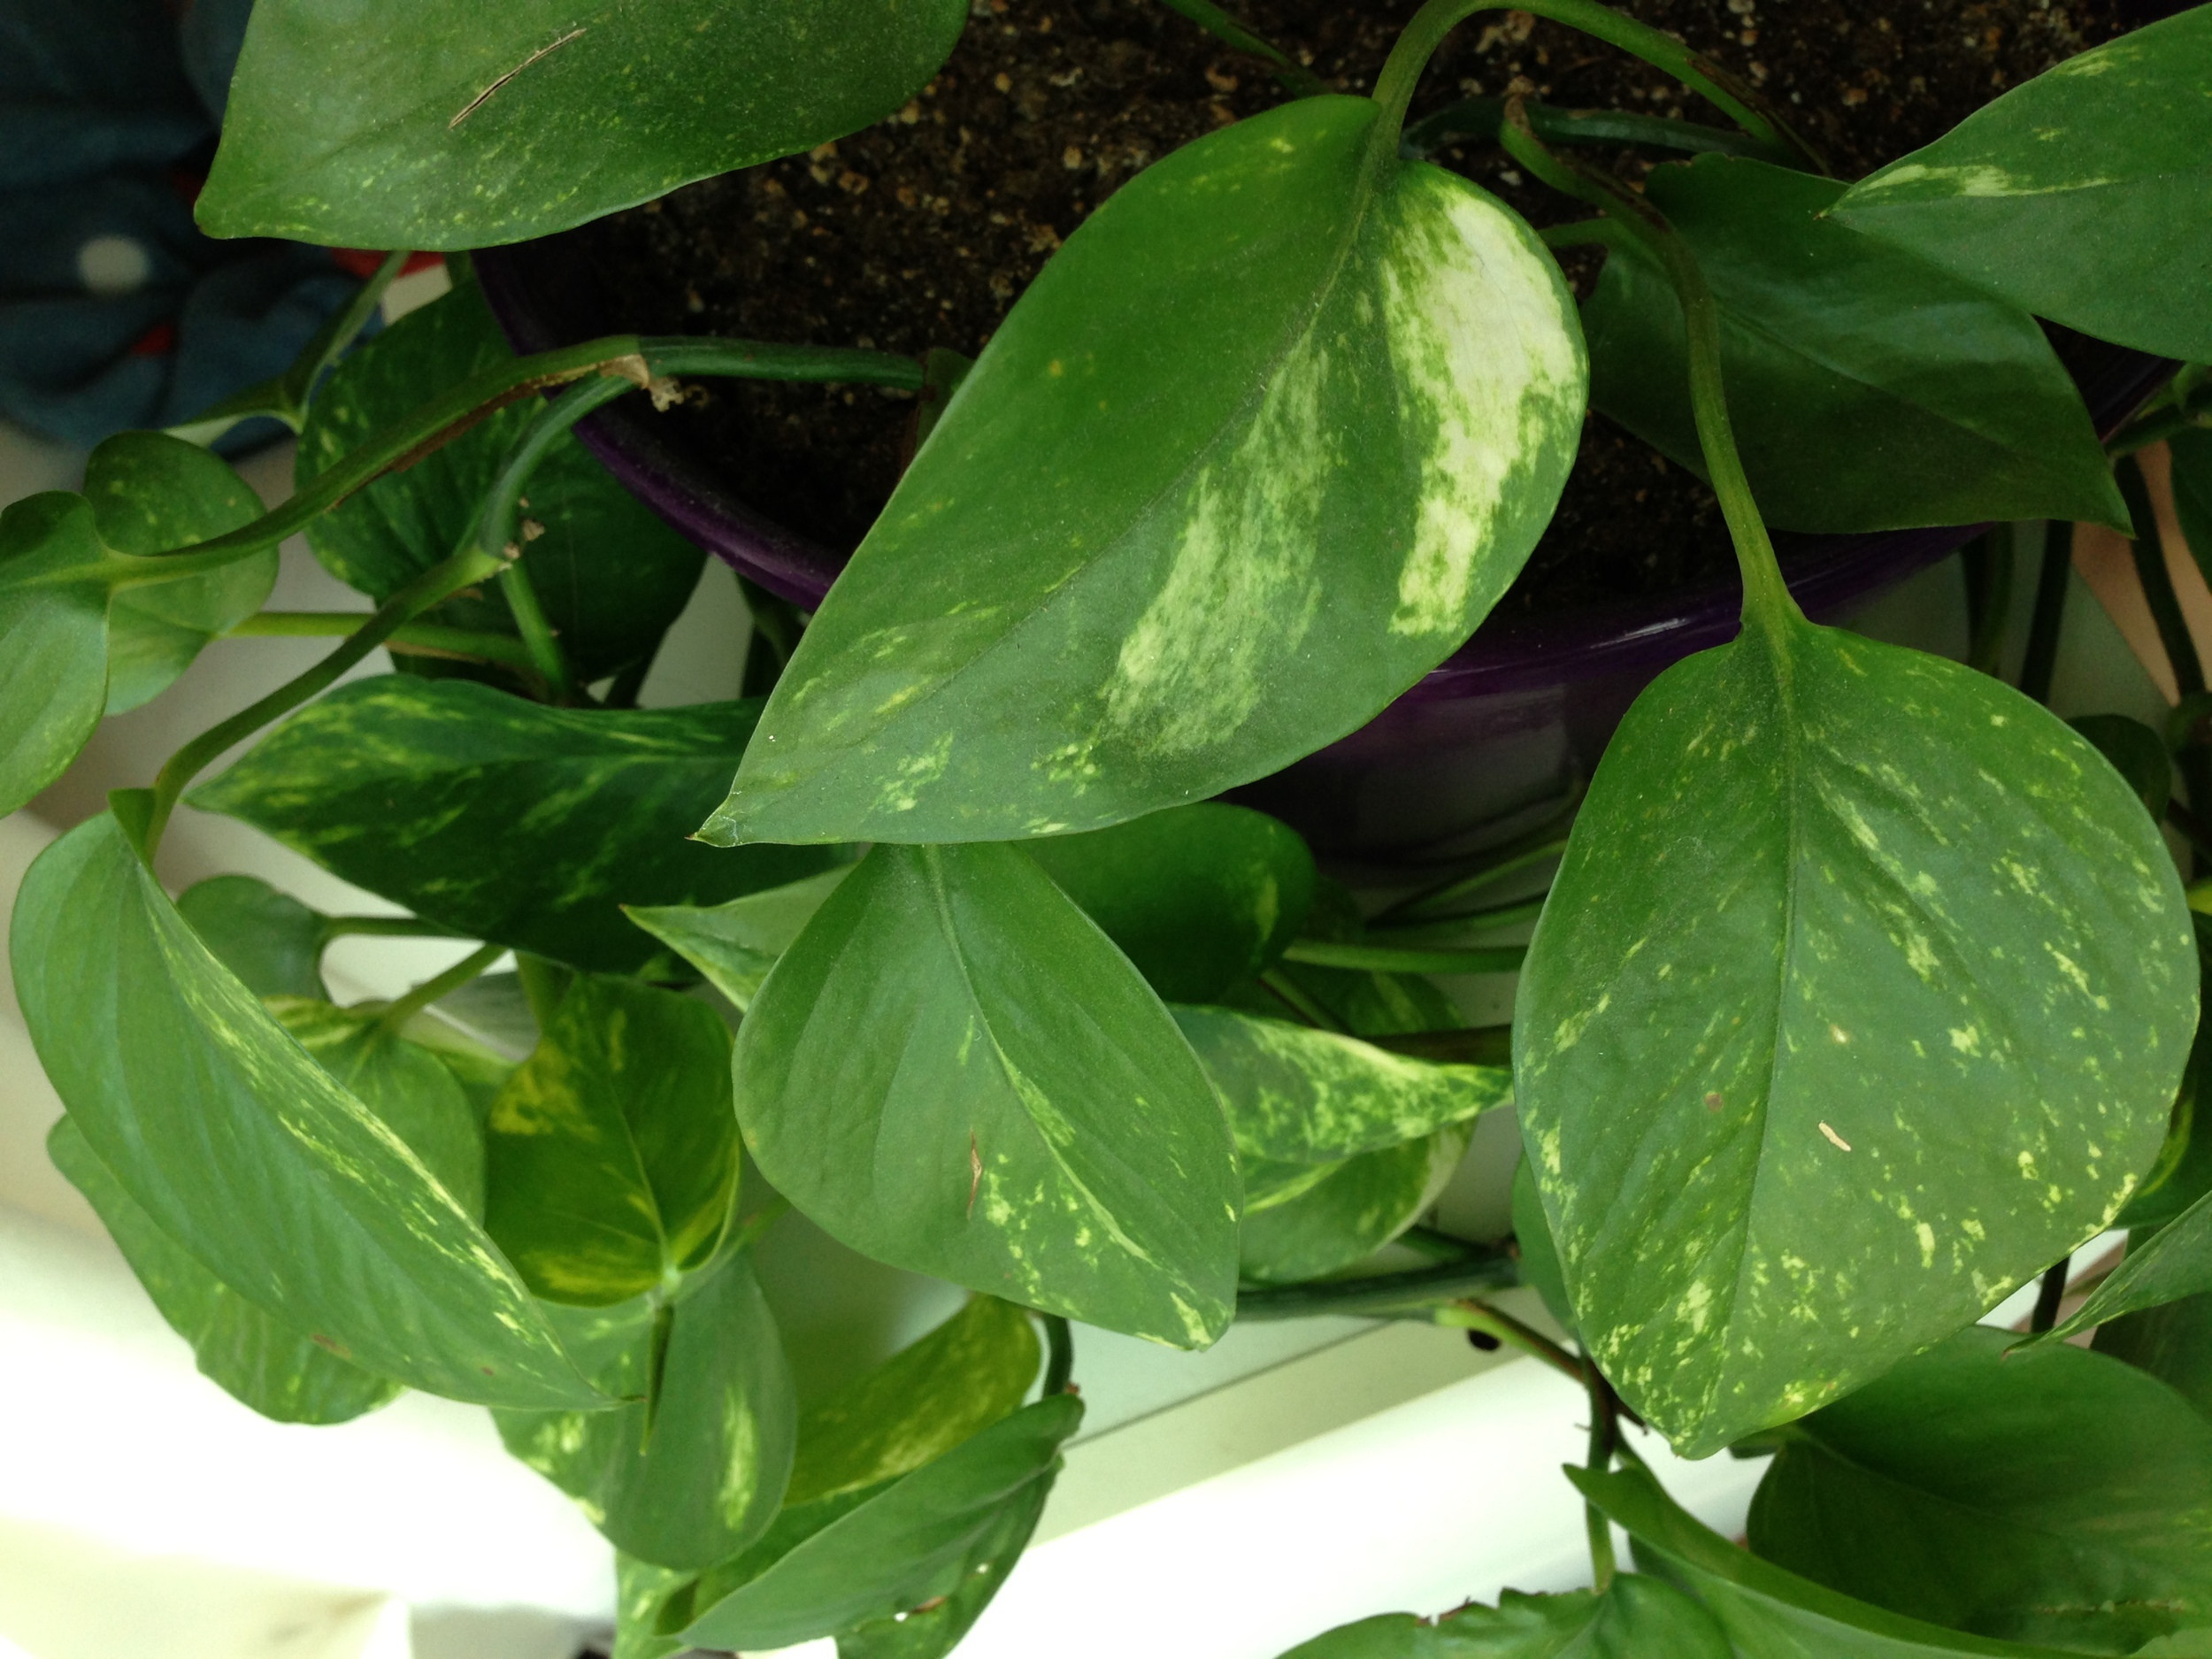
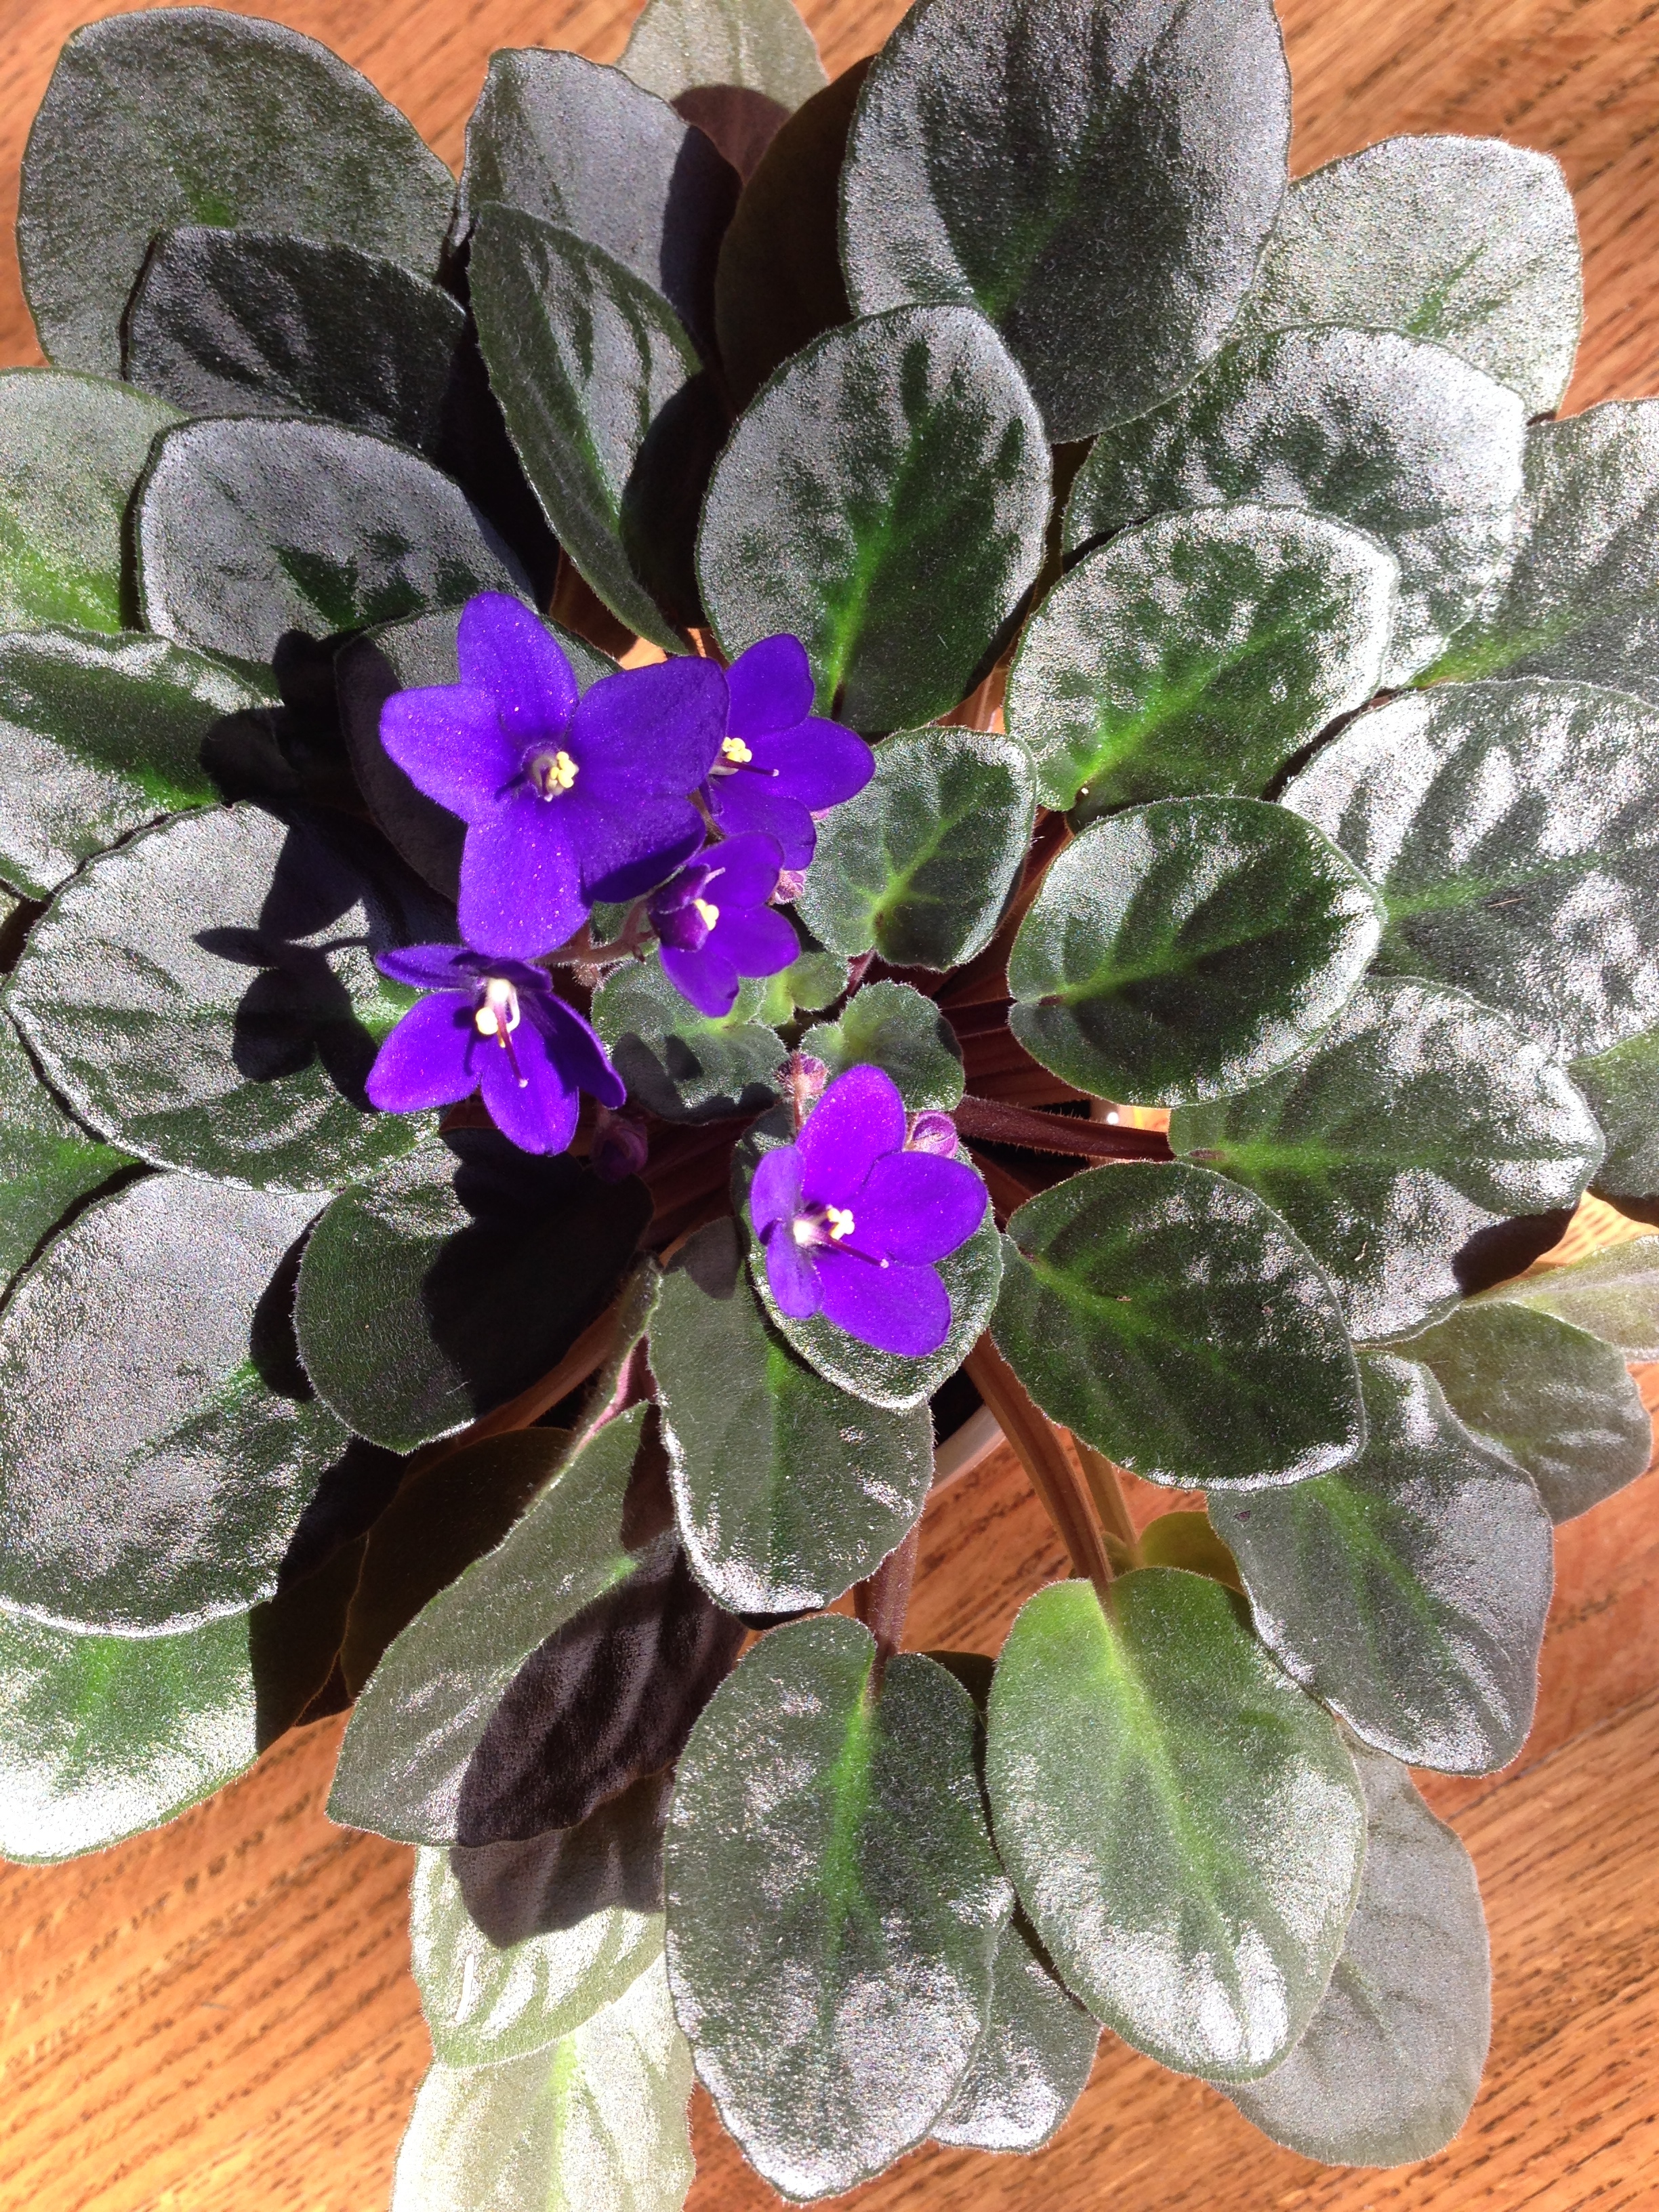
I haven't been gardening for a while.... Mostly because of the move (and also that I only brought 2 of my previously numerous house plant collection with me to ON). My other plant babies are doing well though! =D The African violet had bloomed twice! The orange and lemon plant are flourishing. The banana plant is growing like a tree. The vine is trailing like crazy. And the shamrock, that for the life of me I could not consistently keep, is growing like wildfire in the care of Aaron. I am very pleased and grateful to all my plant caring friends. <3

But yes. Orchid. 

Repotting orchids is a very easy but delicate task. As long as you've got the right substrate (bark and what-not) and the right sized pot (not too big and not too small!) the rest is easy. As there are many different kinds of orchids it's best to research the one that you have before adventuring to repot it. Some prefer bark, some prefer soil, and some prefer just moss. If you have no idea what kind of orchid you have (like me!) then it may be best to buy a mix of bark and soil (usually a generic orchid substrate). 

STEP 1 - Gathering the Materials
The first thing you'll want to do is buy your repotting necessities. Mainly, a suitably sized plastic pot with large drainage holes, or orchid pot. Usually you can buy these types of pots right besides the orchid substrates at your local garden shop or flower store, which you'll need to purchase too.

STEP 2 - Soaking the bark
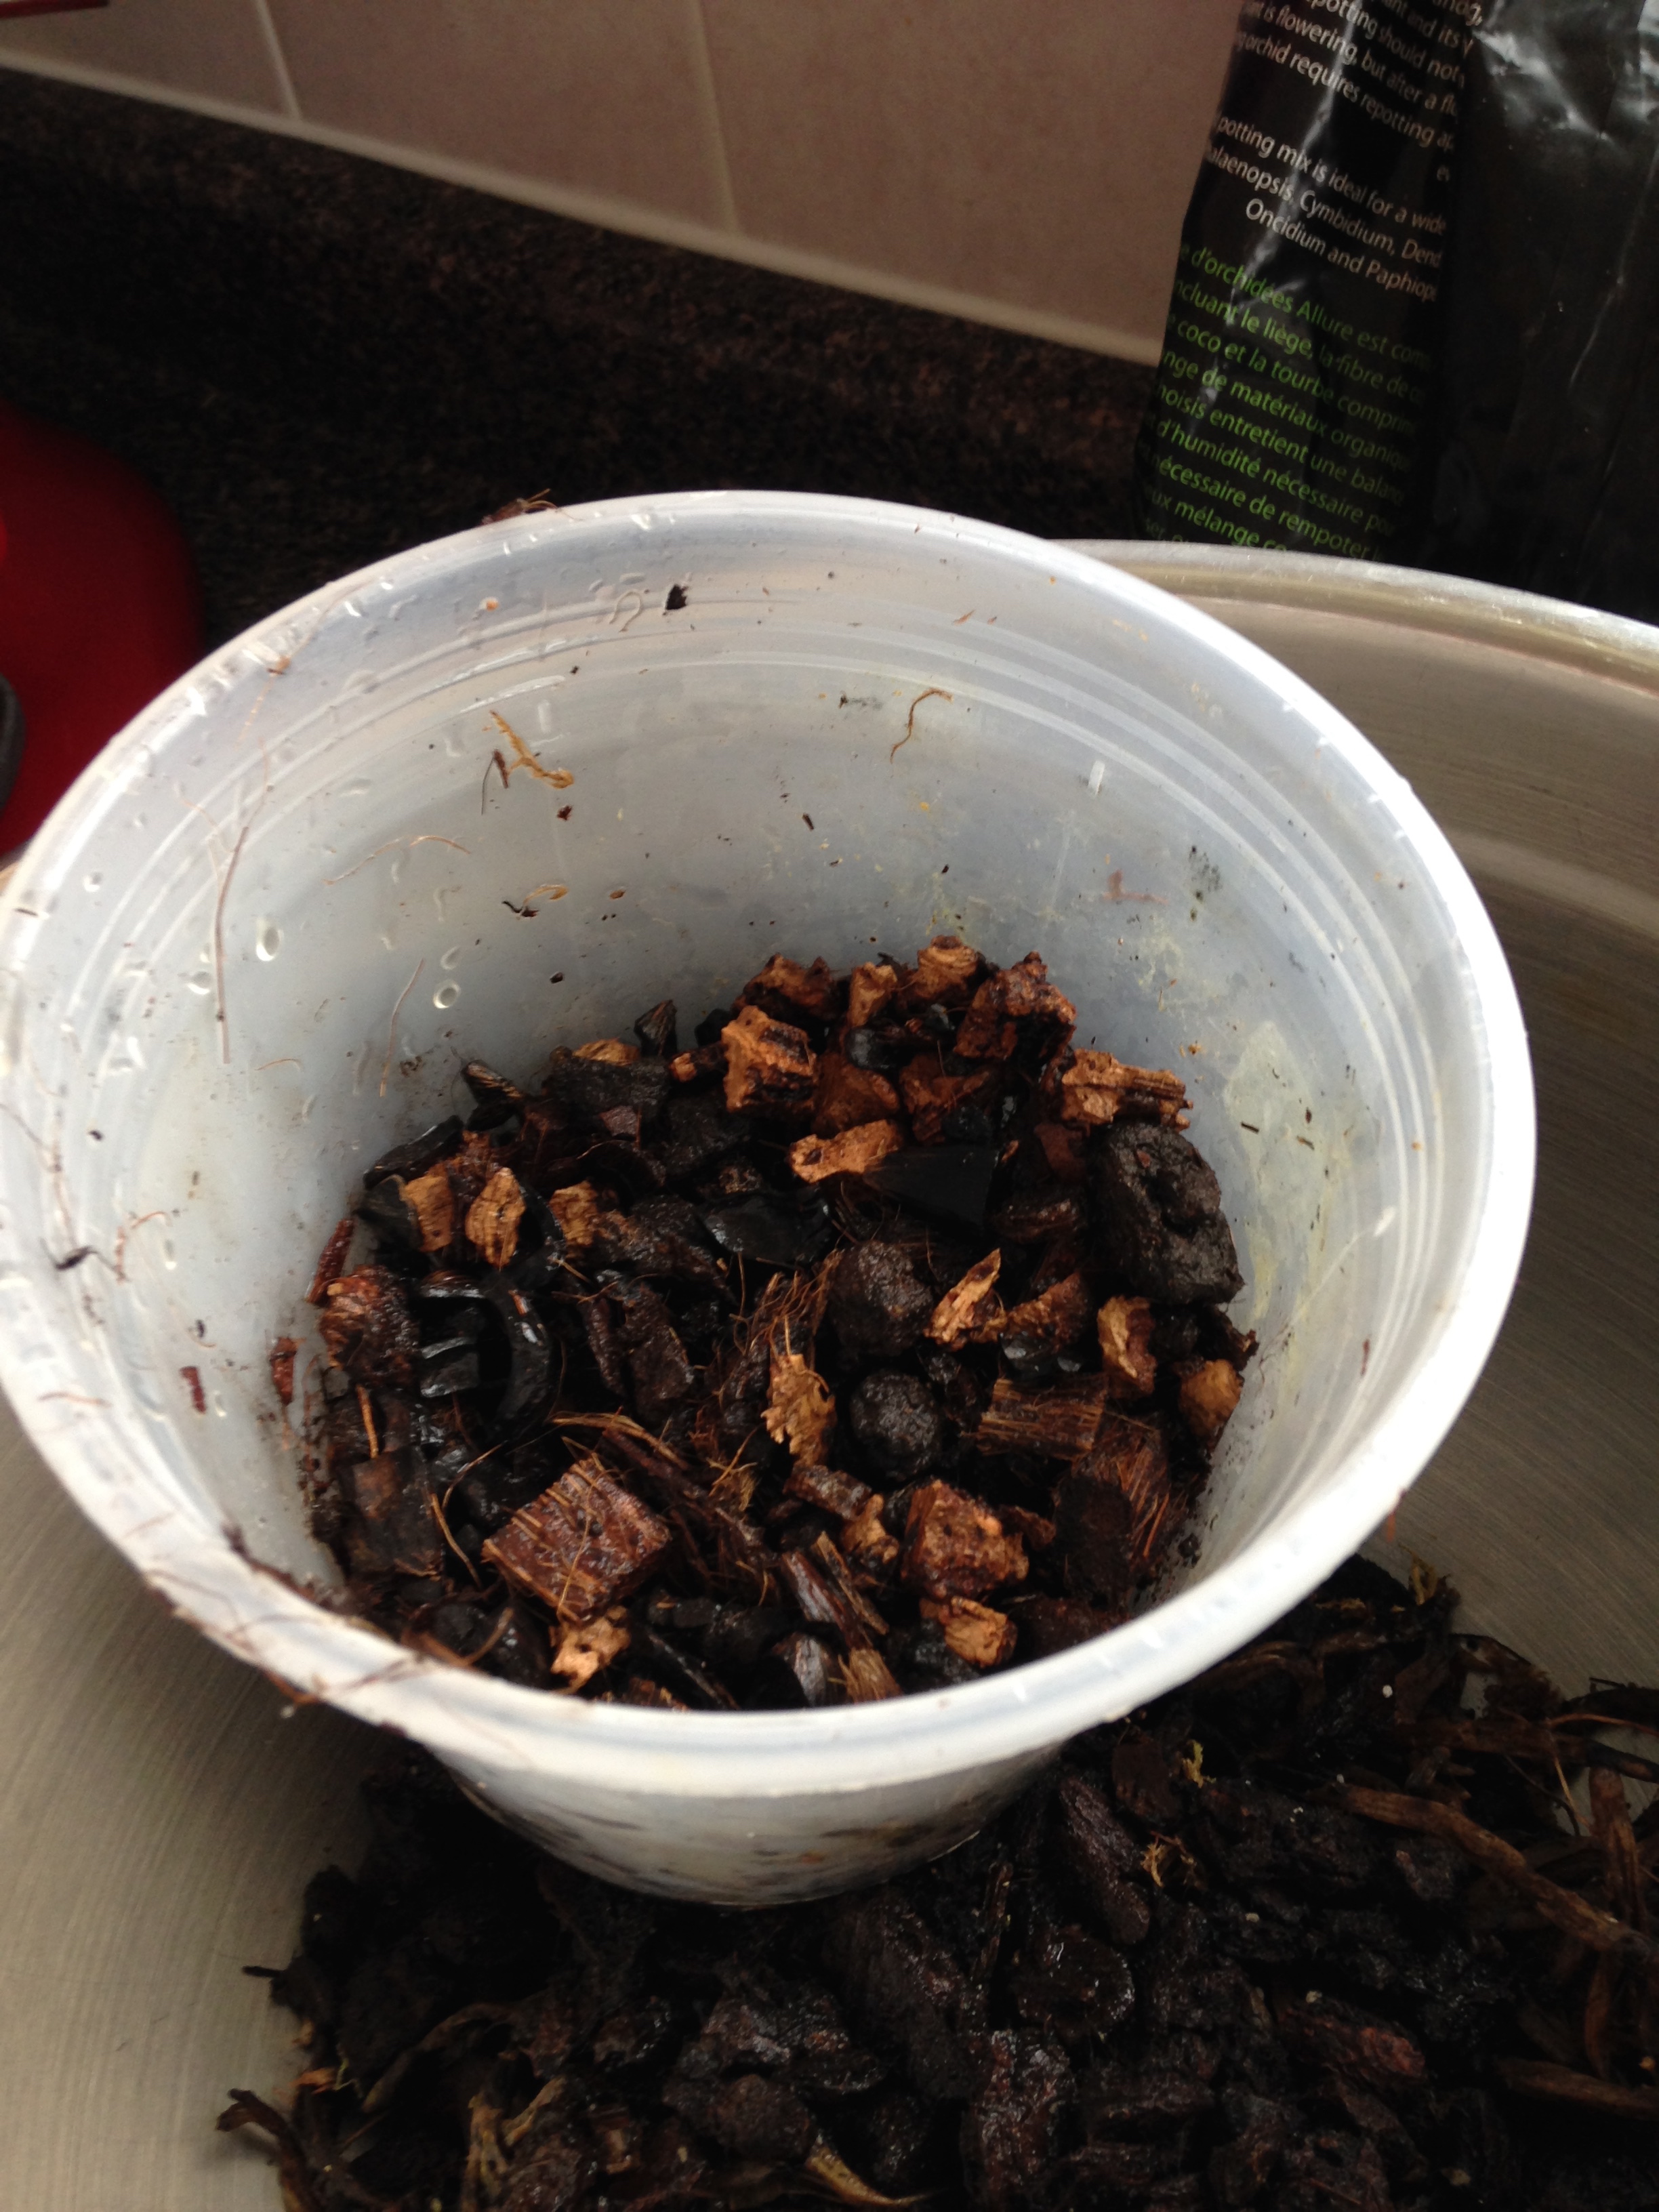
Now that you've got all your materials, the bark needs soaking. Measure out enough substrate into your orchid pot to go almost to the brim. Empty the measured substrate into a large bowl and fill it with just enough water to cover the bark. Use a plate to hold the floating bark under the water. Plastic wrap the top of the bowl and let the bark soak for 24 to 48 hours. Check the water level periodically and refill to cover the bark it necessary.

STEP 3 - Unpotting
After the bark has been soaked it's time to get this repotting started.

  1. First, it you don't have an outdoor space to do this, cover your space in newsprint, or do the remaining steps over a very large bowl.
  2. In your new orchid pot, fill it about 1/2 to 2/3rds full of the new pre-soaked substrate.
  3. Back to your orchid. Remove any moss surrounding your orchid from the top of the old substrate (you can still reuse this!). Set aside (I put it to soak in another bowl). 
  4. Grasp your orchid firmly from it's base. If you need to remove some old substrate to get at the base do so carefully. Lift the orchid from it's base straight out of the old substrate. Discard the old substrate. 
  5. Still holding the orchid from it's base, examine the roots. All the roots should be healthy looking aka fleshy and slightly stiff. If any look mouldy or overly limp trim them at the base or at its joints.

STEP 4 - Repotting

  1. Place the orchid base in the centre of the new orchid pot in the new pre-soaked substrate. Make sure that all your roots are delicately placed. Do not force them to fit. If you need to remove some substrate to make room for them then do so.  
  2. Now that all your roots are placed within the orchid pot, while still holding the base centred in the pot, fill the remaining space around the roots and base with more pre-soaked substrate. Don't press the substrate in, simply let the bark and soil fall into place. You can shake the pot a bit (not to wildly) to make sure there are no gaps. You should now be able to remove your hand from the base and fill the remaining space with more substrate. 
  3. TaDa! Now place the moss back on top of th new substrate. You did it! 

STEP 5 - Wait. 
This it the hardest part to do, if I'm honest. The orchid is most likely going to be unhappy for the next couple weeks (but keep to your regular watering schedule anyways). It won't initially like having had it's home moved and it's root system given a trim. But, it should be a lot happier in the long run. Maybe it will even flower...? Please Orchid?

-Andrea

The Half-Assed Hobbyist
ย 

My Secret Garden

My Dad has this huge back yard. Years ago, before my parents divorced, it was one of the favourite places to be outside. (I was one of Those kids that hated bugs and didn't do any organized outdoor sports, so being outside was an big thing.) I remember spending weekday evenings following my Mom around as she cleared out the beds and planted petunias, arranging the built in watering system my Dad engineered, as he mowed the lawn in diagonal lines. 

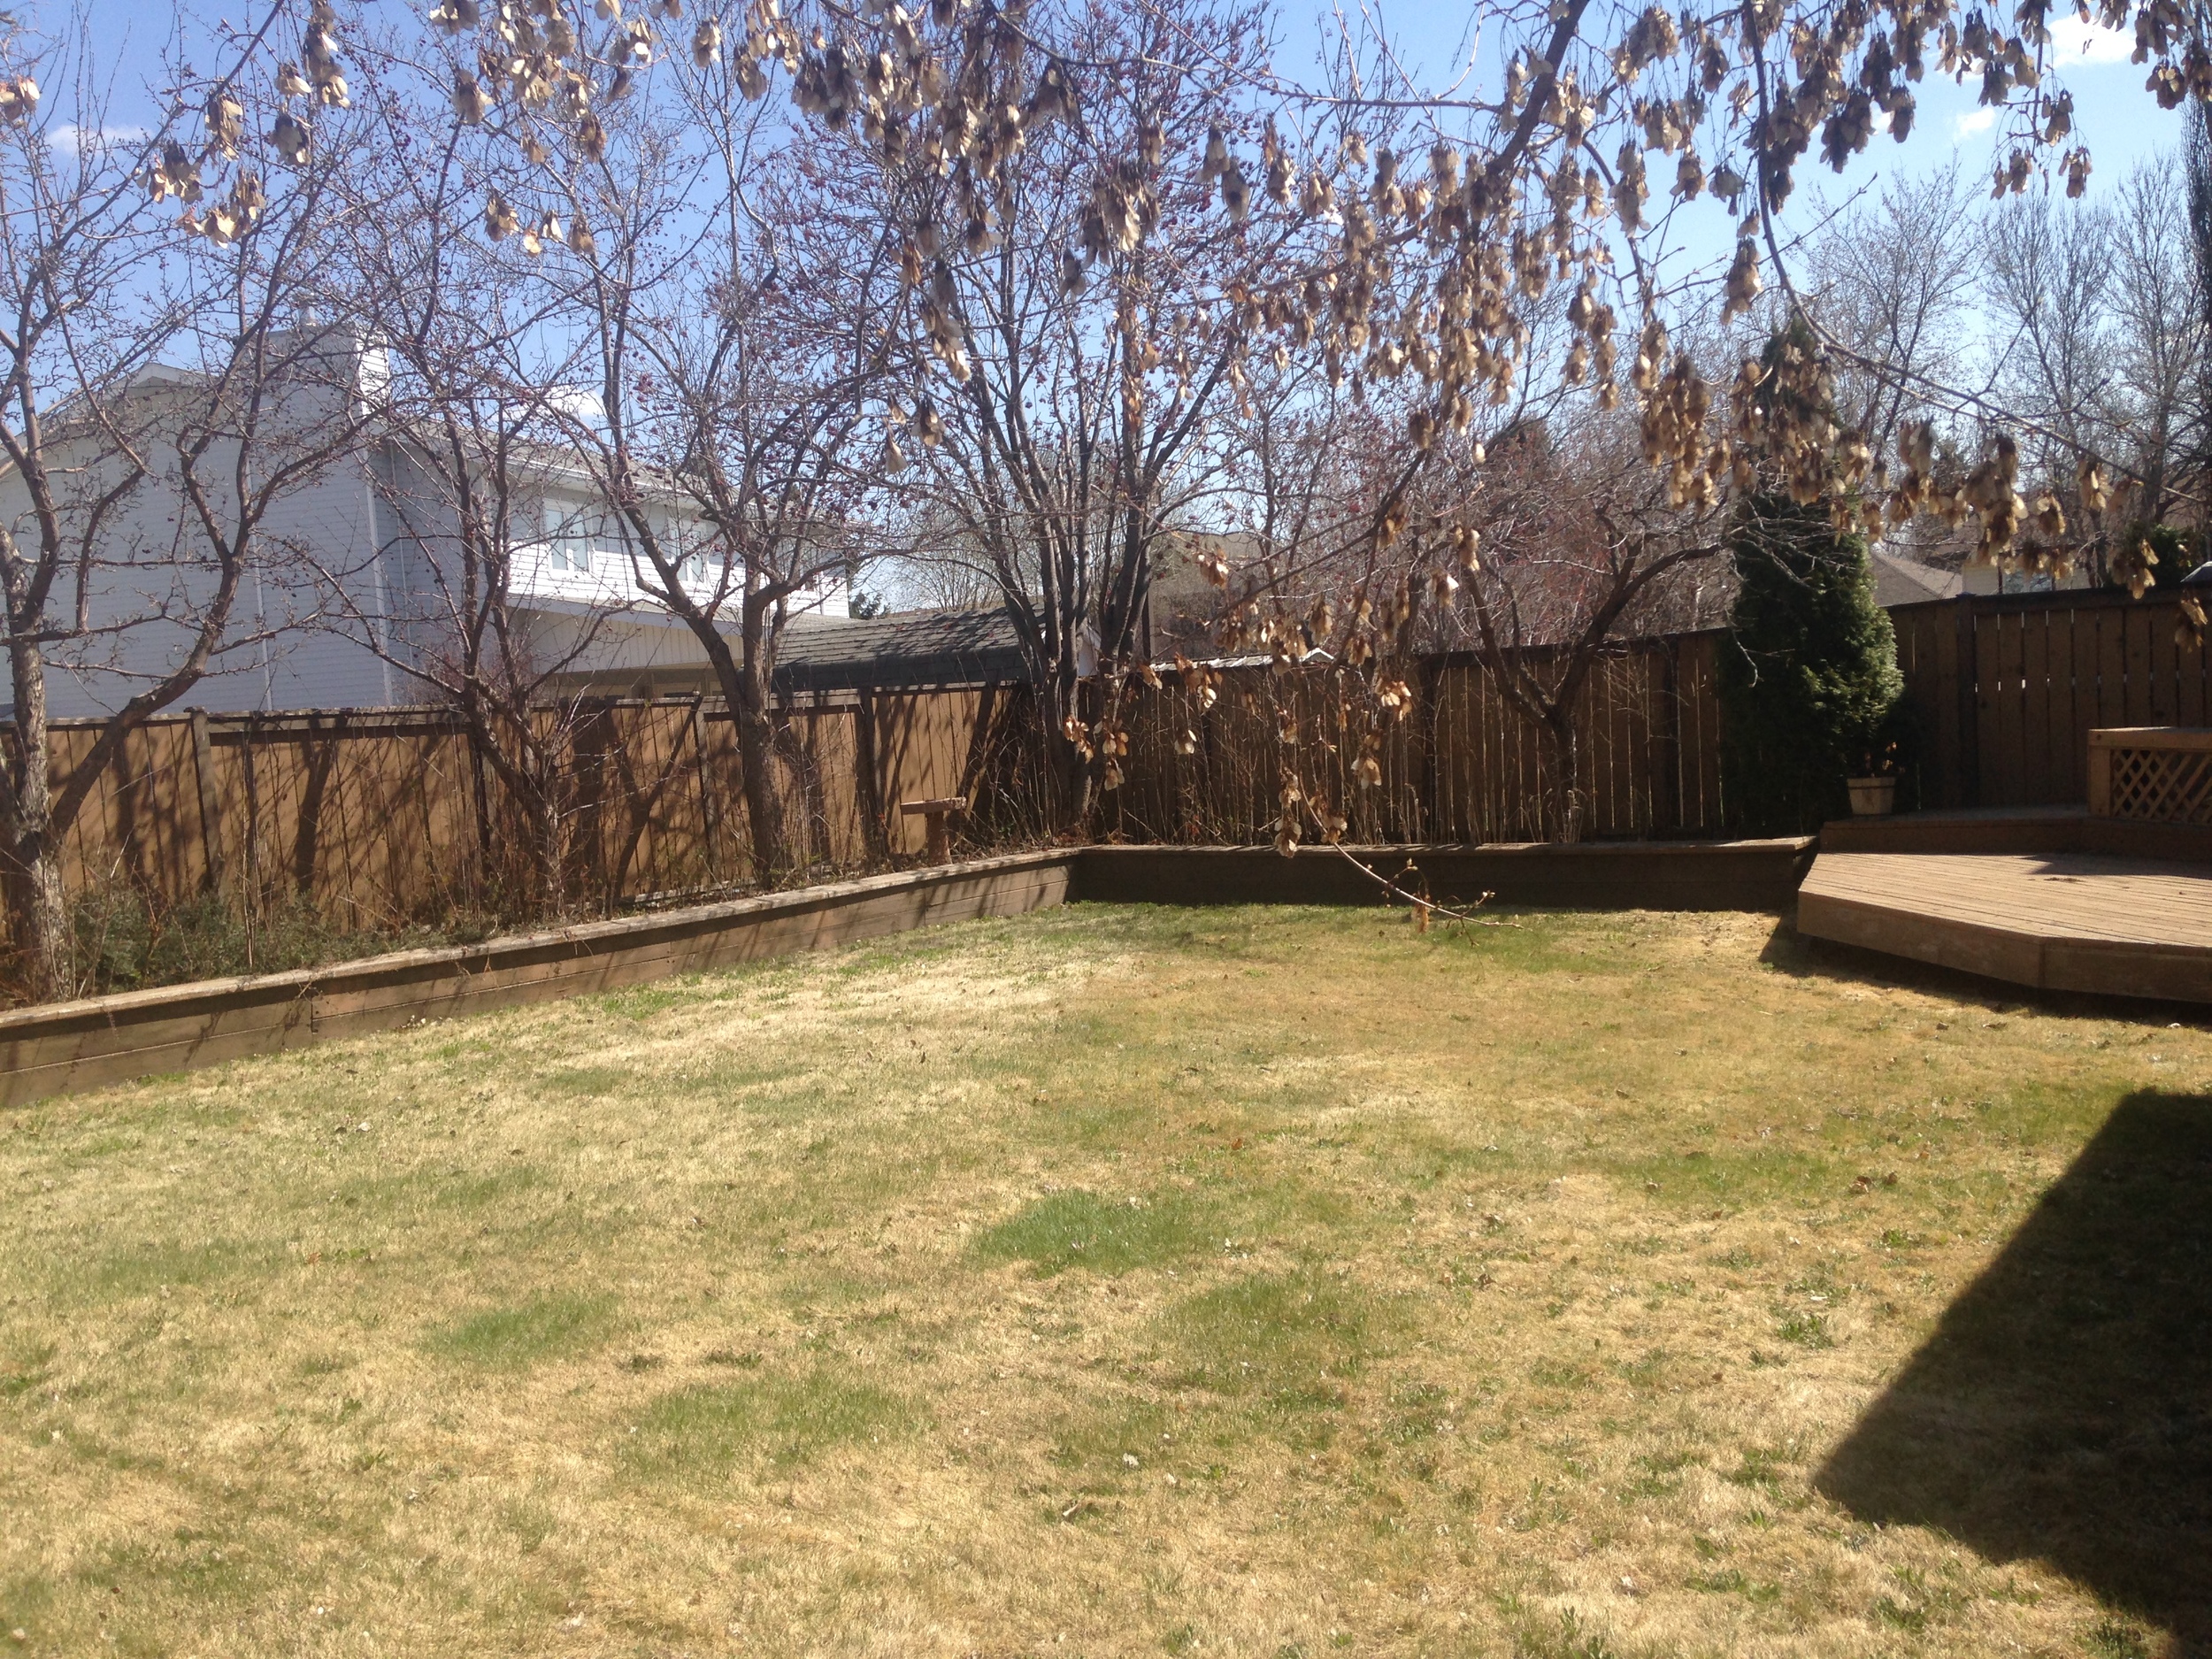
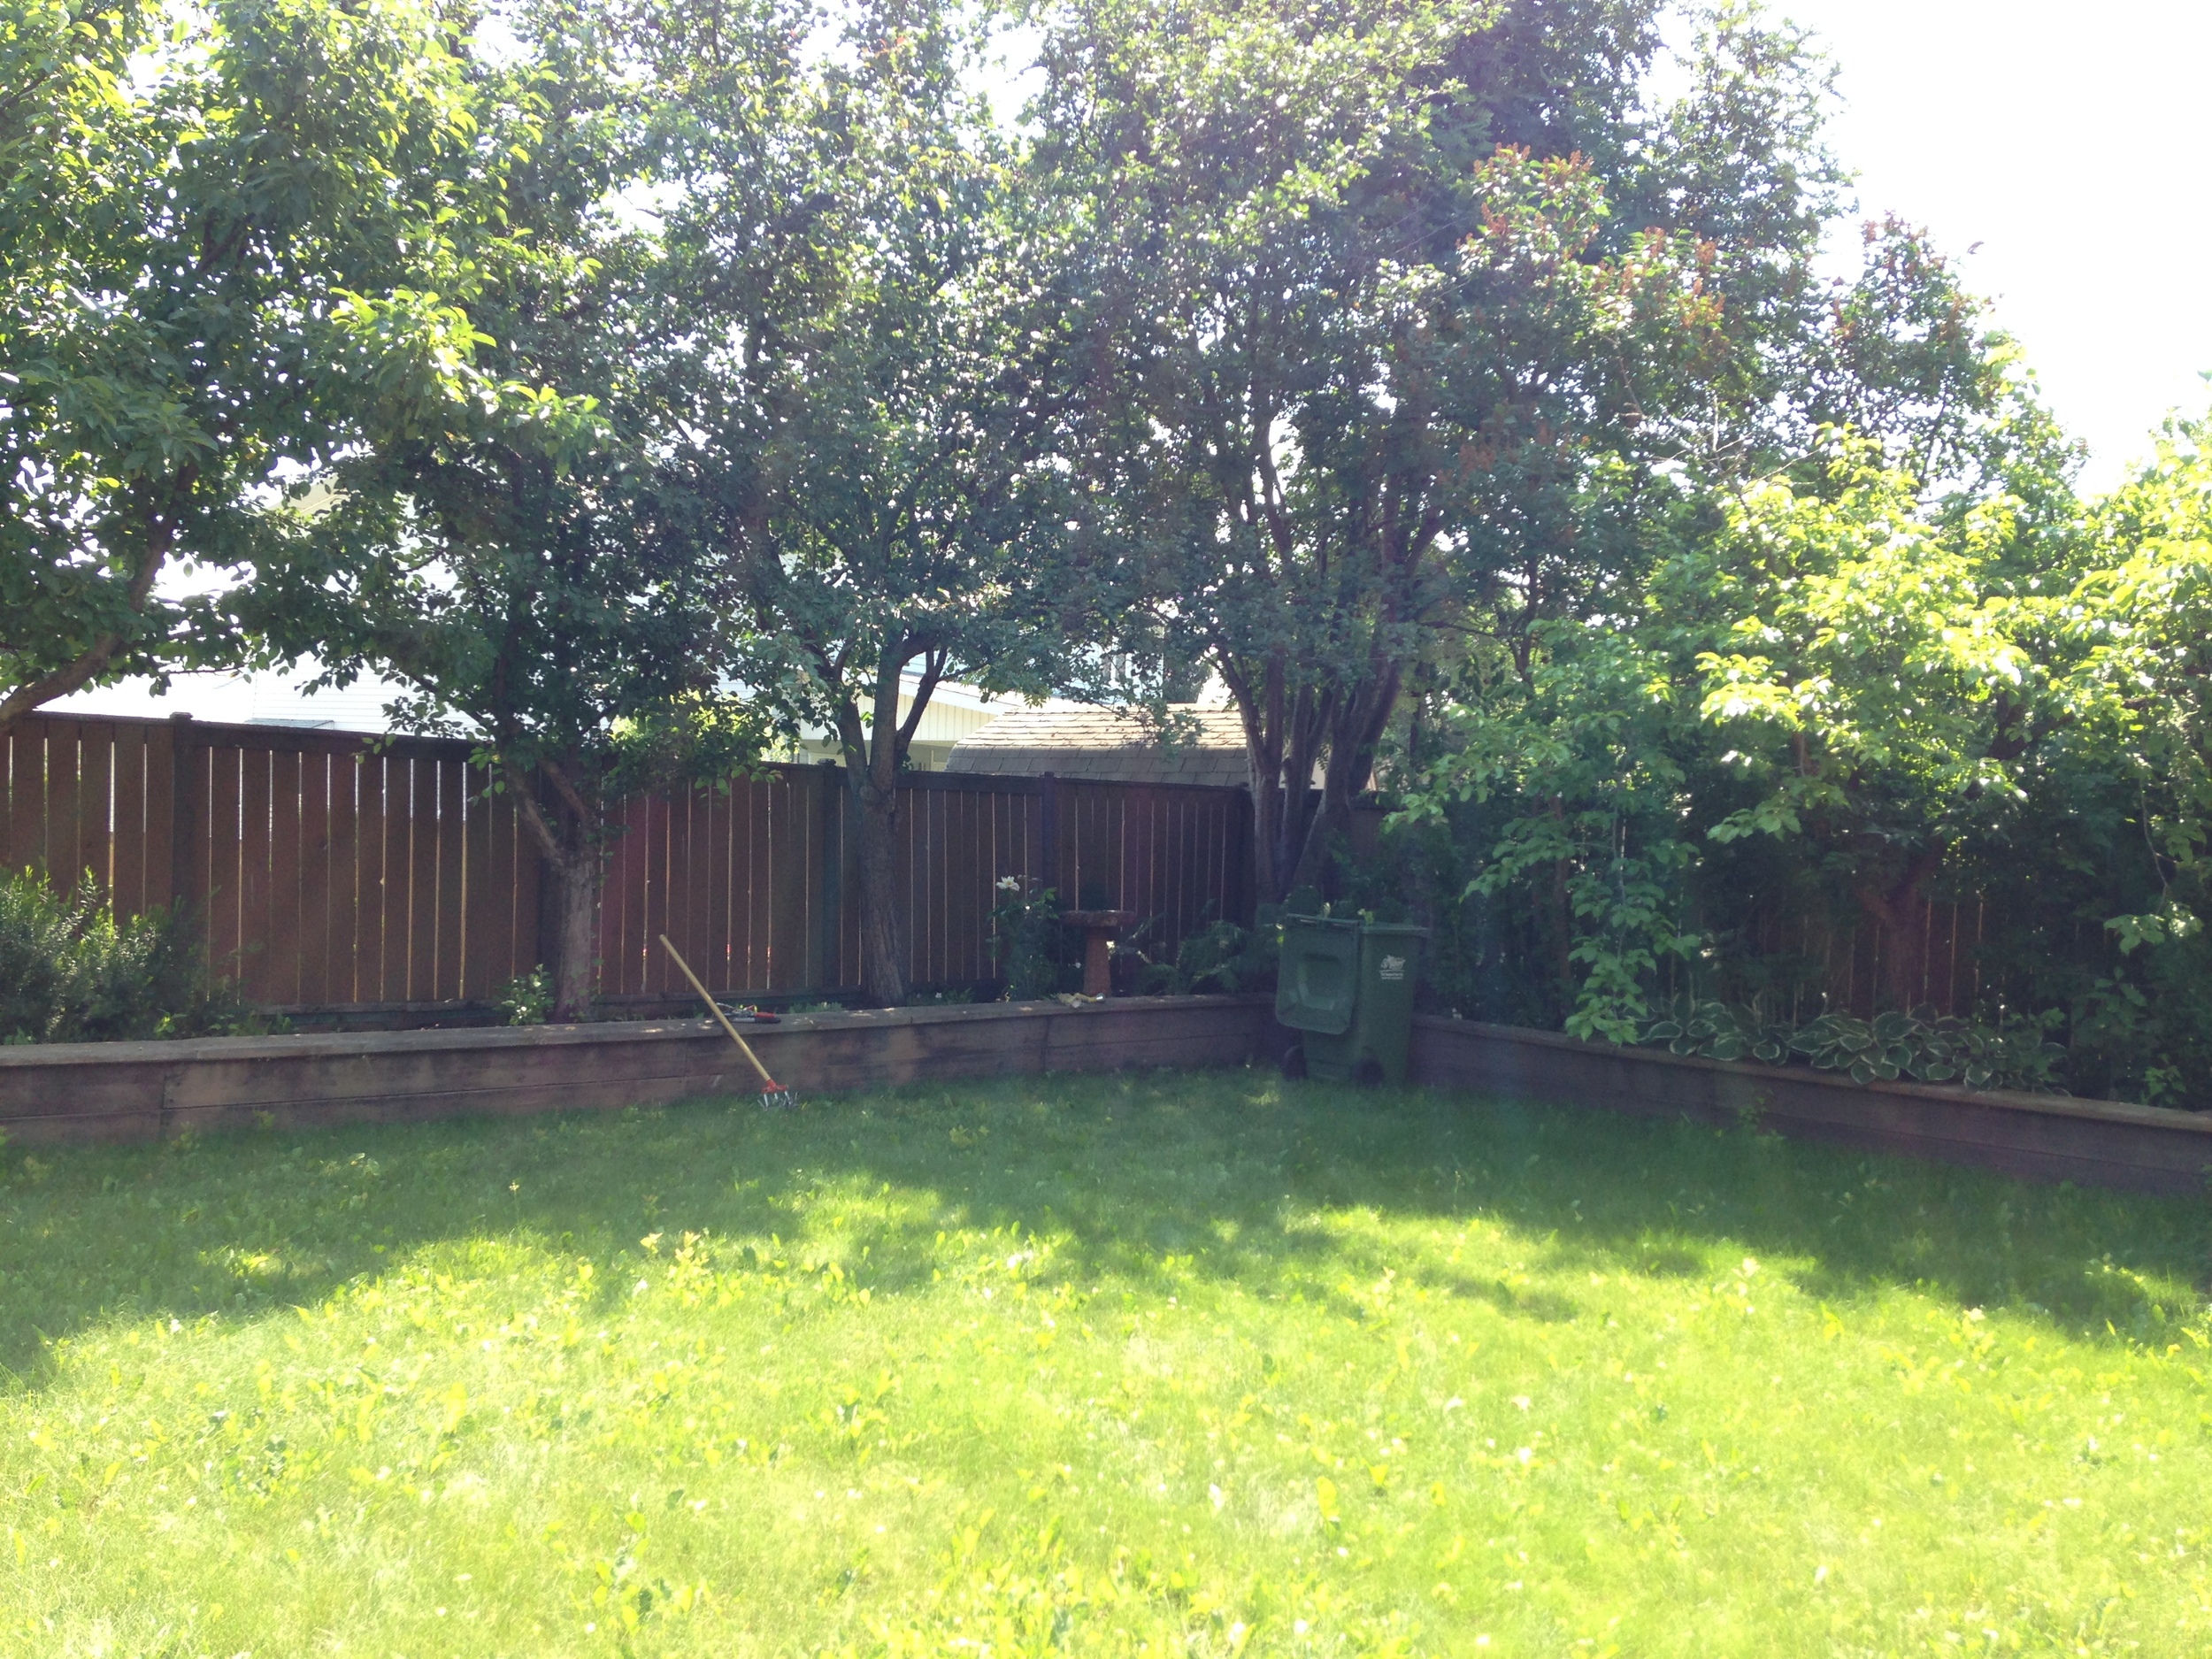
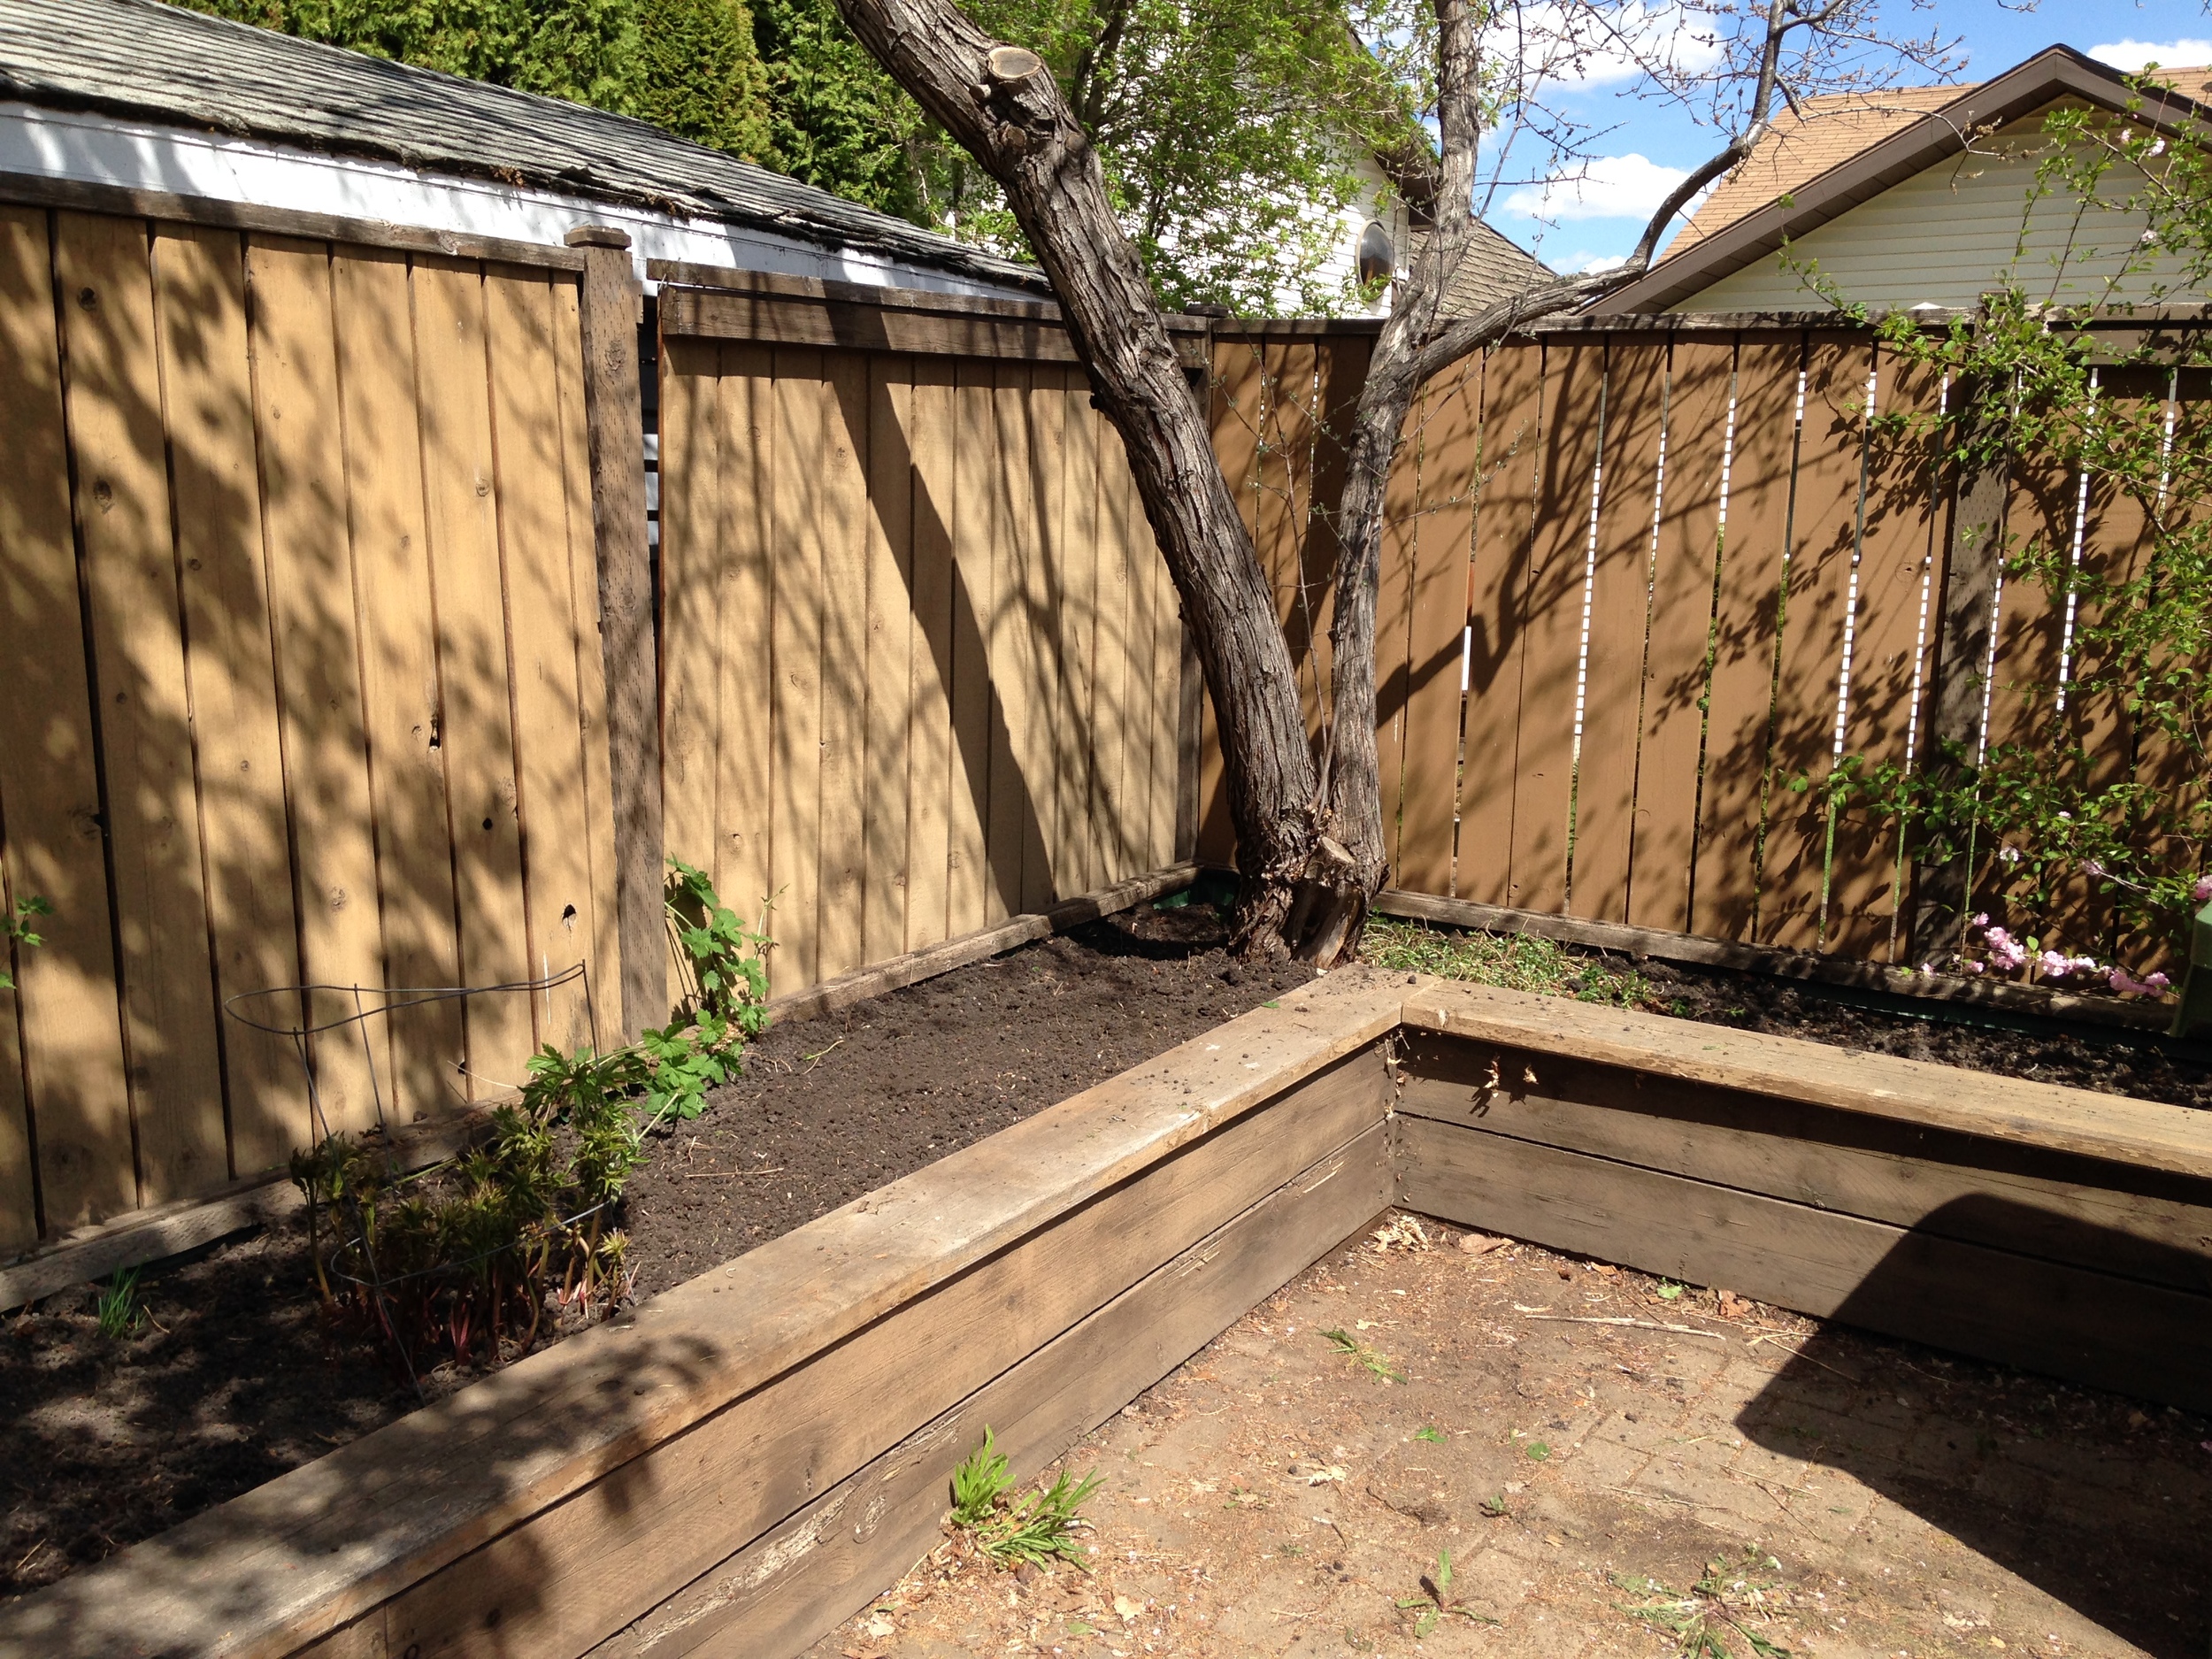
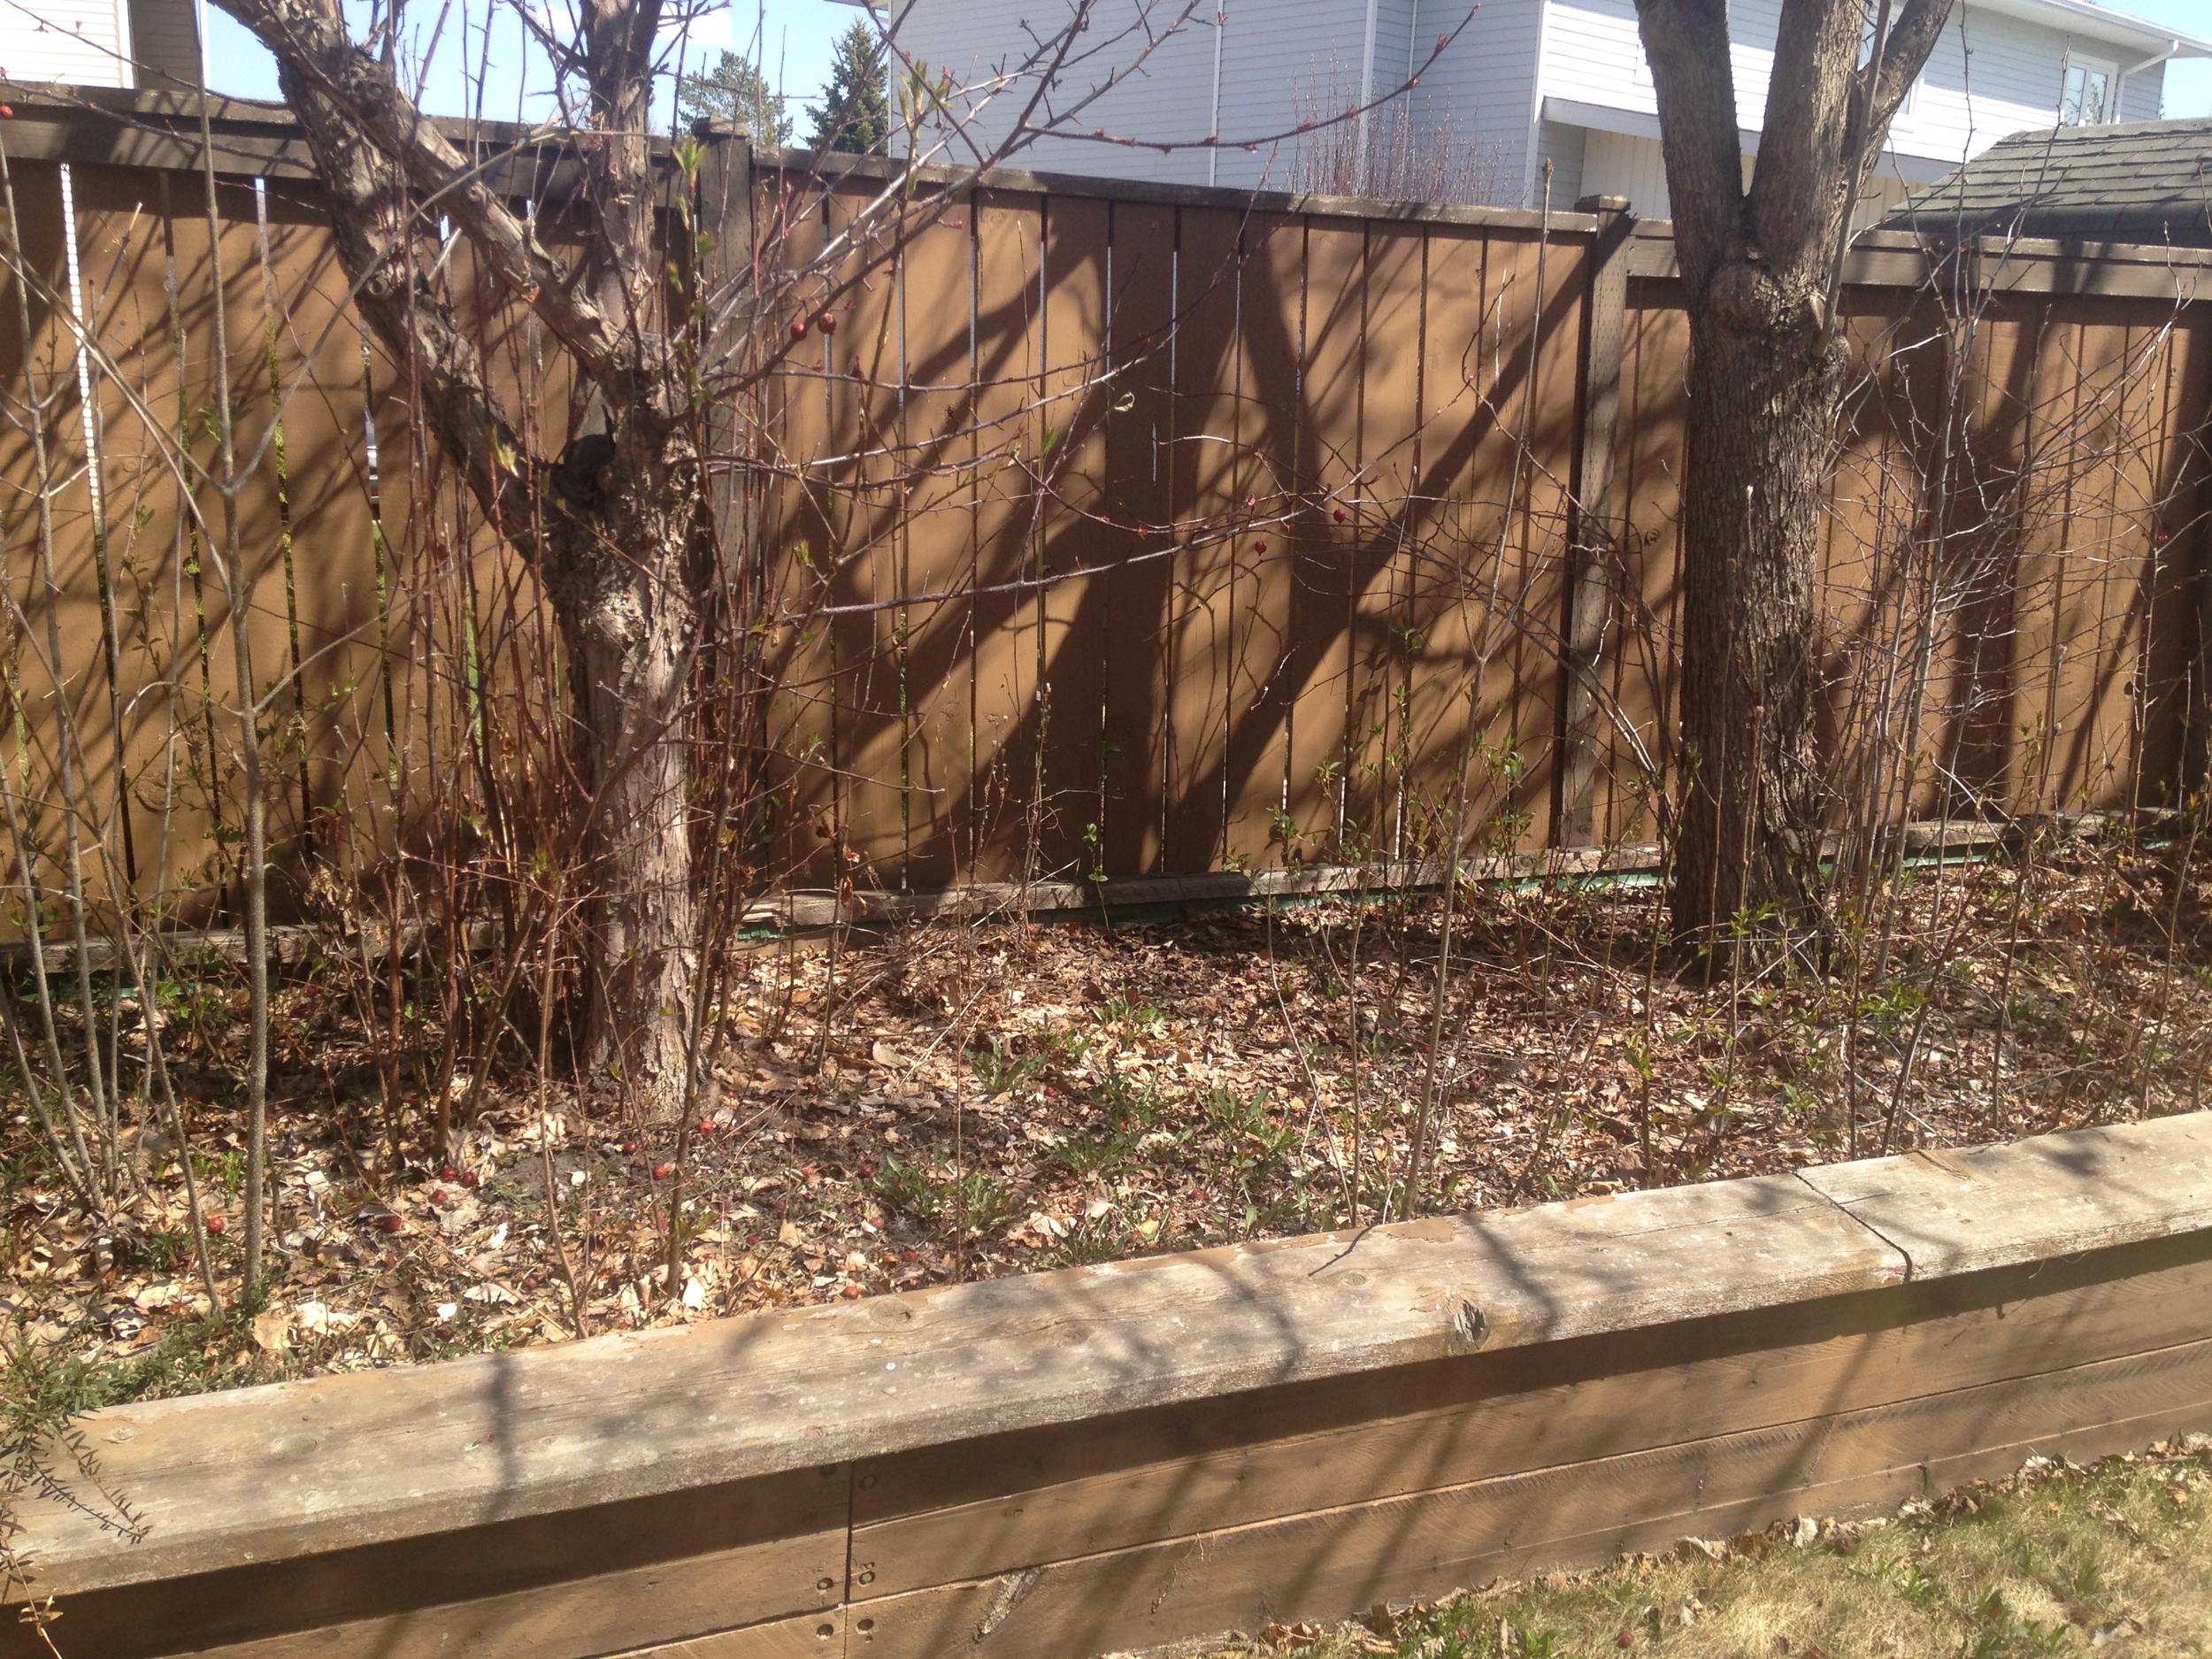
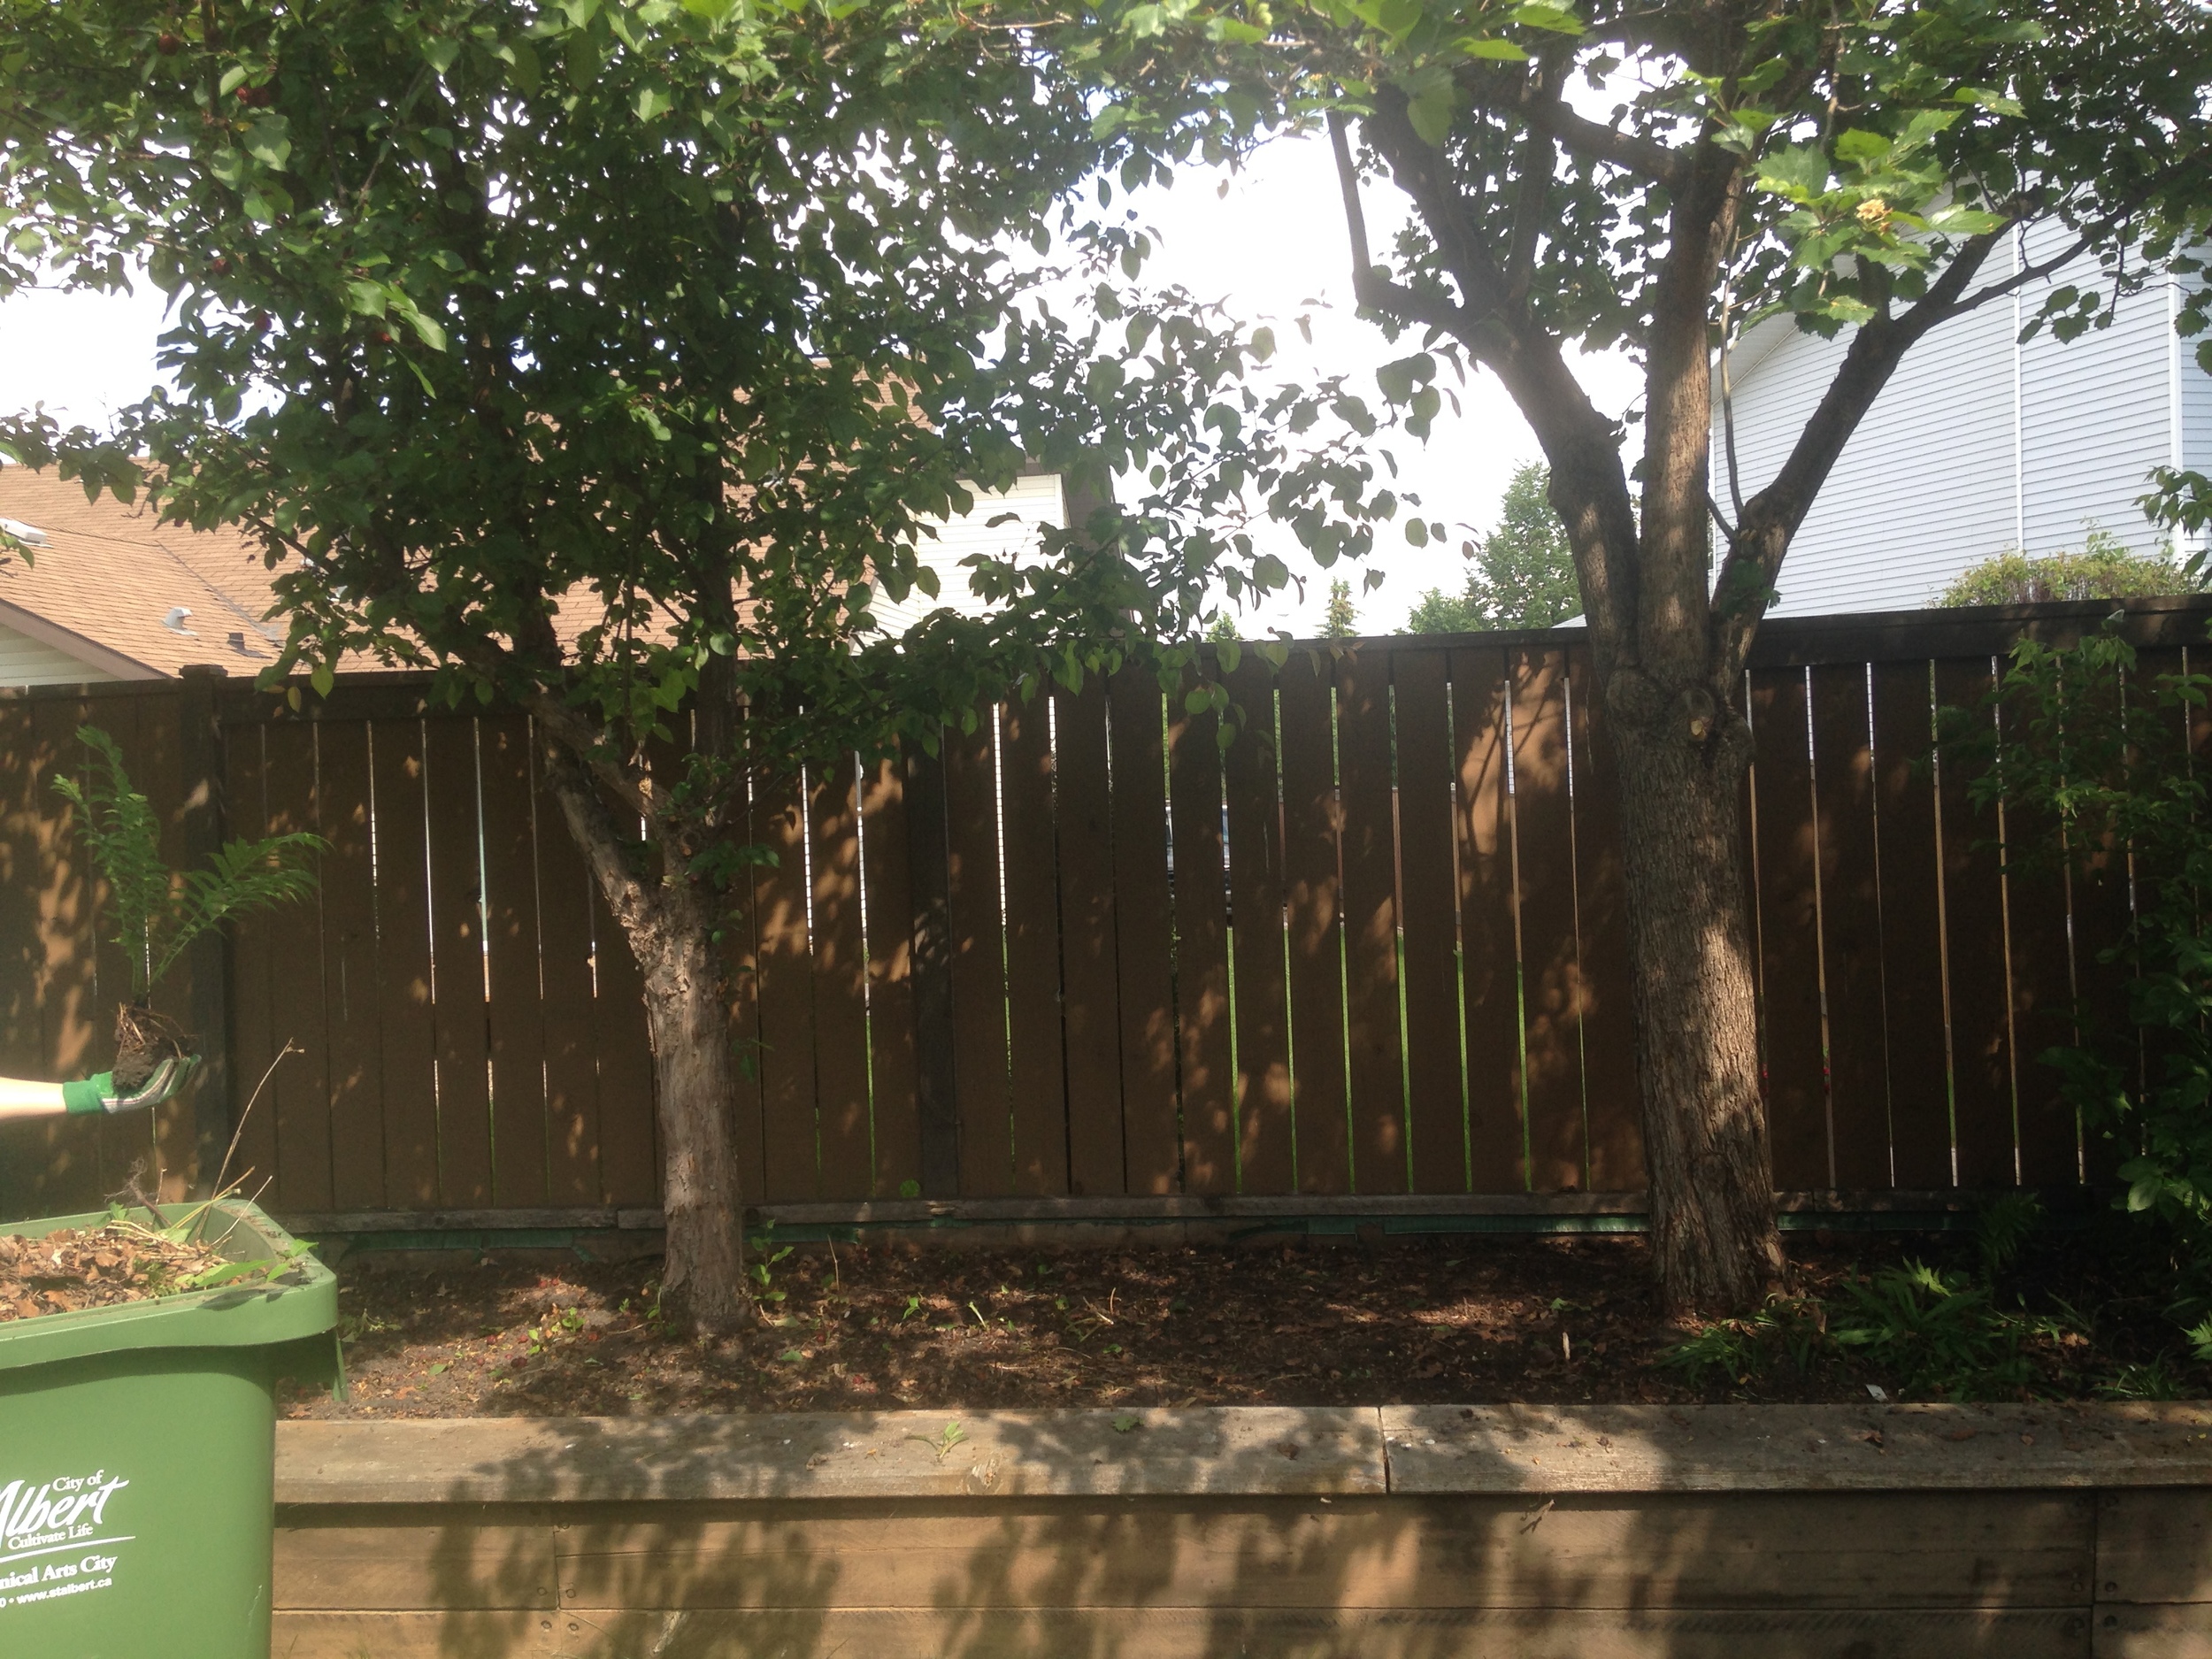
The garden hasn't been properly done up since those days, but this year, as a father's day present, I cleared out all the years and years of dead plants and tree suckers. 

Blood Blister. Even the not-pokey end of the shears are dangerous. Worst.

Blood Blister. Even the not-pokey end of the shears are dangerous. Worst.

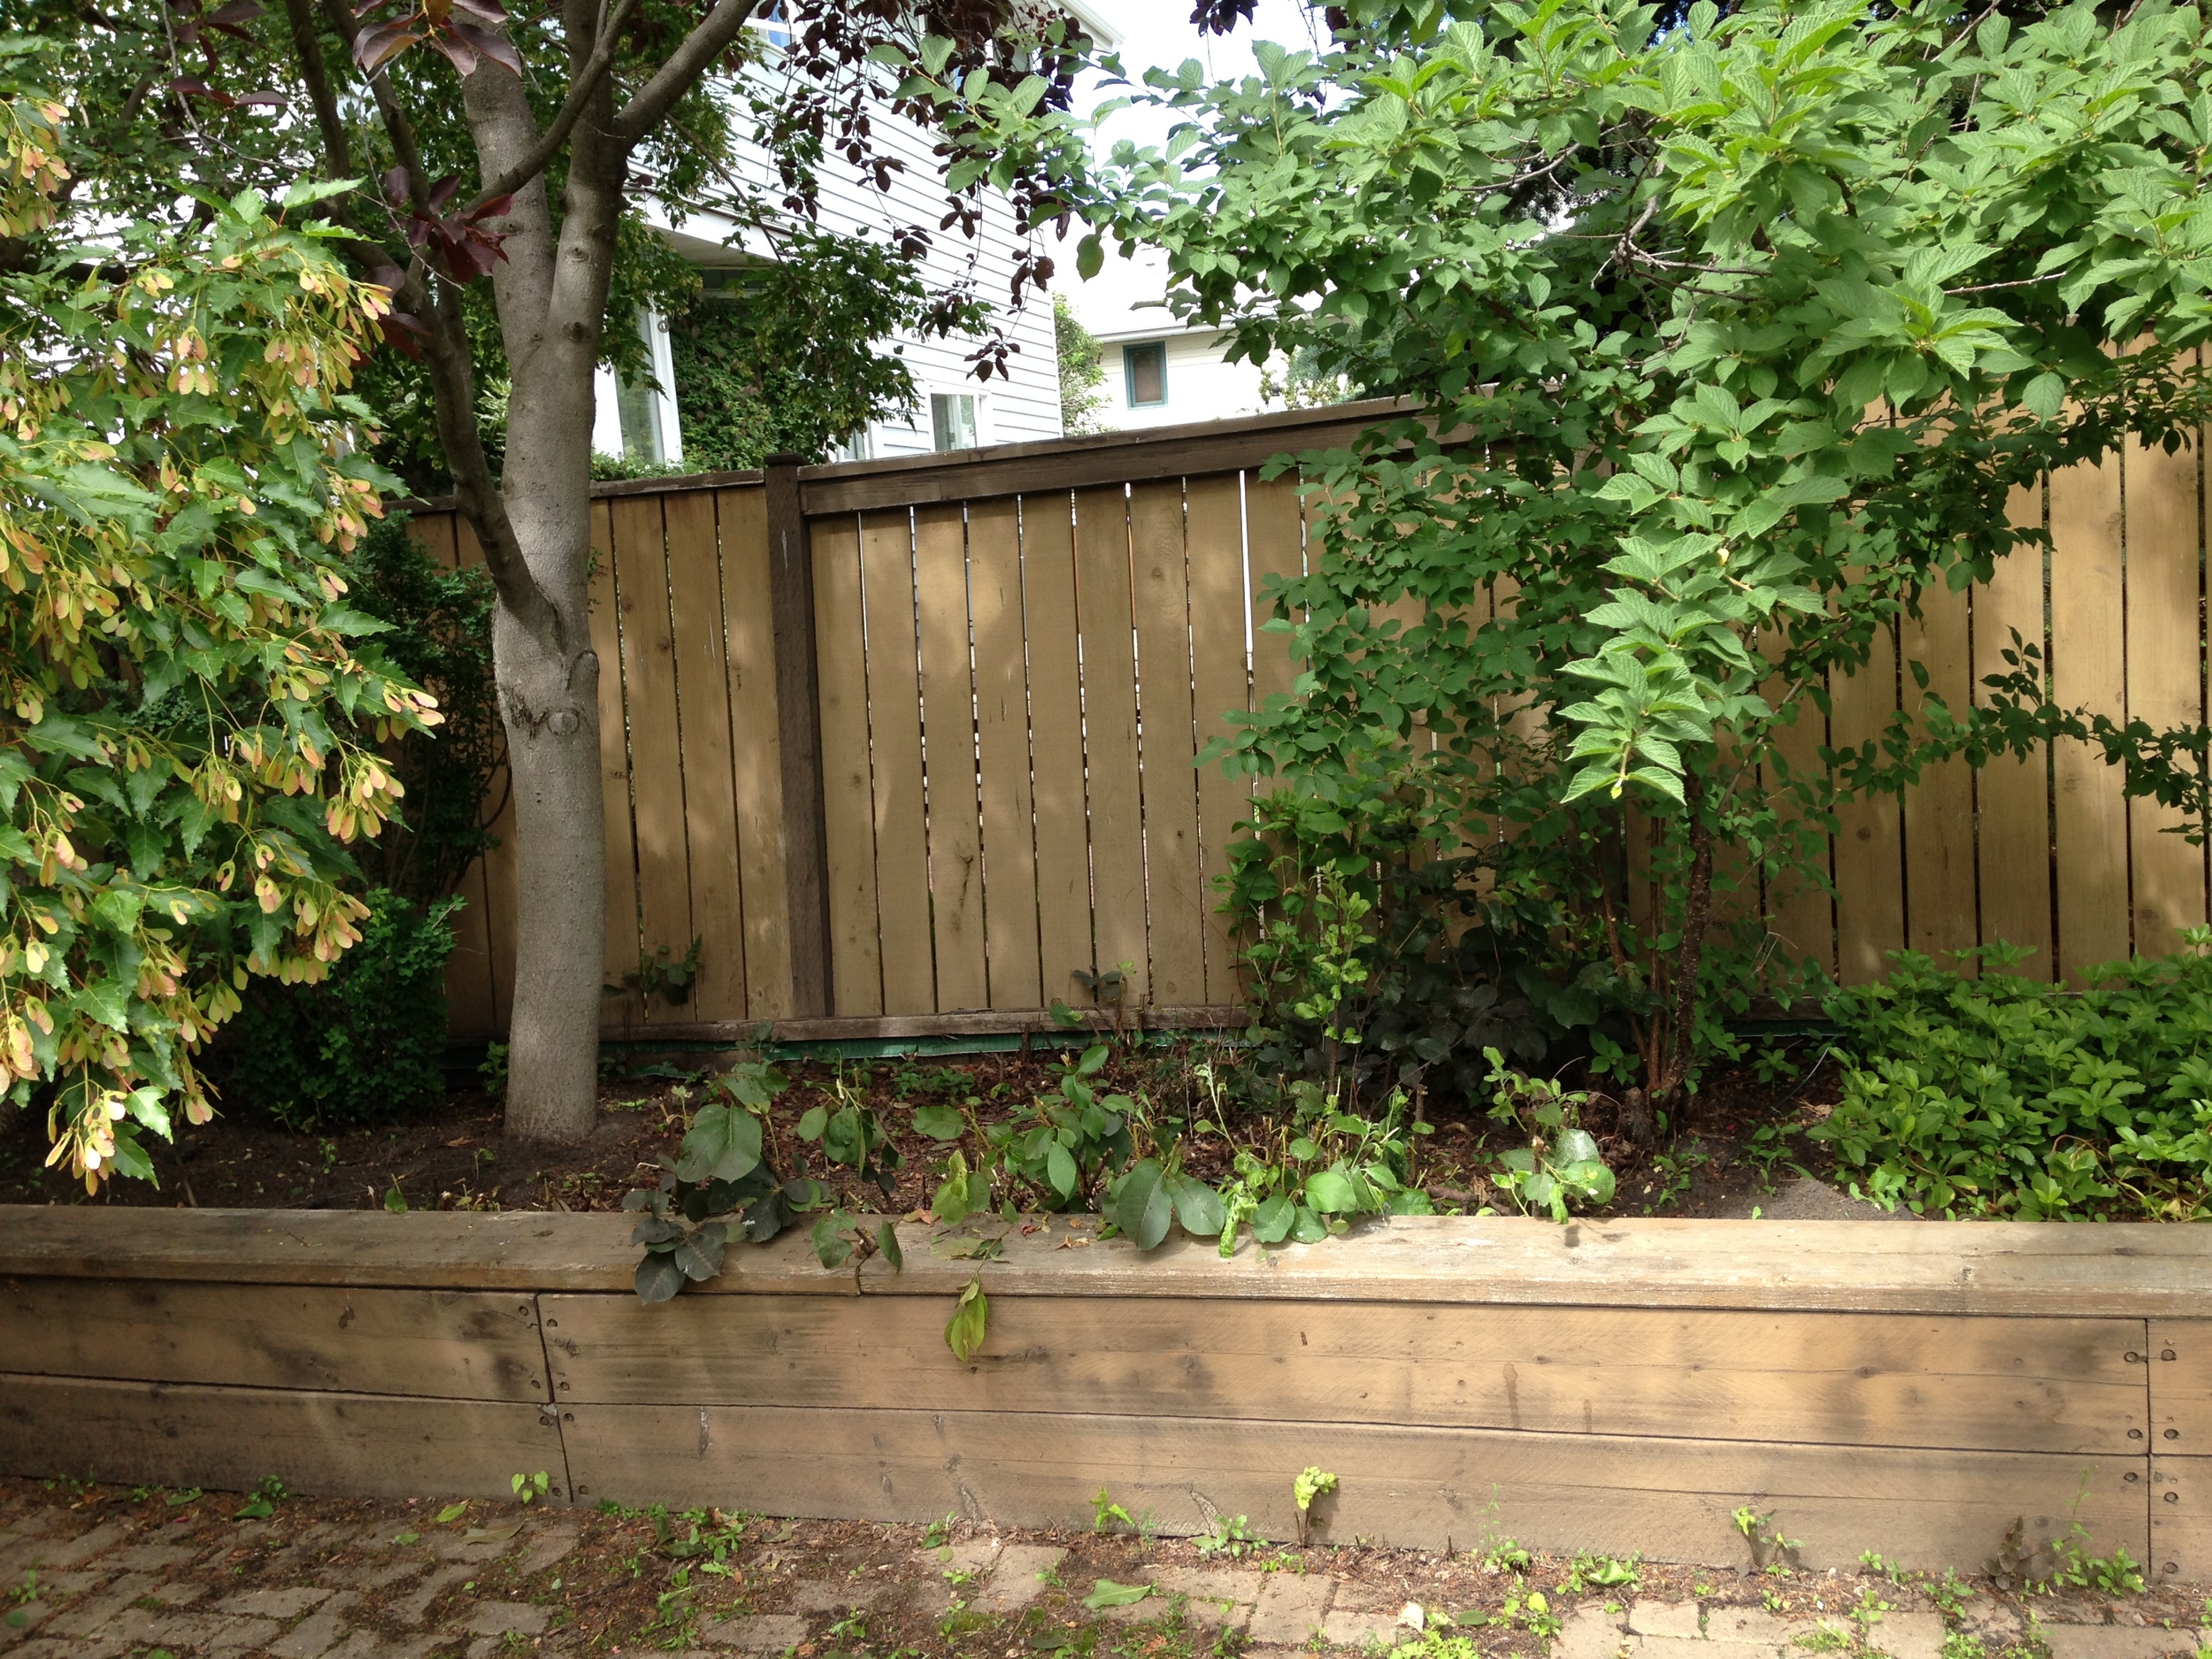
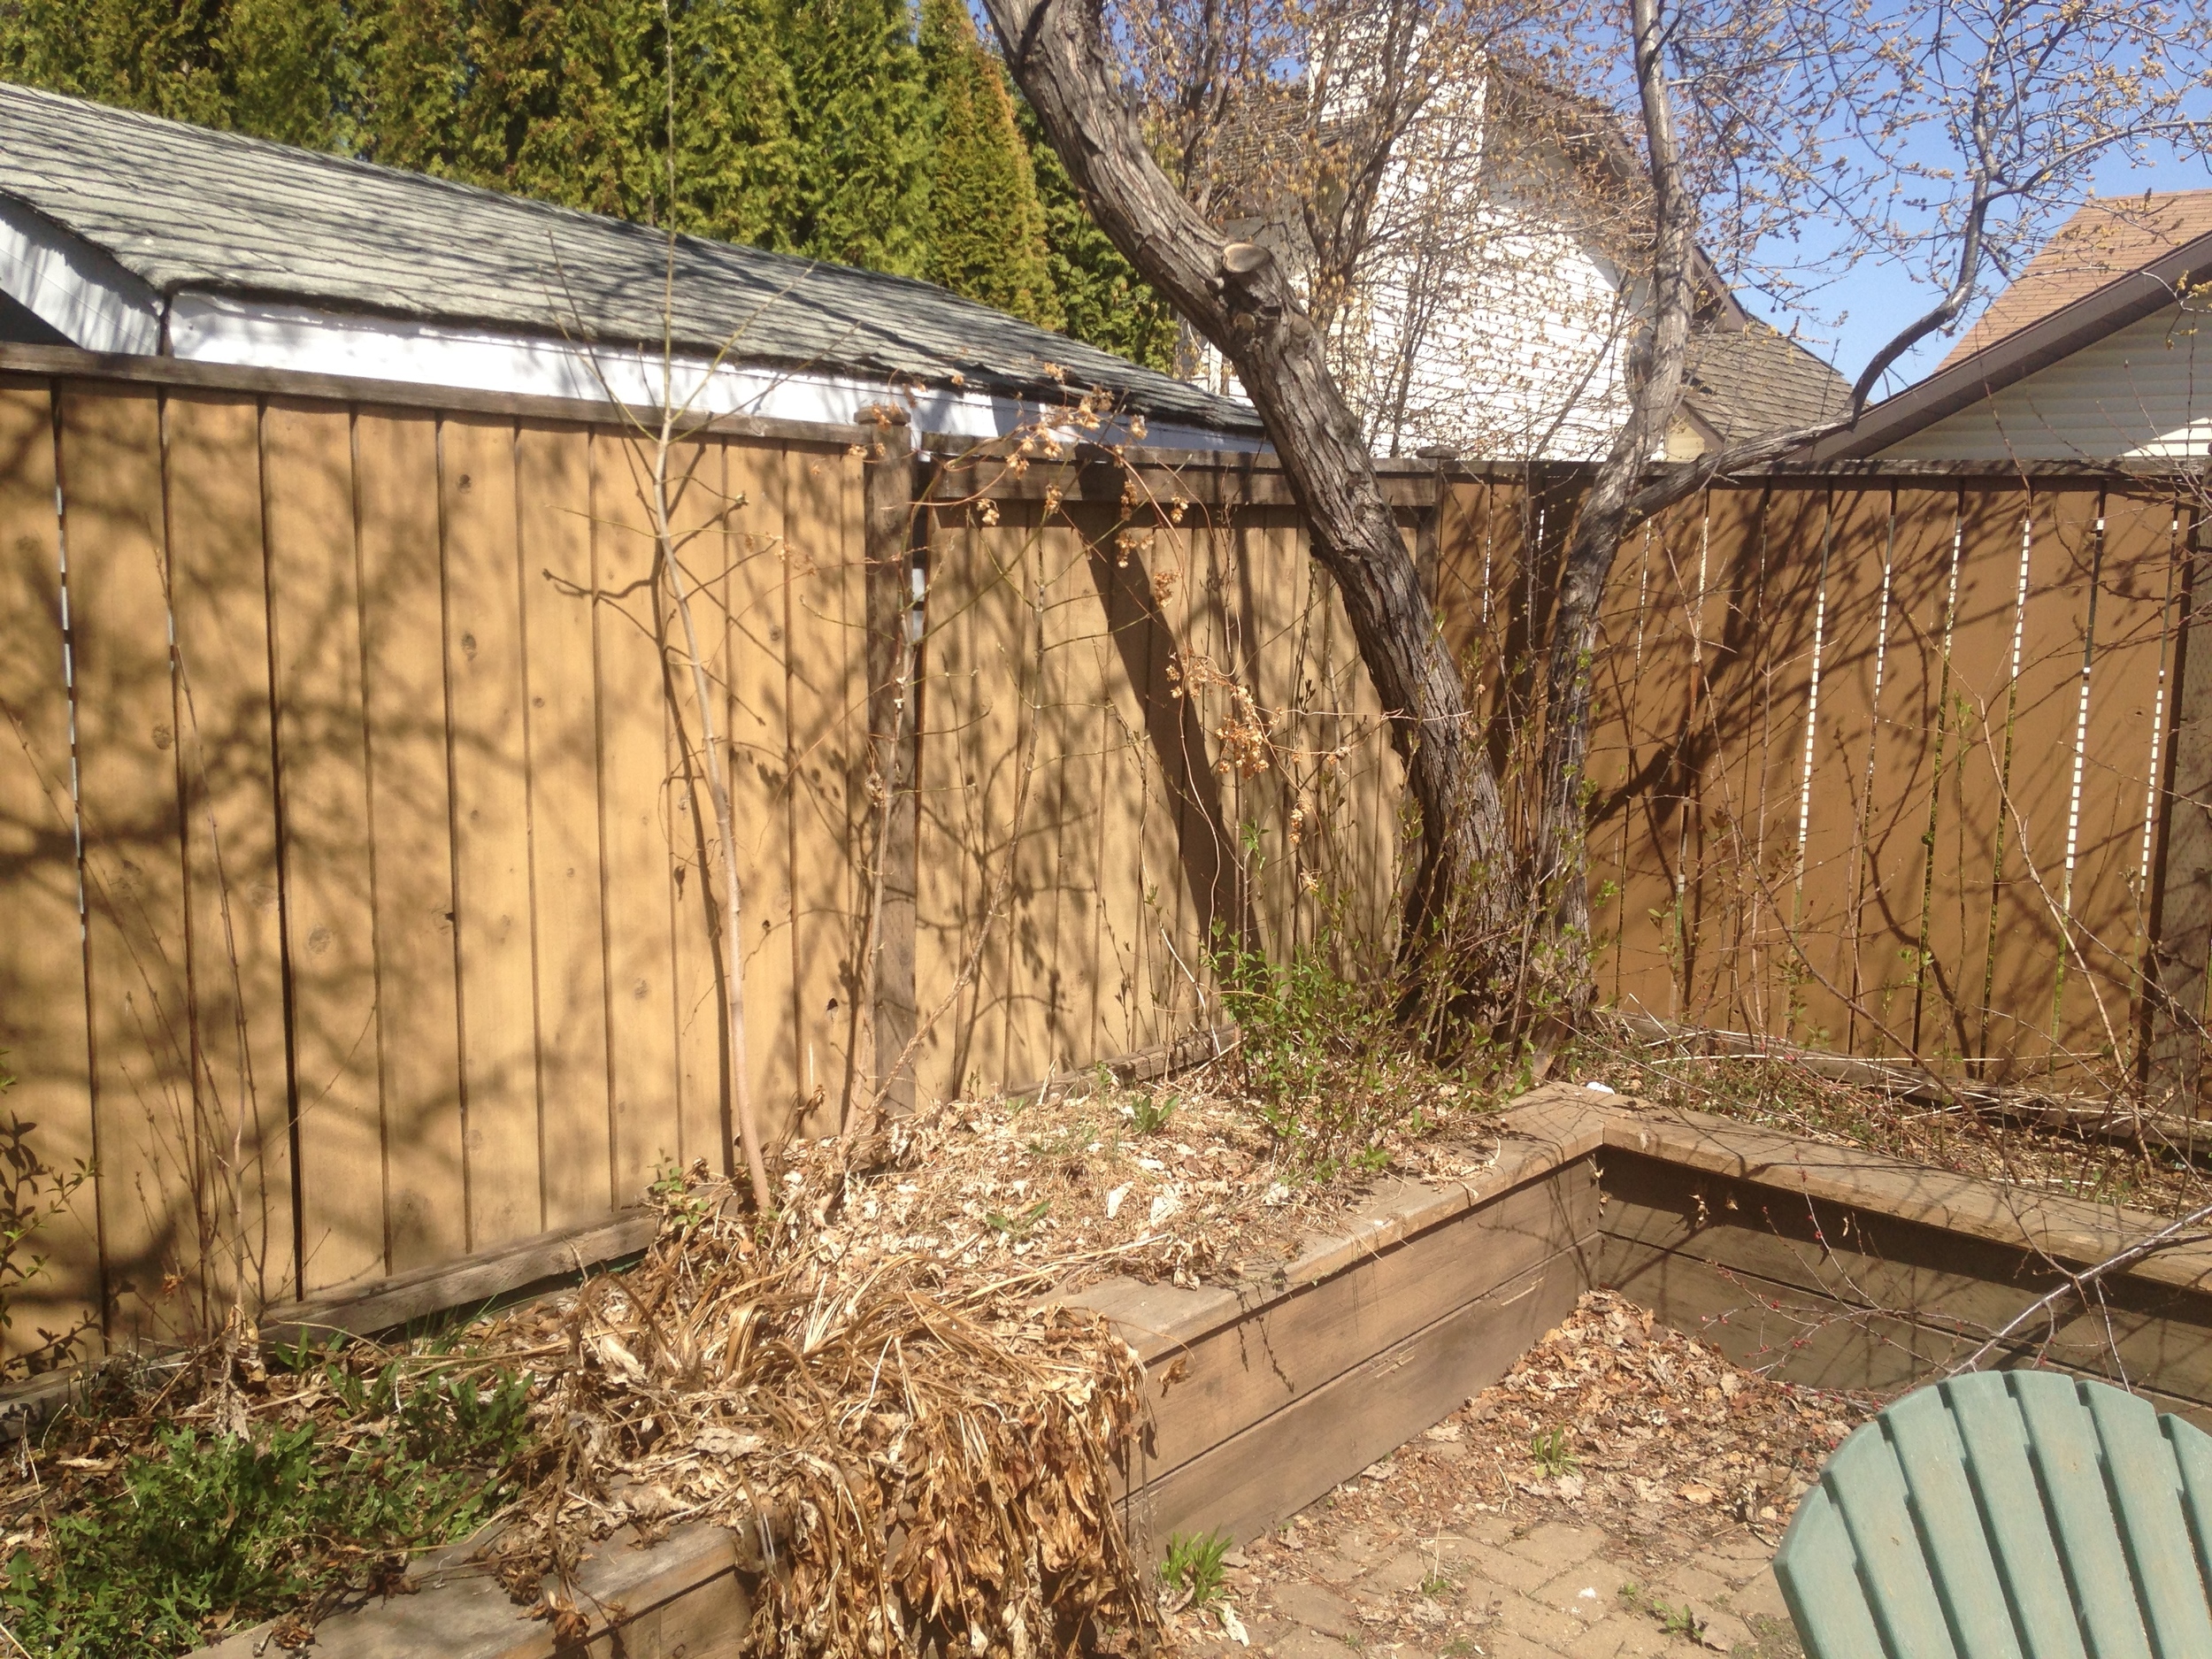
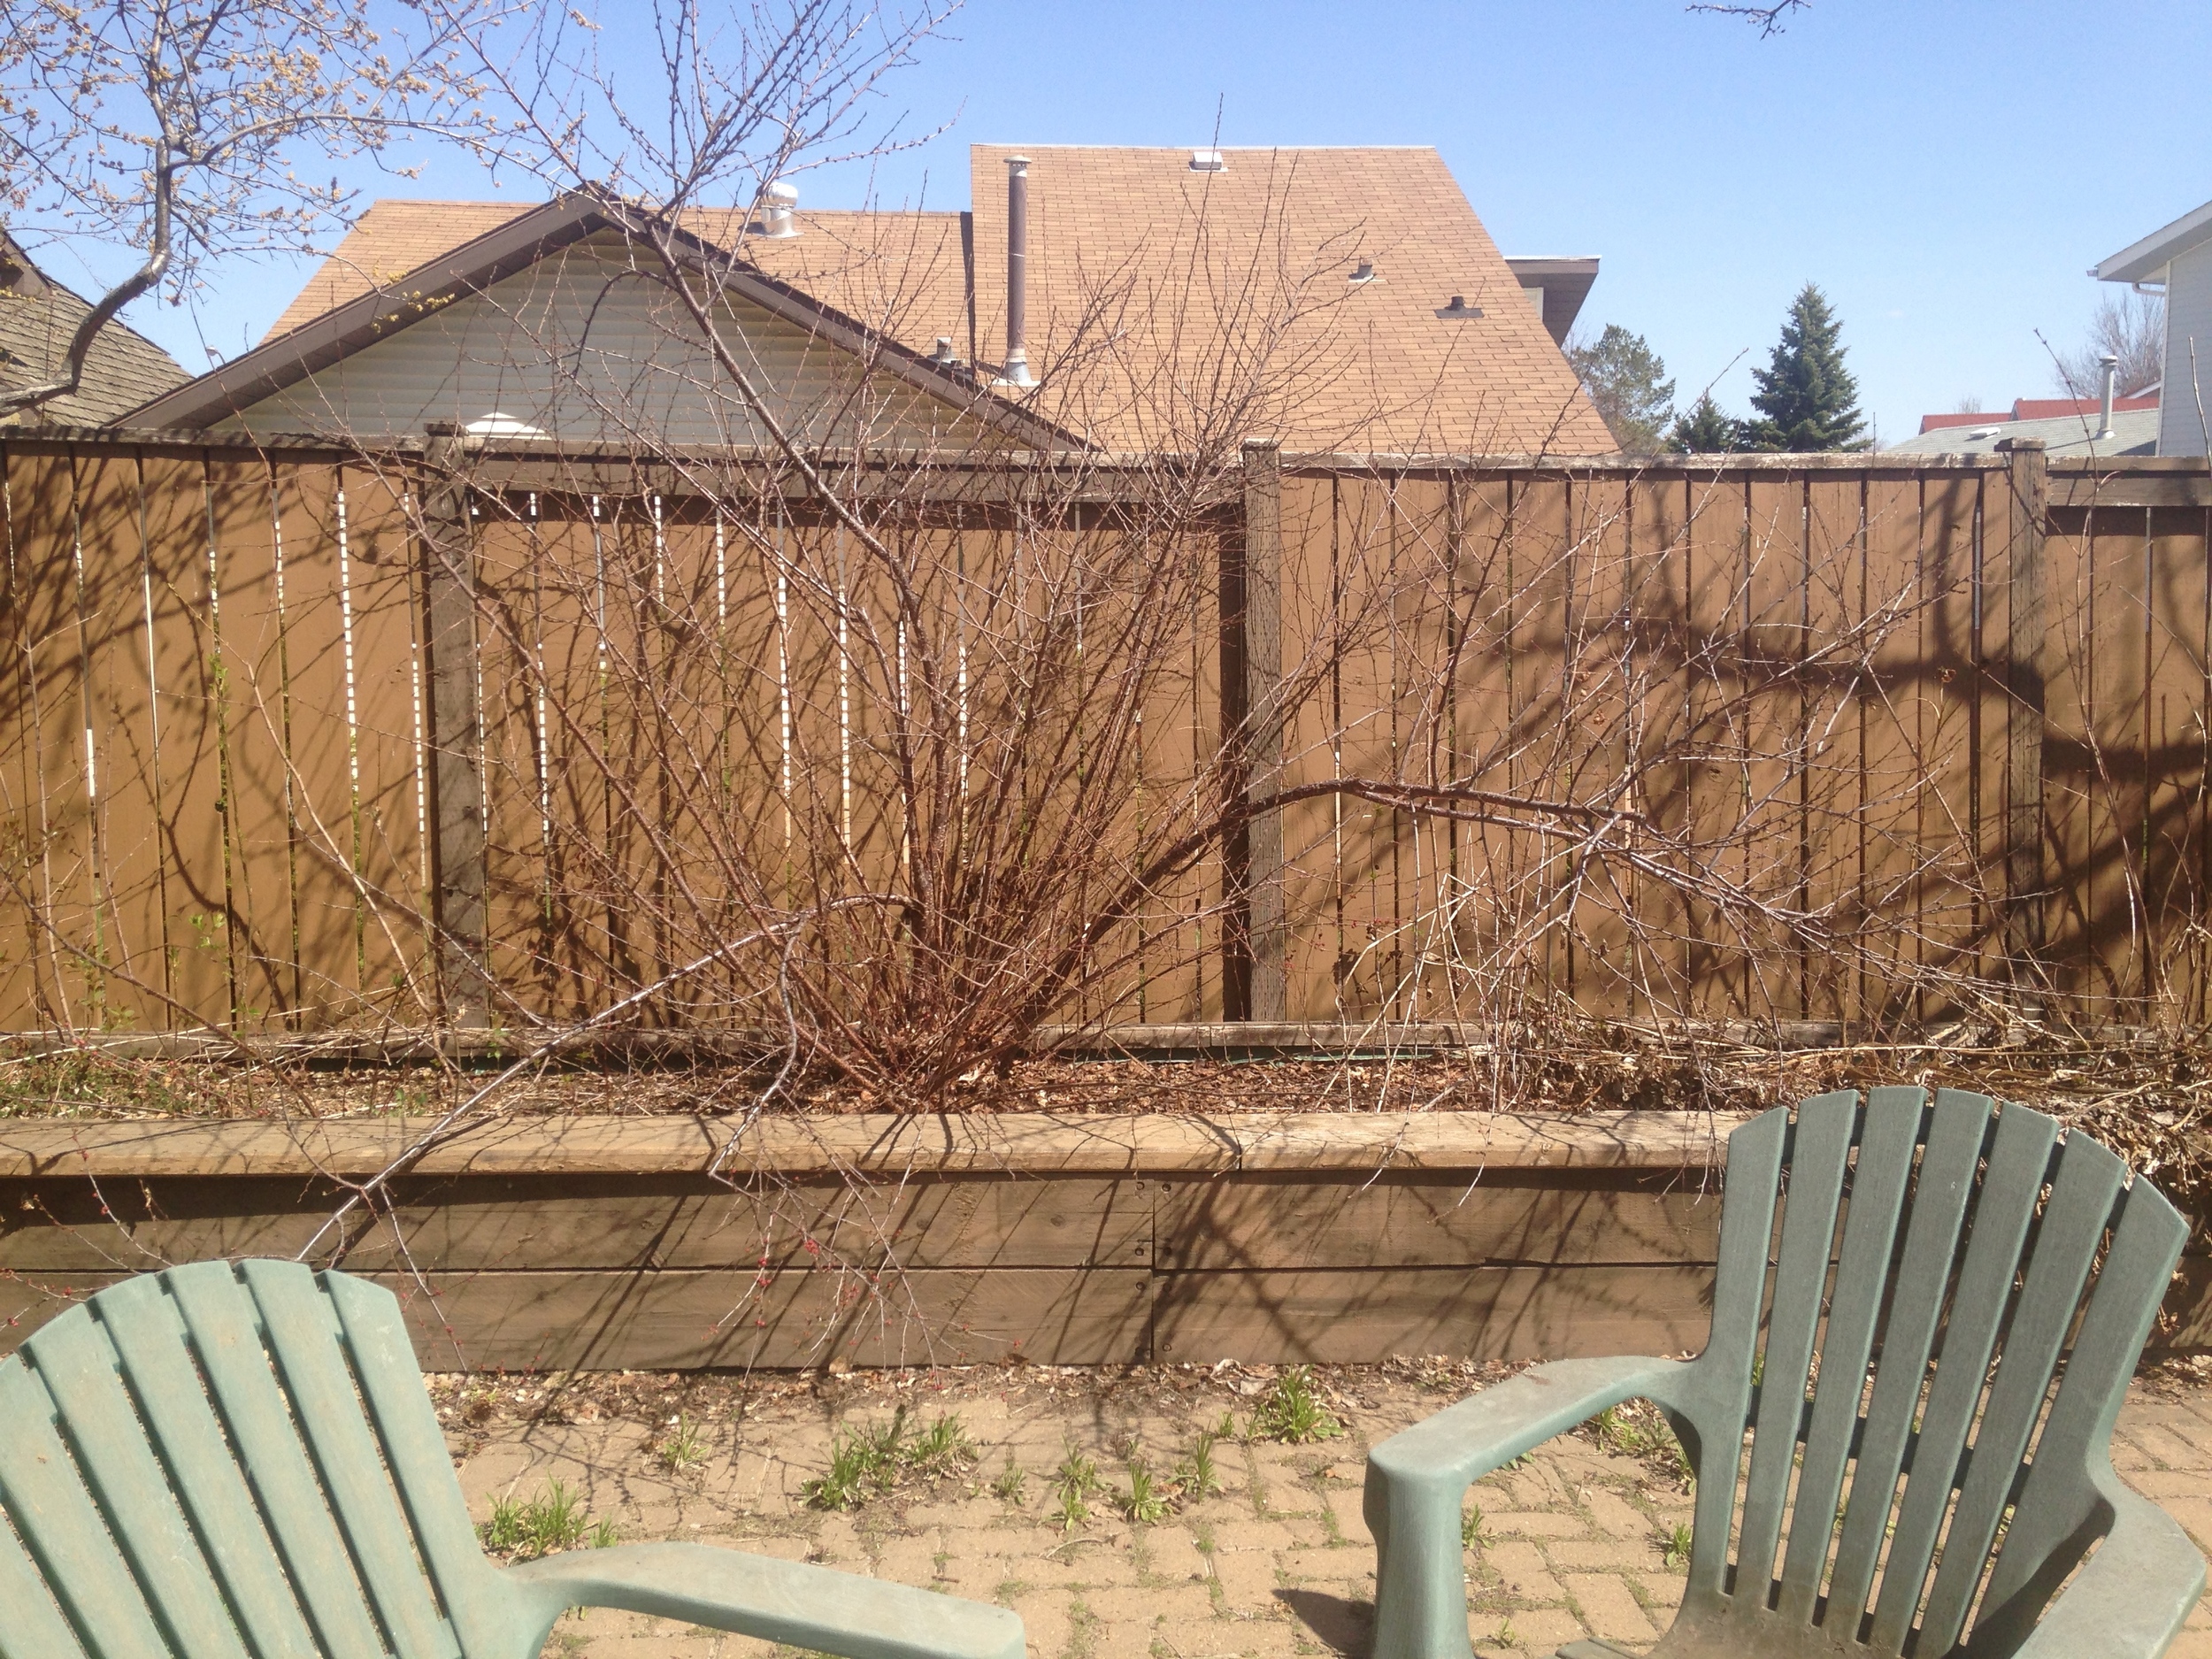
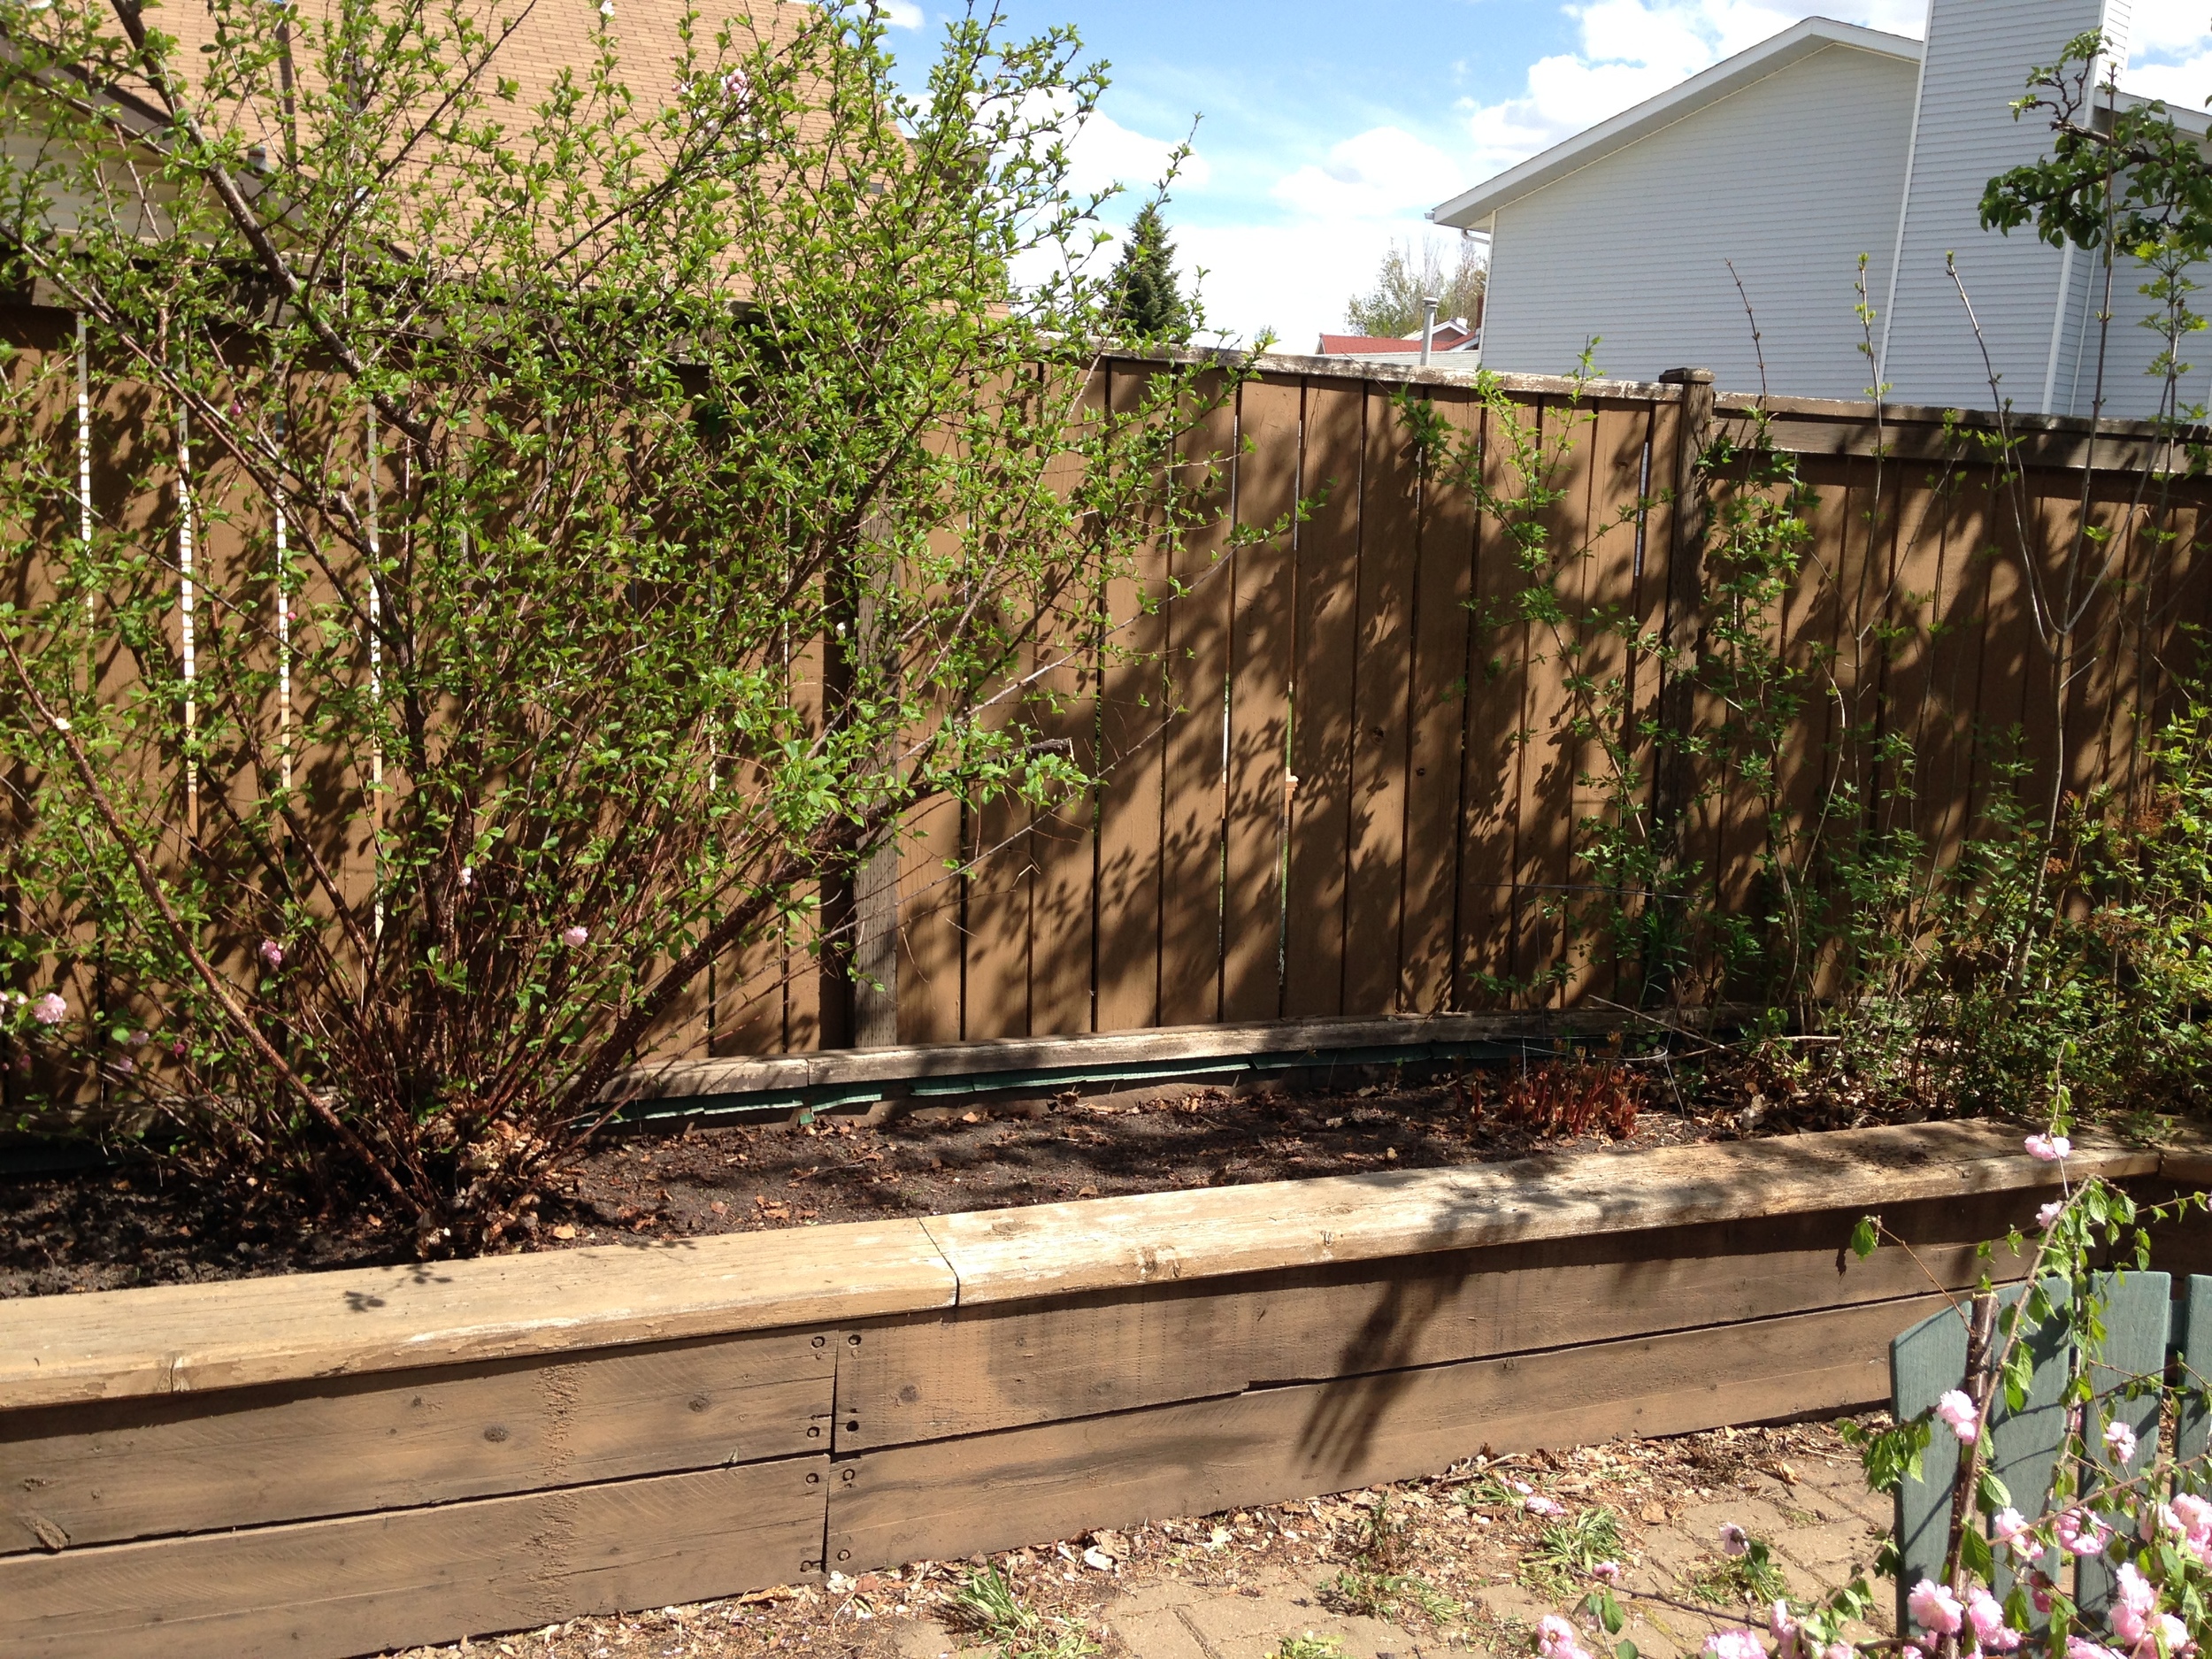
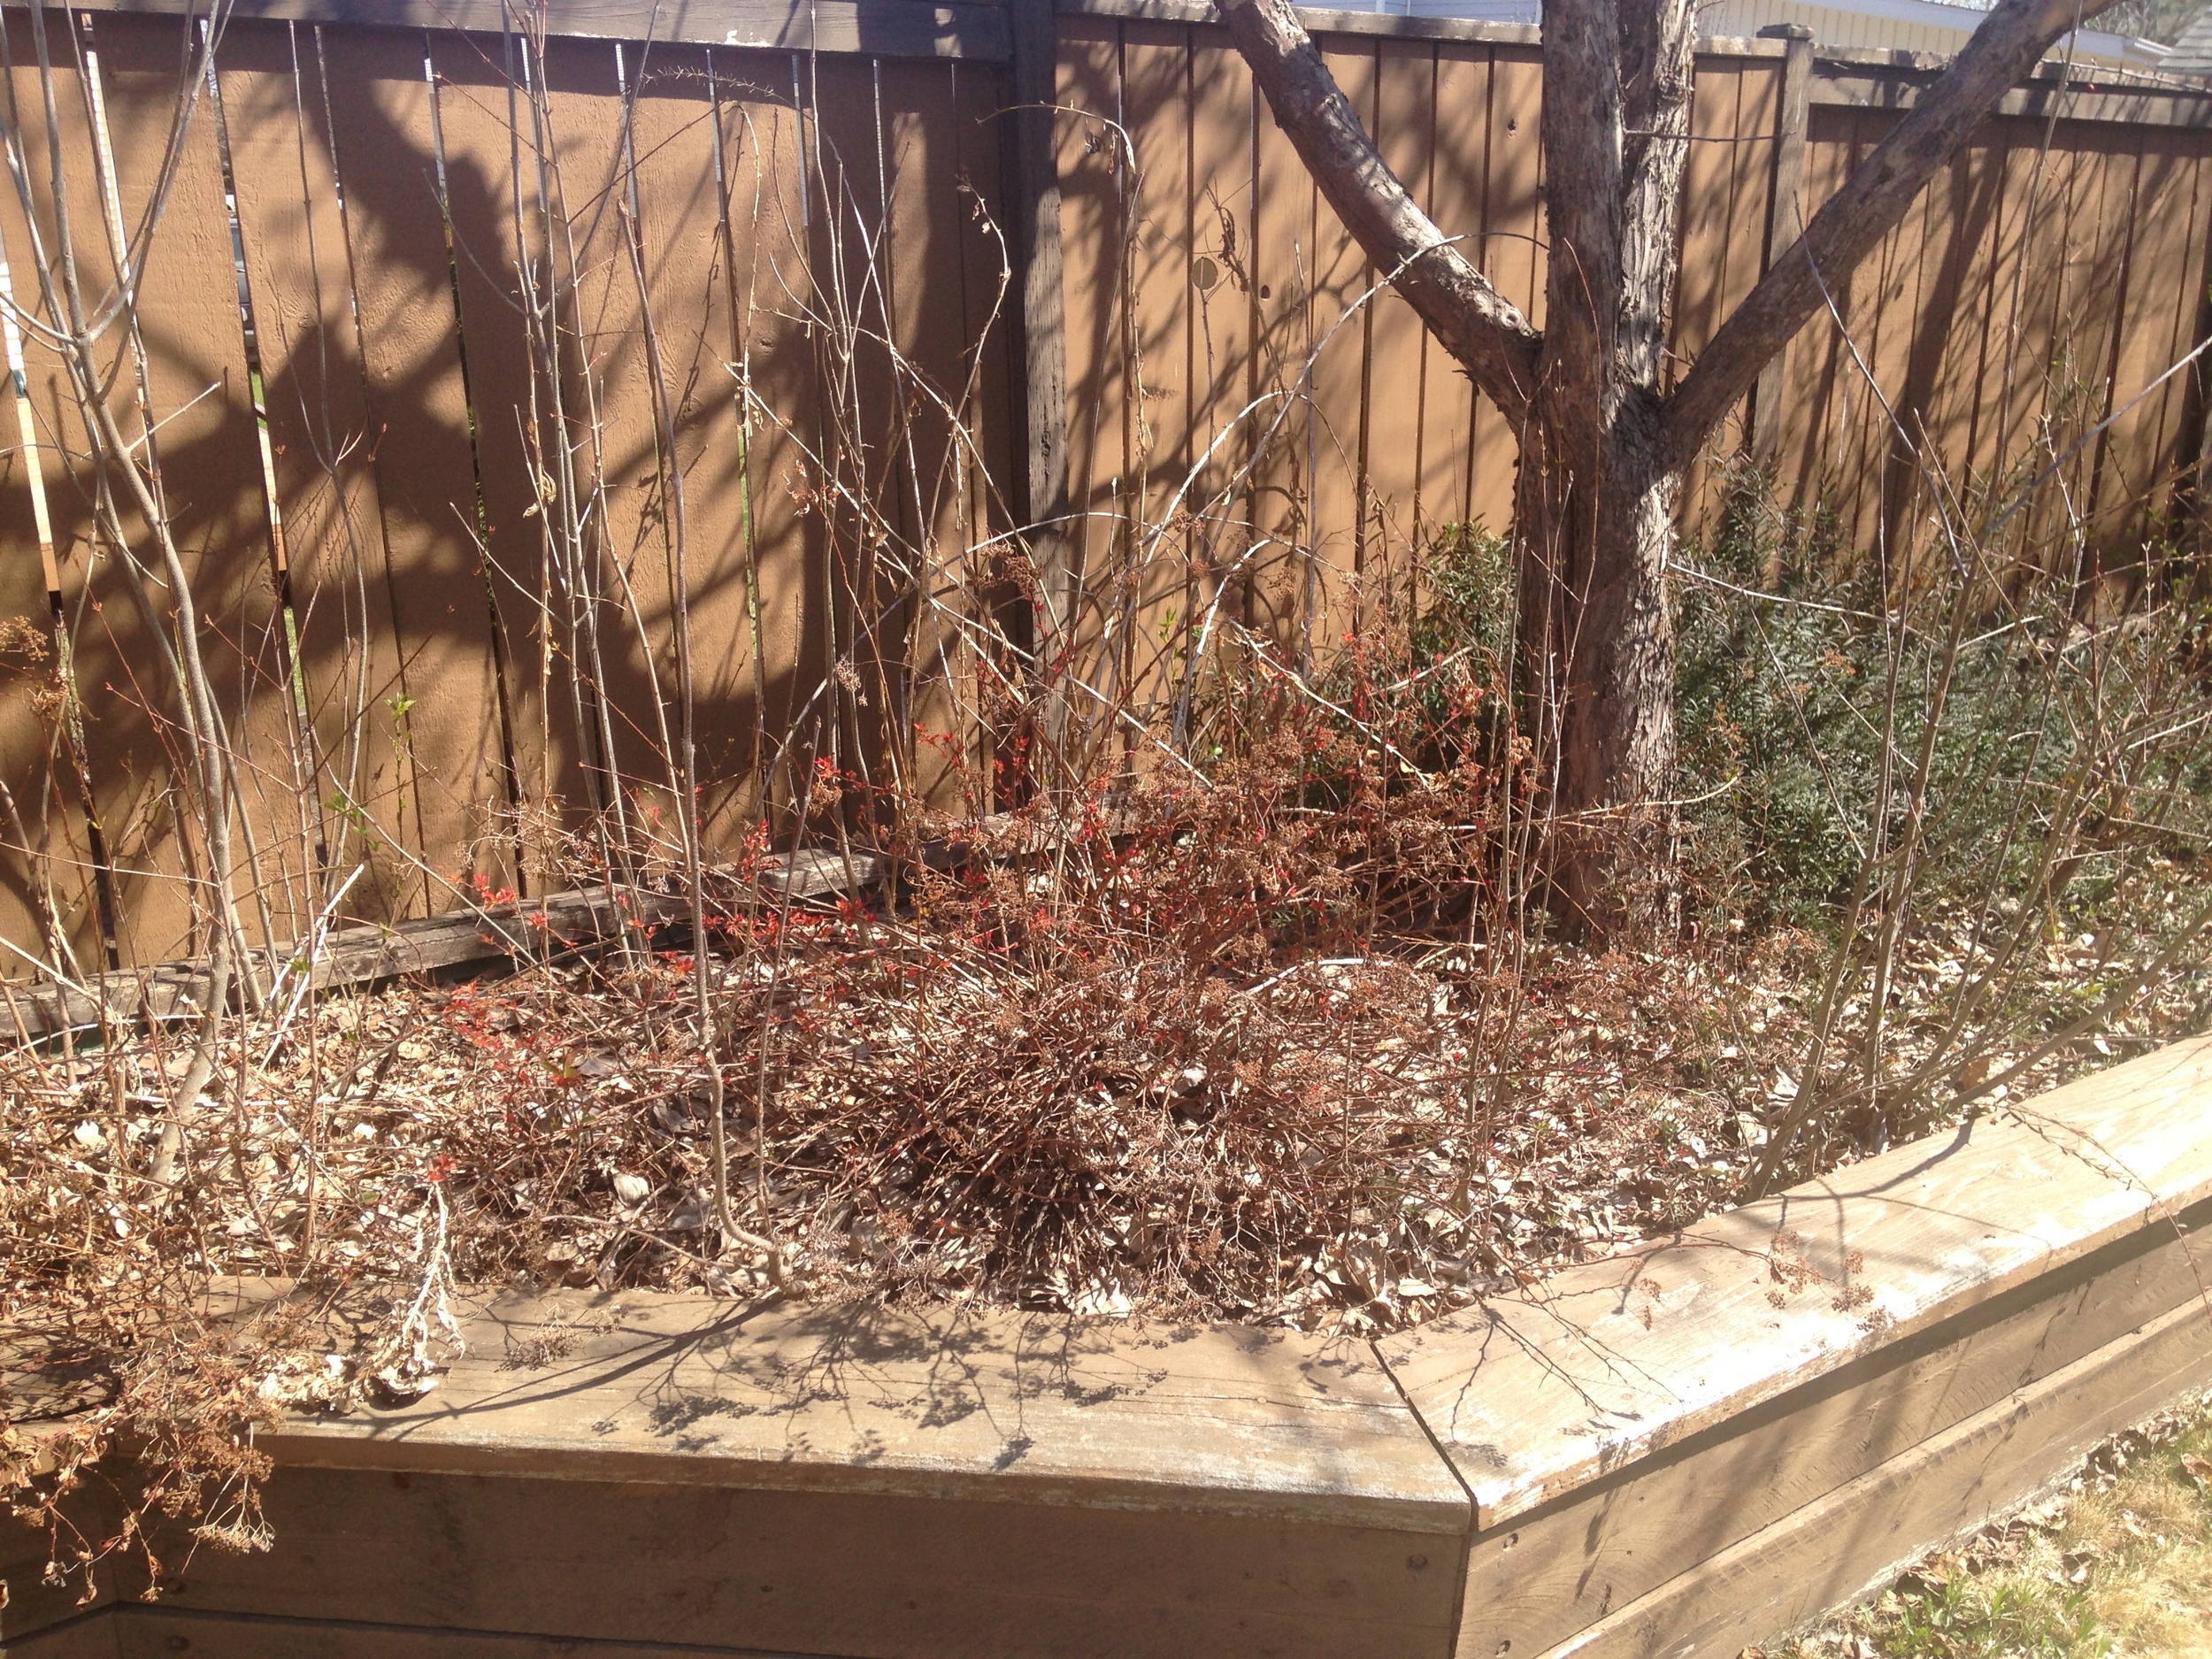
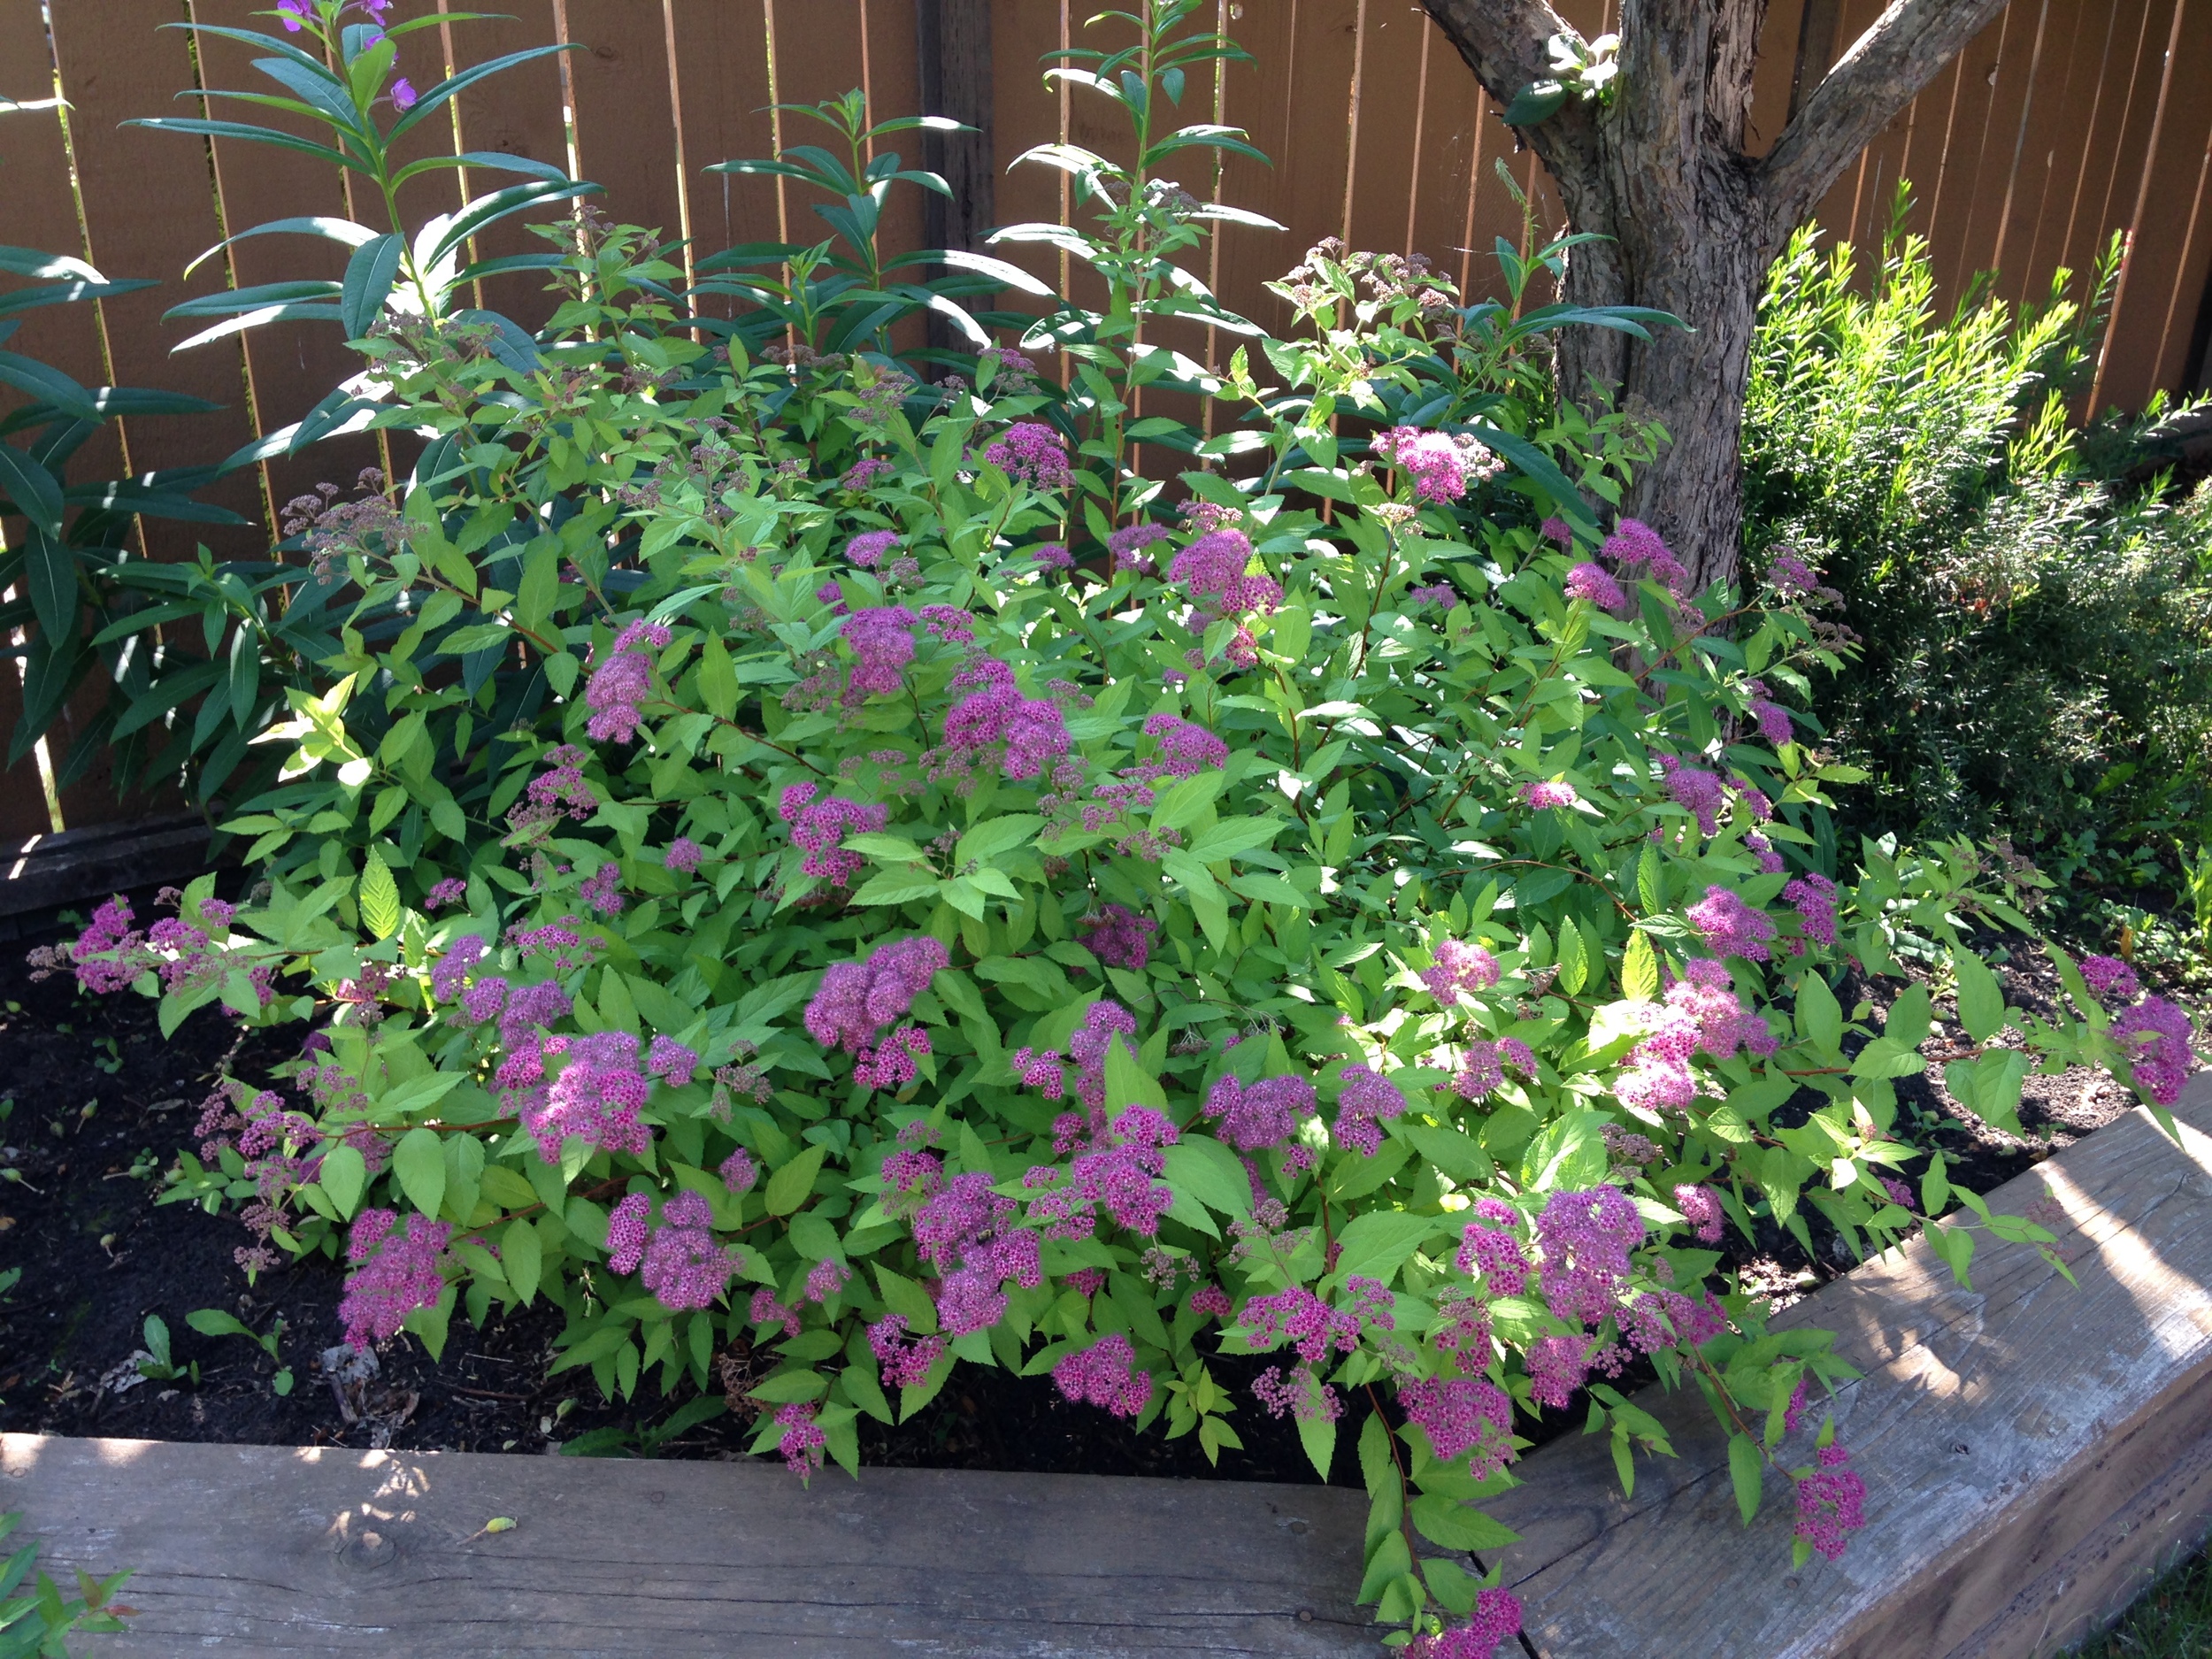
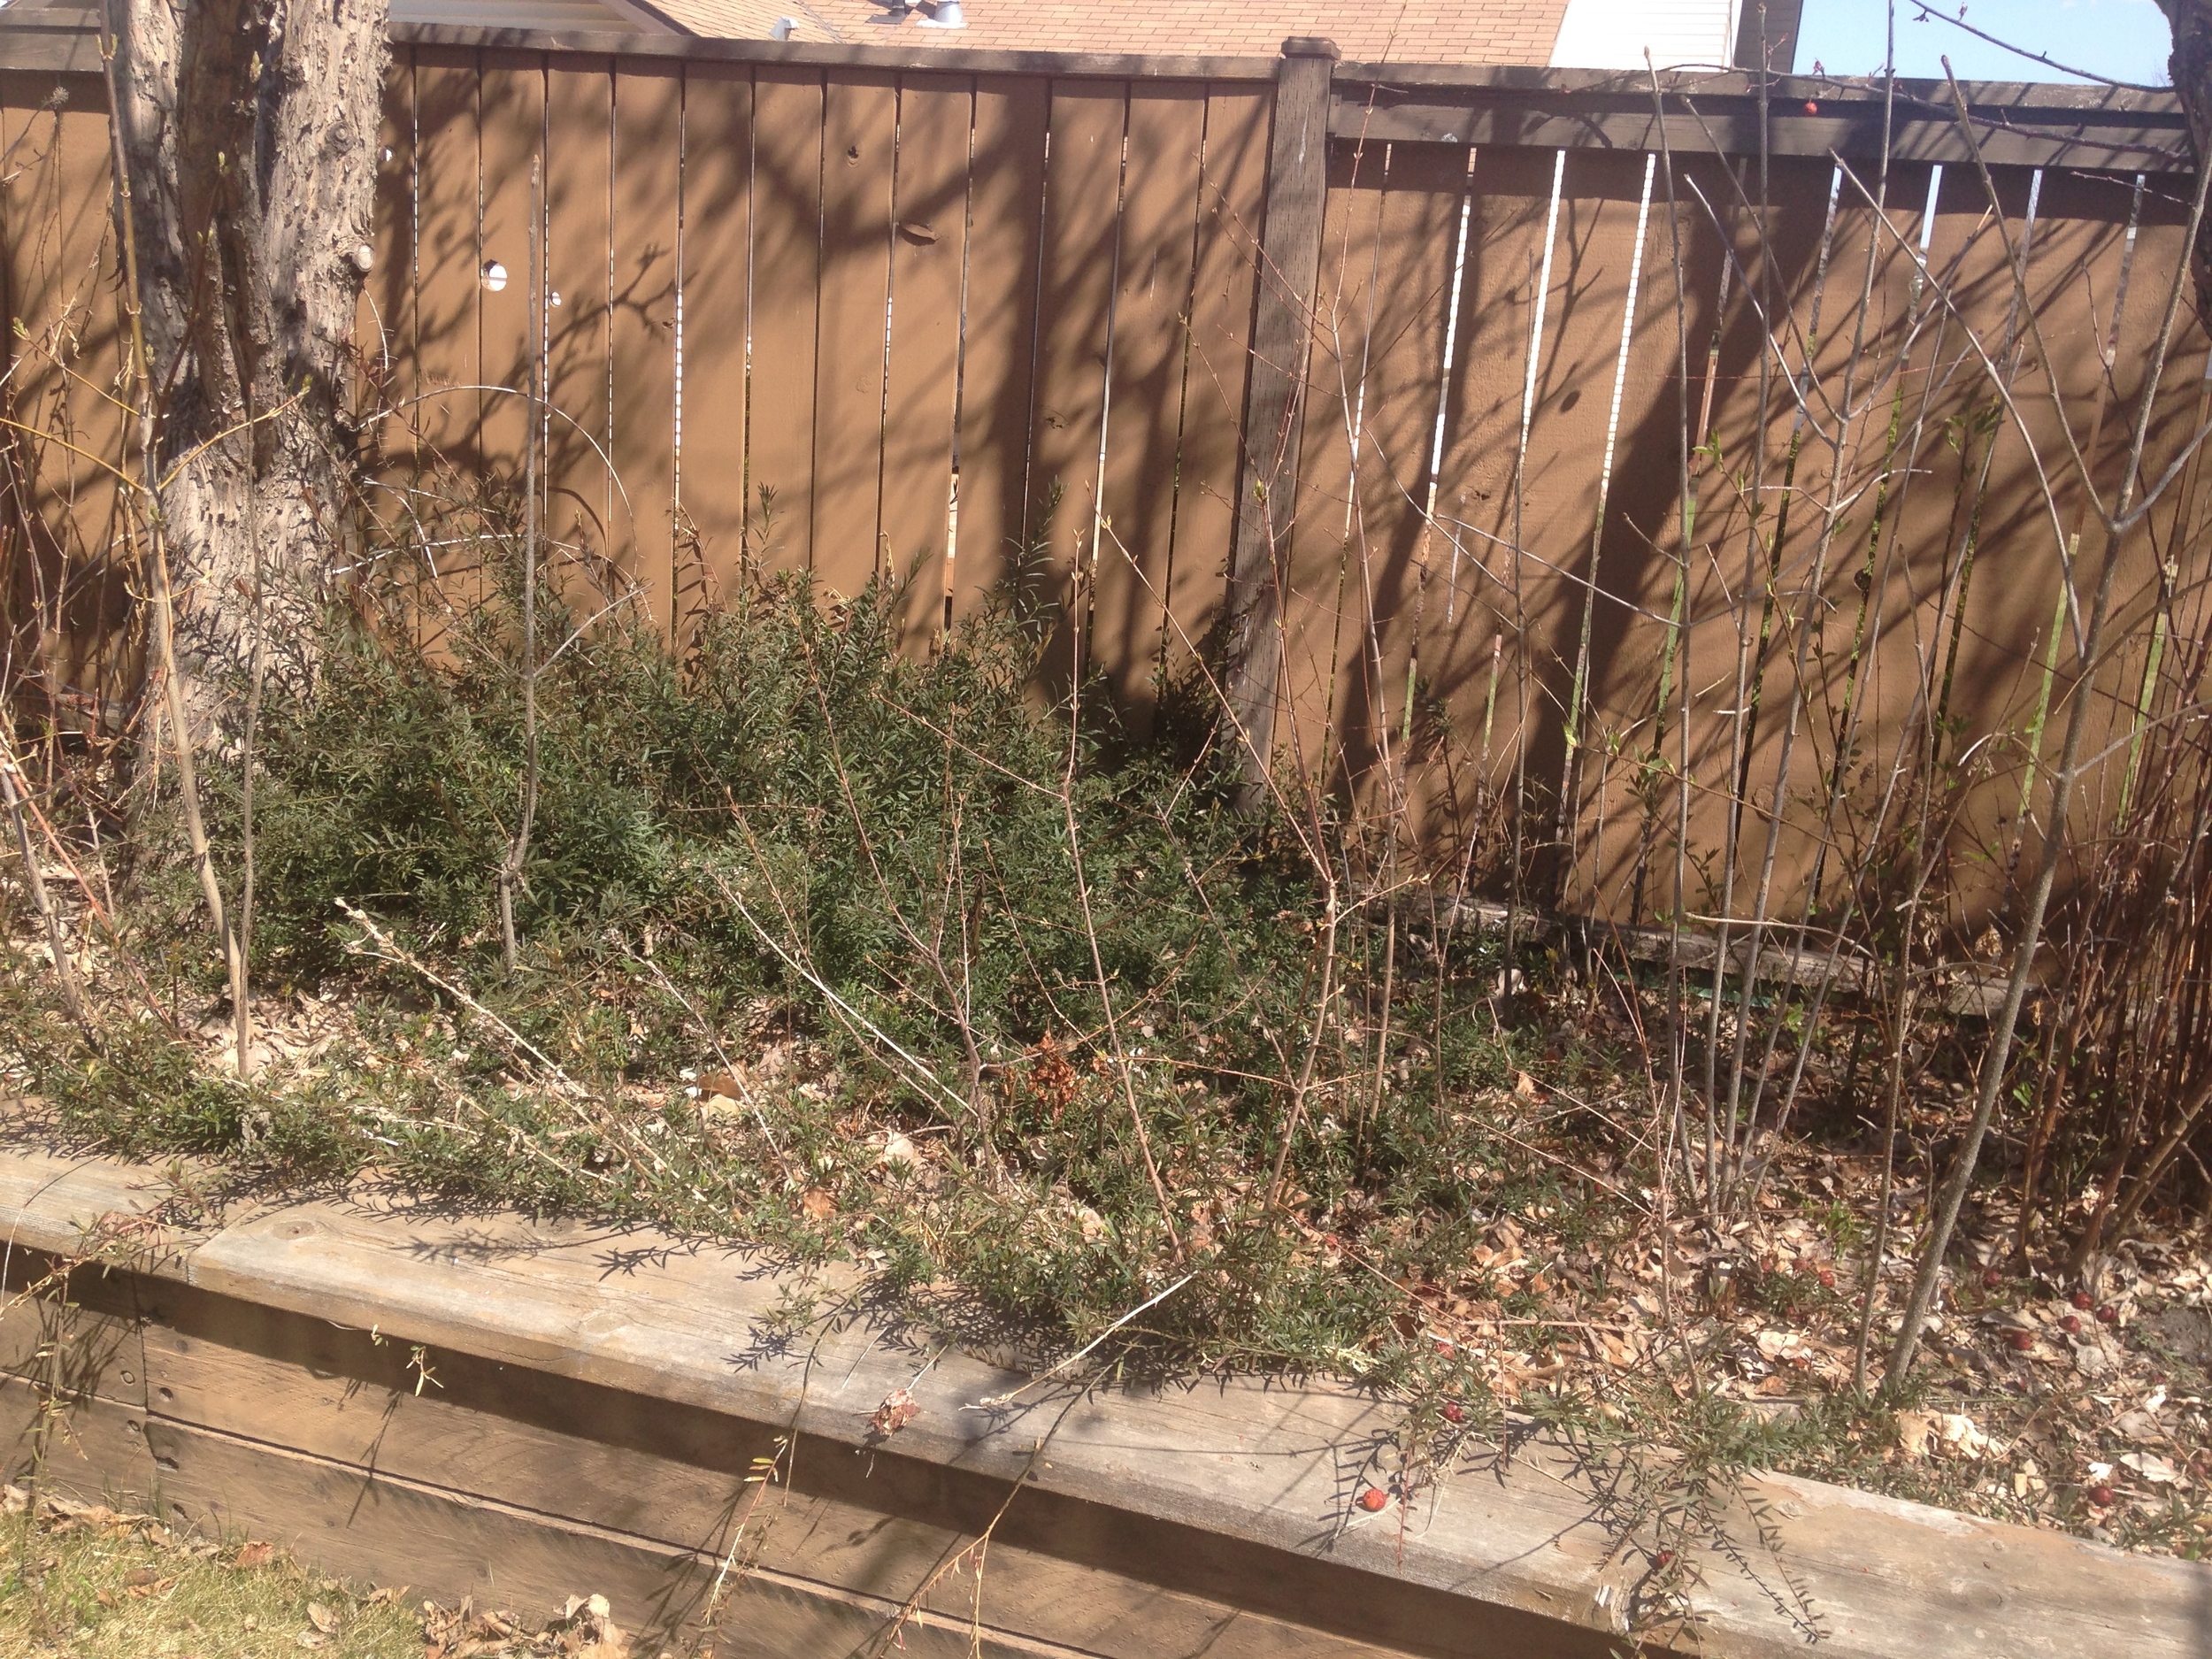
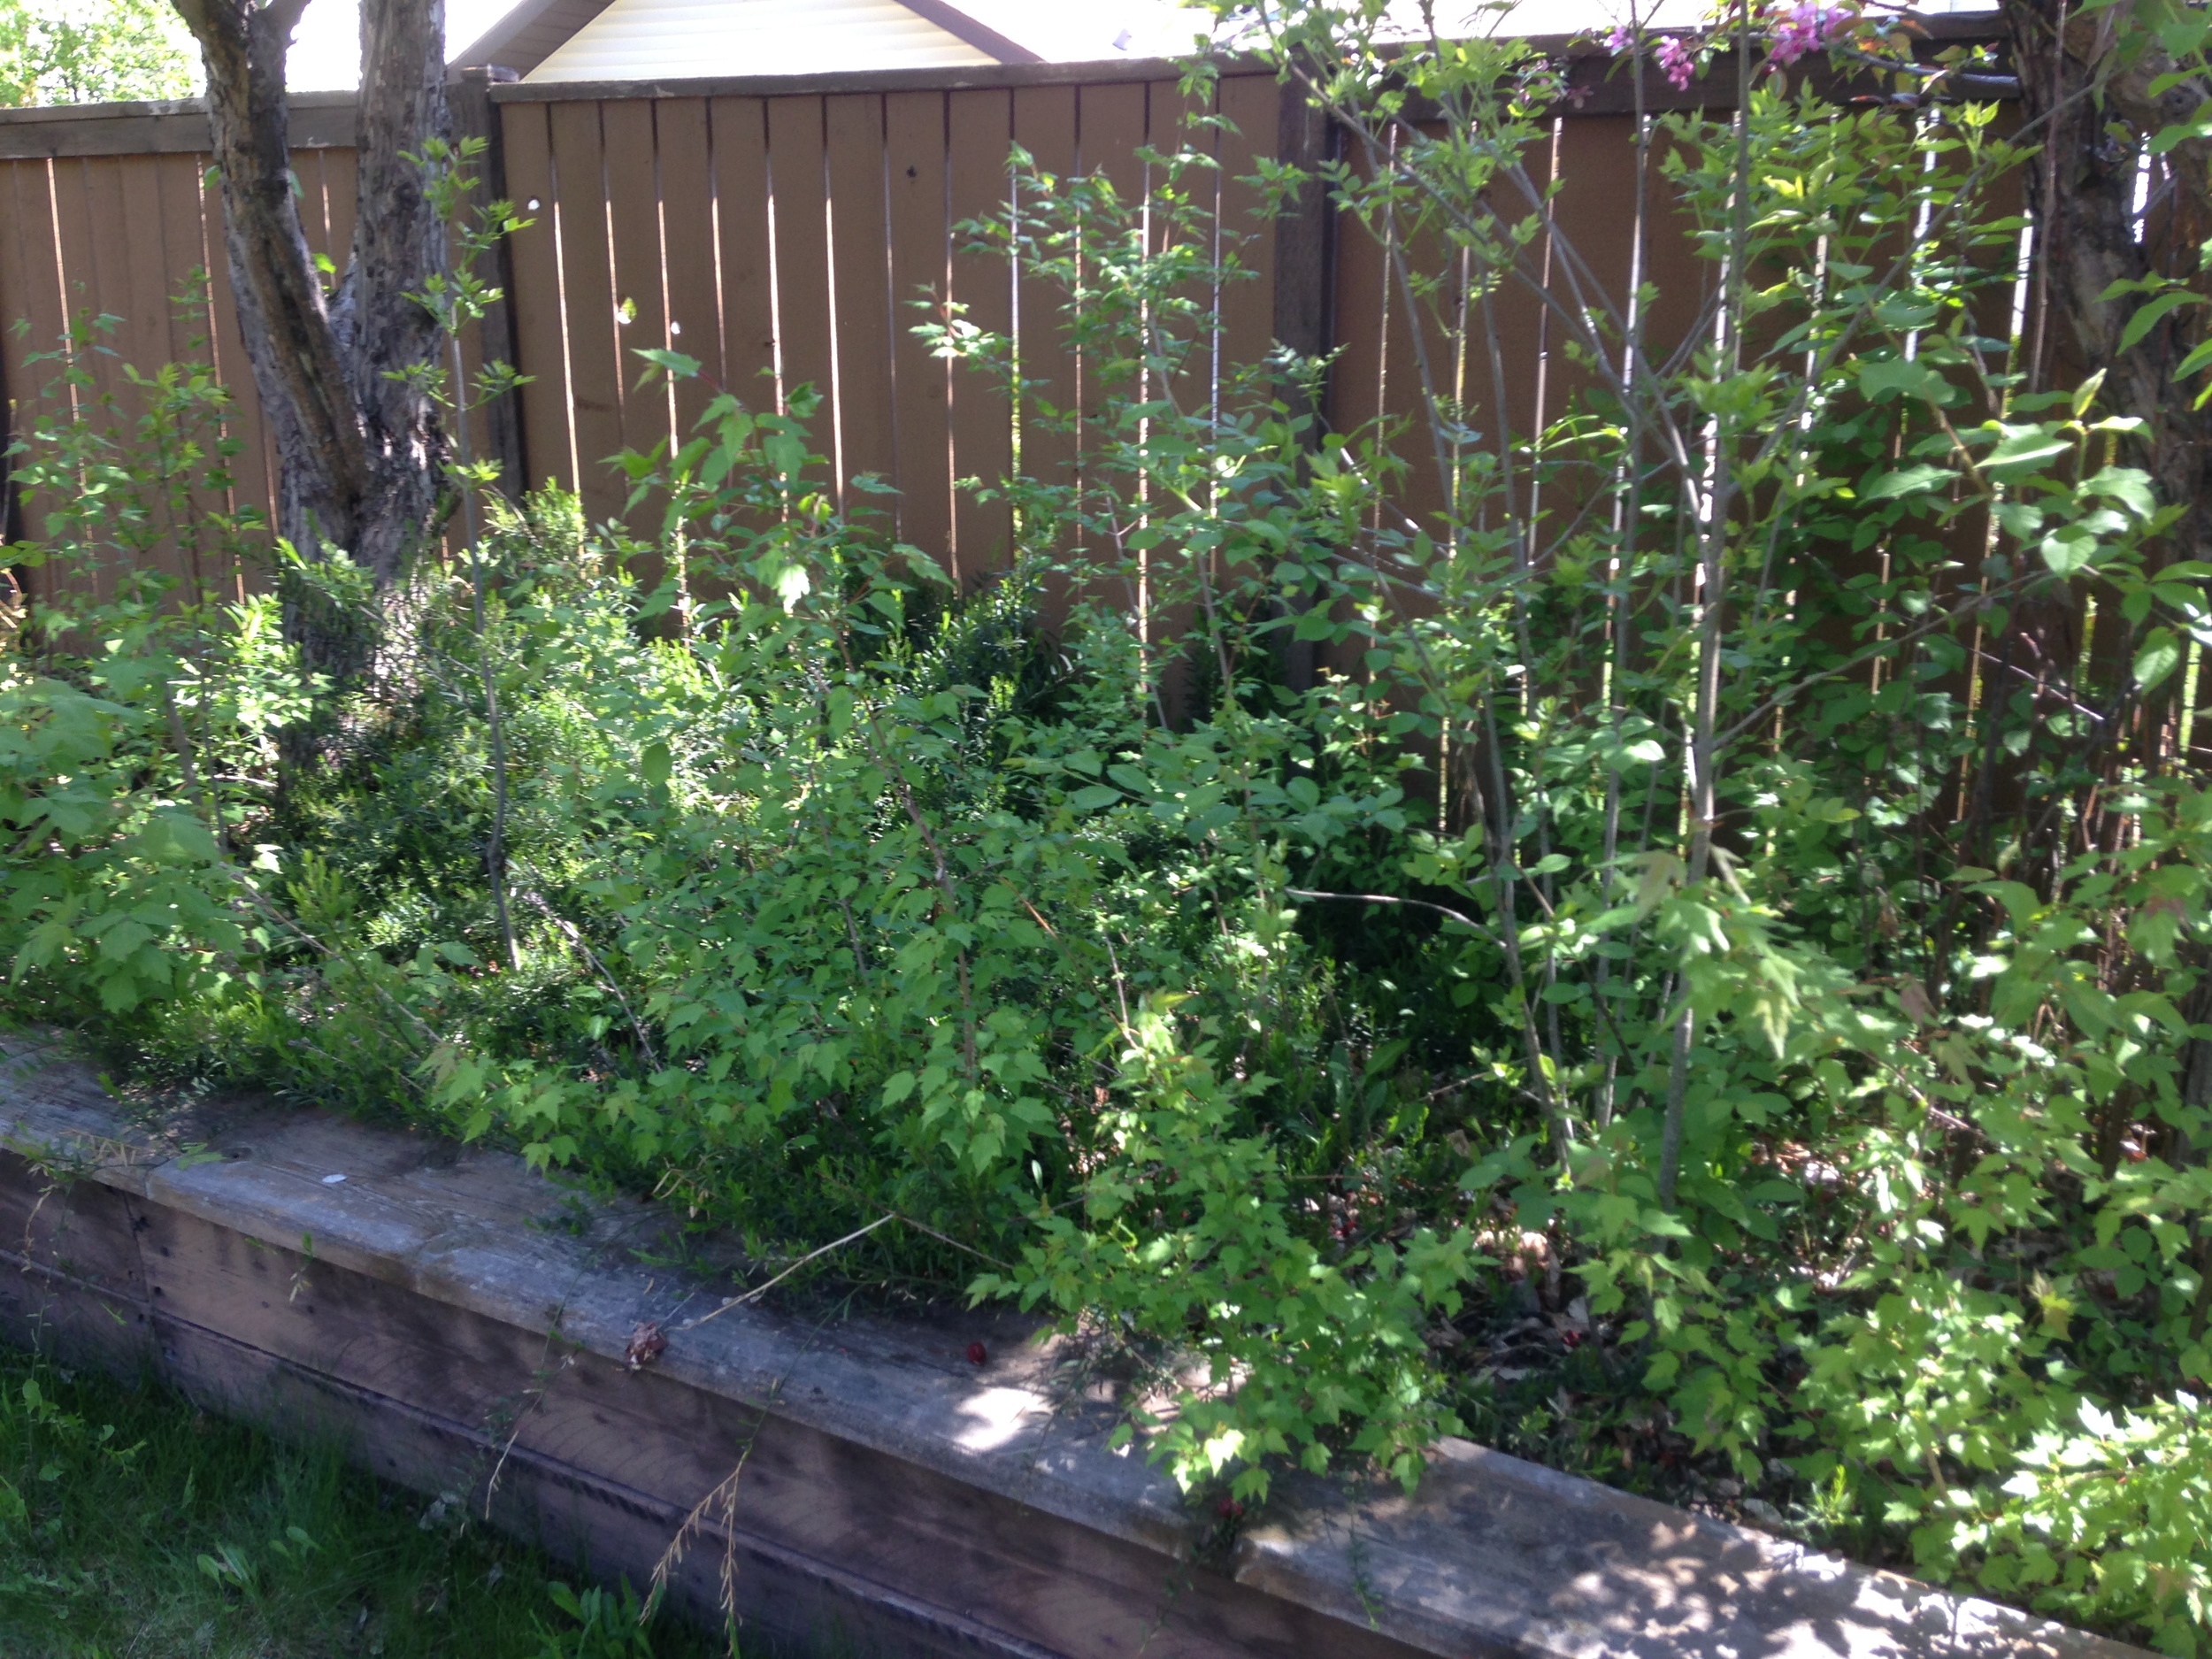
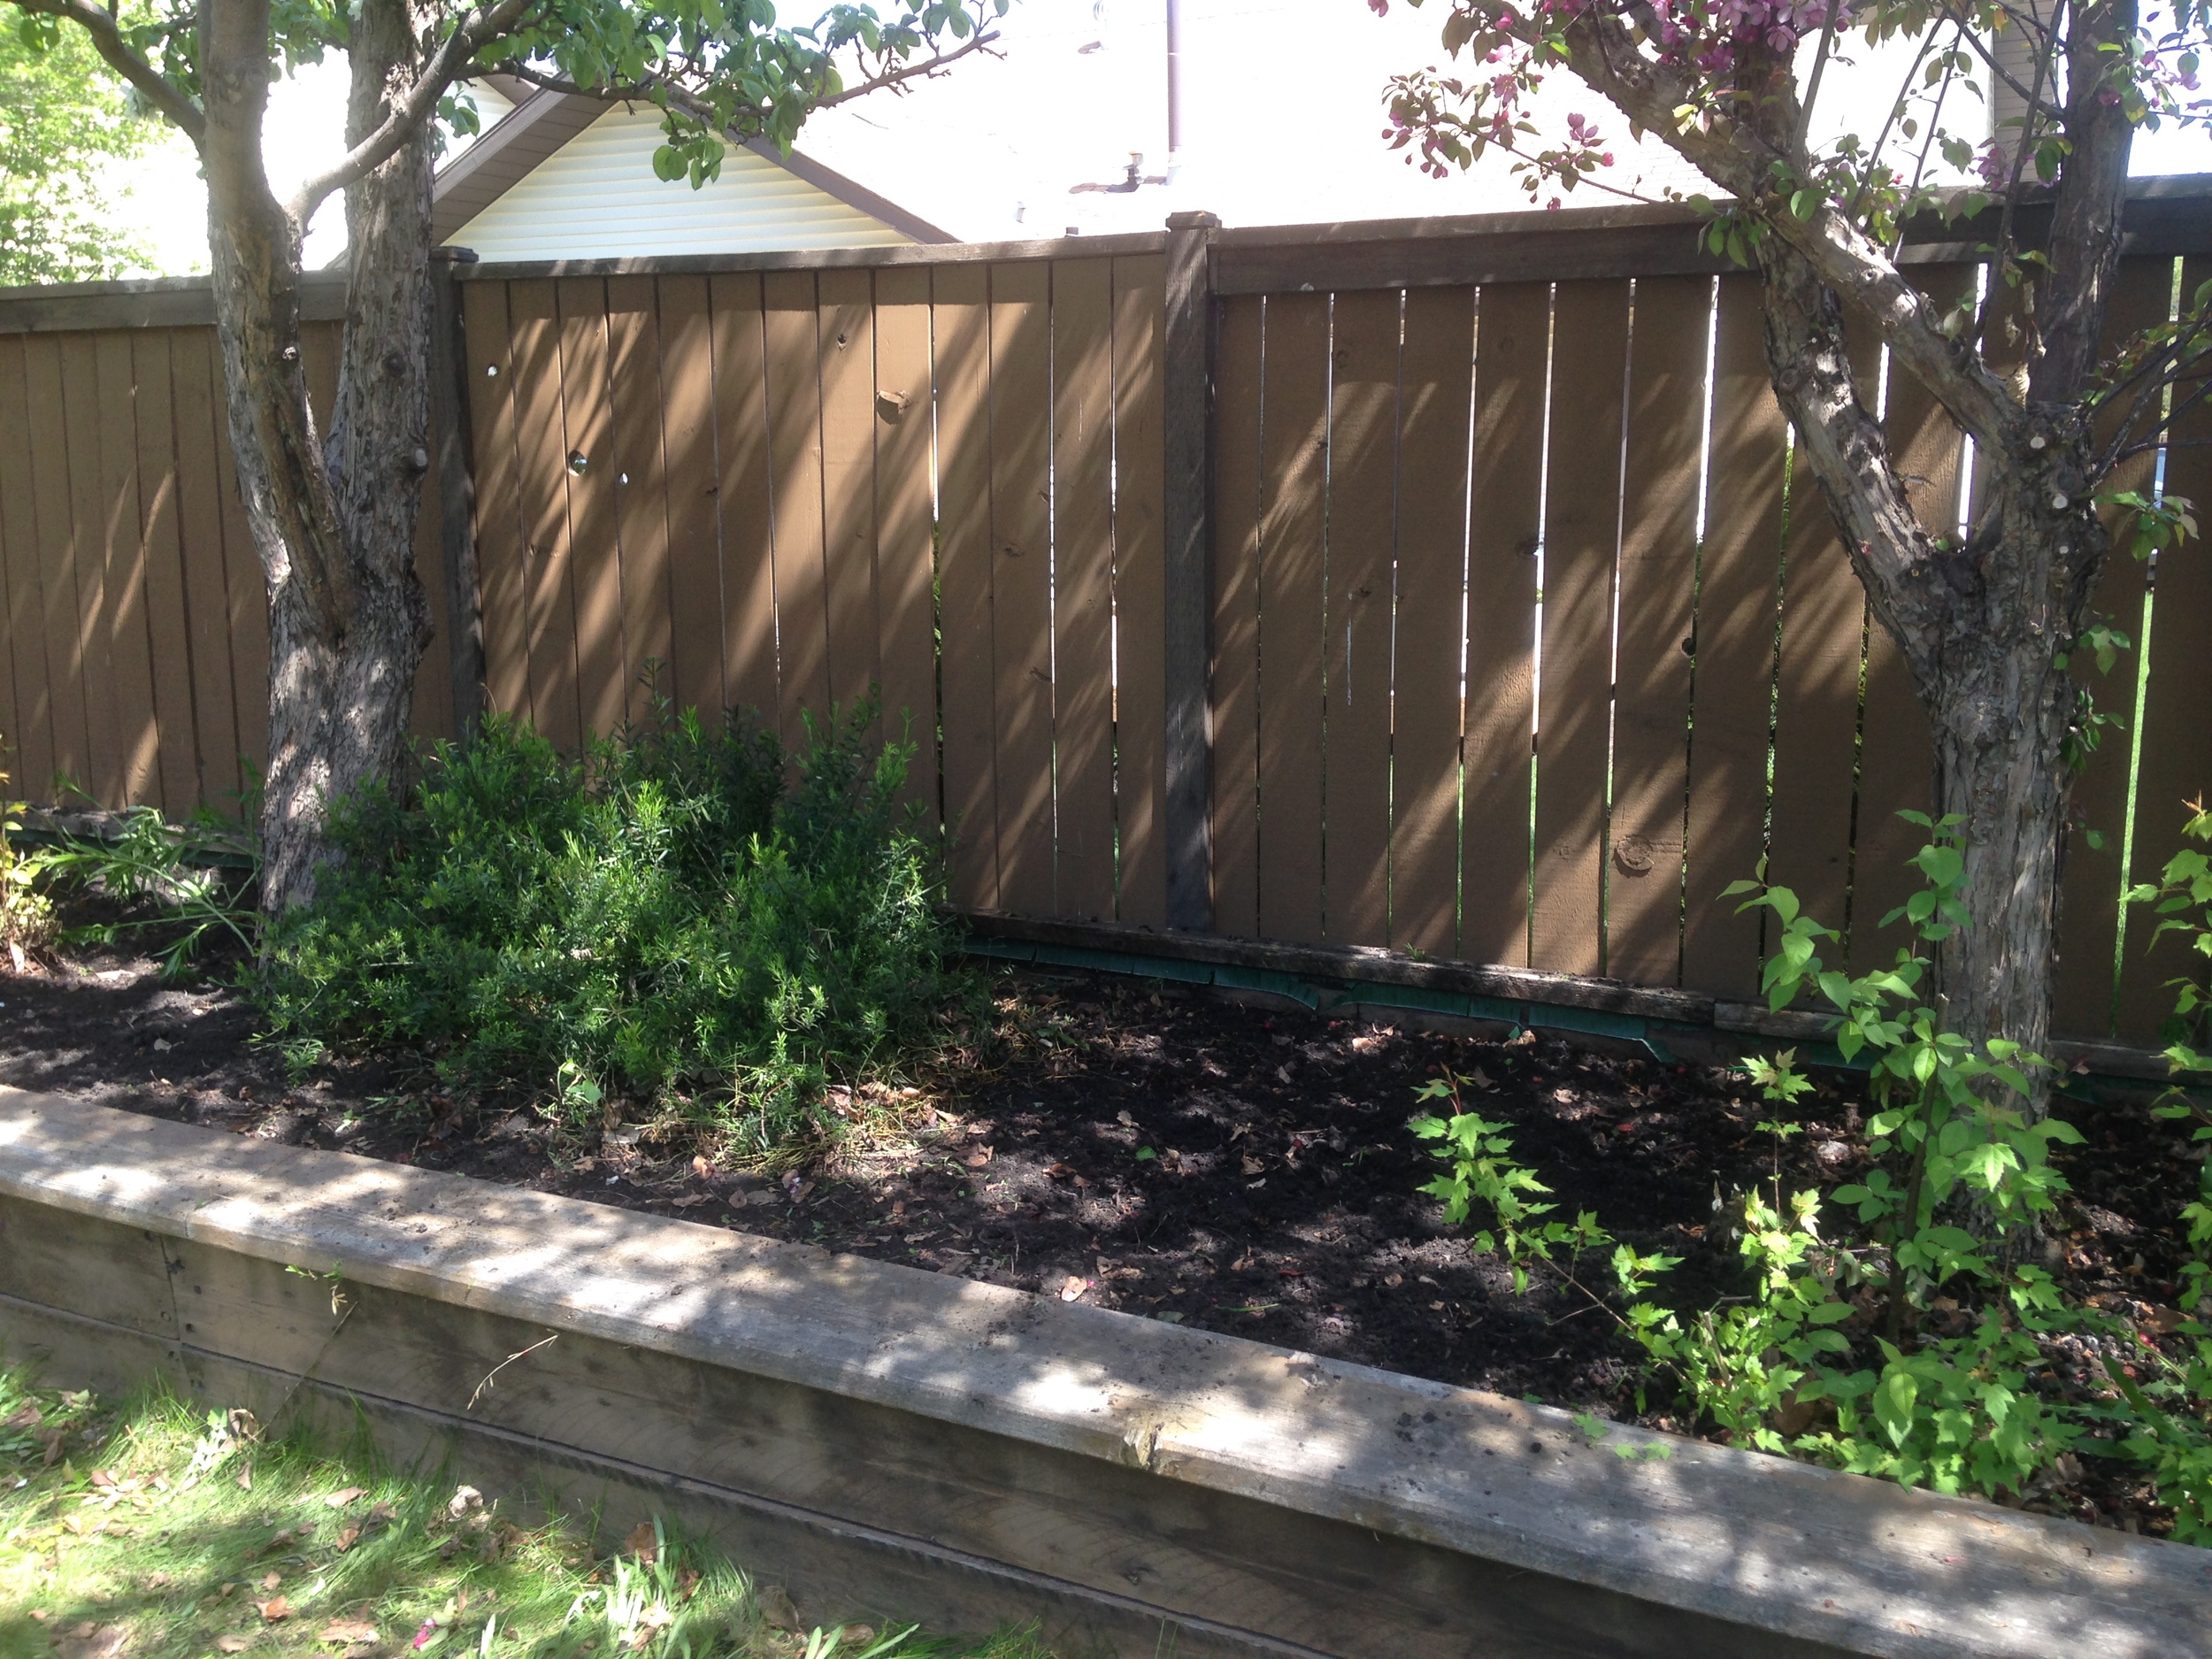
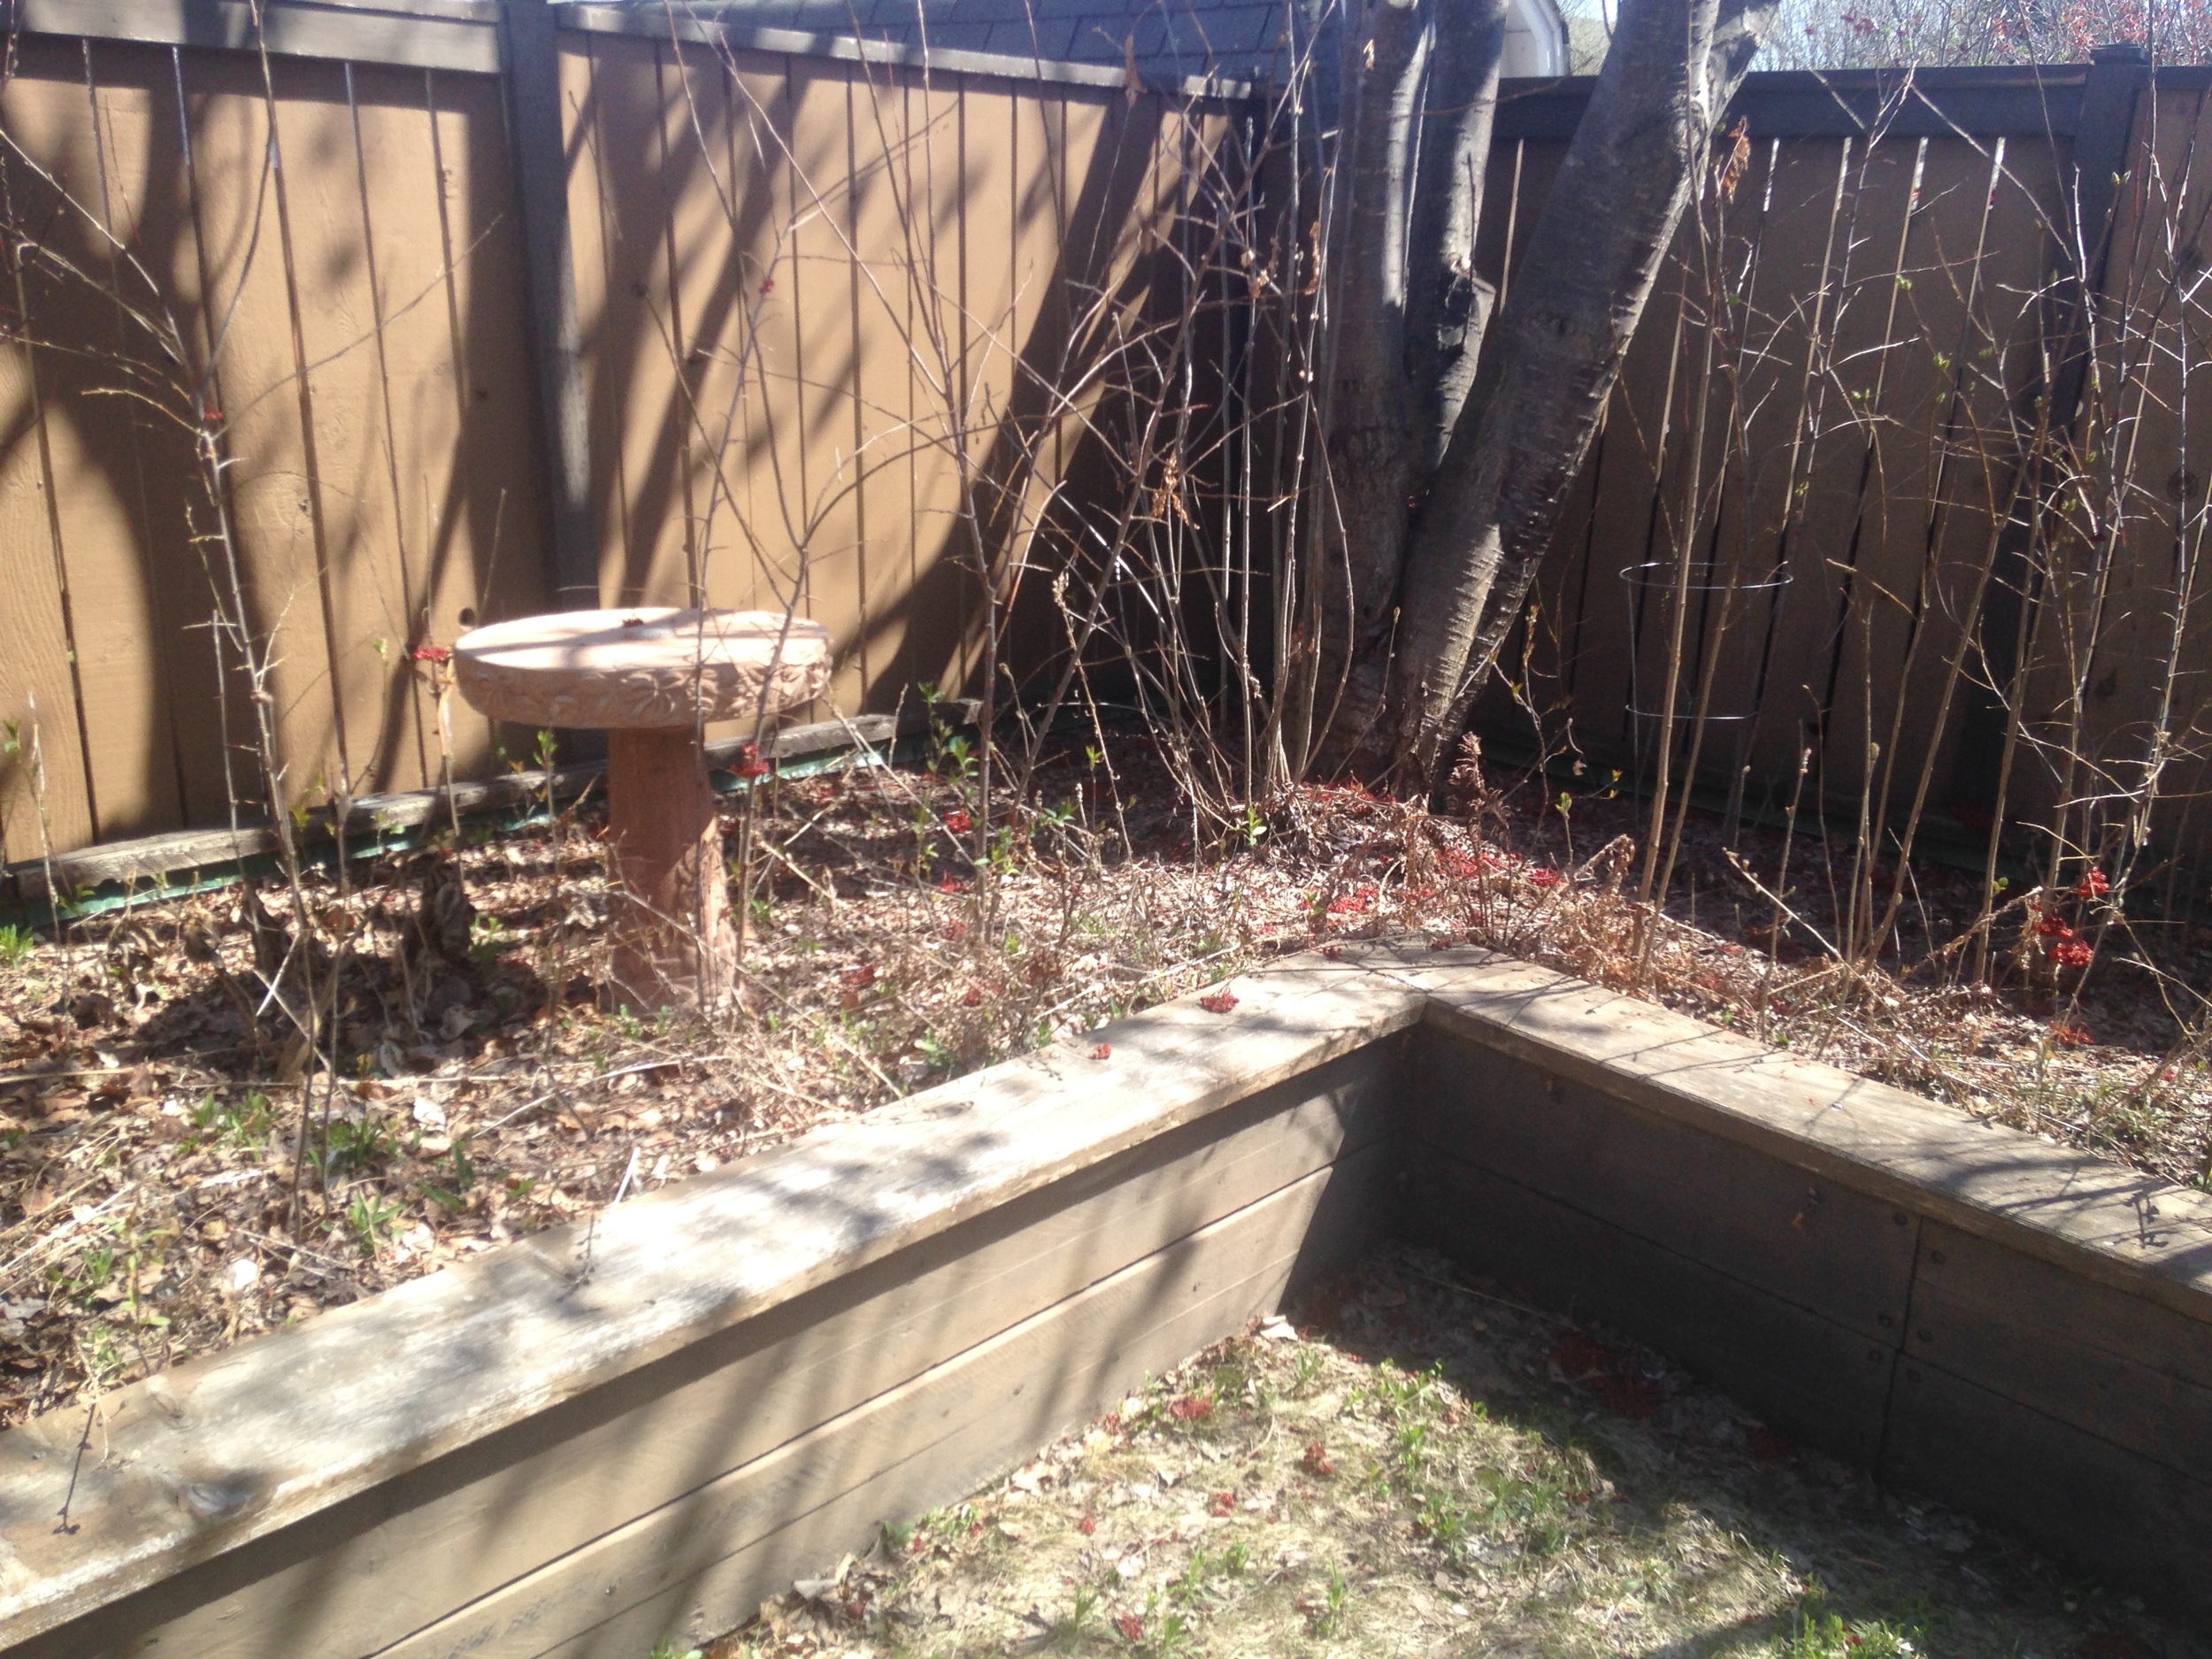
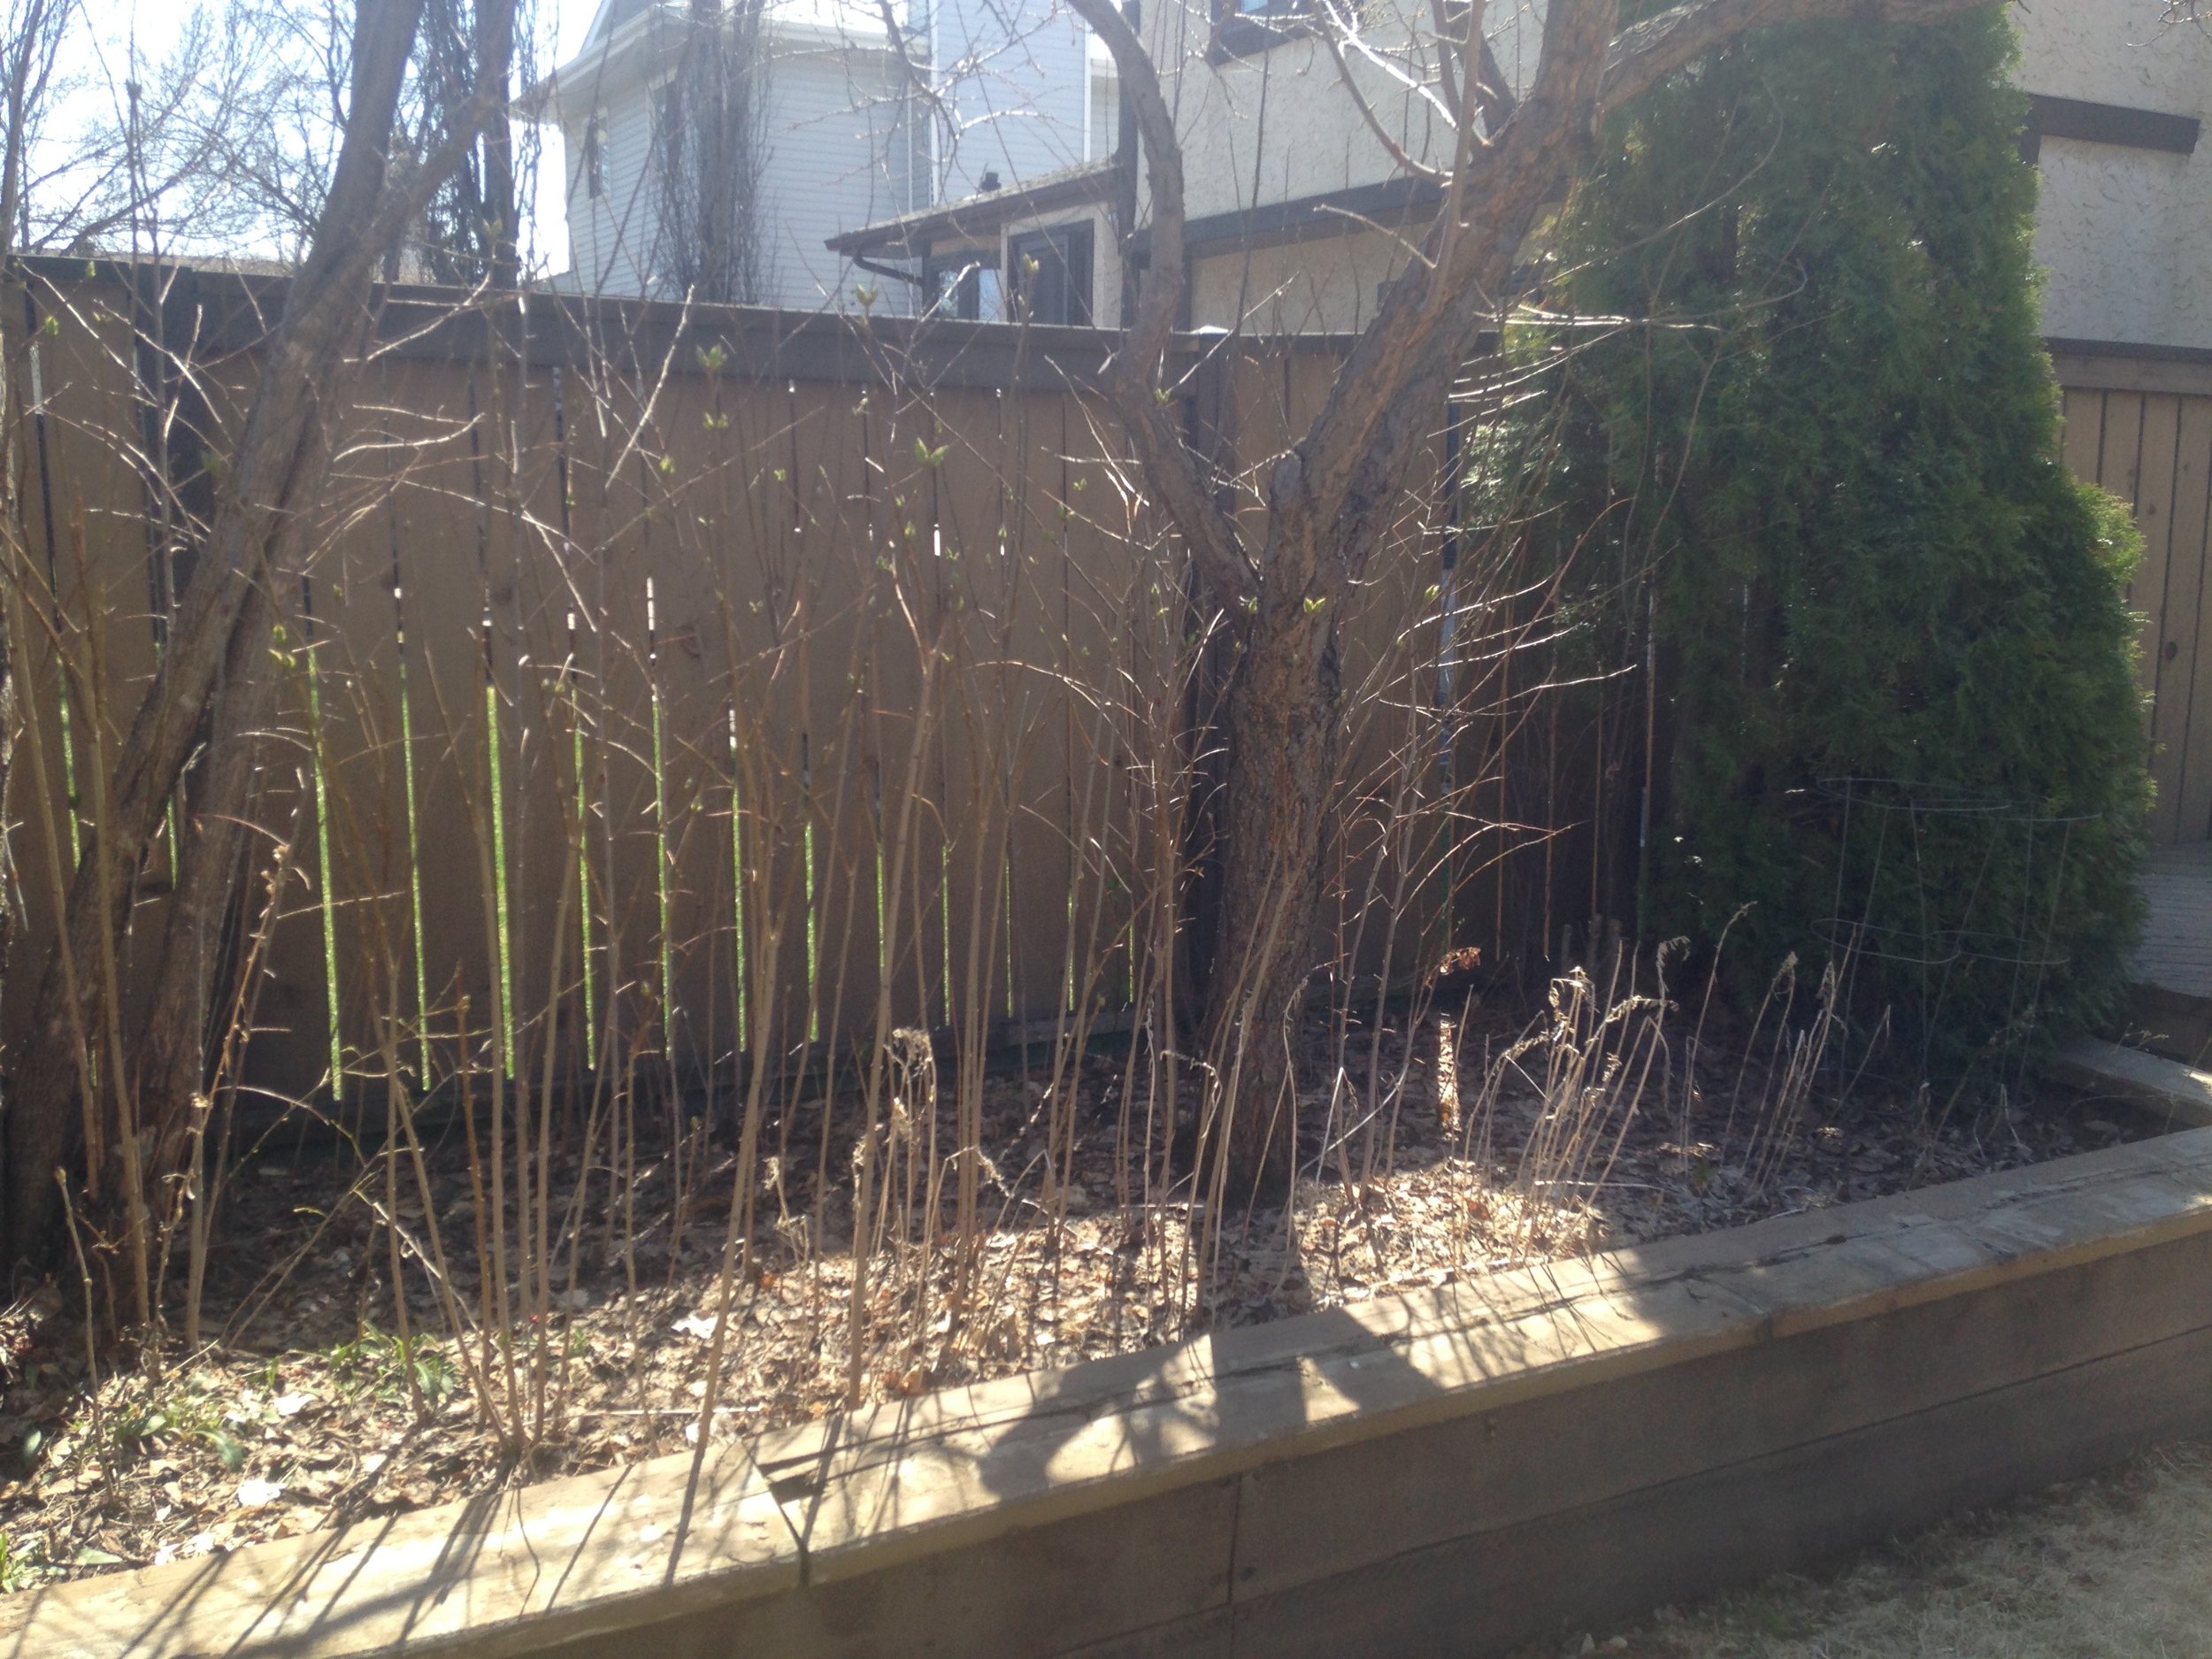
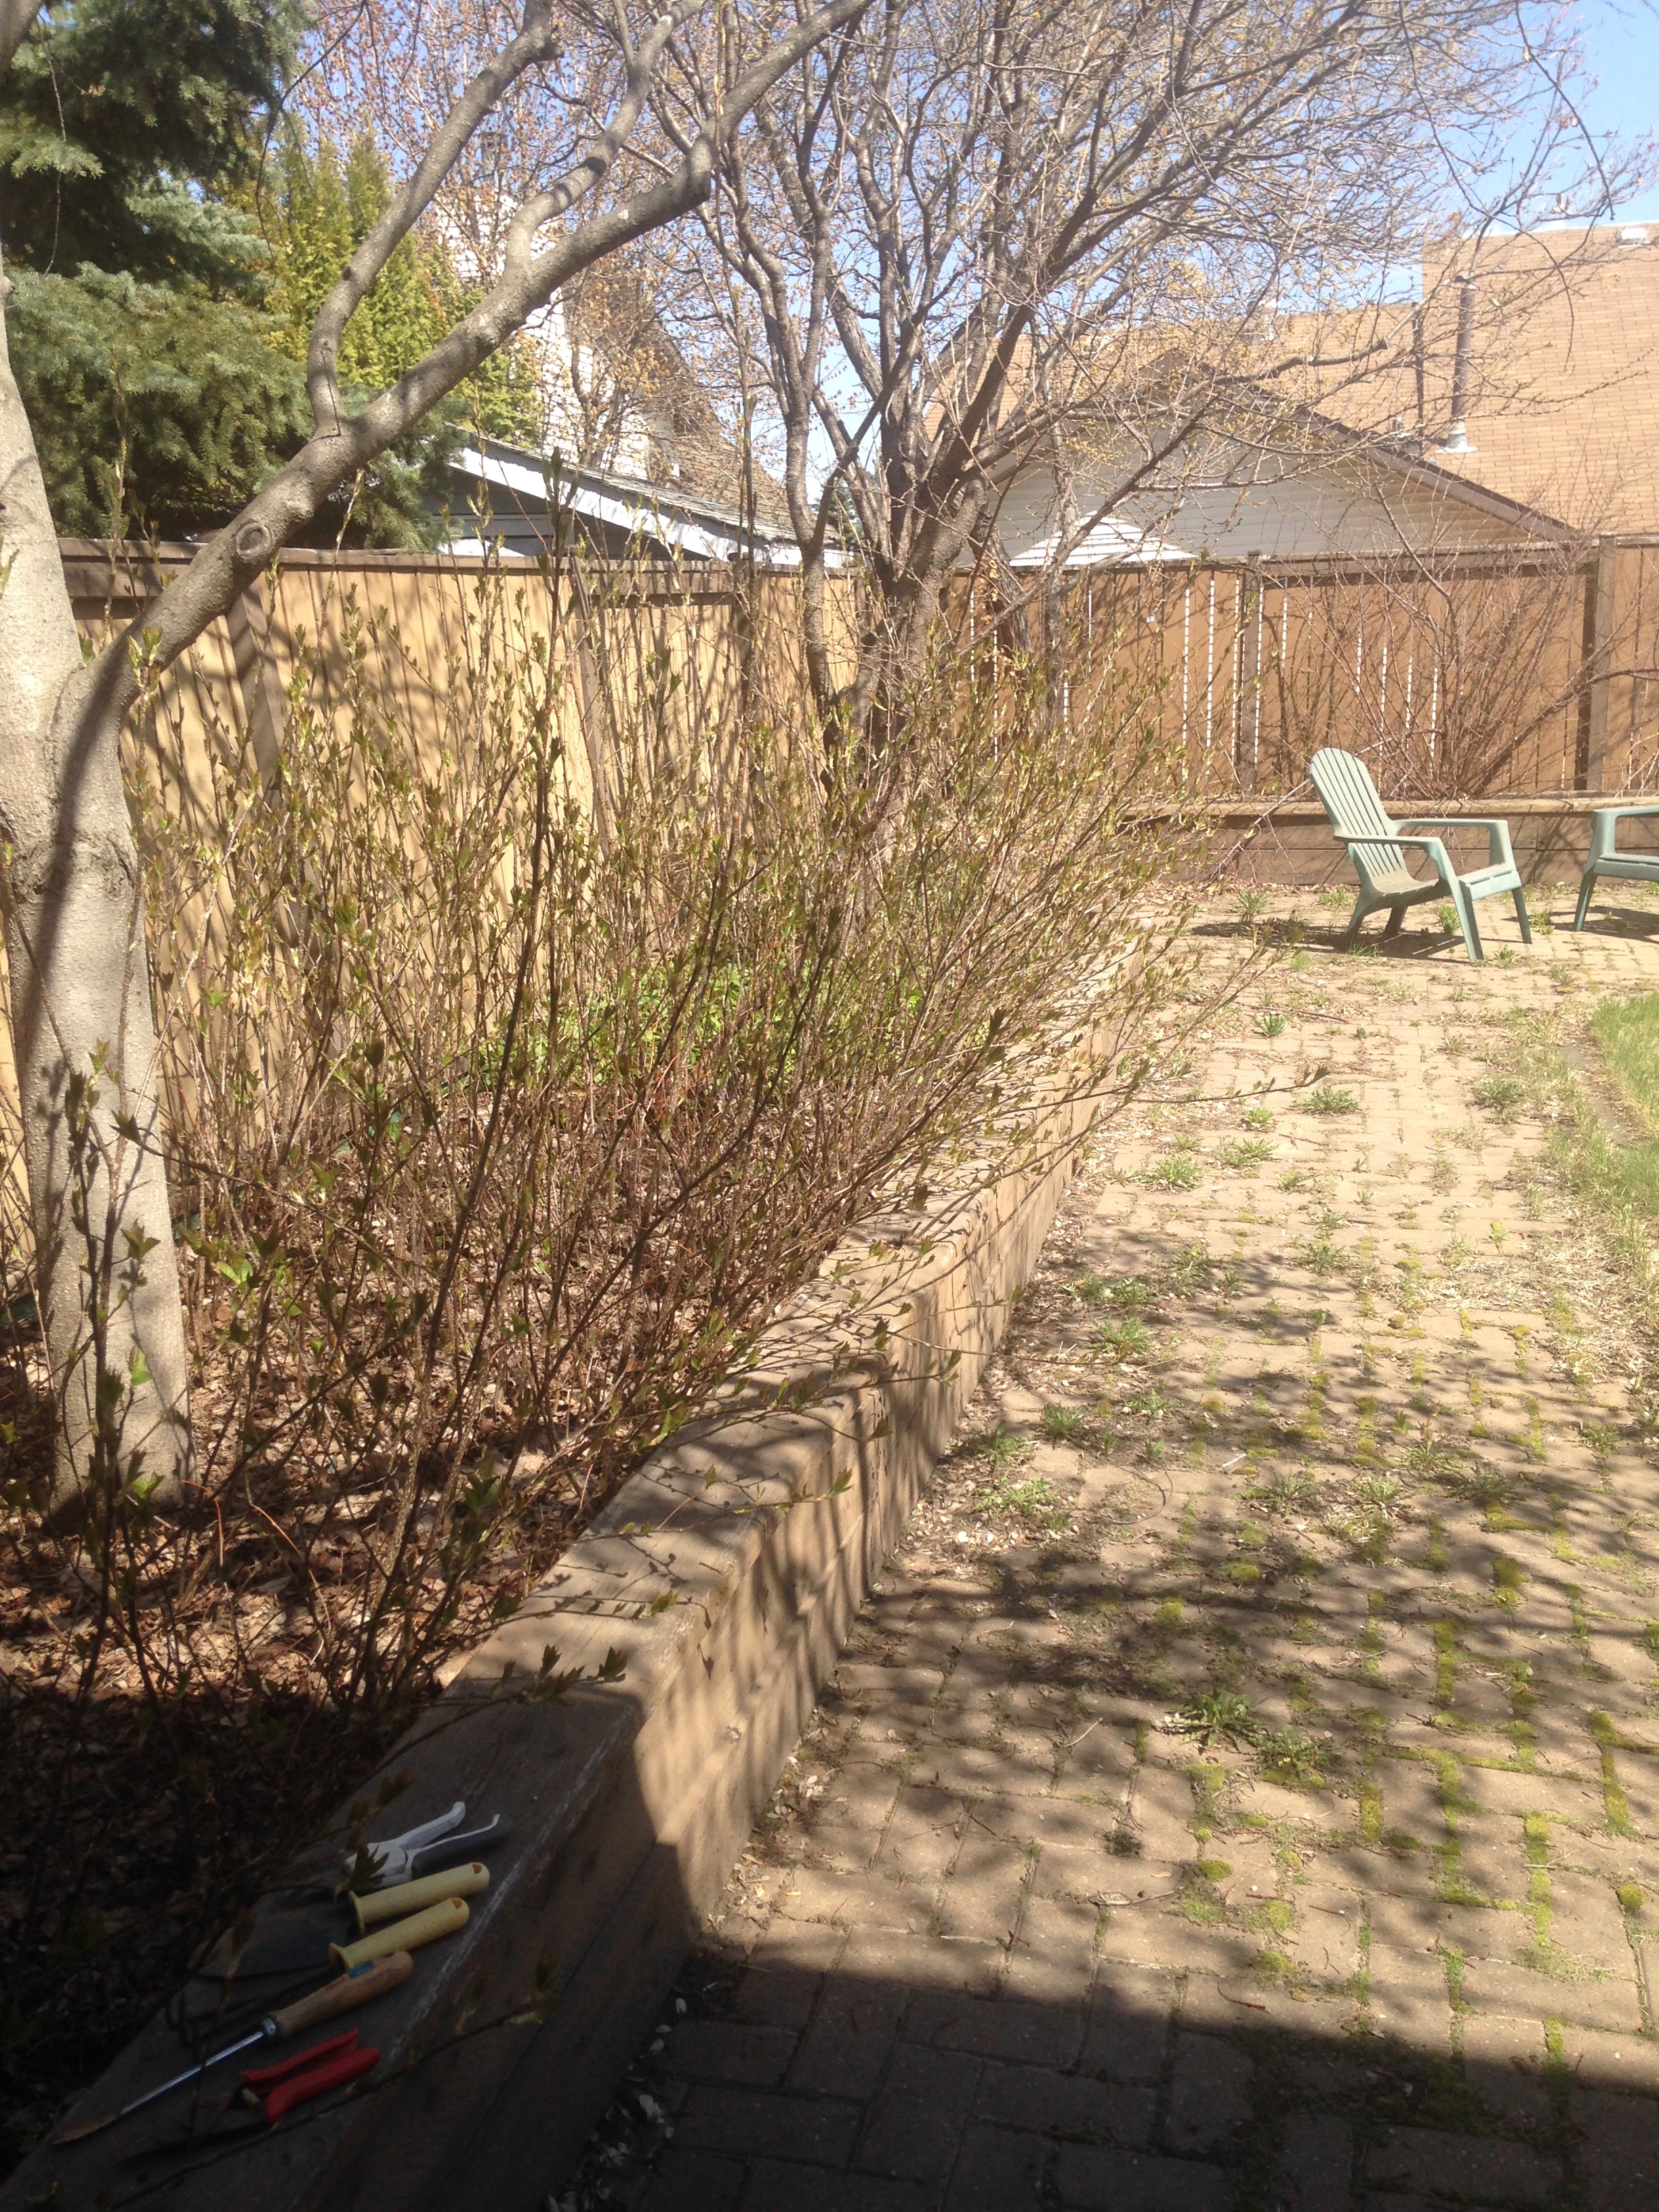
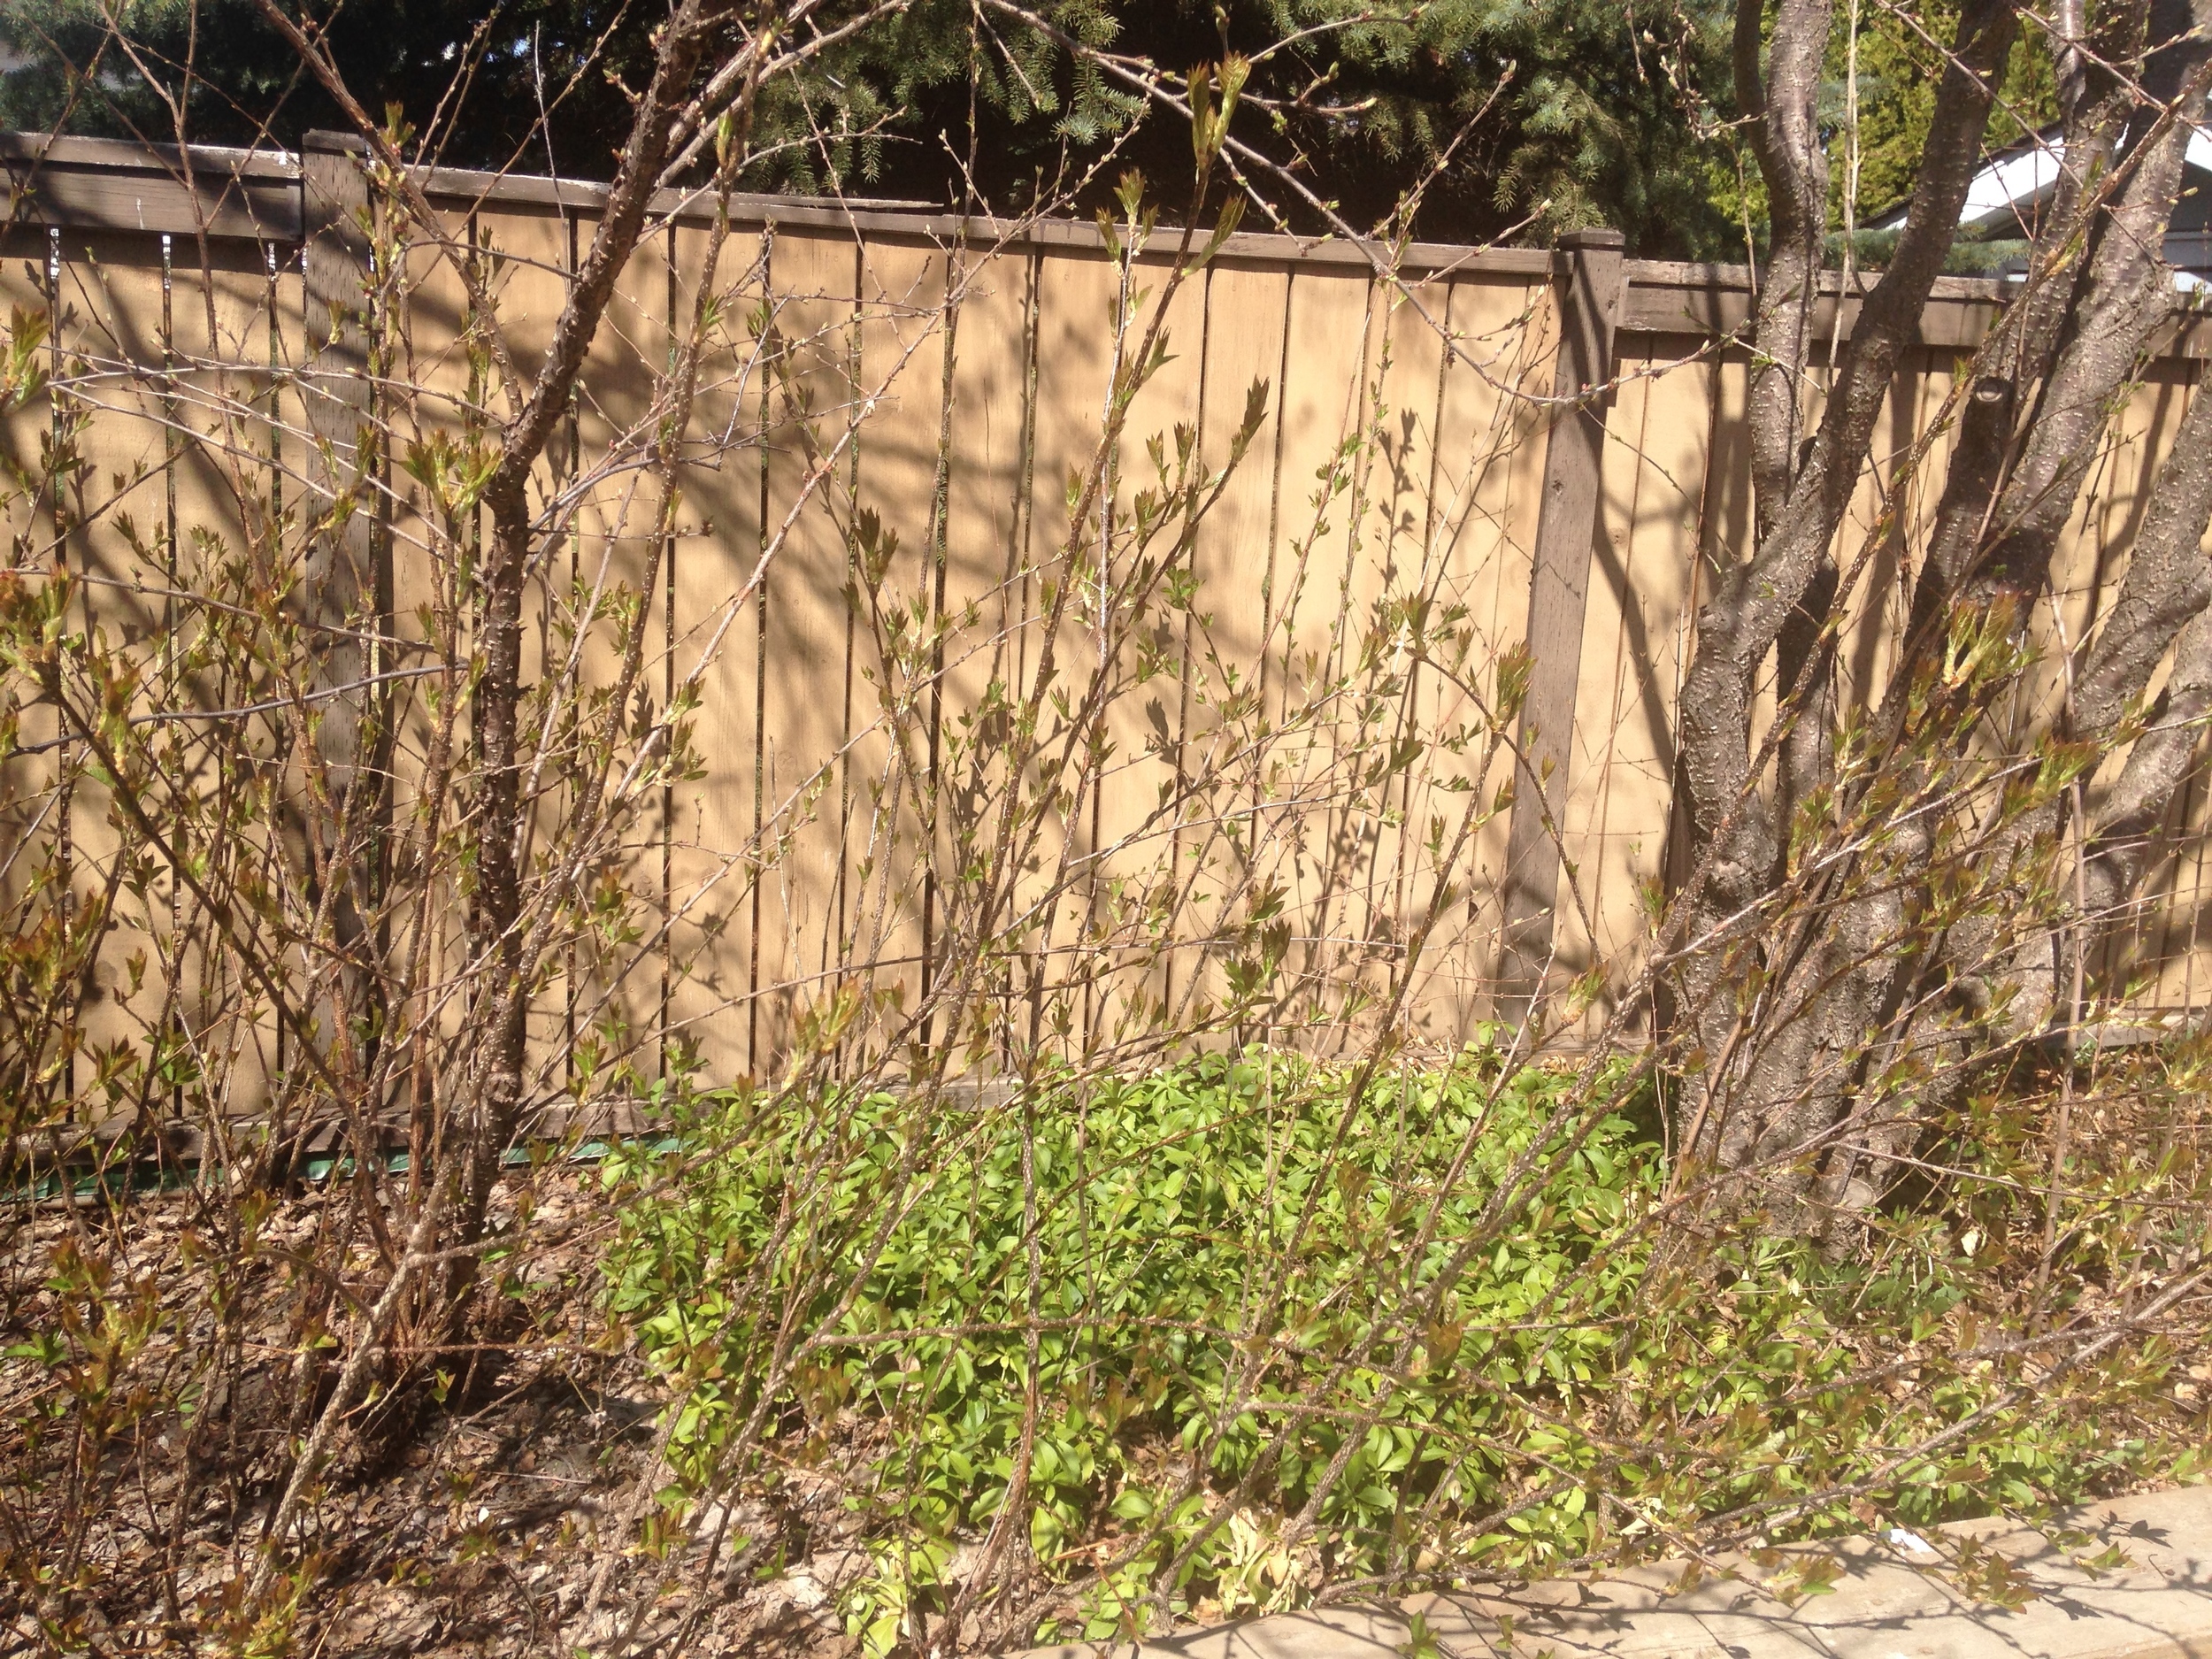
Harder than it sounds. The first day, back in May, I started on the tree suckers. (Suckers being tree roots that have grown above ground.) There is an oak and a tree with purple leaves (??) that have been left to their own devices since the last time I massacred suckers at least 4 years ago. Needless to say, pictures above, it looks like a nice hedge is growning under the trees. All suckers. I managed to pinch myself with the shears I was using to wage war against them, giving myself a lovely blood blister. Joy! After three hours of suckers and only getting a square metre of the beds done, I called it a day. 

Next day was back to the grind of sucker wrangling. Trimming them isn't enough. You have to dig and get them trimmed at the source. It's that that takes the longest, especially since the soil is so compacted.

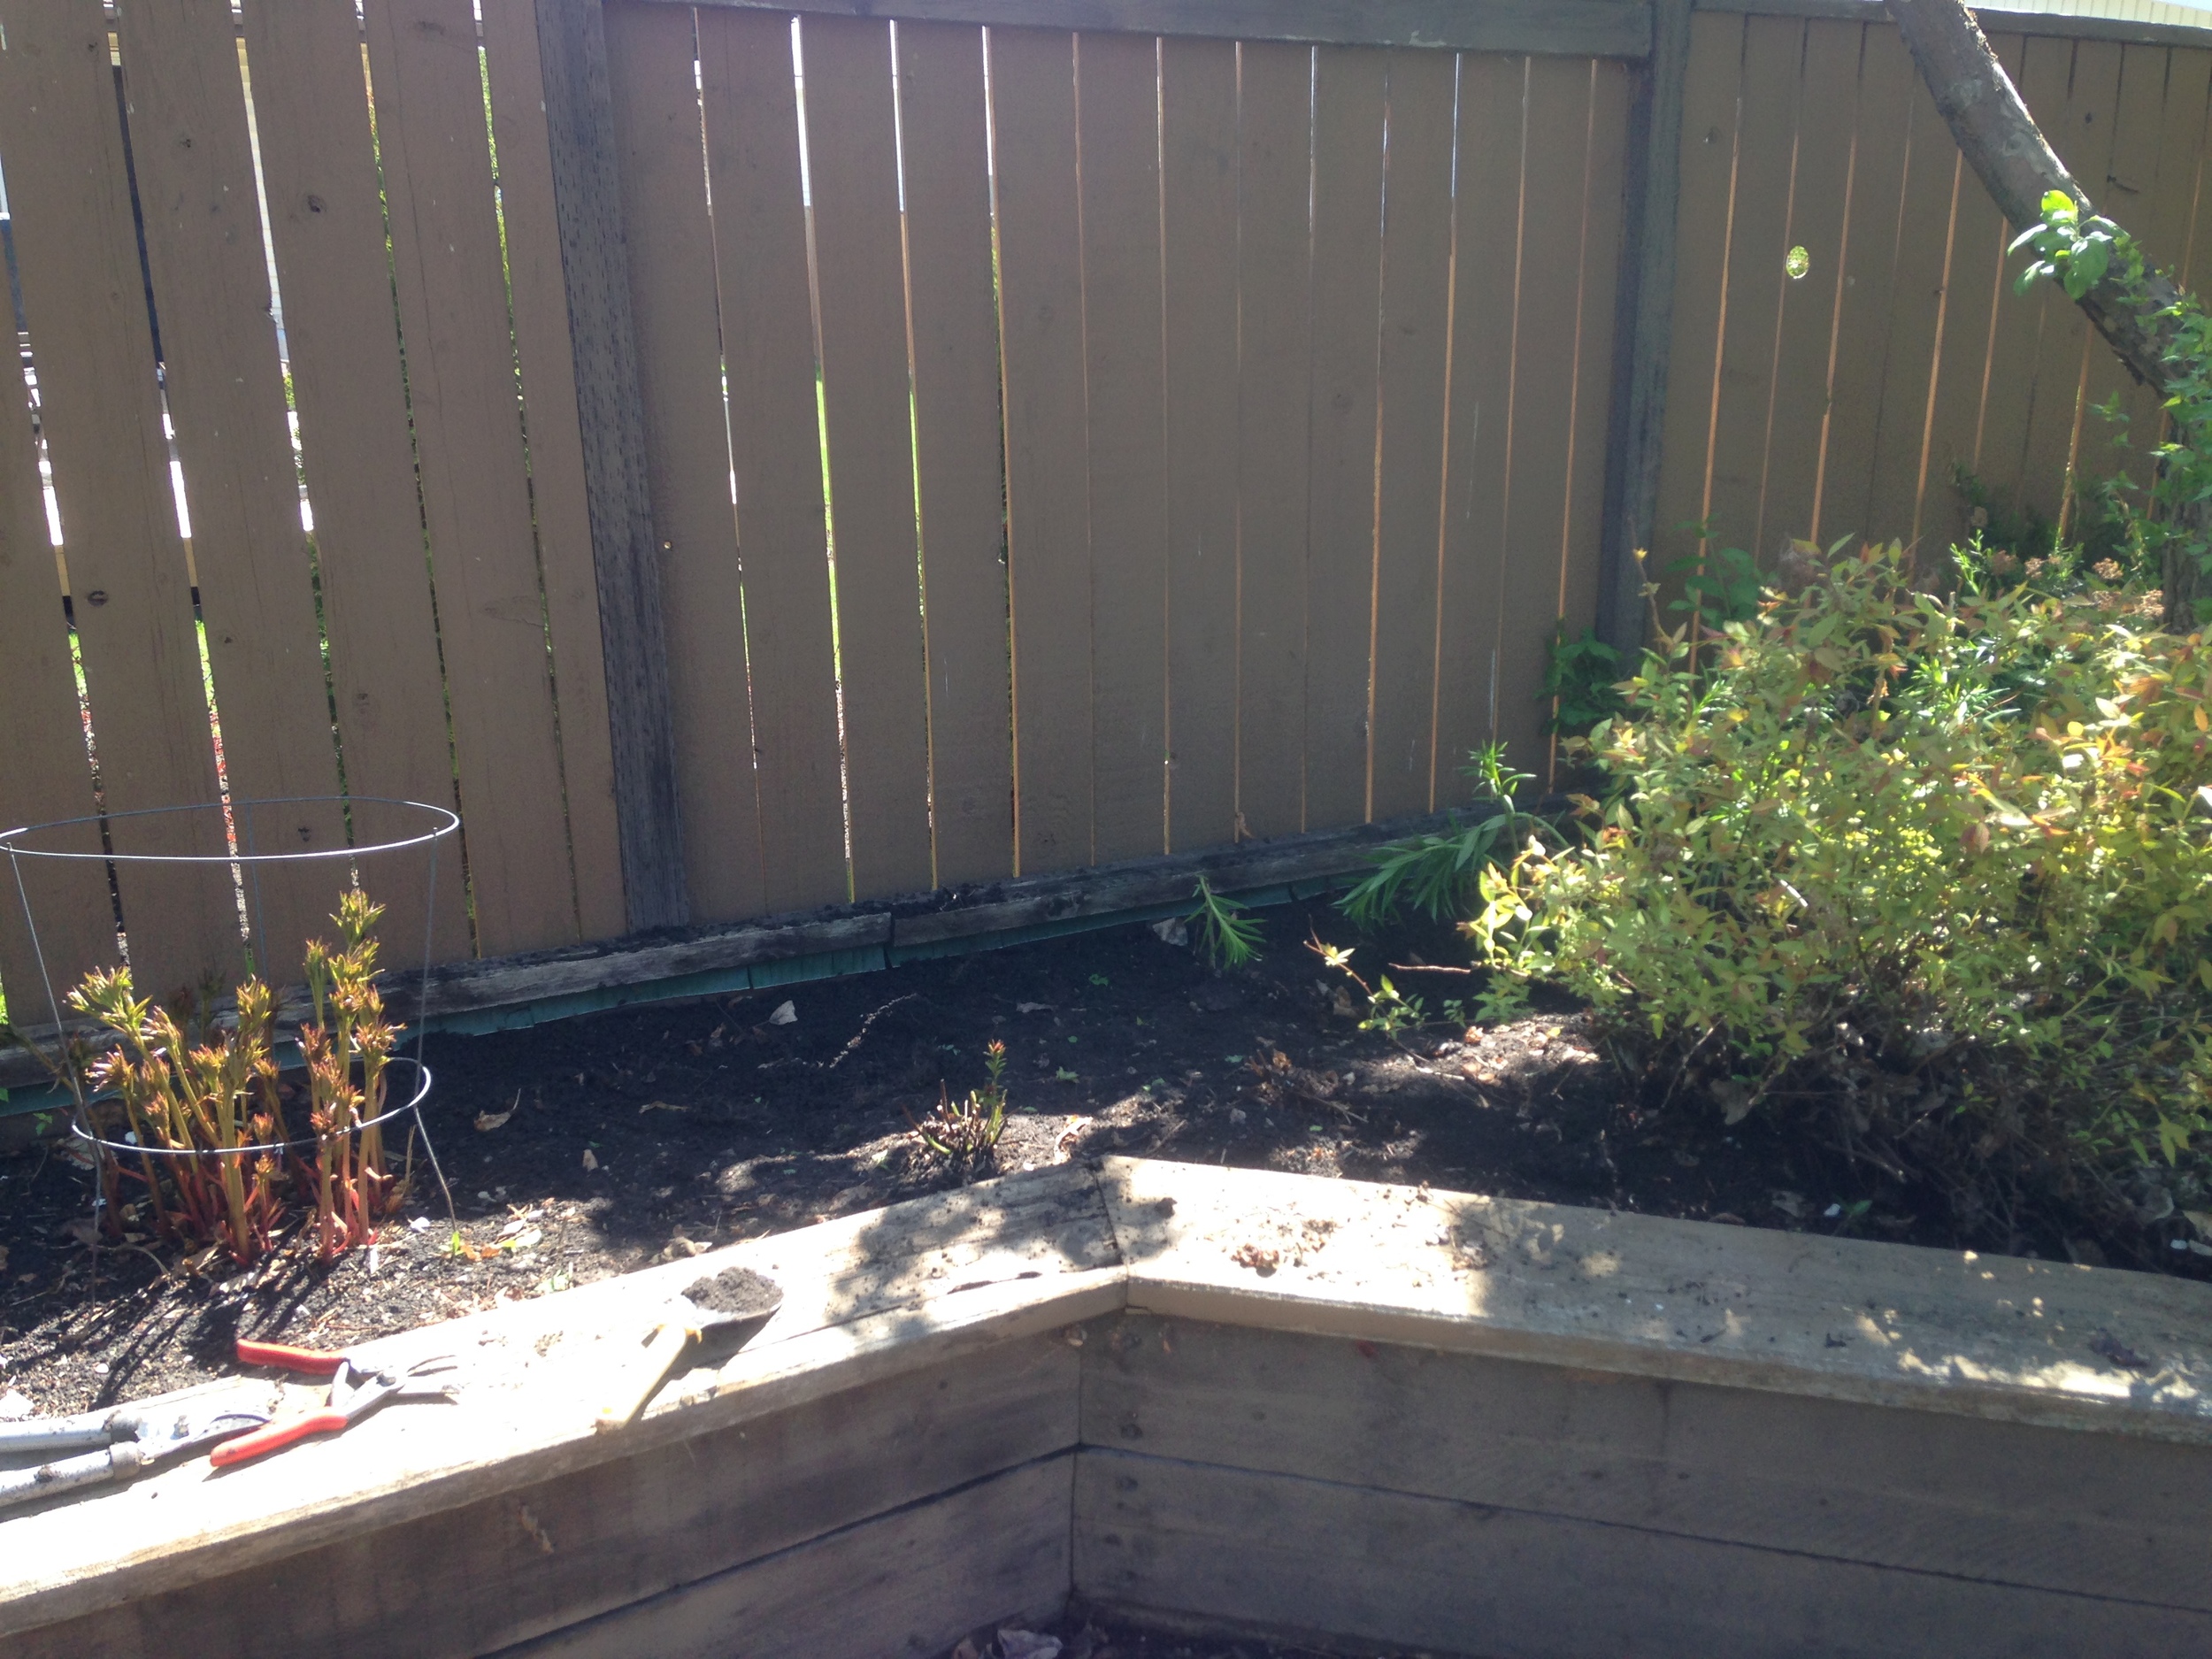
Peony poking out from the mess. Hi Peony!

Peony poking out from the mess. Hi Peony!

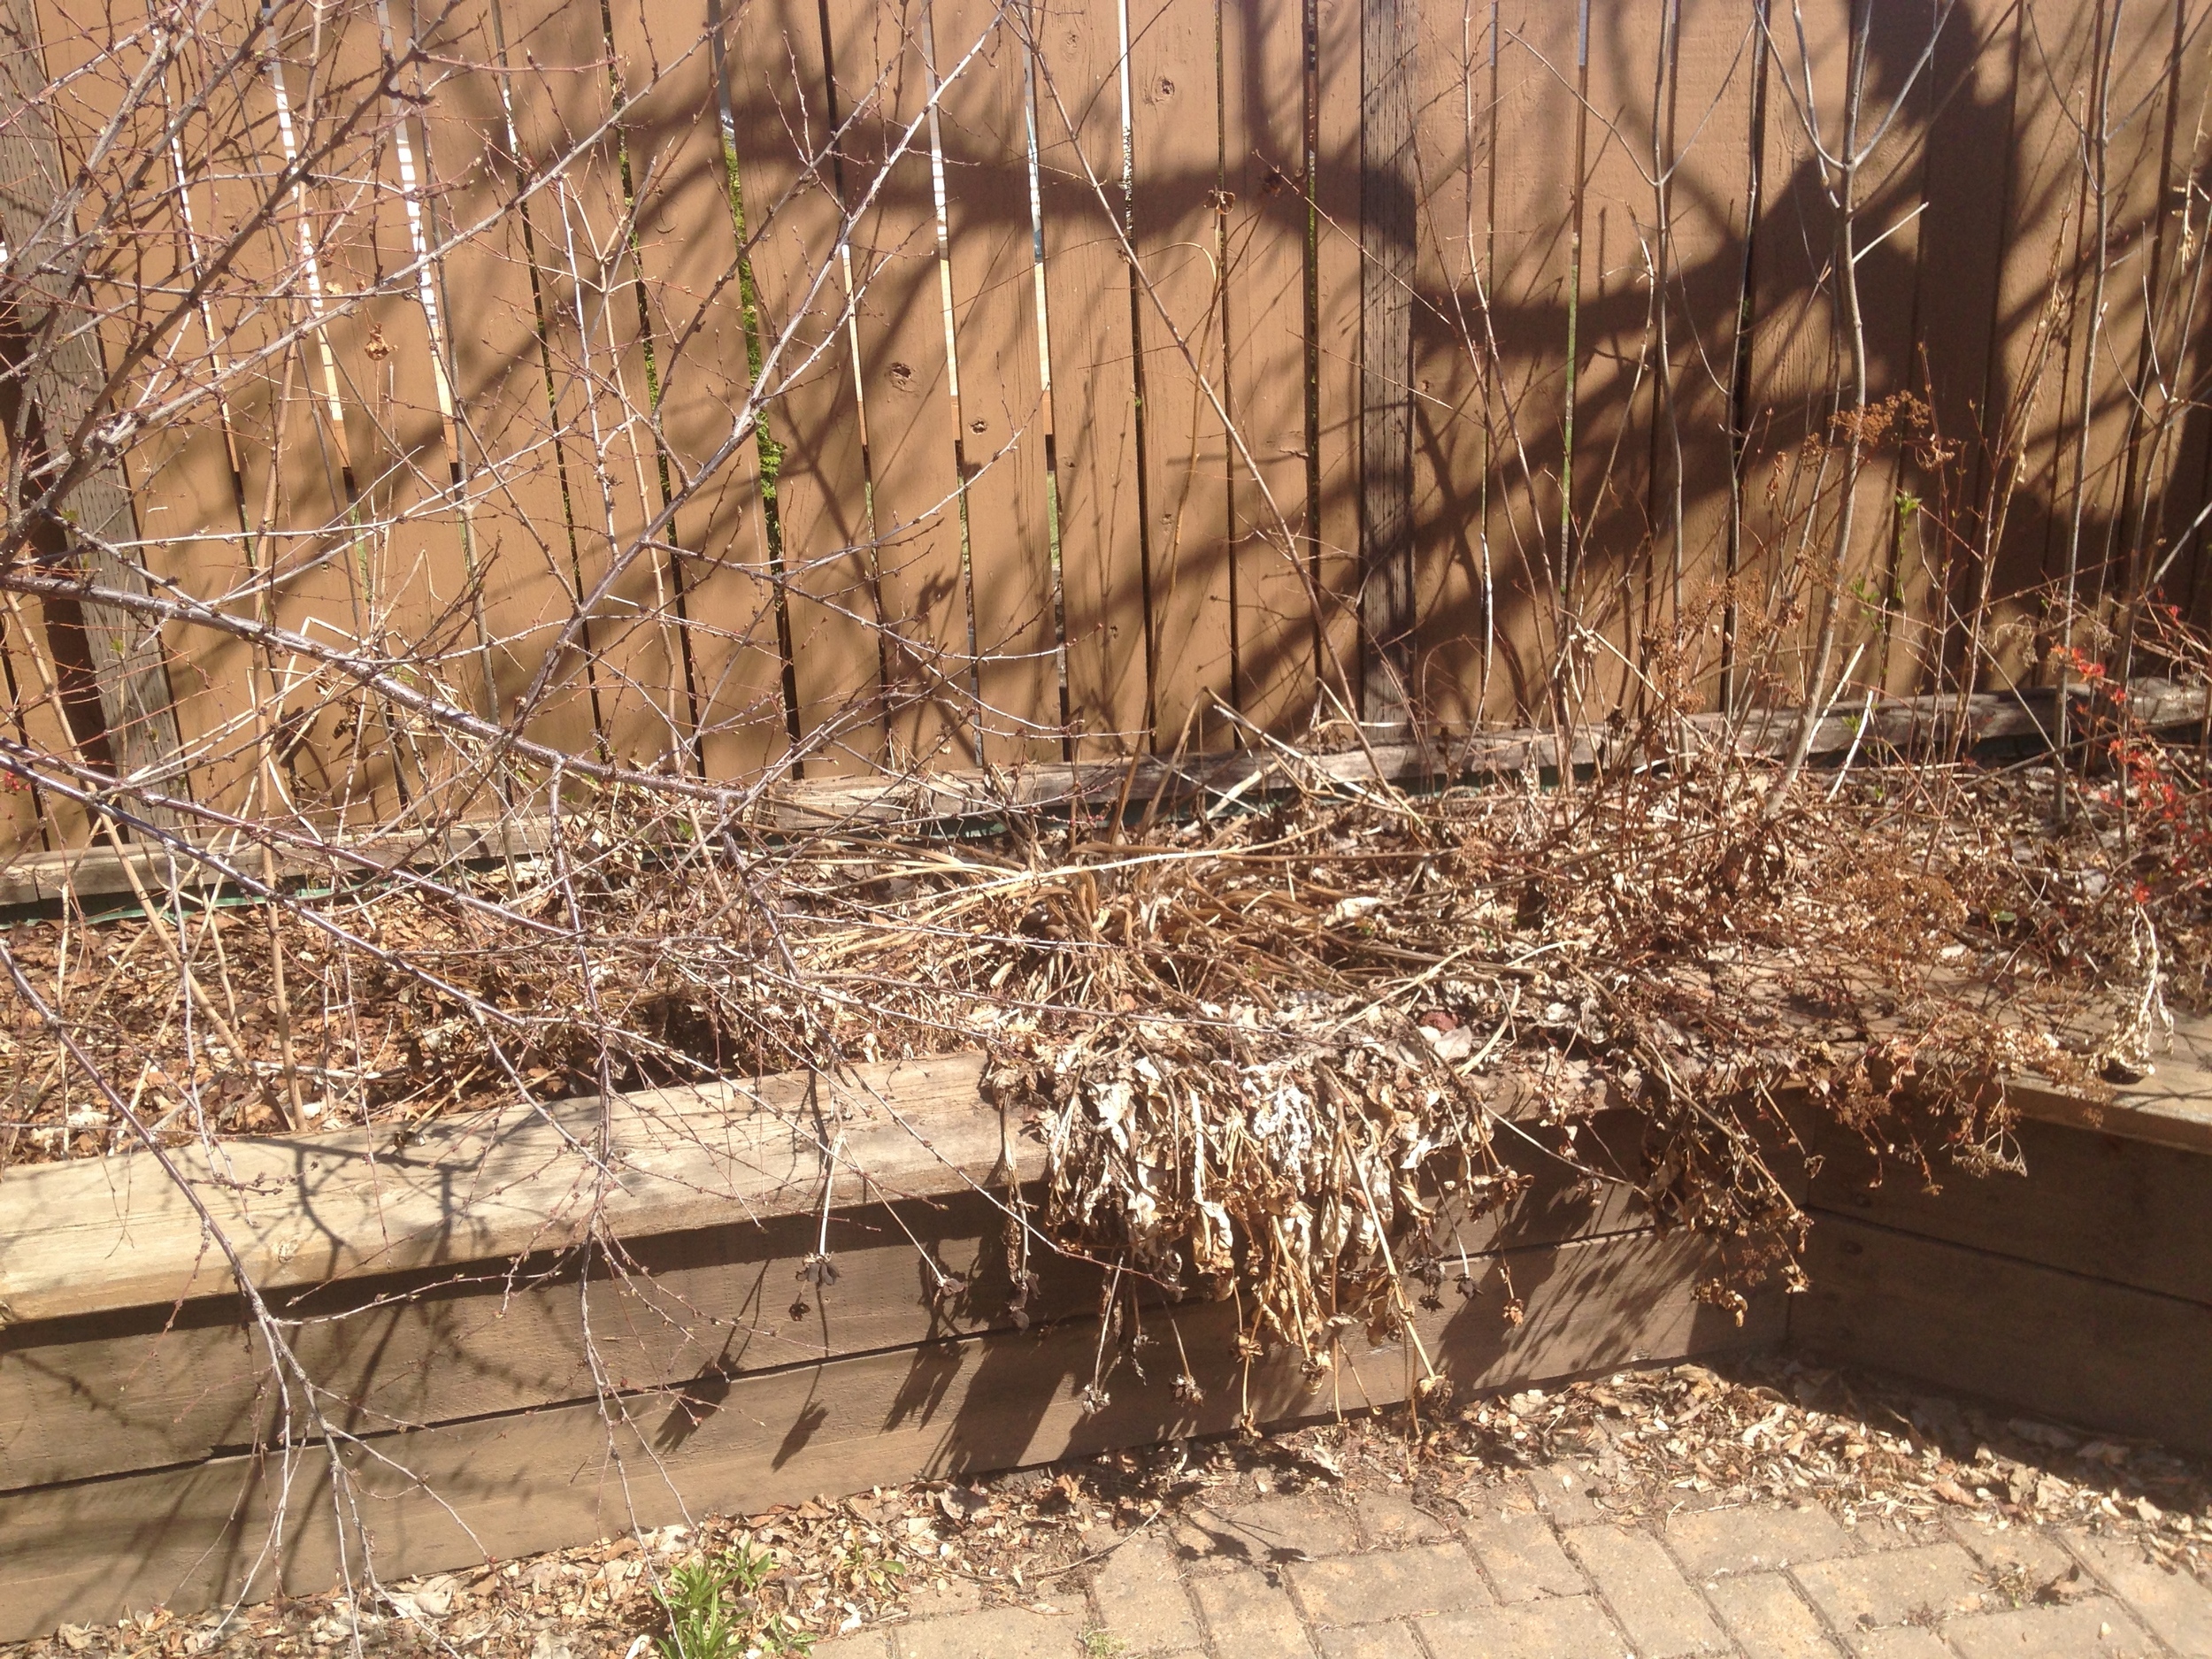
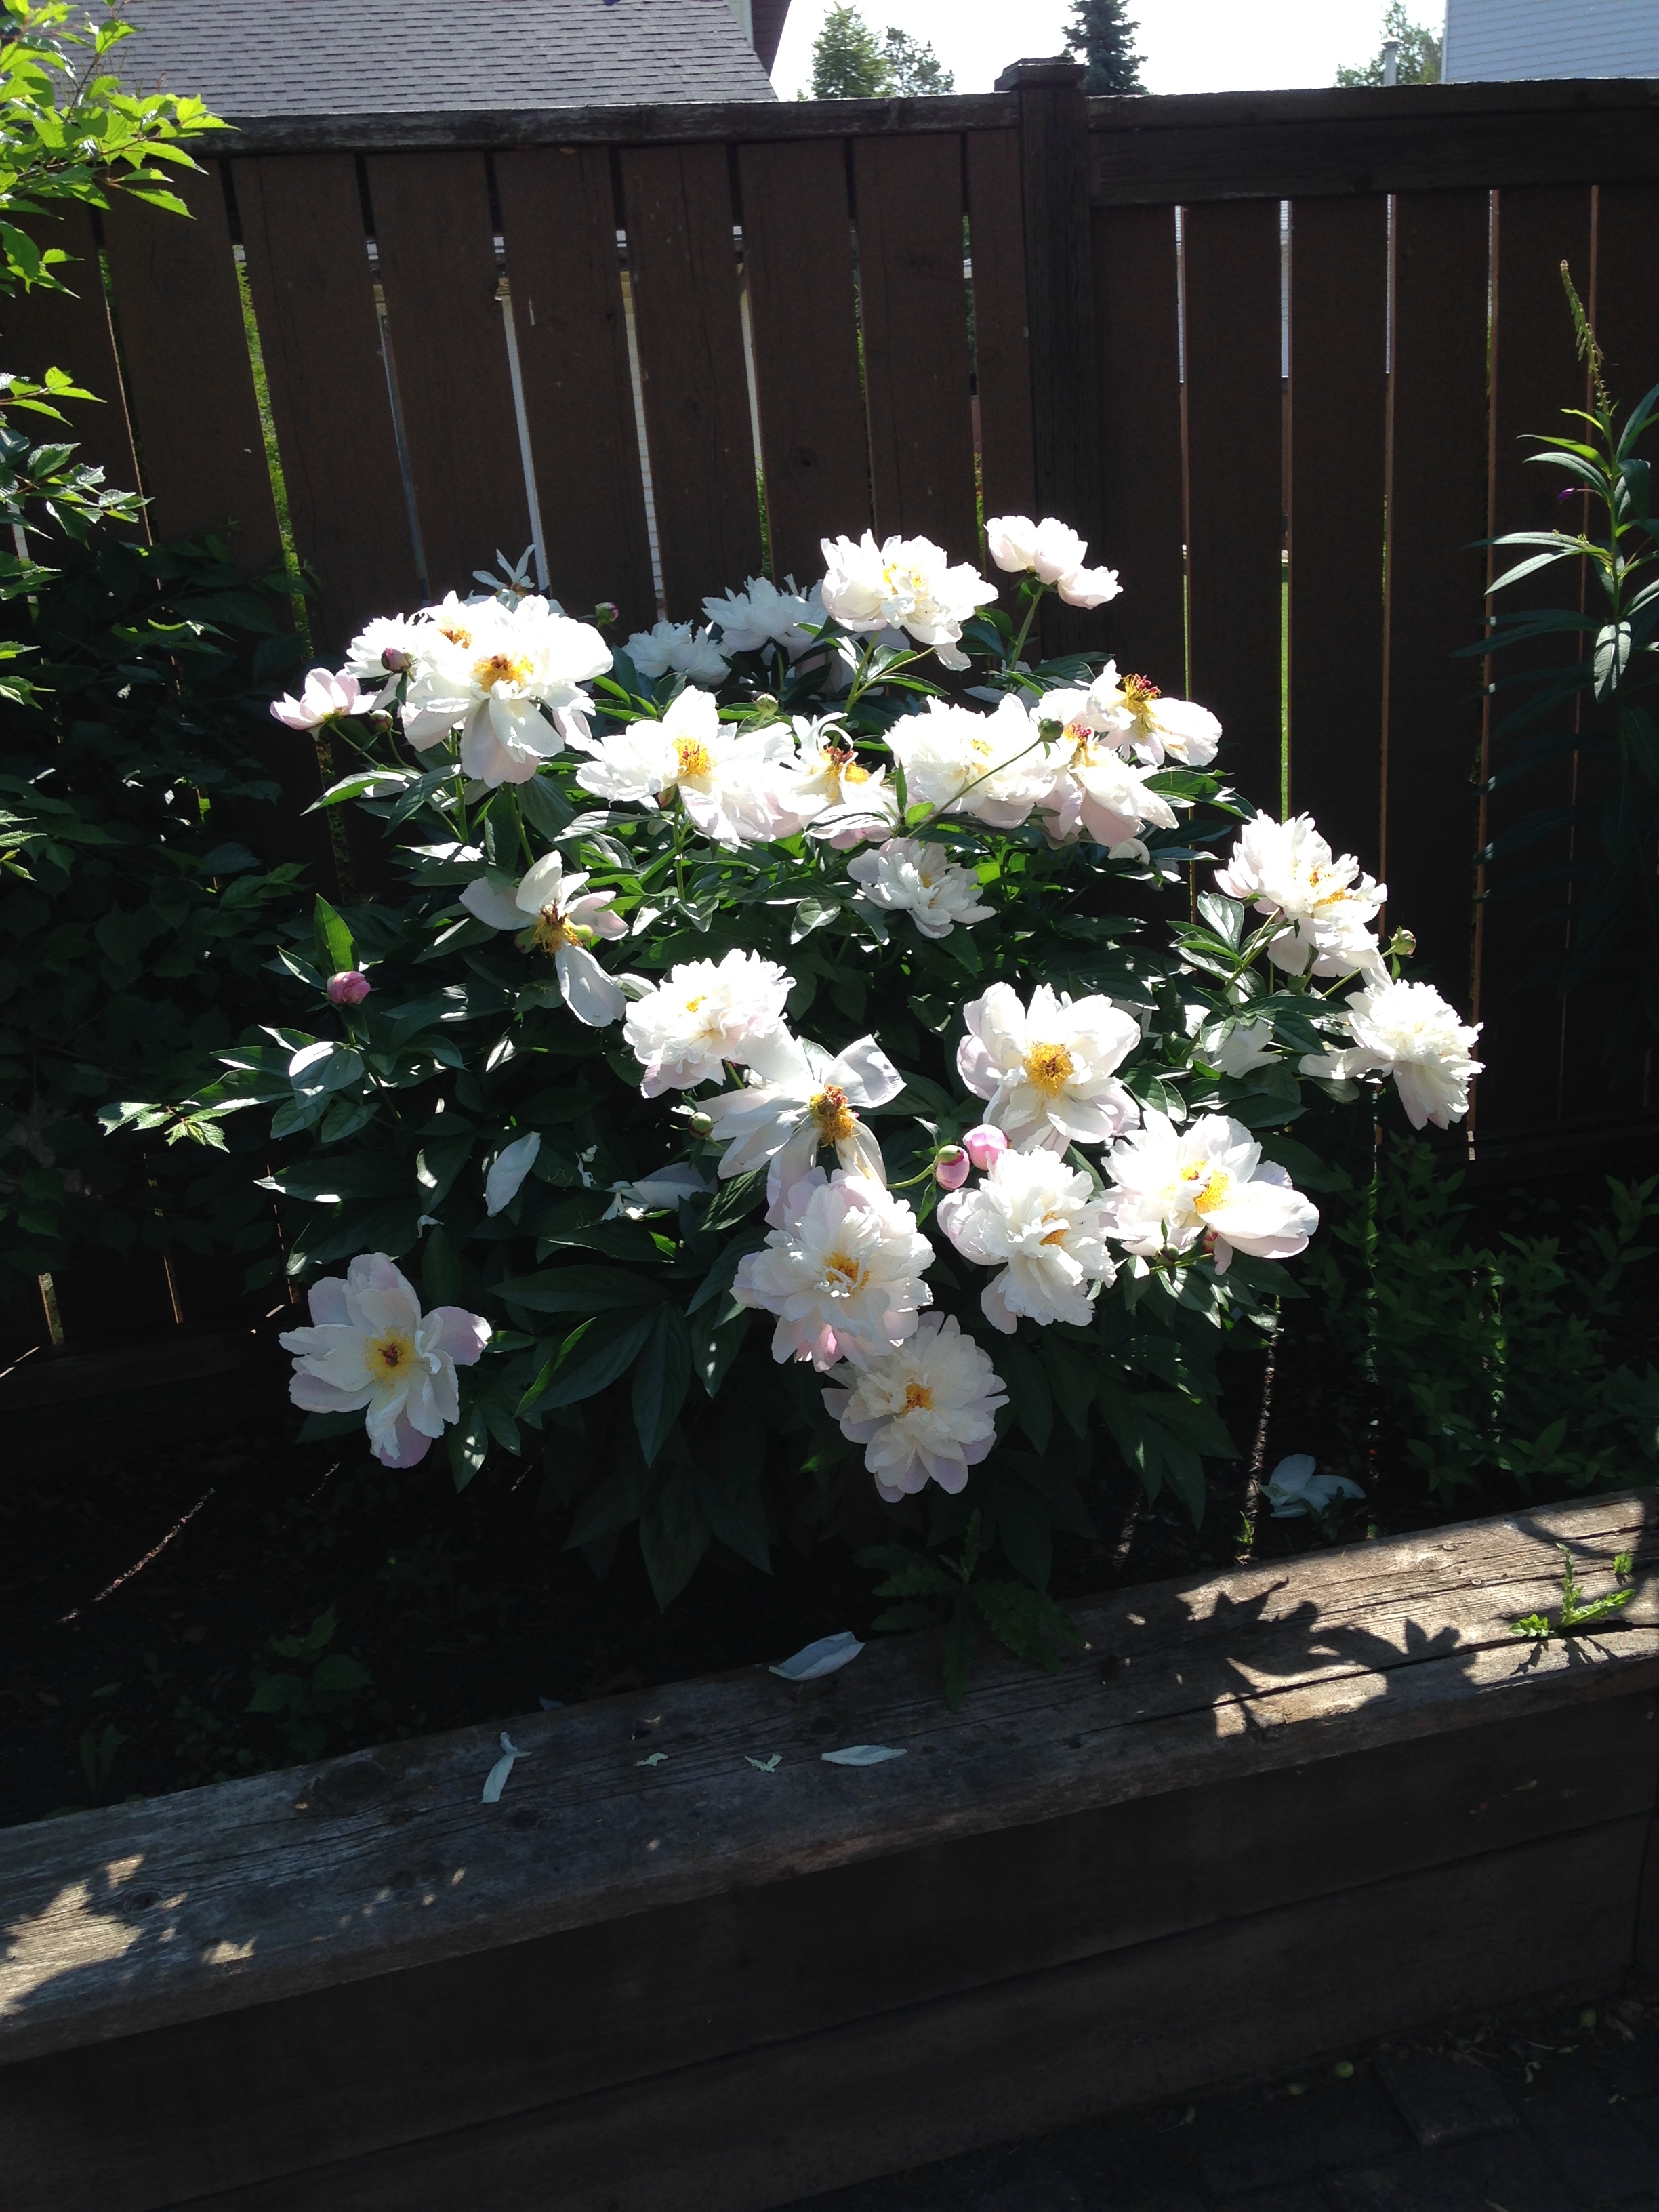
After completing another square metre of suckers, I moved on to release what was left of the living plants from their dead plant prisons. First up: Peonies. My Mom planted these gorgeous peonies eons ago. Big white and pink blooms. They did so well she had to cut the plant in half and transplant it over to another location. (I also later found a third peony that had seeded itself by the bird bath.) Now, there was at least 4 years of dead leaves and stems in the way. (So much so the bottom layer of debris was actually turning to dirt. Hah.) But as I carefully cut away the old remnants, there underneath were a dozen little sprigs of soon to be peony. I even found 7 chive plants (that my Mom had relentlessly tried to kill, back in the day) under the brush and dandelions. Once the peonies were unearthed and properly caged, I called it a day. (Also, as I had managed to get, and burst, a blister in the palm of my hand, I decided to take a couple days break.)

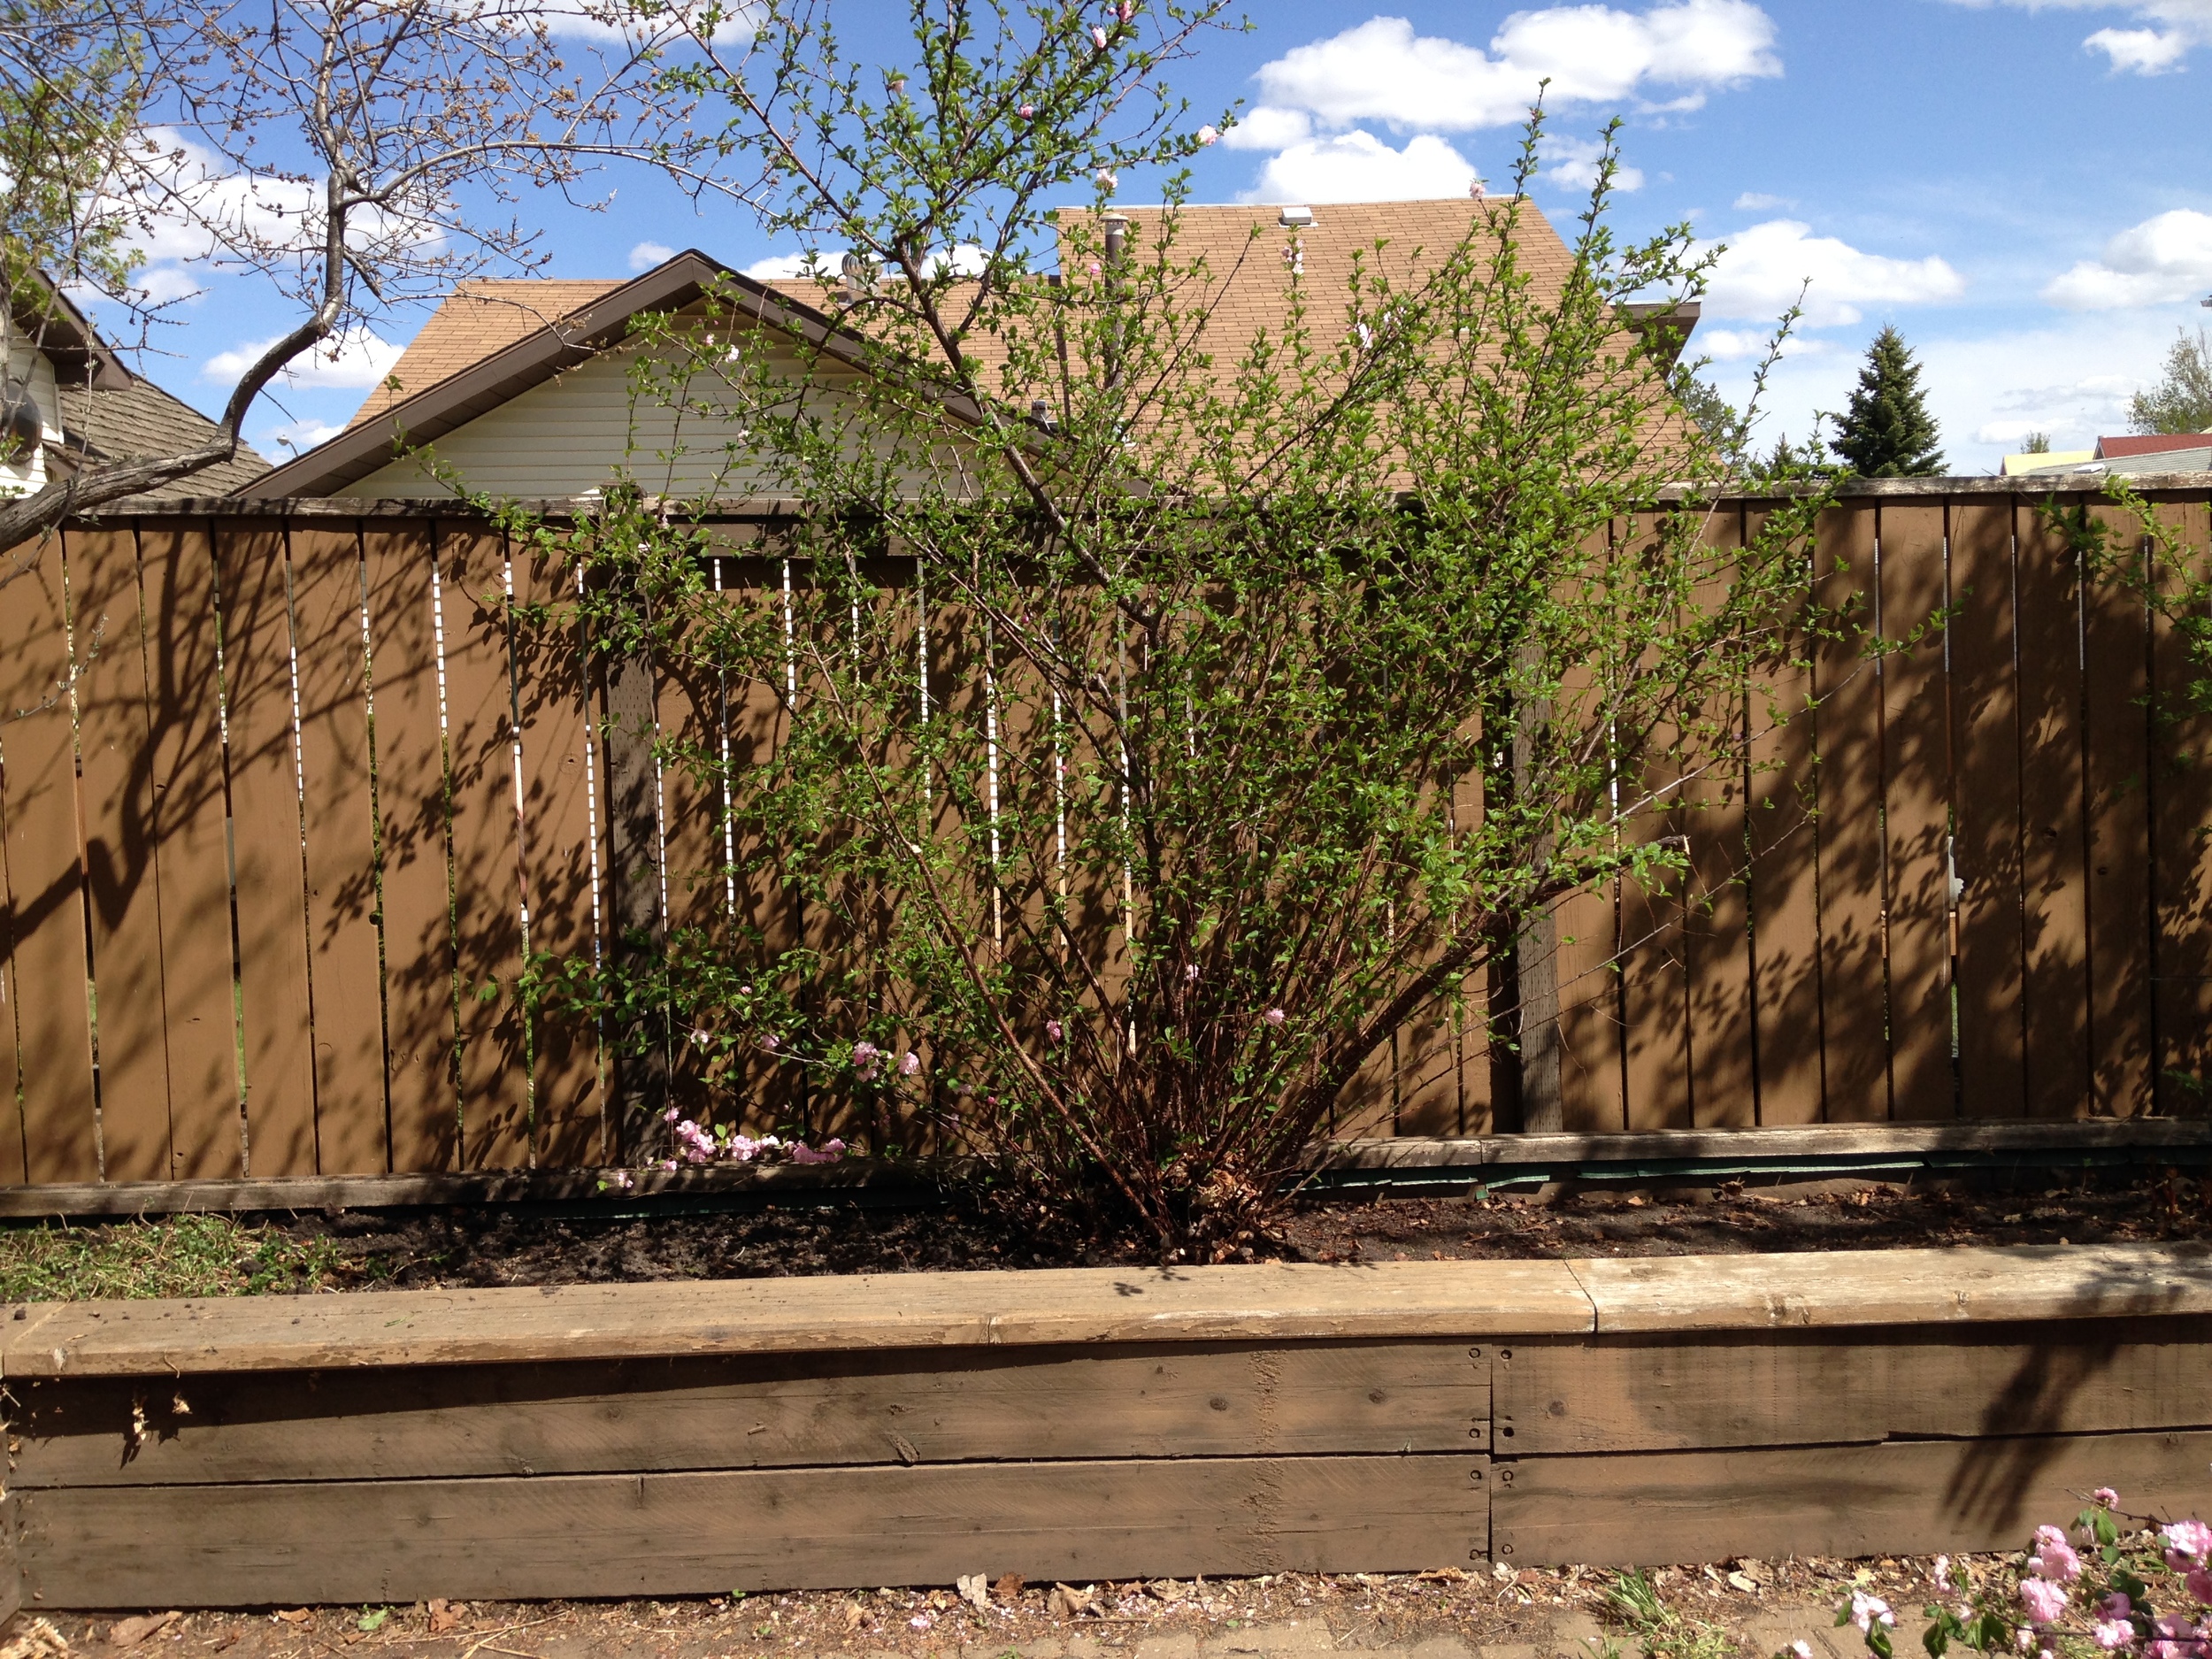
Back at it a week later and summer had apparently arrived. Everything was green and lush. And by everything I mean all the damn suckers. I spent day three pruning the double flowering prunus, digging out suckers from a silver leafed tree (that of which I don't know the name, something Russian?) and finding a random vine that was definitely never planted but seems to be growing just fine anyway.

Day four. Gad. I decided that those suckers from day one can suck it and I moved on to a more manageable area: the Apple Tree. Once upon a time there had been a tiny bush and a giant bleeding heart under the apple tree, but today the bleeding heart is gone and that tiny bush was definitely 3 meters in diameter. I had to jump into the back of the bed and hack that bush down to size. It was so big I had to roll it up like a carpet to get it out. Phew! But it was a beautiful day for it! Apple tree and the ornamental cherry tree blooming and not a cloud in the sky. 

I called it a day after 4 hours, when I could barely move my arms from bush/carpet rolling. 

Unfortunately I may have overdone it that day, because I proceeded to catch a horrible throat virus and head cold, stopping the gardening train for a full week.

Baby fern is going to a new home! Also, yes, I grew up in St Albert.

Baby fern is going to a new home! Also, yes, I grew up in St Albert.

When I got back to it the garden had kept on going without me. Much to my chagrin. But I pushed on! My friend Angela came to help me out! She's a fanatic about pulling dandelions, and as I absolute hate that, it worked out that she pulled the weeds from the interlocking brick while I pulled up trees from the long neglected beds. Yay! Teamwork! I only got a small area done because whatever tree is besides the ornamental cherry had 2 inch sharp thorns growing out of it suckers. (Which I discovered by stabbing my thumb good enough to draw blood.) I have now learned to never grab at nature blindly. Because apparently thorns are a thing. A terrifying thing.

IMG_6458.jpg

Once again, the weather continued to misbehave. And at this point it was approaching July. So much for a 'spring' cleanup. When I finally got back to it another week had gone by full of rain and grey dullness. 

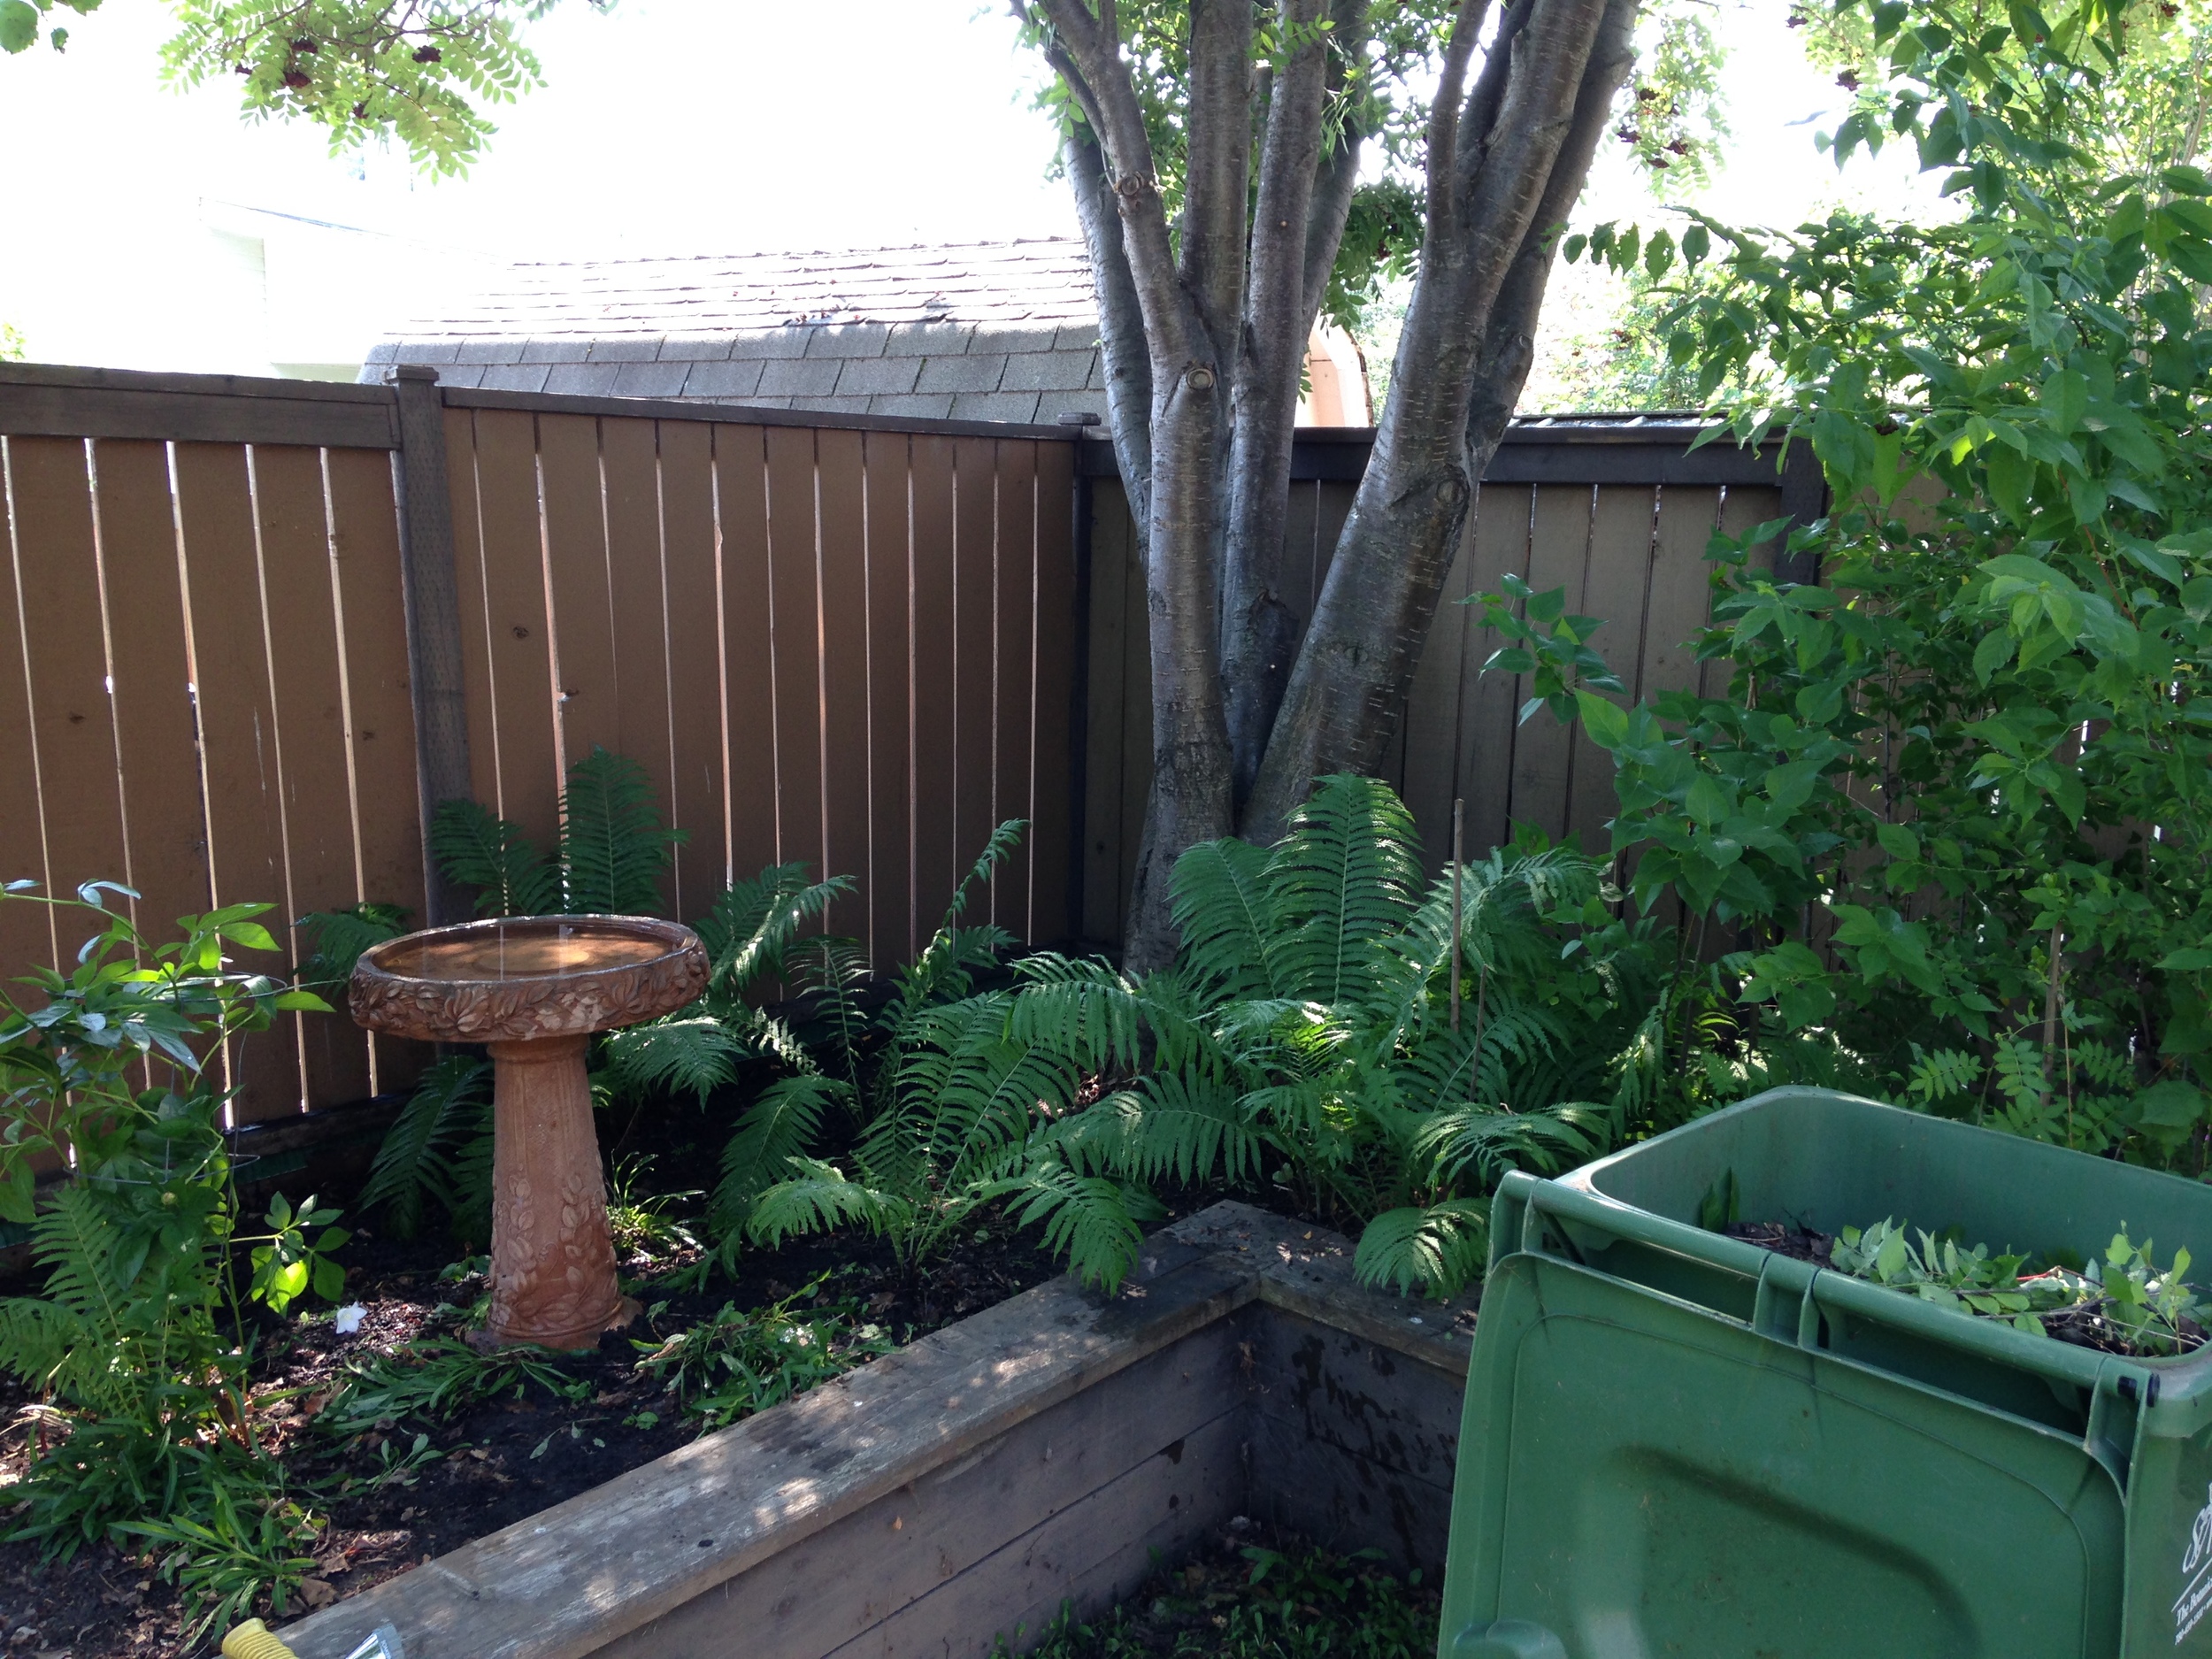
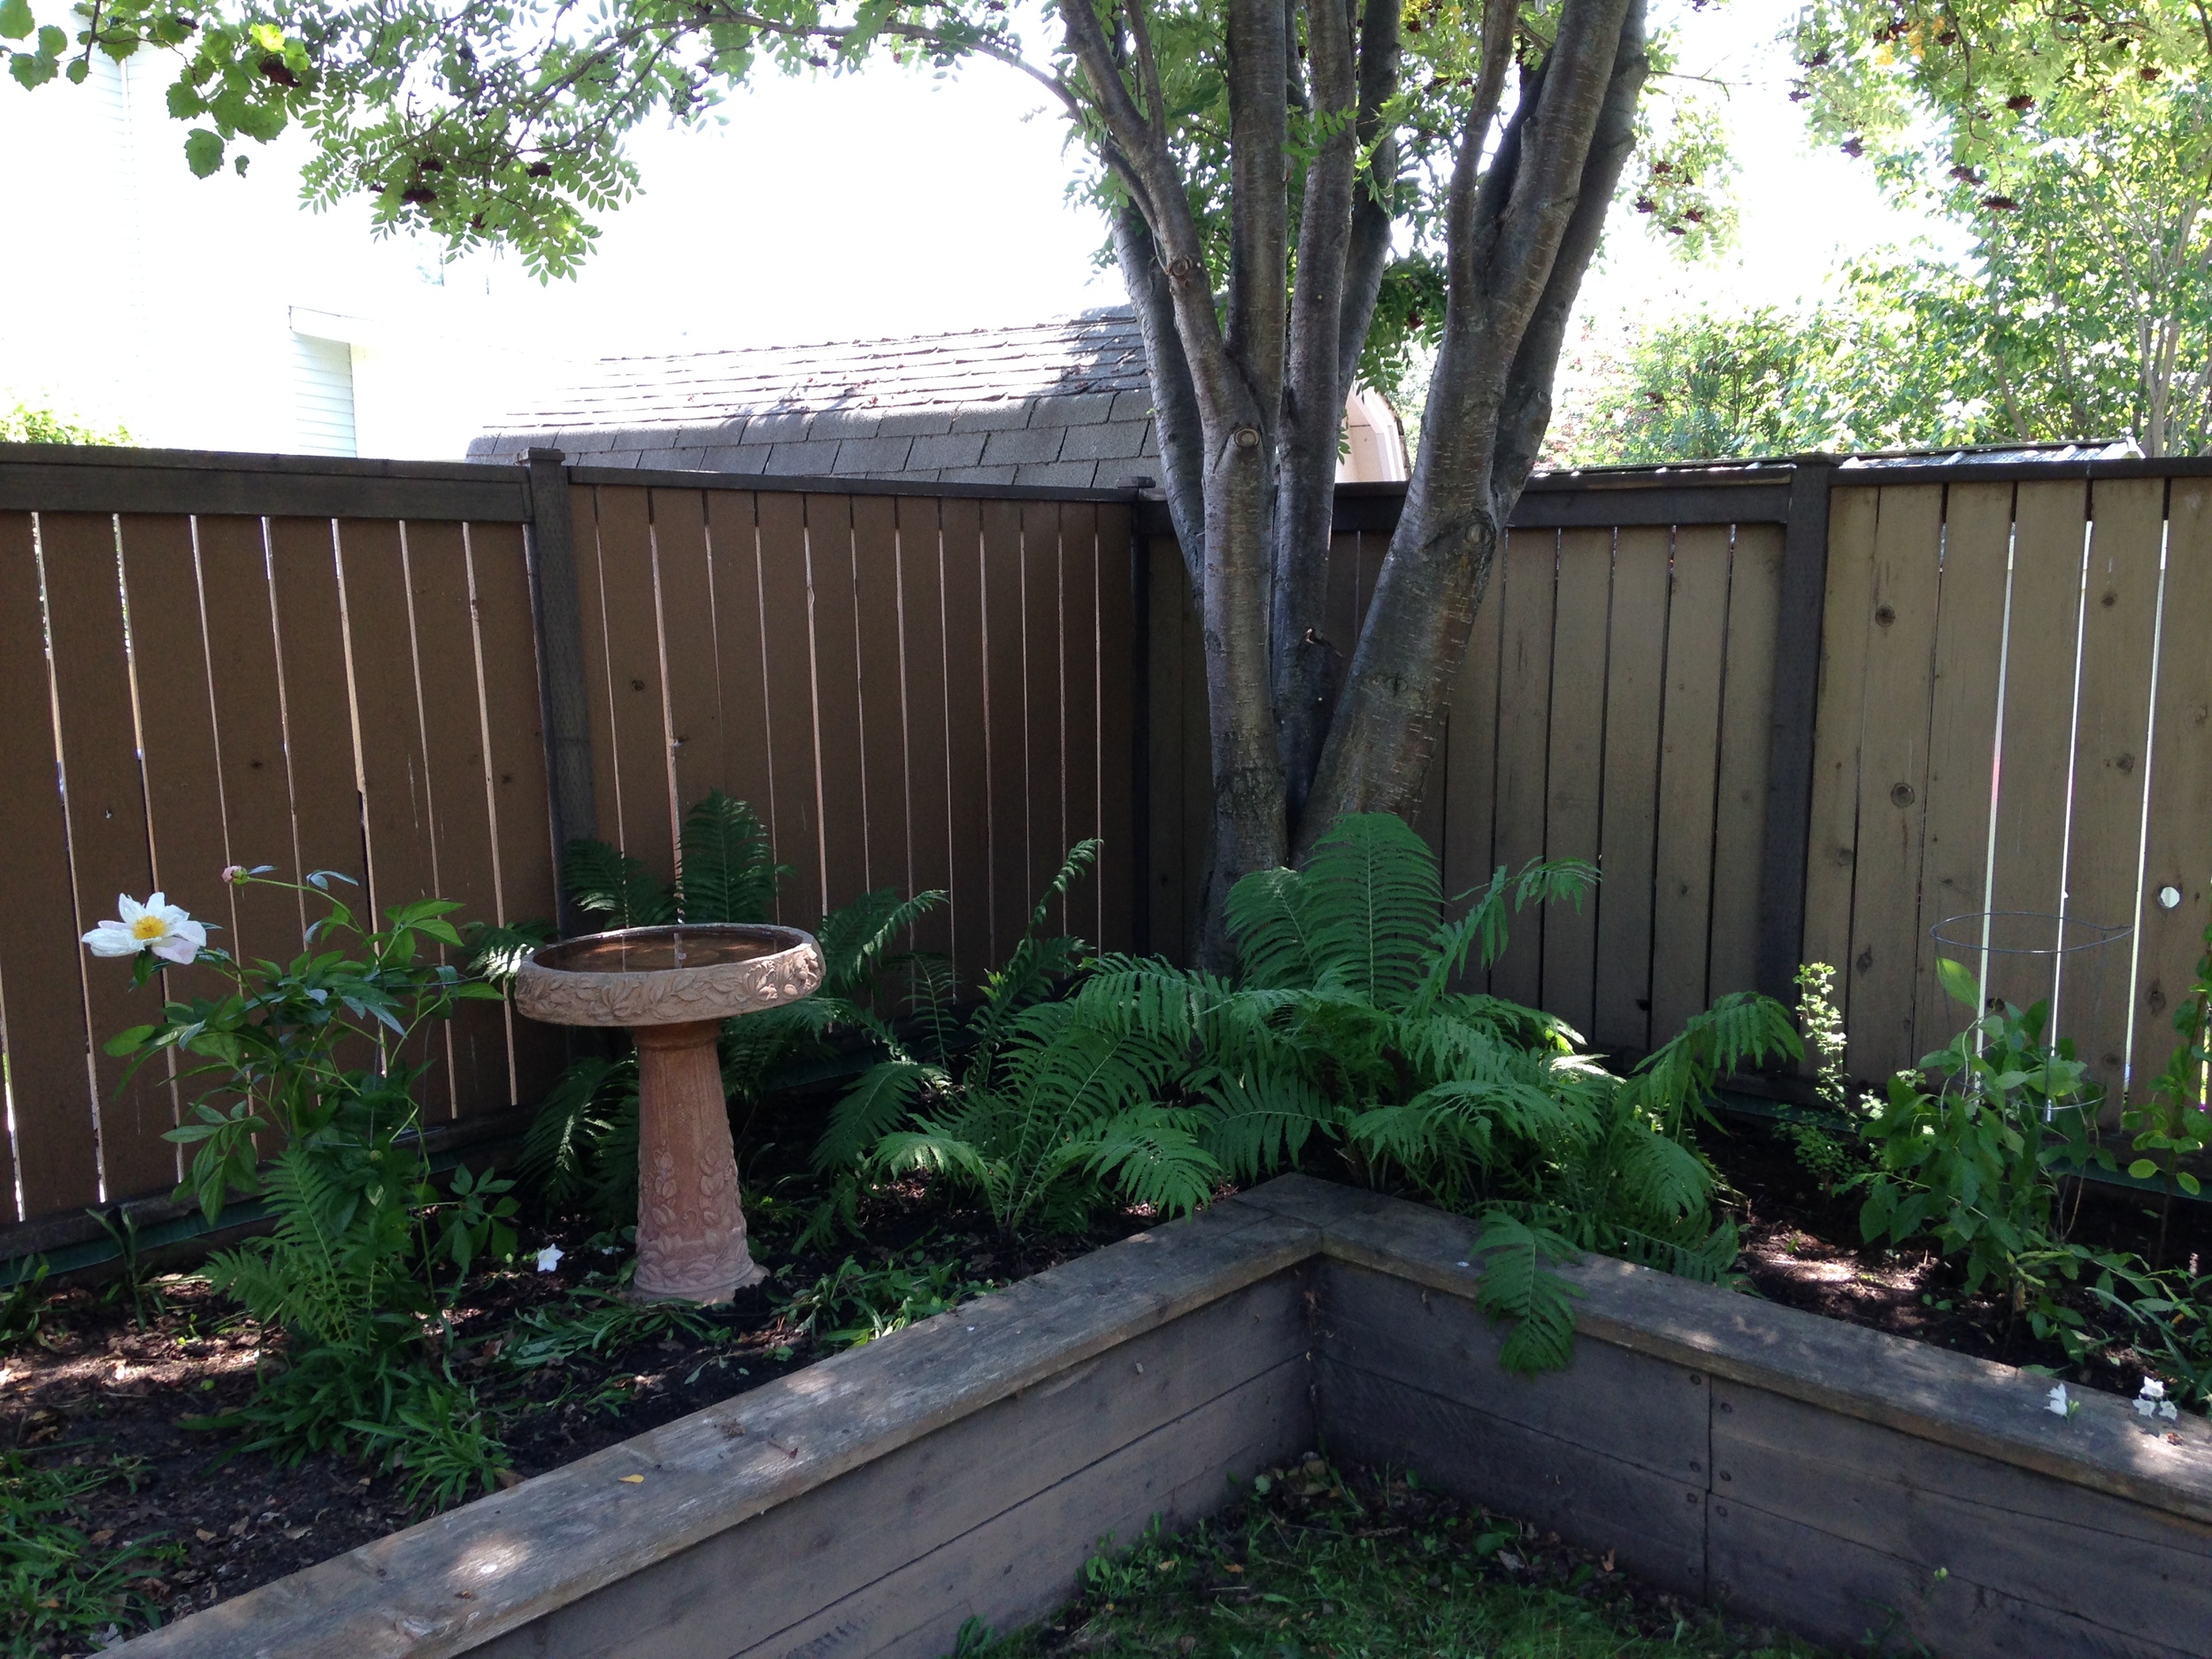
But I was energized! Only a third of the garden left! And, after thorned suckers, nothing was too daunting. I cleared out the beds around the bird bath and into the corner where the oldest tree in neighbourhood stands. Our house was the first to be built in the area and so the mountain ash was the first to be planted. It may not be the tallest but it's been around to see houses be built and people come and go.

To the right of the mountain ash used to be a lilac bush. It is more of a lilac tree now, but still flowers up in the air. Besides the lilac is the dreaded plum tree. Those suckers are almost as bad as the first ones I tackled. Luckily, Angela was back to help and, since apparently she loves doing the jobs I hate, she tackled the oak and purple tree (??) suckers while I massacred the plum ones. 

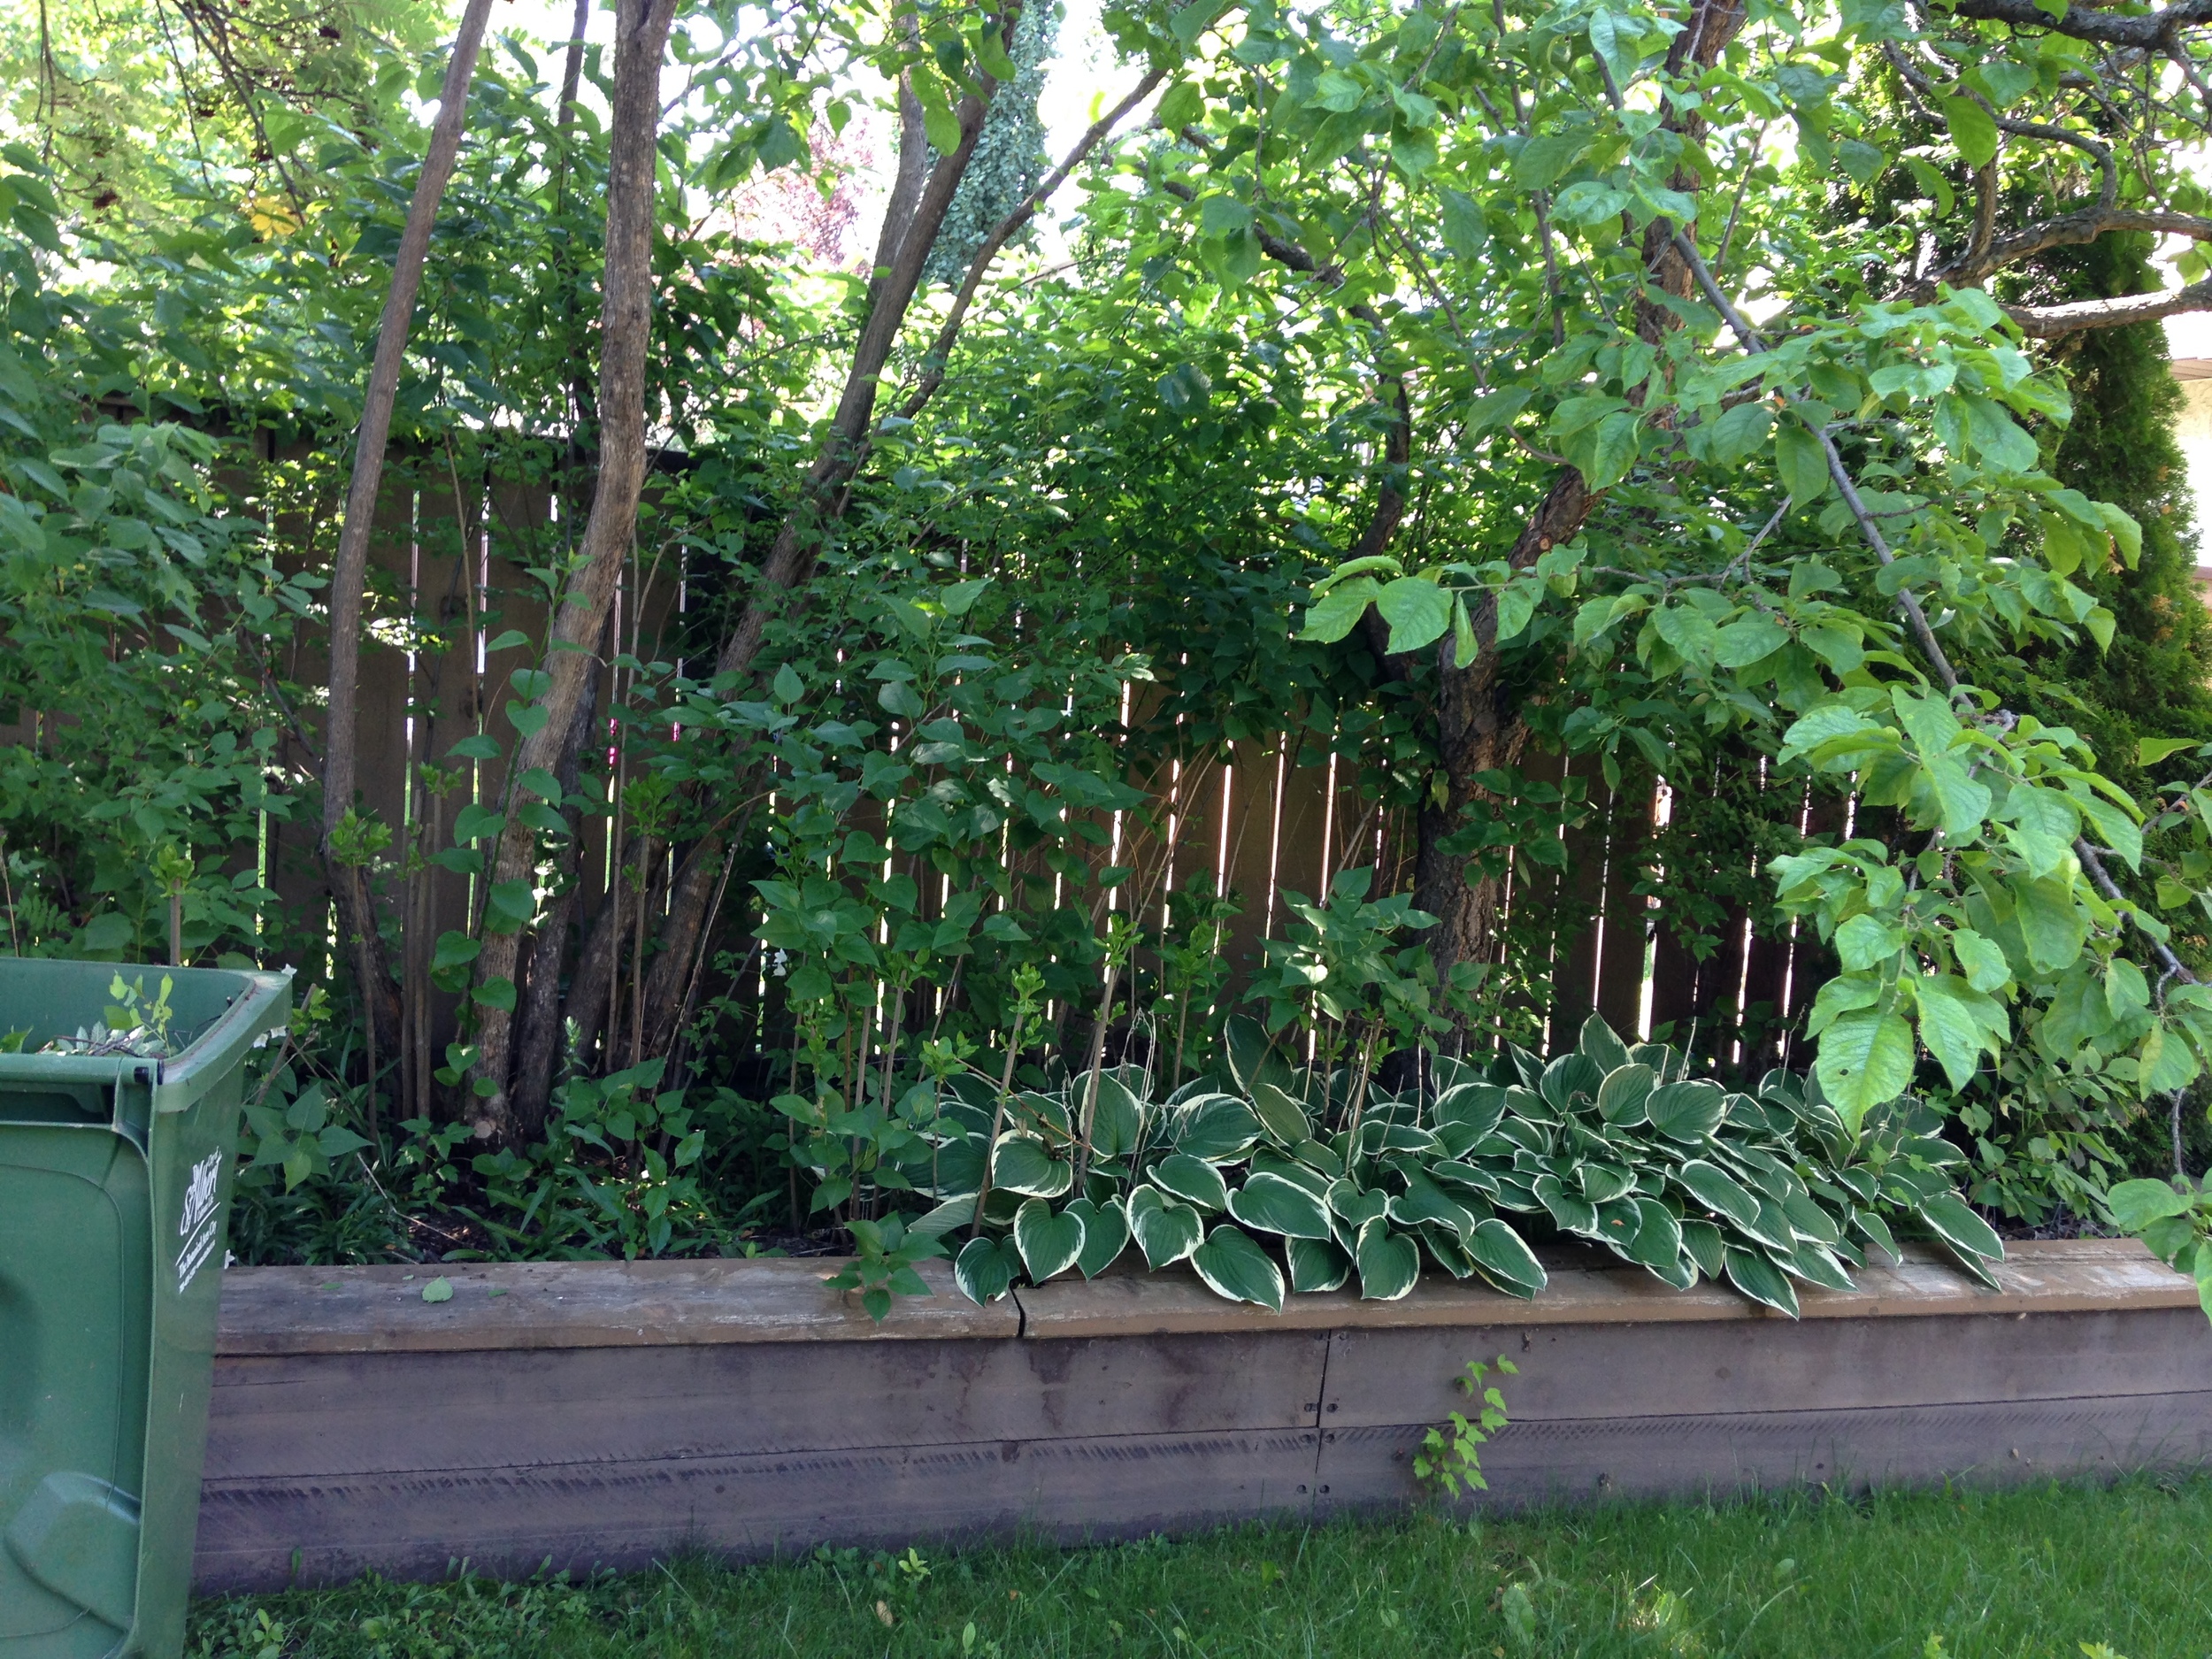
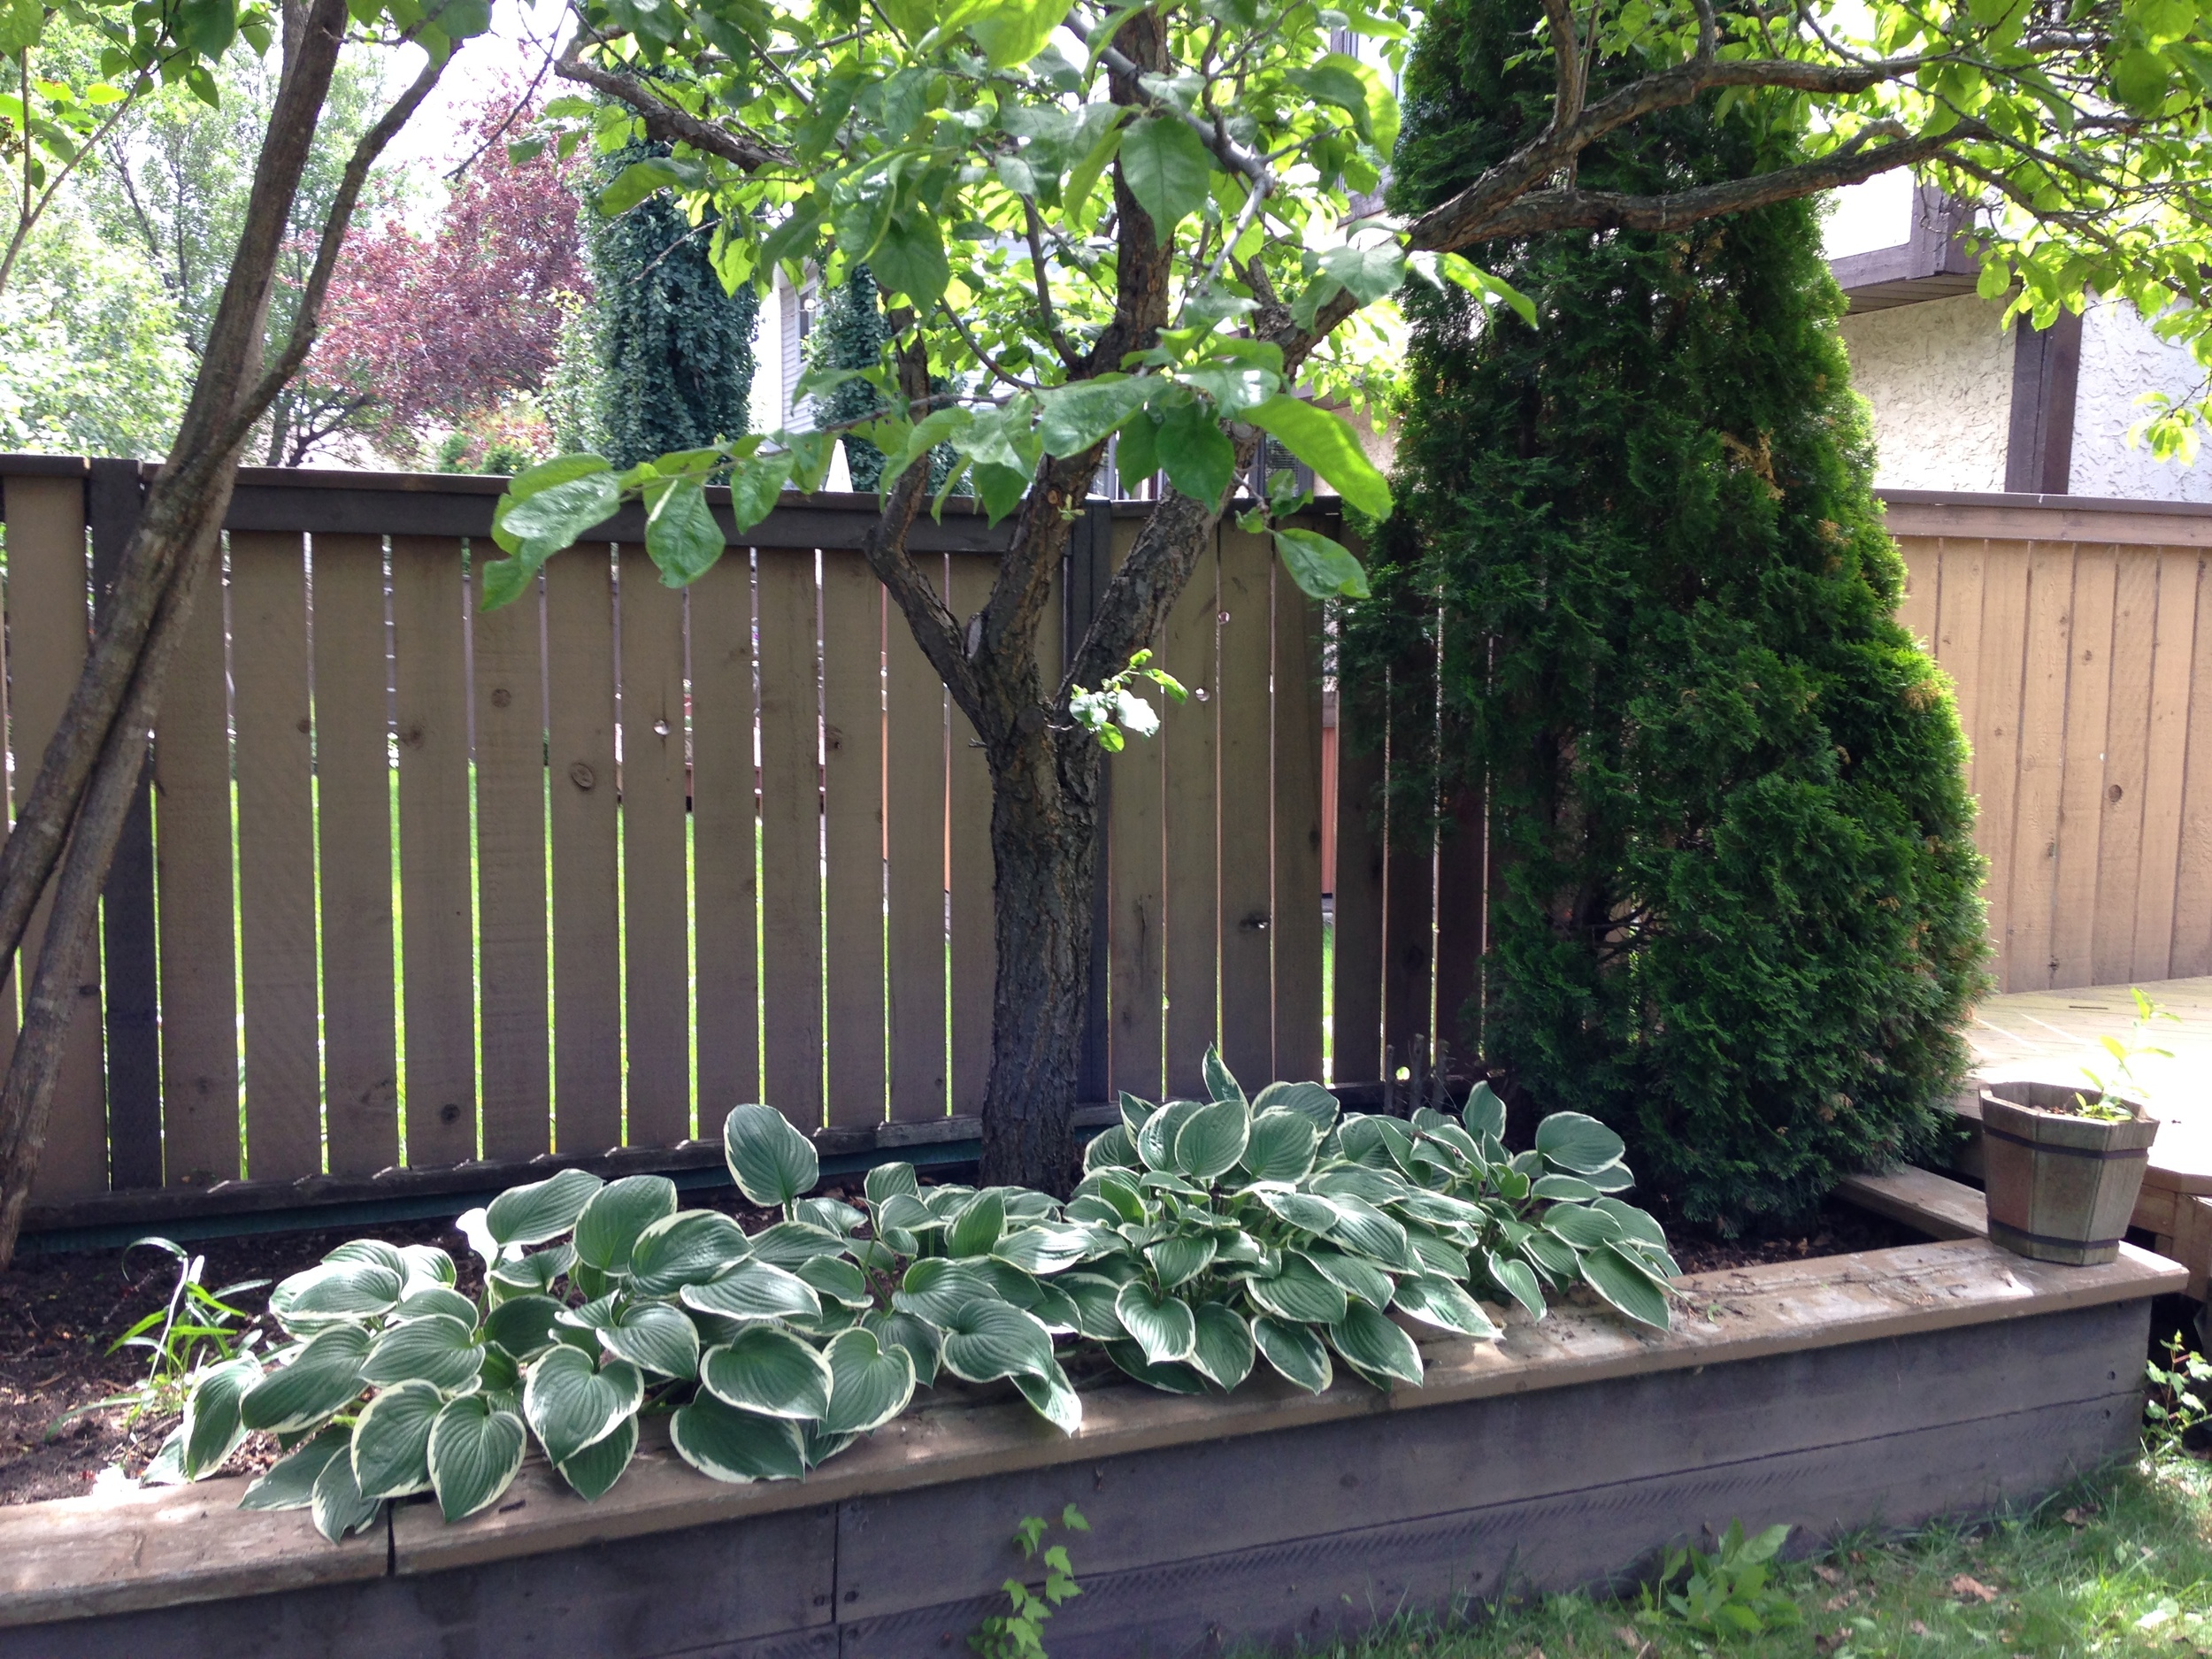
The home stretch! I cleared out the beds under the plum tree, including scraping out the old cedar leaves, into the green bin. And done. It had taken all of spring and nearly all of summer, but I did it (with Angela's help too!).

Lobelia, Petunia and Geranium &lt;3

Lobelia, Petunia and Geranium <3

I still had the chance to plant my own flowers too (back in the spring). They are the same kind I first planted in pots with my Mom all those years ago, sitting on the deck, looking into that big beautiful back yard. 

I'll miss you, my not-so-secret garden! <3

-Andrea

The Half-Assed Hobbyist
ย 

The Orchid

I have always thought that orchids were hard to care for and hard to grow. Turns out that is kinda incorrect. While the answer to "can anyone make an orchid grow" is probably no, I have found that an orchid is generally like most other house plants. It needs to be repotted when it's root system gets cramped and it likes to be in a well drained pot, much like other plants. 

When I got my orchid, it was a very sad little plant. It's roots were bound and rotting from being over-watered in too small a pot. It's leaves were yellowing and shrivelling. Needless to say it's grown 3 new leaves since it's been with me and three new roots are poking out too.

After I got it, I went online and did some research on how to help it survive. There are tons and tons of forums to read through for information. The best information I got was to repot. Different orchids have different substrates, or soil, that they prefer, and I had no idea what kind mine was (still don't if I'm honest). So first battle, figure out what to buy. I went to Holes Greenhouses up near St Albert. I've been there before and they have a huge Orchid section (which made it easy to look for a similar orchid plant). I bought a bark substrate kit that included moss and instructions on how to repot an orchid and an orchid pot (regular pot with a ton more drainage holes). I also bought some fertilizer (if I've learned anything from my planting experiences, fertilizer helps).

Fooood!

Fooood!

Now, orchids have a very weird root system. Most house plants' roots are exposed in the earth; tiny white hair-like threads. Orchids roots are surrounded by vegetation, much like a tree root is still surrounded by some kind of bark. Because I am constantly half-assing this gardening thing, I looked up videos on how the repot an orchid. There are literally a million of these videos and all of them essentially say the same thing: Pull off the moss, release the roots, fill the pot with soaked substrate, and place your orchid back topped with damp moss. Easy. 

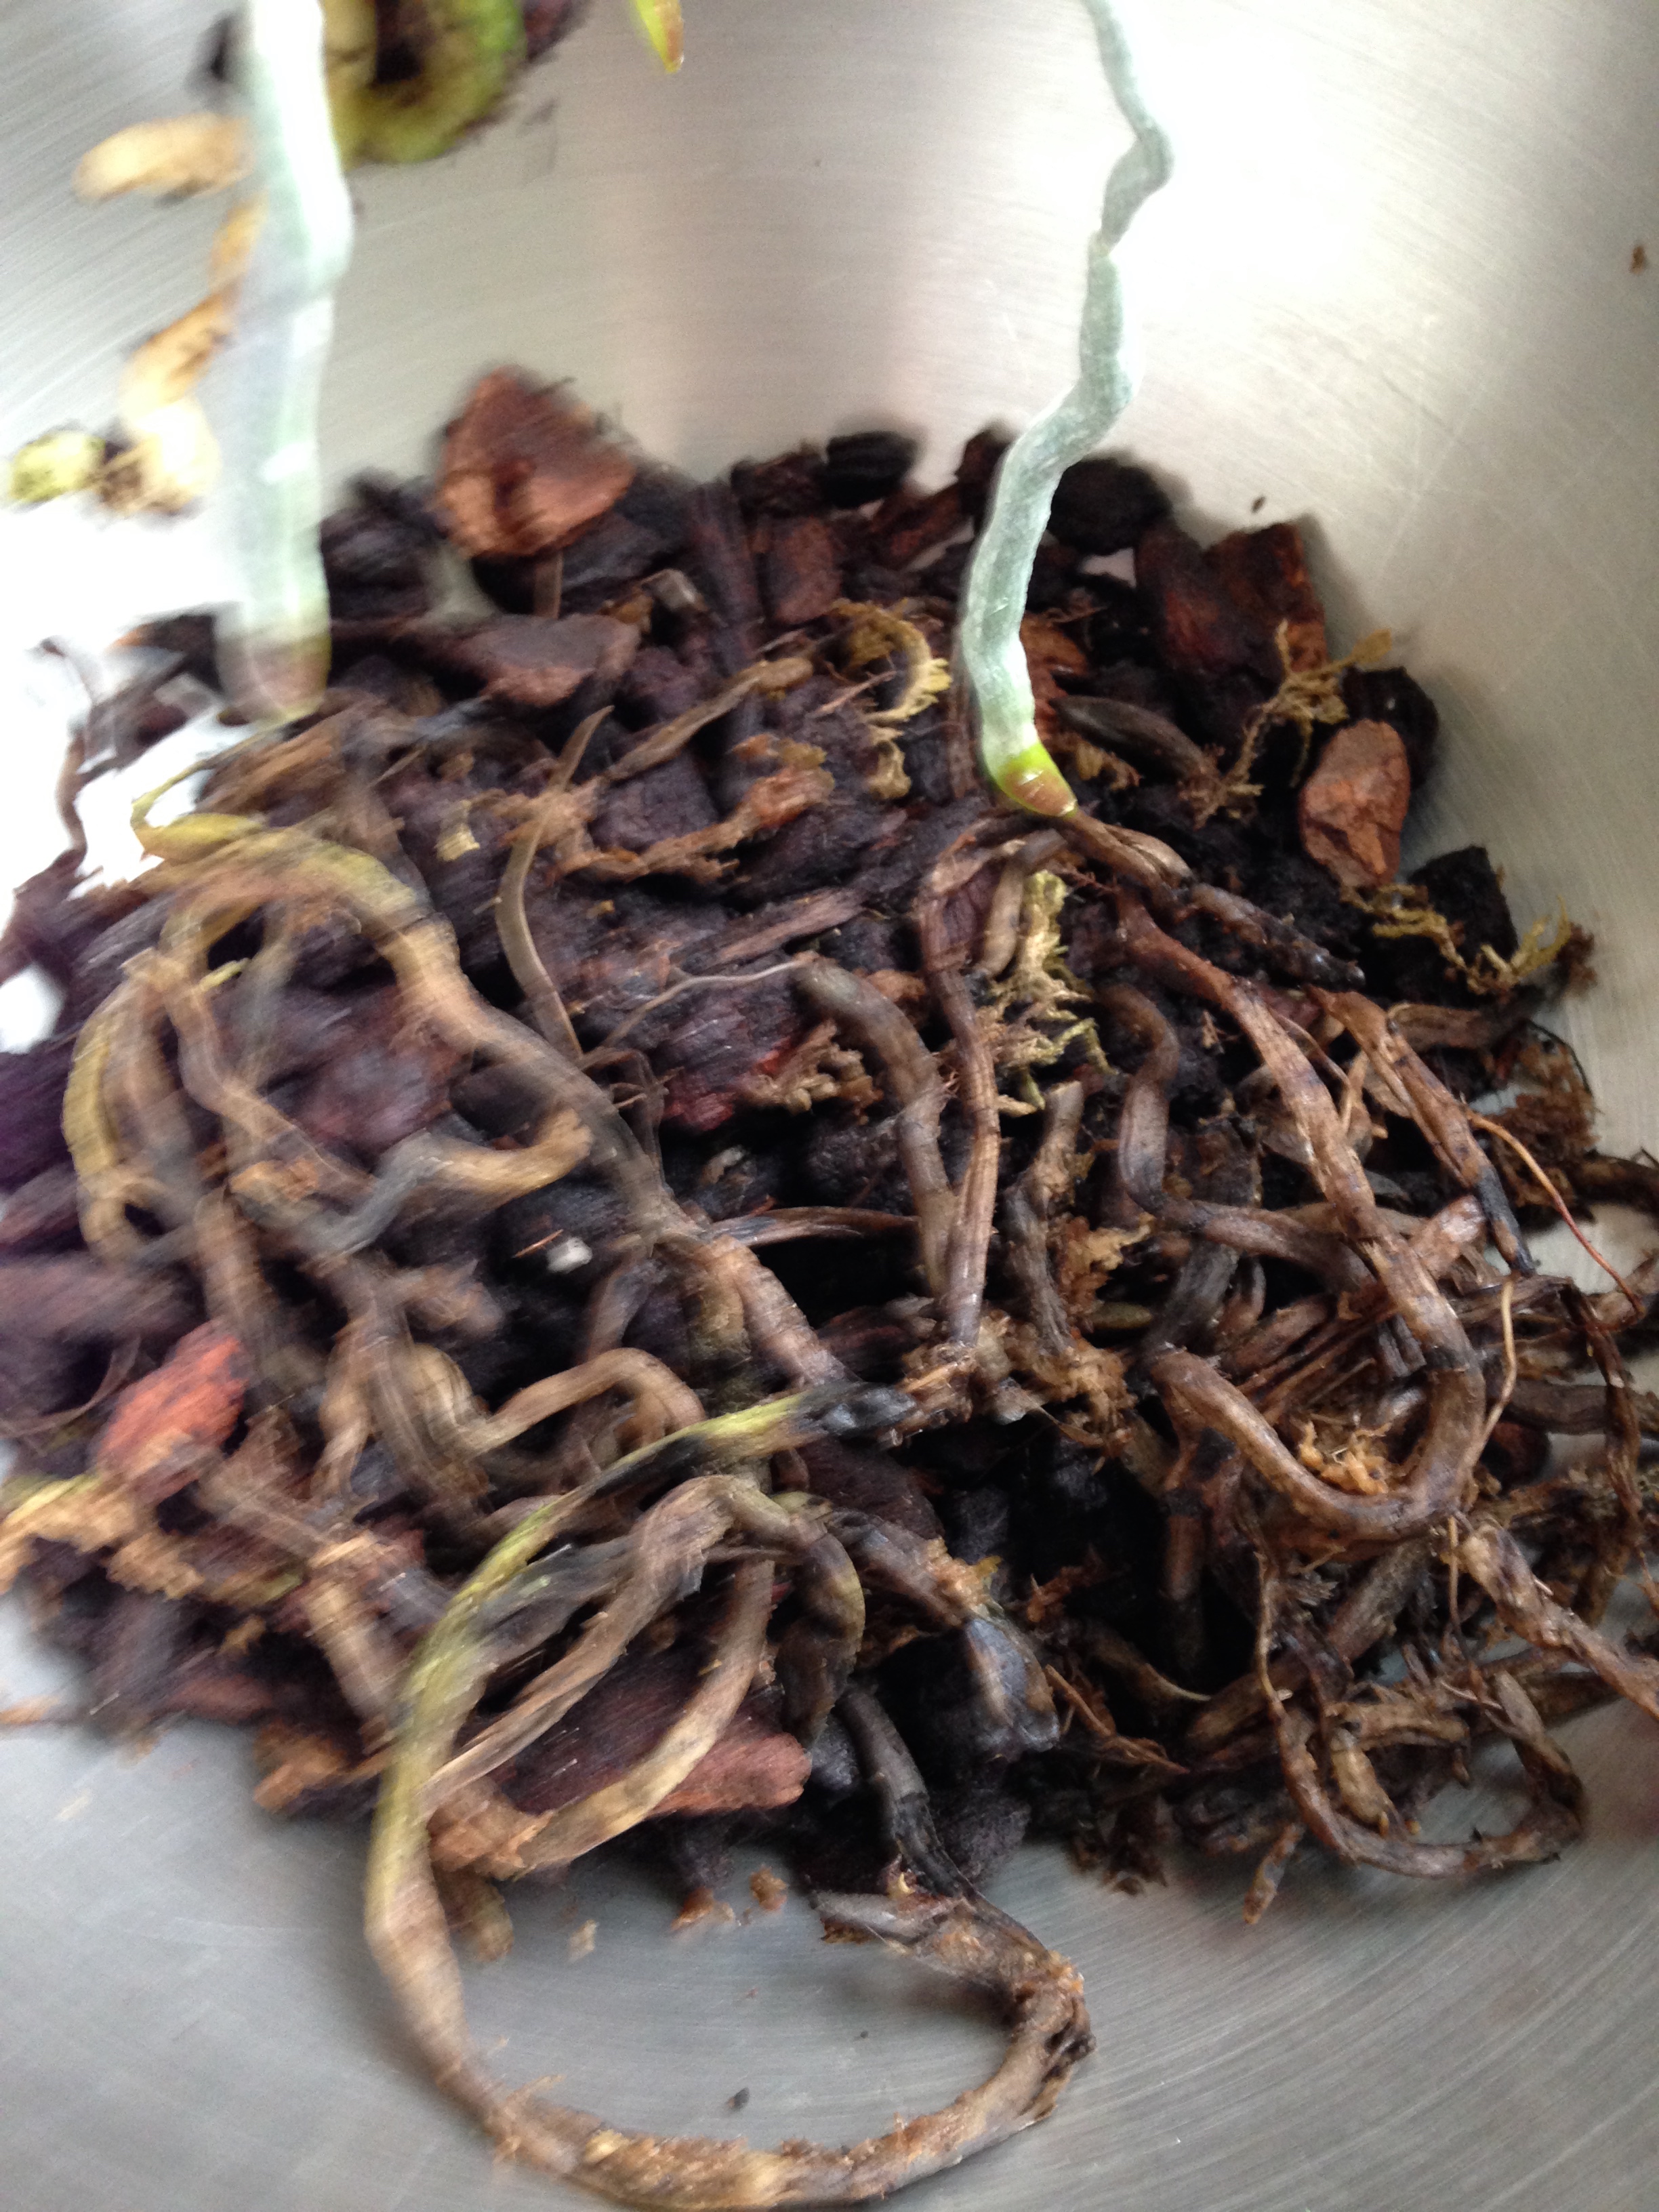
So I opened up the plastic pot that the orchid was in. Let me tell you, once you smell putrid rotting plant guts you will never be the same person again. Urg. The moss that the orchid has been previously planted in had compressed and rotted into a clump of glorpy mess. Luckily I was doing this repotting outside. With my hands (joy of joys), I separated the moss mess from the ruins of the root system. A lot of the vegetation shell of the roots had rotted away in the moss BUT the hair-like root centres remained intact. I had already got out and soaked my bark substrate from my orchid repotting kit. Mixing it with some regular potting soil, I put some on the bottom of the new, bigger orchid pot. Then all that was left was to plunk down the roots, cover them with more bark/soil substrate and top it off with some damp moss. Done. I fertilized it every two weeks on it's weekly water cycle during the summer. It seemed to enjoy not being rotted to death. 

It still going too! After the repotting, it lost two of it's oldest leaves (which I was worried about until I saw the new roots and leaf growing). After that, it kept growing and growing! I haven't seen any sign of it growing flower stems any time soon but that's fine with me. It will eventually!

Gardening experience. Check!

-Andrea

The Half-Assed Hobbyist
The Taming of the Aloe Vera

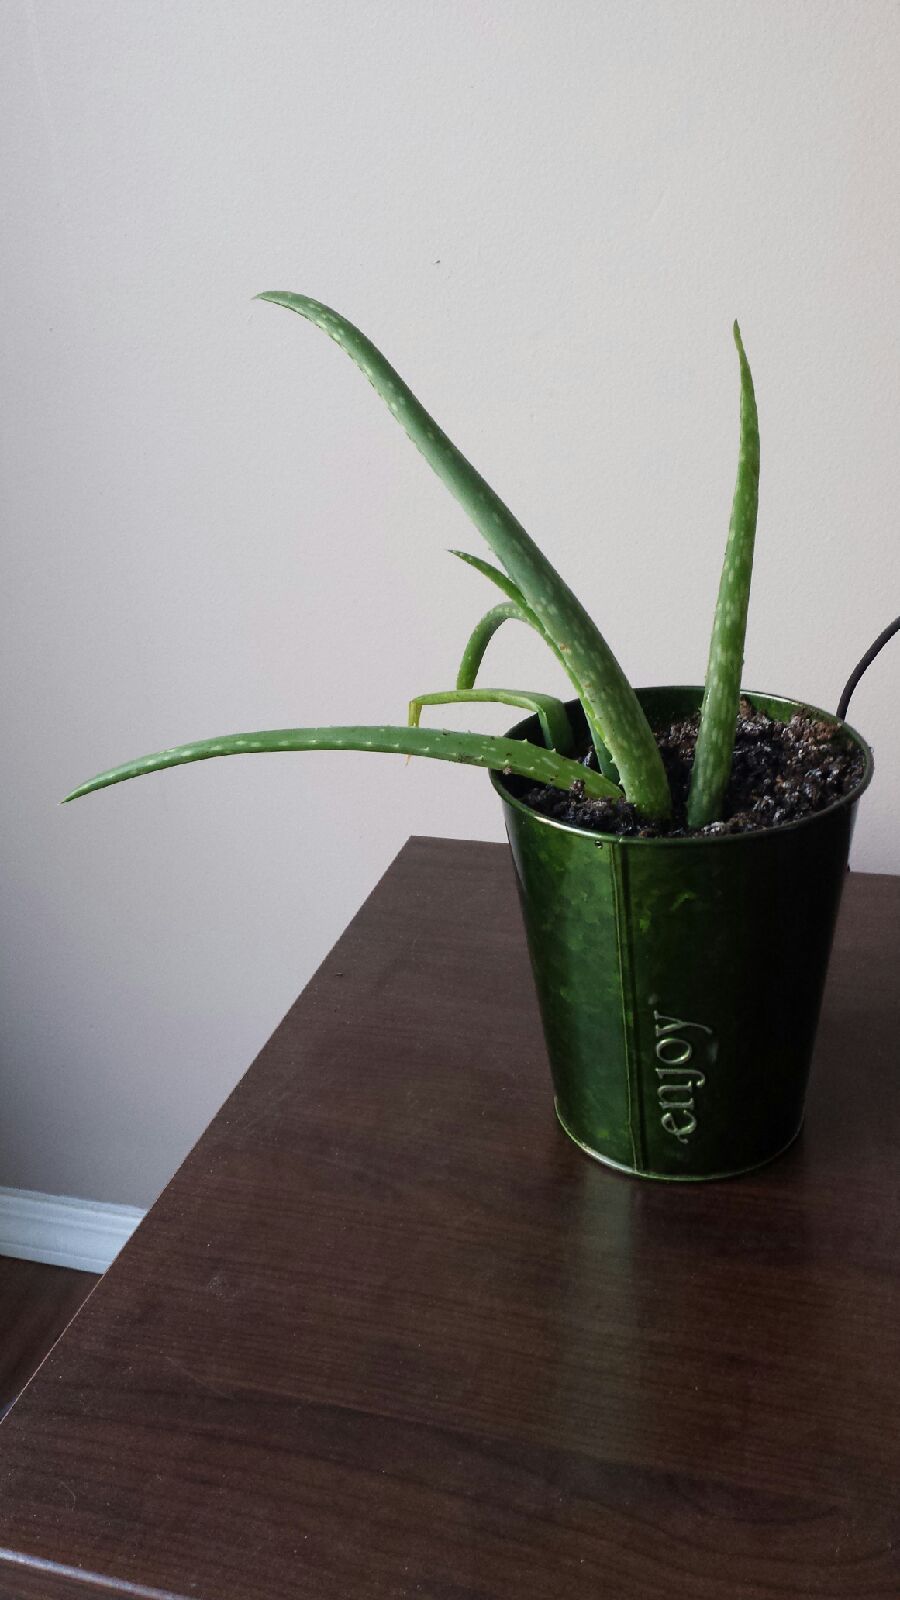
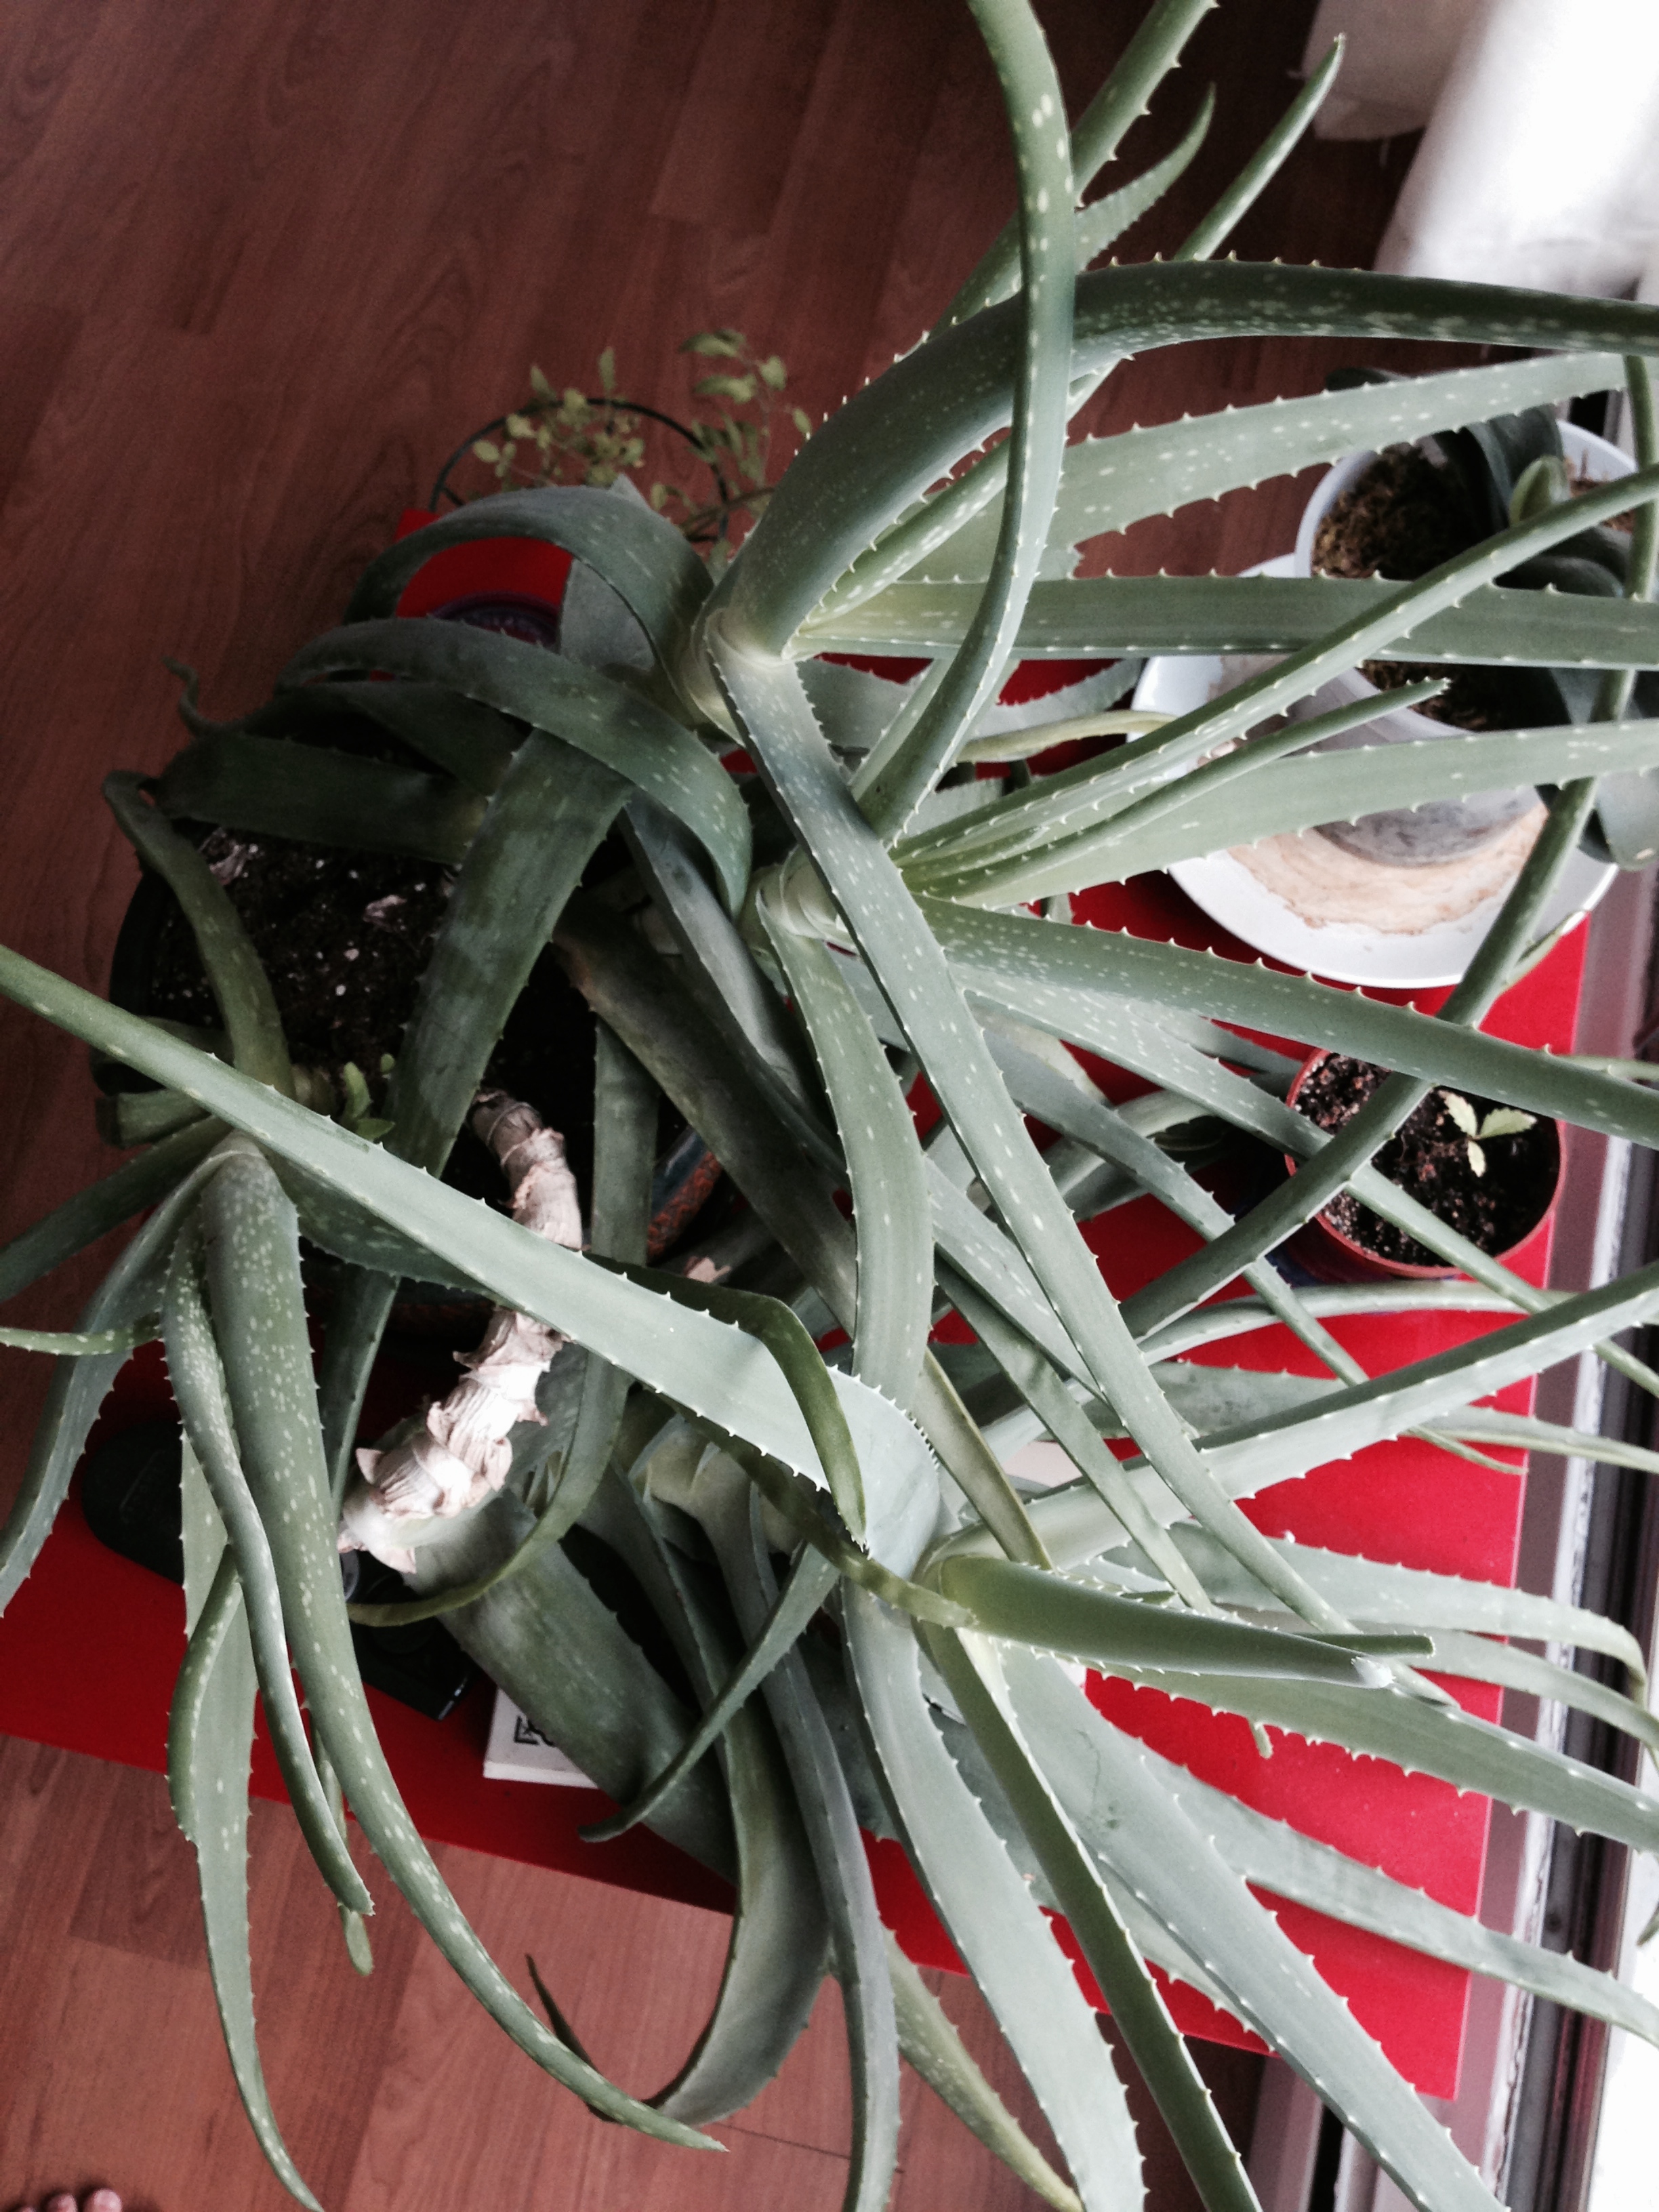
The Aloe Vera is possibly one on my most treasured possessions. When my grandfather moved into an assisted living complex he didn't want the fuss of taking a huge plant with him. So I got it instead.

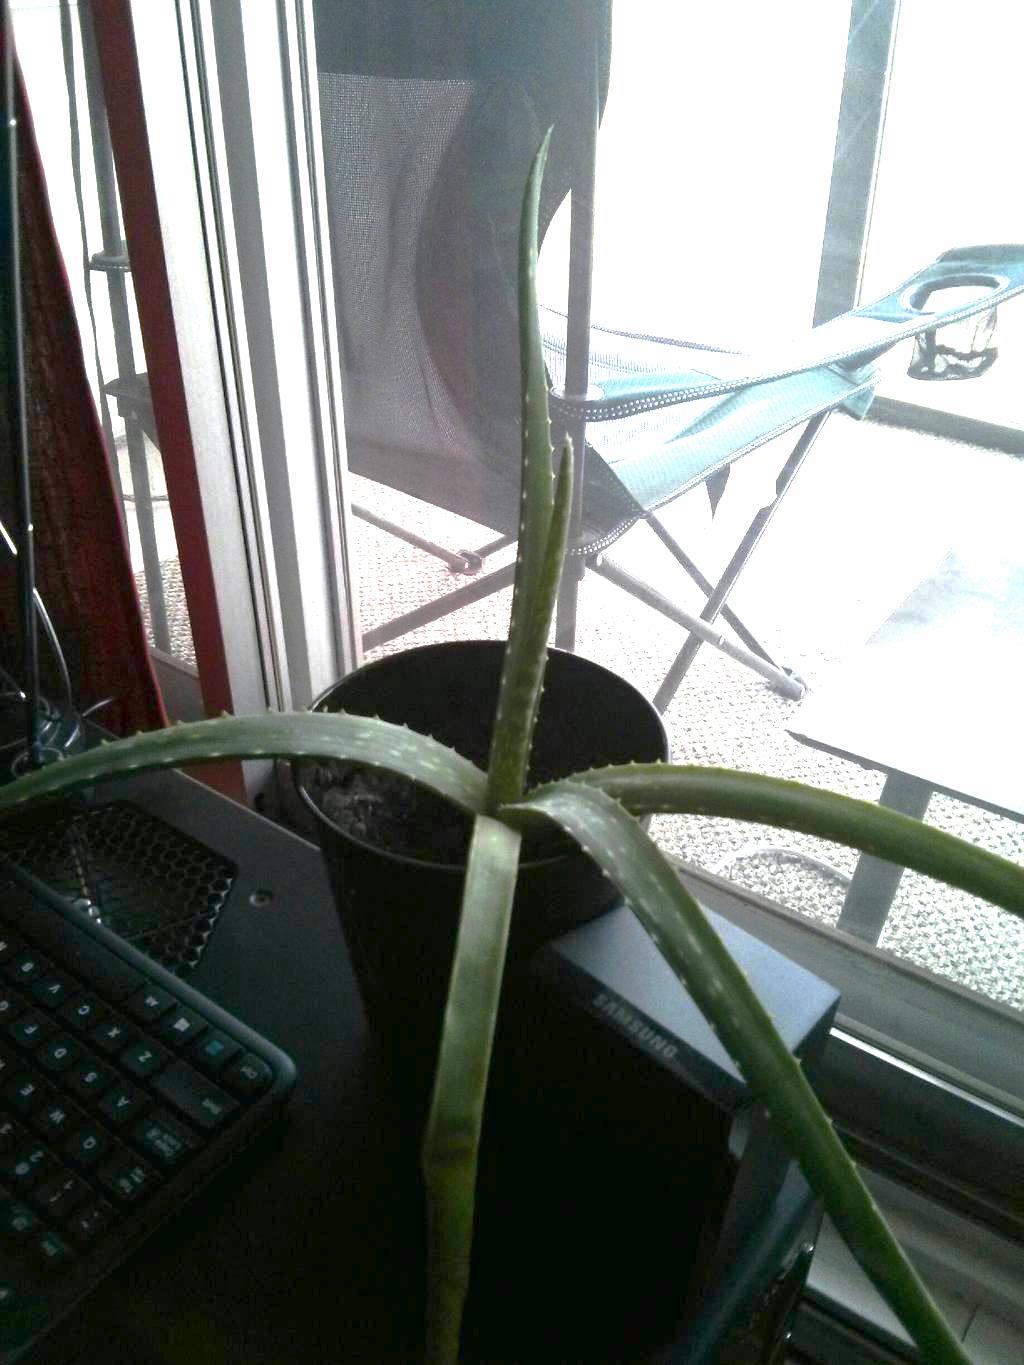
Having this 40-year old family heirloom is surprisingly stressful. The reason being, because it's a living thing, it would be terrible for it to die. And since it has not been repotted since I've been alive, the plant is pretty crowded. Logistically, the only way to repot the plant would be to take a circular saw to the 1970s art deco ceramic pot. The other option, to transplant. I had never transplanted anything before so it was an experience. 

The Mama plant has two original shoots that make up most of the weight of the plant. From these sprouted 5 new growths that have been growing for 2 - 4 years. Since I was worried about transplanting in general, I picked the youngest three plants to be separated from the Mama plant. Logic being, that if they die, the main plant will still be intact, hopefully. So I went an bought three pots, with the help of my cousin Michelle. For the transplant medium, I mixed together half-seedling soil/half-miracle grow soil. (I'm still not sure what kind of soil the plant likes best, but it sprouted all those new babies after I topped the original pot up with seedling soil.) 

Then the hard part. Because the Mama plant is so totally root bound in that 1970s pot, I had to excavate the root system to get the baby plant roots loose enough to come out.  Lucky for me, with a lot of wiggling and poking with a teaspoon, tweedle dee and tweedle dum came out easy-peasy. They were both attached to the main plant by a soft base, which easily broke off, and they had short roots that hadn't had time to riggle into the knot of roots bound in the pot. Number One, however, was the oldest of the three plants and had very tangled roots. The base had also hardened so it was strong and woody and hard to move. With a lot of pulling however, I got it out with most of the roots intact.

So, all divided up, I got three little Aloe Veras and the Mama plant. Both my lady cousins got one, and our plant-friend Jon got one too. I couple months later I asked for pictures of the baby Aloe Veras. They seemed to be growing but the outer leaves on all the plants were browning. I'm thinking probably because the root system they had was too small to sustain the plant. But they will grow!

Also, not to disappoint the name, the Mama plant has been back at it, making two new sprouts for me to deal with later in their lives.  Sigh. 

 -Andrea

The Half-Assed Hobbyist