The Orchid Continues

As I attempt to not die from whatever lung disease I caught over the holidays, I have had one amazing delight that's helped me through the phelgm-iest illness parts: My orchid is blooming! 

The very same orchid from this post in 2013. I told myself even then that it would bloom eventually, and it did. 

So happy! 

It's been three years since I rescued it from it's near death experience and it seems to finally be happy enough to bloom.

Now for my lungs to get happy... and to get back to posting! <3

-Andrea

The Half-Assed Hobbyist

Plantlings to Ploddlers to Tiny Tomatoes

The gardening season is coming to a close. Within the next couple weeks my tomato babies will be grandparents, nearing the end of their time living on my balcony.

(I was warned that it was a bad idea to personify my plants... It's just So Sad.)

As fall approaches and canning season is in full fervour,  I find my little plant babies grumbling about the cold and fussing about too much rain. It reminds me of the beginning though. Time has just Flown by. 

Overall, Mission: Urban Garden on the Balcony has been a success! My petunias Exploded. My basil and mint grew too big for their containers so I had to cut them back. And my tomatoes bounced back from having blight earlier in June and I got a delightful crop of tomatoes (which I have to admit to eating most of myself....). And lastly, my poor clamatis, which I thought was deadened from an early summer planter flood, bloomed! I'm super pleased with the results. 

Of course this just means that next year there will be even grander plans that I'll attempt to half-ass. It just worked out so well this time round! Maybe next year it'll work out even better. 

To Optimism. To Gardening. To next year not eating all my tomatoes and making garlic tomato and roasted red pepper jam!

-Andrea

The Half-Assed Hobbyist


Seedling Update!

Quicky Update!!

My baby plants are growing up! I've thinned out the scraggly seedlings (poor little guys... it was hard to do!) and transferred the heartier guys to some new tubs where they will hopefully grow some stronger roots. 

It's exciting to see plants grow from teeny tiny dots of matter into lovely bright green splendour. Now to wait for flowers and fruit! Fingers crossed for warmer weather! 

-Andrea

The Half-Assed Hobbyist

Orchid Roots look like an Ood's Moustache

Well someone had to say it. 

I recently repotted my orchid (for the second time) and, frankly, the roots look like an Ood's moustache. (Doctor Who Reference. Check). That being said, I hope that Ood's actual moustaches are made of much more hardy stuff.

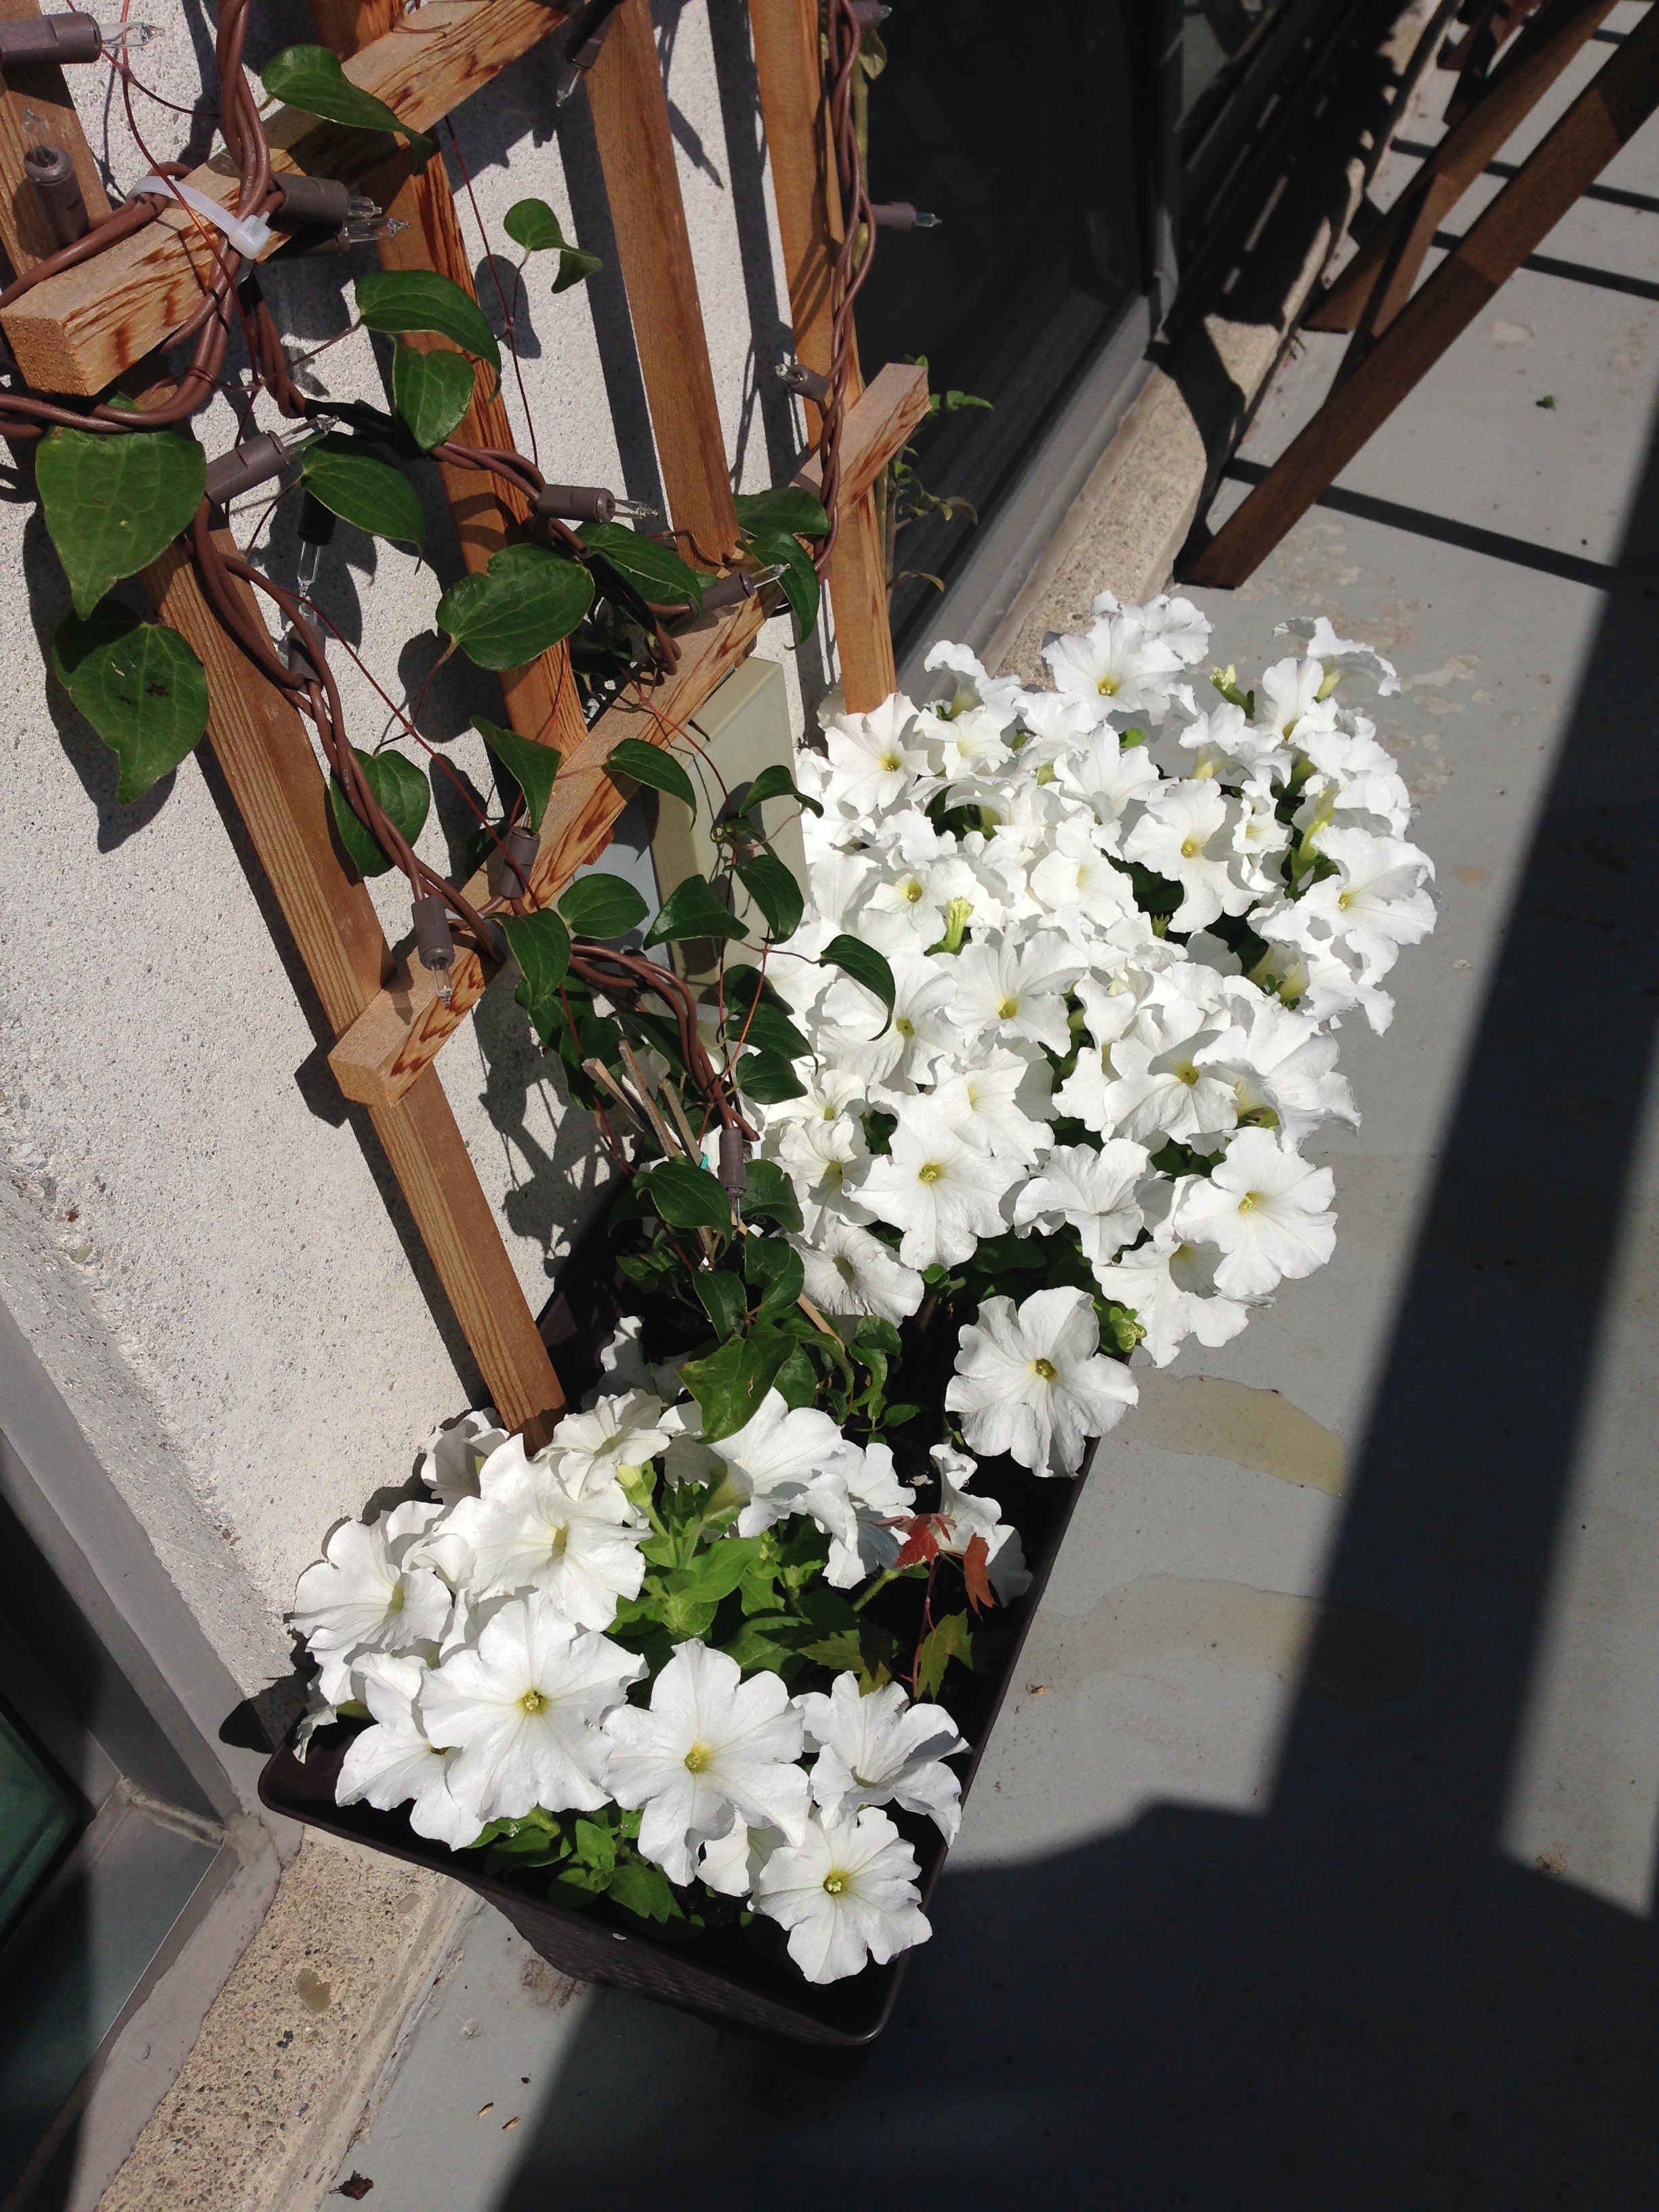
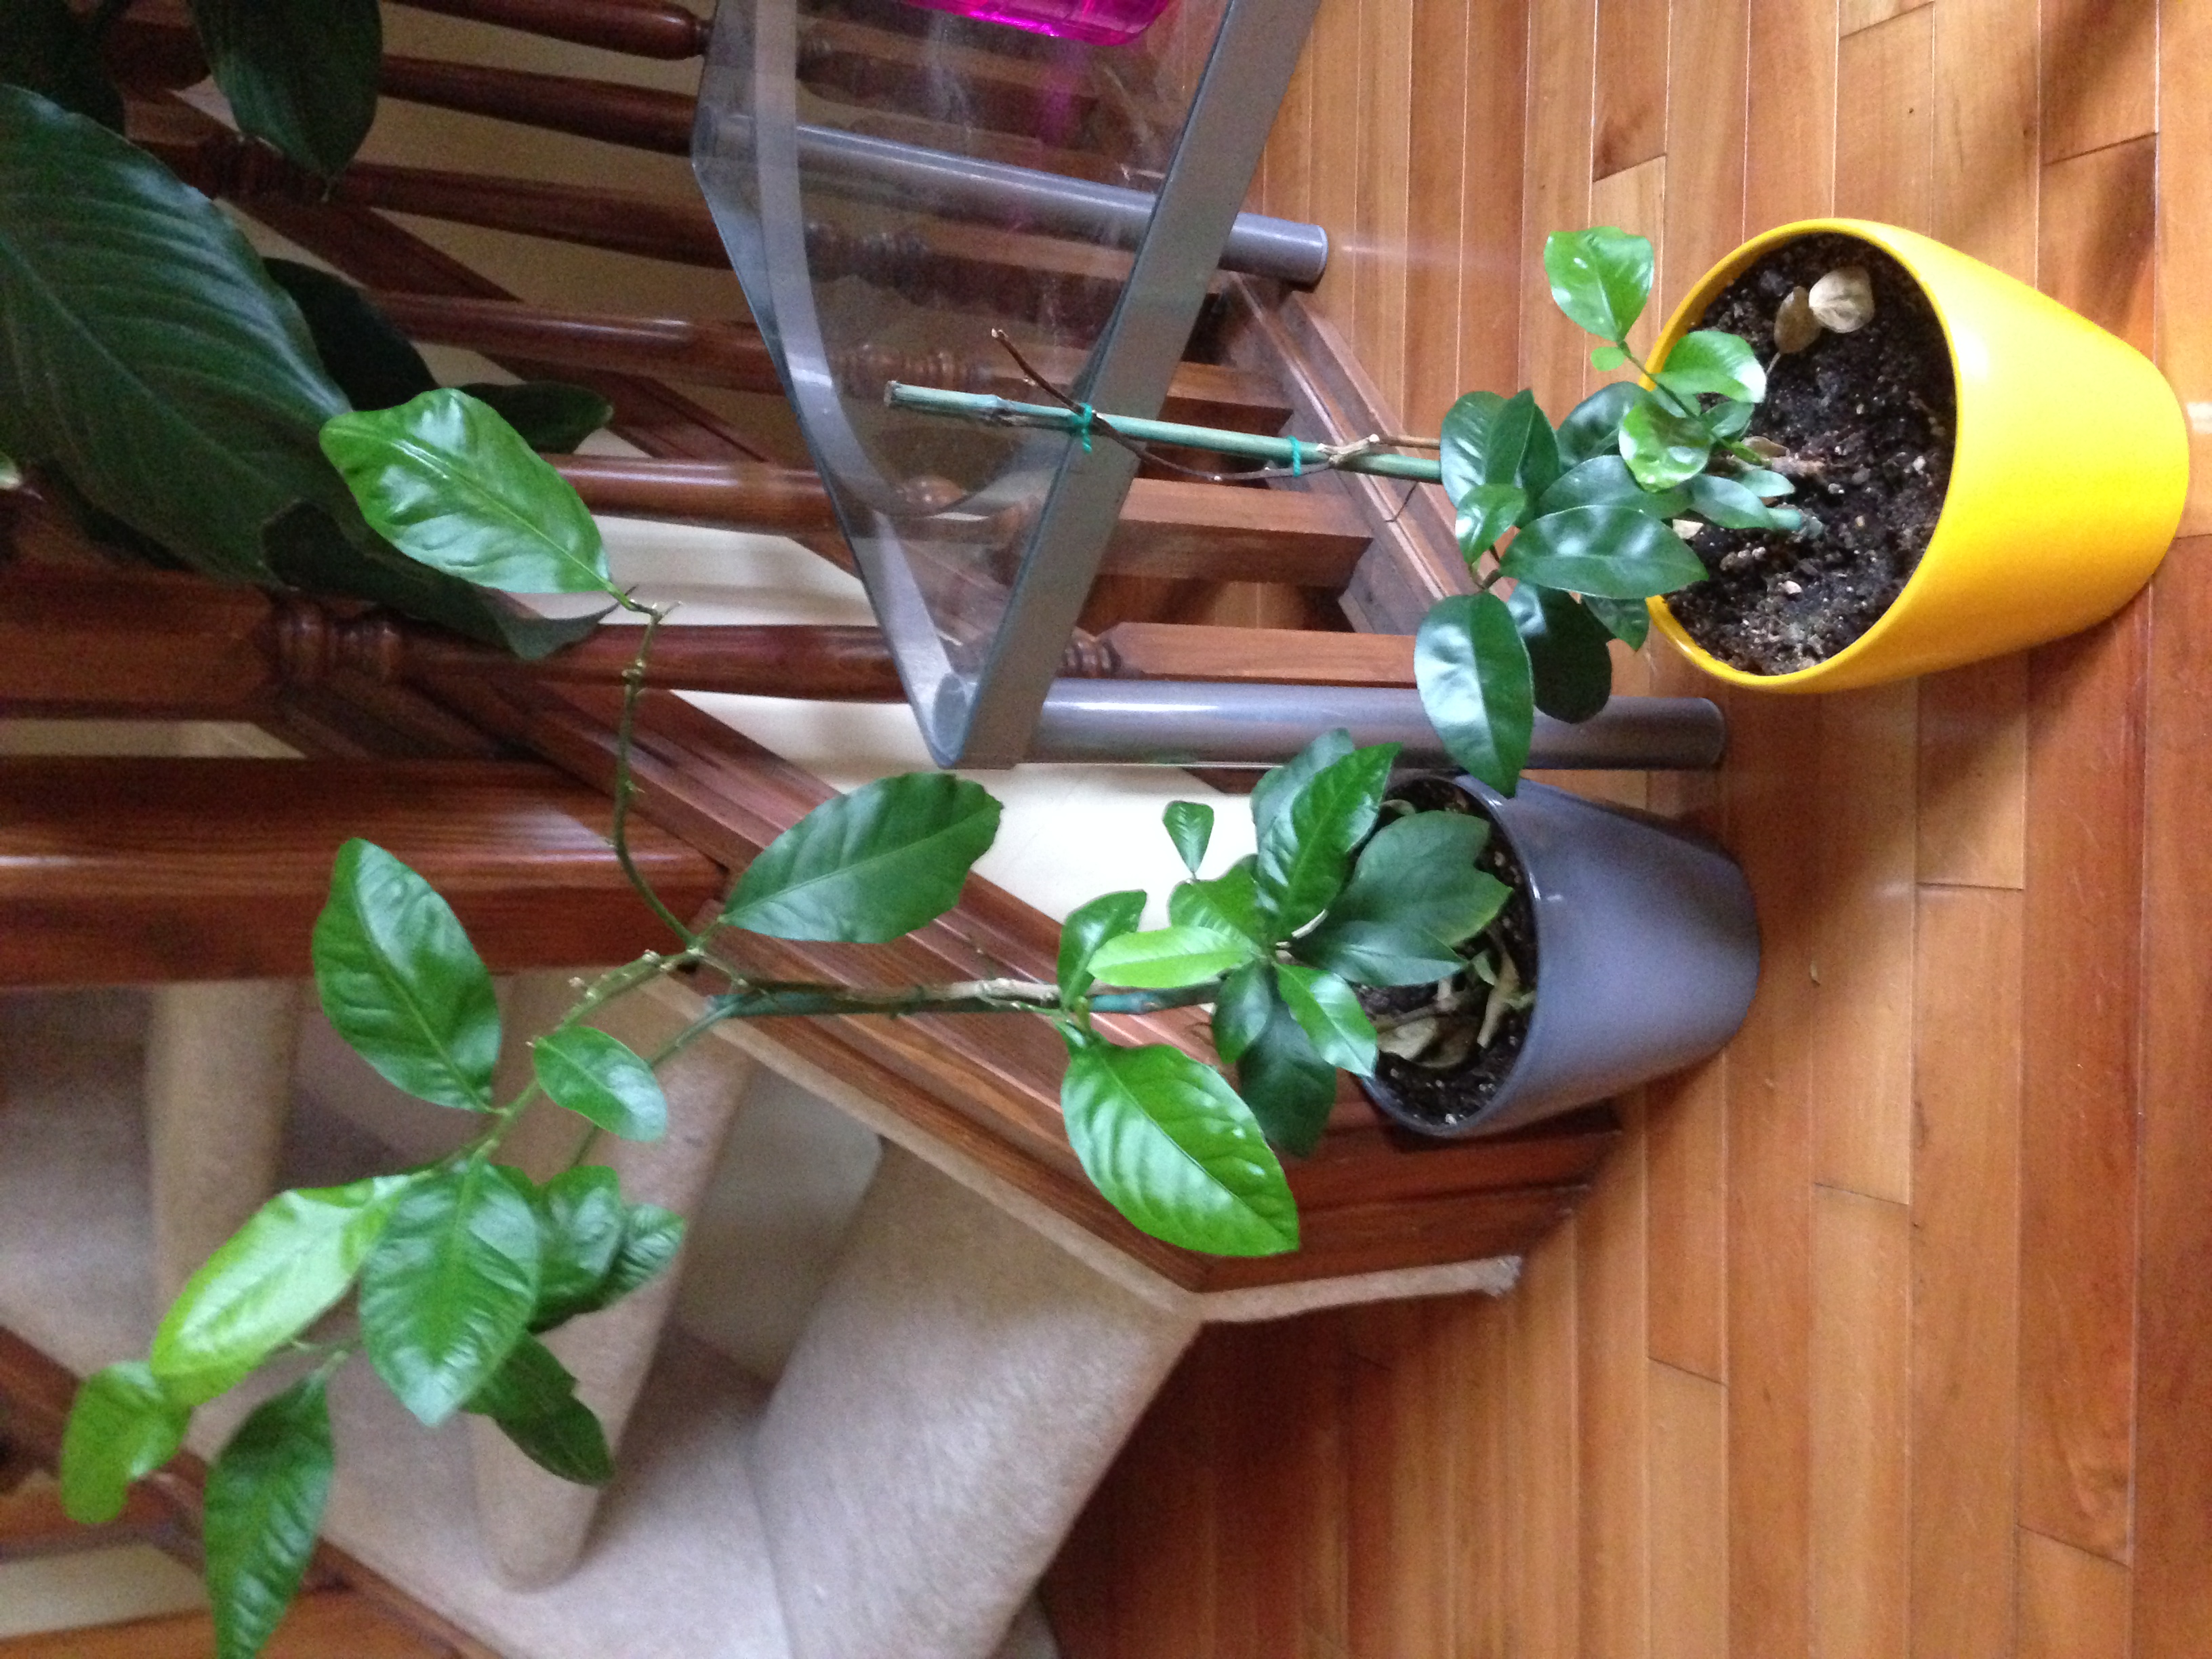
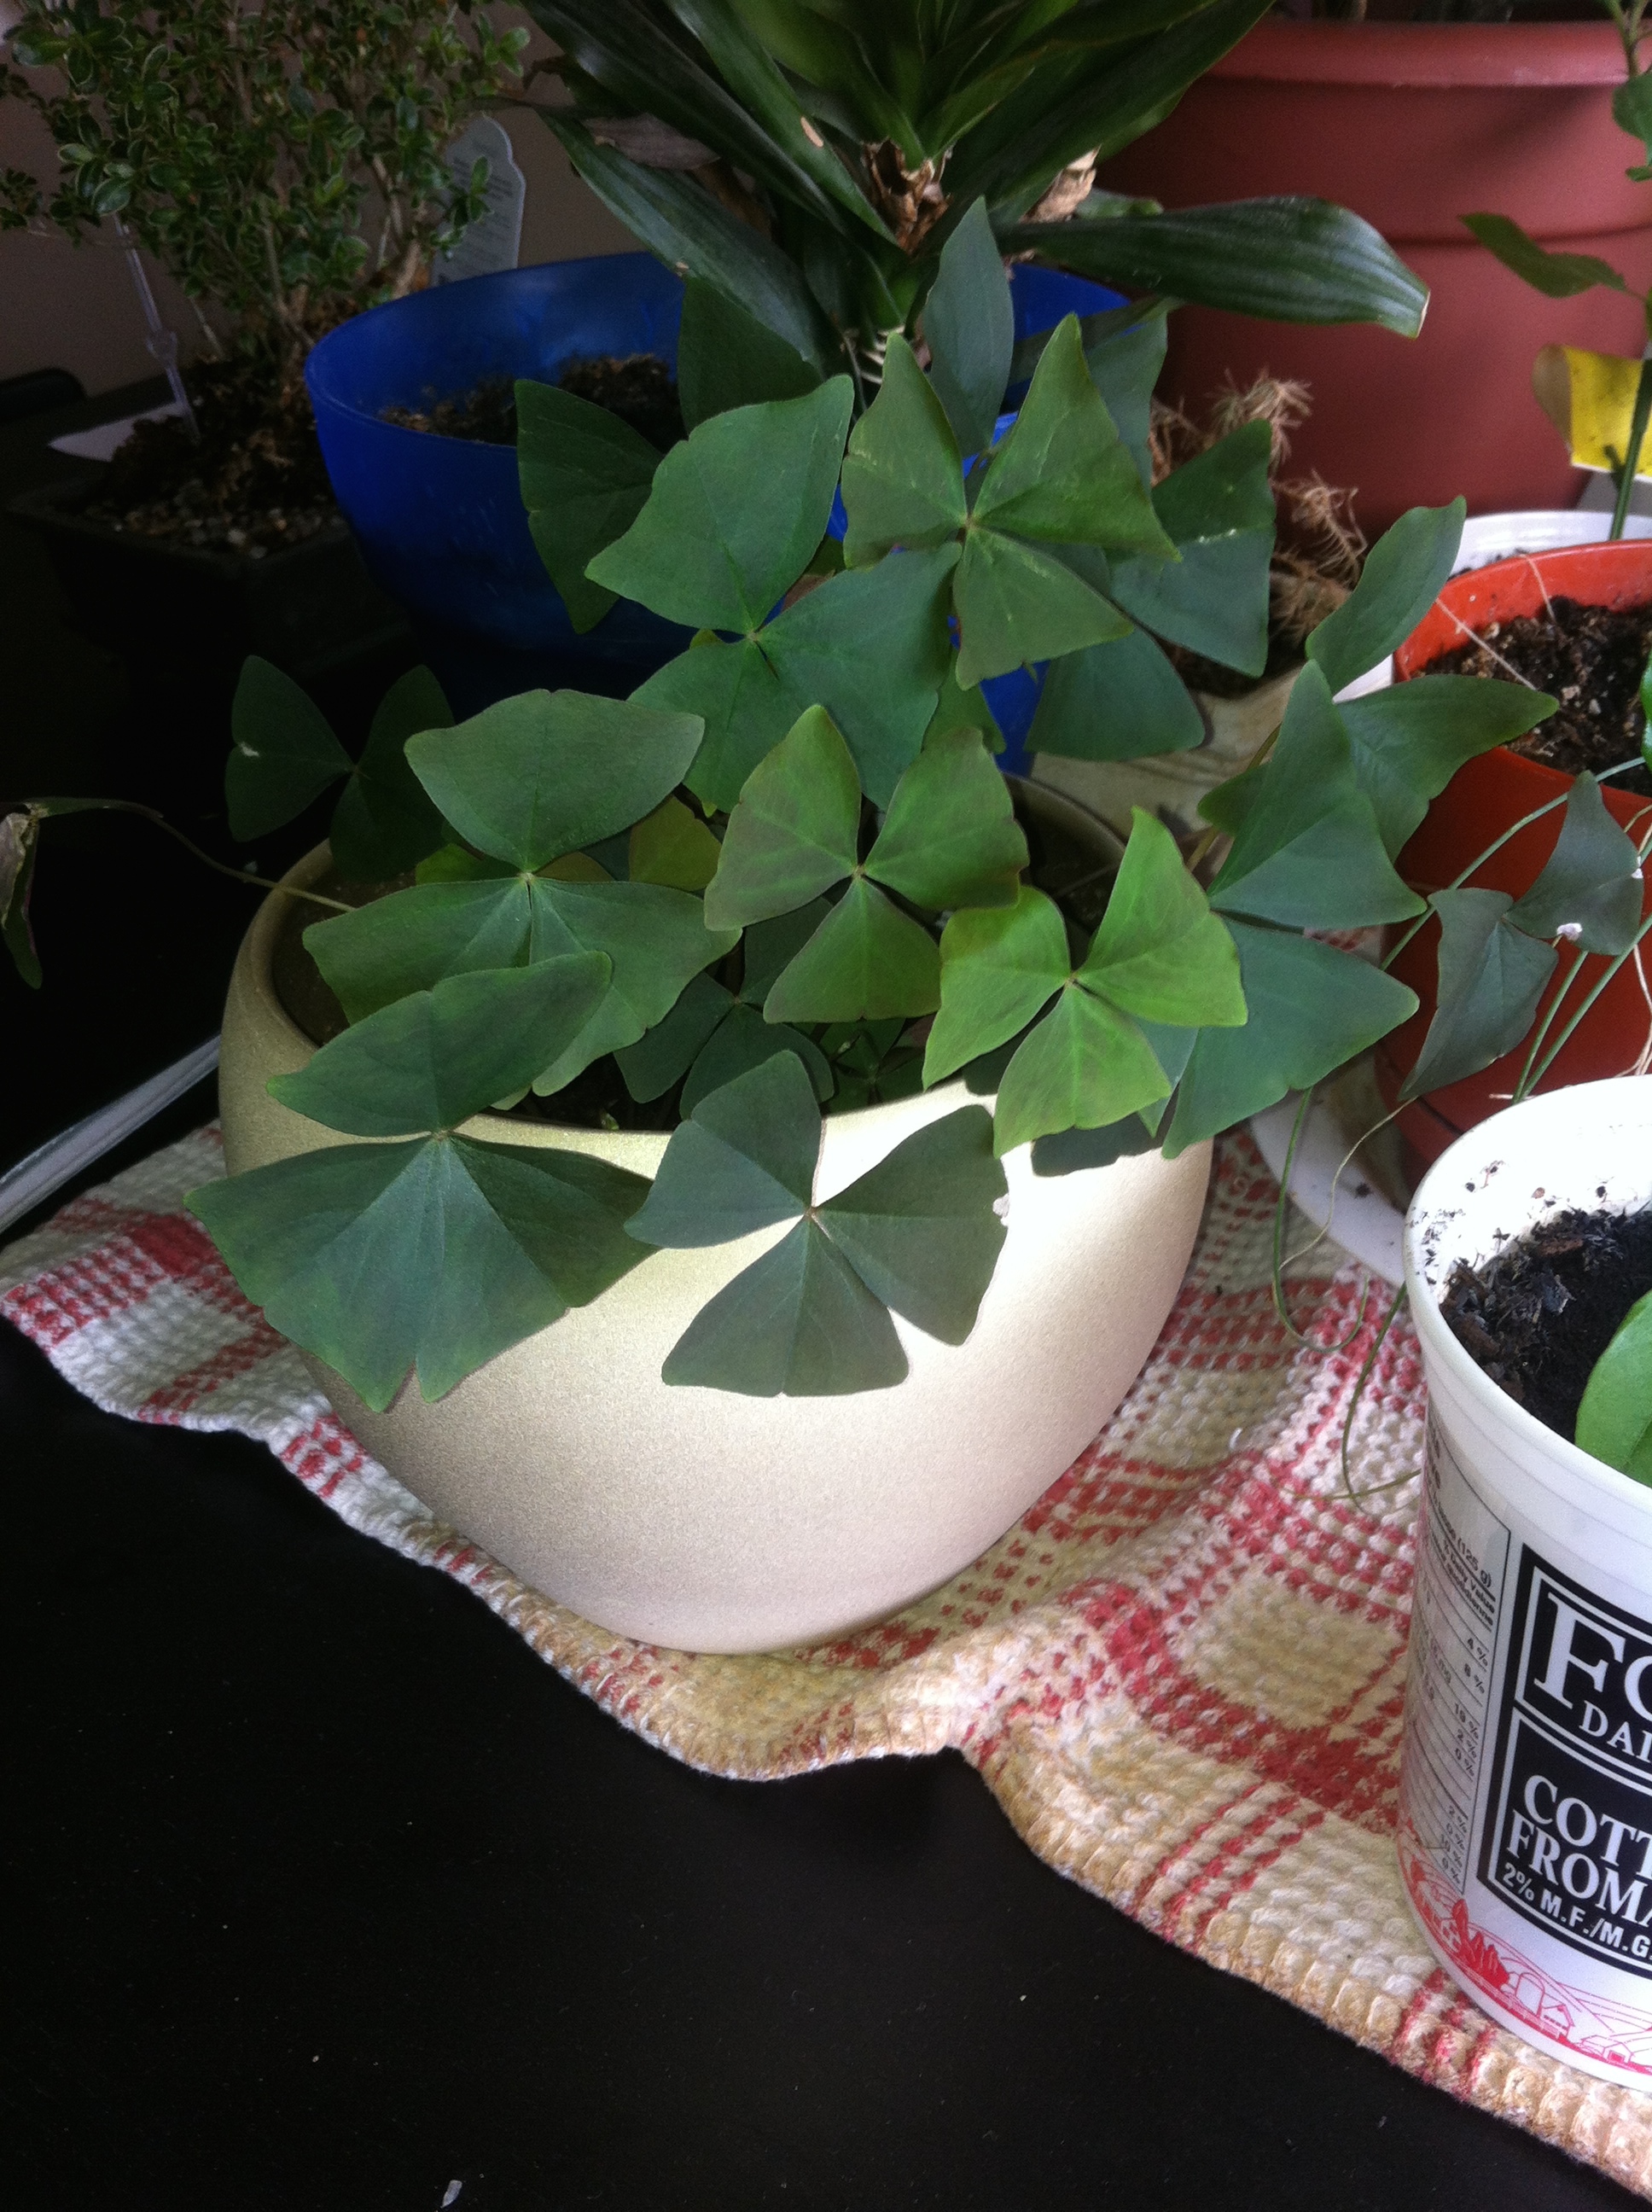
I haven't been gardening for a while.... Mostly because of the move (and also that I only brought 2 of my previously numerous house plant collection with me to ON). My other plant babies are doing well though! =D The African violet had bloomed twice! The orange and lemon plant are flourishing. The banana plant is growing like a tree. The vine is trailing like crazy. And the shamrock, that for the life of me I could not consistently keep, is growing like wildfire in the care of Aaron. I am very pleased and grateful to all my plant caring friends. <3
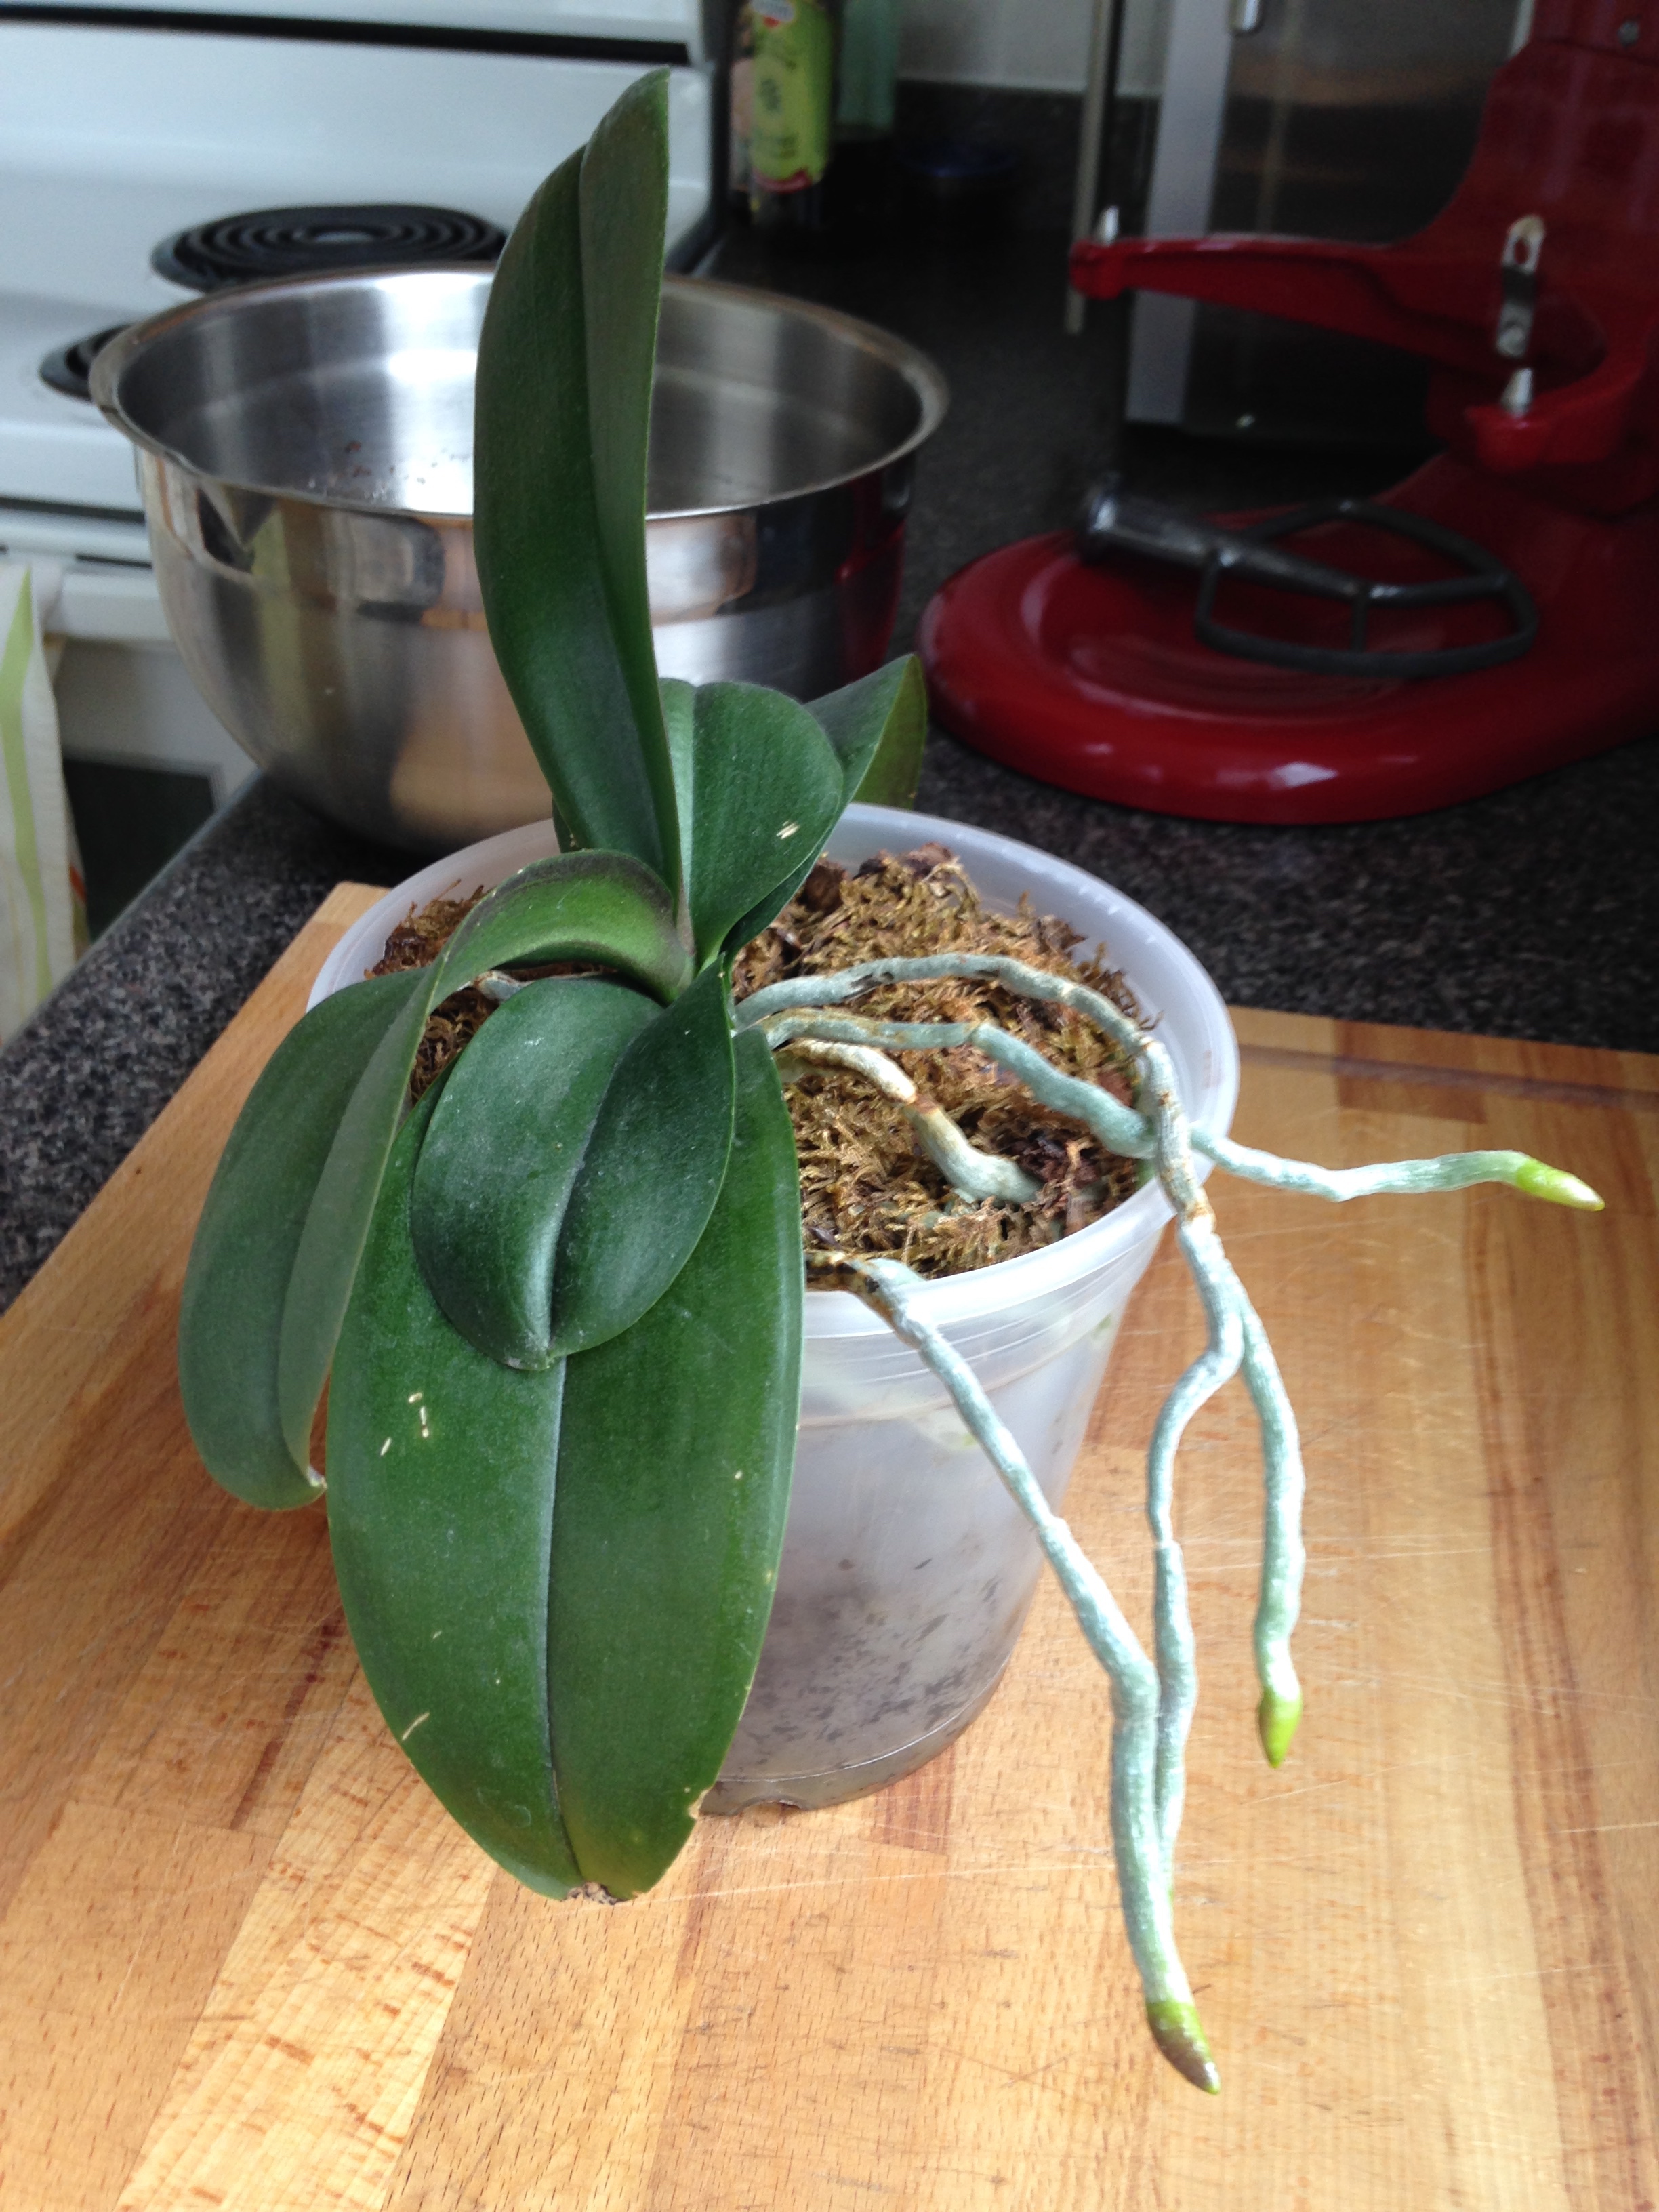
But yes. Orchid. 

Repotting orchids is a very easy but delicate task. As long as you've got the right substrate (bark and what-not) and the right sized pot (not too big and not too small!) the rest is easy. As there are many different kinds of orchids it's best to research the one that you have before adventuring to repot it. Some prefer bark, some prefer soil, and some prefer just moss. If you have no idea what kind of orchid you have (like me!) then it may be best to buy a mix of bark and soil (usually a generic orchid substrate). 

STEP 1 - Gathering the Materials
The first thing you'll want to do is buy your repotting necessities. Mainly, a suitably sized plastic pot with large drainage holes, or orchid pot. Usually you can buy these types of pots right besides the orchid substrates at your local garden shop or flower store, which you'll need to purchase too.

STEP 2 - Soaking the bark
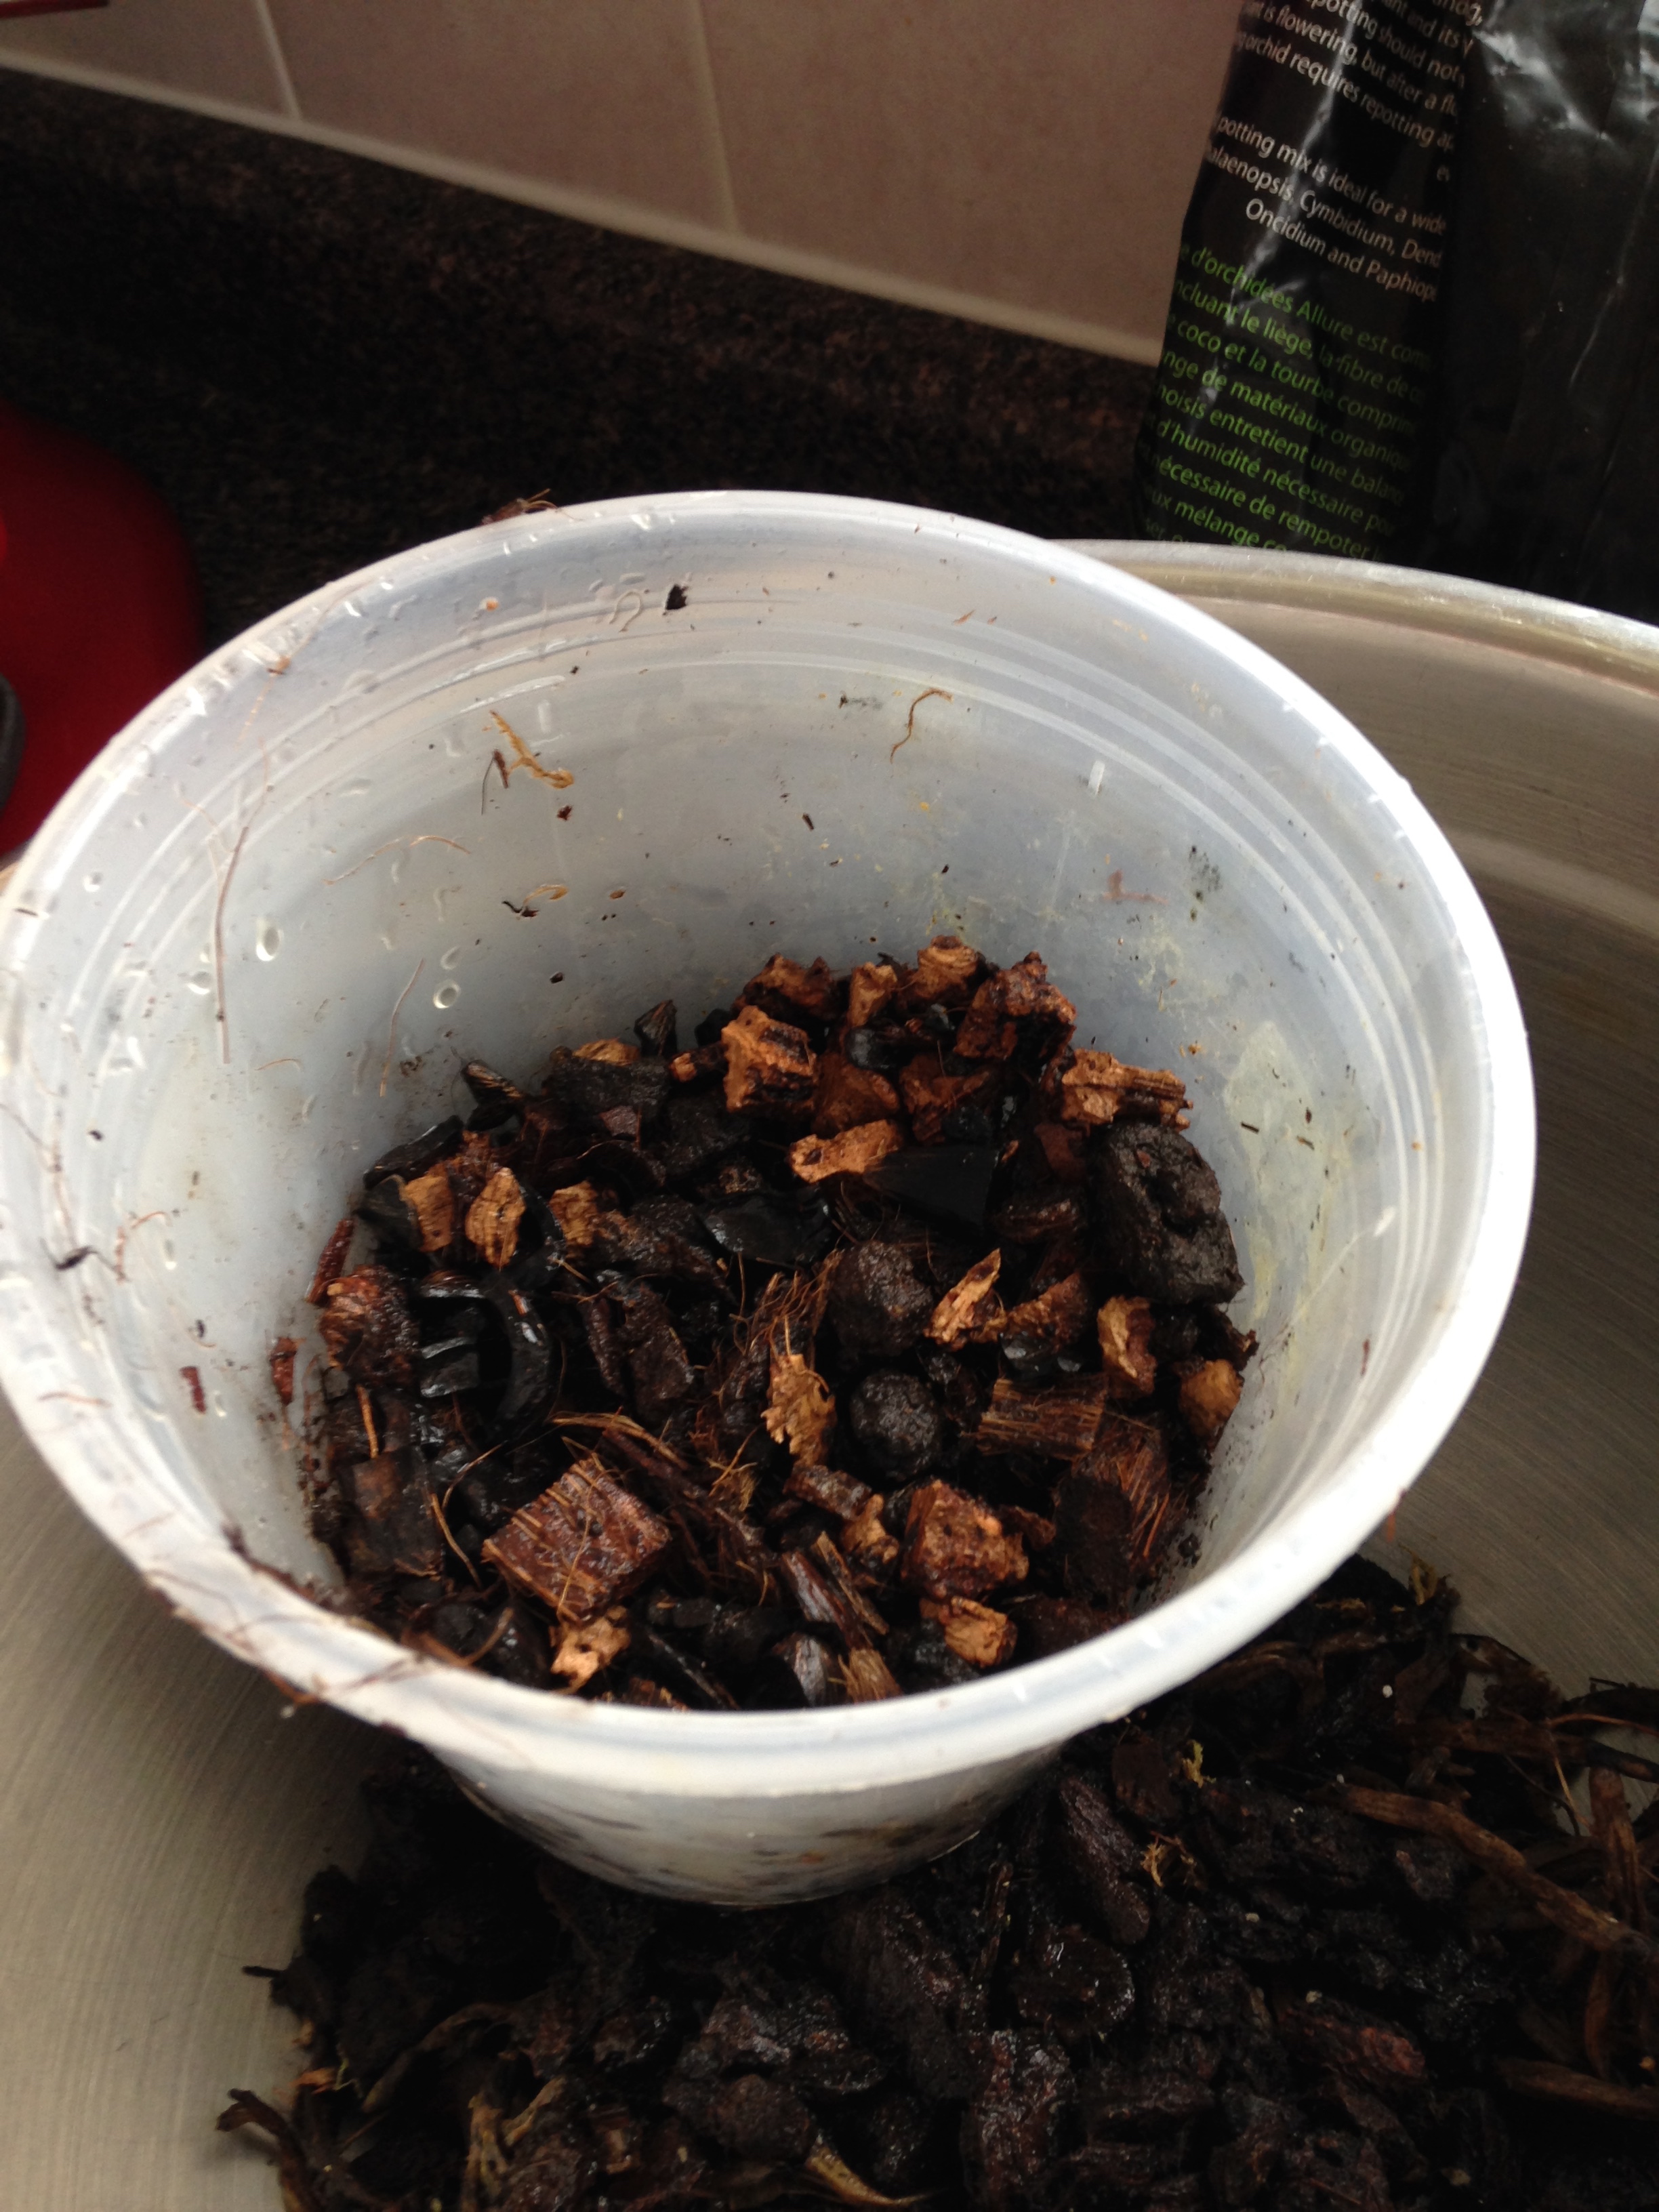
Now that you've got all your materials, the bark needs soaking. Measure out enough substrate into your orchid pot to go almost to the brim. Empty the measured substrate into a large bowl and fill it with just enough water to cover the bark. Use a plate to hold the floating bark under the water. Plastic wrap the top of the bowl and let the bark soak for 24 to 48 hours. Check the water level periodically and refill to cover the bark it necessary.

STEP 3 - Unpotting
After the bark has been soaked it's time to get this repotting started.

  1. First, it you don't have an outdoor space to do this, cover your space in newsprint, or do the remaining steps over a very large bowl.
  2. In your new orchid pot, fill it about 1/2 to 2/3rds full of the new pre-soaked substrate.
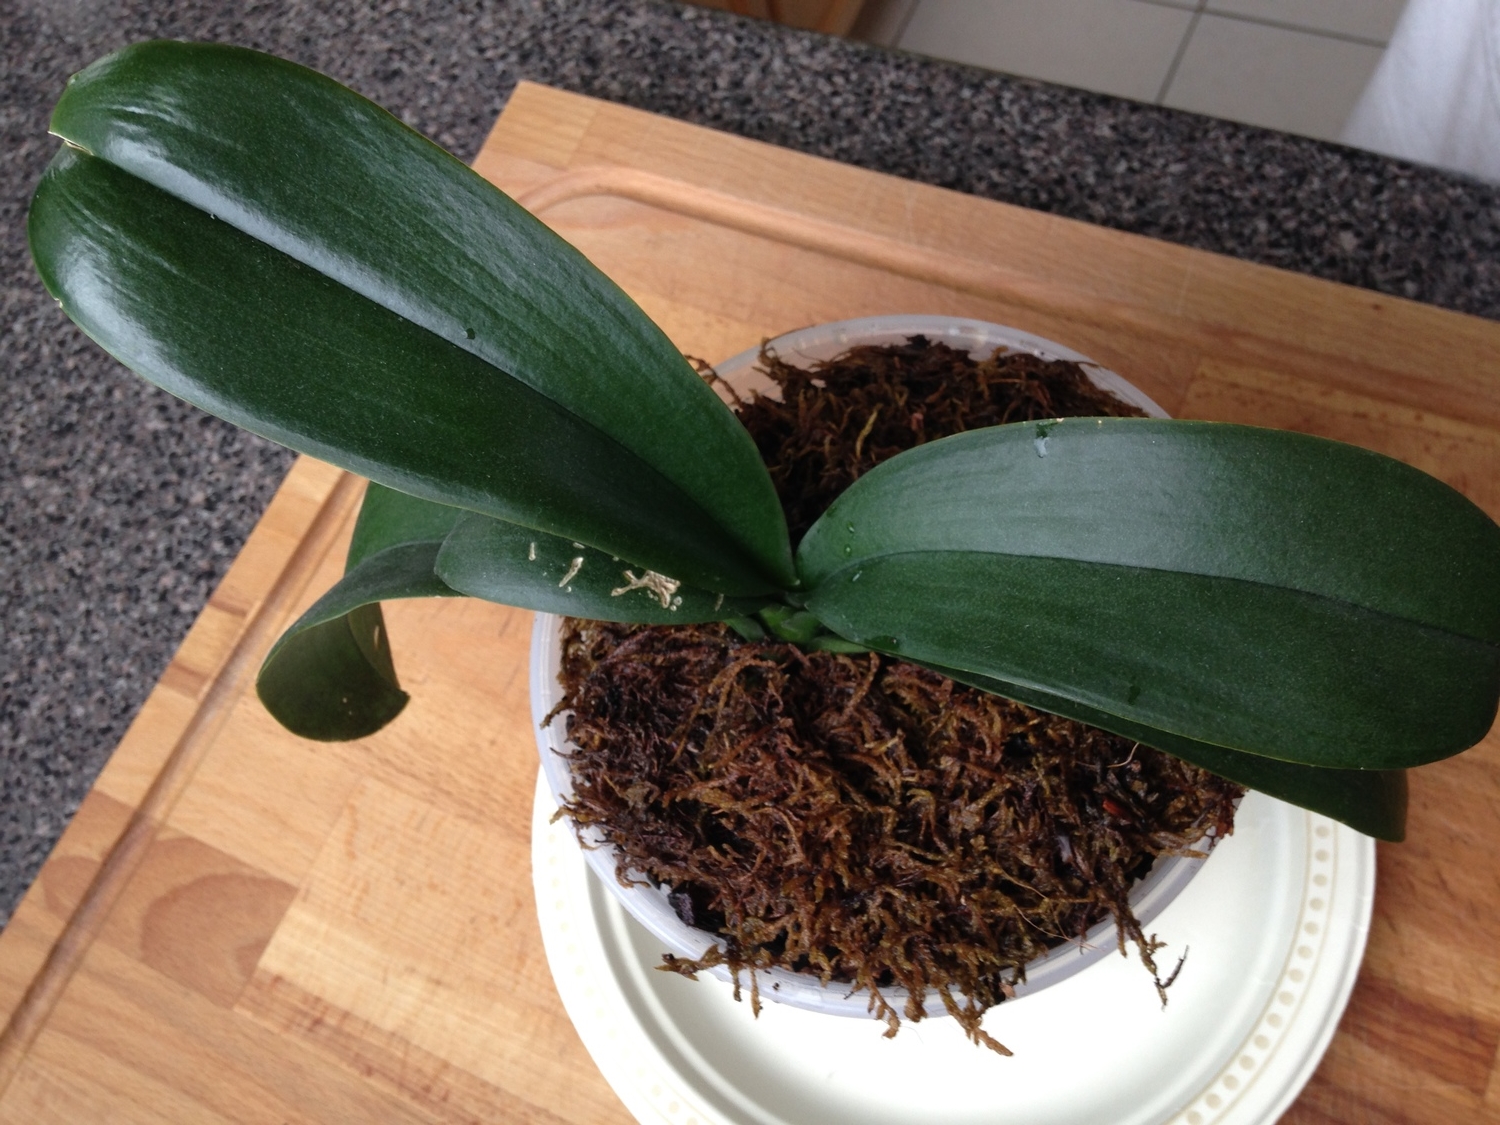
  3. Back to your orchid. Remove any moss surrounding your orchid from the top of the old substrate (you can still reuse this!). Set aside (I put it to soak in another bowl). 
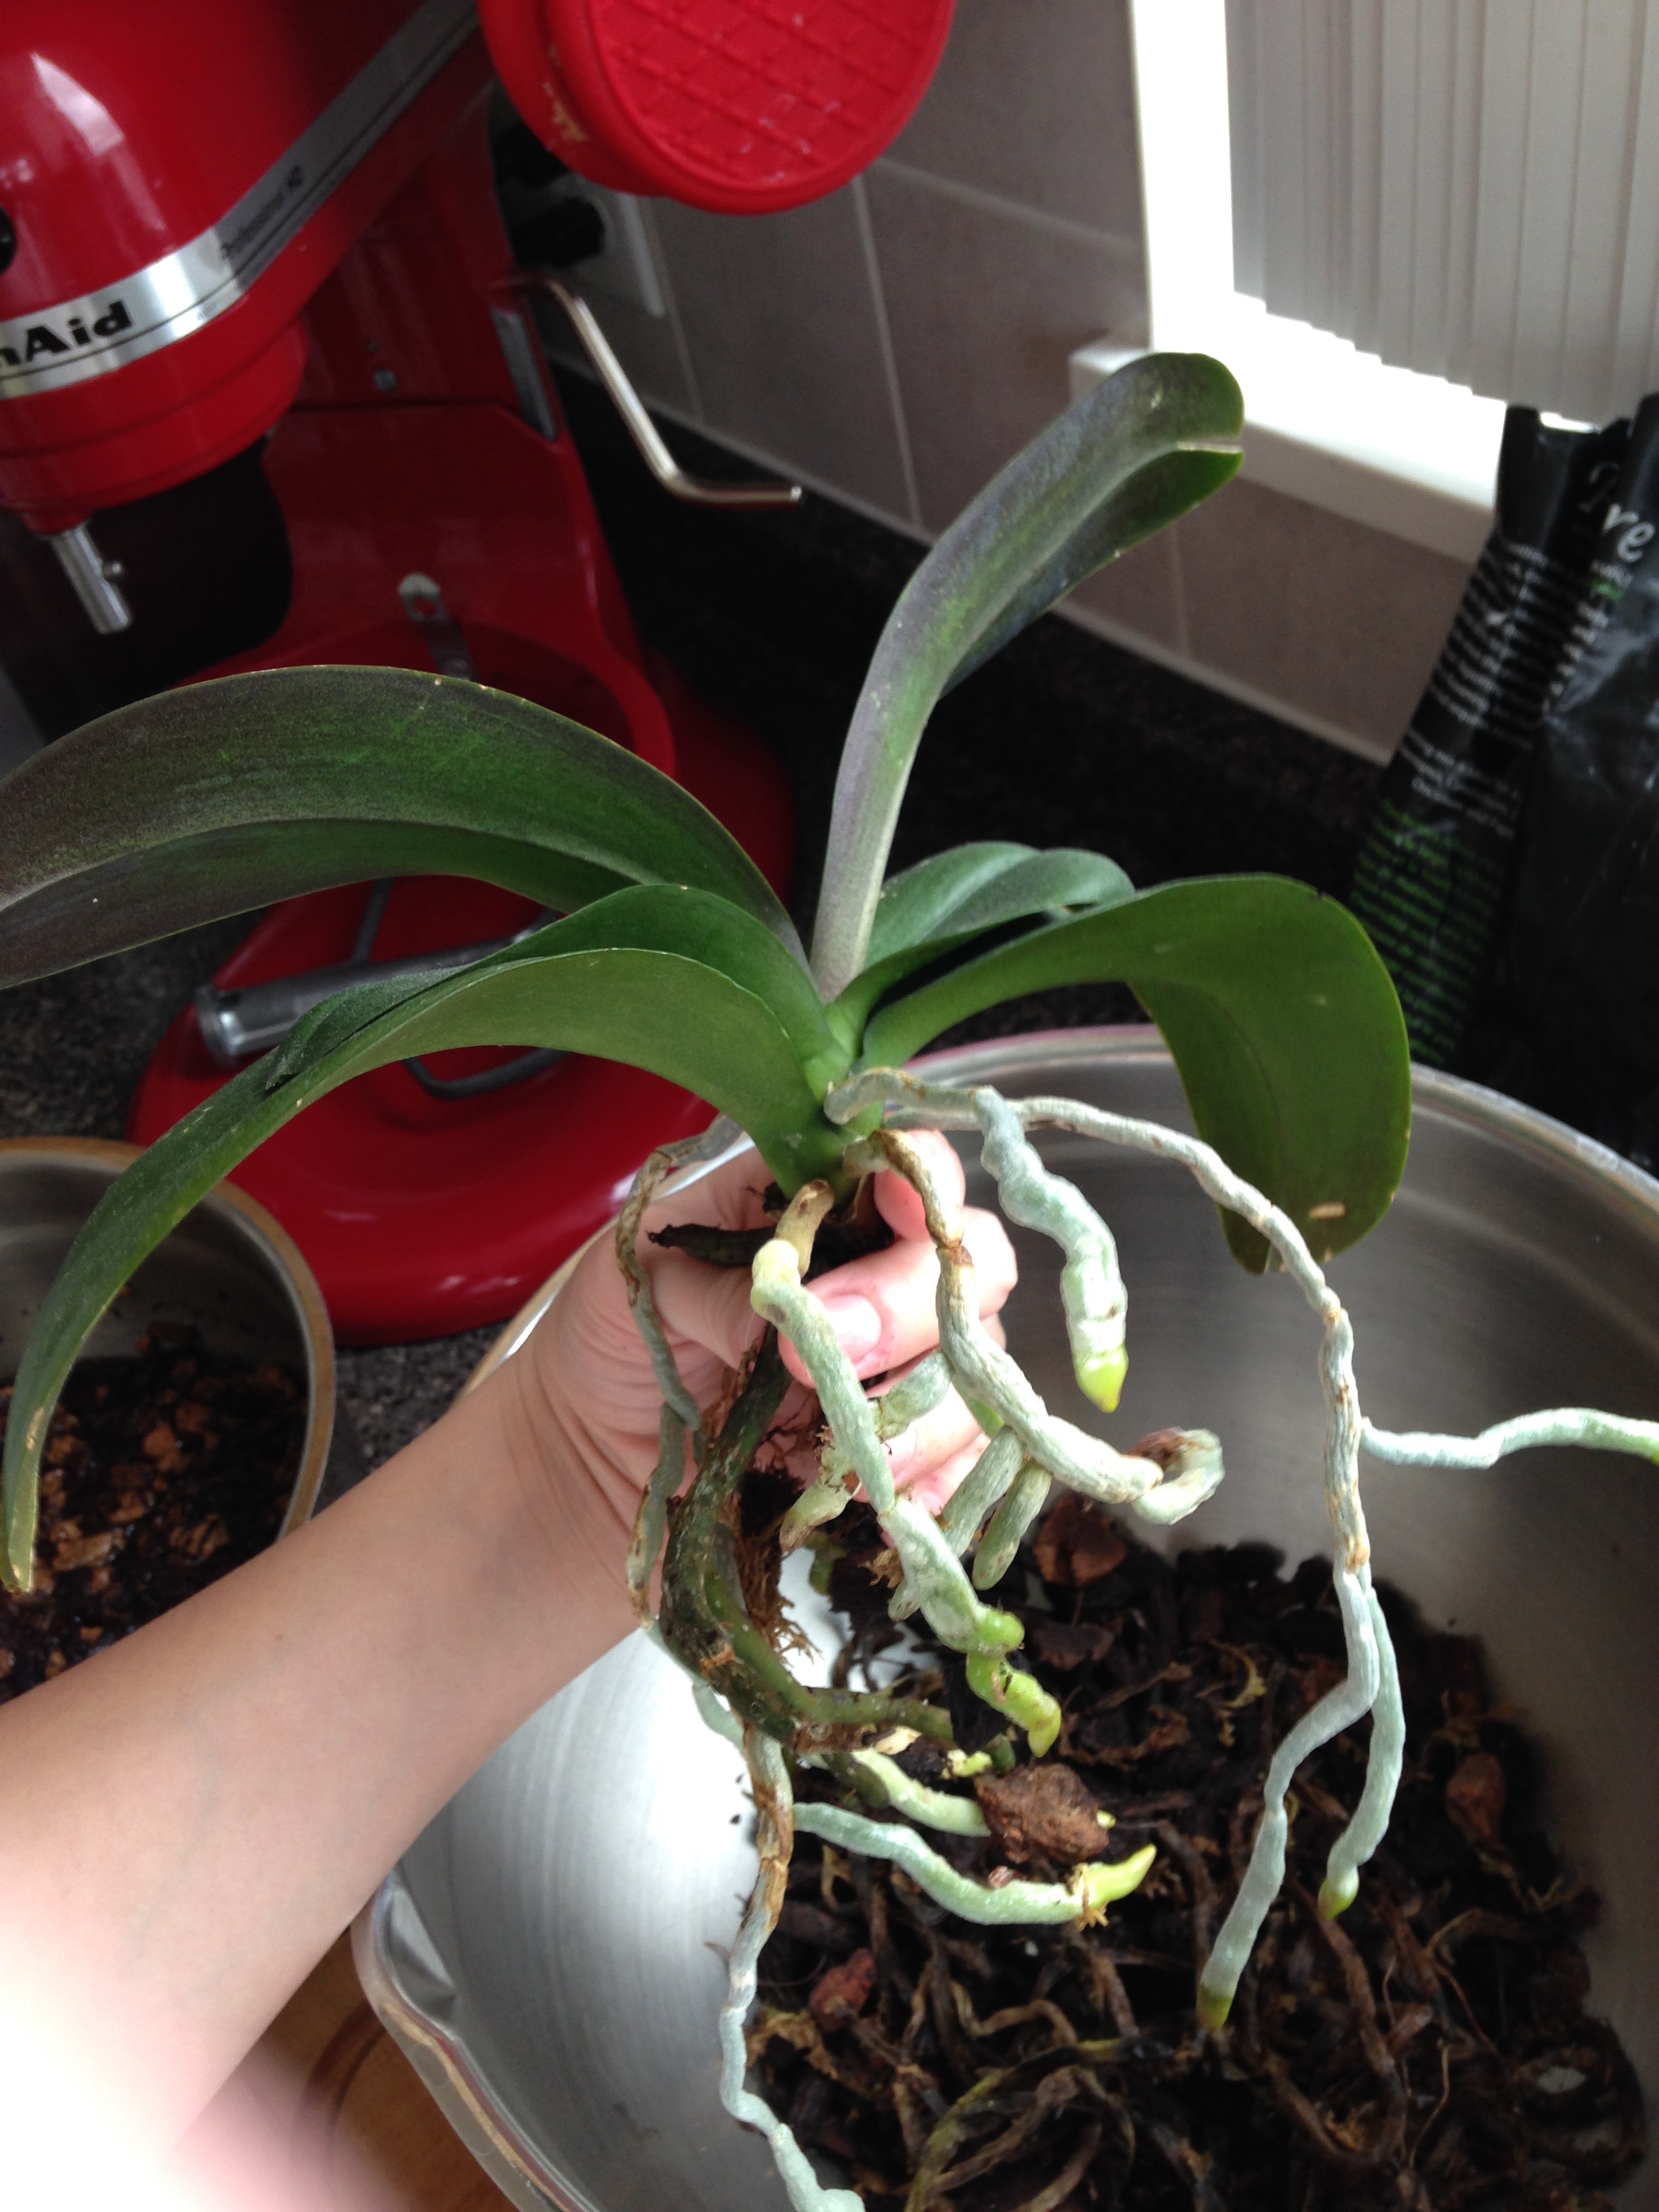
  4. Grasp your orchid firmly from it's base. If you need to remove some old substrate to get at the base do so carefully. Lift the orchid from it's base straight out of the old substrate. Discard the old substrate. 
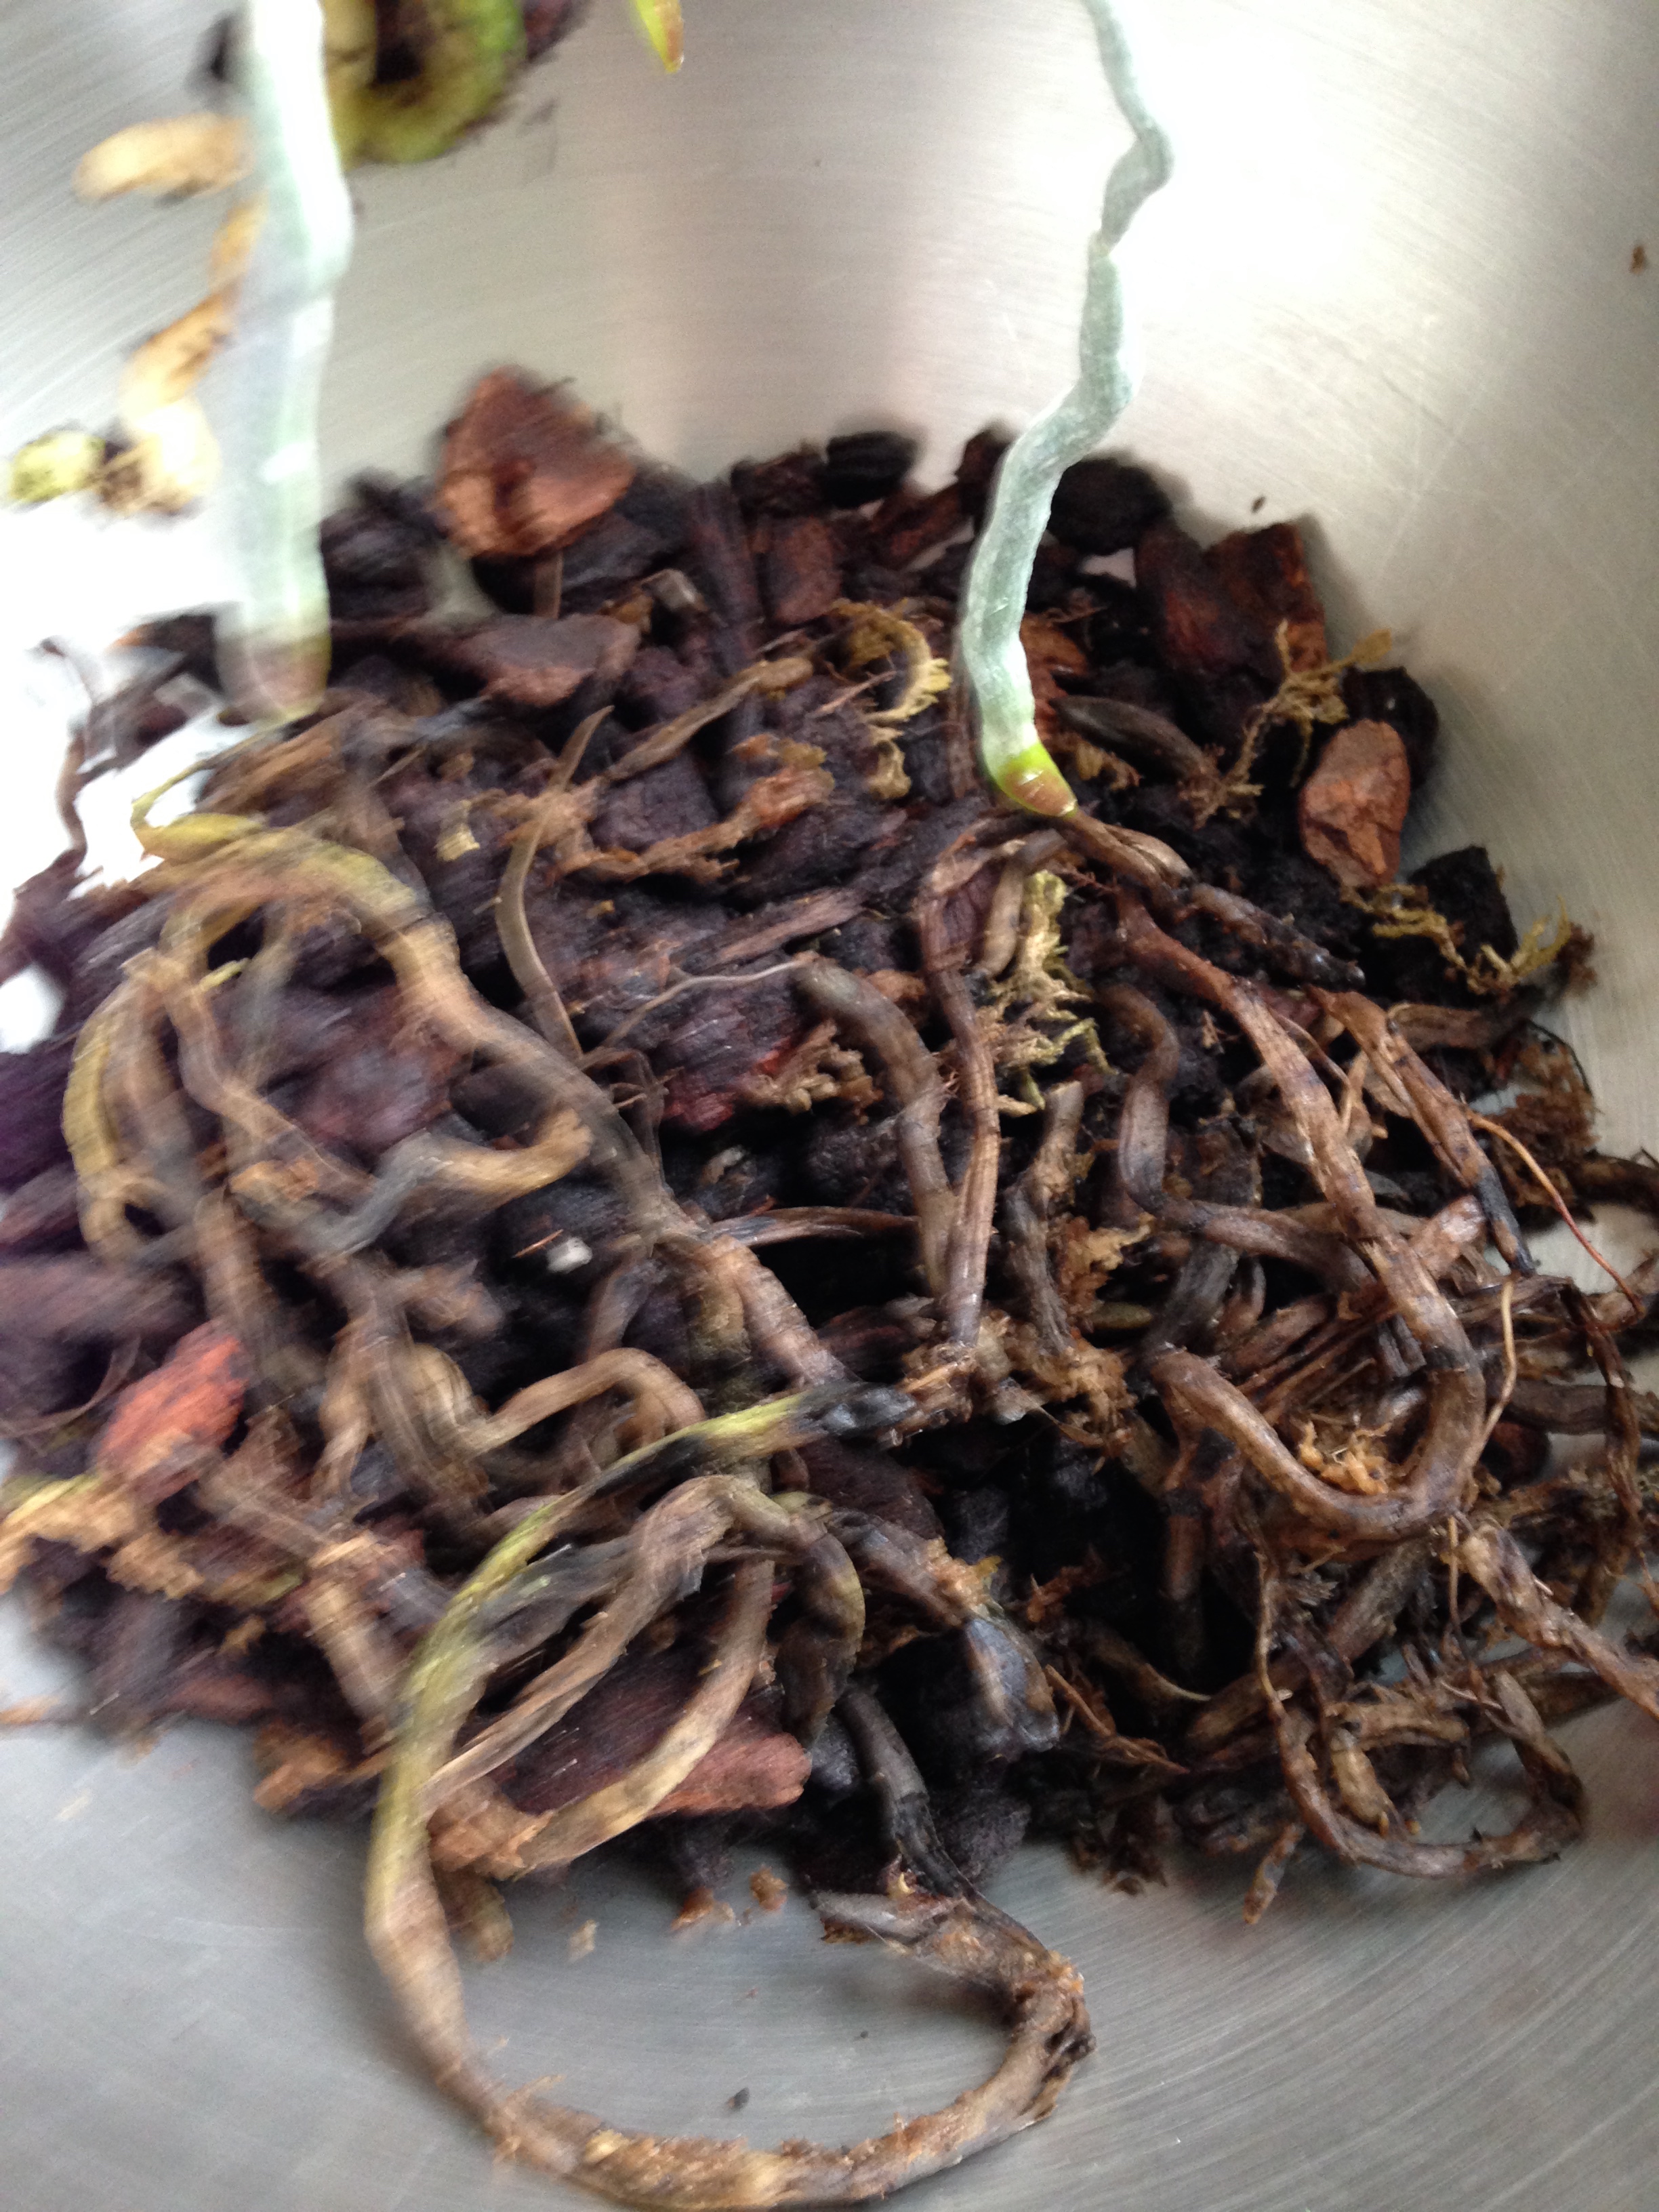
  5. Still holding the orchid from it's base, examine the roots. All the roots should be healthy looking aka fleshy and slightly stiff. If any look mouldy or overly limp trim them at the base or at its joints.

STEP 4 - Repotting

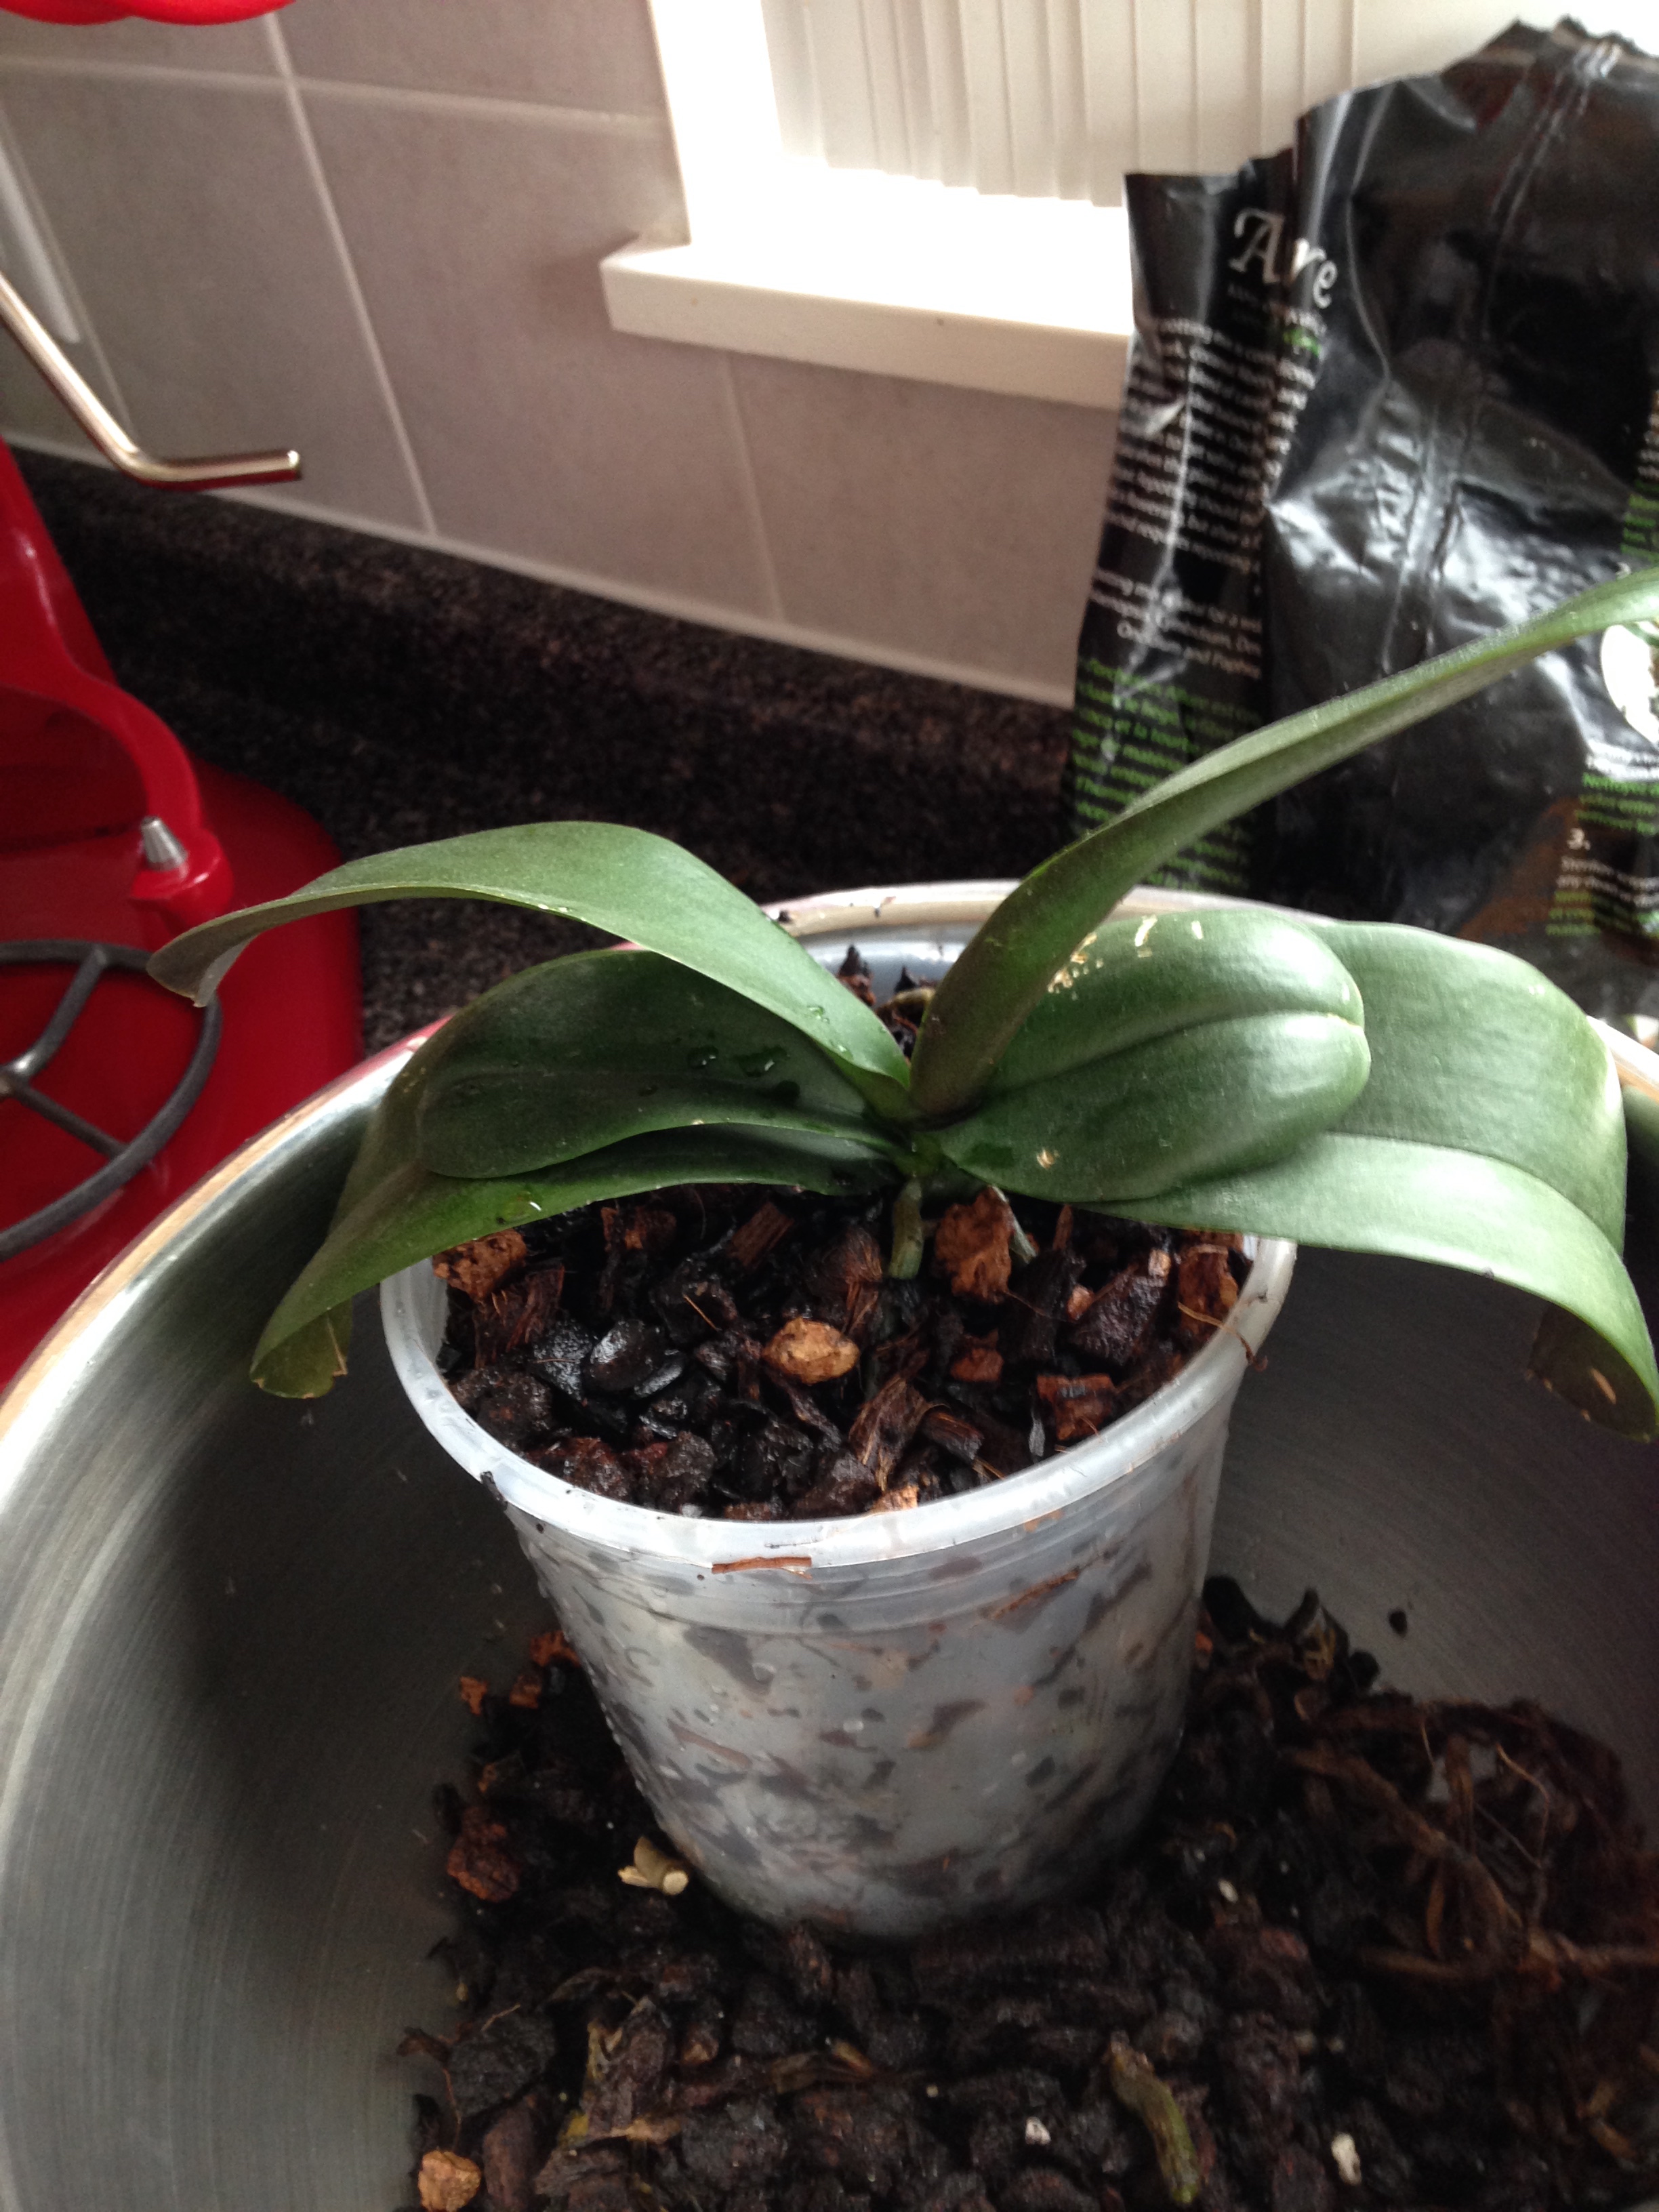
  1. Place the orchid base in the centre of the new orchid pot in the new pre-soaked substrate. Make sure that all your roots are delicately placed. Do not force them to fit. If you need to remove some substrate to make room for them then do so.  
  2. Now that all your roots are placed within the orchid pot, while still holding the base centred in the pot, fill the remaining space around the roots and base with more pre-soaked substrate. Don't press the substrate in, simply let the bark and soil fall into place. You can shake the pot a bit (not to wildly) to make sure there are no gaps. You should now be able to remove your hand from the base and fill the remaining space with more substrate. 
  3. TaDa! Now place the moss back on top of th new substrate. You did it! 

STEP 5 - Wait. 
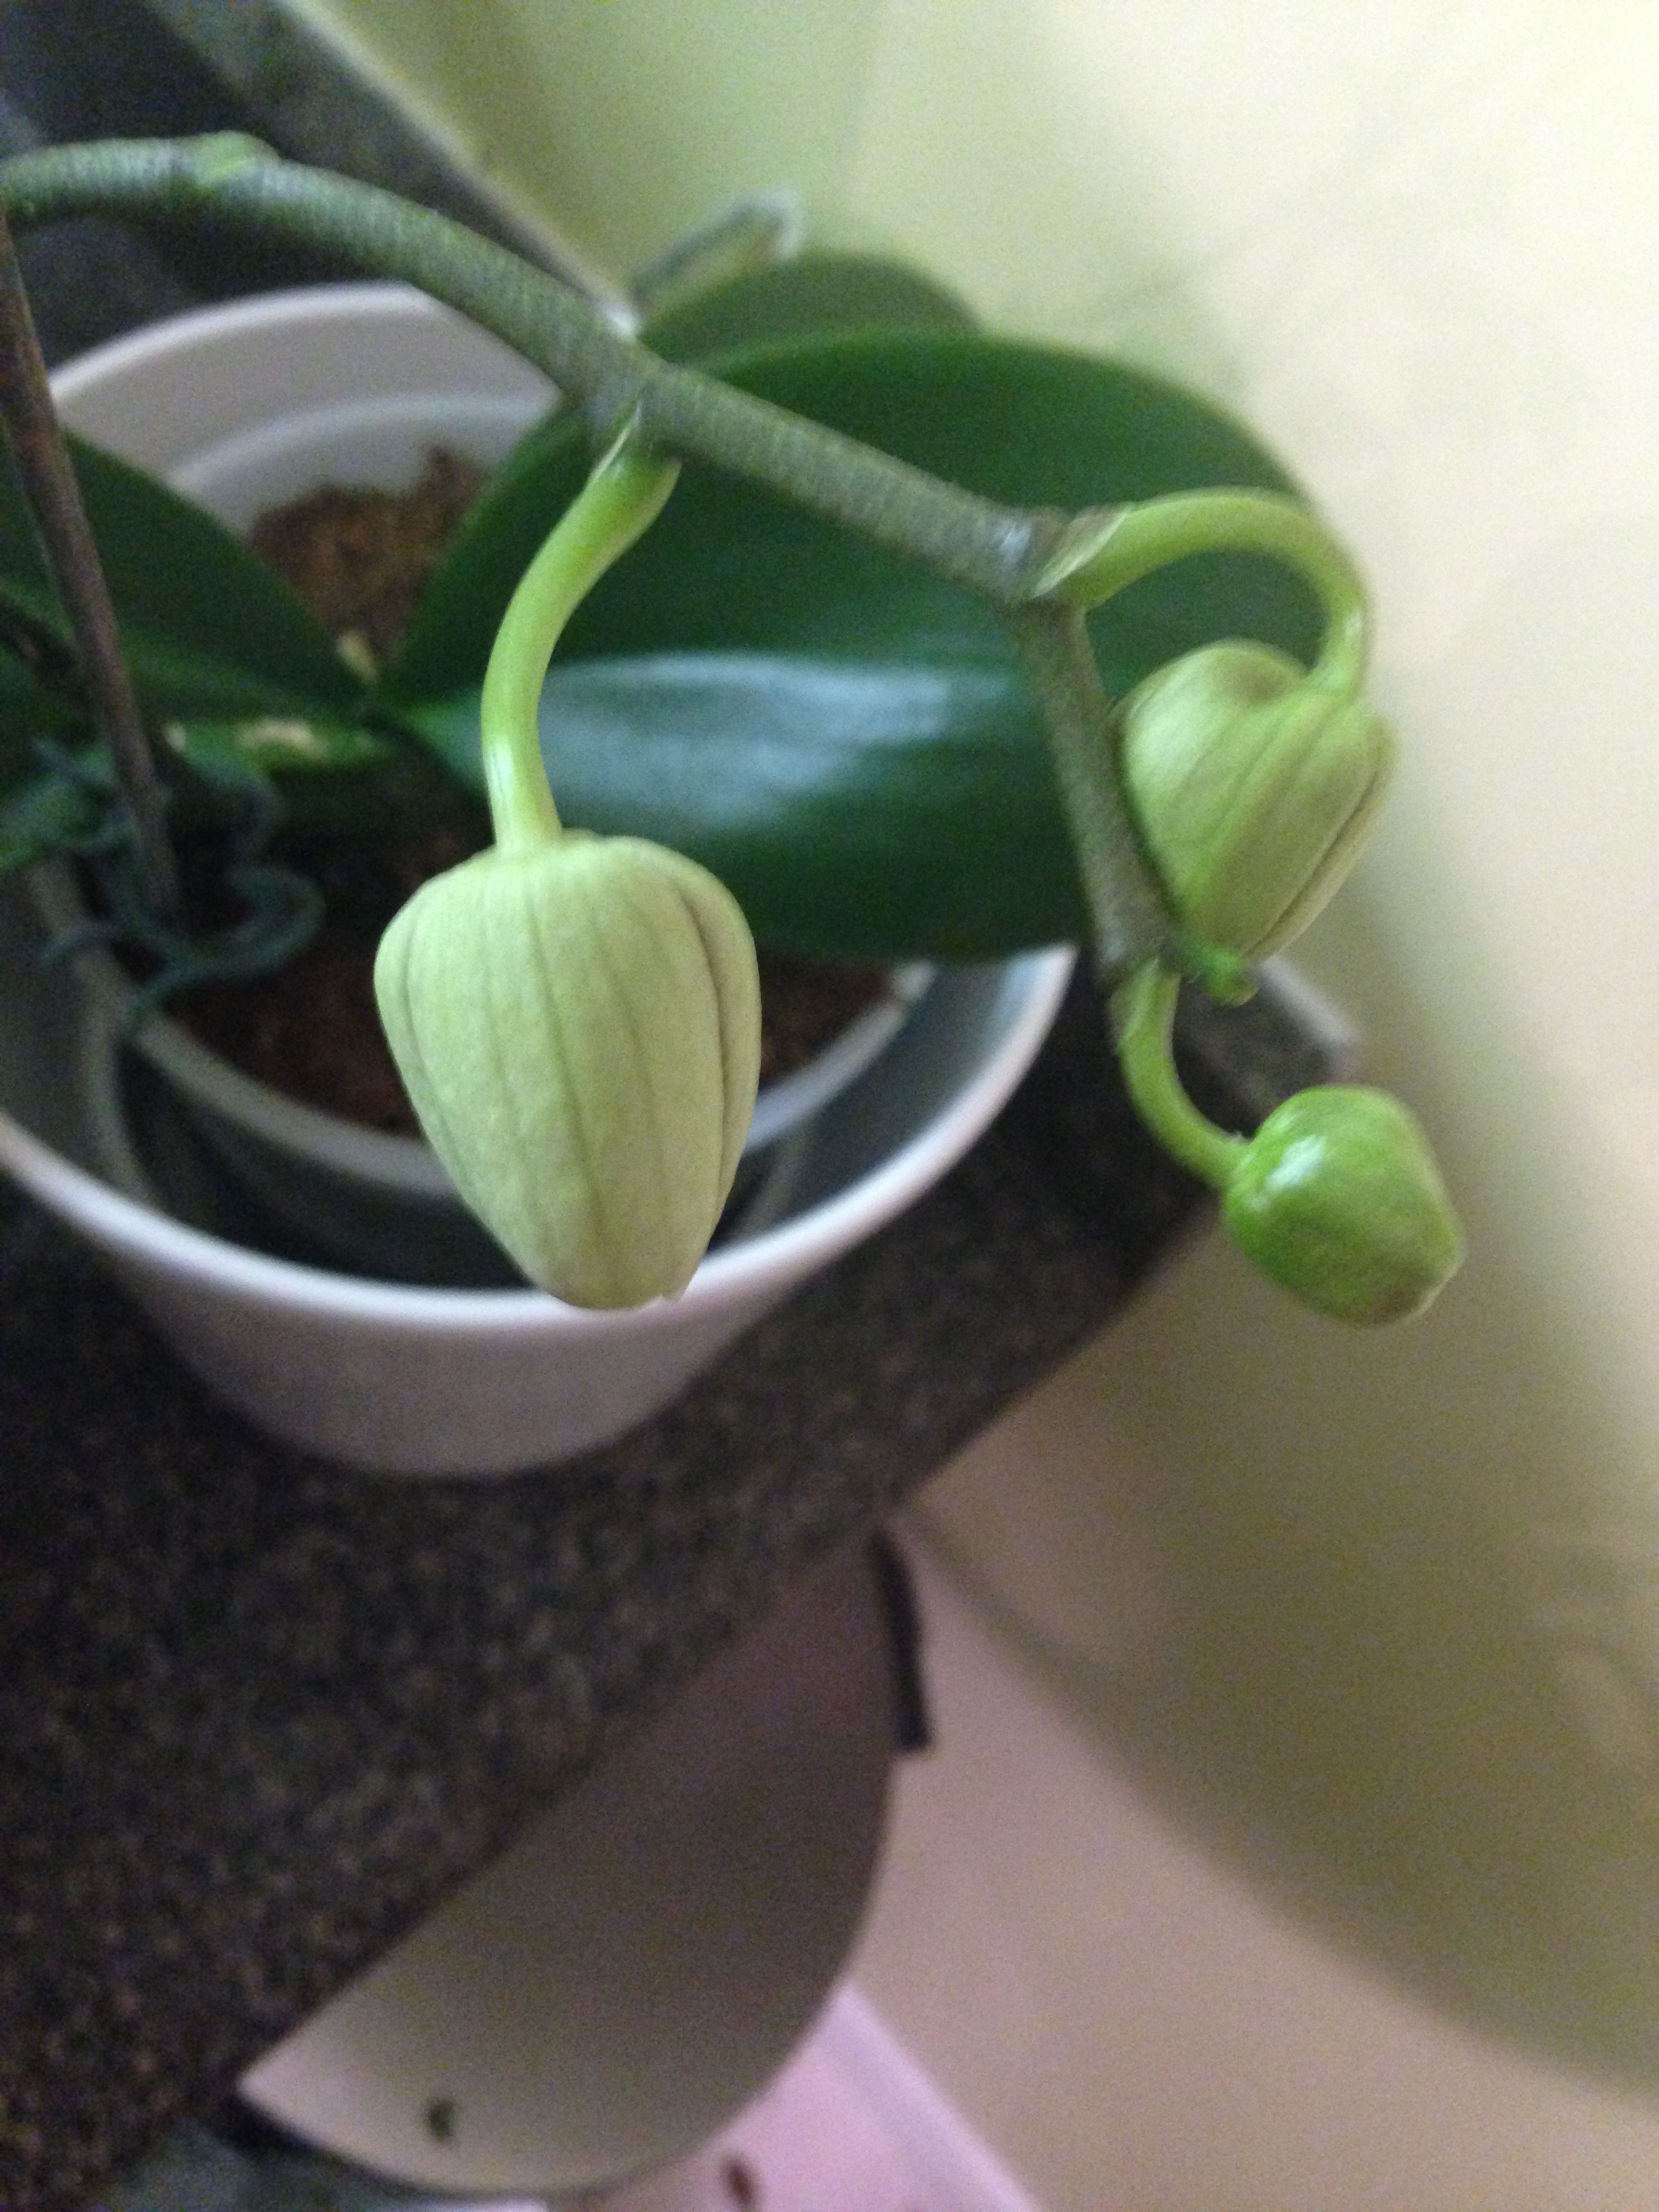
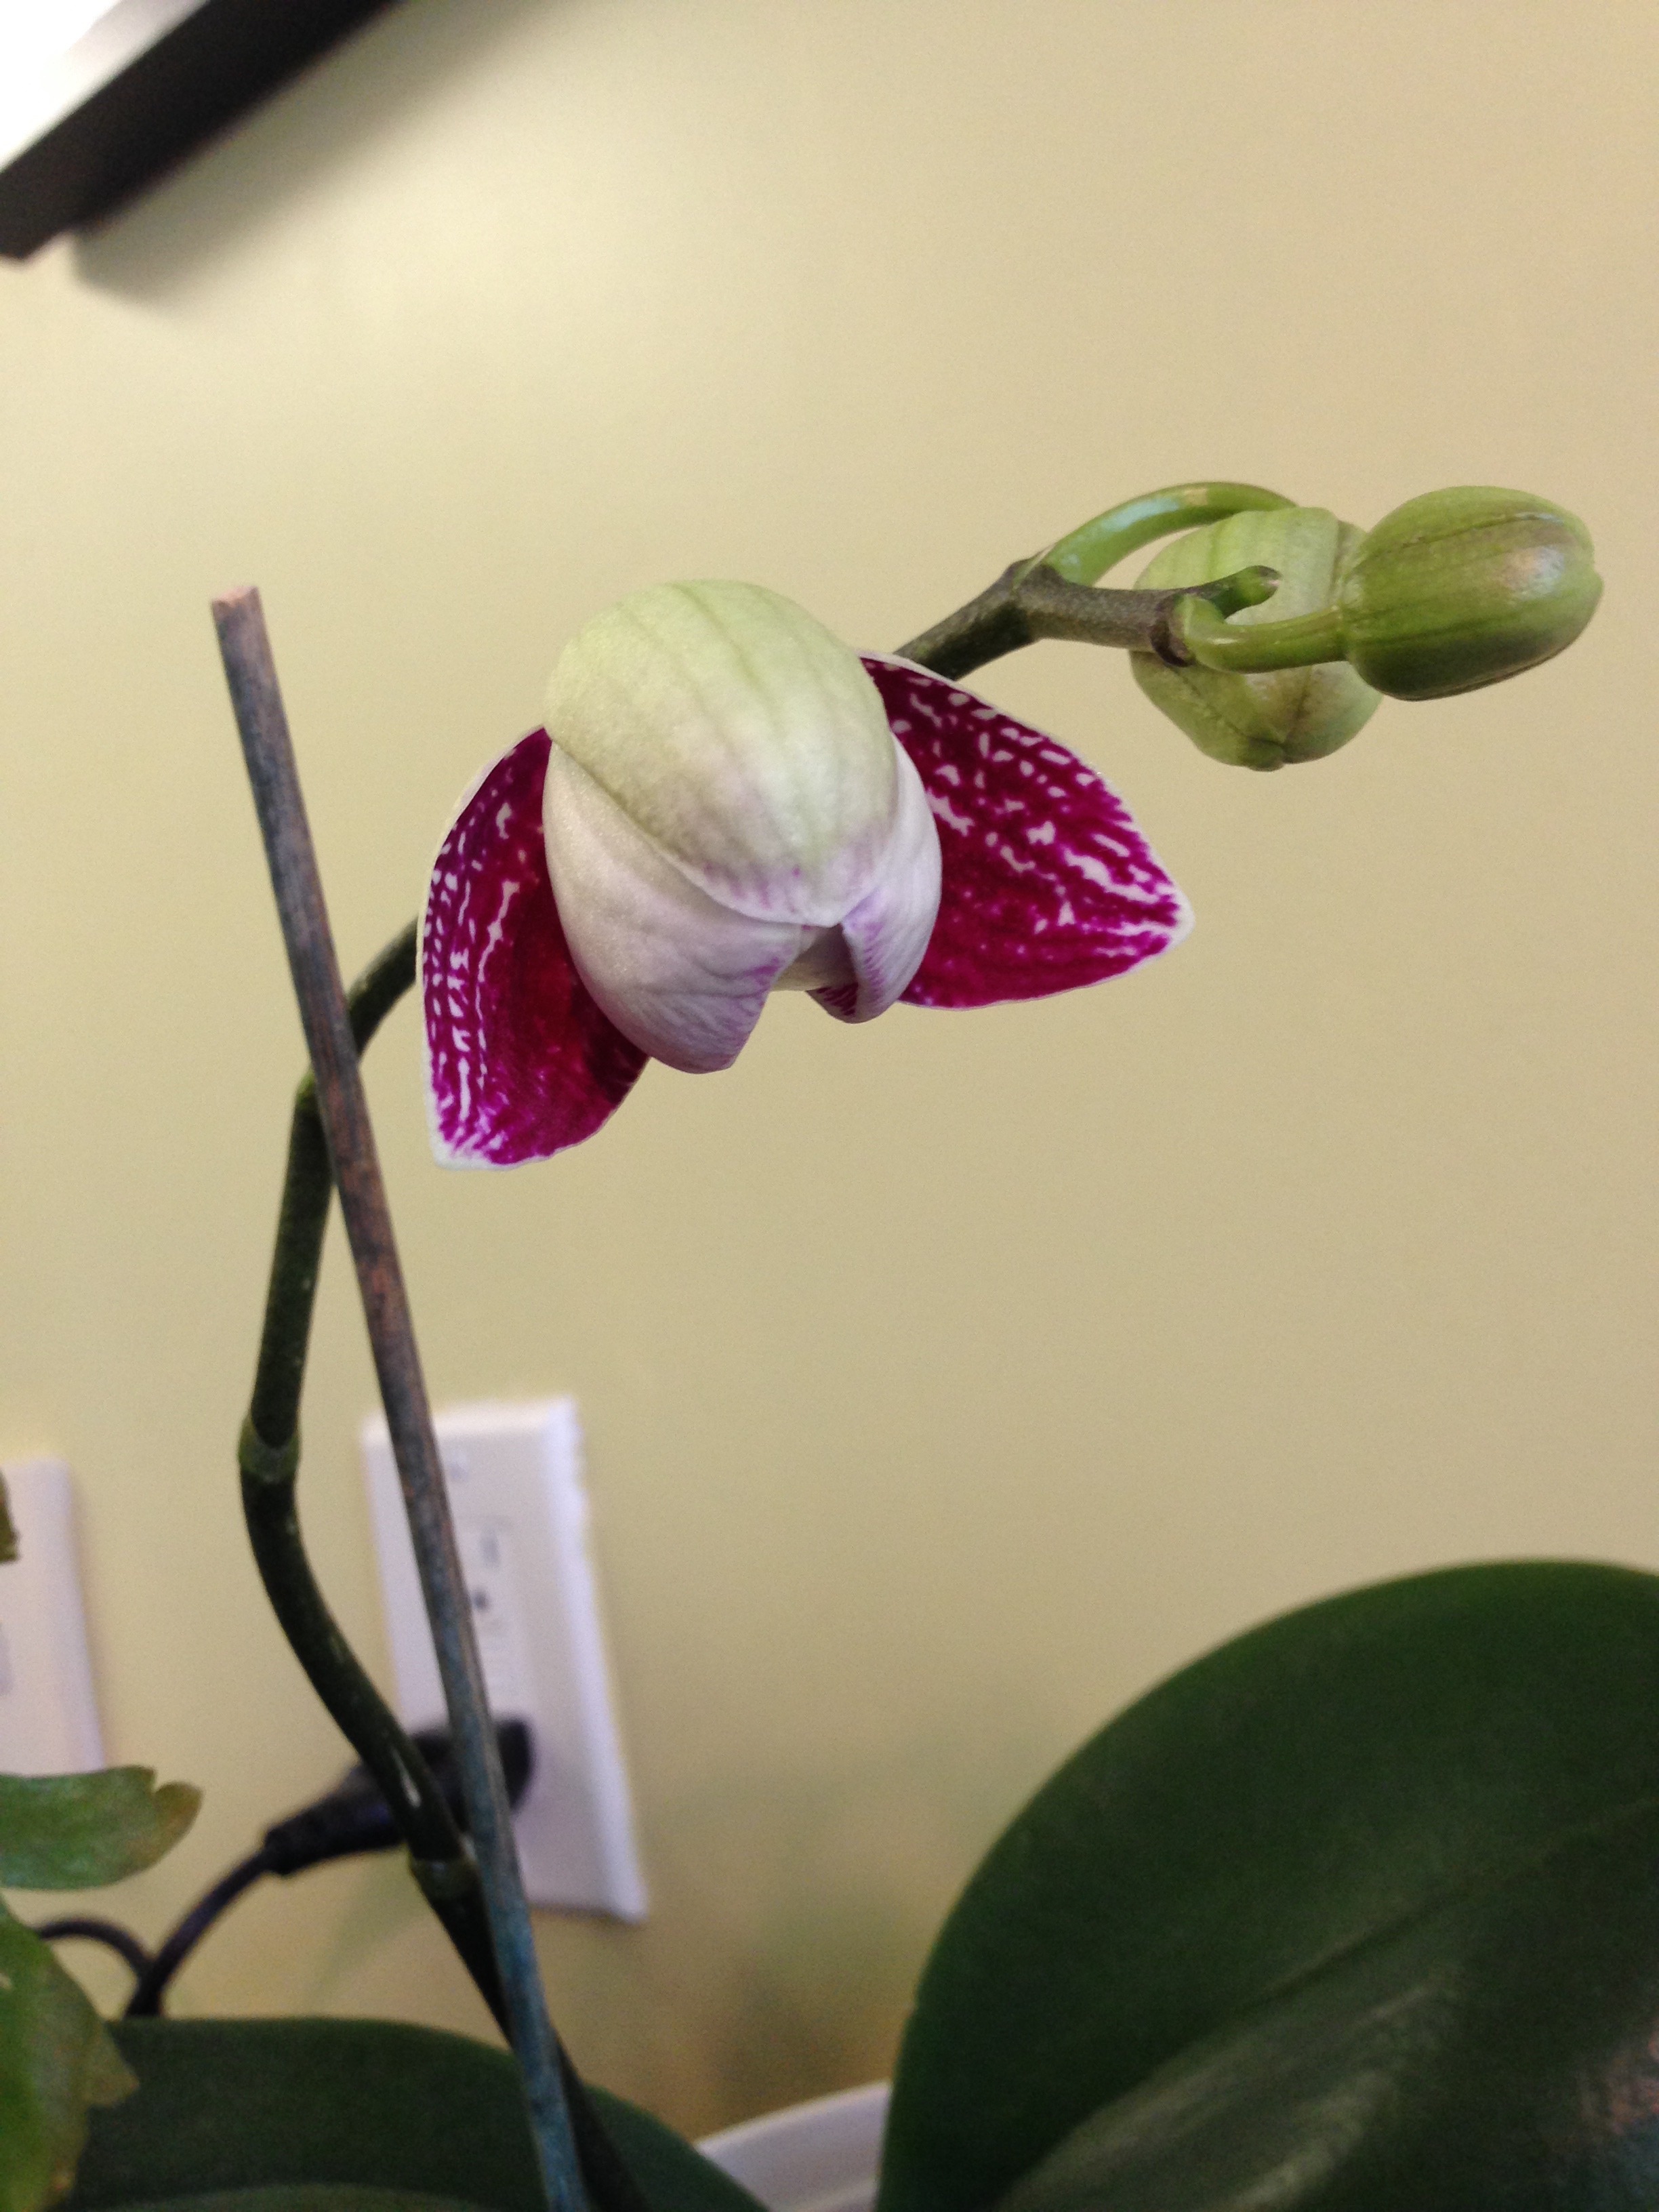
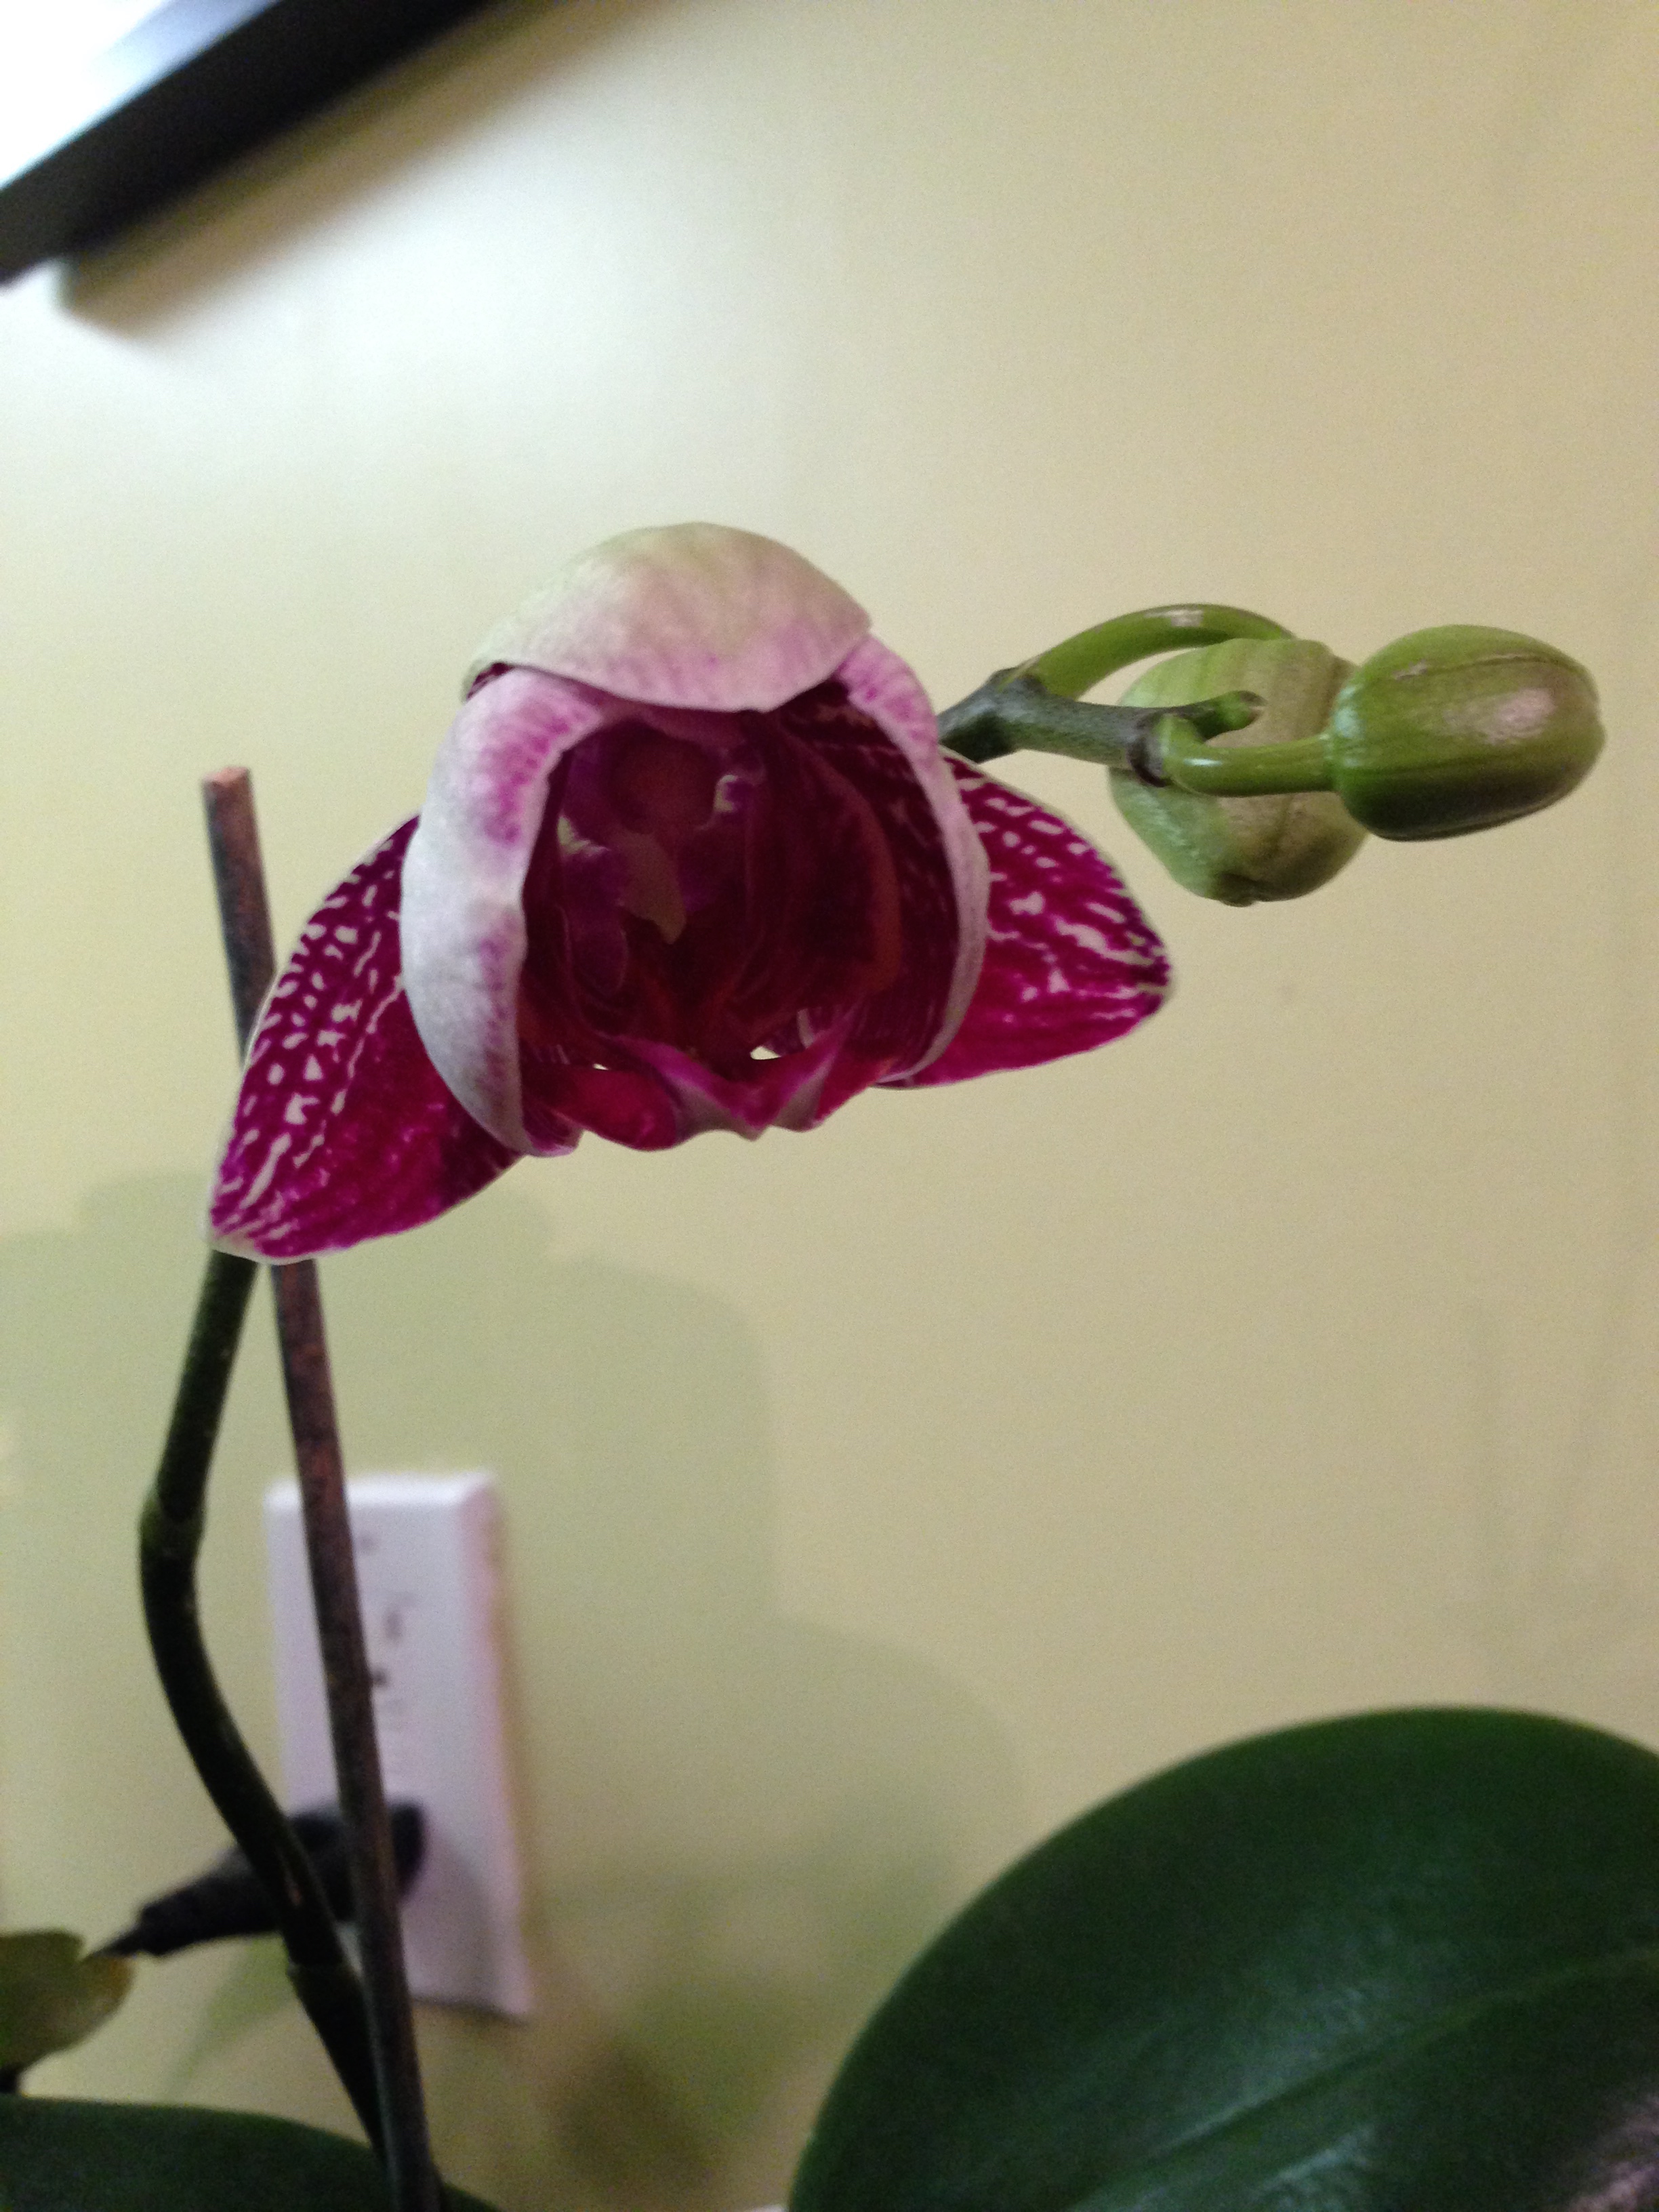
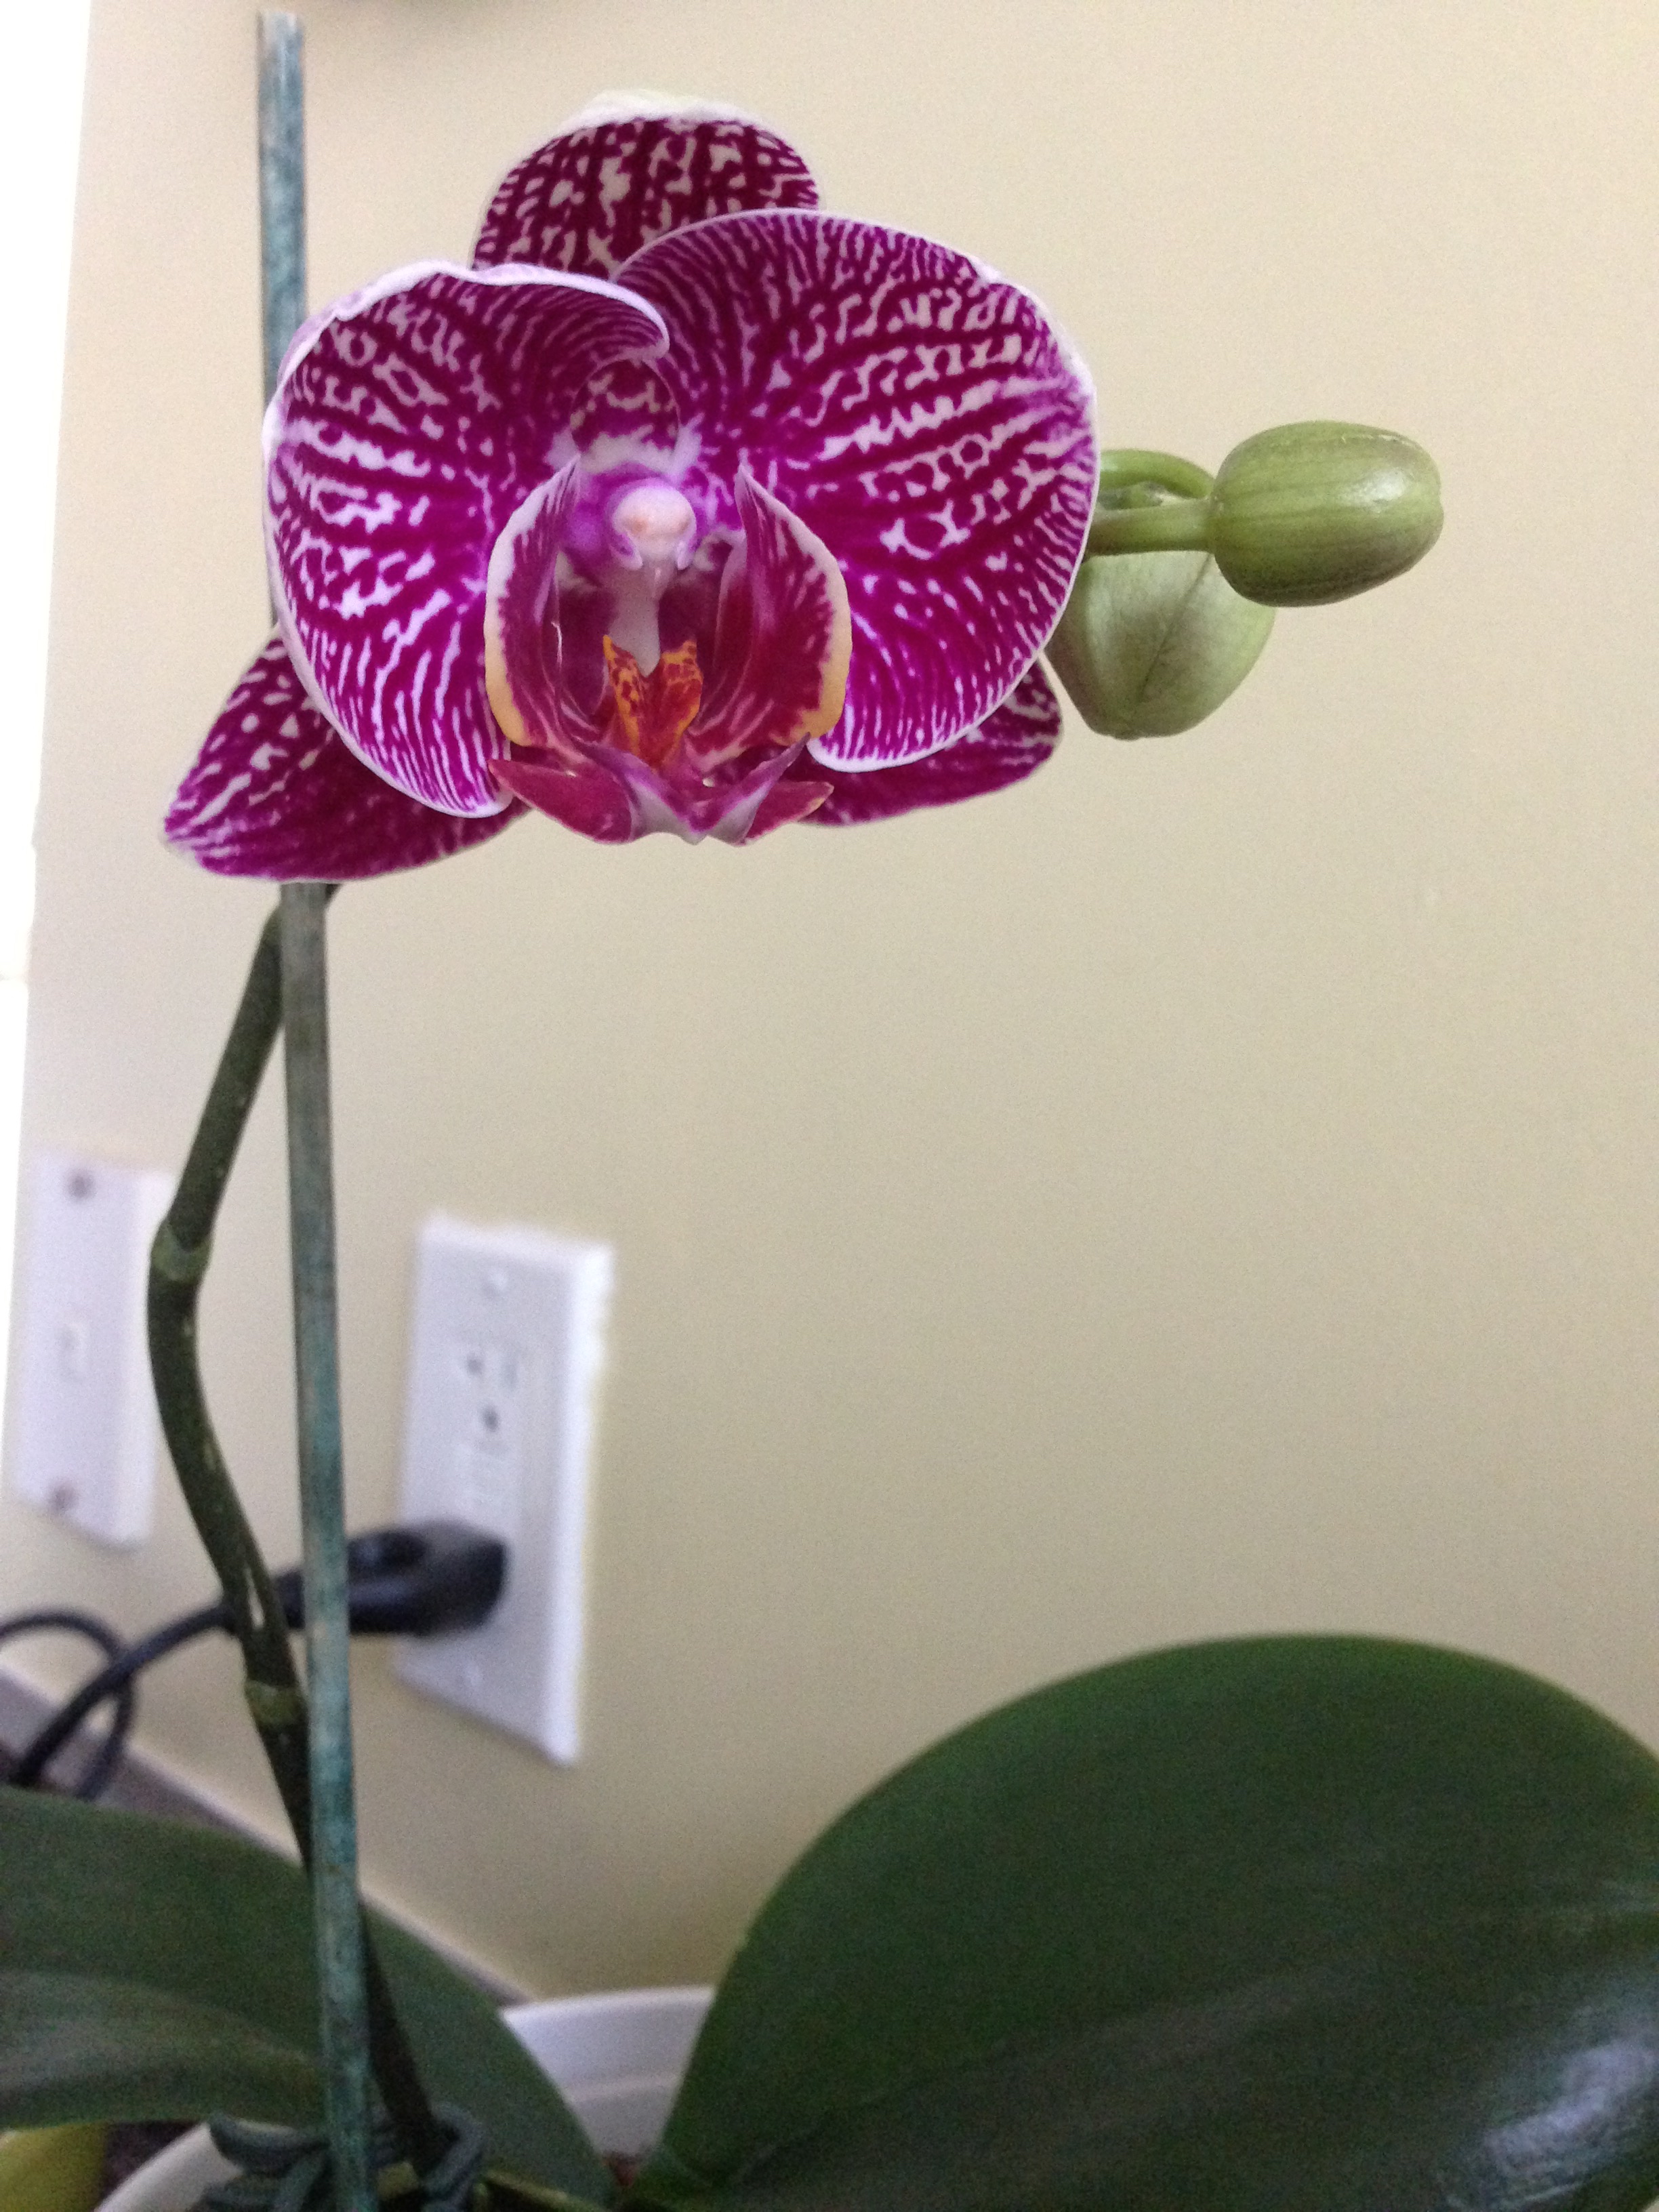
This it the hardest part to do, if I'm honest. The orchid is most likely going to be unhappy for the next couple weeks (but keep to your regular watering schedule anyways). It won't initially like having had it's home moved and it's root system given a trim. But, it should be a lot happier in the long run. Maybe it will even flower...? Please Orchid?

-Andrea

The Half-Assed Hobbyist

ย 

The Greenest 2140 Miles

So the BF and I just moved across the country (Inner 'AHHHHHH!'). All in all, our options to move our stuff had been plentiful and we booked passage of our stuff using a PODS container. Moving my plants however, that's where the fun began. 

I started out heading to a then local greenhouse to see if they had any ideas. I talked with Jim Hole (one of the Hole brothers and part-owner of The Enjoy Centre). He said that travelling with plants is pretty tricky and suggested the best and safest way is to find someone to drive them across the country. The BFs mom agreed and said that when they moved from Ontario to Alberta a super nice mover actually took care of them in the cab of his truck the whole trip. Problem is we weren't planning on driving (my car definitely wouldn't have made it) and a PODS container unfortunately doesn't come with a plant-friendly moving man. 

So what next. I had to decide which of my leafy friends were to come with us and who would have the responsibility of caring for the ones left behind. A hard decision. My plants are my babies and it was hard letting them go. My Aloe Vera was definitely coming with me. And I had developed a soft spot for the orchid I had rescued from the trash at my last job. The jade and my mother's vine would have to wait till christmas to come to TO. The rest, all my tropical plants, my shamrock, my spiky plant, the african violet and my flower succulent, would all find new homes with friends. Now that all my plants' future homes were decided, I continued the search for safe passage across the country. 

Our friend Laura suggested we travel via VIA Rail. They apparently would transport plants! Yay! But, of course, not in summer. Boo. The nice lady at their call centre said that it just gets too hot in the baggage cars during the summer for any plant life. So nix on the train. 

At this point it looked like we wouldn't be able to accompany my plants. So we looked into whether we could ship them Fedex or Purolator. It wasn't as expensive as I thought (Yay!) and with Premium Care it would be handled without any automated systems, only people. But, technically, they don't transport live plants, so we'd have to sneak it....

So apparently travelling with plants is like travelling with vials of deadly viruses: No one really wants to take them, and if they do accept to, they don't guarantee that they'll arrive all in one piece. 

Stressing out my plants the week before we moved.

Stressing out my plants the week before we moved.

Our last resort was to fly with my plants in baggage. I was sooo thrilled by this. Not.

Peggy the Rhododendron lady at Westjet said that if we could fit the plants in a regulation sized box we could count it as one of our checked bags. Yay free! The downside: She said that it "is handled like all other luggage however", which basically translates to "they will throw it around, bash it like a piรฑata, and definitely turn it upside down". I was very happy for her honestly, one plant lady to another. 

But it seemed that there was no other way to fly the plants. It wasn't until we were driving to my friend Julia's place (to stay for our last dry Alberta-y night) that she suggested checking it as fragile baggage. Julia is a cellist and flies regularly with her cello as fragile baggage. What's good enough for a $15,000 cello is good enough for an heirloom aloe vera. Since this was our best alternative I had to pack the living bejesus out of my plants. I put them in a sturdy see-through rubbermaid container with lots of packing paper in the bottom about a week before the move. Gave them a little water right after I packed them as they would have to be dry to go on the plane (no roots freezing in water allowed!). When moving day came I stuffed the container with lots of paper so that all the limbs of the aloe were supported. Then I stuffed the top as well.

When we got to the airport, we checked our luggage and proceeded to the oversize baggage area, aka the kinda secret fragile baggage area. 

Secret fragile baggage screening too!

Secret fragile baggage screening too!

Hmmmmm....

Hmmmmm....

All wrapped up and ready to go!

All wrapped up and ready to go!

I said my final goodbyes, not entirely OK with seeing my plants being conveyer belted away, and boarded the plane to our (and their) new home. 

After the flight I waited (not really patiently...) at the fragile baggage claim. Success! They looked perfect! Not even a piรฑata mark to speak of! Now for the hard part: Don't shock the plant more than necessary. I had read on blogs and moving websites that the move itself won't kill the plant, but the stress of being introduced to a new environment so fast might. And frankly, my plants were already pissed at me for putting them in a box. And then I took their air and sunlight away.

I brought it back to the hotel and opened up the lid. It was very humid and warm in the tub. Since our room faced north there was basically no light to speak of but I gave the aloe some water (about half a cup) and the leaves, a tad droopy, perked right back up. (The orchid, it turns out, is really mad and is now proceeding to turn yellow. What a complainer.)

After the initial unpack and water I didn't touch or move or even breath on the plants. Reduce stress! I was worried that even having opened the container I had killed them but they seemed to want to live. 

The next step was moving it again, about three days later, to our new apartment. I repacked the paper on top of the aloe, loaded it into the cab, and less than 10 minutes it was back lid off and a half a glass of water happier. This time, as it was in it's final destination for the foreseeable future, I unpacked all the paper from around it's limbs as well. The orchid, such a drama queen, I unpacked fully and placed out of direct sunlight in the kitchen. 

IMG_6898.jpg

Both plants, though worse for wear, are looking like they will pull through! I won't be moving the aloe out of the container for at least another week though. I'll update when my trooper of a plant is in it's final final home. 

Cheers!

-Andrea

The Half-Assed Hobbyist