Coconut Coriander Stew

There is something about stew that, no matter the time of year, is really terribly comforting. I know that it's summer, and hot out, and the last thing anyone wants to think about is sweating over a hot stove. But for me, Stew = #worthit. 

Coriander Coconut Stew

Oil
Flour
1 - 2lb chuck beef steak, cubed into 1 inch peices
1 large onion, chopped
One 2-inch piece ginger root, peeled and minced
1 TBSP minced garlic
2 tsp ground coriander
2 tsp ground cumin
2 tsp ground cinnamon
1 can (400 mL) premium coconut milk
3 cups vegetable or beef stock
4 yellow potatoes, peeled and cut into 1 inch pieces
4 medium carrots, peeled and cut into 1 inch pieces
Salt, to taste

  1. In a large dutch oven, heat ~2 TBSP oil over medium heat. 
  2. In a bowl, measure ~1/2 cup flour. Dredge beef cubes in flour. Tap off excess flour. Place beef cubes carefully in the dutch oven. Be sure to leave space between the beef cubes. (The beef may have to cooked in two batches.) Brown beef on all sides. Remove from pan and place on a plate.
  3.  Add ~2 TBSP more oil to the dutch oven. Add onion, scraping to loosen browned bit from bottom of dutch oven. Cook onion until clear, about 5 minutes. 
  4. Add minced ginger and garlic. Cook until fragrant, about 5 more minutes. 
  5. Add coriander, cumin and cinnamon, stir together and cook for 2 minutes. 
  6. Add coconut milk and stock. Stir to dissolve coconut milk solids. 
  7. Add back meat and add potatoes. Bring stew to a boil over high heat. Reduce to a simmer over low heat. Simmer for 20 minutes.
  8. Add carrots and simmer for another 20 minutes. (If using red potatoes, add both potatoes and carrots at the same time.) Salt to taste.
  9. Remove from heat. Serve!

Nom. There is really nothing like a good stew. Even in the summer. Might just me crazy me though!

-Andrea

The Half-Assed Hobbyist


Lazy Thai Pizza

Every week, mostly, I follow a meal plan. Simply put, it's a list of what meals I want to make that week. It's a pretty simple idea but it helps save money and cut down on food waste. Every Sunday morning over coffee, the Fiancé and I go through the fridge, the freezer, the 'on sale' items on our grocery store app, and our fanciful food desires, and figure out what we want to eat the following week. Usually we try to come up with meals that use up fresh produce or leftover ingredients in the fridge. Or meals that make leftovers for lunches (or the freezer - quick defrost dinners = best). Or meals that take advantage of the grocery store sales. While one writes down the meal plan, the other makes the grocery list. It usually take 20 minutes if we're feeling uninspired (that's where cookbooks and the internet come in!).

Making a meal plan may sound super fancy, like I'm making a roast every other day, but it's definitely a lot more casual. For example. Despite my love of cooking, I do Not want to have to cook for 2 hours every night. Some of my favourite meals are done in 20 minutes or less. And I actually make it a point when planning to only have one prep intense meal (if any) on the weekly roster. The following pizza is an example of this. It uses leftover roast chicken, a pre-made pizza shell (I sometimes stock up on these when they're on sale and freeze them) and a 5 minute homemade peanut sauce. Once it's all put together it literally takes 8 minutes in the oven. Sold.

Lazy Thai Pizza

Pre-made pizza shell

Peanut Sauce (See below)
Chicken Mixture (See below)
~ 1 cup bean sprouts
~ 1 TBSP cilantro leaves, chopped

  1. Pre-heat oven to 450'F.
  2. Layer peanut sauce, chicken mixture, bean sprouts and cilantro.
  3. Bake pizza for 8 minutes or until crust is golden brown. Enjoy!


Peanut Sauce
3/4 cup peanut butter (I used chunky)
2 1/2 TBSP brown sugar
2 TBSP soy sauce
2 TBSP water
1/4 tsp chili flakes

  1. Combine all ingredients in a sauce pot.
  2. Over medium heat, stir ingredients until well combined and heated through, about 4 minutes. (Add some more water if it's too thick, stir till smooth.)
  3. Remove from heat and set aside till ready to assemble pizza.

Chicken Mixture
Oil
1 small onion, chopped
1 TBSP minced garlic
~ 1 cup roast chicken, shredded

  1. Heat ~ 1 TBSP of oil in a frying pan over medium heat.
  2. Add onion and cook until clear, about 5 minutes.
  3. Add garlic and chicken and stir together. Cook for about 2 minutes until garlic is fragrant.
  4. Remove from heat and set aside till ready to assemble pizza.

Bam. Dinner done in 20 minutes.

Also. Oh gad, it's good.

Meal planning win! ;)

-Andrea

The Half-Assed Hobbyist


Adventure in Spiceland

One of my 'New Year To-Dos' last year was to make three different meals that I've never made before from different cultures around the world. Since it didn't happen last year, I've been attempting to actually succeed this year. It's been going well this year already: Korean Spicy Bulgogi, and Mexican Chiles en Nogada. But what I really want to learn is how to make Indian curry

The Fiancé and I hit up a local Chapters for a 'cookbook'. I'm picky about my cookbooks though.... I really could care less how many recipes a cookbook has. What I look for in a cookbook is an explanation of the basic cooking methods, flavours or ingredients and some history of the type of cuisine the book is about. Essentially, I want to learn how to make the food; I already know how to follow a recipe. I found one book called '50 Great Curries of India' by Camellia Panjabi which fit the bill. (And I get the hilariousness of 'not caring how many recipes a cookbook has' XD). The book started with a lovely intro from the Indian hospitality mogul who 'collected' the recipes. (Fun fact about these anthologies is that typically they are compilations of recipes from many different people, not just one.) Anyway, regardless of whether the name on the cover actually wrote a word of the cookbook, I want the information and I want it to be accurate. In this cookbook there's about 50 pages of well written background of Indian curries and spices and acidifiers. Also how and why they are used. Yay! Learning!

Below is a recipe I made from that new cookbook, but edited so it's easier to follow. NOTE: First time making it, It Will at least 2 hours to make this curry properly so heads up that it's not a lazy late dinner type meal. (Which I learned the hard/h-angry way. Haha.)

Cauliflower Gashi (or Aloo Gobi - Cauliflower Potato Curry)

This curry really comes in three parts. First is to make your coconut milk (or if you super don't want to you can just buy a can. You'll need at least 2 cups). Second is to make the spice paste. And third is to make the actual curry itself.

Coconut milk:

1/2 cup fresh chopped coconut**
2 cups warm water

  1. Combine fresh coconut and warm water.
  2. Let soak for 30 minutes.
  3. Blend together well and strain out coconut with a fine mesh sieve. Set aside milk. (If you make this way ahead you can store it in the fridge. It may separate but don't fret! A good stir and some heat will bring it back together. Also, you won't be using the left over coconut mulch. But I'm looking into what can be done with it!)

** I found fresh coconut in the 'fruit salad section' at a reasonably fancy grocery store. It was even cut up already. I think some other grocery stores sell it whole. If you hit up a Indian or Asian market though, it's relatively common.


Spice Paste:

3 TBSP oil, separated
1 medium onion, chopped
1 cup fresh chopped coconut
5 whole dried red chiles
2 tsp coriander seeds
1/4 tsp cumin seeds
1/8 tsp mustard seeds
1/8 tsp fenugreek seeds
1 inch piece cinnamon stick
2 cloves
4 black peppercorns
2 tsp tamarind paste
1/2 tsp turmeric
1/2 tsp paprika
Water

  1. Heat 2 TBSP oil in a frying pan over medium heat.
  2. Cook onion and coconut together, stirring frequently, until they start to brown. Remove from heat.
  3. While the onion and coconut cool, combine chiles, coriander, cumin, mustard, fenugreek, cinnamon, cloves, and peppercorns into a bowl. Heat 1 TBSP oil in a frying pan over medium heat. Add spices and cook for 1 minutes. Remove from heat.
  4. In a food processor or blender, combine cooked onion, coconut, and spices. Add tamarind, turmeric, paprika and 1/2 cup water. Blend until smooth and paste-like. Makes about 11/4 cups.

**I got ALL these spices from Bulk Farm. That's right, the knock off Bulk Barn. Haha. And it was way less expensive than buying them from the grocery store too. You can buy as much or little as you want. To store them, I use IKEA spice jars. They're relatively cheap but still look nice and seal well.


Curry:

1 1/2 TBSP minced ginger
1 medium onion, chopped
4 tsp minced garlic (or 4 cloves garlic, finely chopped)
Spice Paste (~1 1/4 cups)
2 medium potatoes, peeled and cut into large pieces
1 tsp salt (or to taste)
Half a head of cauliflower, cut into florets
Water

Coconut Milk (~2 cups)

  1. In a large frying pan, heat oil over medium heat.
  2. Cook ginger for 2 minutes. Add onions and cook until clear, about 5 minutes.
  3. Add garlic and cook until fragrant, about 2 minutes.
  4. Add the spice paste and stir everything together well. Cook for 2 minutes and then add 1/2 cup water. Stir together.
  5. Add potatoes and salt, stir to cover potatoes in curry sauce. Cook for 5 minutes. Add another 1/2 cup water, stir to combine, and cover frying pan with a lid. Cook for 8-10 minutes, lid on.
  6. Add cauliflower florets and coconut milk. Stir together. Bring to a boil. Reduce temperature (low-med) and simmer curry until potatoes are cooked and cauliflower is tender, at least 30 minutes. Serve over white rice.

Super yum. Also, you can always use fresh ginger and garlic too. I buy pre-minced stuff all the time so I just use that instead. Time saver and hands-constantly-smelling-of-garlic saver.

The recipe did take a lot longer than I initially had thought (like almost 3 hours) but the next day when the Fiancé took the leftovers to work, his coworkers lucky enough to get curries for dinner all the time were surprised that we spent so little time cooking! Haha. Lesson learned! Good curry takes a good chunk of time! I look forward to making many more recipes from this book. (And hopefully I'll get the hang of it and be able to make my own!)

Cheers!

-Andrea

The Half-Assed Hobbyist

Spring hasn't Rolled By (yet)

(Ok. Here goes the Second time I've written this post, because Safari sucks balls.)

When I started writing this post a sense of déja-vu came over me. I was pretty sure that amongst the many many blog posts I've done there was a spring roll recipe. Hilariously enough, there was a post titled "Spring Rollin' By" which was exactly what I had titled this post. Good to know that there is a limit in my brain to bad spring roll title puns.

There's been a lull in recipe work over the last month so the urge to make a thing came over me. When last we were in the grocery store, spring roll wrappers were on sale: Sold. 

The Spring Roll Story (as it goes), is a pretty simple one. And since our grocery store has a predominately Asian clientele there are always neat foodie things I've never used before to inspire. The below recipe is one I made up based on the picture on the back of the spring roll wrapper.

Egg Fried Rice Spring Rolls

Oil for frying (like vegetable oil)

~2 cups cooked rice (1 cup uncooked rice, prepared)
1/2 cup finely chopped white onion
2 TBSP minced garlic
1/4 cup teriyaki sauce
3 TBSP rice vinegar
1 tsp ground pepper
1/2 tsp red pepper flakes
1 cup frozen vegetables (or shredded carrot and peas)
1 egg

Spring Roll Wrappers, thawed - if frozen (~25 or half a package)
Water

Egg Fried Rice

  1. Prepare rice. (I used a cup uncooked basmati. It almost doubles in volume. Don't worry if you make extra though, the great thing about fried rice is you can make as much or as little as you want. And if not all of it goes into the spring rolls, you can just eat it as is!)
  2. In a large frying pan, heat ~2-3 TBSP oil over medium-high heat. Fry onion and garlic for 2 minutes, until garlic is fragrant.
  3. Add cooked rice to frying pan, stirring everything thoroughly together.
  4. Add teriyaki sauce, rice vinegar, pepper and pepper flakes to frying pan and stir together thoroughly. Add frozen veg and stir together.
  5. Fry rice until all liquids are absorbed and rice starts to brown. (You'll hear the rice start to crackle when you stir it.) 
  6. Clear a spot in the center of the frying pan. Crack the egg into the frying pan. Break yolk and cook egg in the center of the pan, stirring just the egg, until its cooked. Then stir egg and fried rice together. 
  7. Remove from heat. Let cool - about 10 minutes. (It's done! If you want to eat this I won't judge you. I definitely had a bite... or two.)

How to Wrap

  1. Take out the spring roll wrappers from the freezer (if frozen) and let them thaw on the counter for about 50 minutes. When thawed and ready to use, keep them covered with a damp cloth at all times. Dealing with these wrappers when they're normal is hard enough, don't dry them out.
  2. Fill a bowl with water - this water is used to wet the wrappers to seal them up. 
  3. Place a wrapper on it's diagonal (so it looks like a diamond).
  4. Put ~1 1/2 TBSP of rice mixture in the lower centre of the diamond. 
  5. Wet bottom corner of wrapper and wrap it firmly over rice. (Making sure the wet part contacts a dry part on the other side of the rice to seal).
  6. Wet the side corners and stretch them inwards and slightly forwards, to seal.
  7. Wet the top corner. Roll spring roll up over top corner, to seal. Makes ~20 spring rolls. 

Cooking Spring Rolls

There are really two ways I like spring rolls:

  1. Frying - either use a deep fryer or a pan frying method. Cook for ~8 minutes, until wrappers are golden-brown.
  2. Baking - Pre-heat oven to 425'F. Brush spring rolls with oil. Bake for ~25 minutes, turning them over at least once, until wrappers are browned.

The best thing about these spring rolls is they can also be frozen for later. I usually place them in a freezer bag on a cookie sheet in the freezer initially. That way they don't stick together. After about 8 hours (or the next day) take the cookie sheet out and POOF - bag of frozen ready-to-bake homemade spring rolls. Dinner for a lazy night? Check Mark.

-Andrea

The Half-Assed Hobbyist

Fried Chickens

Fall is the best season for cooking, in my opinion. When it gets cold and gross outside all I want is a warm hearty dinner. This usually means I whip out the slowcooker and get mah stew on, but for the inaugural fall meal this year I was inspired by a magazine cover: Fried Chicken. 

Fried Chicken

Chicken thighs and legs, bone in, with skin (~8 pieces total)
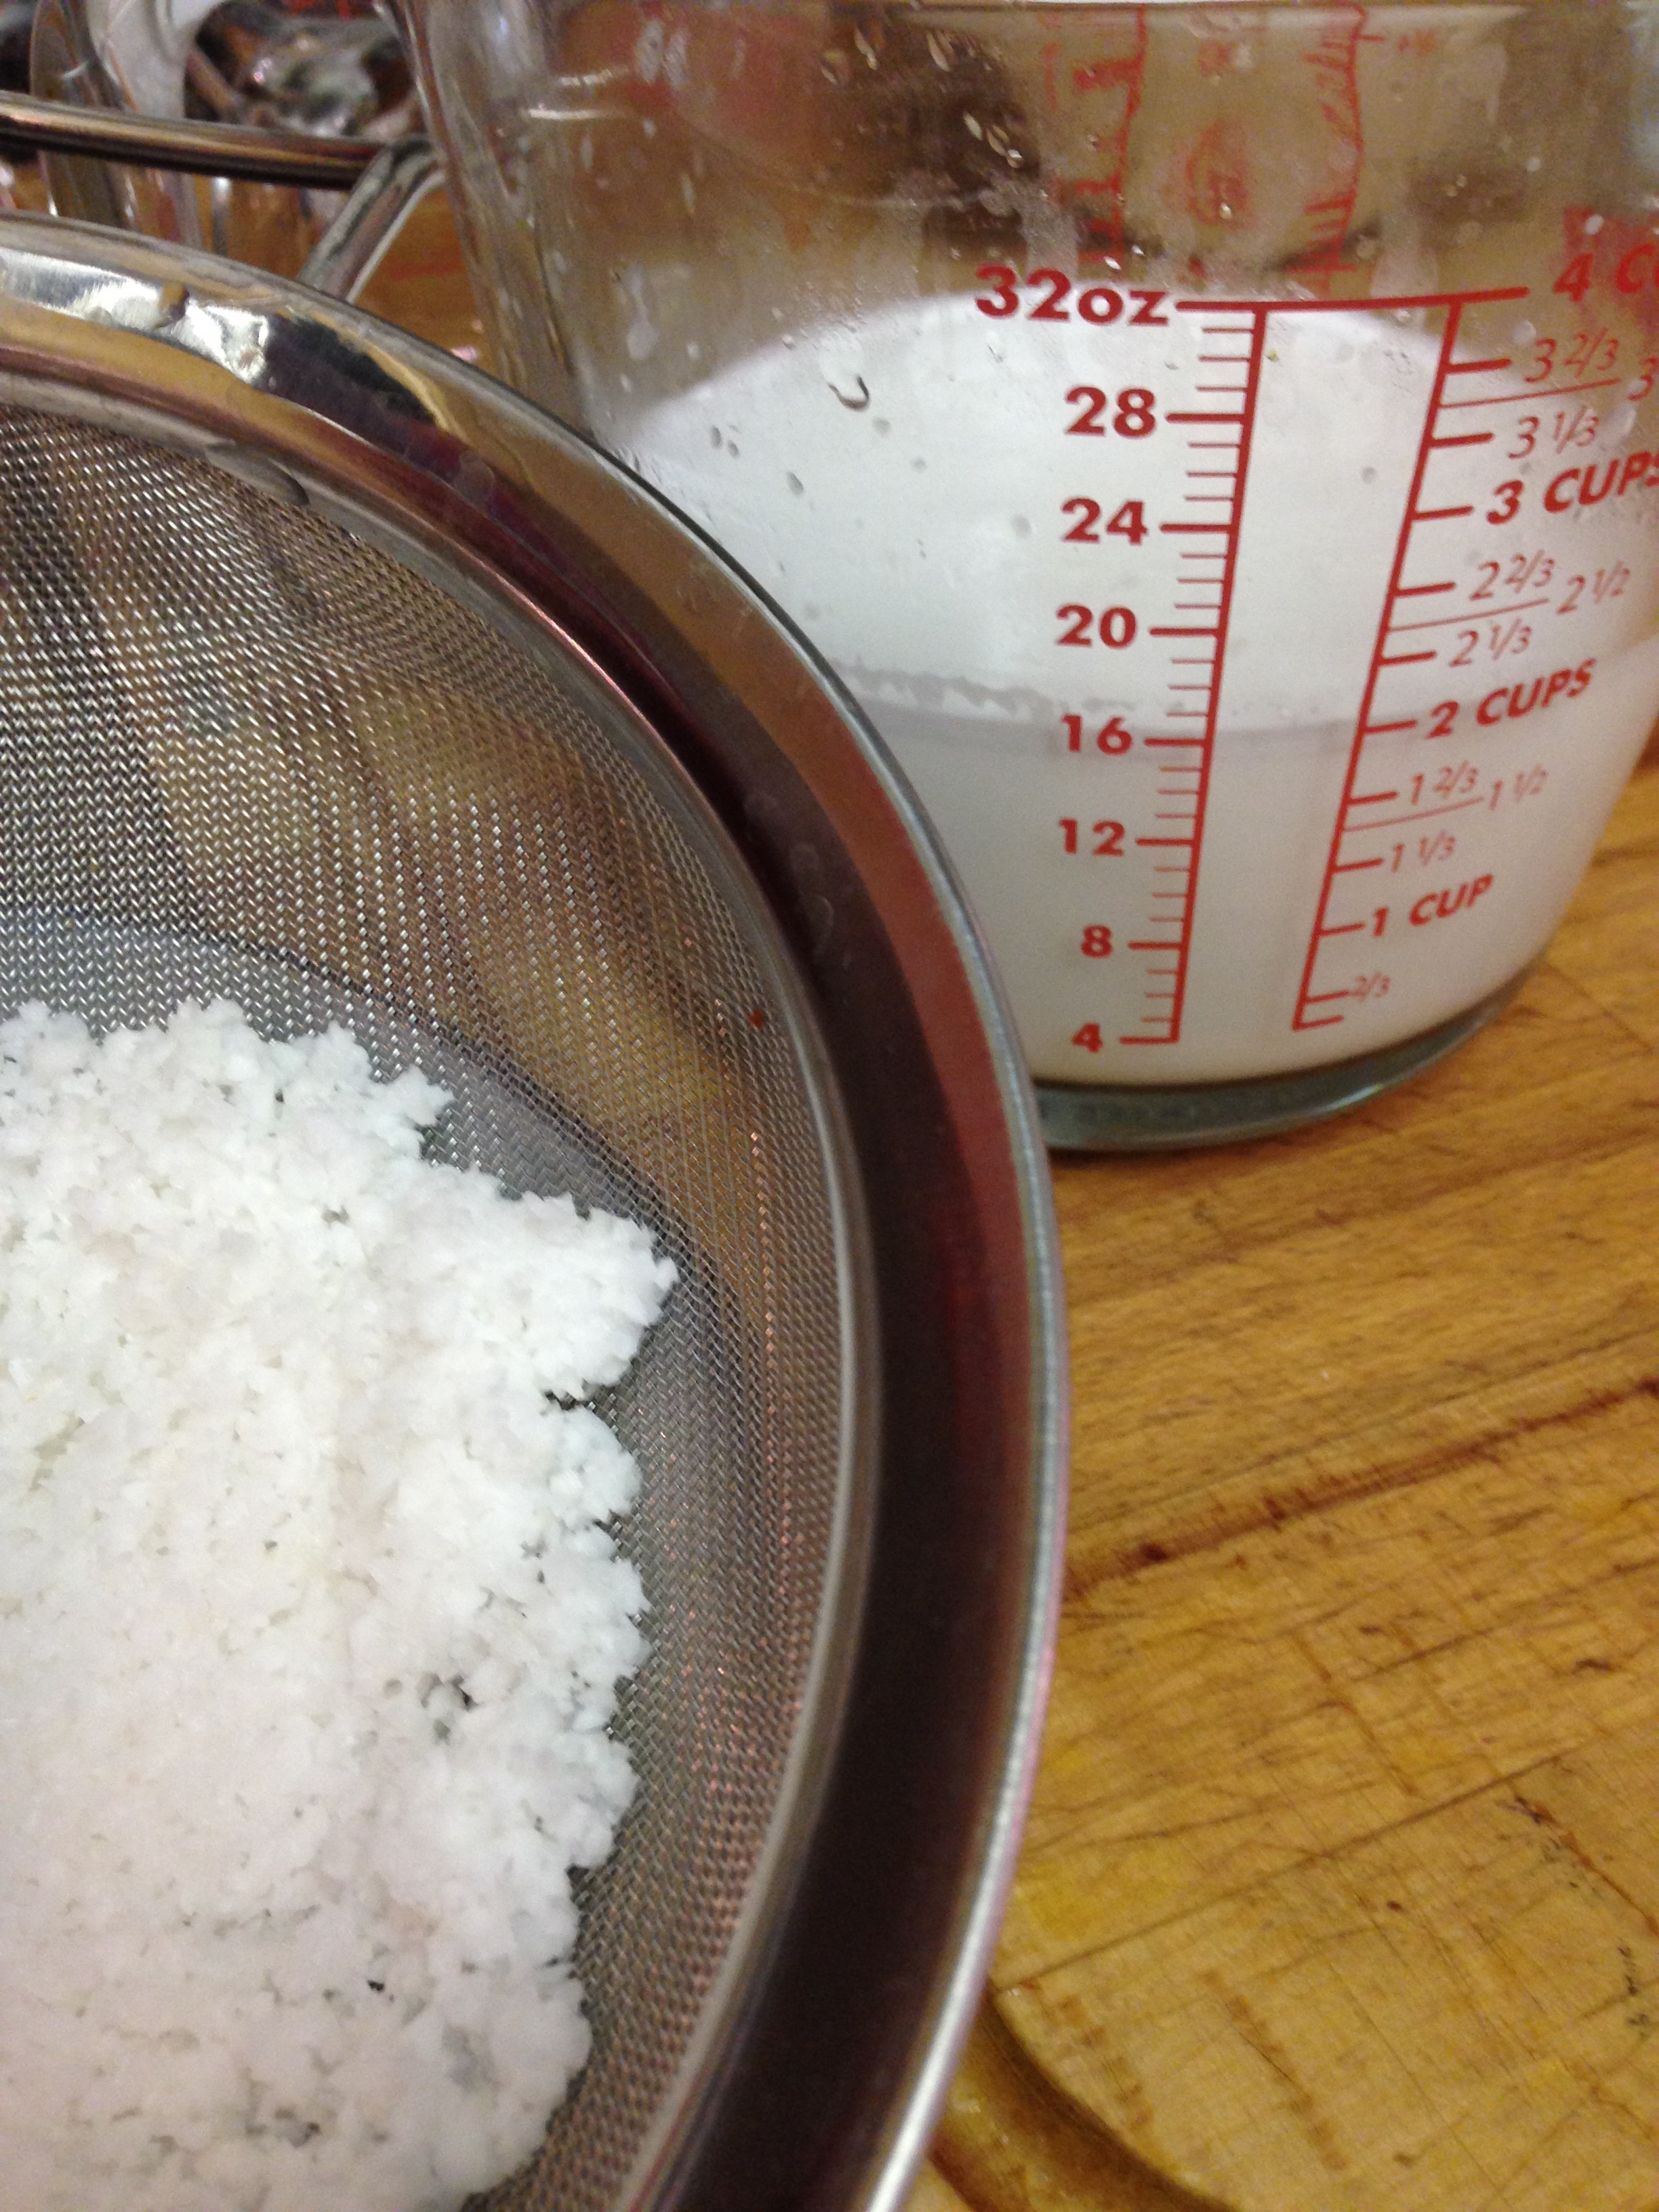
4 cups water
1/2 cup salt
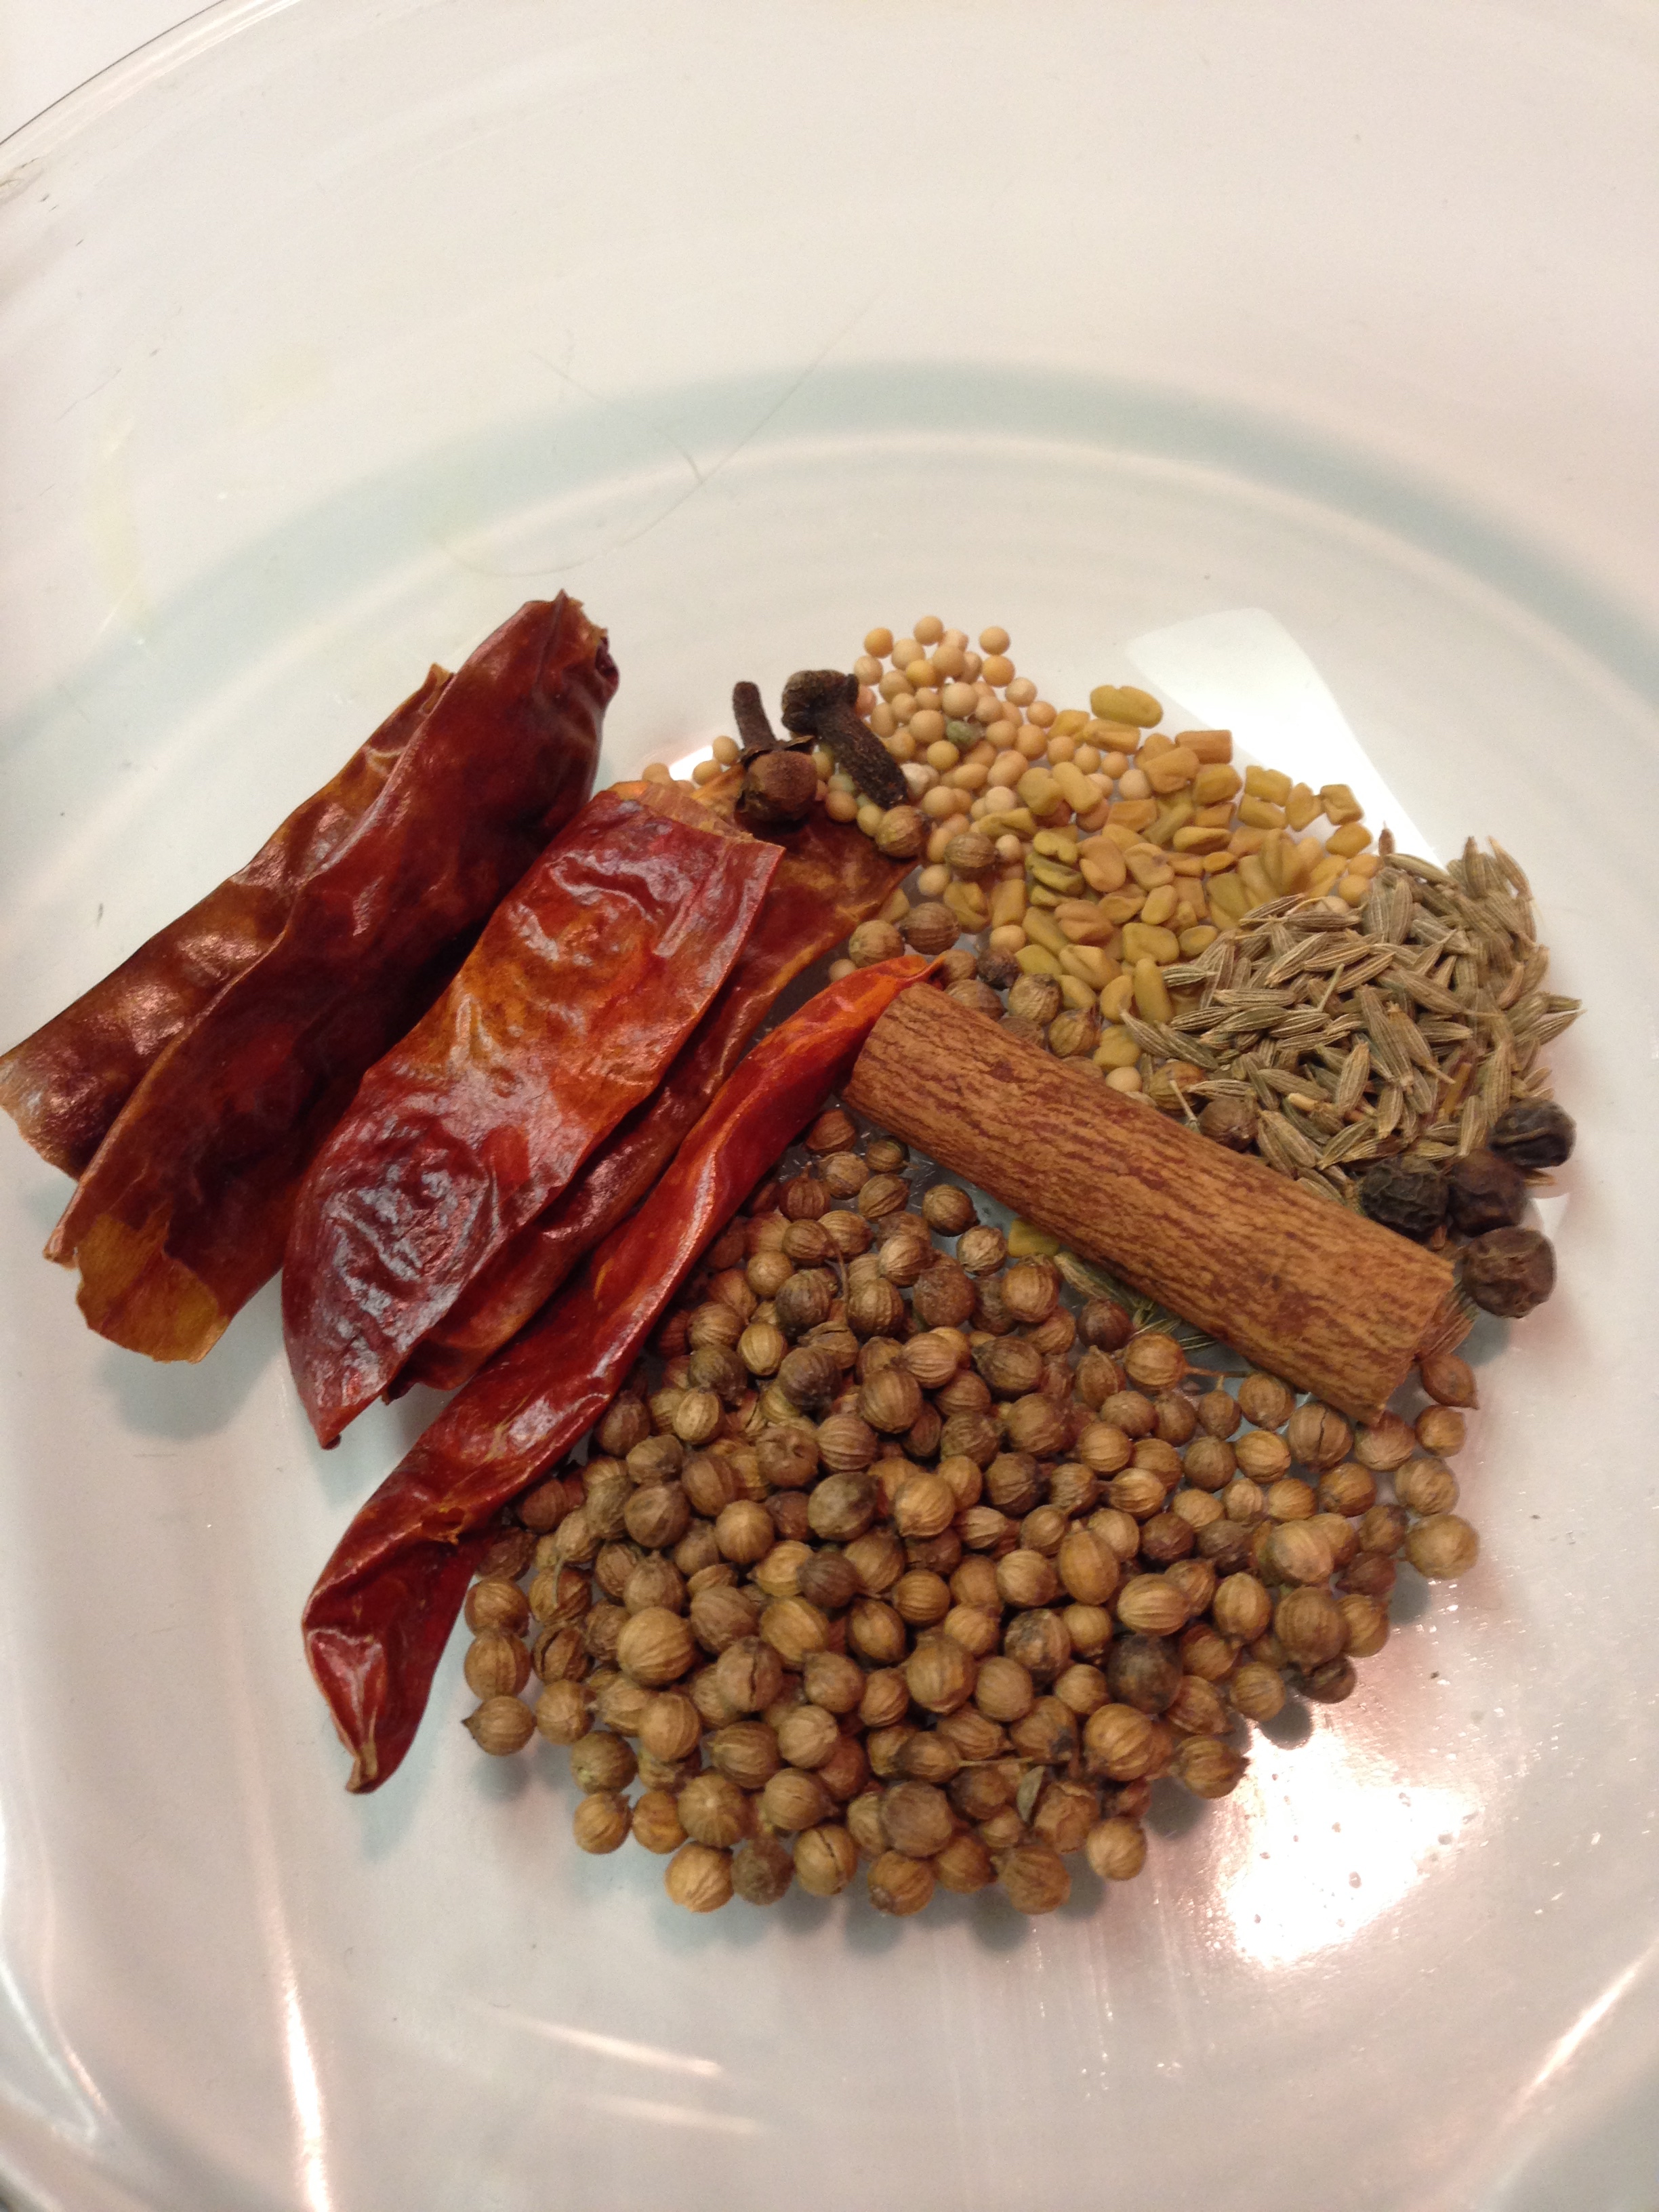
6 - 8 black peppercorns
1 bayleaf
1 tsp red pepper flakes
1 tsp cayenne pepper
1 tsp garlic powder

2 cups flour
1 cup rice flour
1/2 tsp salt
1/4 tsp pepper
1/4 tsp cayenne

1 cup buttermilk
2 eggs

Vegetable oil

  1. To make the brine: Combine all ingredients in a non-reactive saucepan or dutch oven. Over medium heat, heat brine. Stir until all salt is dissolved. Remove from heat and let cool completely (you can put the brine in the fridge for 10 minutes to quicken this up). 
  2. Brine chicken by immersing the chicken in the brine and letting it sit, covered, in the fridge for at least 2 hours, up to 8 hours.
  3. Remove chicken from the brine. Place the chicken on a raw meat cutting board and pat dry with a paper towel. Discard the brine down the sink and garbage the spices.
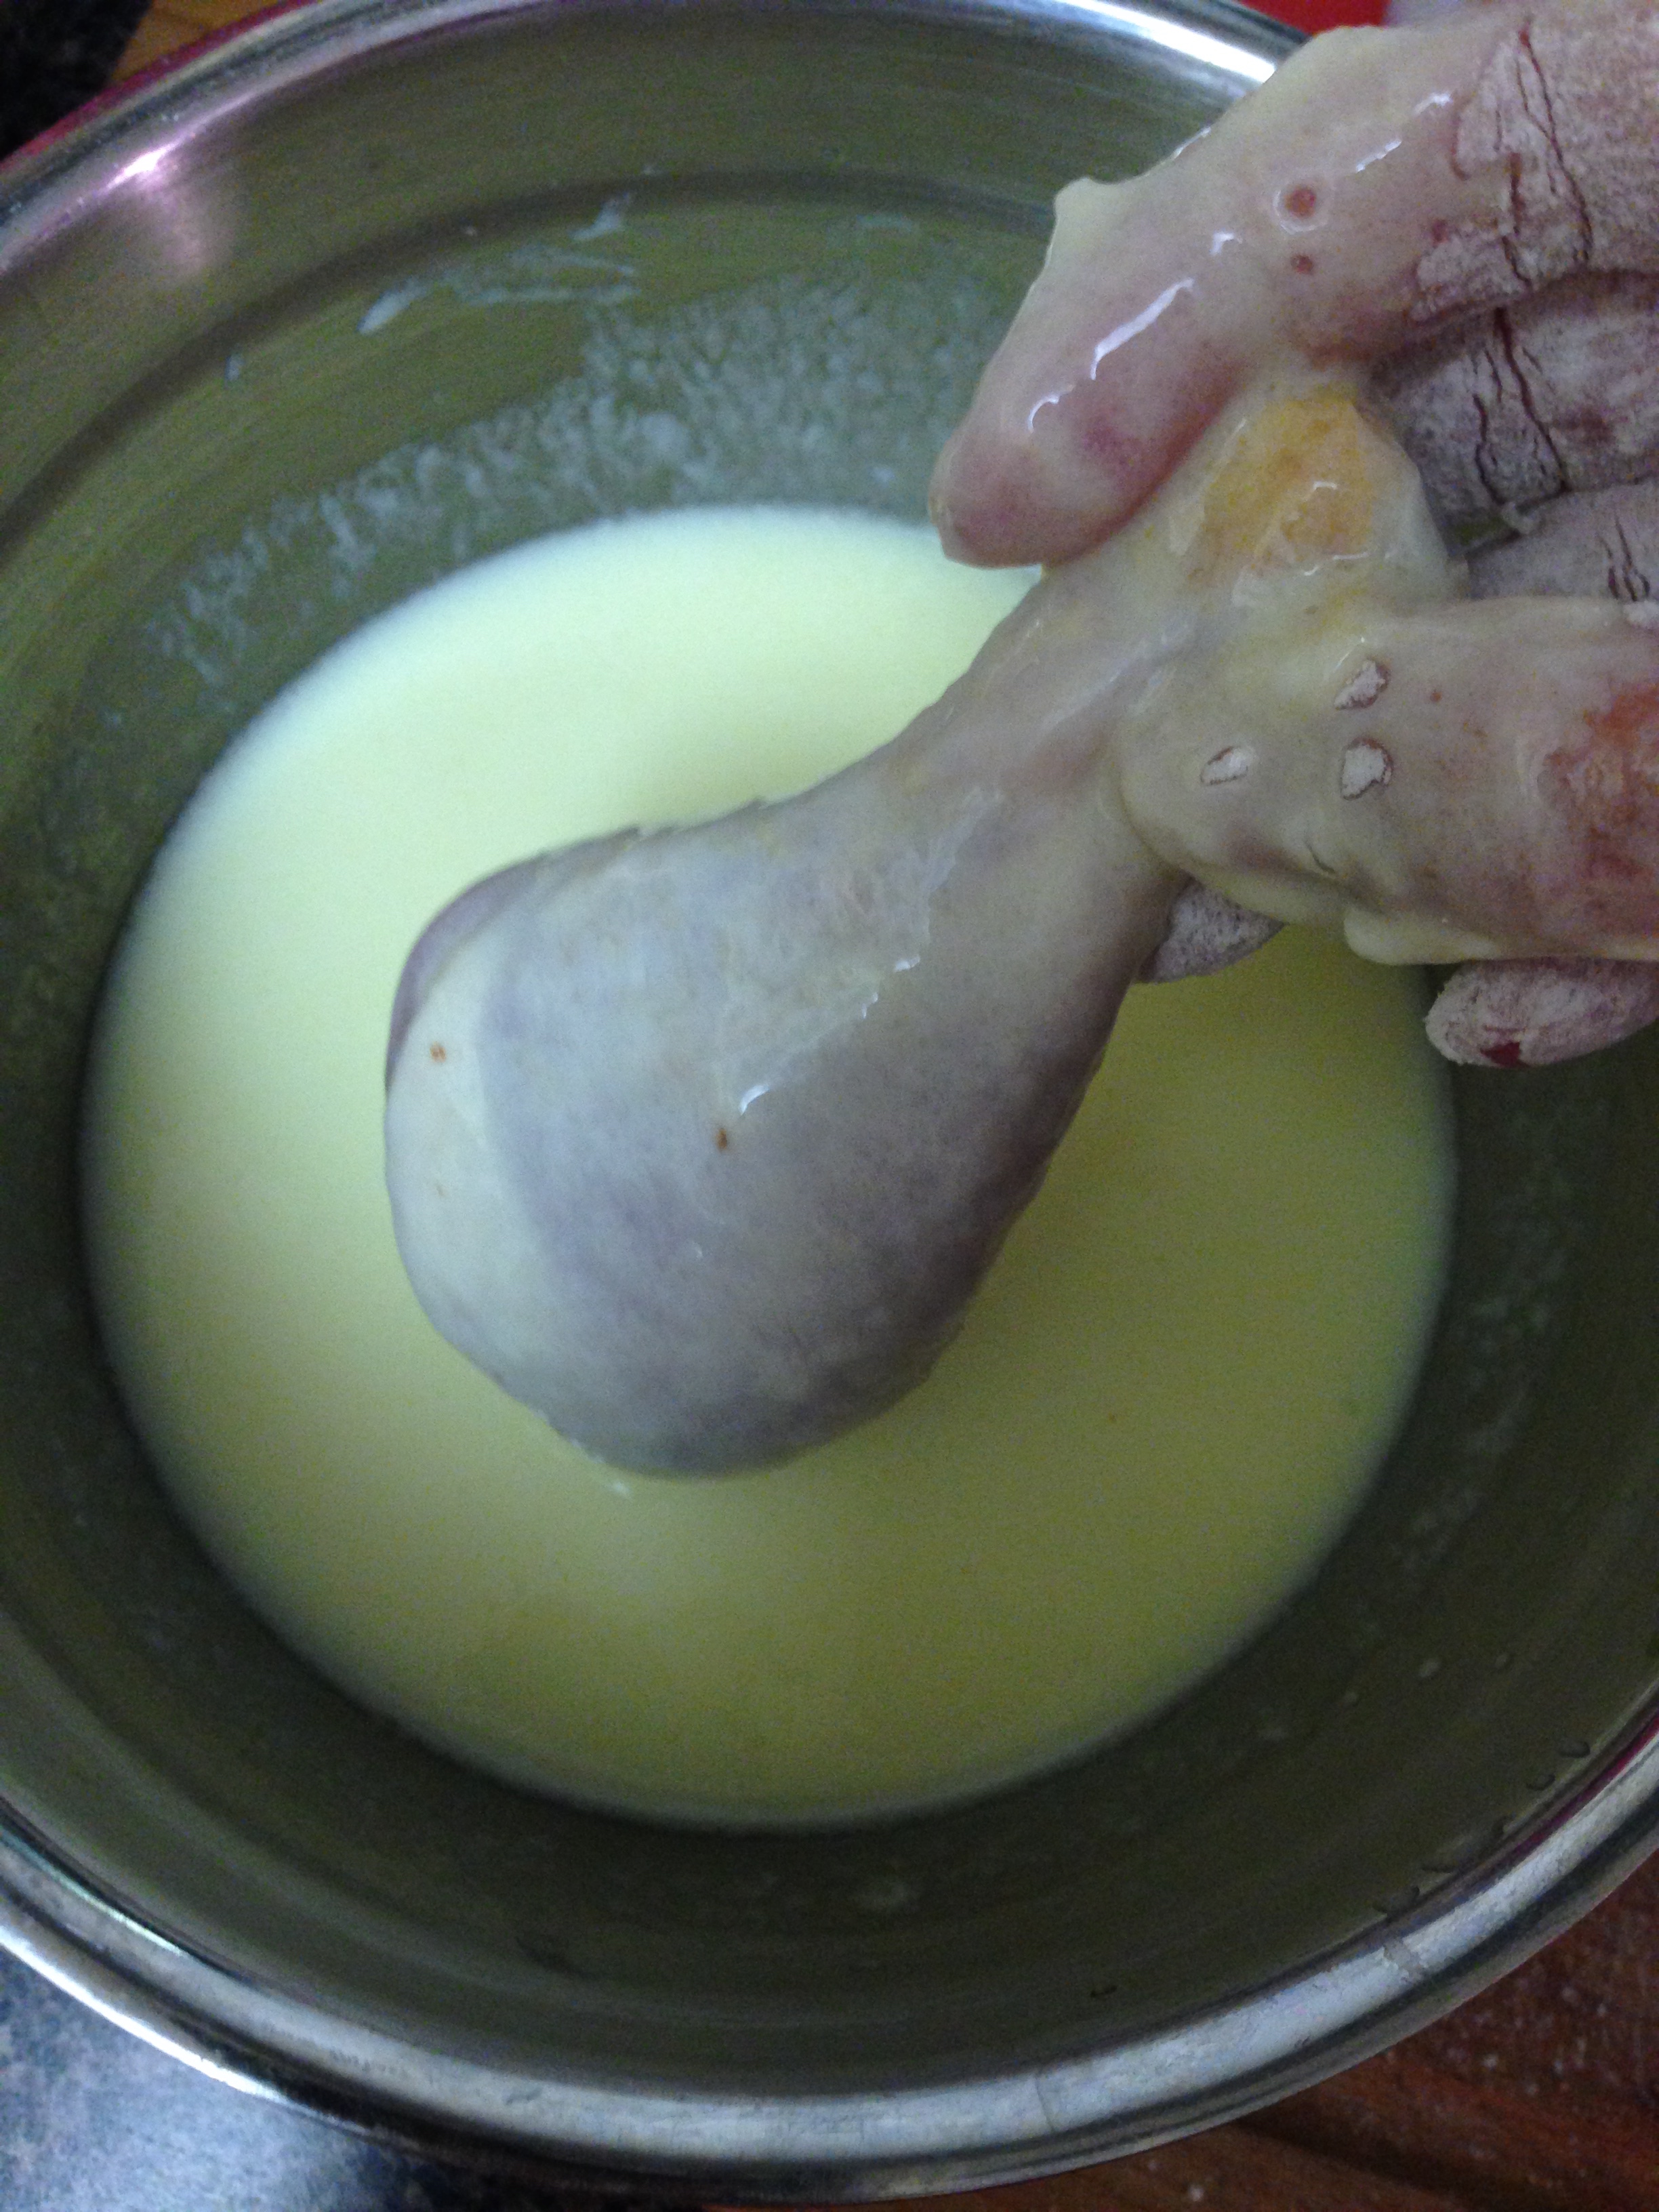
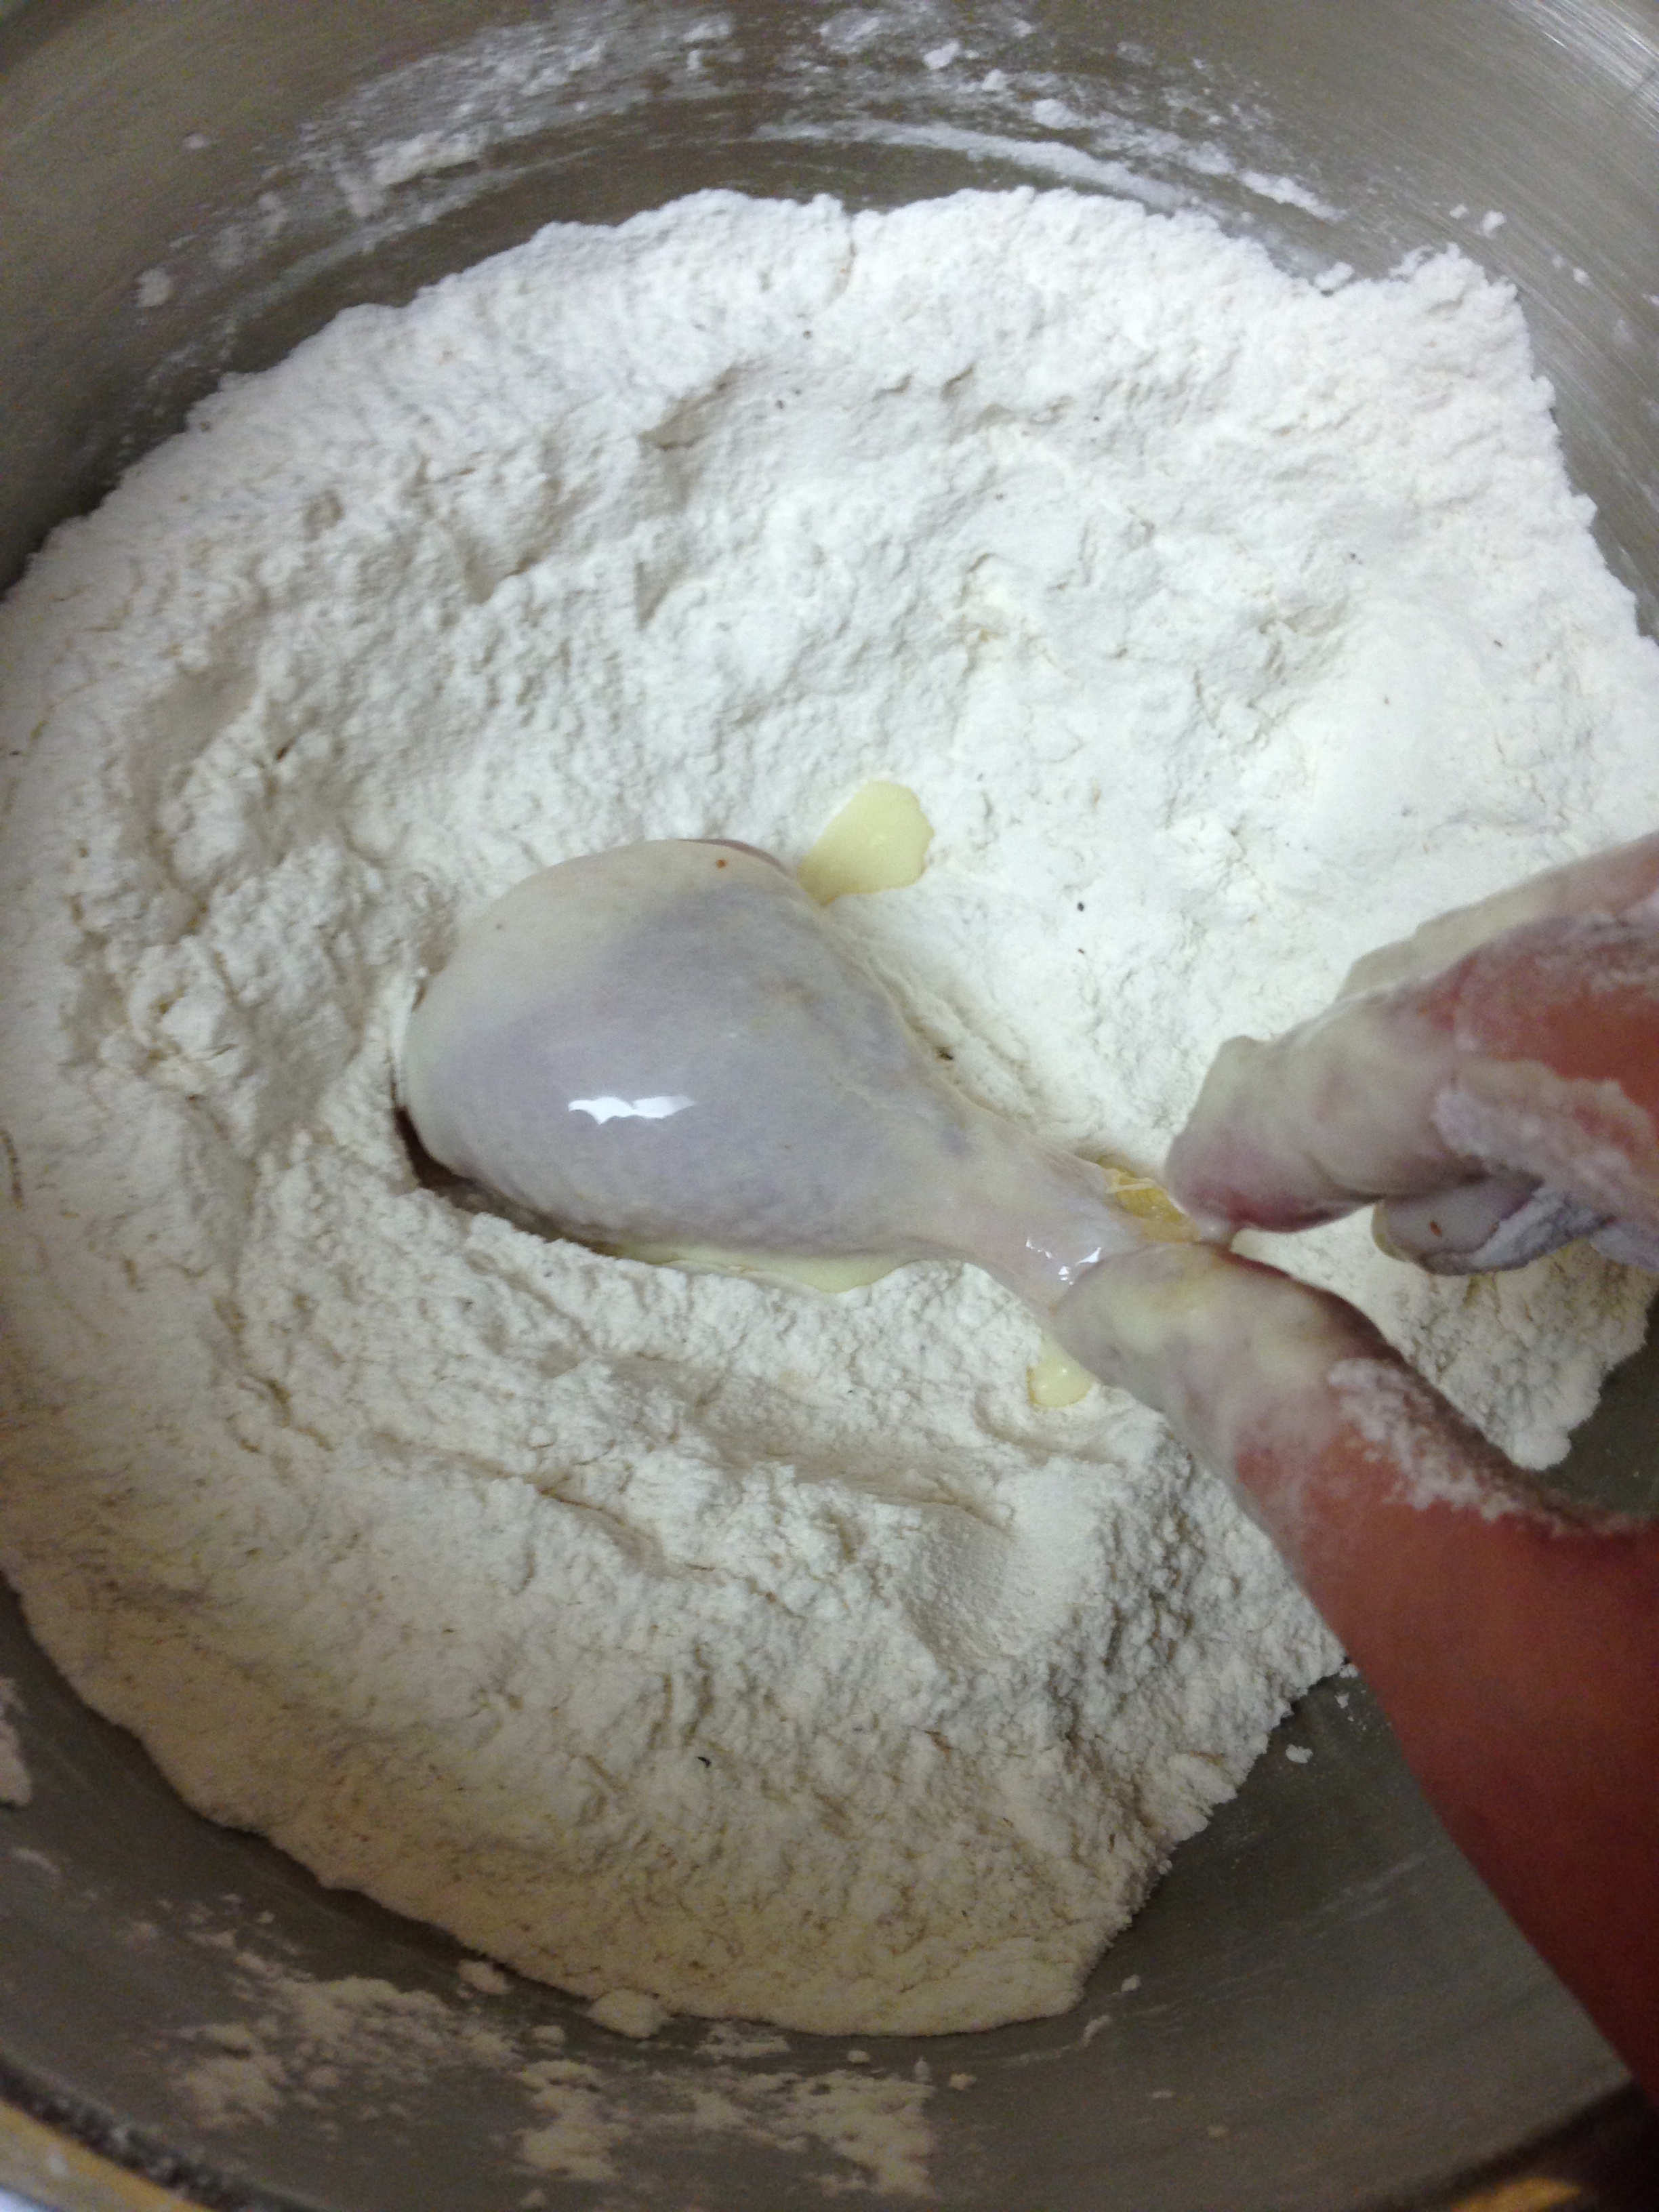
  4. To coat the chicken: In two separate bowls combine wet ingredients (buttermilk and eggs) and in the other combine dry ingredients (flour, rice flour and spices). Coat chicken in the buttermilk mixture first. Lift the chicken out and let any excess run off of the chicken back into the bowl. Then transfer the chicken to the flour mixture. Dredge the chicken in the flour mixture, flipping at least once to get both sides. Coat the chicken well, so the buttermilk is totally absorbed. Lift the chicken out and give it a gentle shake to get any excess flour mixture off. (I do this coating process twice because I like a thick coating.)
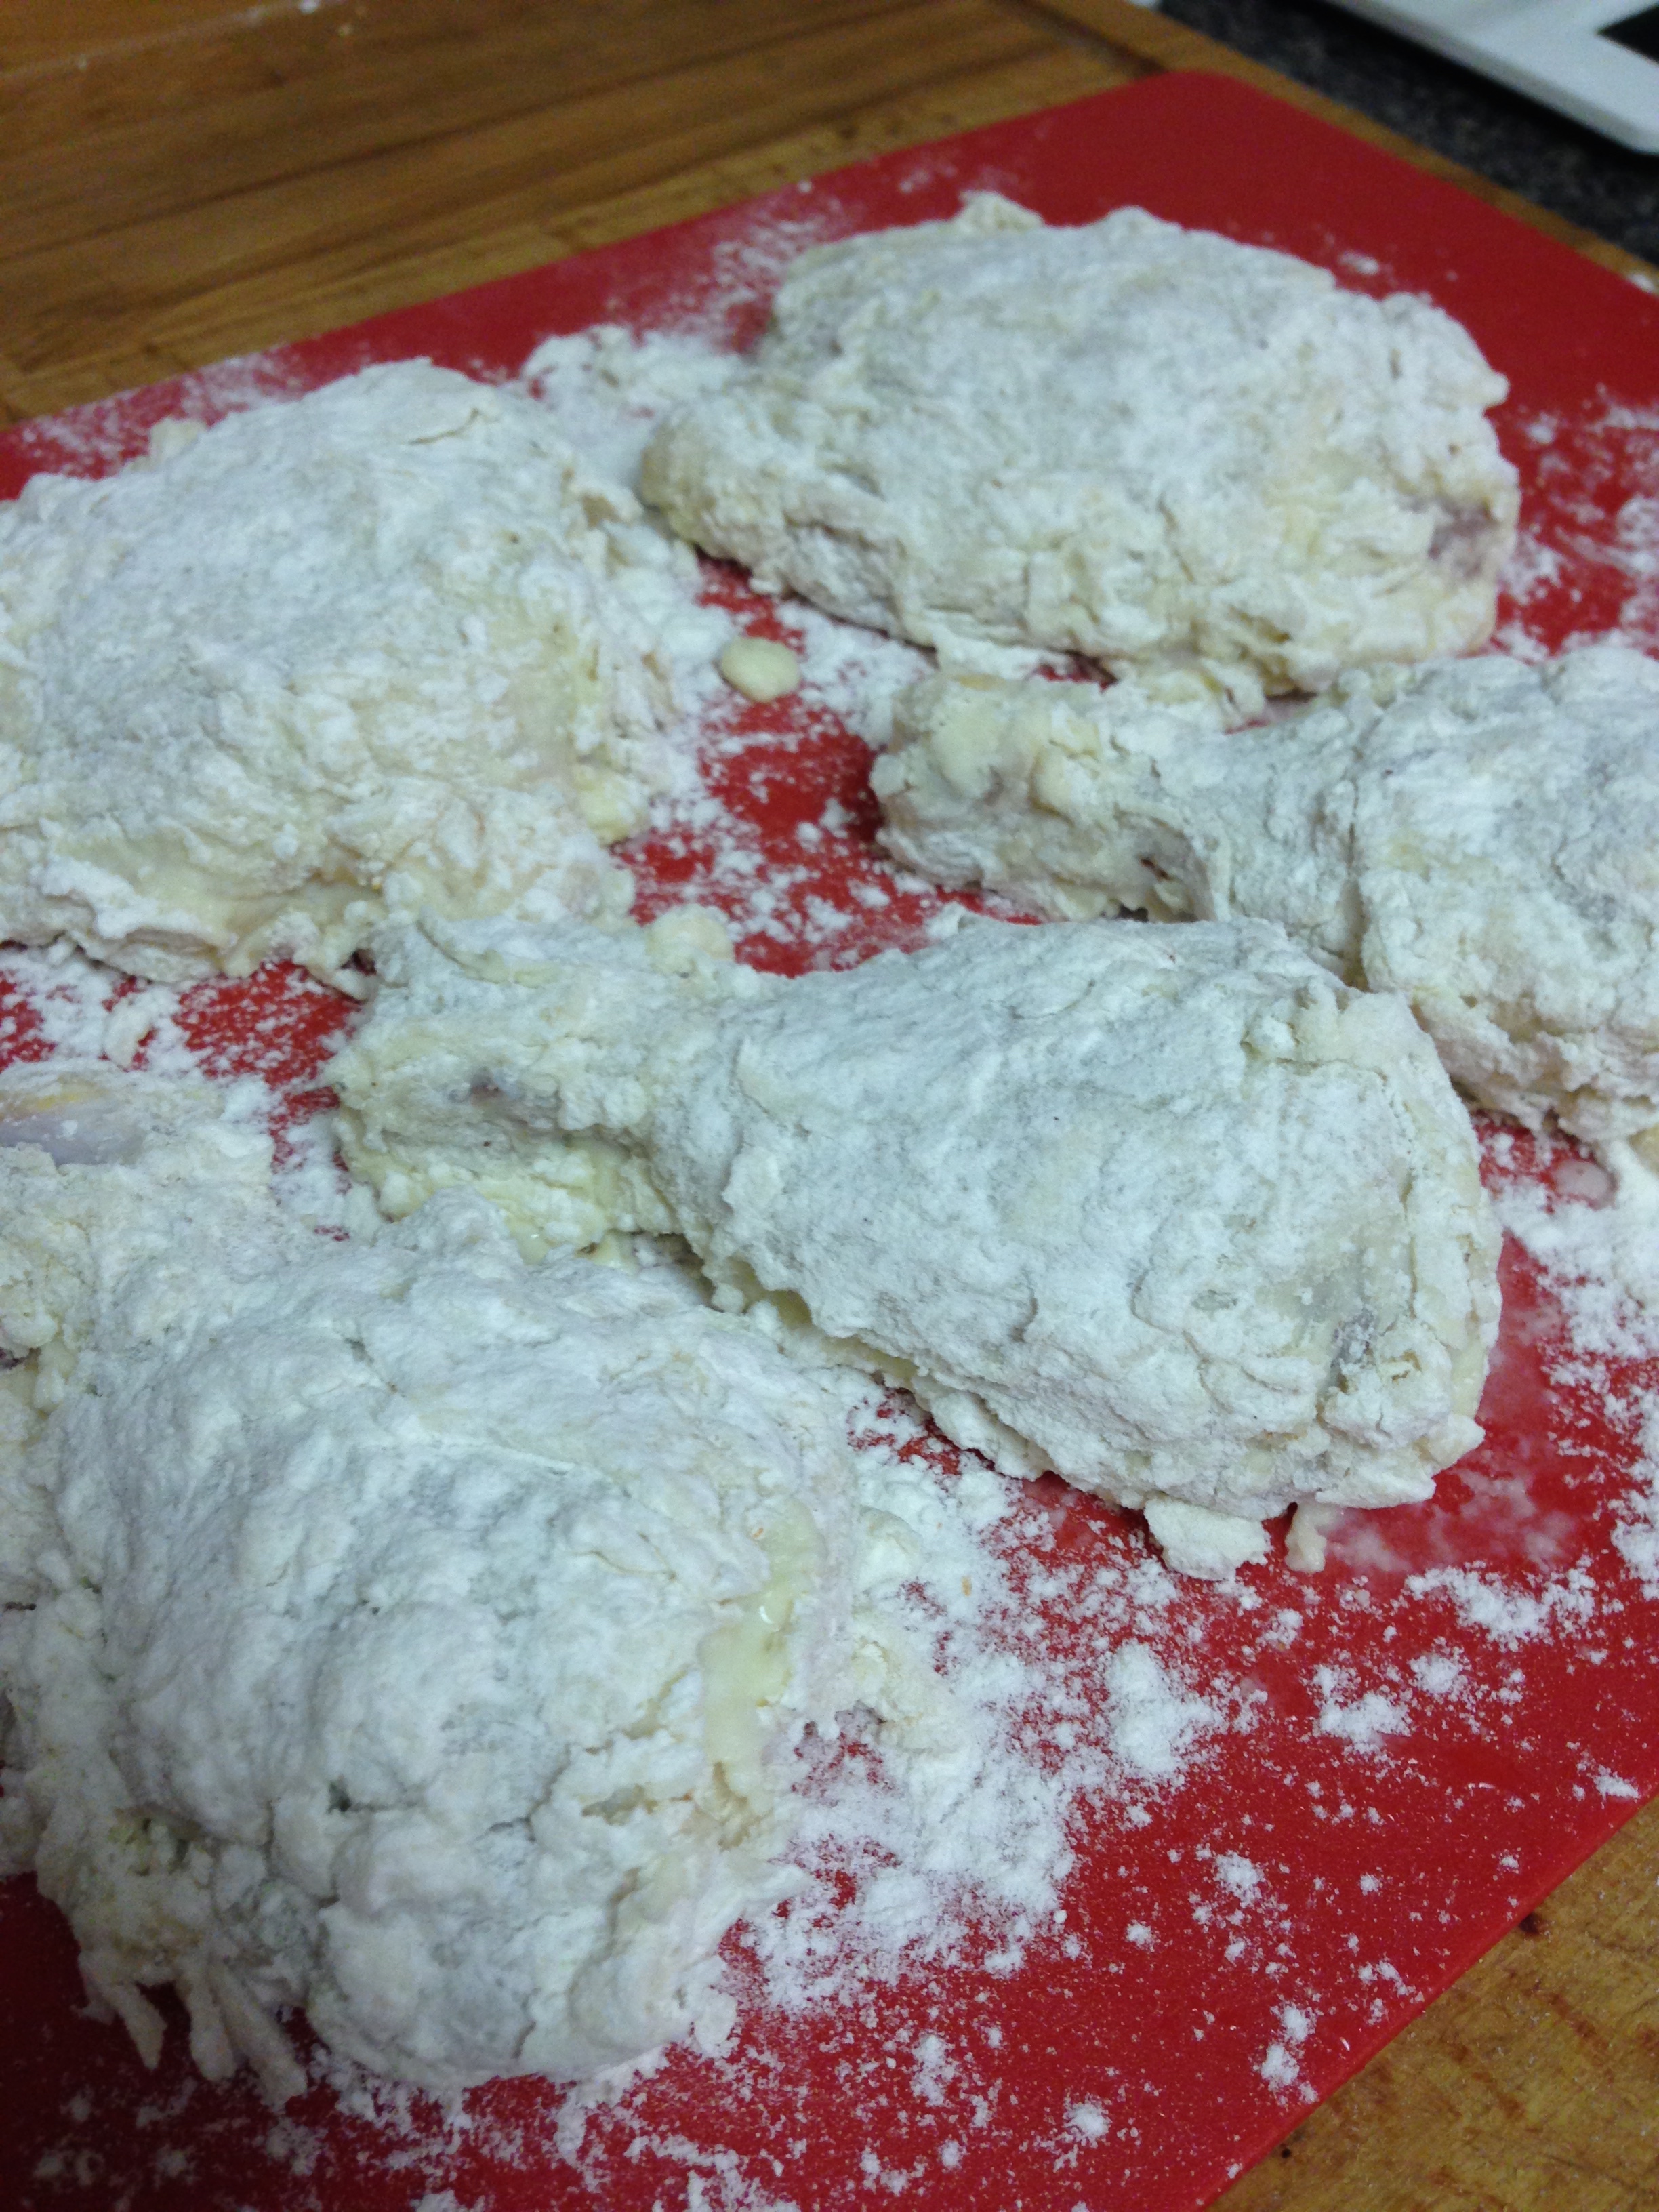
  5. Set battered chicken down and let rest for at least 5 minutes. (This helps the moisture soak into the crust so it won't be floury.)
  6. While the chicken is resting, it's time to get your oil ready. If you have a fancy deep fryer, fill it up and turn it on. Most fryers will have settings for cooking meat. If you're like me and like to live adventurously, fill a wide and deep frying pan with vegetable oil, about 2 inches up the sides of the pan. Heat the oil over medium-high heat. It's very important that the oil stay the same temperature. But PLEASE BE CAREFUL. Hot oil is very dangerous. Under no circumstances move a frying pan filled with hot oil. (I'm not afraid of many things found in kitchens, industrial or otherwise, but boiled oil makes my heart pound). The oil will typically crackle or ripple when it's reaching frying temp but use a thermometer to get the temp. It should be around 340'F.
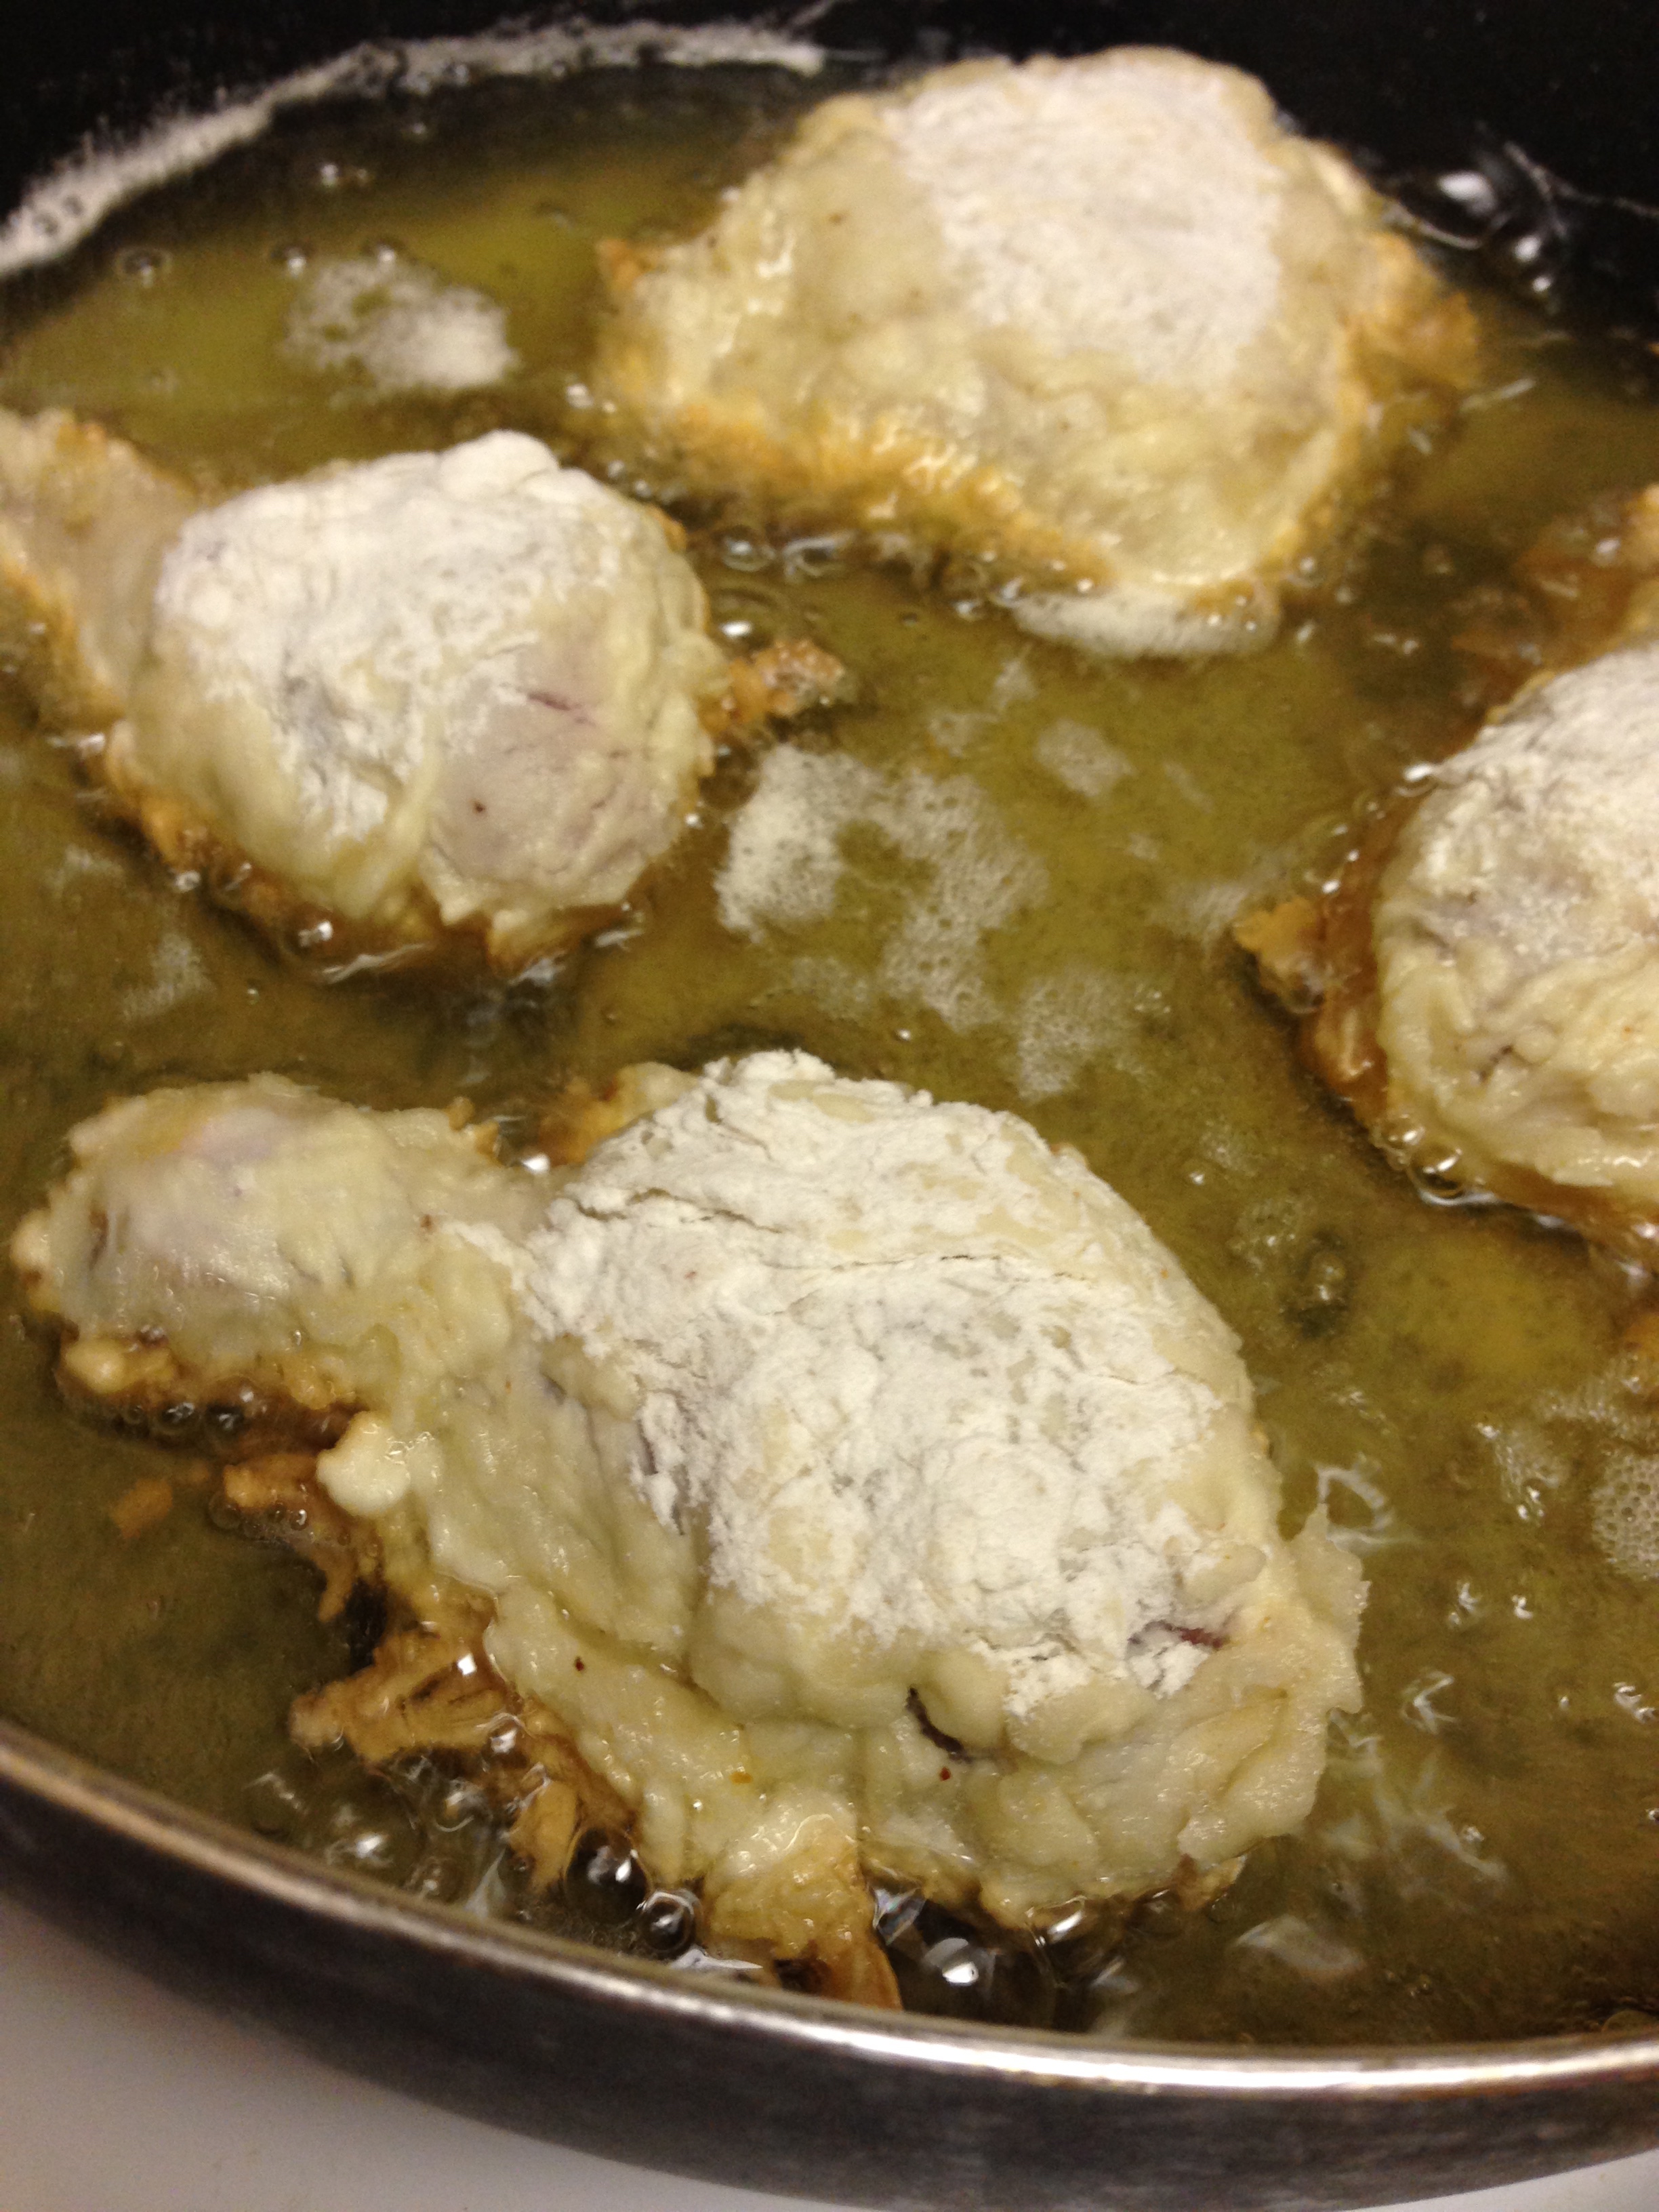
  7. It's frying time! Very Carefully place the legs and thighs, one at a time, evenly spaced, into the hot oil. (Depending on the size of the pan, cook chicken in two batches.) The oil will bubble up when the chicken is introduced. Once the pan is full, cook chicken for 6 minutes, flipping once with some tongs, continuing to cook for another 4-6 minutes on the other side, or until a meat thermometer reads 165'F. (About 10-12 mins total.)
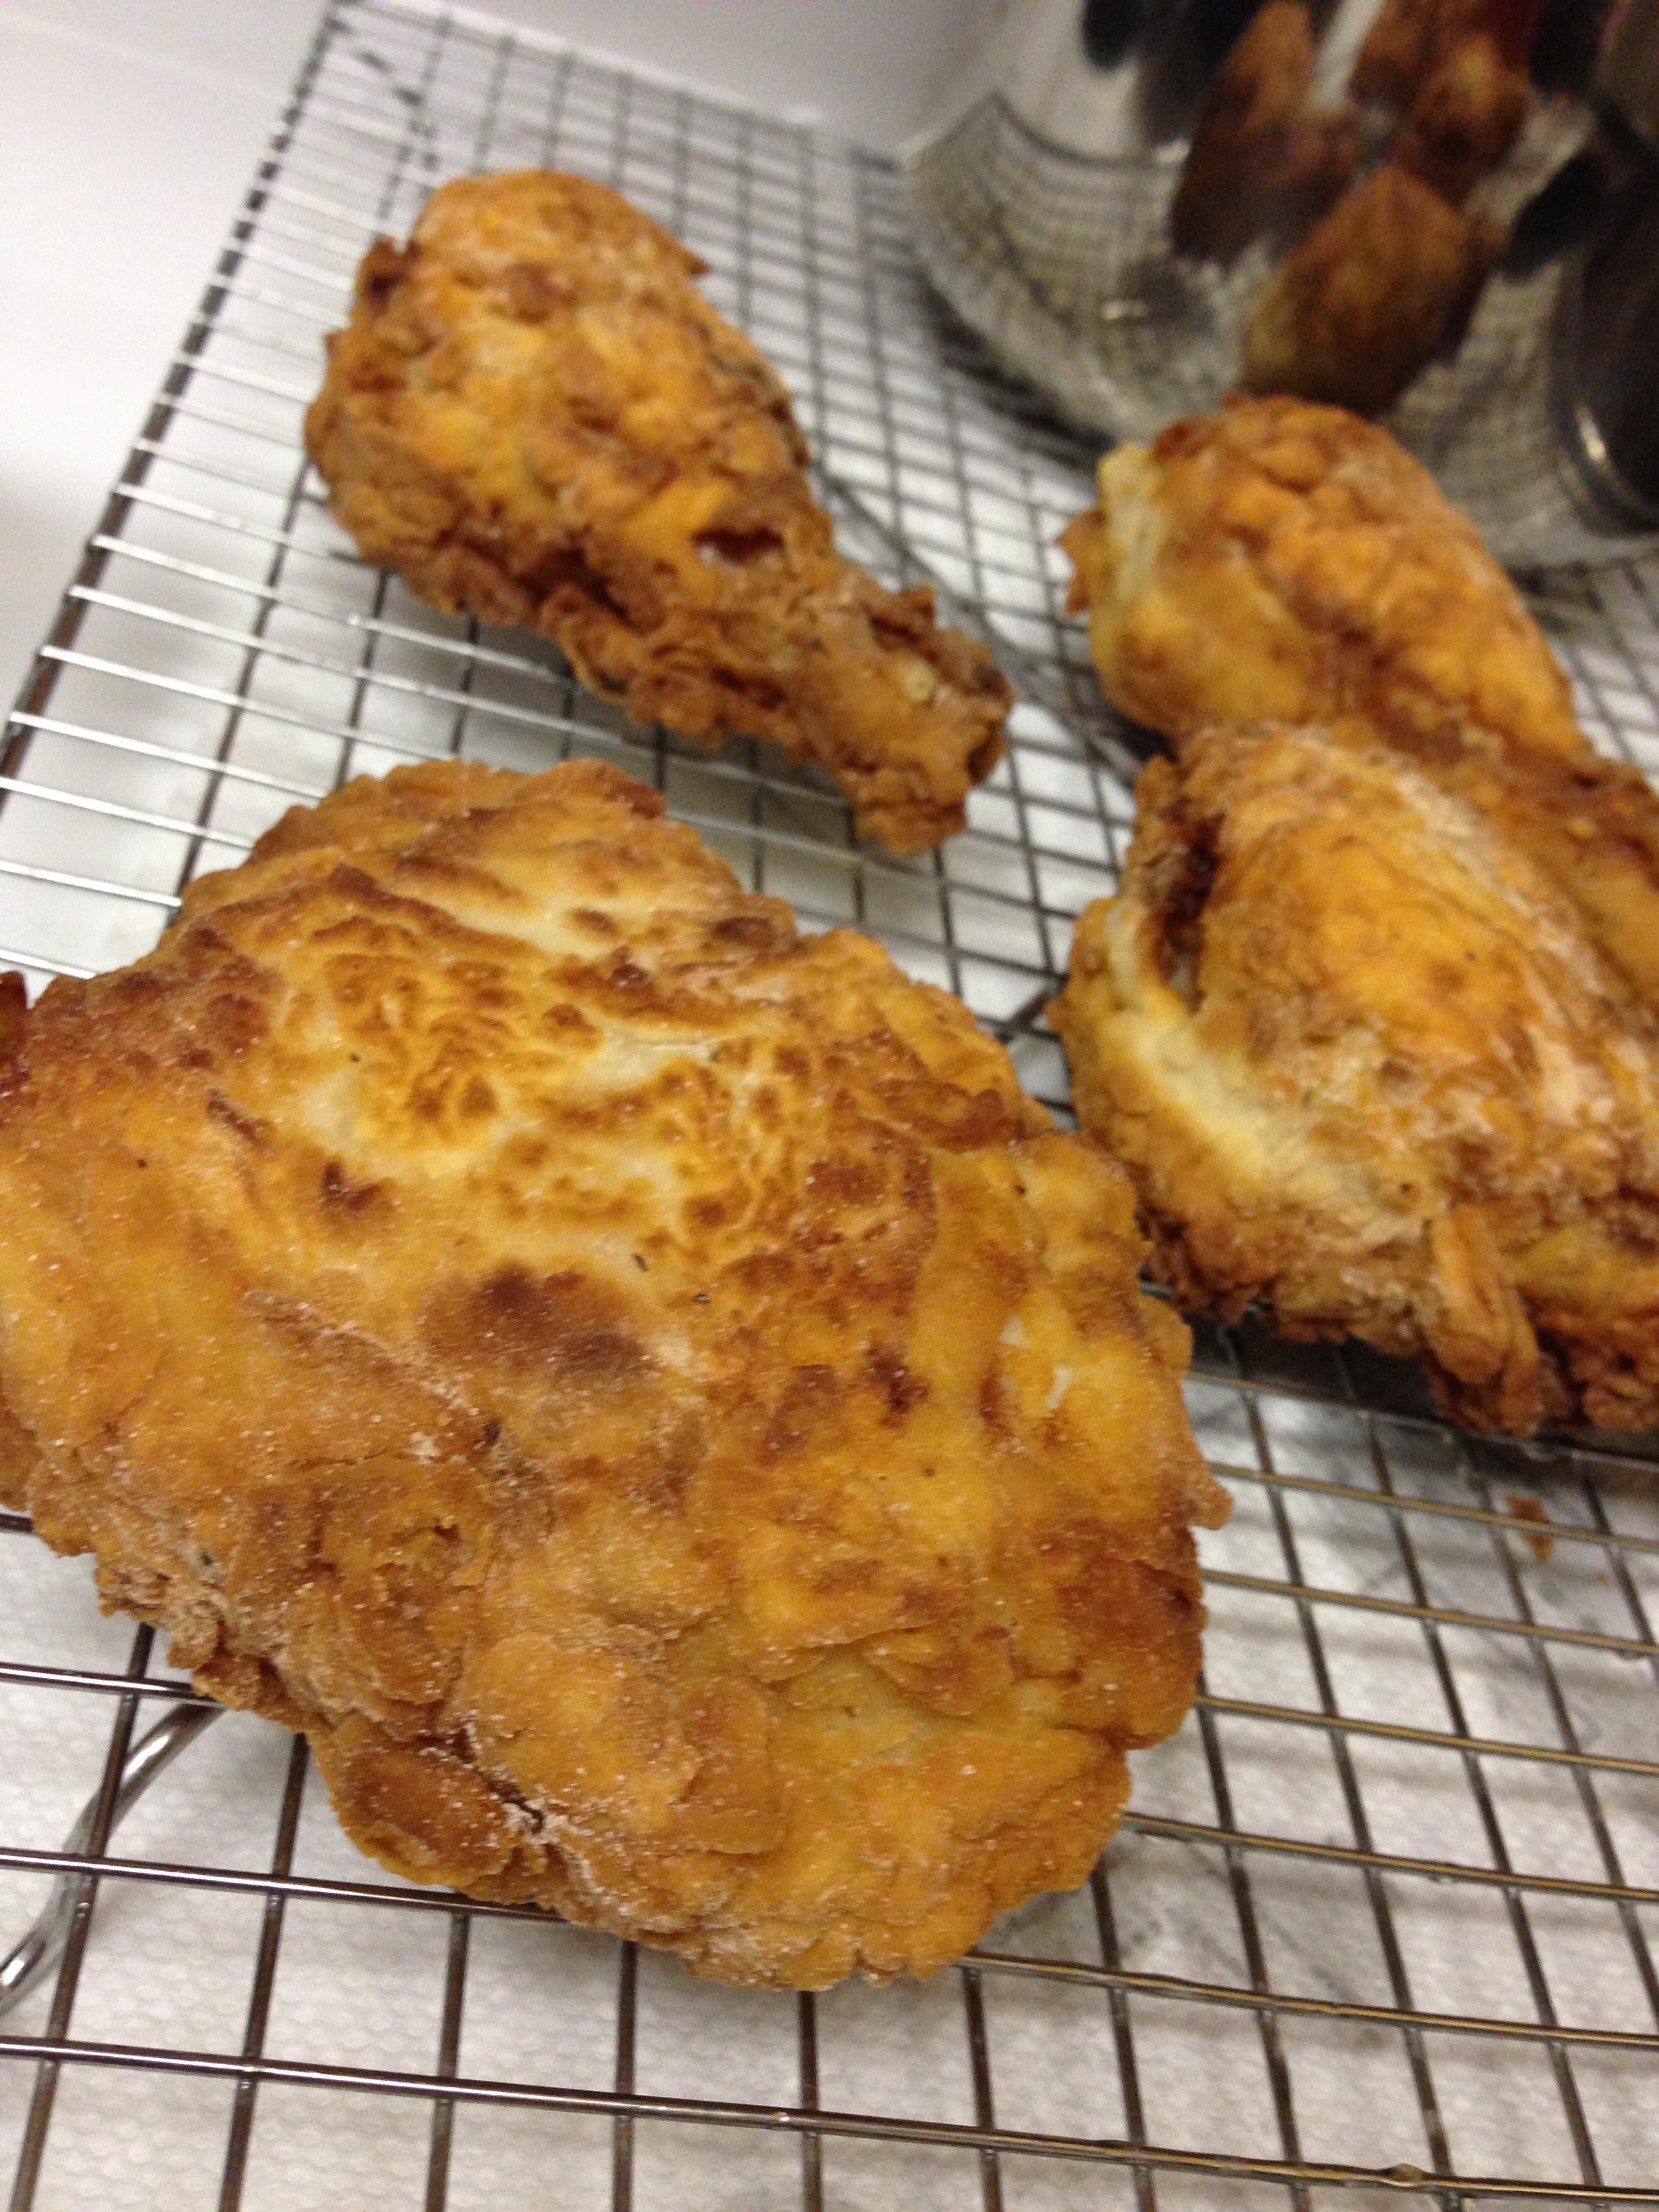
  8. When the chicken is done, place on a wire rack, sprinkle with salt, and let sit for about 2 minutes. Don't worry, it's not going to get cold. Just put-in-mouth temperature. Fry remaining chicken in the same way.
  9. Serve with buttered corn and mash potatoes!       Makes about 8 pieces. 

It was a fun fall food adventure! Just the pick-me-up from the gross cold fall drearies. I do have three tips/secrets though:

  1. Brining is a super important step. It keeps the chicken moist as it cooks in the high heat of the oil. Even if it's just for 2 hours, brining makes such a difference. 
  2. Don't skimp on the rice flour. It helps the coating from getting overly browned before the chicken is fully cooked. That lightly golden colour is possible because of the rice flour.
  3. RE: my above recipe spaz about boiling oil - Do Not set the oil to boil over high heat. The chicken coating will burn before the meat is cooked (and also ferociously boiling oil is rather frightening). First start with the oil over med-high heat. Then adjust the oil heat to higher or lower as needed throughout the cooking time (trying to keep the oil at around 340'F). The more pieces in the oil, the faster the temp will drop. So keep the pieces evenly spaced to ensure they all get a cookin'. 

Mmmm. Dangerzone, you are filled with fried chickens....

Some people exercise for health. I exercise for food. Delicious fall food. <3

Cheers!

-Andrea

The Half-Assed Hobbyist