
It was last year in mid December that my friend Lesley showed me a video about making edible flowers in gelatine. A) I was super blown away because I'd never seen anything like it before, and B) obviously we had to try it. We were both too busy during December to endeavour to make them however, and so the idea receded into the ether of 'should do's and 'one day's.
Skip forward to last week. Lesley is sifting though her archived email (brave soul) and stumbles upon the original email thread with video link attached. The game is on. I have almost all the ingredients in my pantry too, so a date is set. Jelly Flower Power!
Anyways! I got the recipe off this blog, belonging to the lady who did the wonderful video tutorial. I've modified it to use cups instead of mL and I've written out some instructions too. (Complete with pictures!)
Jelly Flowers
Gelatine Base
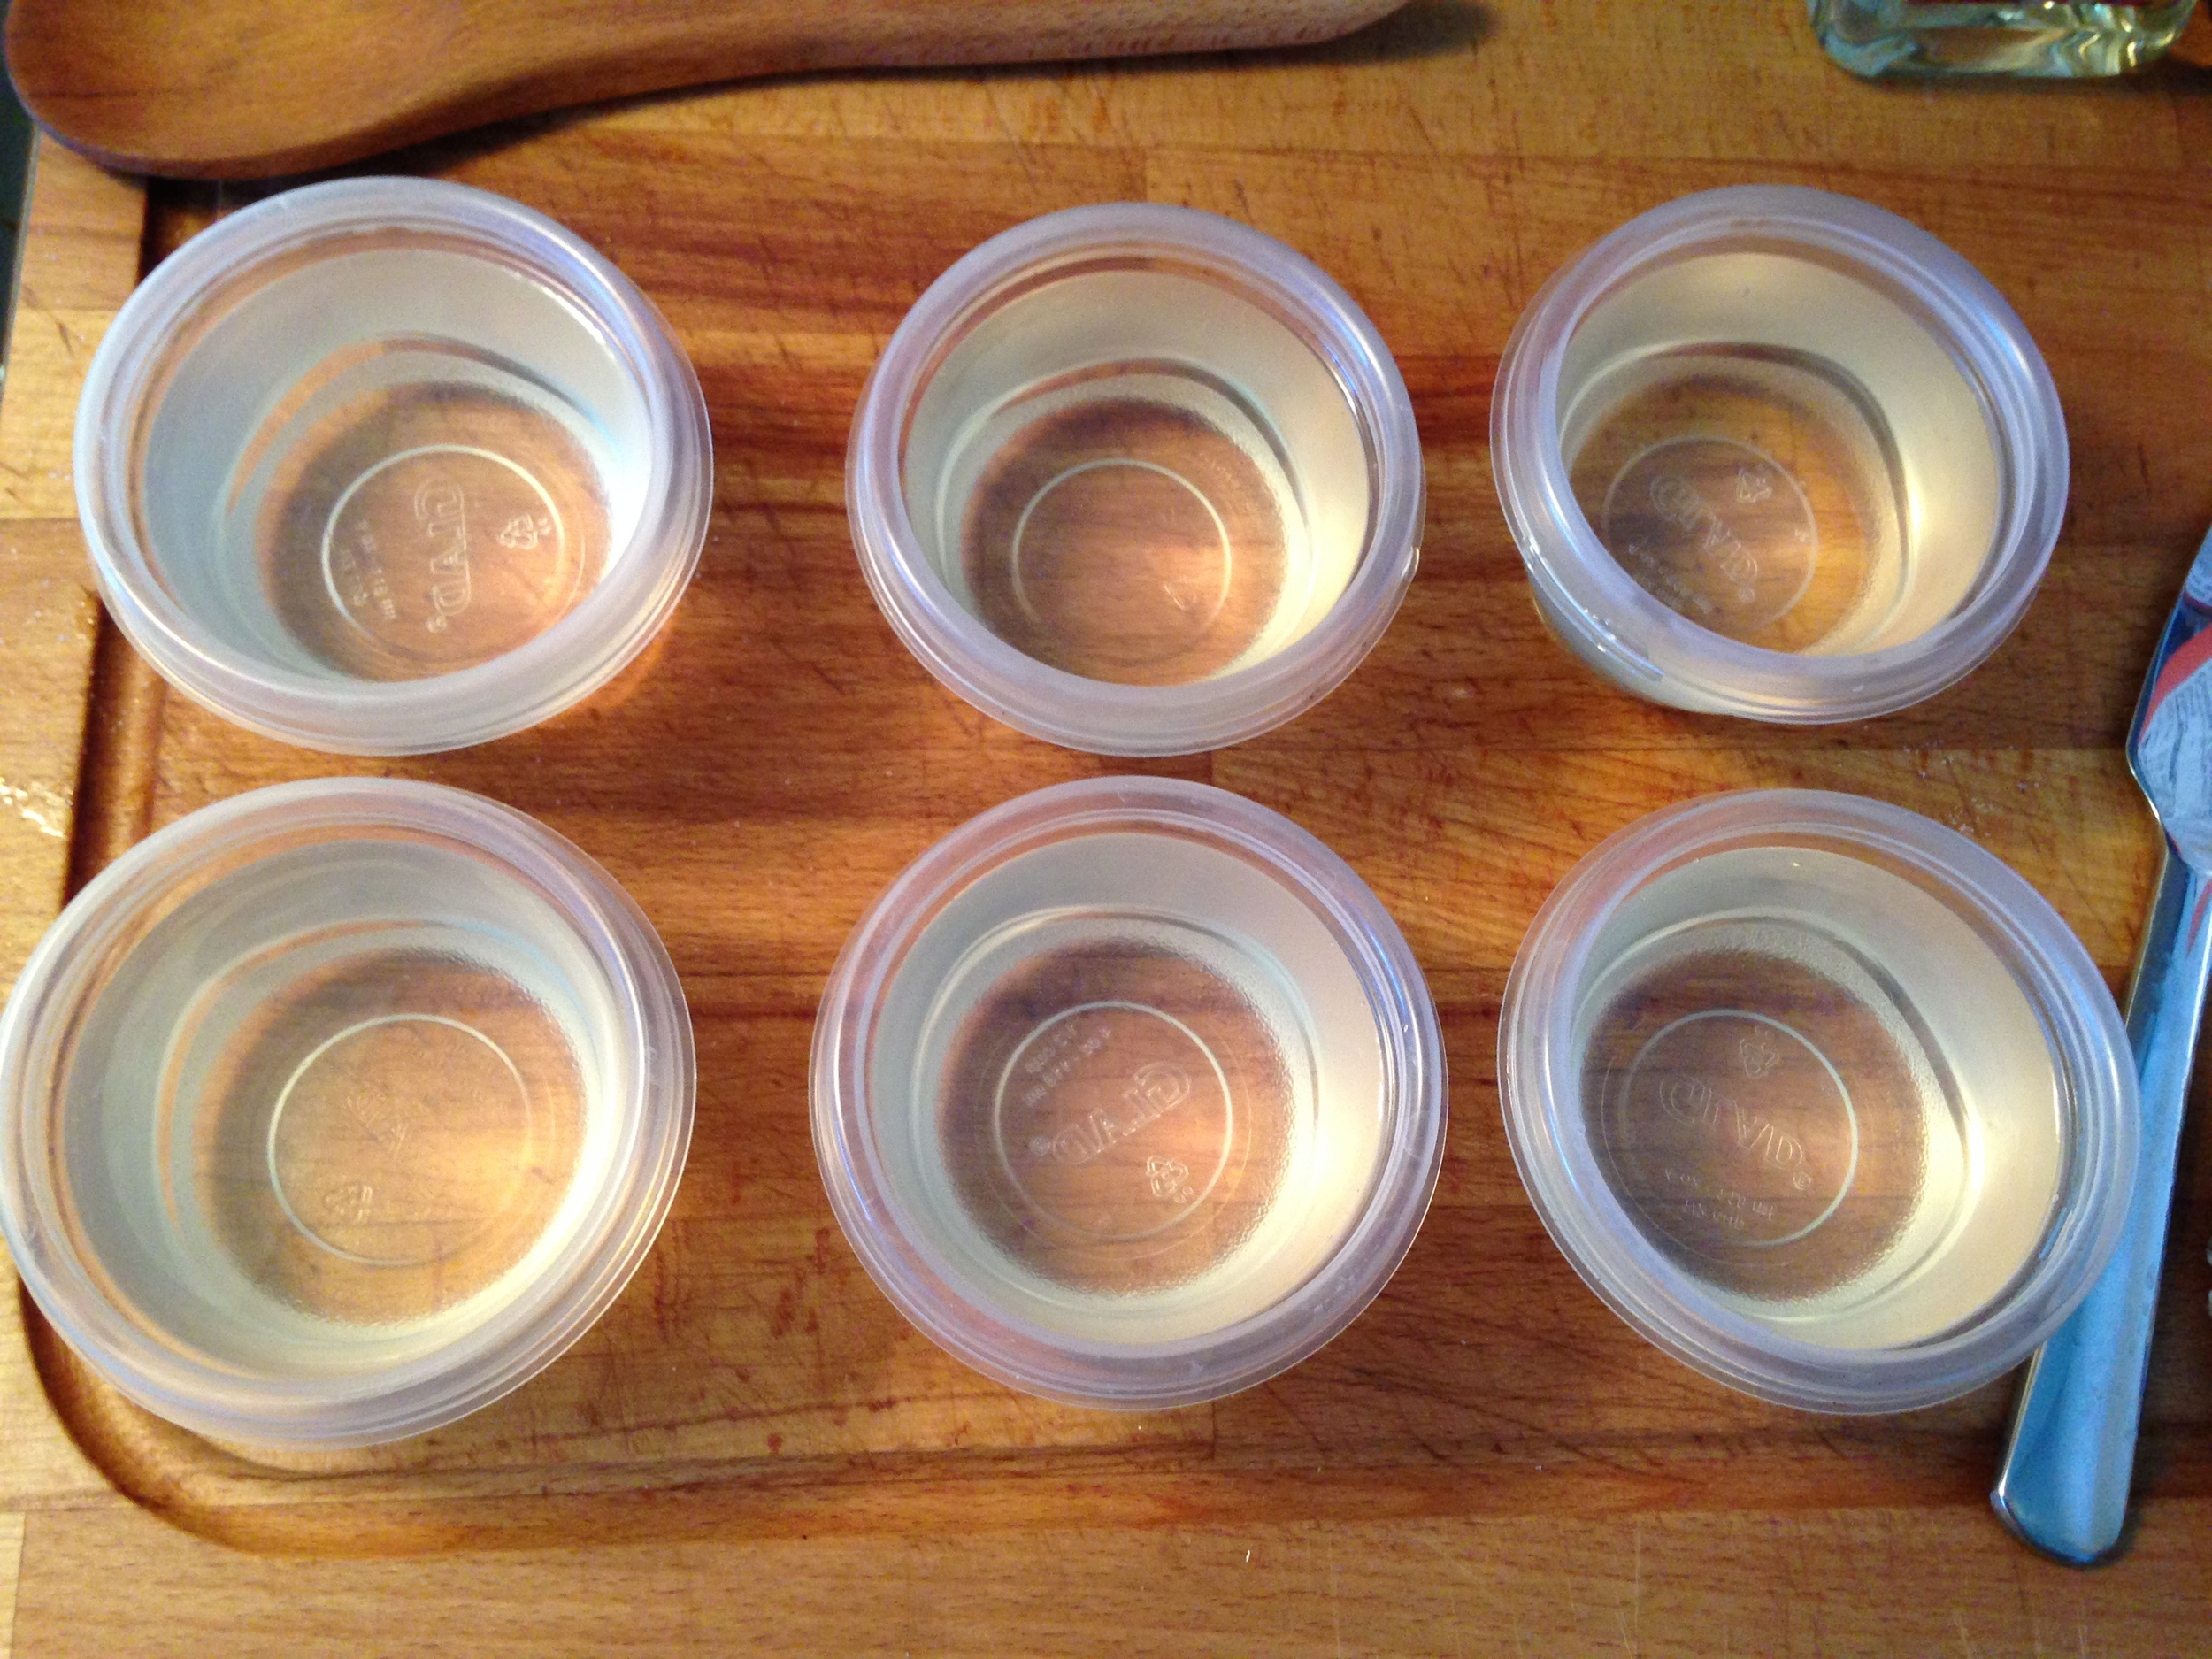
Cups or bowls, preferably clear
1 cup cold water
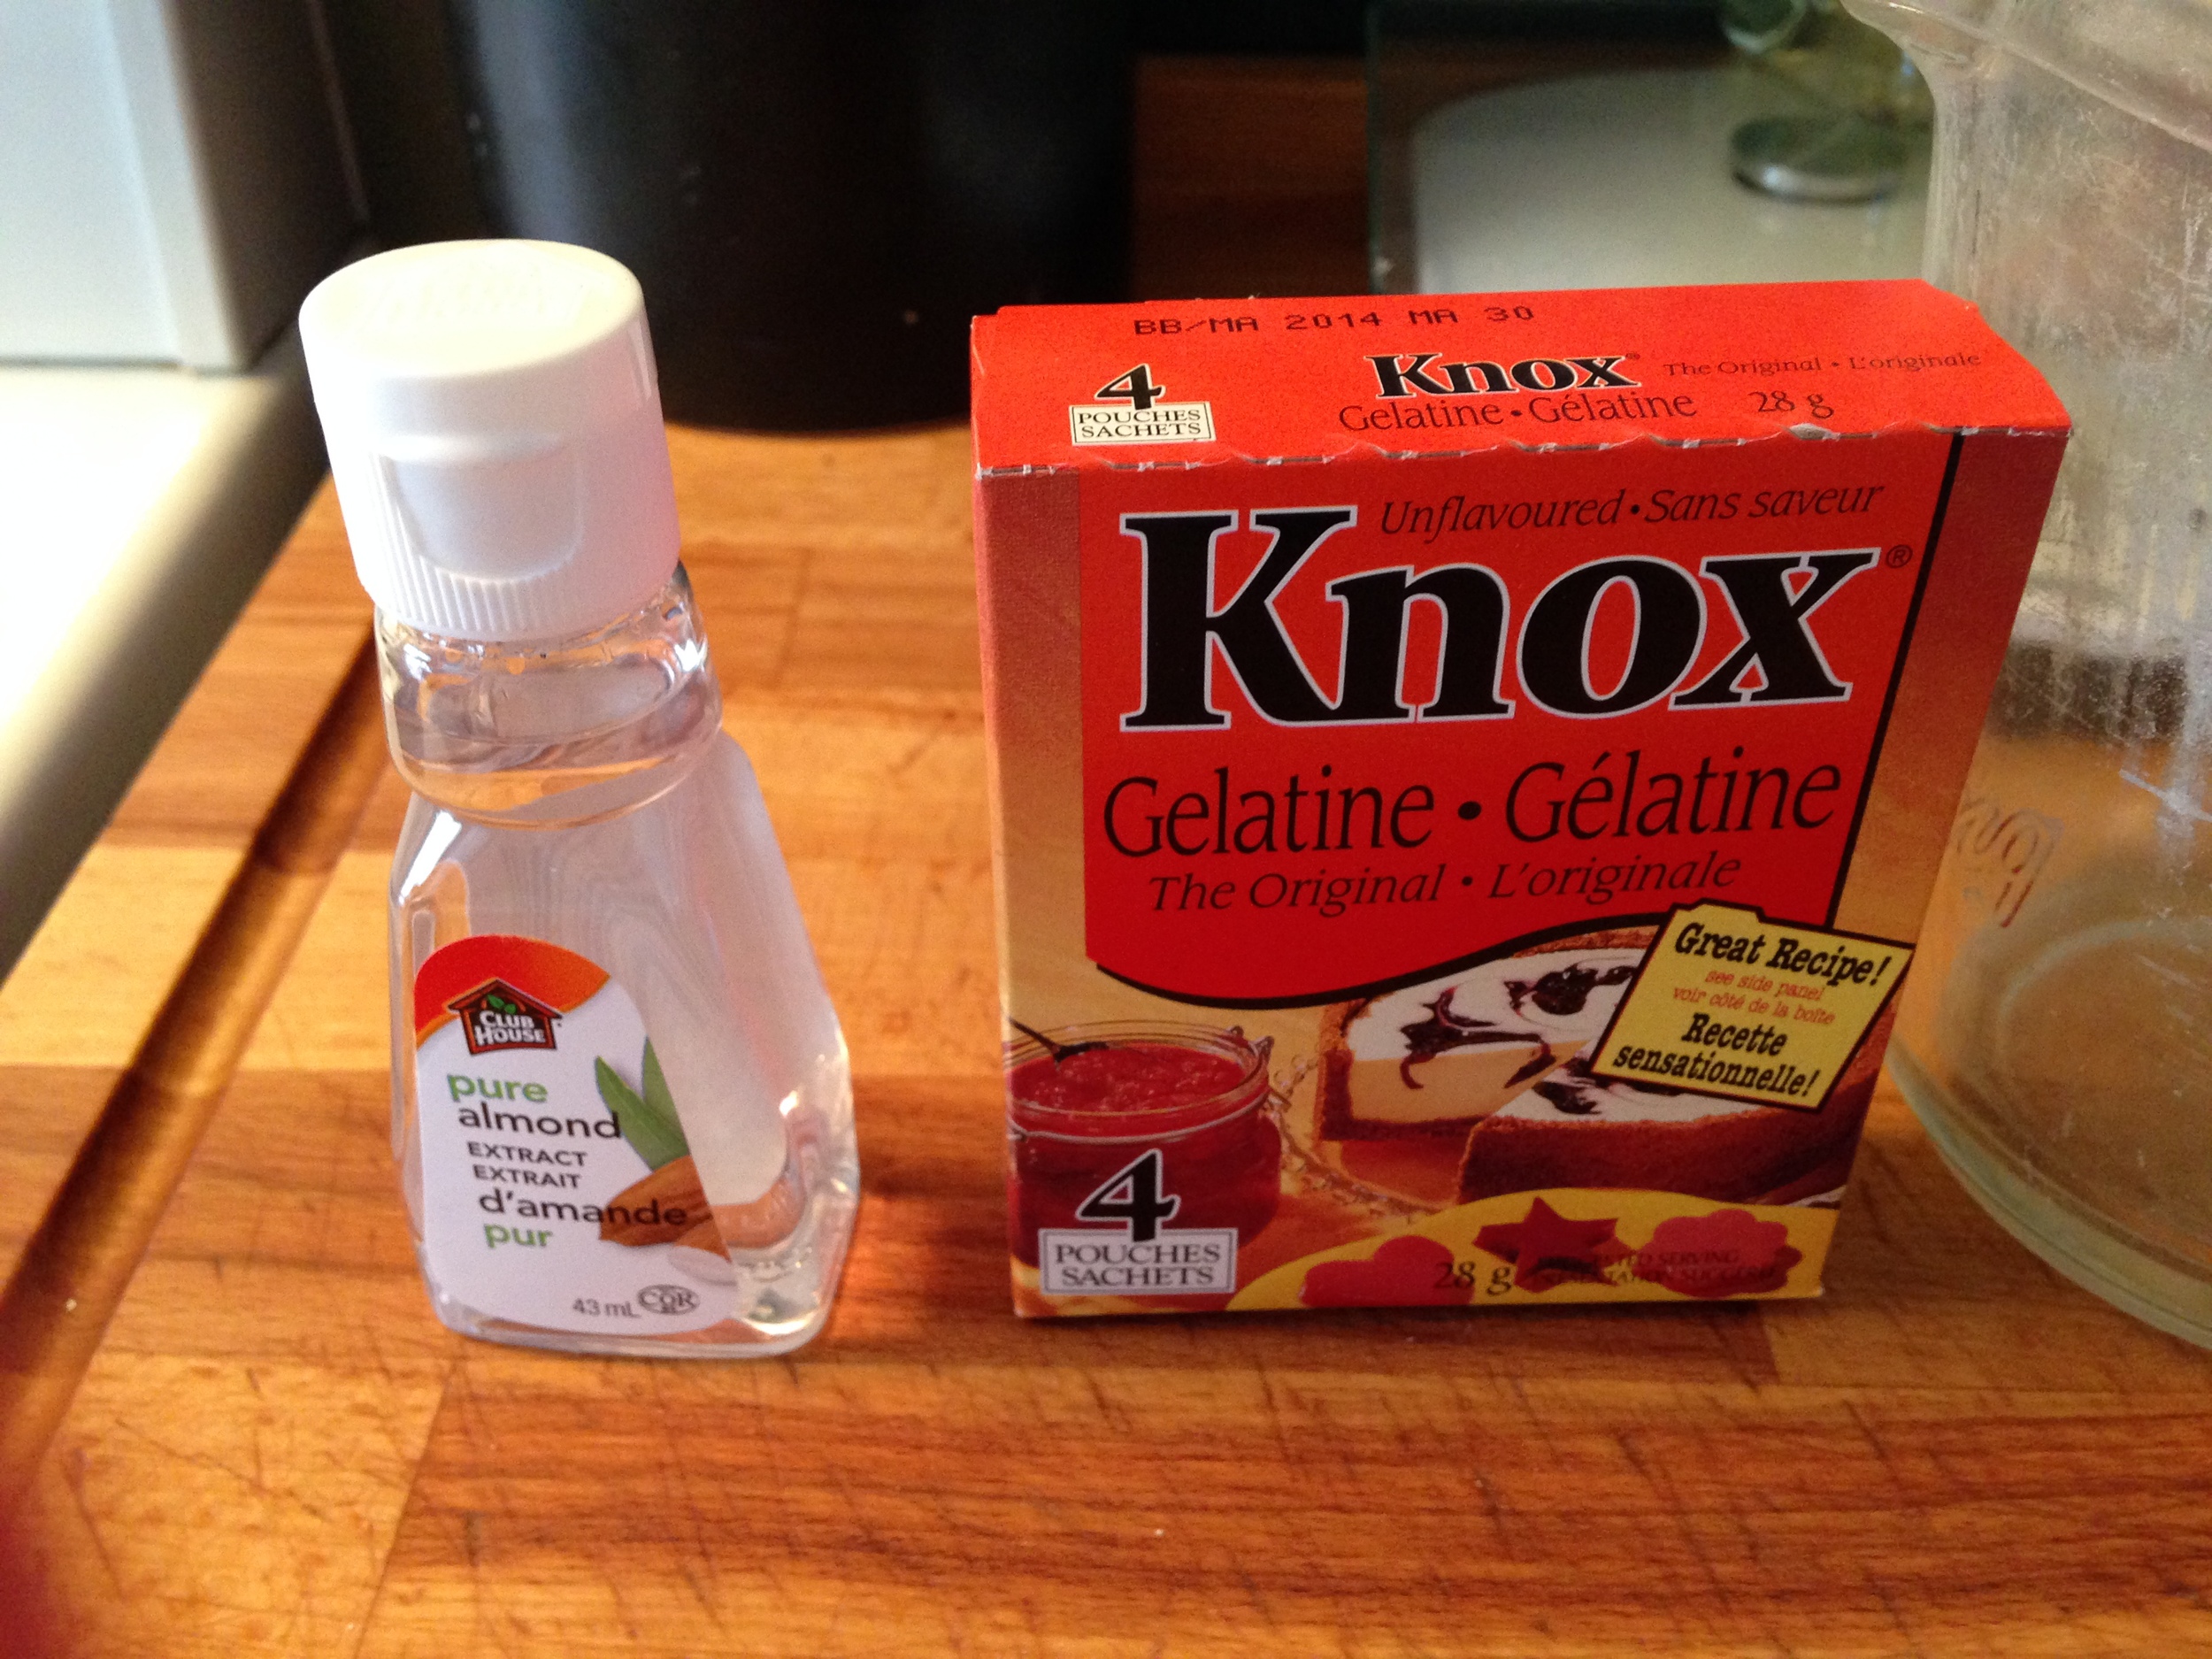
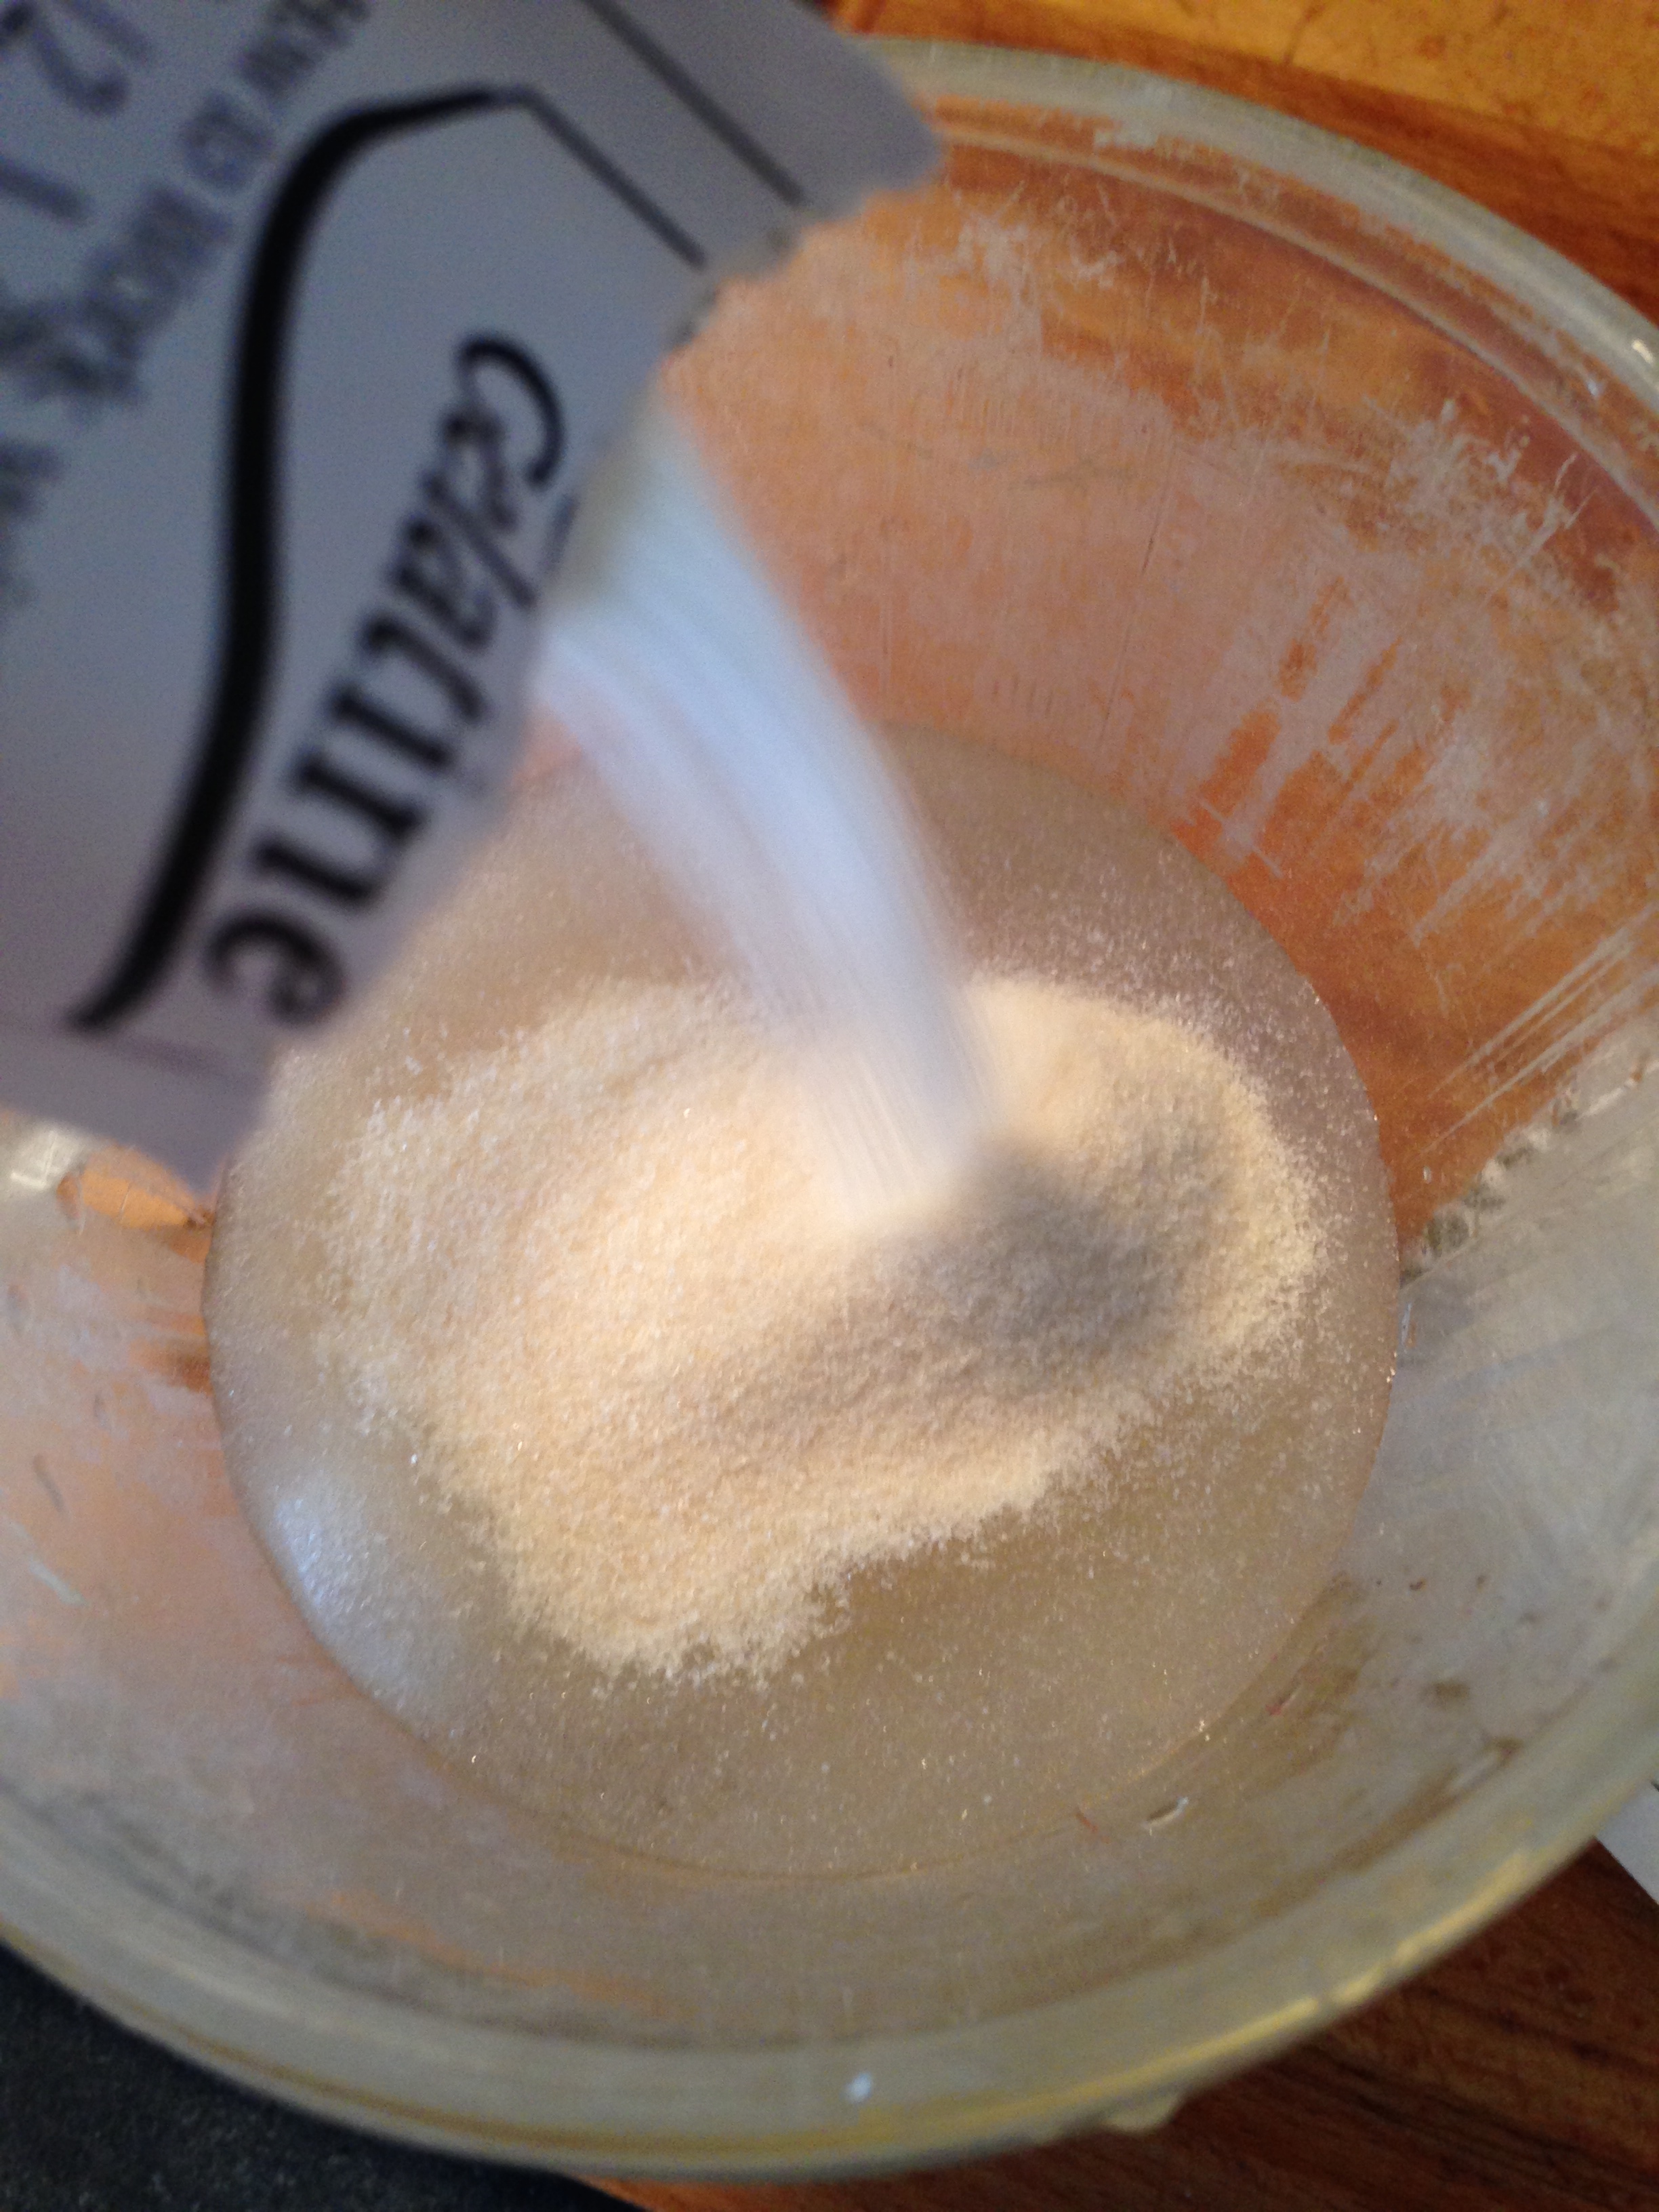
4 packets (4 TBSP) gelatine
4 cups water
1 1/3 cups granulated sugar
1/4 tsp clear flavouring**
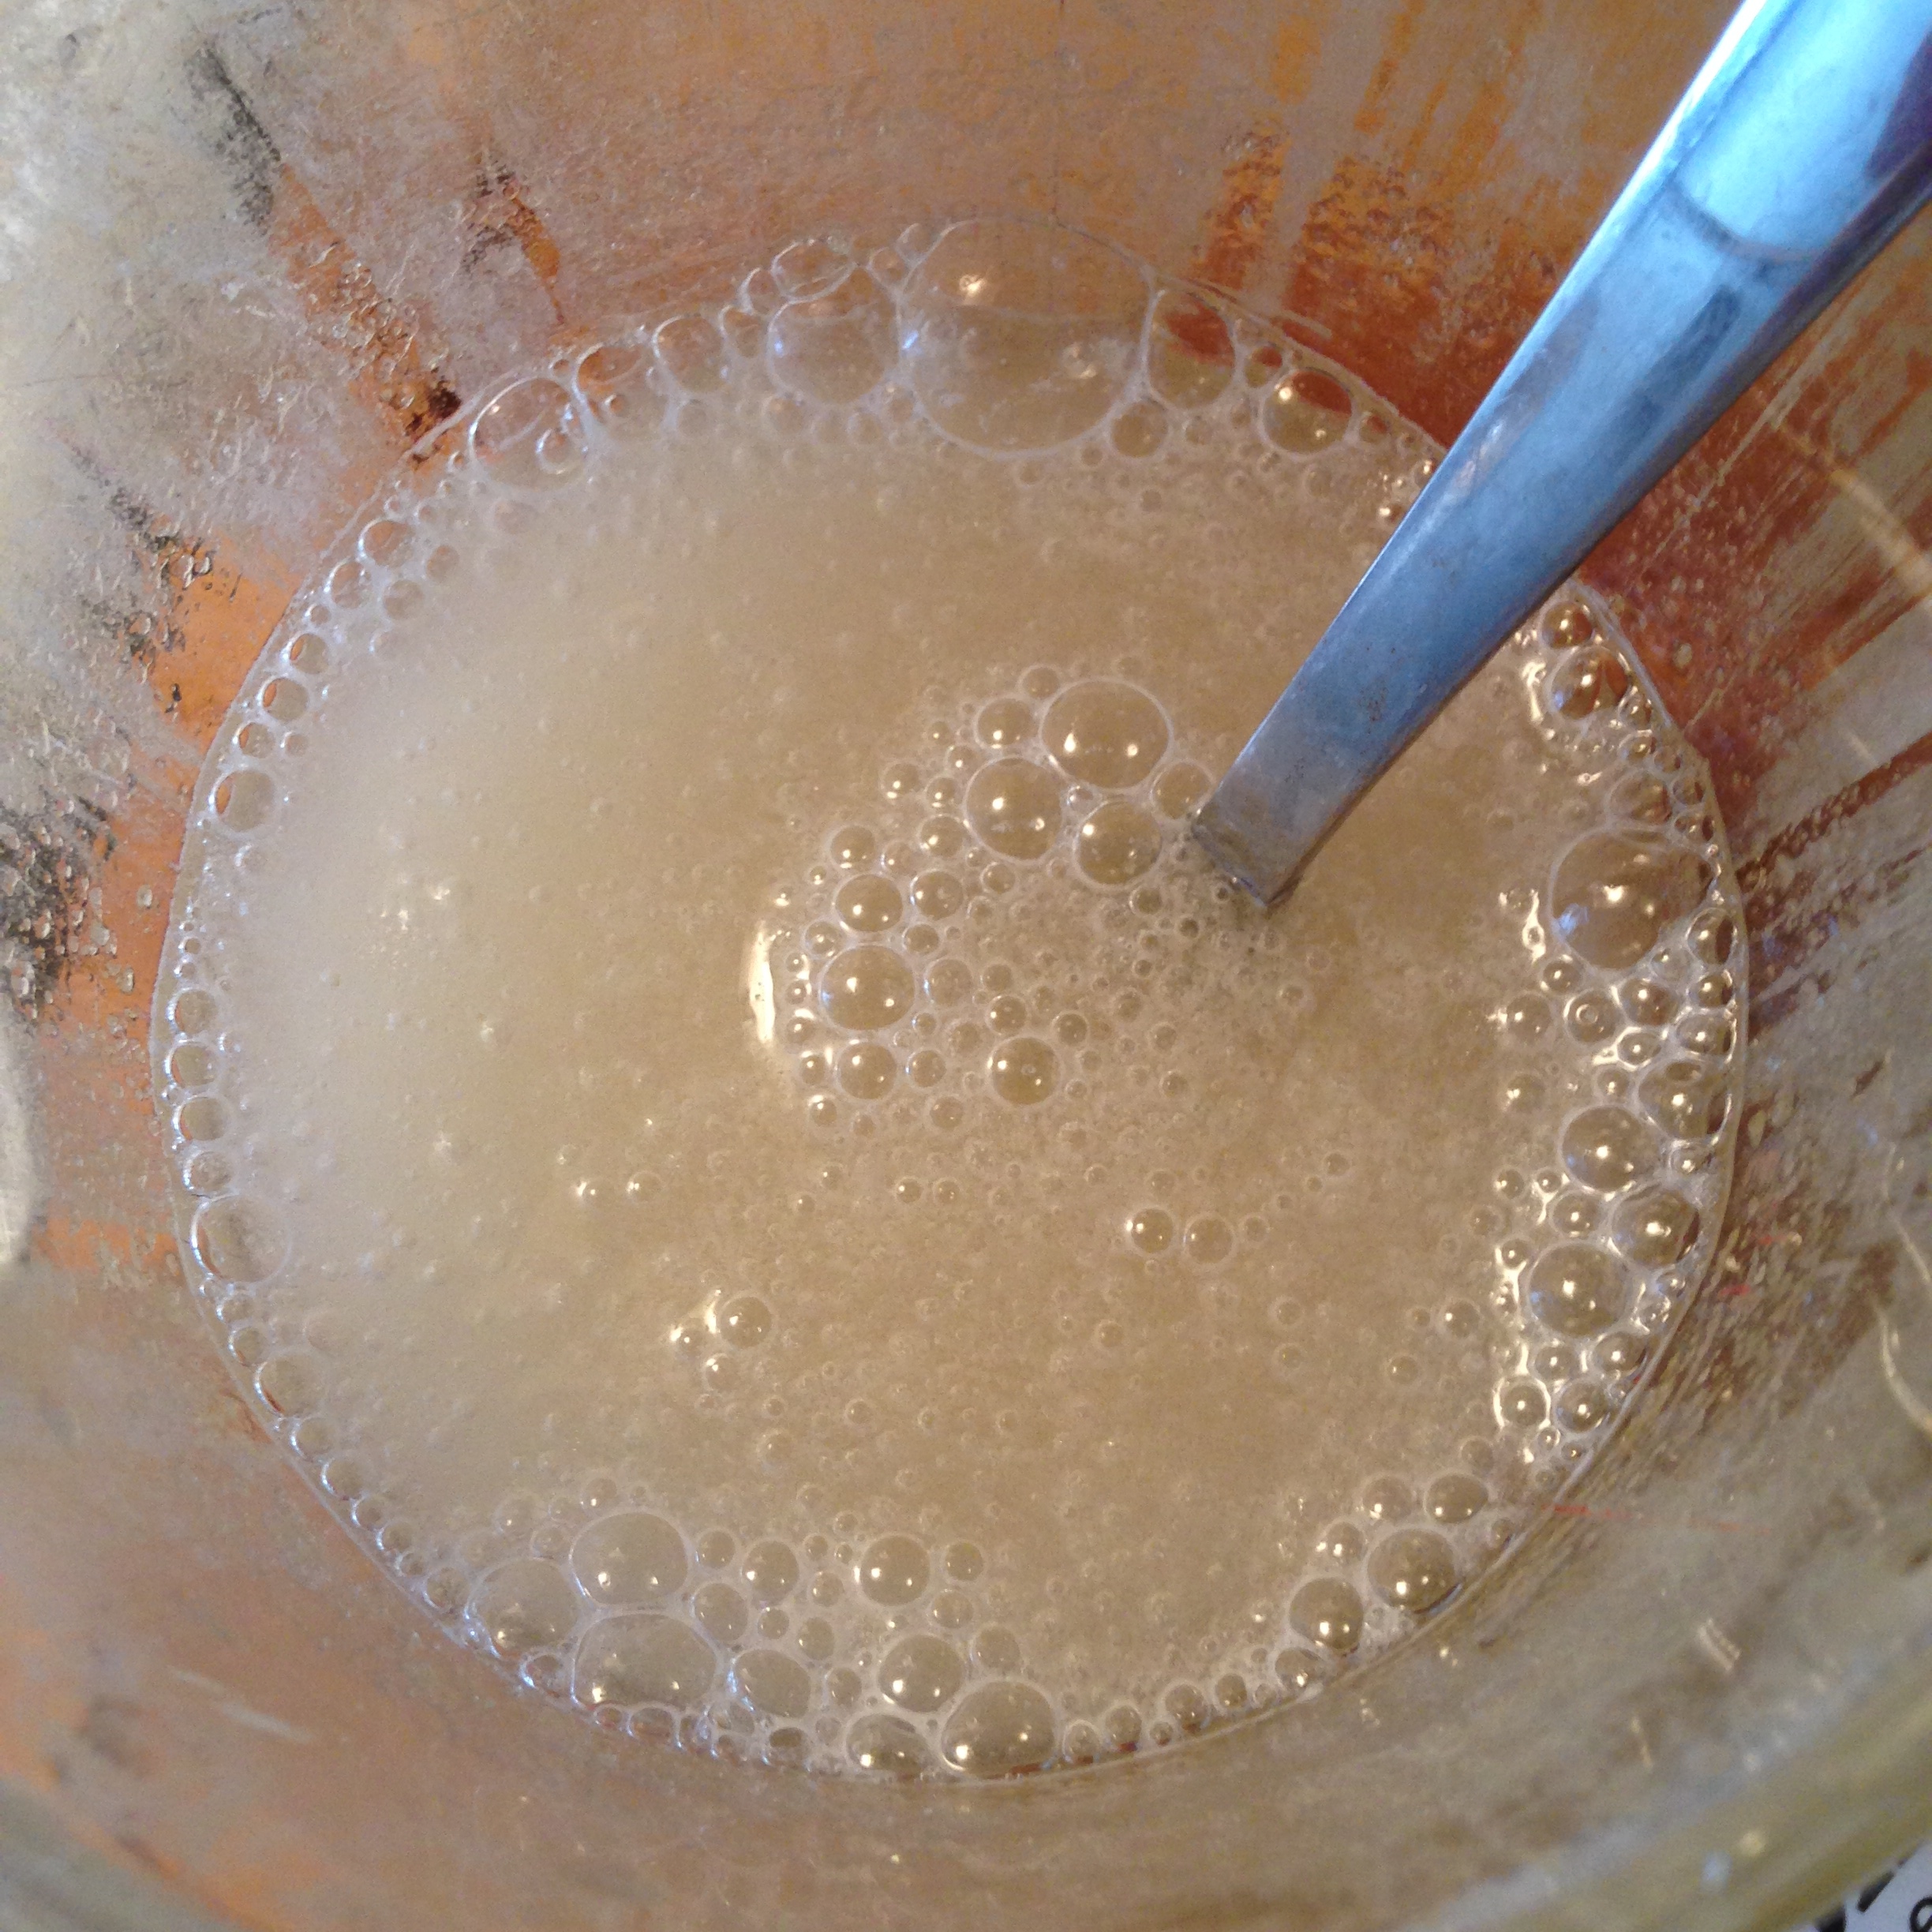
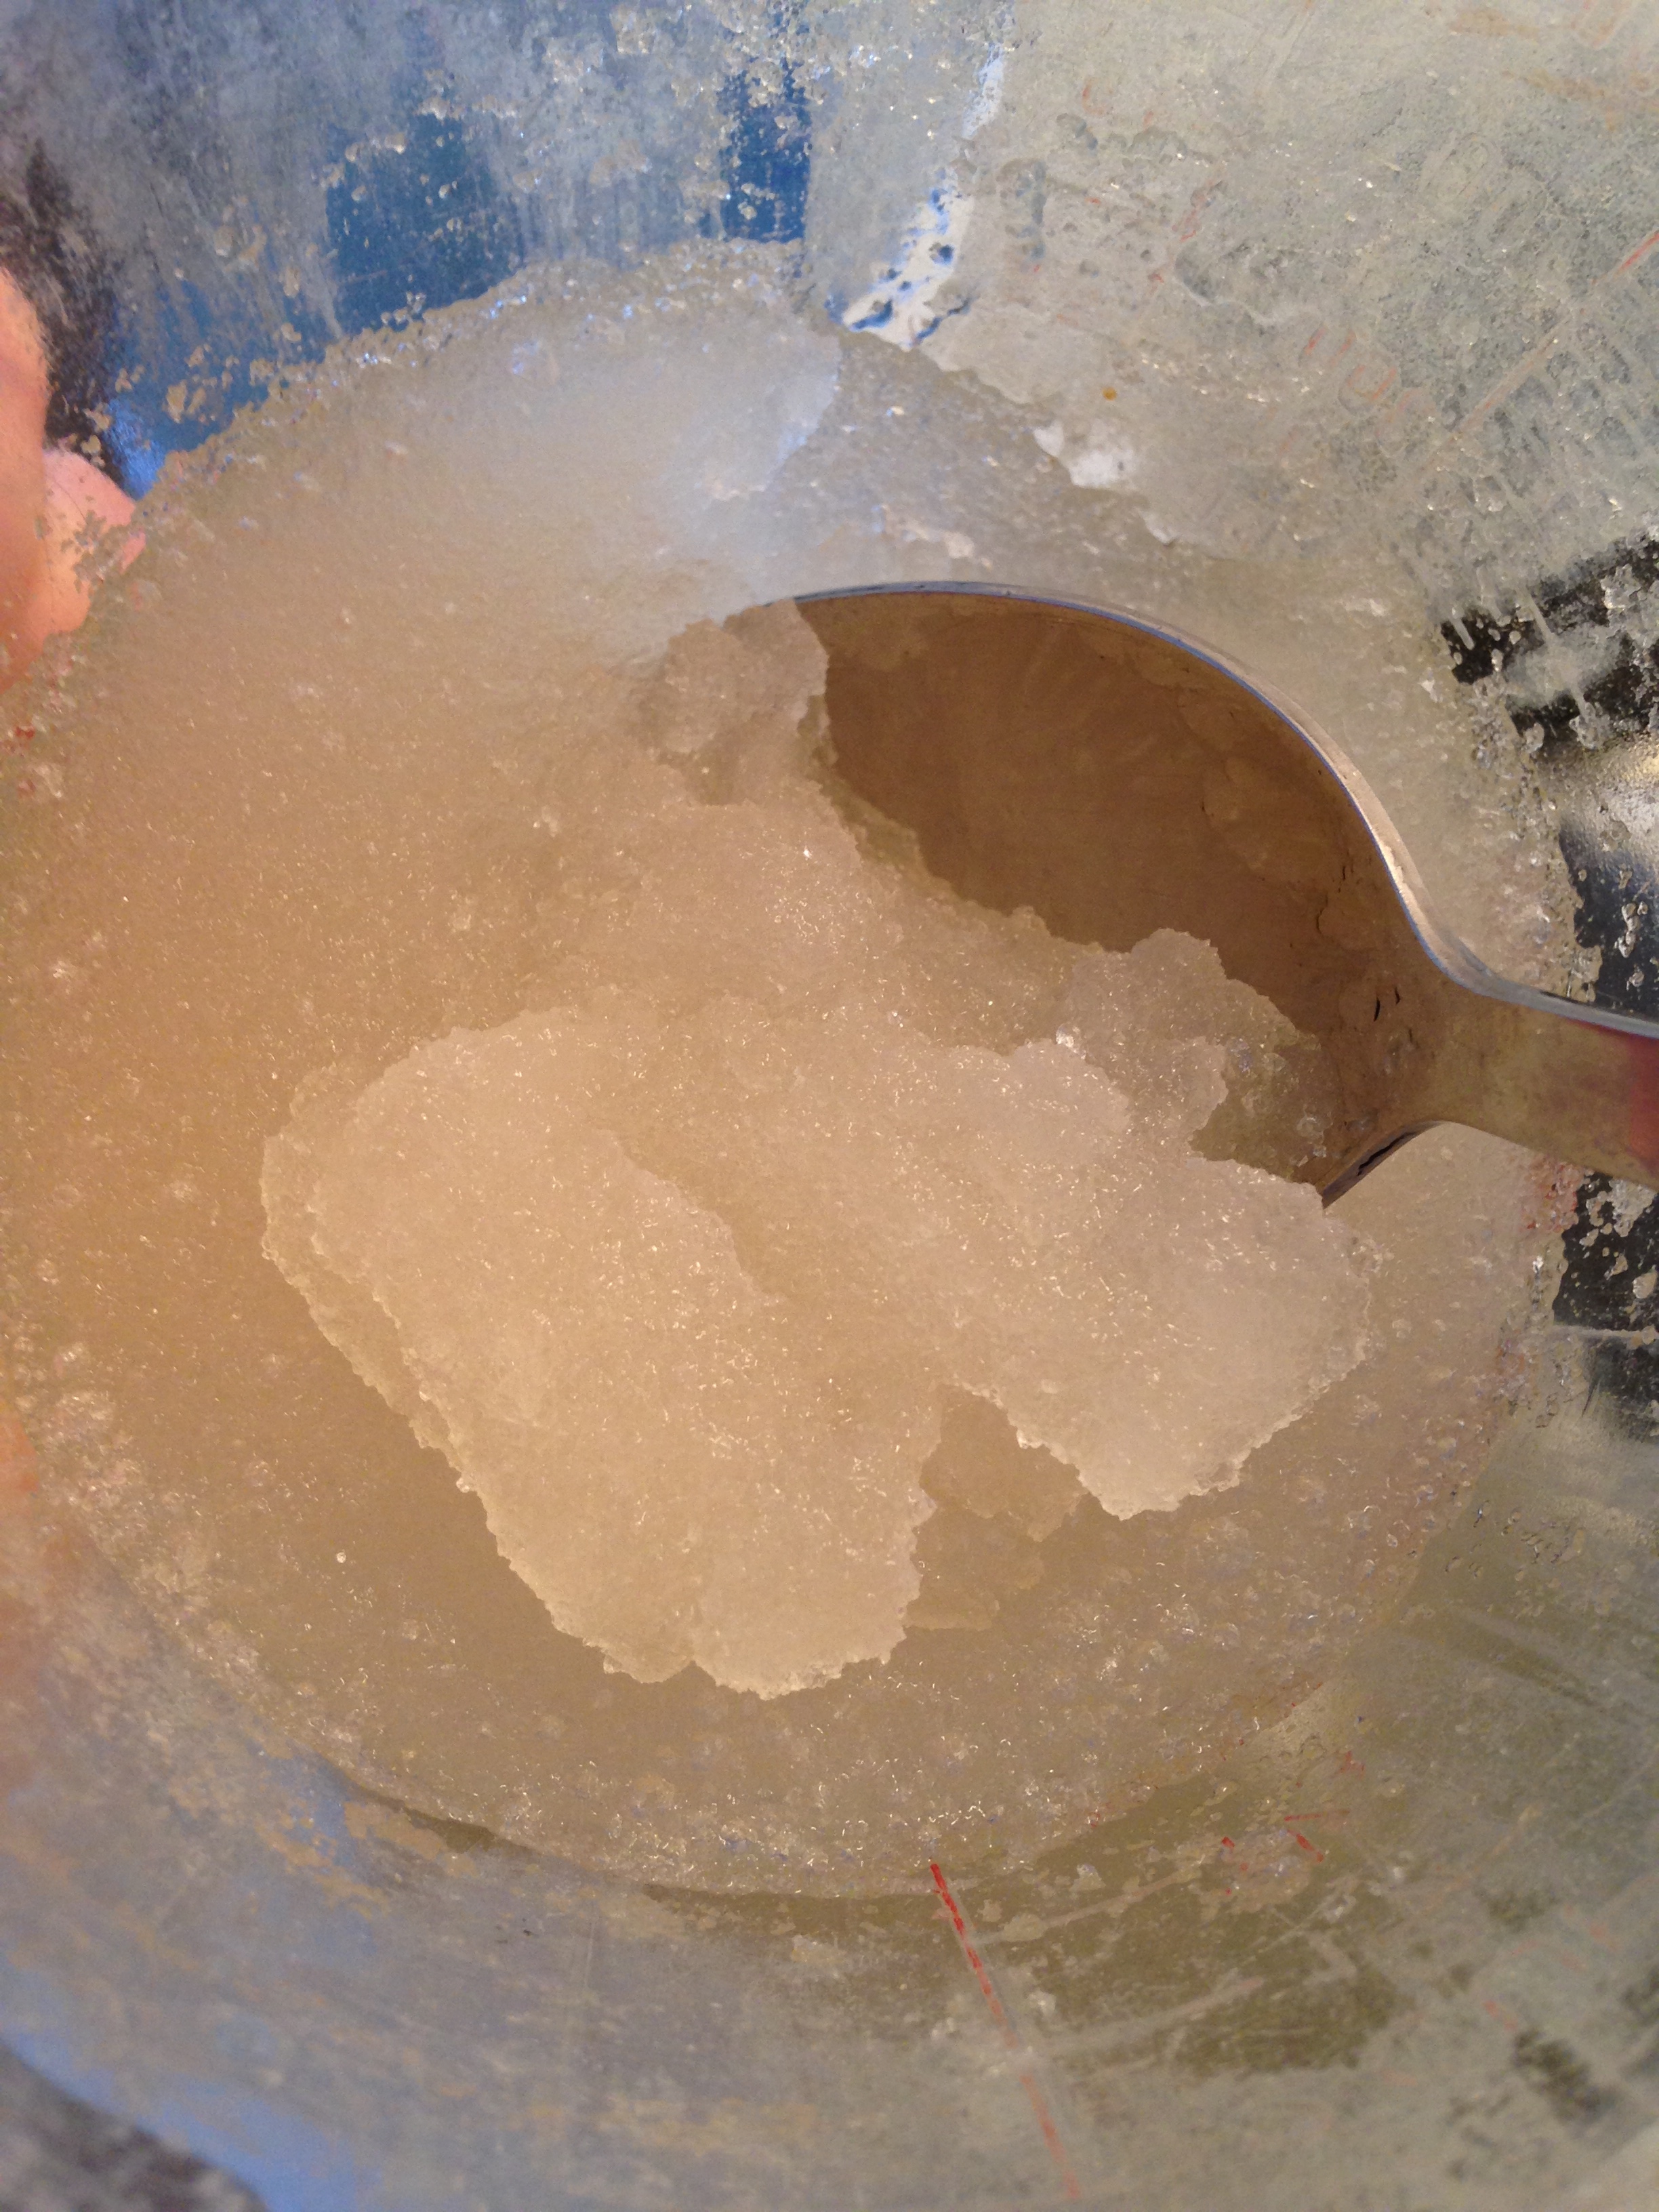
- Add gelatine to cold water. Stir so all lumps dissolve. Wait 15 mins for gelatine to set.
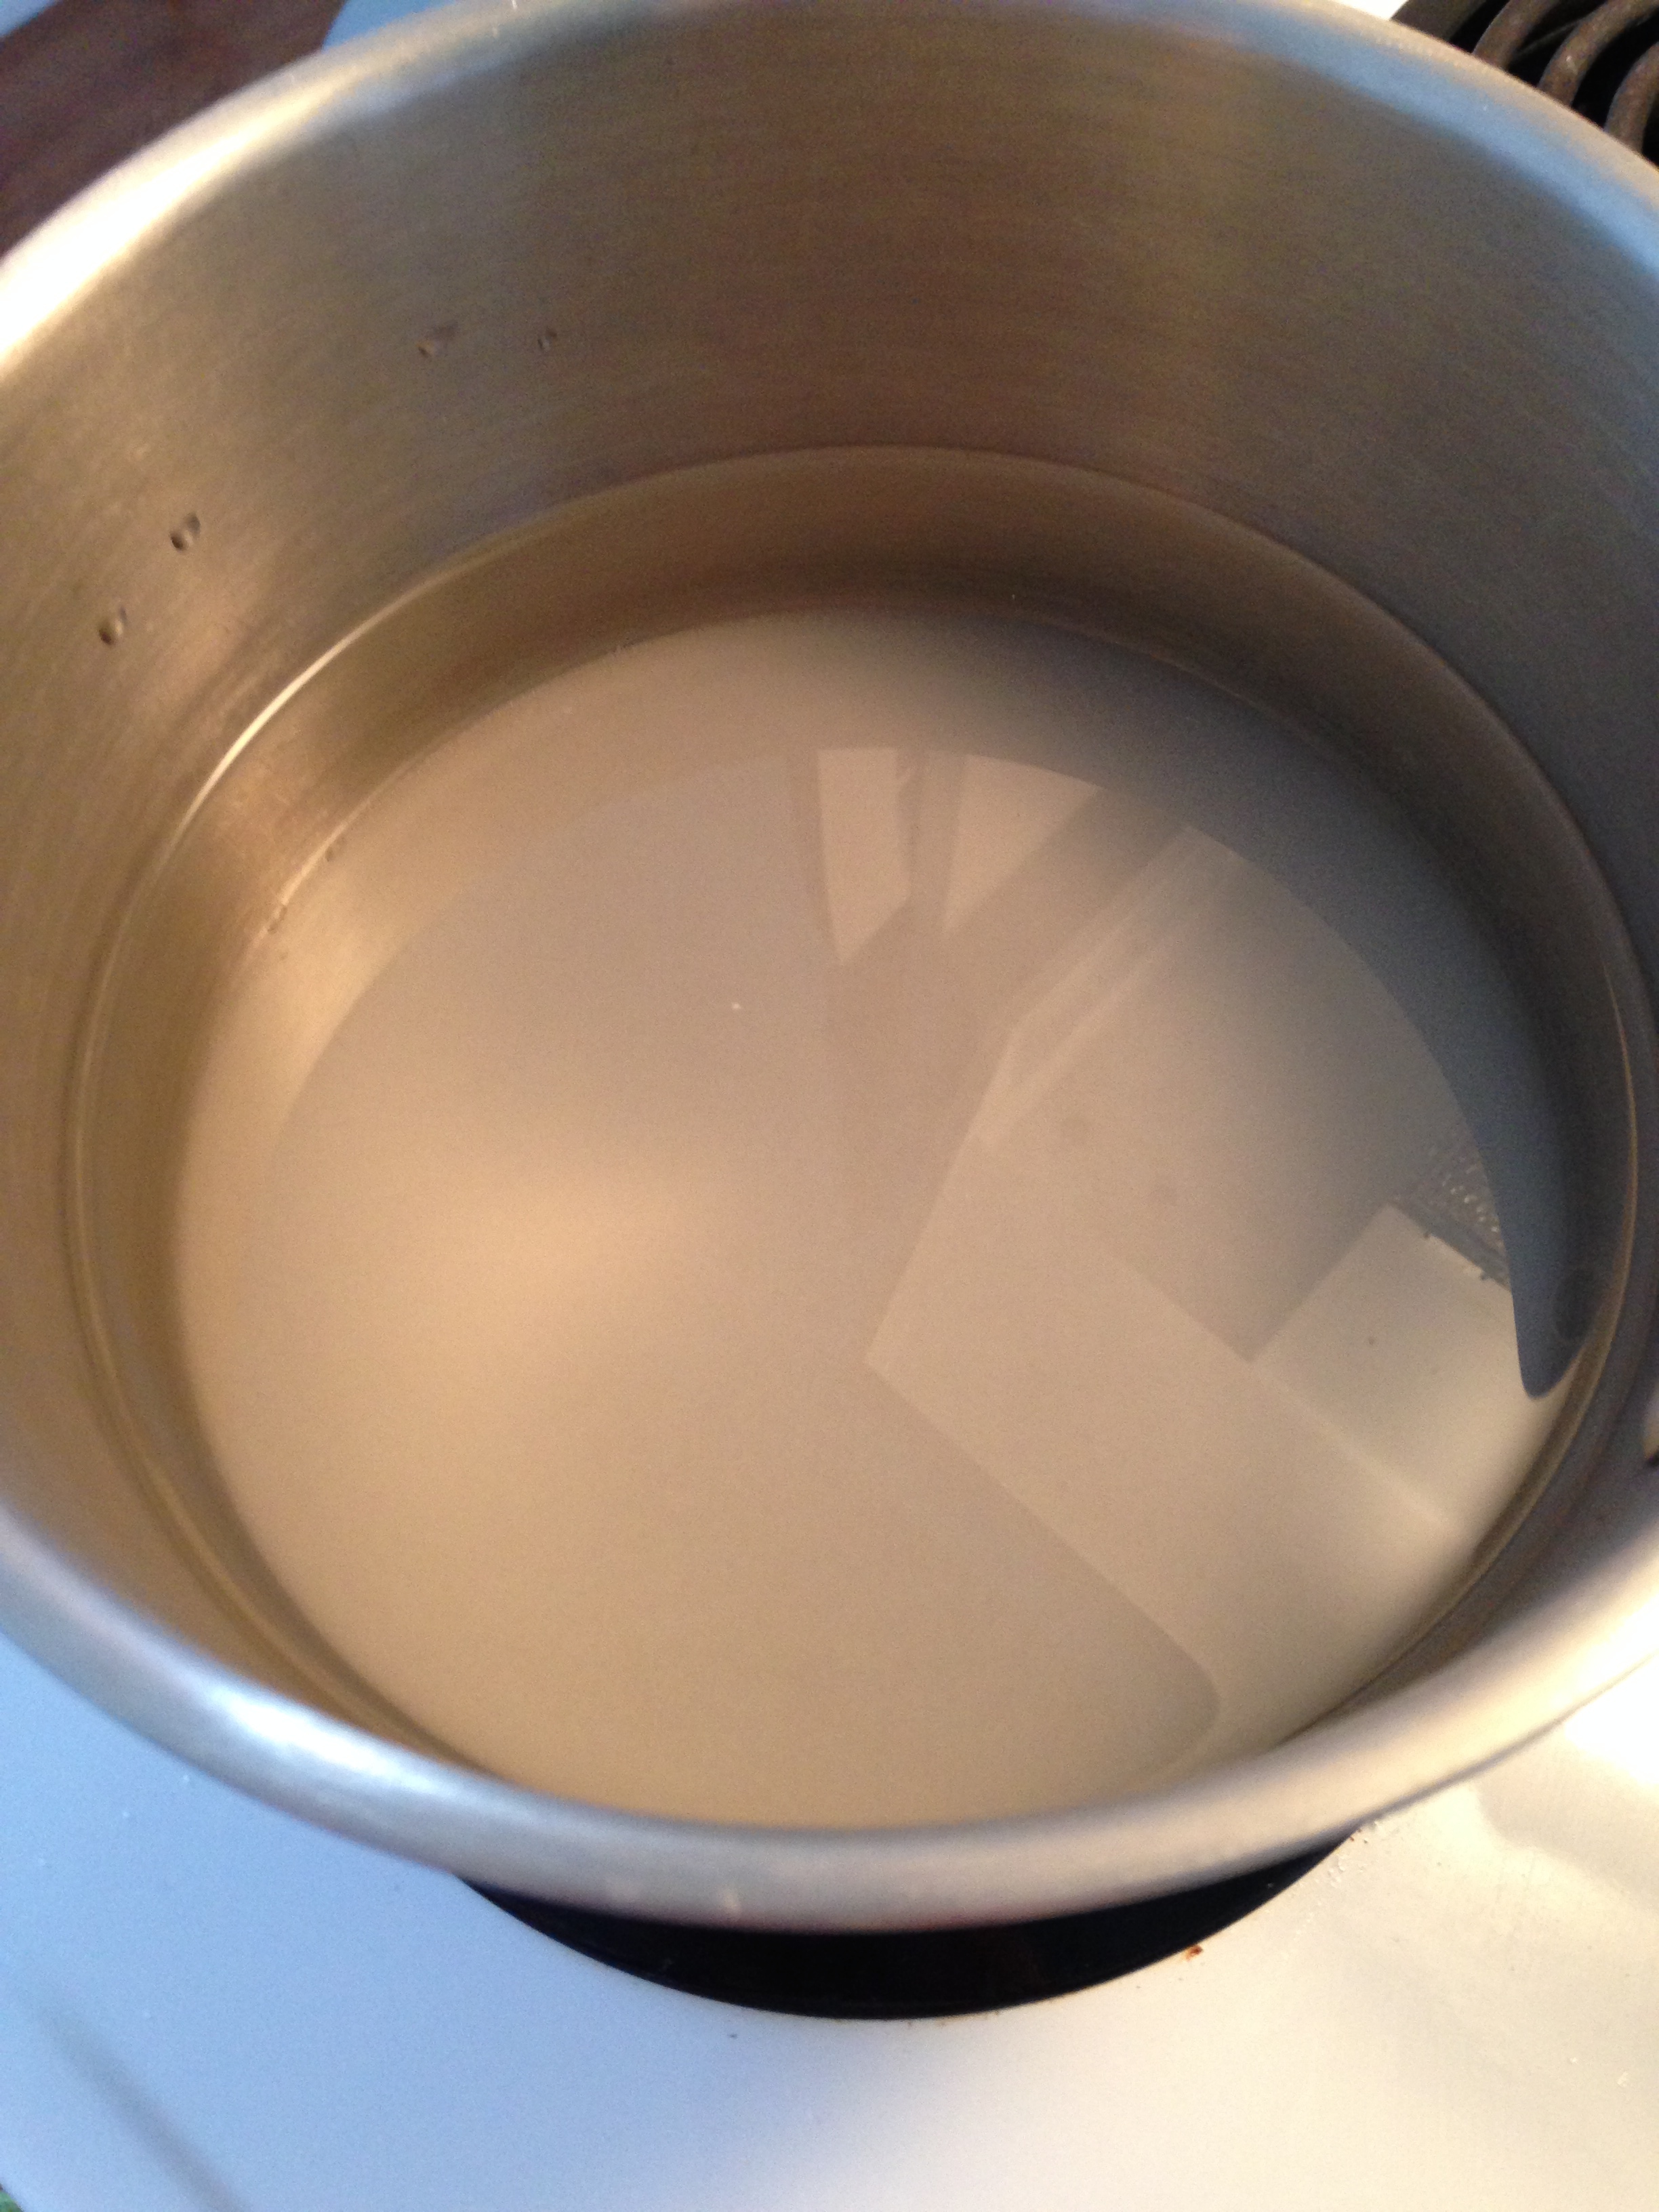
- In a saucepan, heat water, sugar, and flavouring until sugar dissolves completely. (This happens right before the water boils.) Remove from heat.
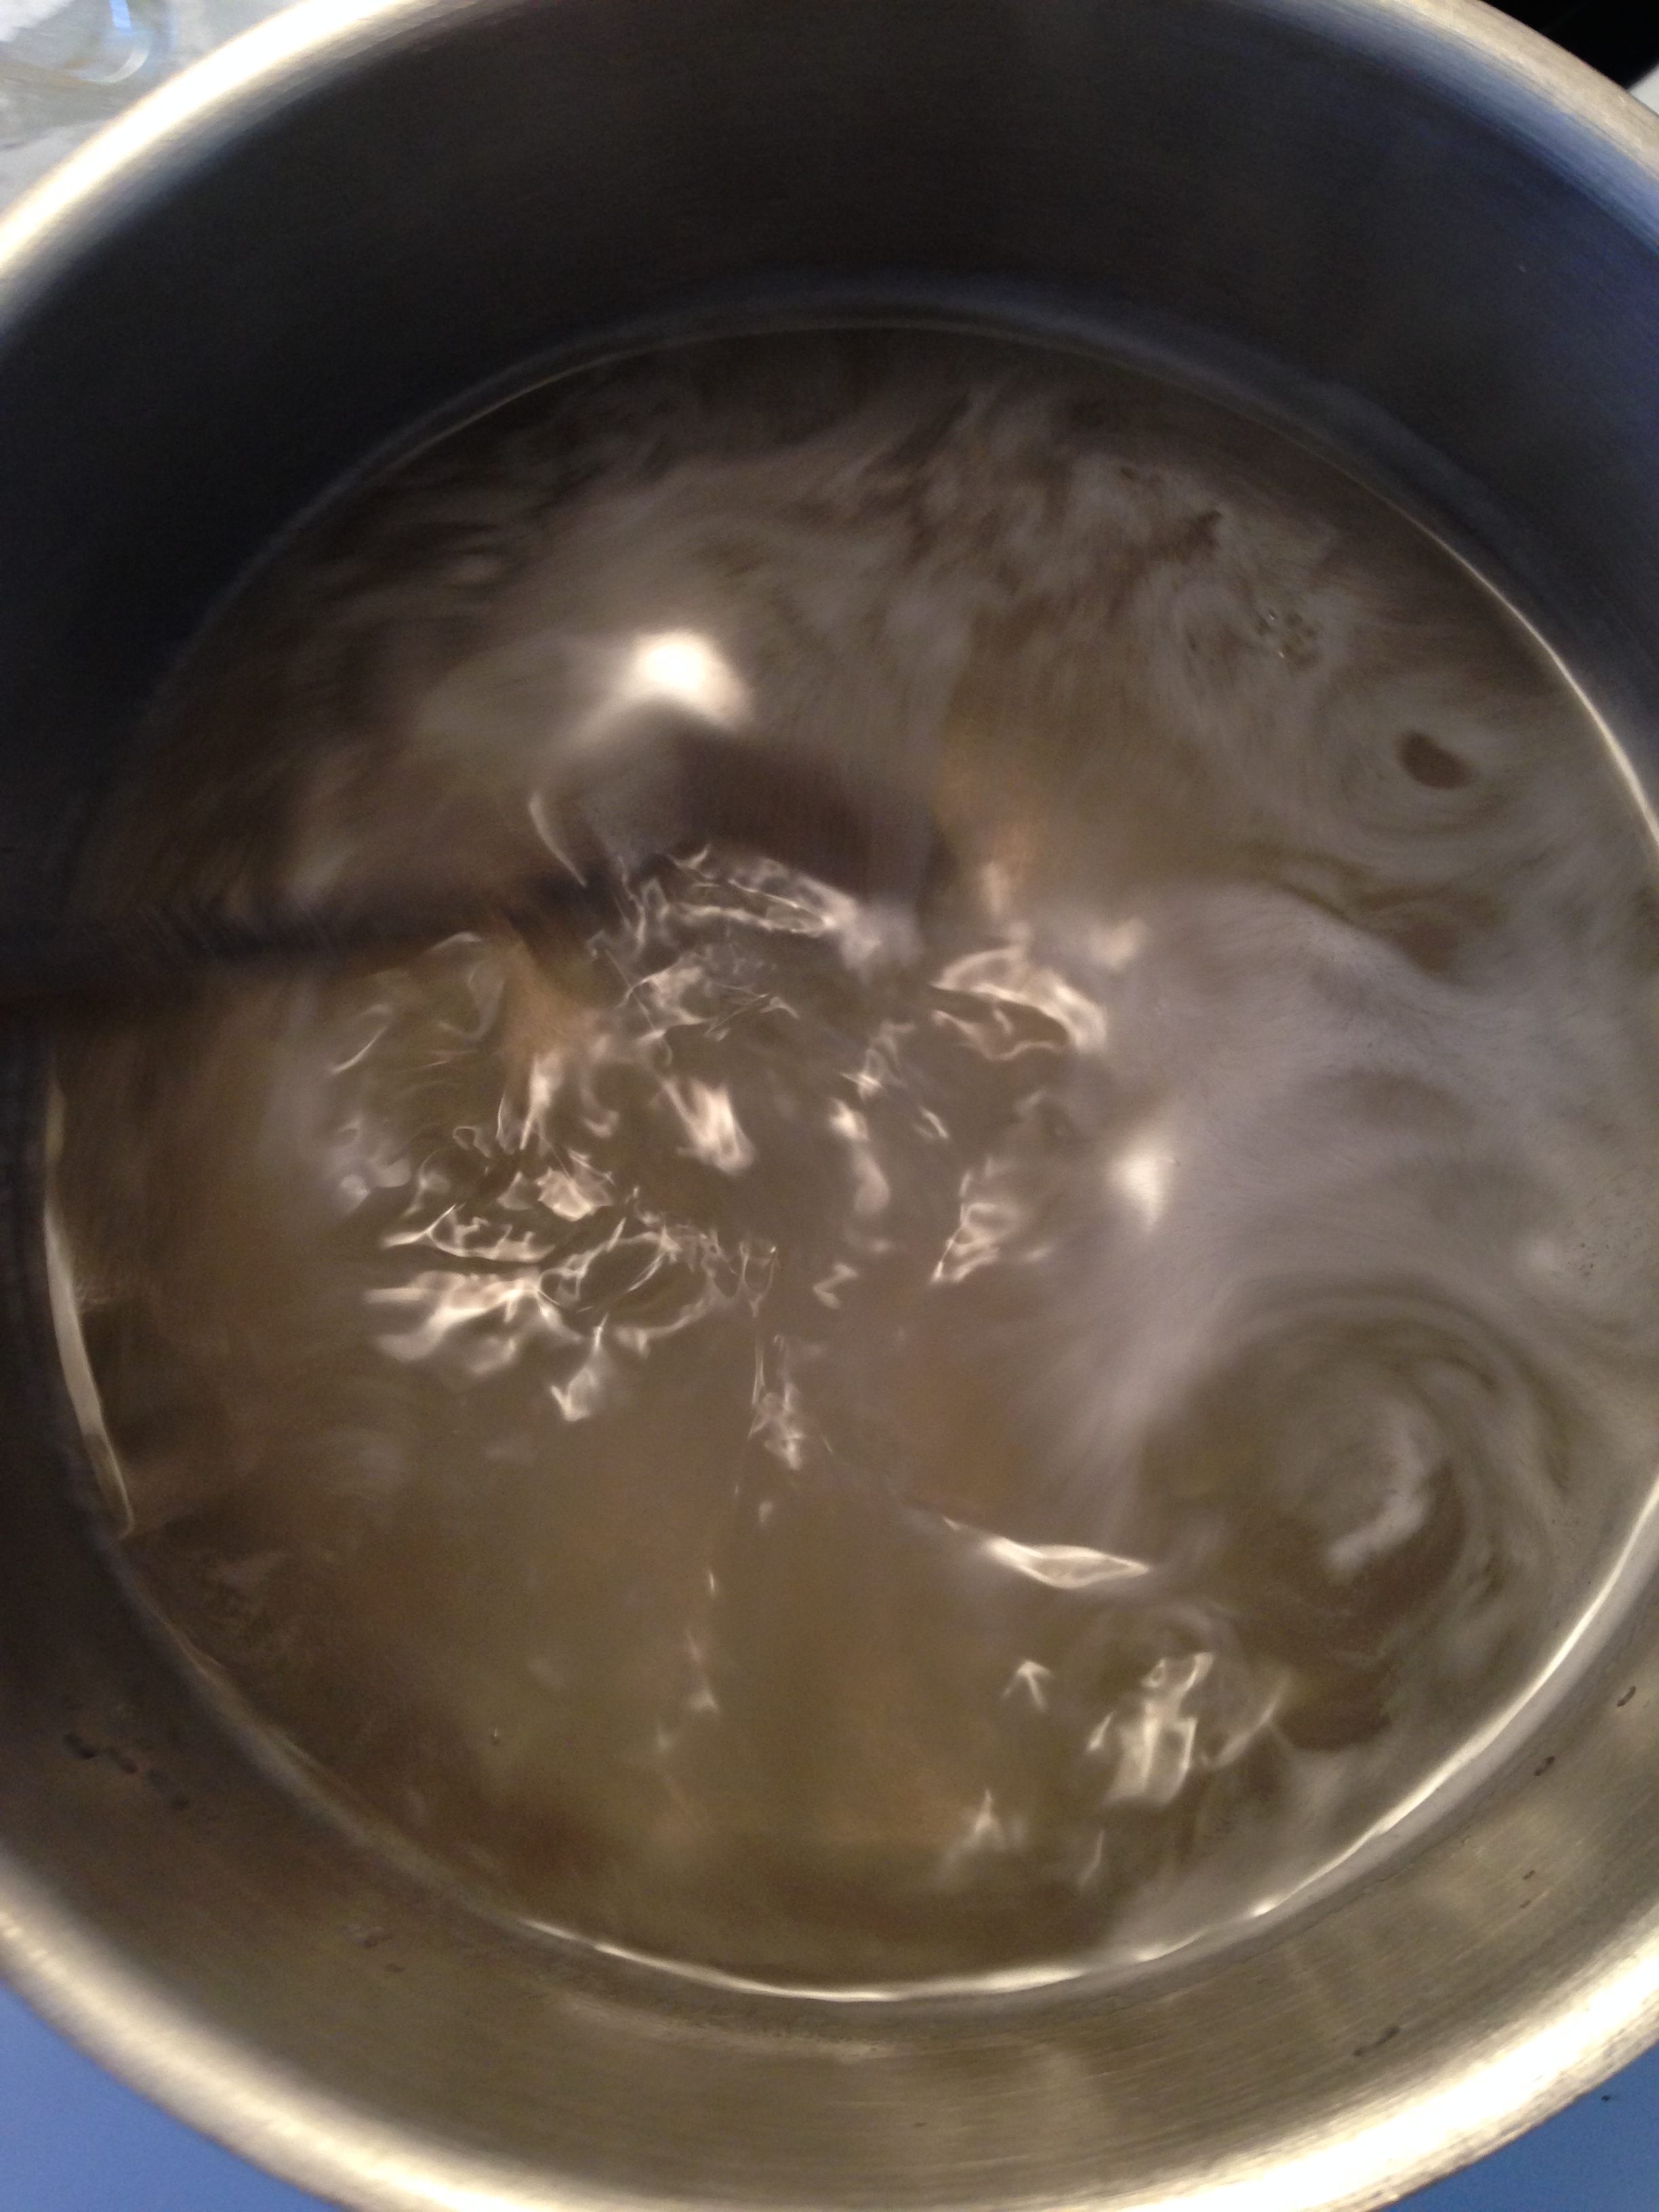
- Stir in set jelly to hot sugar liquid. Stir so all jelly lumps dissolve.
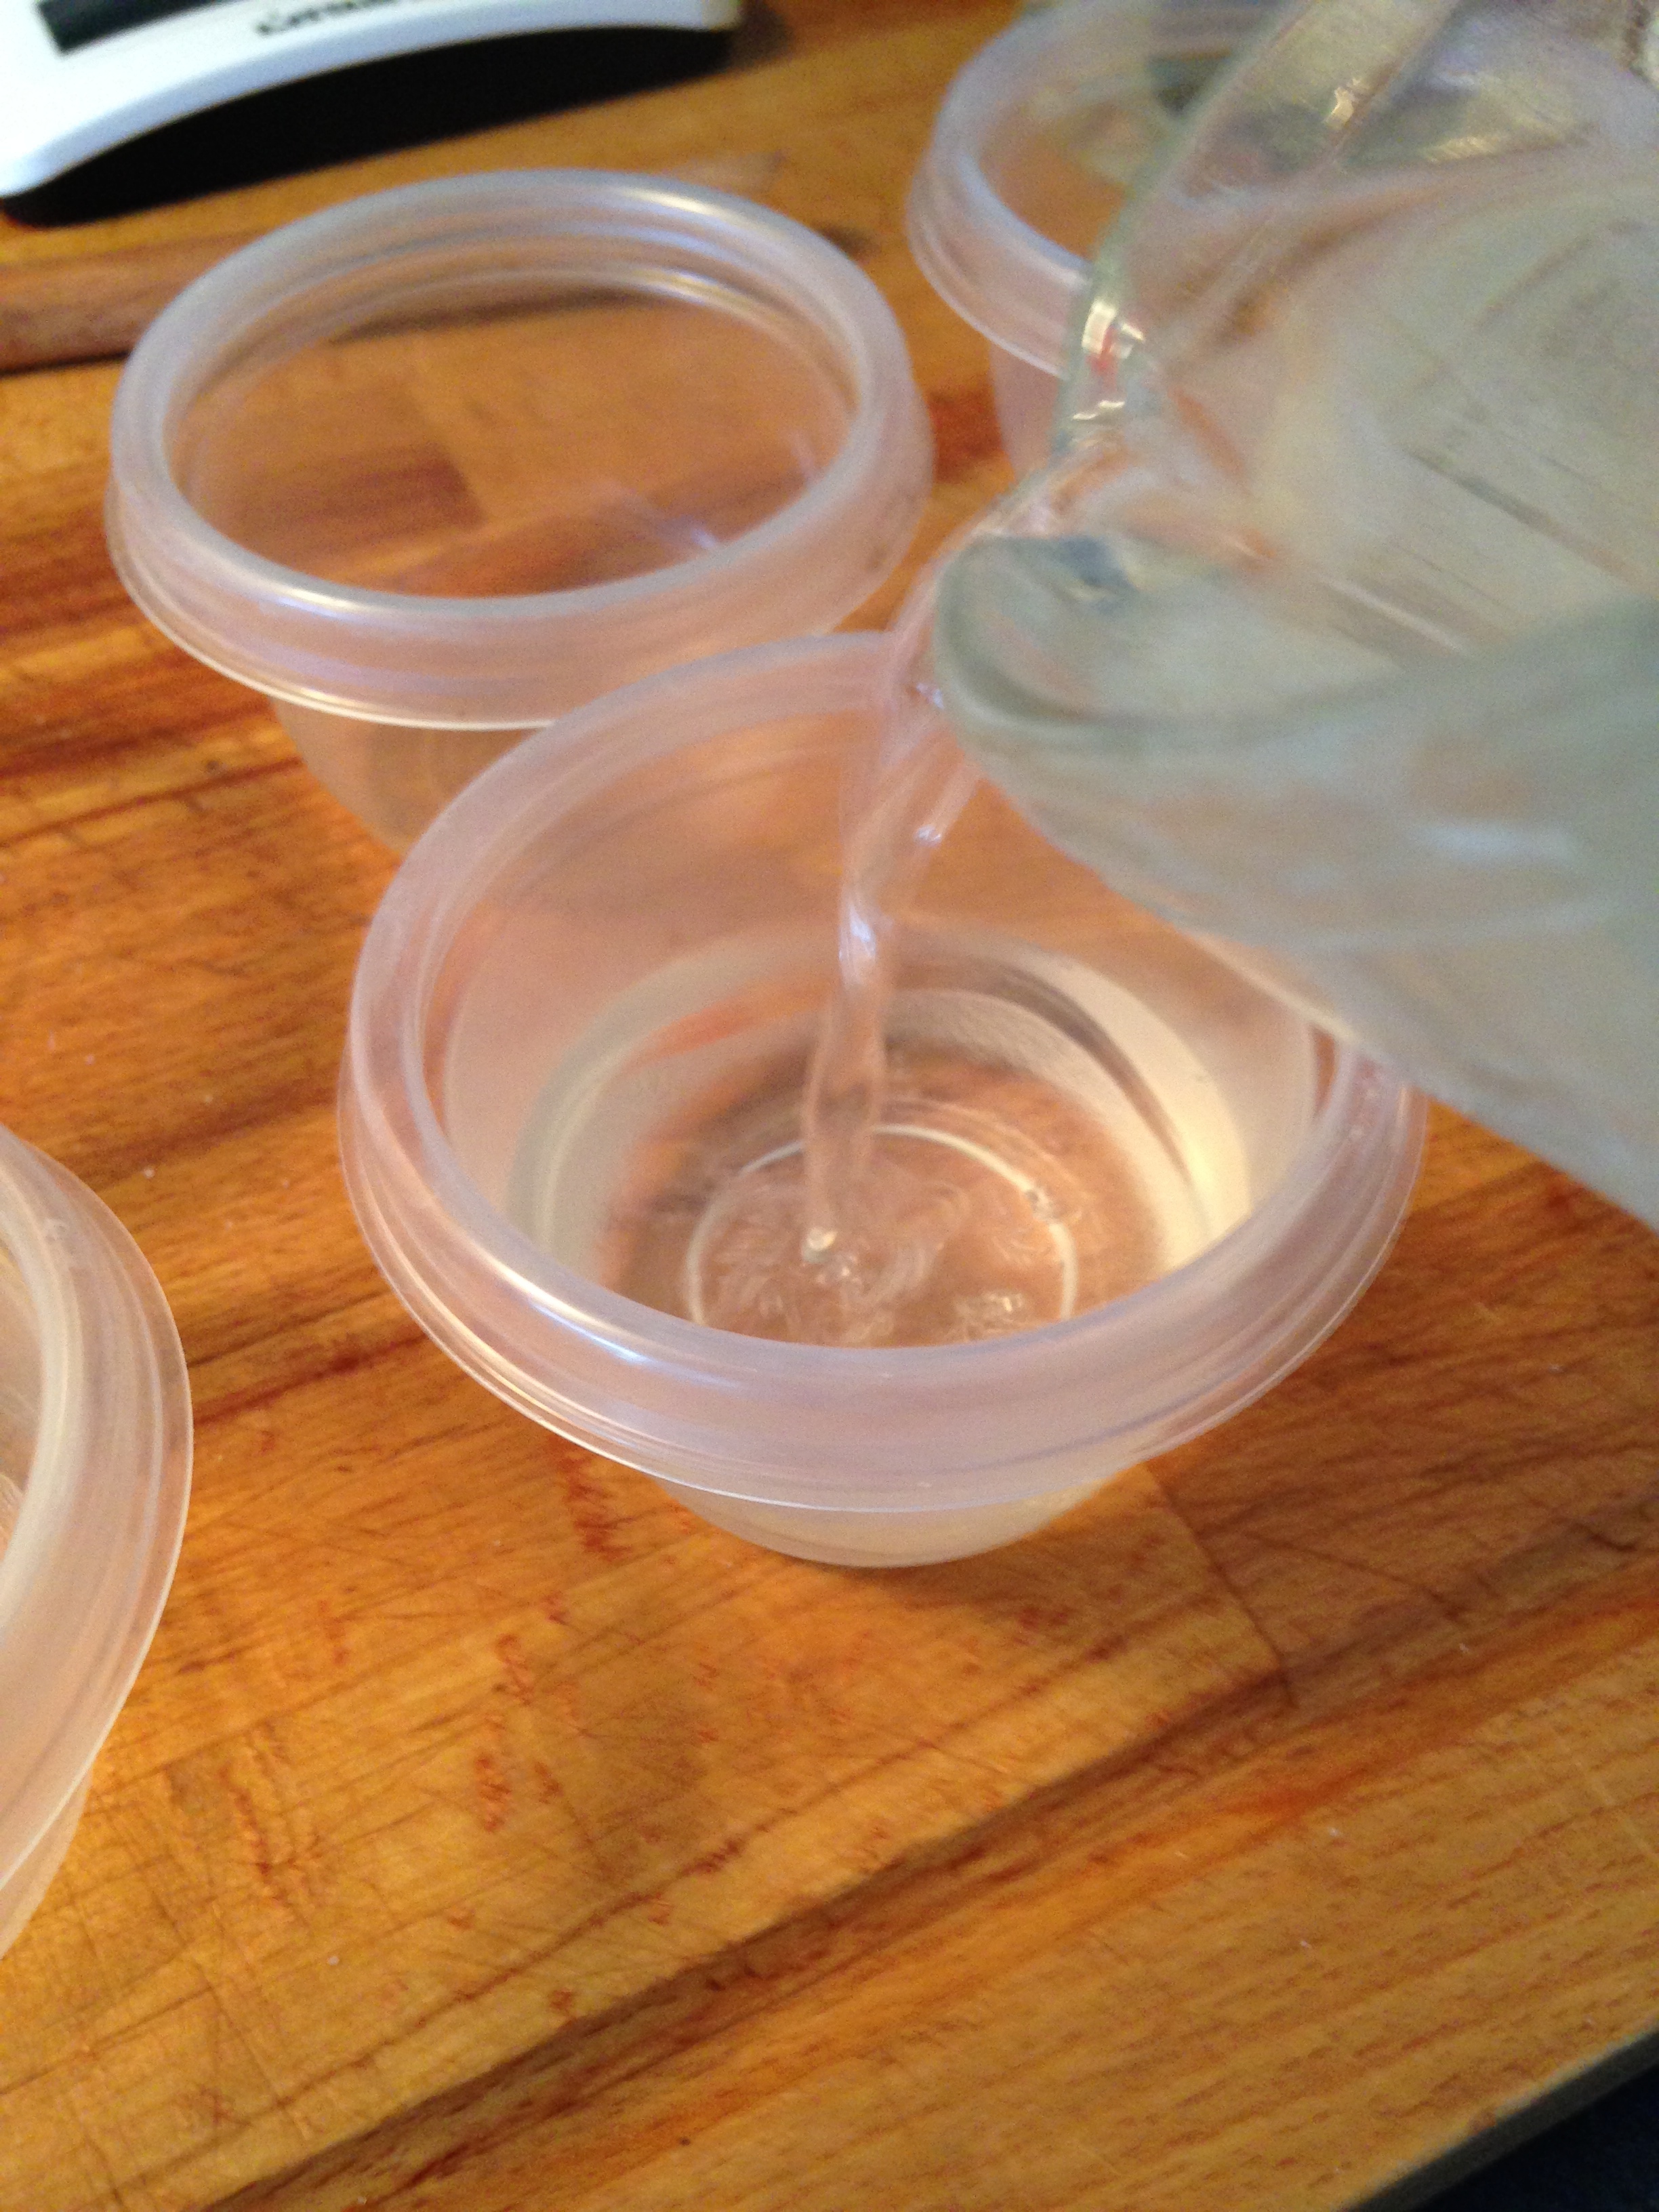
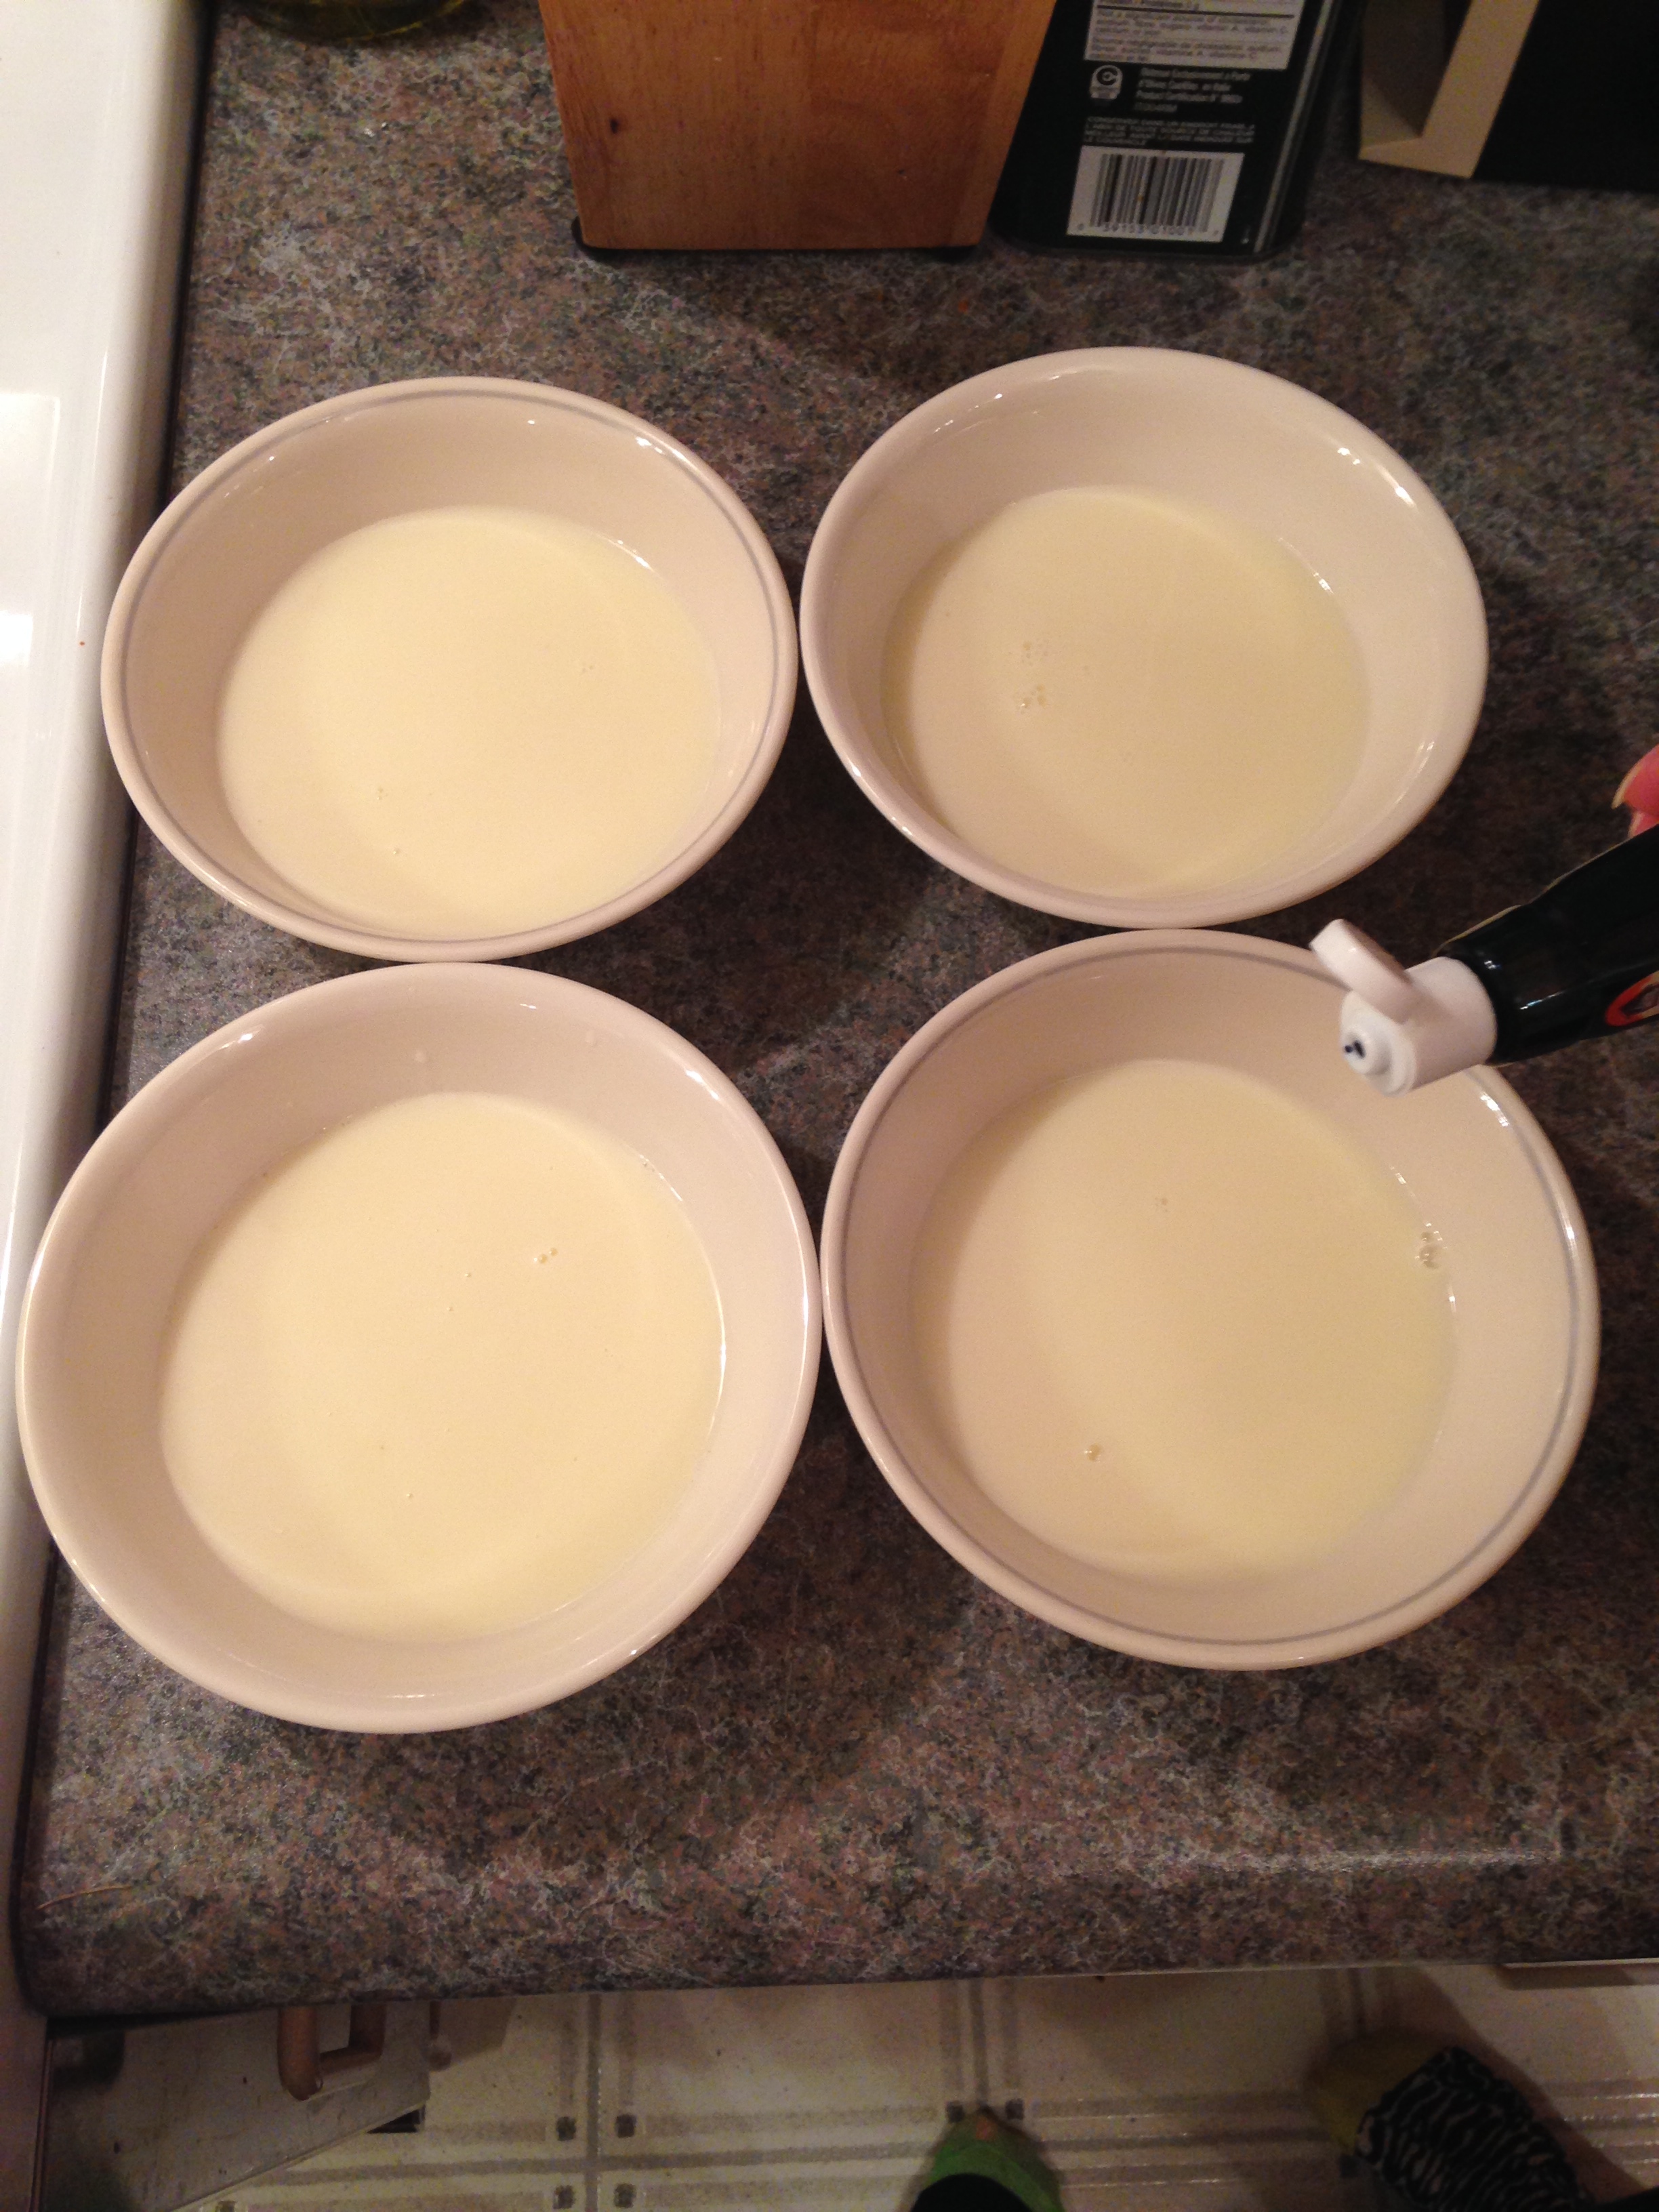
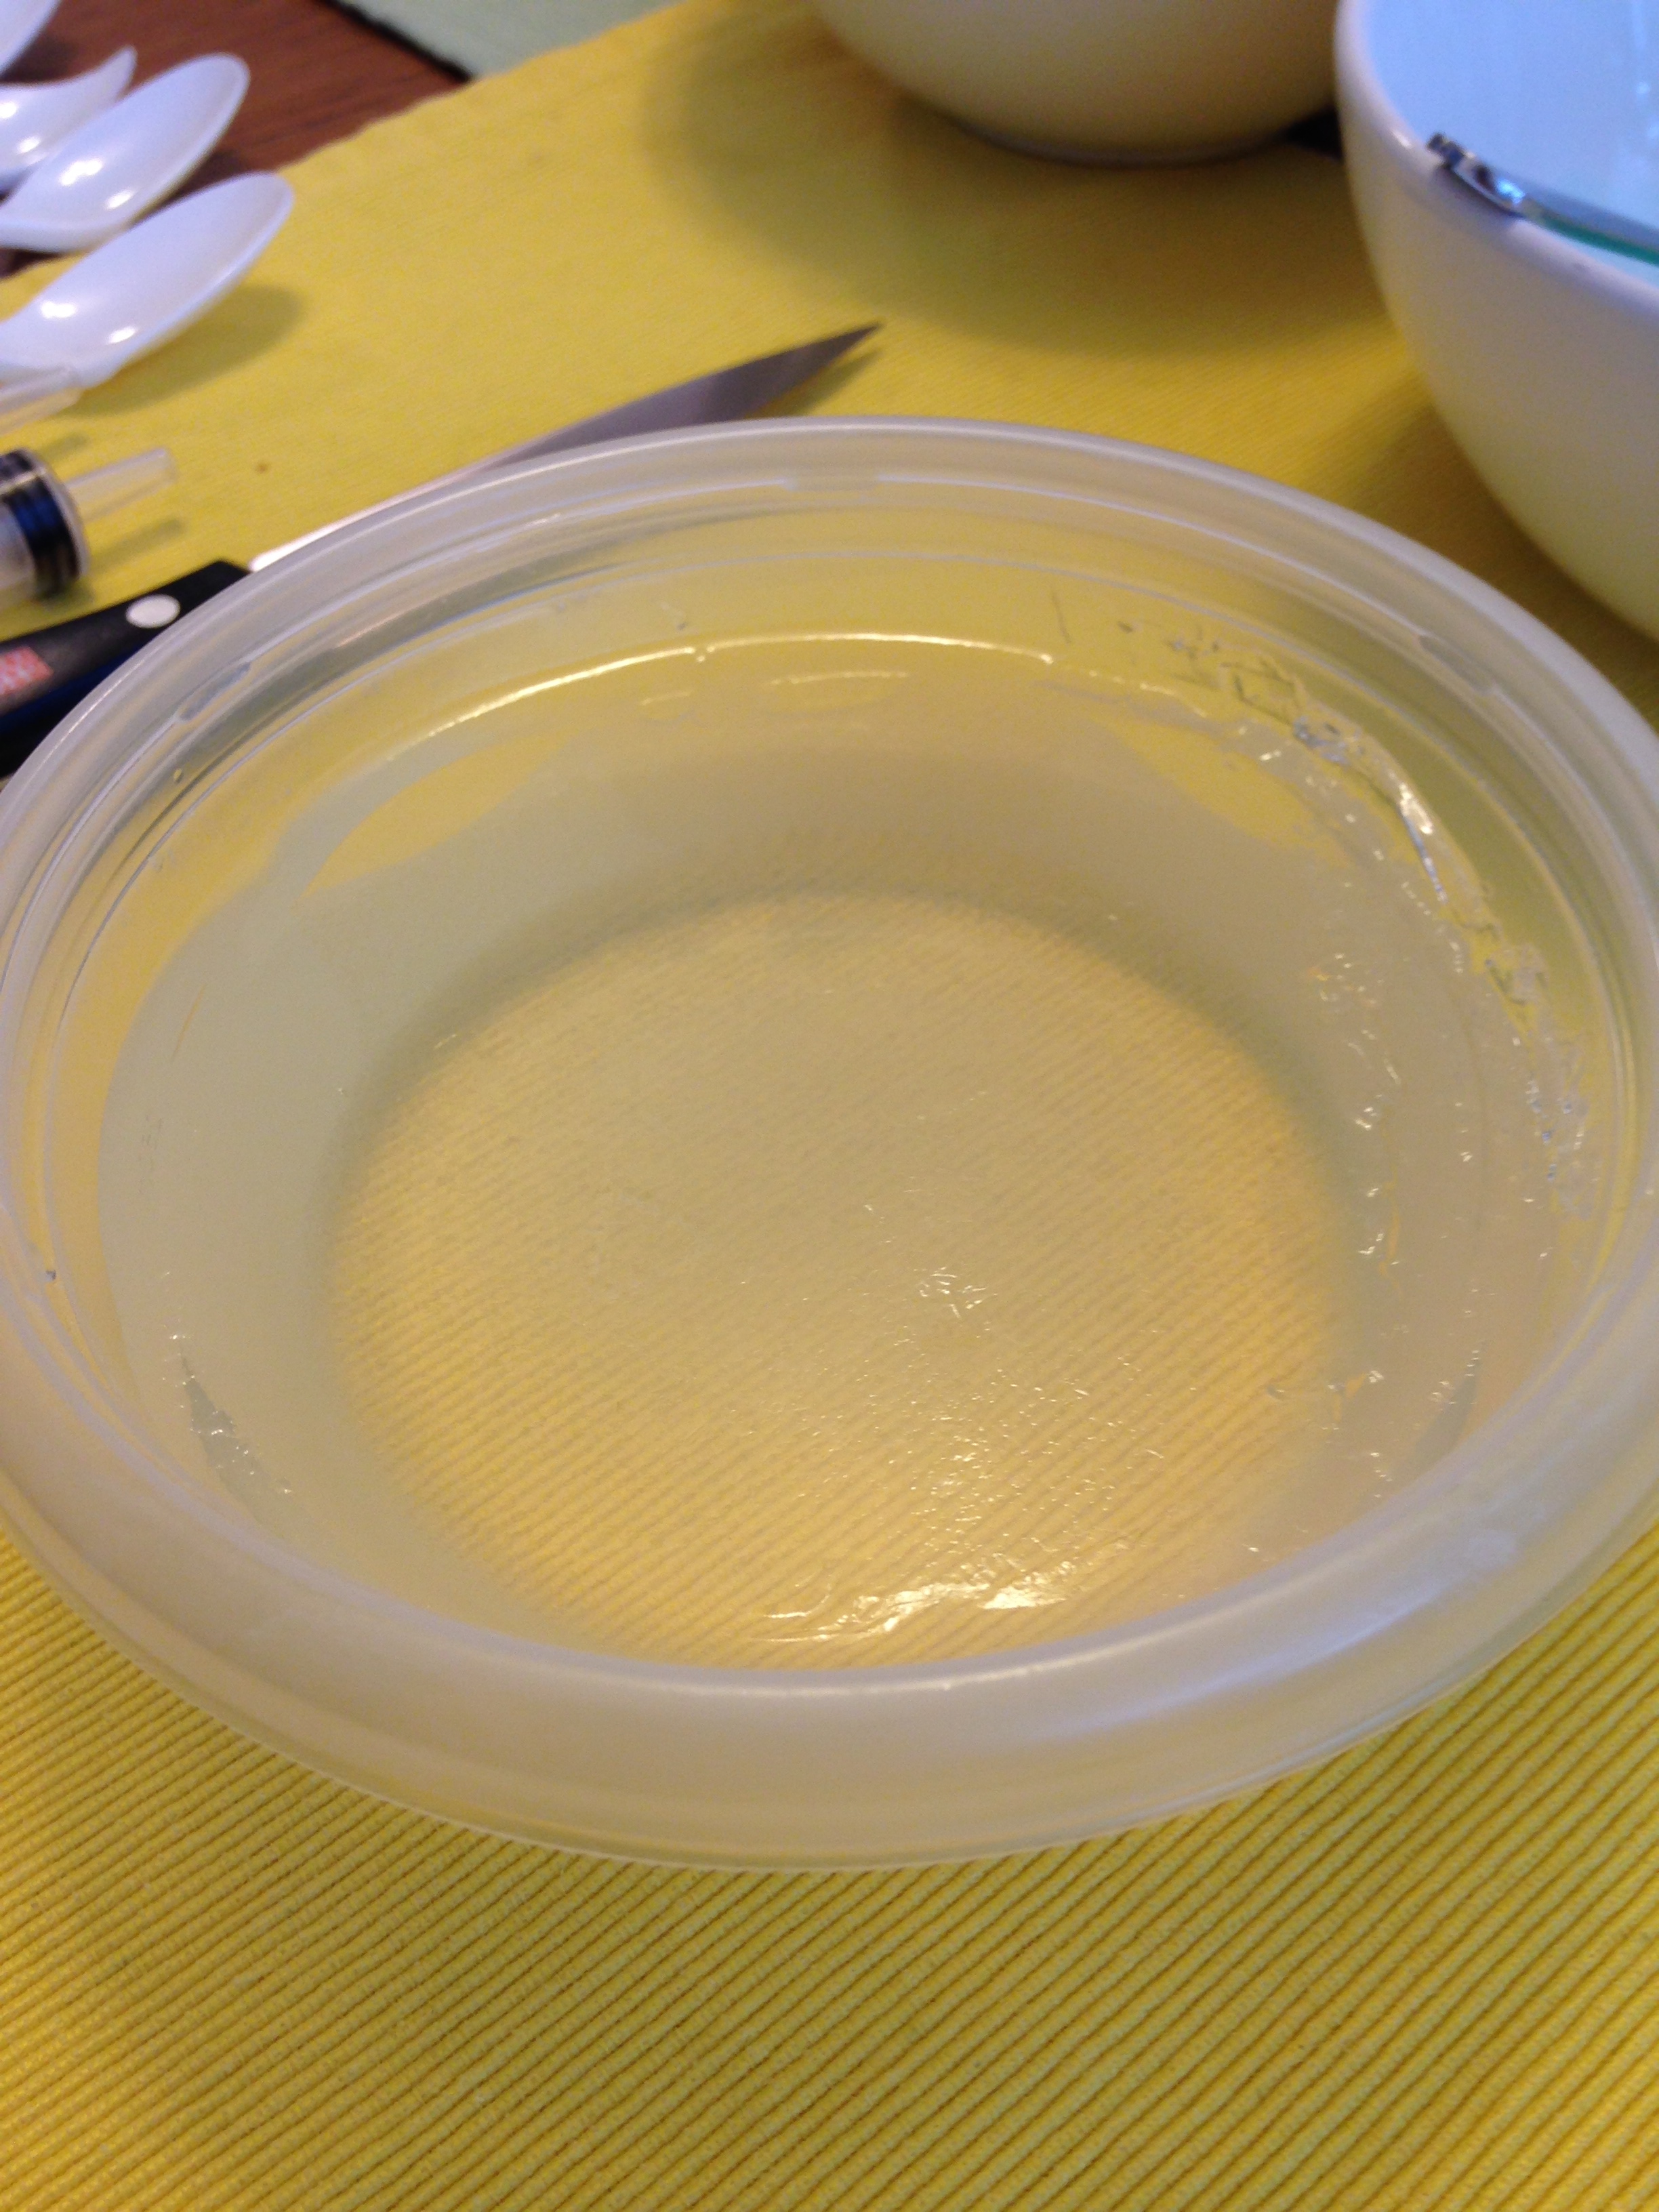
- Using a cup with a lip (for easy pouring), fill bowls with hot liquid. Remember to leave 1/2 cm room at the top of each bowl as you'll be filling more jelly in later.
- Refrigerate jelly for 2 - 4 hours, until jelly is set.
** I used almond extract but the original recipe used acetic acid. Mmm Citrus.


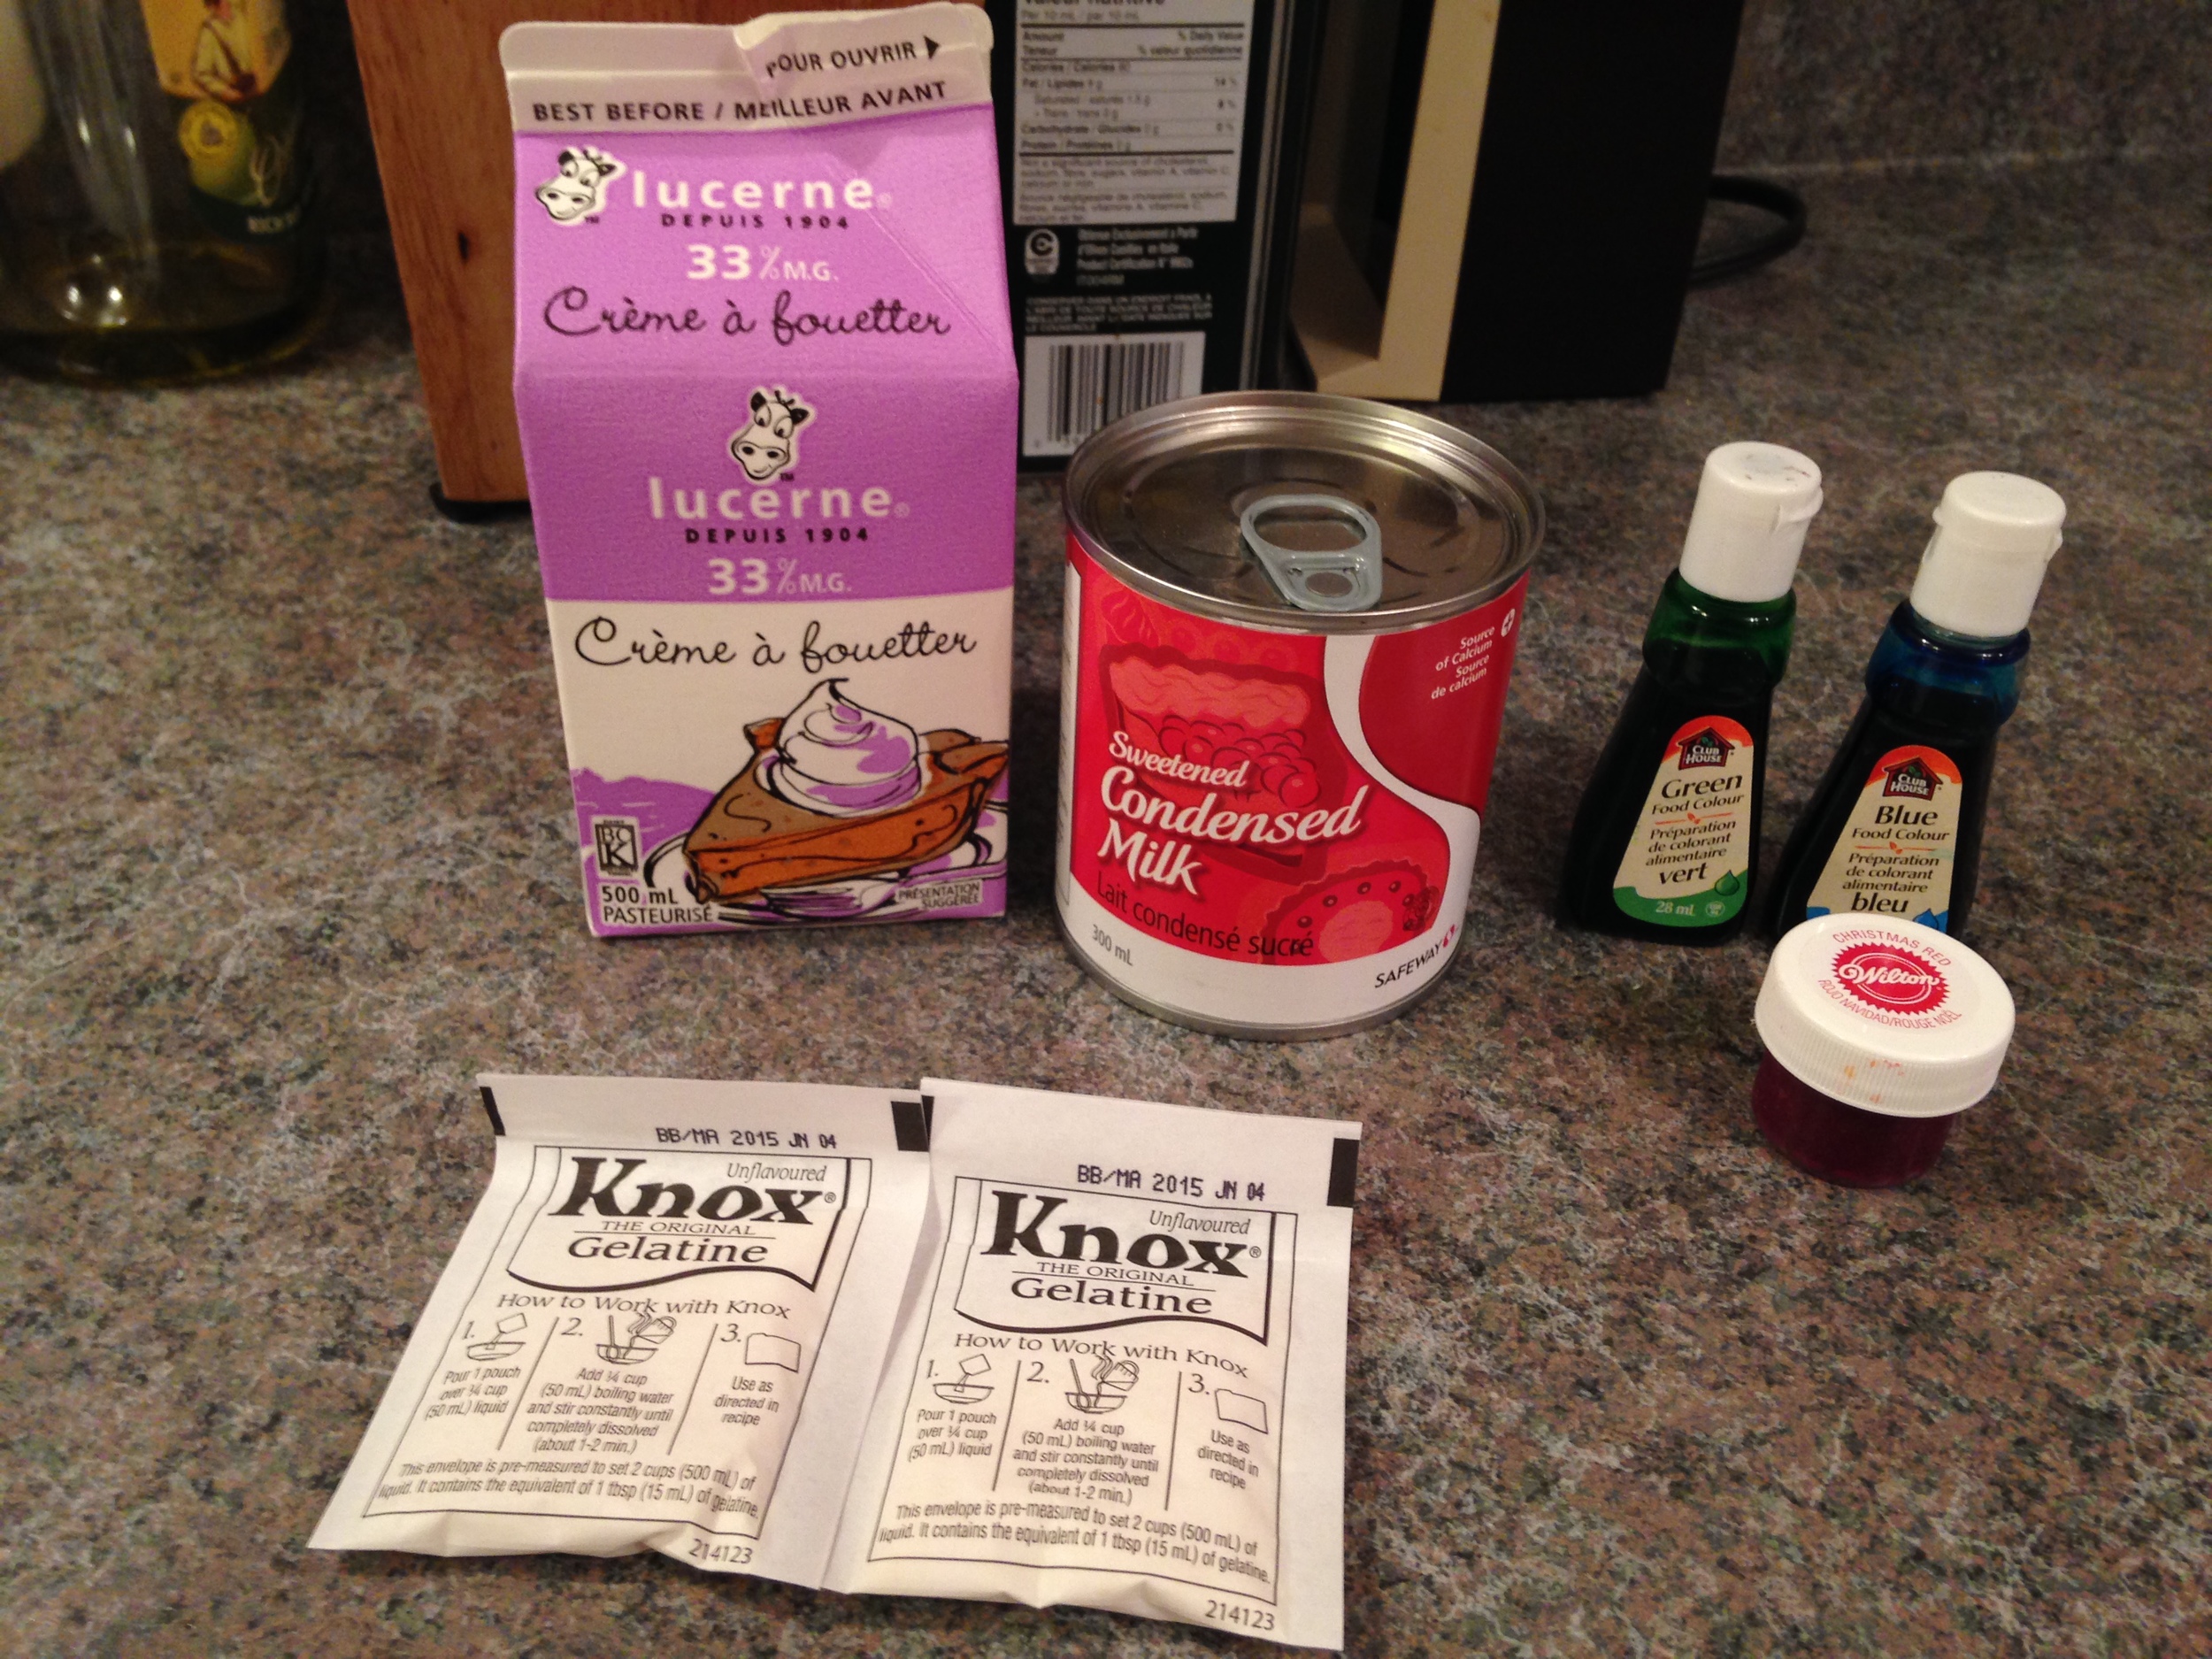
Petal Concoction
1/2 cup cold water
2 packets (2 TBSP) gelatine
1 can (300ml) sweetened condensed milk
Whipping Cream (at least 1 cup)
Food colouring
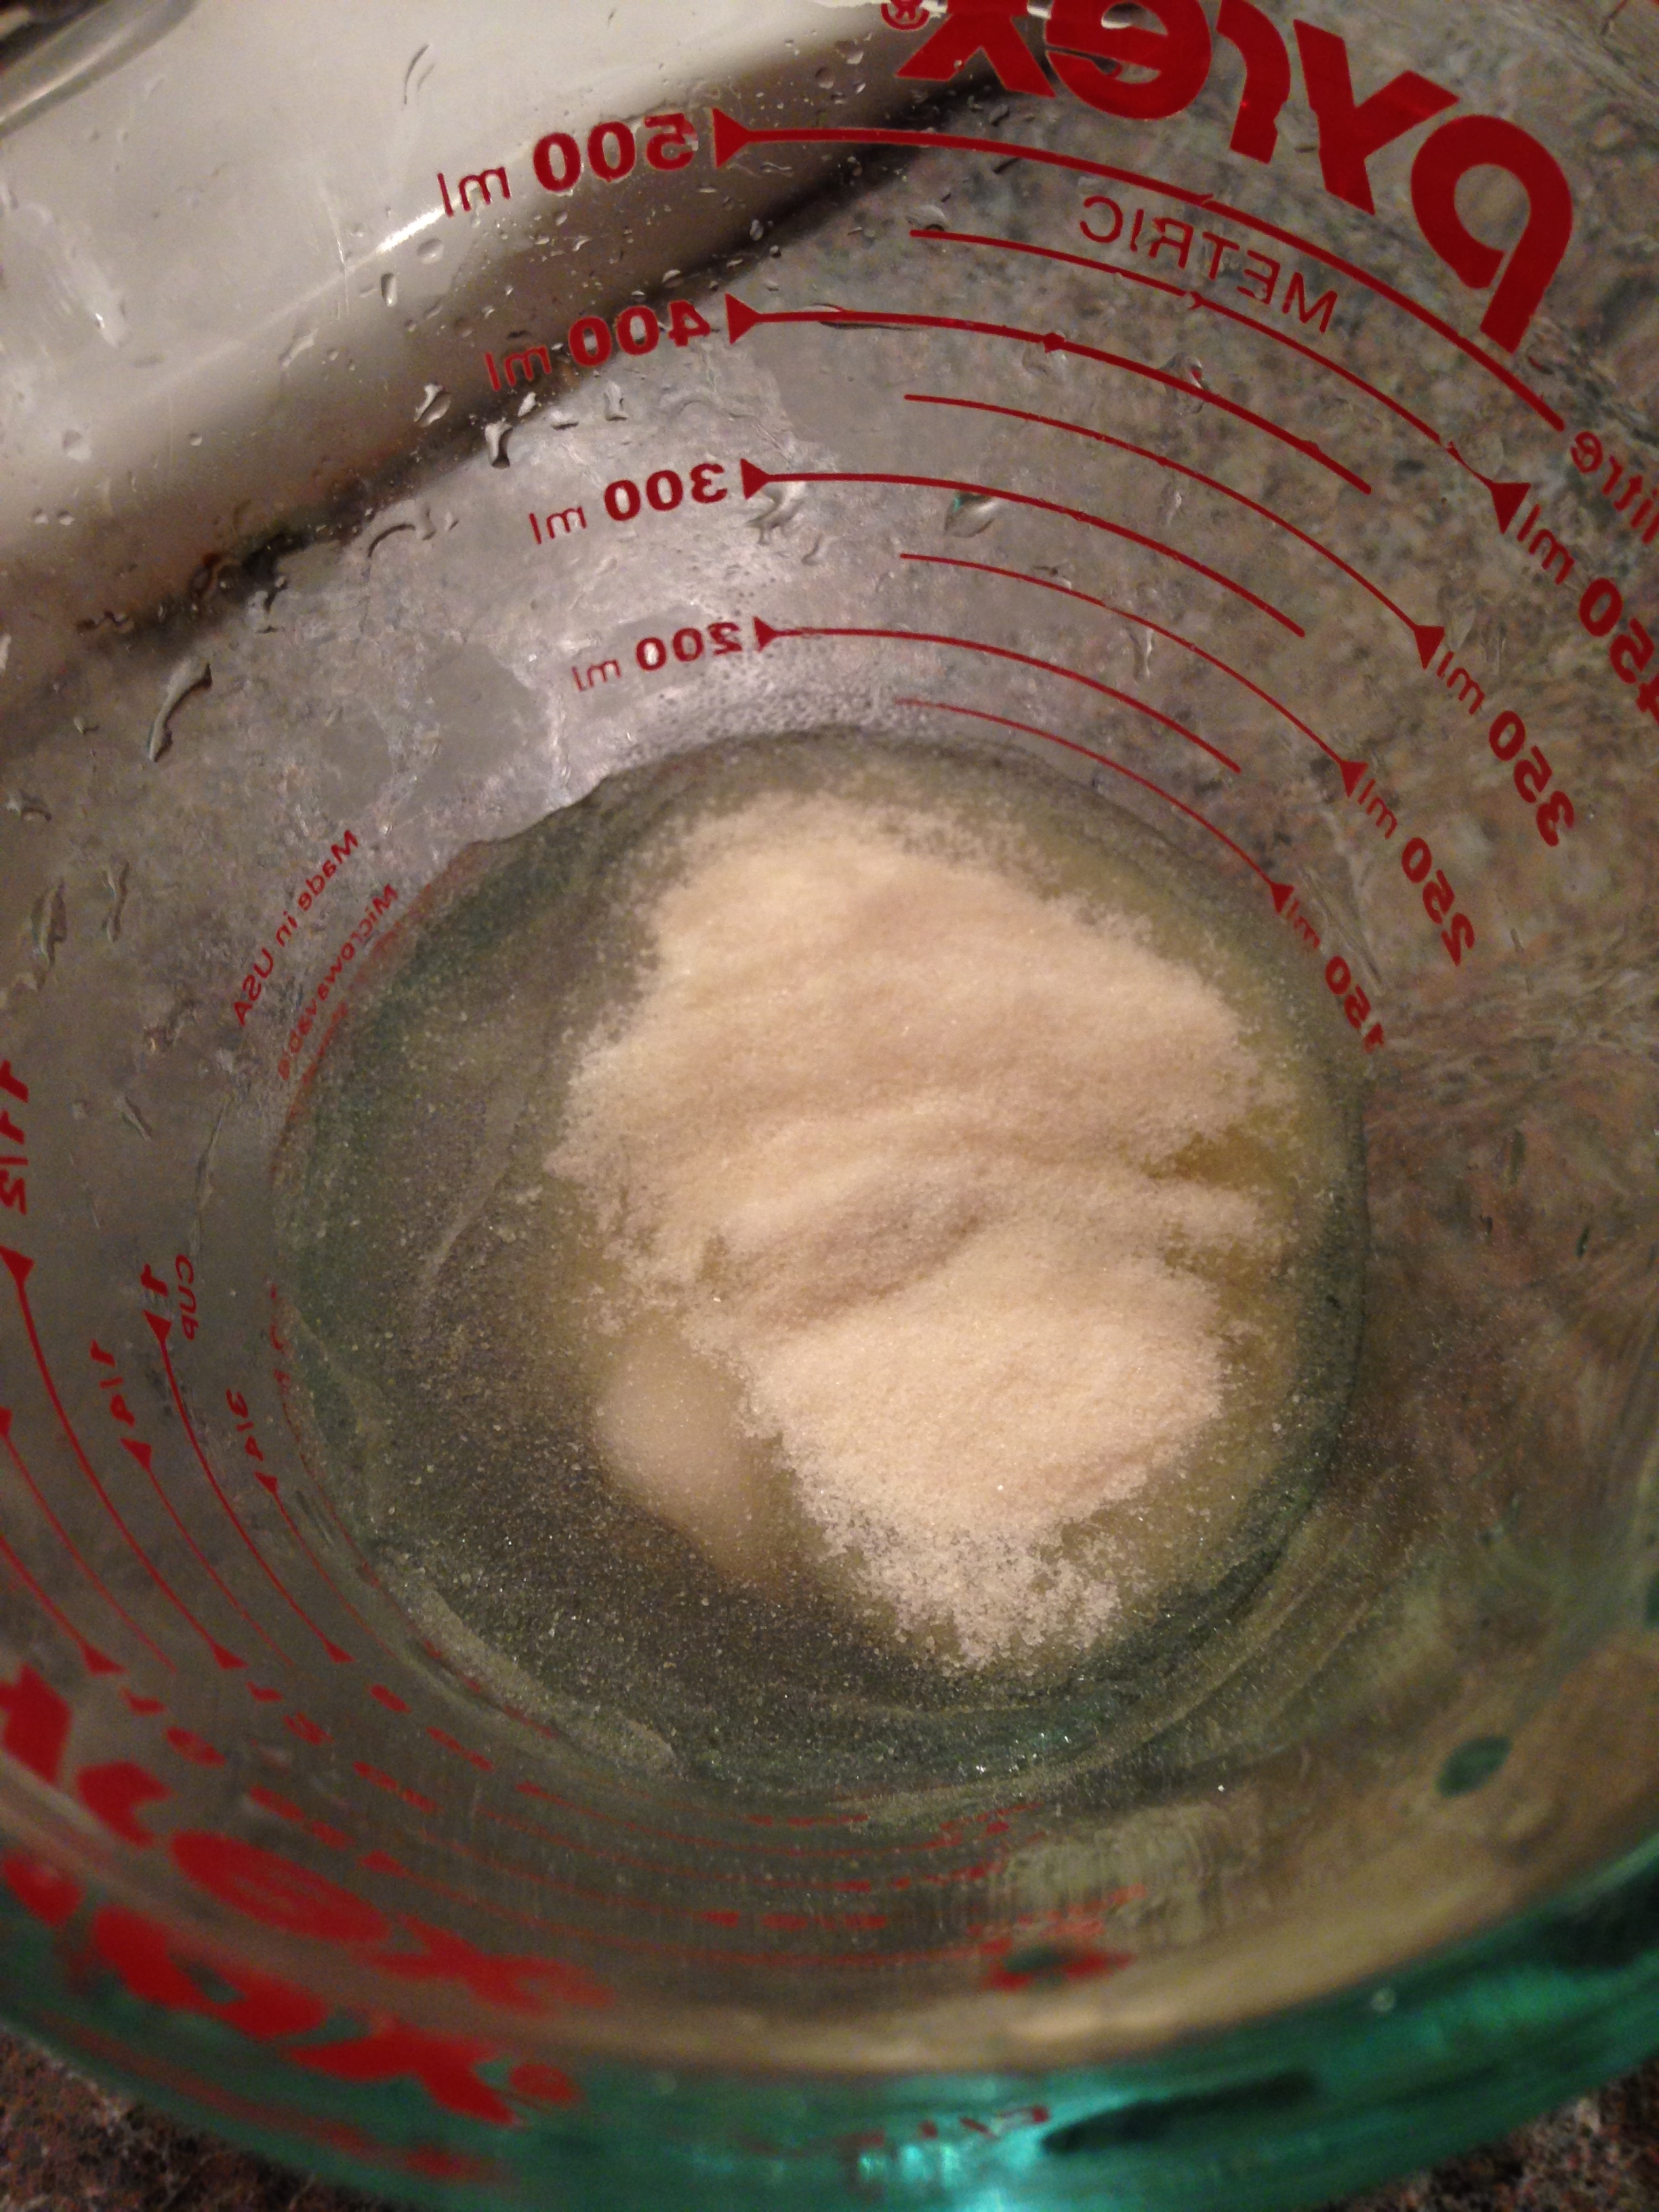
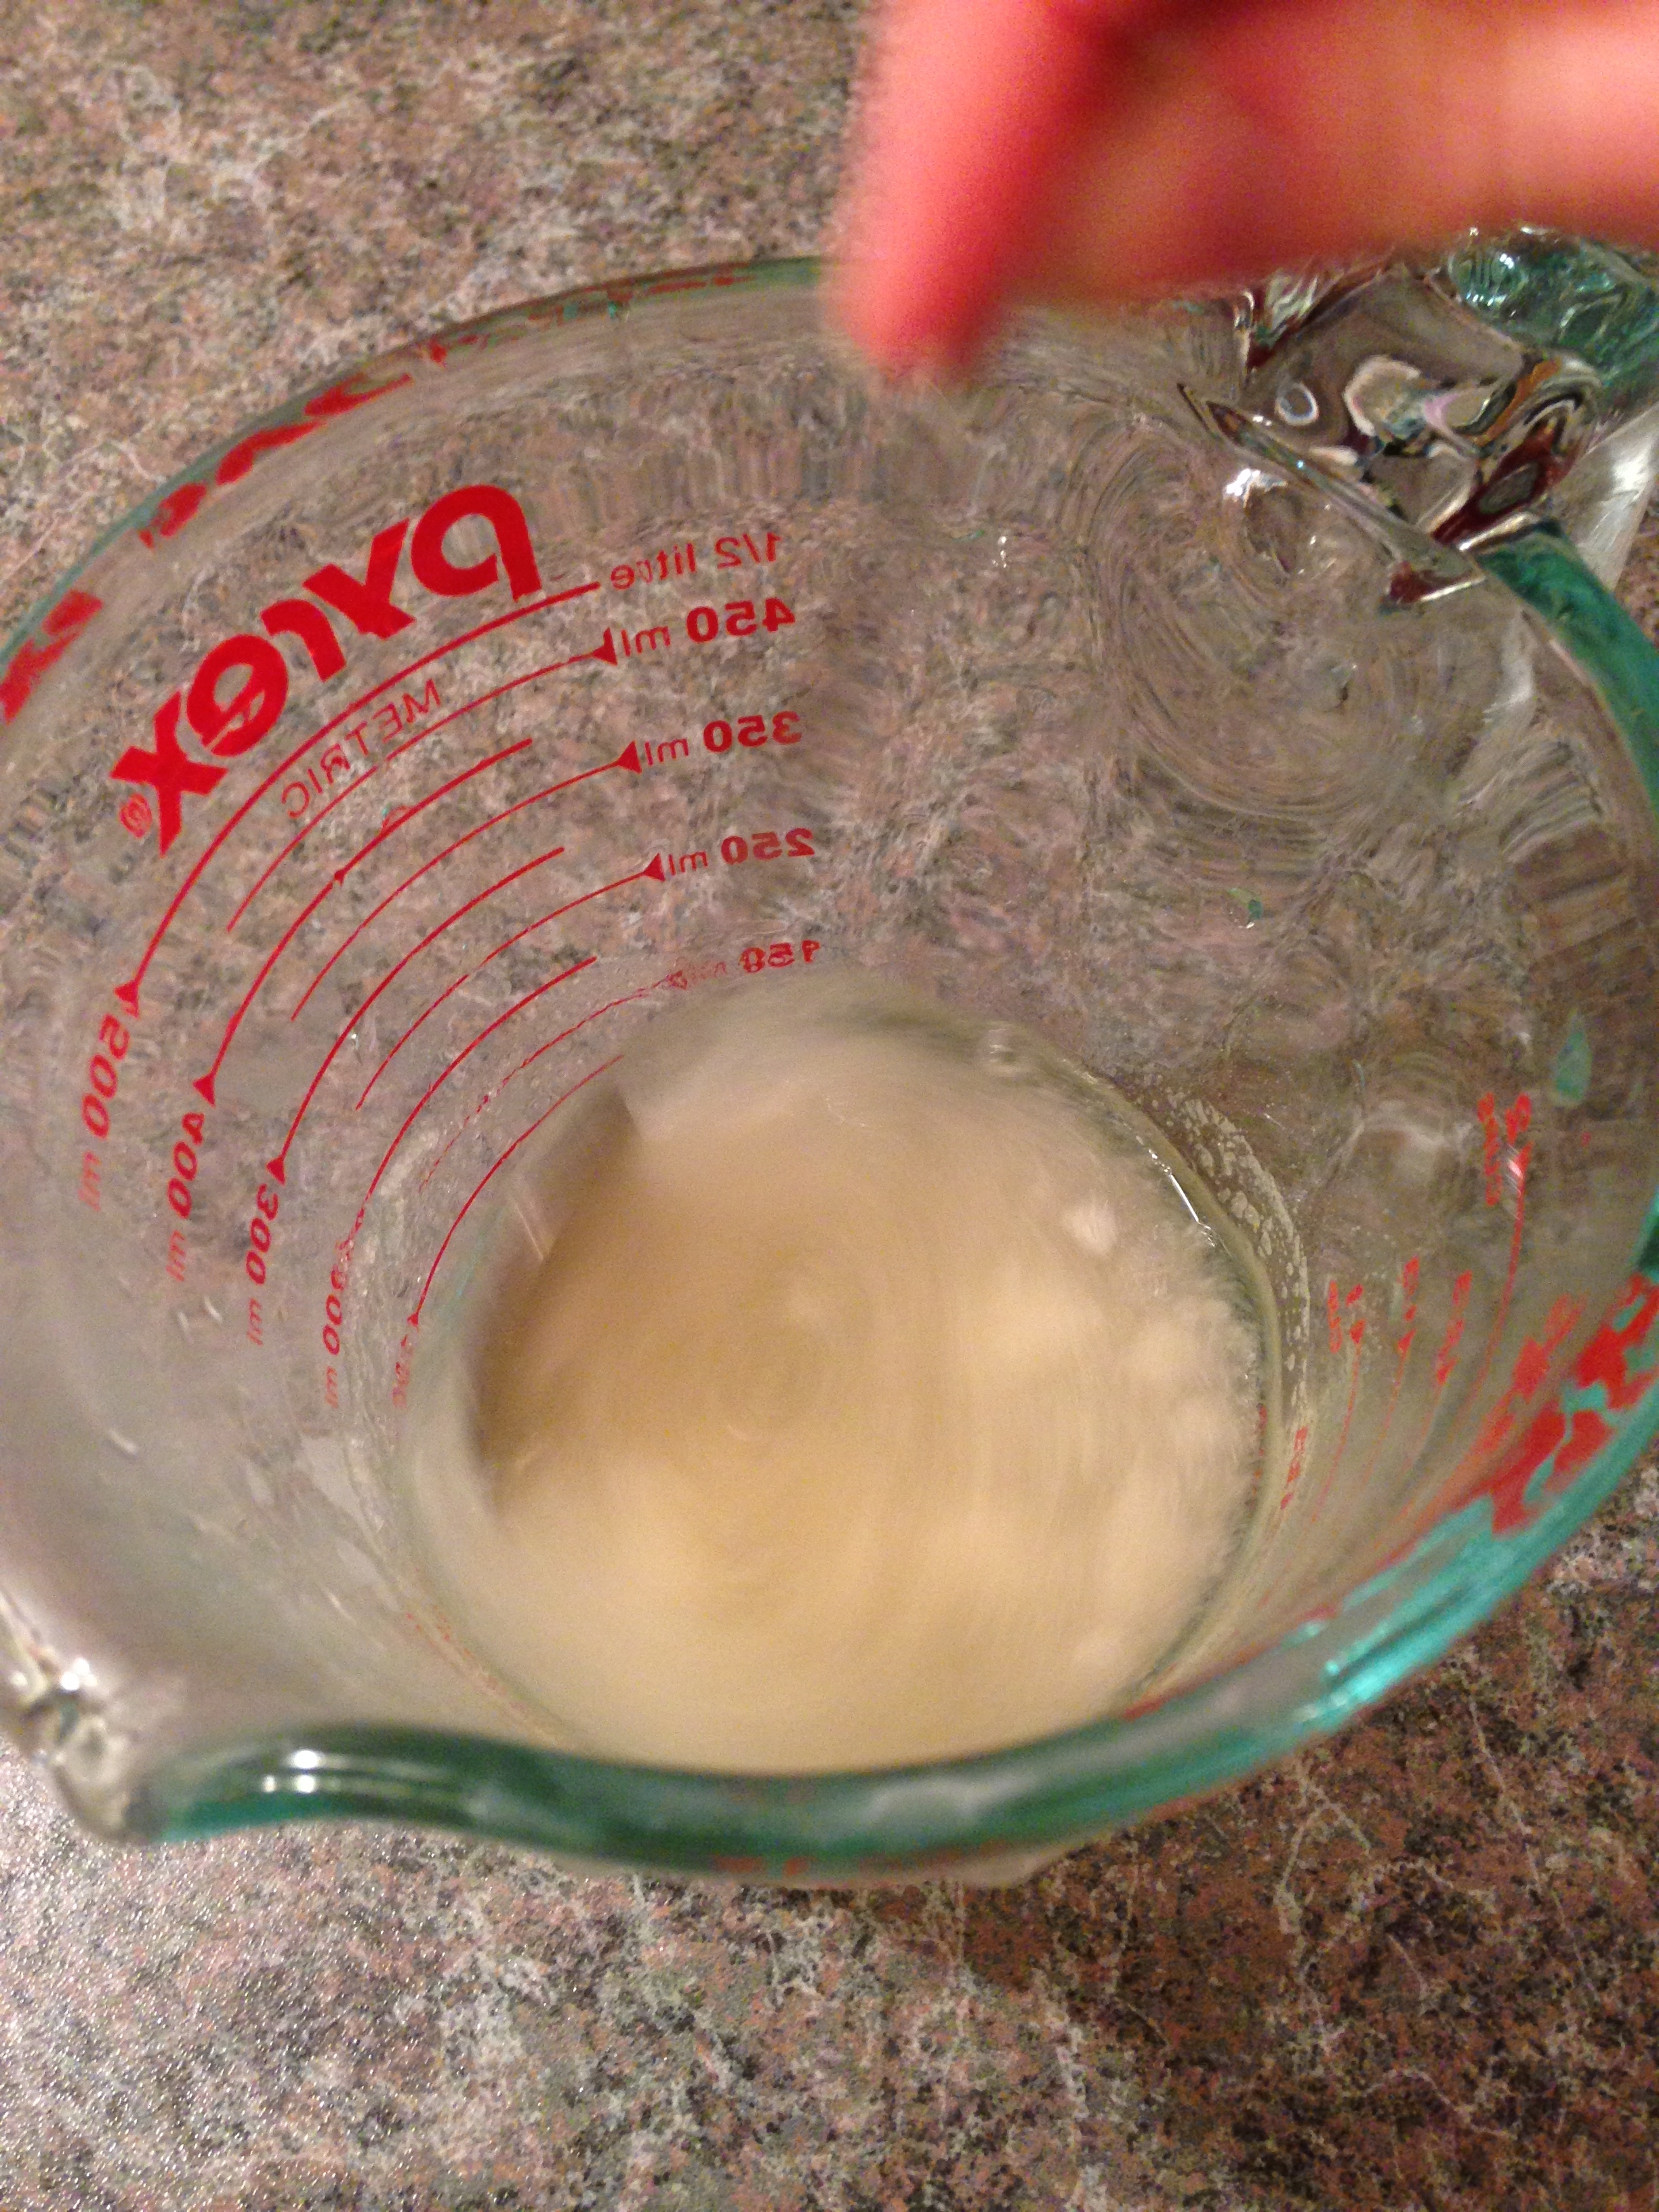
- Add gelatine to cold water. Stir so all lumps dissolve. Wait 15 mins for gelatine to set.
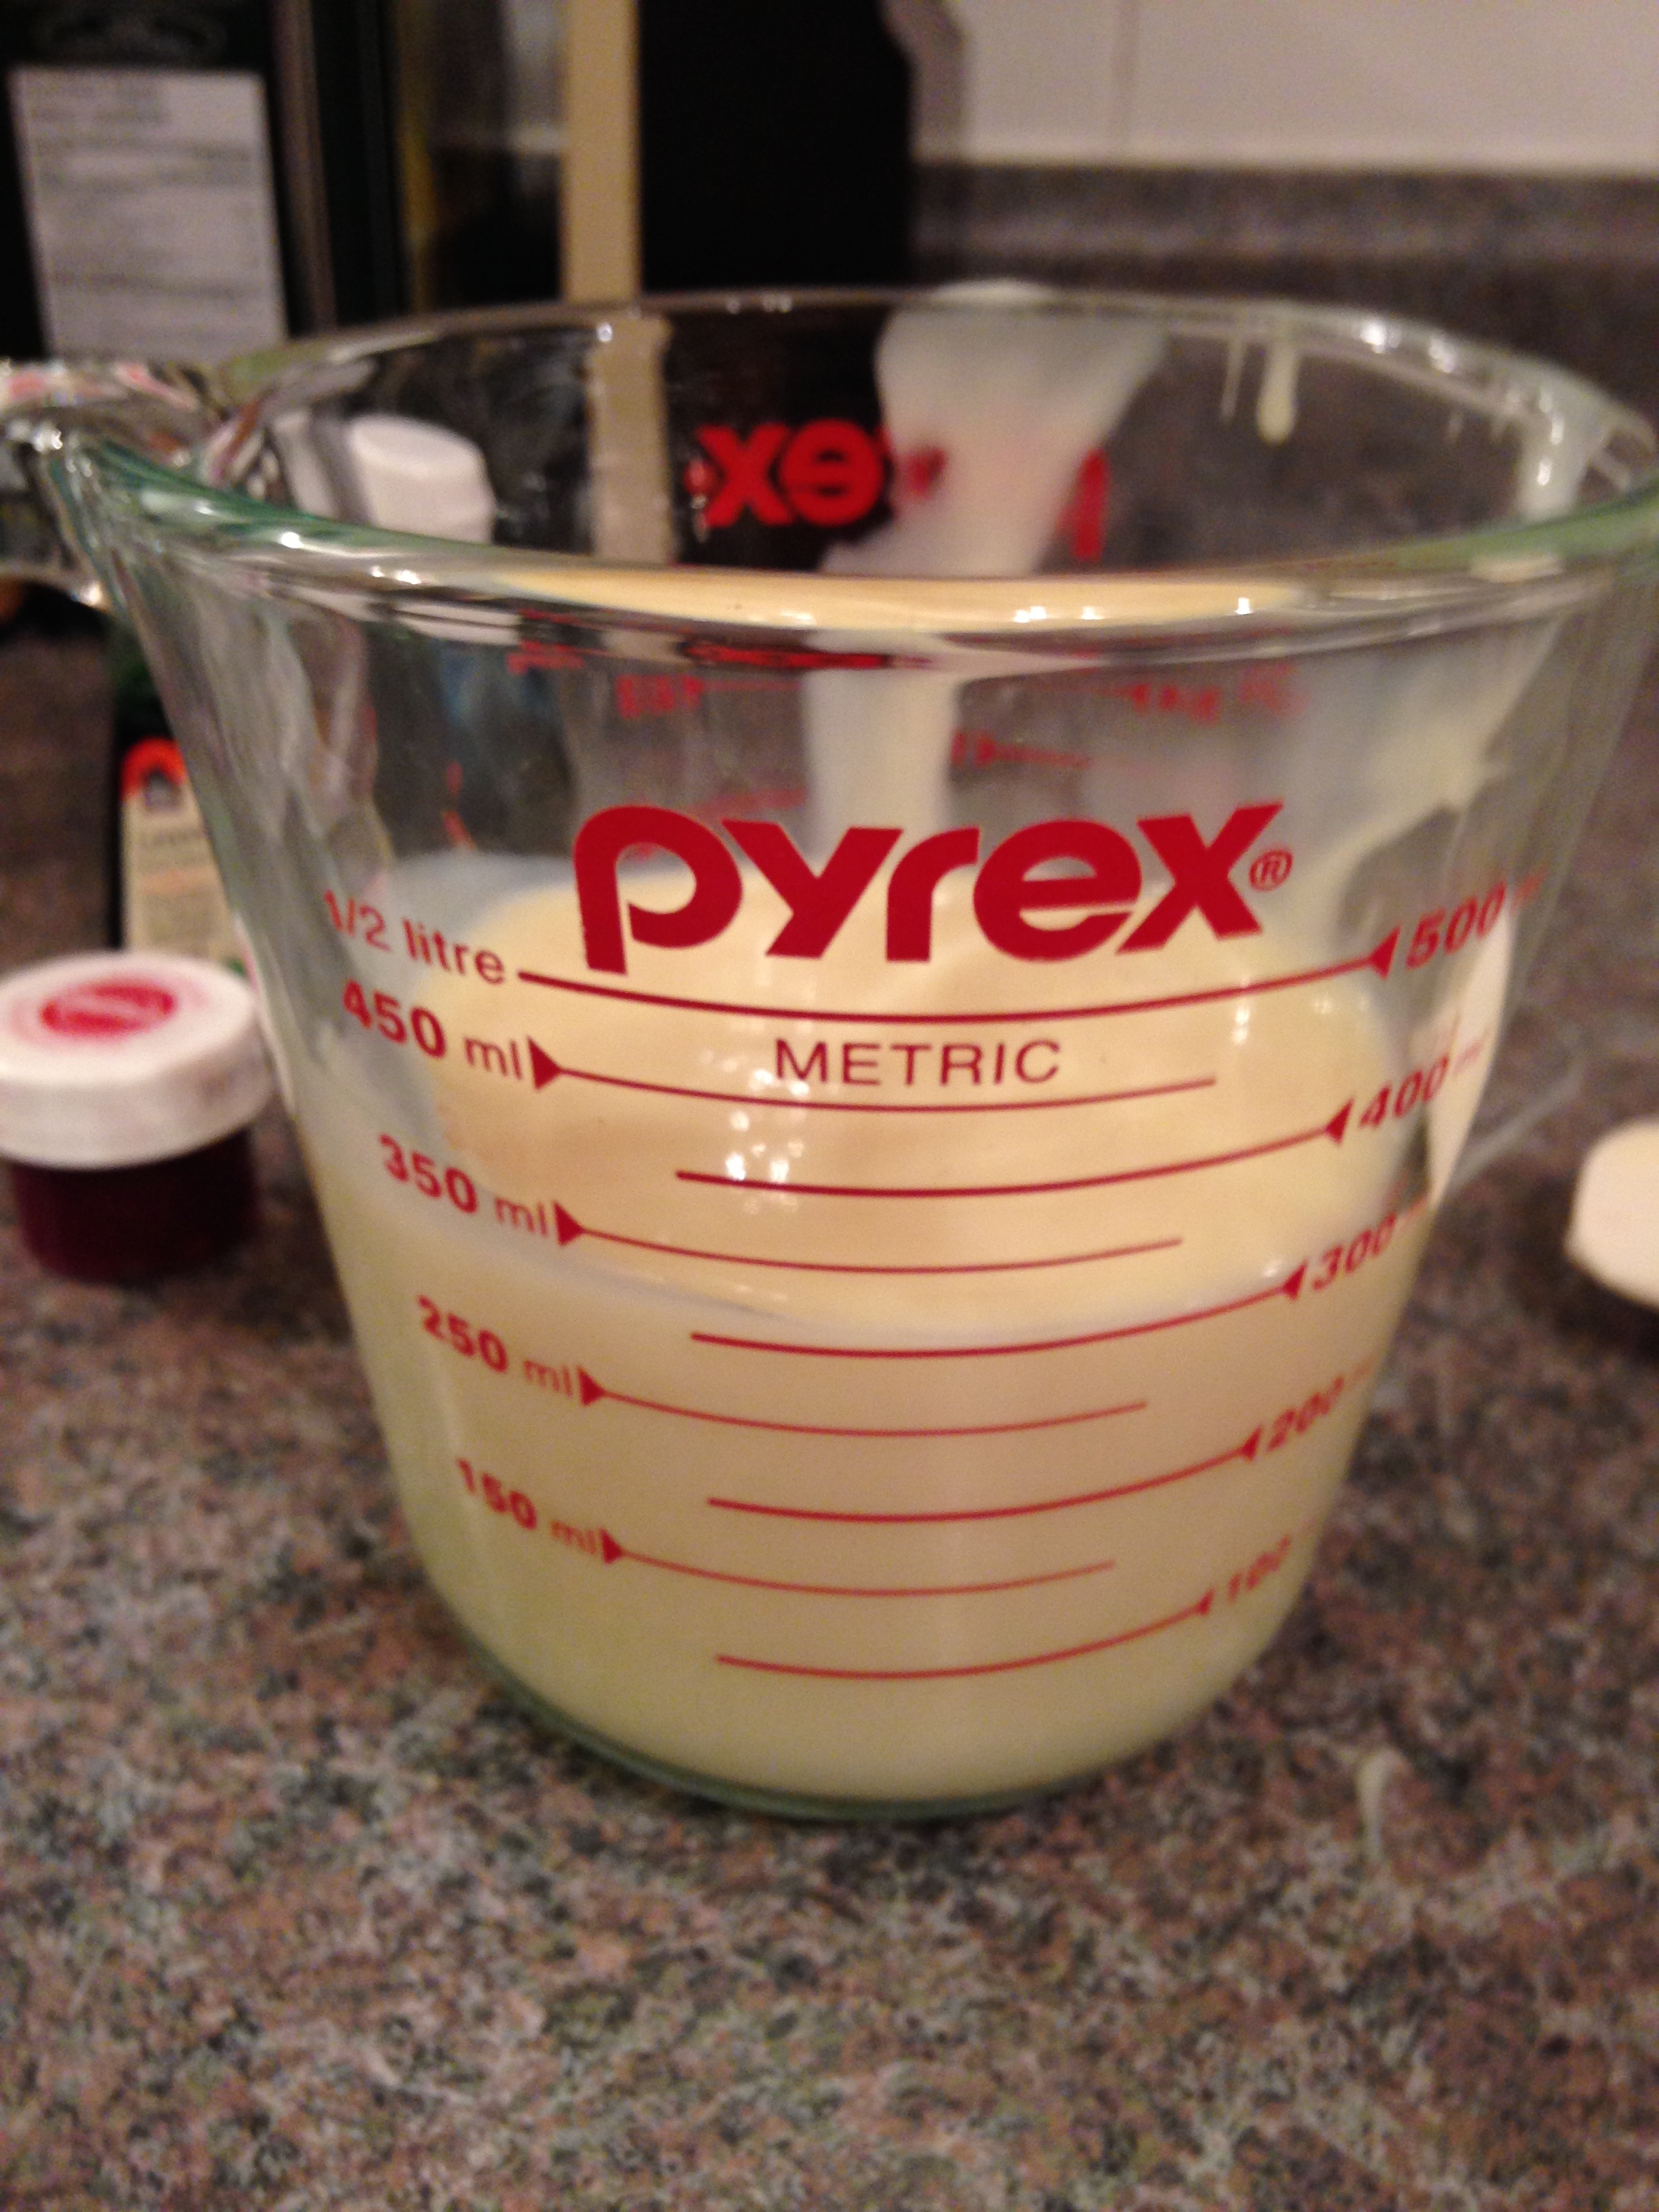
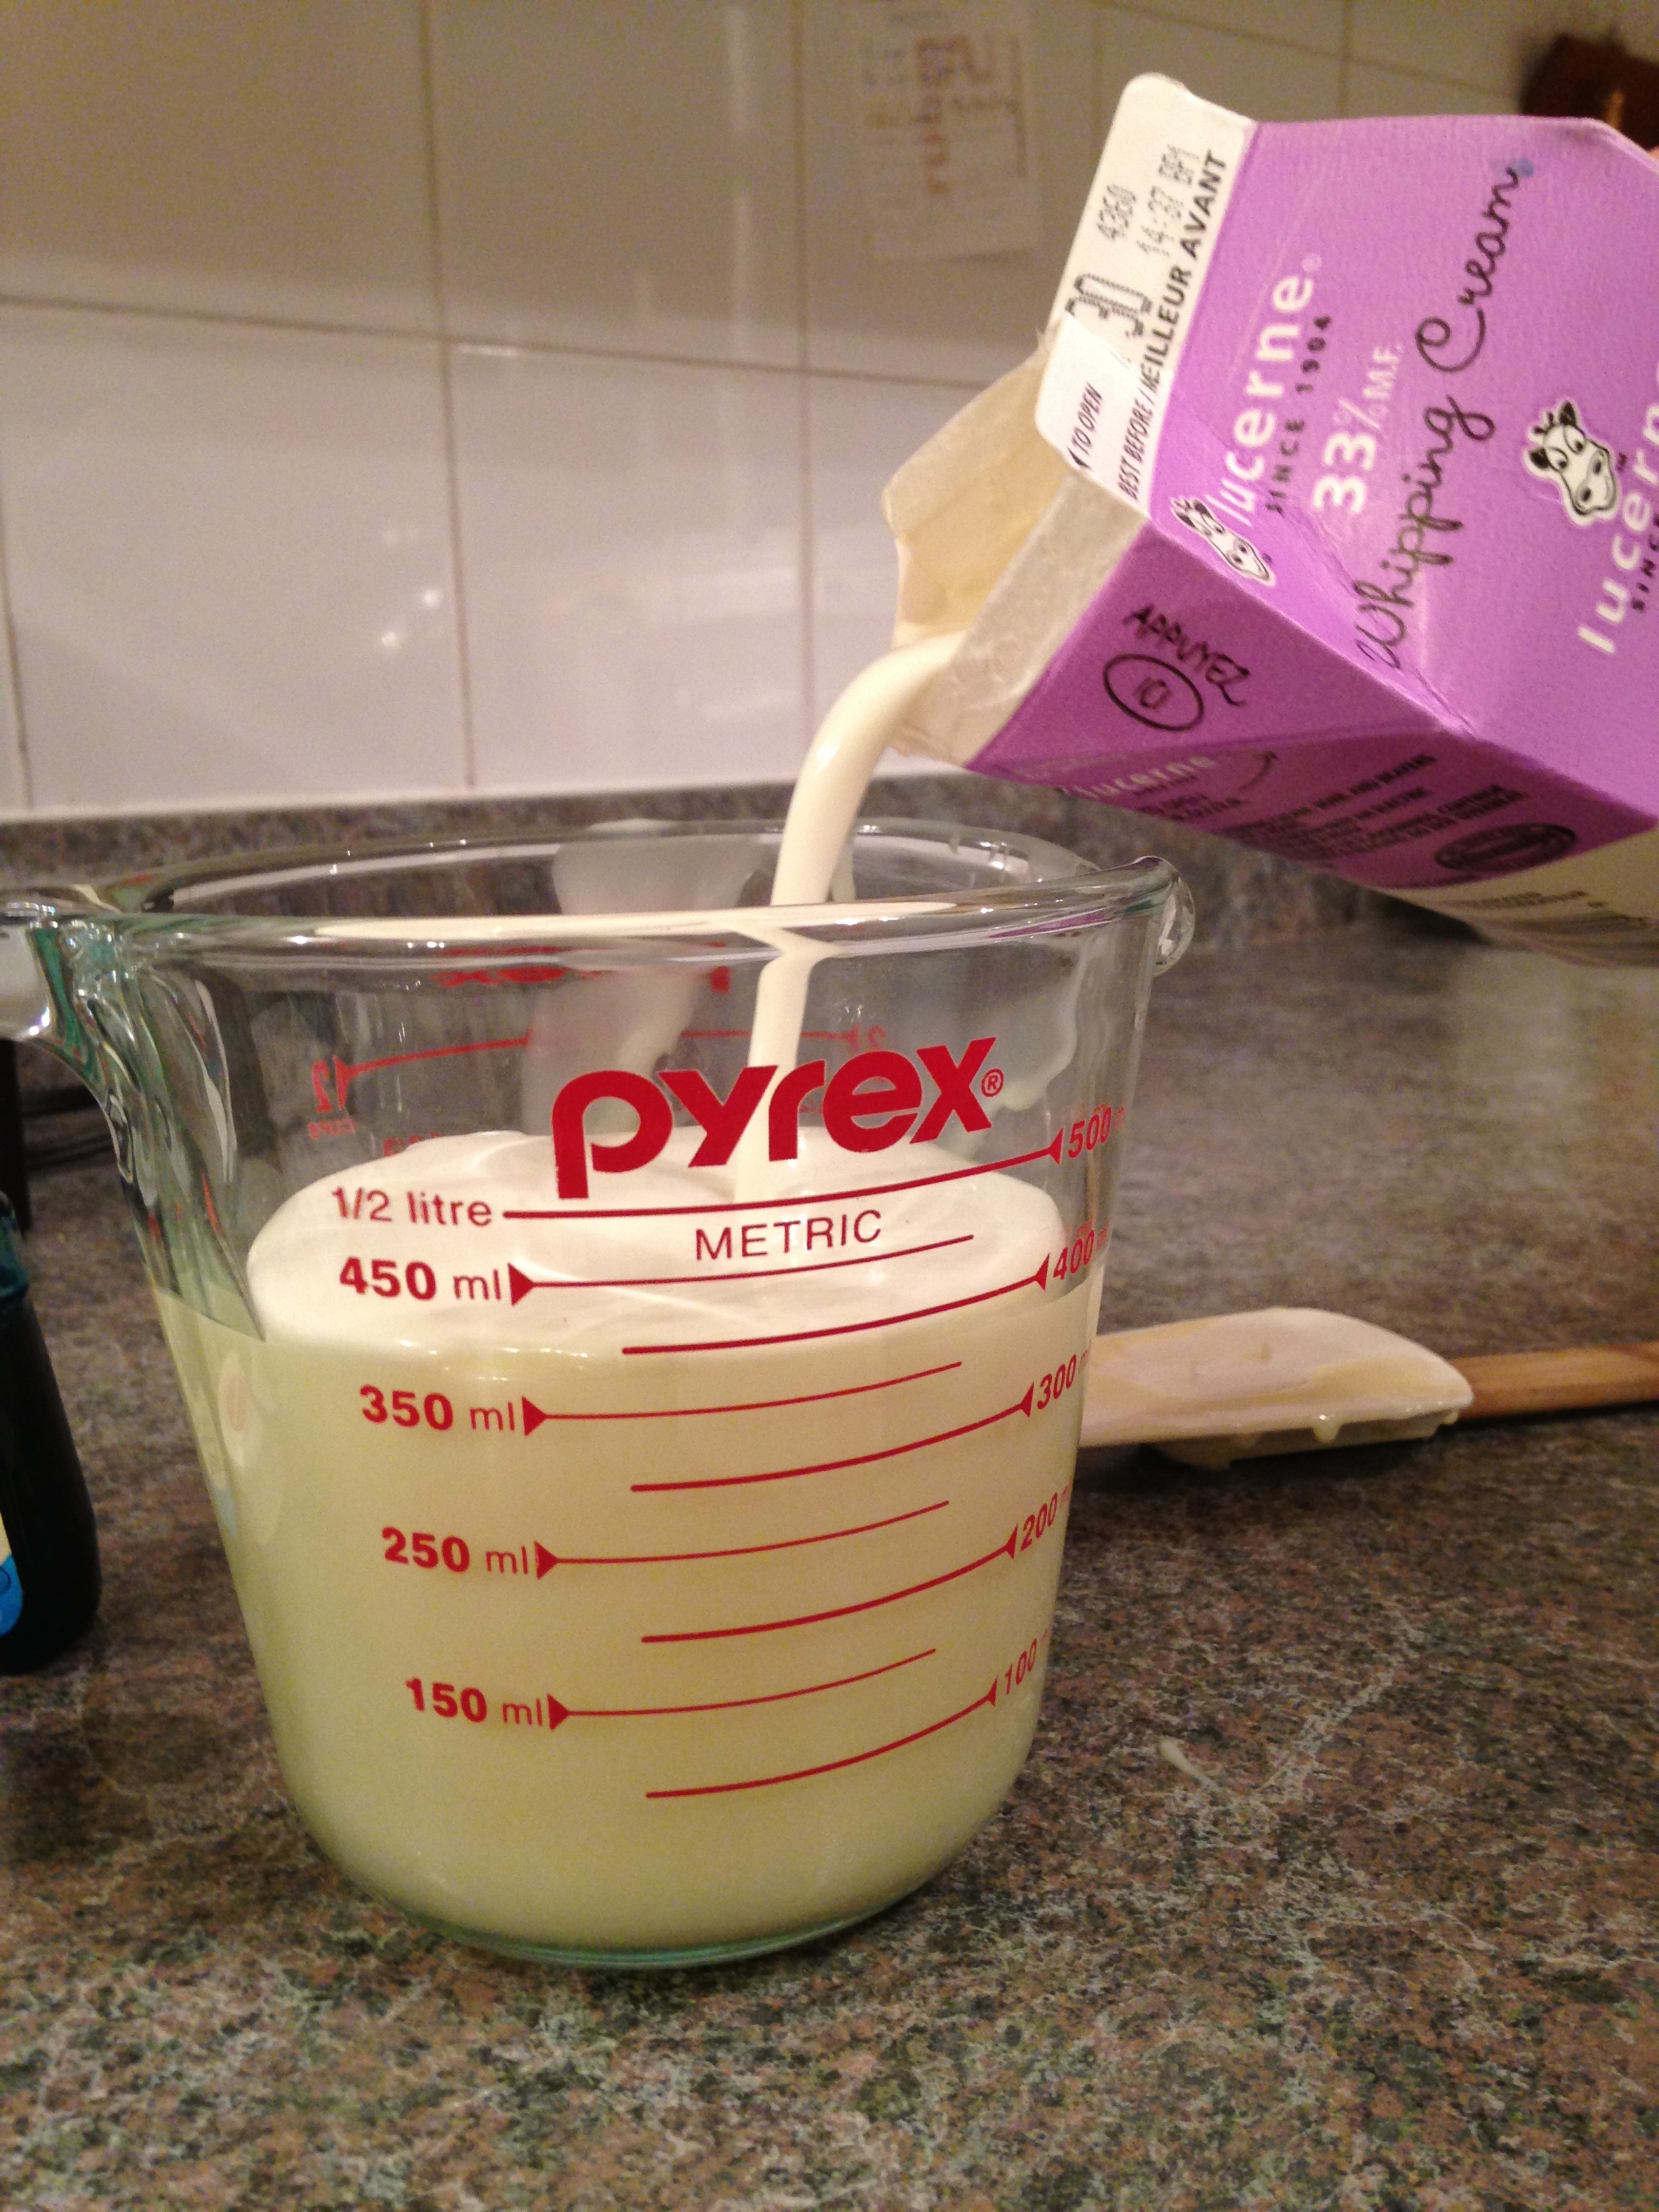
- In a 2 cup liquid measuring cup, pour in sweetened condensed milk. Add whipping cream up to the 2 cup line.
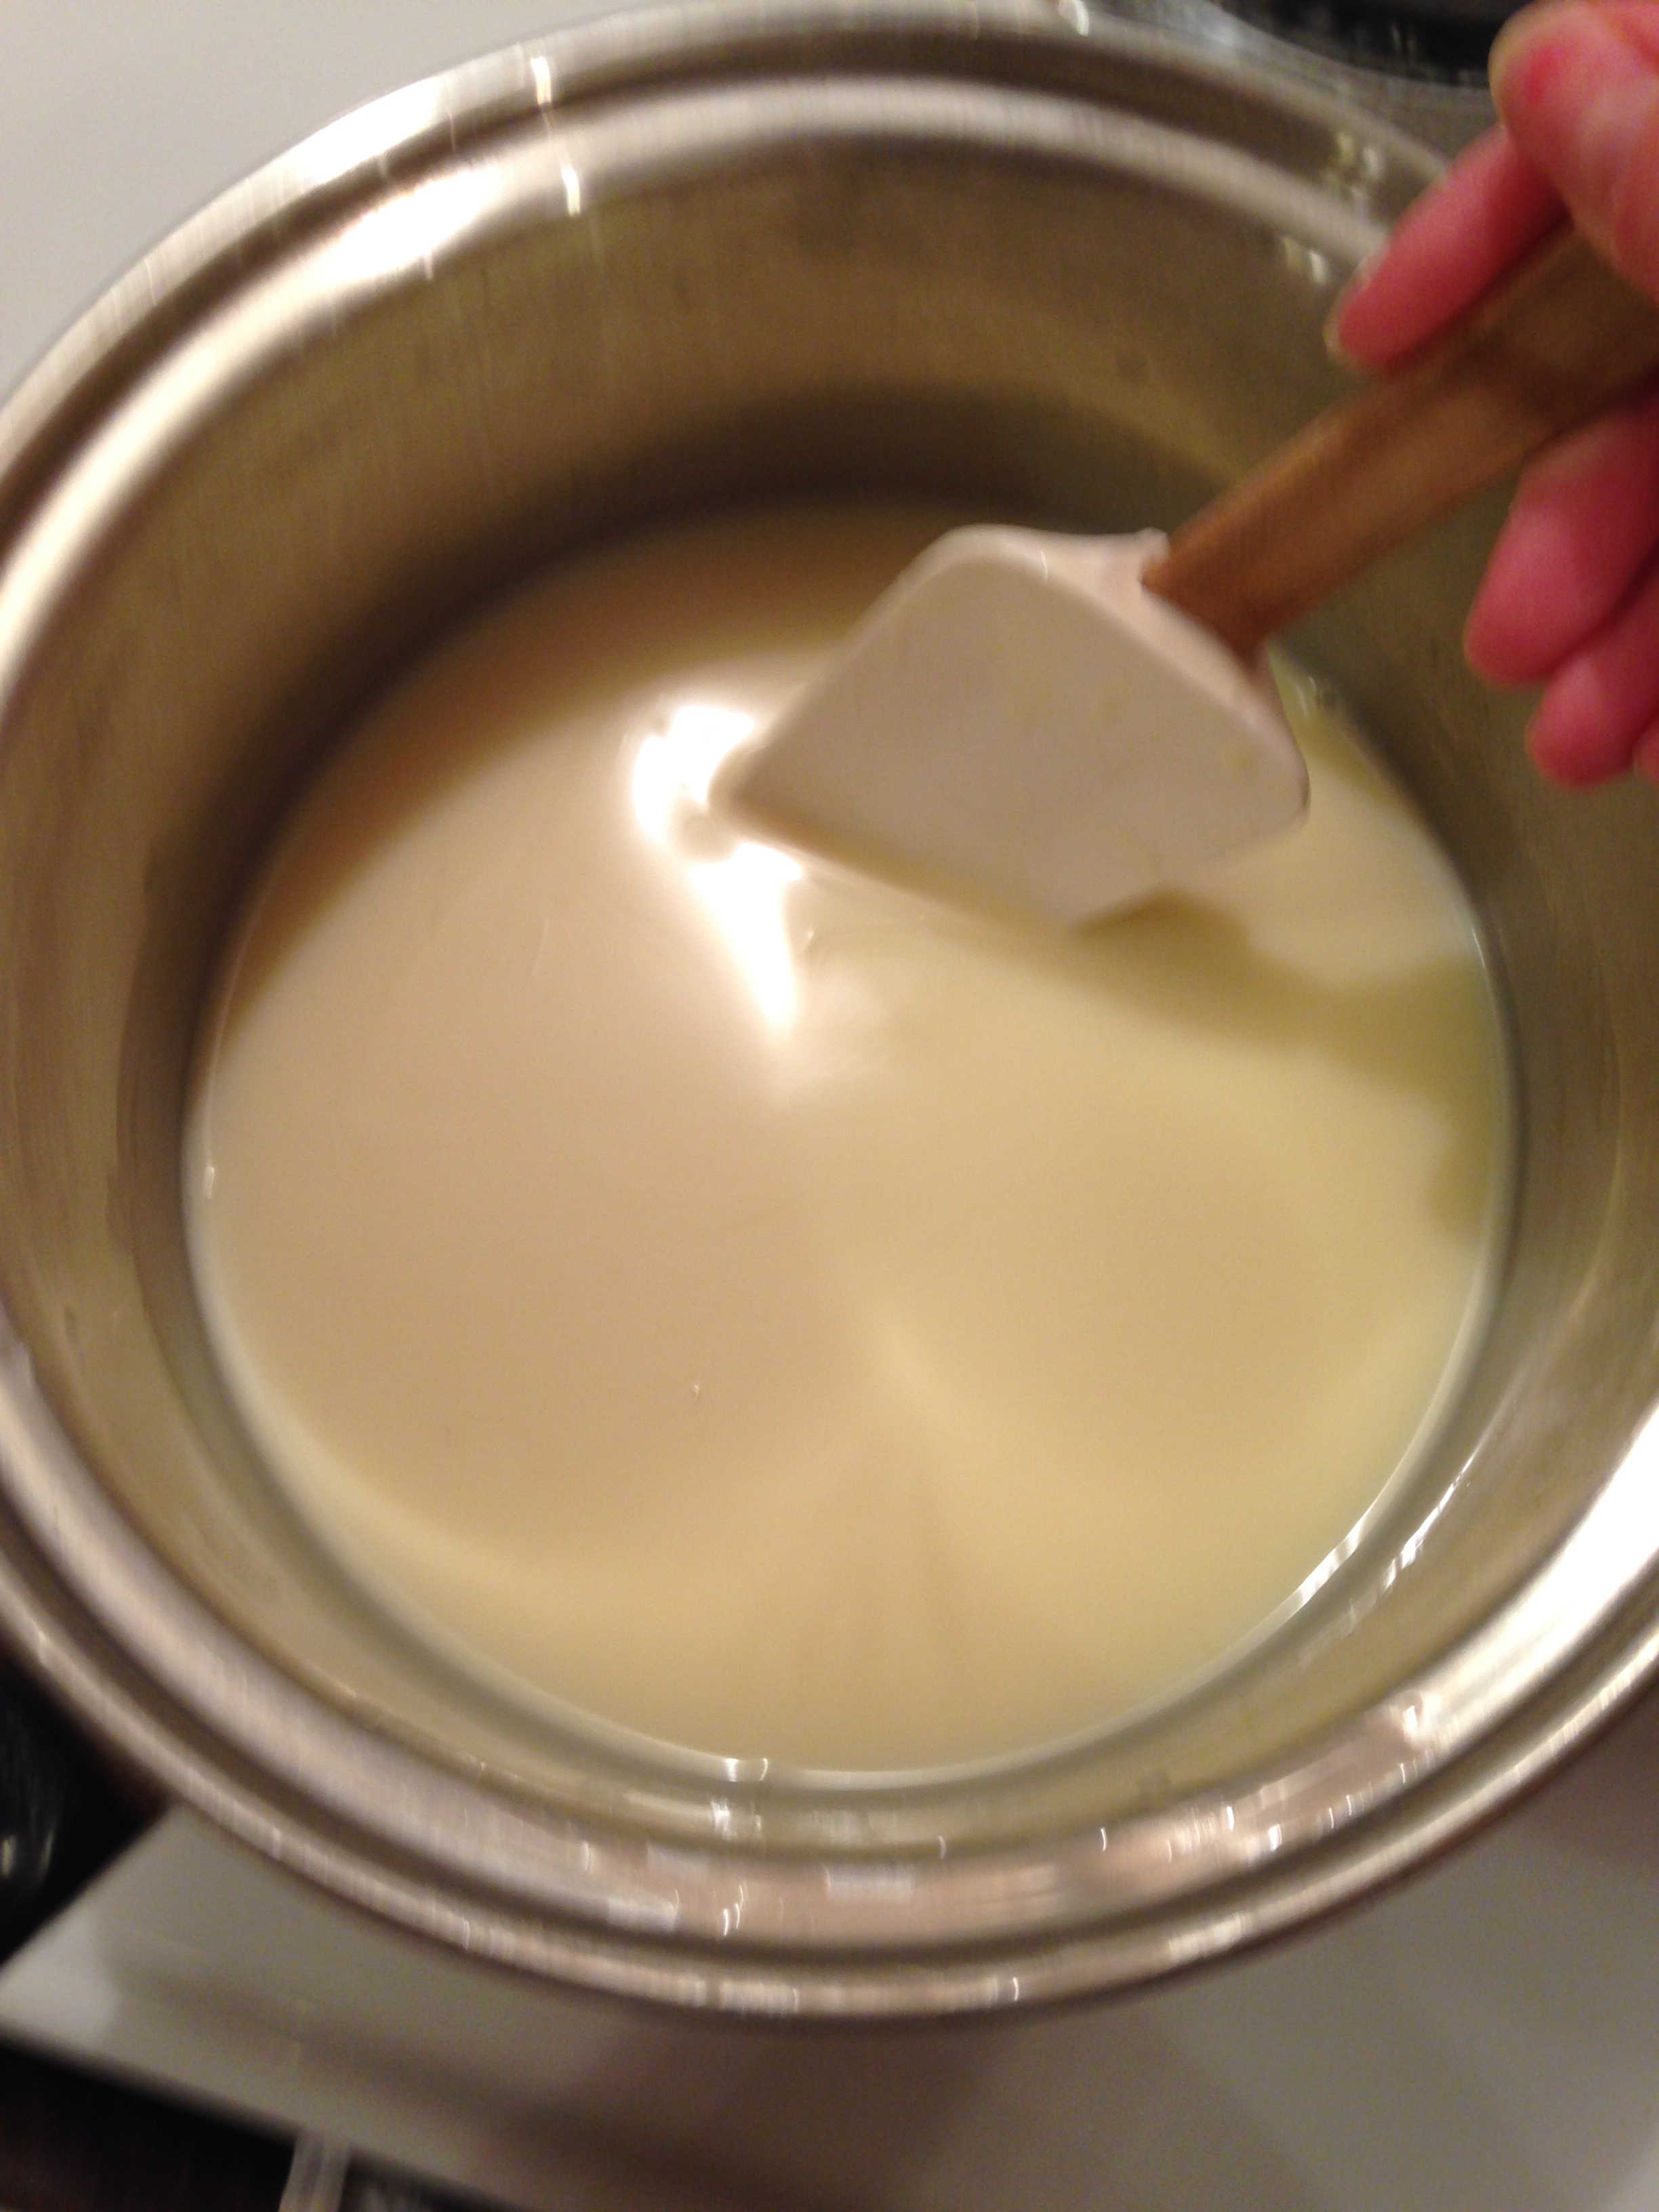
- In a saucepan, heat milk mixture until combined. (Liquid will become uniform in colour and thickness when it's done.) Do Not Boil Milk Mixture. Remove from heat.
- Stir in set jelly to hot milk mixture. Stir so all jelly lumps dissolve.
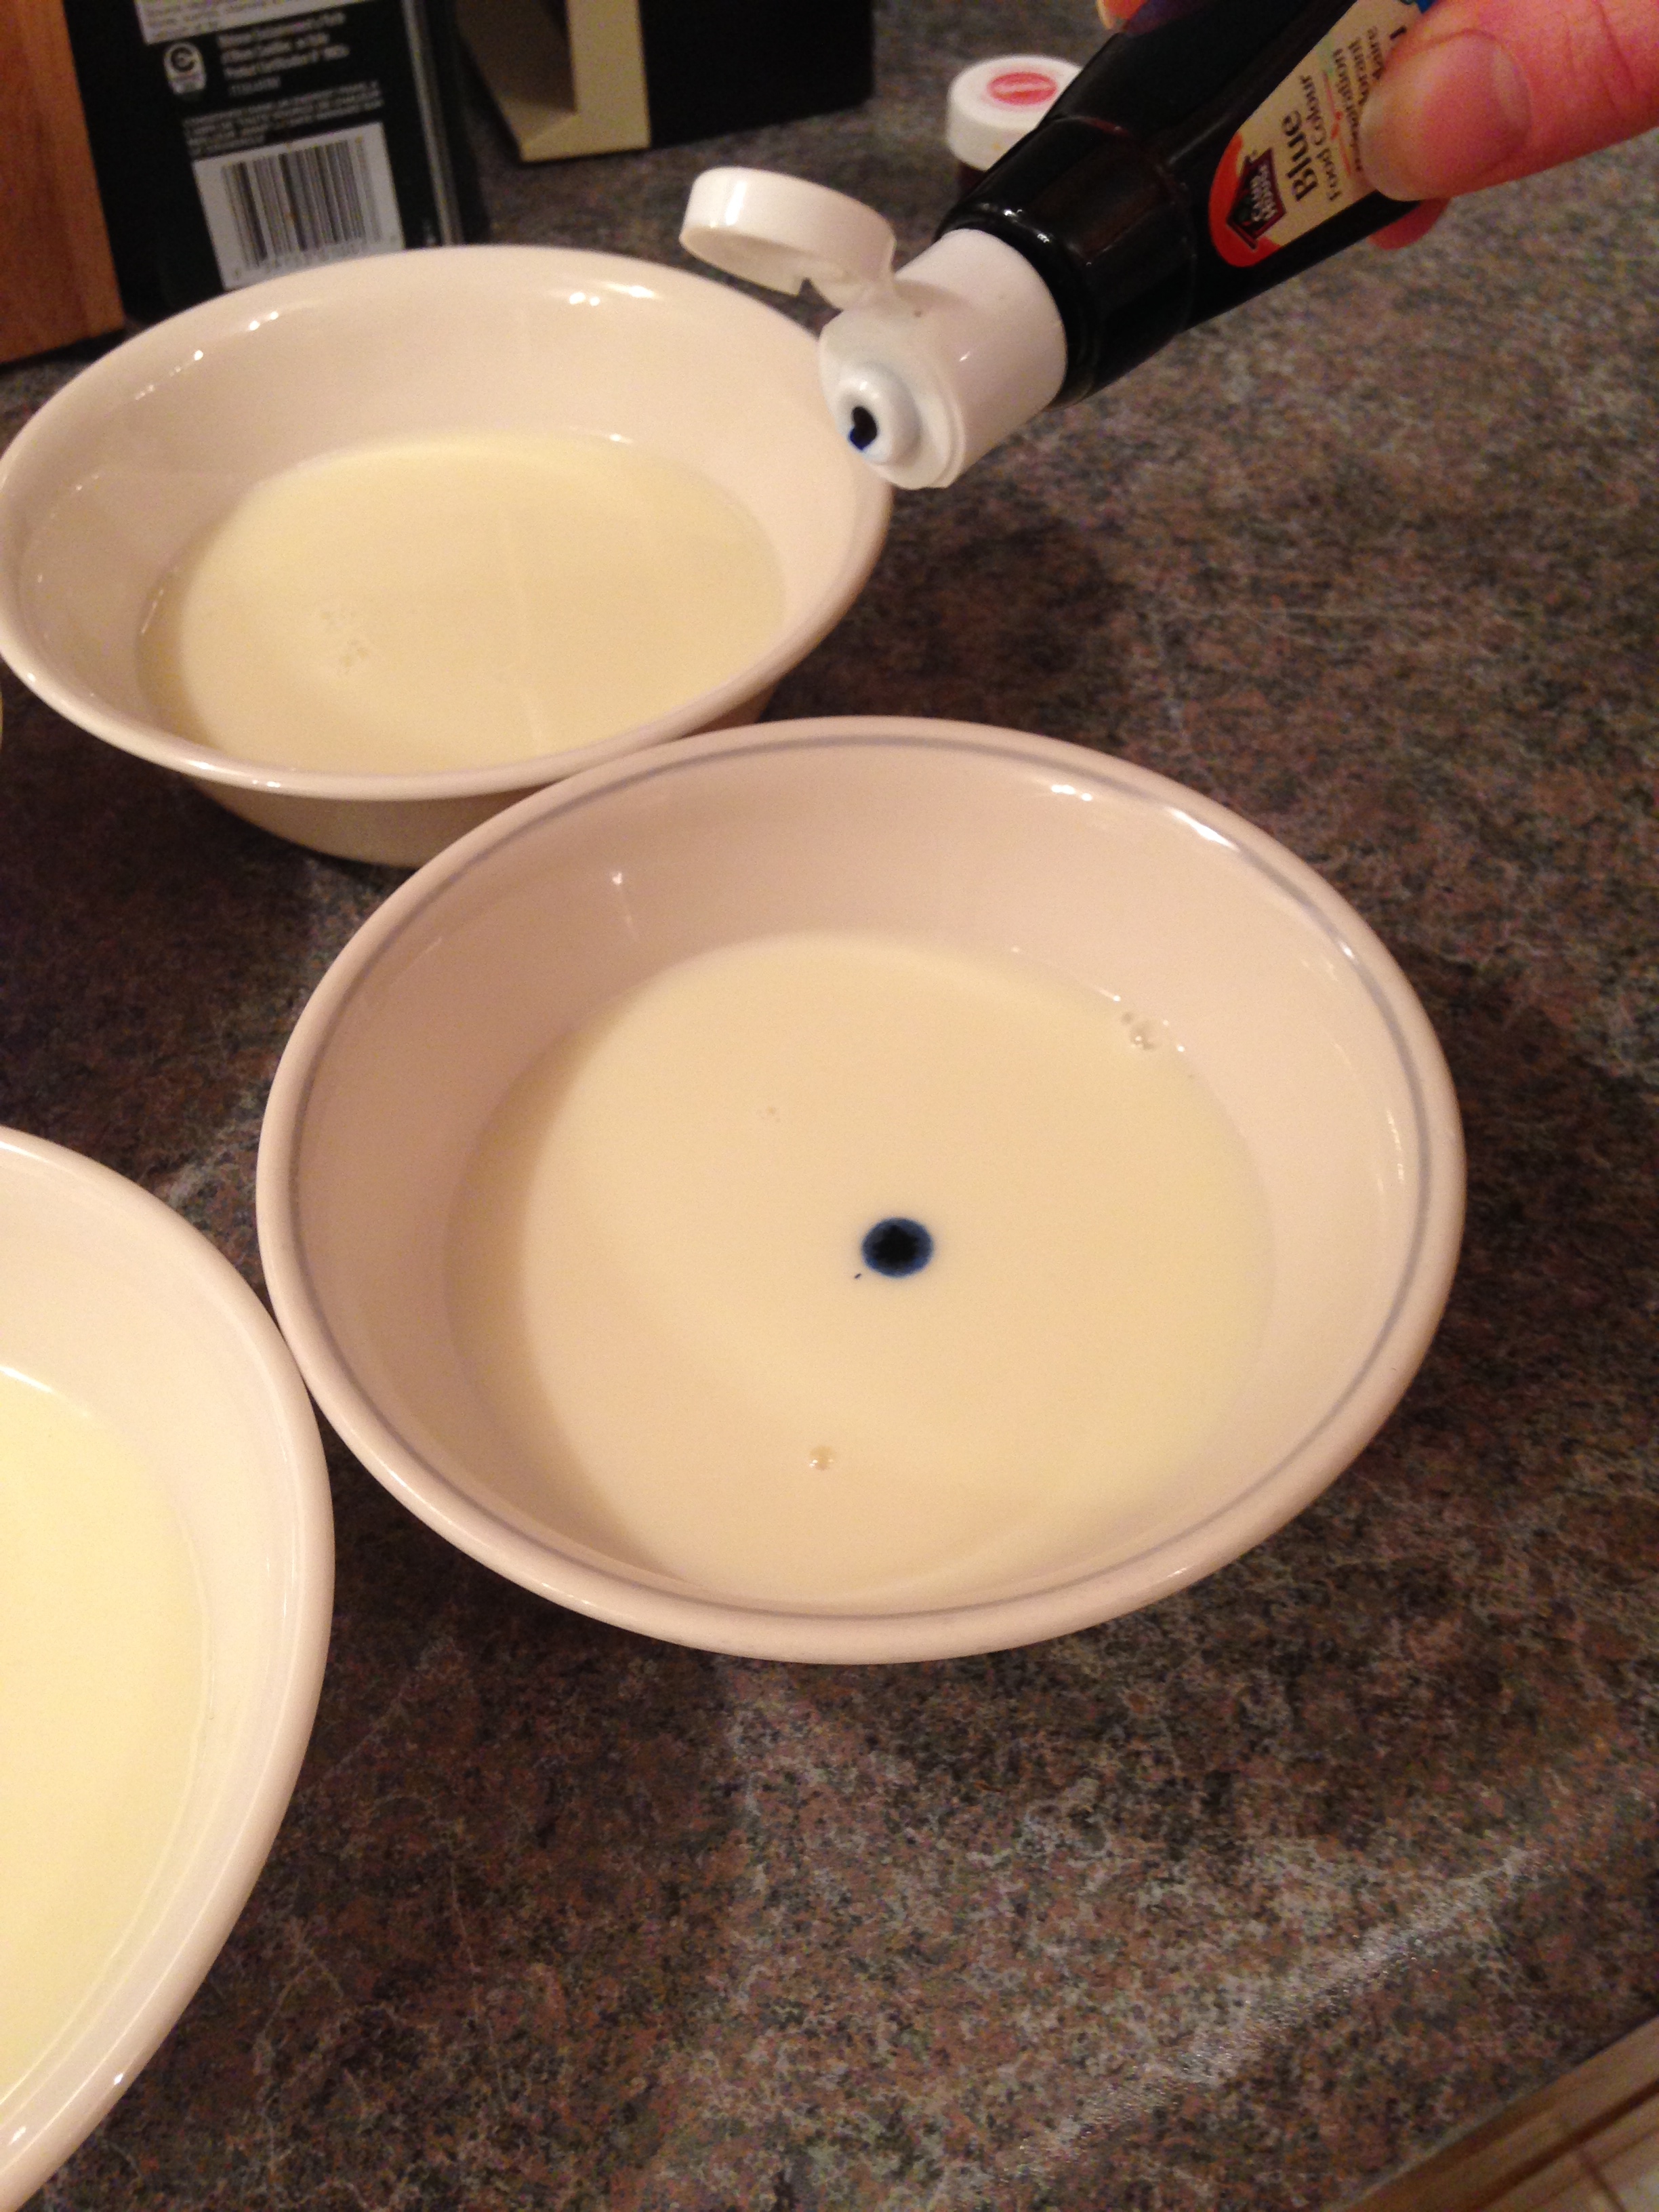
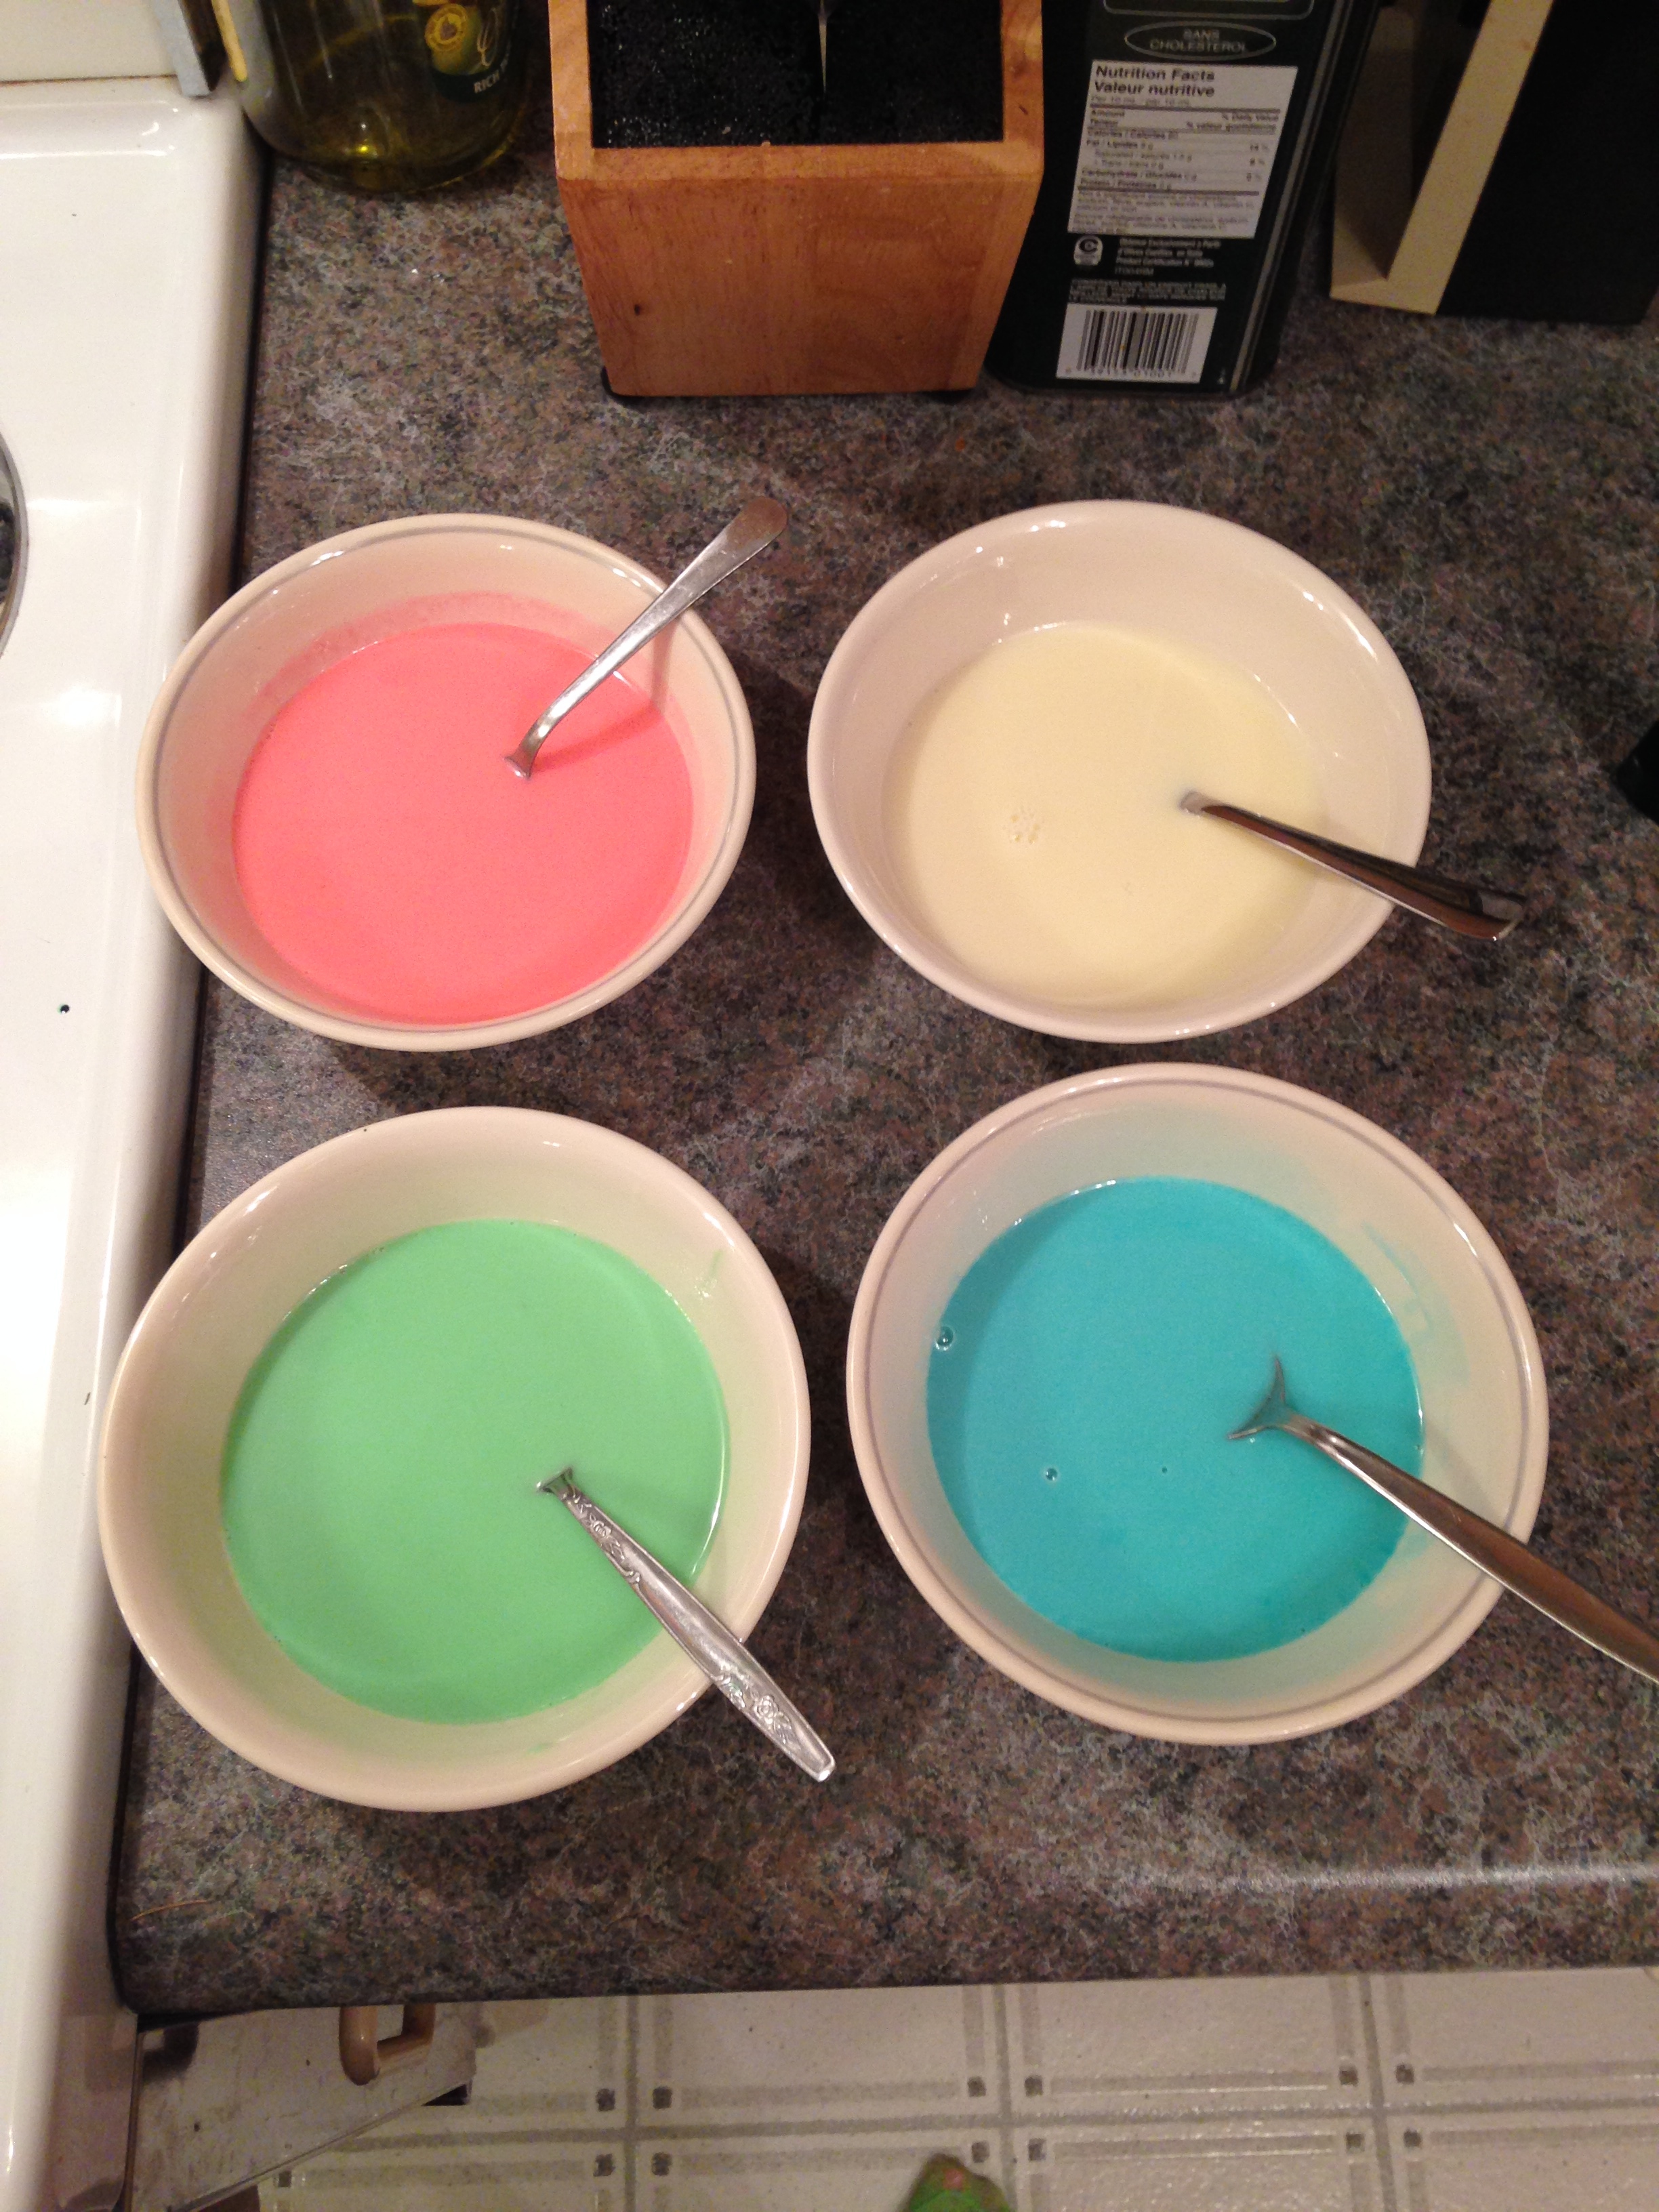
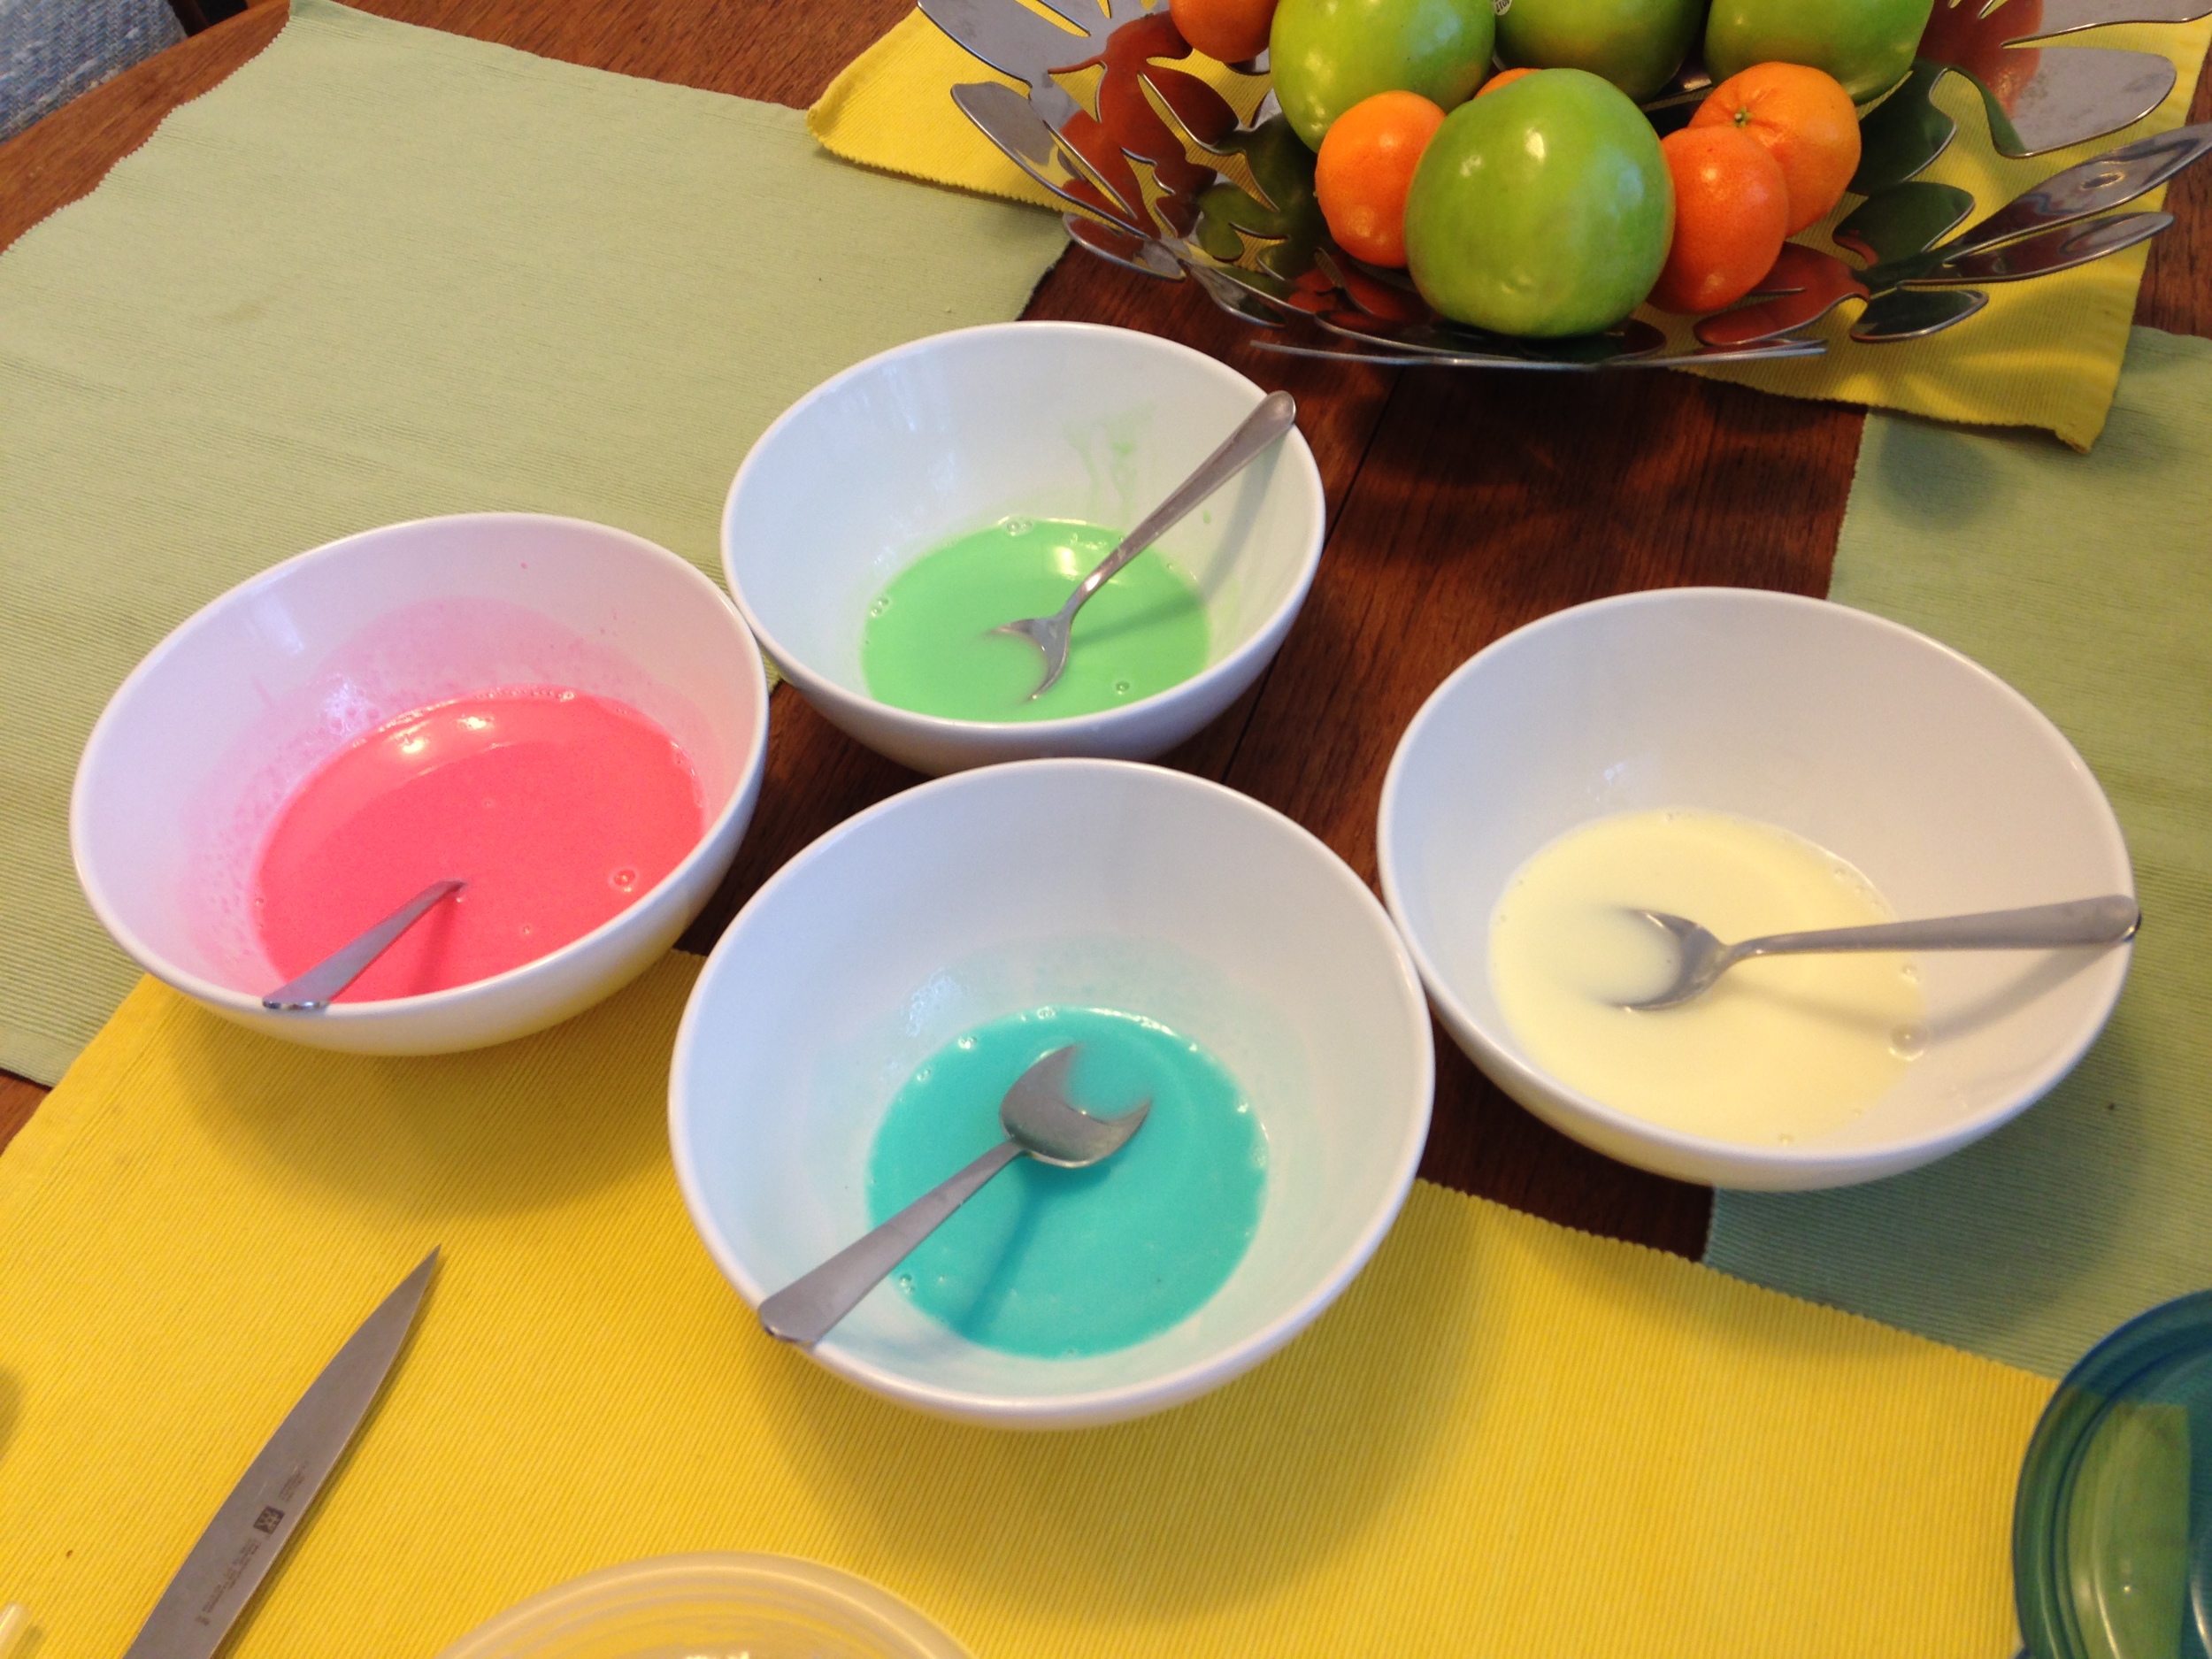
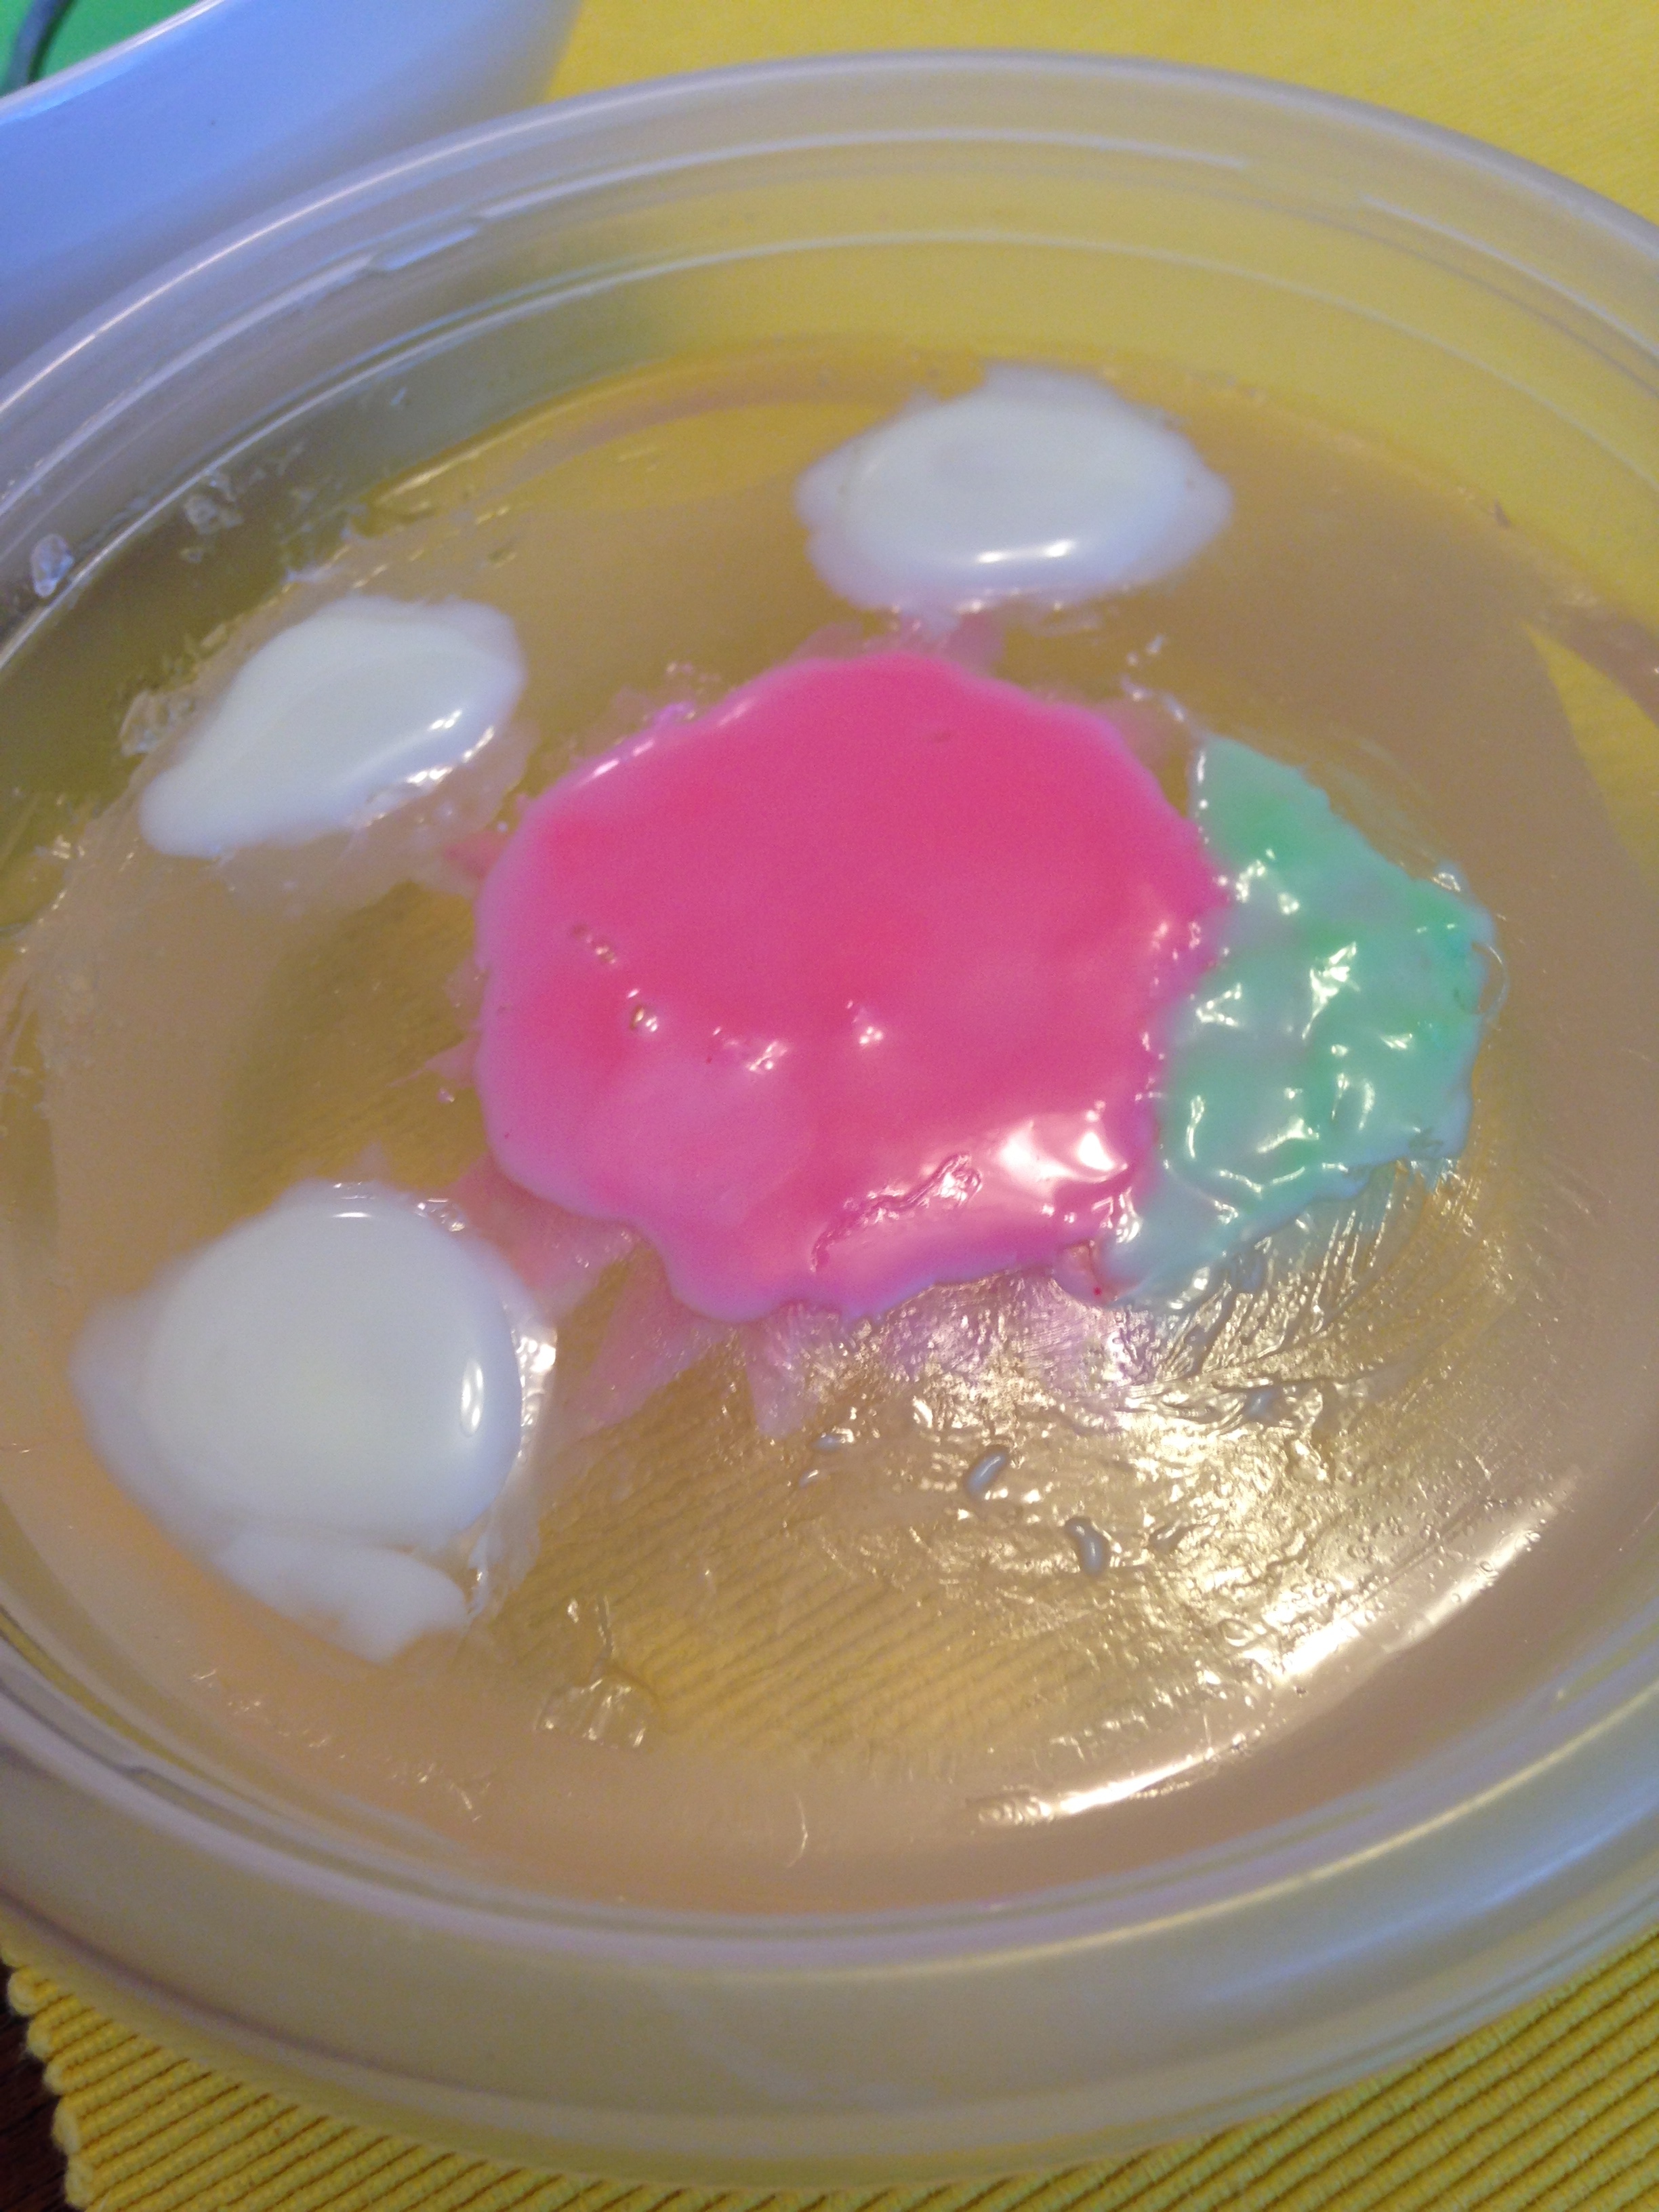
- Portion out petal concoction into separate bowls. One for each colour. (Don't forget white!) Add food colouring and stir until desired colour acheived.
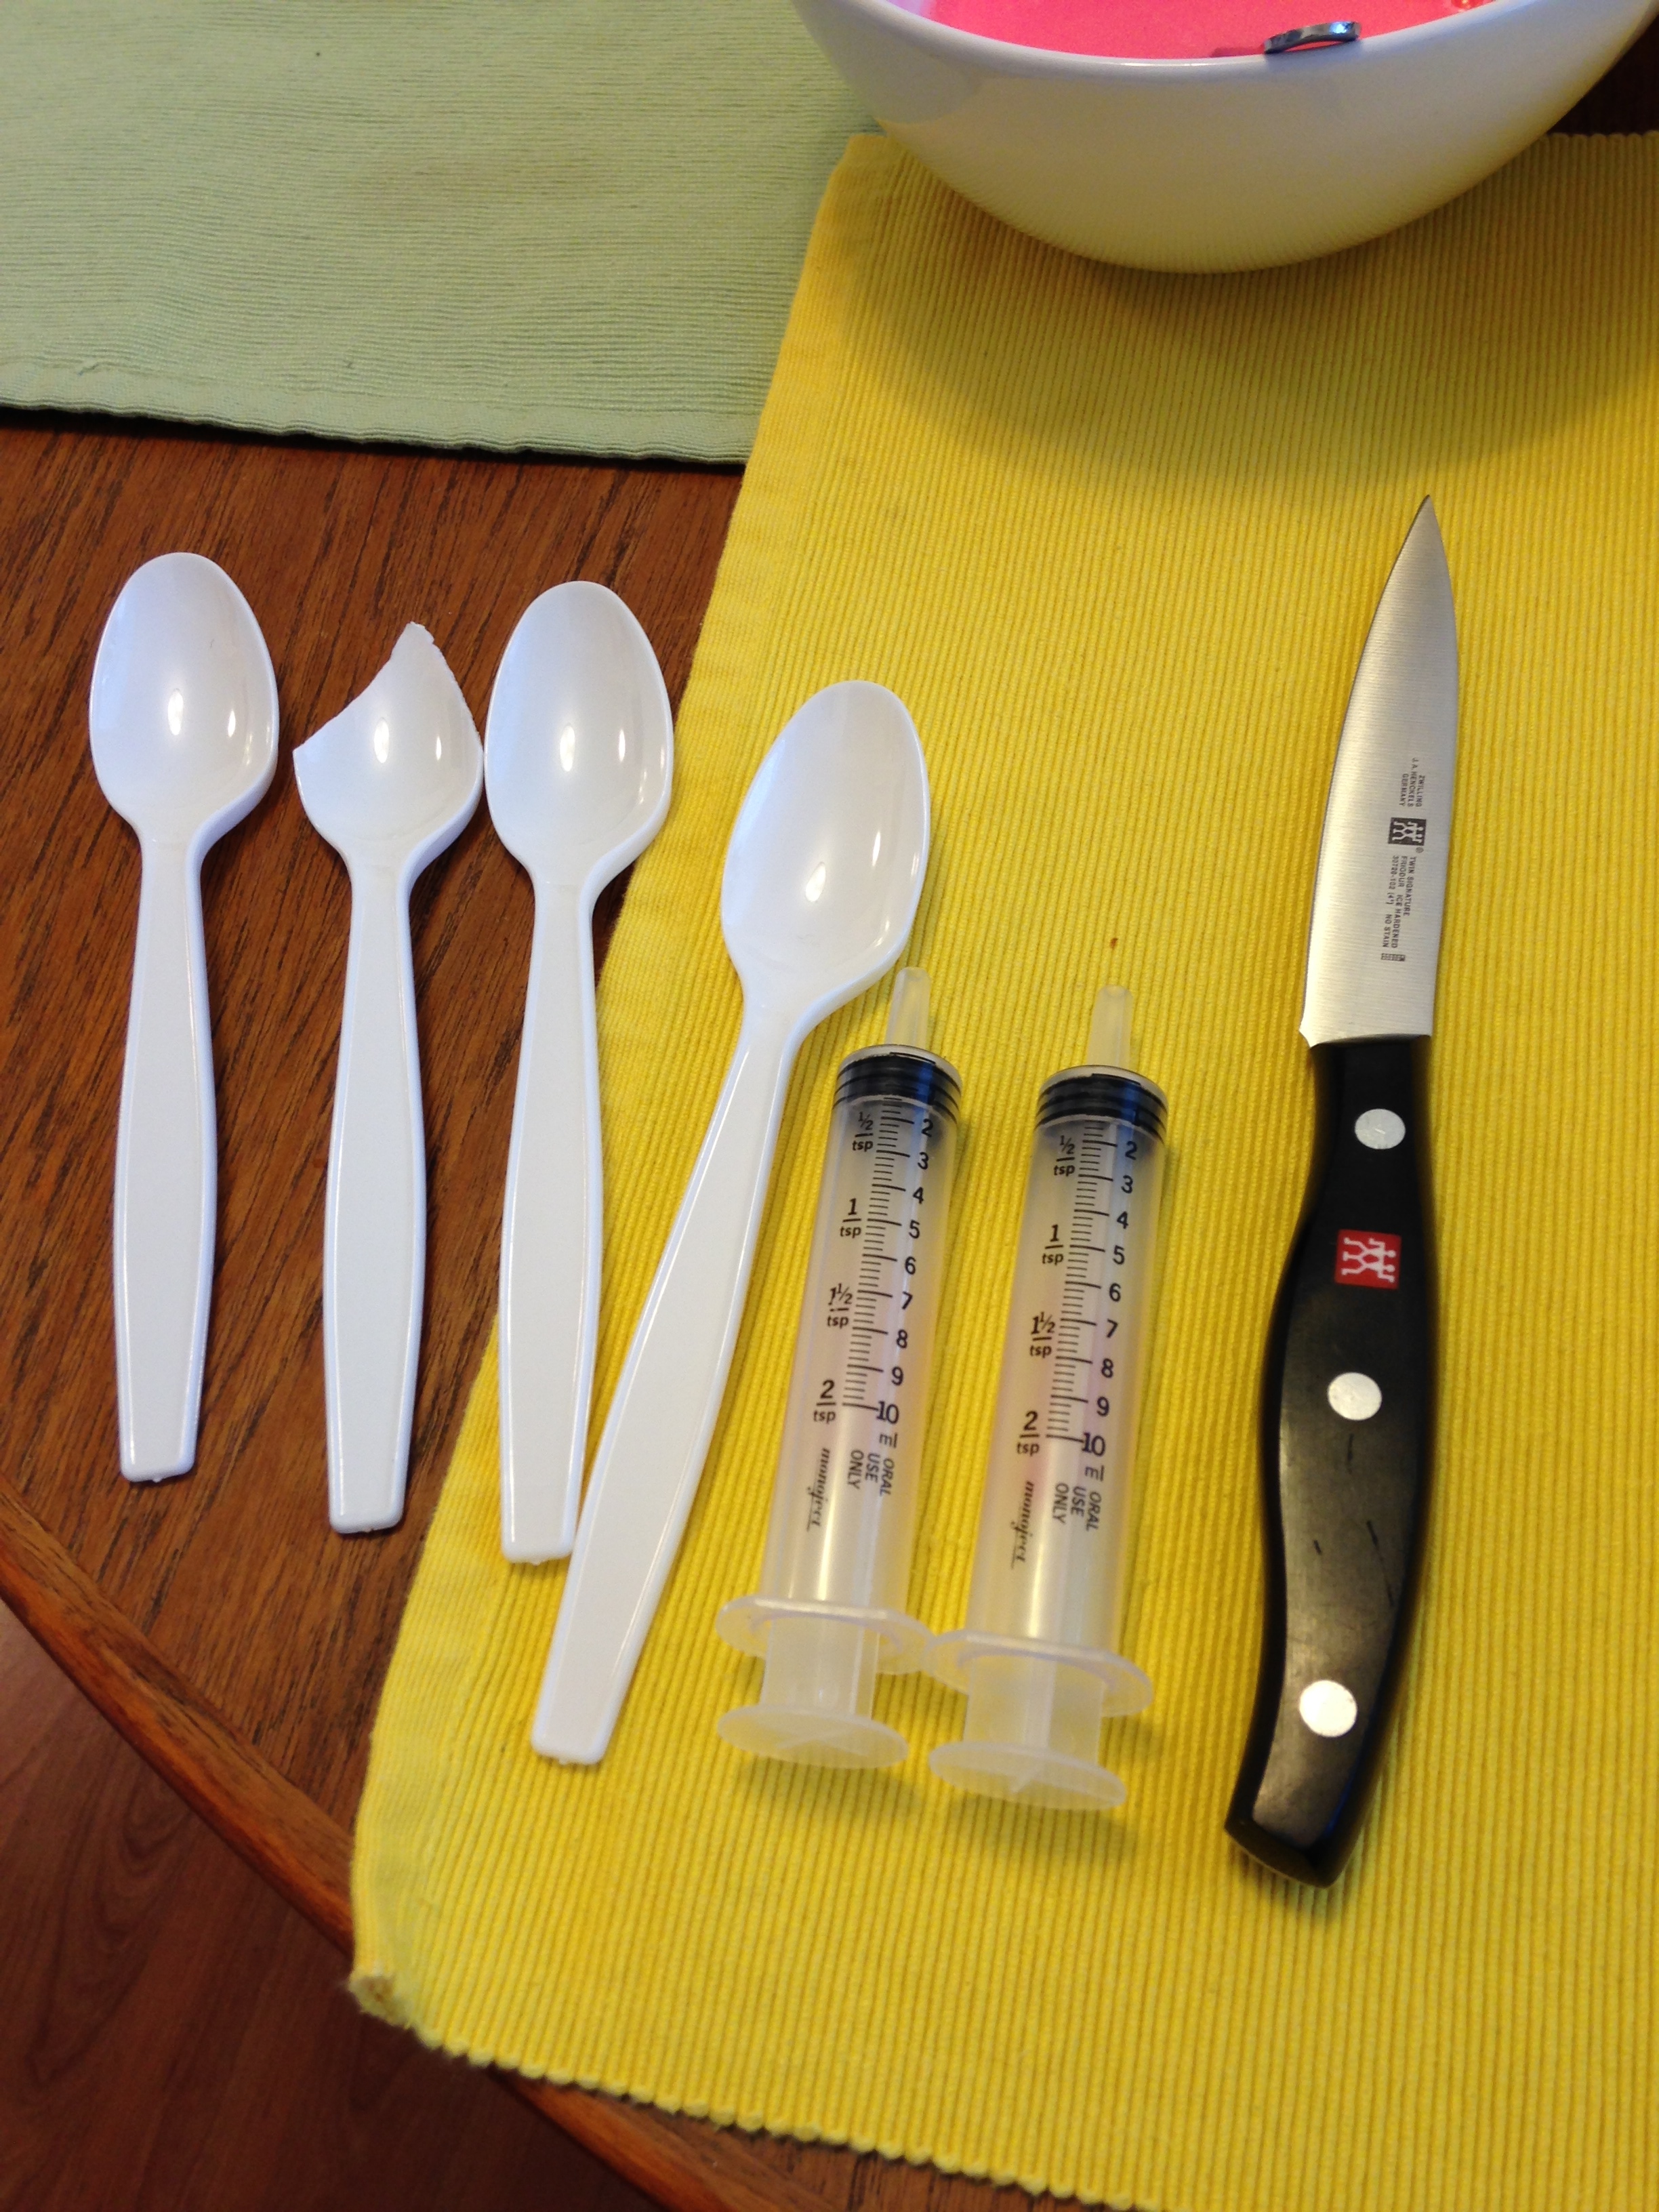
Now for the process! I've outlined how I made mine and all the tools I used. I am hoping to get a needle syringe like the lady in the video though. It'll make it easier and less messy..... Hopefully.

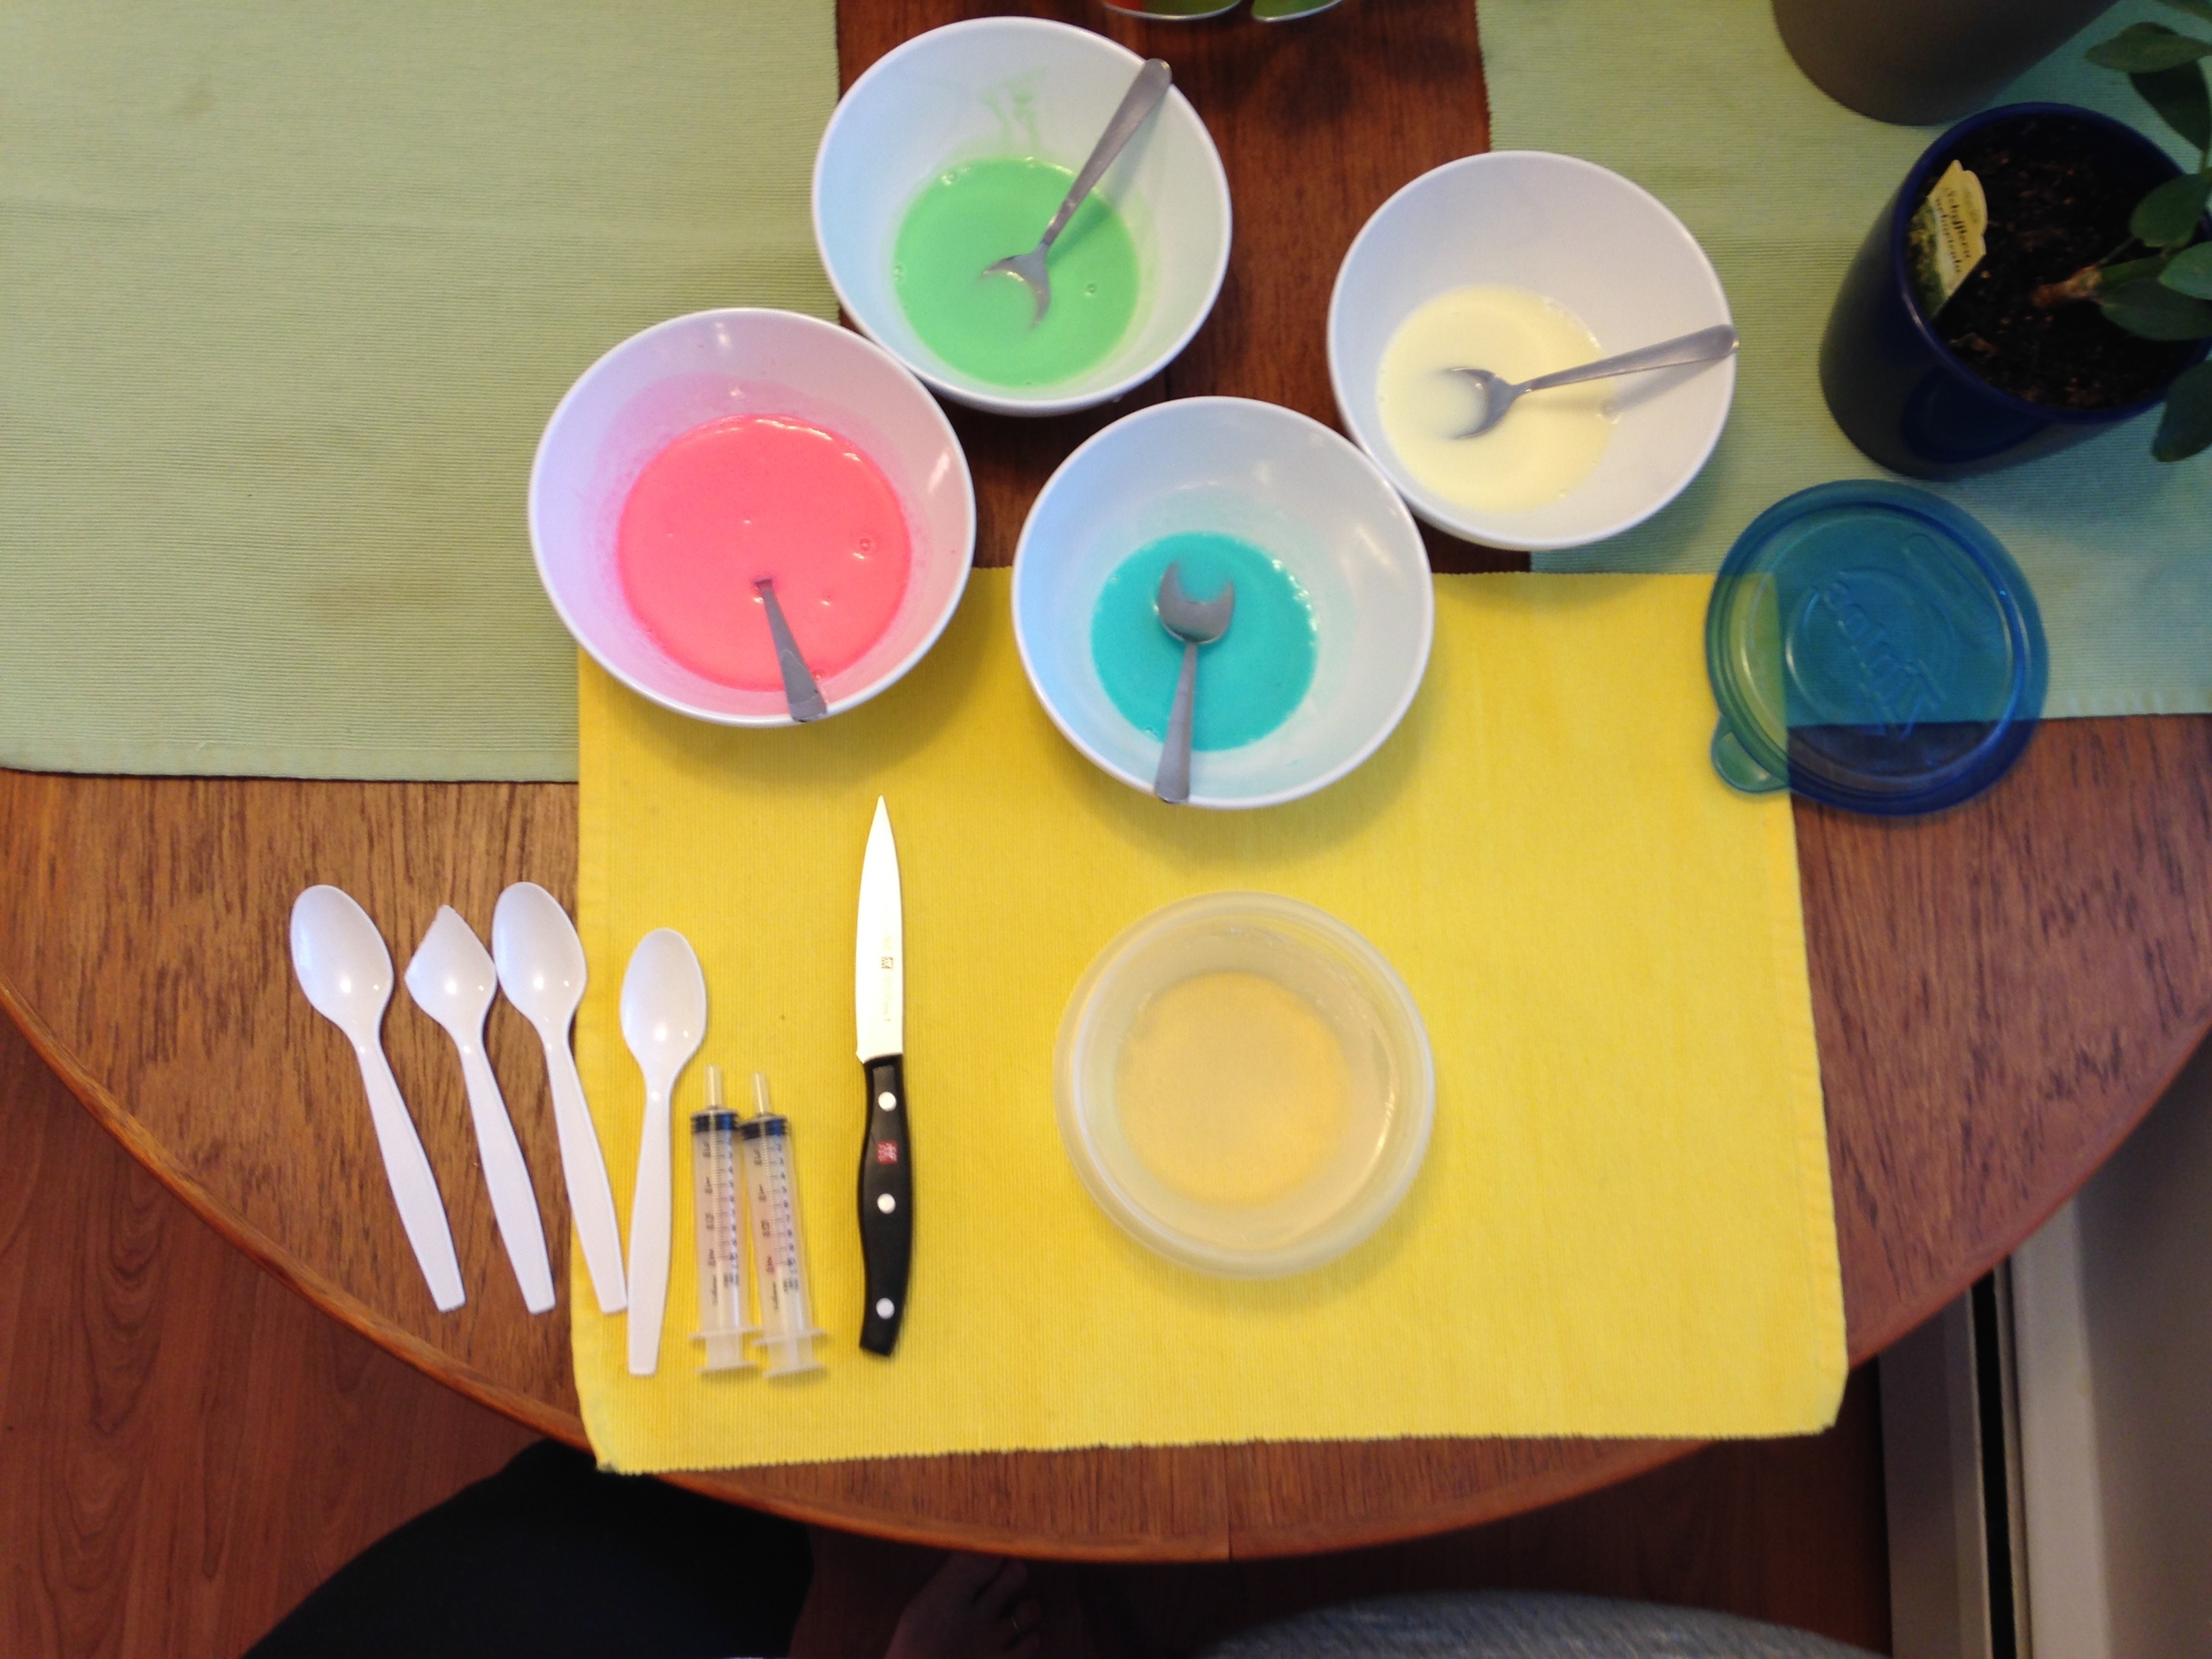
Materials needed:
Spoons
Knives
Forks
Scissors
Plastic syringes
Paper towel
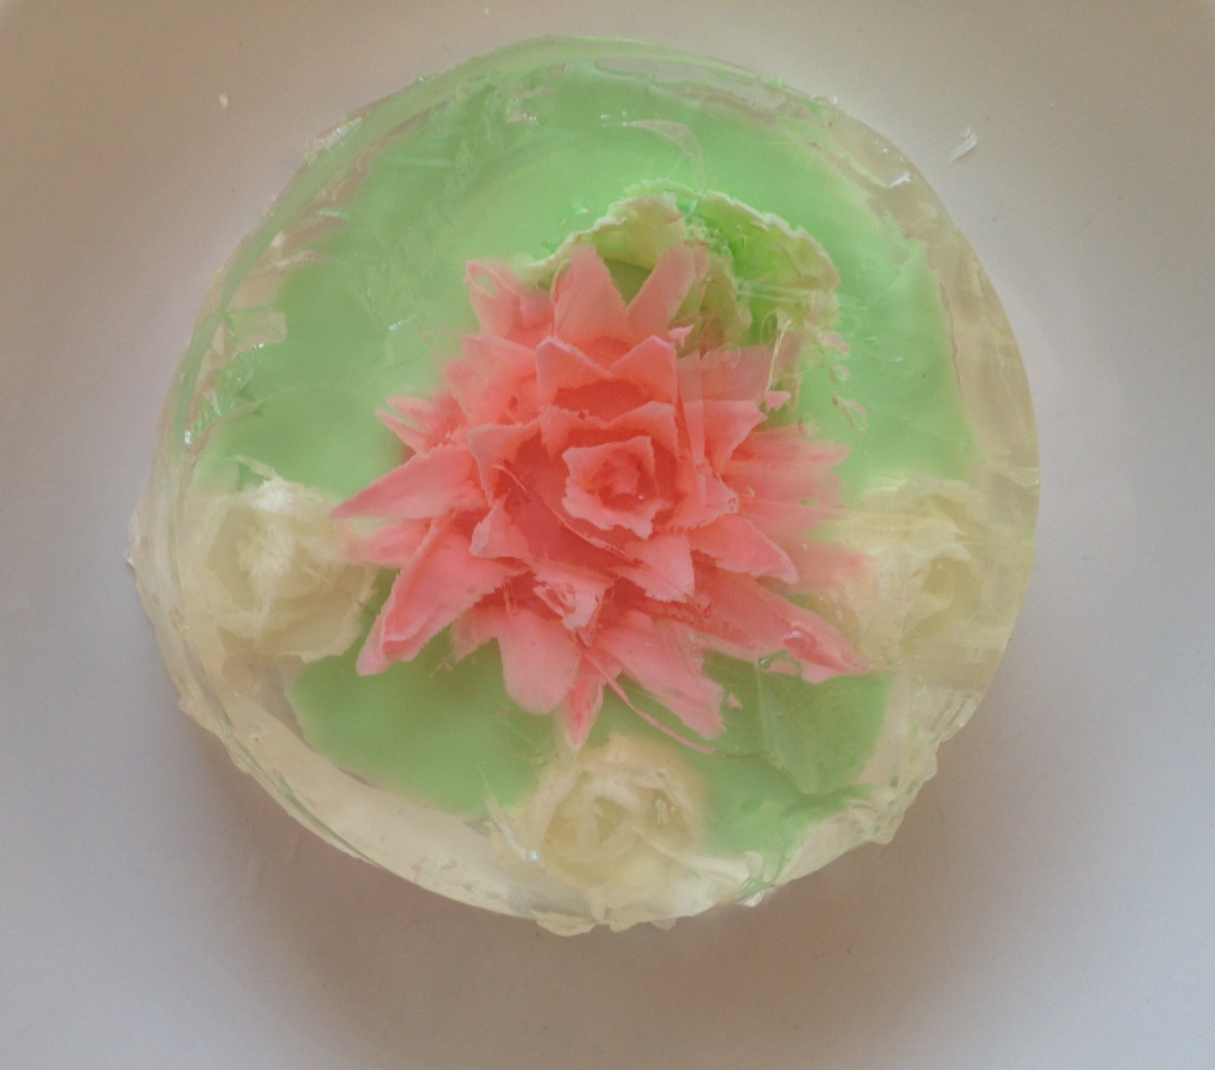
Basically how this works is you make a slit in the jelly with a tool and then you squirt coloured jelly into the slit, making petals for your 3D jelly flower. Brilliant and easy, right?
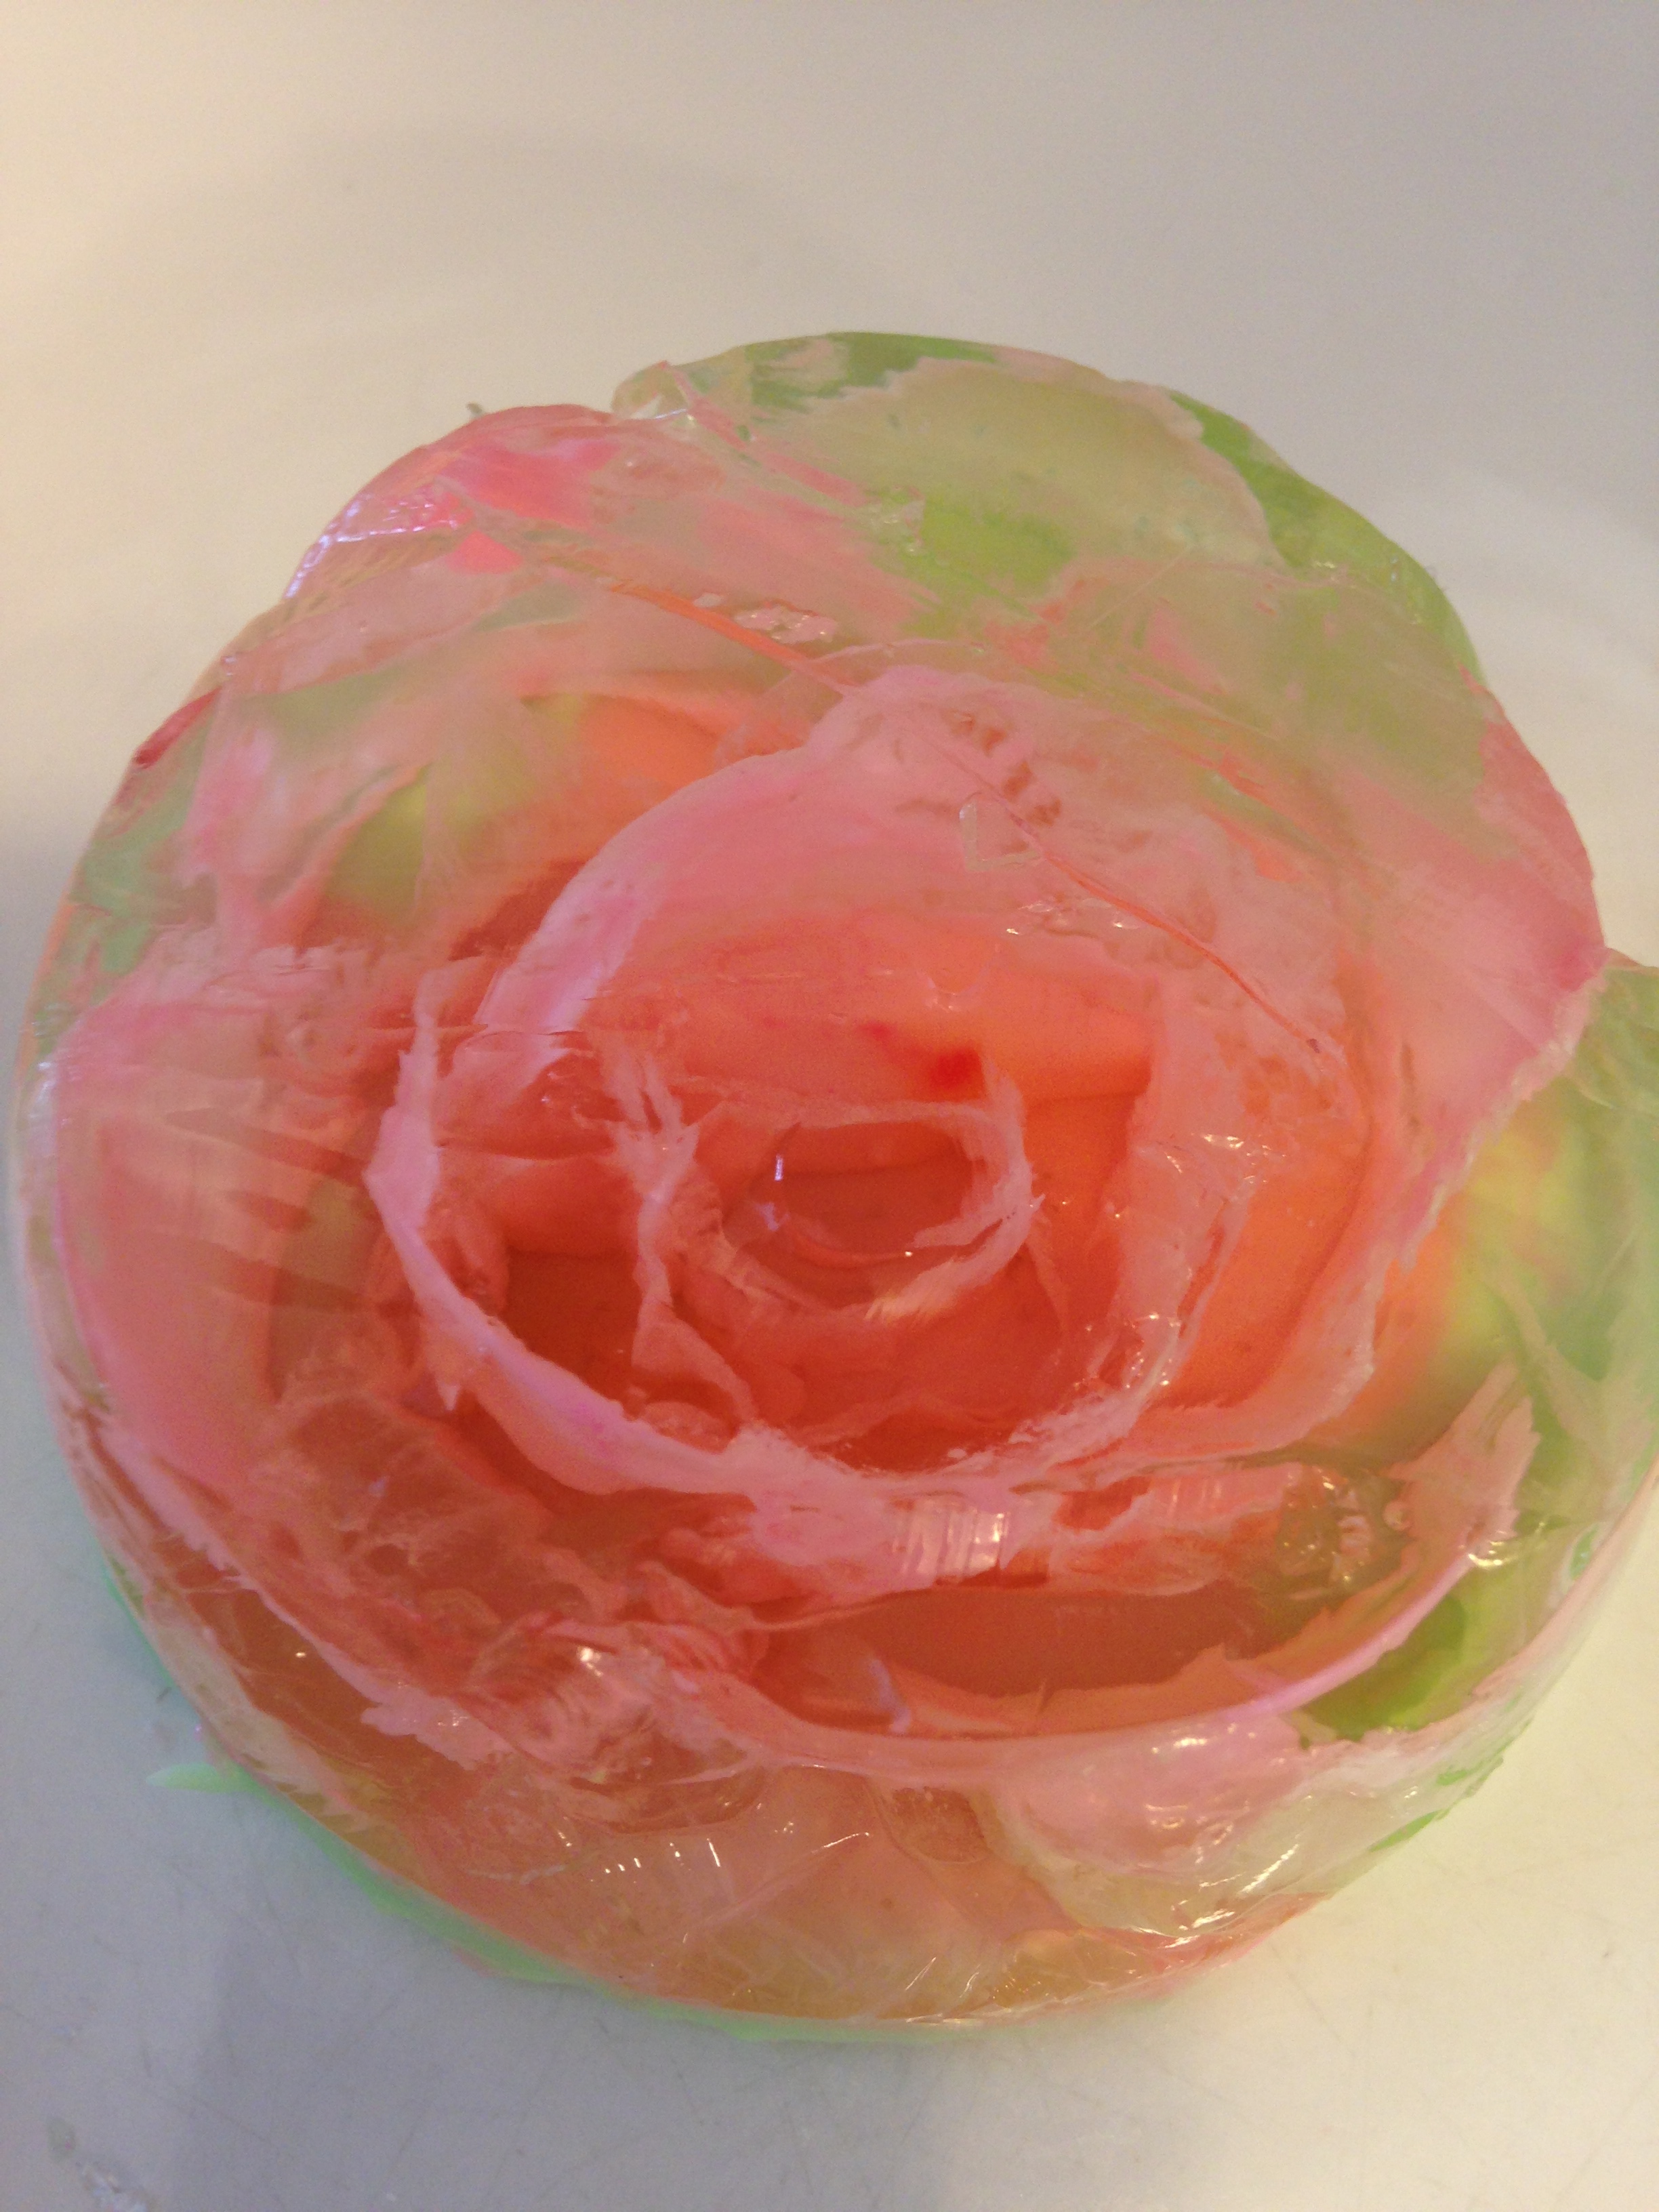
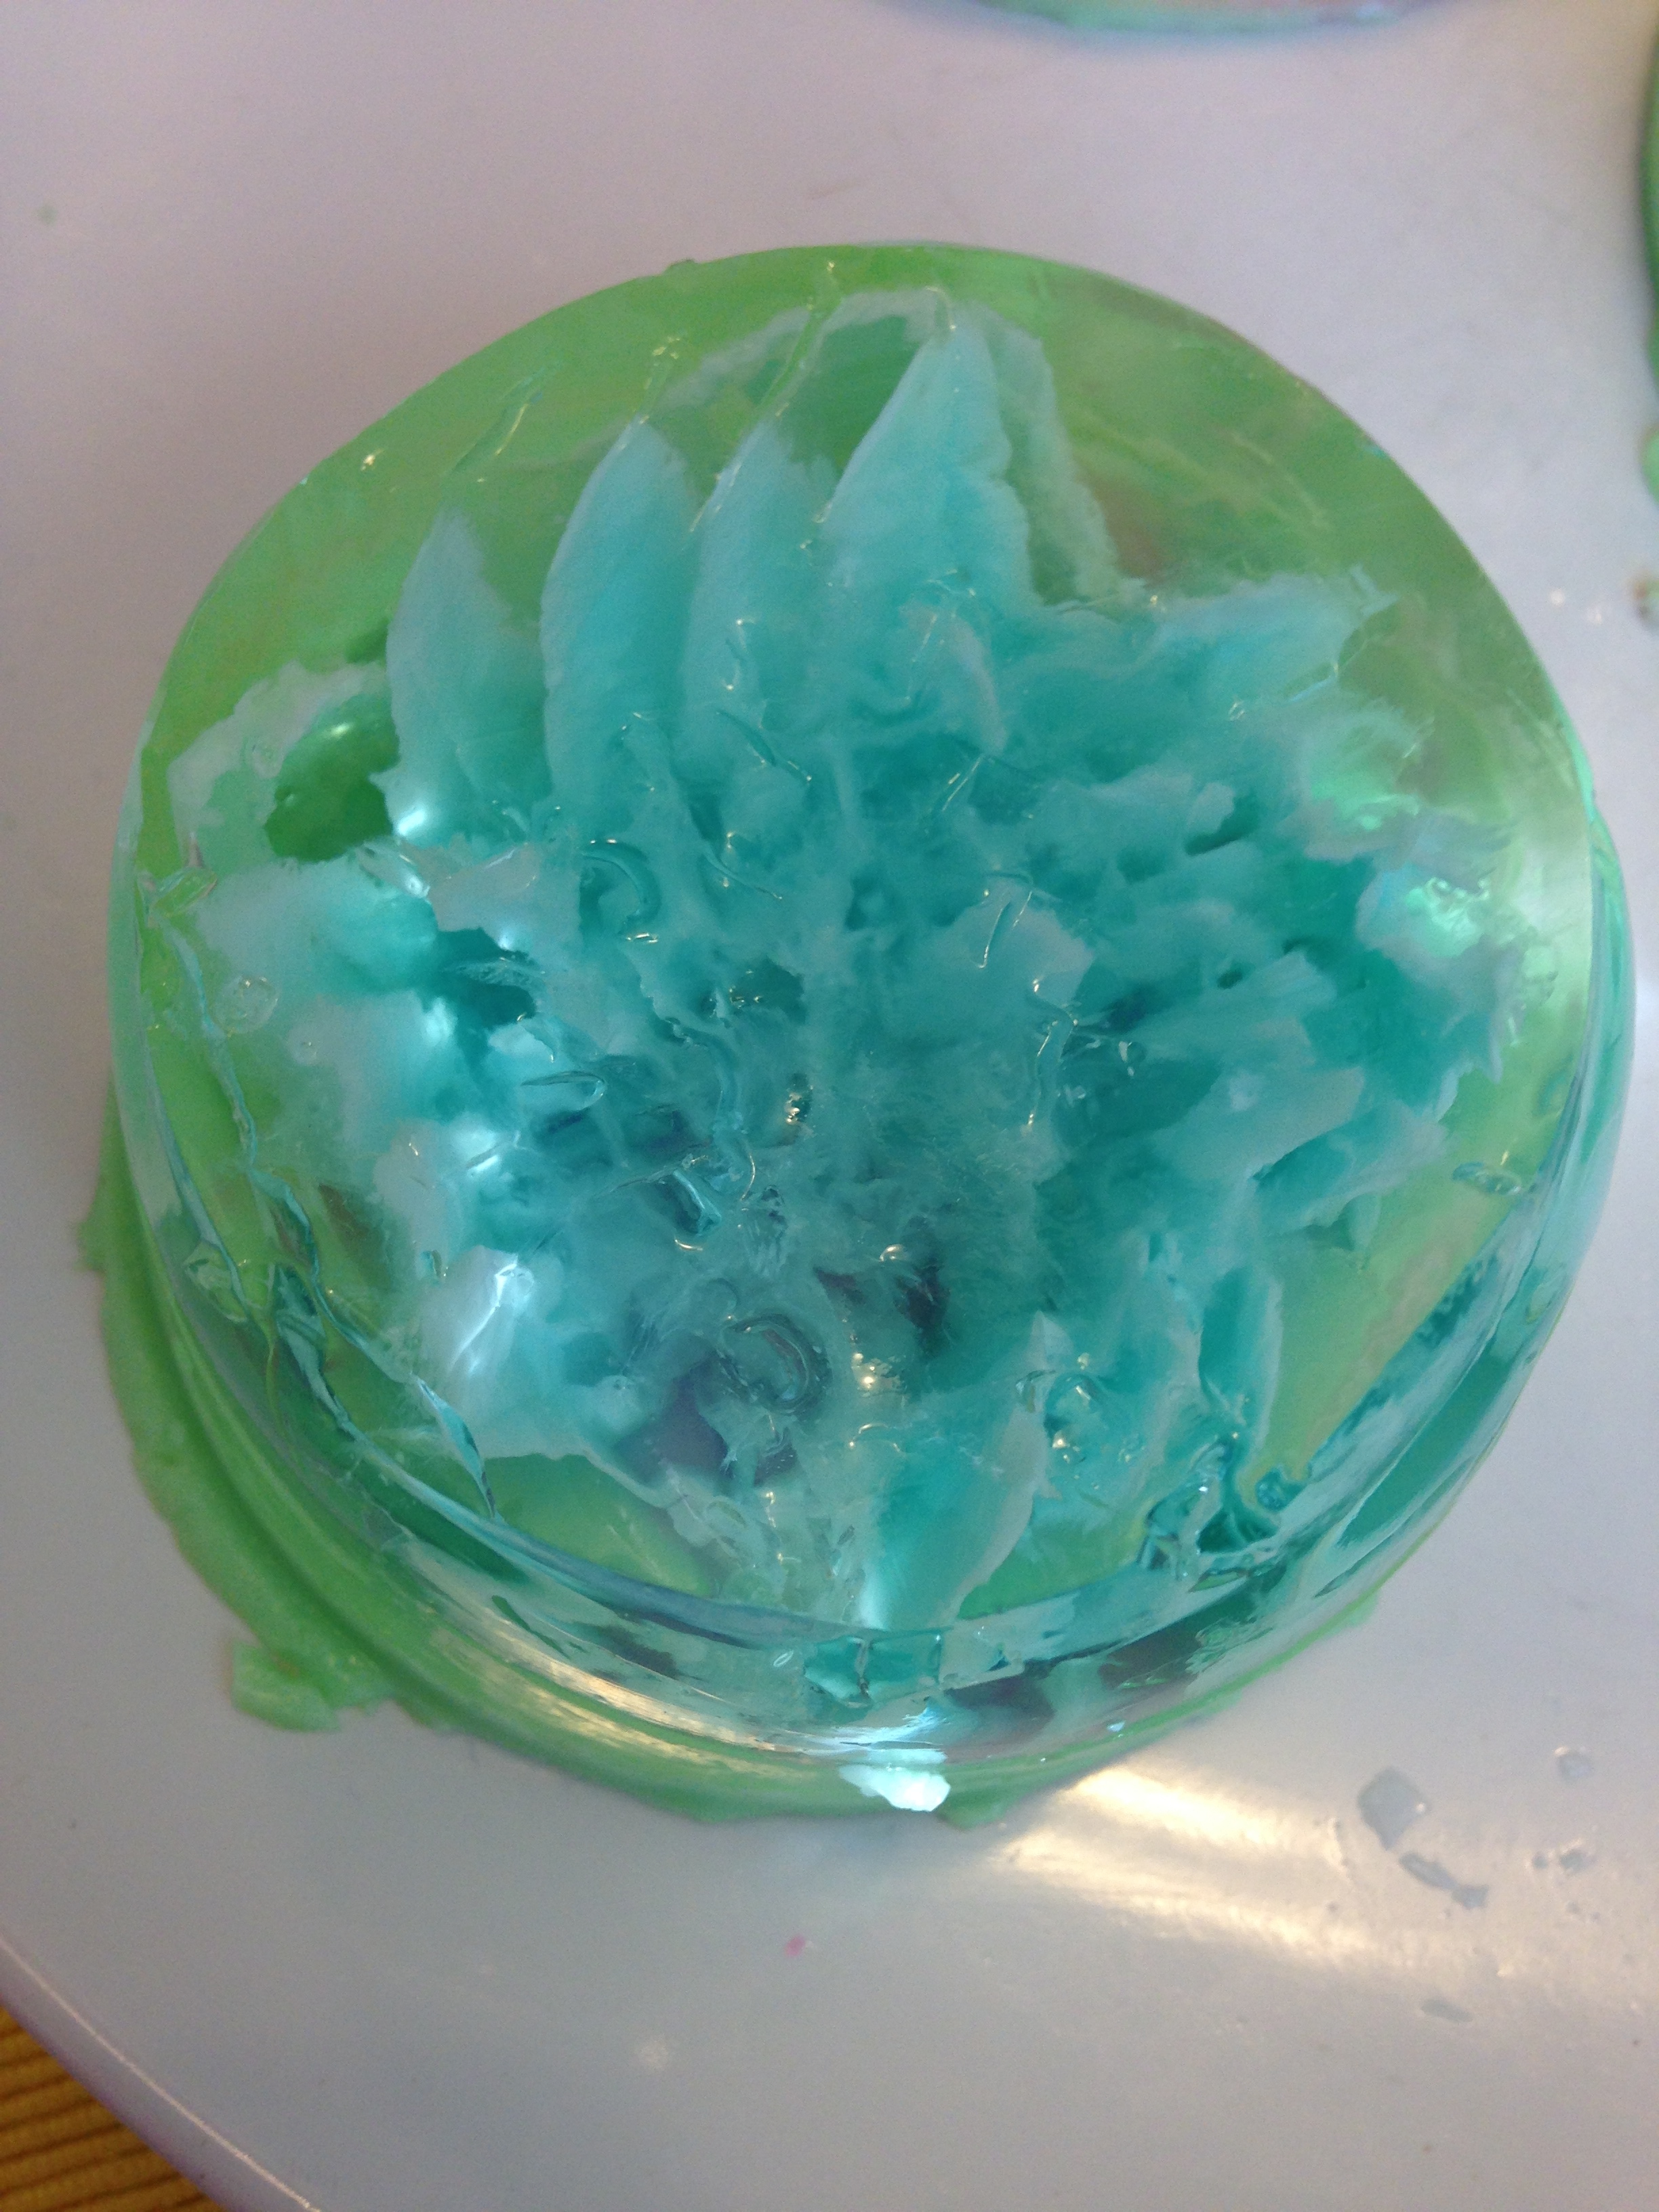
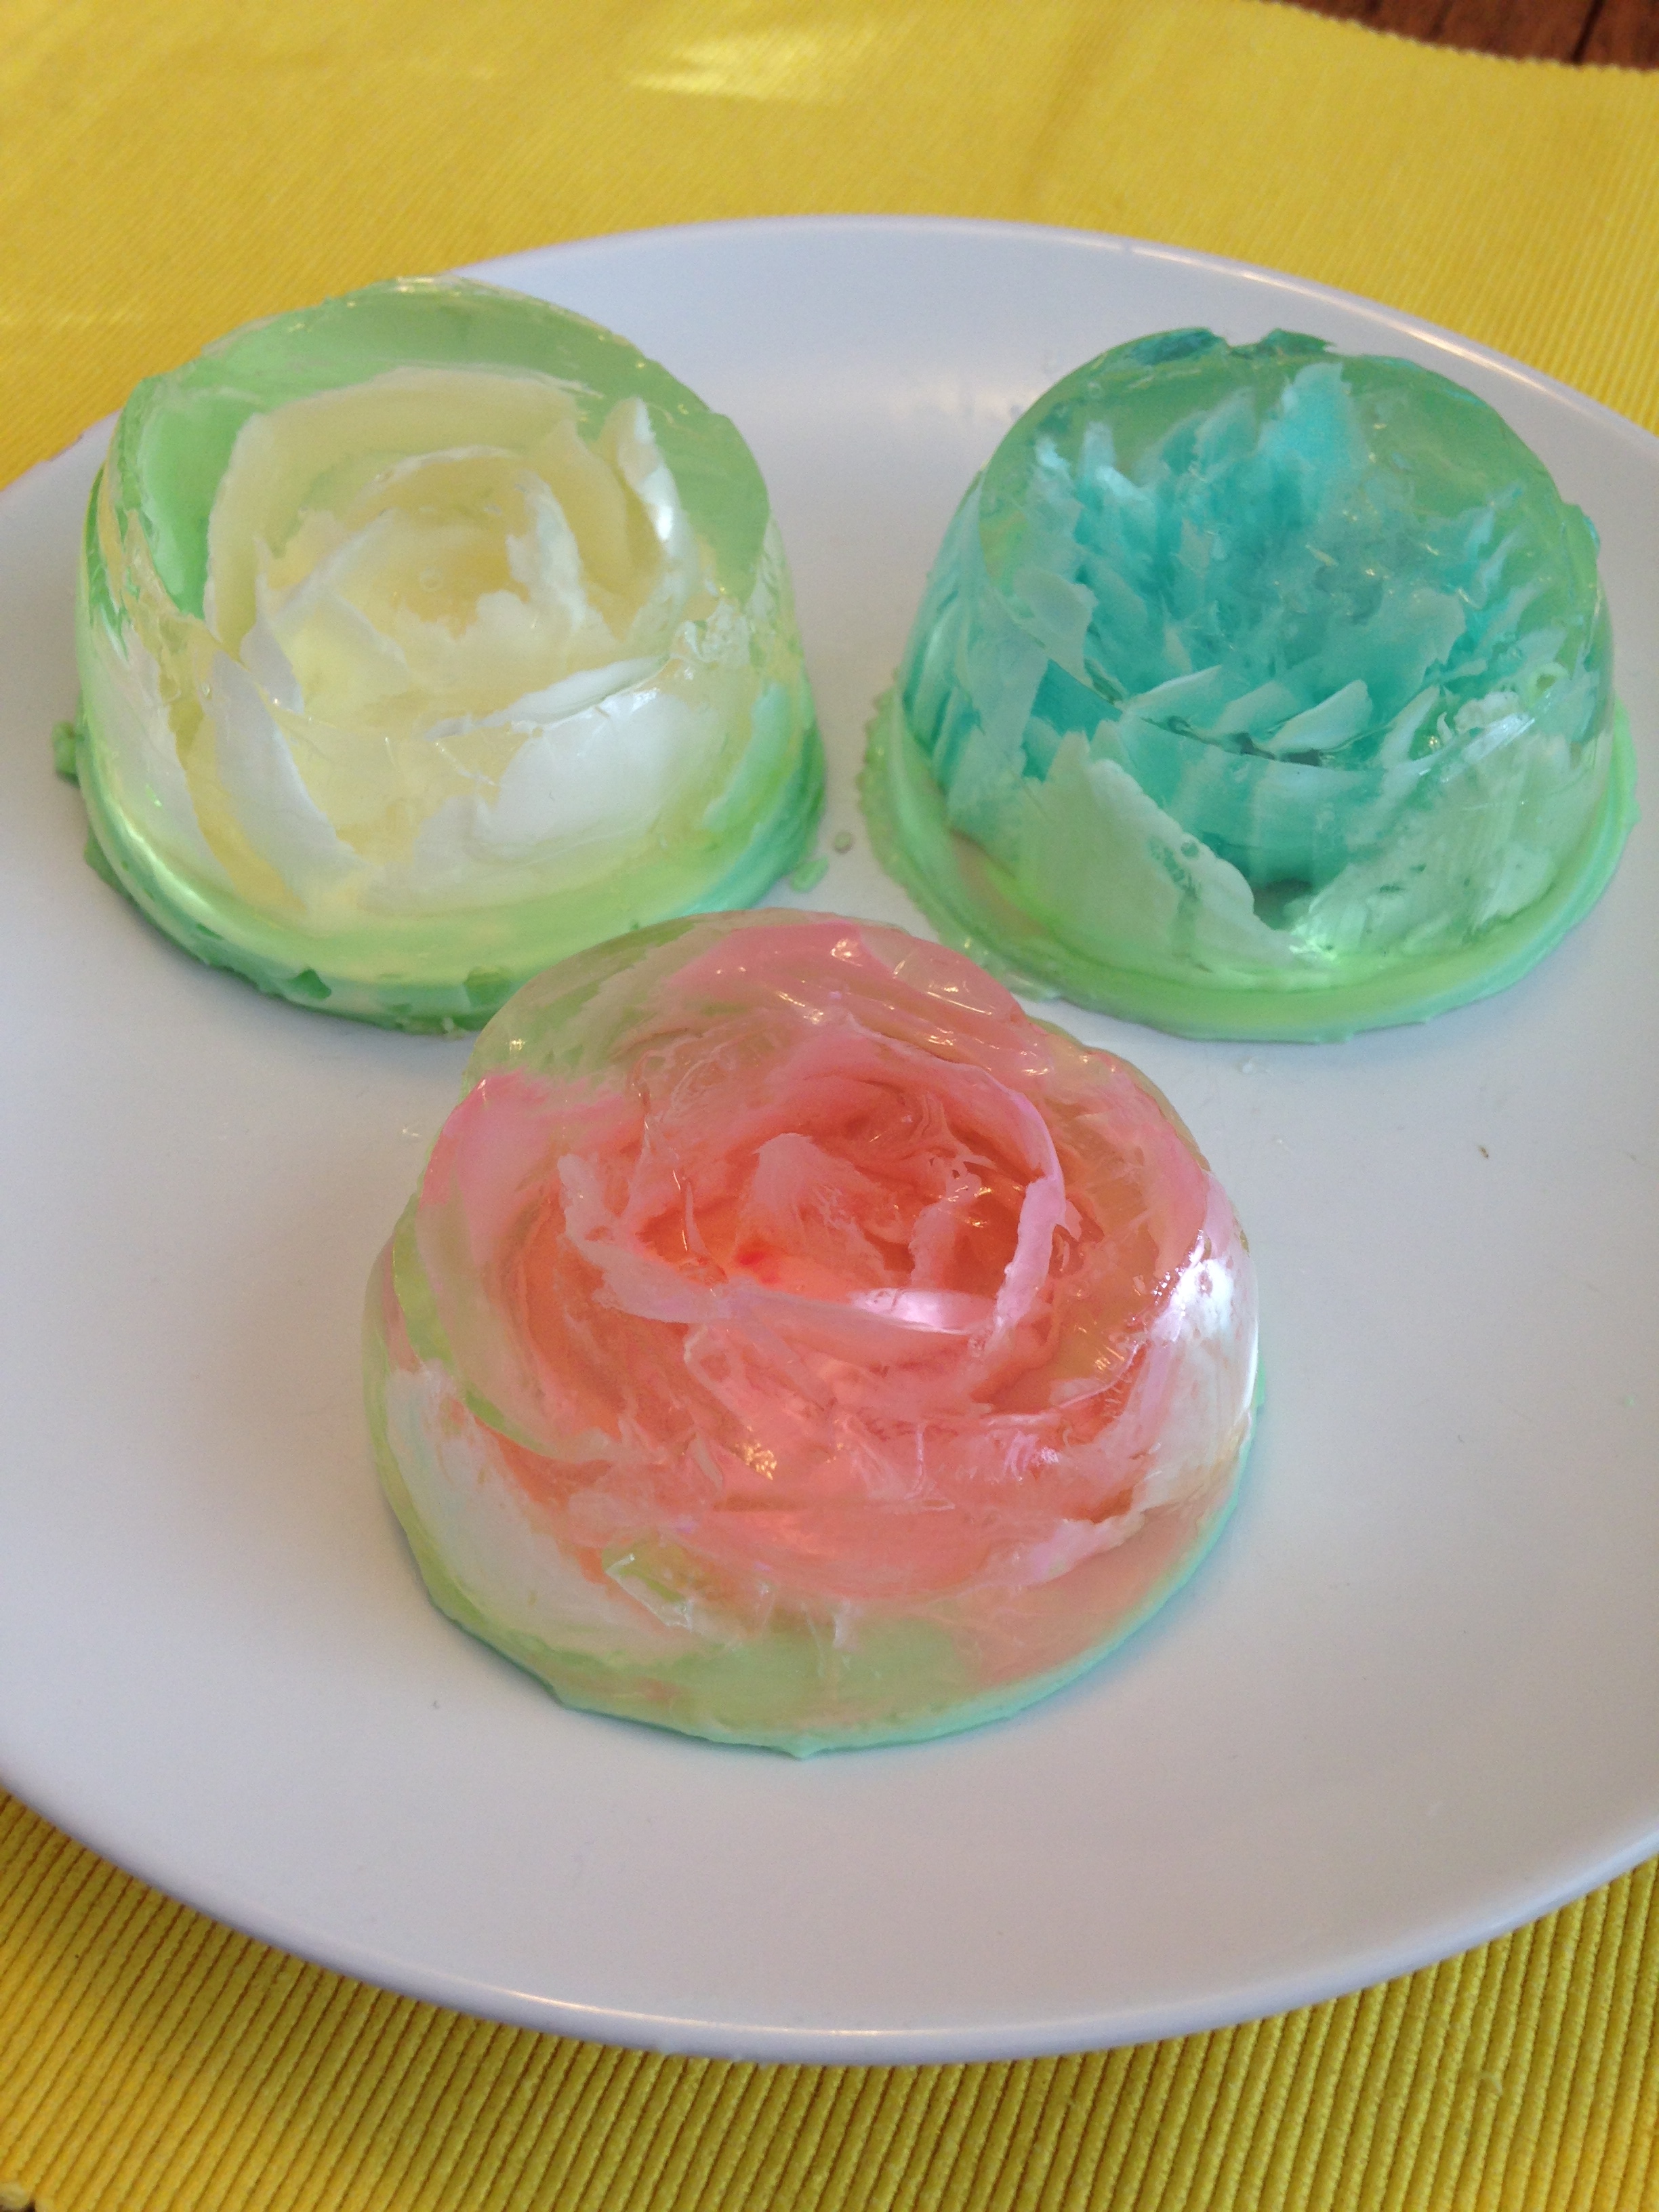
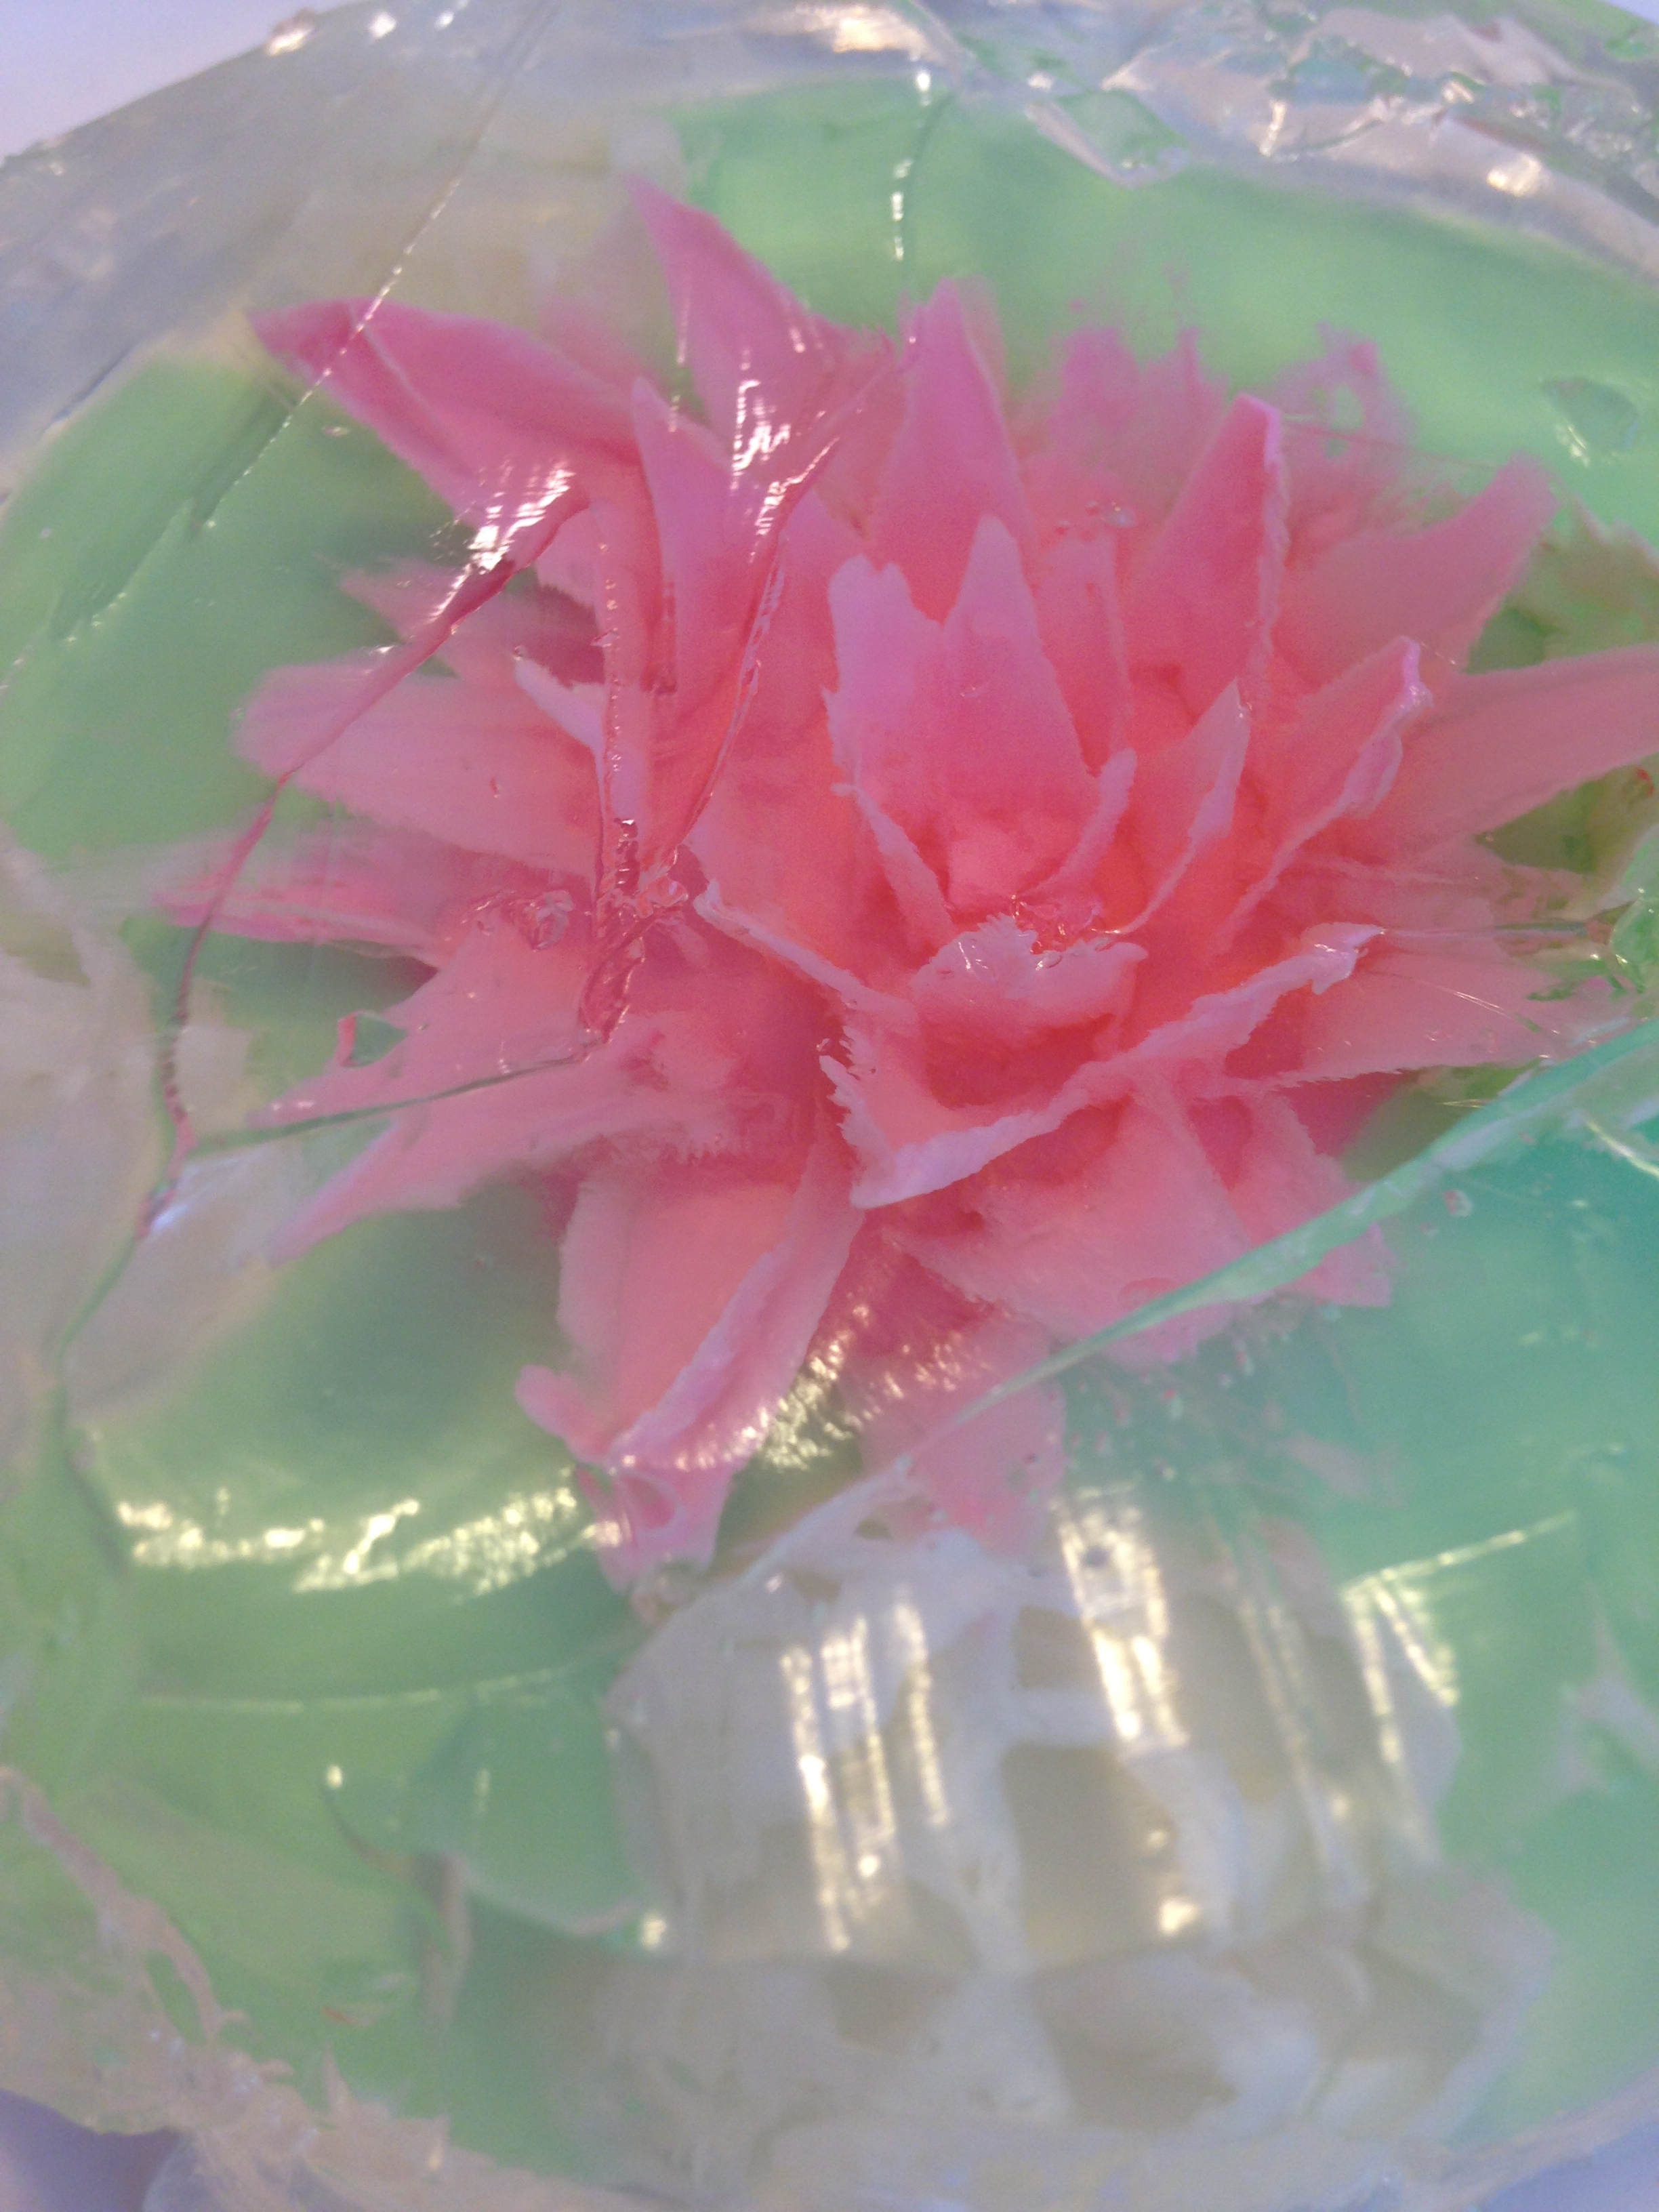
So first, you need some petal making tools. You can use regular metal dinnerware or you can use plastic utensils (which you can cut into shapes as well). If using plastic though make sure you get super cheap stuff. It's way easier to cut if the plastic the utensils are made of is flexible. I cut a pointy tip out of one of my spoons and I used a fork for the blue flower. Kinda looks like a chrysanthemum. And a knife for the big pink one. Kinda like a spiky water lily.
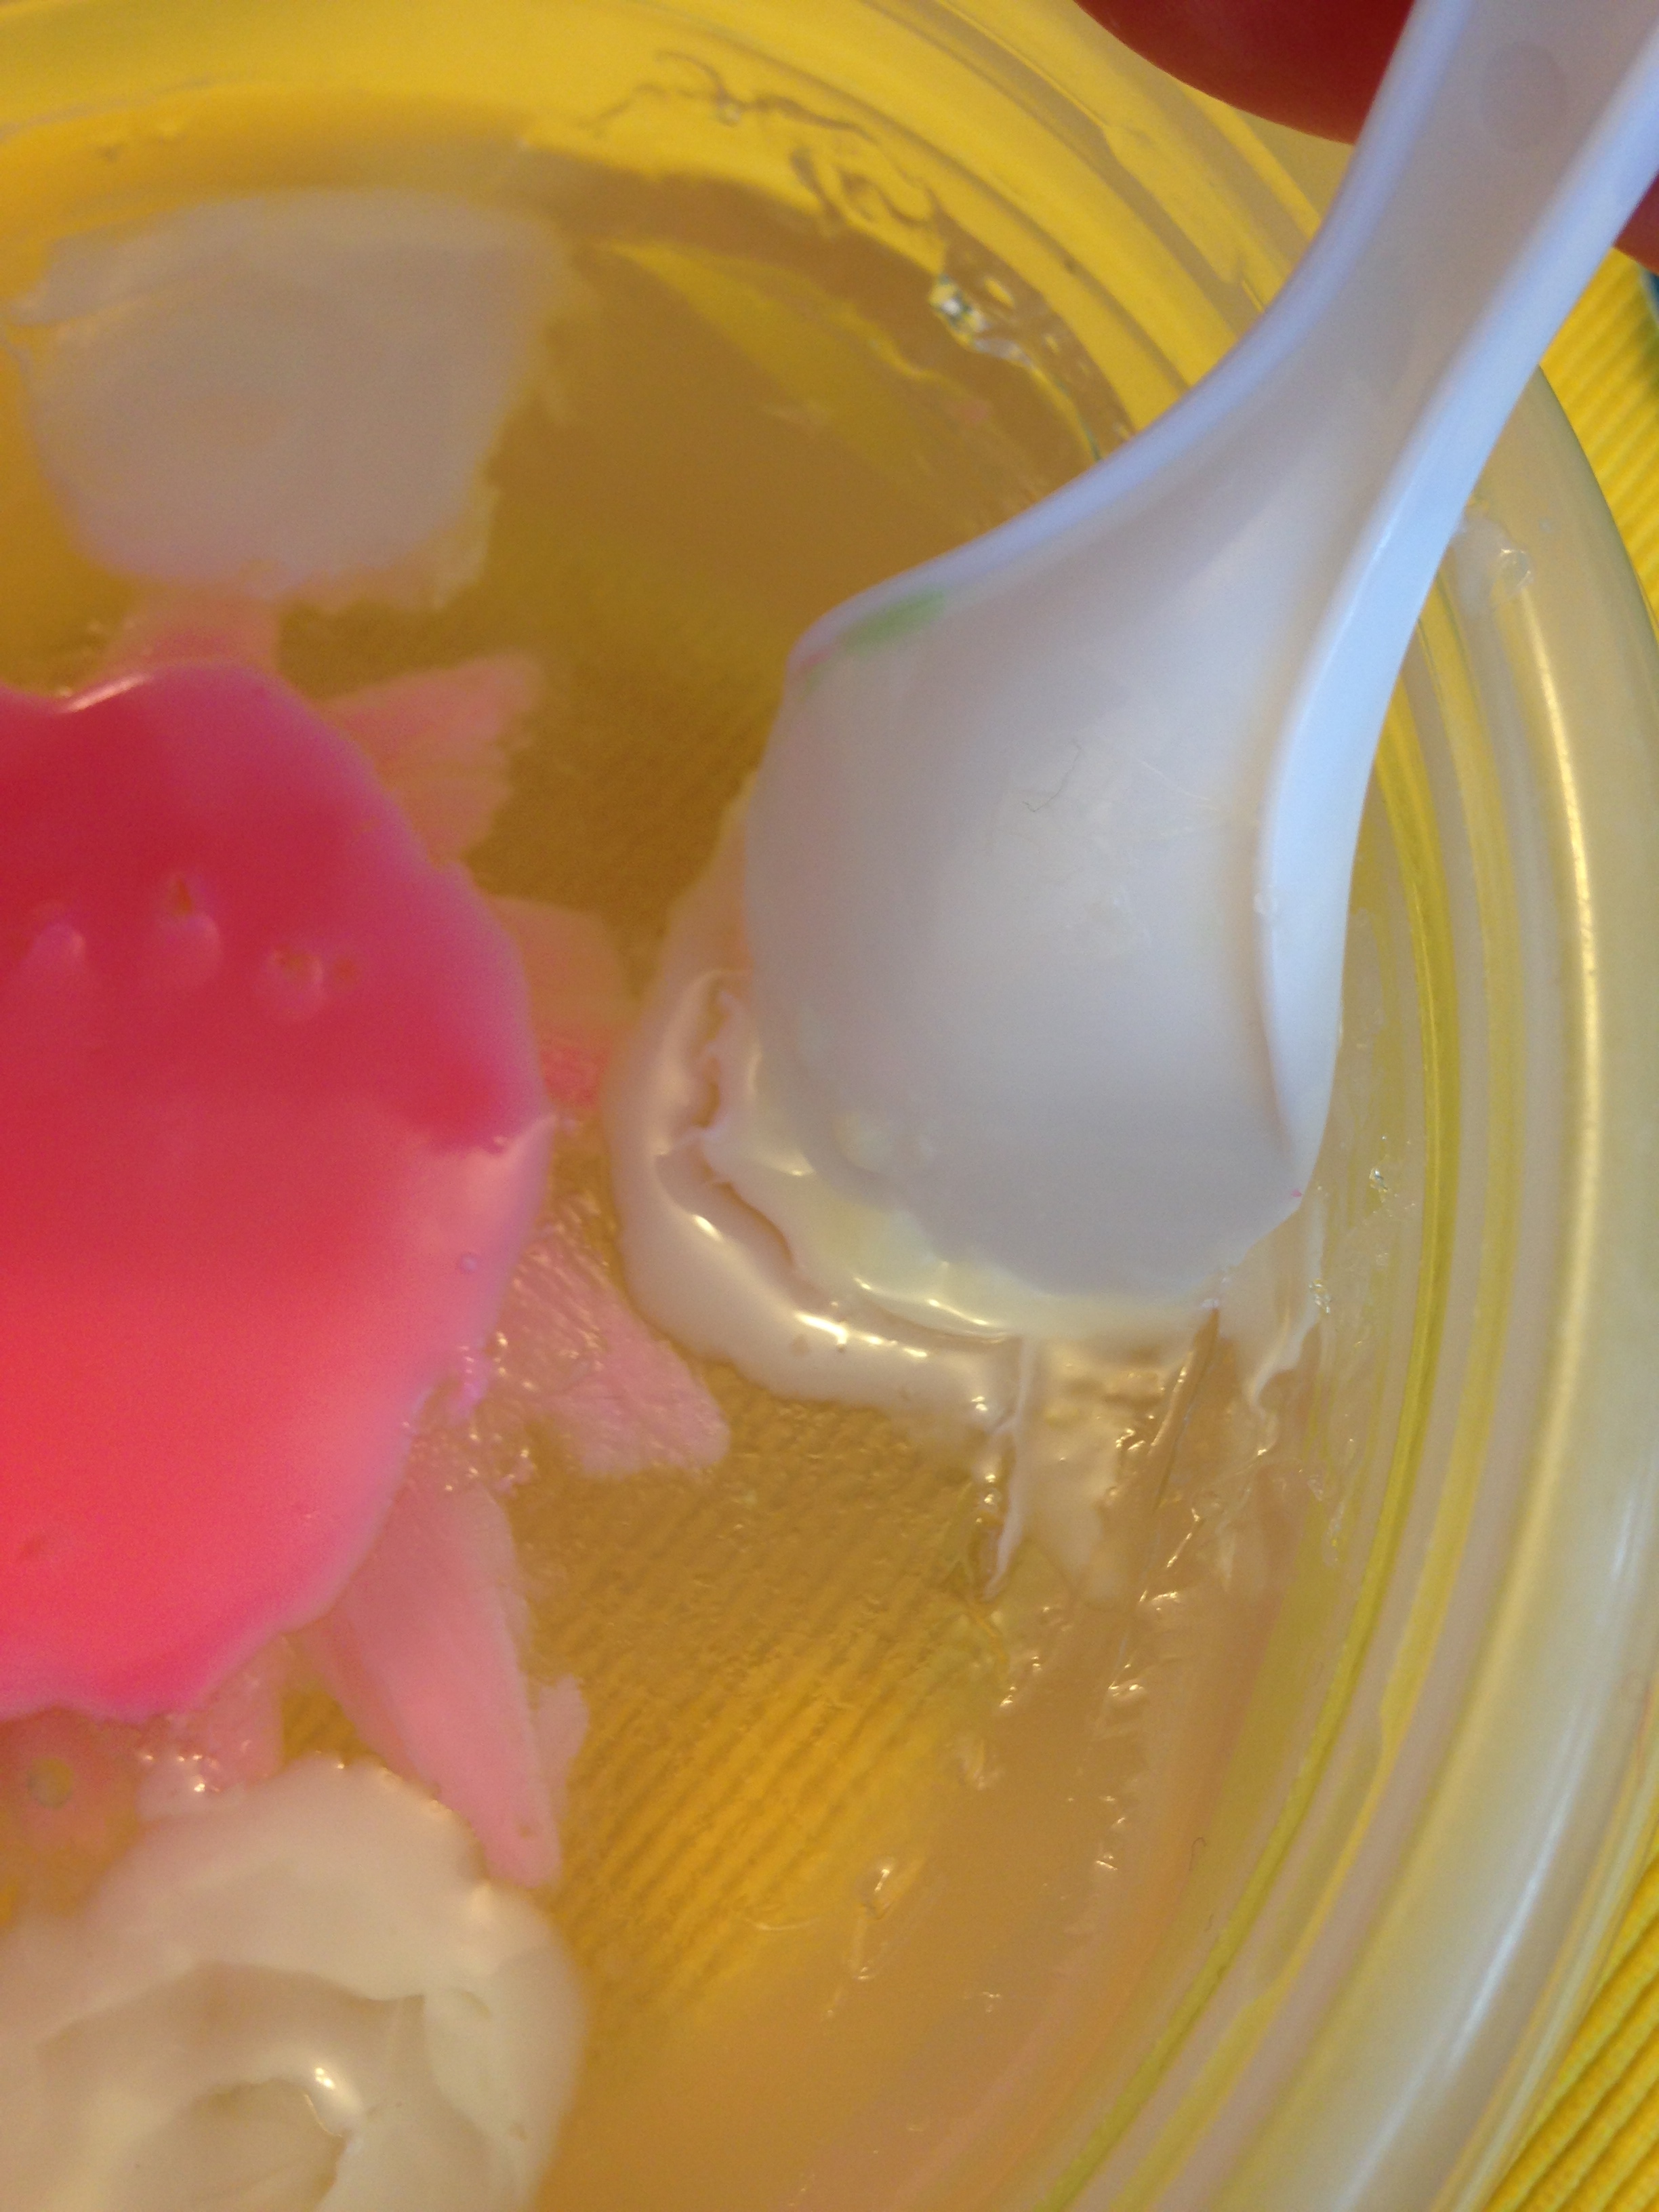
I got the plastic syringes from the pharmacy. You can buy fancier ones or ask the pharmacist for the cheap ones. They're typically used for give cough medicine to kids, etc. but for this, they are used for squirting the colour jelly into the slits for the petals.
From here on out I don't really have too many good pictures of actually making the flowers. The video tutorial does it best.

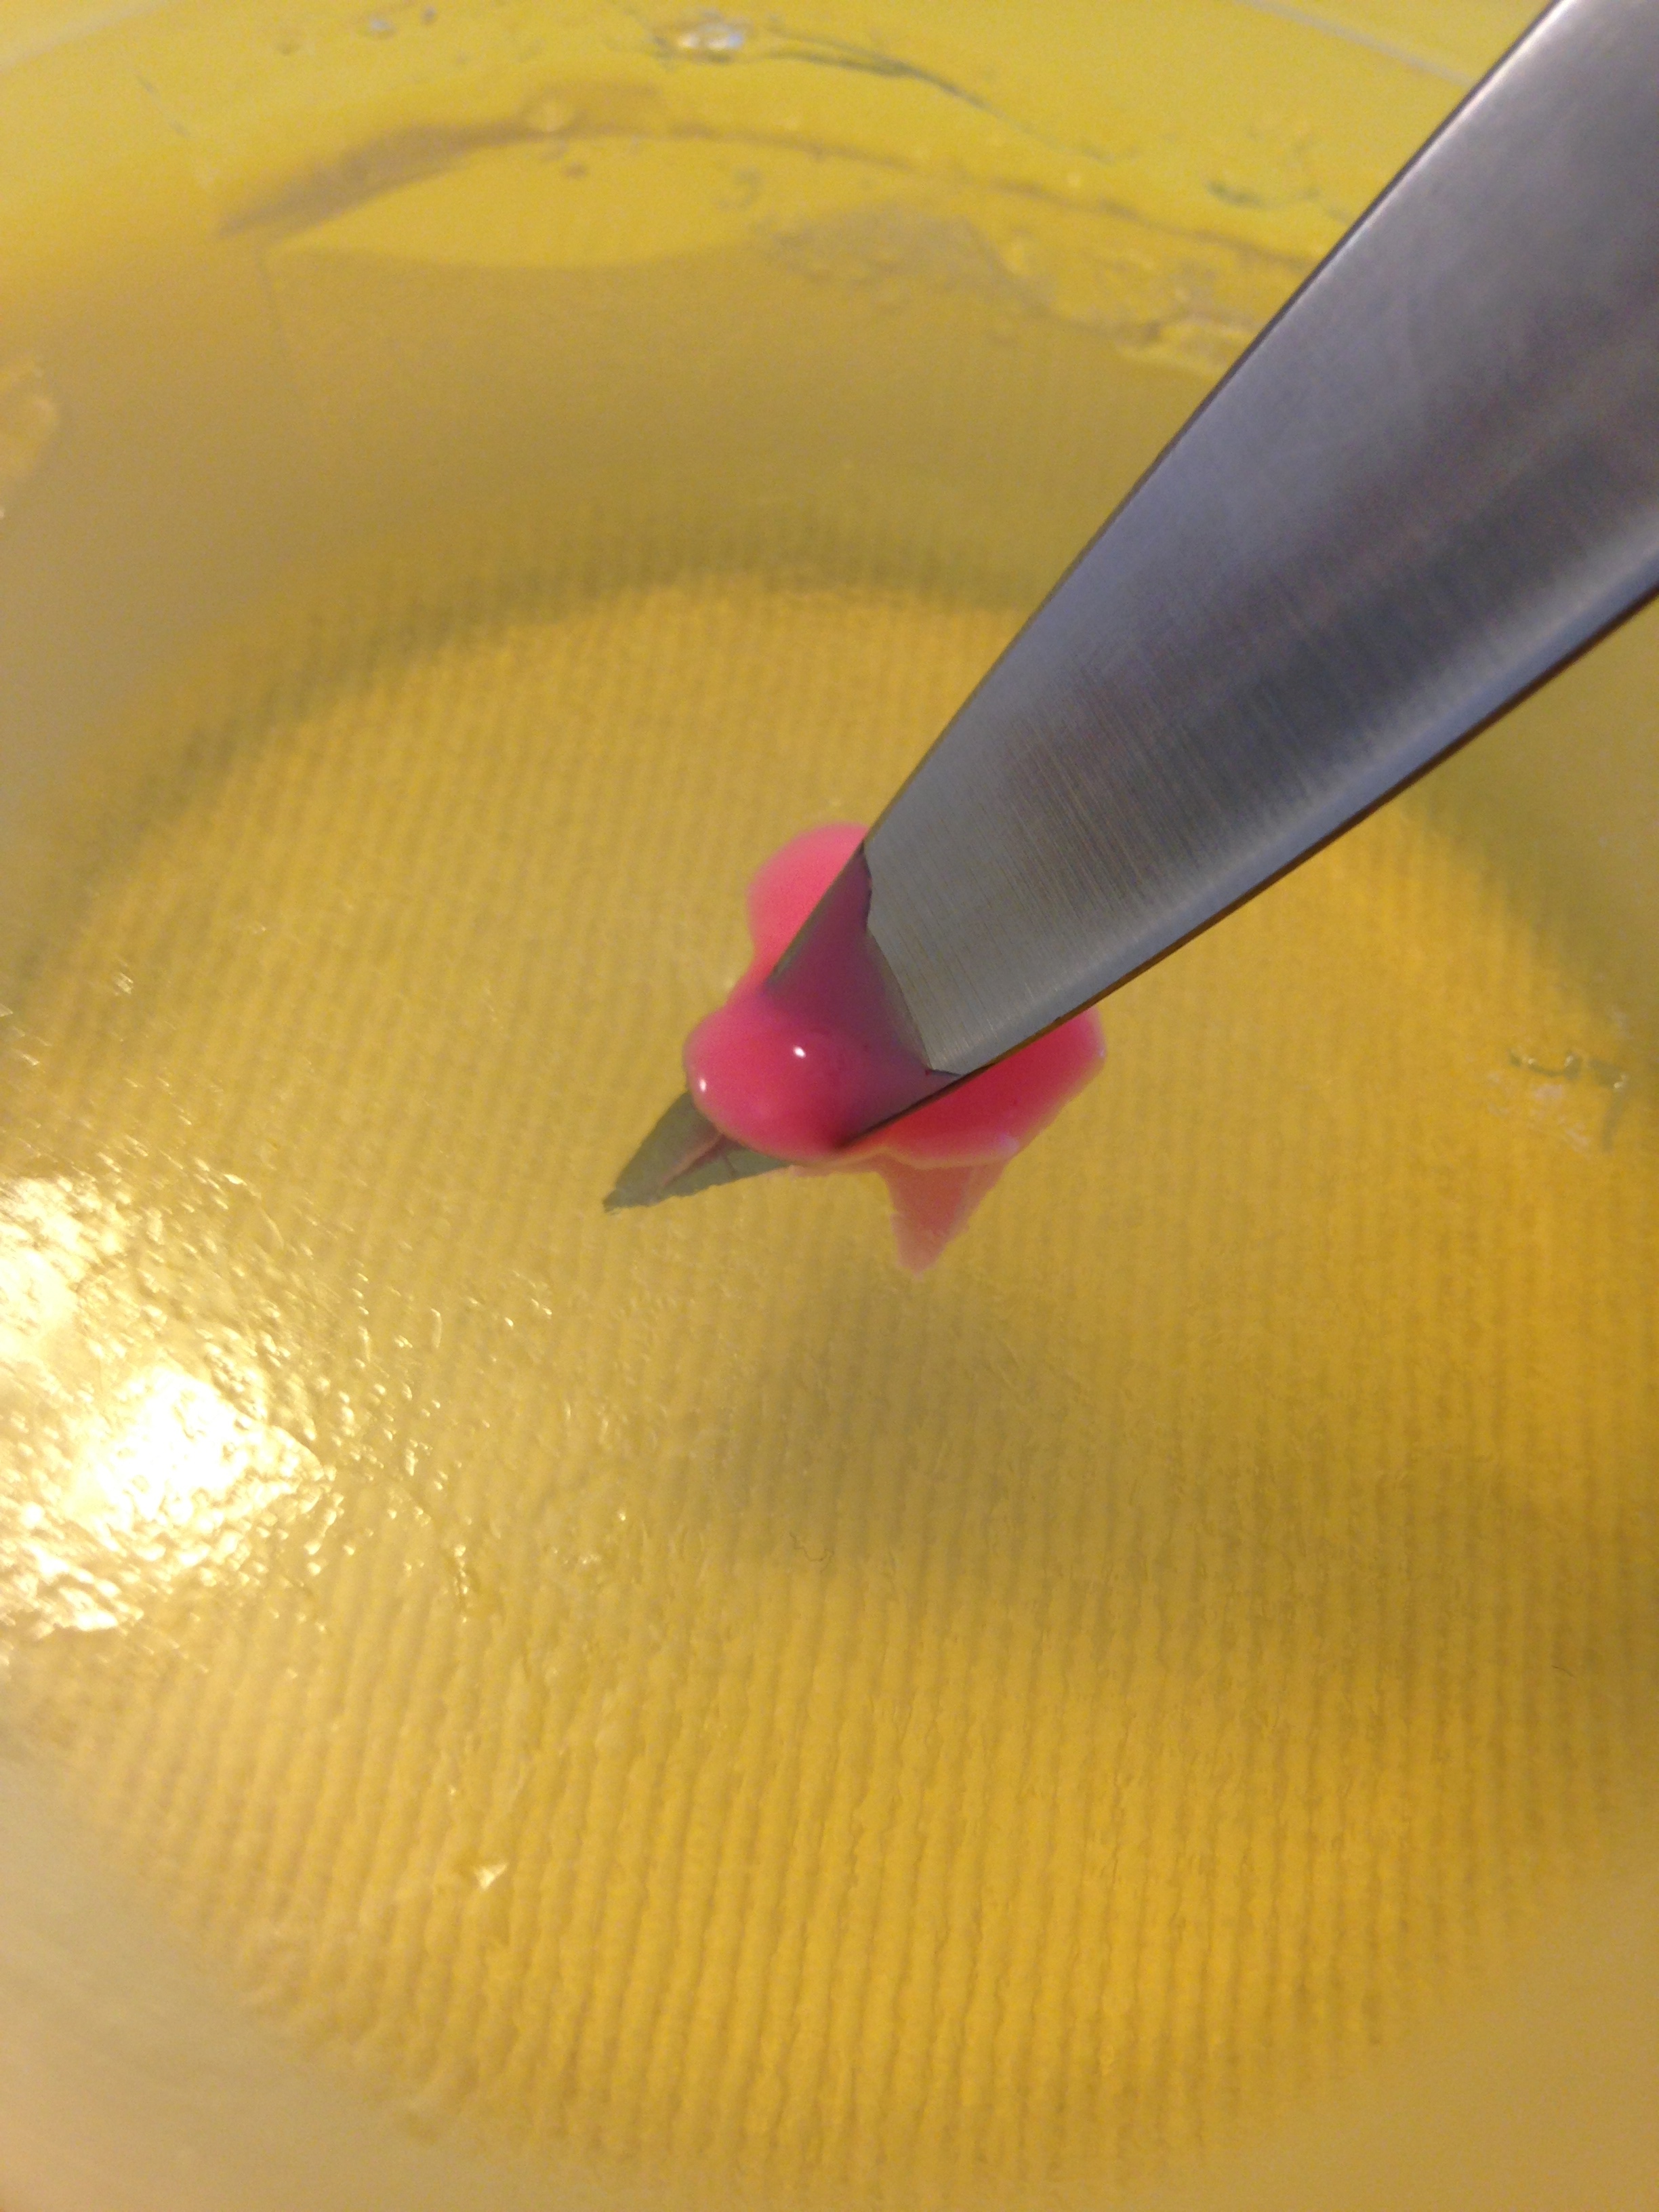

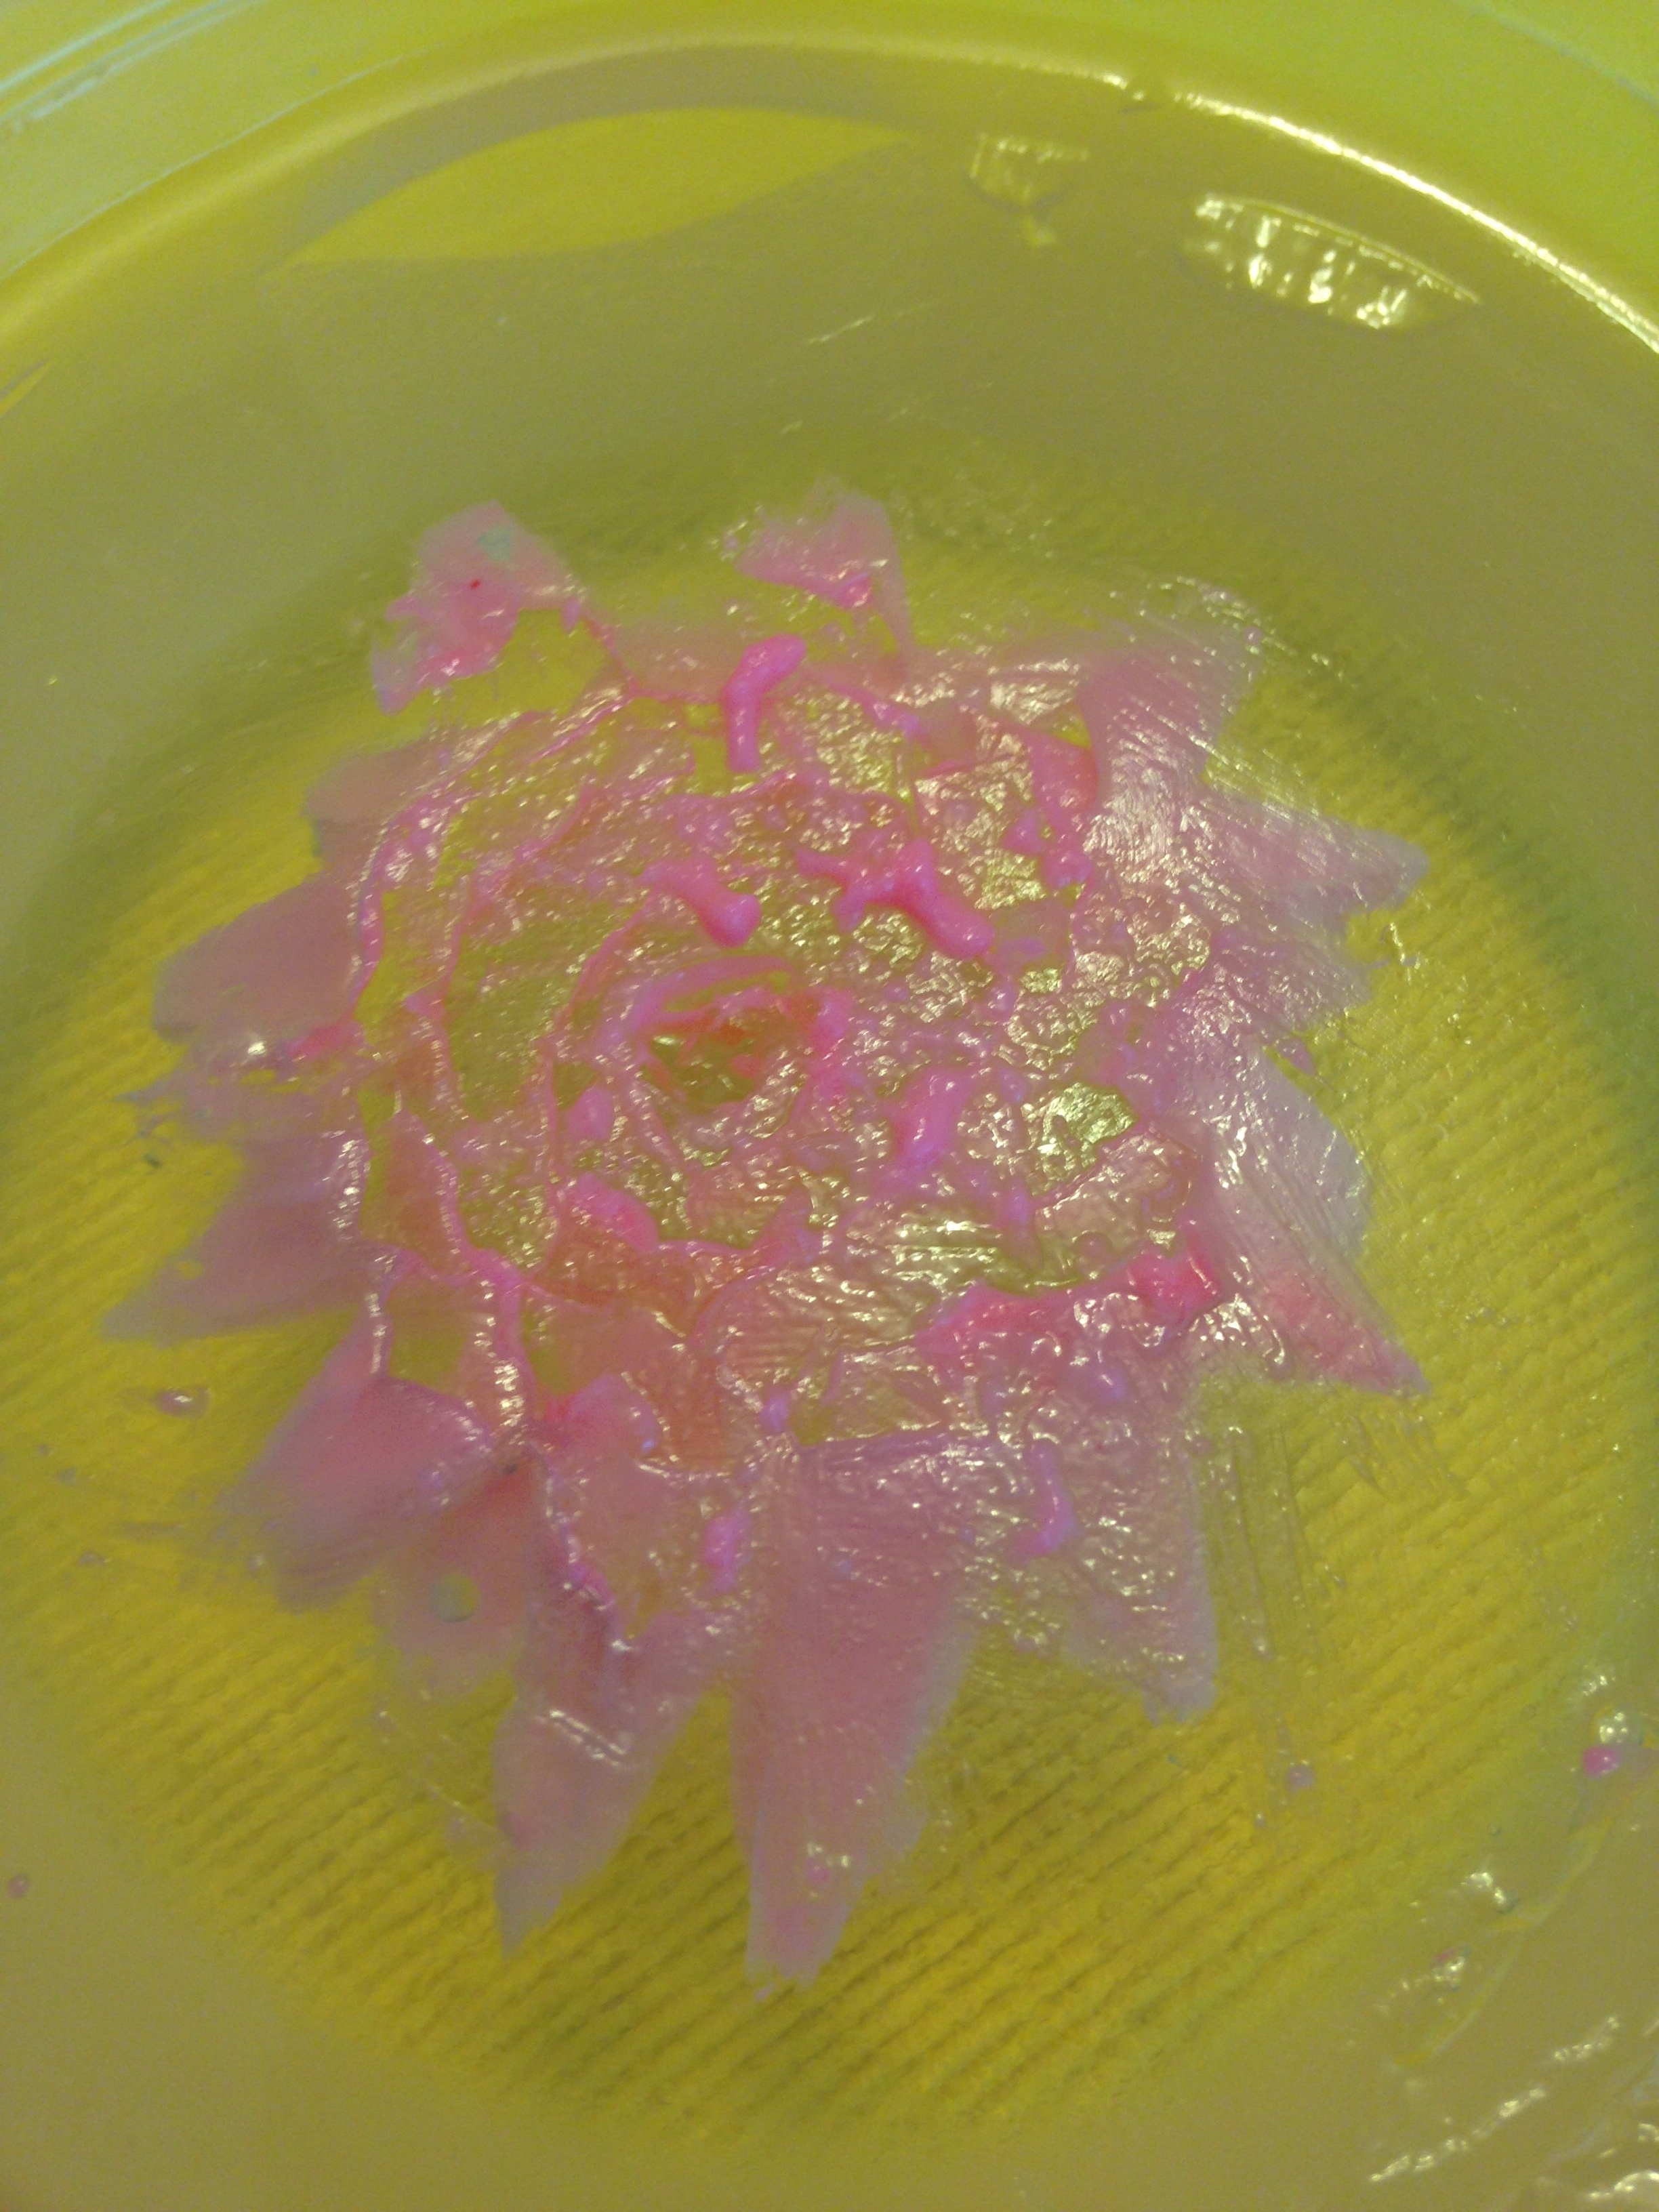

Start your petals in the centre of your jelly base. Since these are the centre petals, the angle is pretty straight in. Make your first circle of petals by inserting your tool, pulling the base jelly back a bit to allow the coloured jelly though. After the centre circle is done it's on to the second row of petals. (You can also wipe off any excess coloured jelly with a damp paper towel at this point so you can see what you're doing.) Angle your tool out from the centre so the petals seem to be folding out, like a real flower. Then continue like this, around the circle, slitting and squirting in coloured jelly. If you have a clear cup you'll be able to see where your petals are by holding it up. Adjust if you need too! Continue adding layers of petals to your flower, adjusting the petal angle as you go.
After your satisfied with your flower, cover all the petal slits with a layer of the same coloured jelly. Let that set (about 5 - 10 mins). You can then fill in the rest of the base with another colour. For example, I chose green so it's like the flower is sitting in leaves. Refrigerate your flower creations until the coloured jelly is set (about 20 - 30 mins).
Now if you're doing multiple flowers you'll notice that while you've been food artisting your coloured jelly is starting to gel. Soon it will be to glorpy to suck up into your syringe. You can put it in a microwave to make it liquid again but microwave for no more than 20 seconds. You don't want to over heat the jelly or else it won't gel anymore. I ended up heating my coloured jelly back up about 3 times and it still gelled.
Other tips I can give are choose thin utensils to make your slits. Thick spoons make it hard to keep the petals close together because the spoons rips the clear base rather than making a slit. I liked using a thin knife best.

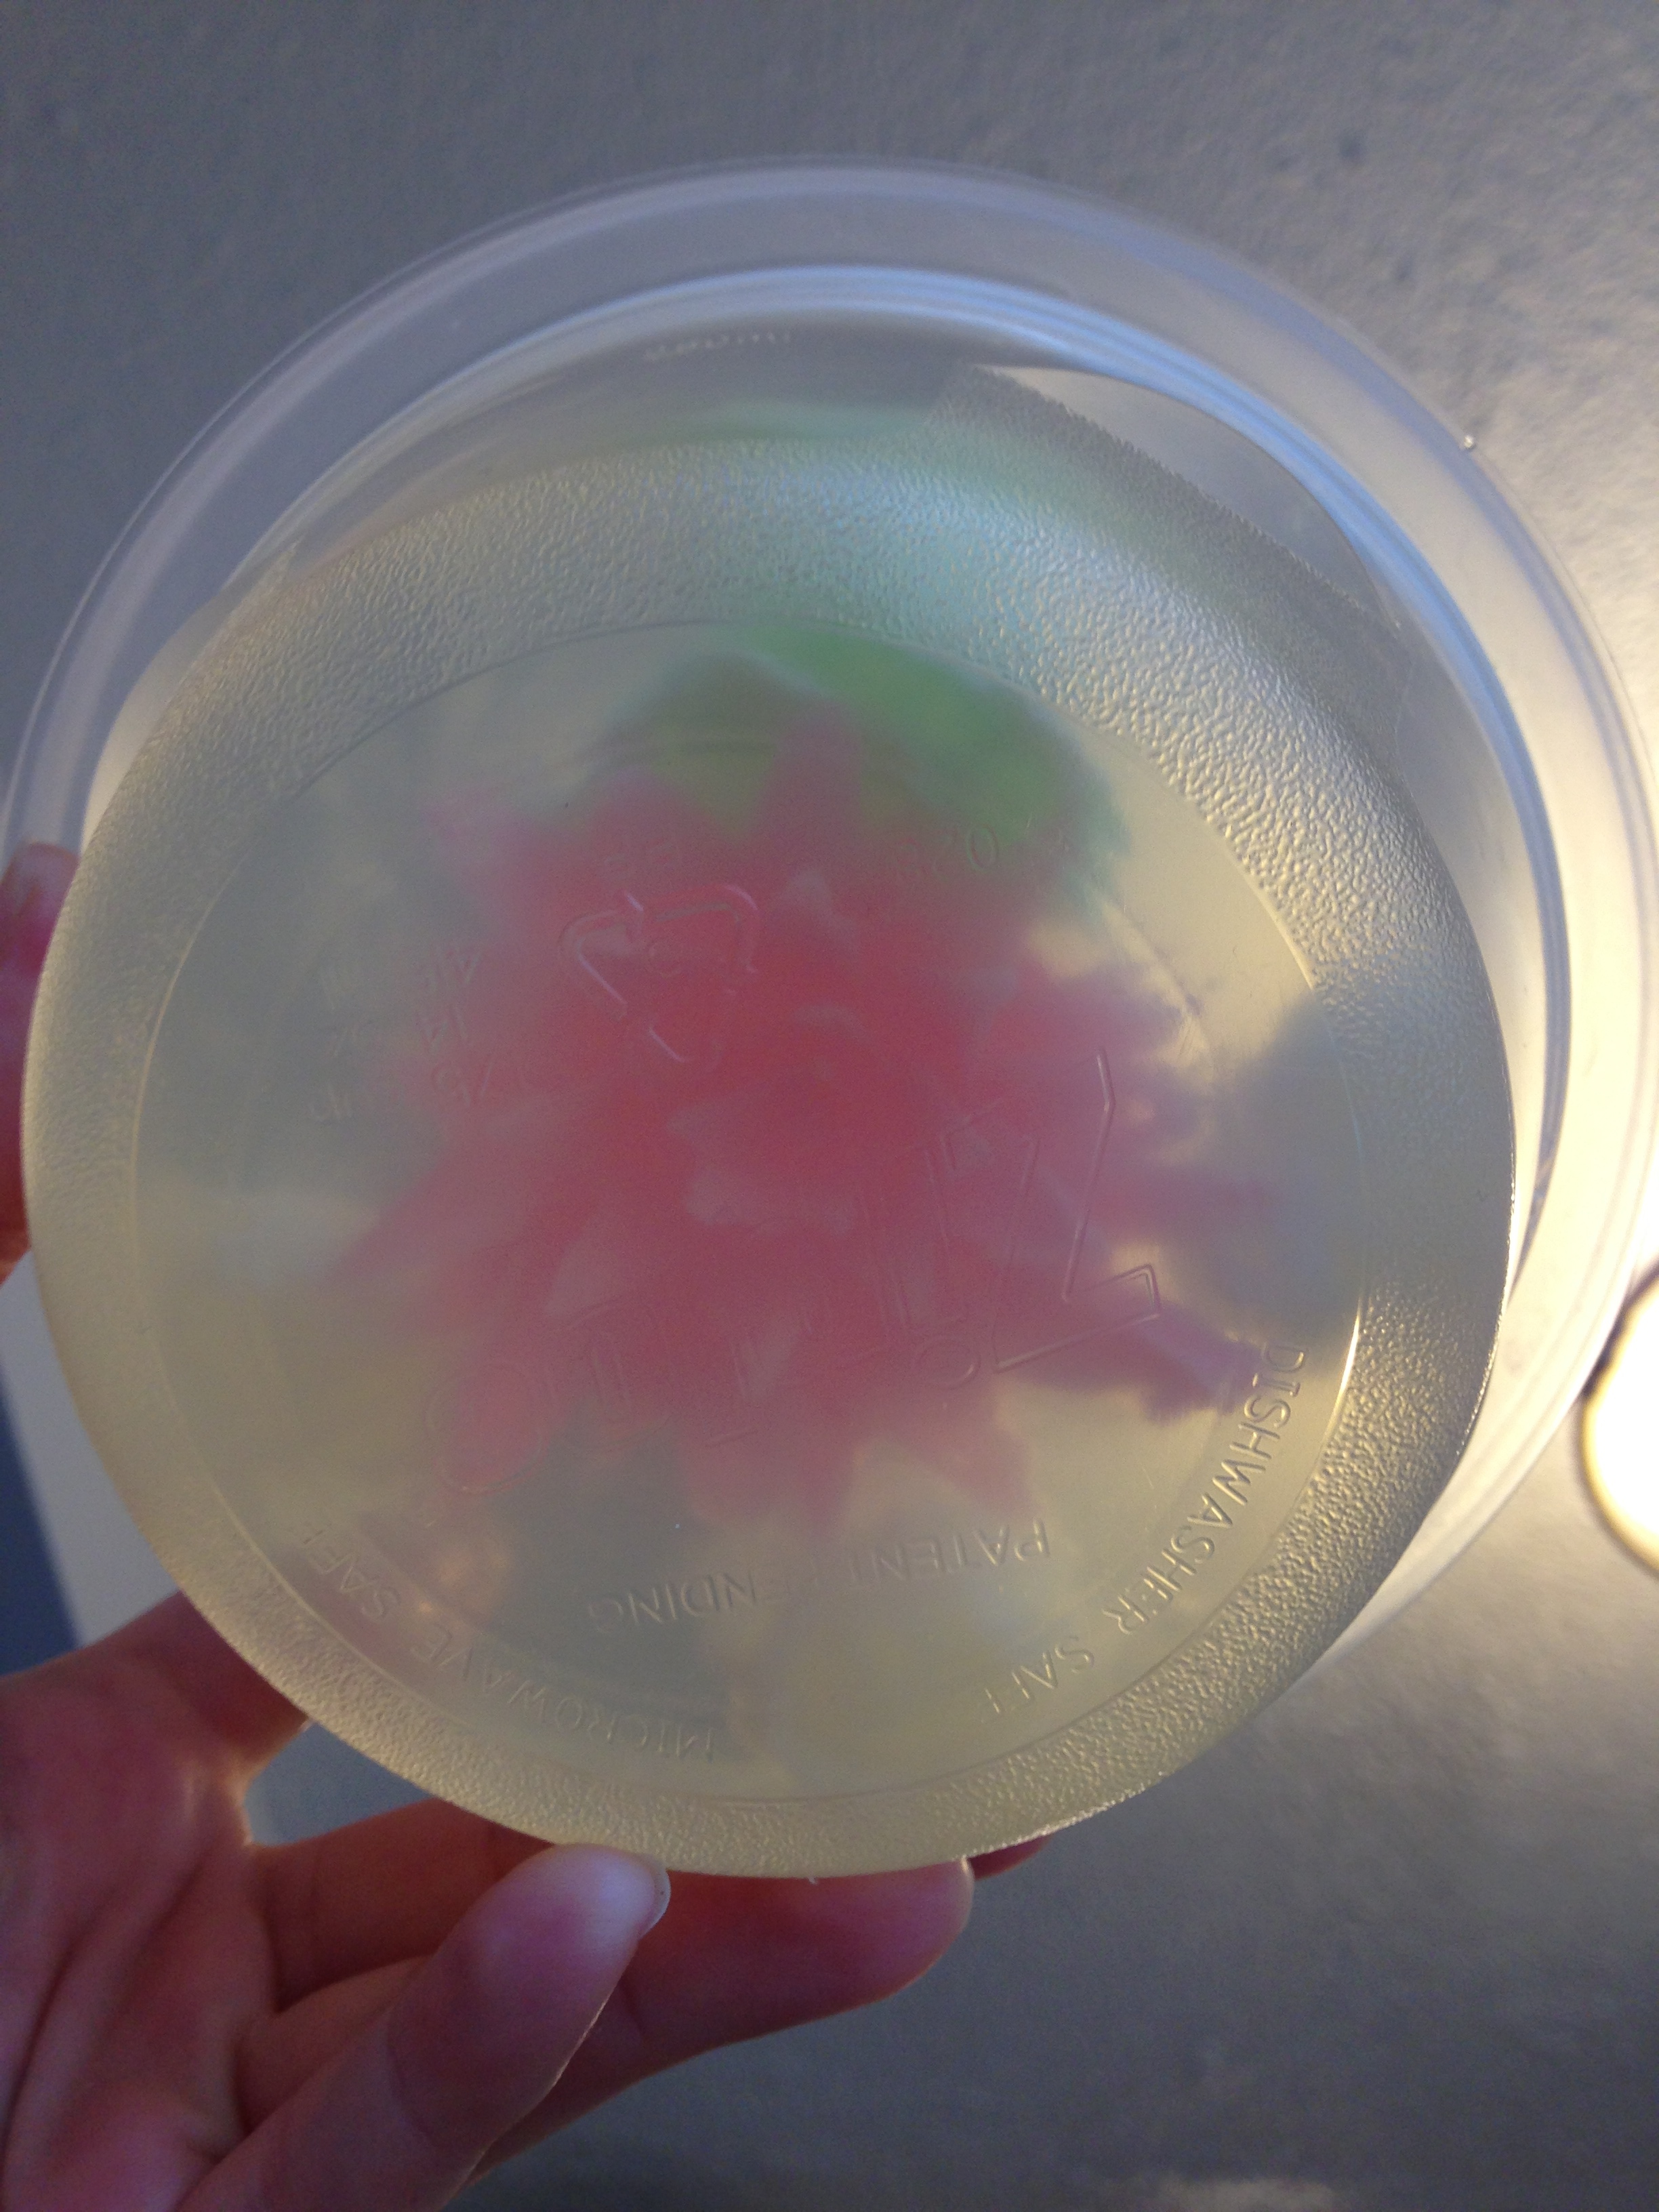
The next hard part is getting the jelly flowers out. I used a flat unserrated icing spreader to unstick the jelly from the sides of the container. I ran is along the edges like one does when trying to unstick a cake. Then I stuck the tip of the spreader up the side, all the way to the top and pressed down until the jelly unstuck. I also chopped off the tops the jelly orbs with a very sharp knife (so you could see the flower inside). They're turned out great for a half-assed attempt! (Lesley and I are going to experiment on how to make them stick less though.)
But yah, I want to thank Lesley for being my partner in crime! May many more adventures be had! <3
And just maybe we'll be queens of the next dessert fad. Hmmmm!
Cheers!
-Andrea
The Half-Assed Hobbyist

Before Jelly Circumcision

After