Surprise Grape-ing

Born and raised in Alberta, I find it extremely weird to find fruit trees that aren't apple trees in peoples back yards. I'm getting used to this idea that there are commonly pear, lemon, cherry, and concord grape trees throughout most neighbourhoods. Heck. I'm getting more used to it now because it means I can foray into a world of otherwise unthought-of jams and jellies! Muaha!

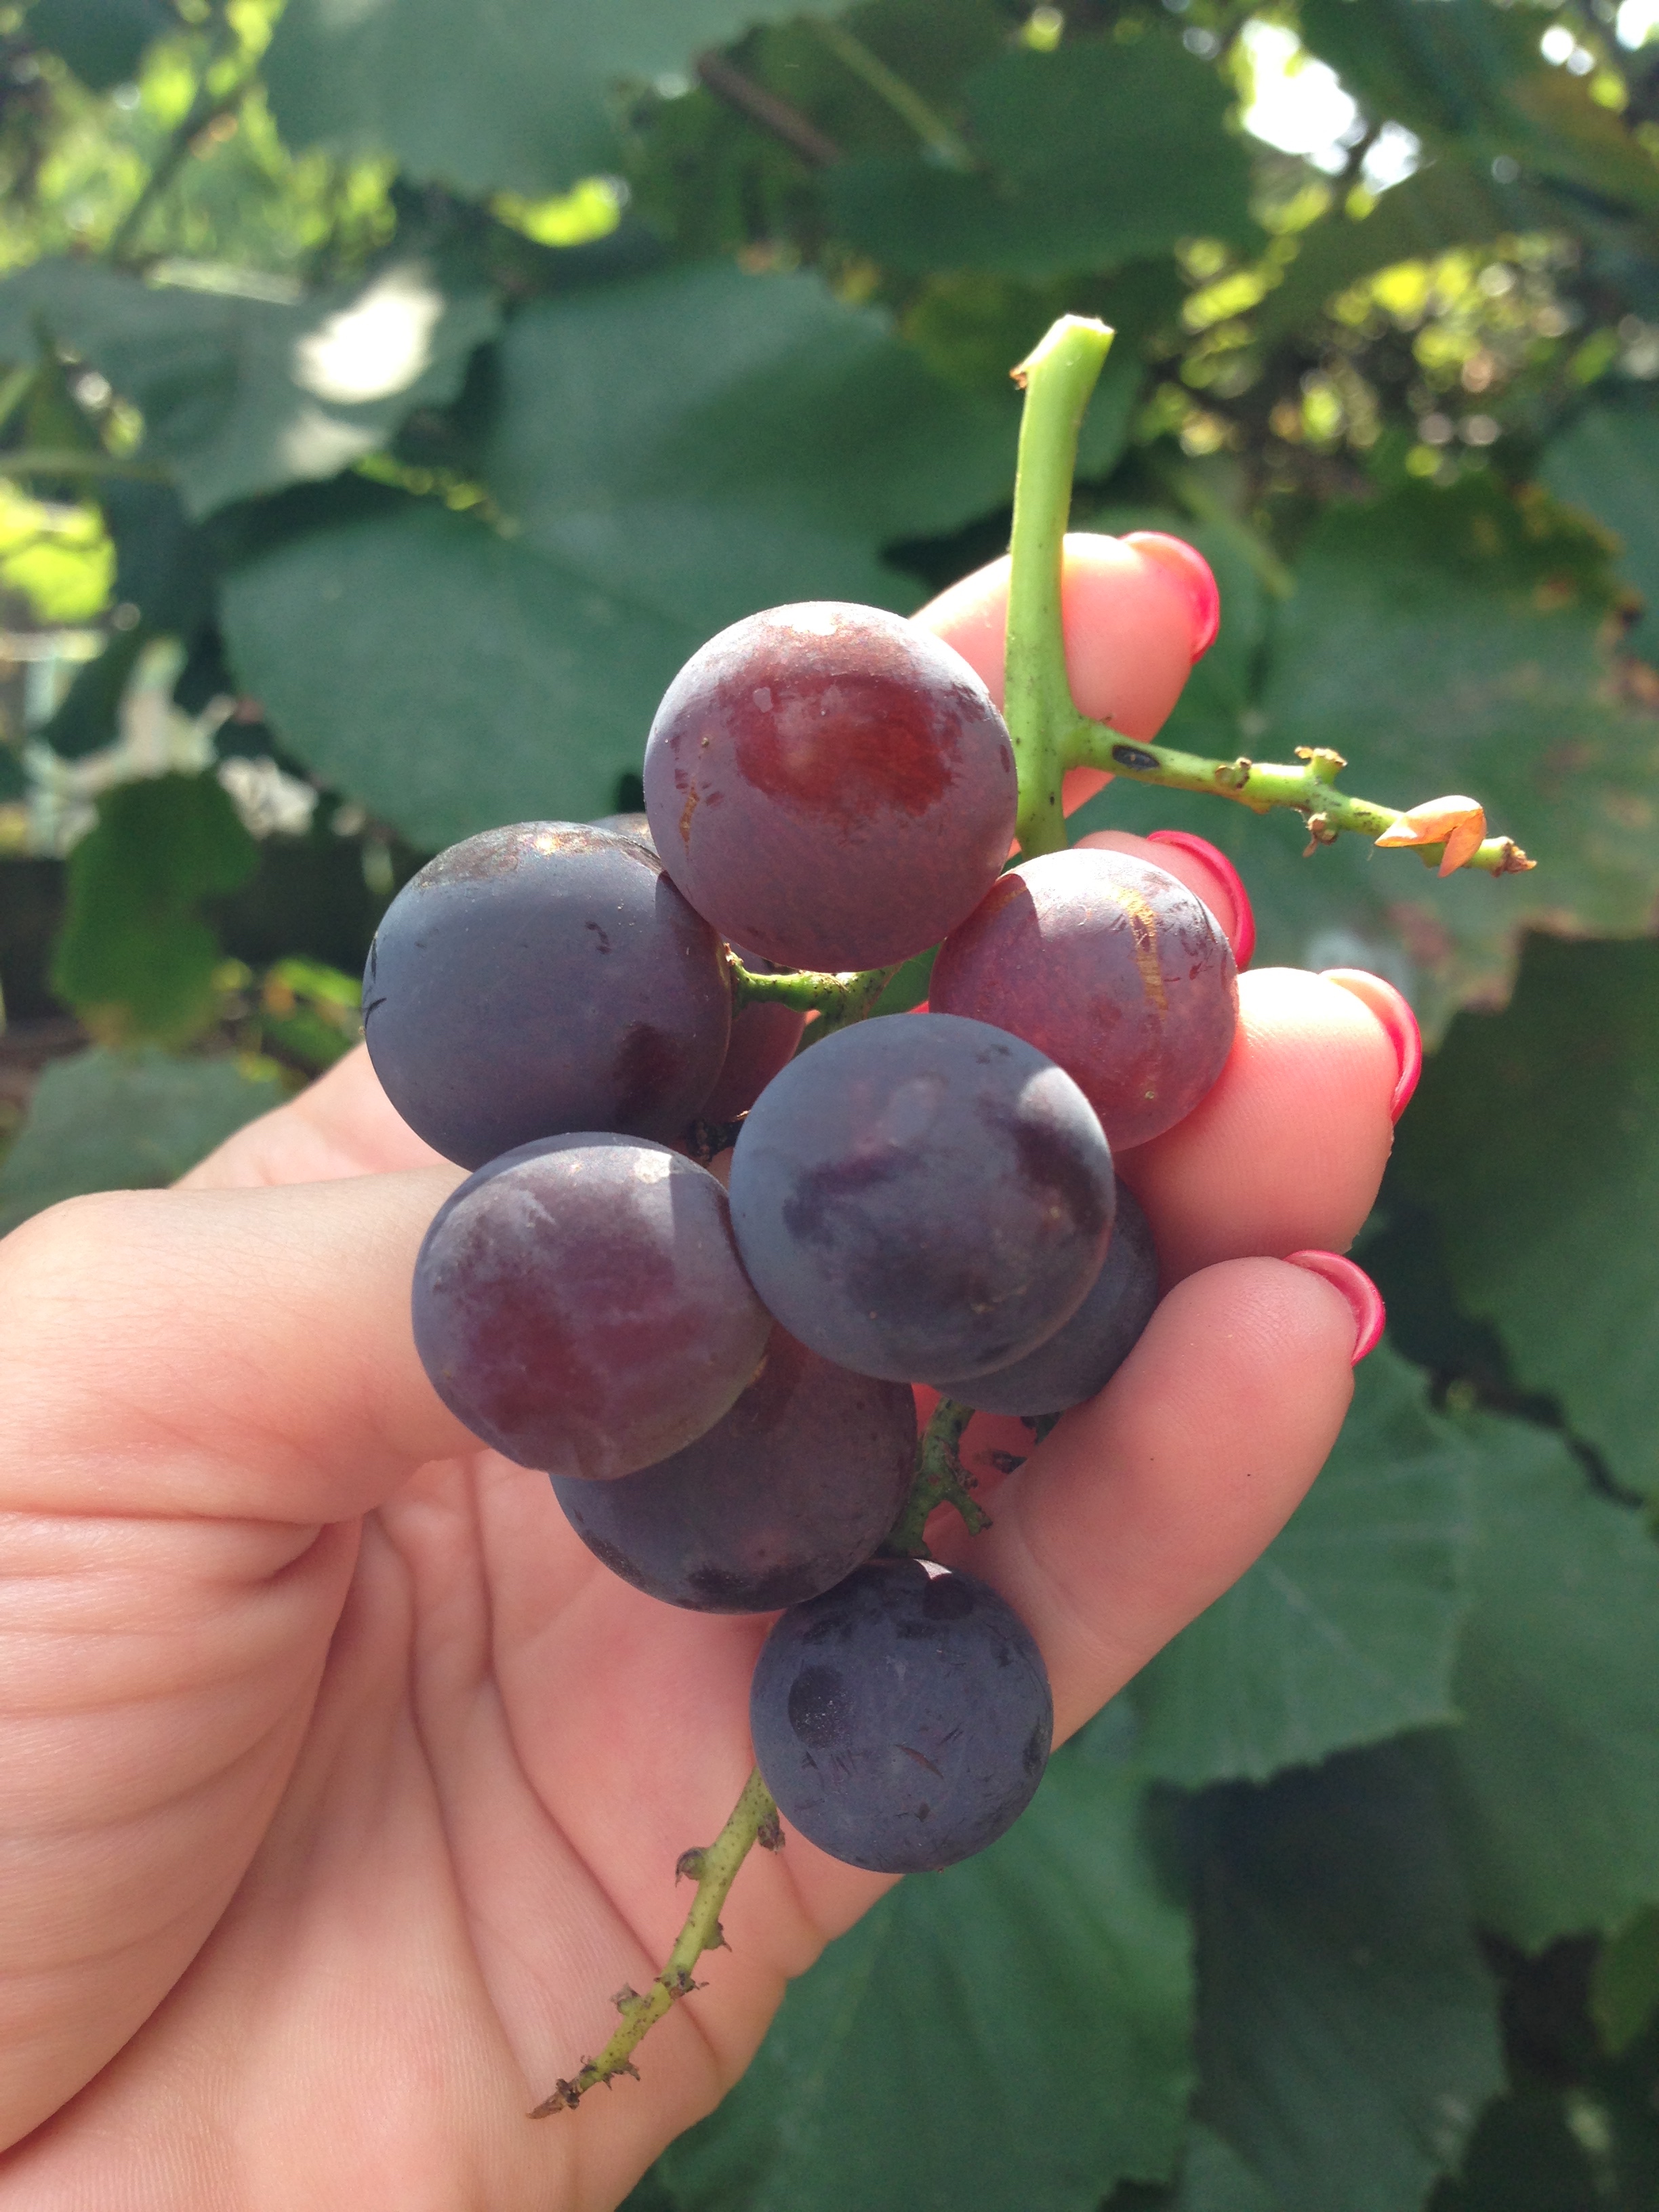
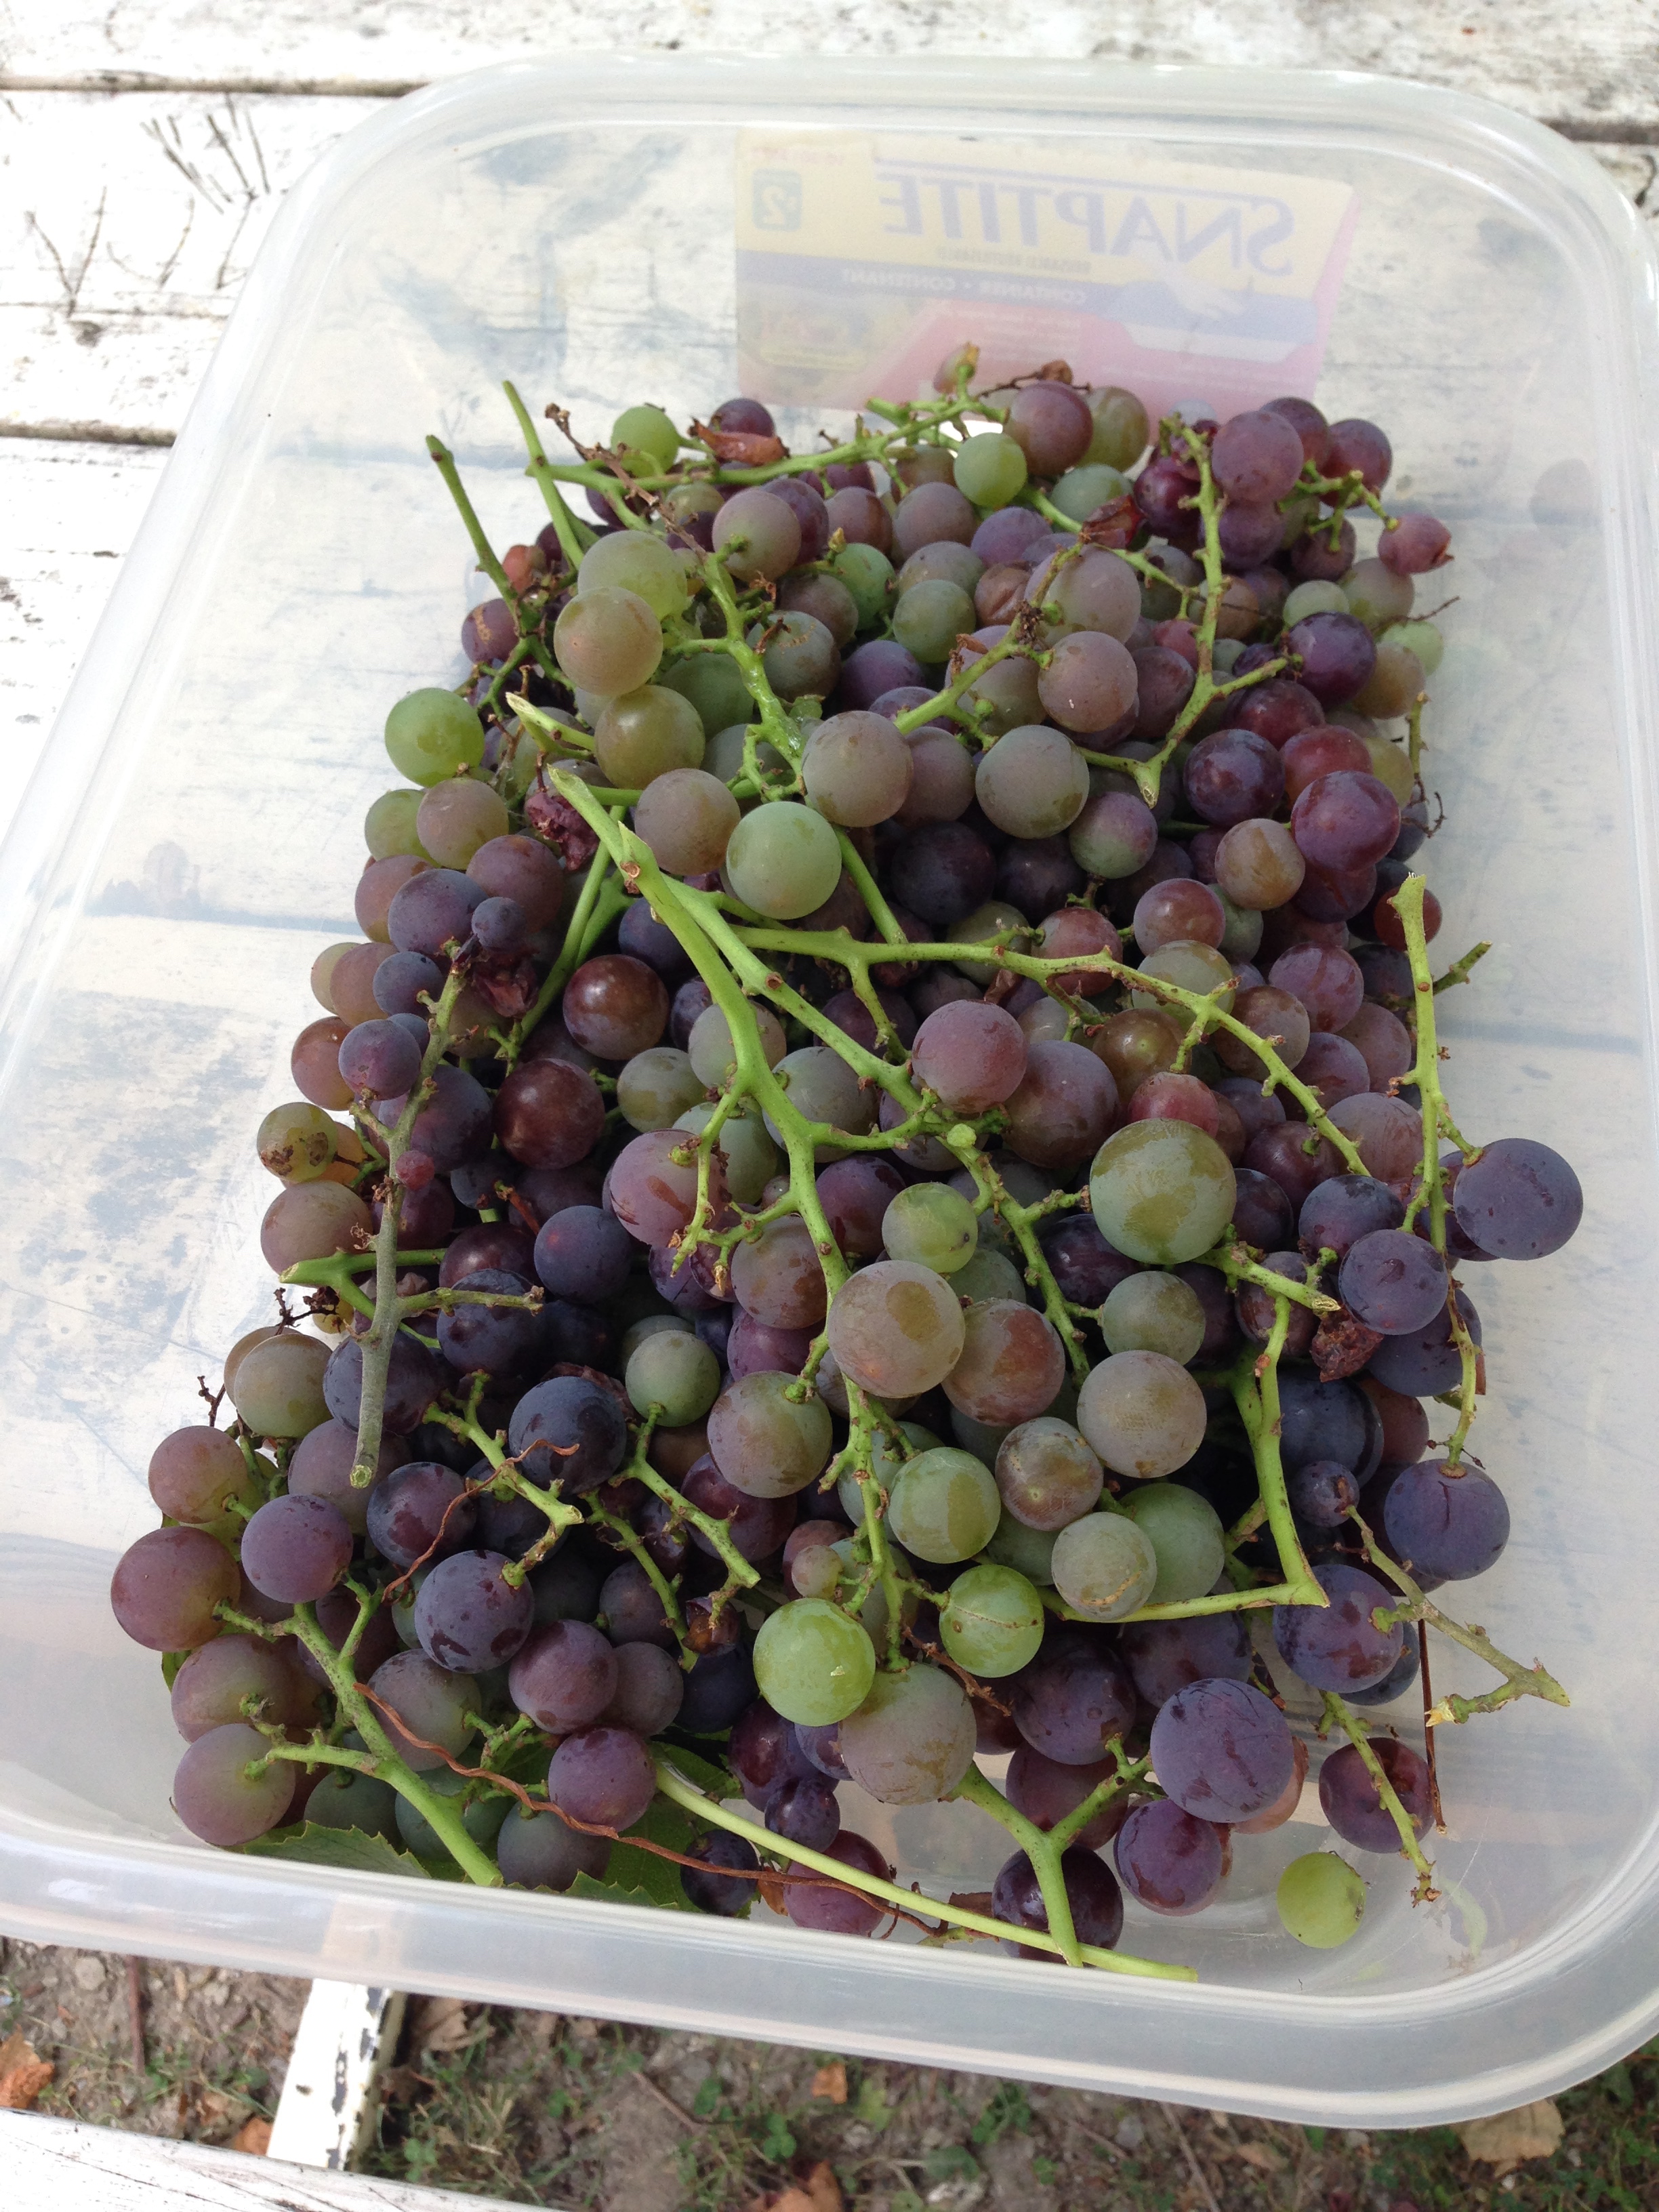
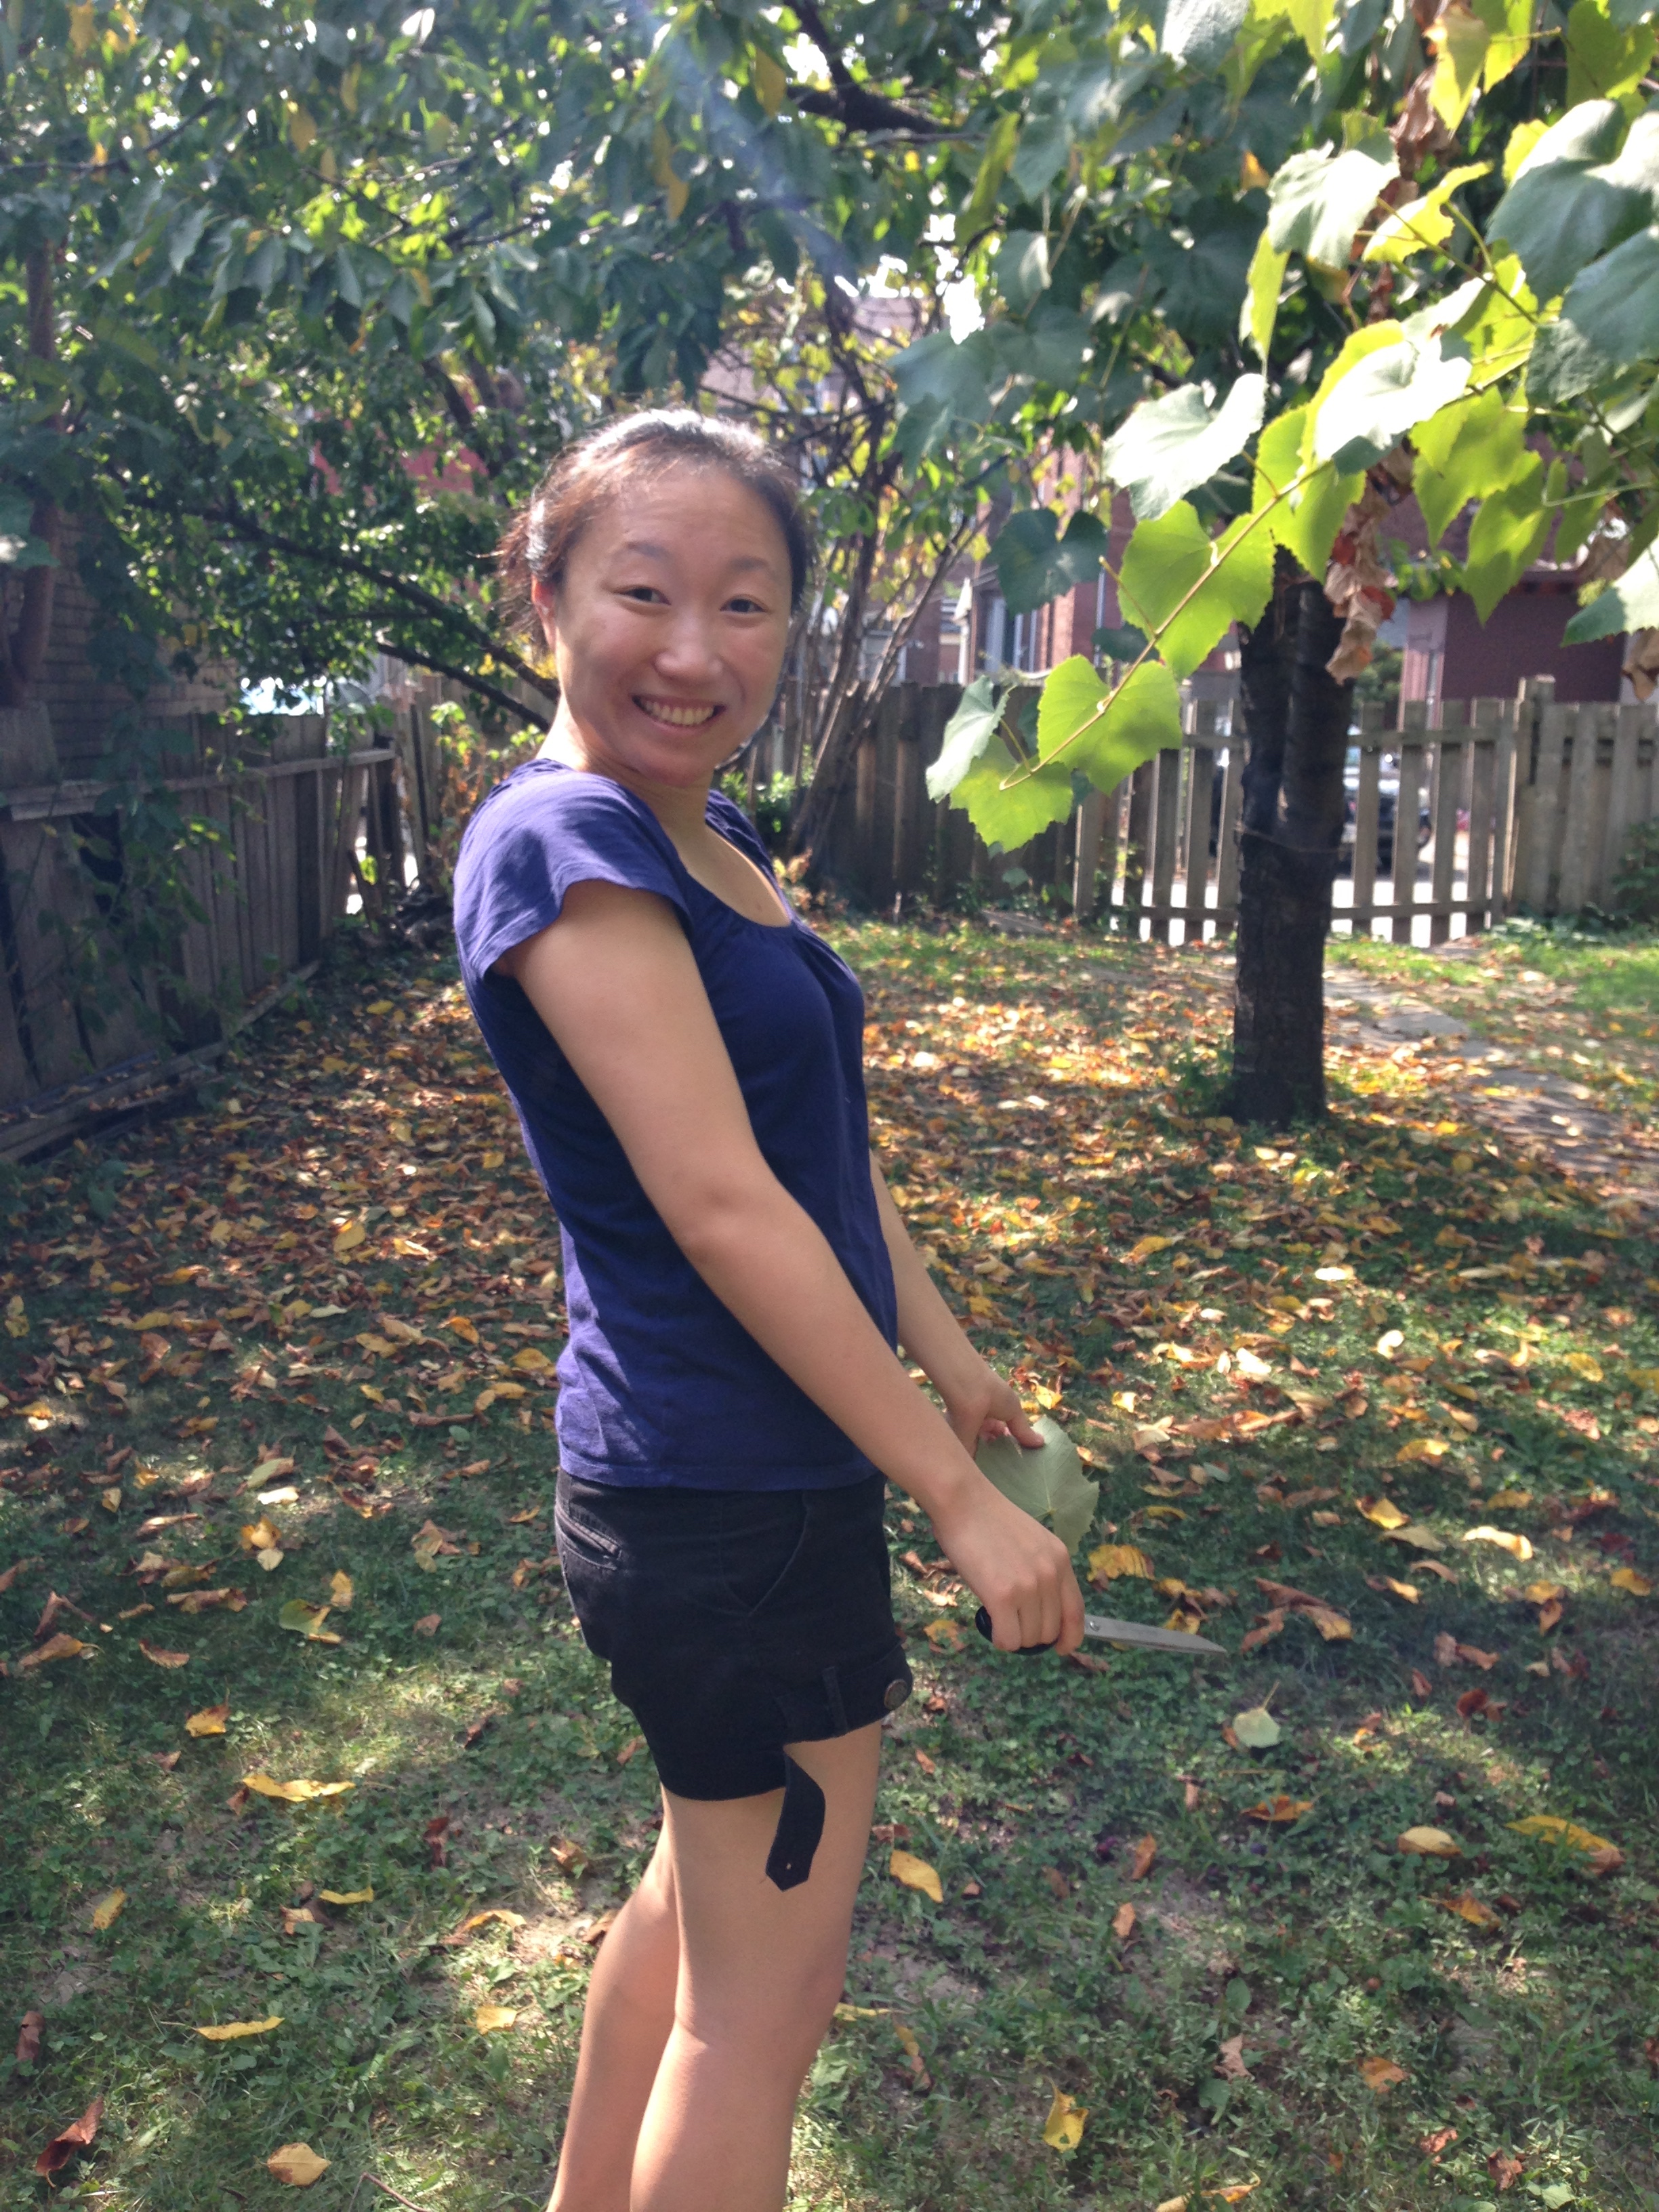
My lovely lady friend Gloria let me adventure with some buddies into her and her husband's backyard fruit paradise! Grape hunting and harvesting was an afternoon affair. A successful affair. We picked all the ones we could reach and there were still a grape ton high up above out heads. (Yes. Grape Tree. Mind Blown.) Next year perhaps there will be wine to be made. First step will be get a ladder! XD

We collected all we could and attempted to not nom them all. There were master plans for these grapes: Grape Jelly.

So I got the grapes home and (eventually) set to work. 

Grape Jelly

5 cups juice
1 packet pectin (I used Bernardin)
6 cups sugar
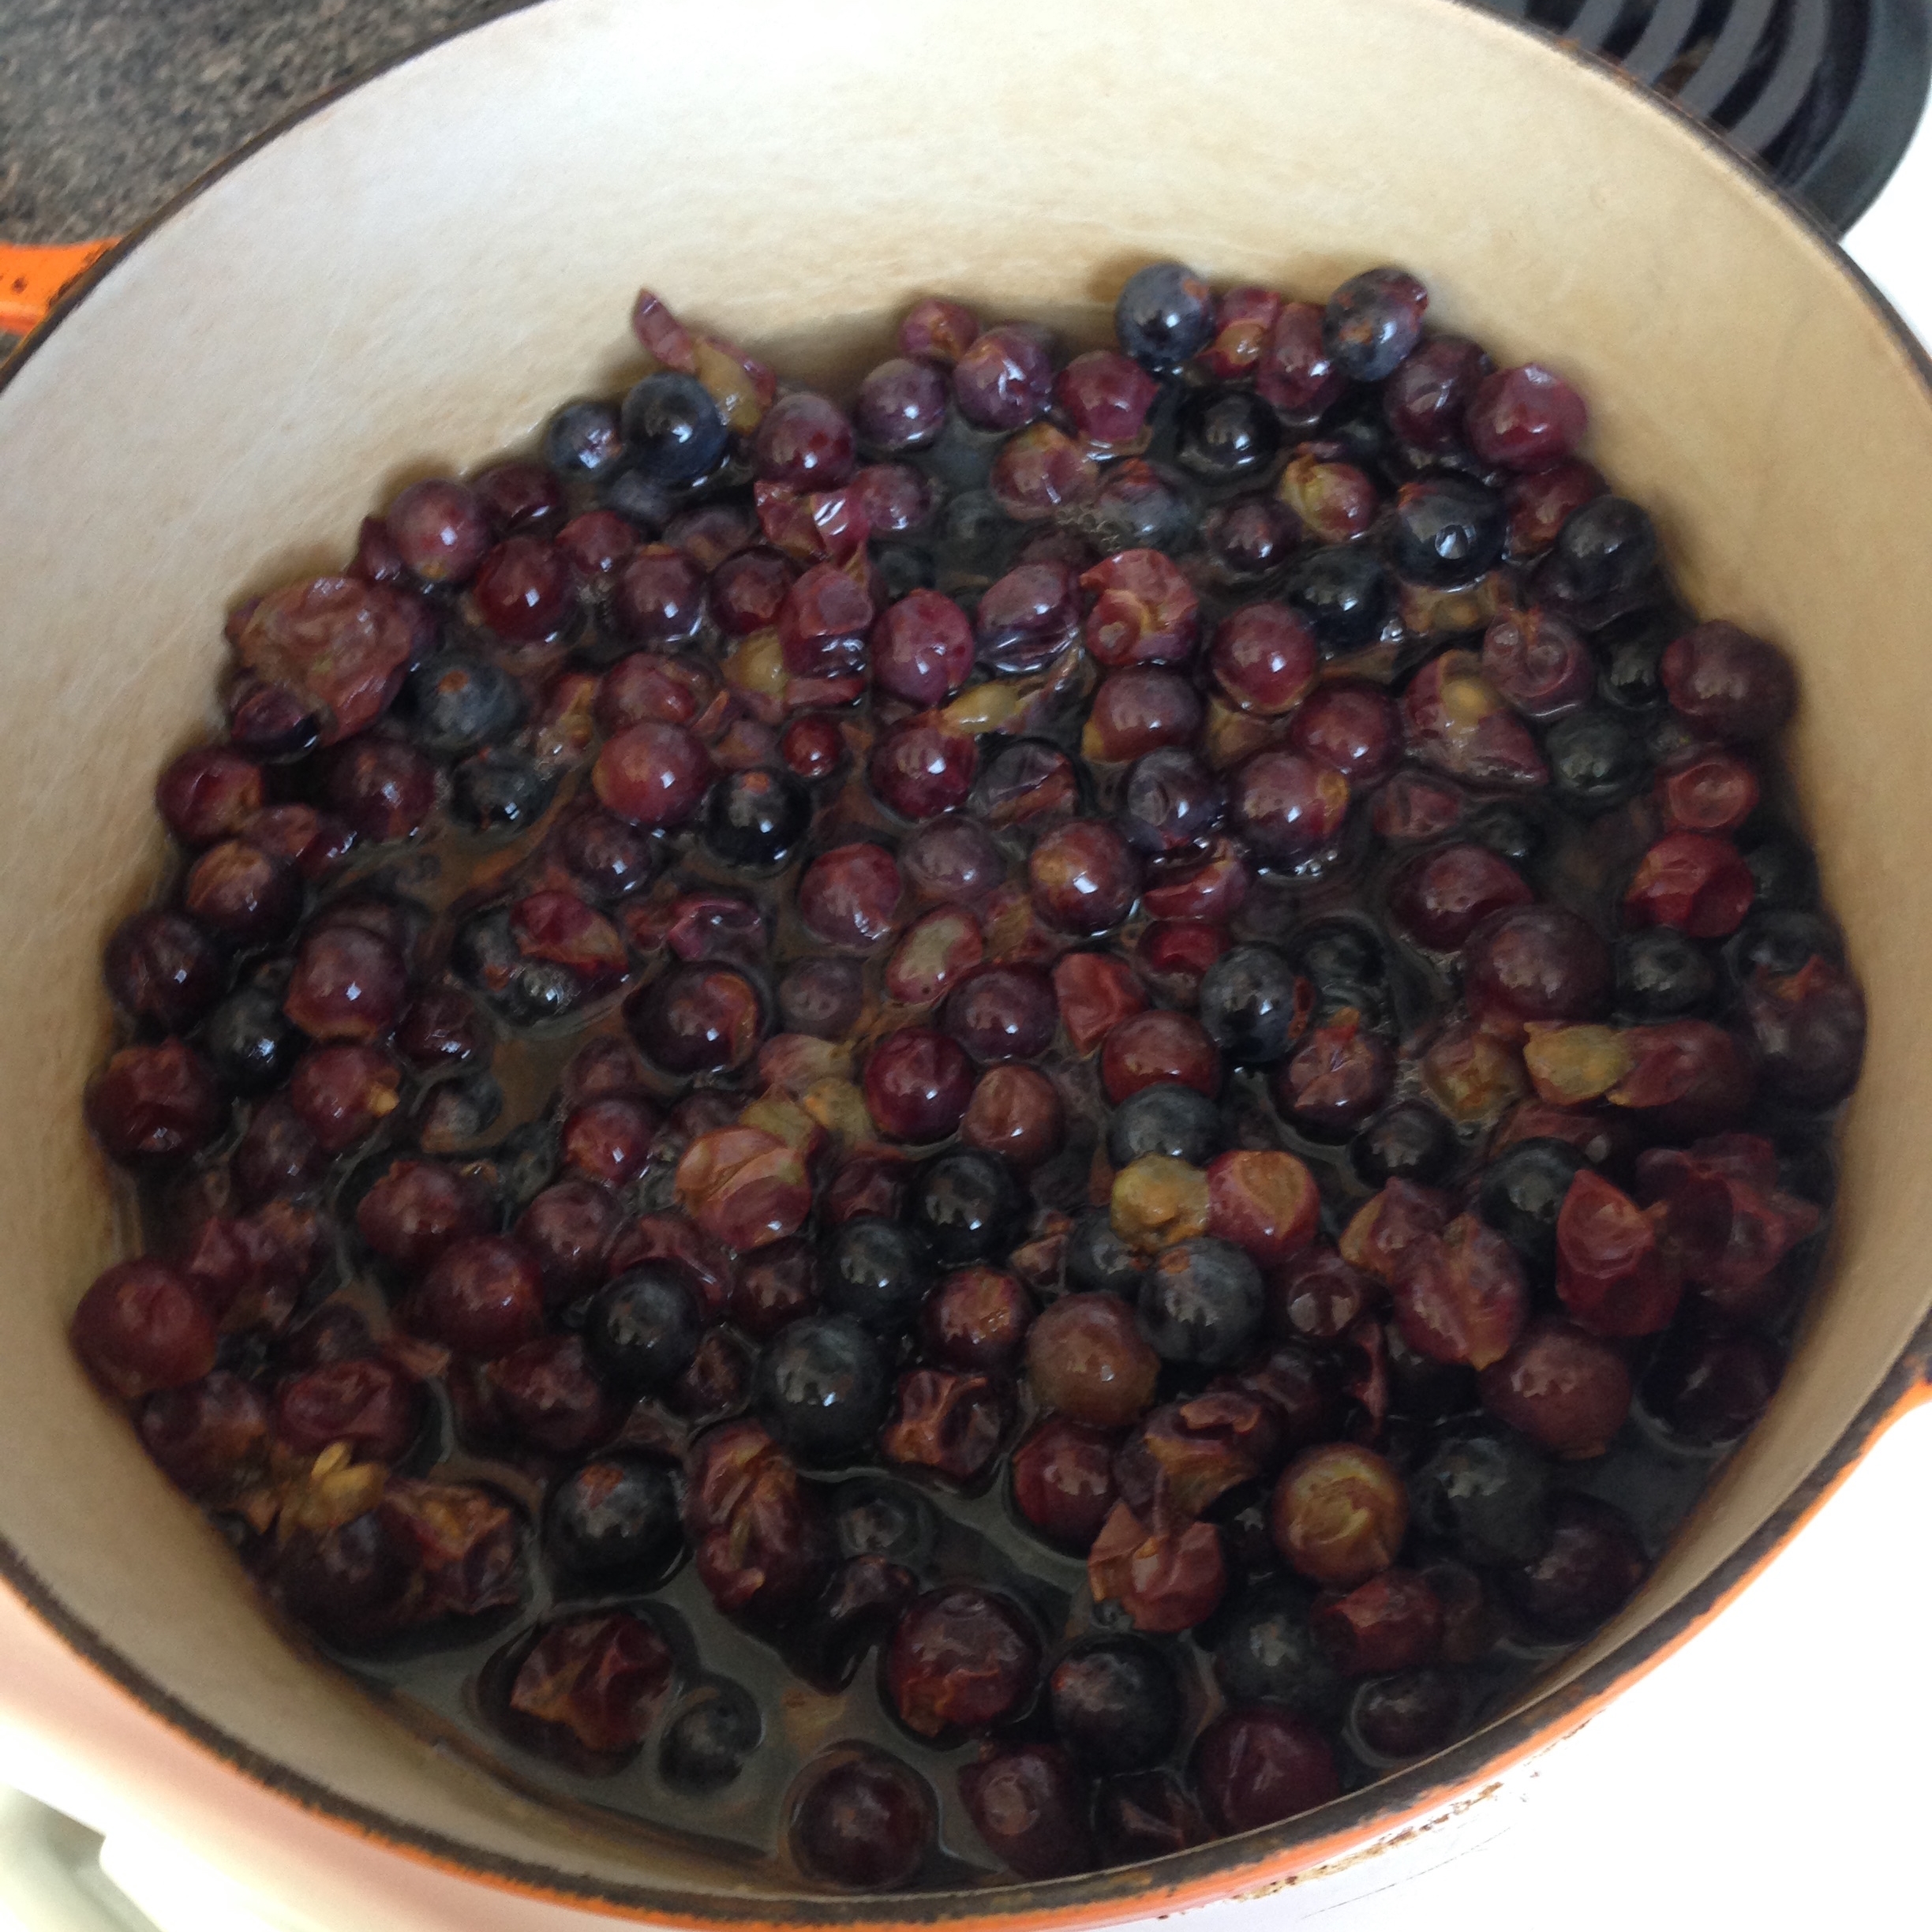
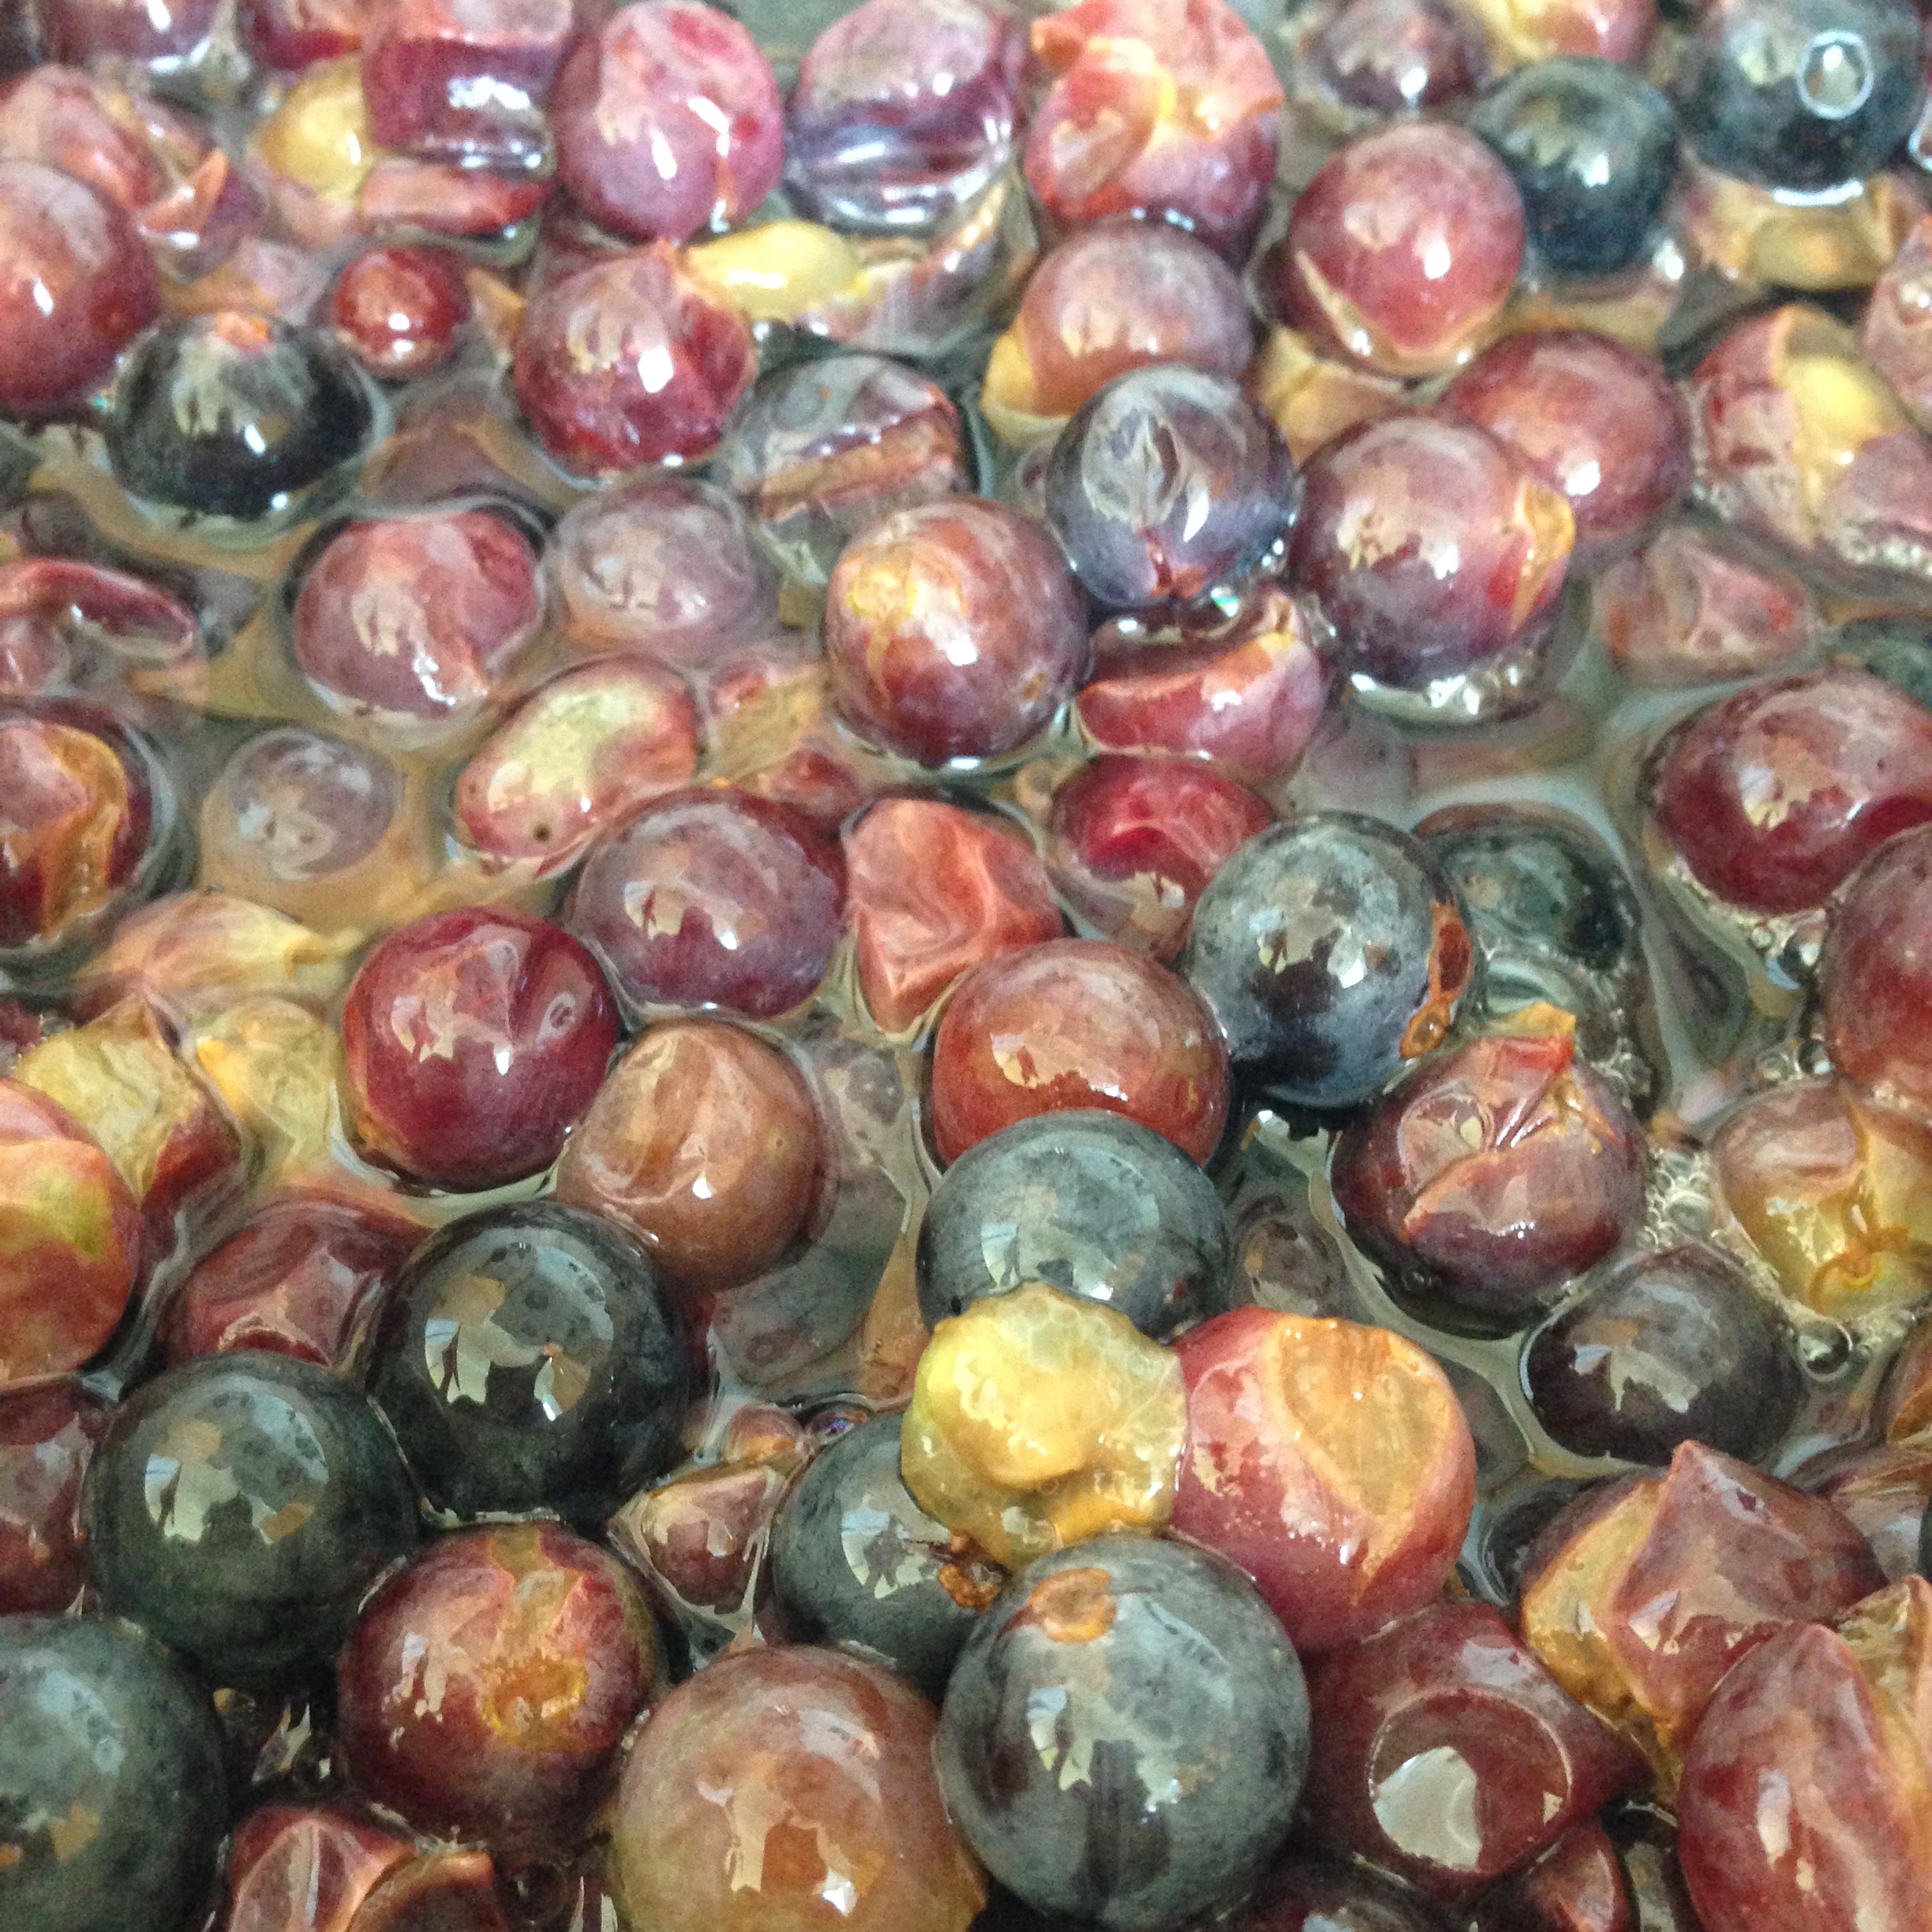
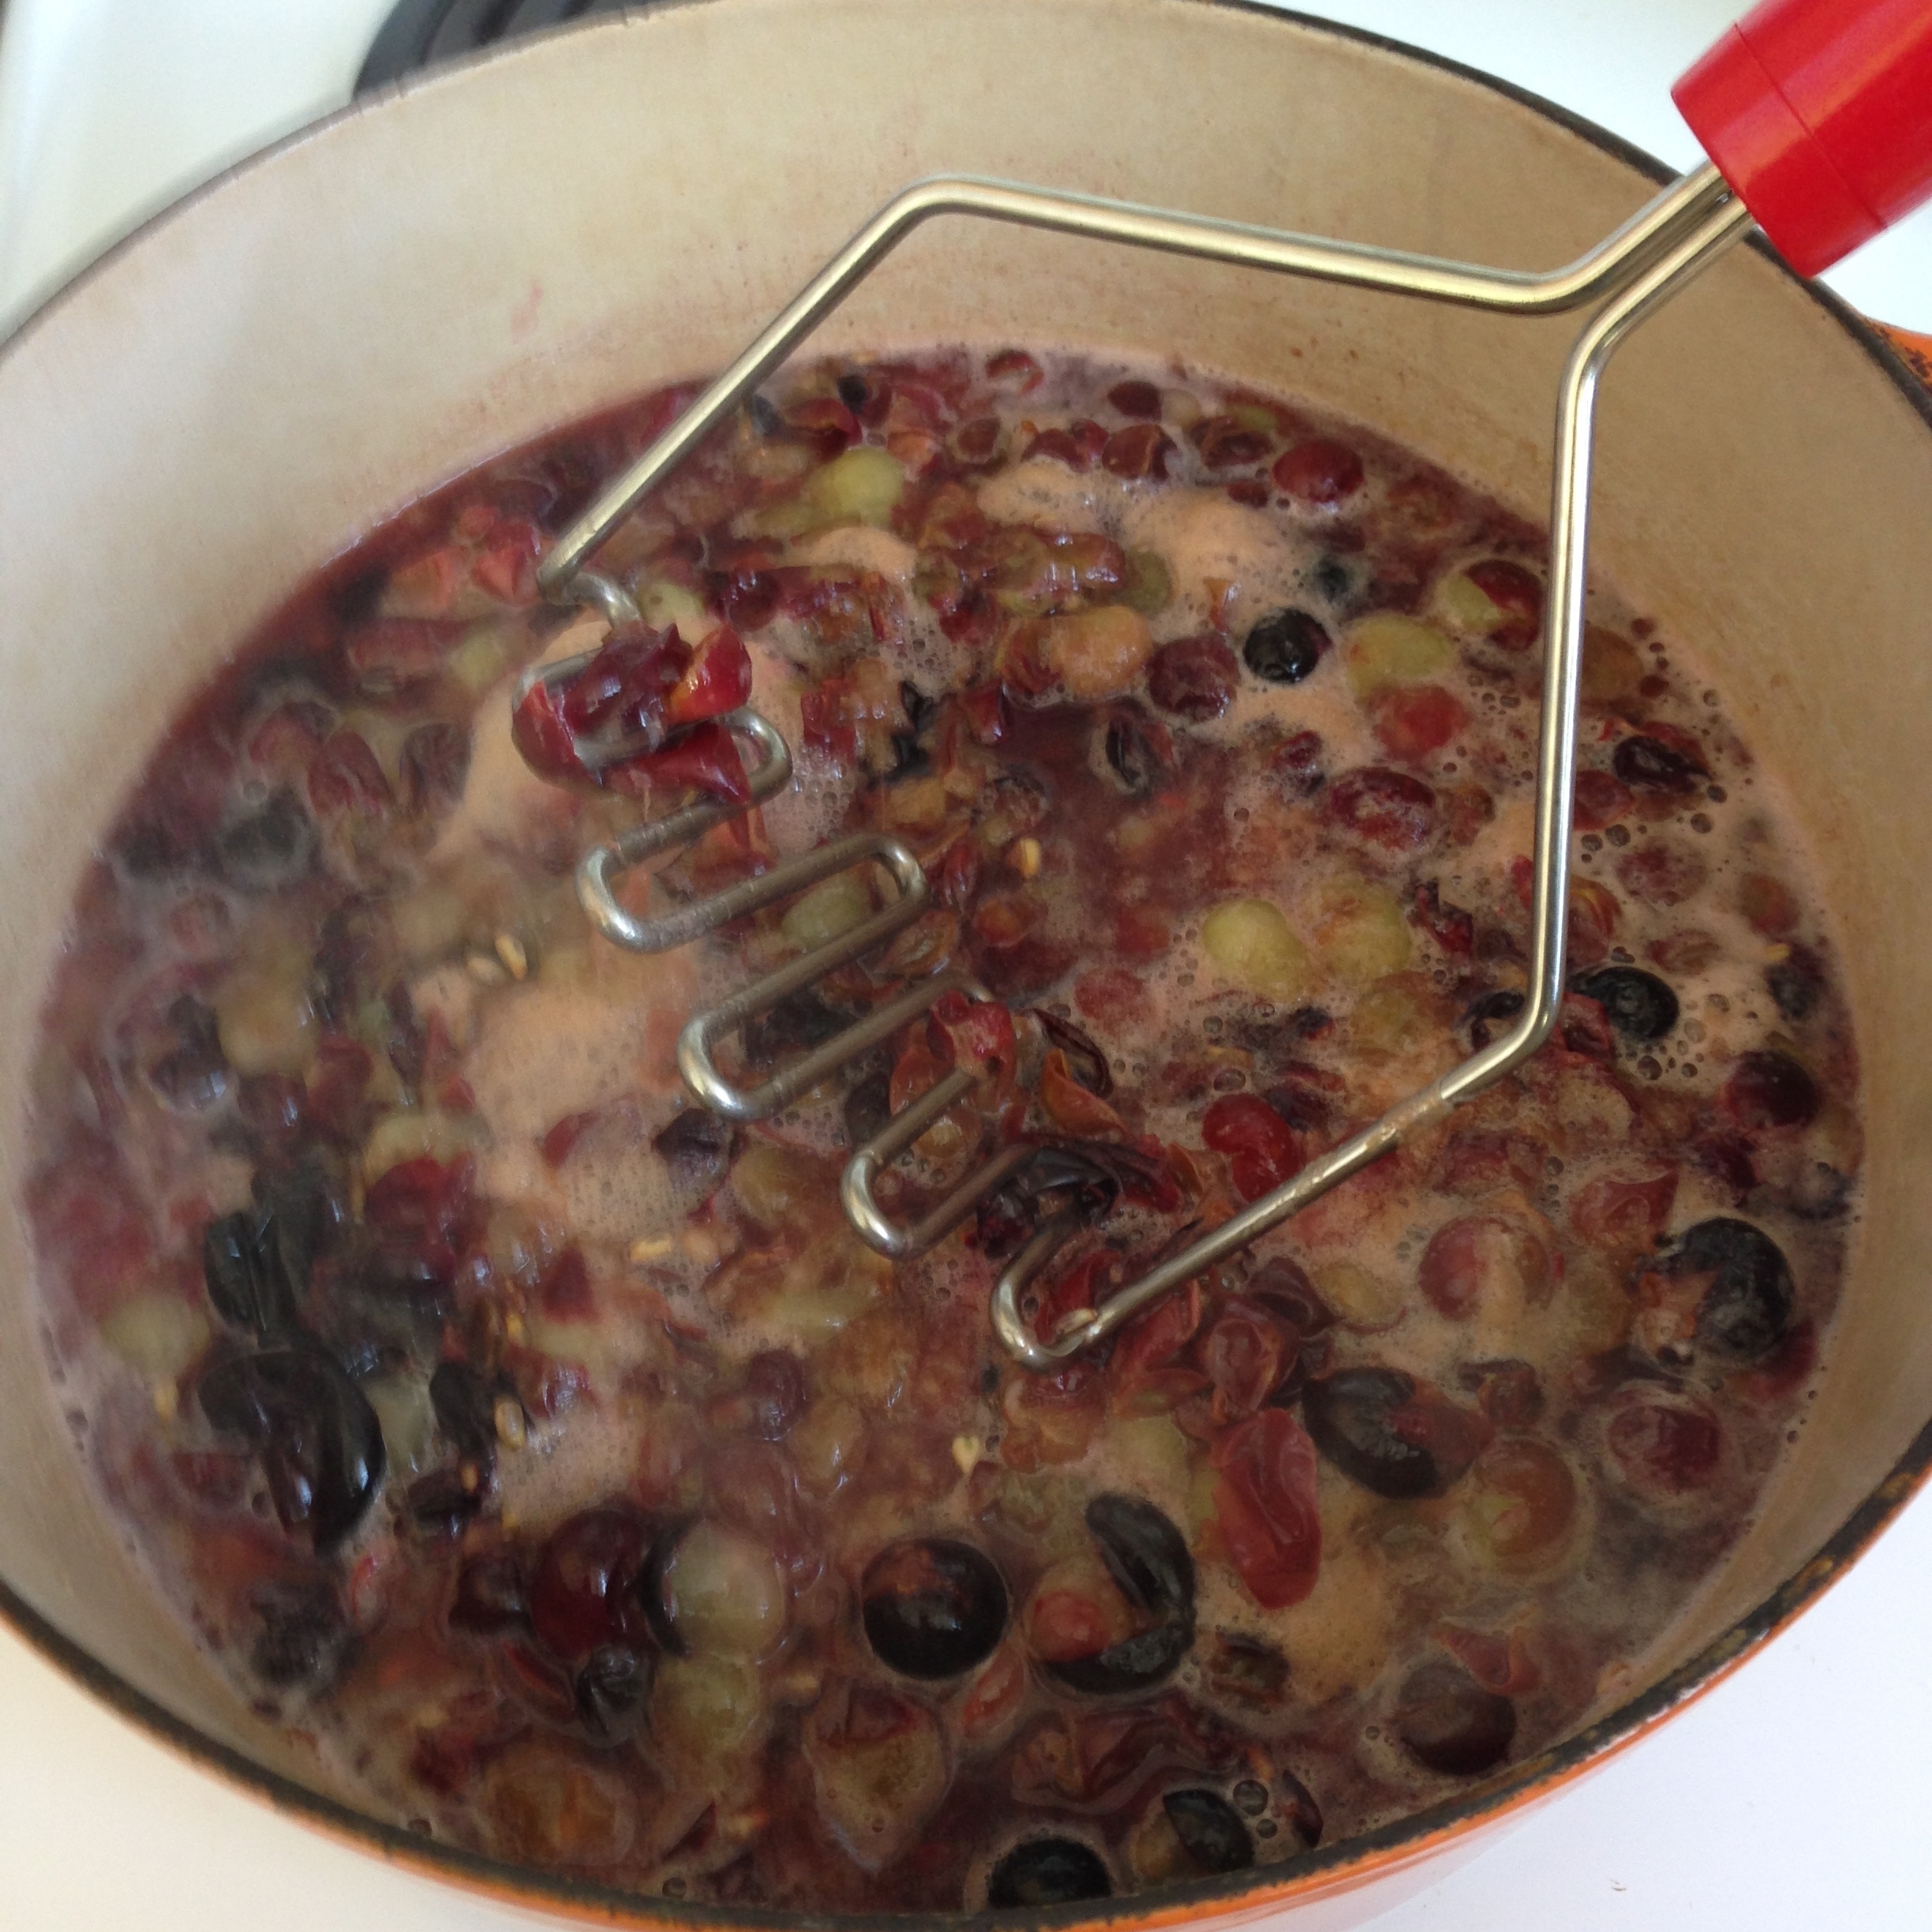
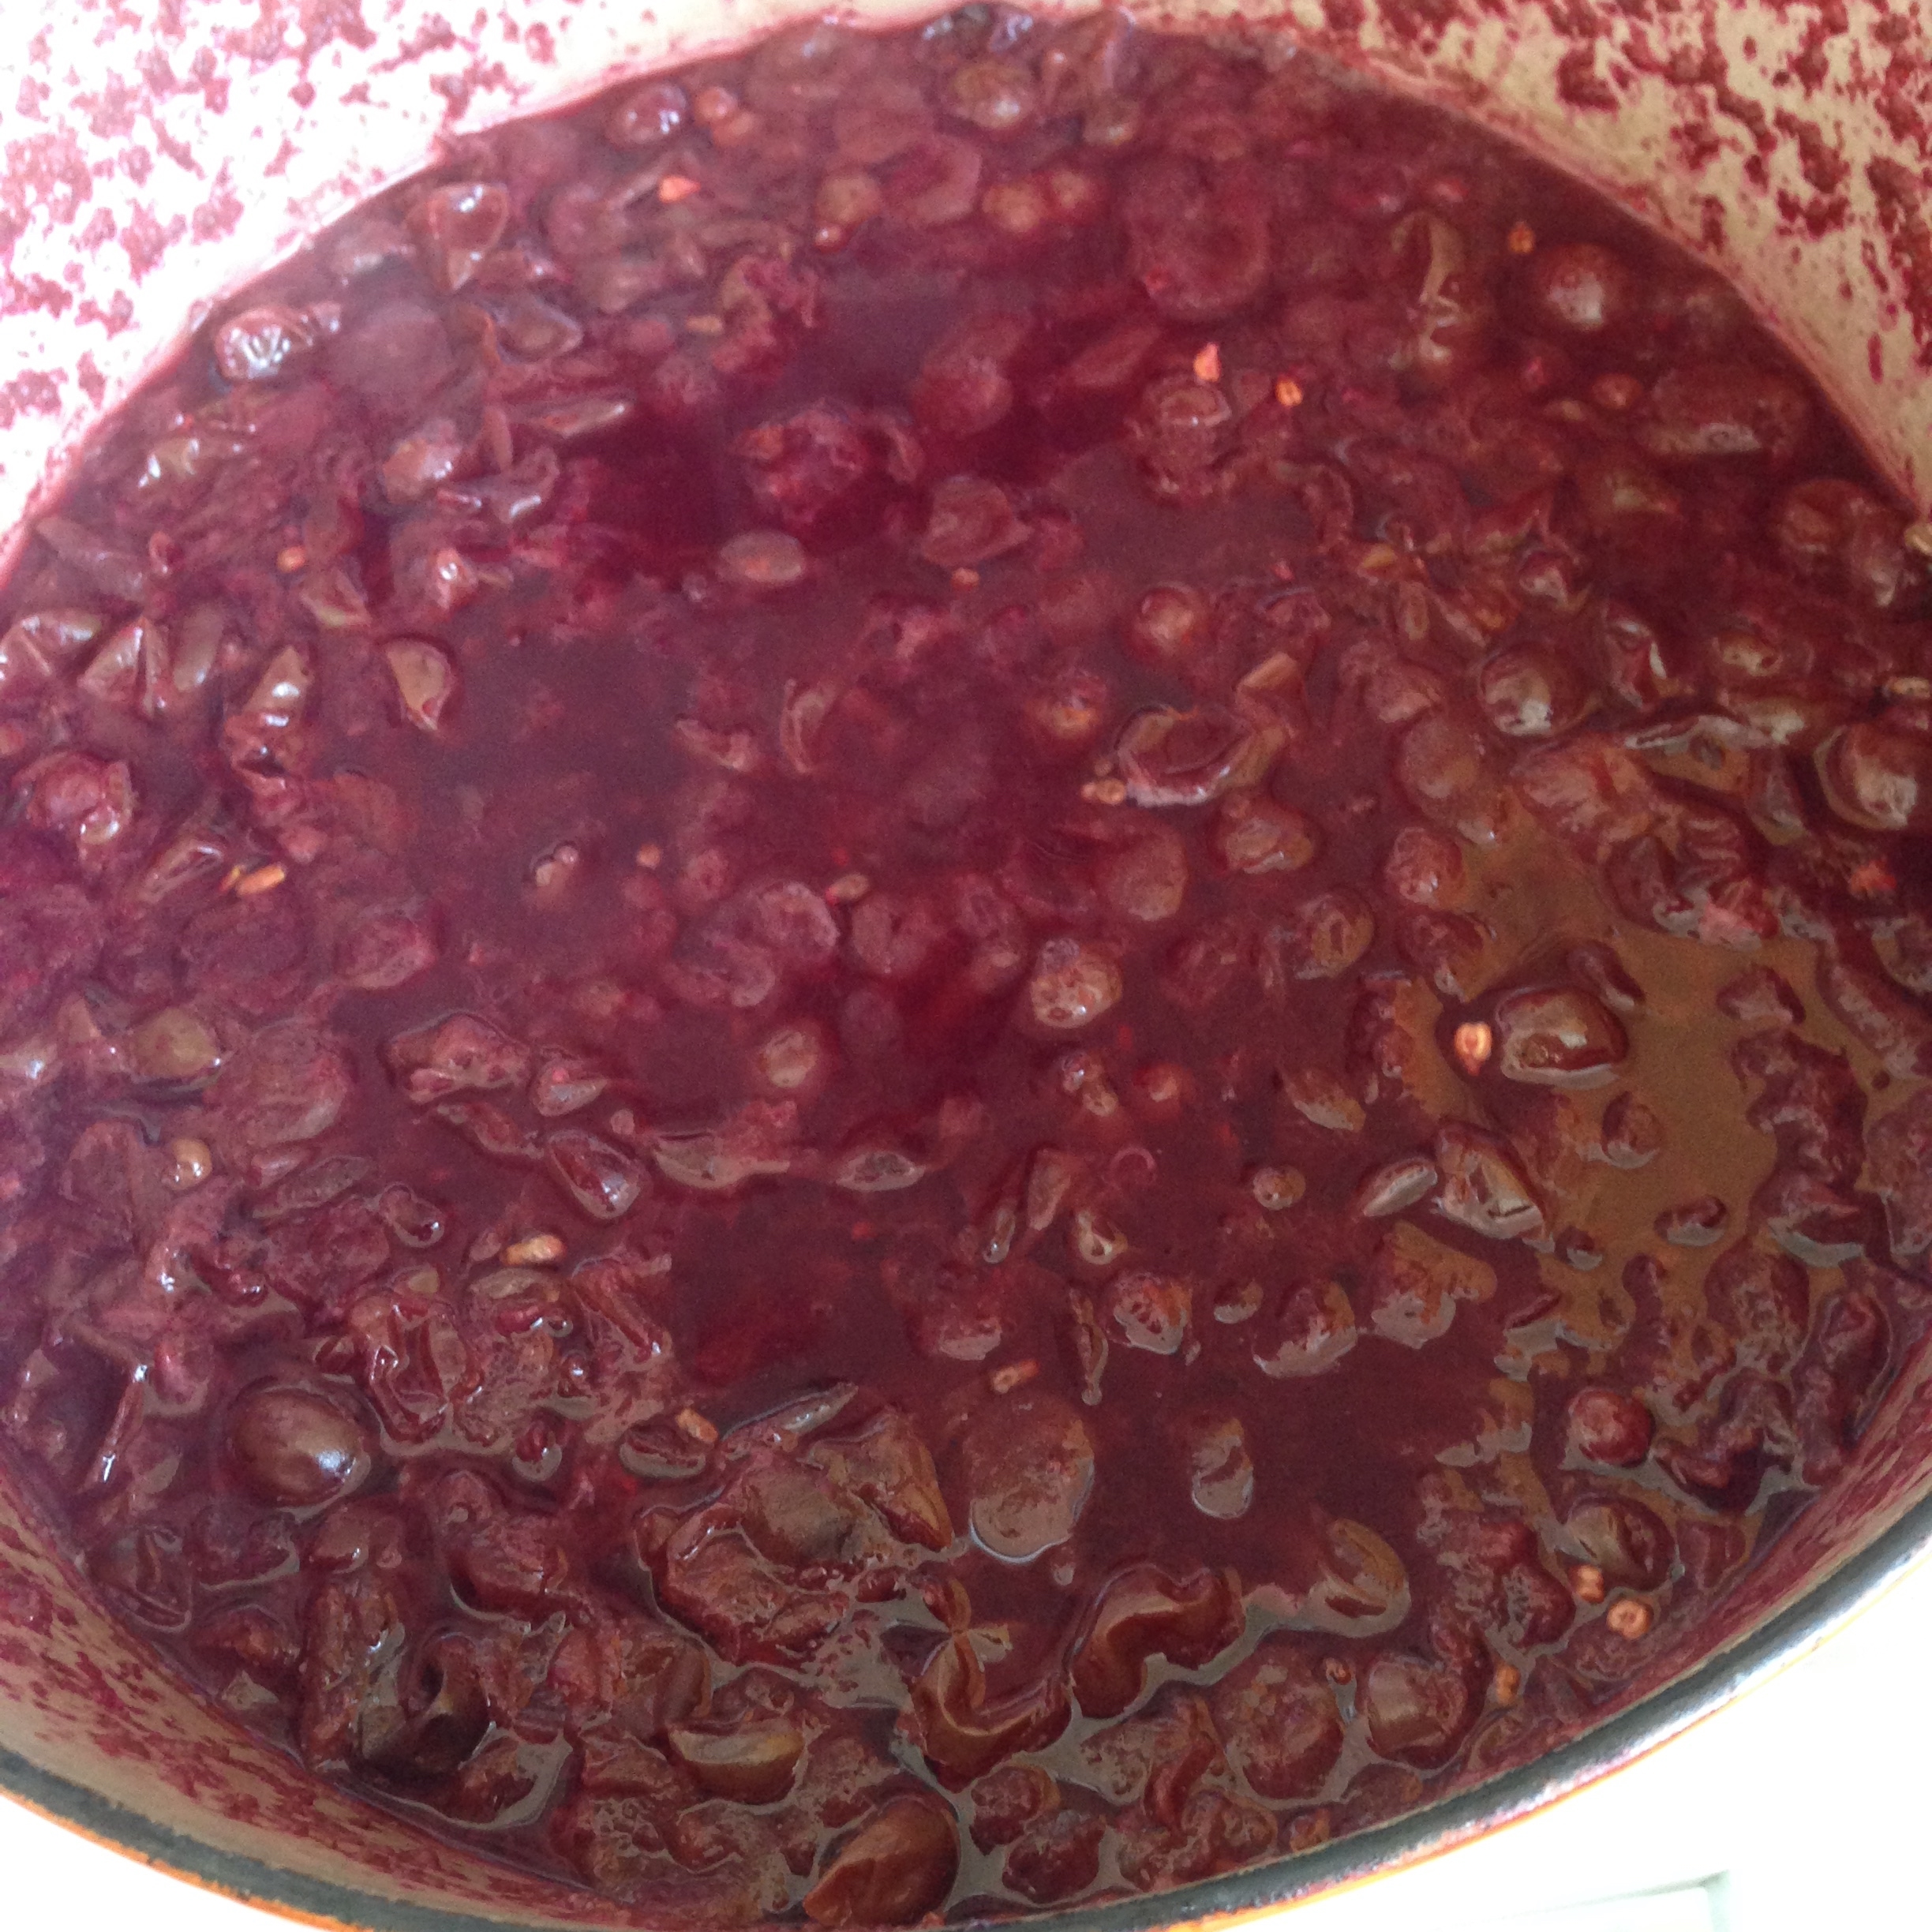
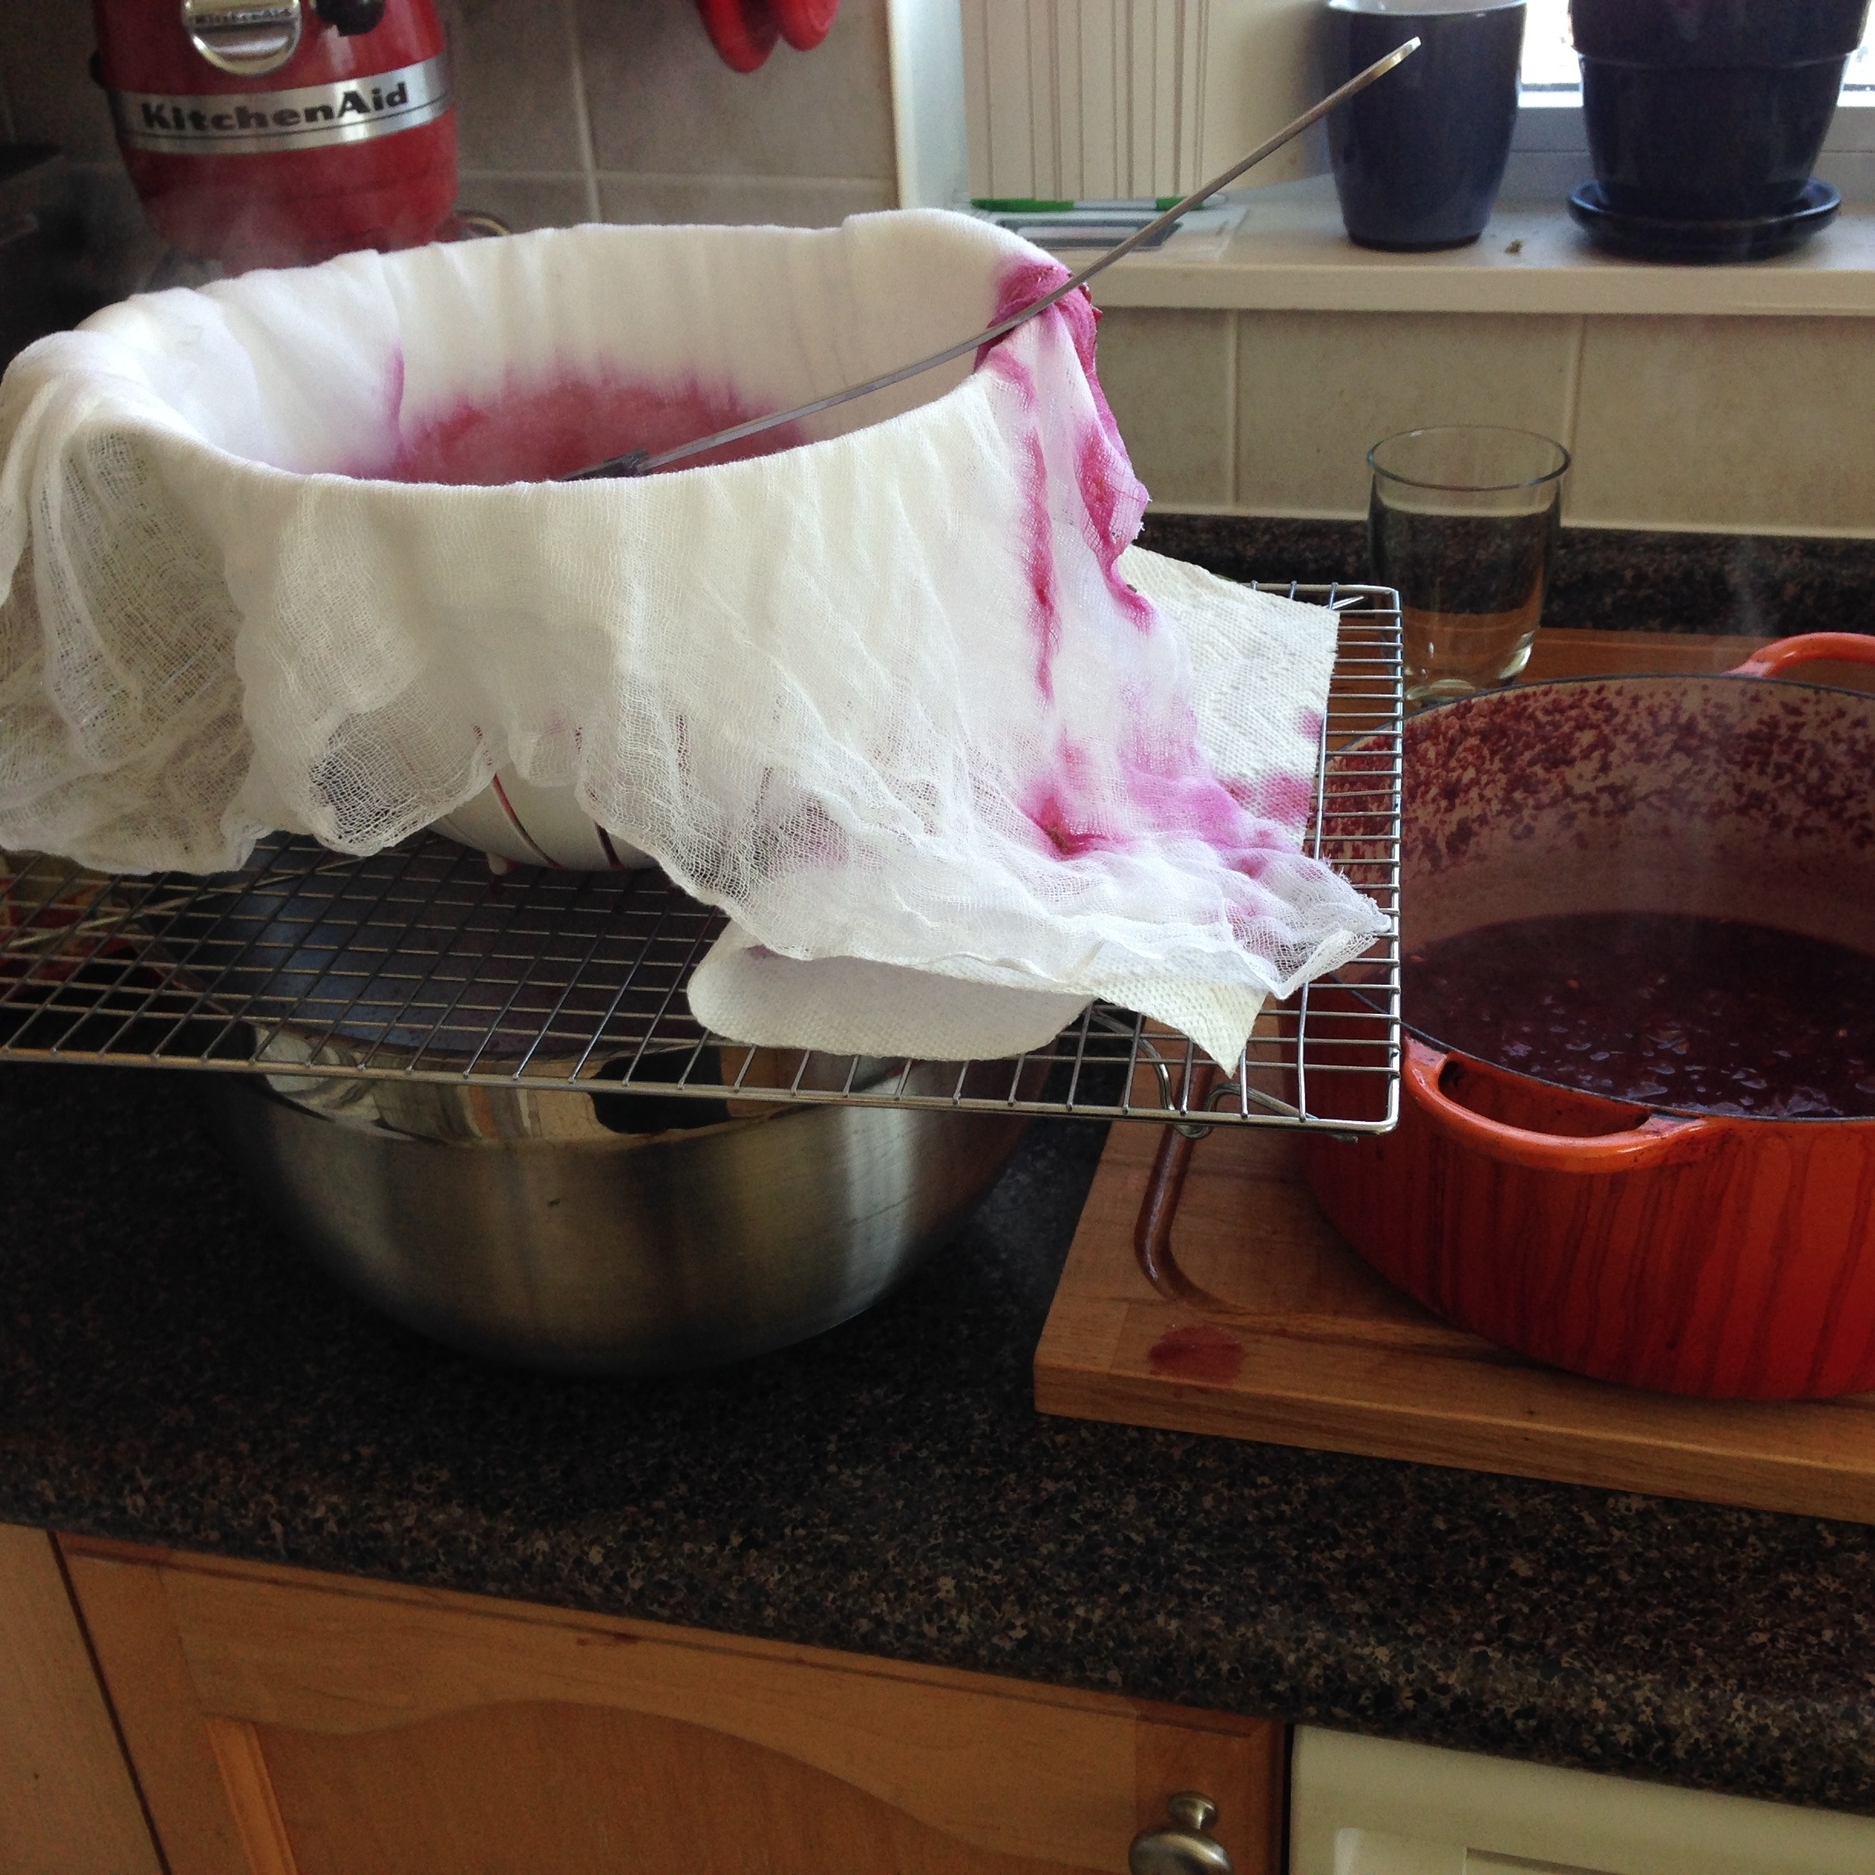
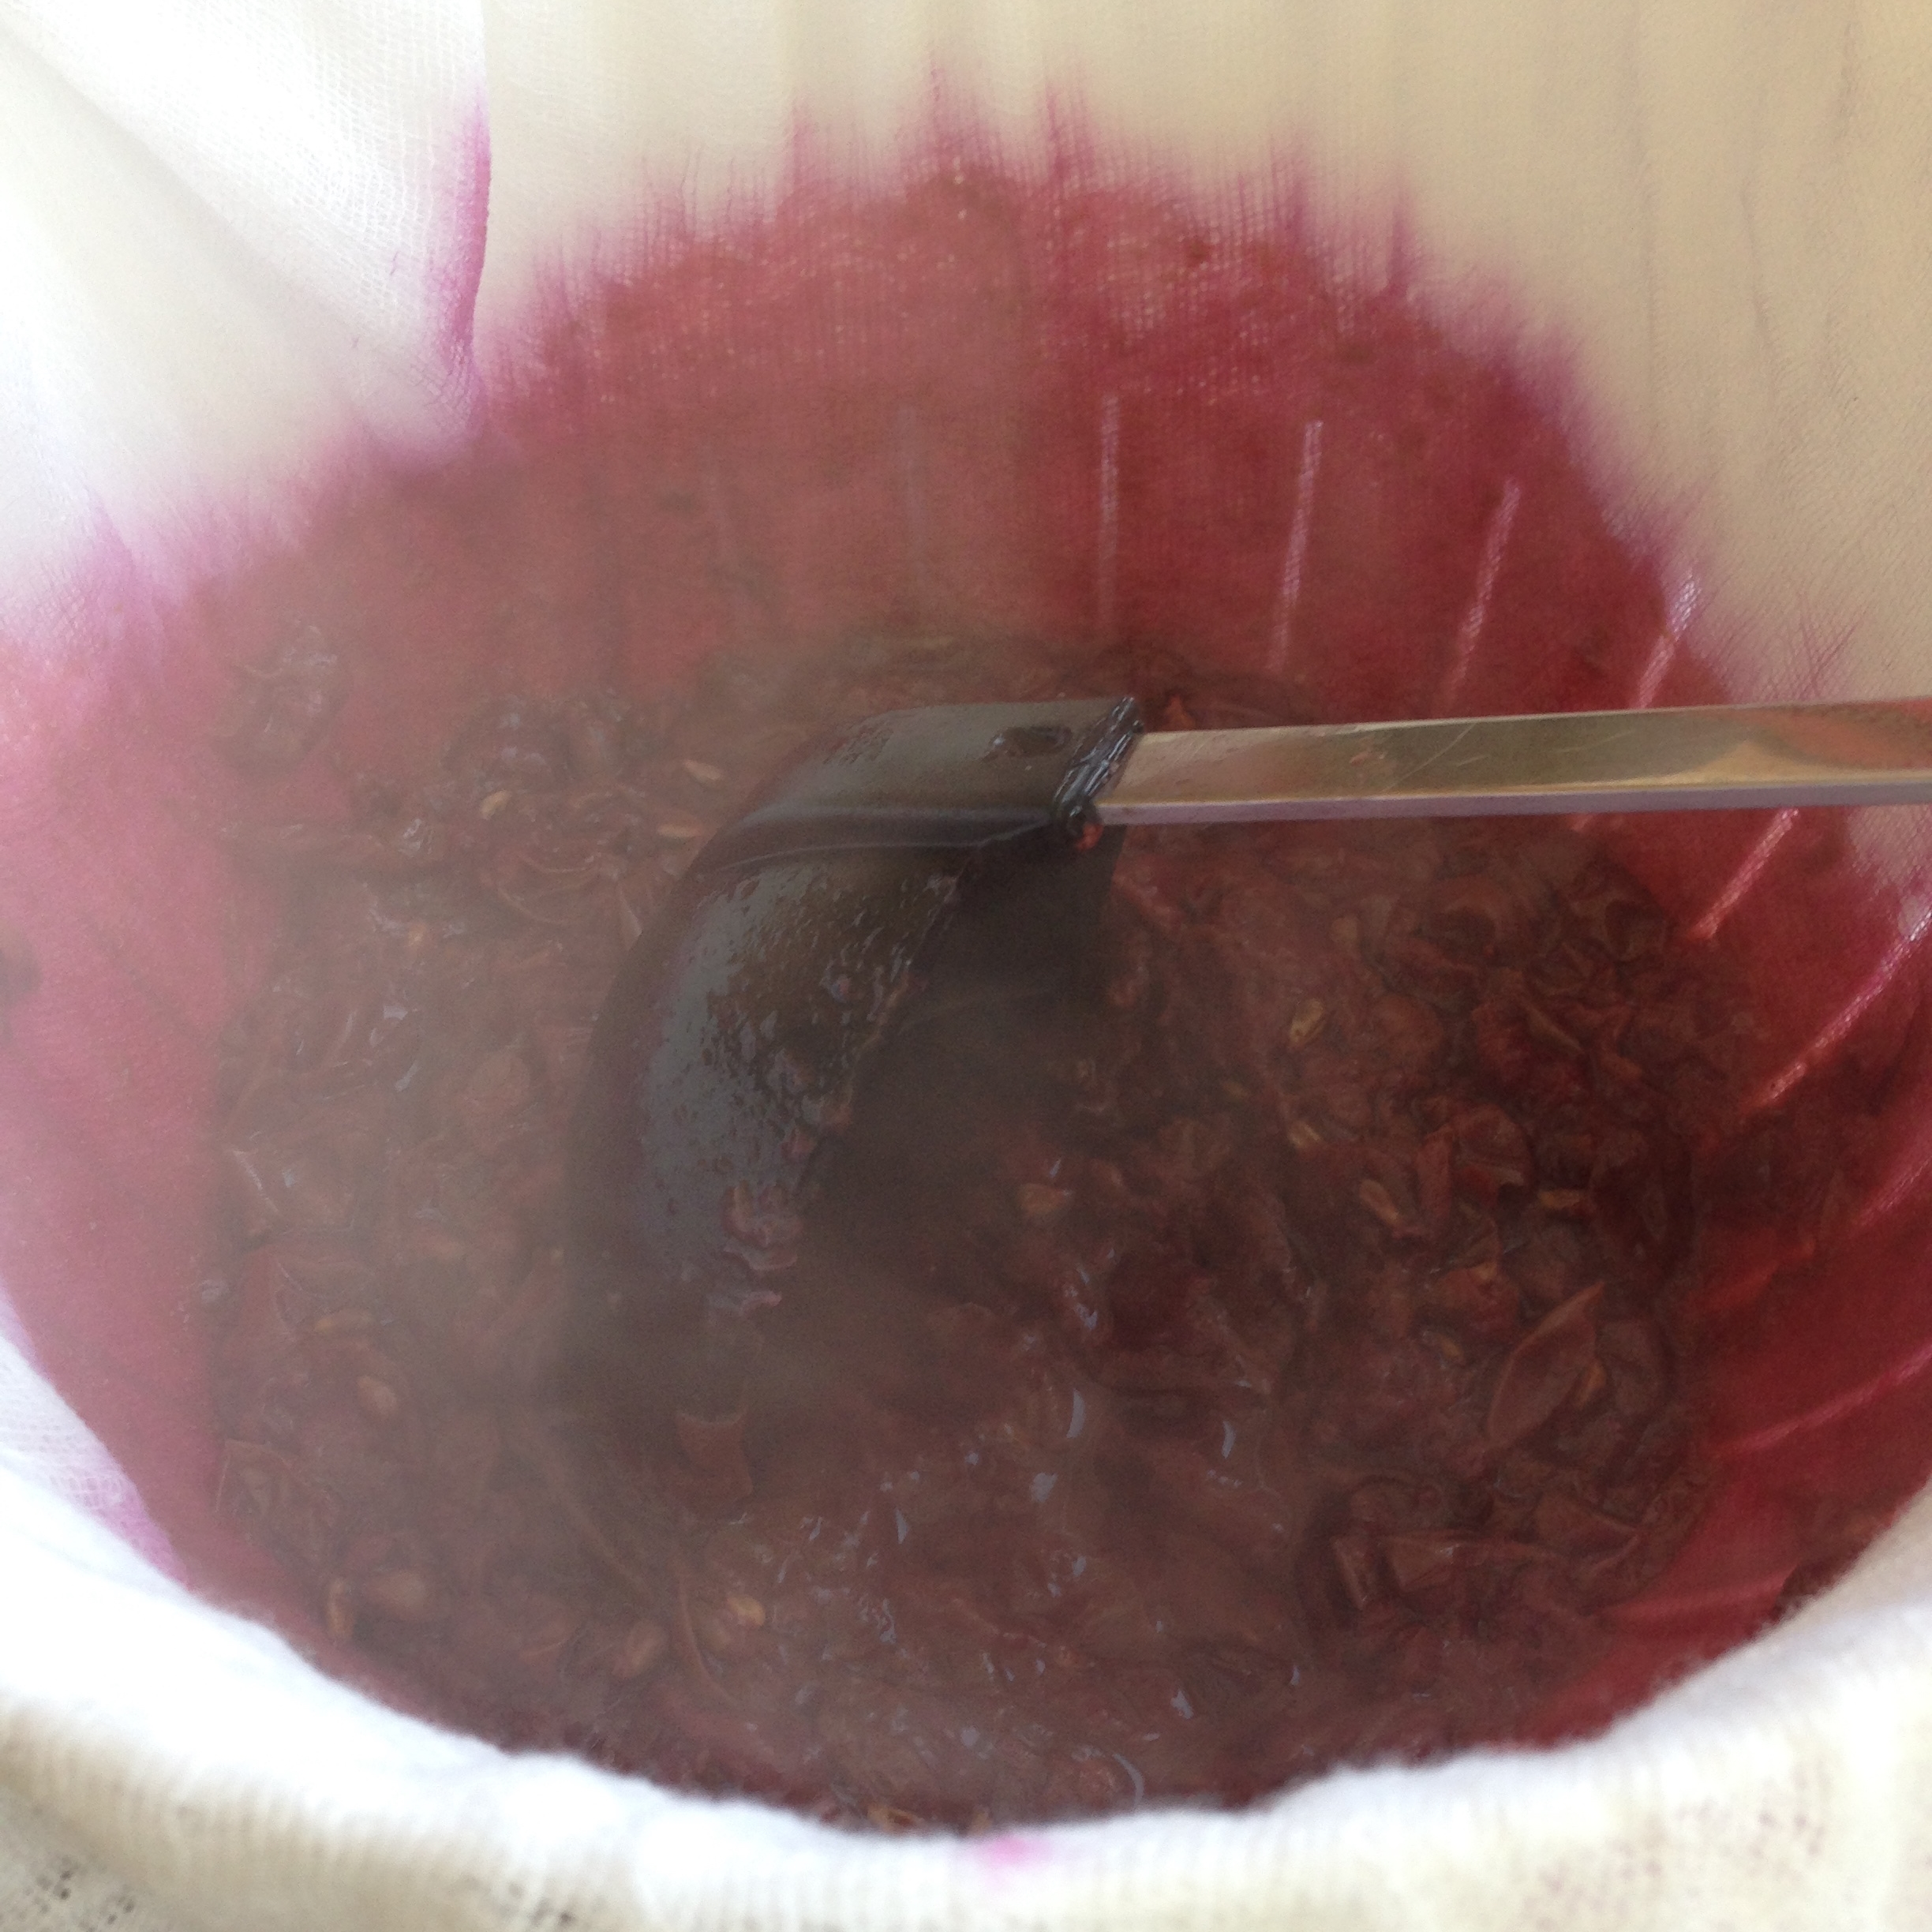
Making the juice is first on the roster! Wash and de-stem the grapes. In a non-reactive pot with a lid, place grapes inside and fill the pot with water till the grapes are Almost covered, usually about 1  1/2 cups of water. Bring this to a boil over high heat. Using a potato masher, mash the grapes. This releases juice. Cover the pot with the lid and boil the grapes for about 10 minutes, stirring occasionally. Watch it! So it doesn't boil over and make a sticky charcoal-y mess of your stove top.... She says from experience.  Once the fruit is done being a boiling mash, take it off the heat. It's straining time! There are a couple ways of straining out the juice from this mash: There are actual sieves you can buy; there is cheese cloth; and there is the old school clean pillowcase method. I opted for the makeshift cheese cloth strainer method, although the pillowcase method makes for the clearest jelly. Let the juice drain from the mash for about 2 hours. Don't press the mash down or squeeze it or the resulting juice and jelly may be cloudy. 


Success! Homemade grape juice made! =D It's jelly making time! (Unless you drink it all... and have to start over.)
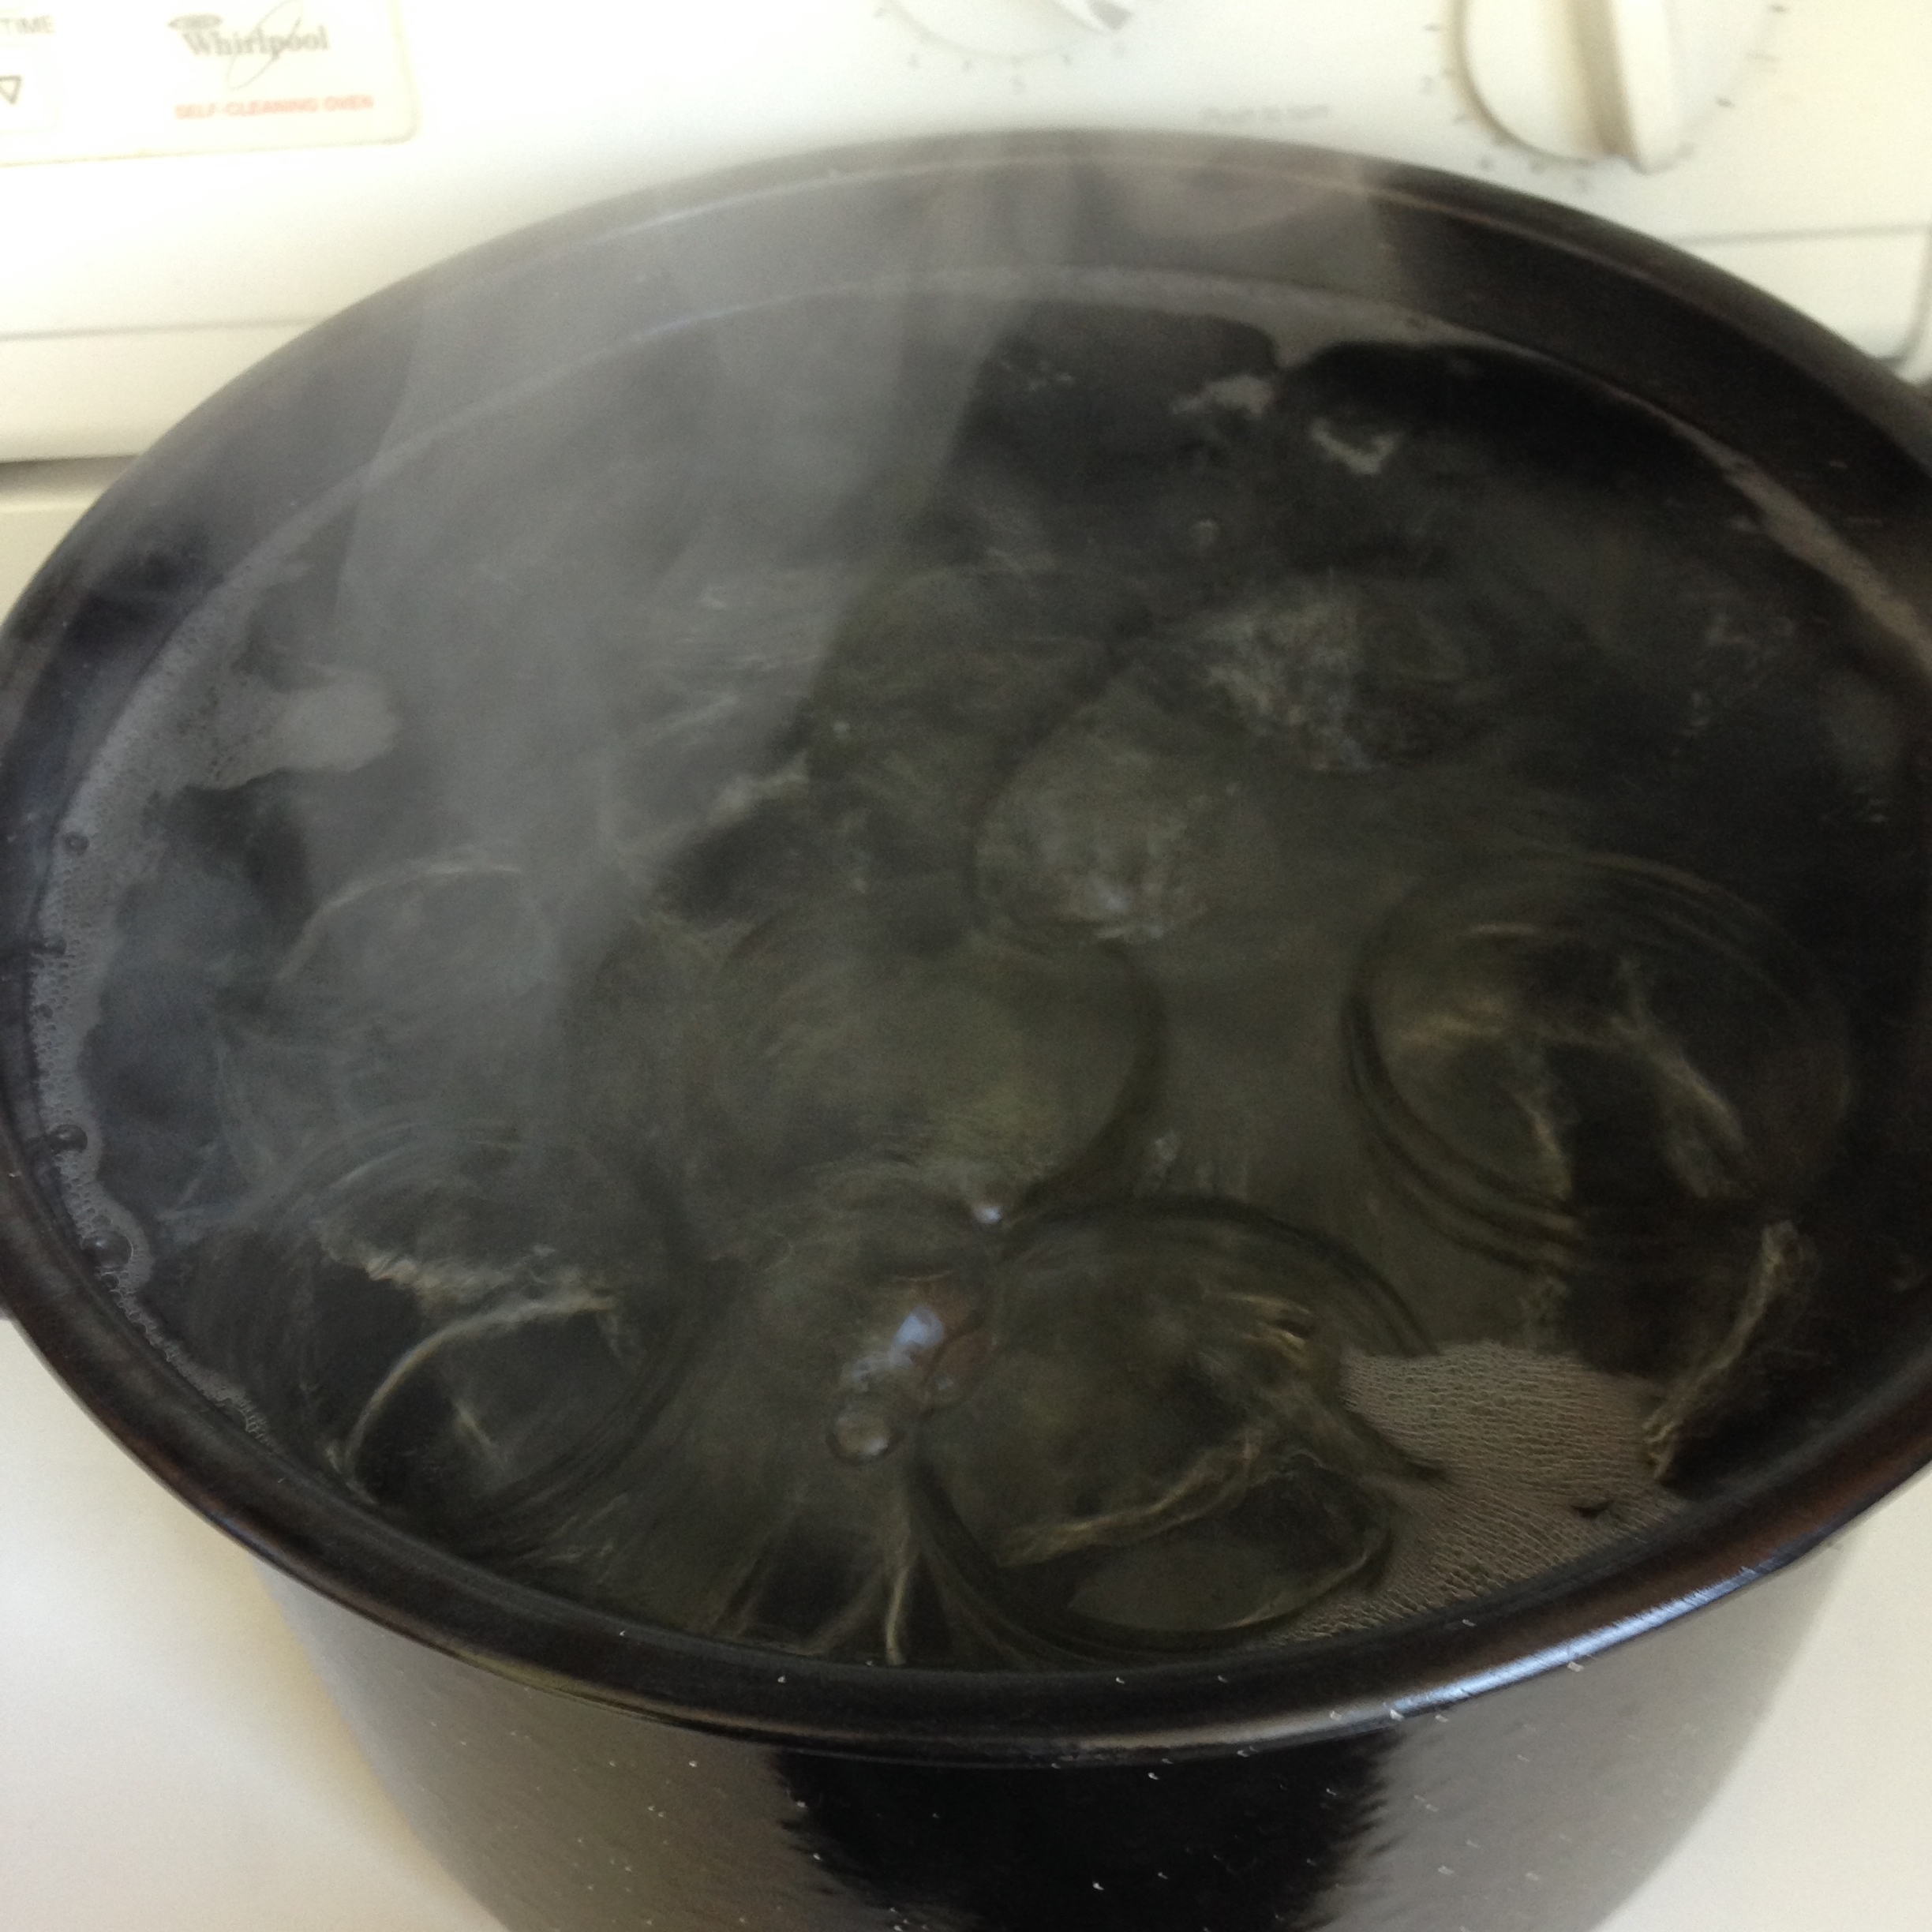
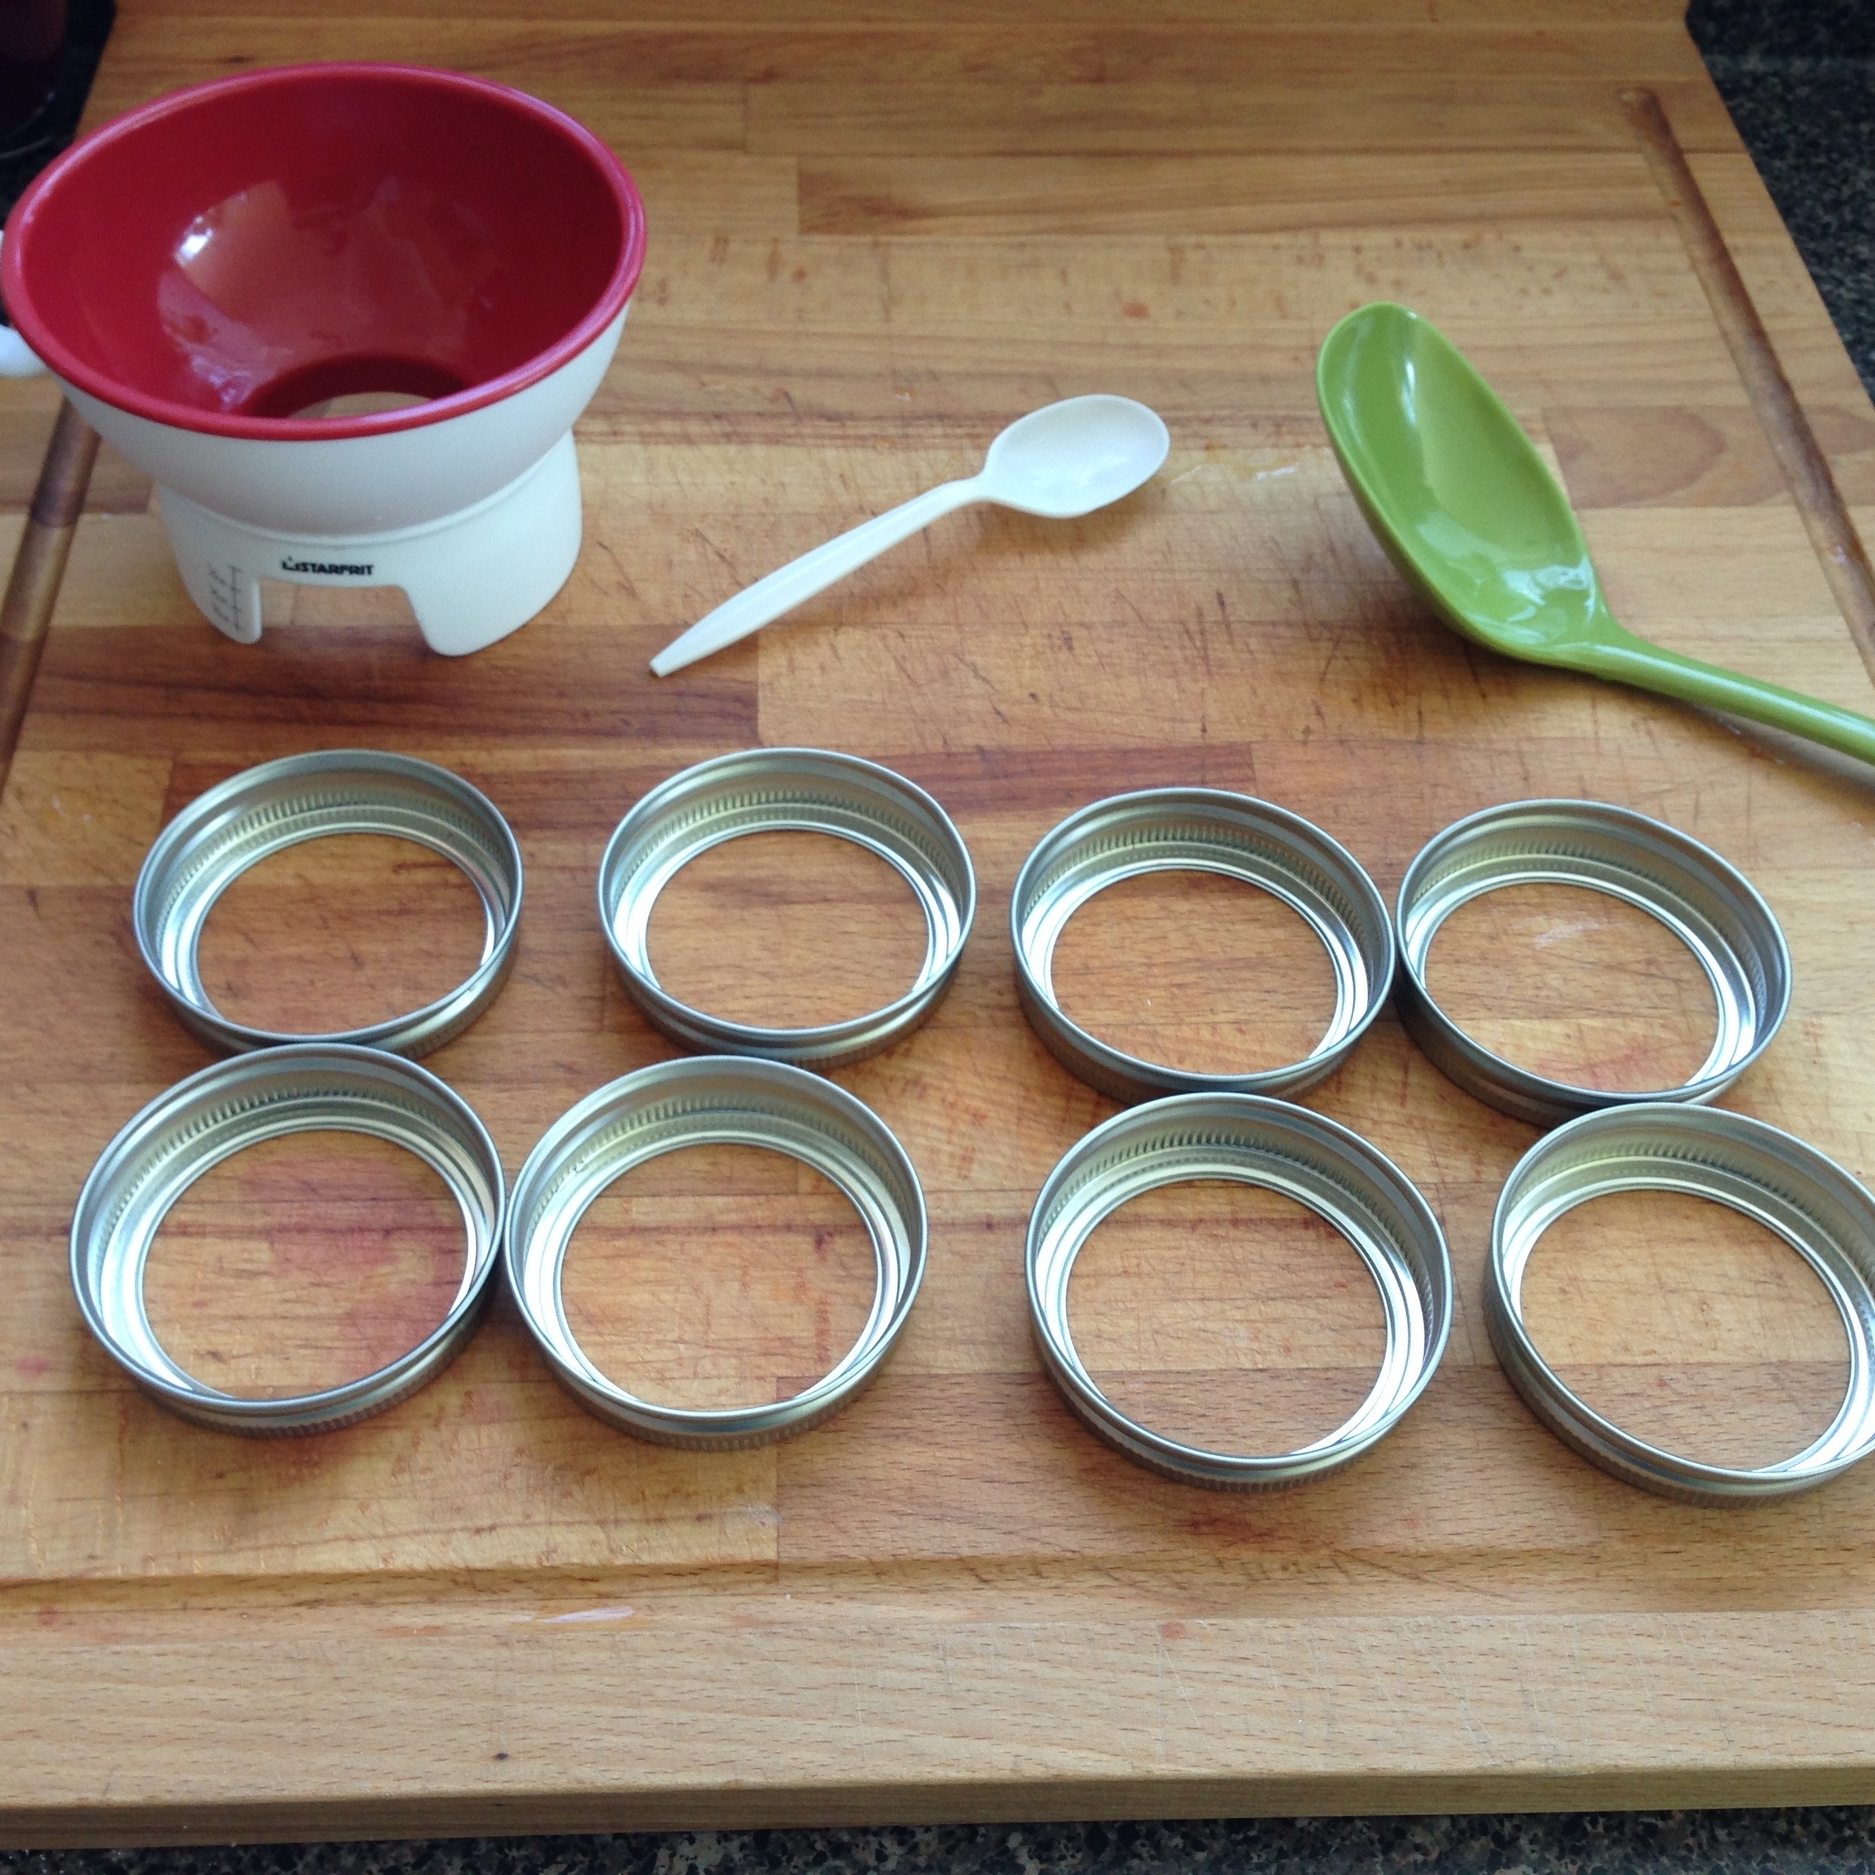
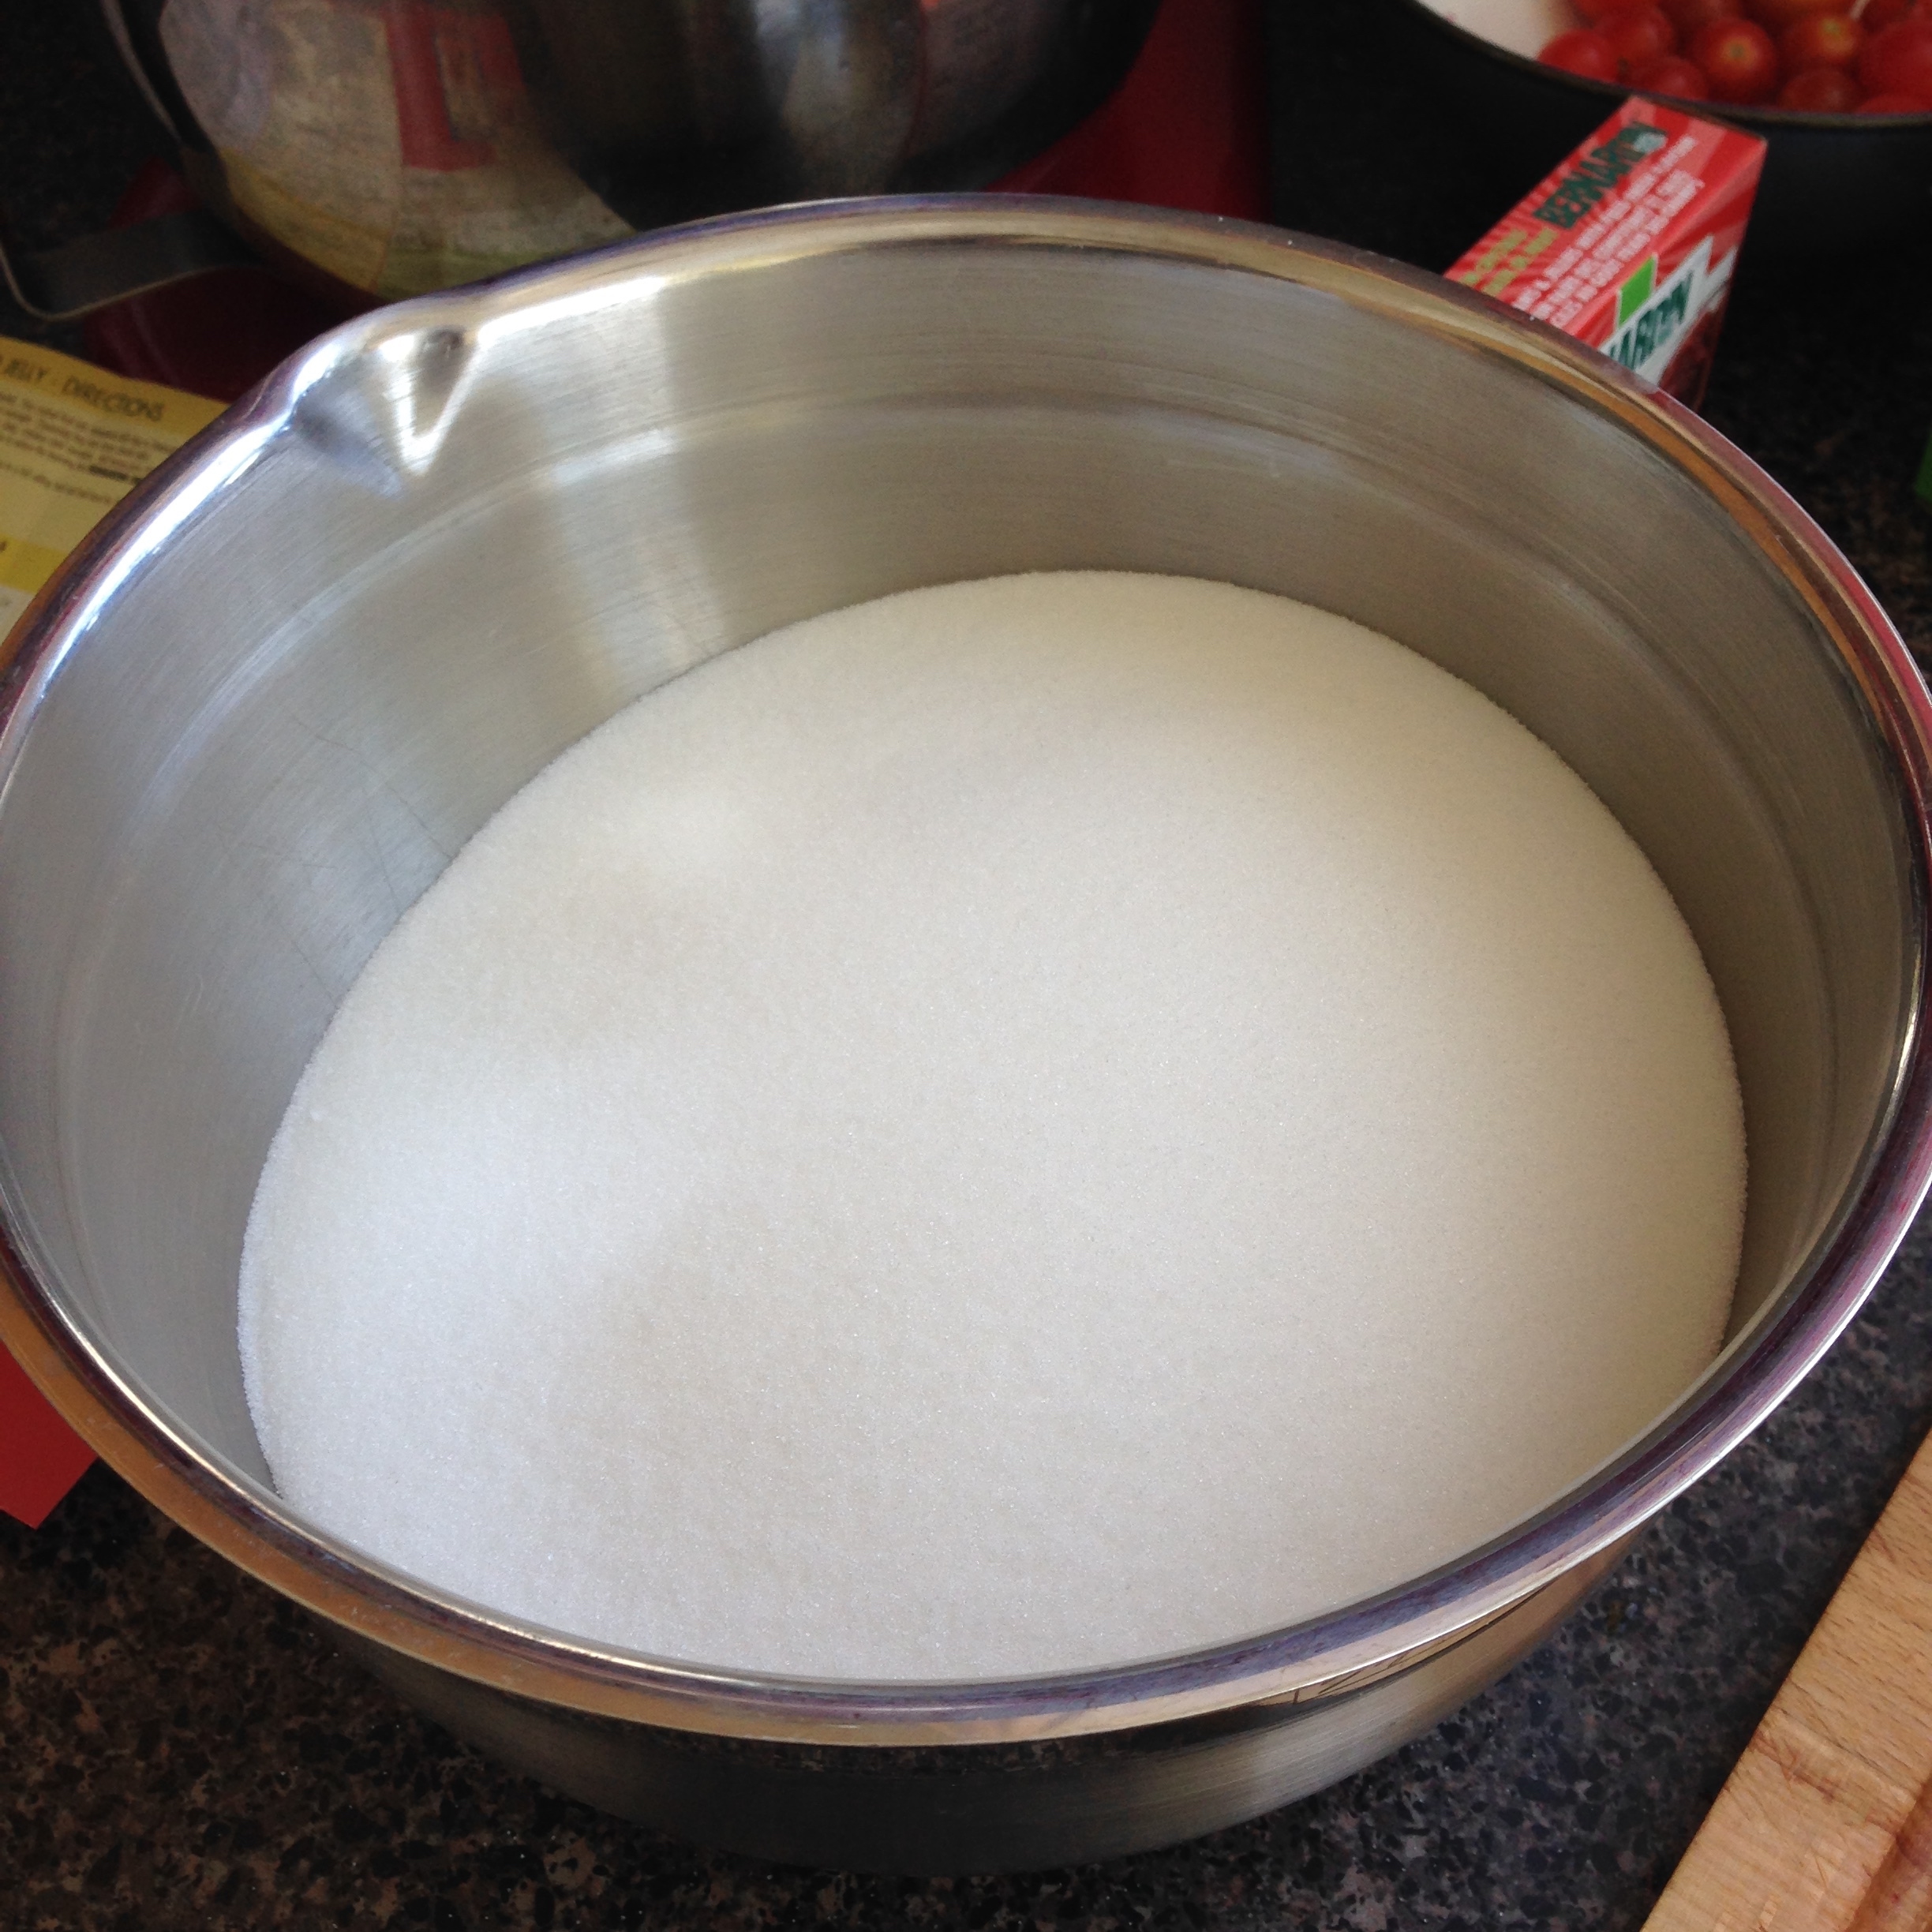
As per all my canning shenanigans, prepare, prepare, prepare! Clean all the utensils needed (ladle, wooden spoon, plastic spoon, plastic funnel). Also clean the jars and sterilize them in a boiling water bath canner for about 10 minutes. Keep this canner boiling! I usually keep a kettle of boiled water on stand by in case the canner needs to be topped up. Clean and set the screw bands in an accessible place. Set cleaned snap lids in a saucepan filled with water on low heat on the stove. This will soften the waxed rims and make for a better seal. Also measure out the sugar into a bowl and set this in an accessible place too. Ready! 


In a non-reactive pot, add 5 cups of your homemade grape juice. (If you don't have enough you can add apple juice or some other acidic juice.) ***If the juice takes up more than half the volume of the pot it's tooooo small. Get a bigger one. Bigger is better in this situation.*** Stir in the pectin until it's all dissolved. (Add 1/2 tsp of margarine too. It cuts down on the foaming.)


Bring this to a rolling boil. That's a boil that won't stir down. Wait for it. You'll know it when you see it. 

Add the sugar all in one go and stir quickly to mix it all together. Bring this back to a rolling boil and boil hard for 1 minute. 

Remove the pot from the heat carefully. Molten sugar goo is not skin friendly. Skim the formed foam from the top of the jelly with a slotted spoon as good as possible. The foam can go in the sink. Bye bye proteins! 


It's jar filling time! Remove one jar at a time from the boiling waterbath. Empty water in the jar back into the canner. Place the funnel a top the jar and ladle jelly slowly into the jar, leaving a 1/4 inch headspace. Using the plastic spoon, get out any air bubbles. Wipe the rim of the jar with a damp paper towel or clean damp cloth. Place a warmed snap lid onto the jar rim. Screw on a screw band until JUST Fingertip tight. As soon as there is enough resistance to your thumb and forefinger that the band won't turn anymore, Stop. Into the canner! Repeat!
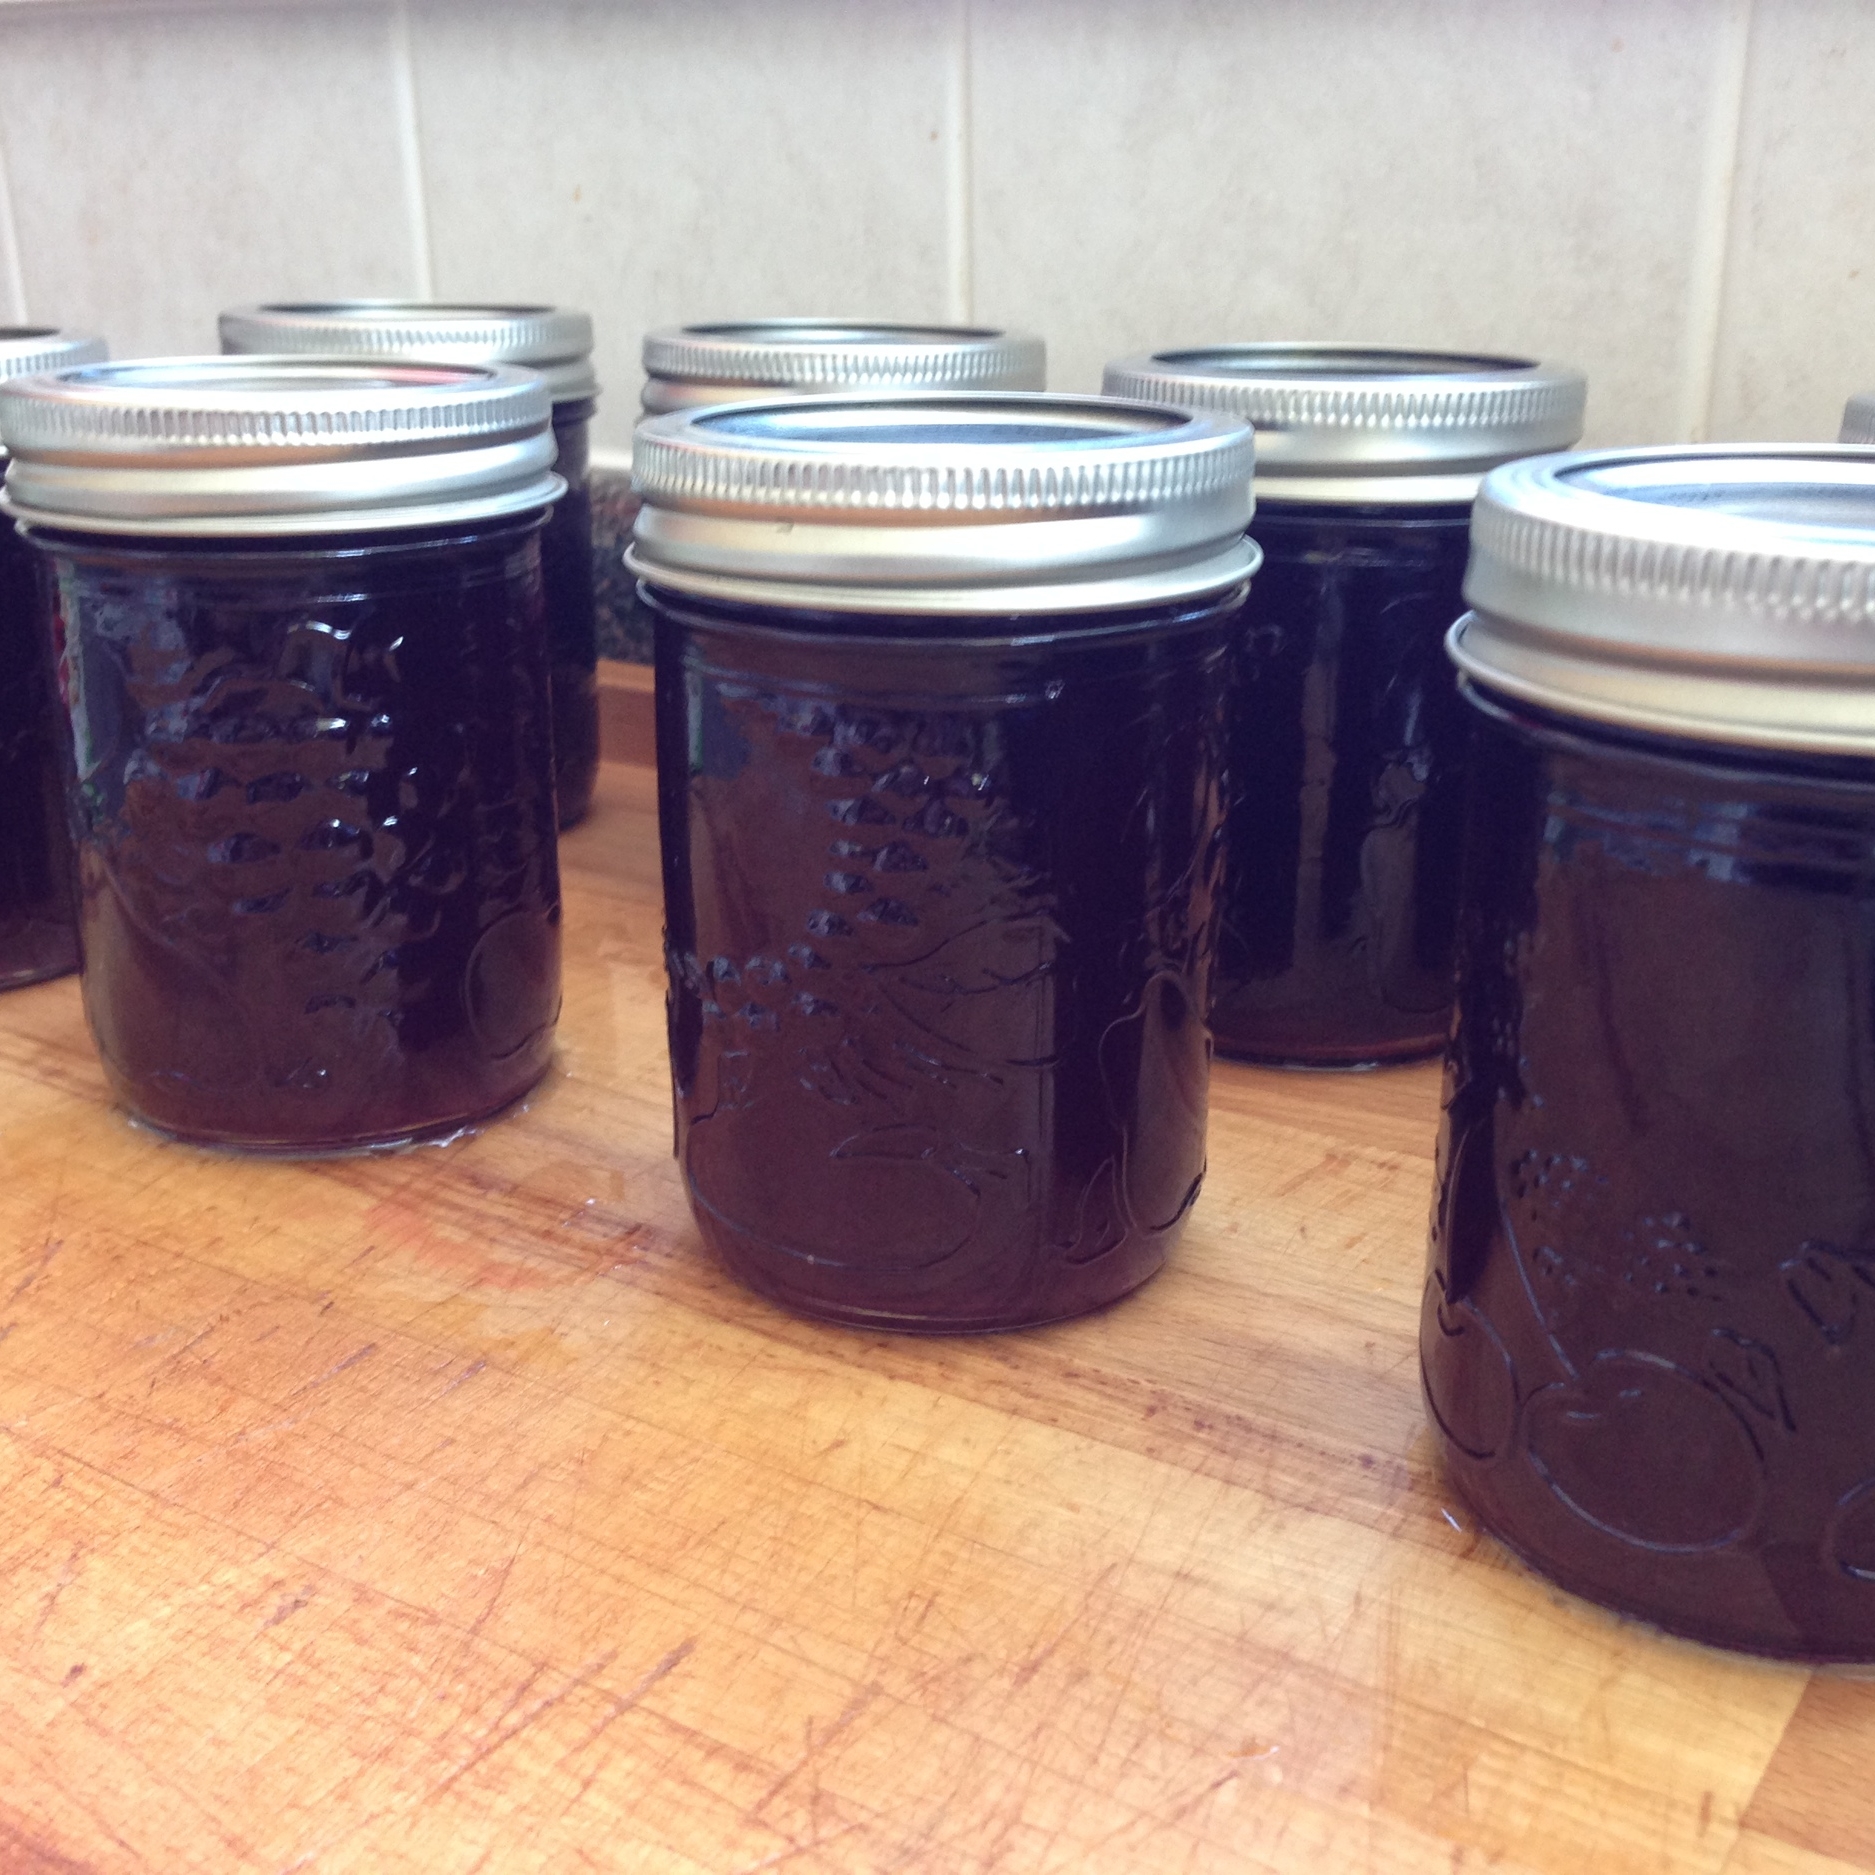
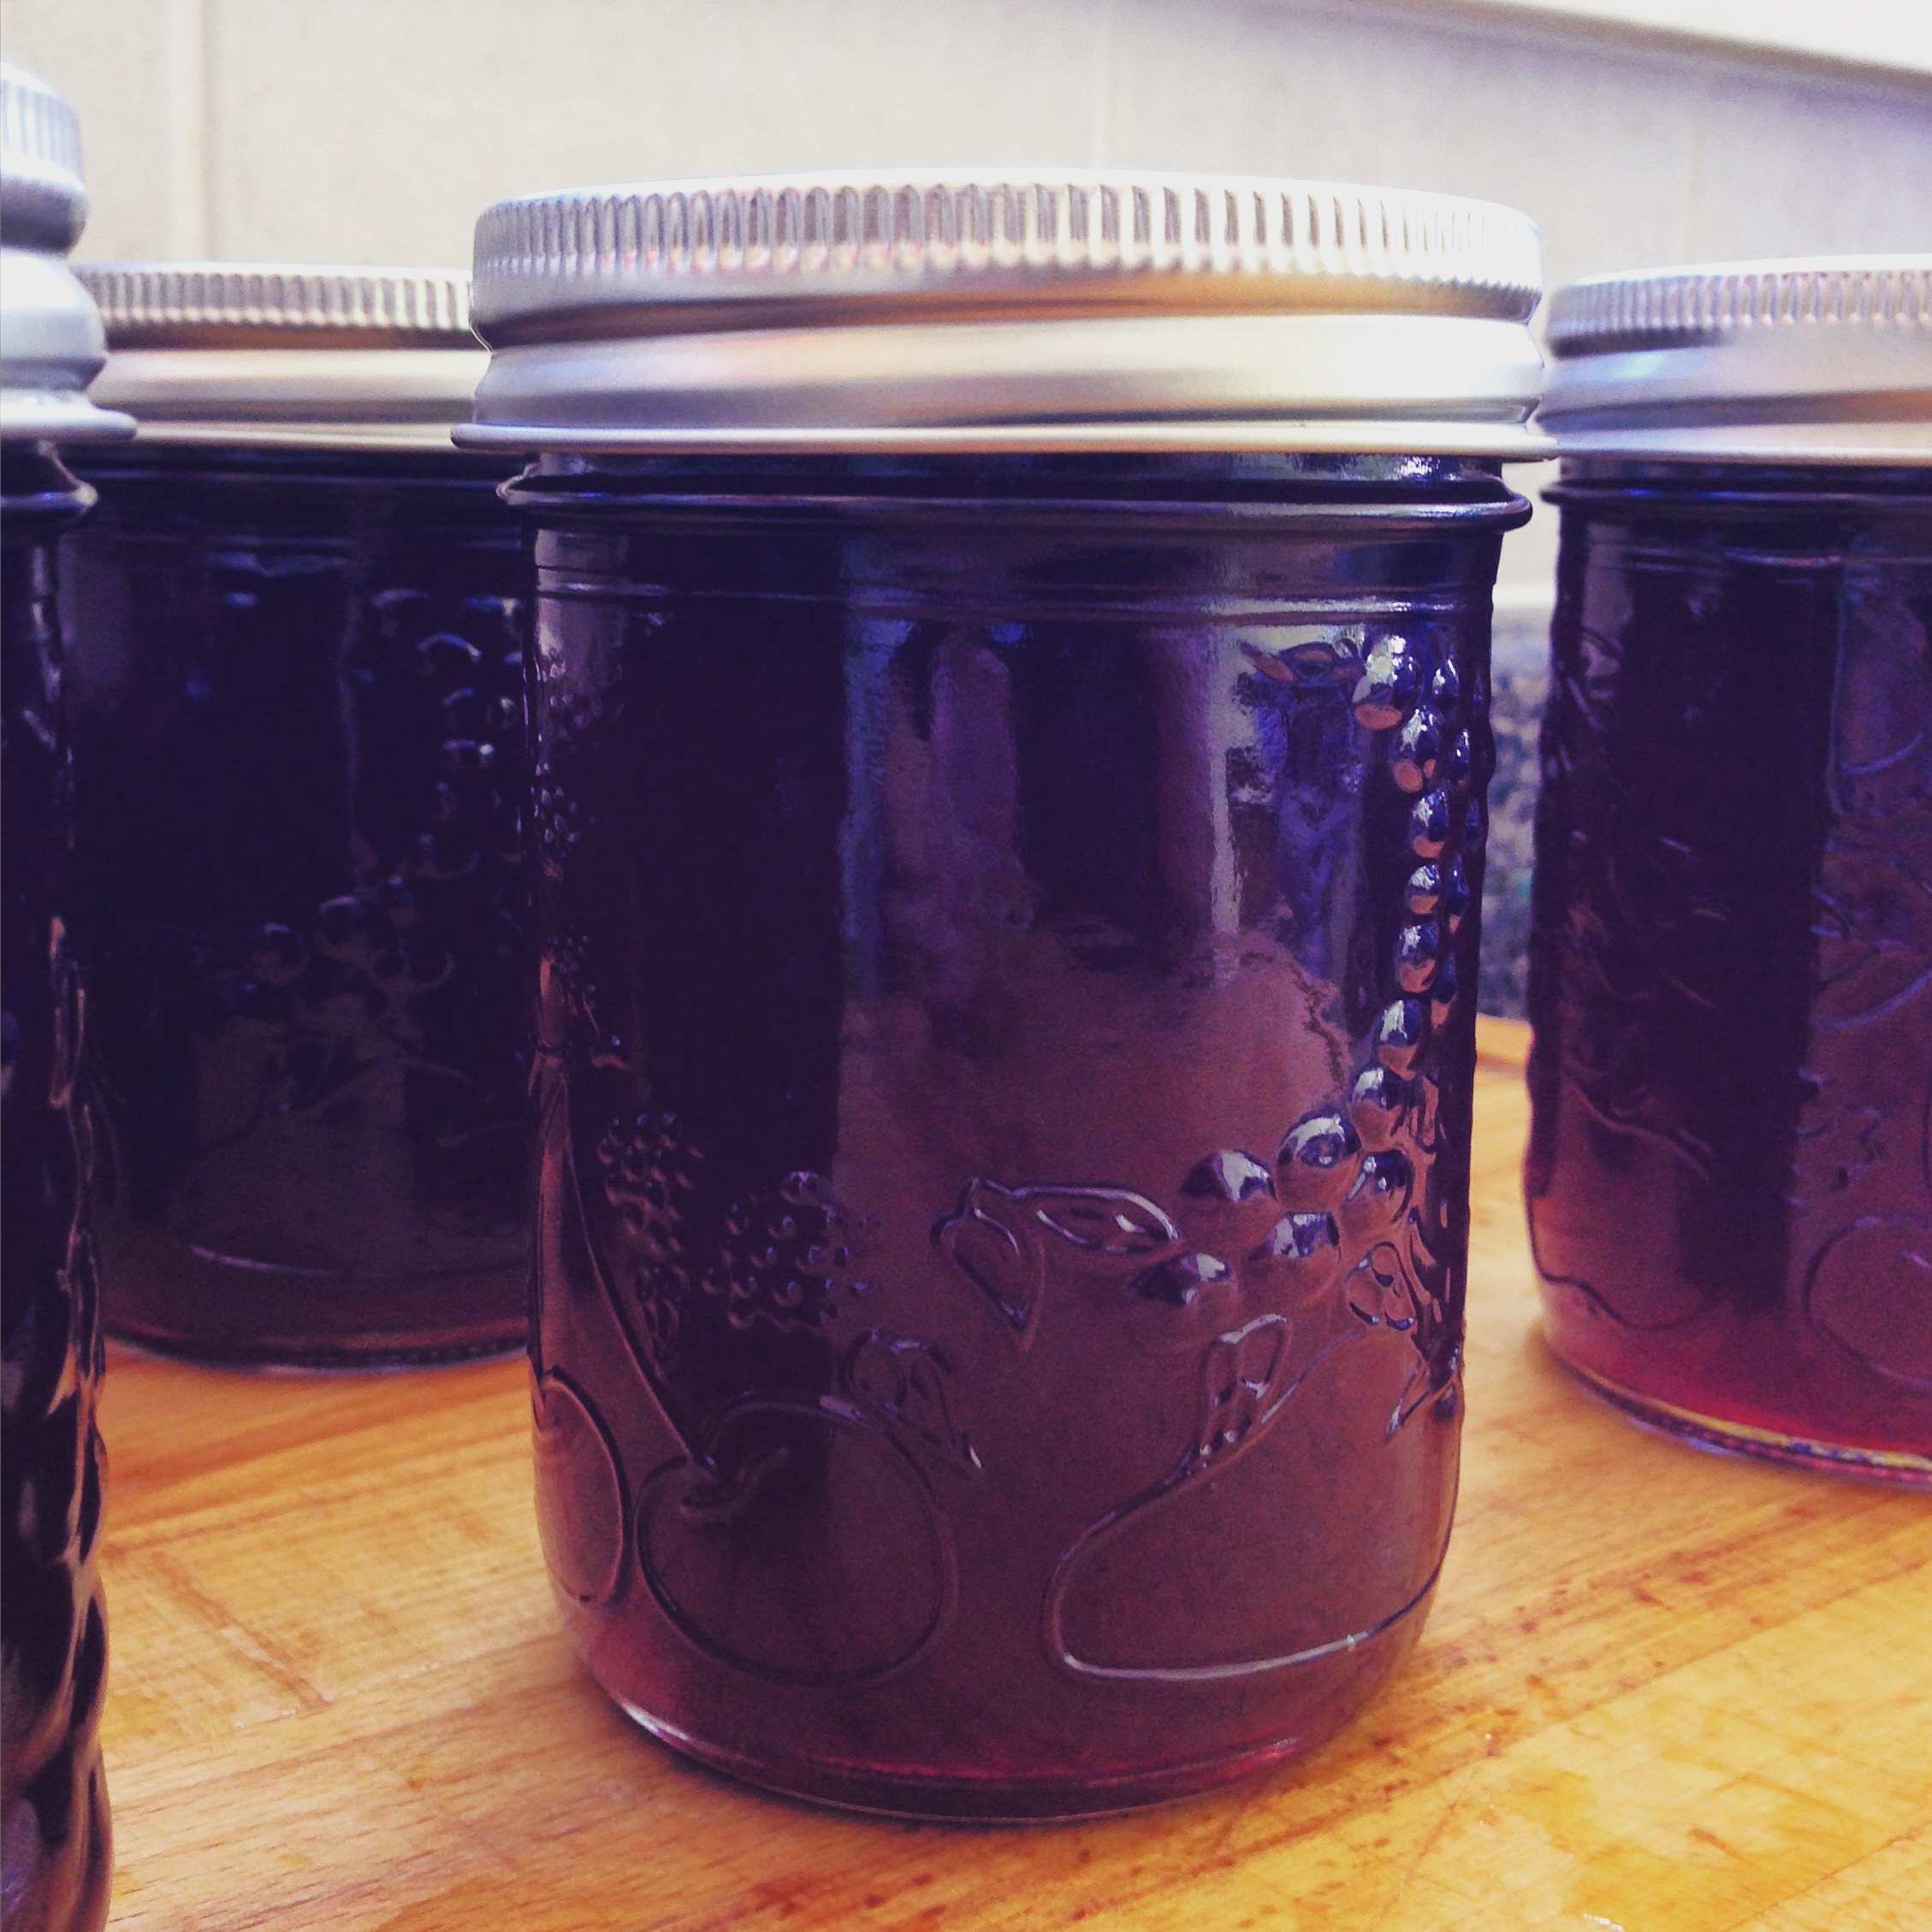
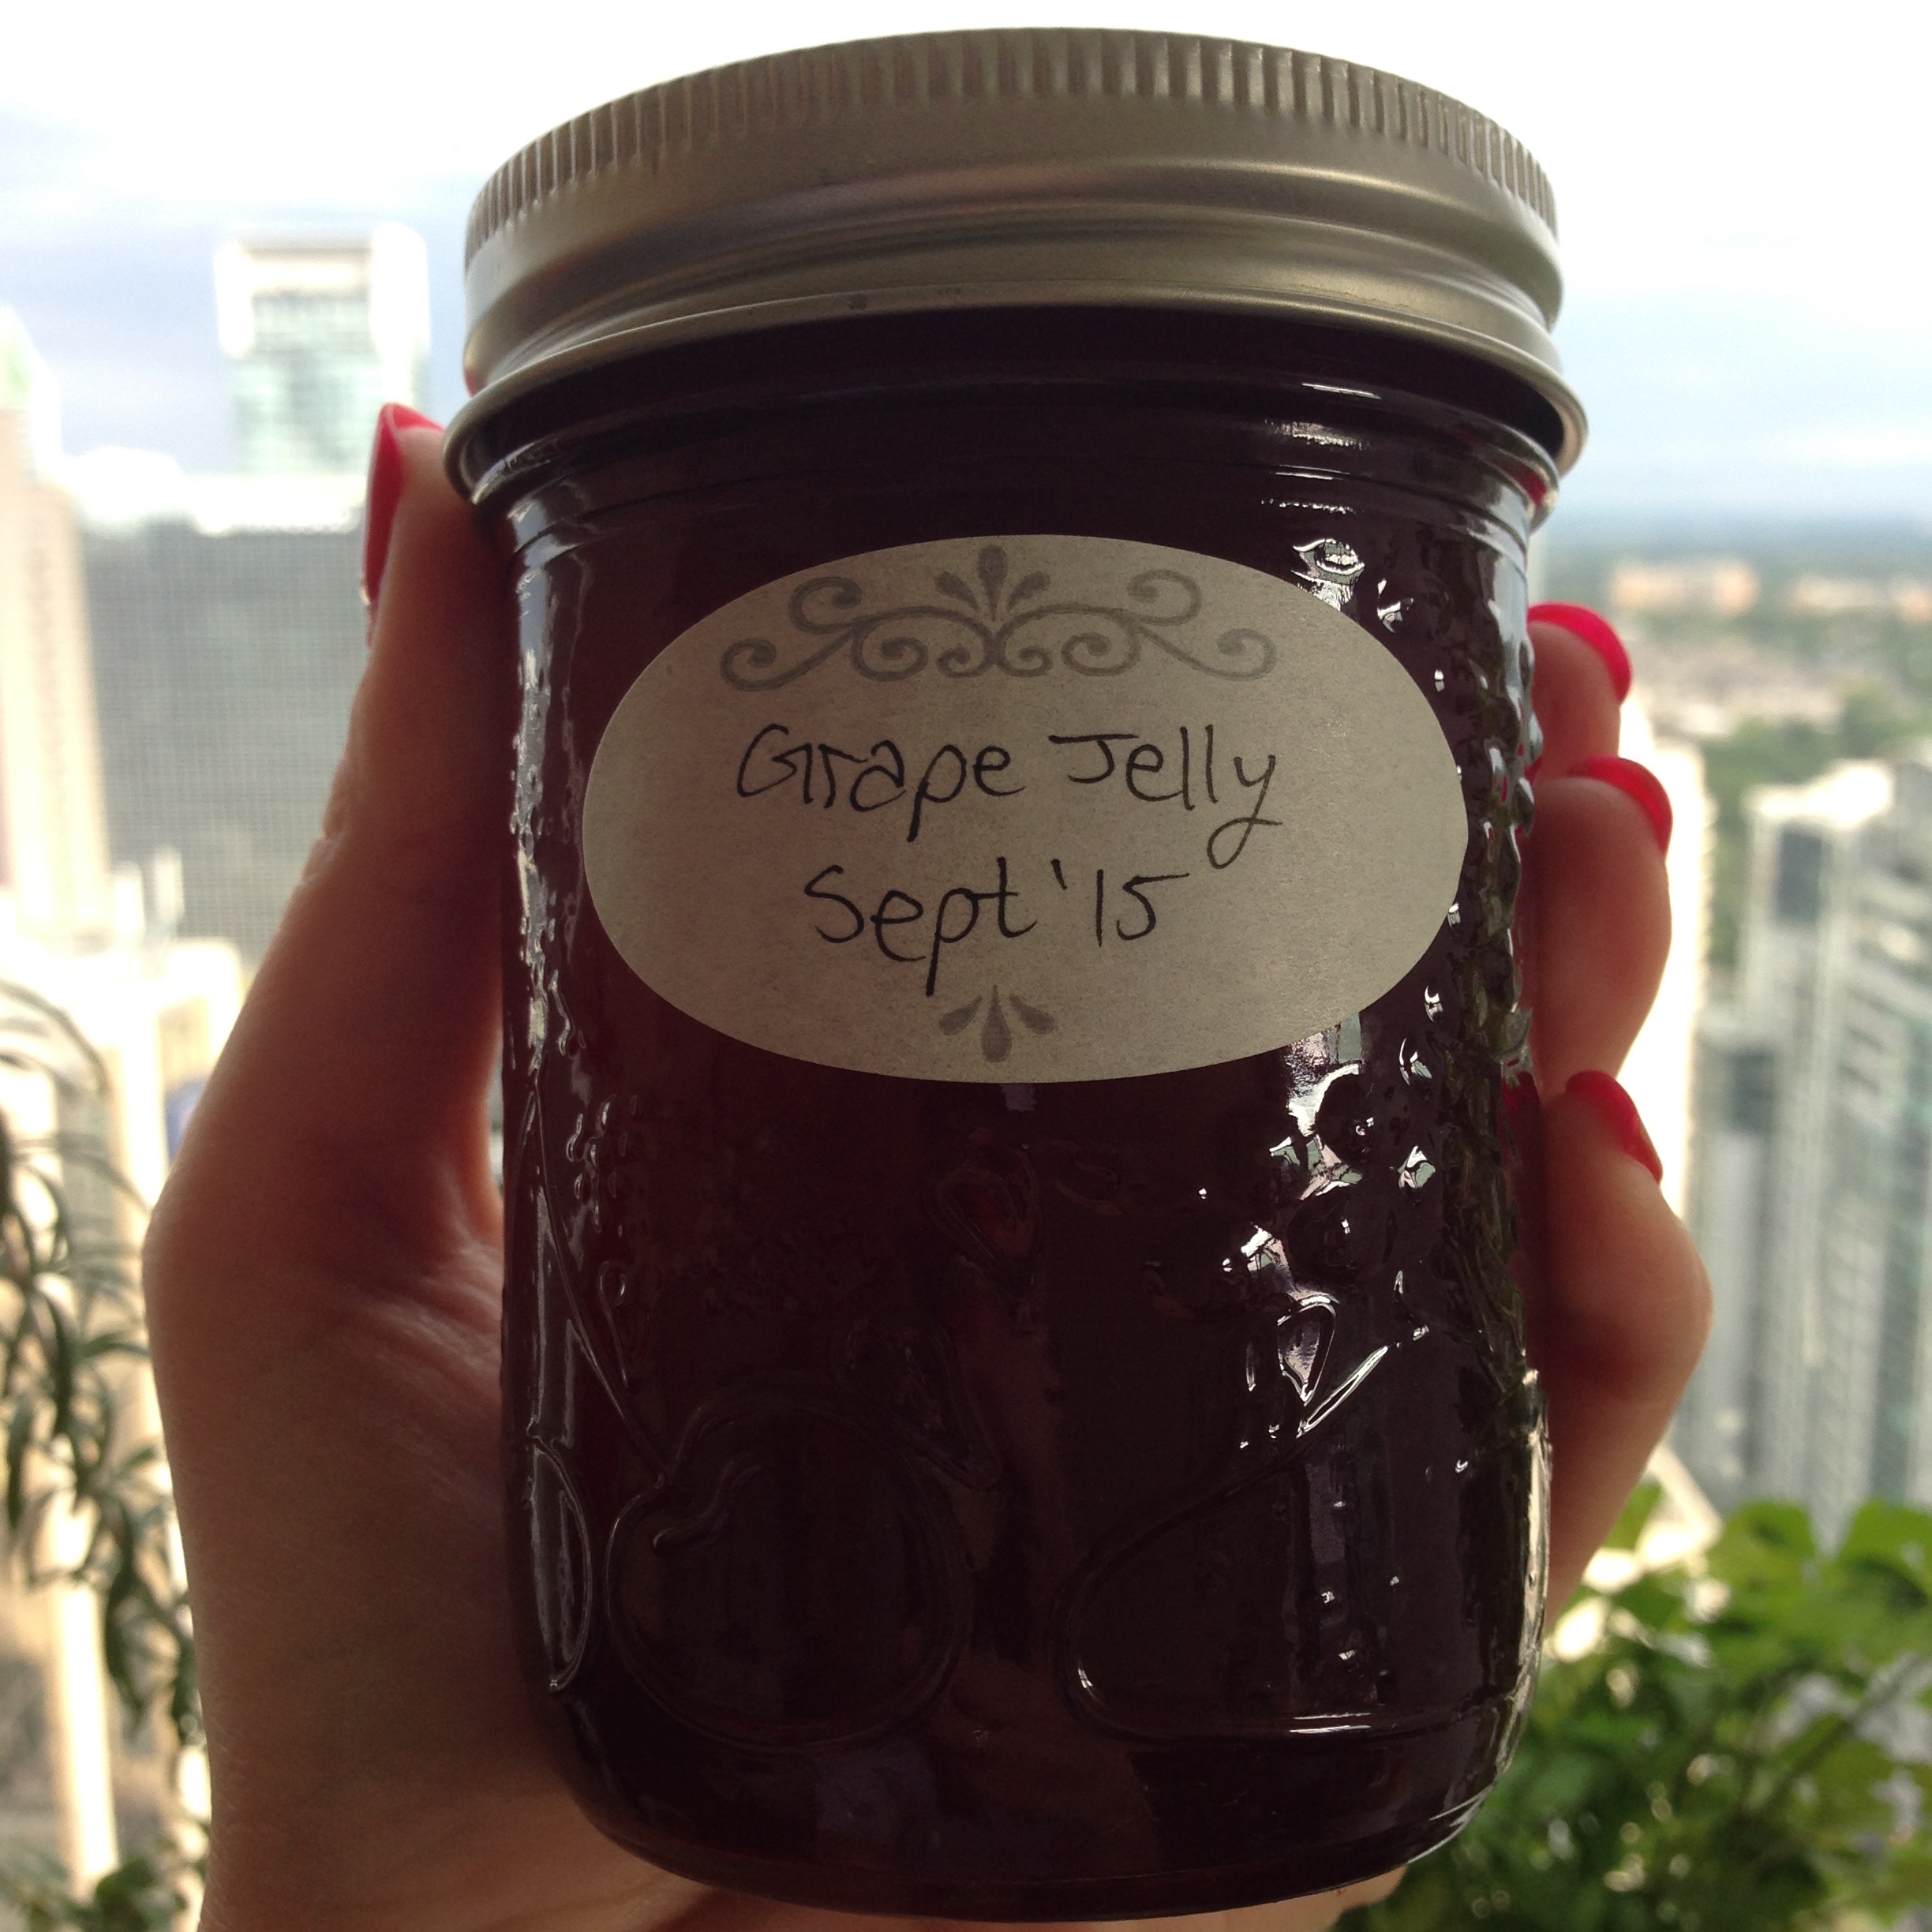
When all the jars are filled and in the canner, boil the jars vigorously for at least 10 minutes. Check the altitudes though! Higher altitudes need longer. Most pectins will come with a sheet that say how long to process the jars. 

Remove the jars from the canner and set down in a place where they won't be disturbed. Let them cool completely. I leave mine fore 24 hours before handling them. After they're cooled, check that the jars have properly sealed. The snap lid should have a divot inwards and also should be securely suctioned to the jar. Don't worry if they haven't sealed! They just get to live in the fridge and get eaten first! Lucky them!


That was quite the grape adventure. Great - grape - great.... Eh?? =D =D =D

..... 

Shhhhhh. It's funny. Really. 

Also! I made some not purple grape juice! Essentially just take out the grapes skins when making the juice. =) Yuuuuum.

Also! I made some not purple grape juice! Essentially just take out the grapes skins when making the juice. =) Yuuuuum.

-Andrea

The Half-Assed Hobbyist
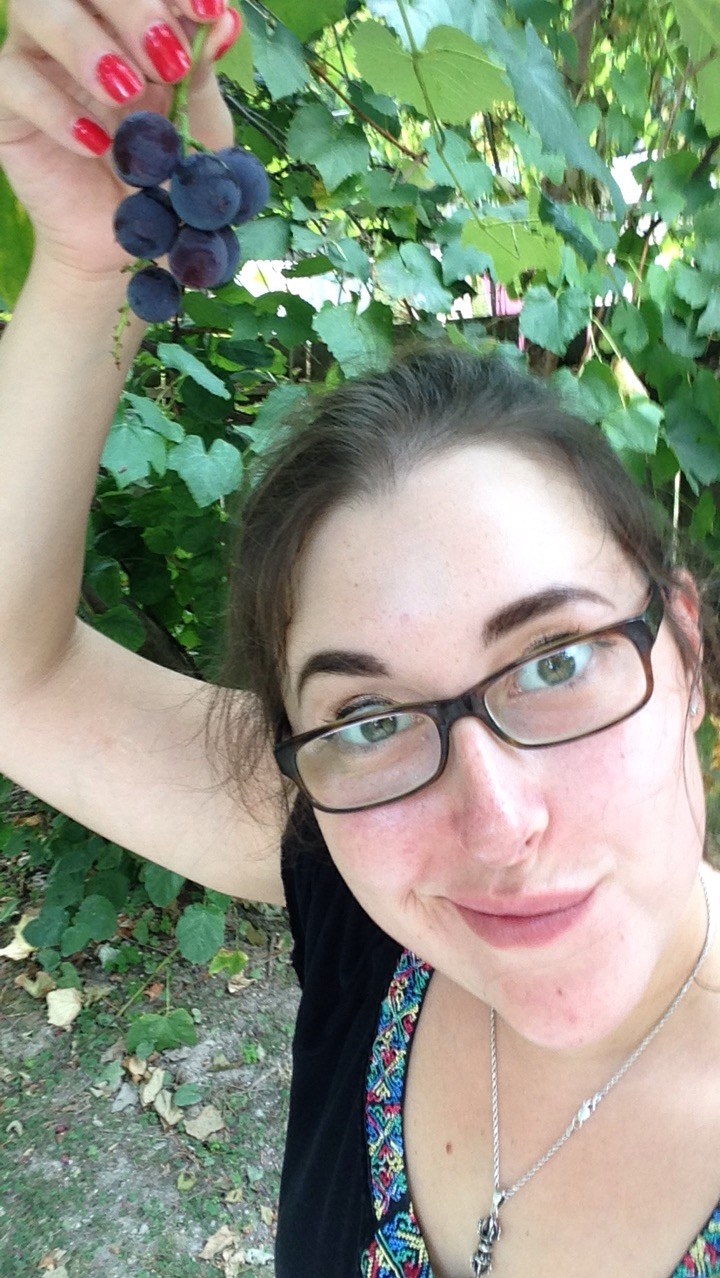
Jelly Flower Power


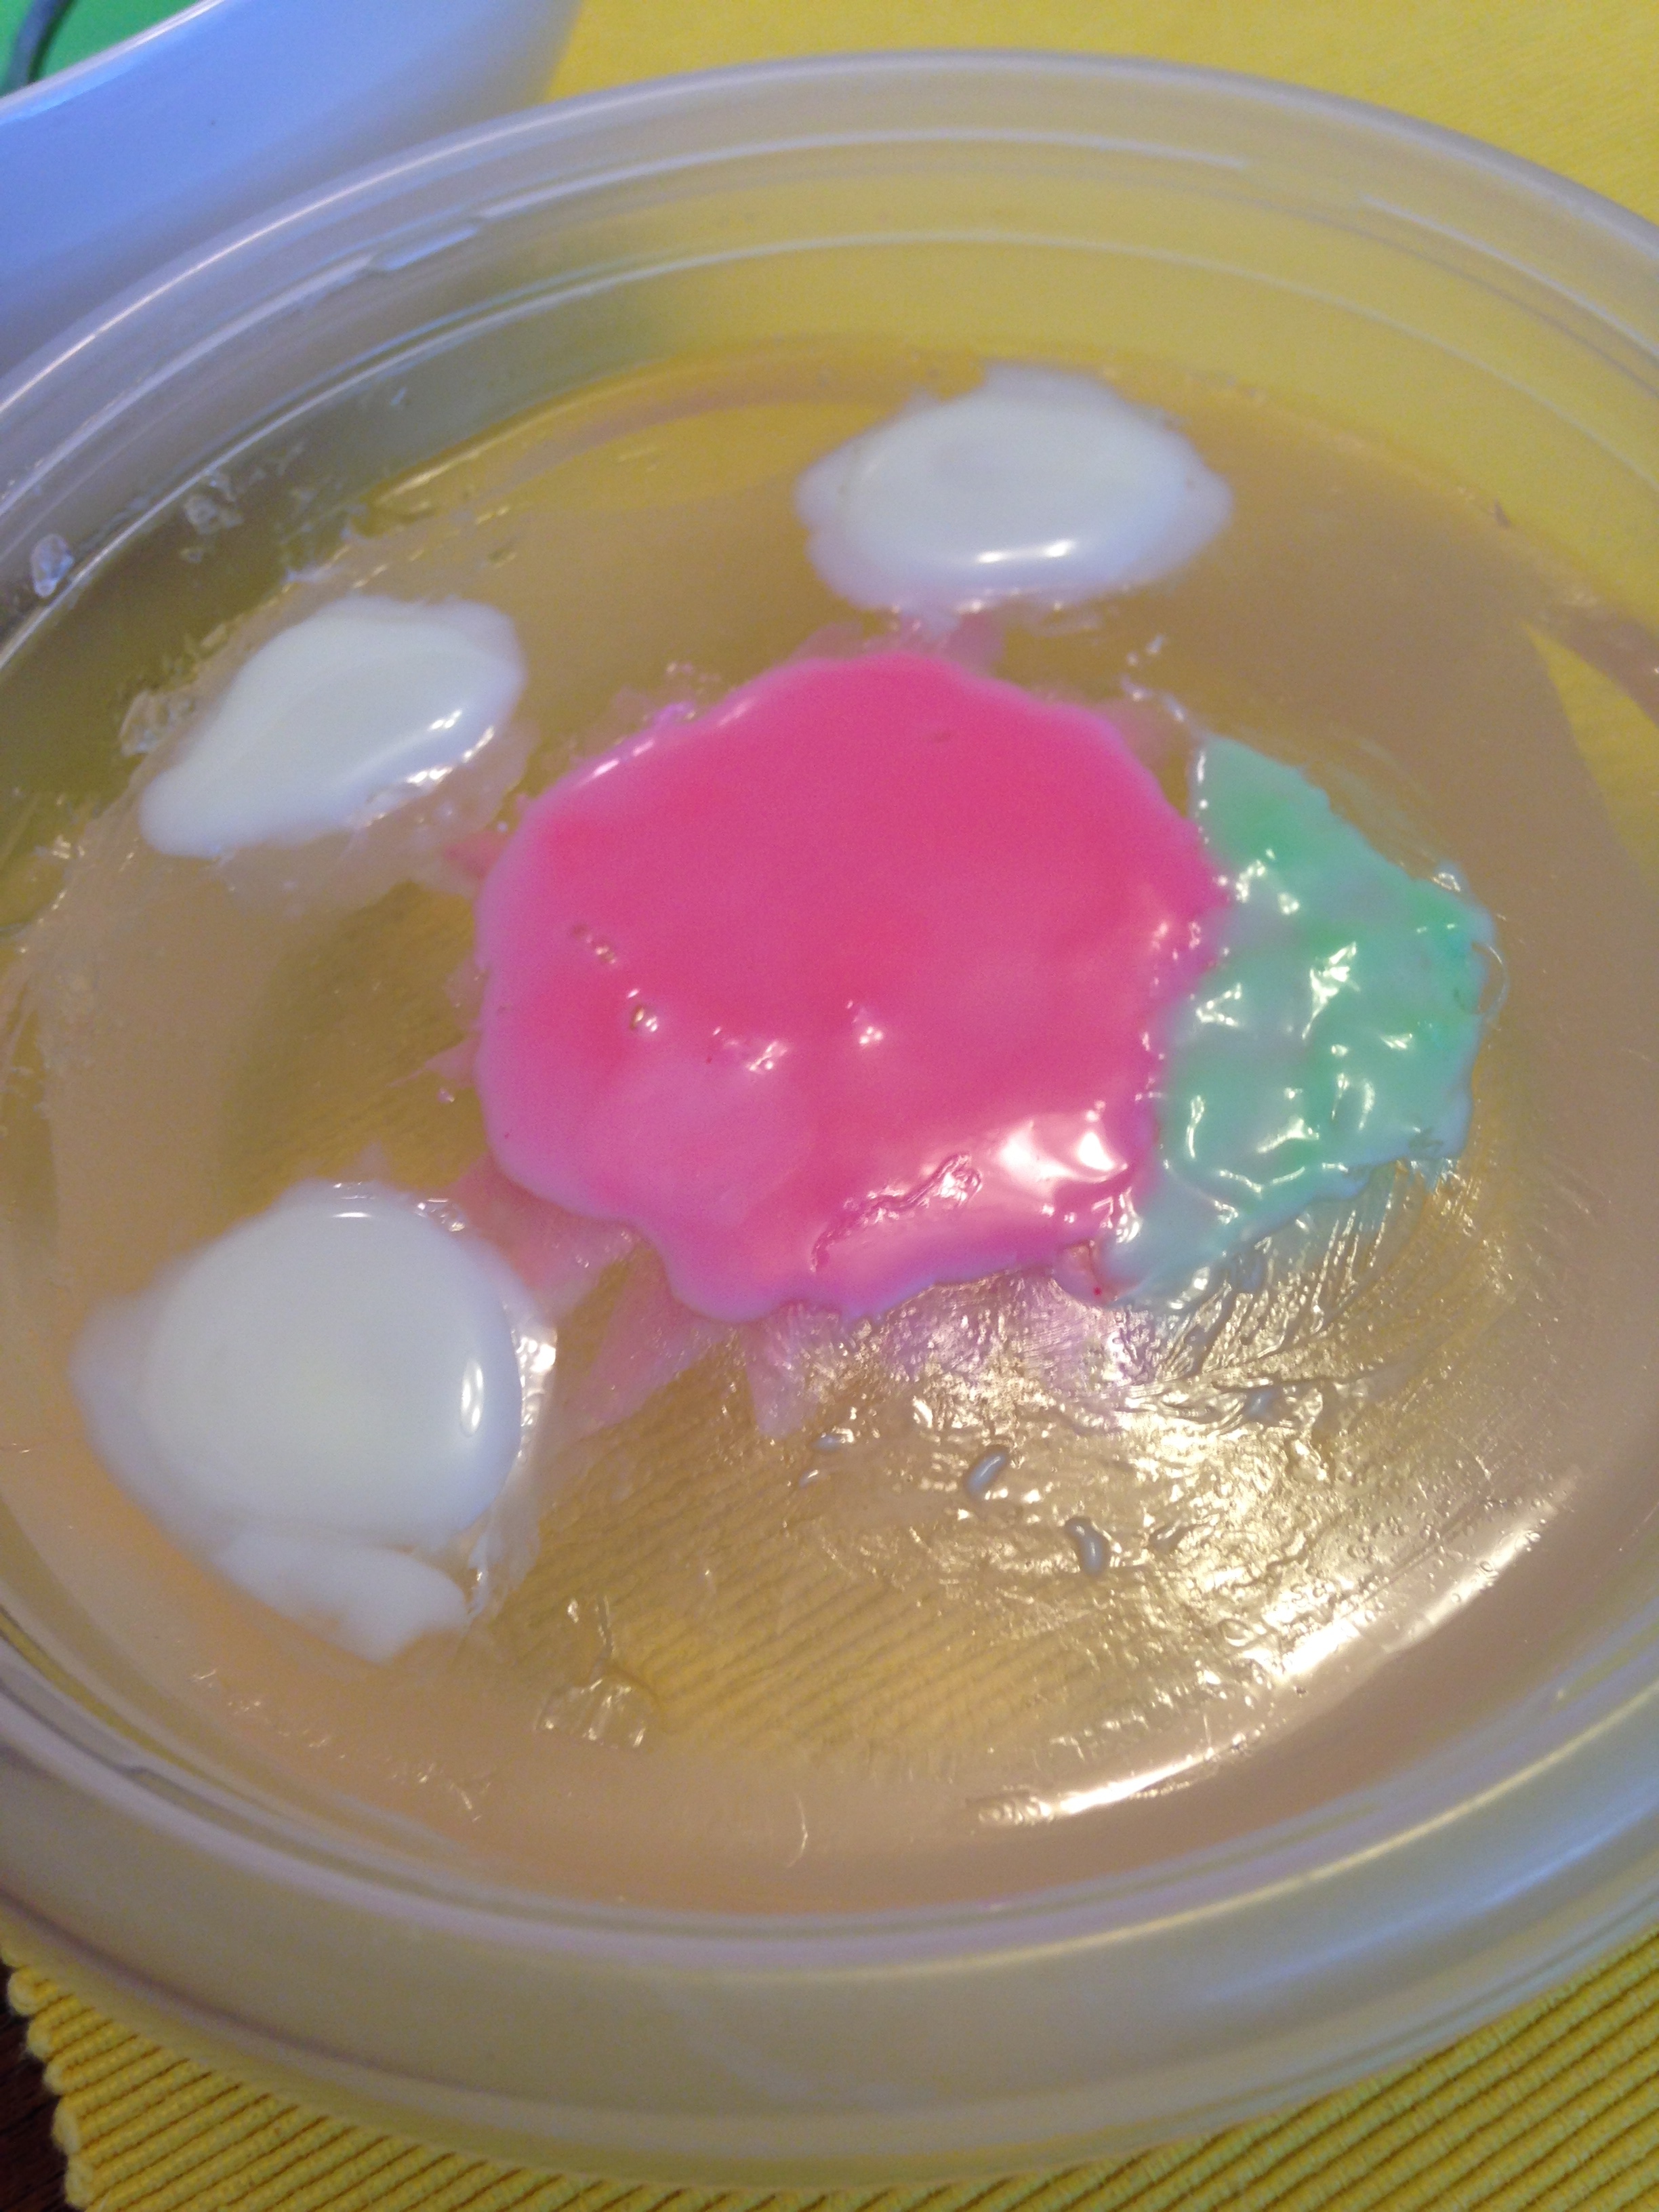
It was last year in mid December that my friend Lesley showed me a video about making edible flowers in gelatine. A) I was super blown away because I'd never seen anything like it before, and B) obviously we had to try it. We were both too busy during December to endeavour to make them however, and so the idea receded into the ether of 'should do's and 'one day's.

Skip forward to last week. Lesley is sifting though her archived email (brave soul) and stumbles upon the original email thread with video link attached. The game is on. I have almost all the ingredients in my pantry too, so a date is set. Jelly Flower Power!

Anyways! I got the recipe off this blog, belonging to the lady who did the wonderful video tutorial. I've modified it to use cups instead of mL and I've written out some instructions too. (Complete with pictures!)

Jelly Flowers

Gelatine Base

Cups or bowls, preferably clear

1 cup cold water
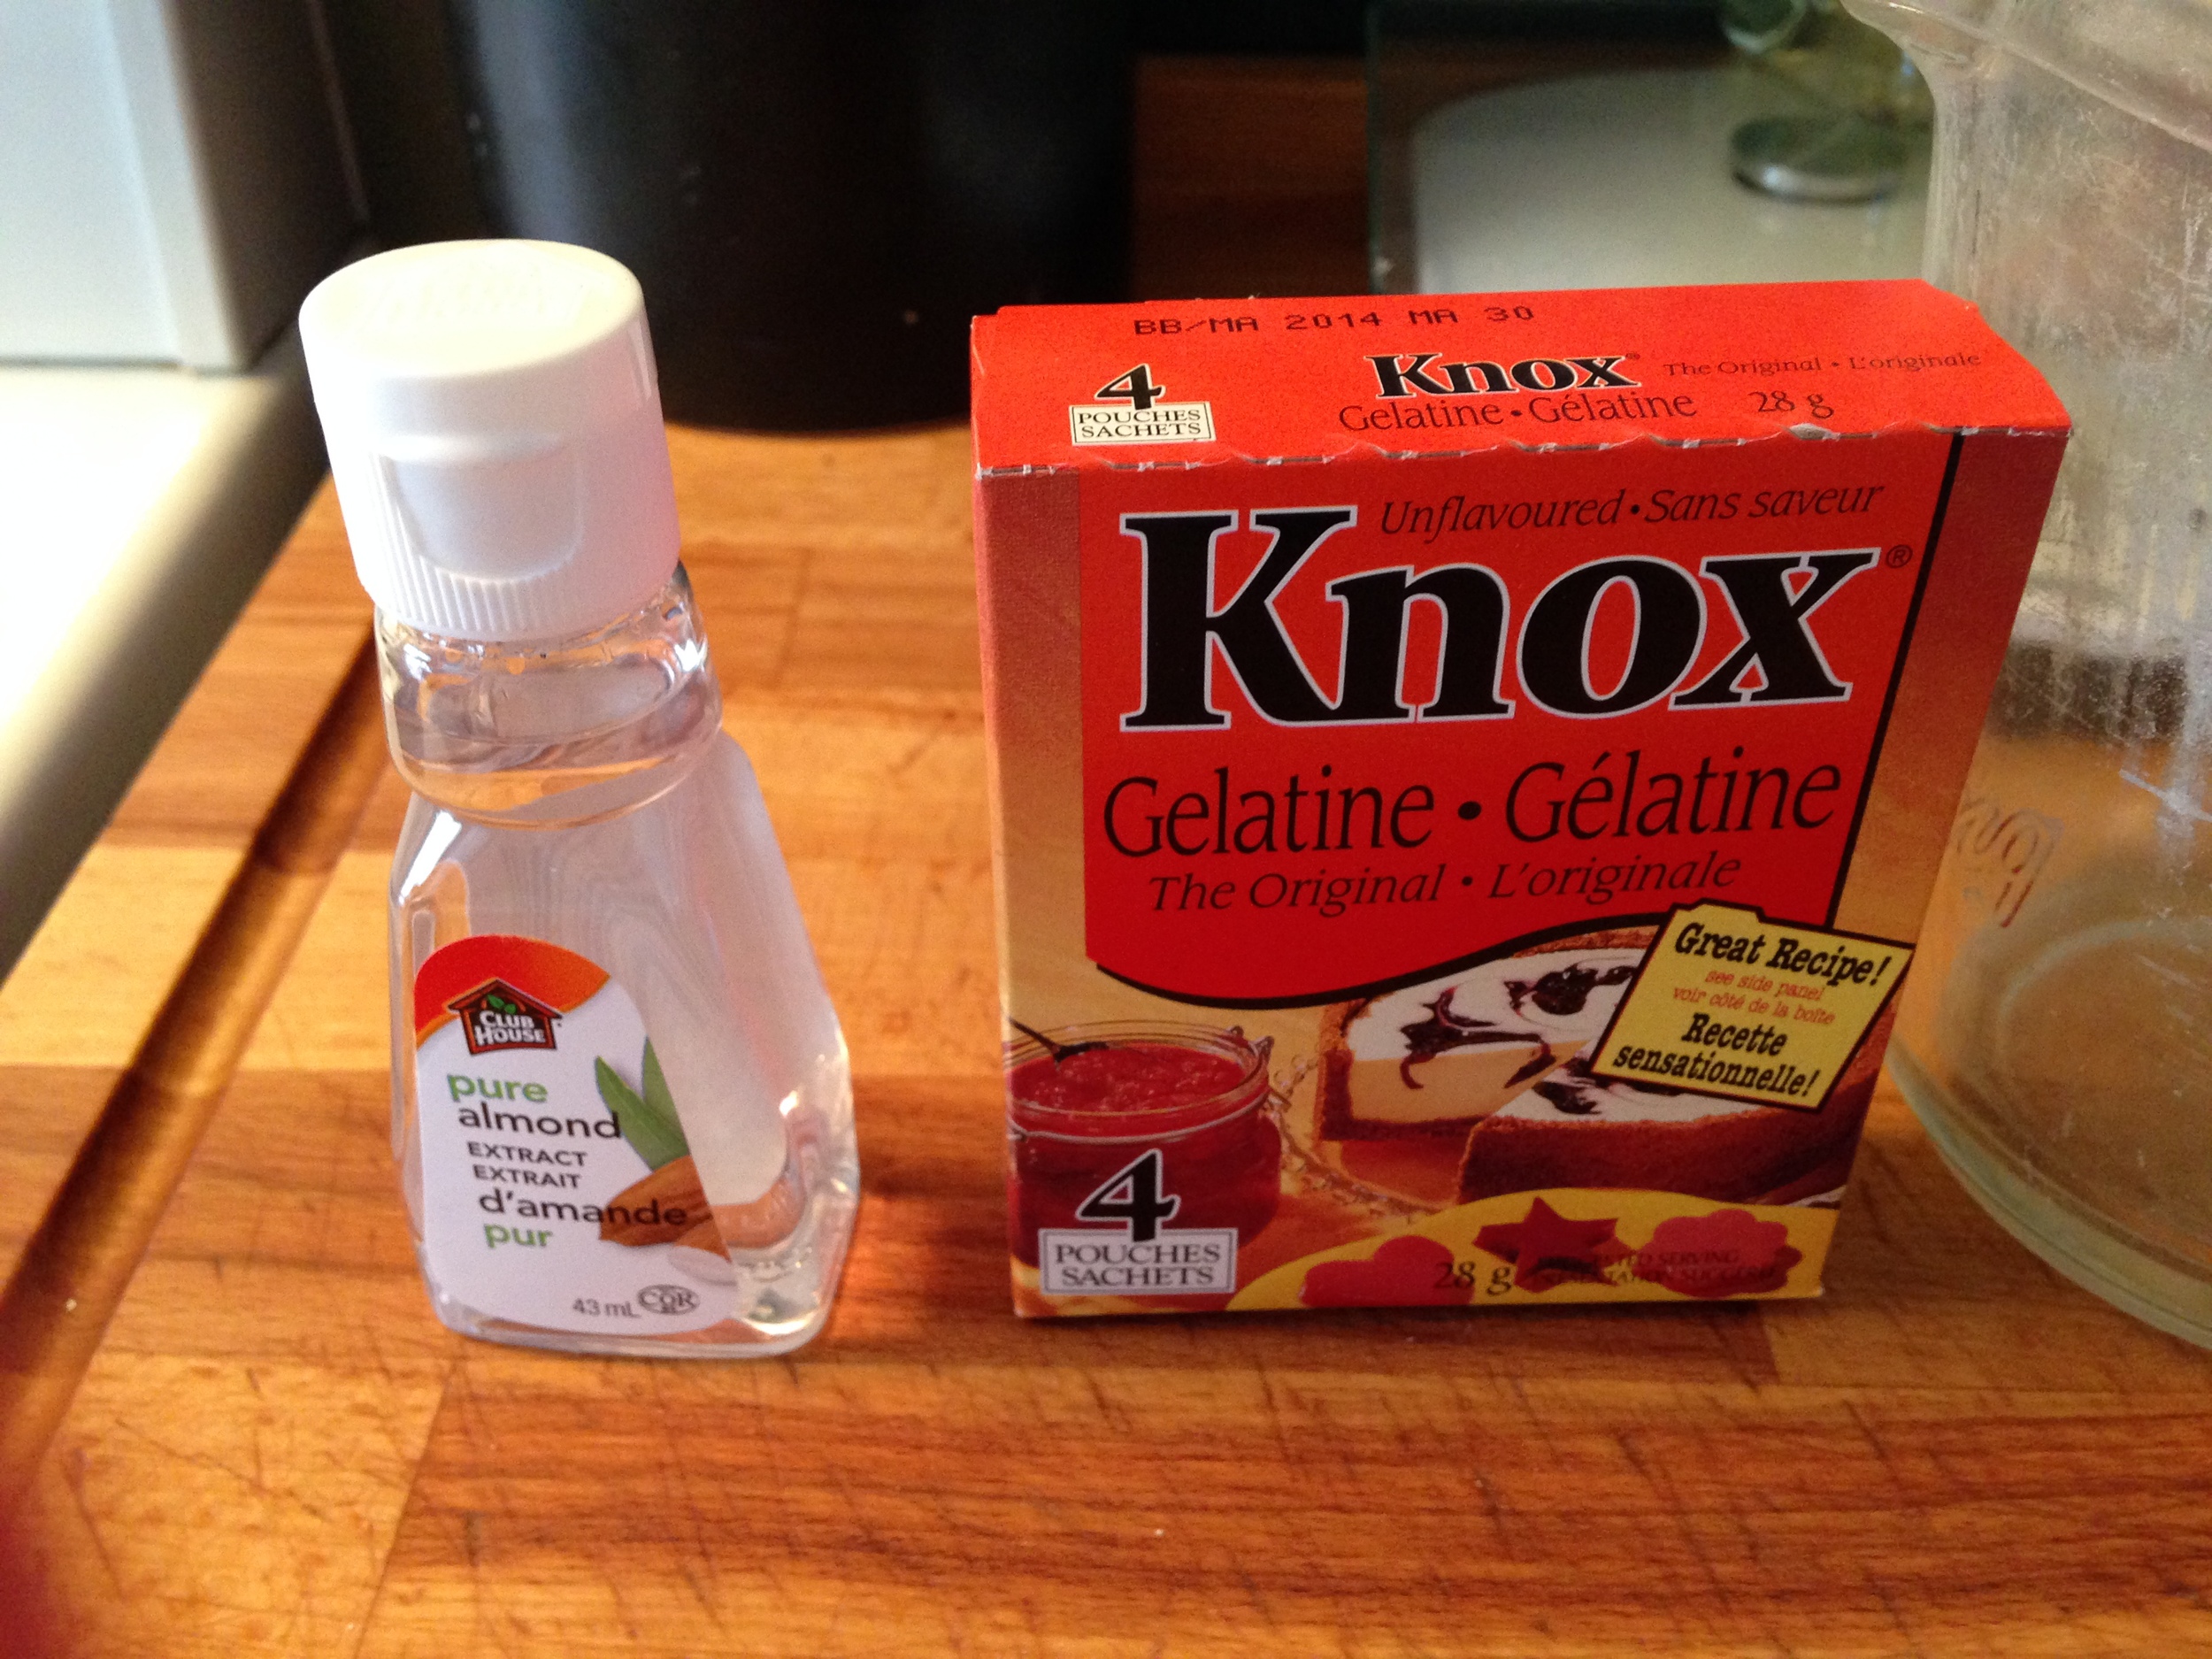
4 packets (4 TBSP) gelatine 

4 cups water 
1 1/3 cups granulated sugar
1/4 tsp clear flavouring**

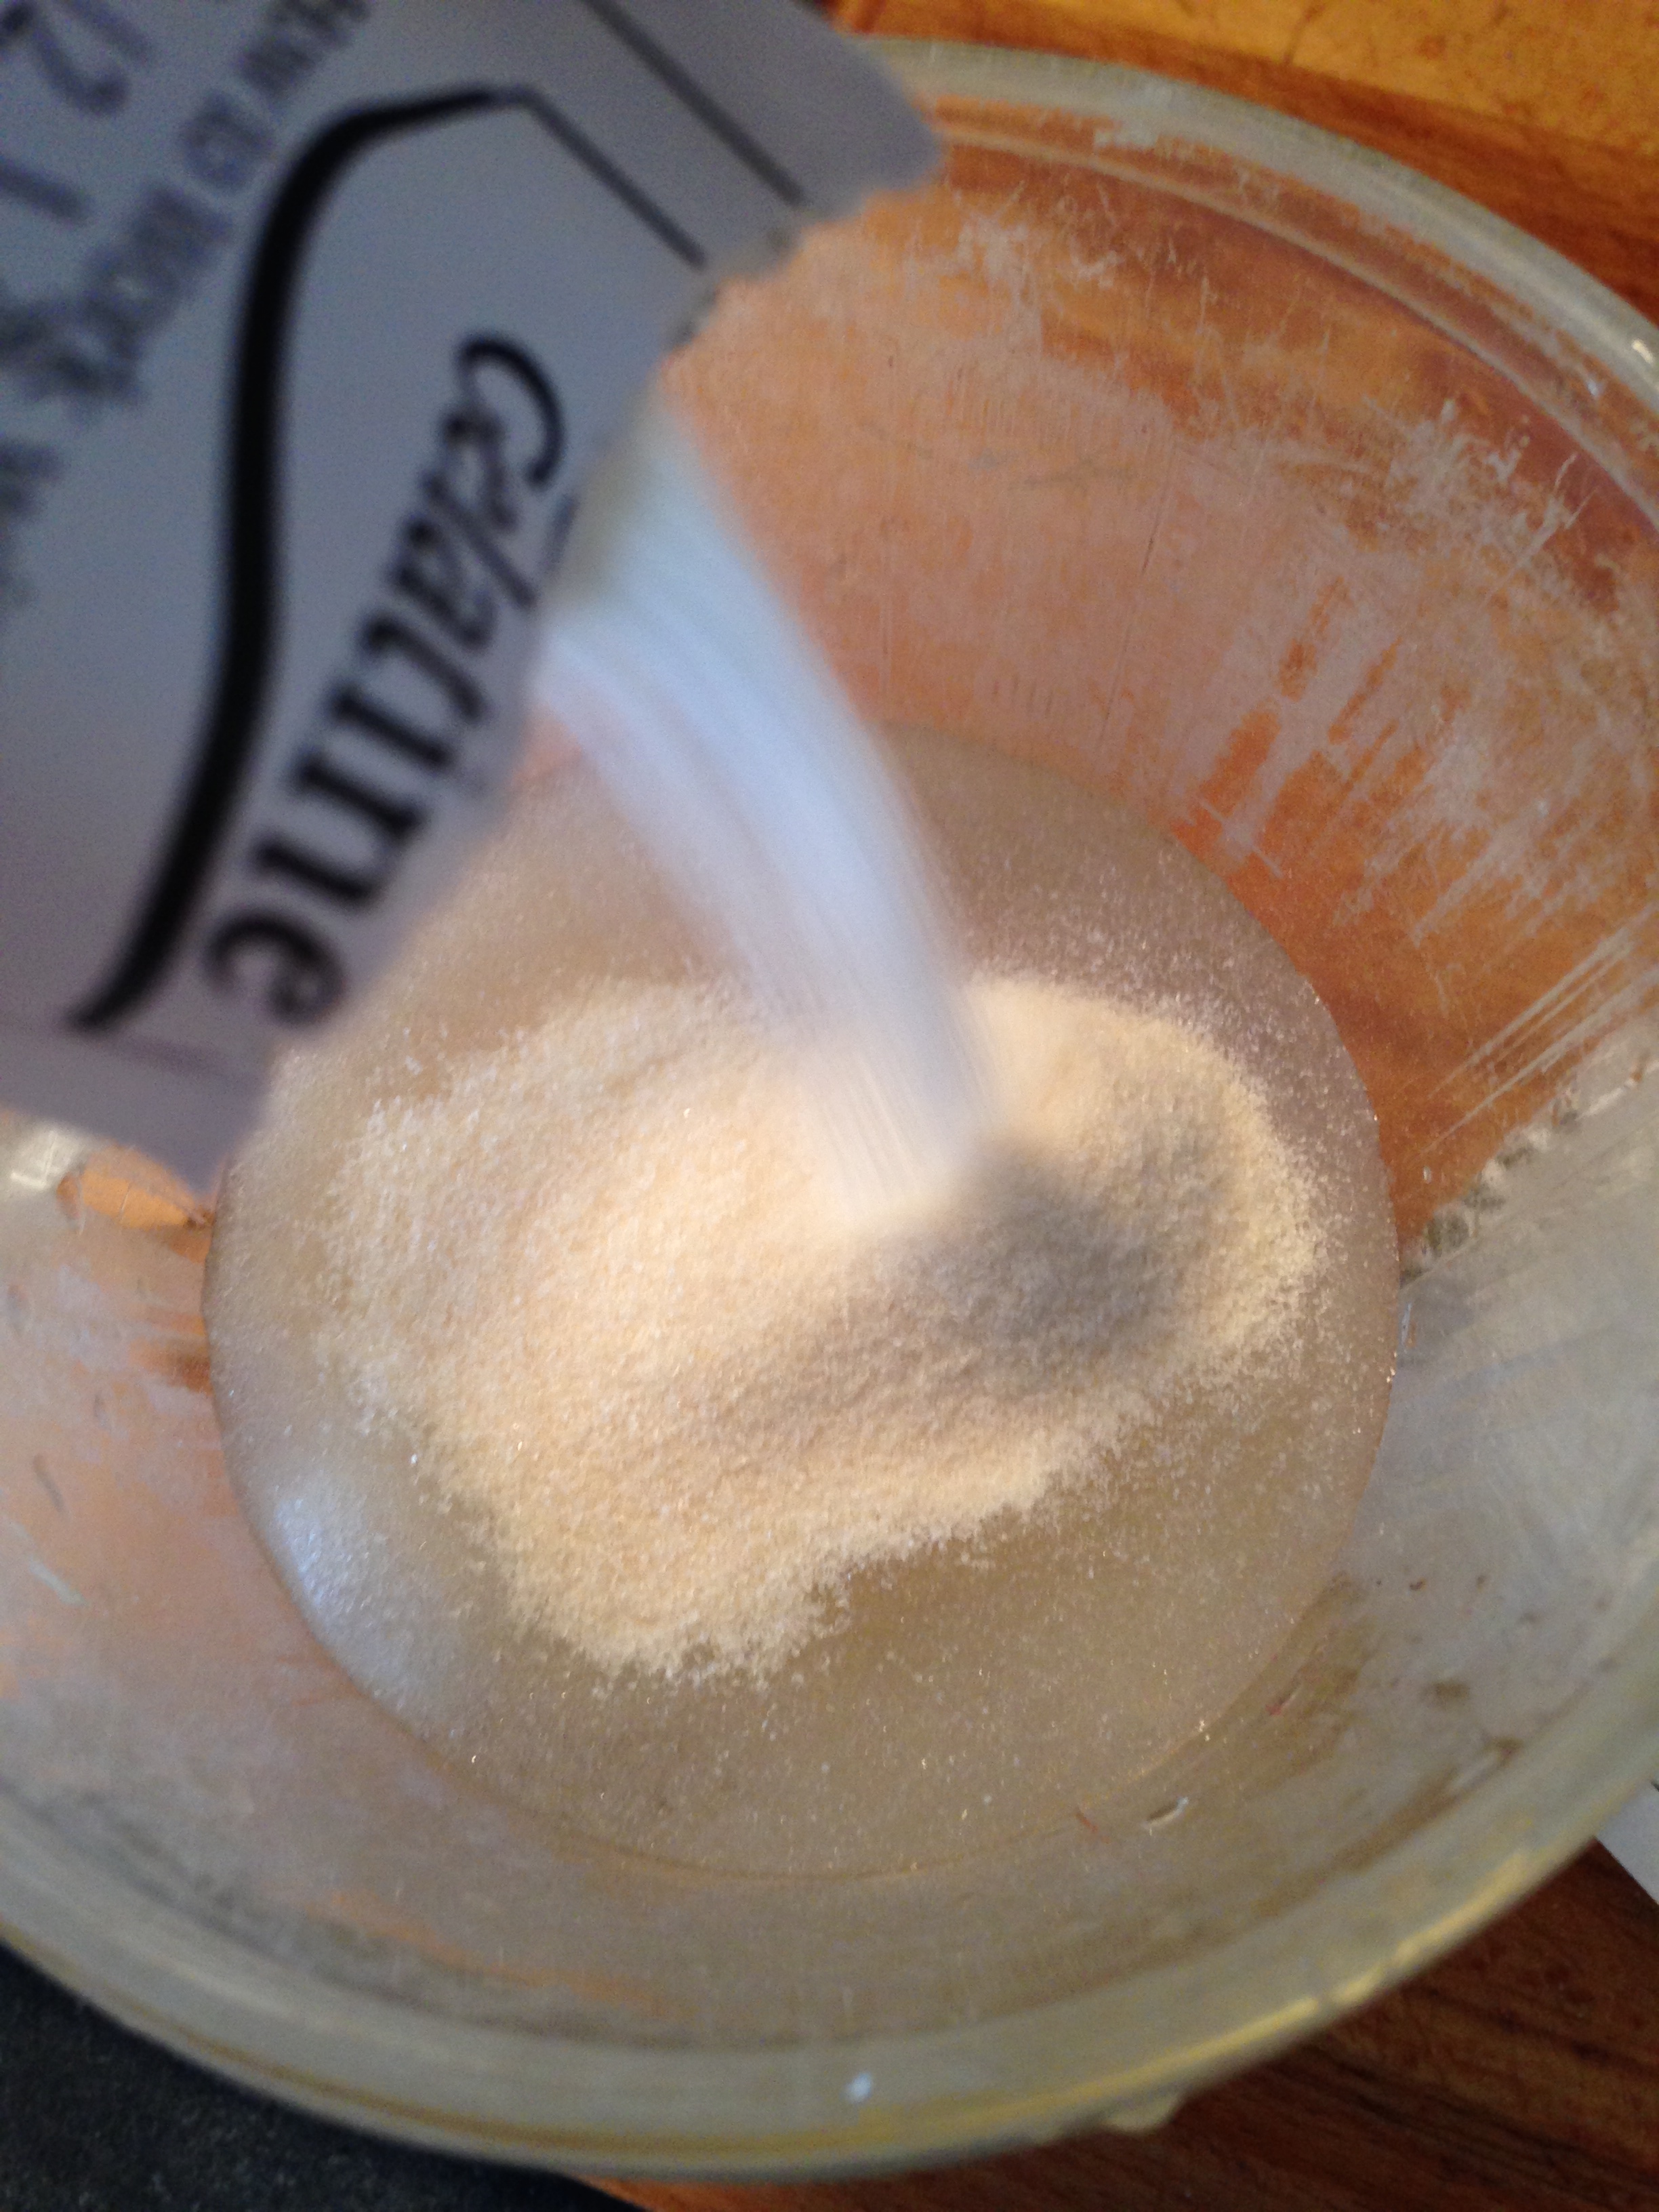
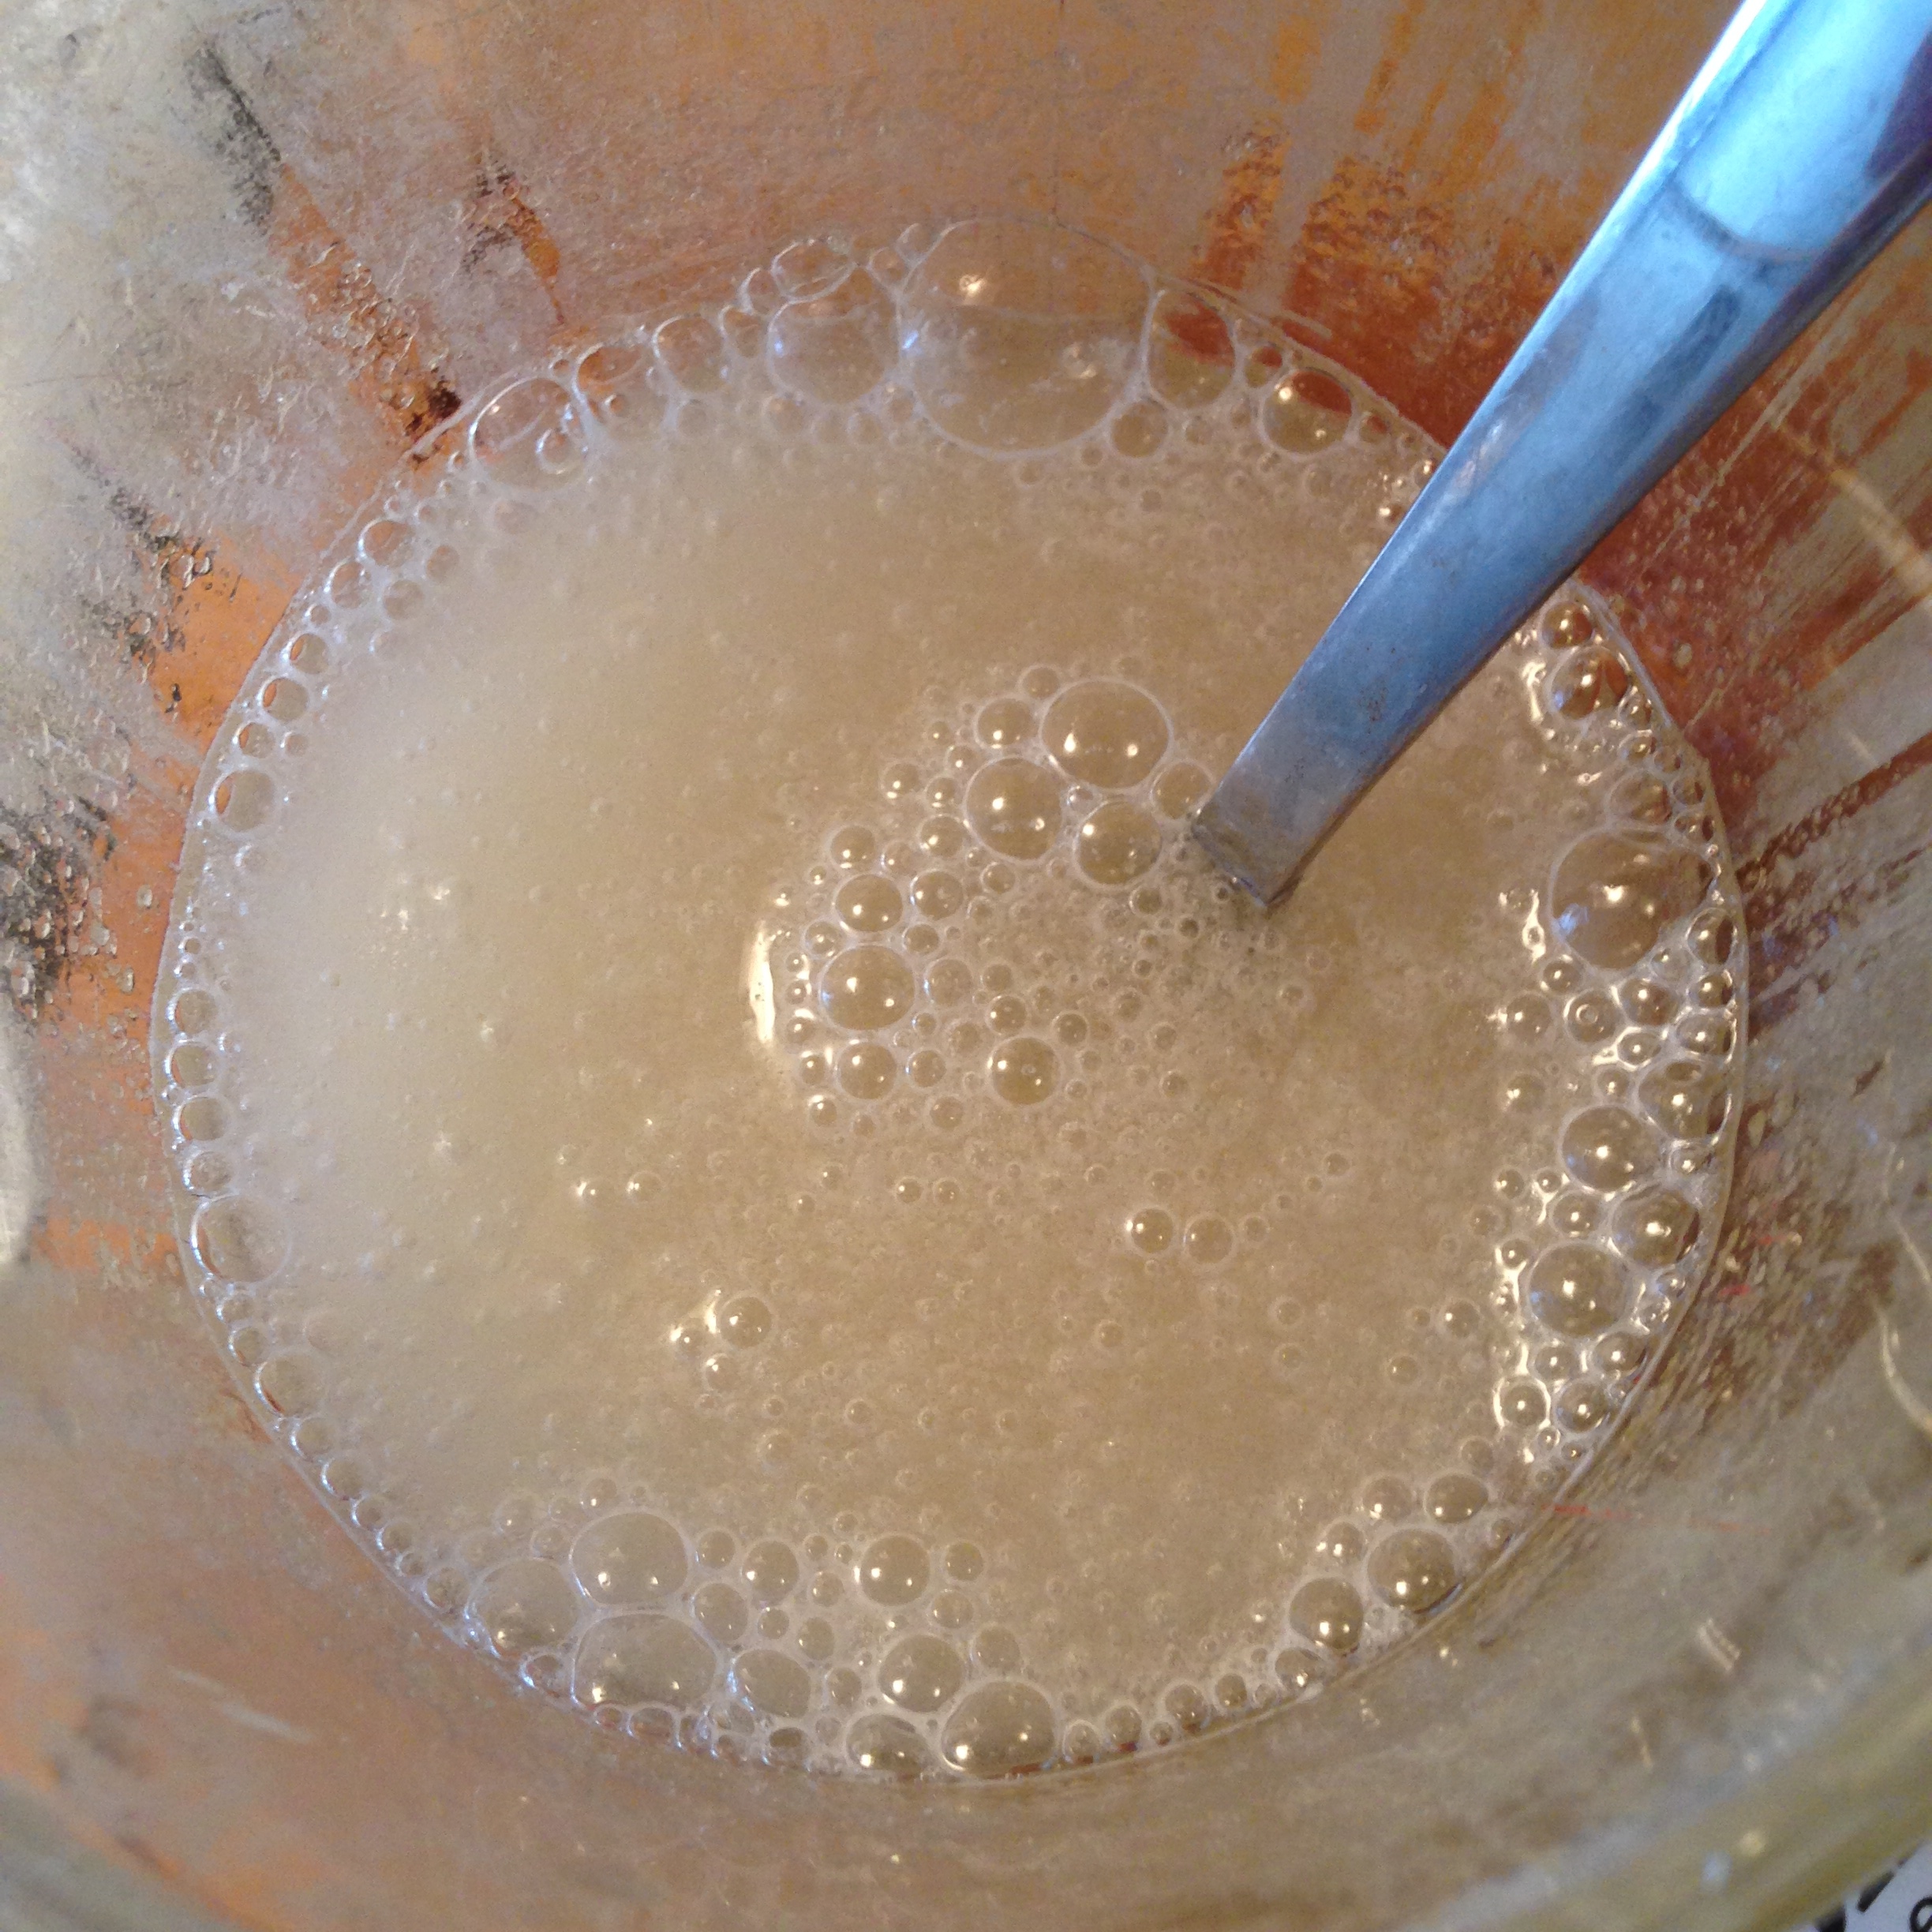
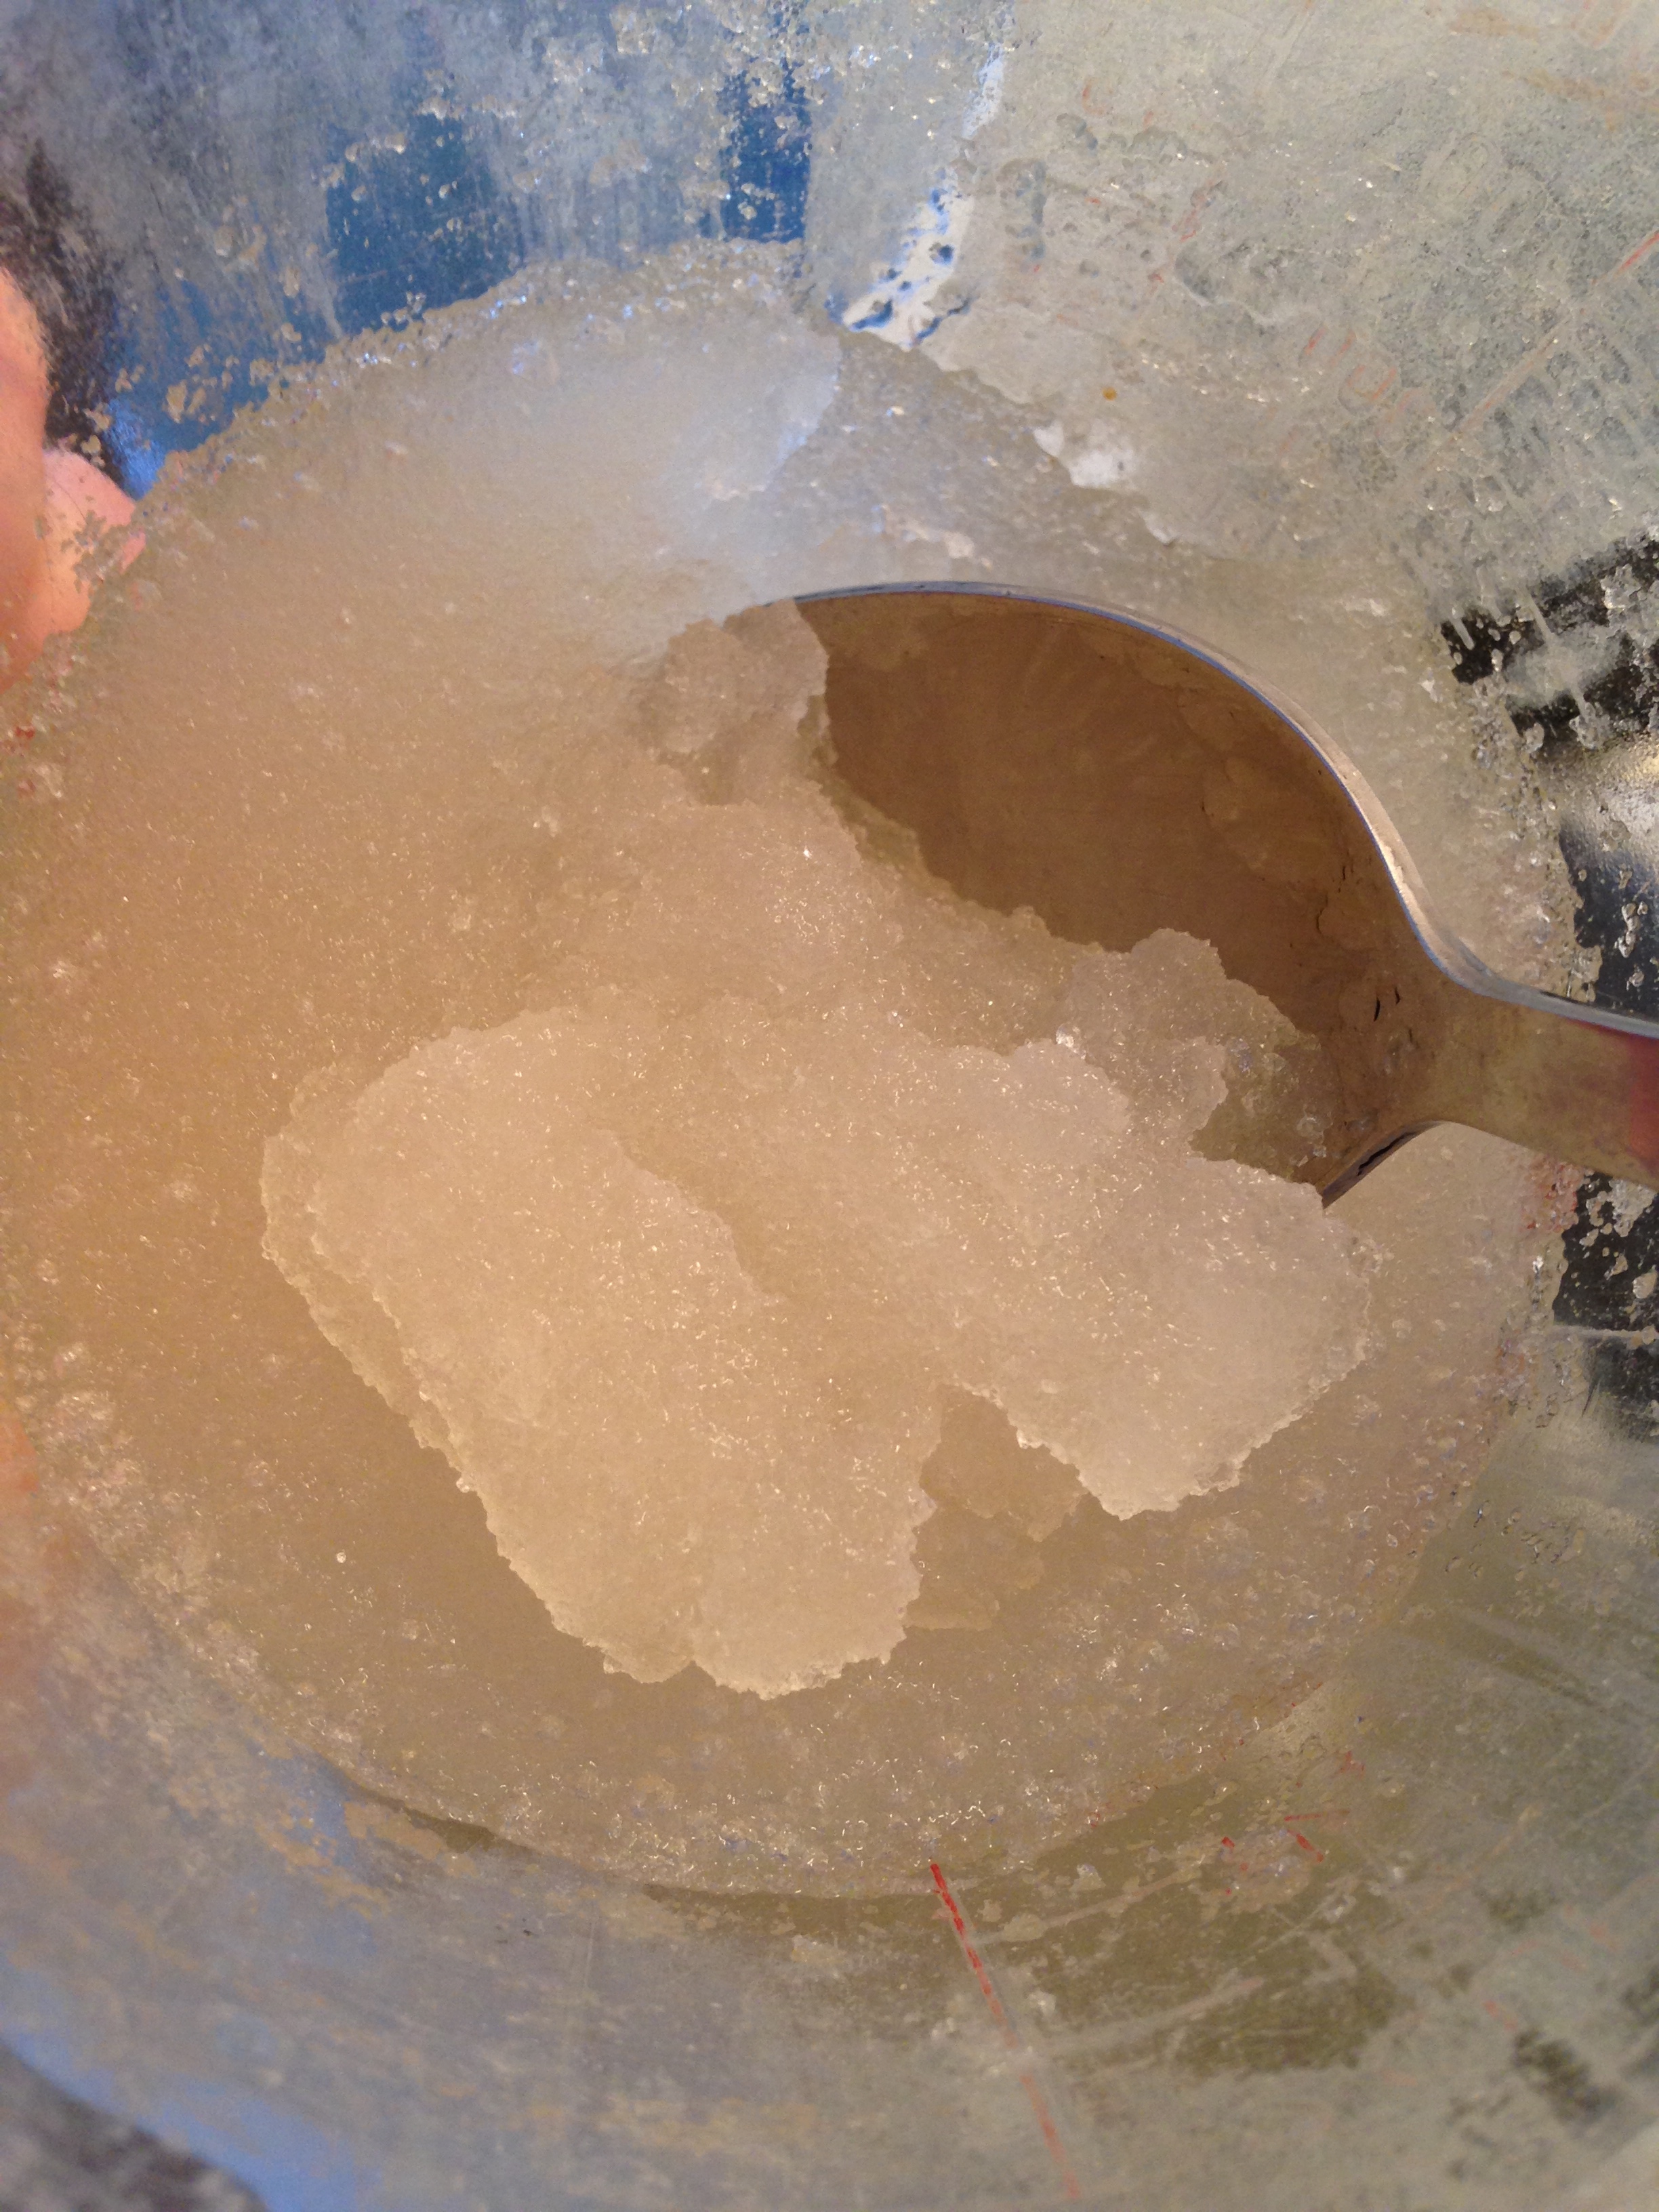
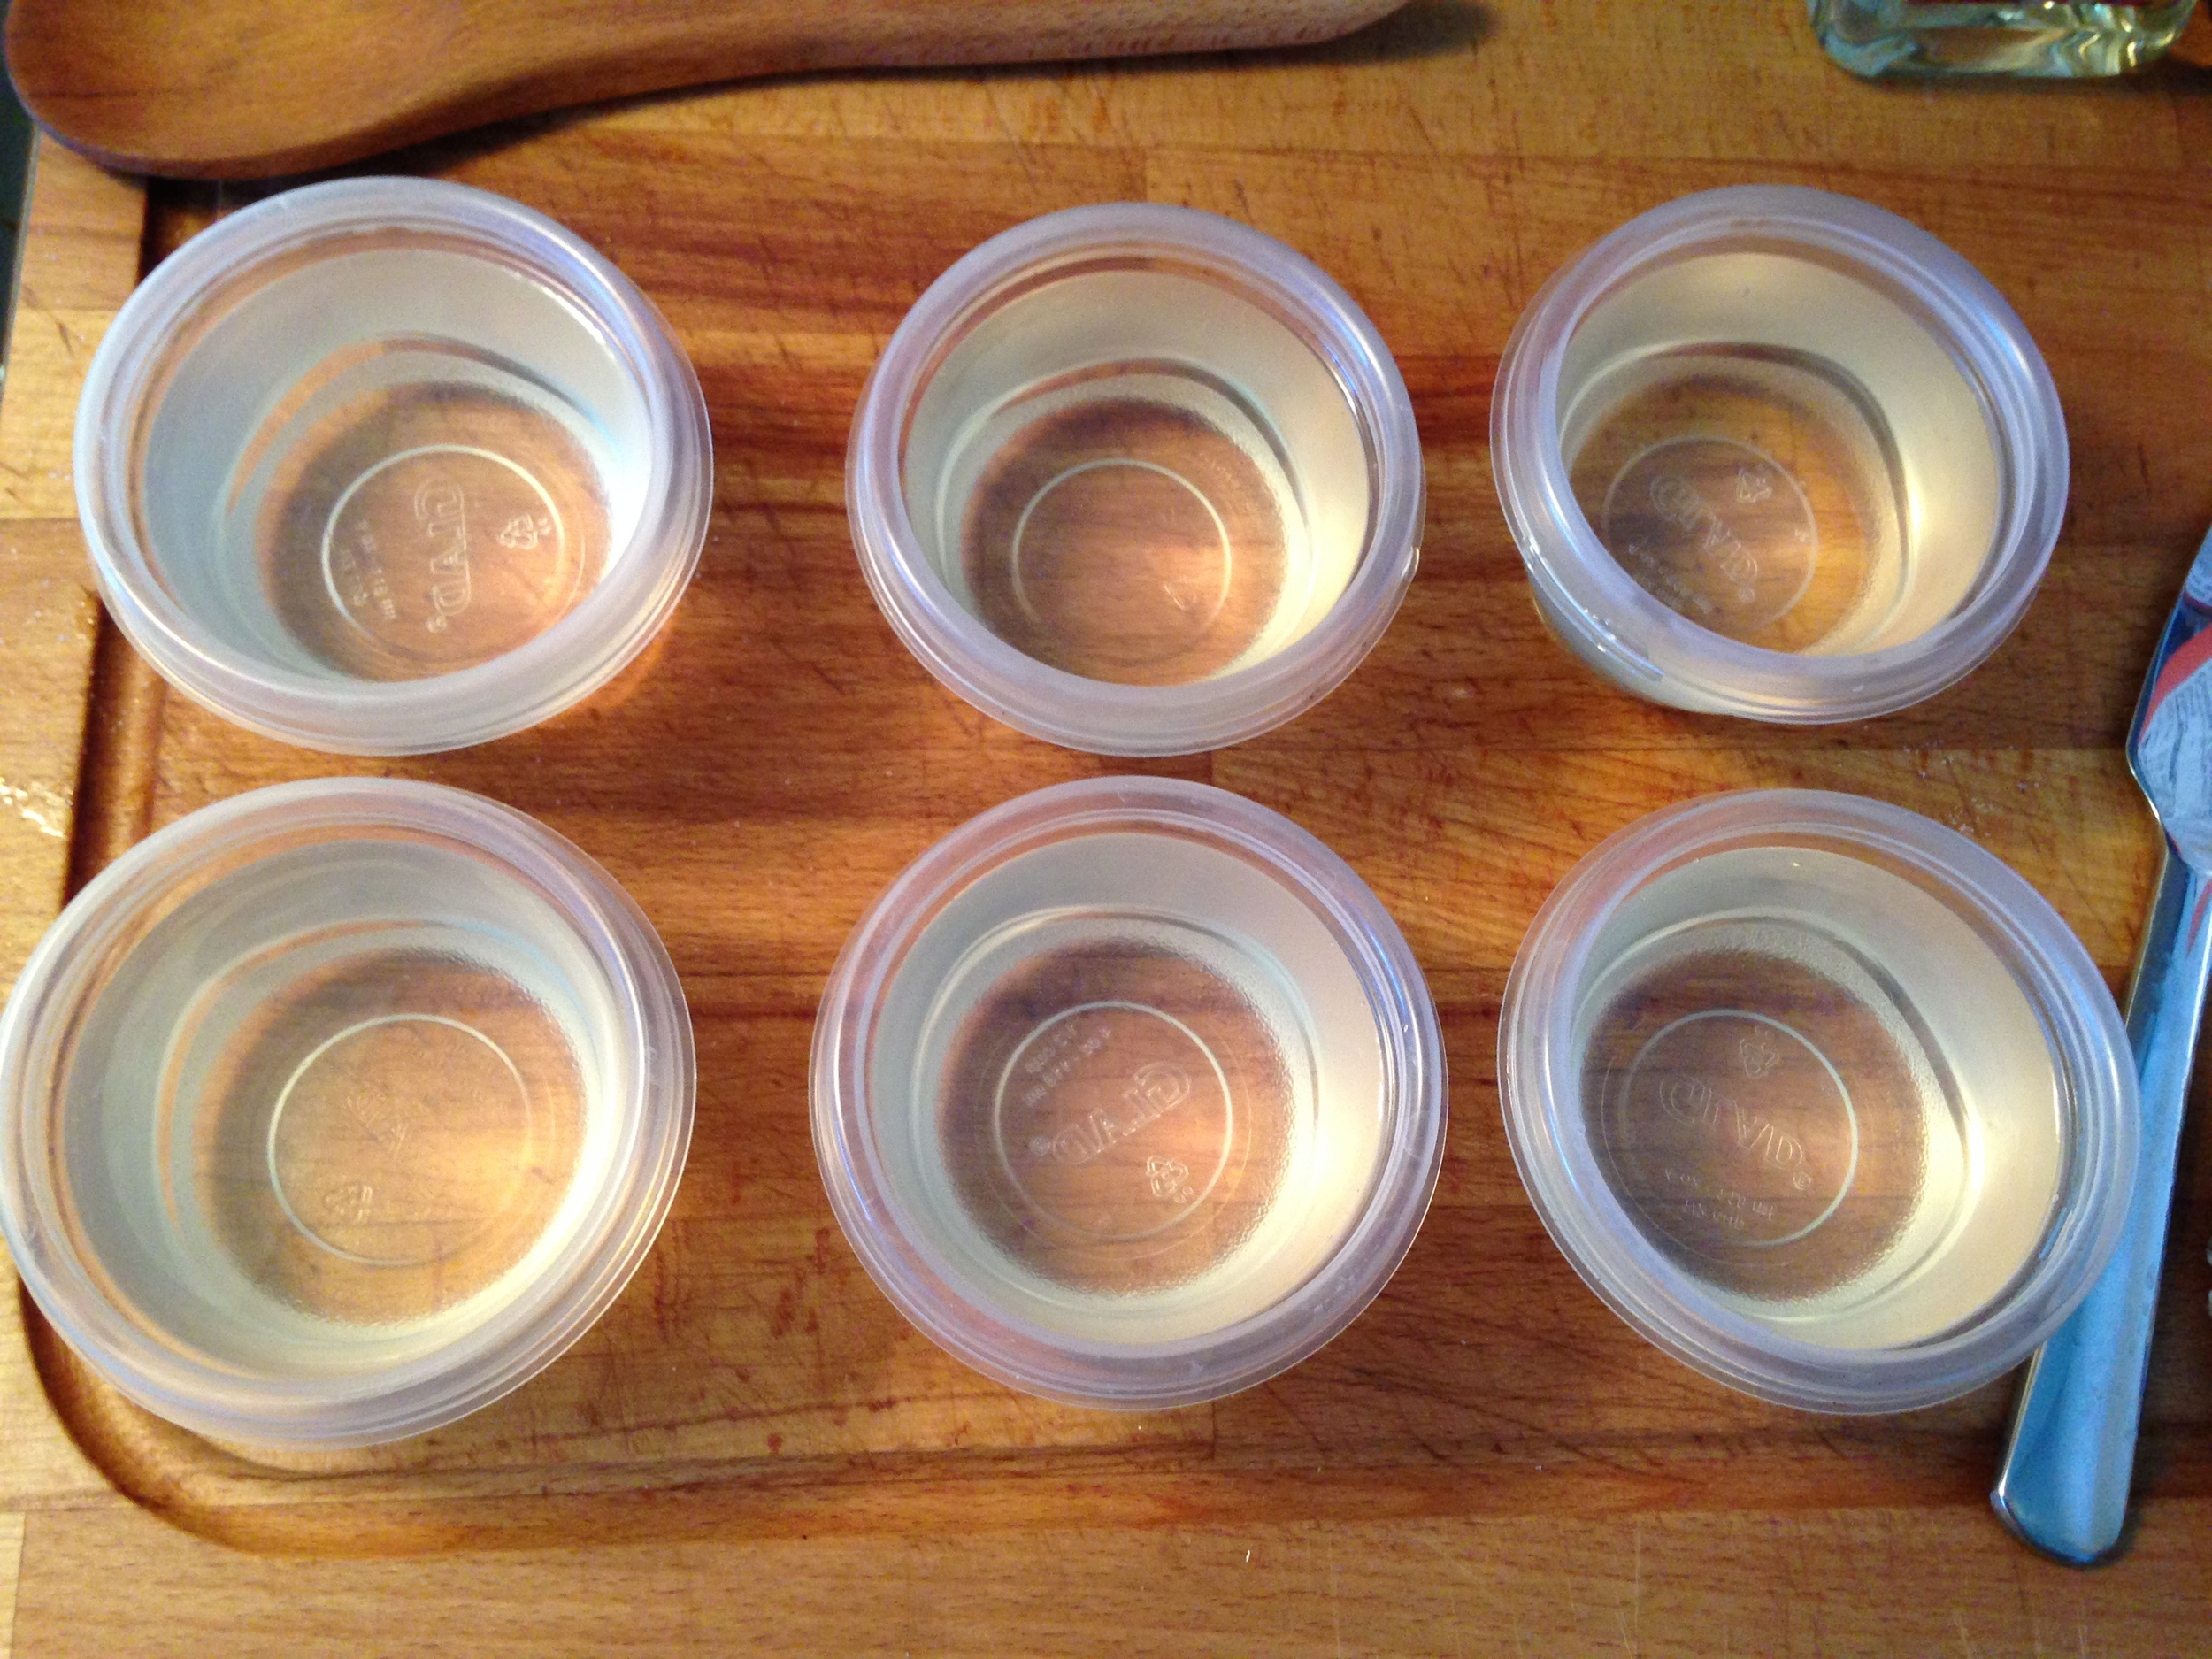
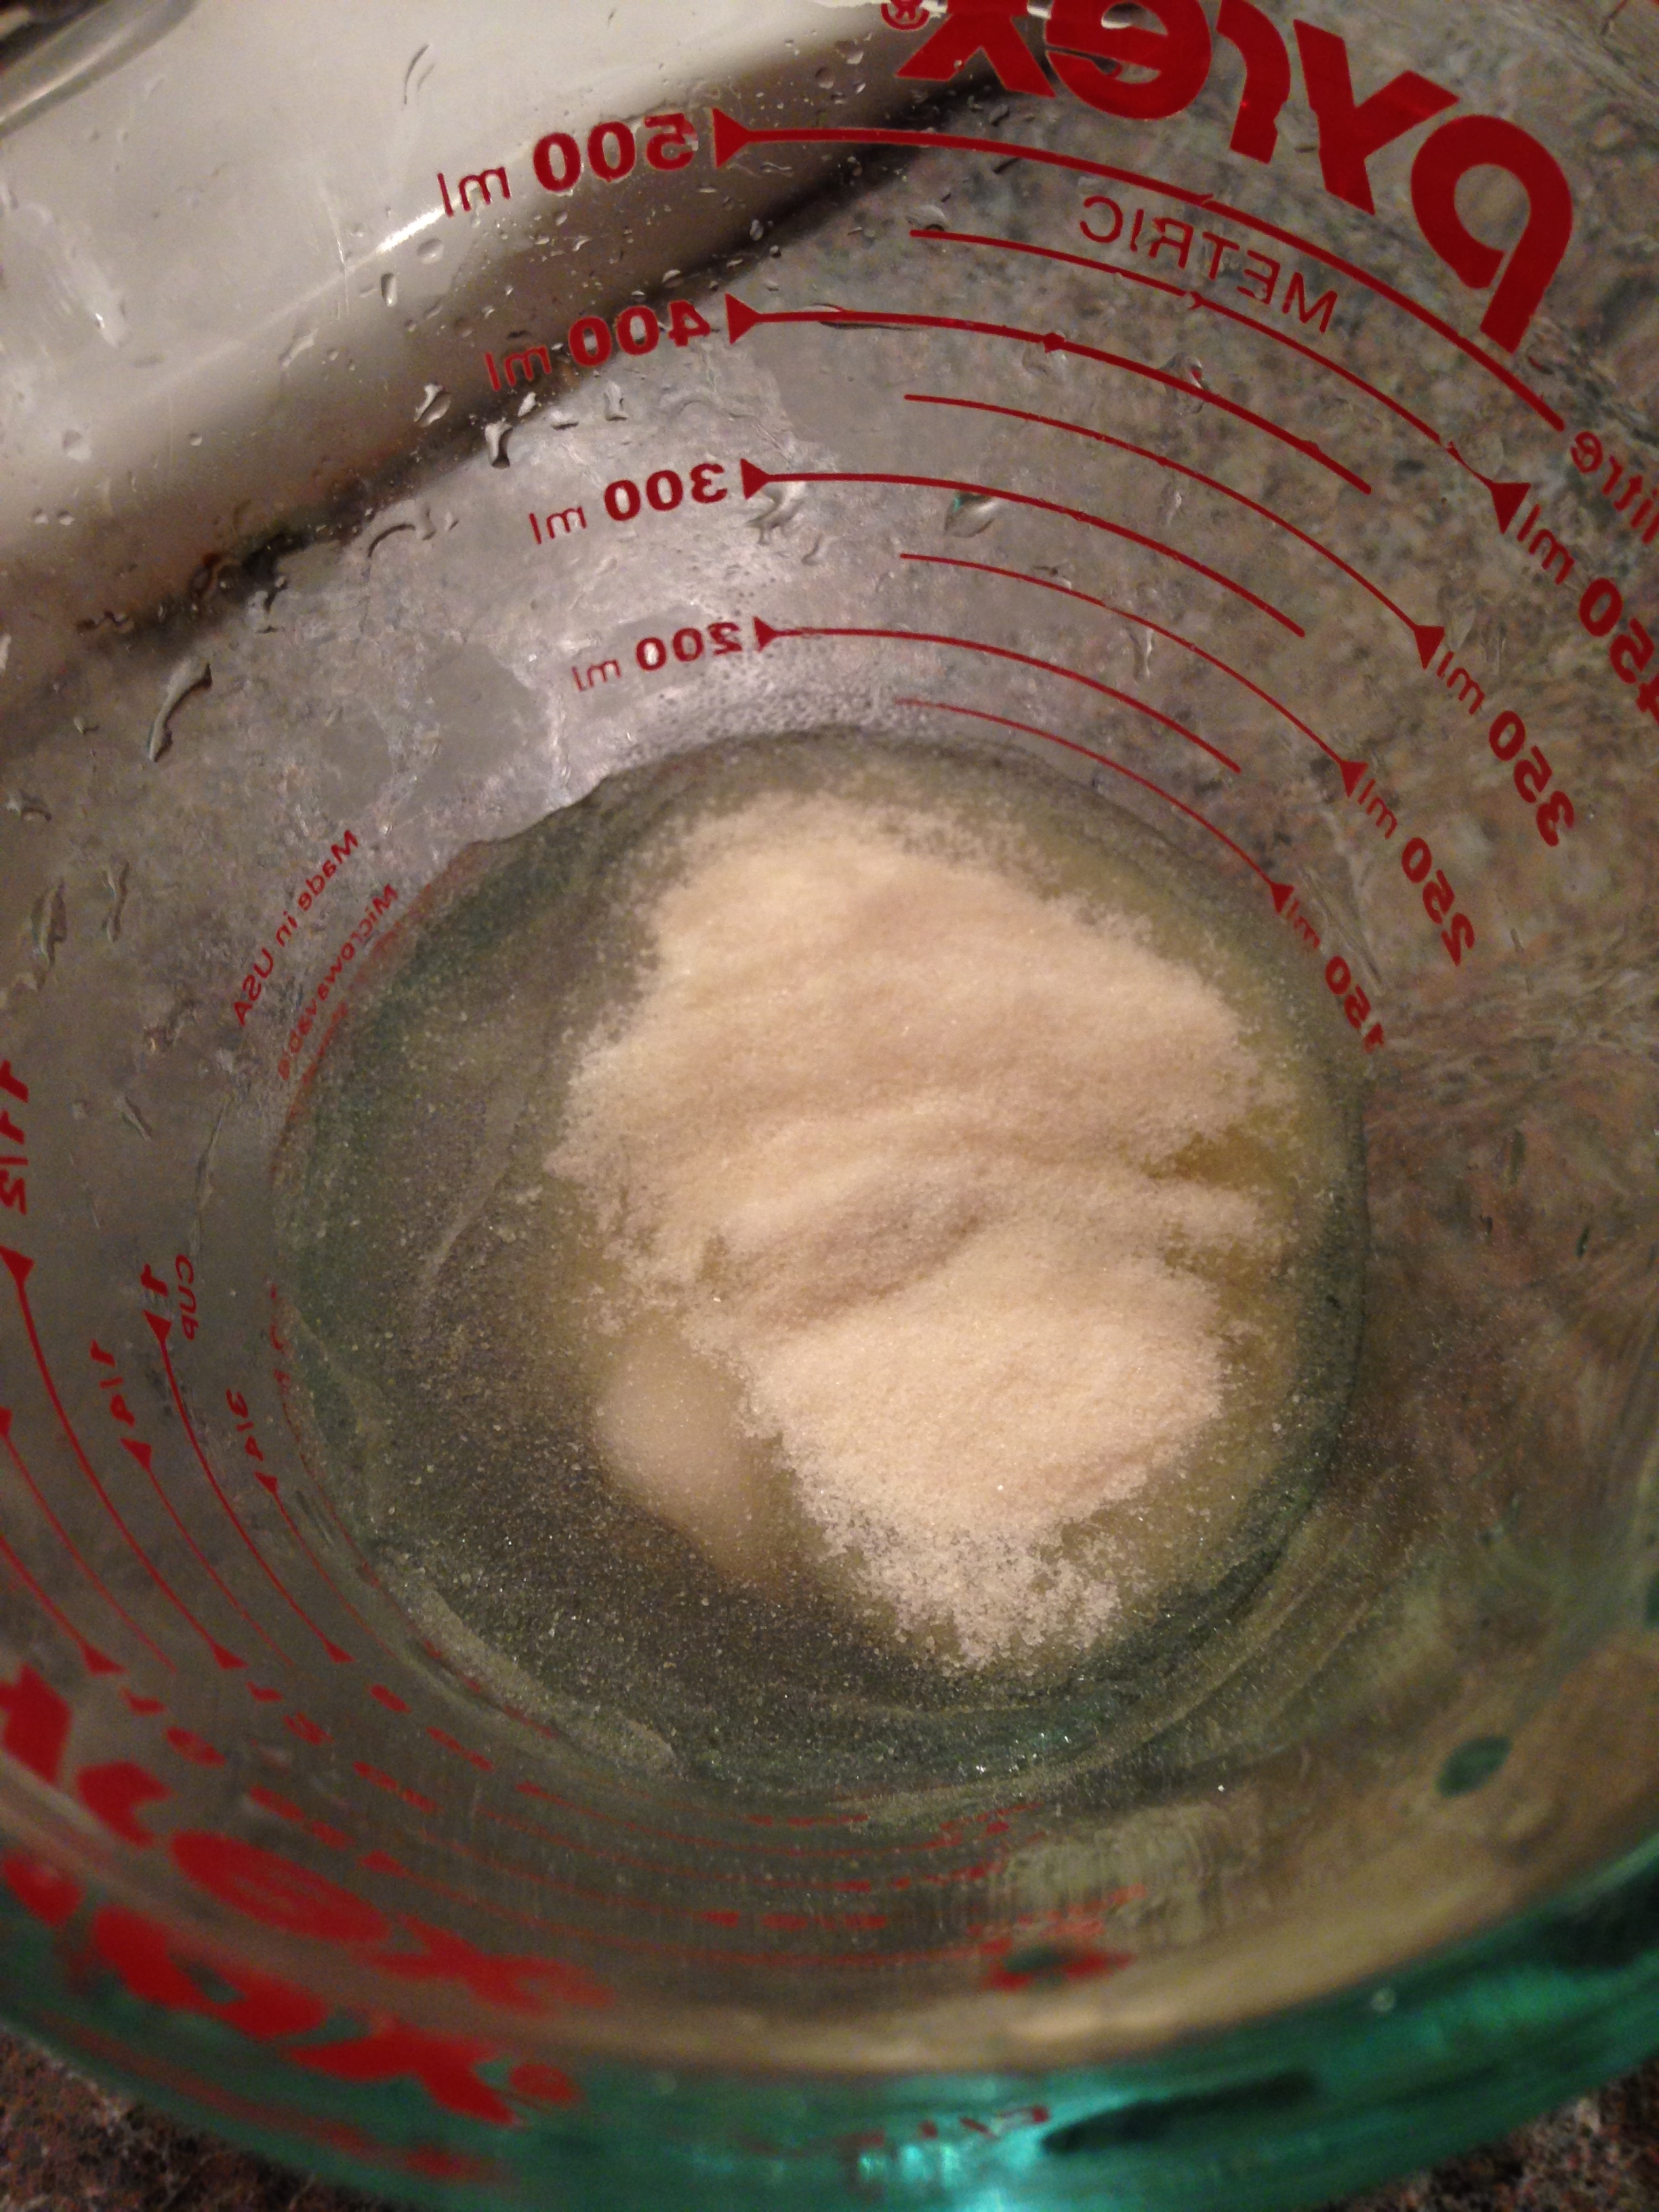
  1. Add gelatine to cold water. Stir so all lumps dissolve. Wait 15 mins for gelatine to set. 
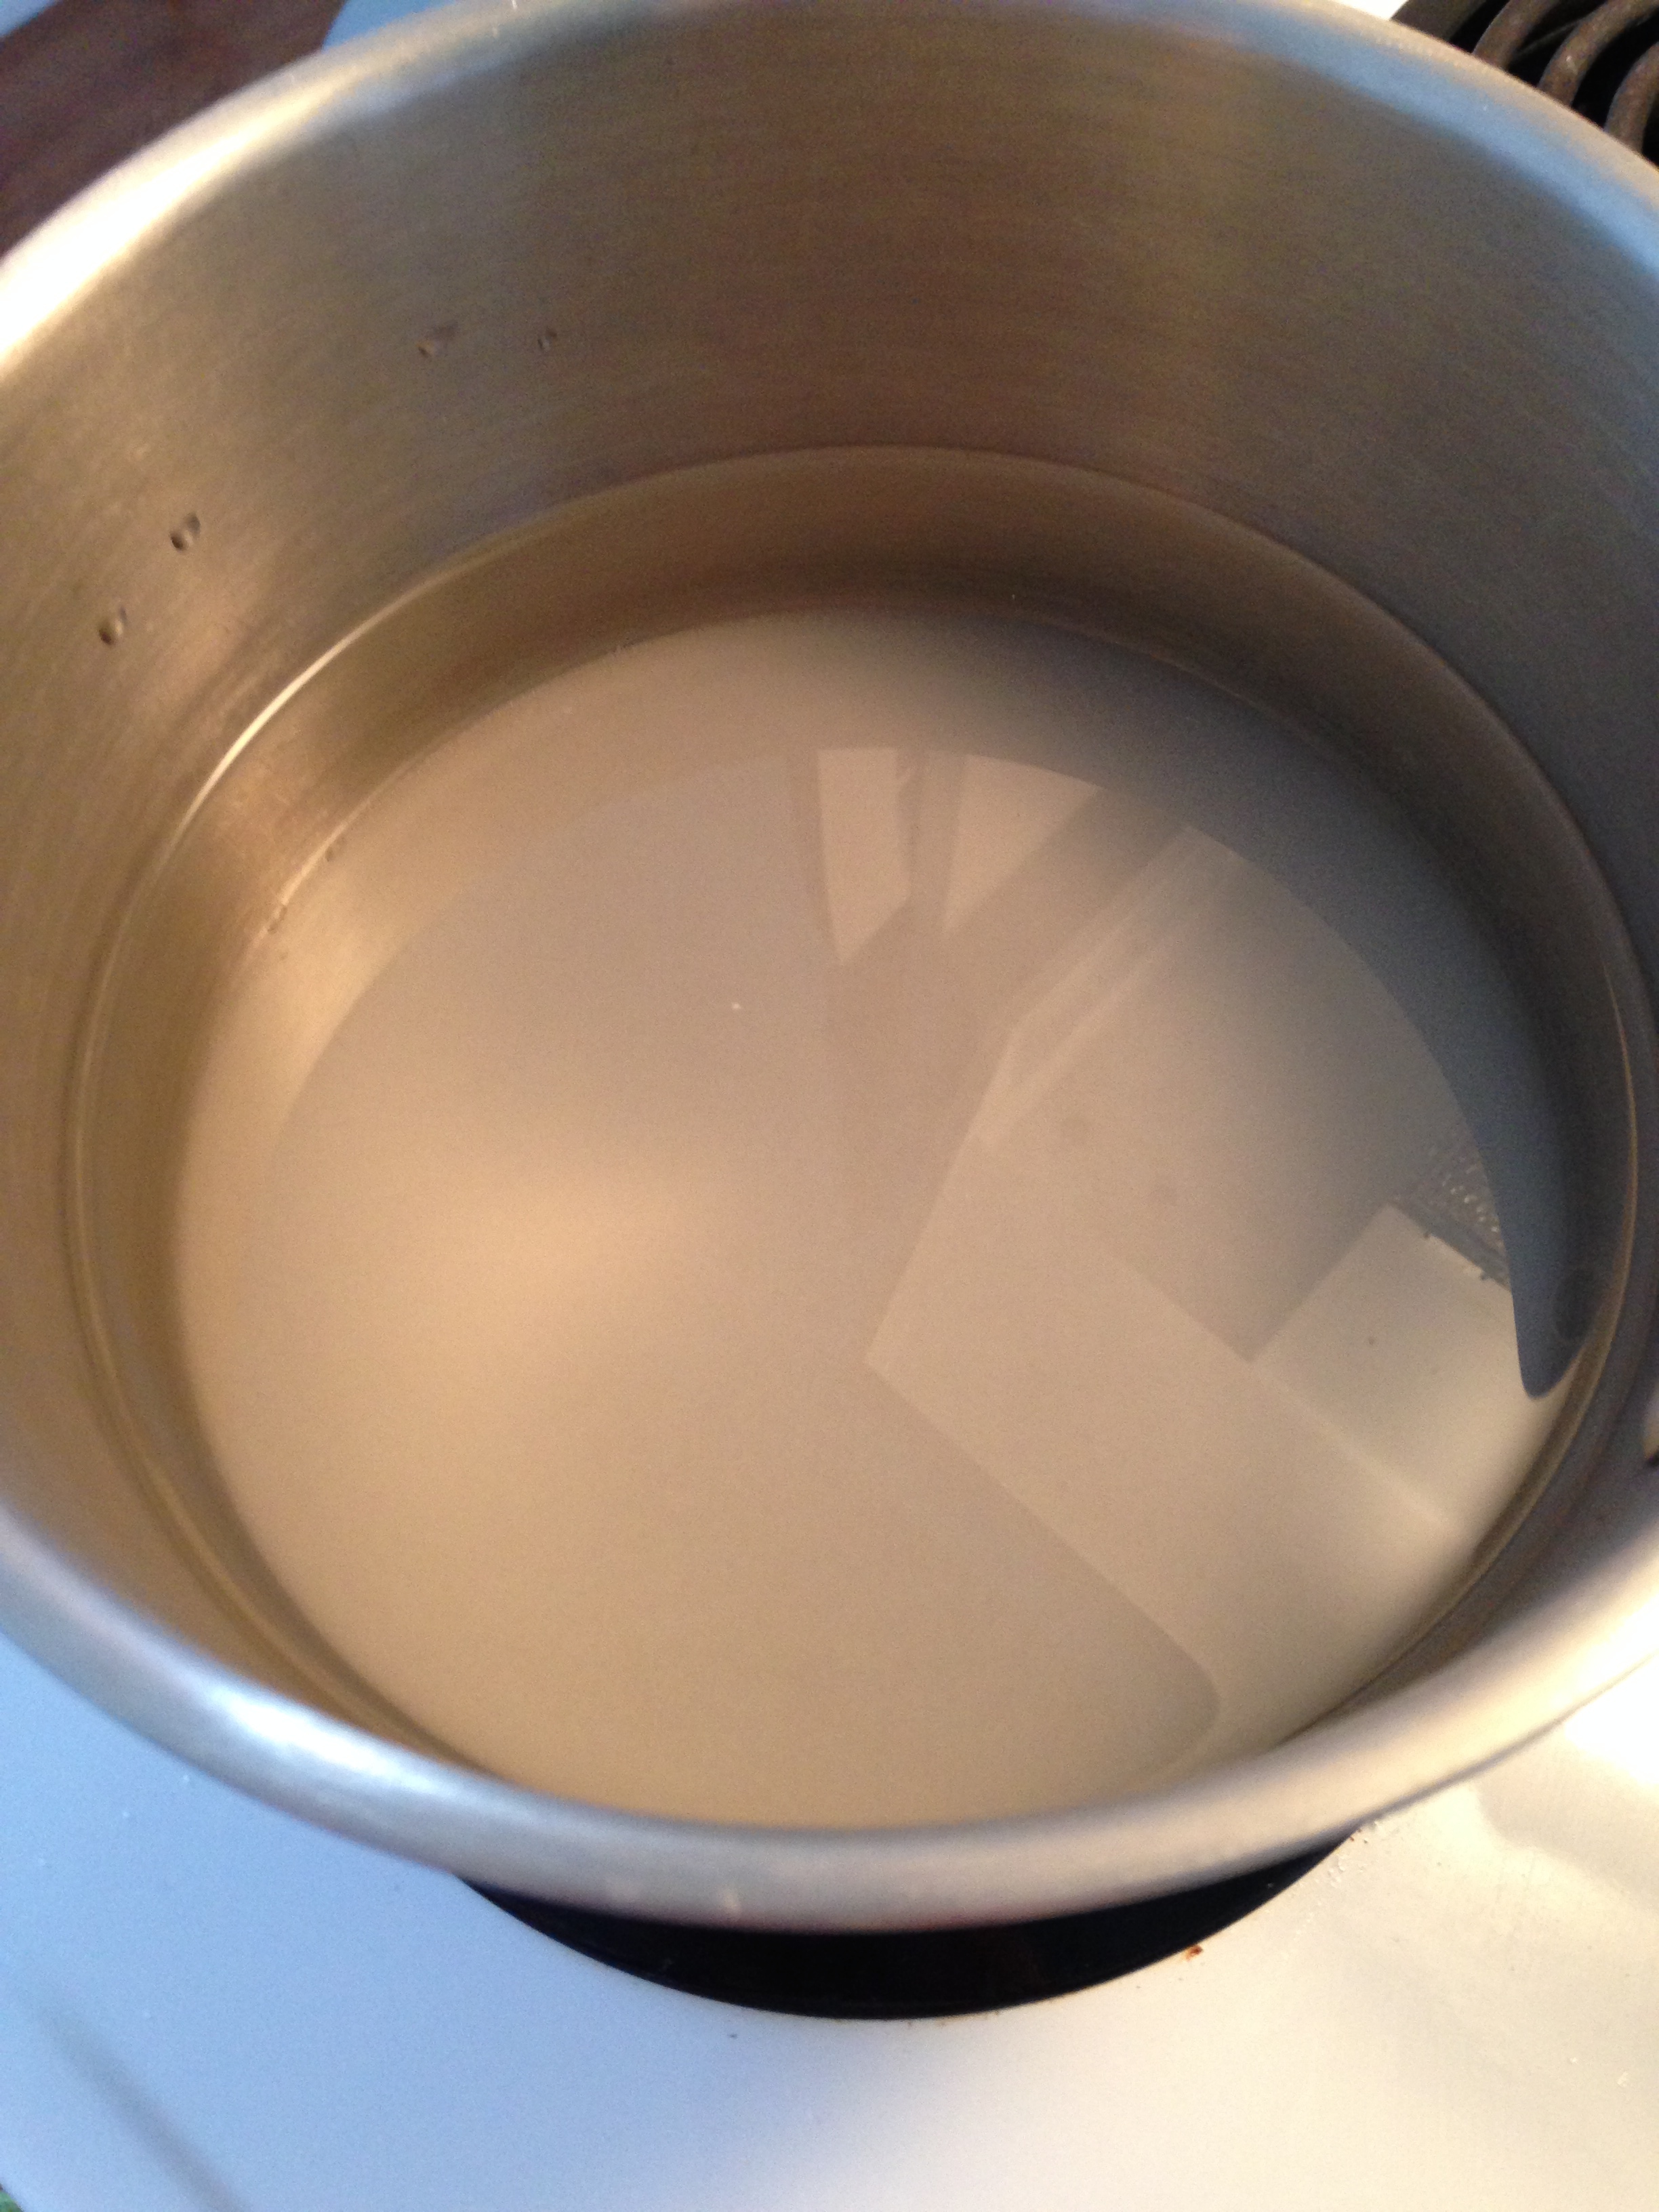
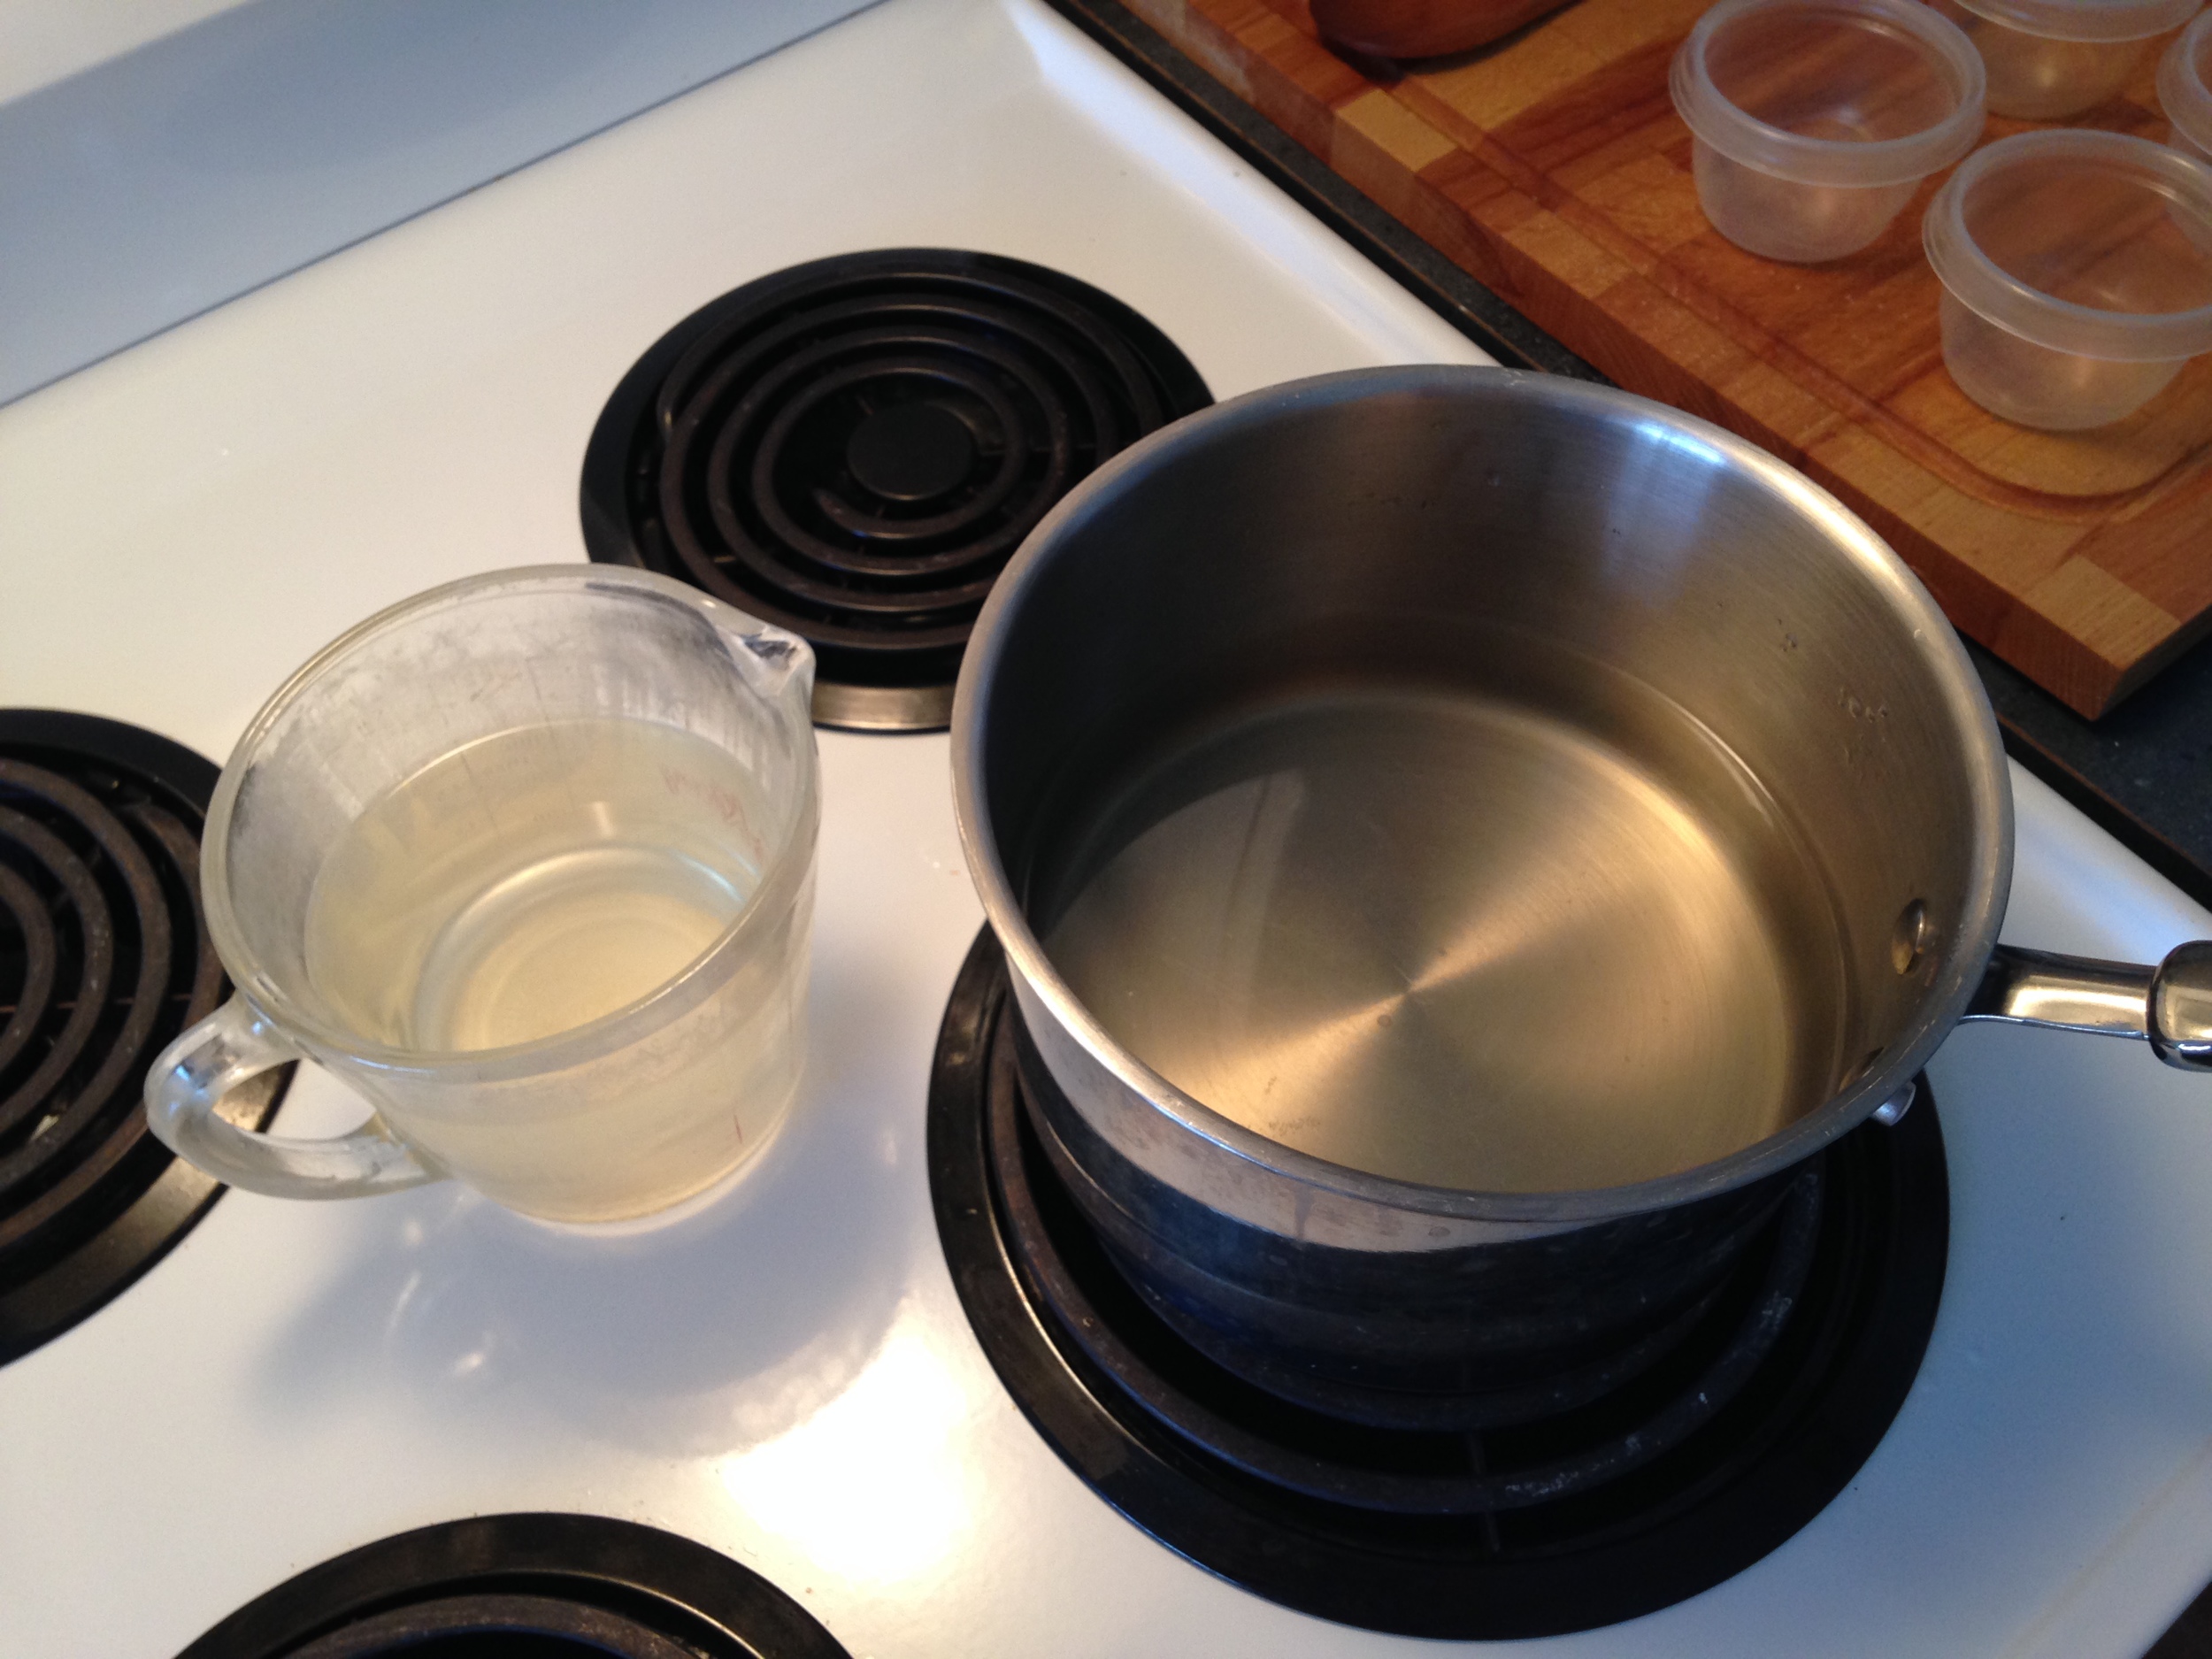
  2. In a saucepan, heat water, sugar, and flavouring until sugar dissolves completely. (This happens right before the water boils.) Remove from heat. 
  3. Stir in set jelly to hot sugar liquid. Stir so all jelly lumps dissolve. 
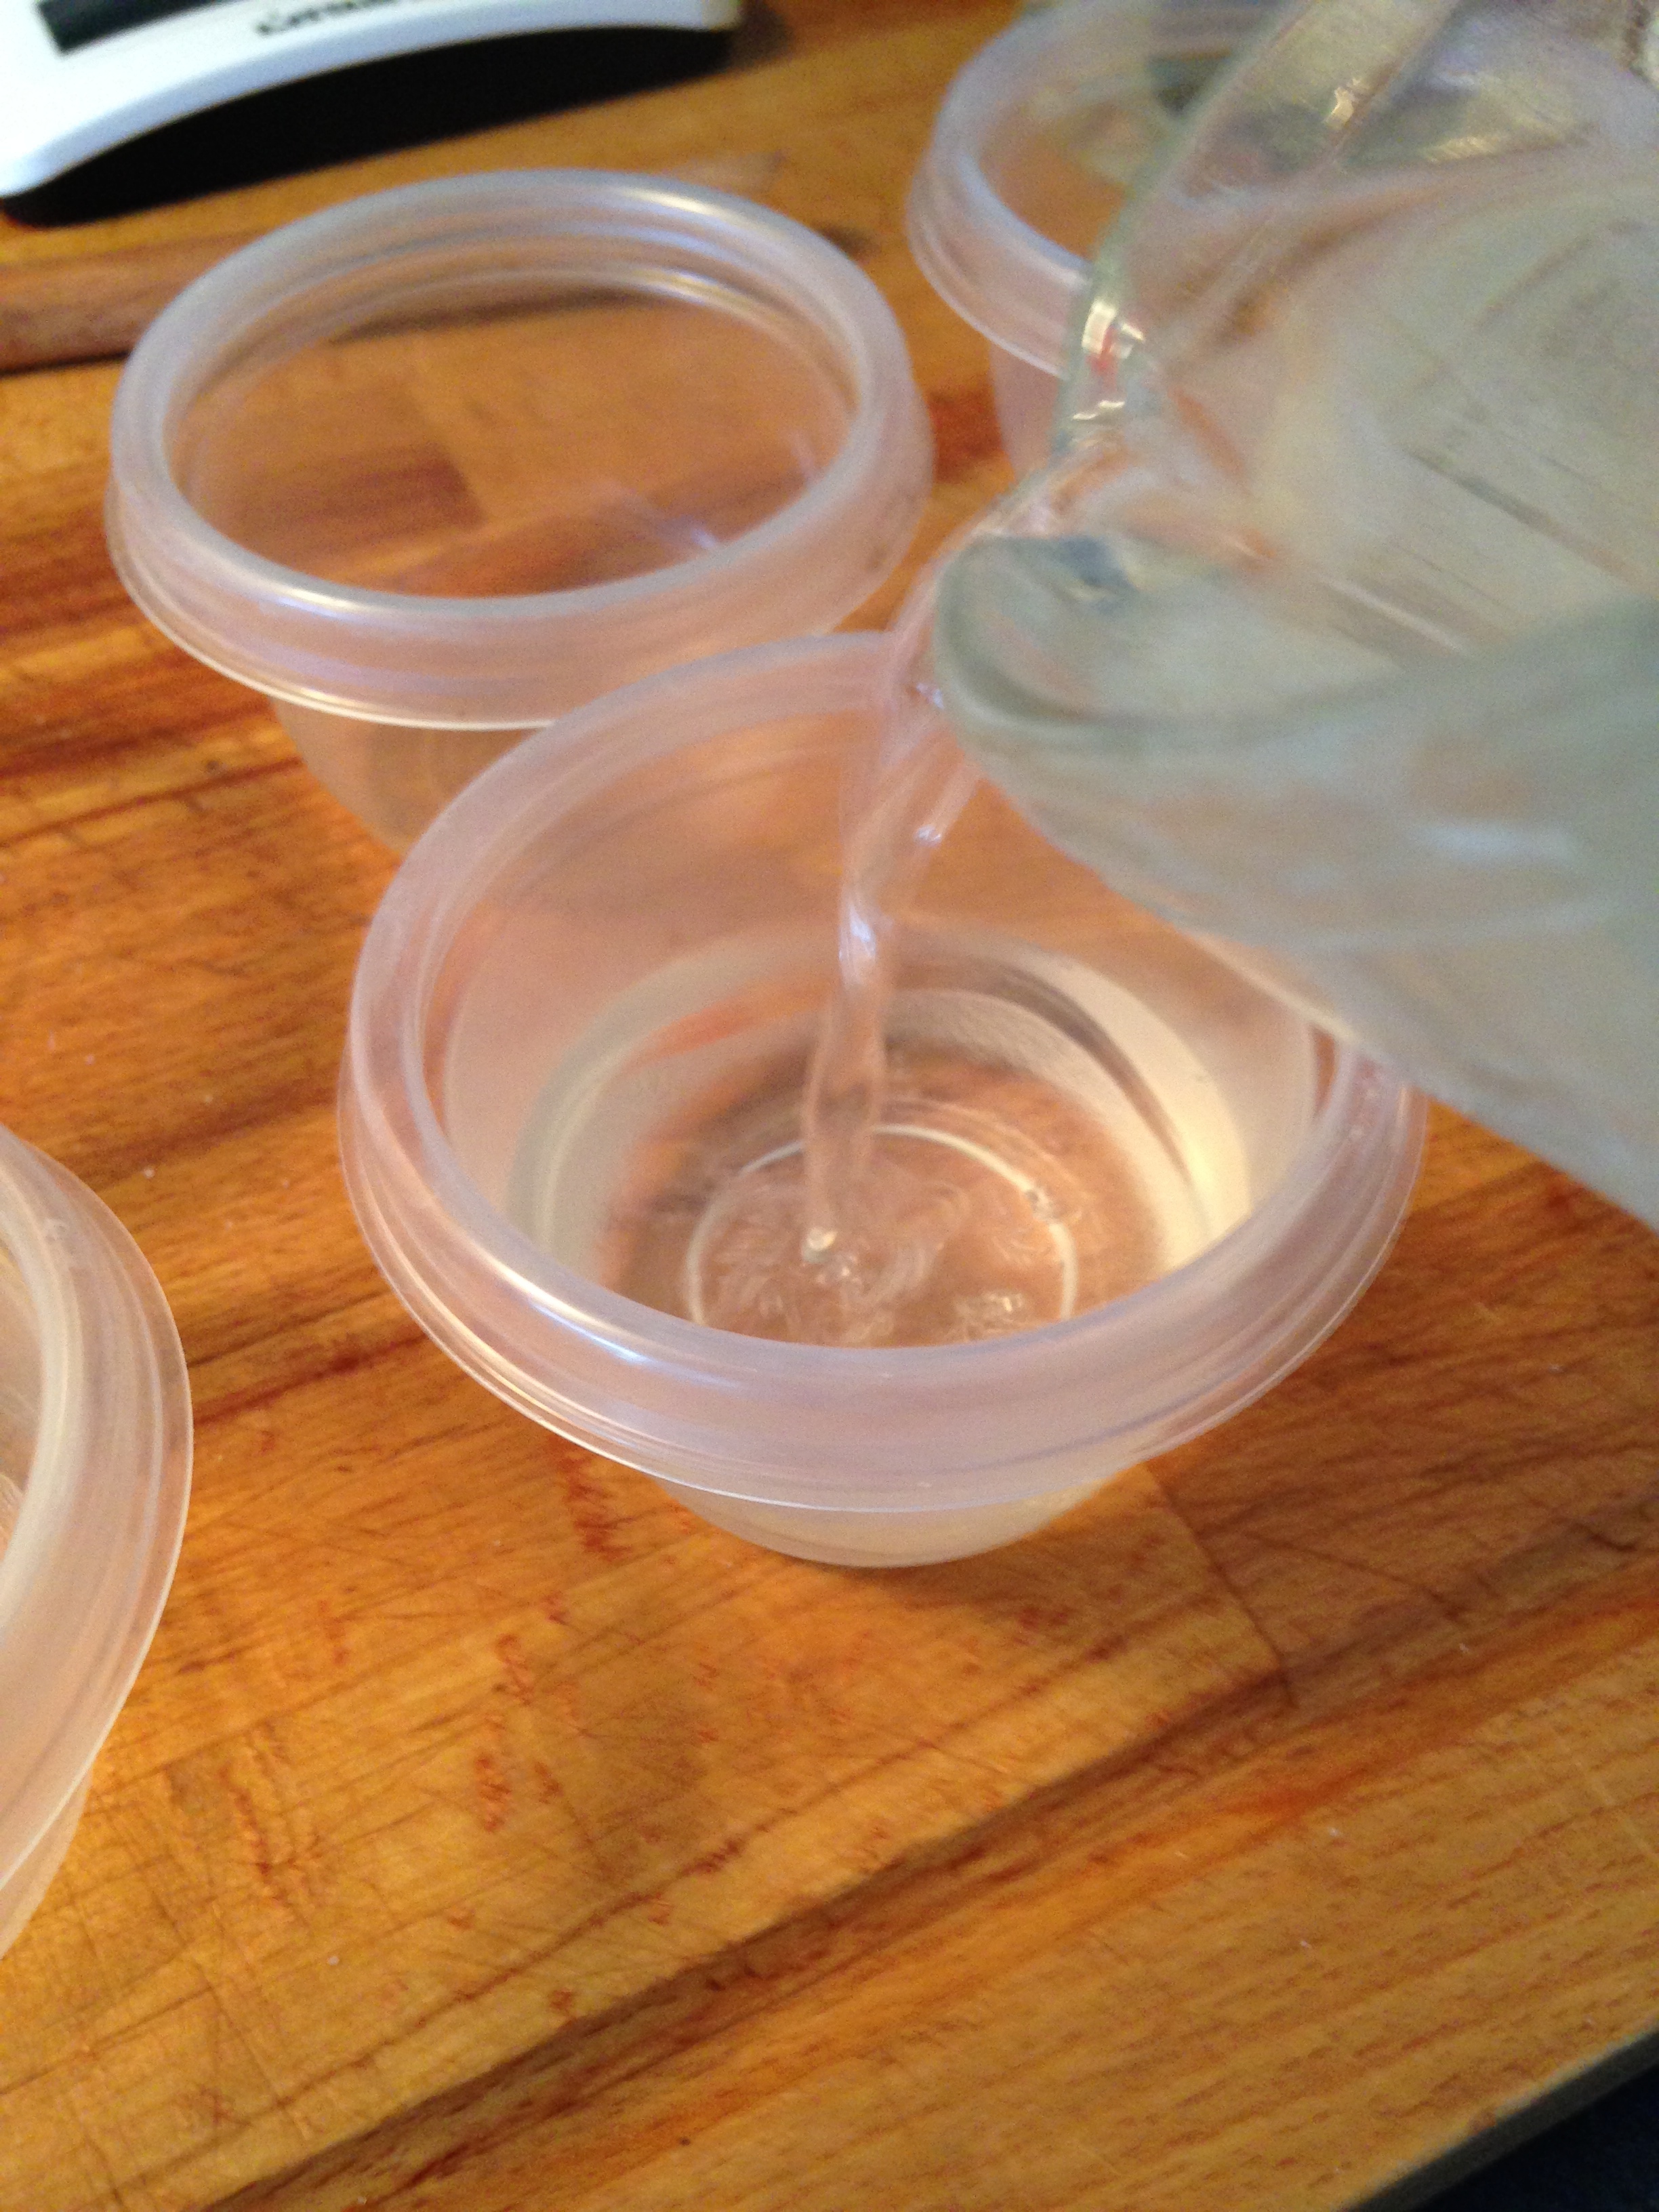
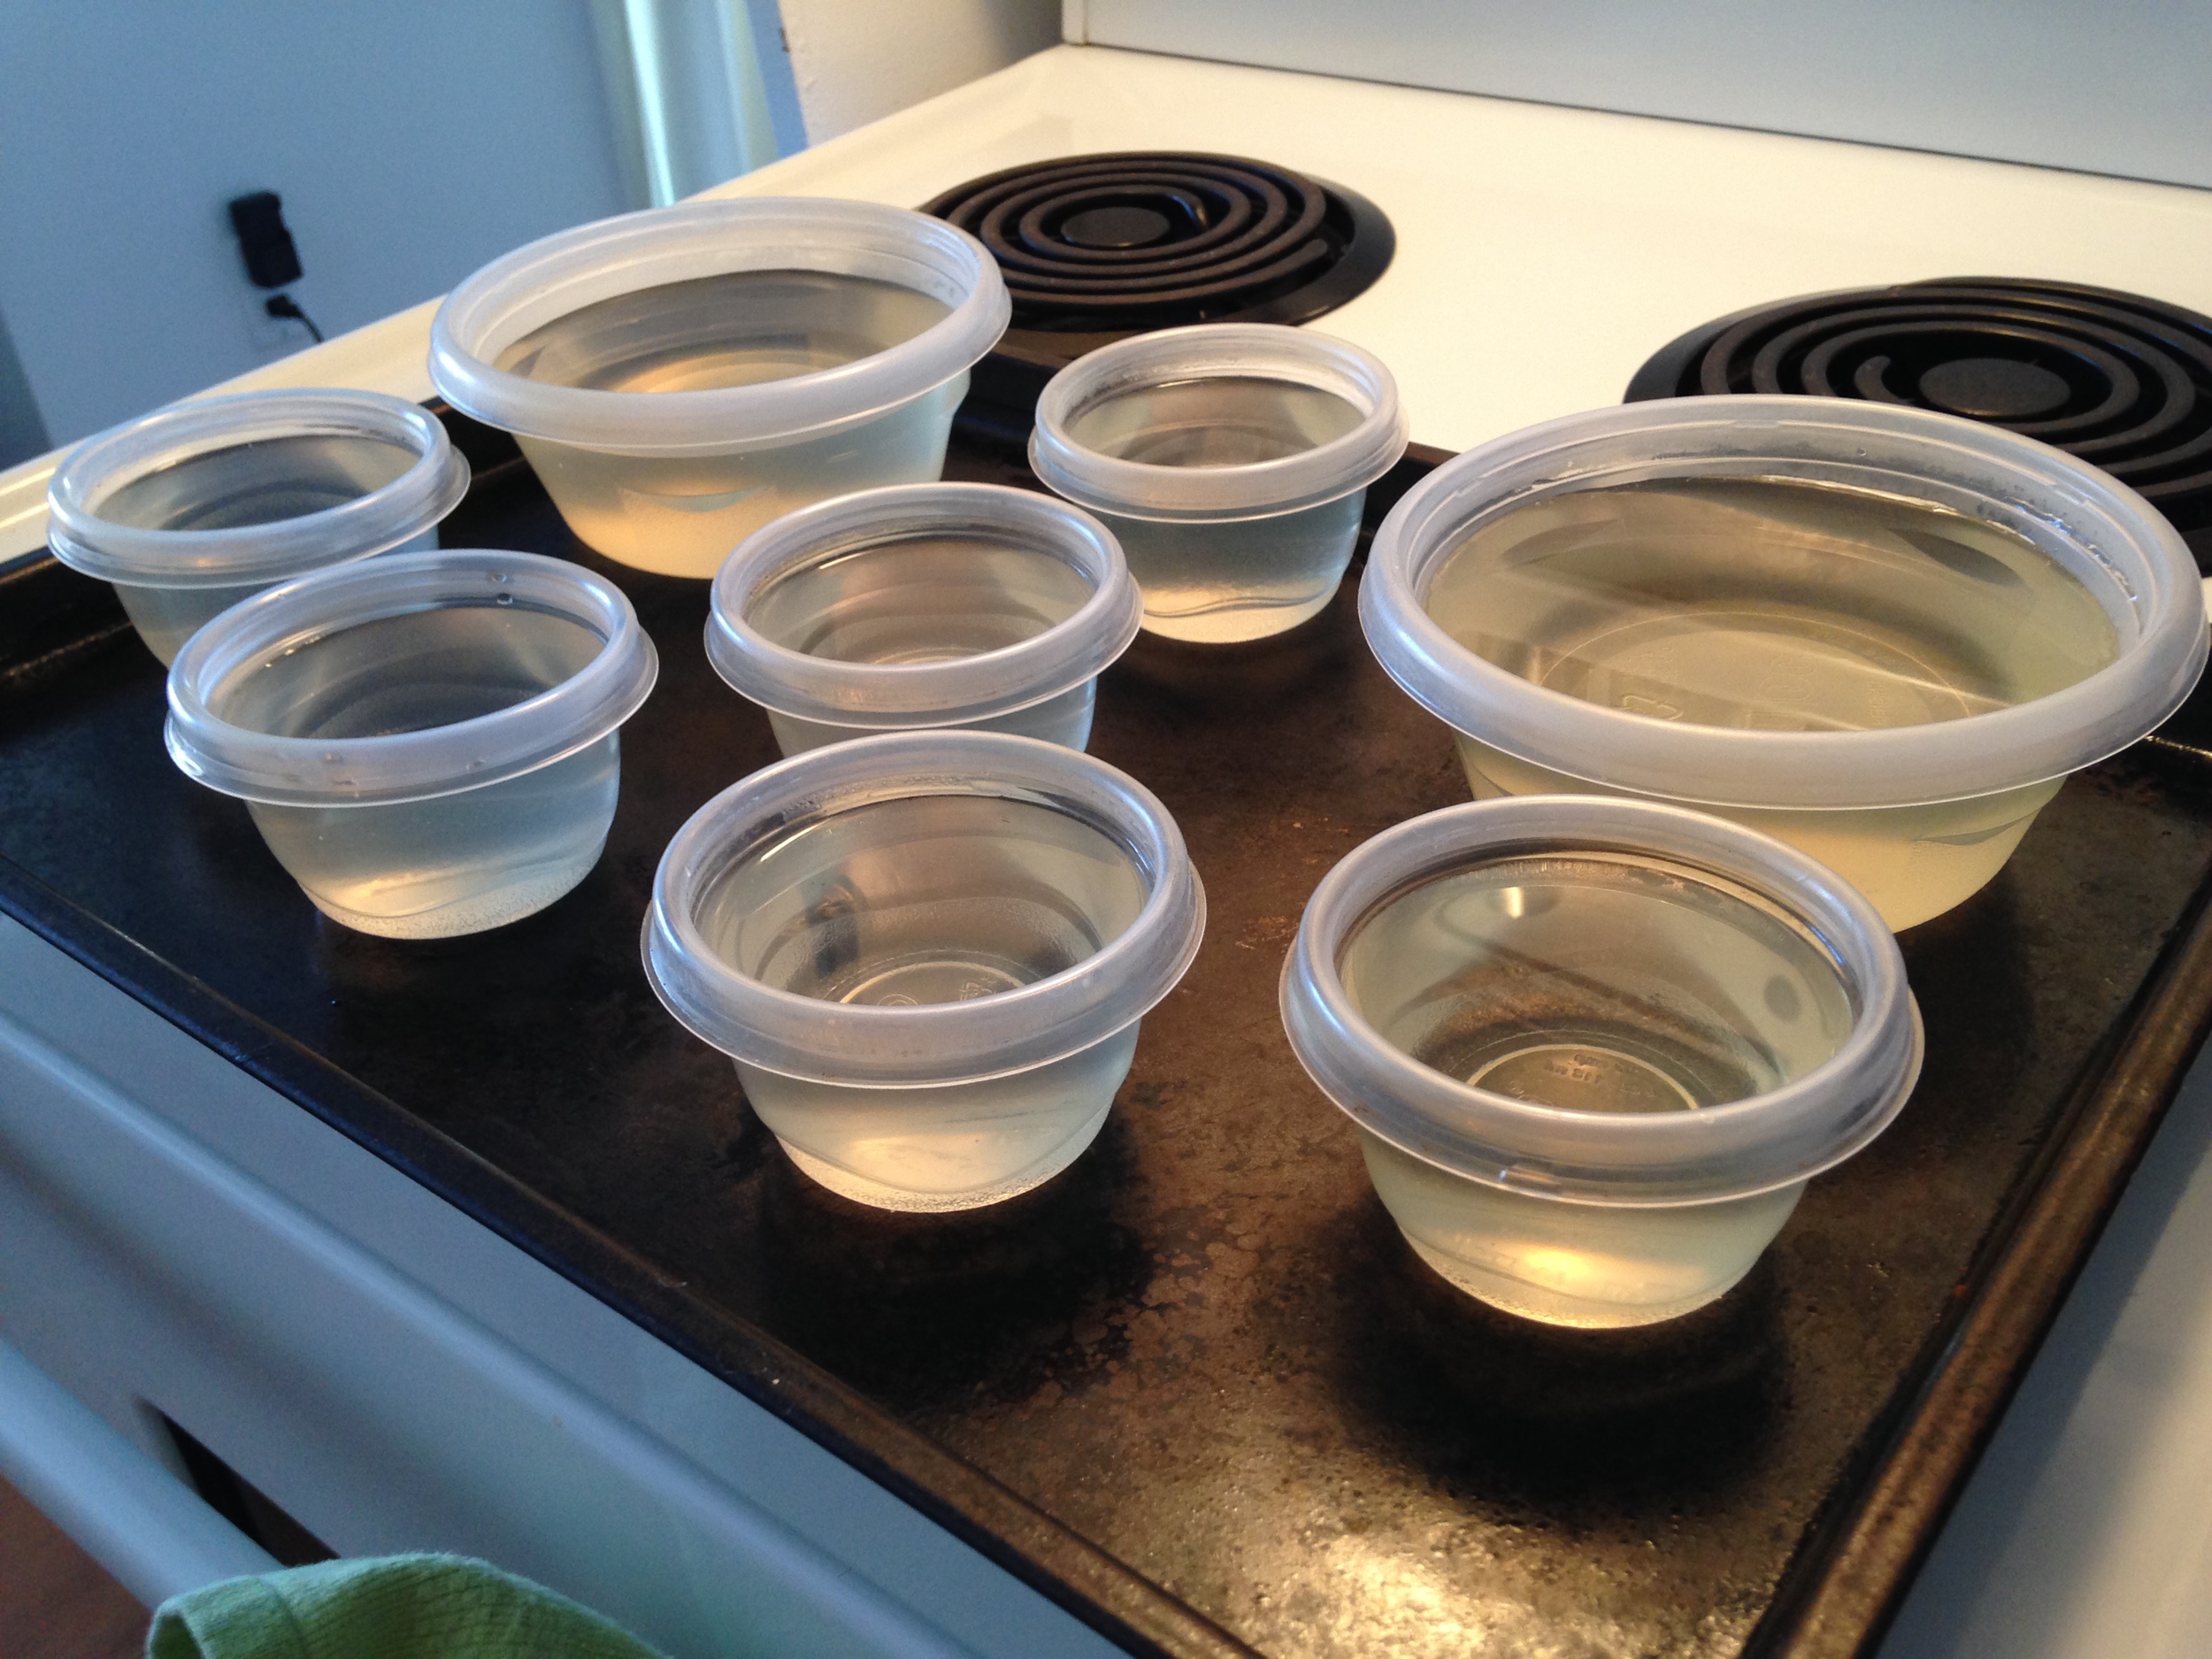
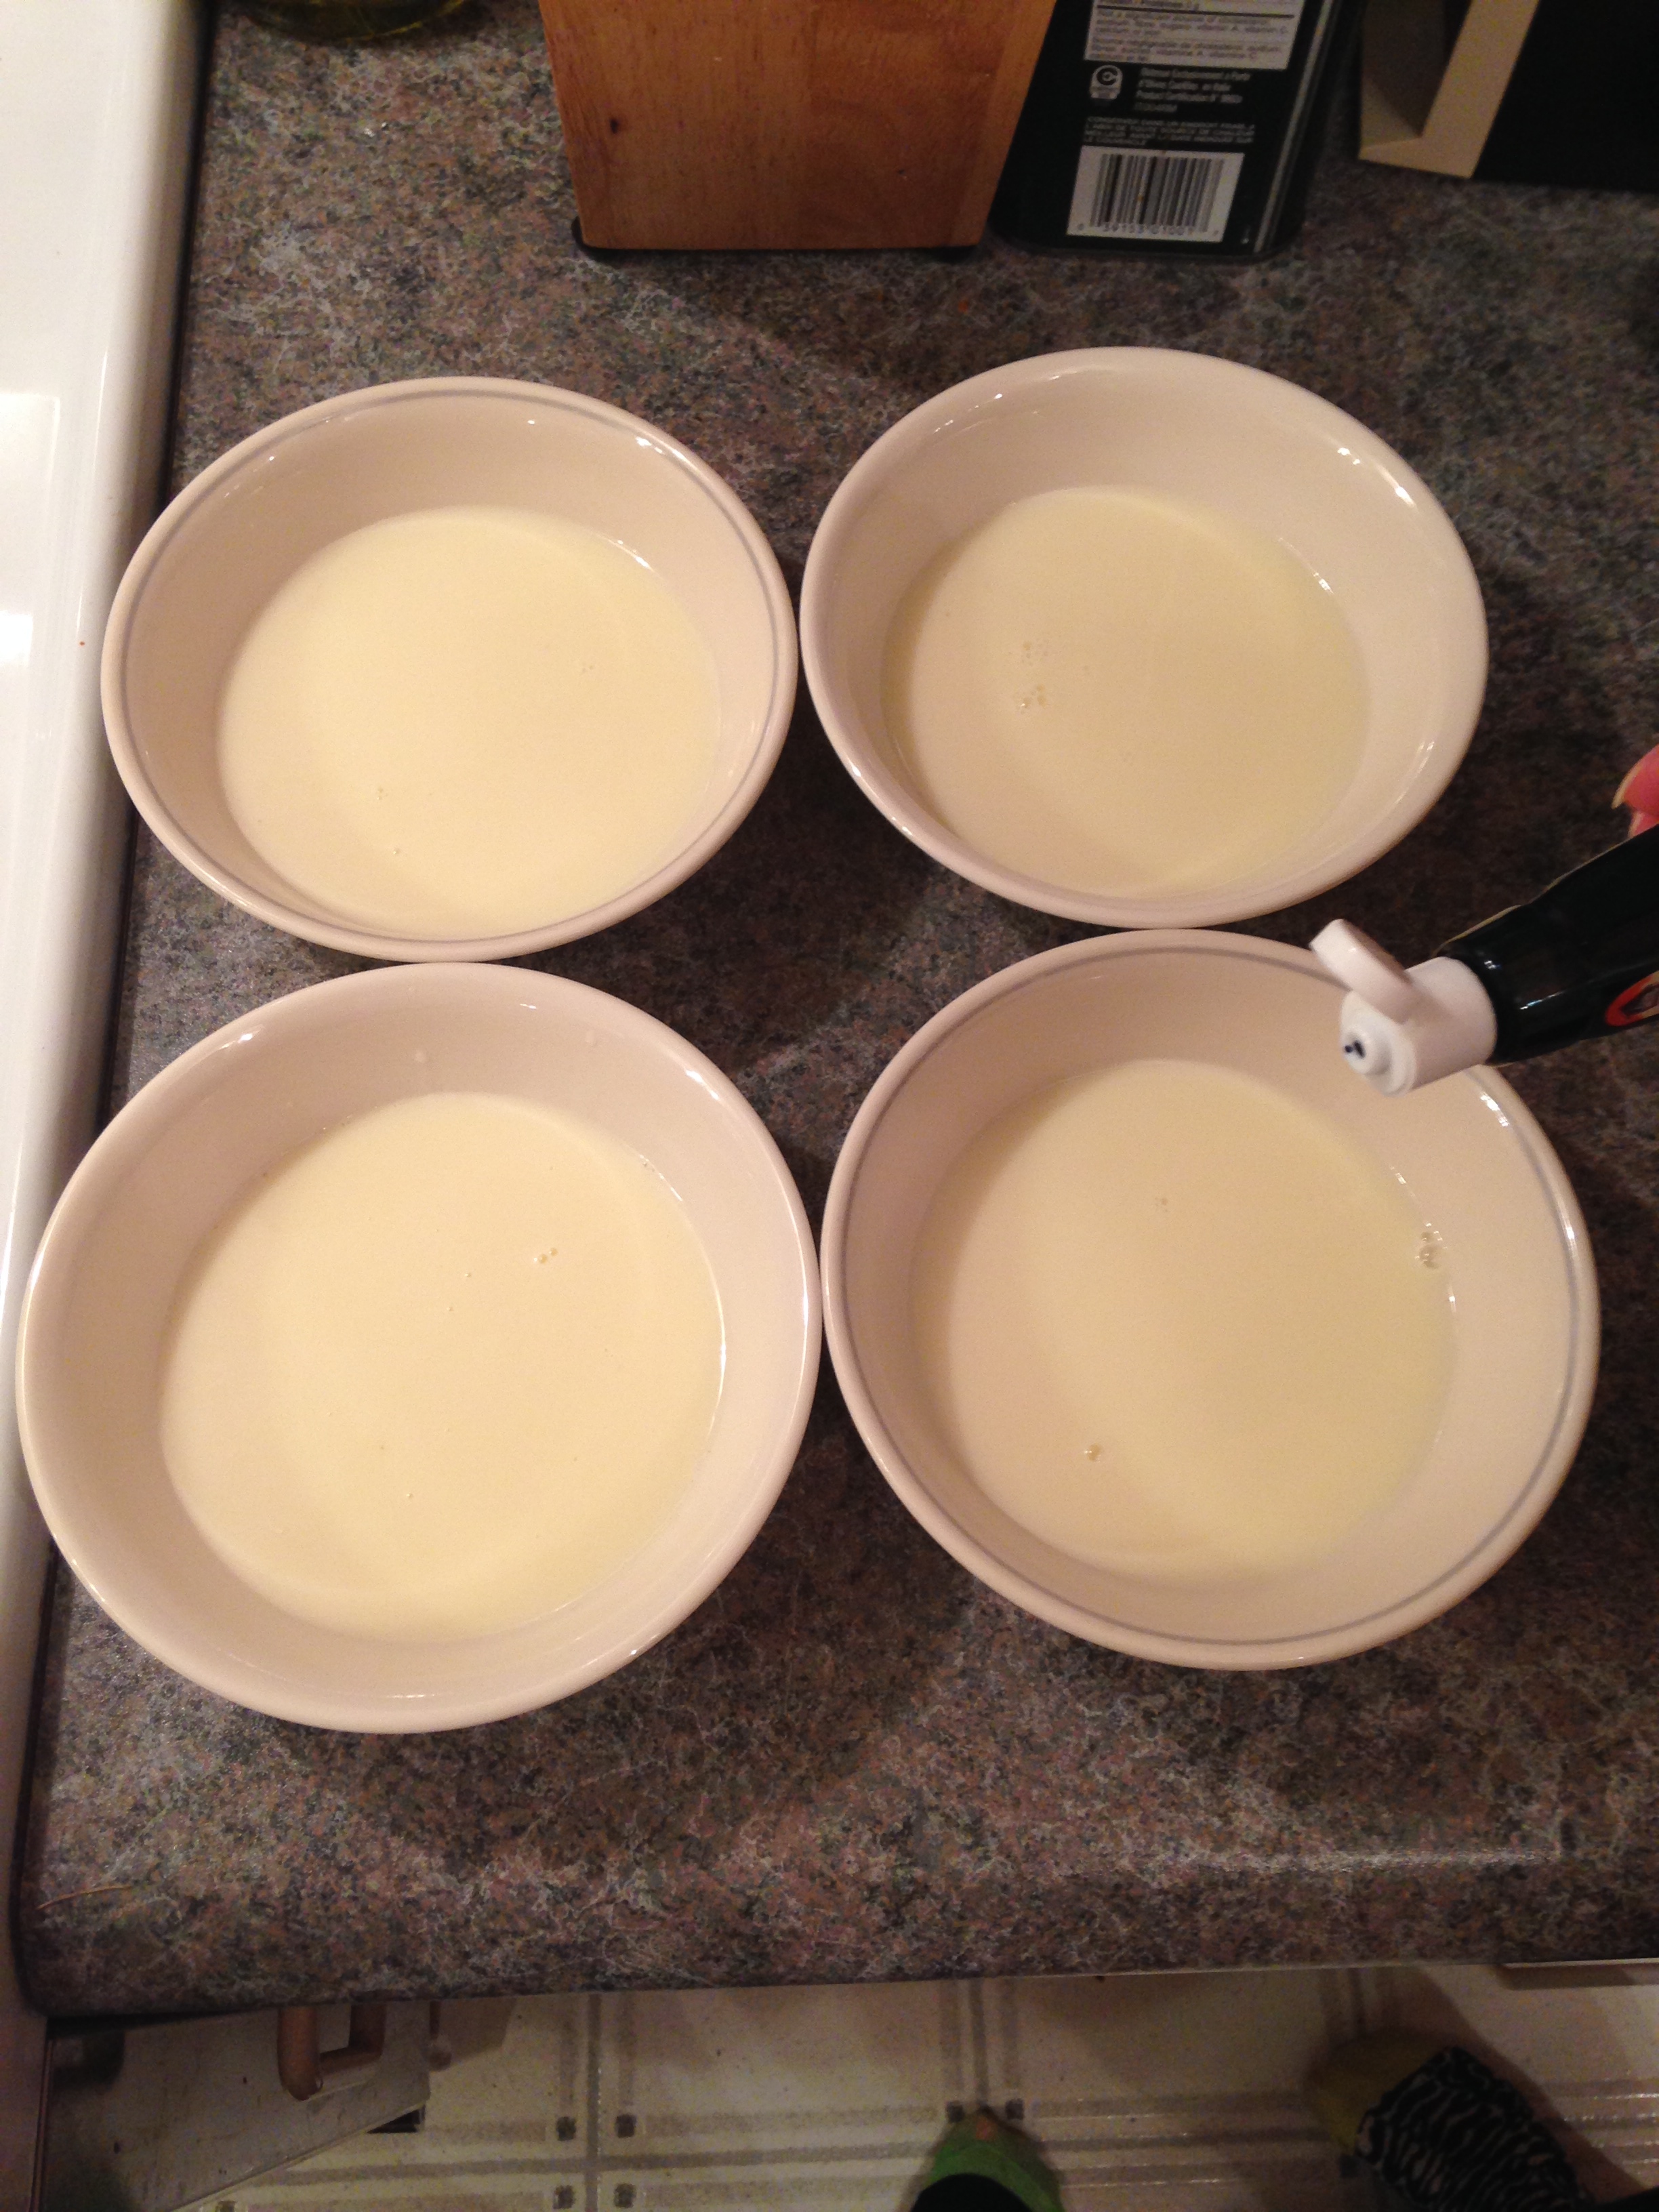
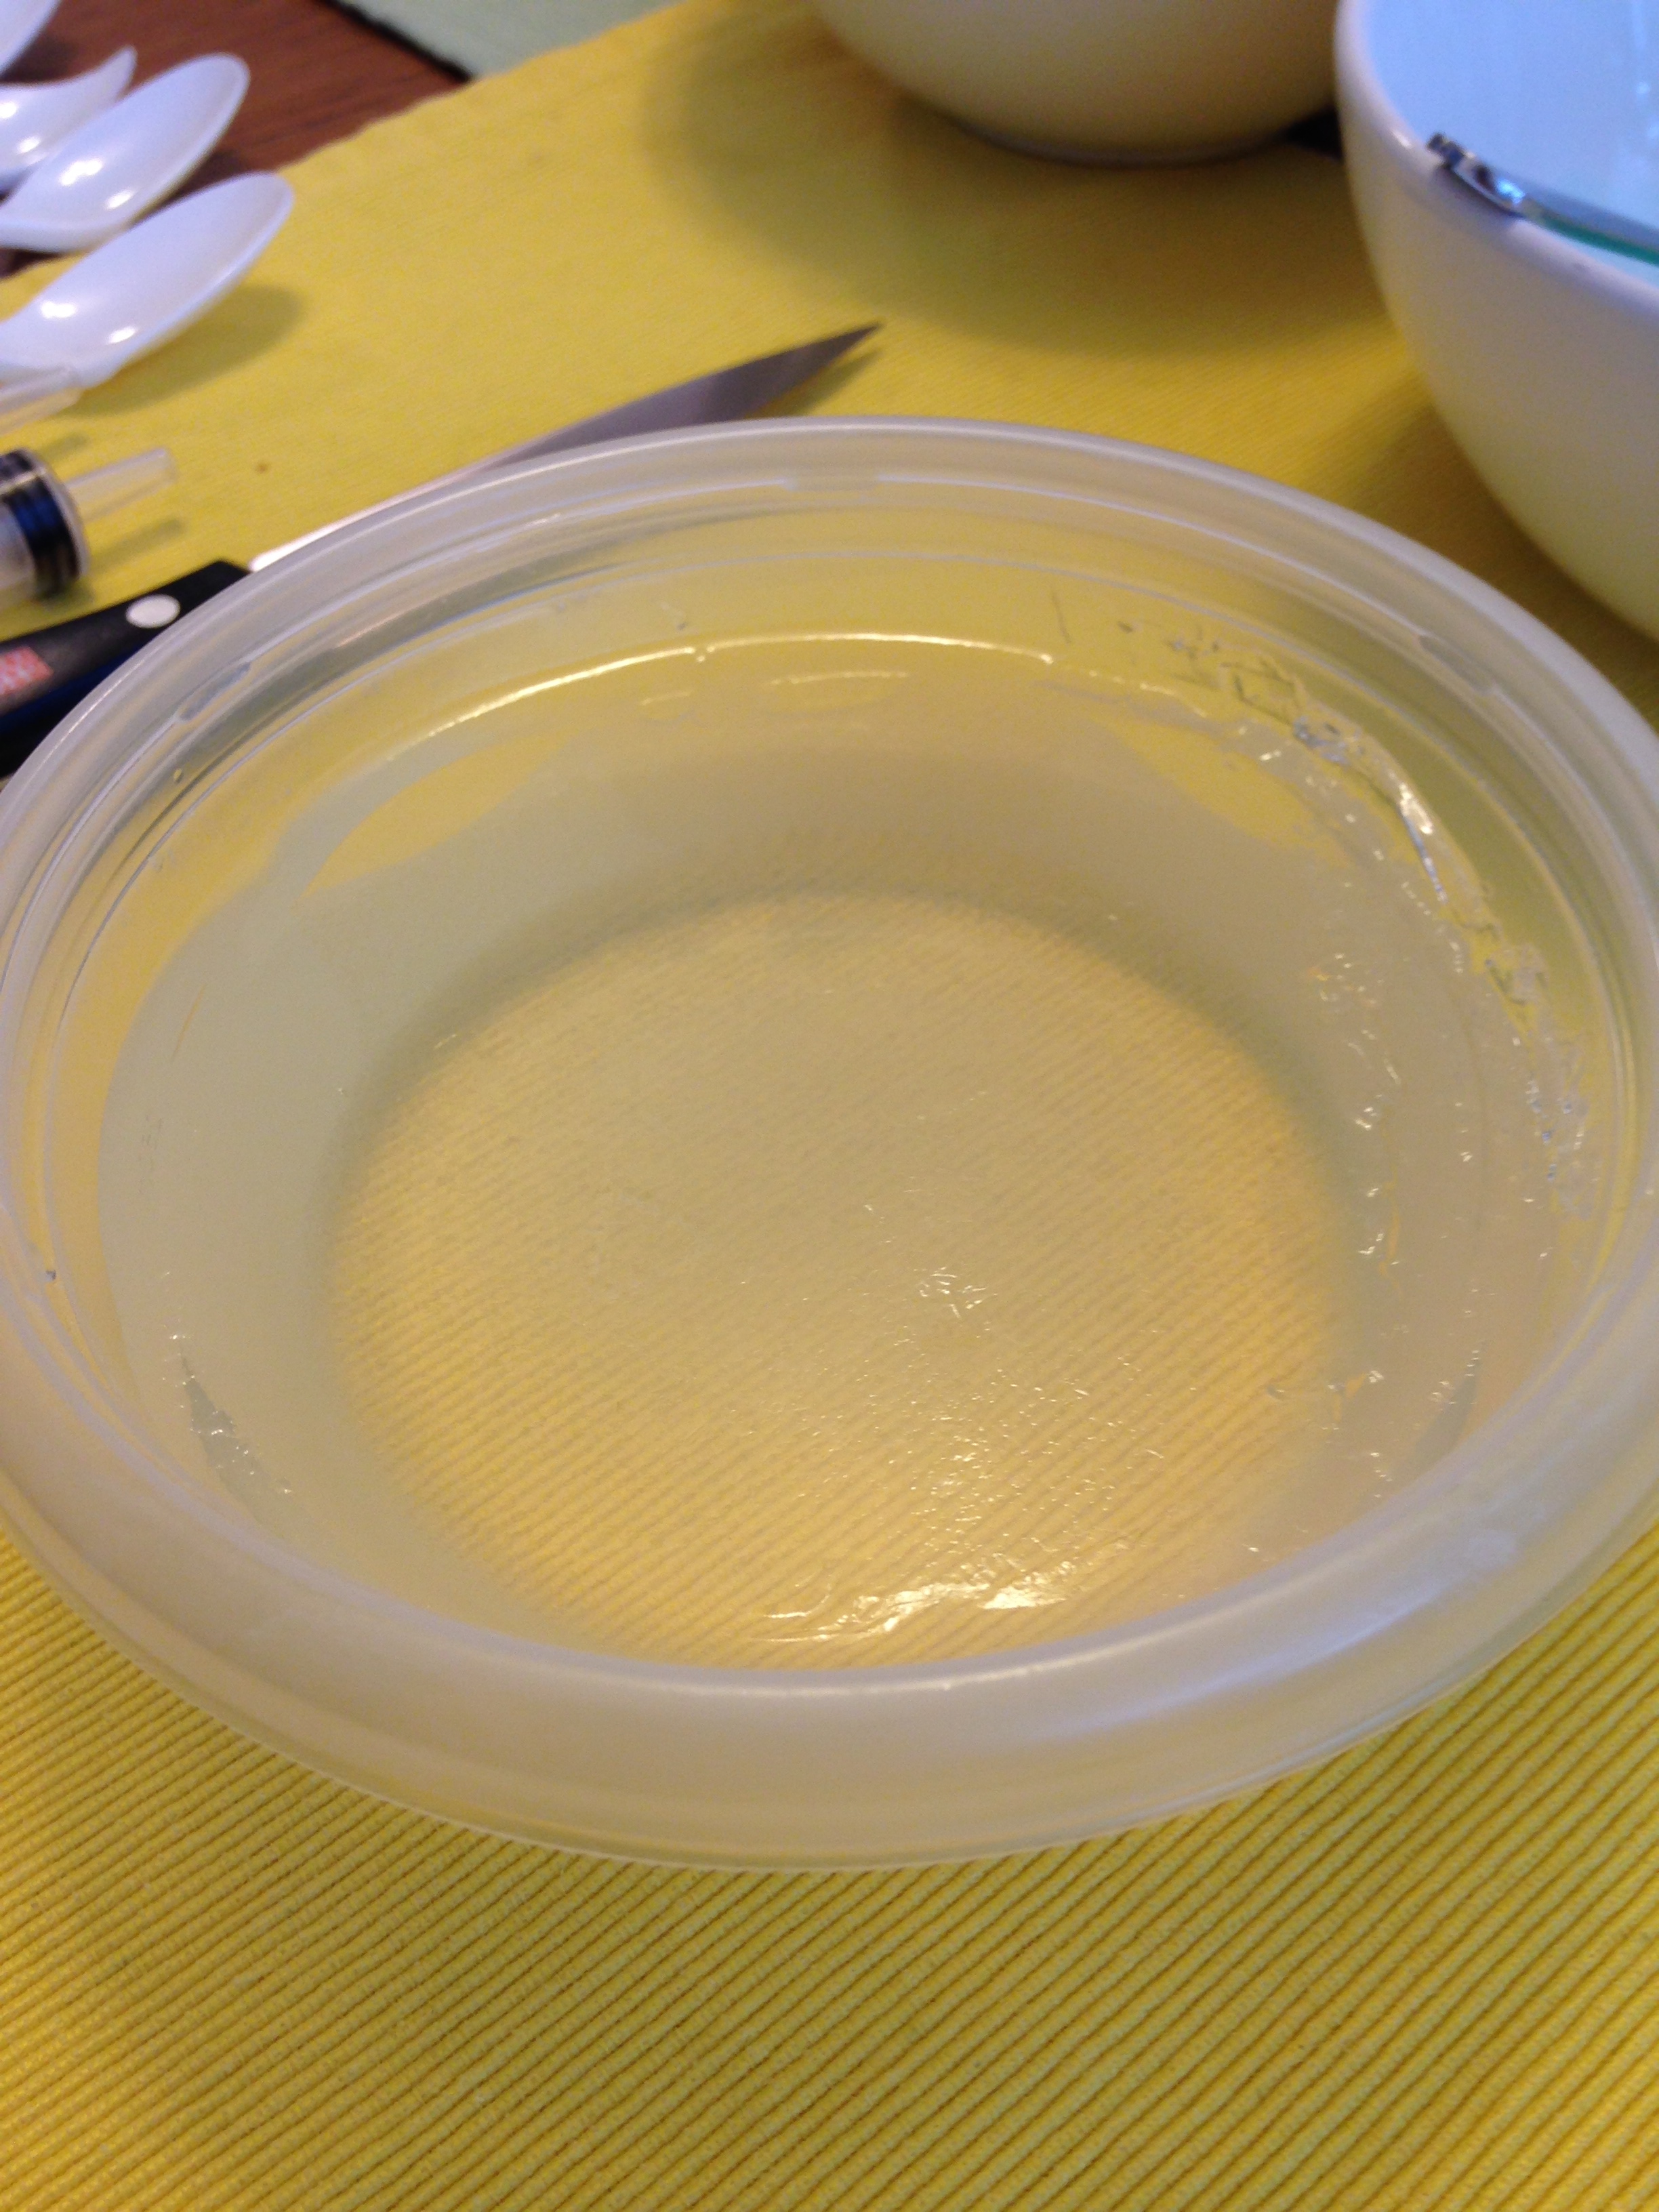
  4. Using a cup with a lip (for easy pouring), fill bowls with hot liquid. Remember to leave 1/2 cm room at the top of each bowl as you'll be filling more jelly in later.  
  5. Refrigerate jelly for 2 - 4 hours, until jelly is set.

** I used almond extract but the original recipe used acetic acid. Mmm Citrus.

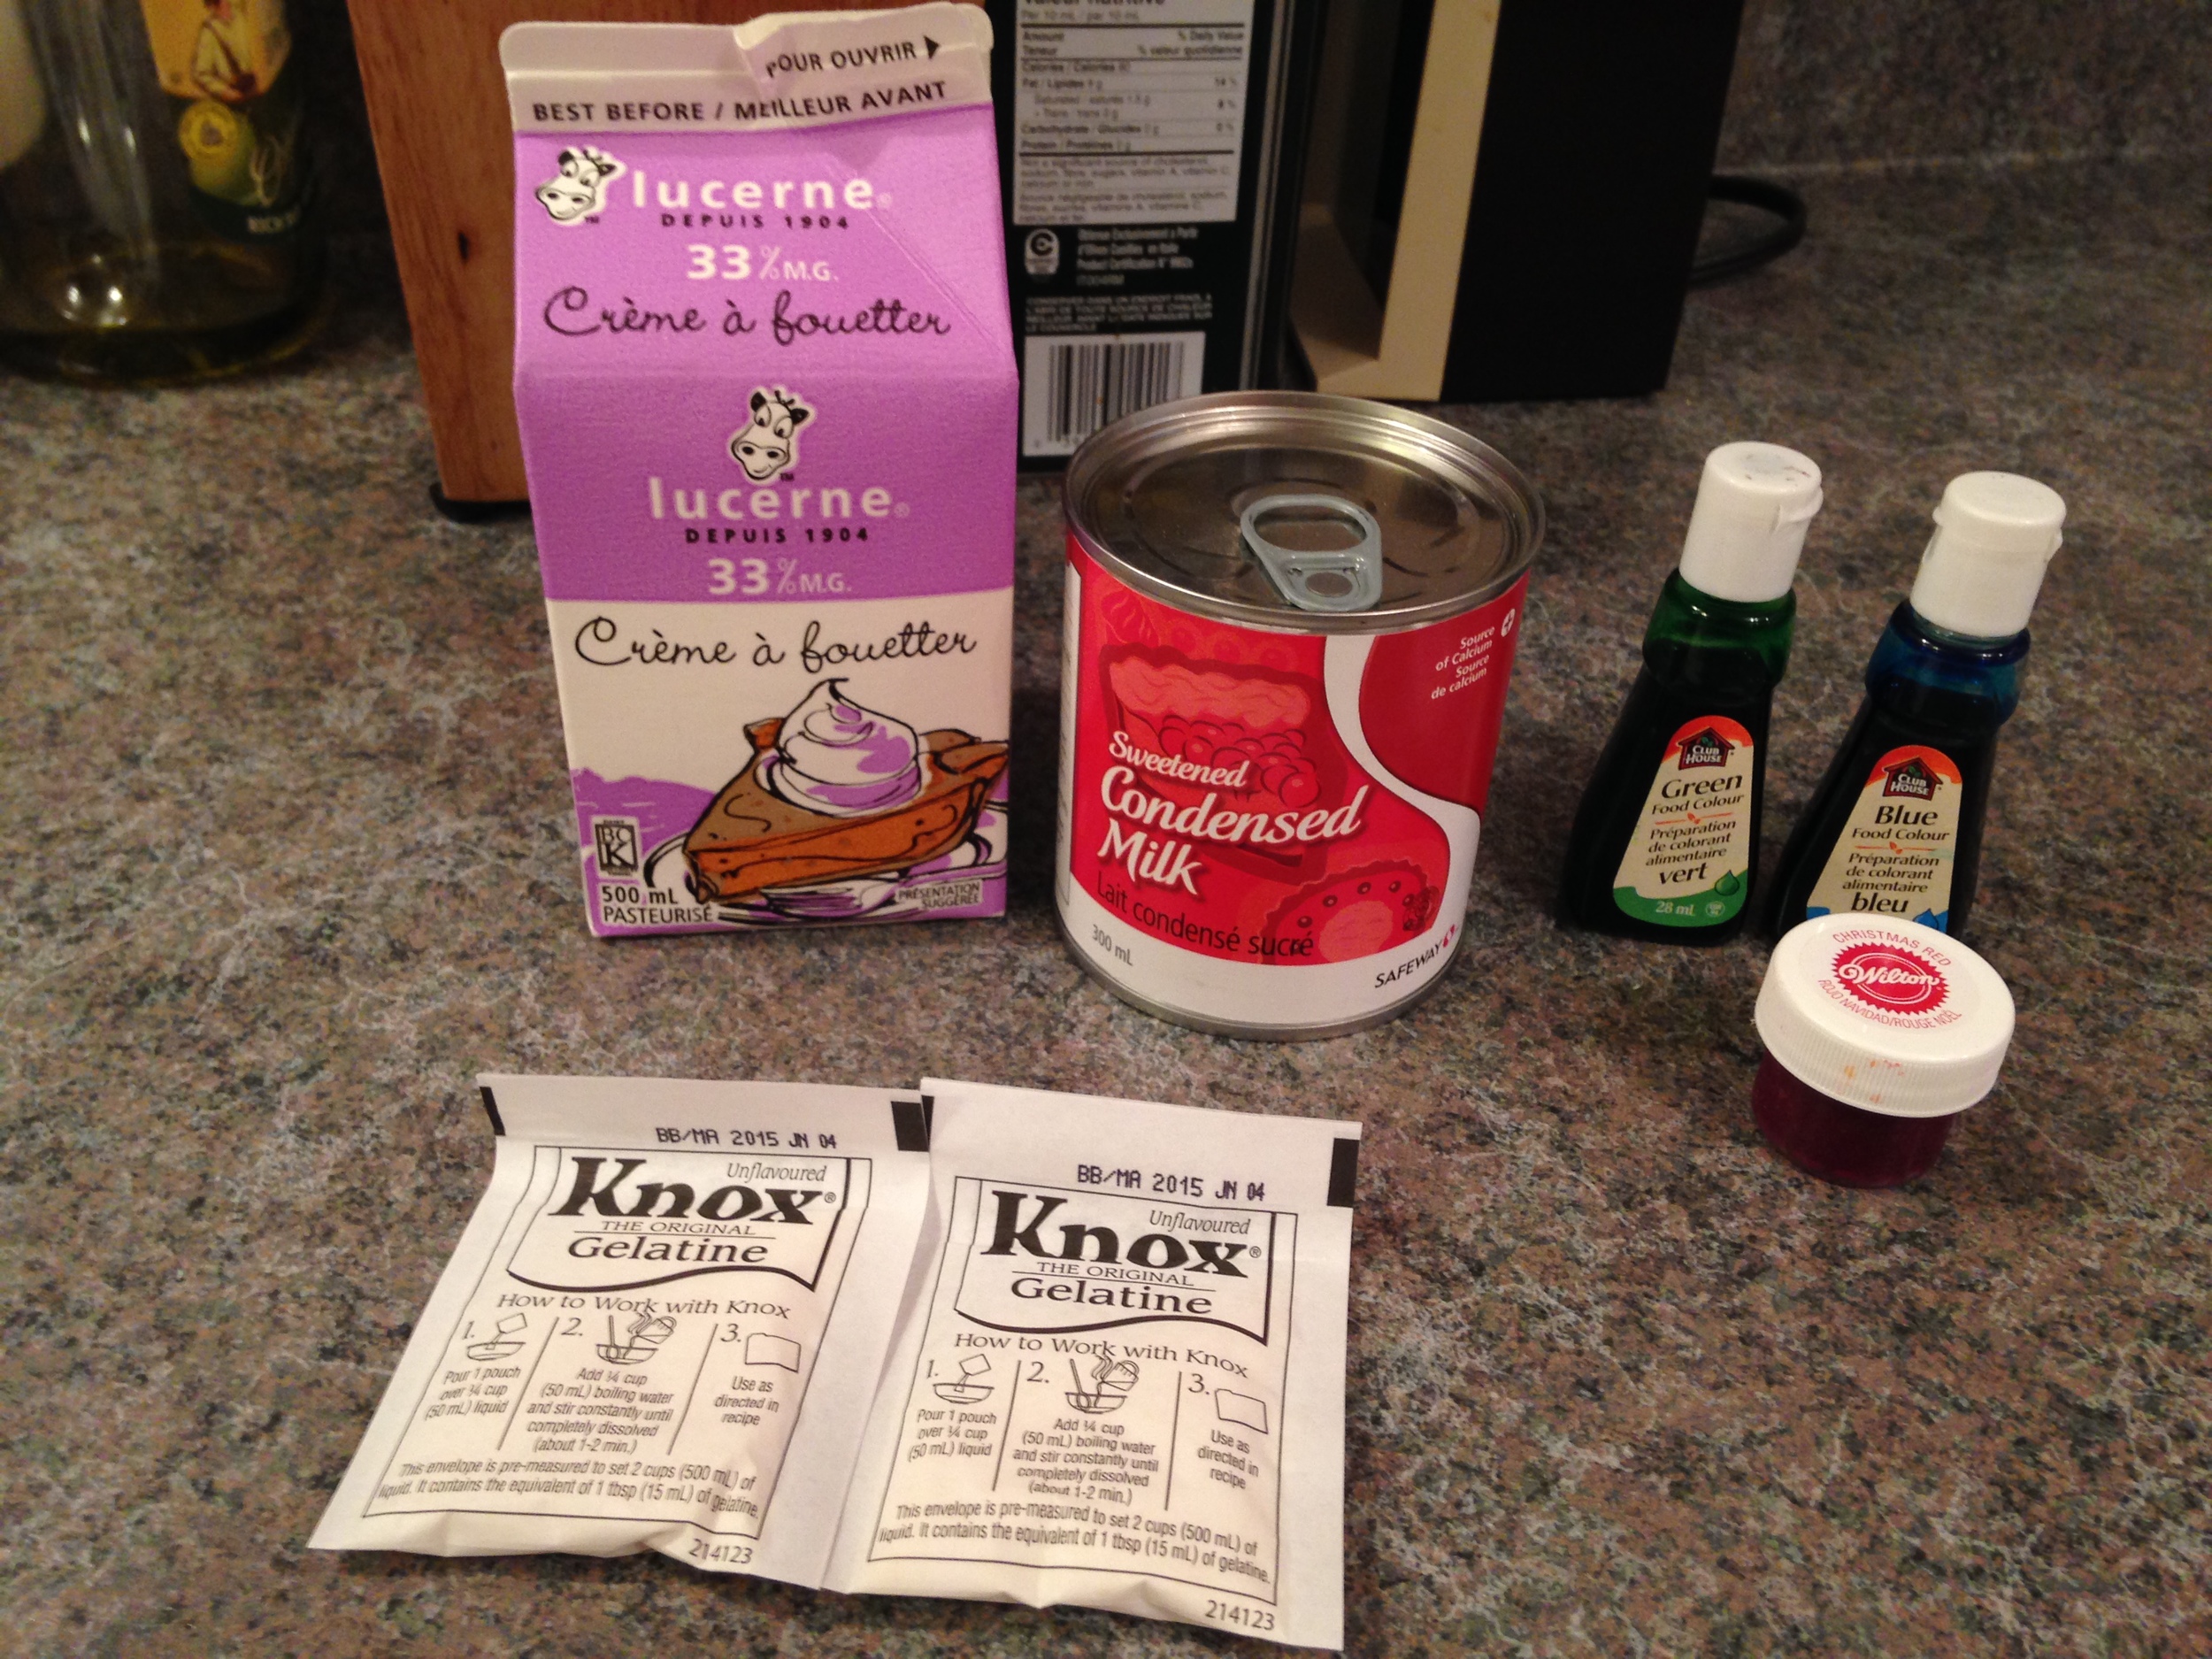
Petal Concoction 

1/2 cup cold water
2 packets (2 TBSP) gelatine

1 can (300ml) sweetened condensed milk
Whipping Cream (at least 1 cup)
Food colouring

  1. Add gelatine to cold water. Stir so all lumps dissolve. Wait 15 mins for gelatine to set. 
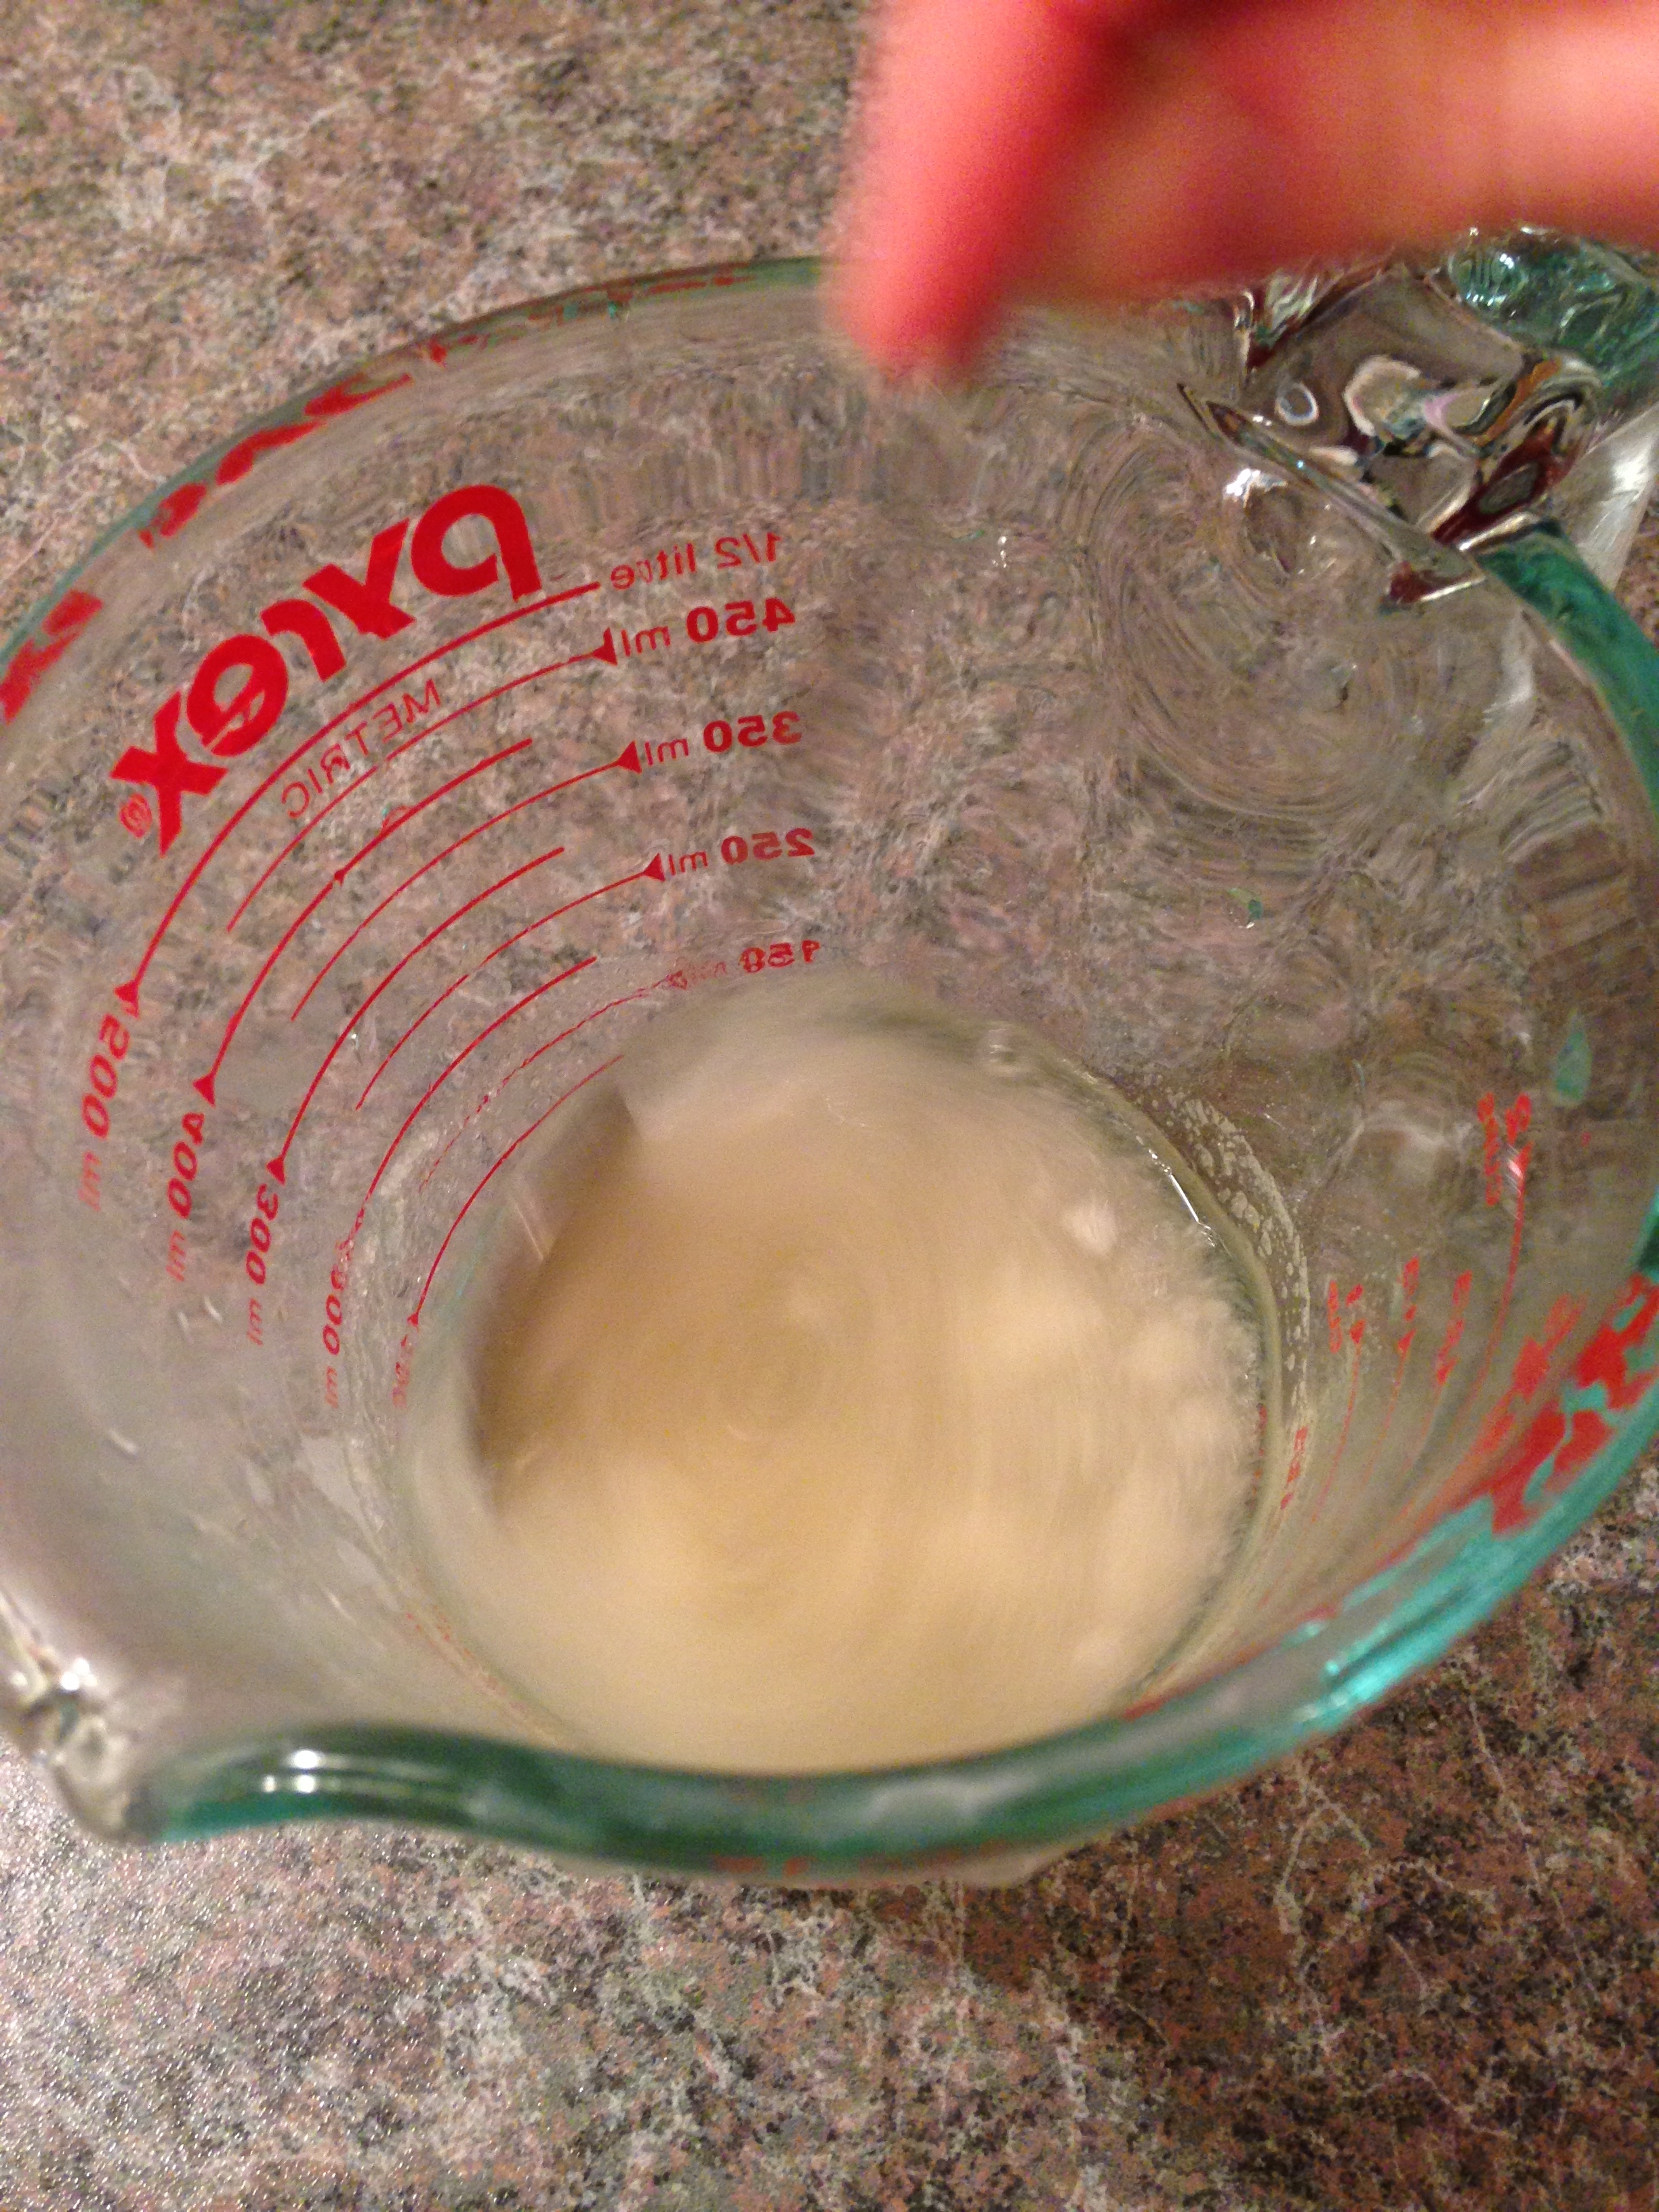
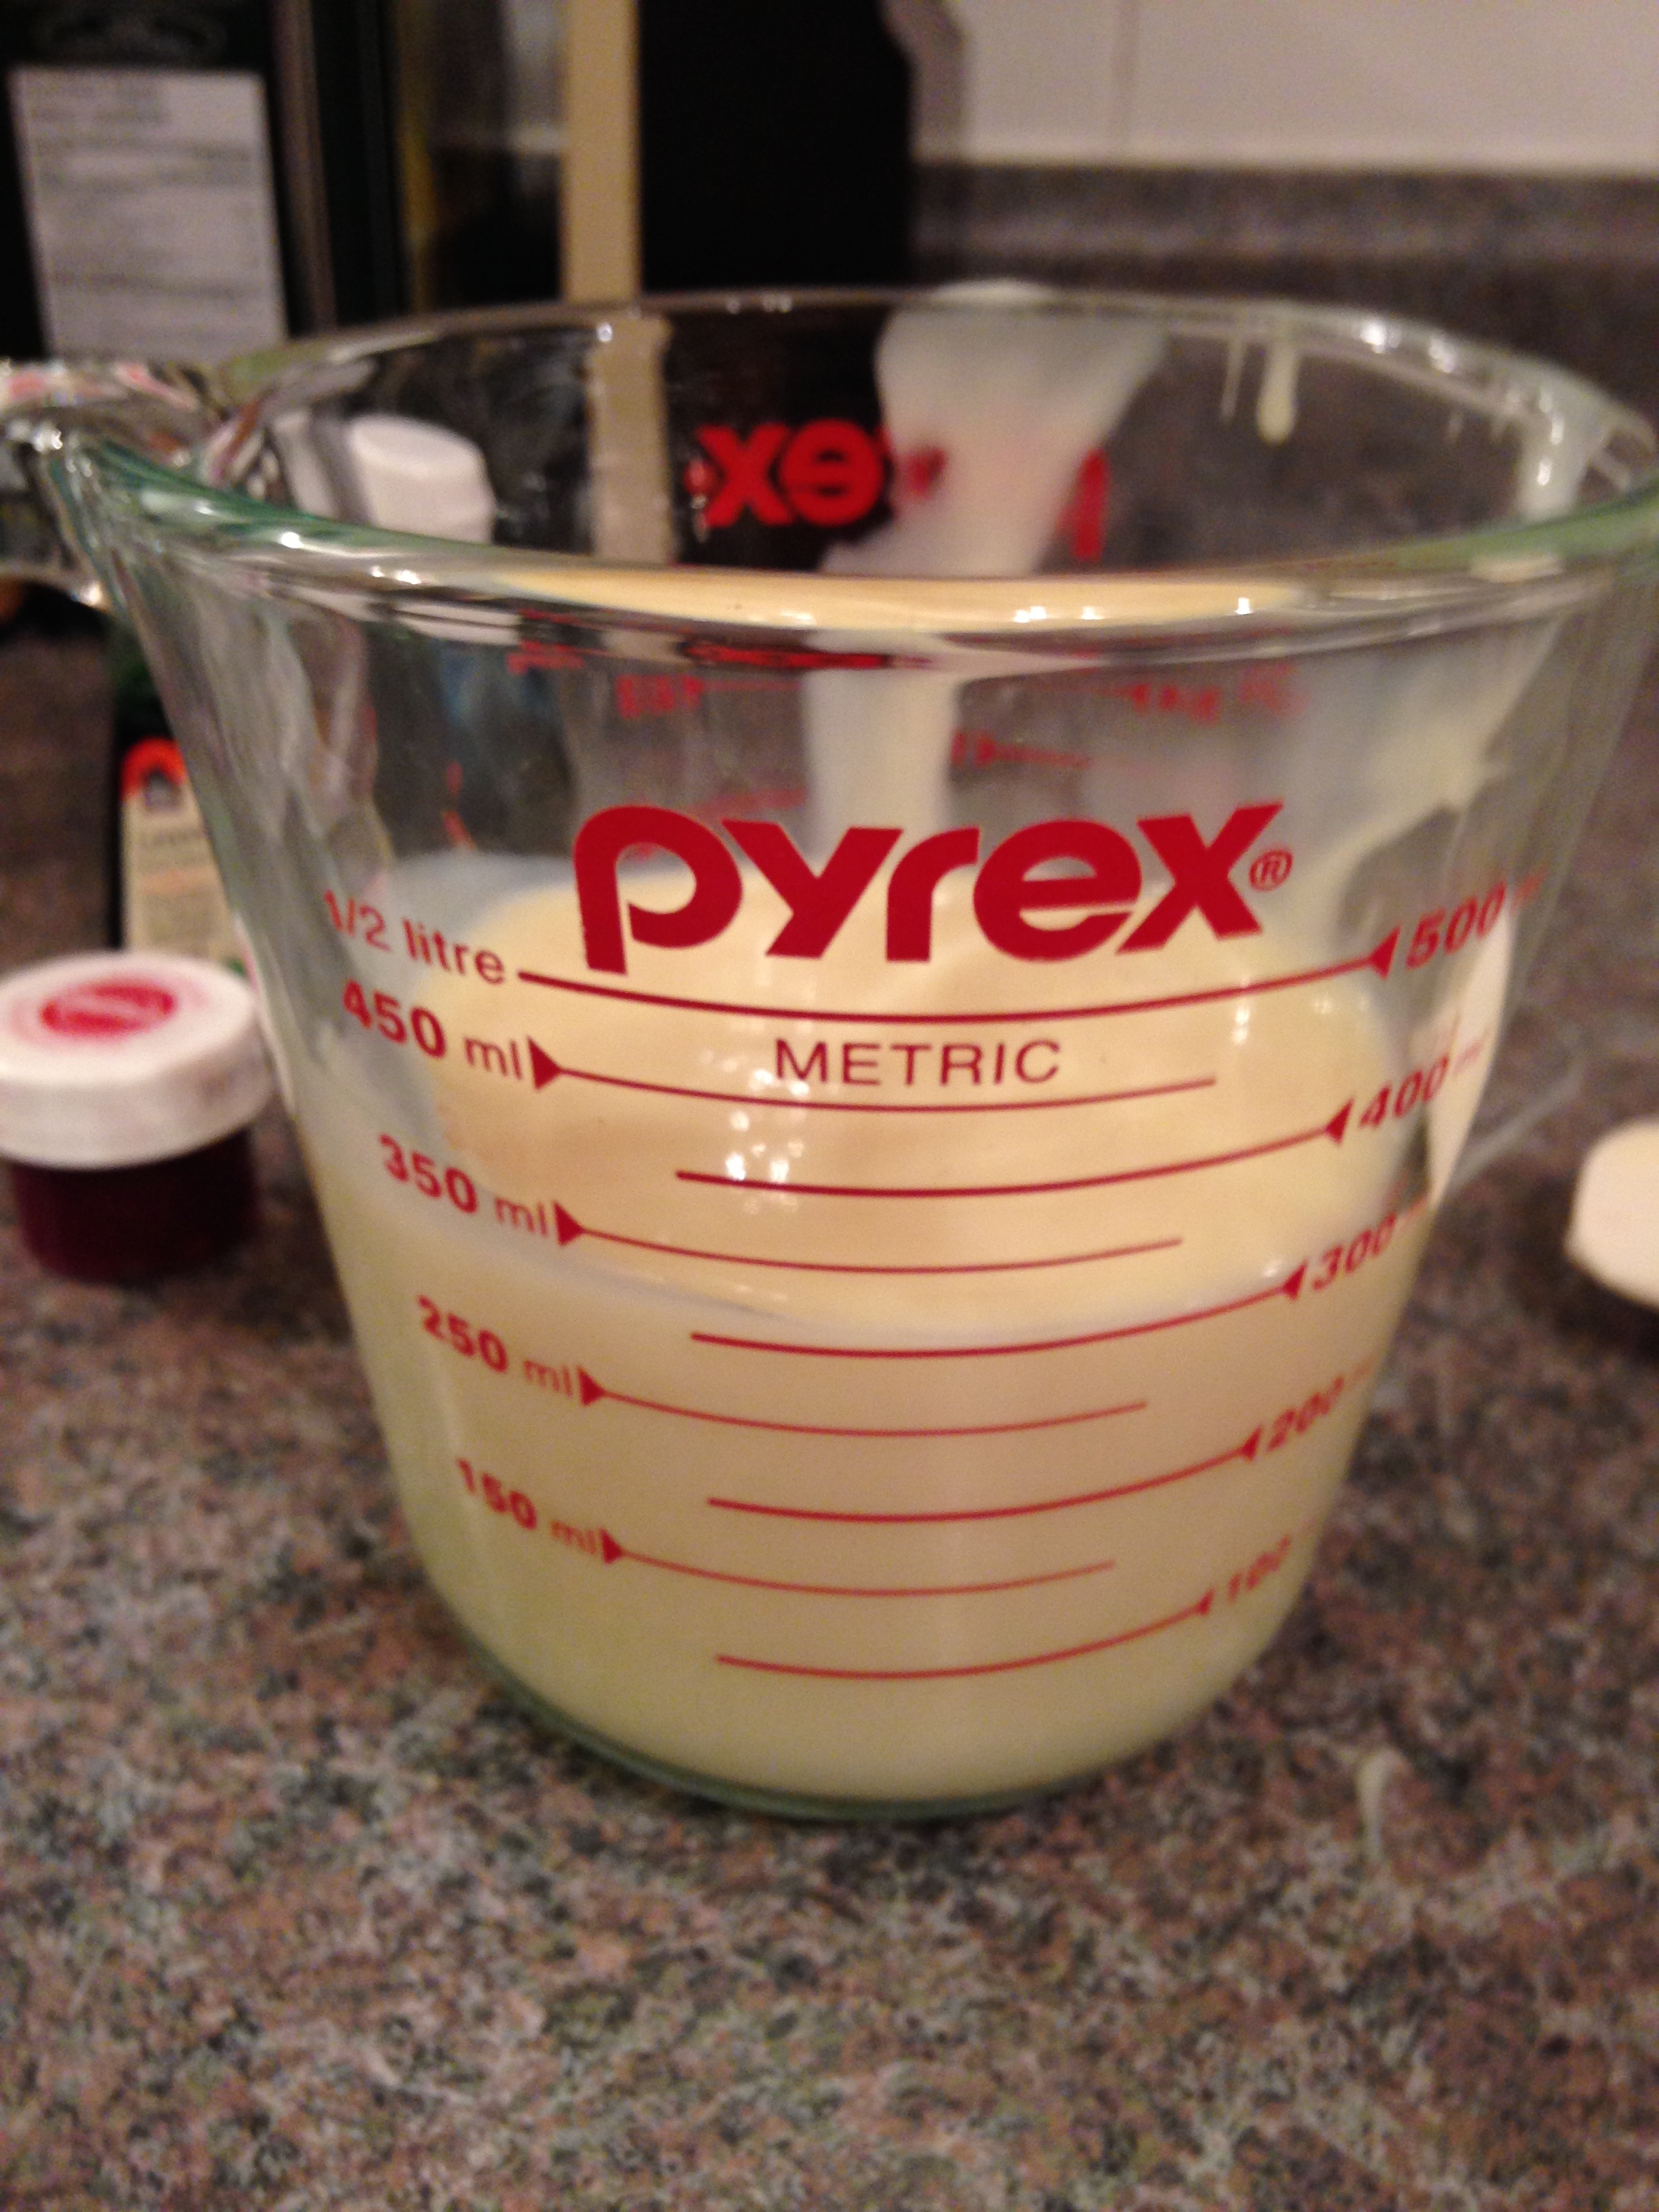
  2. In a 2 cup liquid measuring cup, pour in sweetened condensed milk. Add whipping cream up to the 2 cup line.
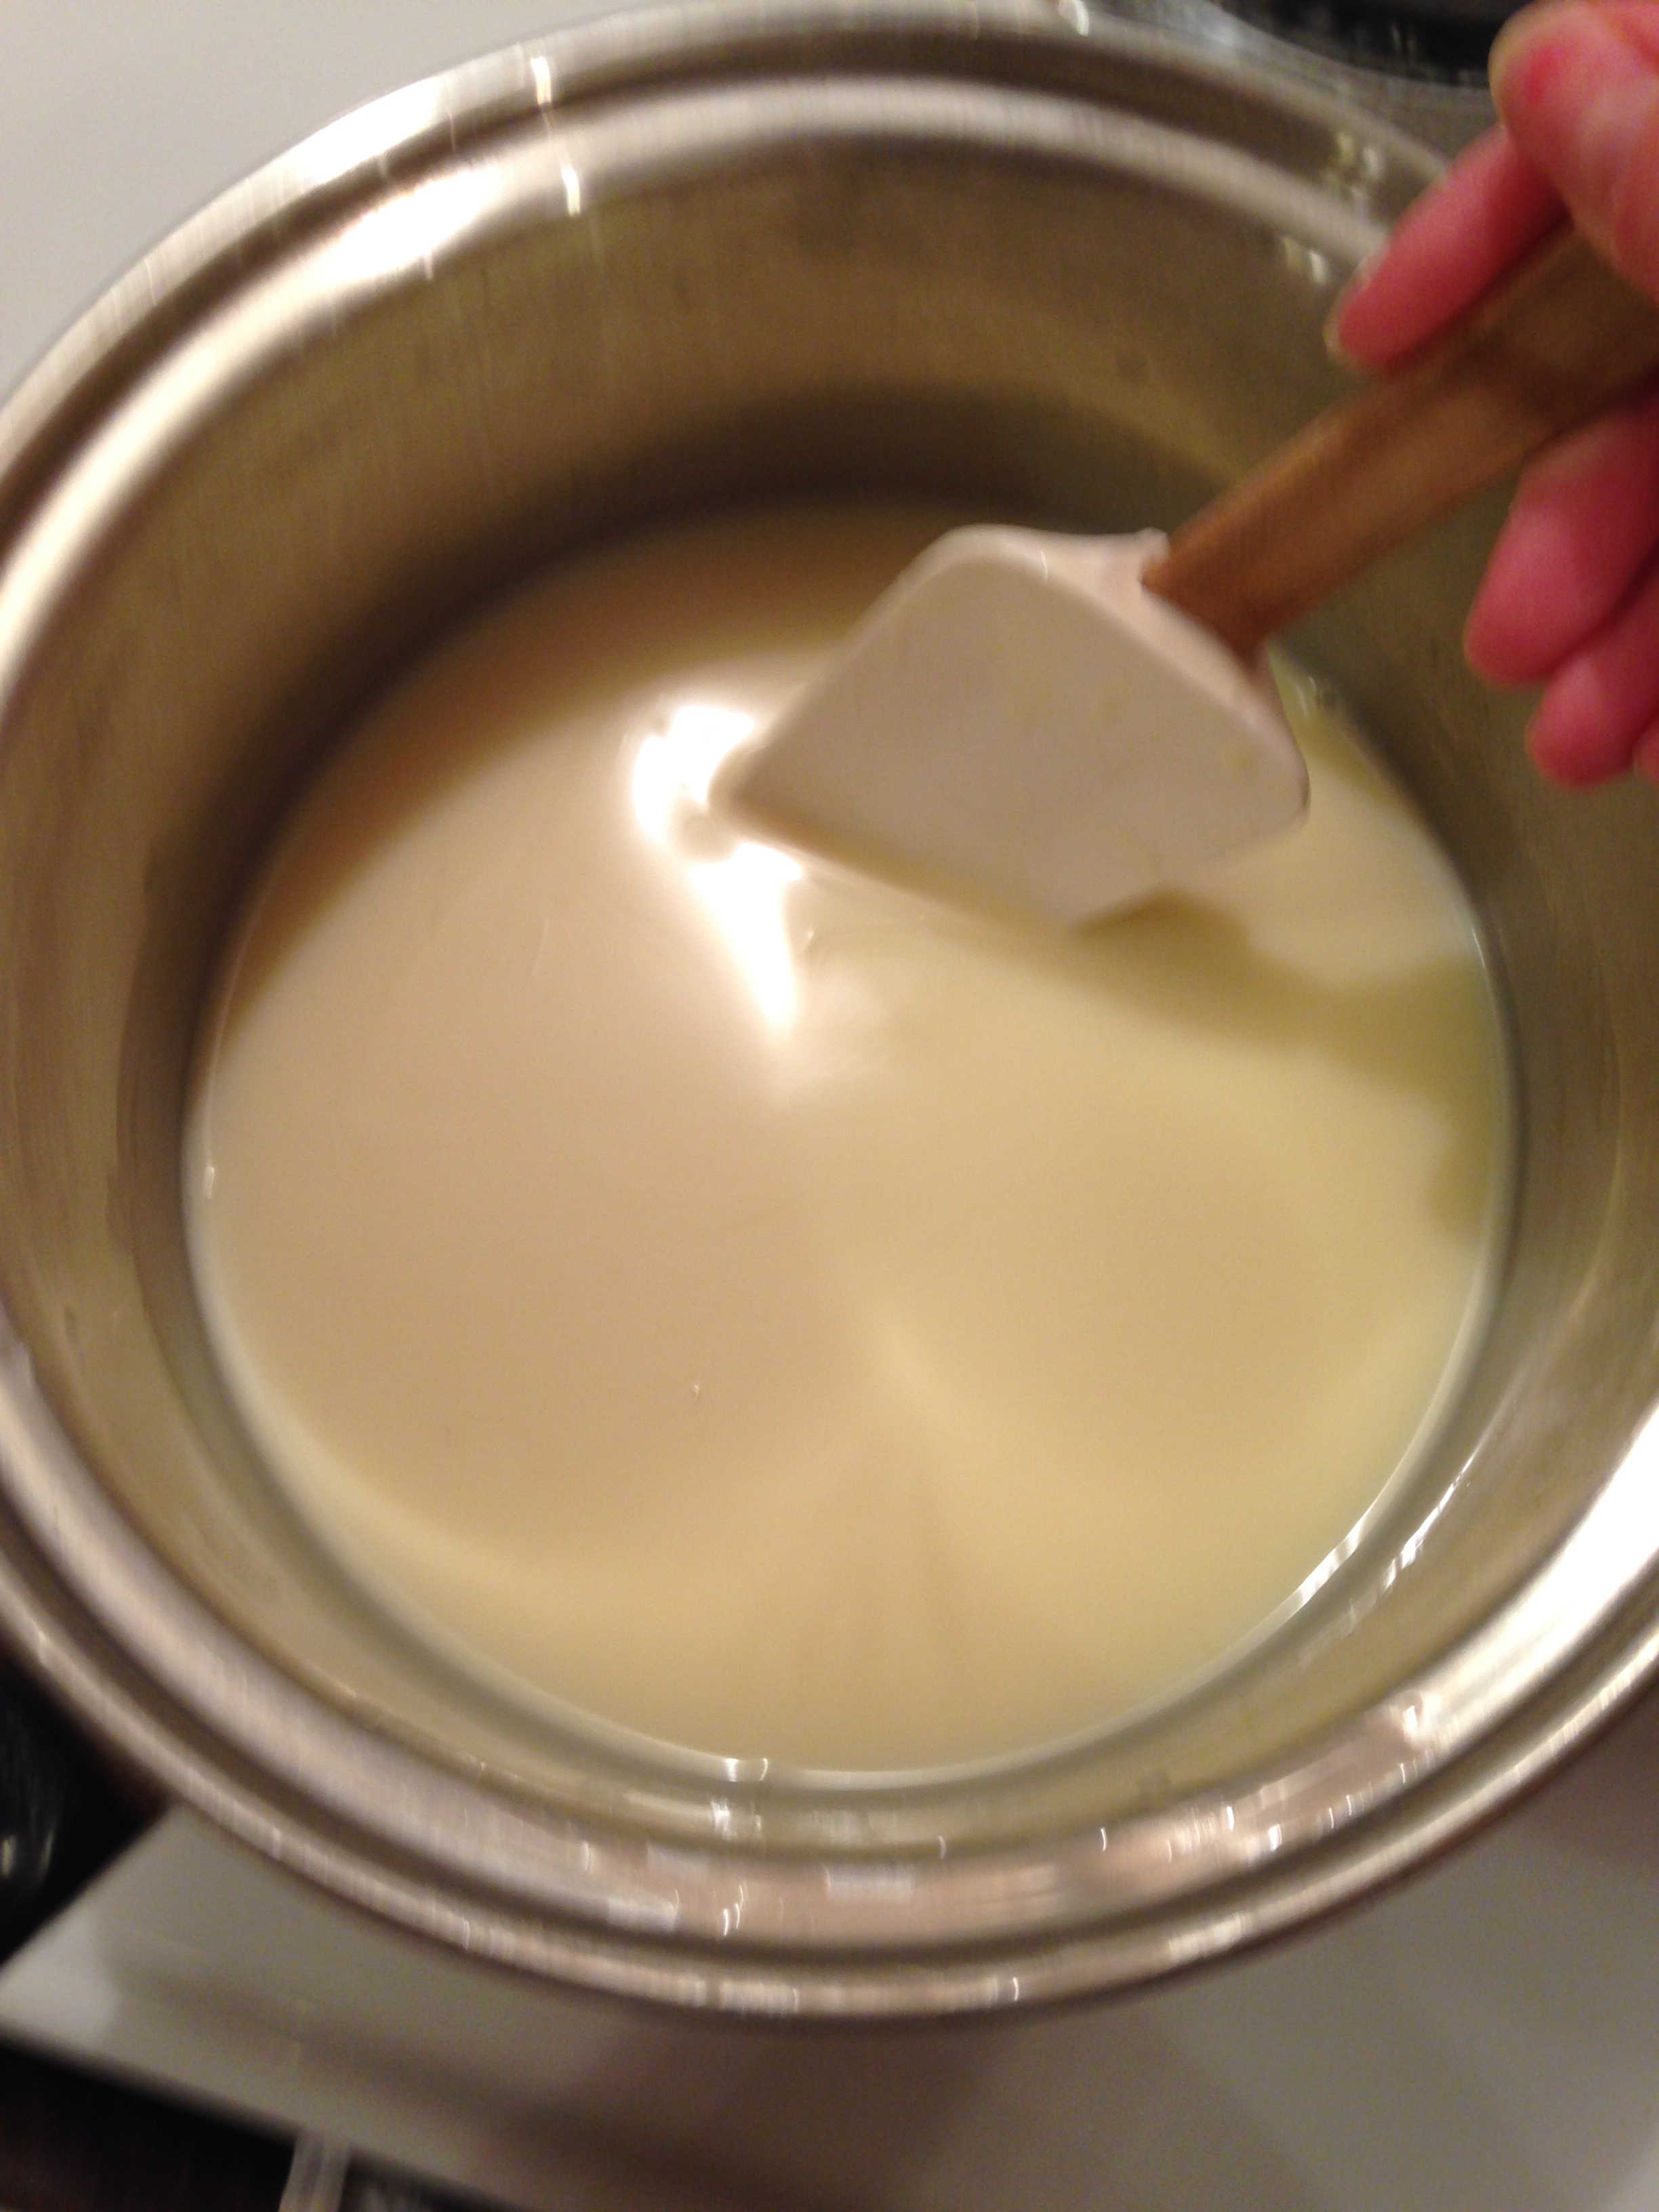
  3. In a saucepan, heat milk mixture until combined. (Liquid will become uniform in colour and thickness when it's done.) Do Not Boil Milk Mixture. Remove from heat.
  4. Stir in set jelly to hot milk mixture. Stir so all jelly lumps dissolve. 
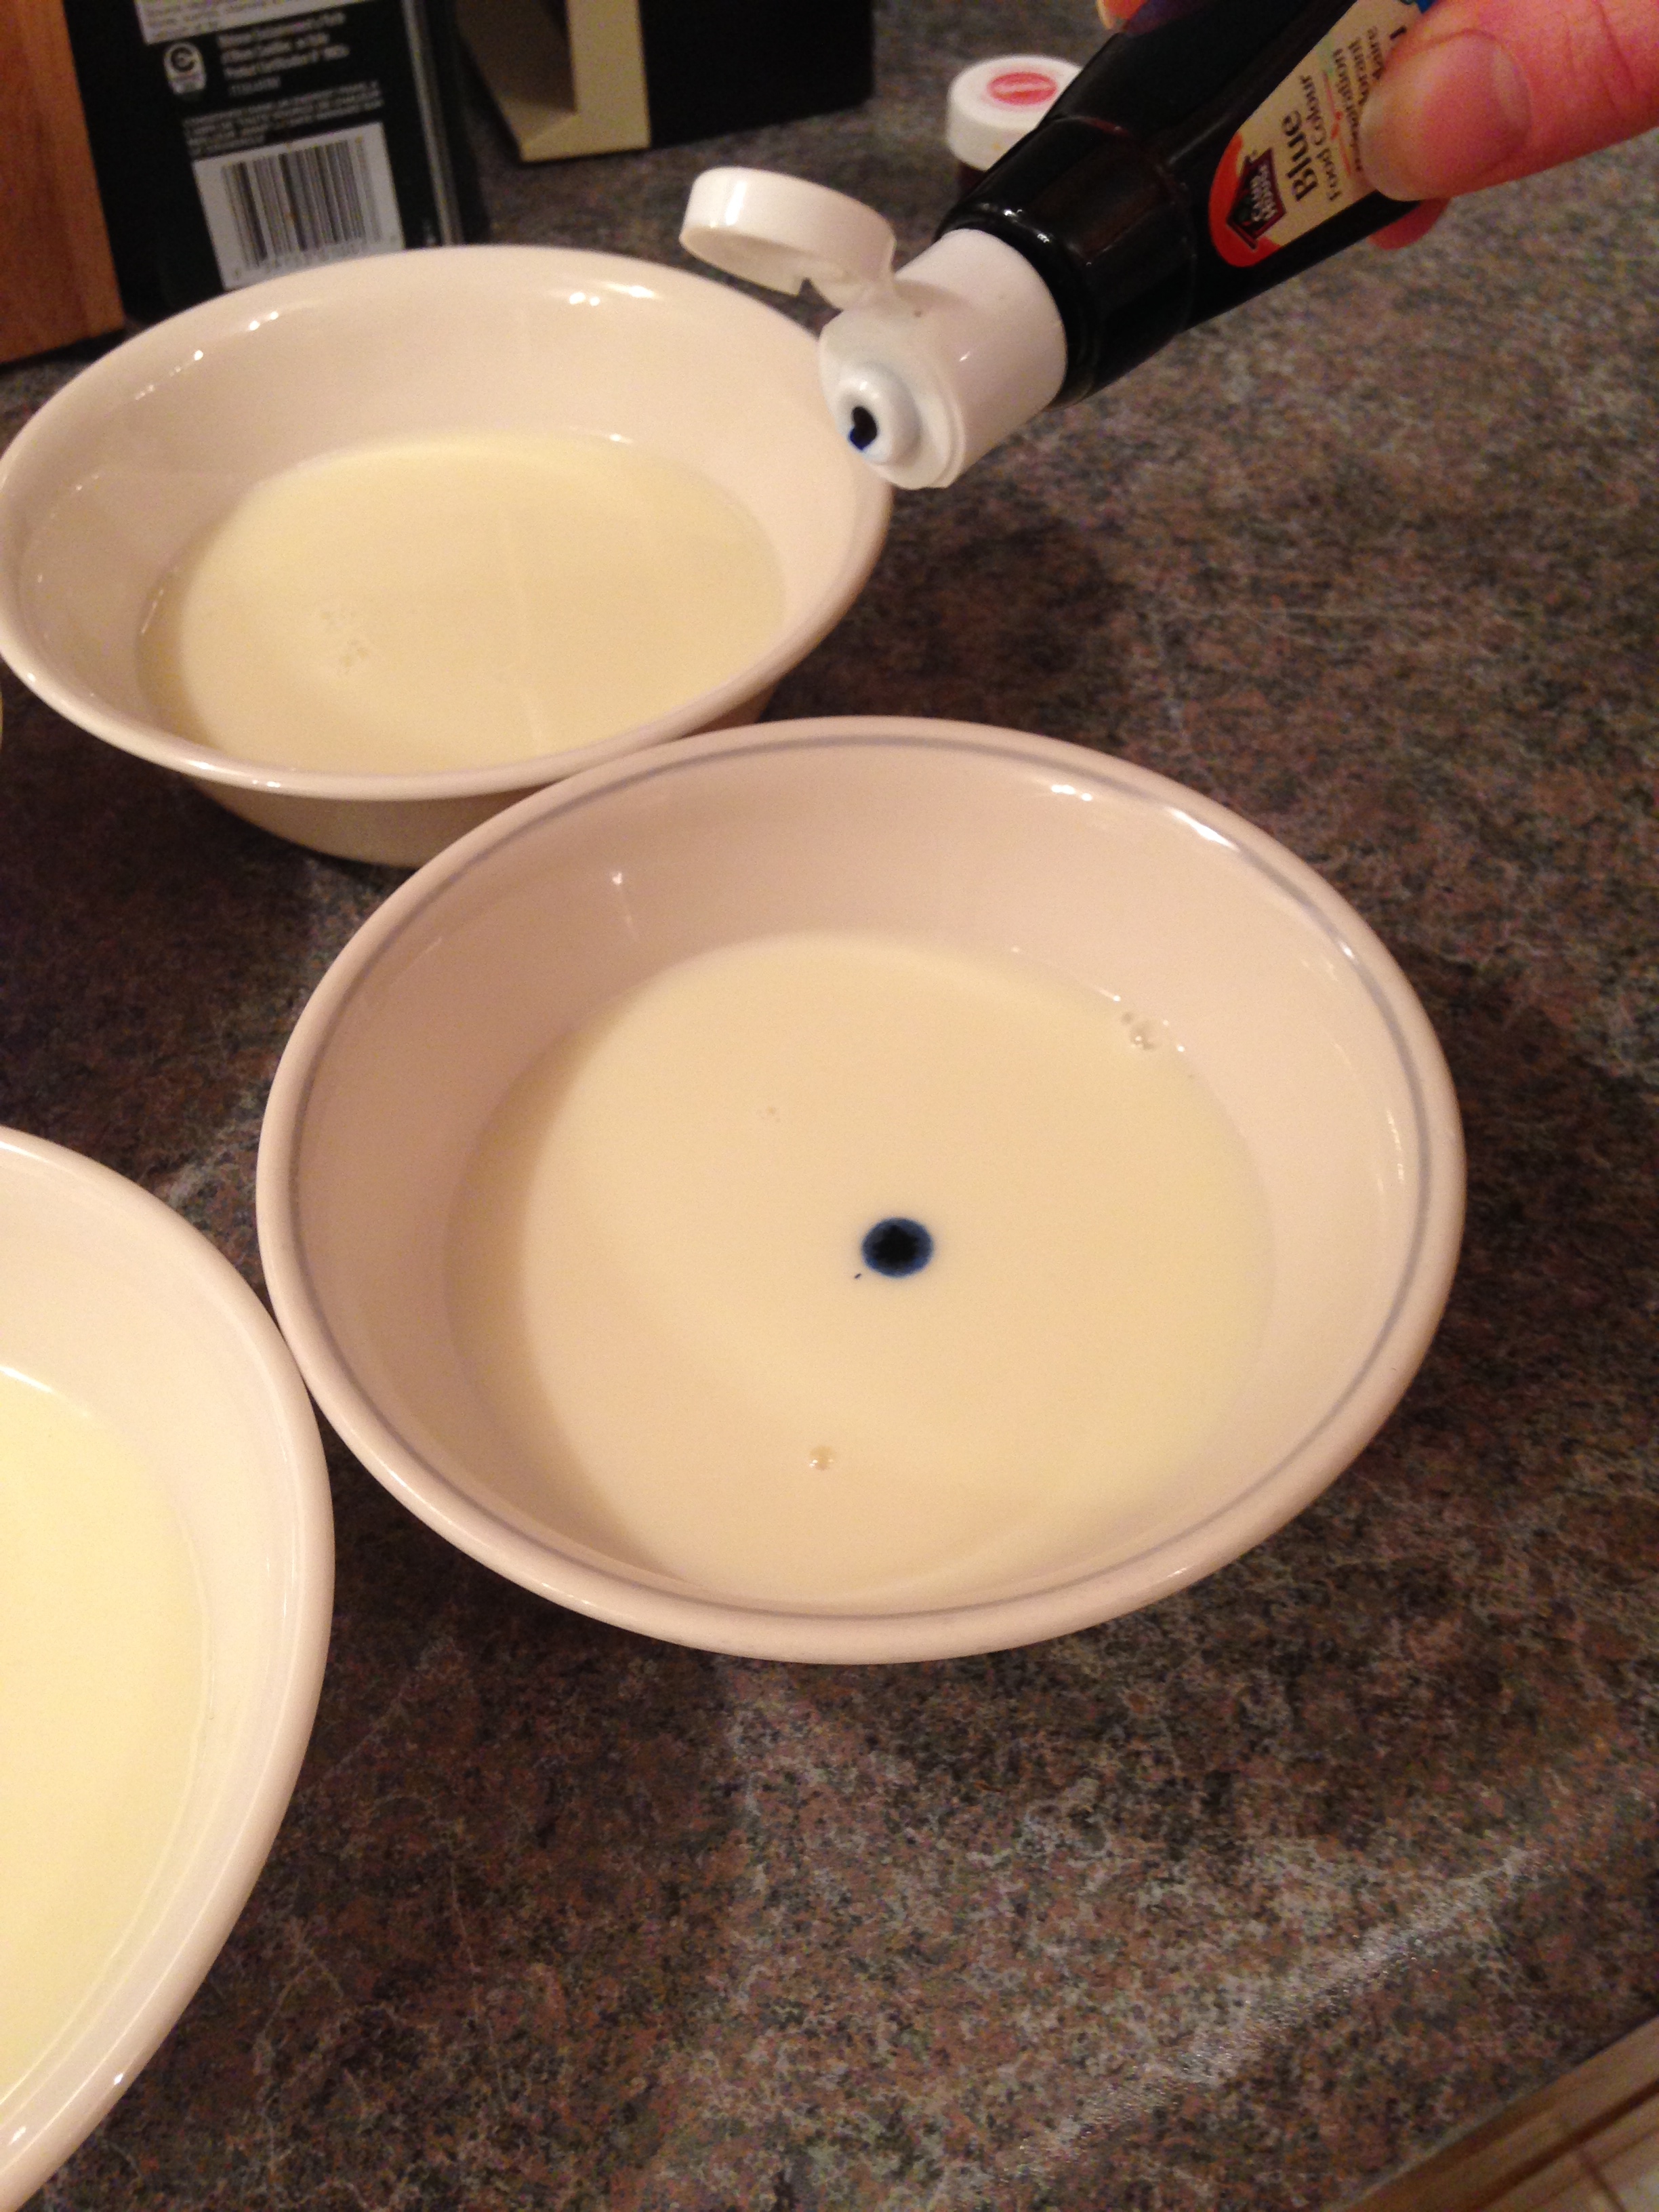
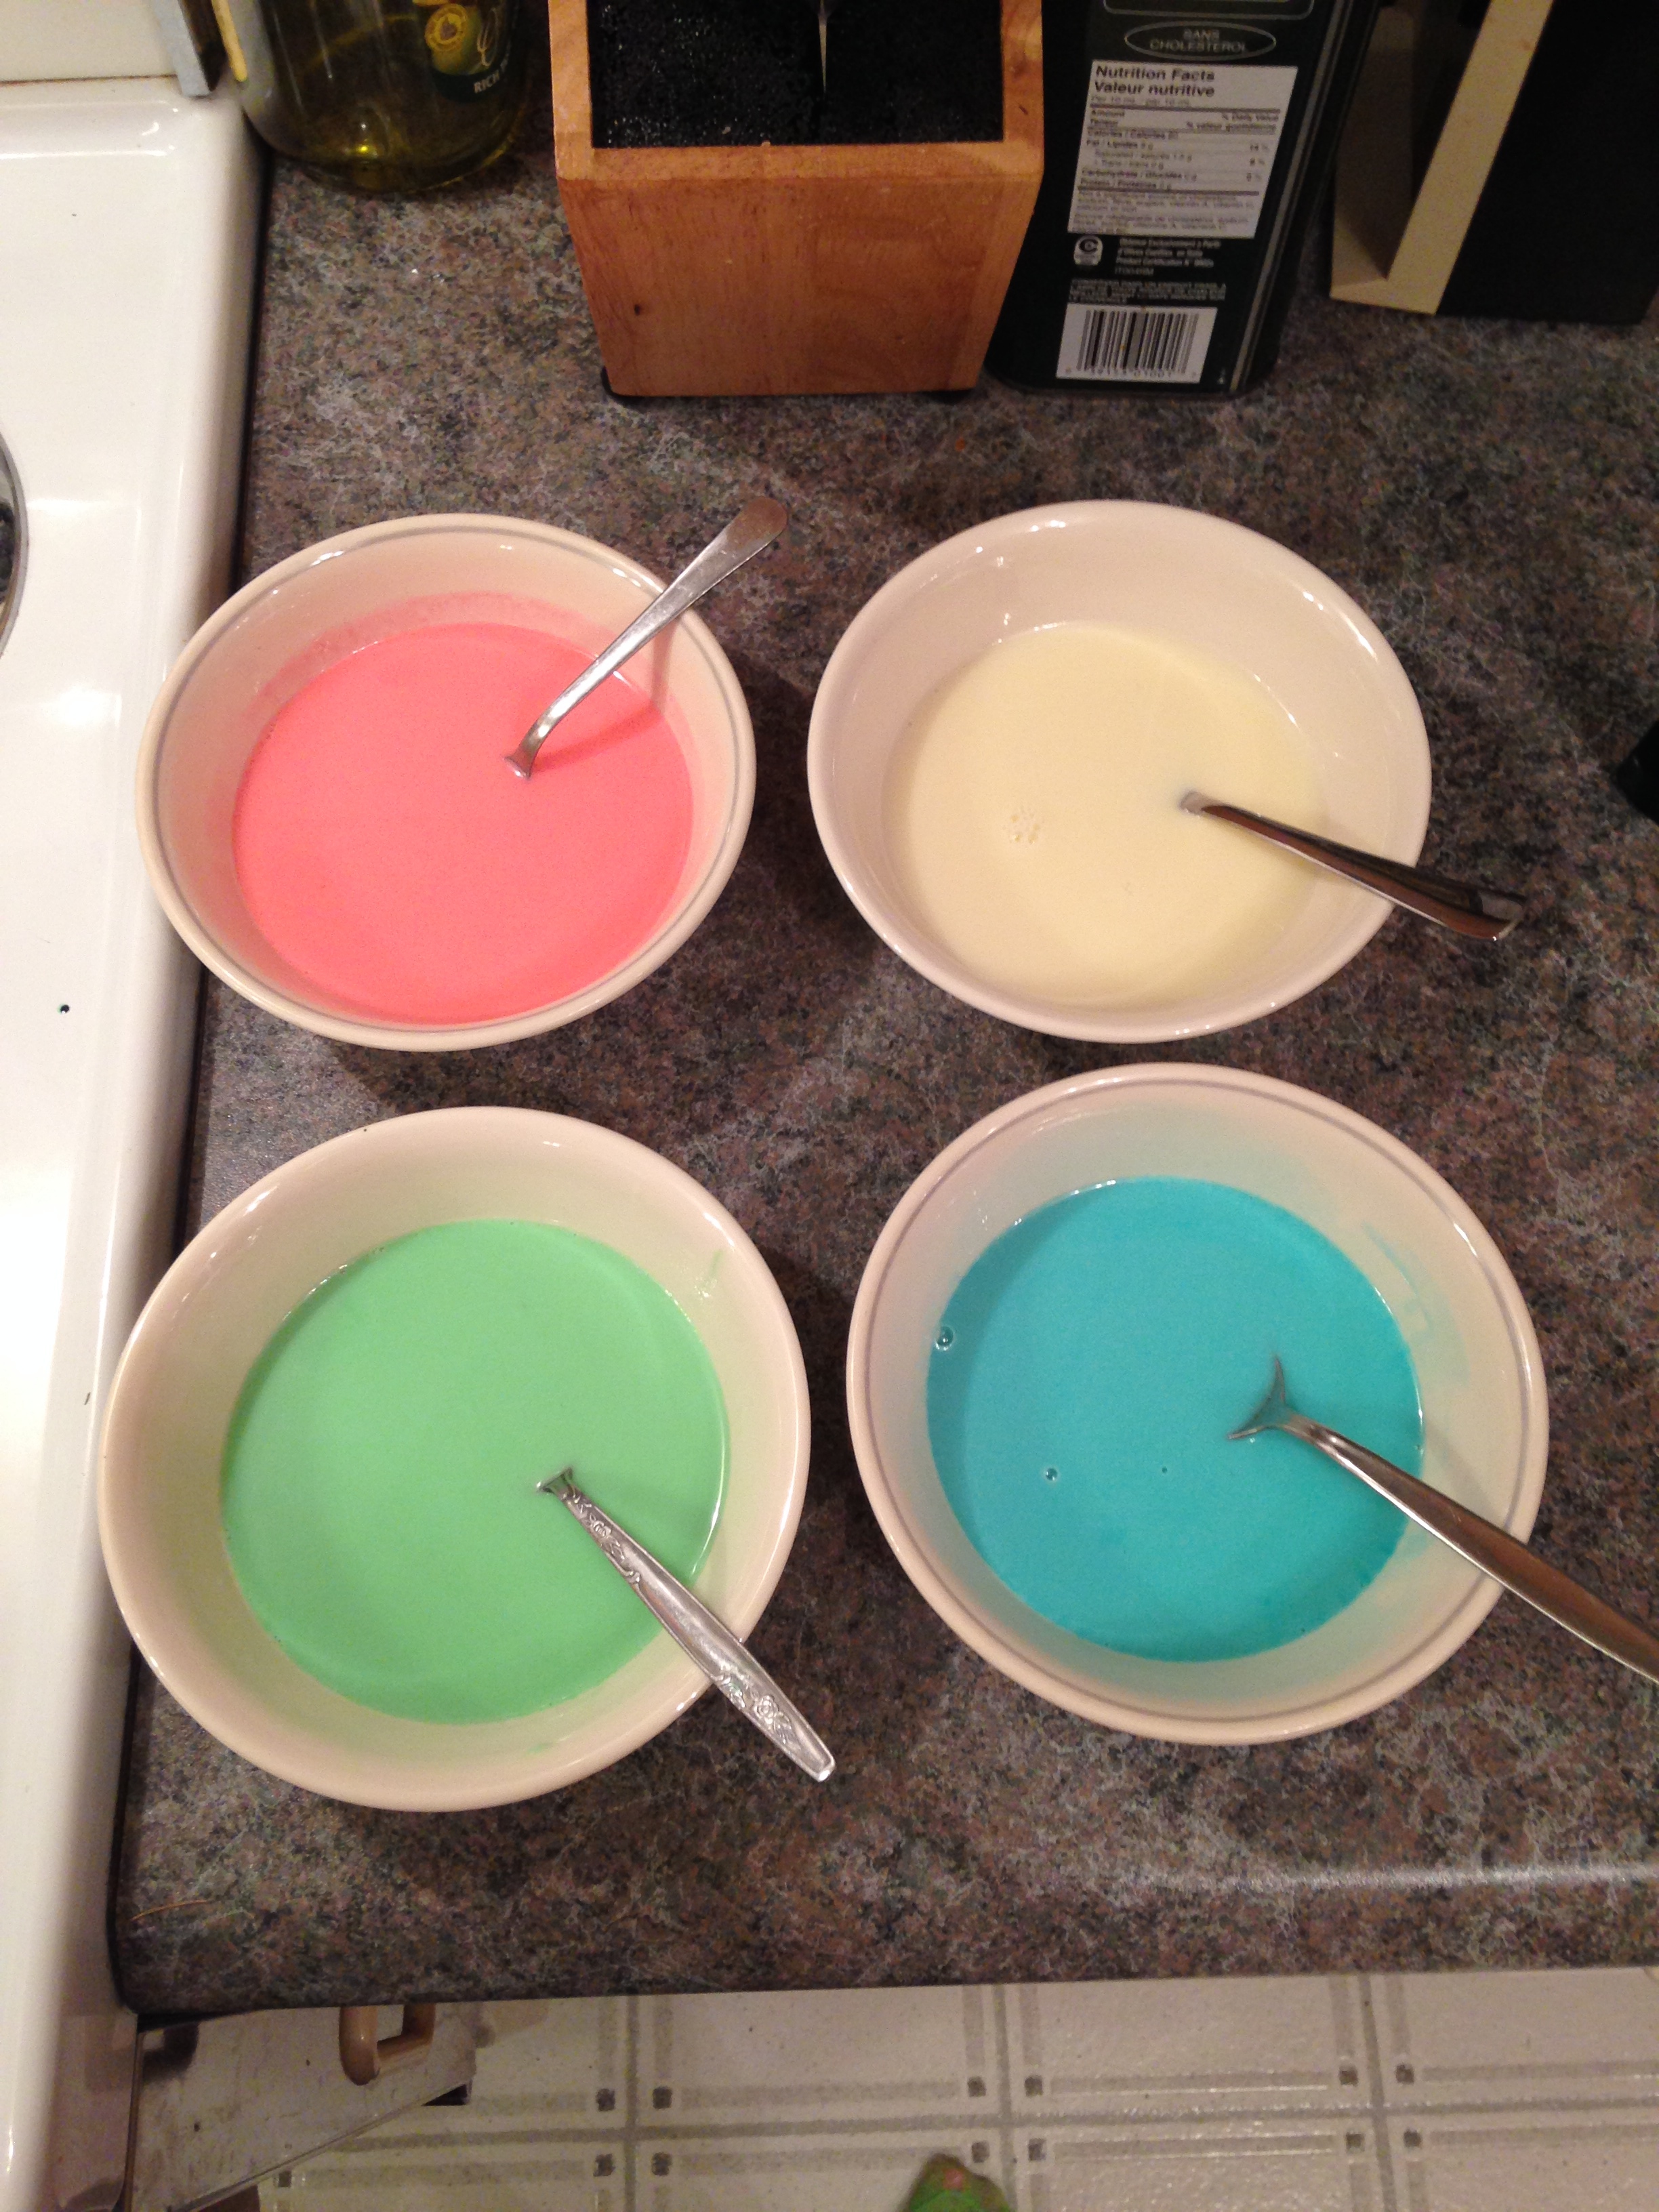
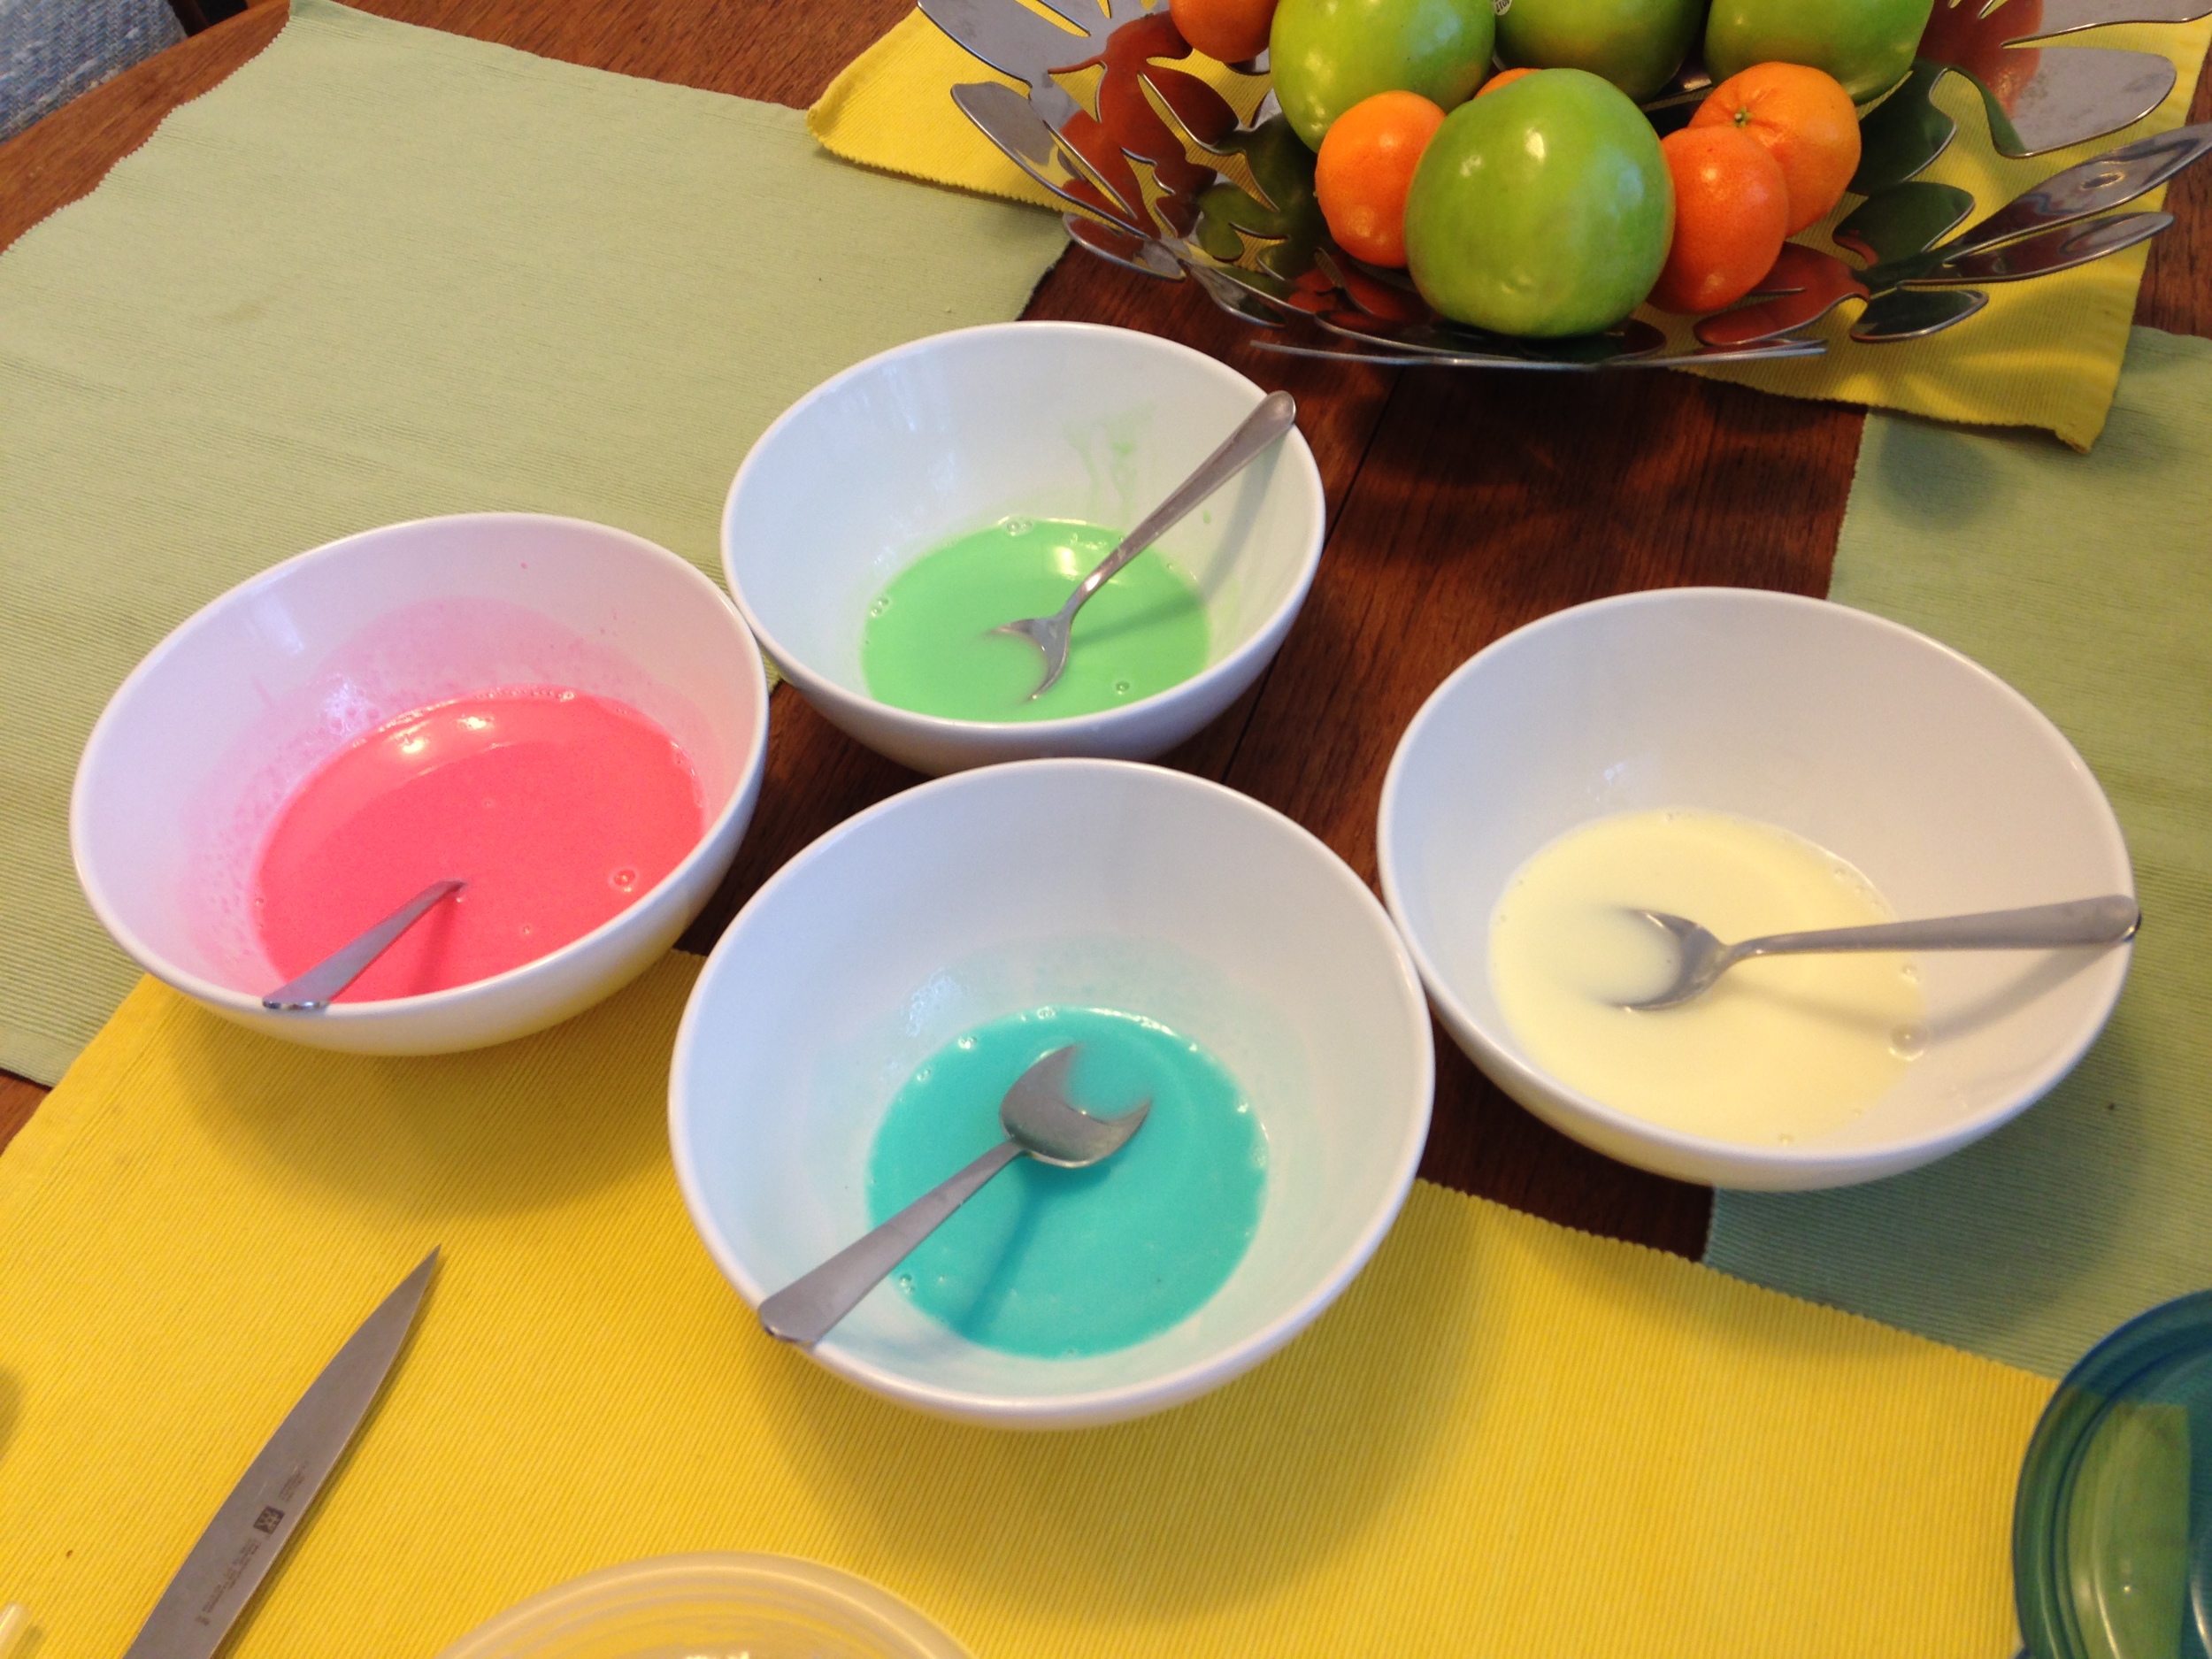
  5. Portion out petal concoction into separate bowls. One for each colour. (Don't forget white!) Add food colouring and stir until desired colour acheived.

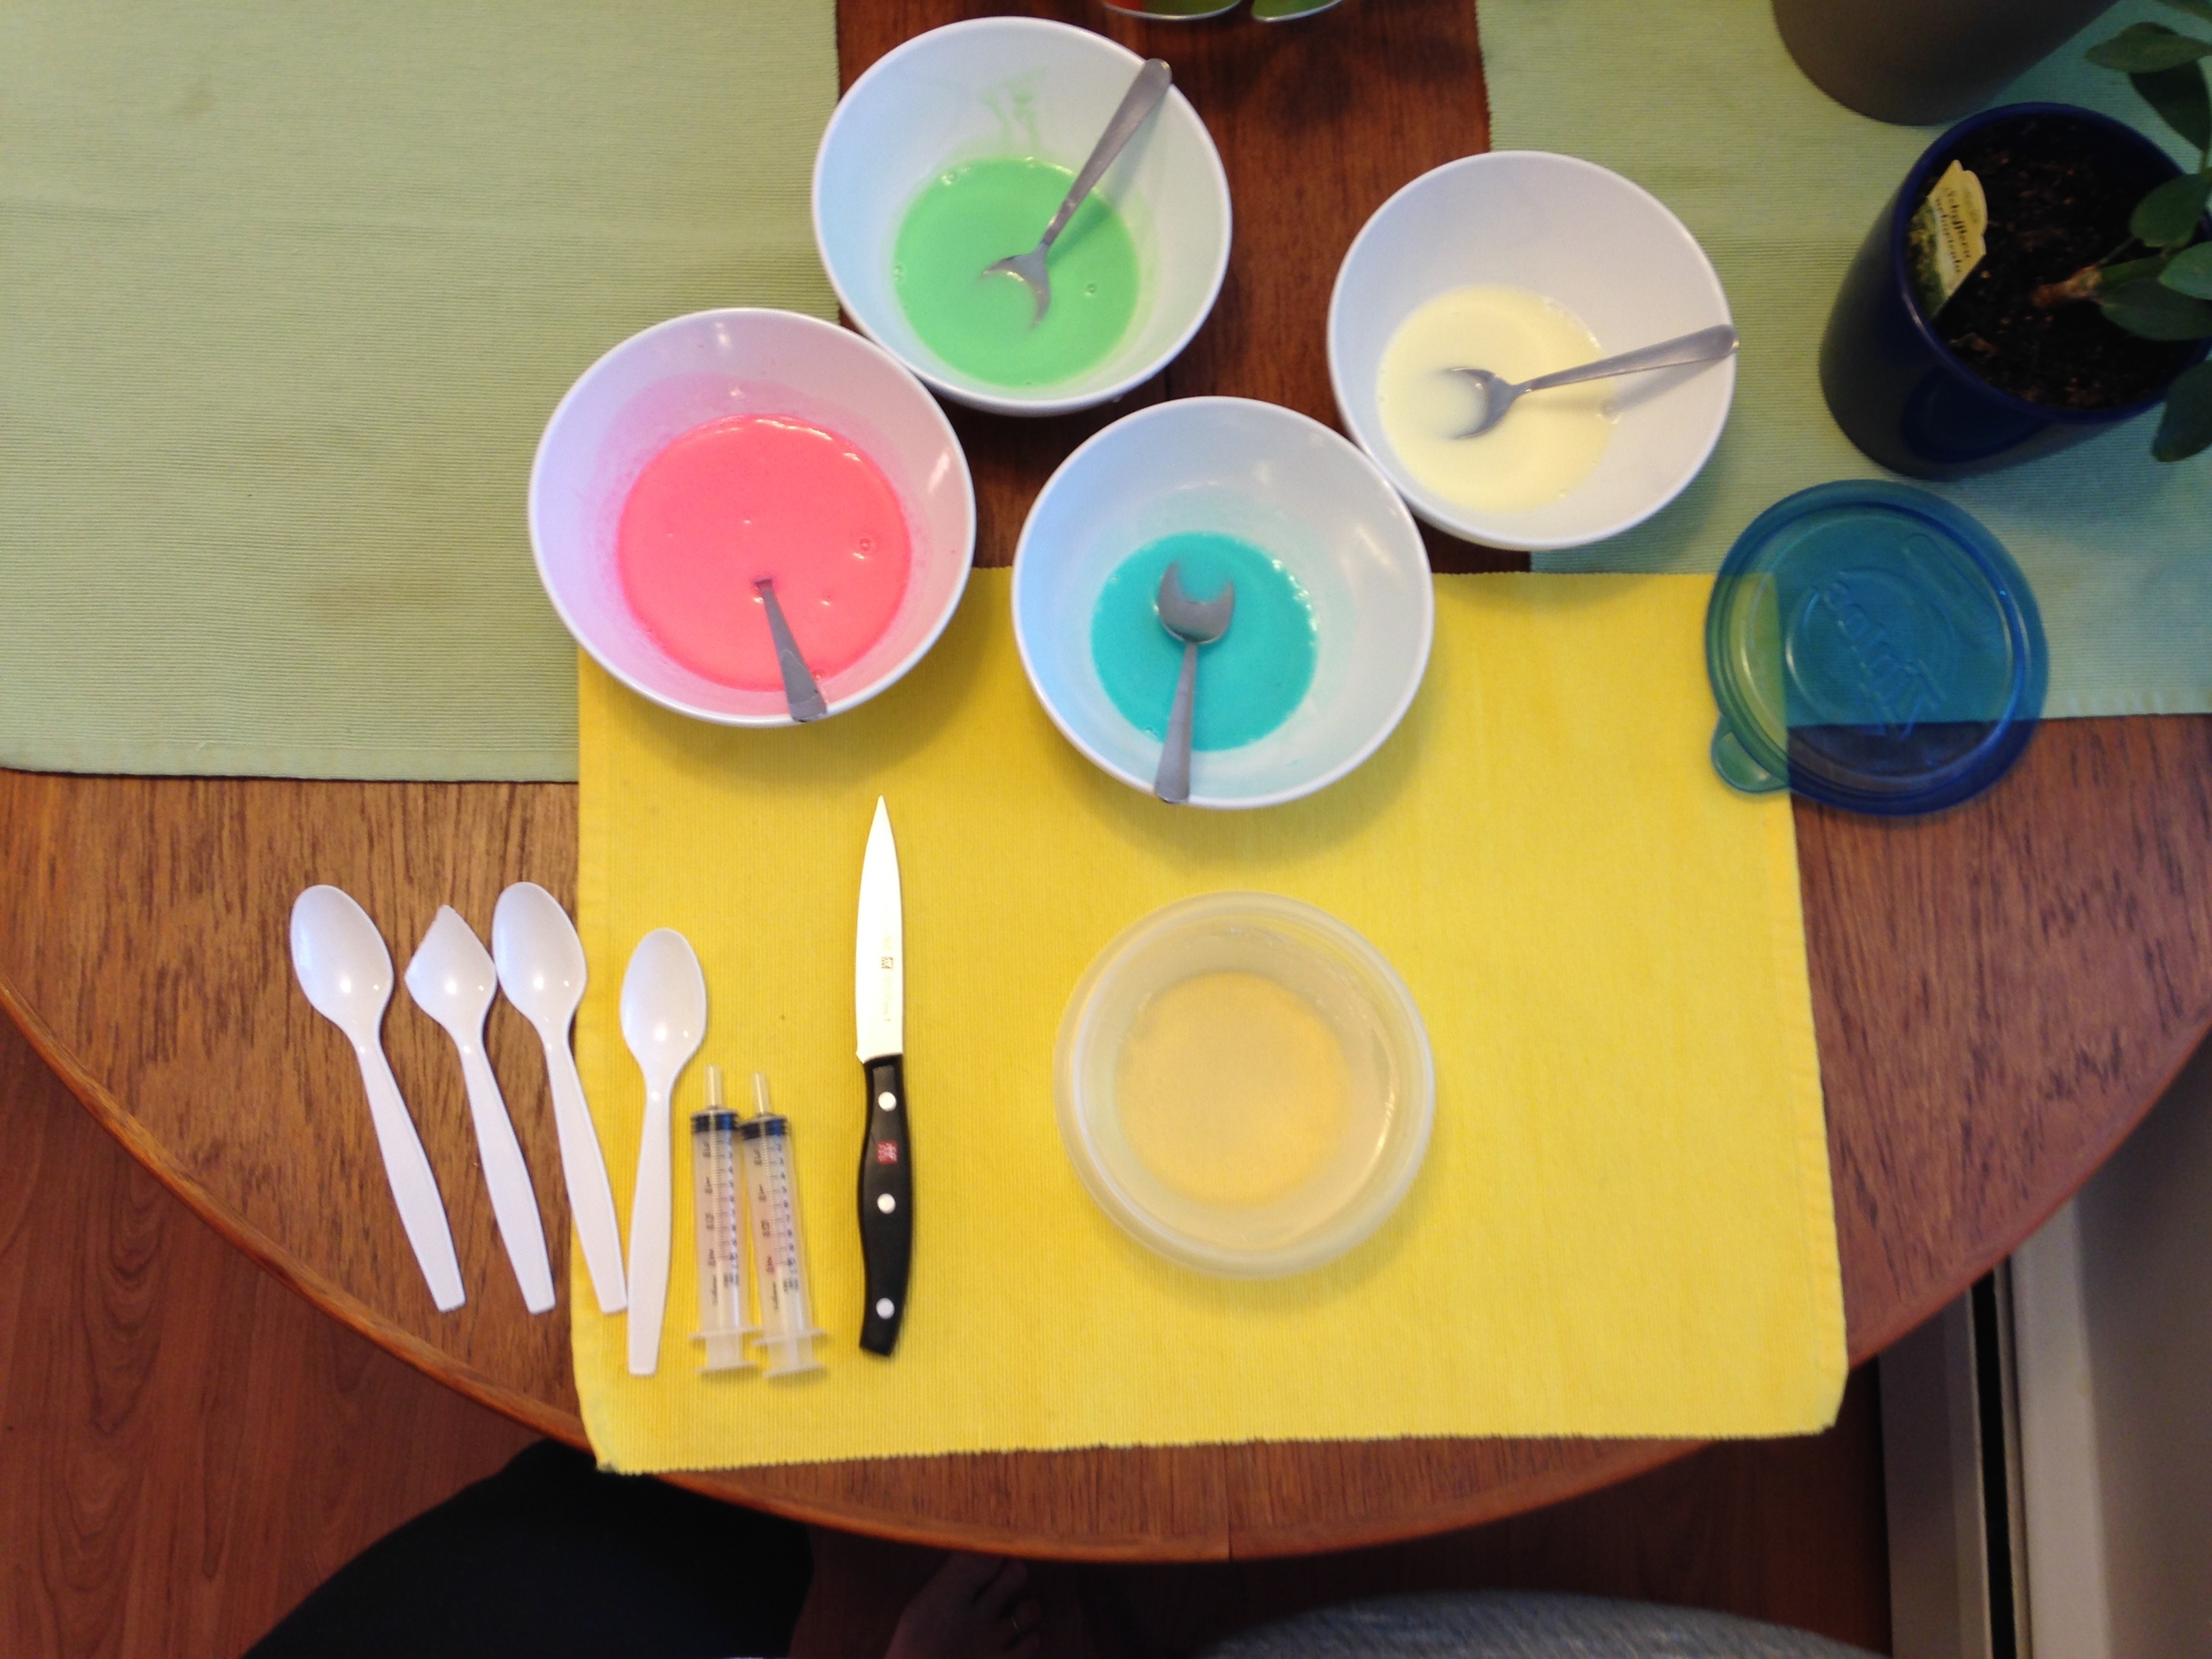
Now for the process! I've outlined how I made mine and all the tools I used. I am hoping to get a needle syringe like the lady in the video though. It'll make it easier and less messy..... Hopefully.

Materials needed:

Spoons
Knives
Forks
Scissors
Plastic syringes
Paper towel

Basically how this works is you make a slit in the jelly with a tool and then you squirt coloured jelly into the slit, making petals for your 3D jelly flower. Brilliant and easy, right?

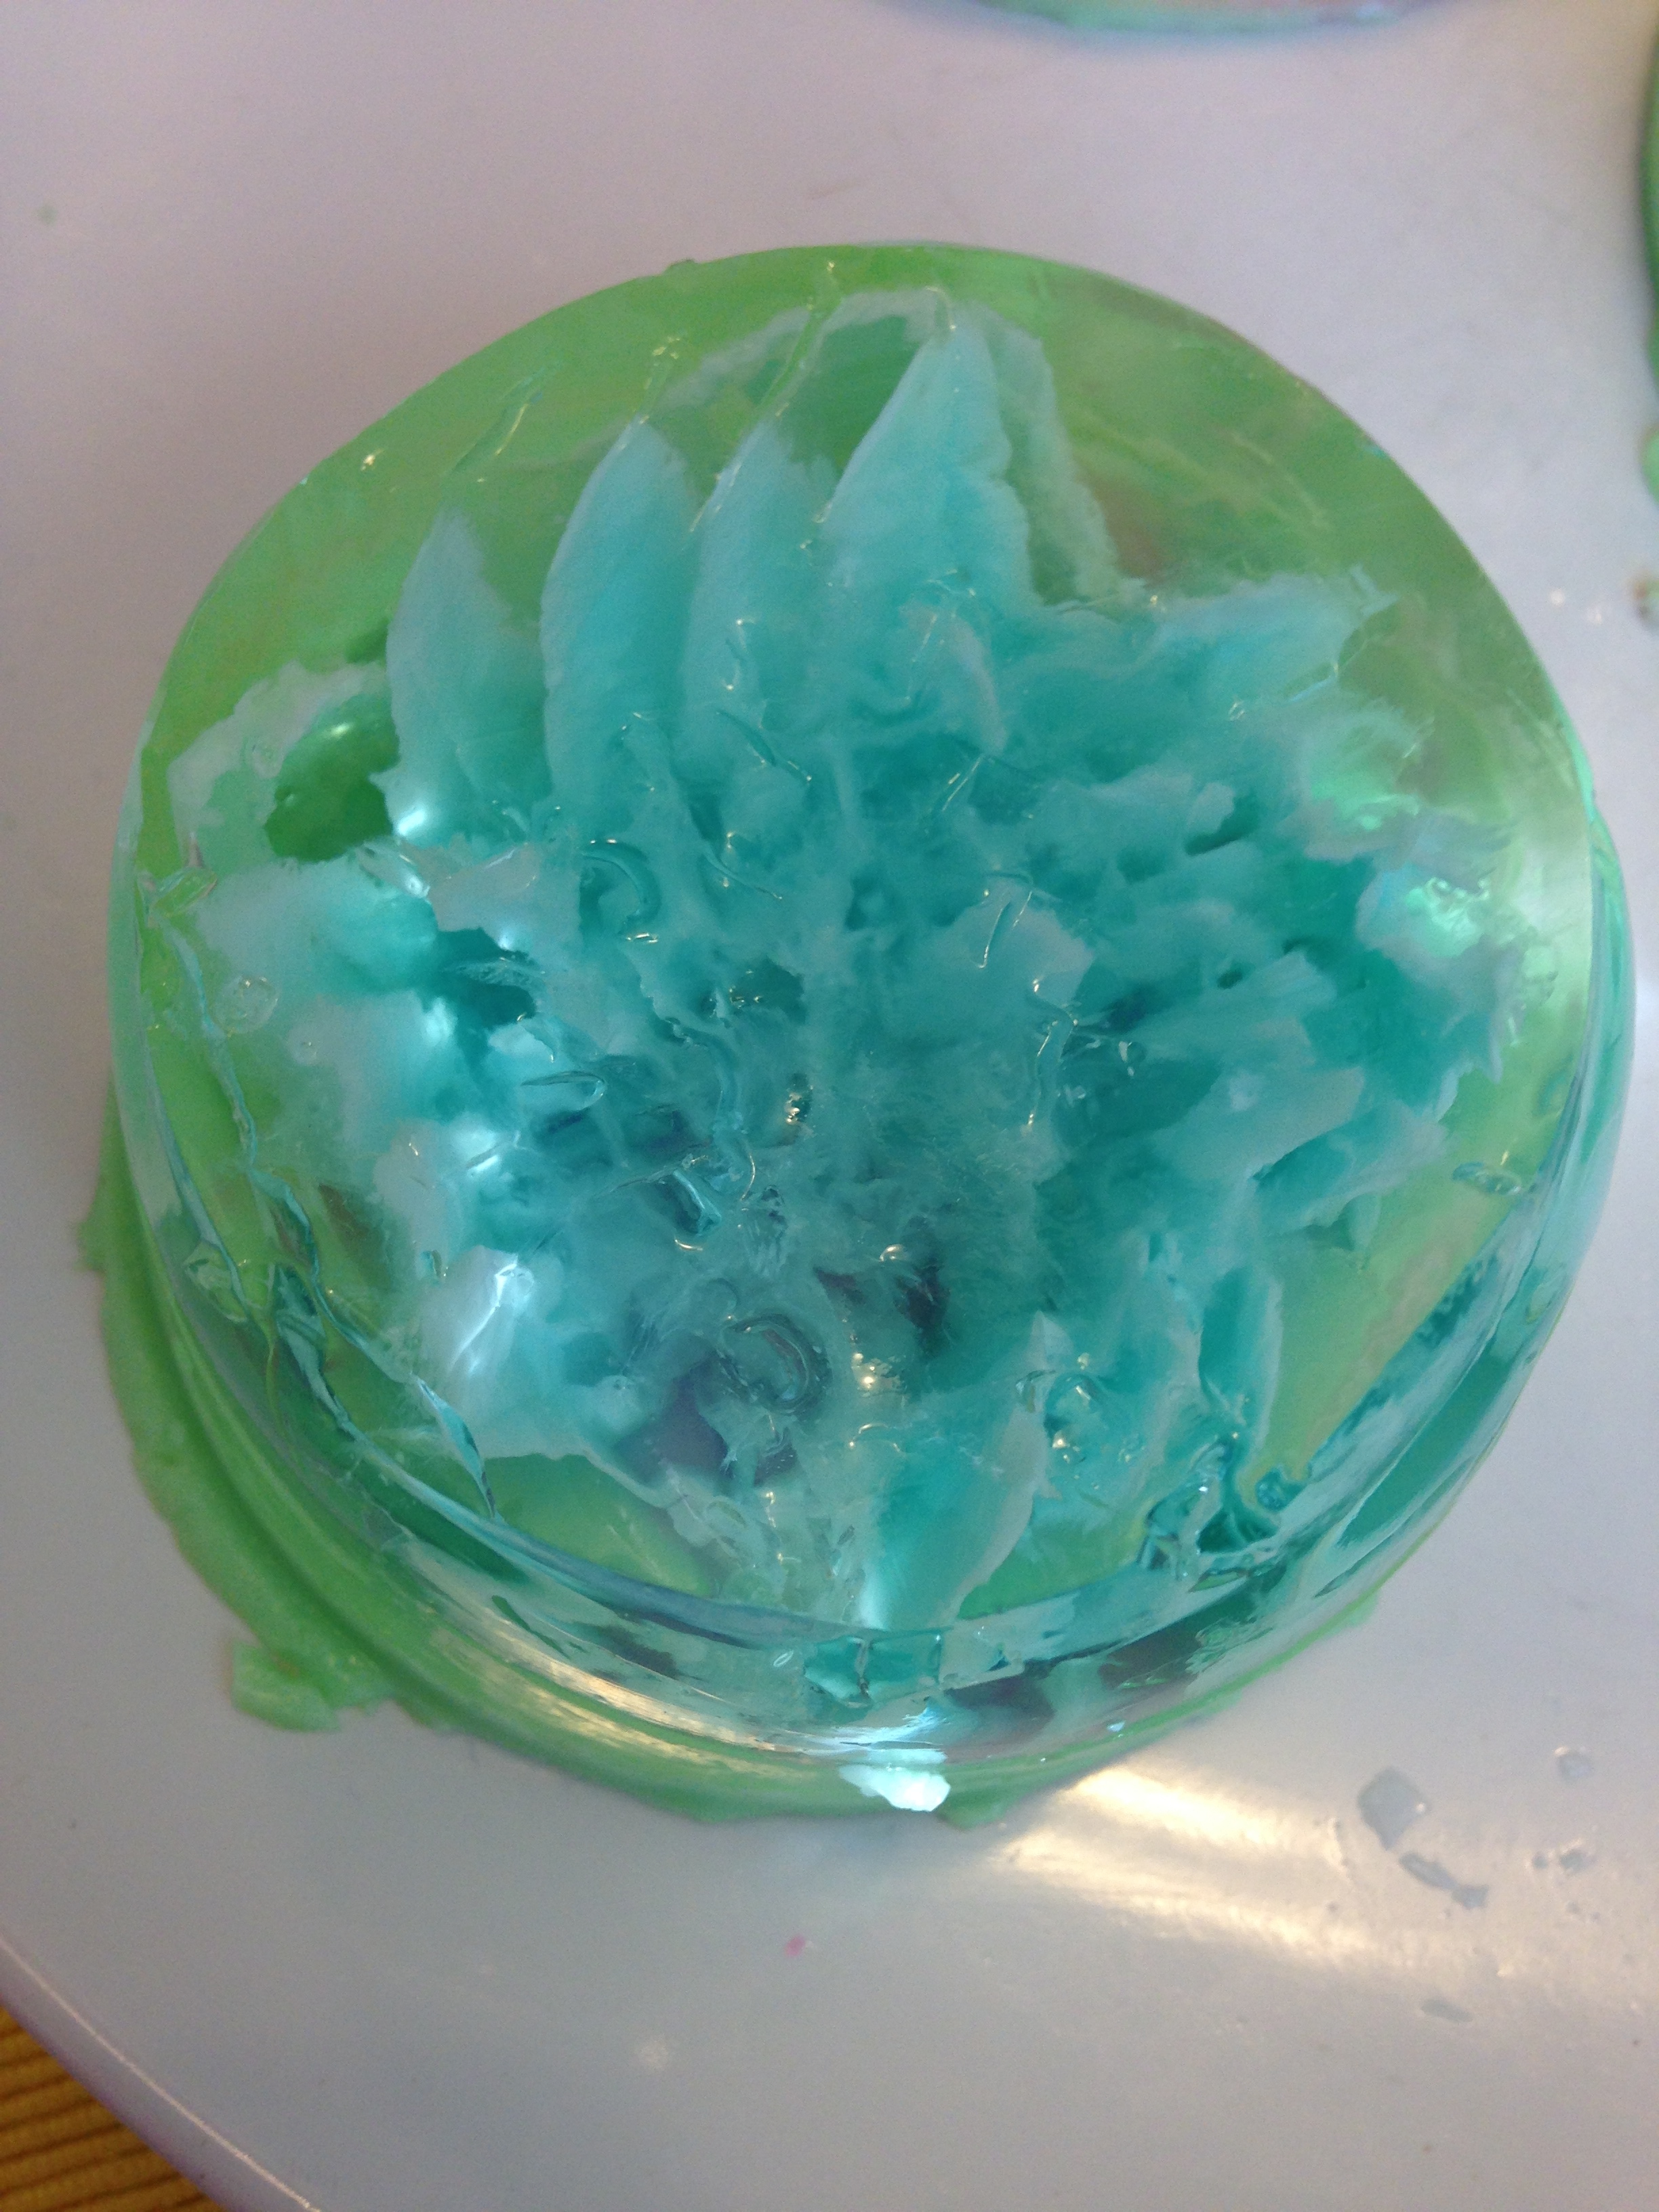
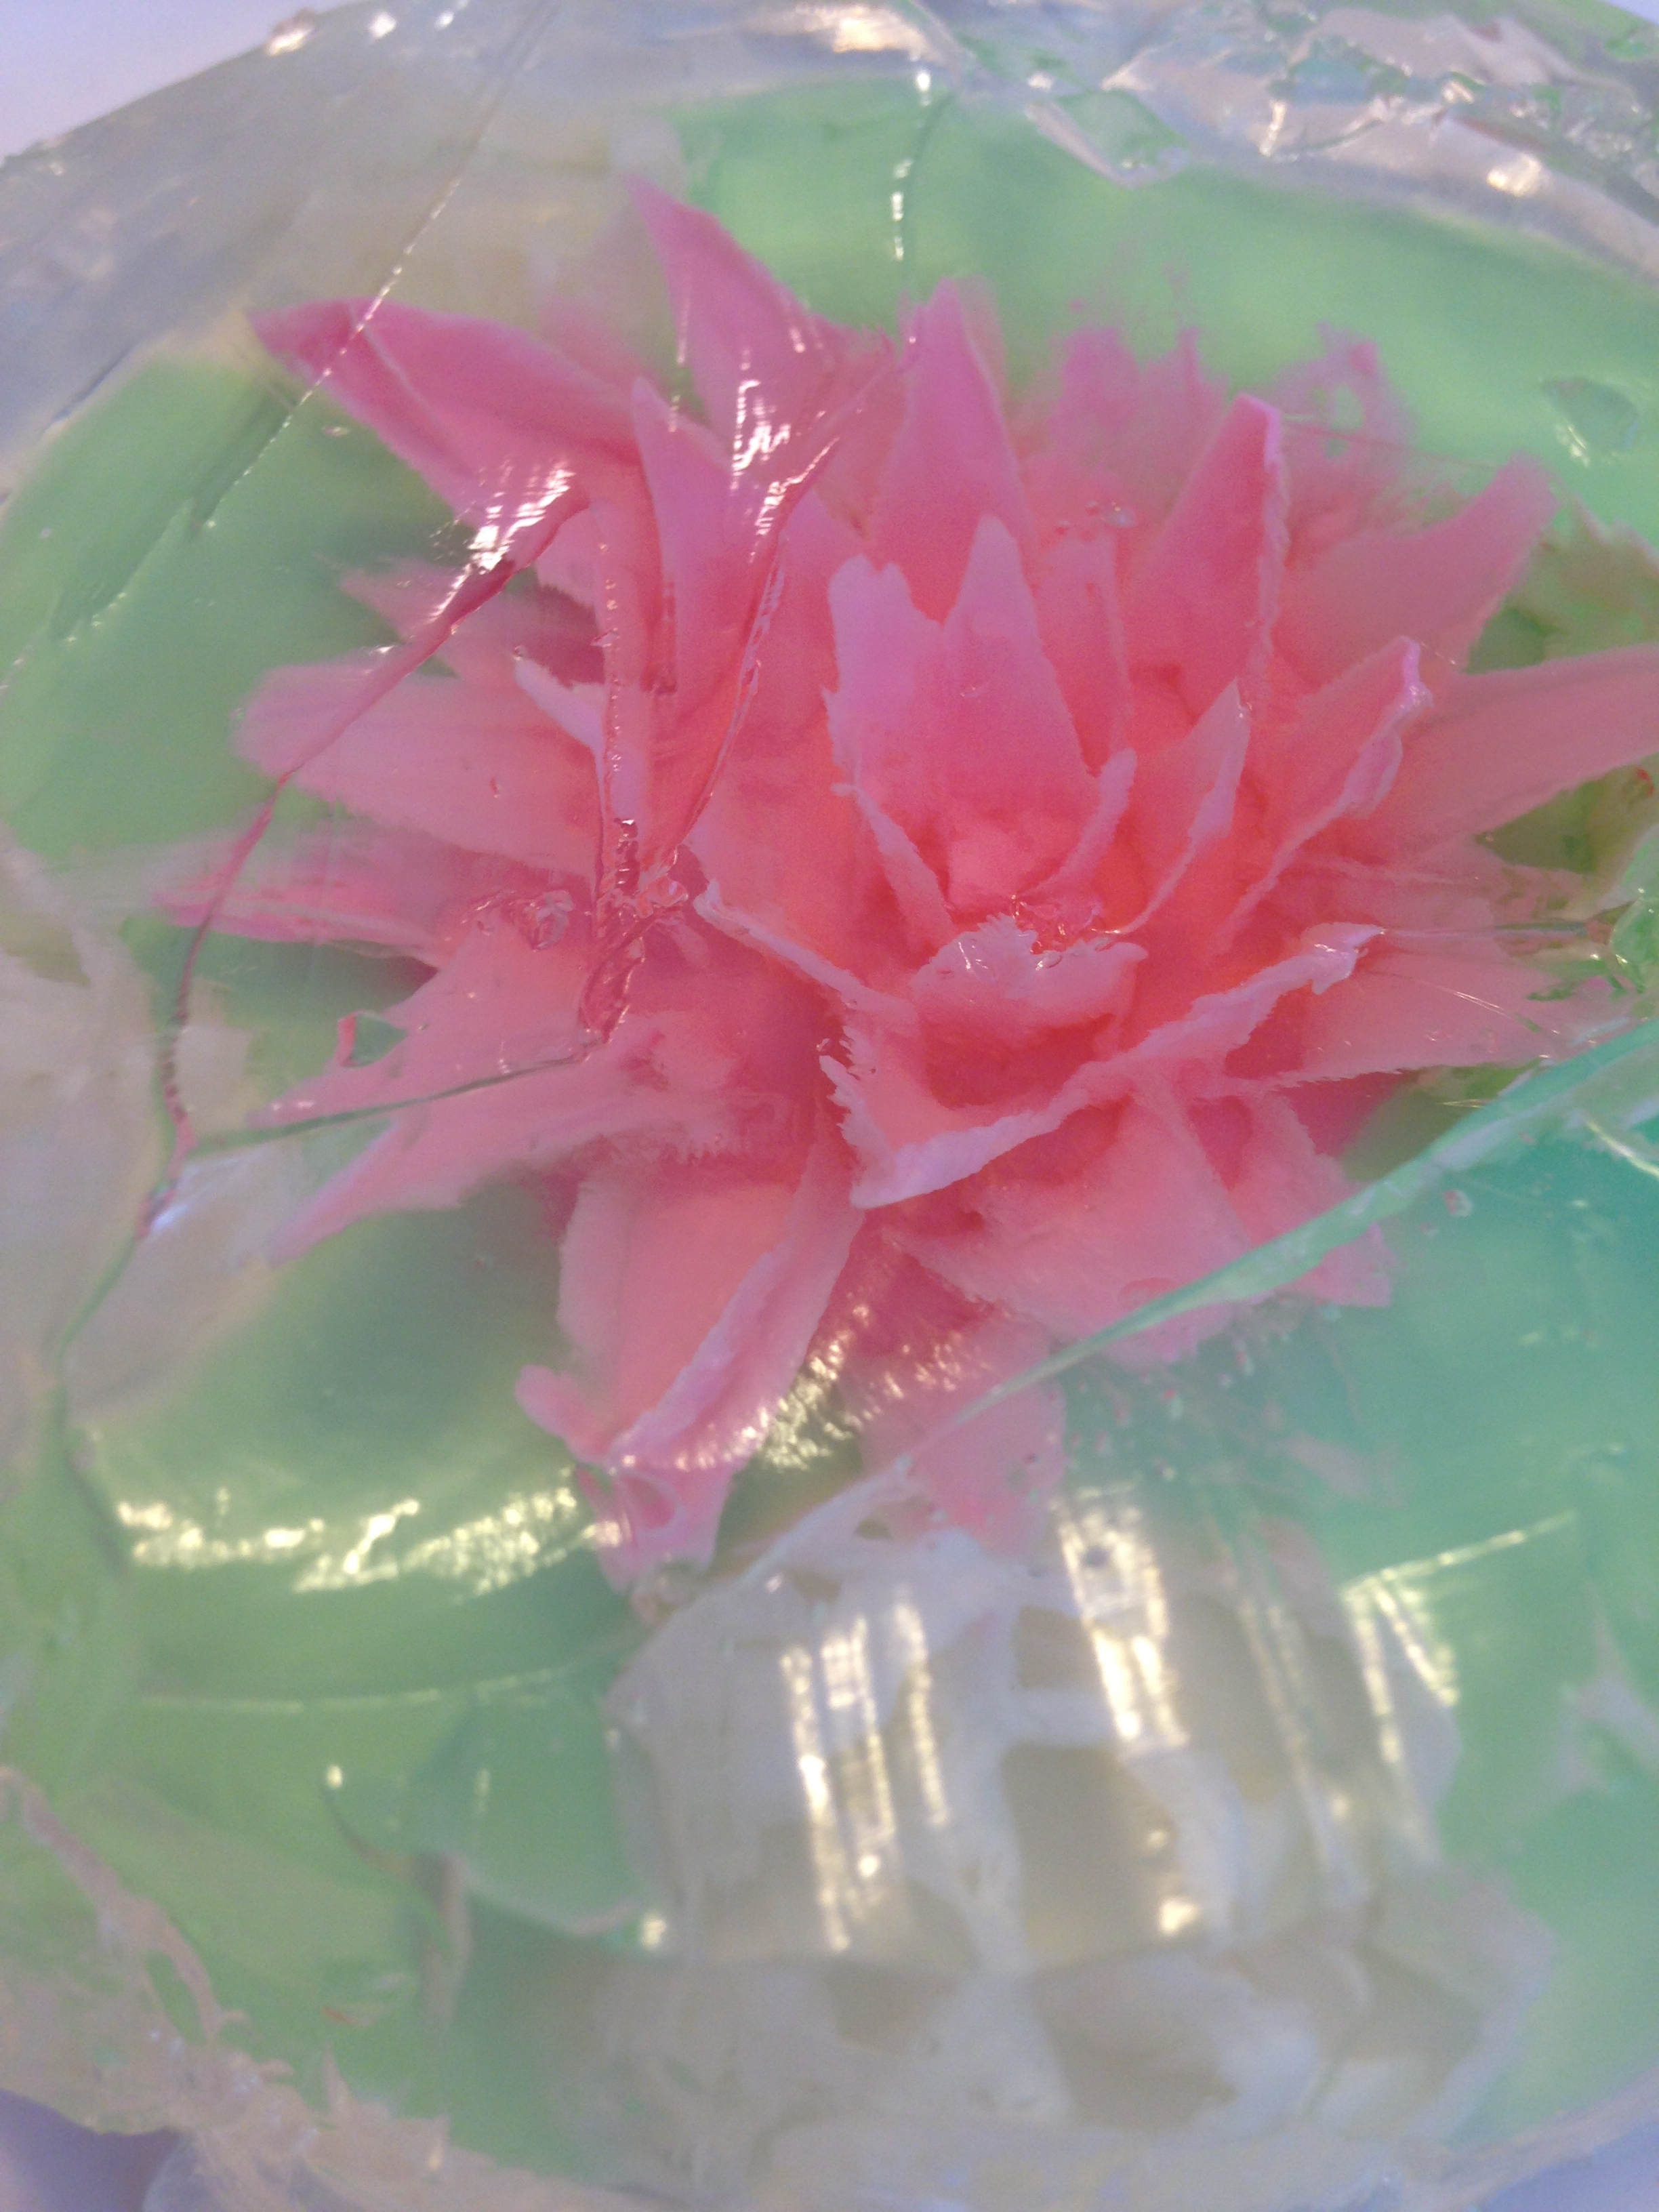
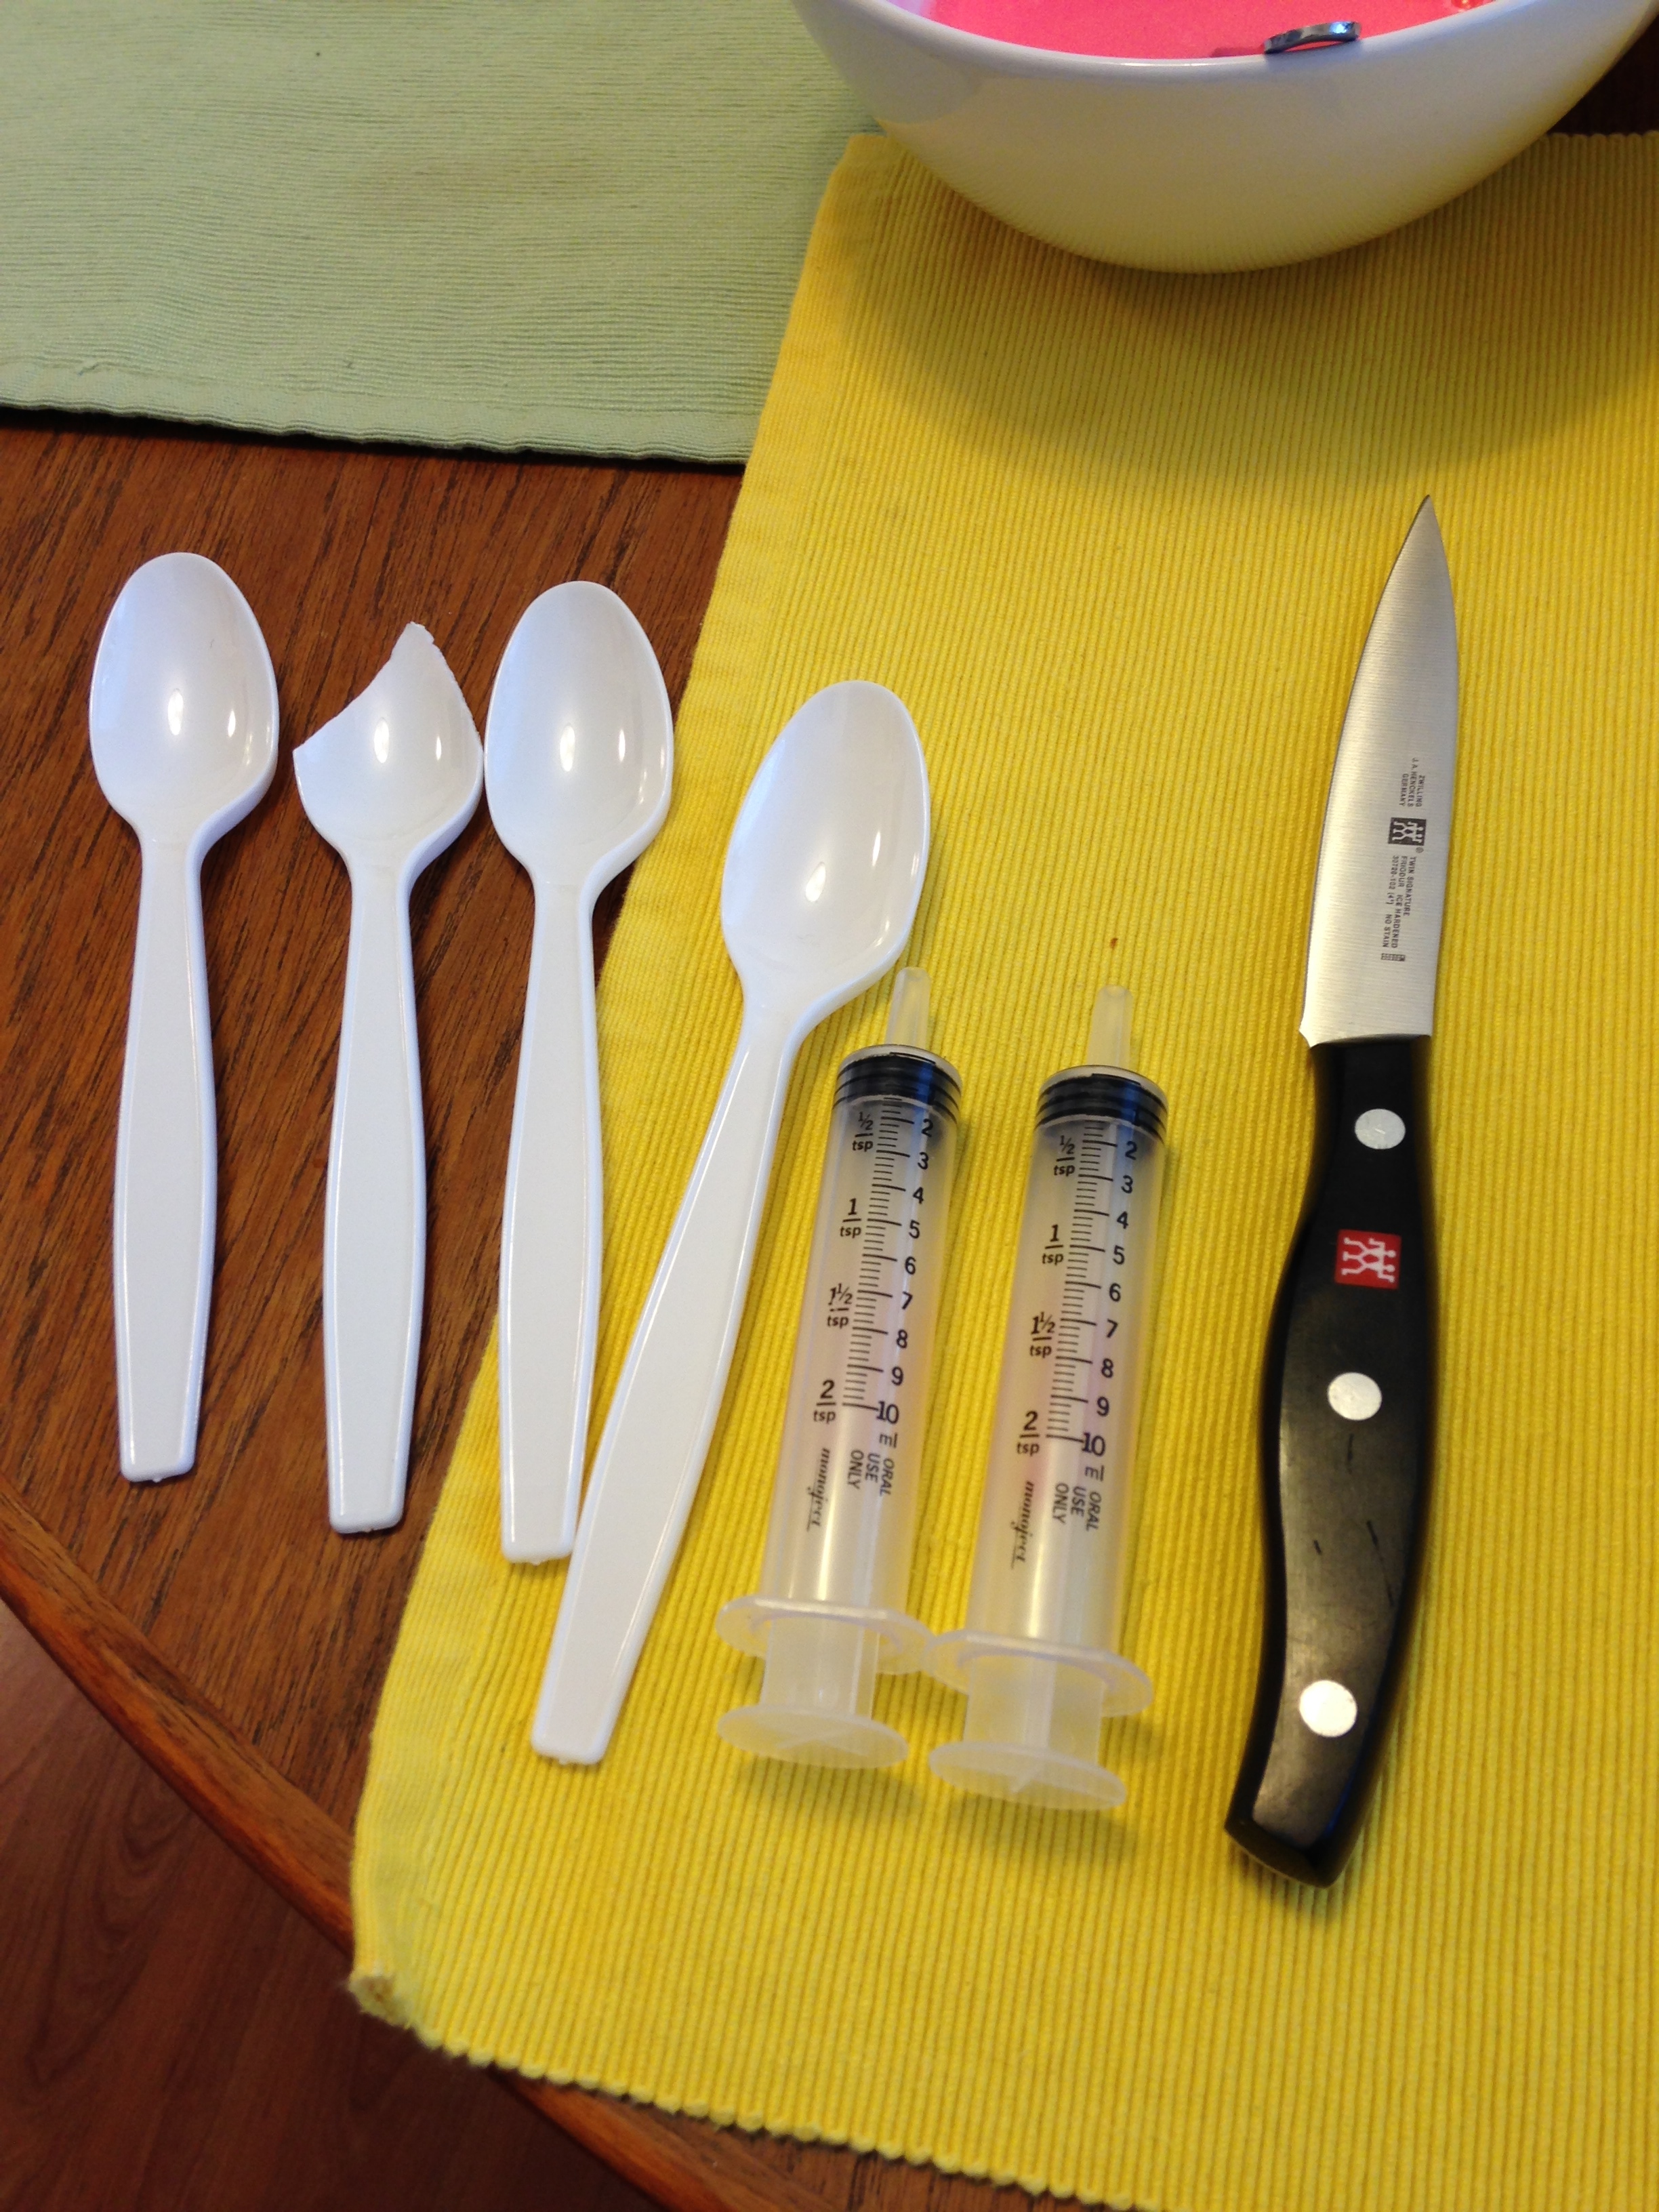
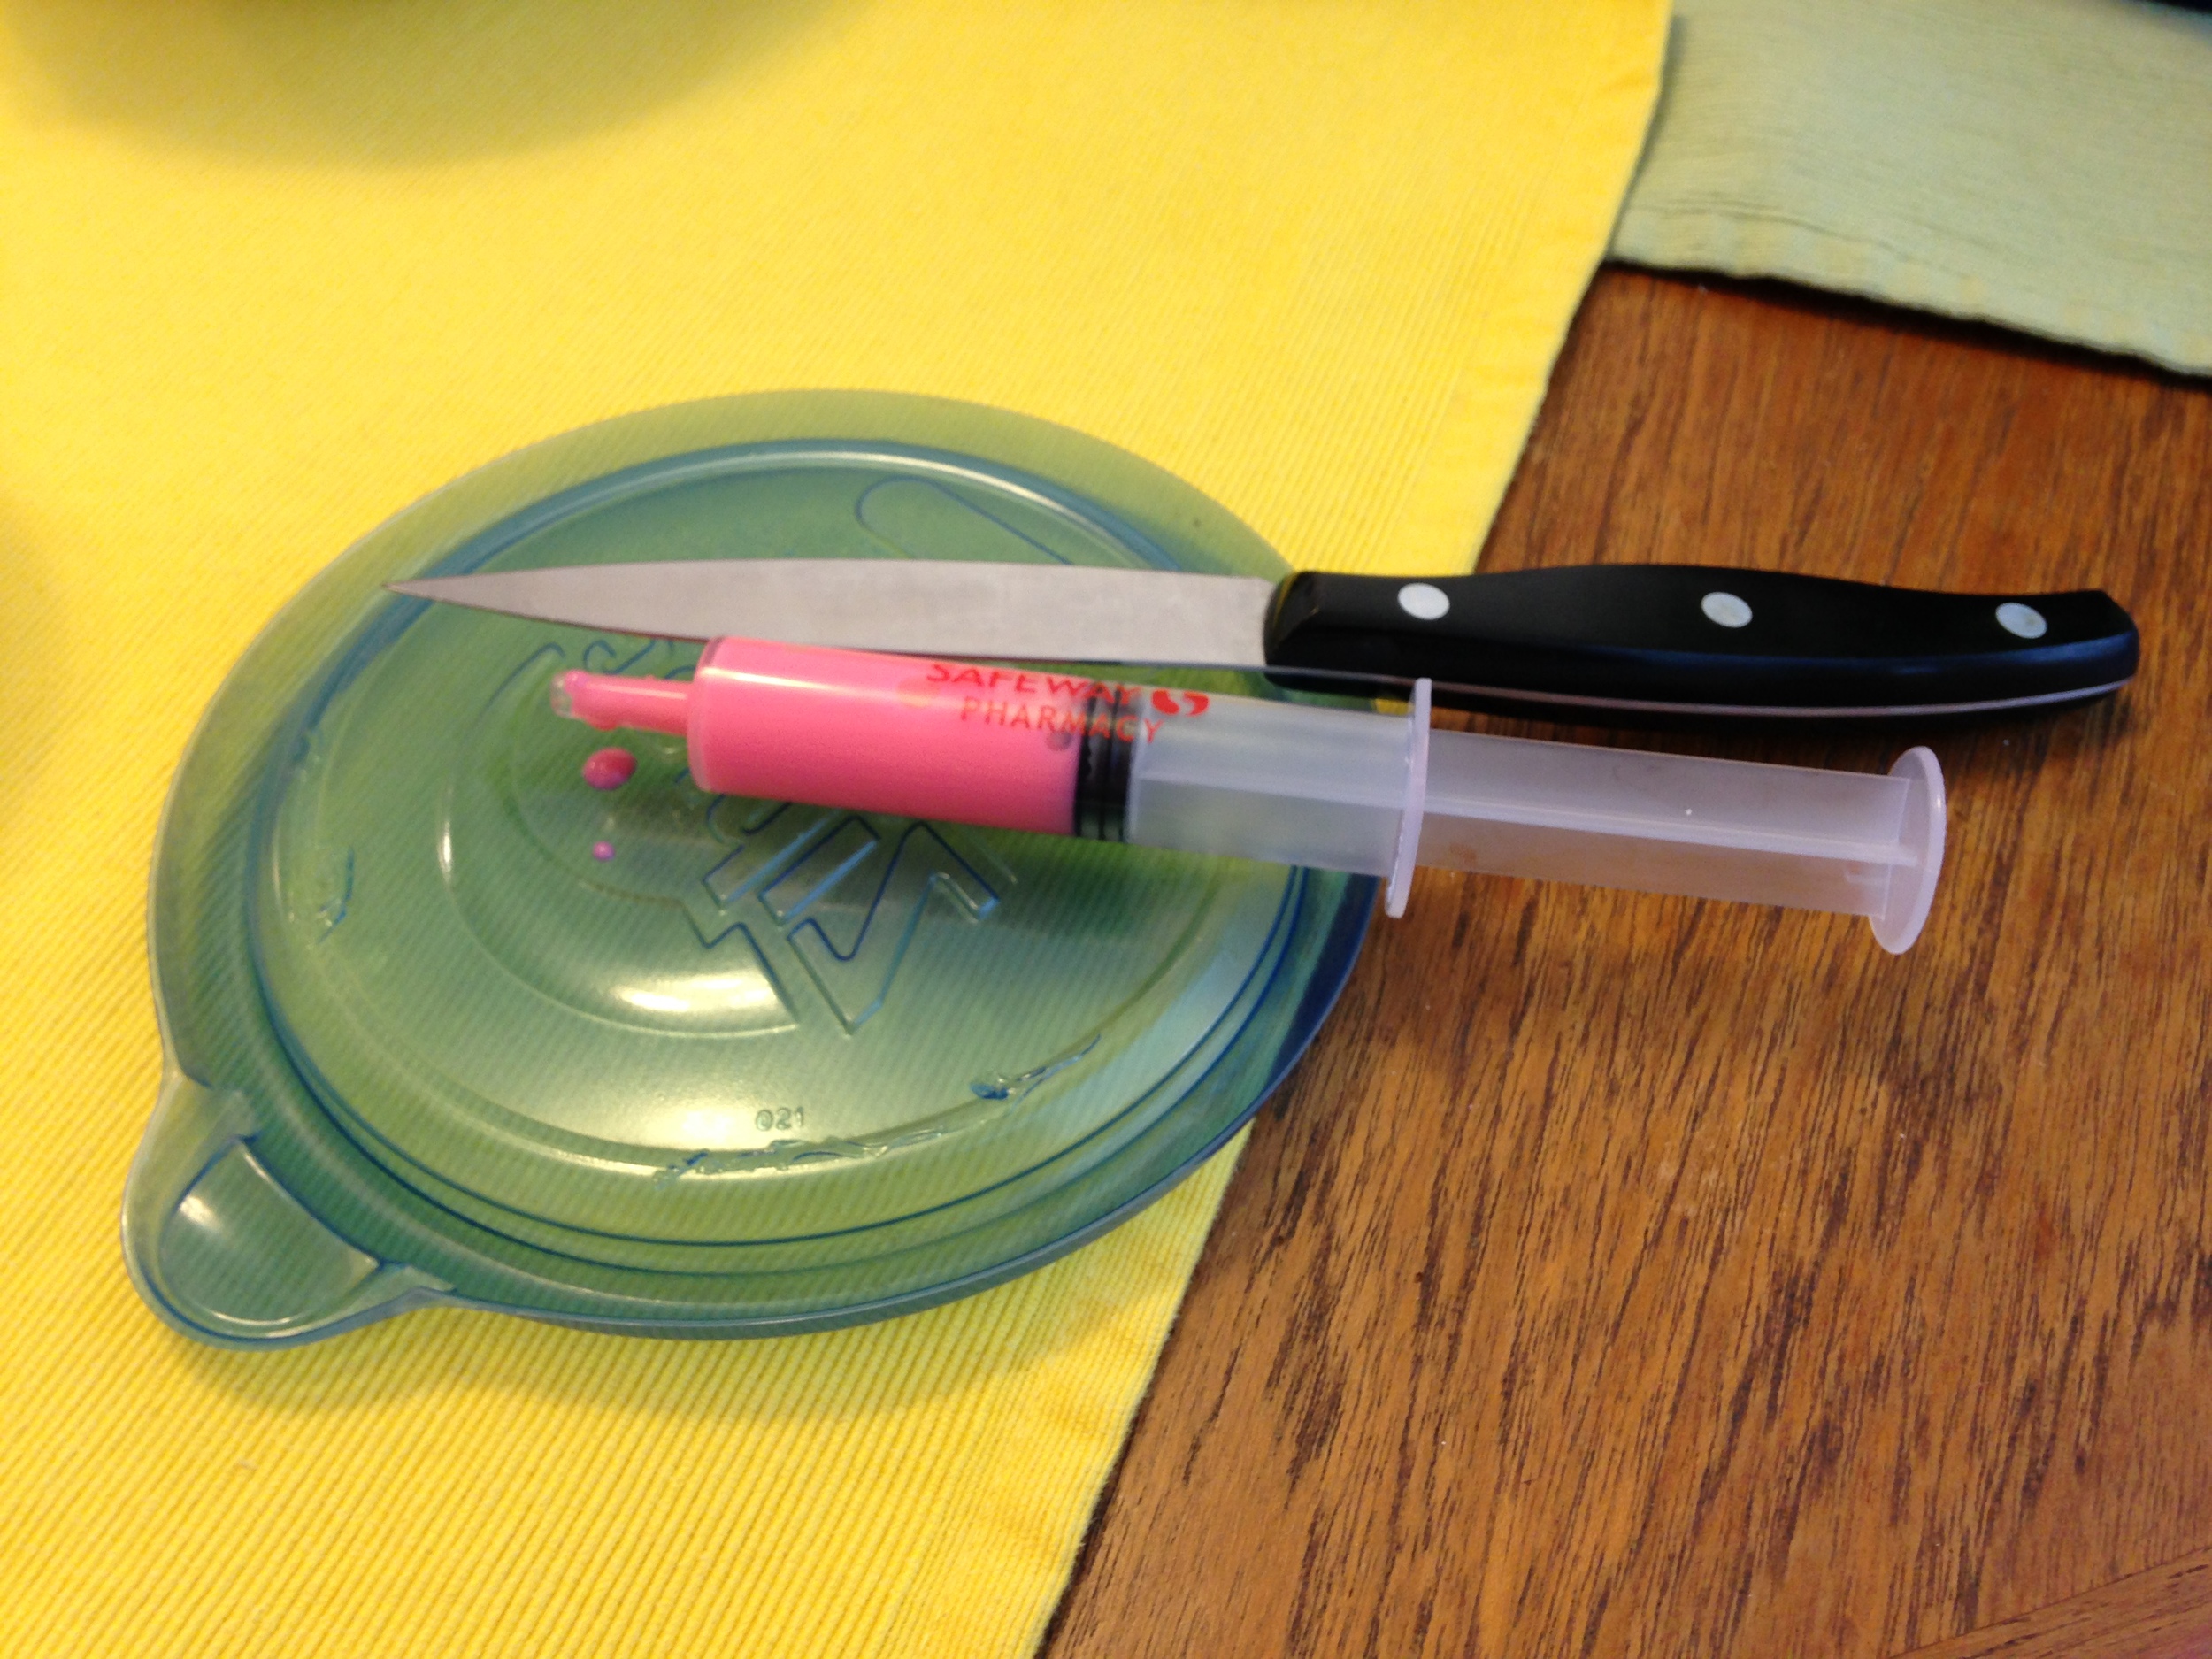
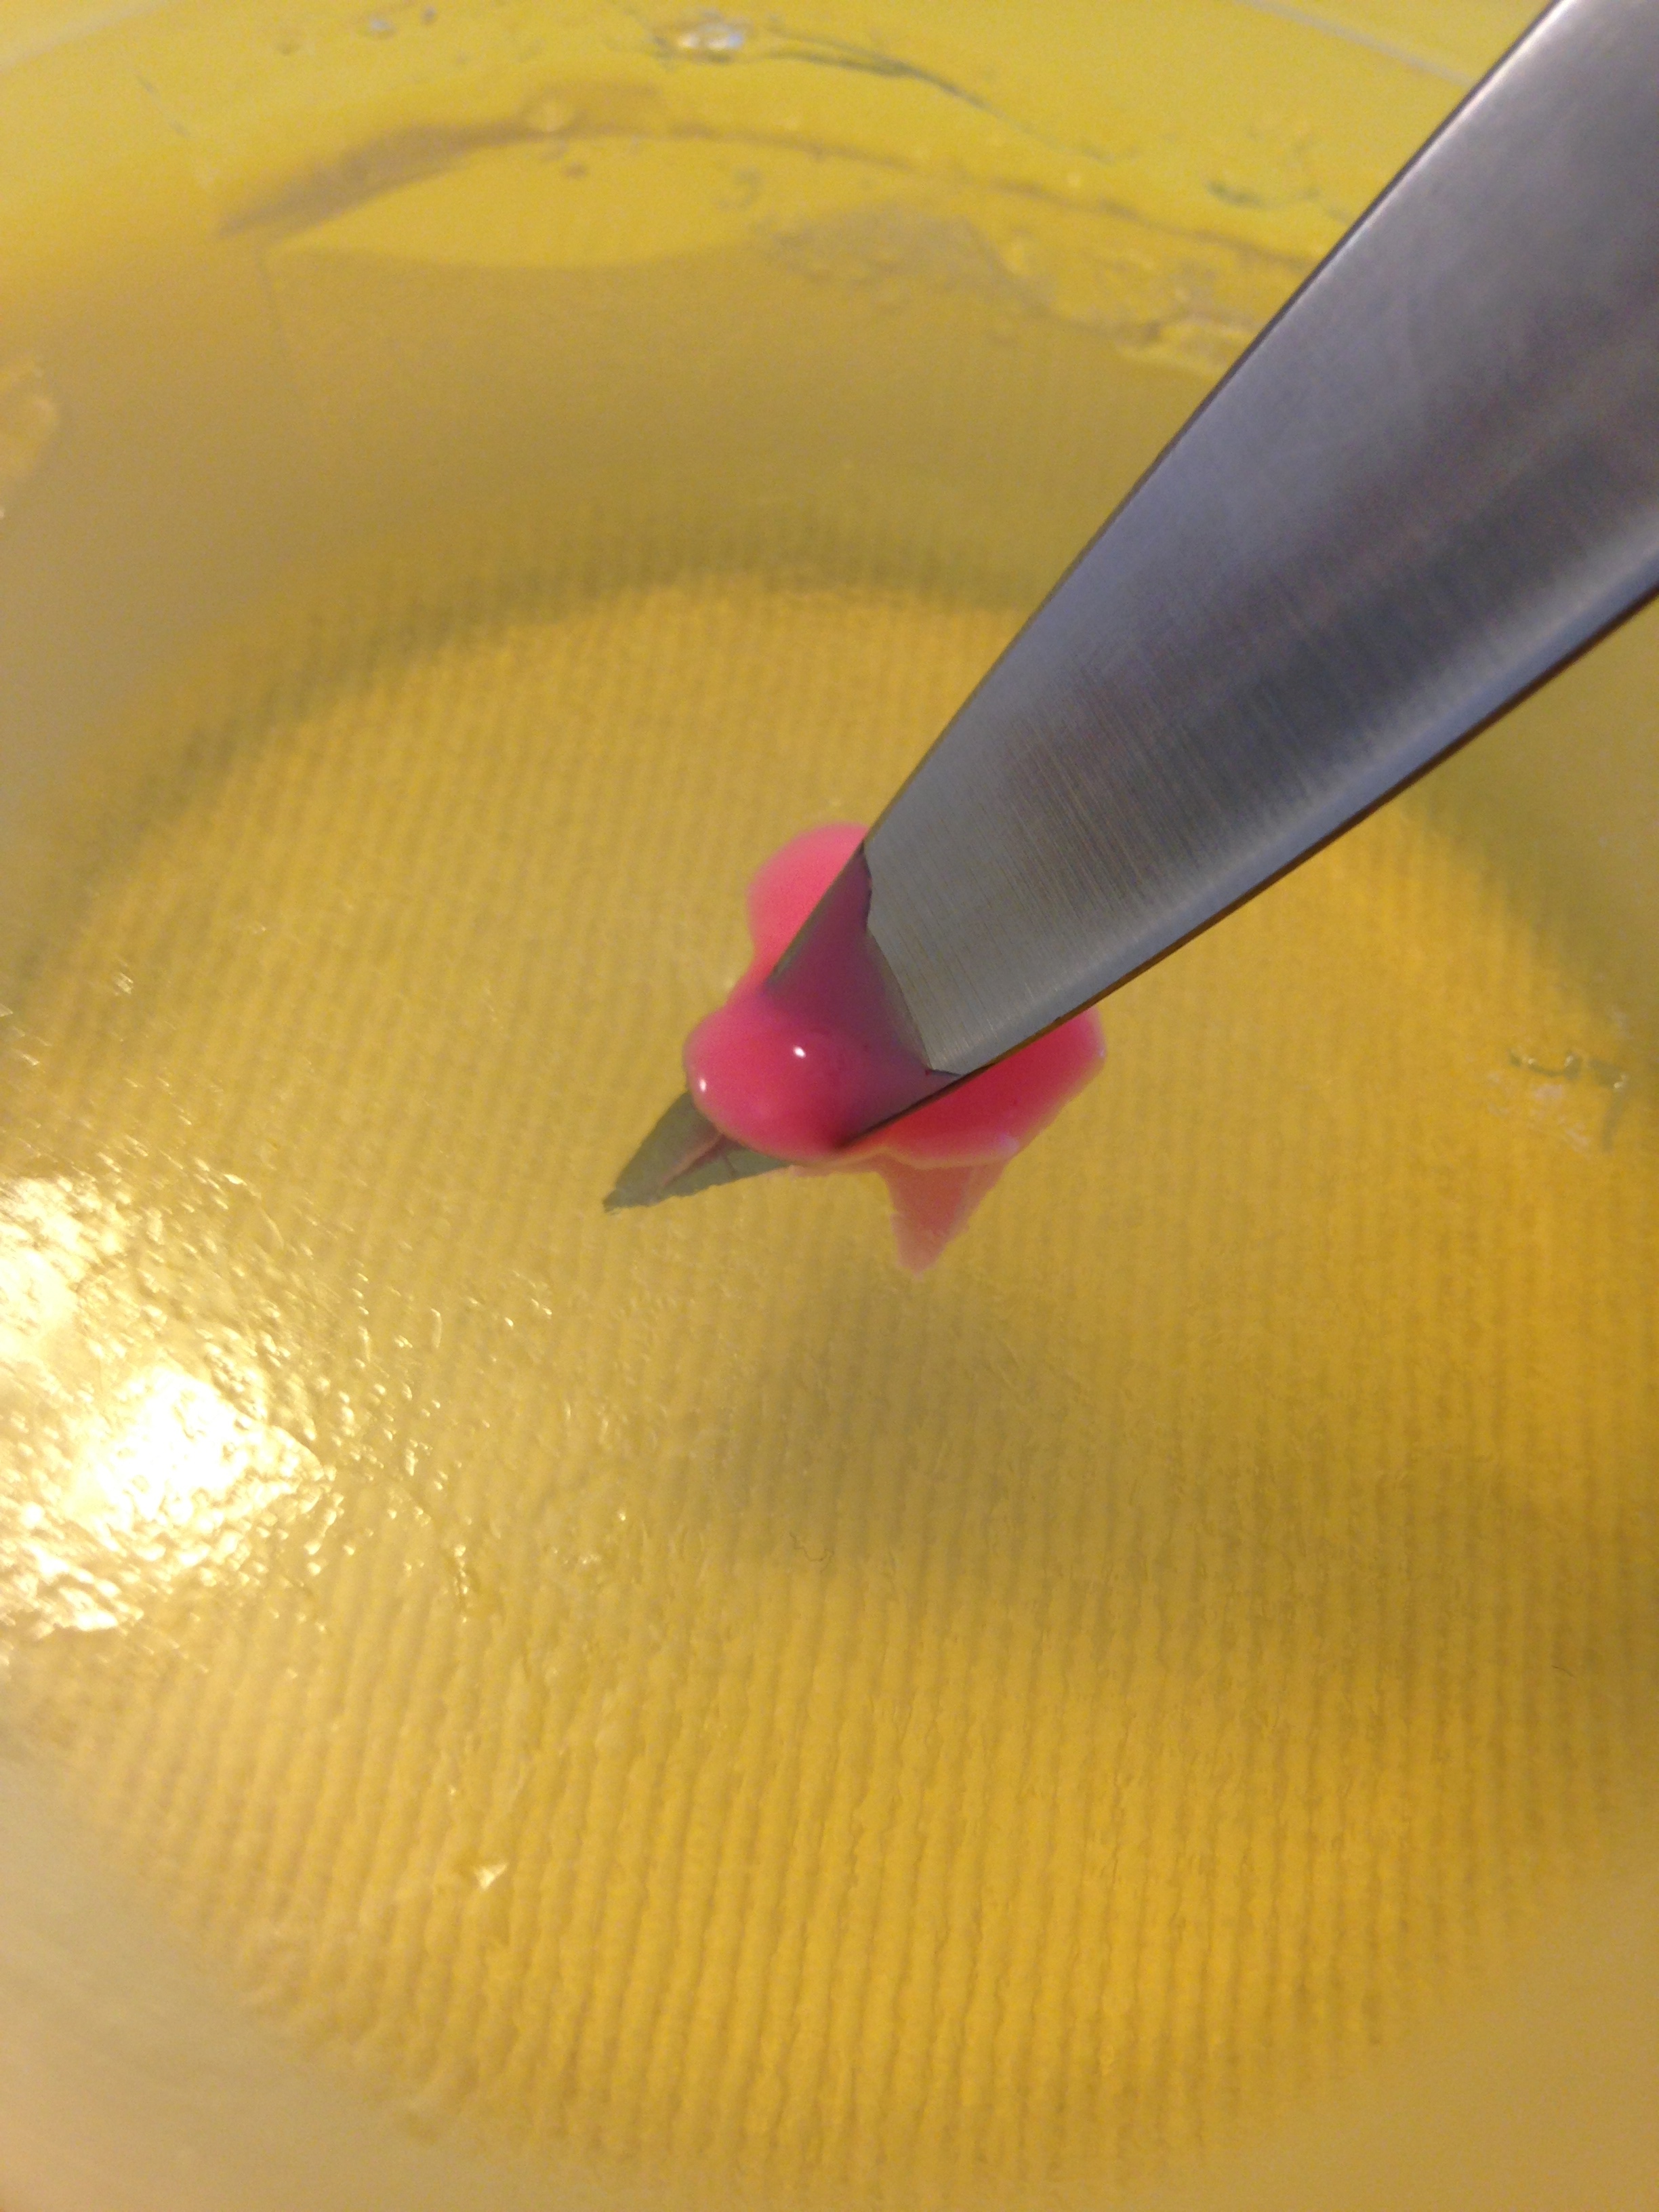
So first, you need some petal making tools. You can use regular metal dinnerware or you can use plastic utensils (which you can cut into shapes as well). If using plastic though make sure you get super cheap stuff. It's way easier to cut if the plastic the utensils are made of is flexible. I cut a pointy tip out of one of my spoons and I used a fork for the blue flower. Kinda looks like a chrysanthemum. And a knife for the big pink one. Kinda like a spiky water lily.

I got the plastic syringes from the pharmacy. You can buy fancier ones or ask the pharmacist for the cheap ones. They're typically used for give cough medicine to kids, etc. but for this, they are used for squirting the colour jelly into the slits for the petals.

From here on out I don't really have too many good pictures of actually making the flowers. The video tutorial does it best.

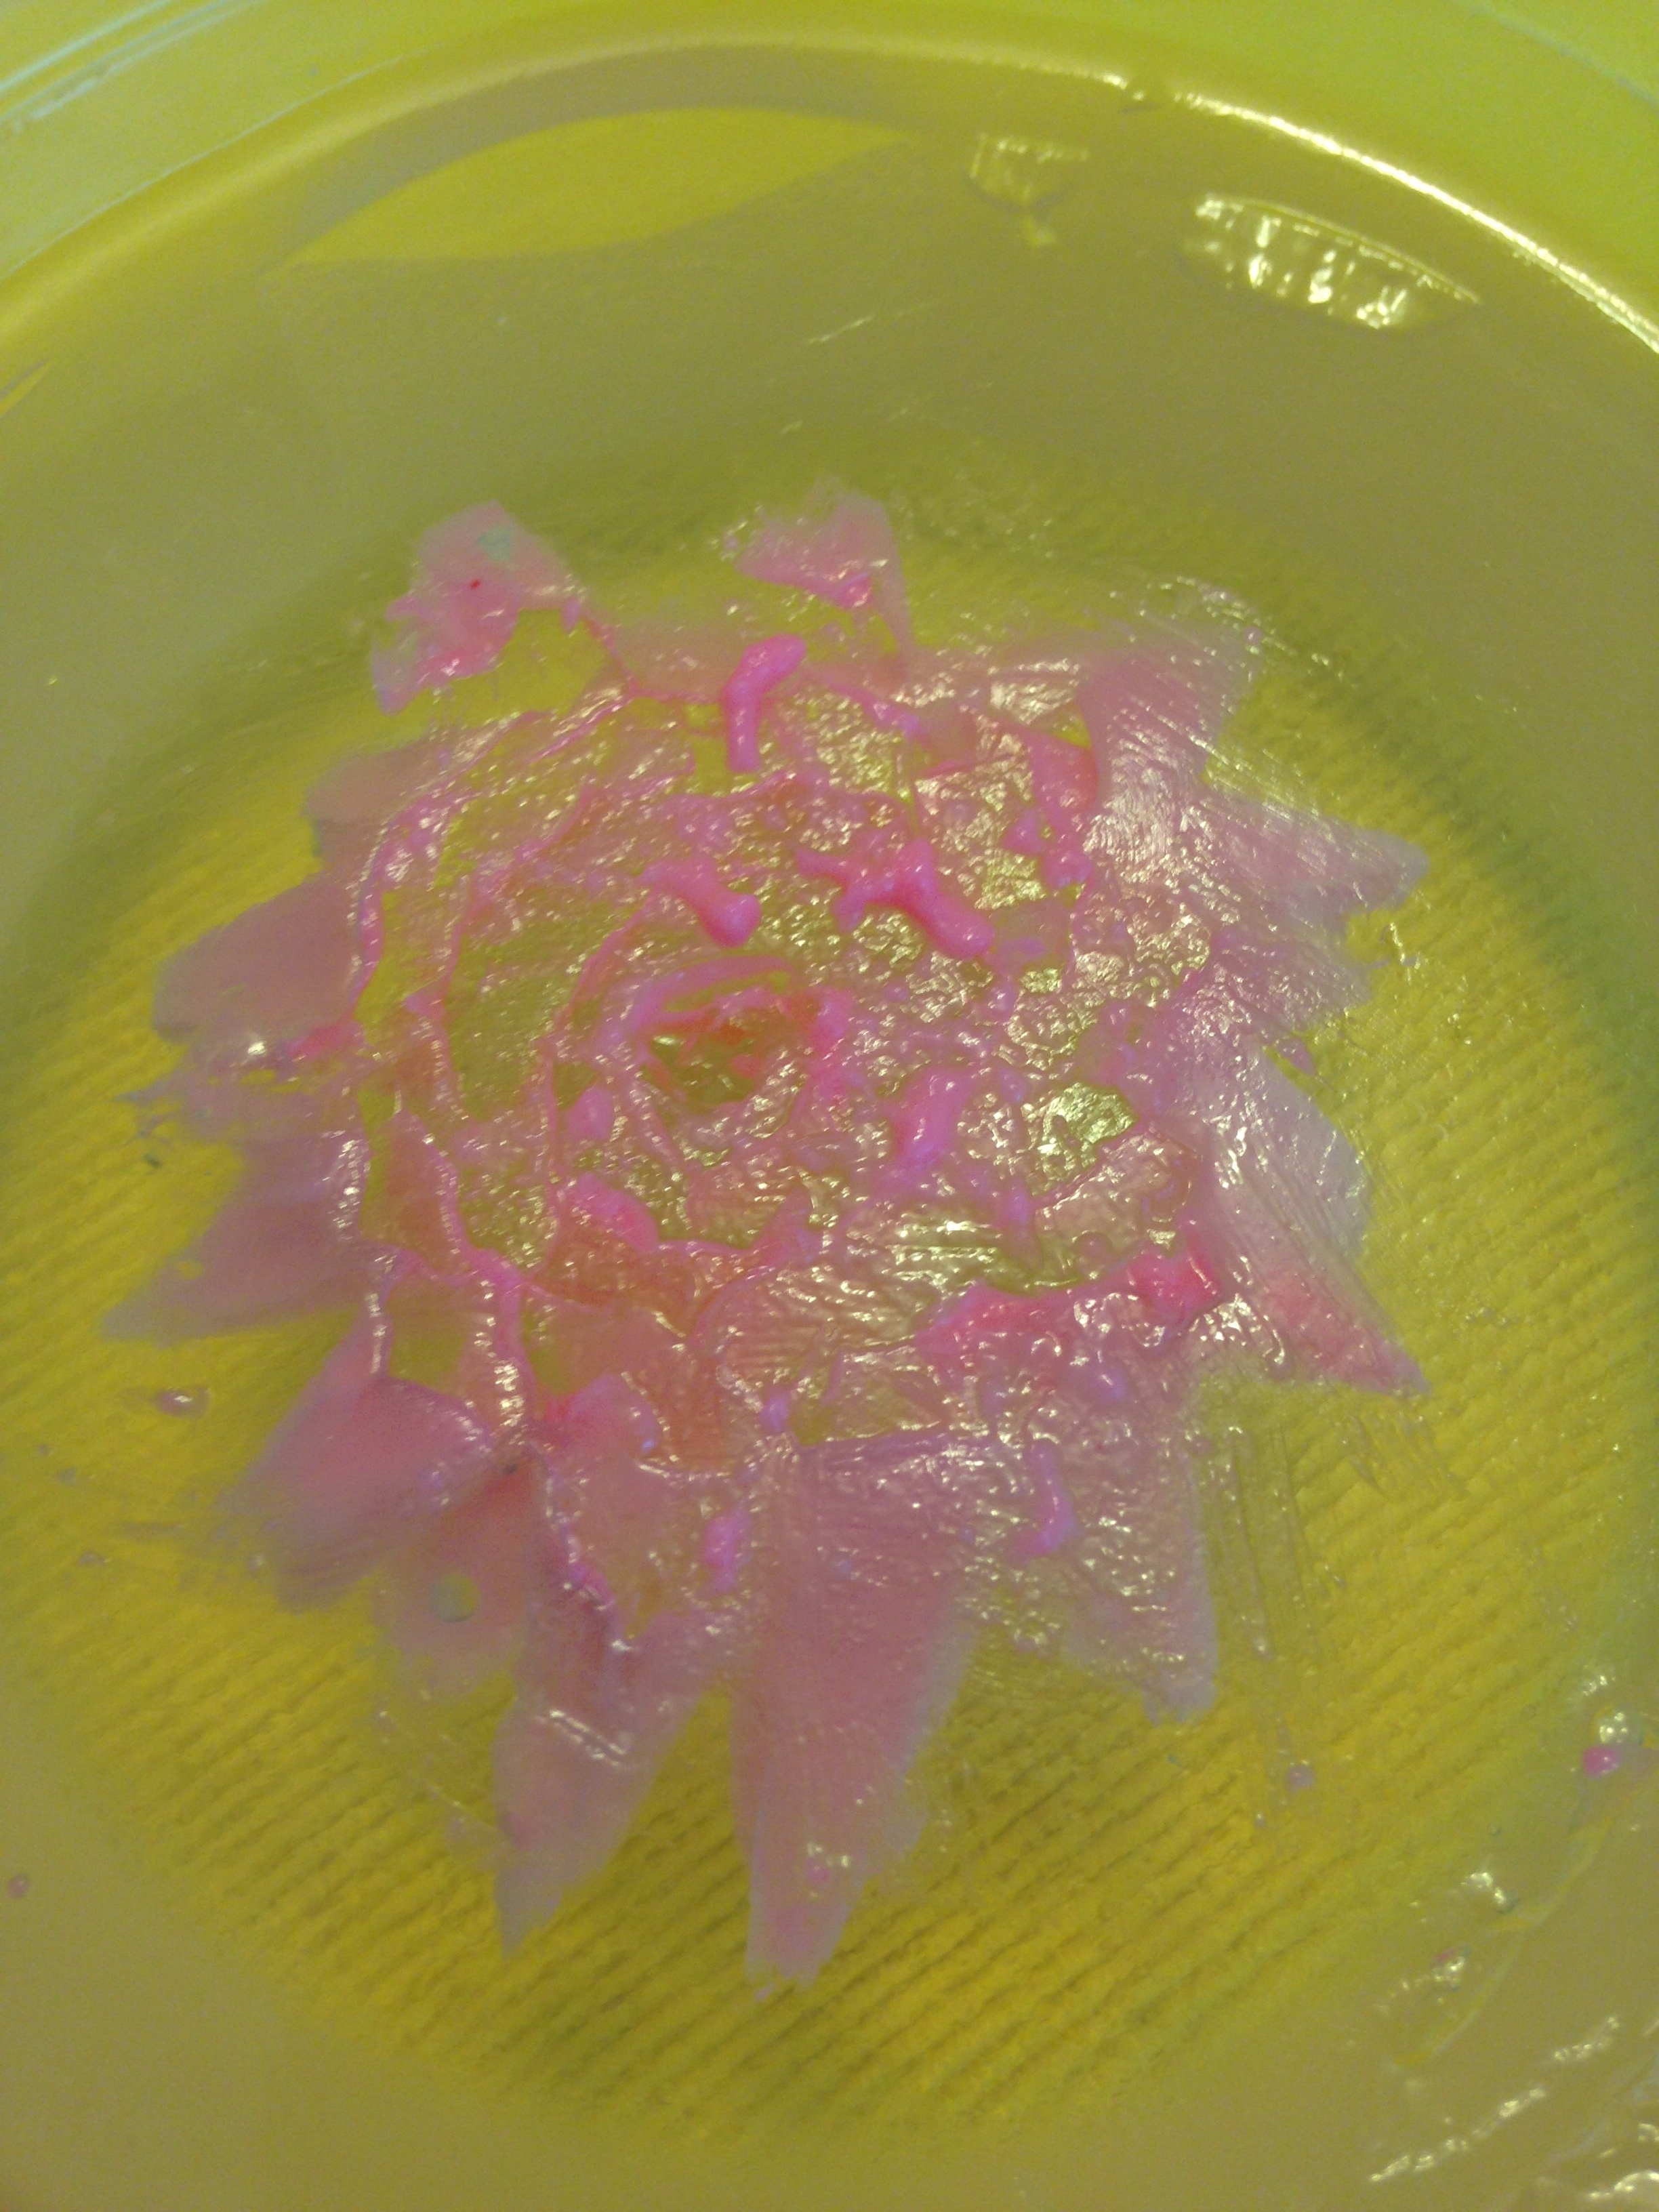
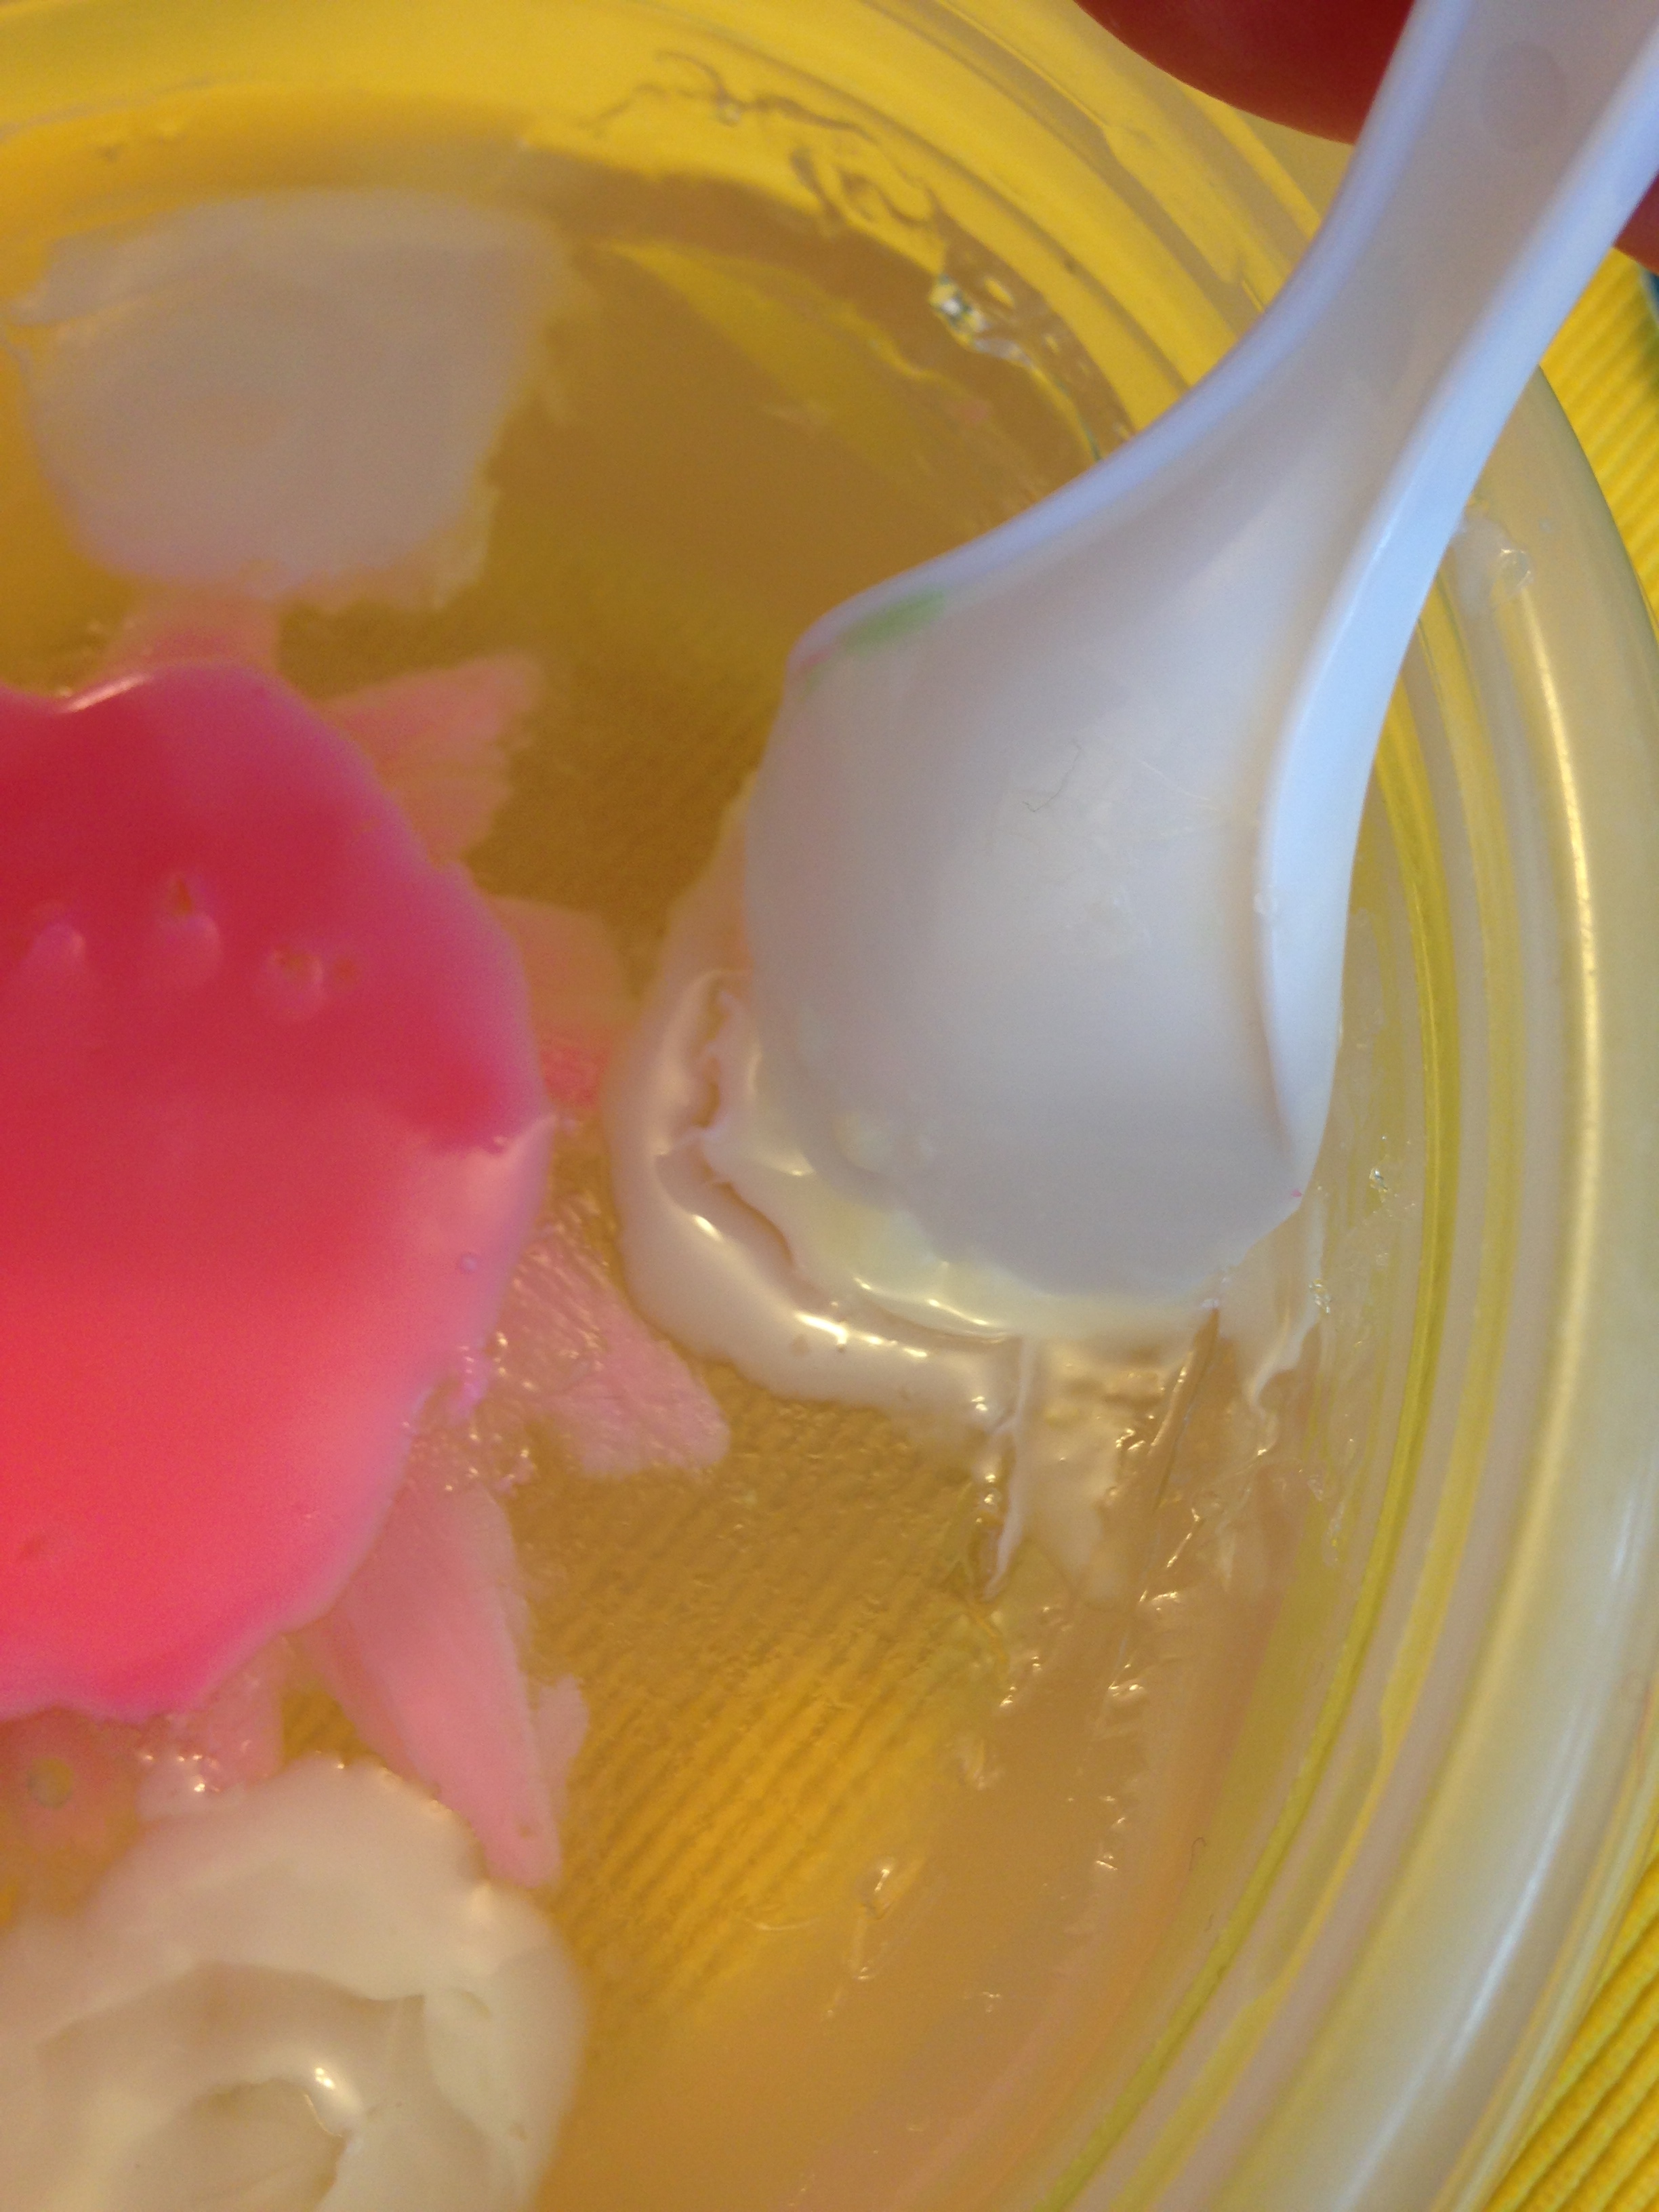
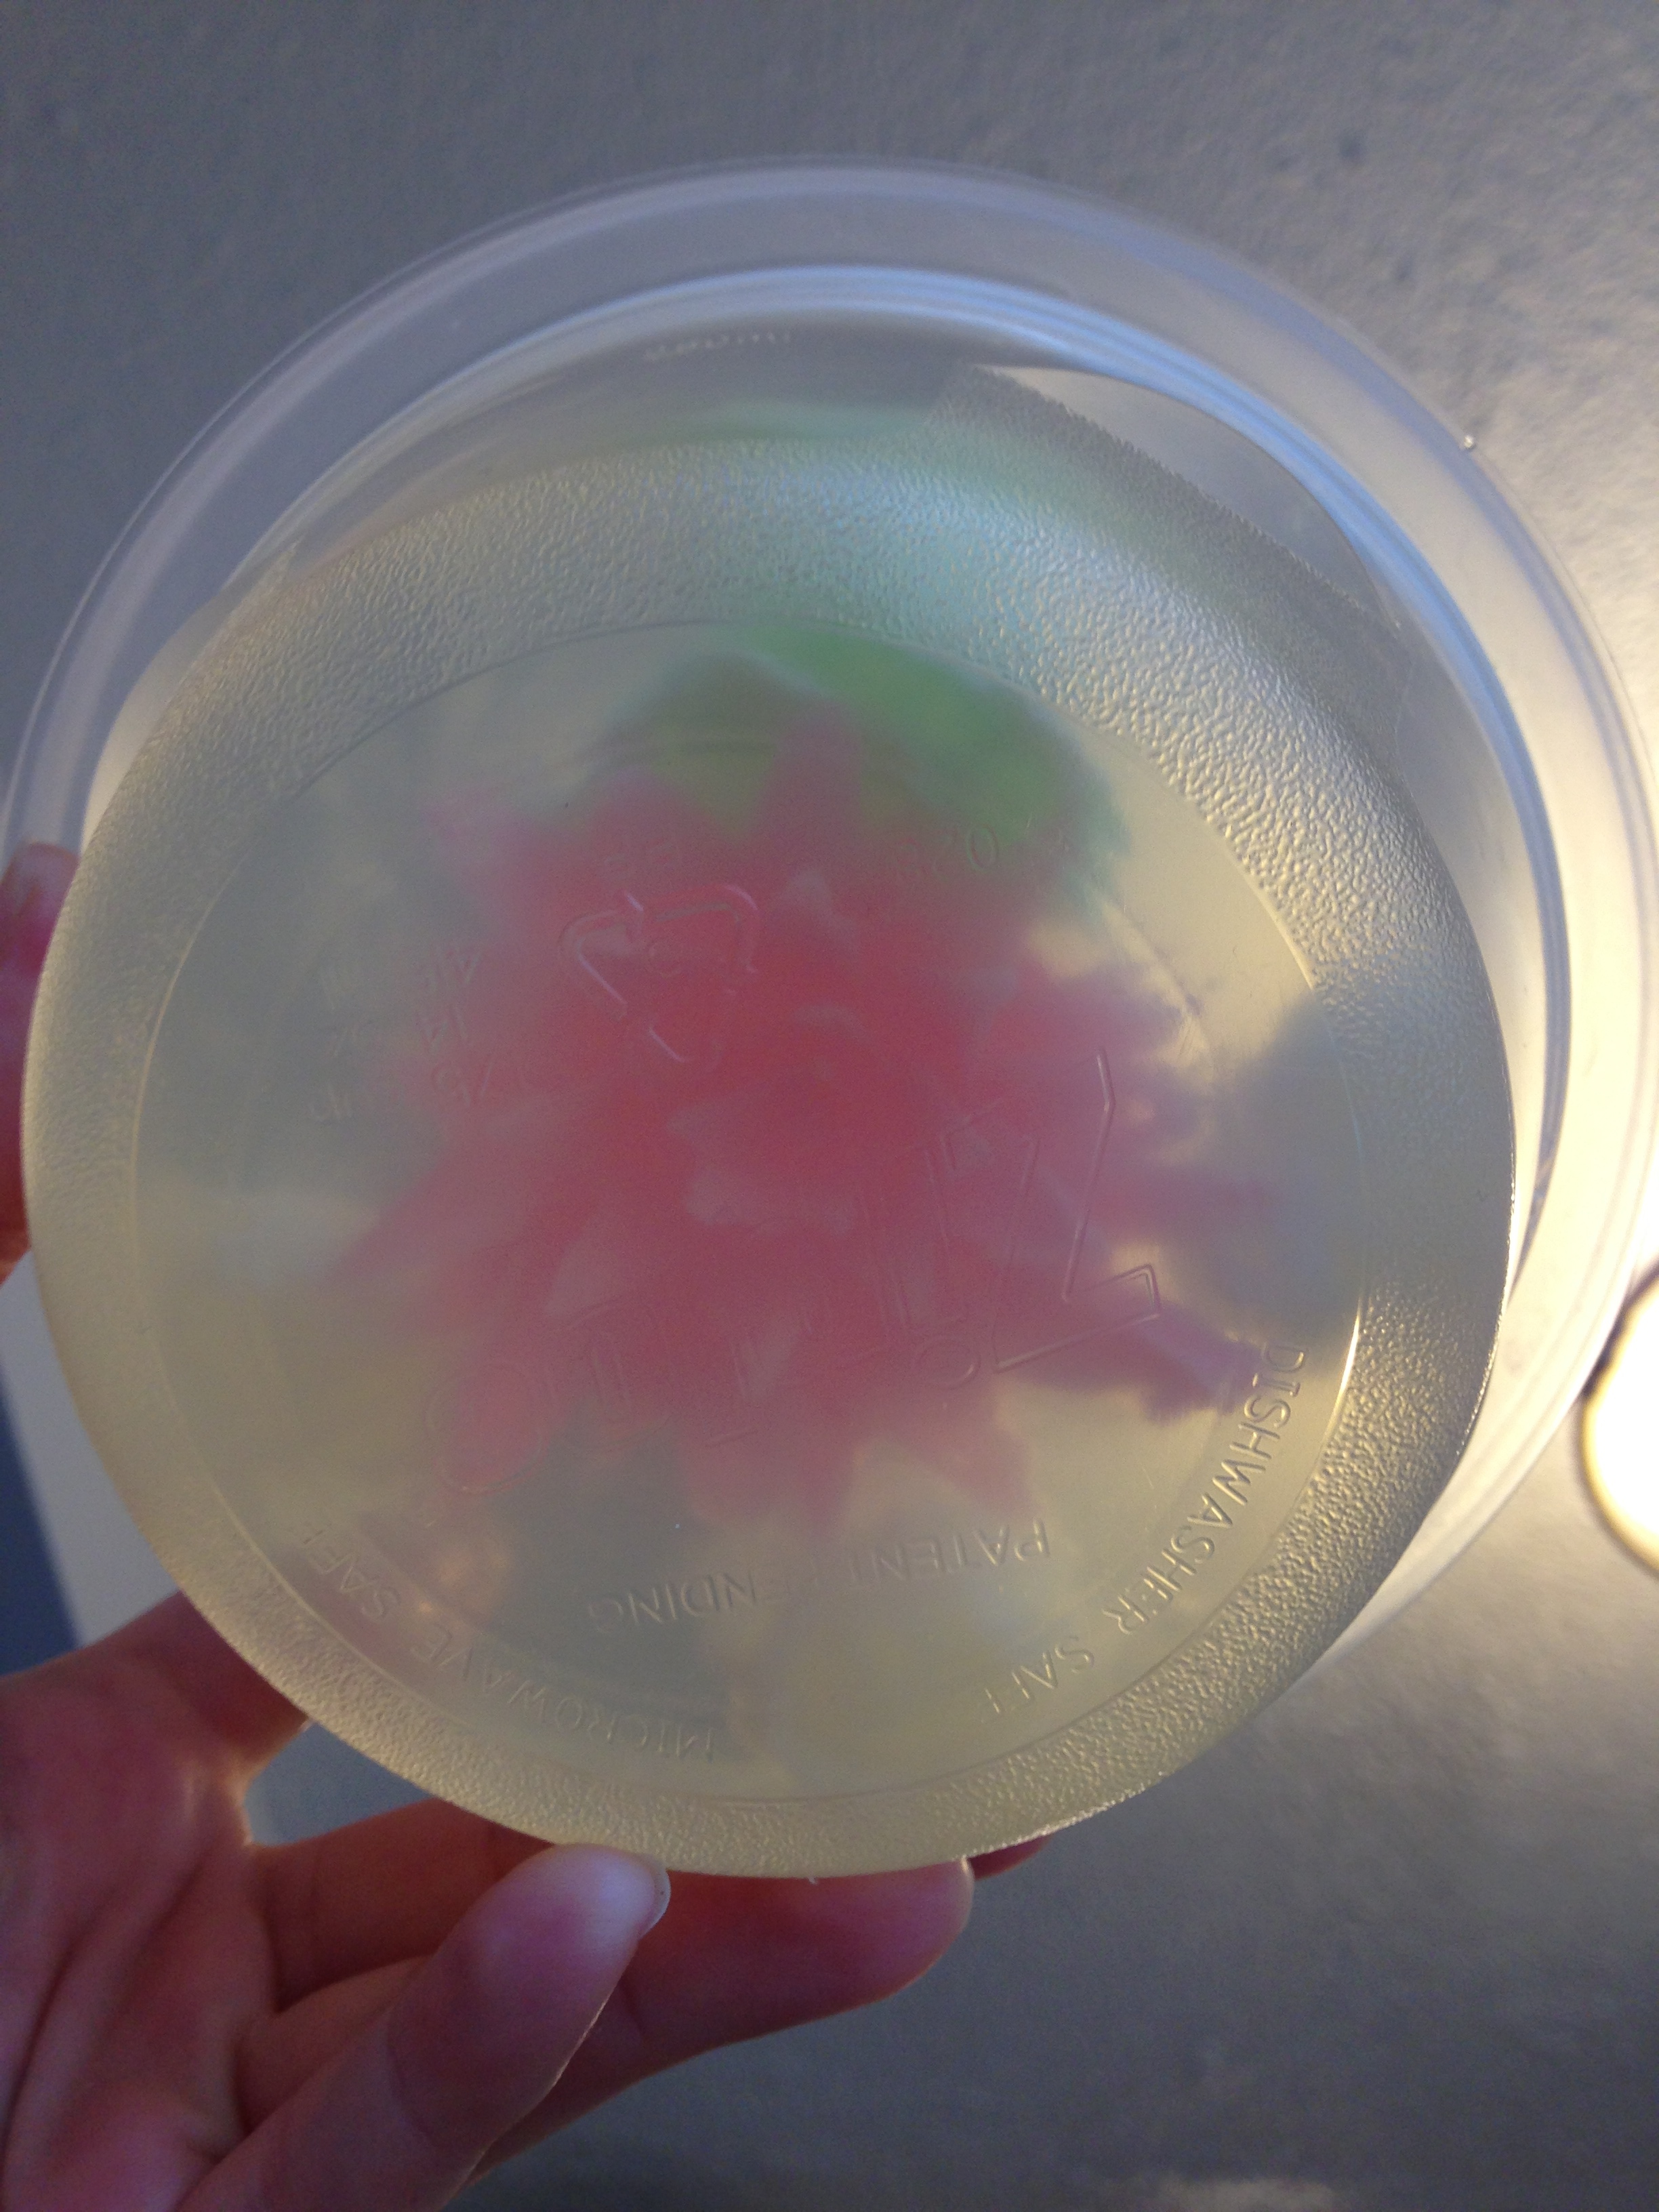
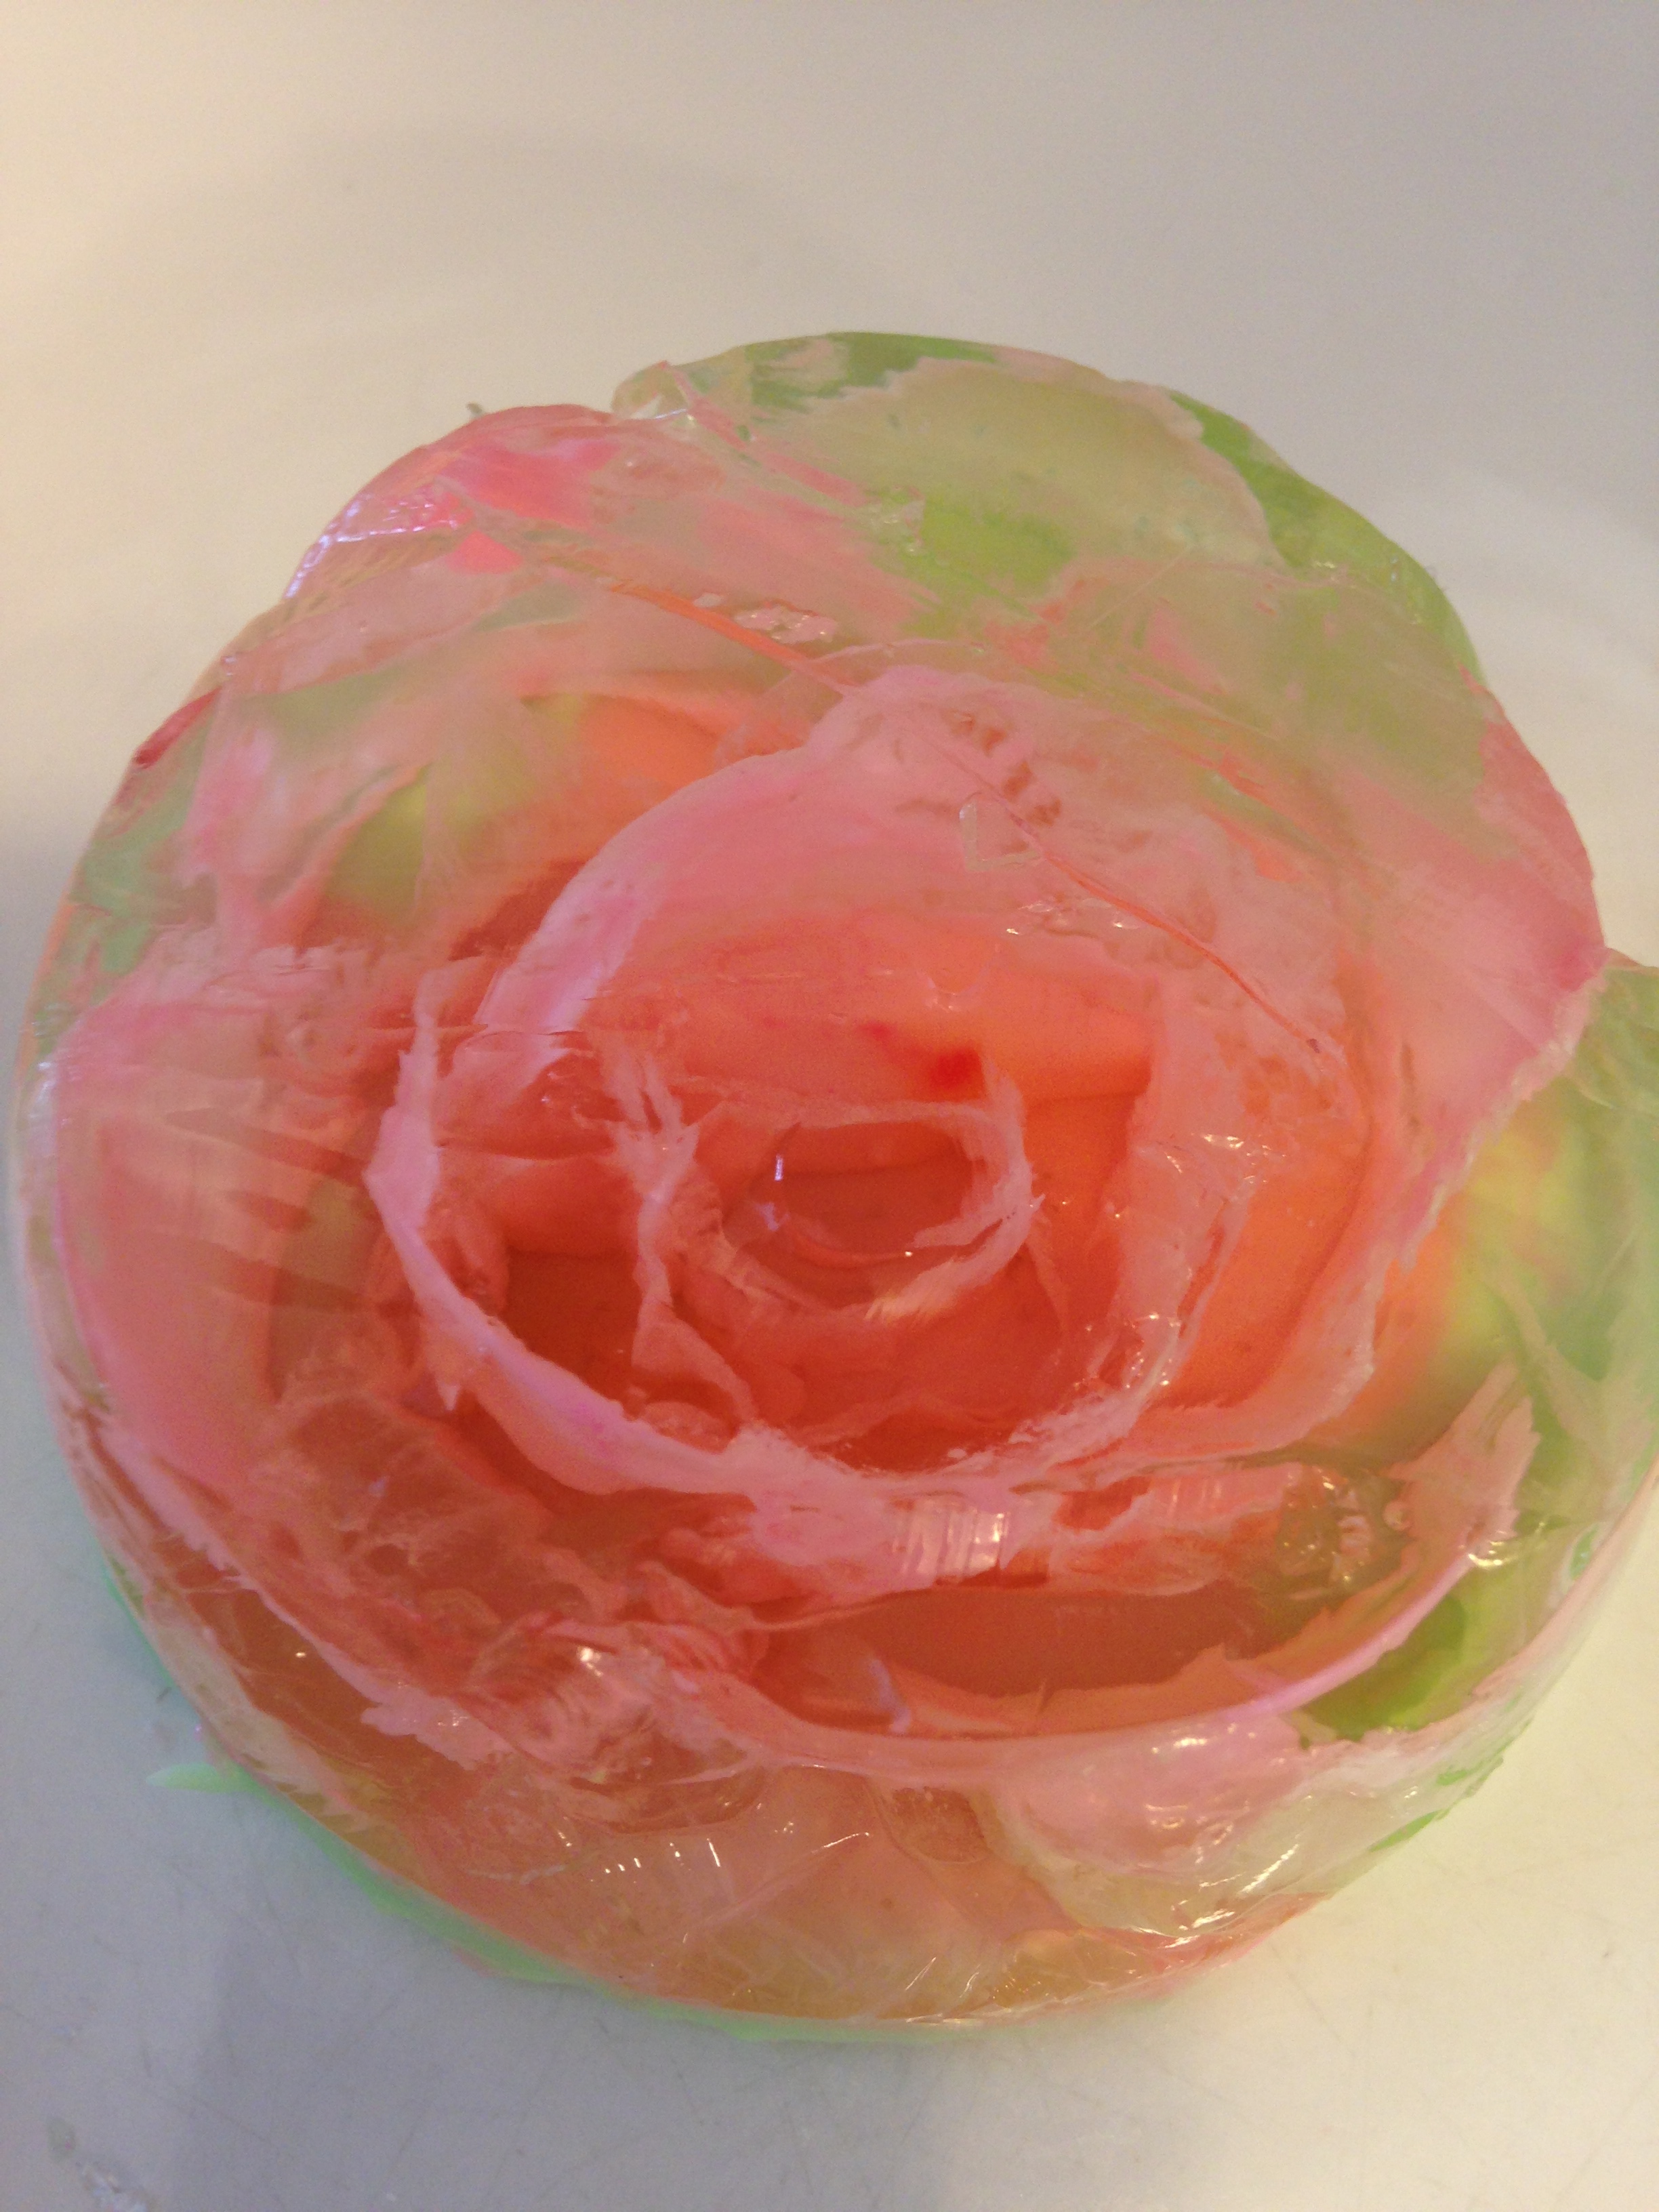
Start your petals in the centre of your jelly base. Since these are the centre petals, the angle is pretty straight in. Make your first circle of petals by inserting your tool, pulling the base jelly back a bit to allow the coloured jelly though. After the centre circle is done it's on to the second row of petals. (You can also wipe off any excess coloured jelly with a damp paper towel at this point so you can see what you're doing.) Angle your tool out from the centre so the petals seem to be folding out, like a real flower. Then continue like this, around the circle, slitting and squirting in coloured jelly. If you have a clear cup you'll be able to see where your petals are by holding it up. Adjust if you need too! Continue adding layers of petals to your flower, adjusting the petal angle as you go. 

After your satisfied with your flower, cover all the petal slits with a layer of the same coloured jelly. Let that set (about 5 - 10 mins). You can then fill in the rest of the base with another colour. For example, I chose green so it's like the flower is sitting in leaves. Refrigerate your flower creations until the coloured jelly is set (about 20 - 30 mins). 

Now if you're doing multiple flowers you'll notice that while you've been food artisting your coloured jelly is starting to gel. Soon it will be to glorpy to suck up into your syringe. You can put it in a microwave to make it liquid again but microwave for no more than 20 seconds. You don't want to over heat the jelly or else it won't gel anymore. I ended up heating my coloured jelly back up about 3 times and it still gelled. 

Other tips I can give are choose thin utensils to make your slits. Thick spoons make it hard to keep the petals close together because the spoons rips the clear base rather than making a slit. I liked using a thin knife best.

IMG_4896.jpg

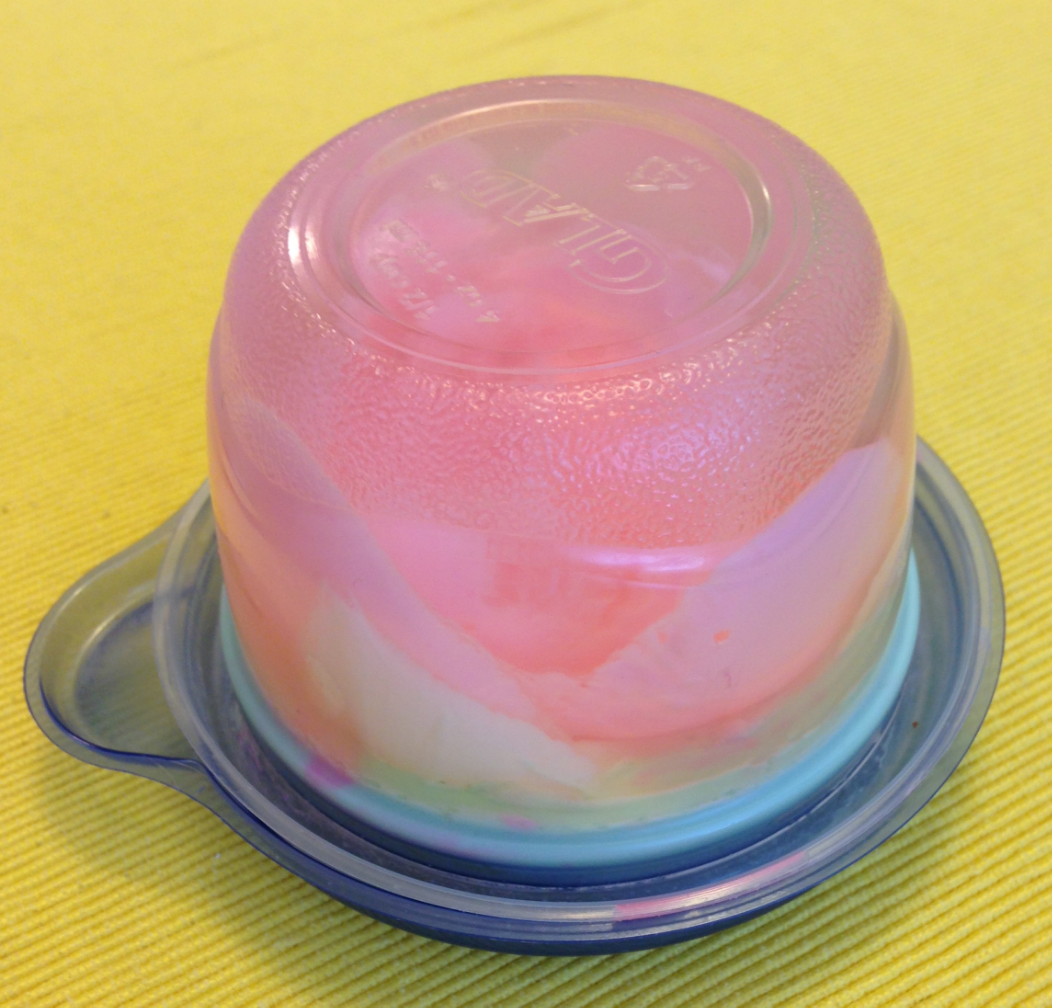
The next hard part is getting the jelly flowers out. I used a flat unserrated icing spreader to unstick the jelly from the sides of the container. I ran is along the edges like one does when trying to unstick a cake. Then I stuck the tip of the spreader up the side, all the way to the top and pressed down until the jelly unstuck. I also chopped off the tops  the jelly orbs with a very sharp knife (so you could see the flower inside). They're turned out great for a half-assed attempt! (Lesley and I are going to experiment on how to make them stick less though.)

But yah, I want to thank Lesley for being my partner in crime! May many more adventures be had! <3

And just maybe we'll be queens of the next dessert fad. Hmmmm!

Cheers!

-Andrea

The Half-Assed Hobbyist

Before Jelly Circumcision&nbsp;

Before Jelly Circumcision 

After

After

Micro Plums are a thing.

I can't wait for it to be summer again.

IMG_4093.jpg

This morning I defrosted my windows in a rather fun and horribly cold way. With my phalanges. Also my feet. (I think I need to get out of the house.)

Pining over warmer days made me look back through a bunch of woe begotten and forgotten drafts of hobby-ish things I did last year but never got around to posting. Making plum jelly was one of them. And with the beautiful summer greens and fruit purples, I had to reminisce. 

The recipe I used was pretty much exactly the same as a previous jelly post, here, about making crabapple jelly. I even continued to use powdered pectin because I'm so great at following my own suggestions not too. 

IMG_4096.jpg

Really there are only two differences between the two recipes, the rest of the process is the same. The first, obviously, plums are plums and not crabapples. We hunted the plums in the BFs parents backyard. (Tiniest plums I've ever seen! Hopefully not poisonous.... I mean I've eaten a whole thing of the jelly already and not died.... So hopefully that's a good sign.) And second, you don't really need to de-stem plums. They need to be pitted. Never fear though! Tiny plums are no match for a cherry pitter (random kitchen appliance win!). After they had been successfully pitted it was the same deal as with the crabapples.

  1. Make the juice! About 5lbs of plums to about 5 cups water. Boil, mash, strain like a boss.
  2. Sterilize all the jars! Water bath canning! Yay!
  3. Take plum juice and add pectin, etc. Bring to a boil, add sugar! Stir! Boil. Ladle into jars. 
  4. Process jars for right amount of minutes (15 in Edmonton) in a boiling water bath. Remove and cool. 

After all the jellies were made, the next crucial step. Get rid of them all. Which was way easier that I thought.

I'm looking forward to canning in 2014. I think pickles are in order. Lots and lots of pickles. 

-Andrea

The Half-Assed Hobbyist
The Mashable Fruit Juice

It seems that, in the middle of winter, I harken back to the days when 10 minutes outside didn't mean potential frost bite. 
This is probably the best thing about making my own jams and jellies. Popping a seal open to sweet memories of a summer picking fruit. (Also a reminder that it does warm up.) And that it is the grace of this ridiculously cold weather that we don't have cockroaches or really big hairy spiders. 
I made this crabapple jelly last August 2013. I picked the fruit from a friend's backyard. She had just bought the house the week before and I had my eye on the two giant crabapple trees looming over her newly purchased deck. I definitely grabbed one of my friends one afternoon and raided her trees when she was working, with permission, of course.  

For my crabapple jelly I used Bernardin pectin powder product. In retro spec, I probs would have done better to get the liquid stuff as my first jelly batch was a bit cloudy because the pectin didn't dissolve perfectly. BUT! It still tasted super good! So not a huge loss. 

The recipe I used can be found on Bernardin's website here (but, again, I used the powdered pectin, meh). Pretty simple. I made the juice by boiling about 5 pounds of trimmed crabapples in about 5 cups of water for 10 minutes and then mashing them into crabapple goop. I made a pretty innovative makeshift strainer with cheese cloth and a colander. I let the juice drain overnight in the open air. I will say that we had a fruit fly problem for weeks after.... But with that much fruit it's to be expected I guess. Then it was jelly making day! I was super surprised that the juice was pink. I expected red or yellow.

As per usual, first step was to prepare all the jars (no botulism for this girl!) and then prepare all the ingredients before the juice got boiling.

The process was pretty easy. Boil with sugar, add pectin, ladle into the hot jars, and process 15 minutes in a boiling water bath.  

What was really weird was that processing the jelly made it so that even out of the boiling water bath the jars continued to boil for minutes after. I thought I'd screwed it up, but no, it was just boiling sugar liquid in jars. Very very hot.

Sideways iPhone Video! Yay! 

Anyways, outside the weather is actually frightful; and not terribly delightful; so instead I'll just stay inside; and stay alive, stay alive, stay alive. 

Cheers! And Merry Christmas or Happy Holidays or Whatever. <3

-Andrea

The Half-Assed Hobbyist