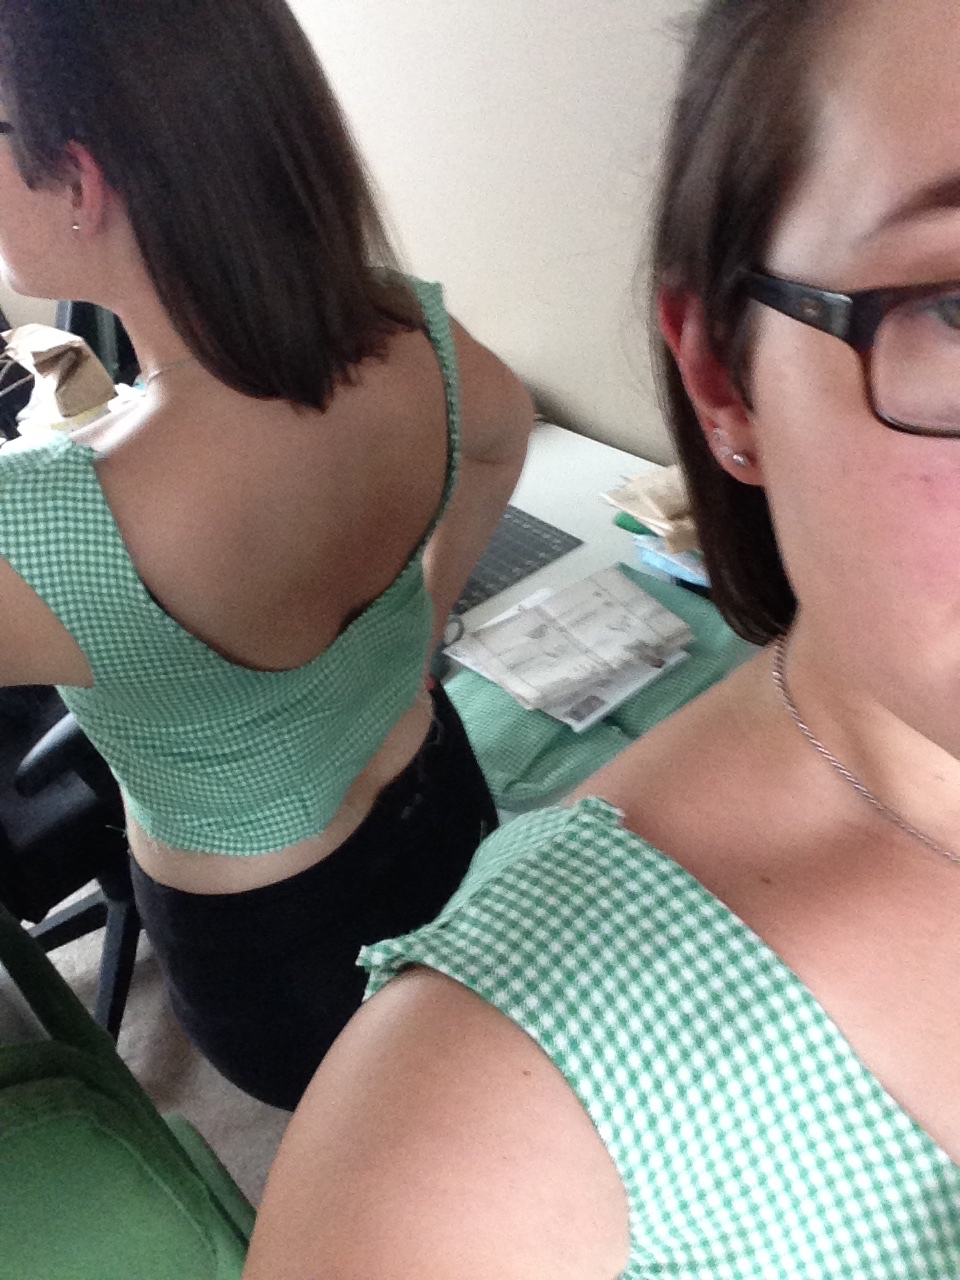
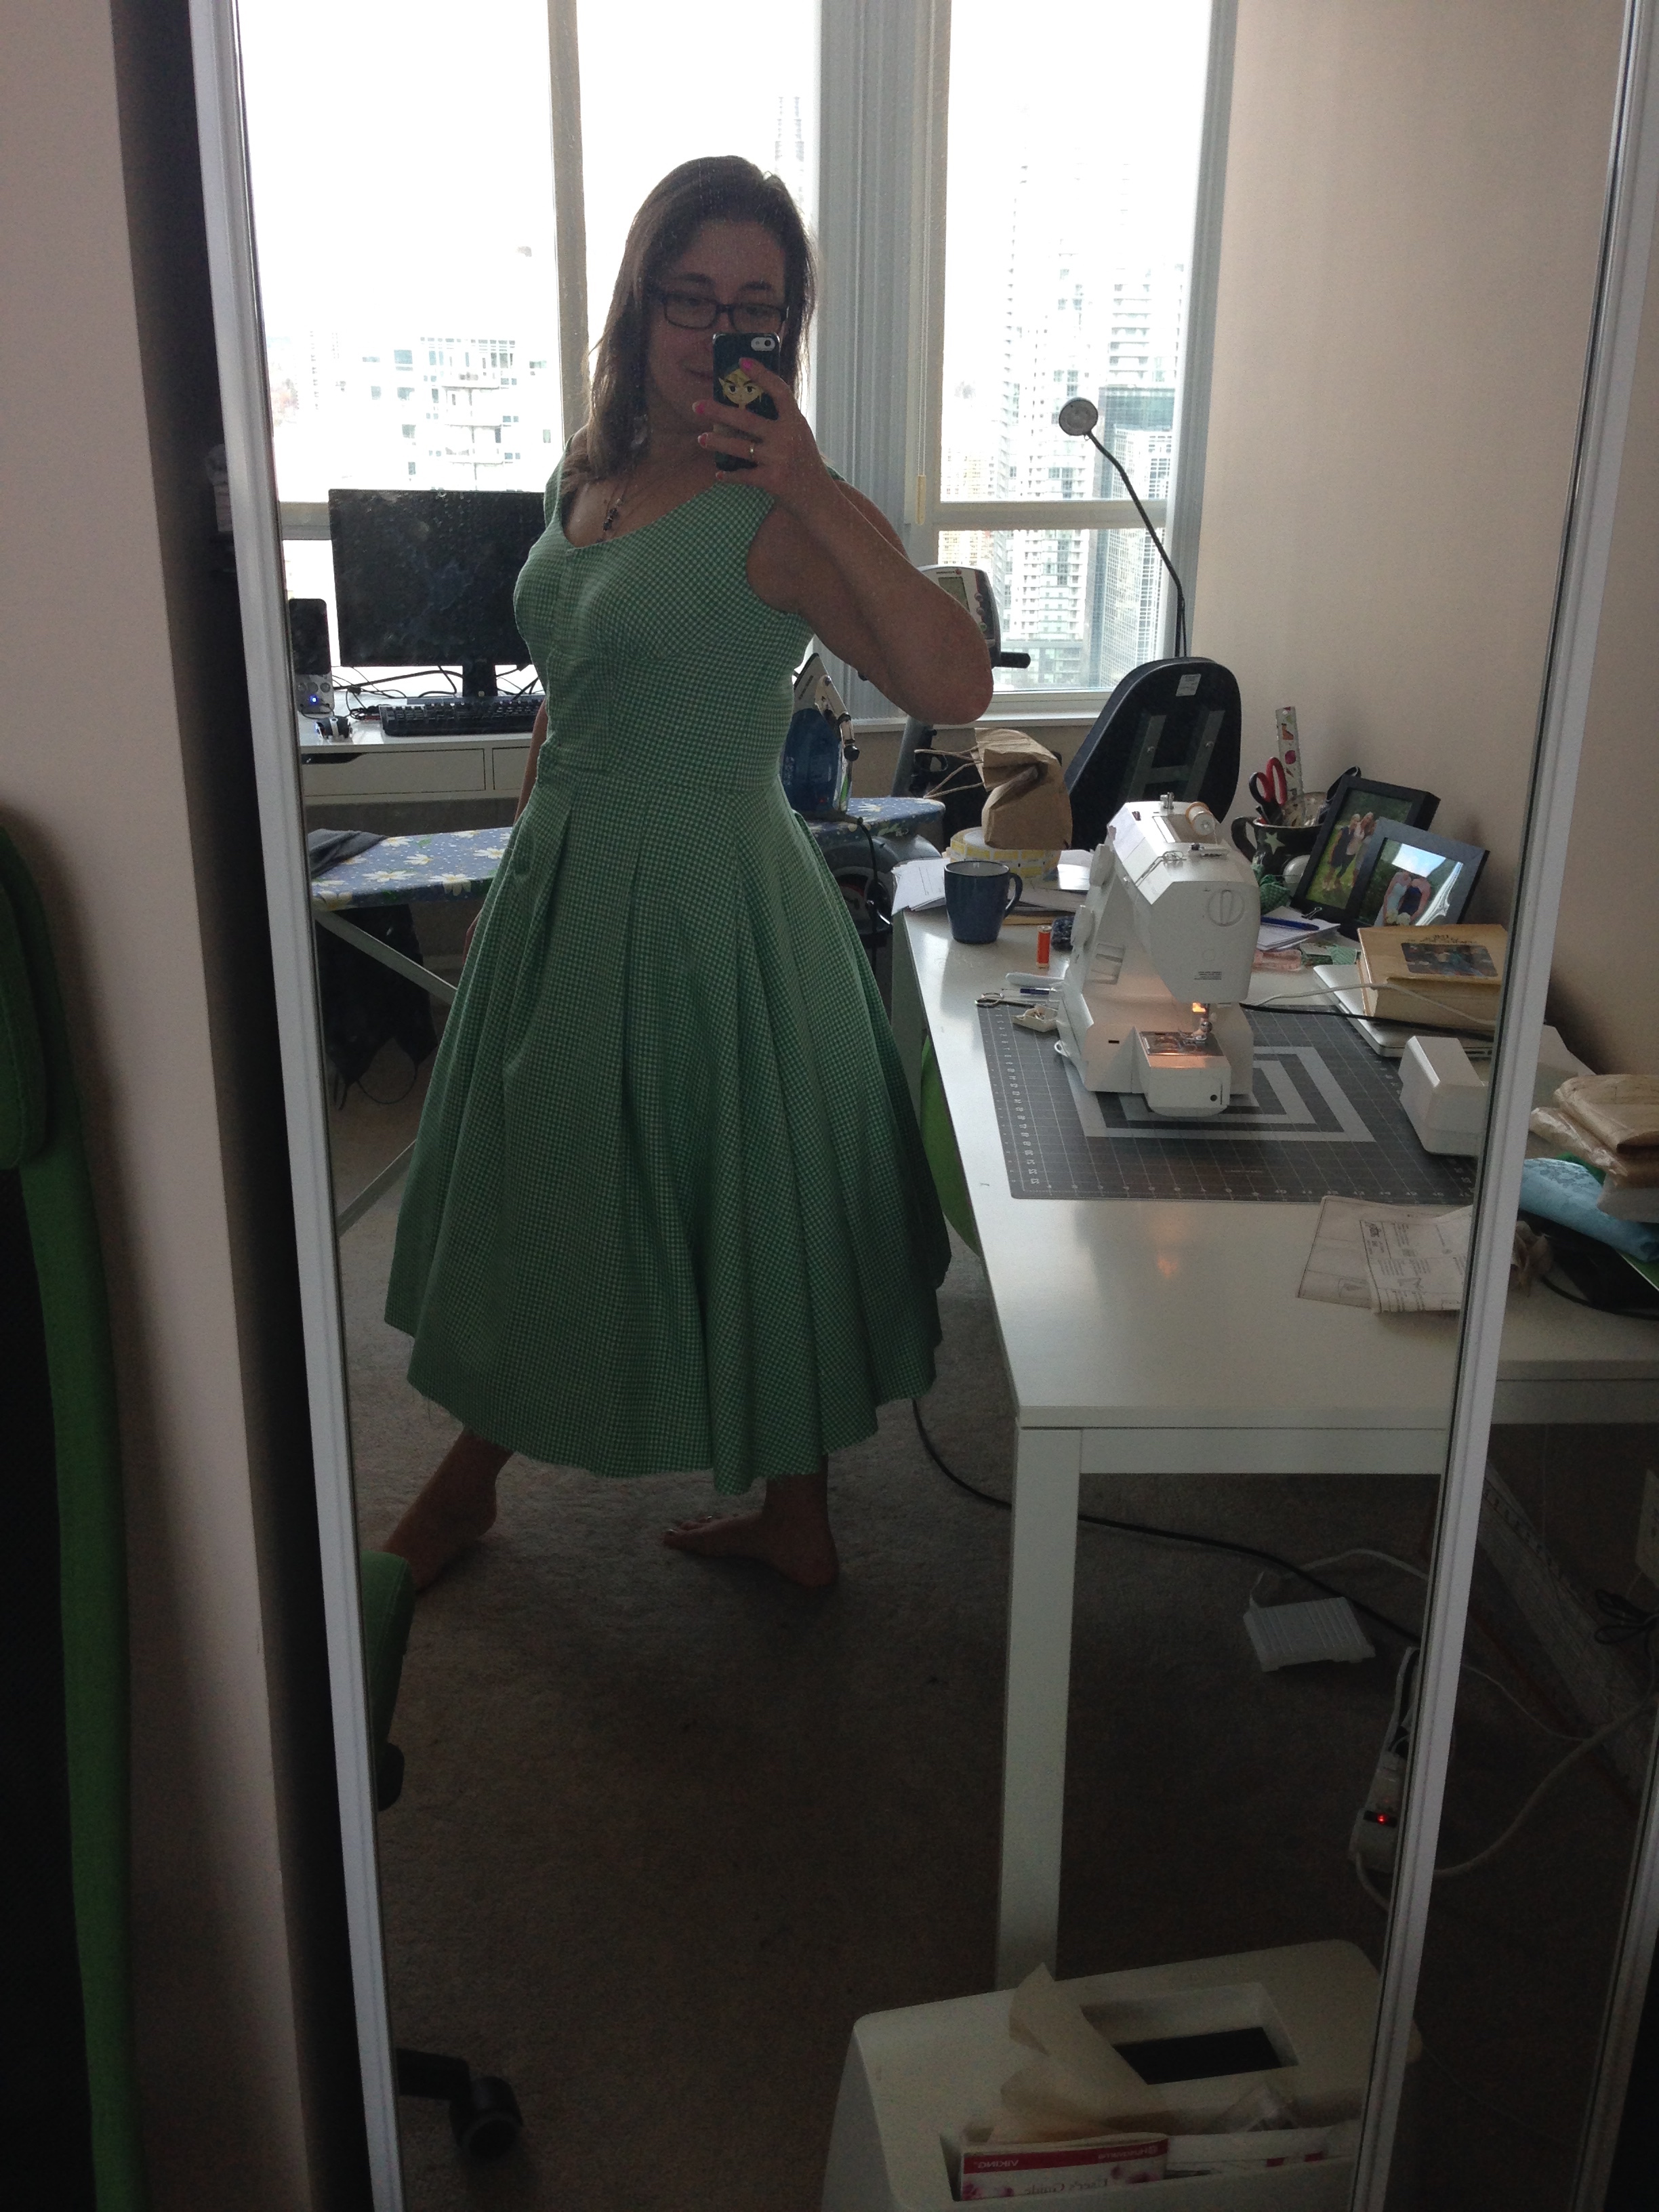
I'll hopefully take a better picture. Eventually.... ;)
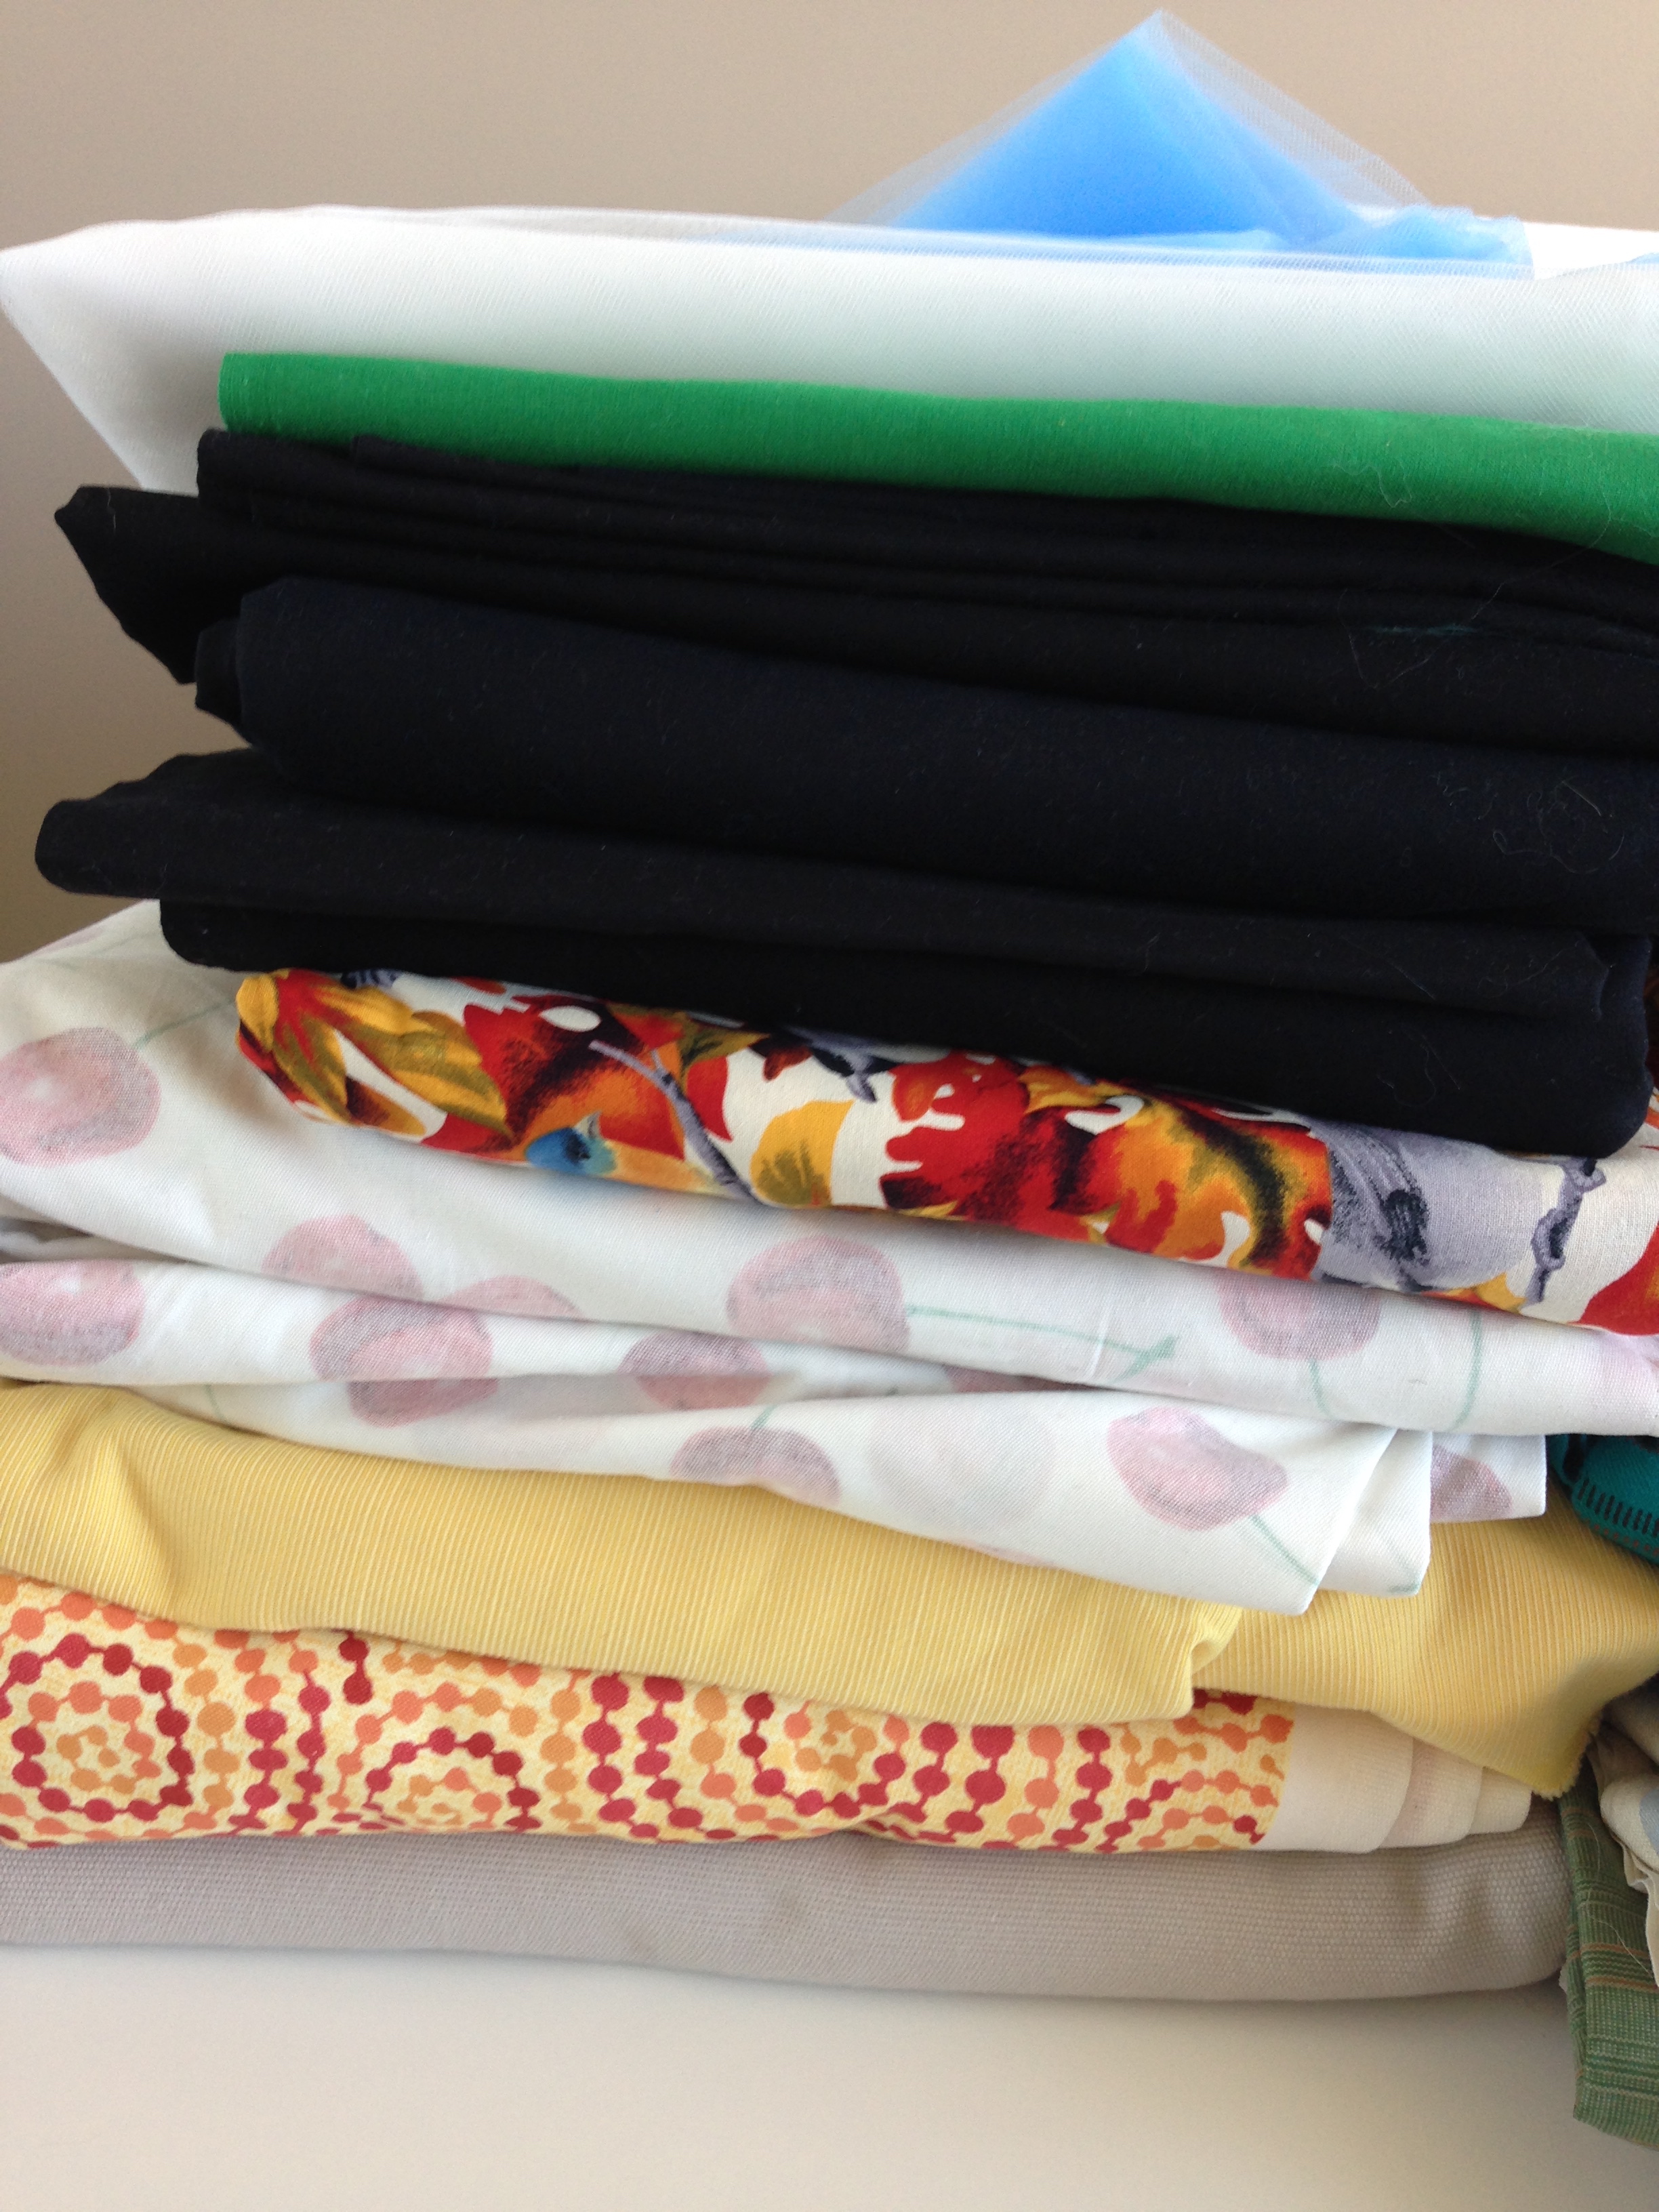
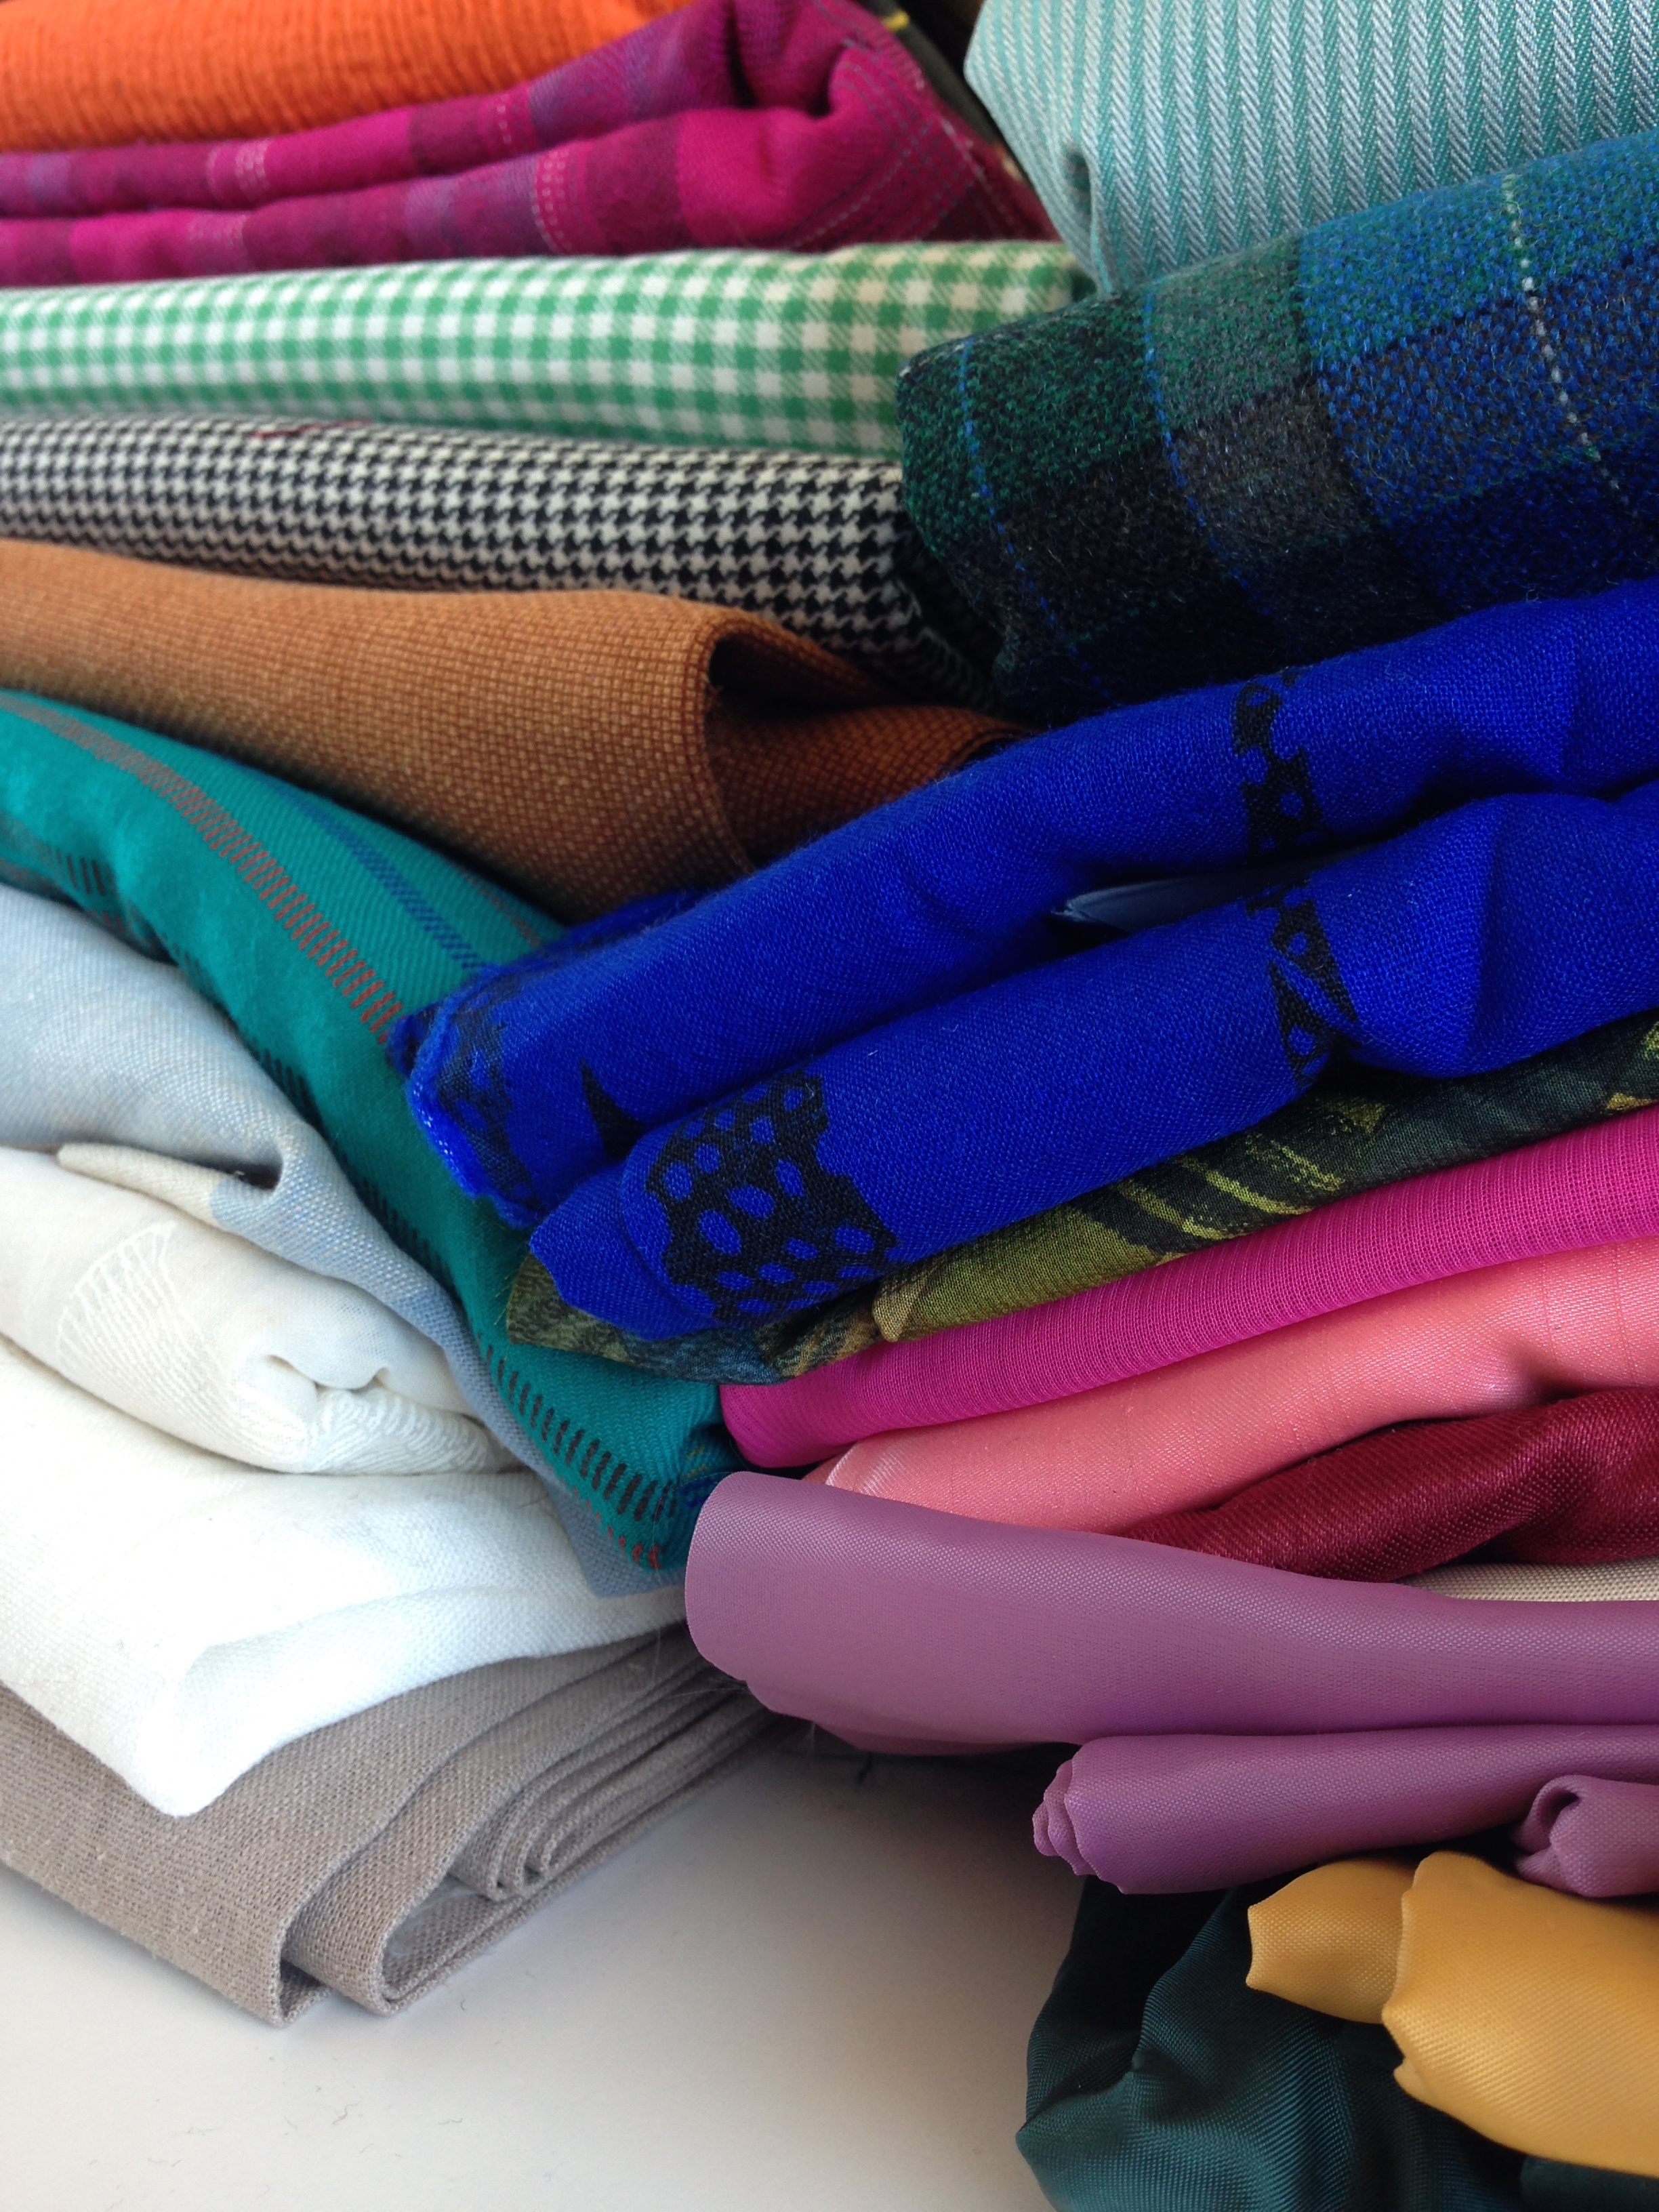
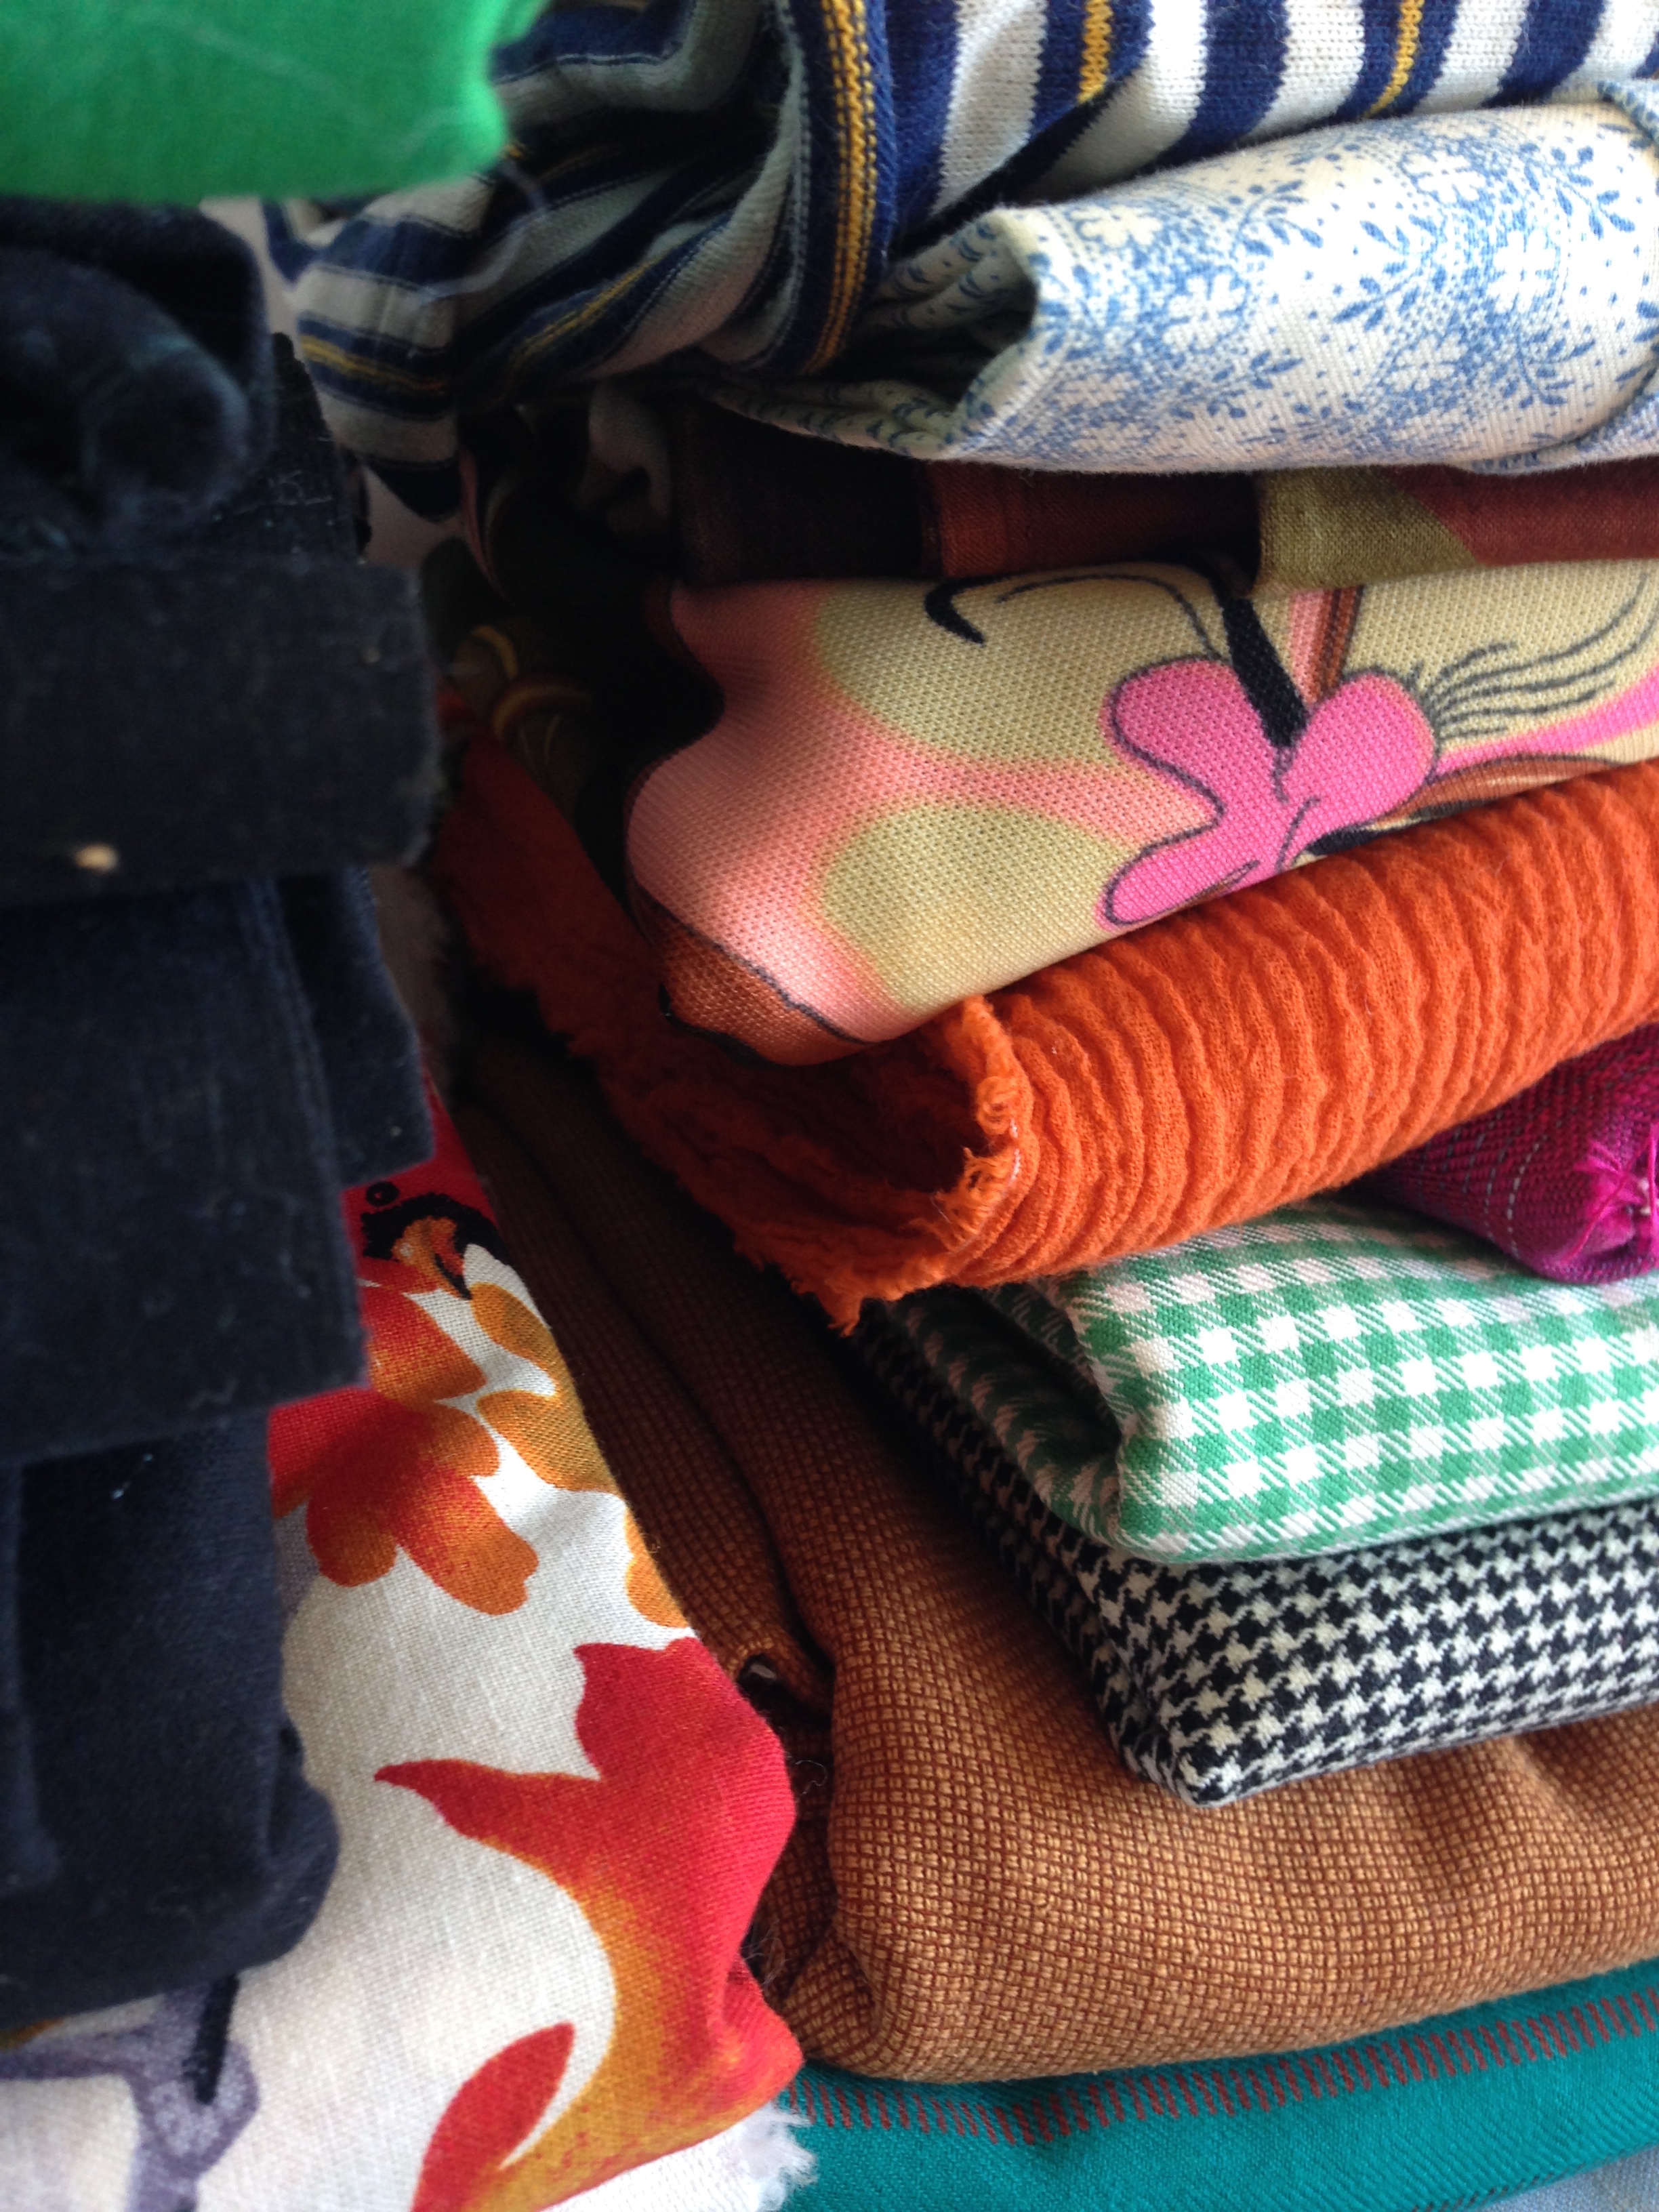
After the inspiration (or more likely guilt) of not having sew-ed in ages, and, having no outdoorsy fun planned for this winter, I decided it was high time to get out the ol' fabric stockpile and figure out what project I could while away the gloomy non-snow-filled months of Ontario winter.
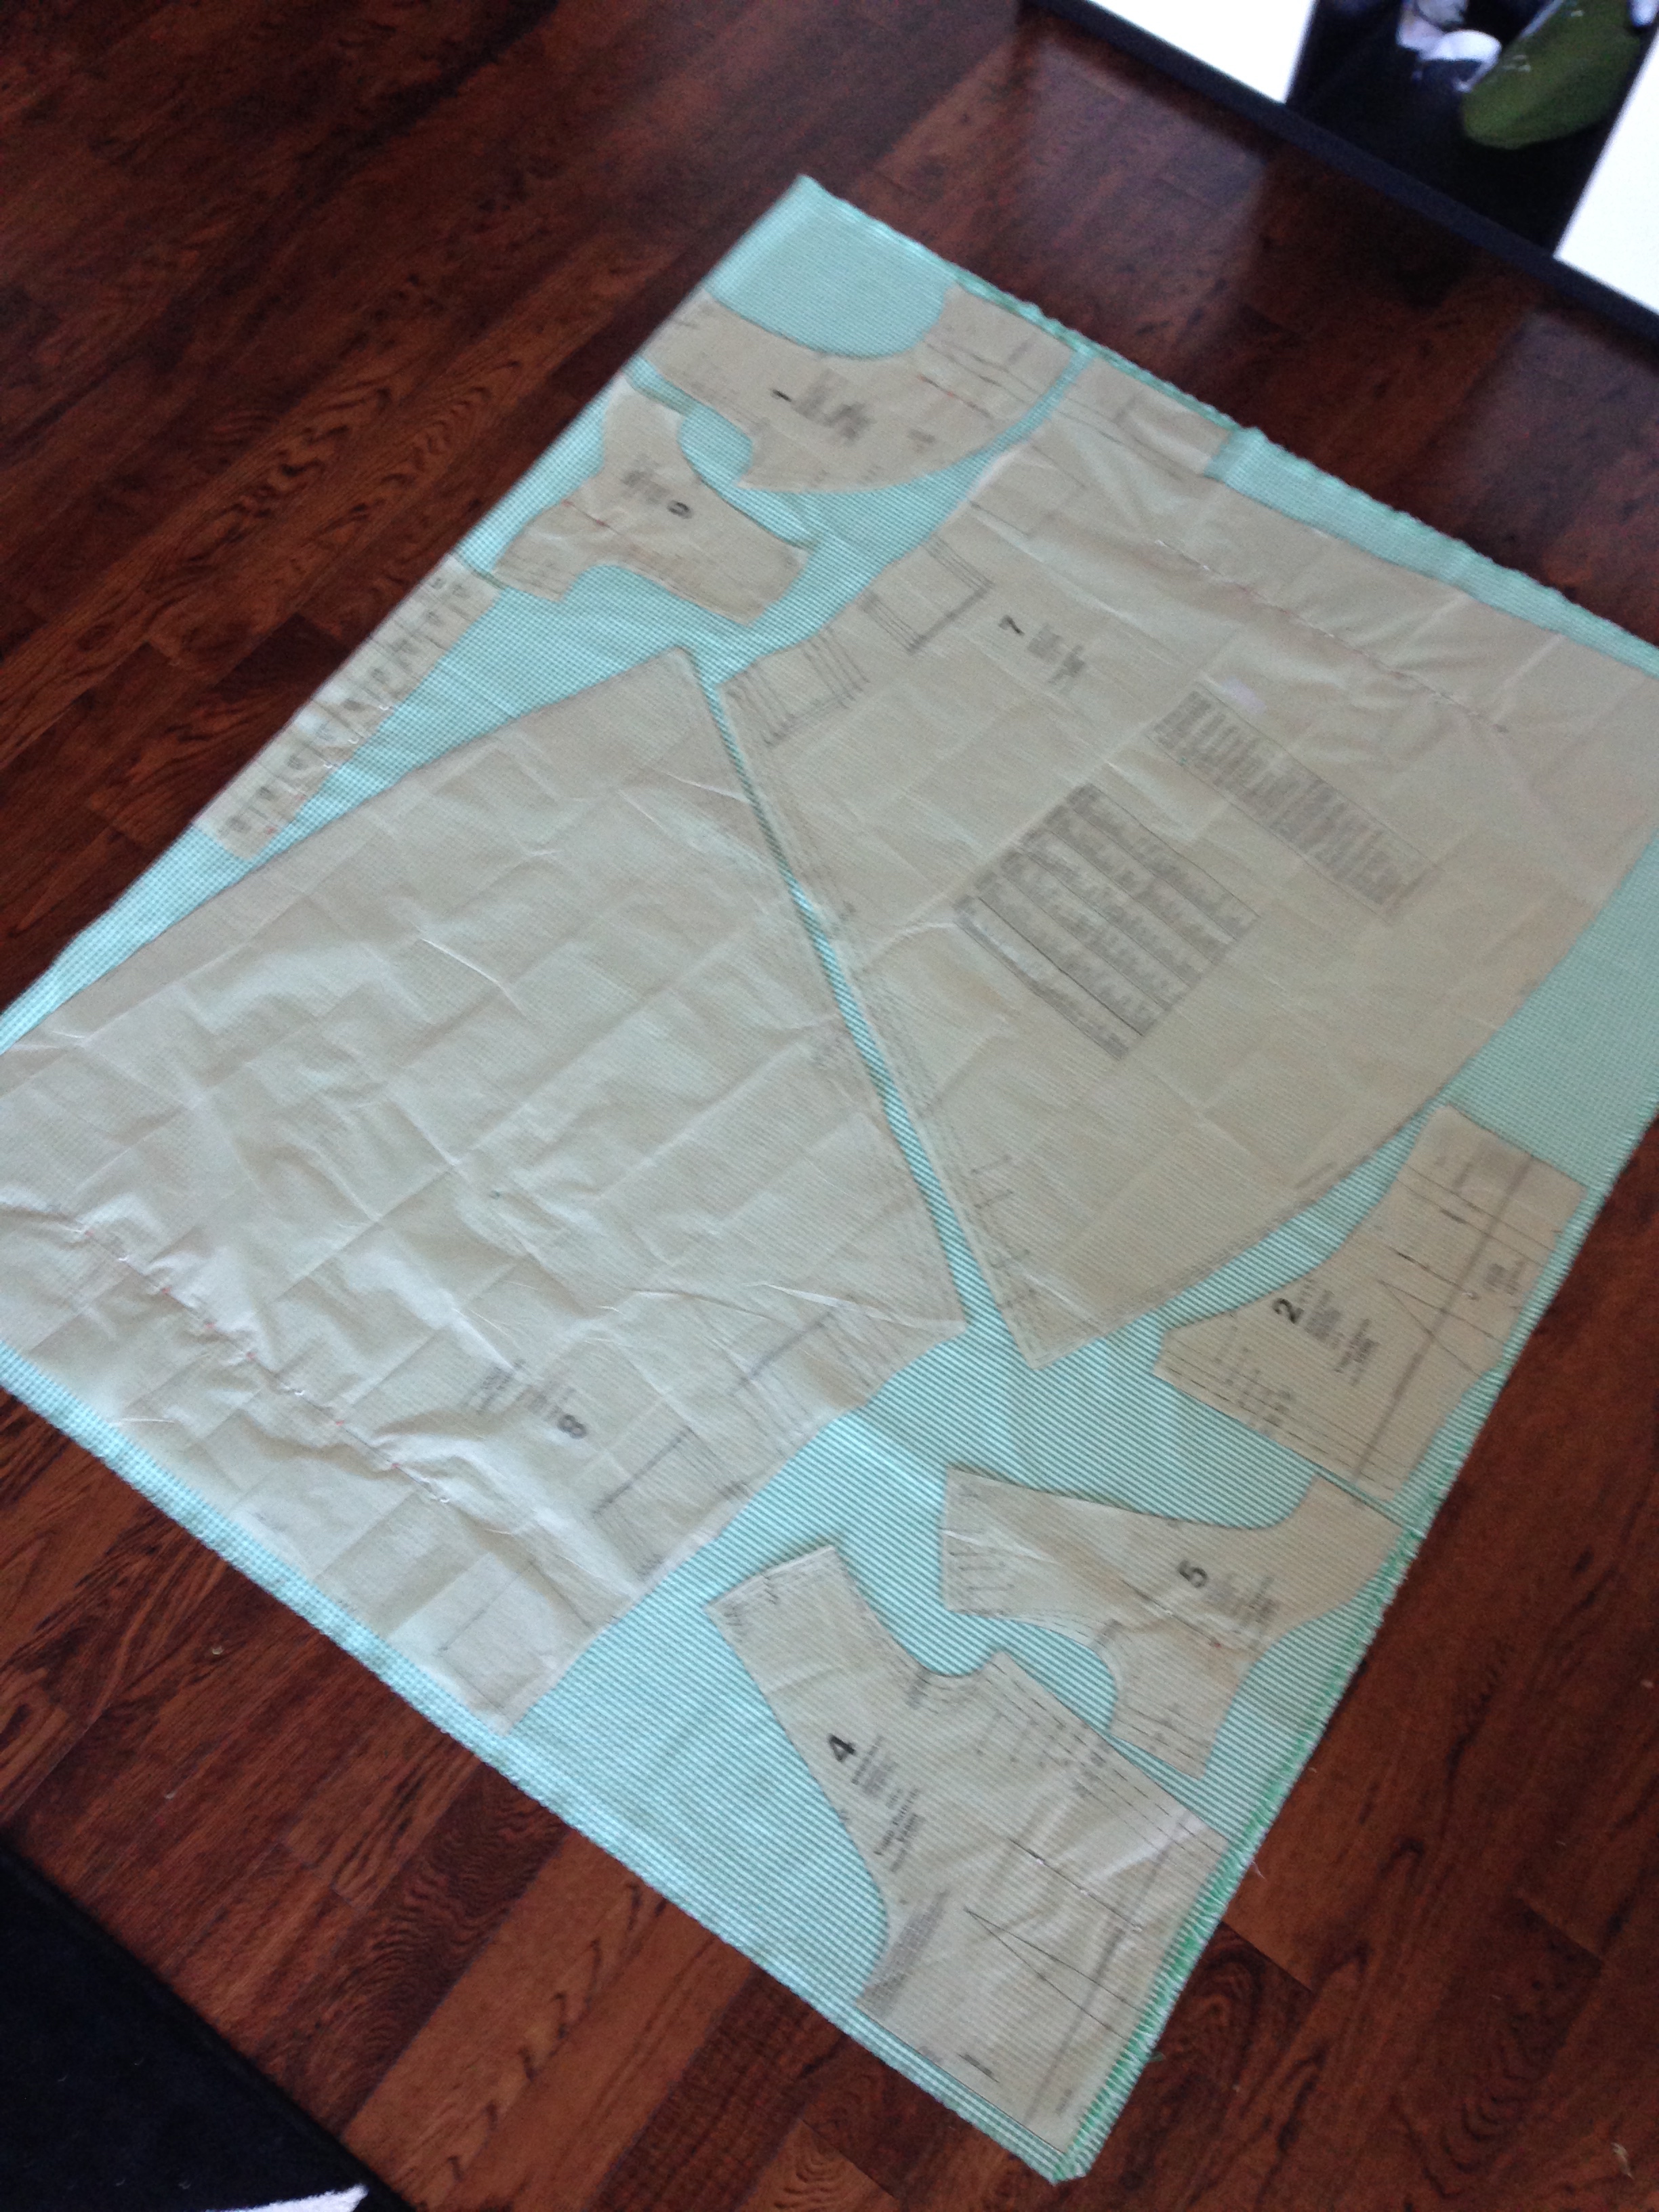
I started this project in November and finished it mid-December. And looky looky! I'm finally posting about it! Yay! It's happening! (Shhhhhh. Let me have this one....) The pattern was a Vogue vintage pattern, V2960.


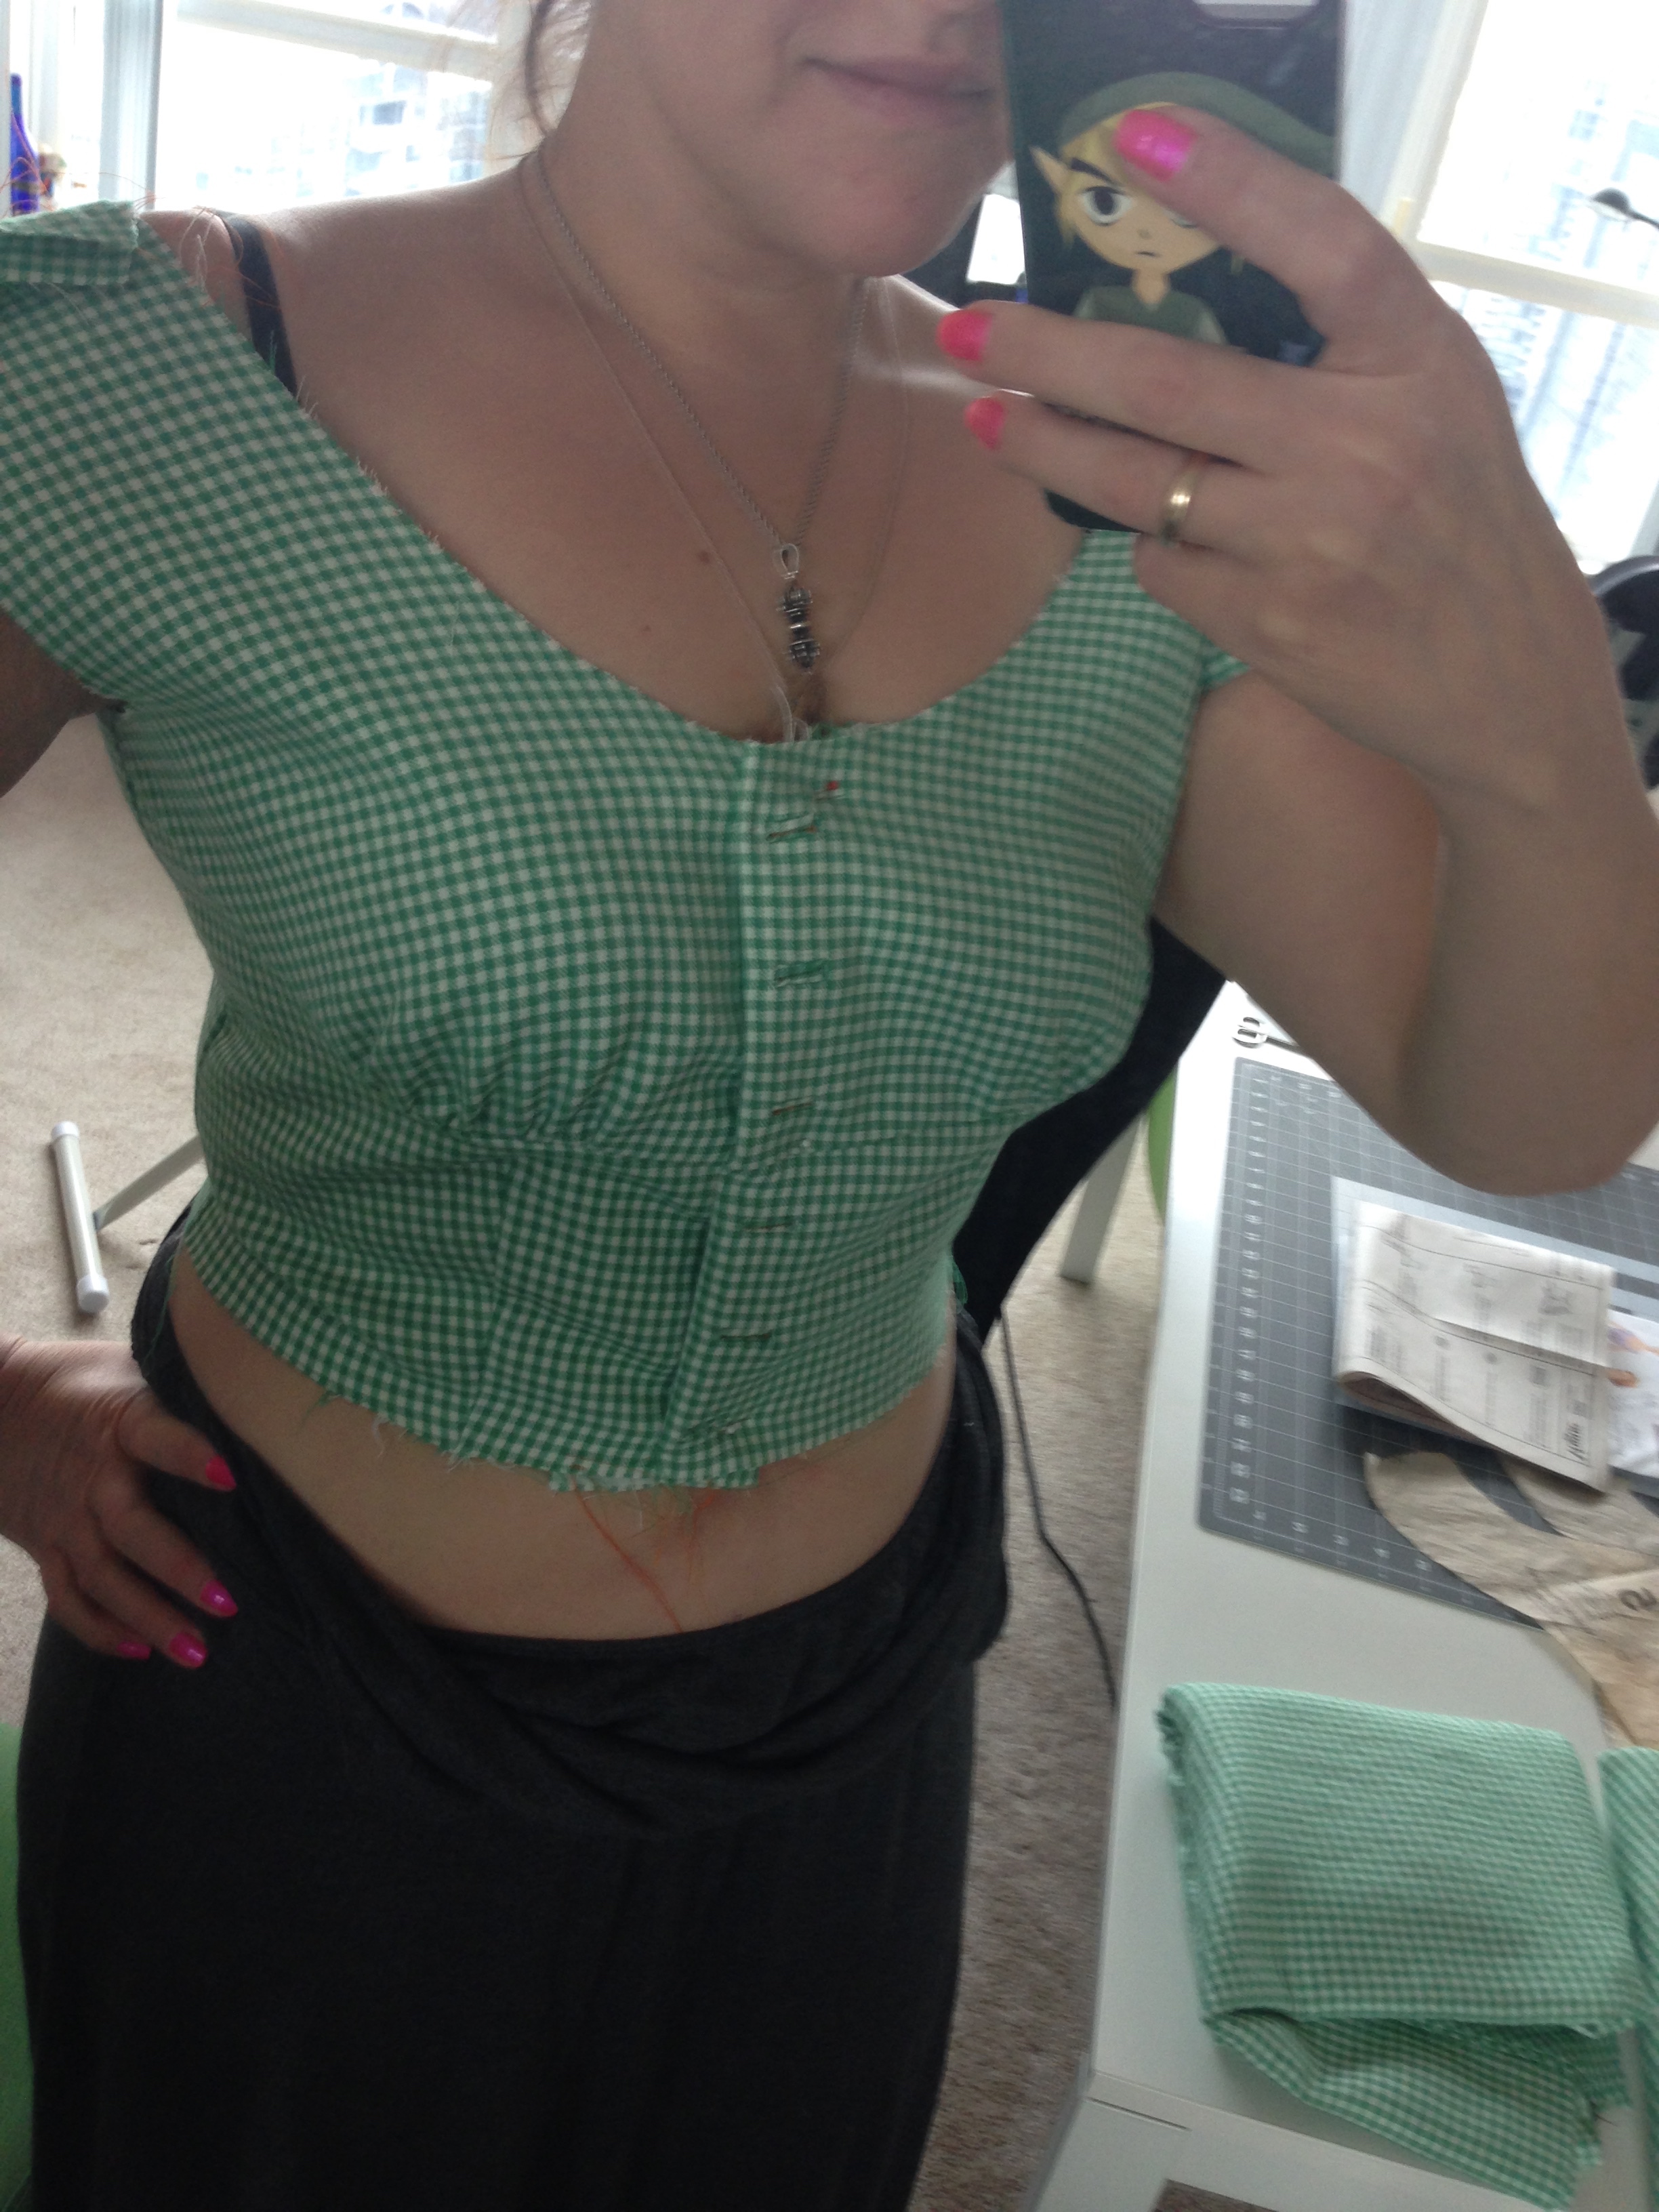
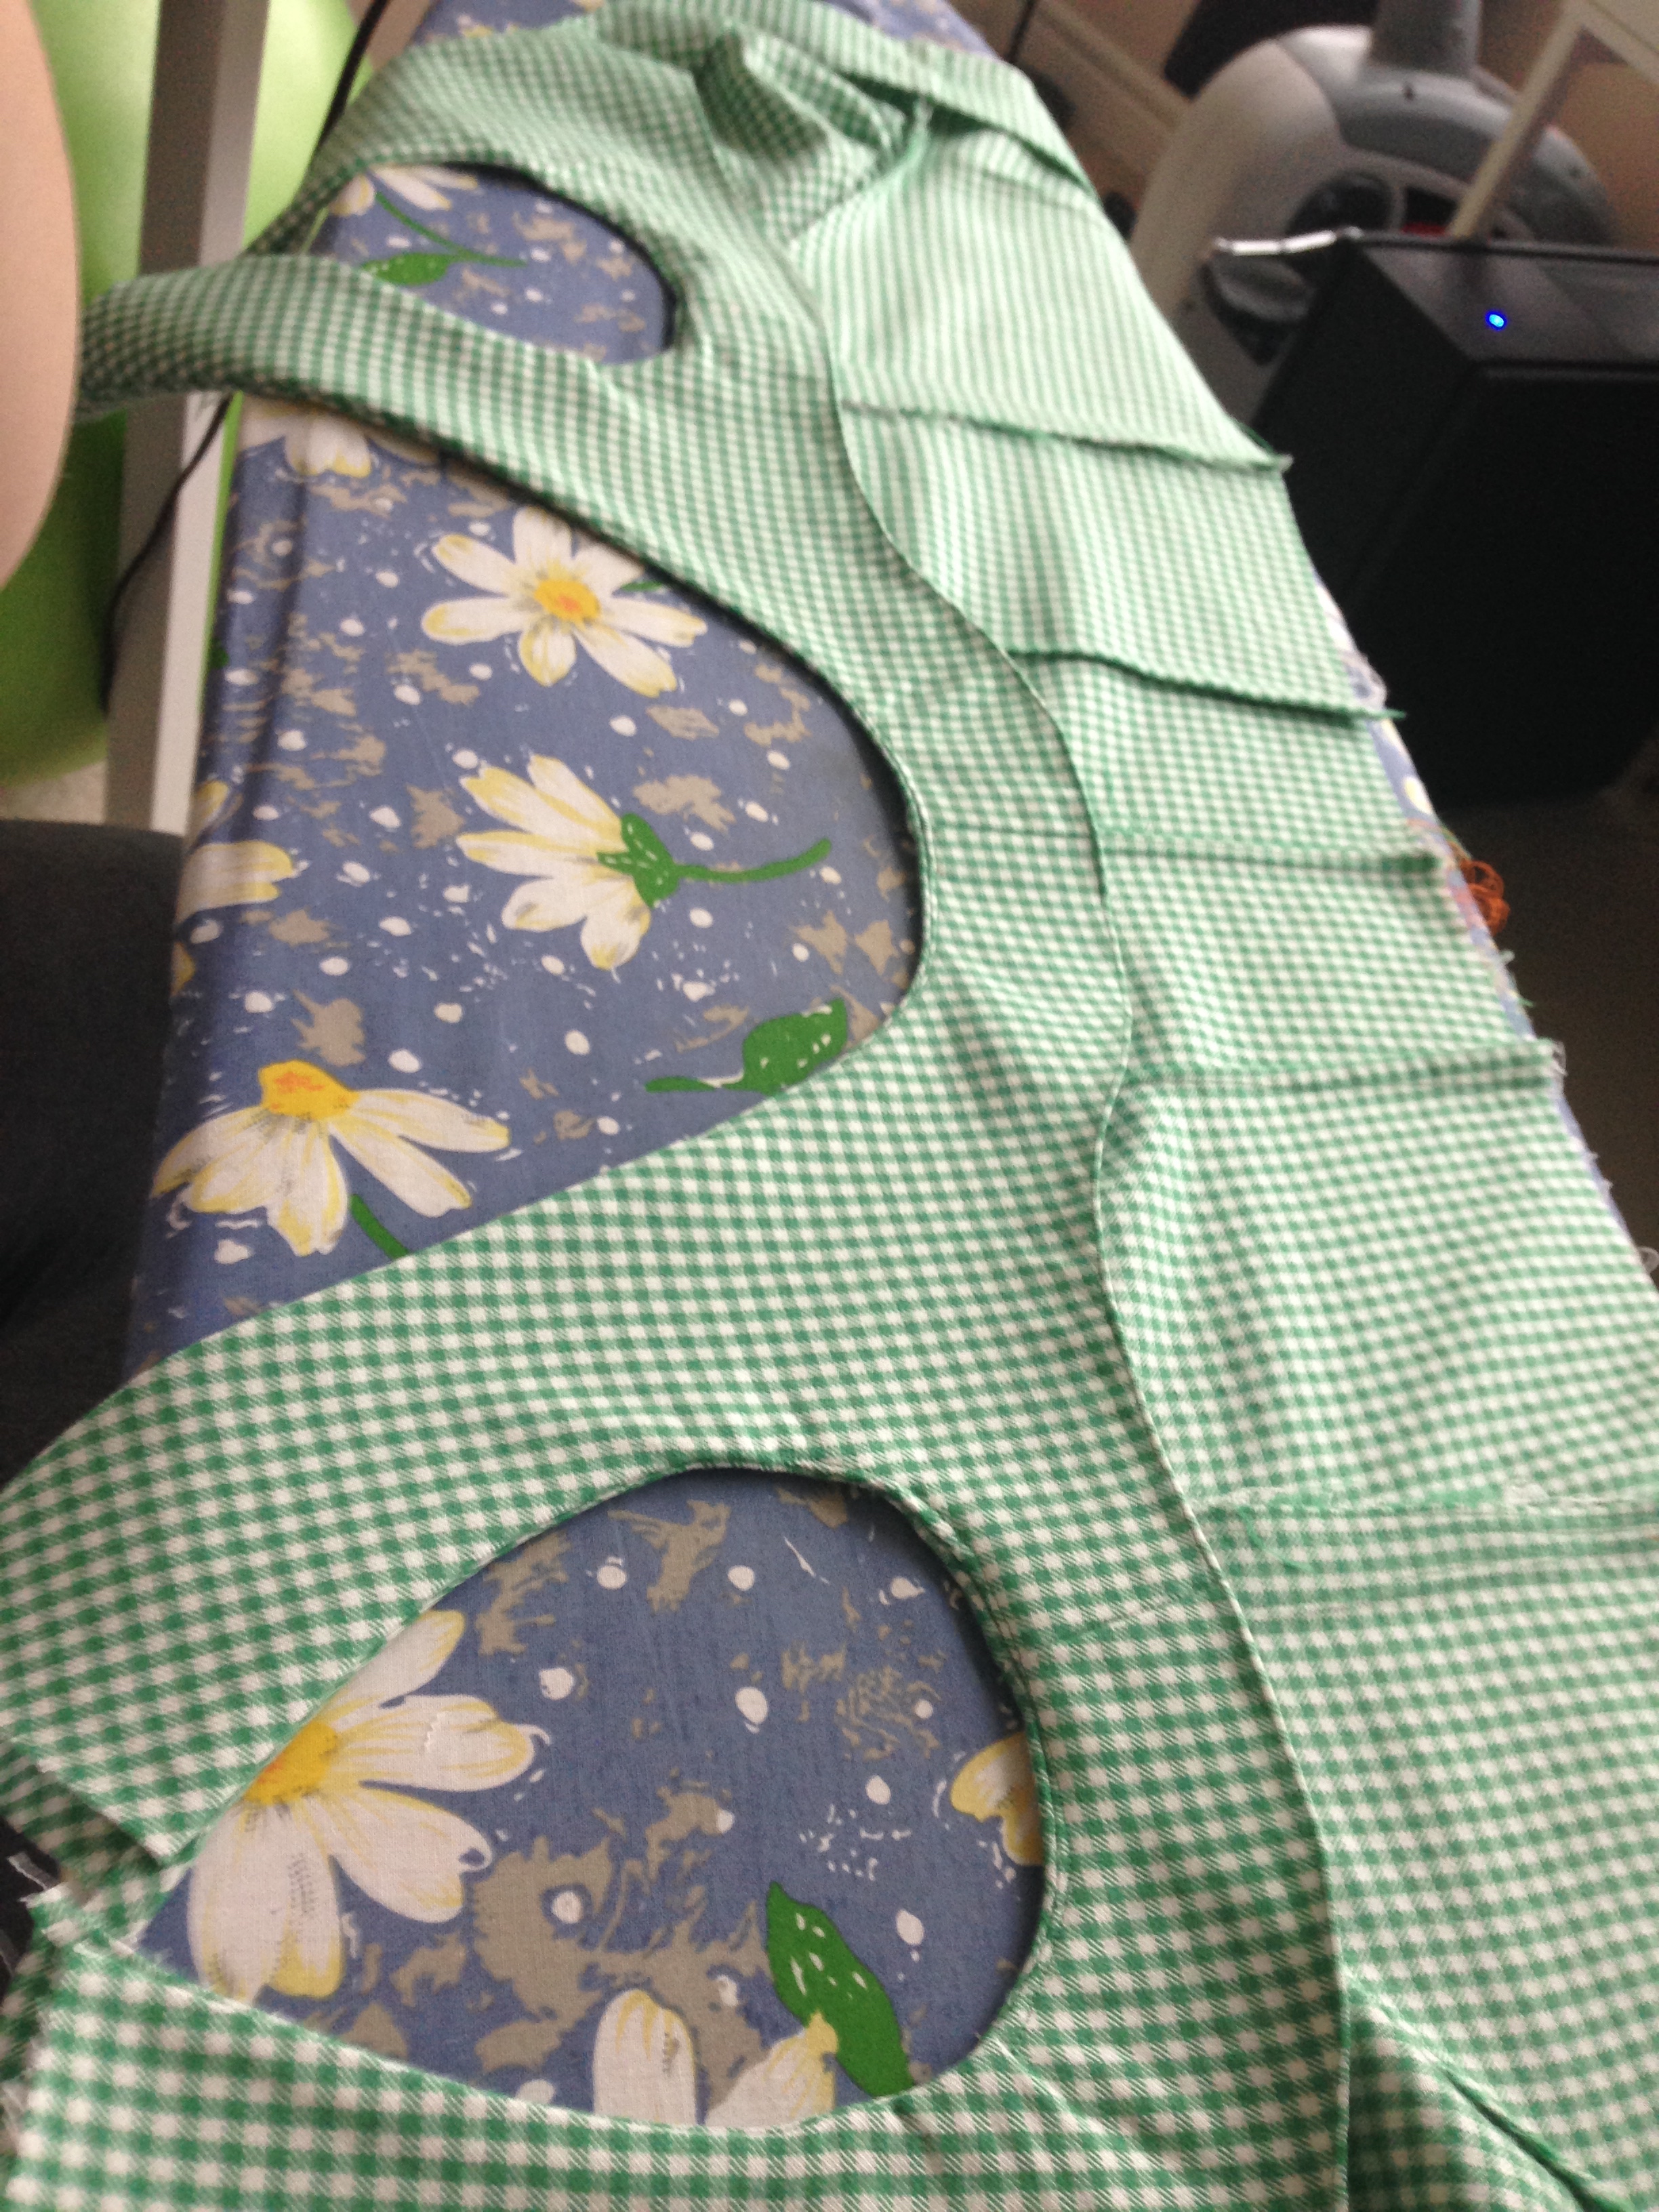
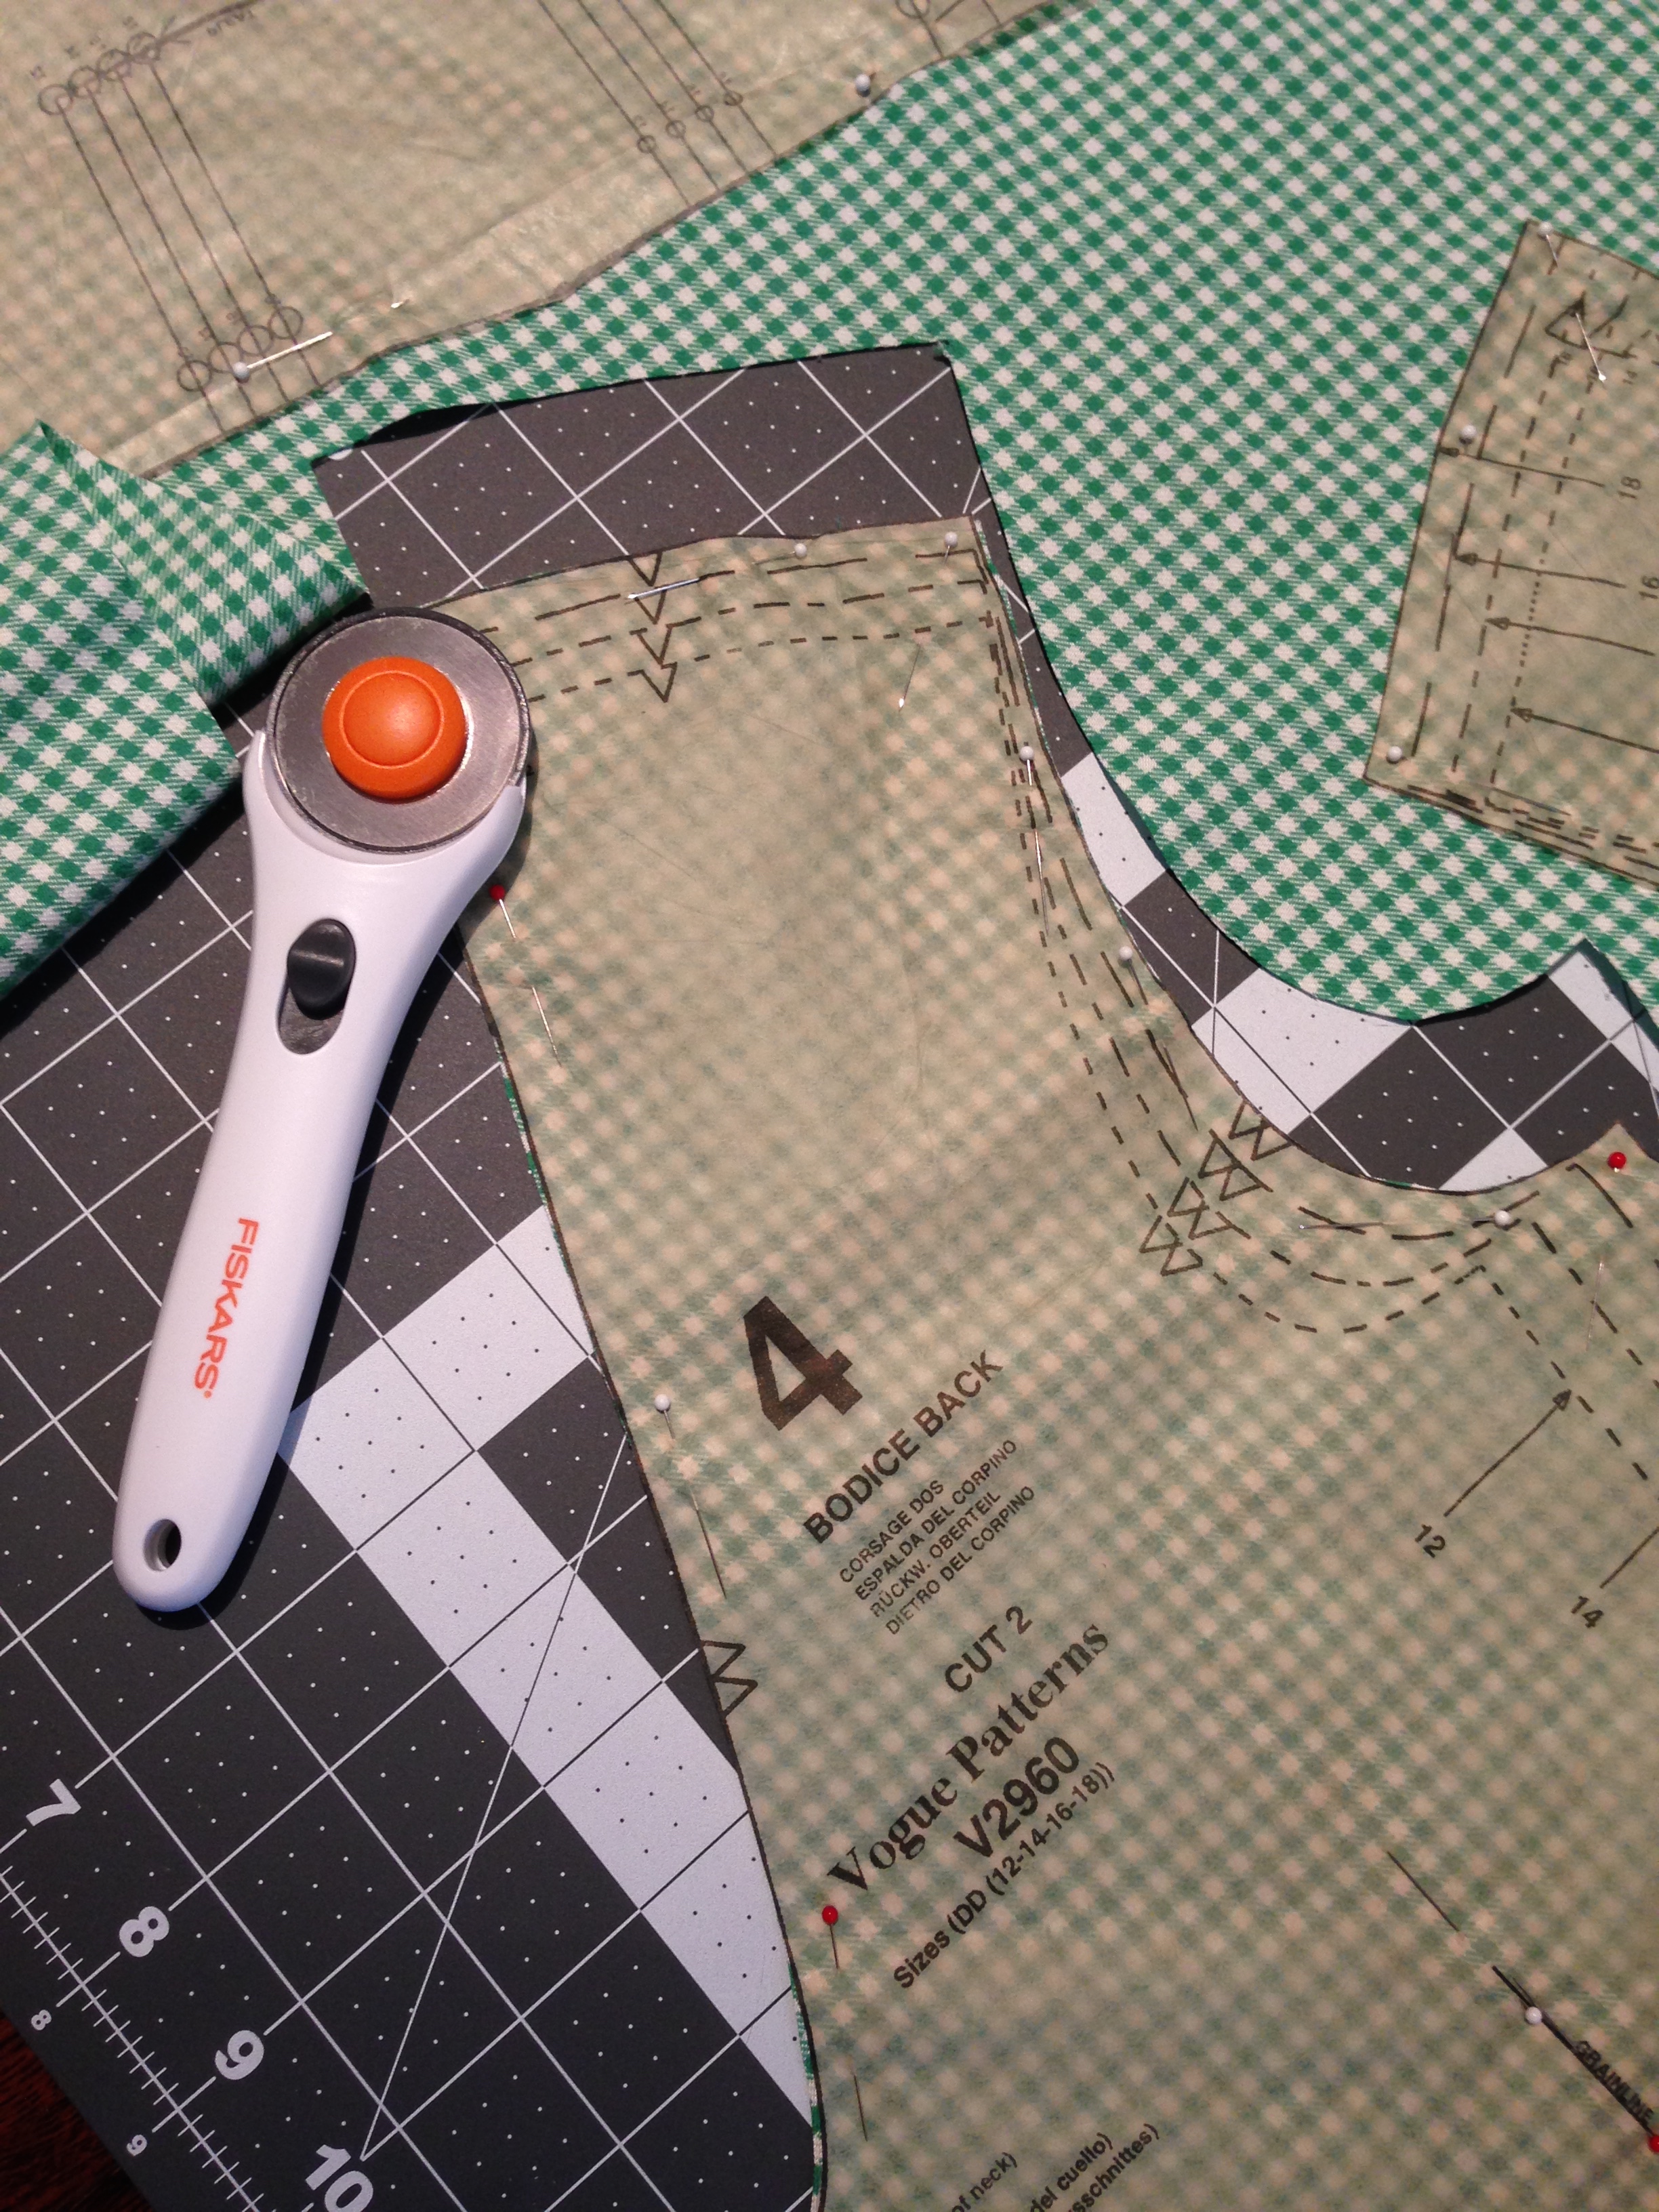
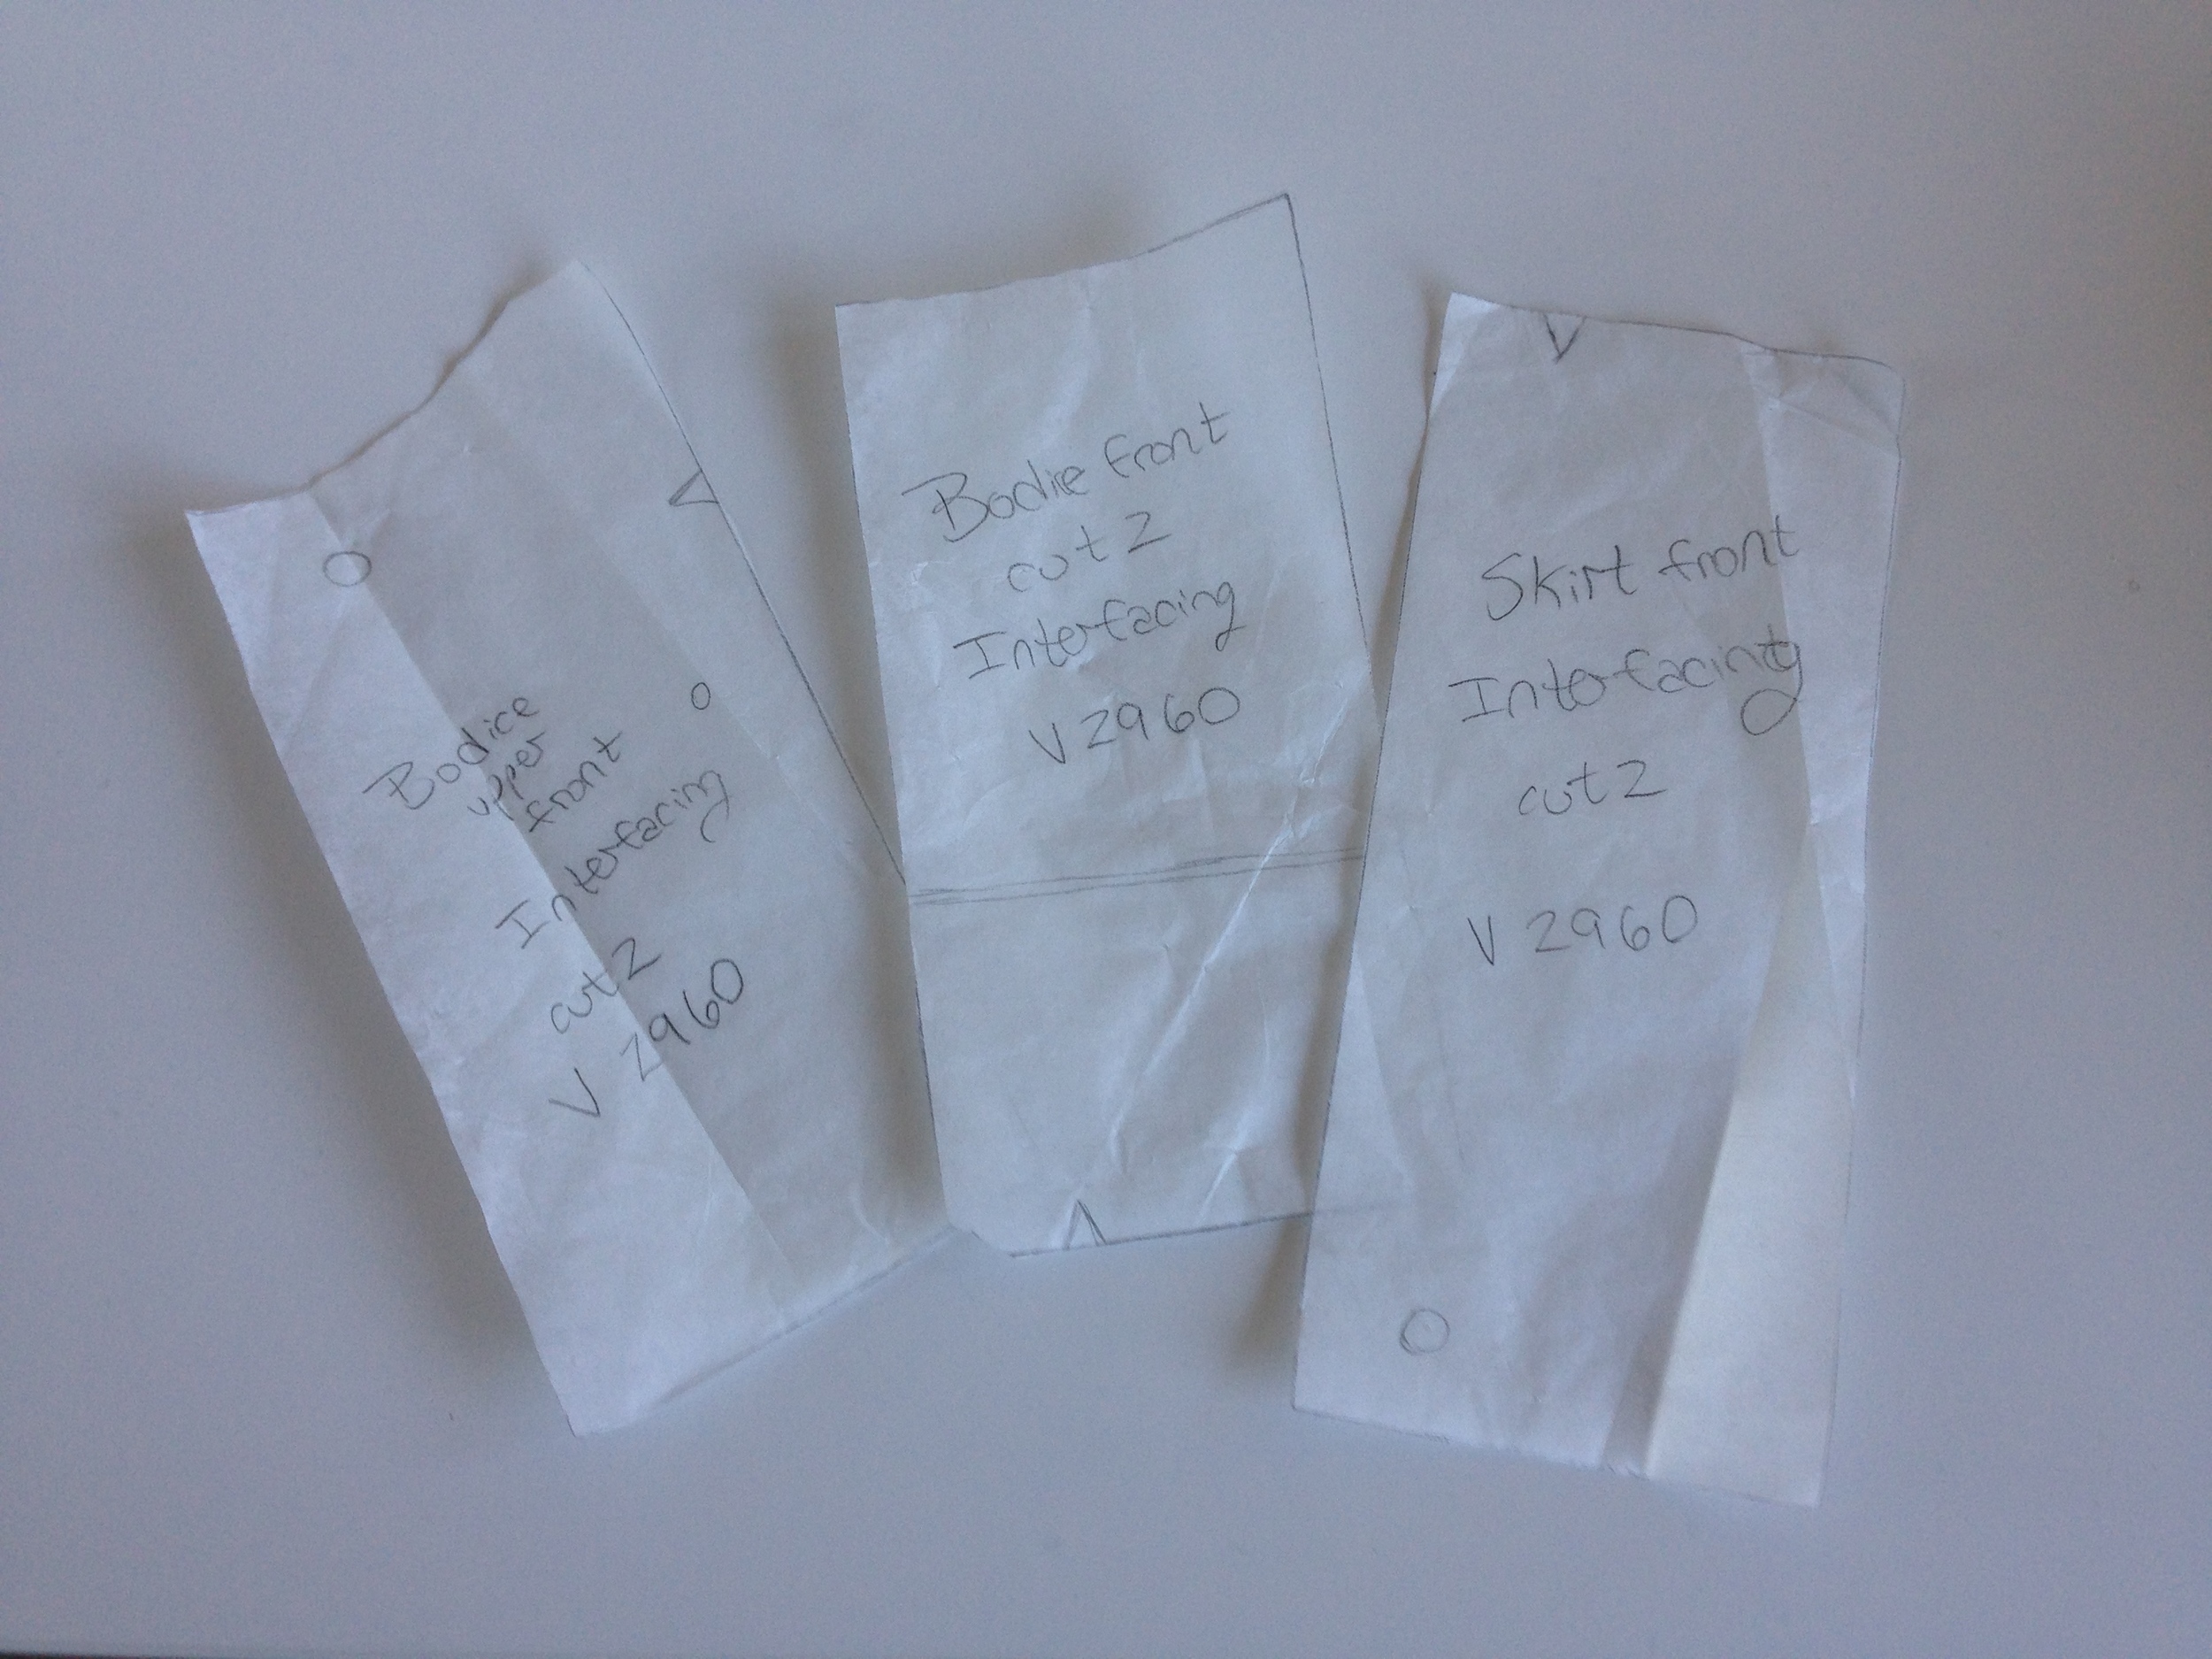
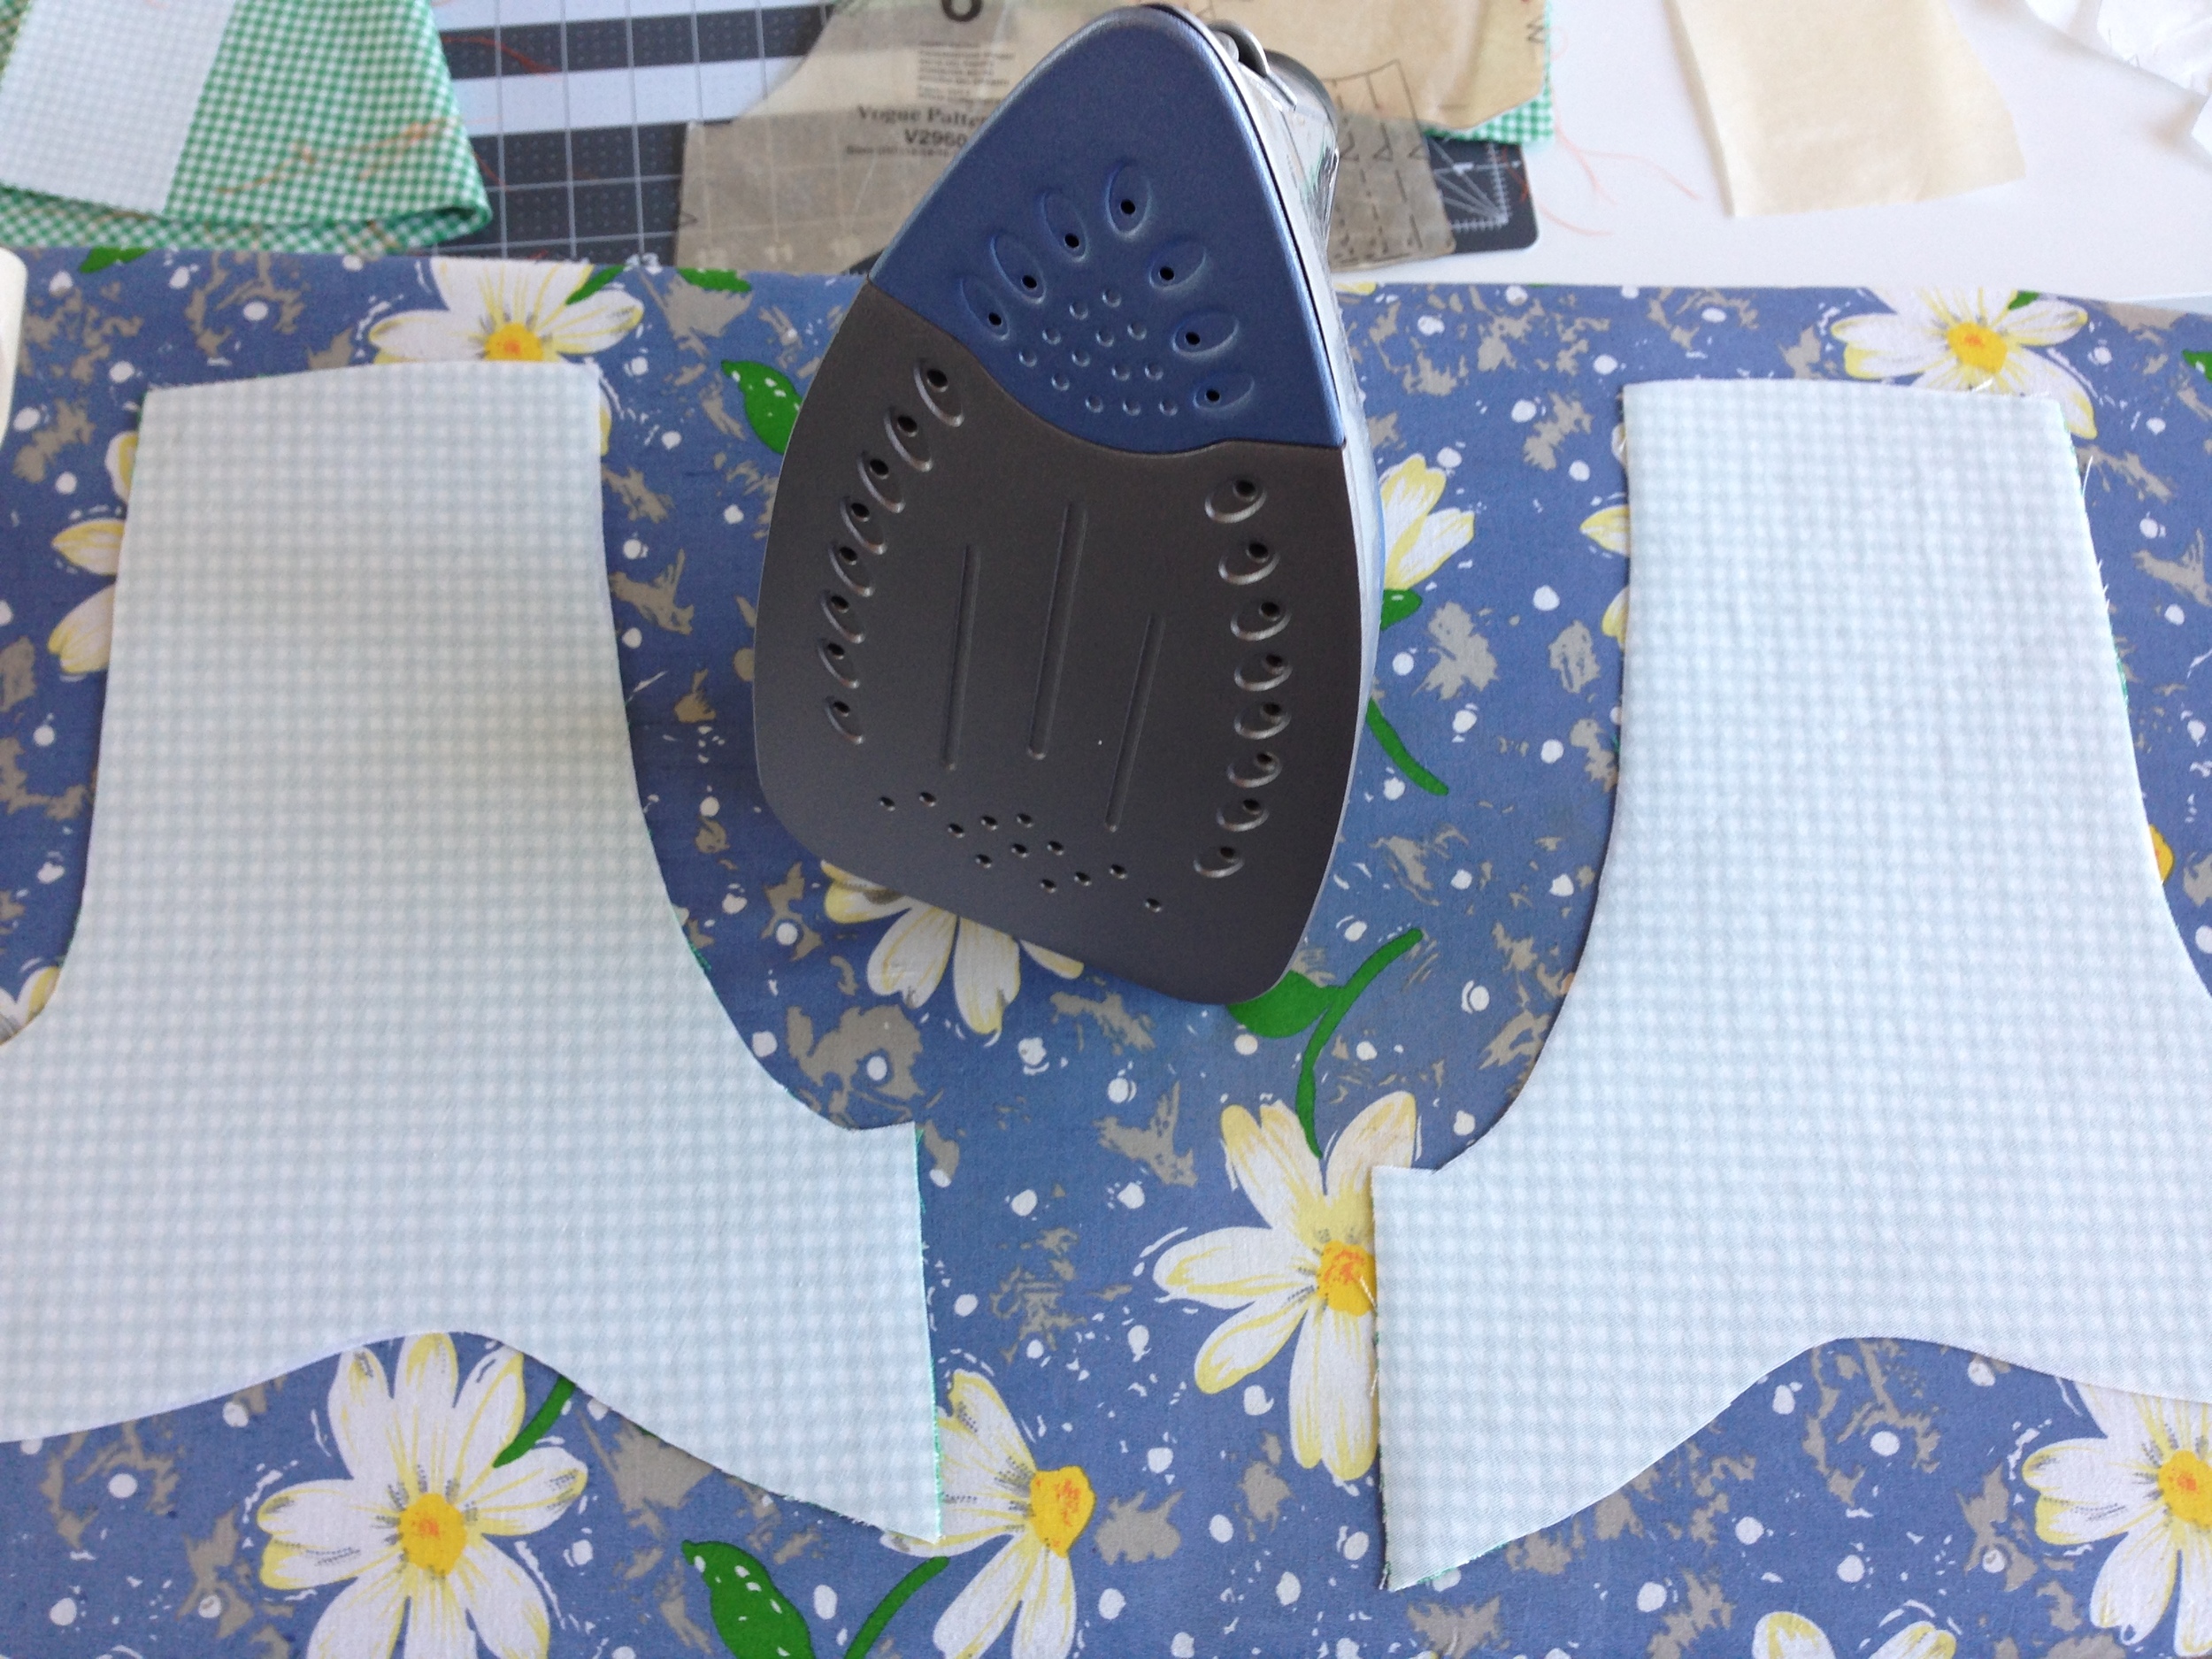
Anyways. After all the fun cutting out and ironing on interfacing and such I got to working the bodice. I've made quite a few dresses in my day, notably my Plaid Pink Ballgown. This would be the first dress with buttonholes though, and down the front none the less. (Why I do these things to myself only a good therapist can discover.)
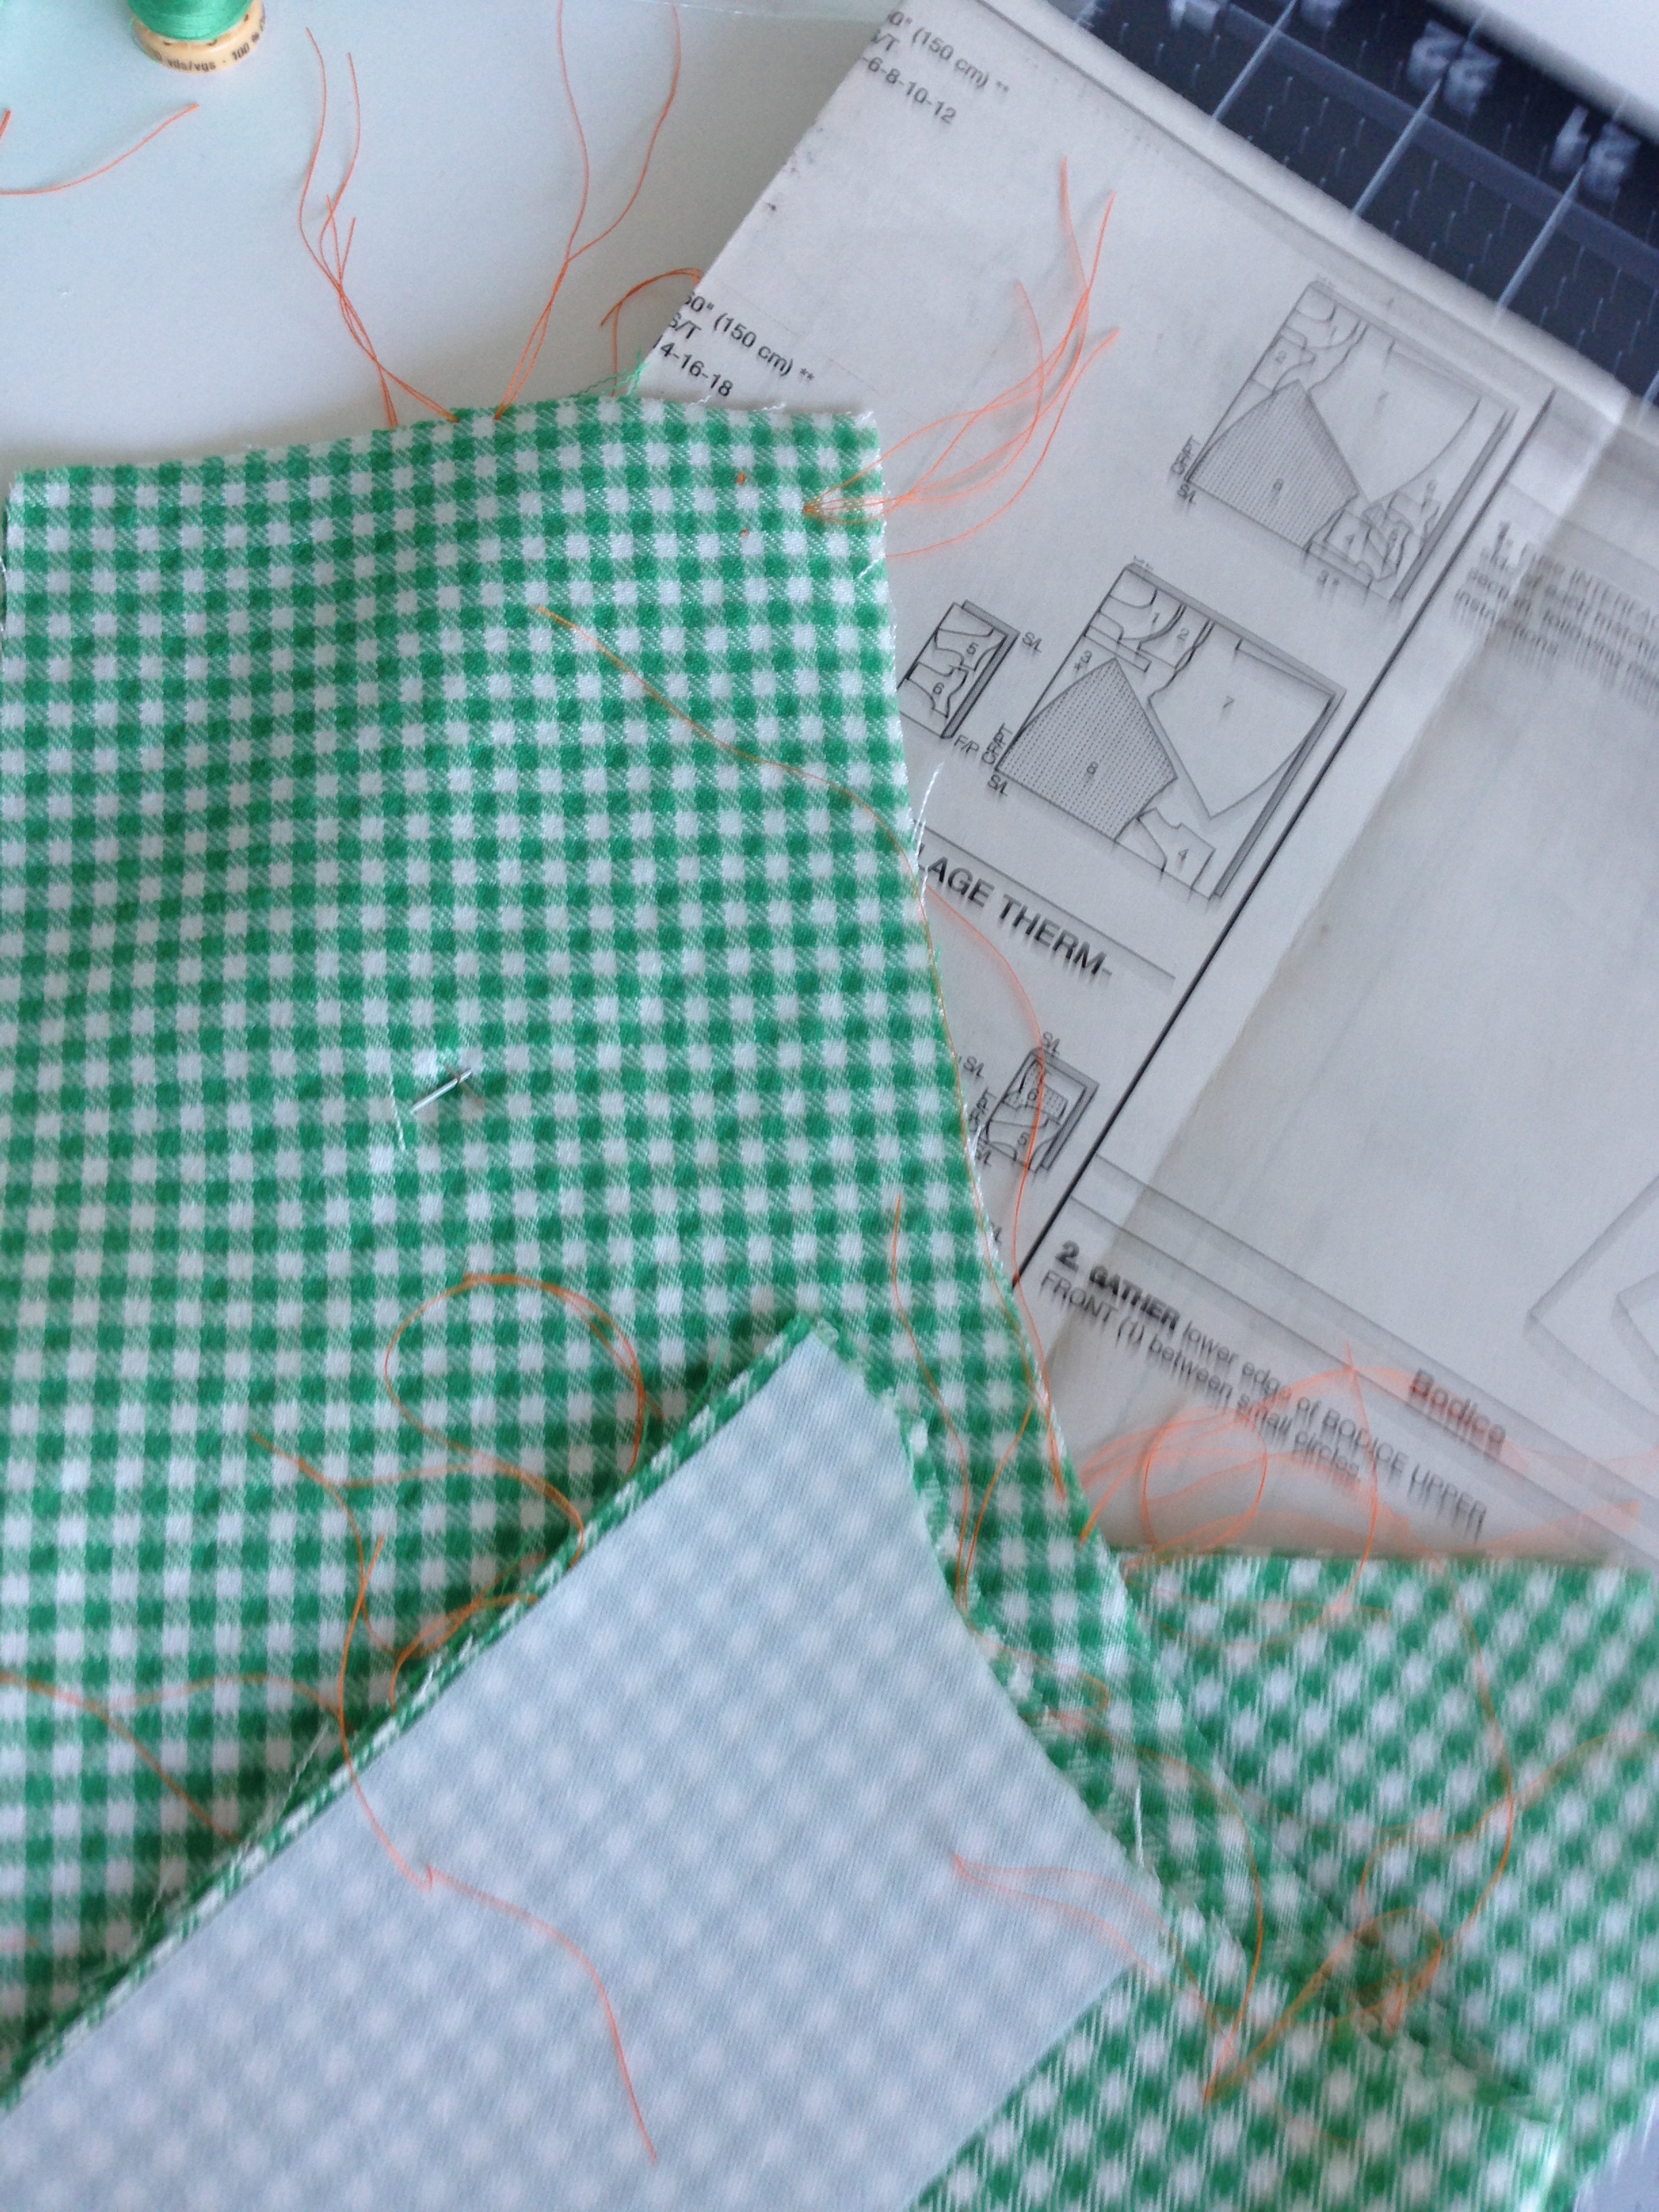
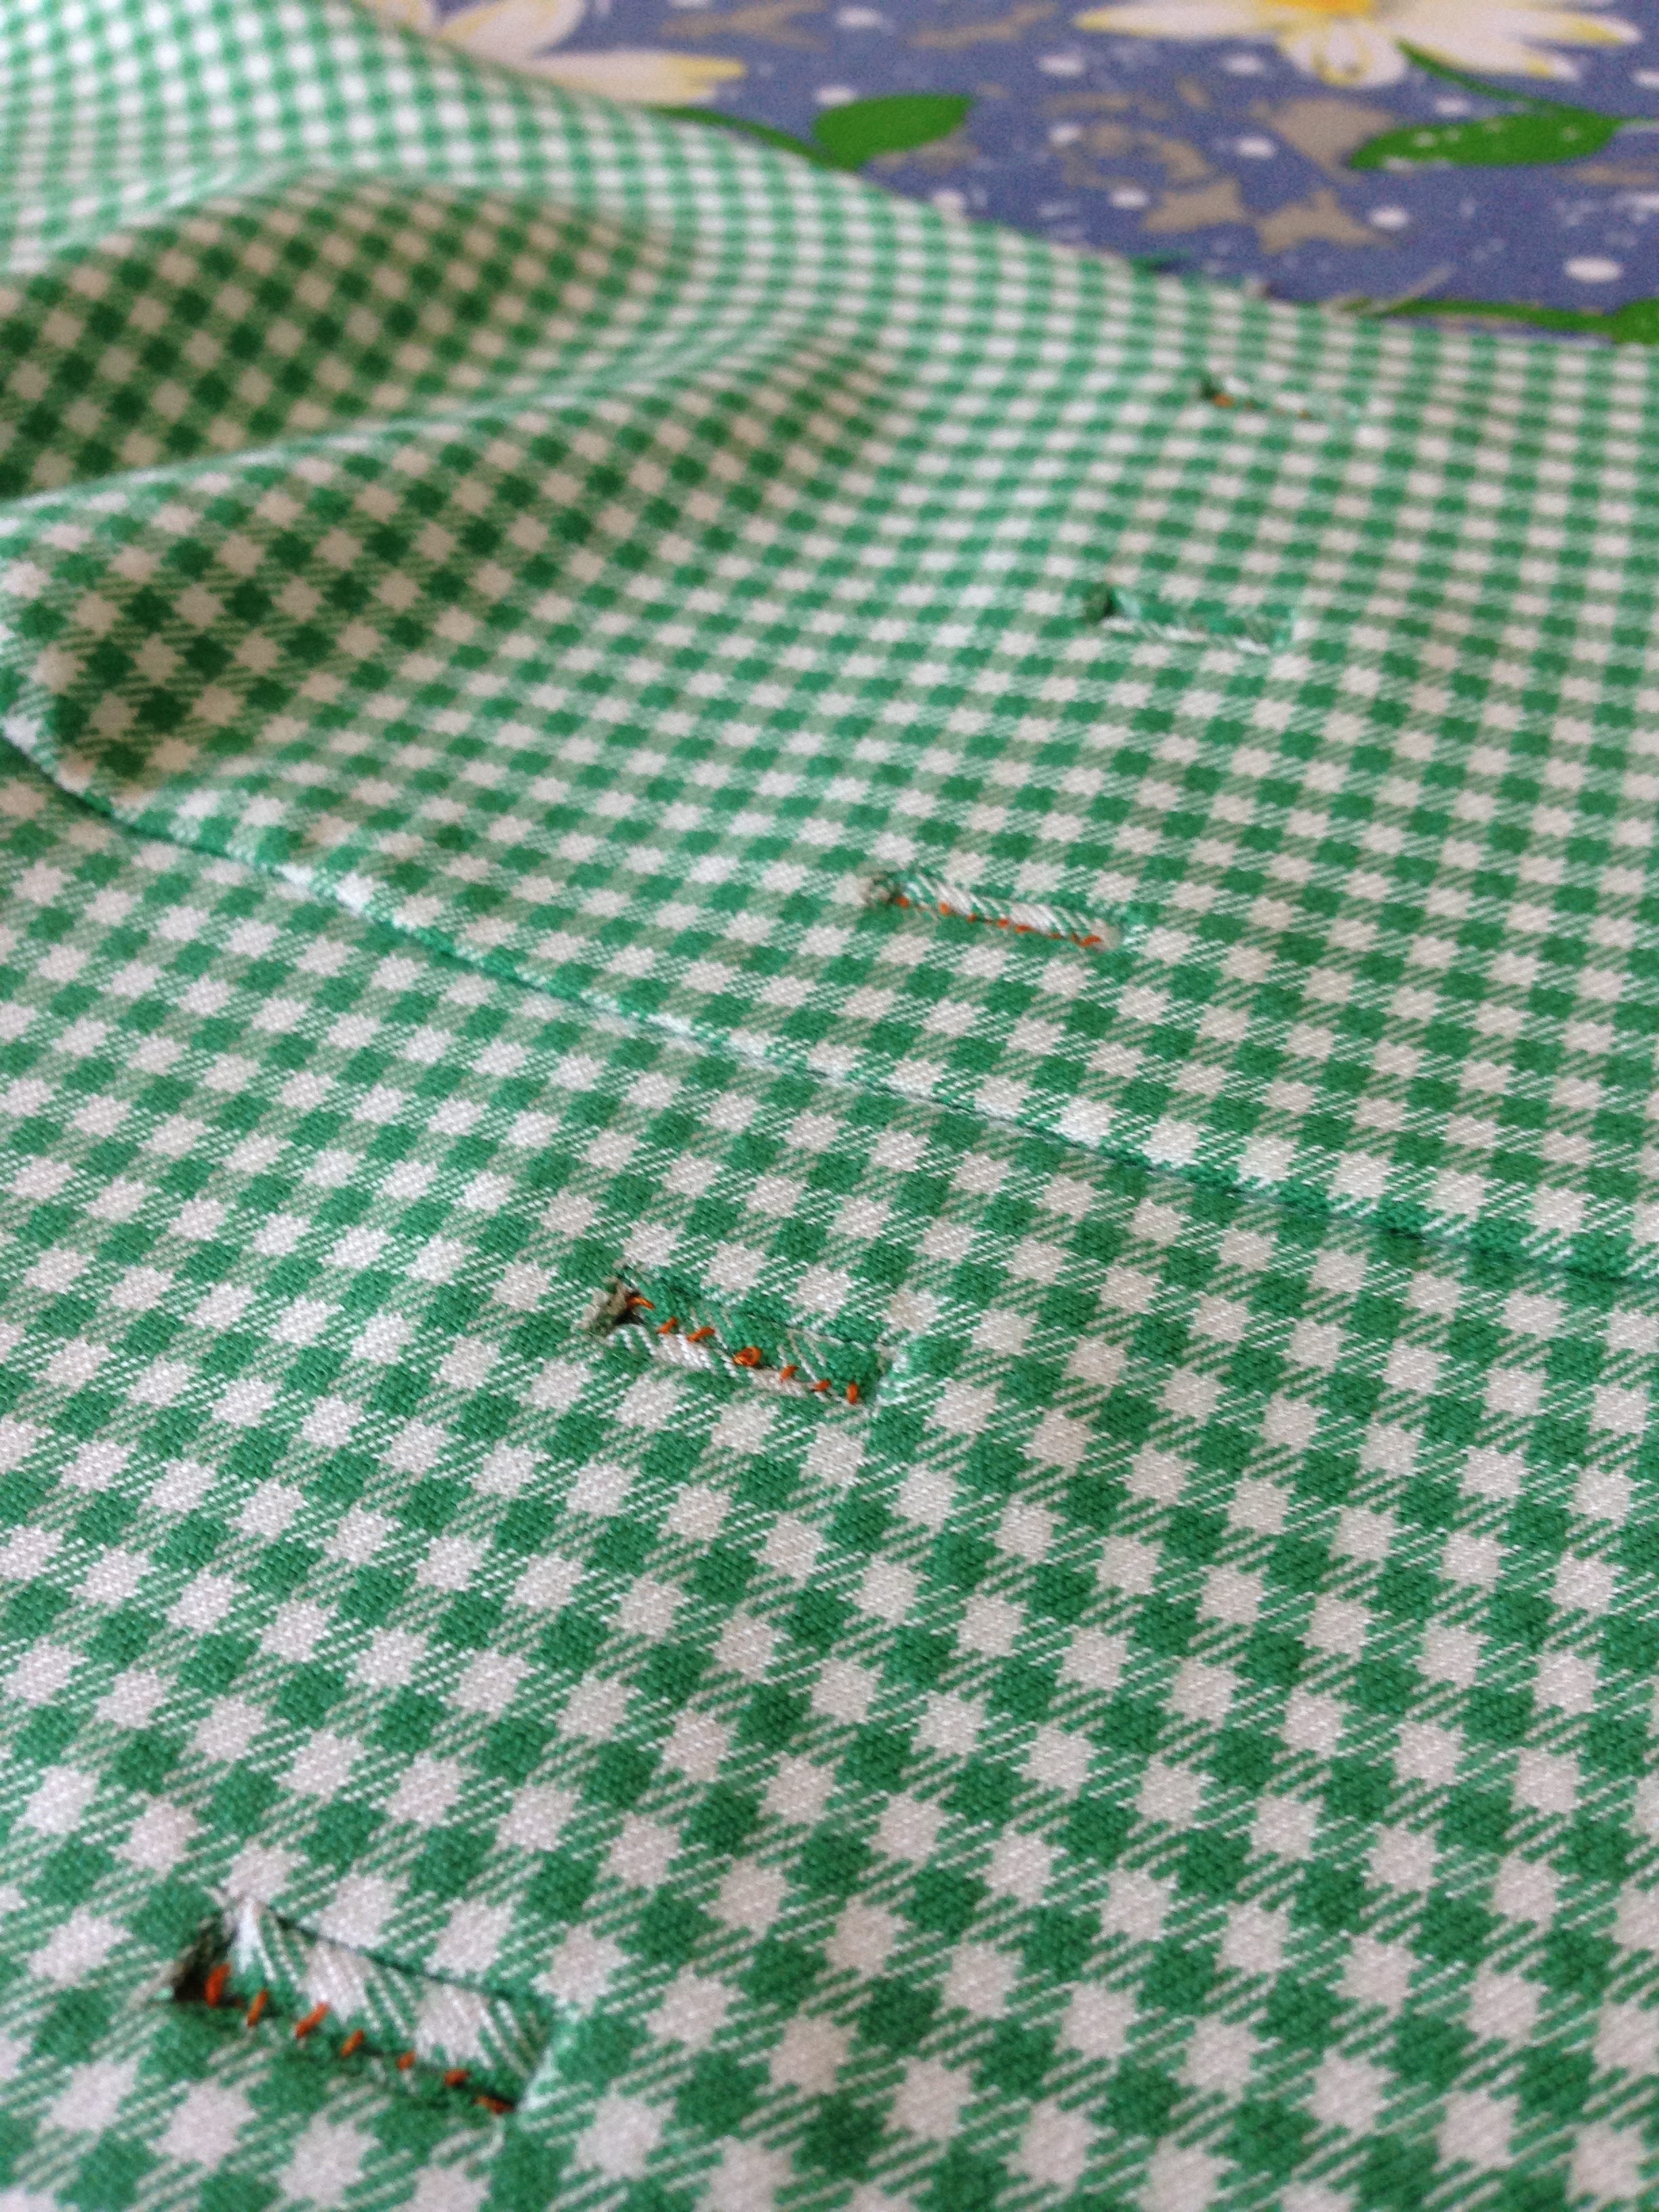
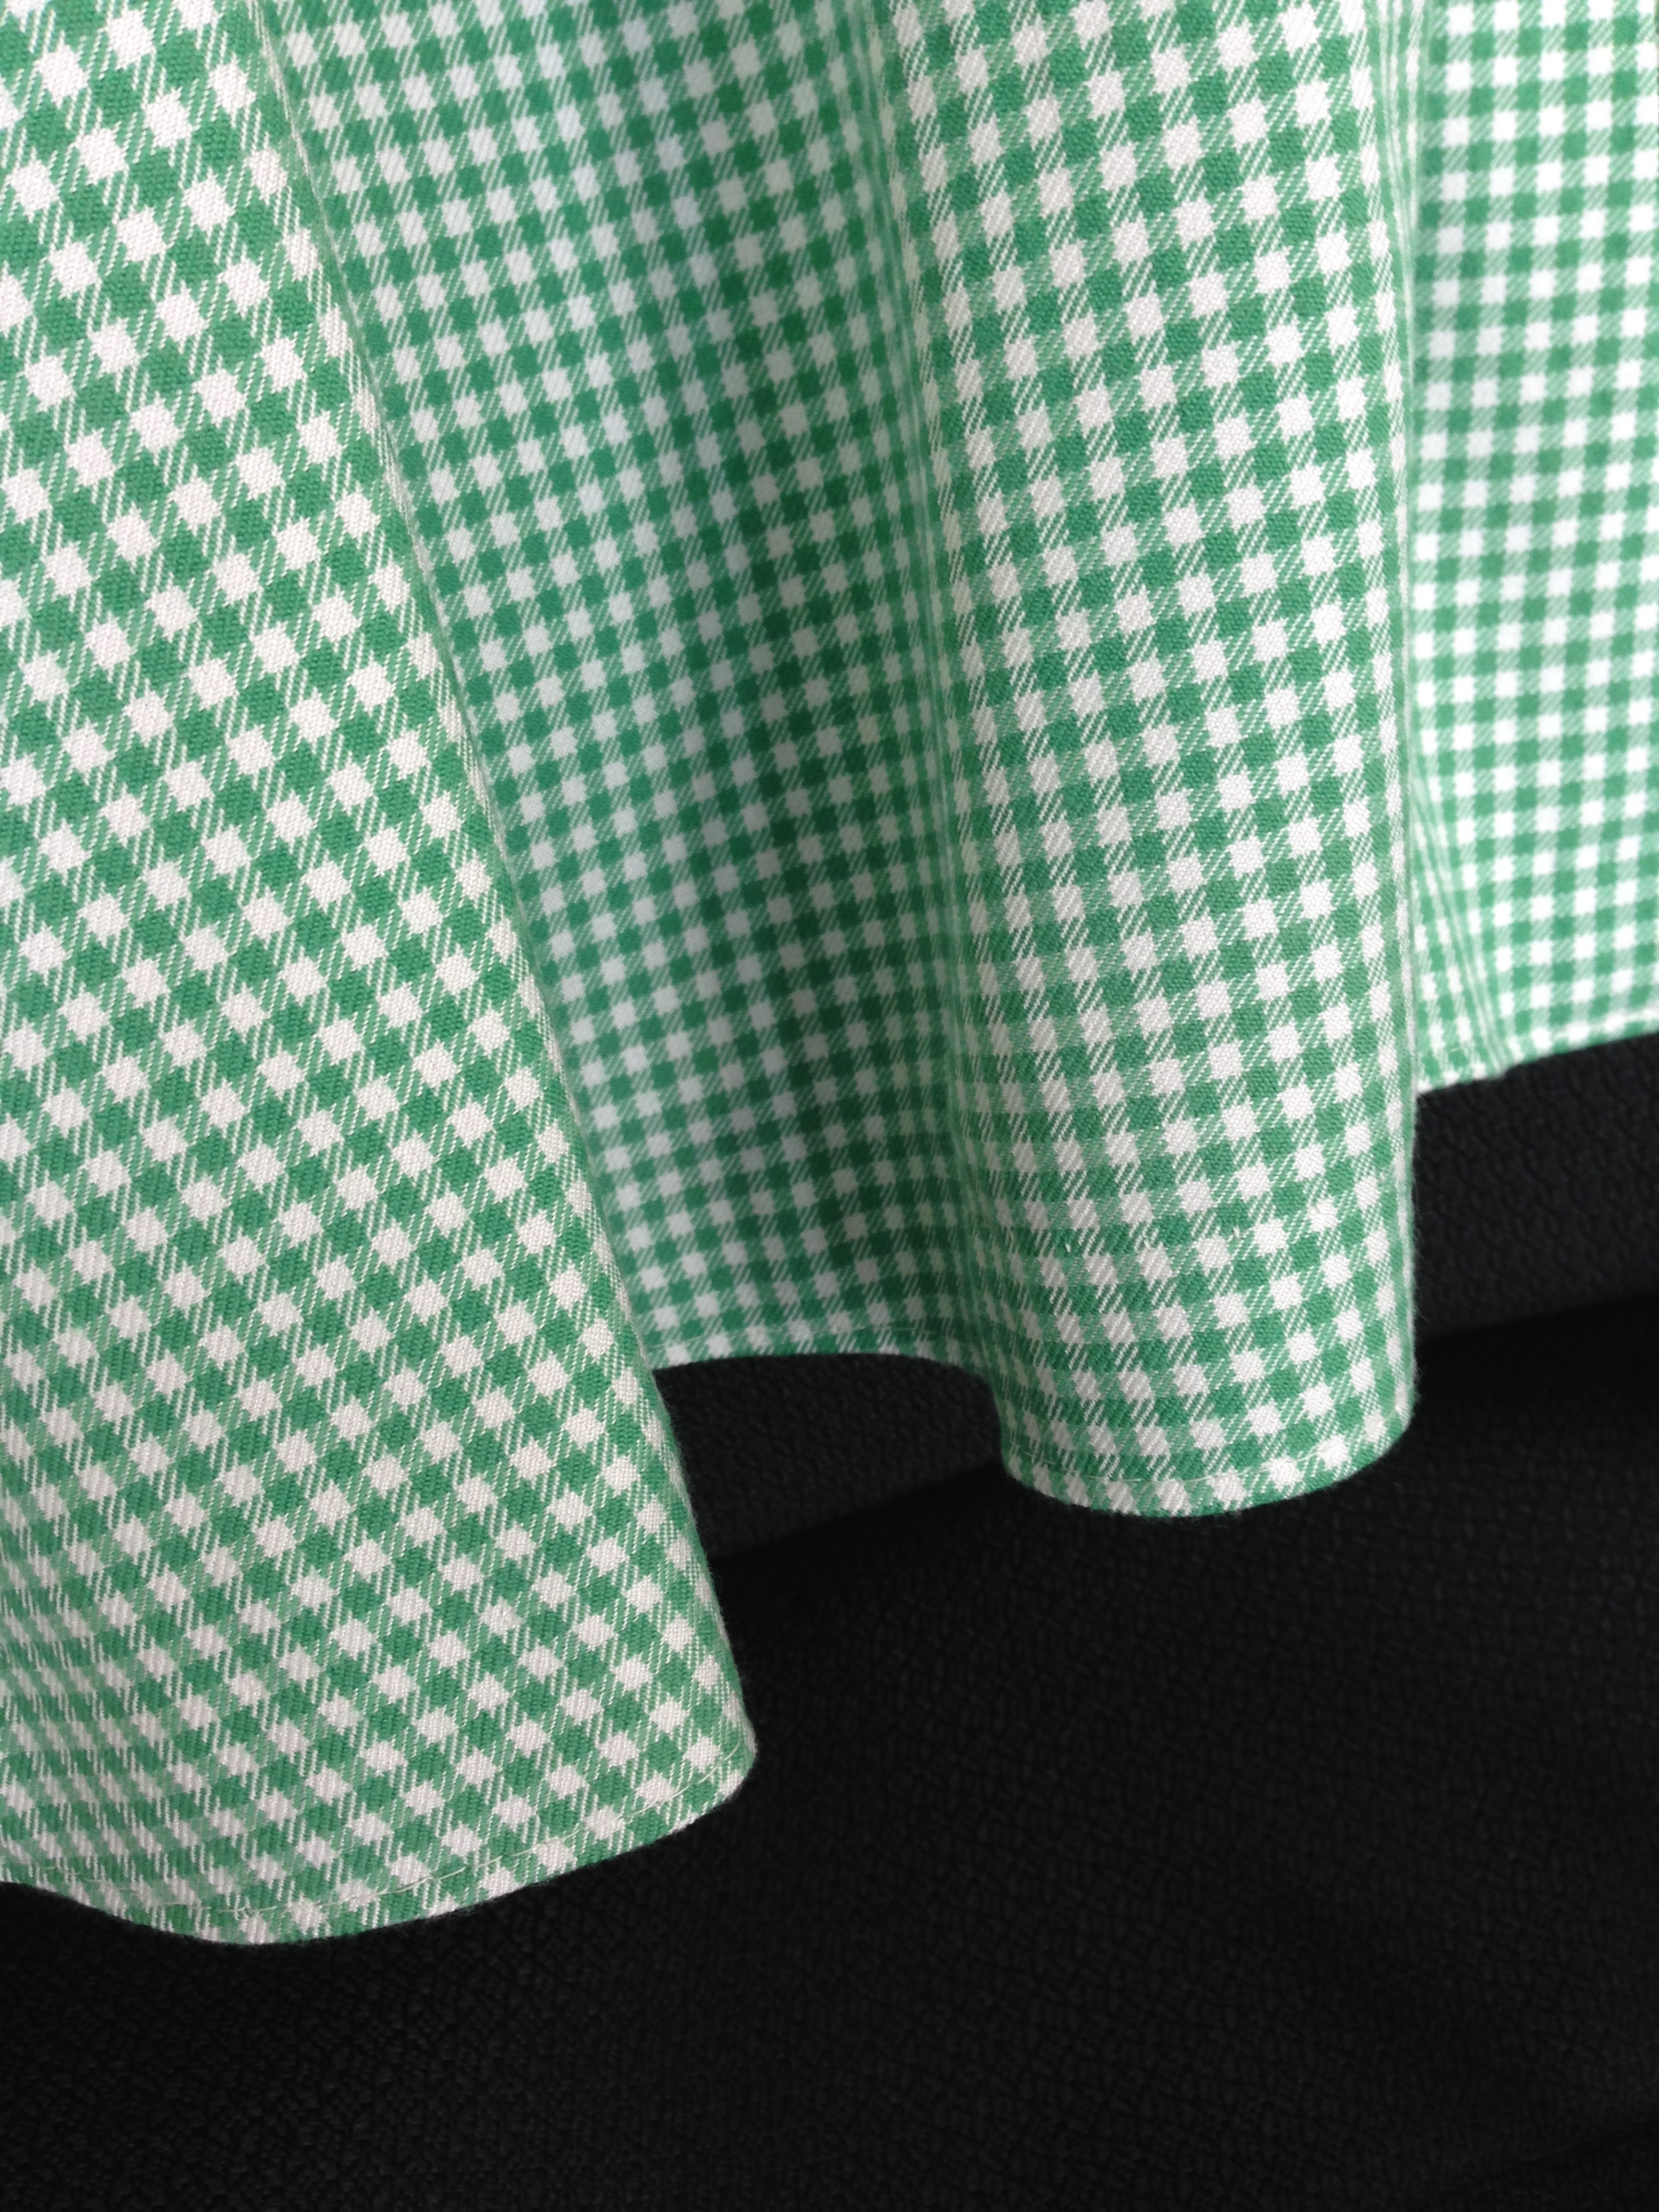
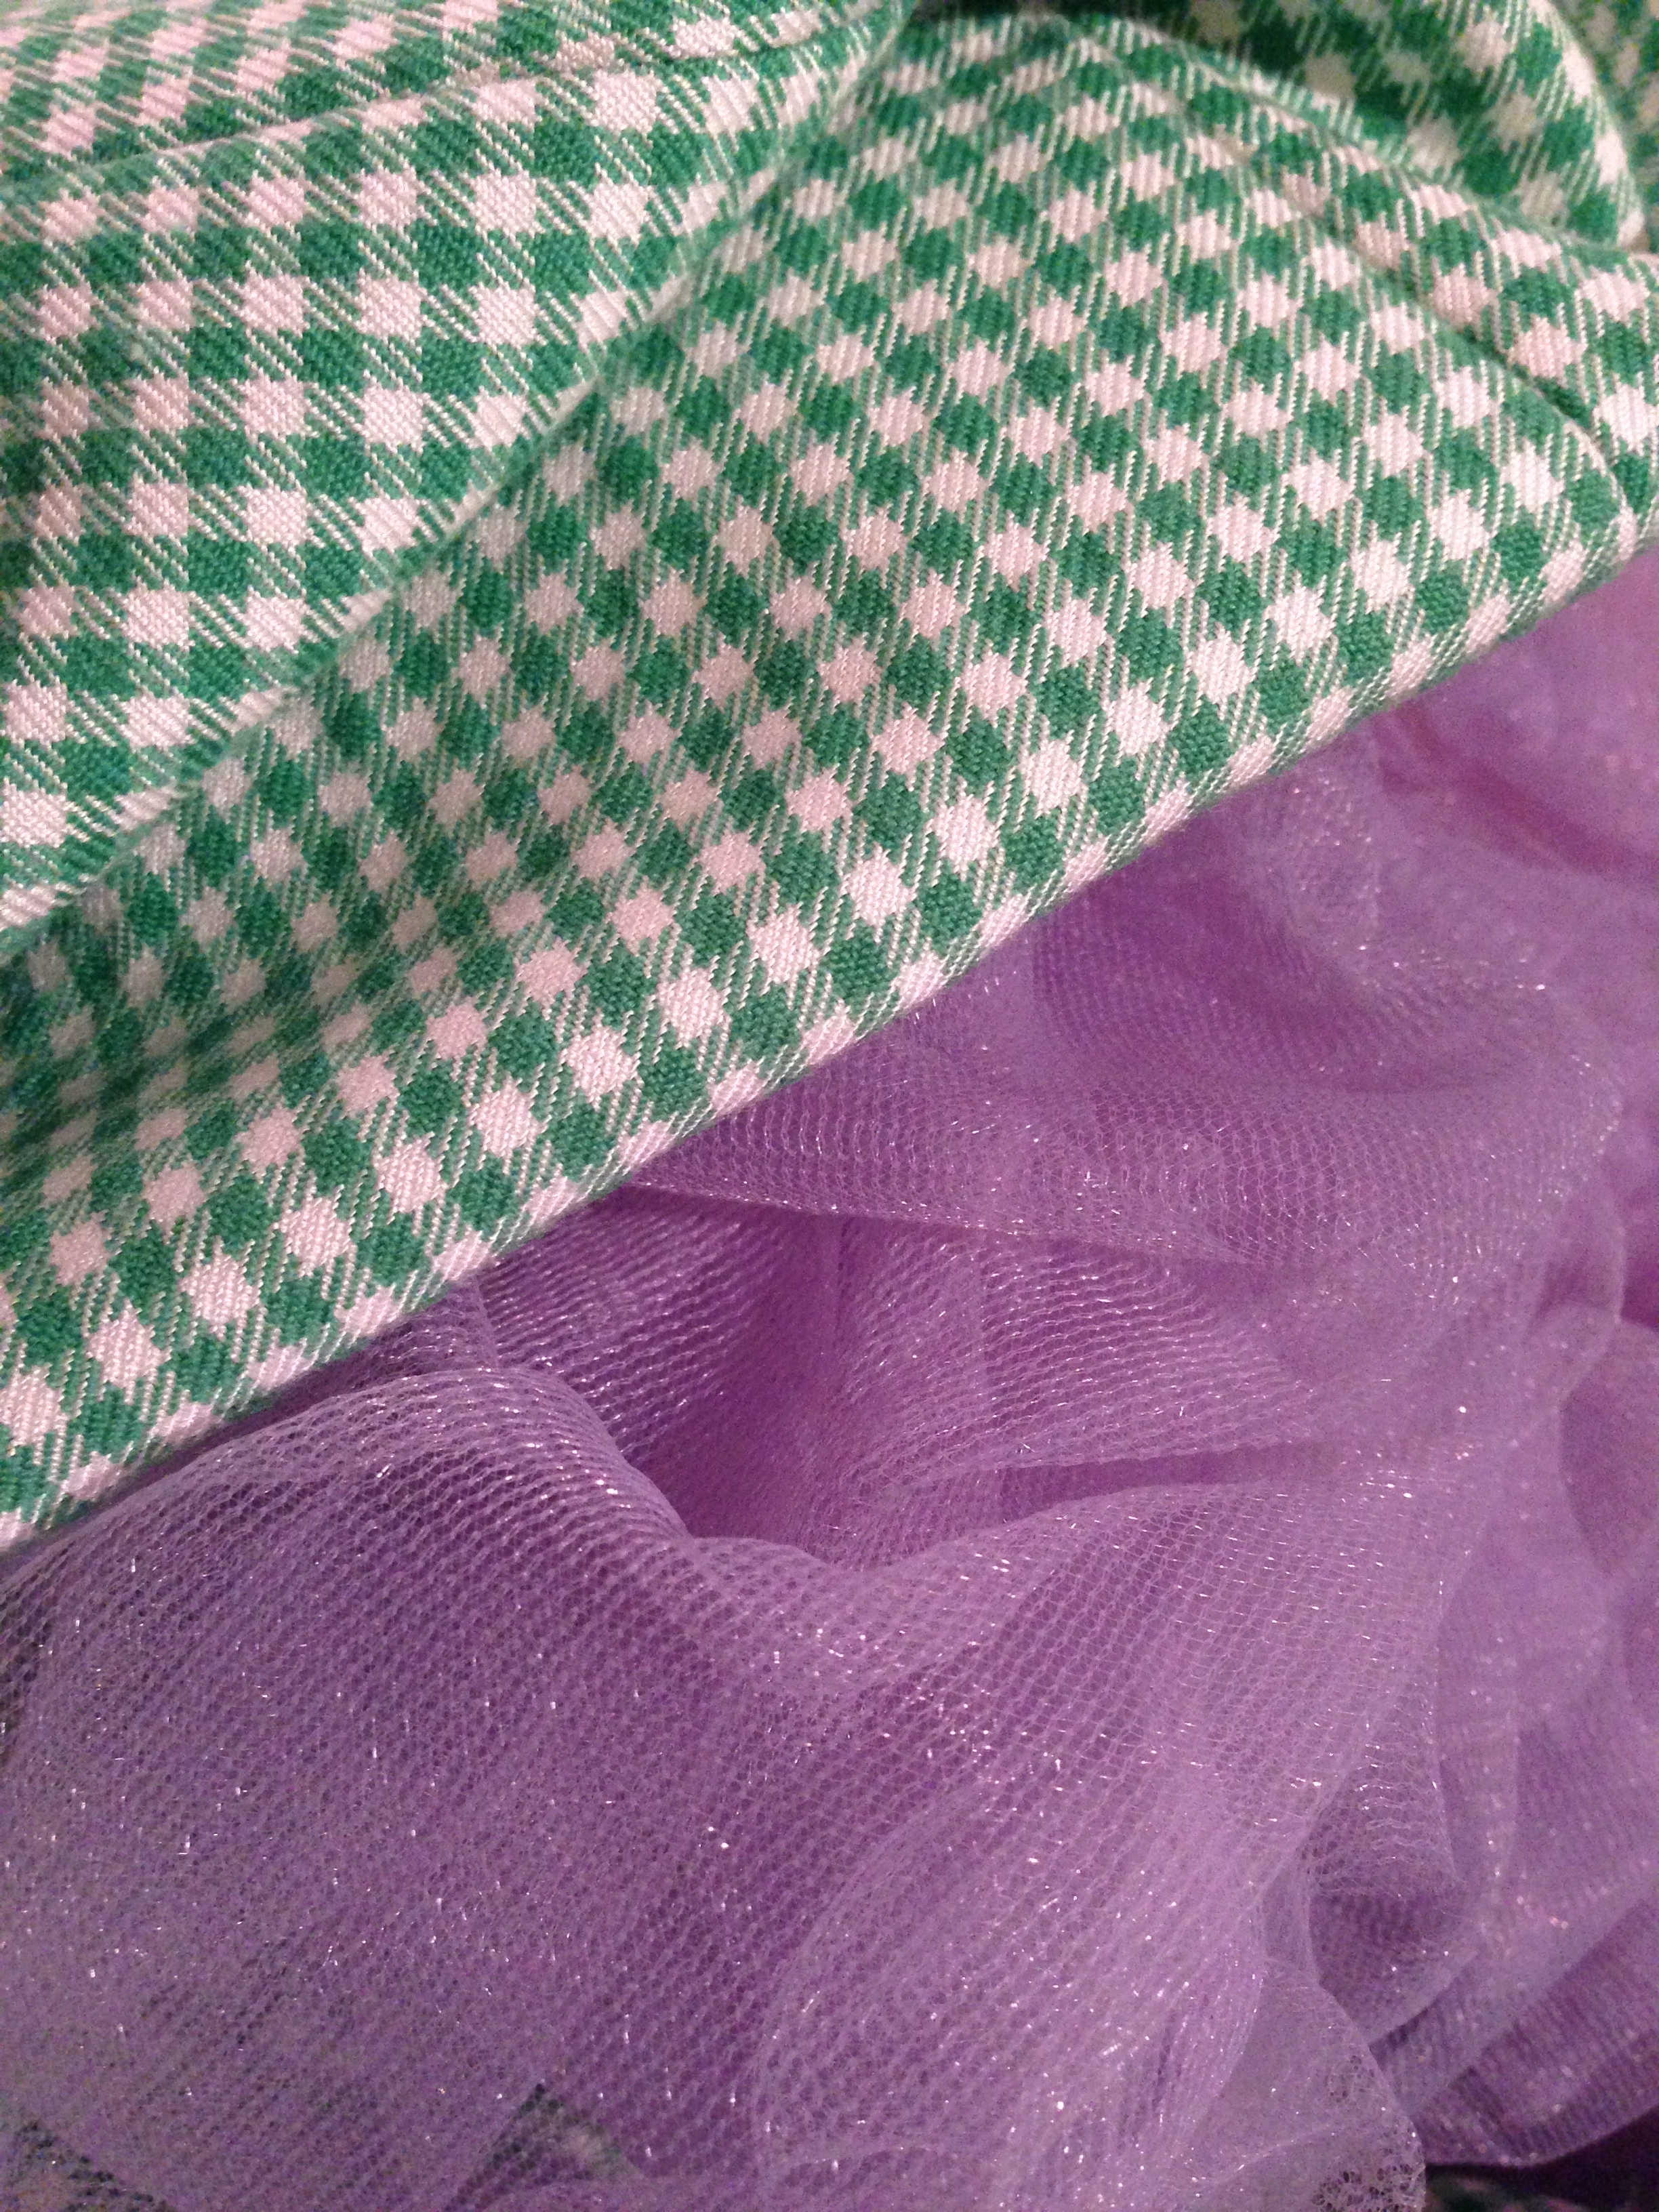
The bodice pattern was super easy to put together! (Gasp! Vogue pattern instructions being straight forward??!!) And the fabric worked beautifully with all the darts (Gingham Power!). But, because everything has it's snags, after I started cutting my welt buttonholes, I realized that the buttonhole pattern piece I was measuring from was wrong side/right side, making my buttonholes a whole half inch over from where they were supposed to live.
-cries-
Ah well. I'm not called the half-assed hobbyist because everything goes well all the time. Live and Learn! My buttonholes would just live dangerously close to the fabric edge, just how I like it.
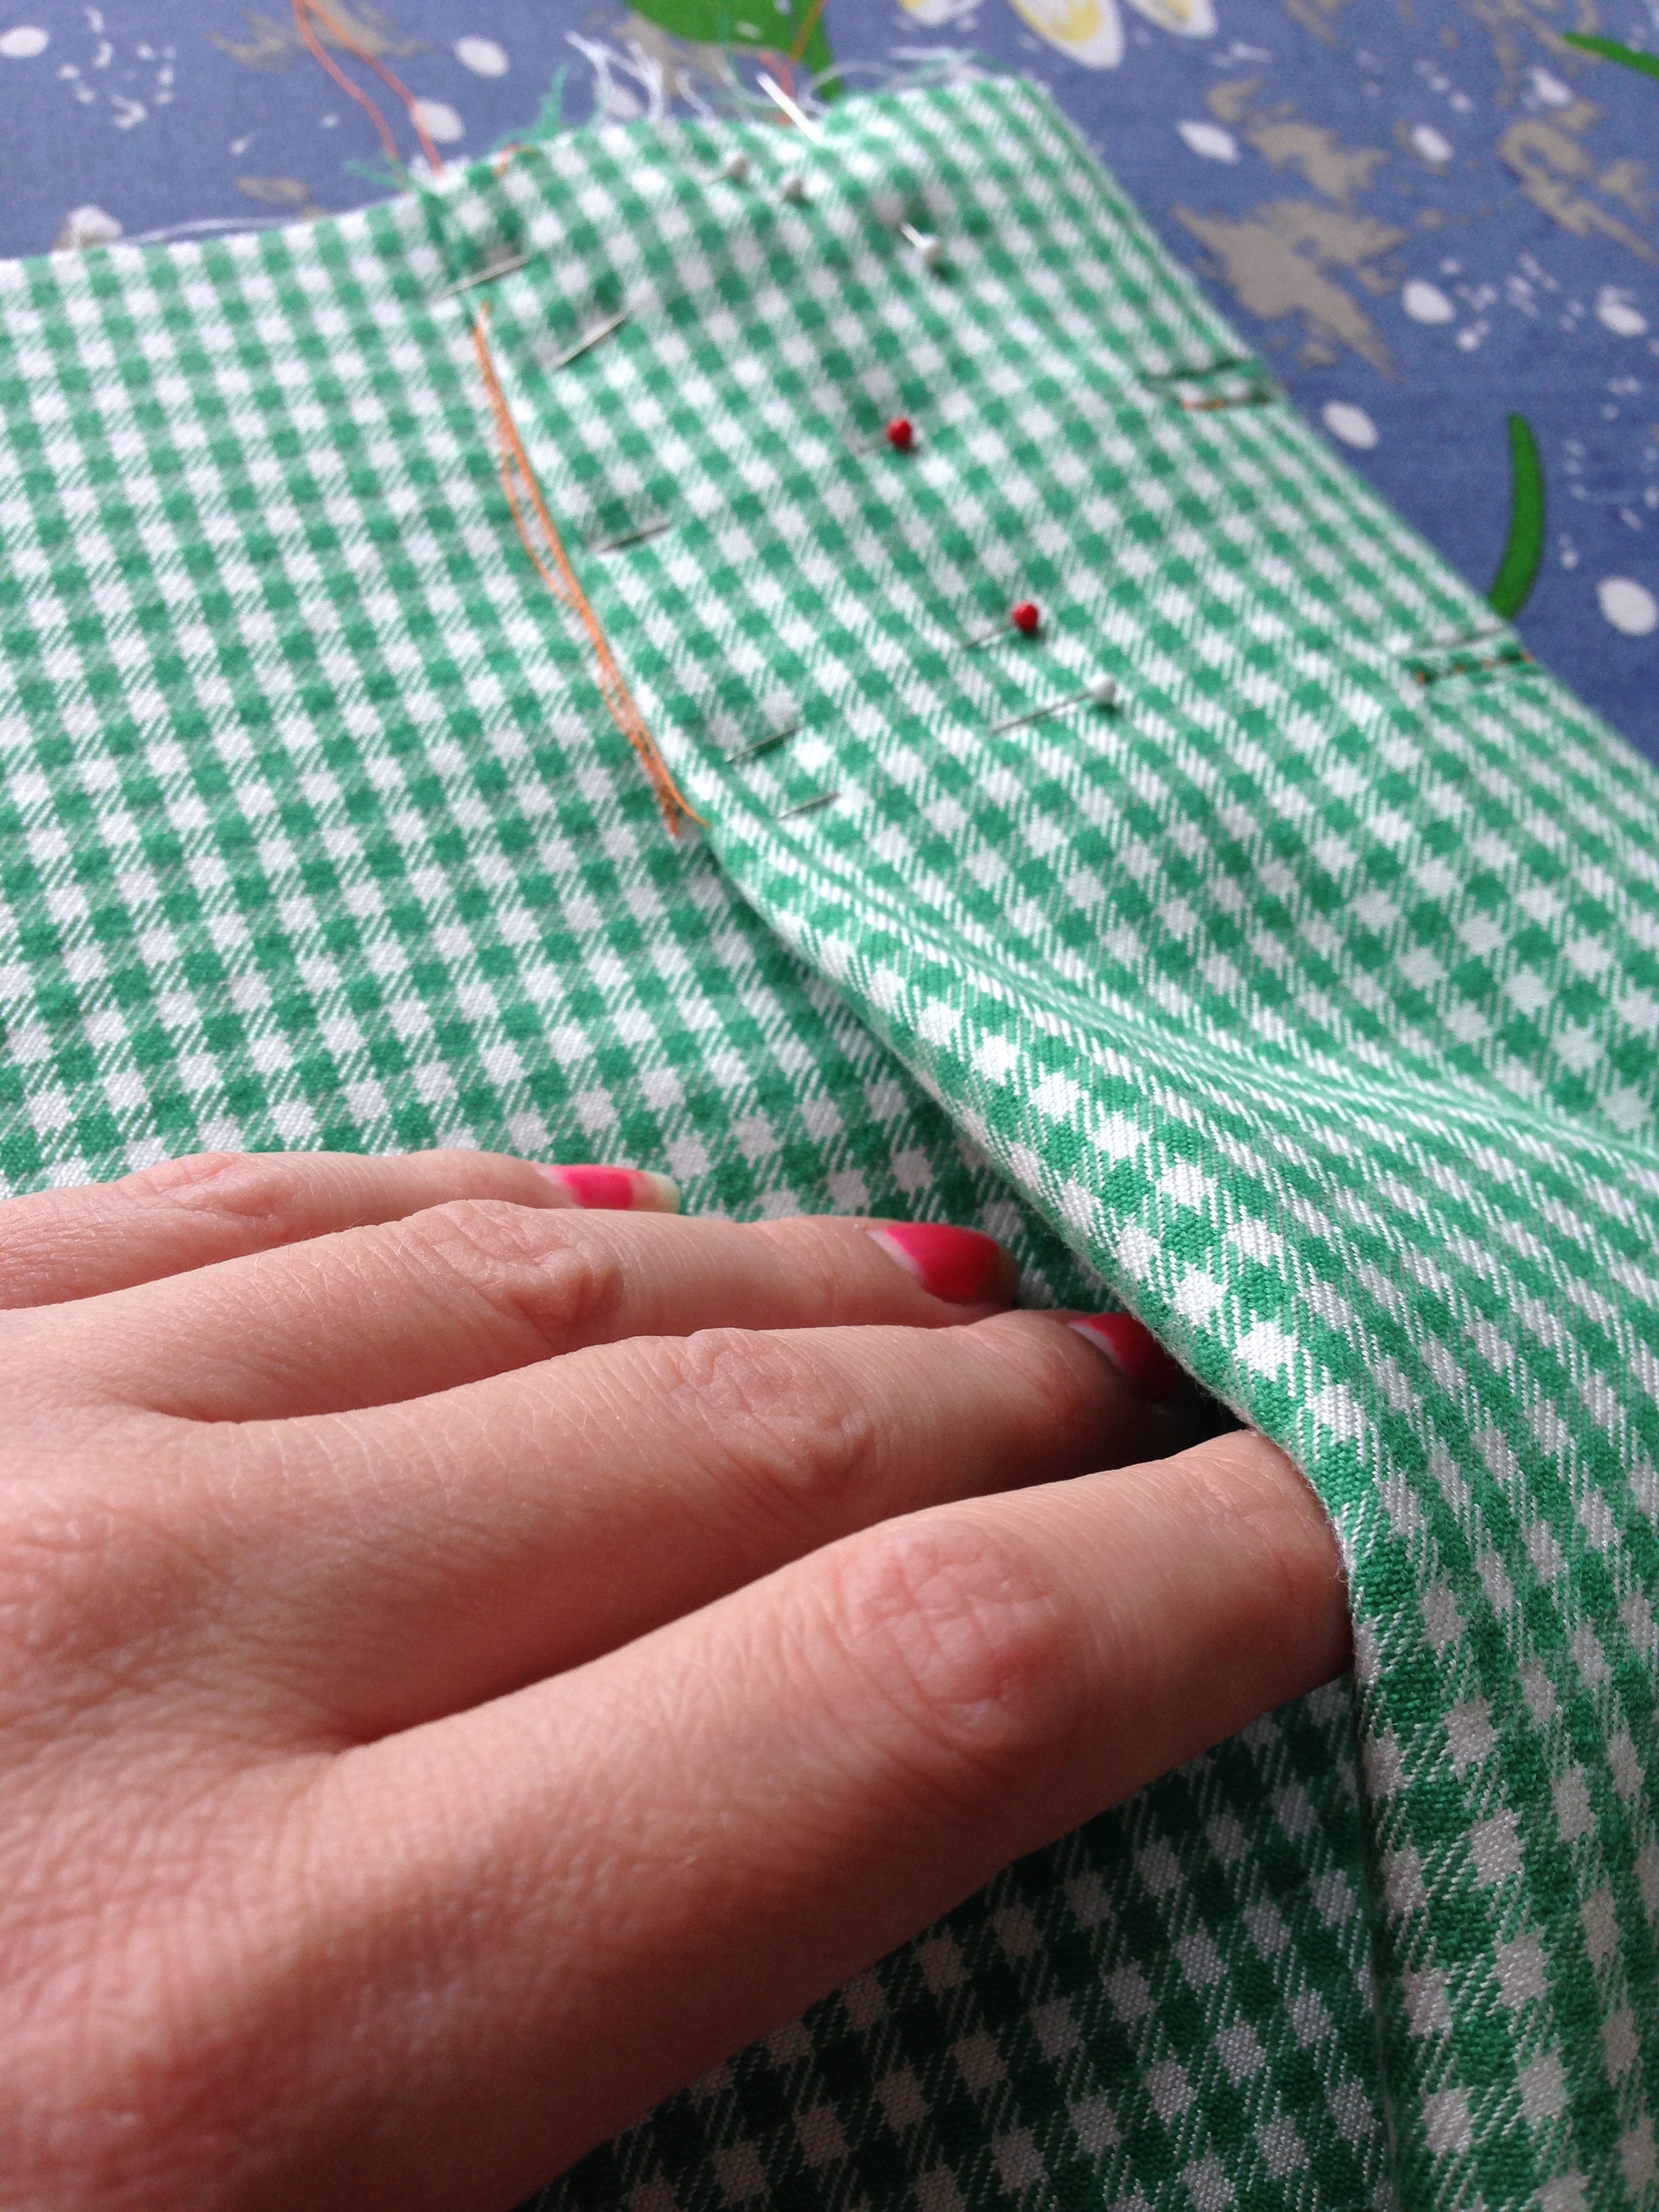
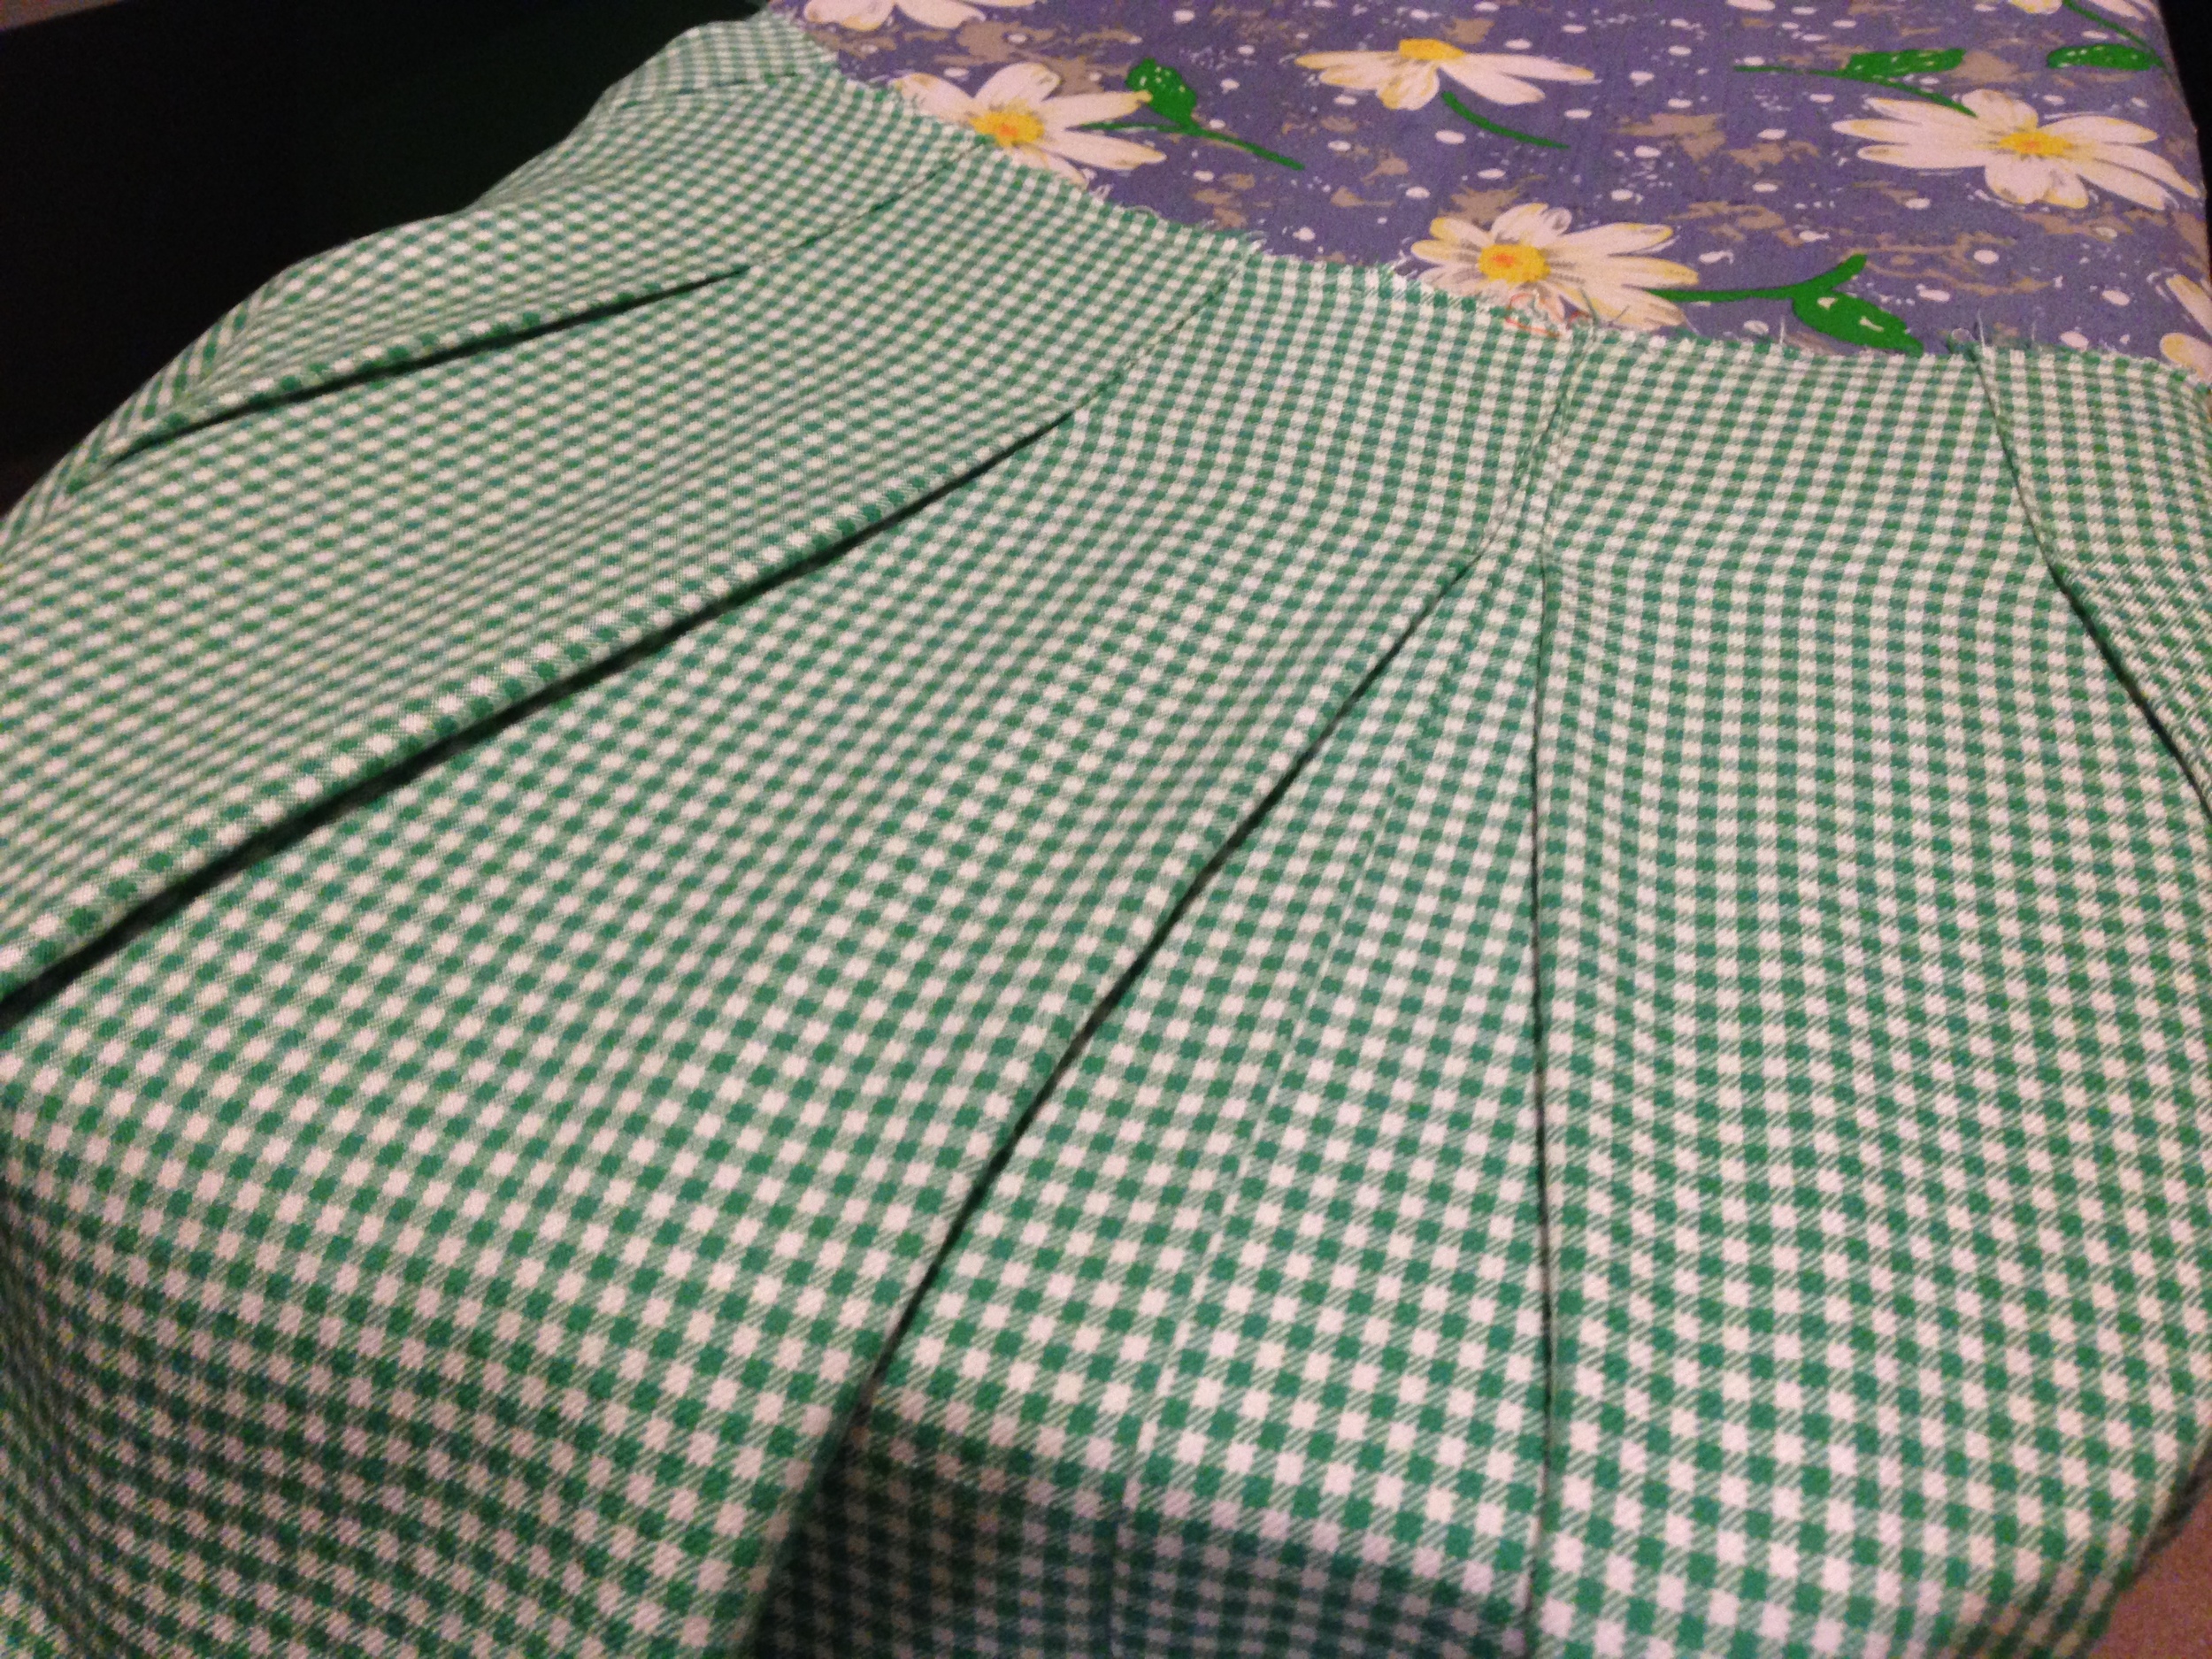
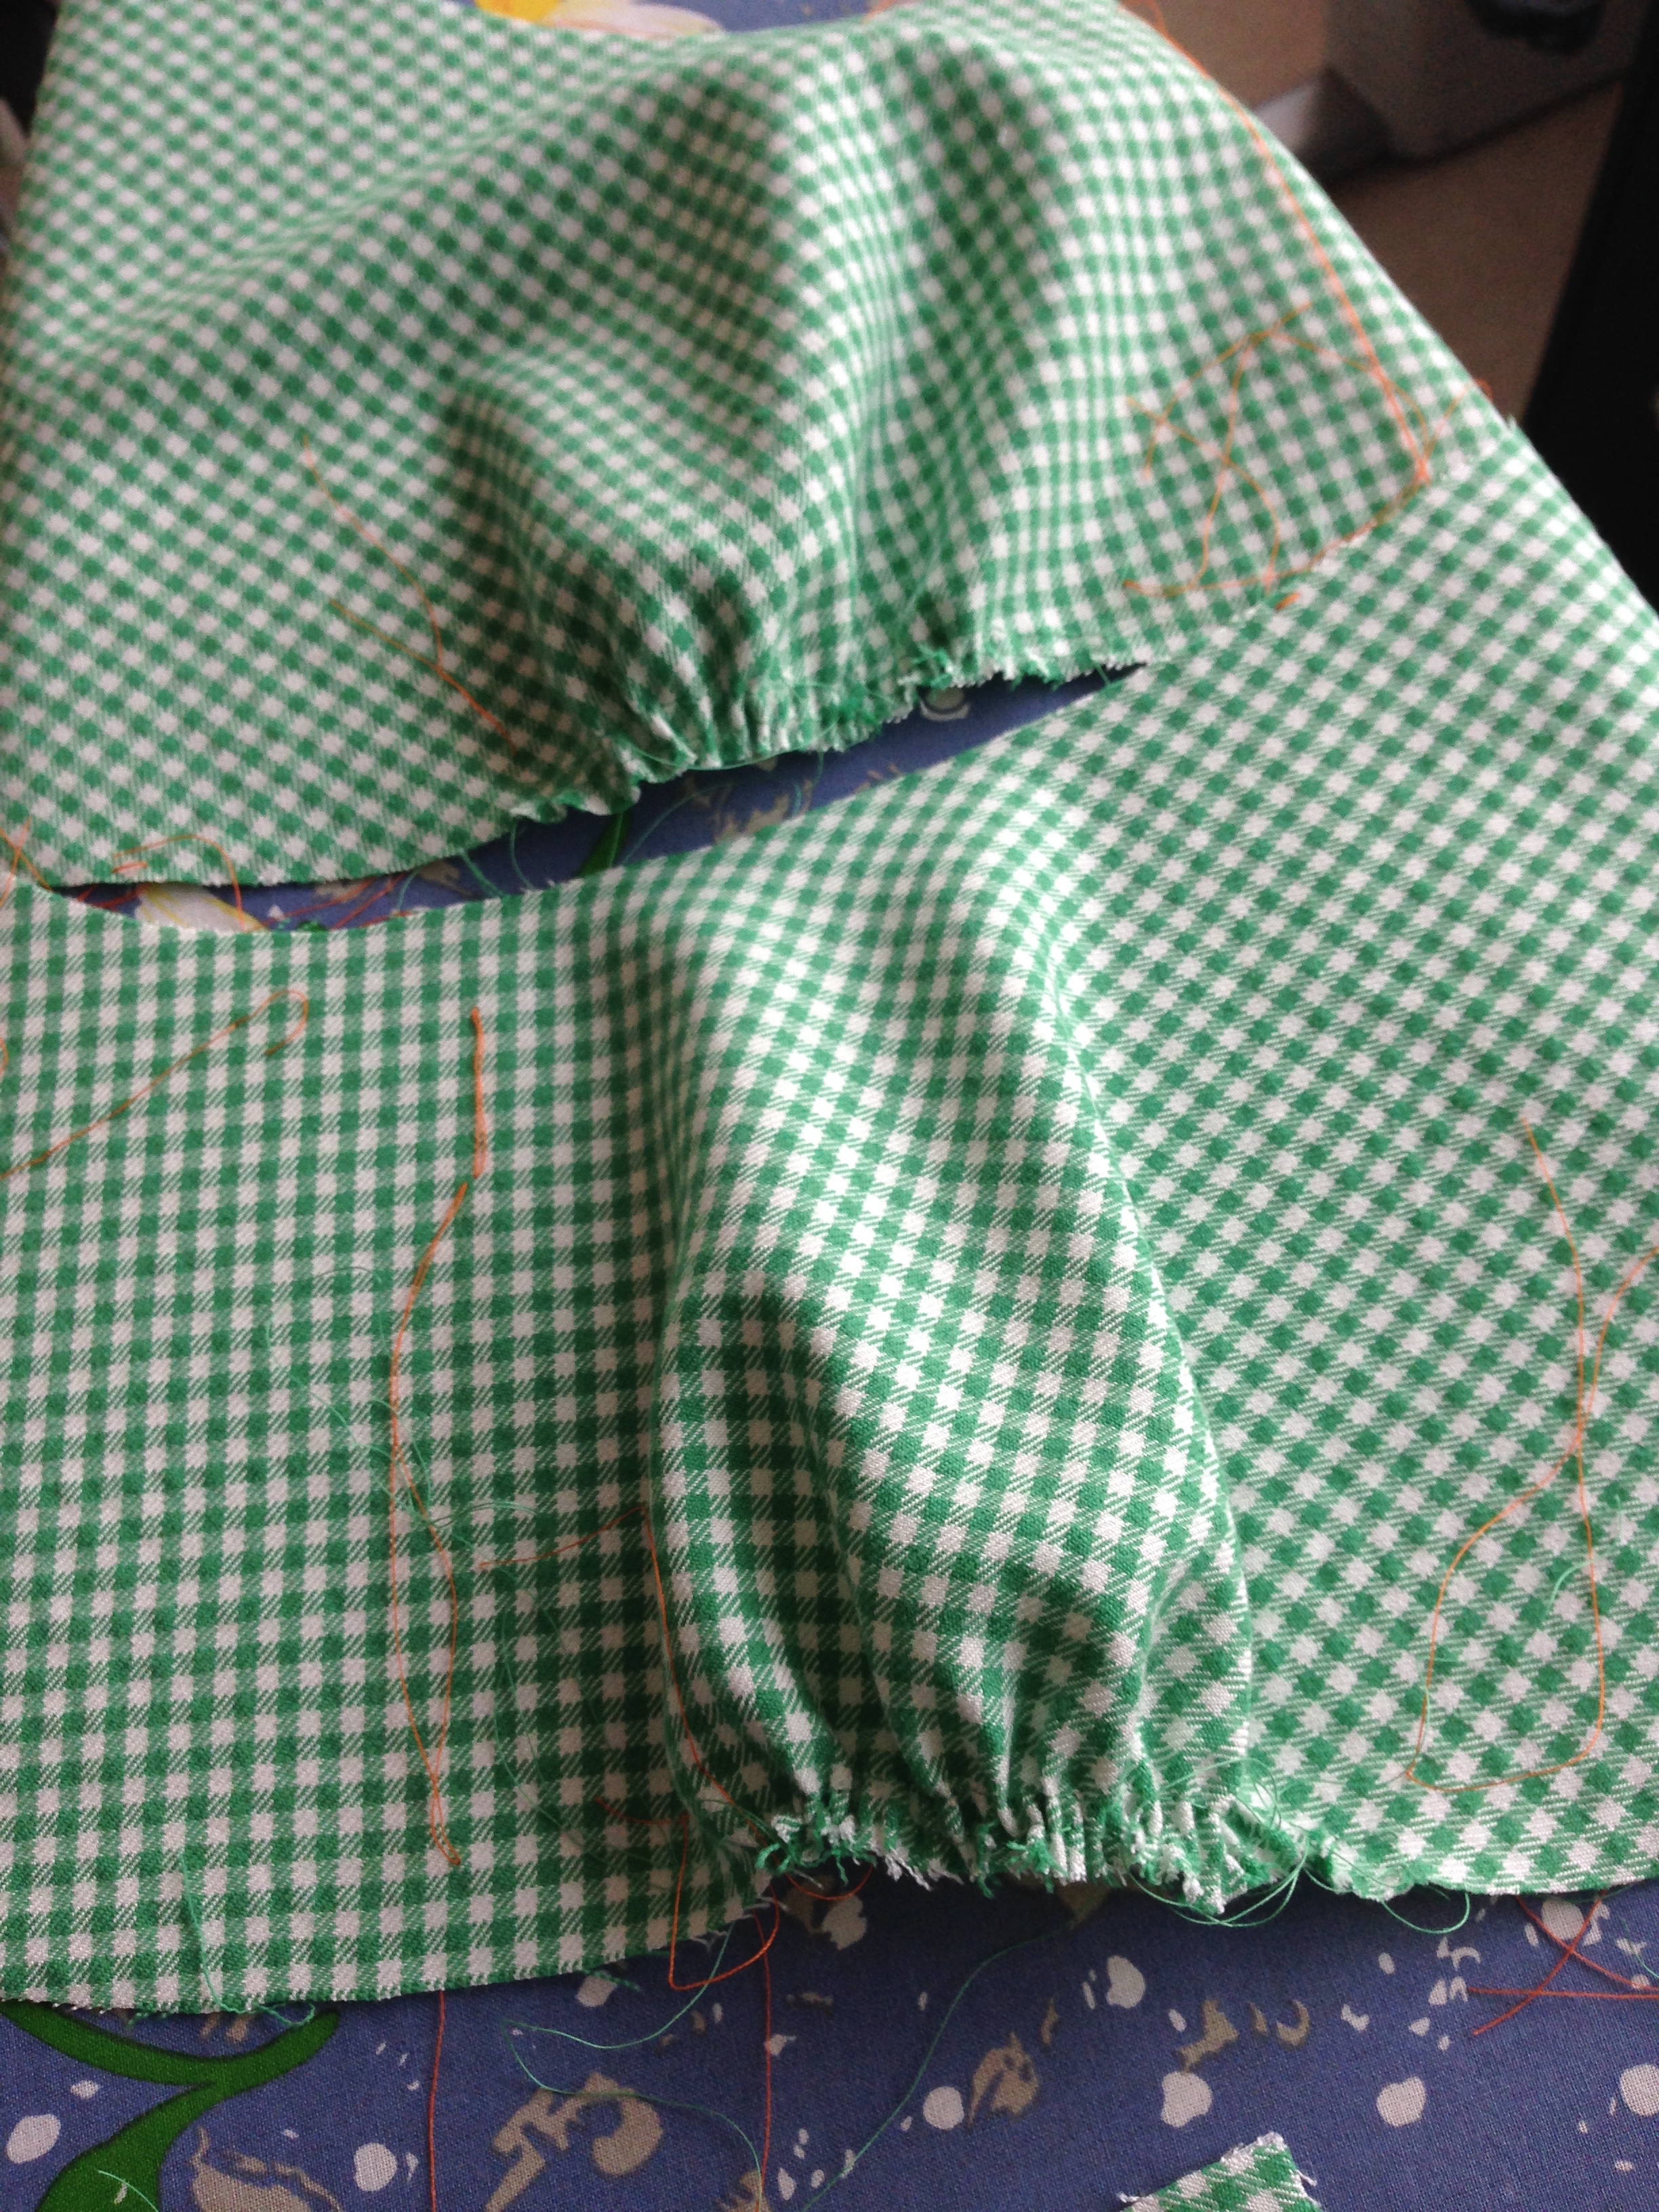
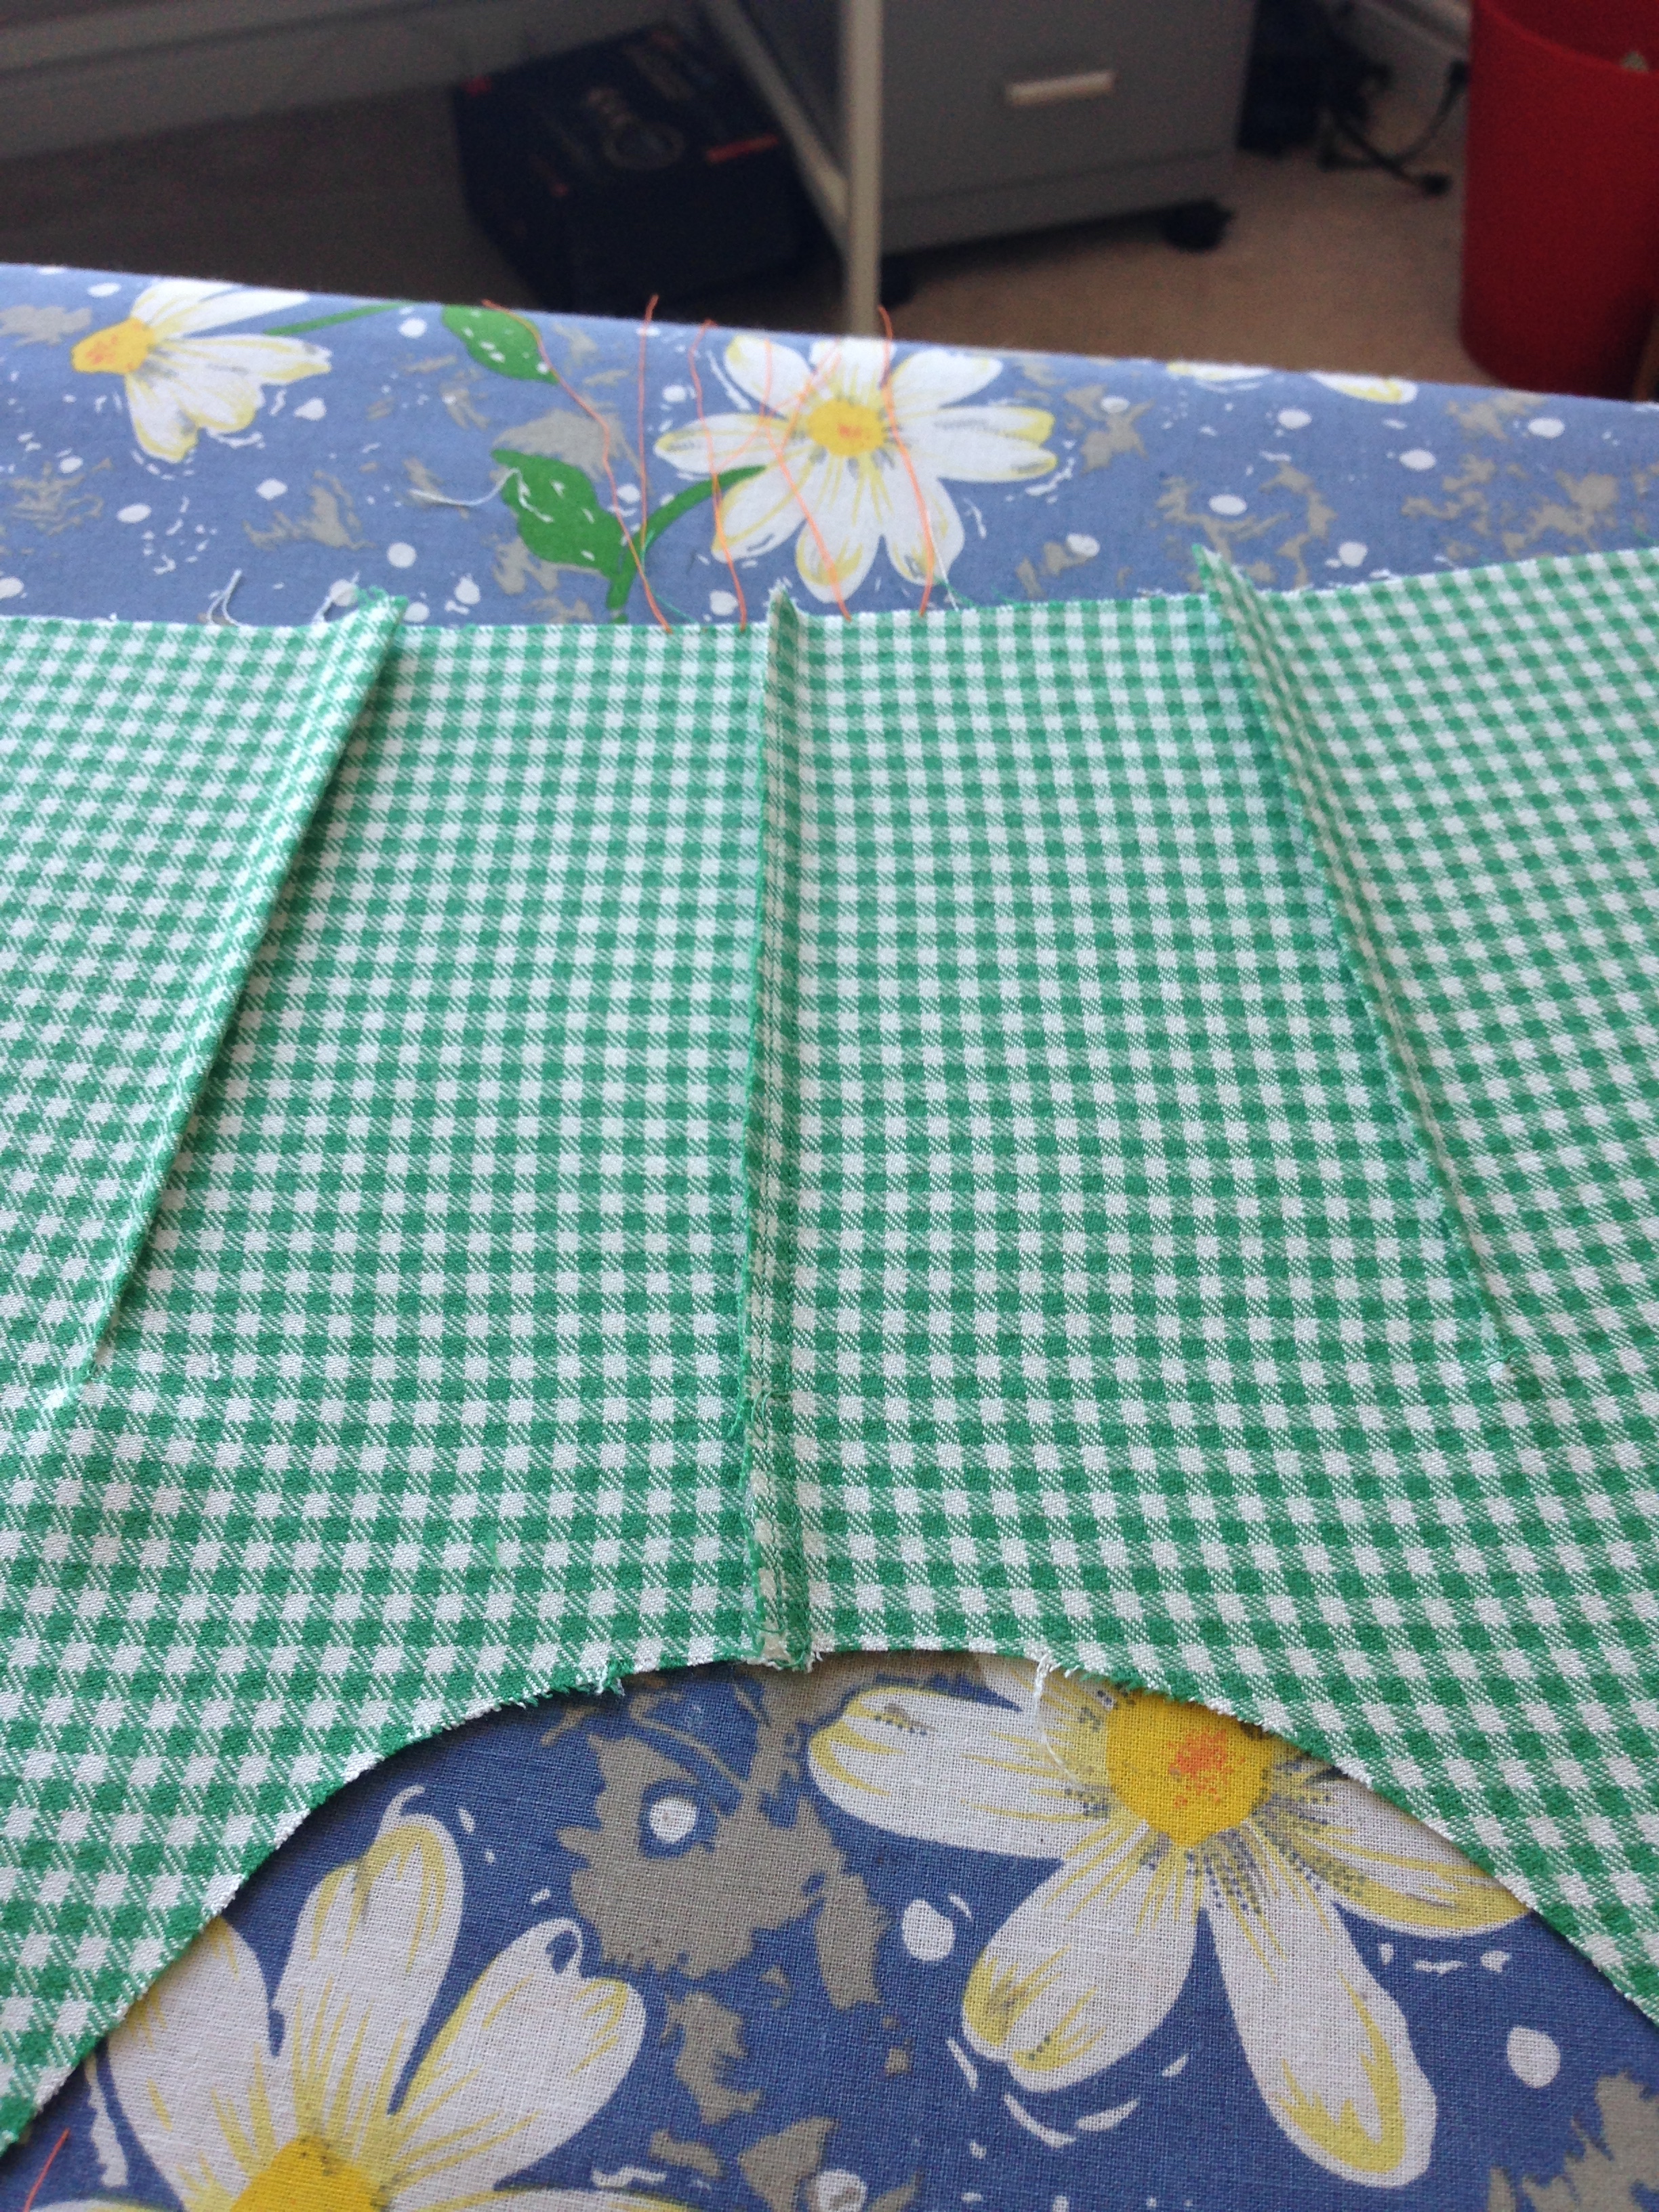
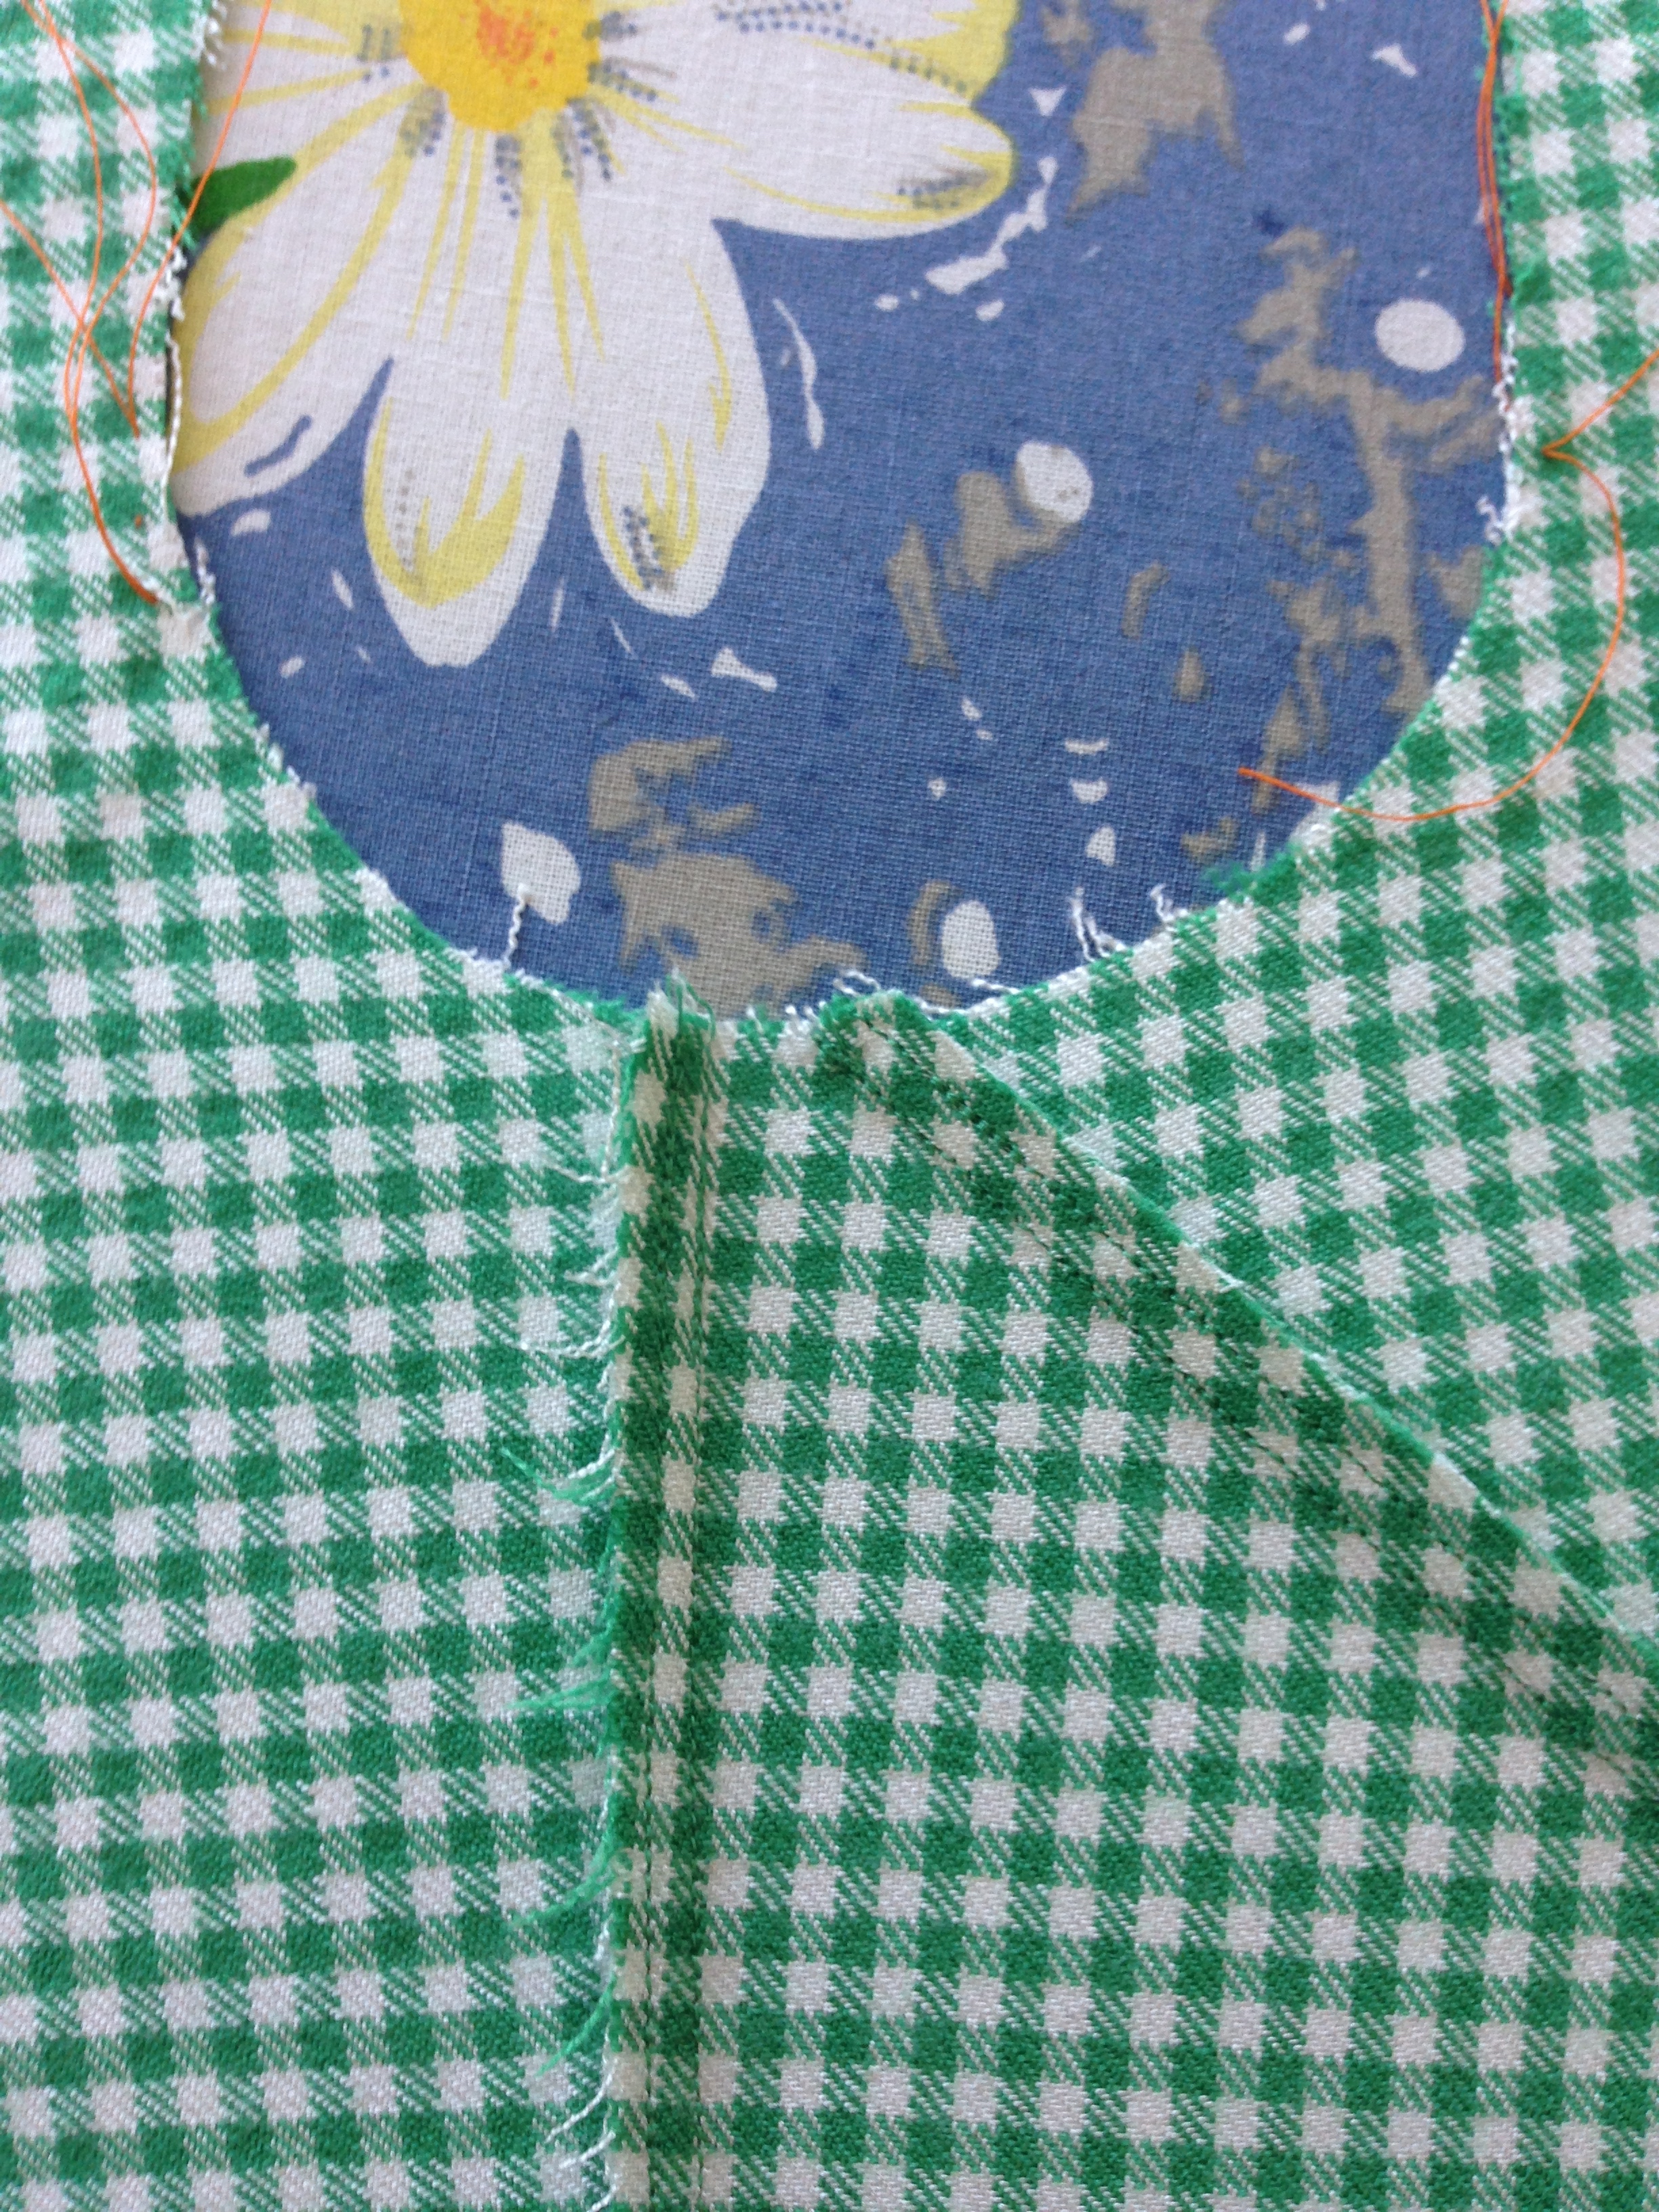
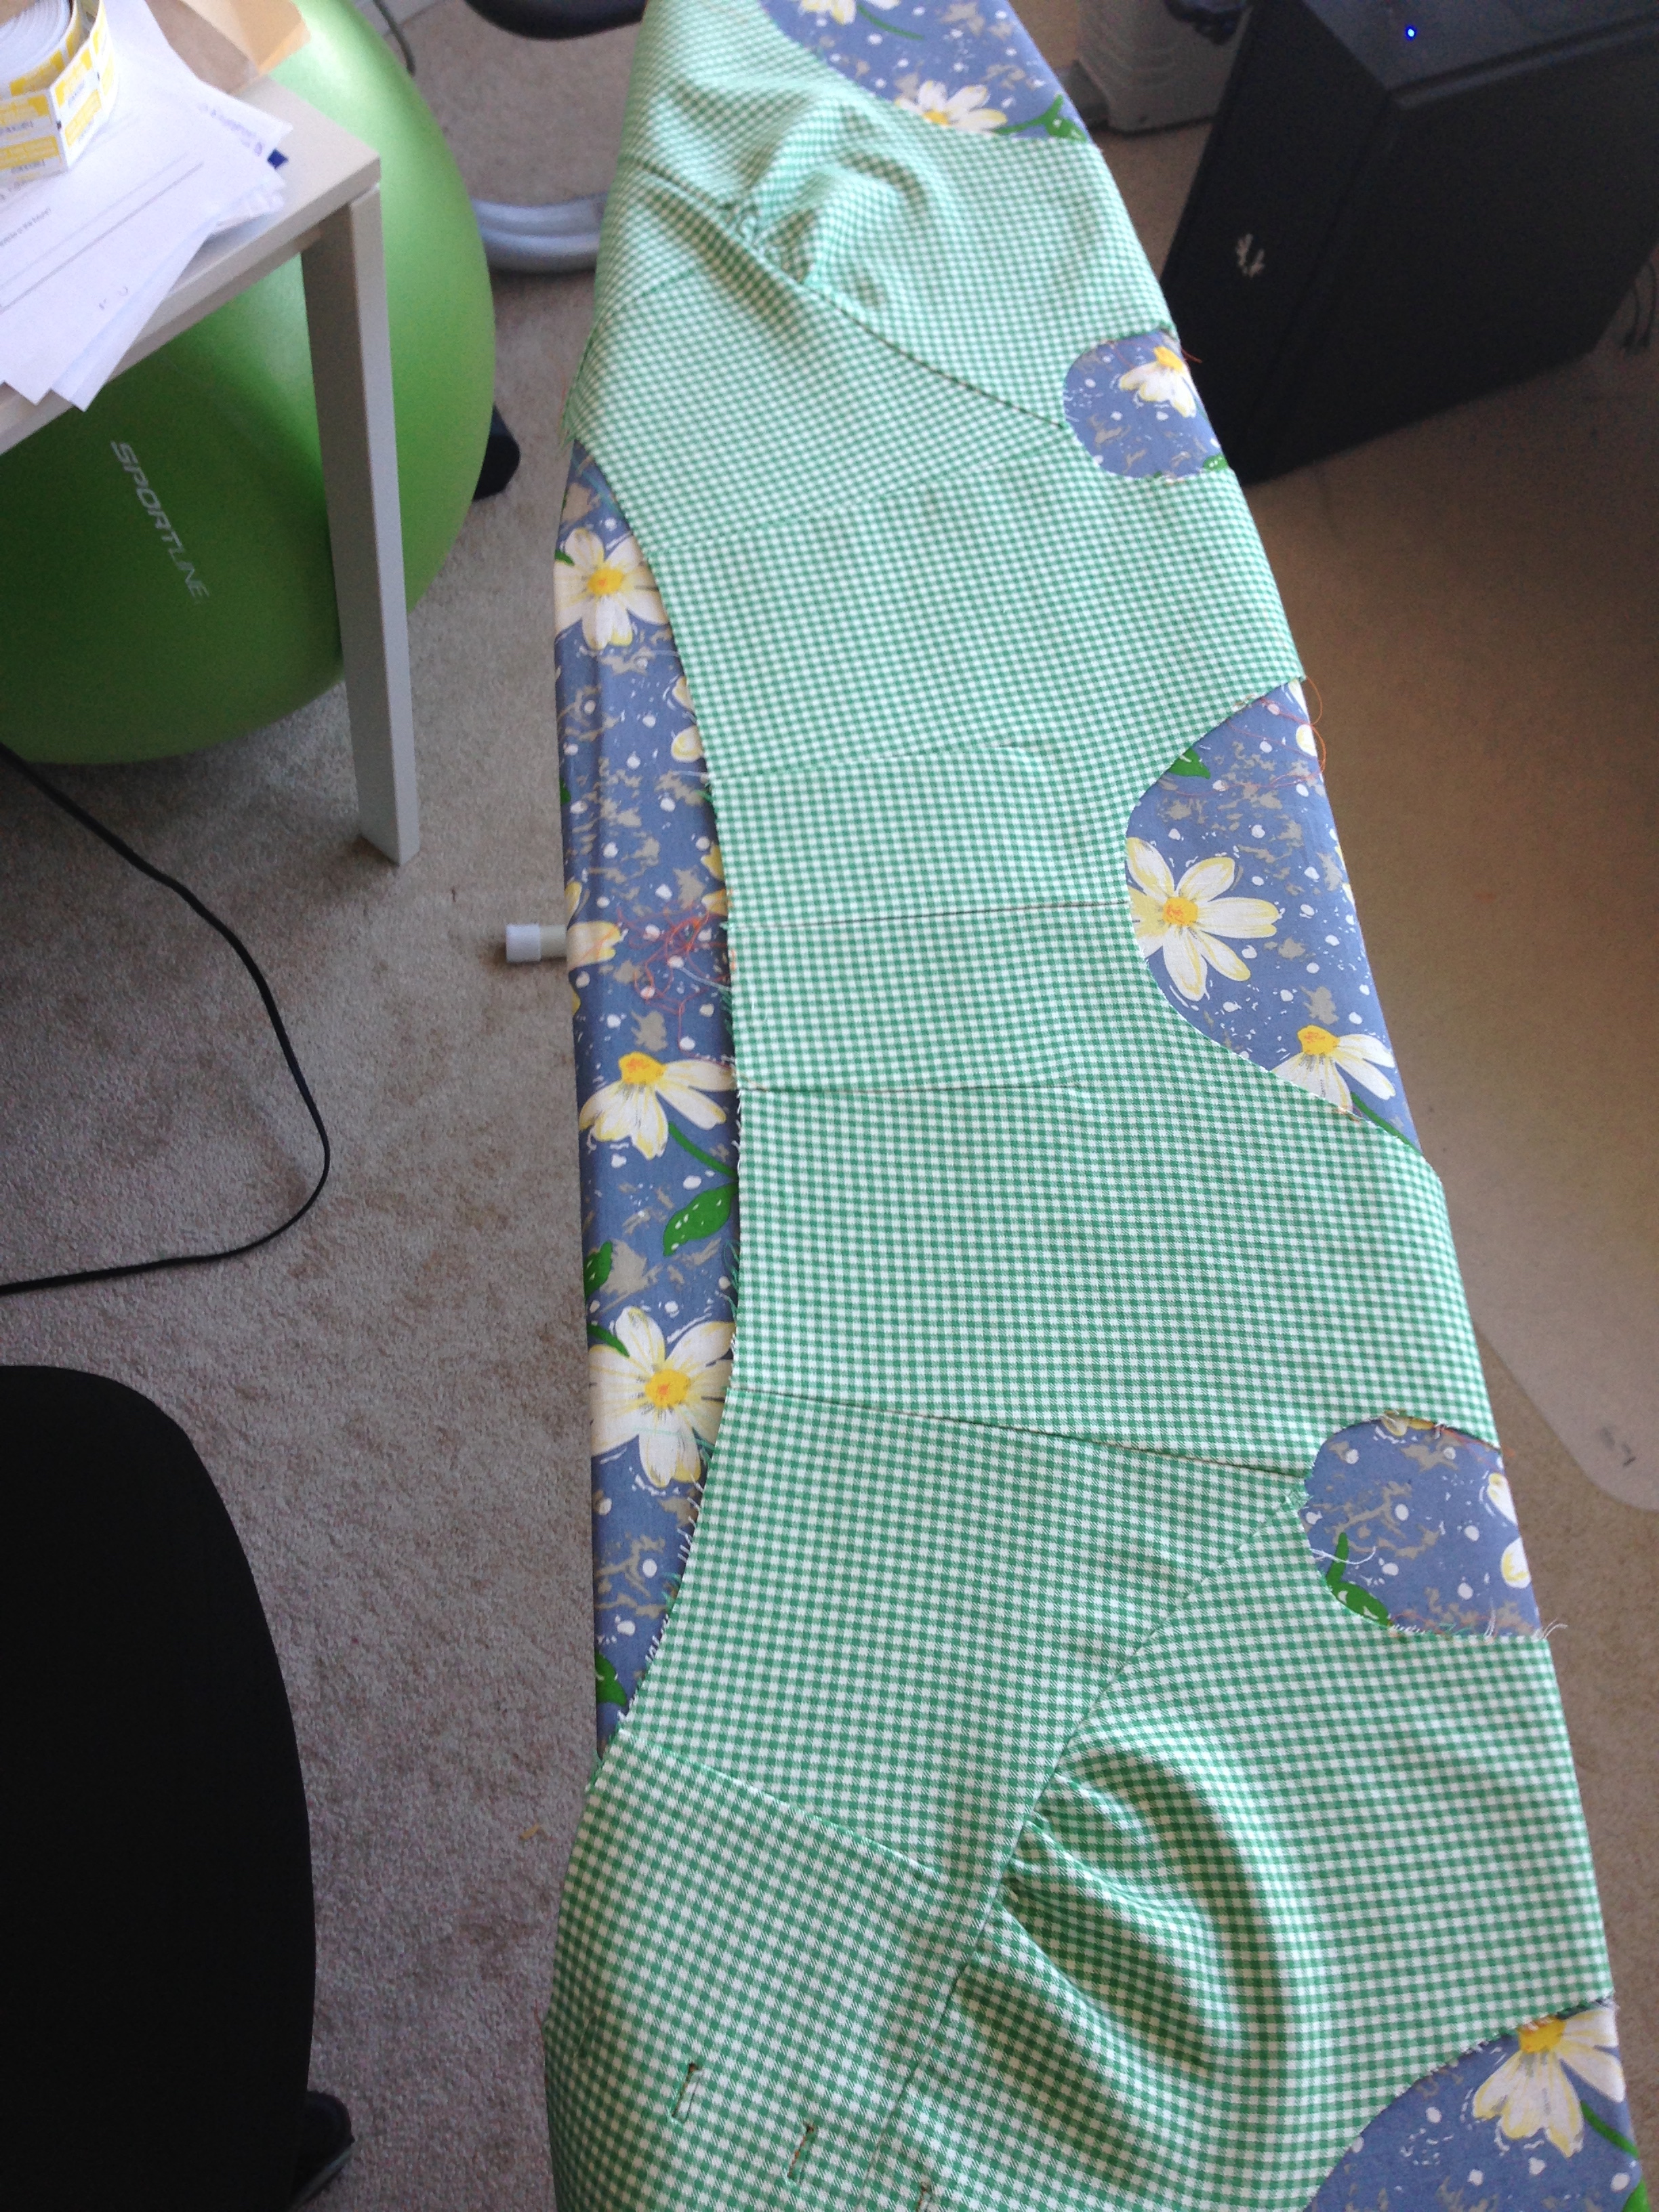
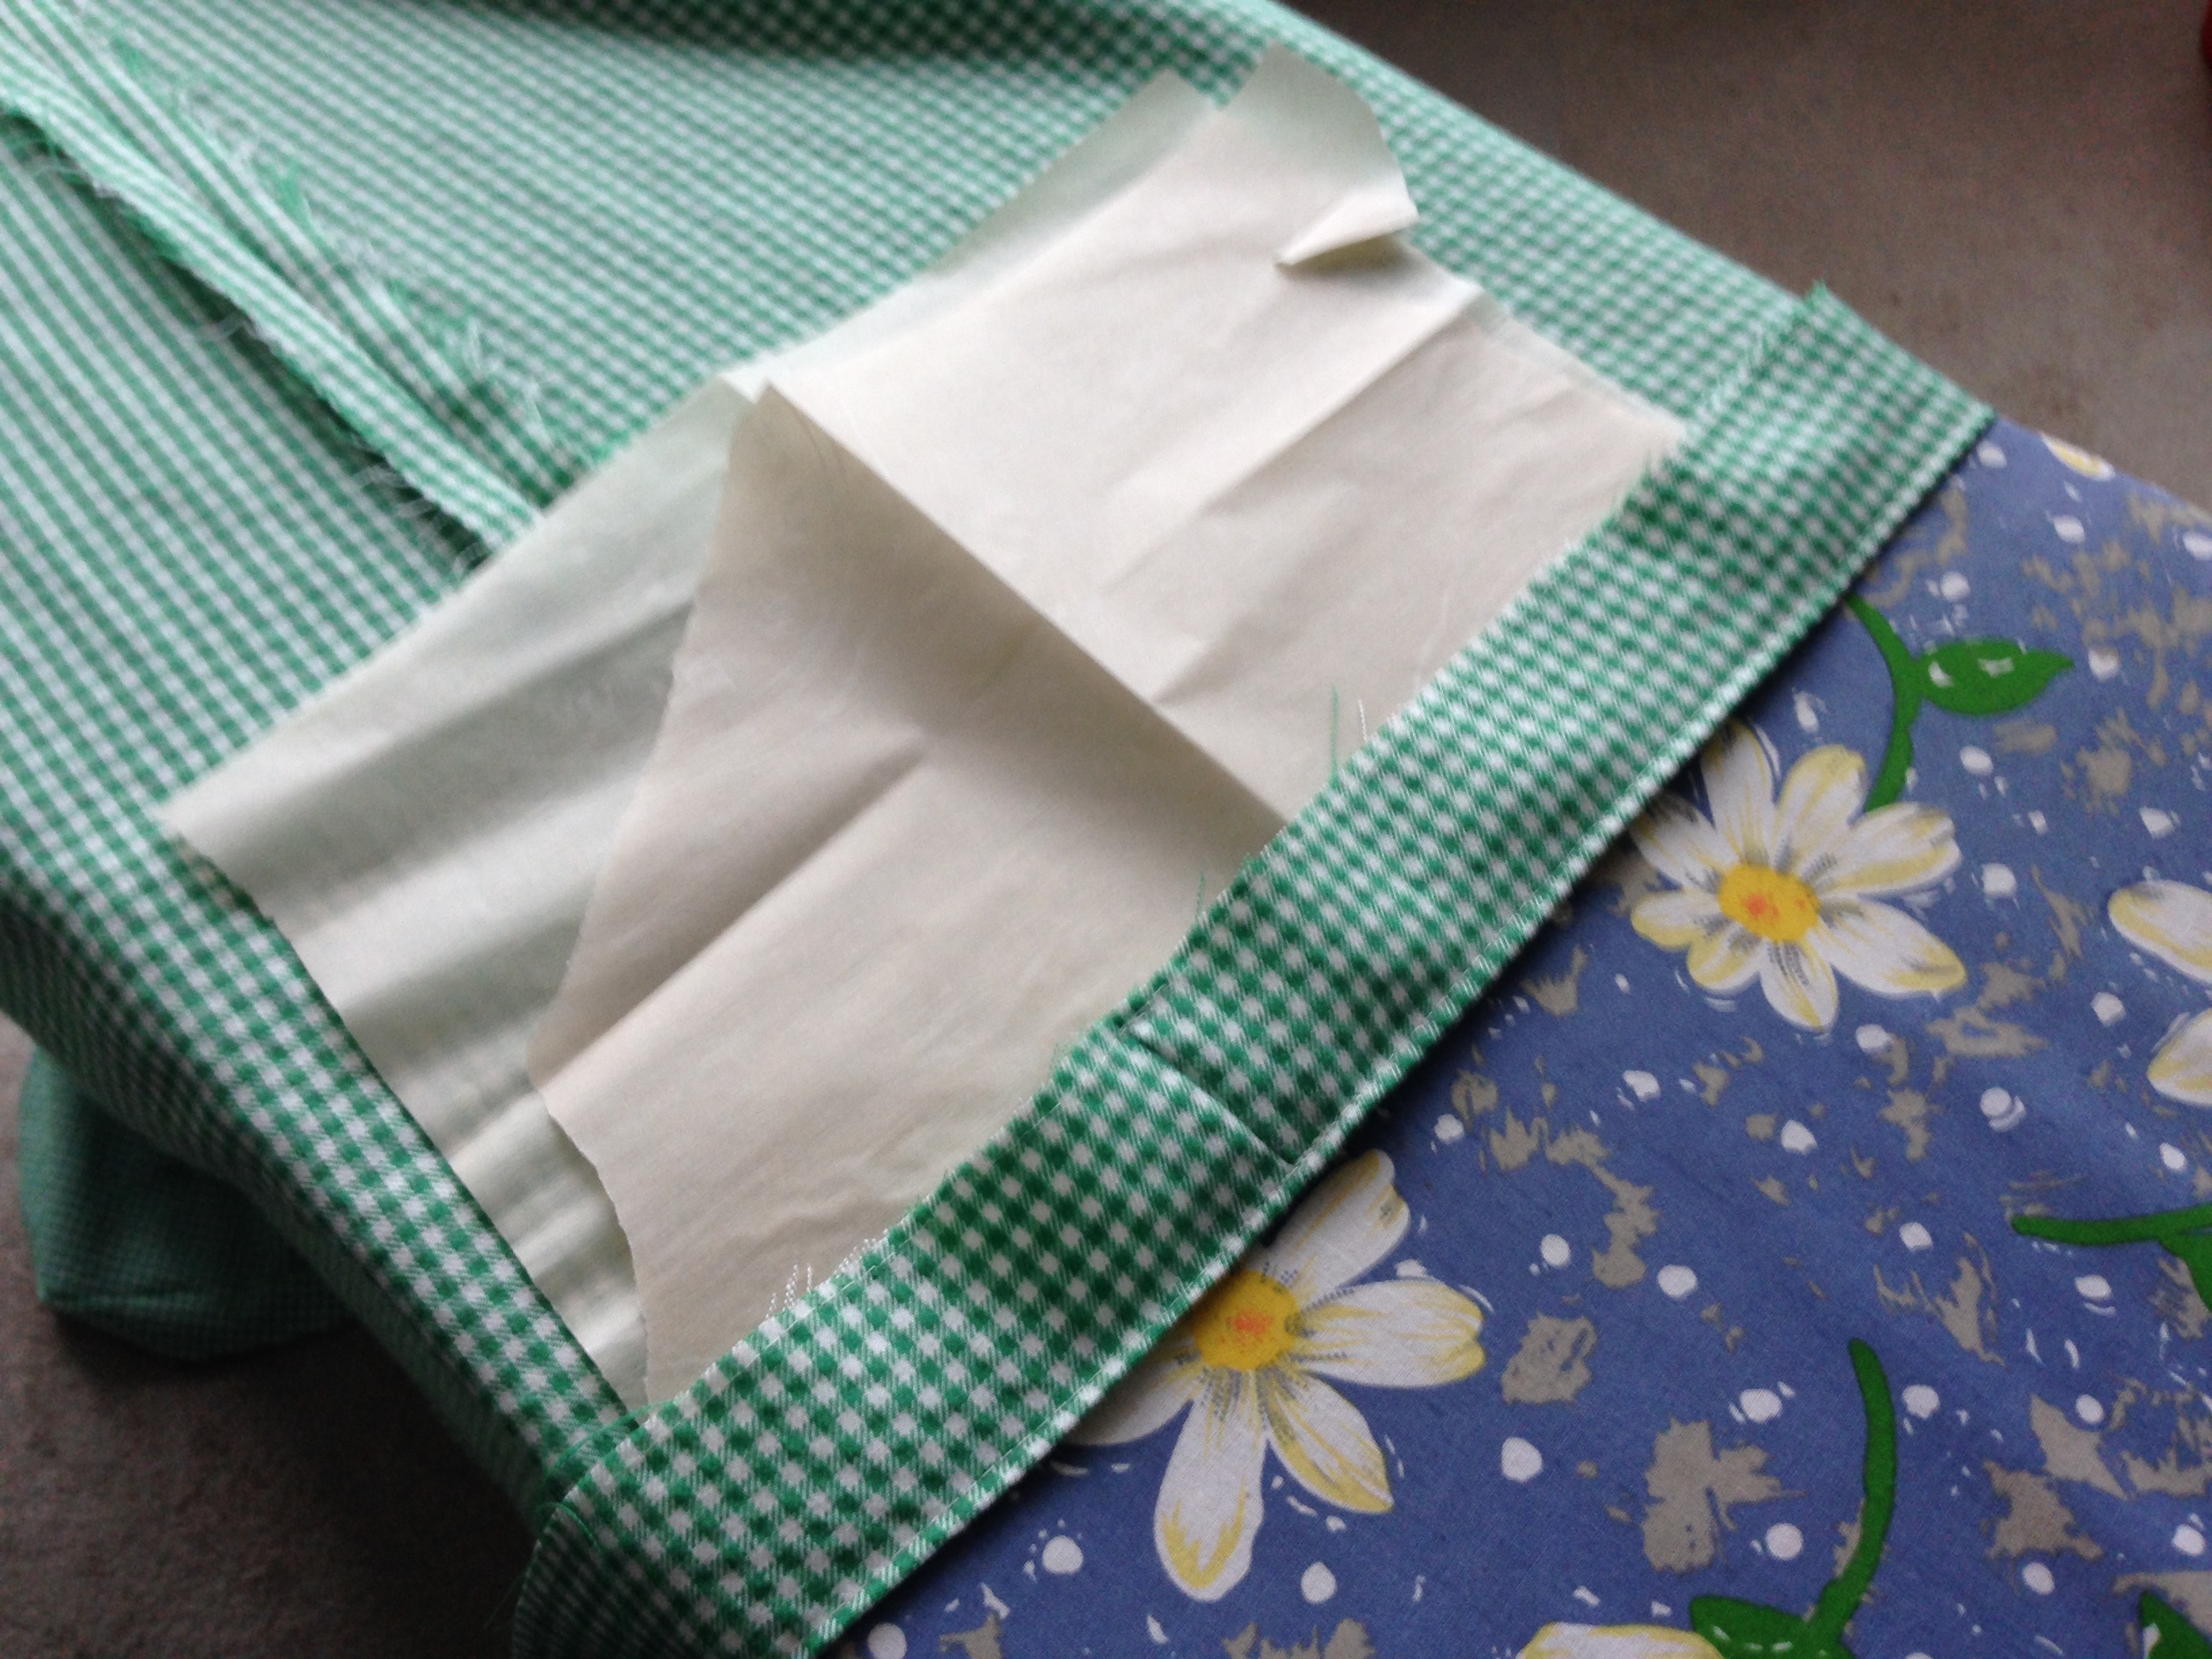
Next was the skirt. My favourite part! But actually. I love skirts. If wind didn't exist, I would wear skirts everyday. -She says, thinking about the global ramifications of a windless world on general ecosystems-
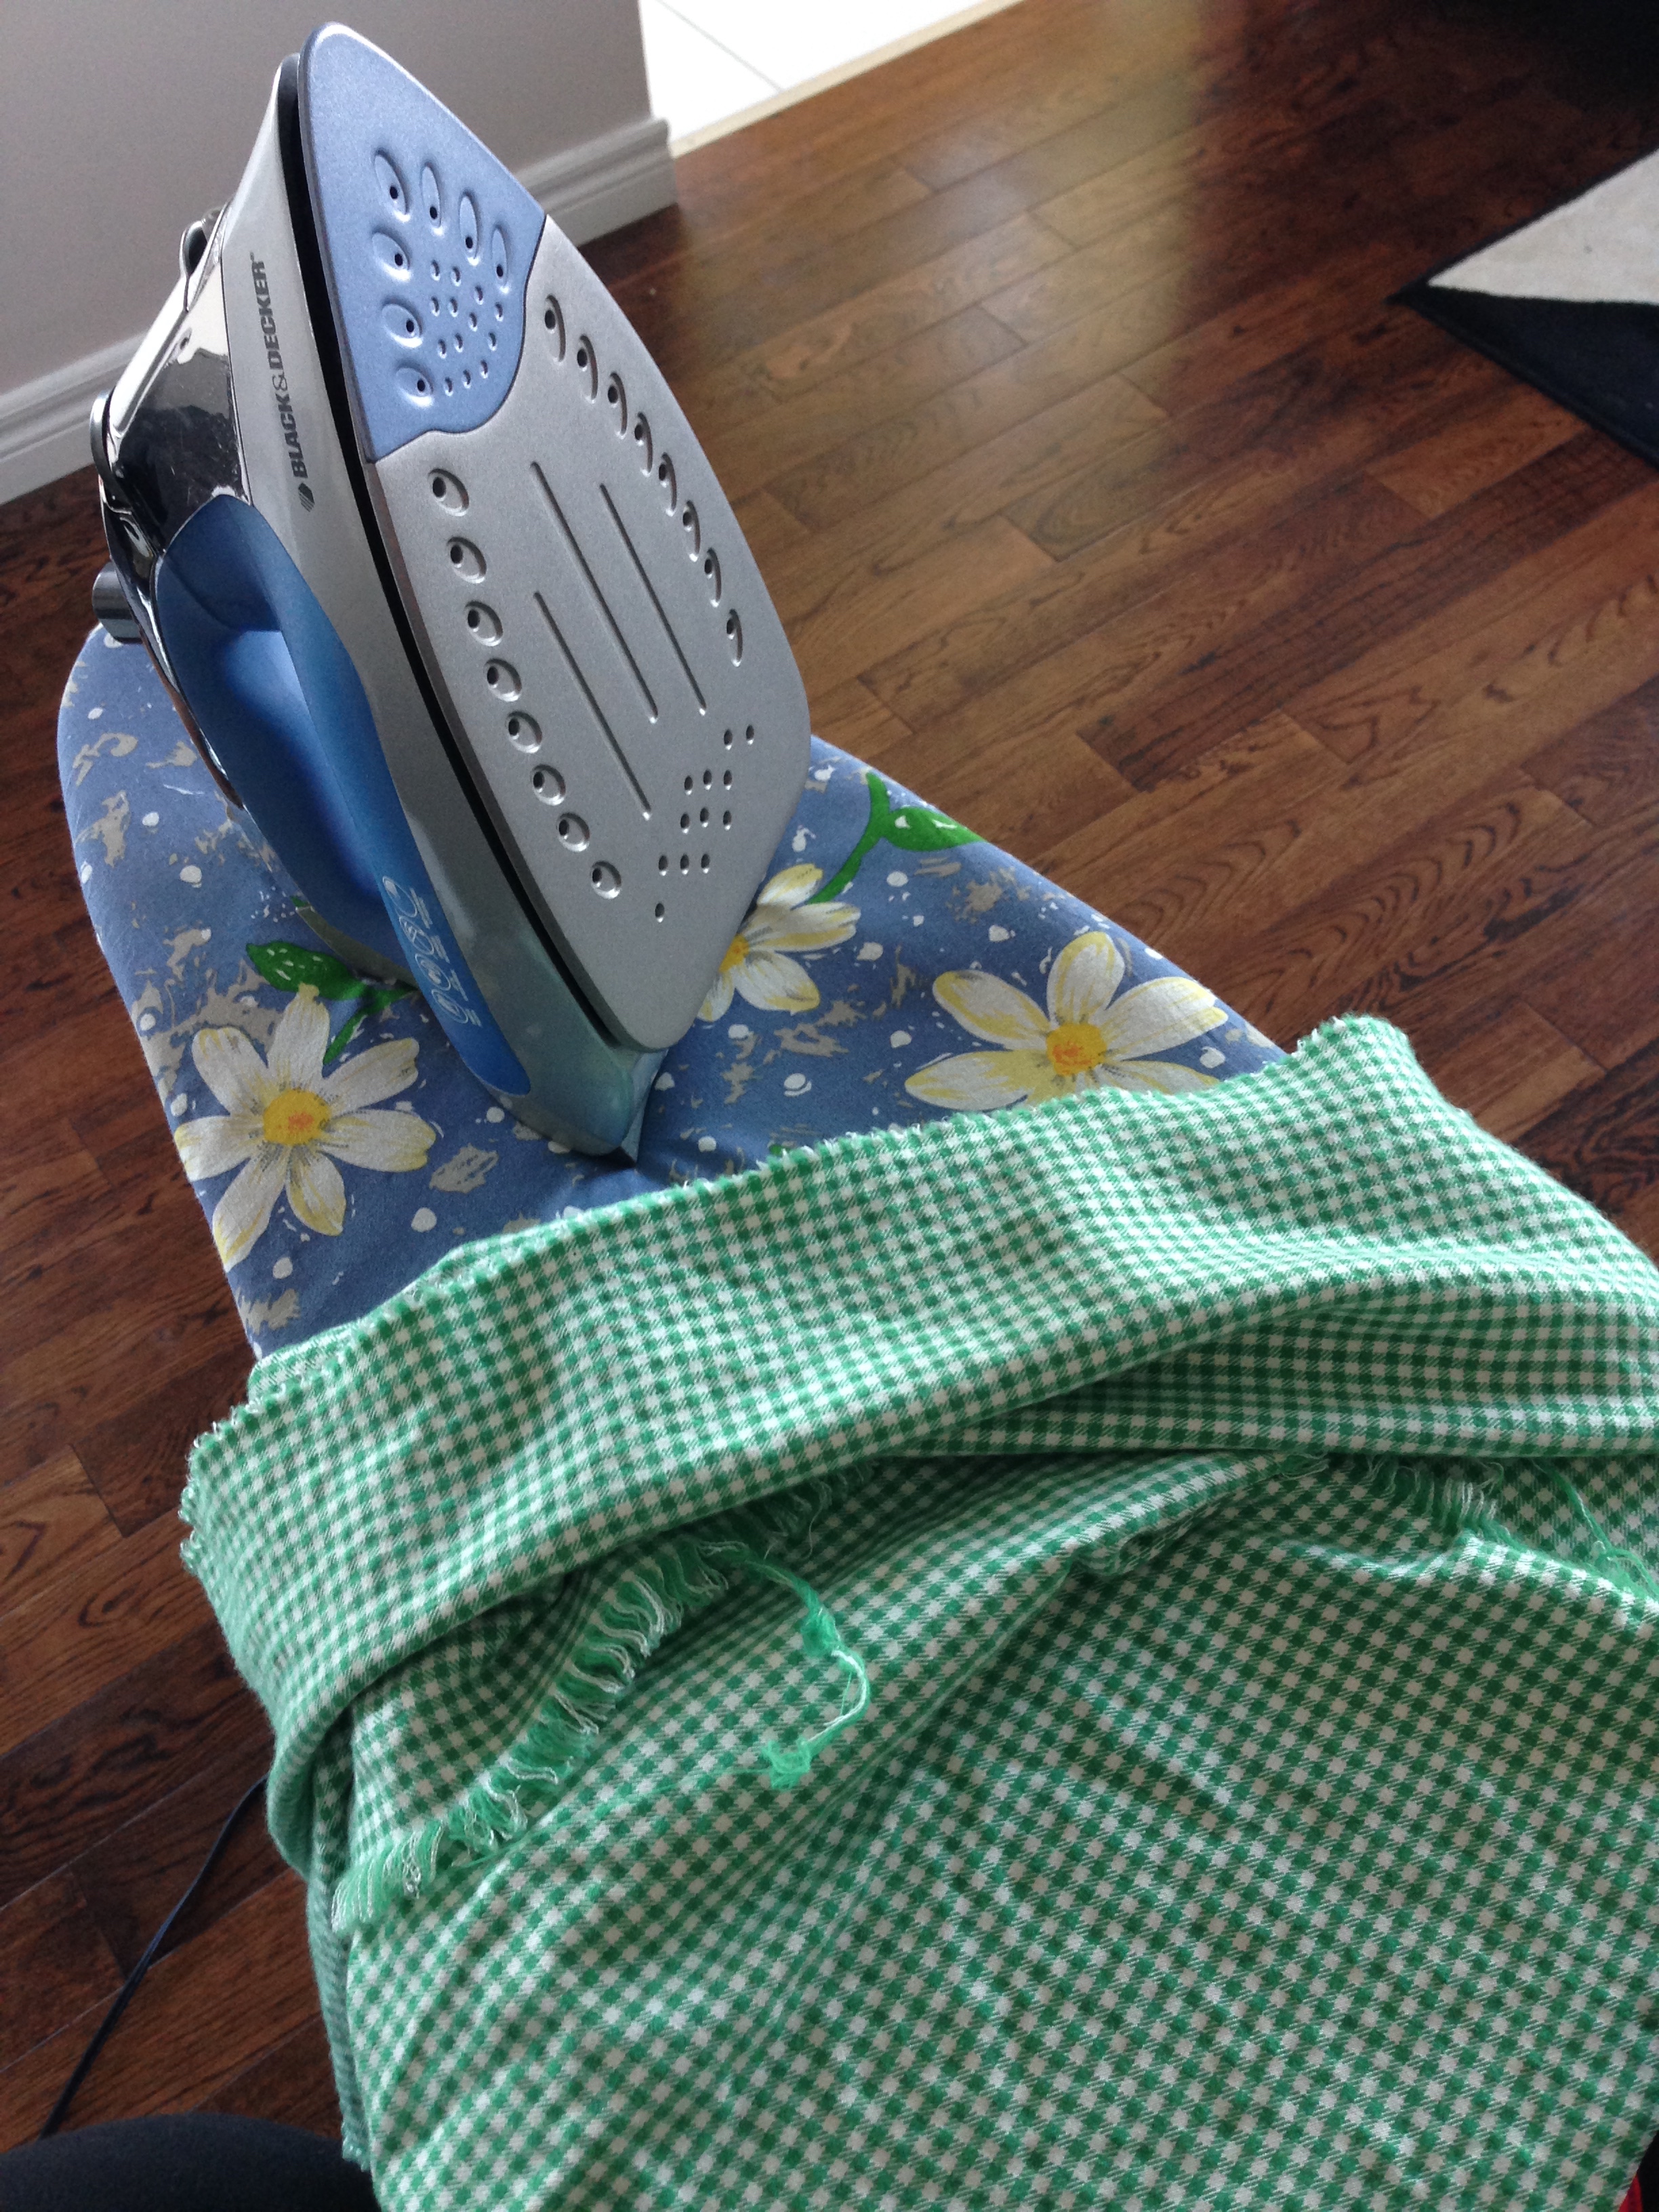
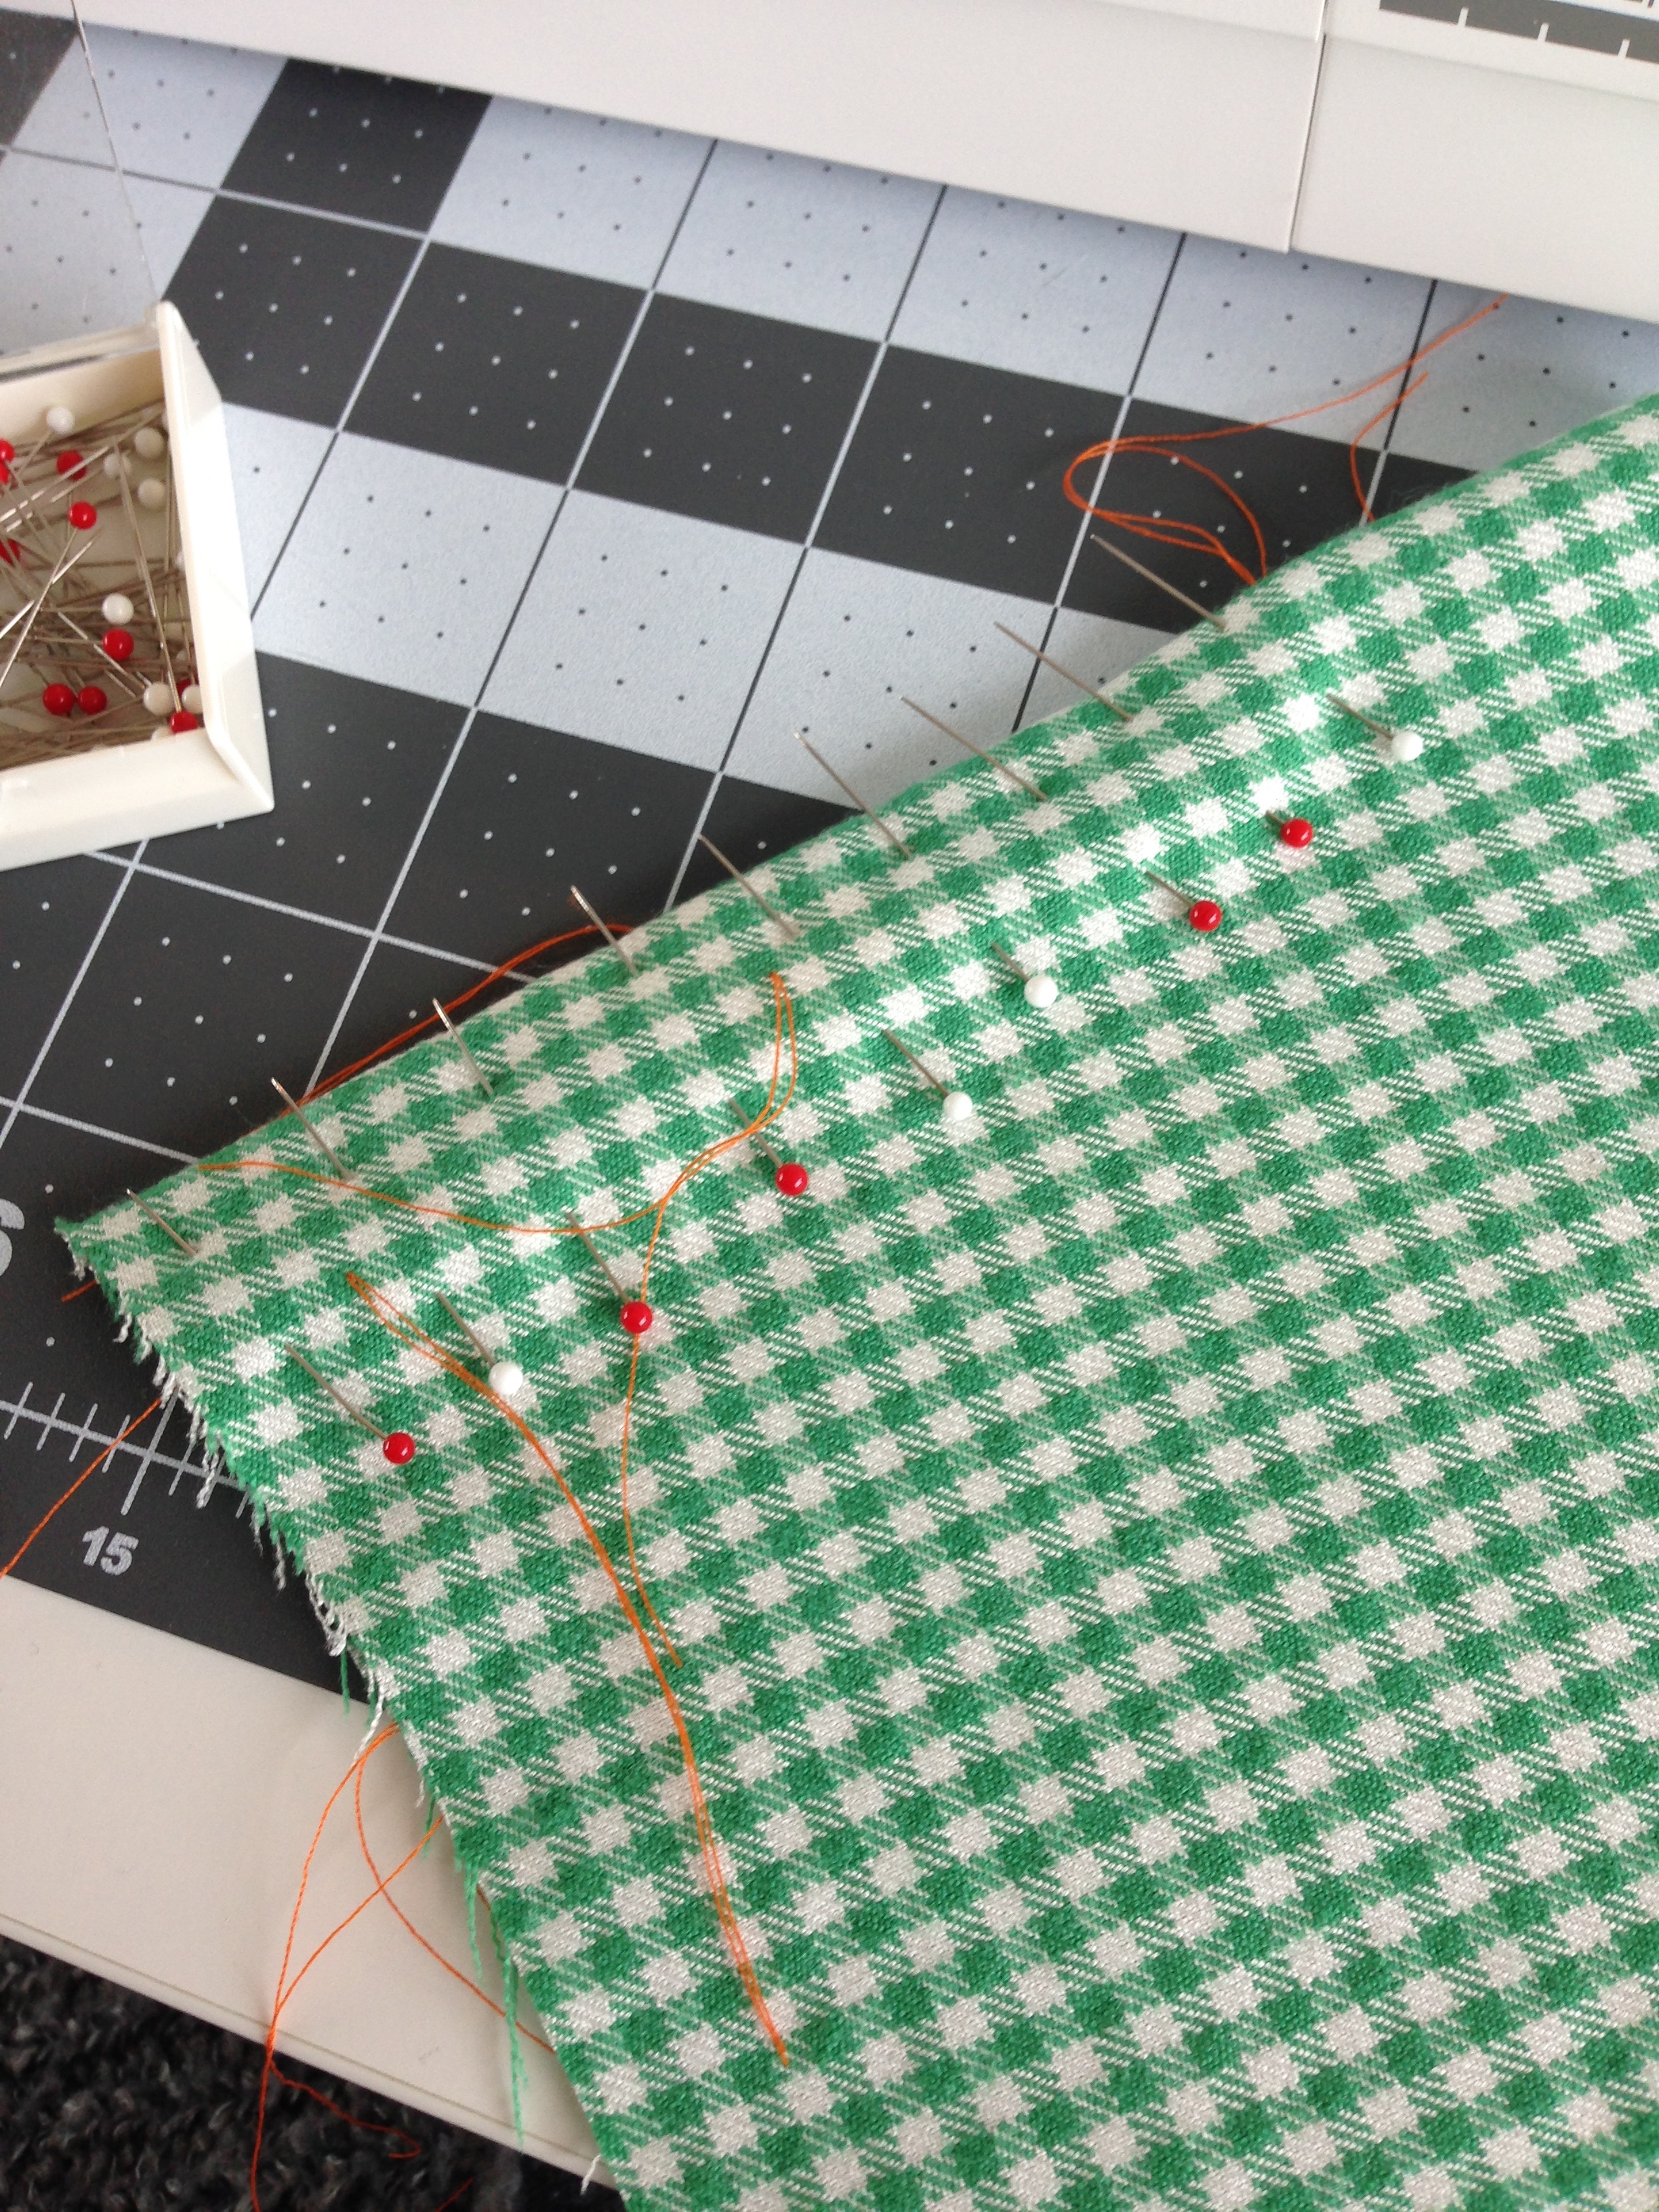
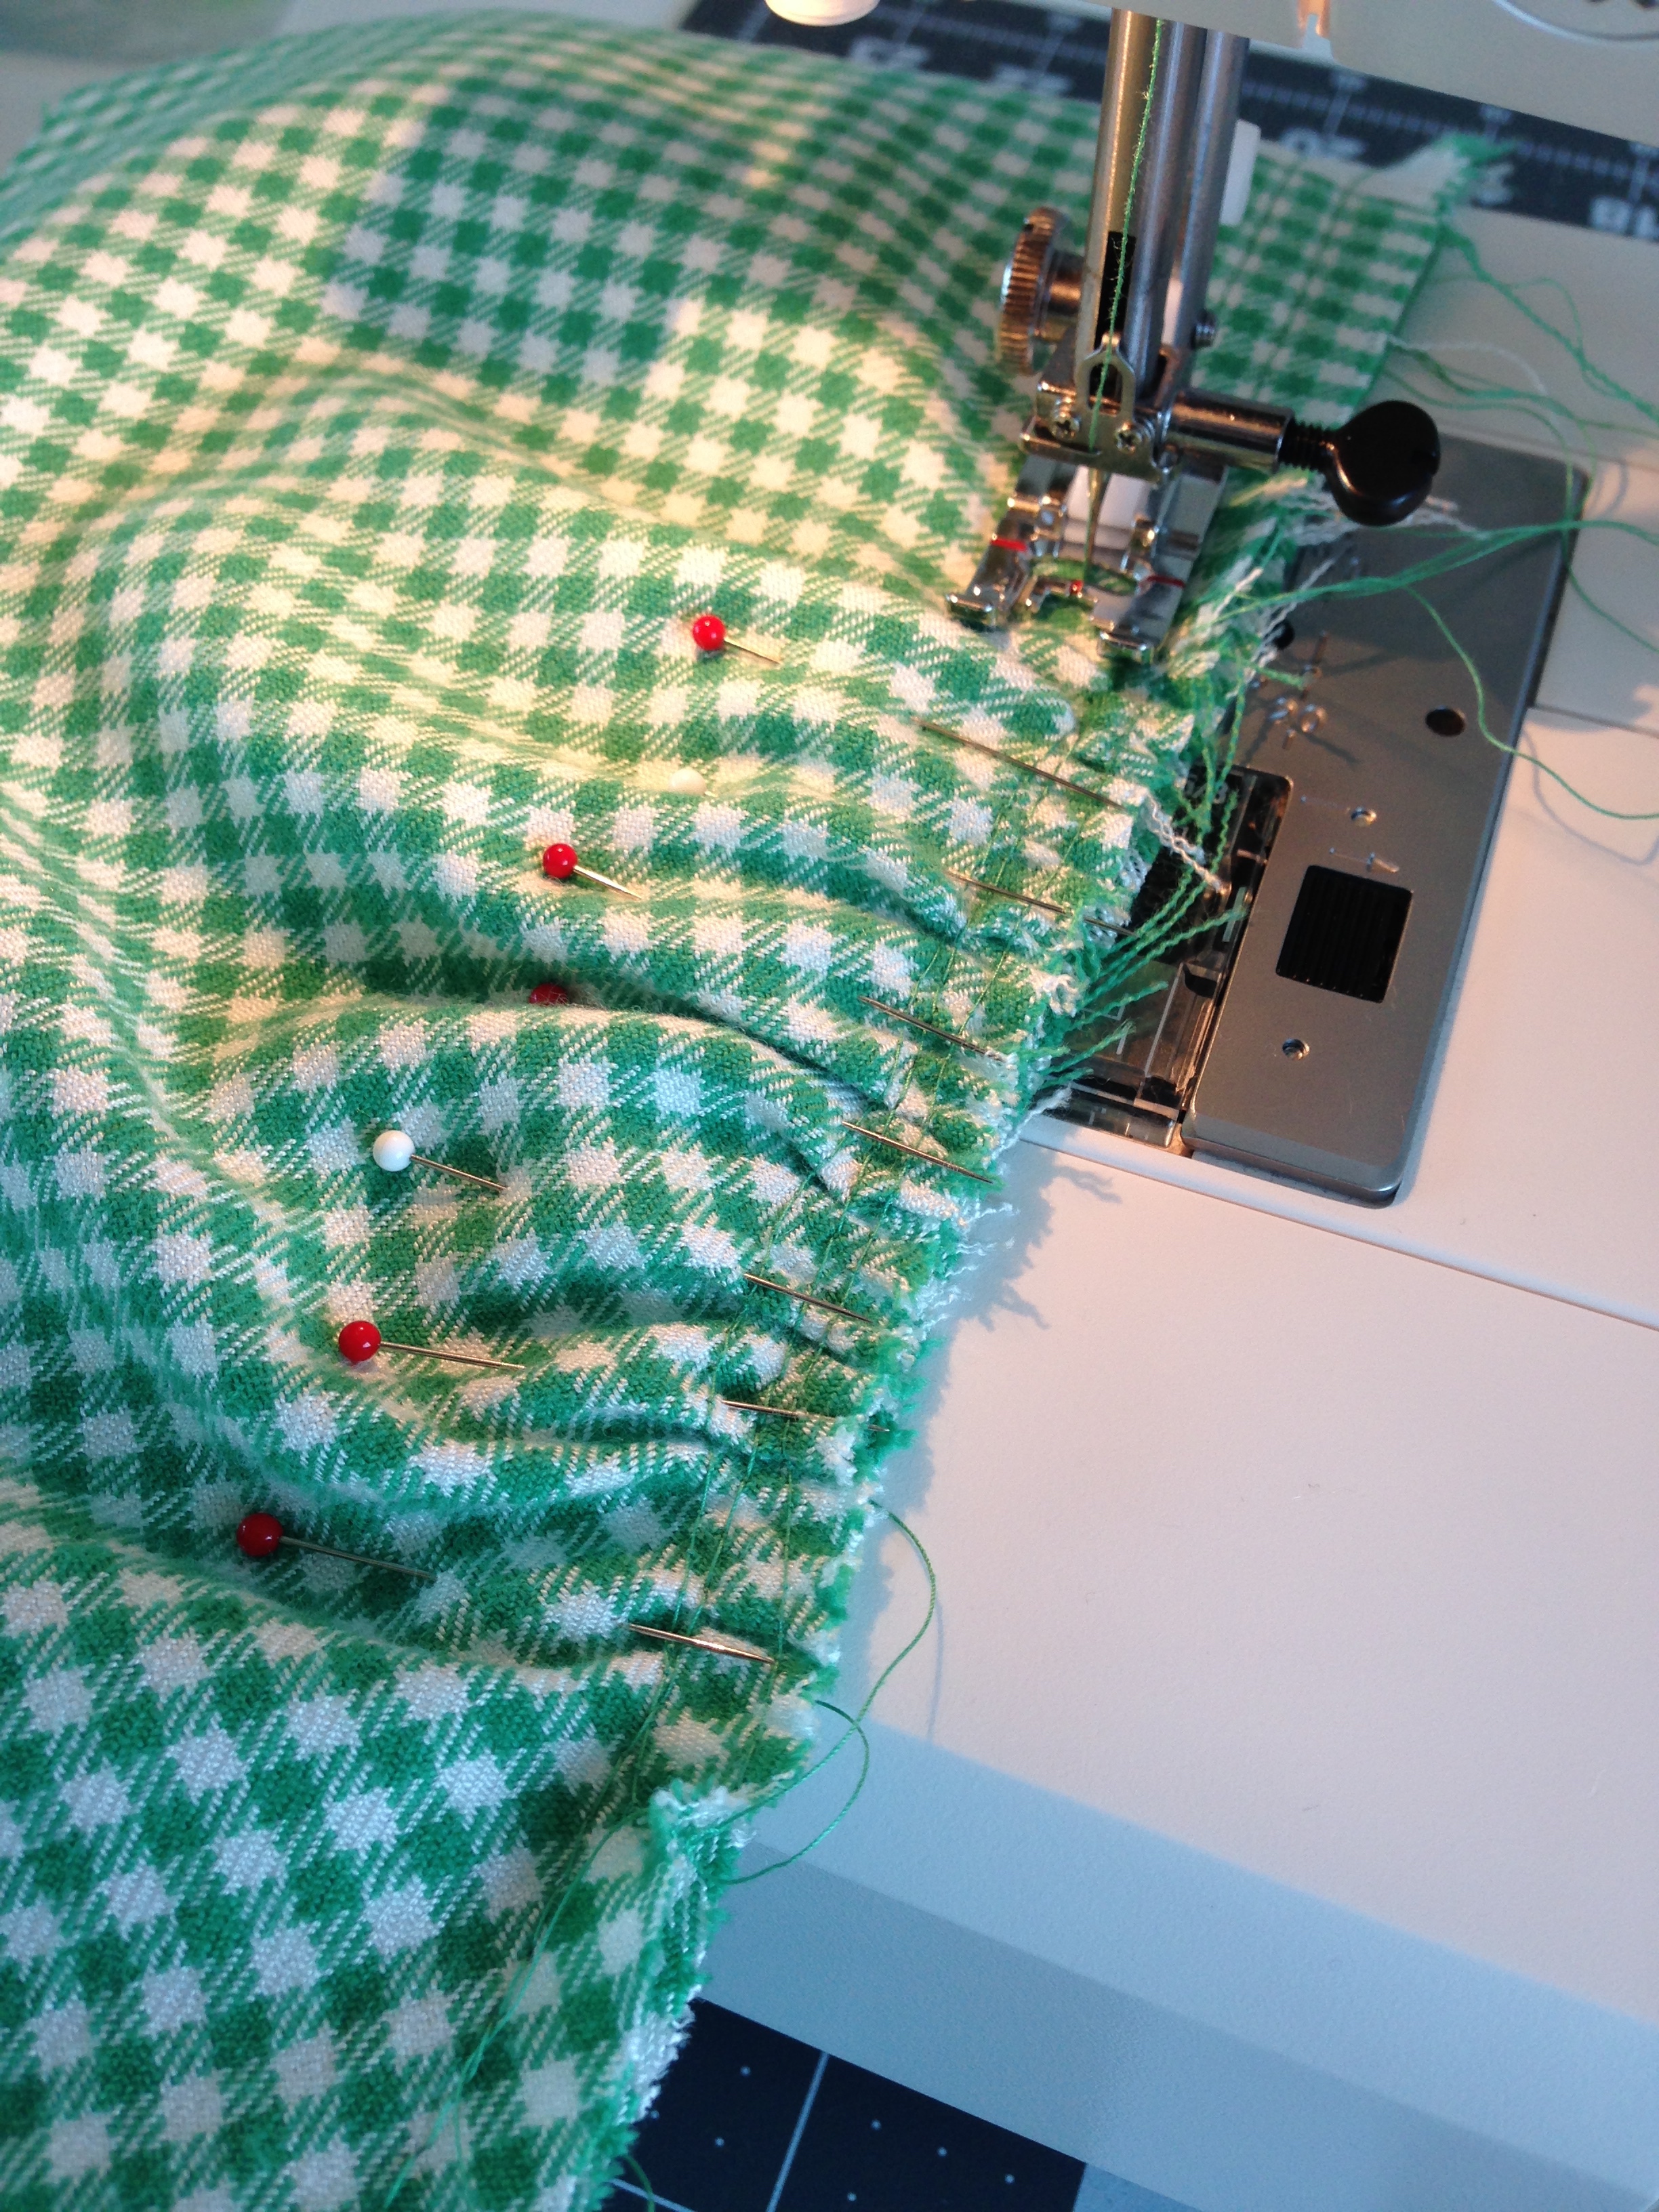
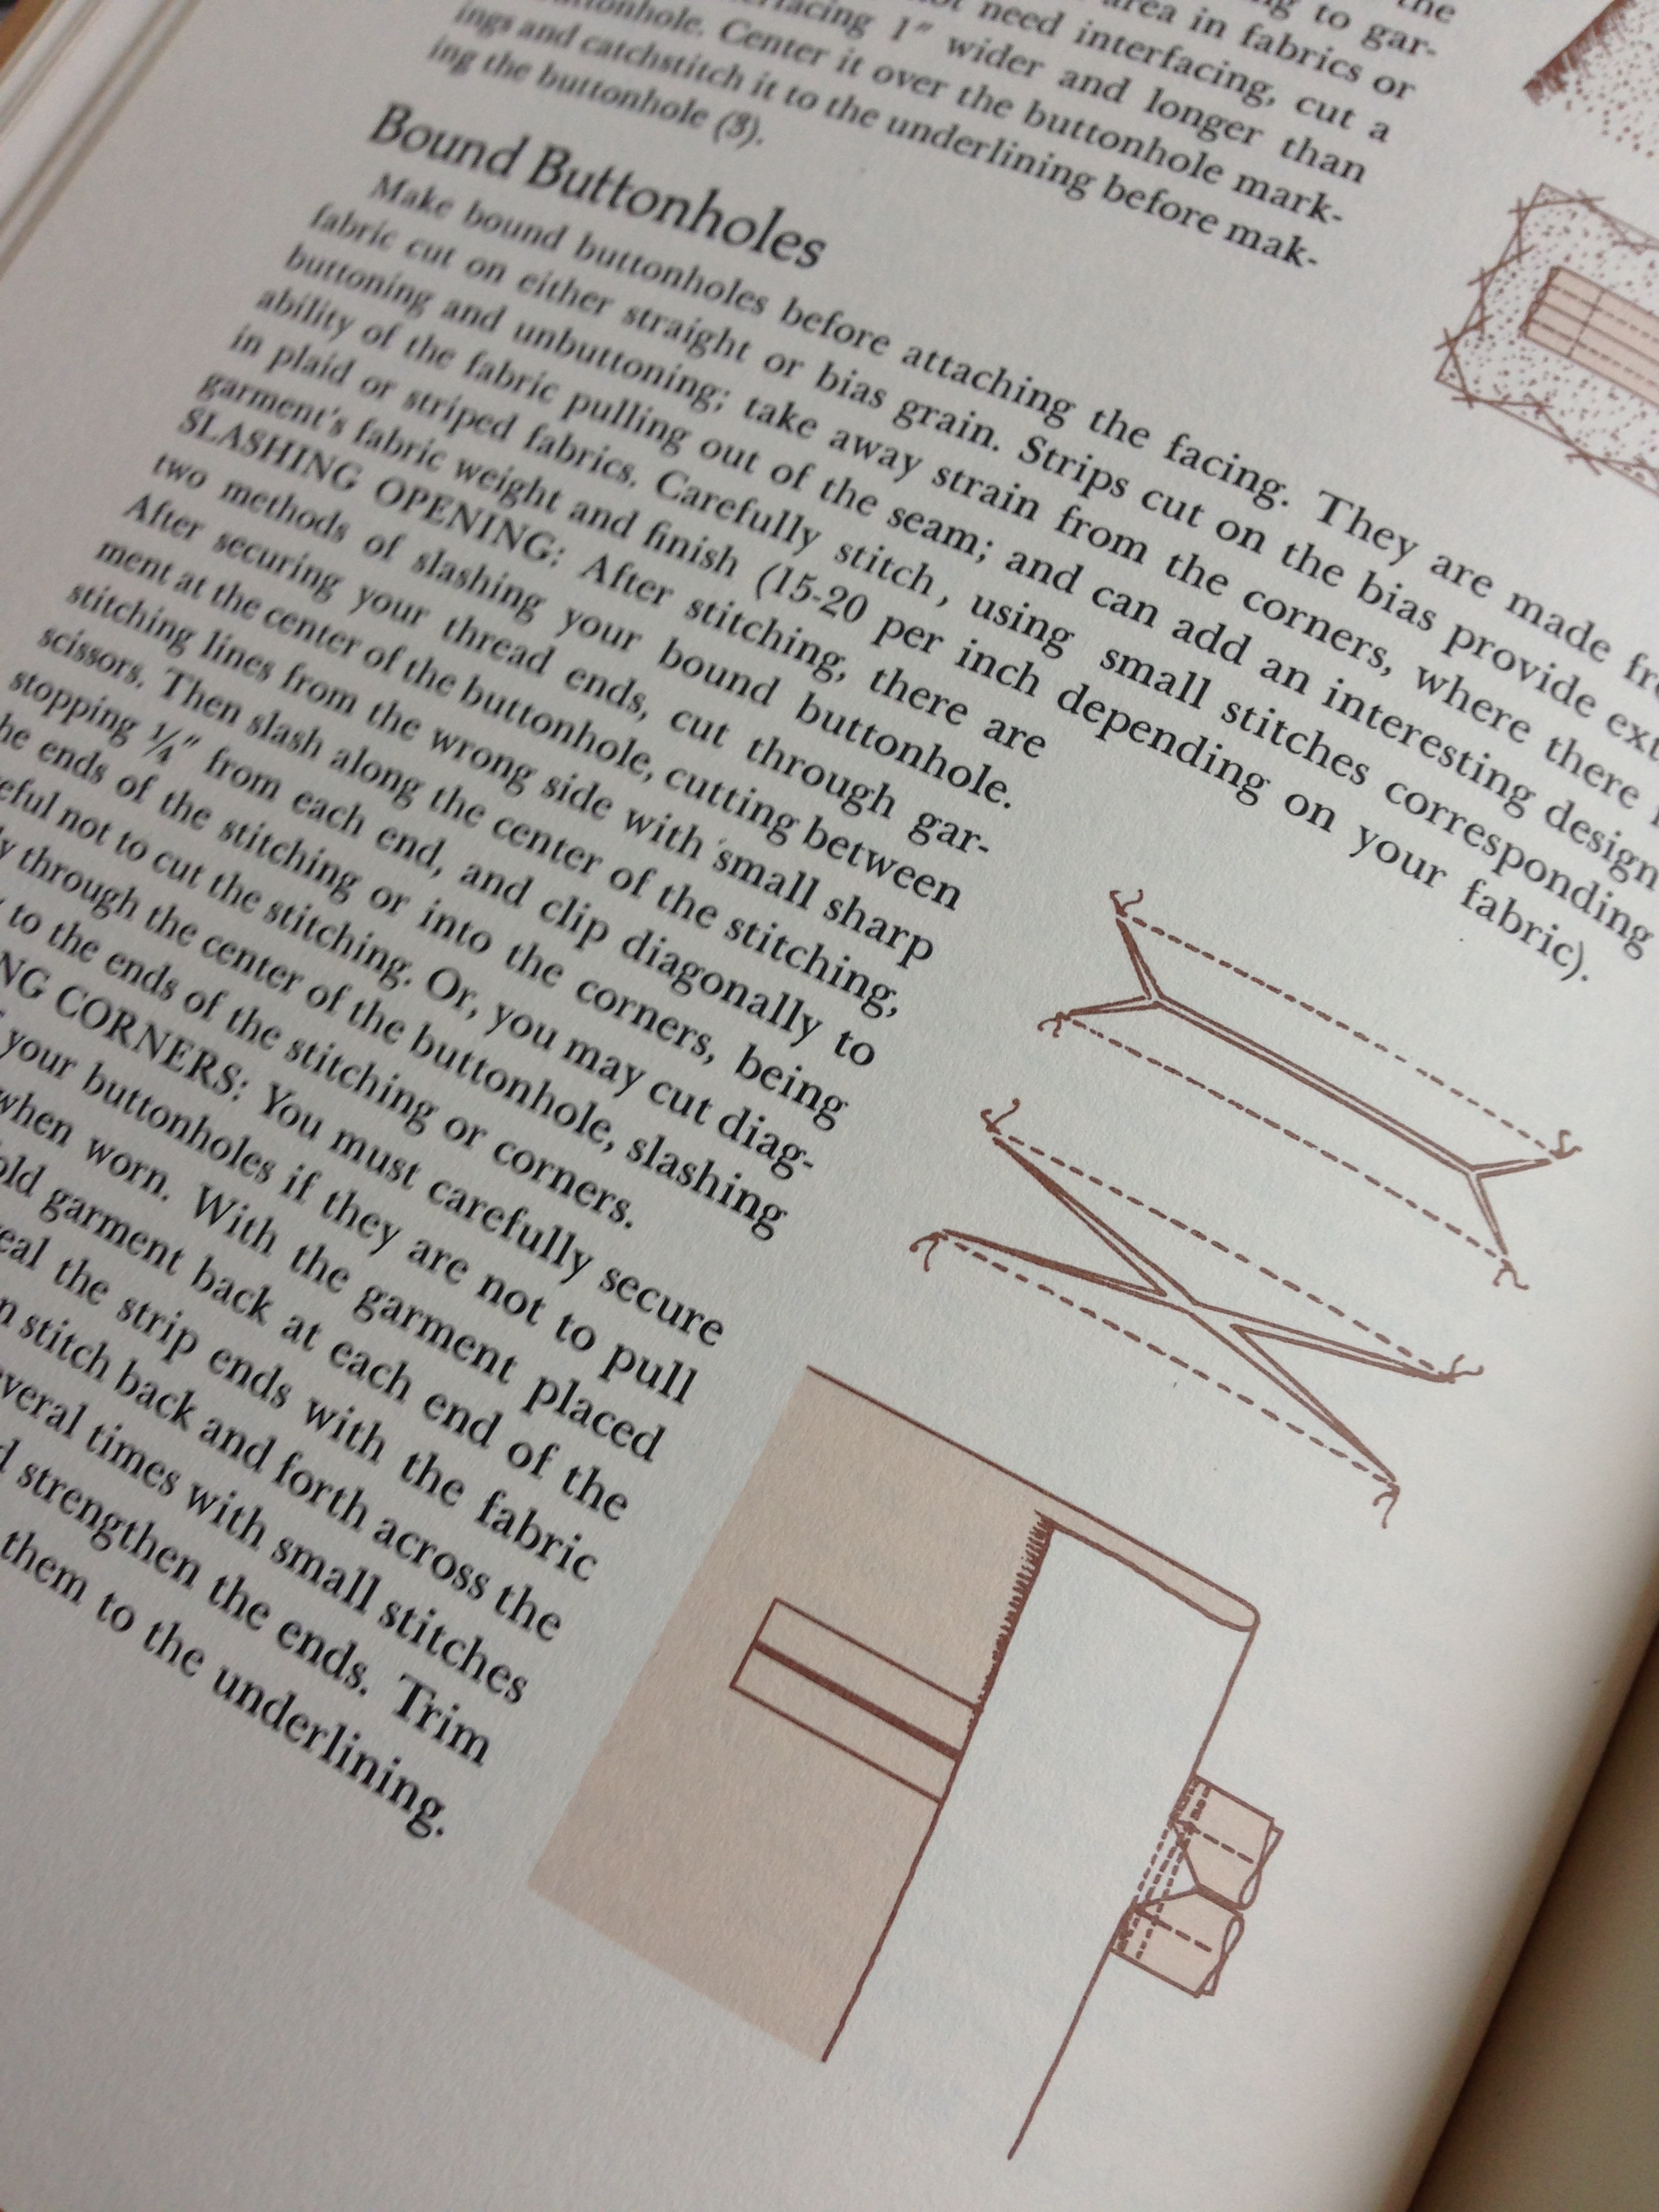
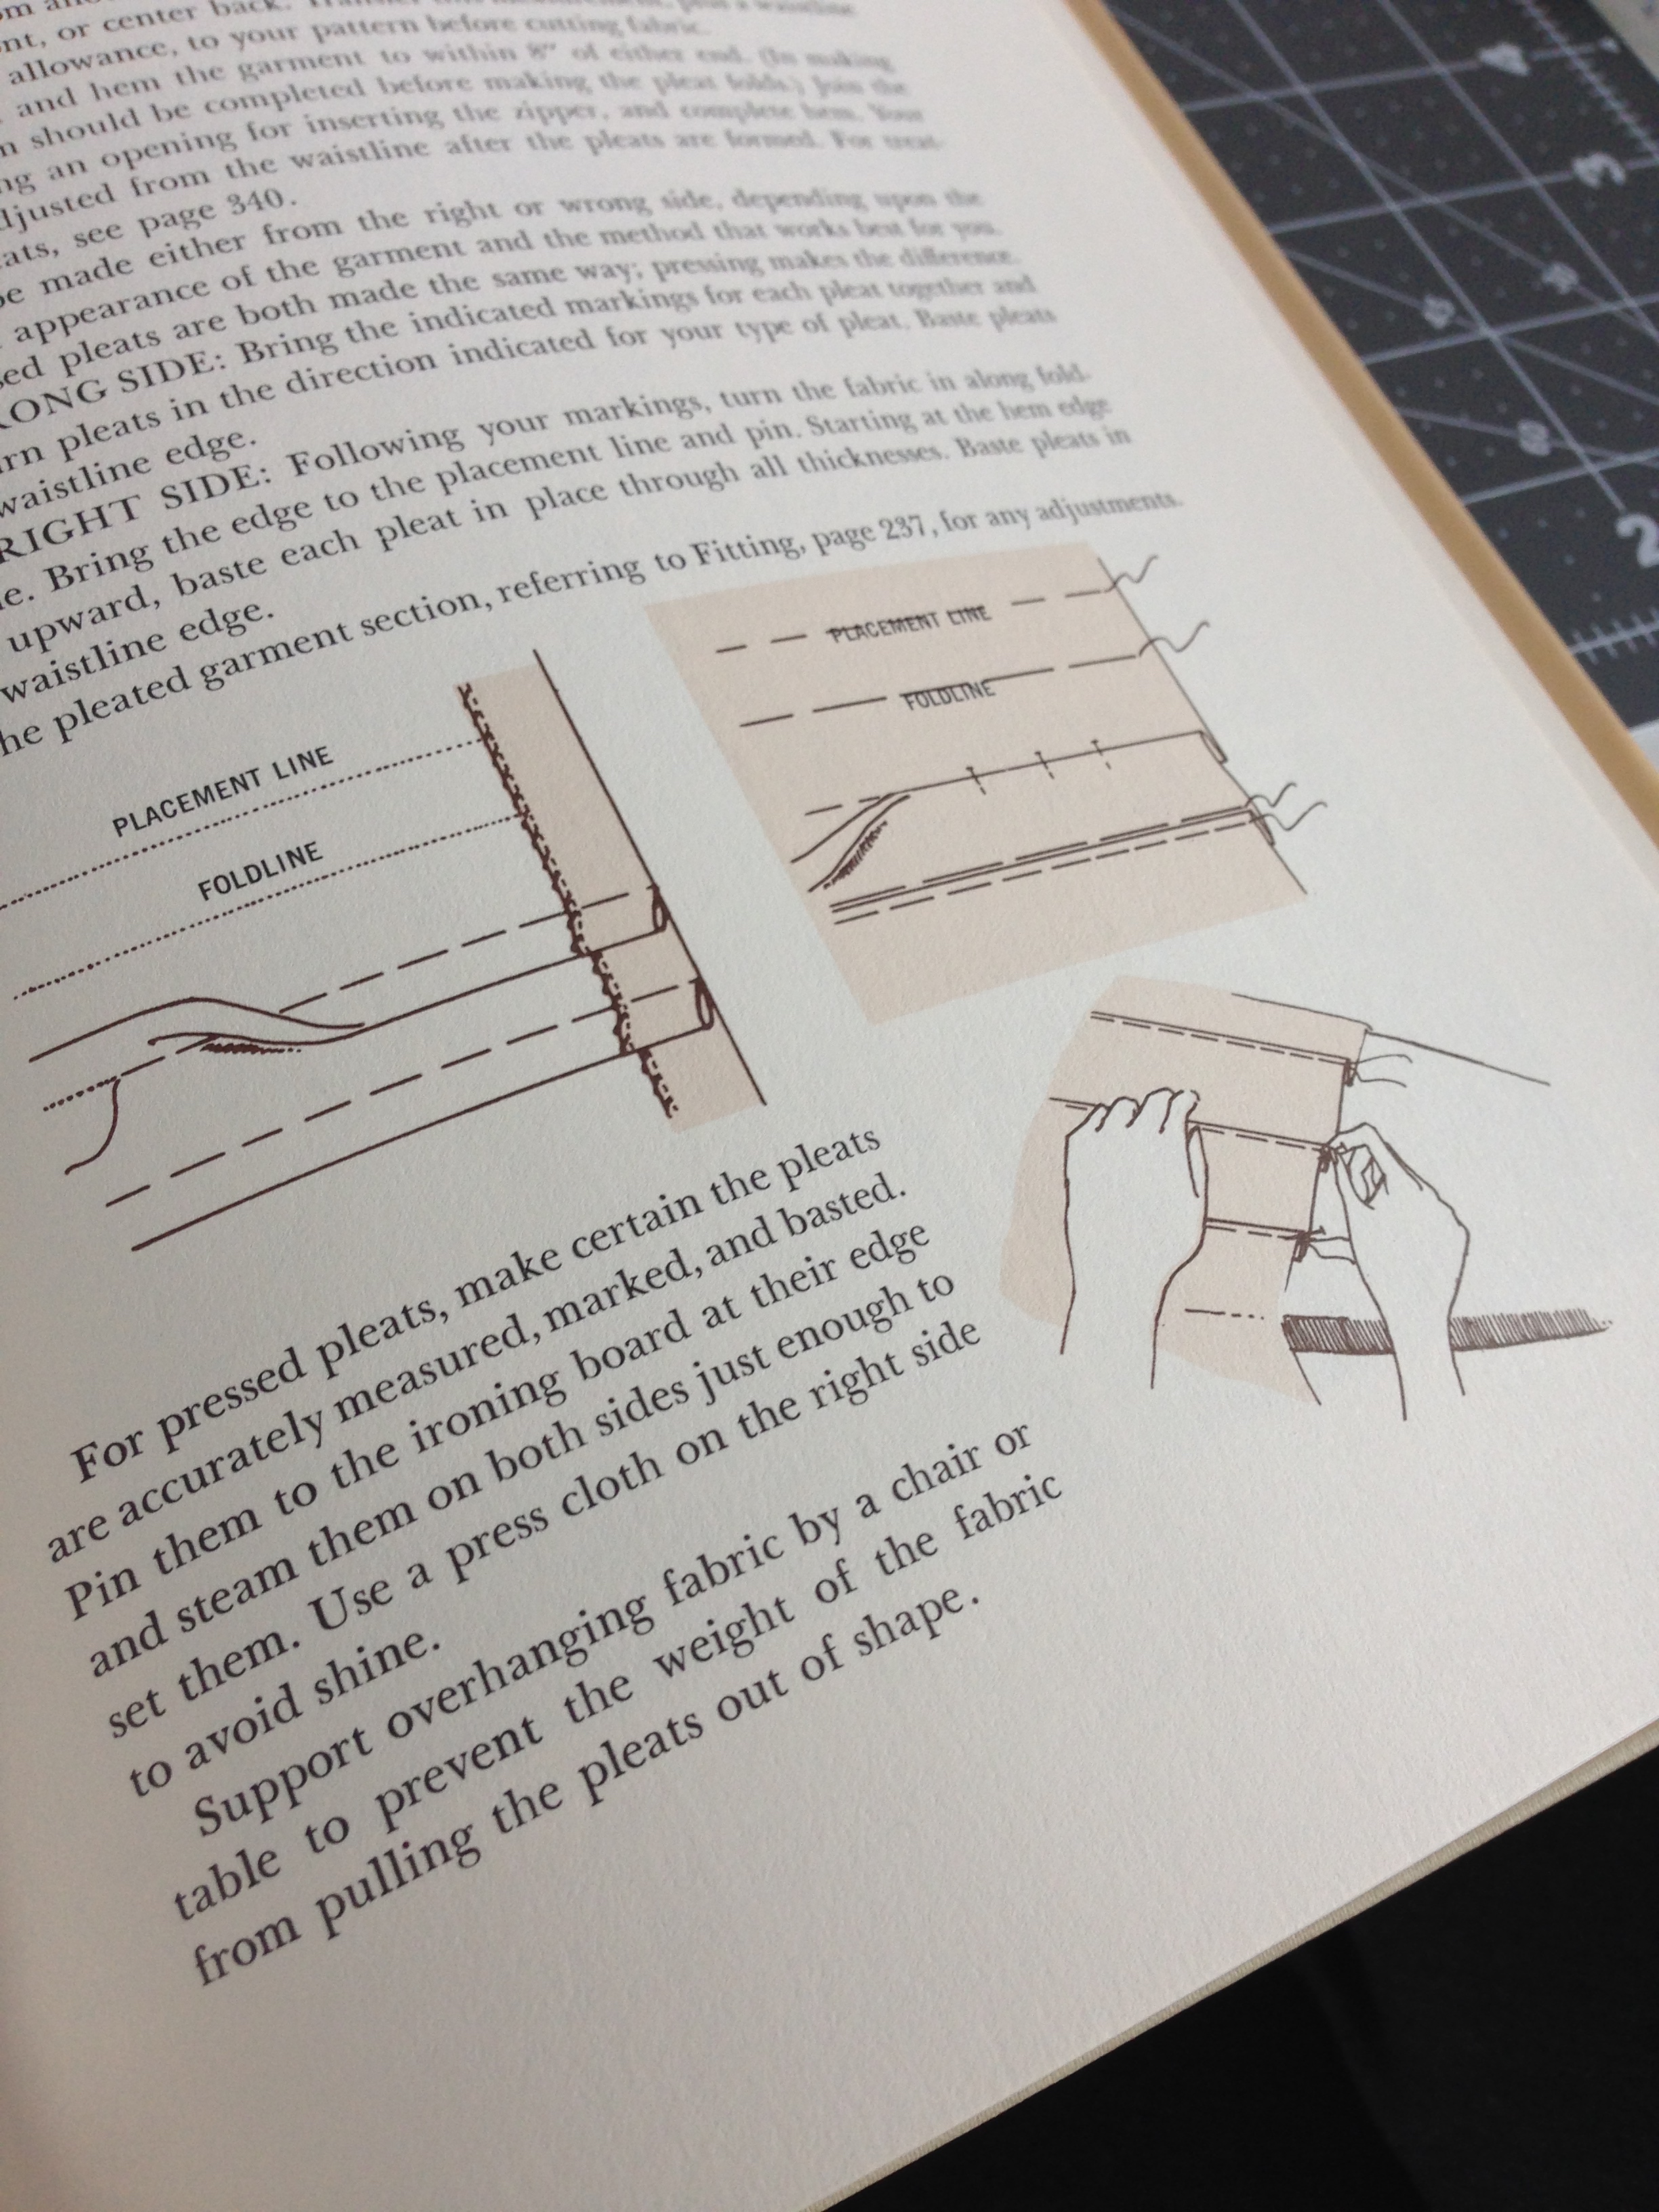
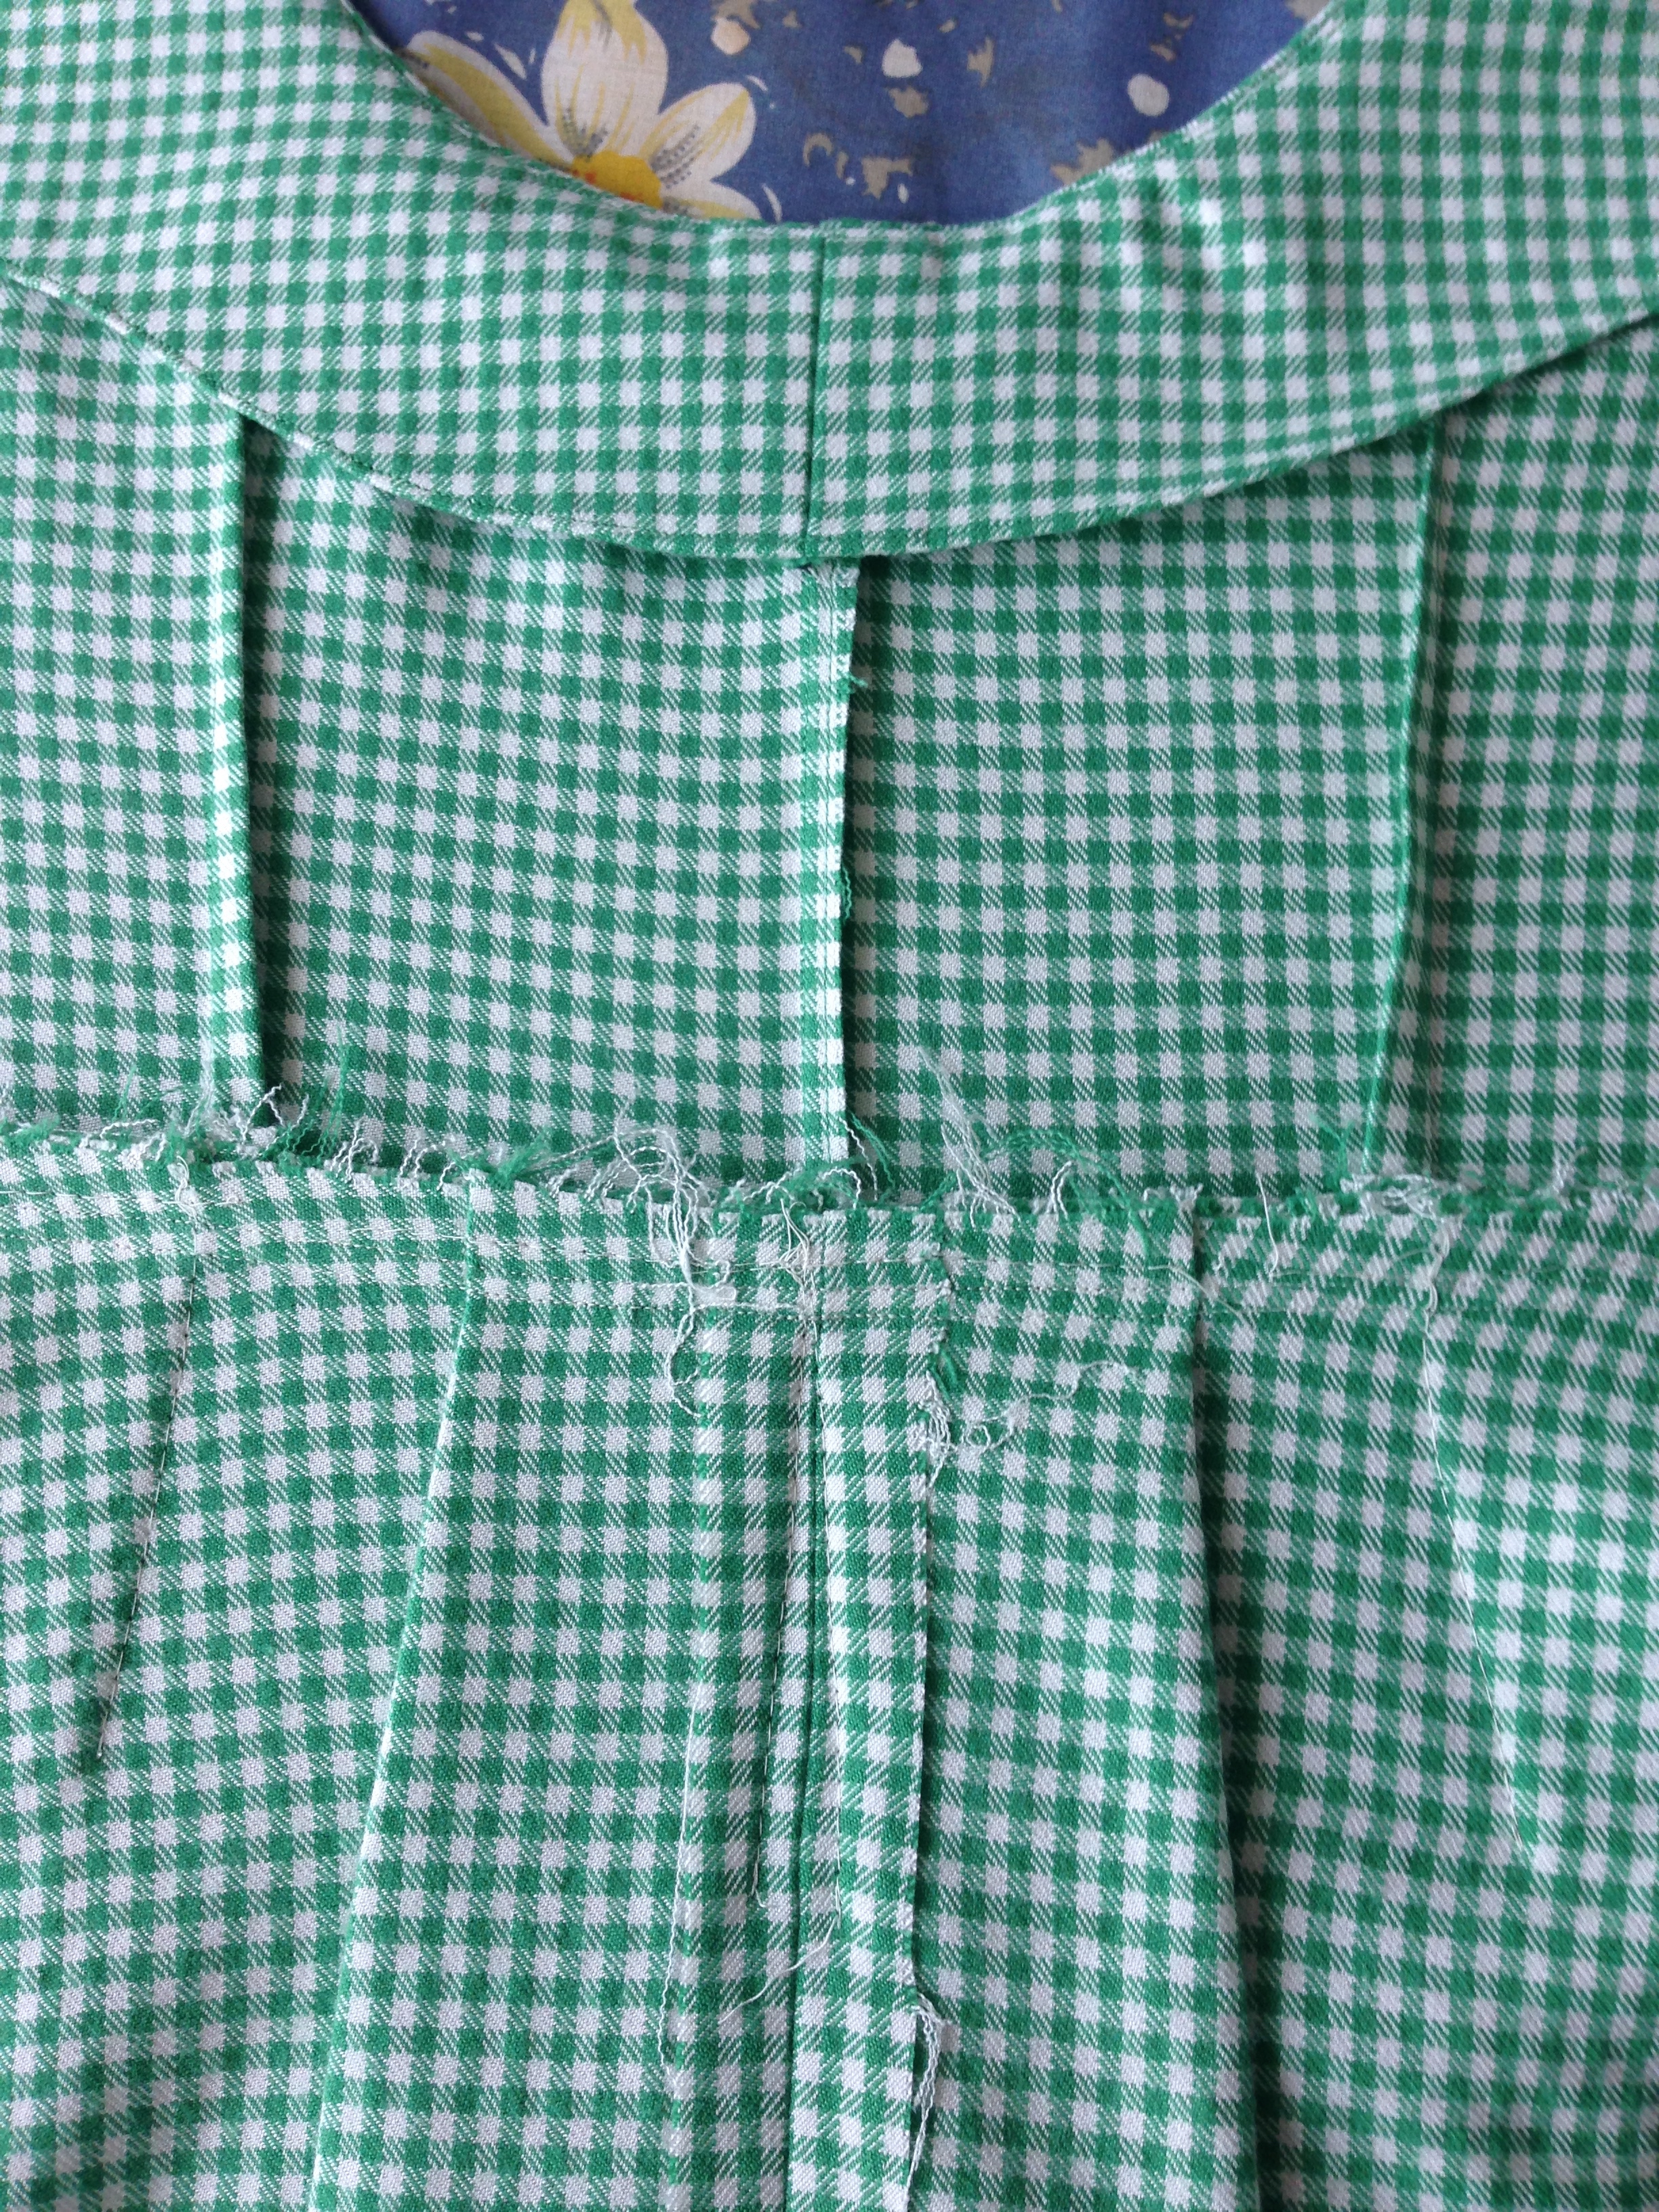
I've never done folded pleats like this before, so I got out my lovely old Vogue sewing paperwei- I mean, book. Very good advice, which I took and Actually followed. Ironing every pleat fold before pining it where it needed to be sewn, and ironing again. All the Ironing. But it worked! Success! Learning!
Bodice and skirt sewn, it was time for the hard part: dealing with the off-center welt buttonholes I'd messed up already. Never fear! My unabashed desire to plow onward afforded me some courage, which without, I would still be desperately sobbing in a corner clinging to the gingham dress dreams of yesteryear.
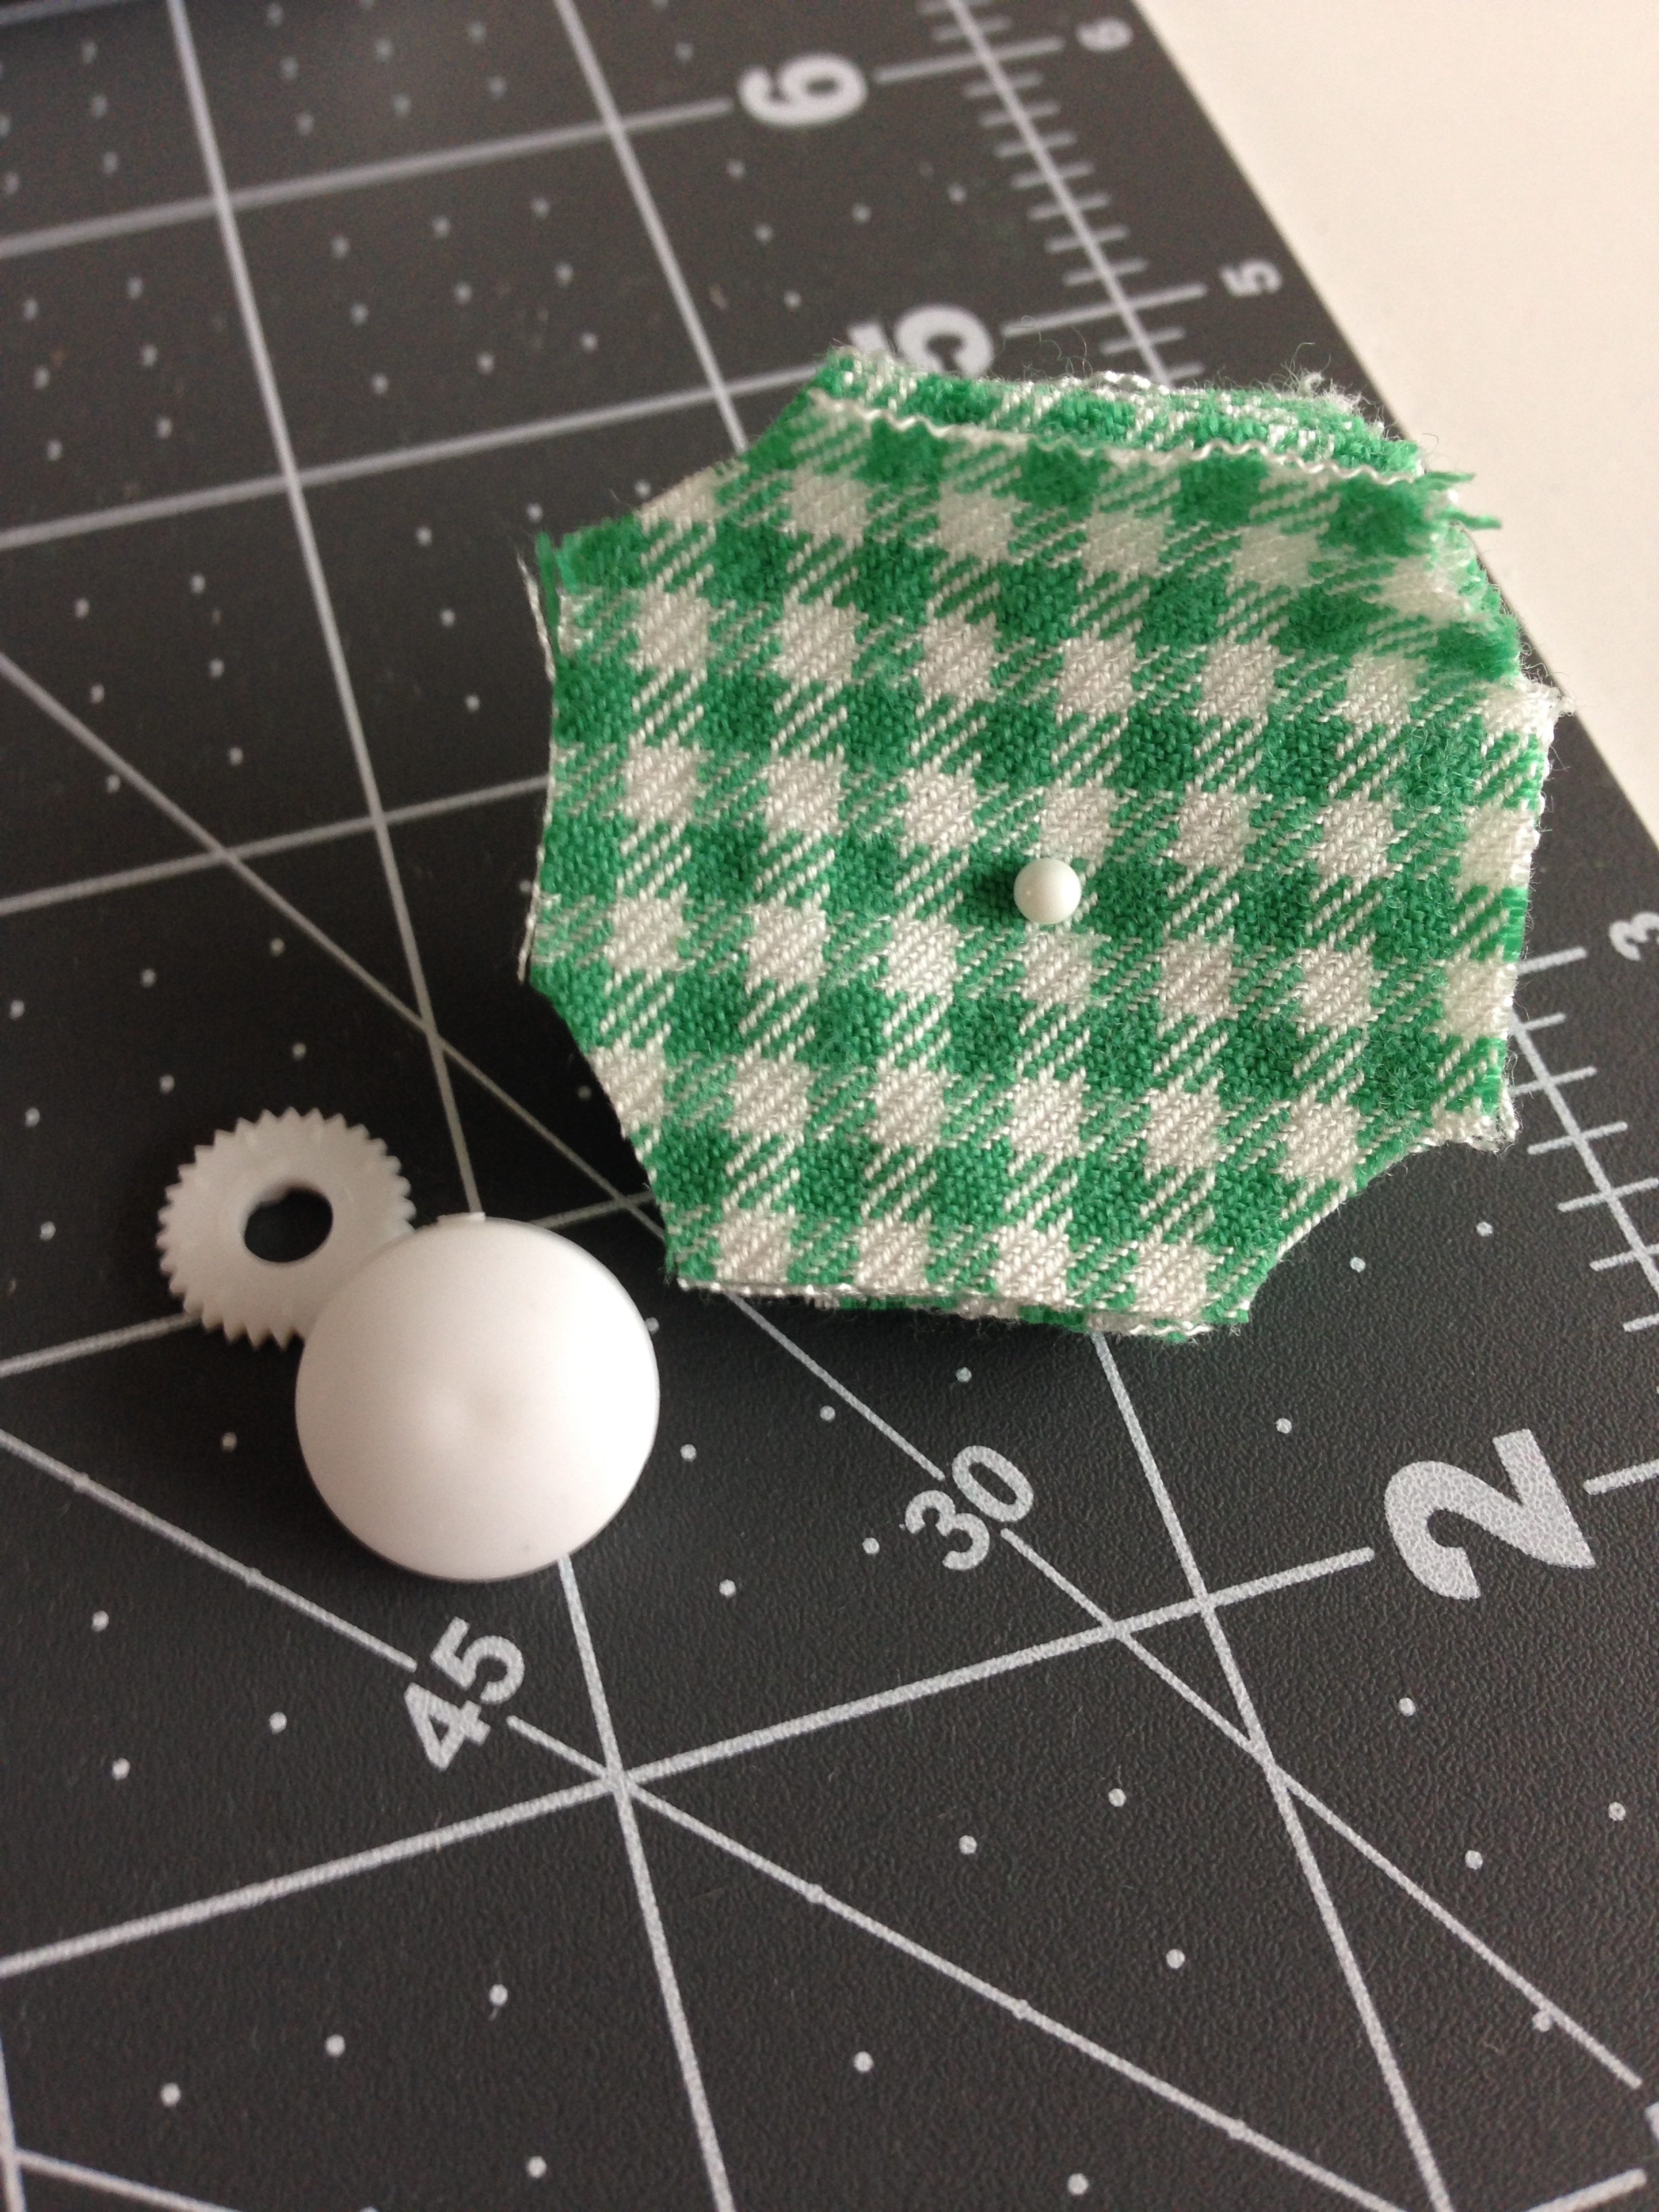
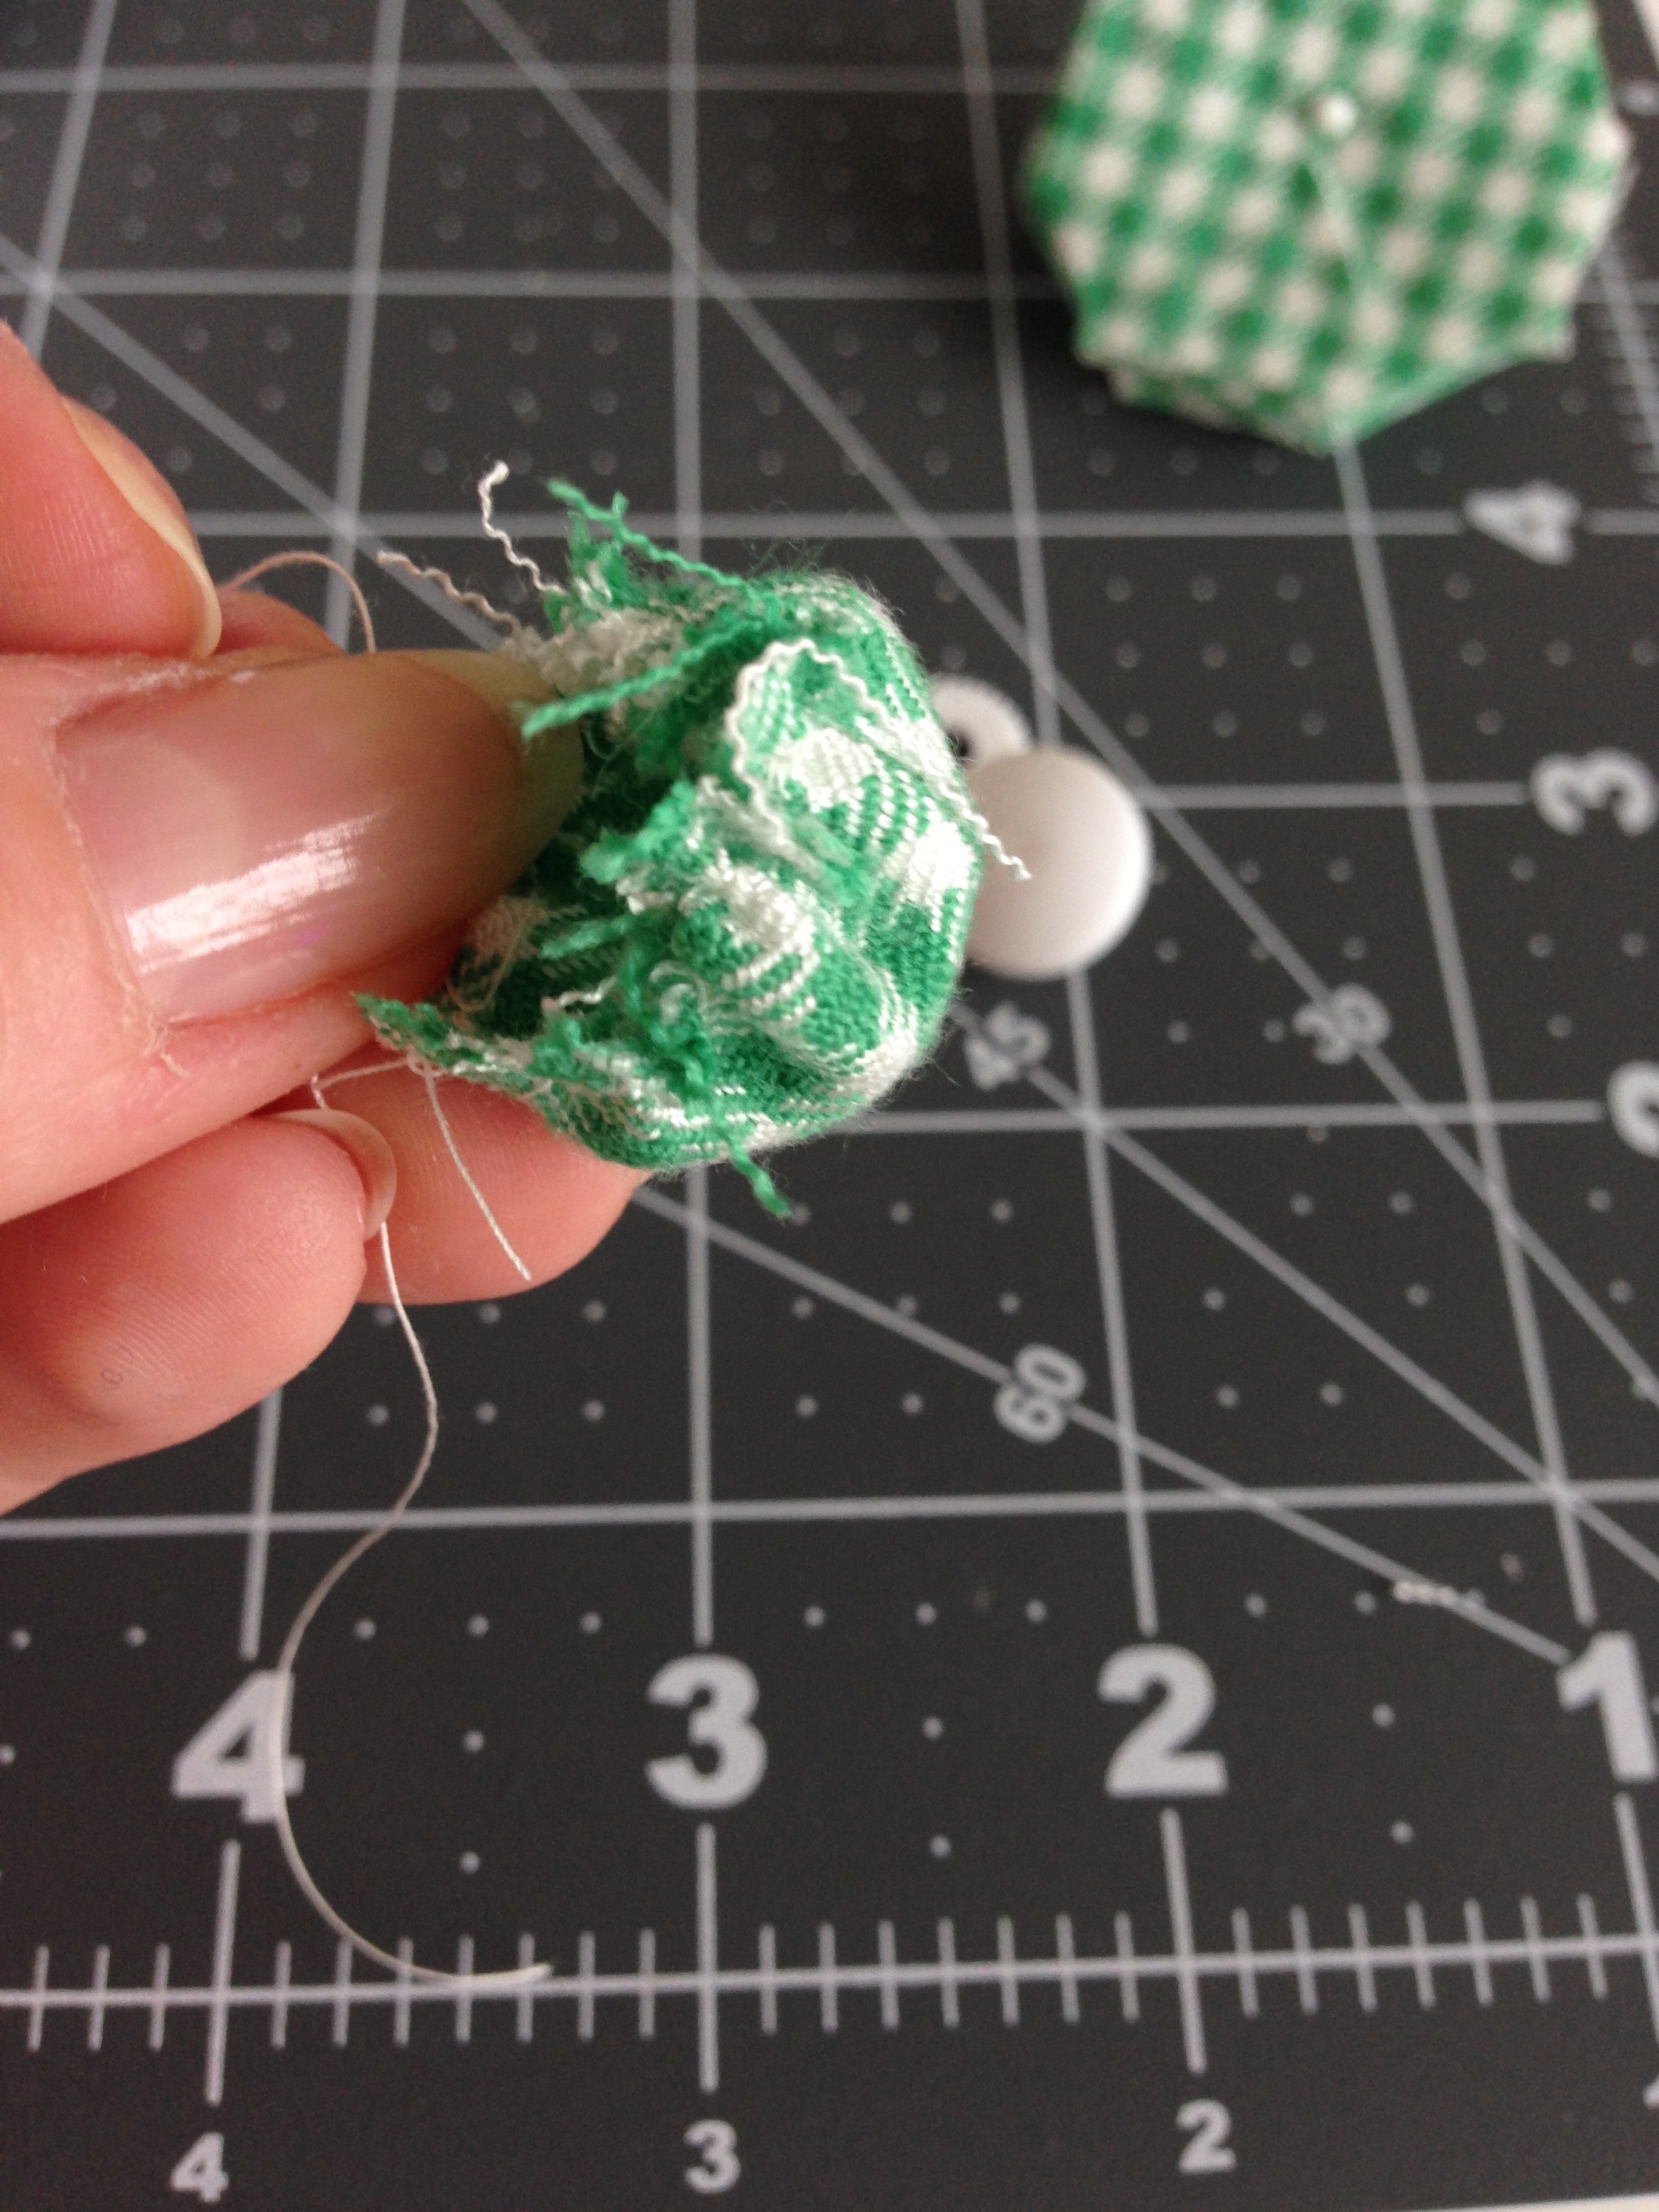
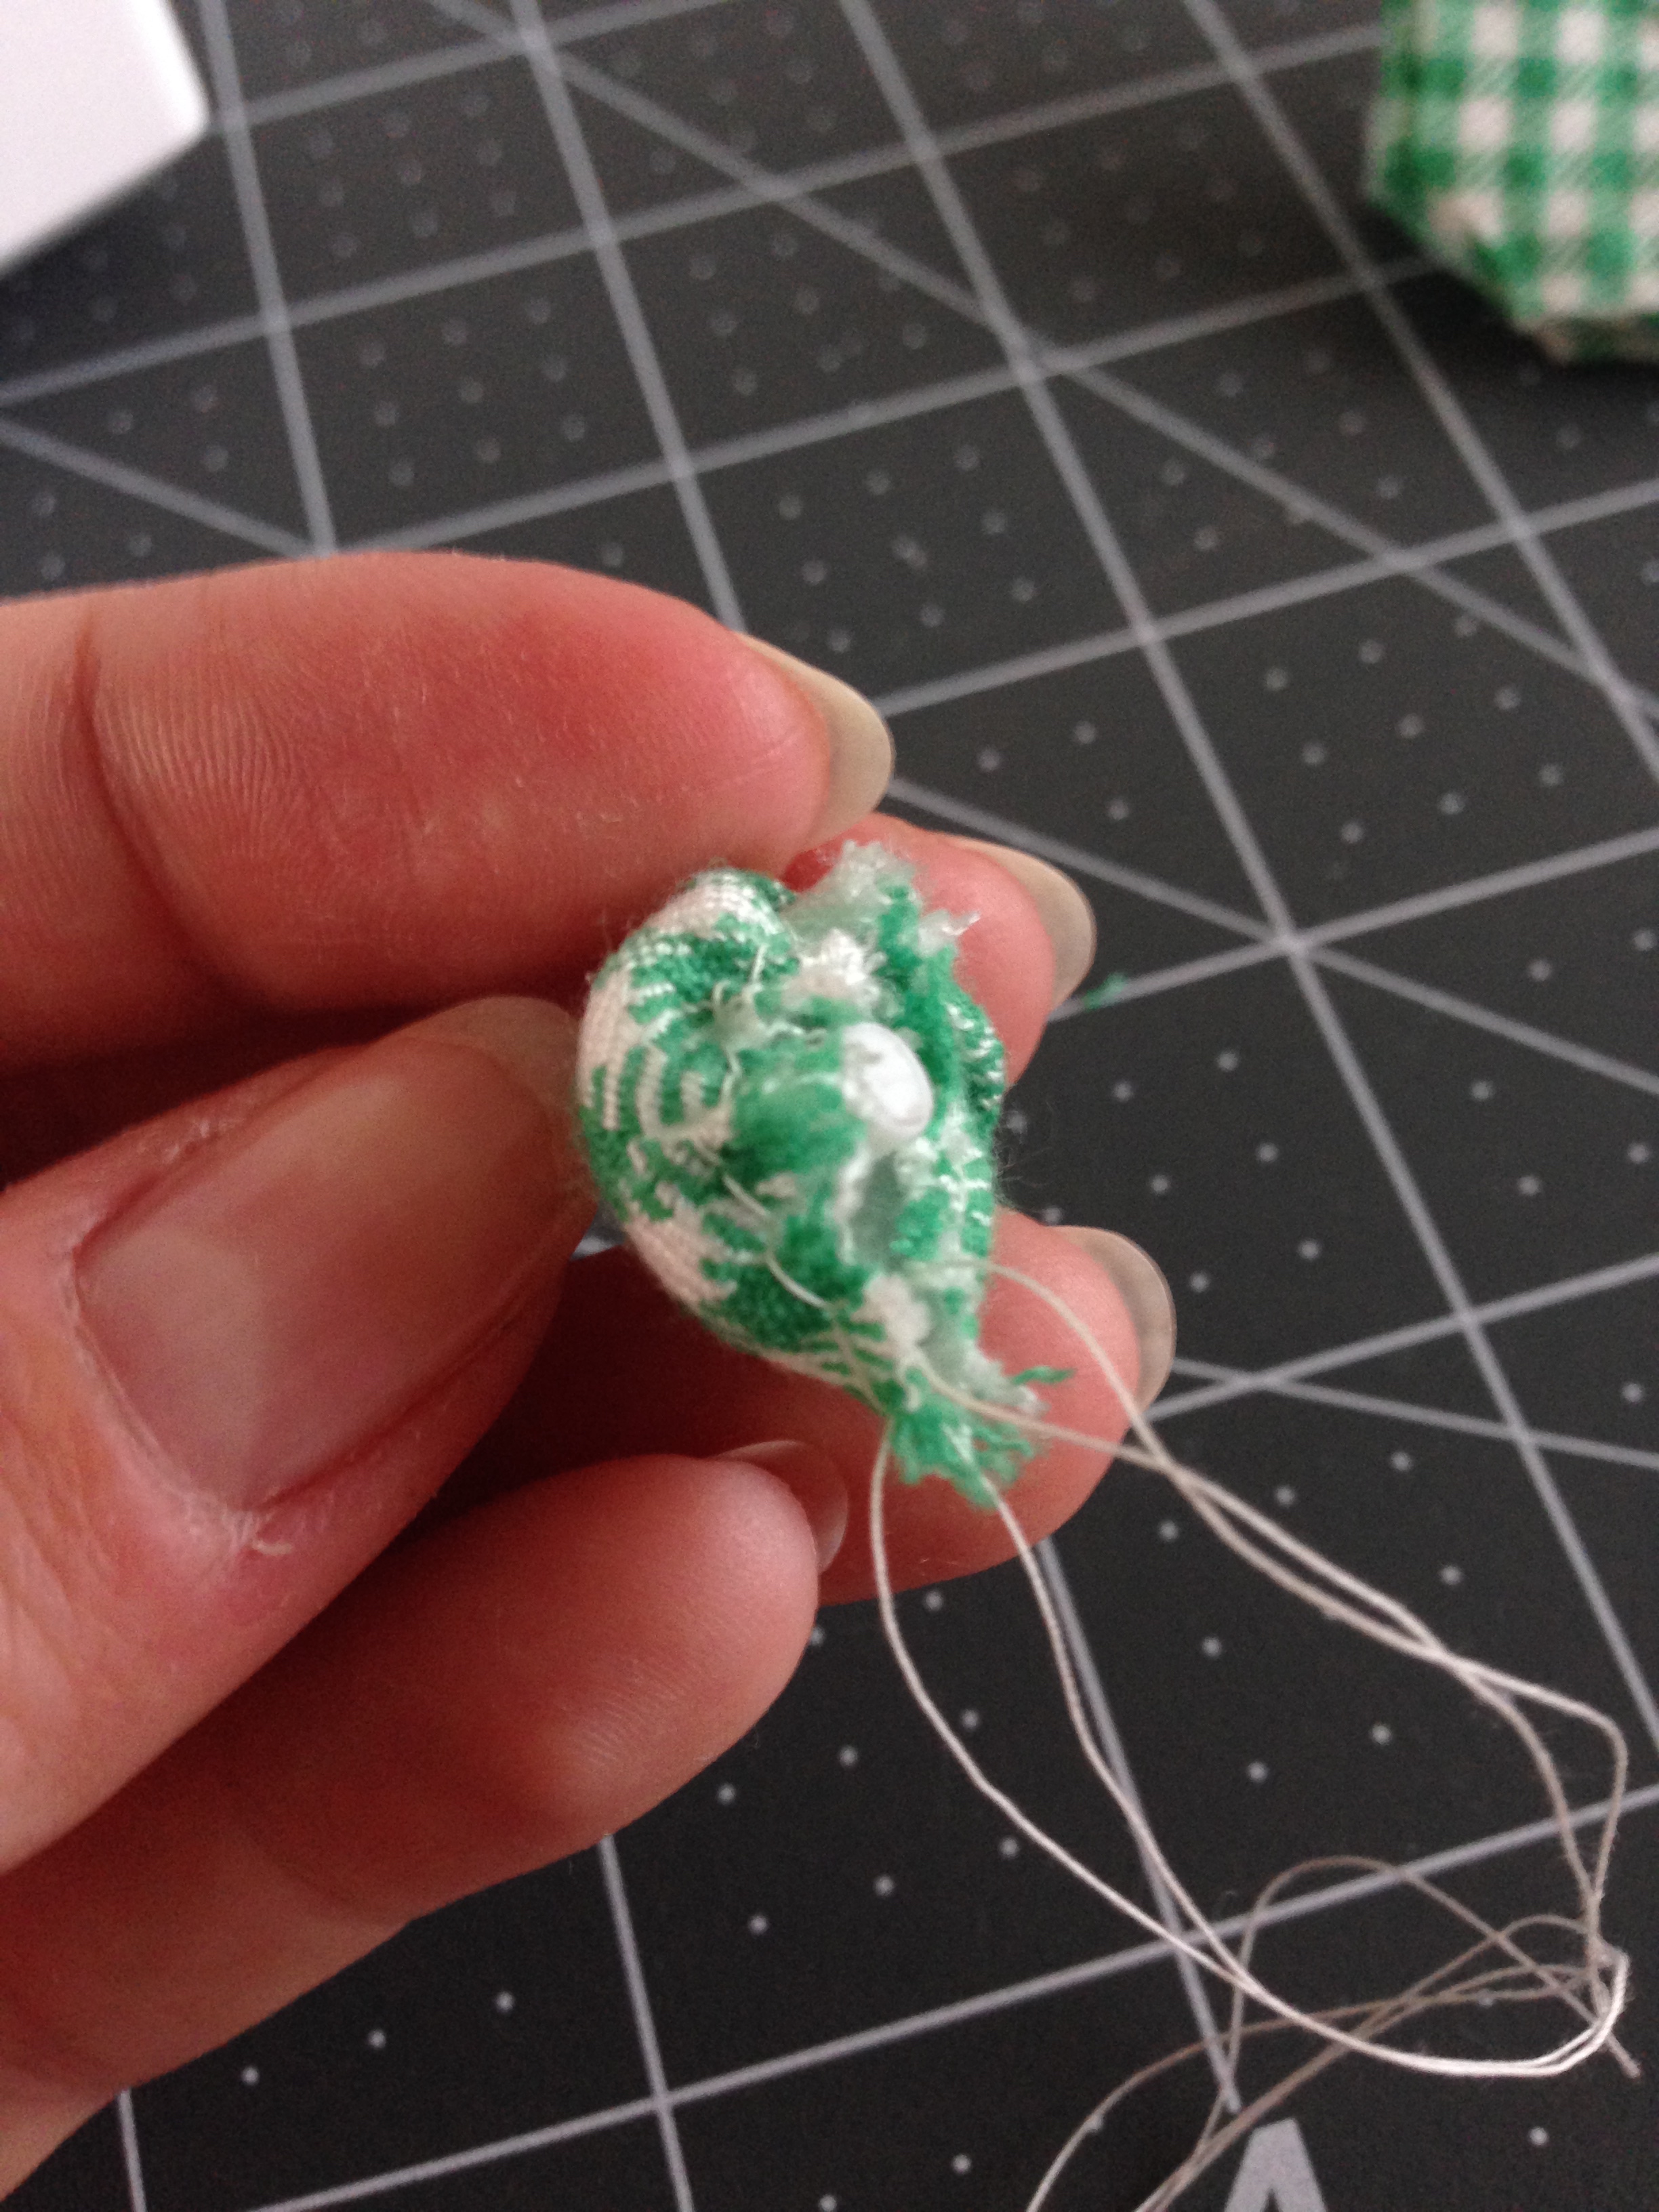
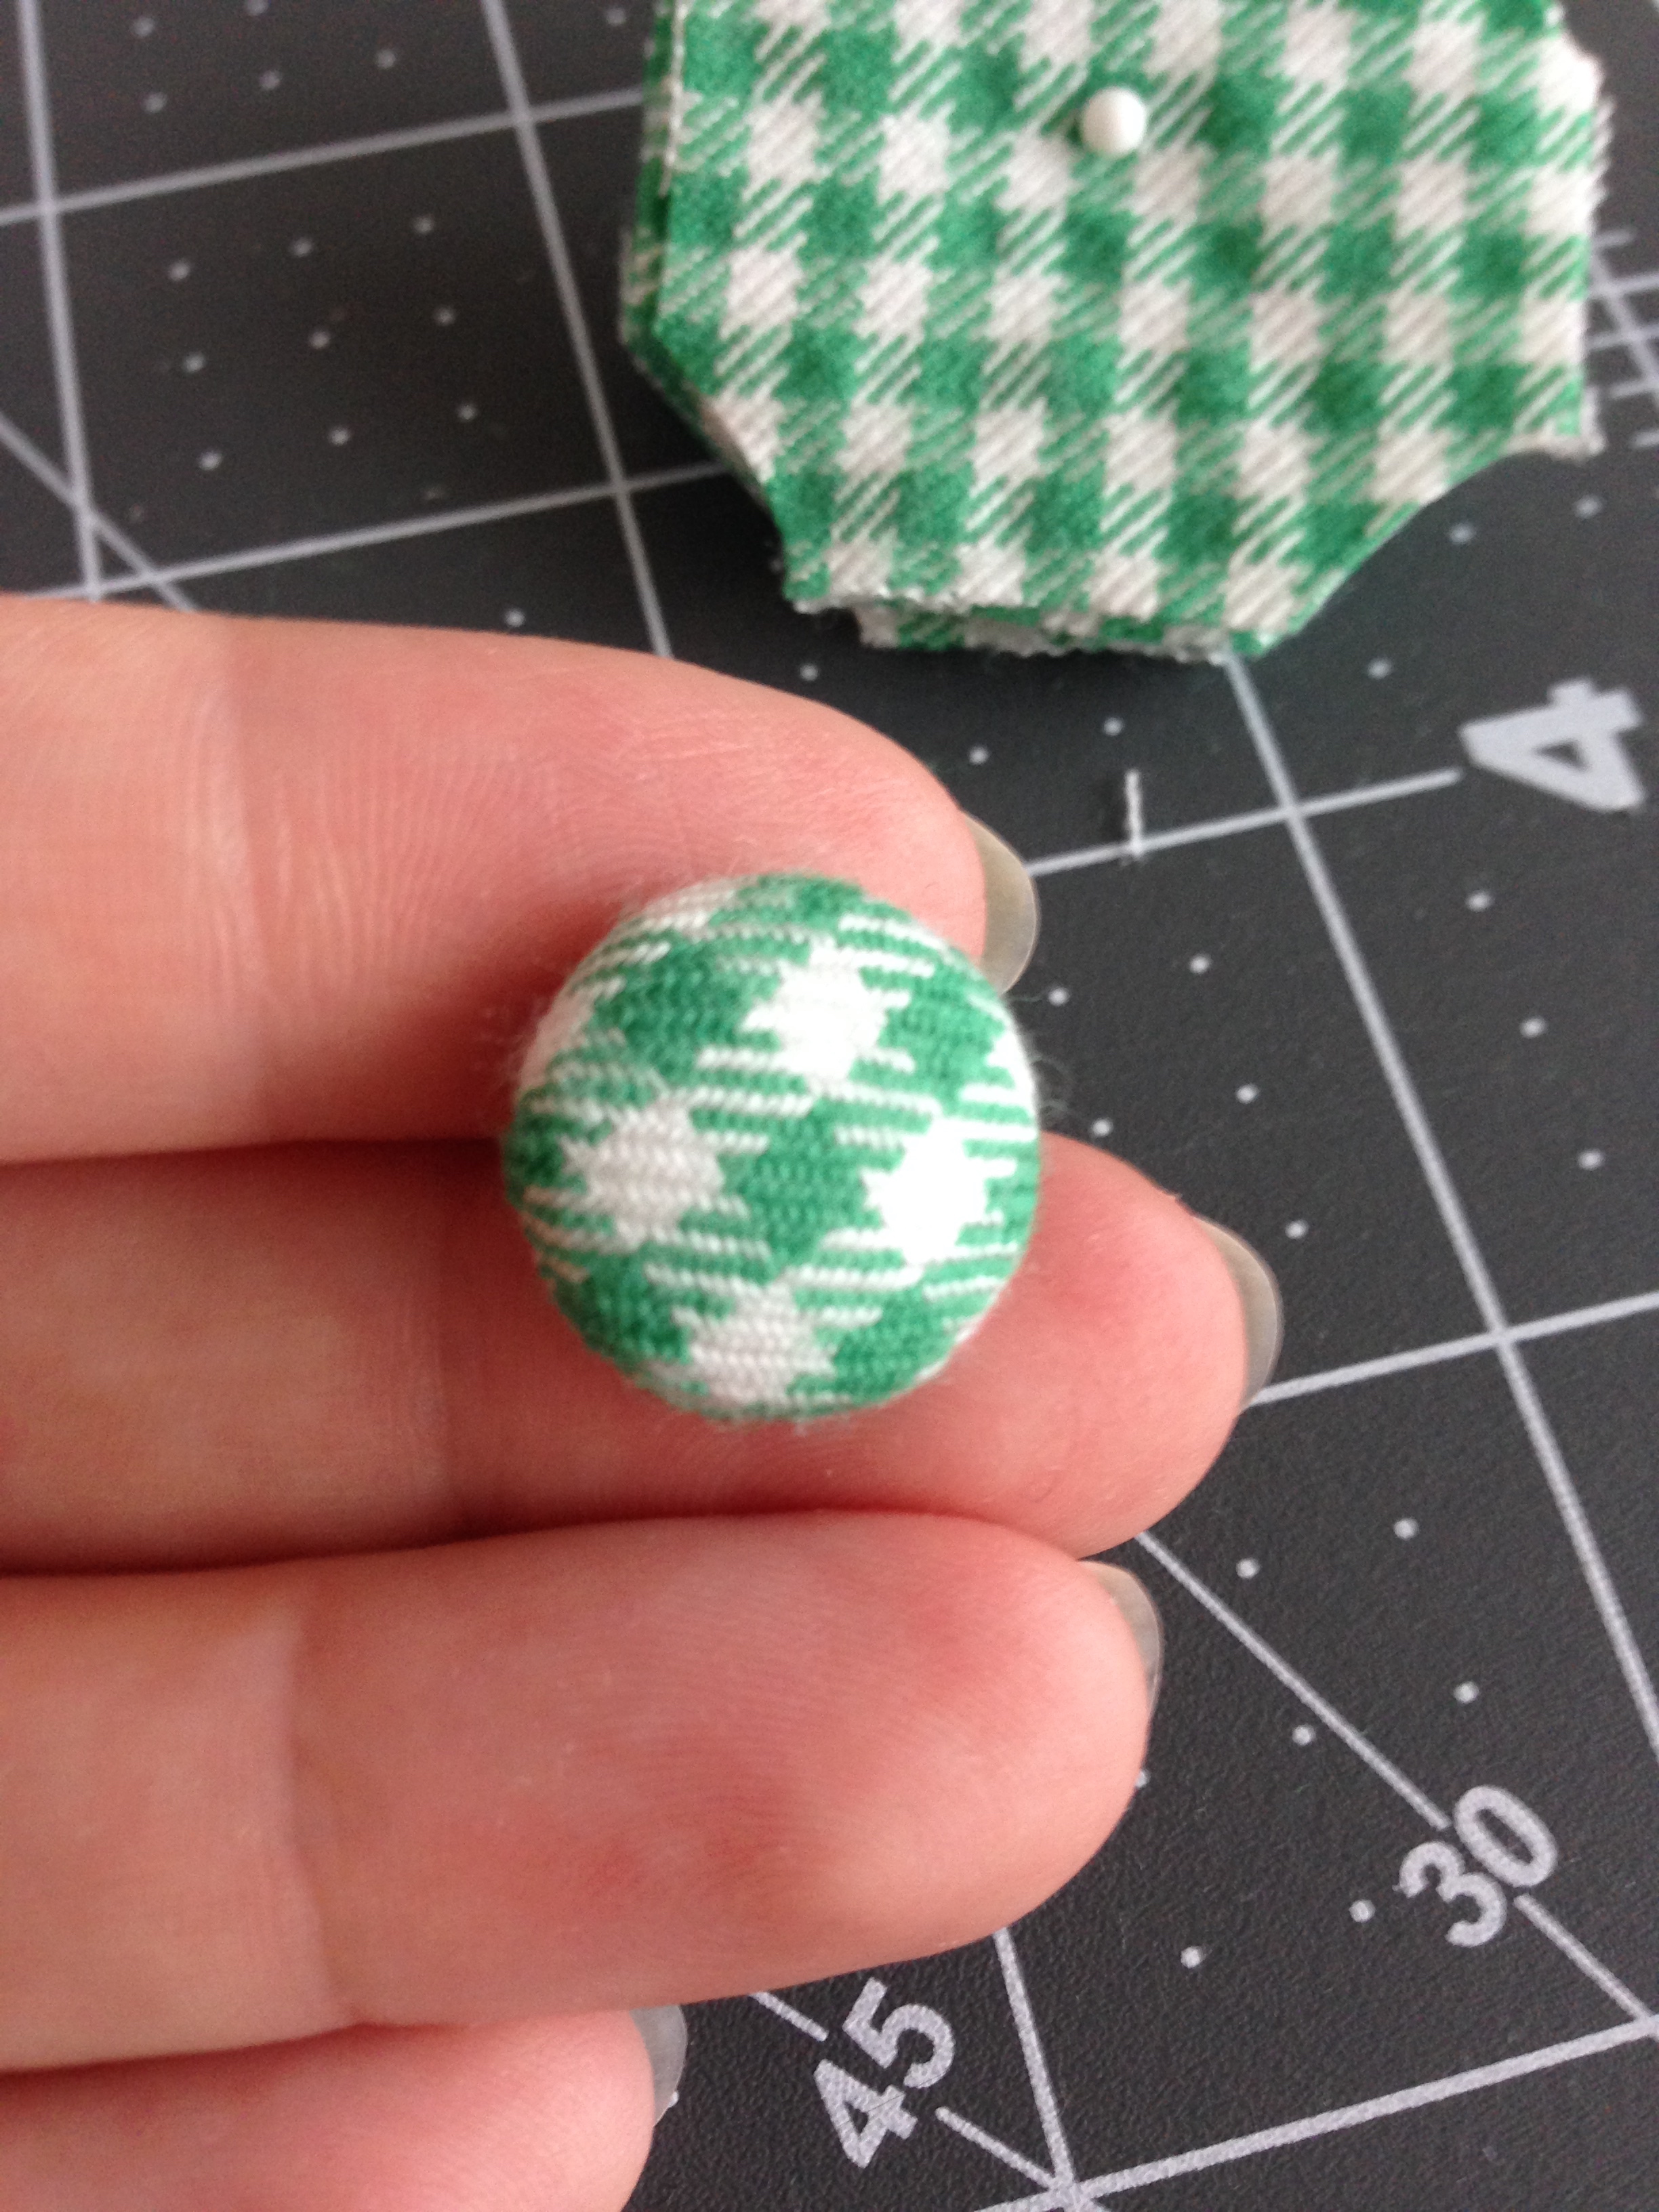
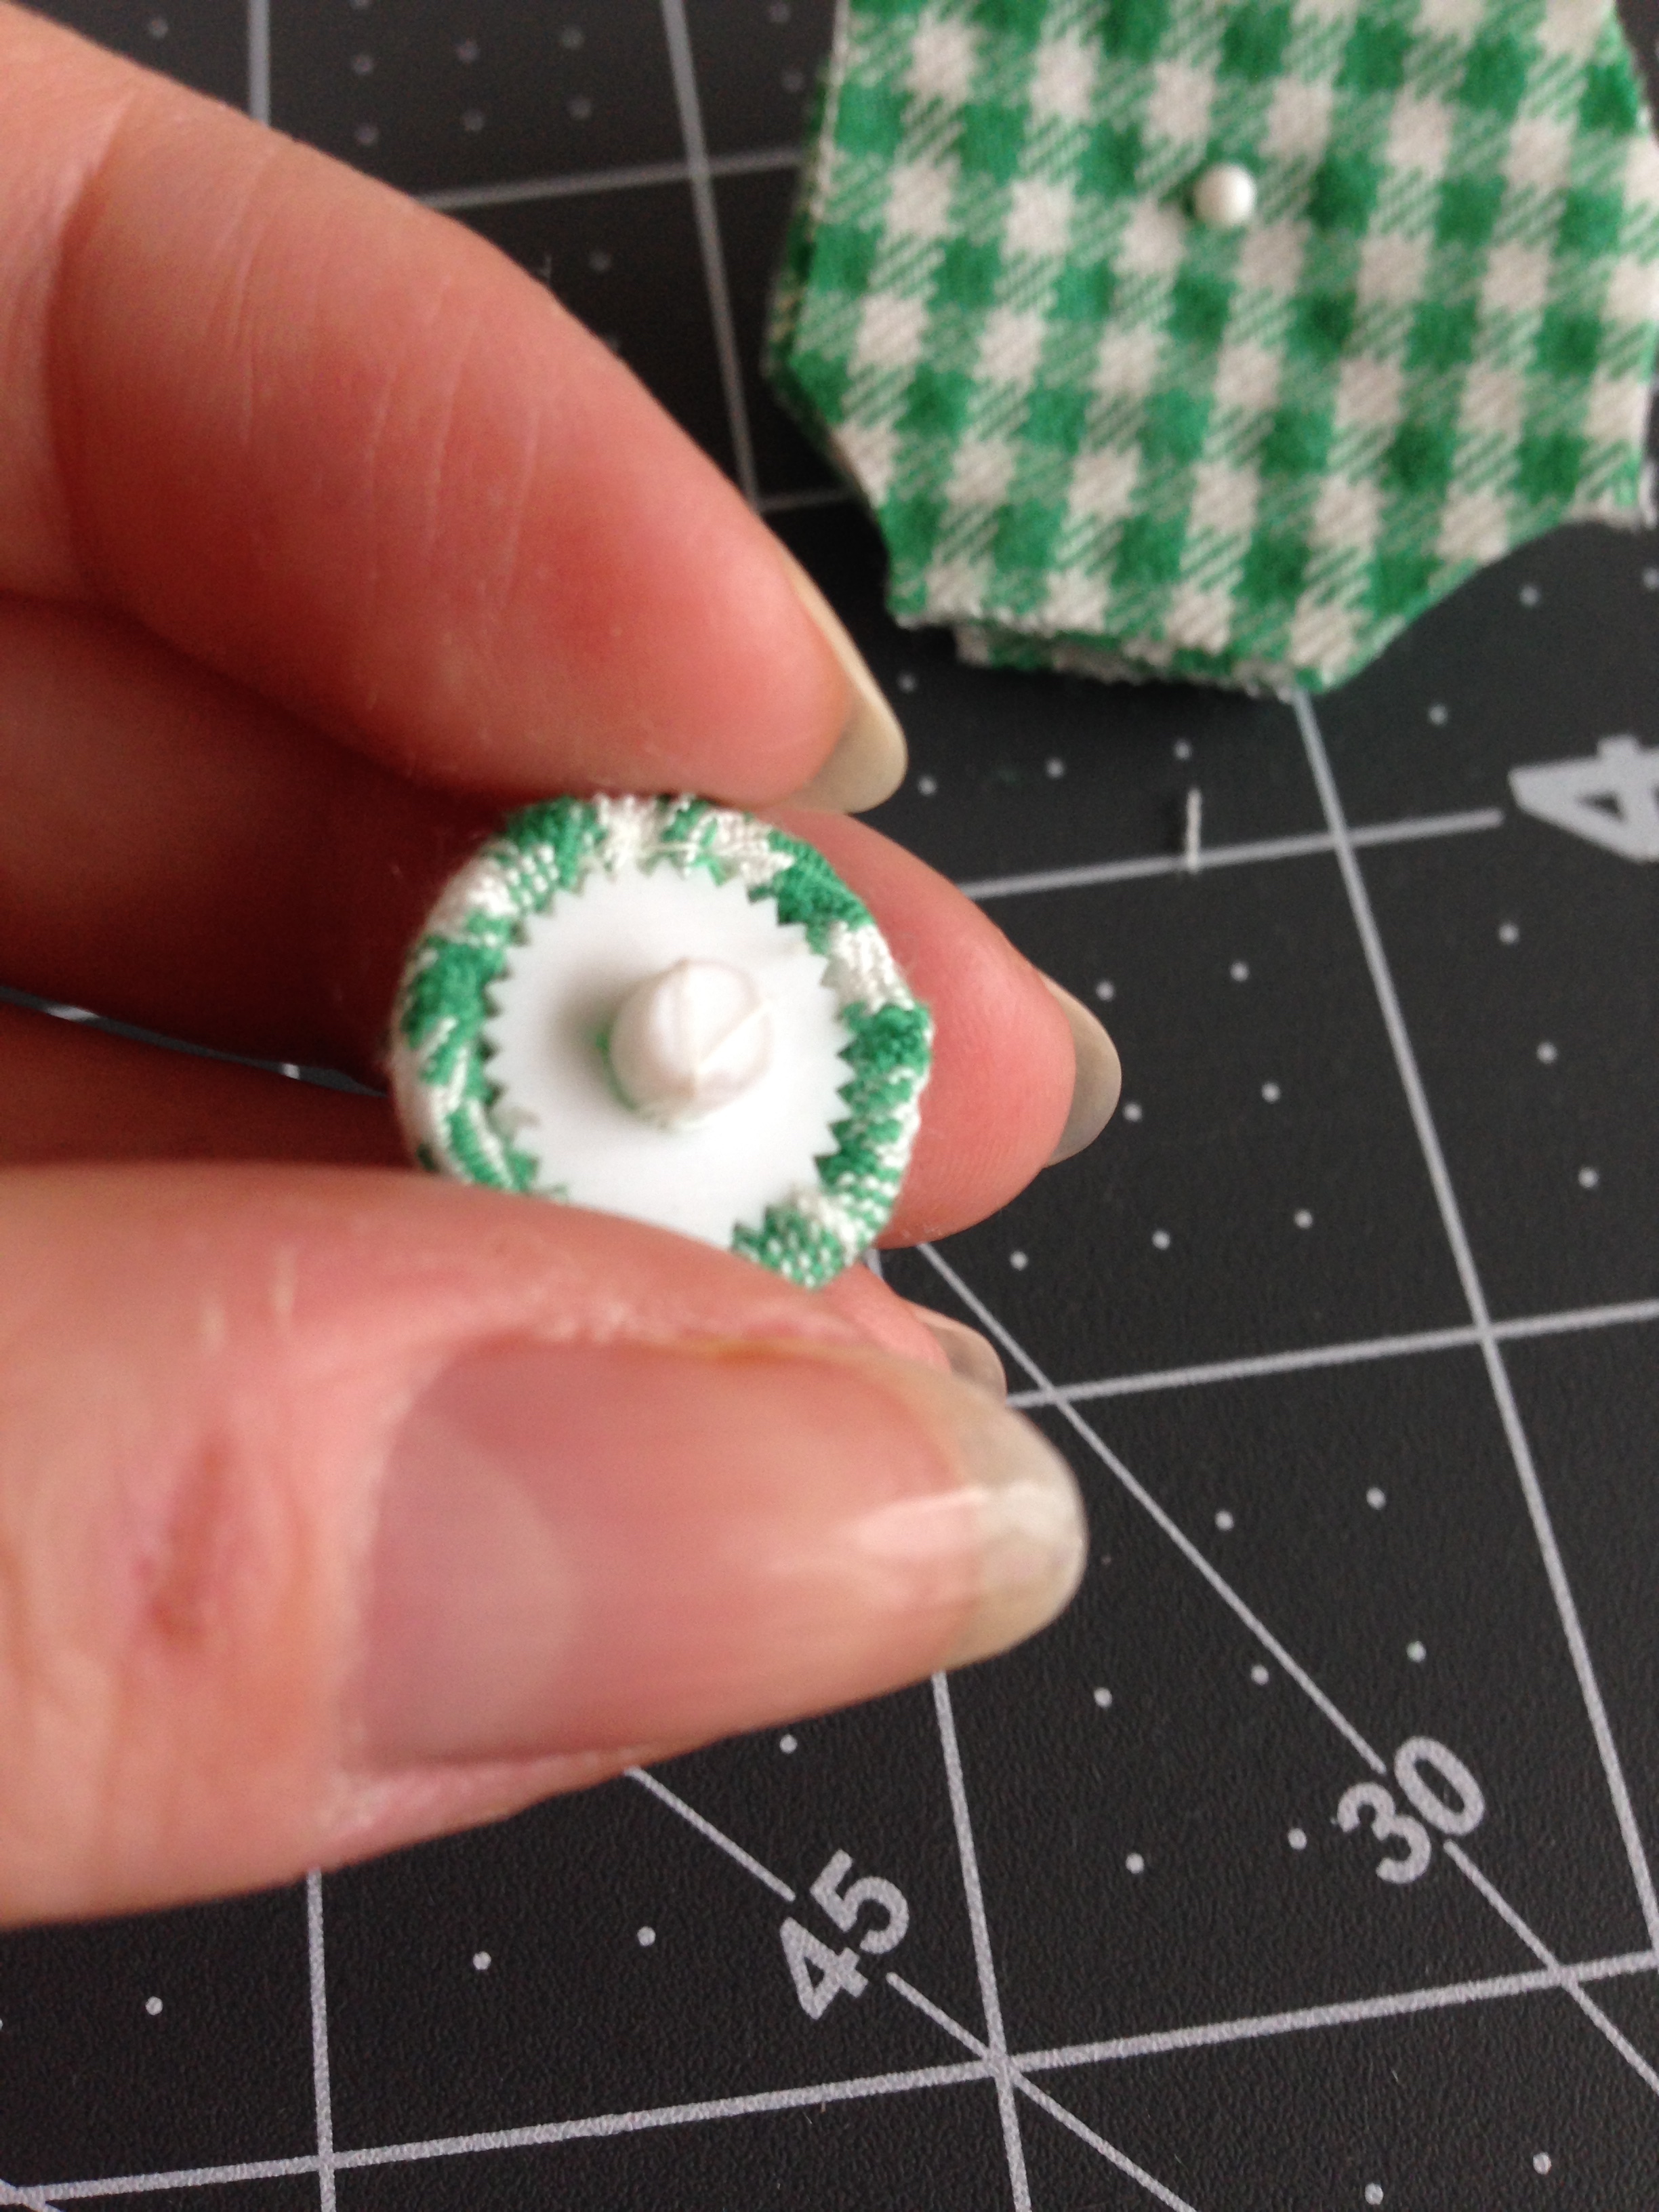
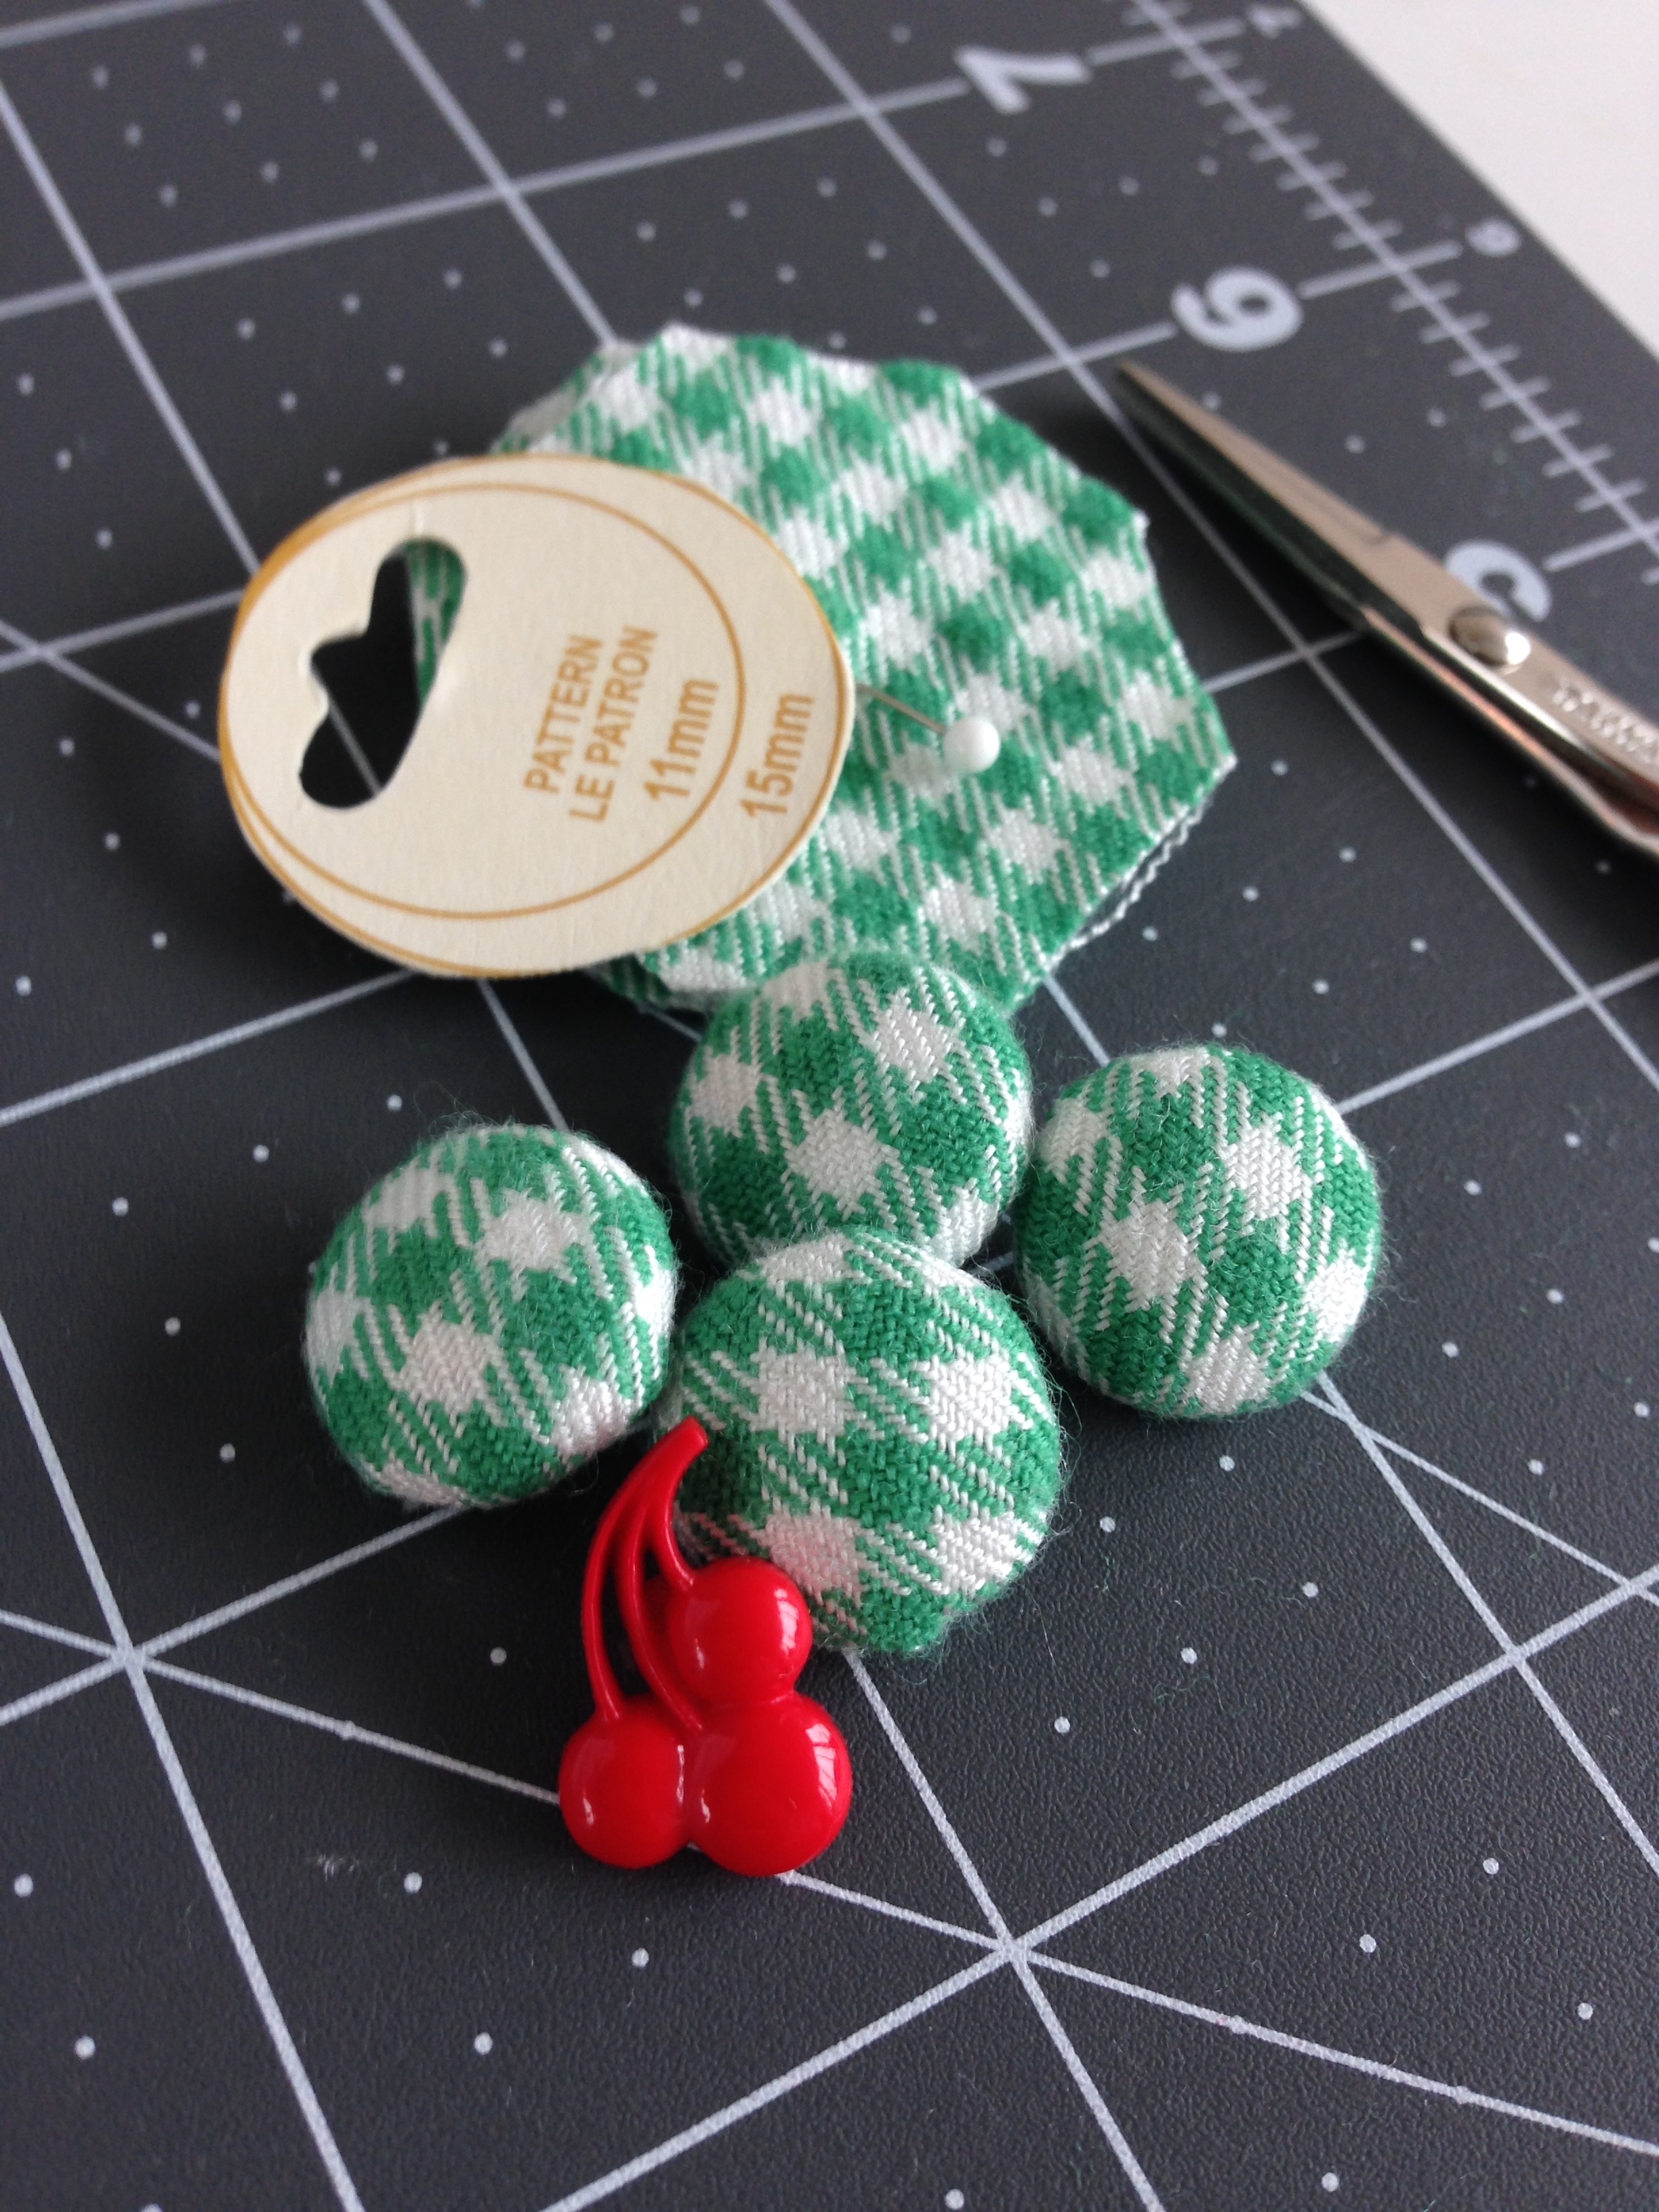
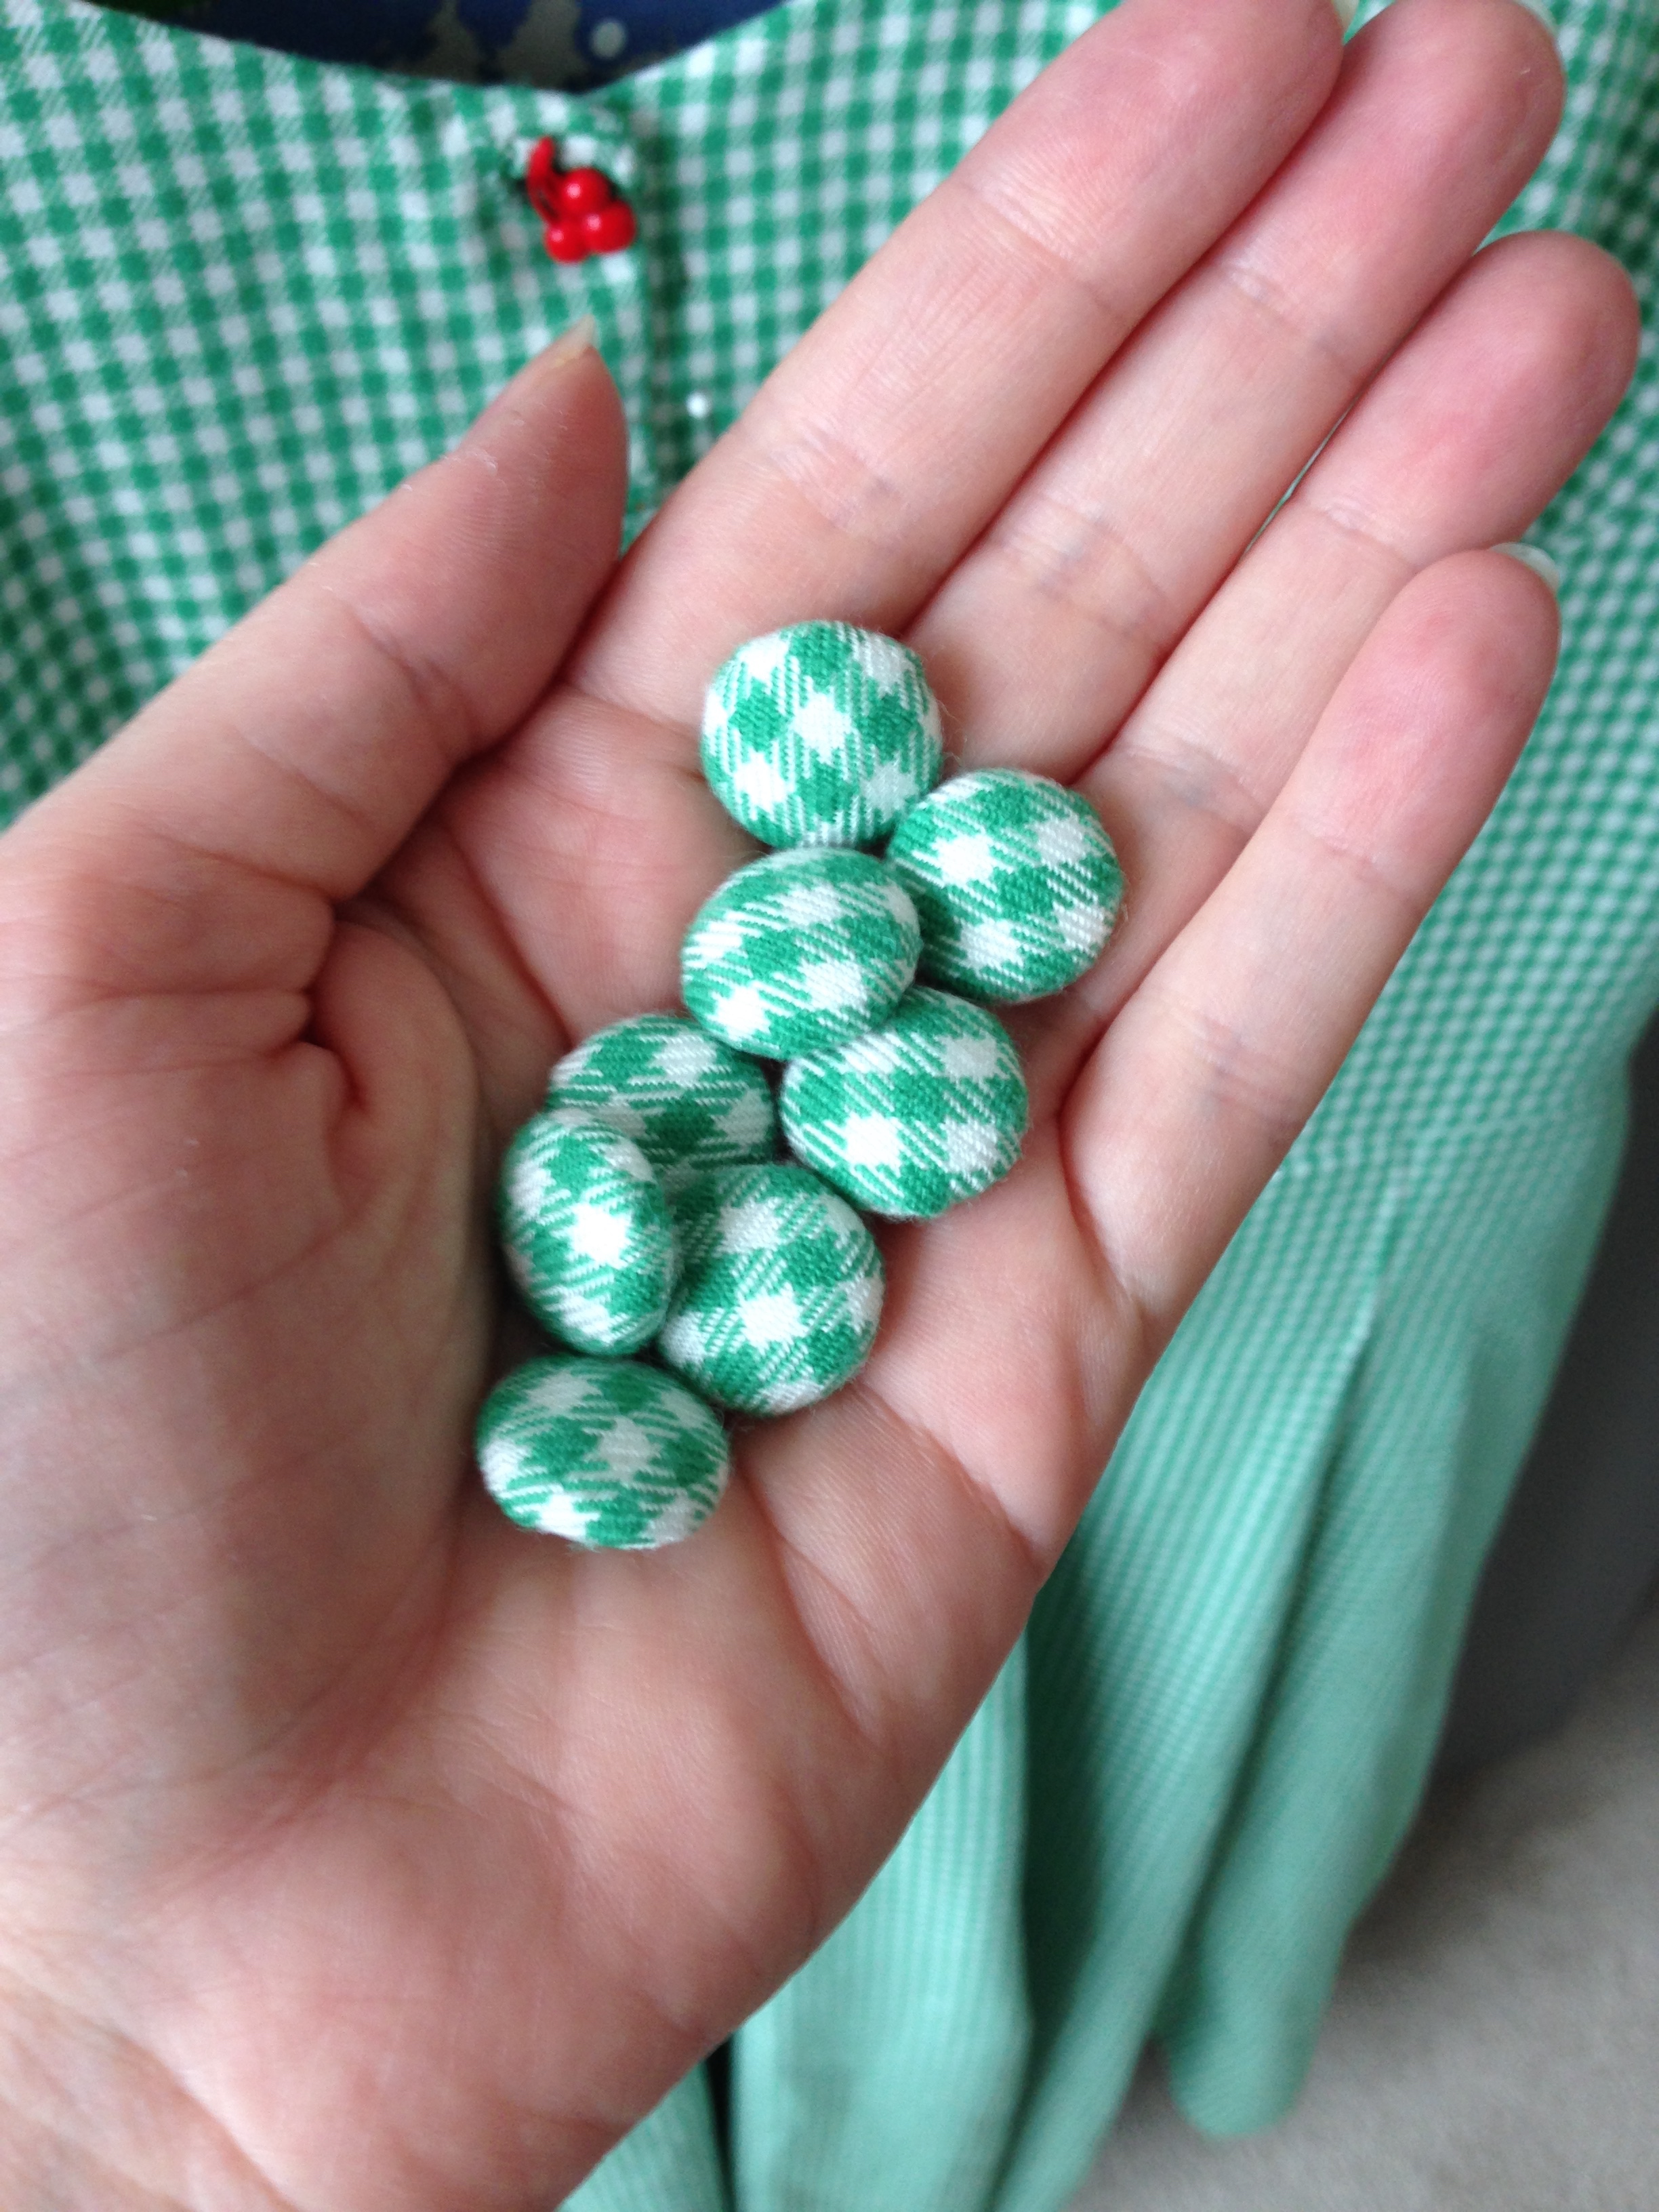
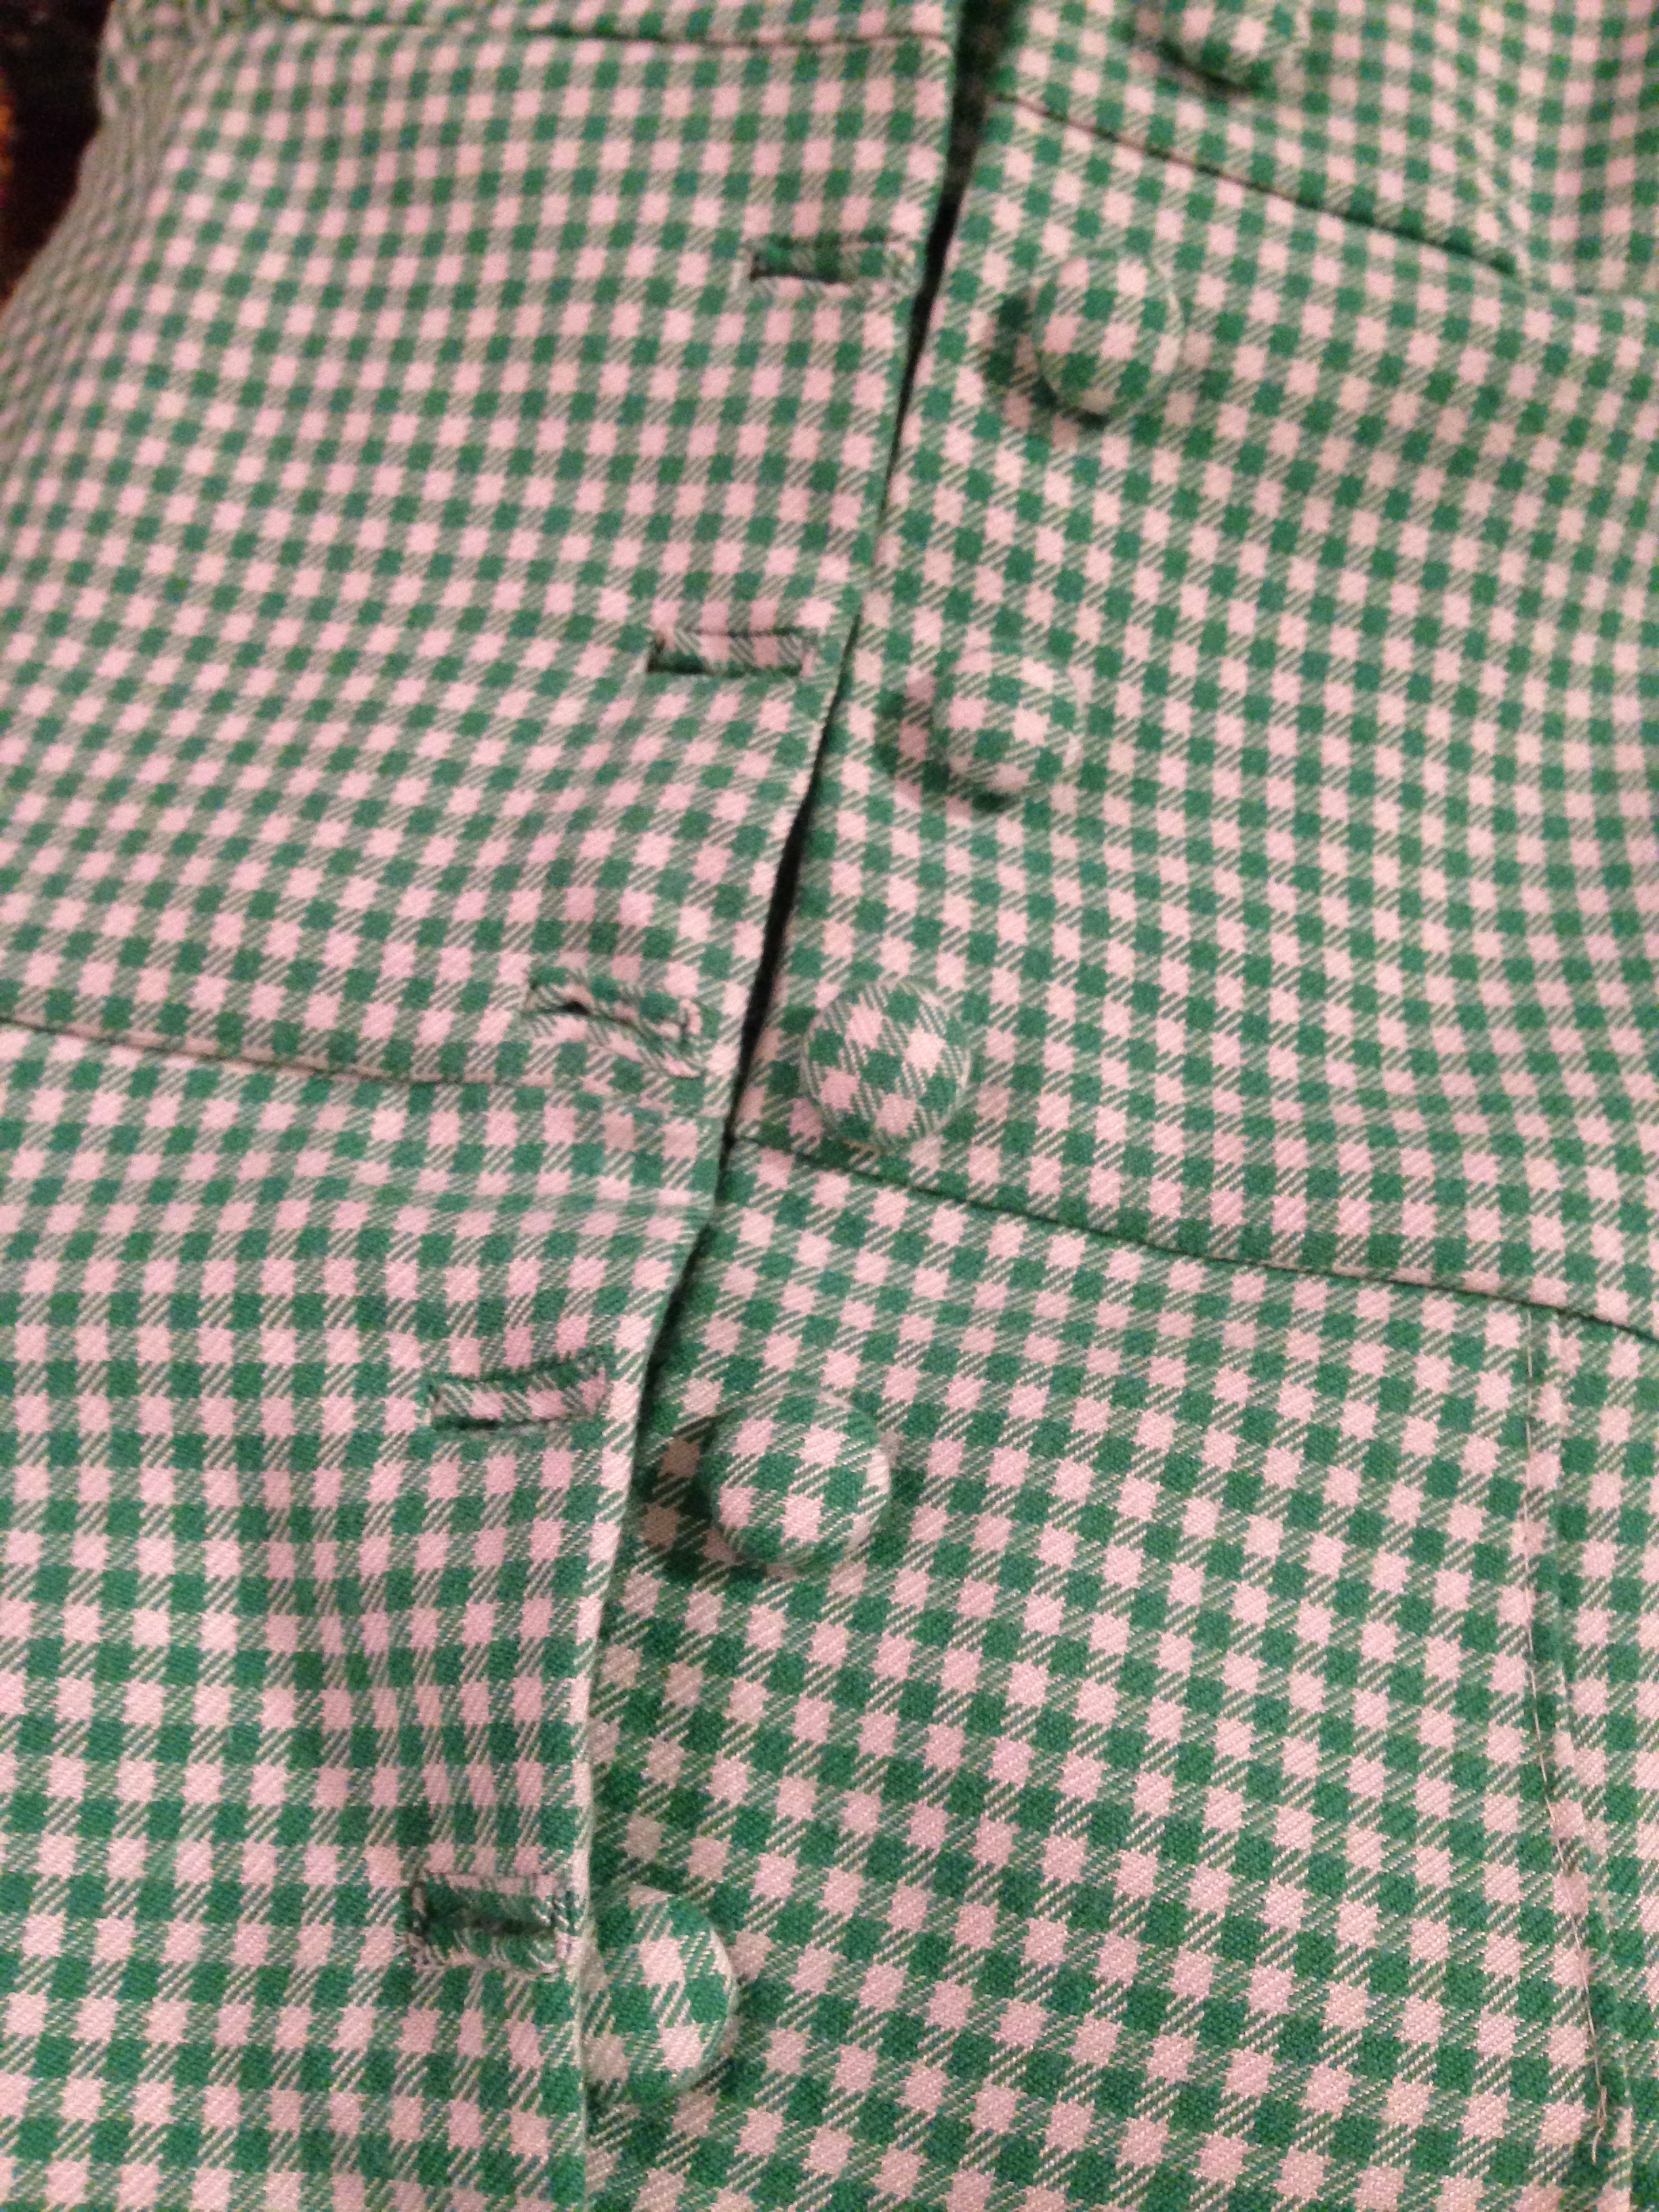
The buttonholes. It was almost a stand-off. At first I thought I'd just move over the seam allowance but because of the interfacing that idea was a no go. I'd have to deal with the buttonholes being closer to the edge than recommended. So I focused on button making. Now there's a story. It took me 3 hours stuck in Toronto traffic to get those plastic buttons. I could have walked it in 2. Sigh.
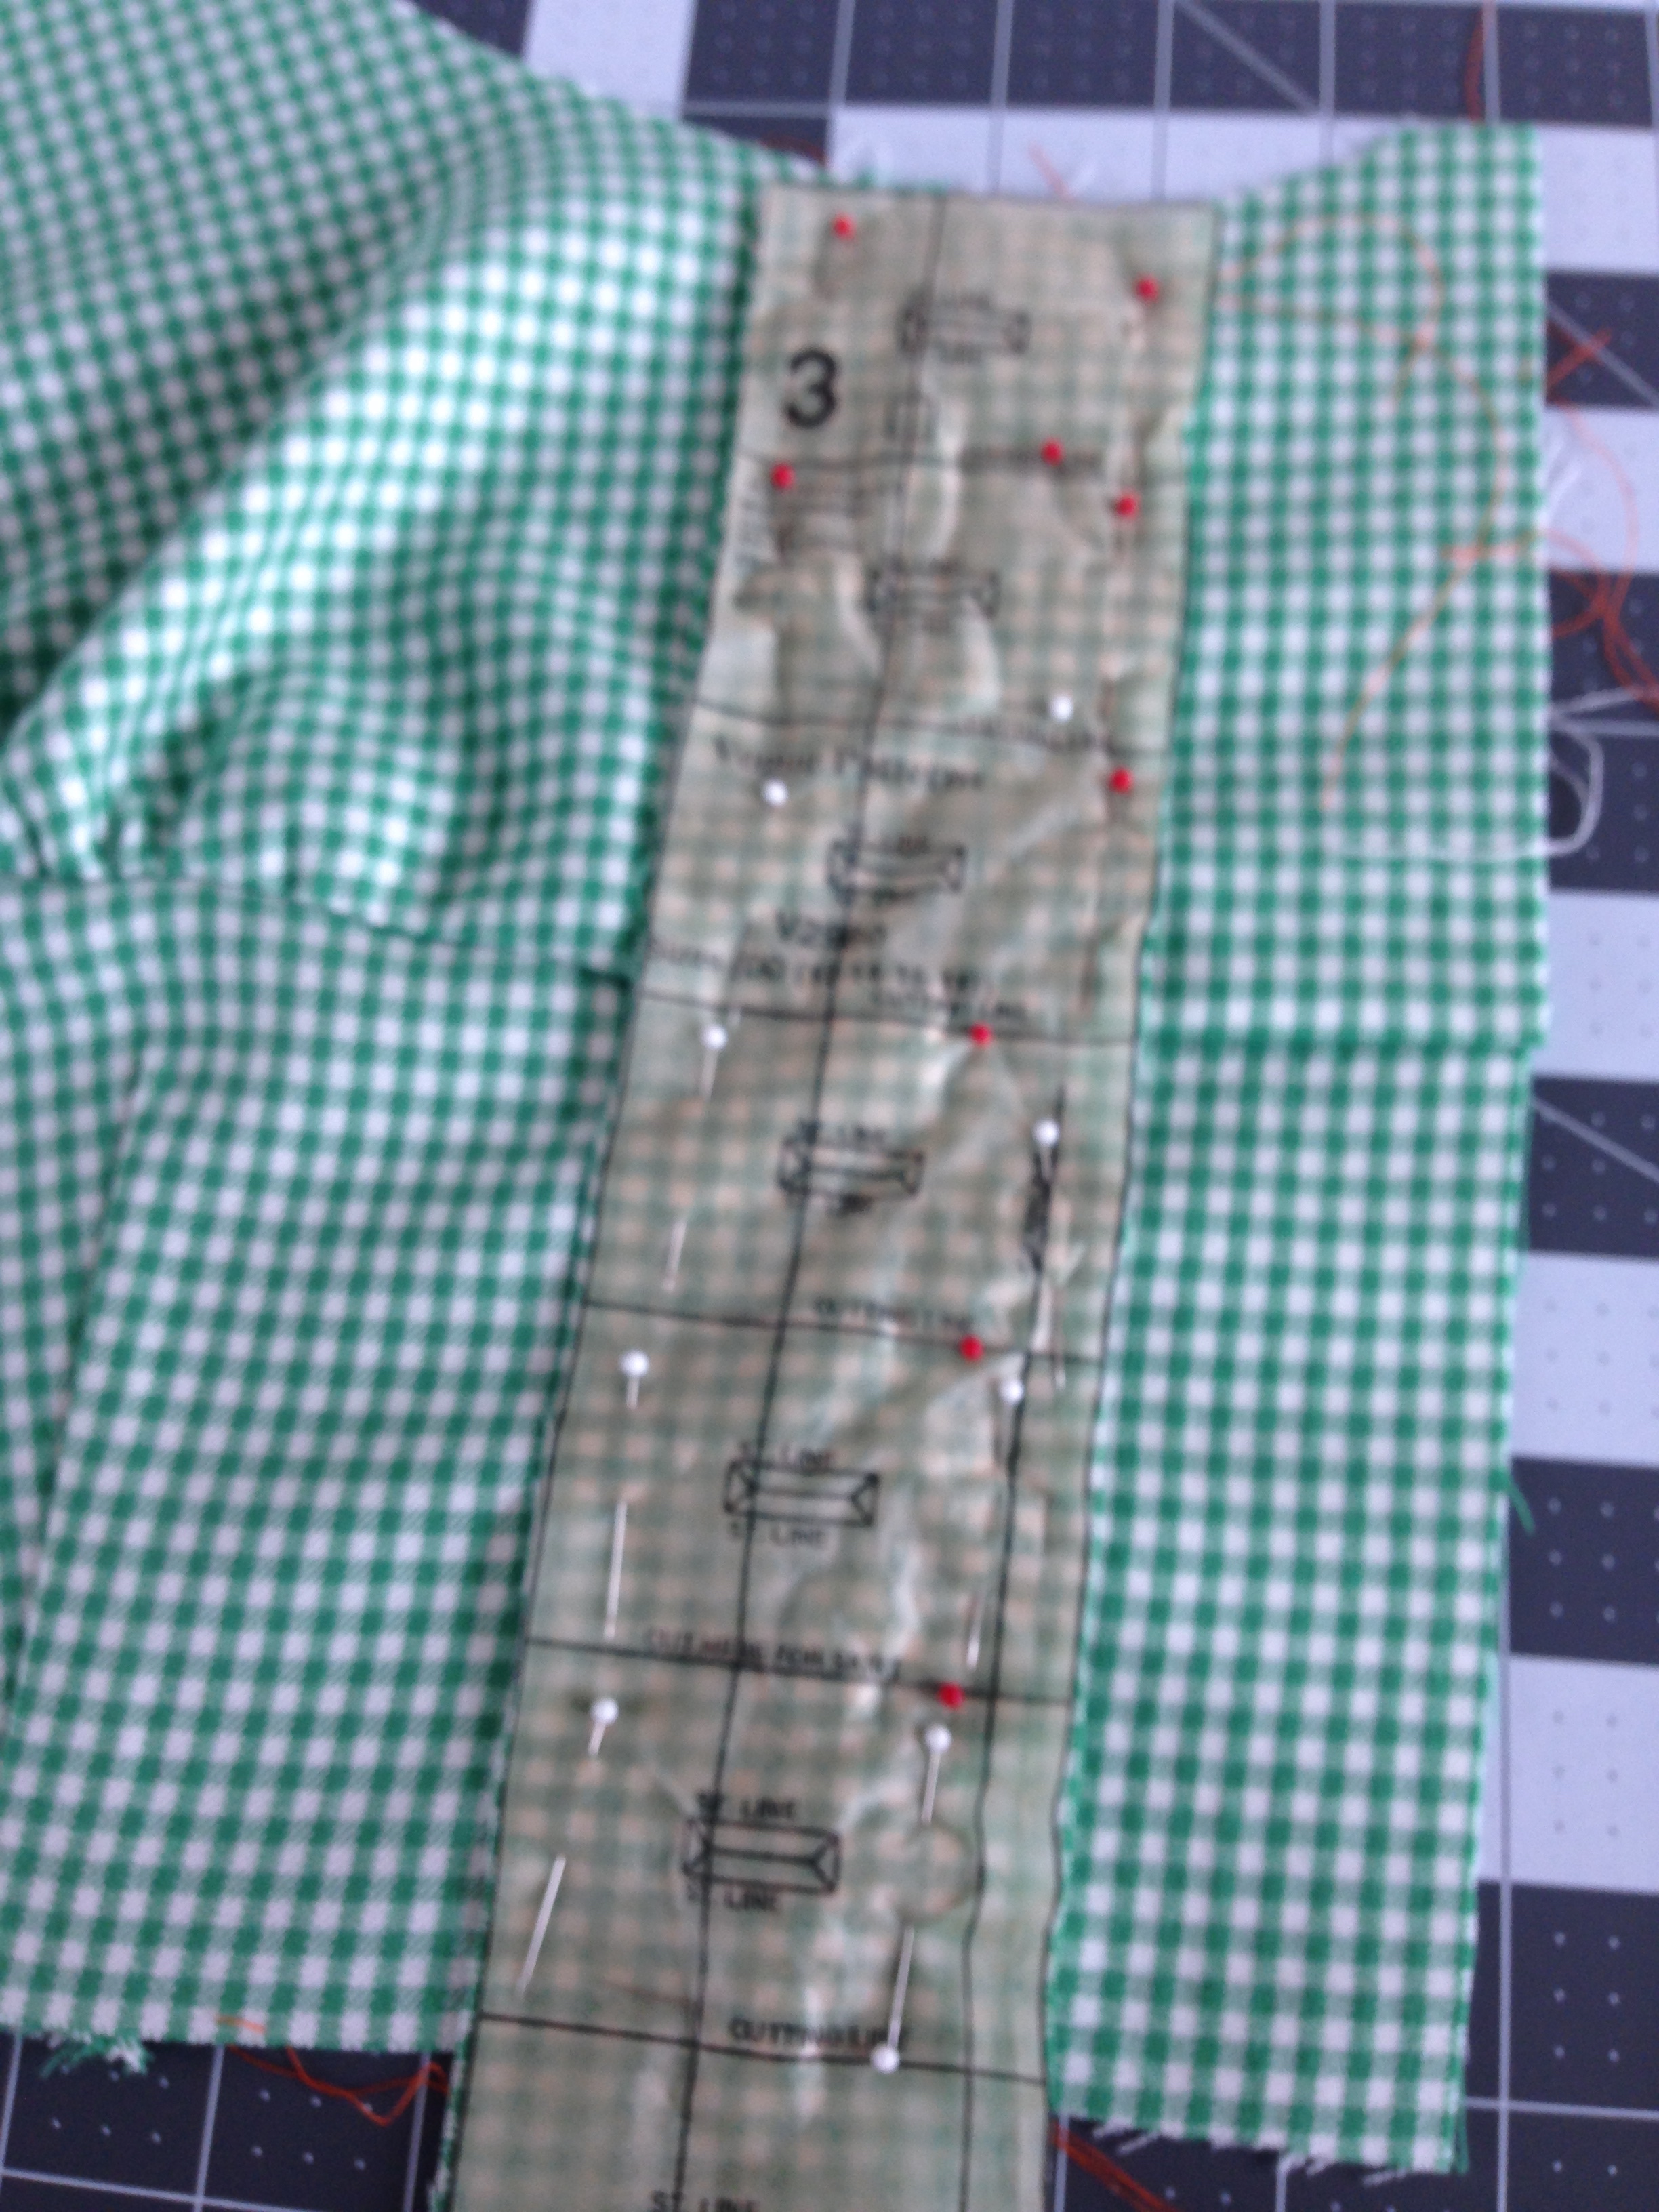
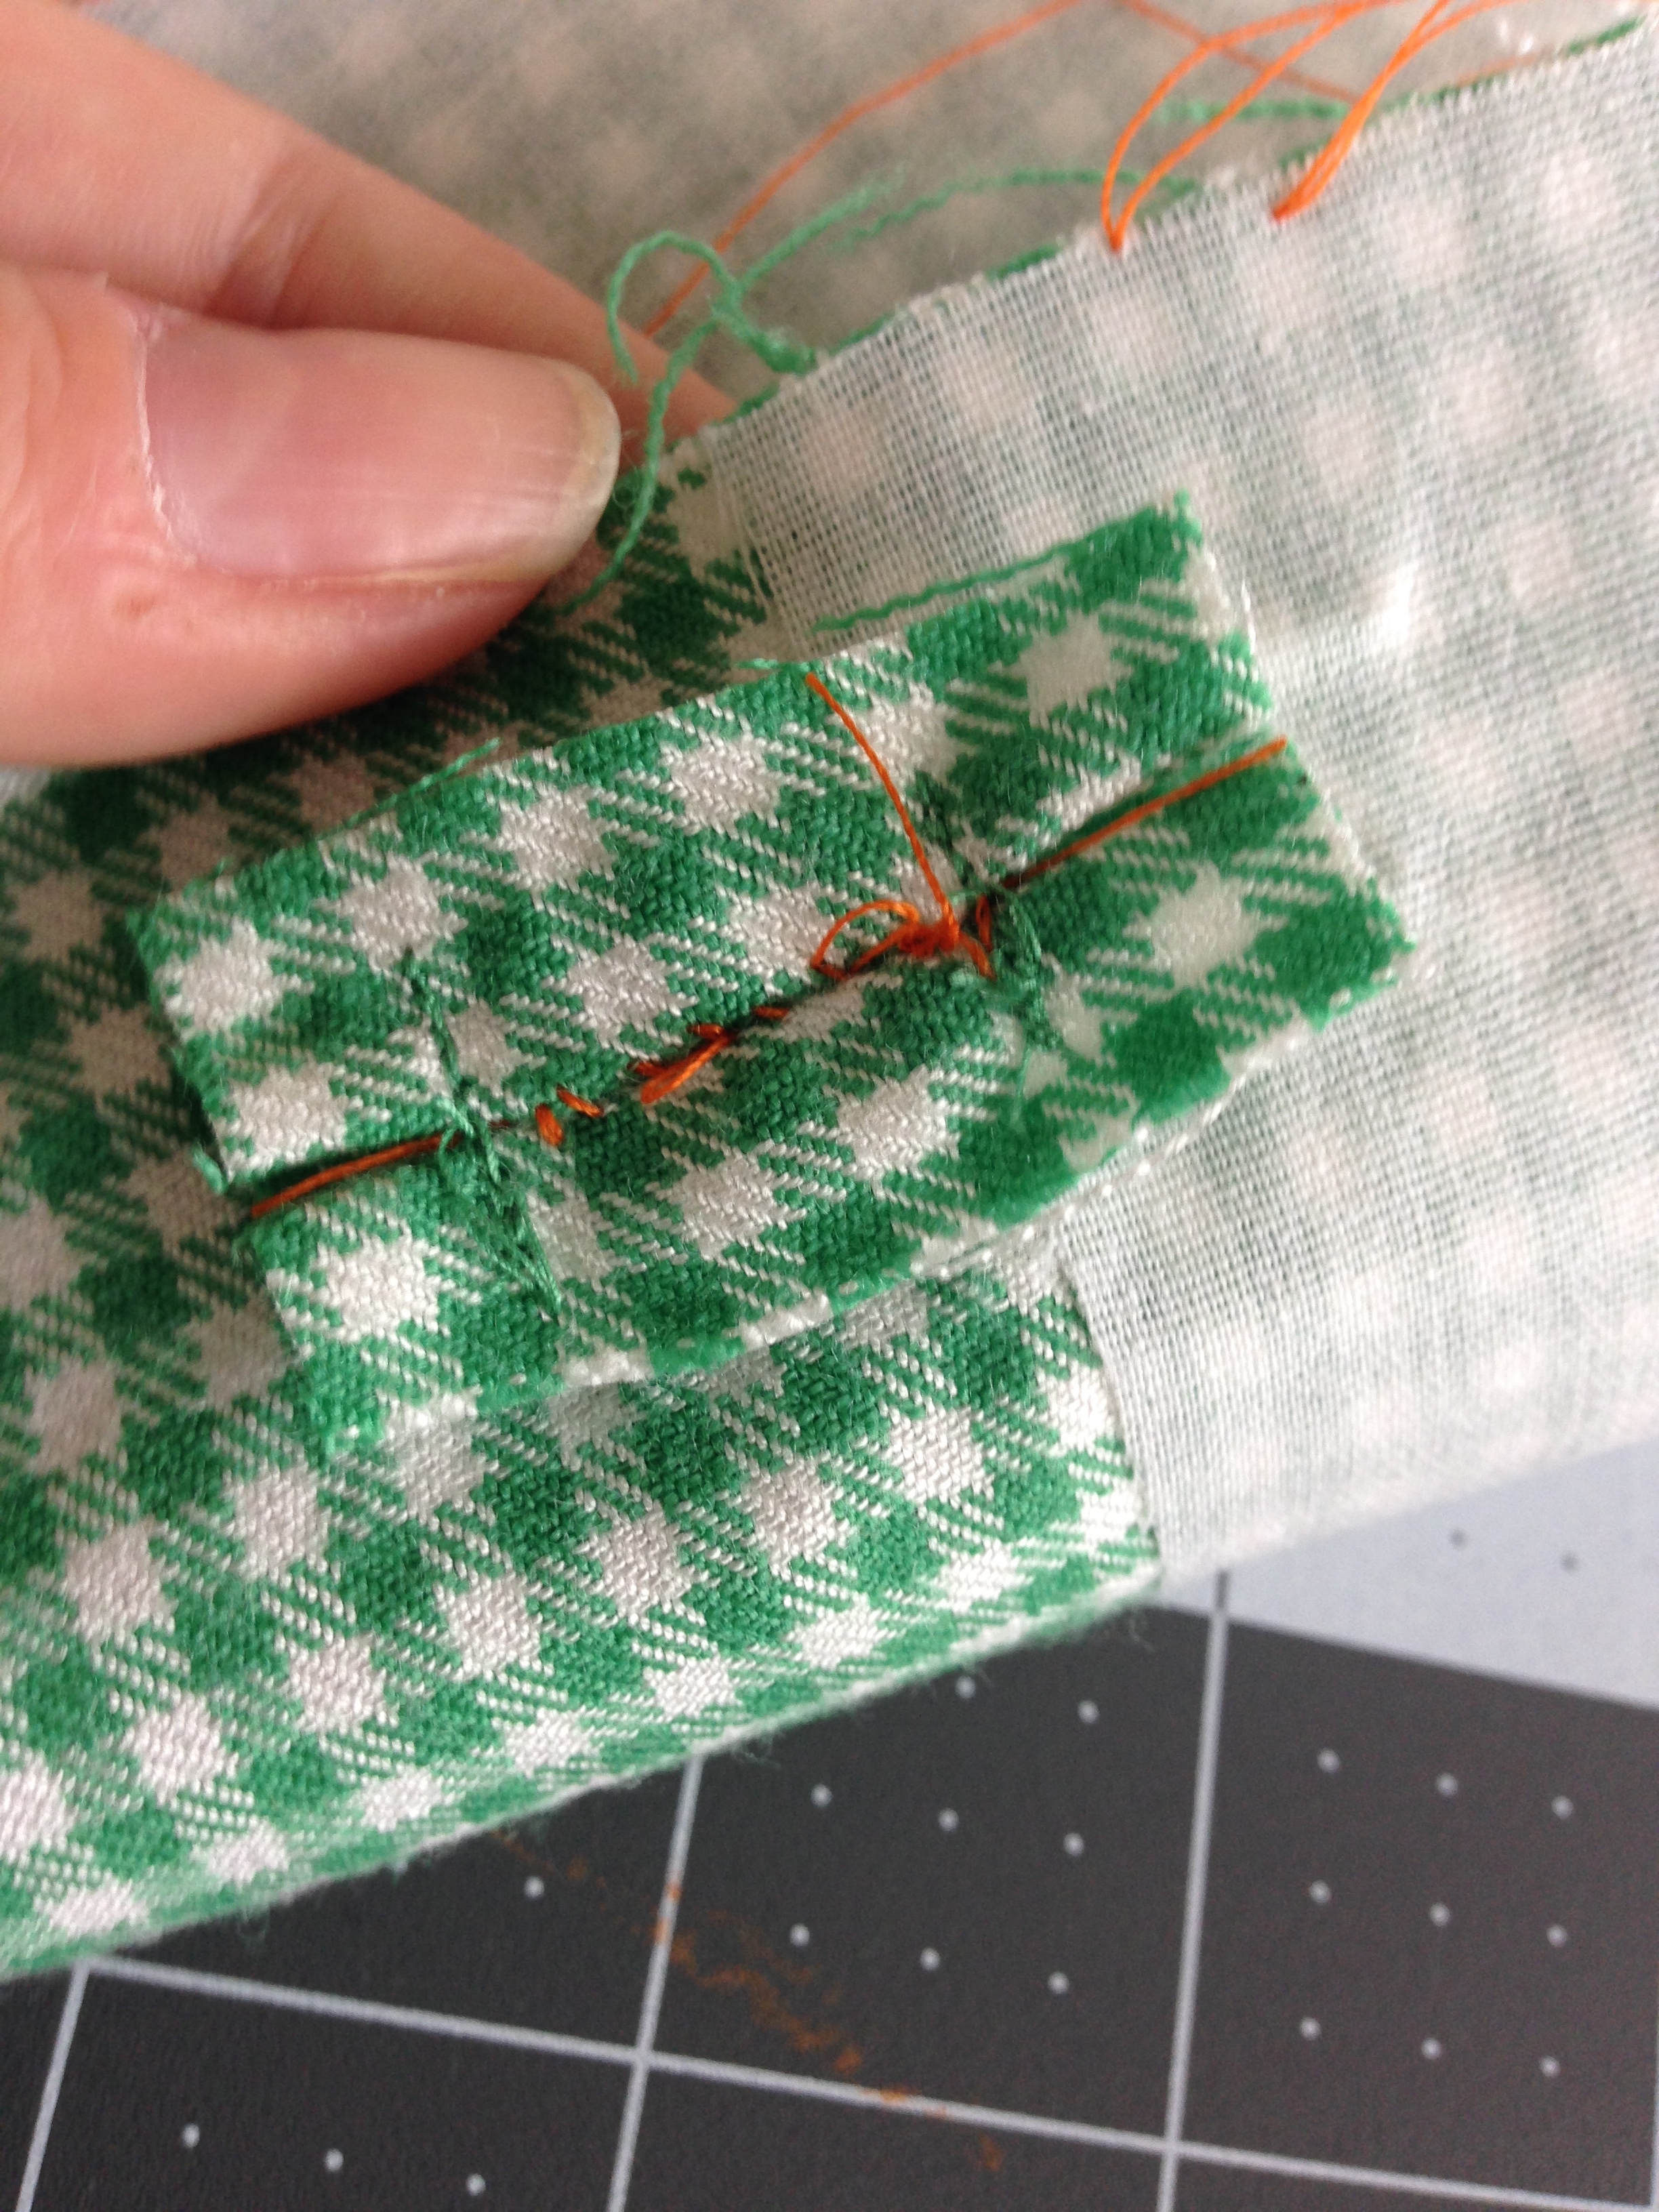
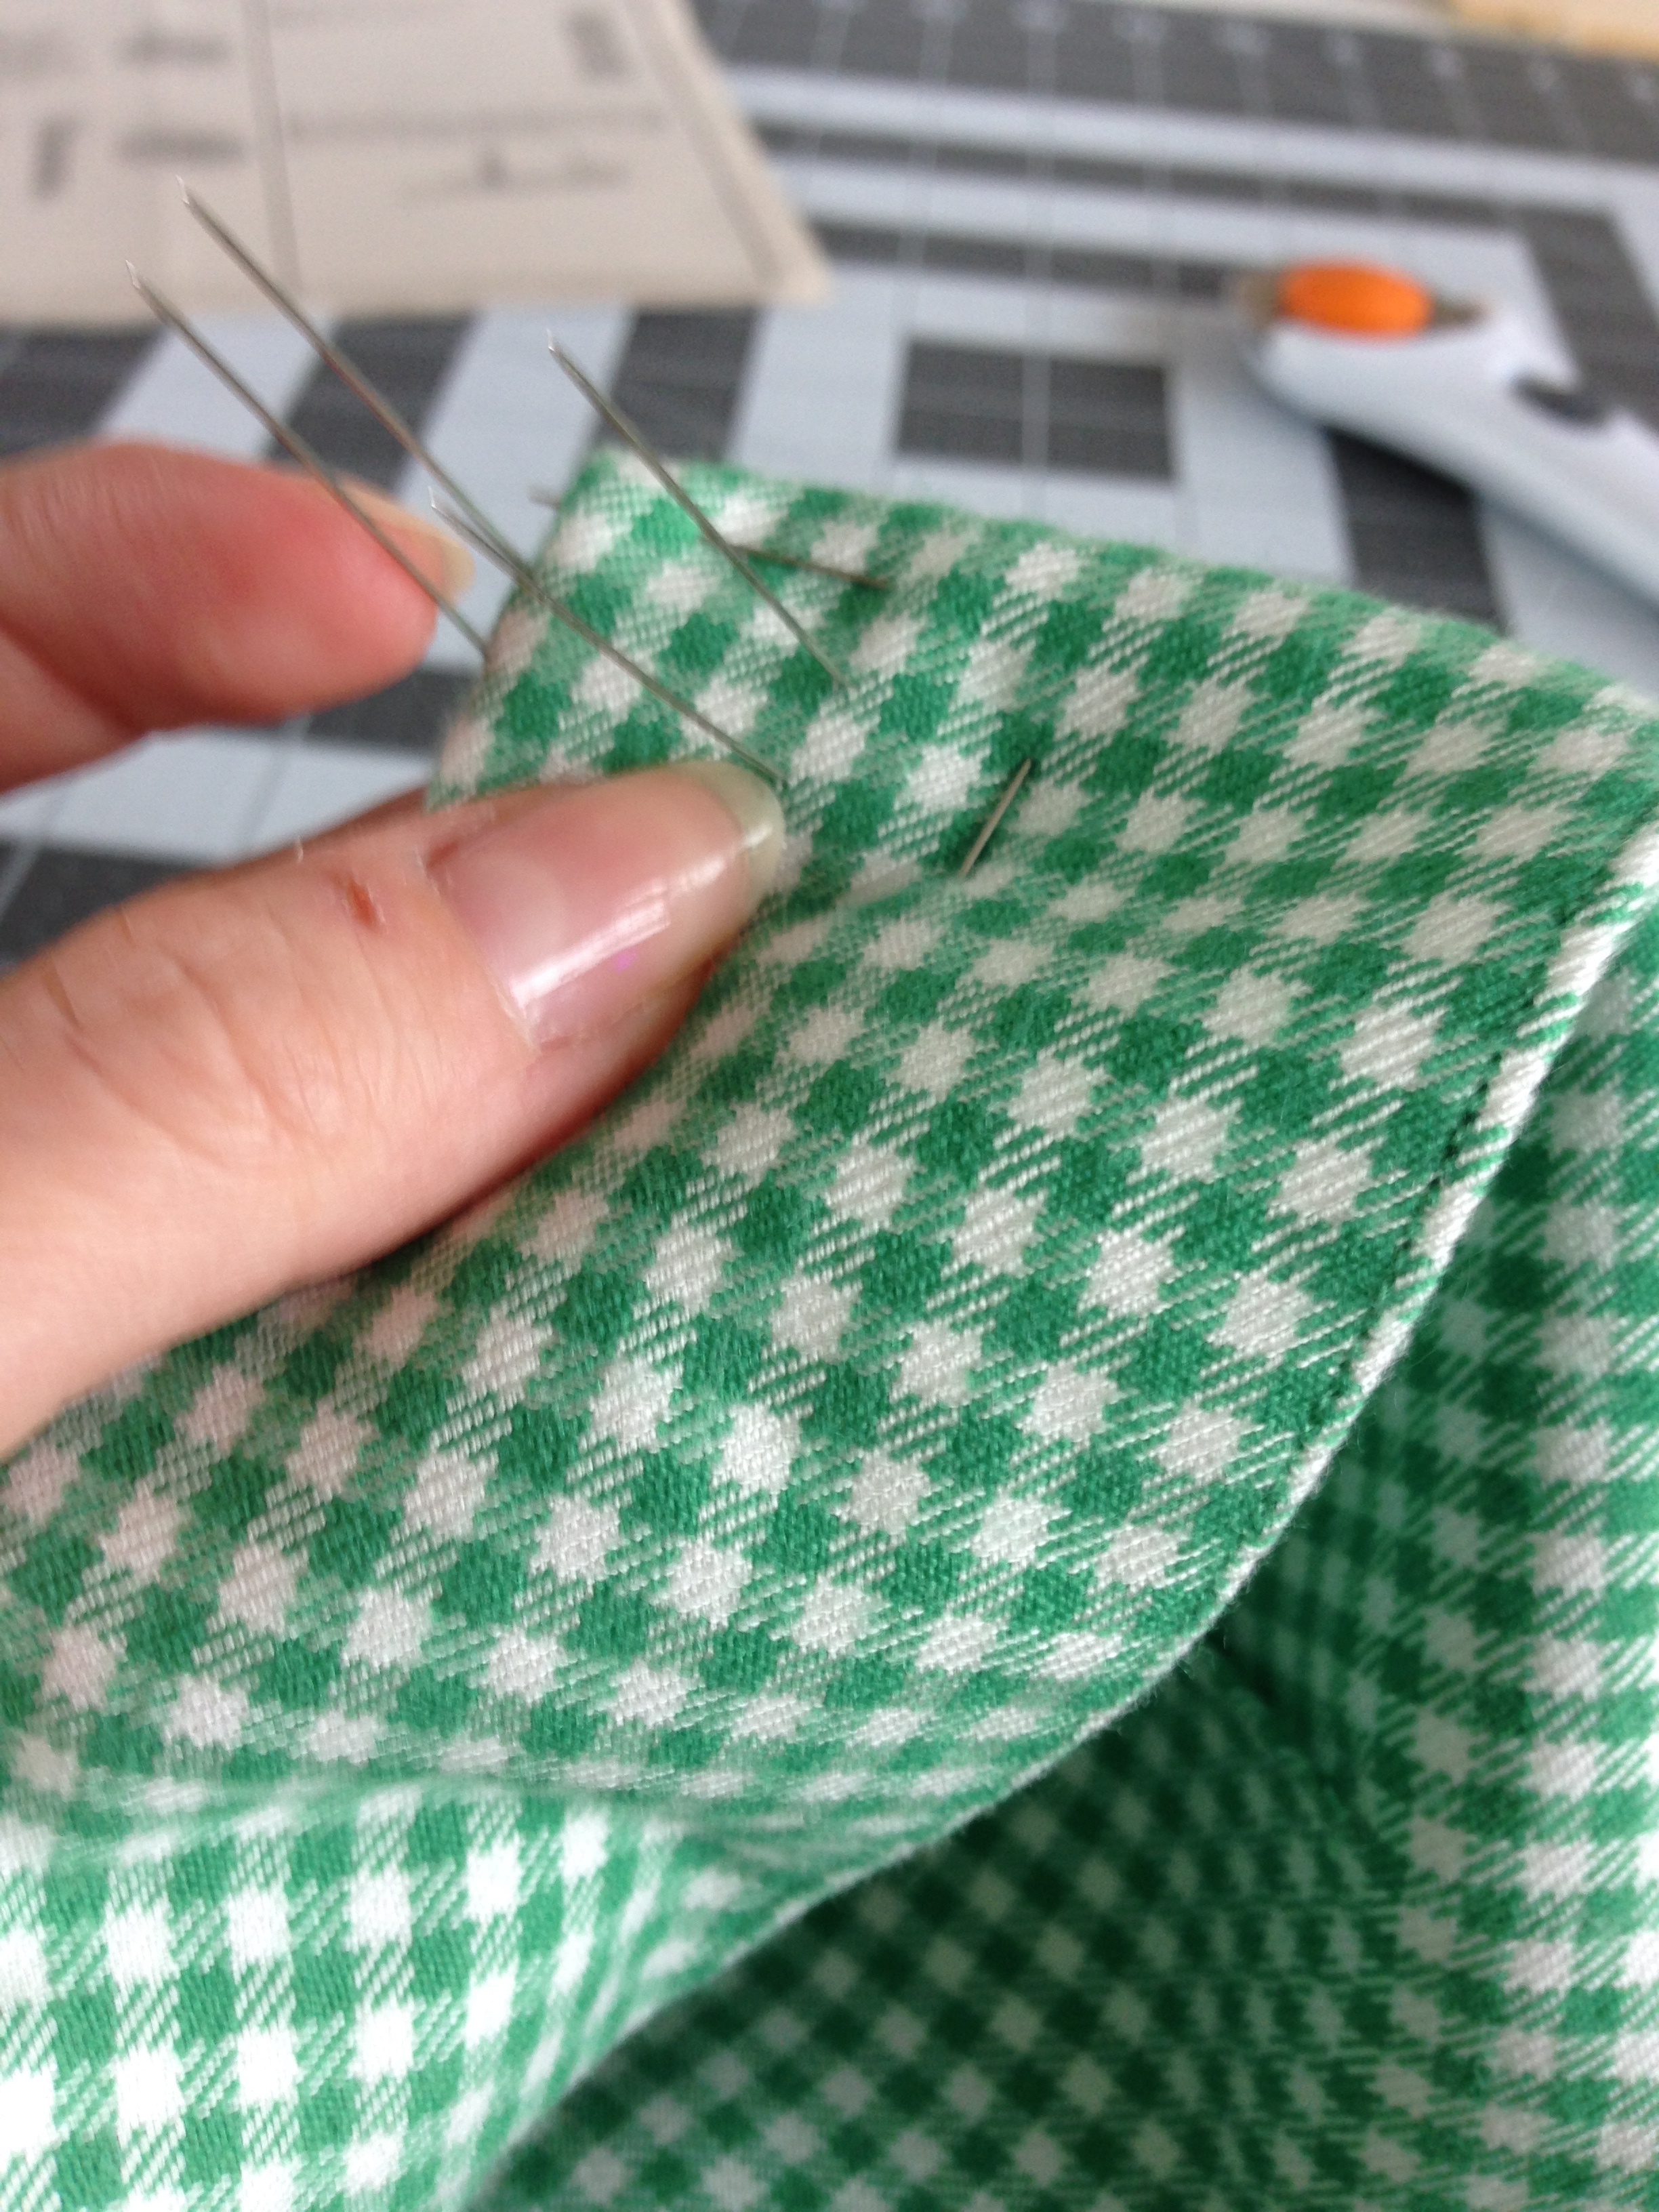
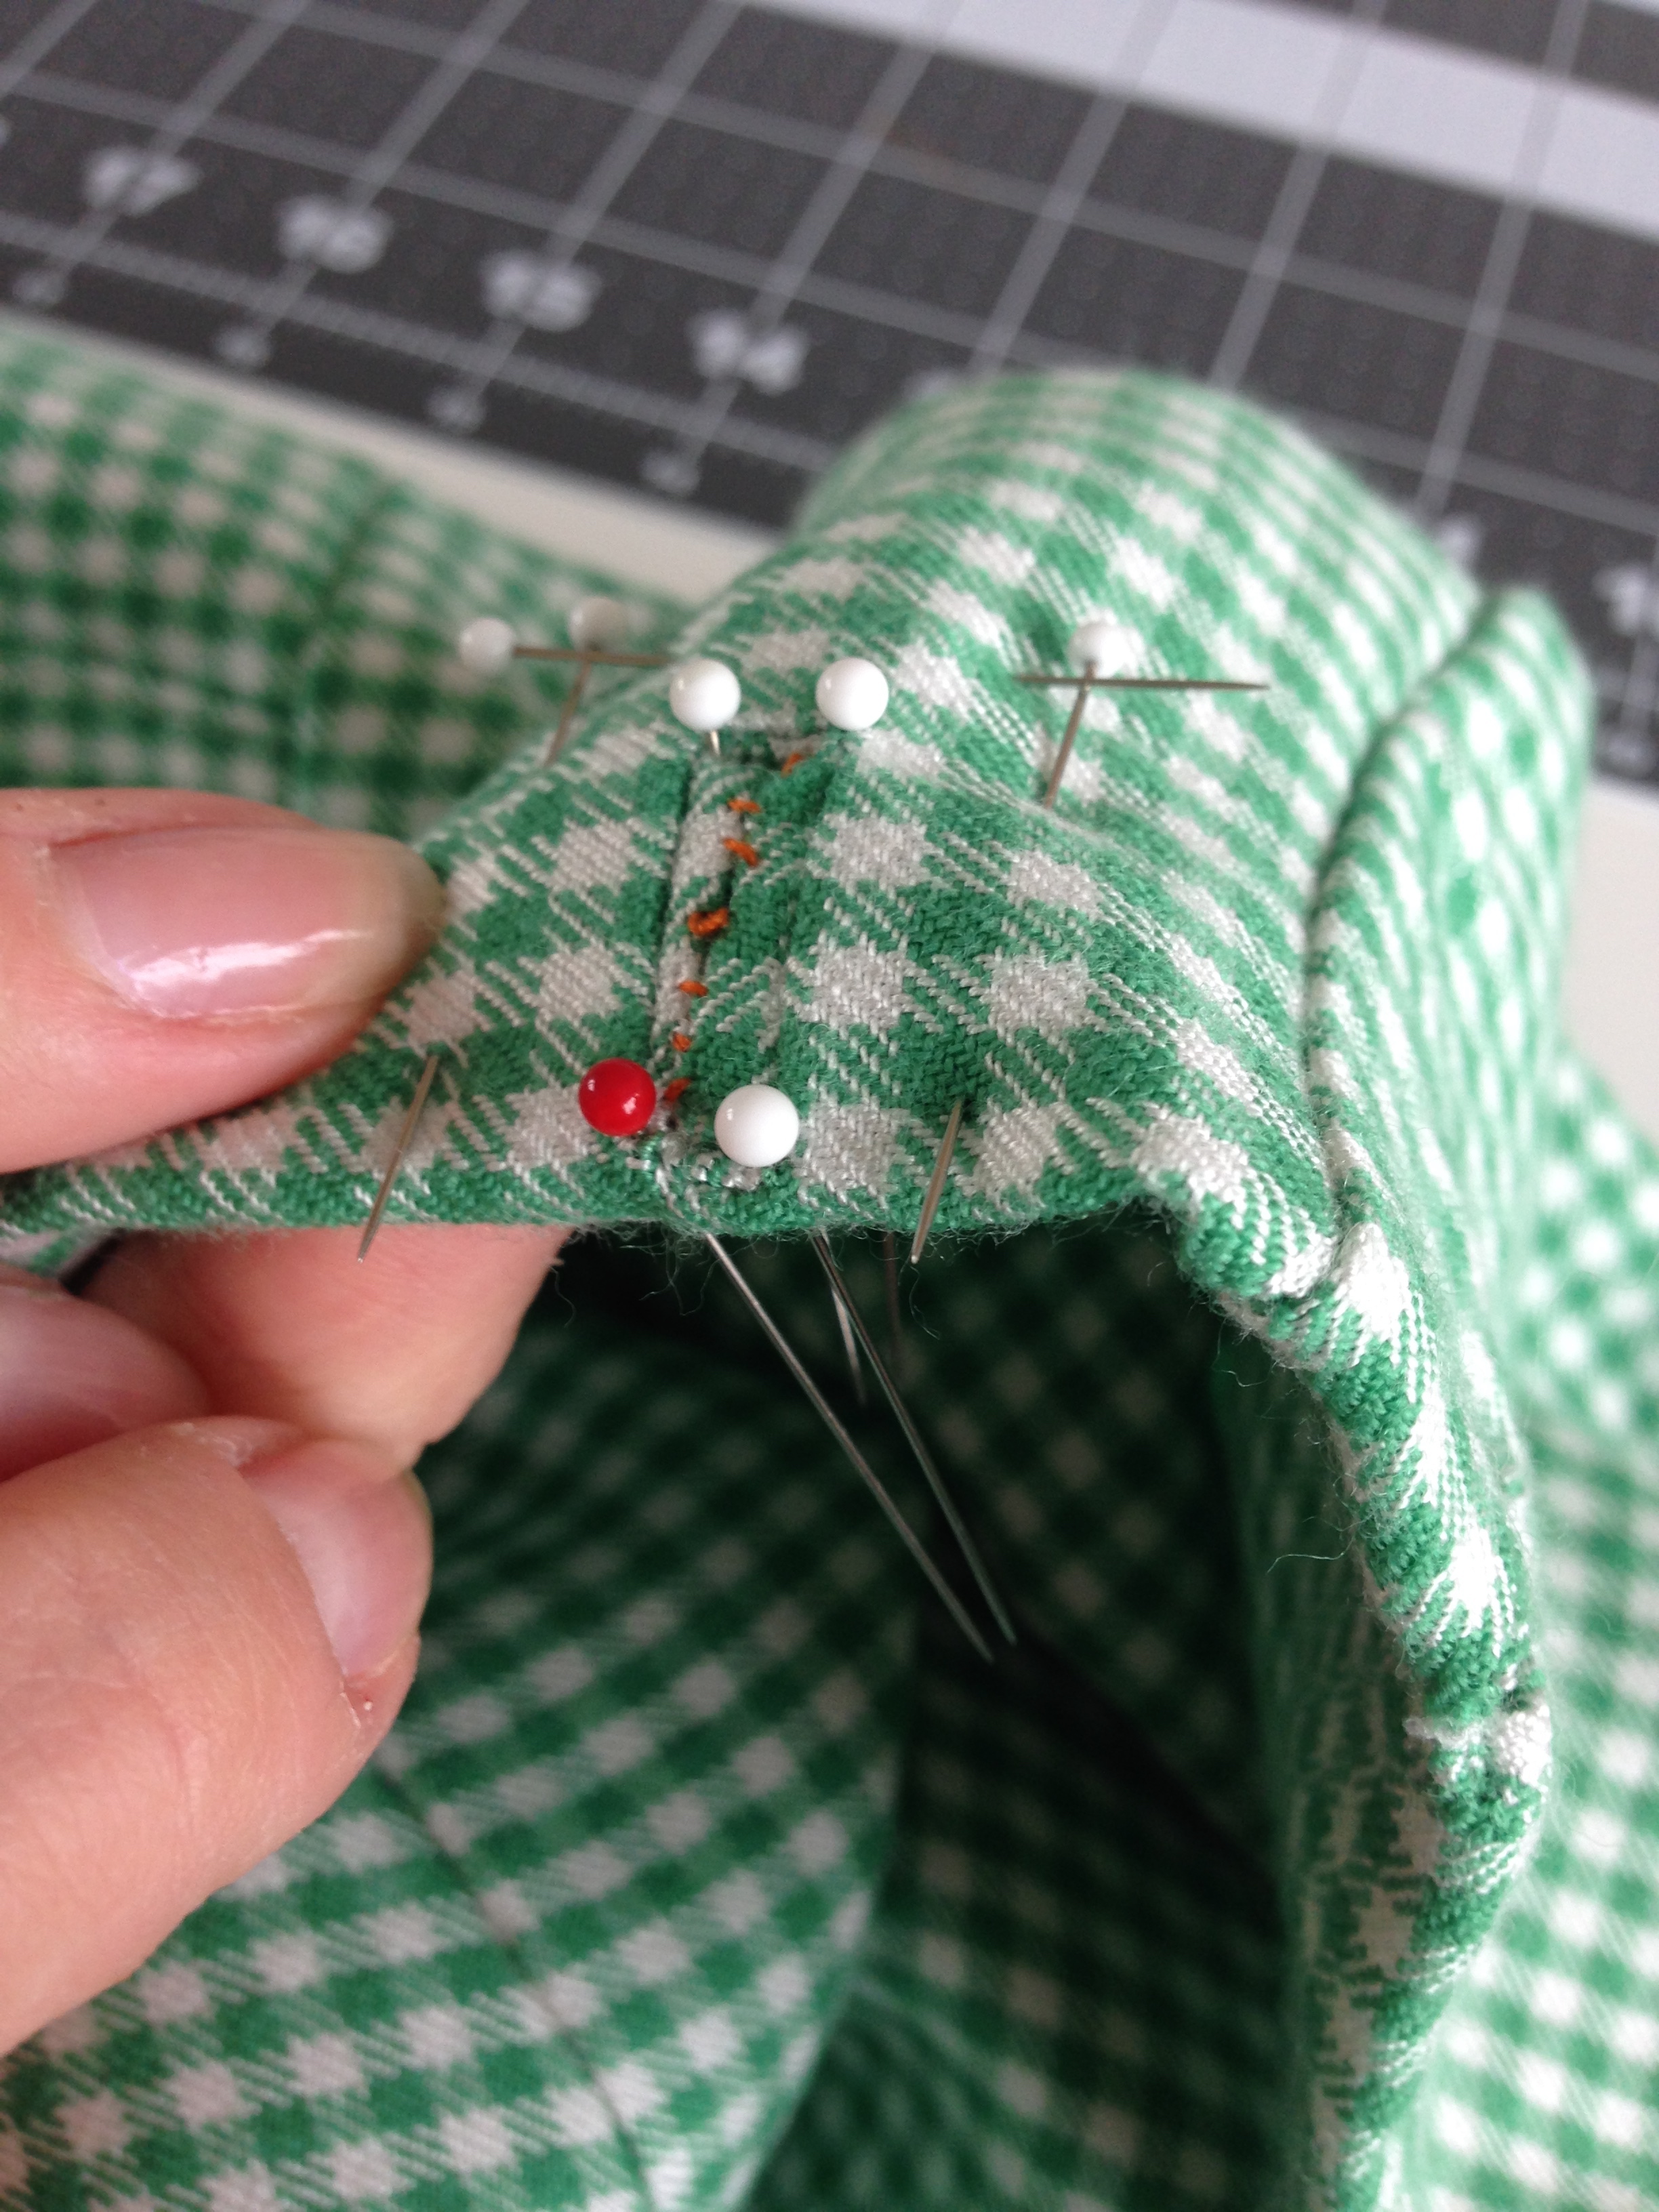
The covered buttons finished (YAY for easy rotary cutter circles), it was time to finish the welt buttonholes. Cutting time! I fitted the bodice so that despite the half inch extra it fit well. I ironed the lovely interfacing as flat as possible without scorching the wool. Success! Using my vogue book as a guideline, I used four pins, one in each corner of the welt, to indicate where to cut a small slit for each buttonhole opening. I finished them as I went. All but the last buttonhole wasn't stable enough to take buttoning. Luckily the last button was more for symmetry, so I sewed the button directly overtop of it, just for show, so it avoids any tearing. And the rest was a matter of pinning the buttonholes in place over where I wanted the buttons, marking and affixing.
Last but not least was the hem. Urk. I hate hemming. Luckily, my new fancy sewing machine has a million wonderful stitches to do a nice easy pick-up hem thing.
BAM!
One project down!
NEXT!
-Andrea
The Half-Assed Hobbyist