Fall Phobia

Normally when fall approaches I get very excited. (Mainly for all the pumpkin spiced things... yes, I'm one of Those.) But this year I found myself not wanting the summer to end. I just wasn't ready.

With all my wedding jam prep being done, my current knitting project at a redundantly boring spot and Matthew away for a week I went into a bit of a sad sack stupor. Good thing though, because I got at least something off my 'To Do before fall' list. One more step to being ready!

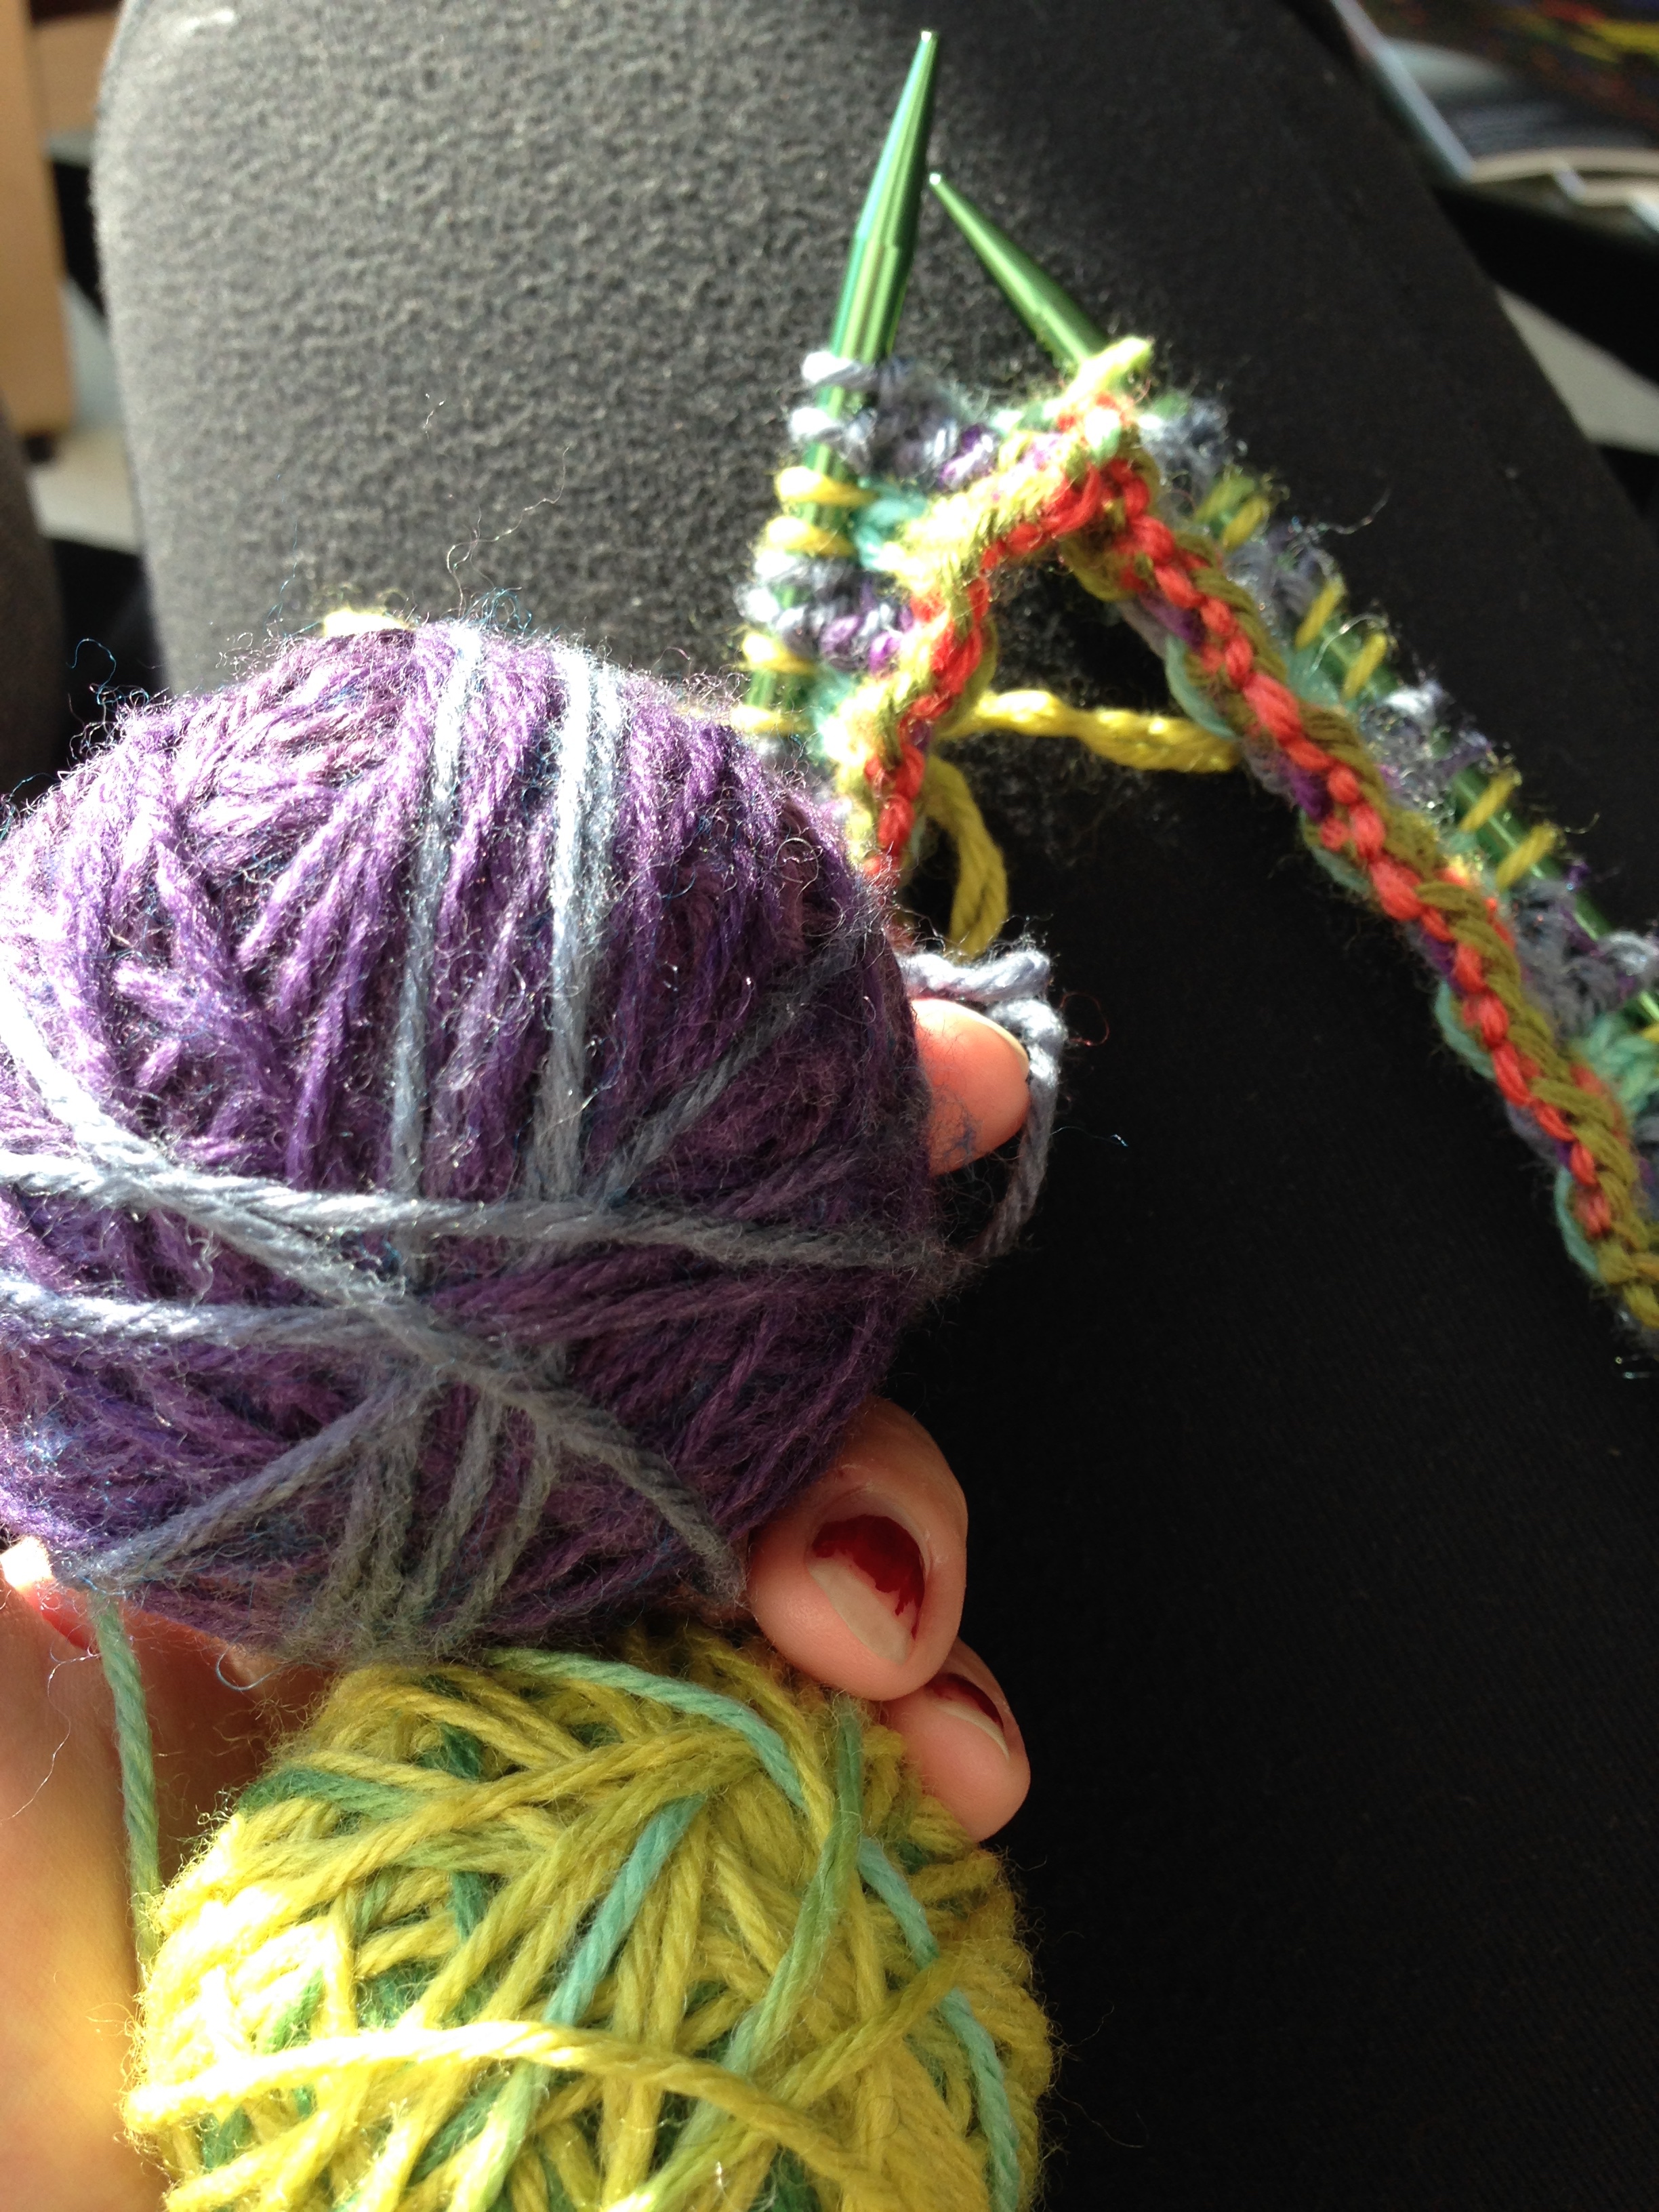
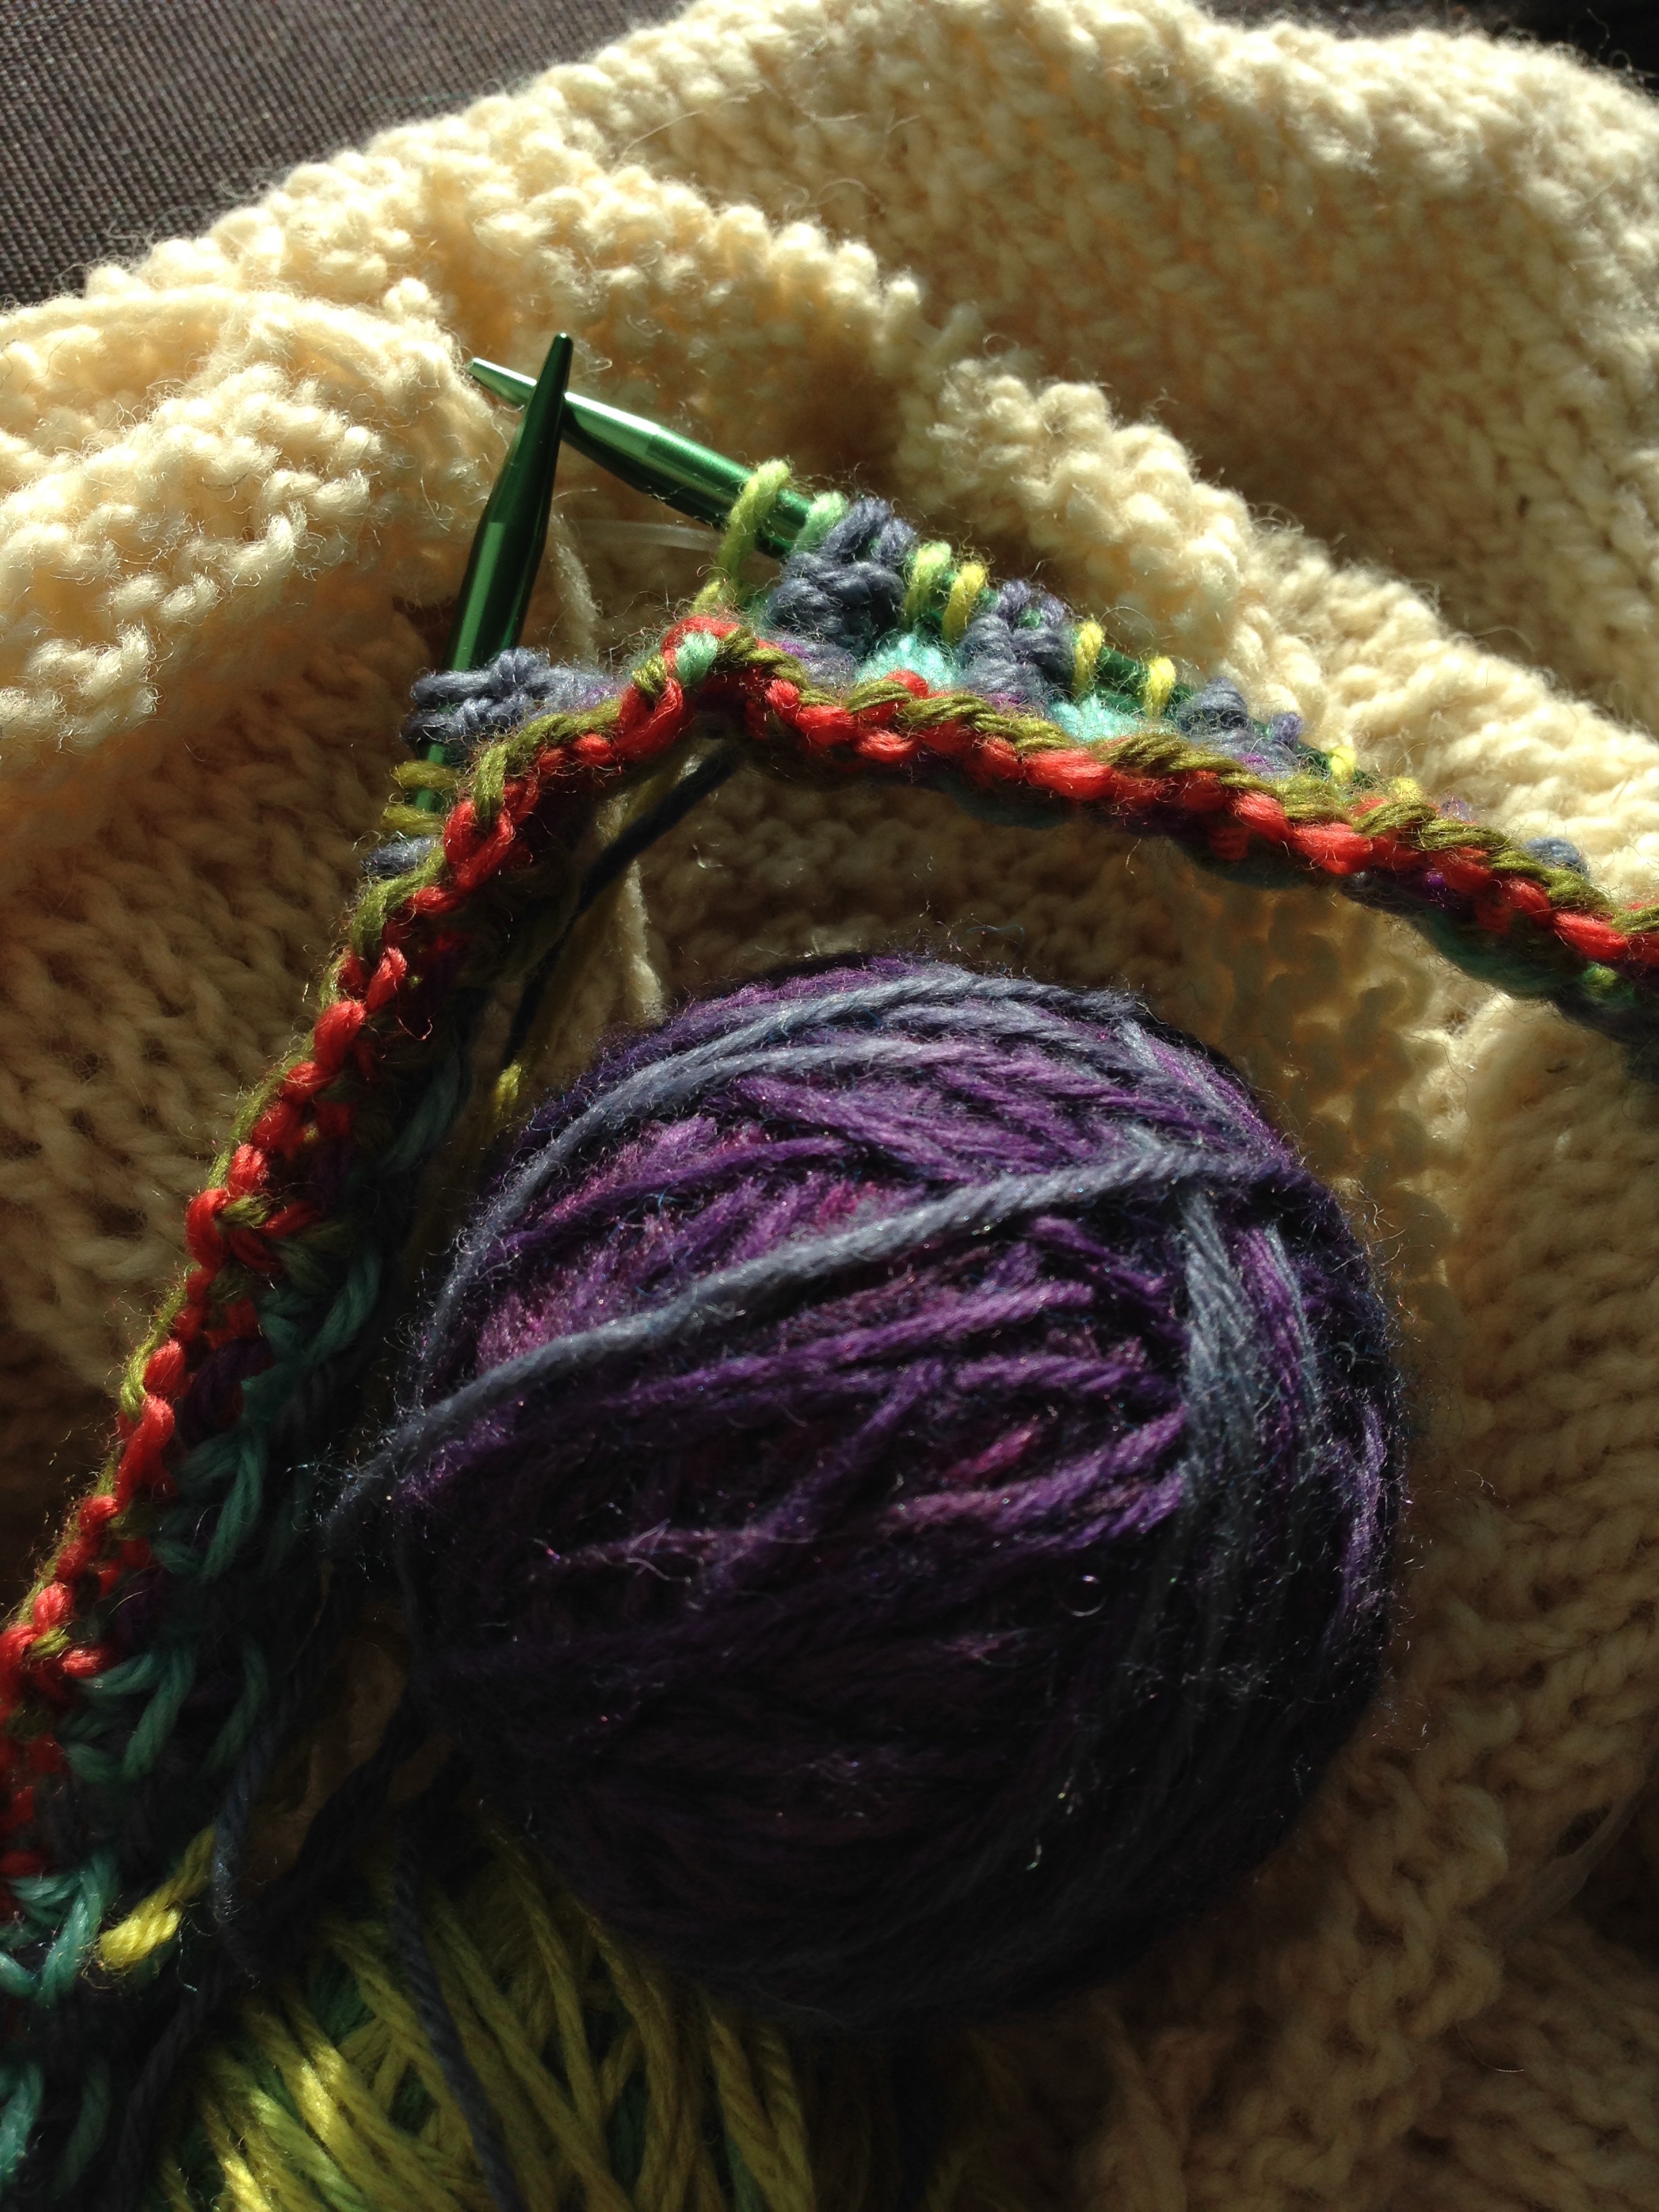
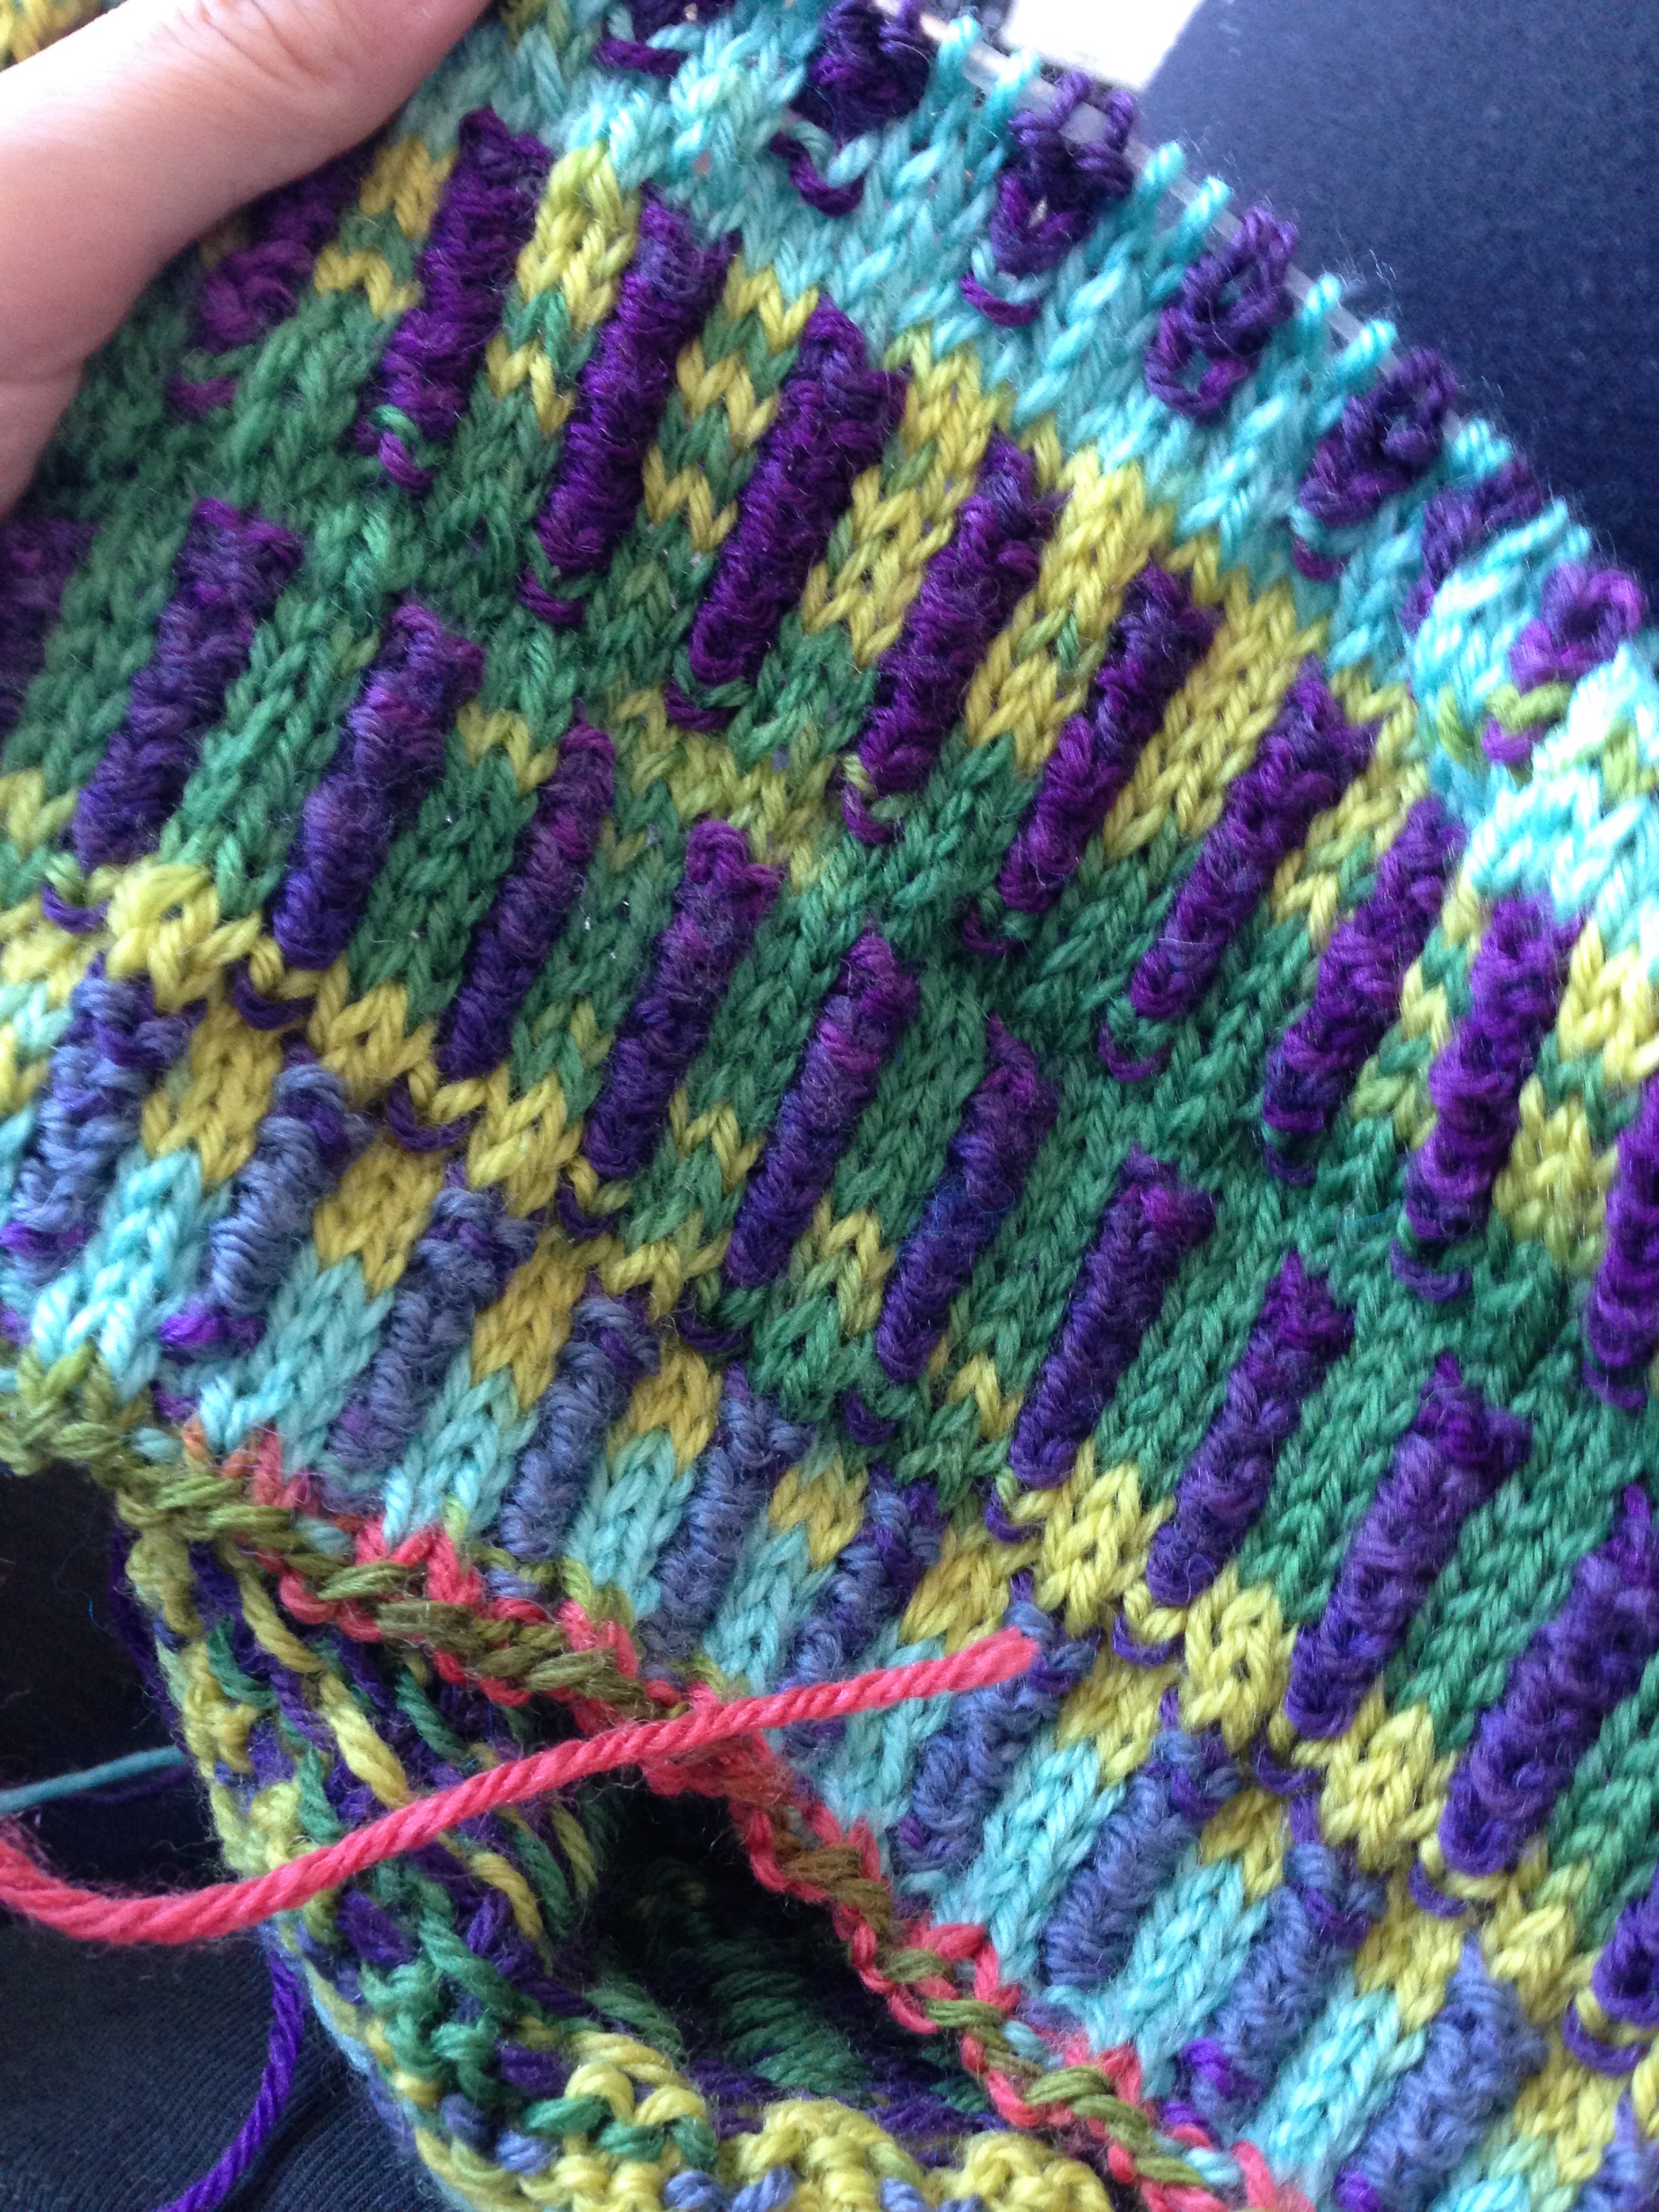
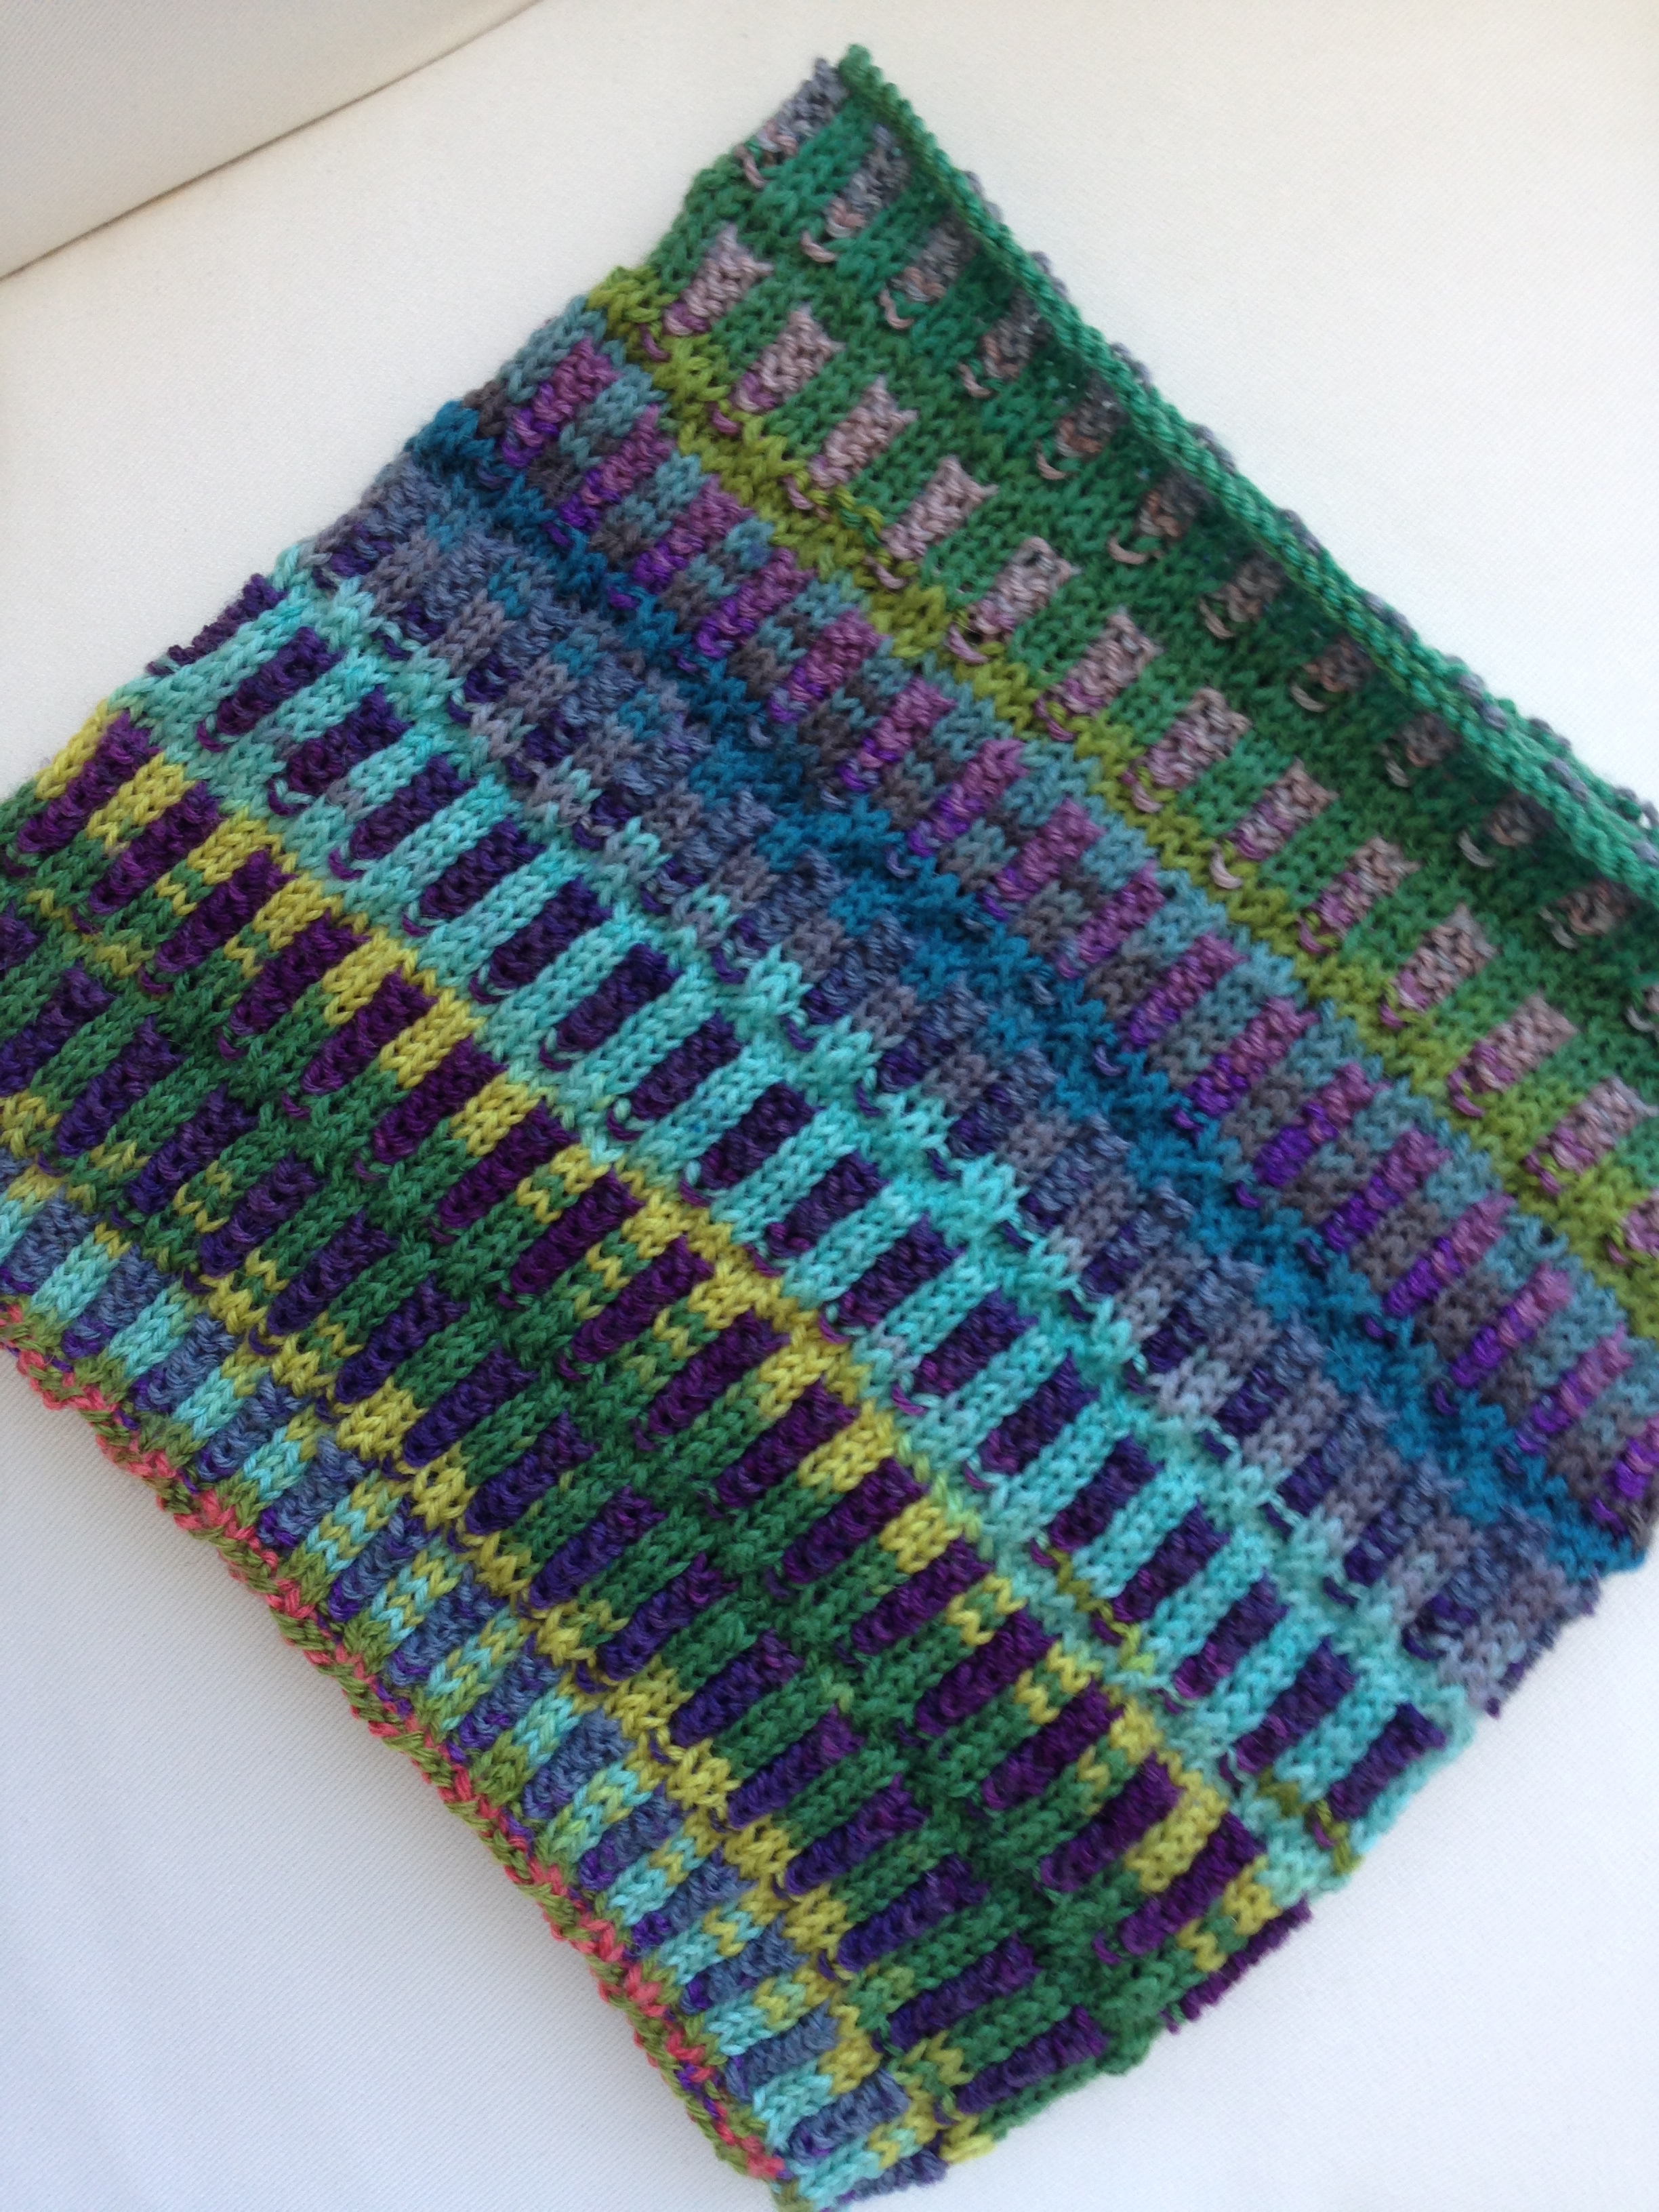
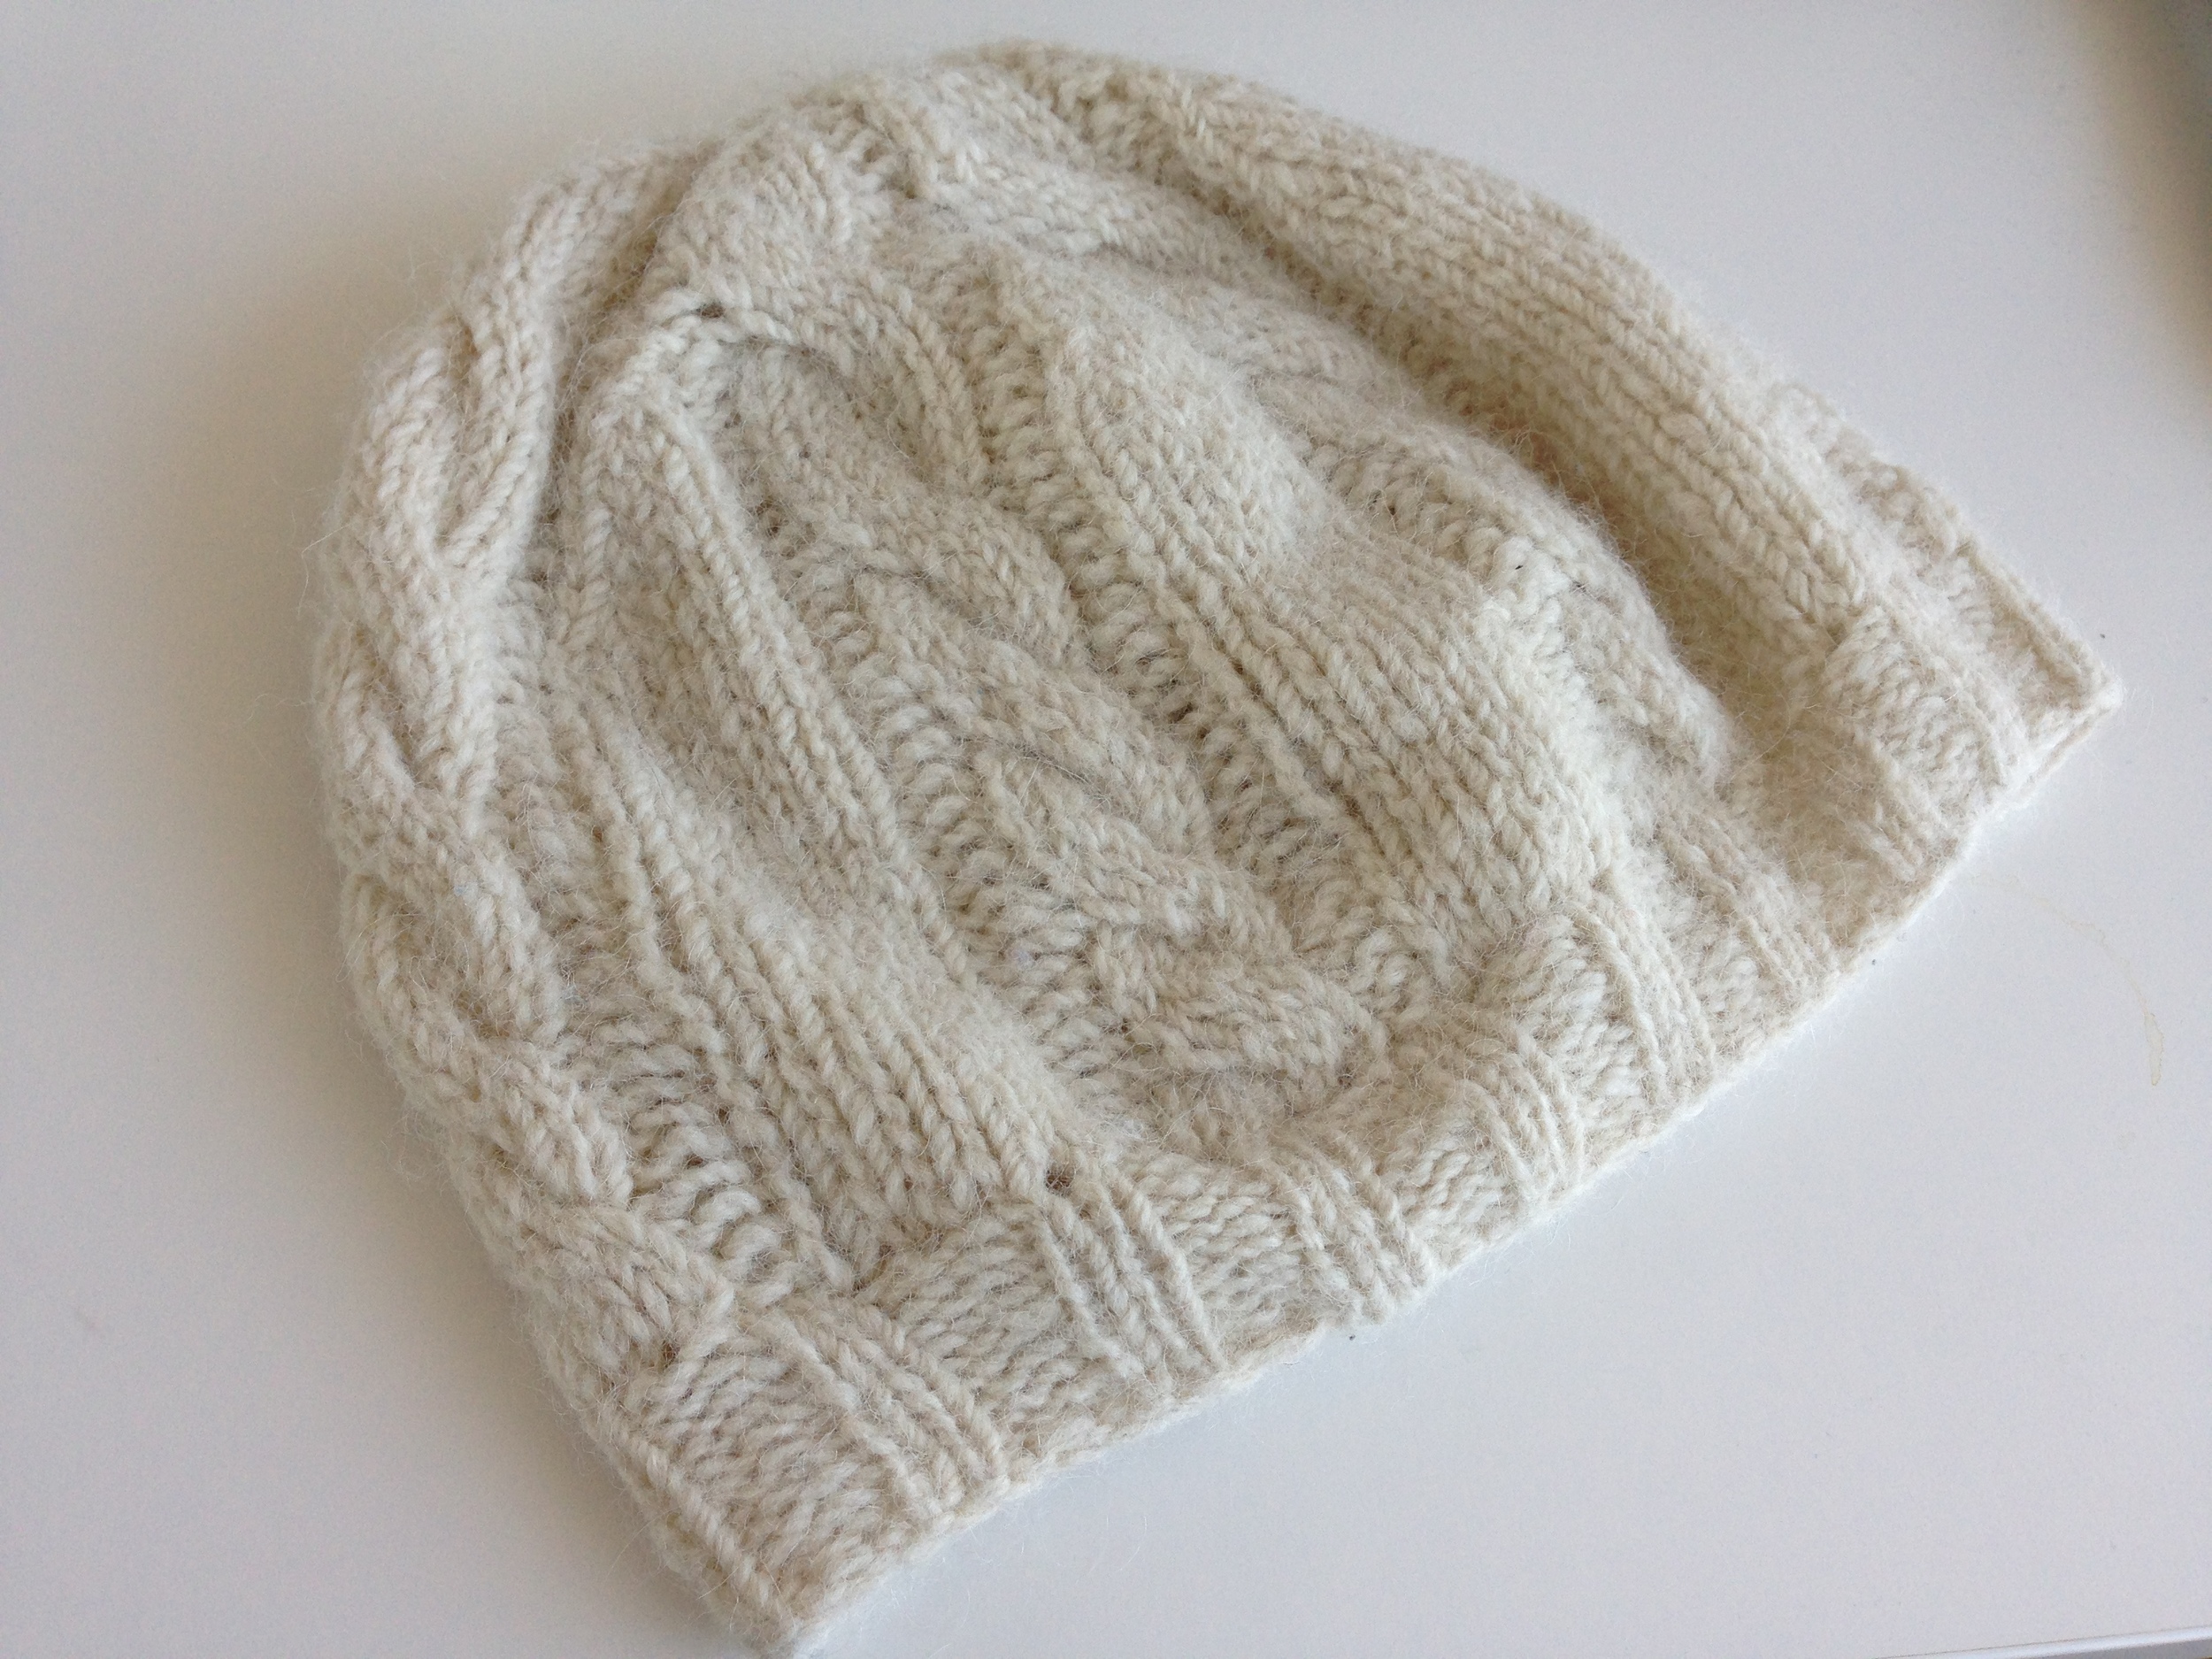
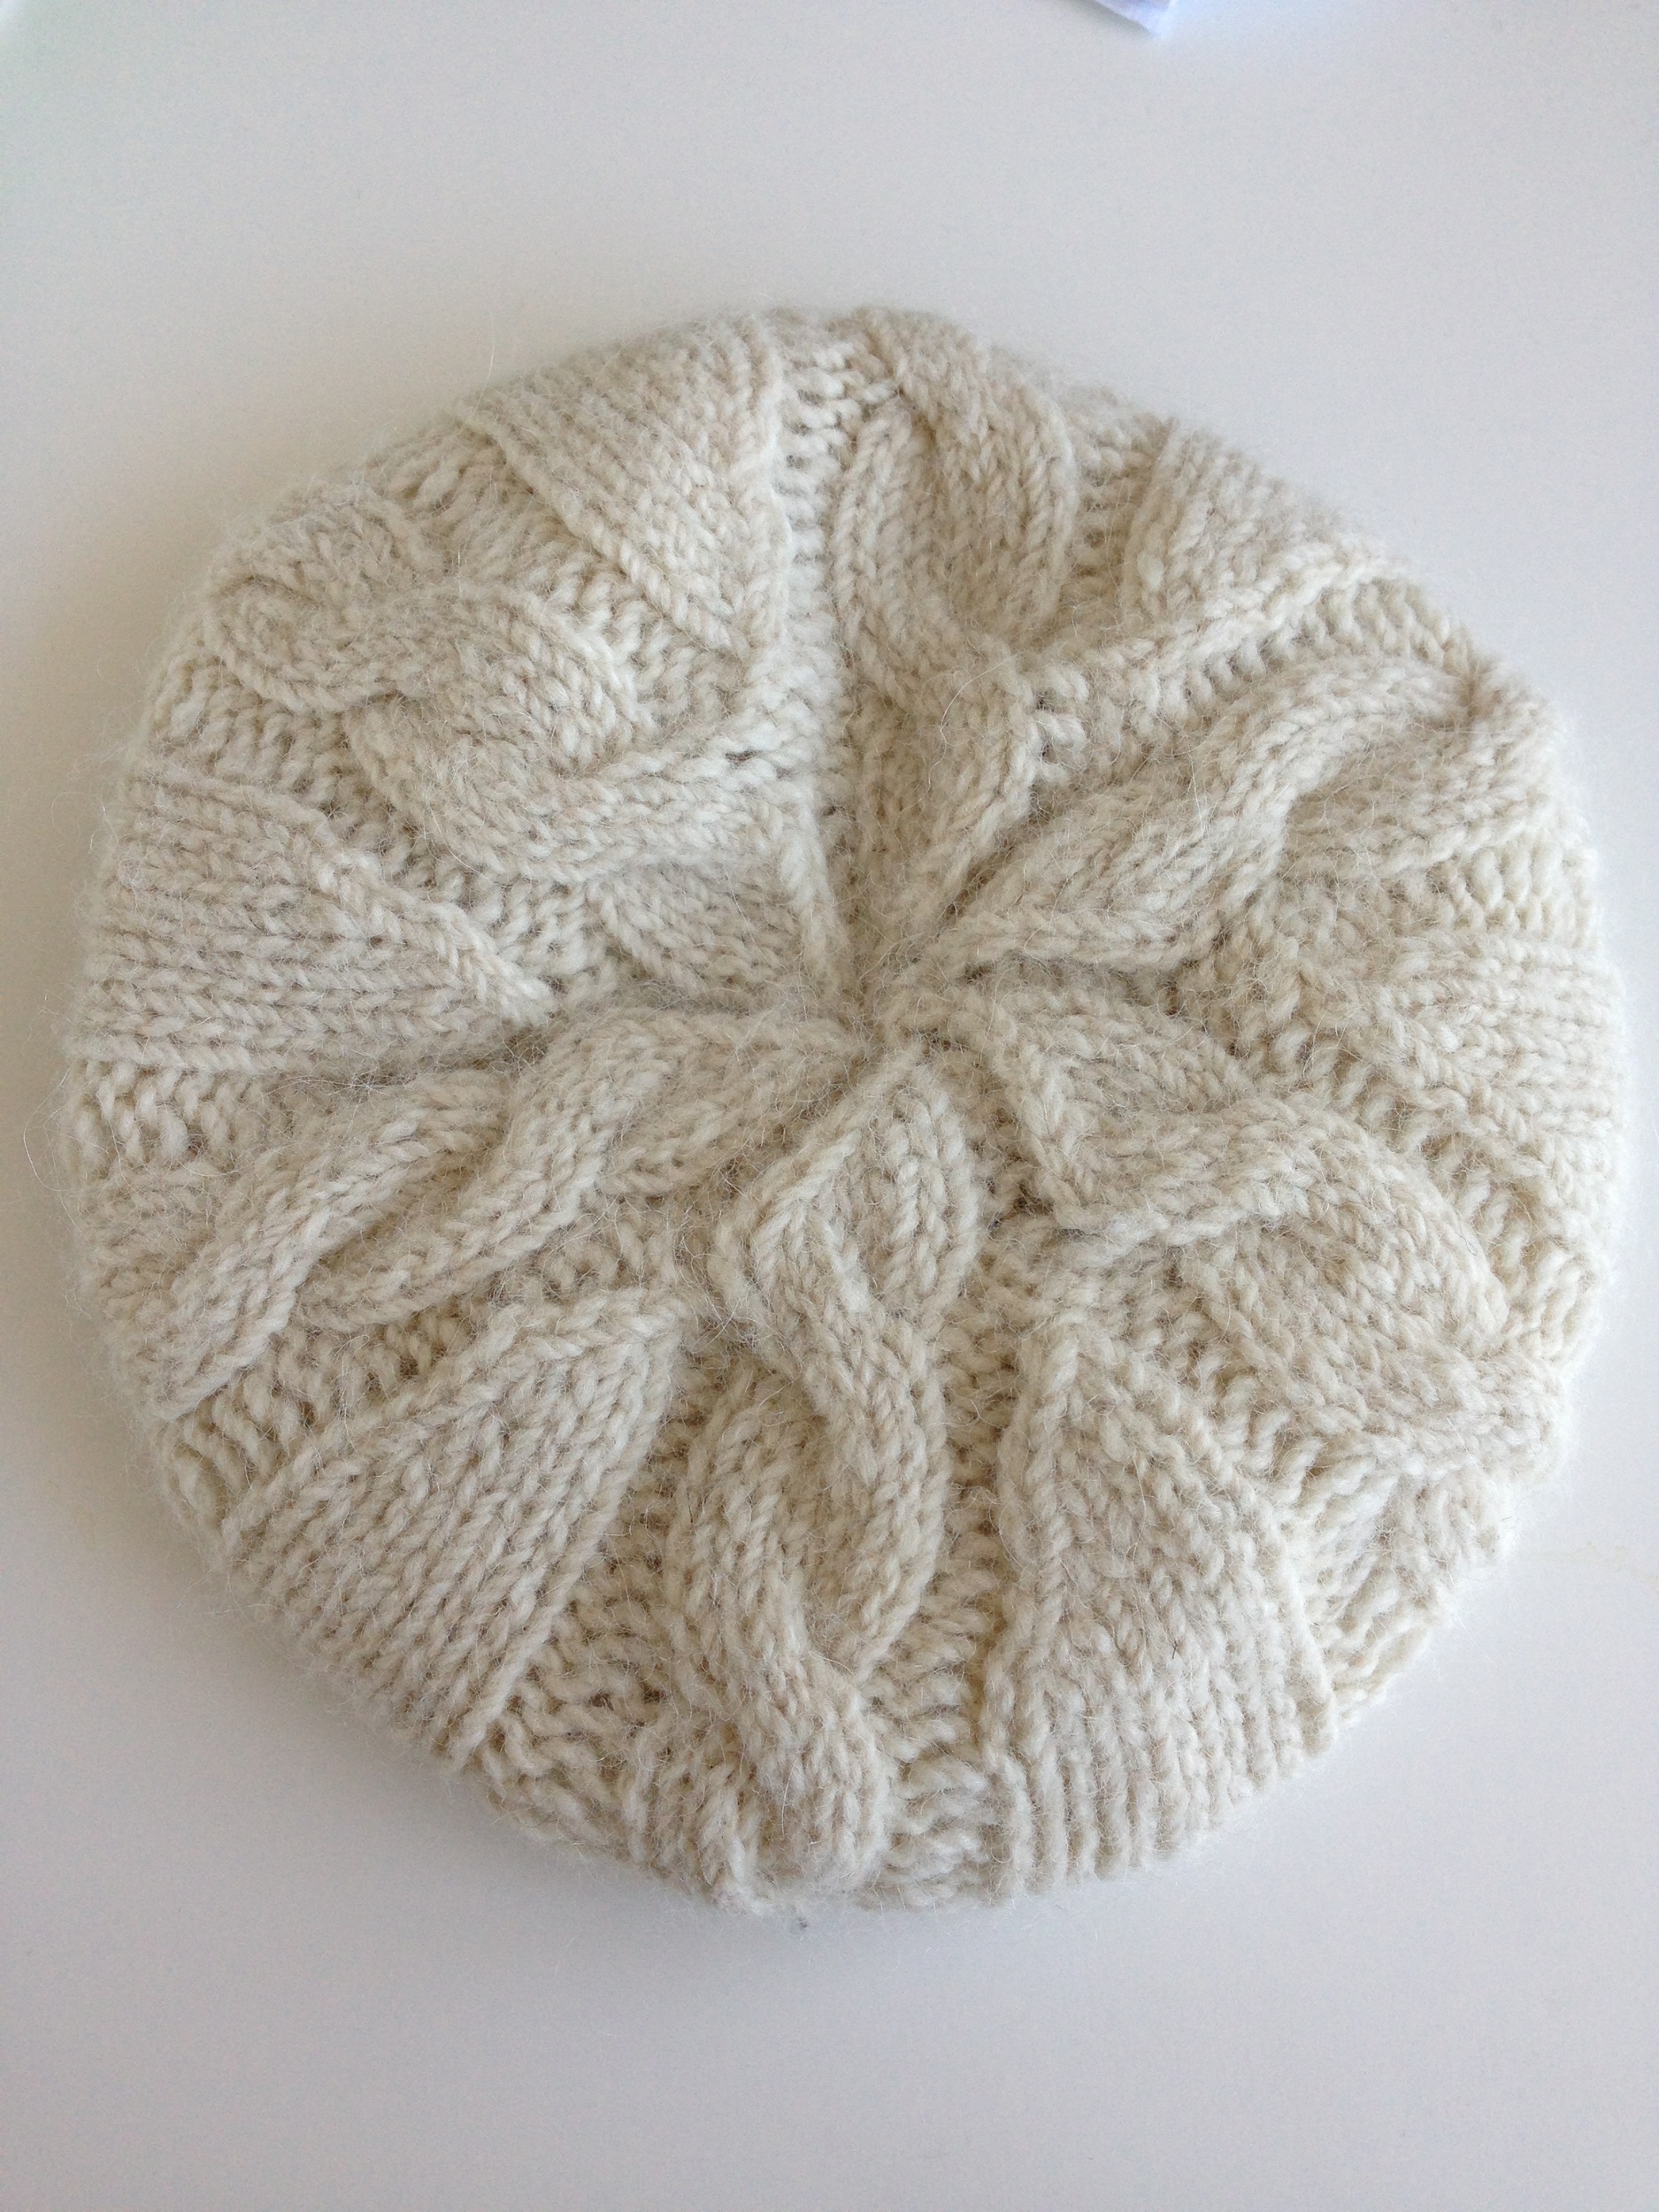
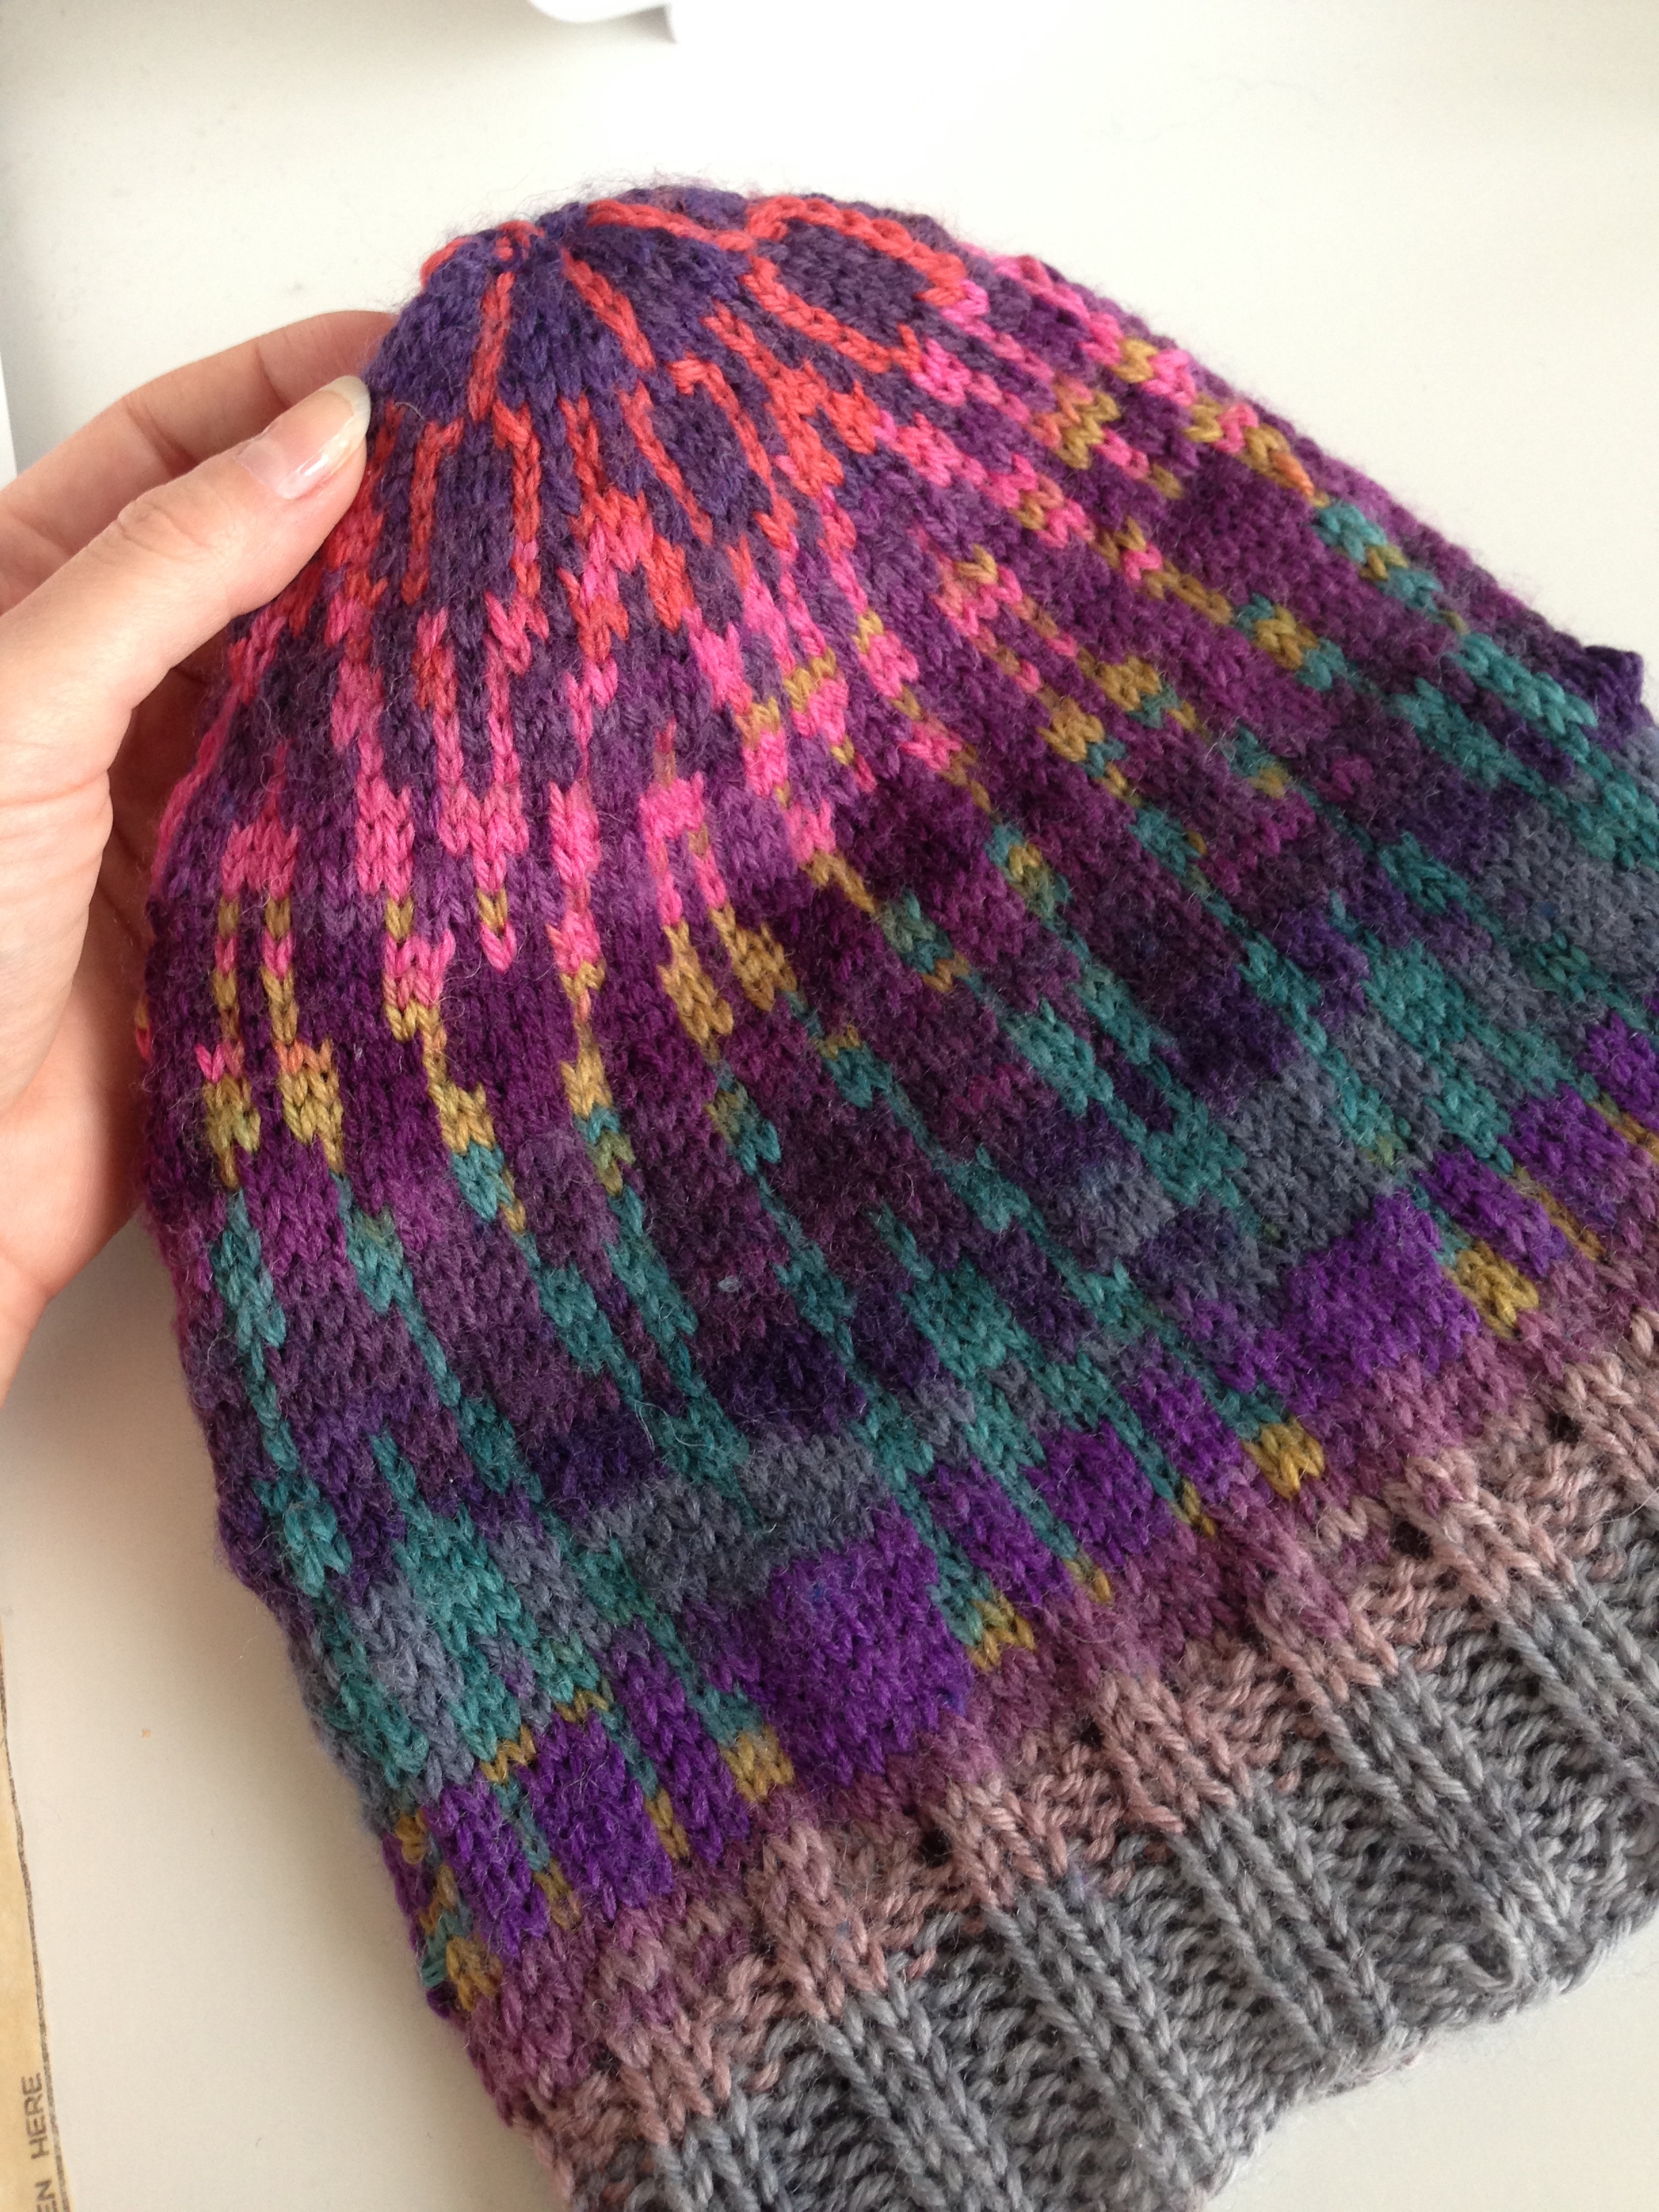
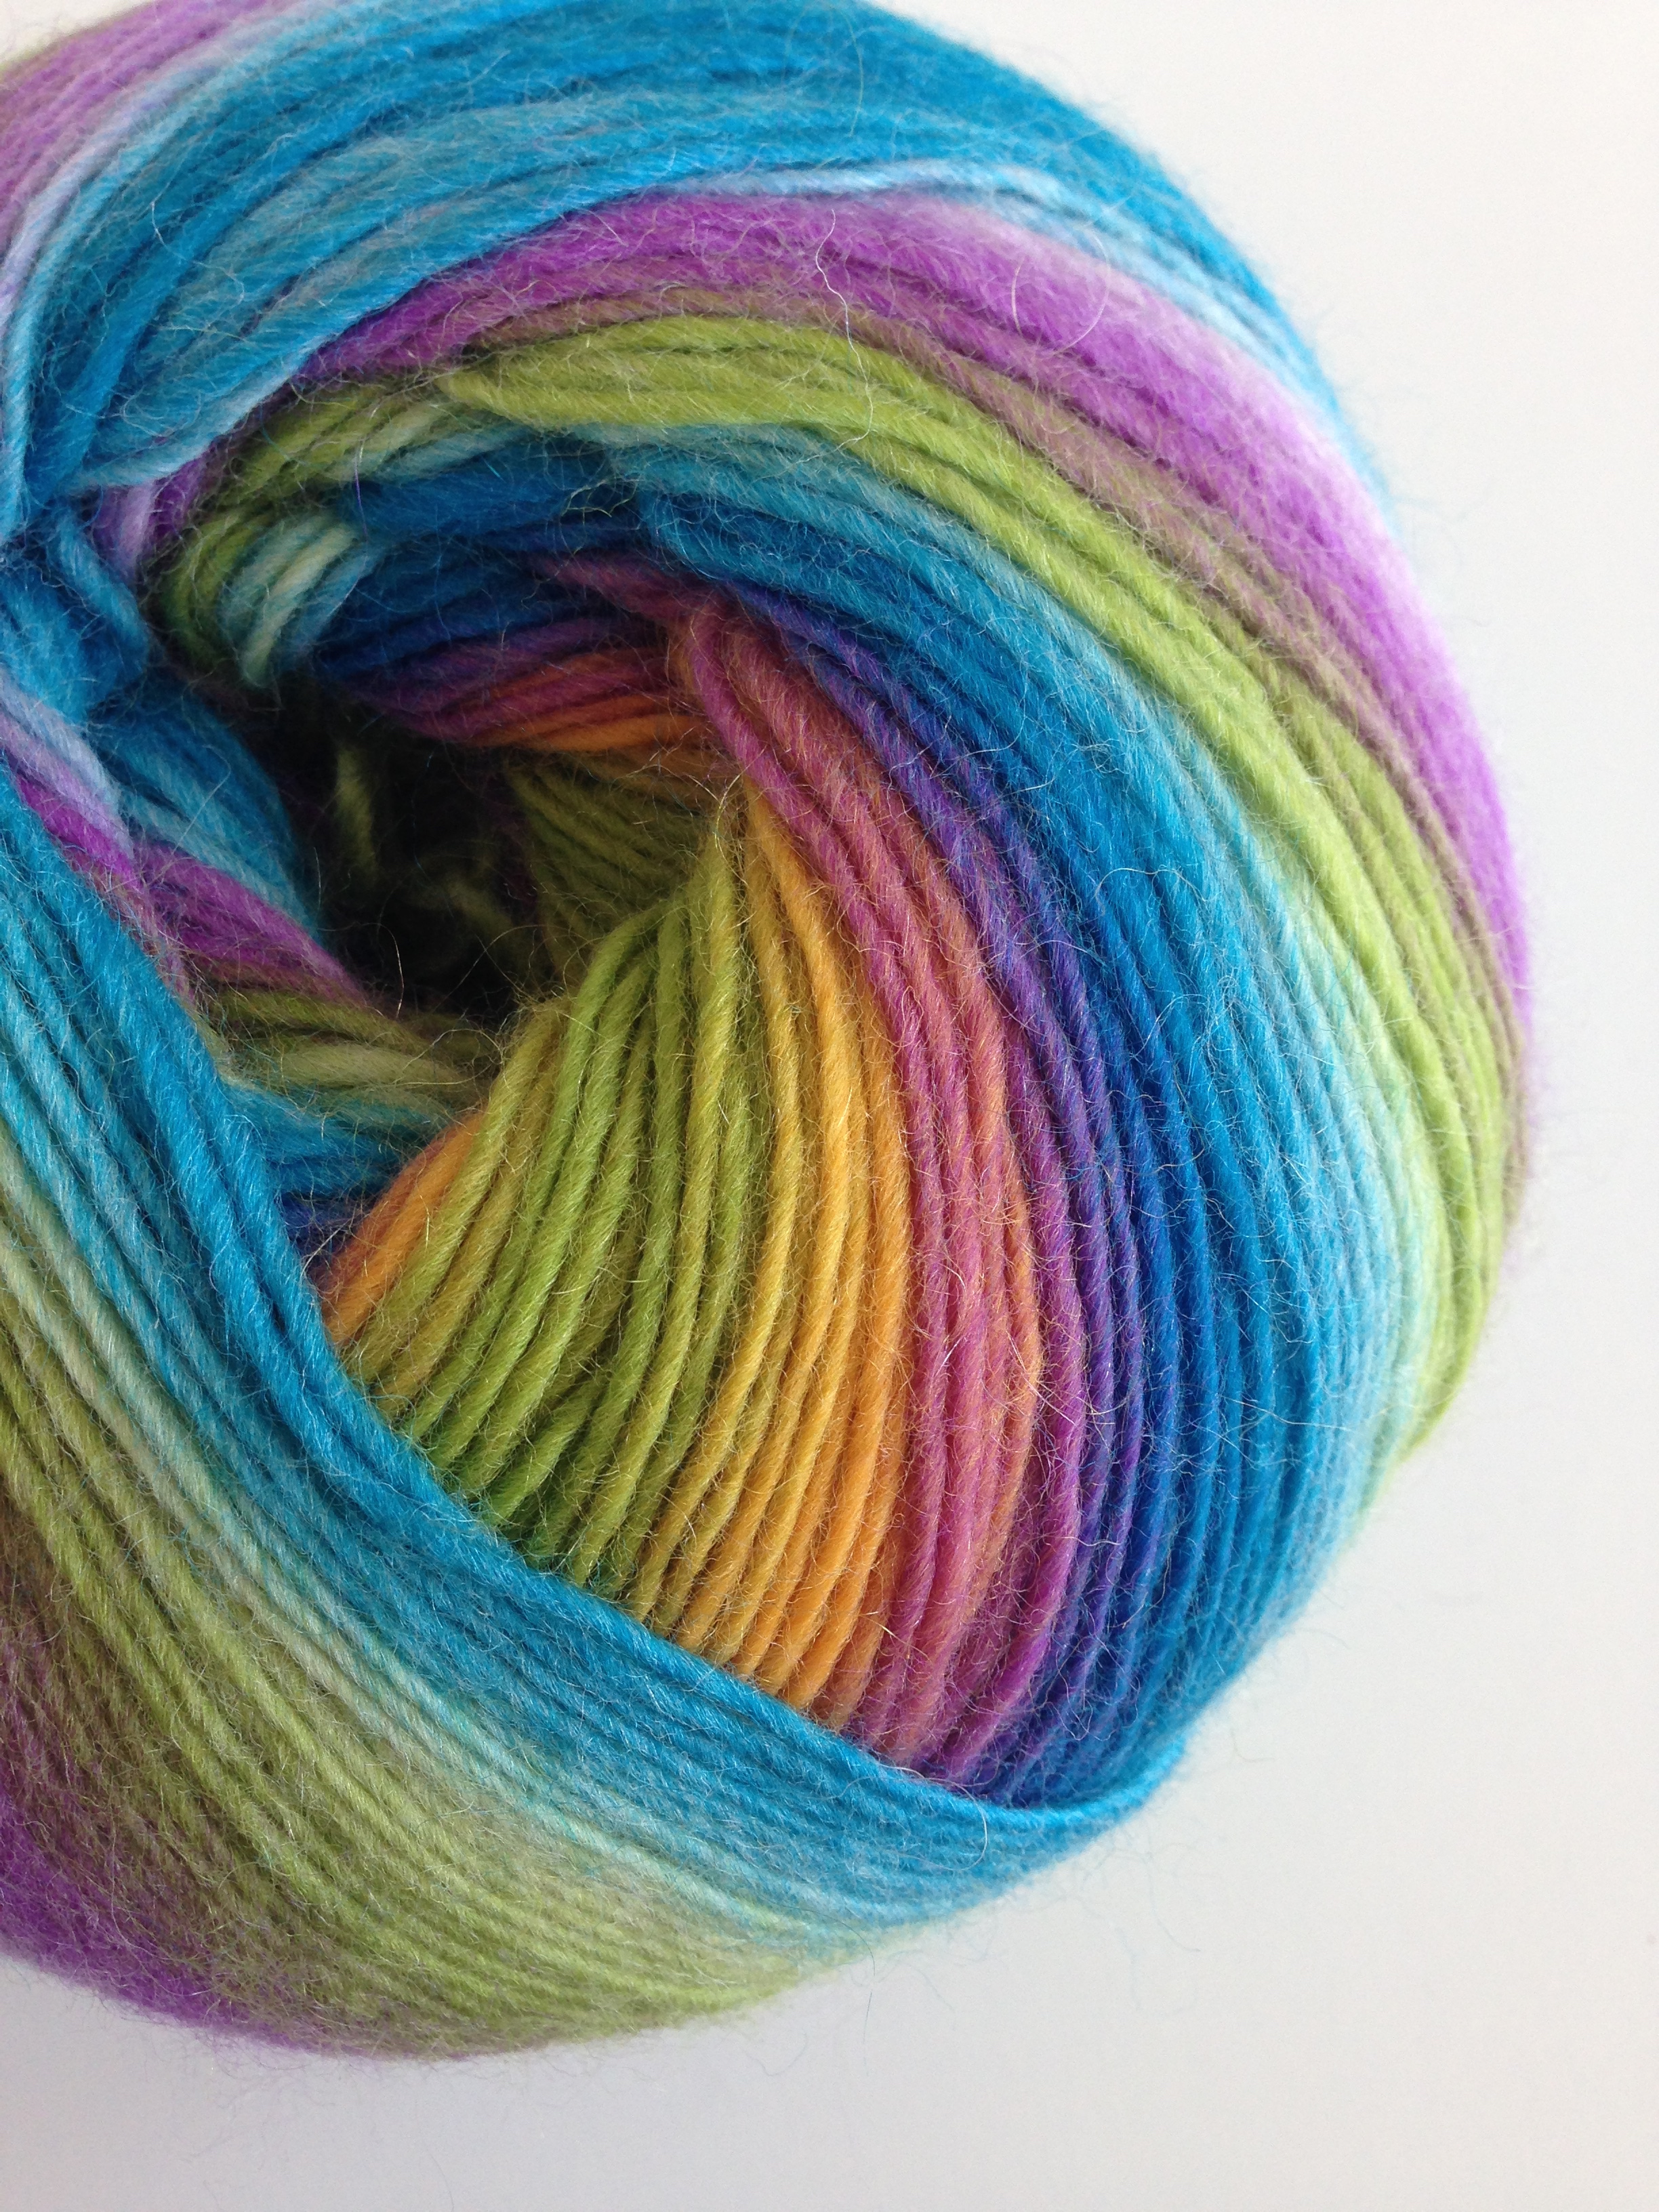
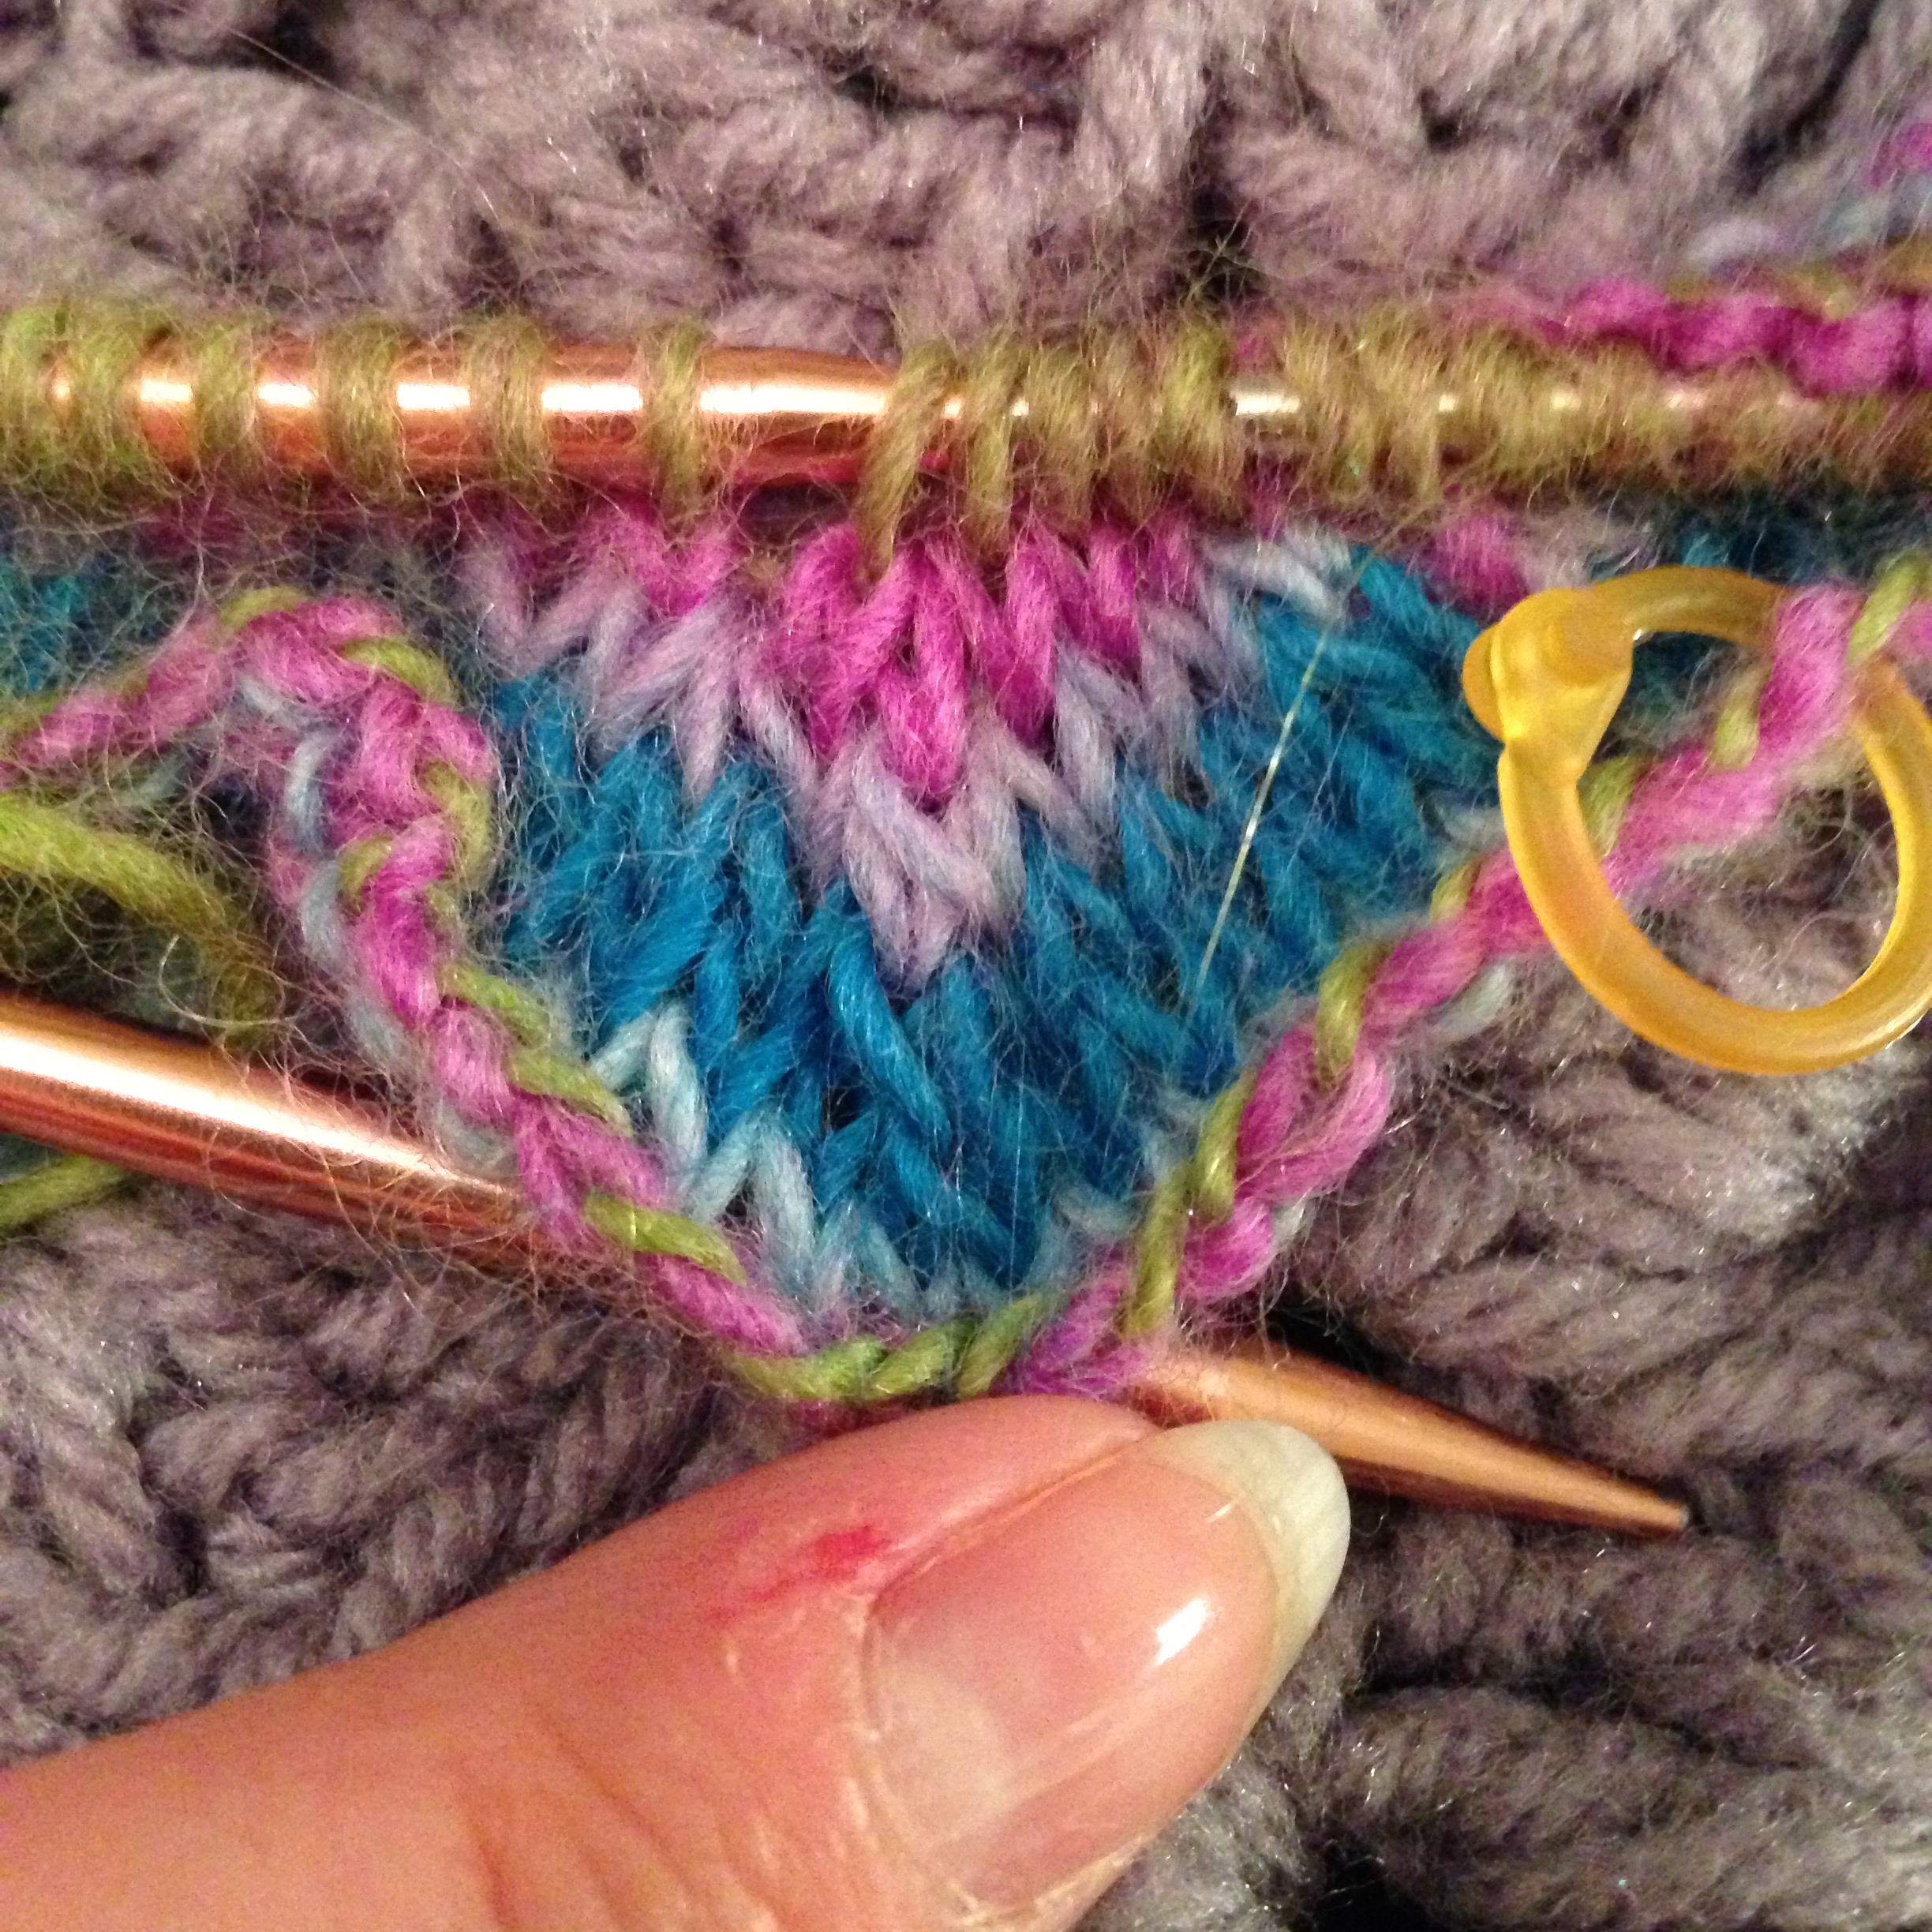
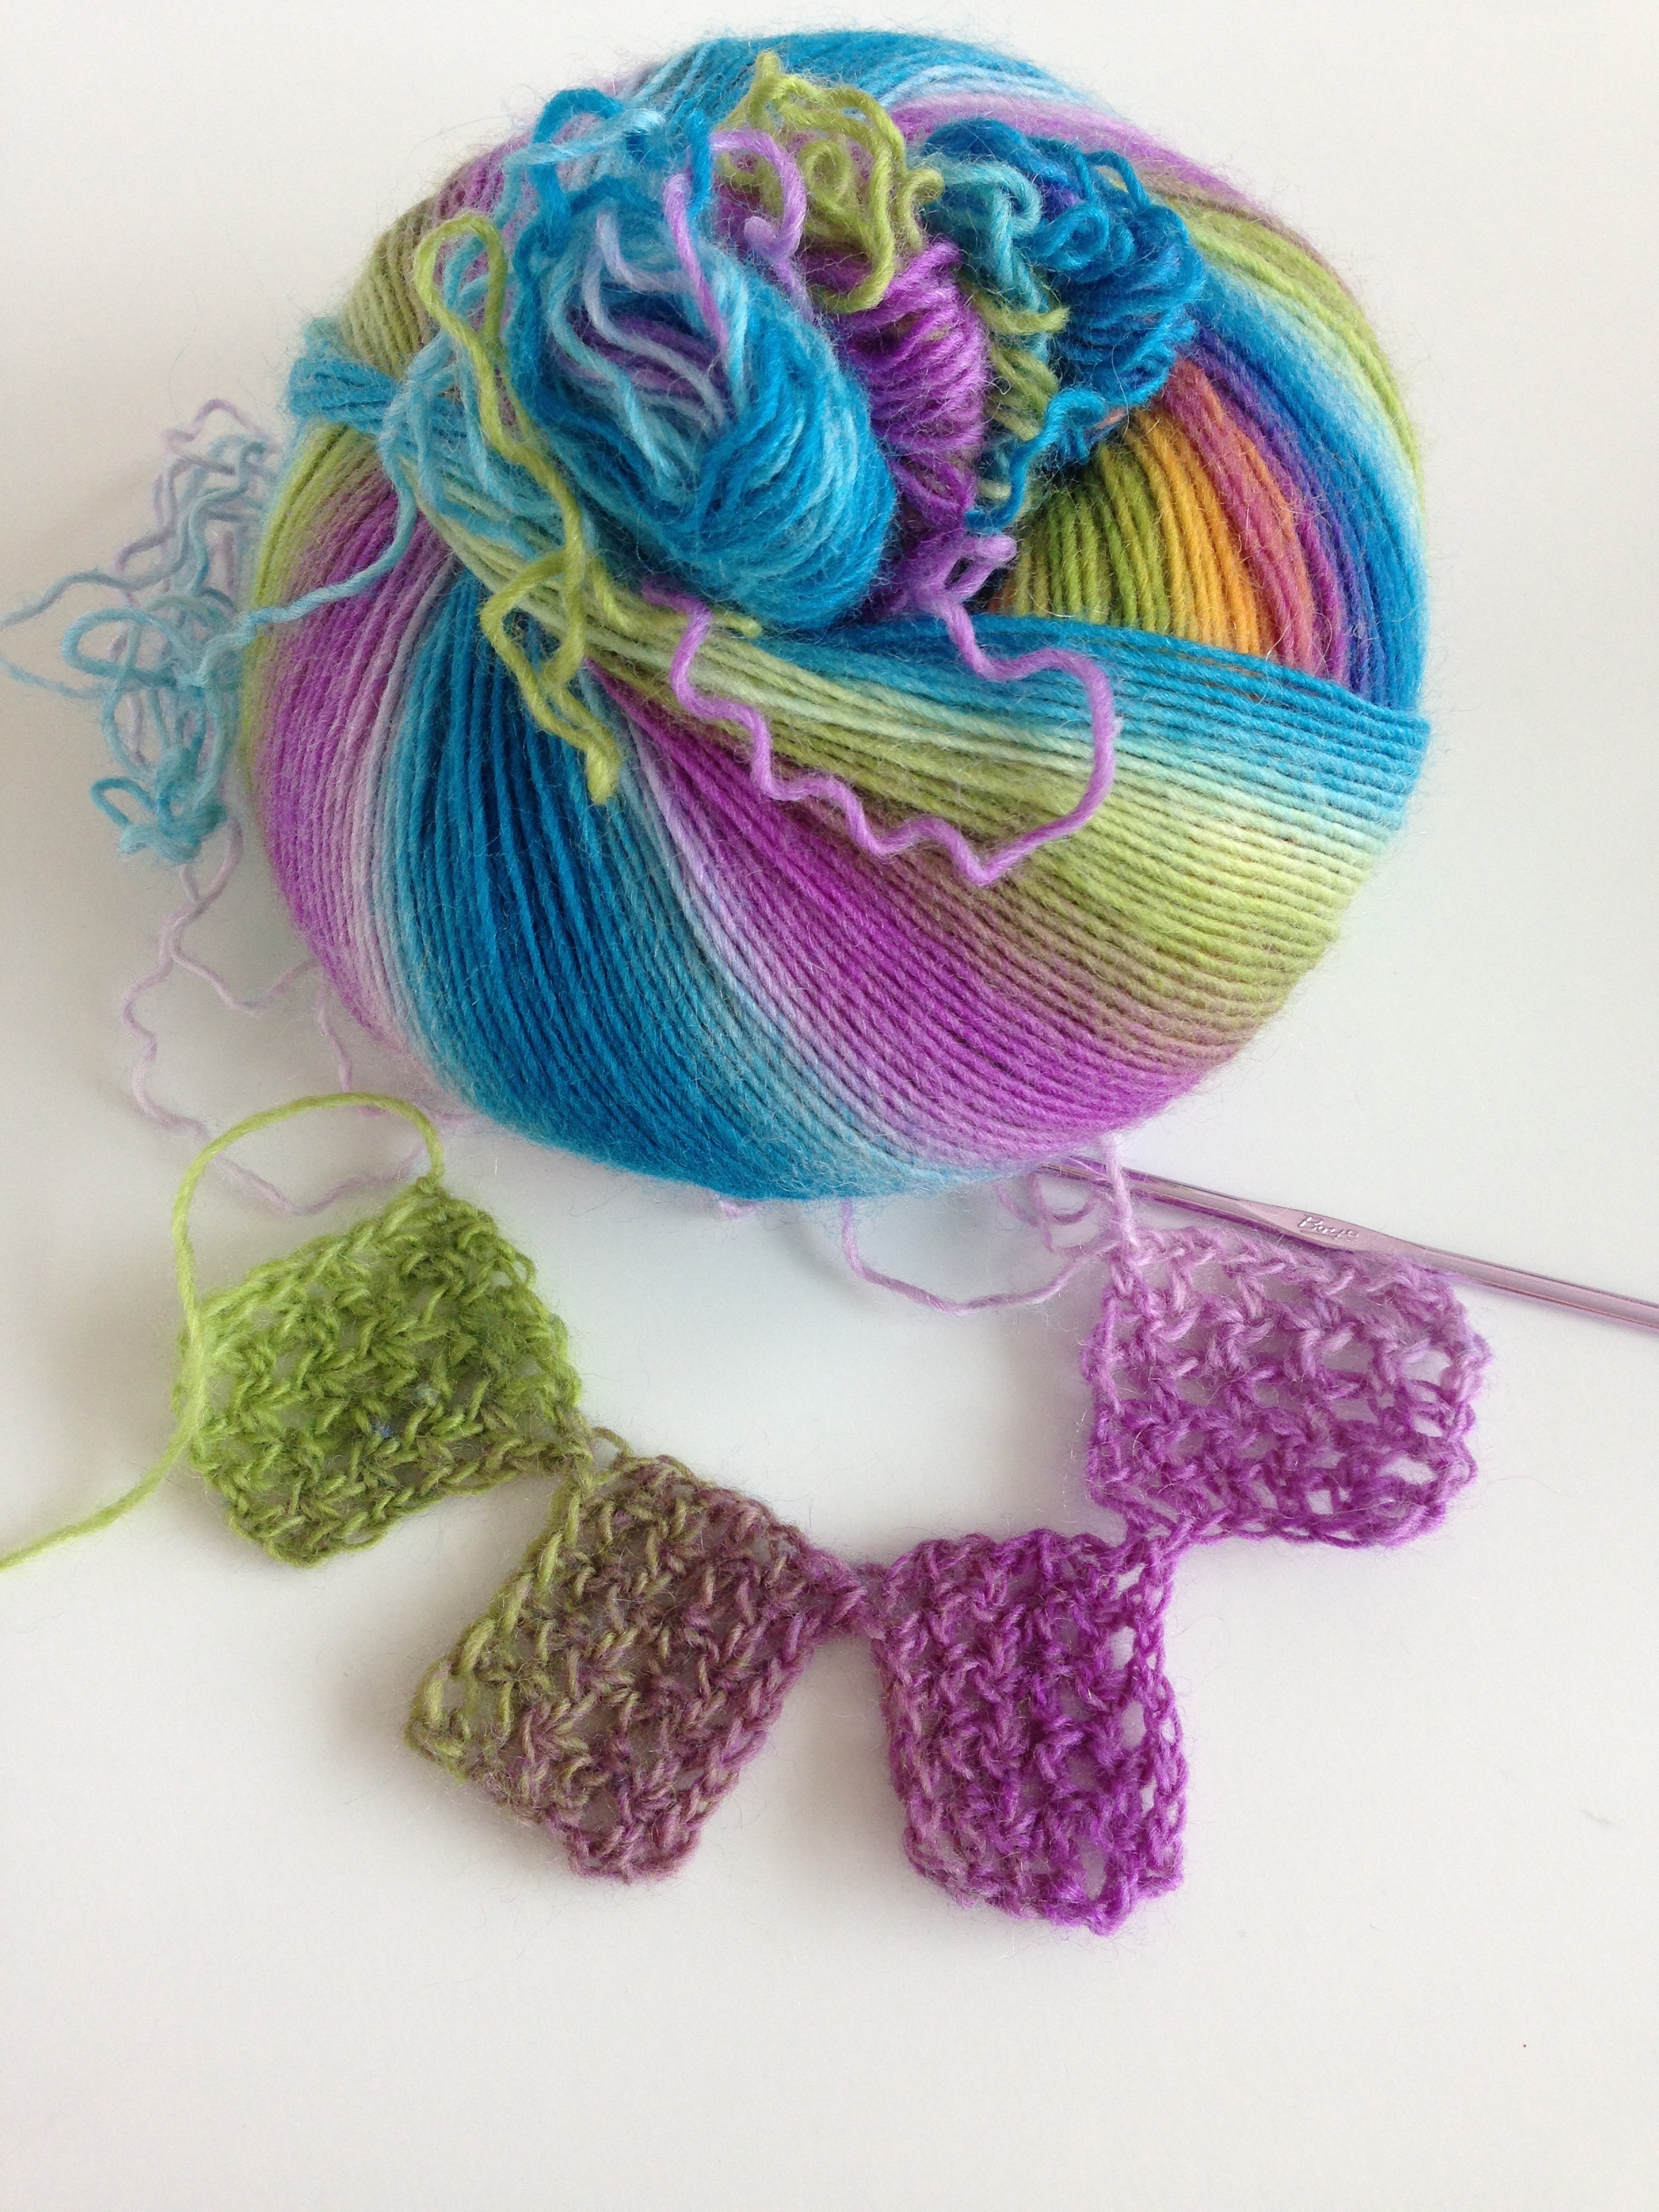
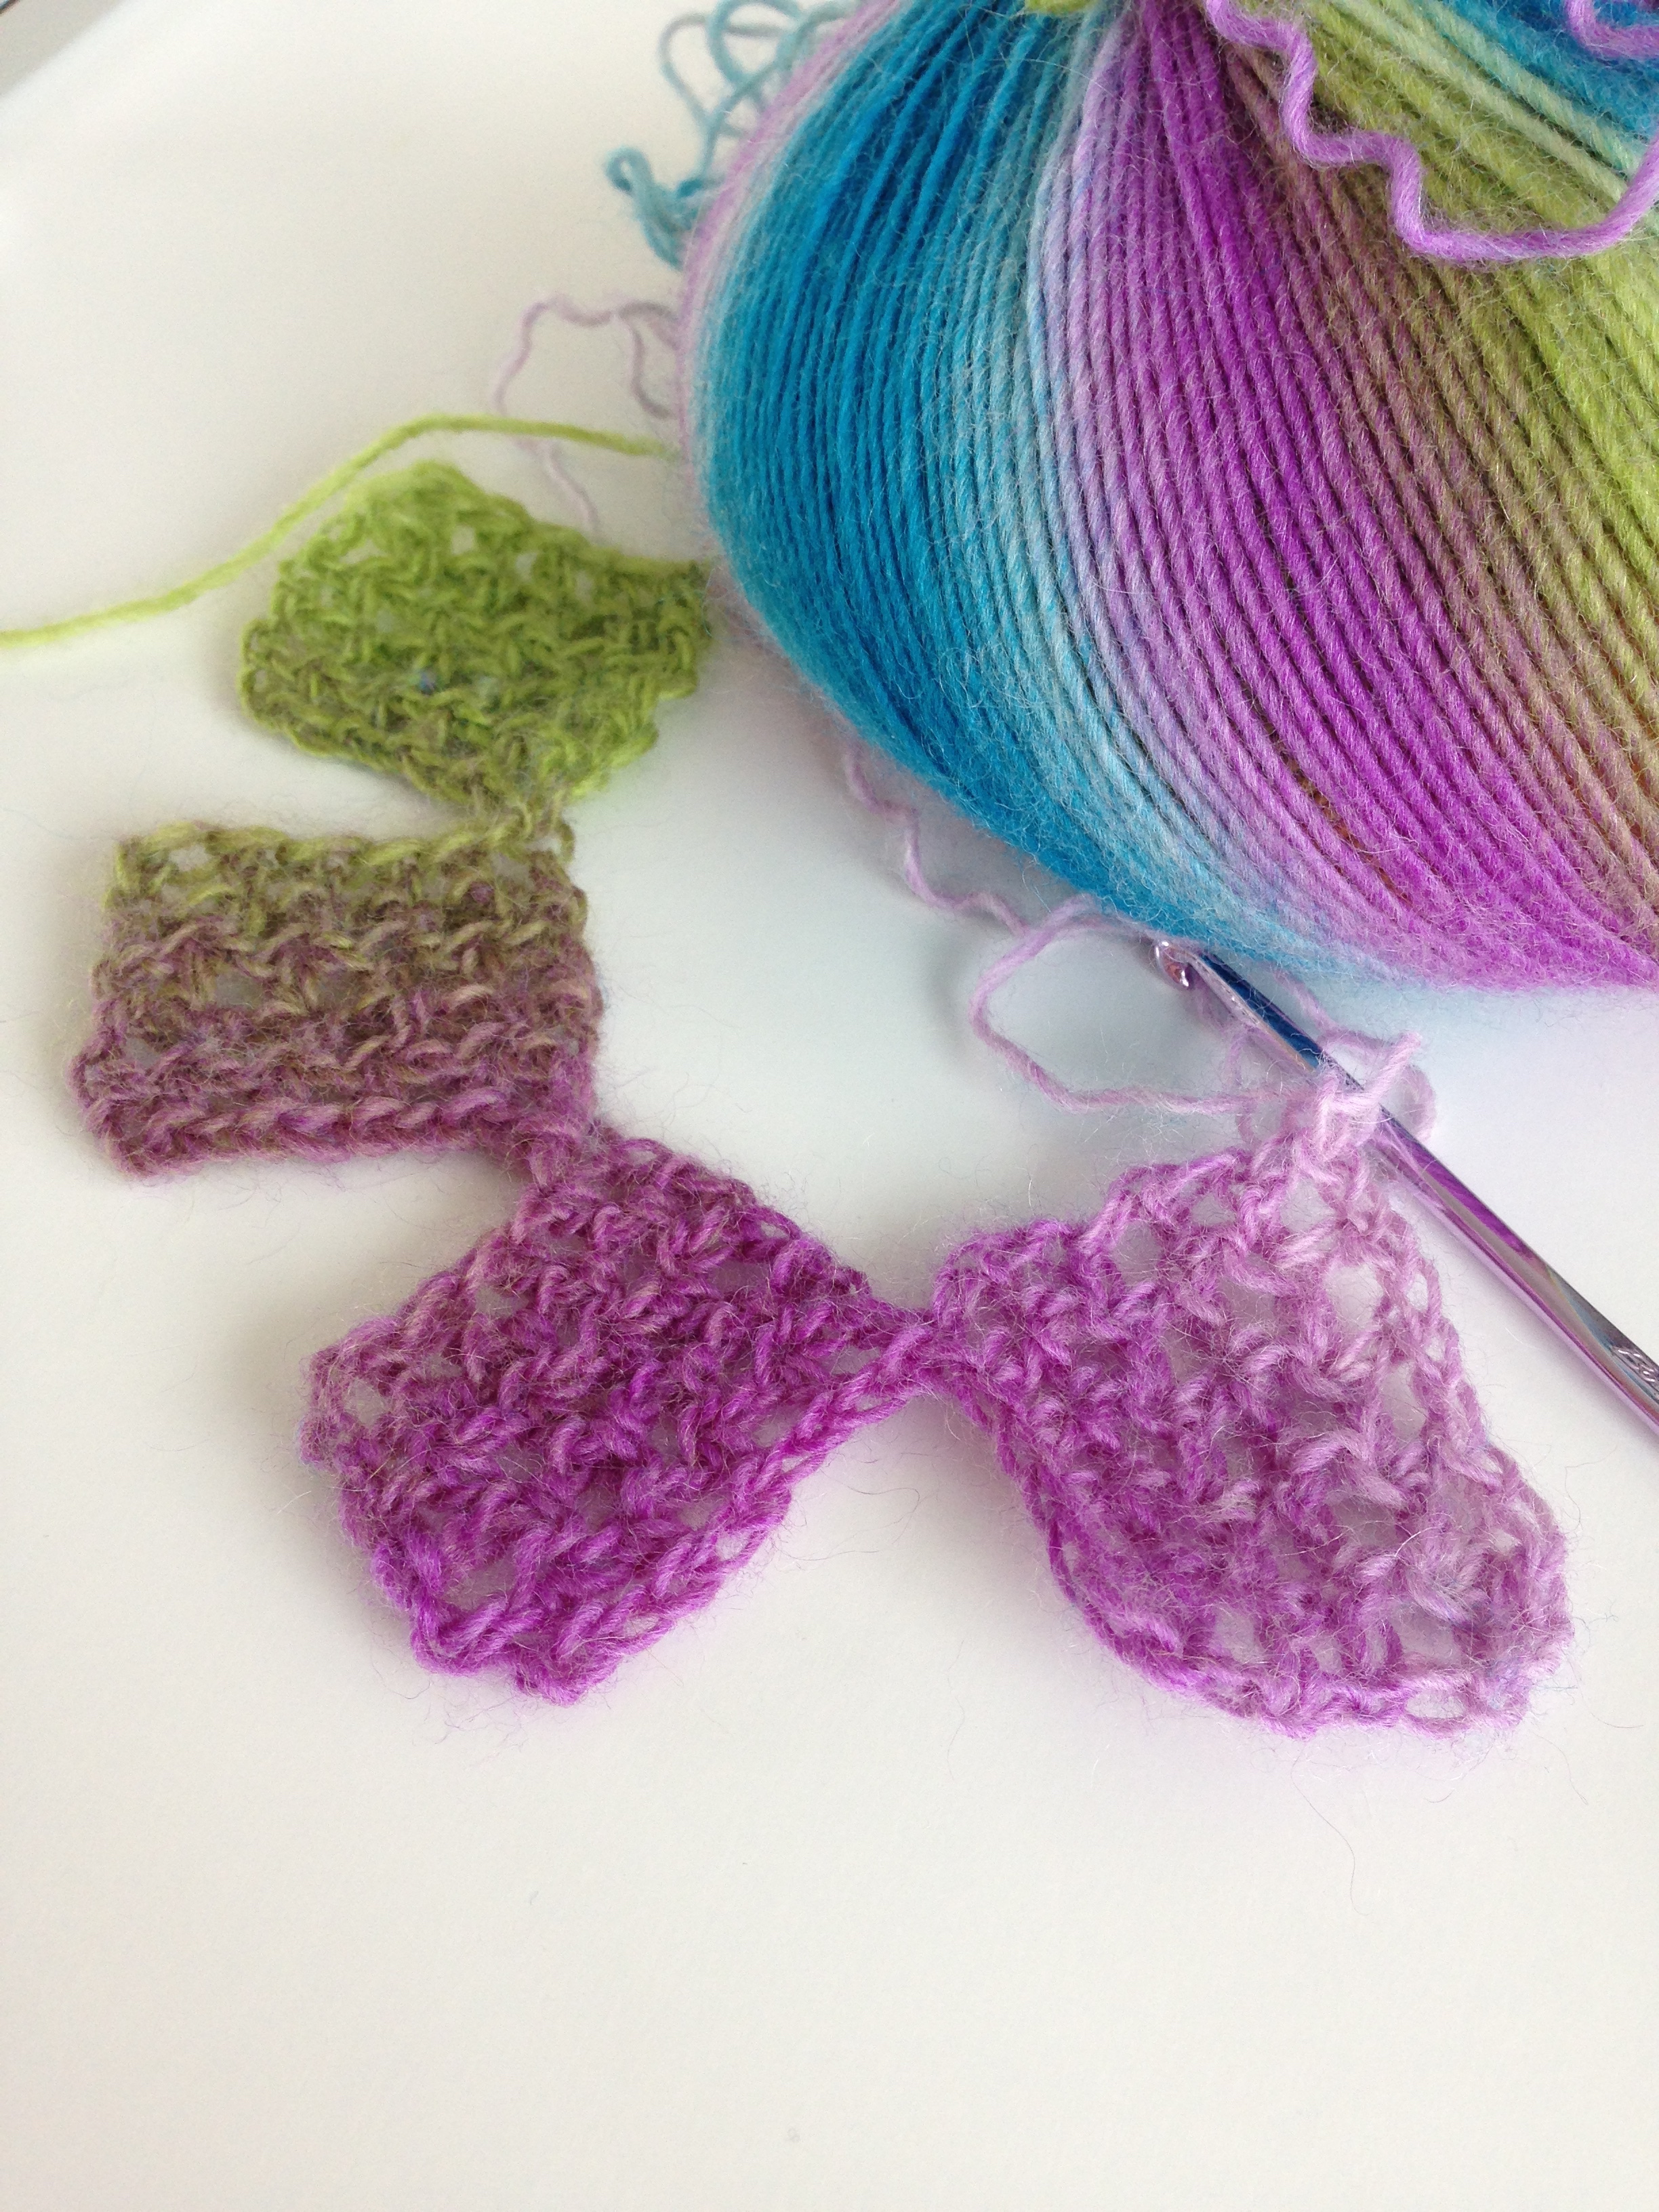
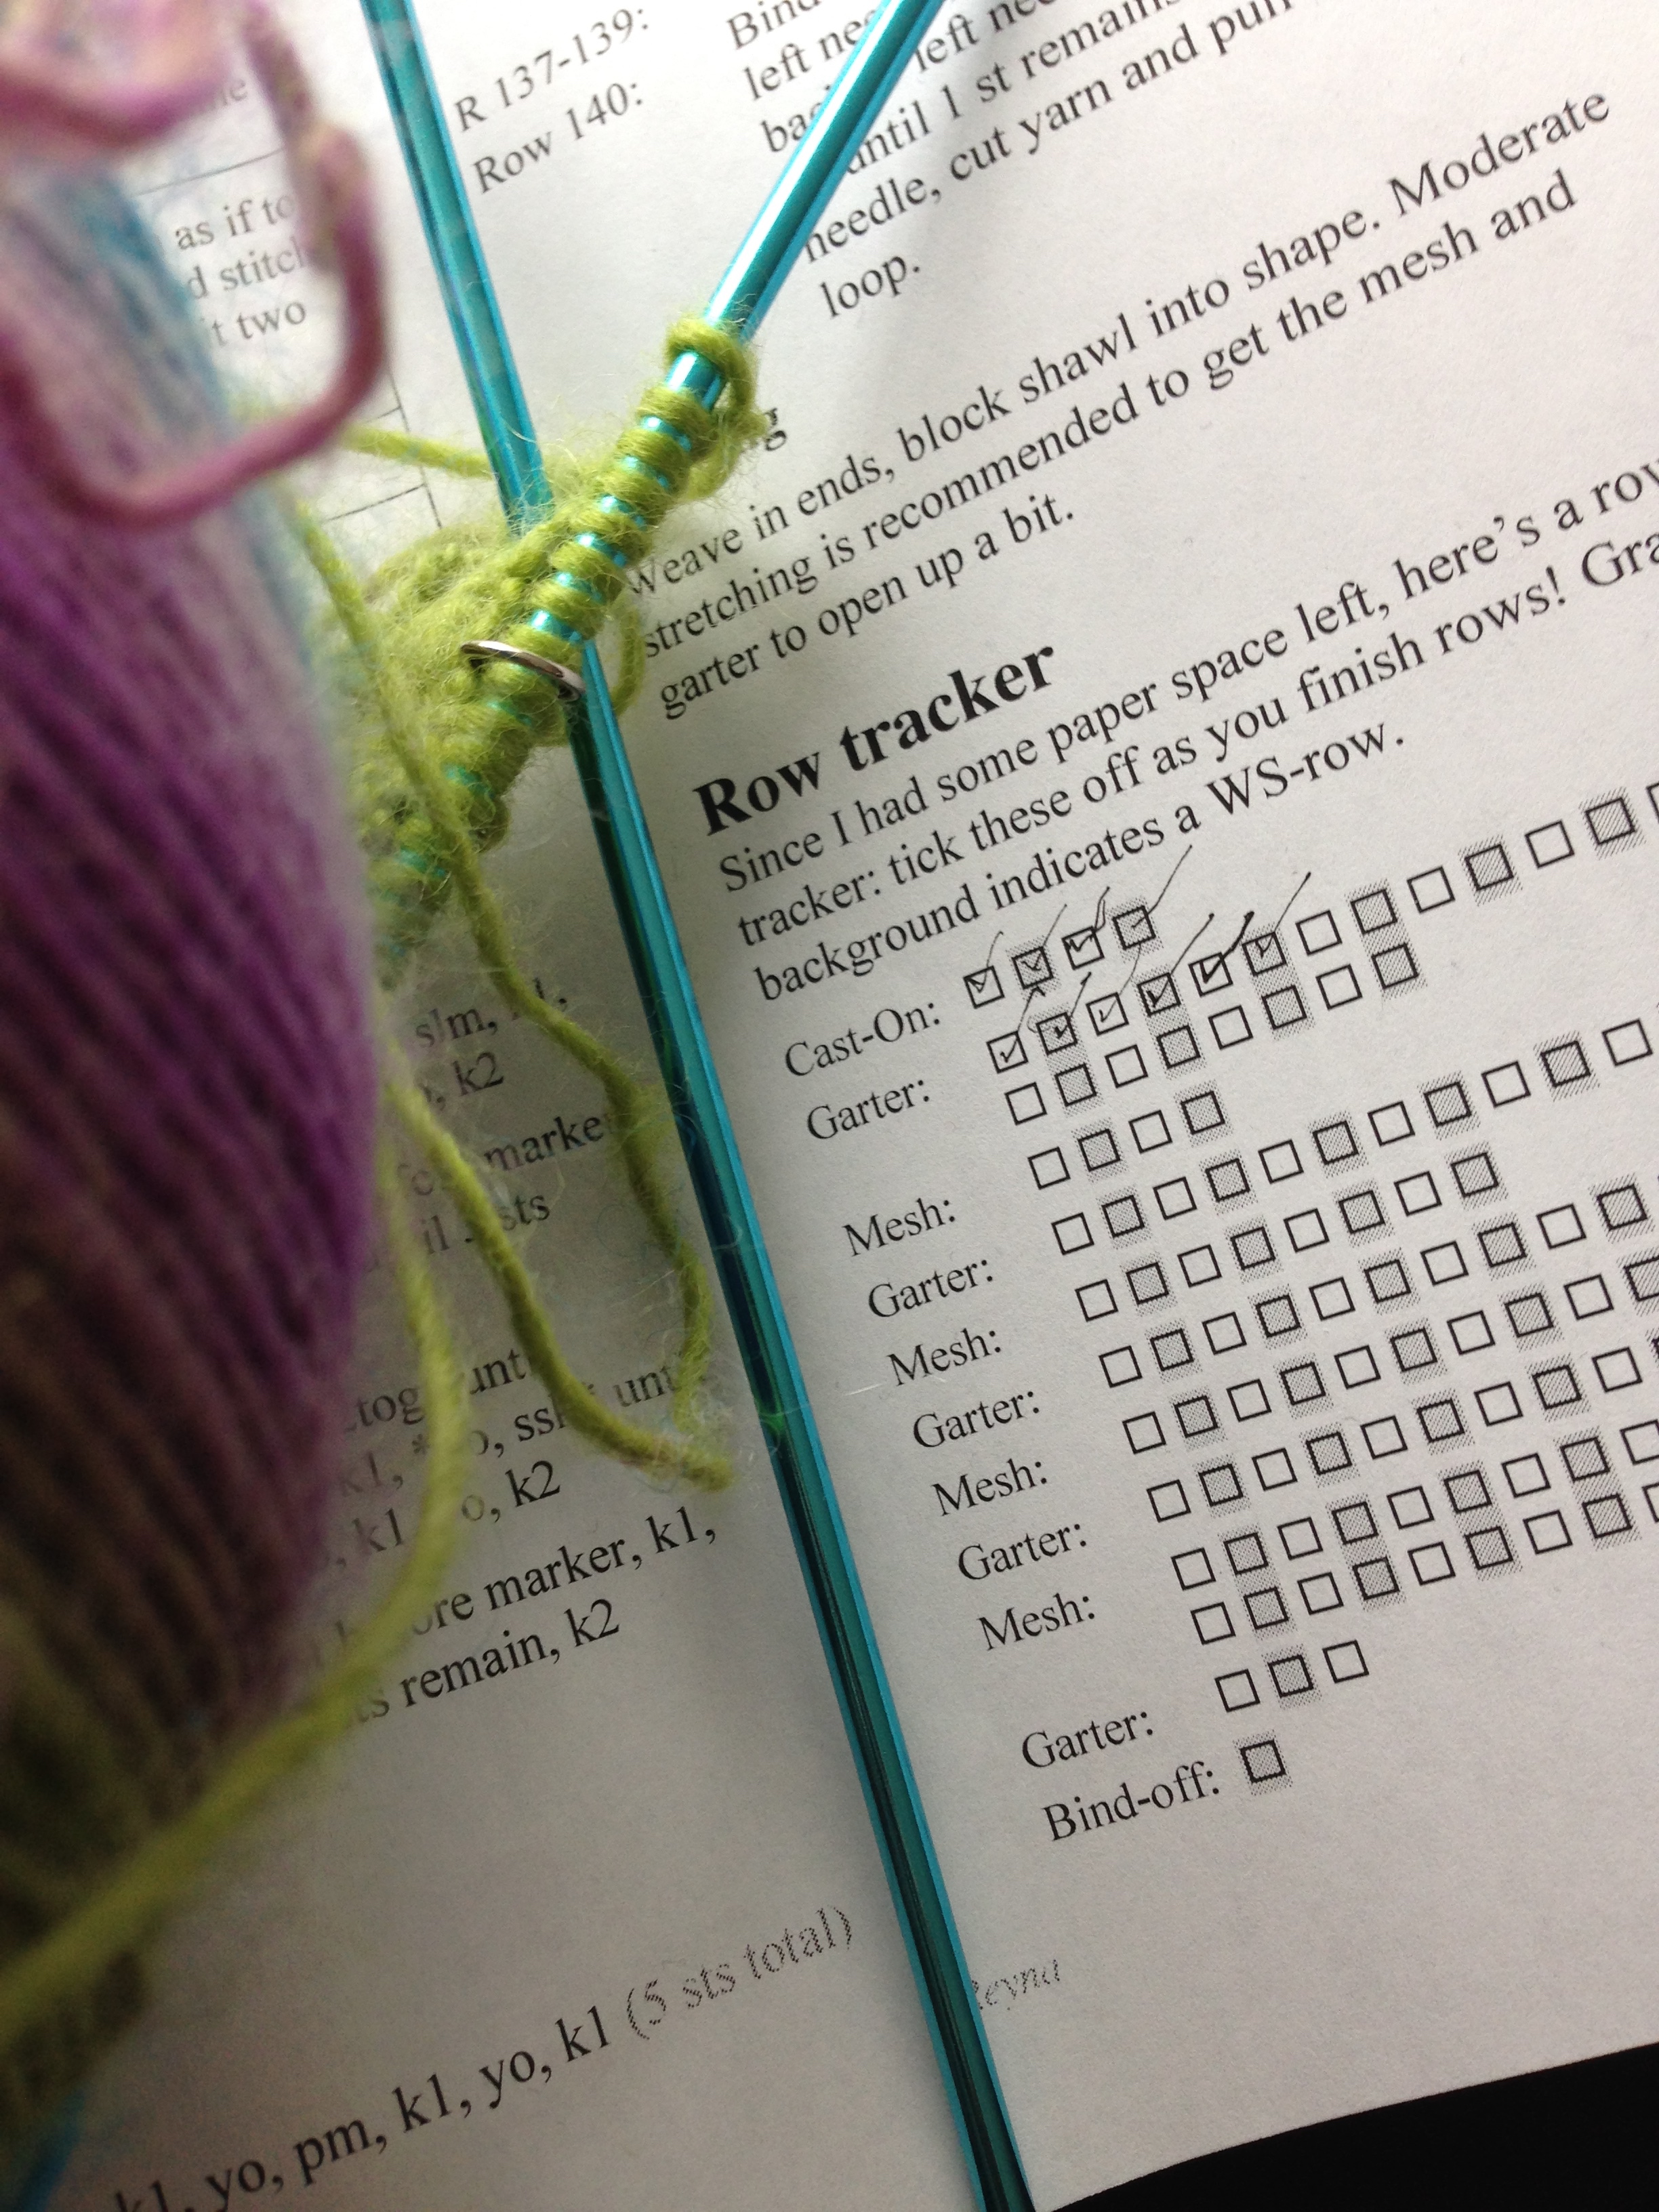
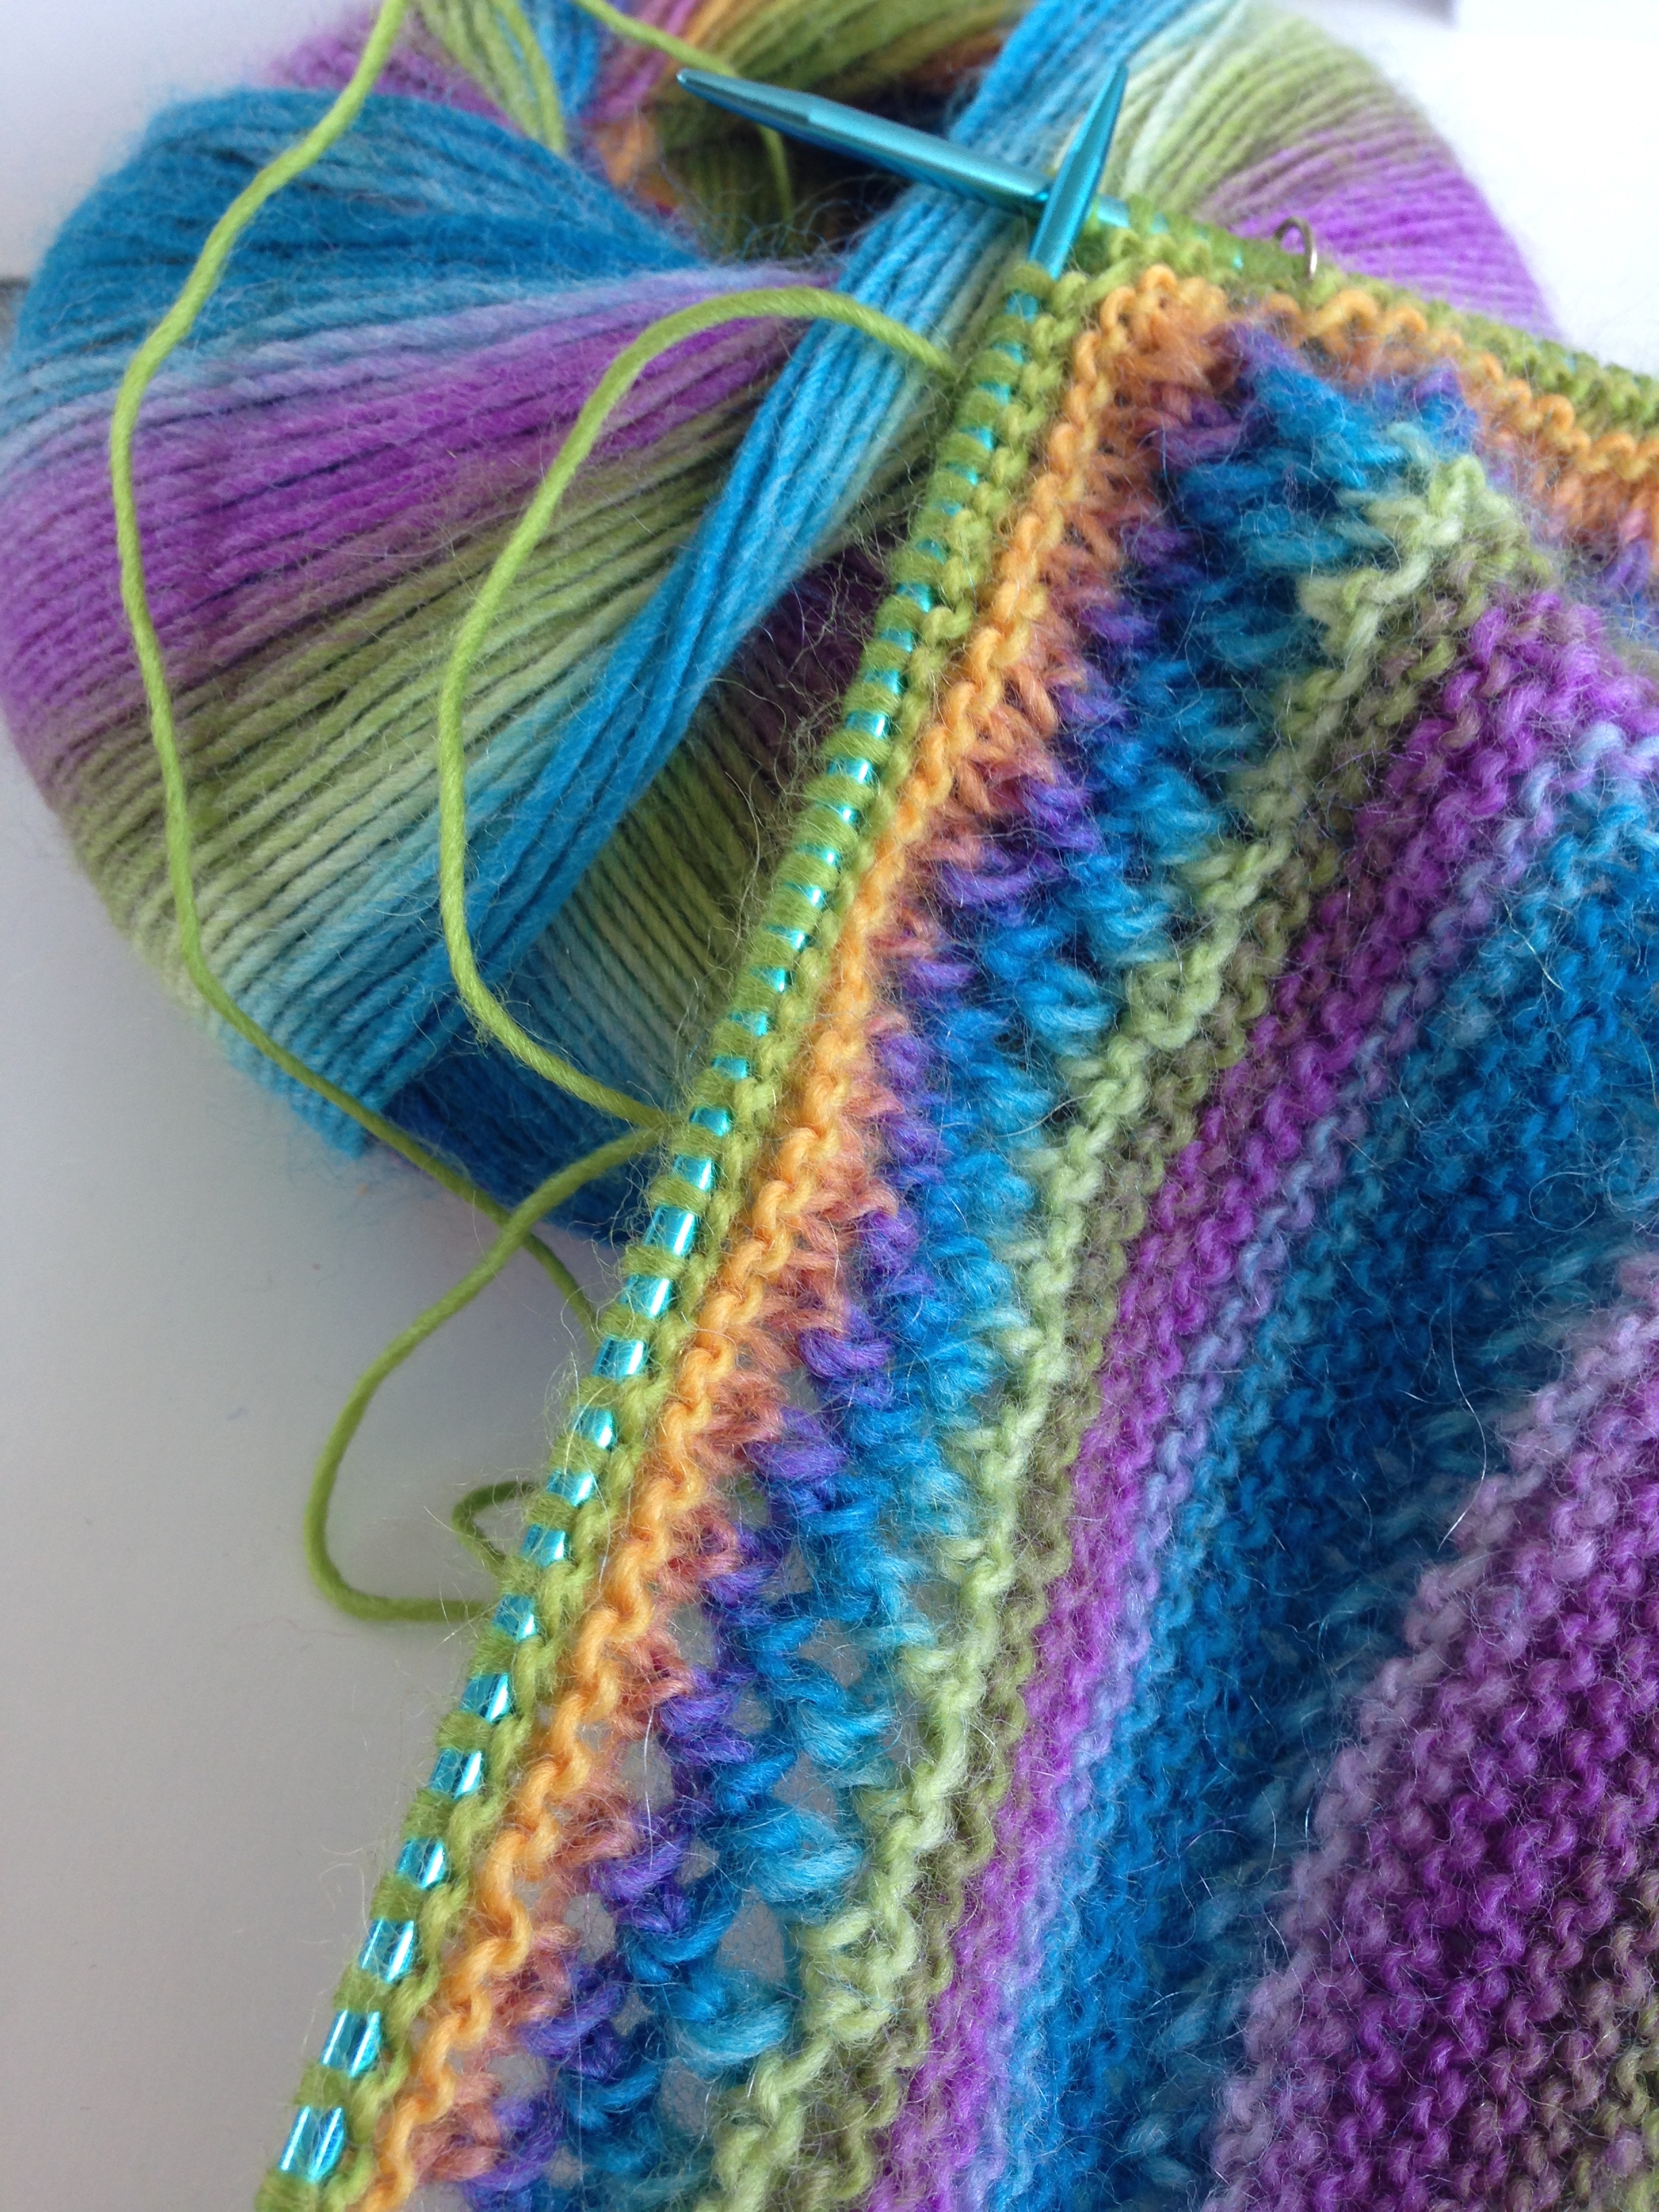
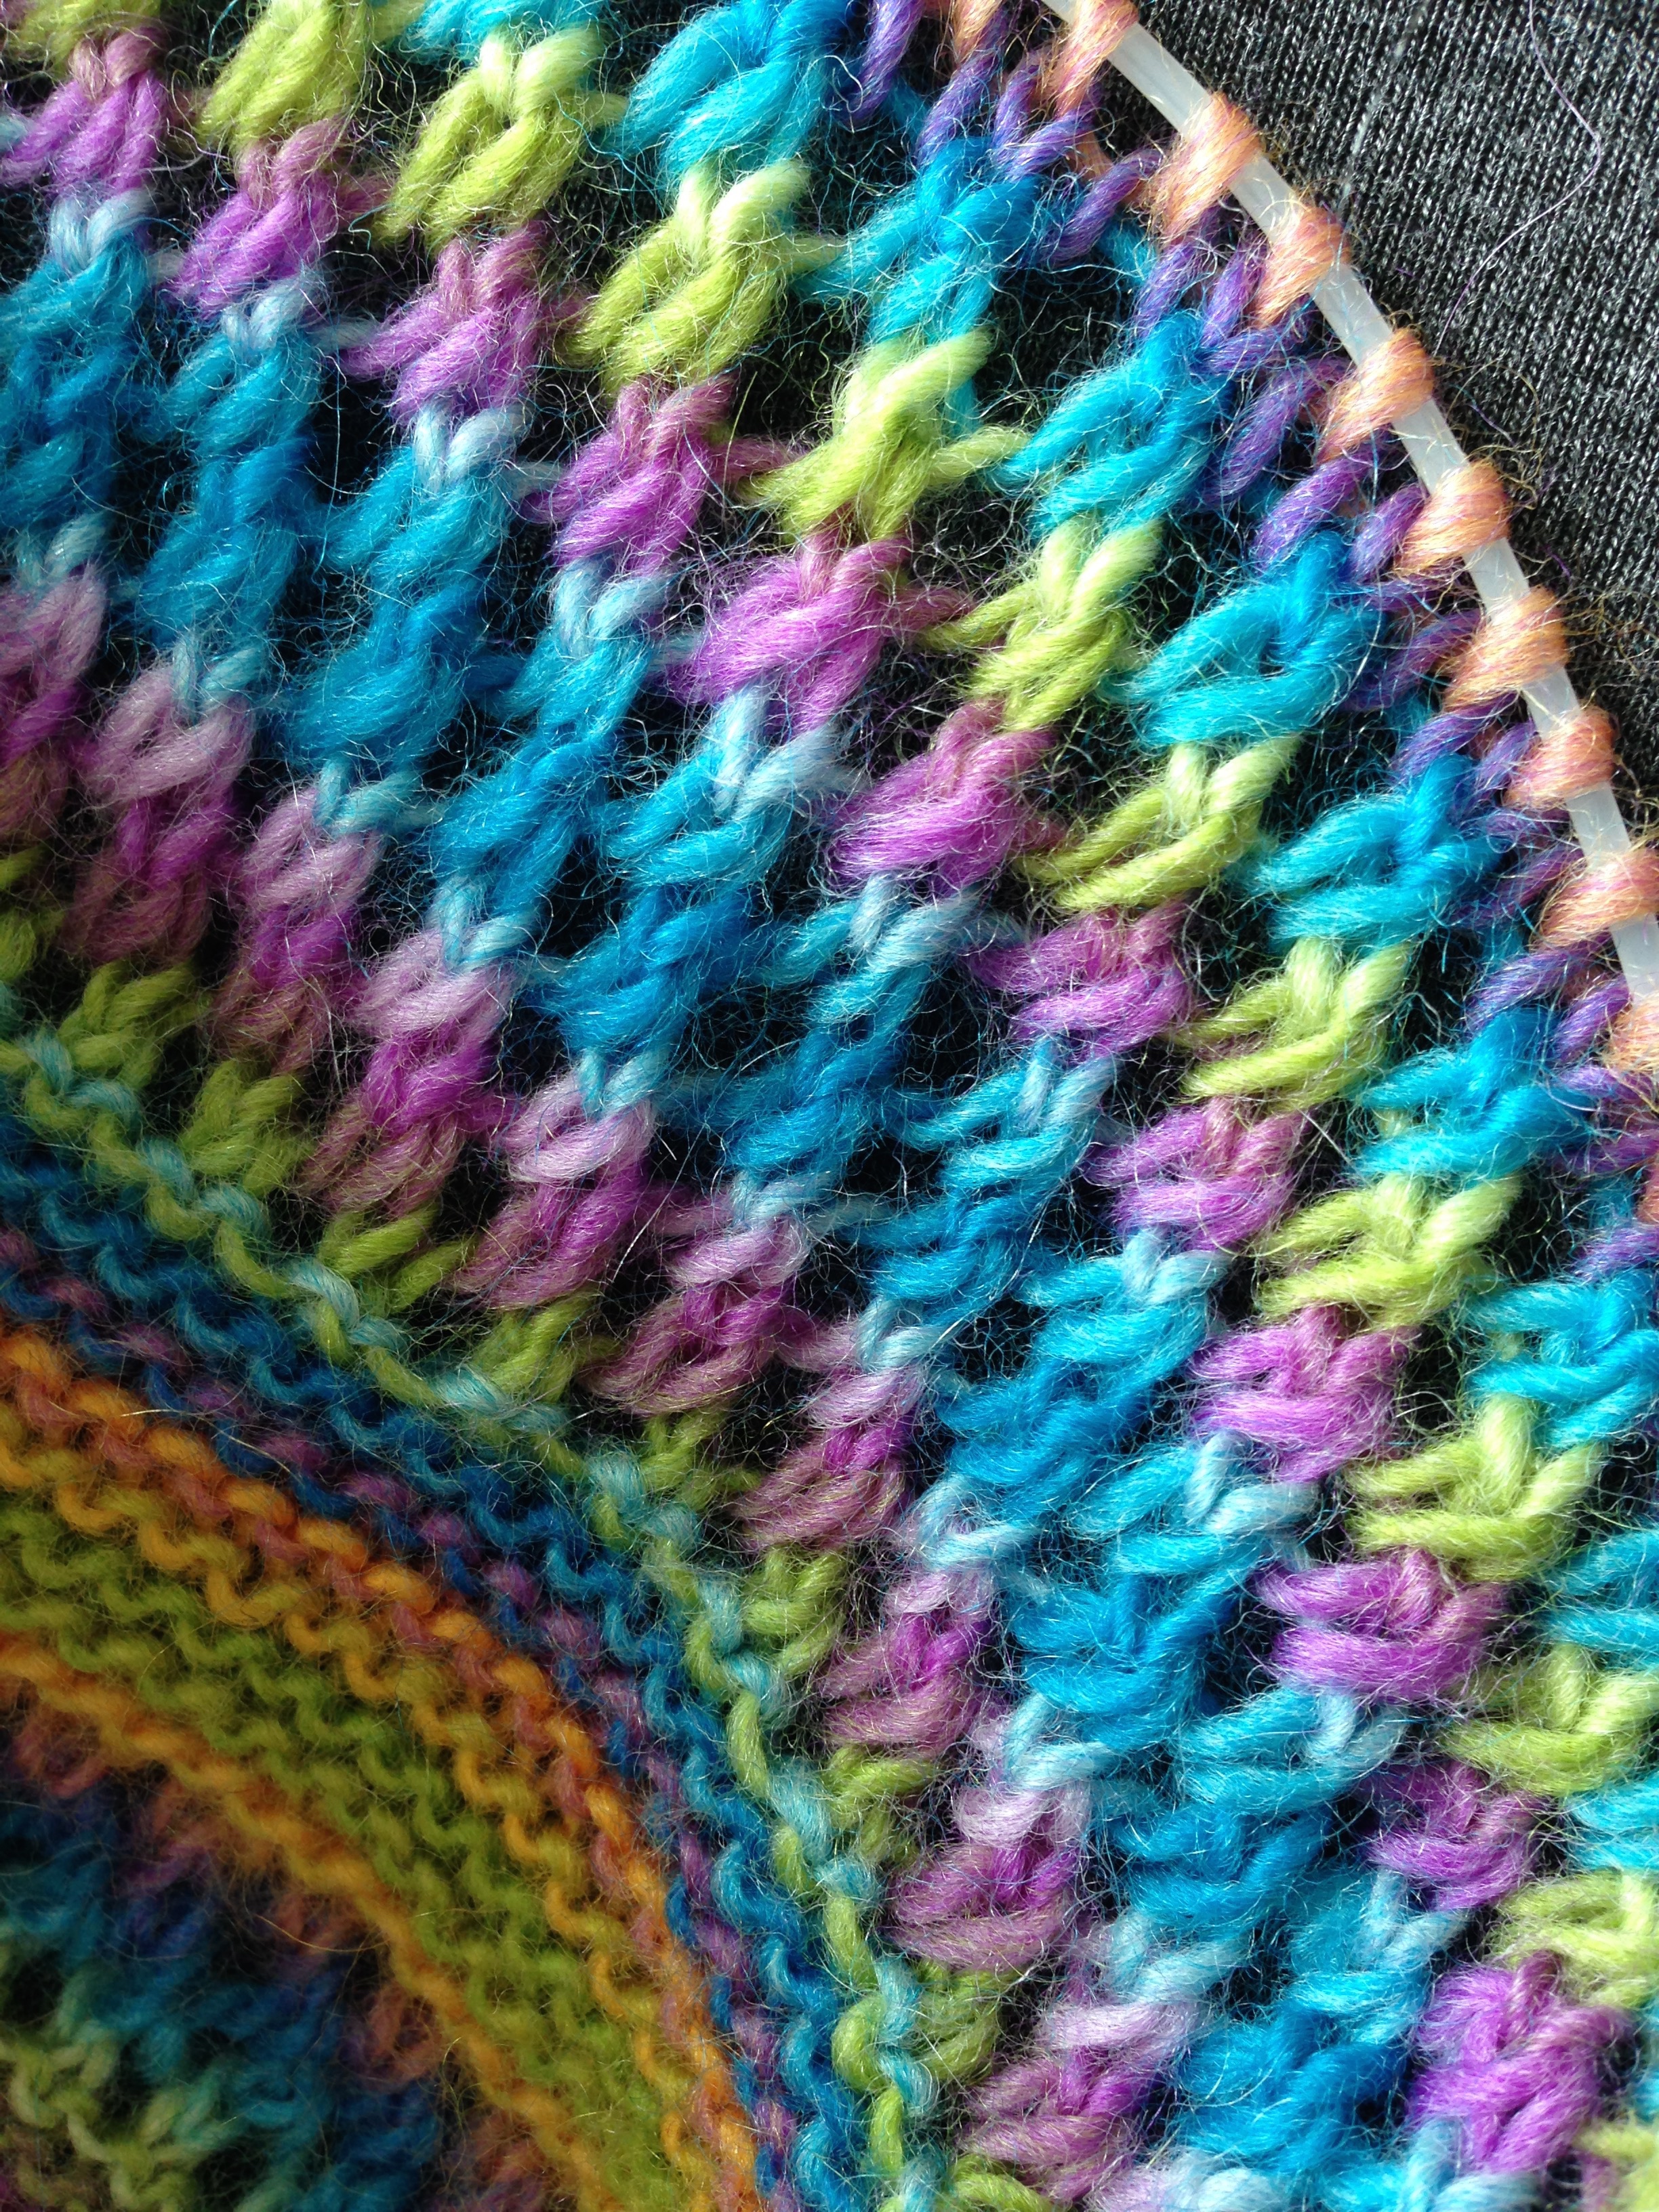
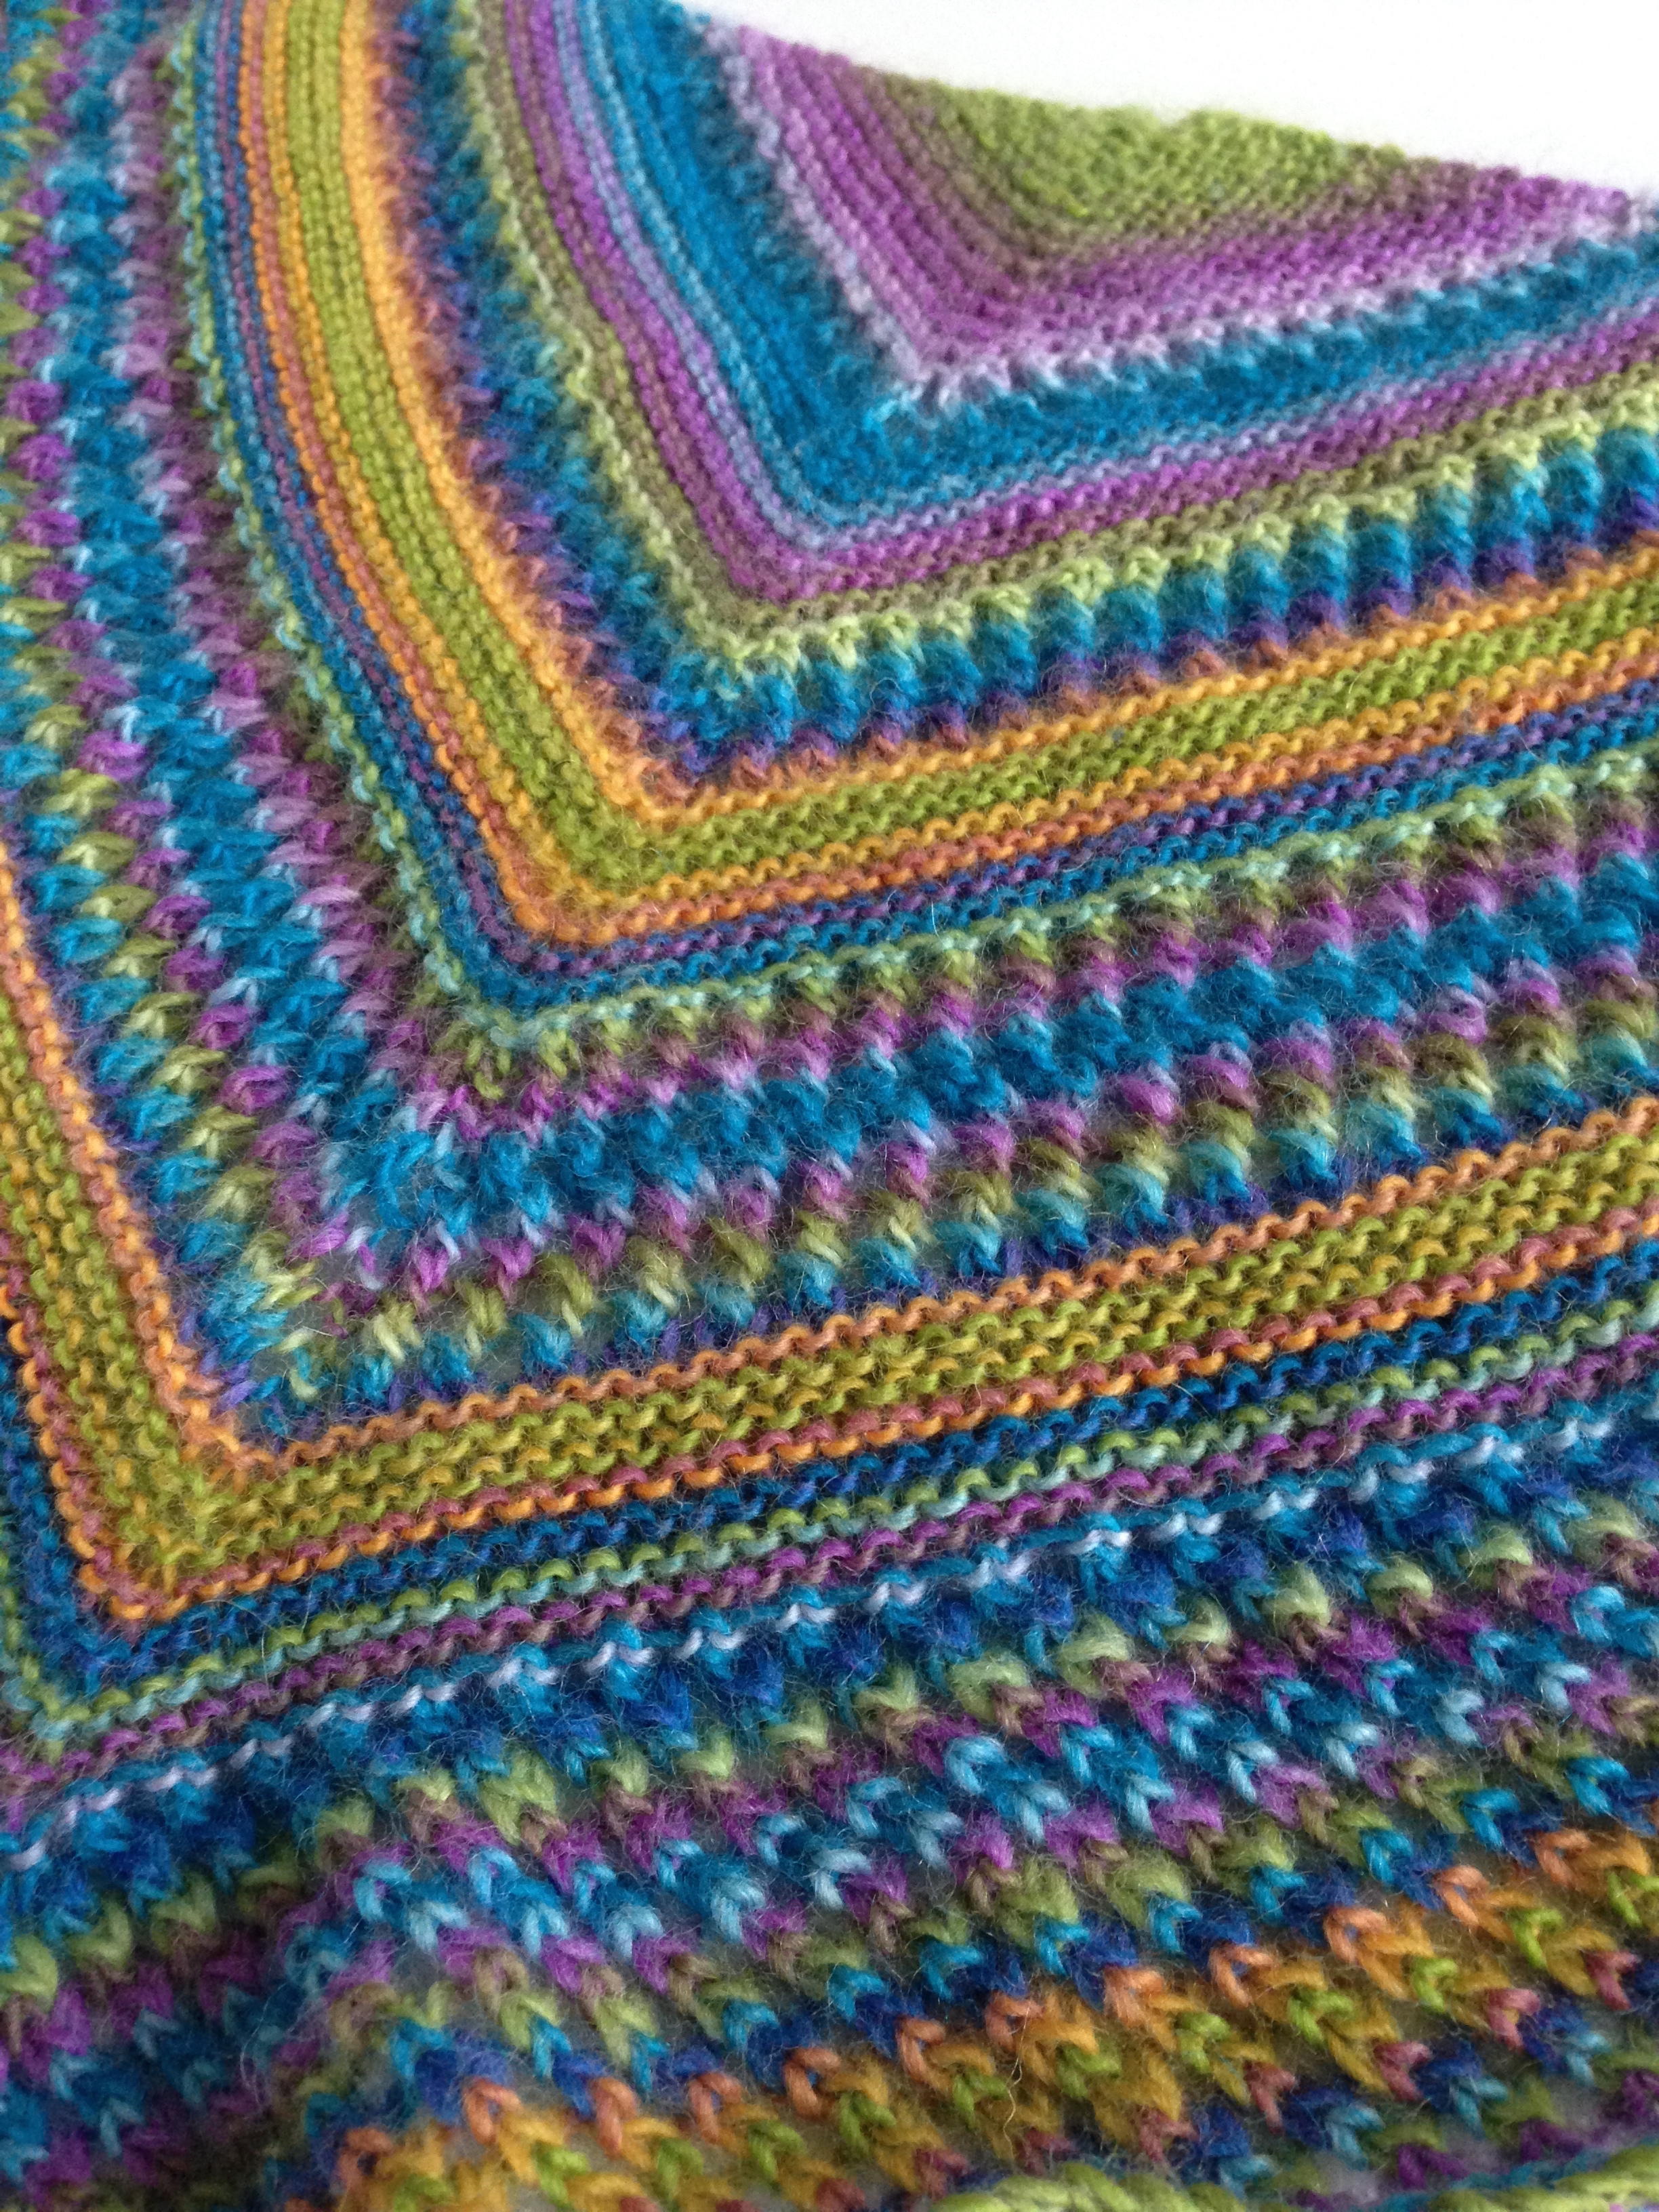
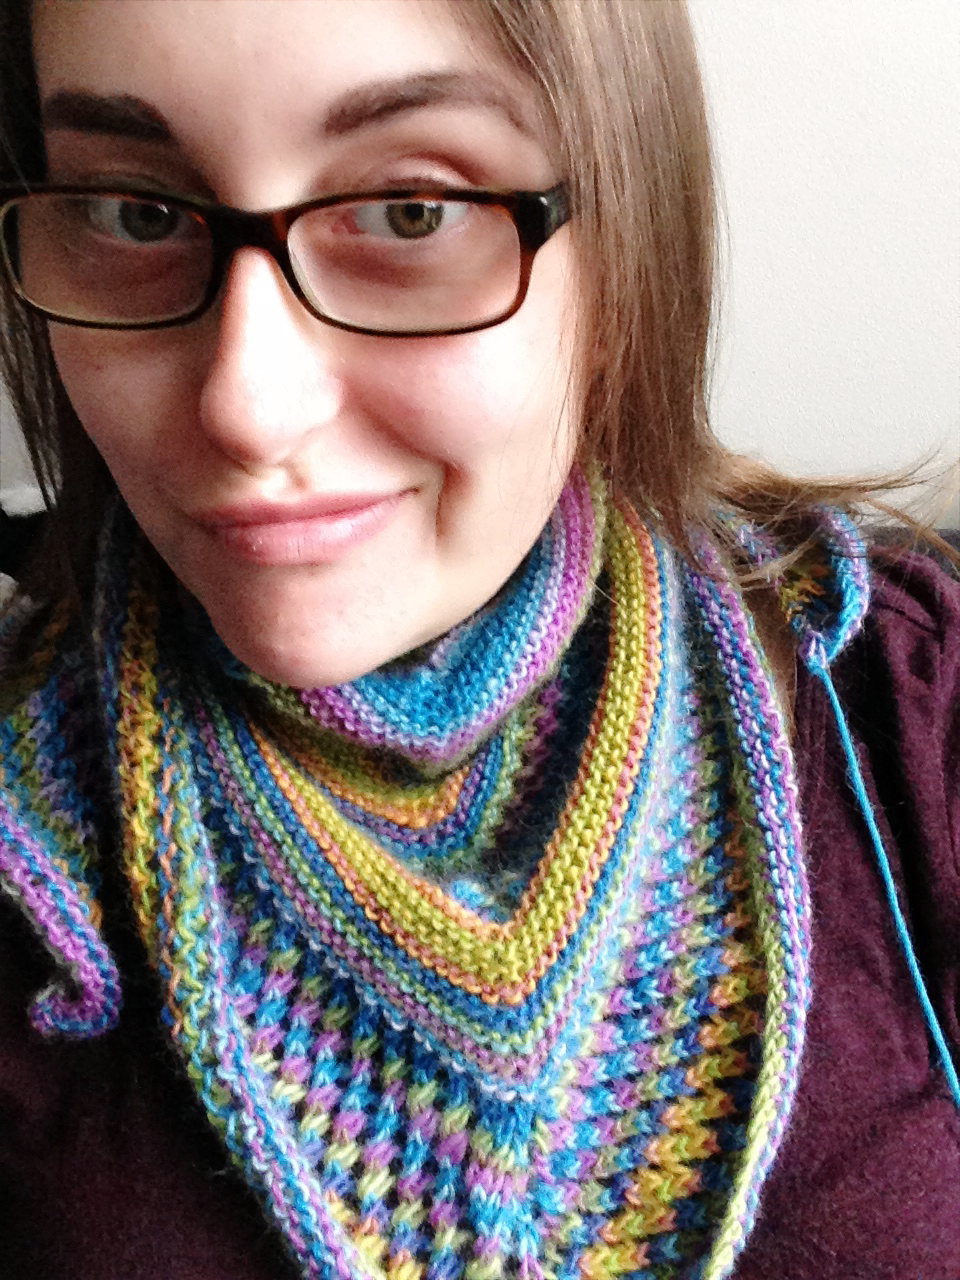
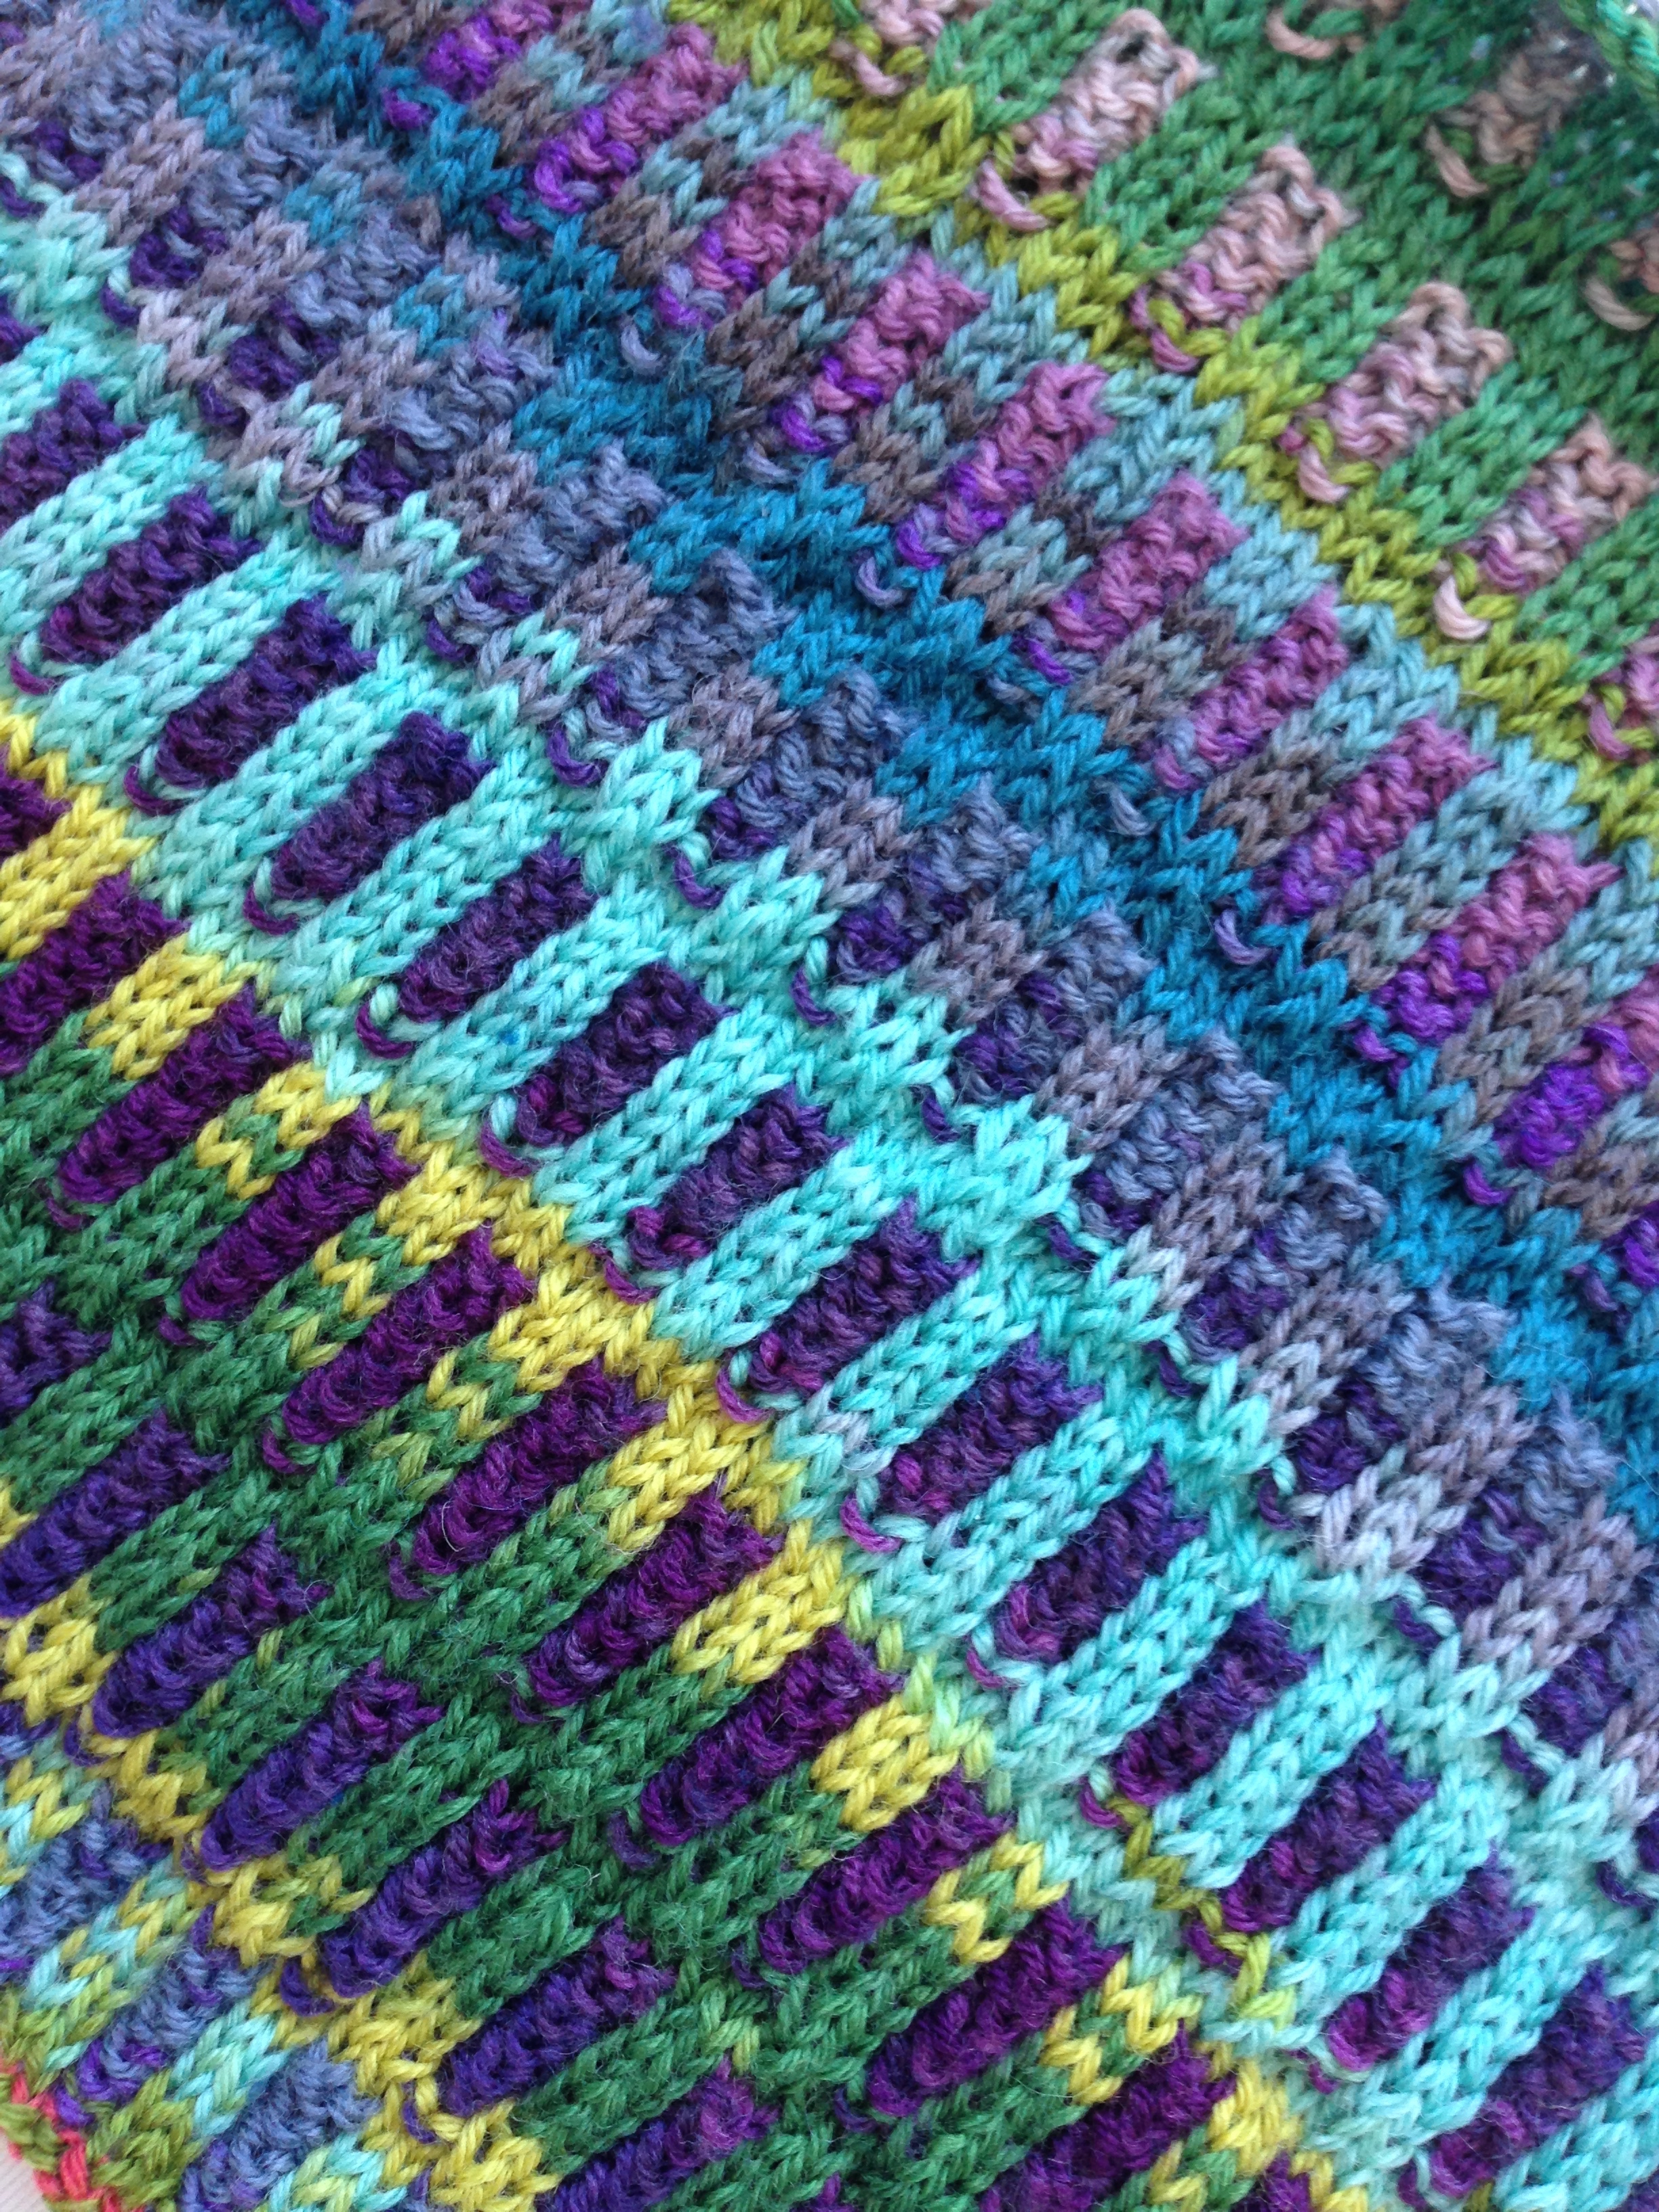
That checked off item was this Inspira Cowl. I had some shifting colourways yarn from a previous project that I had to use and wanted a change from my eventually-to-be-lovely sweater shawl. So onto Ravelry I went! And found this very simple but super fun looking free pattern. Very very easy pattern to follow and a great intro to colour work, if you're looking for one! (Also, did I mention Free? Haha.)

Anyways. It was a quick knit but reminded me that all the lovely scarves and hats will be coming out for another season. Yay! 

Bye summer.... I'mma miss you. See you next year! <3

-Andrea

The Half-Assed Hobbyist

The Forgotten Slouchy Knits

Since I've recently taken up knitting again, after a hiatus brought on my lack of pre-planning and sheep having to grow me some more wool, I got distracted by updating my Ravelry profile with projects that I've done over the last couple years. I am super bad at keeping up to date with Ravelry, much like can be with blogging (haha), but I realized that there are two projects that I have never mentioned before!

The first is actually from a while ago, back when I was still living in AB. The pattern was posted by a favourite artist of mine: Azure cabled slouchy hat. The yarn I found at a farmers market in Kelowna BC in October of 2013. Alpaca I'm pretty sure. And I Loved it and how soft it was. I kept the yarn around because I wanted a slouchy hat pattern with a cabled star. Azure's pattern was Perfect! Made it in April 2015 and have been wearing it everywhere since.

The second is a pattern and yarn I had specifically sought out. The yarn, Classic Elite Yarns Liberty Wool, came from a store in Edmonton (now closed -GASP-). I fell in love with the yarn and, more specifically, the pattern for the slouchy that came free with purchase! It felt like space invaders. Love! I actually ended up at Romni Wools in Toronto to get a contrasting colour to complete the look. But after I'd finished it, it was so very tight that it looked more like a beanie than a slouchy hat. So it got stuffed into my finished pile where it lay until I fished it out for this post. I decided, disappointed memories a thing of the past, that I'd take the time to actually block it. I took the 20 minutes to soak it and got stretching. It's still not as slouchy as I'd hoped but it's much better! And hopefully with some wear it will relax a bit.

Knitting all the things! Just in time for the warm weather...? I suppose I could wear wool ironically?

No. Not.

XD

-Andrea

The Half-Assed Hobbyist

Shoulder at it

It's been forever since I knit anything.

I've been working on my crochet skills (just making dish towels though, nothing fancy). And my last knititng project got put on hold because I ran out of wool. Unfortunate problem with using real fibers is that the sheep needs to grow more when the skein runs out! Haha.

Anyways! I bought this amazing wool in Japan from the Mitsukoshi store in Nihonbashi so decided to get back to knitting. Mitsukoshi was the Fanciest department store I have Ever been in. Not only was it the most clean and organized multiple-storey tall store I've ever seen, but it also was well staffed. I had a personal knit shopping assistant to myself when I hit up the Wall of yarns in the craft section. (There was also fabric... but I restrained myself.) The store also sold Handmade sweaters and hats, made In-Store. For real. There were ladies sitting at a table in the middle of the craft floor, dressed fabulously, knitting and making hats. Wat. Japan.

Anyways again! Backstory of this lovely yarn complete. I wanted something special for this yarn. I got to pursuing Ravelry and also free pattern sites (my favourite is purlavenue.com) to find something. It turned into a bit of a process.

I started with this pattern for a beautiful leaf patterned cowl done on circular needles. I loved the look and the yarn fit the bill. Unfortunately, the colourwise in my yarn was variegated in much shorter chunks than the yarn that was used in the example pattern. So the lovely fading colour turned into weird striping. Abort.

Next up, I found a project on instagram for the Roving Ruru Grand skein in crochet. It looked super wonderful, but it didn't have a pattern. Now, with knitting I have enough experience to fake it. This is not the case for crochet yet. Attempt to crochet a 'enterlac' blanket: fail. Back to the drawing board. (Or rather Raverly....)

Heading back to Ravelry turned out to be a good decision. I went through some past favourites from a million years ago and found this pattern. Sold. It even looked nice with some striping! Success. So I got to it. The pattern came with a Row Tracker, which initially also came with a groan of 'Ugh, learning' but was actually super simple to use: Finish a row, get a checkmark, never forget where you're at. Genius. I wish every project had this. And the colour continued really nicely, I think, and even when it started striping it got a very nice contrast.

Yarn Justice, me thinks. =)

I still have to block it out. Which will happen eventually. She Says.

XD

-Andrea

The Half-Assed Hobbyist

ย 

ย 

The Green Gingham Dress

I'll hopefully take a better picture. Eventually.... ;)

I'll hopefully take a better picture. Eventually.... ;)

After the inspiration (or more likely guilt) of not having sew-ed in ages, and, having no outdoorsy fun planned for this winter, I decided it was high time to get out the ol' fabric stockpile and figure out what project I could while away the gloomy non-snow-filled months of Ontario winter.

I started this project in November and finished it mid-December. And looky looky! I'm finally posting about it! Yay! It's happening! (Shhhhhh. Let me have this one....) The pattern was a Vogue vintage pattern, V2960.

Anyways. After all the fun cutting out and ironing on interfacing and such I got to working the bodice. I've made quite a few dresses in my day, notably my Plaid Pink Ballgown. This would be the first dress with buttonholes though, and down the front none the less. (Why I do these things to myself only a good therapist can discover.)

The bodice pattern was super easy to put together! (Gasp! Vogue pattern instructions being straight forward??!!) And the fabric worked beautifully with all the darts (Gingham Power!). But, because everything has it's snags, after I started cutting my welt buttonholes, I realized that the buttonhole pattern piece I was measuring from was wrong side/right side, making my buttonholes a whole half inch over from where they were supposed to live.

-cries-

Ah well. I'm not called the half-assed hobbyist because everything goes well all the time. Live and Learn! My buttonholes would just live dangerously close to the fabric edge, just how I like it.

Next was the skirt. My favourite part! But actually. I love skirts. If wind didn't exist, I would wear skirts everyday. -She says, thinking about the global ramifications of a windless world on general ecosystems-

I've never done folded pleats like this before, so I got out my lovely old Vogue sewing paperwei- I mean, book. Very good advice, which I took and Actually followed. Ironing every pleat fold before pining it where it needed to be sewn, and ironing again. All the Ironing. But it worked! Success! Learning!

Bodice and skirt sewn, it was time for the hard part: dealing with the off-center welt buttonholes I'd messed up already. Never fear! My unabashed desire to plow onward afforded me some courage, which without, I would still be desperately sobbing in a corner clinging to the gingham dress dreams of yesteryear.

The buttonholes. It was almost a stand-off. At first I thought I'd just move over the seam allowance but because of the interfacing that idea was a no go. I'd have to deal with the buttonholes being closer to the edge than recommended.  So I focused on button making. Now there's a story. It took me 3 hours stuck in Toronto traffic to get those plastic buttons. I could have walked it in 2. Sigh.

The covered buttons finished (YAY for easy rotary cutter circles), it was time to finish the welt buttonholes. Cutting time! I fitted the bodice so that despite the half inch extra it fit well. I ironed the lovely interfacing as flat as possible without scorching the wool. Success! Using my vogue book as a guideline, I used four pins, one in each corner of the welt, to indicate where to cut a small slit for each buttonhole opening. I finished them as I went. All but the last buttonhole wasn't stable enough to take buttoning. Luckily the last button was more for symmetry, so I sewed the button directly overtop of it, just for show, so it avoids any tearing. And the rest was a matter of pinning the buttonholes in place over where I wanted the buttons, marking and affixing.

Last but not least was the hem. Urk. I hate hemming. Luckily, my new fancy sewing machine has a million wonderful stitches to do a nice easy pick-up hem thing.

BAM!

One project down!

NEXT!

-Andrea

The Half-Assed Hobbyist

Fall Lull Pick-up

I will admit it. I've been a very bad sew-er lately. I haven't actually started a new project since beginning my upholstery project in 2014. I'm happy to say I've finished with the upholstery project though! Well, as finished as it's going to be, 2 out of 4 chairs is good enough, right? It's time for something new!

I'm not sure I've ever unearthed my fabric collection online before. It's not the most shameful thing... but it's pretty up there. Enough that I'm not allowed to go buy more. 

While I was going through all the lovely wools and cotton prints, I found a wool green gingham complete with pattern and buttons, oh my! (Past Andrea had ambitions and present Andrea is going to take advantage.)

Anyways. Since the green wool gingham is perfect for this soon to be holiday dress. Cherry button included. So I got scheming with my lovely Lady Lesley and we set up a sewing skype date to hopefully get both our projects rolling. 

Step one is always iron out that fabric flat.

Step two, painstakingly iron and trace out the pattern. (Or be super lazy like me and just cut out the largest size and save all the little pattern remnants in a plastic baggy...>>.)

Next, organize the pattern pieces to fit on the fabric. Pin the straight of grain and then realize that in order to make sure the gingham isn't crooked you have to individually cut out every piece, so unpin every piece, unfold the fabric and start again. 

Then go buy a rotary cutter and mat and shake a fist at Past Andrea for not doing this sooner. Cut out all the pieces! Making sure to mark all the little triangle bumpies with a contrasting thread. 

Now it's sewing time! Or wait! Interfacing is a thing that this lovely vogue pattern let's you make your very own pattern pieces for! How nice. 

Phew. Ok. All interfaced. Time to start sewing!

Or maybe I'll just take another, very short, breather...

Stay Tuned!!

-Andrea 

The Half-Assed Hobbyist