Jam-uary

It's a new year! Yay!

Now usually January is a slow month. After the holiday parties and year end snafus, January is typically cold and dull, just the perfect time to sit back and chill after the craziness. 

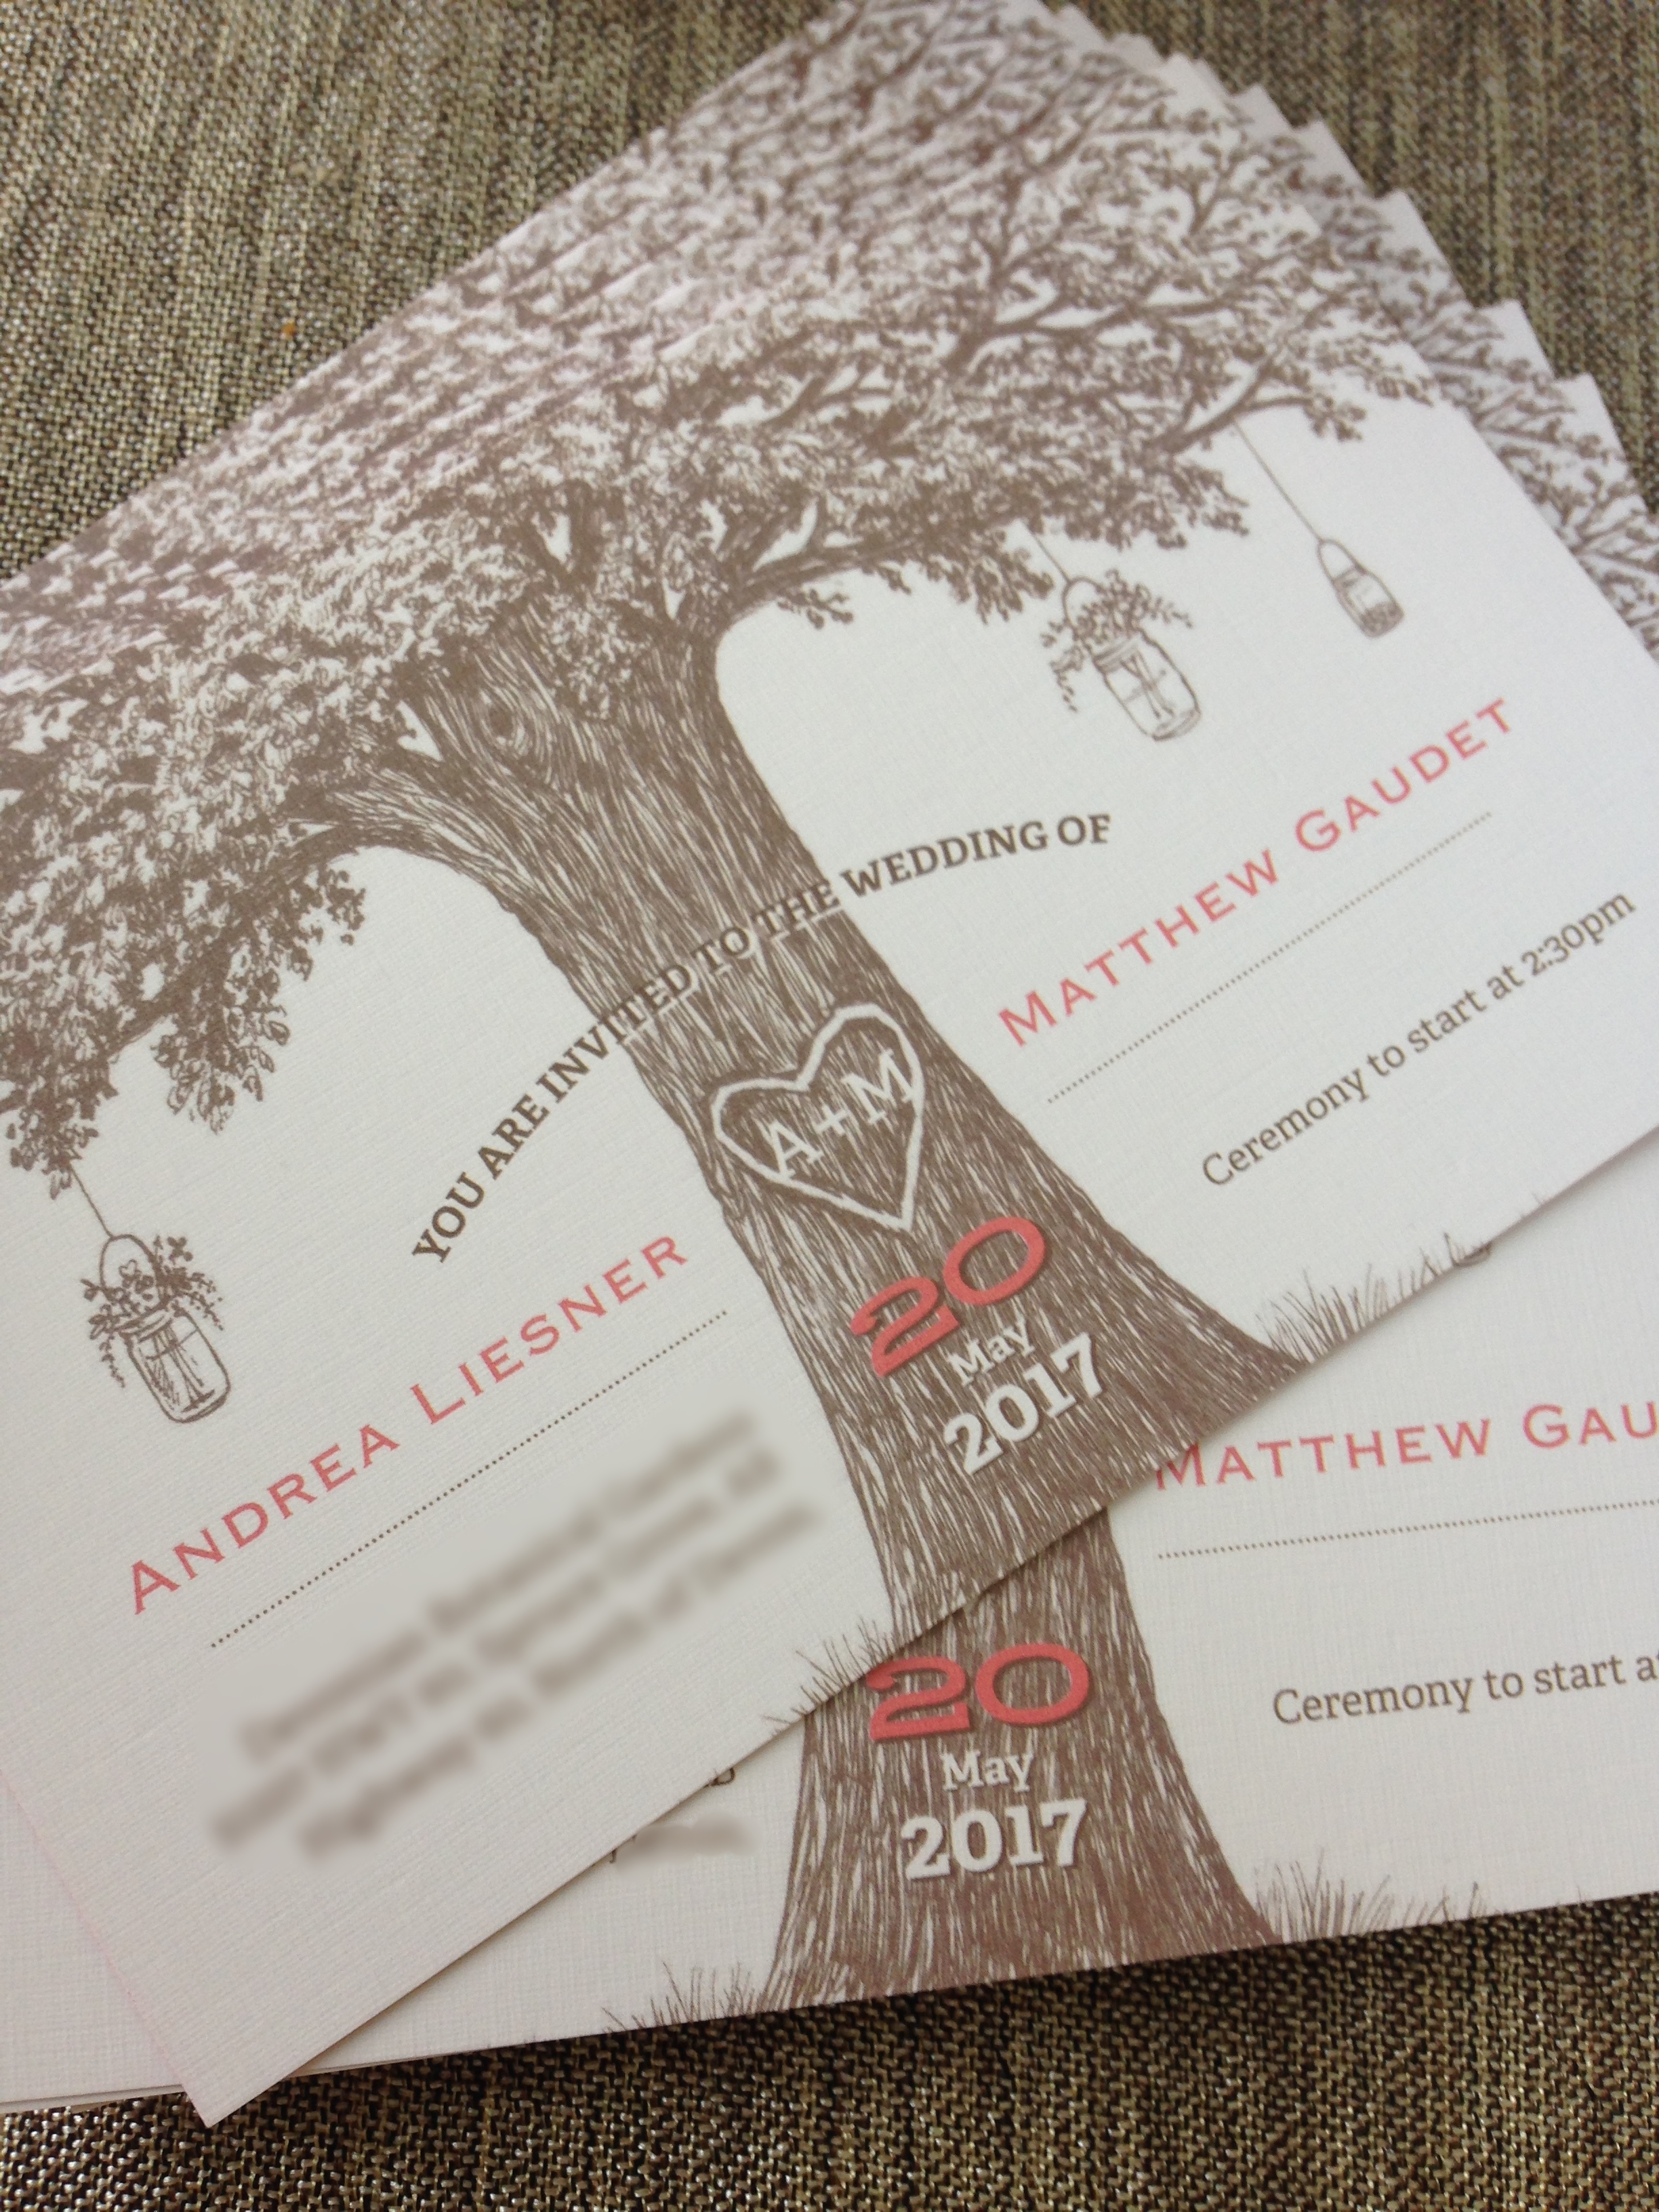
Unless you're planning a wedding.... and you realize that it's approaching in almost 100 days. -cries- The Fiancé and I have been very due diligent. Ordering invites, finalizing catering and DJs, booking photographers and officiants, etc. But there are a couple remaining to-dos that I've been procrastinating. 
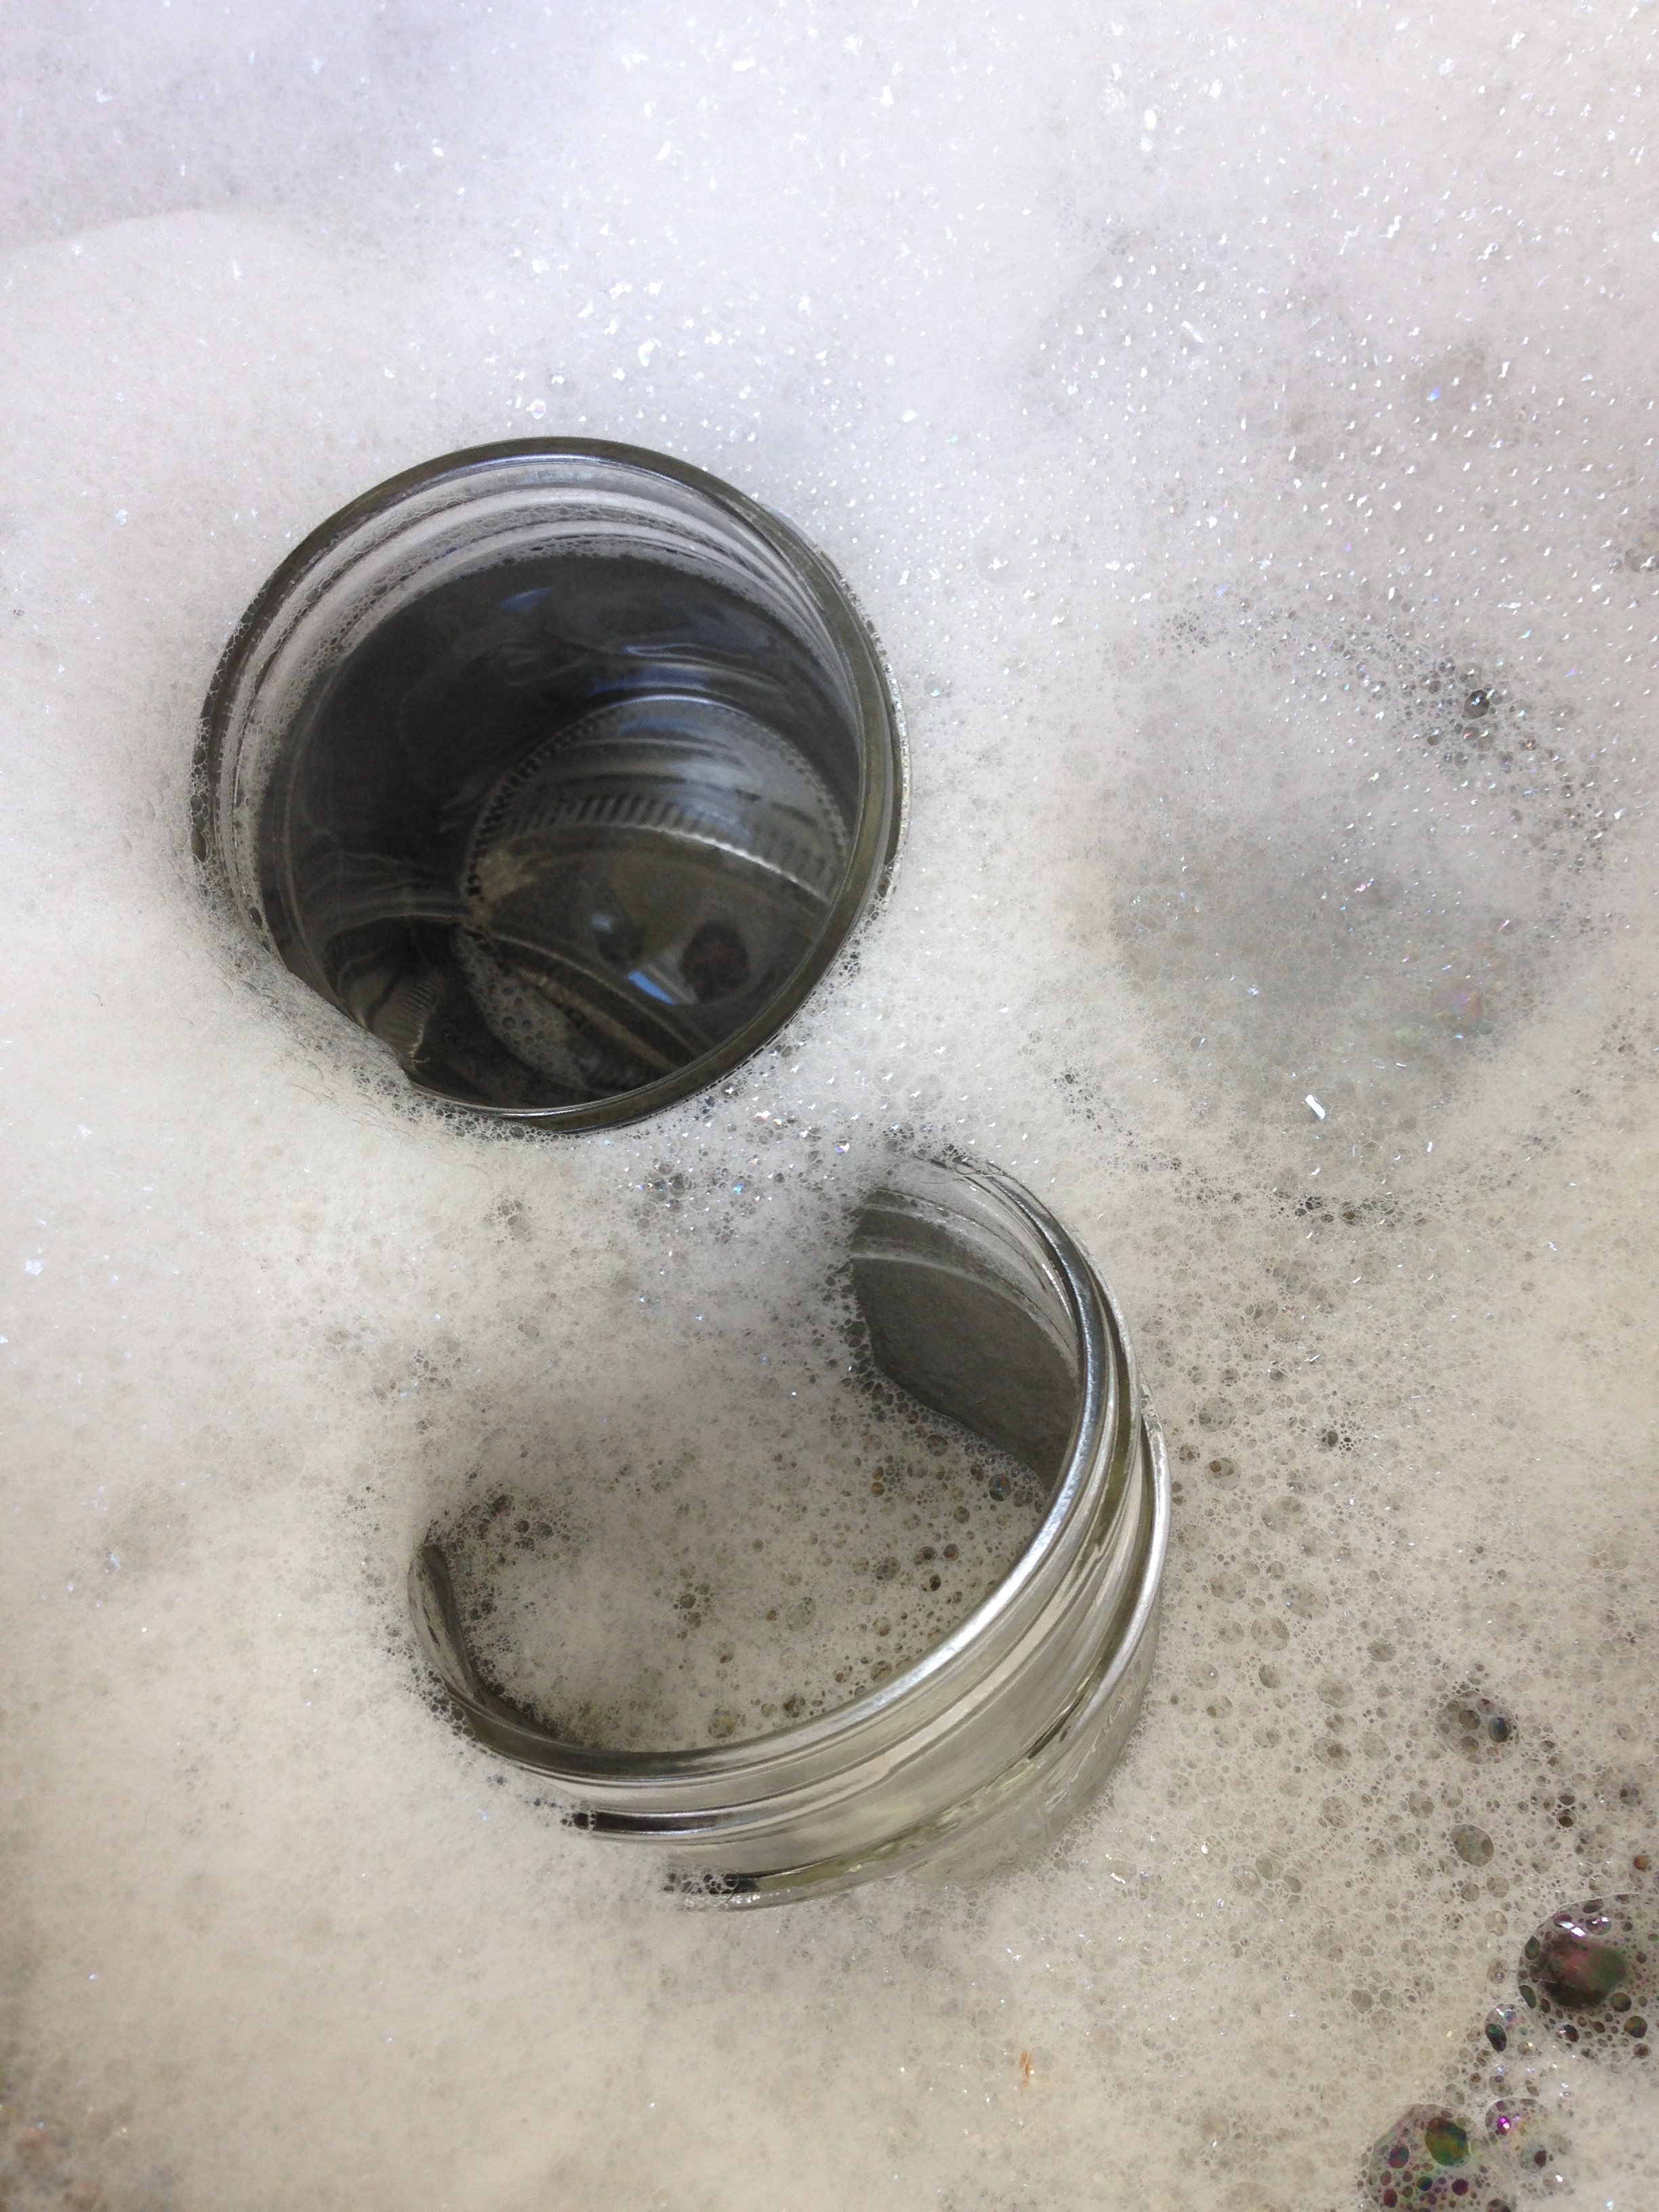
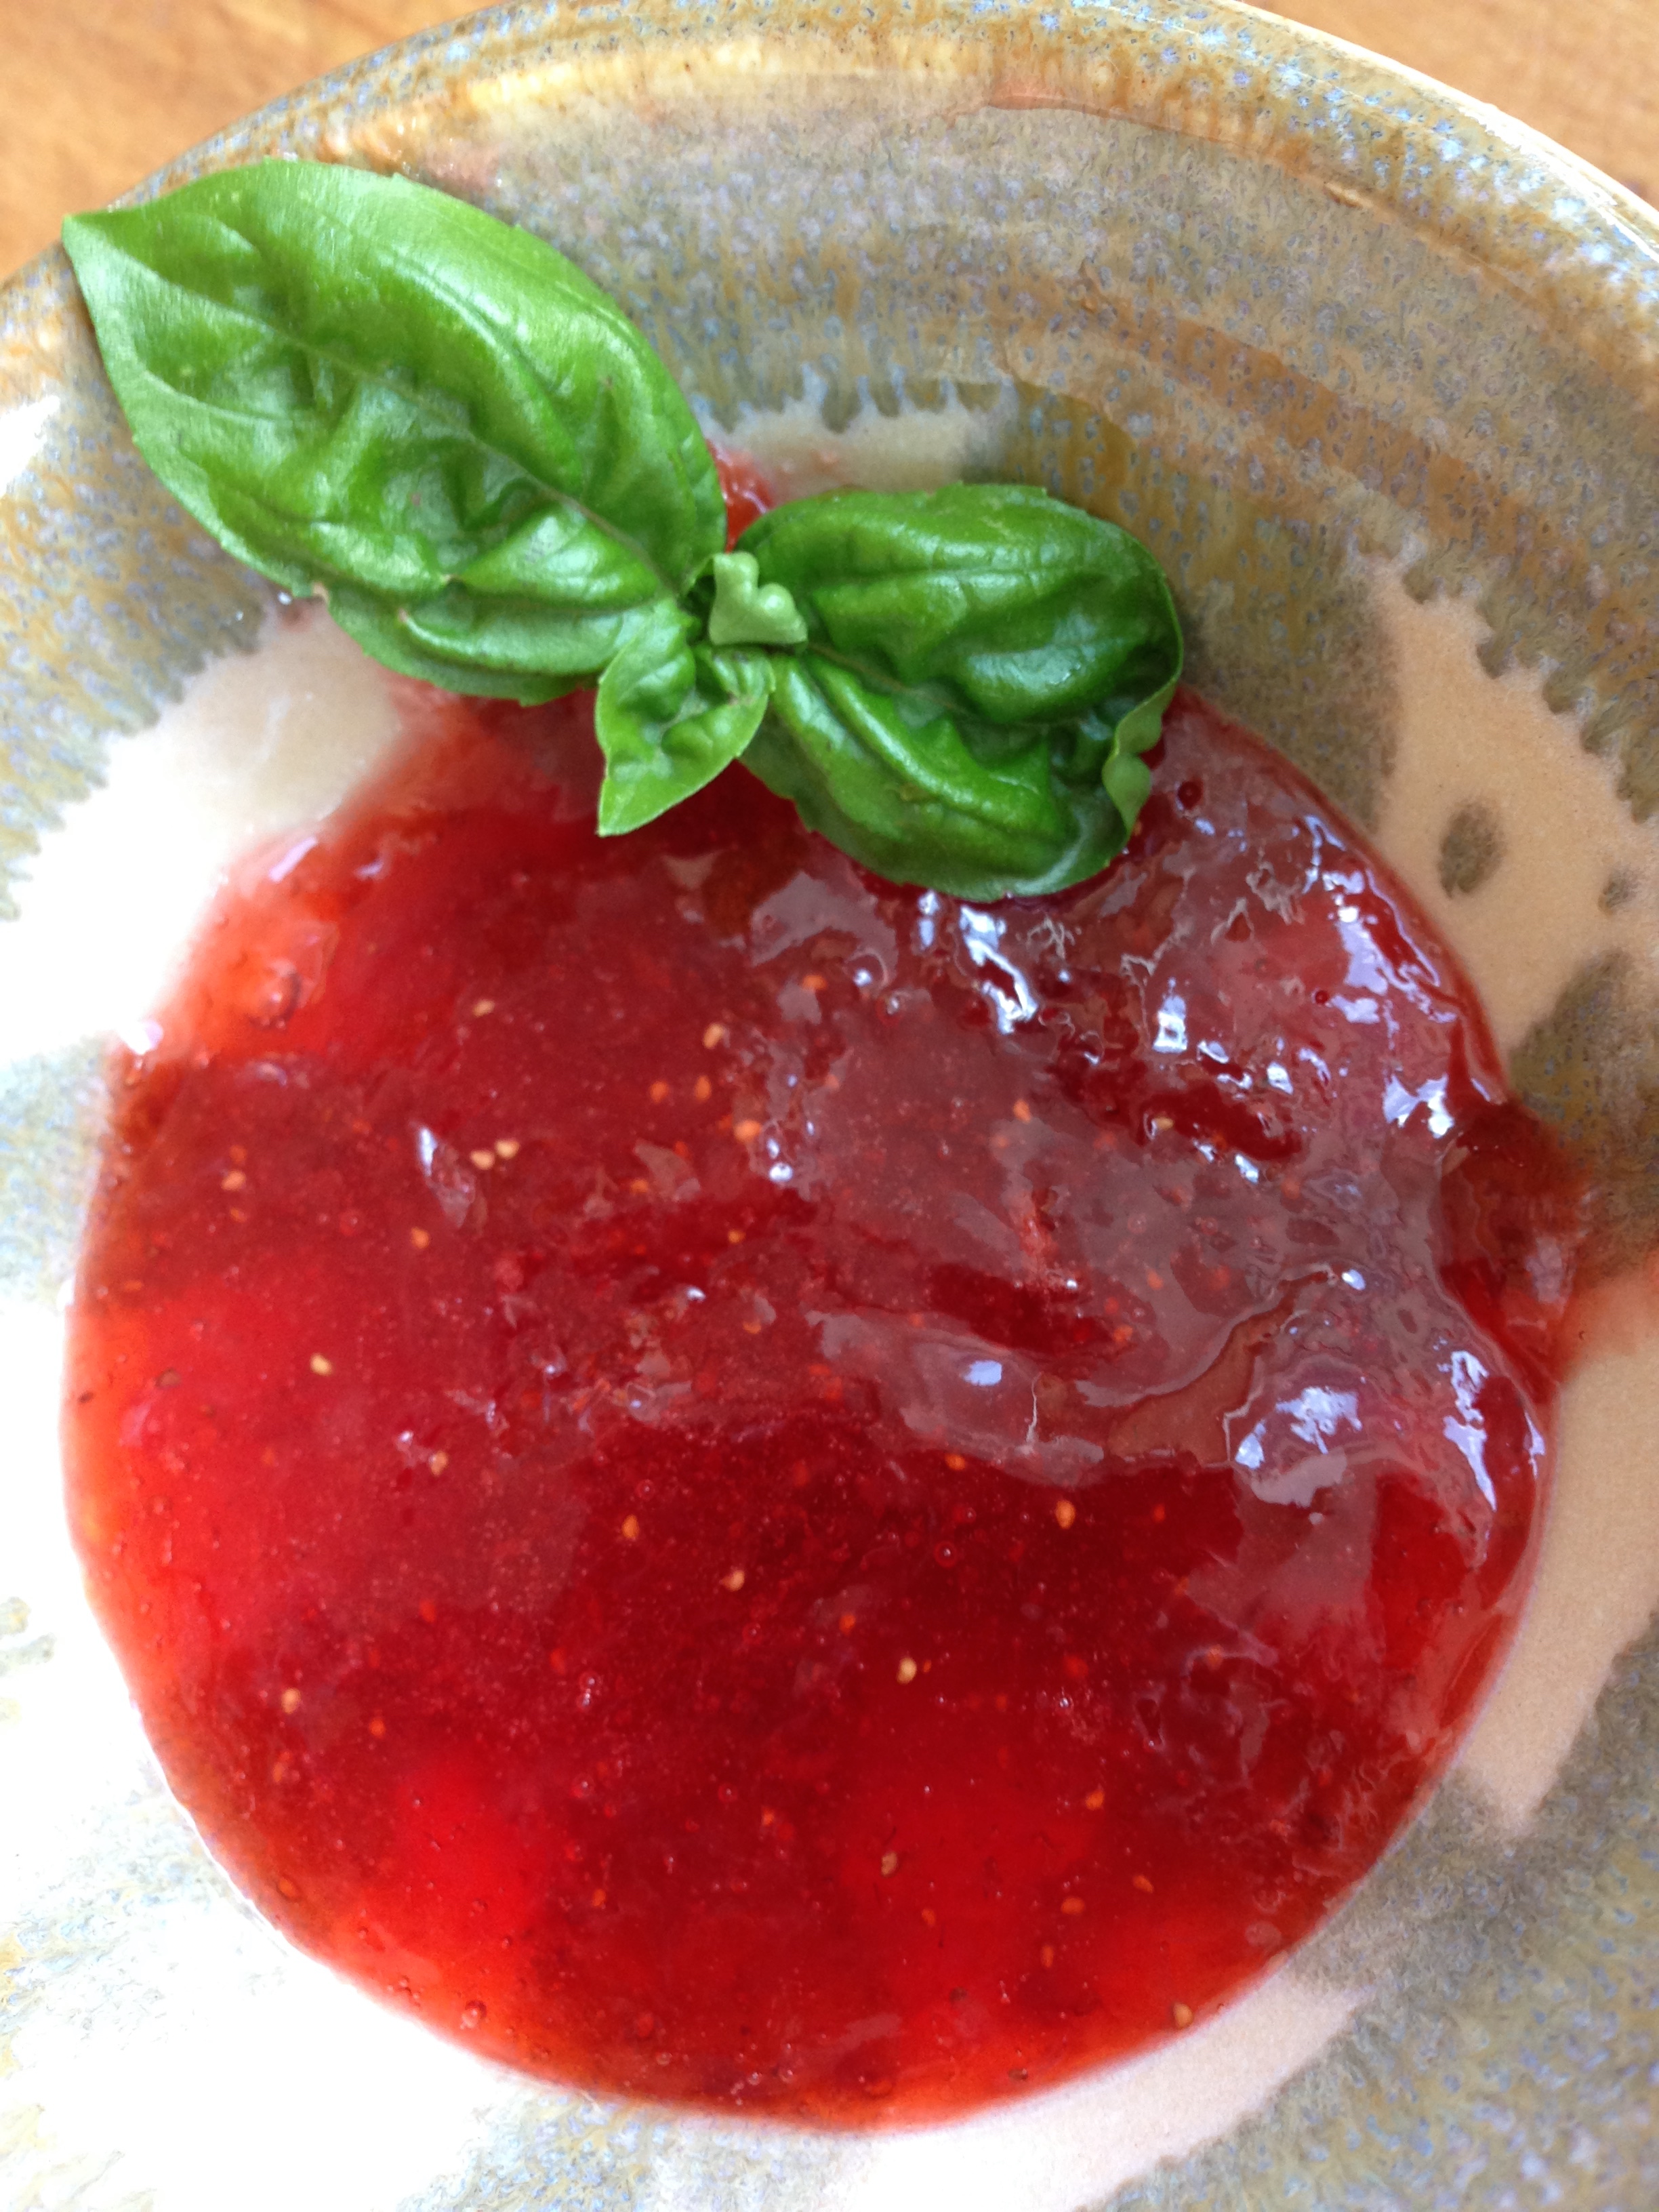
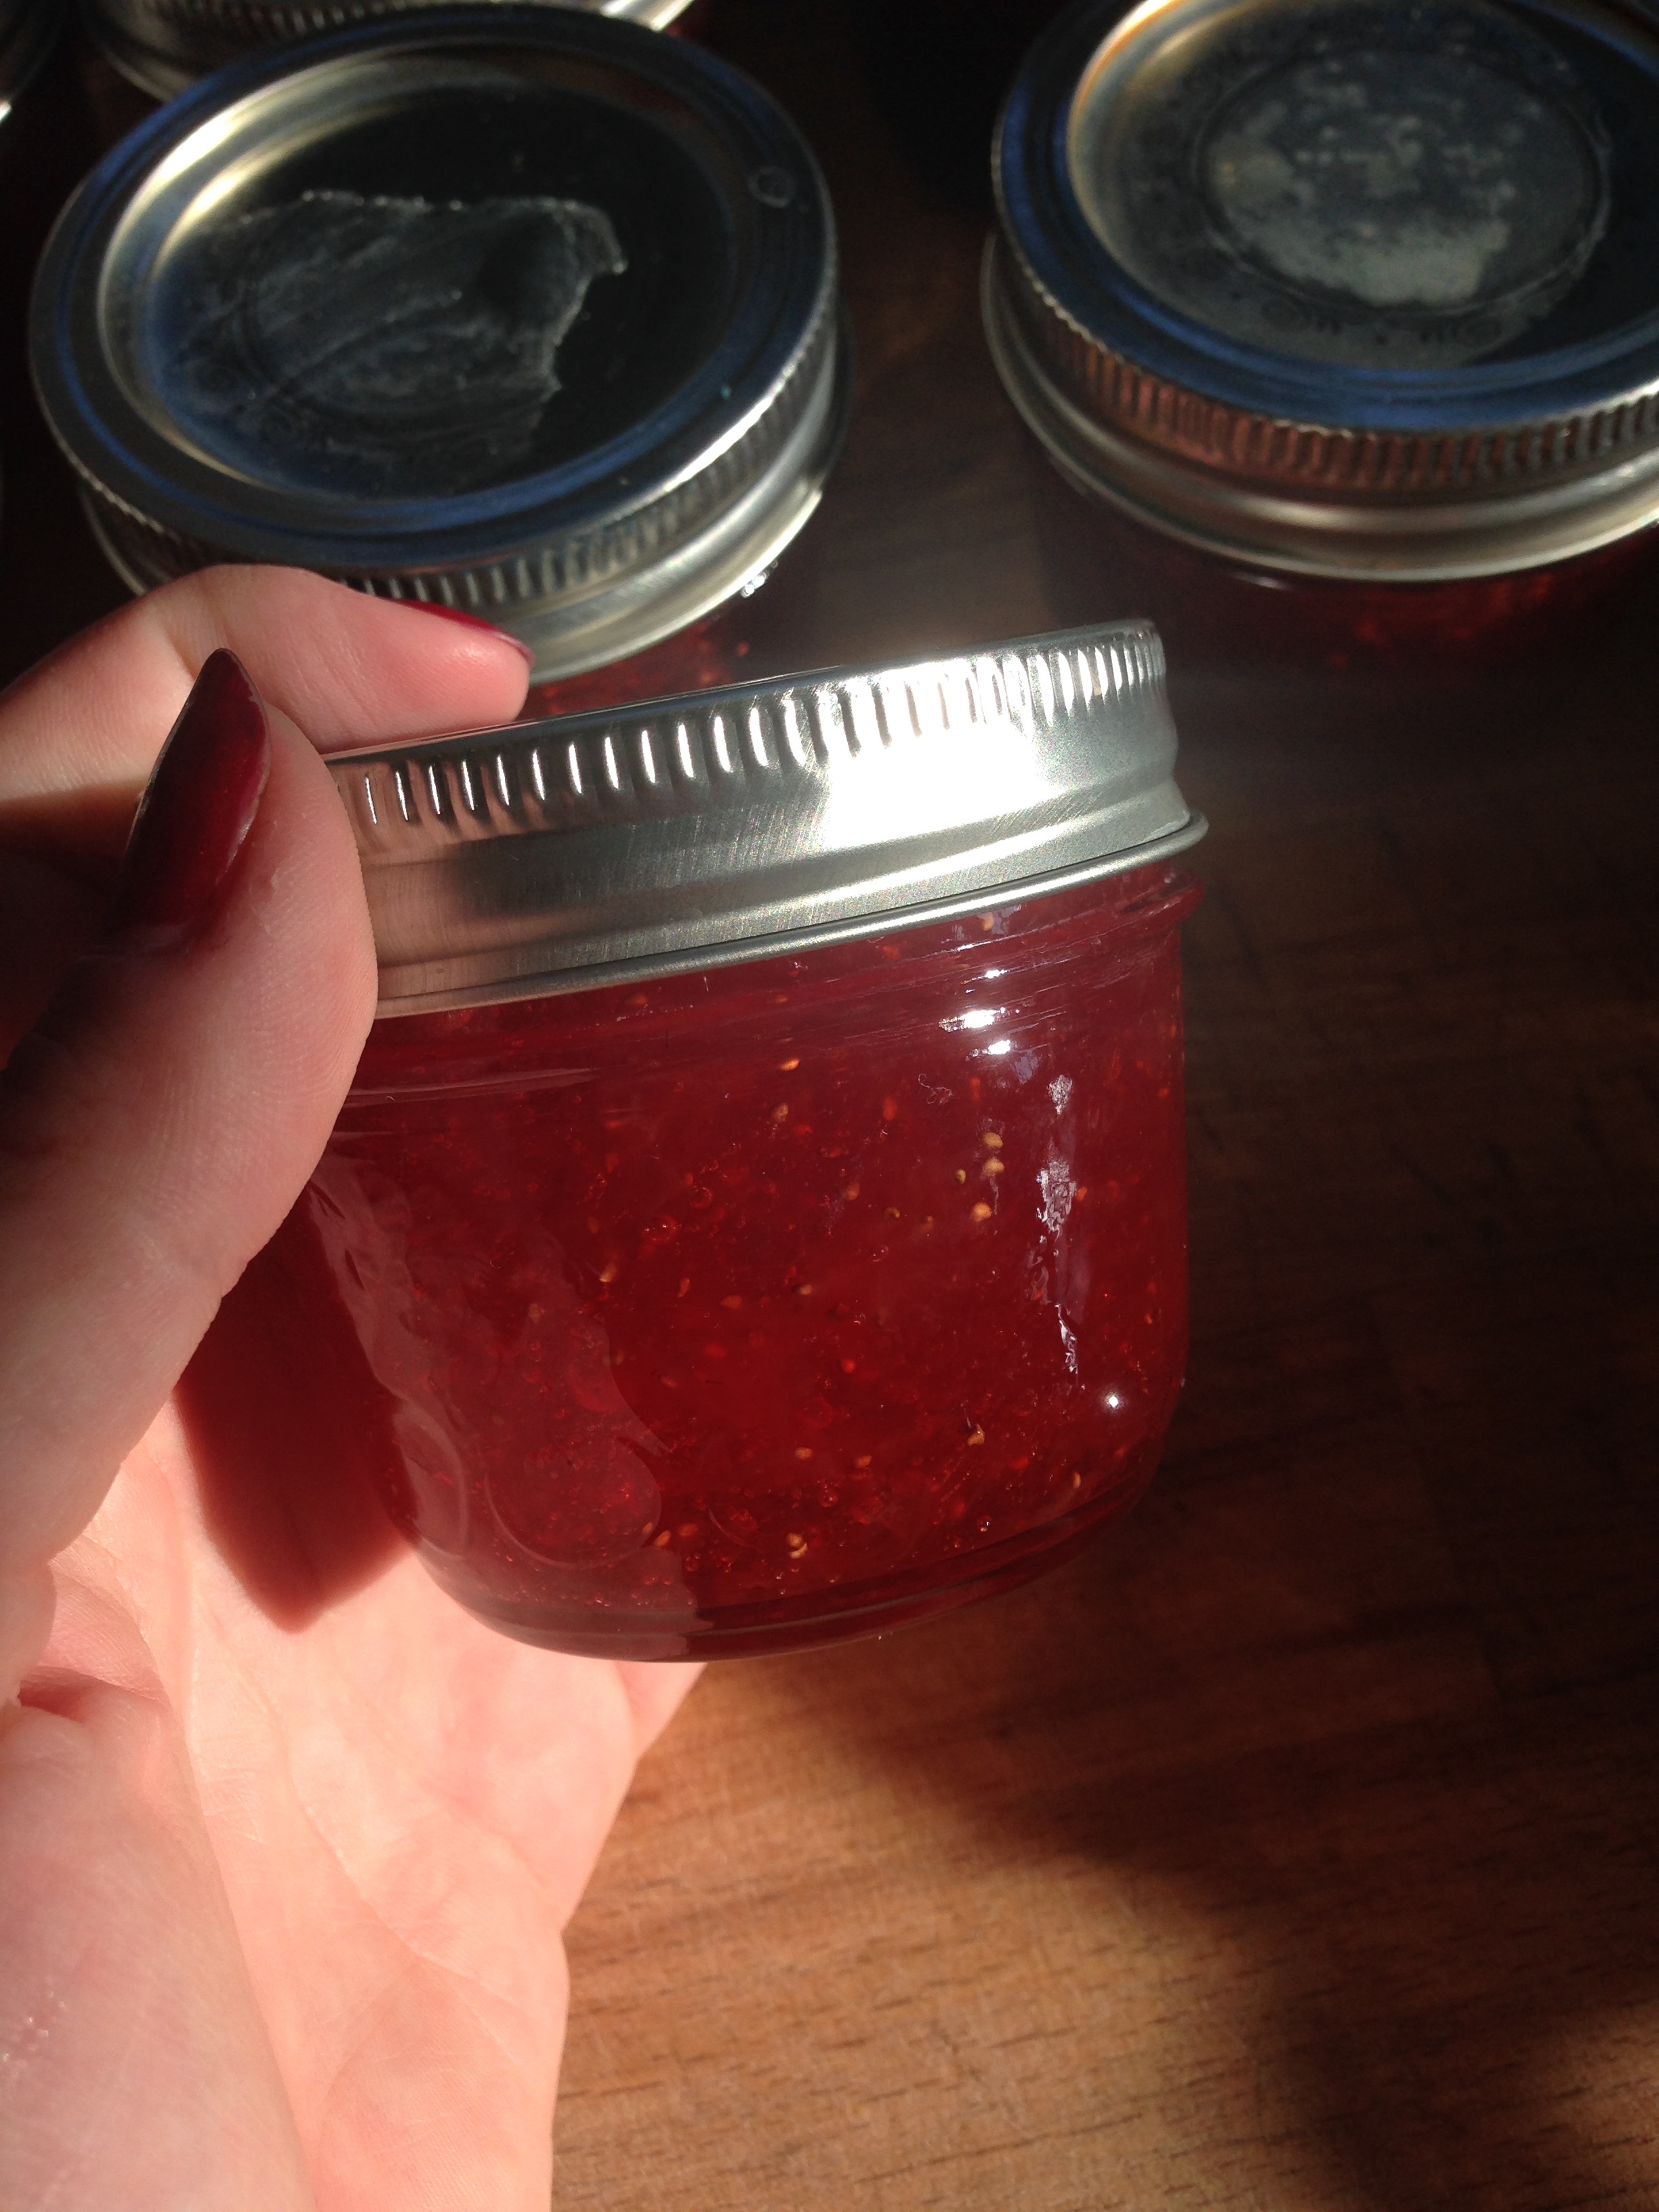
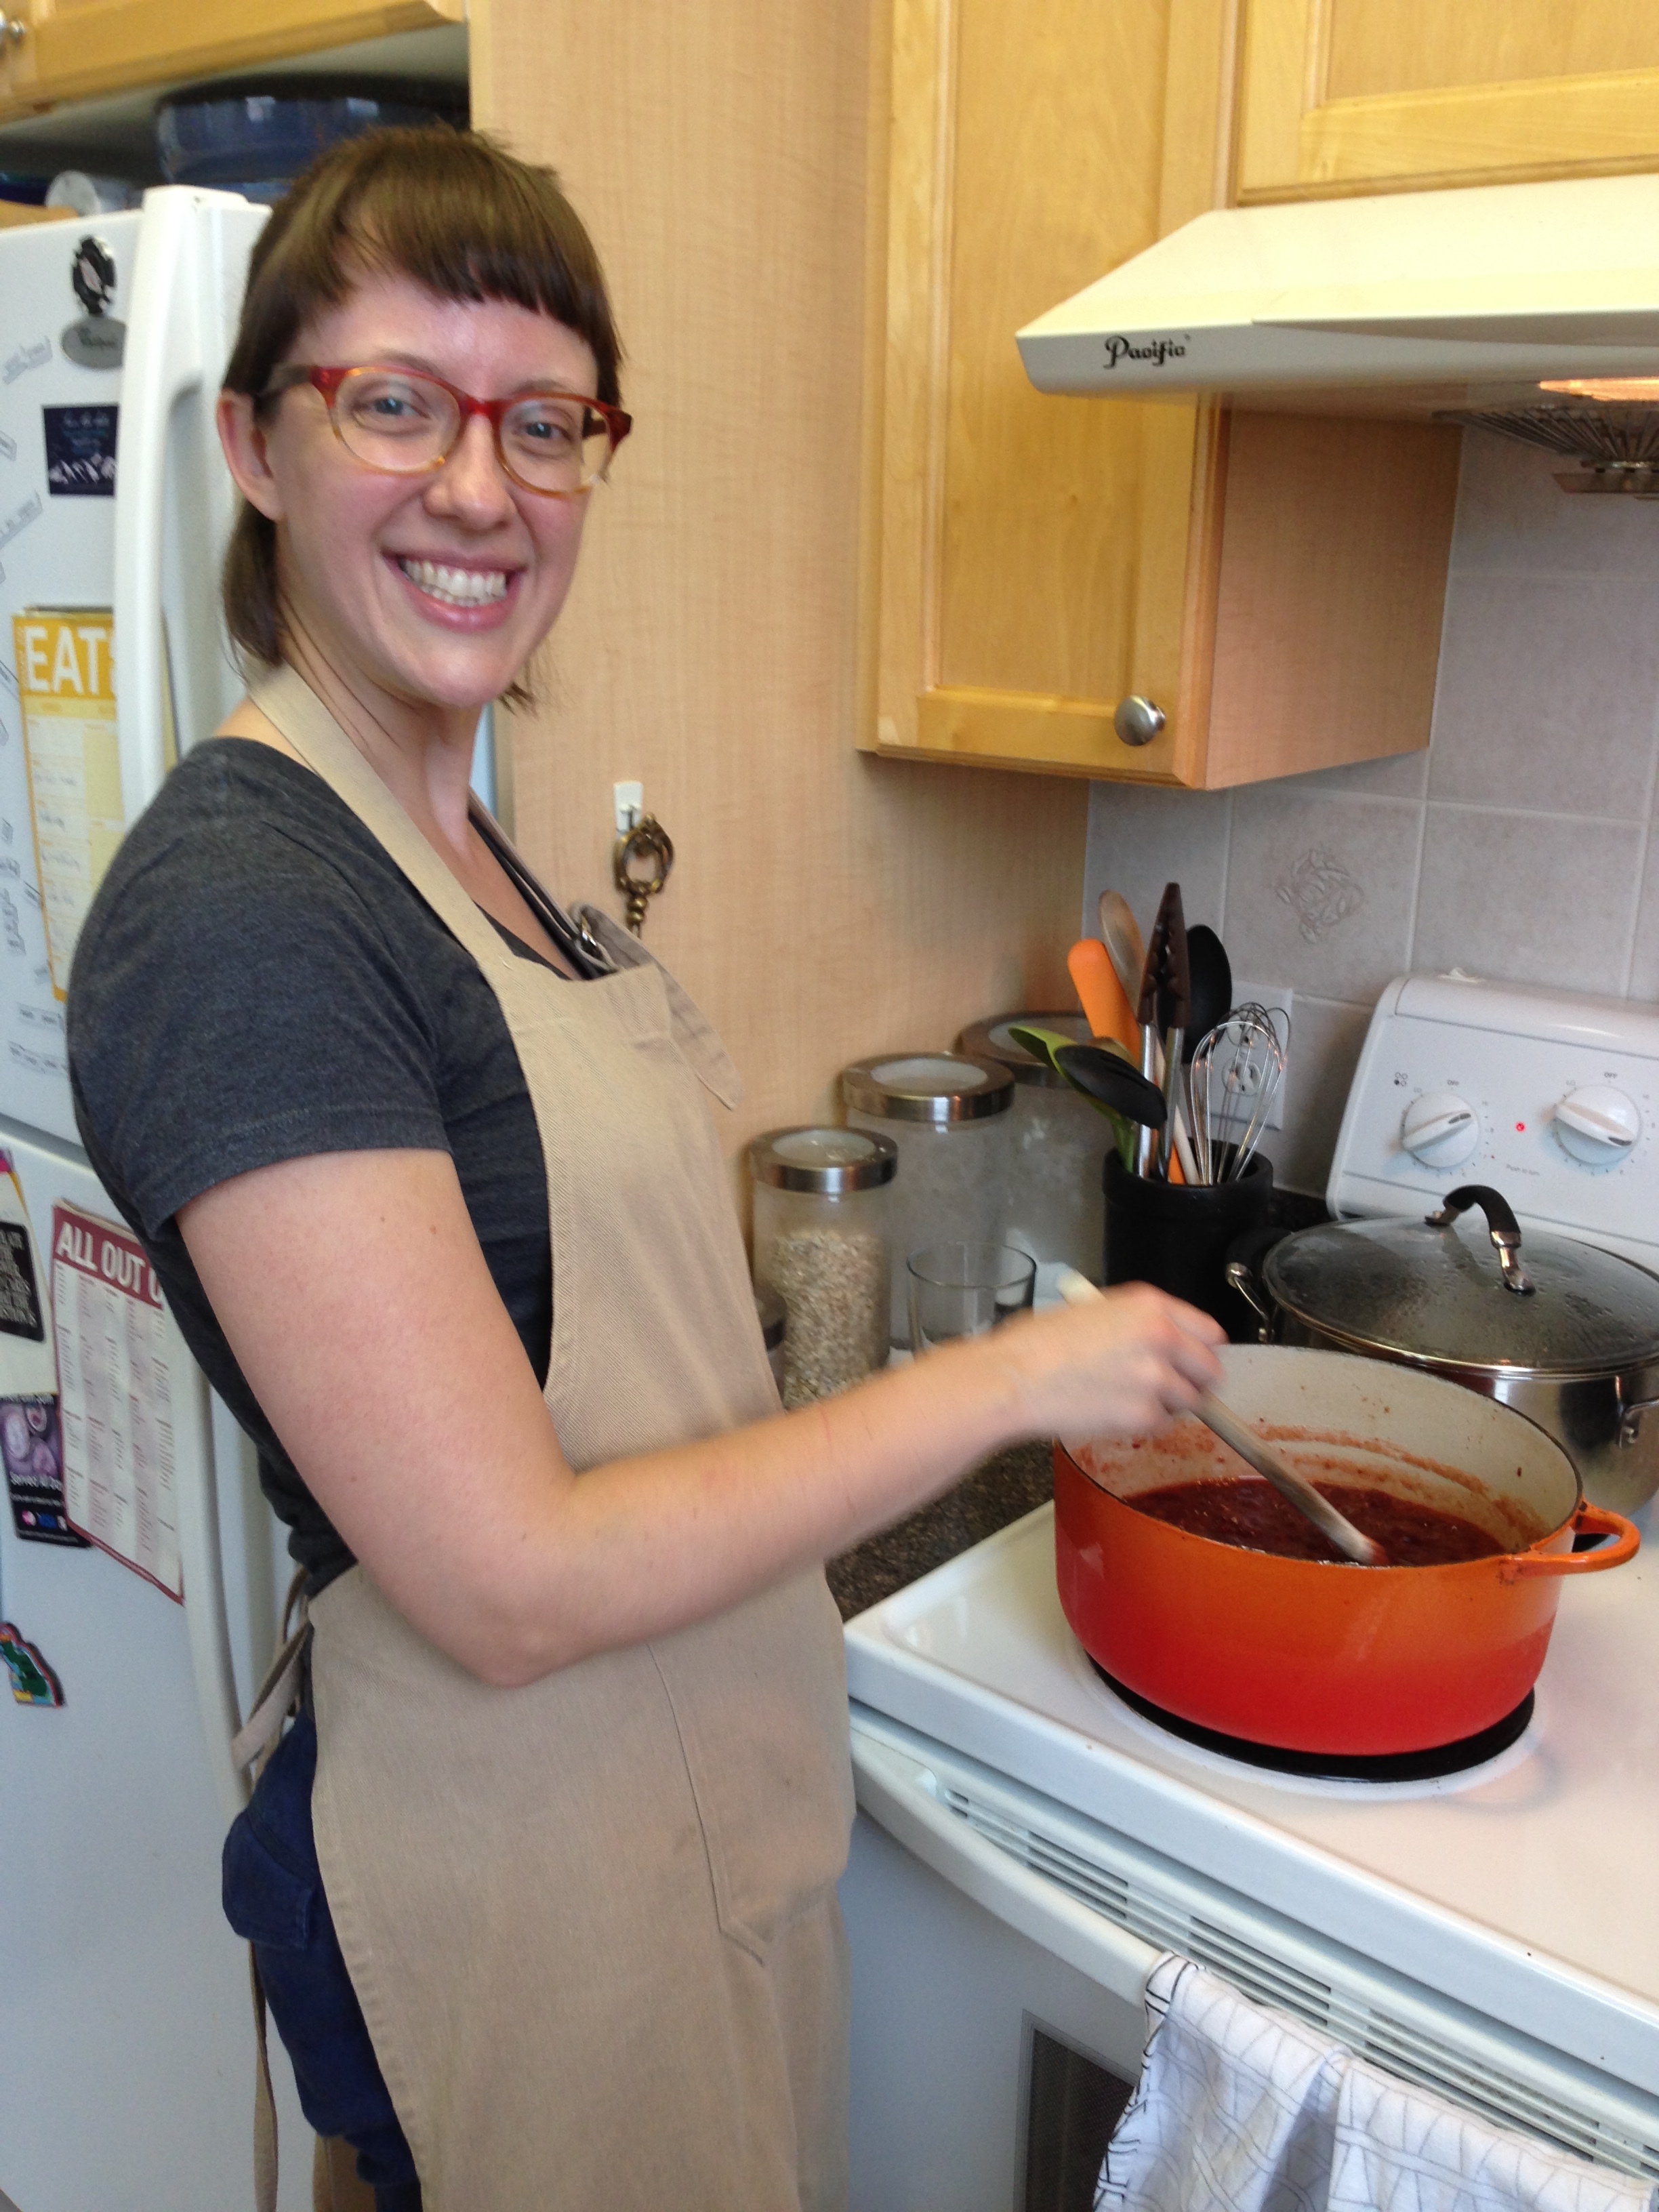
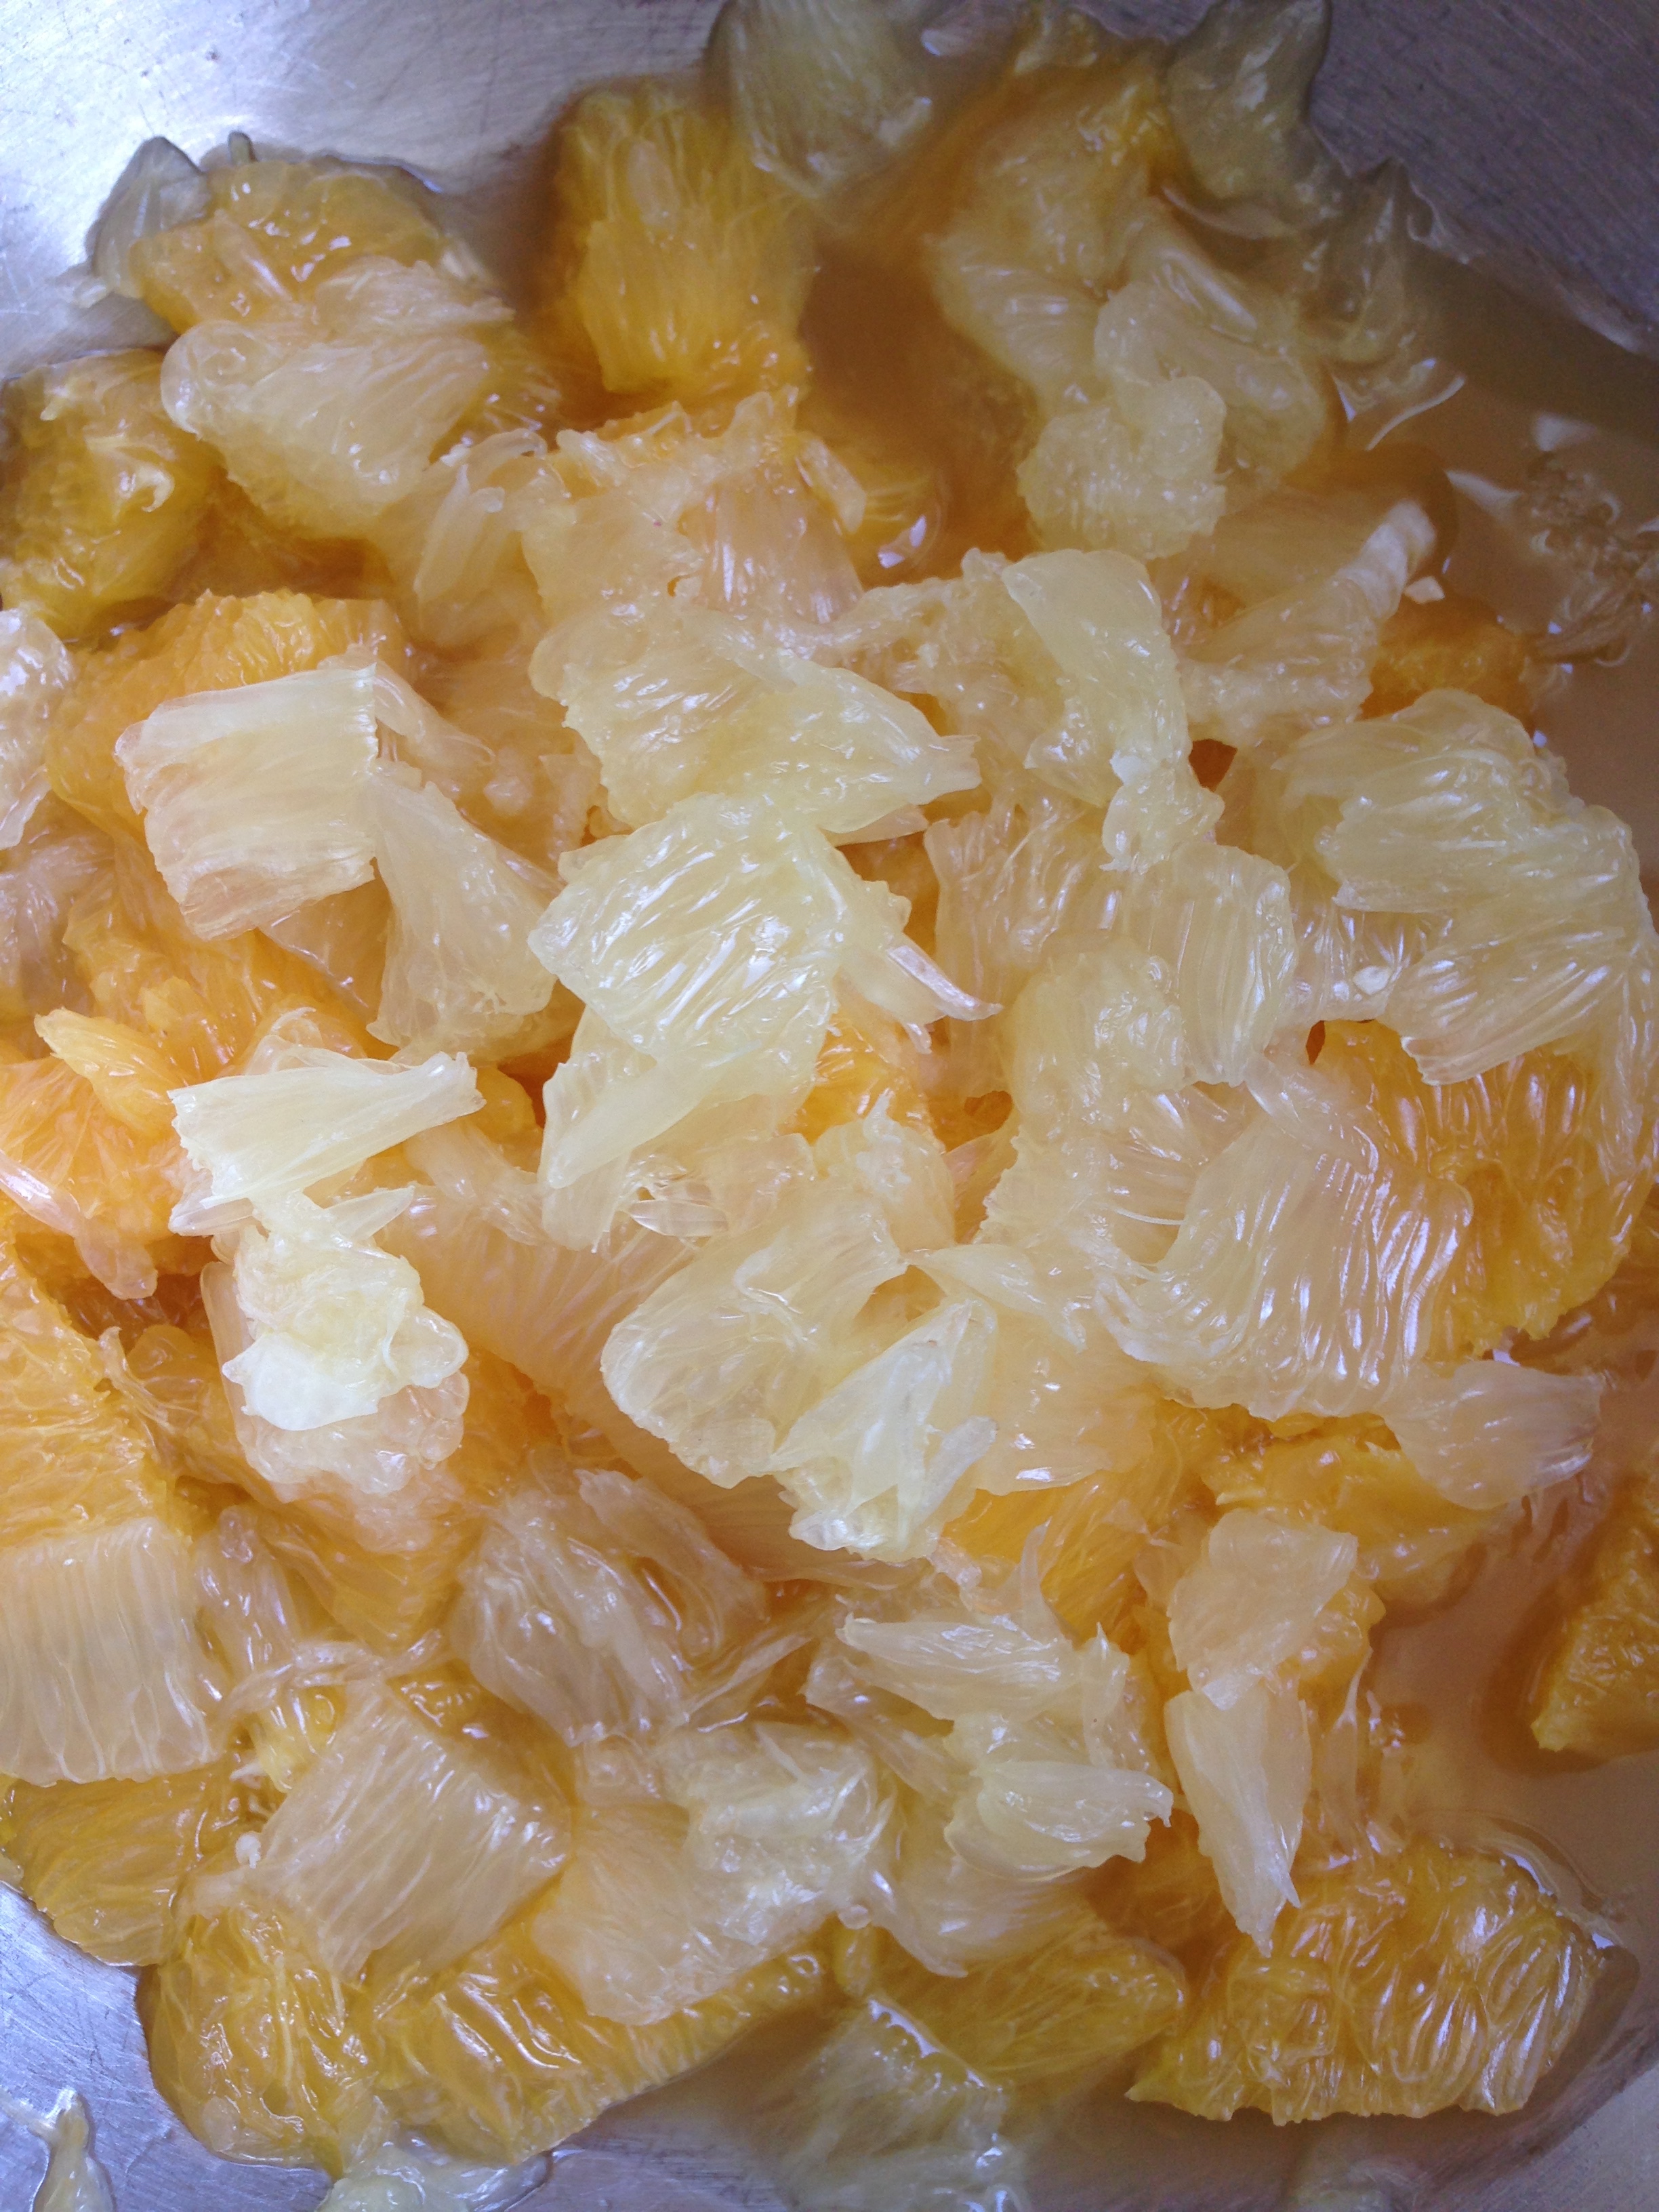
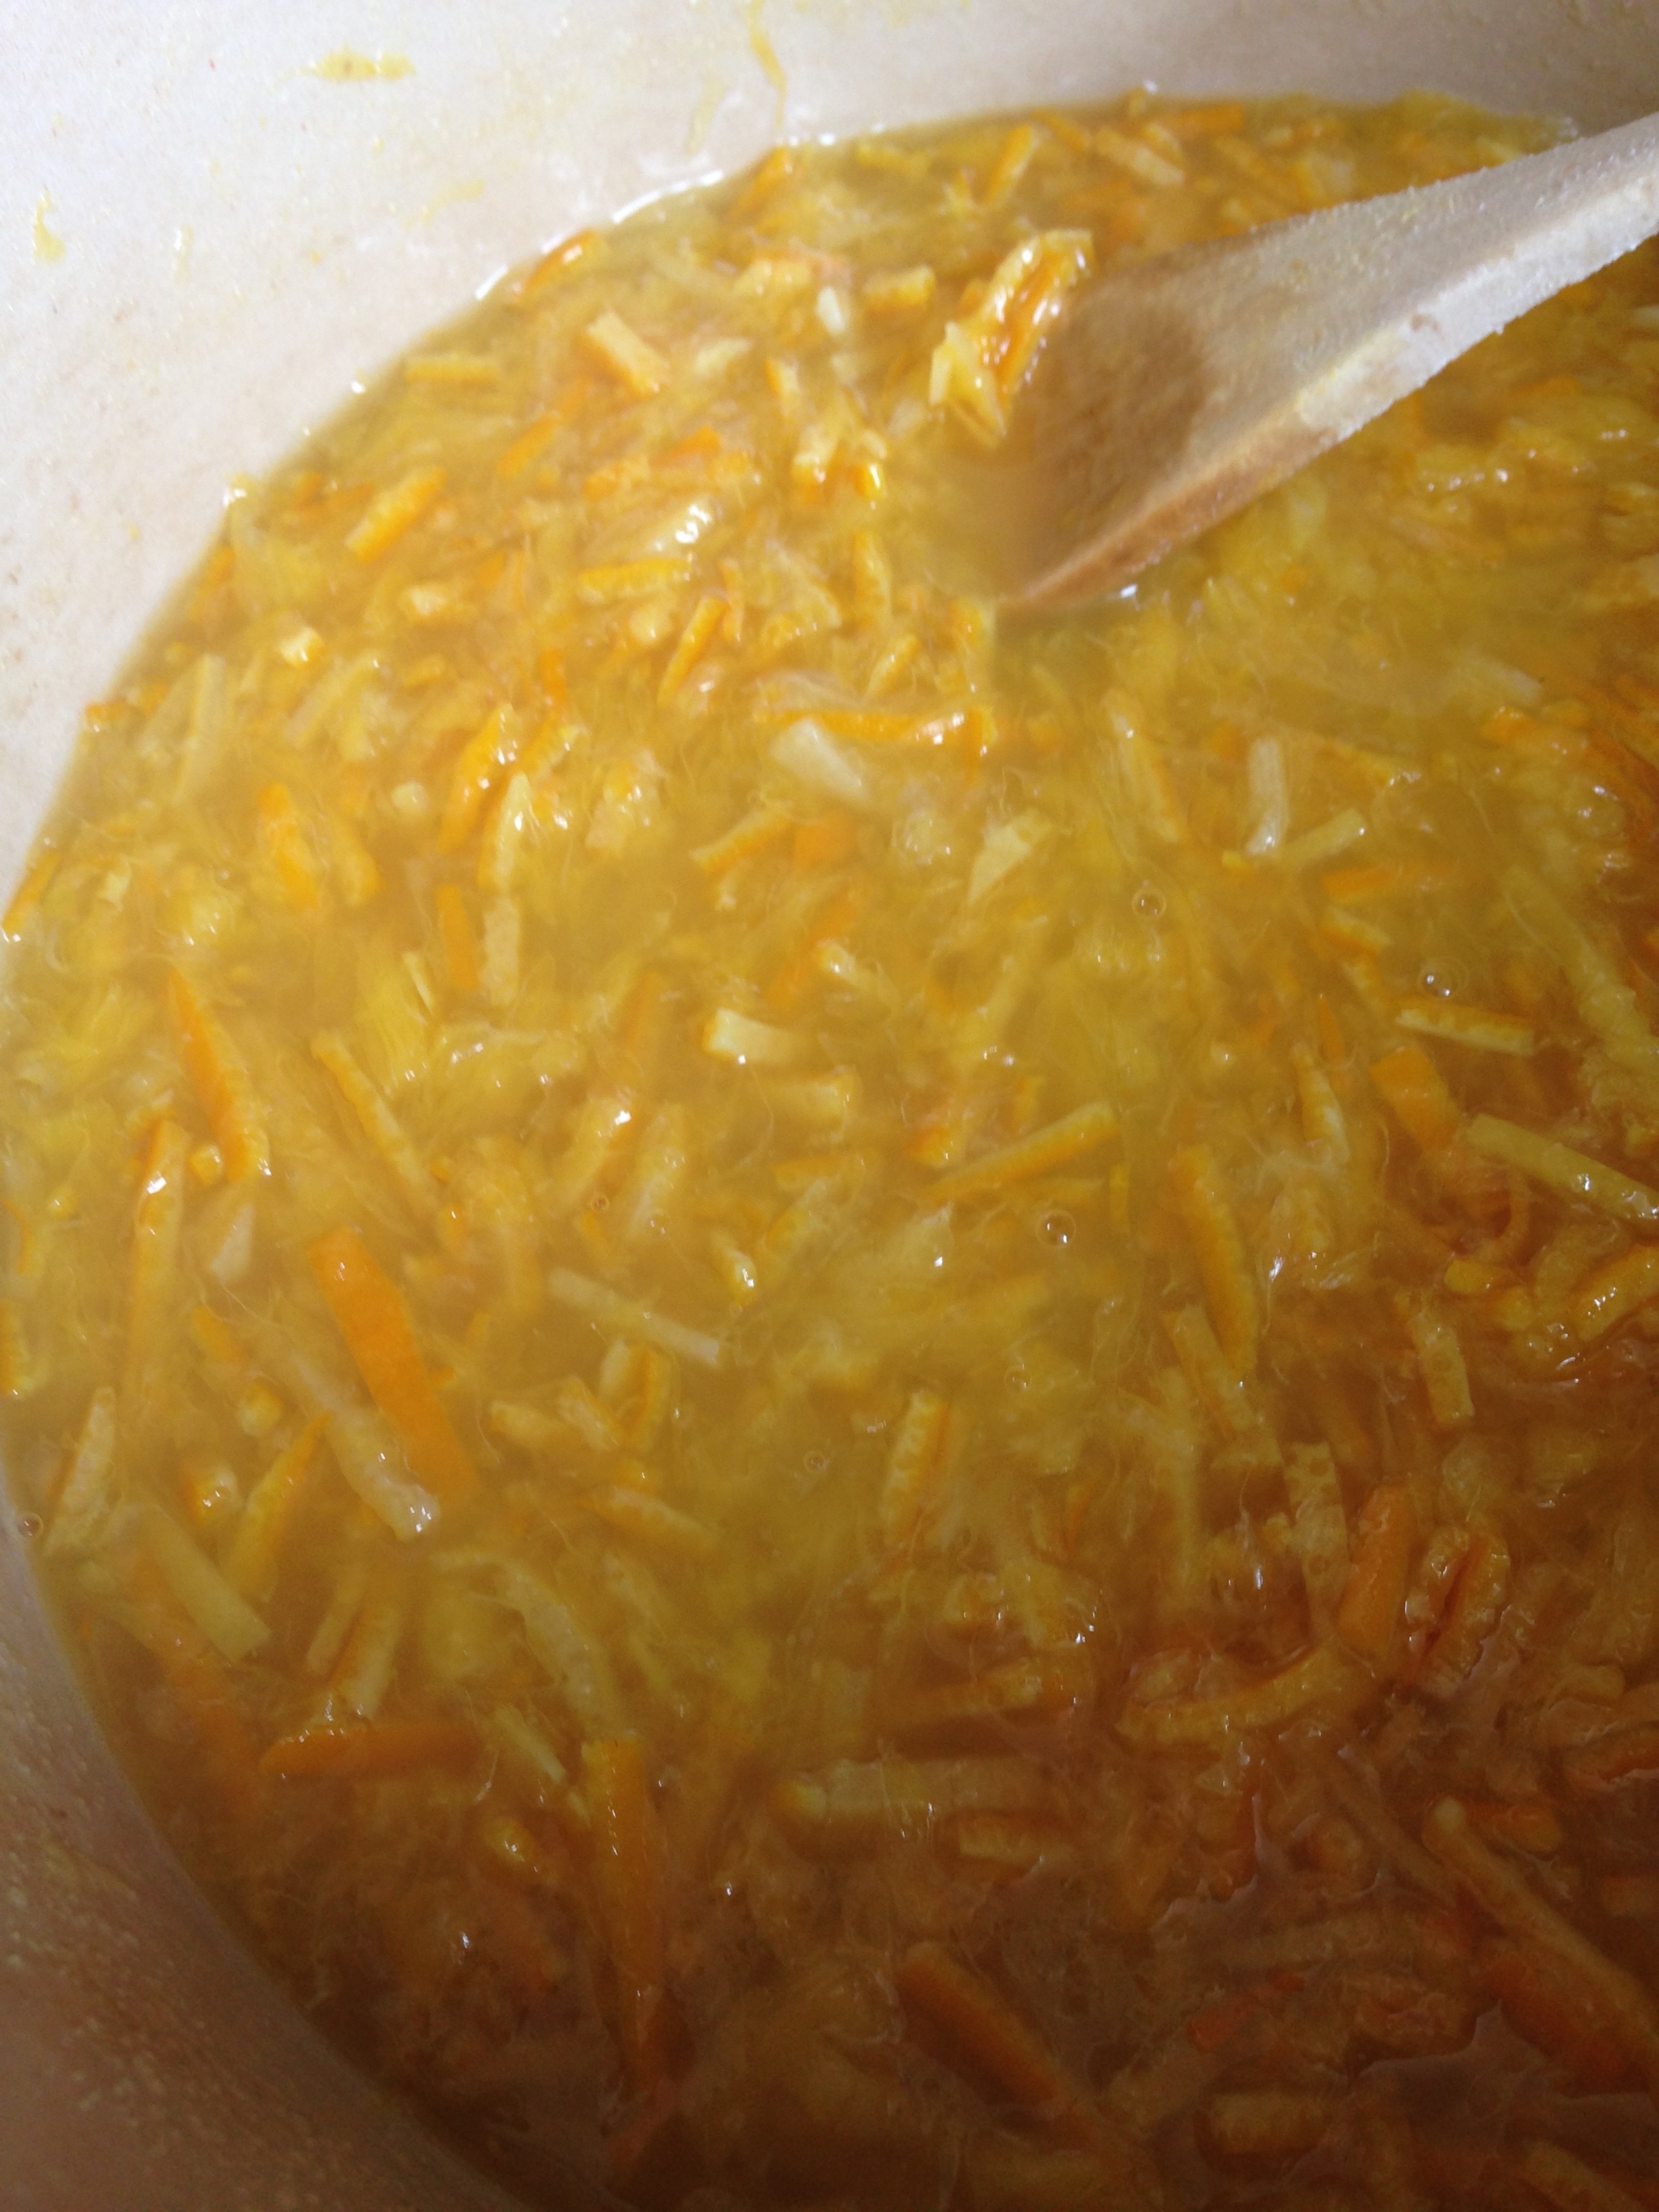
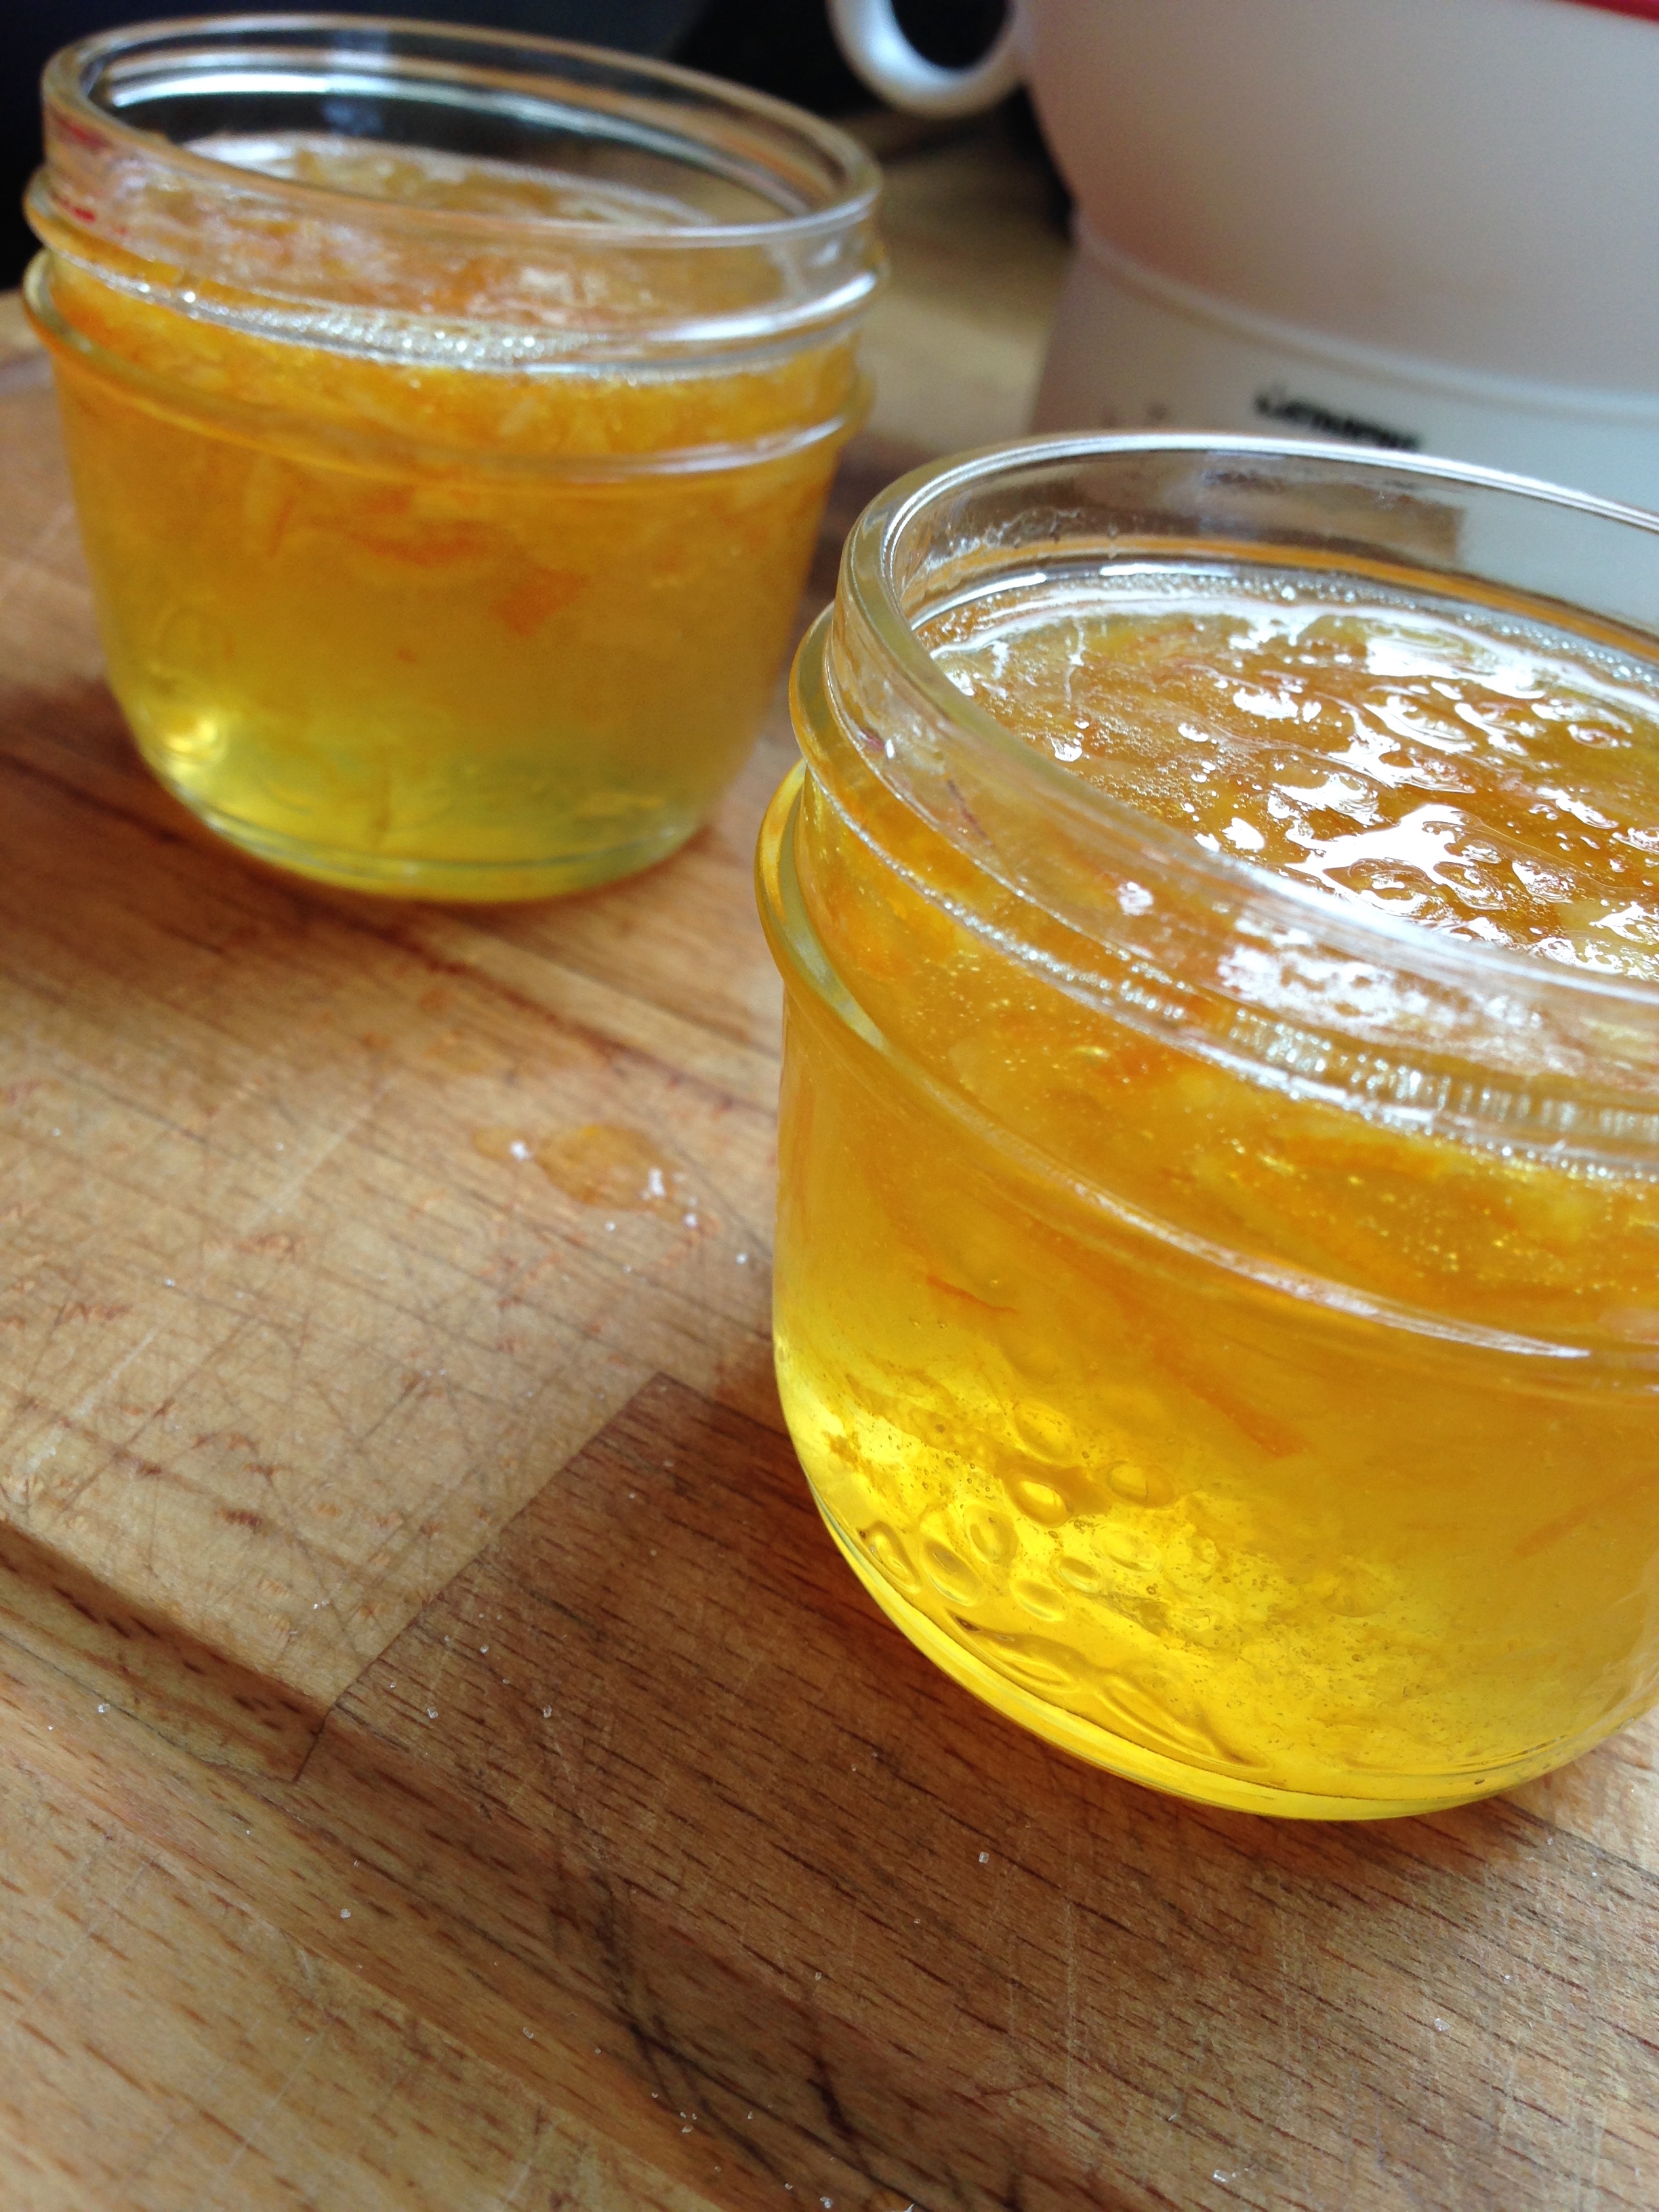
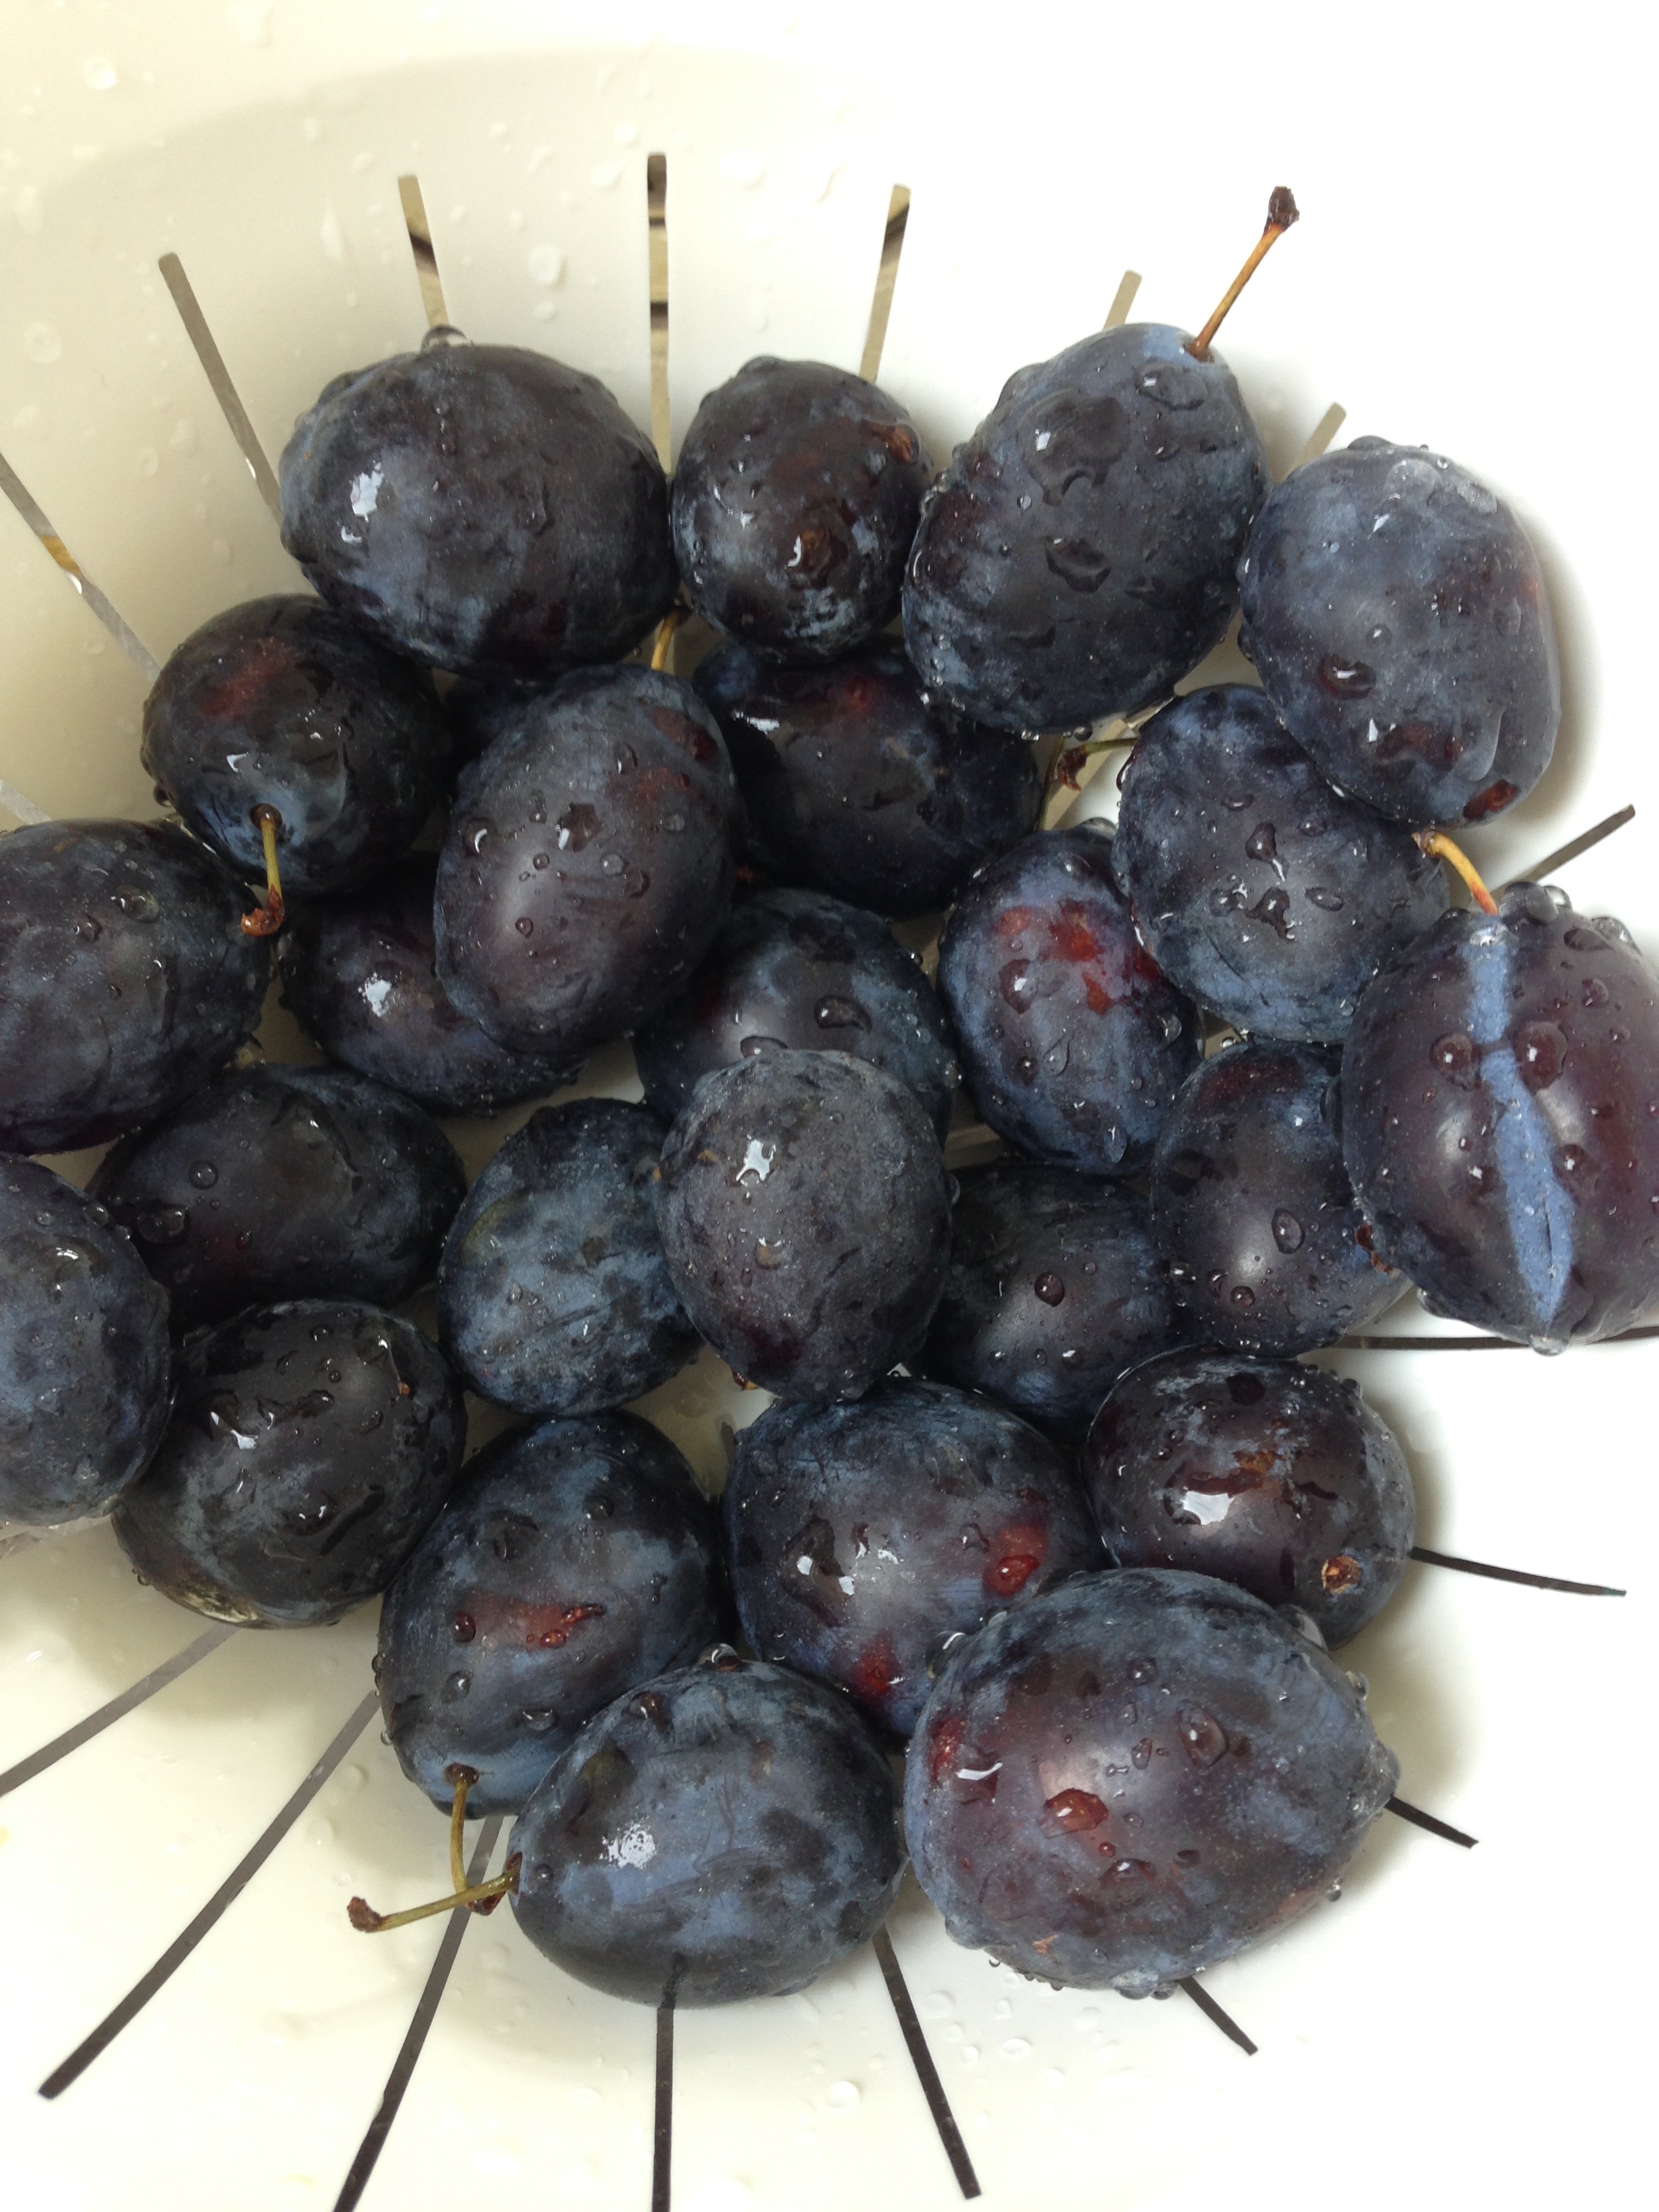
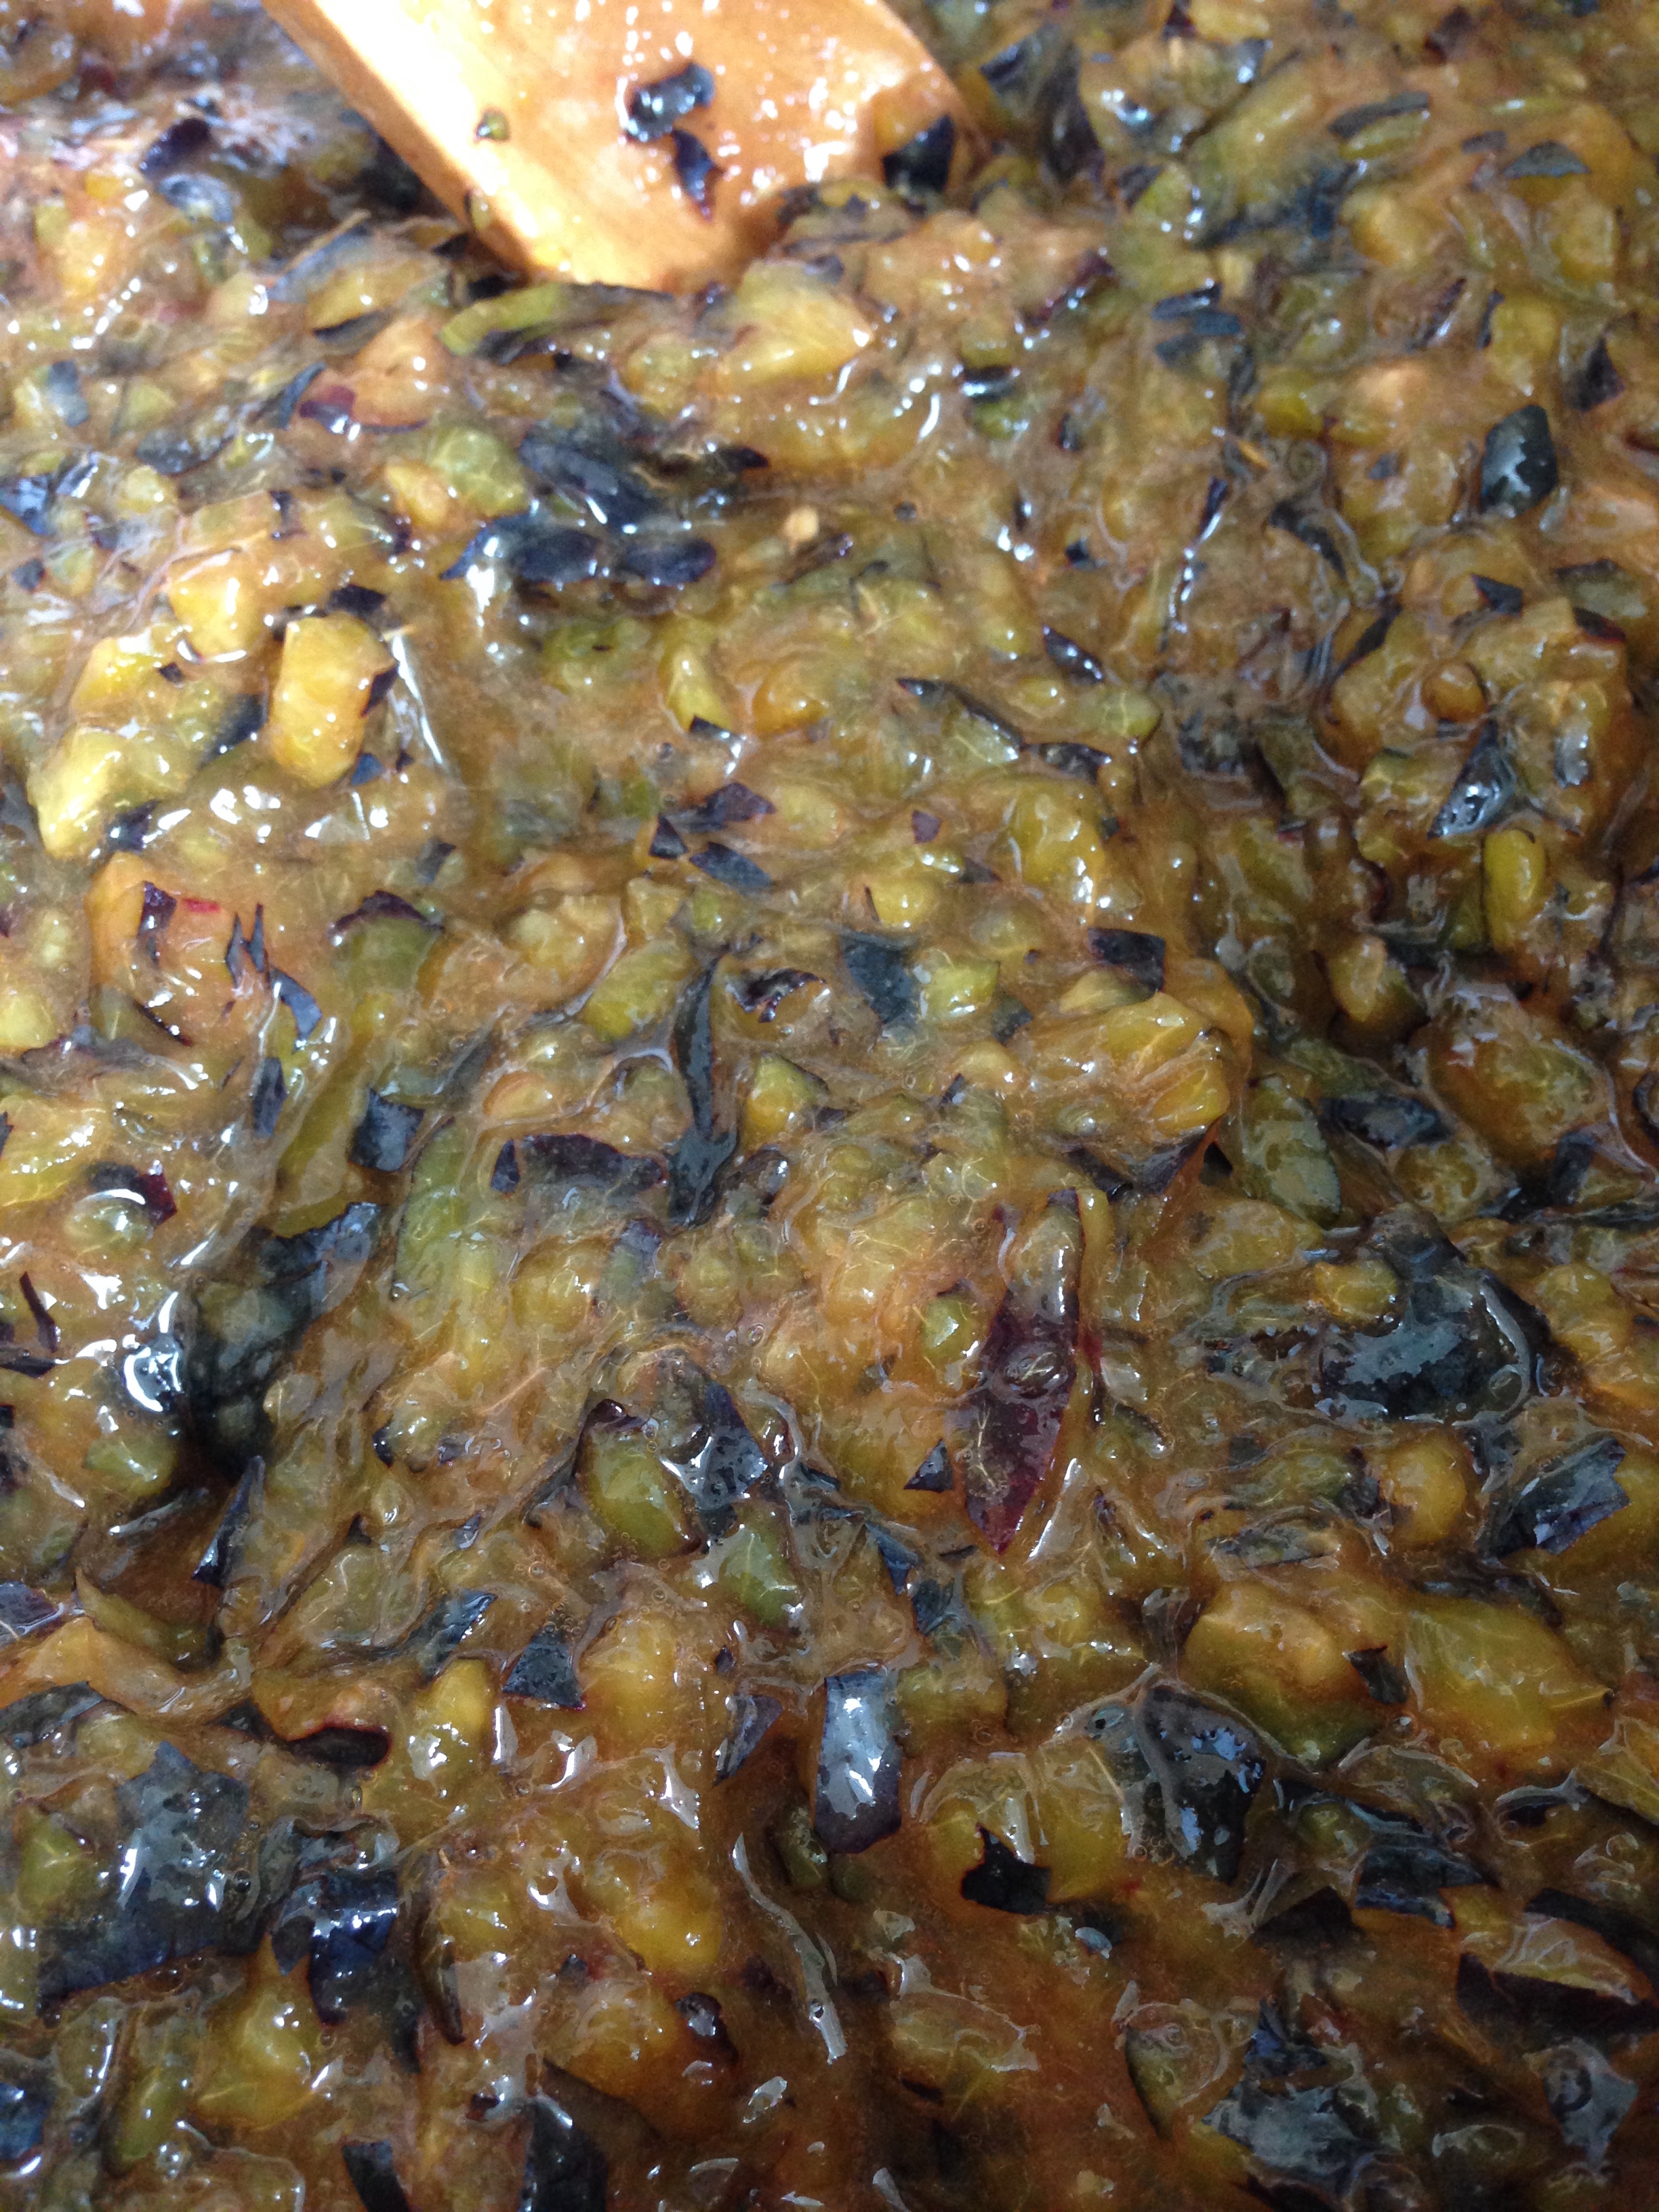
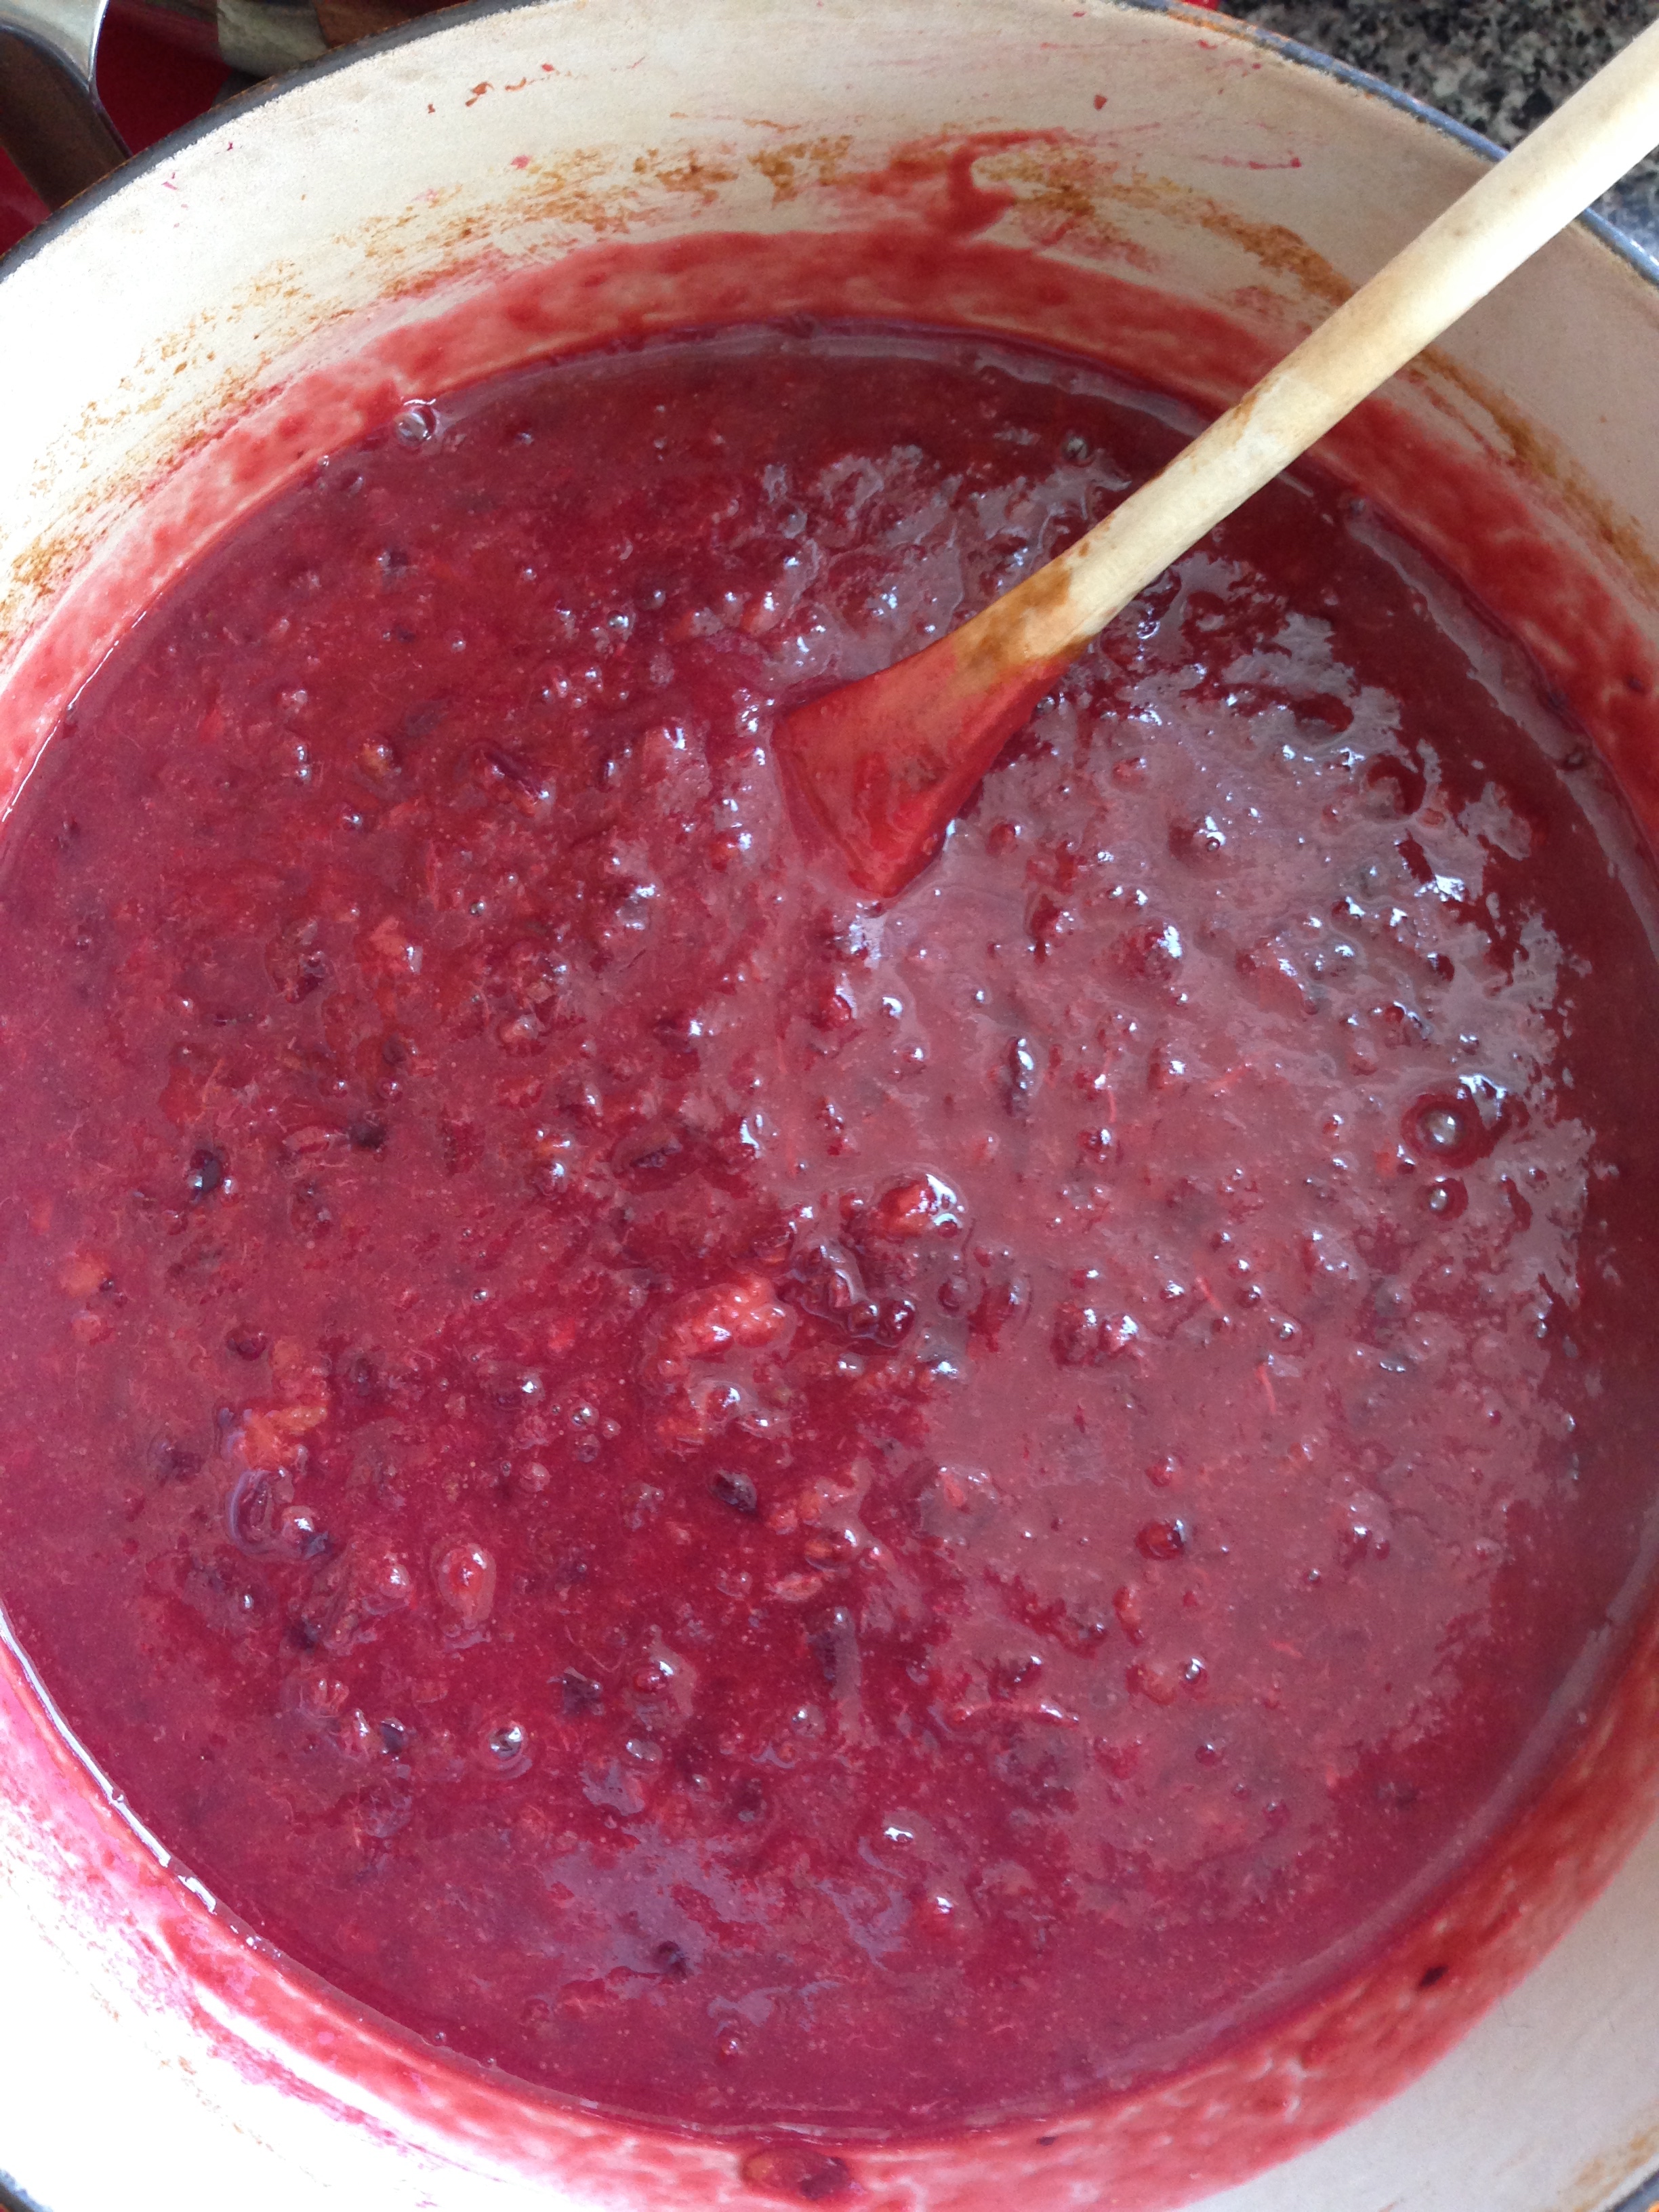
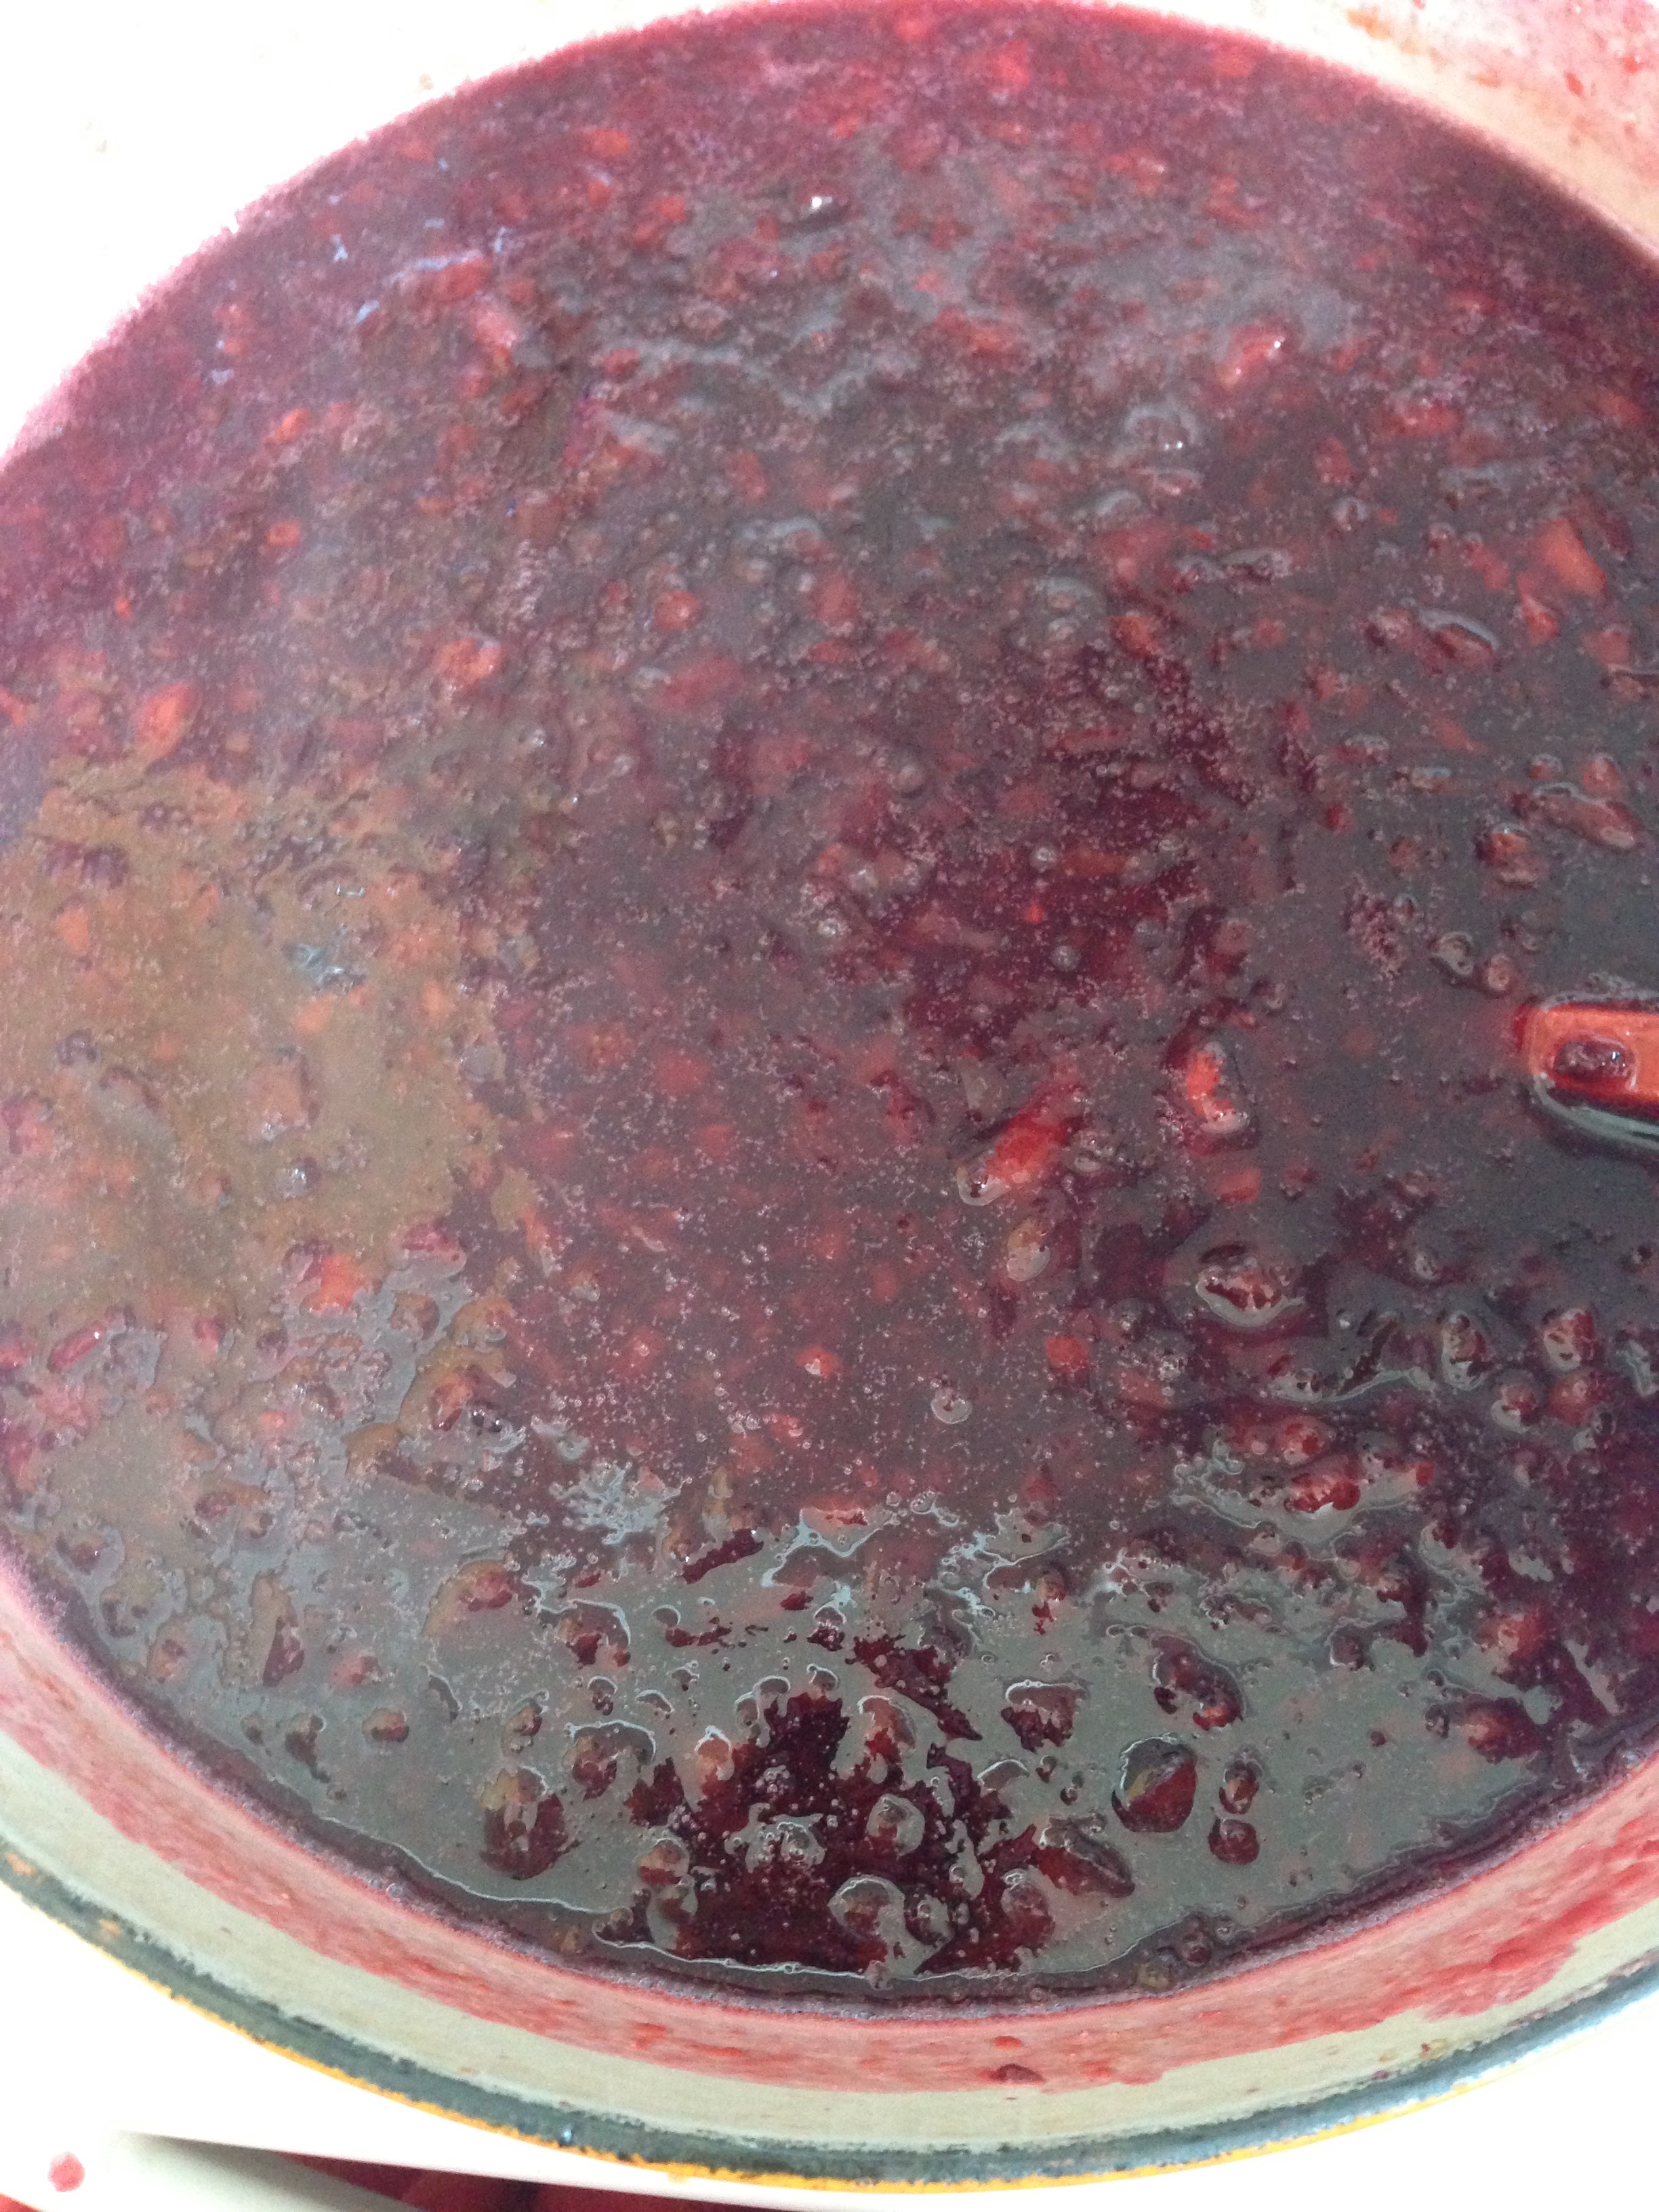
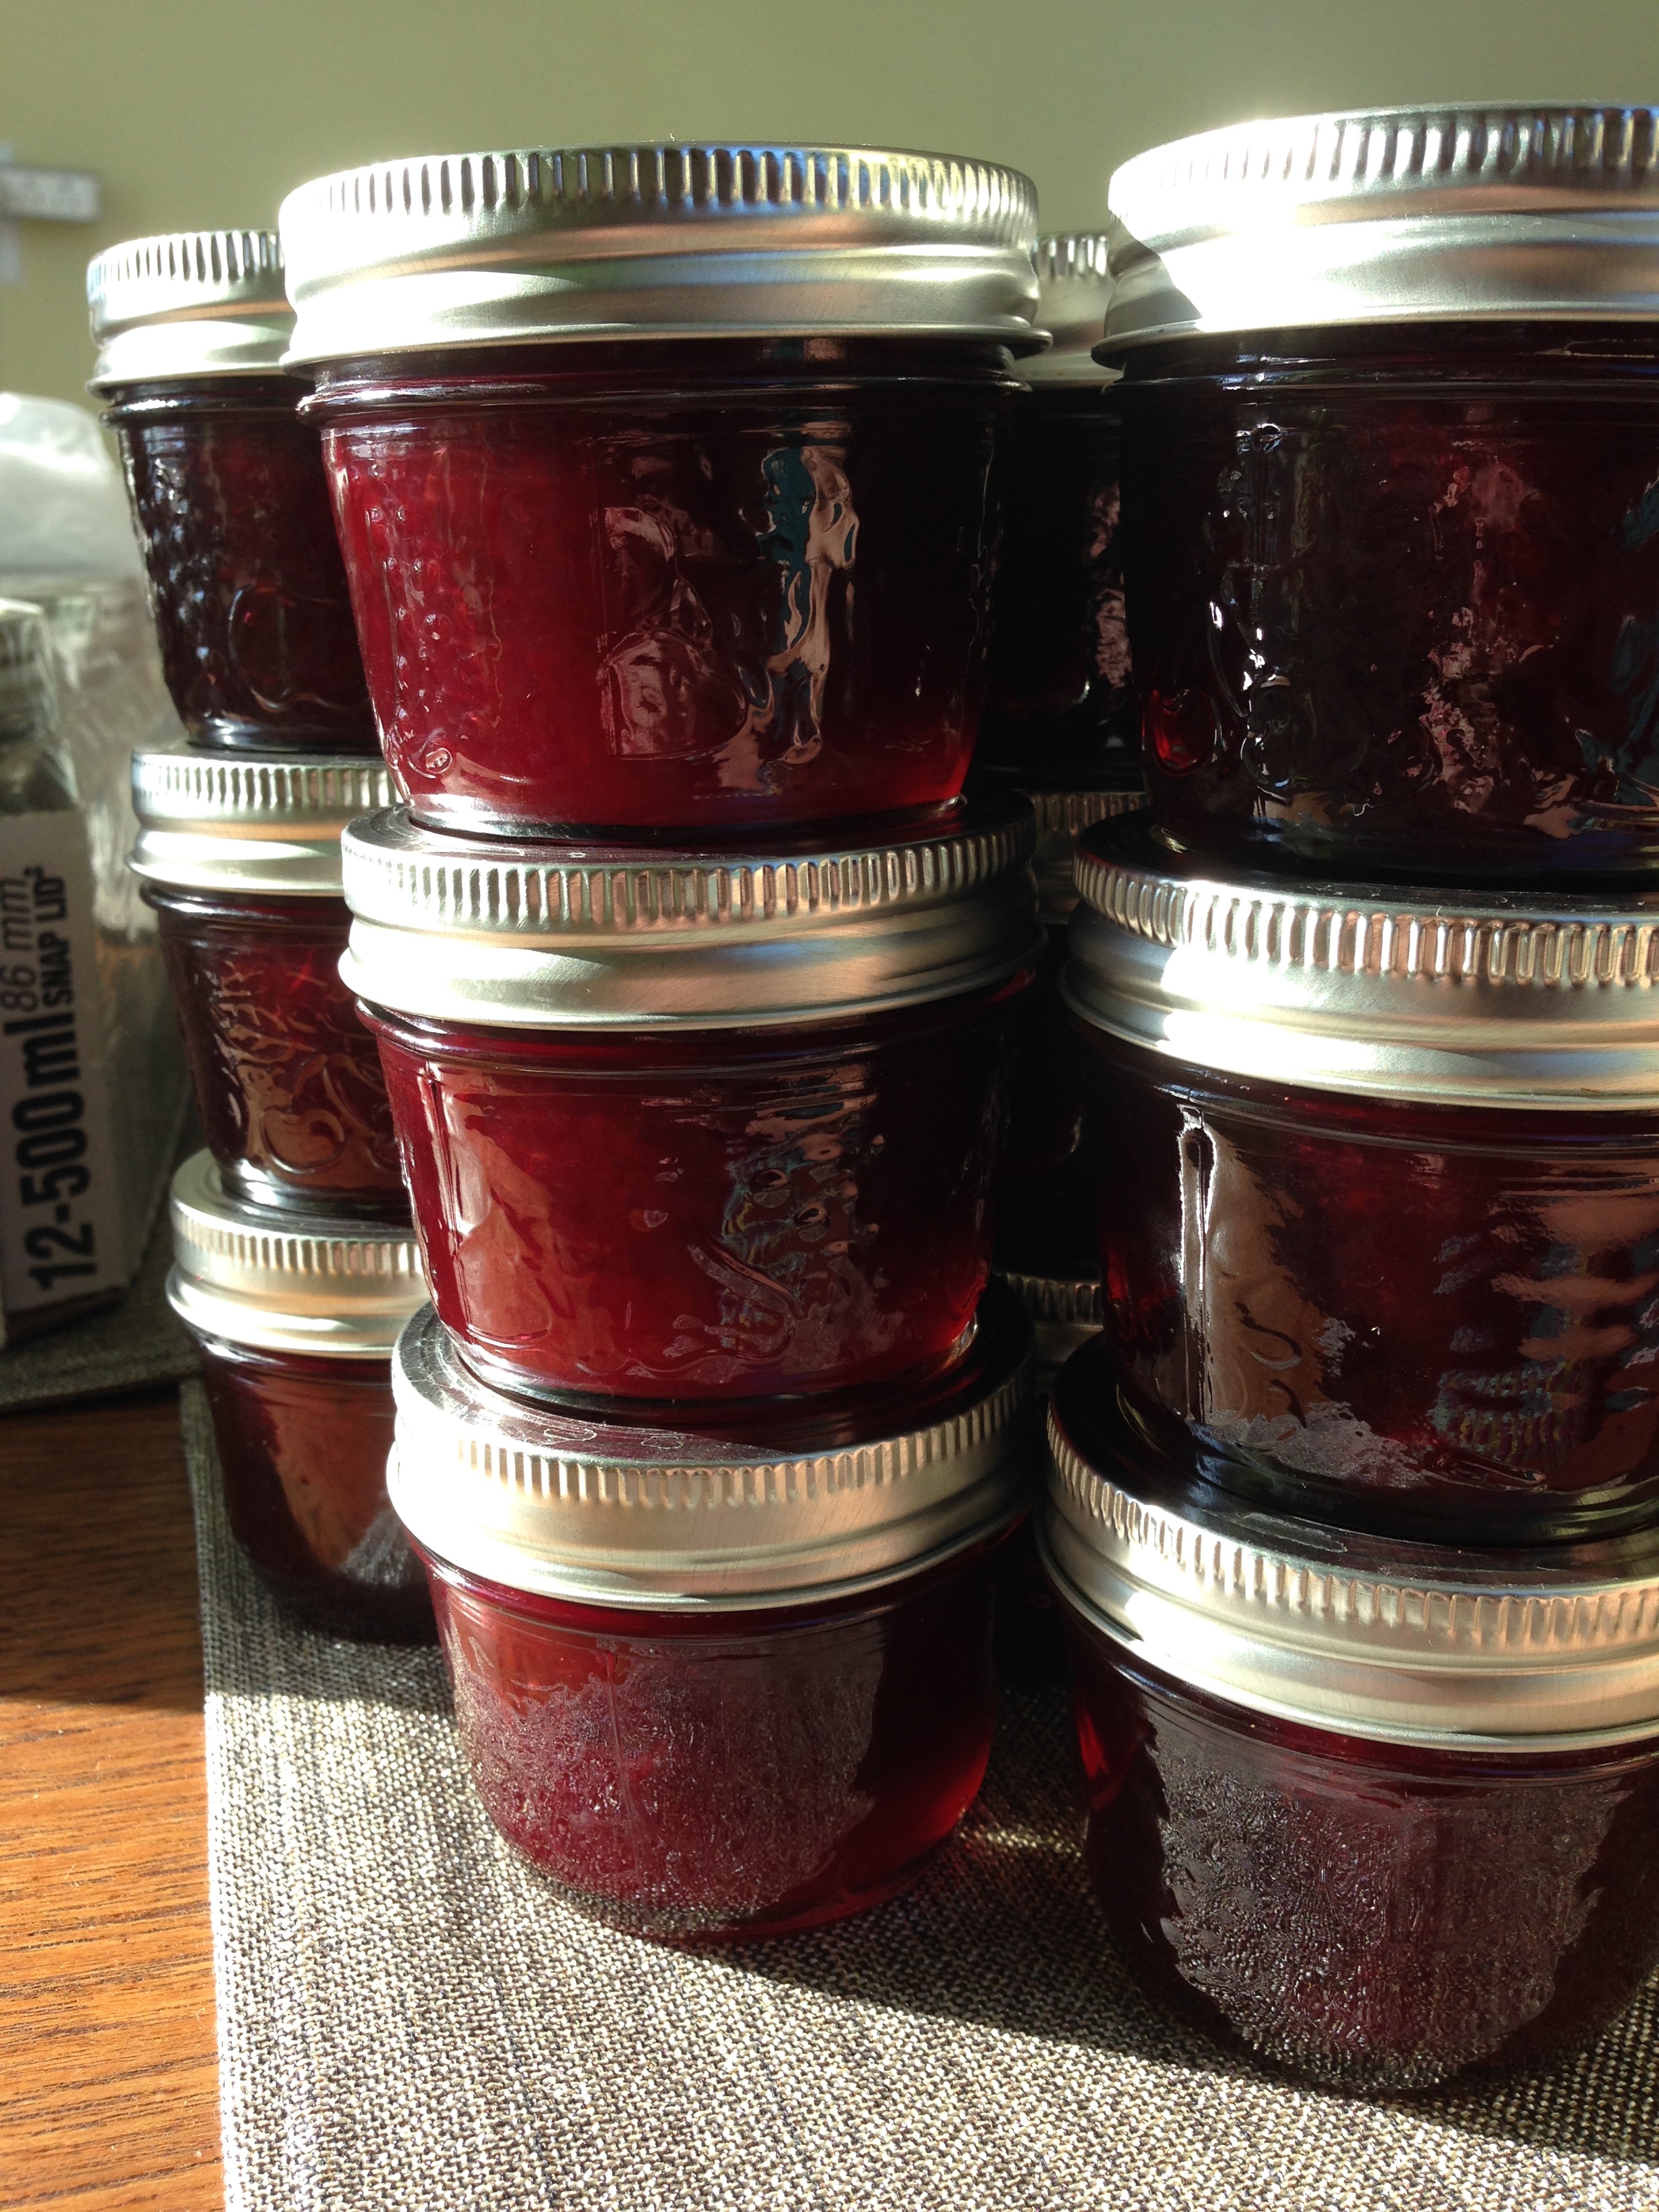
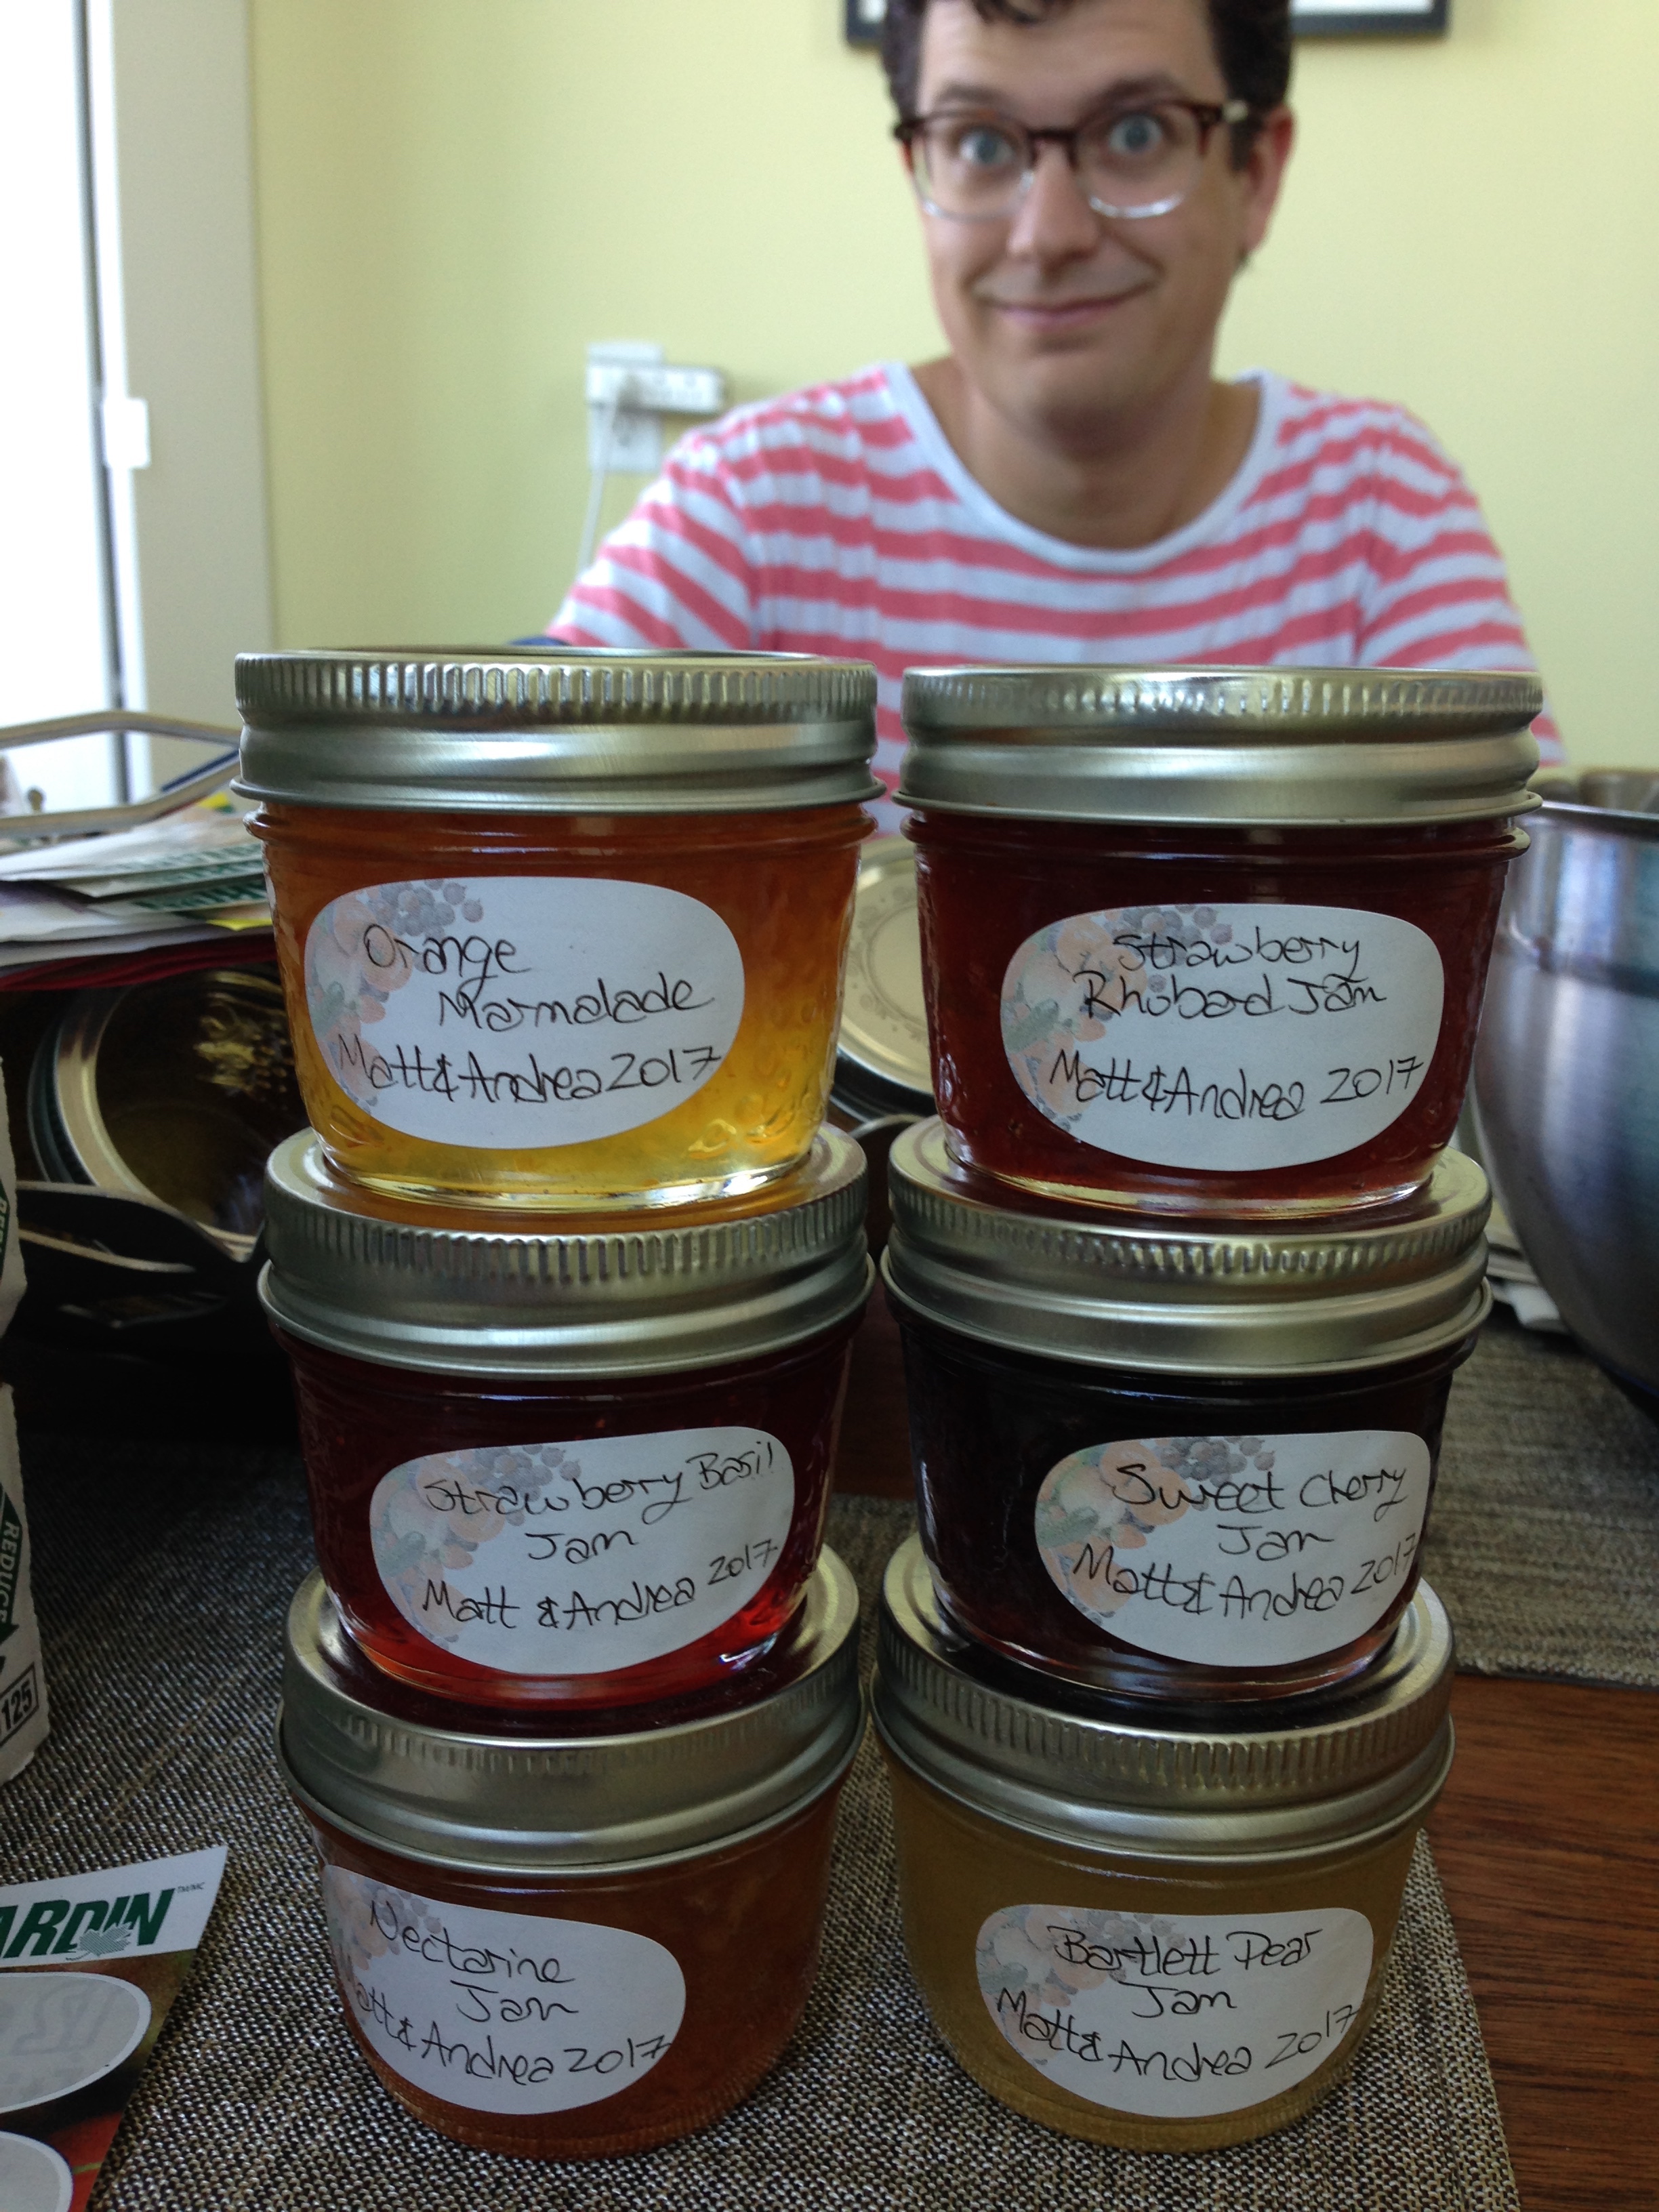
This past summer, along with some friendlies, I endeavoured to handmake all my wedding favours. My chosen craft: Jam. (Of course my favours are food! Duh.) Guest list all counted out, I had to make at least 100 jars, if I intended on making them place card holders as well. Turned out the summer had been much more productive on the favours front than any other point in the idea's life. I made strawberry basil, strawberry rhubarb, sweet cherry, pear, orange marmalade, nectarine, and blue plum. And also peach jam. But that wasn't for favours... I wanted some jam too! ;) 

My favourites would have to be the marmalade and the nectarine jams on toast. But the best, by far, and by the spoonful, has to be the sweet cherry jam. When I first had a taste of it I had to sit on the ground, my knees were so weak. No jokes.   

That being said, for those who will be attending the wedding, there will be no choosing of favourites! The Fiancé is making a jam allocation protocol so there is no sore feelings about who's getting what jam. All the jams are excellent. I just like those three best personally. XP
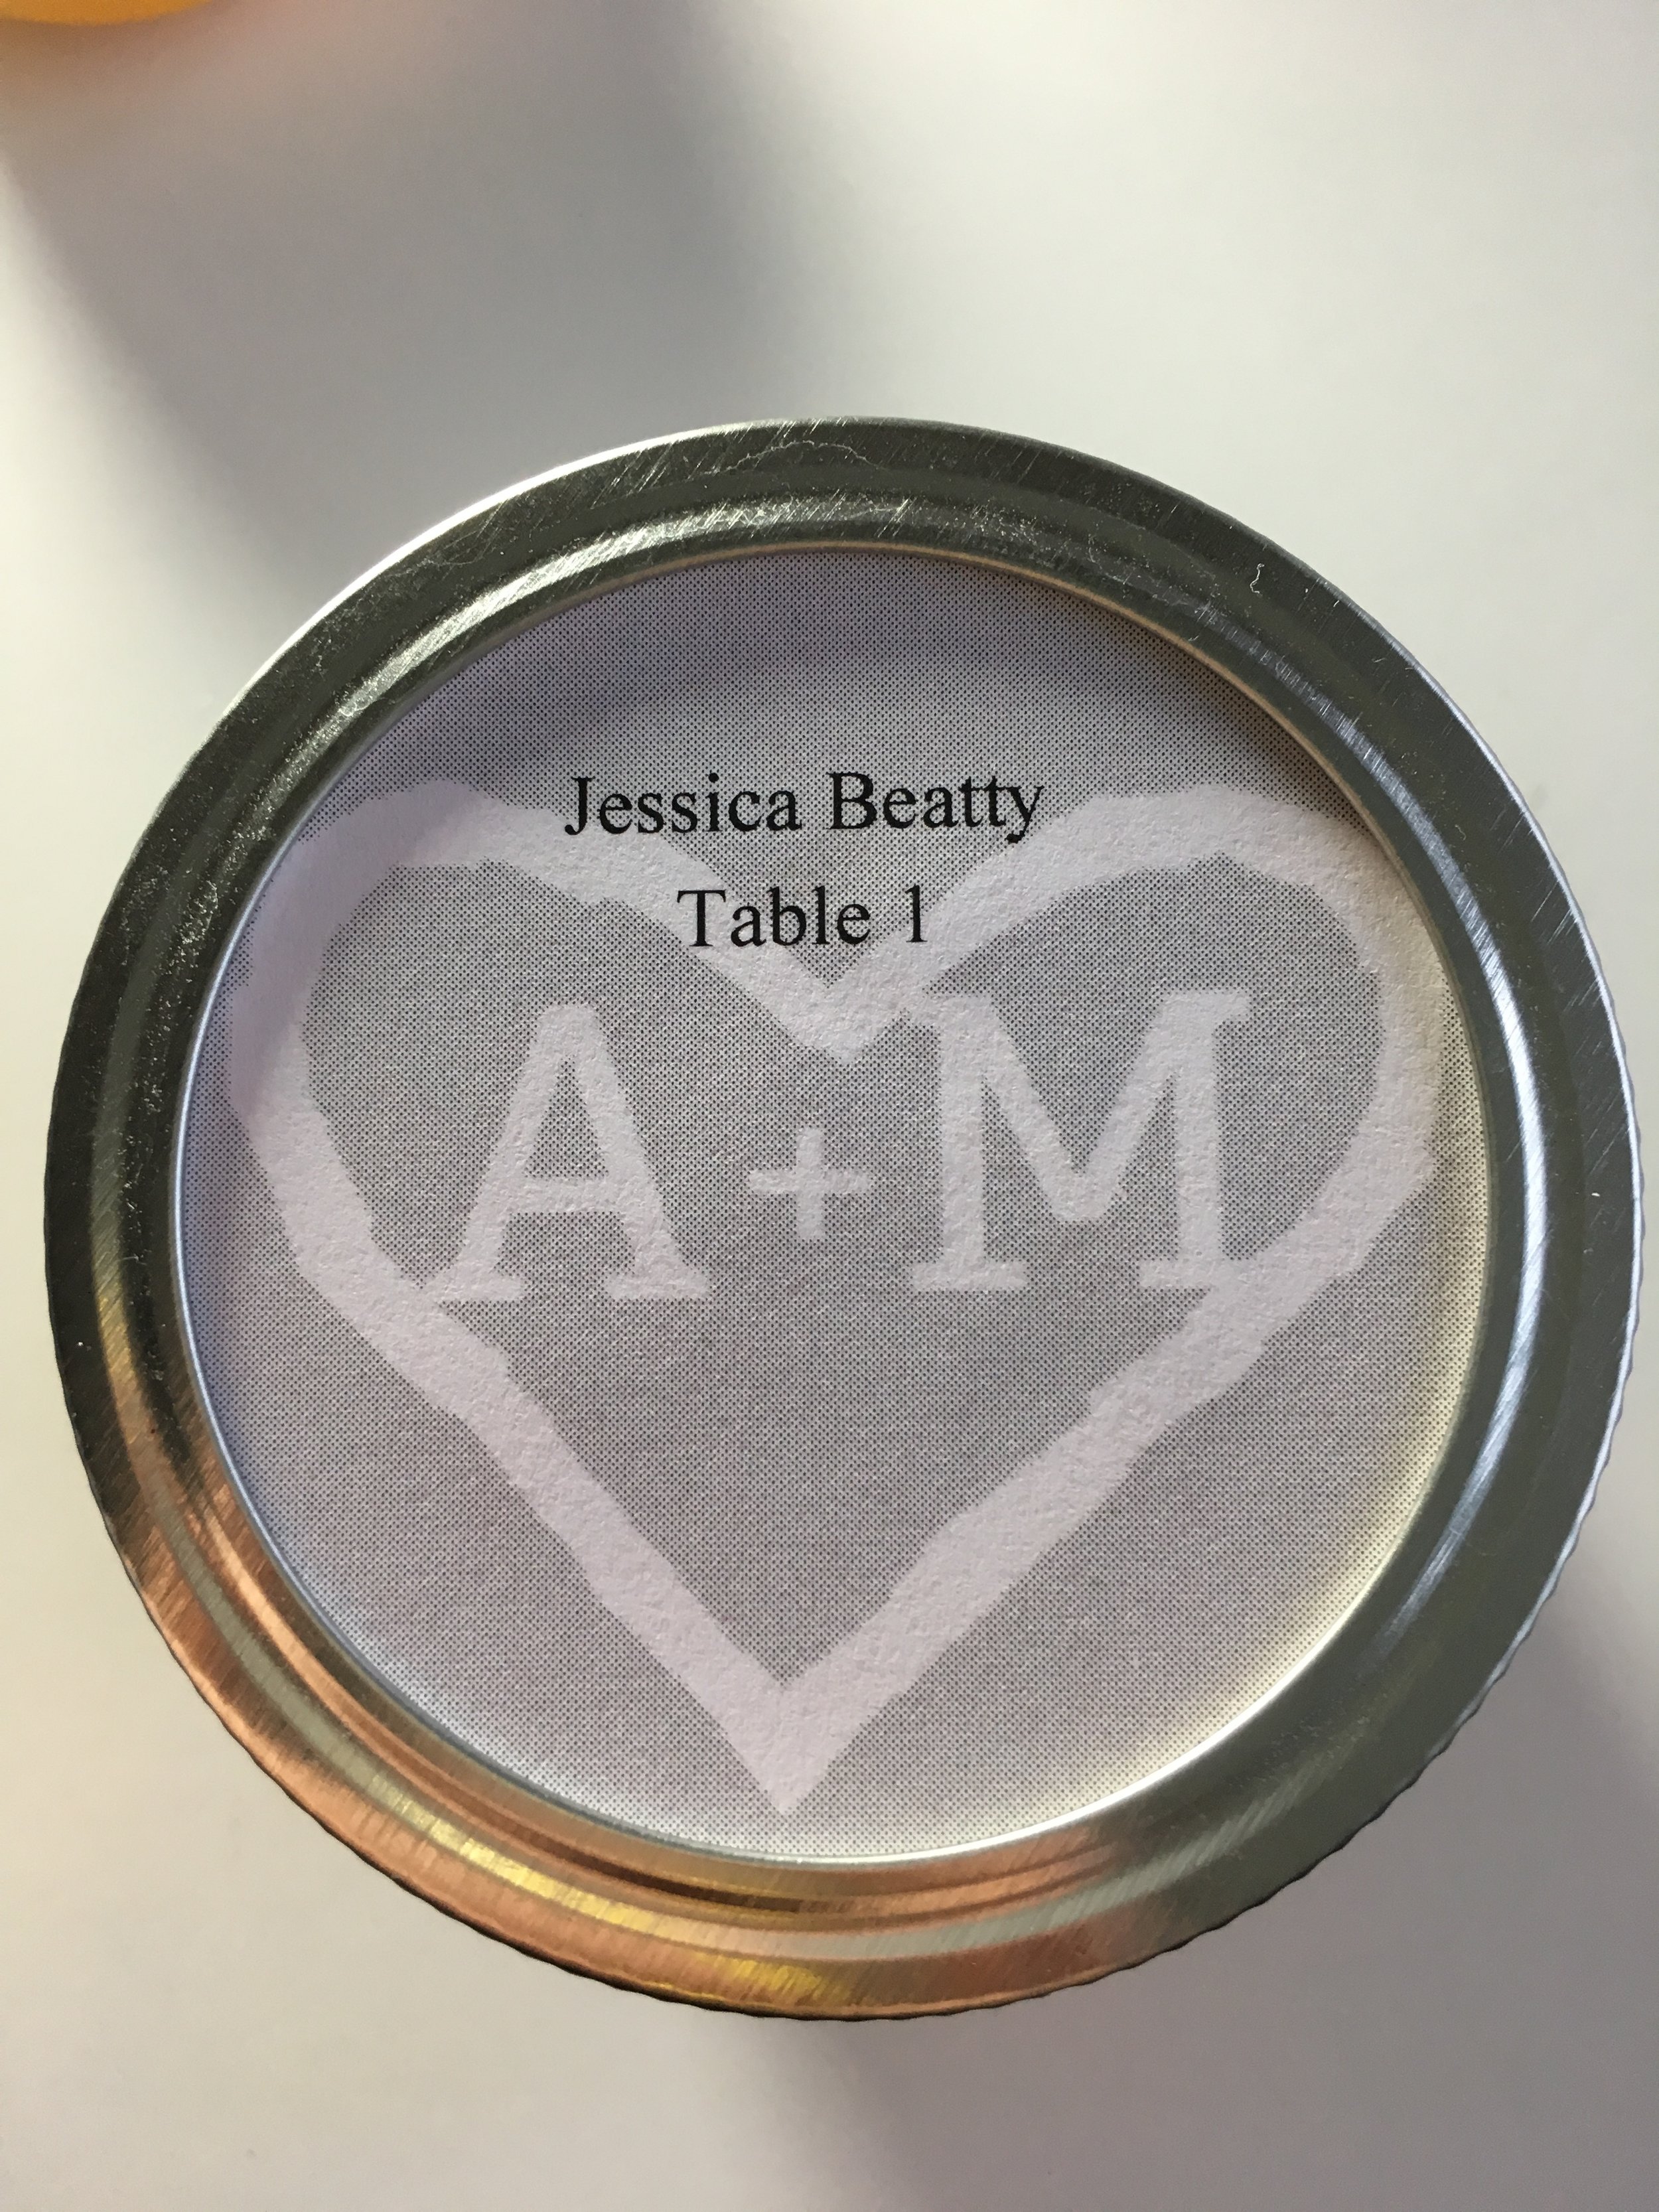
Jam and allocation done. I wanted to have a double use for these favours as place cards. 

We used vista print for our invites. They have so many add ons using the design theme, from mouse pads to printed tees. Unfortunately, they didn't have jam labels. Come on internet! Why you fail me now? =(

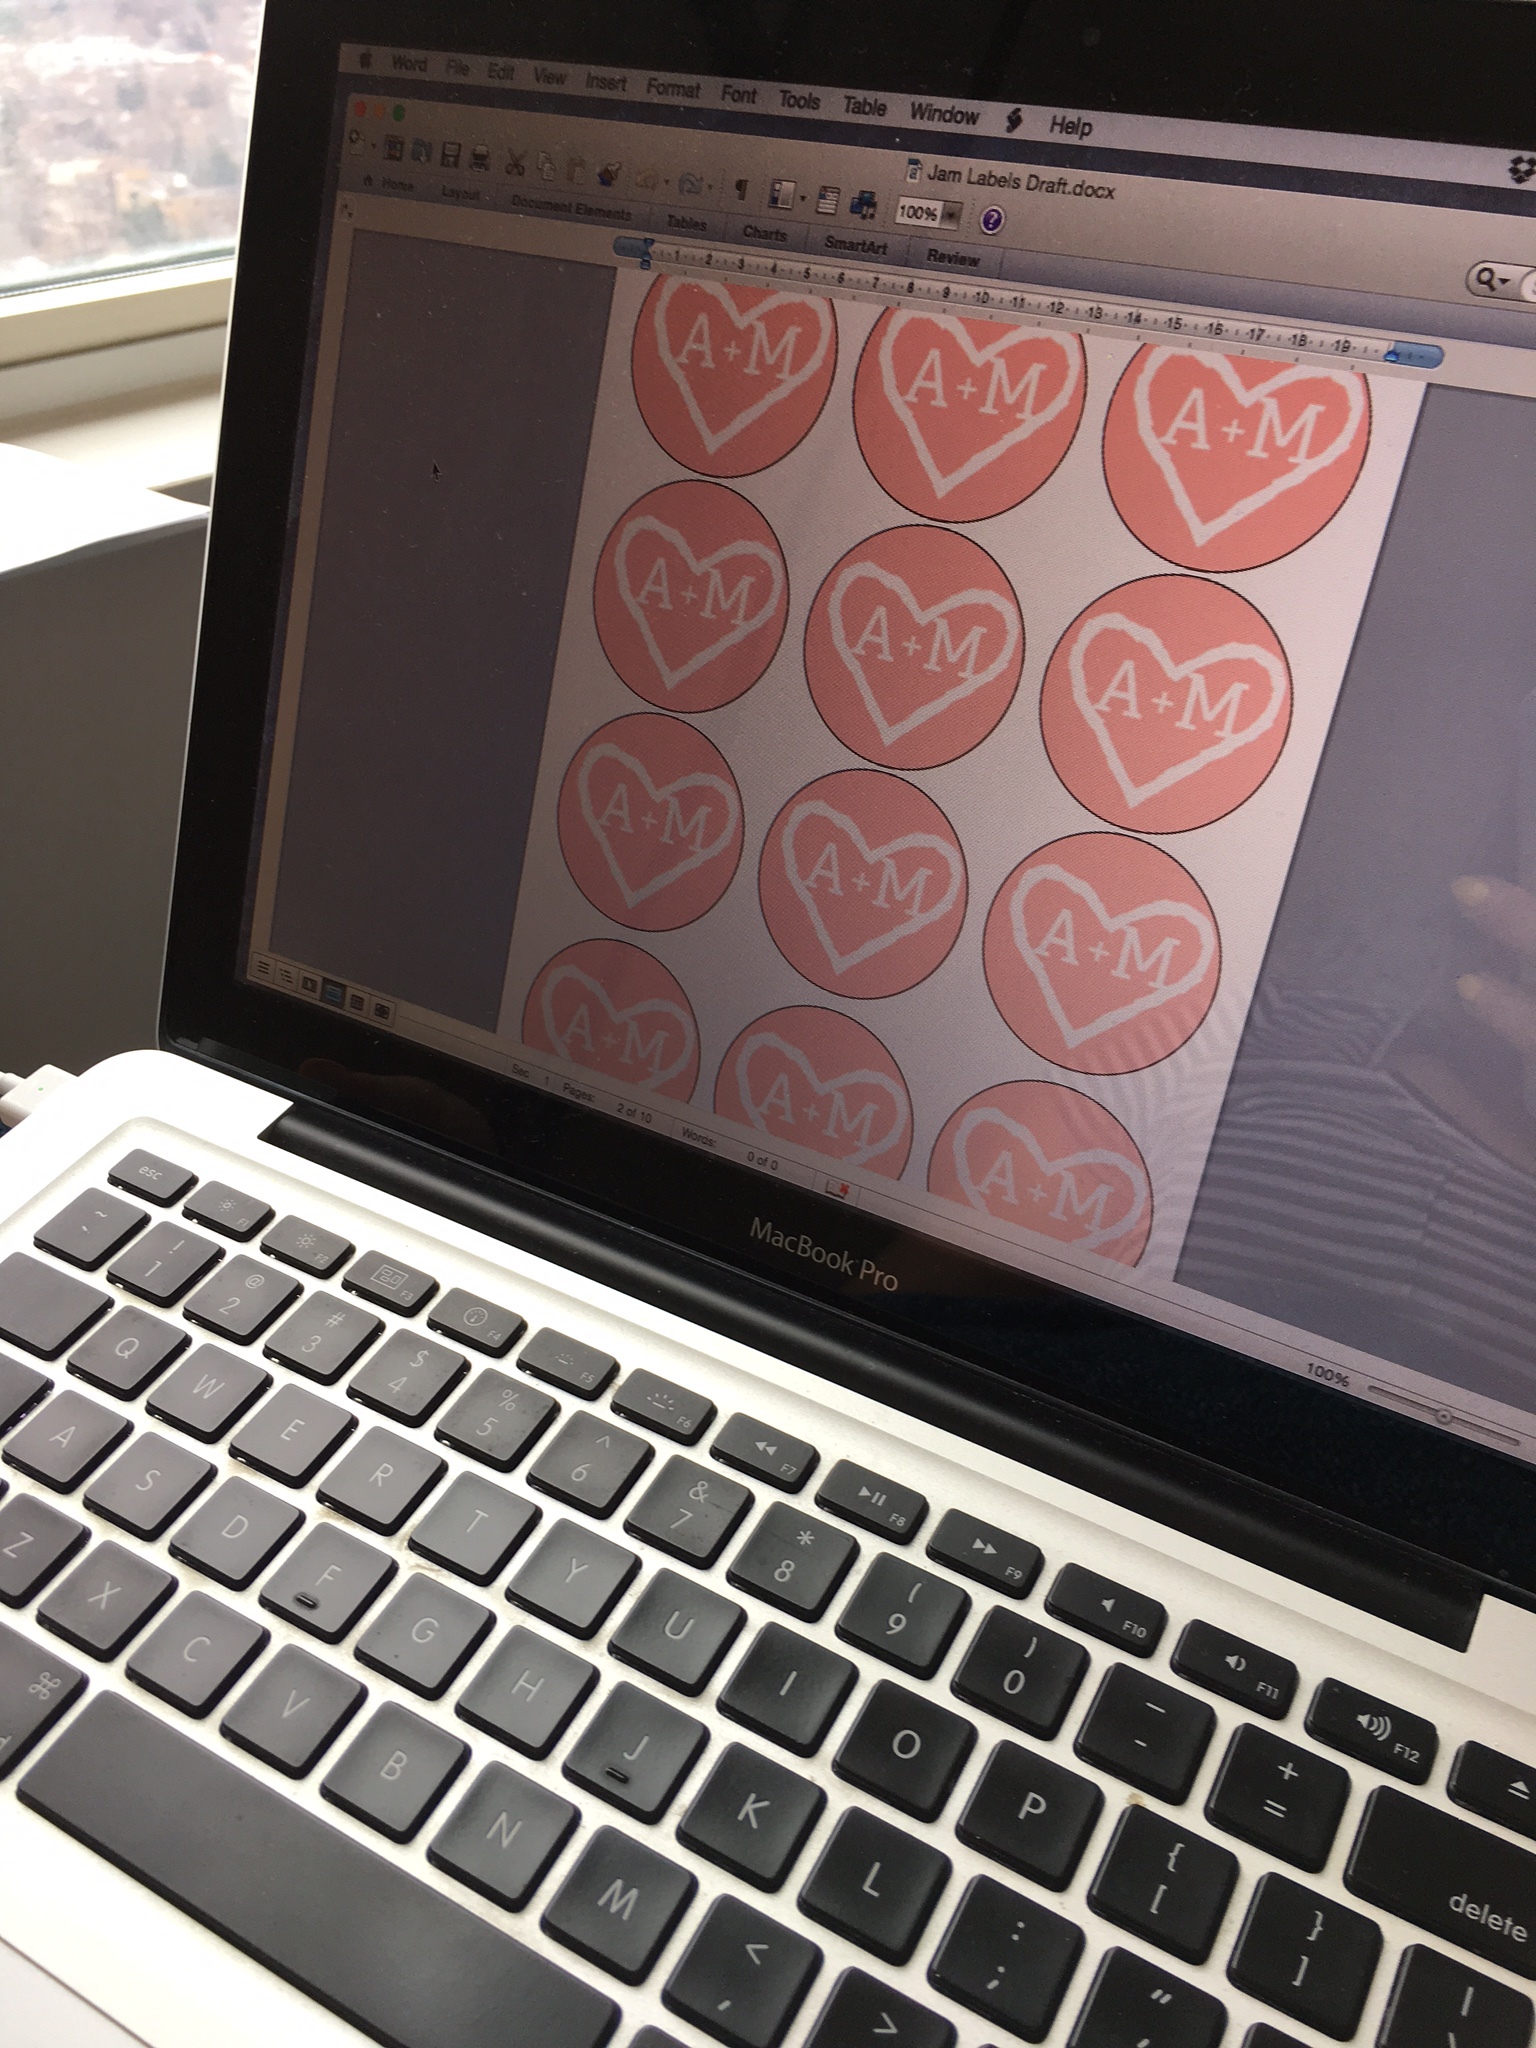
So I gritted my teeth and opened up Word. Easy peasy to add shapes to measure and fill in the background with a design from our cute invites: an A+M heart carve into a tree. <3 And I only had to fight with "Compatibility mode" for a little bit. XD Success! All ready to receive the names of the RSVPed!

Now to set up the registries and send out the invites! Look out February! There will be lots of jams in your future! 

-Andrea

The Half-Assed Hobbyist

All the Tin Foil: A Backcountry Apple Pie Story

The season on pie is upon us. And am So excited.

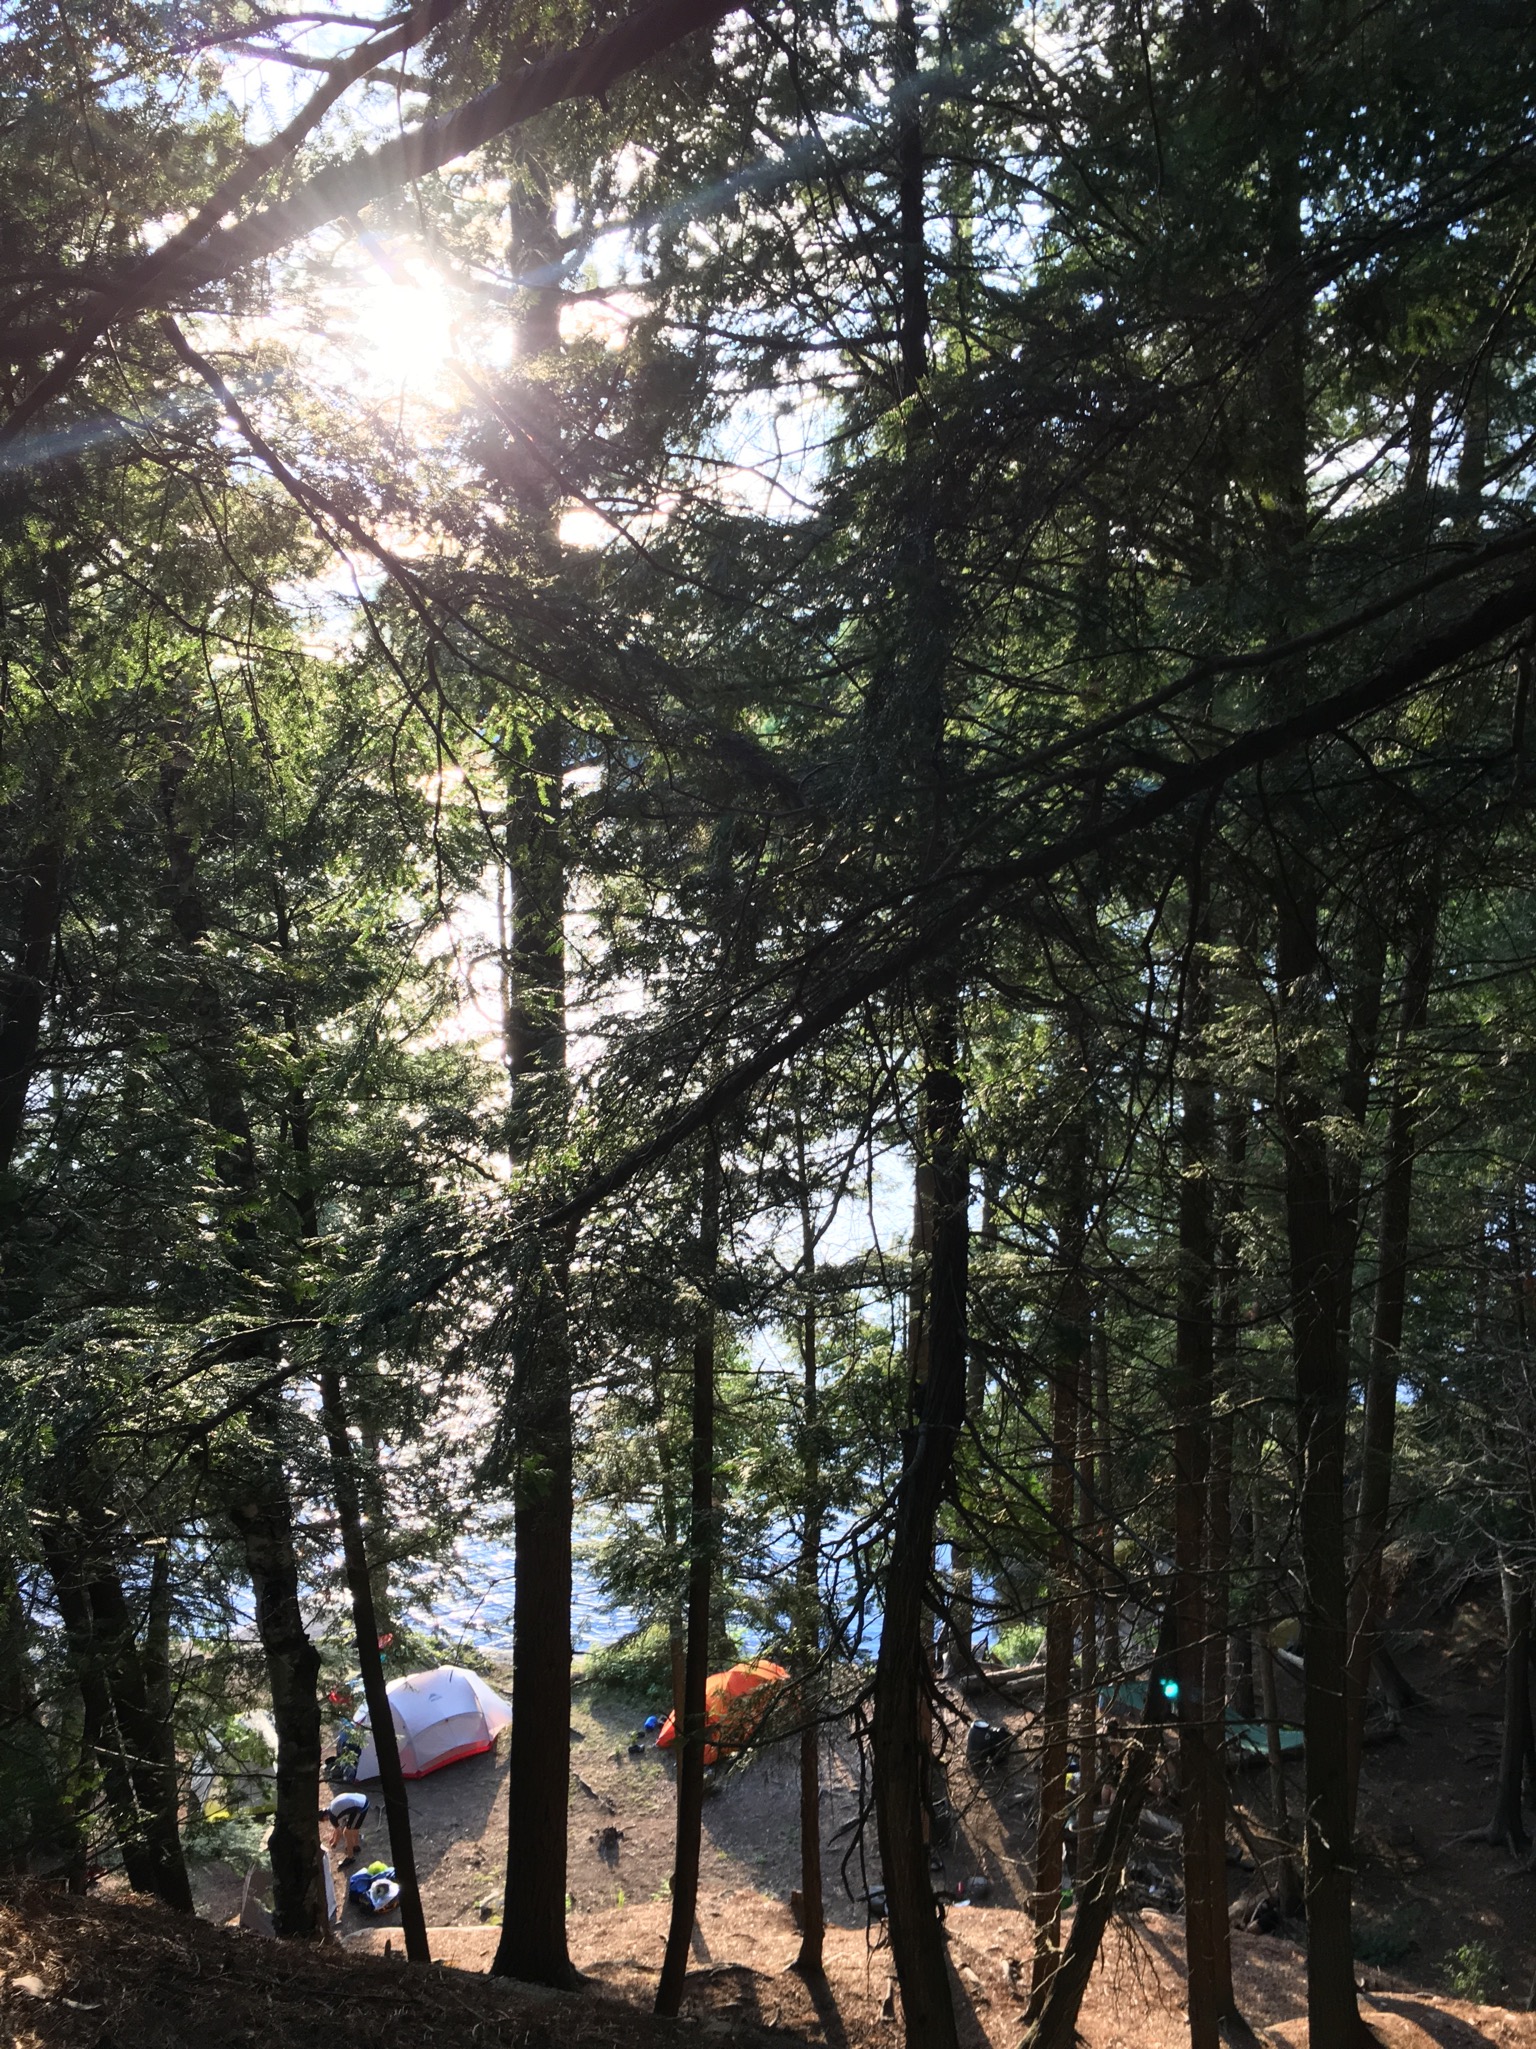
This past July the Fiancé and I, with 6 of our lovely friendlies, went backcountry canoeing in Algonquin park for 9 days. For the record, I have never spent more than two days in the backcountry, never mind also canoeing and portaging, but it was the best friend vacation ever.

It was absolutely beautiful. I can't find the words to describe it. But there is nothing quite like travelling in good company on an Ontario lake. 

Now, 8 people in the backcountry, is a lot of people. On top of that, we were also getting more friendlies on day 7 and 8, for a total of 12 people. And people gotta eat. Luckily we had Rob, our master fooder, who had planned out our meals and bought all the foods. About 200lbs of it. Steaks, potatoes, bacon, eggs, clif bars, apples, corn on the cob, oatmeal, and snackies! 

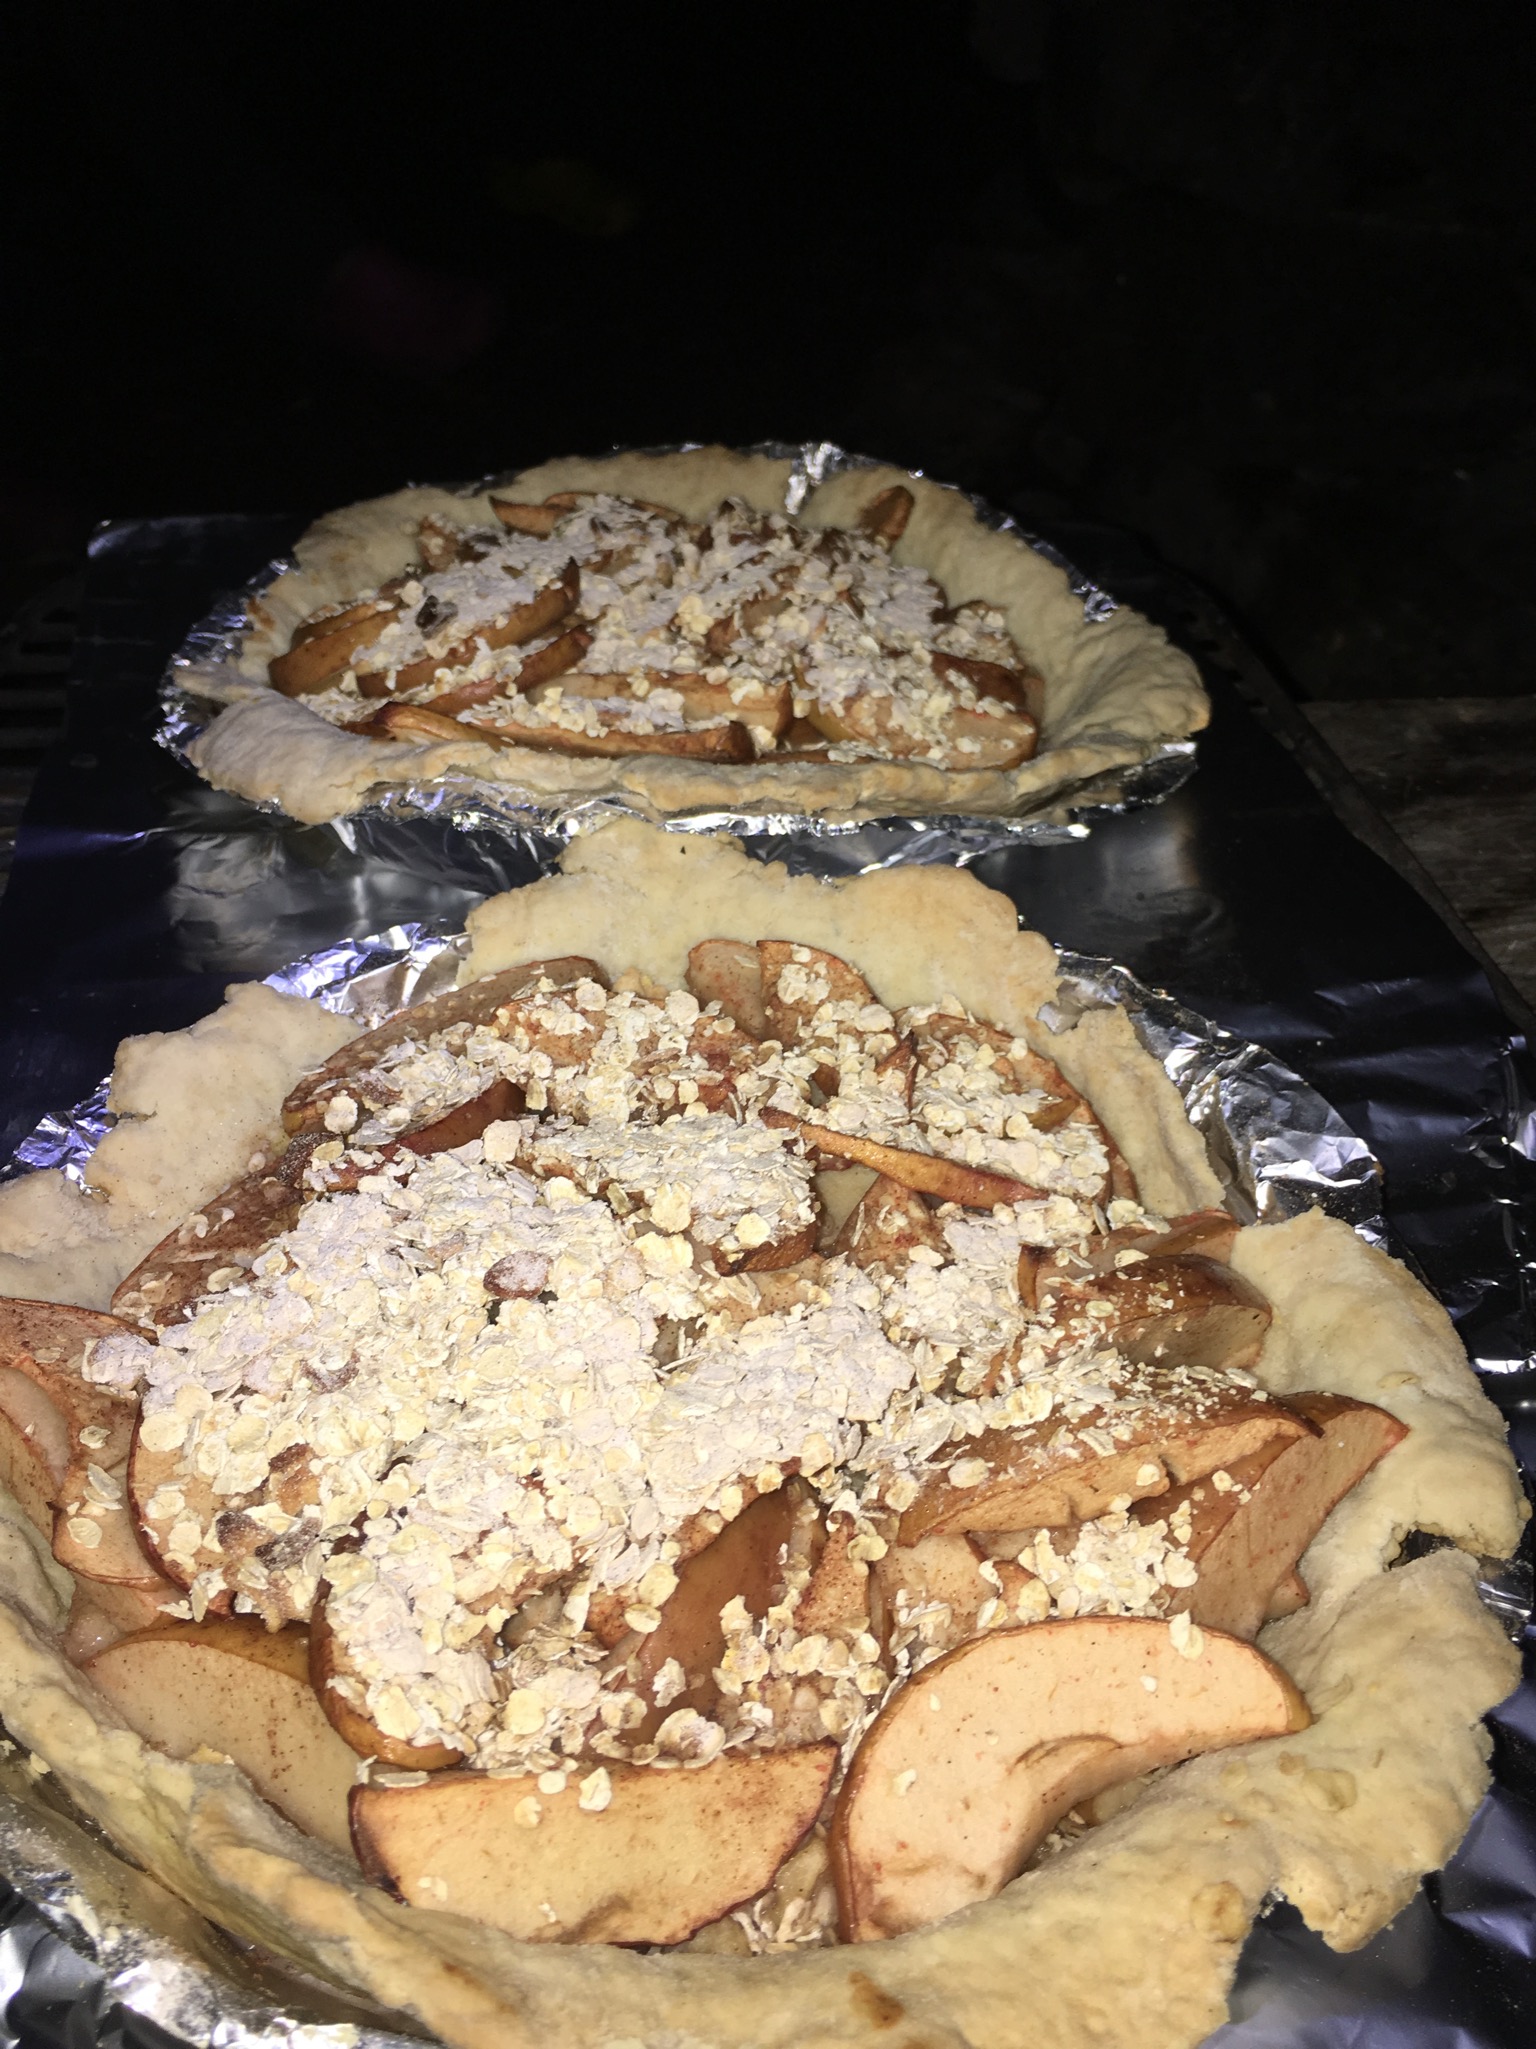
We ate like the kings and queens of the forest. But we had one particular dessert that was a lovely unplanned delight. With a huge bag of apples still left to eat and bannock dry mix to use up, a plan was hatched to make use of the literal metric butt ton of tin foil we'd packed along with us. This plan's hopeful outcome: Back Country Apple Pie. 

Back Country Apple Pie

Step one for backcountry apple pie isn't about ingredients. Although important of course, the real trick is having an oven to bake it in. Below is the story of how we built an oven out of a metric butt ton of tin foil, some abandoned grills and a desire for back country pie. The following recipe makes 2 pies, approx. 9' in diameter.

Pie Filling: 
6-8 apples, cored and sliced
1 tsp cinammon
2 TBSP drinking water
2 squirts Mio (concentrated juice flavour. We used the peach one! =D)
Bannok mixture: (dry ingredients can be mixed together in advance and stored in a sealed bag)
2 cups flour
2/3 tsp salt
1 1/3 TBSP baking powder
1/4 cup butter, melted
~1/4 to 1/2 drinking water
Topping:
2 packs apple cinnamon instant oatmeal

Making a tin foil oven in the middle of nowhere: 

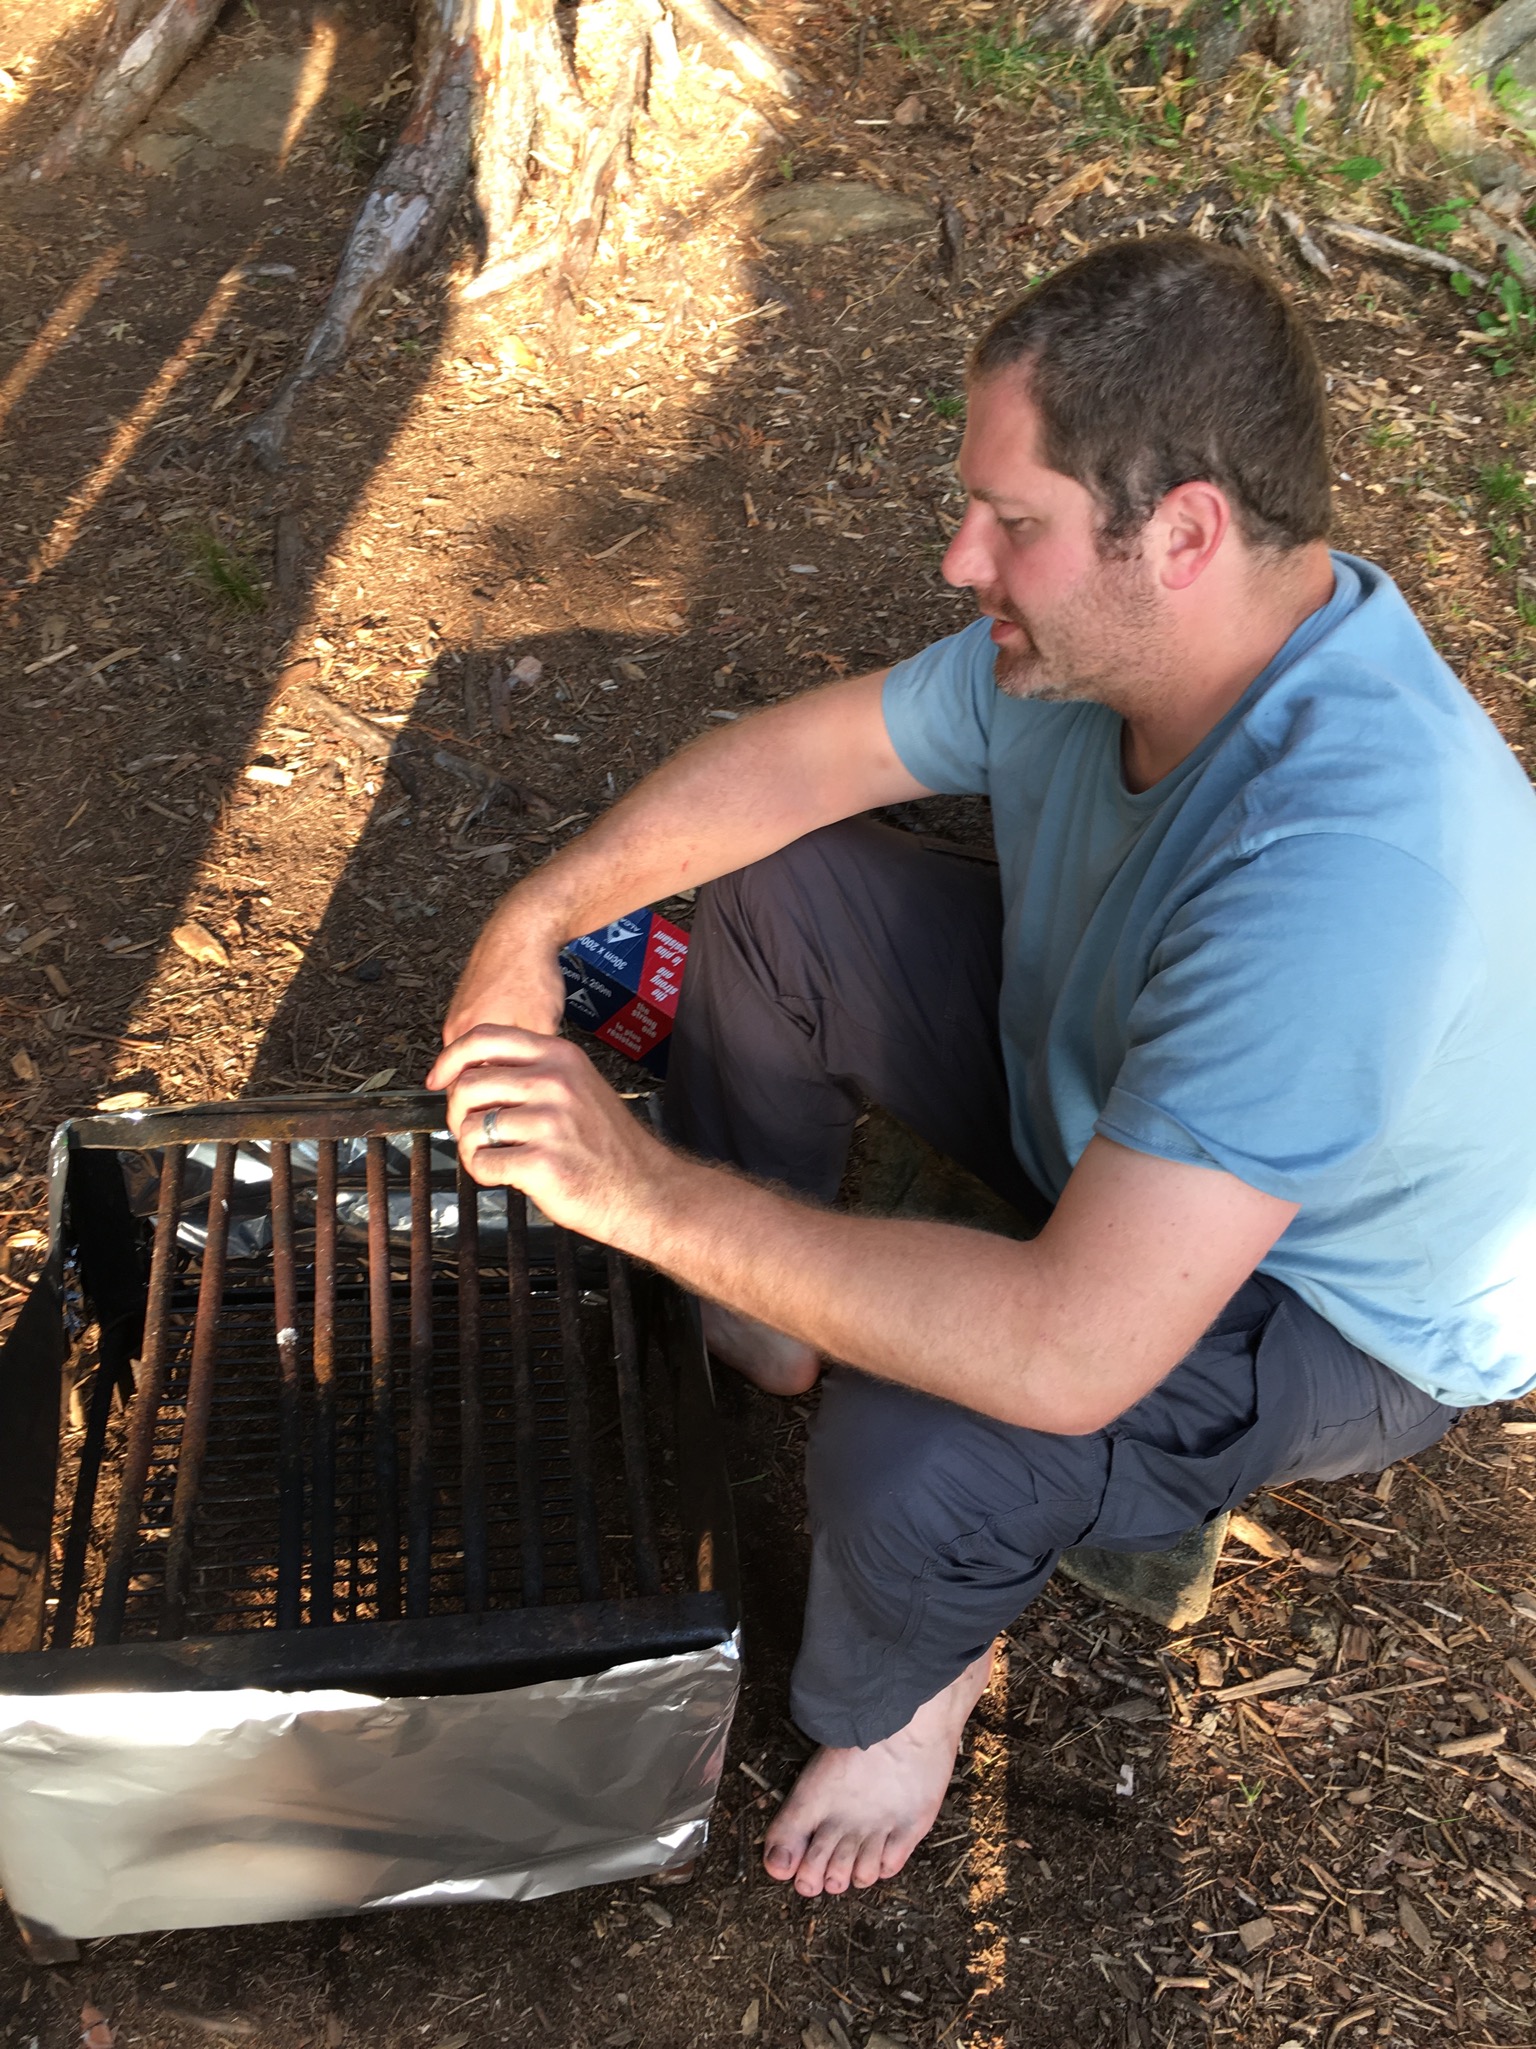
  1. First, find a discarded metal grate, preferably multiple, that has been left among the various campsites throughout the lake. (No, don't steal them, leaving future campers with none. Jerk.)
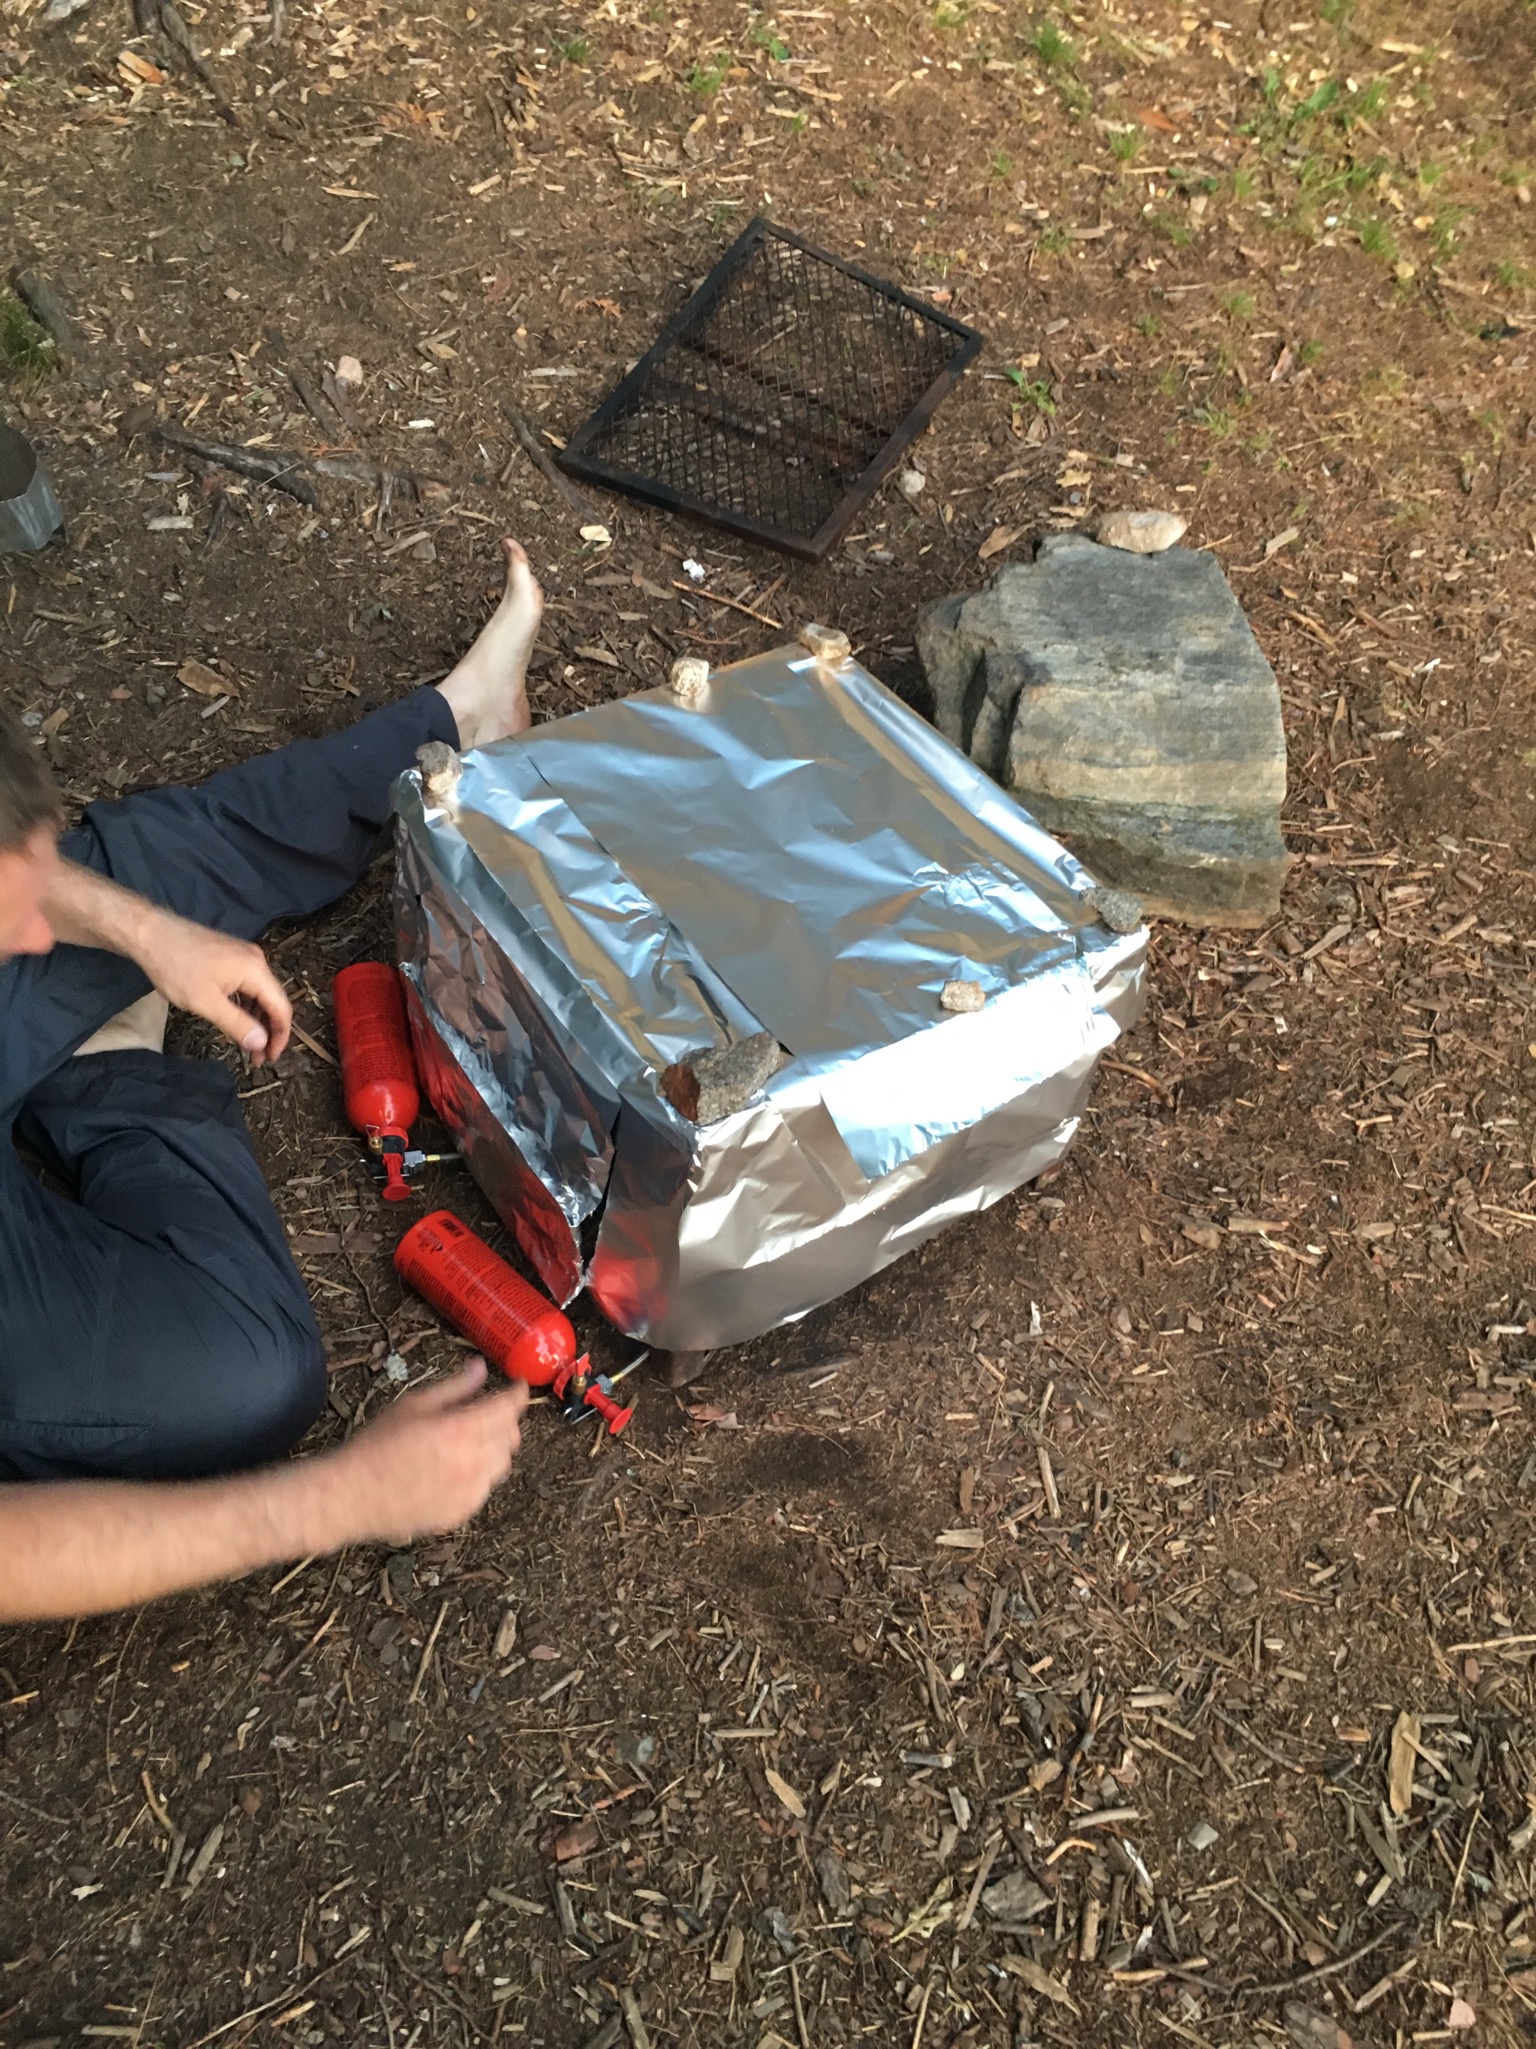
  2. Set up the metal grates above the ground leaving space underneath for at least one gas burner. (We used two.) There should be at least 2 inches of clearance between the burner and the bottom of your baking grate. You don't want to burn the pie bottoms!
  3. Cover the interior and exterior of your makeshift oven with tin foil. Make sure to overlap any cracks to keep it as air tight as possible.  
  4. Cut a door flap in your oven. Roll the long ends together a bit to keep it from coming apart.
  5. Place your burners into the oven. Make sure that the gas canisters fit on the outside of the oven. NO EXPLOSIONS PLEASE.
  6. Once you're satisfied that there is enough clearance for your burners and canisters, it's pie time!

Pie Filling:

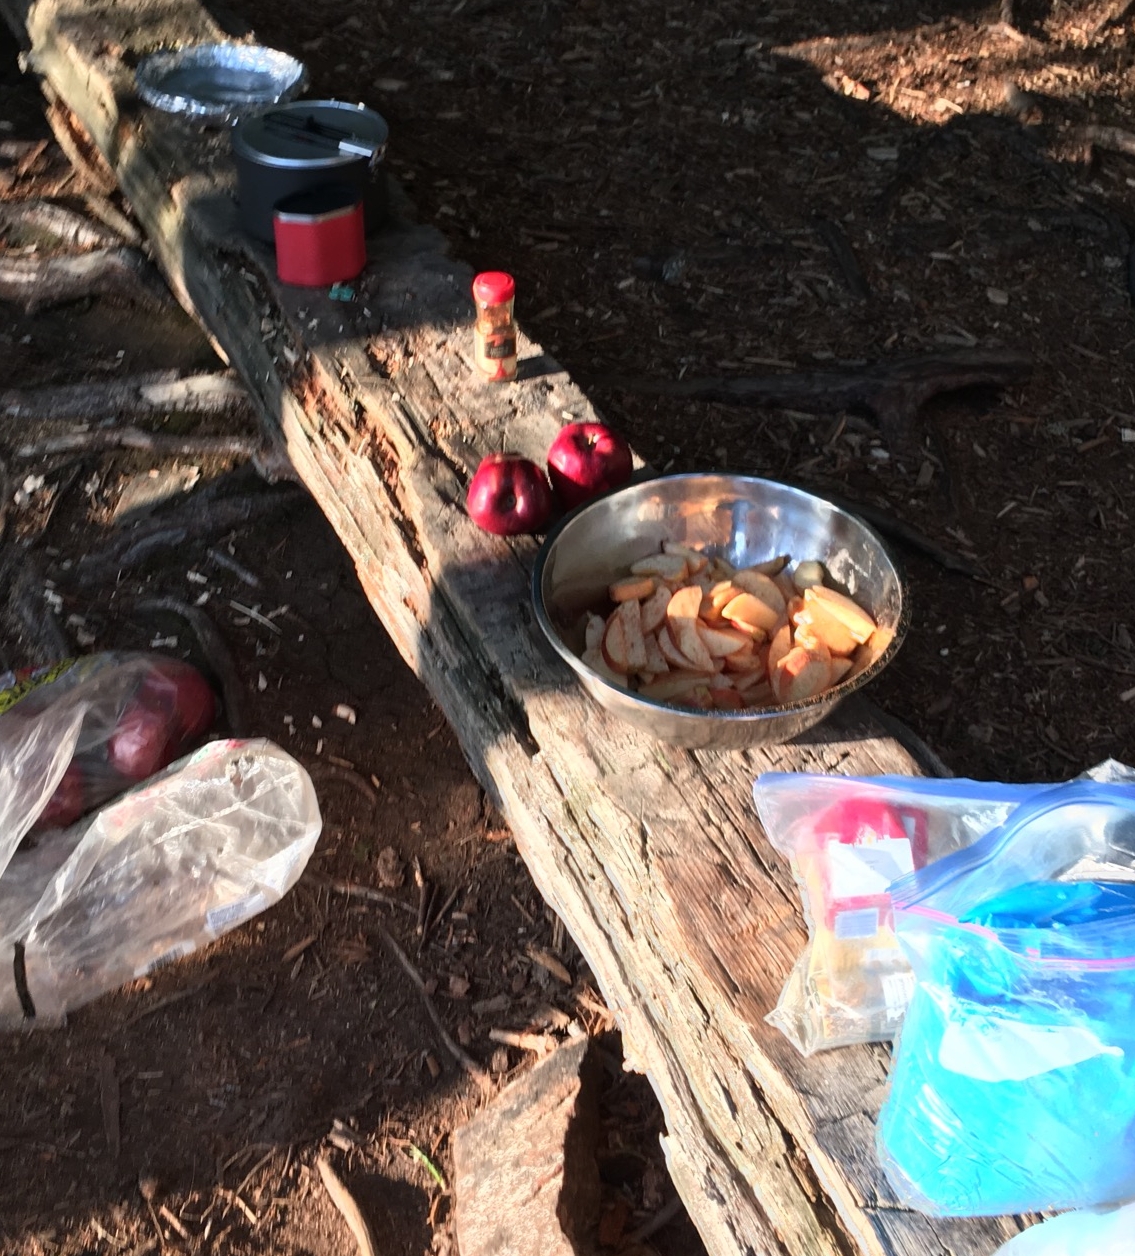
  1. Wash all your apples in drinking water. (Especially if they've been sitting at the bottom of your bear barrel for 5 days.)
  2. Using a makeshift counter log, remove the cores and slice your apples into a bowl.
  3. Dust your apples with cinnamon.
  4. In a cup, dissolve Mio in drinking water. Pour over apple mixture. Mix together until apples are coated in Mio mixture. 

Pie Crust:

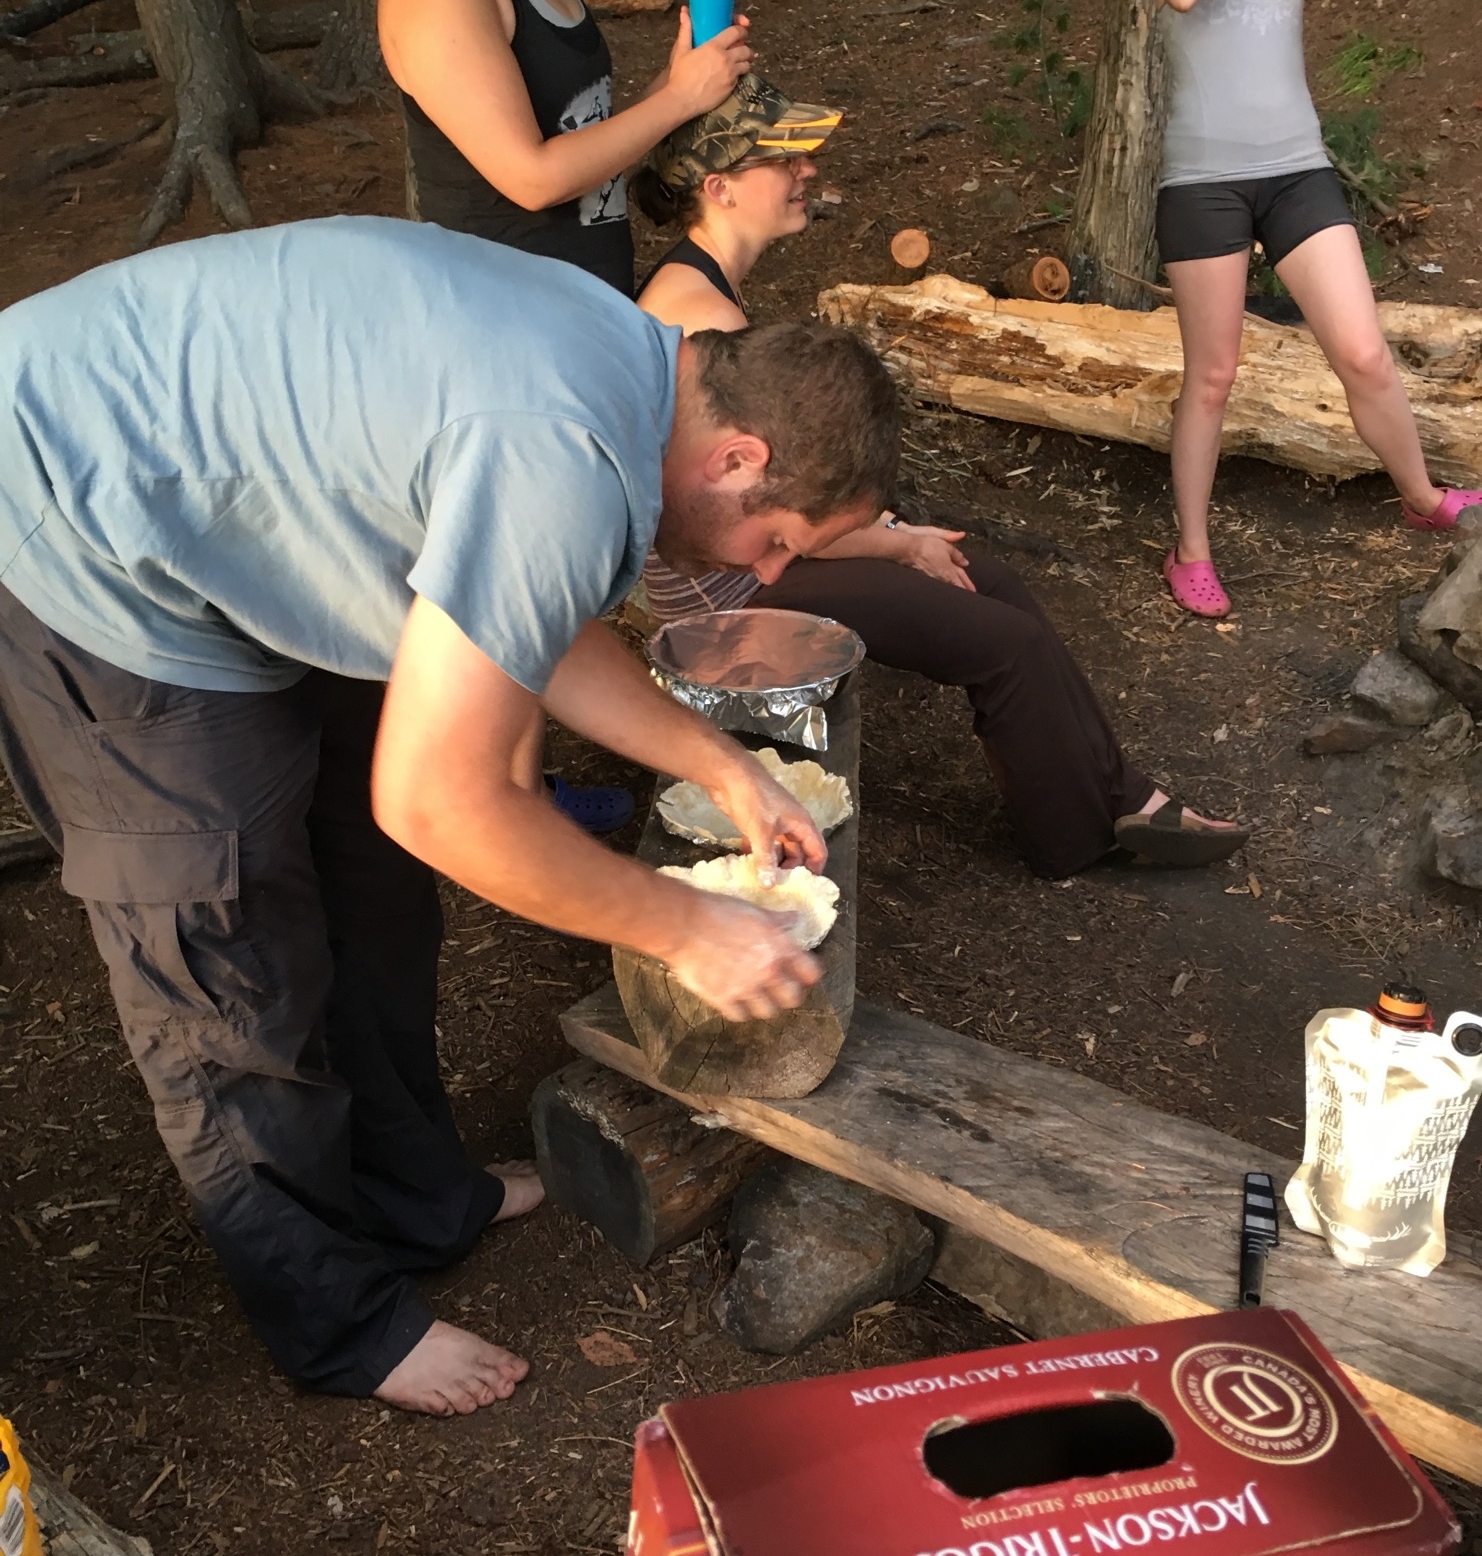
  1. First thing: you need something to bake your pies in. Luckily, with ample tinfoil, this is not a problem. Using a frying pan bottom as a template, form tinfoil into pie plates. Magic!
  2. In a bowl, combine the dry ingredients with the butter. Work the butter into the flour with a fork (or between your thumbs) so that there are no large lumps. 
  3. Add ~1/4 cup of drinking water to the mixture, to start. Continue adding water until the dough starts to come together, using your hands to work the moisture into the dough. 
  4. Once the dough has come together, divide it in half. Using the palm of your hand, press the dough out flat on a cutting board (aka Elsa). It should be less than a 1/4 inch thick. Carefully transfer the dough to your pie plates of magic.

Baking:

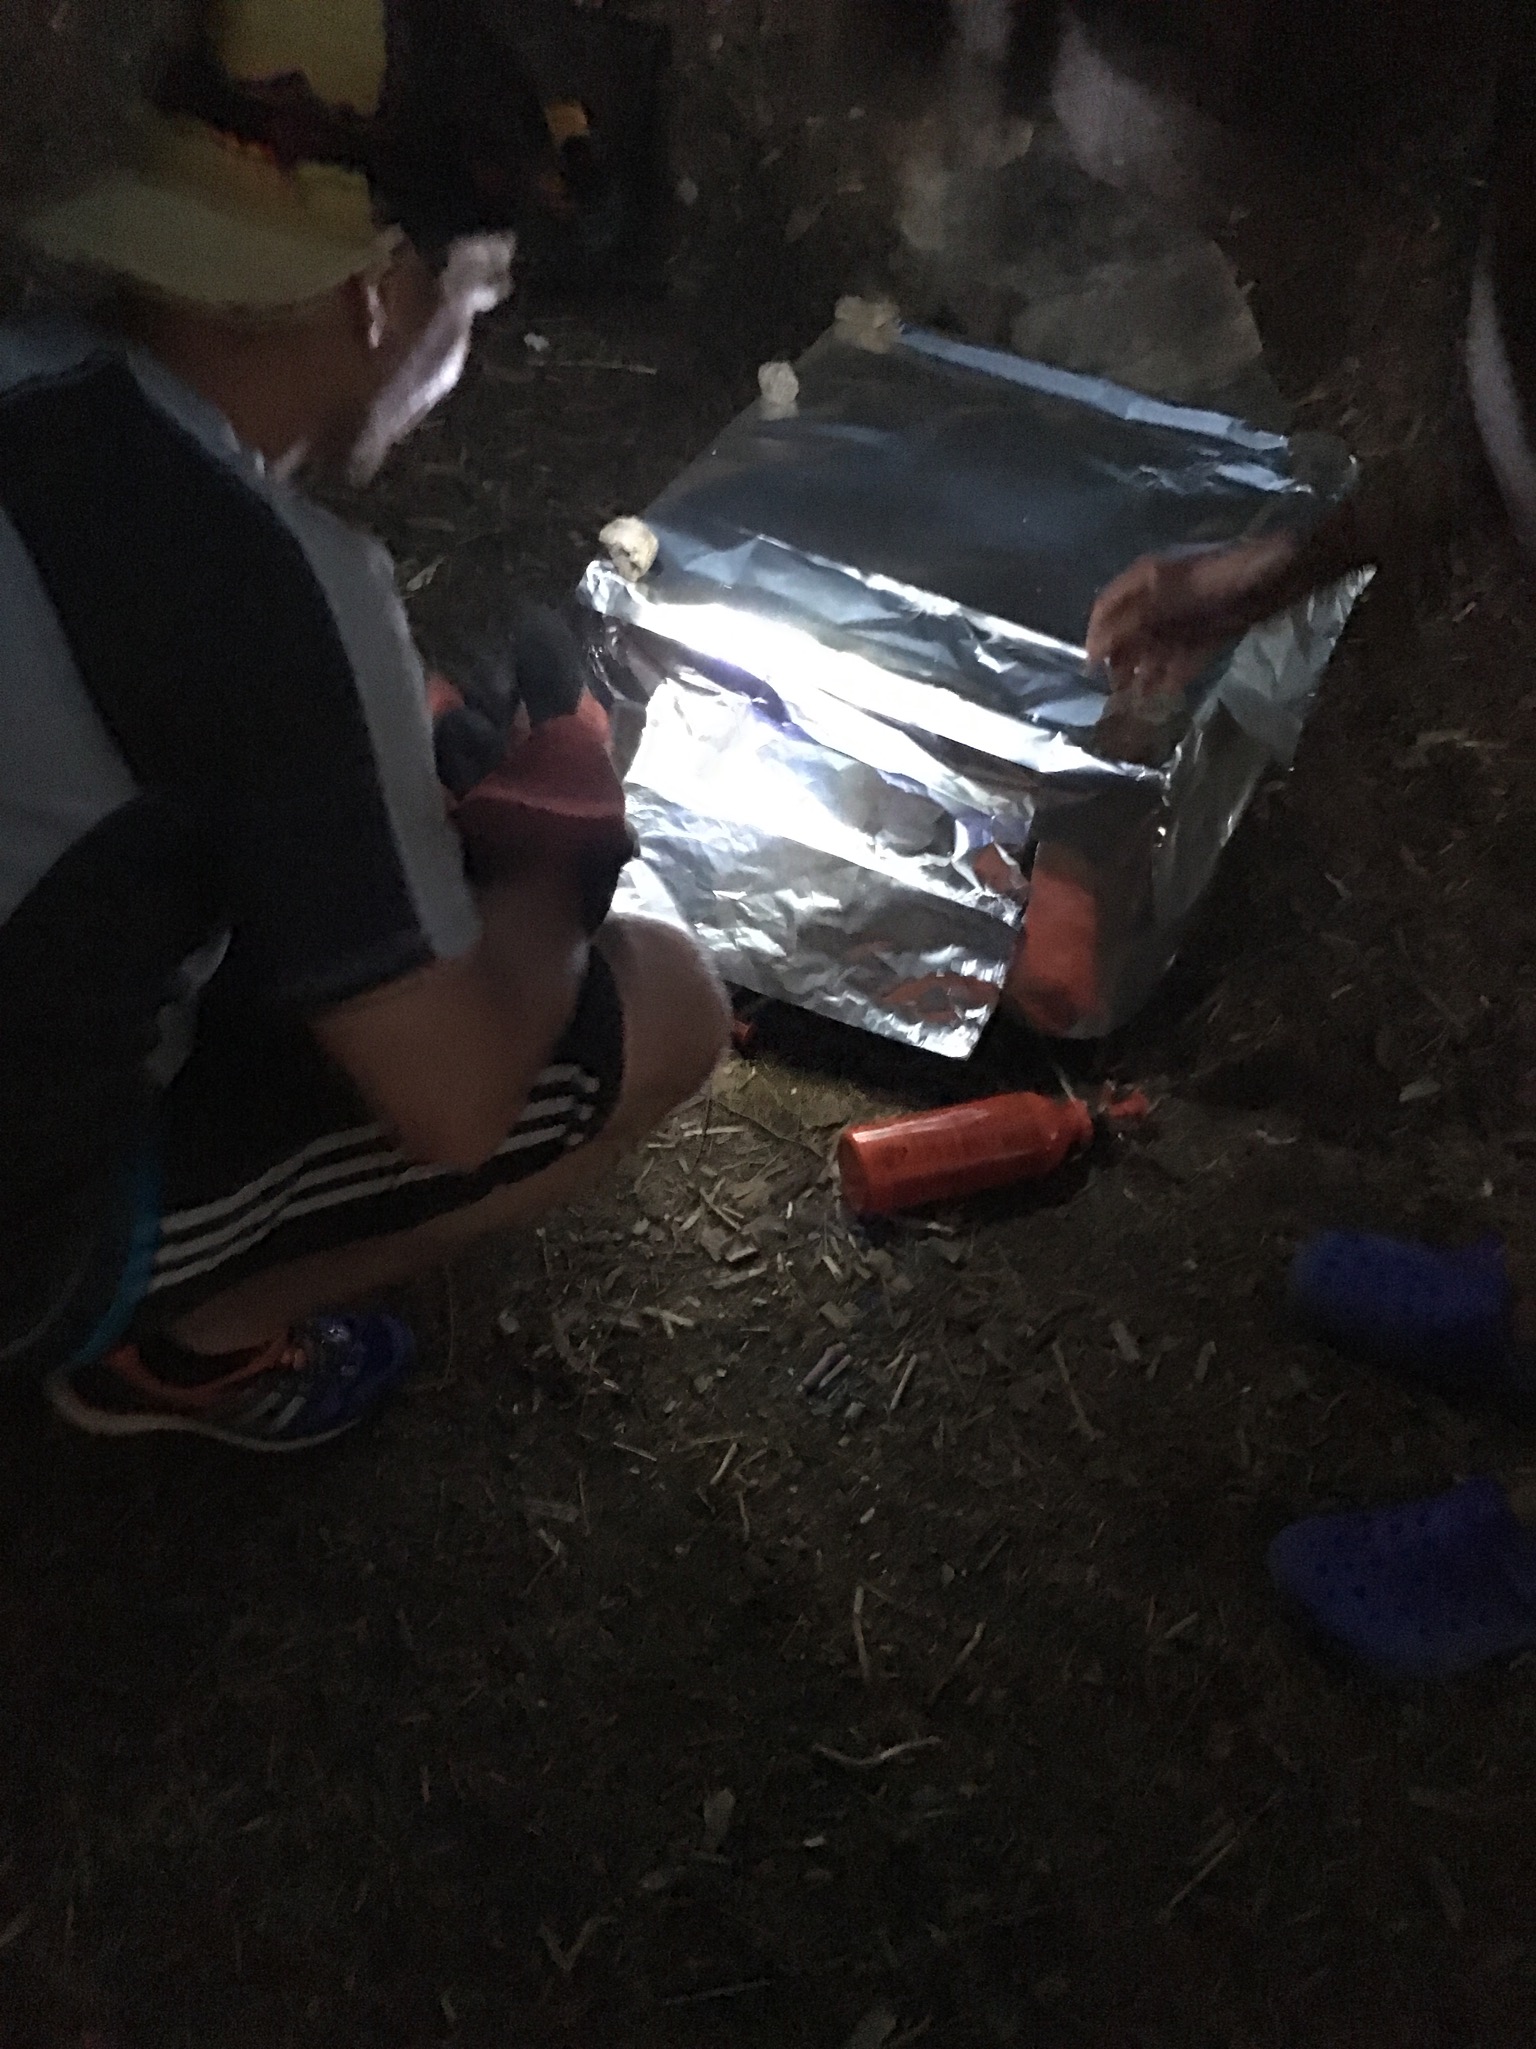
  1. Preheat your backcountry oven. To do so, ignited and warm up your burners. Once lit, turn them to moderate-inferno temperature and slowly and carefully position them in the oven. Close the door and let the oven heat up. (We added stones to the top of the oven so the tinfoil wouldn't blow away. We also used the metal shield from the burner kits to keep heat away from the fuel canisters.)
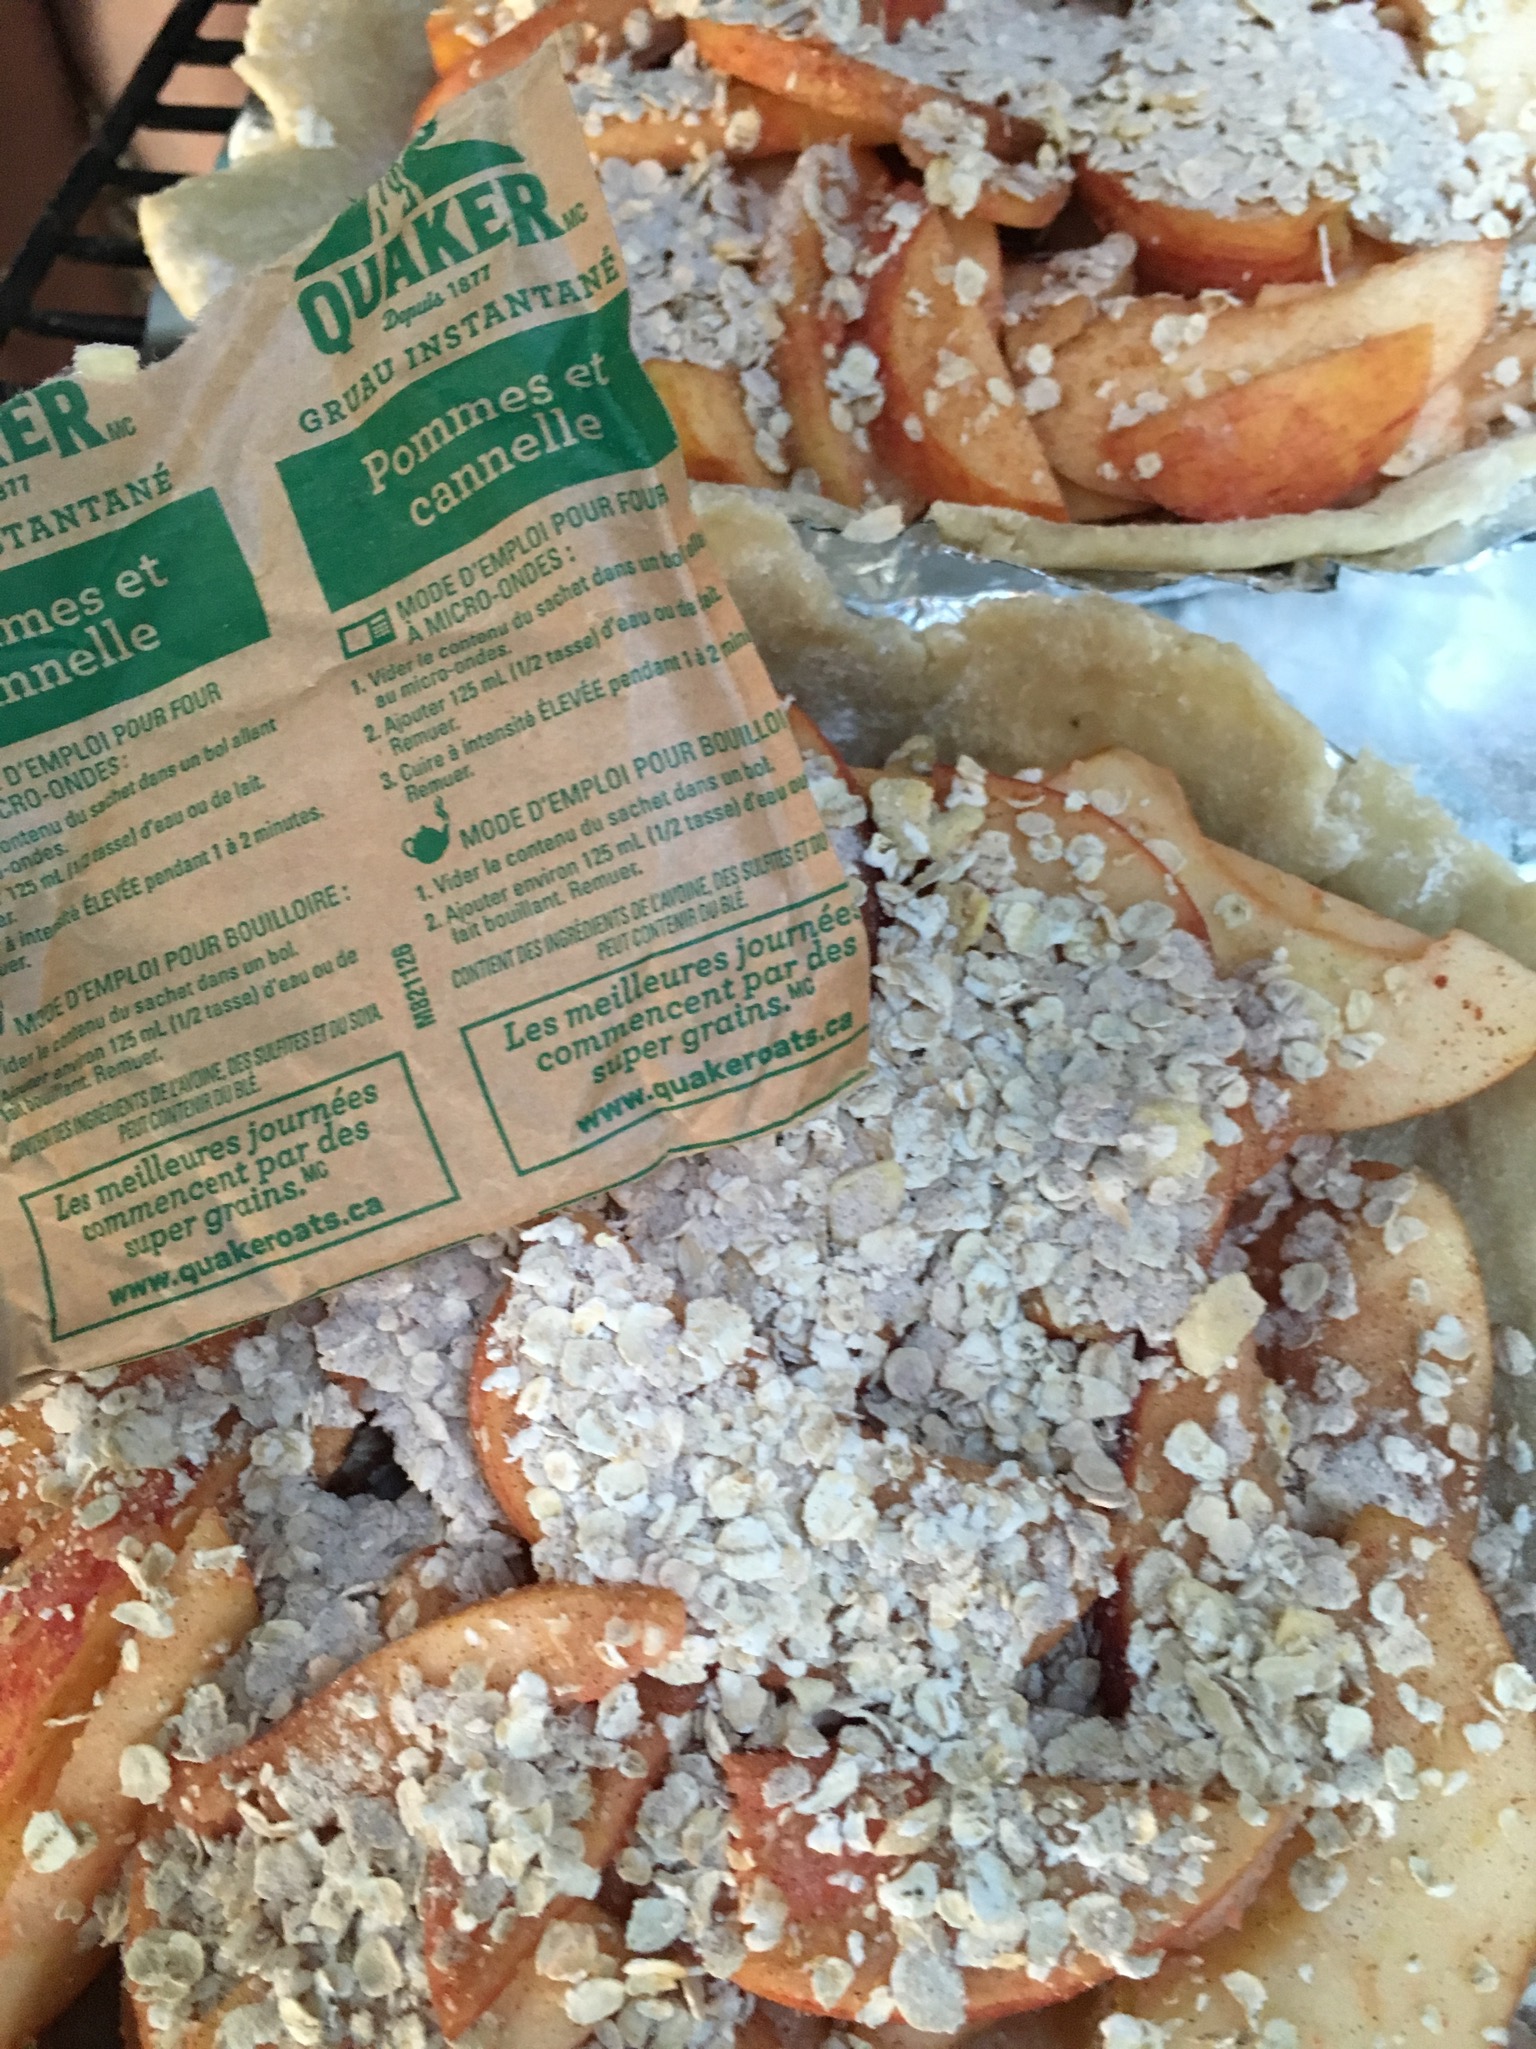
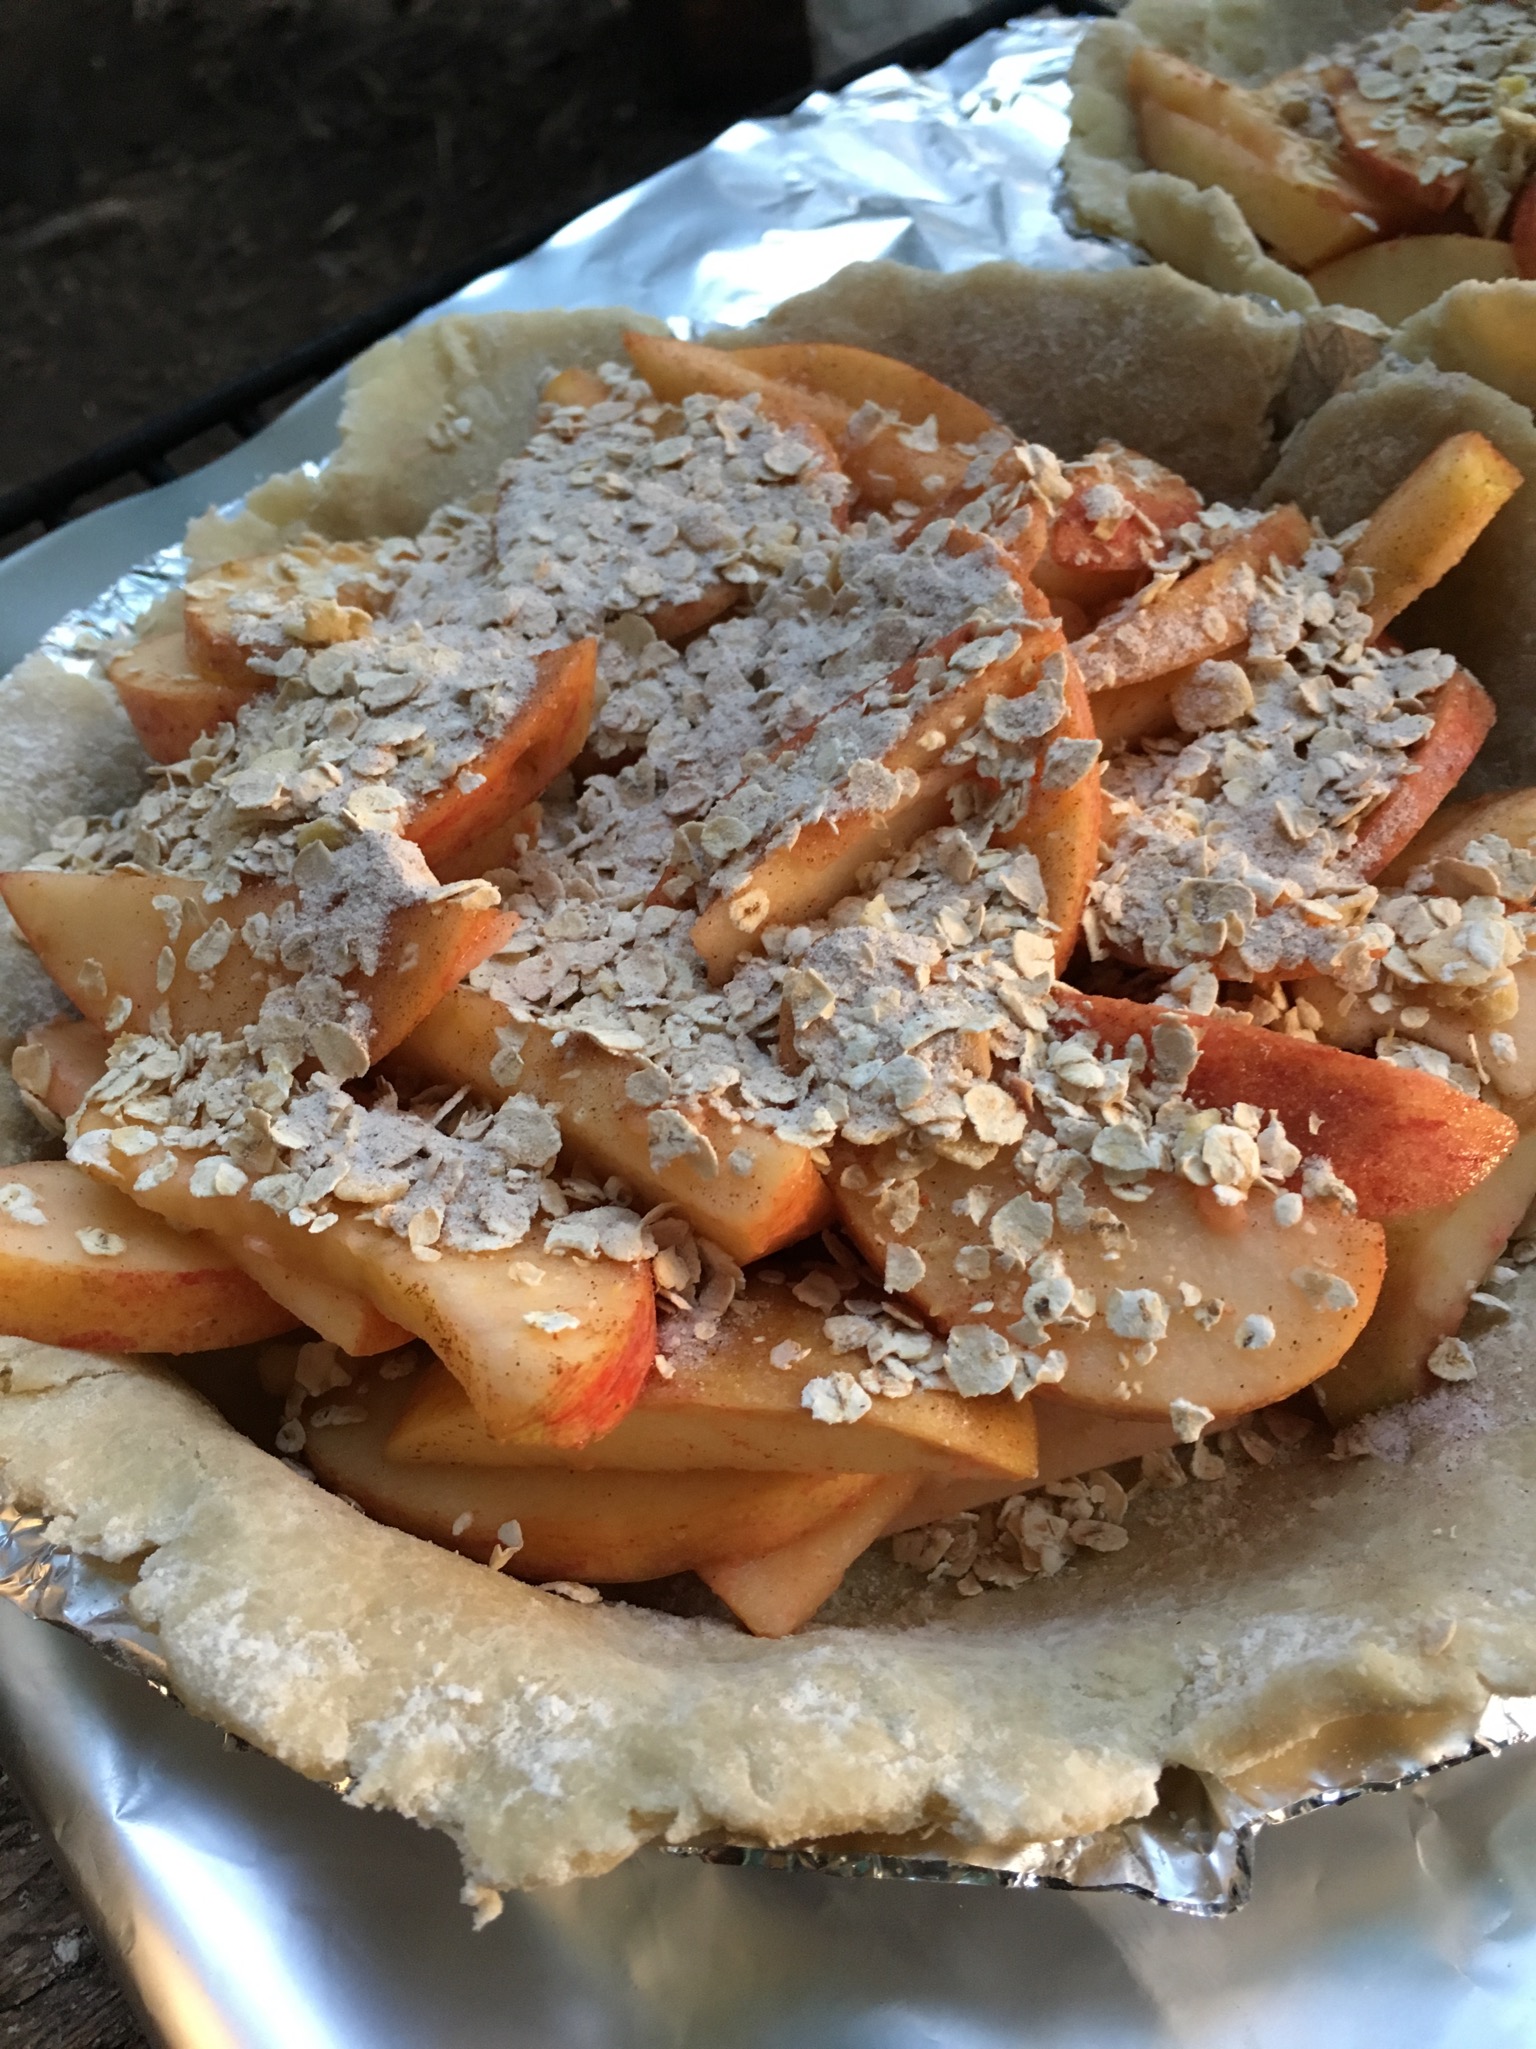
  2.  While the oven is preheating, place the two pie shells on a grate (it will make it easier to move the pies in and out of the oven on the grate rather than two flimsy pie shells separately). Divide the apple mixture into the two pie shells. Top each pie with a package of instant oatmeal. (Apple cinnamon preferable, if you have it!)
  3. It's bakin' time! Using an oven mit, place your grate carrying the two pies into your oven. Close the door. And put the timer on for an hour. Depending on the ambient temperature and the air tightness of the oven it will take anywhere from 45 minutes to an hour and a half. We also rotated the pies once as well to keep the bottoms from burning. 
  4. Sit back and enjoy that apple pie smell. 
  5. Once the pies are done, which you can tell by how soft the apples are, out the oven they come. Turn off the burners and let the oven cool Completely before attempting to disassemble it. (Or don't and use it again to bake birthday cake!!! =D)
IMG_1989.jpg

It was quite the adventure. TL;DR: Would do again. <3

-Andrea 

The Half-Assed Hobbyist


Pressed Forever

I am always impressed with Mother Nature's ability to create beautiful things. 

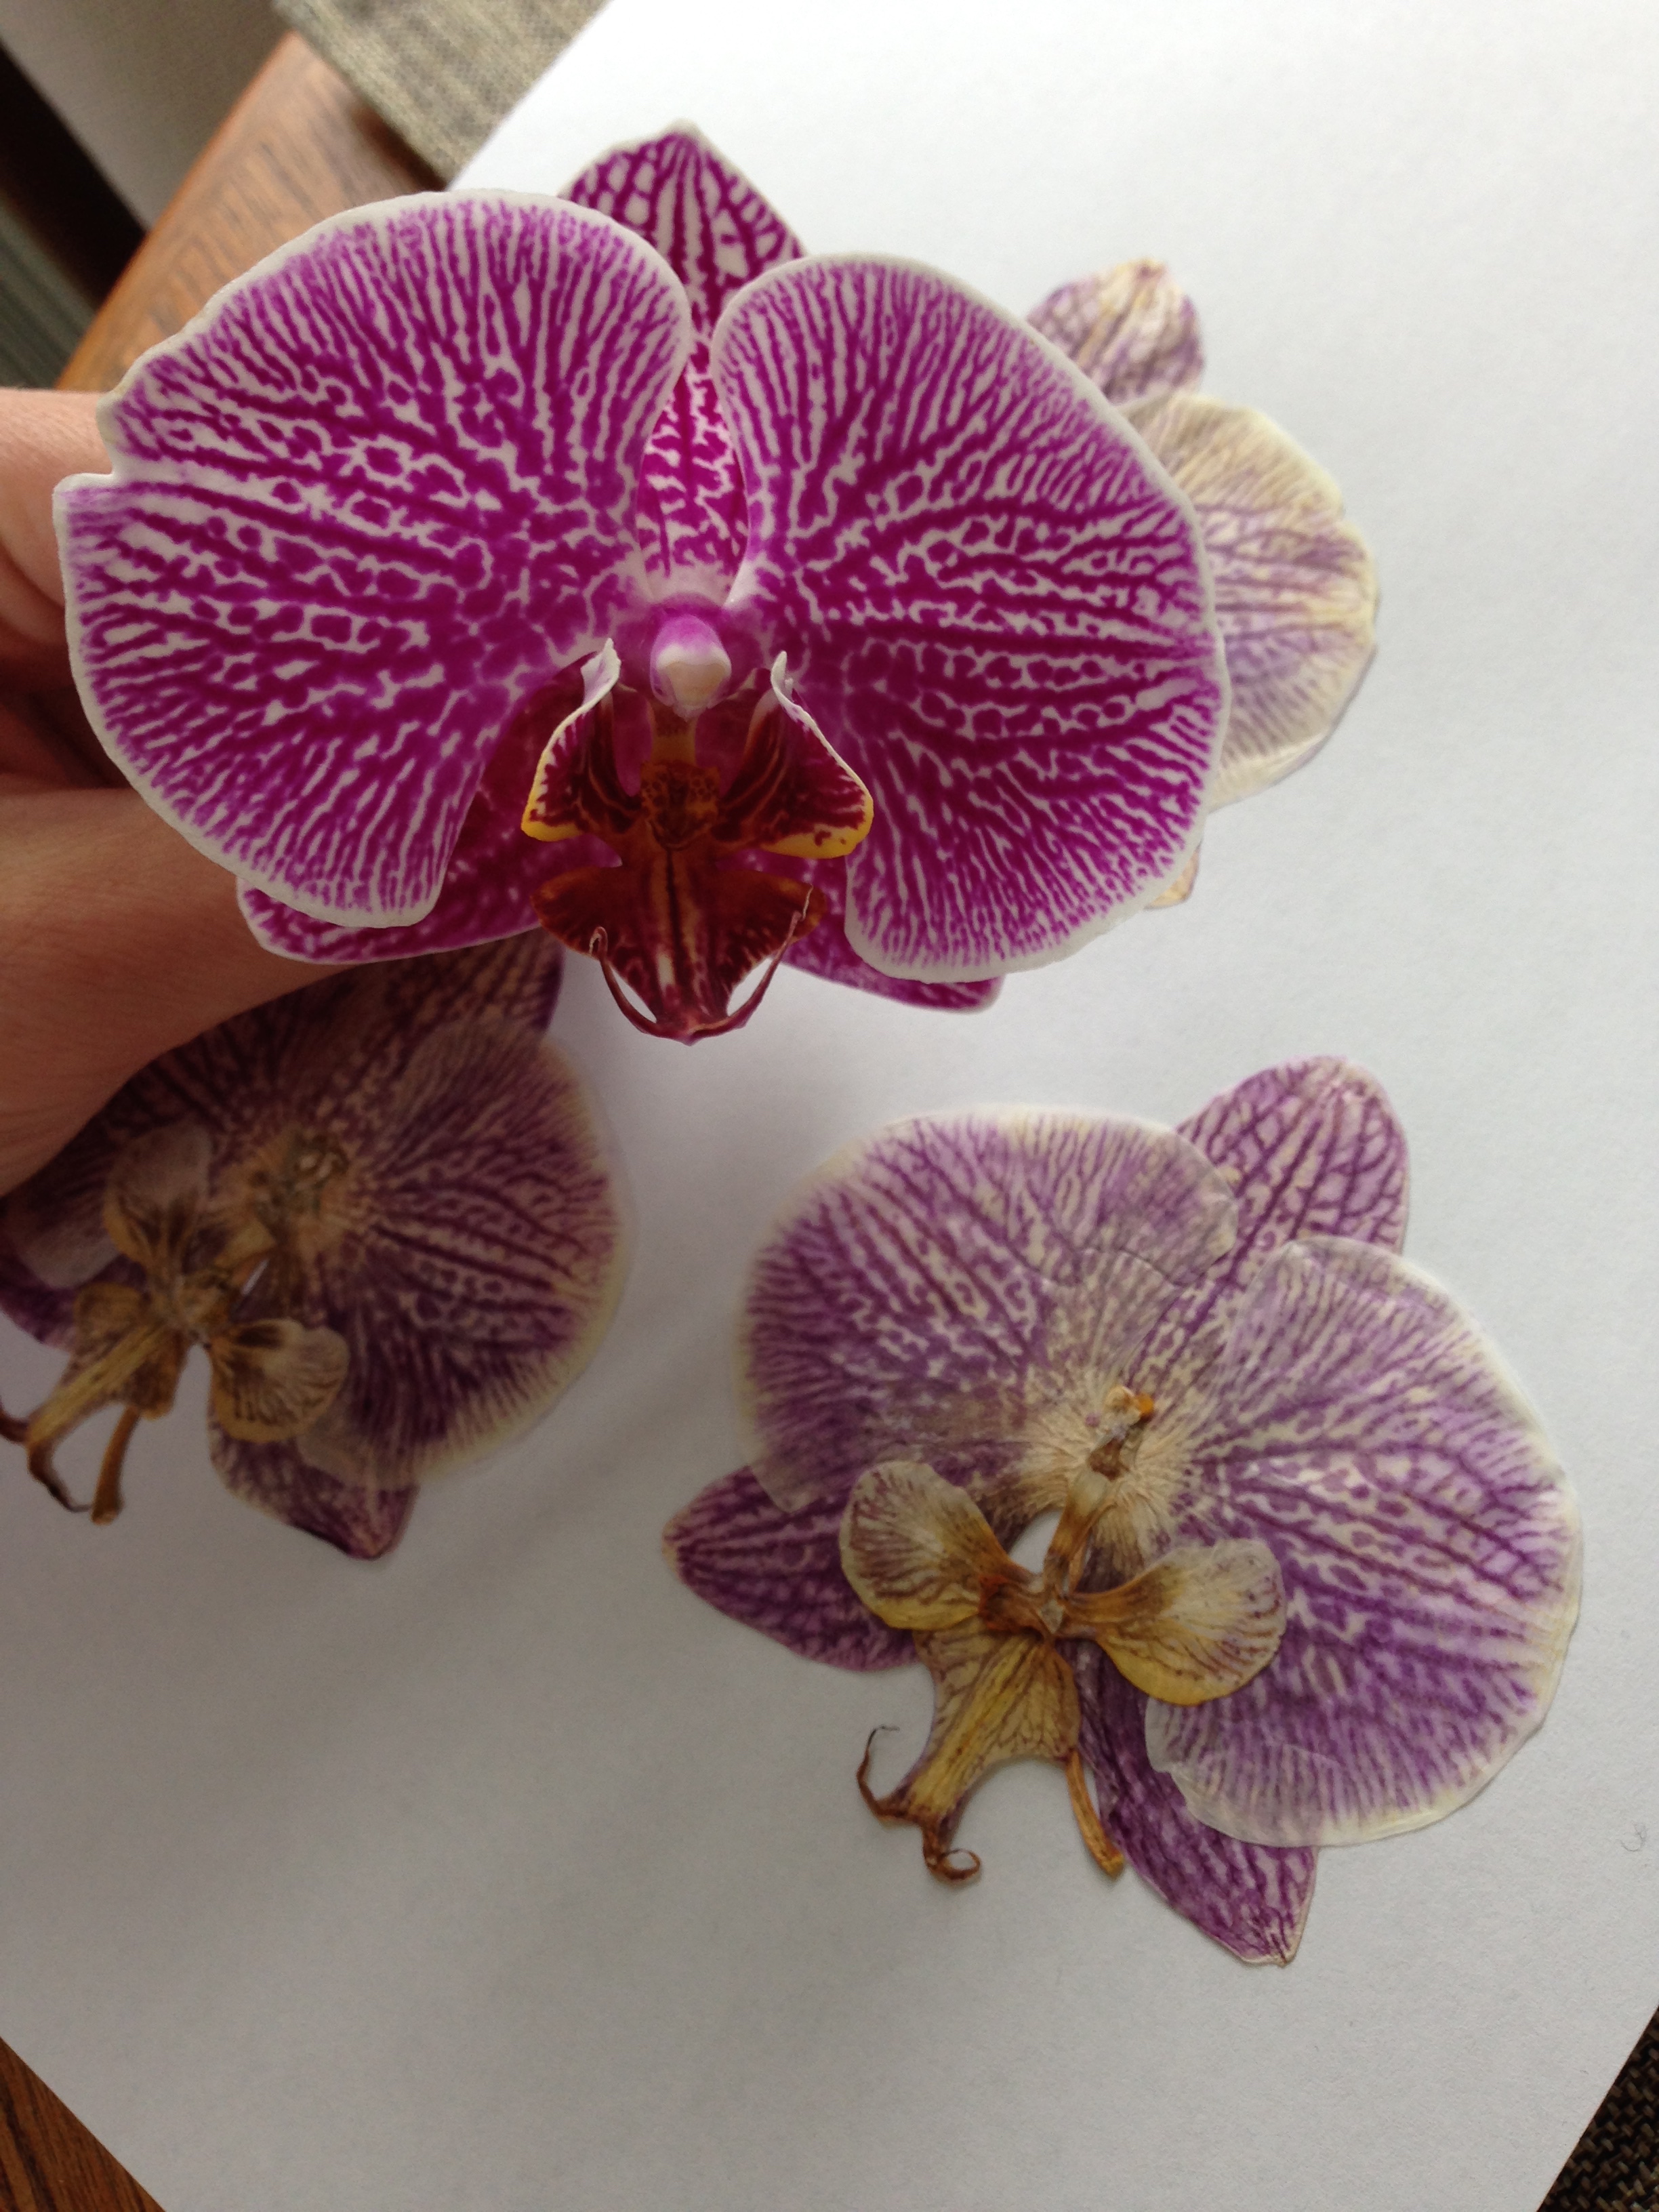
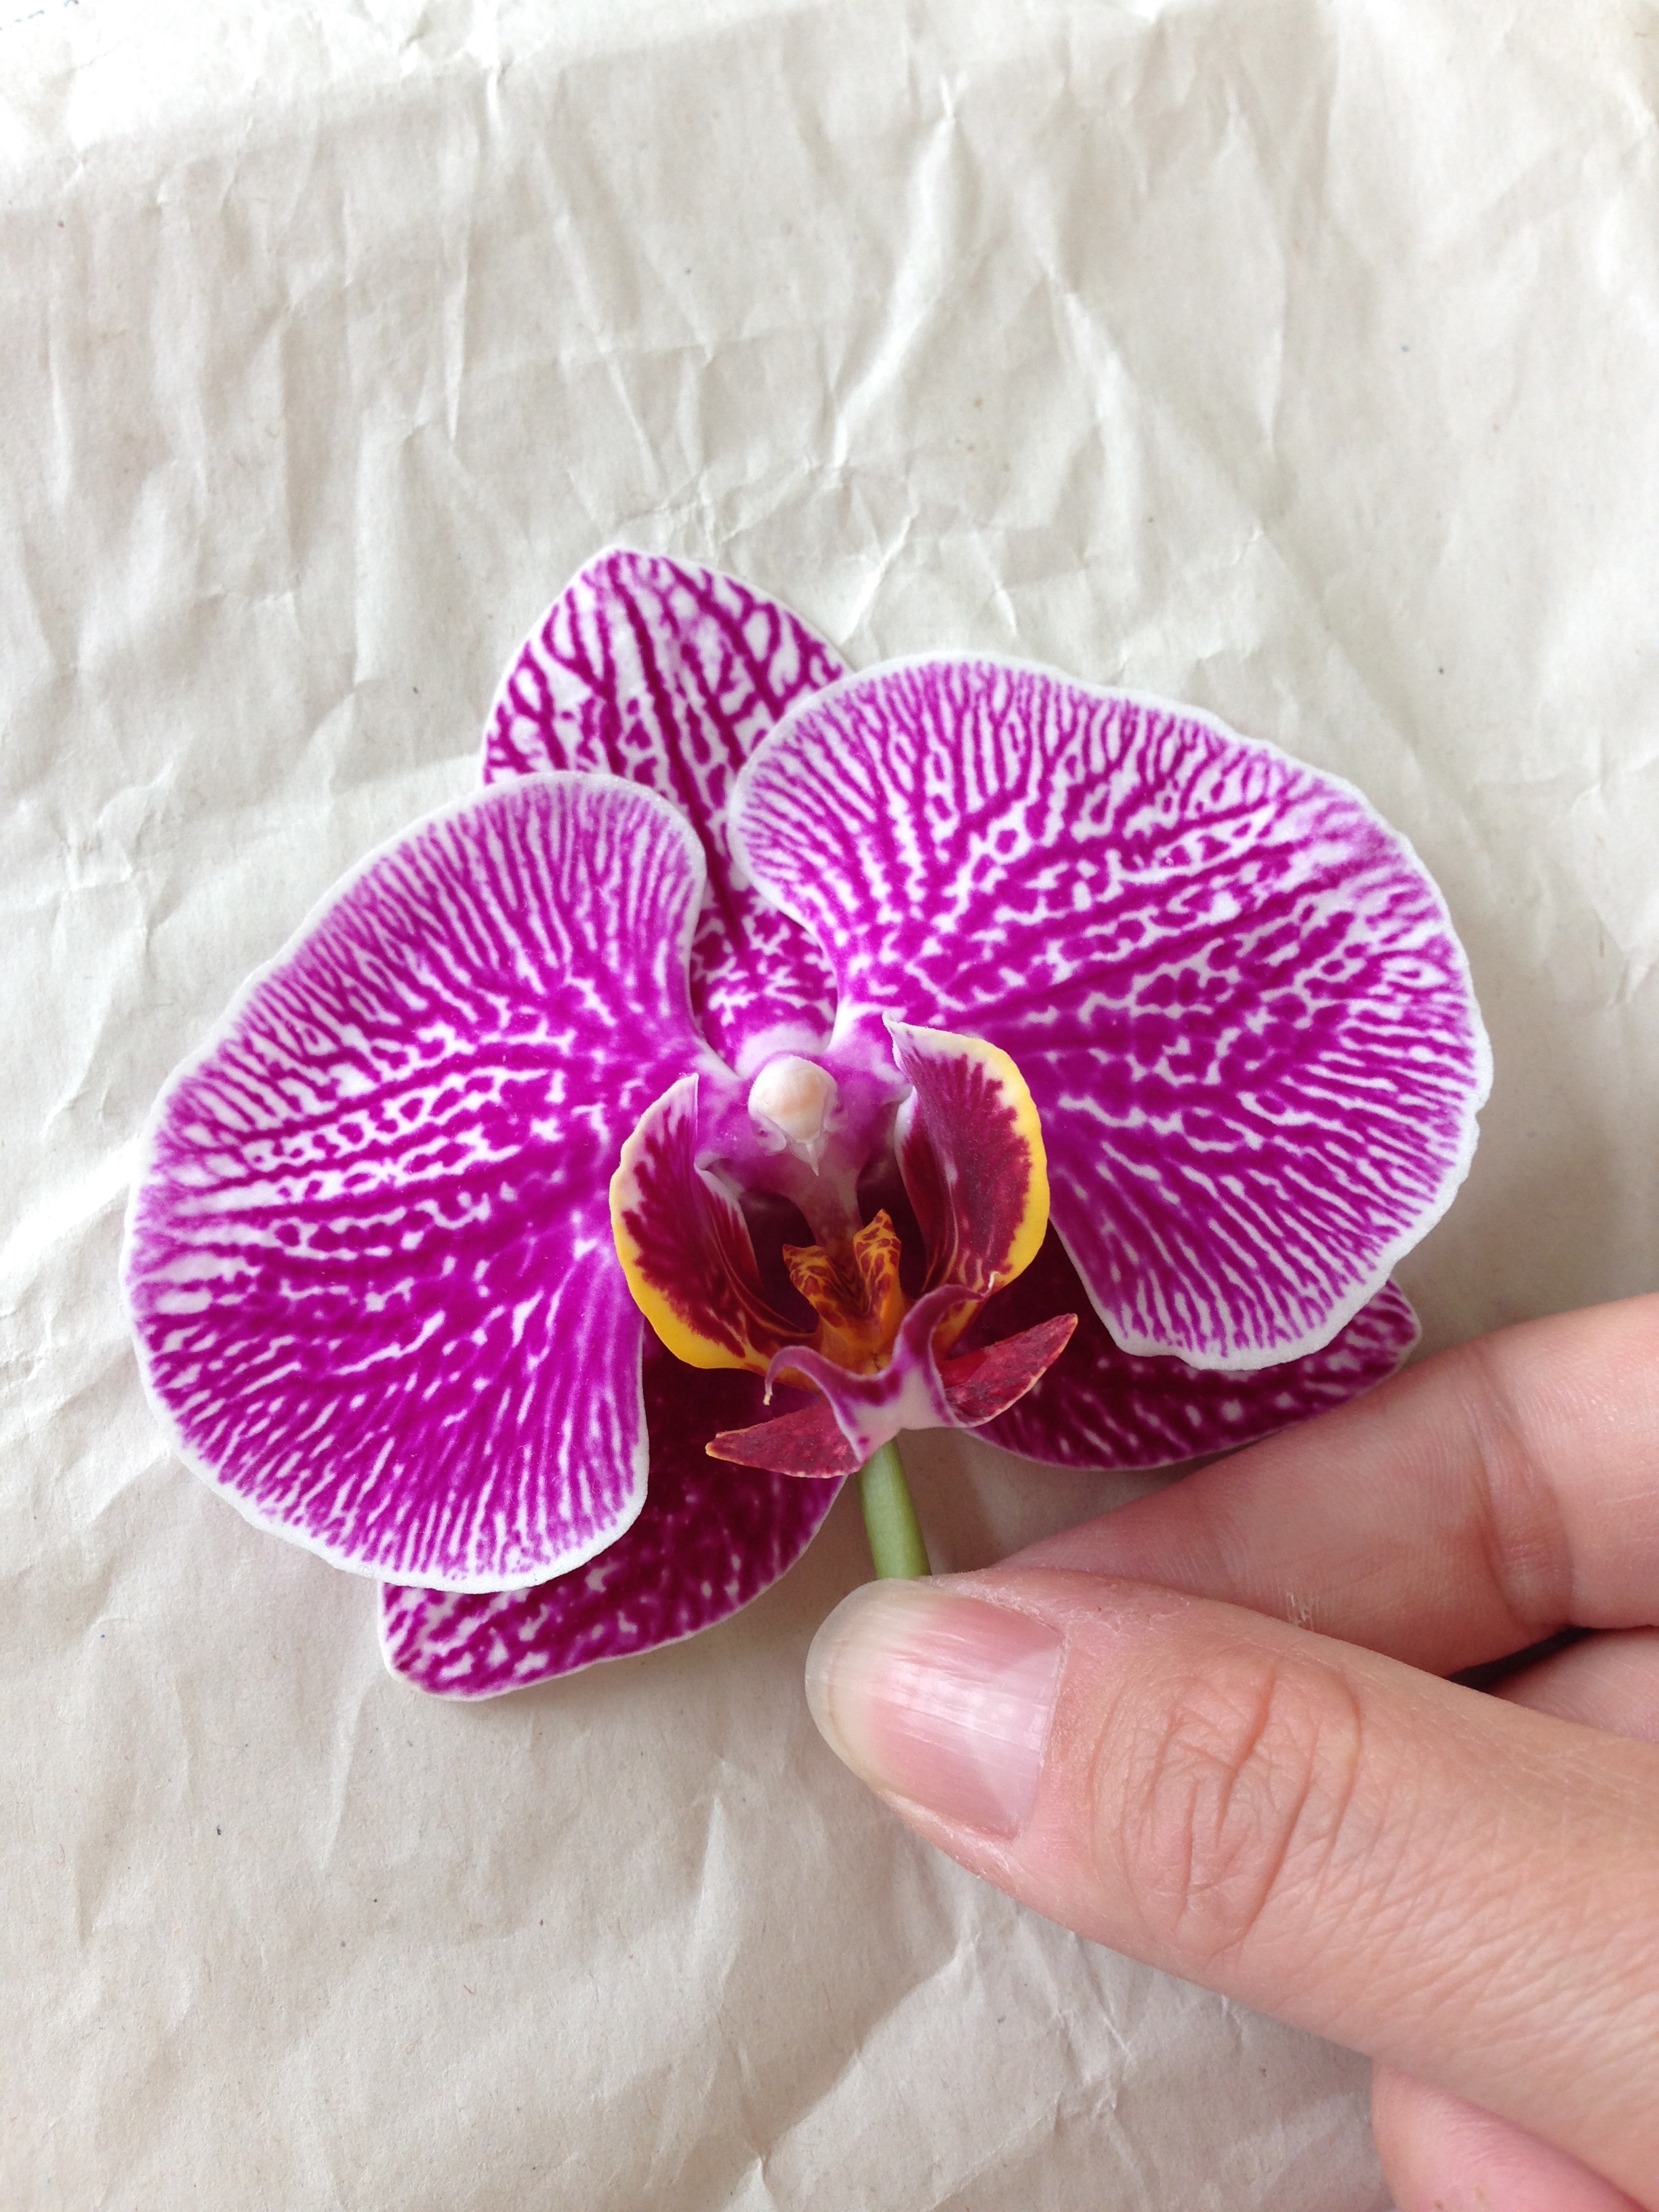
I have posted before about this orchid. I've had for a number of years now. This past year it finally bloomed though, and I was ecstatic! These beautiful pink blooms are the most fantastic I've seen.

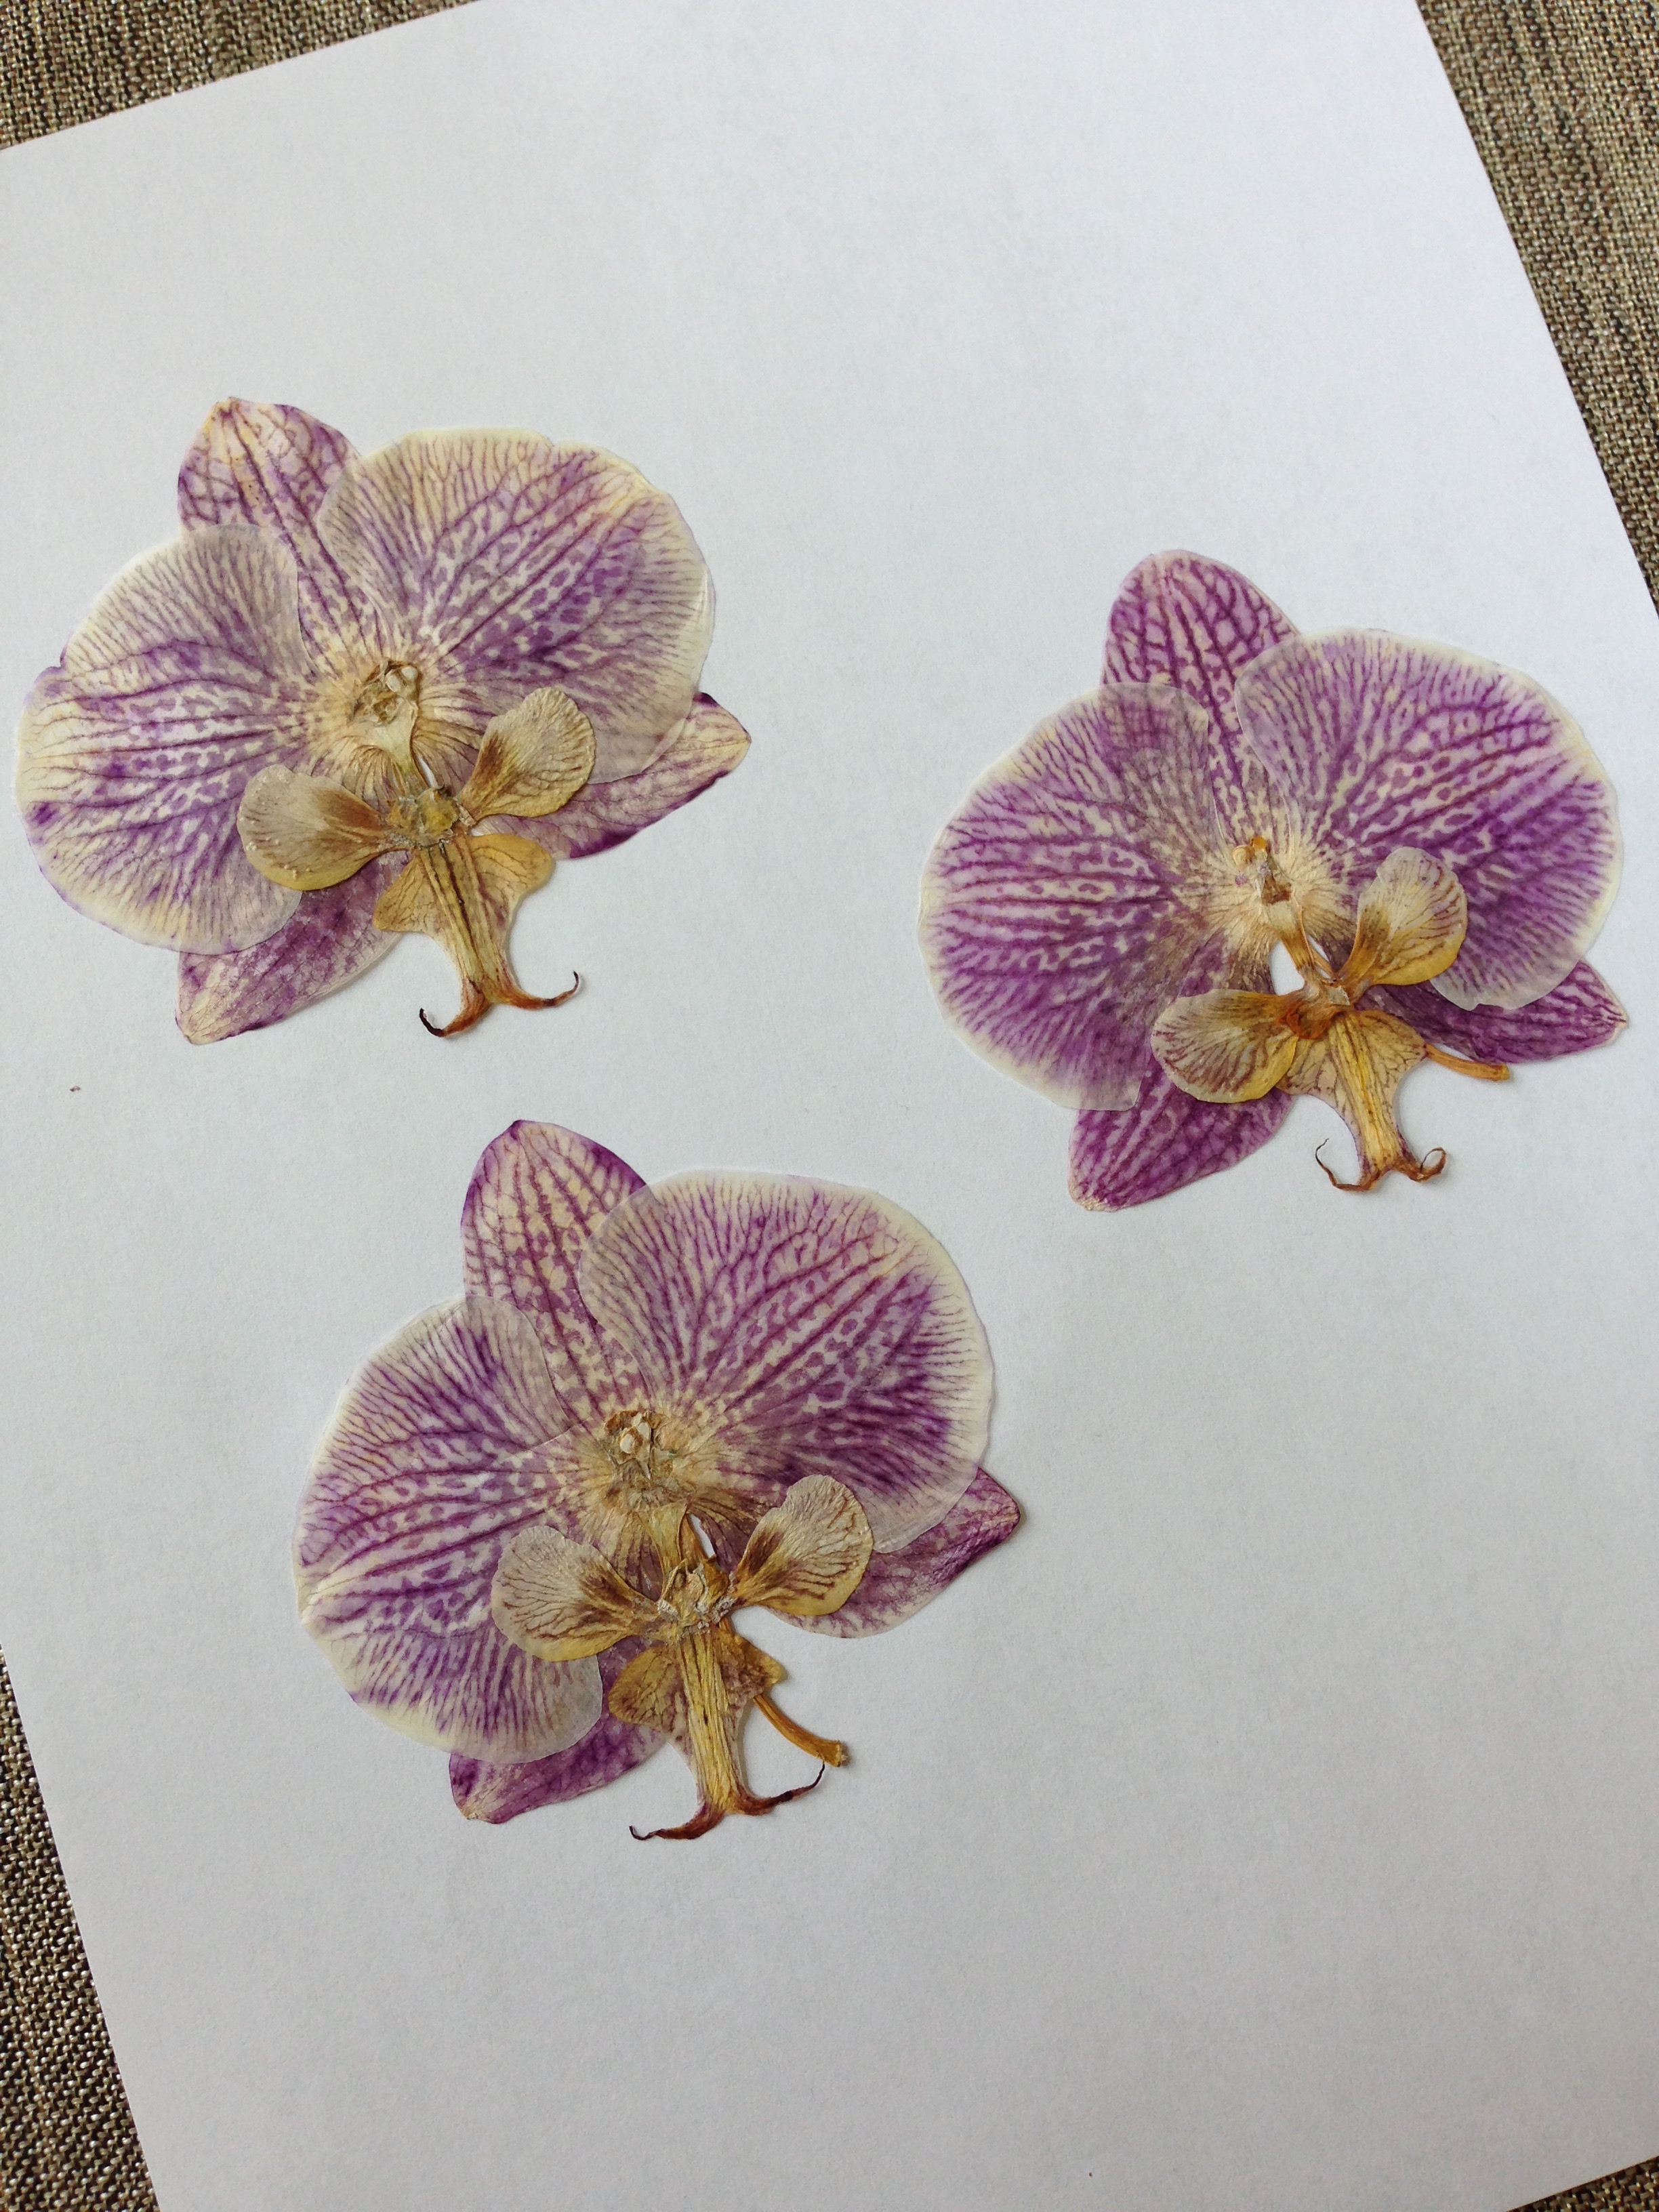
It was a sad moment when they started drooping, at the end of their bloom life. So I thought, why not press them? I didn't know whether or not you could actually press orchid blooms so I did a little googling and the answer came up yes! So into the most ridiculously huge textbook I had they went - University Physics, of course. I pressed them in between acid free packing paper I had laying around from moving the china from E-town. 

Now is was a waiting game. 

I waited for 4 months, from April to August. I've heard some flowers can take up to 6 months but I wanted to take a peak. I was not disappointed. the colour slightly dulled but the forms were perfect! My little bloom friends, pressed forever. 

My orchid had since bloomed again (with handy tricks from the internet again). The blooms recently were starting their droopy decent. With my book free from flowers once more it was time to fill'er up! This time though, I lightly spritzed the flowers with a vinegar-water mist. Hopefully the acidity with help them hold their colour better. Fingers crossed. 

Regardless though. They will be beautiful. My Forever Flowers. 

-Andrea

The Half-Assed Hobbyist

Mead Making

In an unsurprising turn of events, I have made friends with some yeasty fellows. The story of how we met is a rather fun one! Once upon a time....

Ok ok. In all seriousness though. A couple months ago my lovely lady friend Gloria attempted to set up a friend date with myself and her friend Donna. It was going to be an afternoon Introduction to Mead Making class, and I was super excited. Unfortunately though, the mead class was moved and we had to cancel the date. Sad Panda. But! It was always meant to be! Another mead class was found and the date set! The Depanneur, a very neat kitchen space on College near Dufferin, was hosting a mead making night with Fran Freeman, an urban beekeeper here in Toronto. 

The date back on, Gloria, Donna, Donna's GF and myself, all met up at The Depanneur, along with the rest of mead making class, and had a round of introductions. It was a neat class, starting off with some history of mead and mead making. Like how there are records of bee keeping in ancient Egypt! And where there is honey and environmental yeasts, there is mead!

Most of our other friend date compatriots were interested in either urban beekeeping or home brewing mead. For me, it was all about the mead. We were given a simple recipe for a melomel mead. (Melomel being a fruit and spiced mead). It's for a cooked mead. Apparently you can not heat the mead and ferment using natural environmental yeasts but the results can vary dramatically. So a cooked mead-ing we will go.  

Melomel Mead

This recipe make 1 gallon or two X 1/2 gallon growlers. (Which you can buy for $5 from Toronto Brewing. Easy Peasy.)

1 pkg brewer's yeast
2/3 gallon (~11 cups) filtered or distilled water
2-4 lbs honey
2 tsp tartaric acid
2 1/2 tsp malic acid
1 tsp yeast nutrient (rehydrated)

Spice Packet:
1-2 tea bags
zest of a lemon
zest of an orange
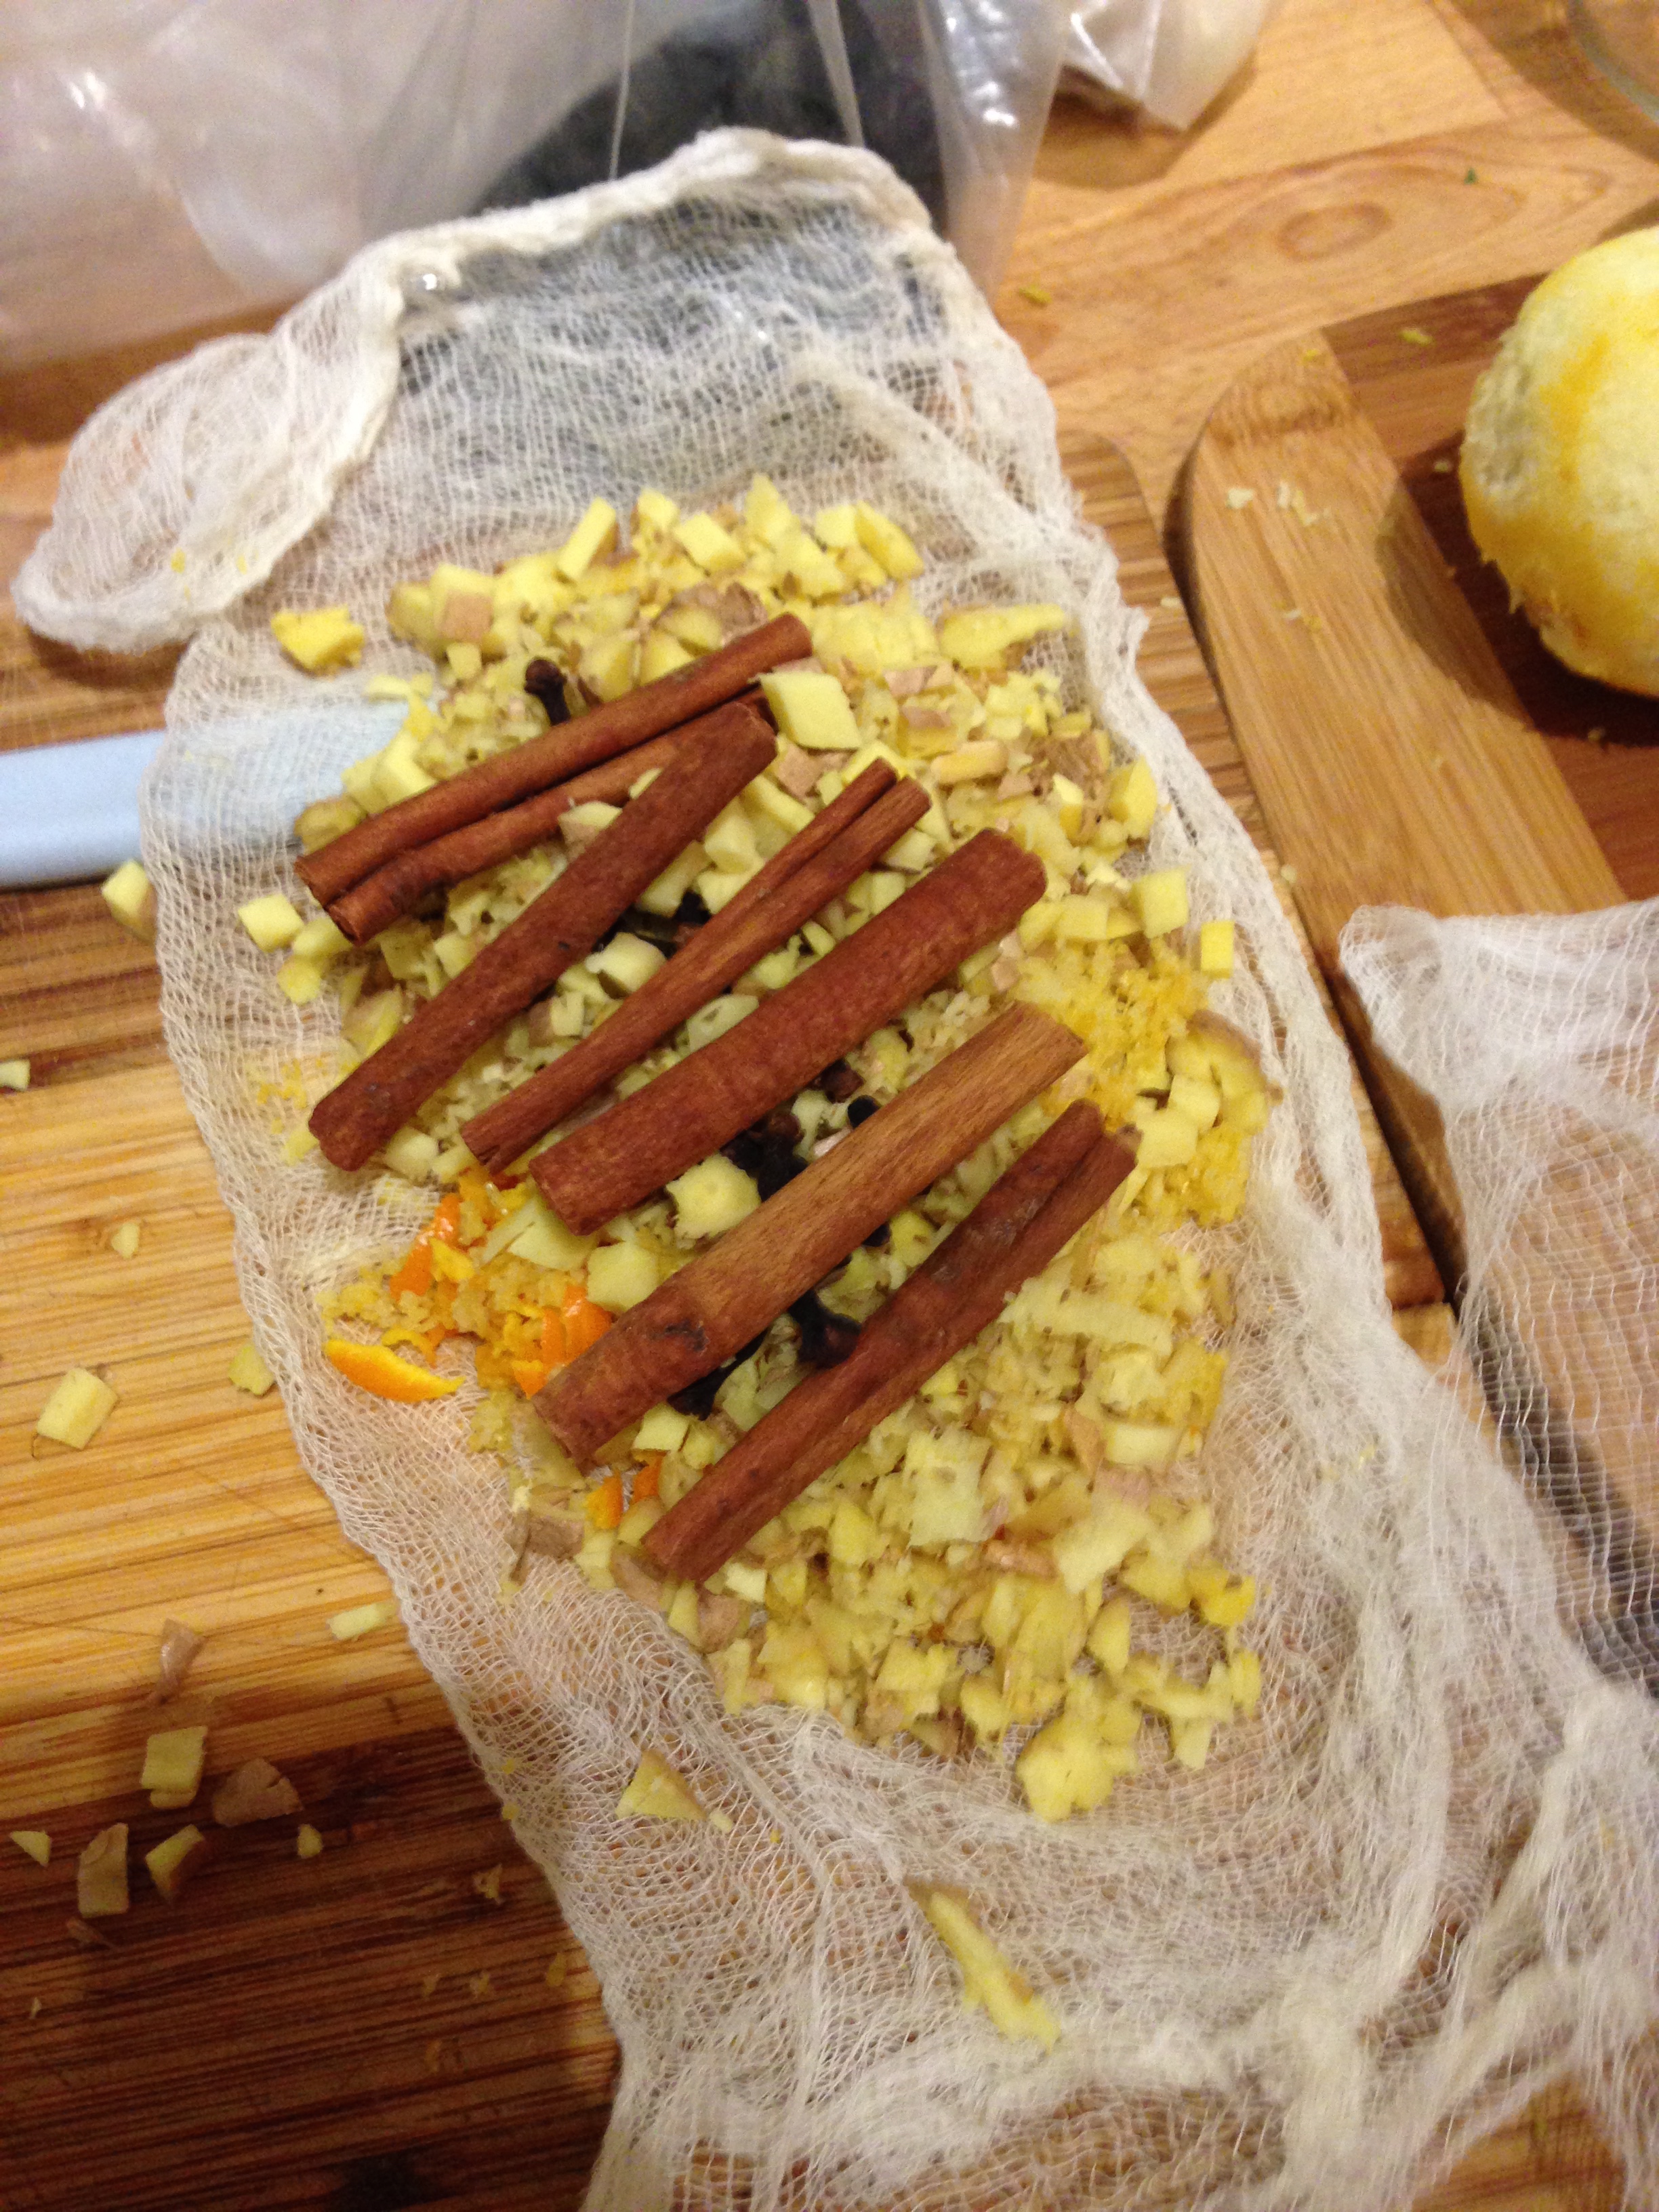
grated ginger
2 cinnamon sticks
6 cloves

  1. Clean and sanitize all equipment. I used a product called StarSan. Rinse, let air dry, done.
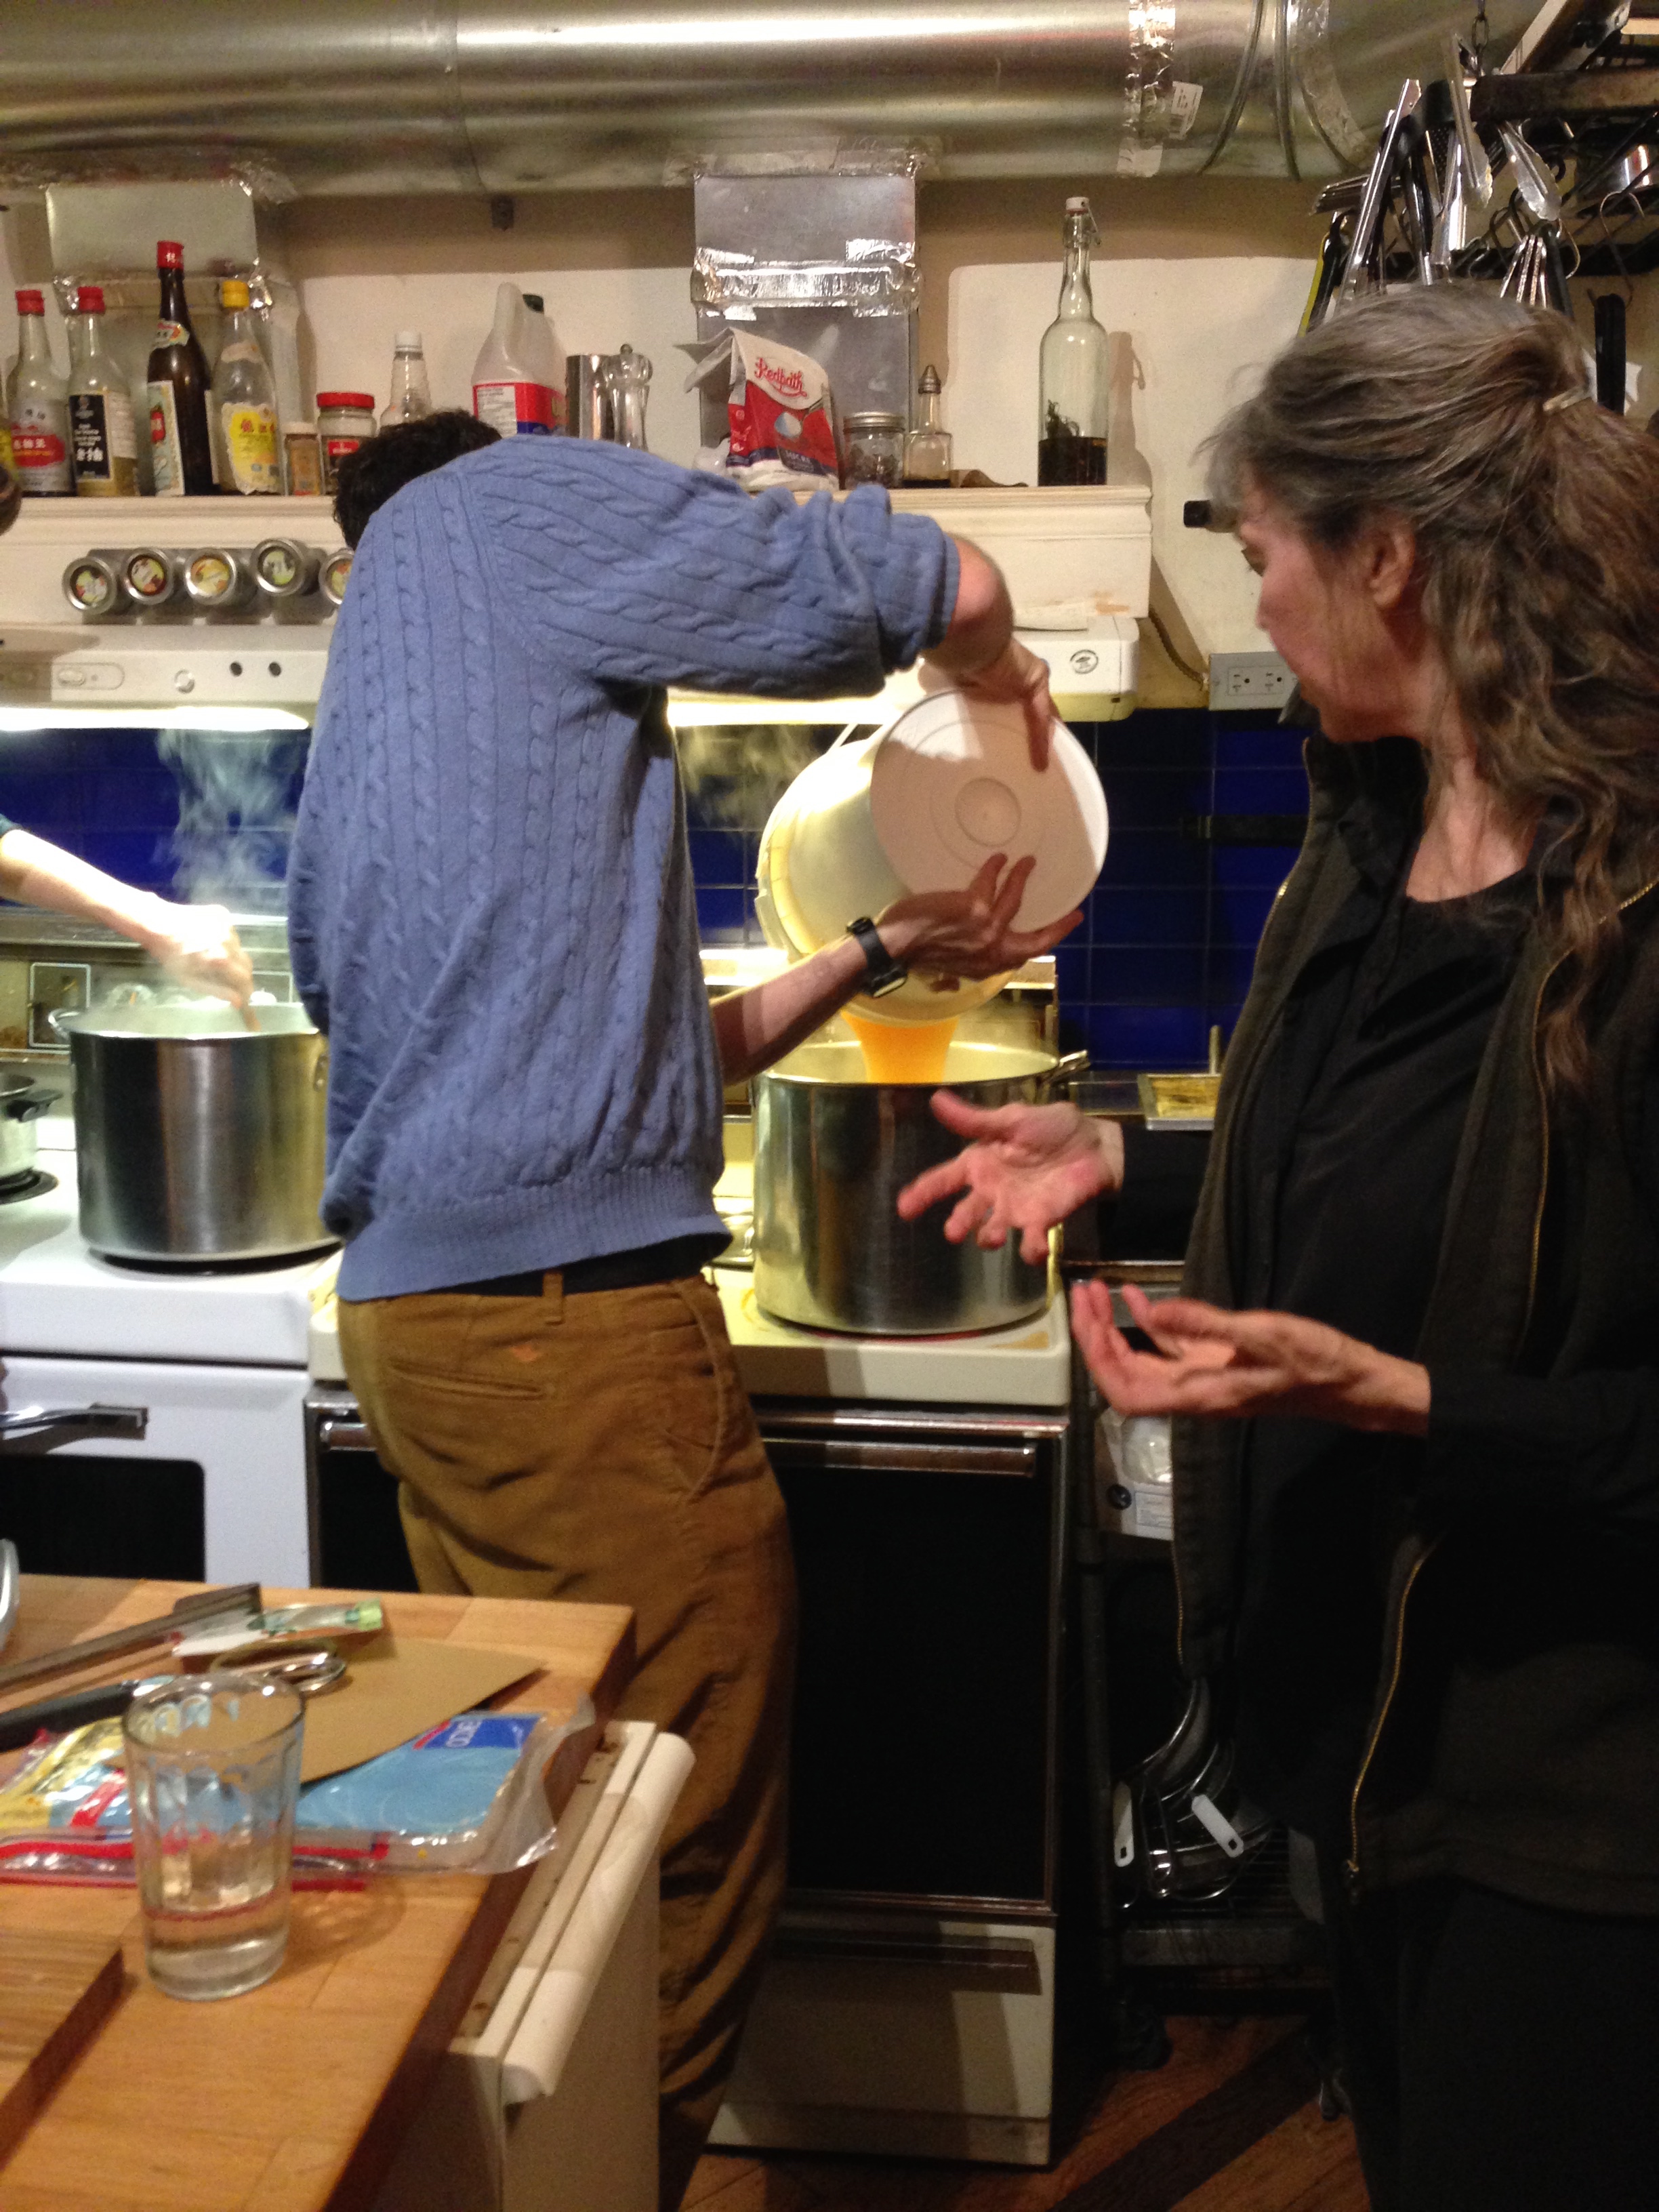
  2. In a large stock pot, bring water, and a cheese cloth packet containing spice packet ingredients, to a boil. 
  3. Add acid powders to 'must' (aka the boiling spice water, in this case). 
  4. Reduce heat and simmer for an ~40 minutes.
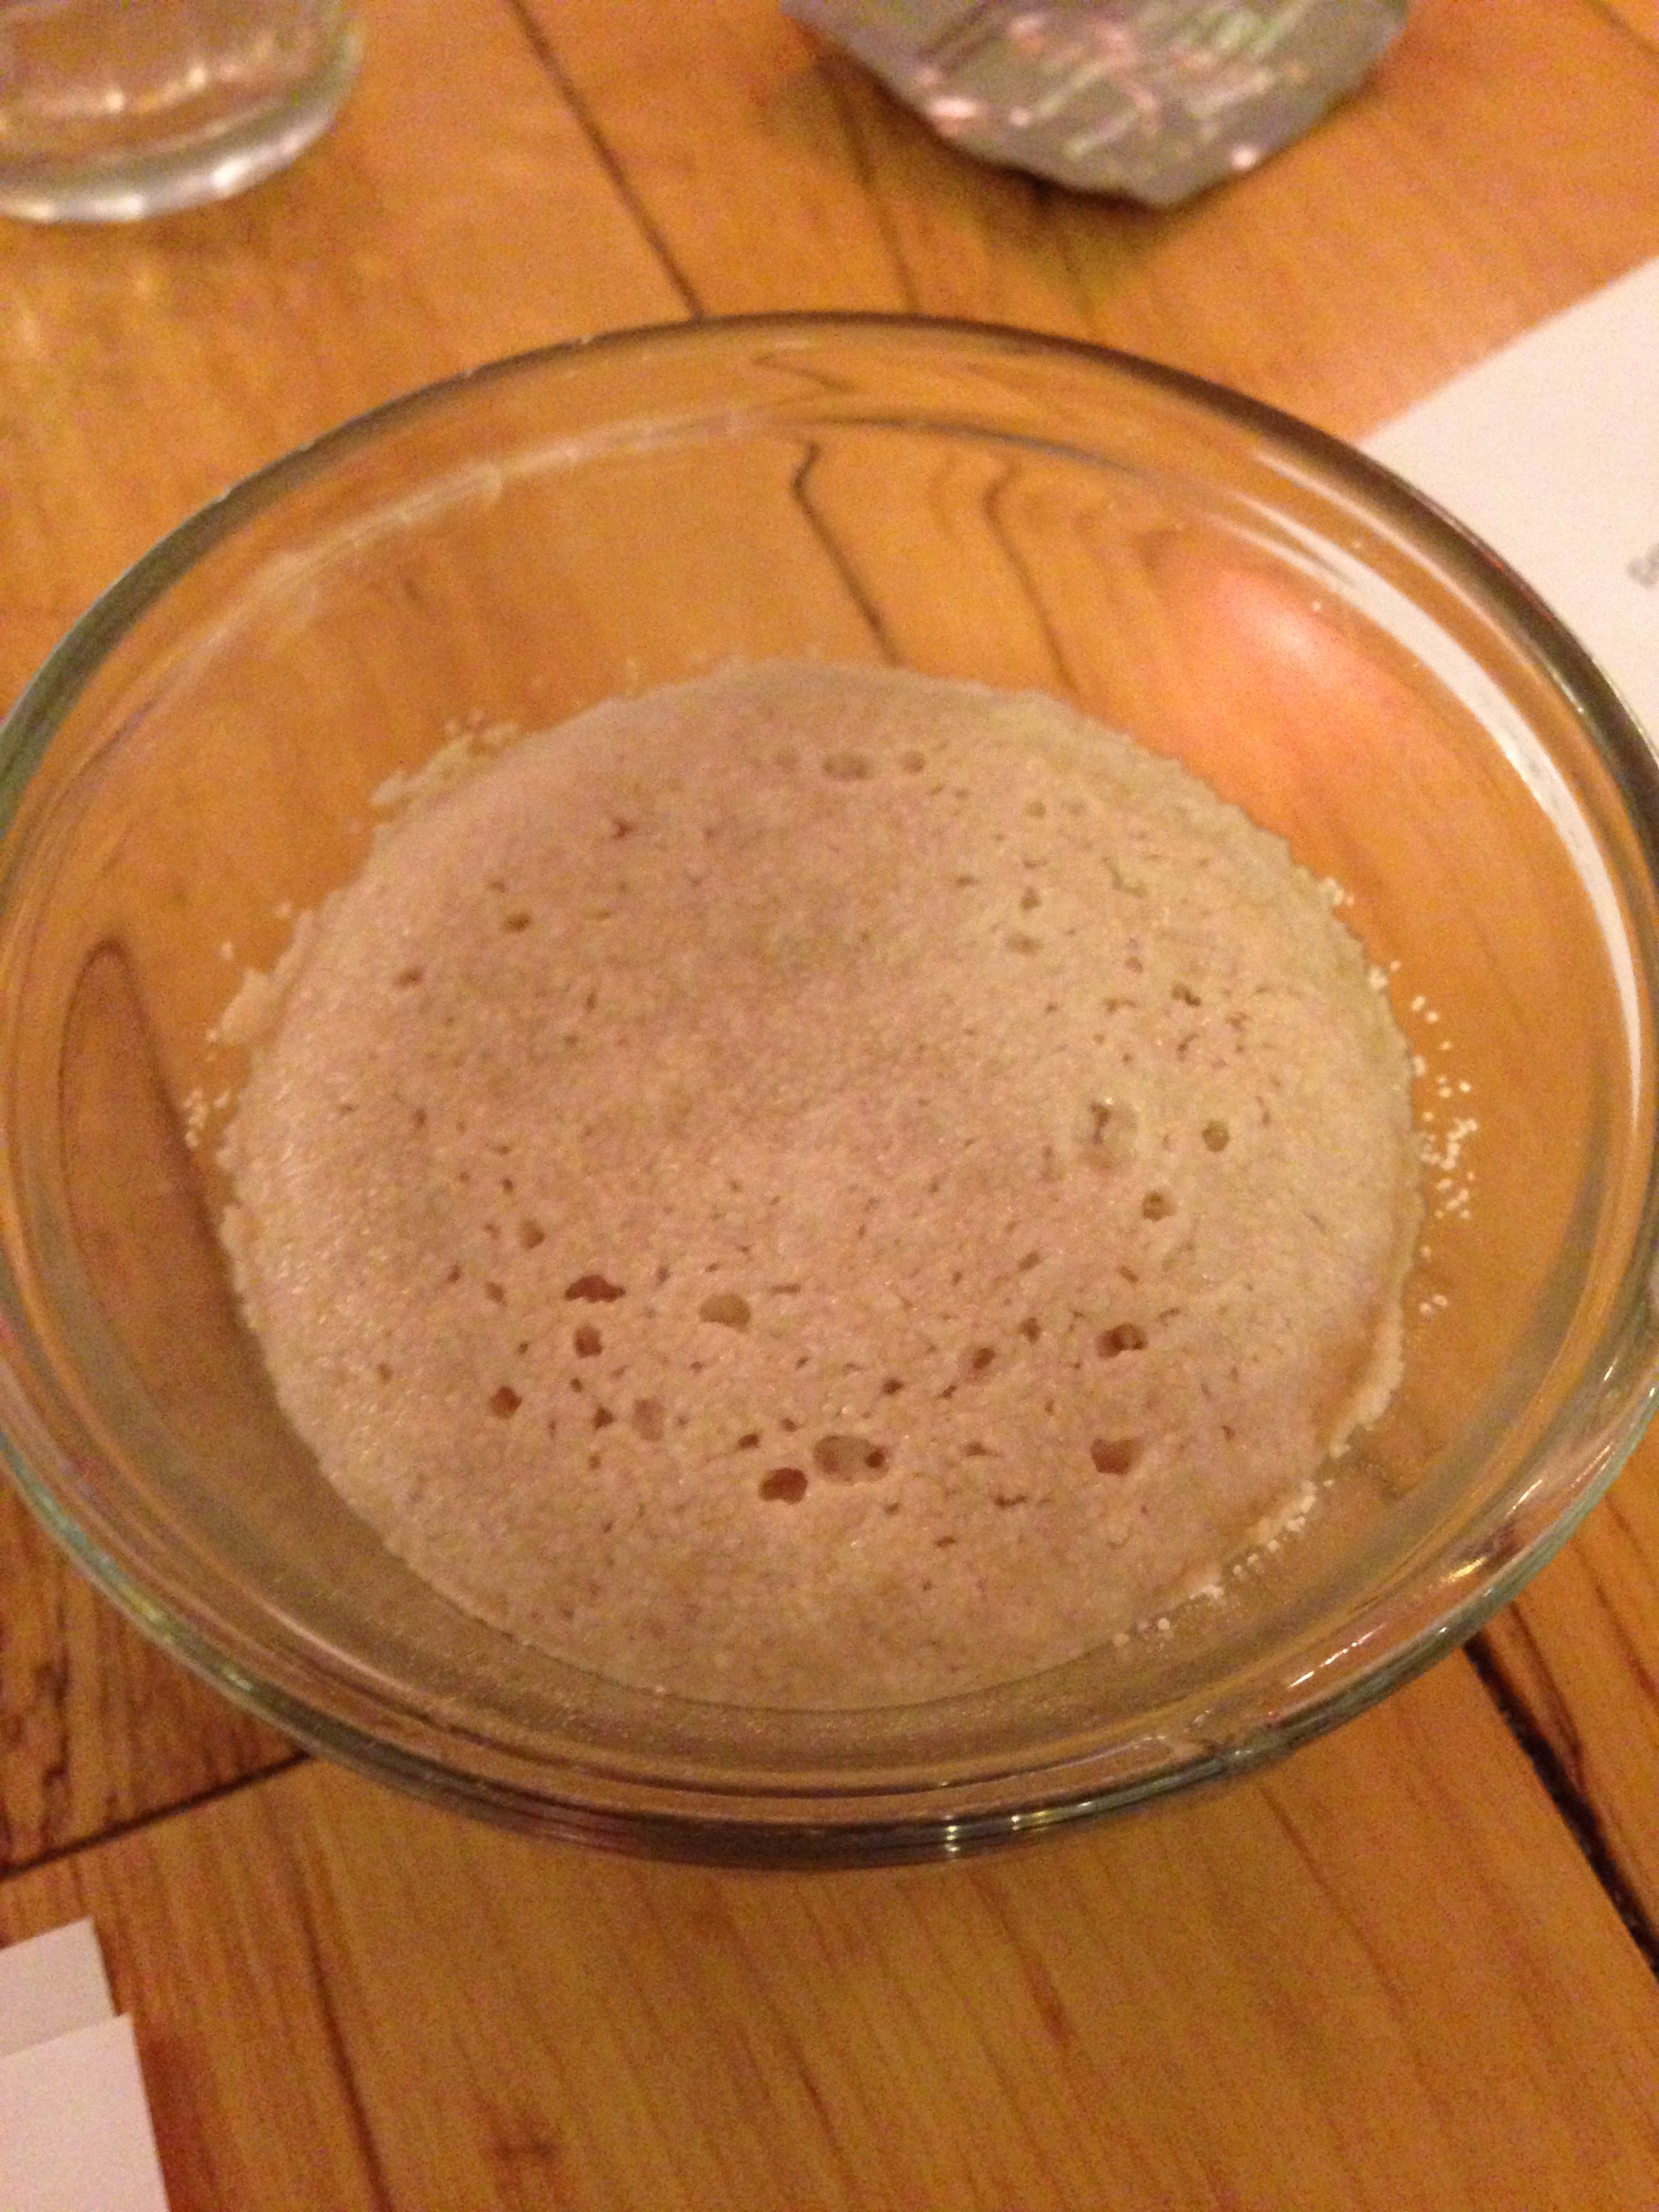
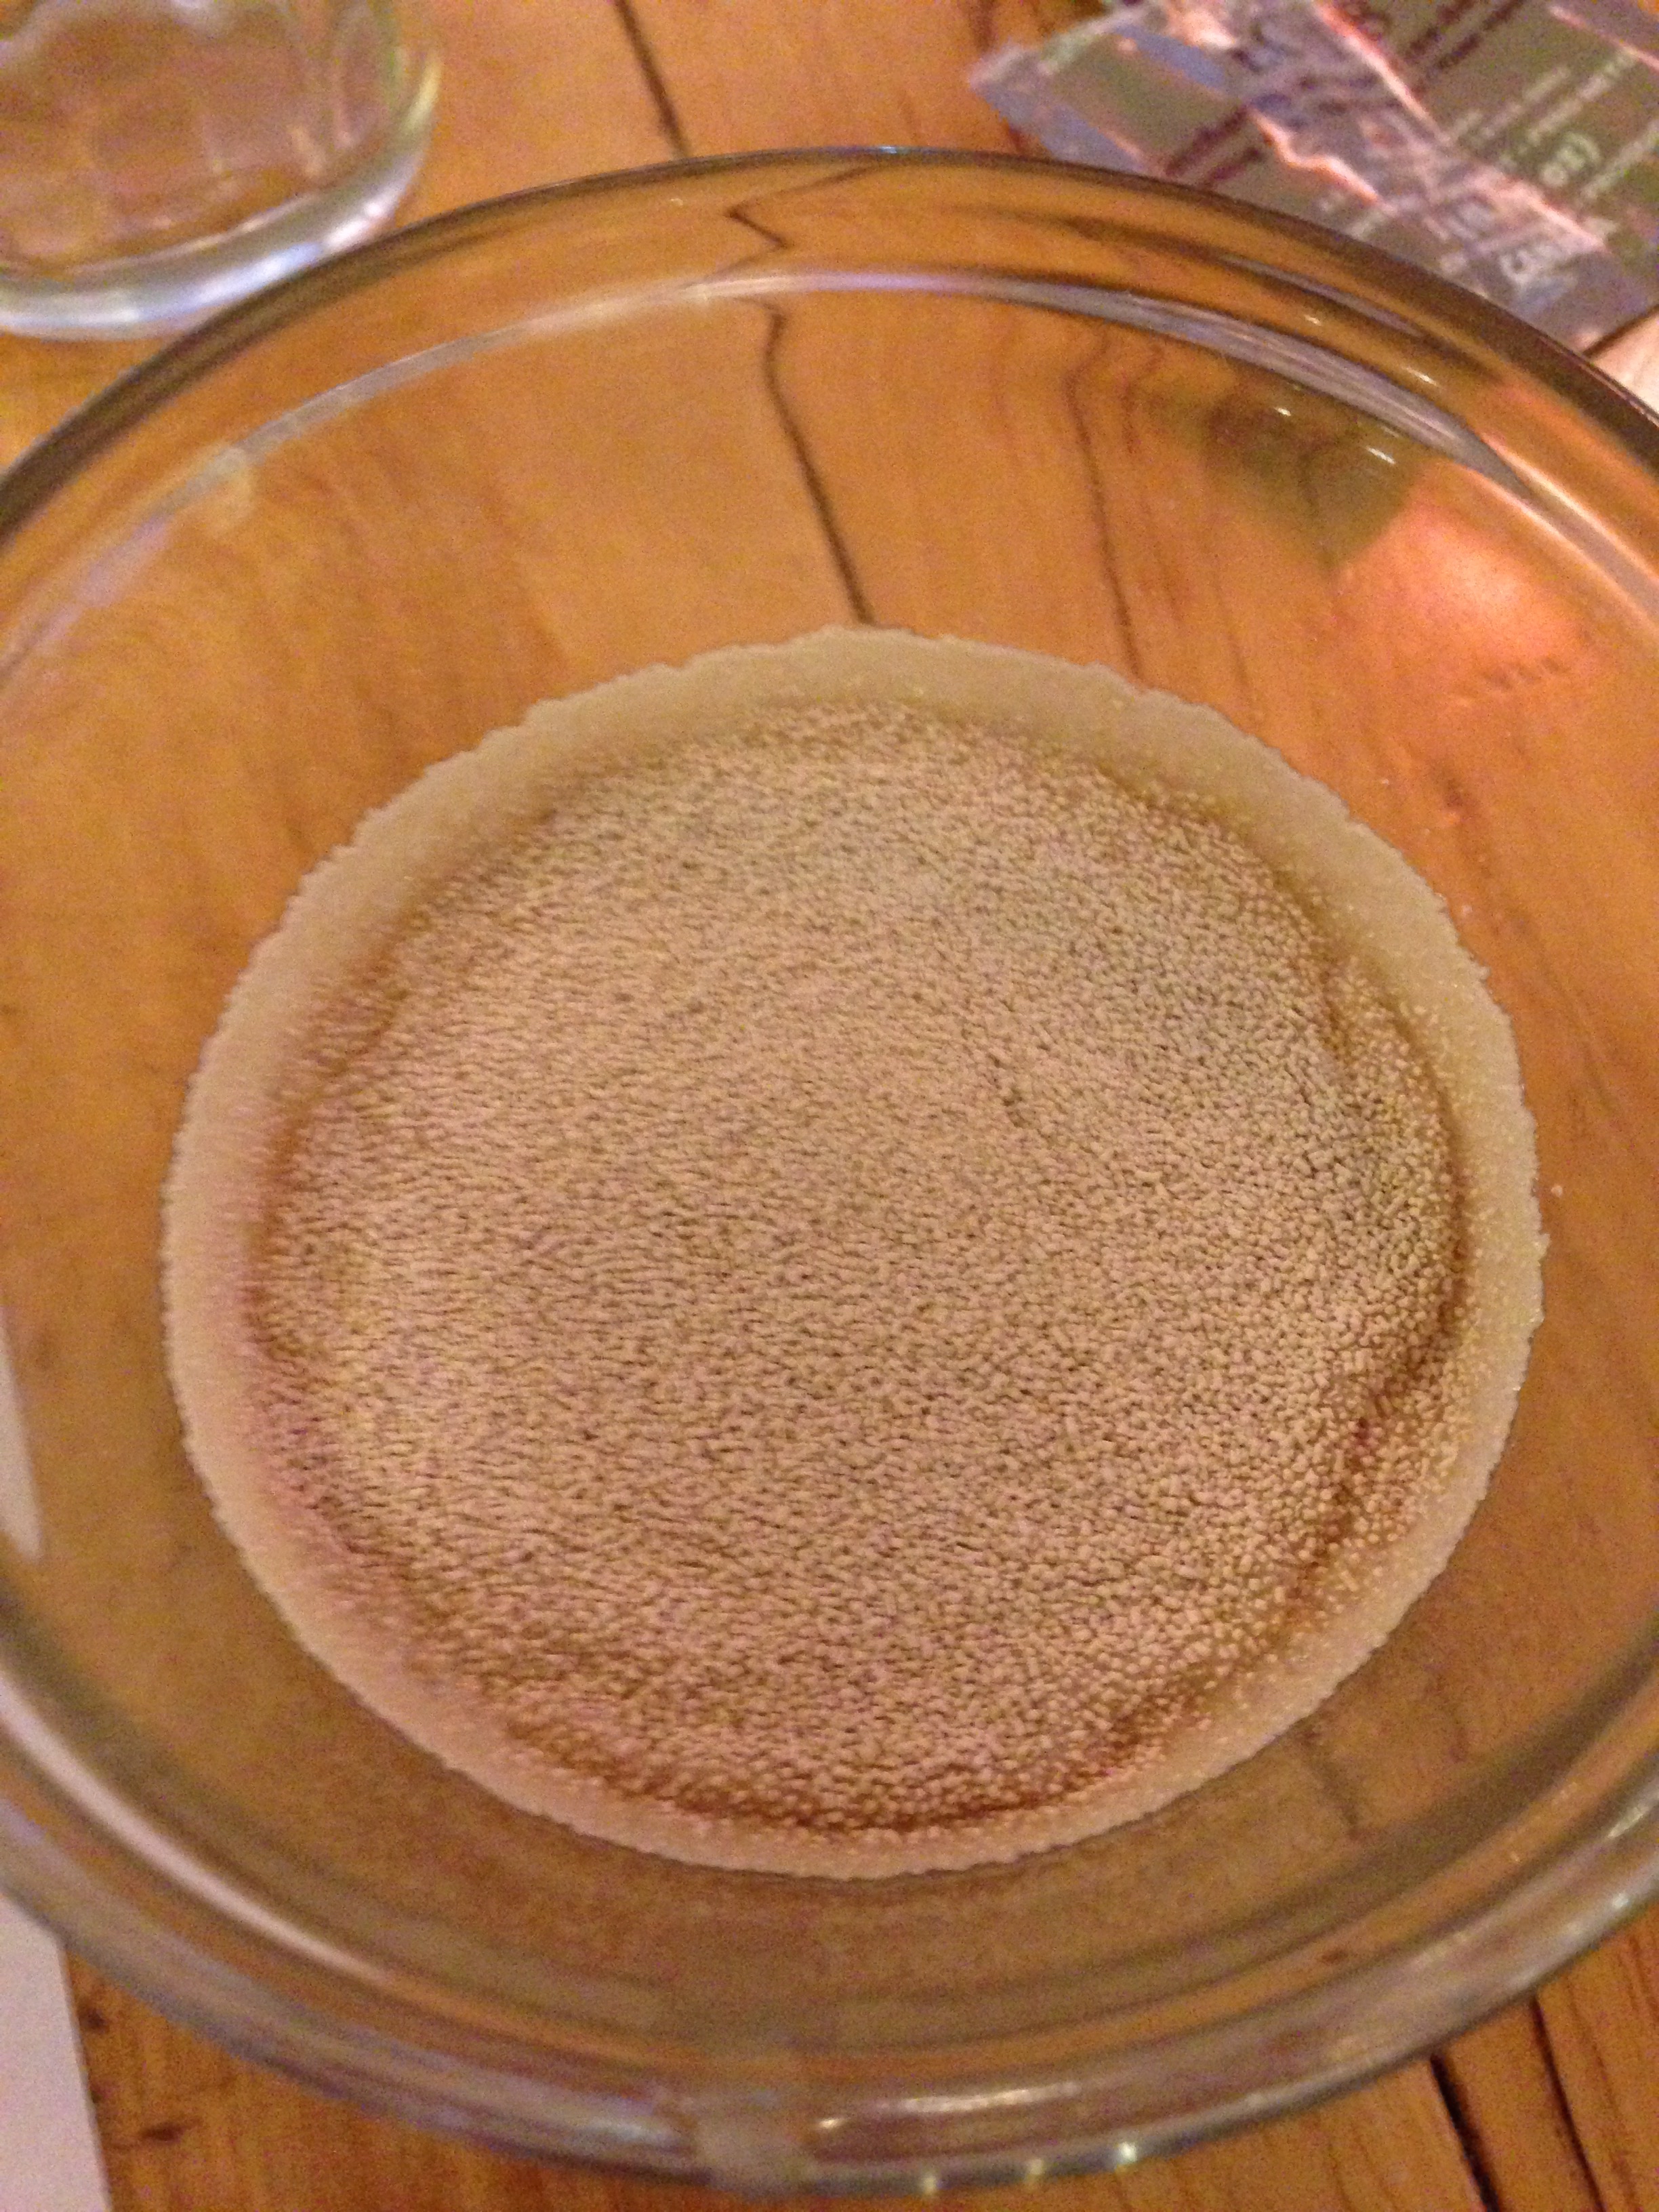
  5. Activate yeast in a clean bowl: Add 1/4 cup warm water (27'C) with 2-3 TBSP honey and yeast packet. Let sit until foamy.
  6. Add honey to the simmering pot and skim any foam from the must. Bring back to a boil and continue simmering for ~20 minutes. 
  7. Remove pot form heat. Place stock pot in a sink of ice water and cool quickly to 27'C. Remove spice packet. 
  8. When at the right temperature, pour (using a sanitized funnel and ladle) into 1 gal or two 1/2 gal growler(s). 
  9. Add yeast and rehydrated yeast nutrients (divid as necessary). 
  10. Swirl growler carefully to dissolve any yeast foam. 
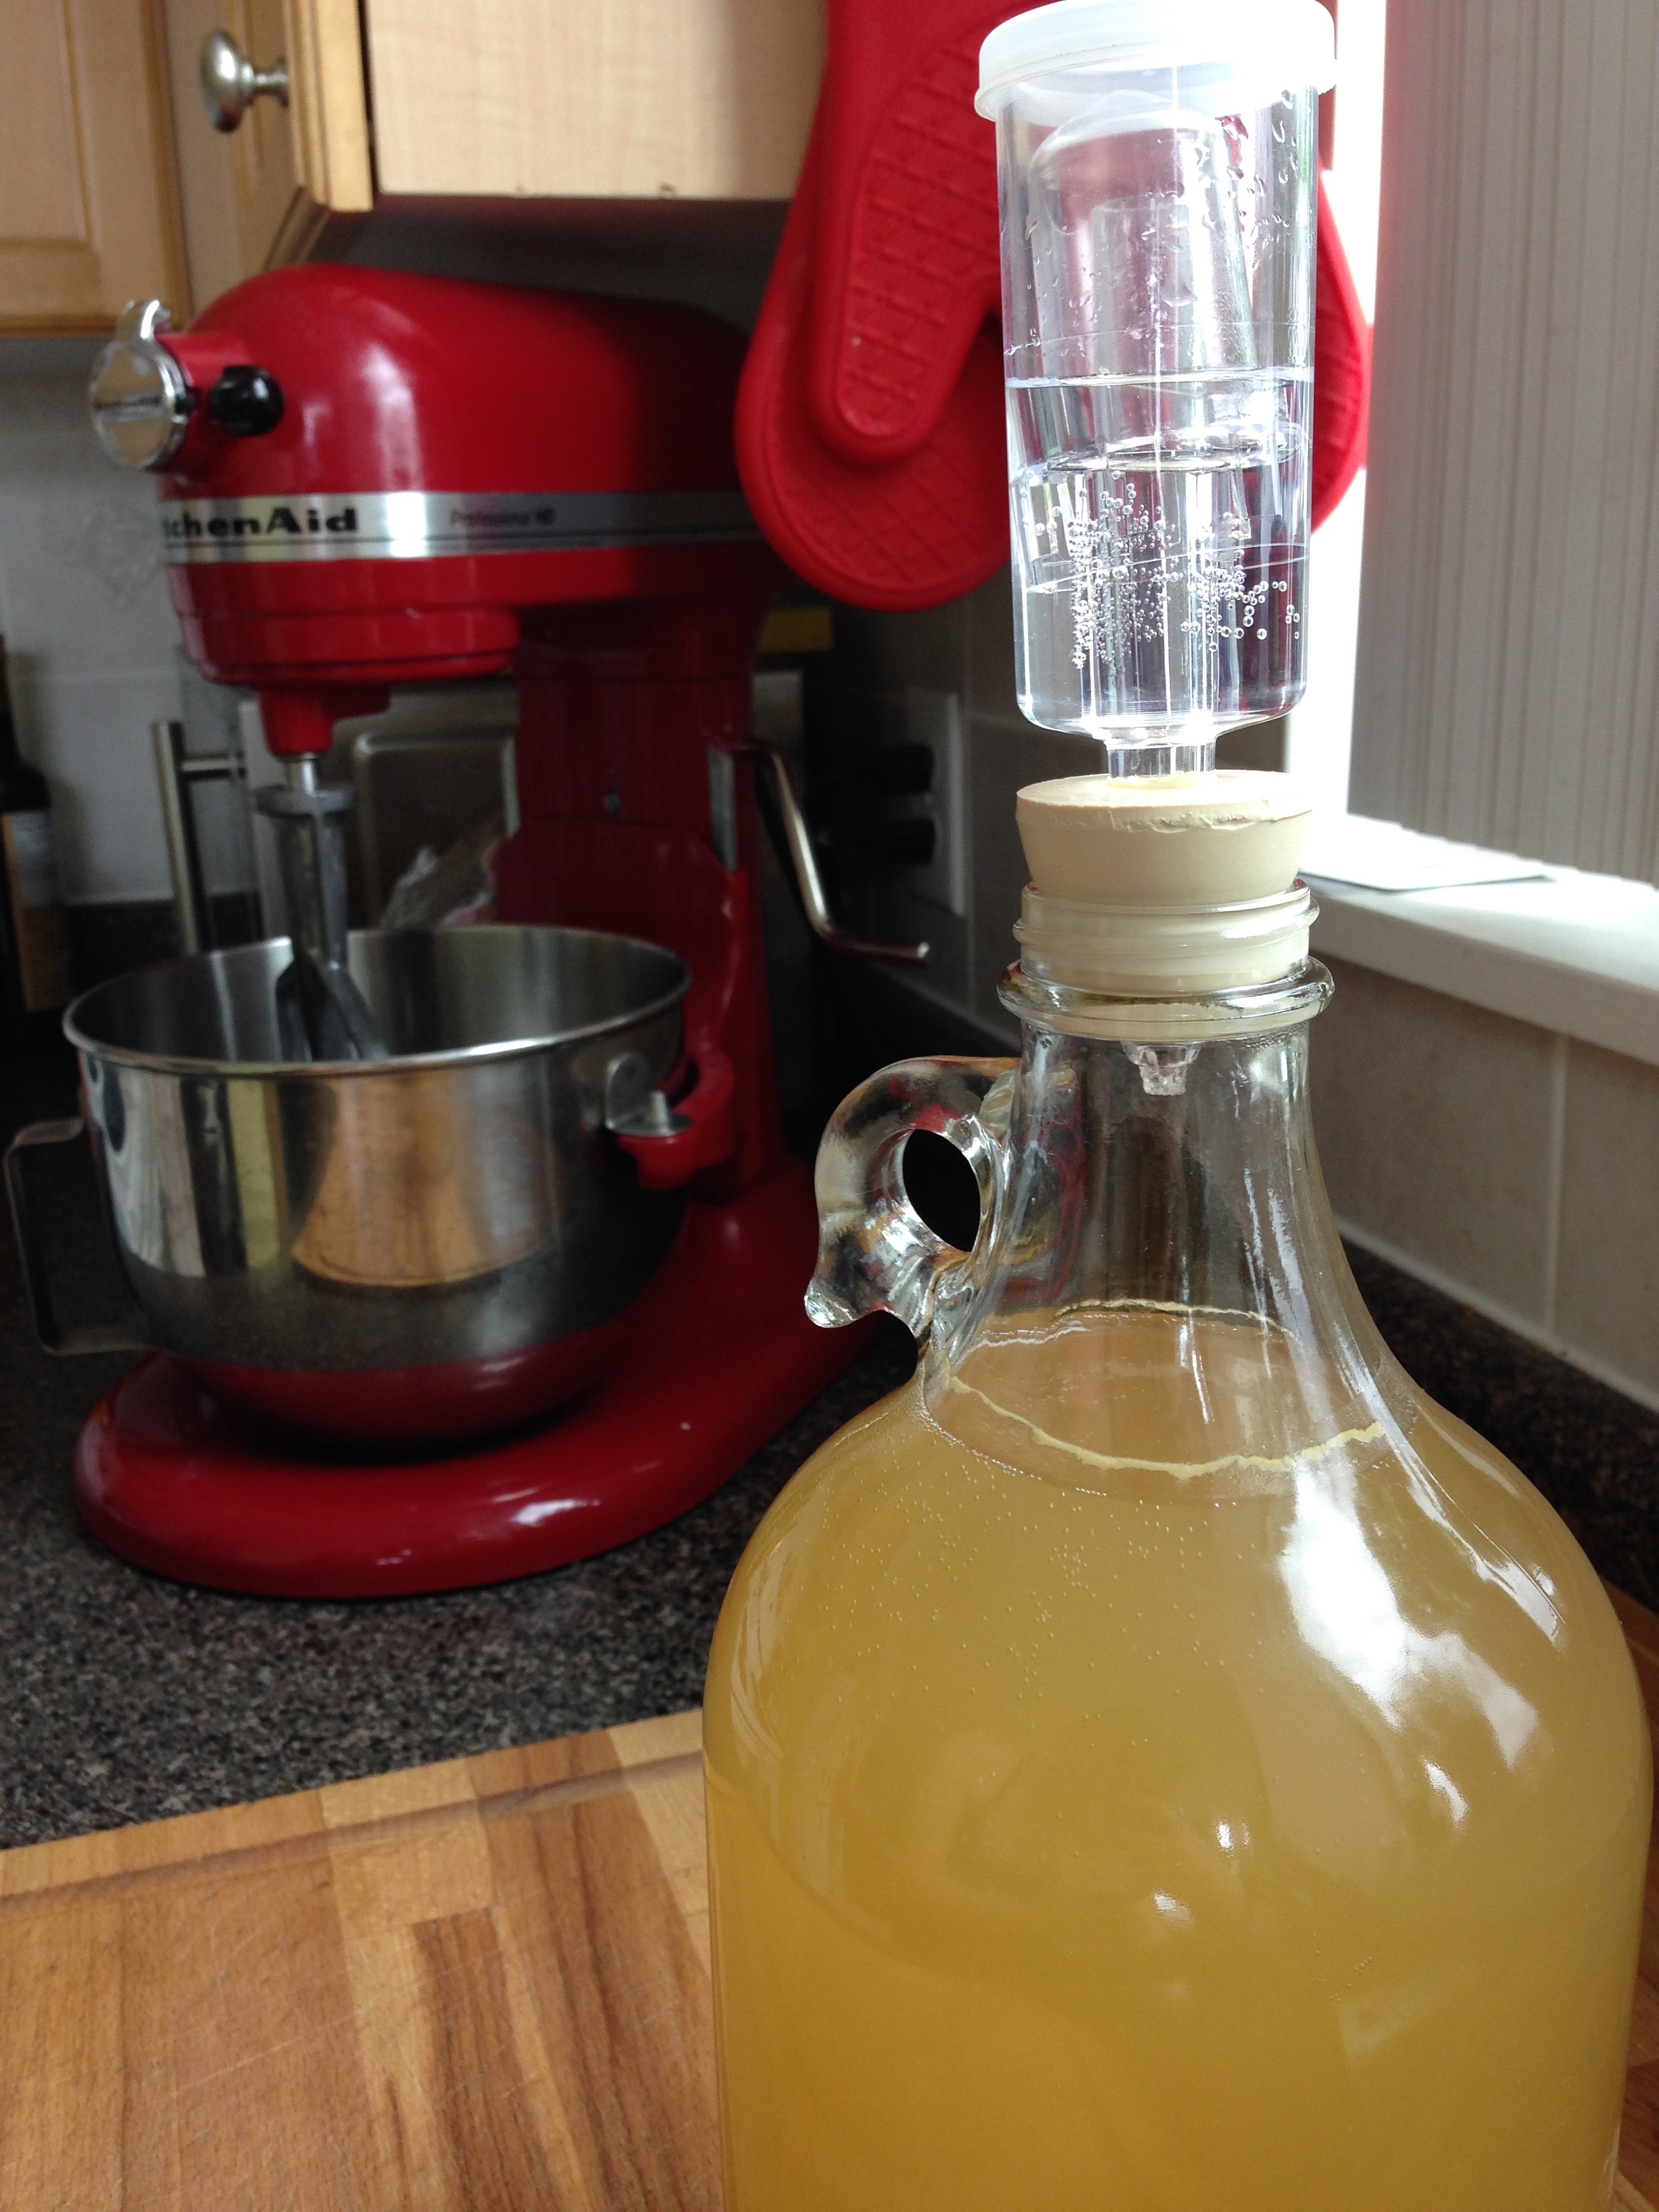
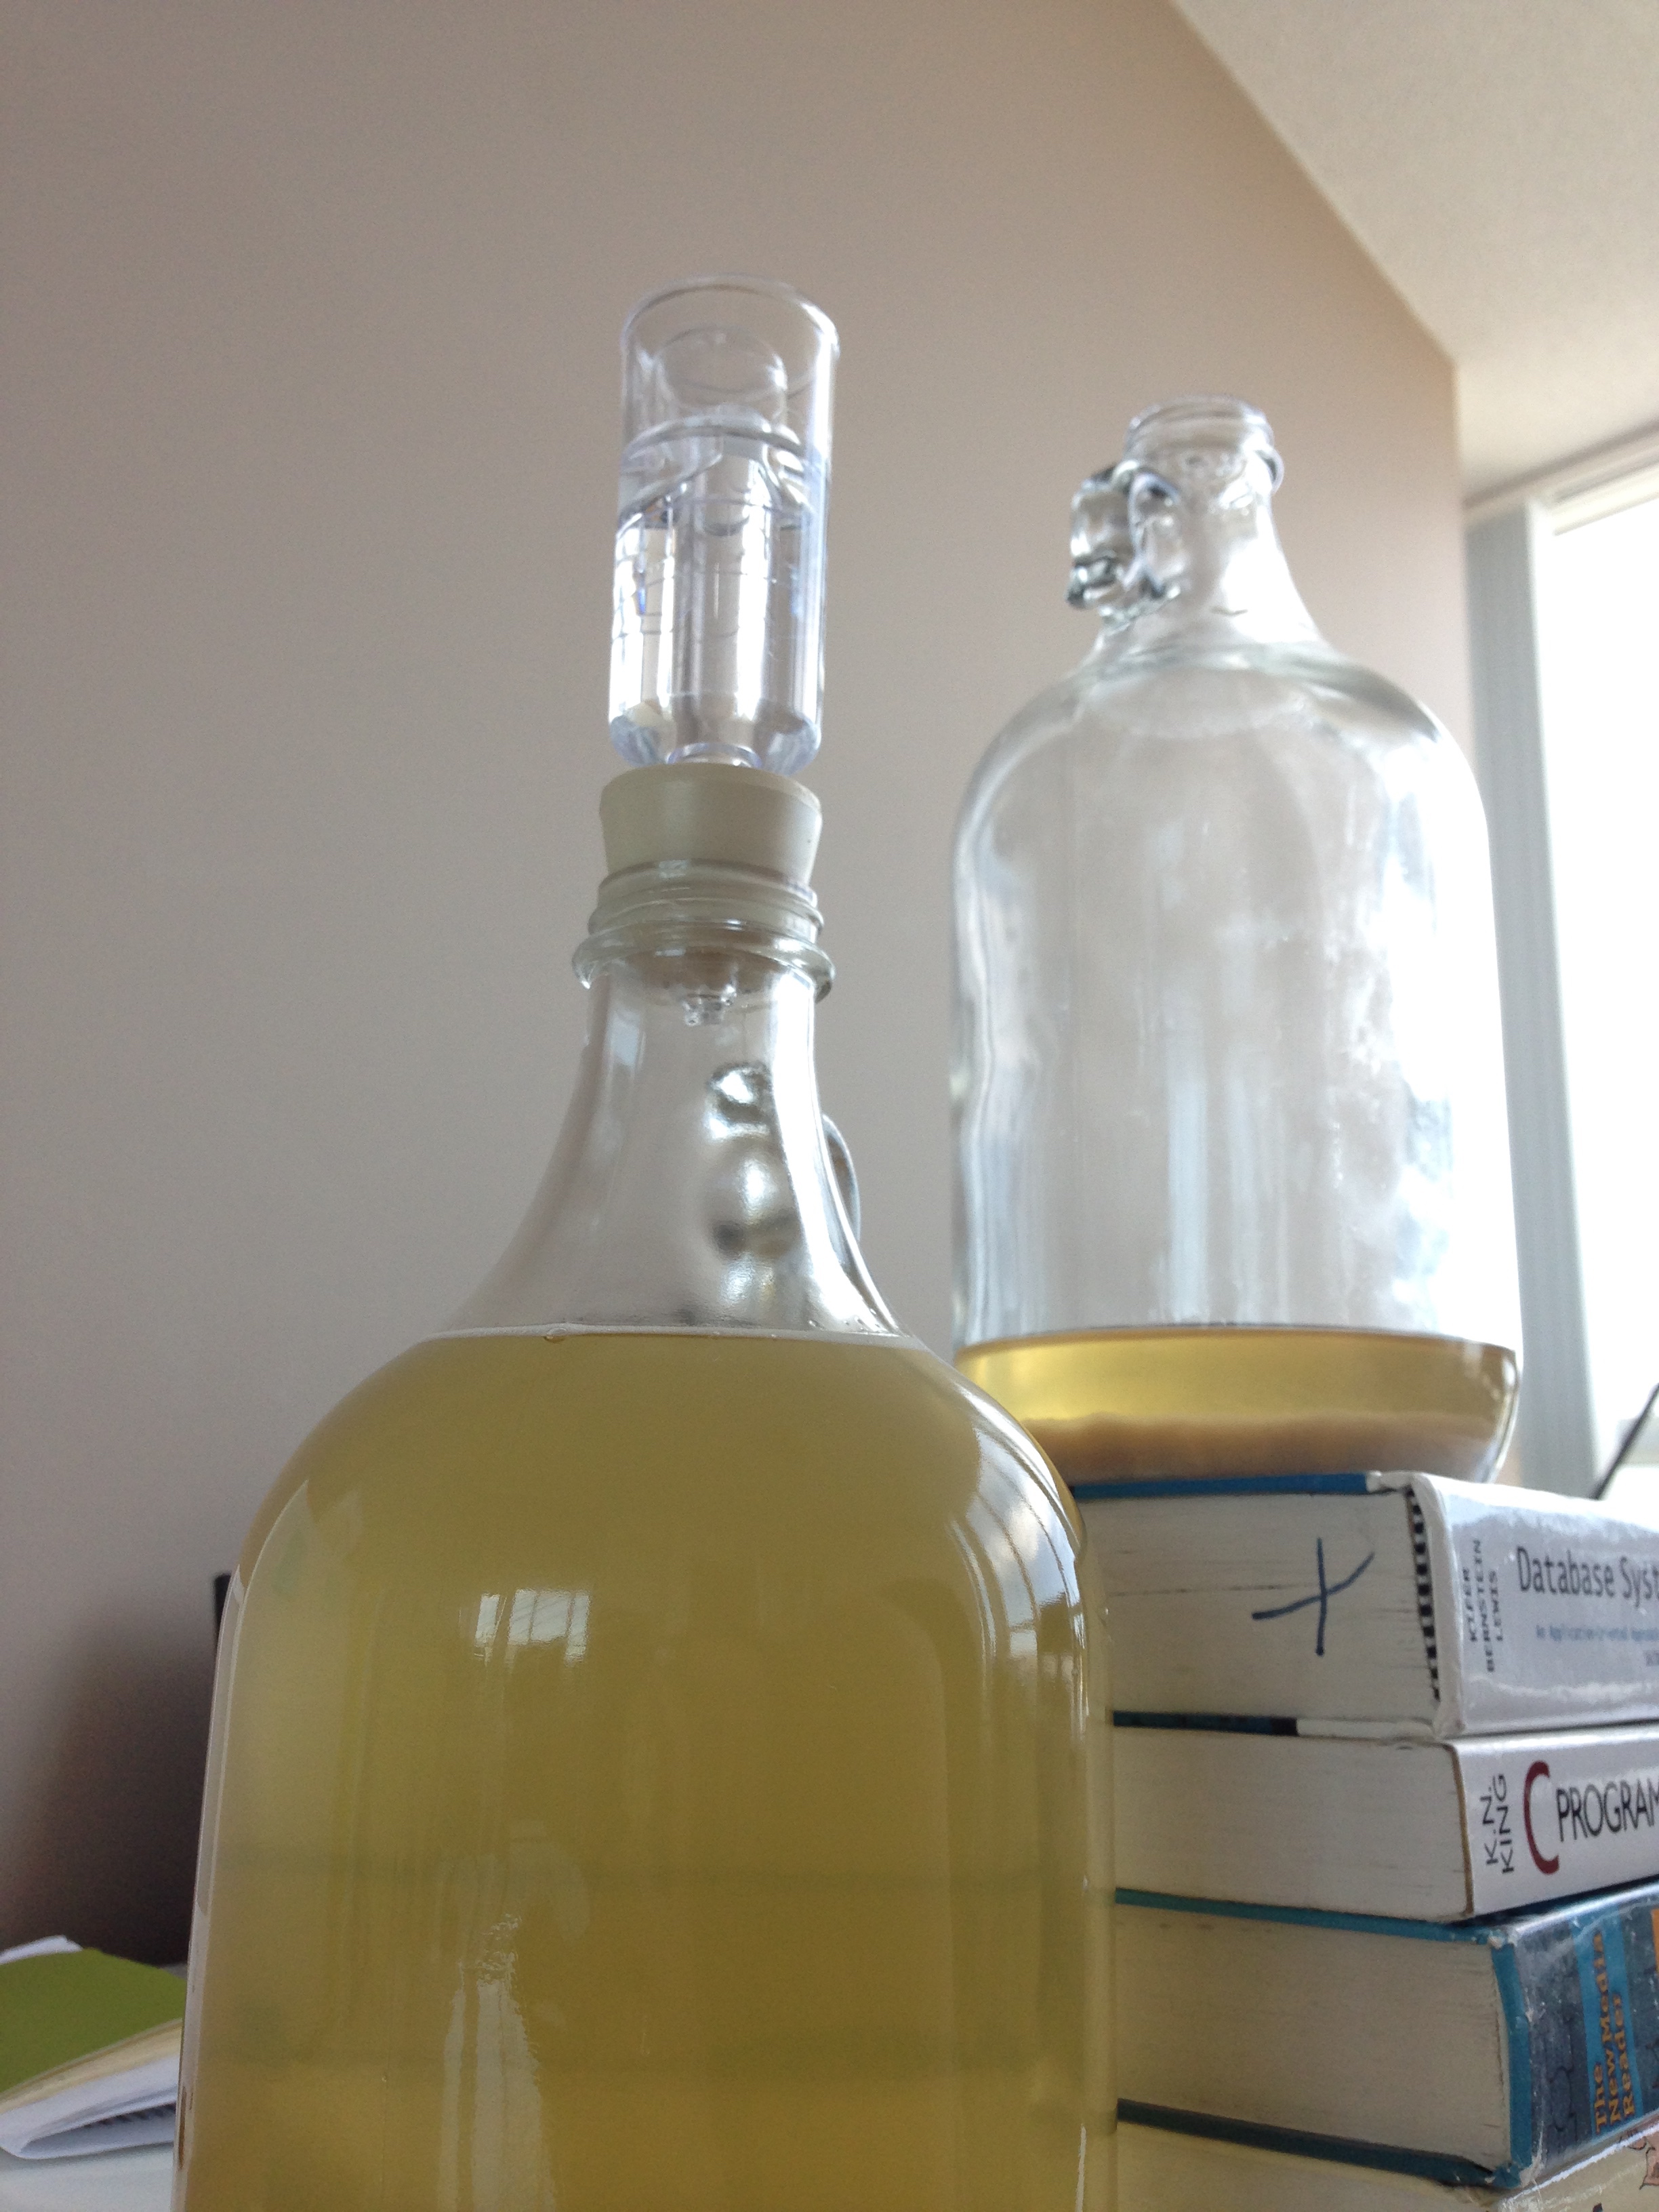
  11. Bung (or plug) the growler with an airlock-plug. Put water in the airlock. This stops air from getting into the growler but allows the yeasties gases to escape. (And not explode your glass growler.)
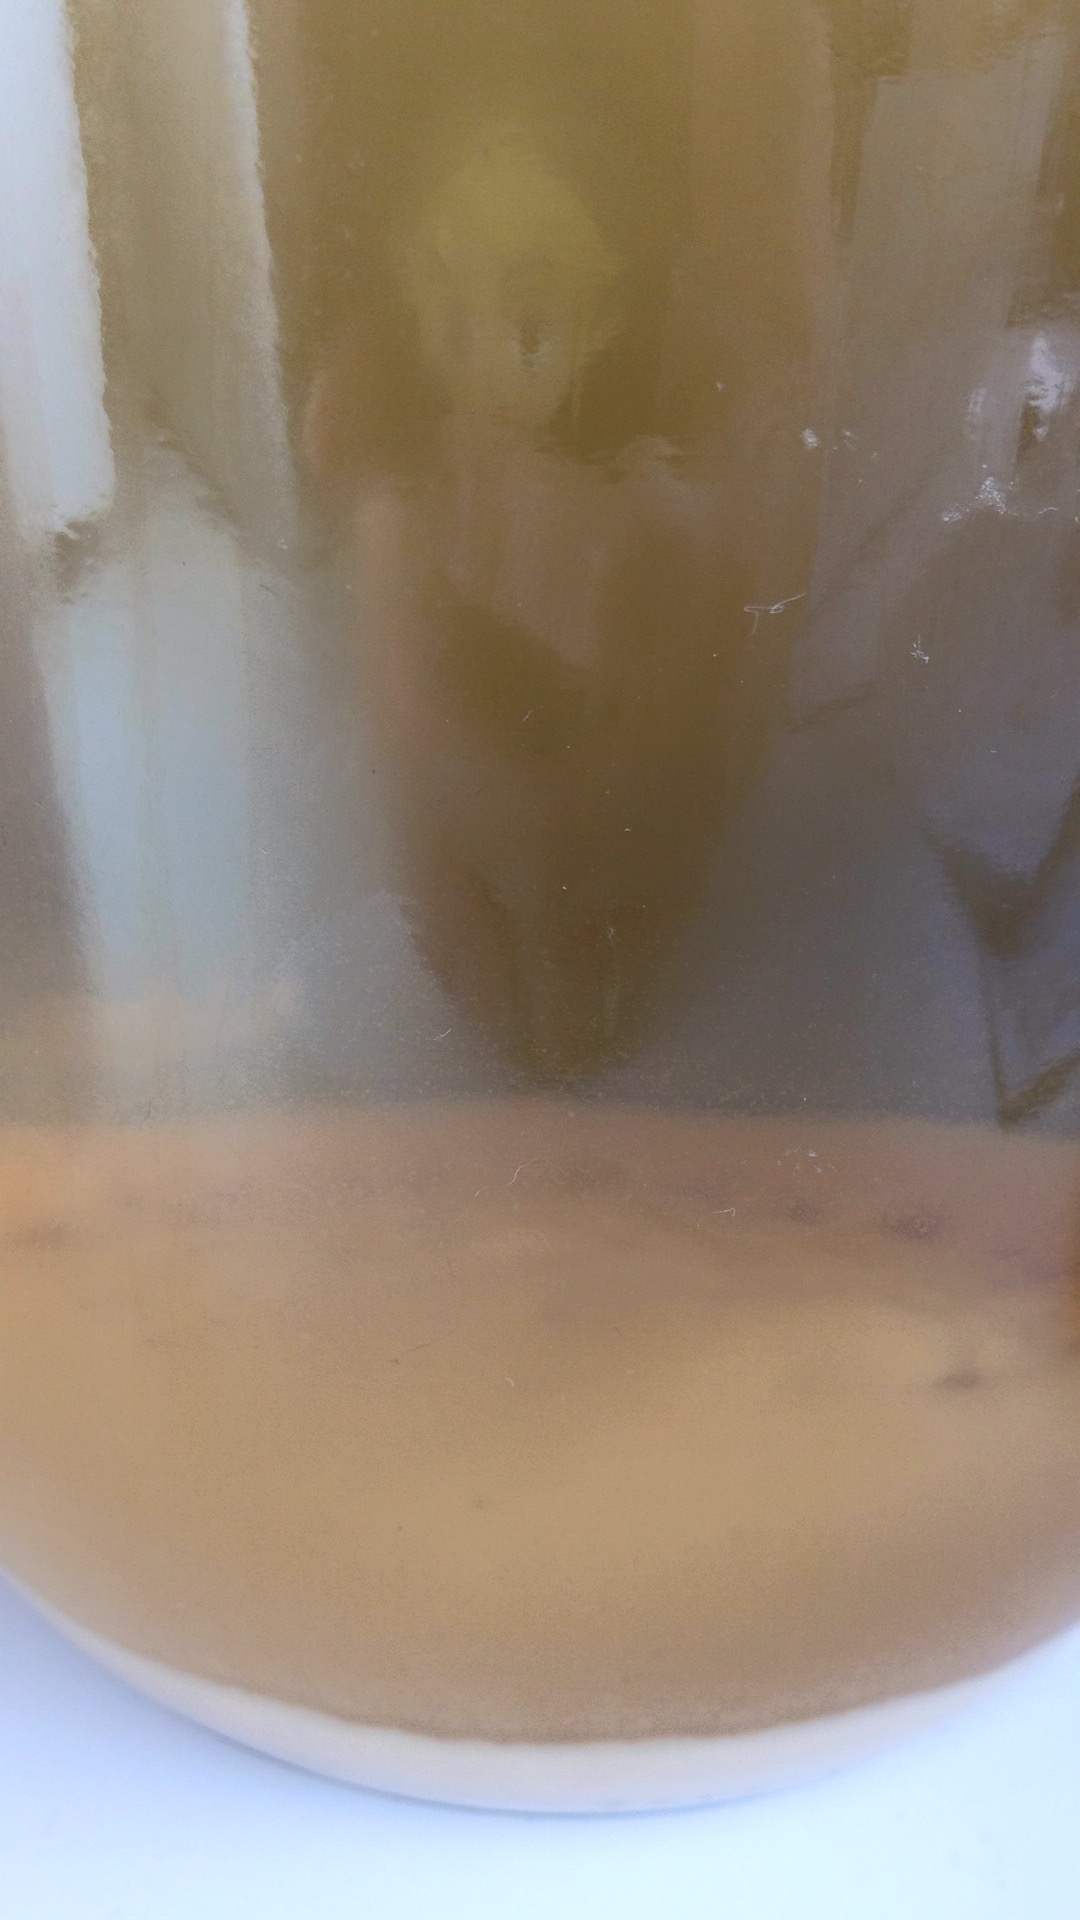
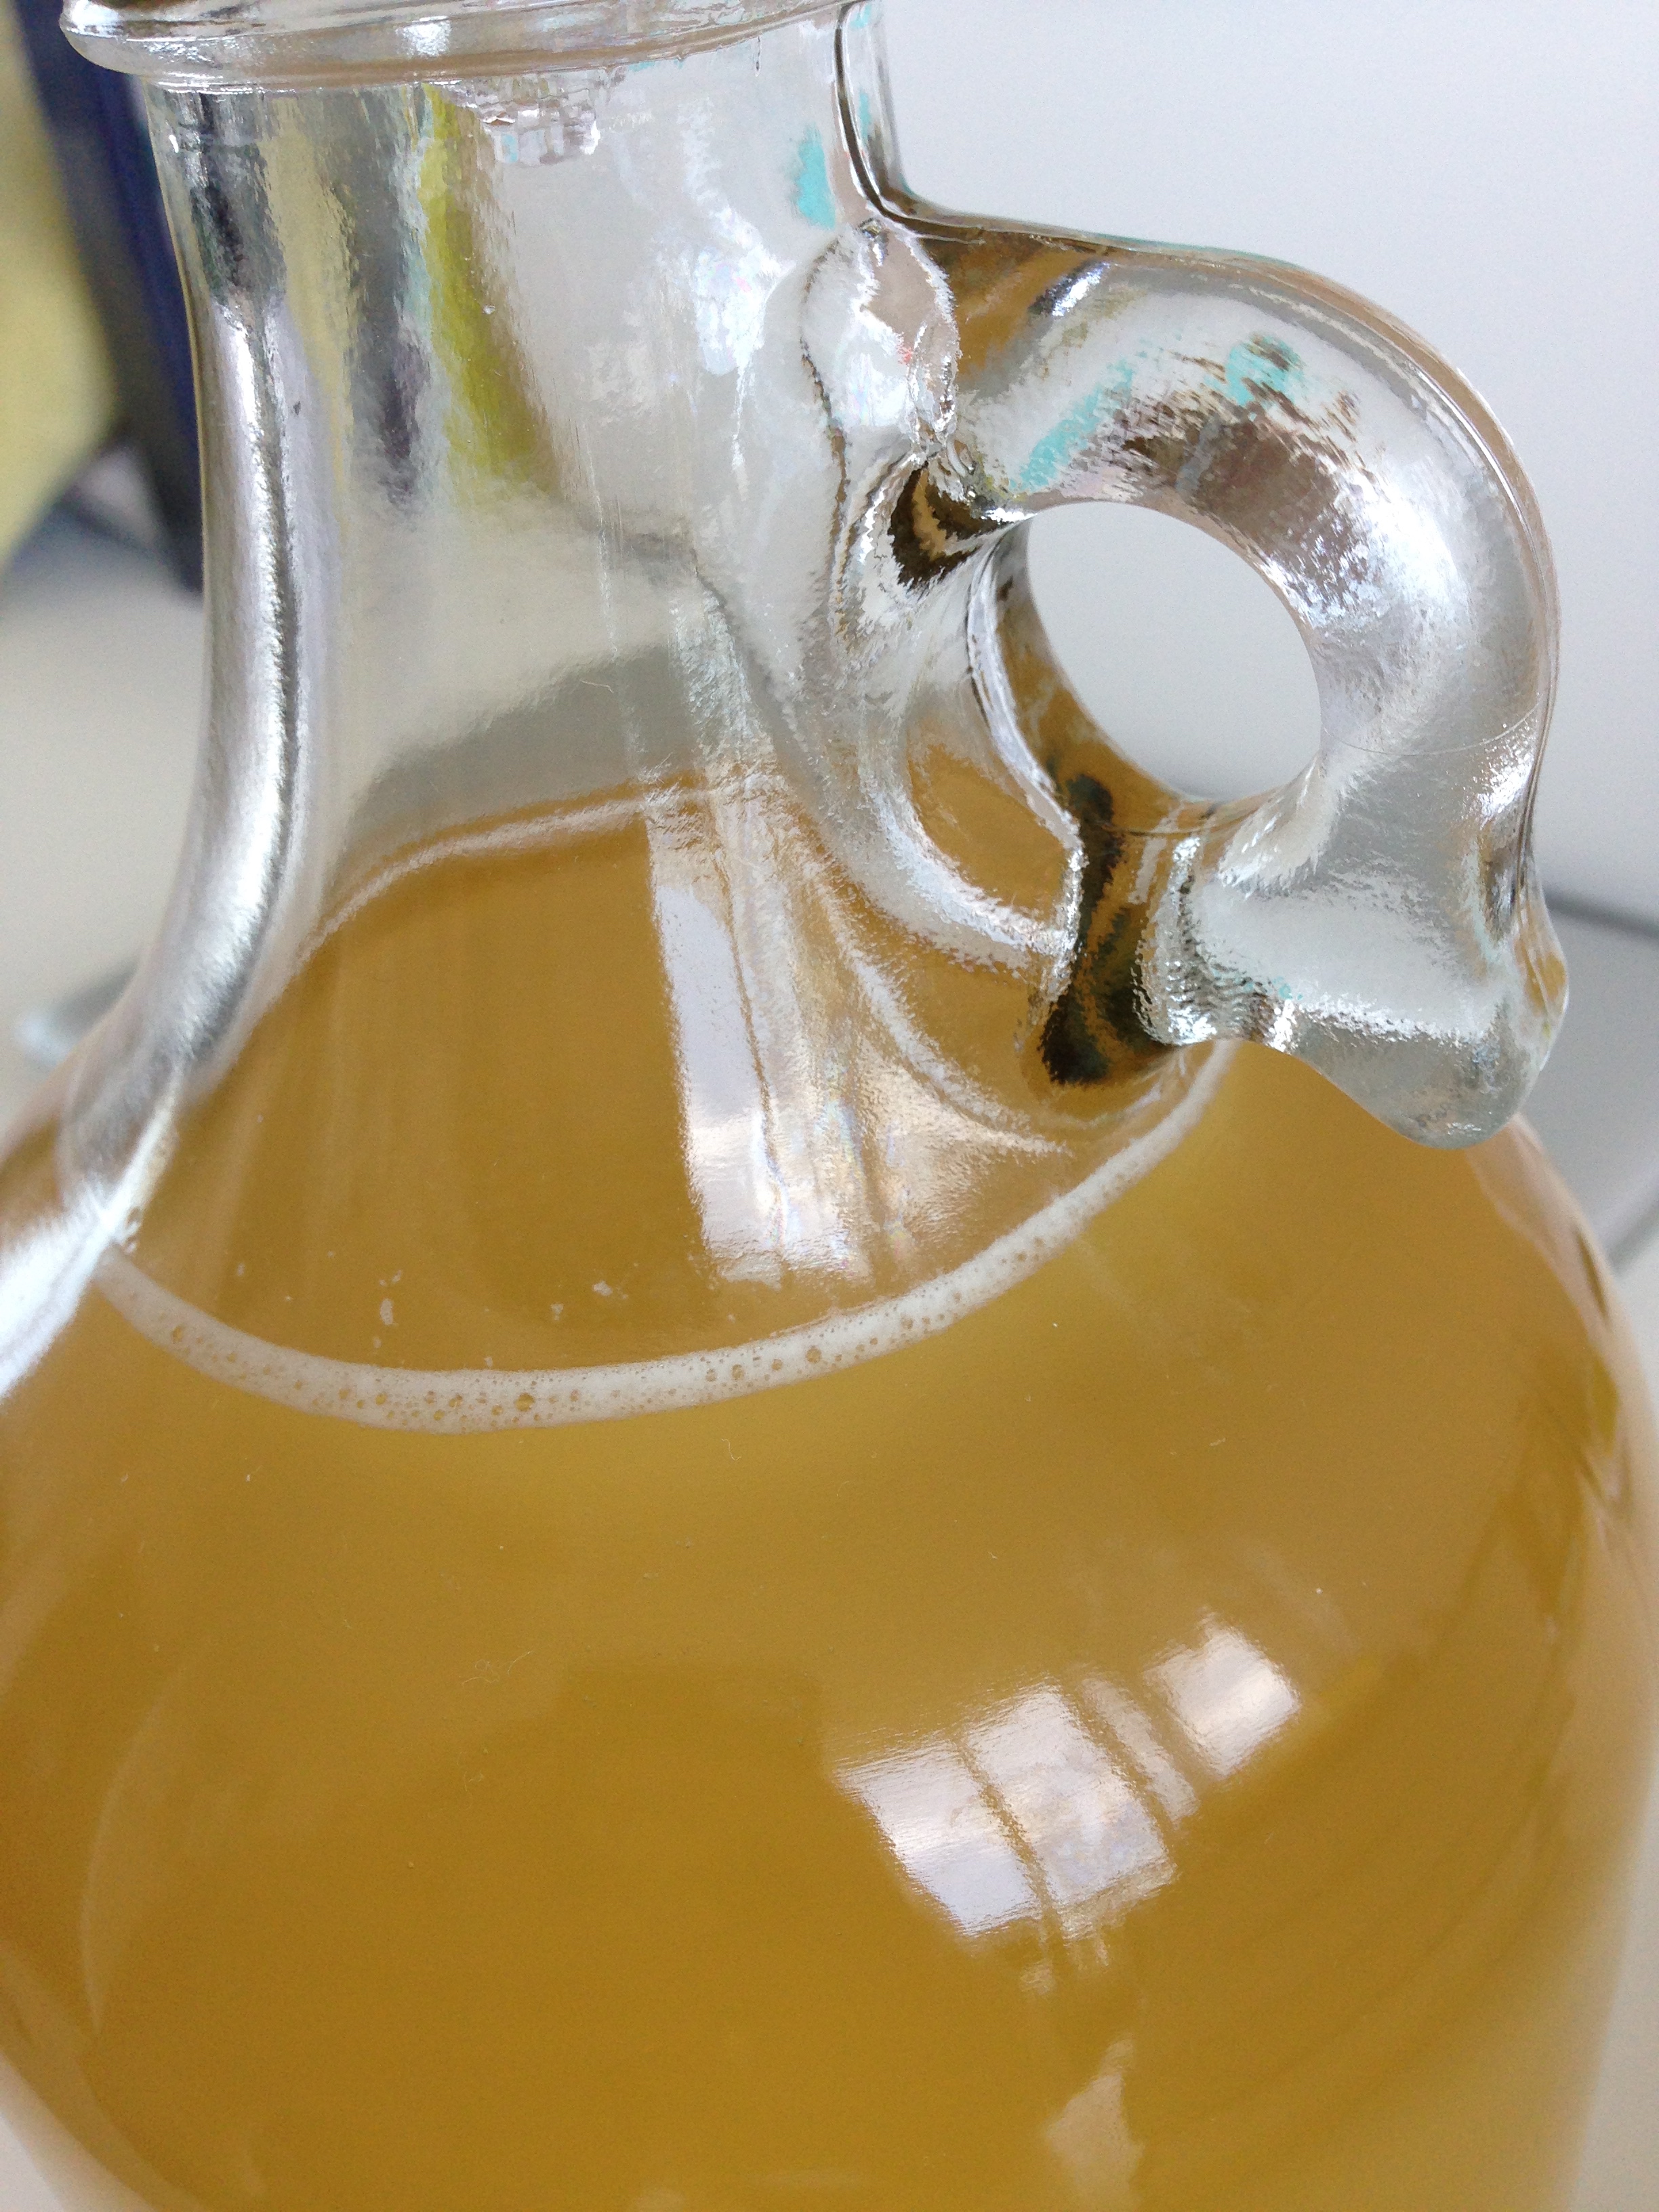
  12. Let sit in a cool place for about two weeks. About 1/2 inch of sediment will gather on the bottom. After the bubbling has stopped, siphon mead, making sure to not disturb the sediment into another clean and sanitized growler. 
  13. Let sit for 3 months! Repeat racking until desired taste. Bottle! 

BAM. 

So essentially: Sterilize jars, boil water, activate yeast, add honey, add yeast nutrients, add yeast, swirl and stopper. Actually, super easy!

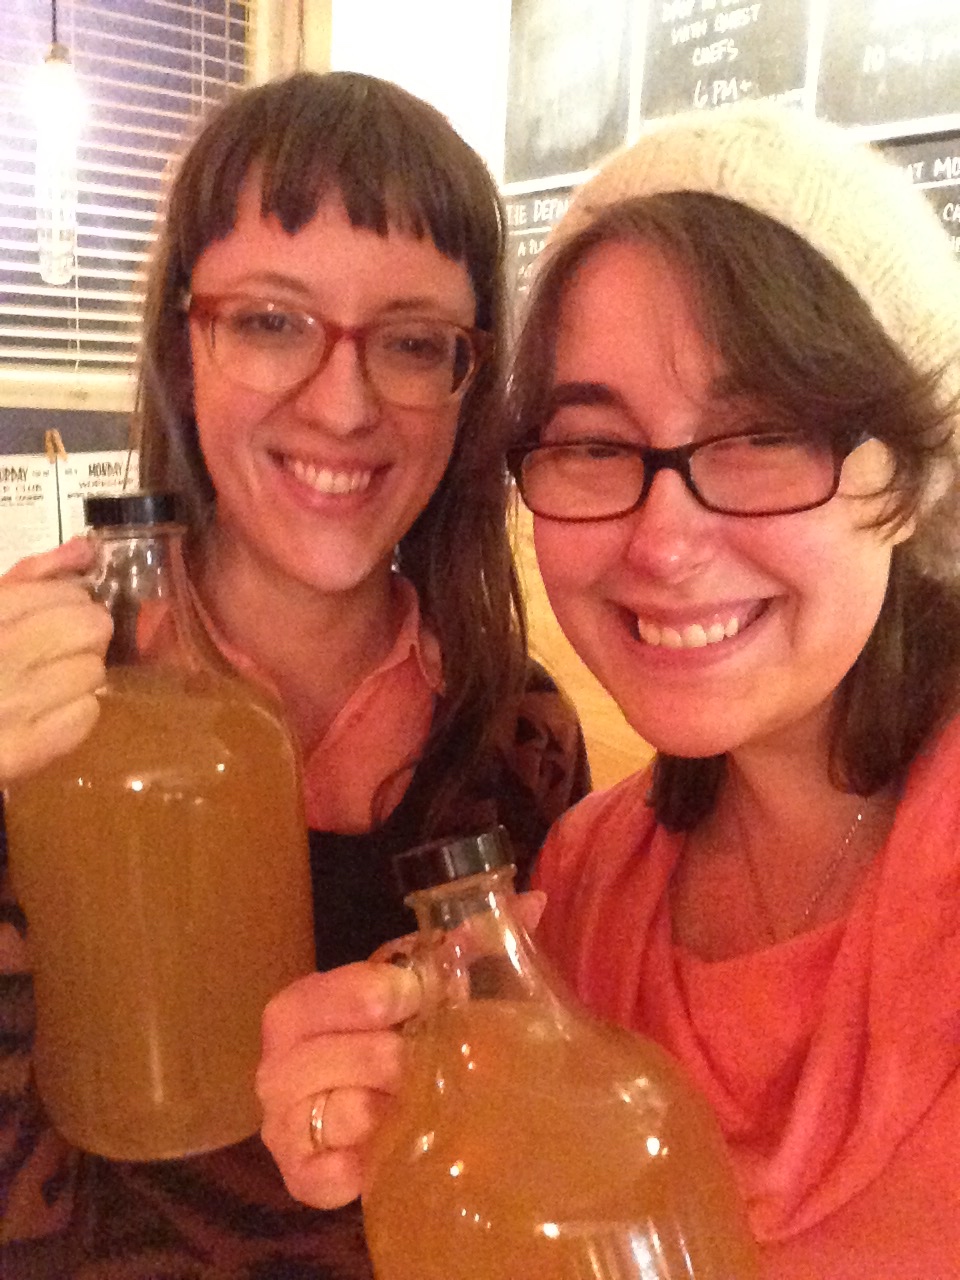
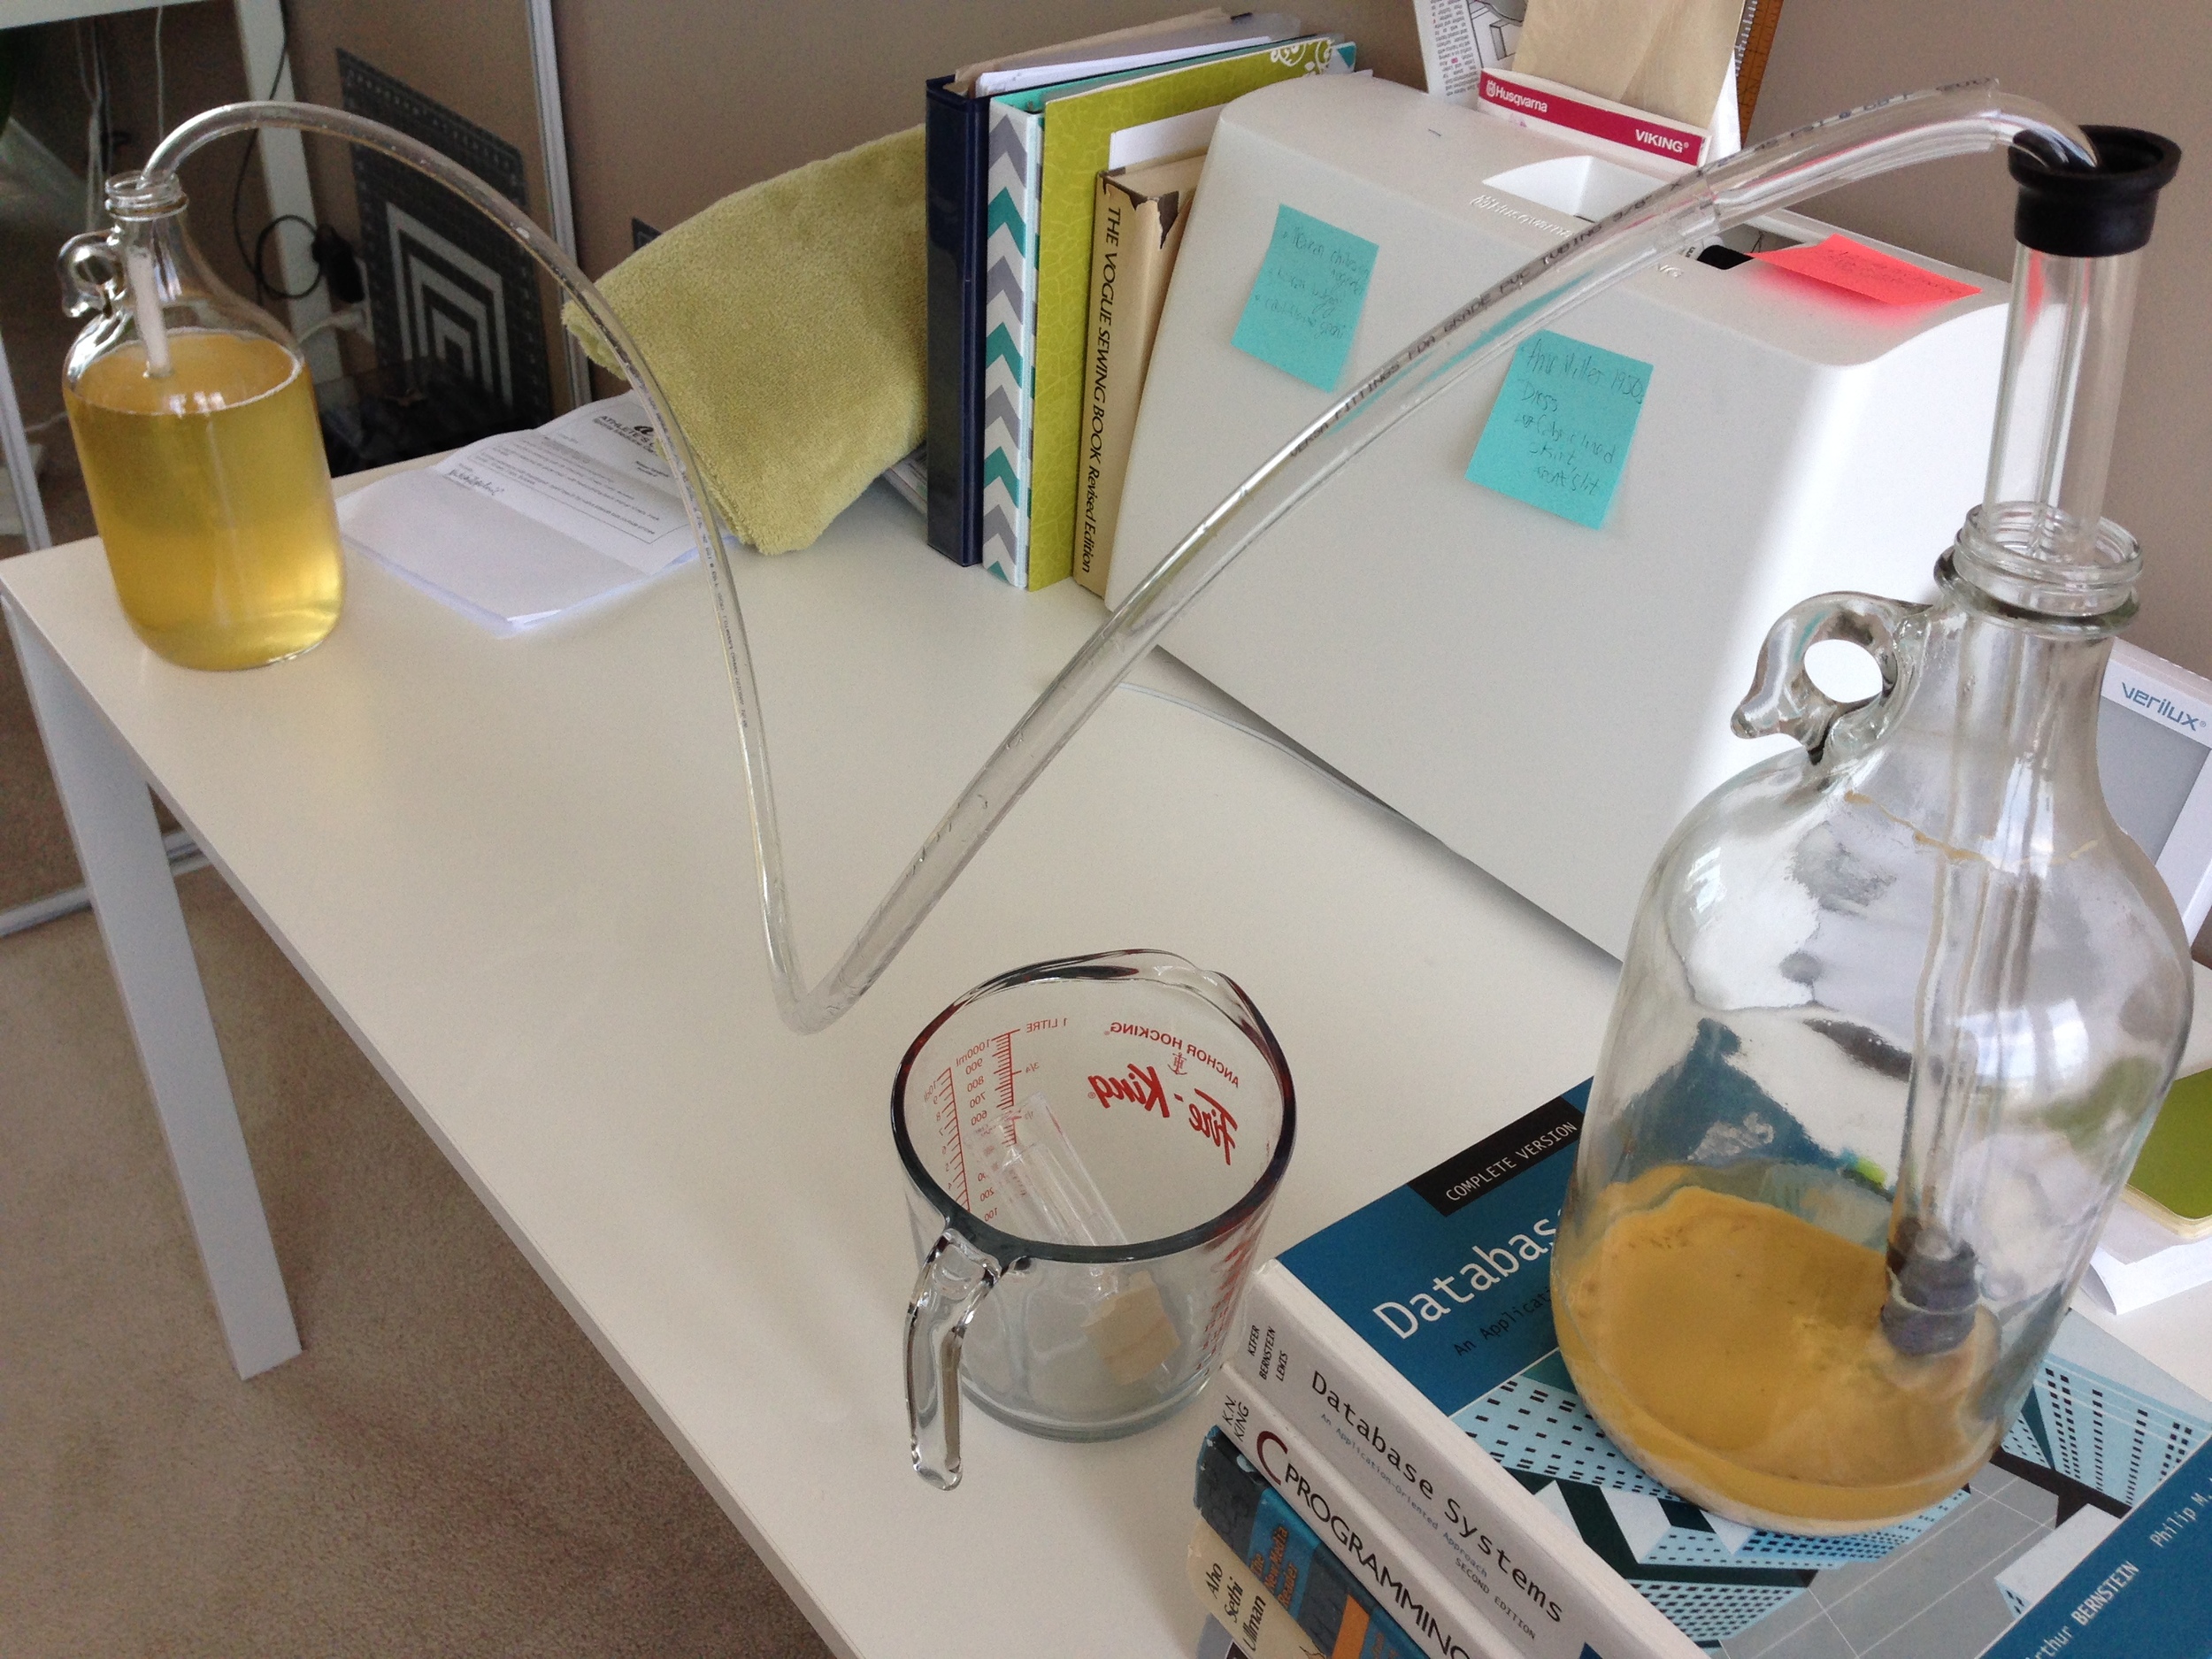
It's been almost a month now and the little bubbles have ceased. The inch layer of dead little yeasty friends on the bottom of the growler is the tell tale sign that it's time to siphon the mead to a new home for another 3-4 months. So I got day trippin' to Toronto Brewing with my lady Glo and bought some siphoning necessities: Tubing, pump, starsan, extra growler. 

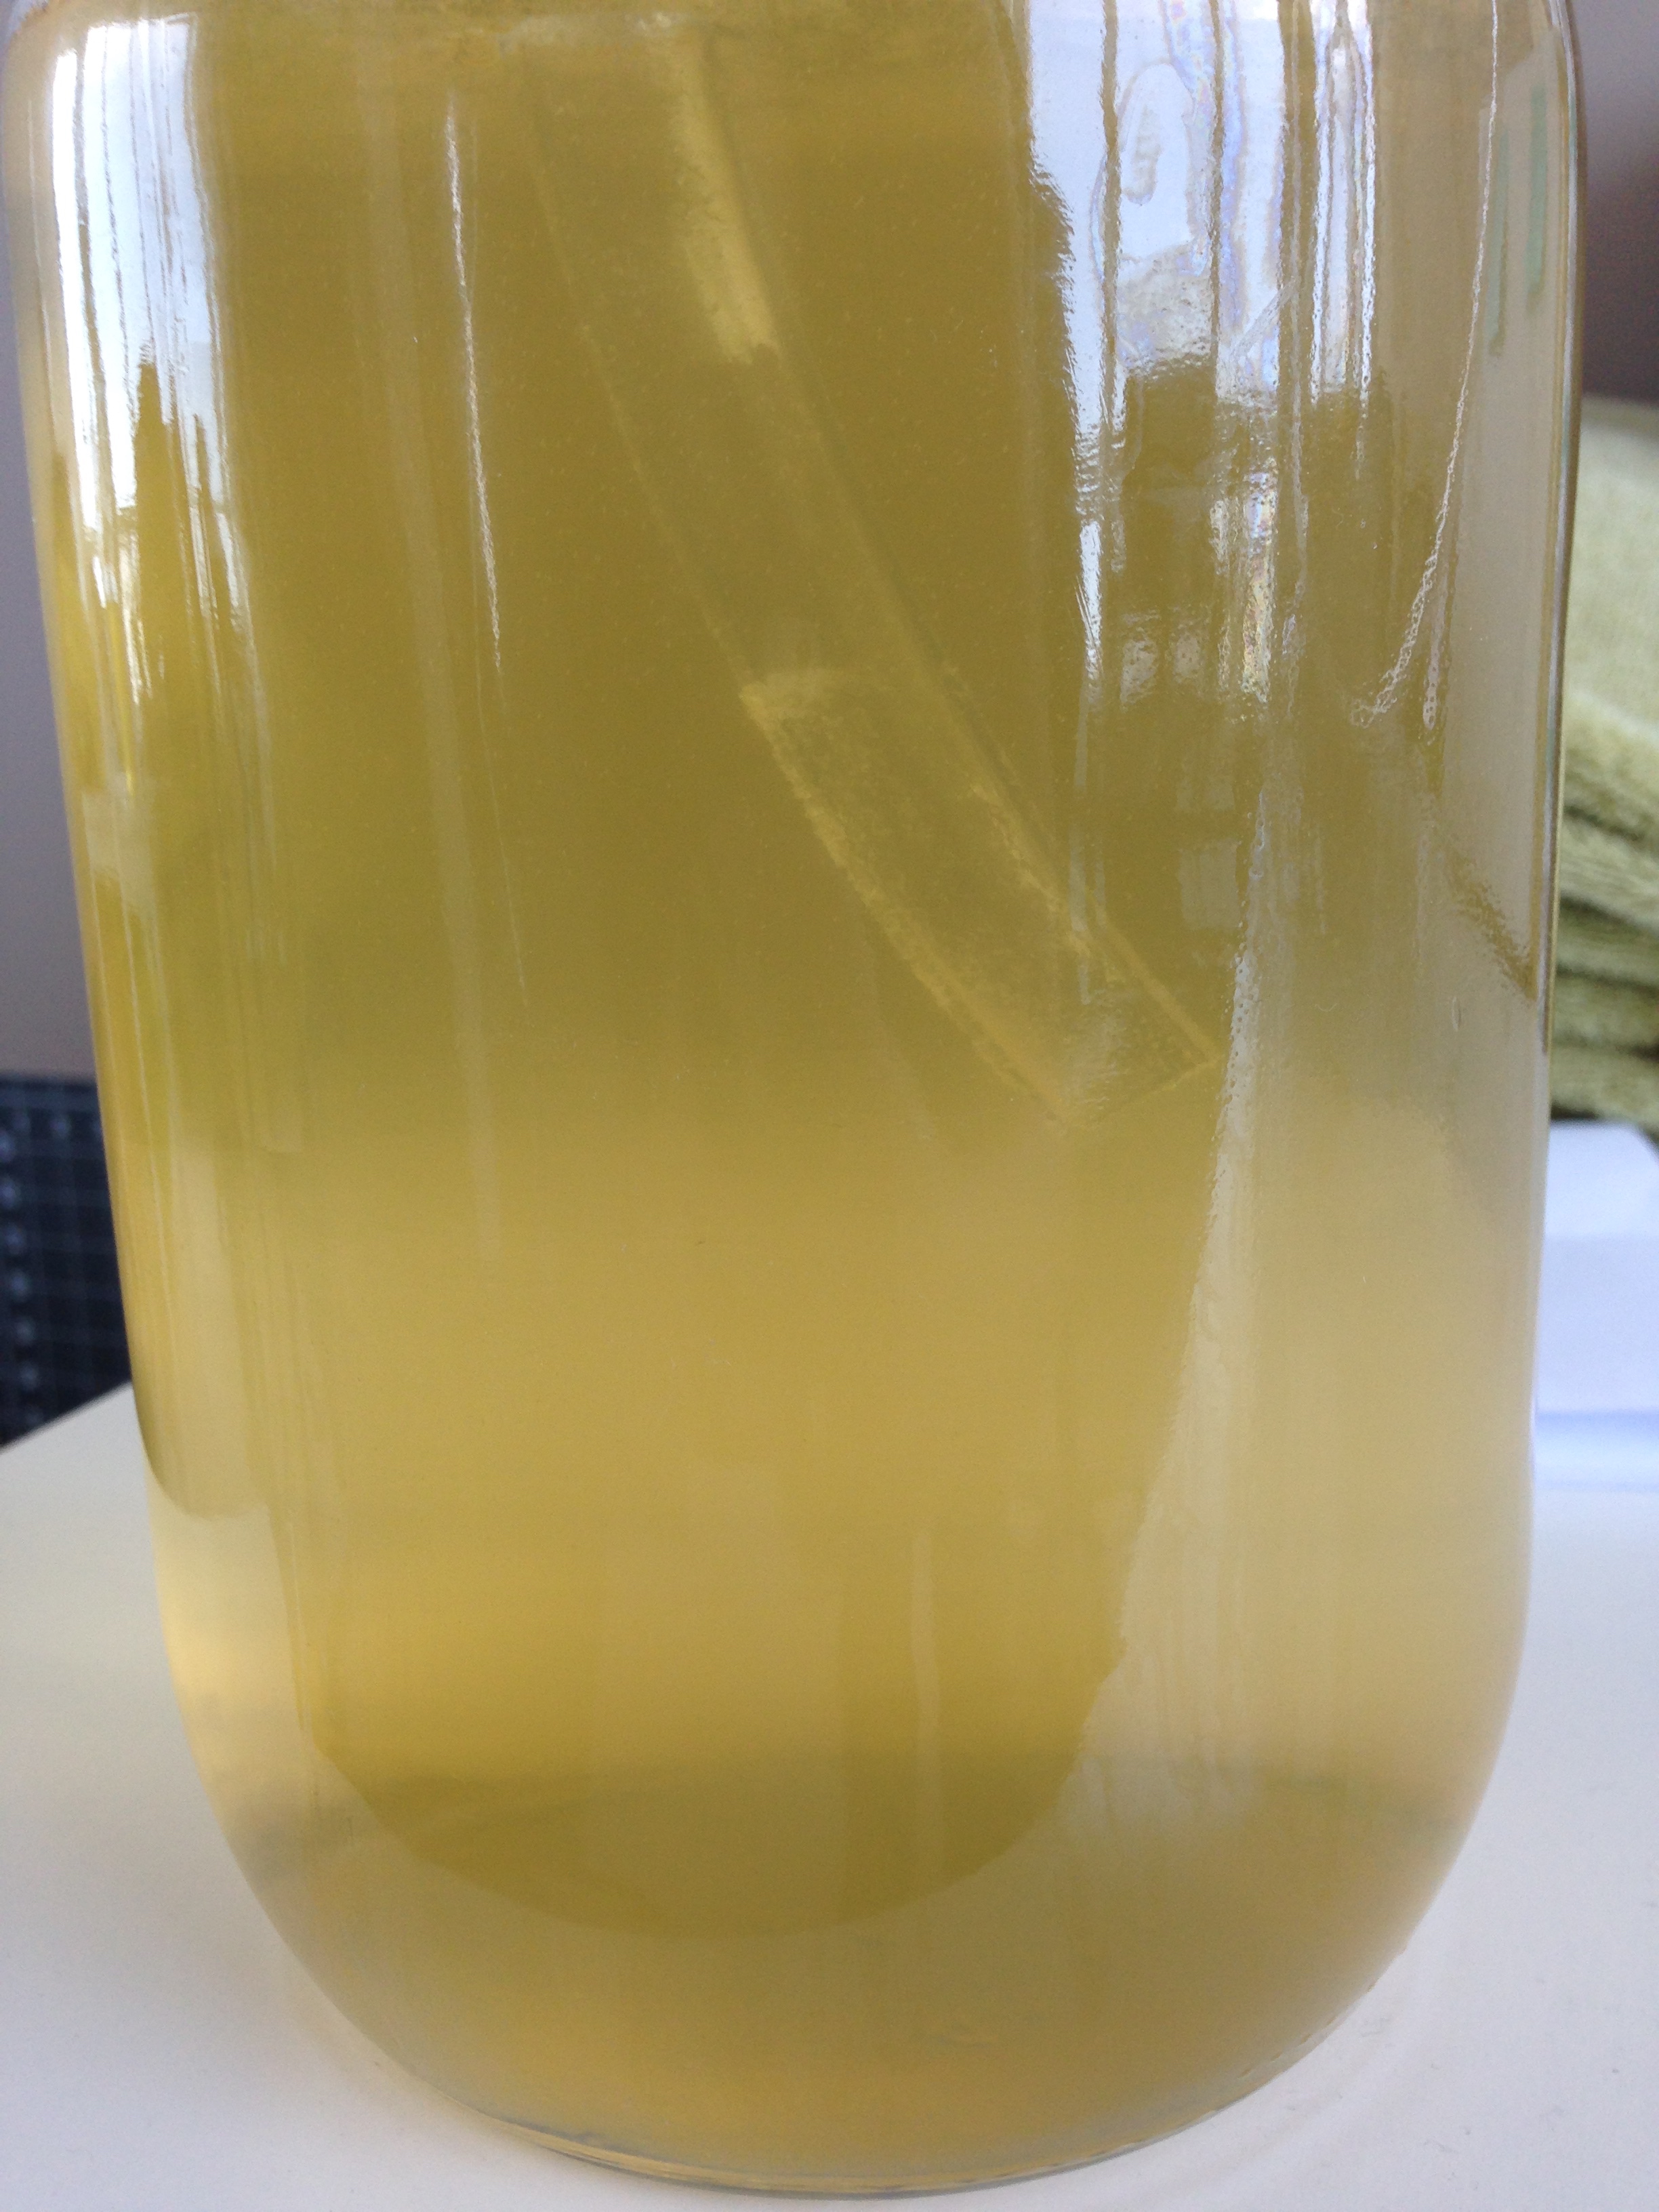
The siphoning went pretty well! I wish I had got all my mead out but I had to leave about an inch behind so I didn't suck up any more sediment. Ah well. Practice I suppose!

Now to wait. 

Also. Spoiler. I tried some. And it knocked my socks off. 

So. Excited. 

Cheers!

-Andrea

The Half-Assed Hobbyist
Dottery Pottery

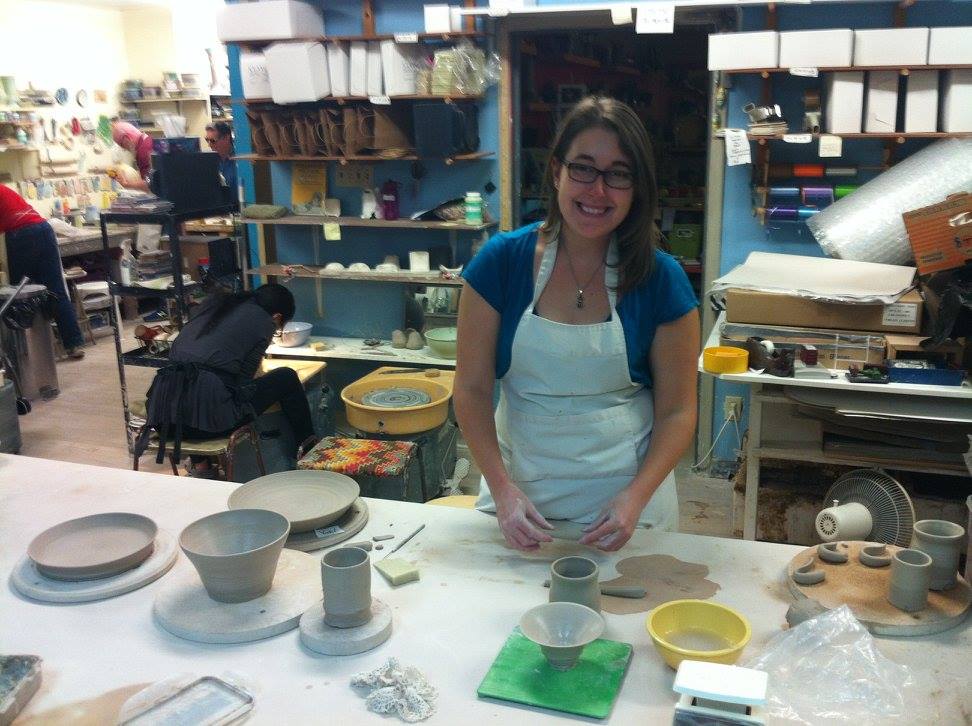
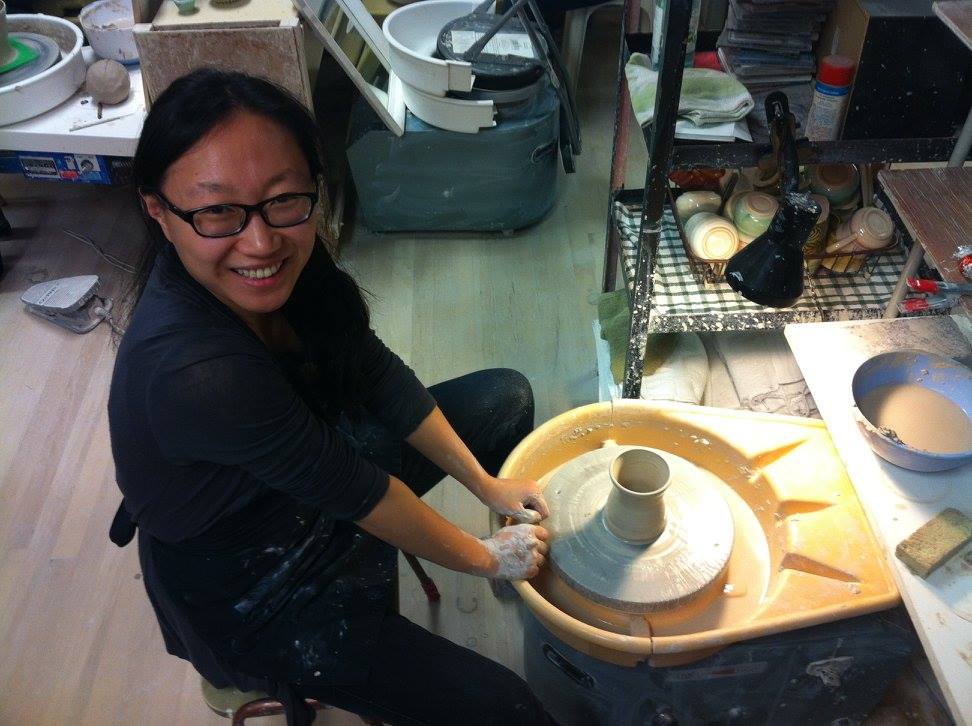
This past September I started a pottery class. I've always wanted to try making stuffs out of clay and when my lovely lady friend Jia asked if I'd be interested the answer was a very yes!

Pottery right of passage! Clay clay everywhere!

Pottery right of passage! Clay clay everywhere!

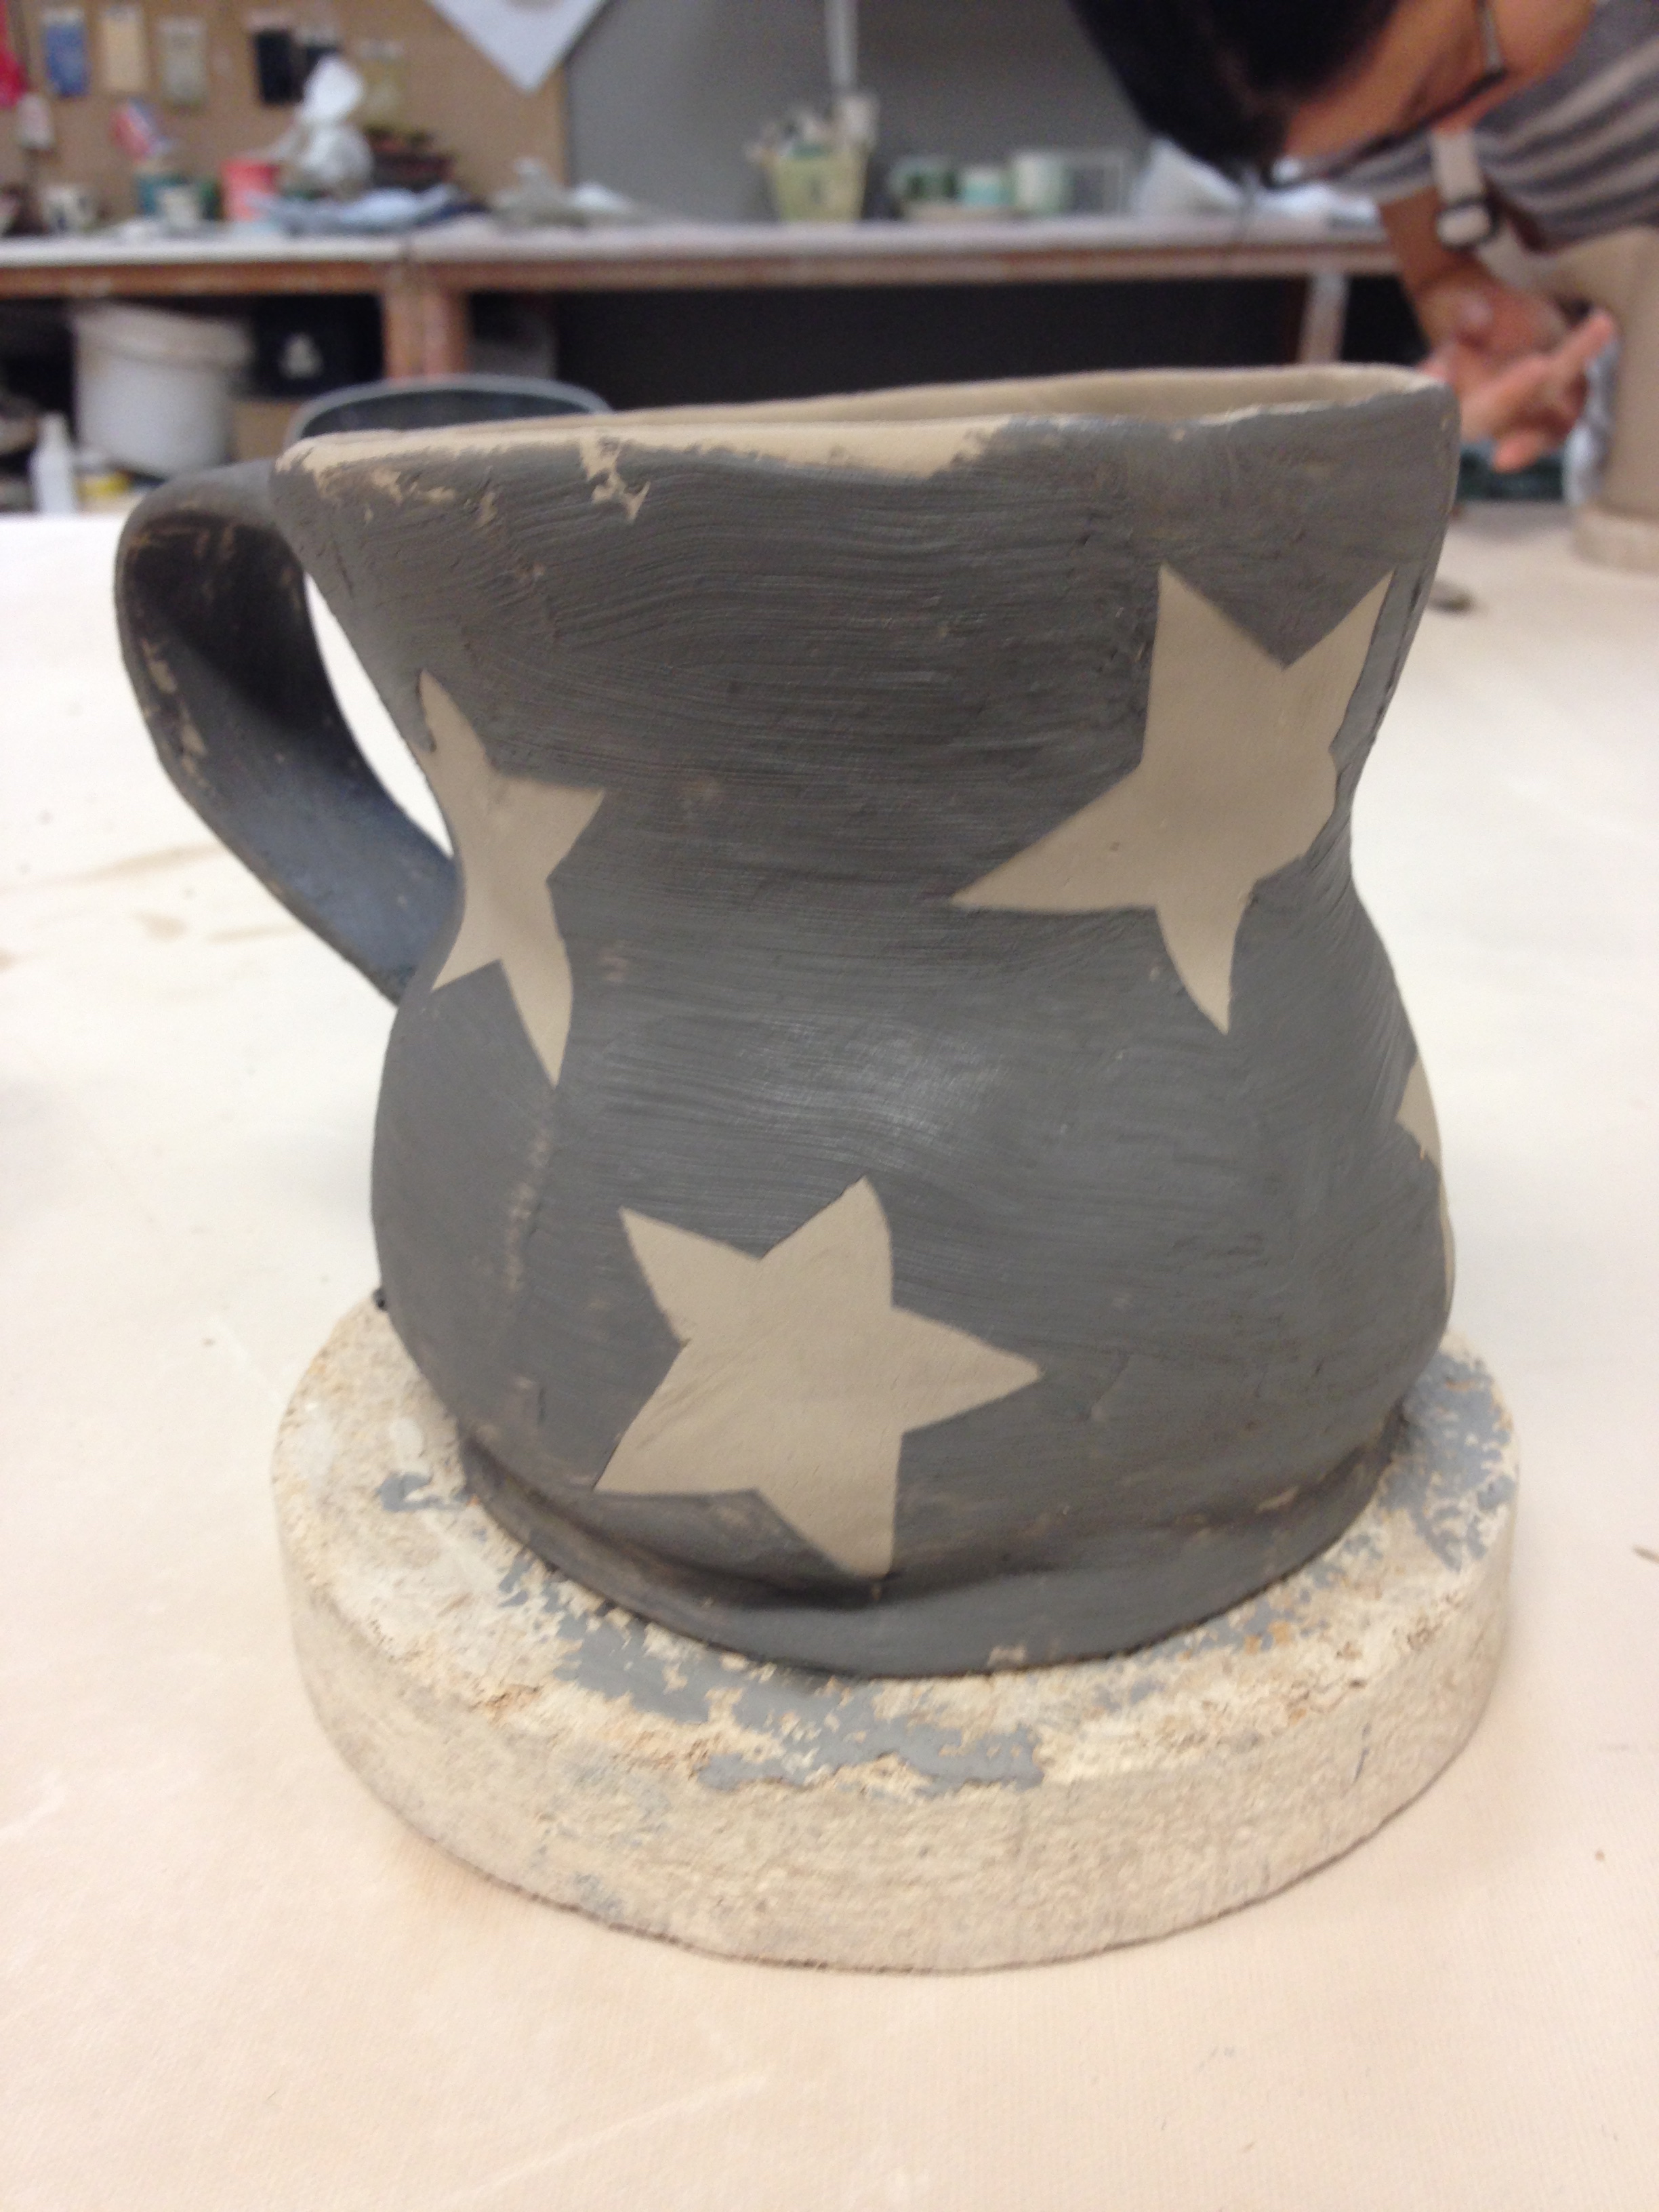
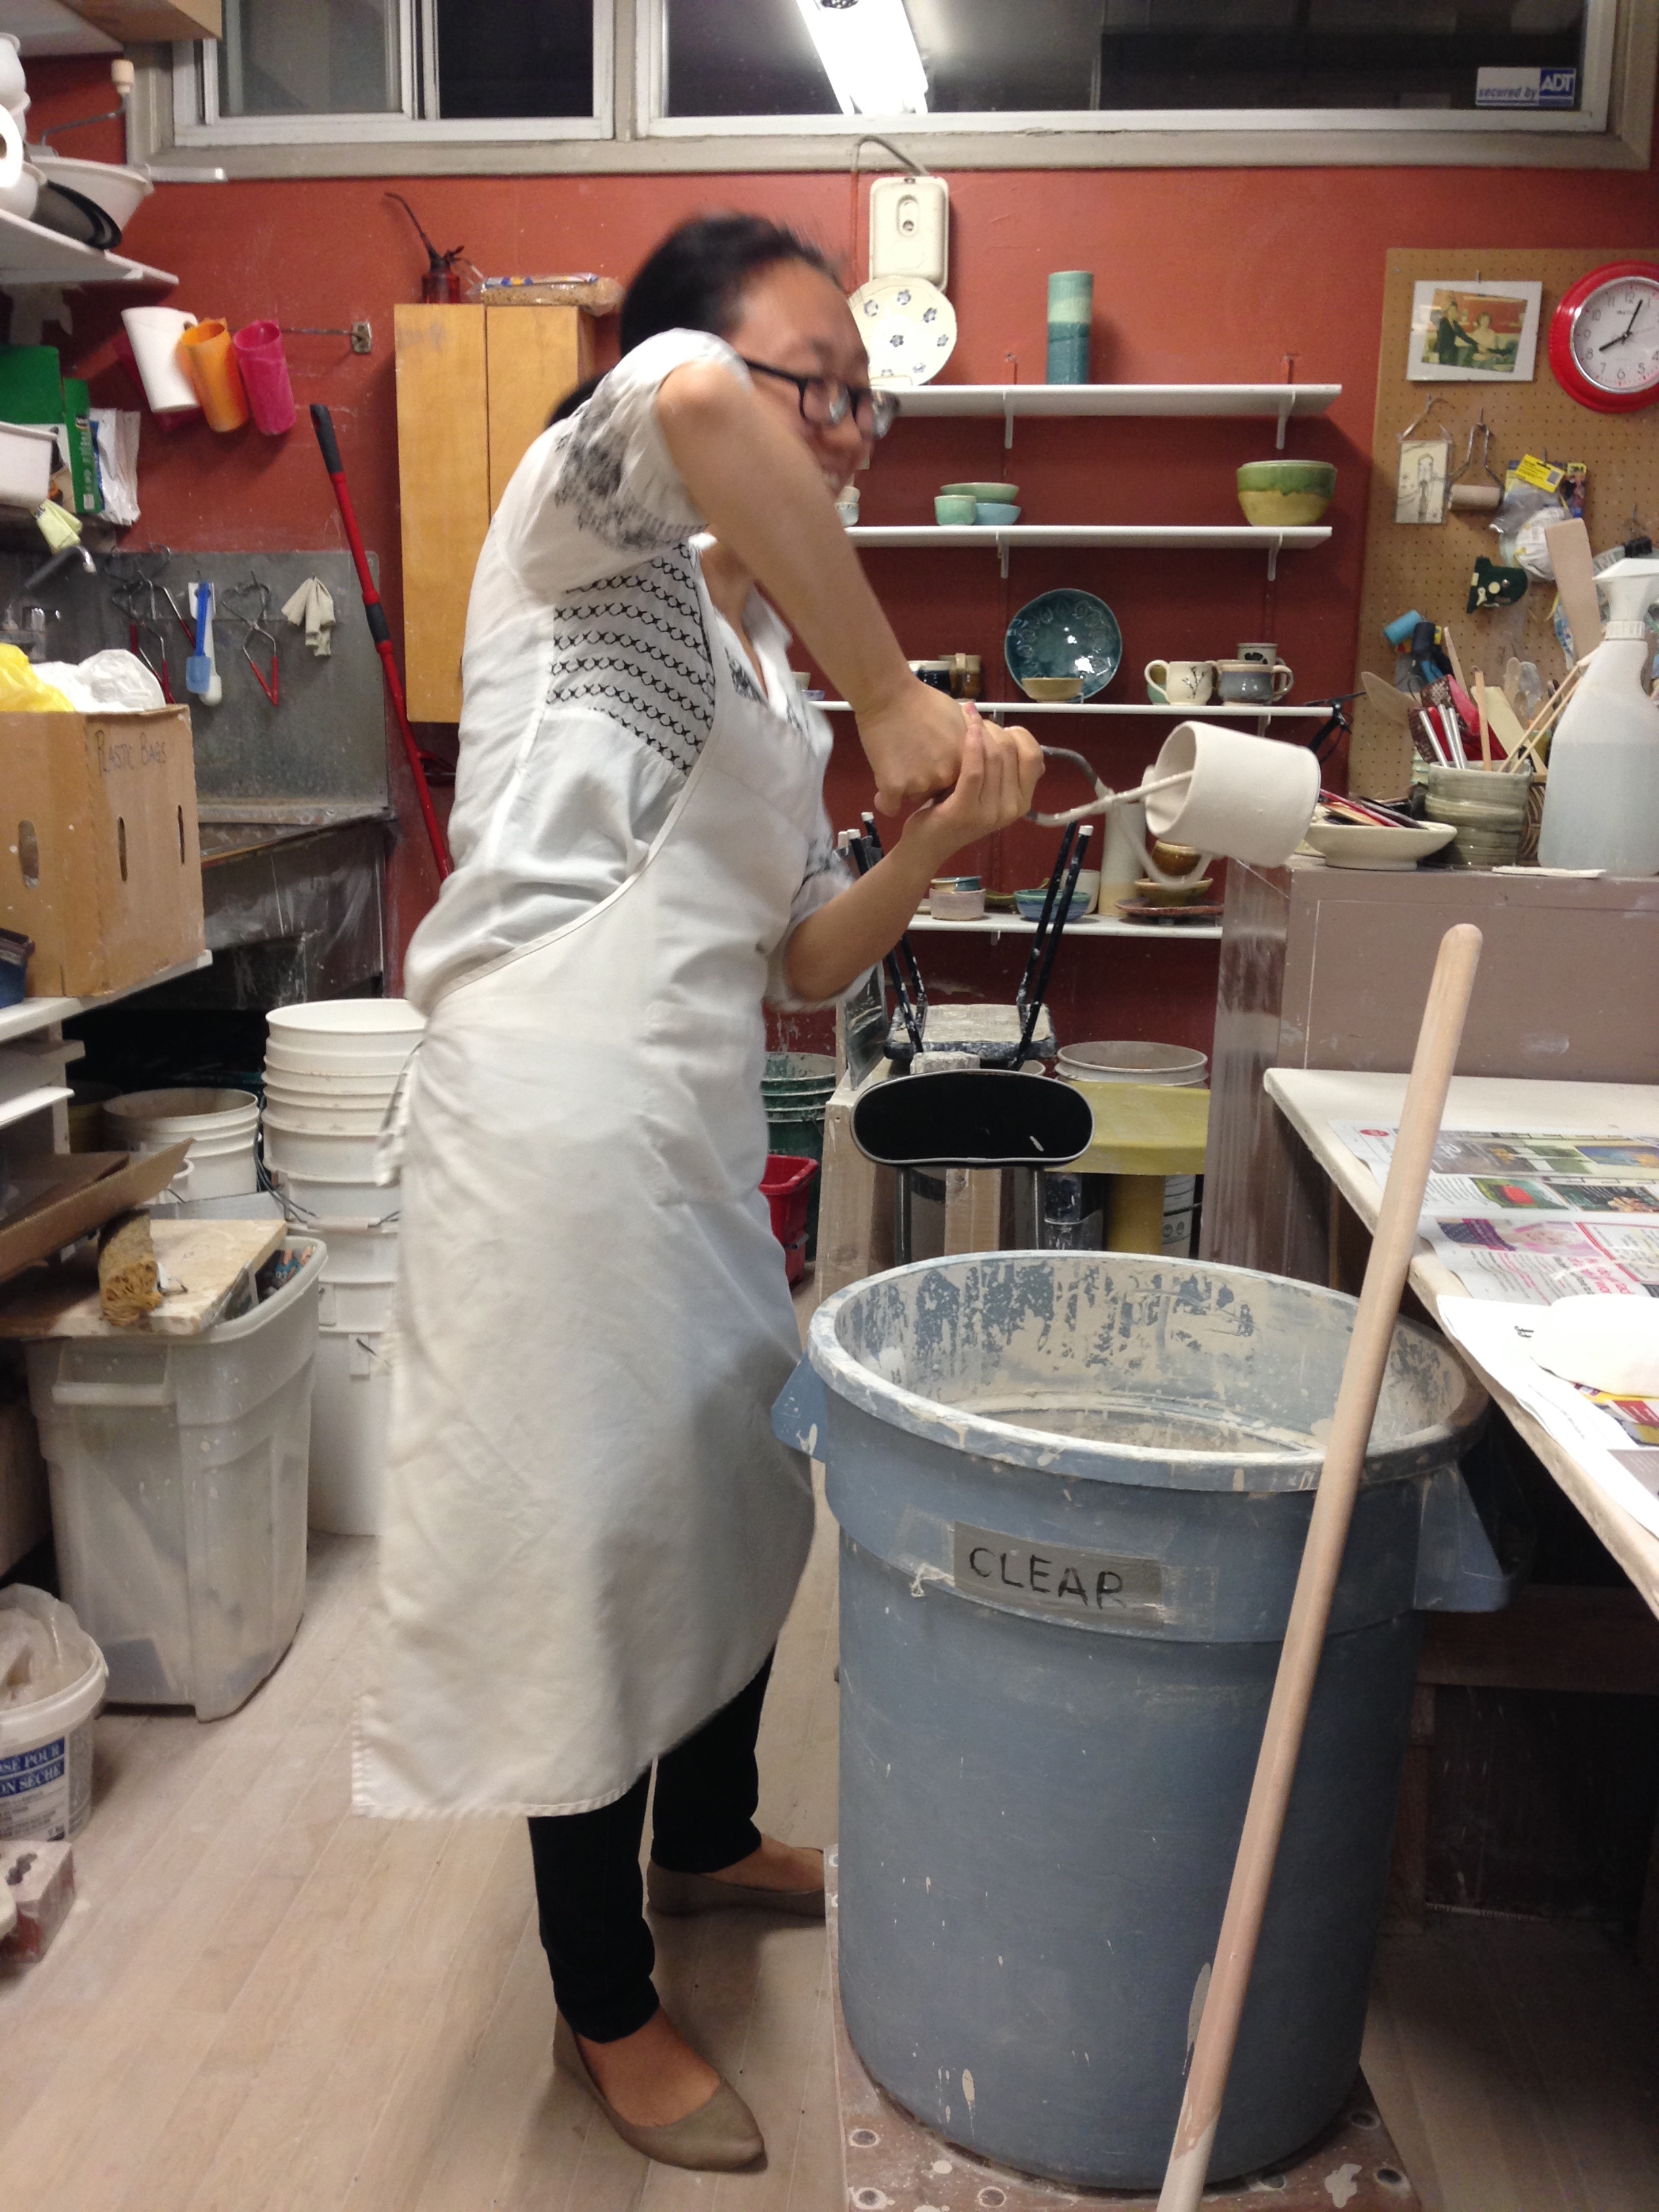
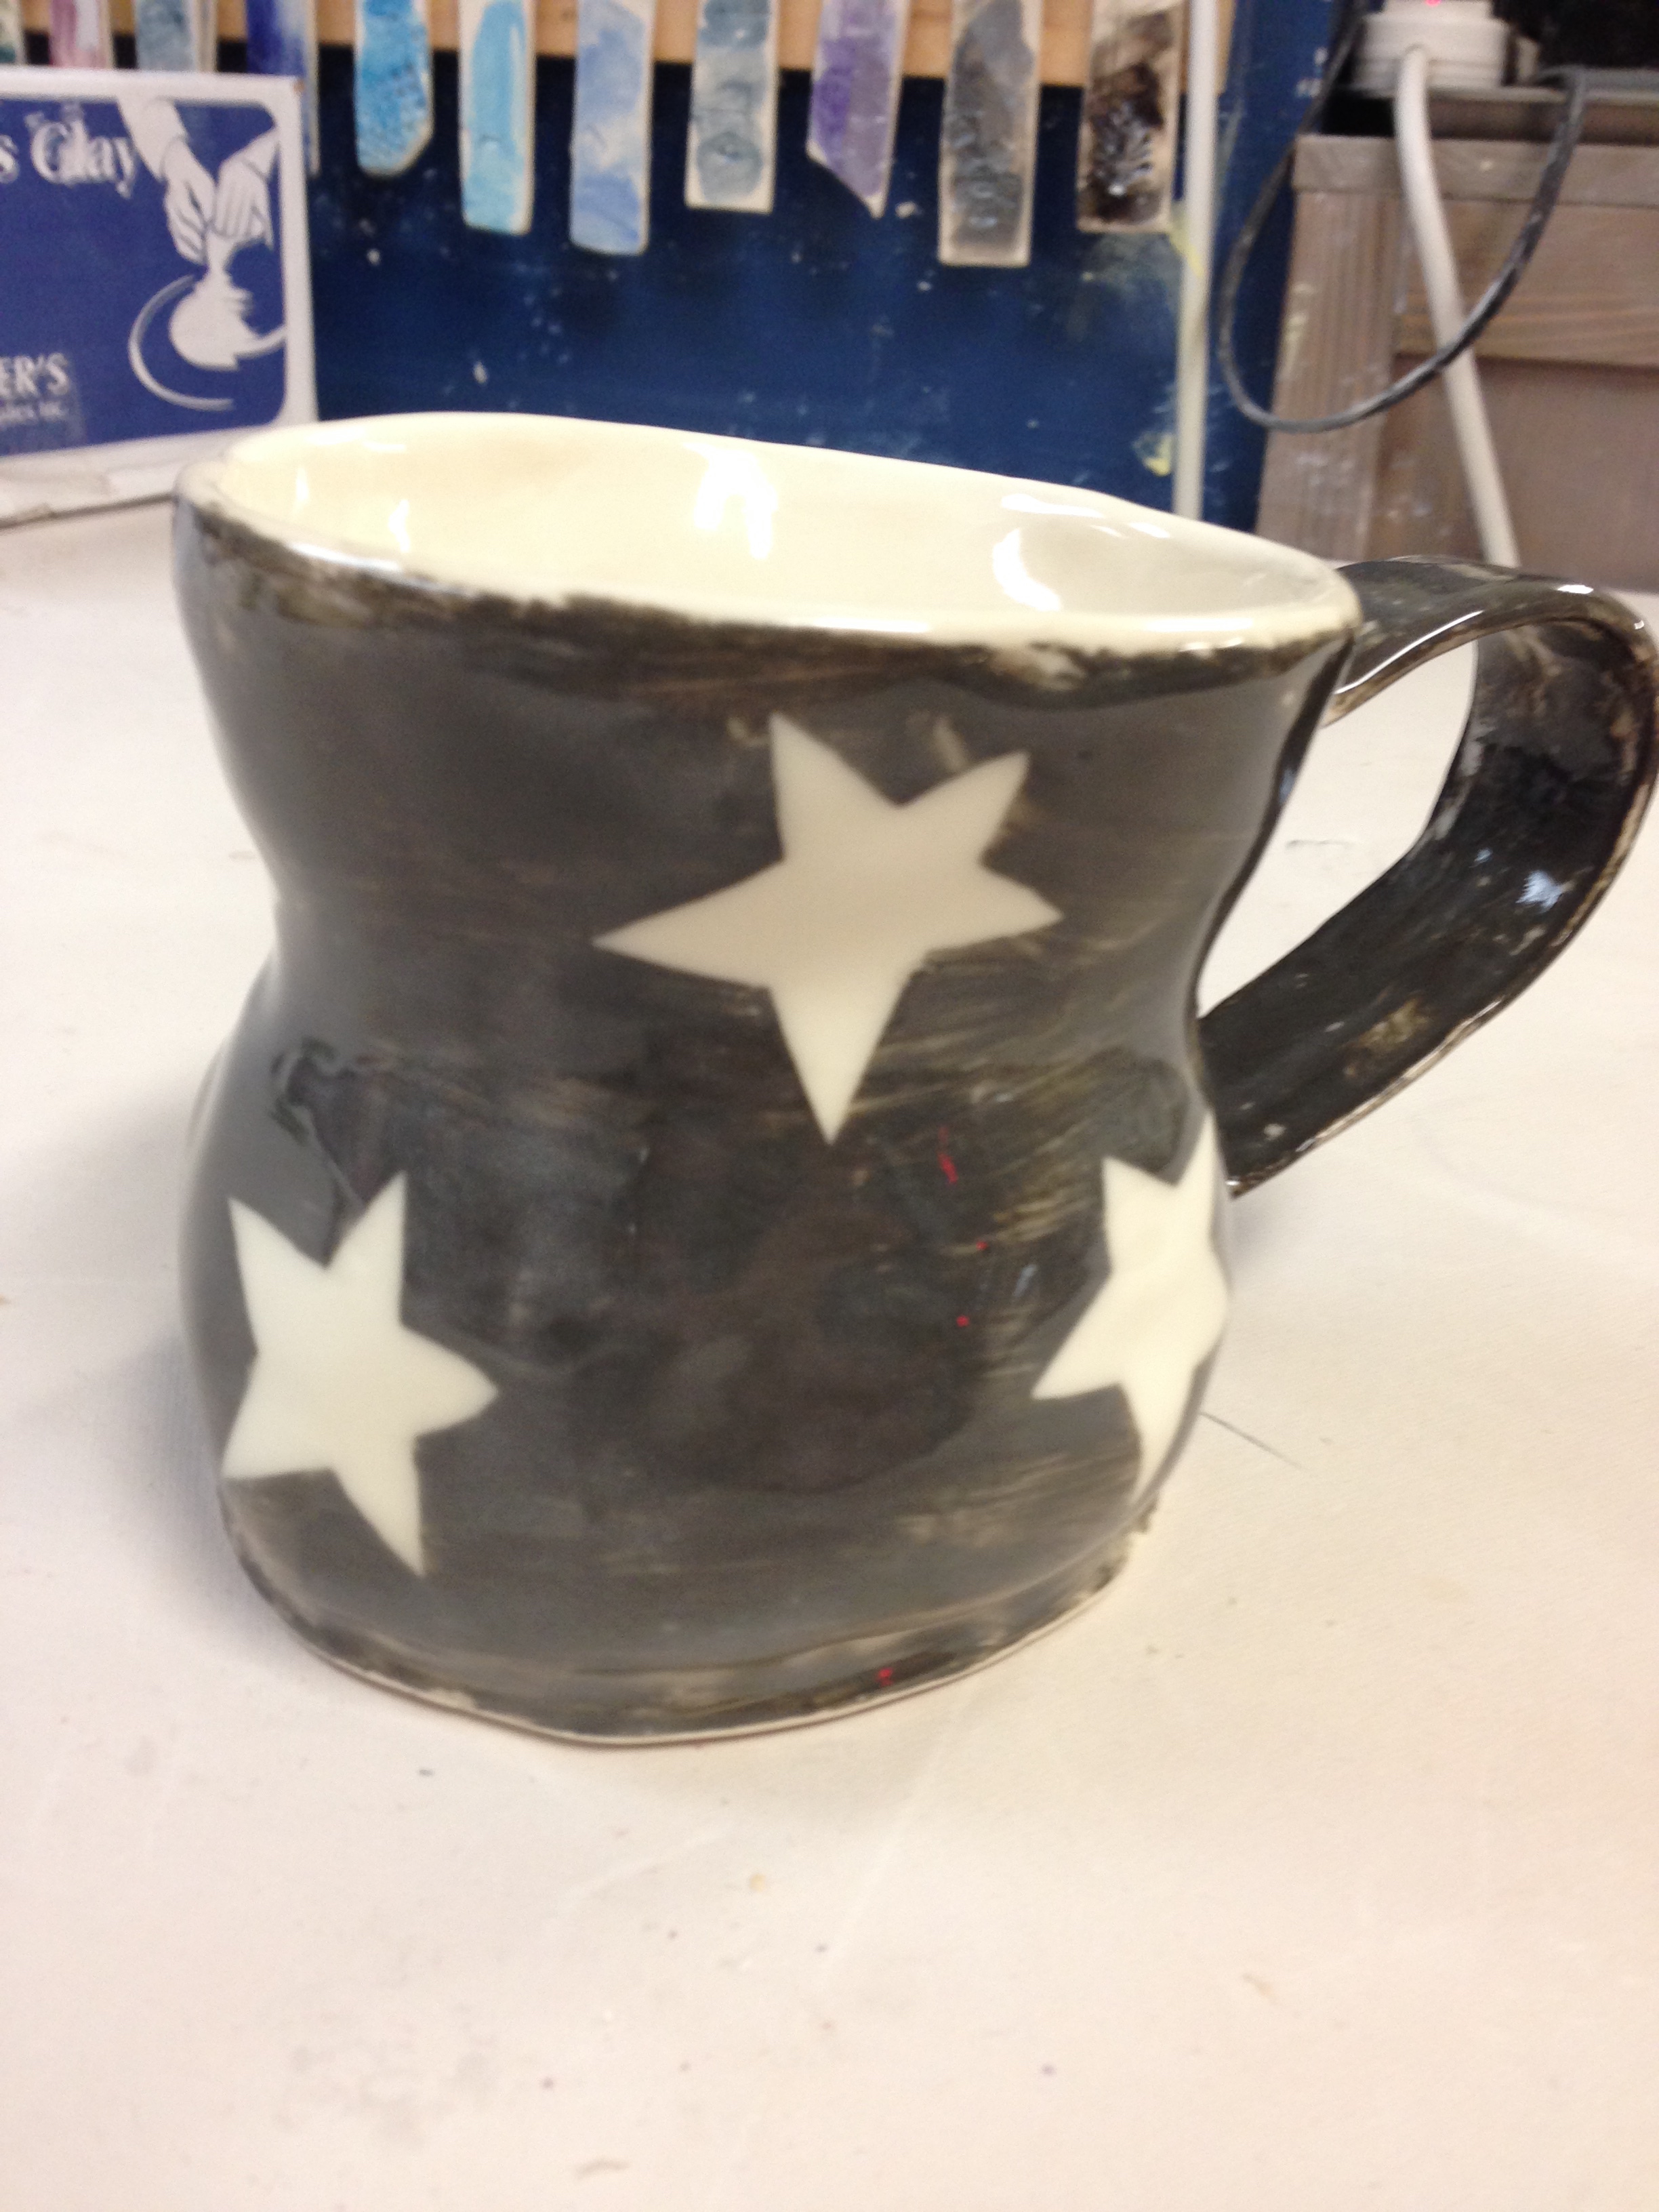
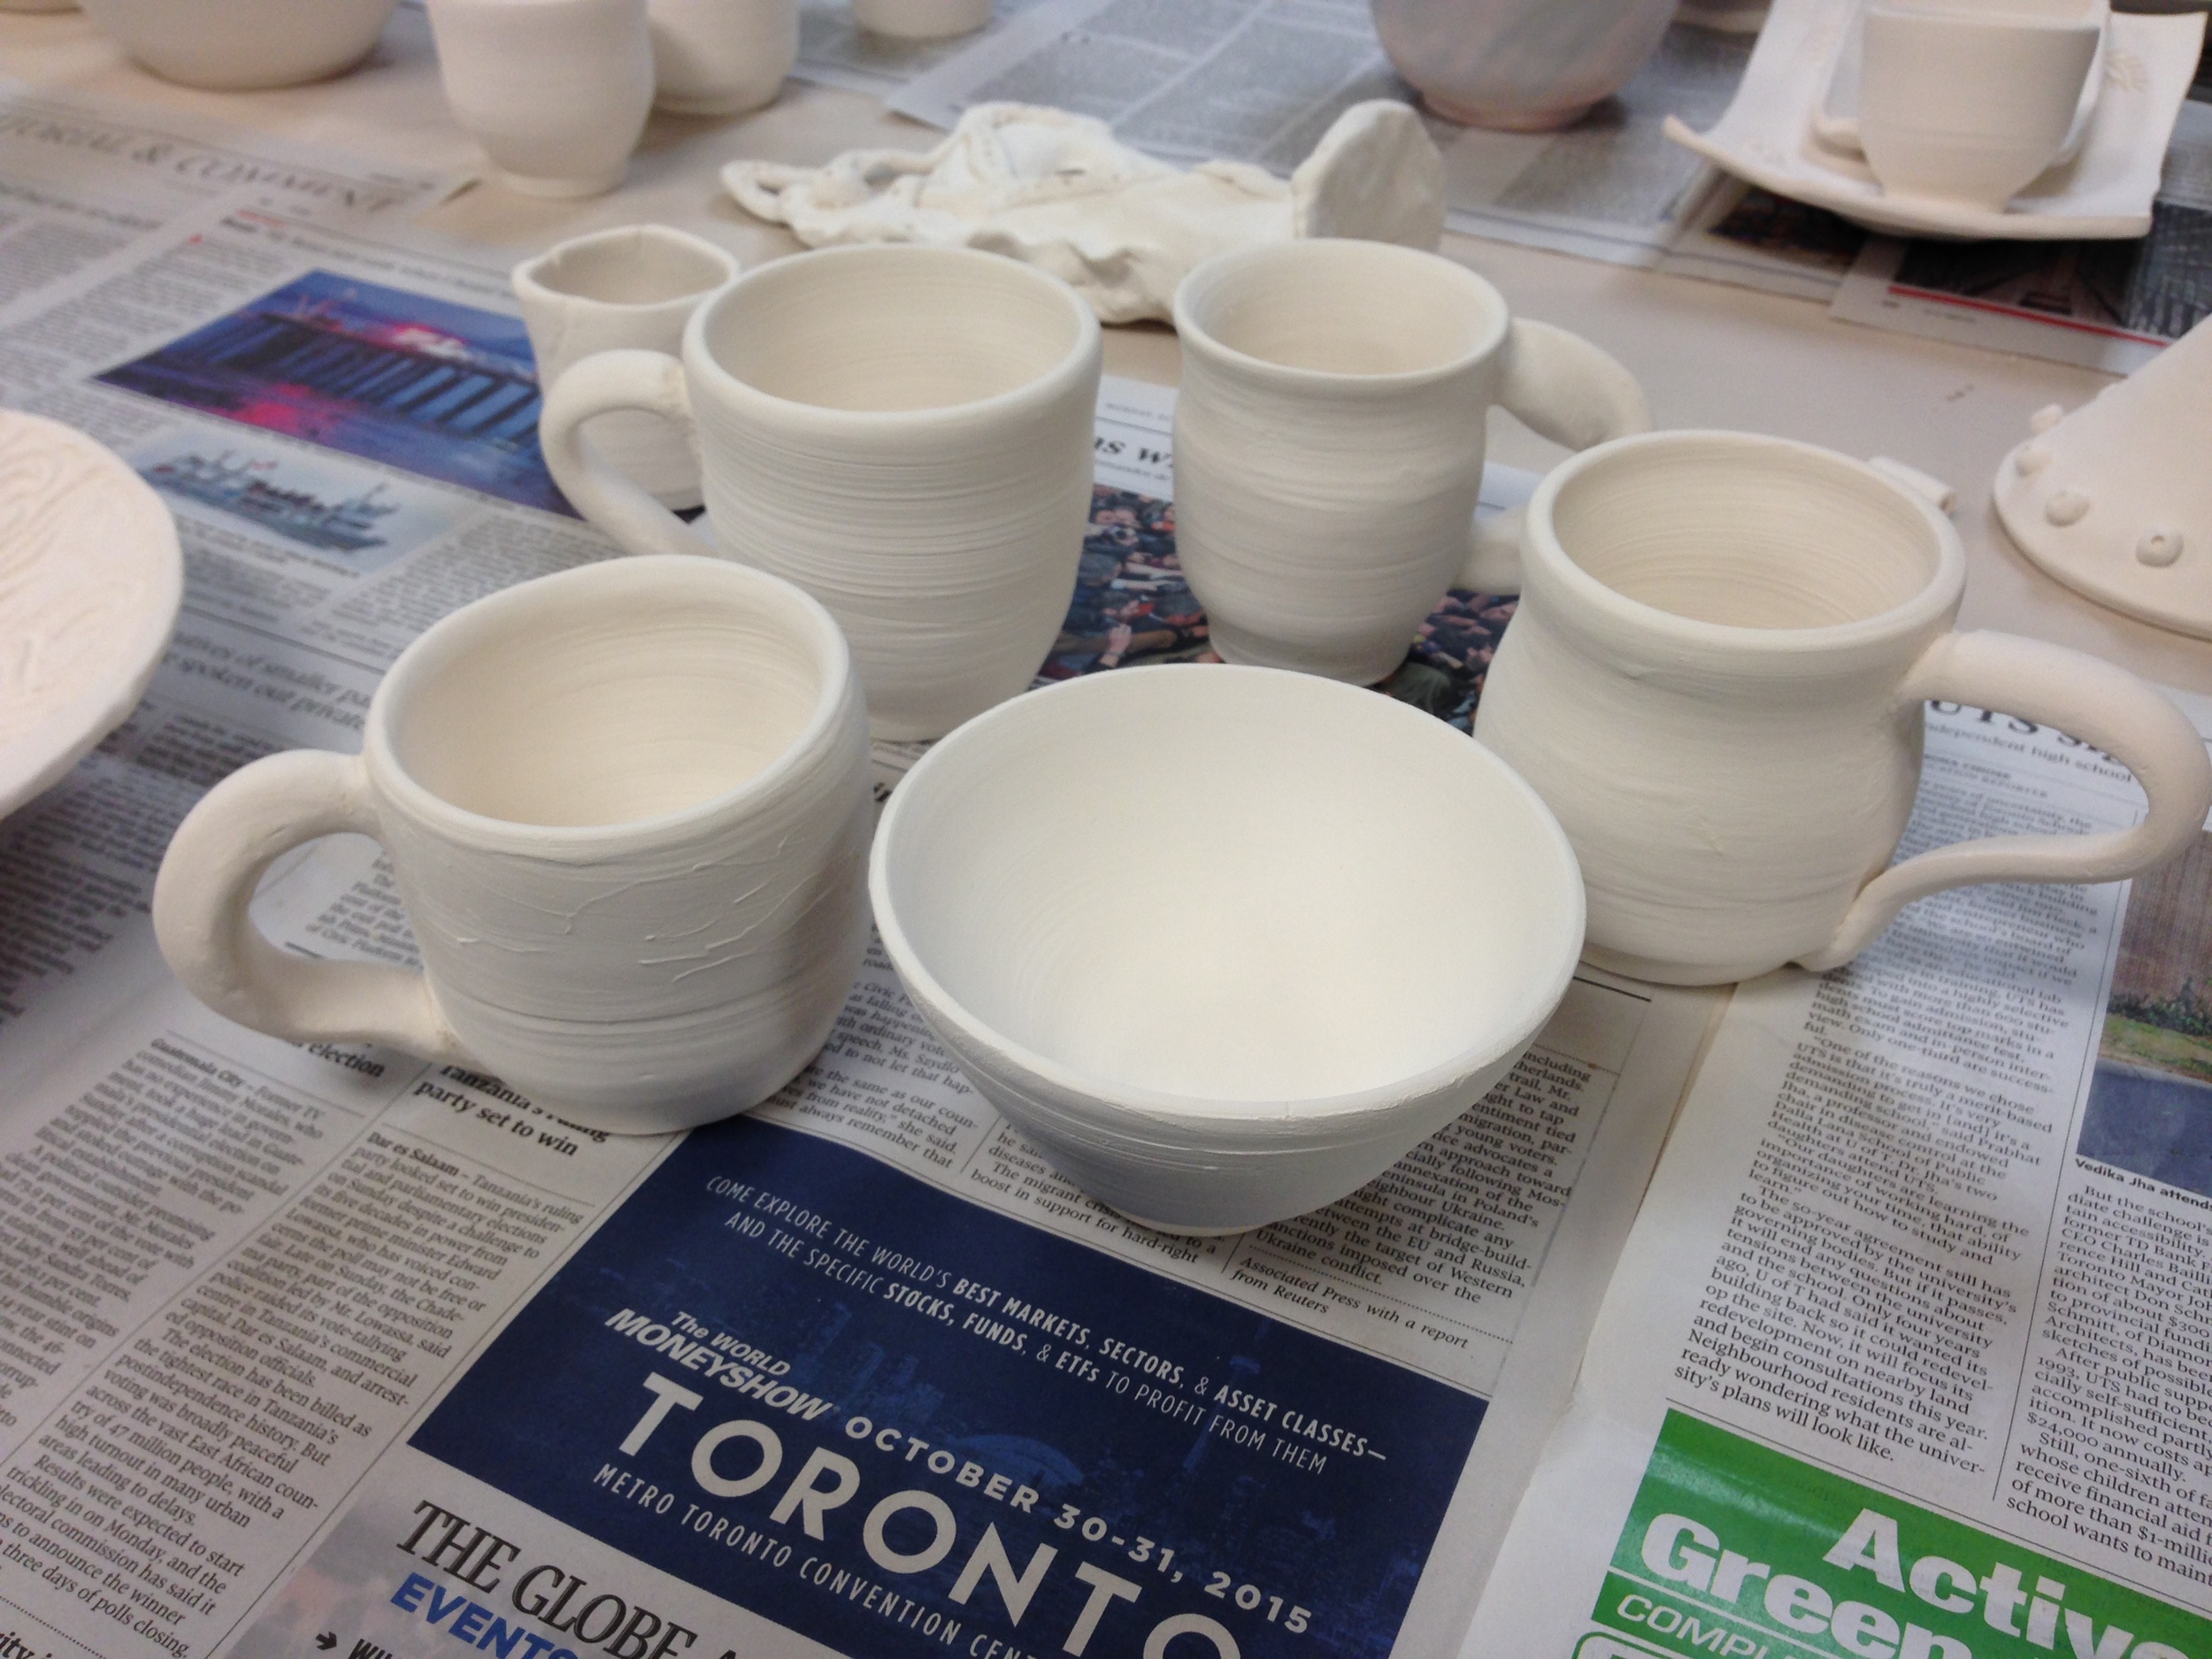
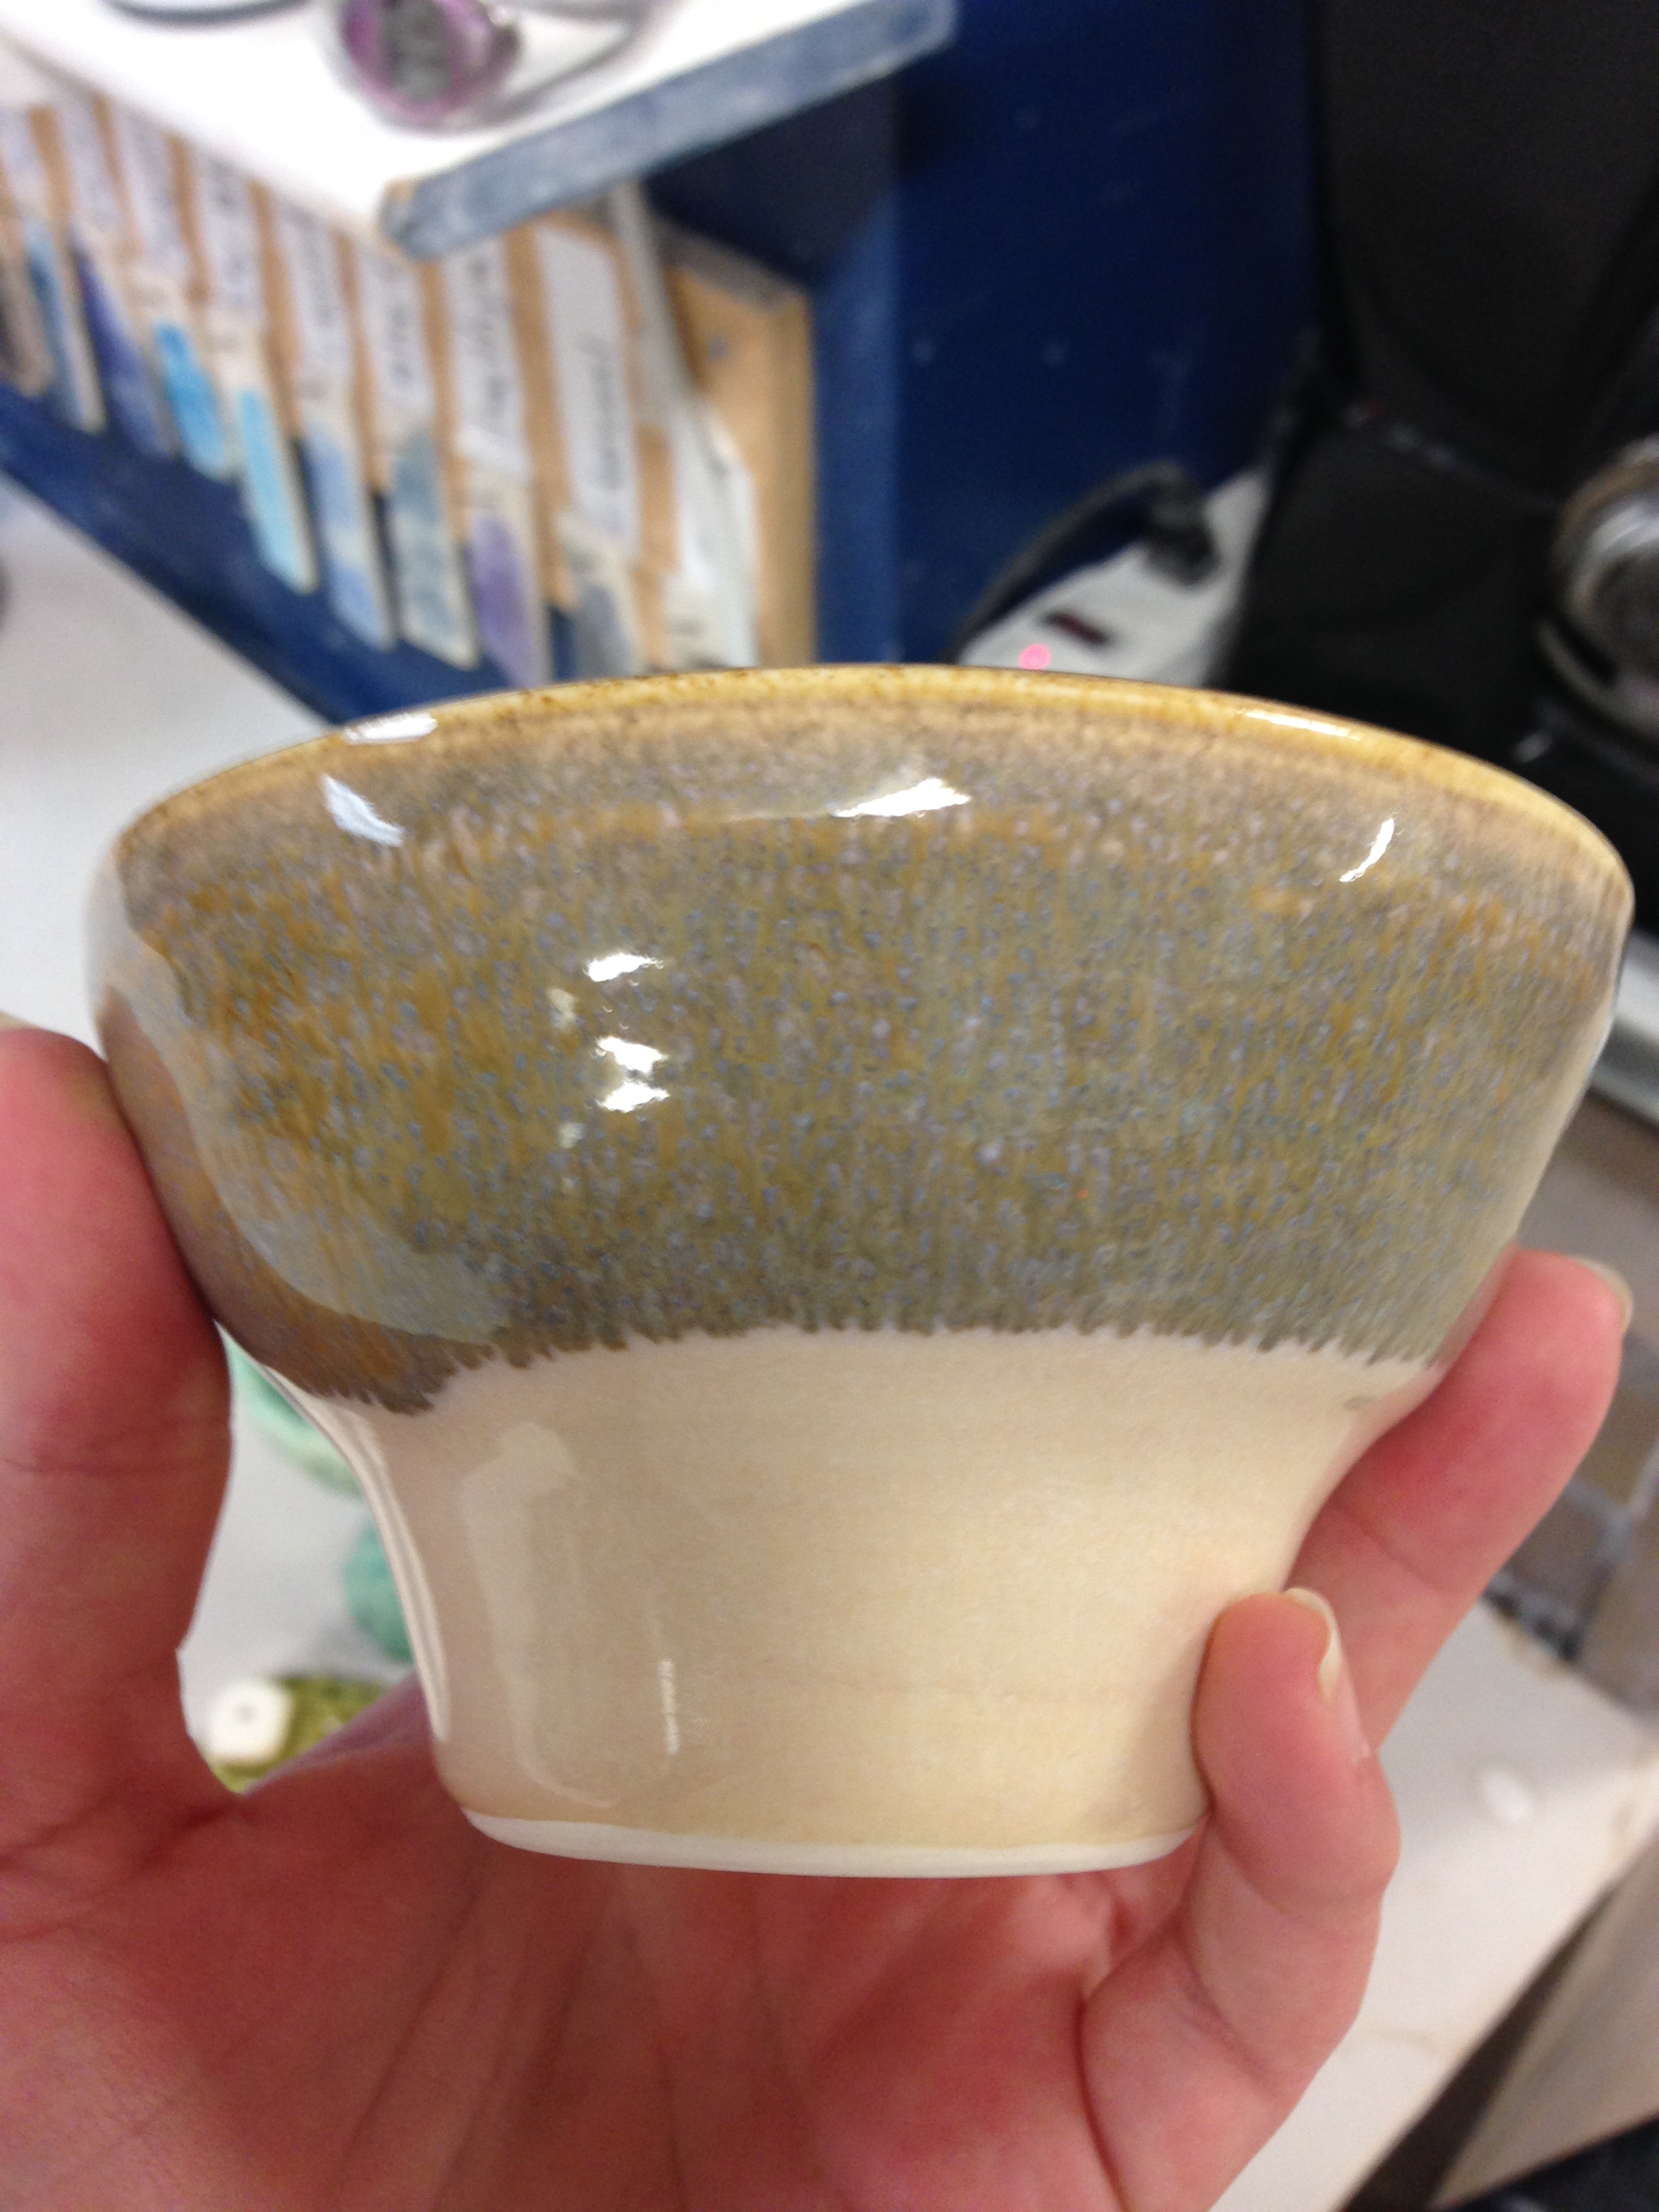
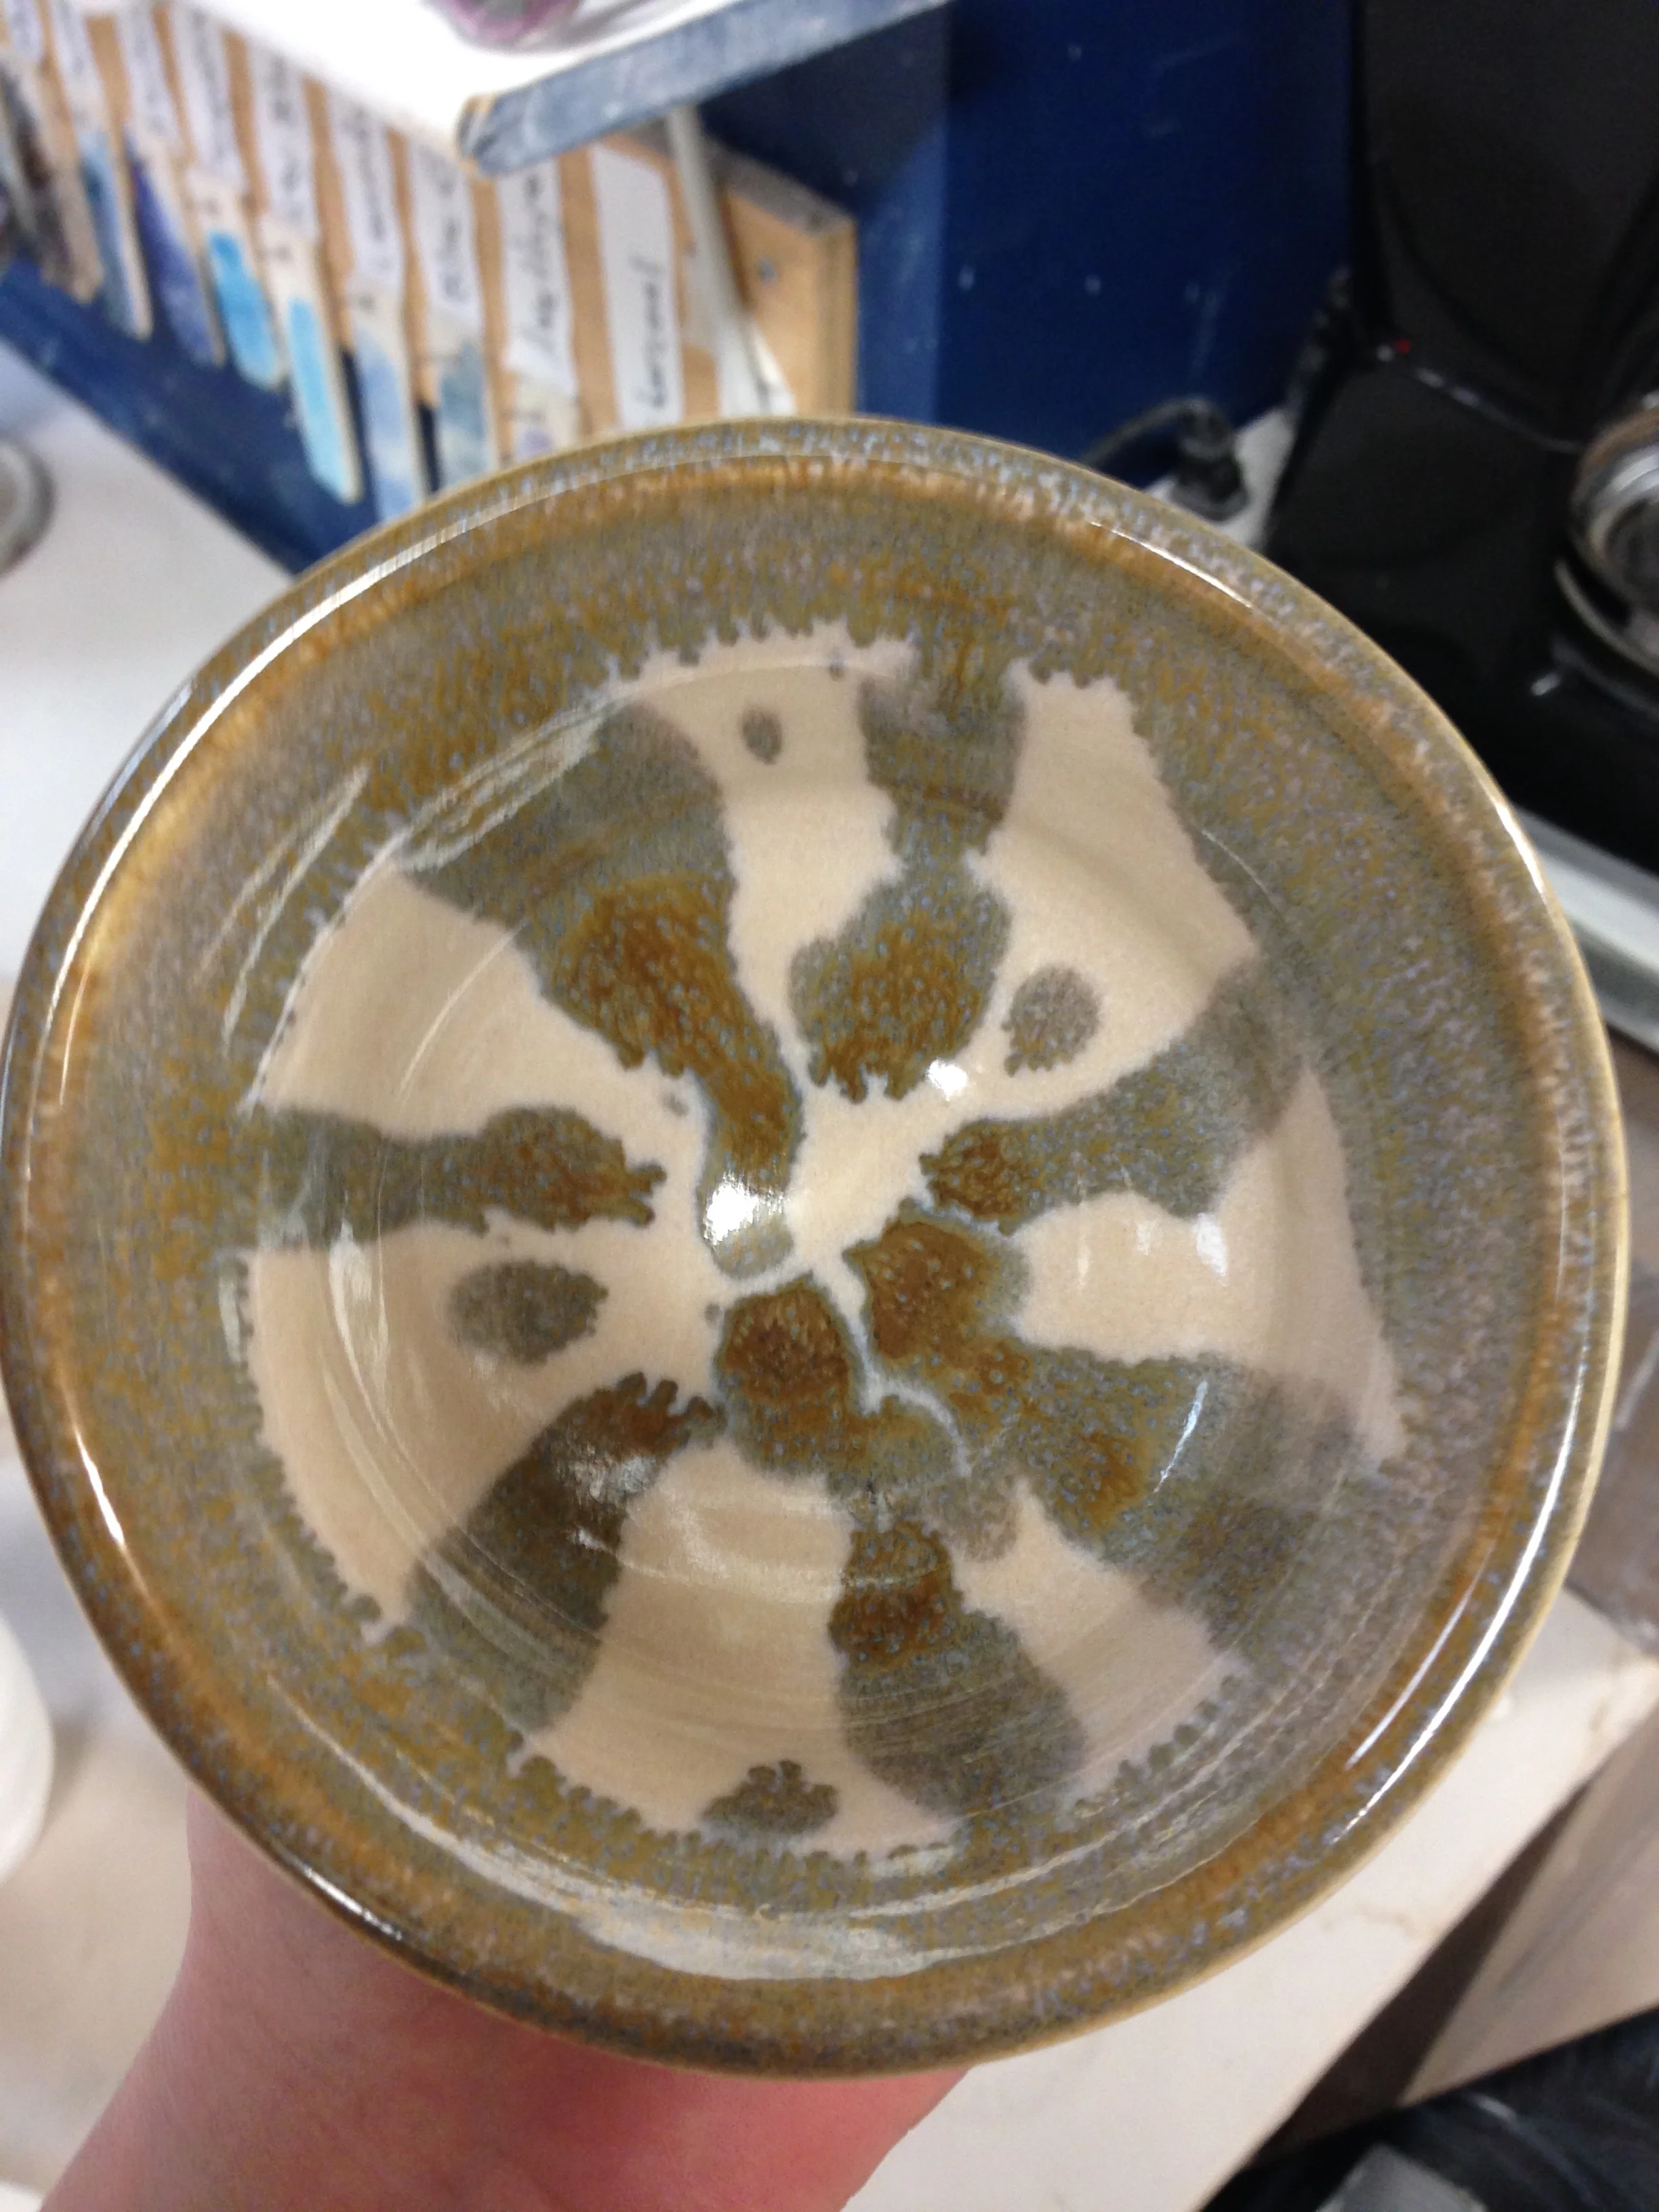
The class was down at a studio called Clay Design on Harbord Street and Brunswick Ave in Toronto. It was an all levels welcome class, which was perfect because I had only ever played with clay as a child. There were about 10 of us in the class but only three that were beginners. We started super easy (but super necessary to get used to handling the clay) making mugs out of slabs. We played with coloured slip and making stencils. And I played with the extent I could make something that resembled a 'mug'... Hah. We moved on to making slab dishes using stamps and rounded plaster. And then we tried our hand at glazing too. All in all, it went very well.

But then we moved on to the pottery wheel. 

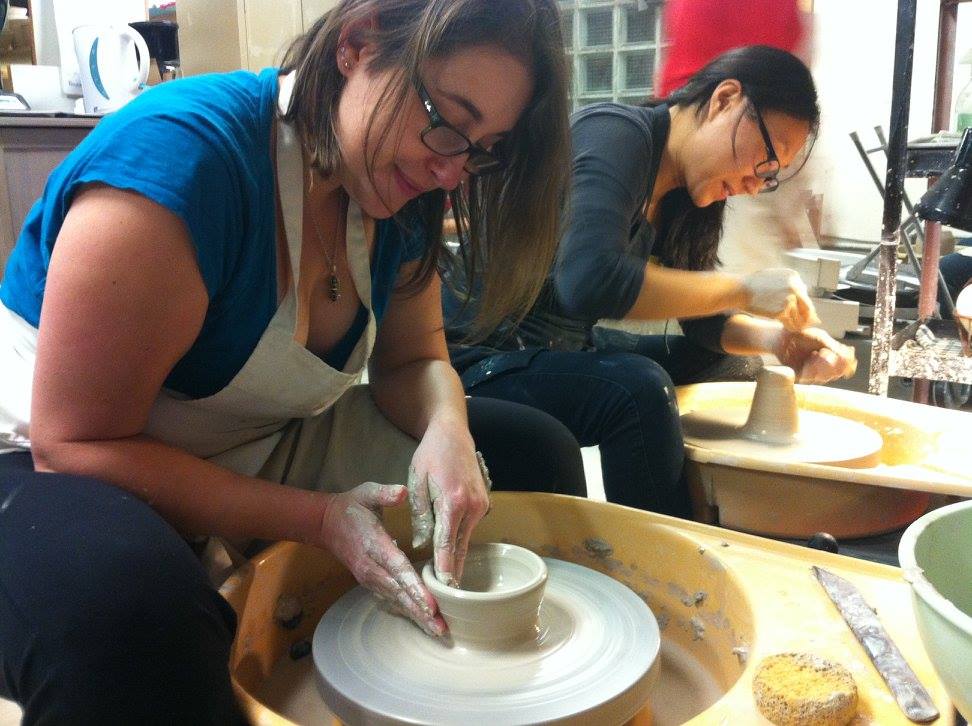
There is a mystique to the Pottery Wheel. It looks So easy, to whip wet clay into a bowl or tall cylinder. But let me tell you - It's super not. Our teacher, who is a professional, can throw a piece in about 3 minutes. First try, it took me about a half hour to have anything that was remotely bowl-like, and it would collapse if you poked it wrong. It takes a surprising amount of upper body control to centre the clay on the wheel. (Note to self: Add 'potters' to the list of people to never get into a fight with.) And if the clay isn't centred then you may as well go back to slab mugs. The motion of 'pulling' the clay up into a shape is very slow and smooth. So, if you're super spazzy like me it's a bit of an exercise in concentration and focus. (Seriously good physical therapy though.) I did manage to make one bowl! 1 out of 3 throws on my first wheel day, not bad for a beginner.... she tells herself. 
The next week we worked on trimming out bowls. Essentially, shaping the base of the bowl because there is no access to it on the wheel. The process is to centre the bowl on the wheel, fasten it down and then using a trimming tool, skim off the excess clay. Again. Centring clay on the wheel is a magic that I will never possess. The end result is pretty amazing though!

Anyway. I've got Way much more respect for people who throw their own pottery. Those prices on handmade pottery pieces now make A Lot more sense. It's hard to make! And the owners at Clay Design are Amazing teachers. I've learned so much, about pottery but also about my own erratic hands. I will probably stick to knitting and whisking but it was a great experience to have. Defs Recommend! 

-Andrea

The Half-Assed Hobbyist