Plum'in It.

I've been super busy this past week at a new jobbins so here's an oldie but a goodie recipe!

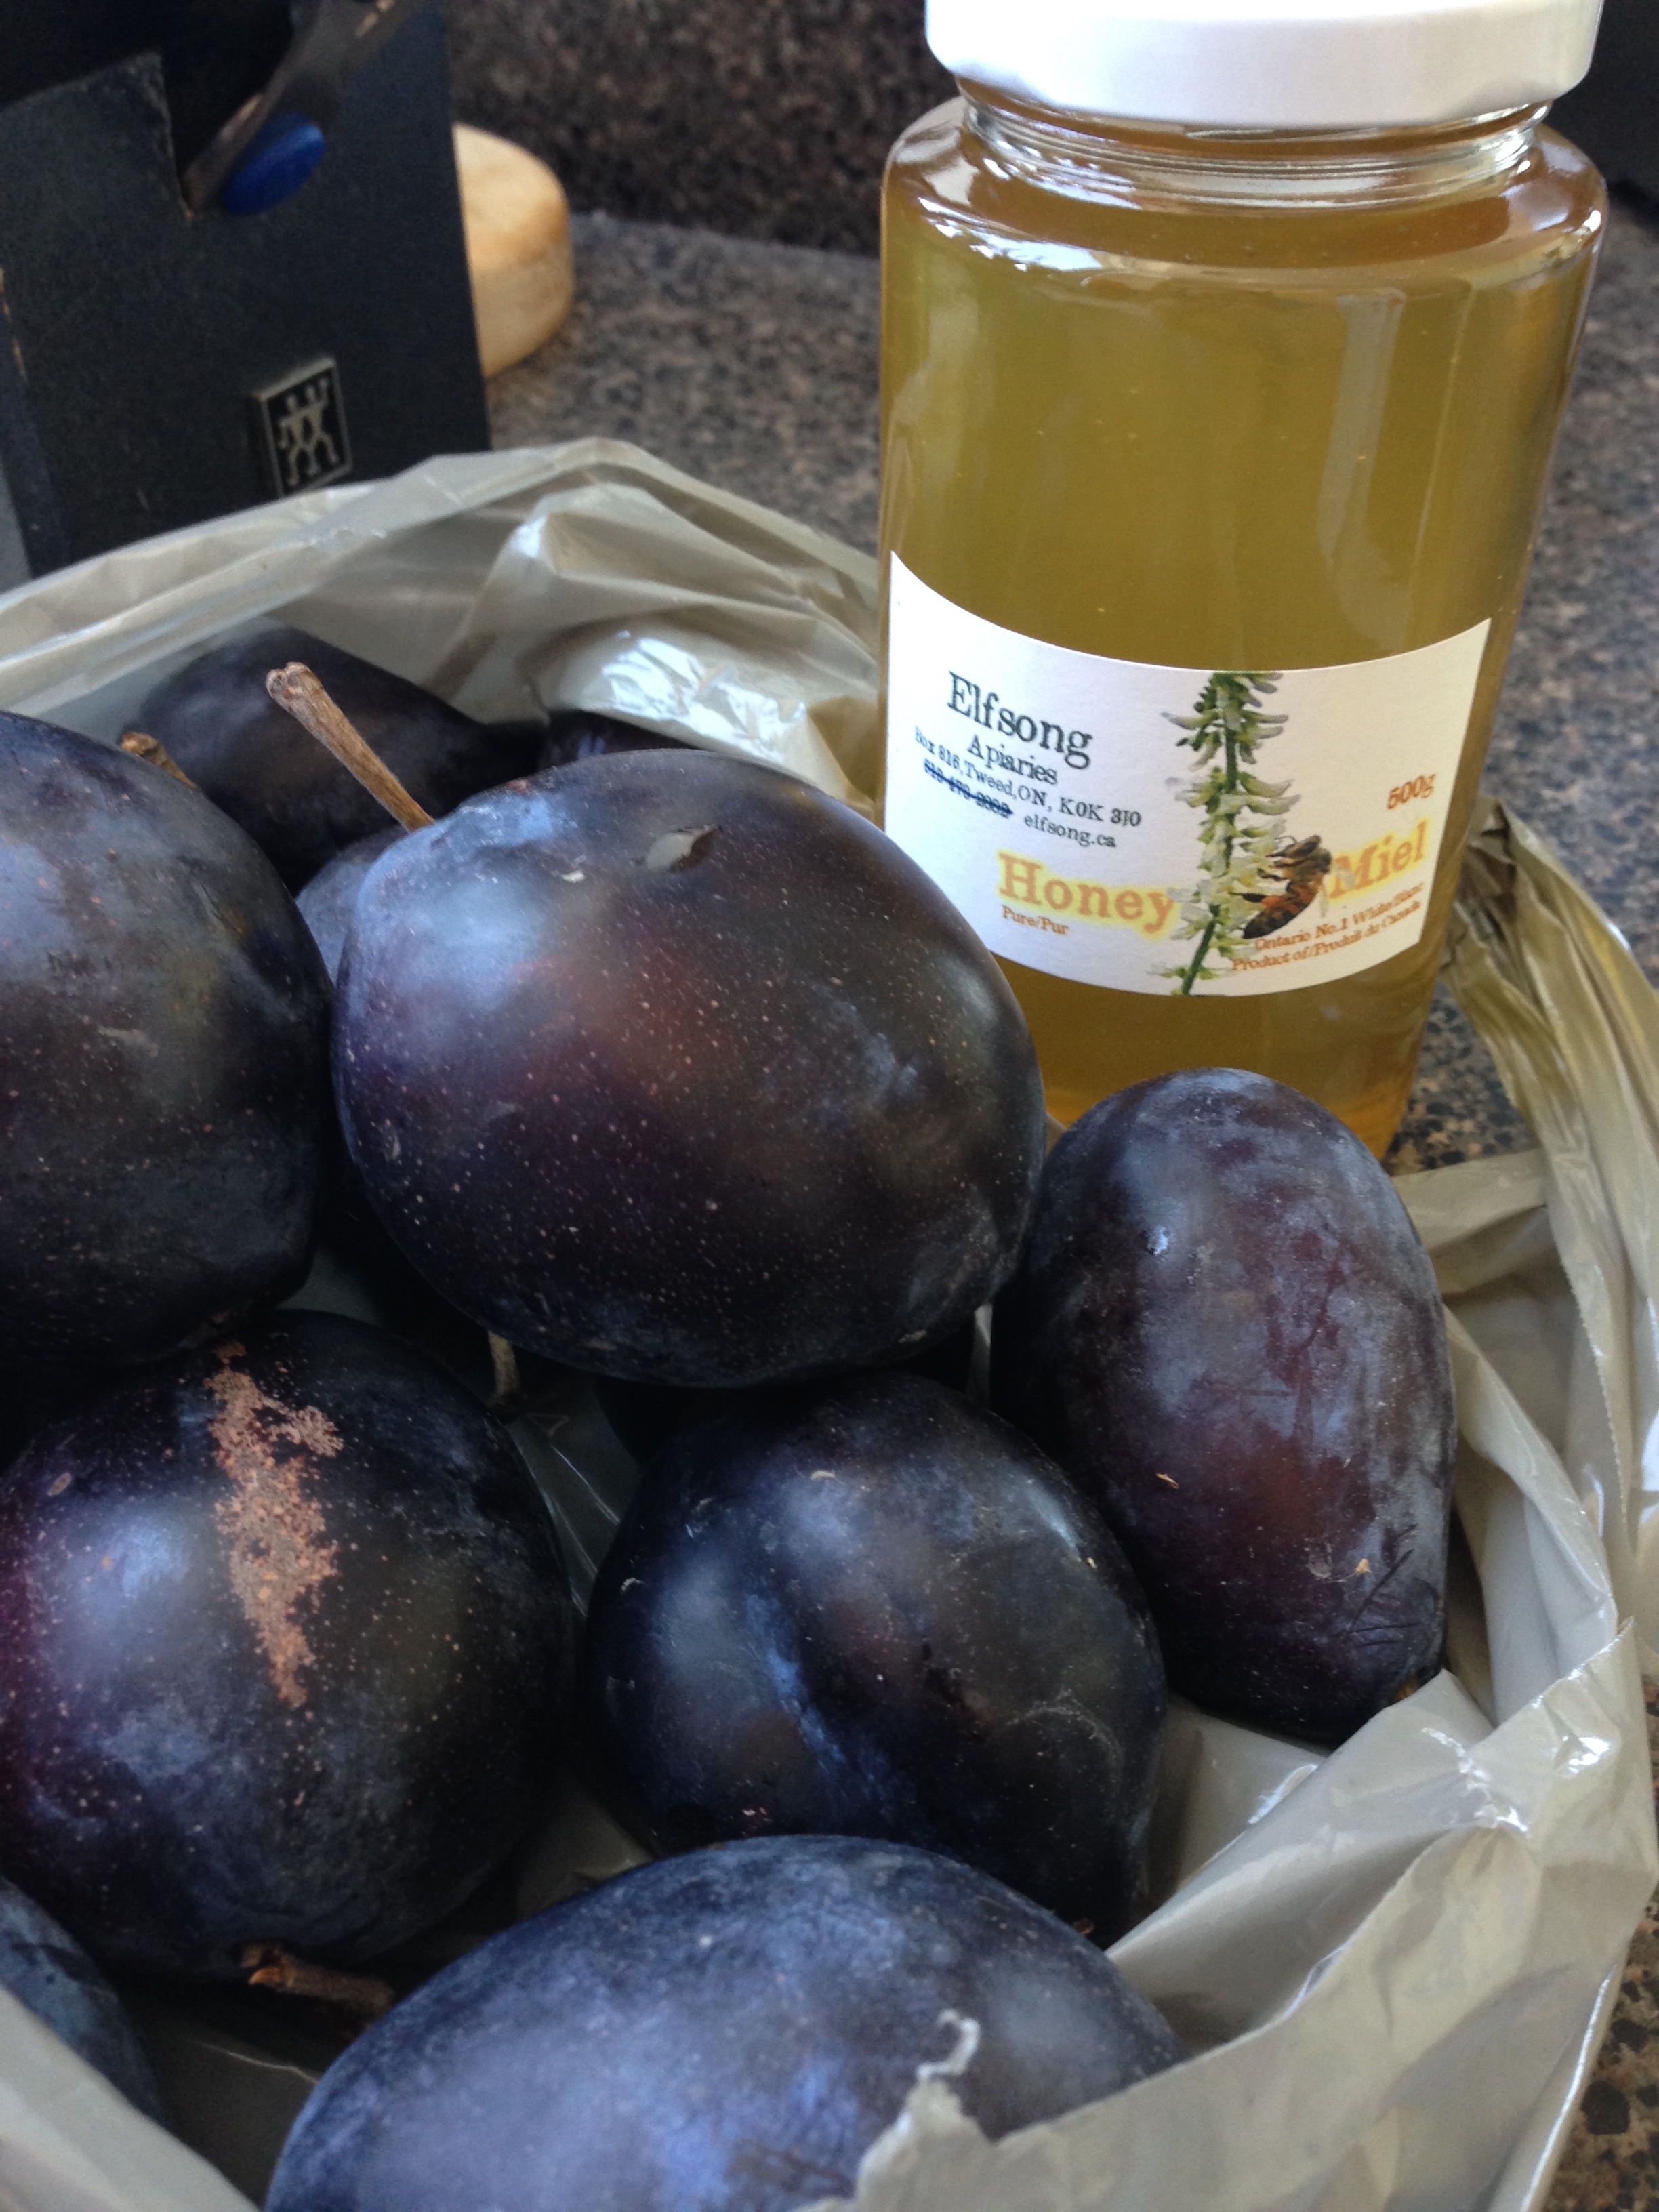
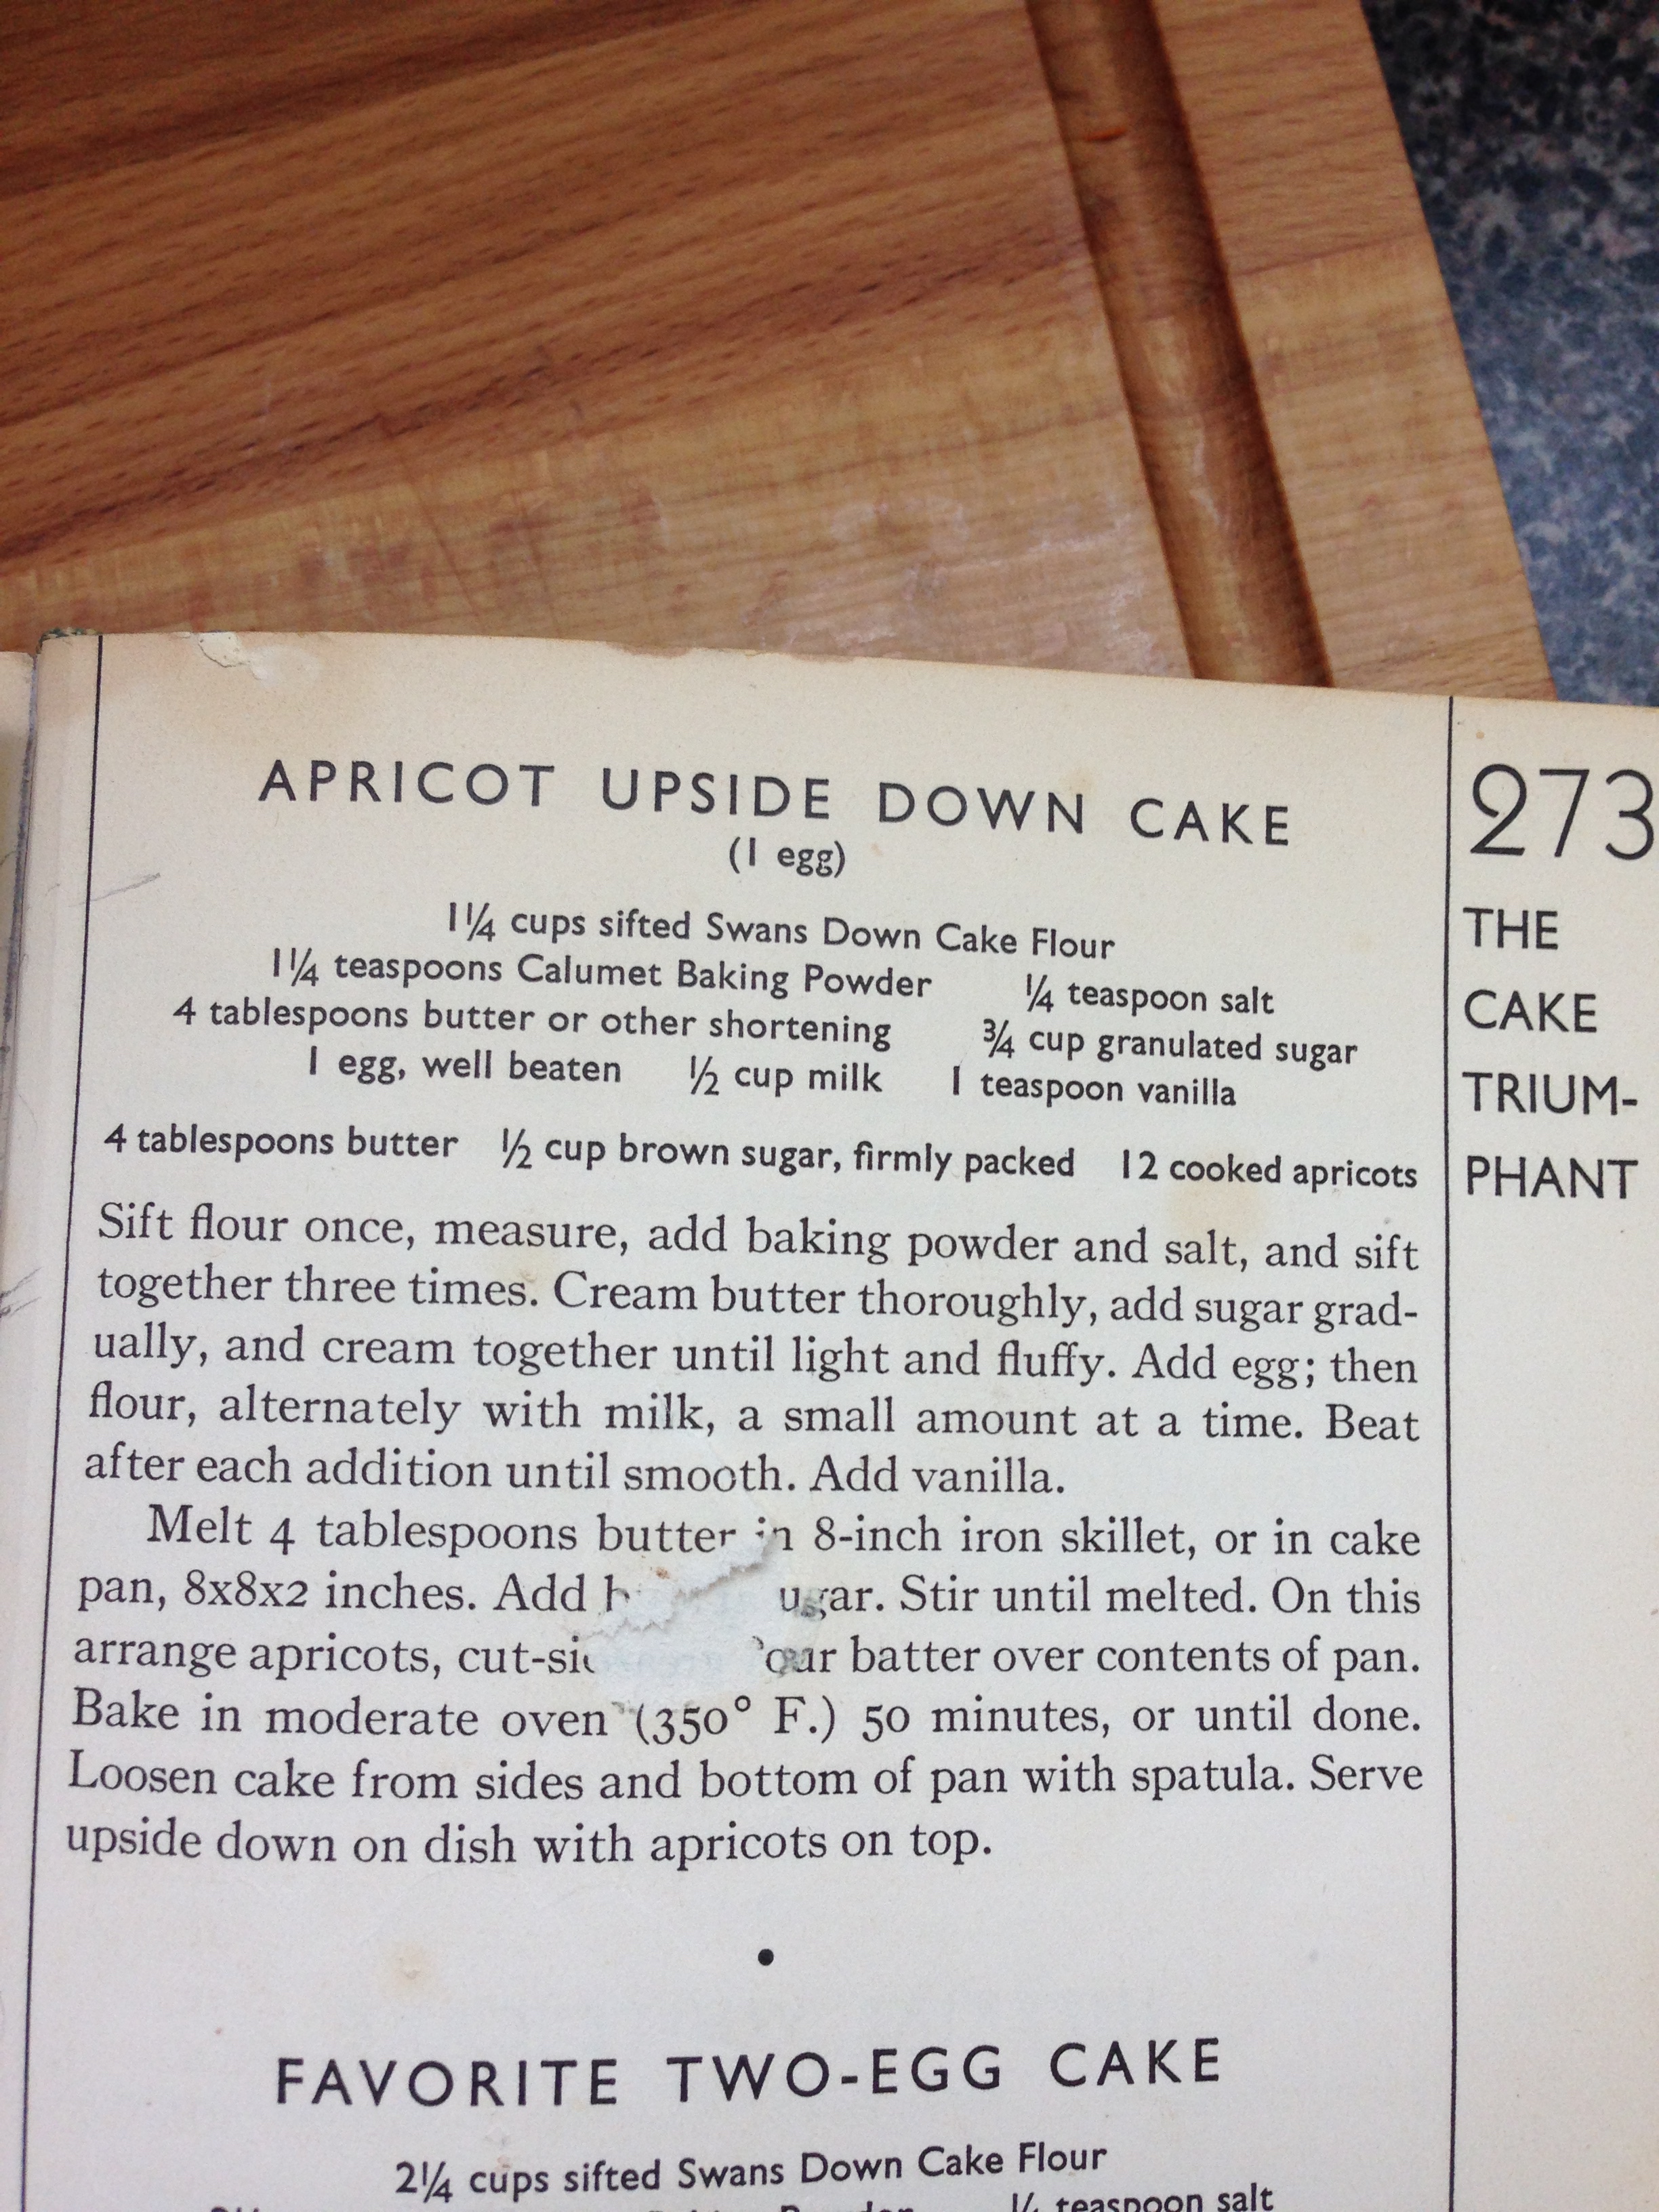
I've done a similar recipe here but I changed it up a bit. I used blue plums (that were in season at the time, yay!) and some clover honey from the local market. 

Blue Plum and Honey Upside-down Cake

12 Blue Plums, sliced thinly

4 TBSP butter
1/4 cup brown sugar
1/4 cup clover honey
1/2 tsp ground cinnamon

1 1/4 cup flour
1 1/4 tsp baking powder
1/4 tsp salt

4 TBSP butter
3/4 cups granulated sugar
1 egg, well beaten
1/2 milk
1 tsp vanilla

9 inch round pan

  1. To slice plums: With a sharp knife, make a slit around the centre of the plum, all the way around the pit. Twist one half of fruit off the pit. Remove the pit. Slice up the plum flesh. 
  2. Preheat your oven to 350'F.
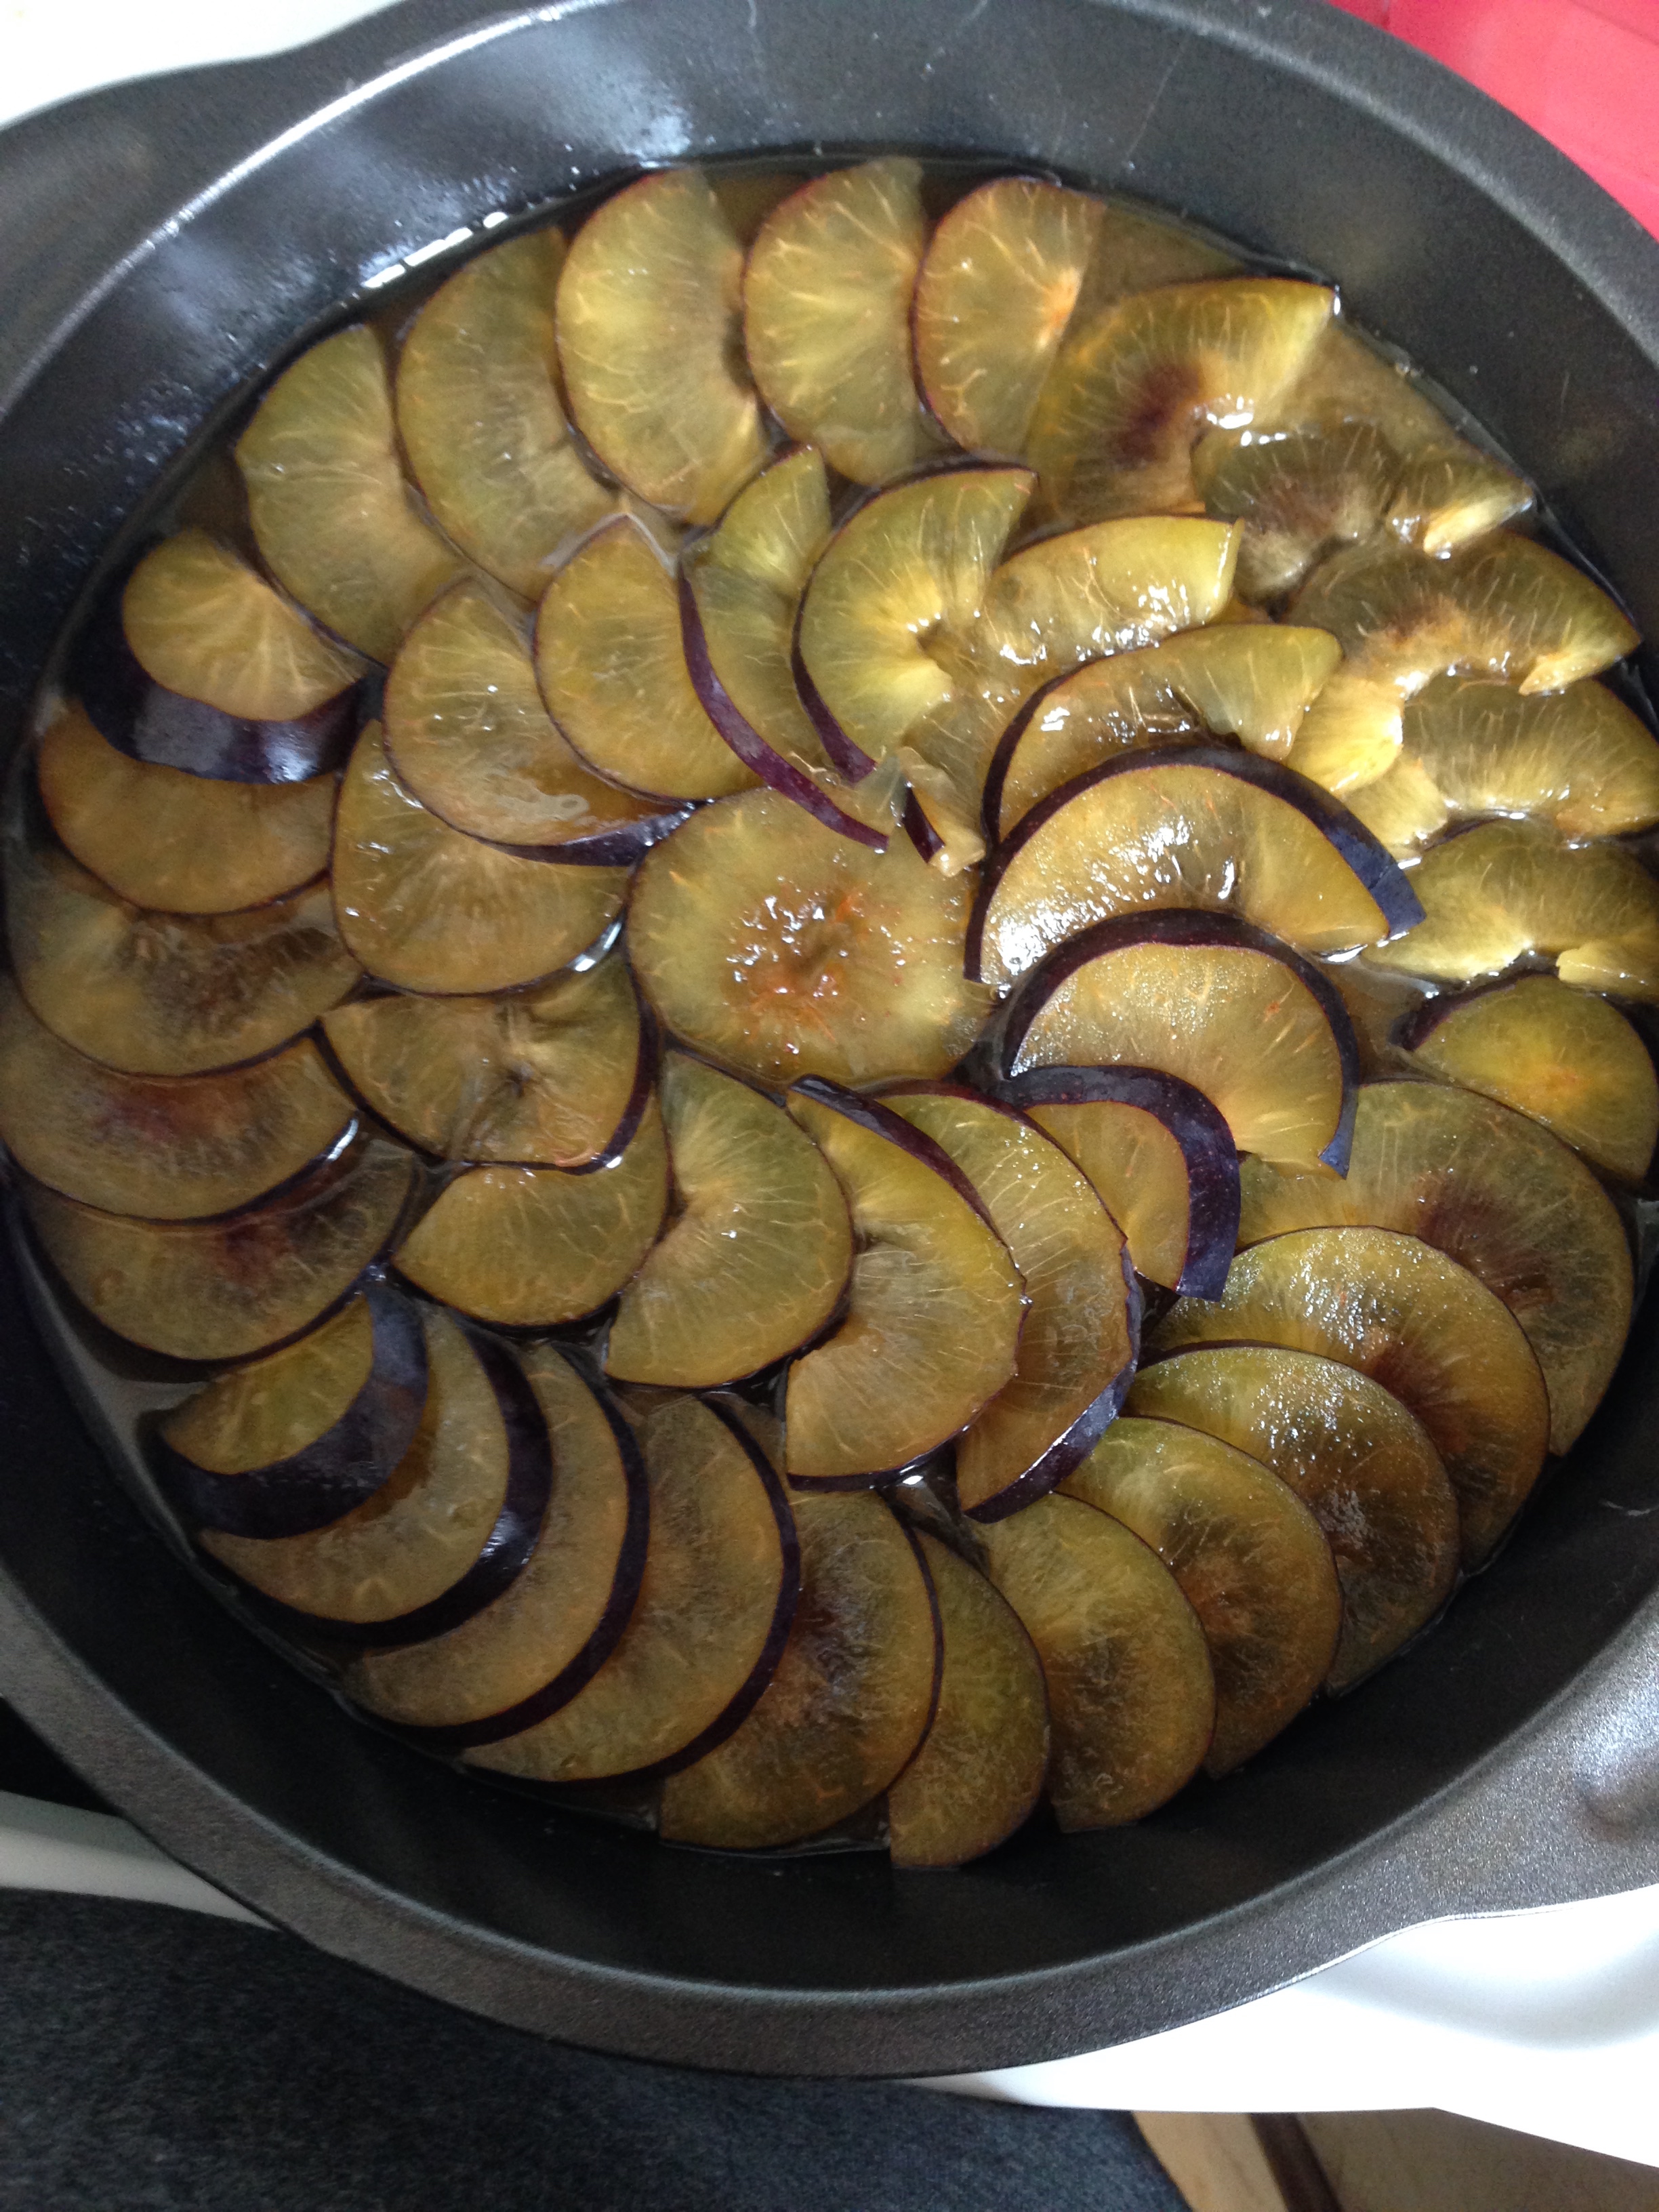
  3. Combine butter, sugar, honey and cinnamon in the round baking pan. Place pan in the oven for 2 minutes until butter is melted. Stir melted butter mixture in the pan together thoroughly. Arrange the sliced plums on top of the sugar mixture in the baking pan. Set aside.
  4. In a bowl, combine flour, baking powder and salt. Set aside. 
  5. In an electric mixer, cream butter. Add sugar and beat until butter is light and fluffy. (It will literally change colour. From butter yellow to a light white yellow.)
  6. Add pre-beaten egg. Stir. 
  7. Now combine flour and milk in with the sugar/egg mixture, alternating between adding milk and flour mixture. Mix each part until smooth before adding the next part. 
  8. Stir in vanilla. 
  9. Pour cake batter on top of the plums in the baking pan. Smooth the top so all the plums are covered. 
  10. Bake for ~50 minutes or until a fork inserted into centre of cake comes out clean. 
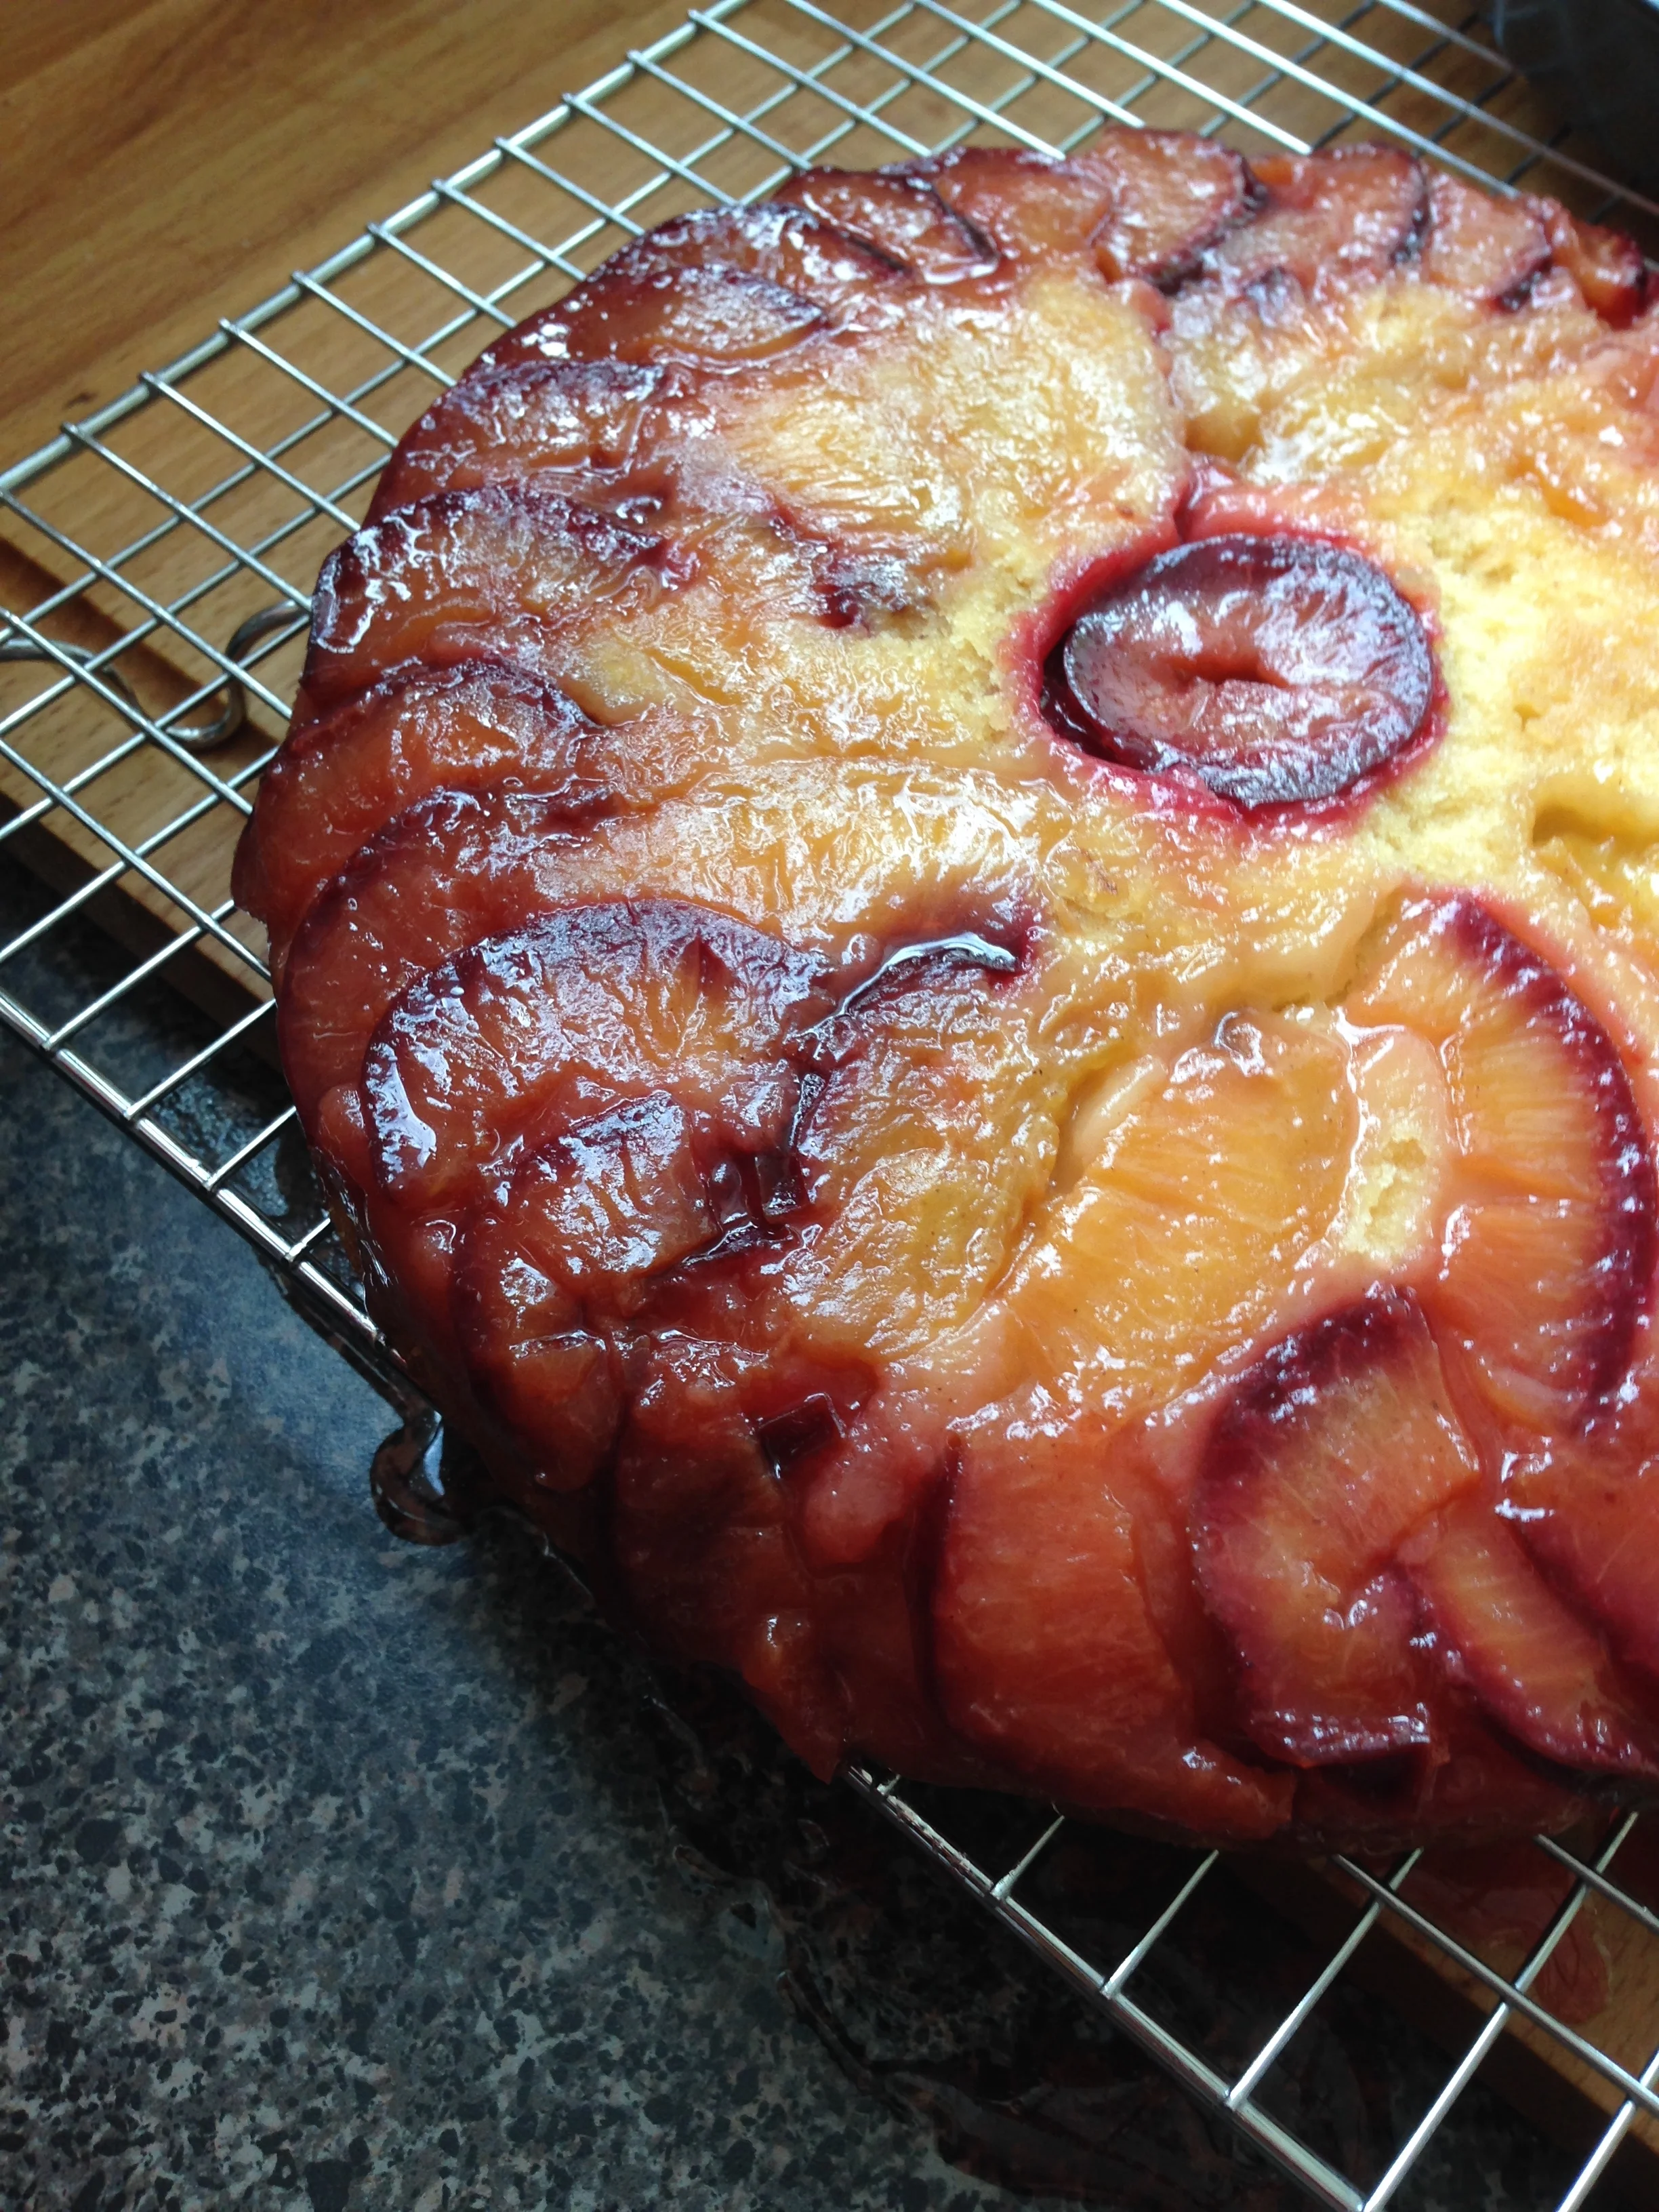
  11. After it's done baking, let cool for an hour before you flip it out onto a serving platter. Serve warm or let cool completely and top with icing sugar. 

De-ricious!

And hopefully I'll be able to share some of  my work-y endeavours soon! (Confidentially agreements are weird....)

-Andrea

The Half-Assed Hobbyist

Micro Plums are a thing.

I can't wait for it to be summer again.

IMG_4093.jpg

This morning I defrosted my windows in a rather fun and horribly cold way. With my phalanges. Also my feet. (I think I need to get out of the house.)

Pining over warmer days made me look back through a bunch of woe begotten and forgotten drafts of hobby-ish things I did last year but never got around to posting. Making plum jelly was one of them. And with the beautiful summer greens and fruit purples, I had to reminisce. 

The recipe I used was pretty much exactly the same as a previous jelly post, here, about making crabapple jelly. I even continued to use powdered pectin because I'm so great at following my own suggestions not too. 

IMG_4096.jpg

Really there are only two differences between the two recipes, the rest of the process is the same. The first, obviously, plums are plums and not crabapples. We hunted the plums in the BFs parents backyard. (Tiniest plums I've ever seen! Hopefully not poisonous.... I mean I've eaten a whole thing of the jelly already and not died.... So hopefully that's a good sign.) And second, you don't really need to de-stem plums. They need to be pitted. Never fear though! Tiny plums are no match for a cherry pitter (random kitchen appliance win!). After they had been successfully pitted it was the same deal as with the crabapples.

  1. Make the juice! About 5lbs of plums to about 5 cups water. Boil, mash, strain like a boss.
  2. Sterilize all the jars! Water bath canning! Yay!
  3. Take plum juice and add pectin, etc. Bring to a boil, add sugar! Stir! Boil. Ladle into jars. 
  4. Process jars for right amount of minutes (15 in Edmonton) in a boiling water bath. Remove and cool. 

After all the jellies were made, the next crucial step. Get rid of them all. Which was way easier that I thought.

I'm looking forward to canning in 2014. I think pickles are in order. Lots and lots of pickles. 

-Andrea

The Half-Assed Hobbyist