An apology to all peaches for the 1995 Peaches song. I can't get that song out of my head. It's been over a month since I canned these peaches and still, every morning, Plenty of Peaches, Peaches for Me!
Anyways! Here's a how-to (or more like a How-I-do):
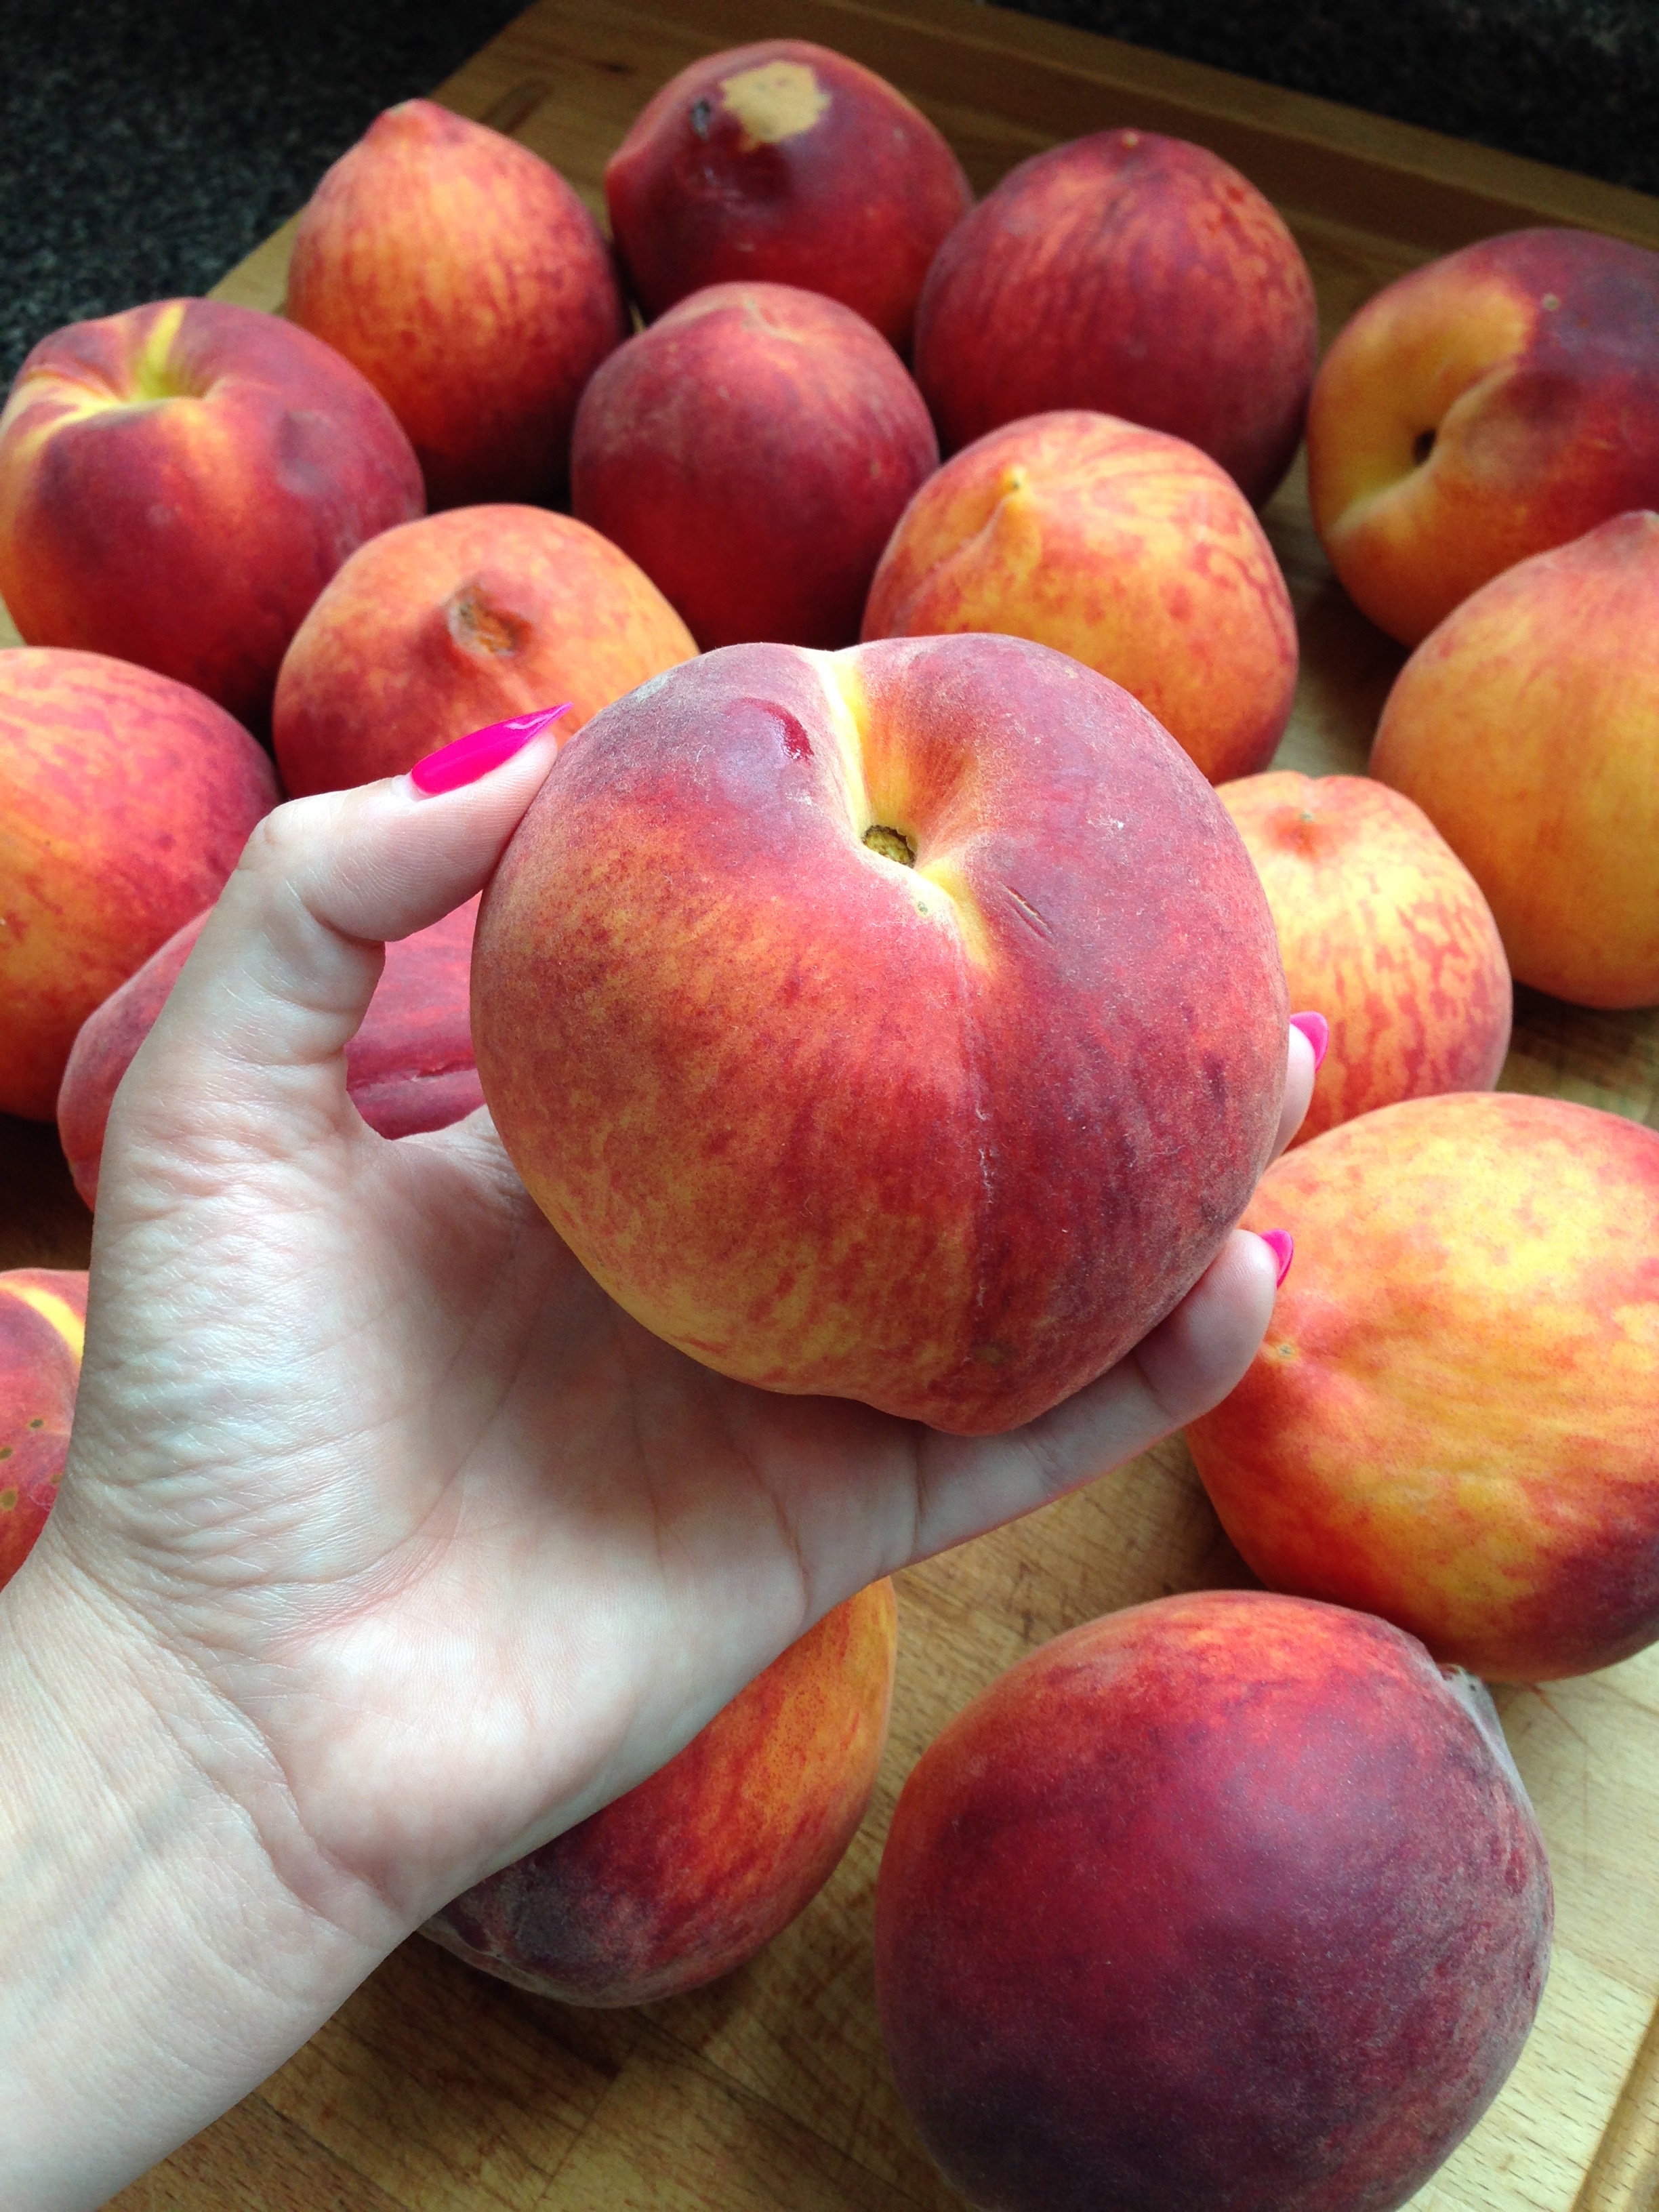
As per every canning episode, the first step is always Prepare All the Things! Having never canned peaches before, I read up on it. Canned peaches requires: Peaches (surprise!) and a canning liquid, either water or a sugar syrup. There seems to be a dearth of agreed upon ratios of weight of peaches to number of jars so I ended up having to guess a lot during this process. I had 14lbs of raw peaches, which supposedly meant that I should be able to get around 7 500mL jars of peaches out of them - 2lbs of peaches per jar. When it comes down to it though, the limiting factor (whoo chemistry) is the number of cans that can go in canner. You can prepare all the fruit and syrup you want, but per round of canning, there's only so much room in the canner.
Most of the recipe books and blogs agree that canning peaches in a sugar syrup is the best way to do it. Sold! Sugar: good. Peaches: good. Can of peaches in sugar syrup? Sounds good to me!
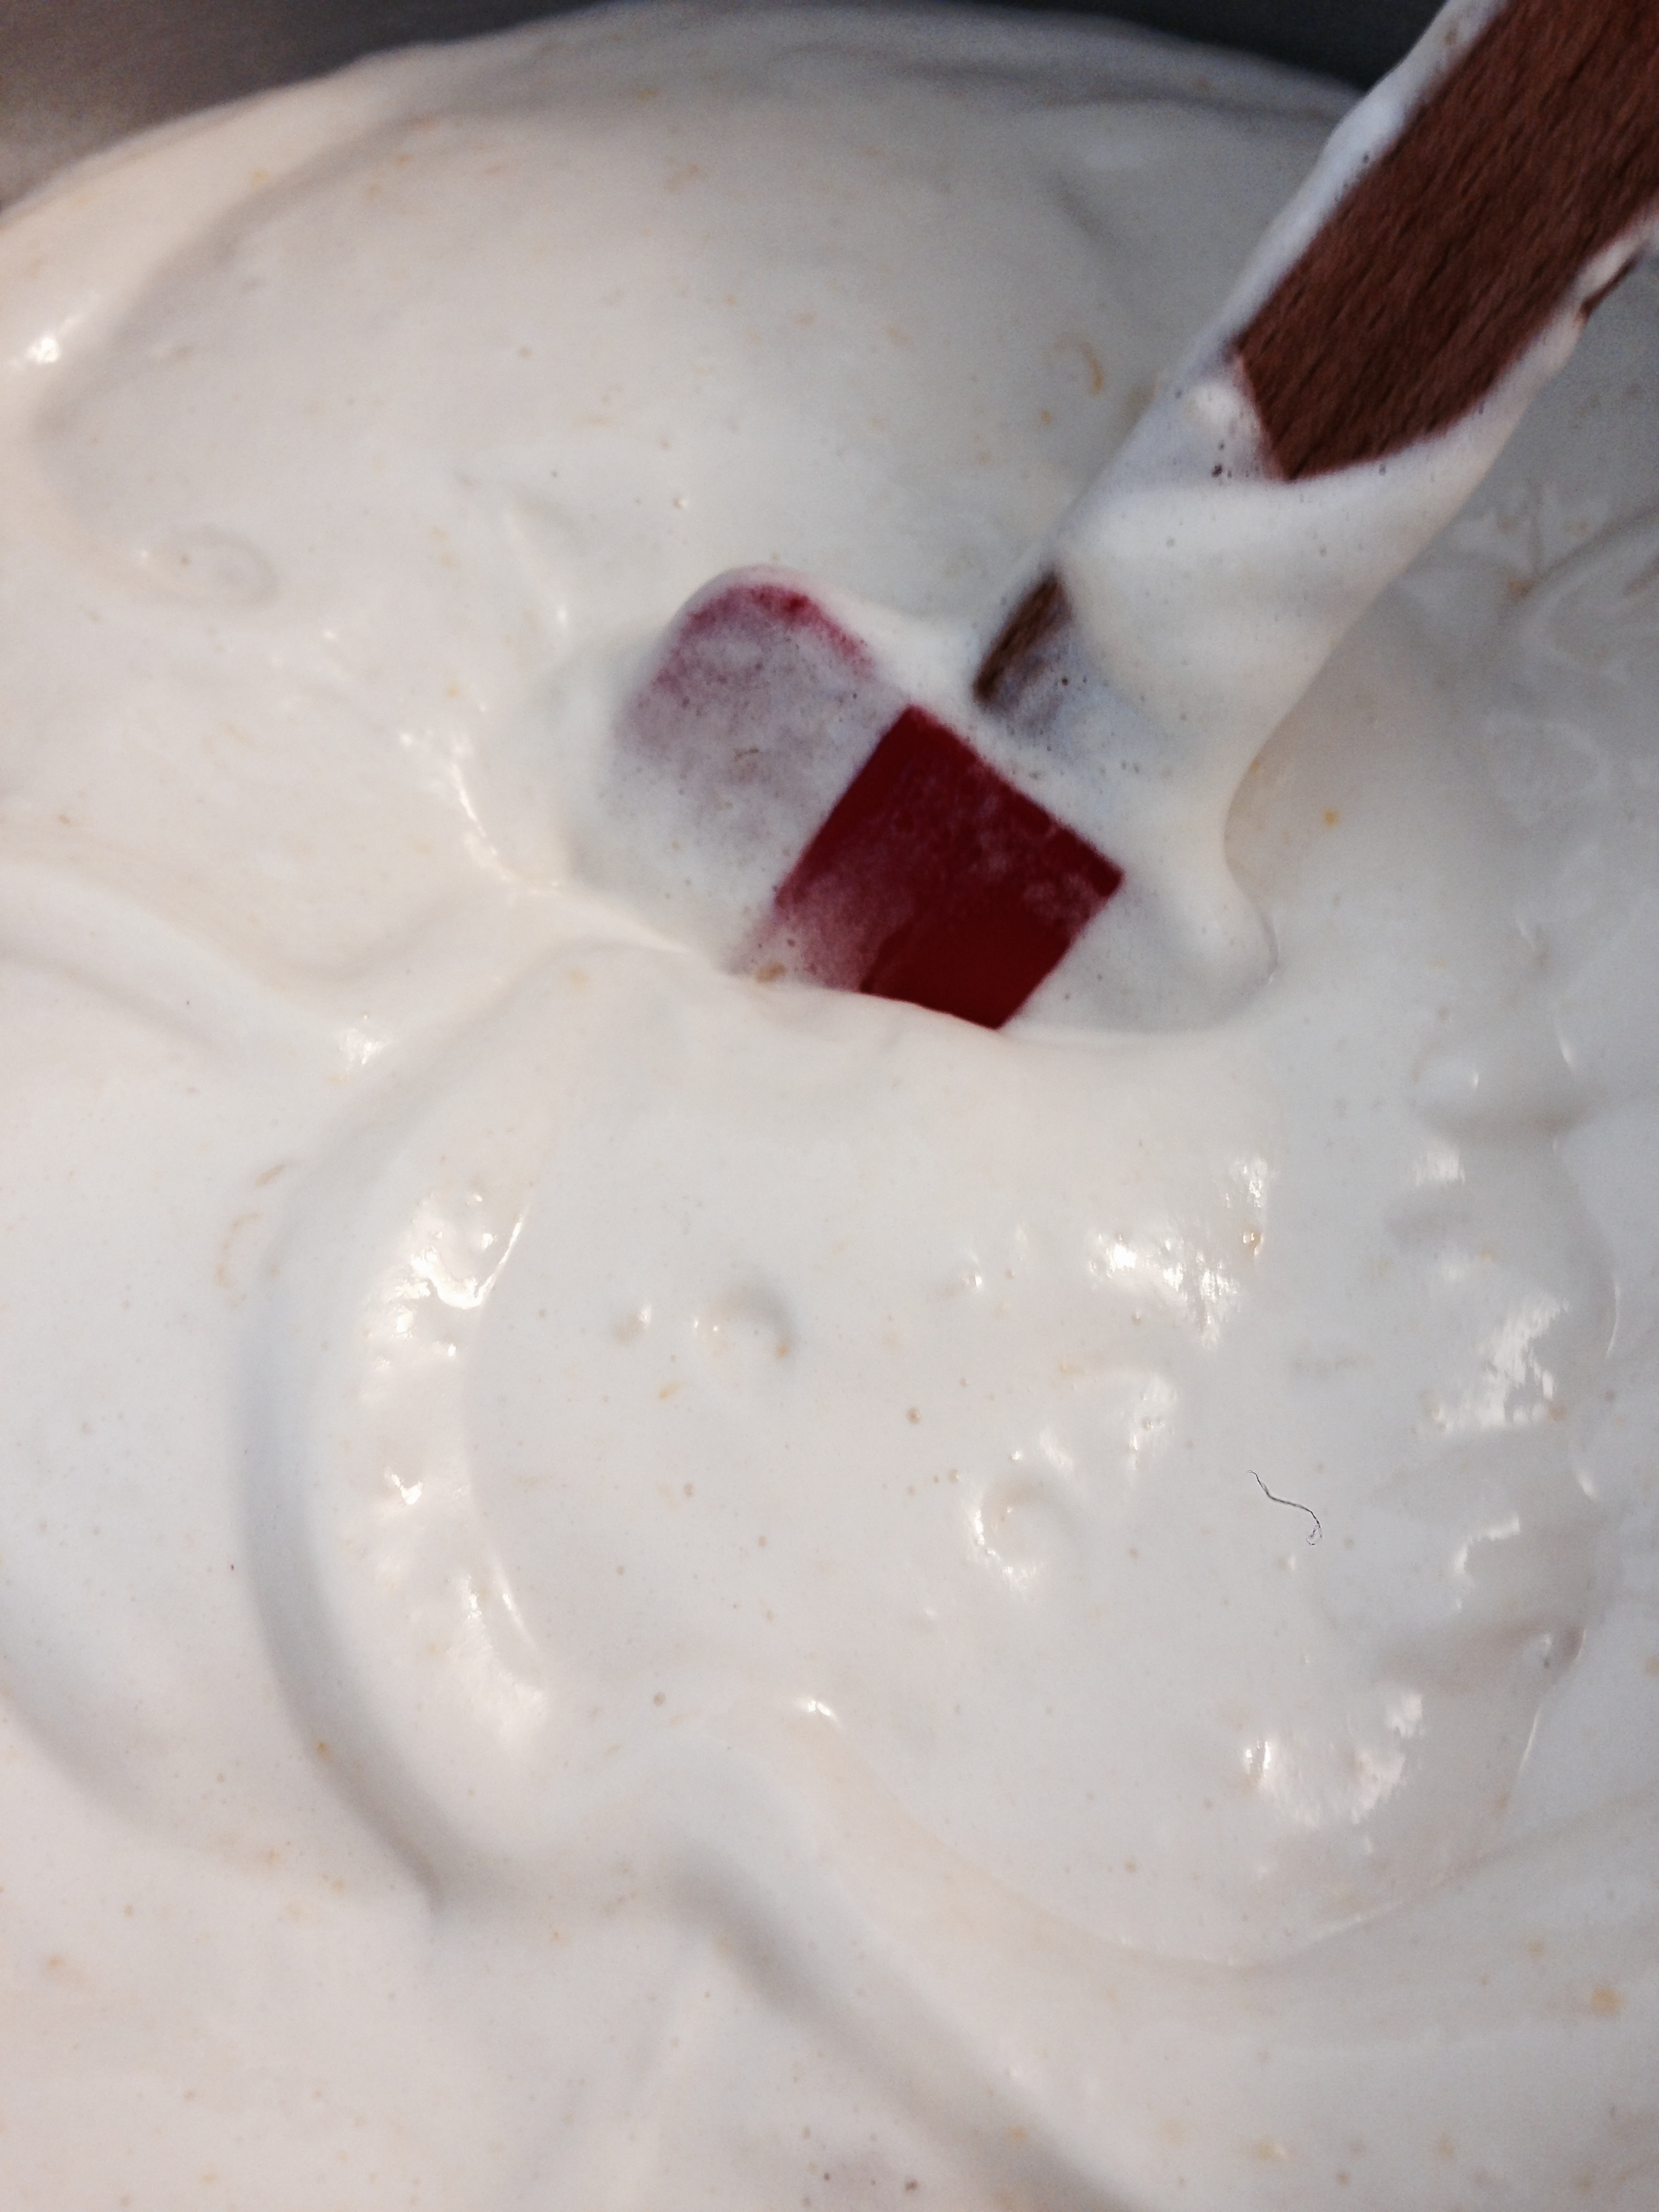
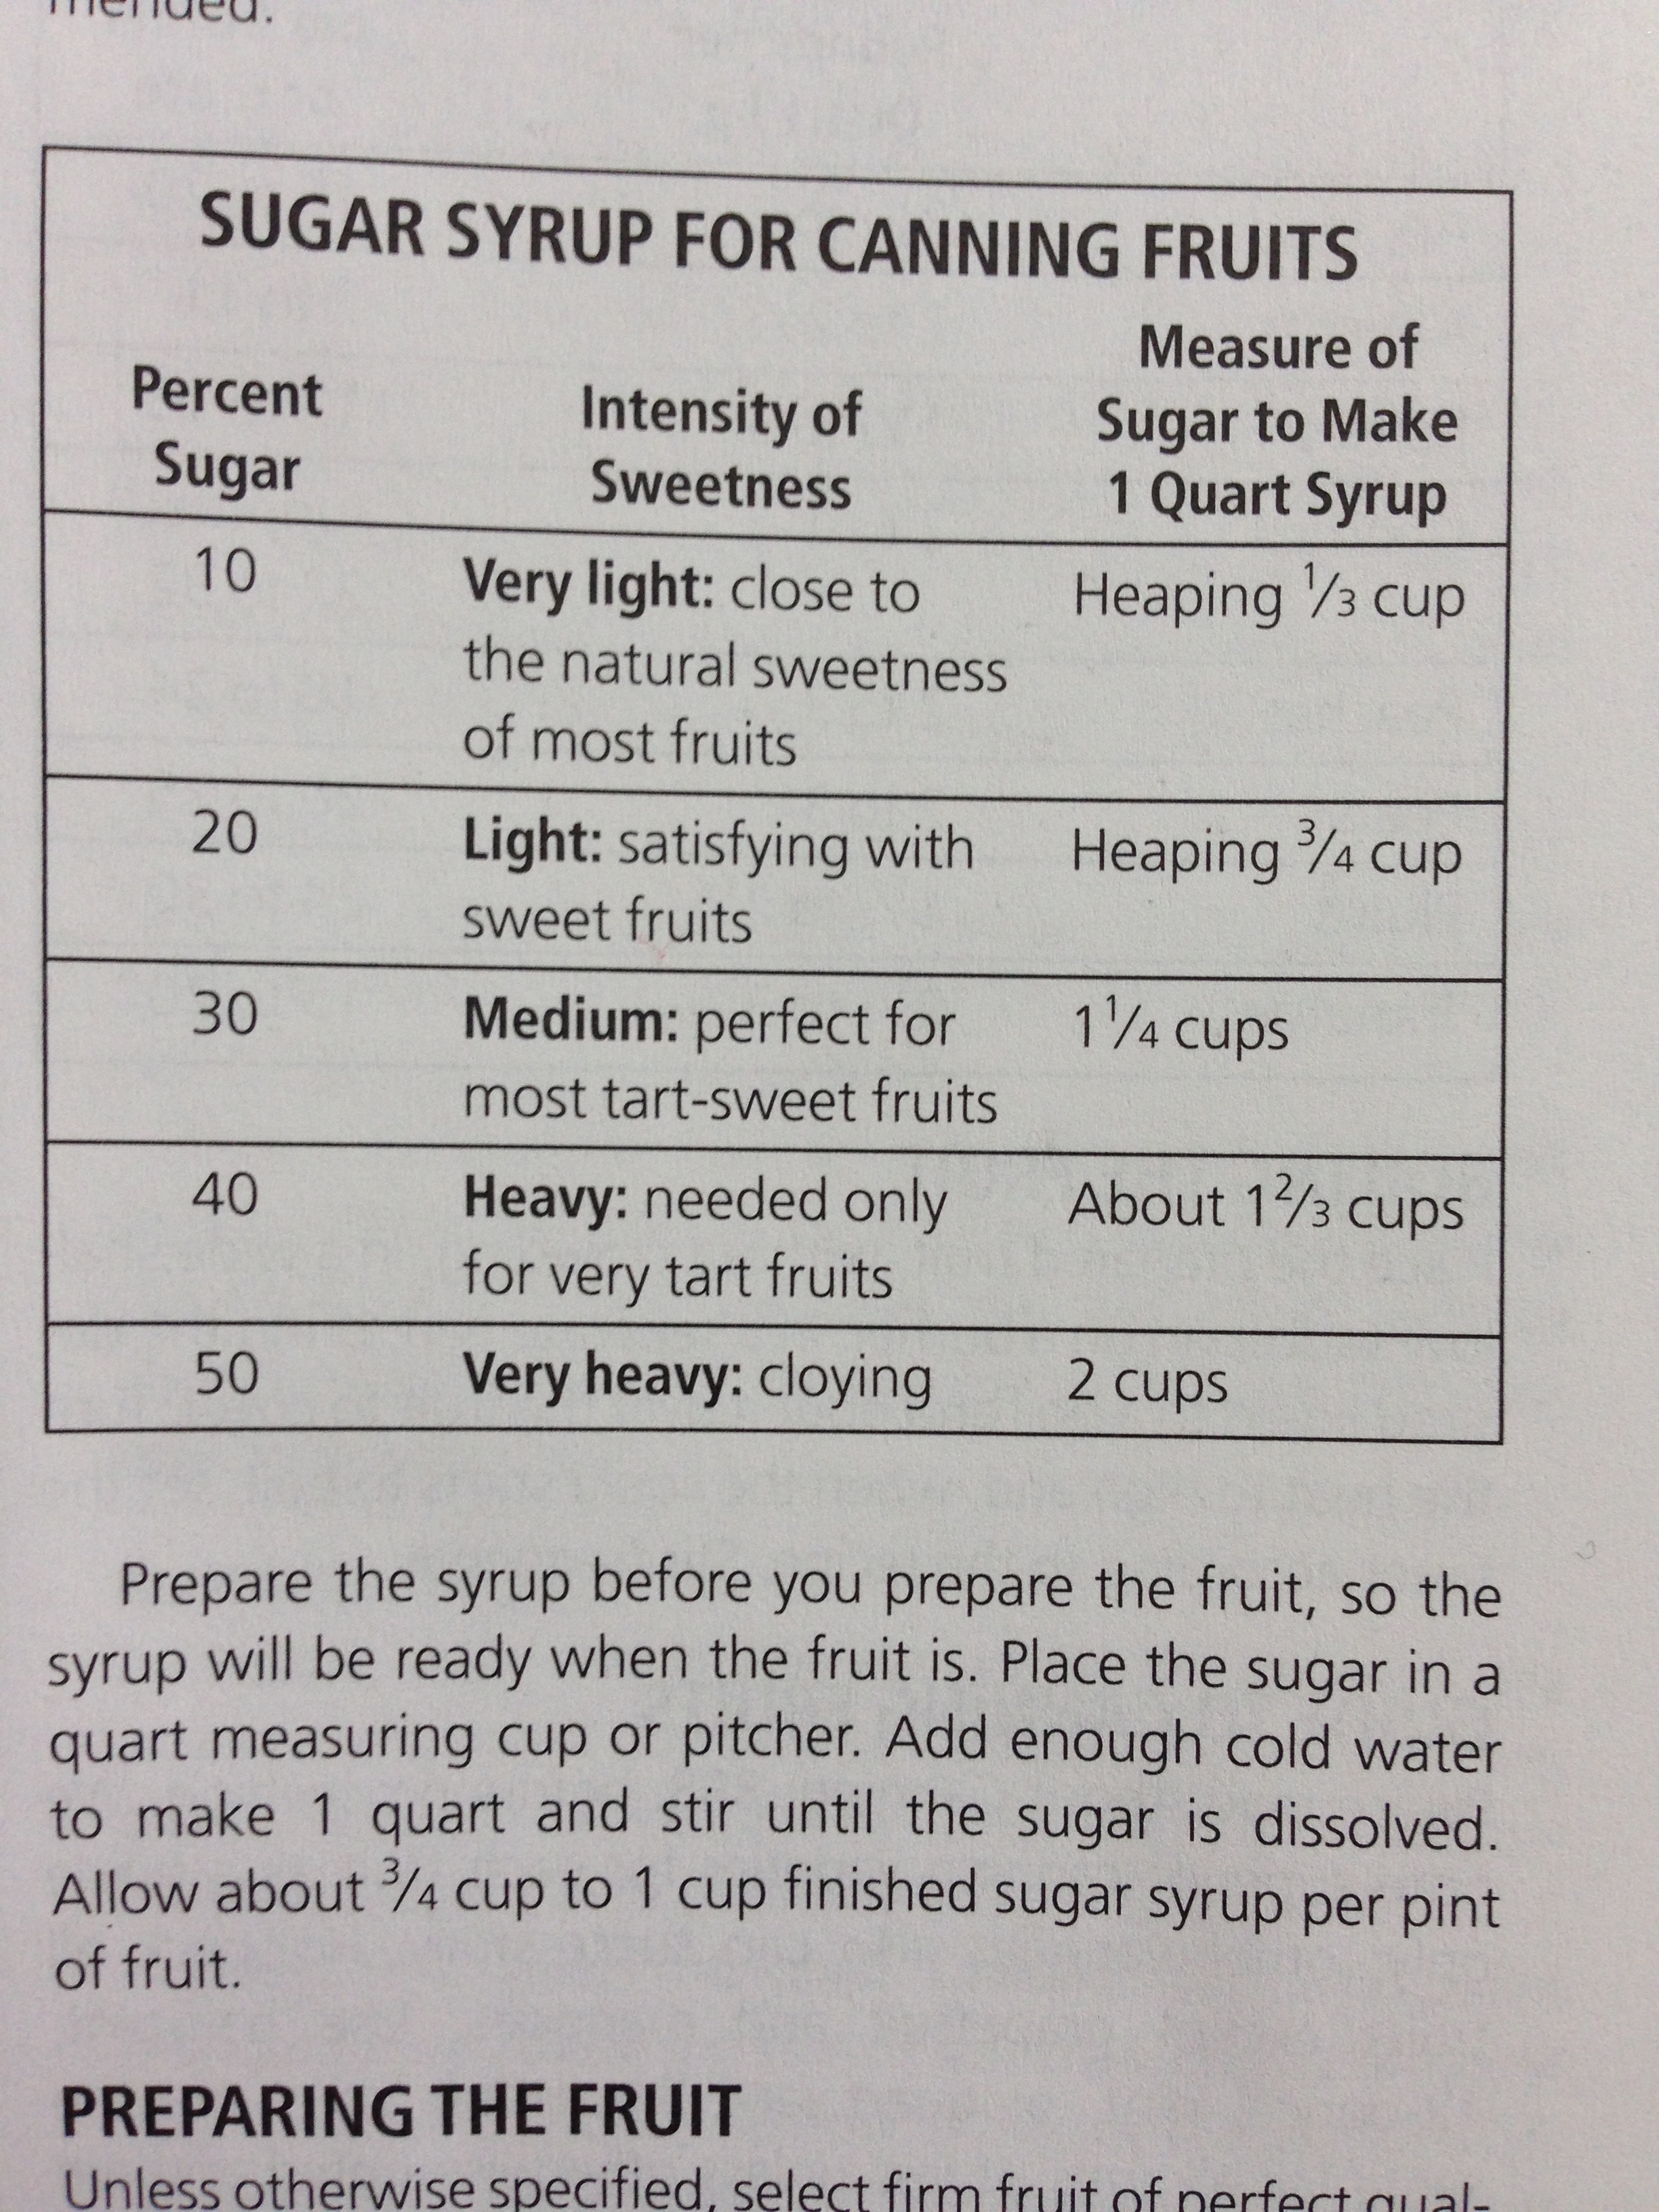
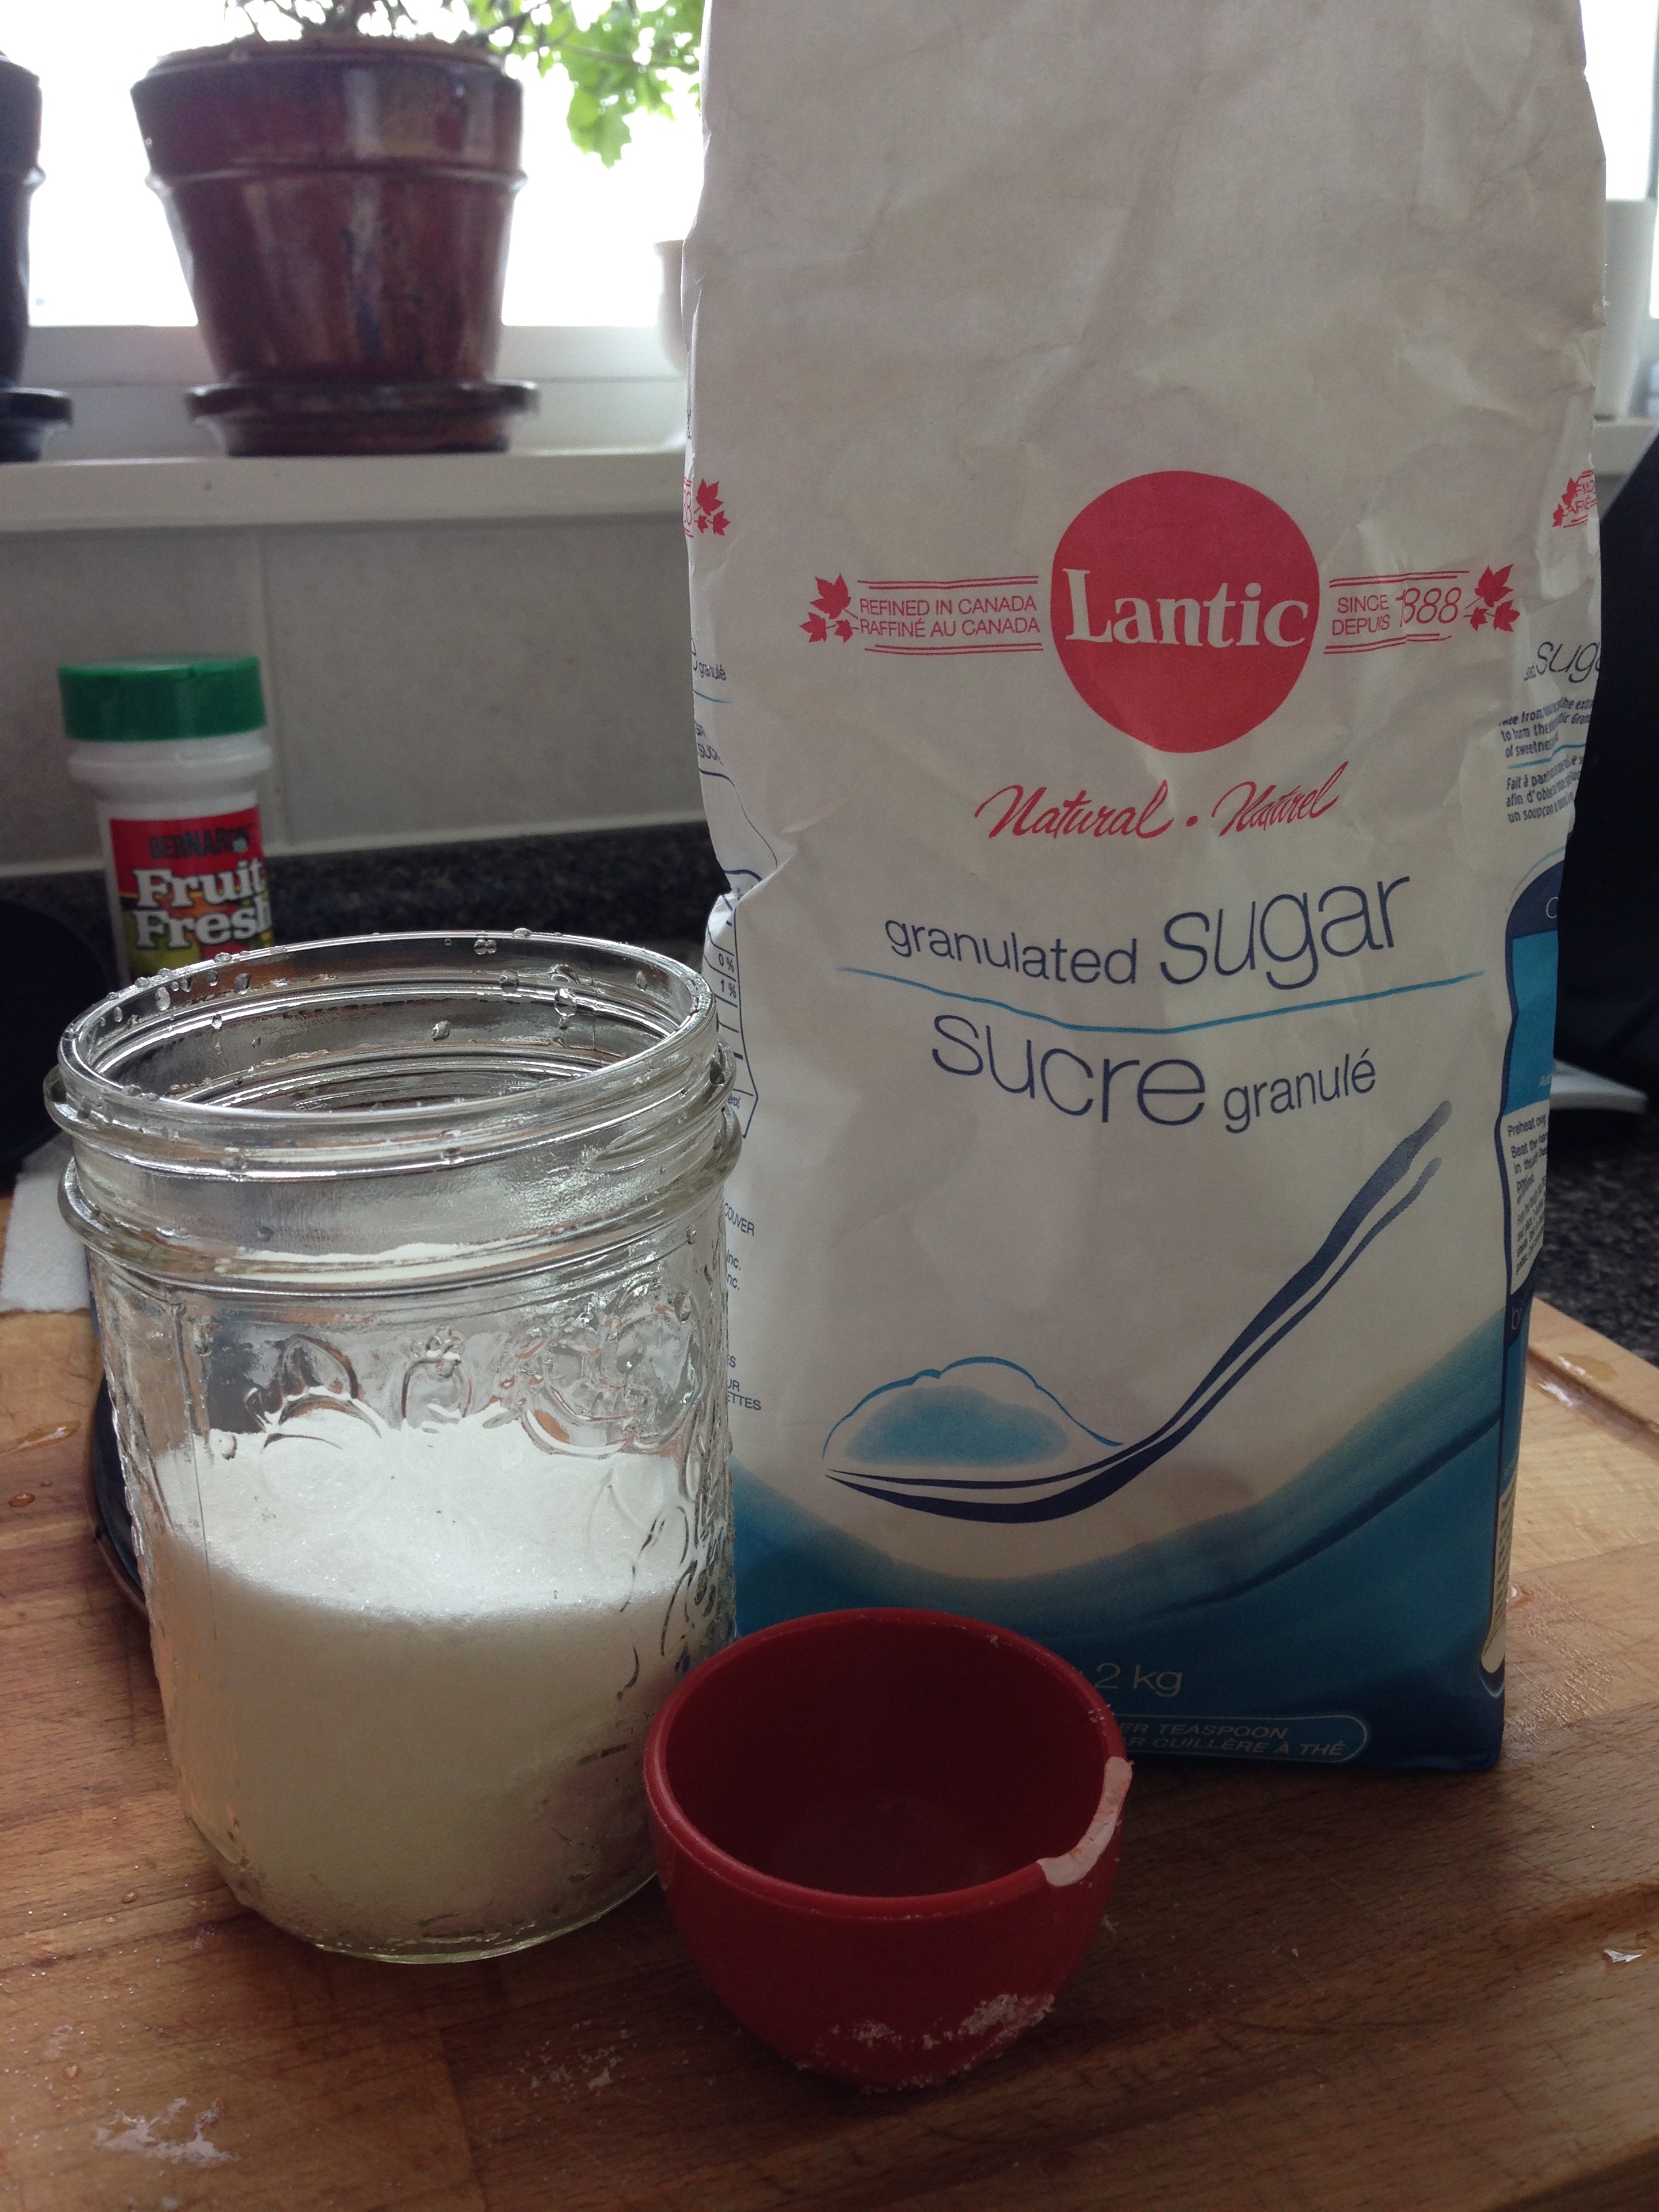
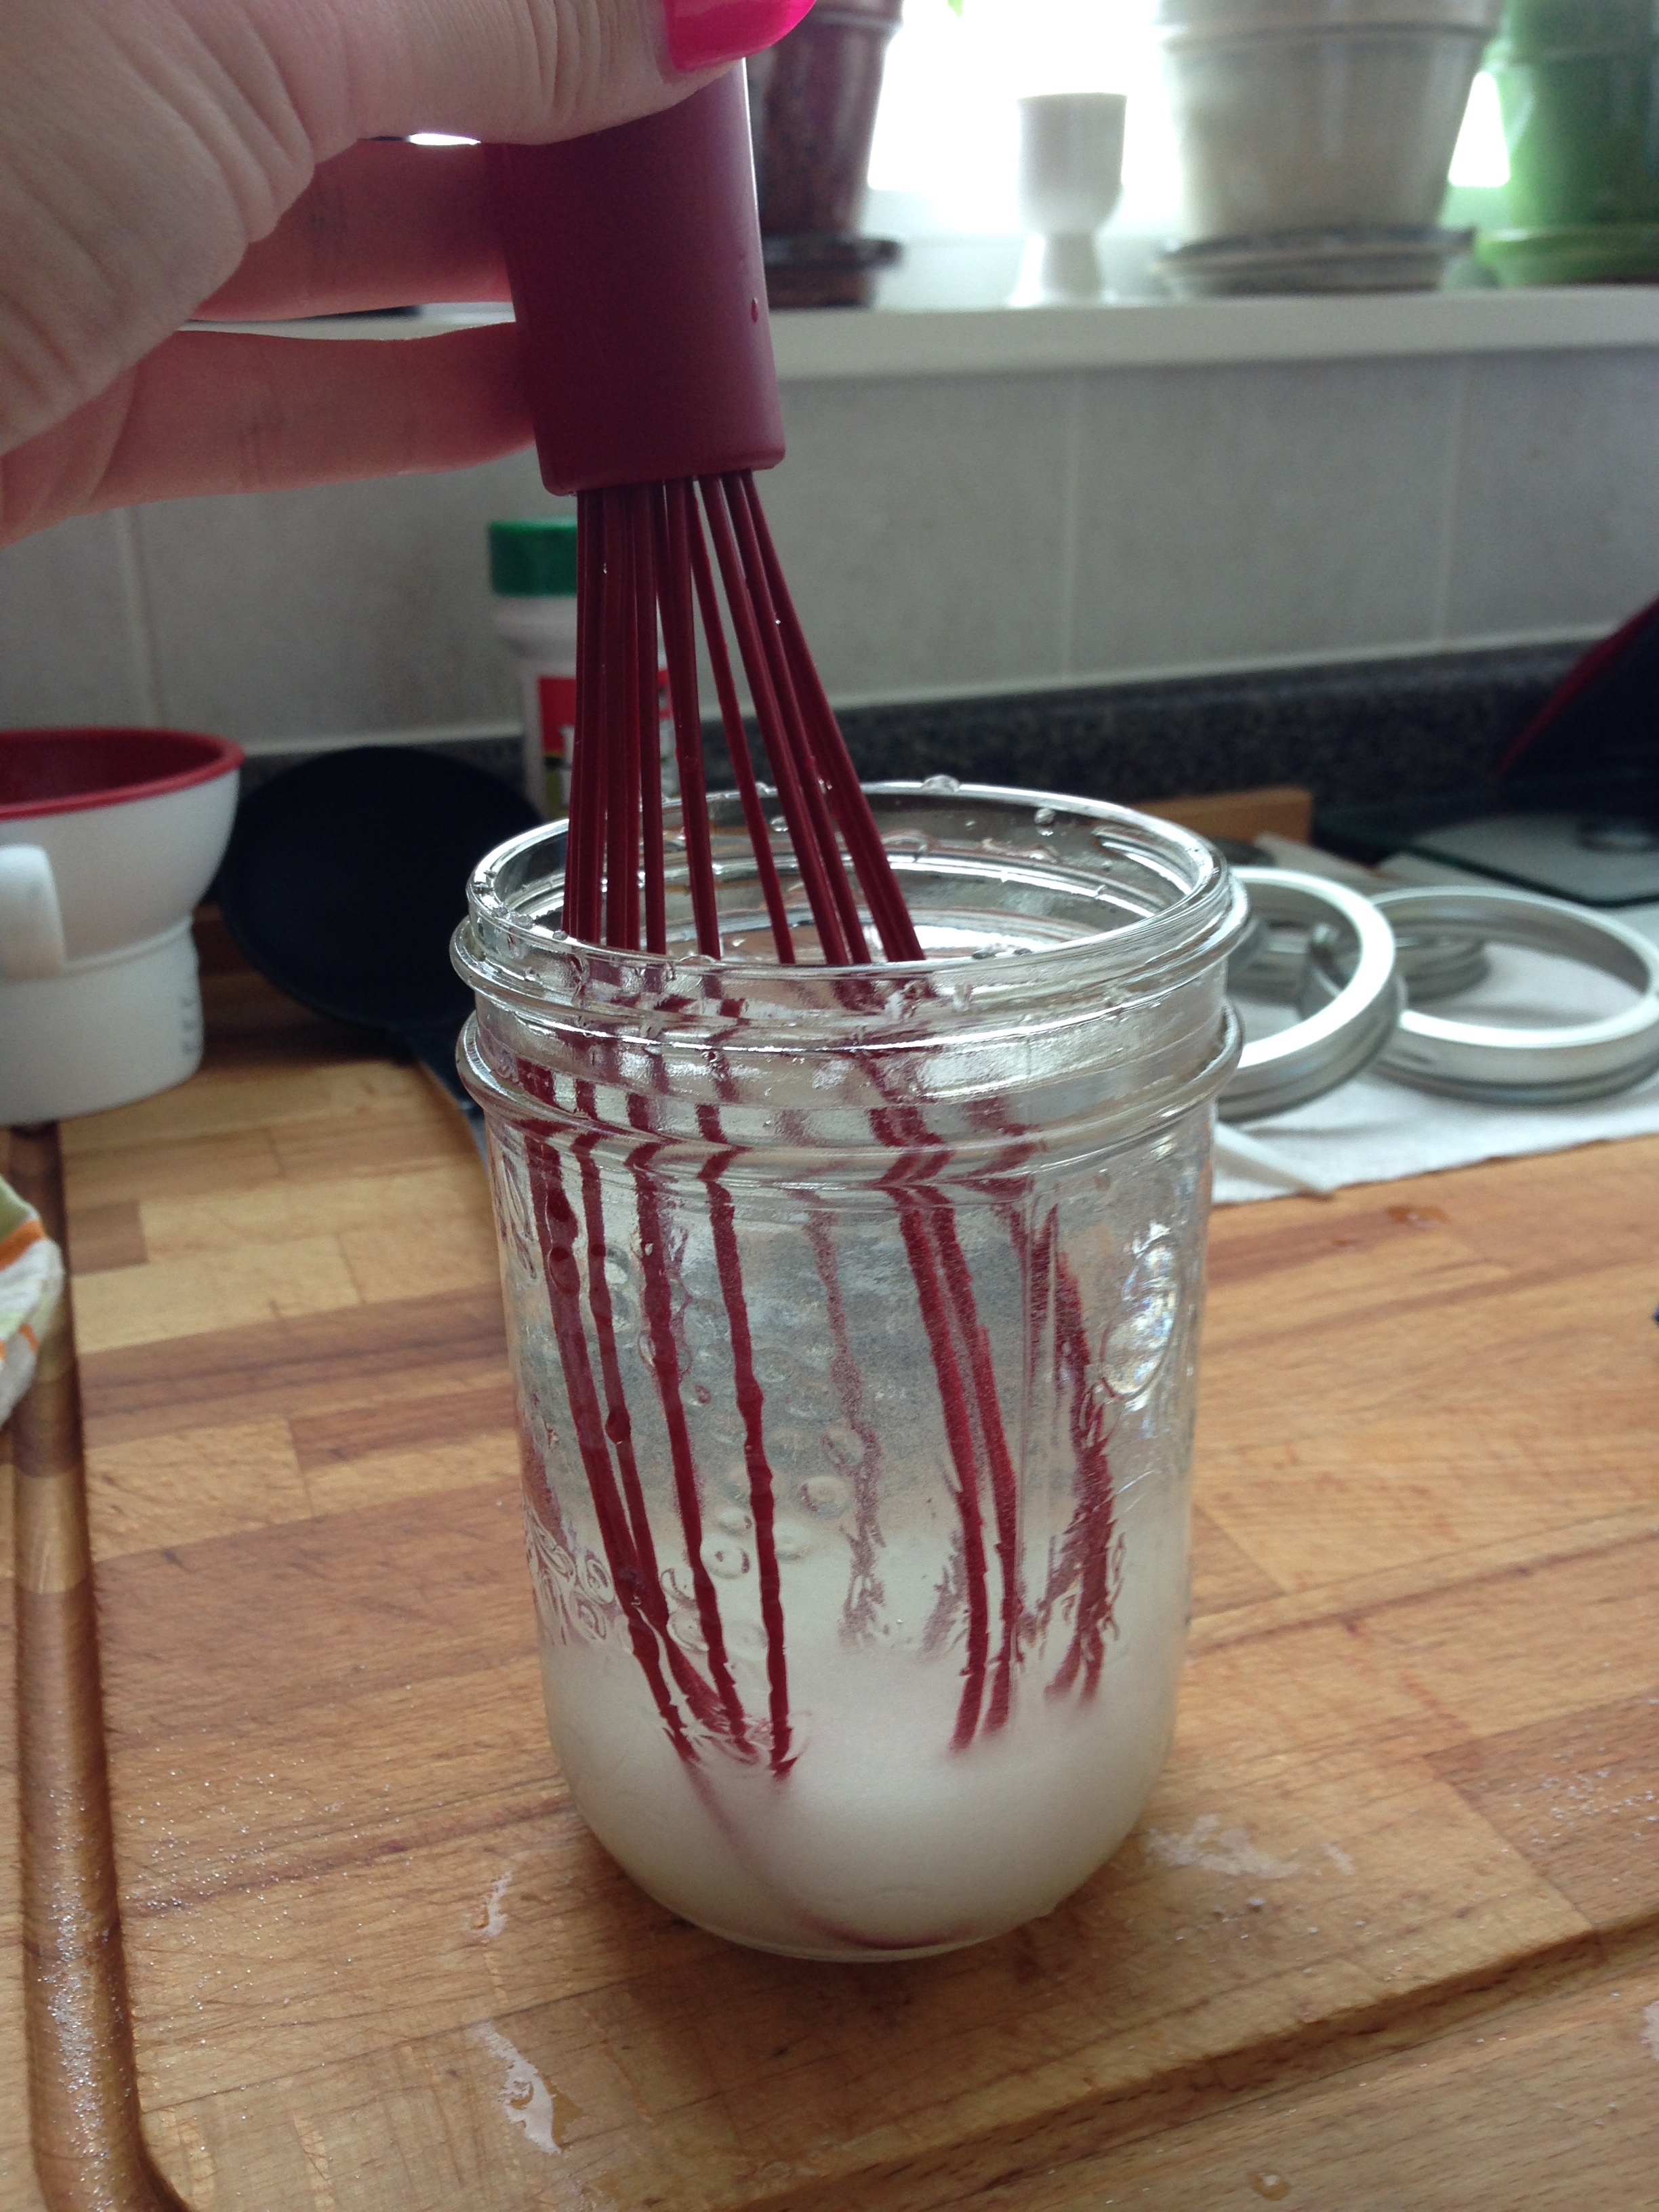
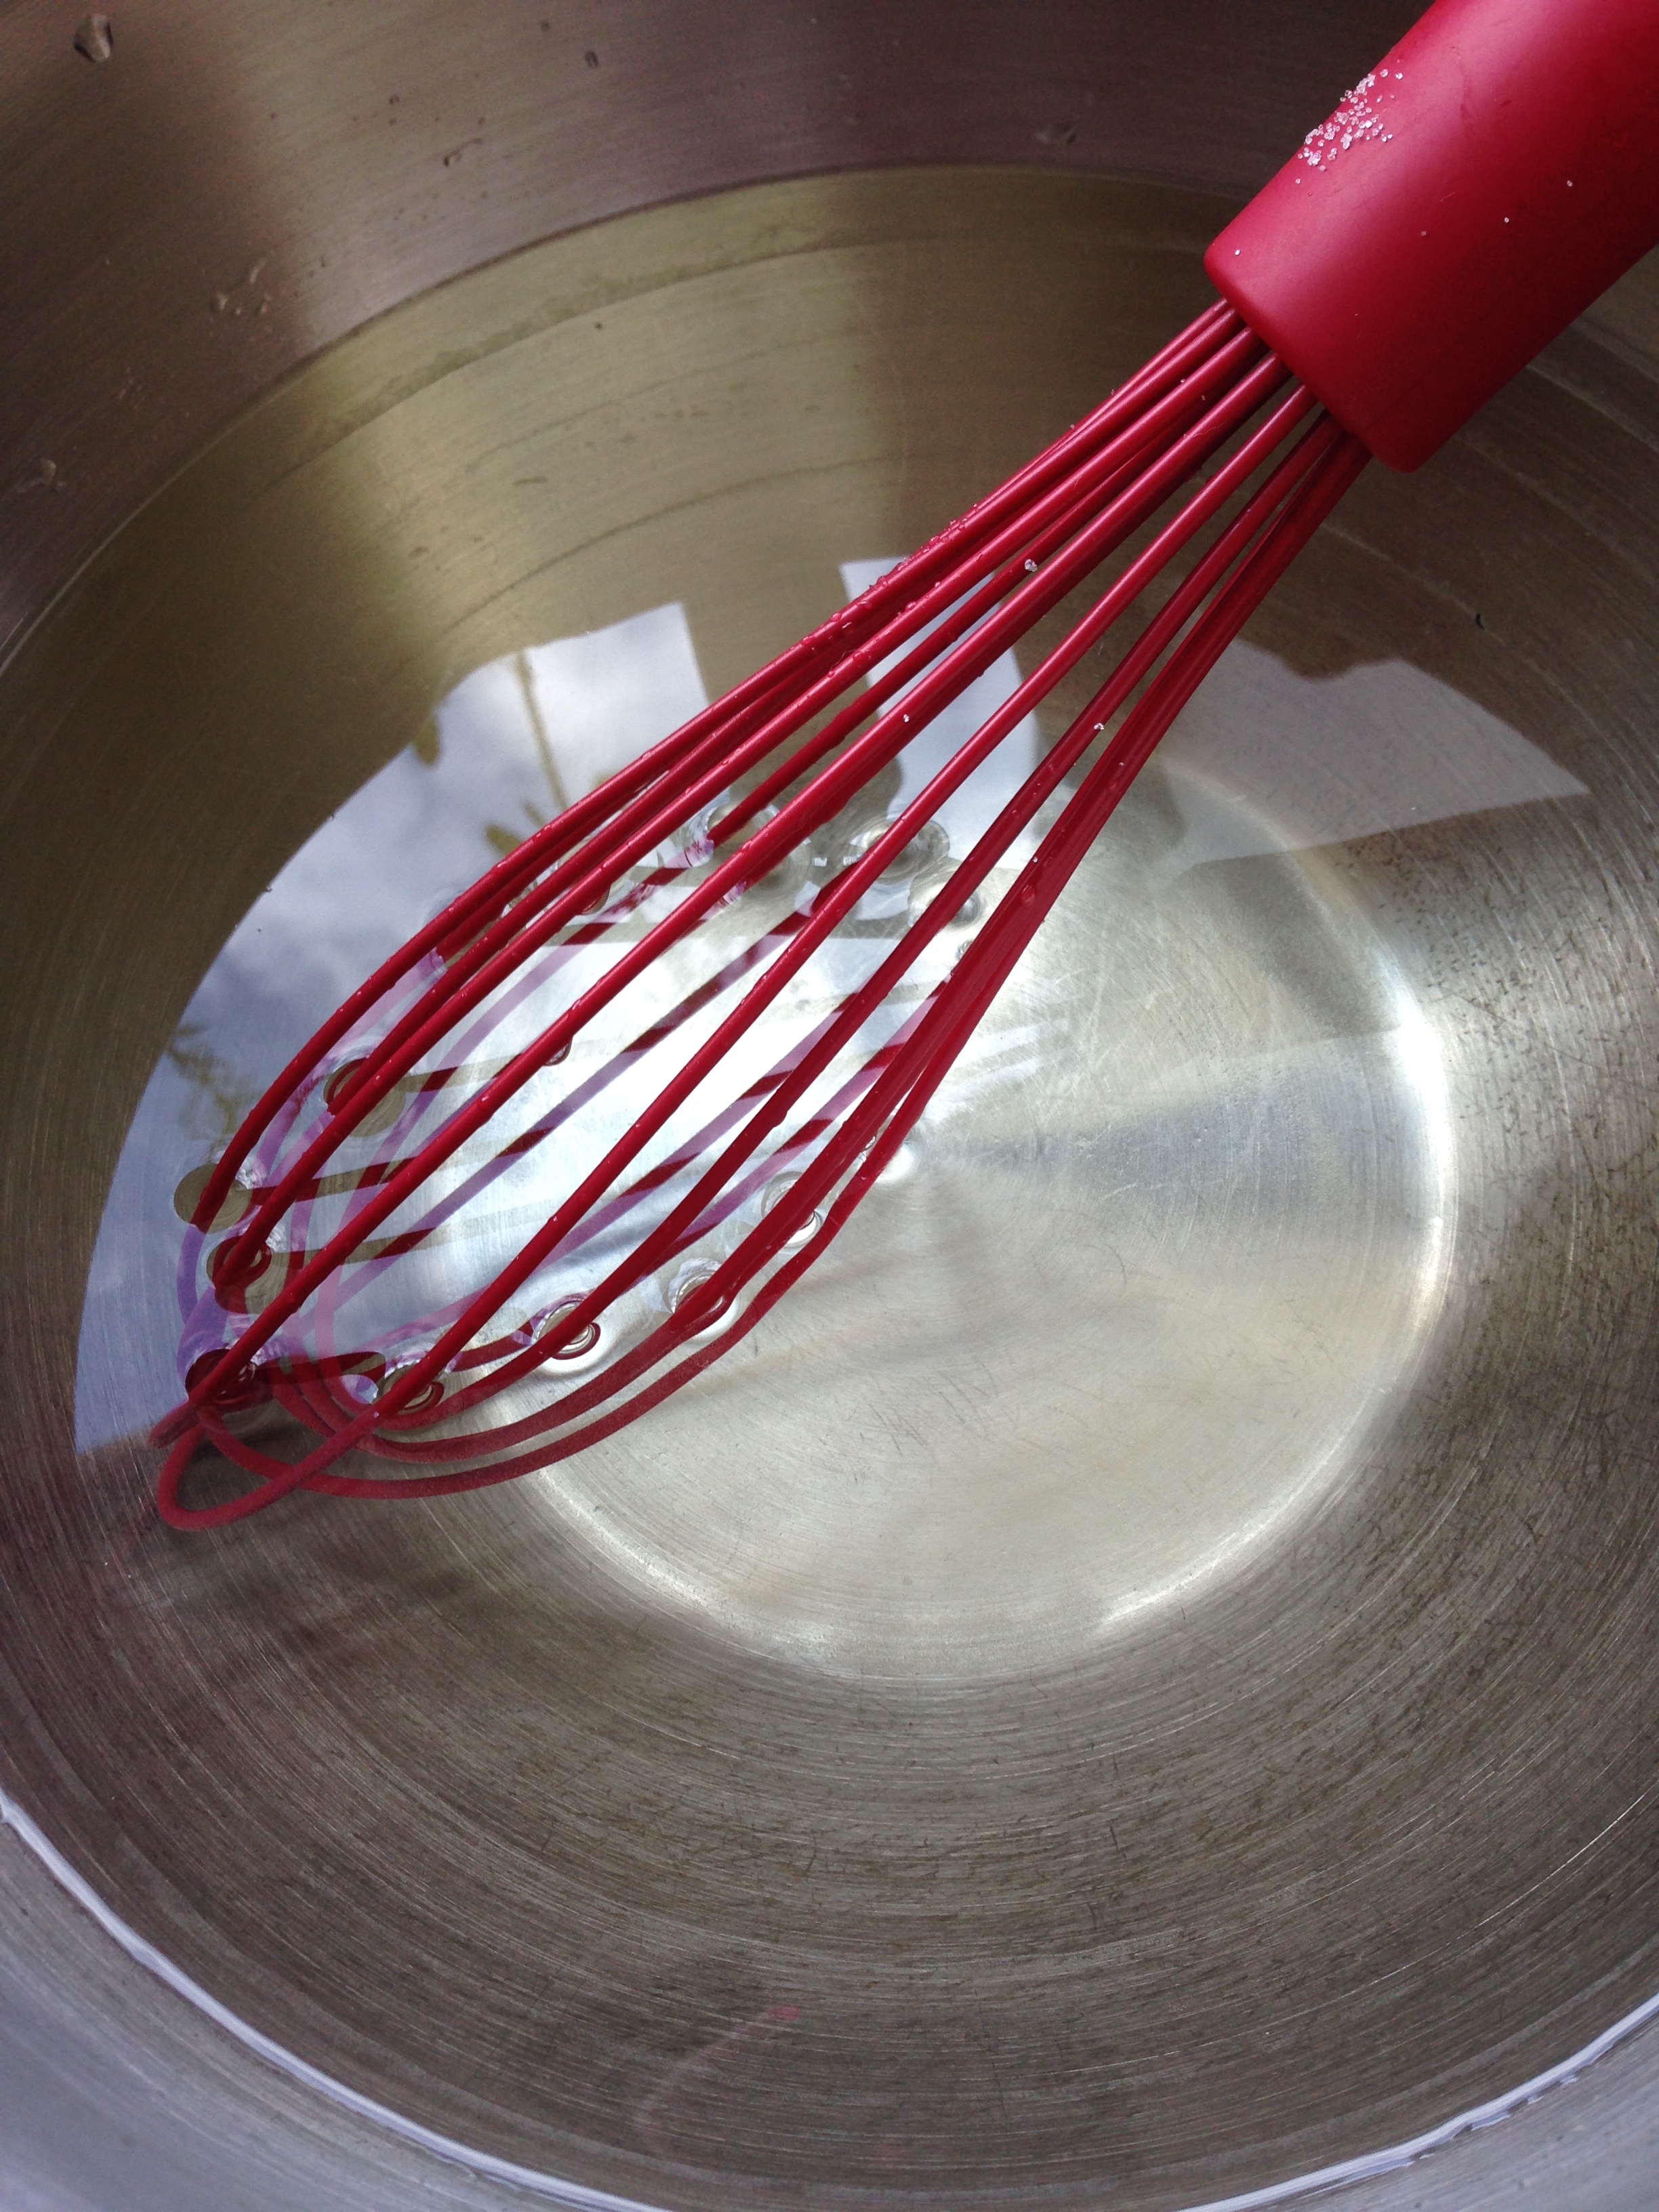
My cookbook recommended a way to make a "percent" sugar syrup. Essentially, for a 25% sugar syrup, measure 1/2 cup sugar into a 500mL jar and then fill the jar with cold water. (Or if you like it 'cloyingly' sweet, 1 cup/500mL jar.) Mix the sugar in until it dissolves with a plastic or silicon tool so the glass doesn't get chipped. My canner, luckily, has room for 7-ish jars at a time, so I did some math, 3/4 cup of syrup per jar meant about 5 jars of prepared sugar syrup - extra just in case, right? This ended up being totally wrong. Of course. But it turned out in the end!
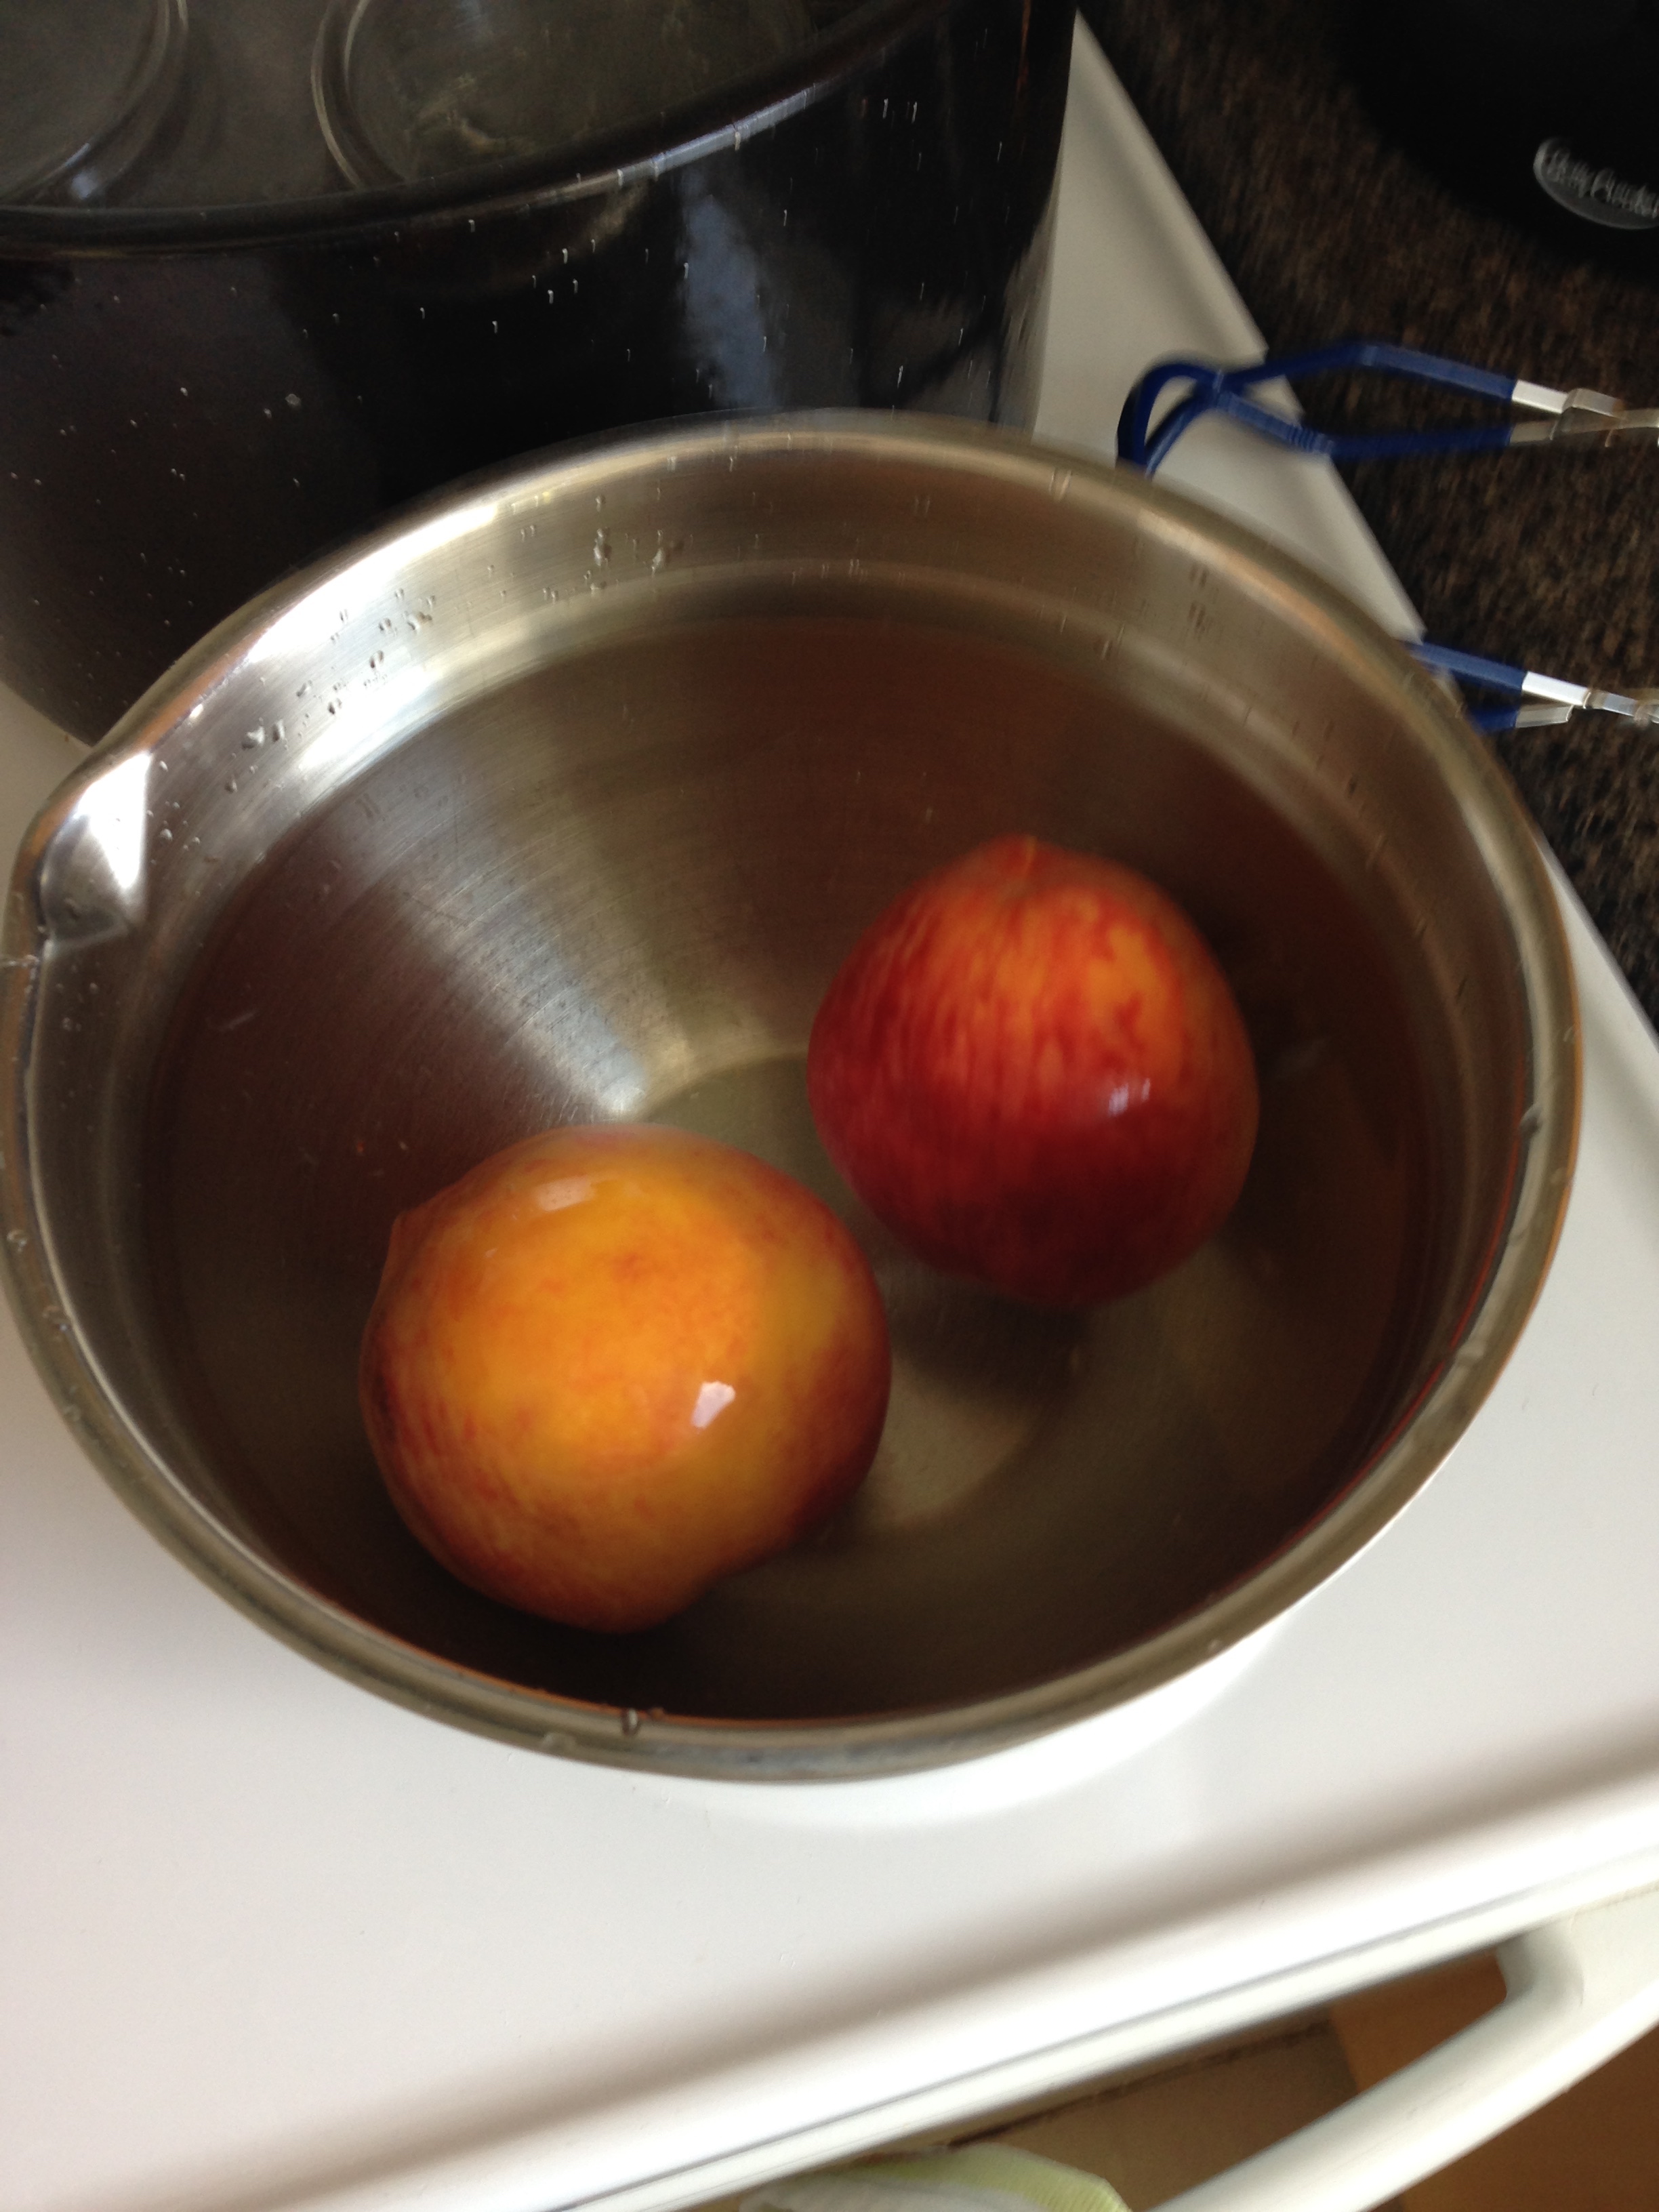
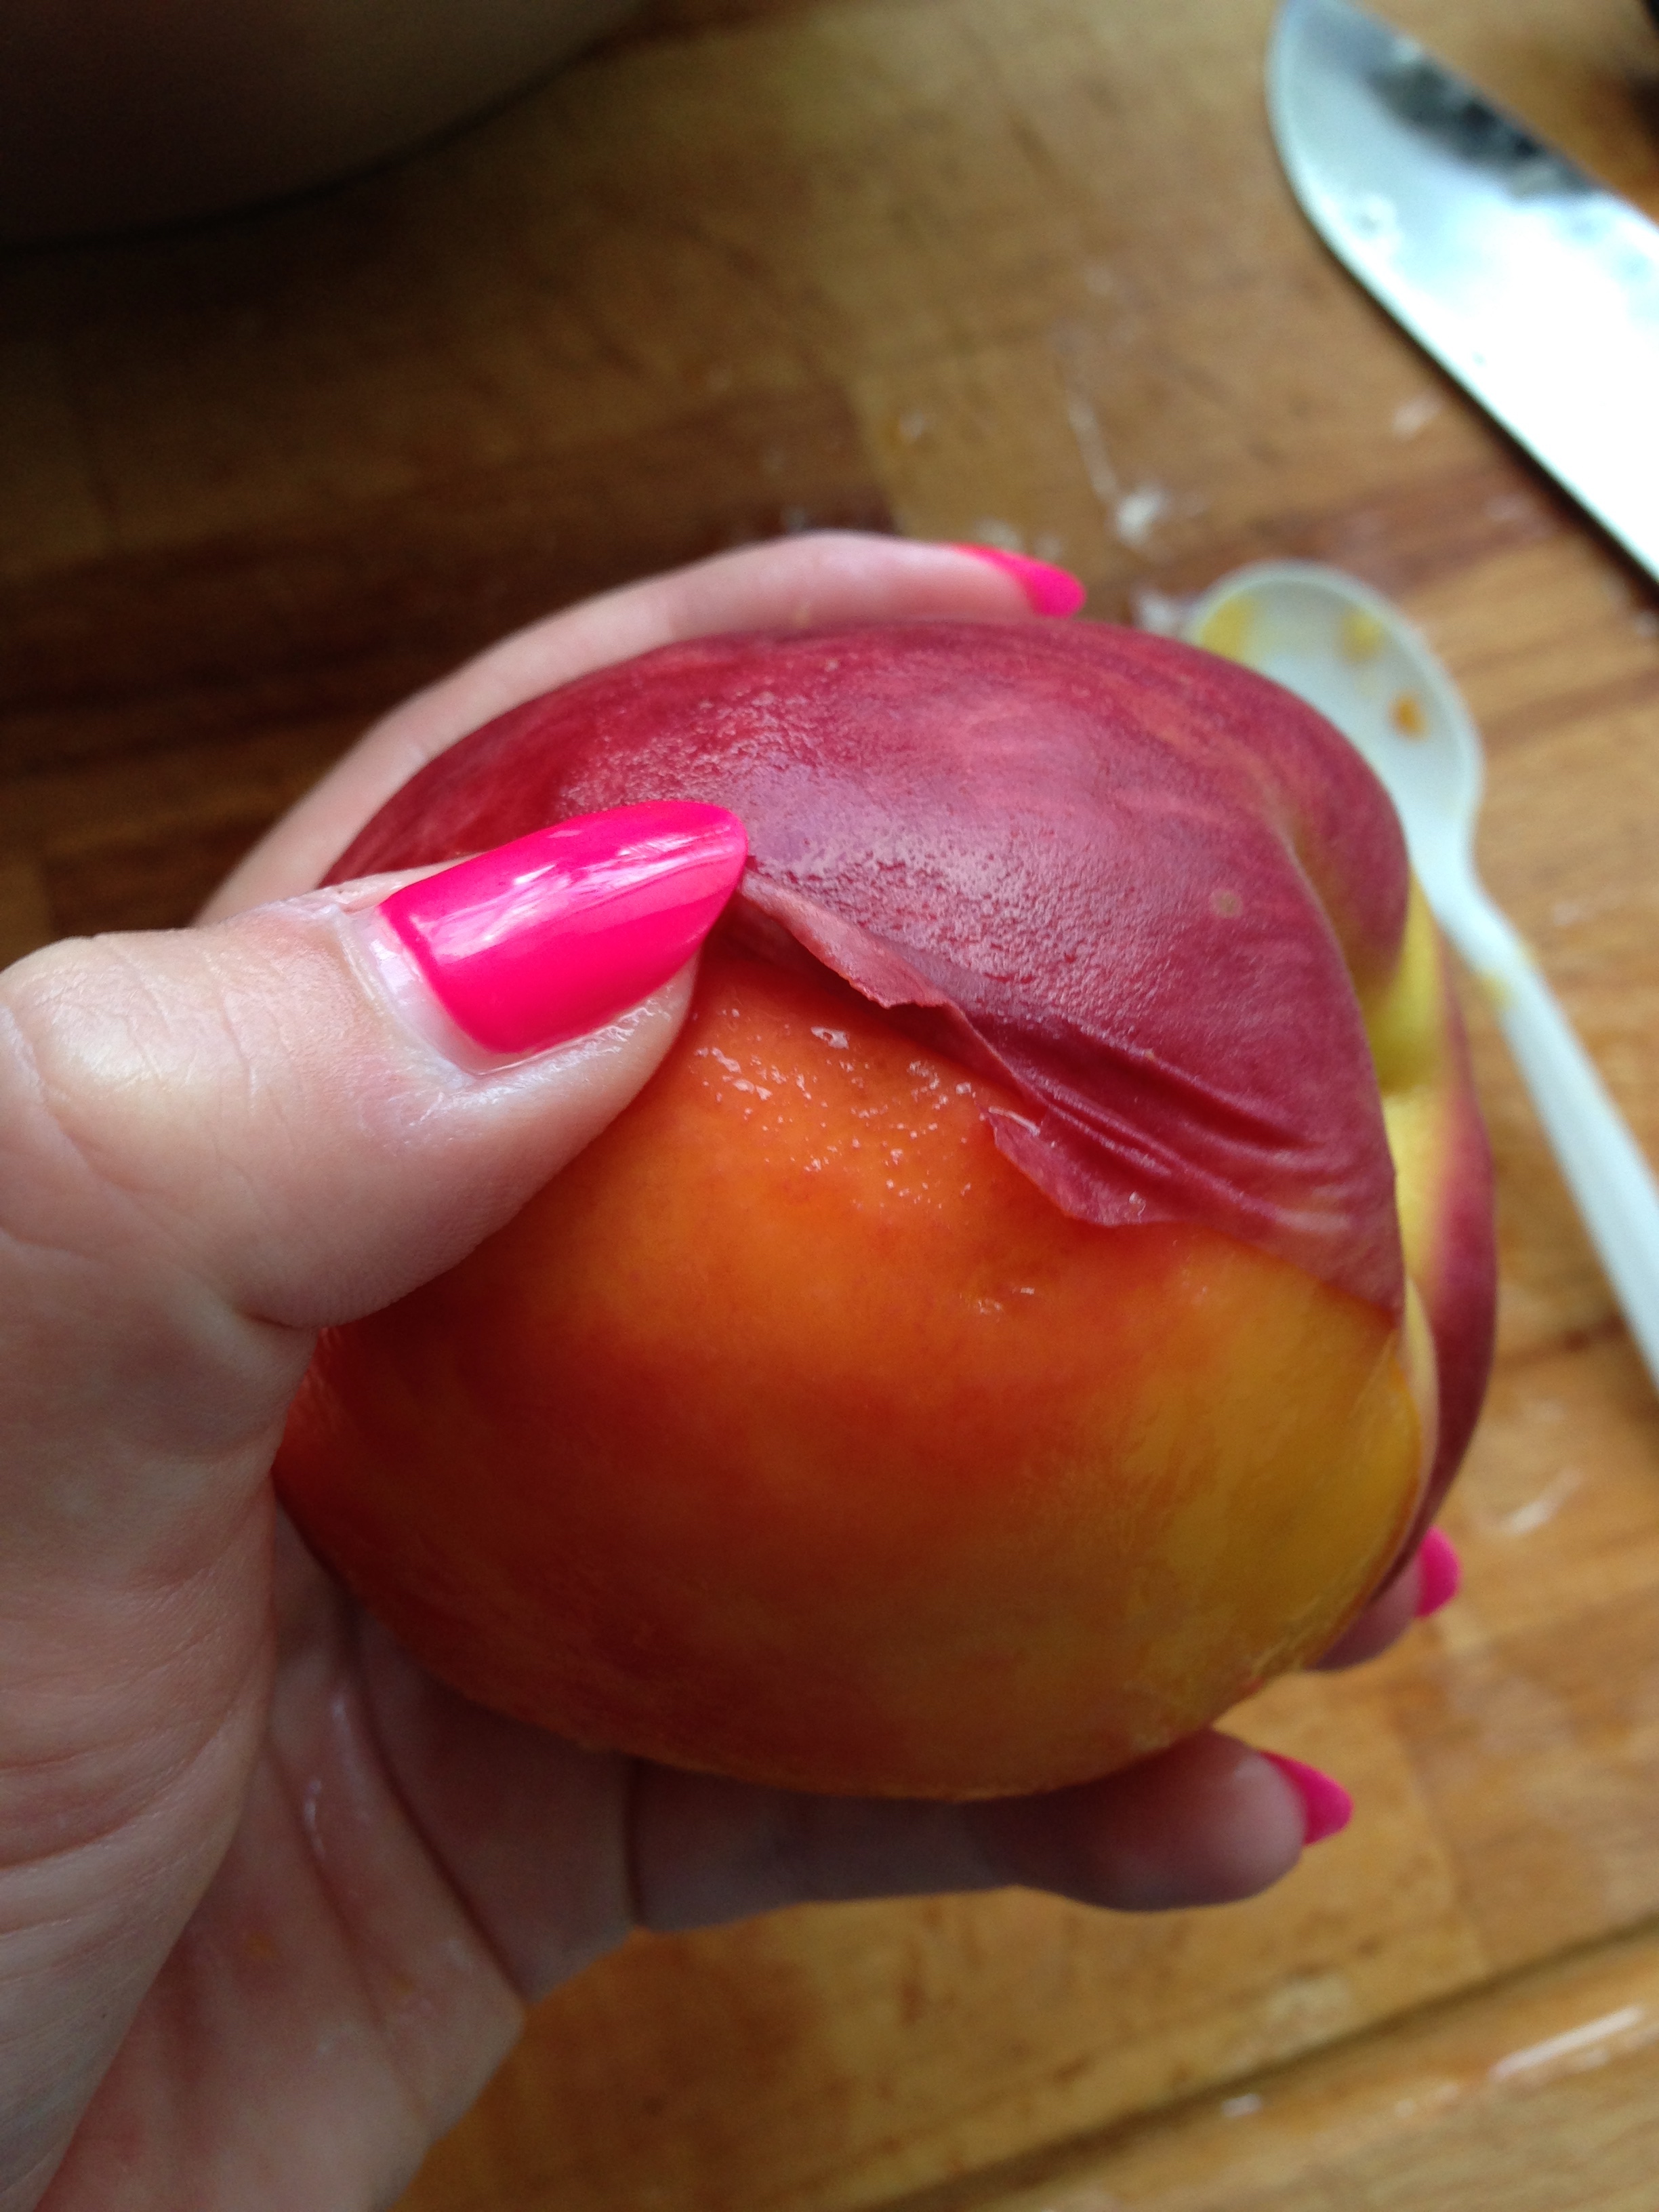
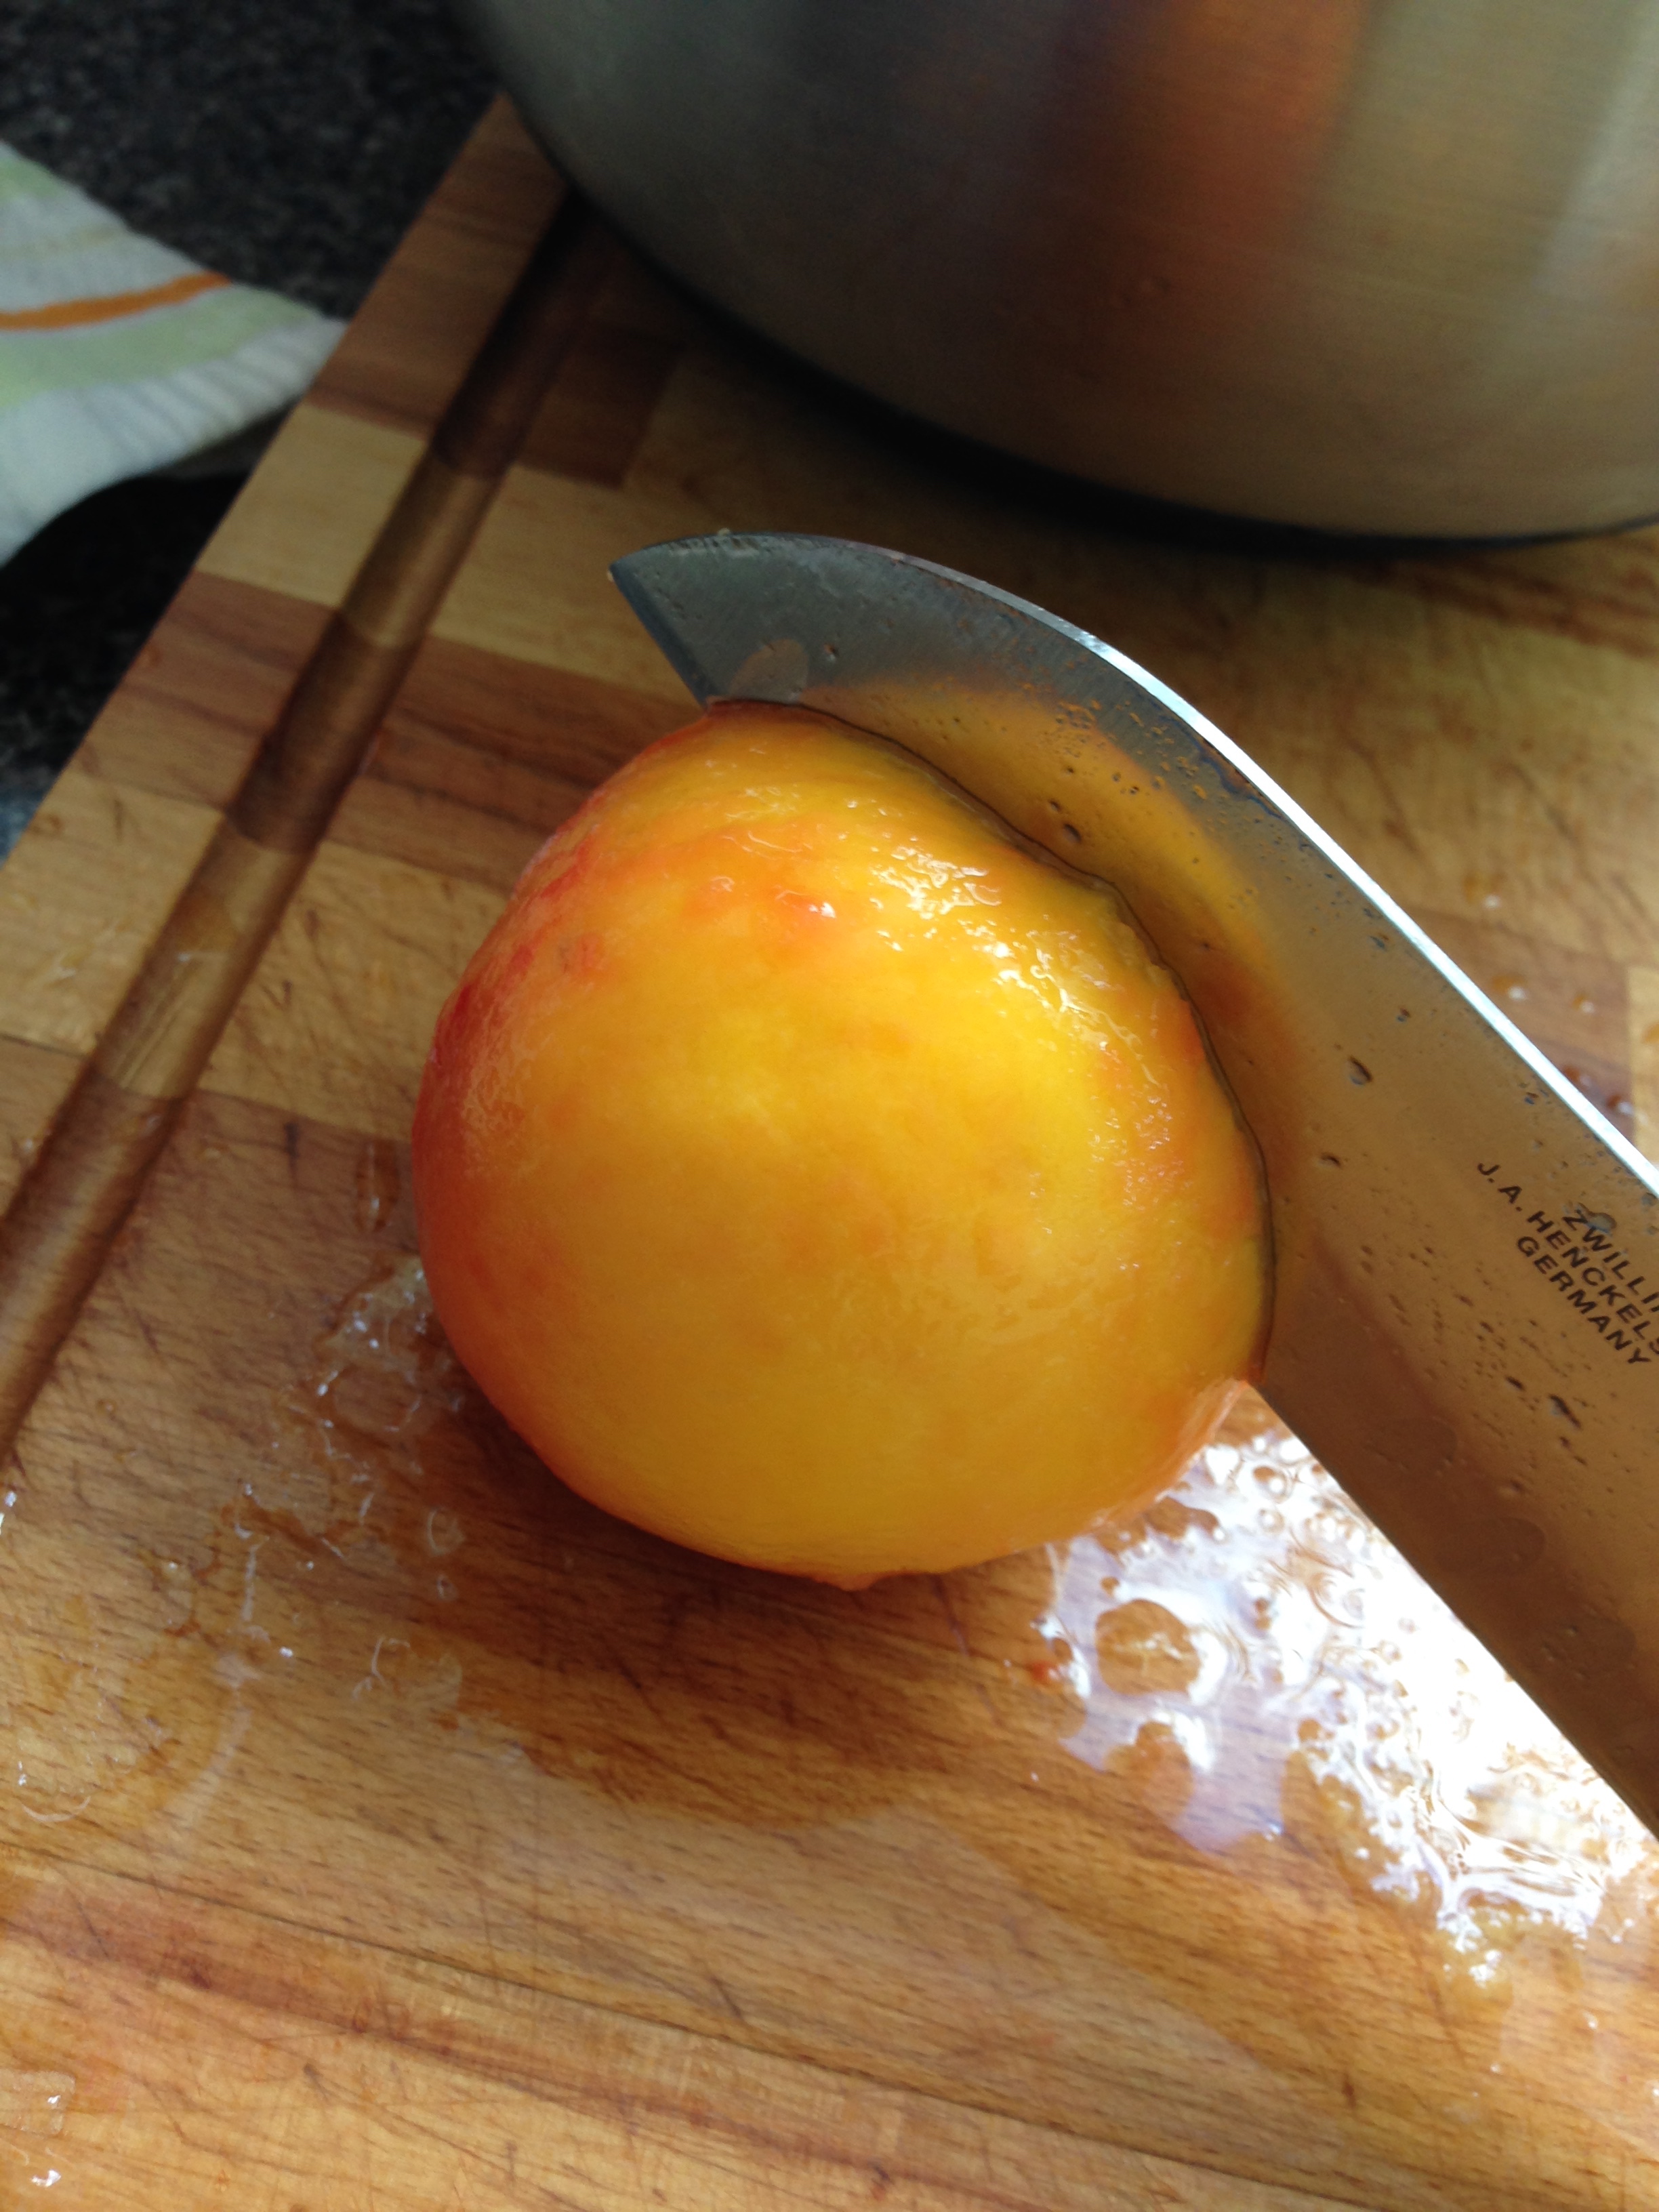
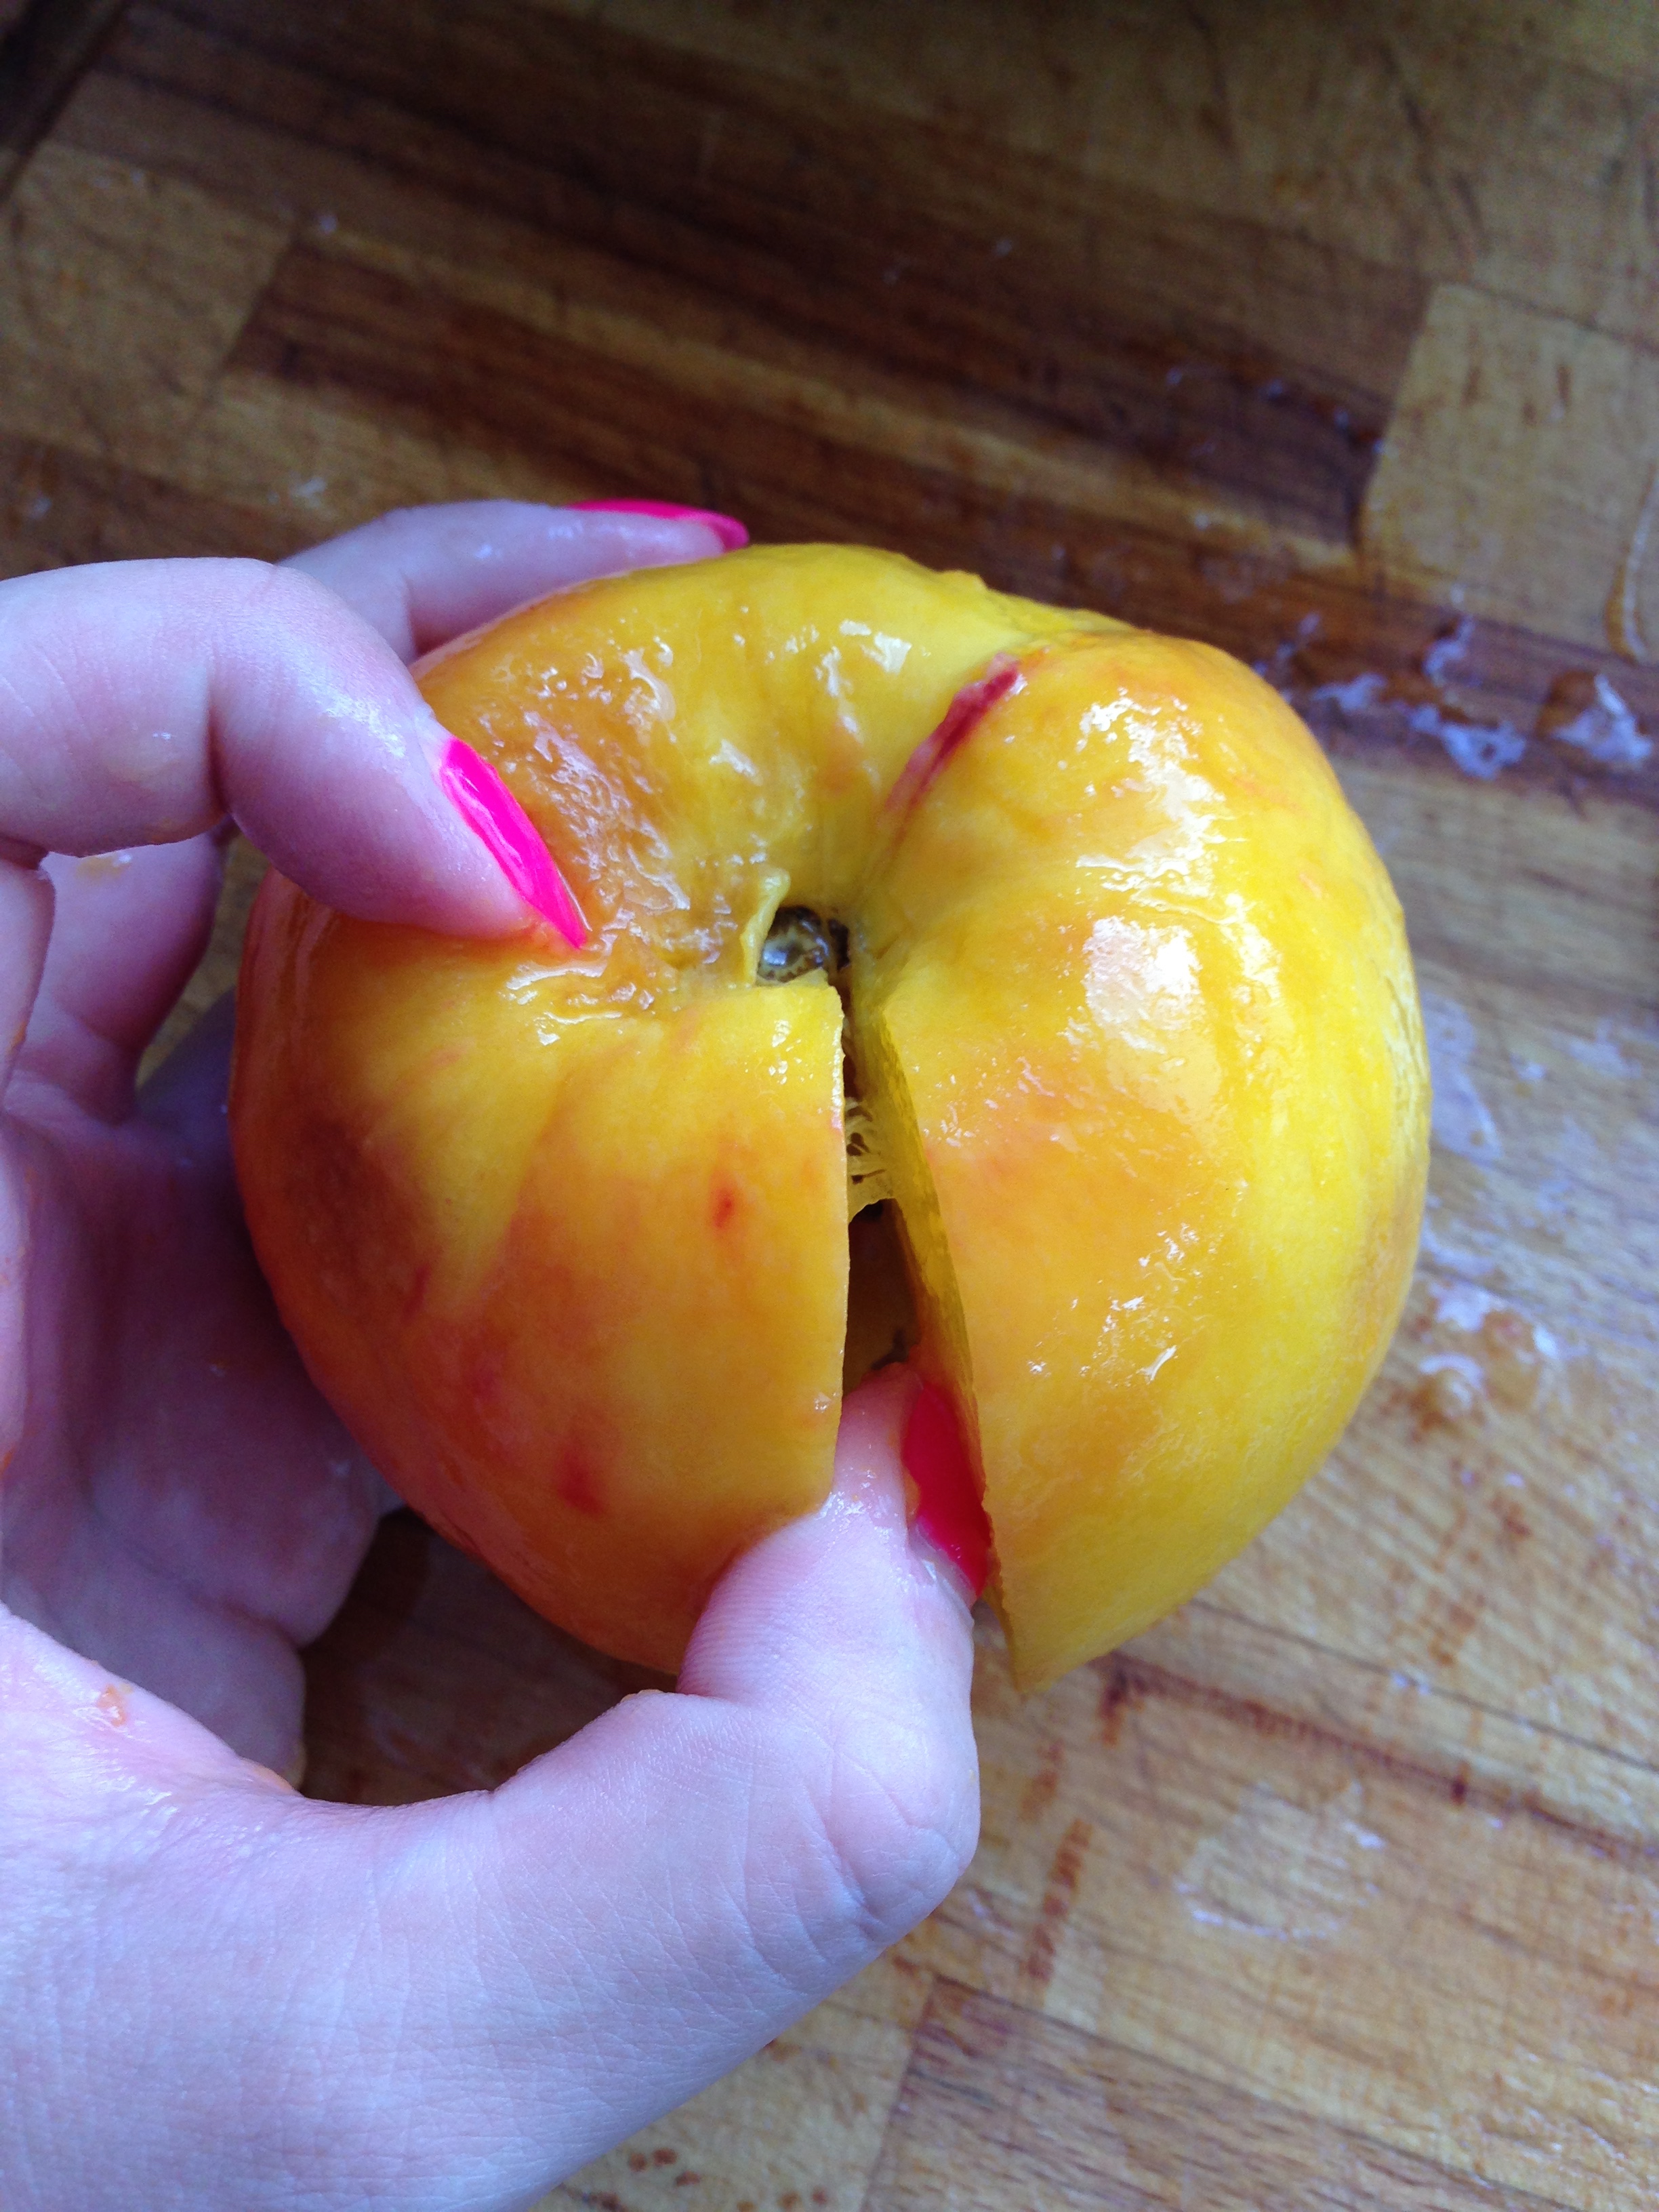

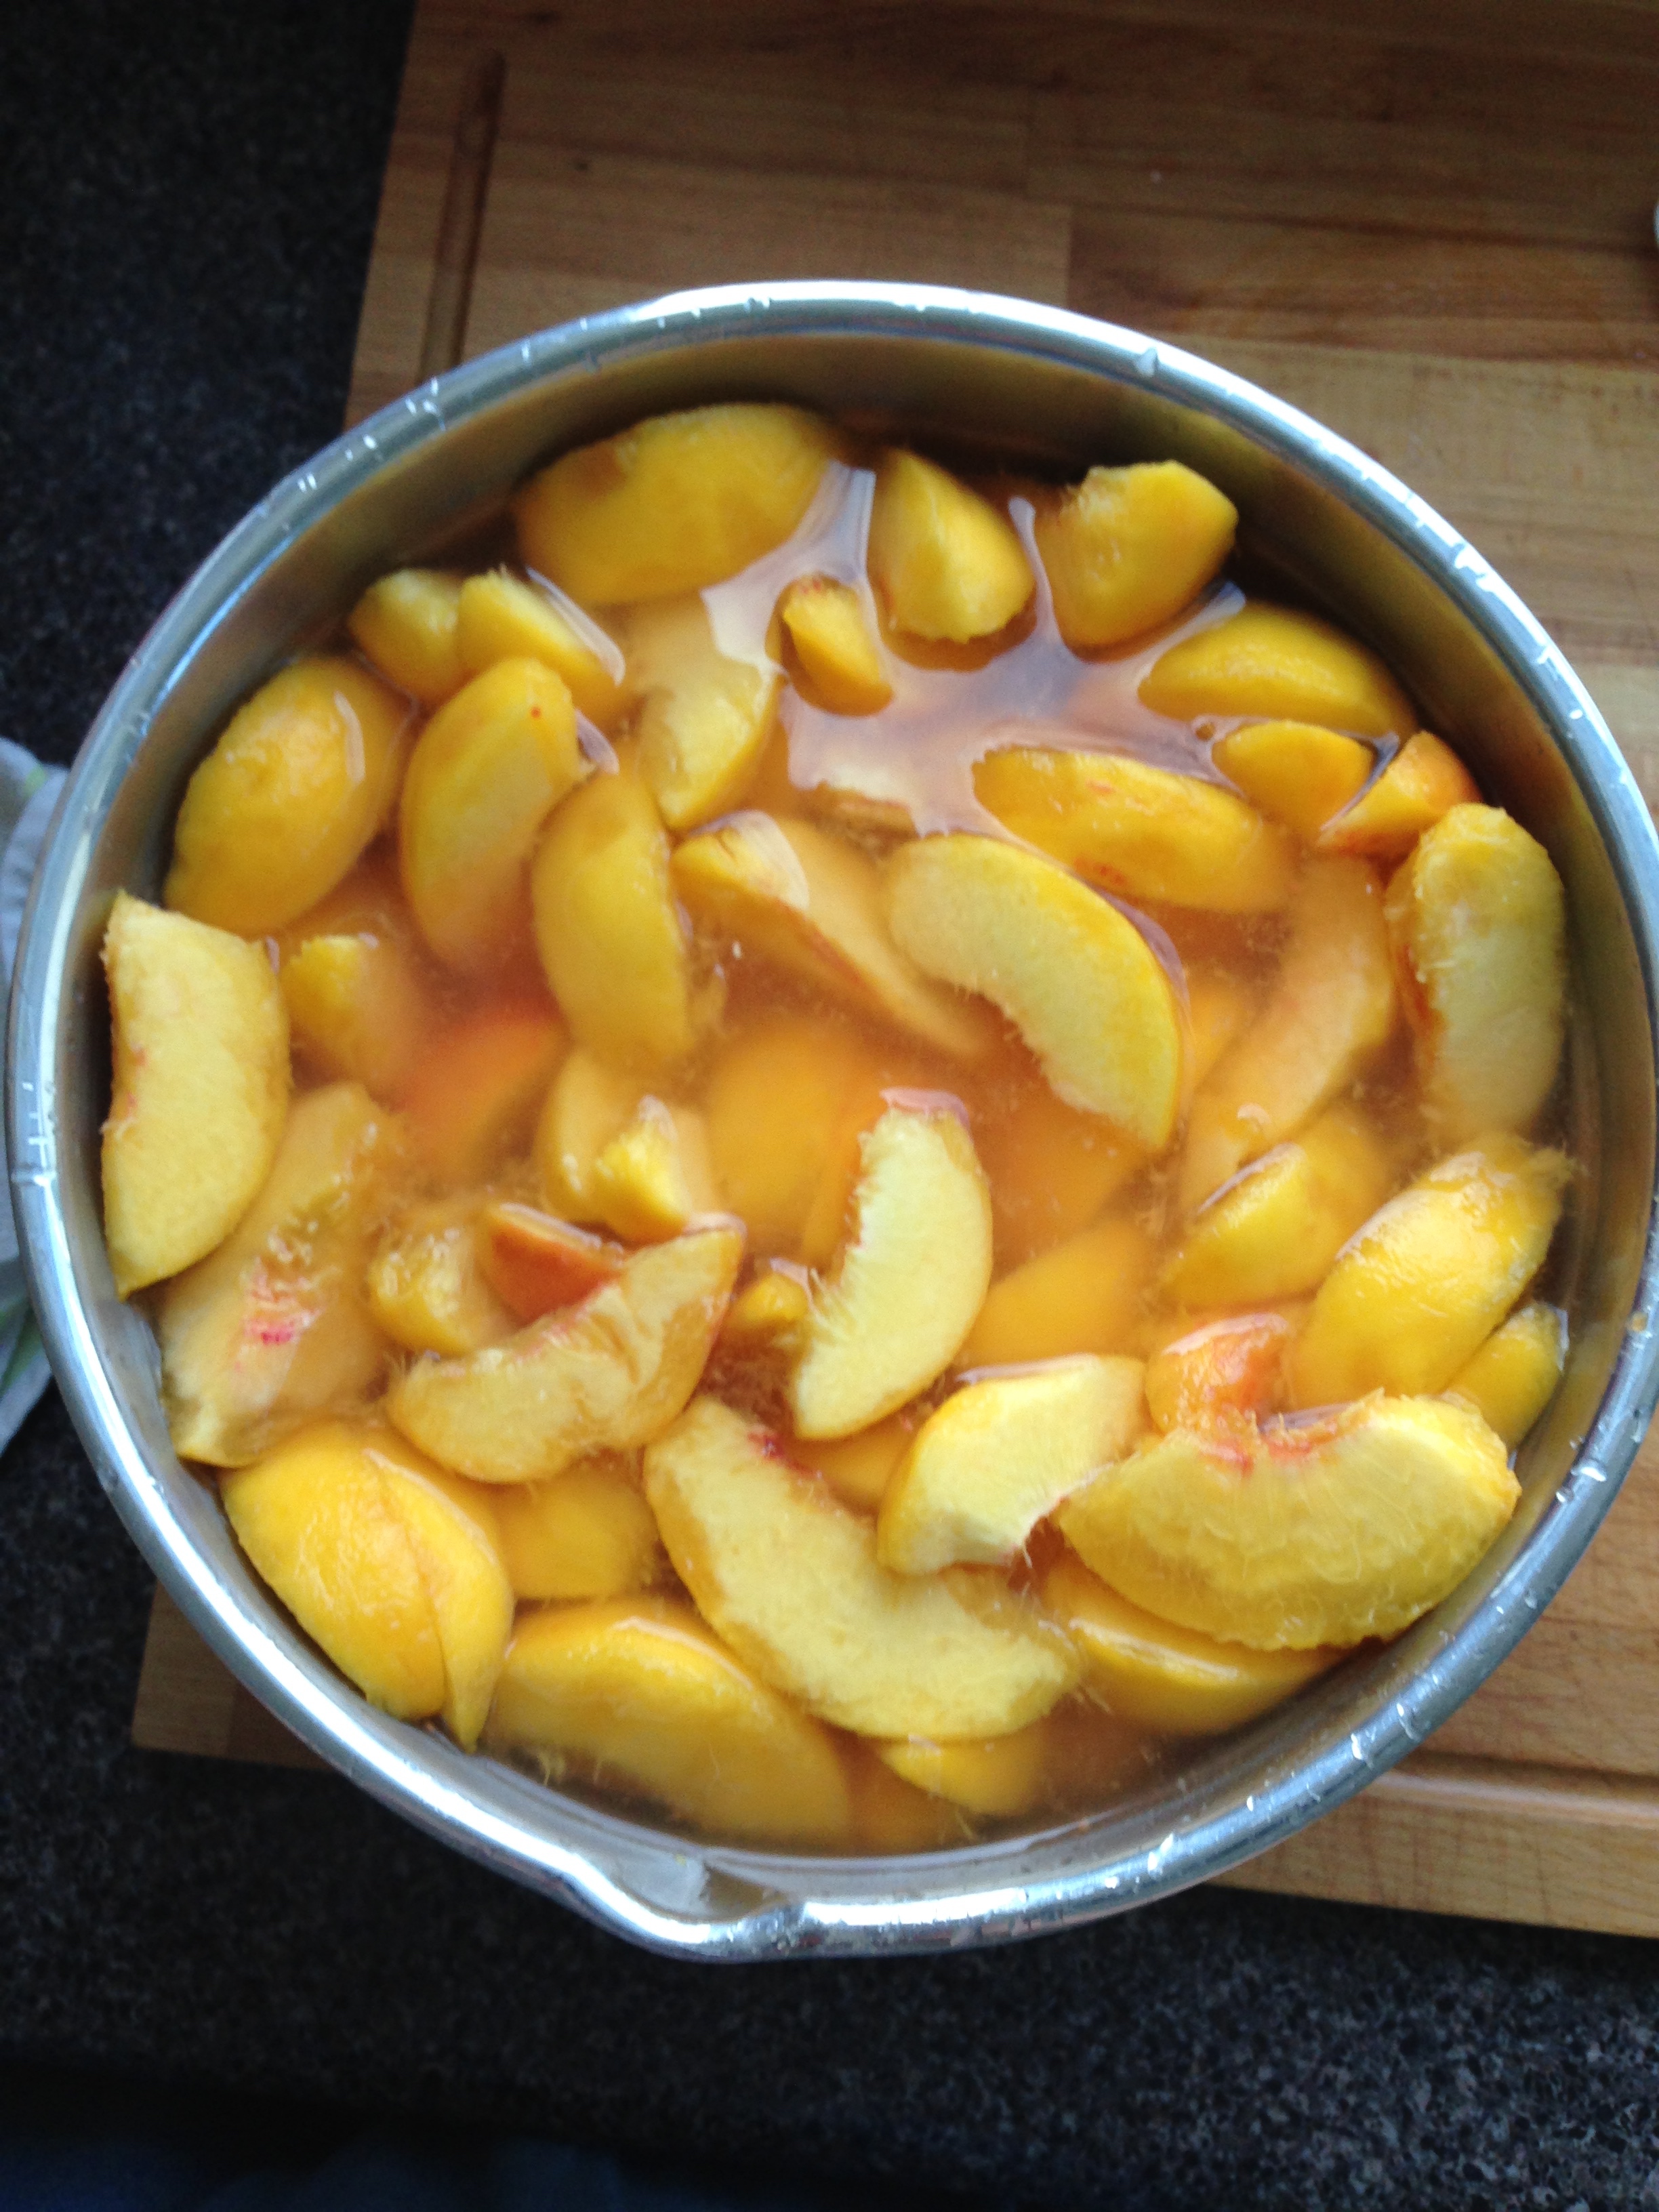
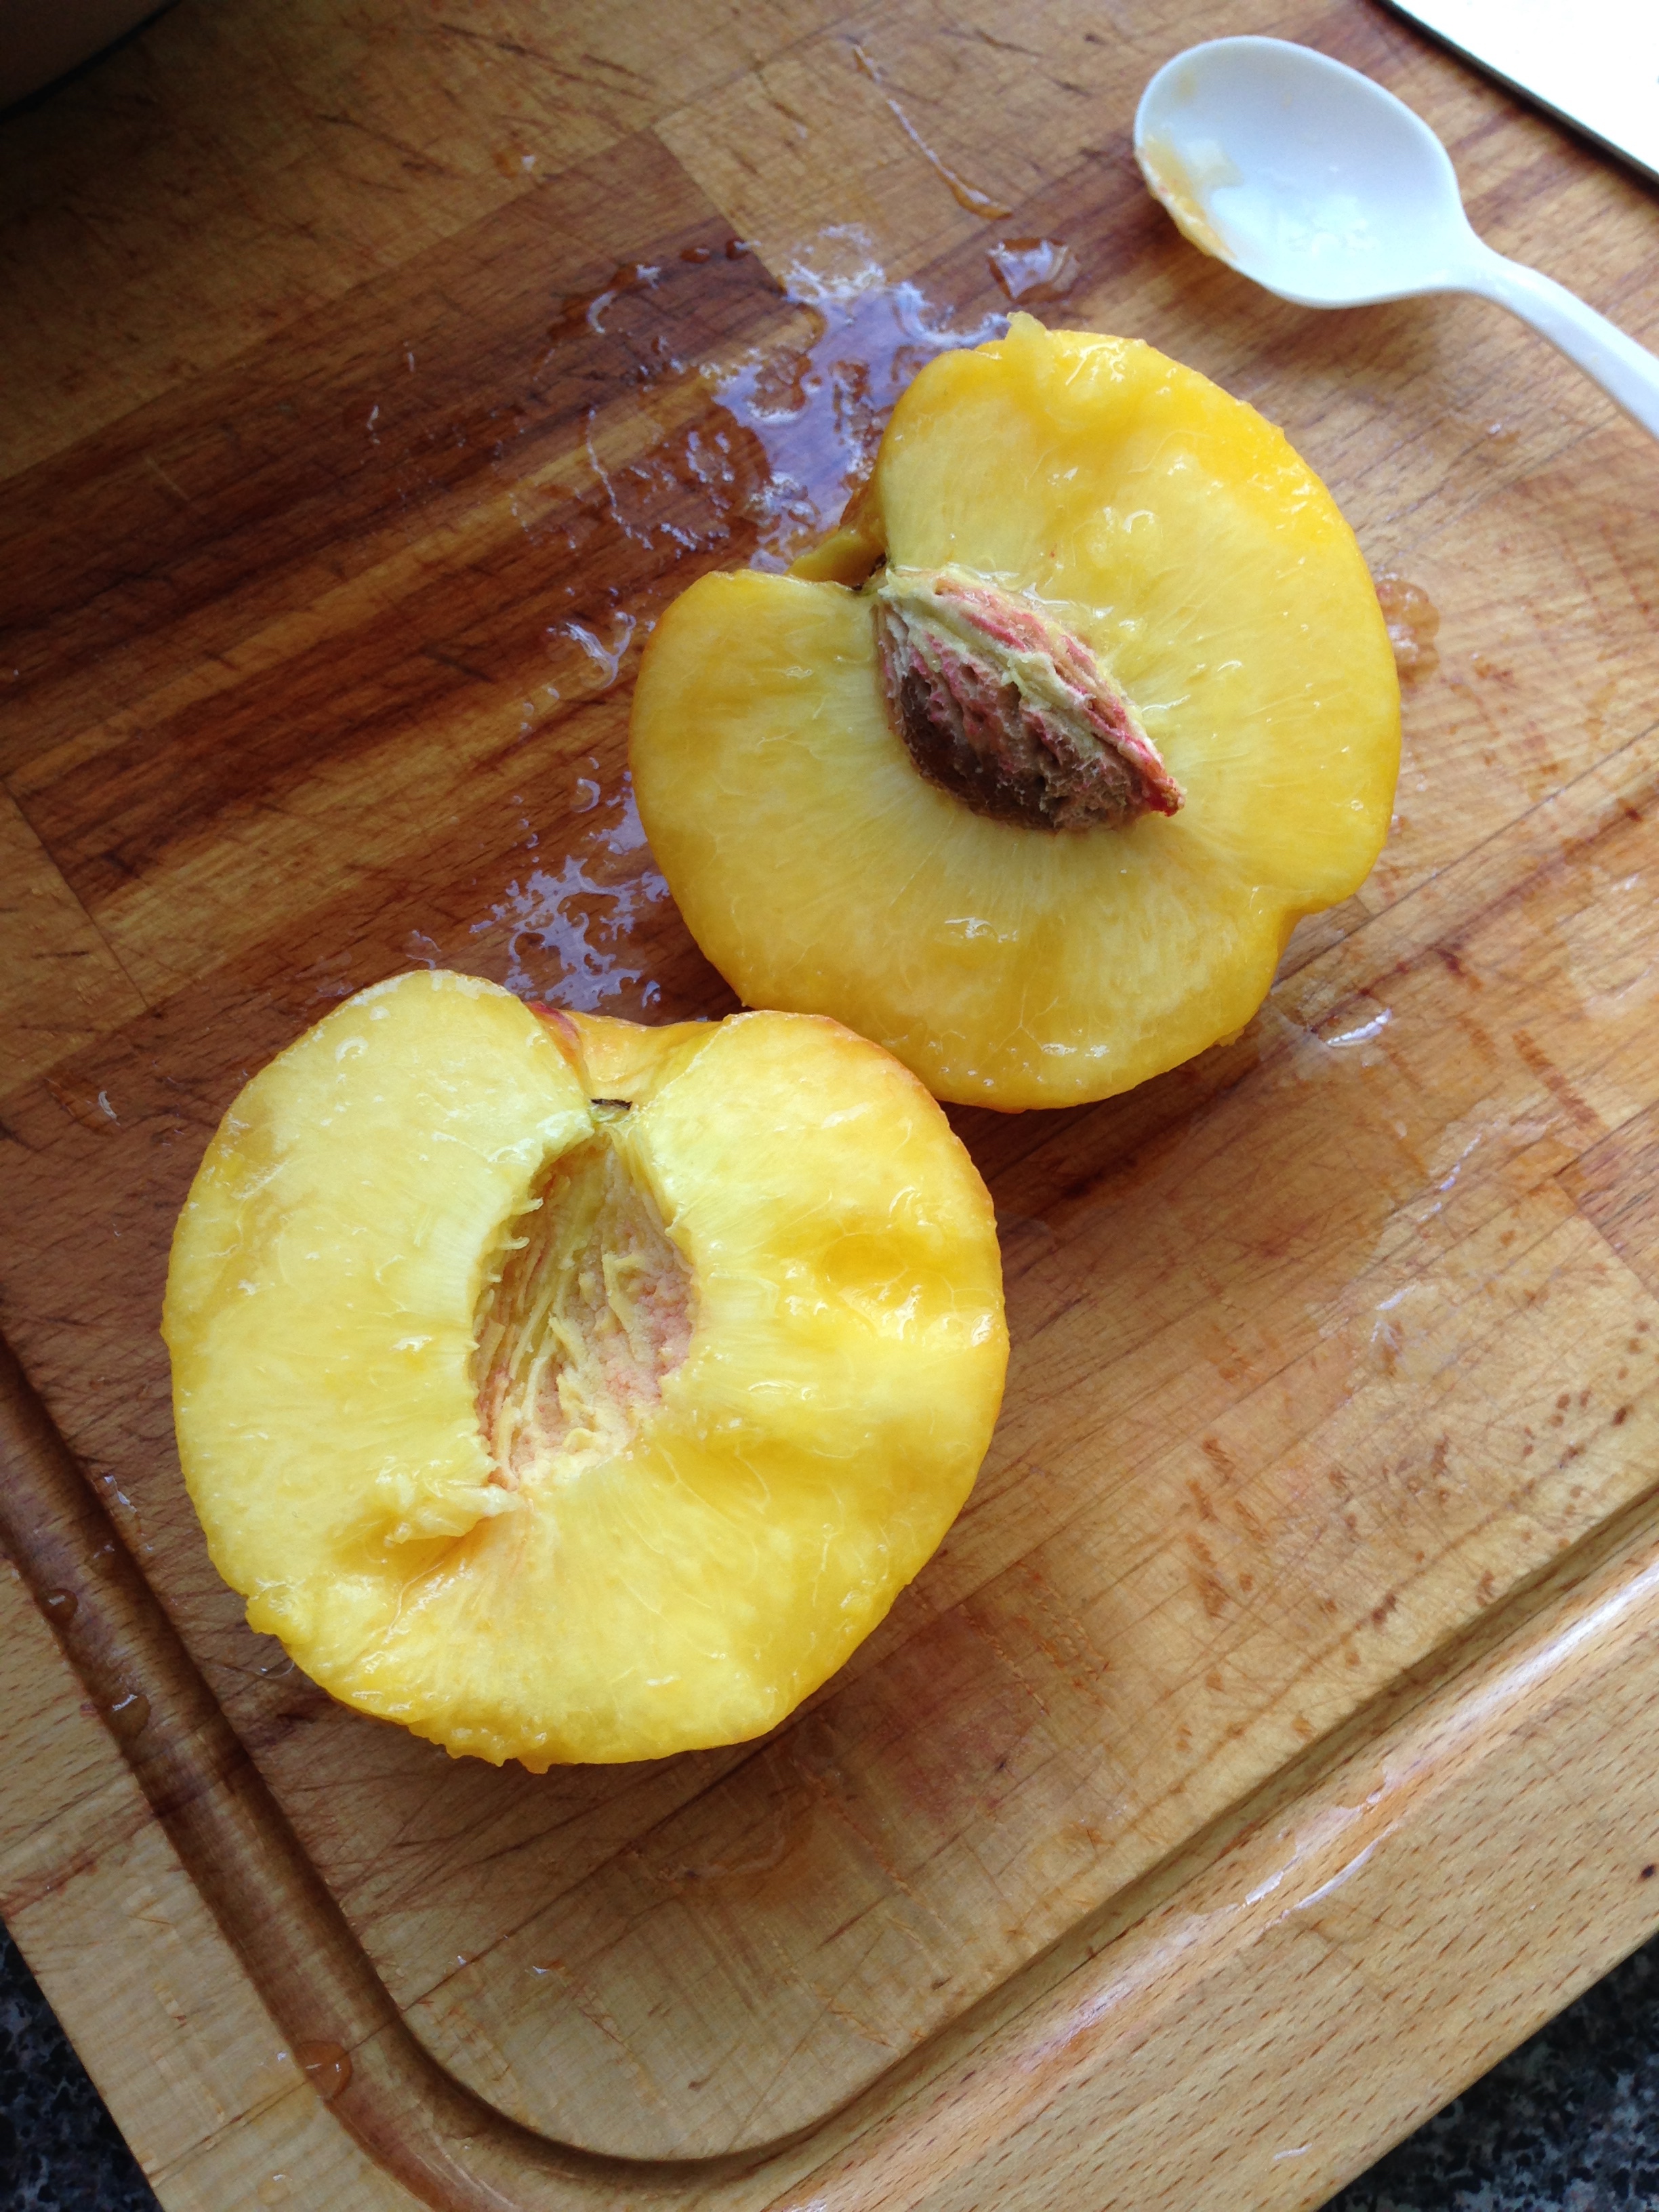
Now on to prepping the fruit! This takes a bit of doing. (<-Understatement.) First, removing the skins. Then on to pitting and quartering. To get the skins off, I used a technique called blanching. Essentially, dipping the clean peaches into a pot of boiling water for about 30 seconds. Then dunking the peaches in cold water to stop any further cooking. The skins now slip right off! Easy Peasy! To pit them, run a knife around the pit starting at the top of the fruit. Then, slide a thumb or finger into the gap and the peach halves with come apart. (The firmer the peach, the better this works.) Remove the pit, scrape any tendrils or pit bits away with a plastic spoon and slice the halves into quarters.
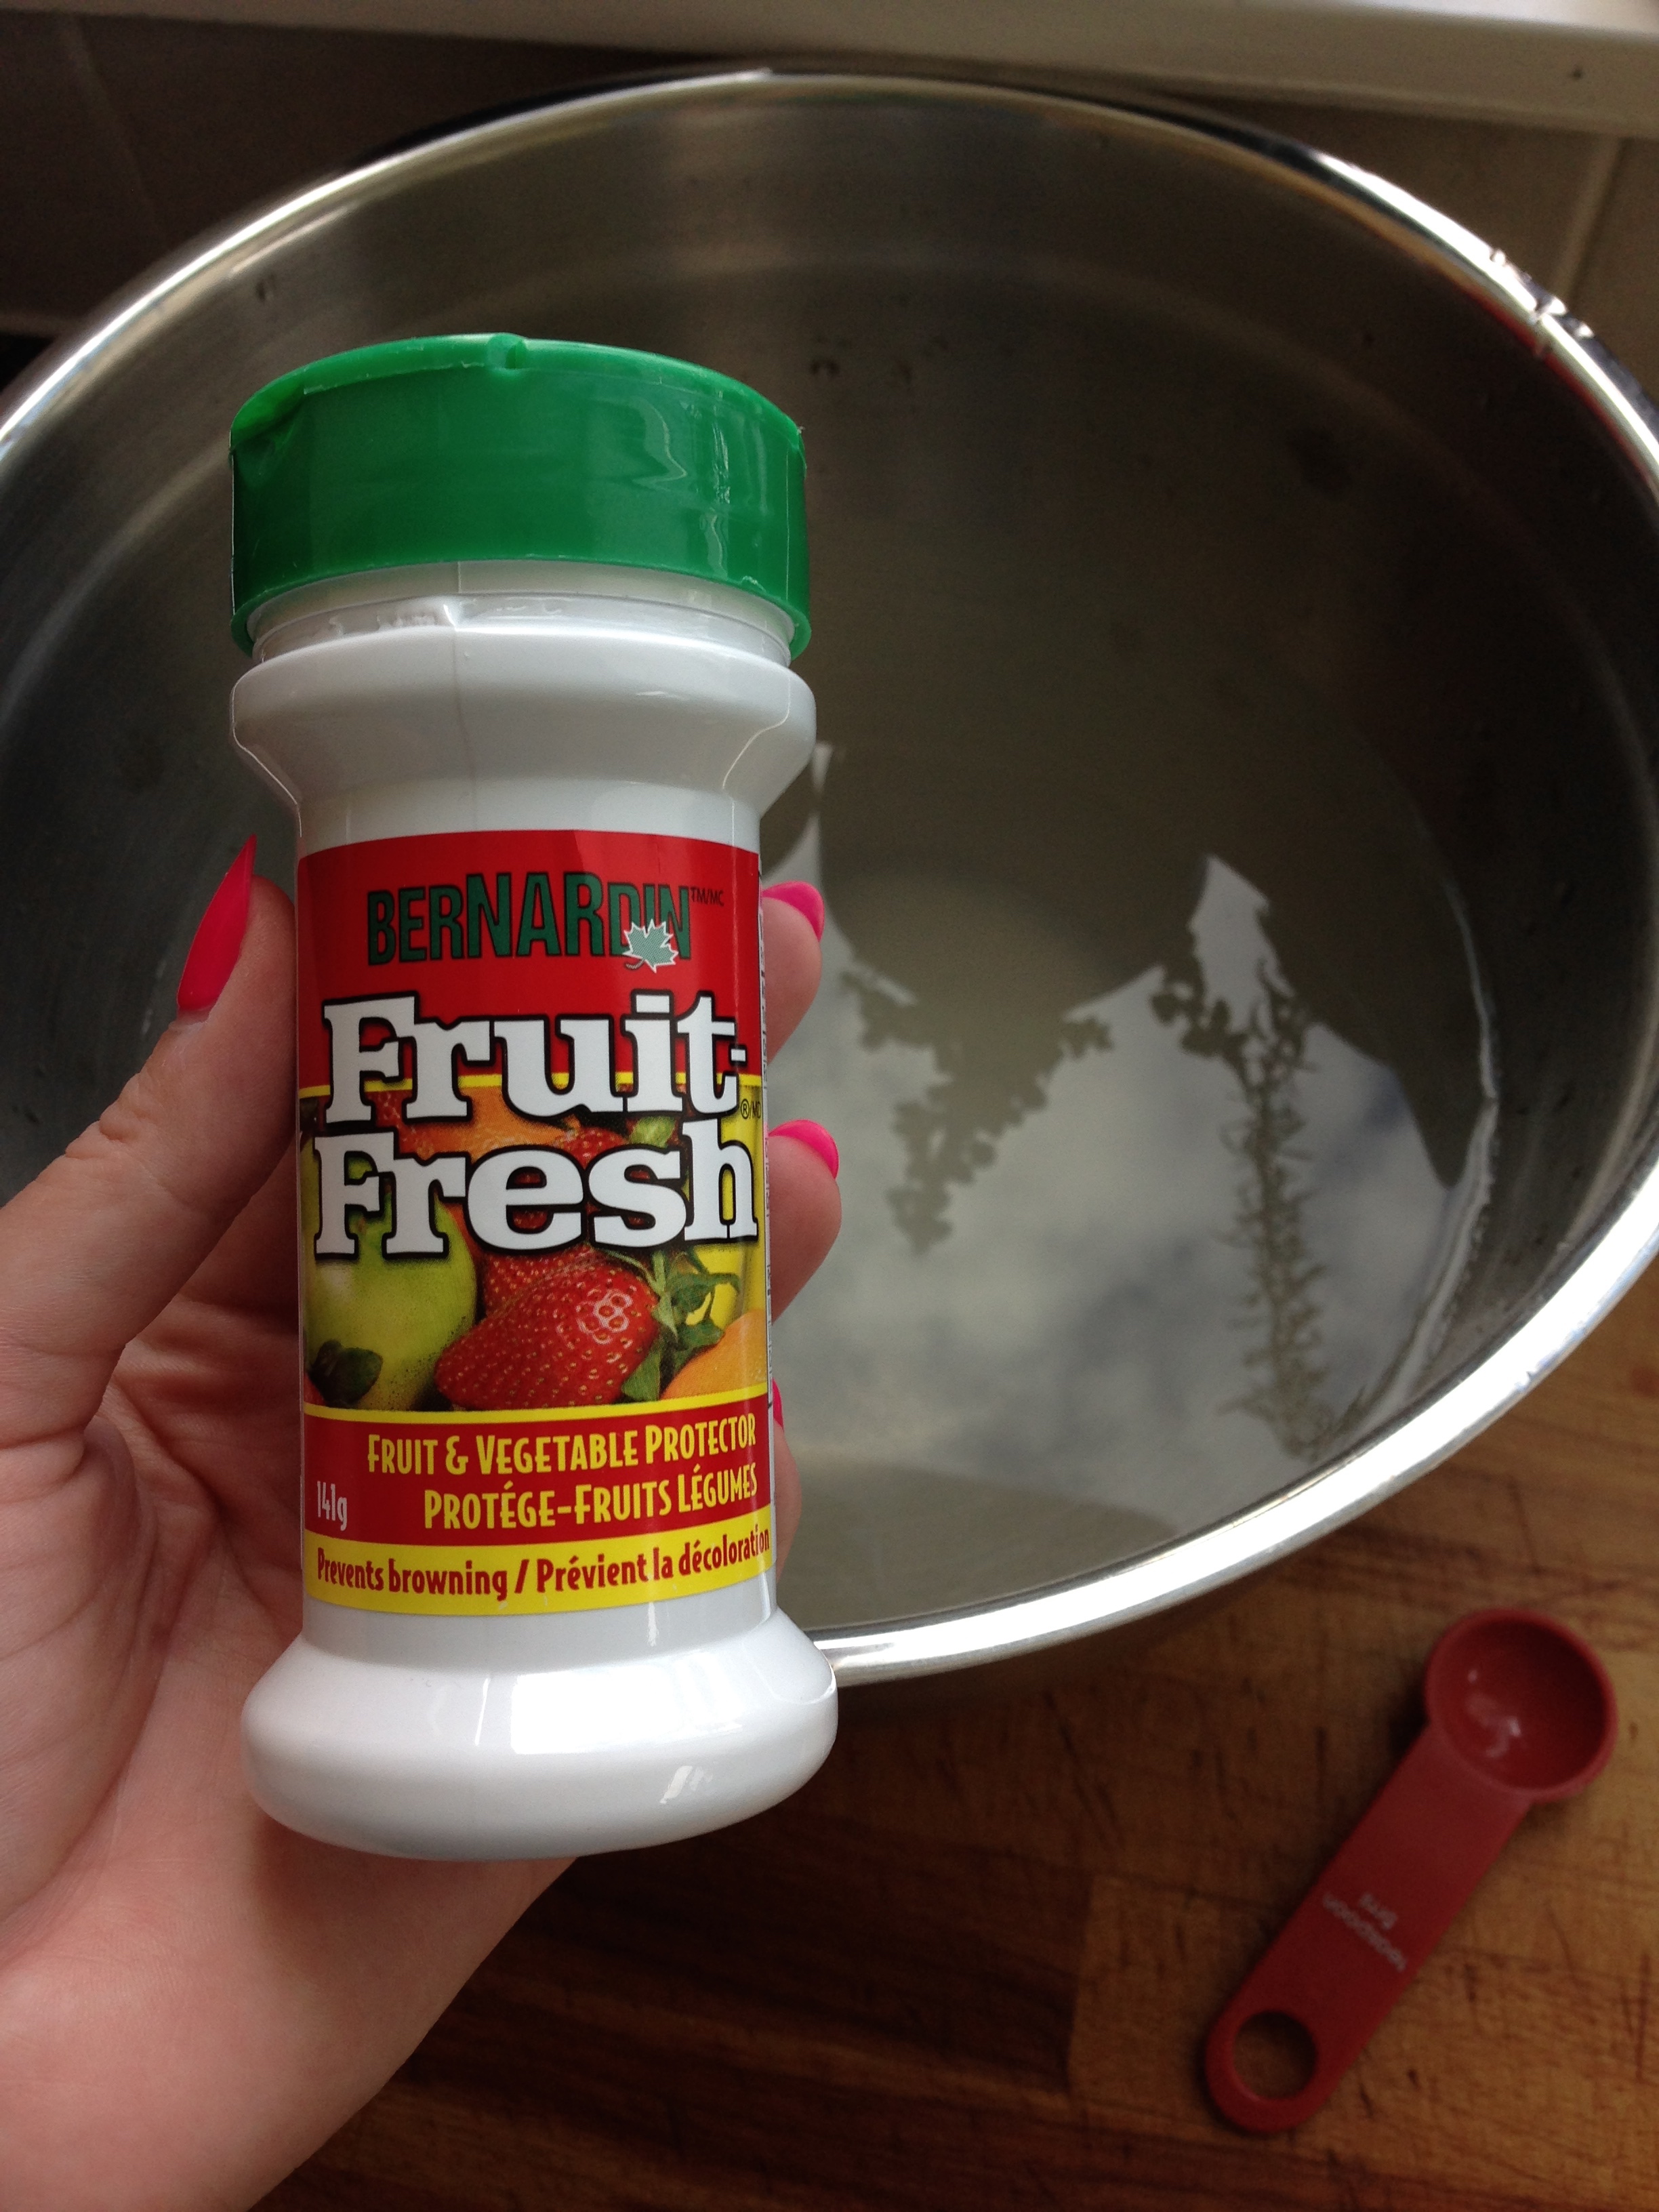
Most recipes will say to soak the fruit in an anti-browning solution at this point. I bought an actual product meant for this purpose but vitamin C pills and lemon juice also works to stop the peaches going mooshy. So in a giant bowl, plop the newly cut peach quarters into the prepared anti-browning solution. (Give is a stir every now and then so all the quarters get a chance to be submerged.
Almost ready to actually Can the peaches. Phew. If it's not boiling already, now is the time to get those jars sterilized!
First thing is to get that sugar syrup into a non-reactive pot. Also, drain off the peaches from their anti-browning bath. Depending on how many peaches there are, slip in just enough peaches to be covered by the syrup. (I ended up doing about half of my giant bowl of peaches.)
Make sure all the items are set up now! Screw bands are clean and in a easy place to reach, ladle and slotted spoon, plastic spoon for getting out bubbles, boiling canner, warmed snap lids, etc. Time to fire blast 'em peaches!
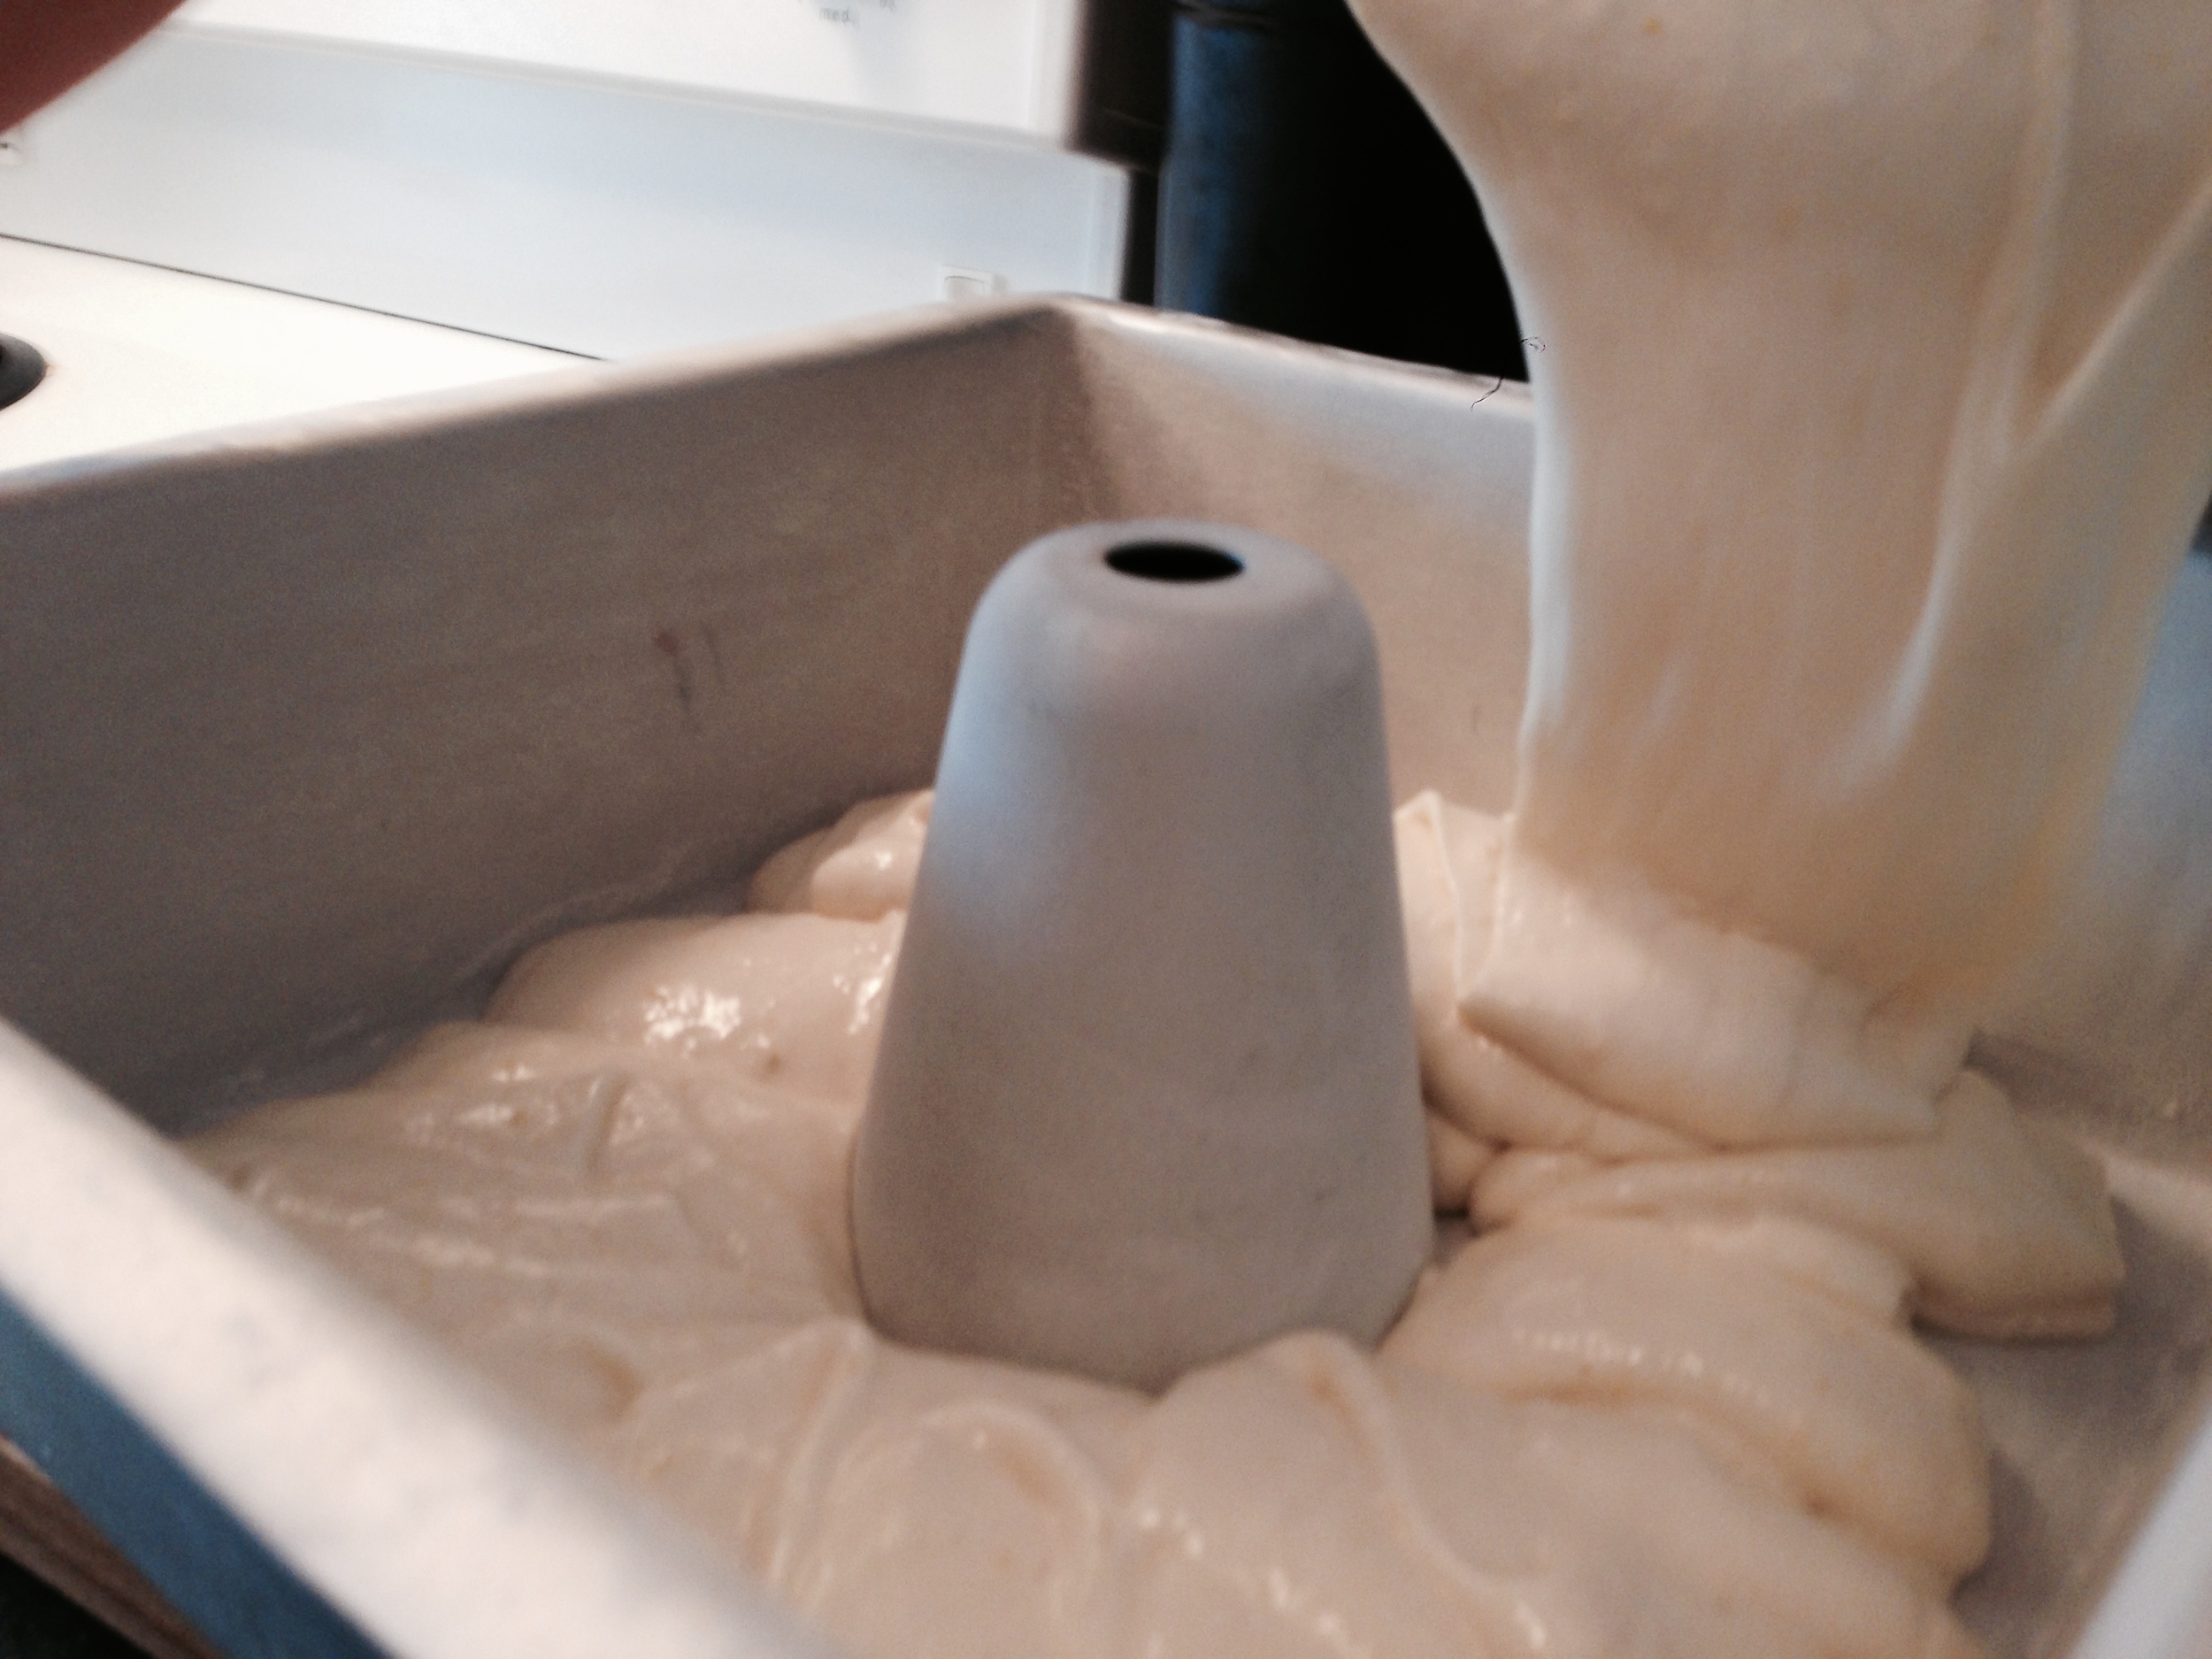
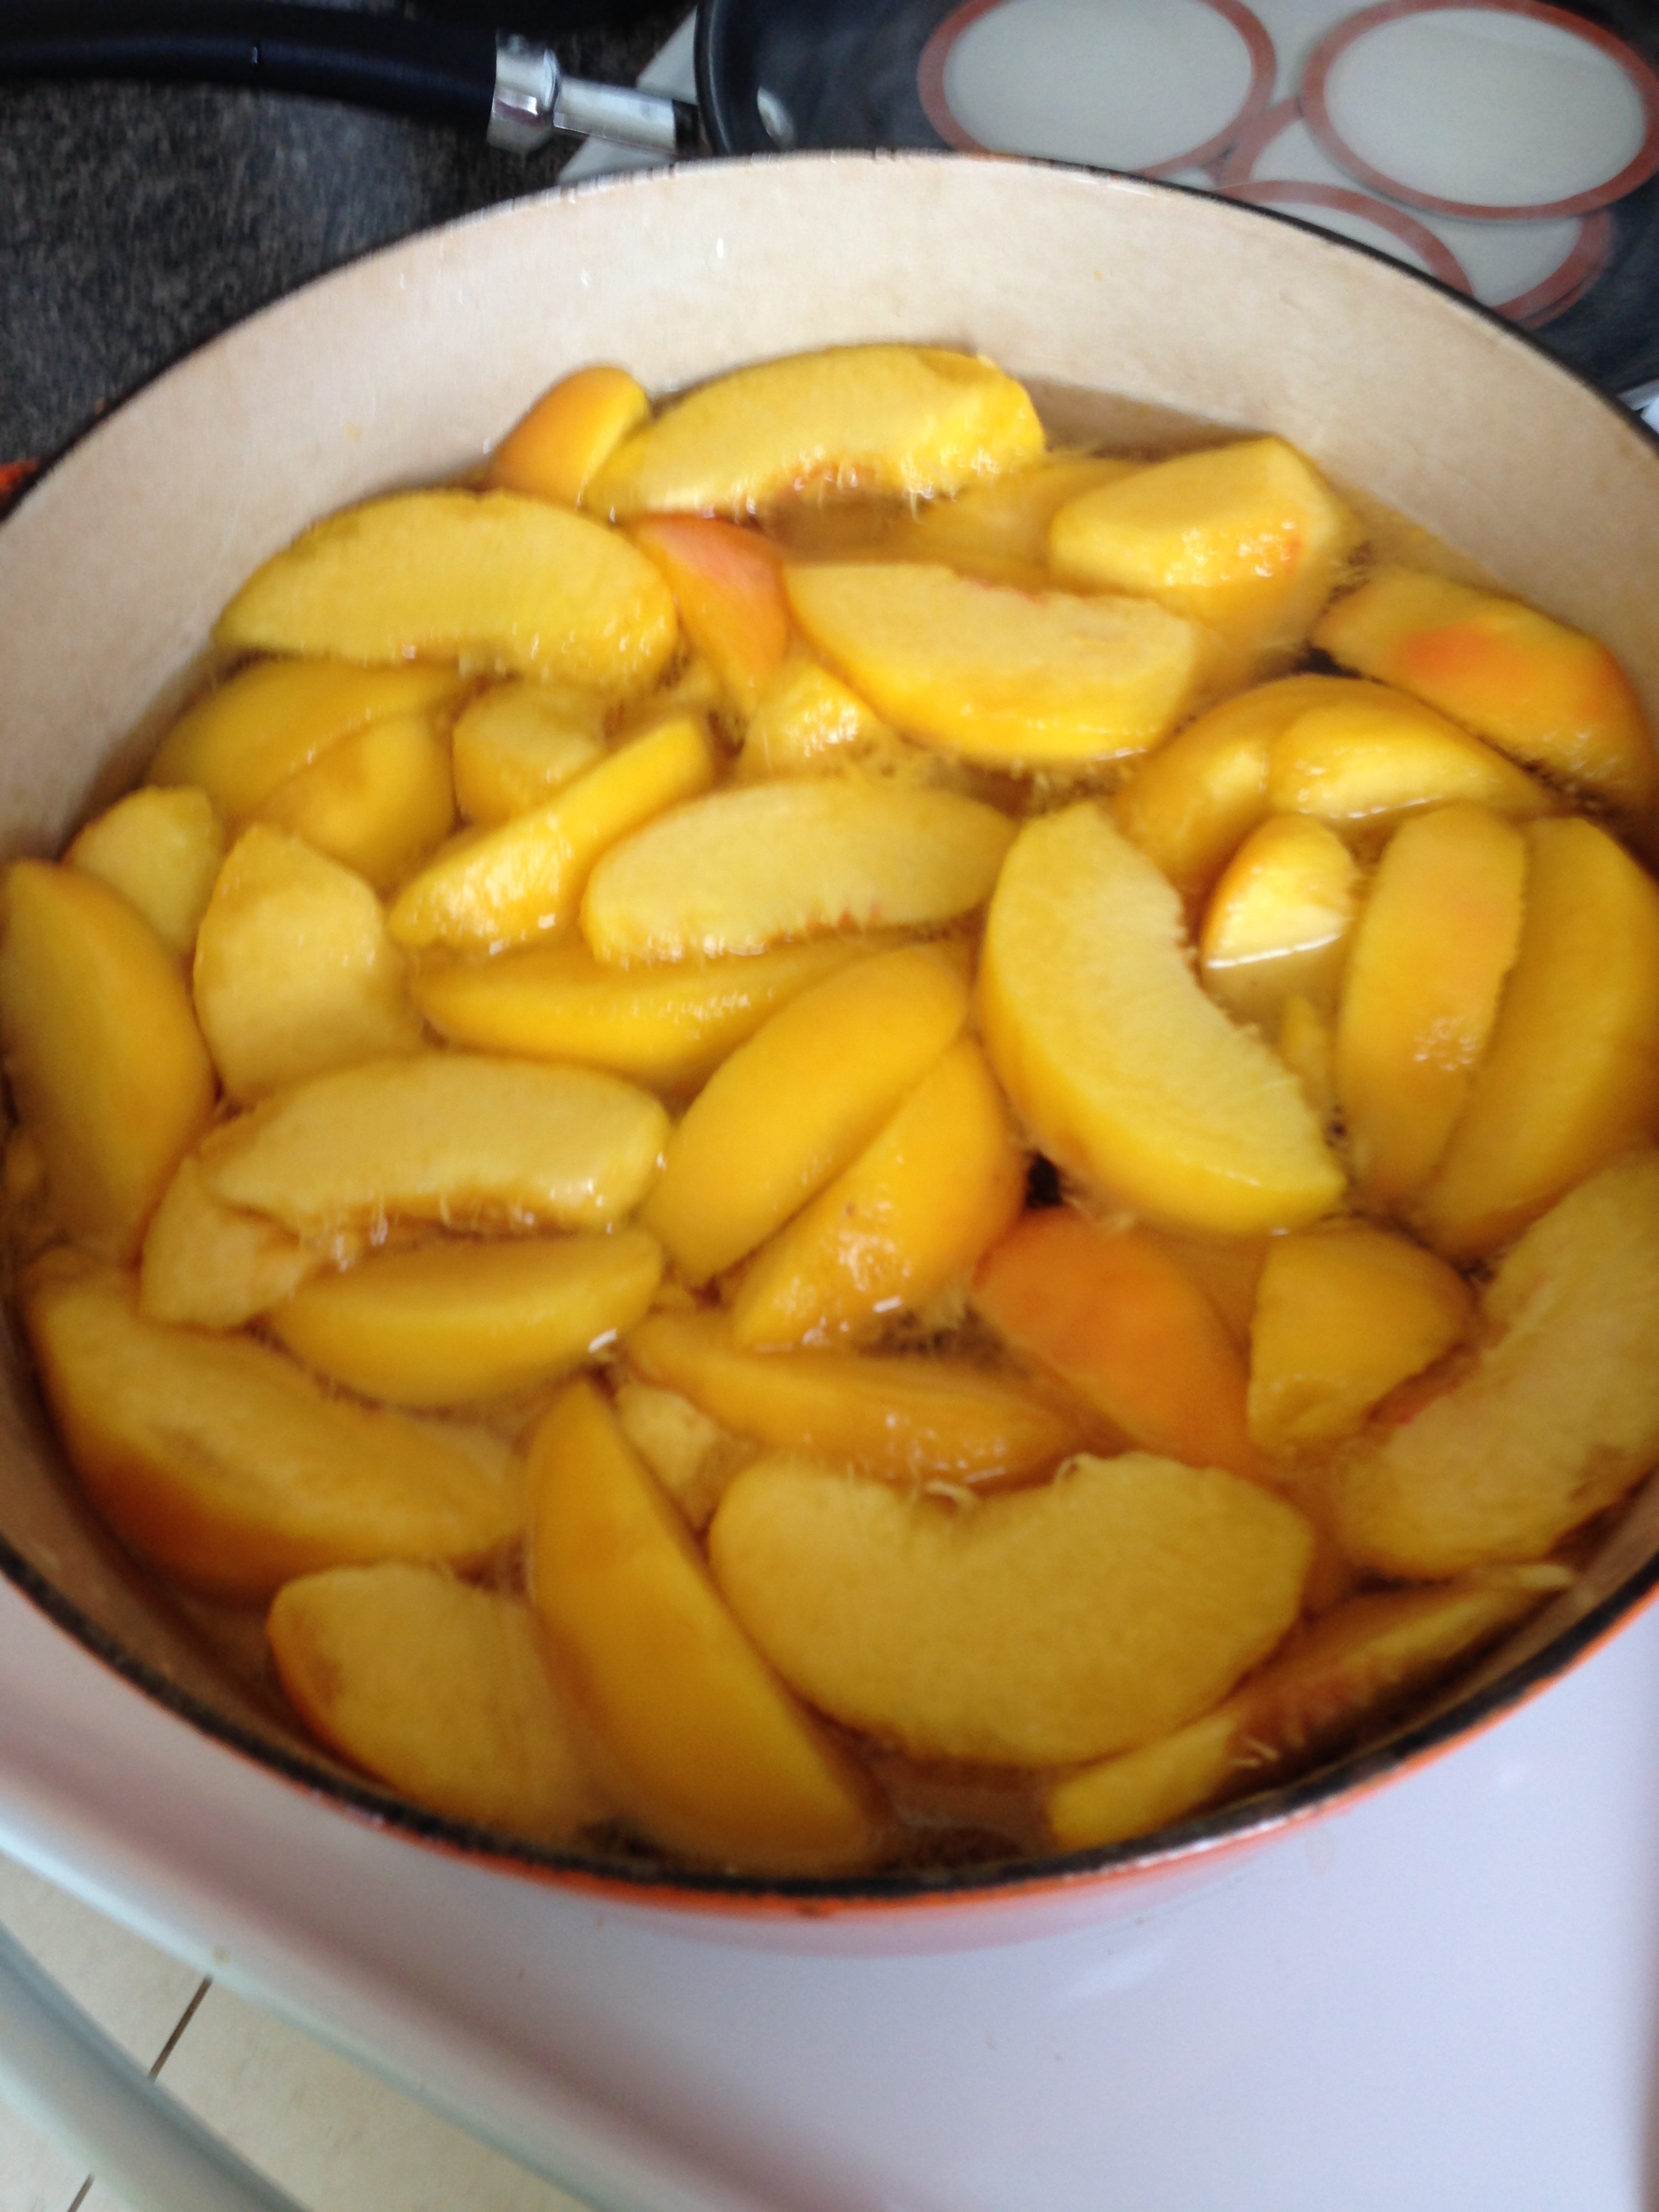
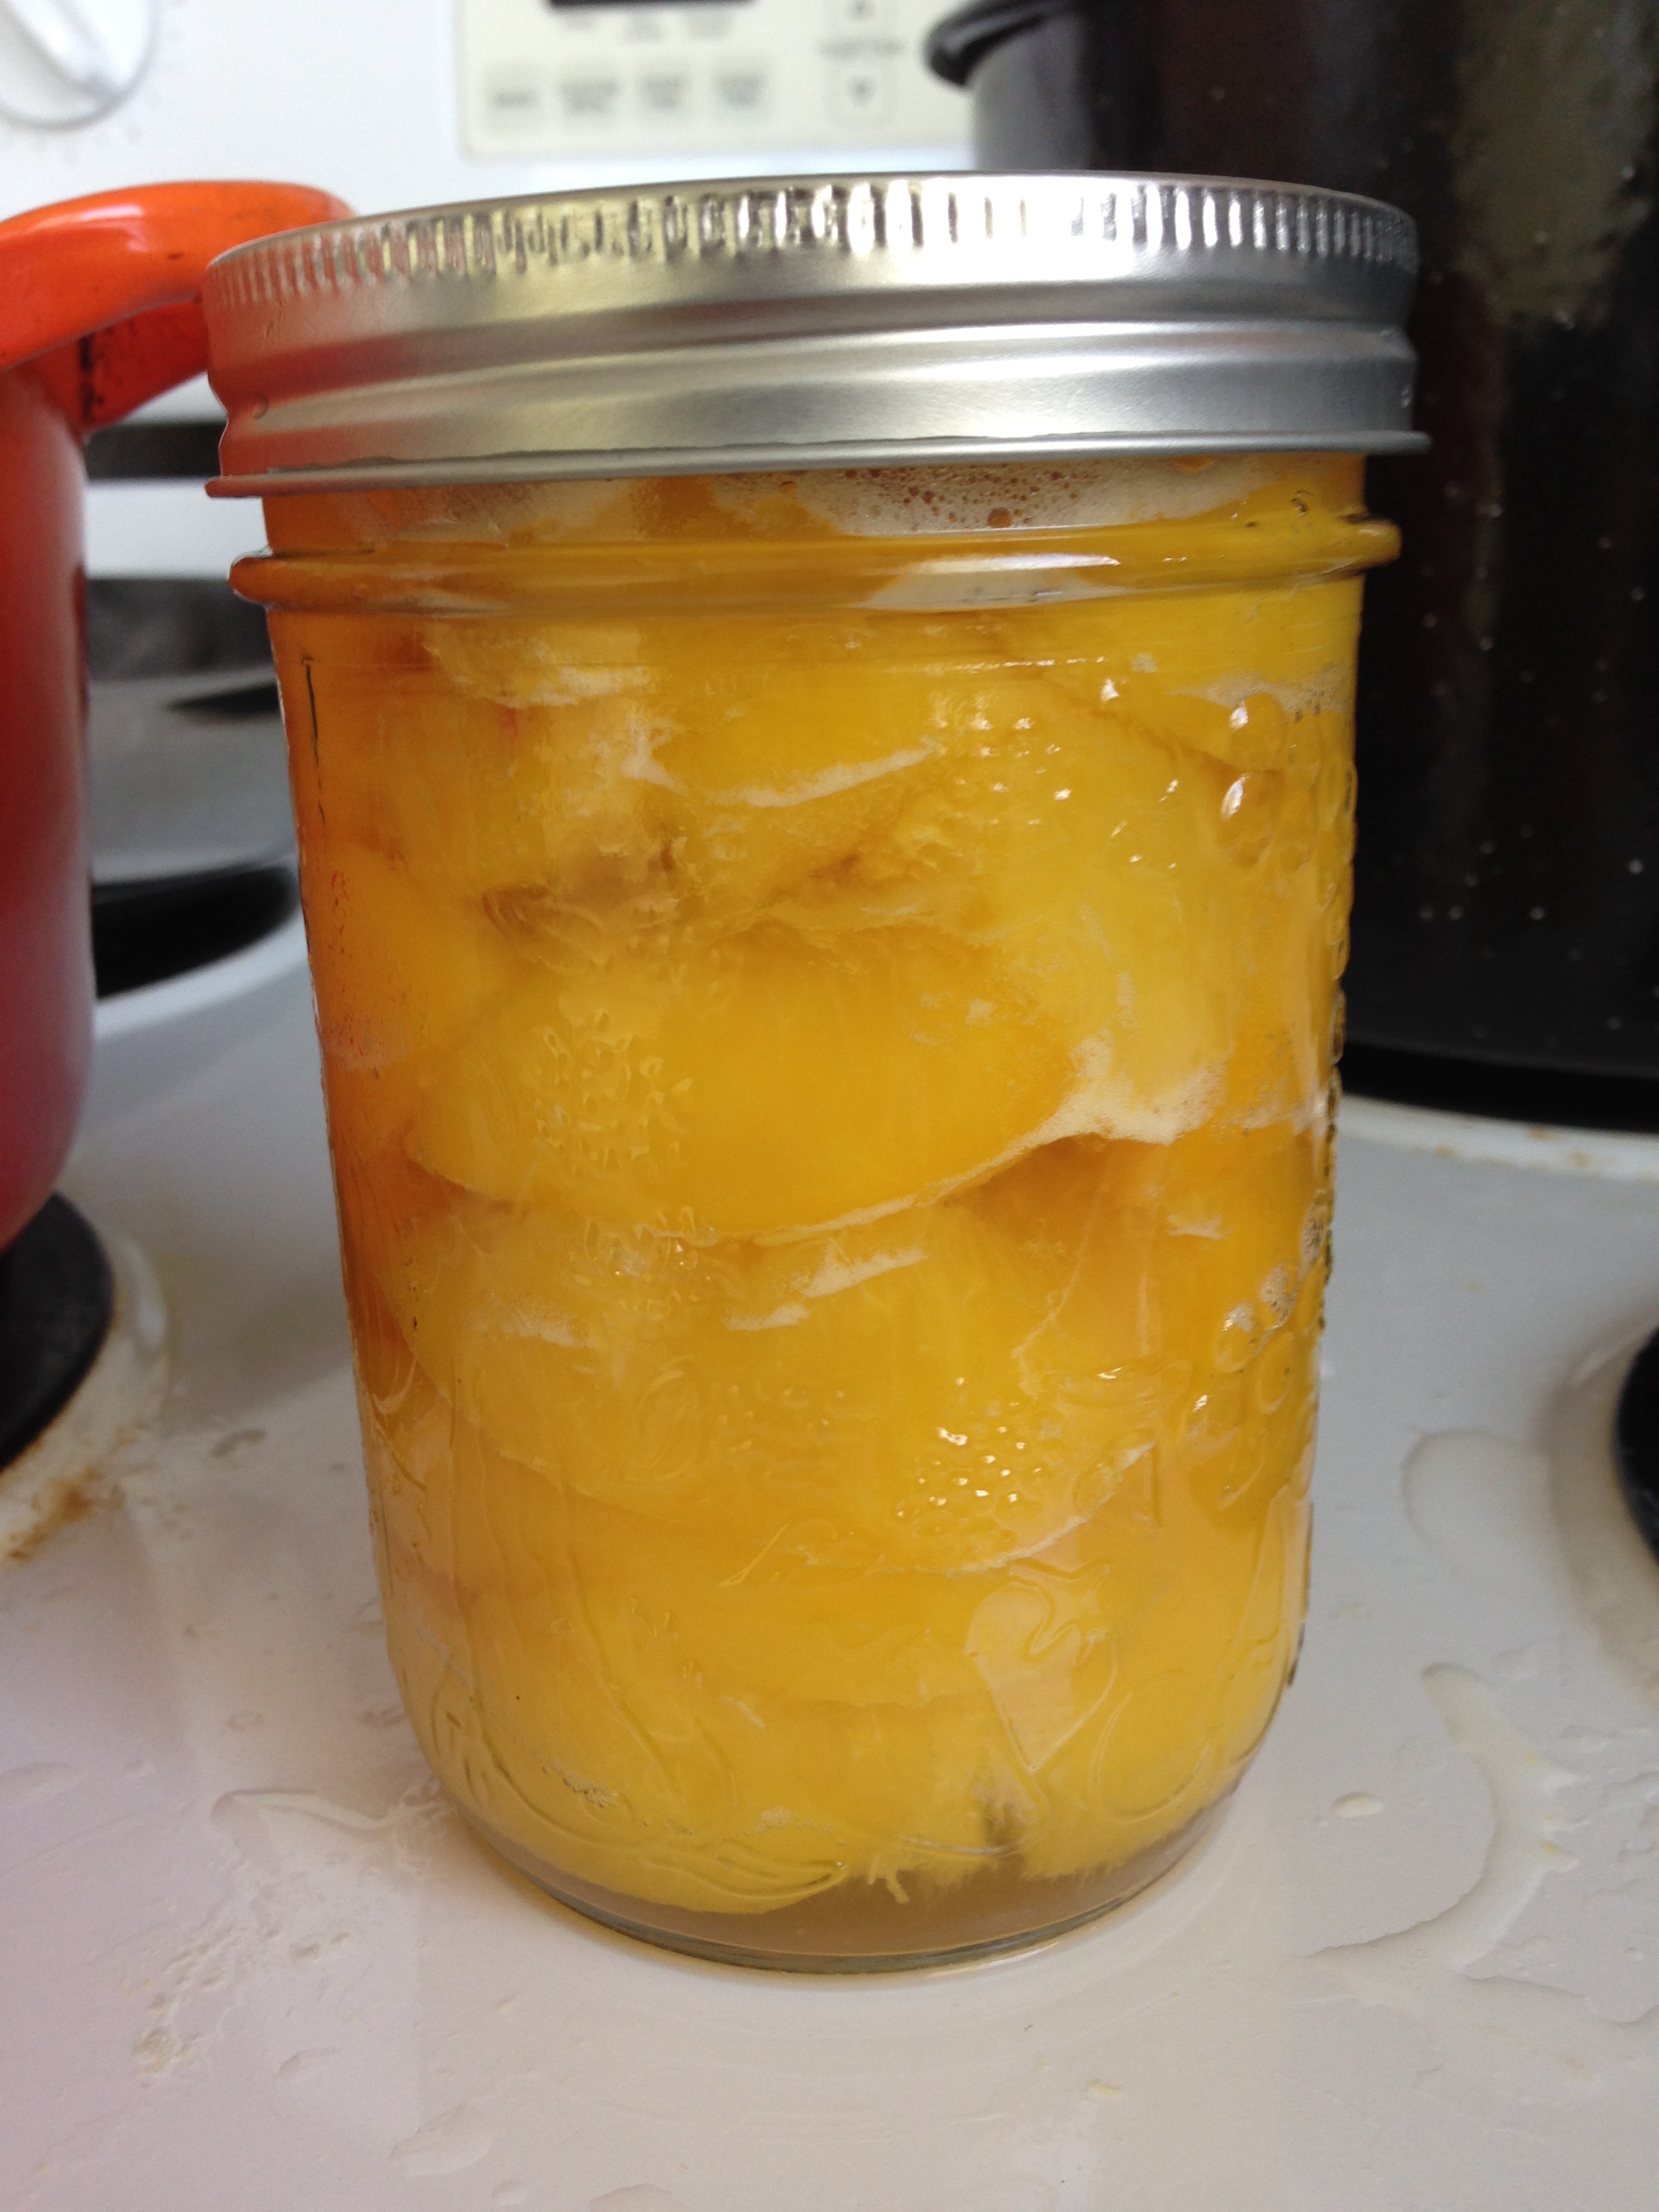
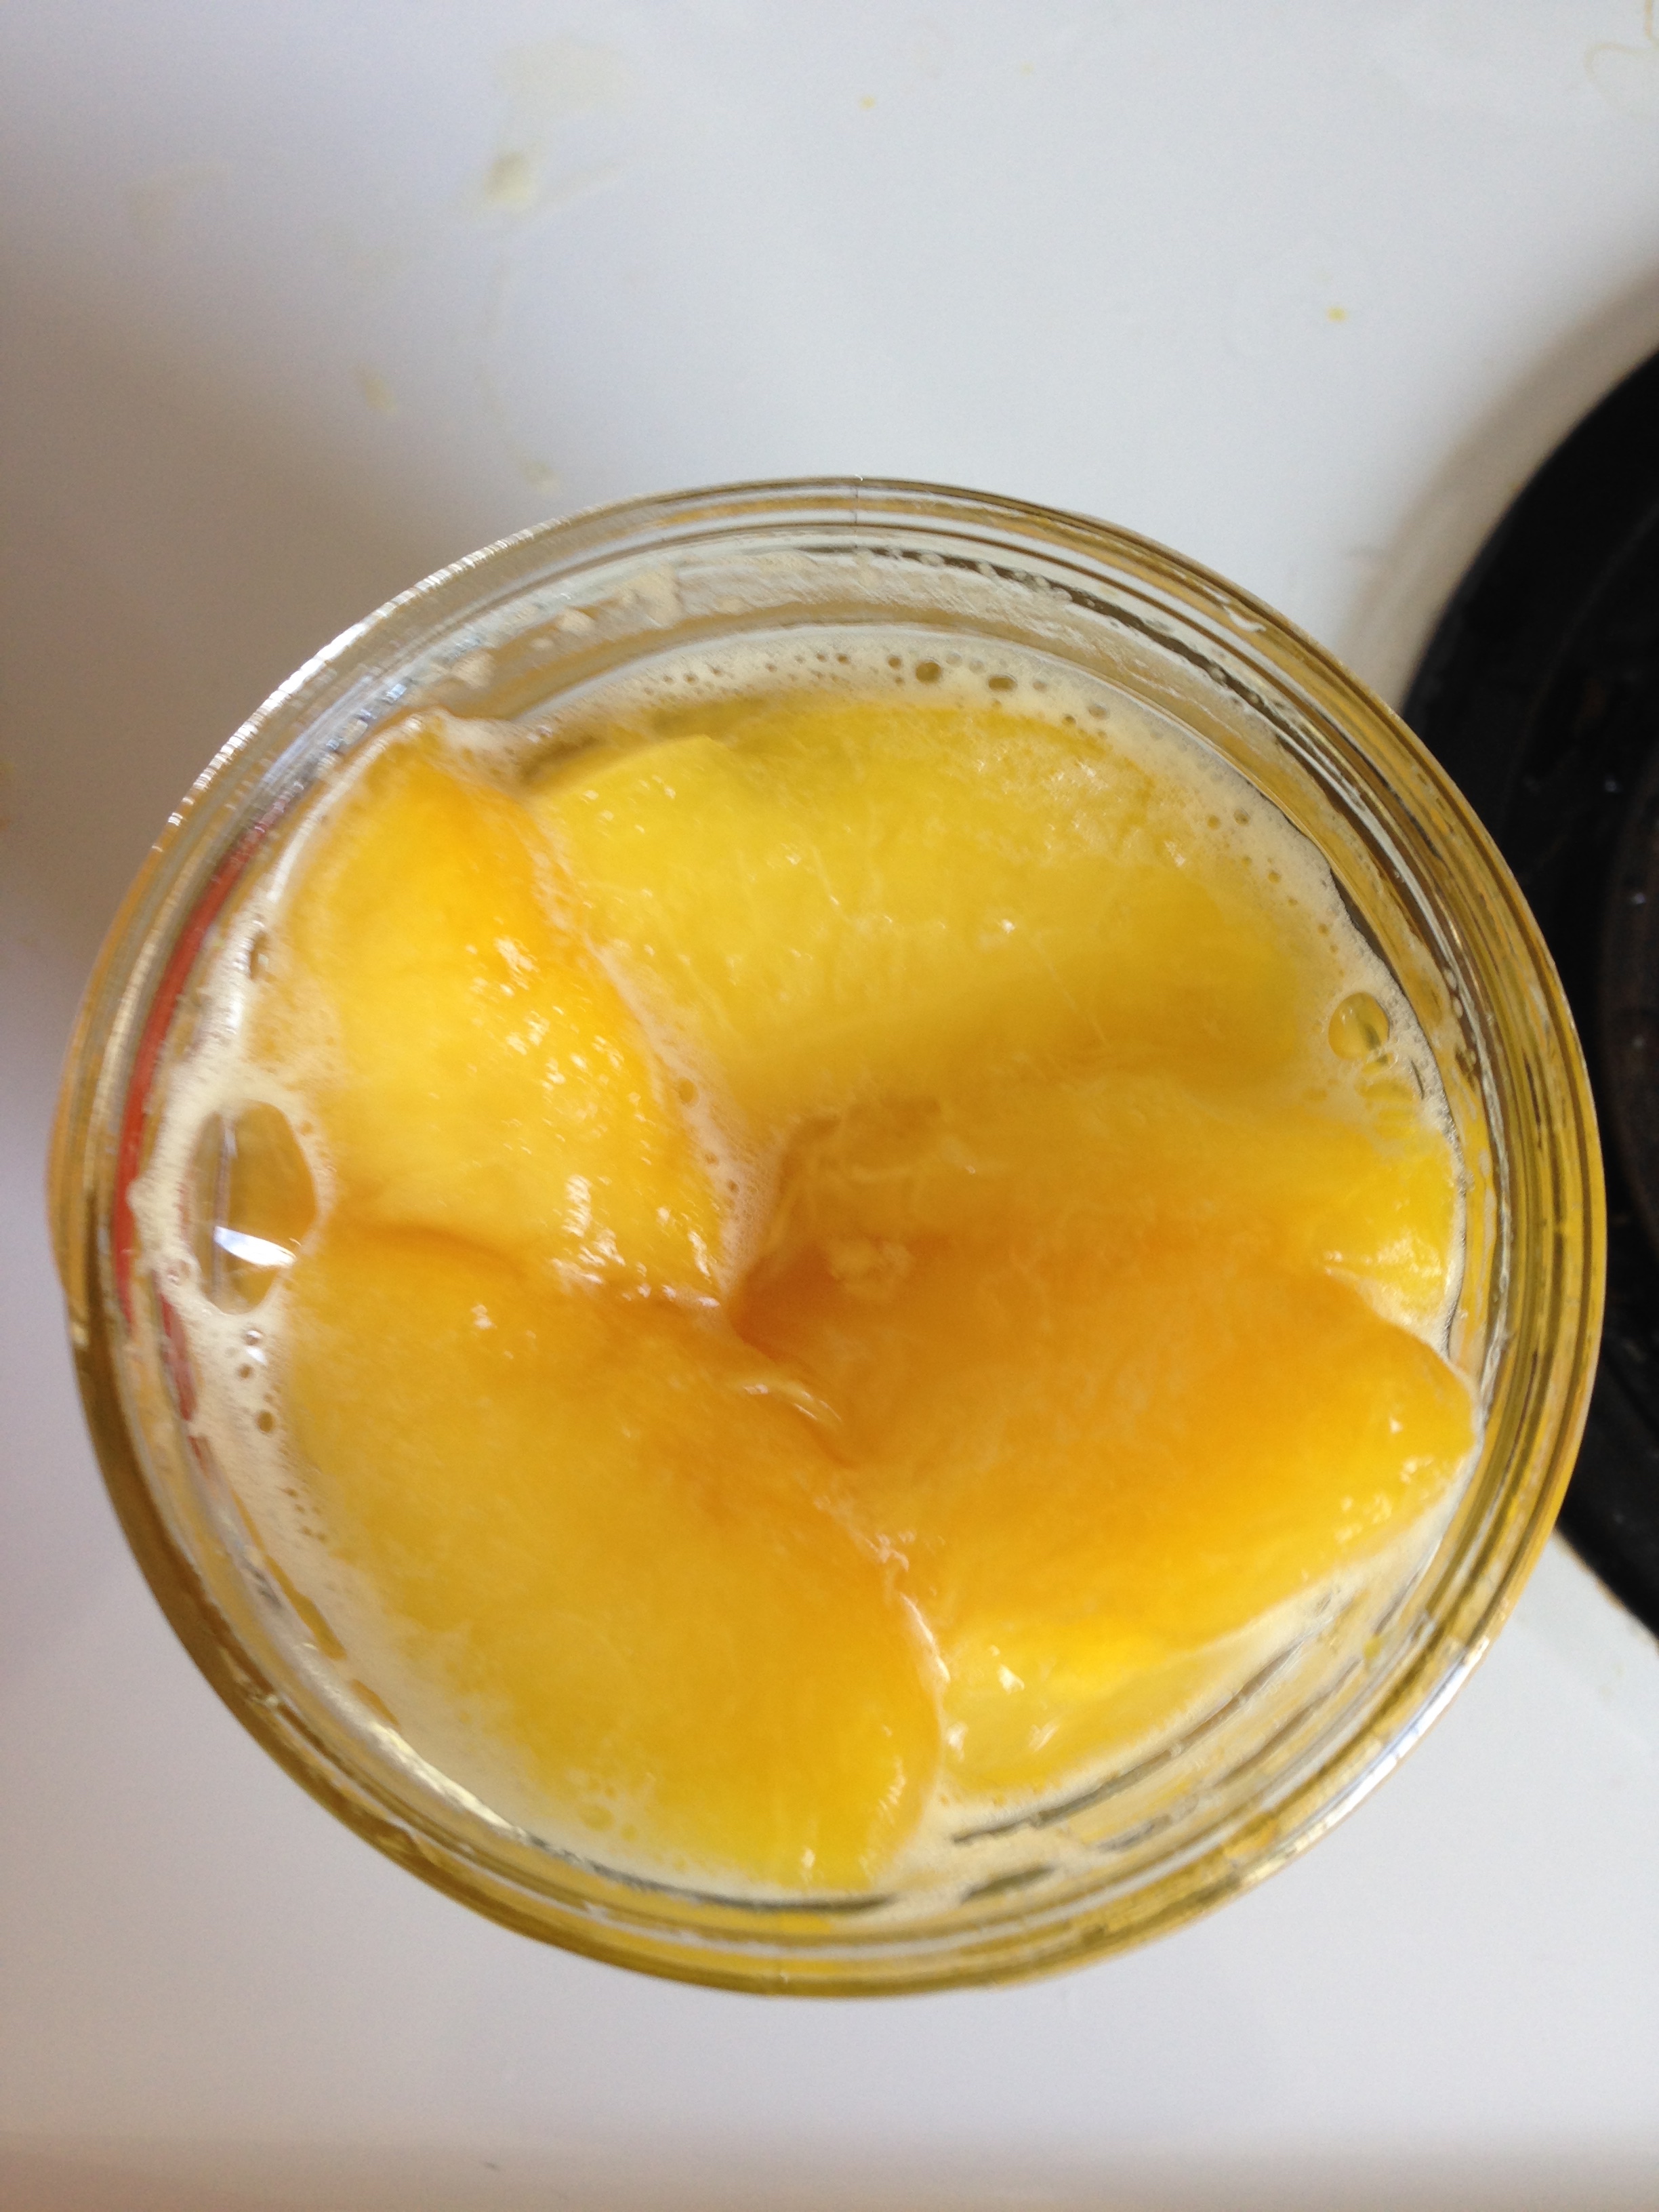
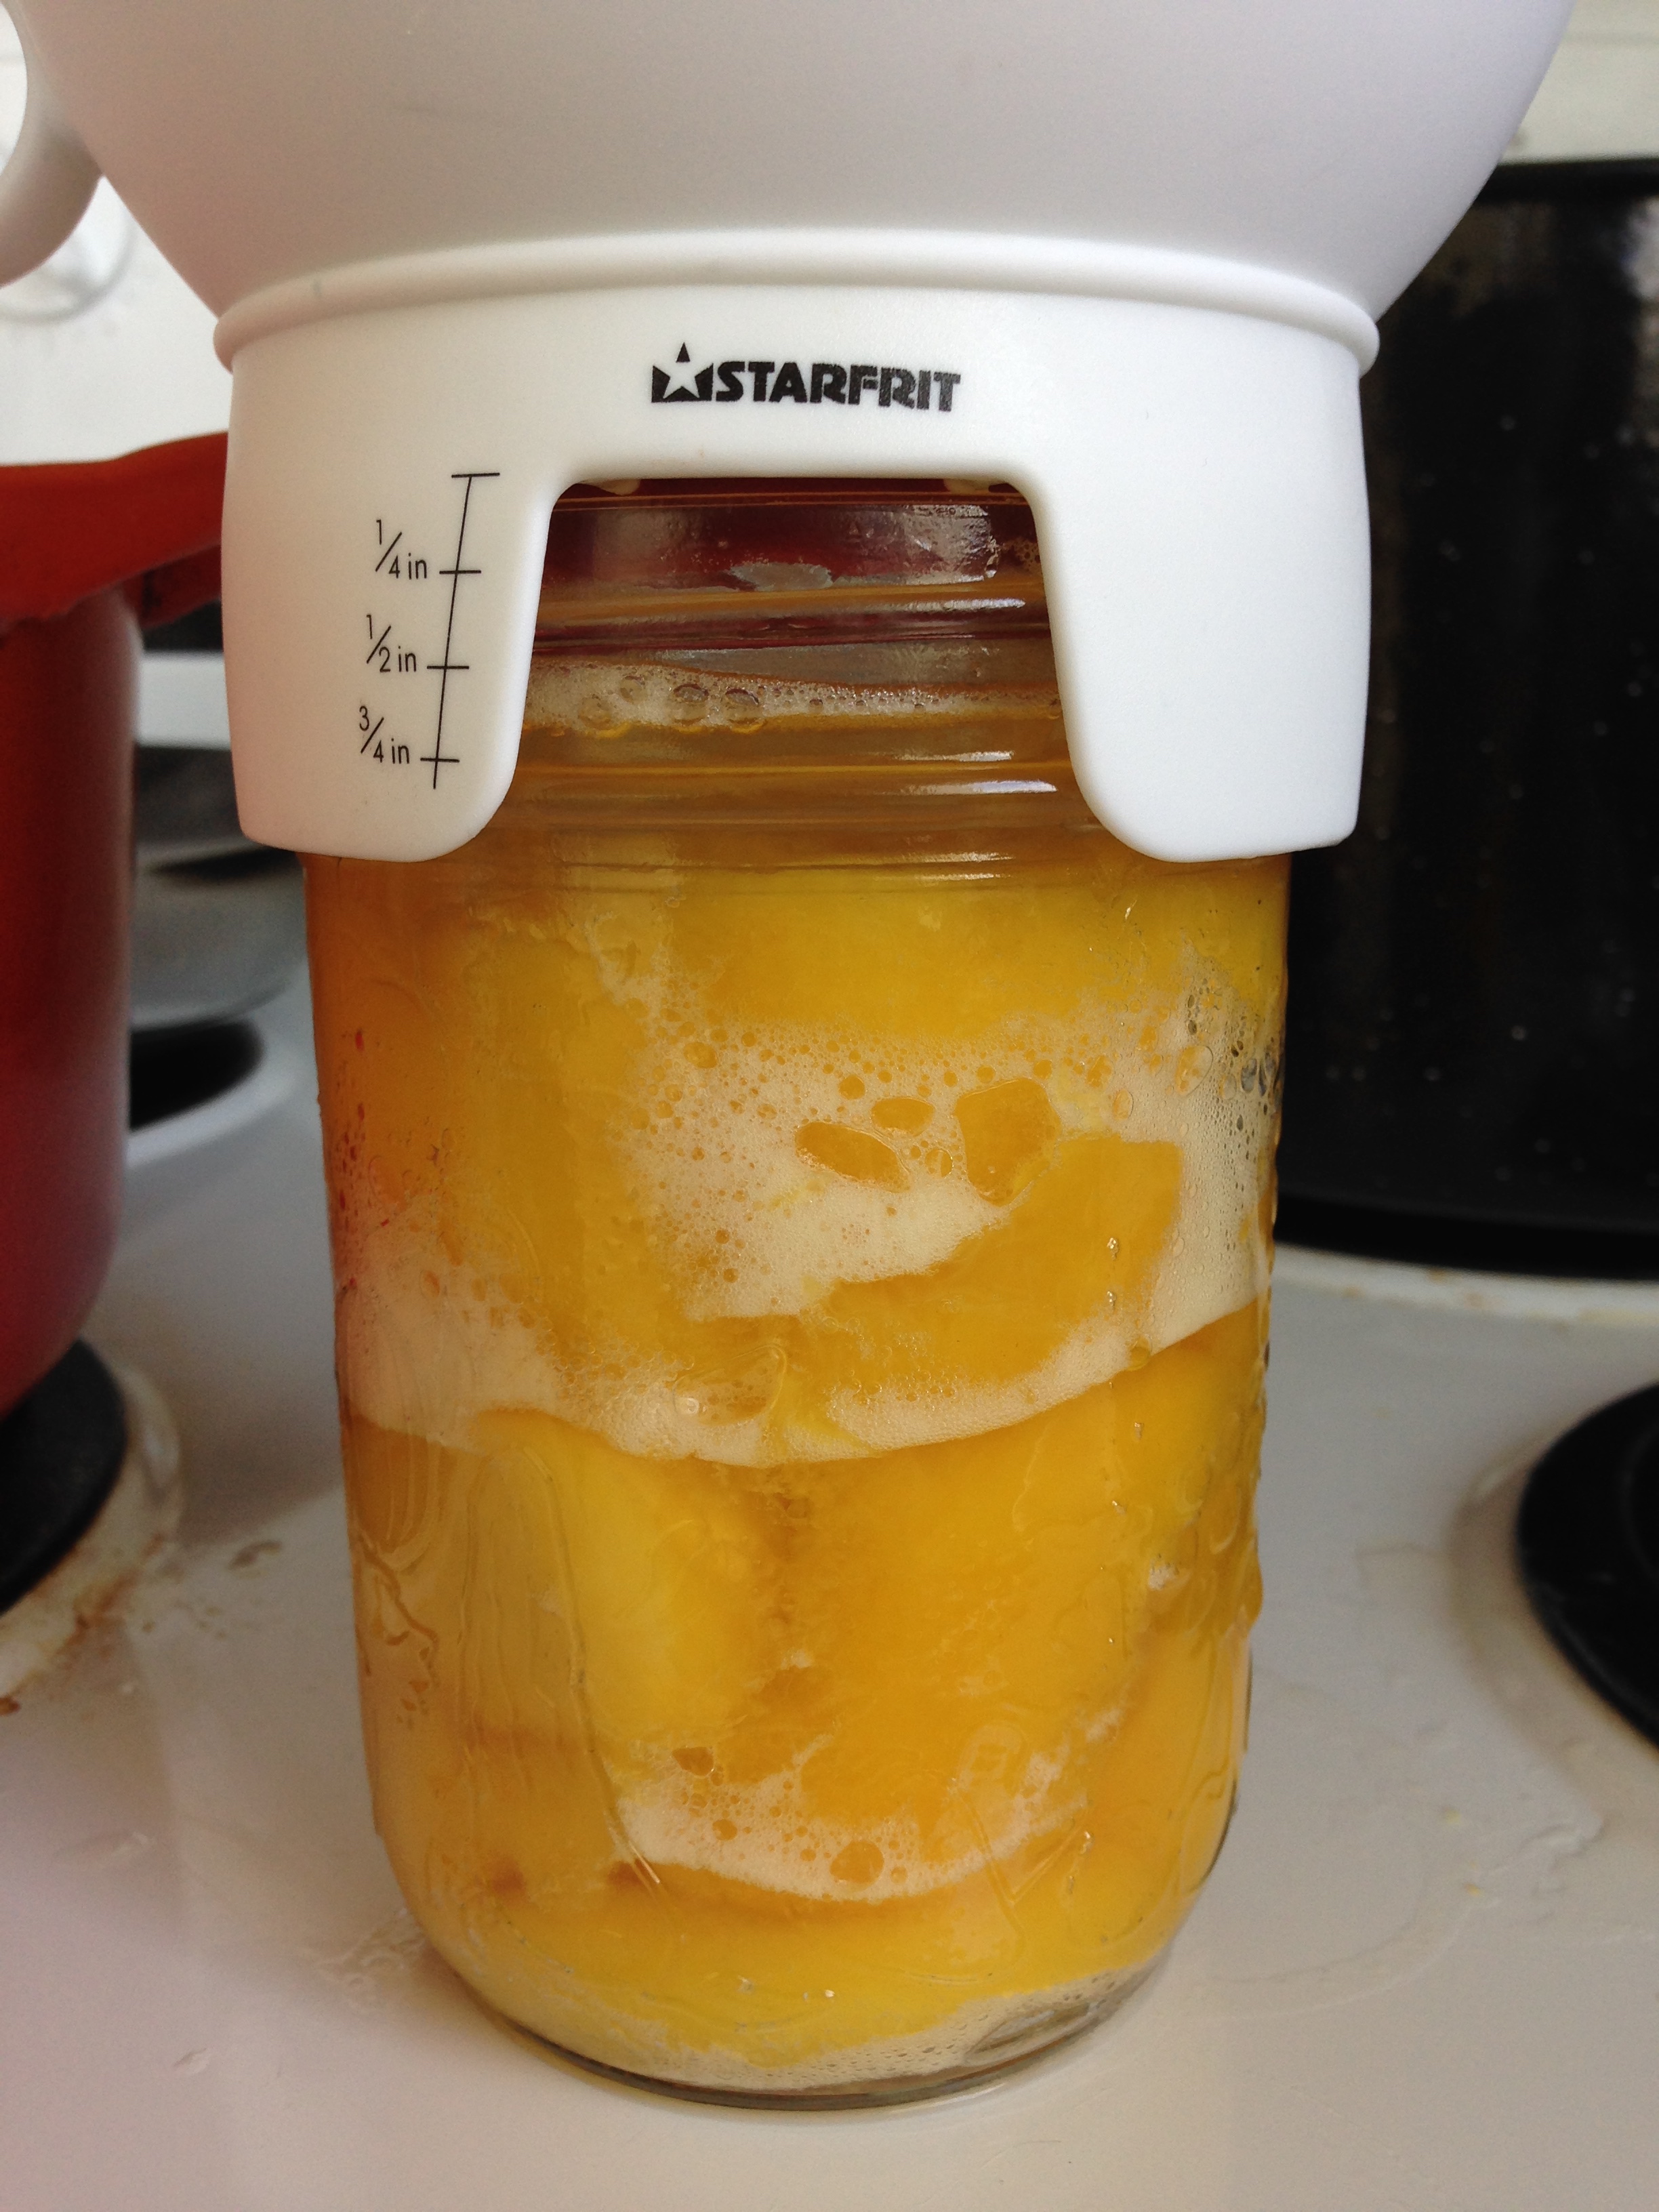
Bring the peaches and syrup to a boil. Once boiling, it's peach ladling time! Use a slotted spoon to get the peaches into the jar first, fill it as much as possible, but below the screw band threads. Push them down a weeeee bit. But don't moosh them! Then ladle the hot syrup into the jar, leaving a 1/2 inch headspace. Repeat!
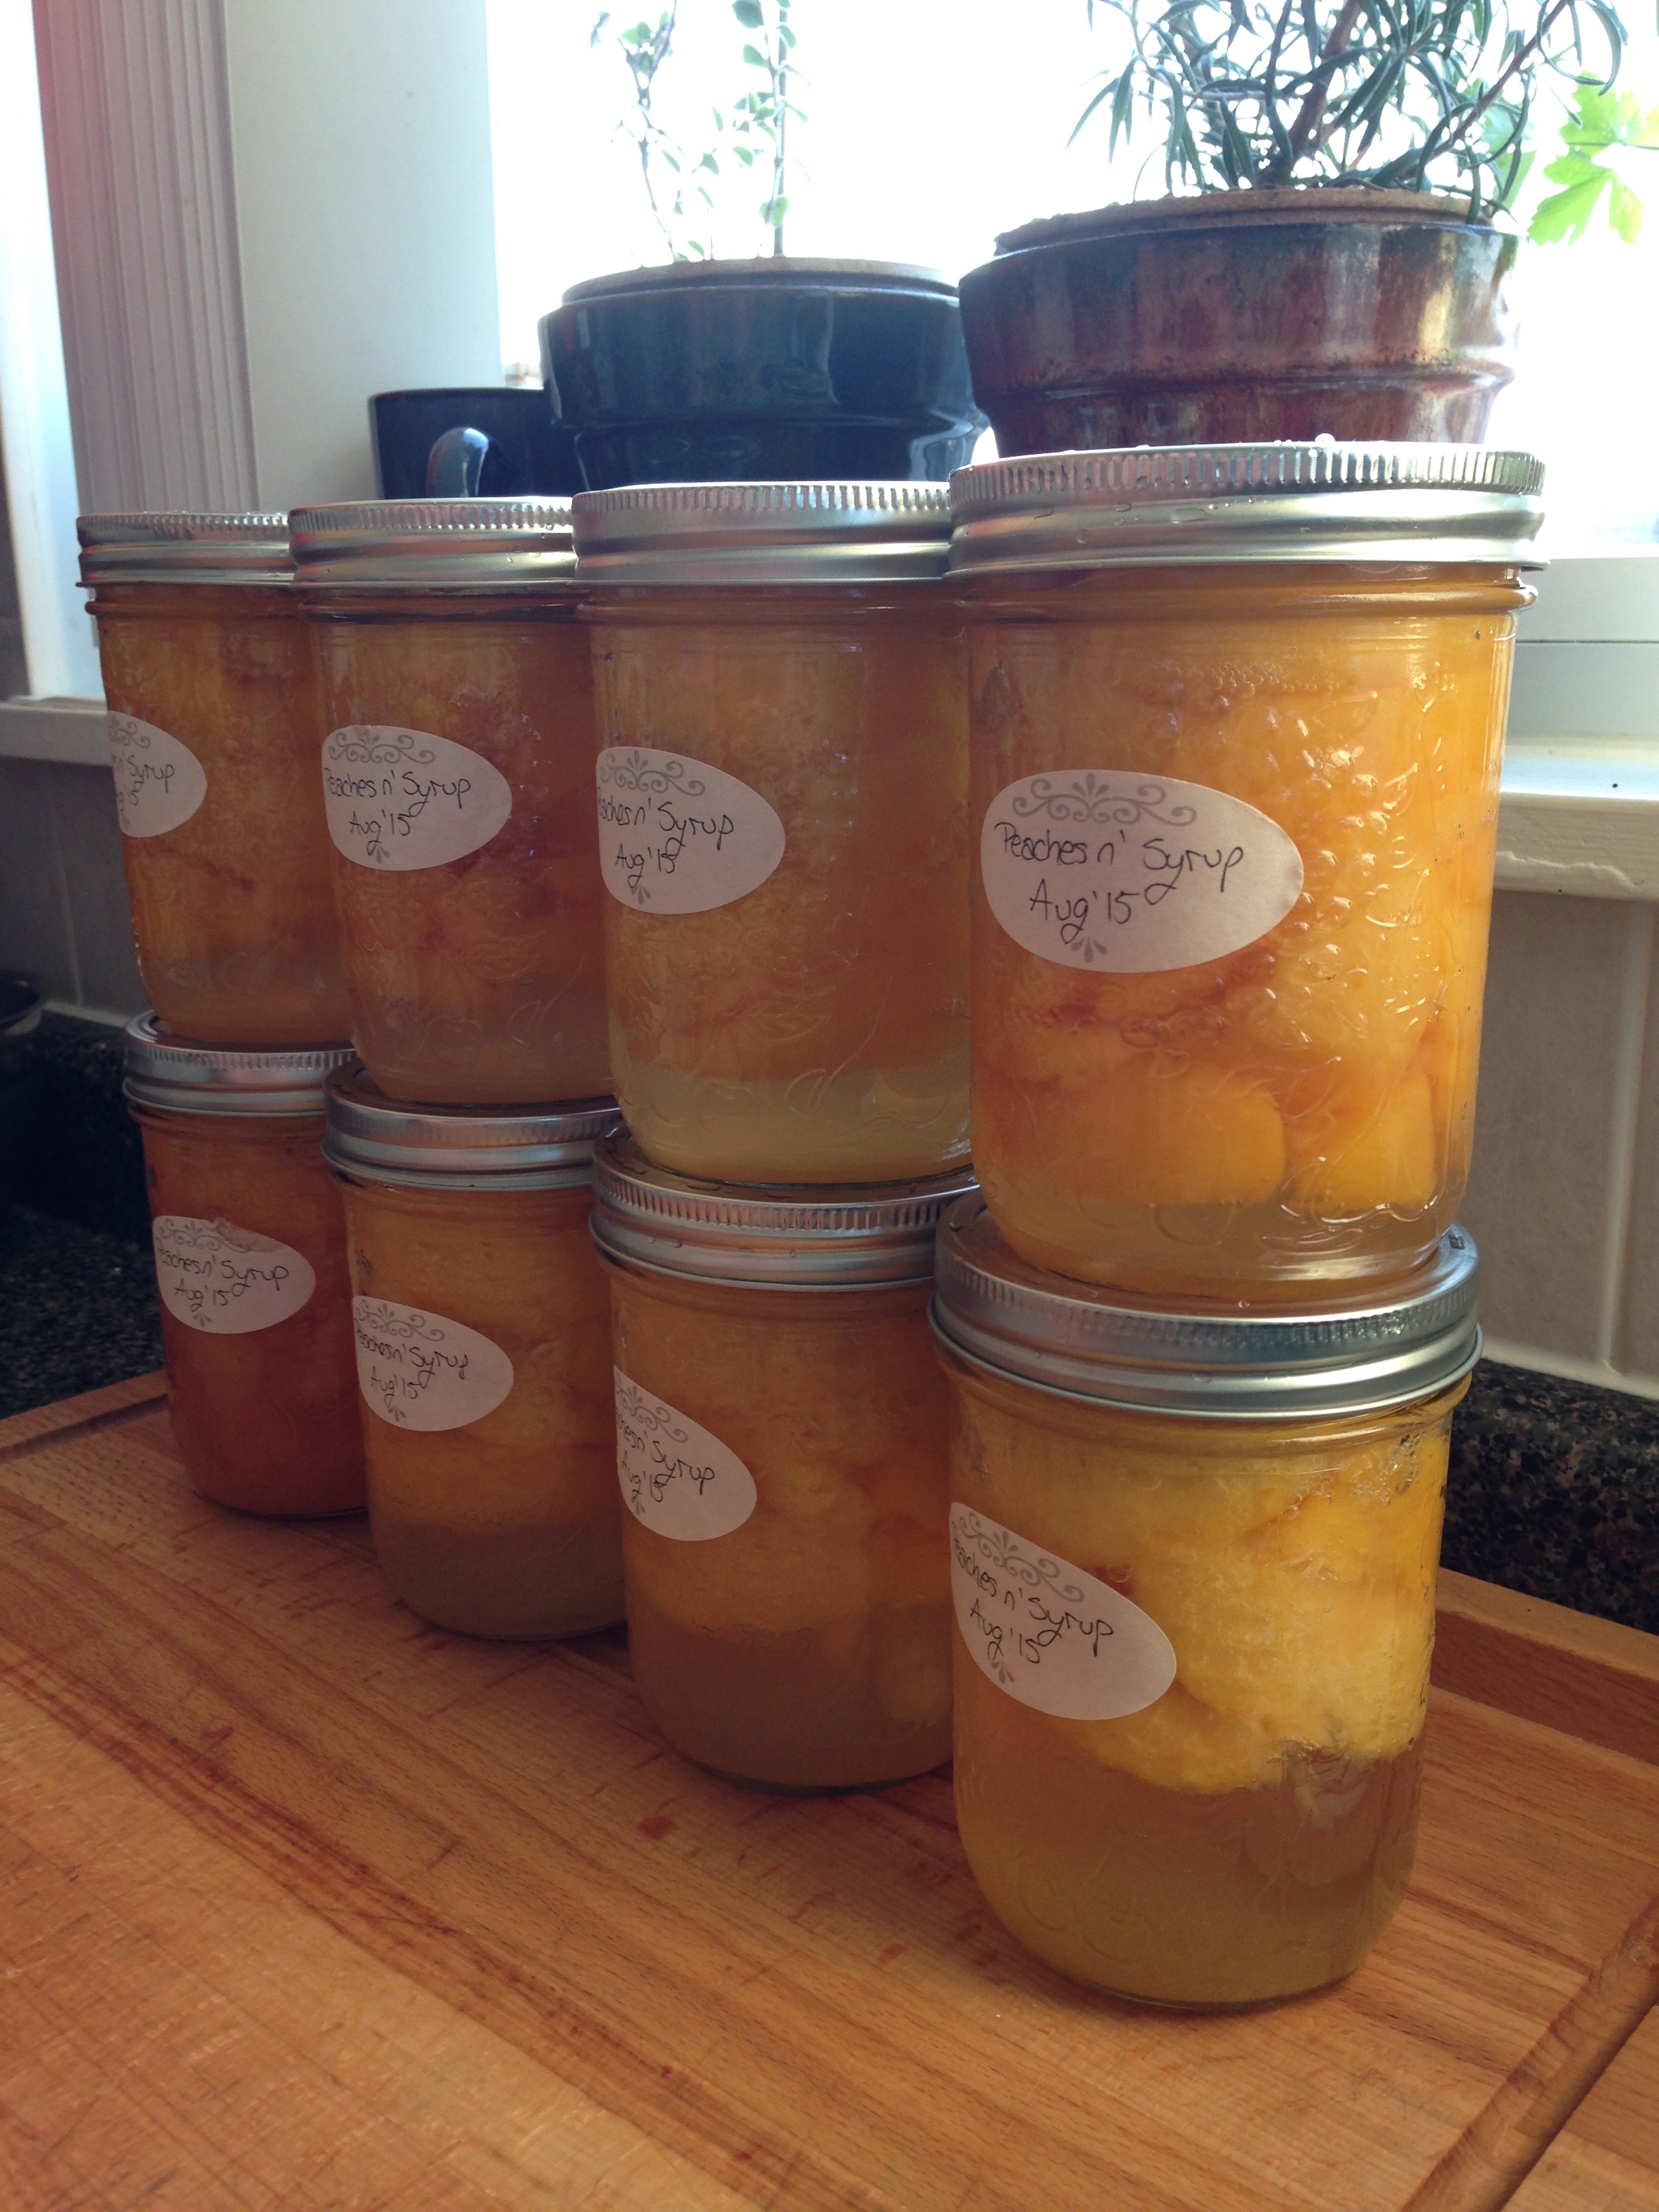
When the cooked peaches run down, add the rest to the hot syrup and bring them back to a boil. Repeat filling all your jars until your canner is full. I ended up having to keep 2 jars worth of peaches simmering in my non-reactive pot while the full canner did it's thing. Boil the peaches in their jars for ~20 minutes.
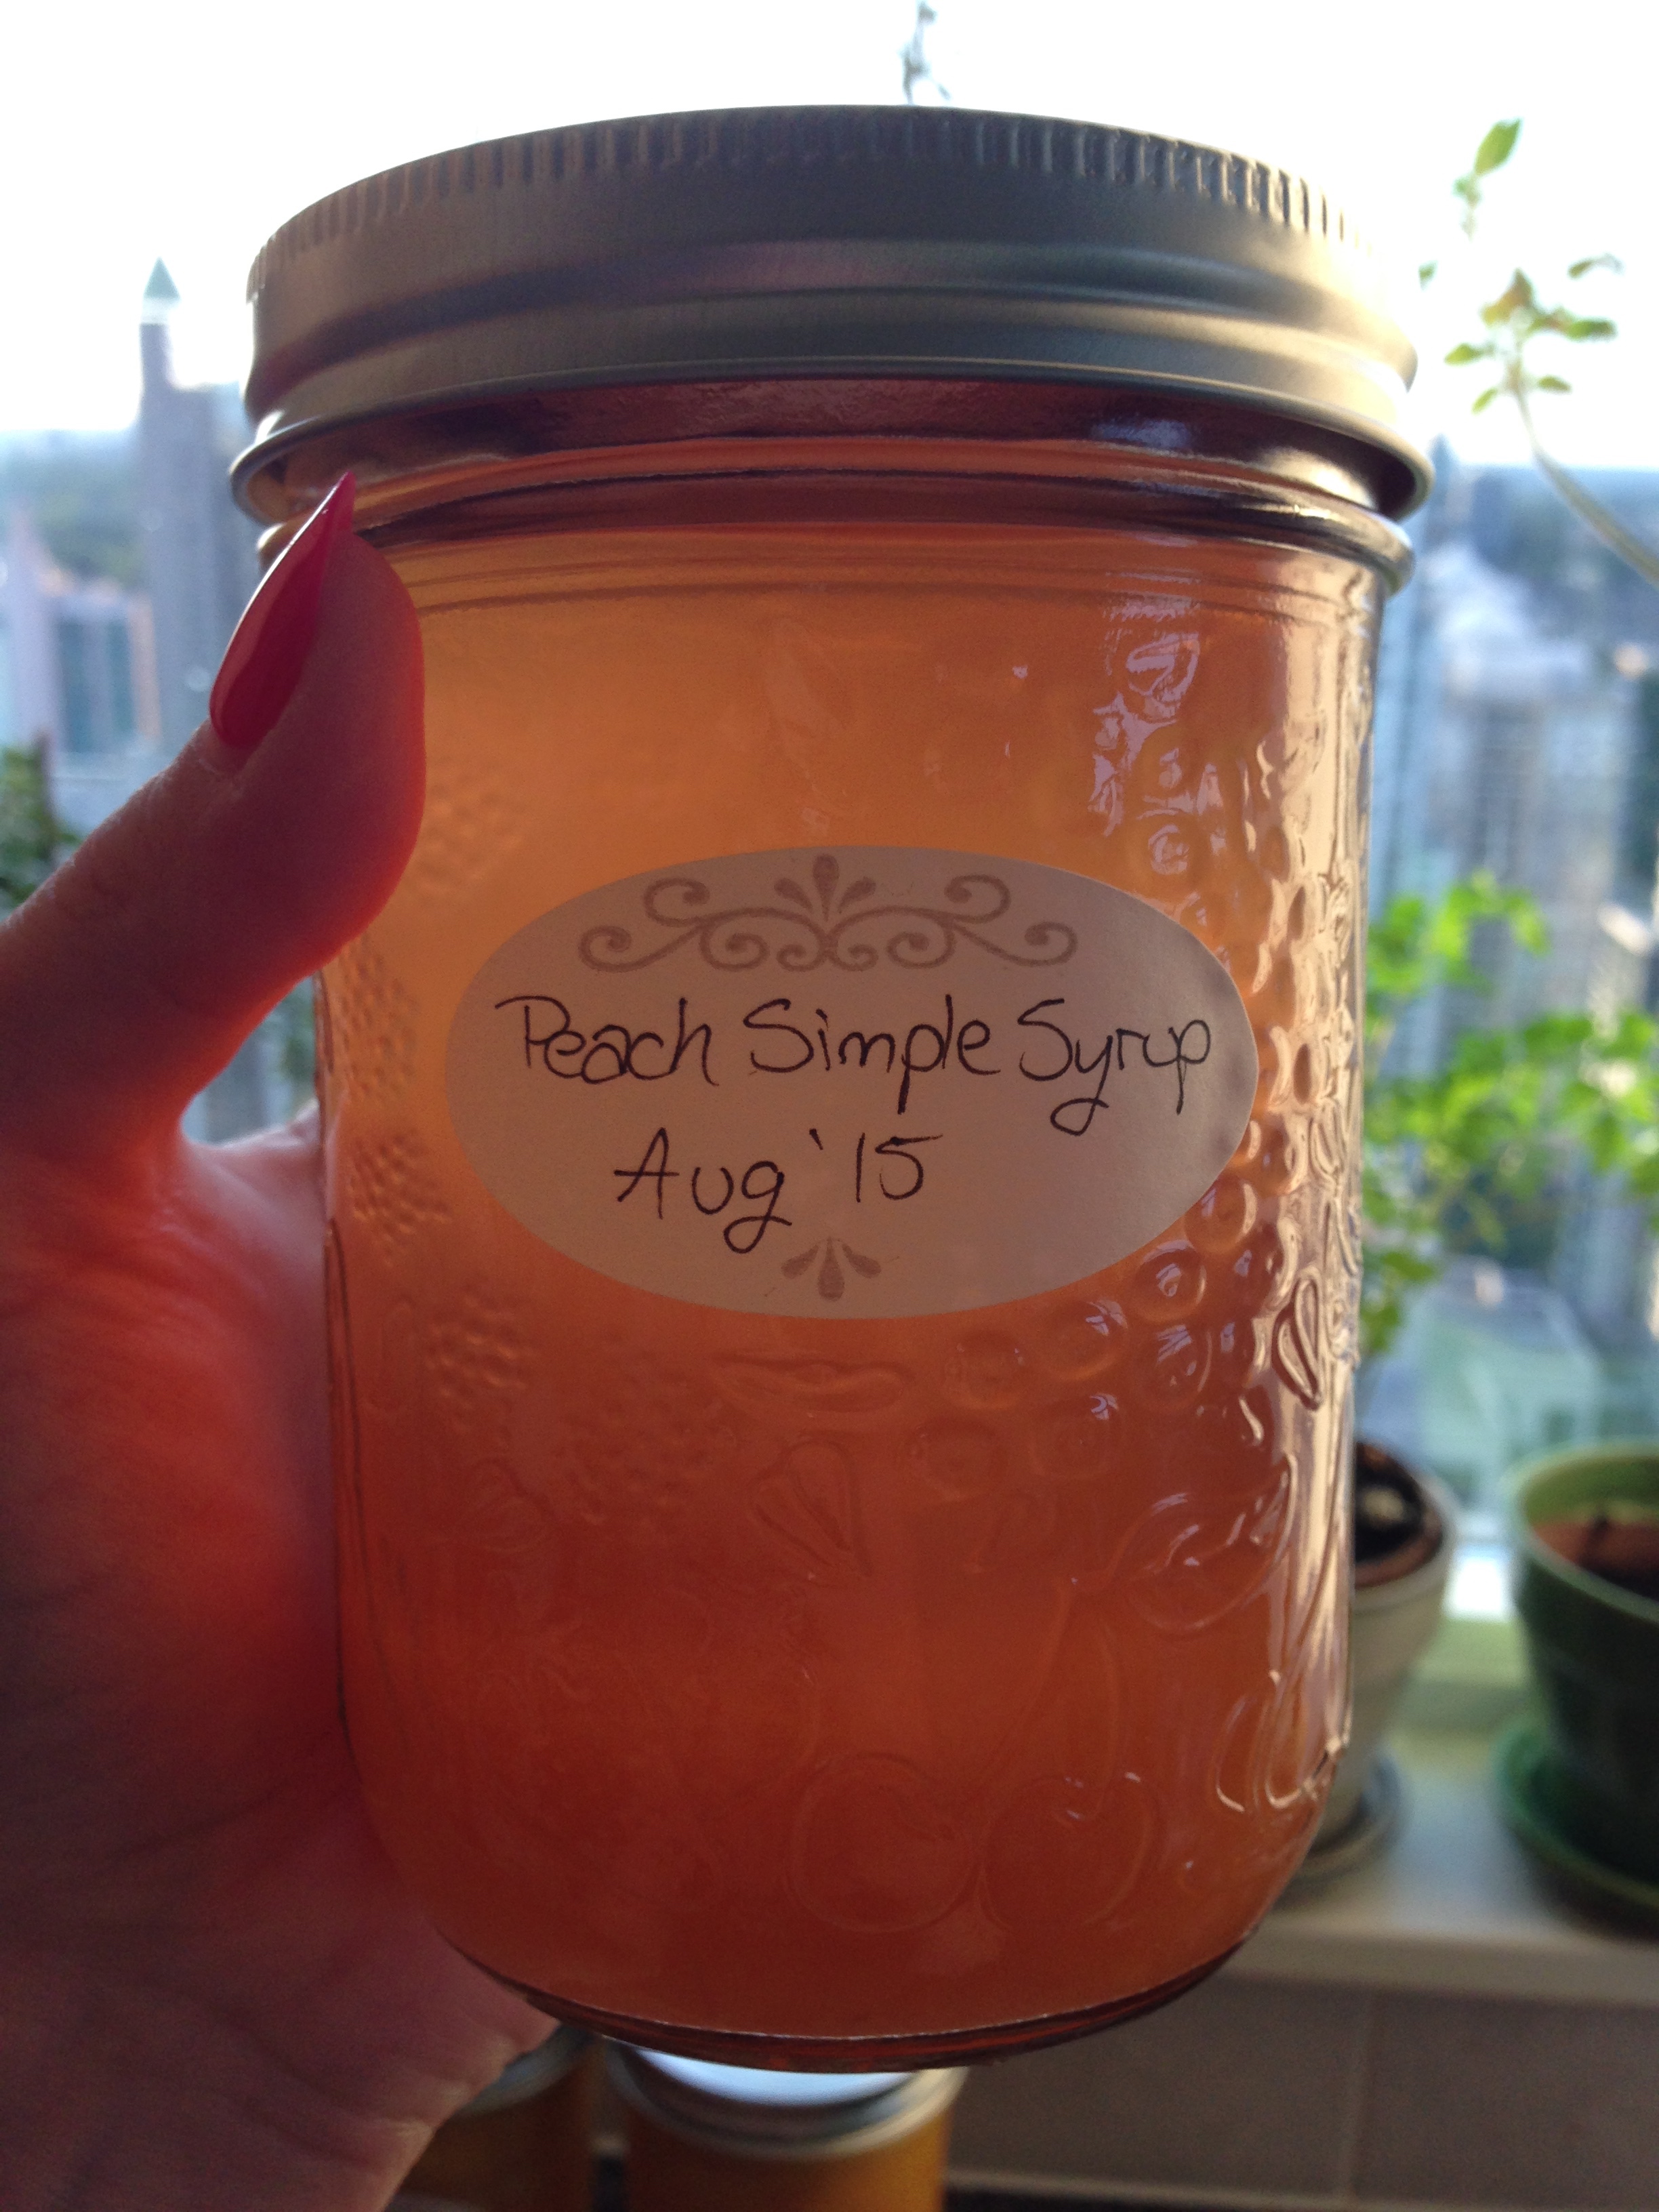
It turned out to be a good thing that I had made a butt ton extra syrup! I actually canned it for cocktails use. Peach Whiskey Drops and Peach Lemonade Spritzers. Sploosh.
-Andrea
The Half-Assed Hobbyist