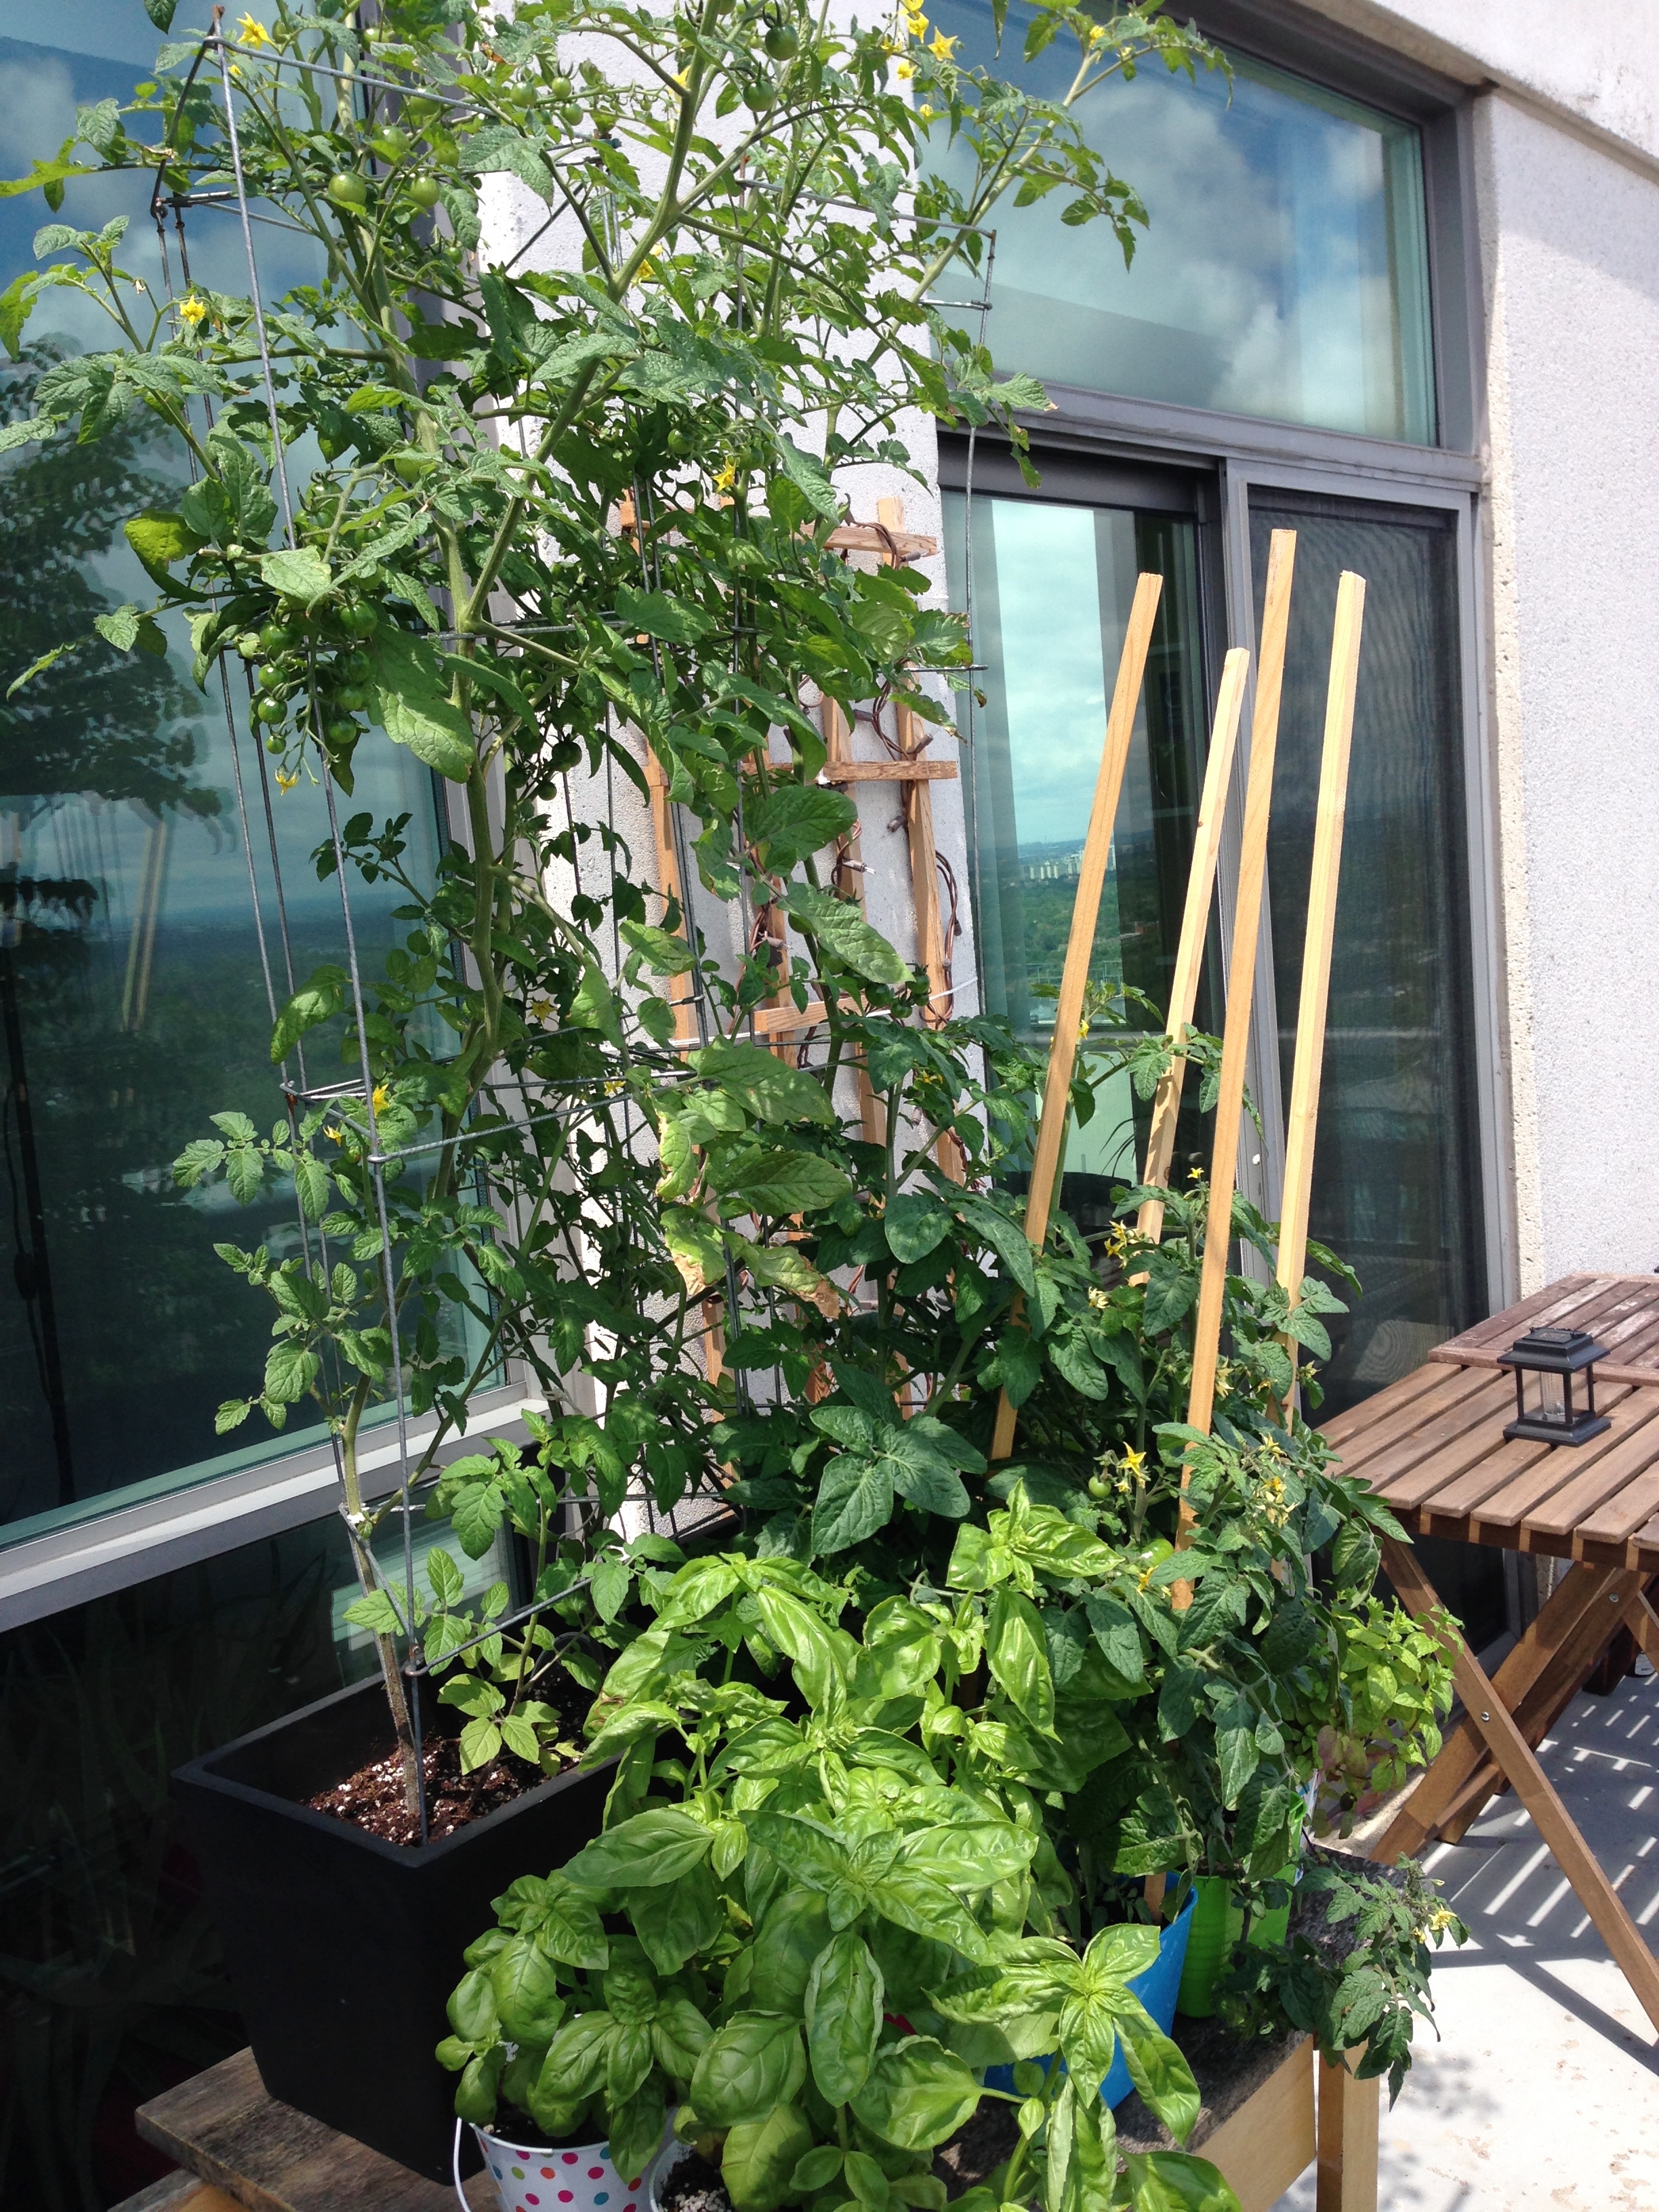
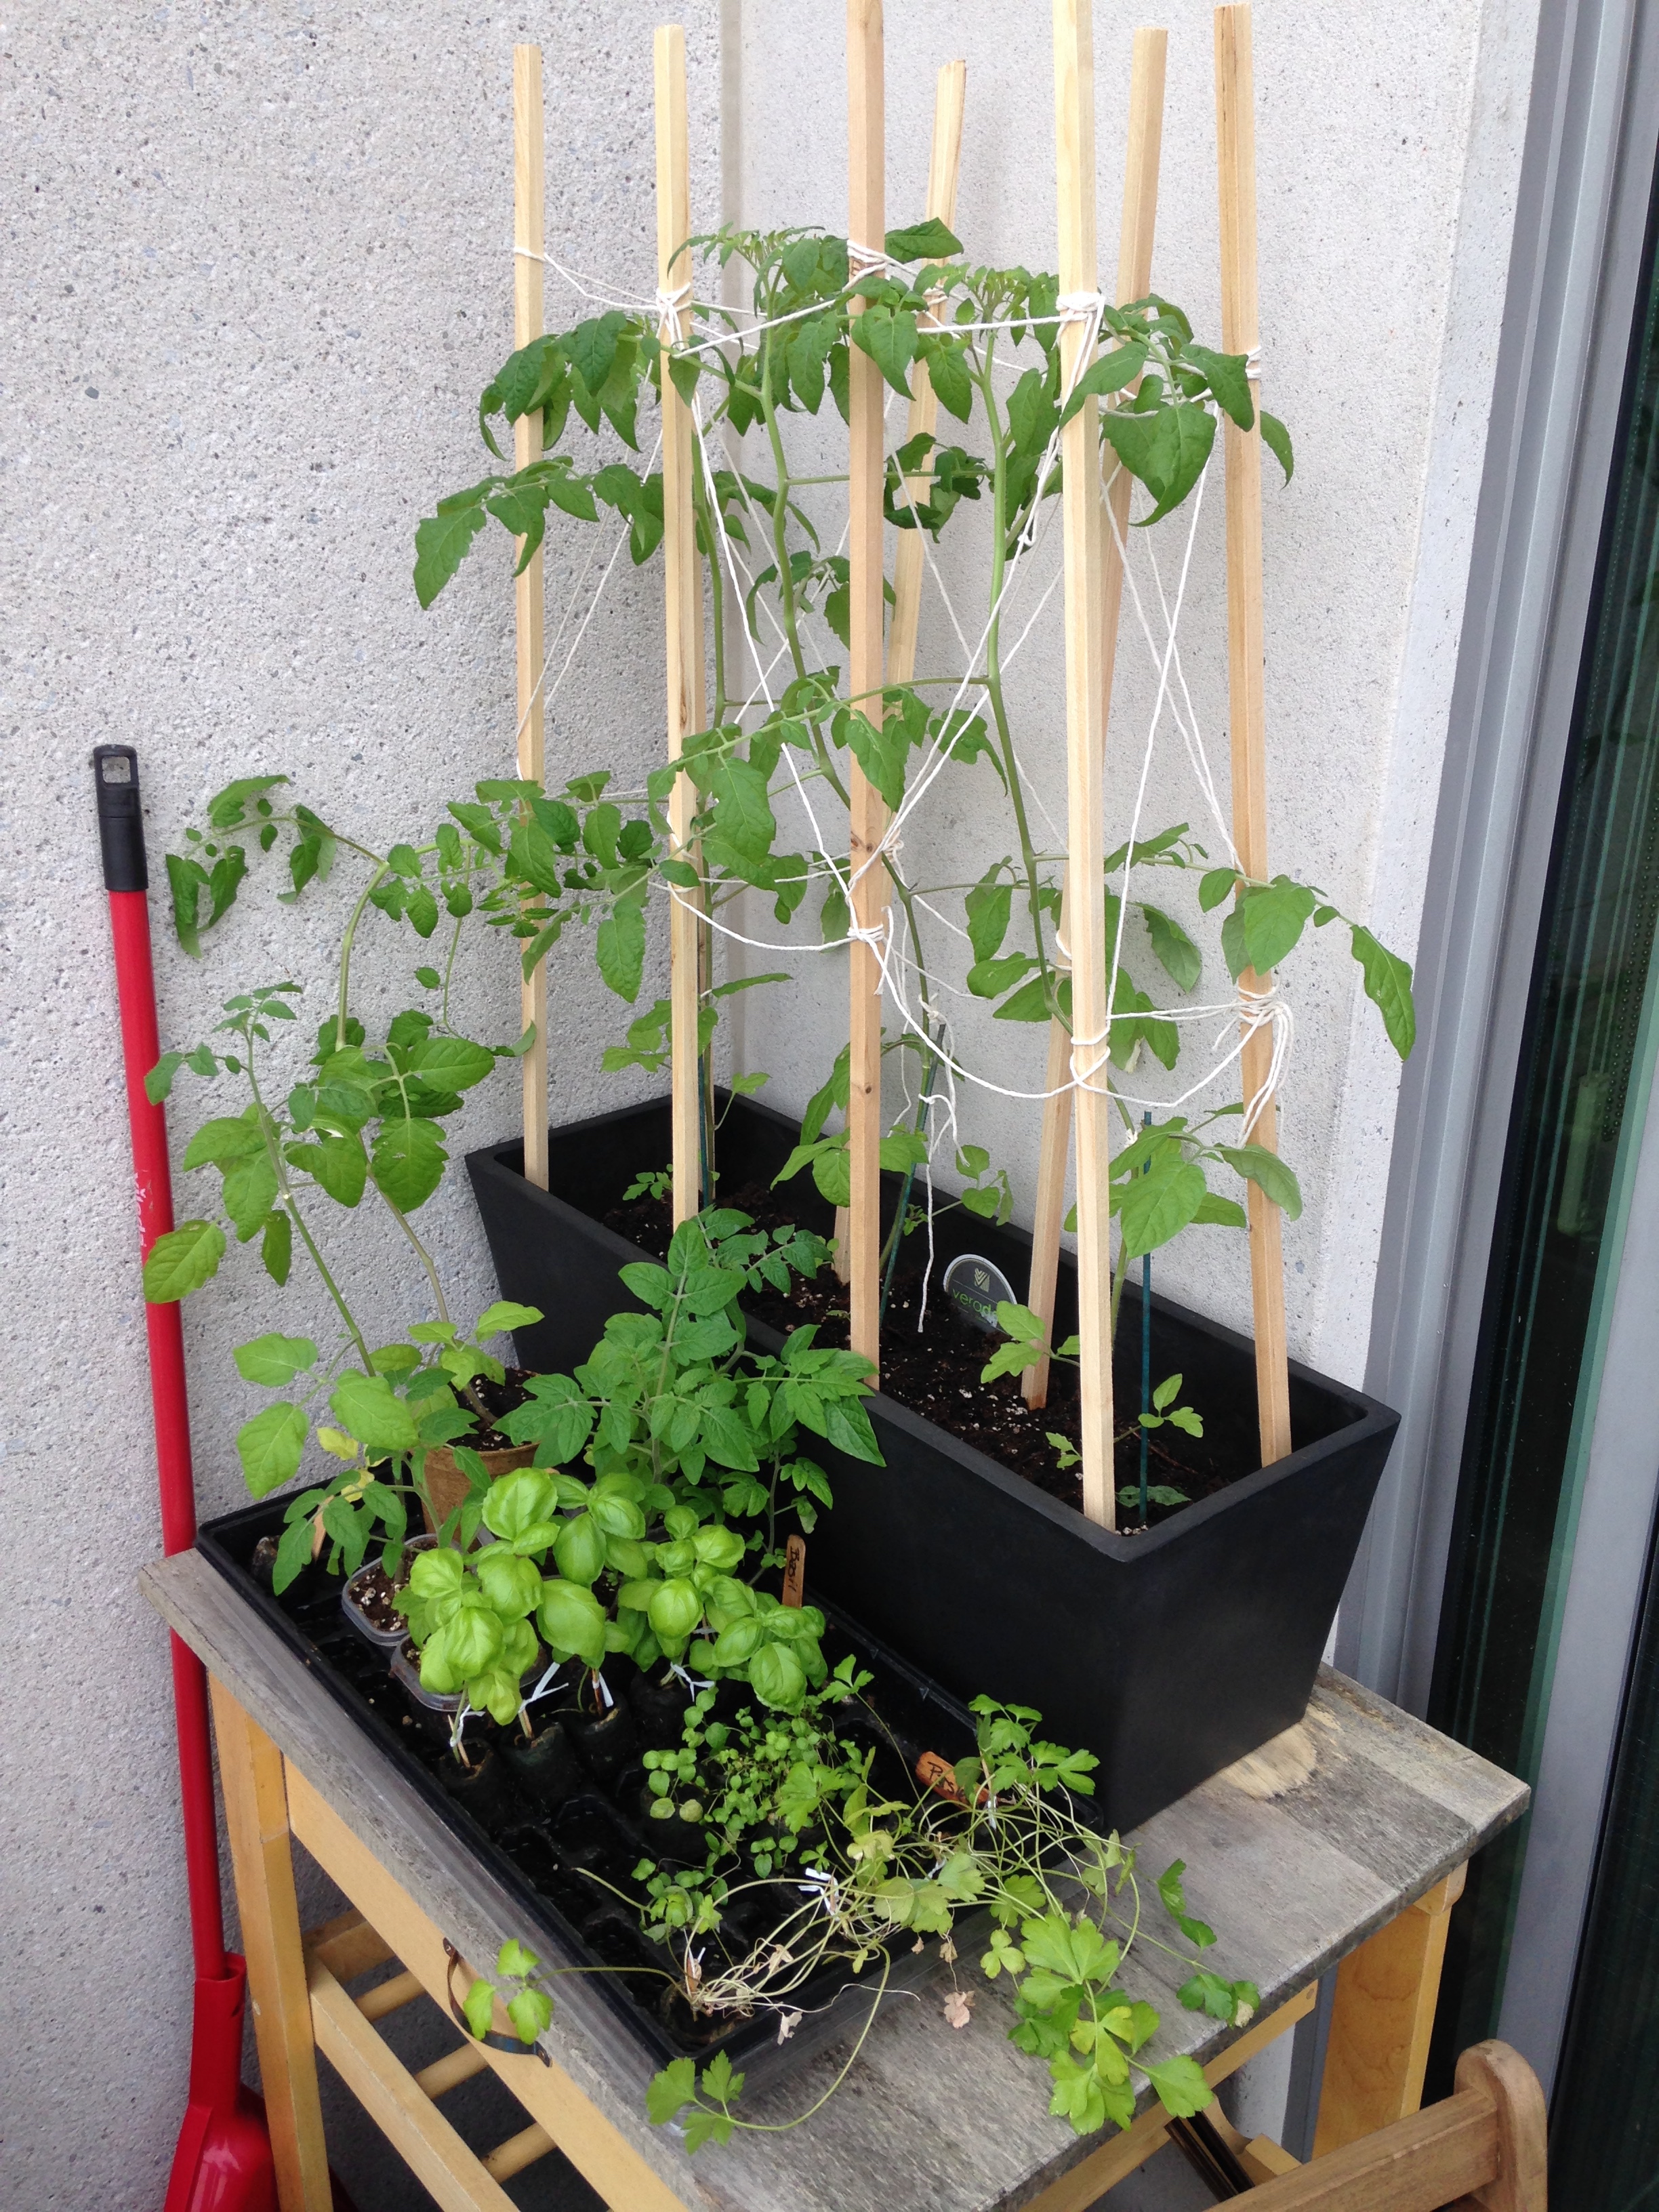
My babies are out and about now! Well not about. But still outside in the lovely sunshine!
I was asked by a fellow friendly what containers I use for my plant babies so I'm going to write up the "How-Tos" of getting started balcony gardening! (Keep note... Despite any greenthumb-ed luck, I've only been doing this for a couple years. Still learning myself!)

Really, for the most rudamentary balcony garden you need three things: Sun, Soil and Plants. Sounds super easy, and after some planning, it can be. But first I recommend putting the thought into what plants you'd actually want and what type of plants fit your sunlight offerings.
First thing: Sun. Sun, in my opinion, is the most important factor in planting anything. Sunlight, how much and what direction, will most greatly affect the type of plants you pick as well as grow. Most balconies will get usually one direction of guaranteed sun. (Although some corner units will have enough windows that they can get two directions in a day. Lucky!!) To figure out how much sun your balcony gets think about the direction it faces and how sunlight hits it (if any) as the sun traces across the sky. South facing balconies usually get full sun. West and east will get part-sun and north balconies will get little to no sun (maybe in the evenings). Depending on how much actual direct light your balcony gets - for example, you can be south facing but blocked by another building - you can choose from a range of plants that love / super-hate direct sunlight. Whenever you buy plants from the garden centre (or even plant from seed packets) there are little tags that say if that plant likes direct sun or more shade. My personal favs for shade are begonias and impatiens. There are lots of recommendations online for sunny or shady gardens though!

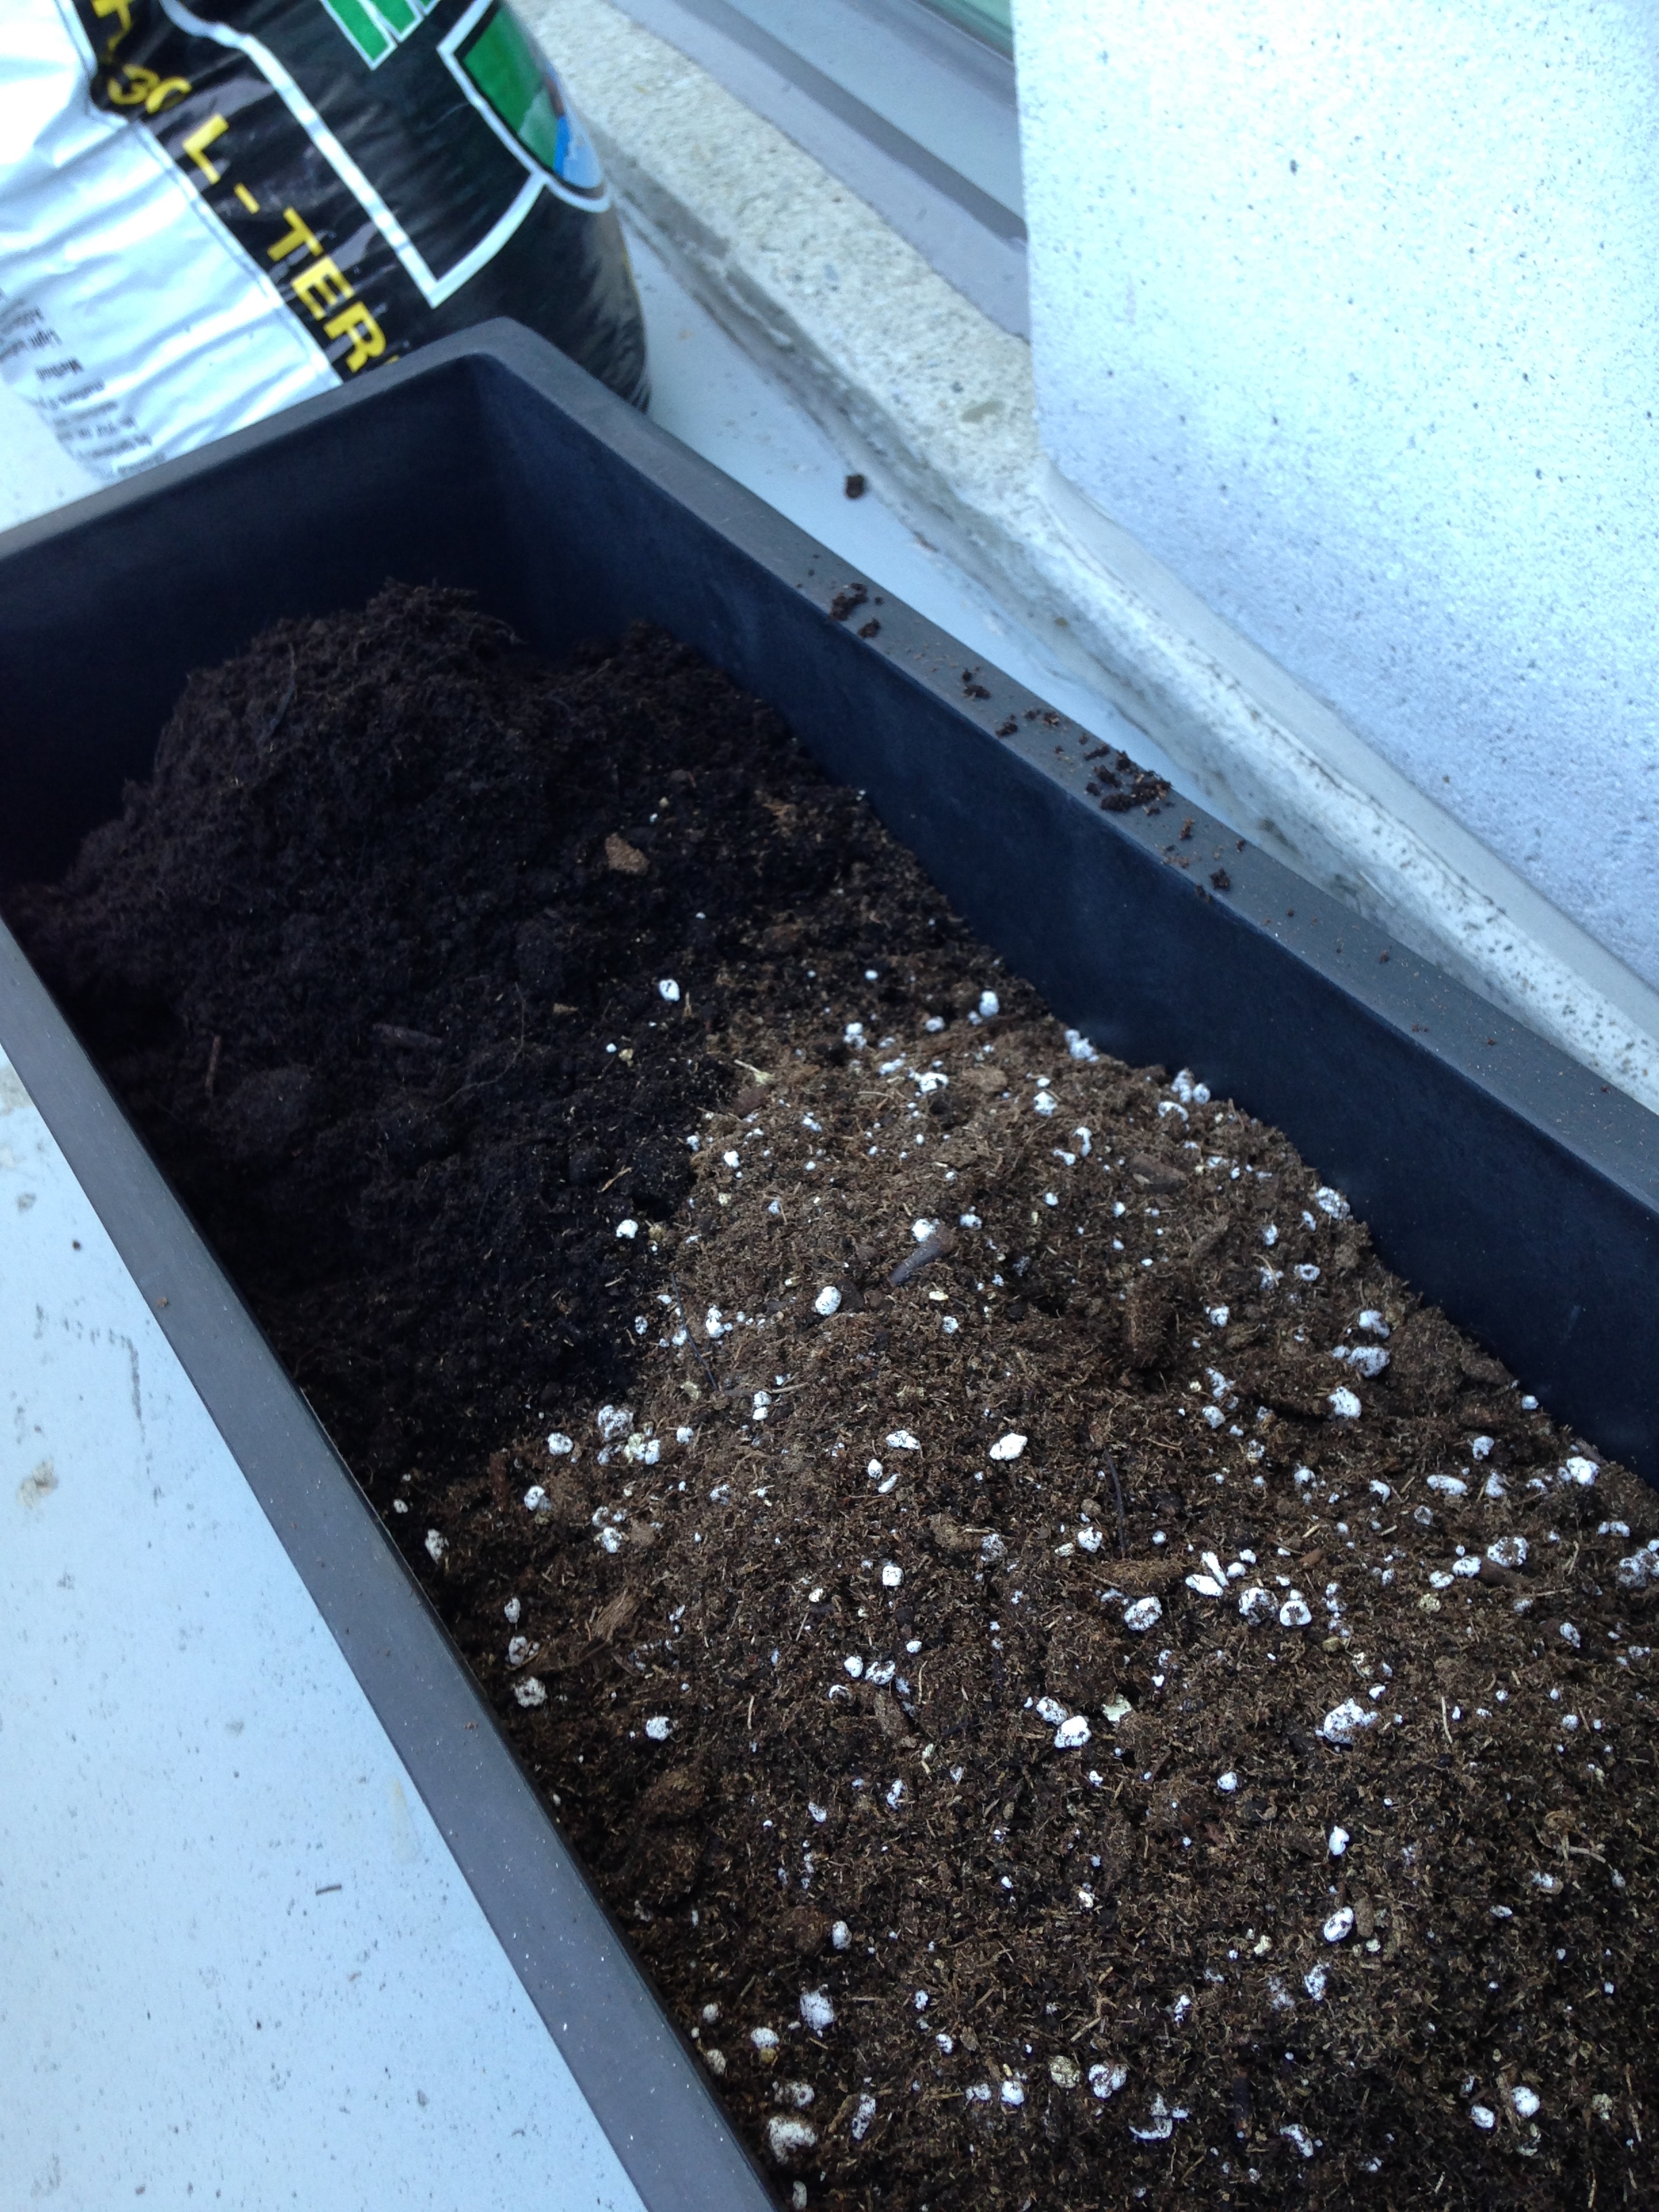
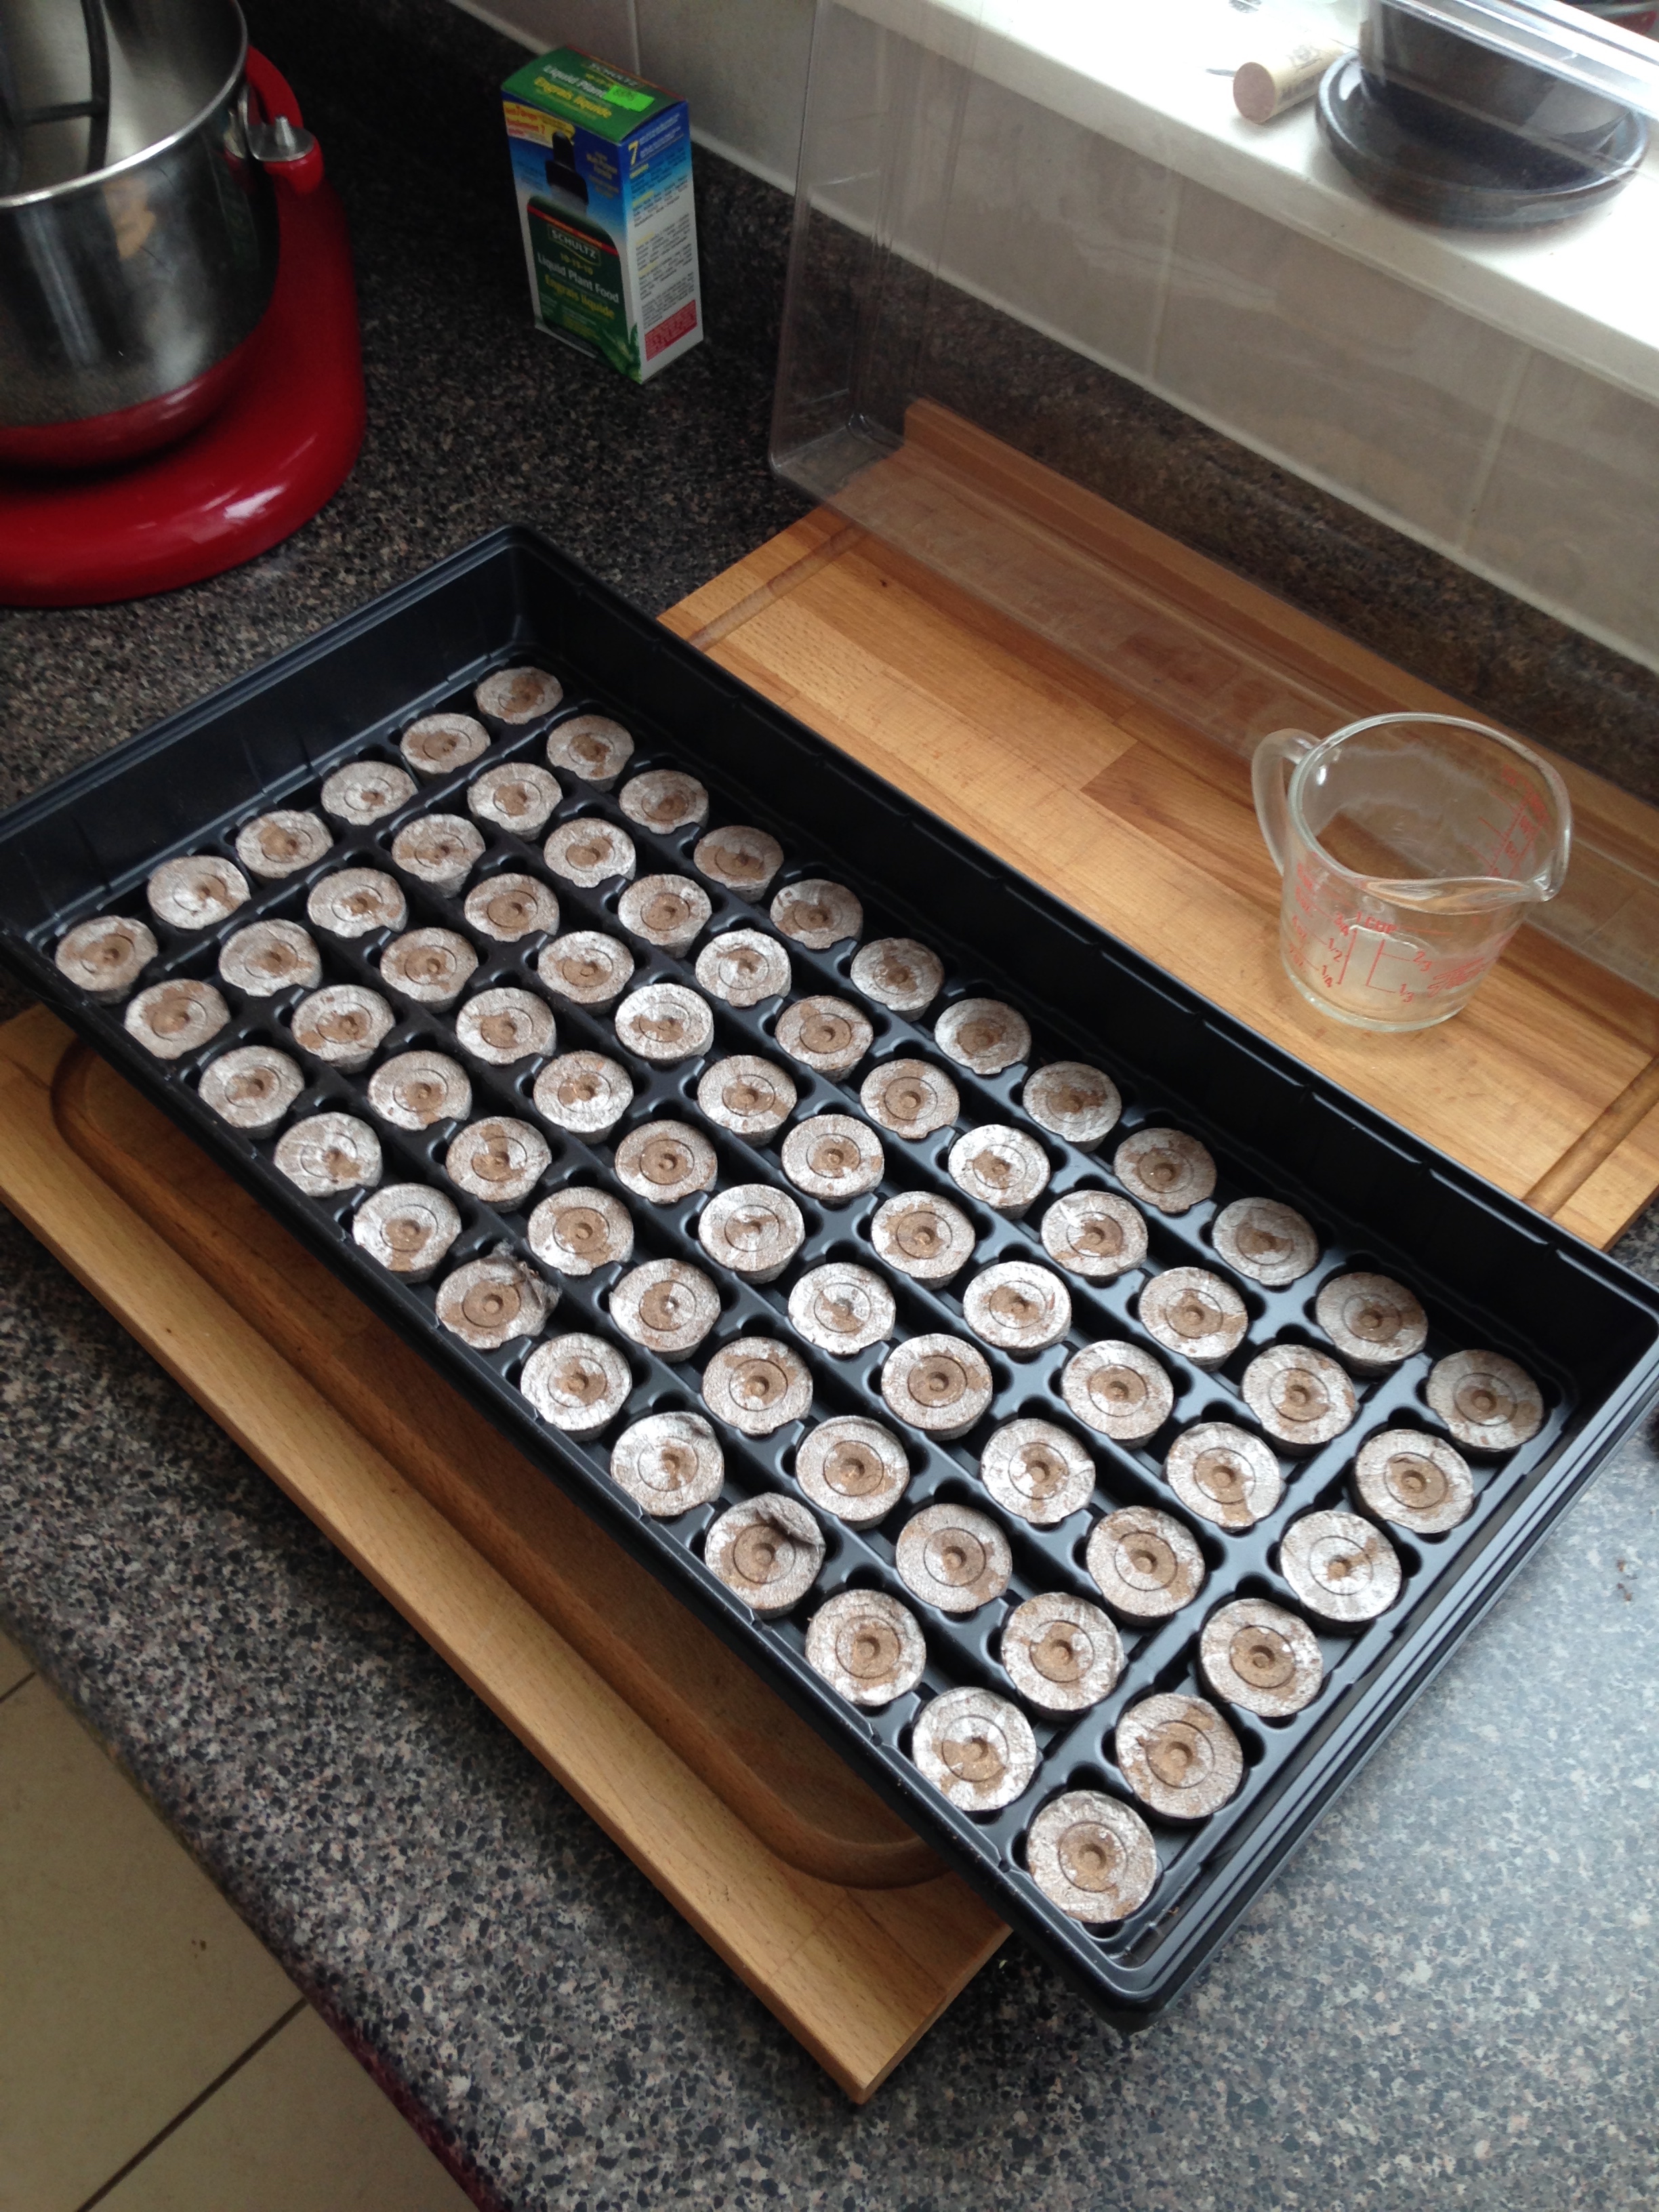
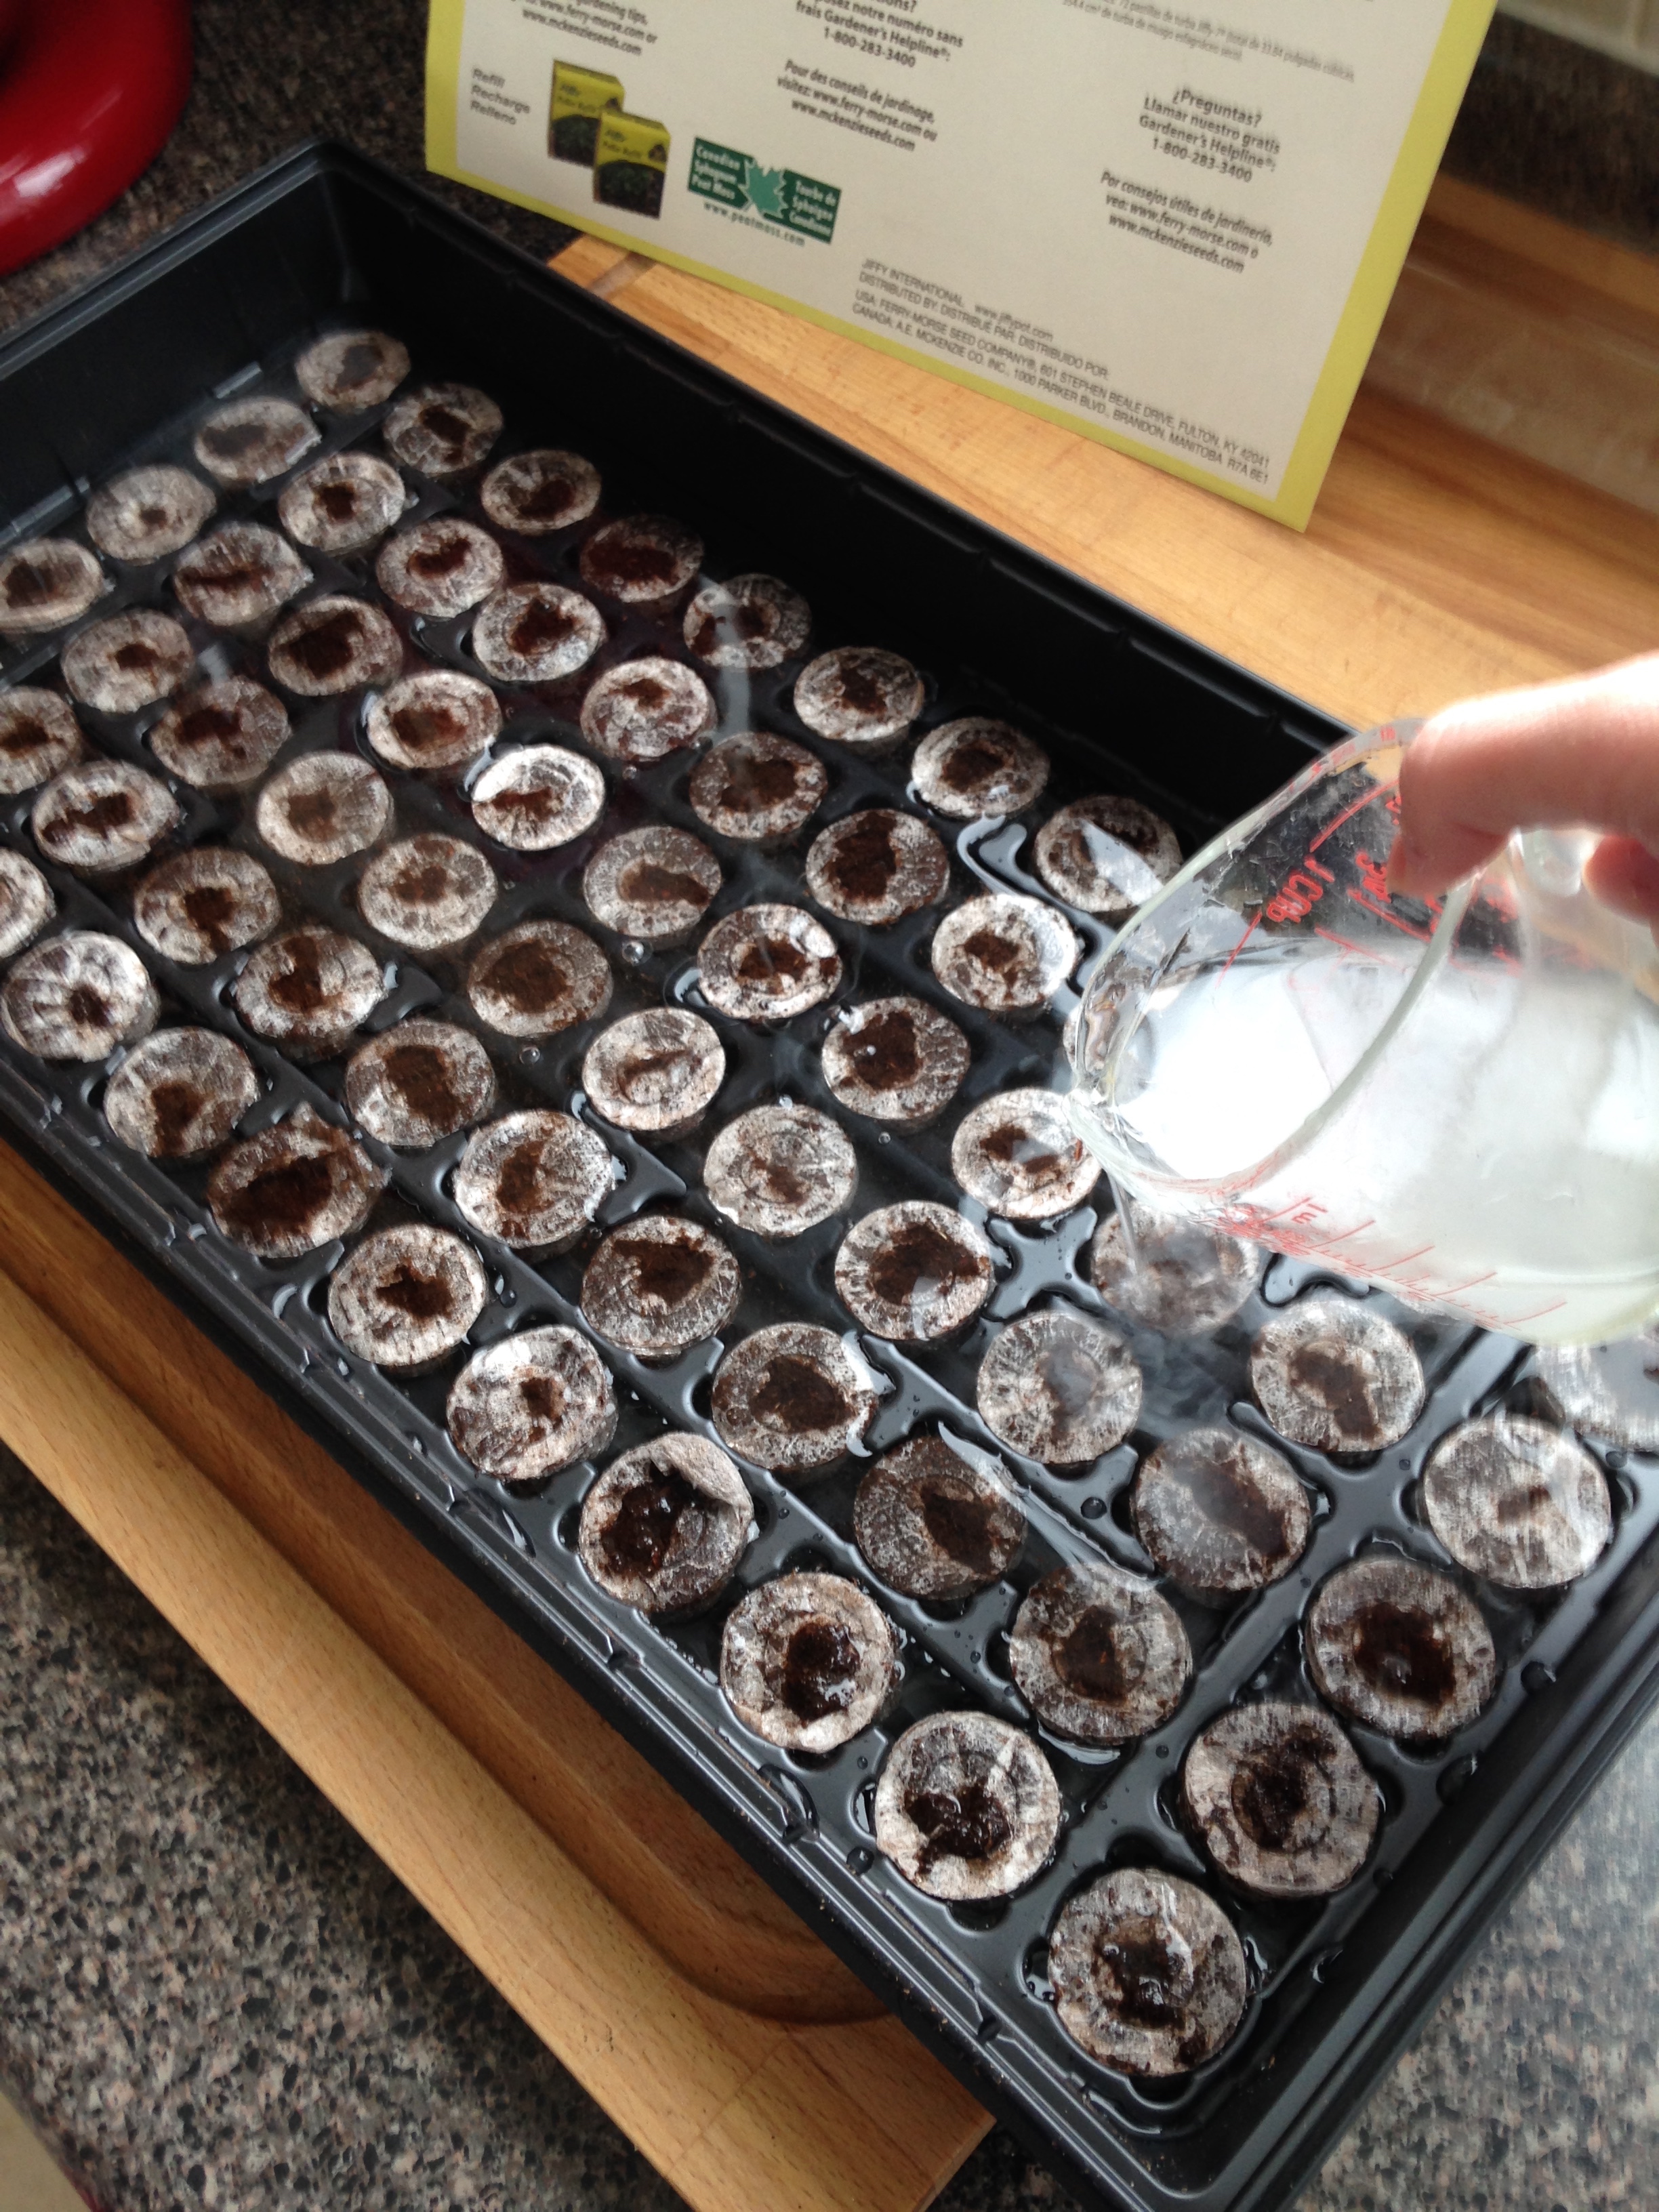
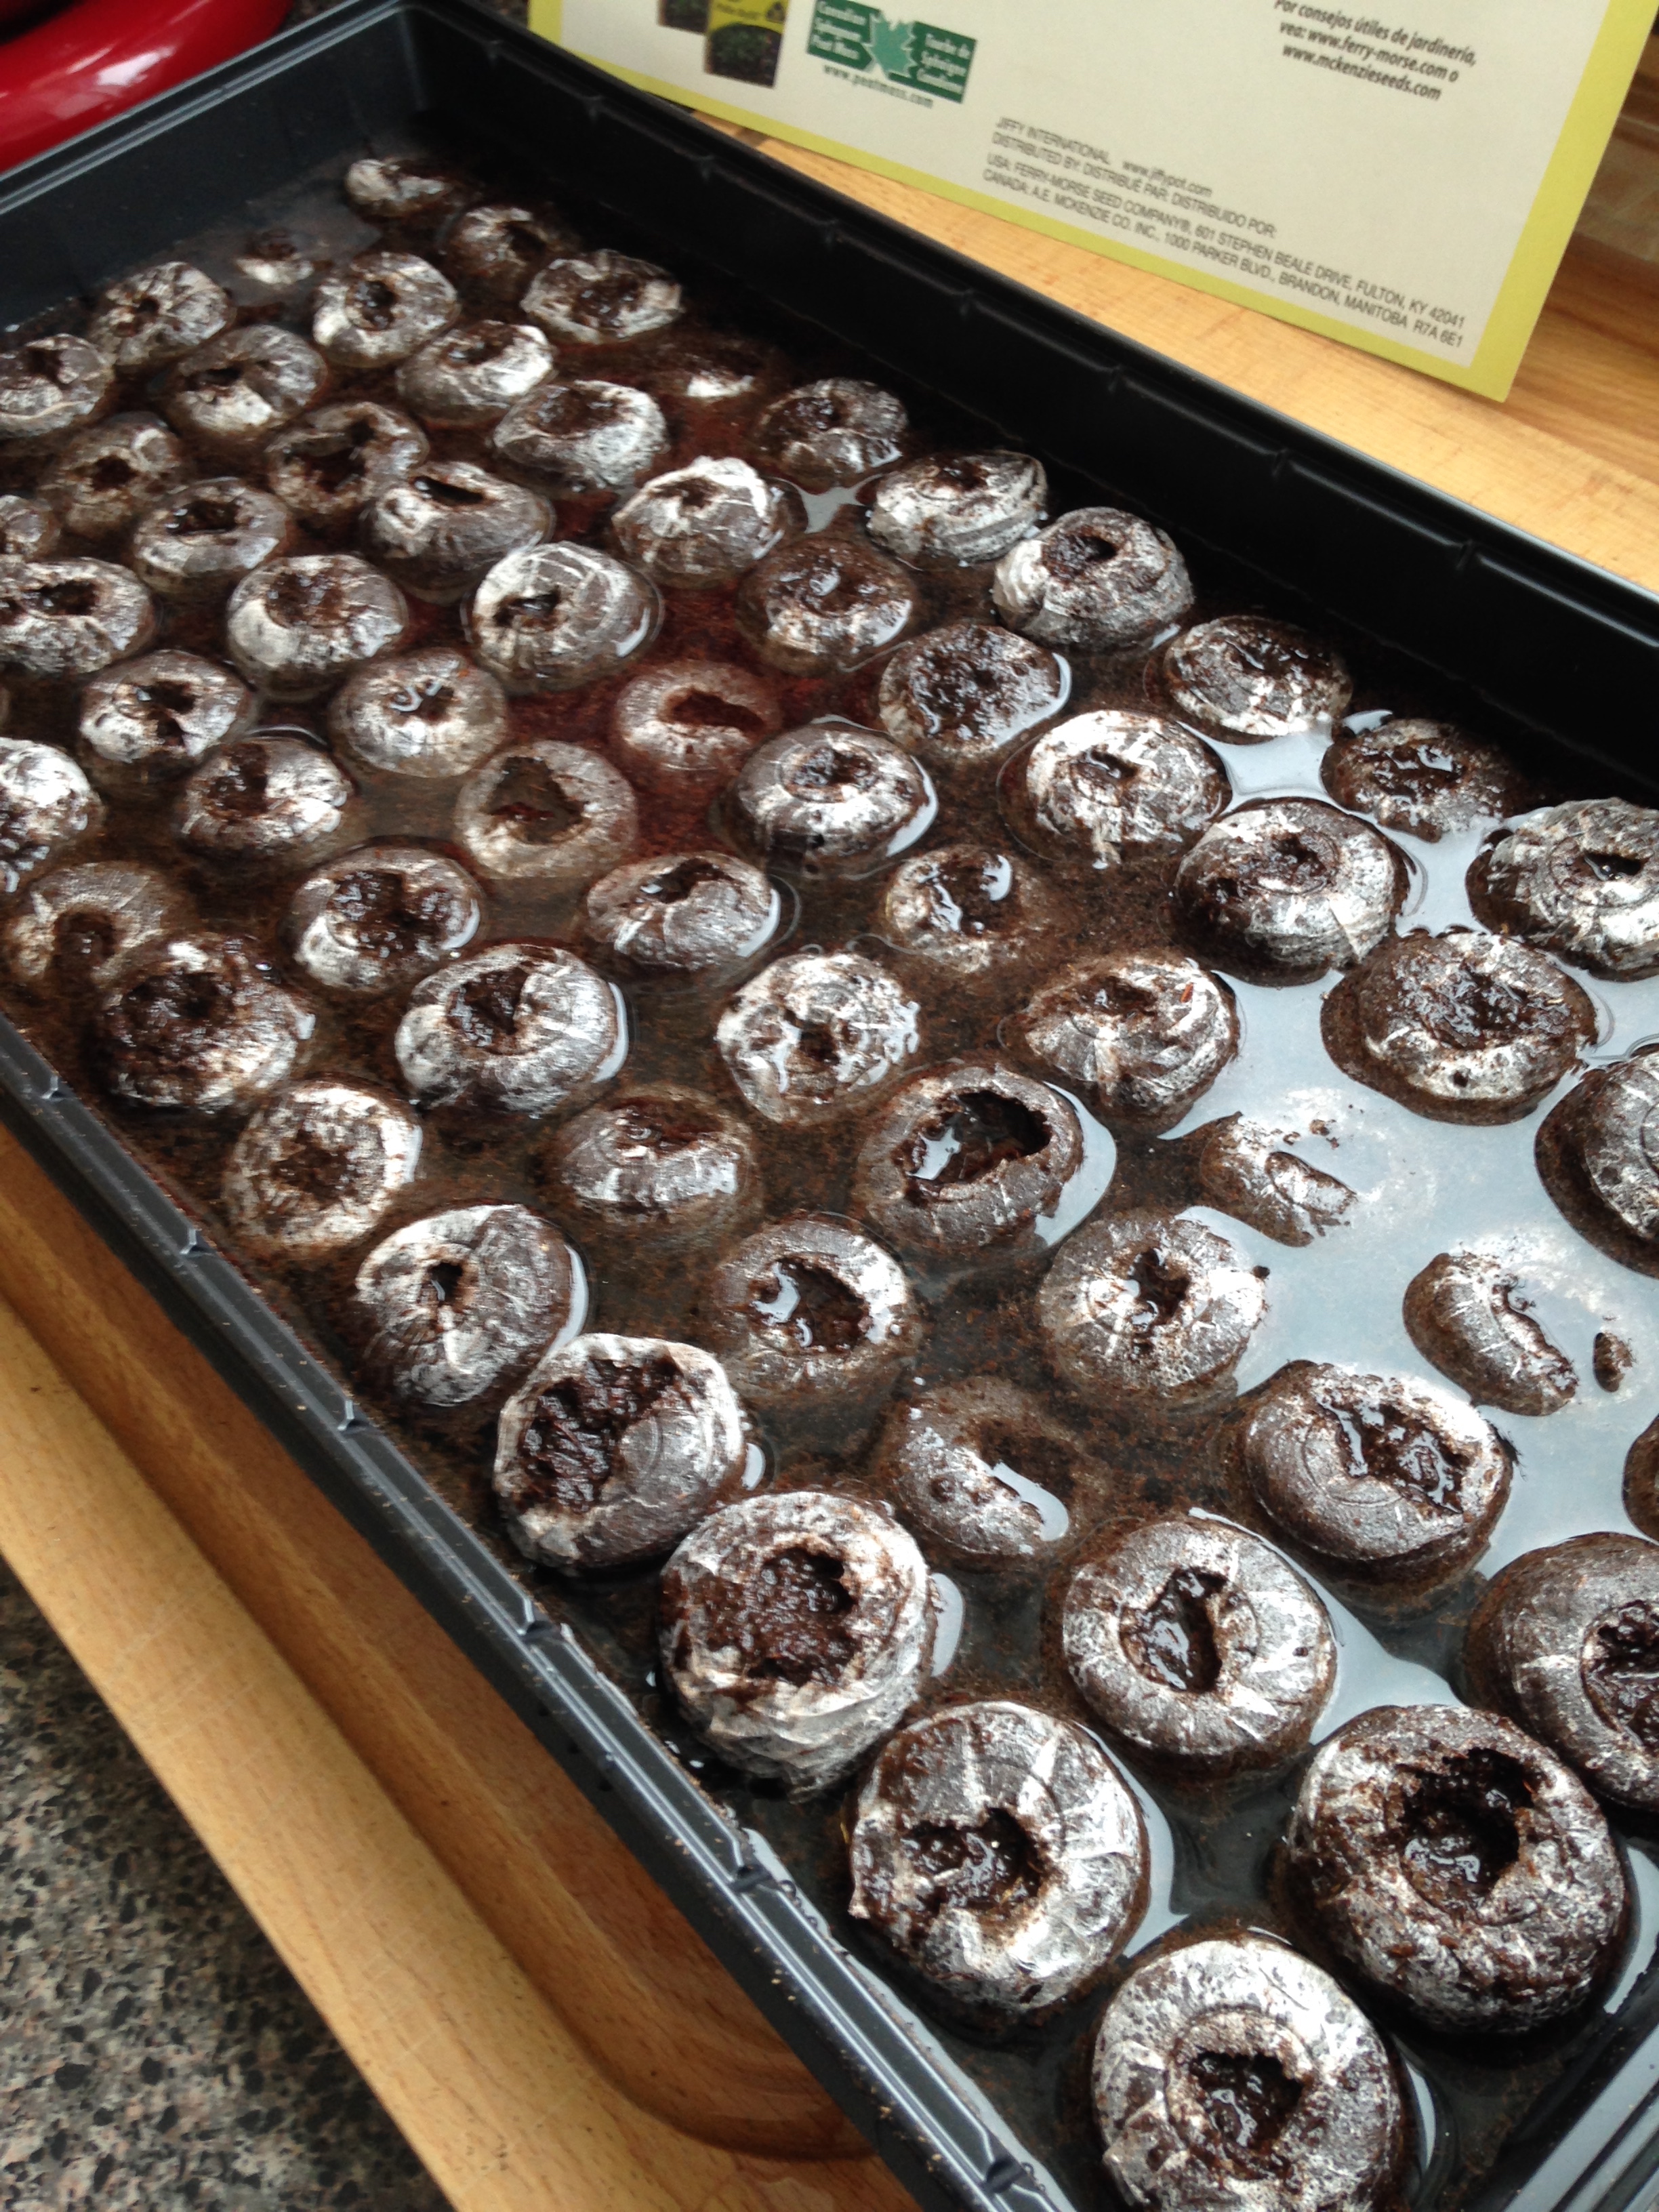
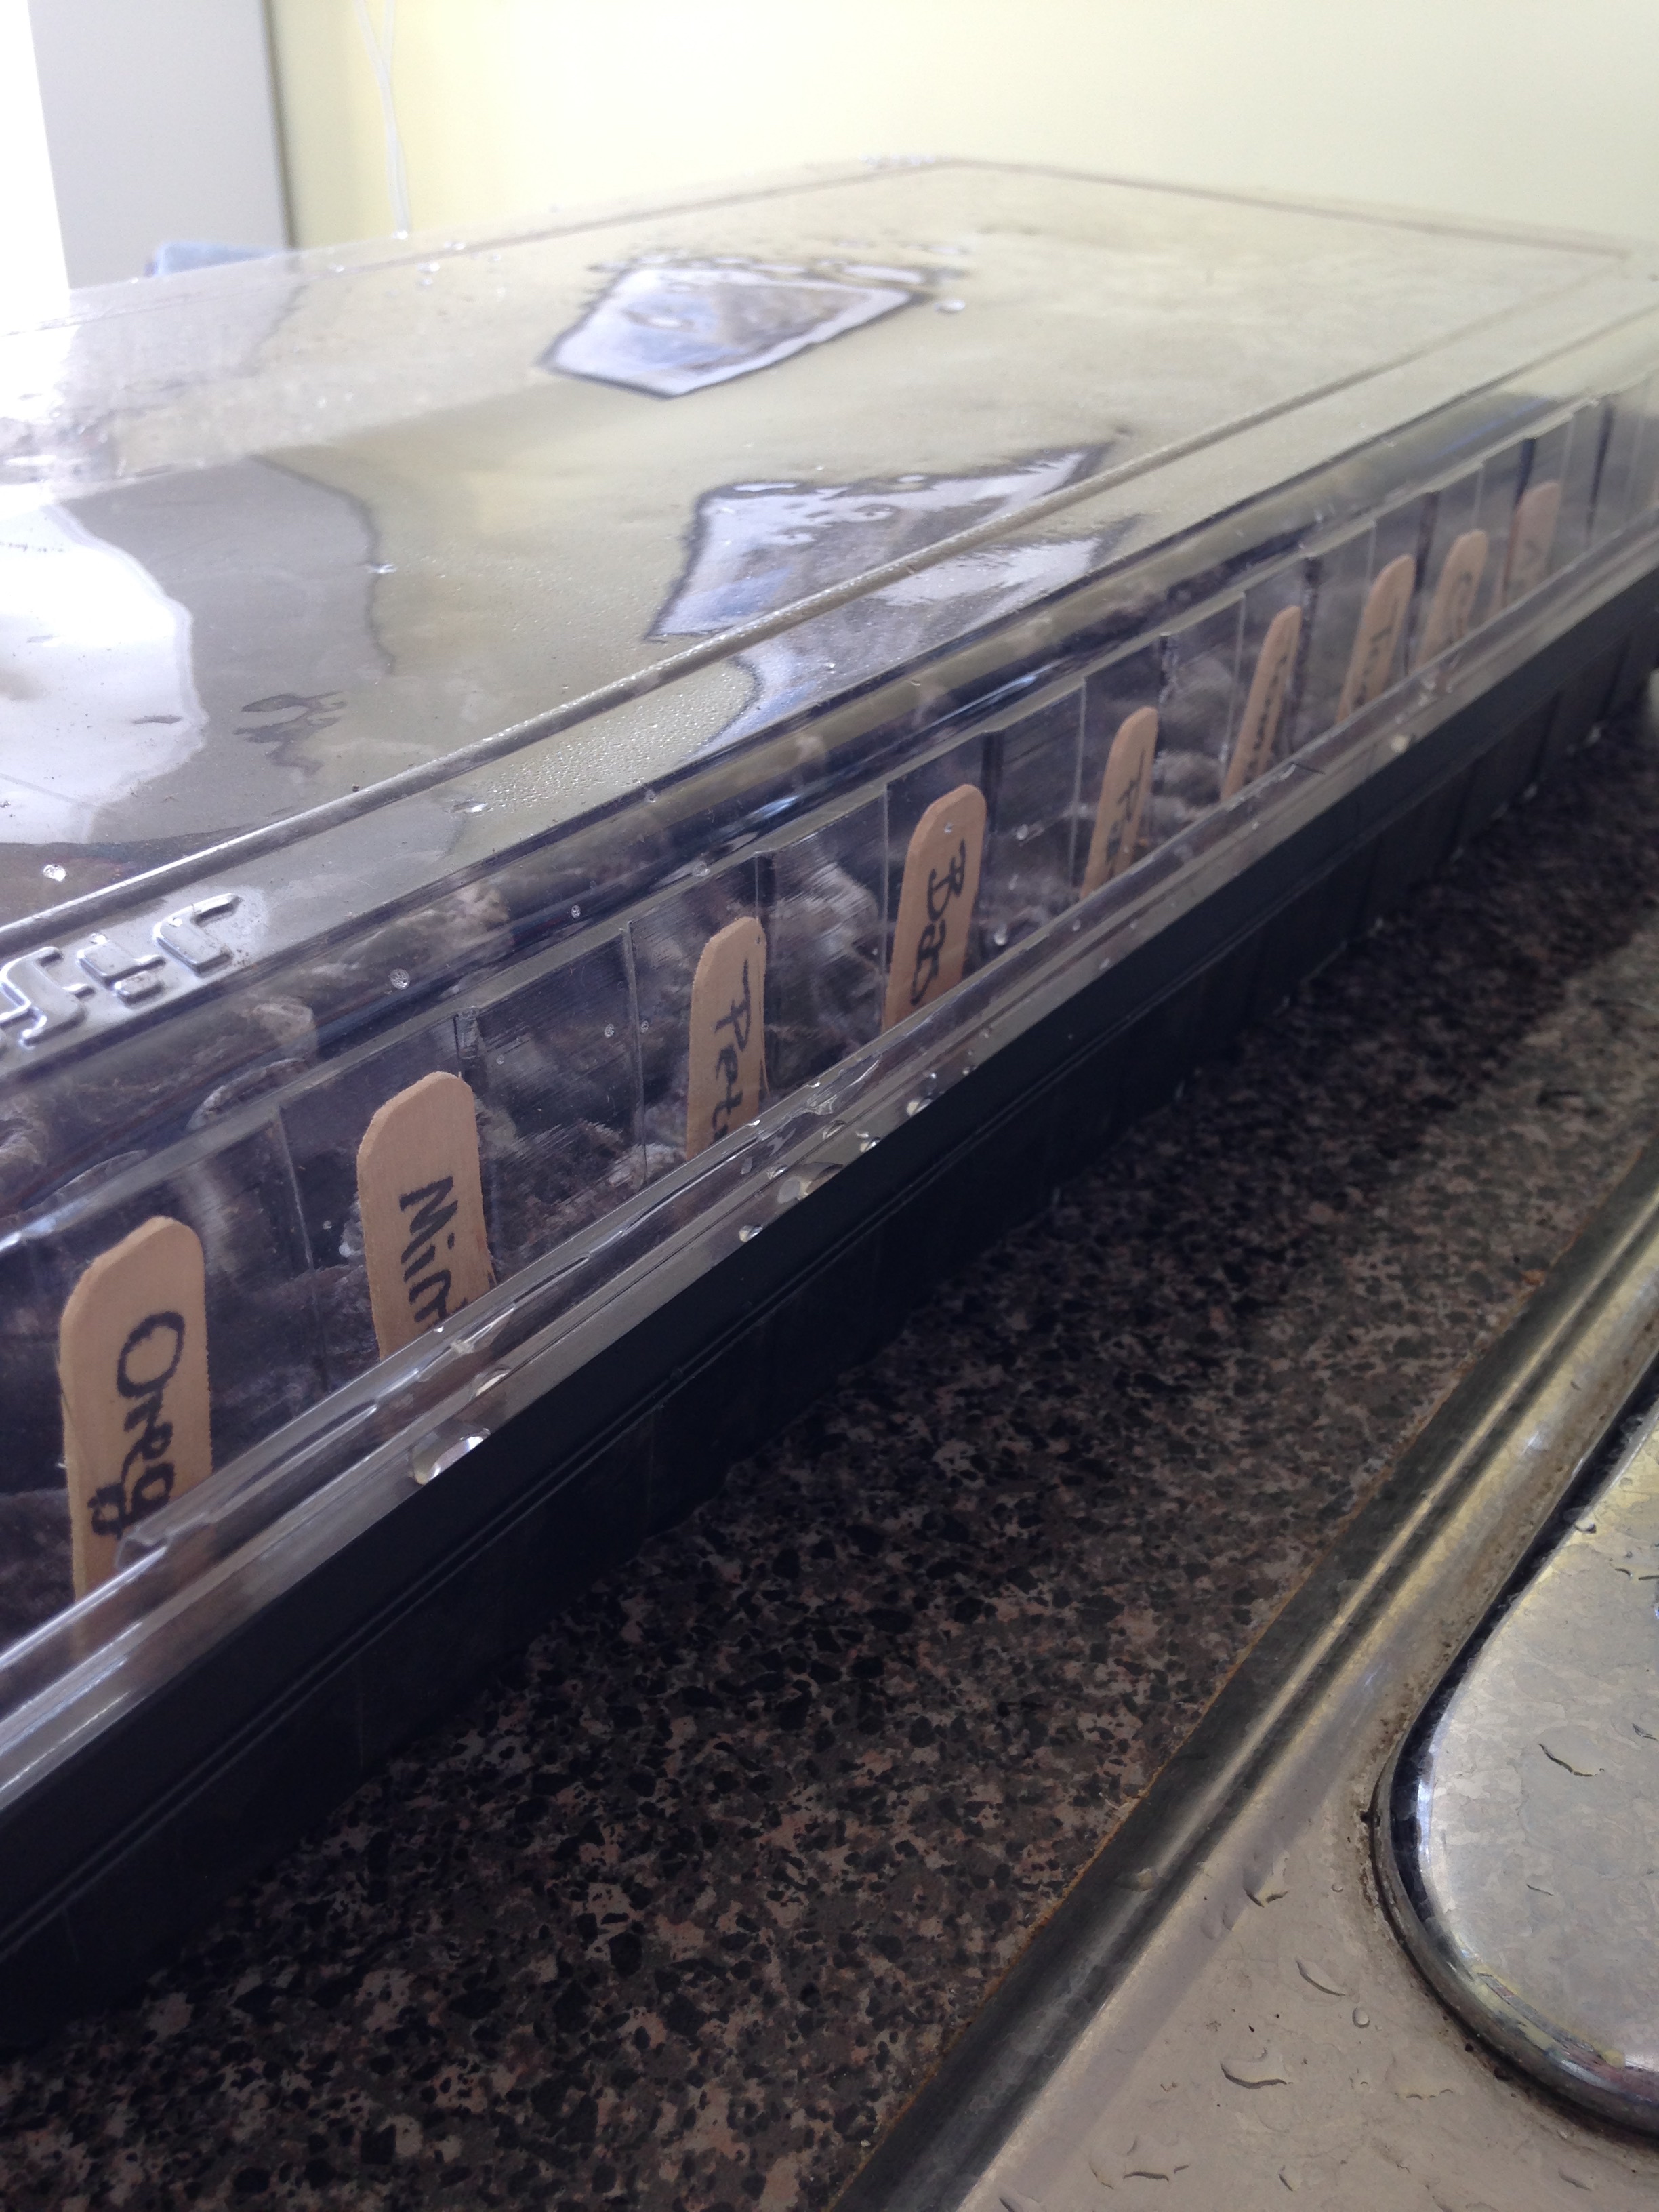
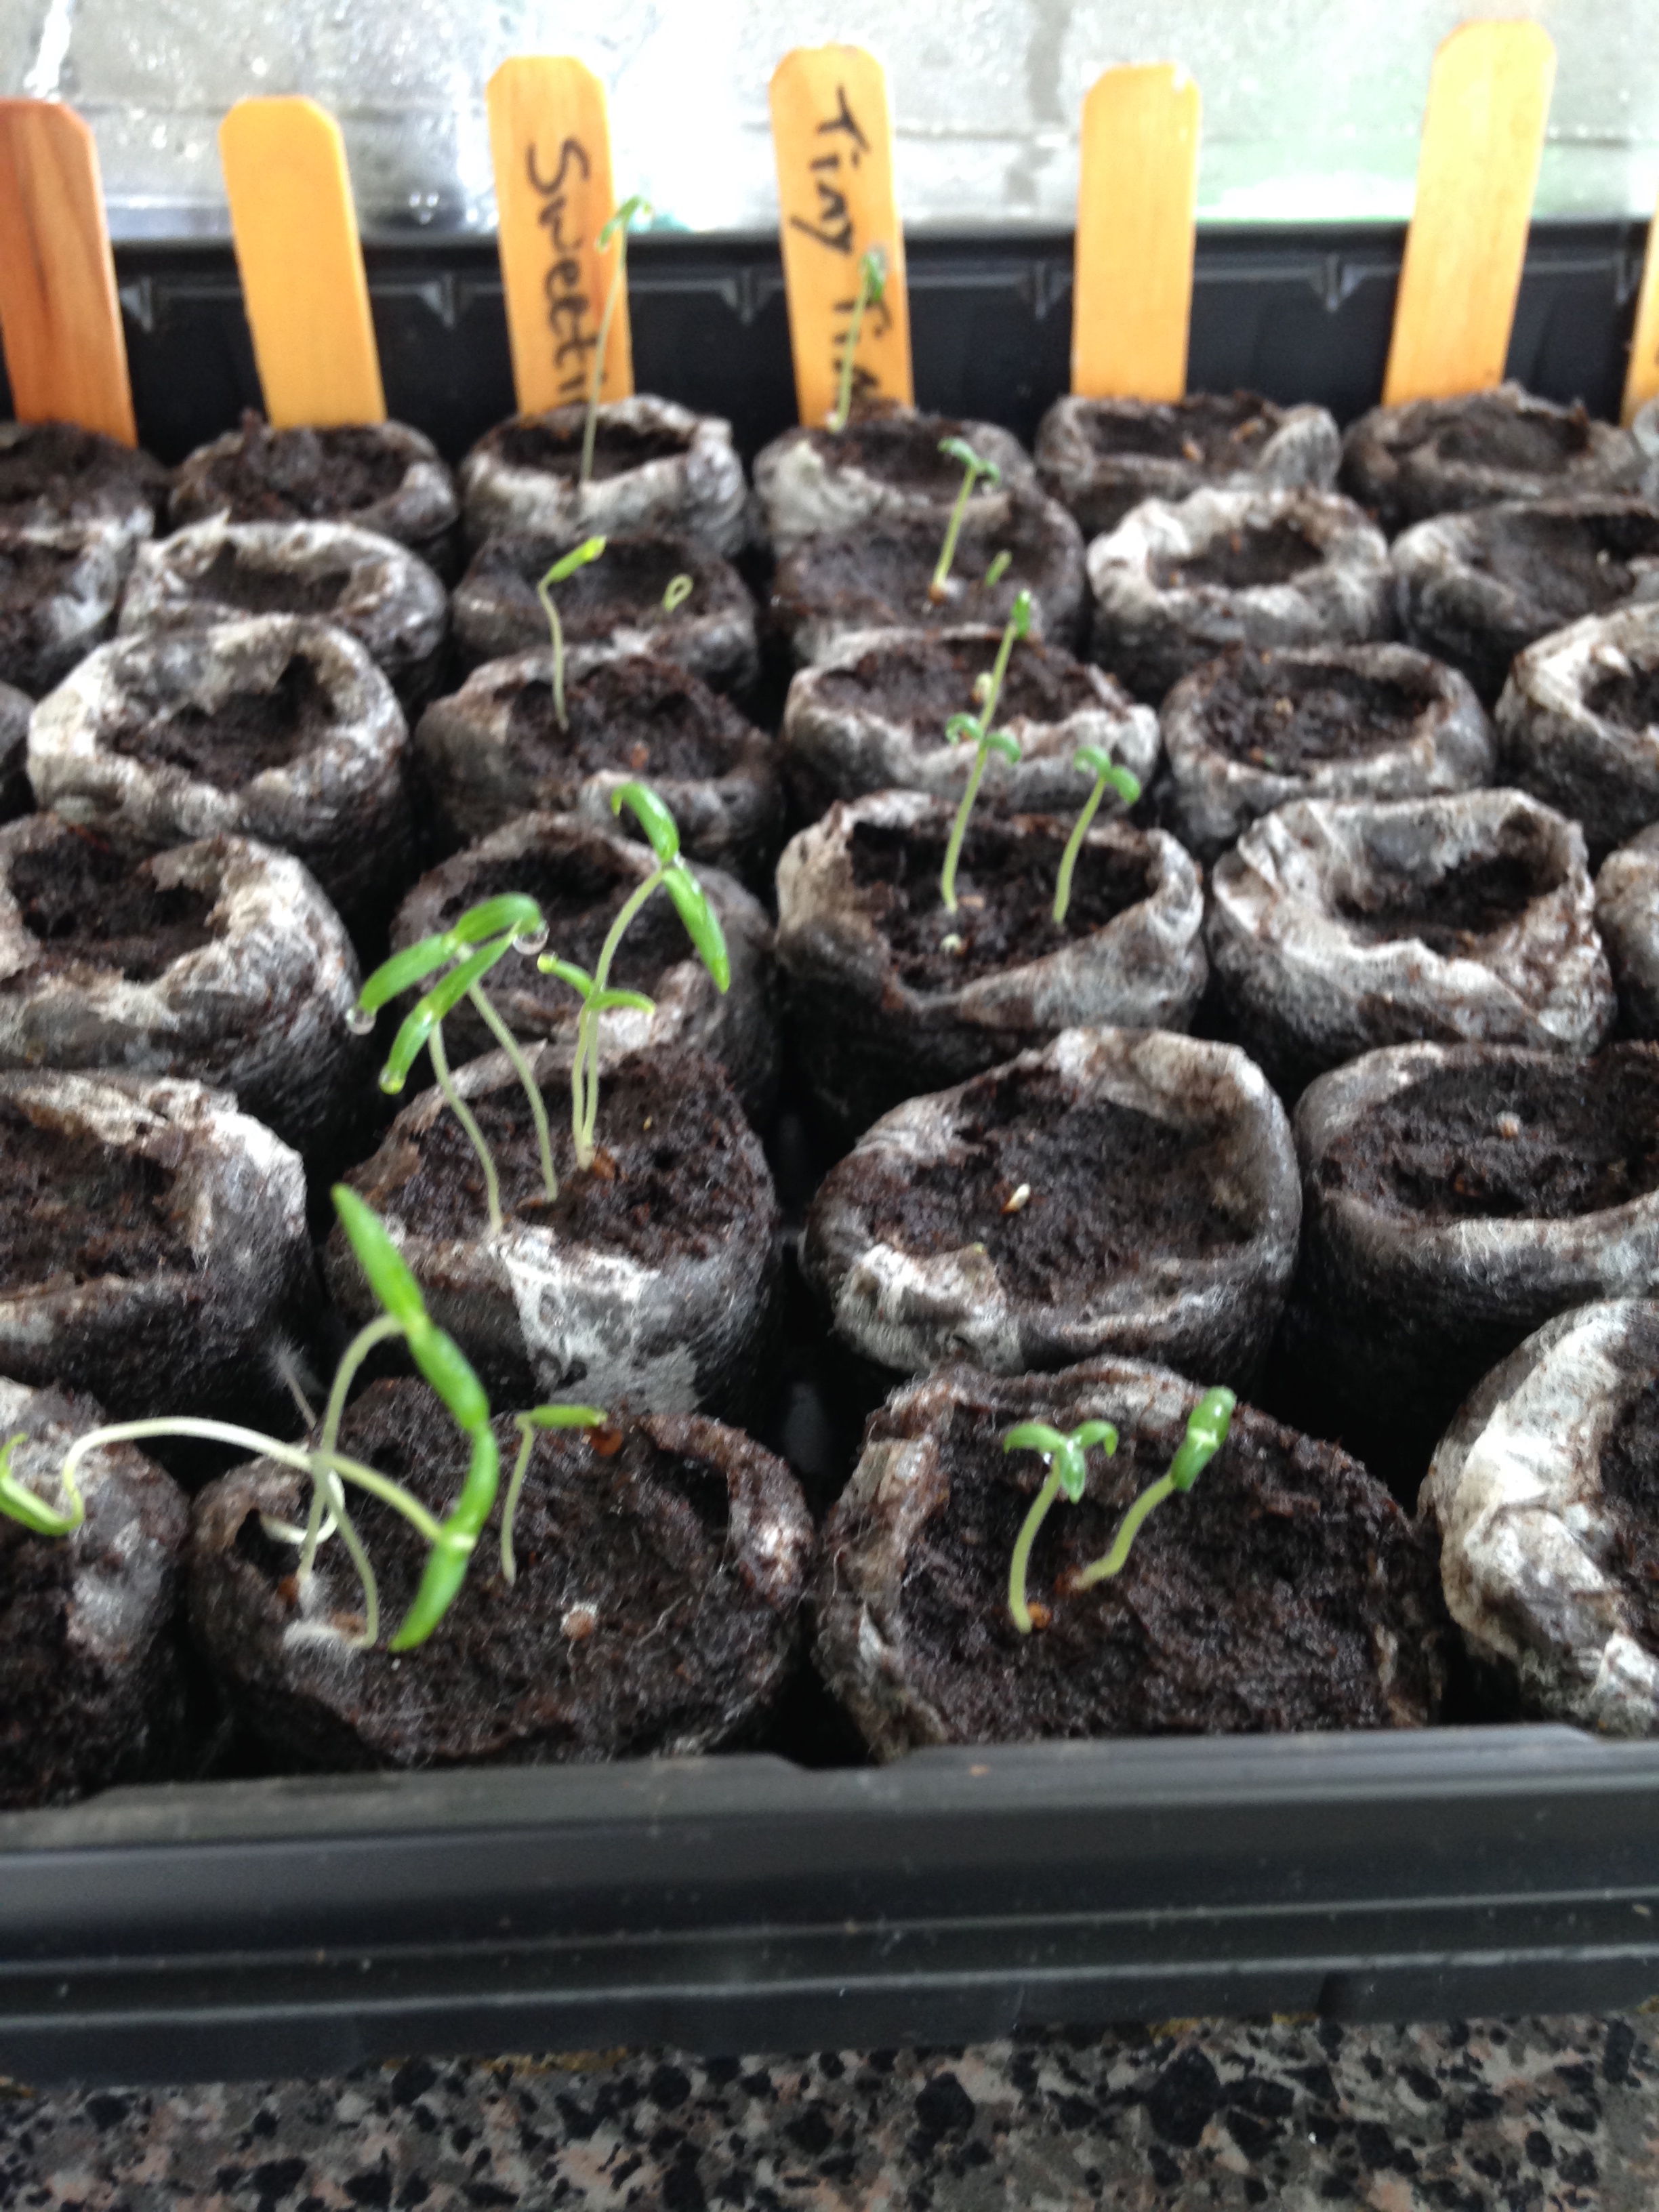
Next Soil. Soil is important in your balcony garden for a rather obvious reason: There is no ground naturally in the sky. This means all dirt has to be chosen and lugged up and filled into containers to feed all the lovely plantlings. There are many many different types of soil. For beginners, I'd recommend a seed starter soil and a general potting soil. The seed starter has 'no' nutrition in it. It's usually made of materials that retain water so that seeds can grow and start to root. I would use seed starter soil for, like the name, seed starting. Although, it can be mixed with other soils to help retain moisture. Potting soil does have nutrition in it. There are three numbers on soil bags: nitrogen, phosphorus and potassium. Different plants will have different requirements but a general potting soil will be a good base for all plants. Later on you can add fertilizers to water to make up for other nutrition requirements. Pretend that plants are like little ground-bound people; Instead of calcium for bone growth they need phosphates for photosynthesis! (More about fertilizers later.)
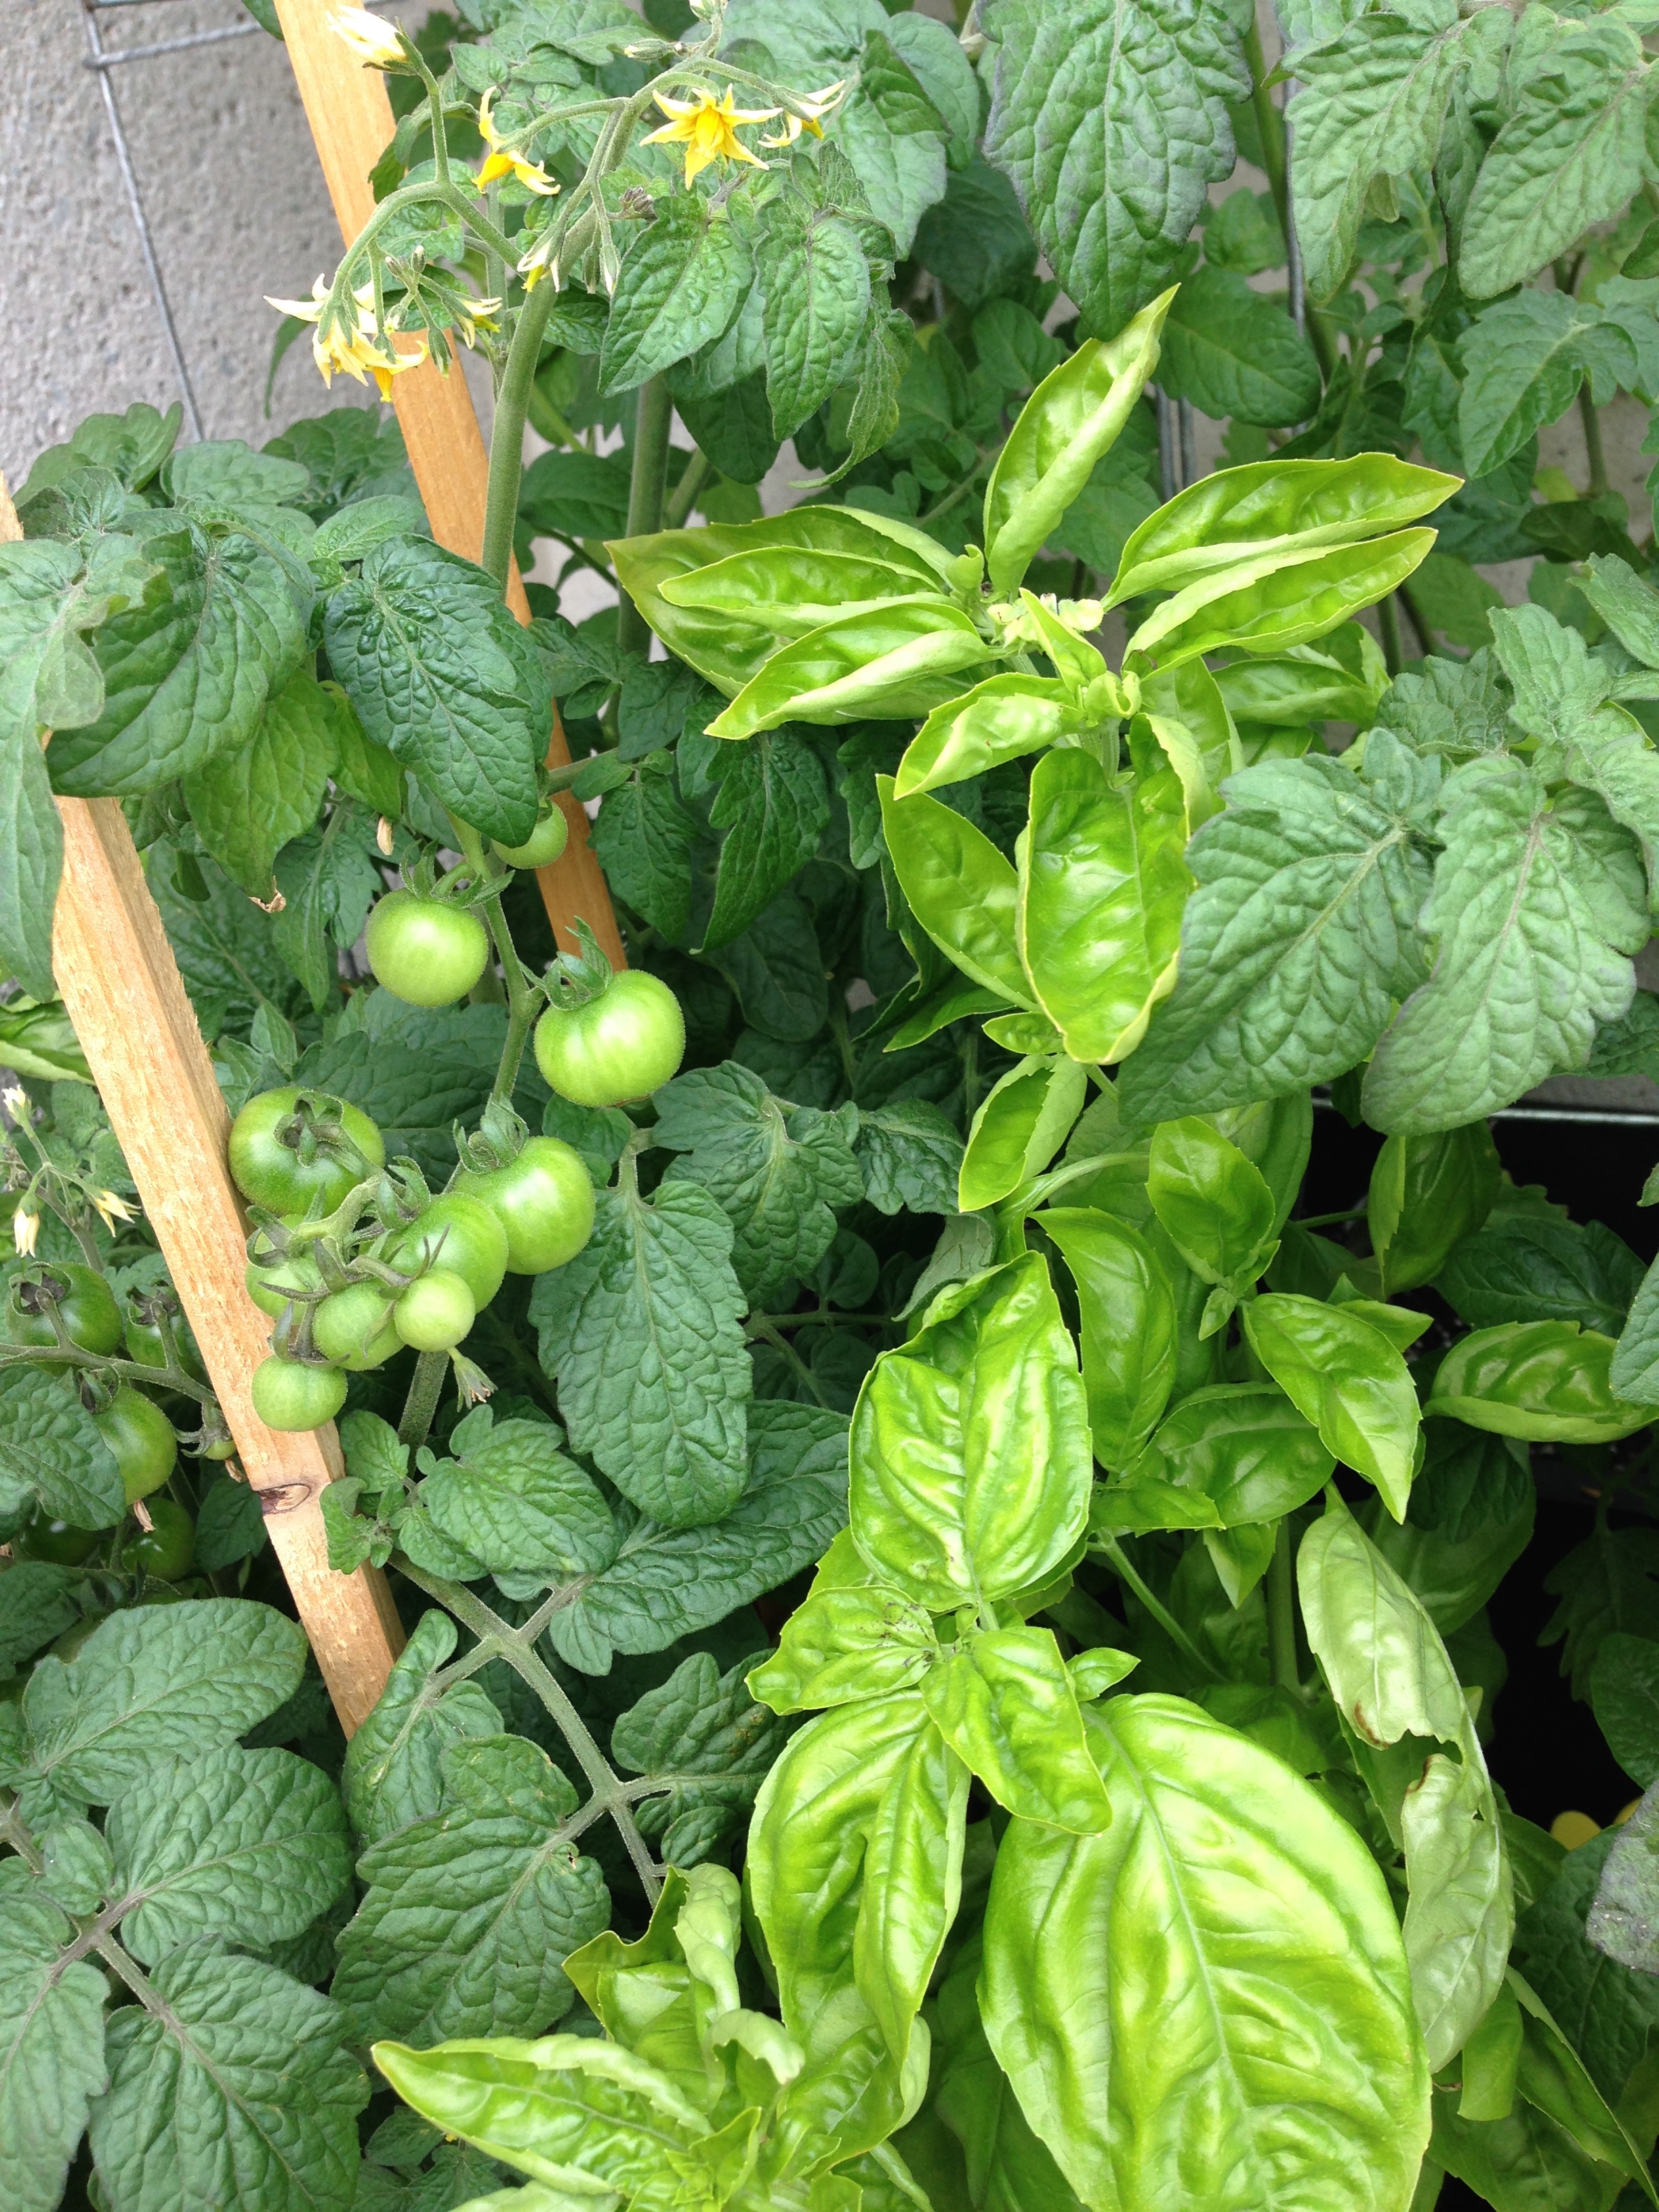
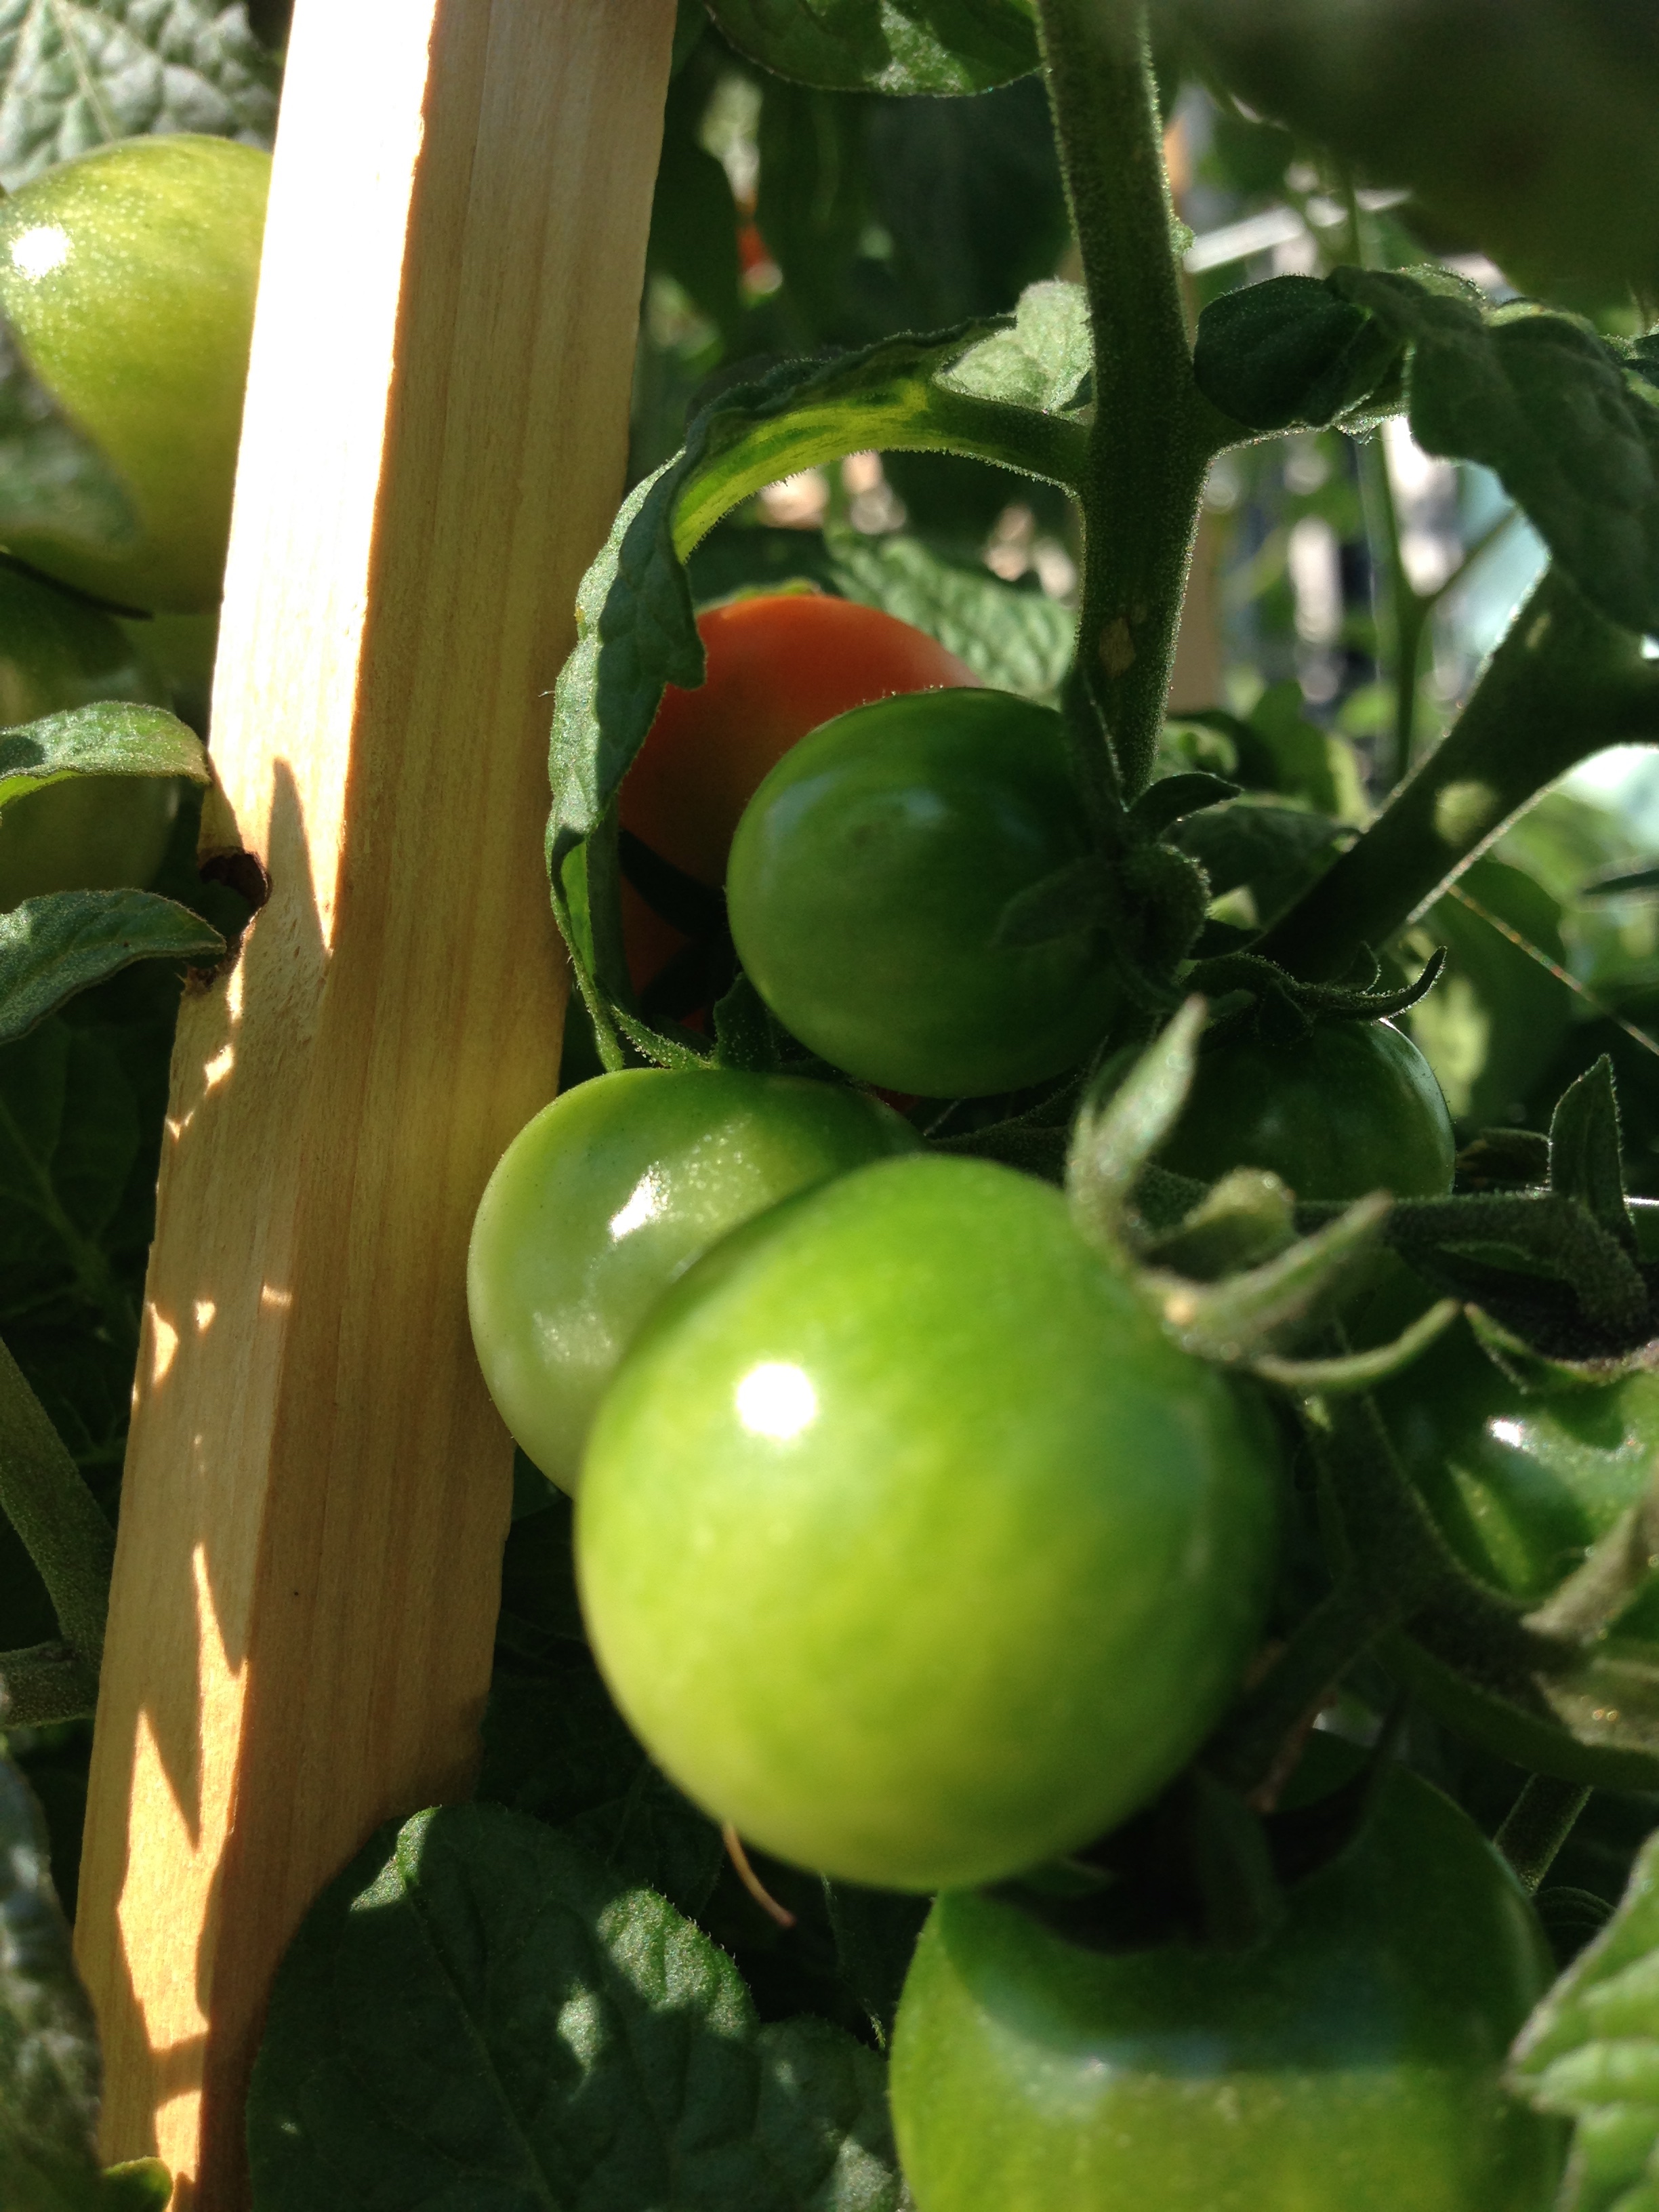
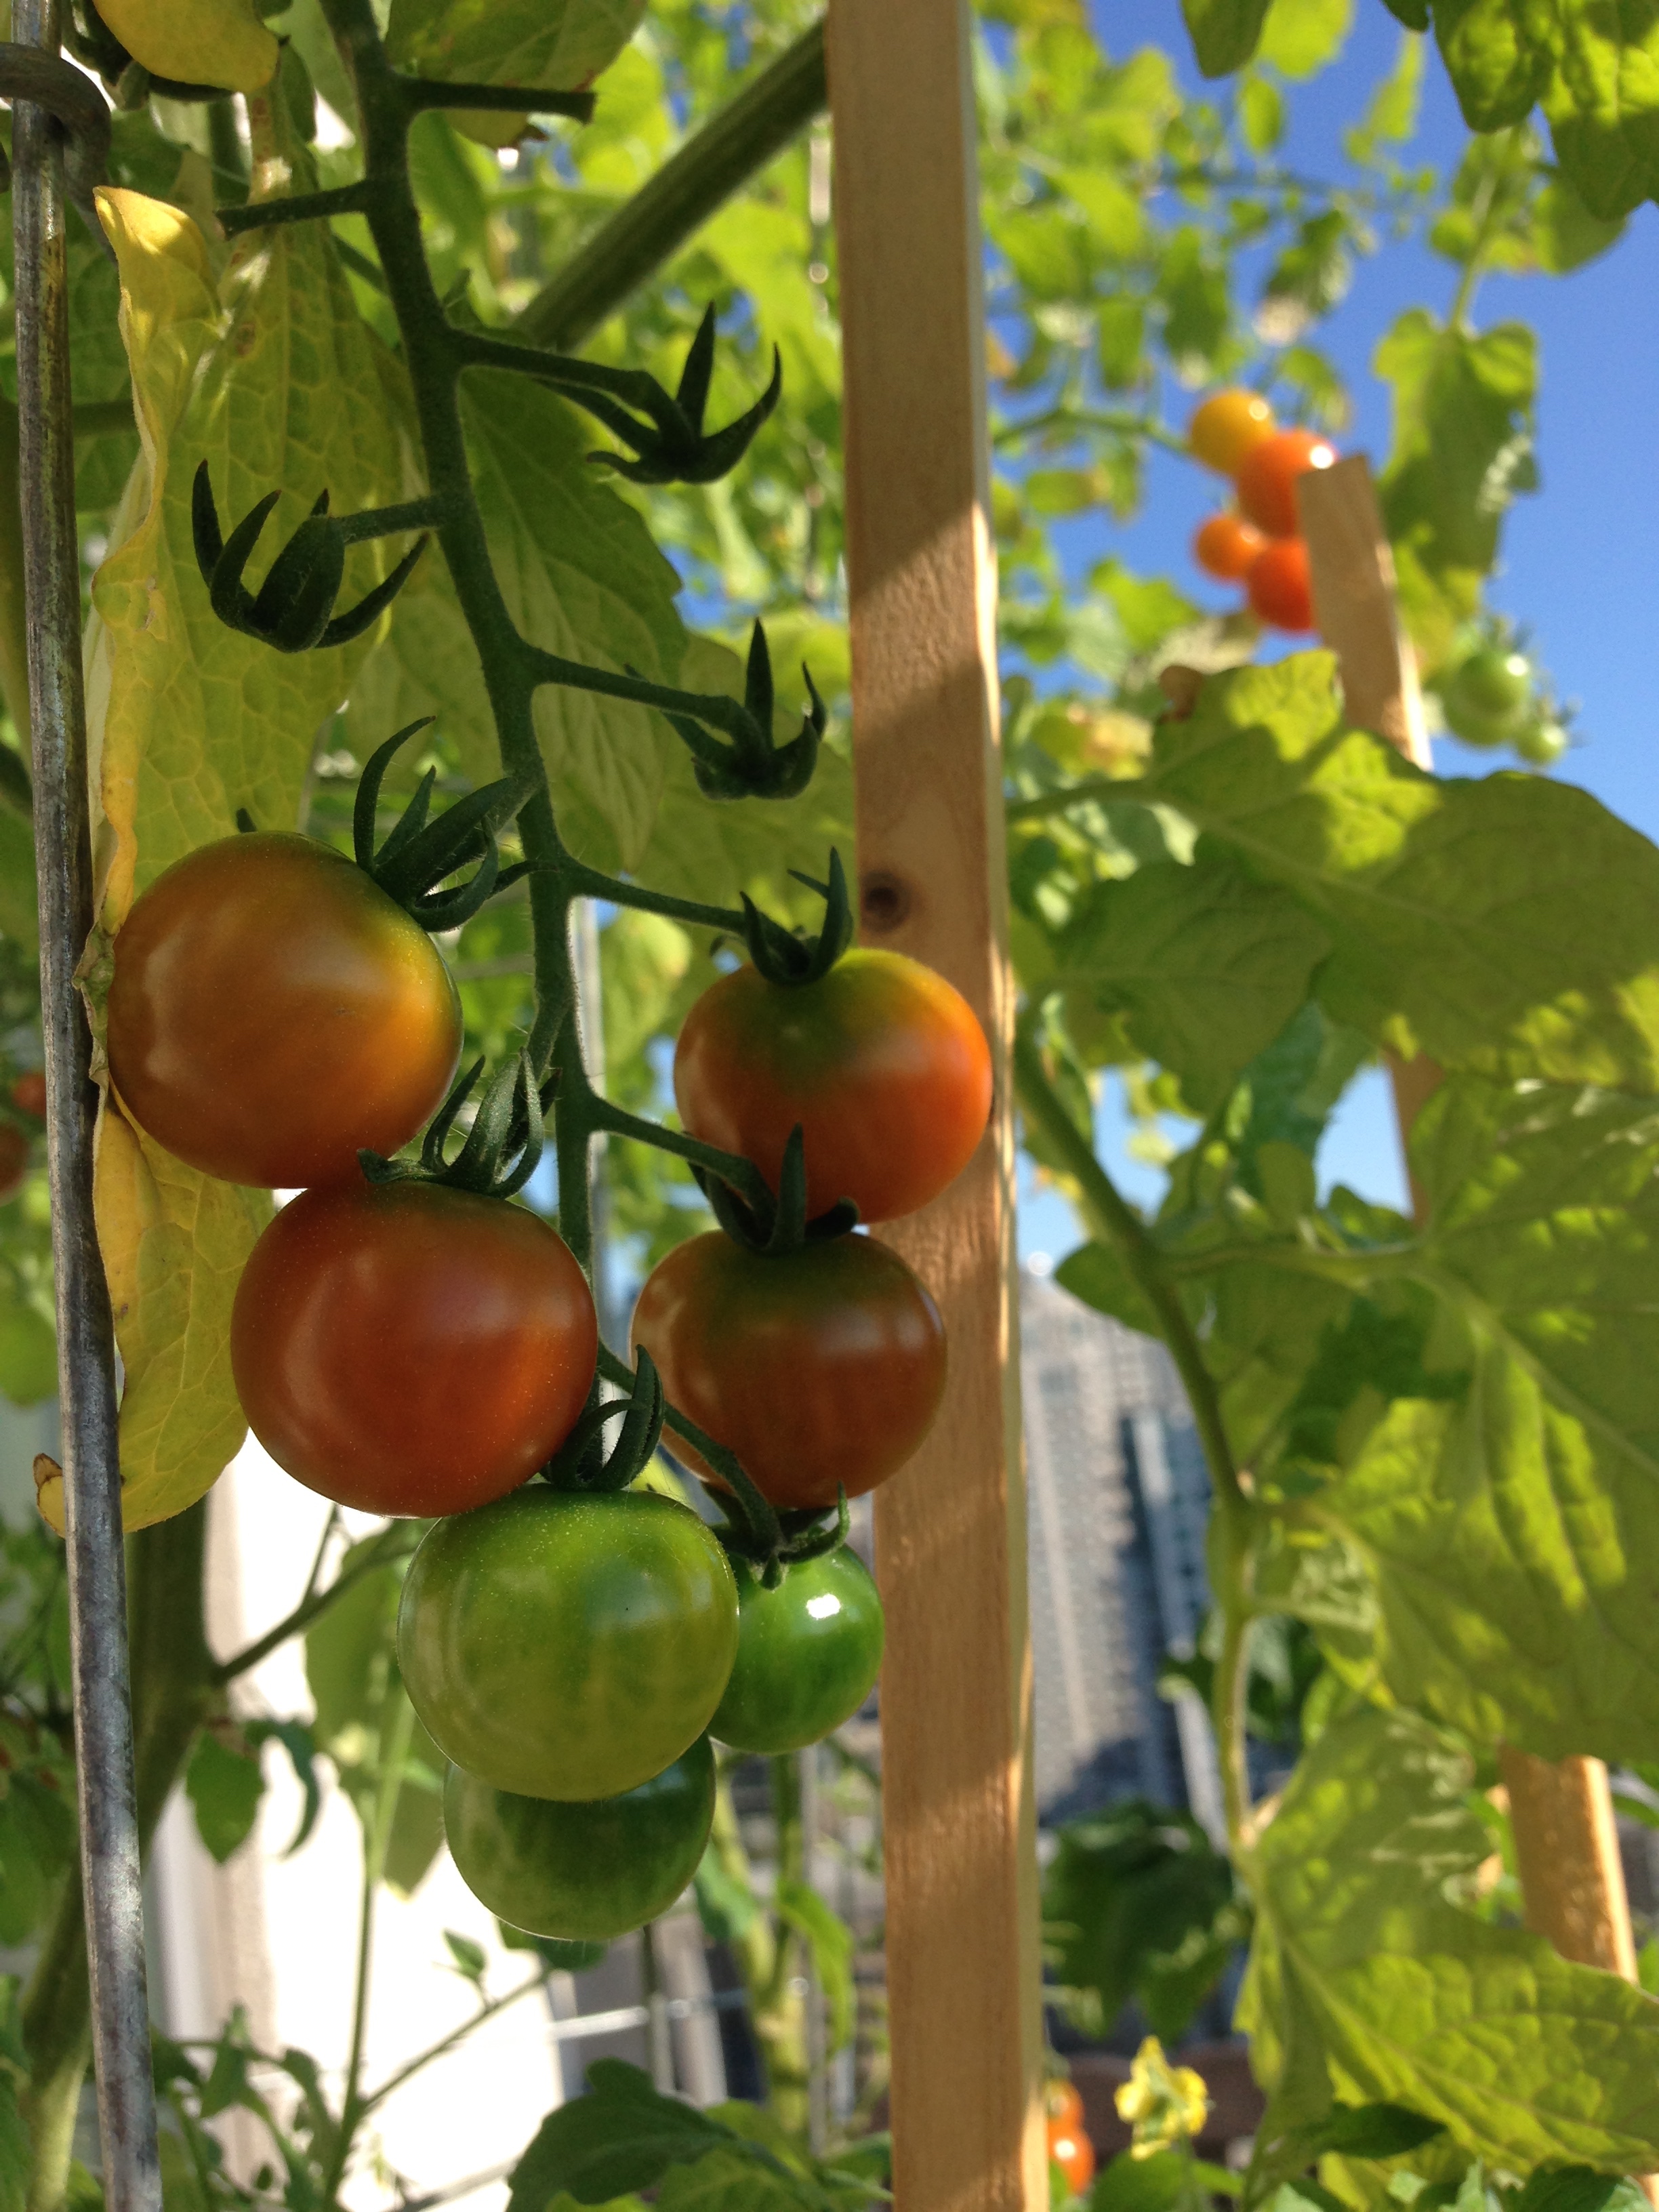
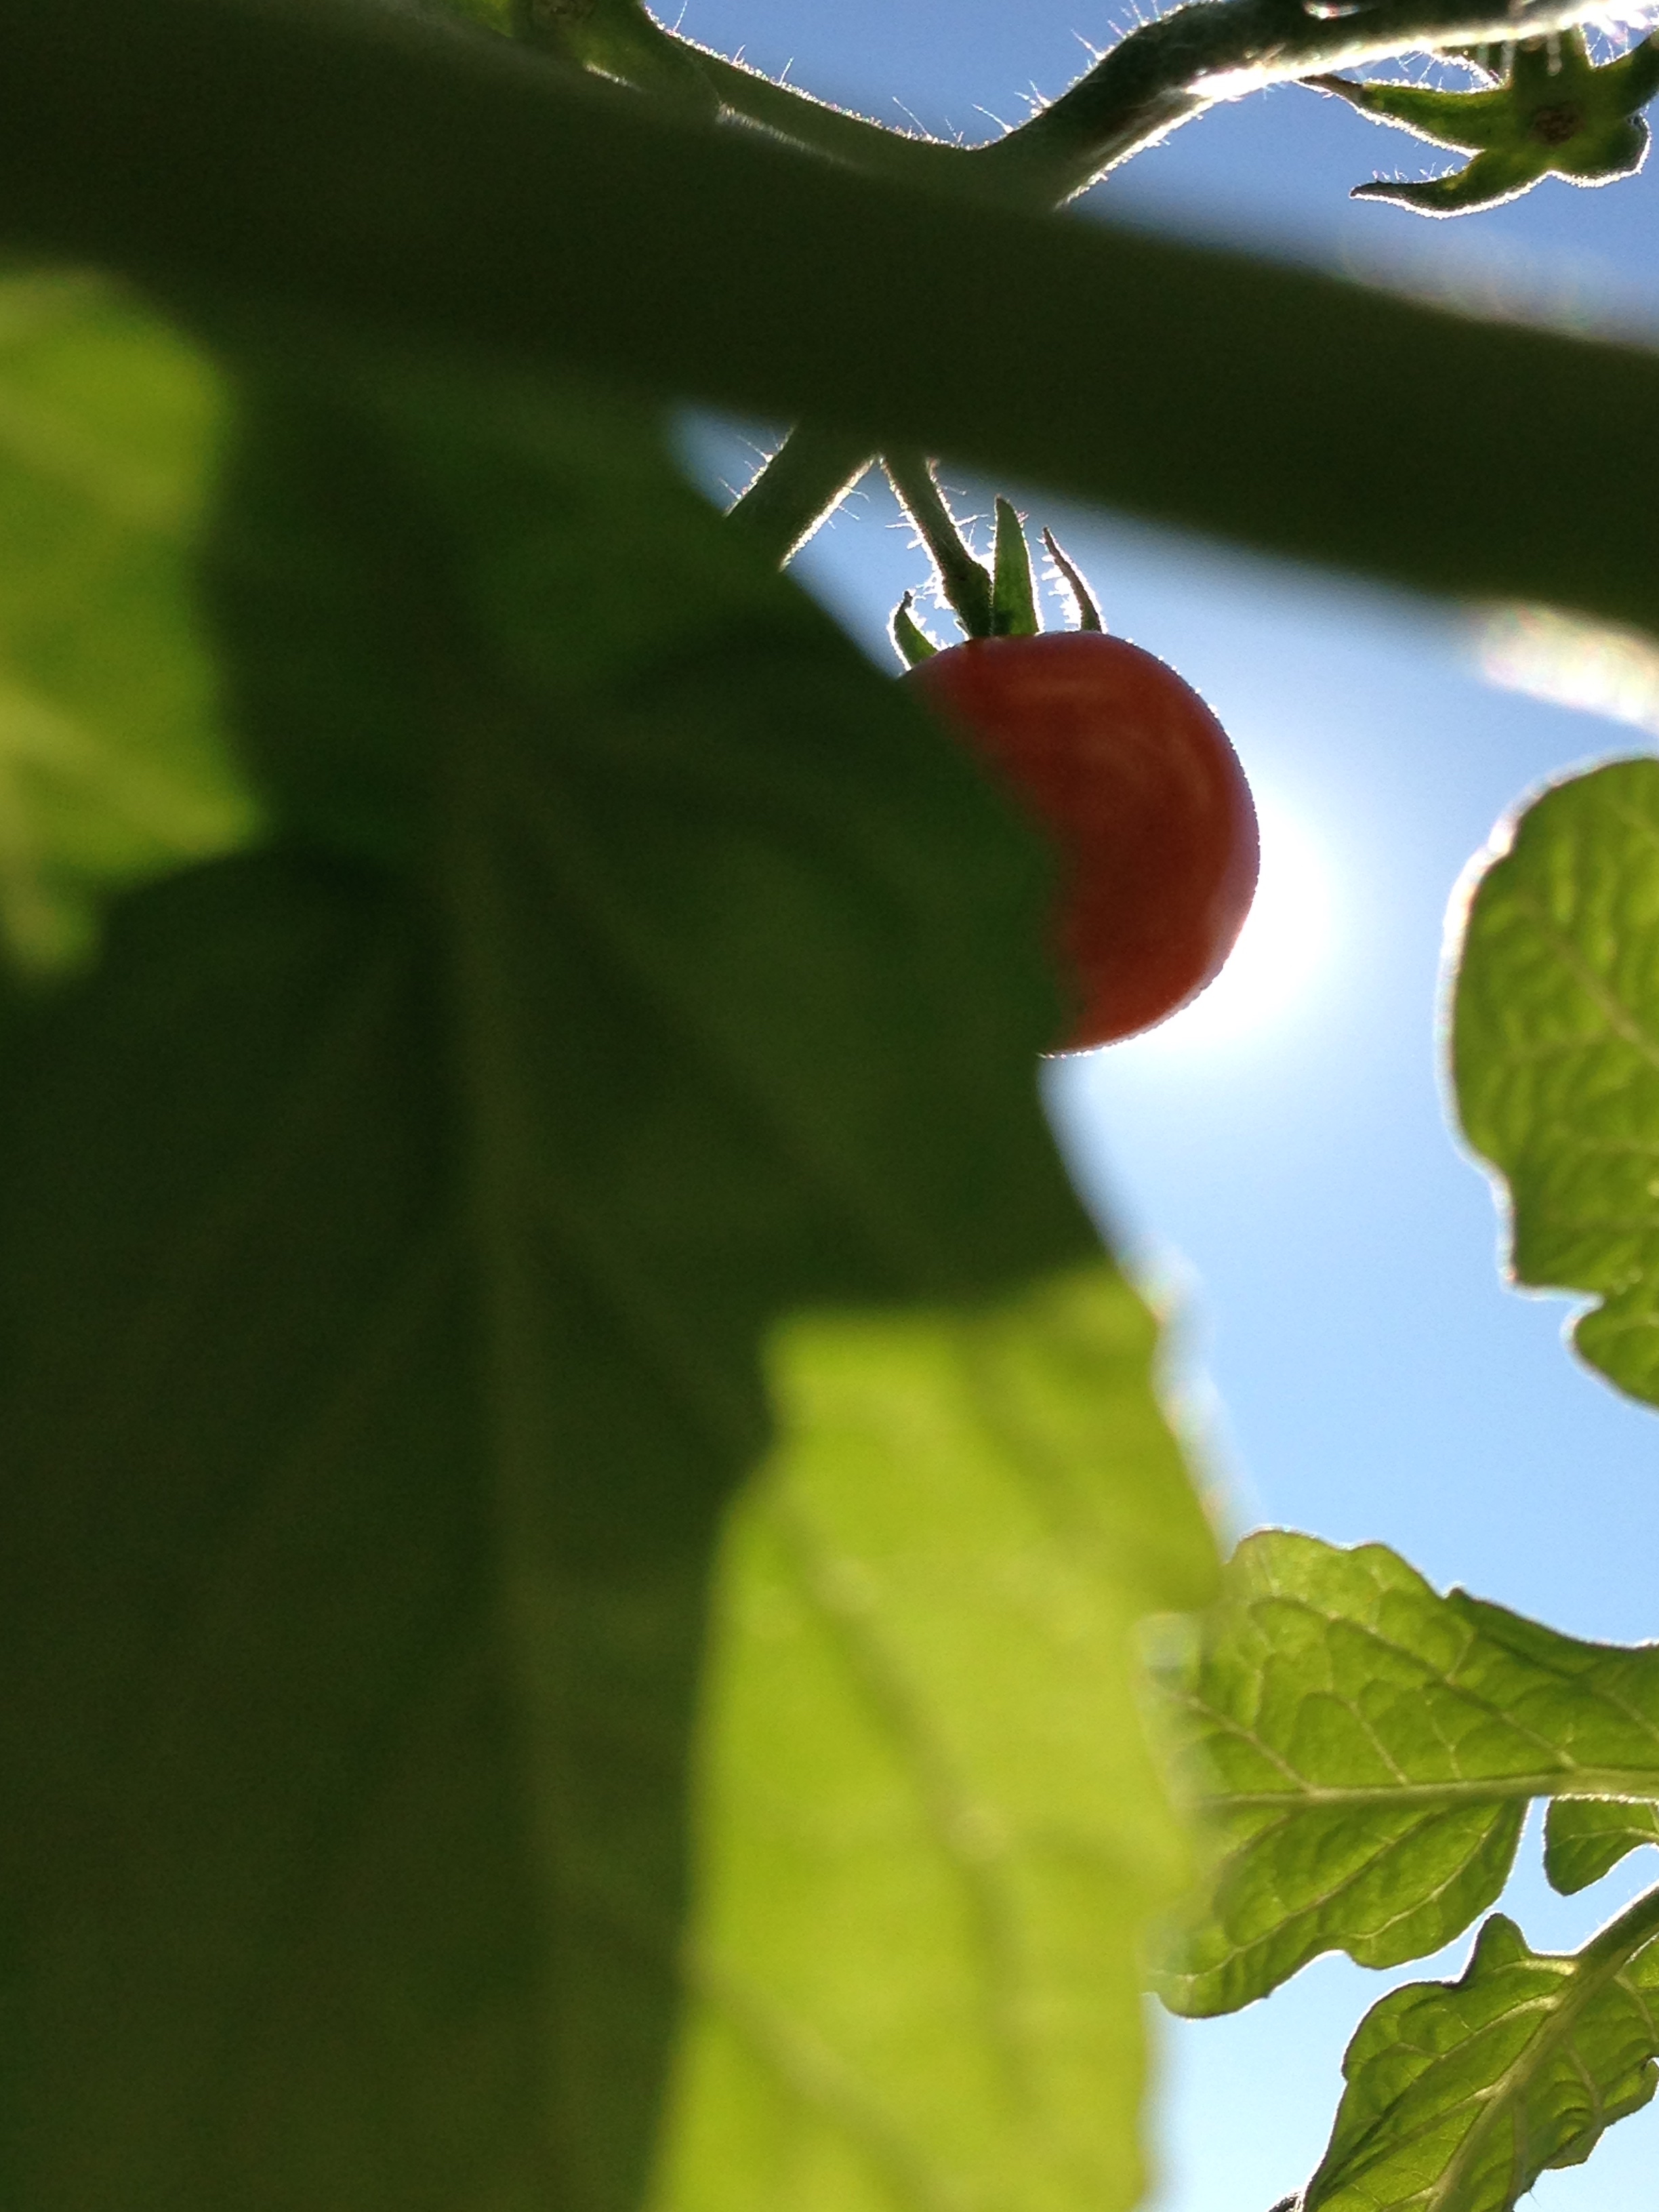
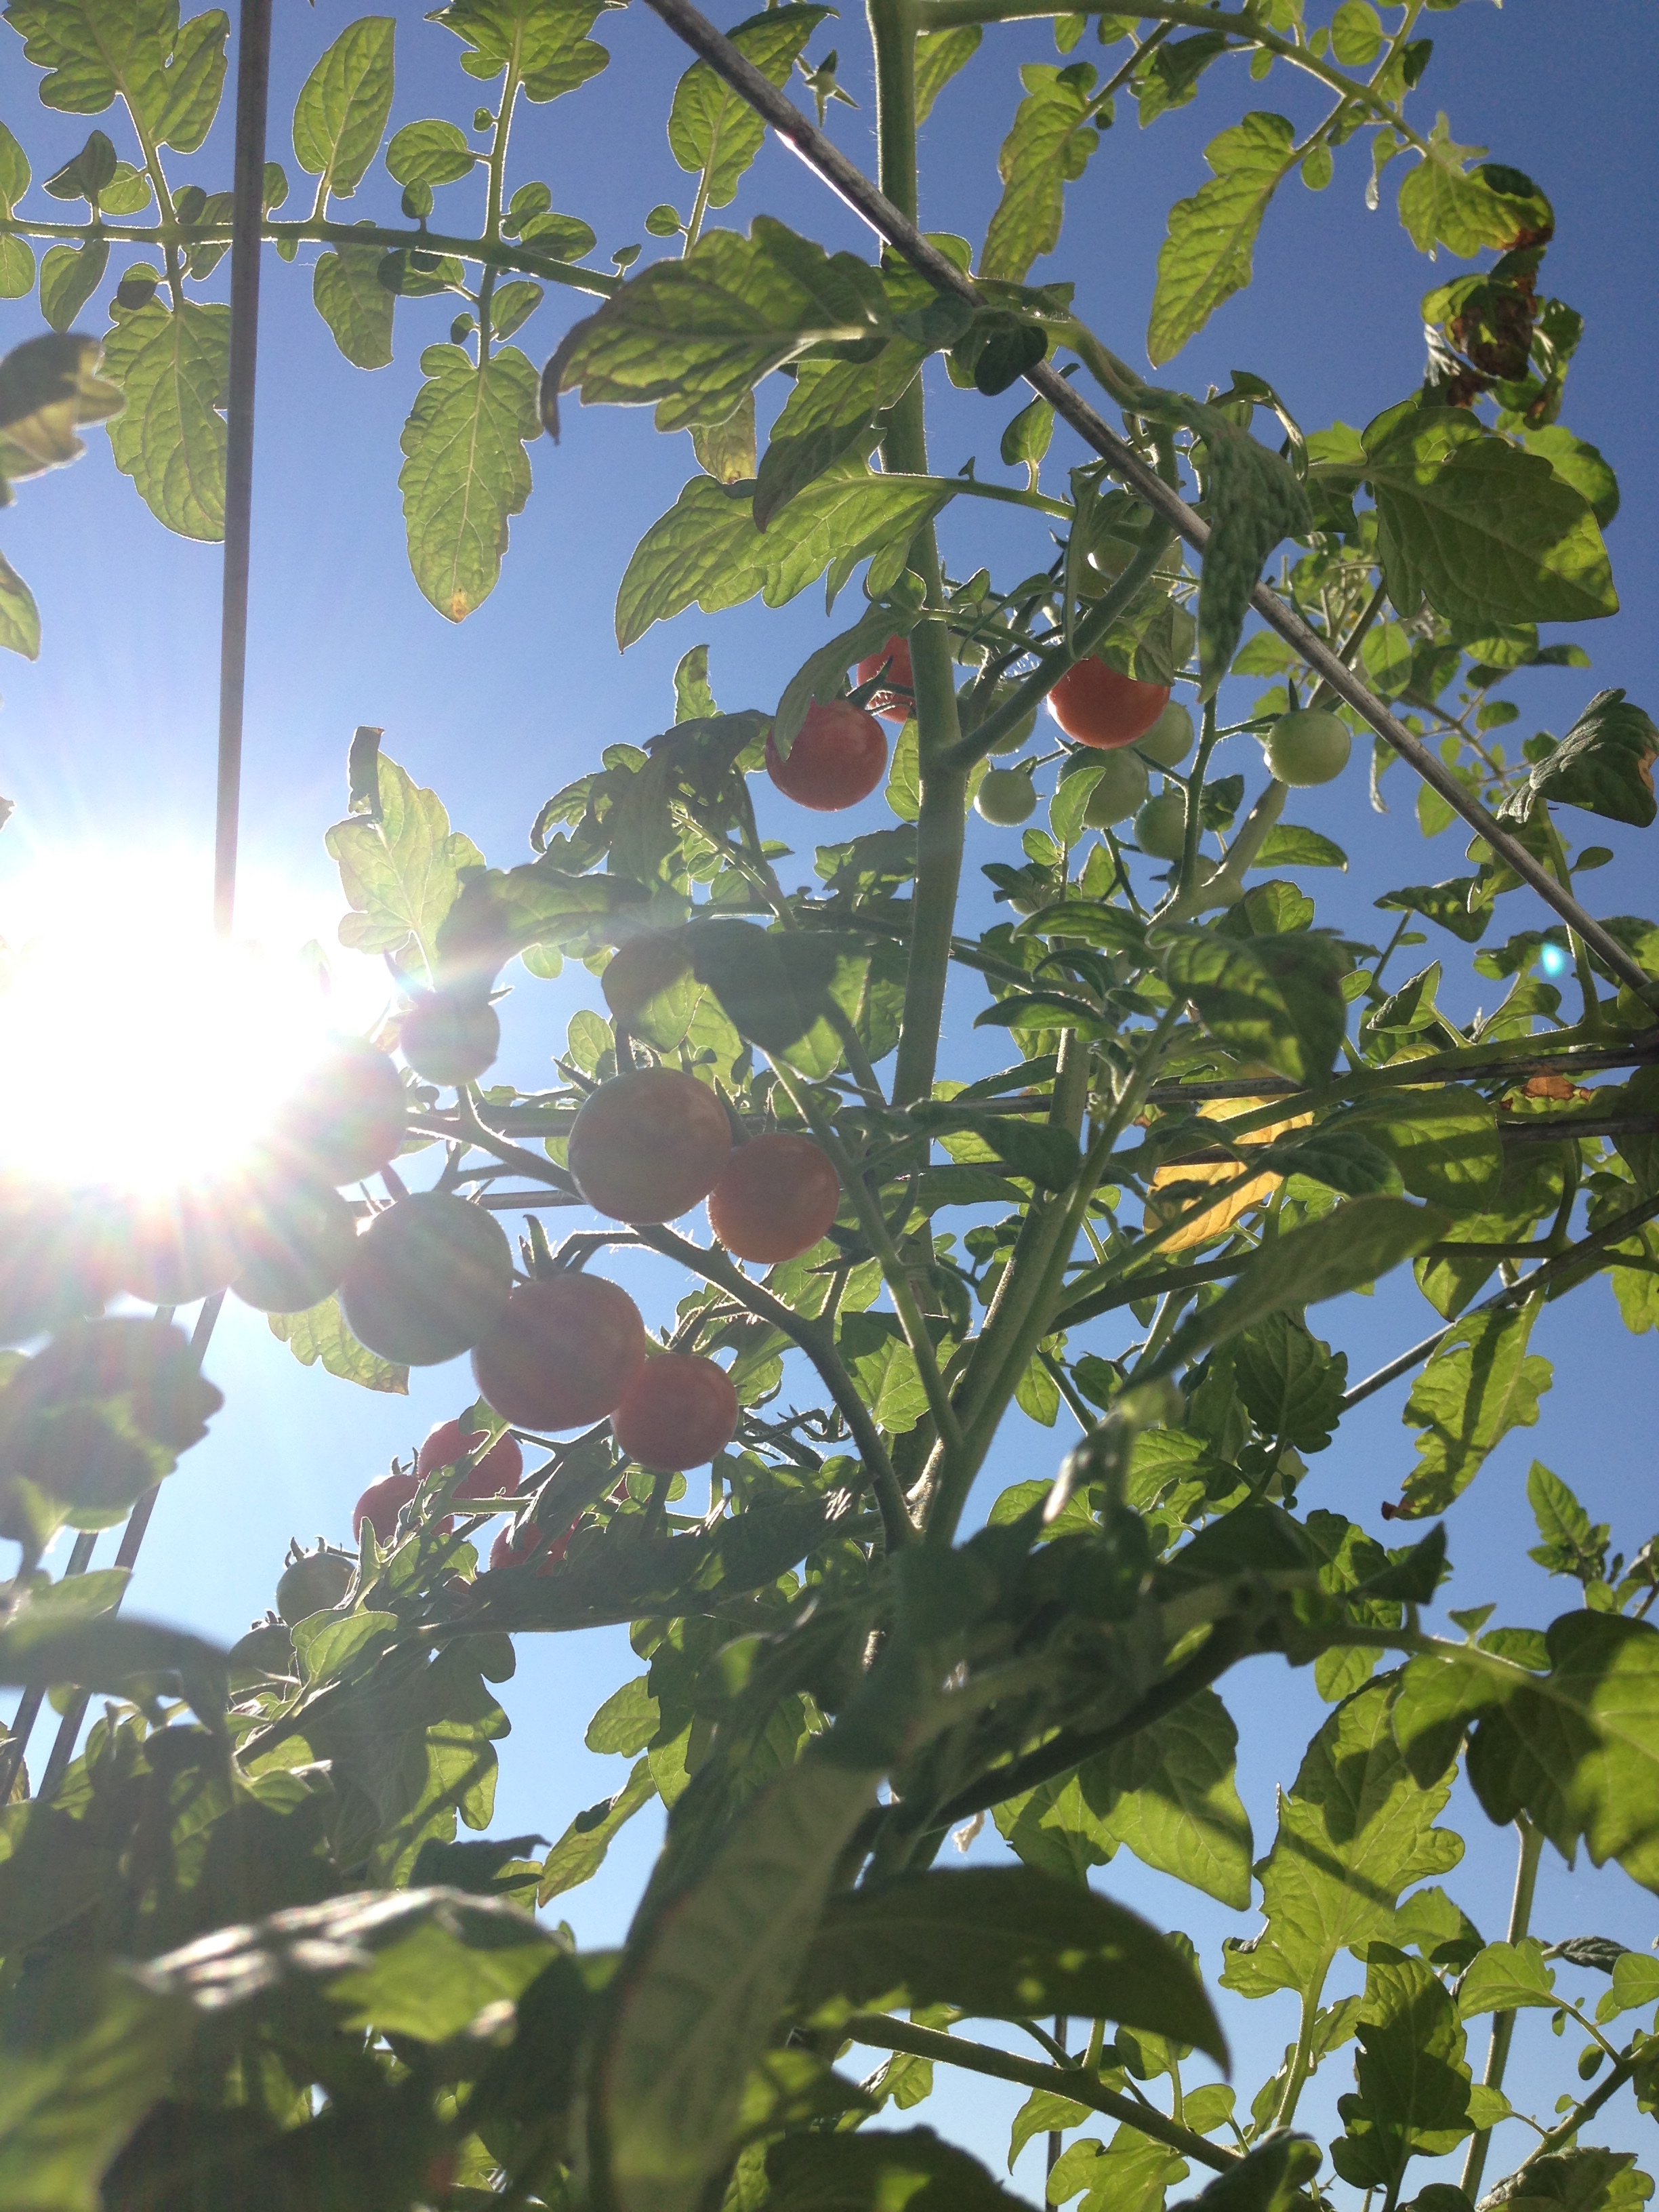
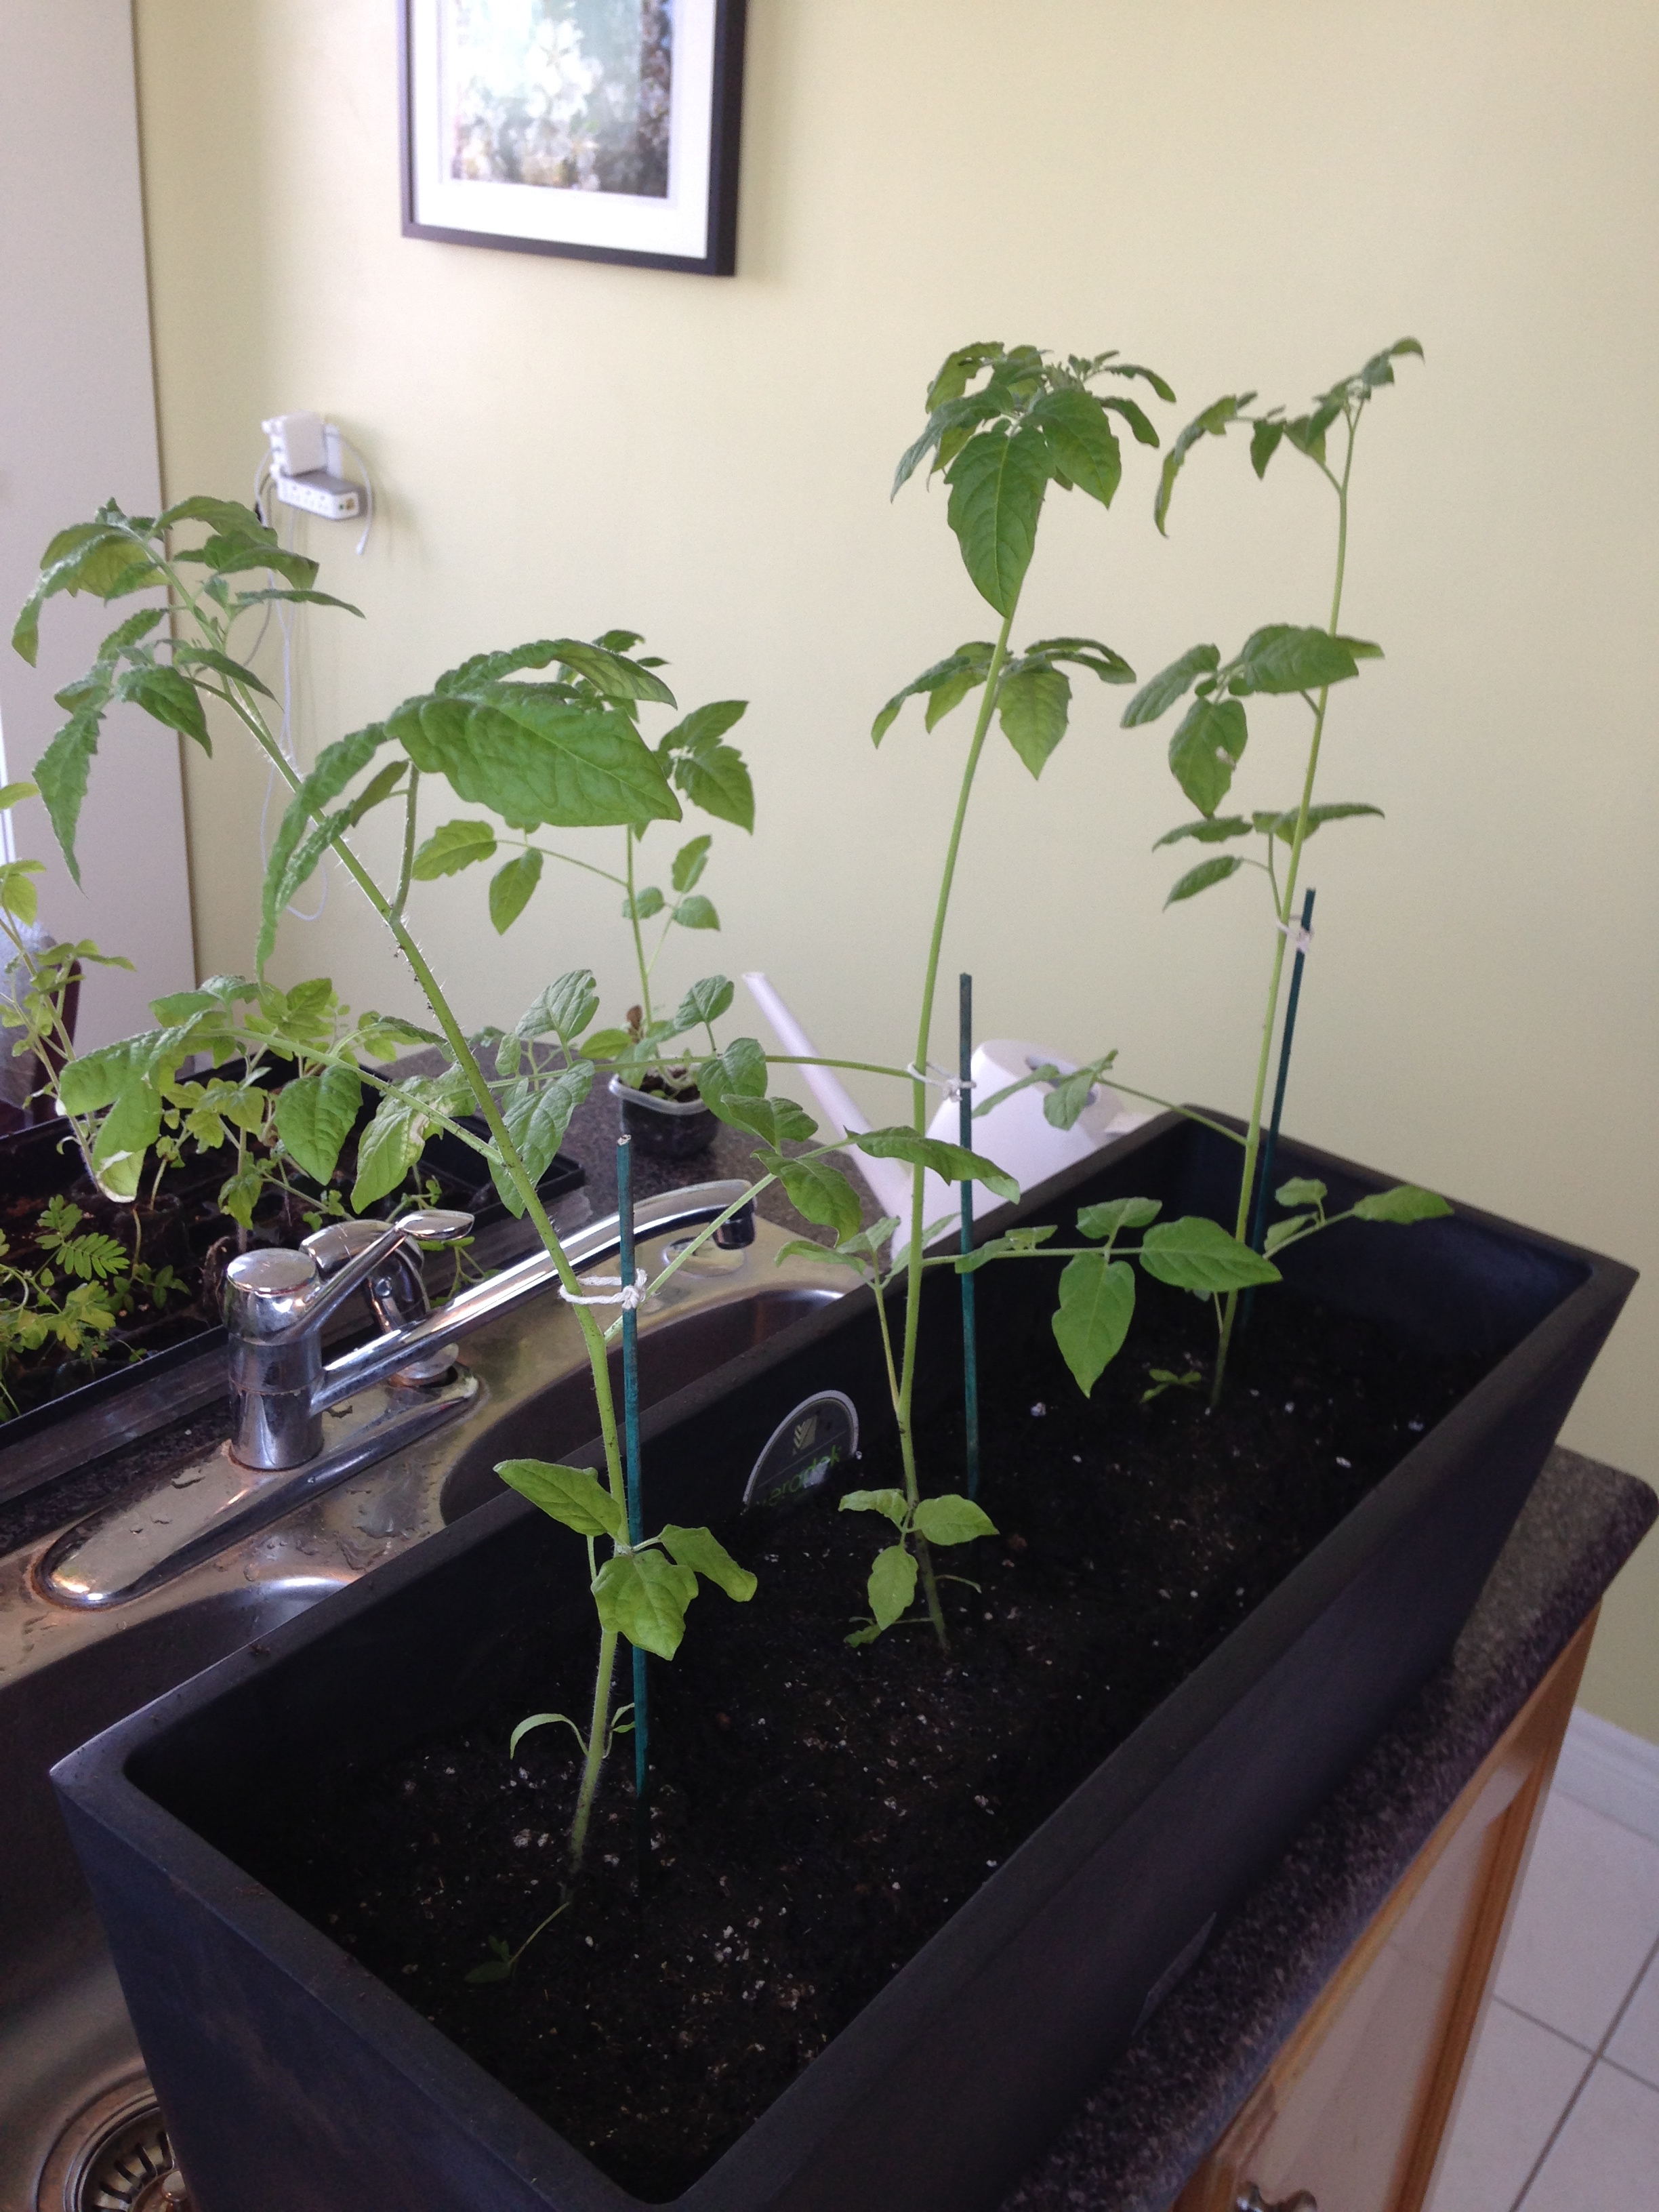
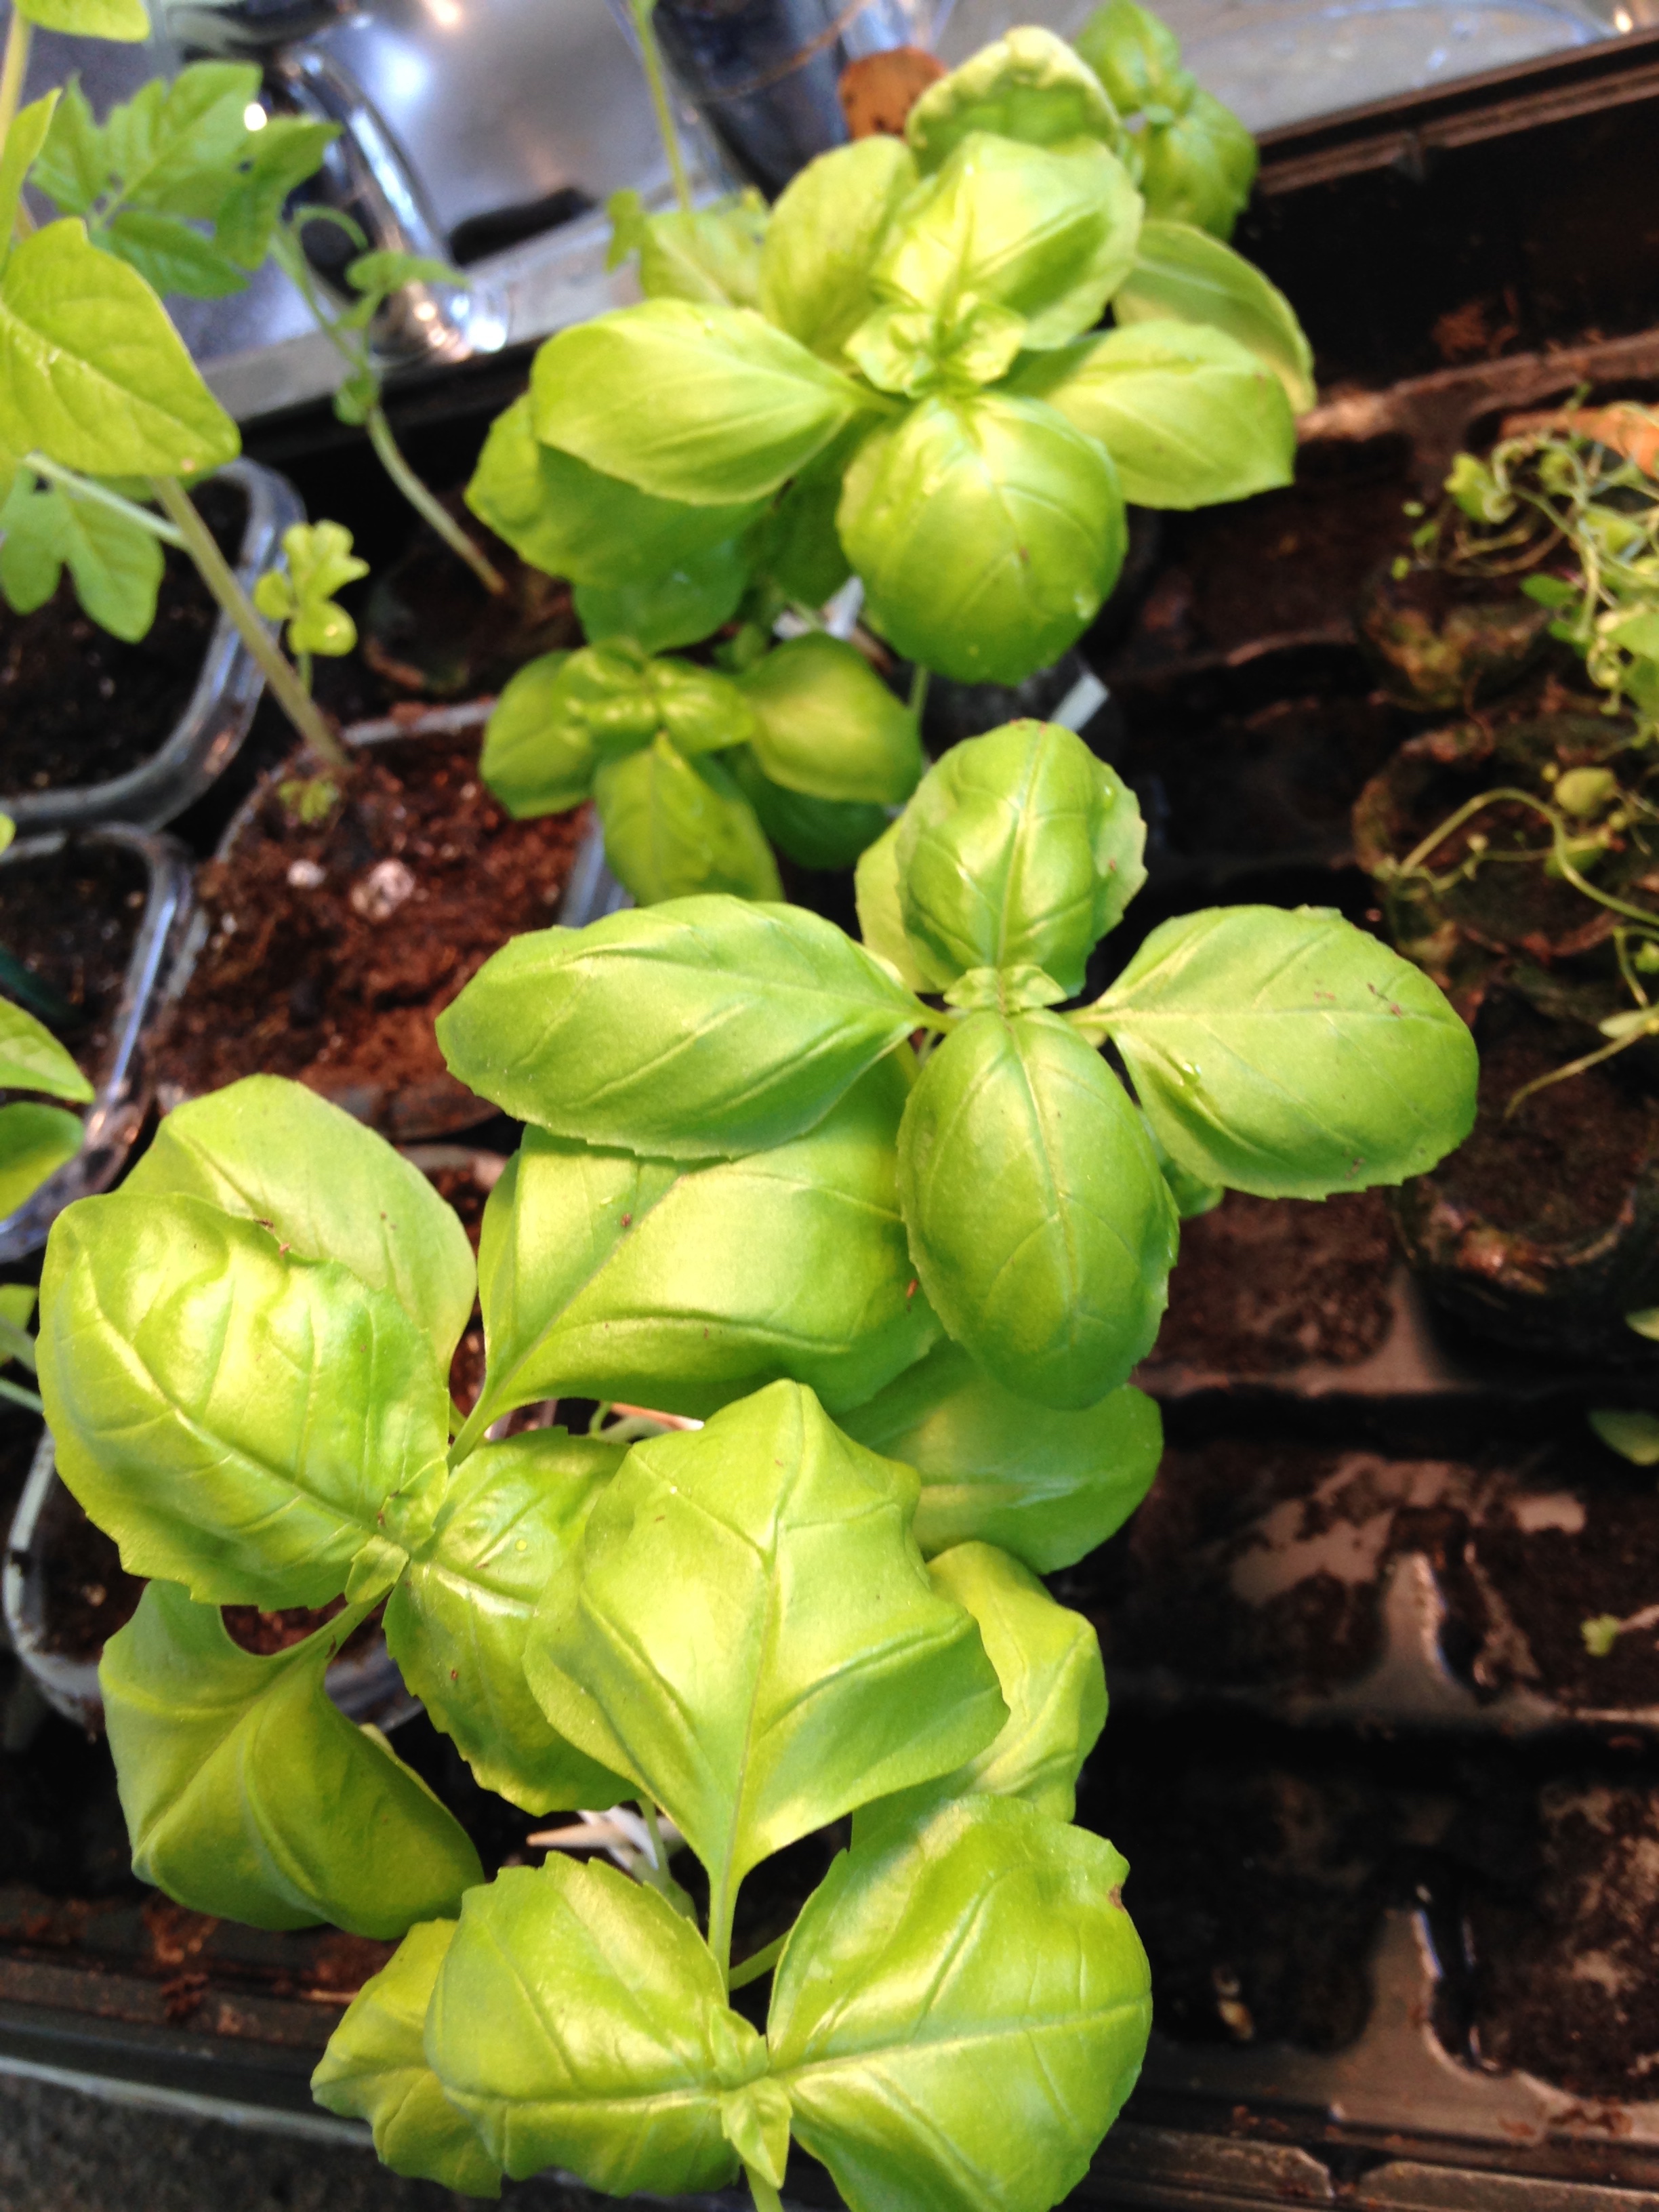
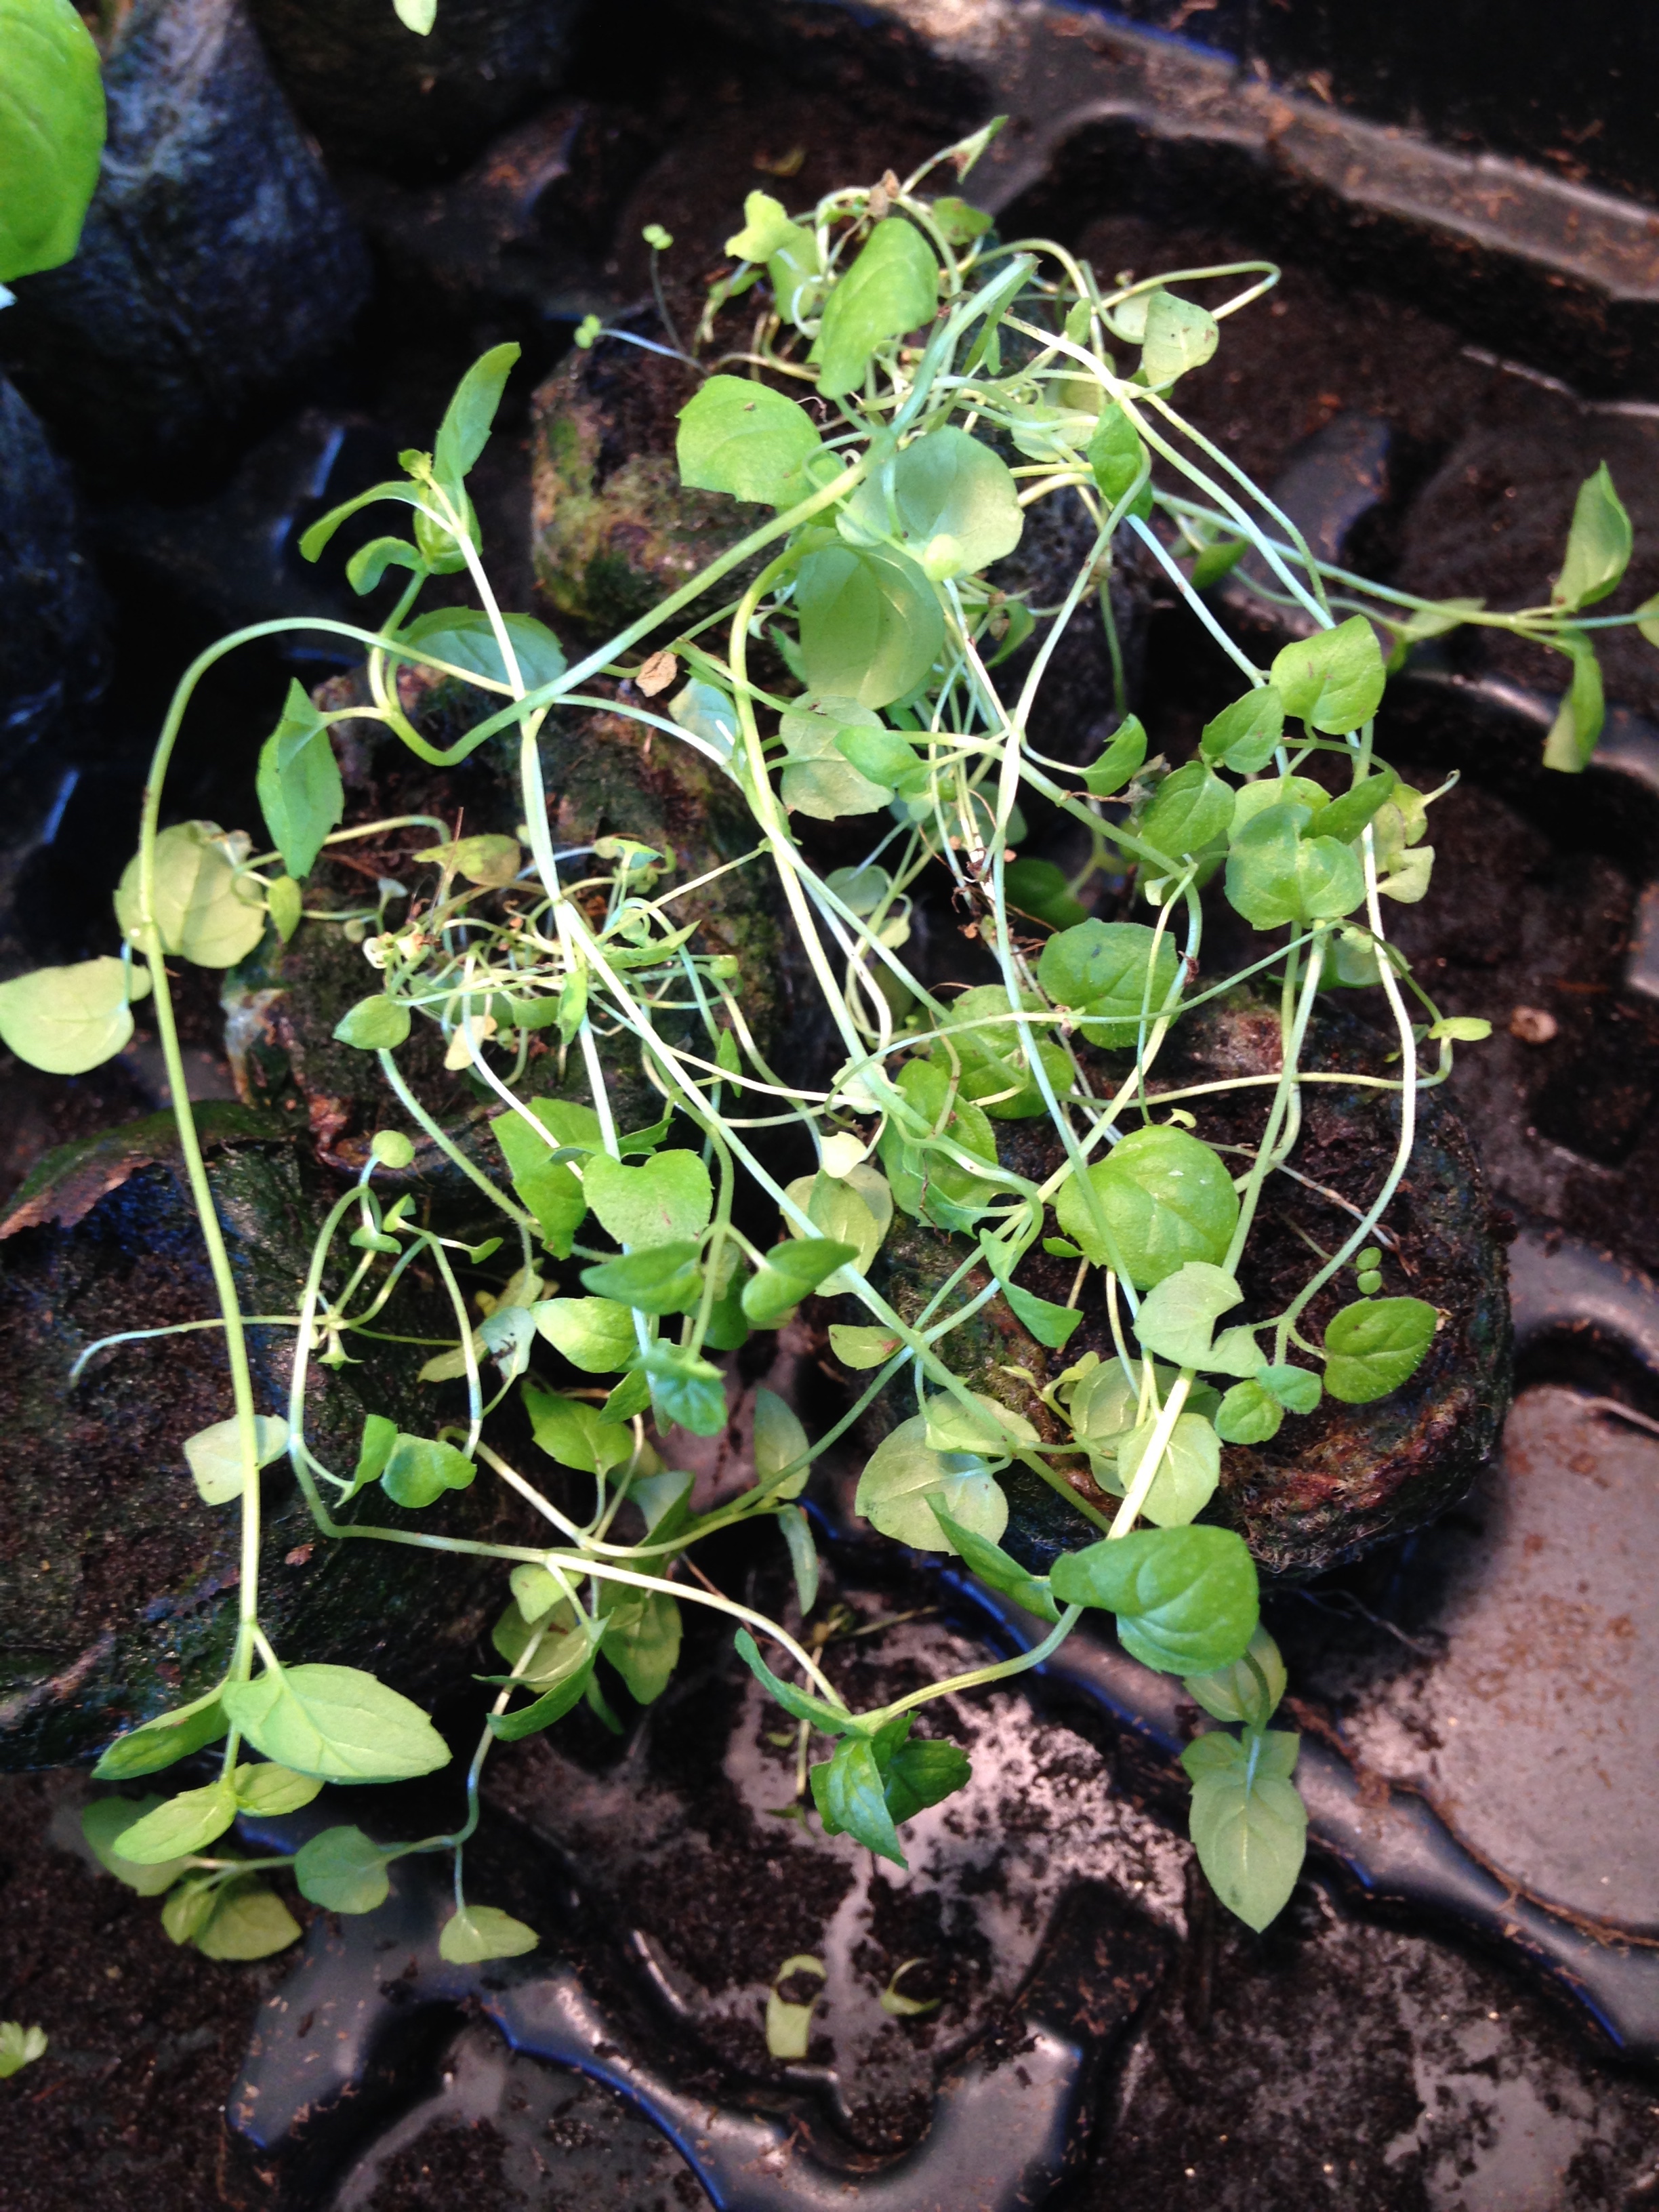
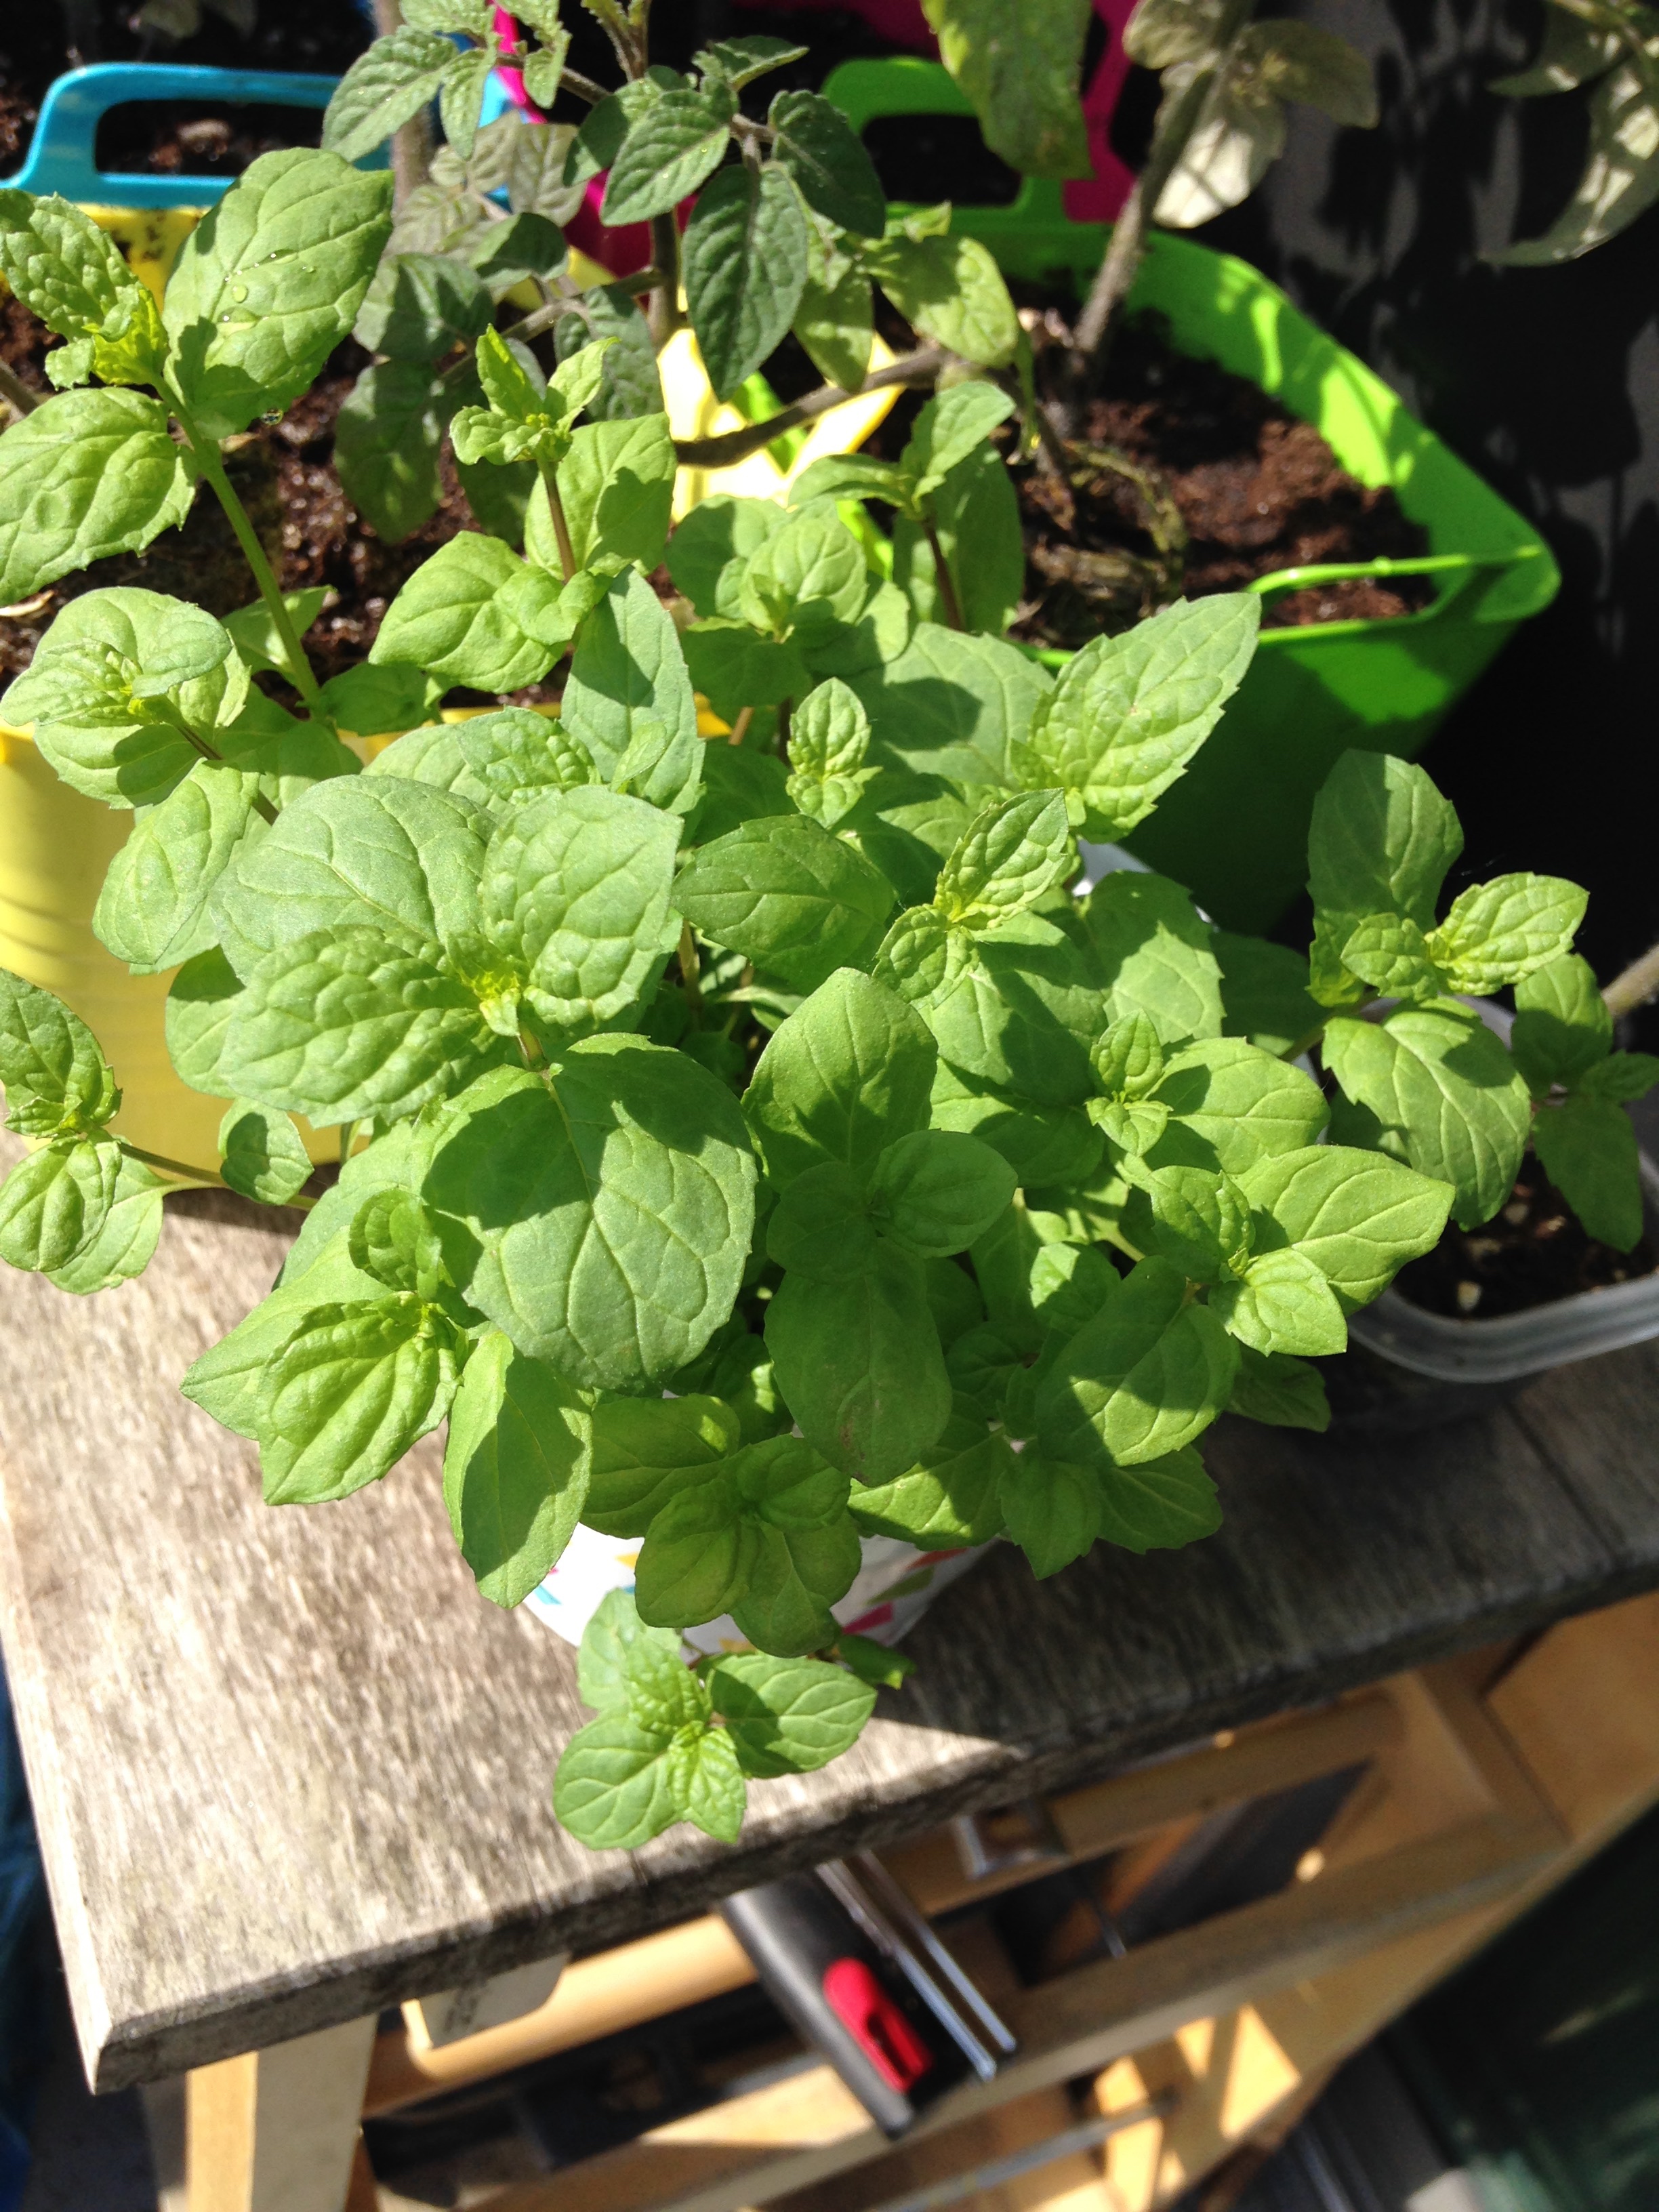
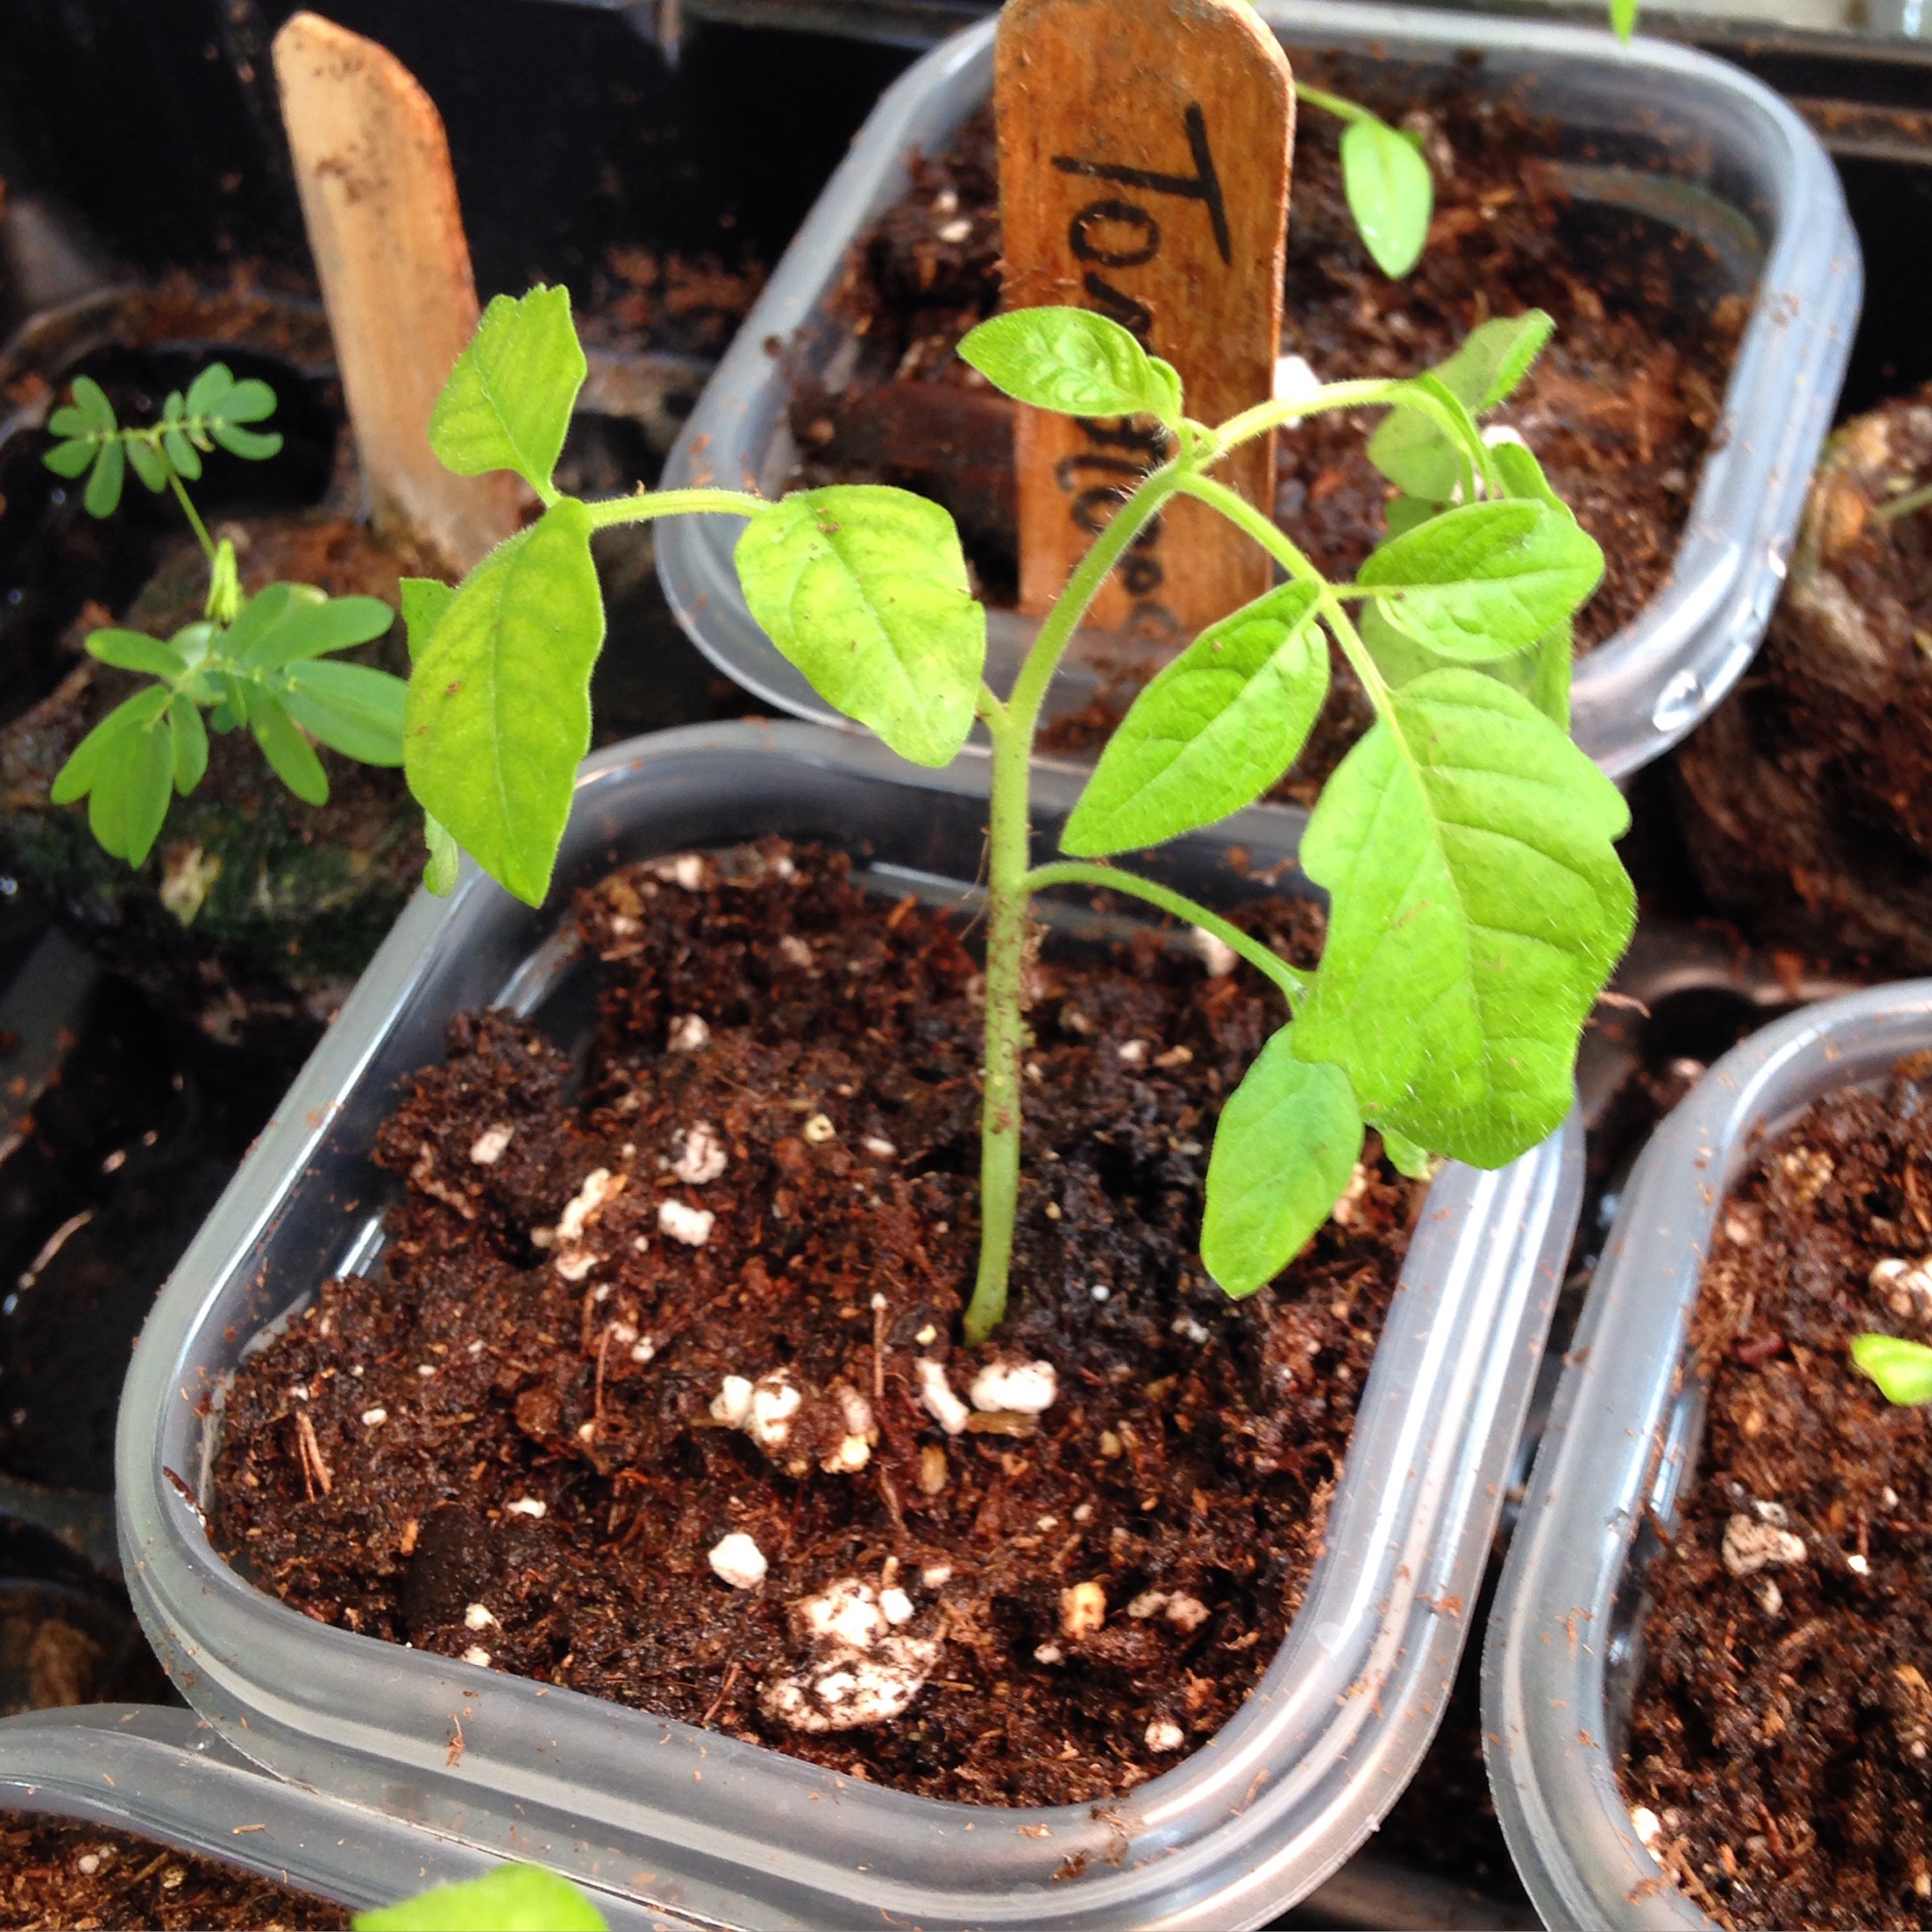
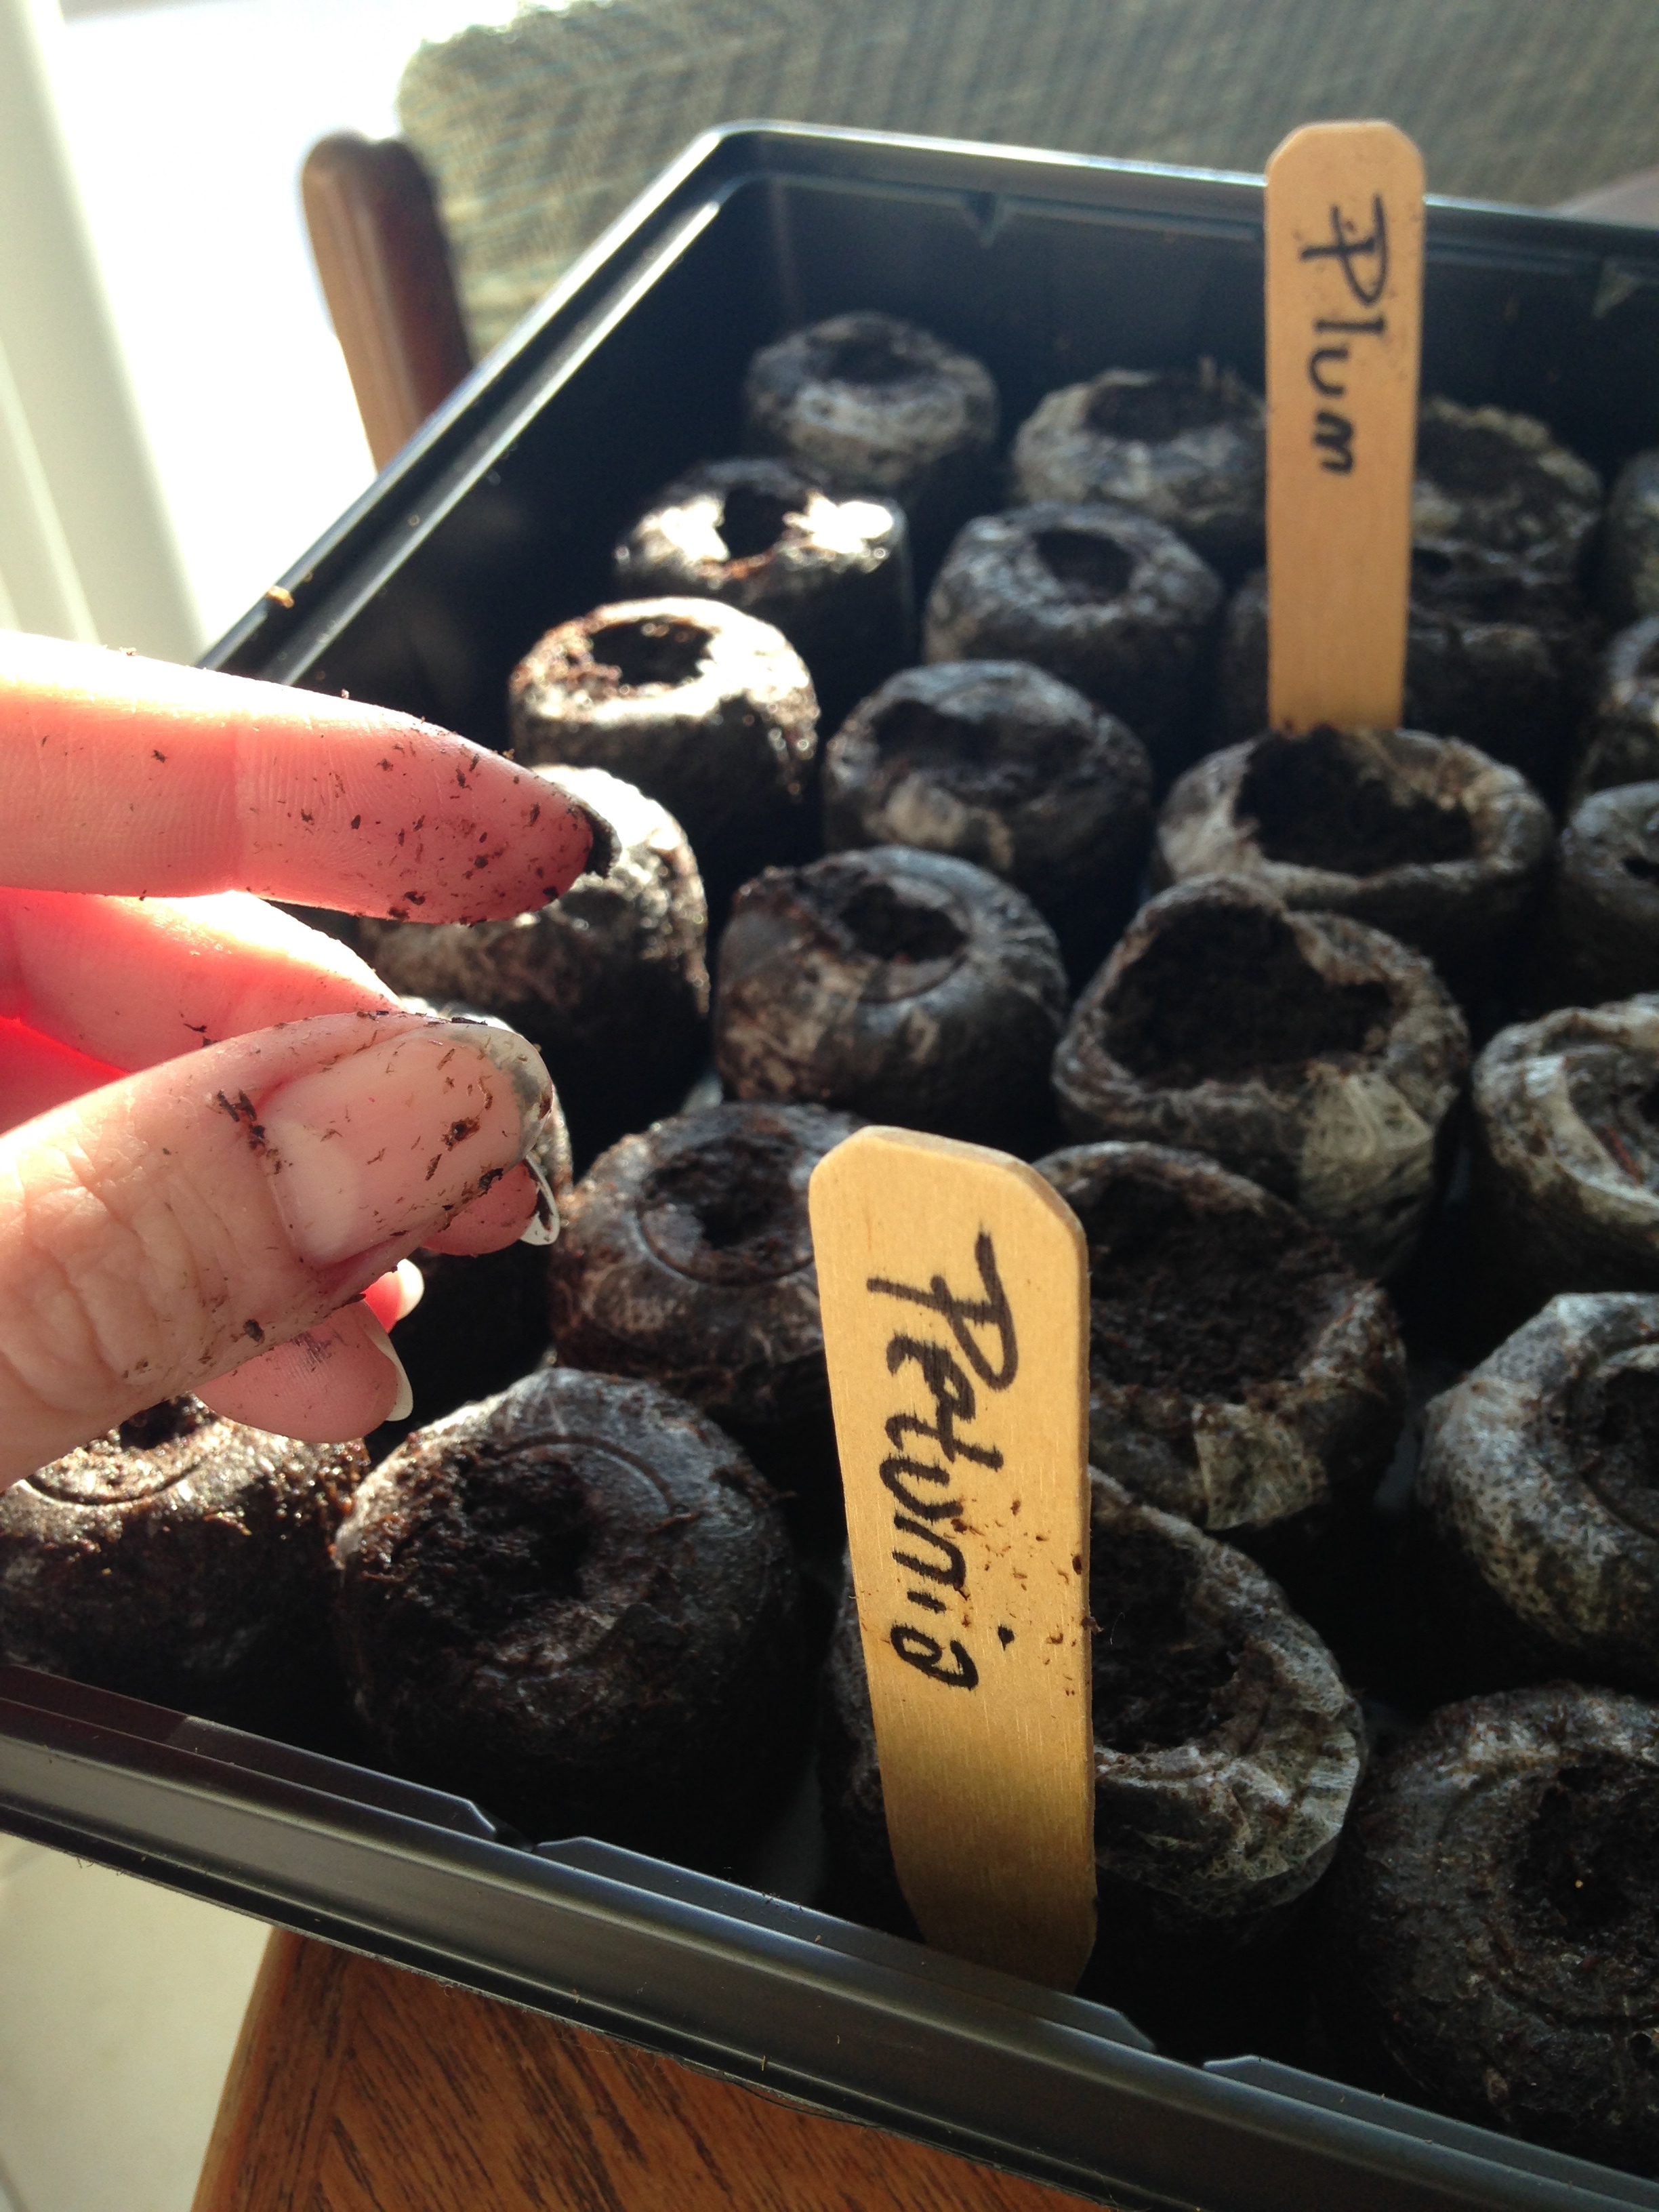
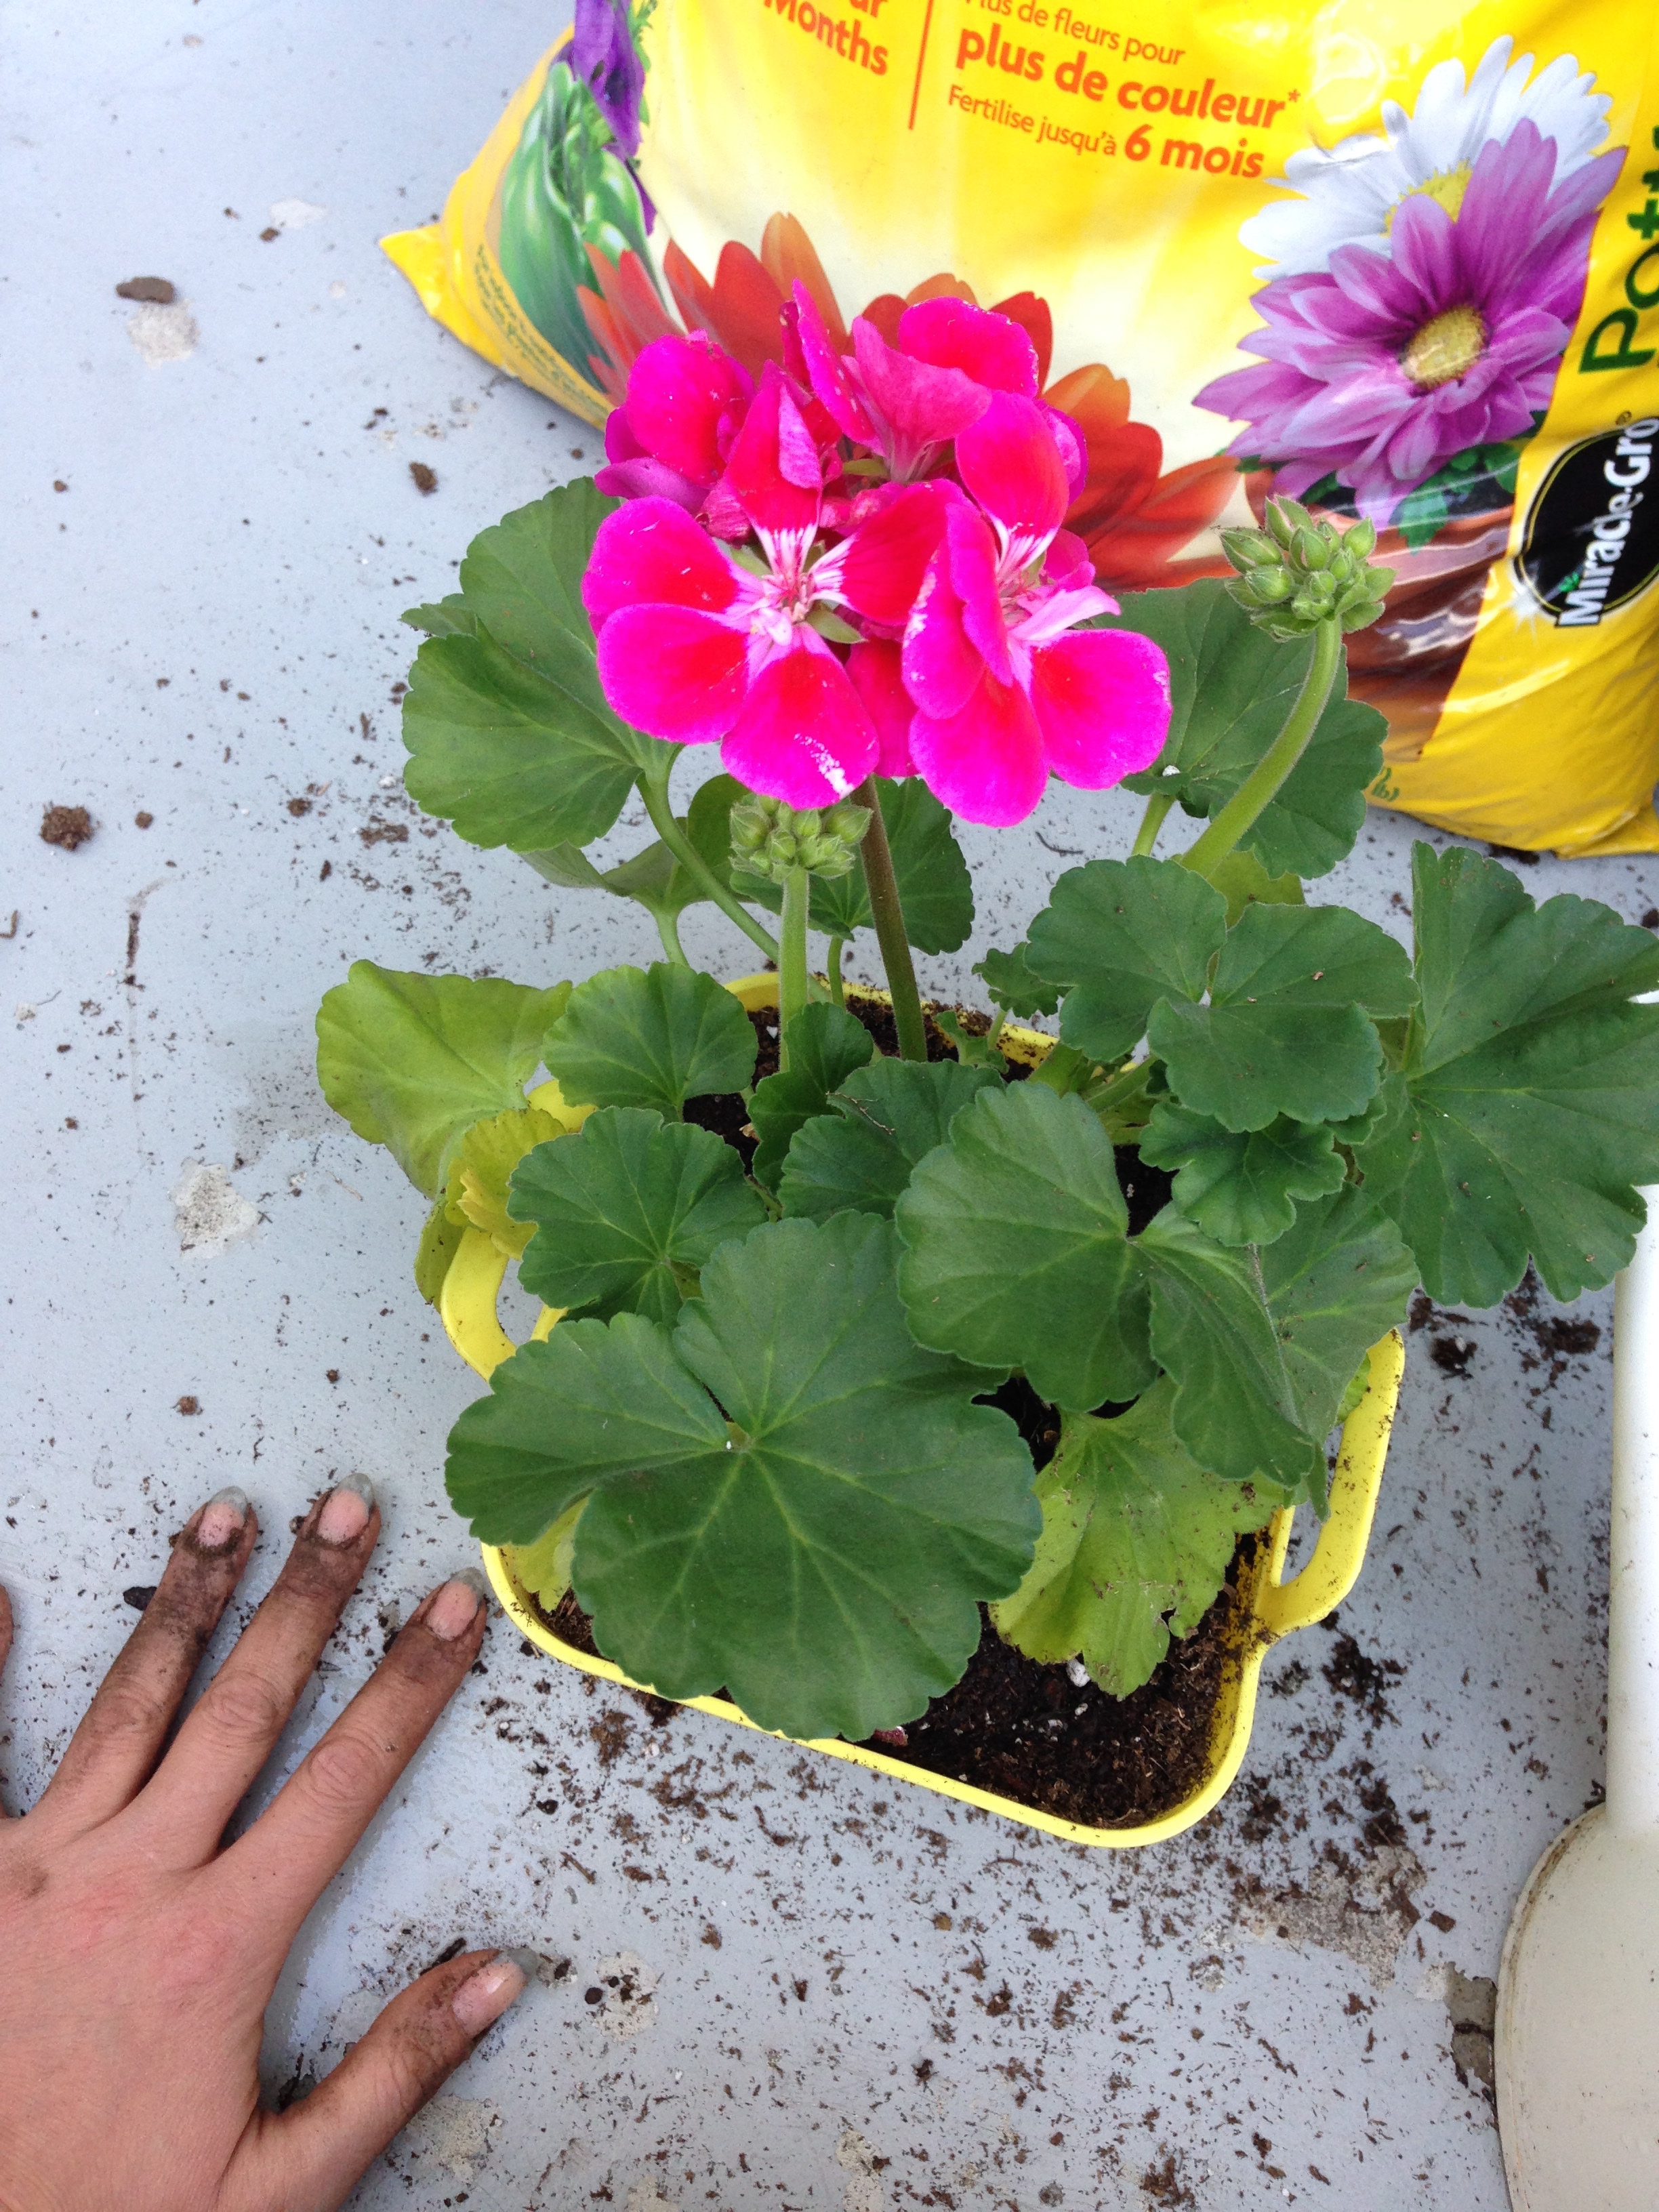
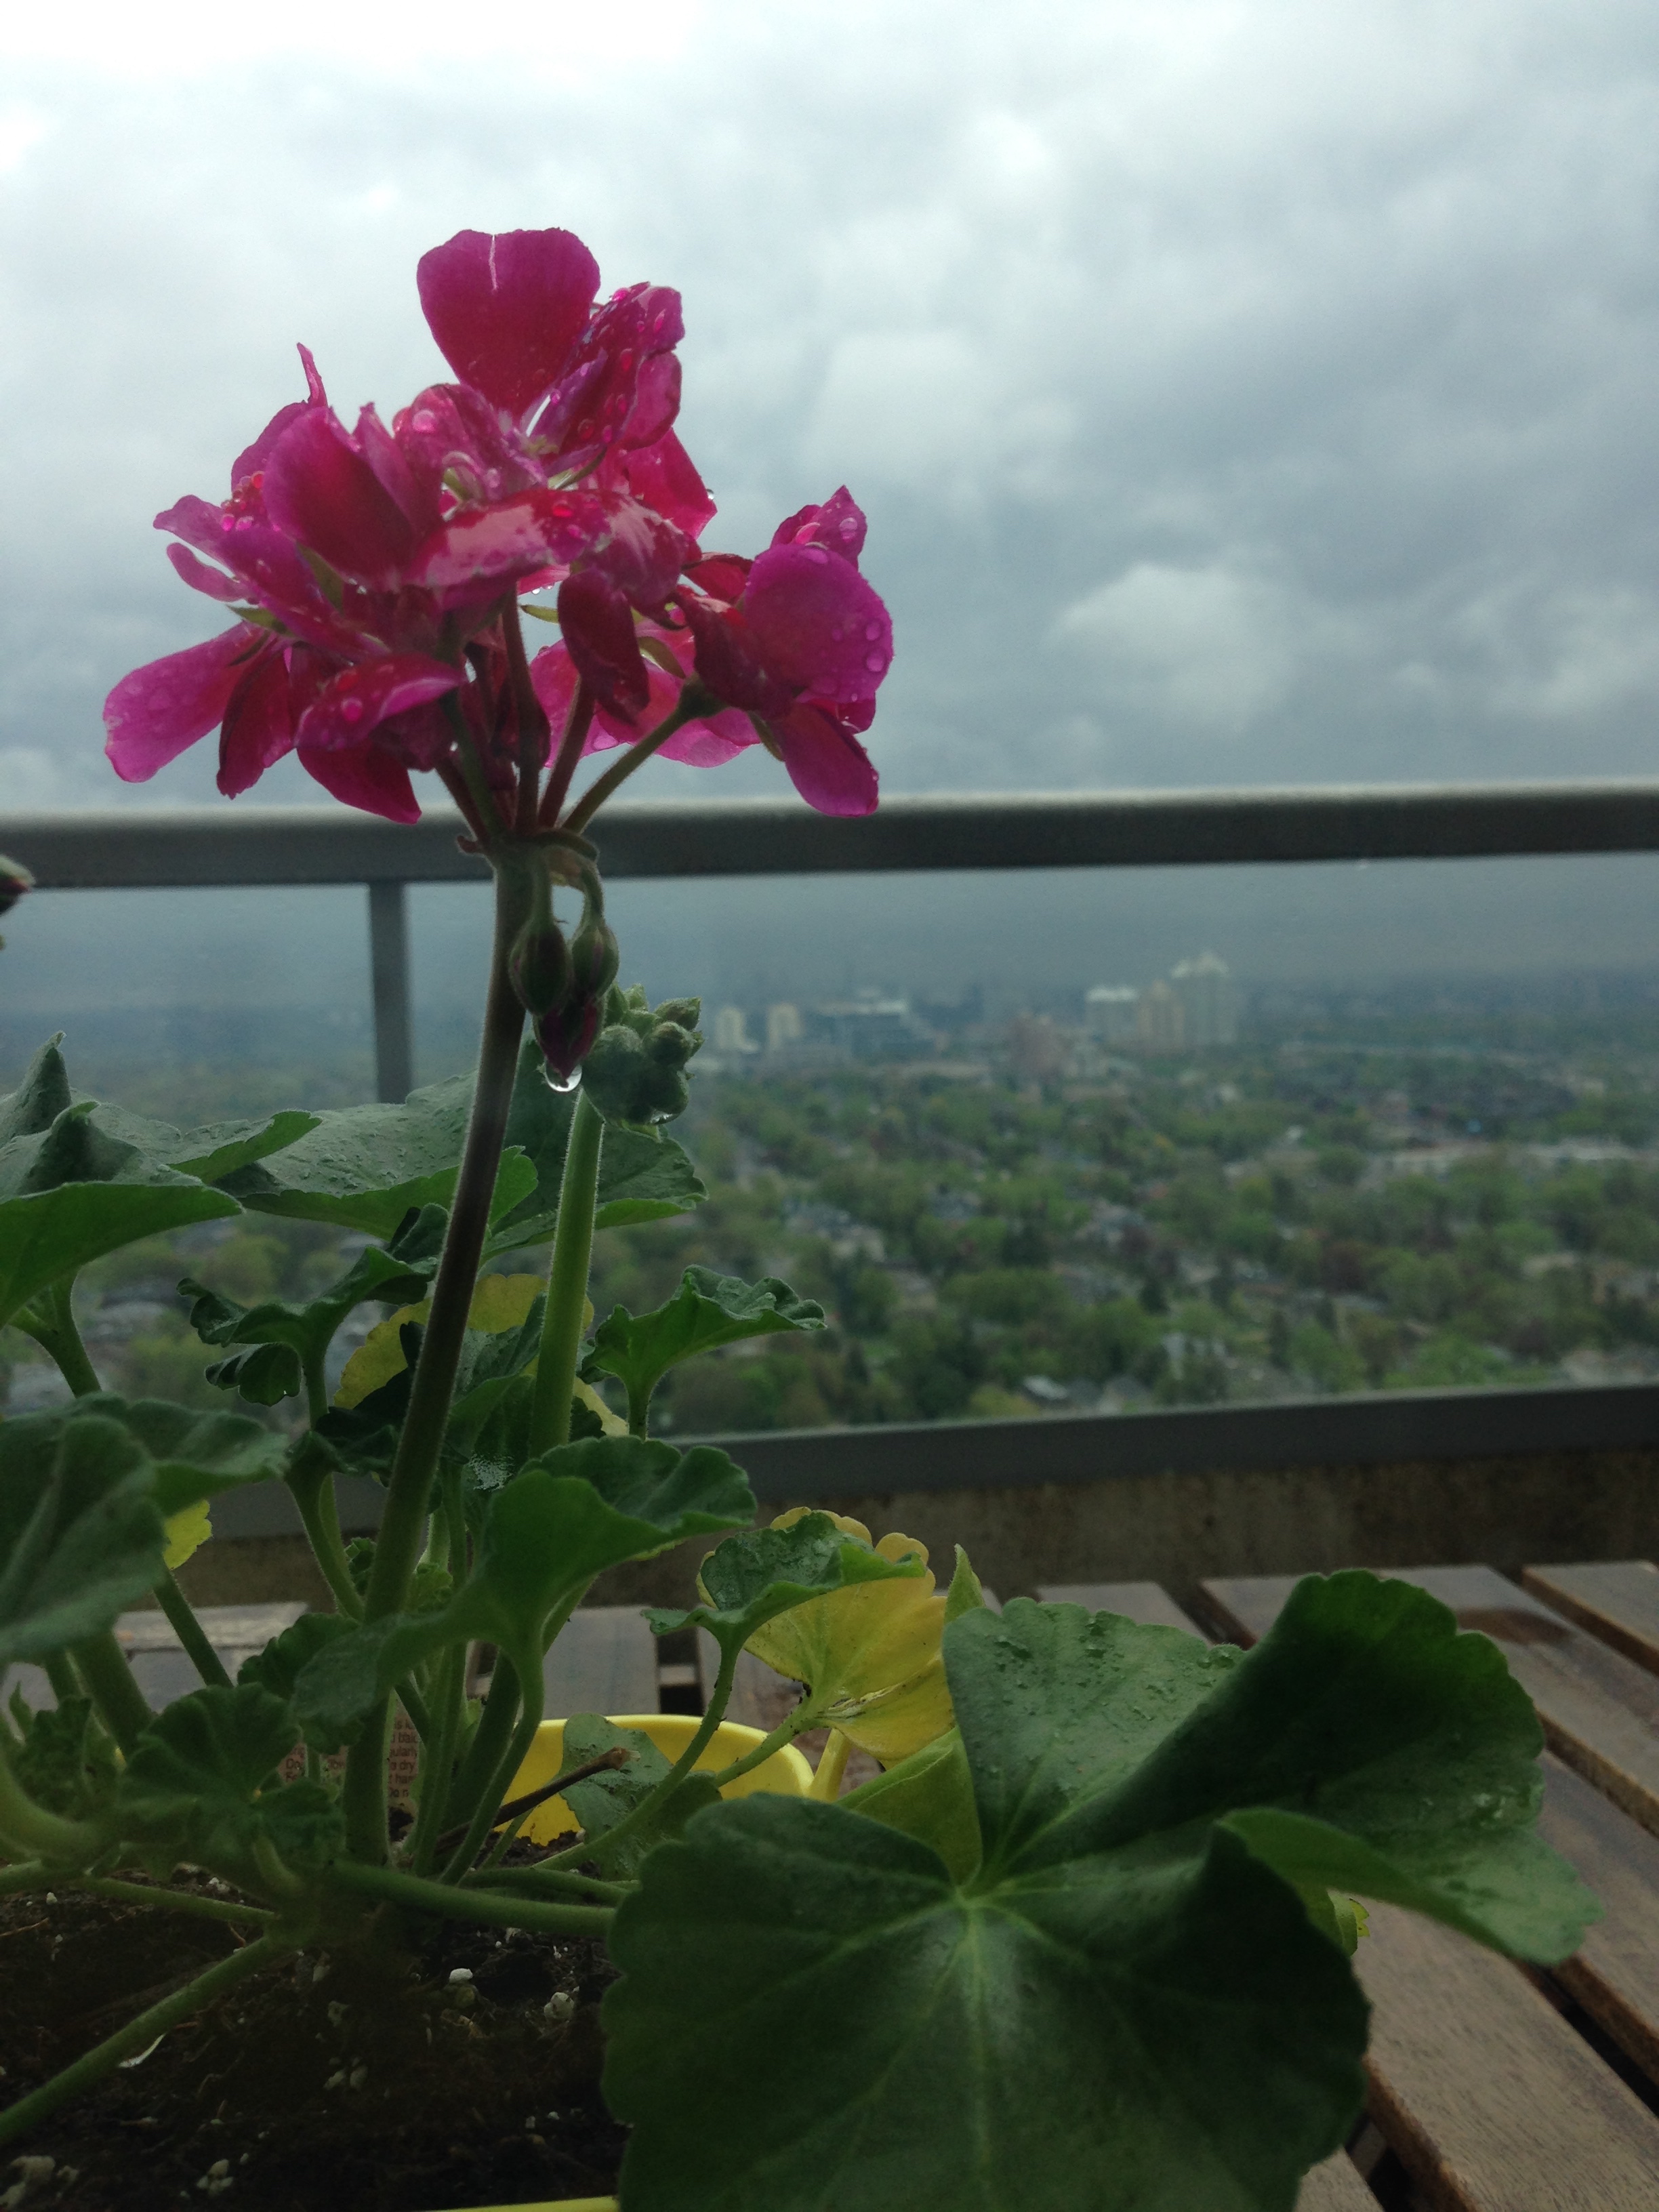
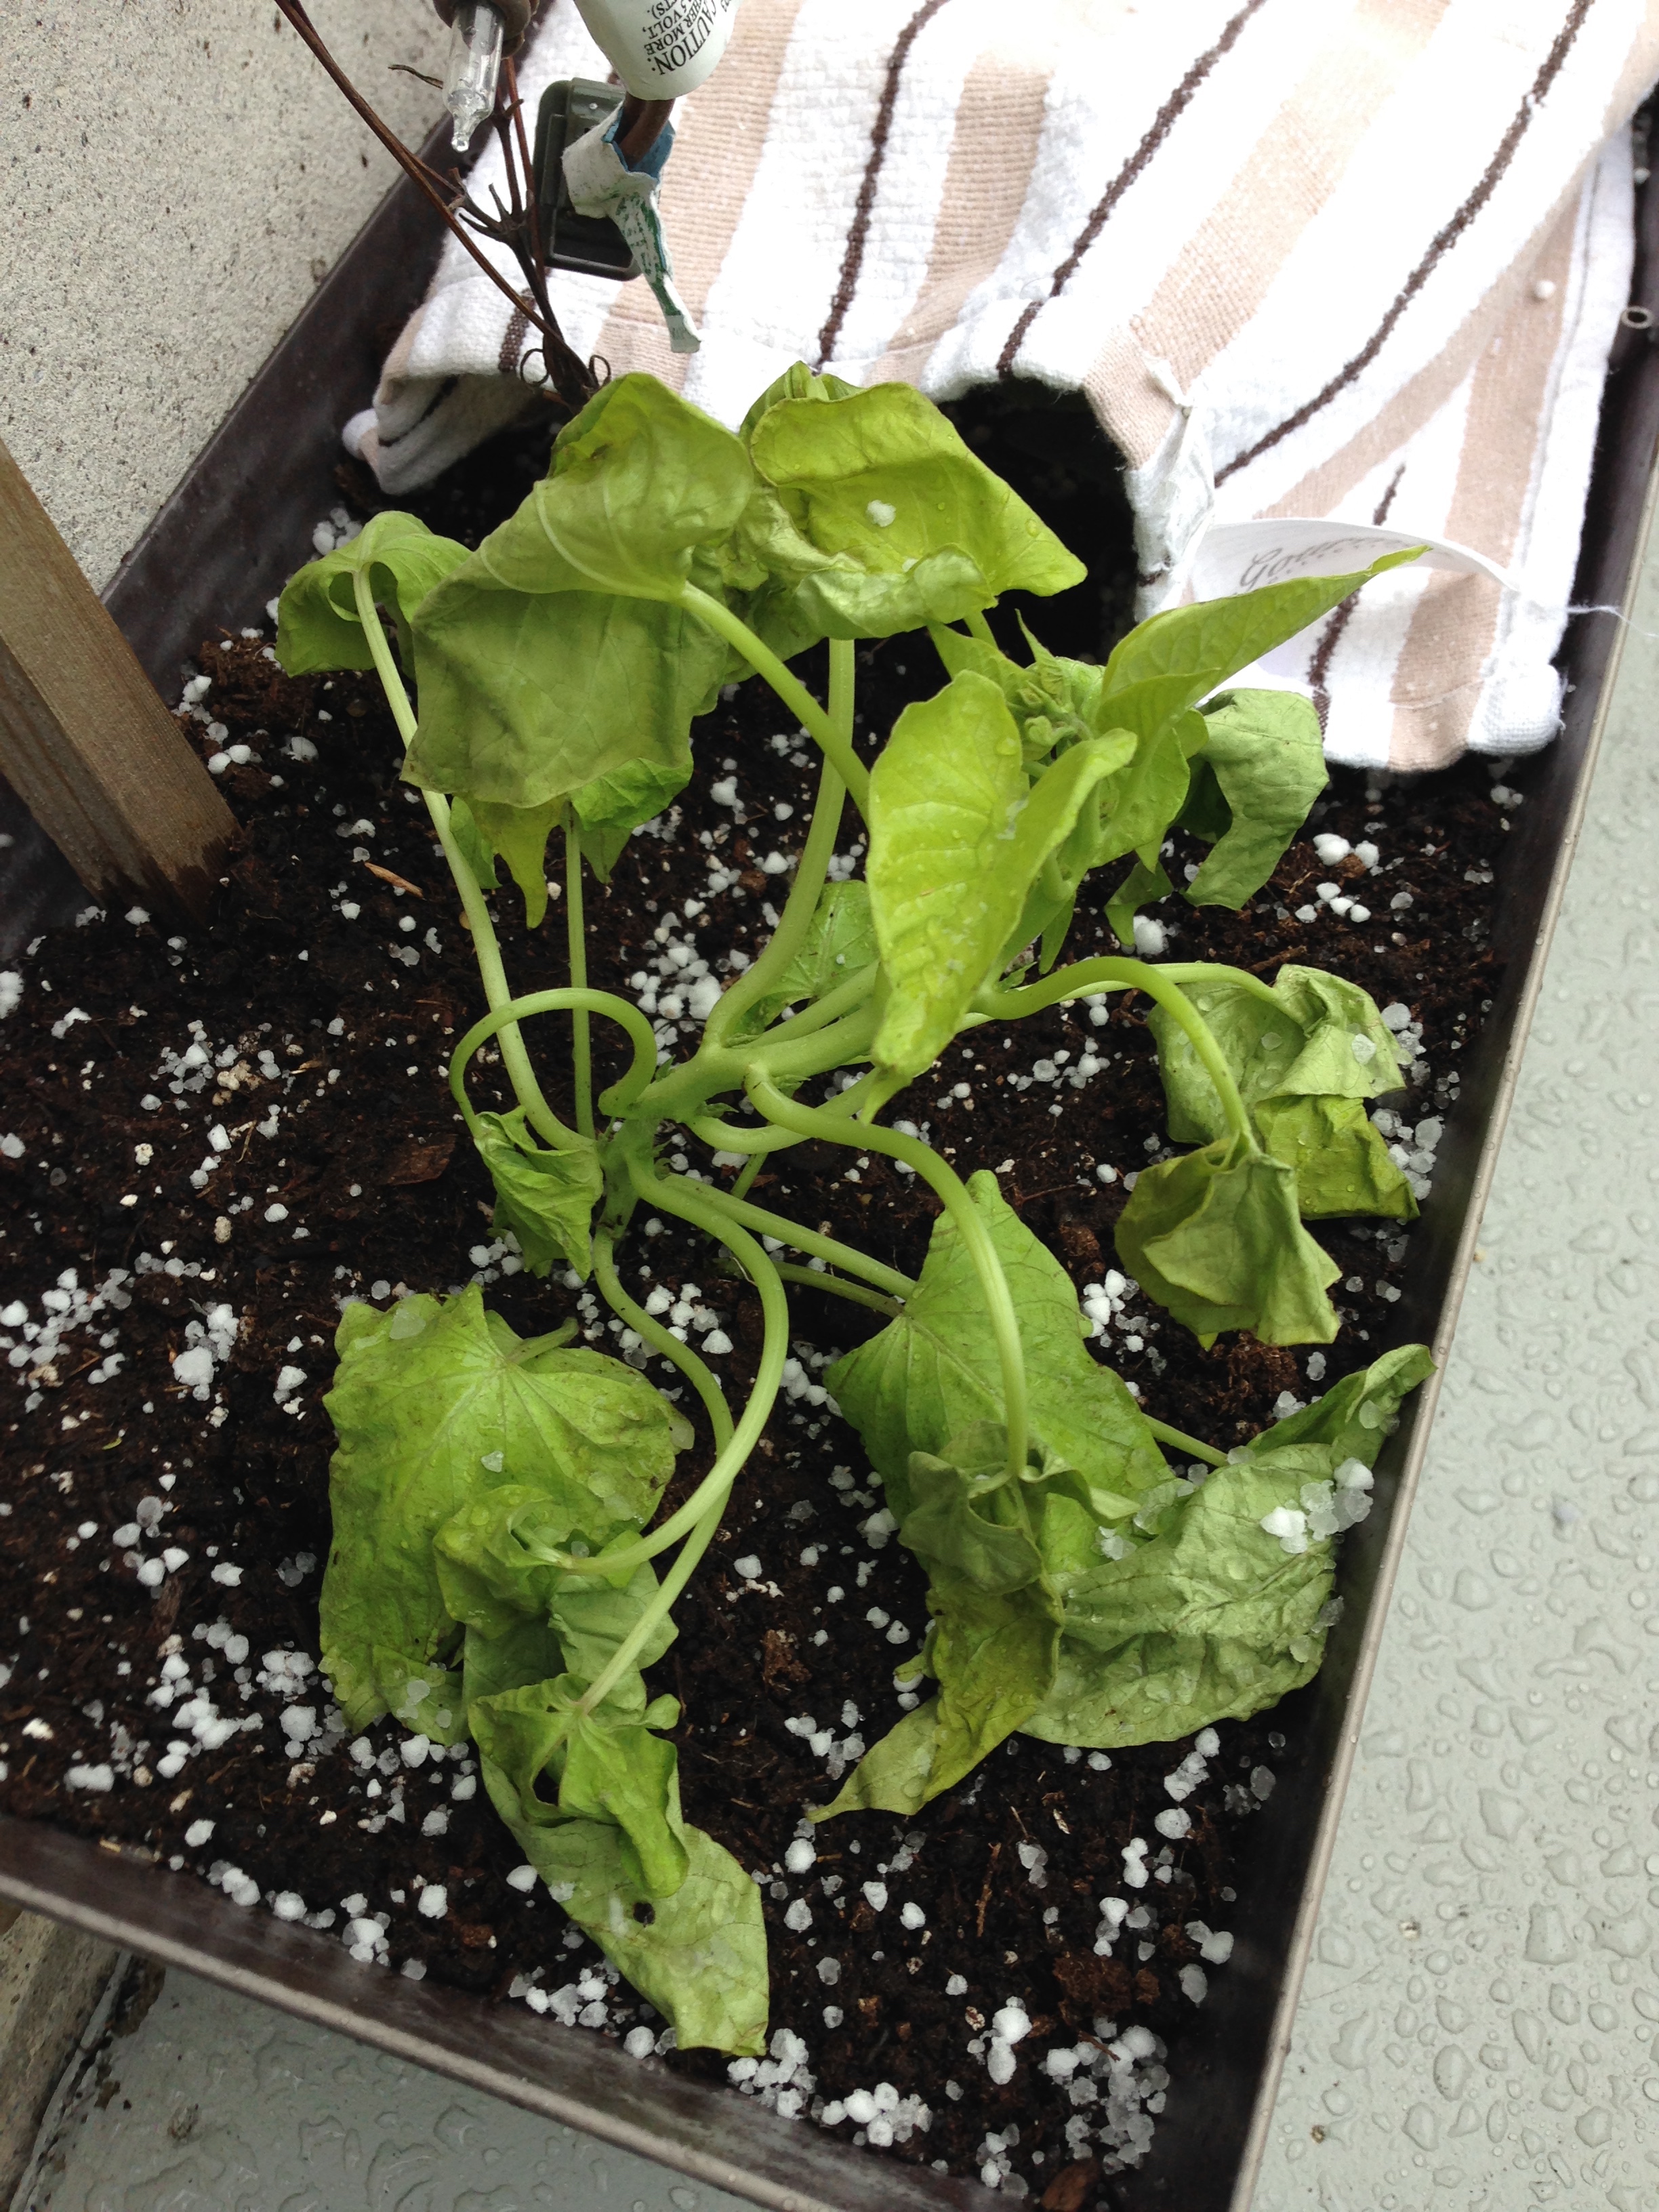
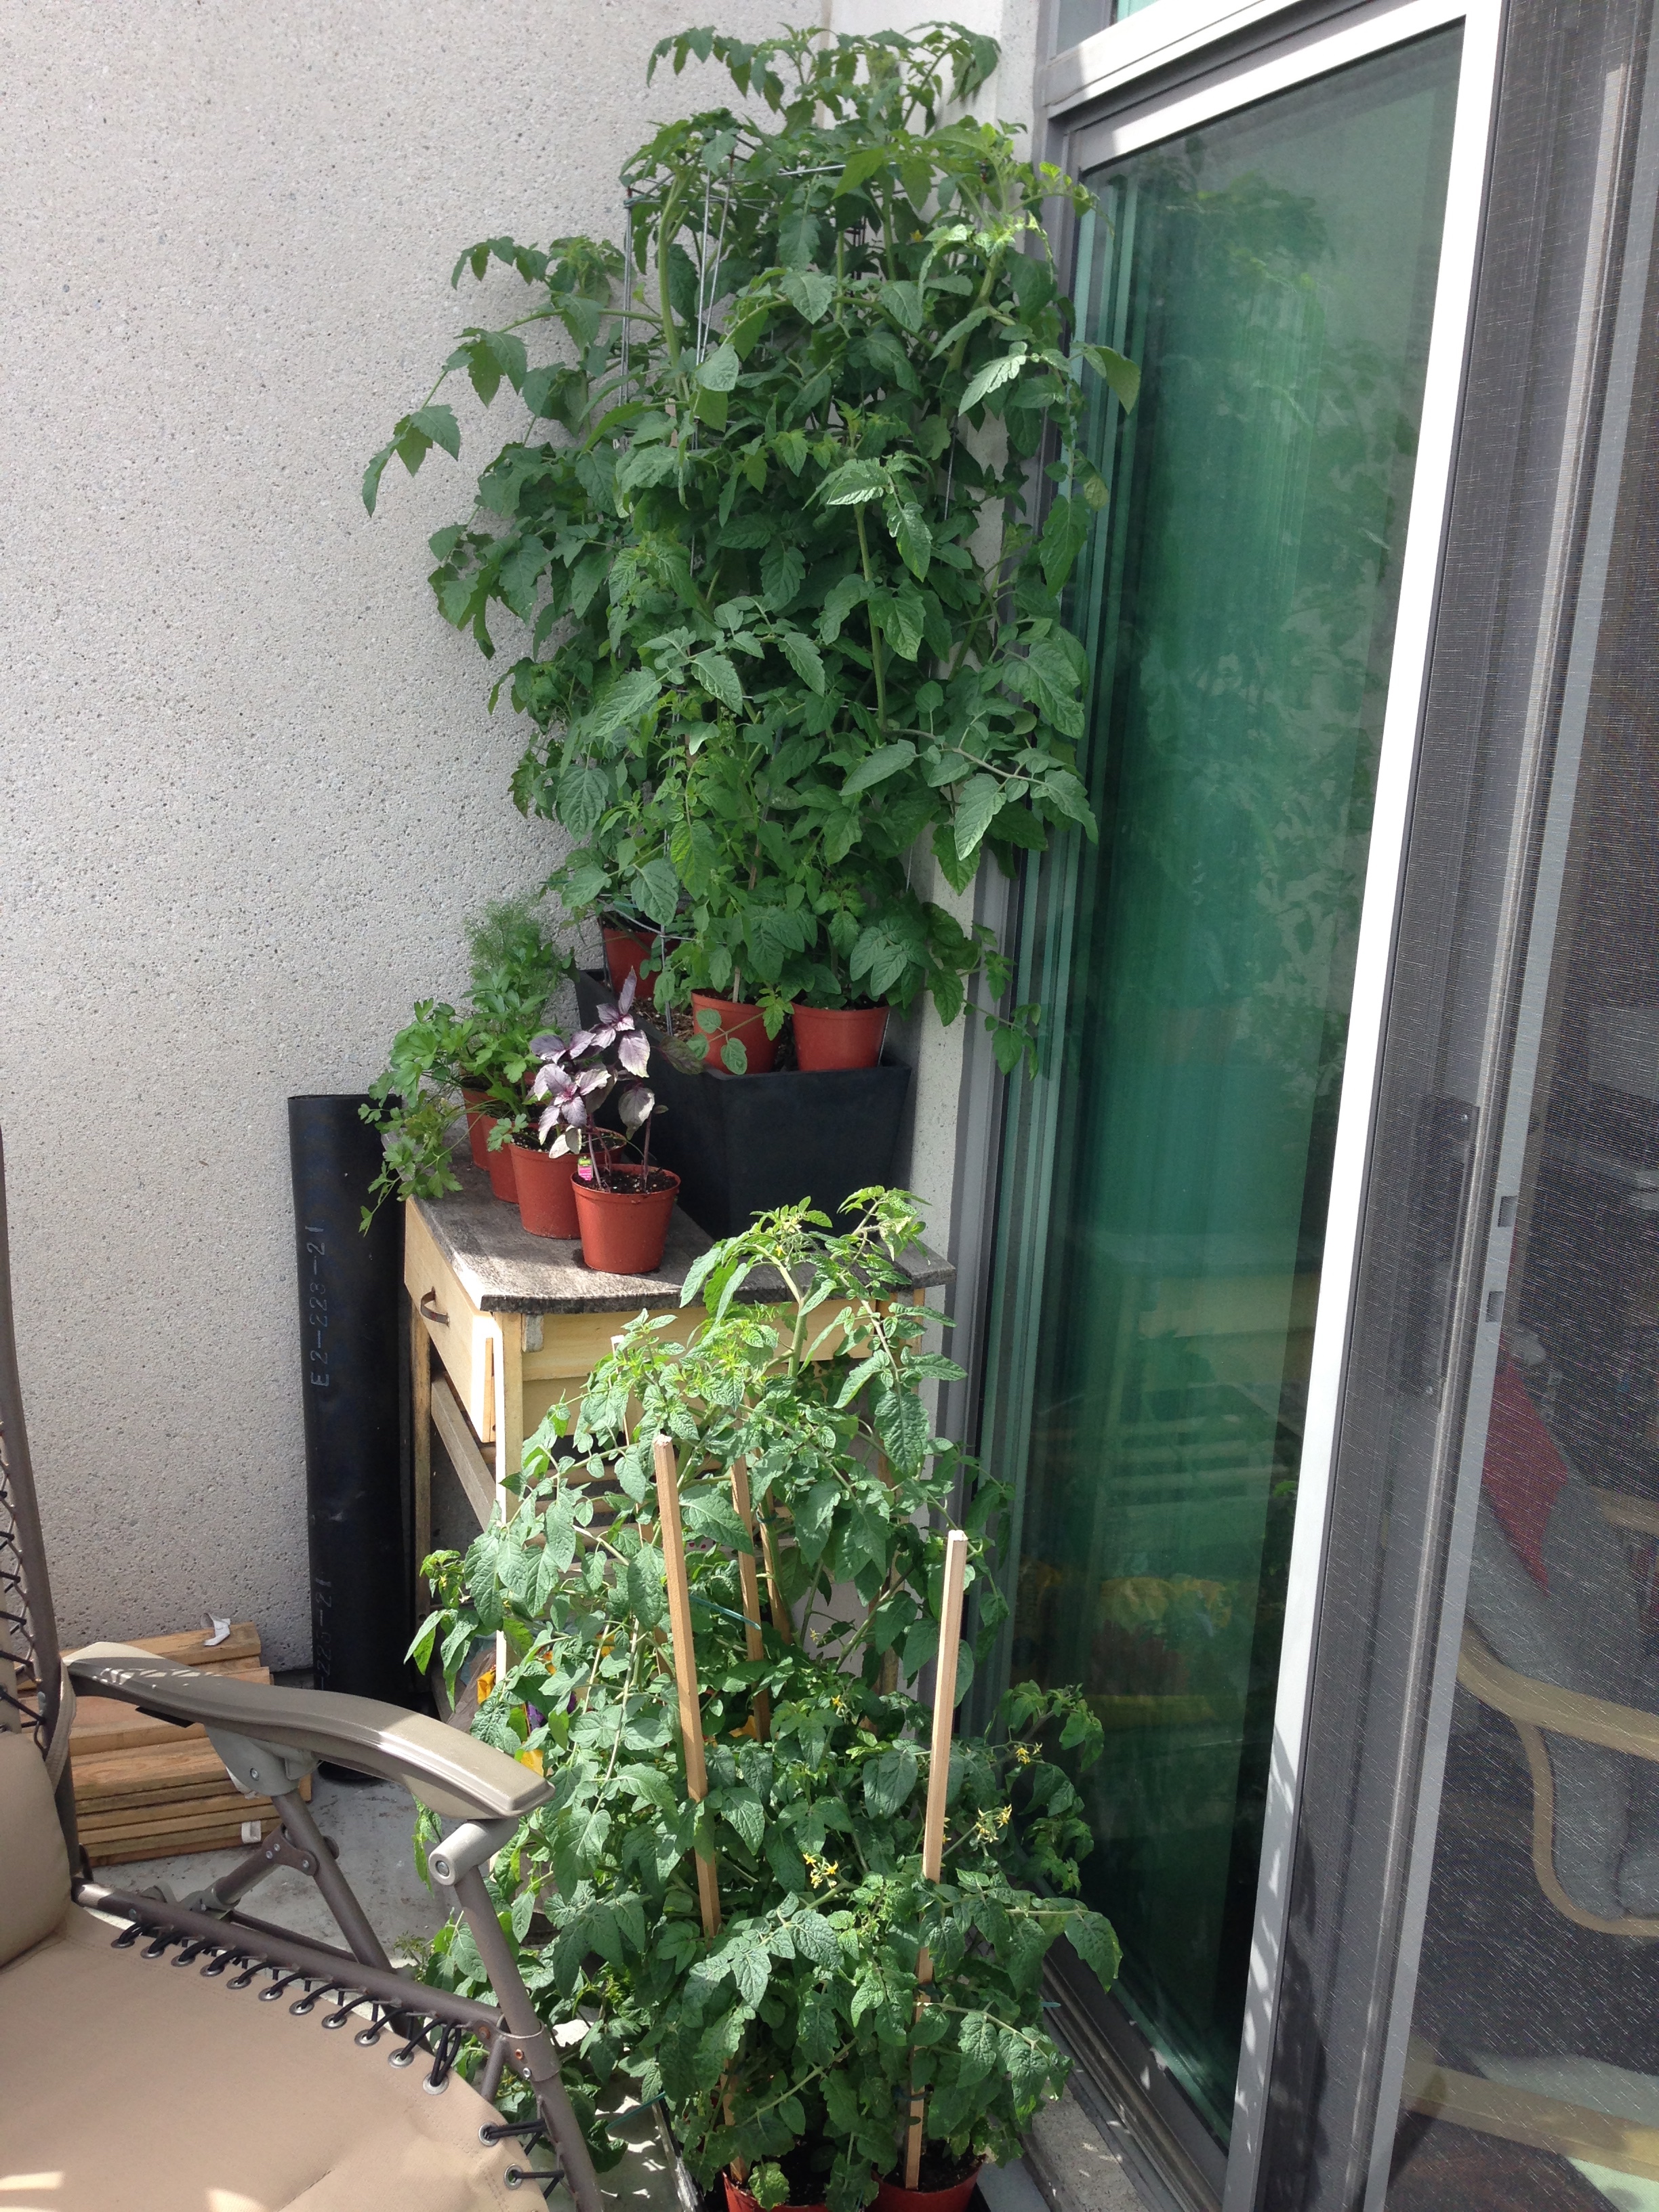
And last in the trifecta: Plants. As mentioned above, plants differ in many ways (sunlight preference, nutrition requirements, to name a few). But they also differ in use as well. What I mean is, some plants are decorative, some plants produce fruit, and some plants are themselves edible. AKA the difference between having a flower garden to look at, fruit bearing plants (like tomatoes) to can or an herb garden for cooking with or drying. Deciding what you want to grow with the space available is hard, especially if you've never gardened before, so don't fret and think you have to decide on everything before starting. Take a minute to think what you're ready for. I'd recommend starting with flowers or decorative plants first. There are many hardy varieties of flowering plants and foliage for sale at garden centres to build up the confidence and skills to taking care of a bigger or more fussy container garden. Or, if you like the challenge, go for all three! Flowers, fruit bearers and herbs!
Ok. Now that this process seems super daunting let me bring it back to three simple things to remember when starting a balcony garden:
- How much sun does your outdoor space actually get? Full, Part, None?
- Where can you get seed starter and potting soil? (And containers! ...Canadian Tire!! =D)
- What kind of plants do you want: Edible or decorative? (Or both!)
There. Not so complicated after all! Next considerations are, of course, how much space you have and how much you want to spend. But baby steps. ;)

Now I said I'd talk briefly about fertilizers. I use three different fertilizers for my various plants: a 'all-purpose' house plant fertilizer, a tomato specific formula, and an orchid formula. When I first starting using fertilizers I used Way to much and ended up burning my plants. Bad Andrea. It's Very important to follow the dilution instructions.... don't just fudge it. All fertilizers come with instructions to provide the right amount of nutrients to plants. Check your water can (or cup, if that's how you groove) for volume measures and do the math - cross multiplication - so that the ratio is what is recommended on the fertilizer package.
After the dilution is correct, its figuring out how often for fertilize. In my experience, for house plants in a growing season (aka sunny out), they can be fertilized every week. In a Not growing season (aka winter where it's dark all the time), once a month. For my outdoor plants, I fertilize them Every Day. Ontario summer is the king of growing seasons and I don't want my plantlings to miss out on a minute of sunshine. I usually water them right in the morning and again in the afternoon, if it's been a particularly hot day (which it usually has been).
I could probably go on and on and on about my plant babies.... But I'll stop for now! =)
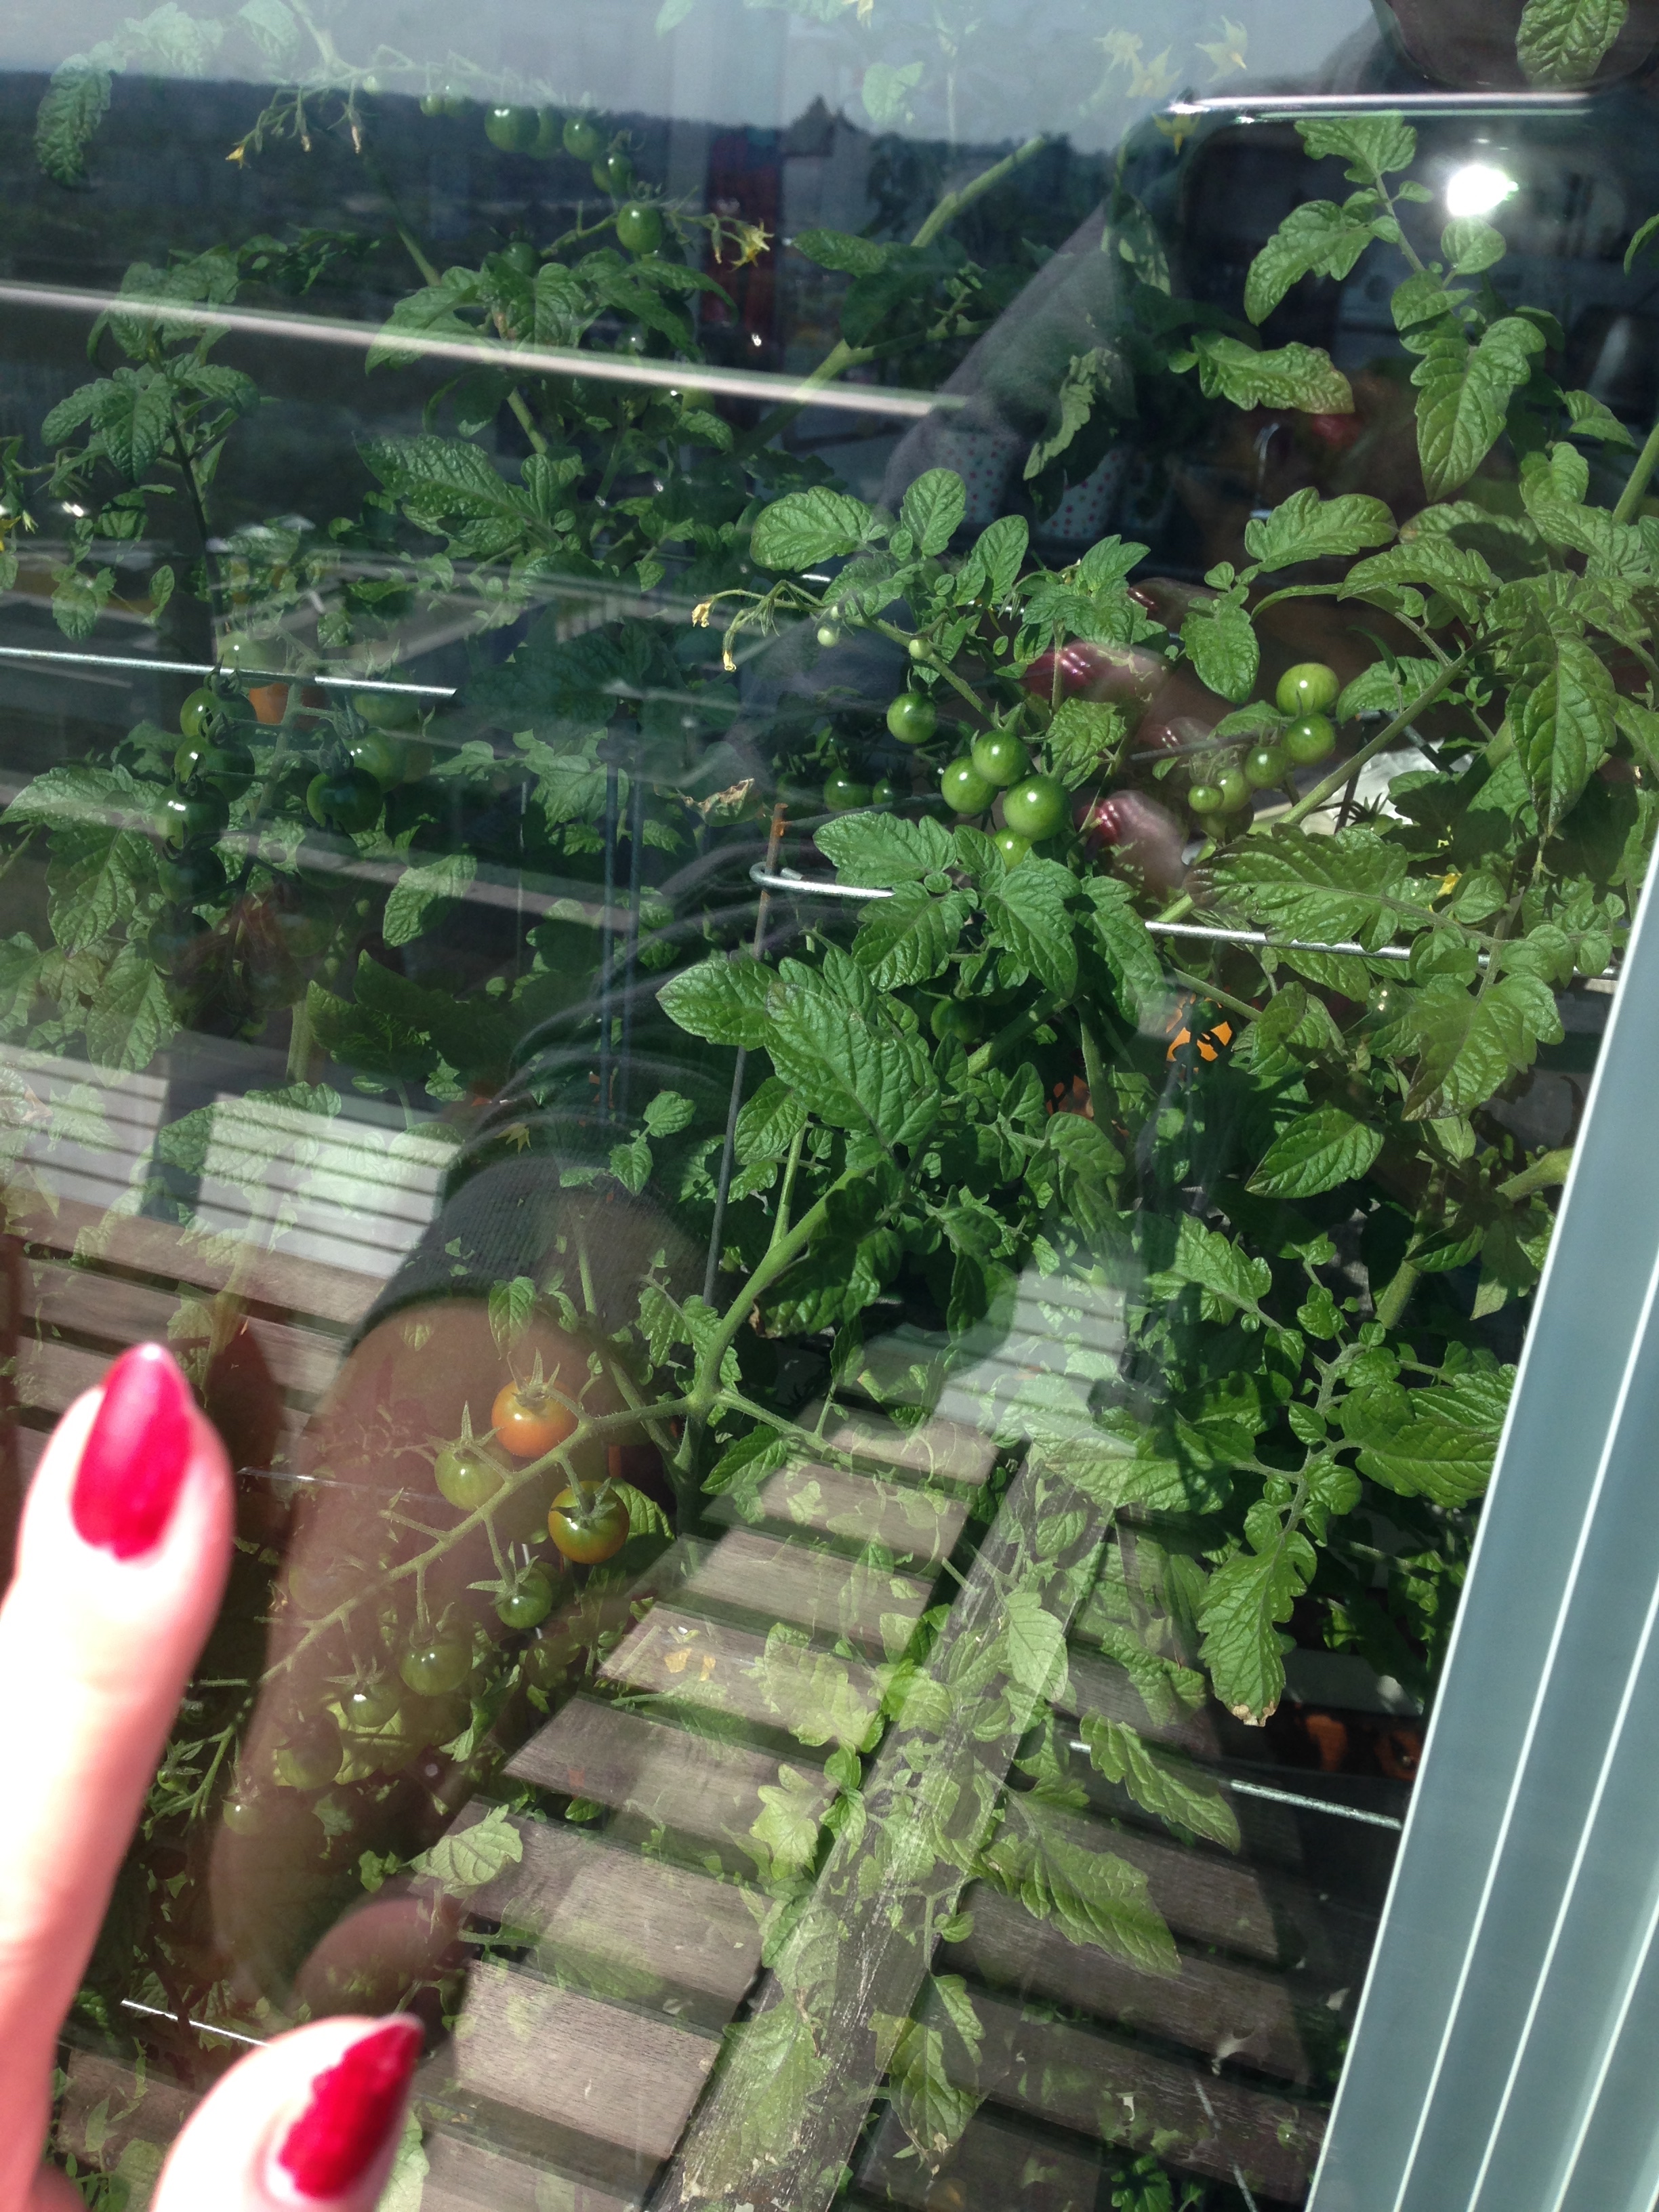
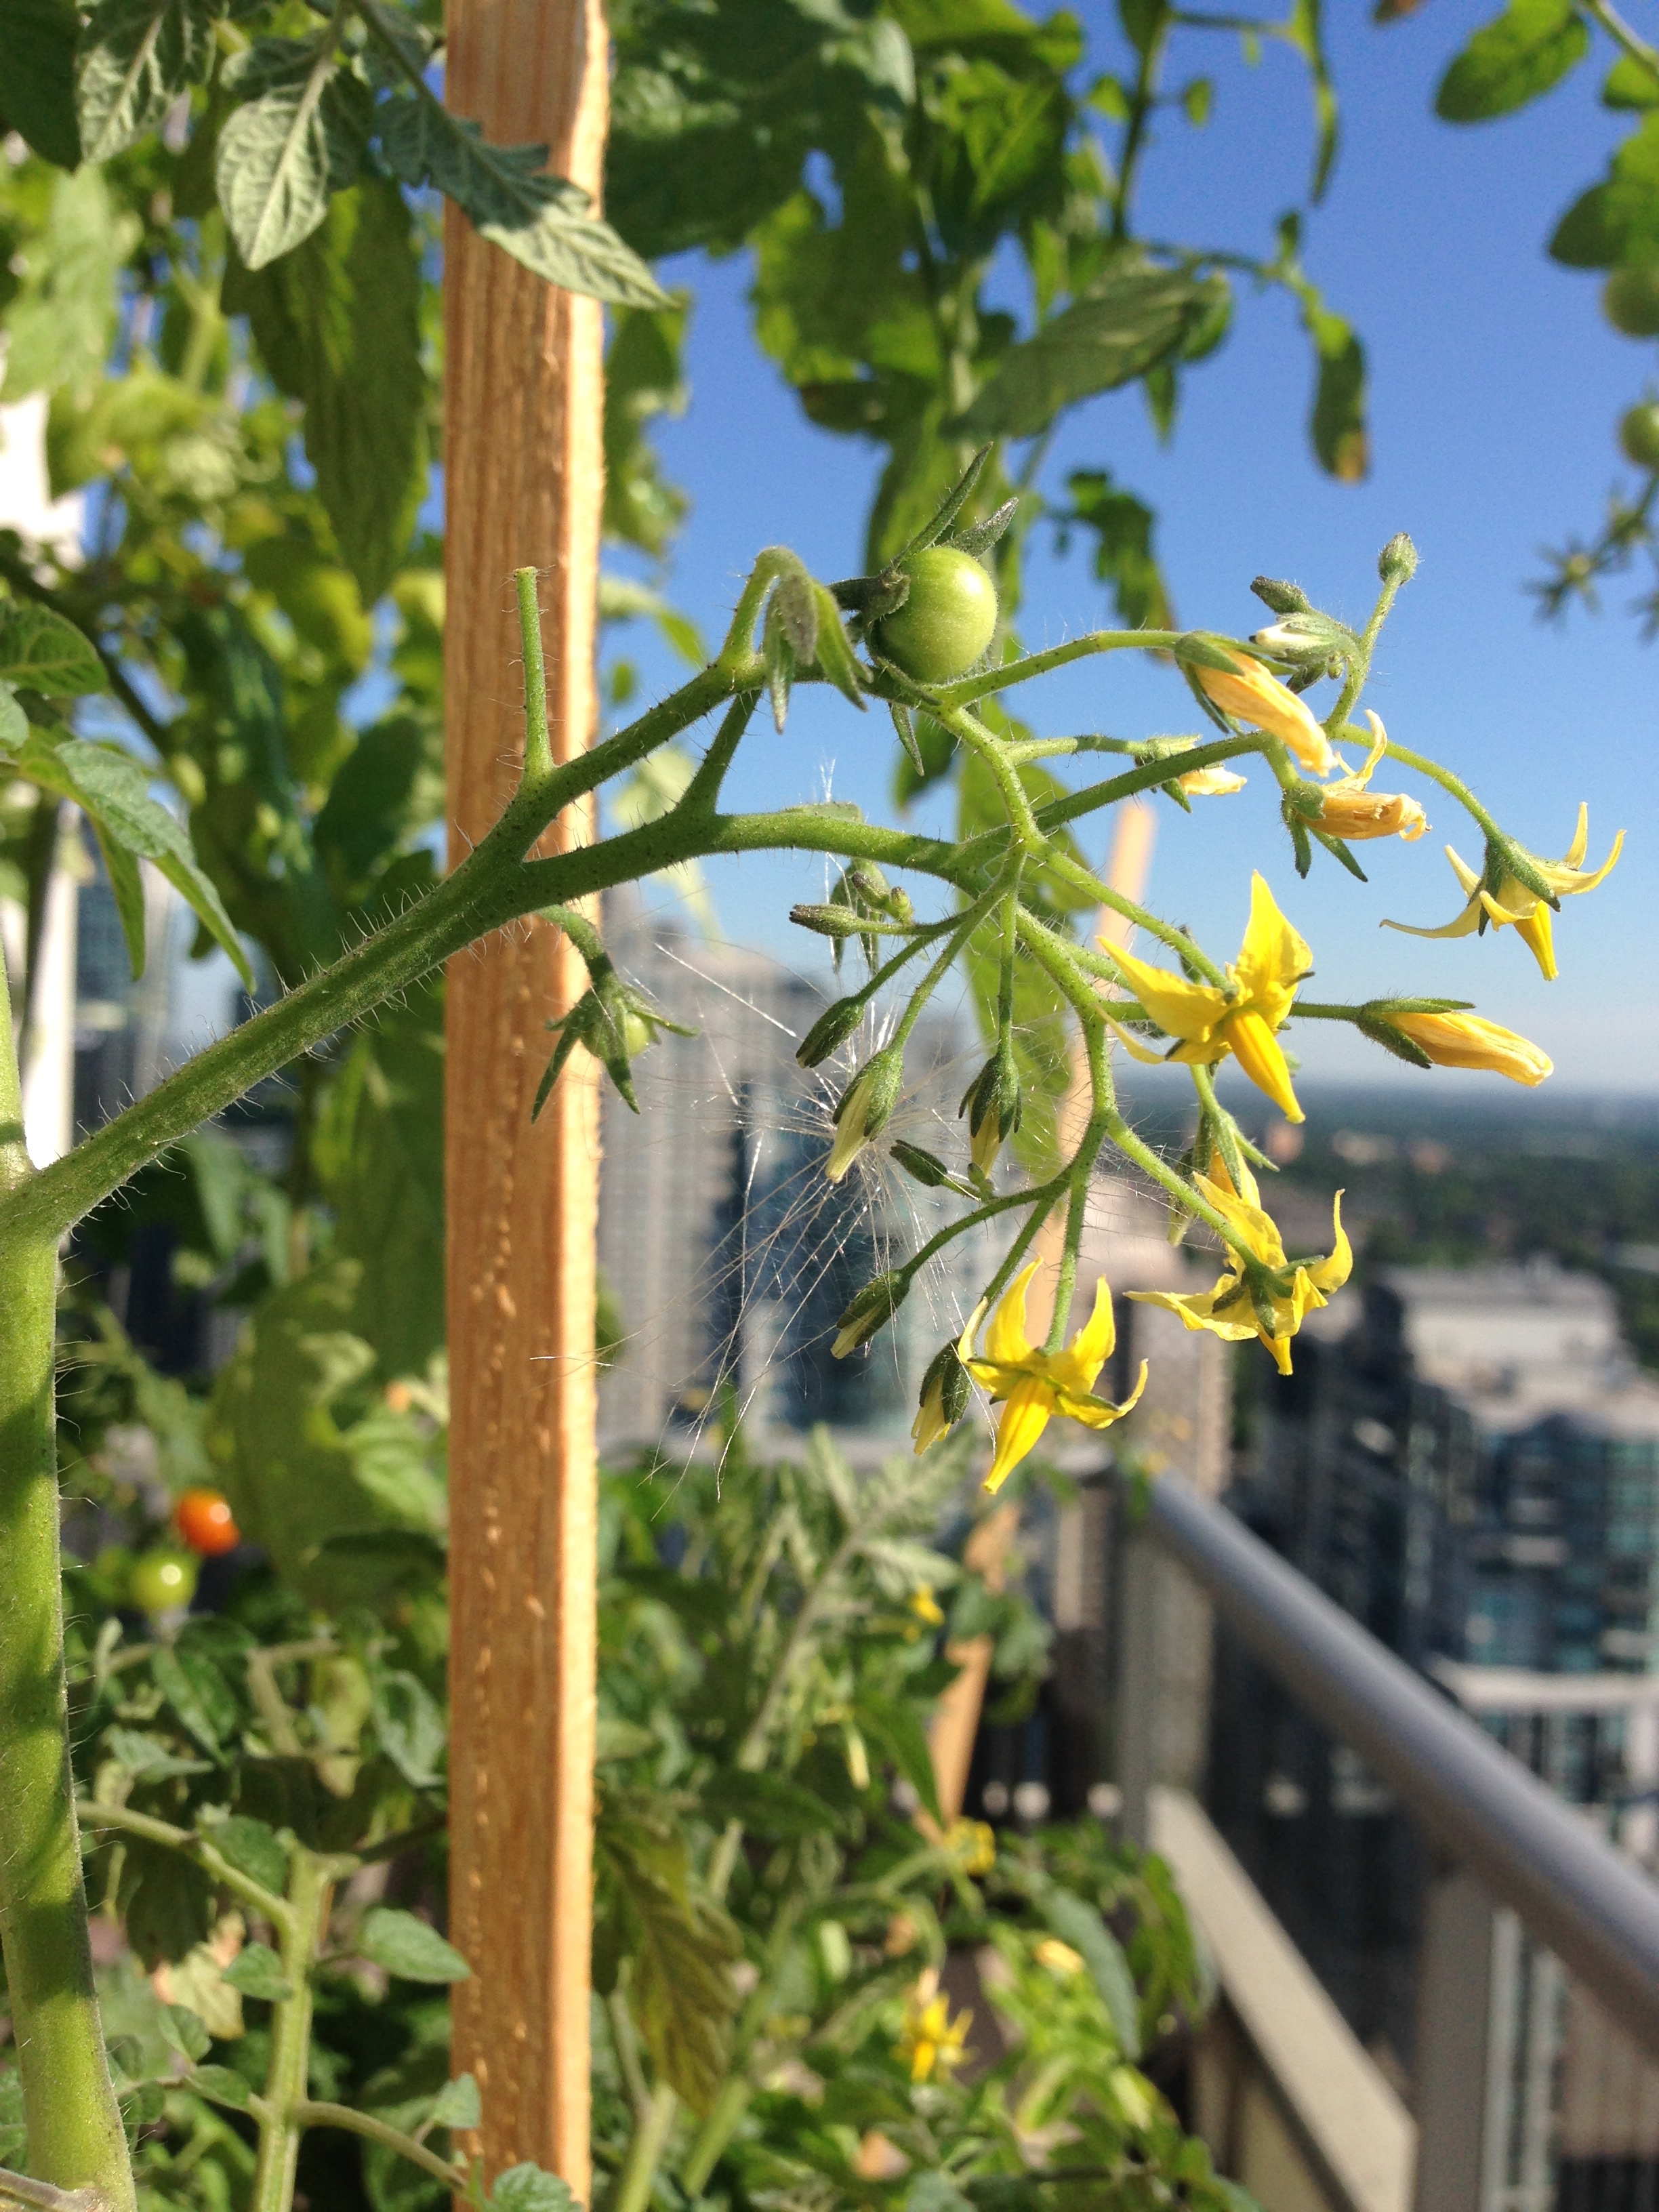
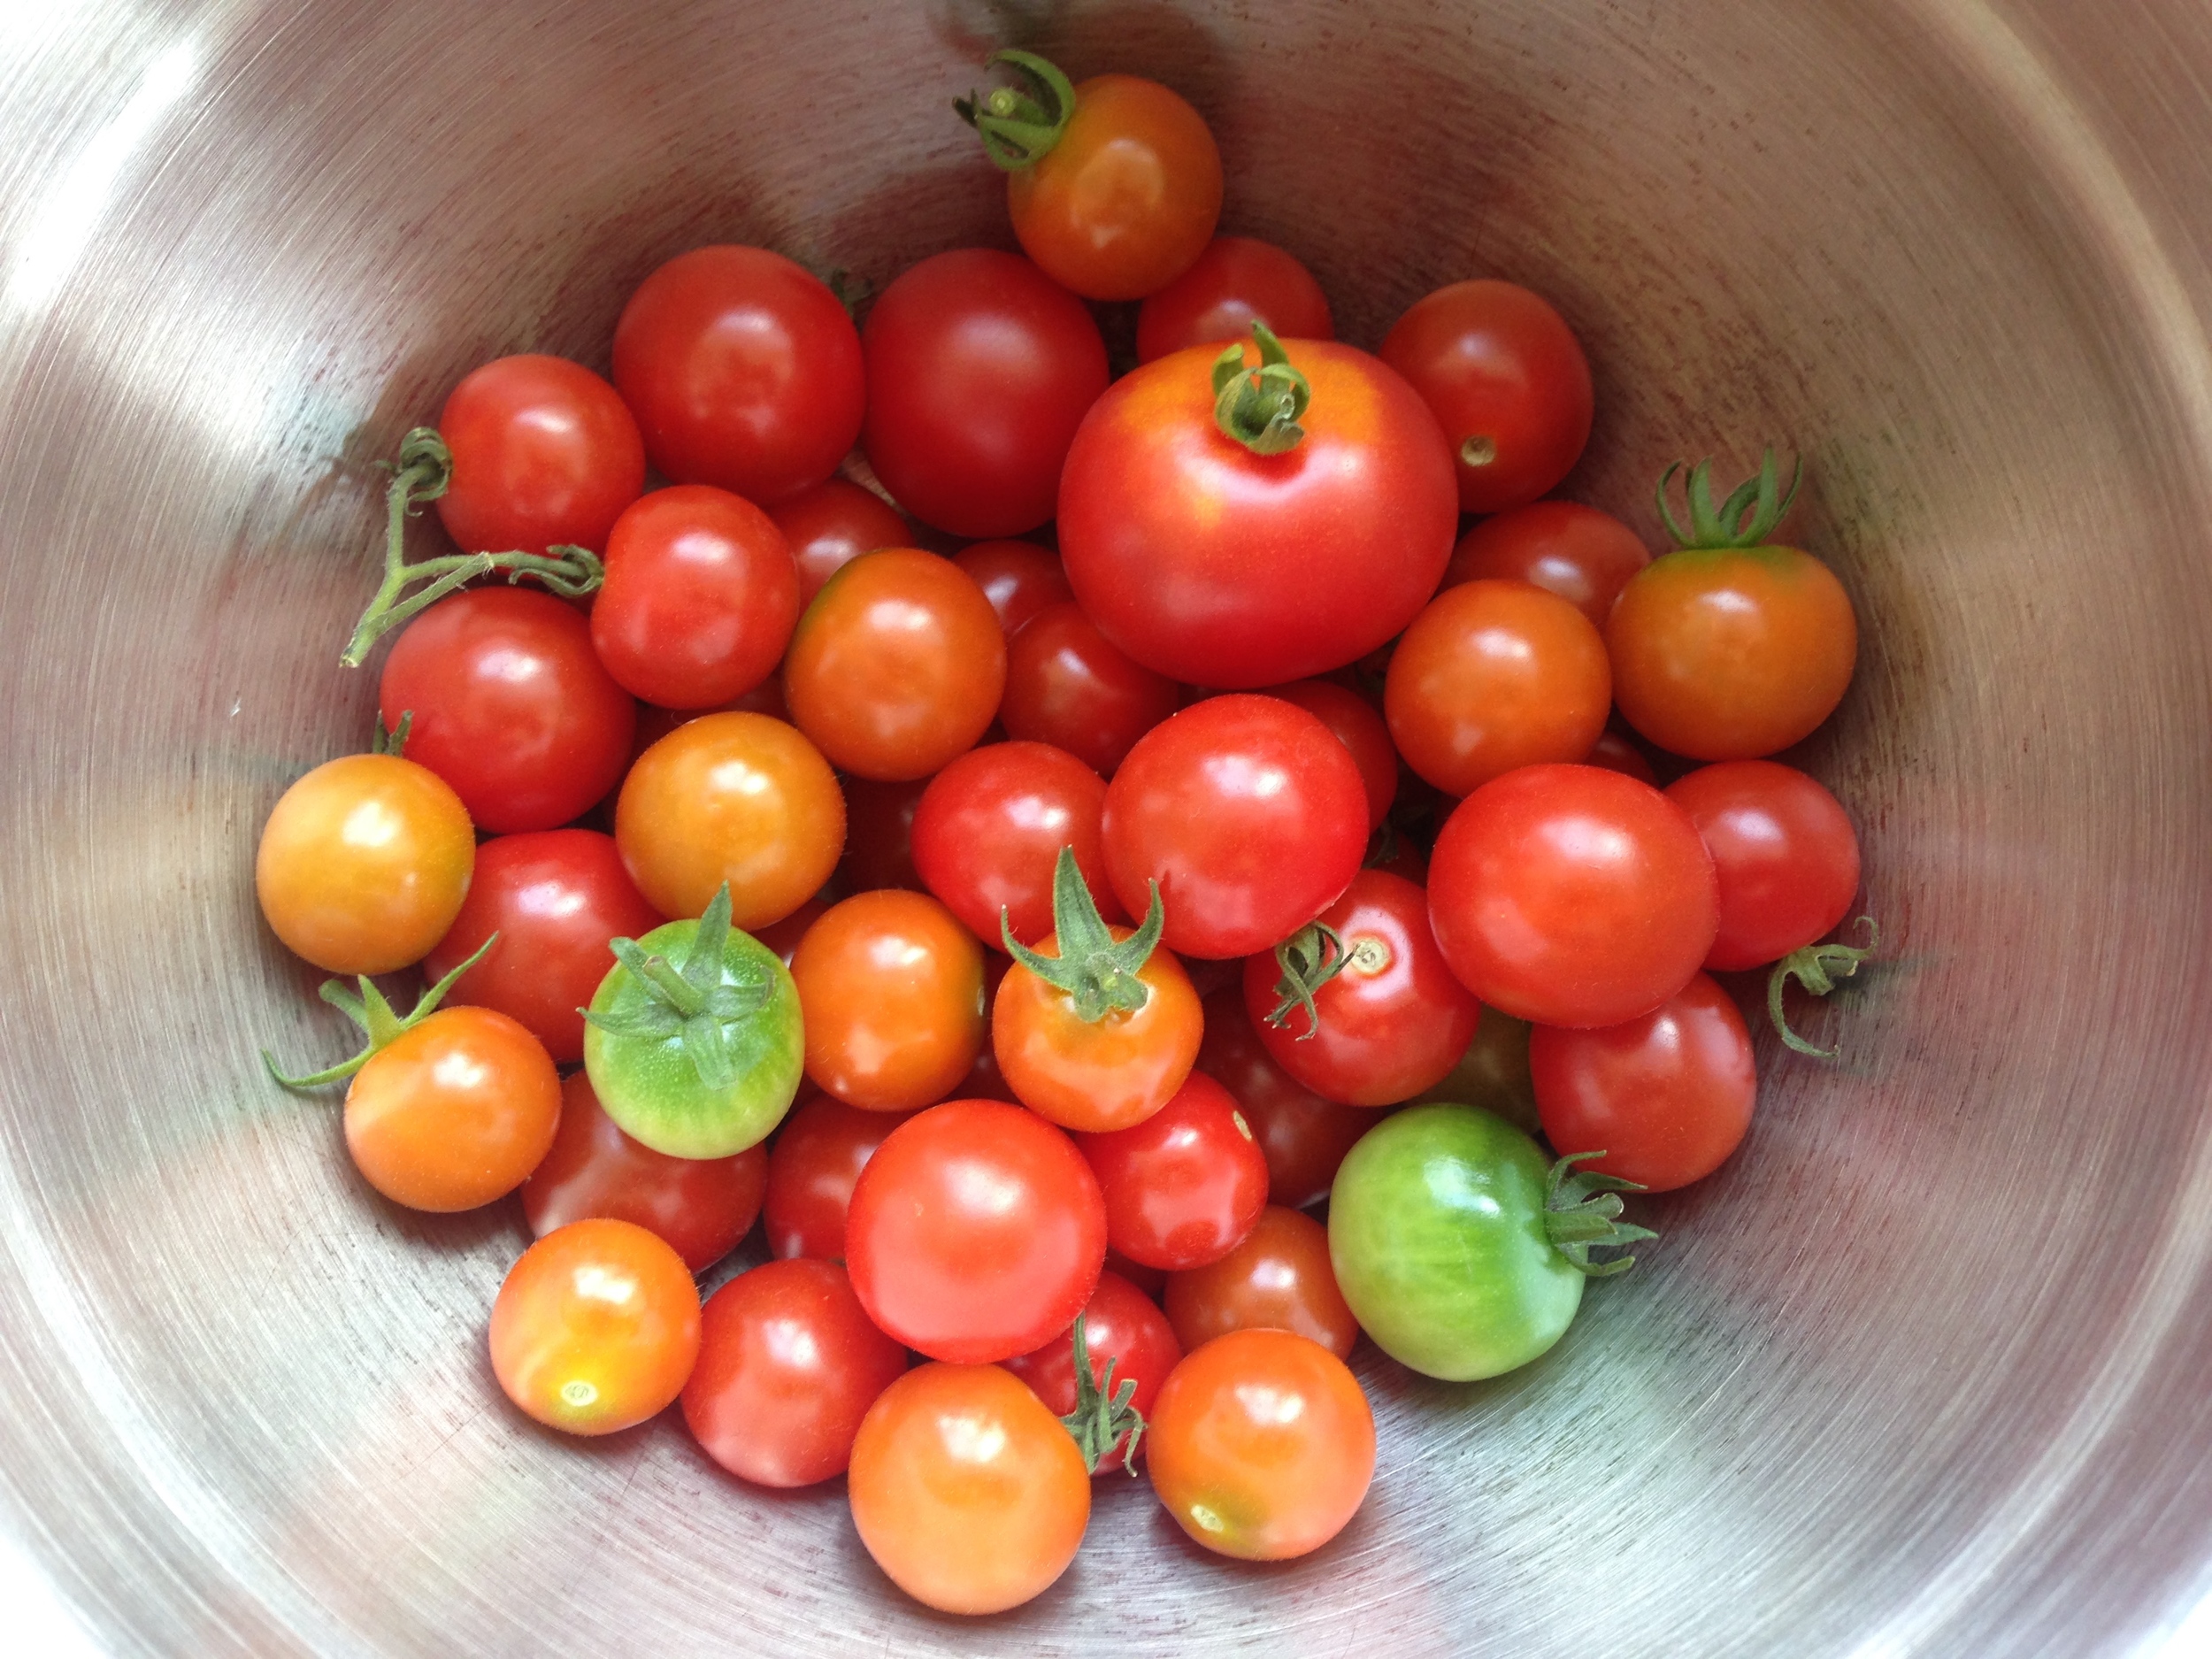
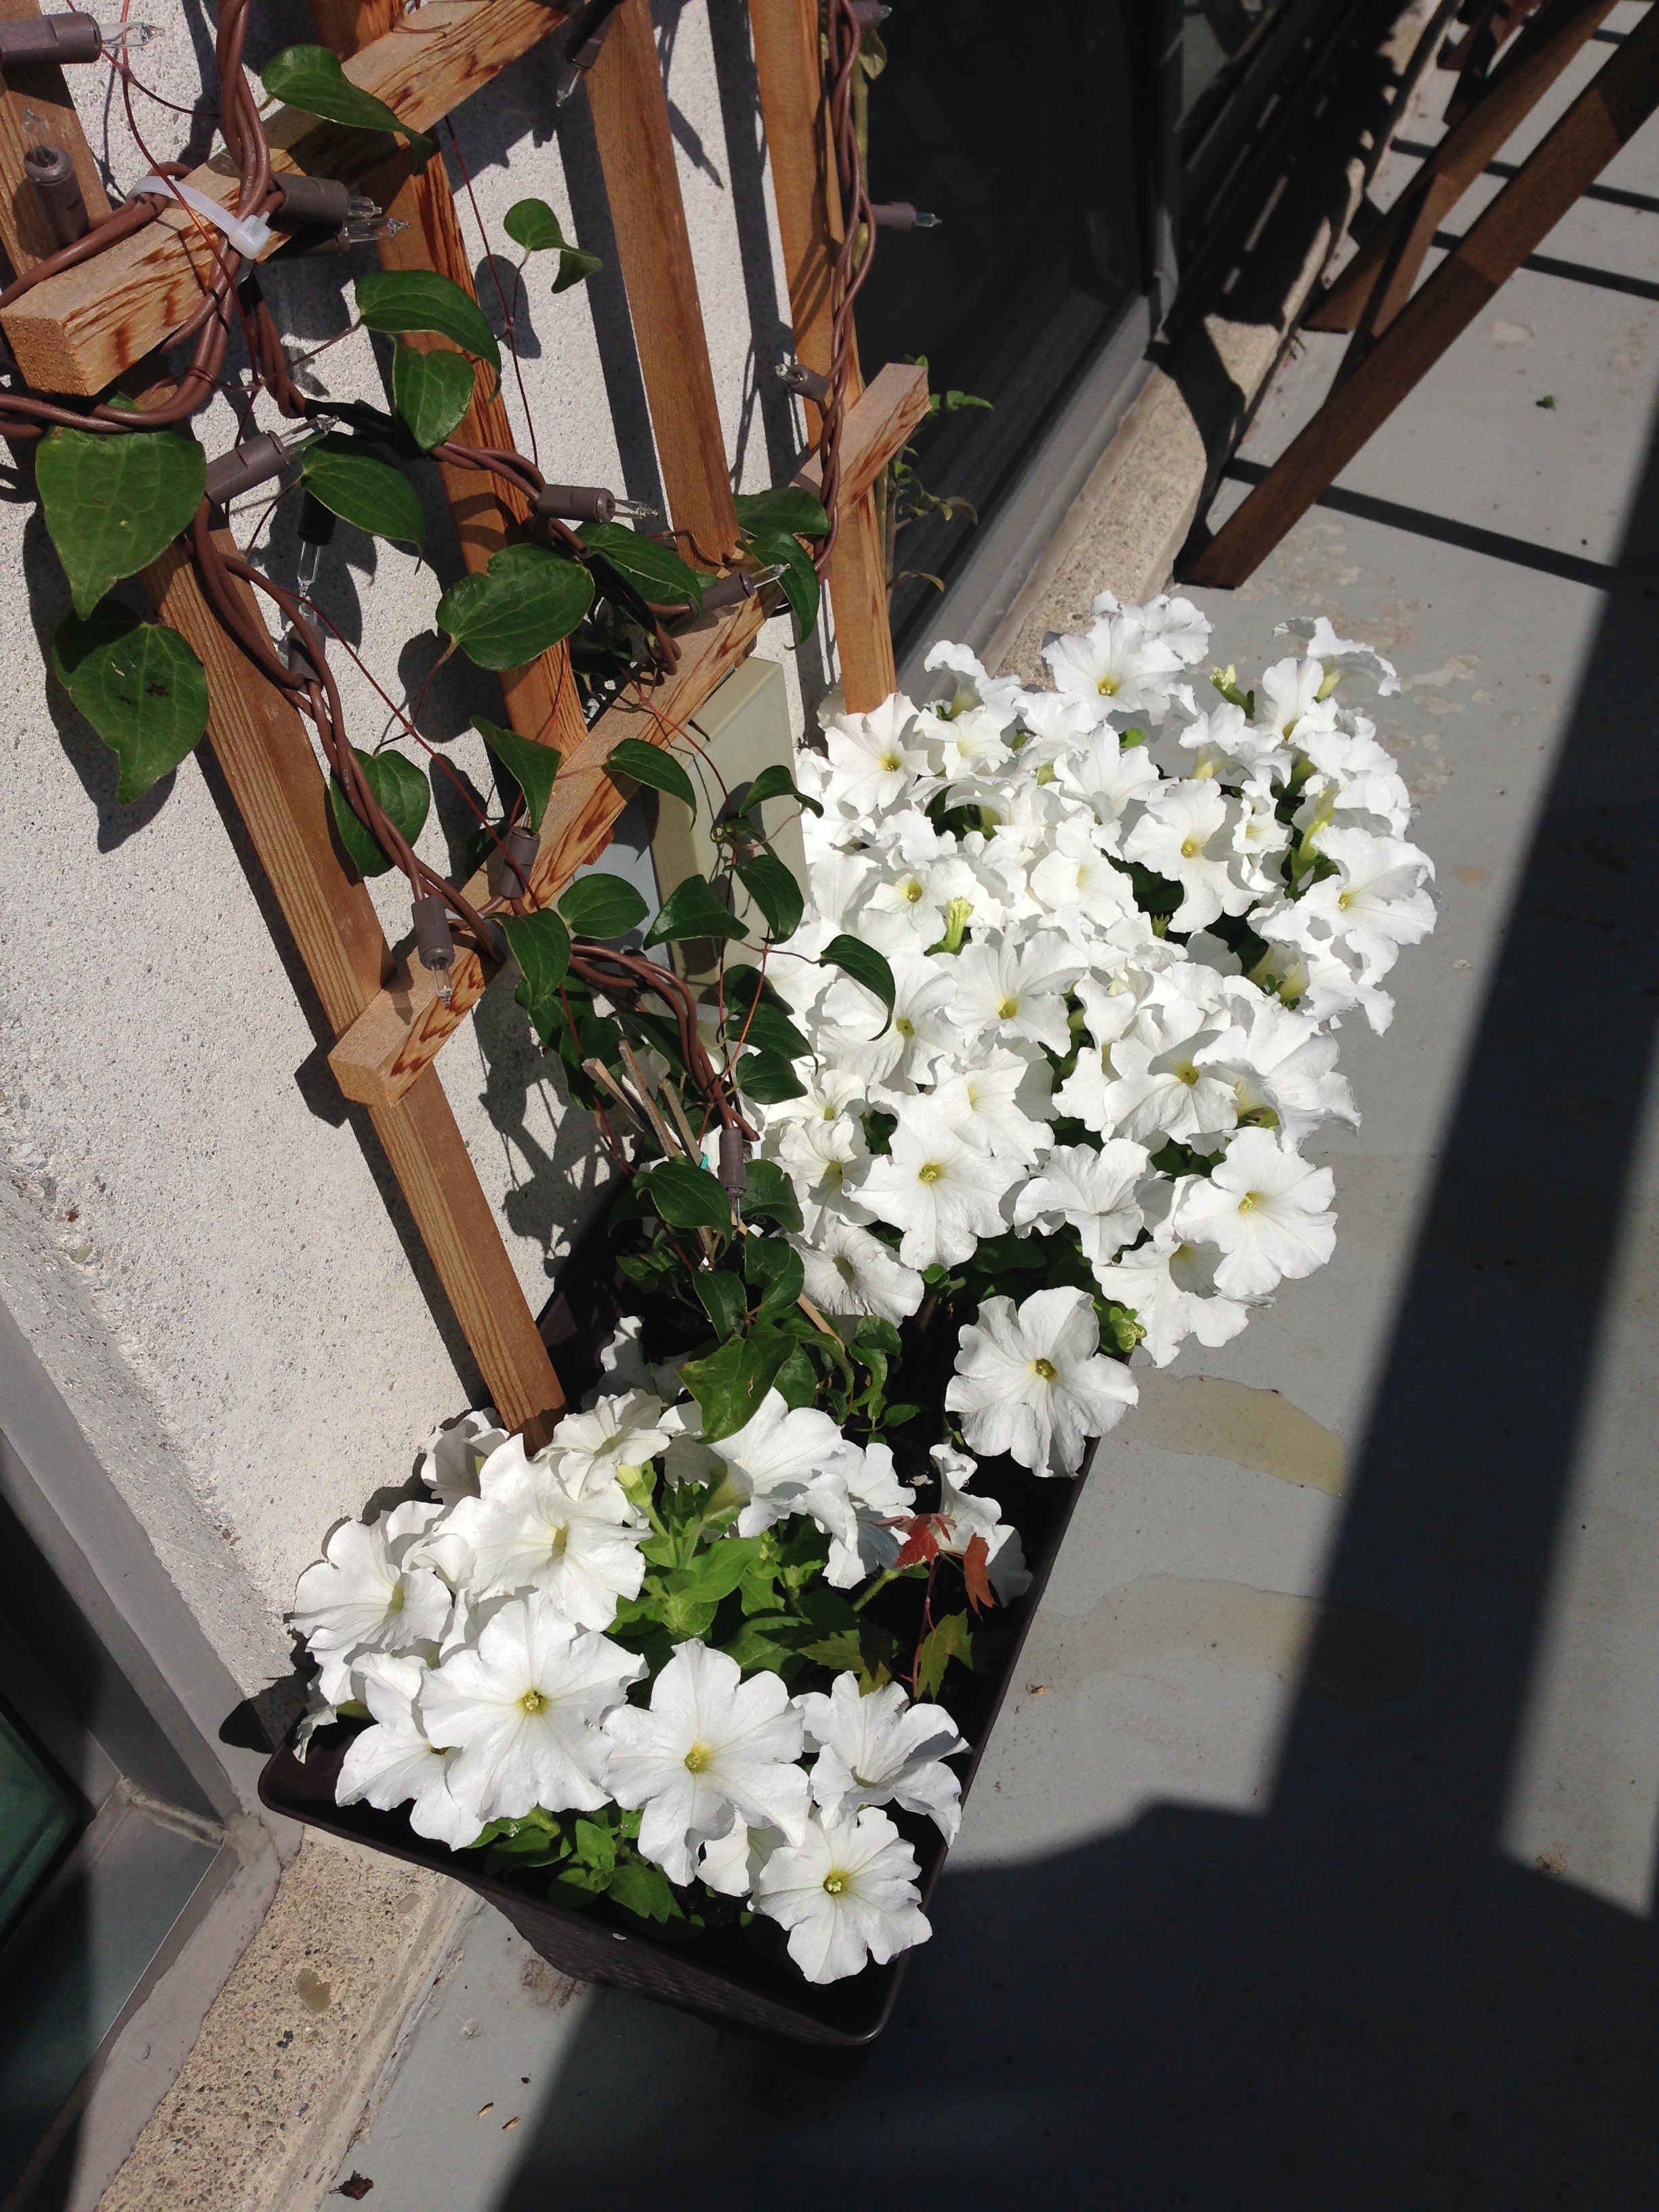
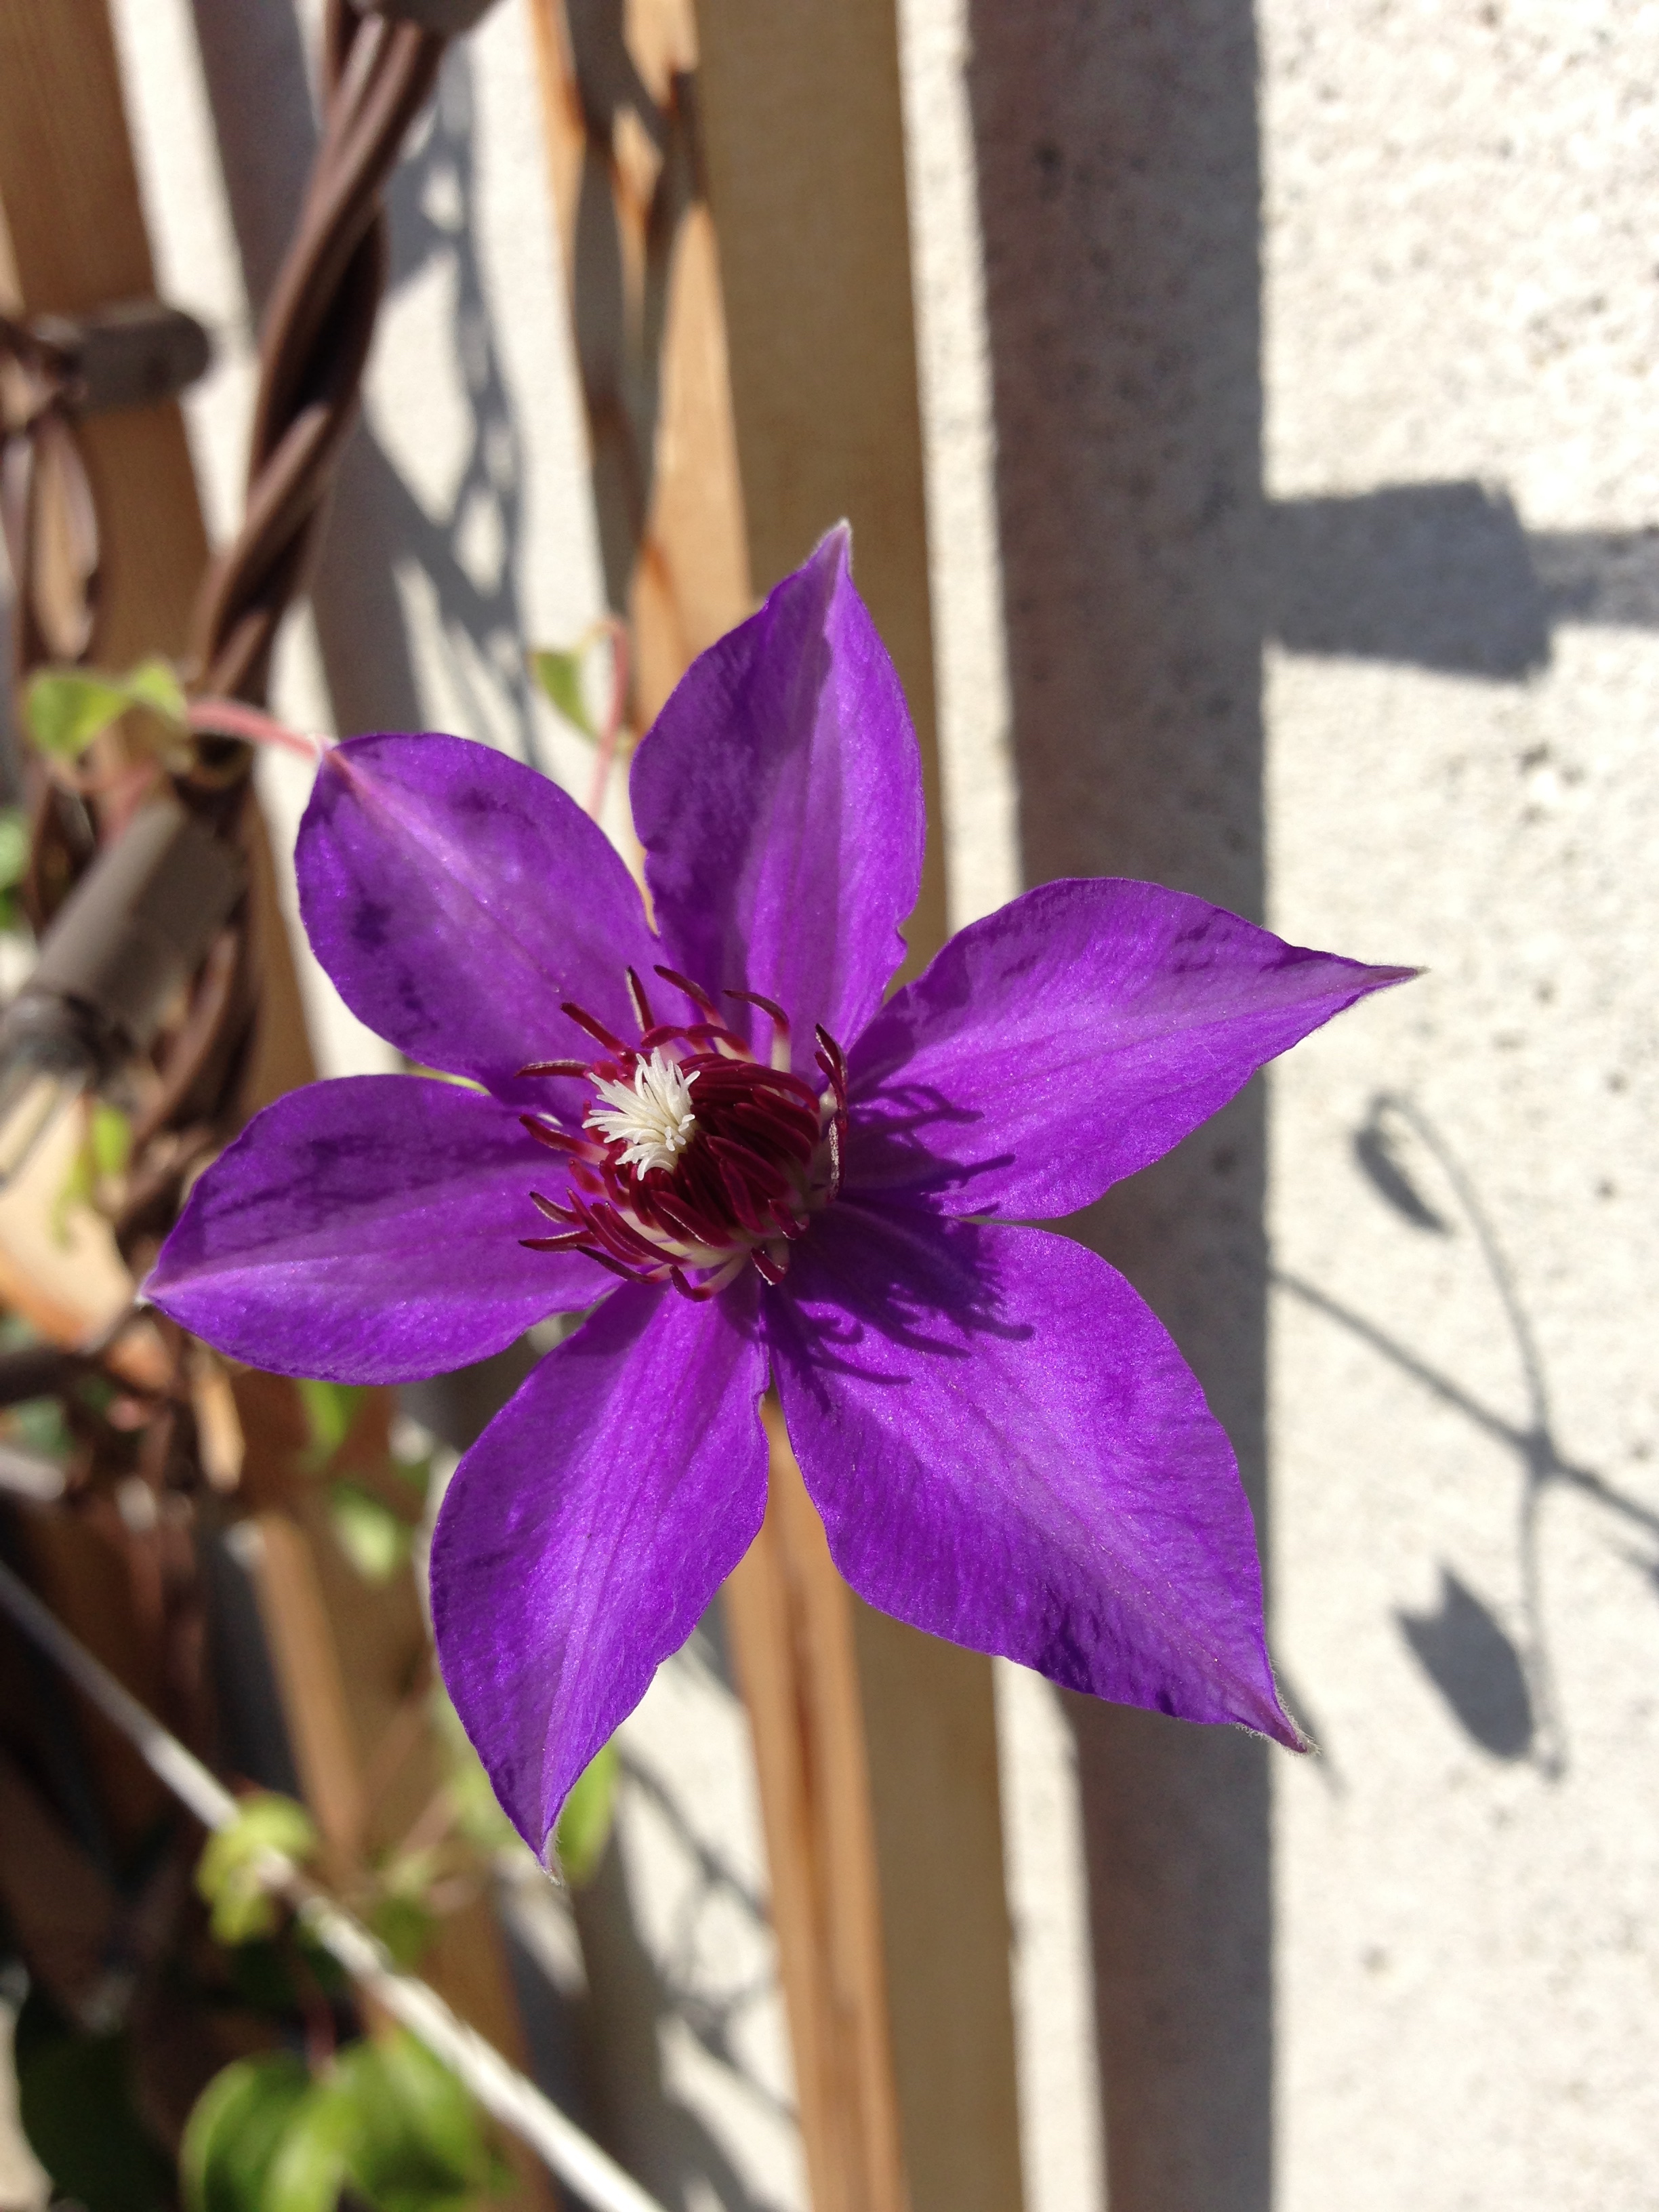
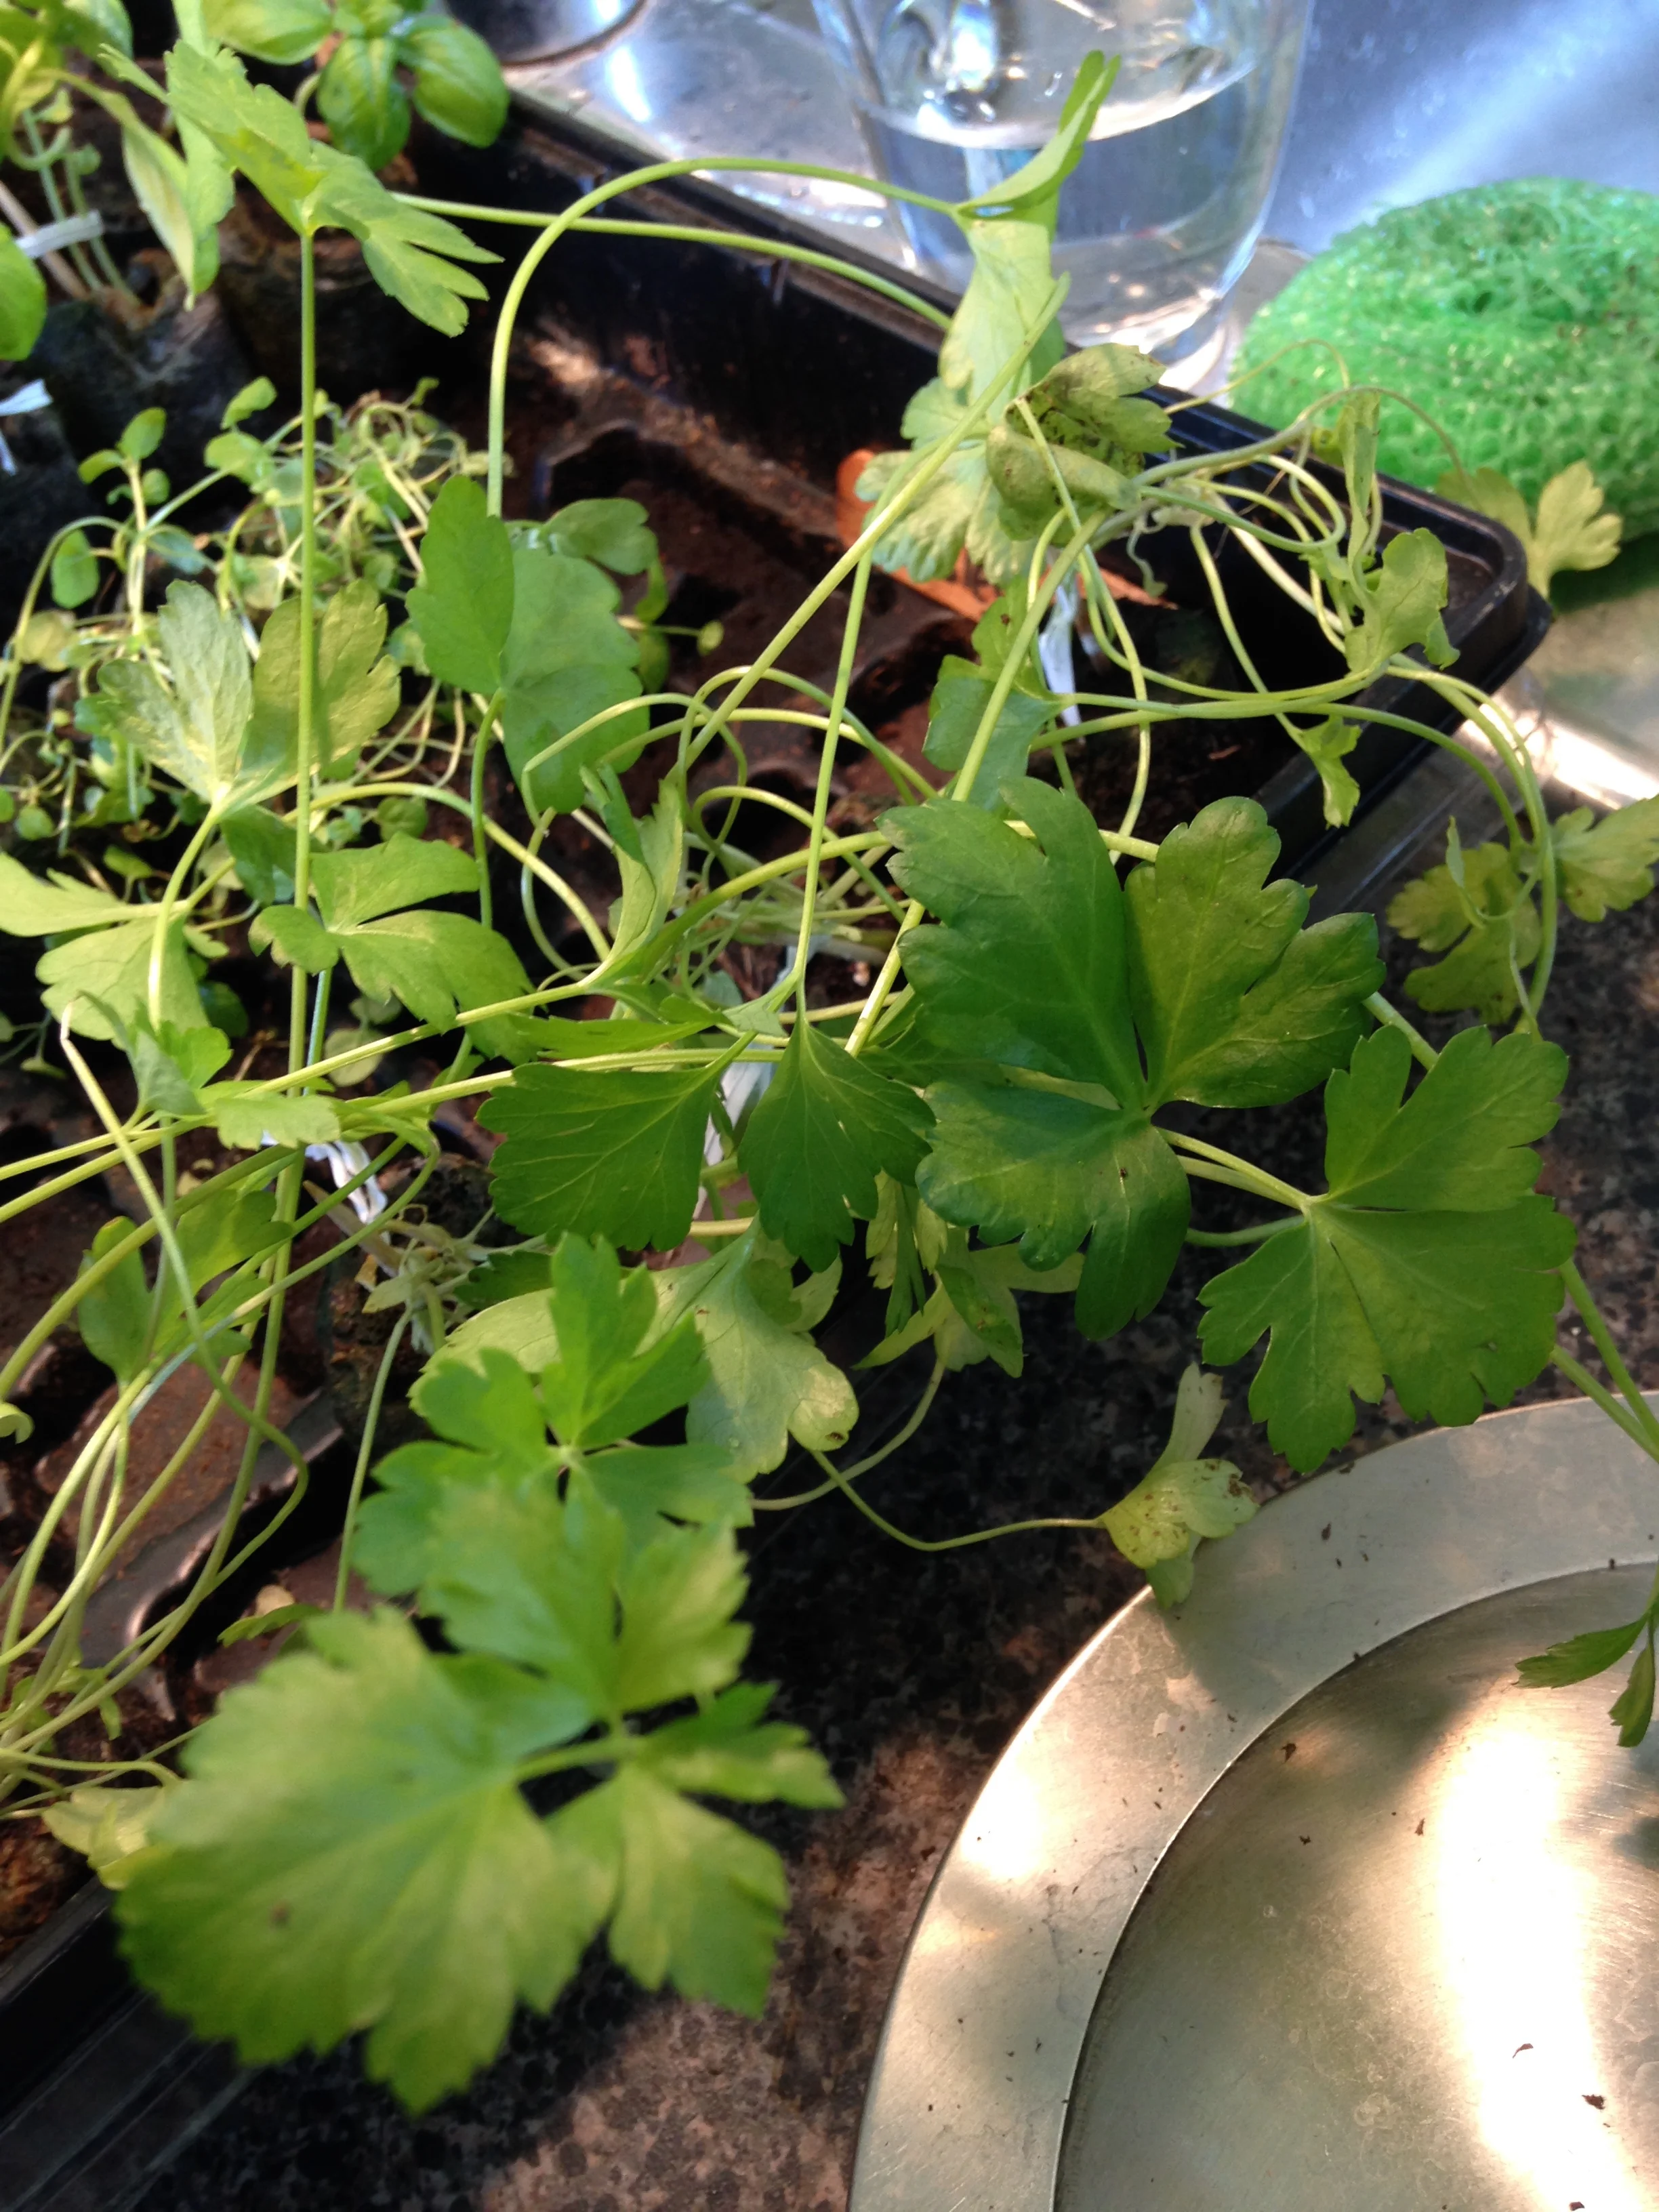
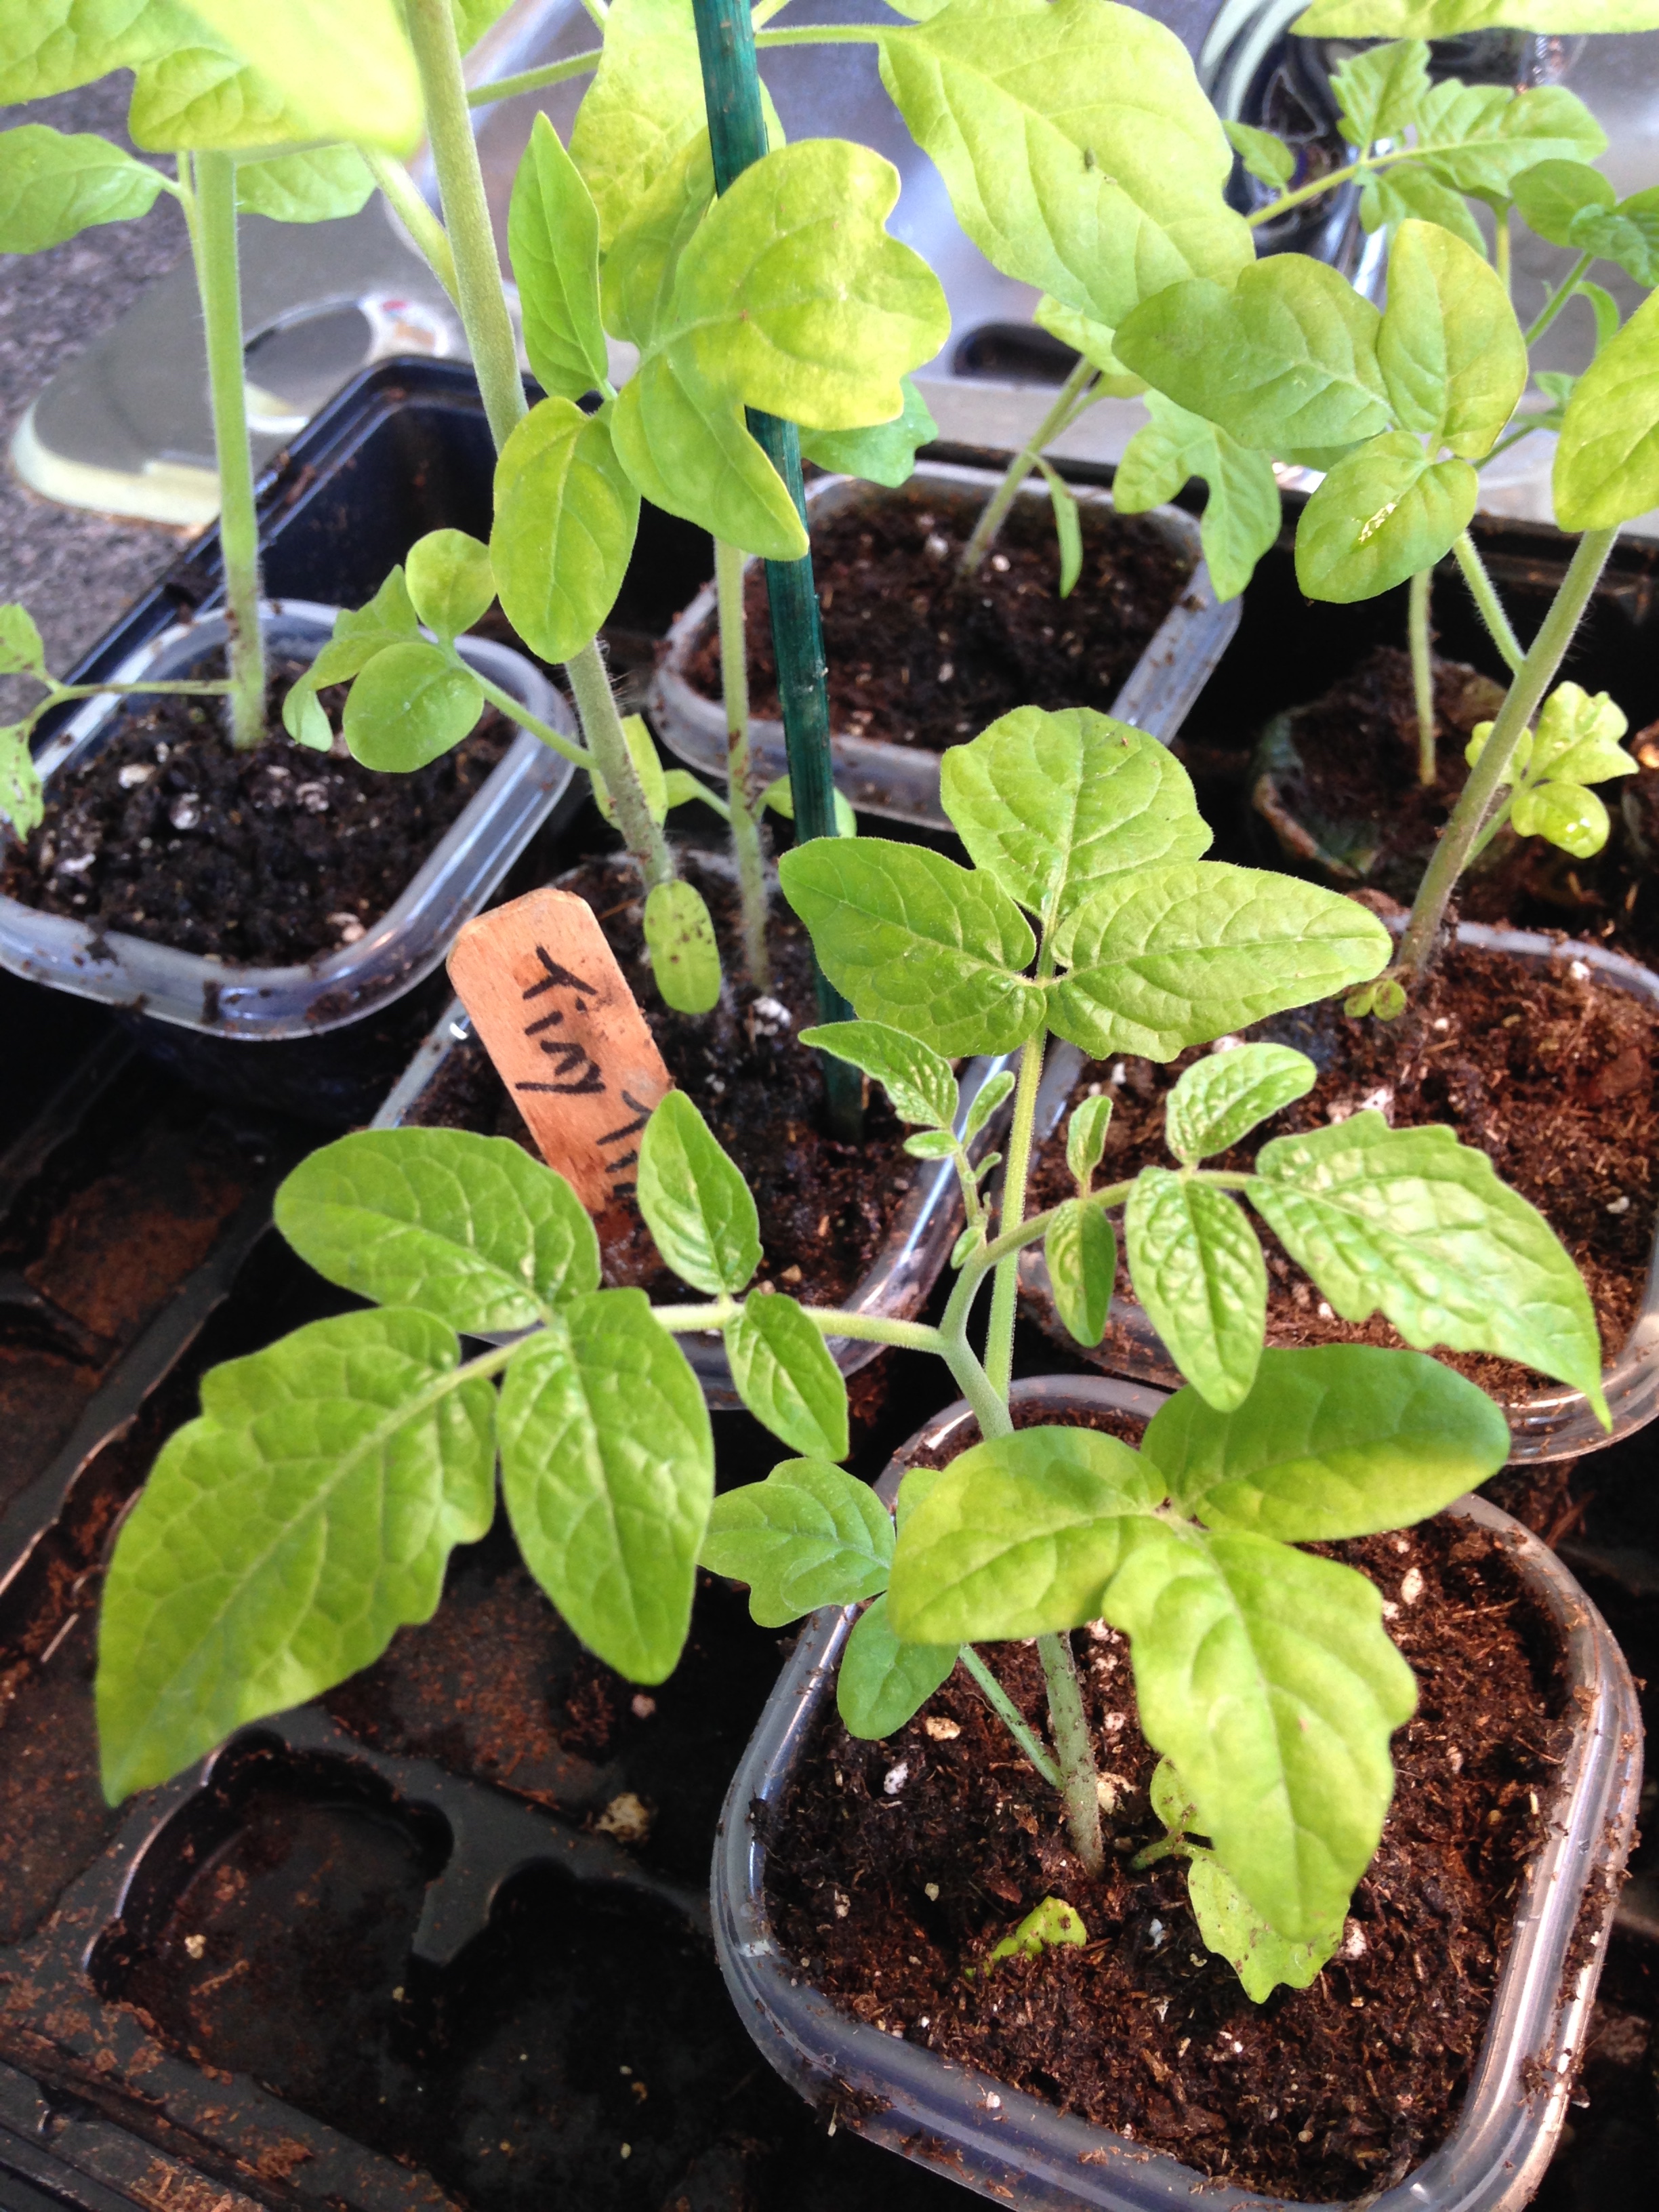
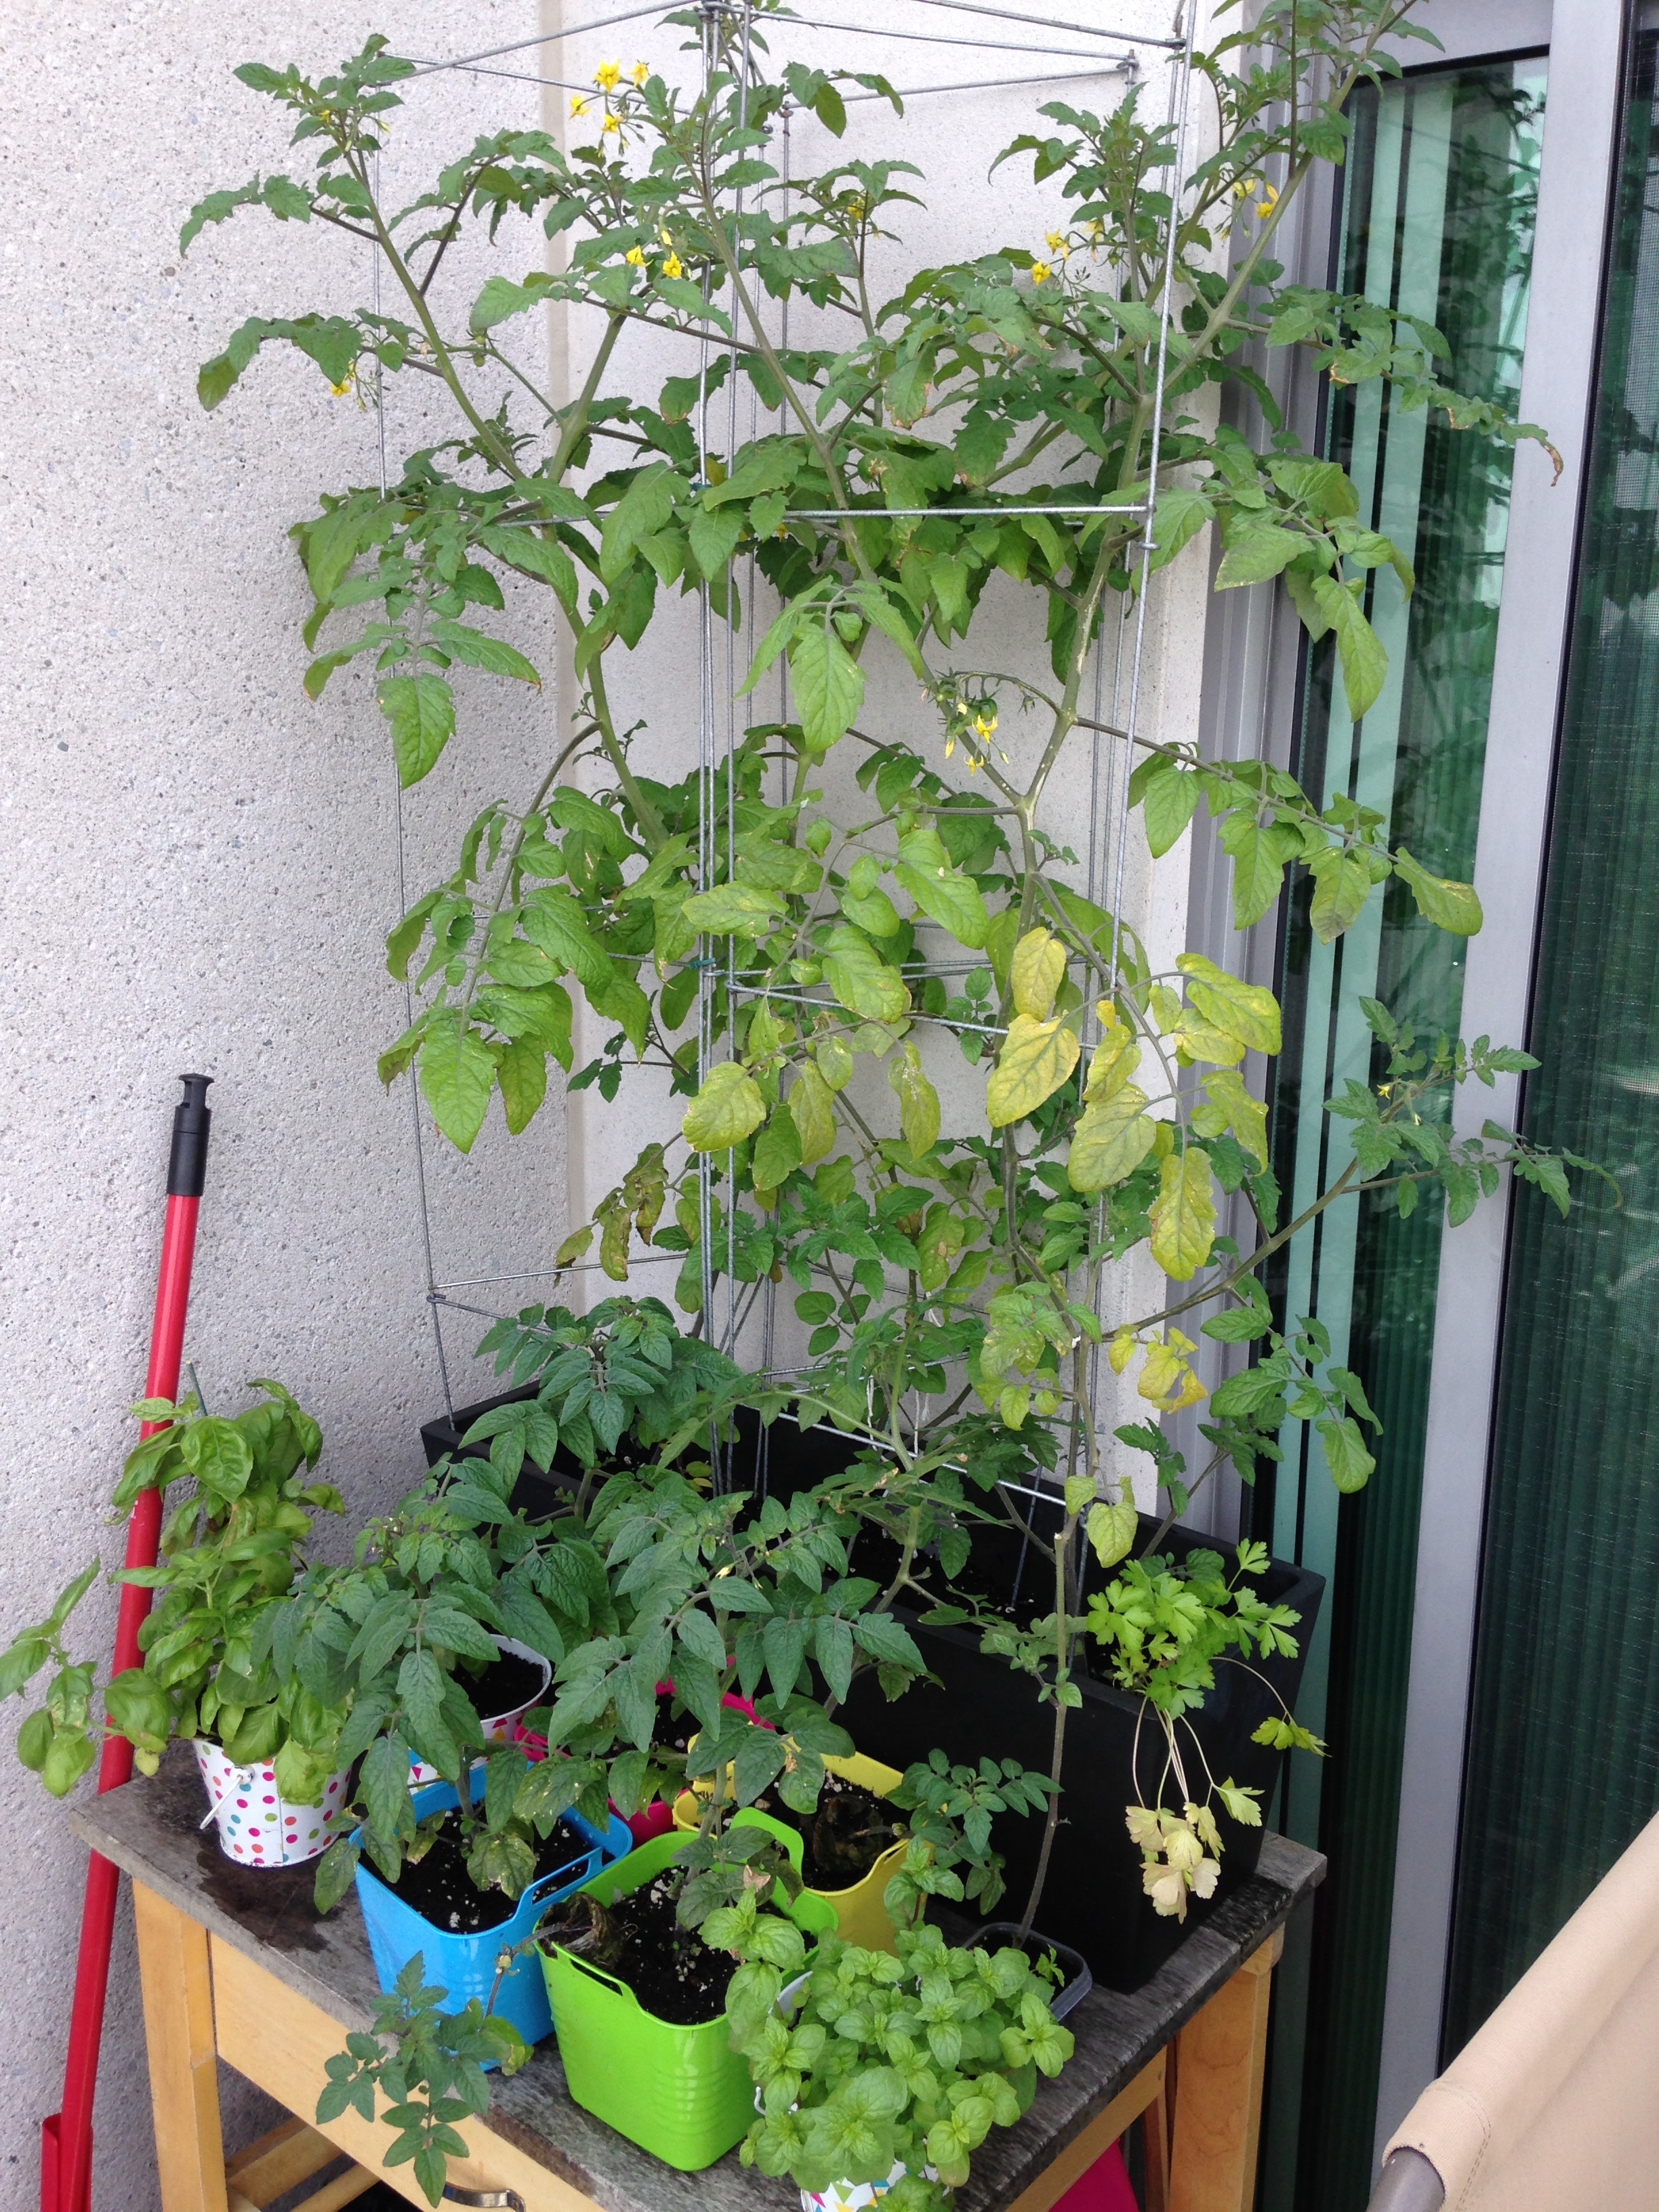
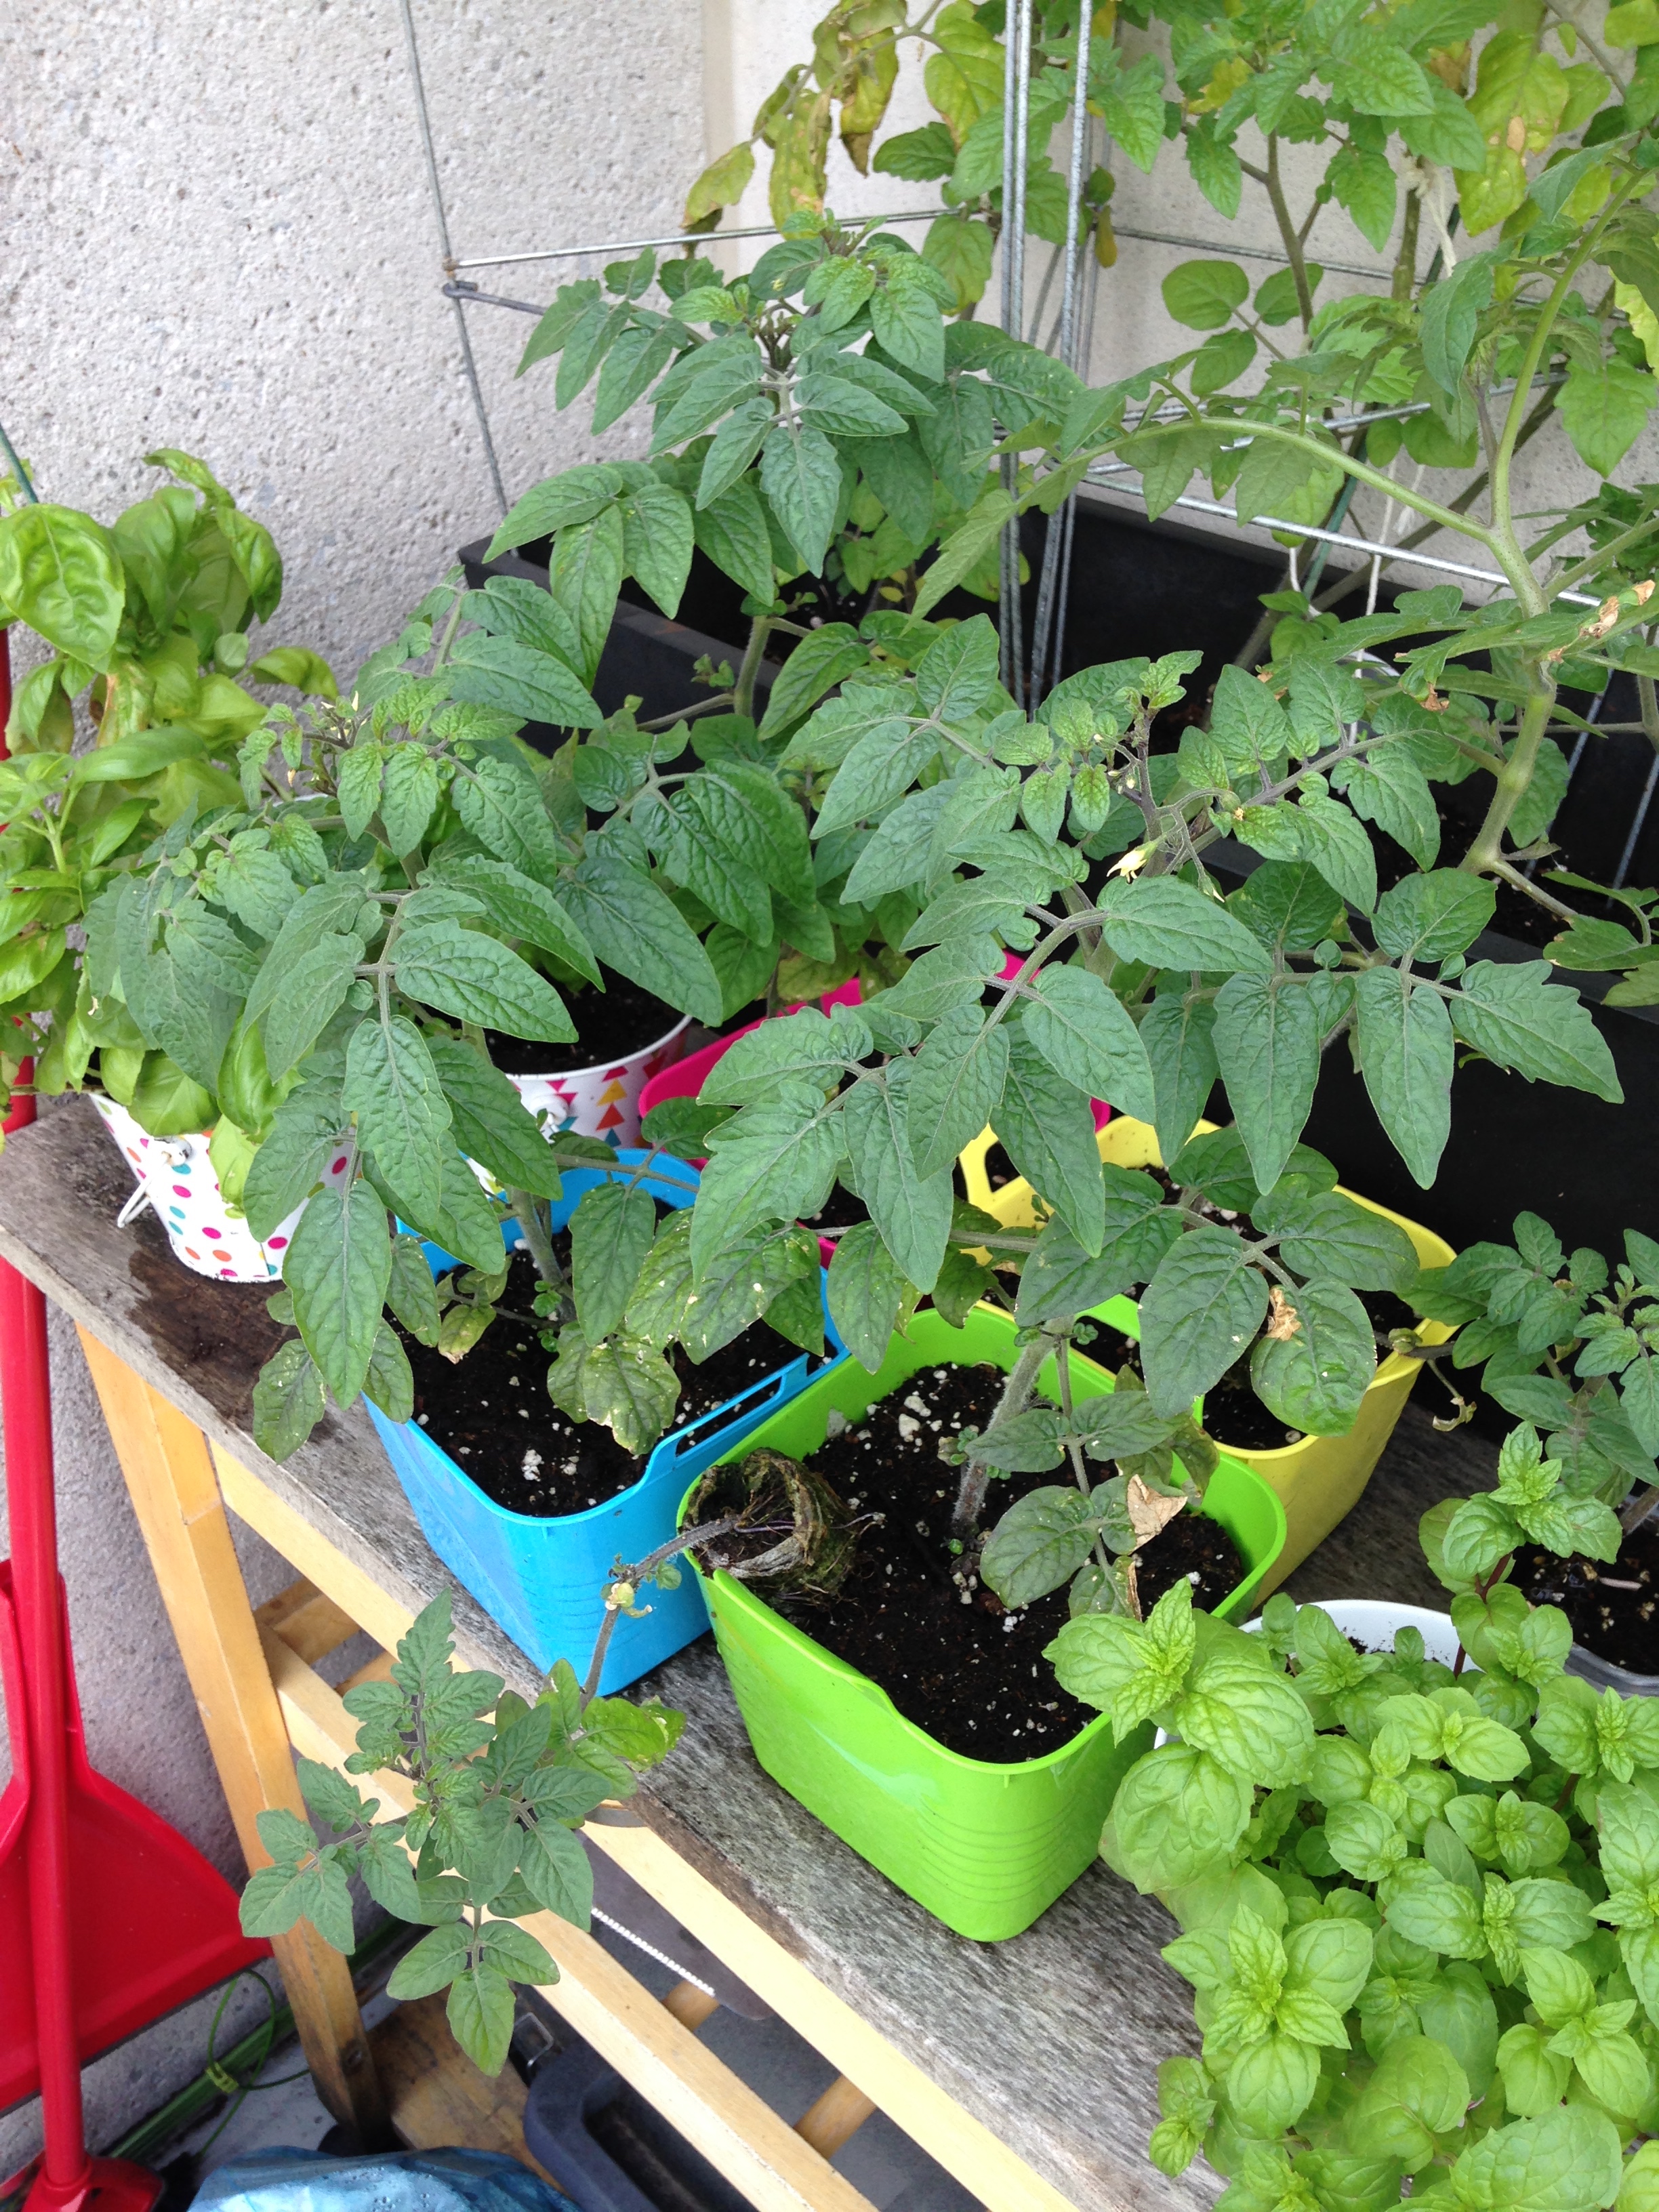
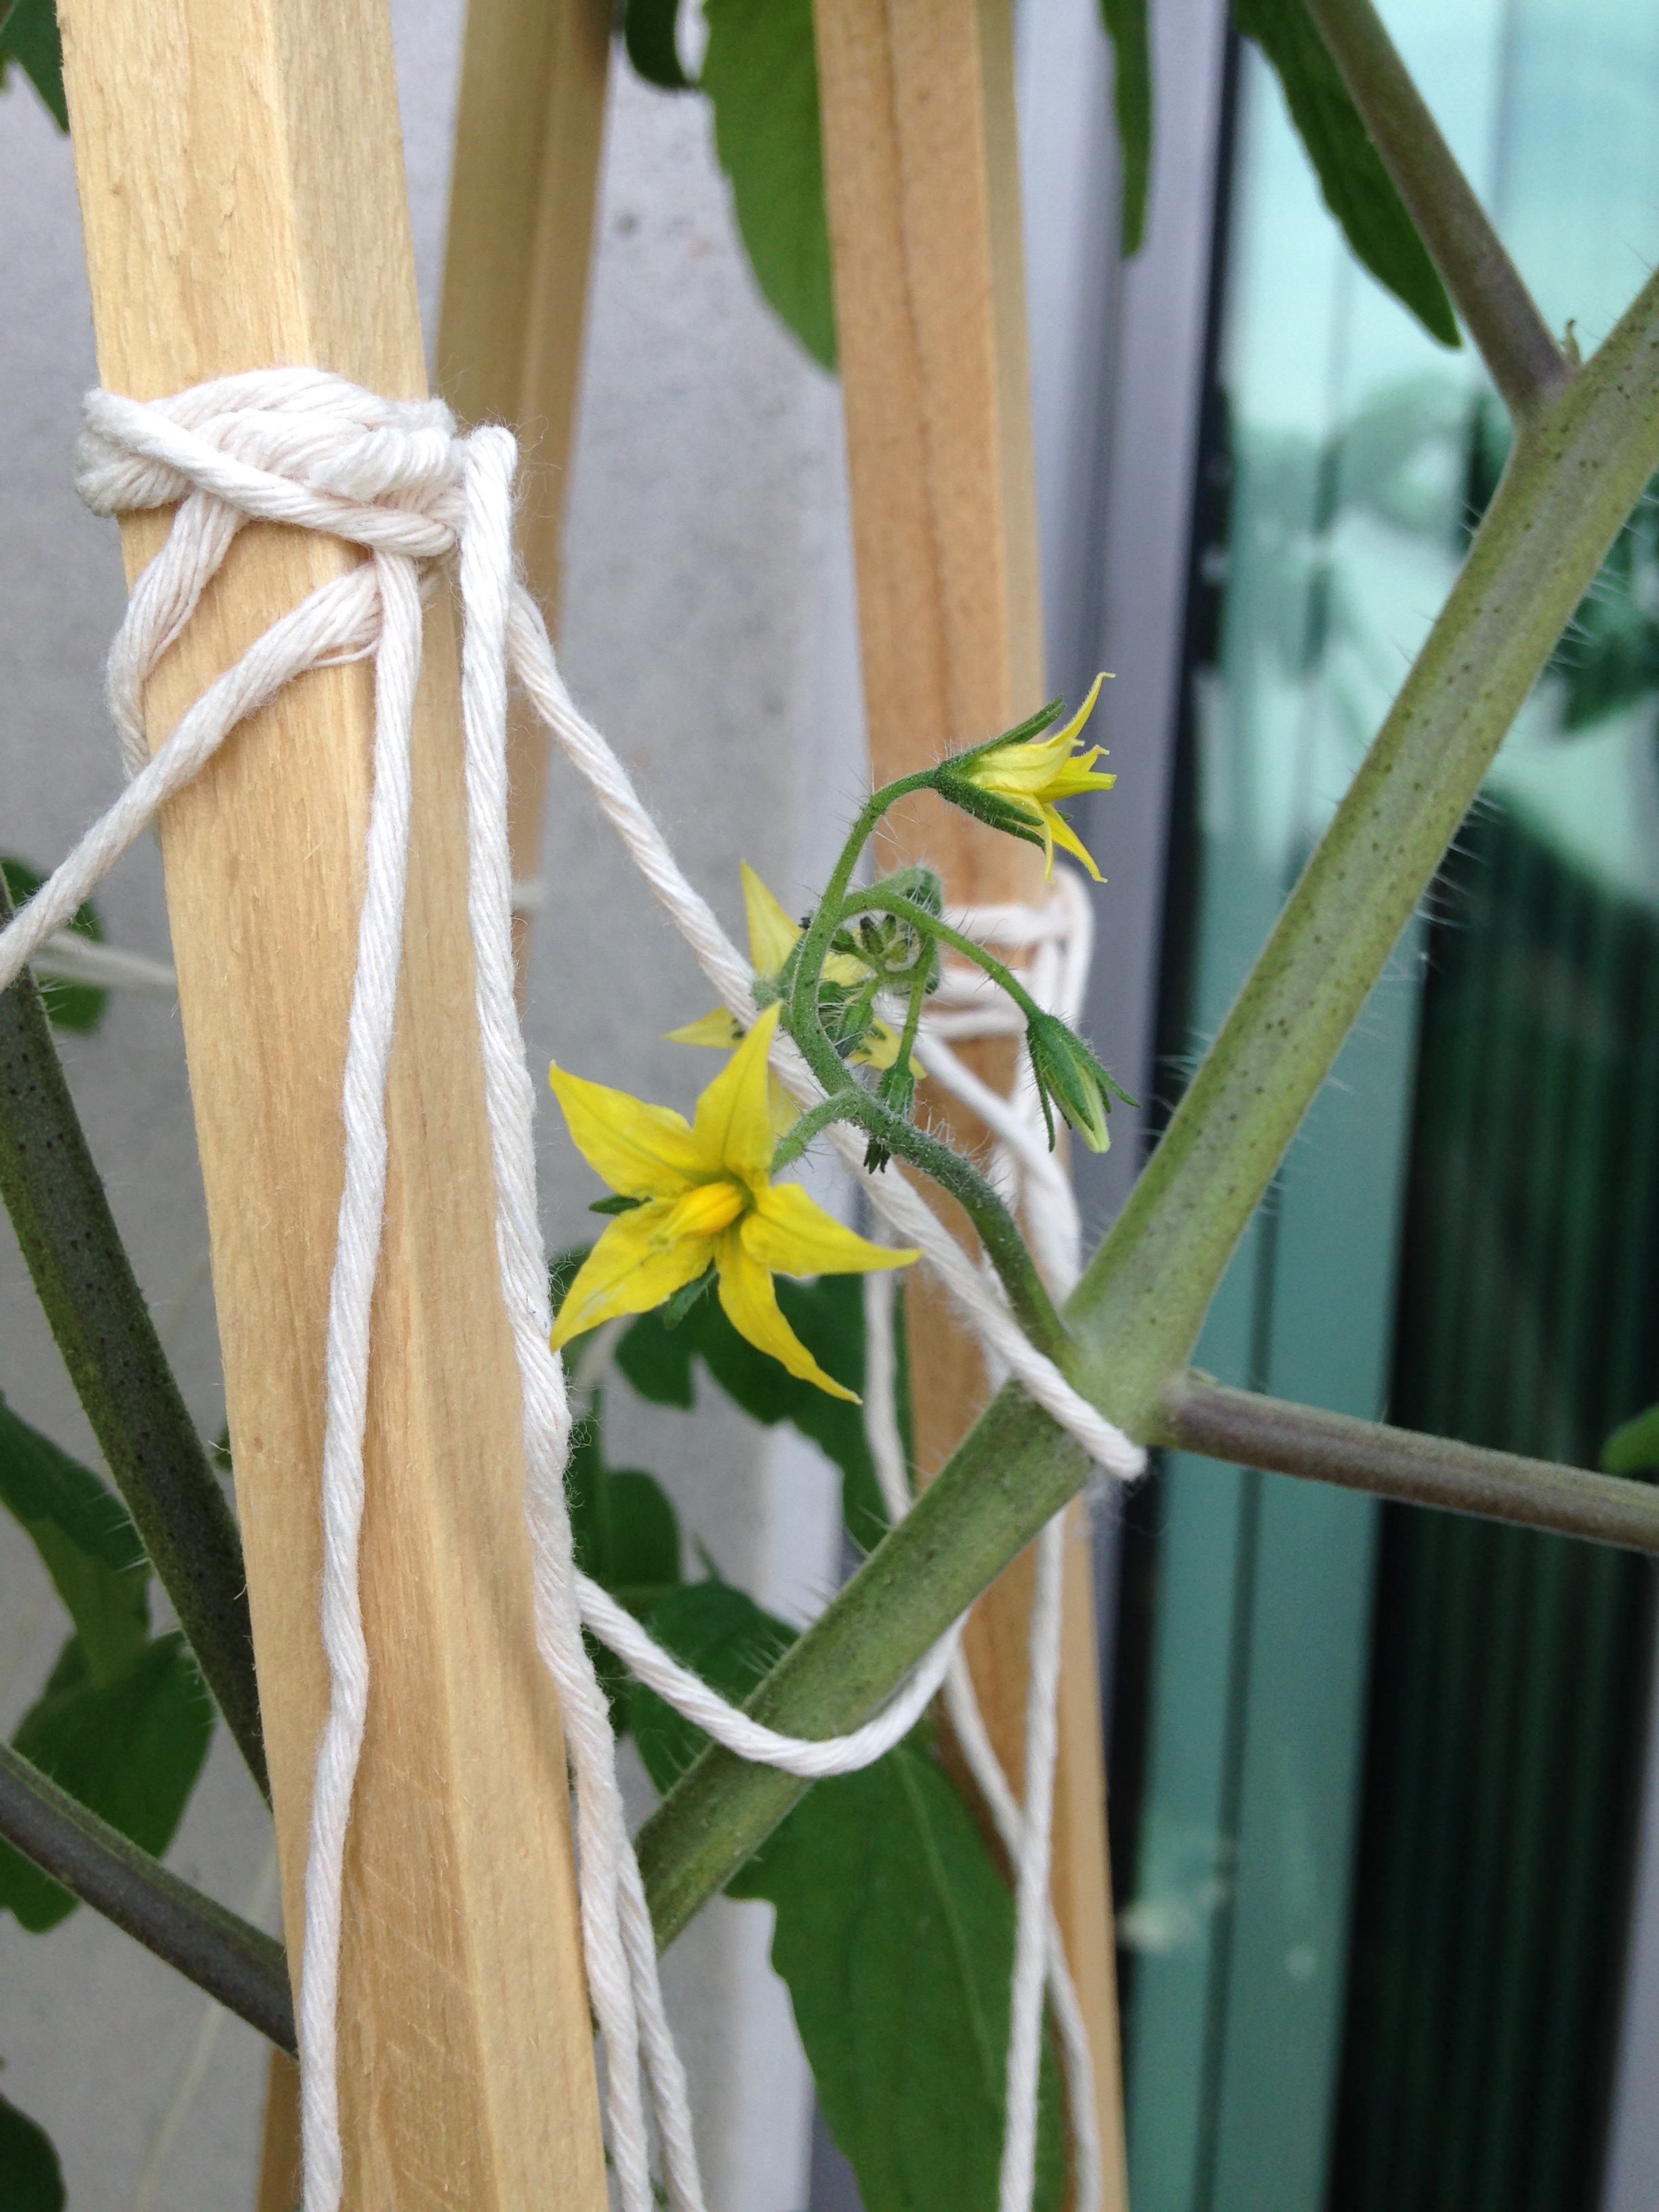
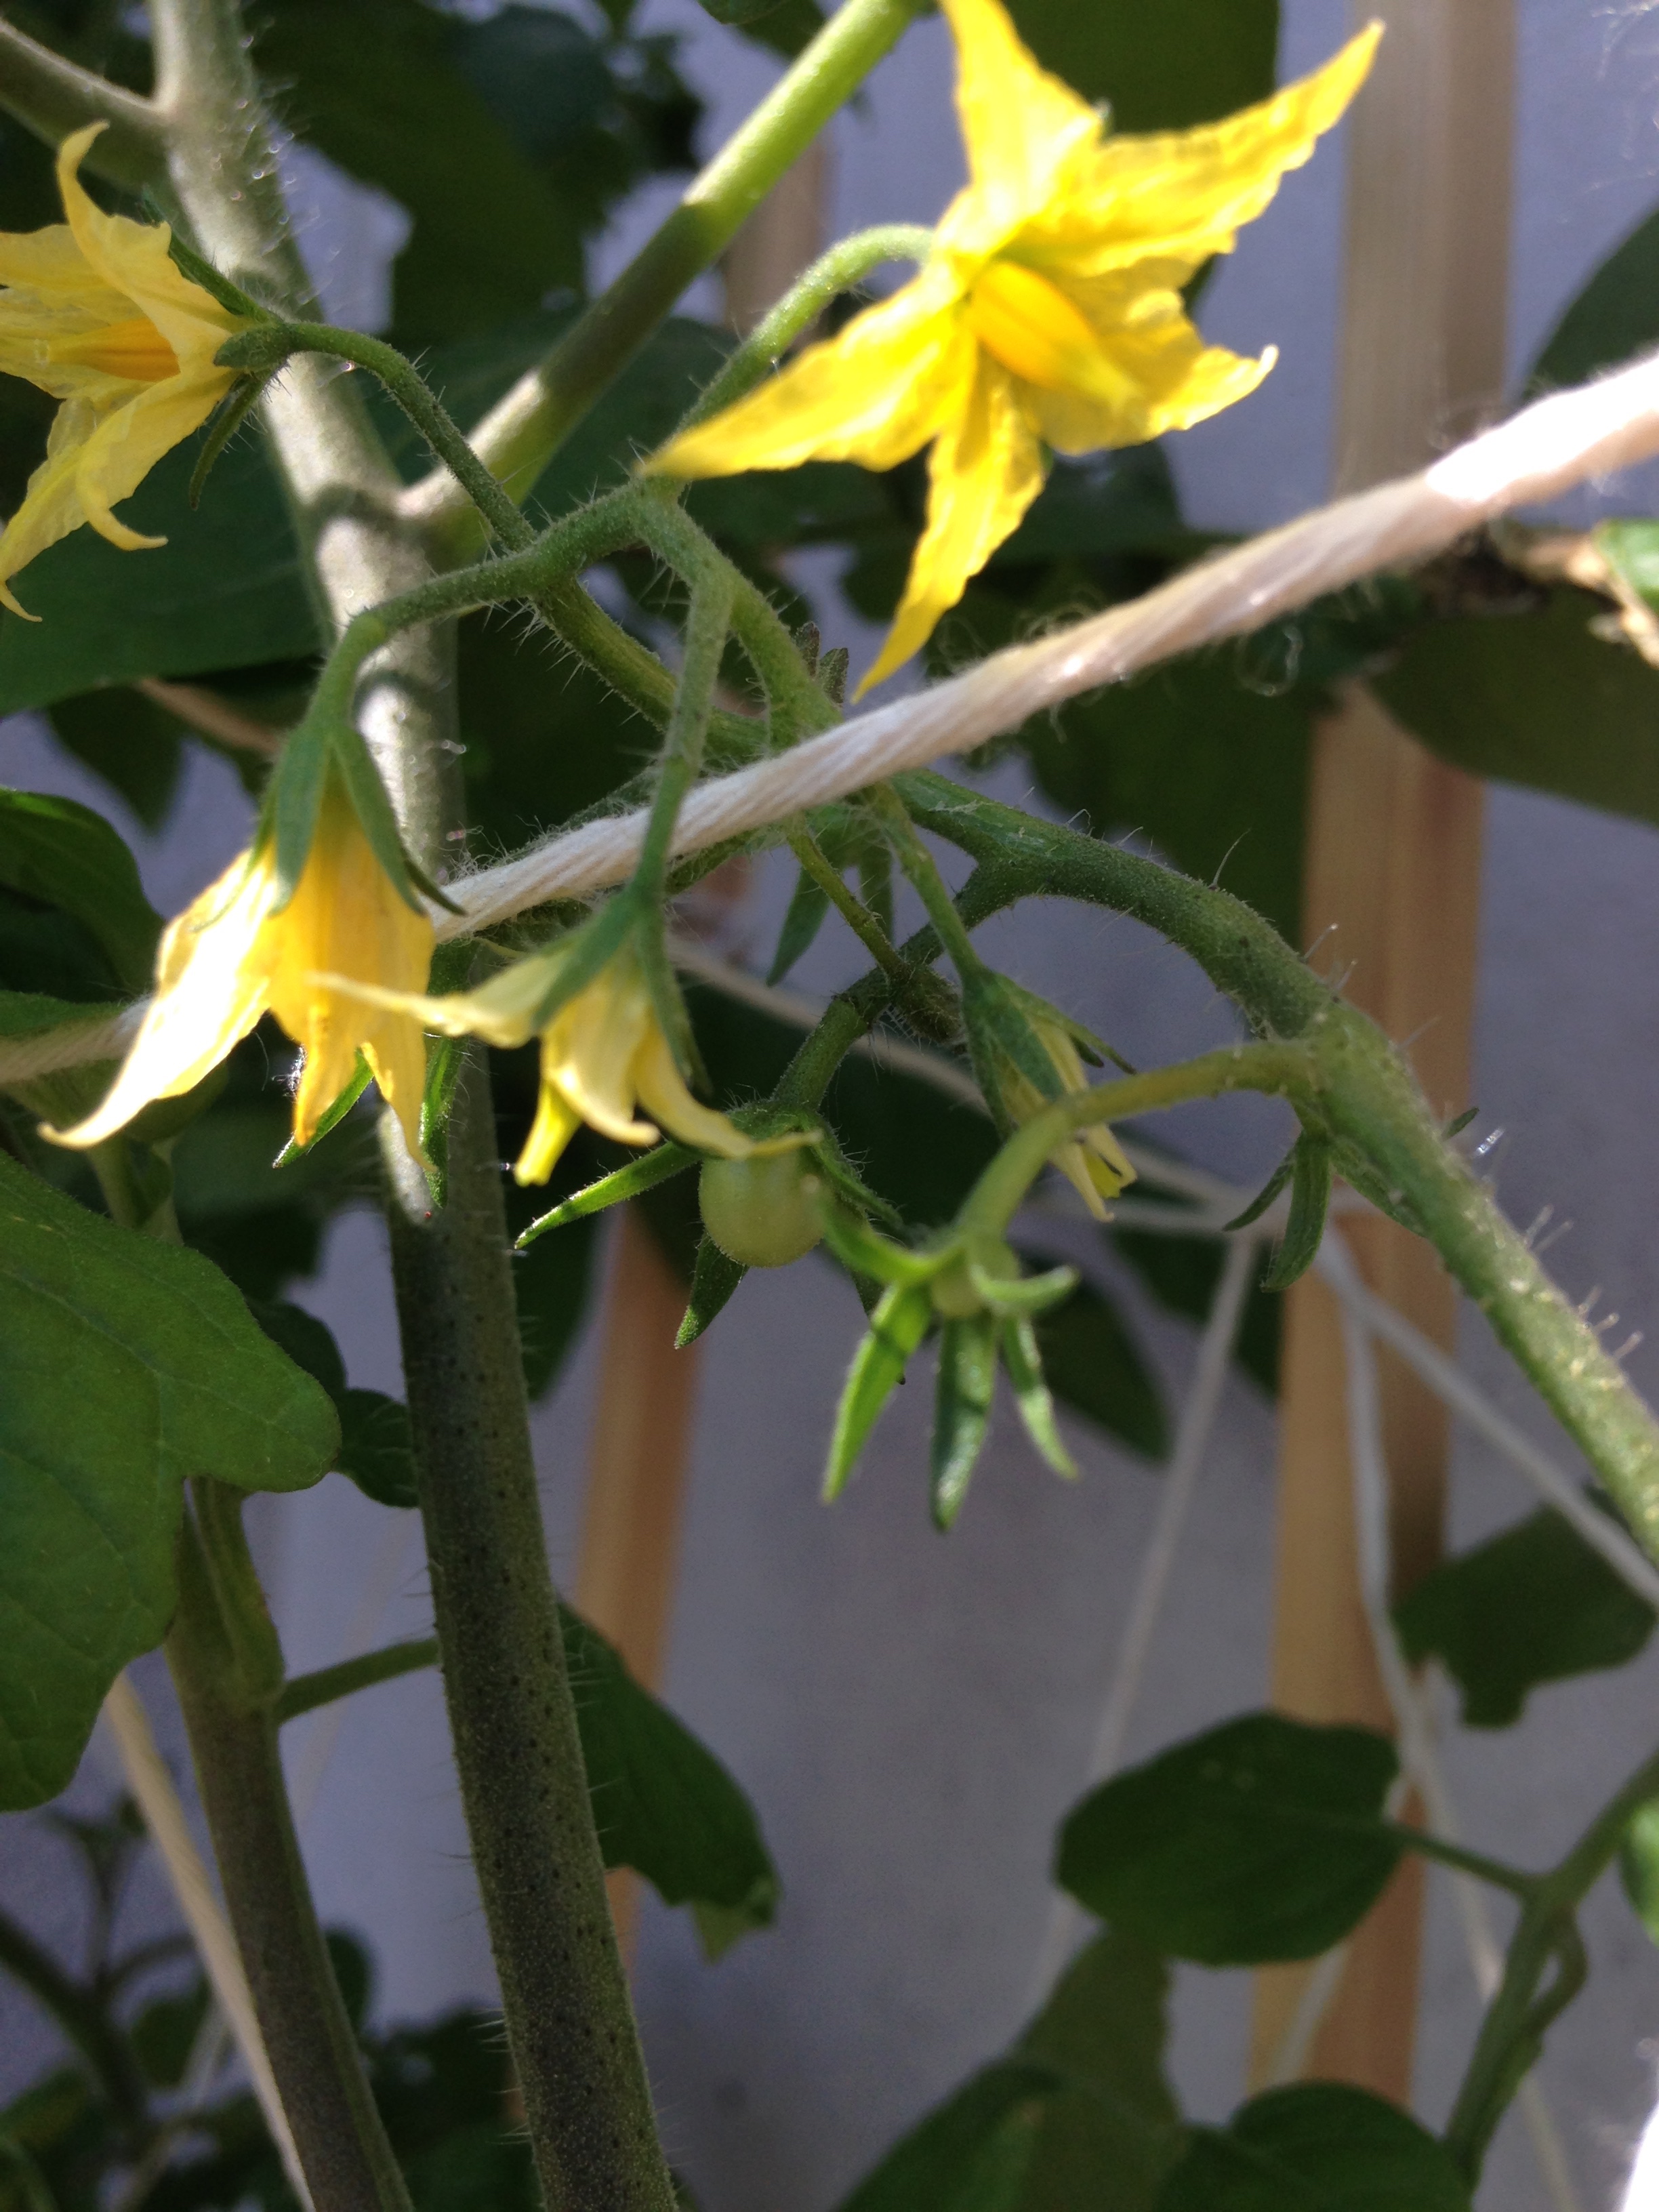
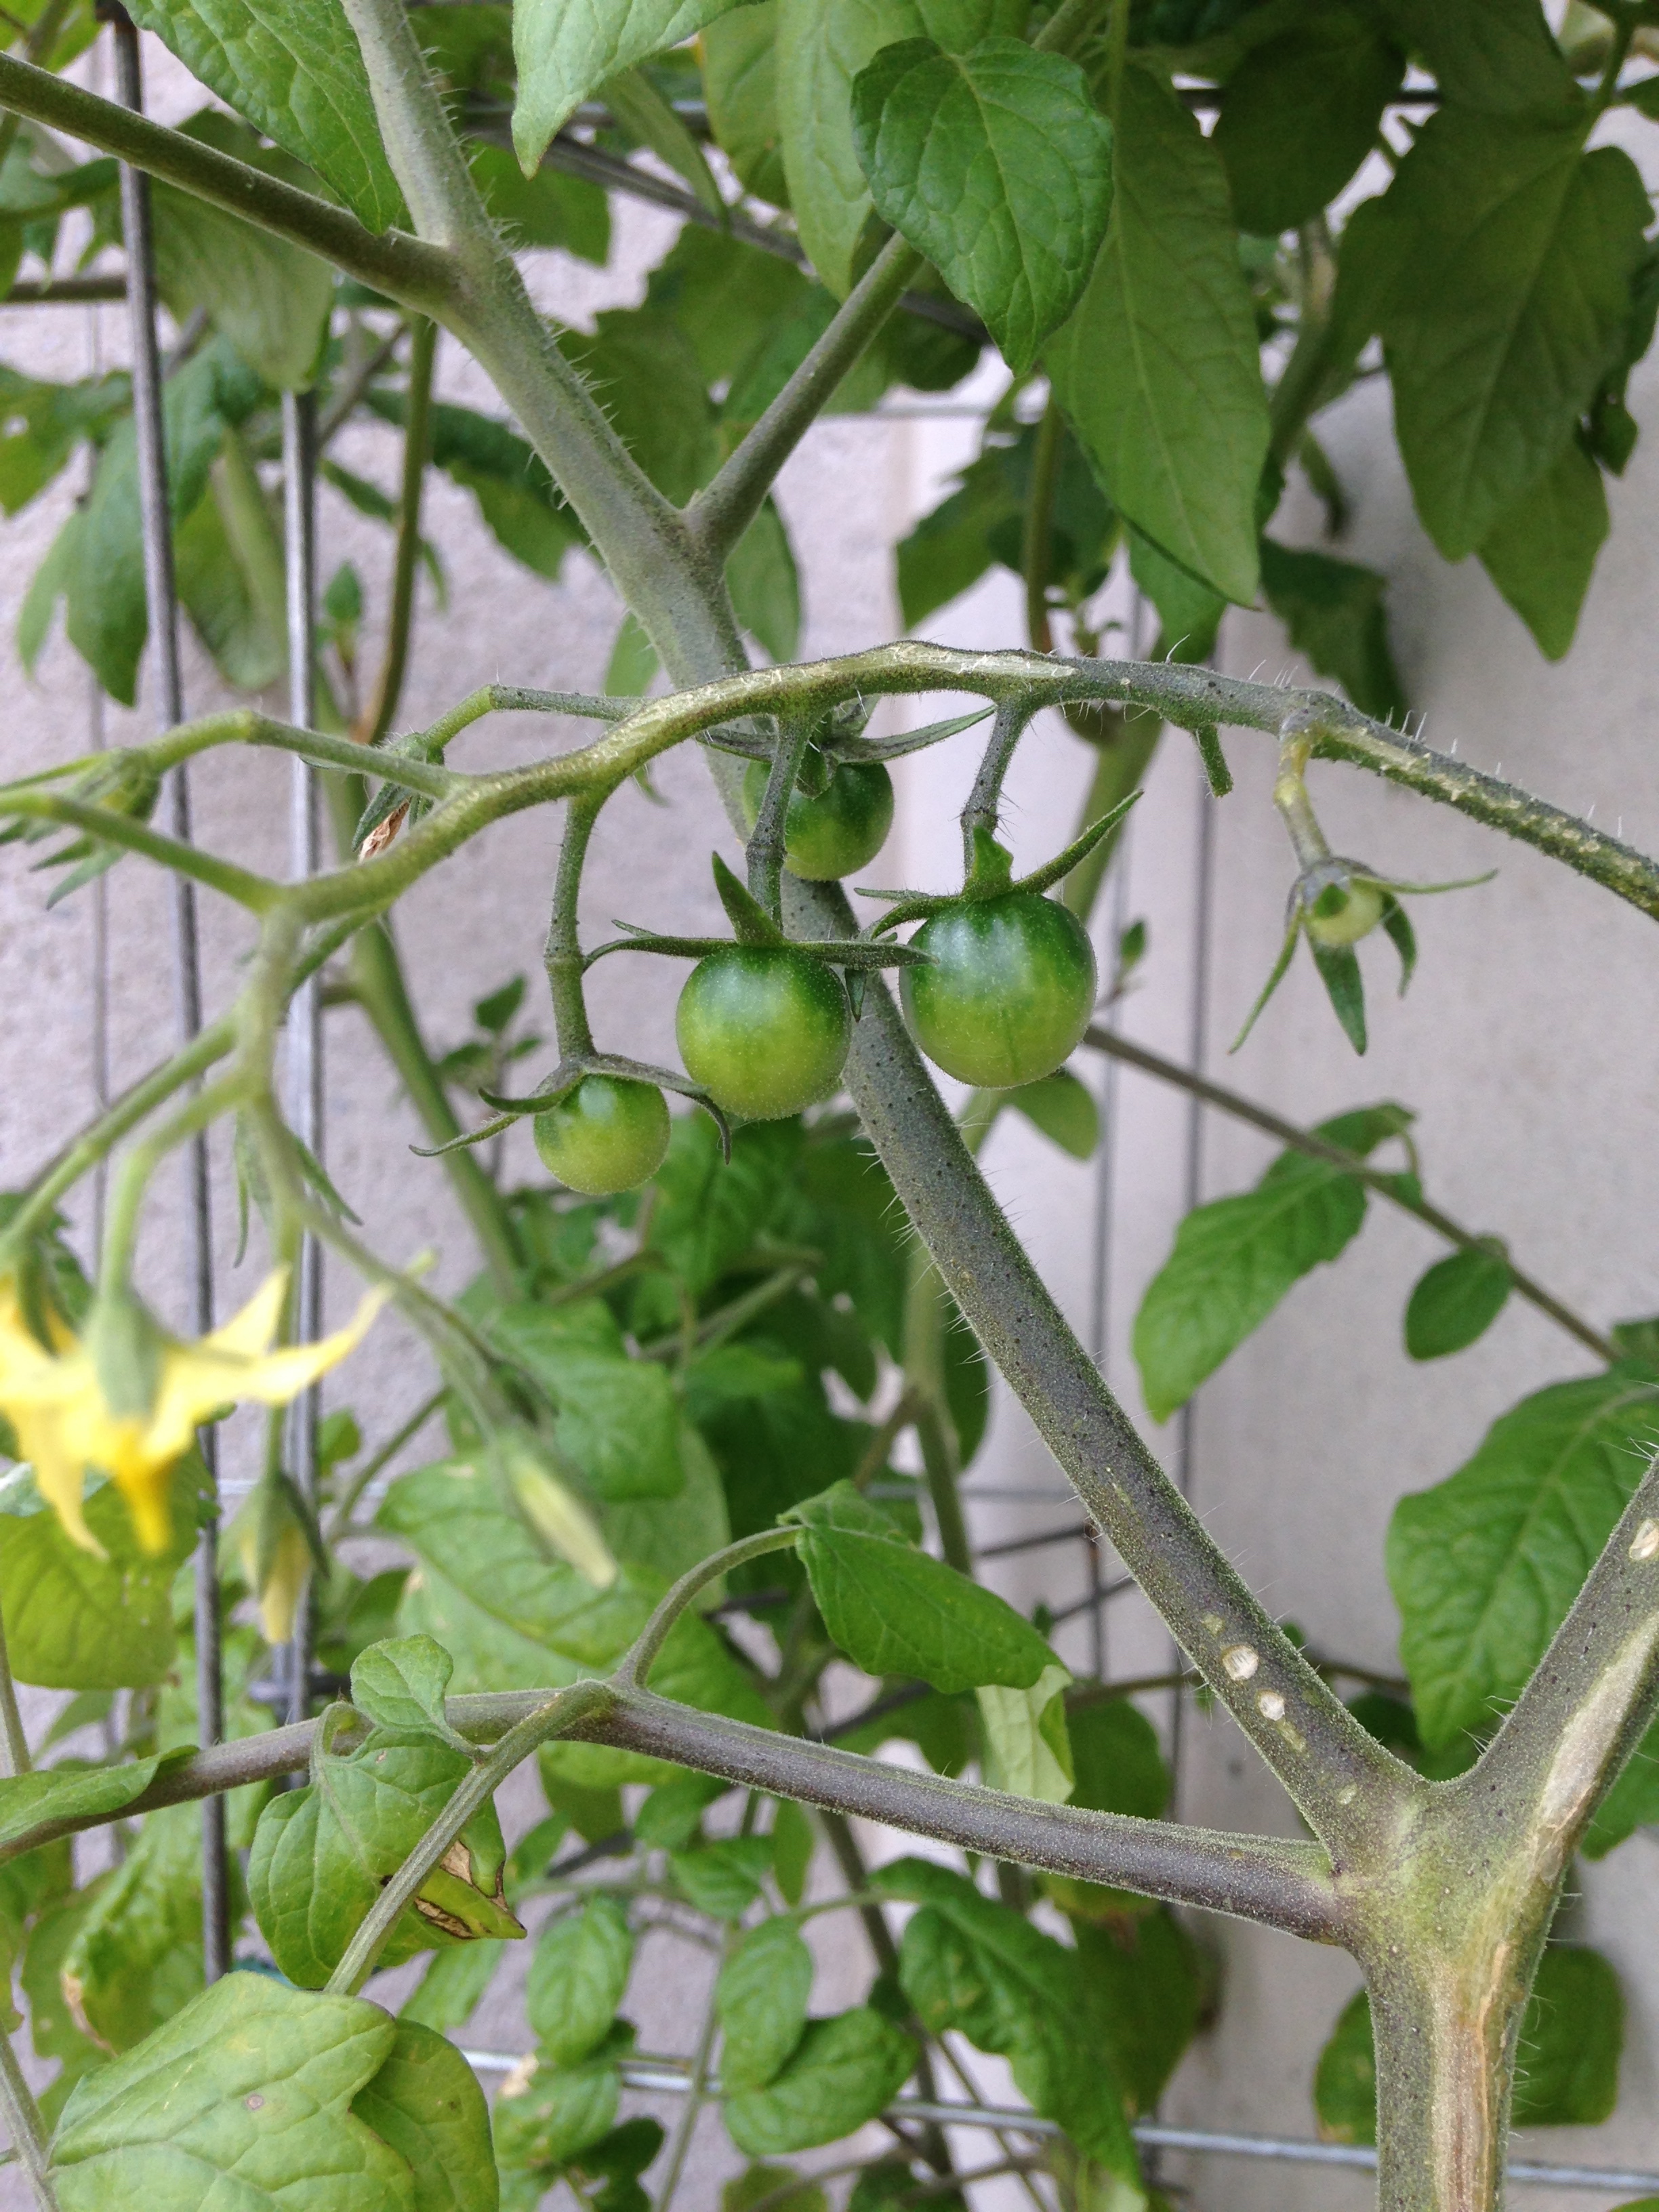
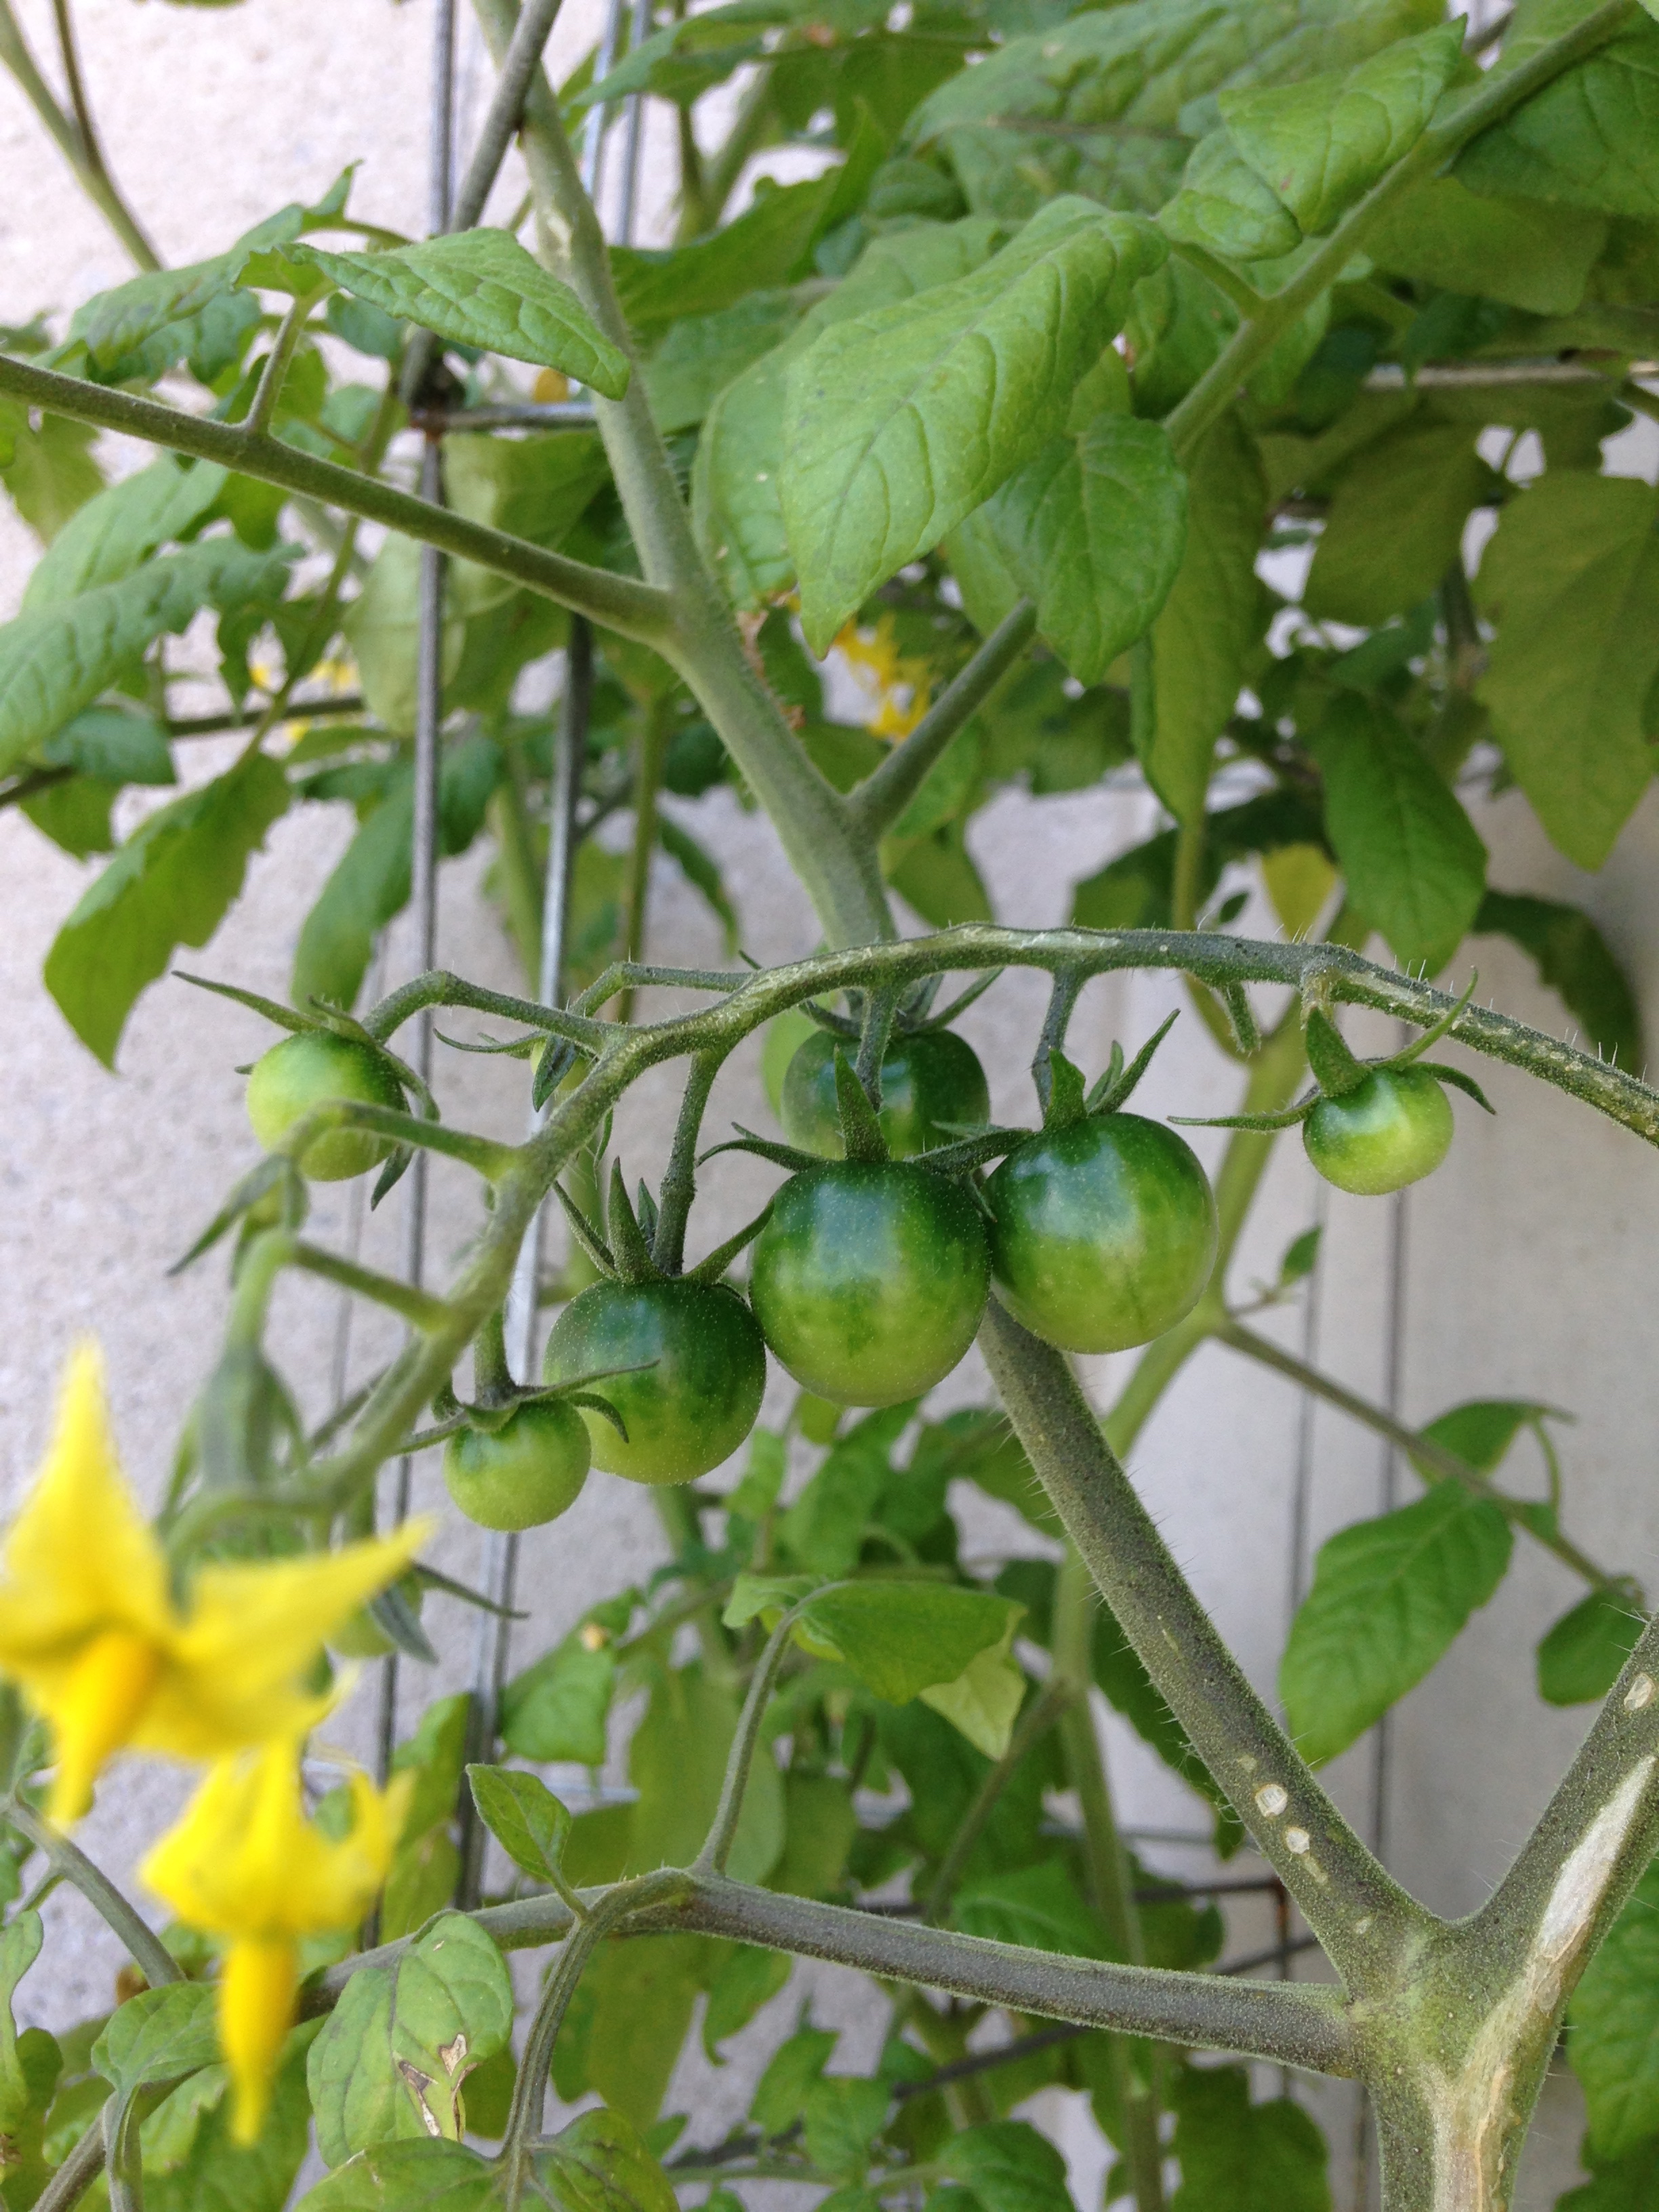
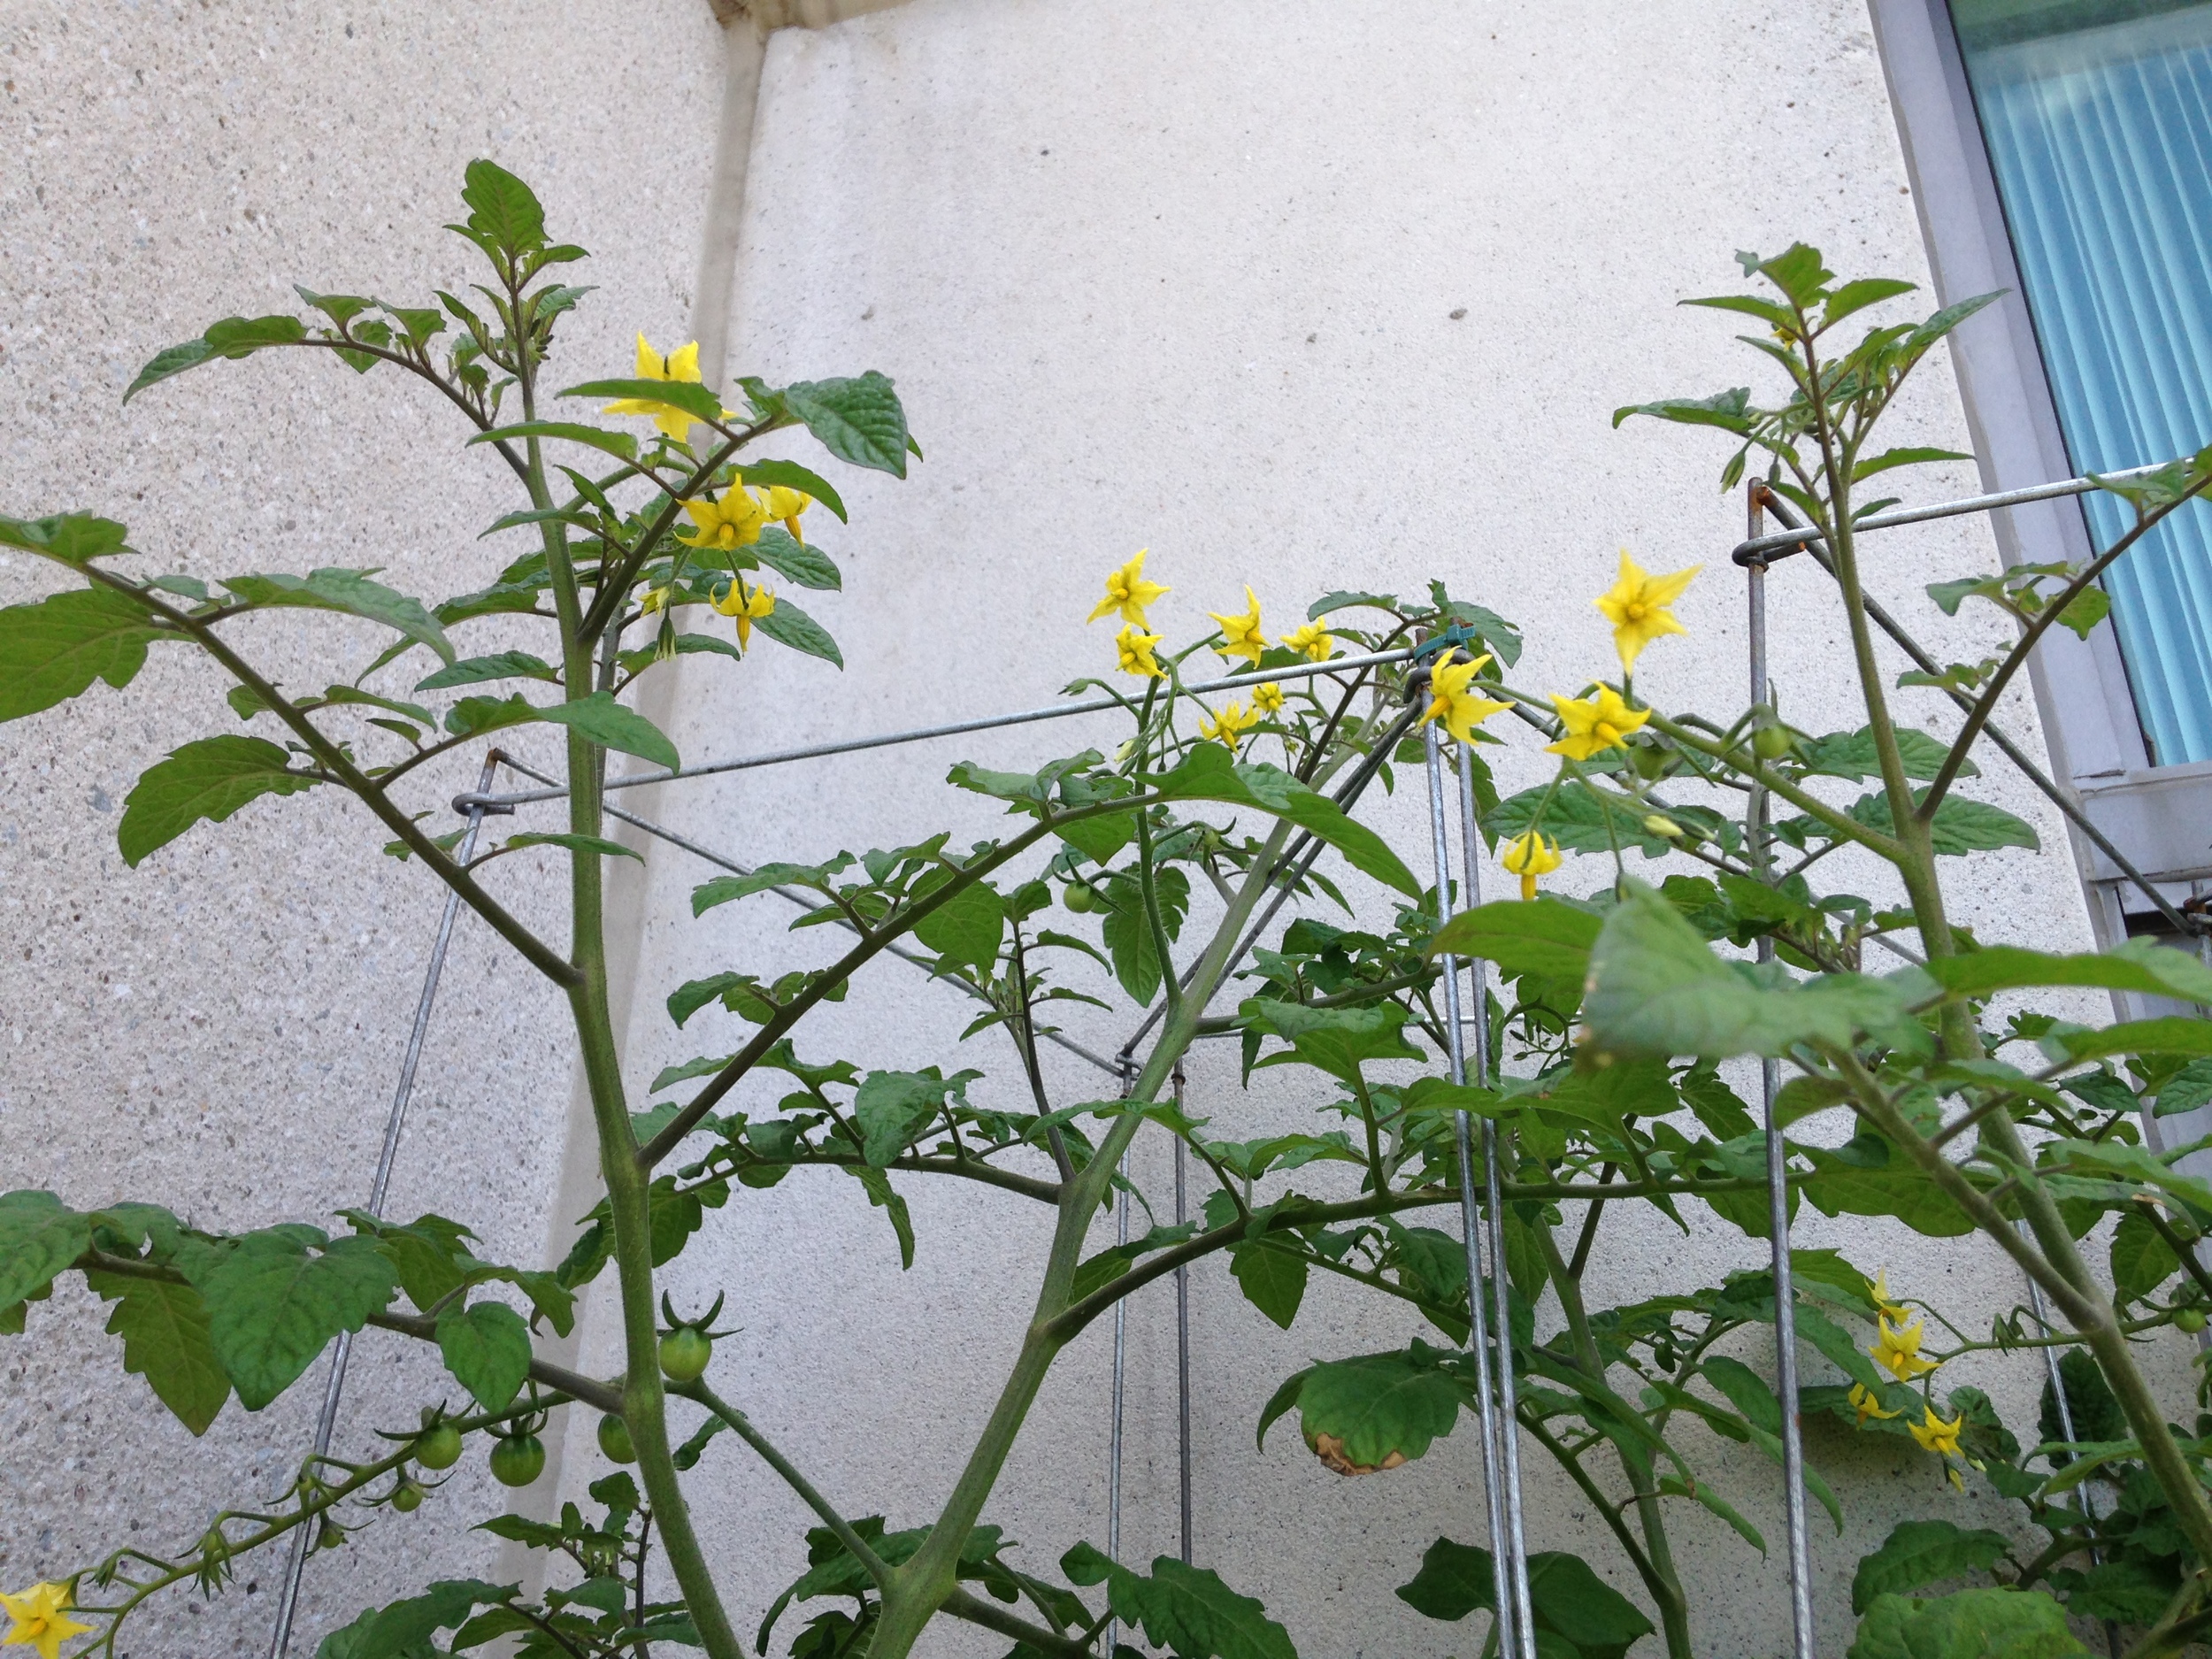
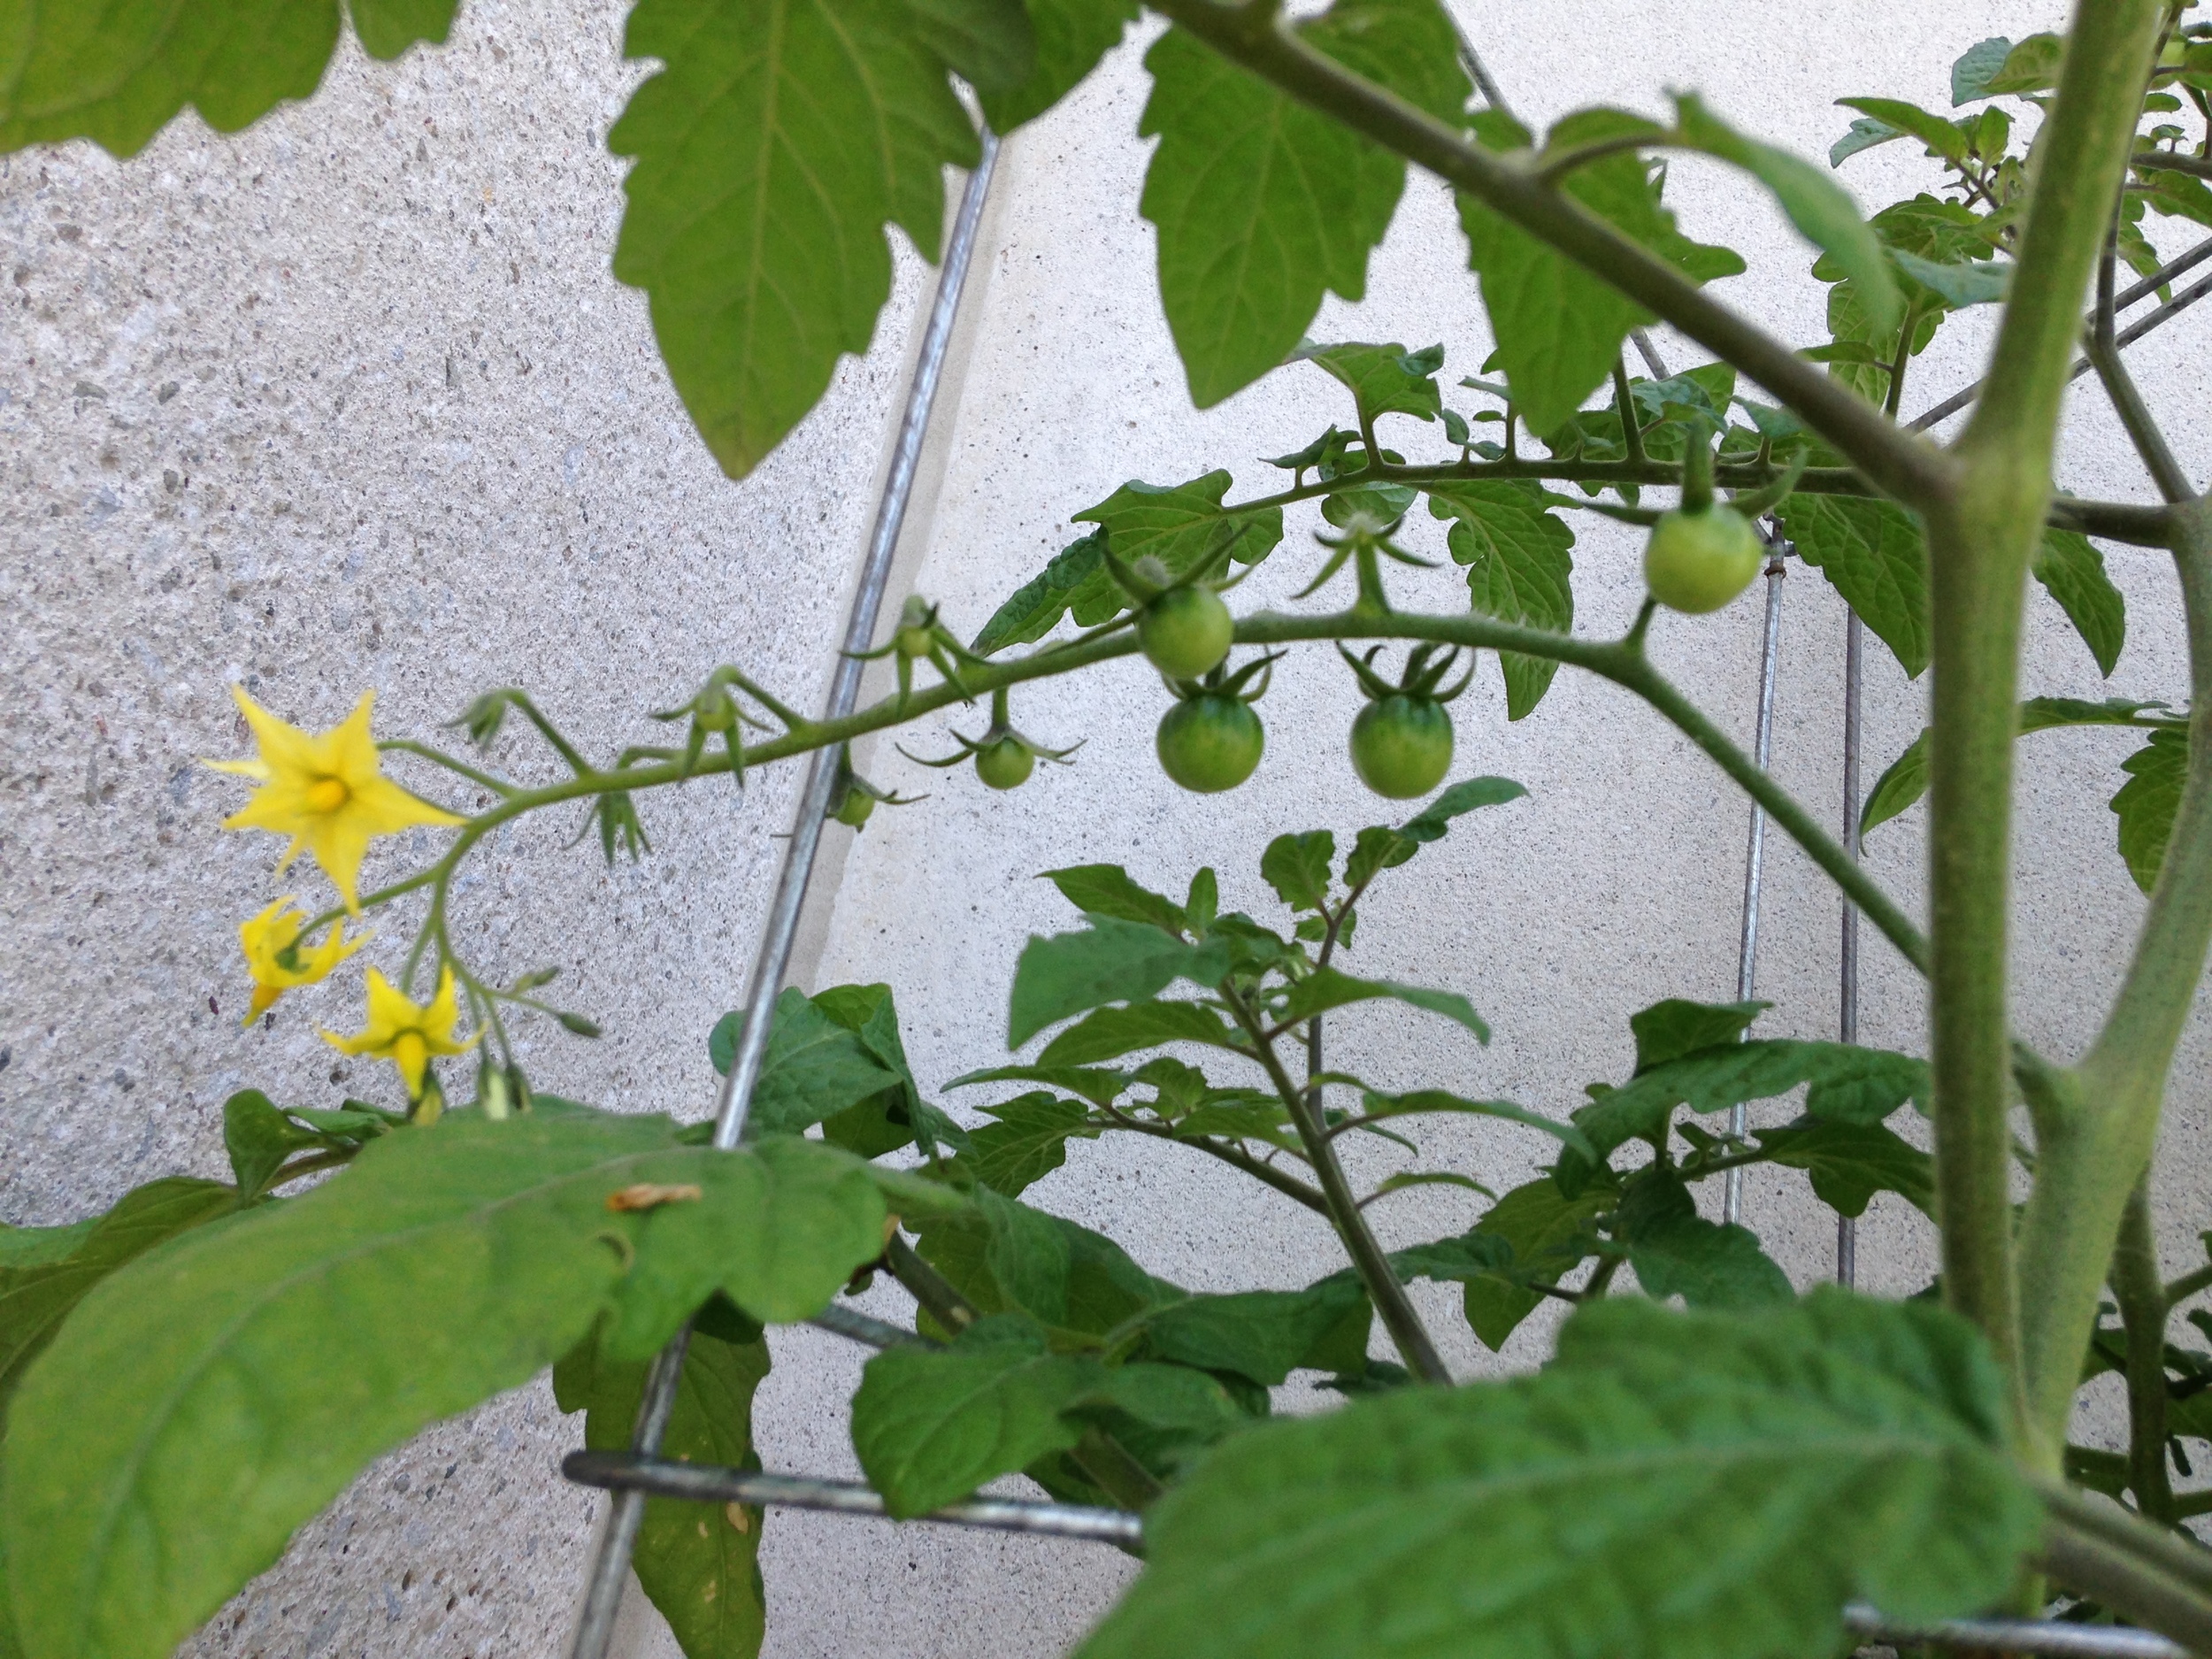
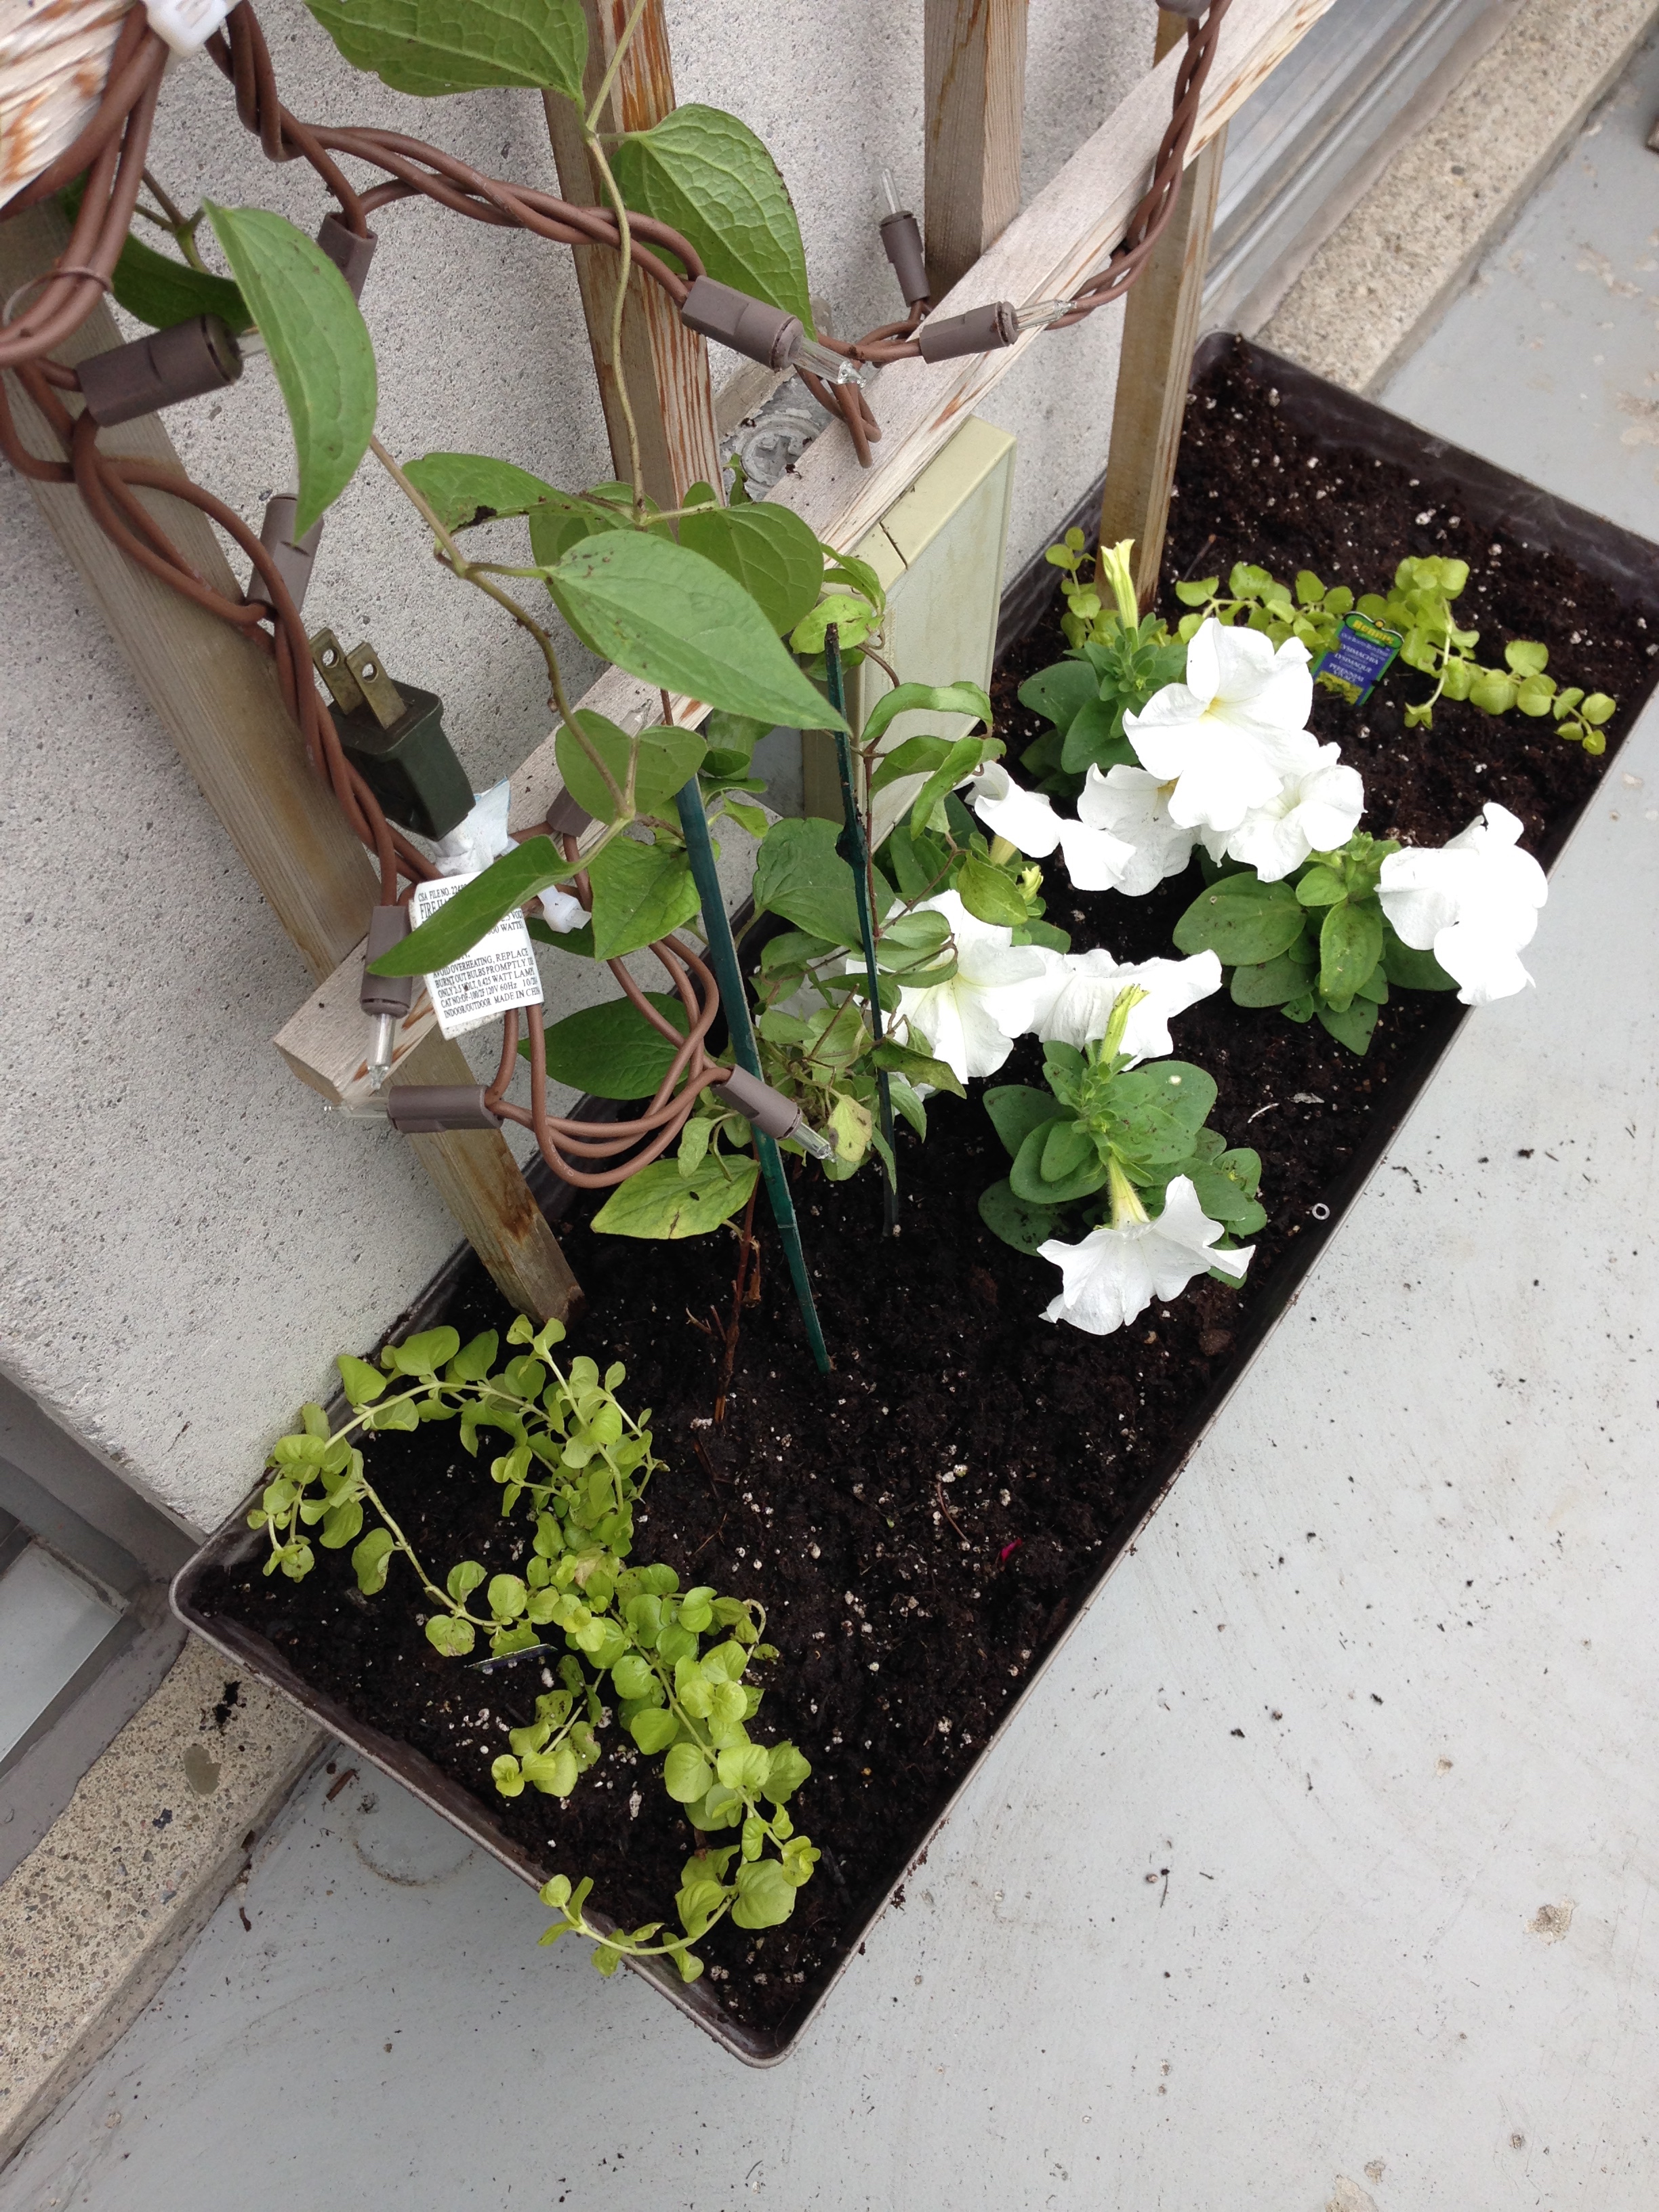
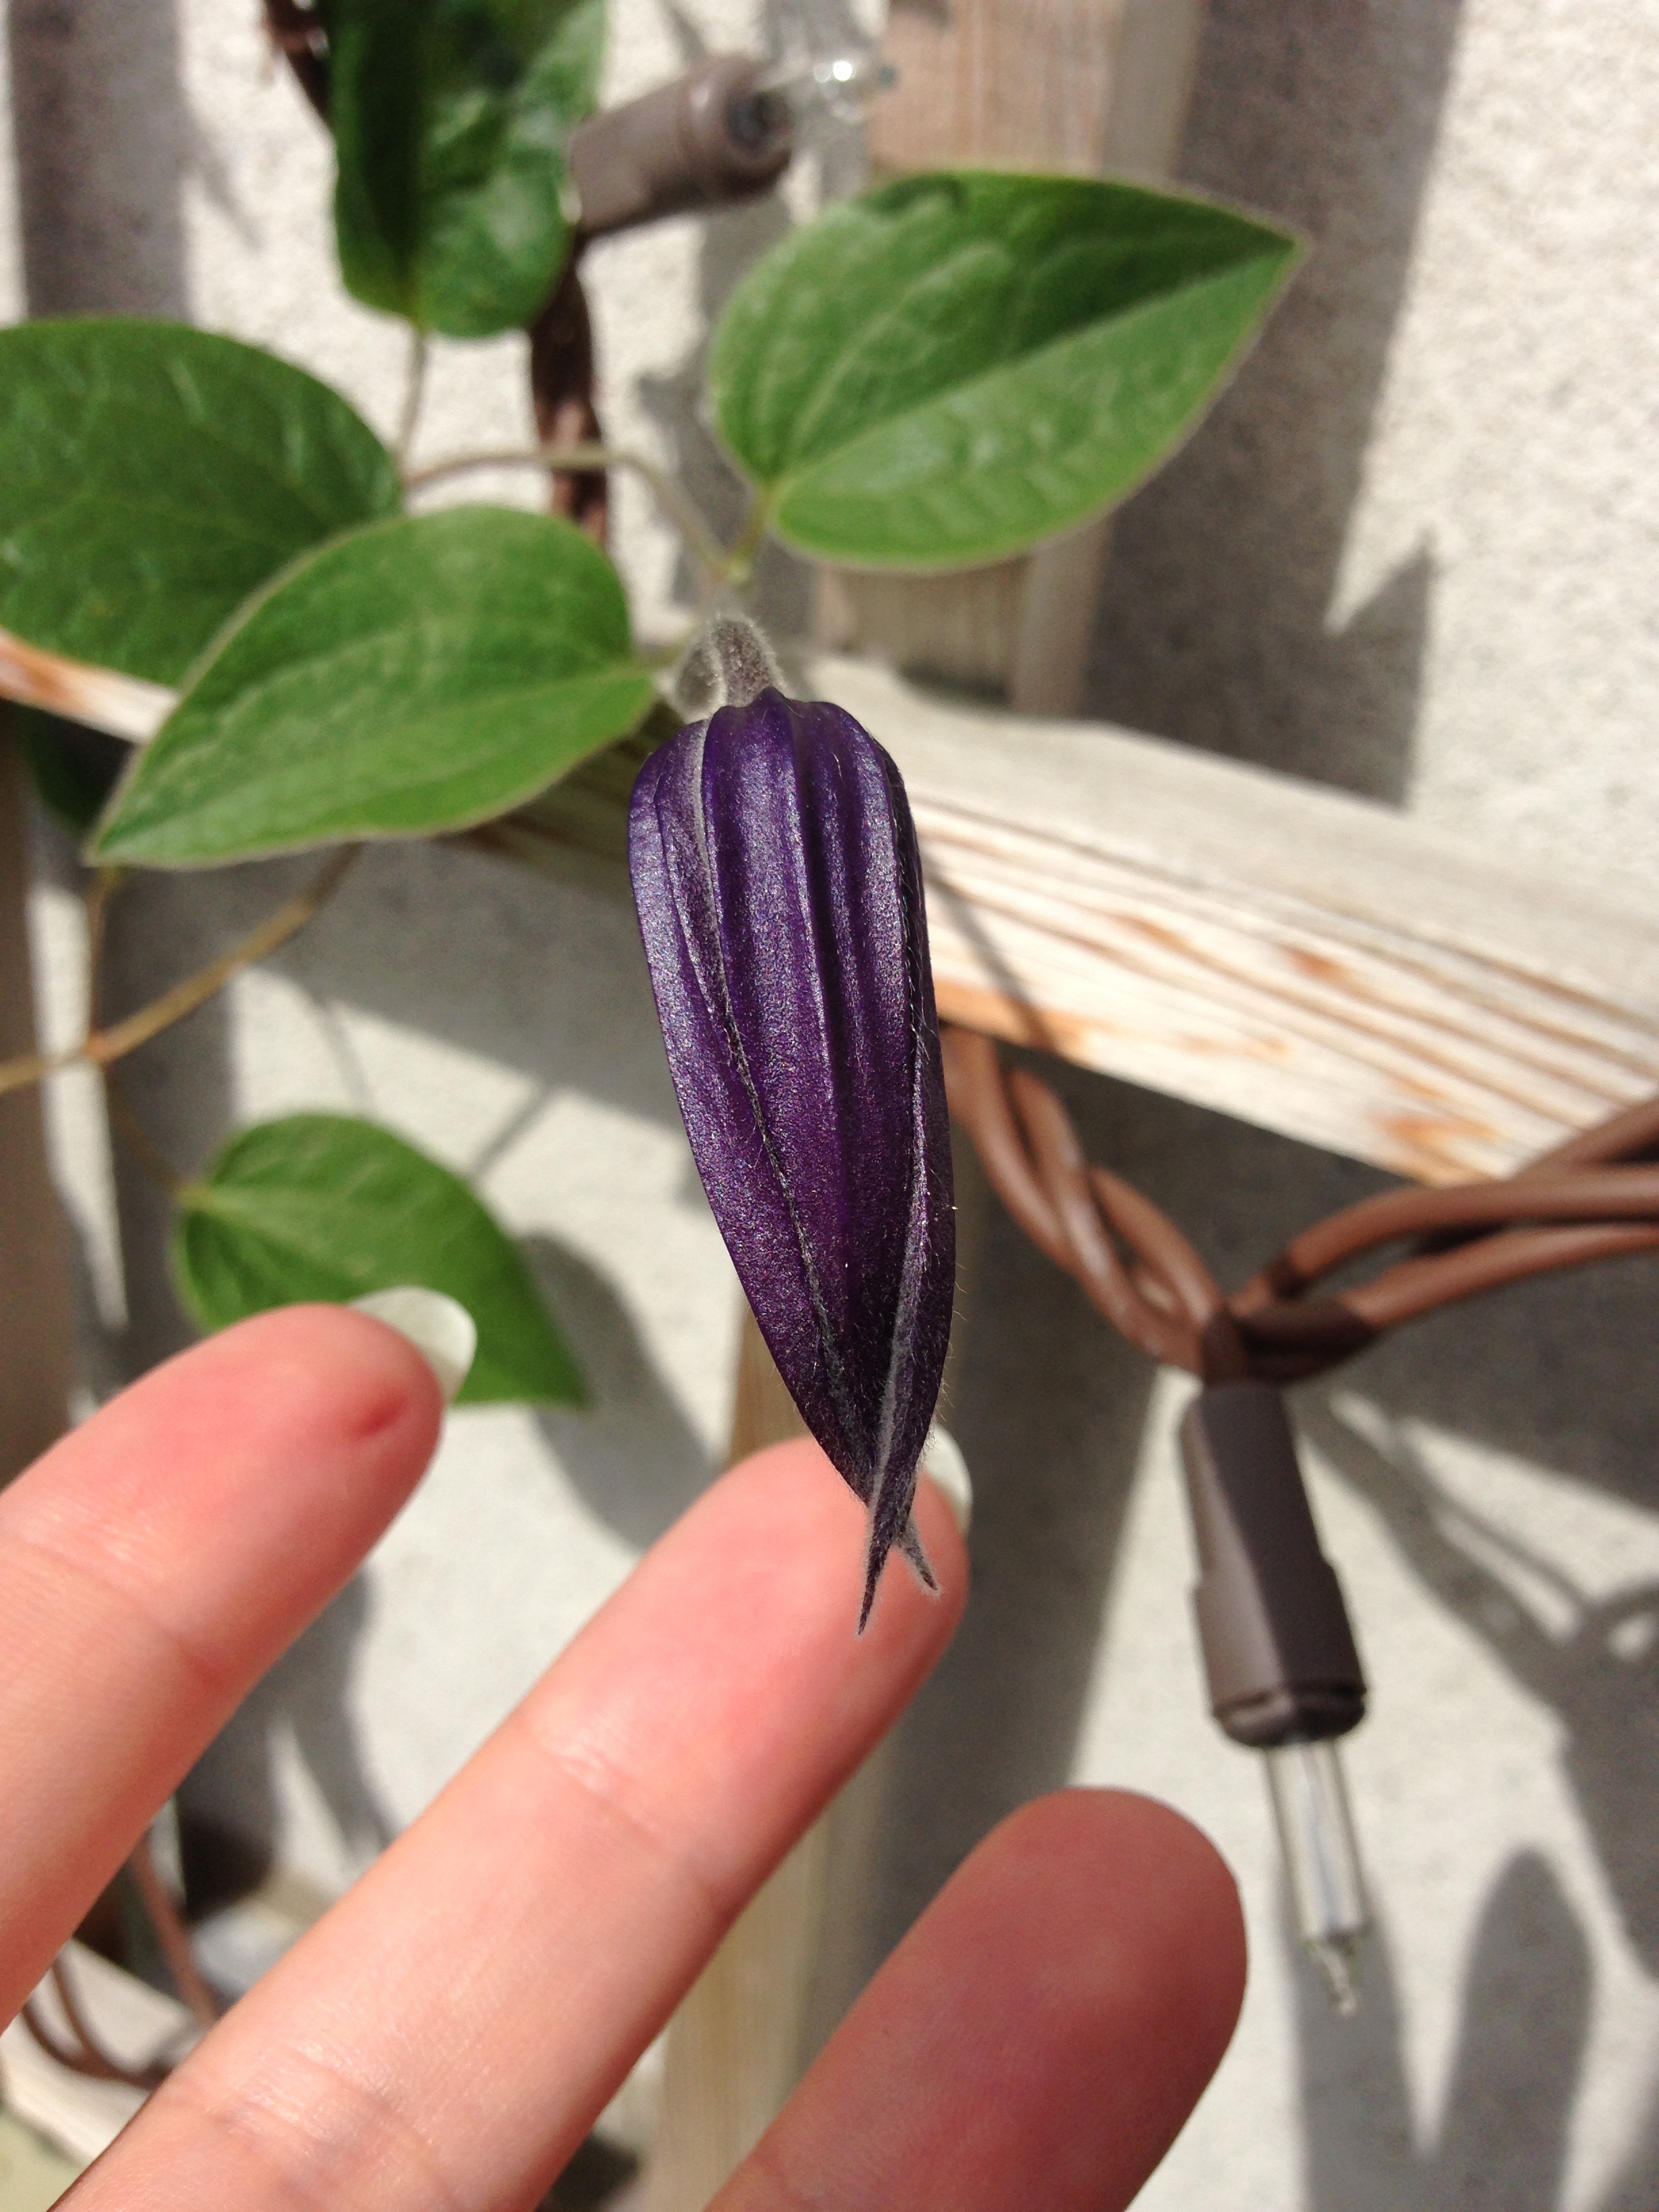
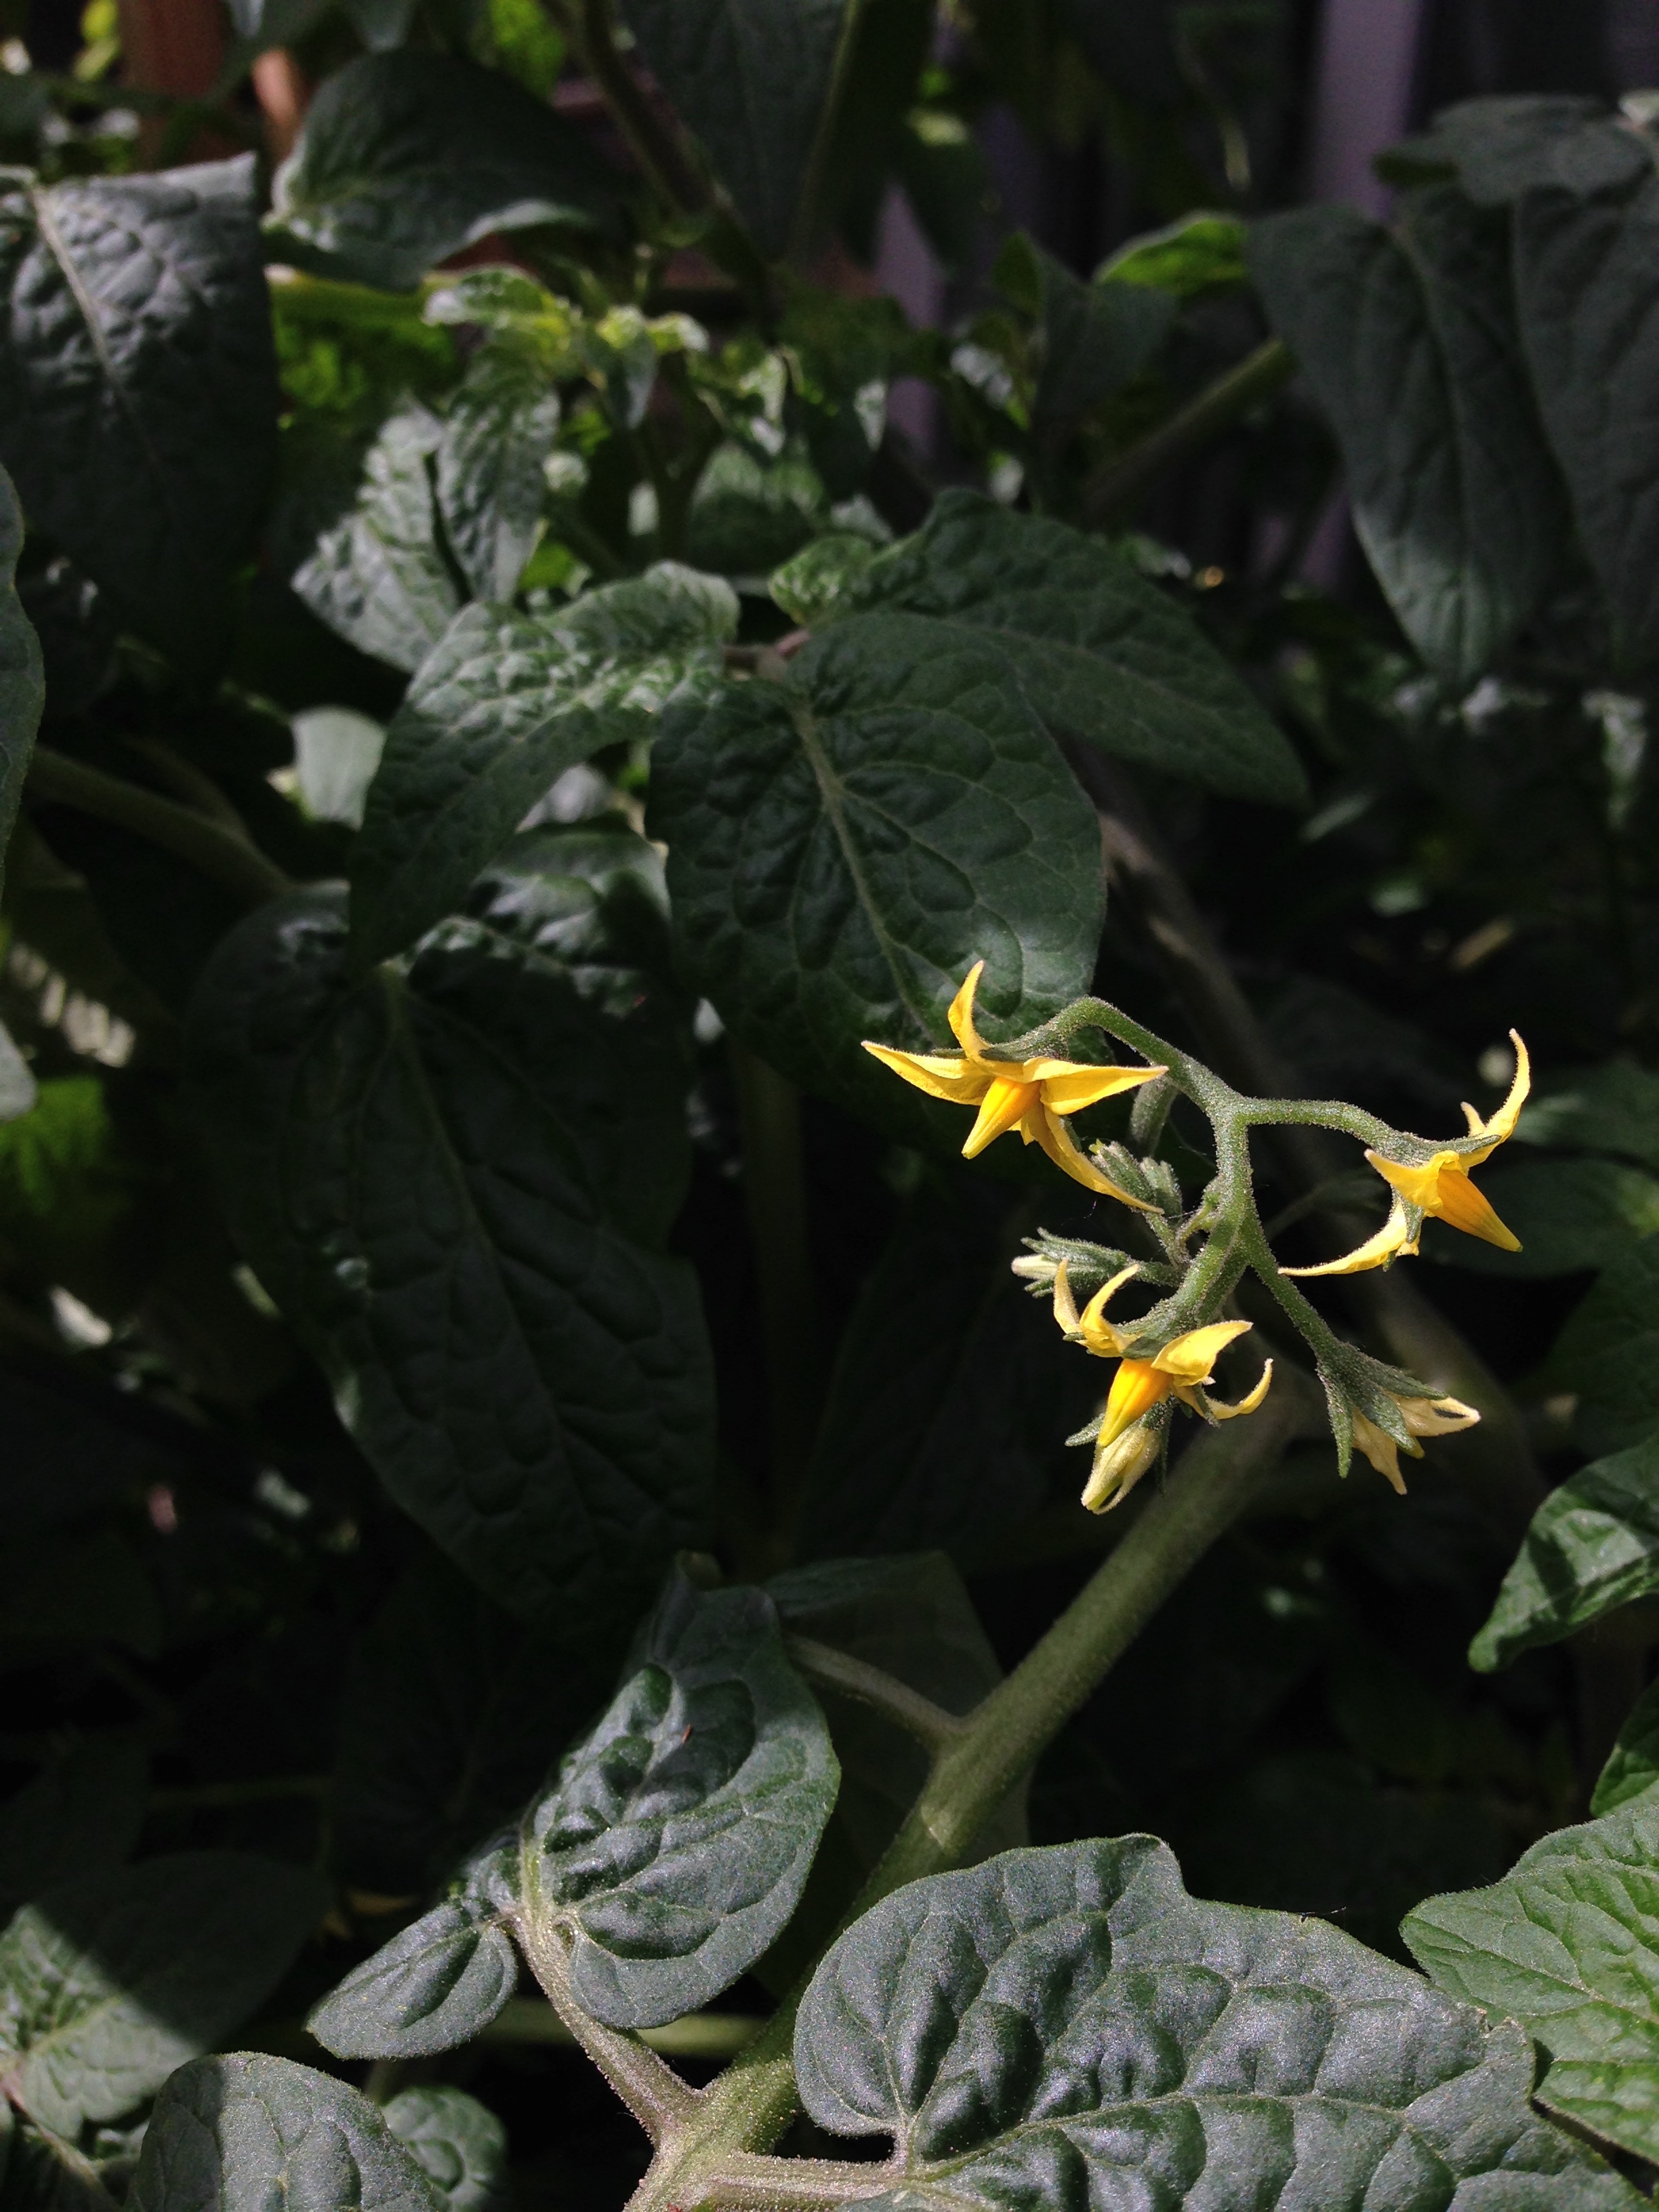
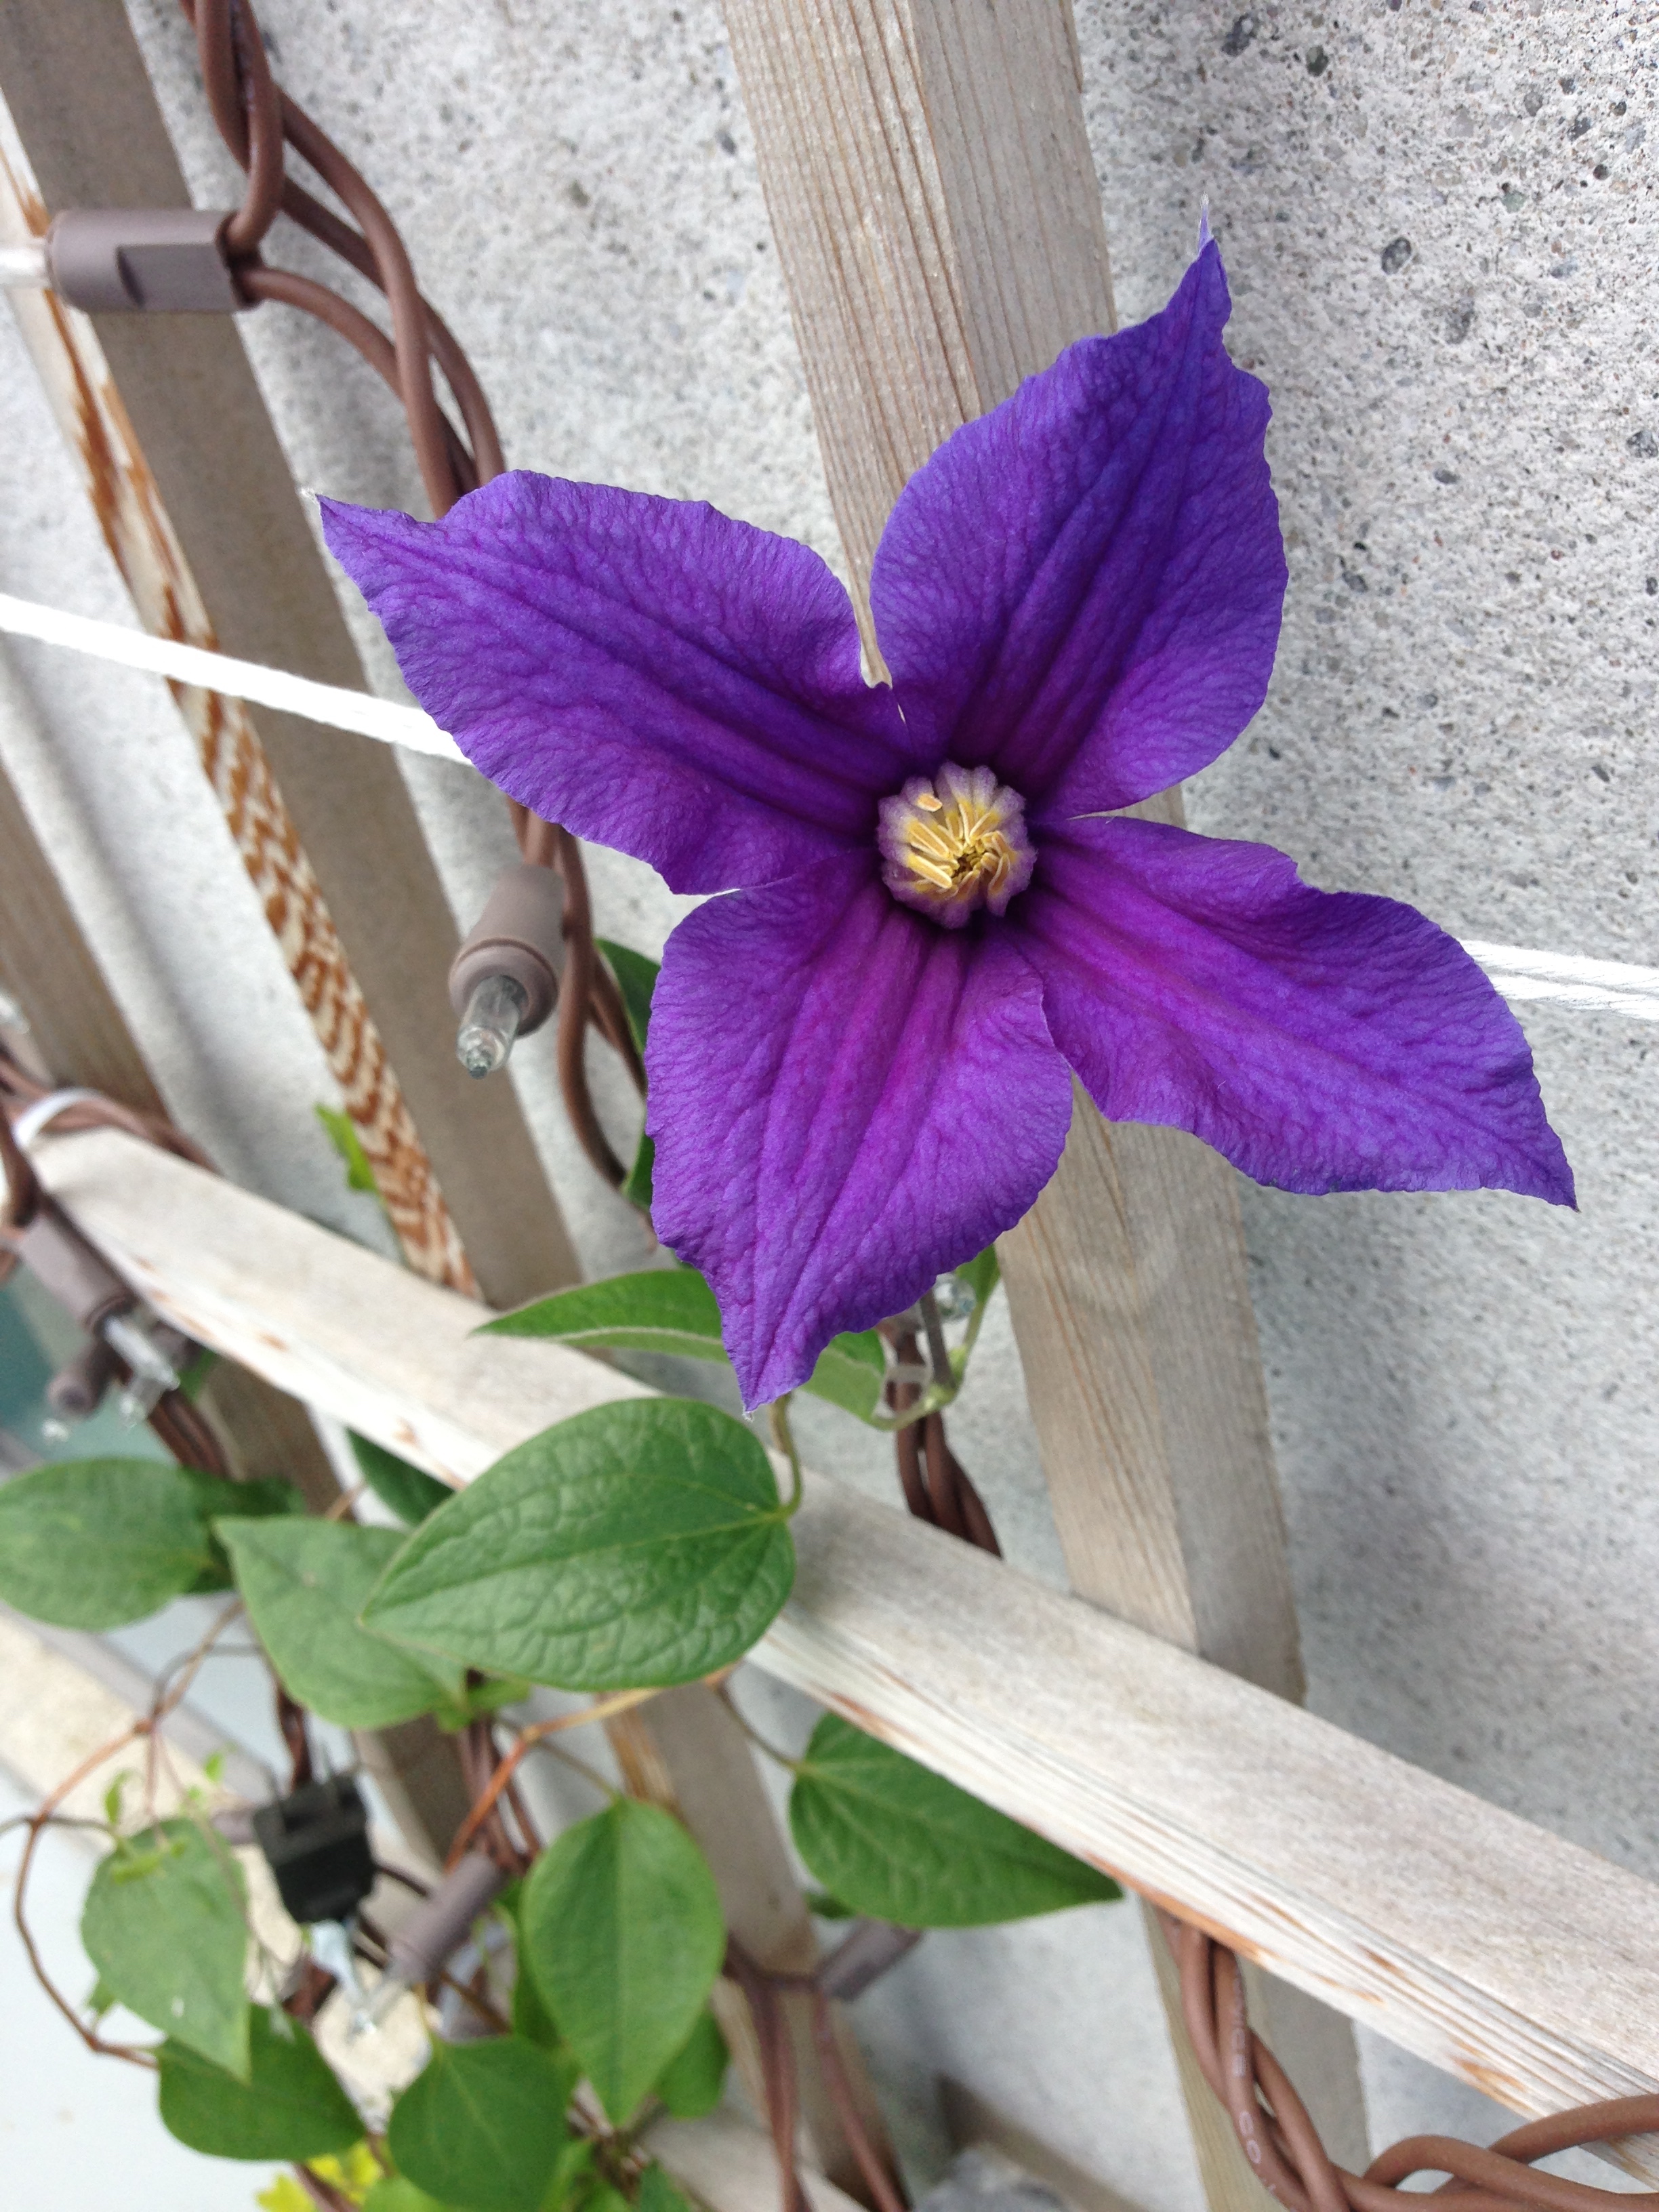
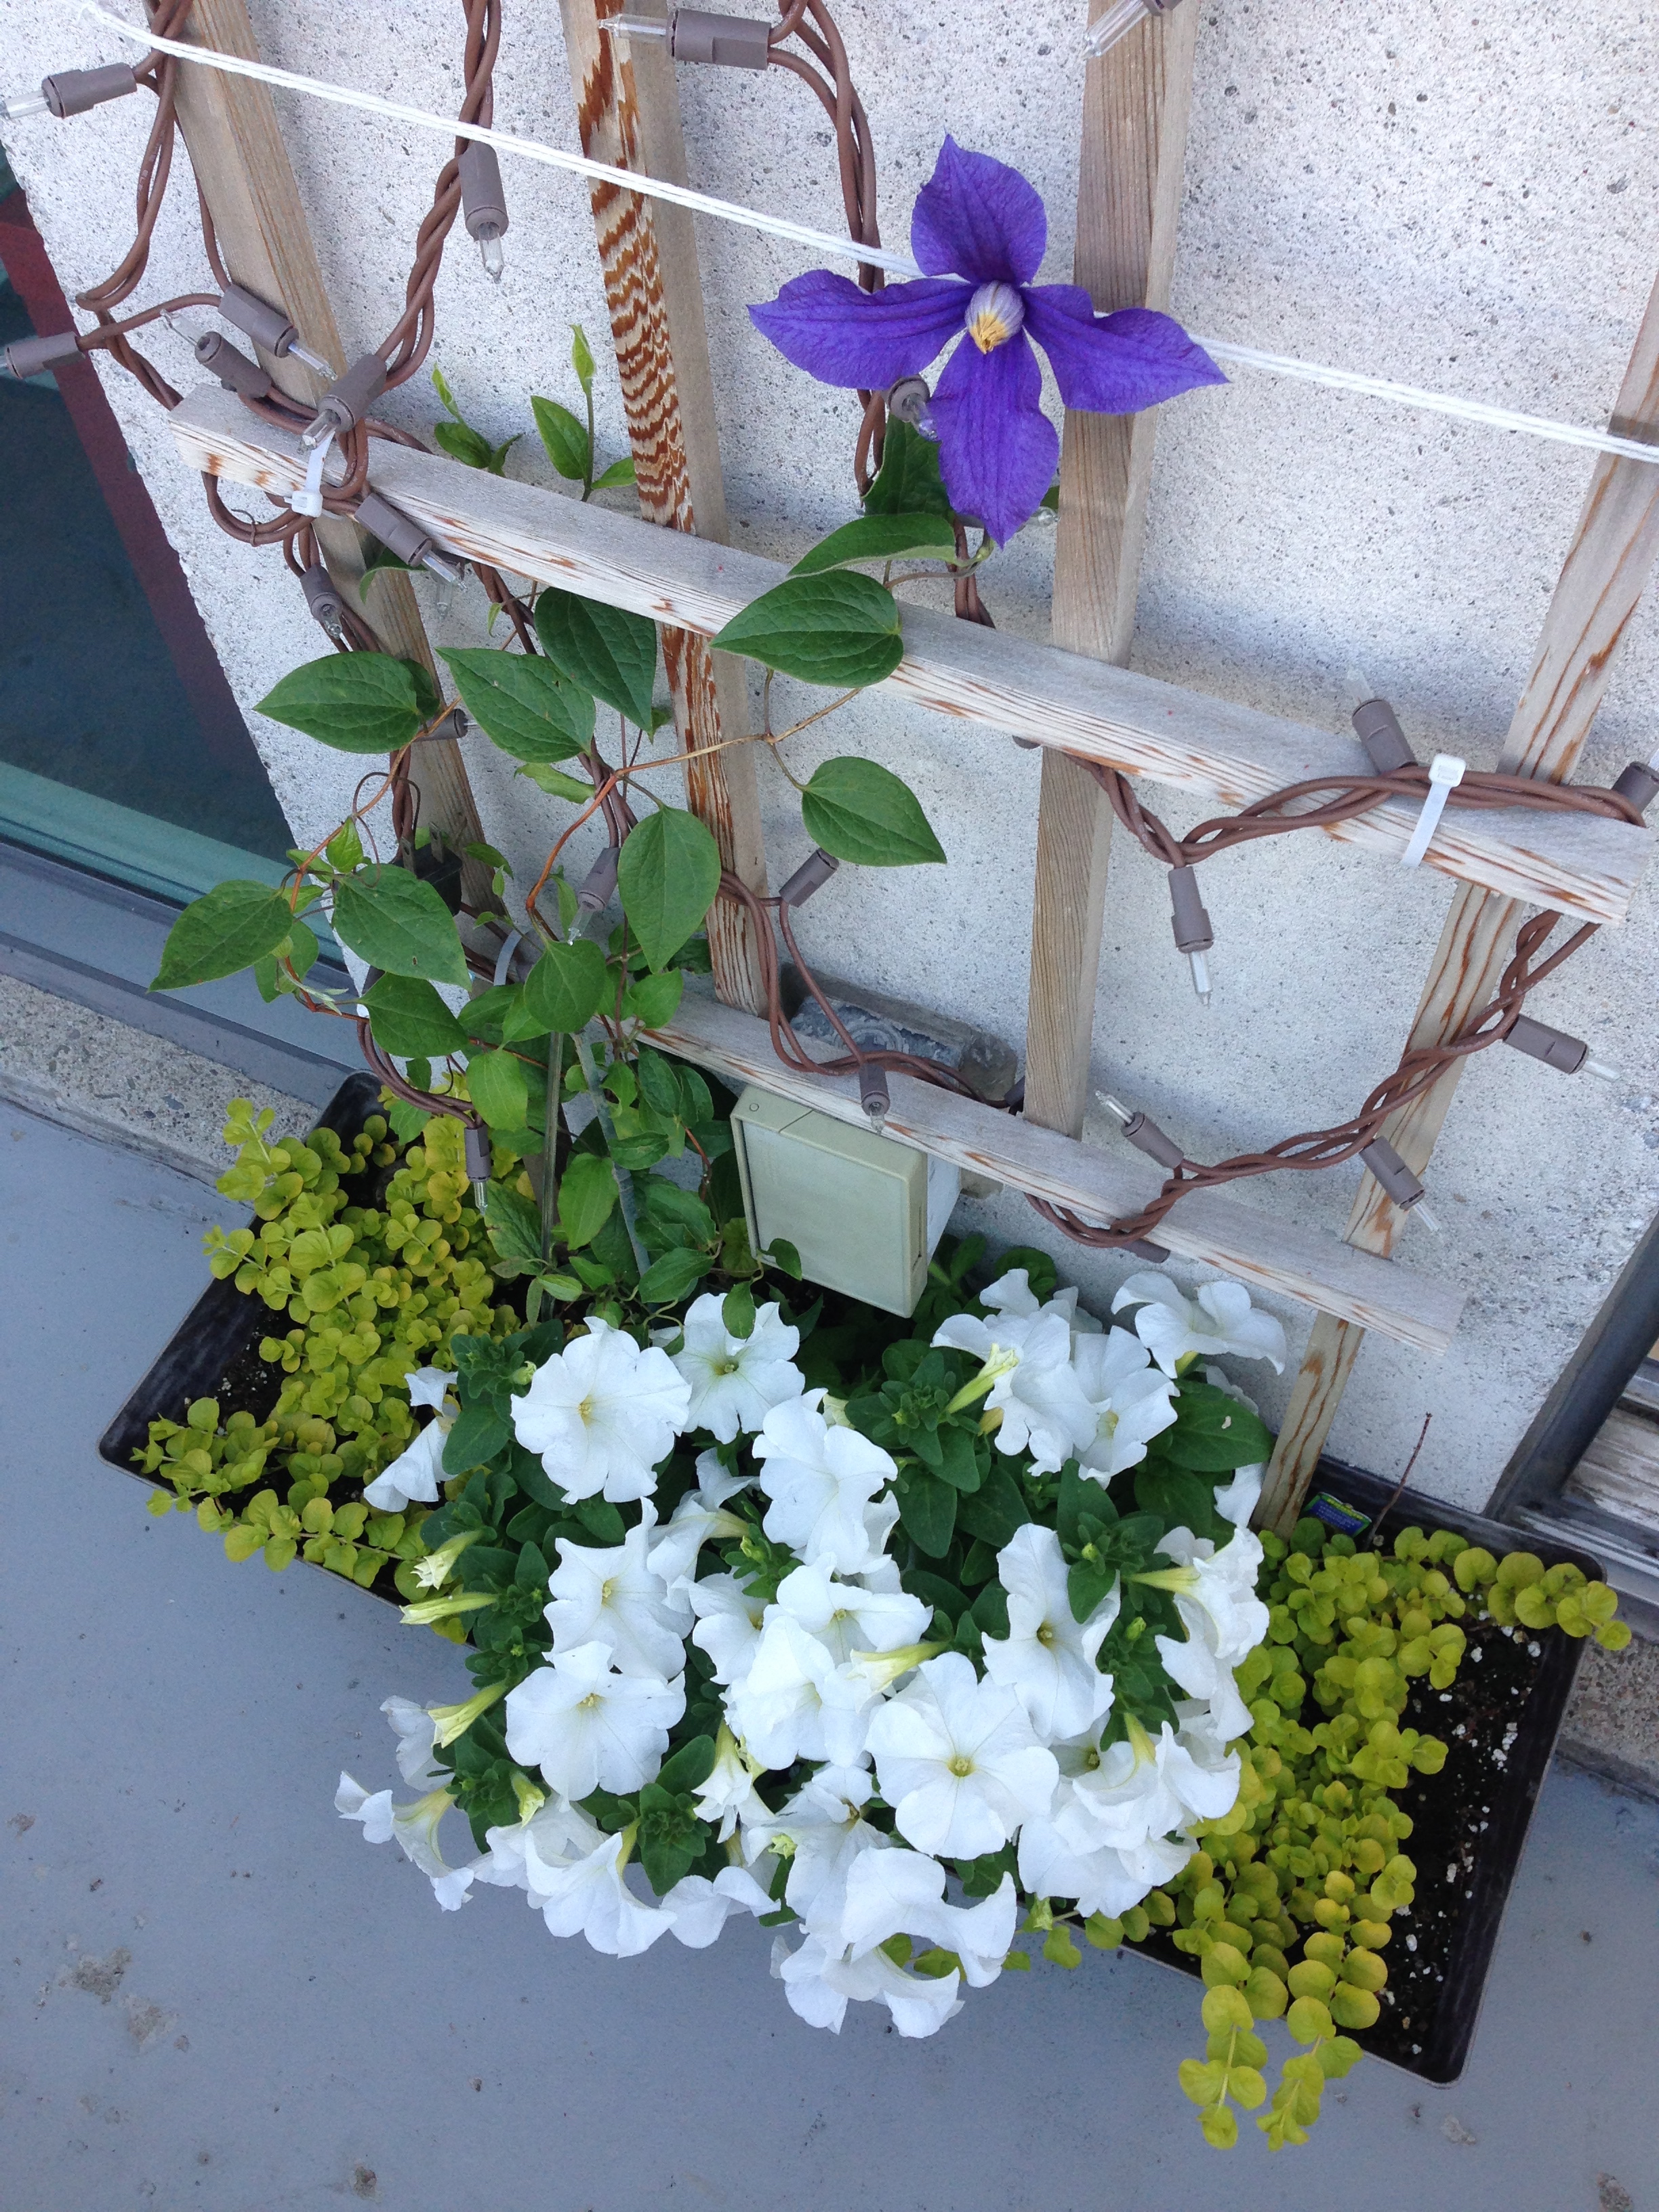
My tomatoes are blooming and 4 ft; my petunias are exploding again; and my clematis are growing finally! Happy garden-drea!
-Andrea
The Half-Assed Hobbyist