The season on pie is upon us. And am So excited.
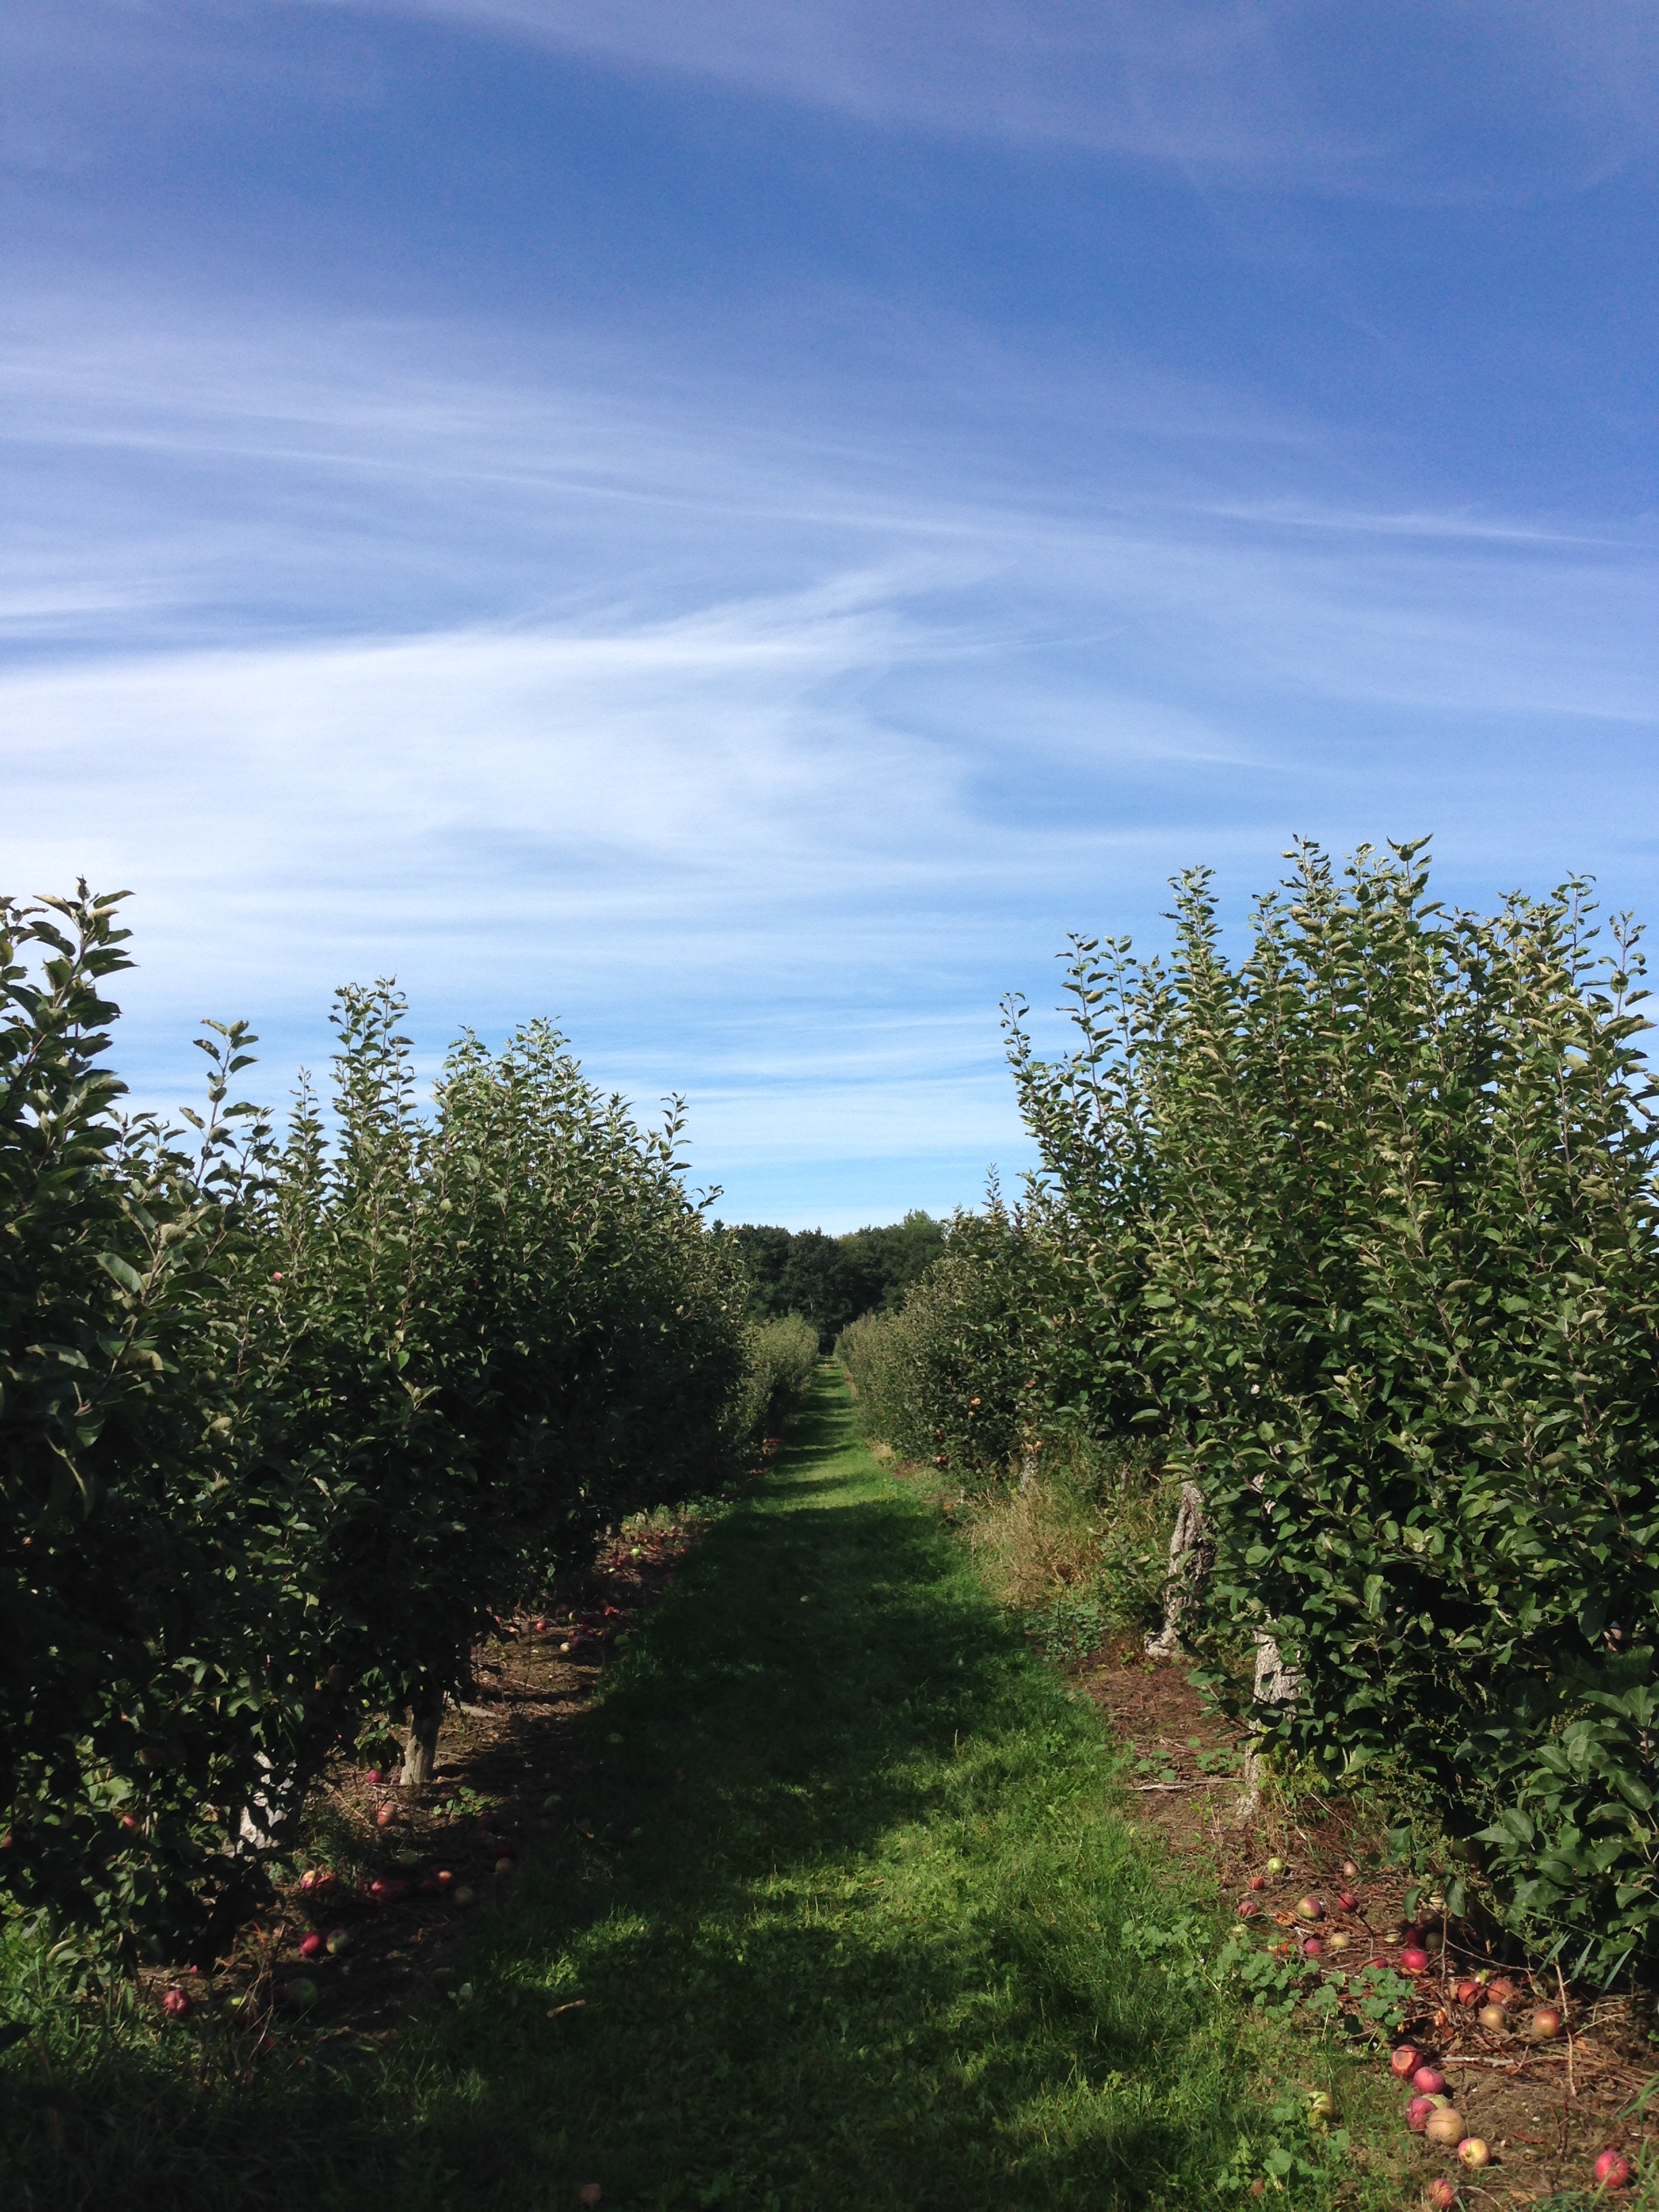
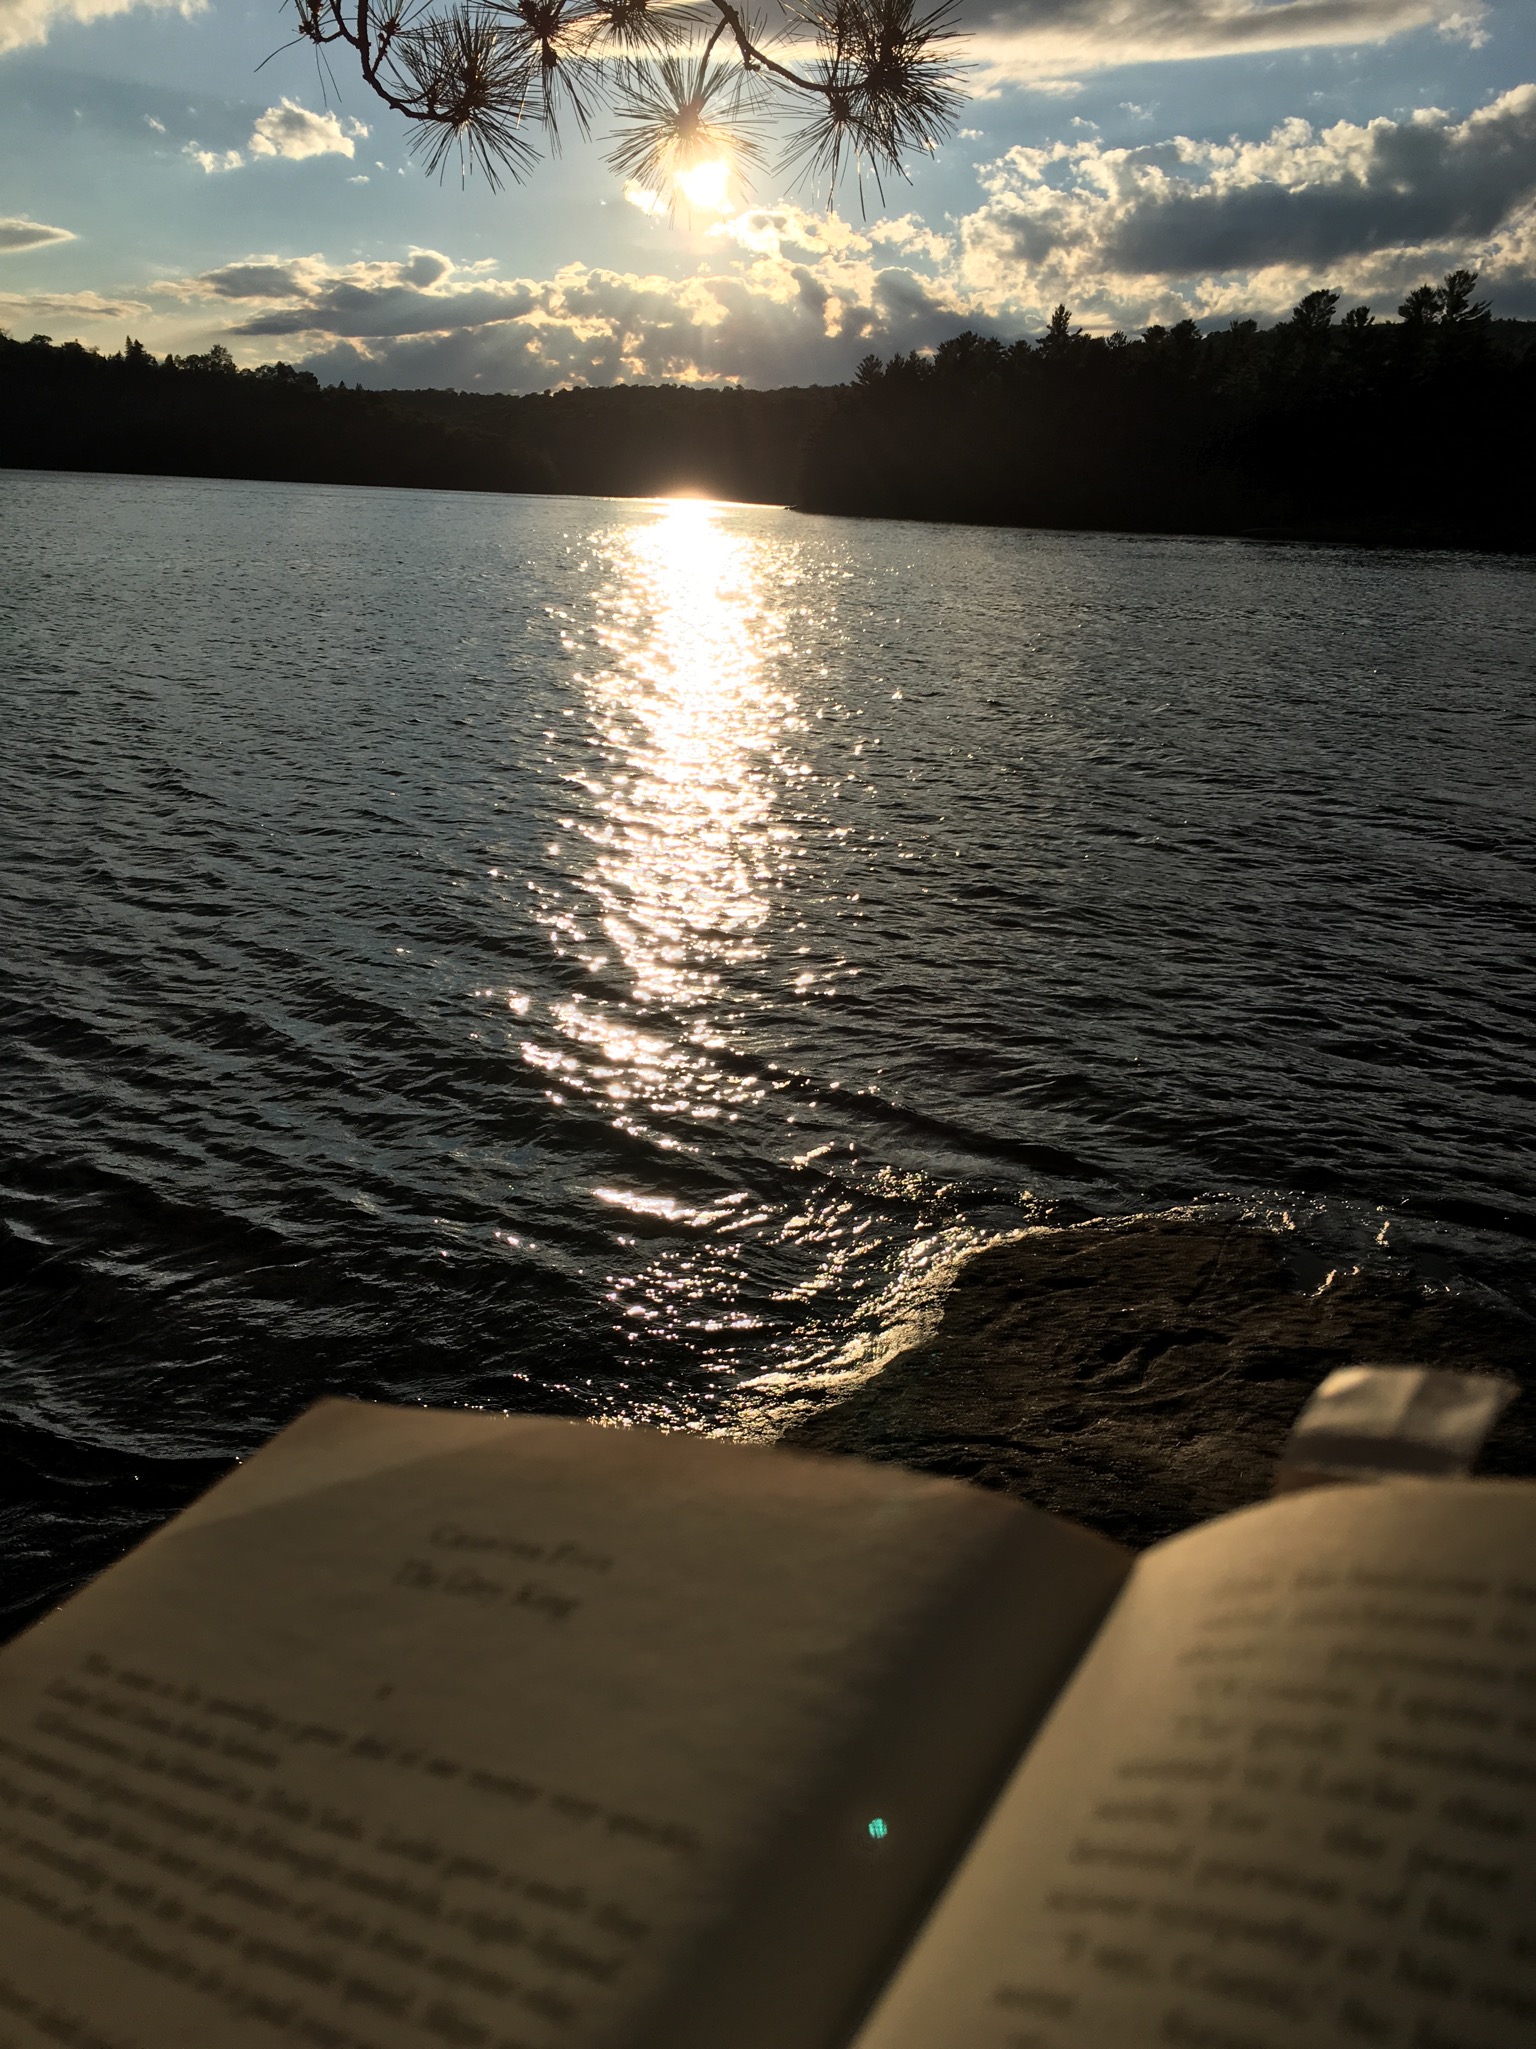
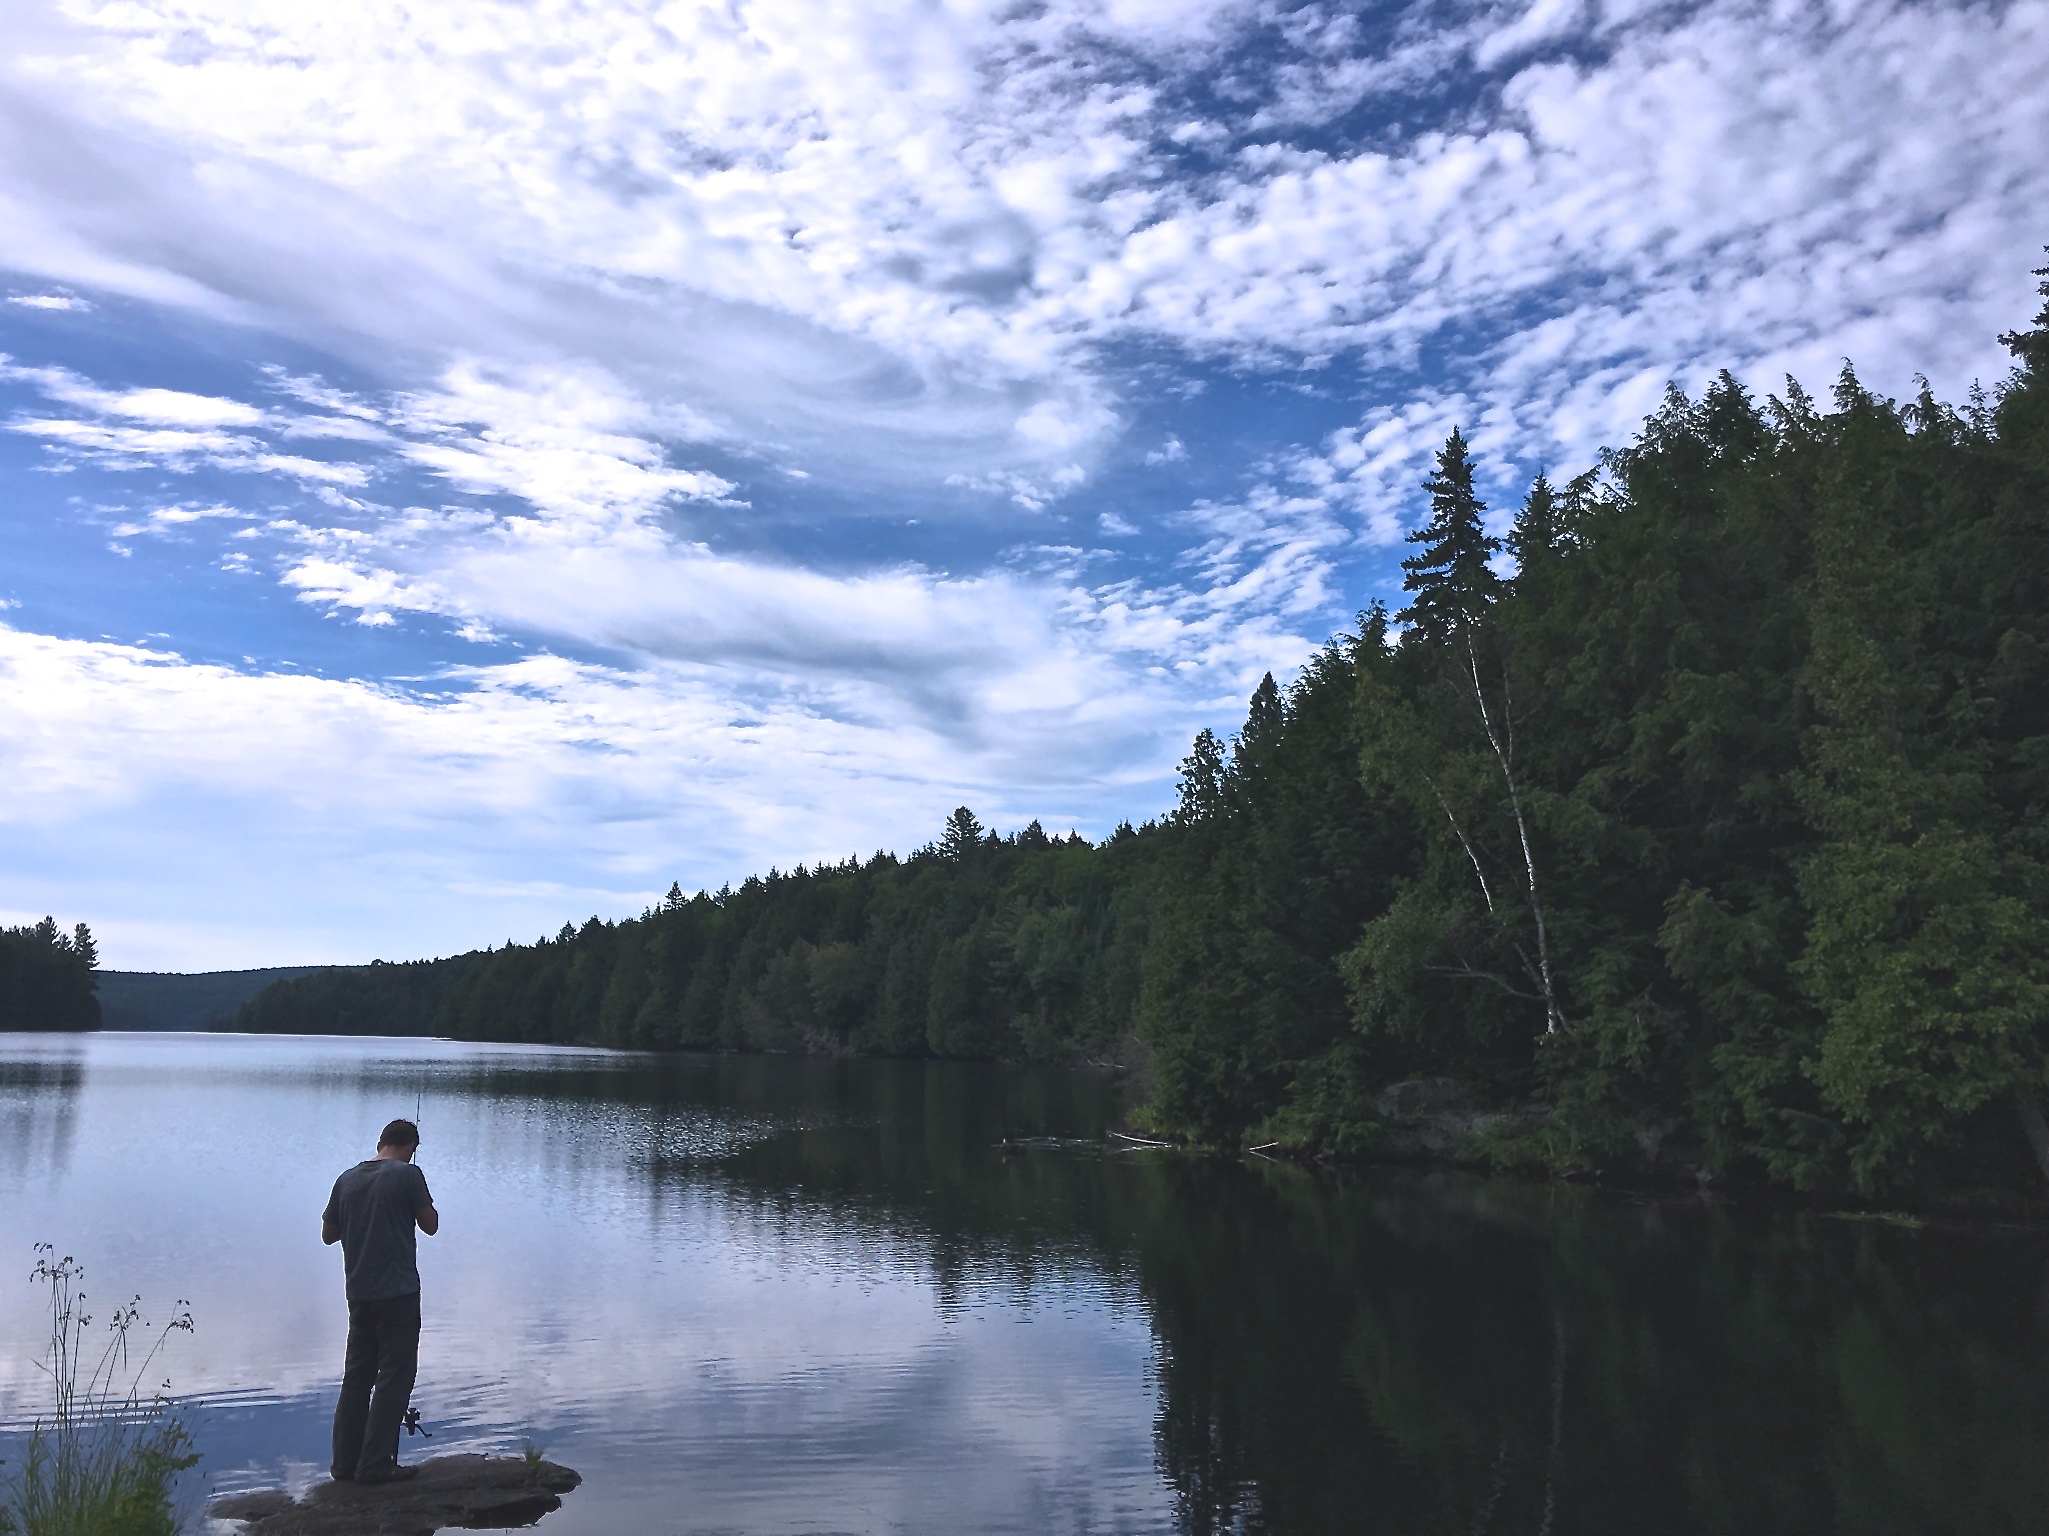
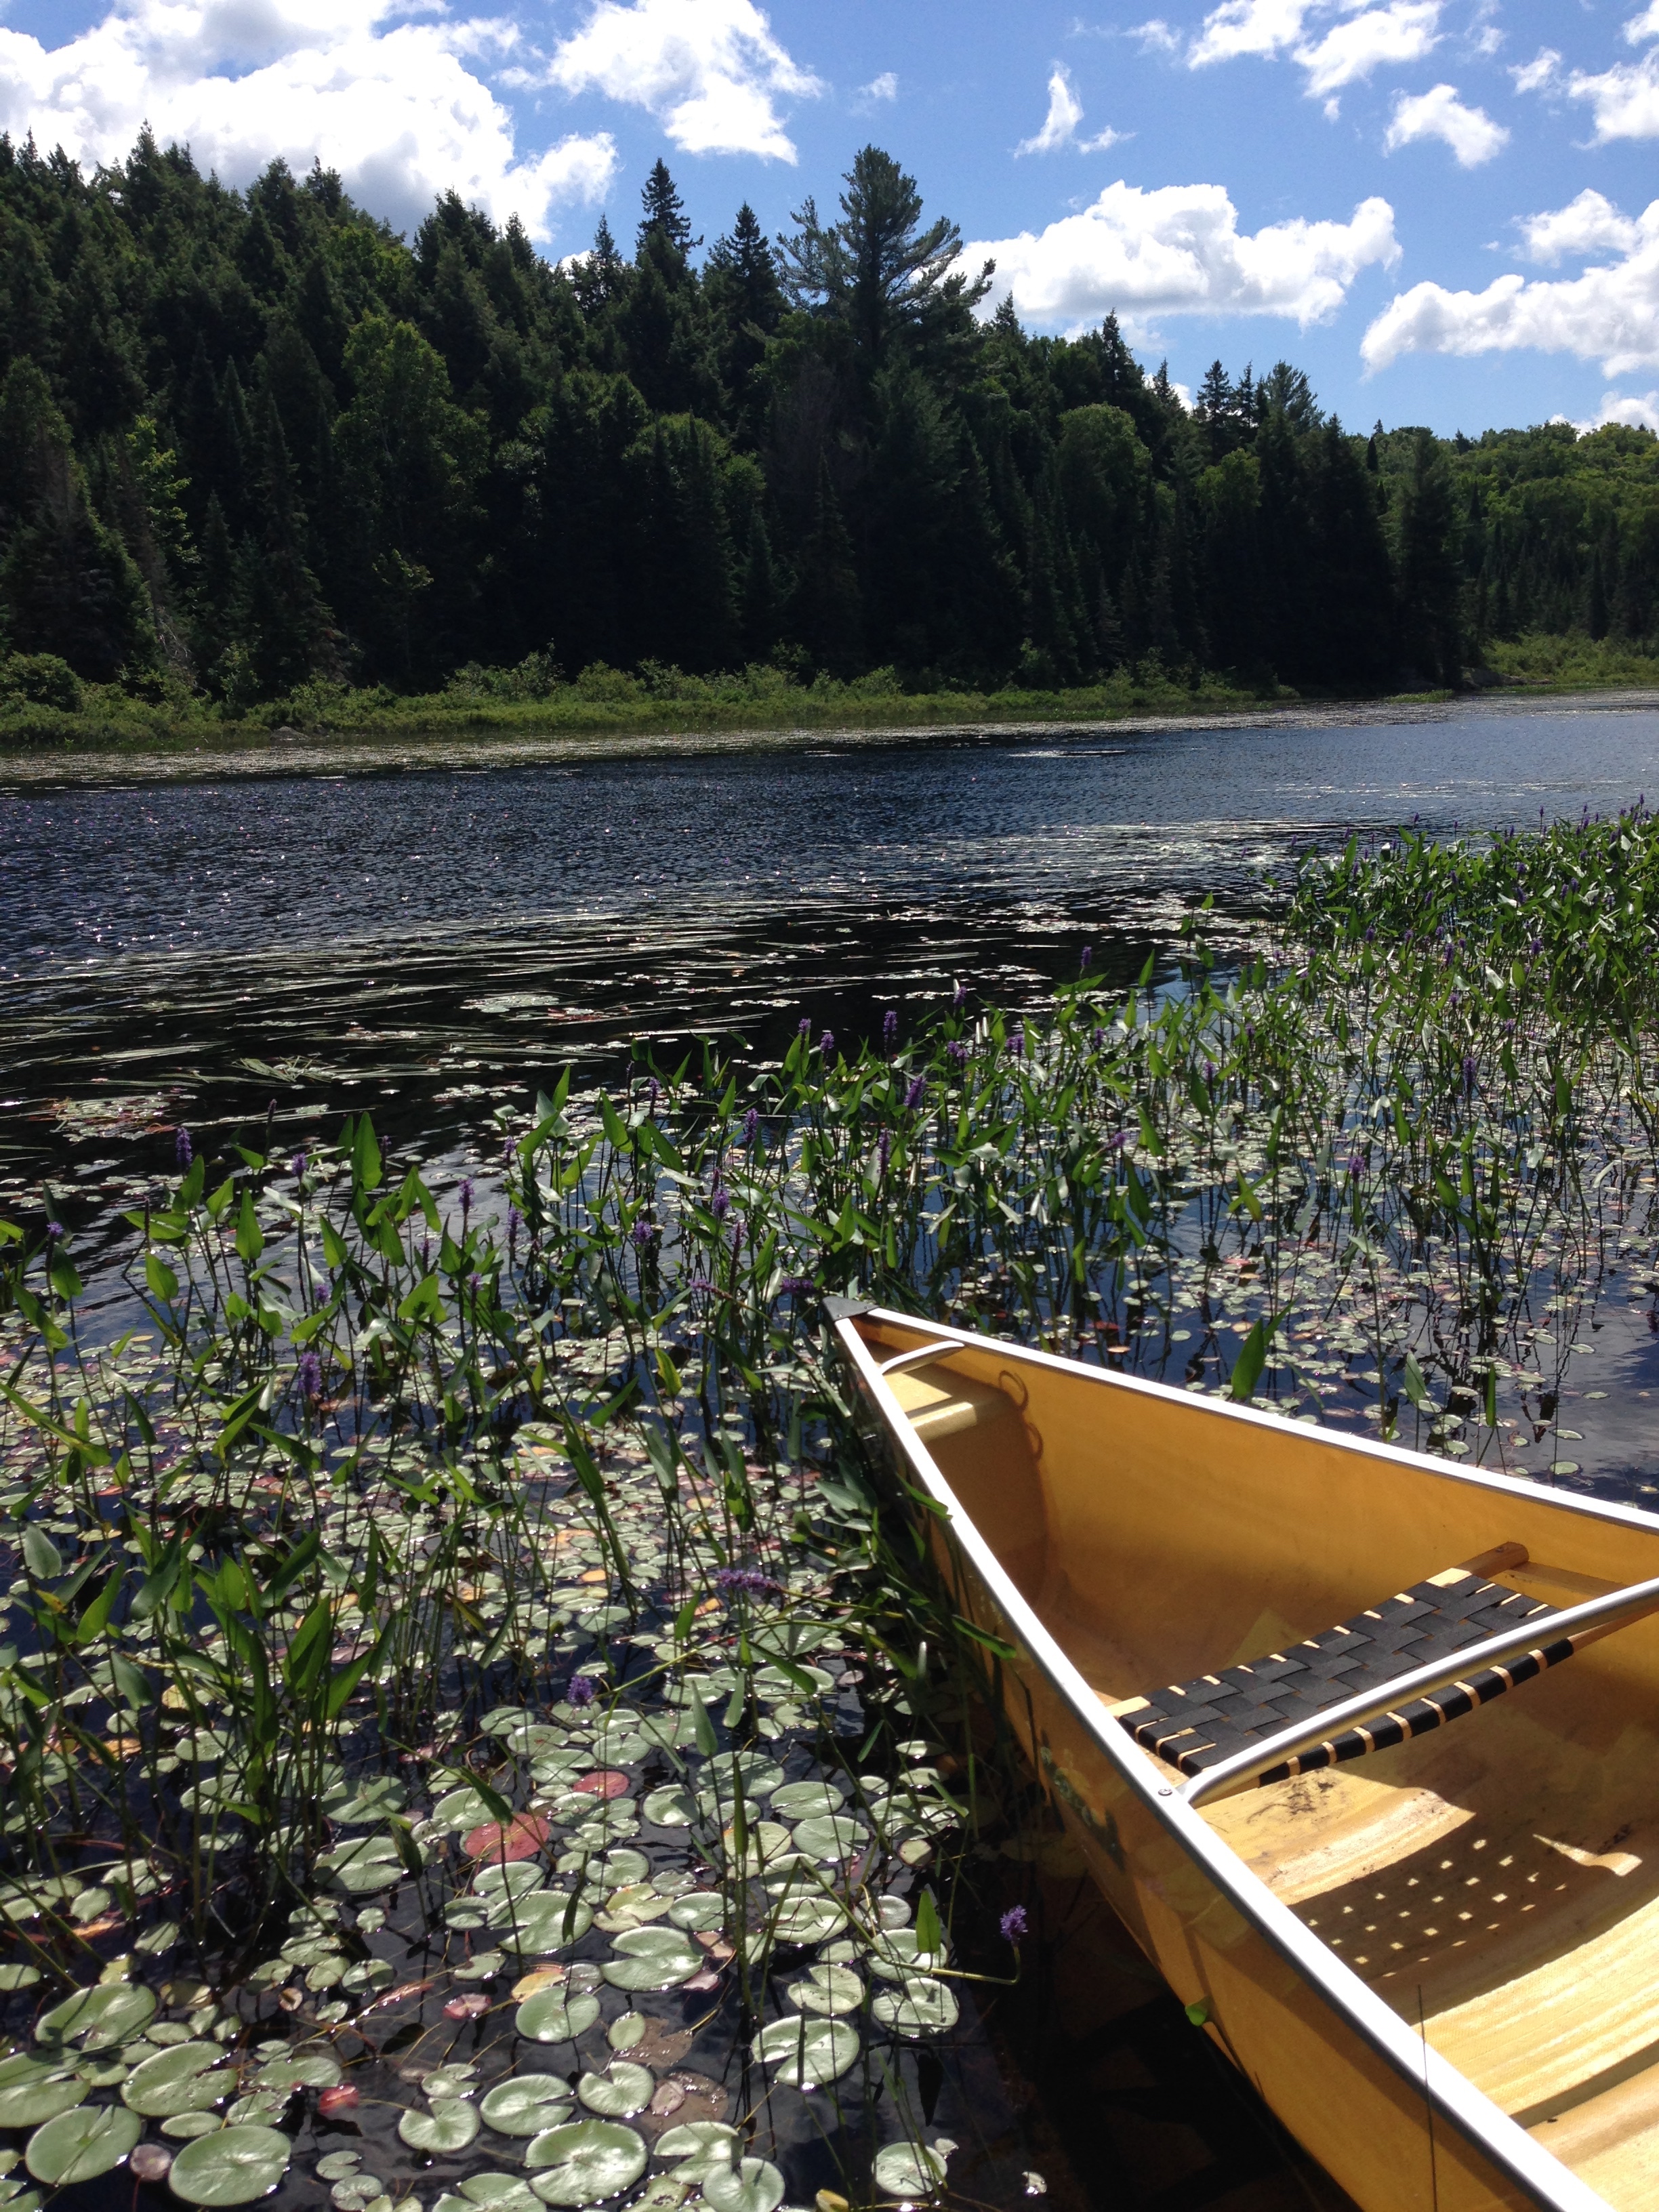
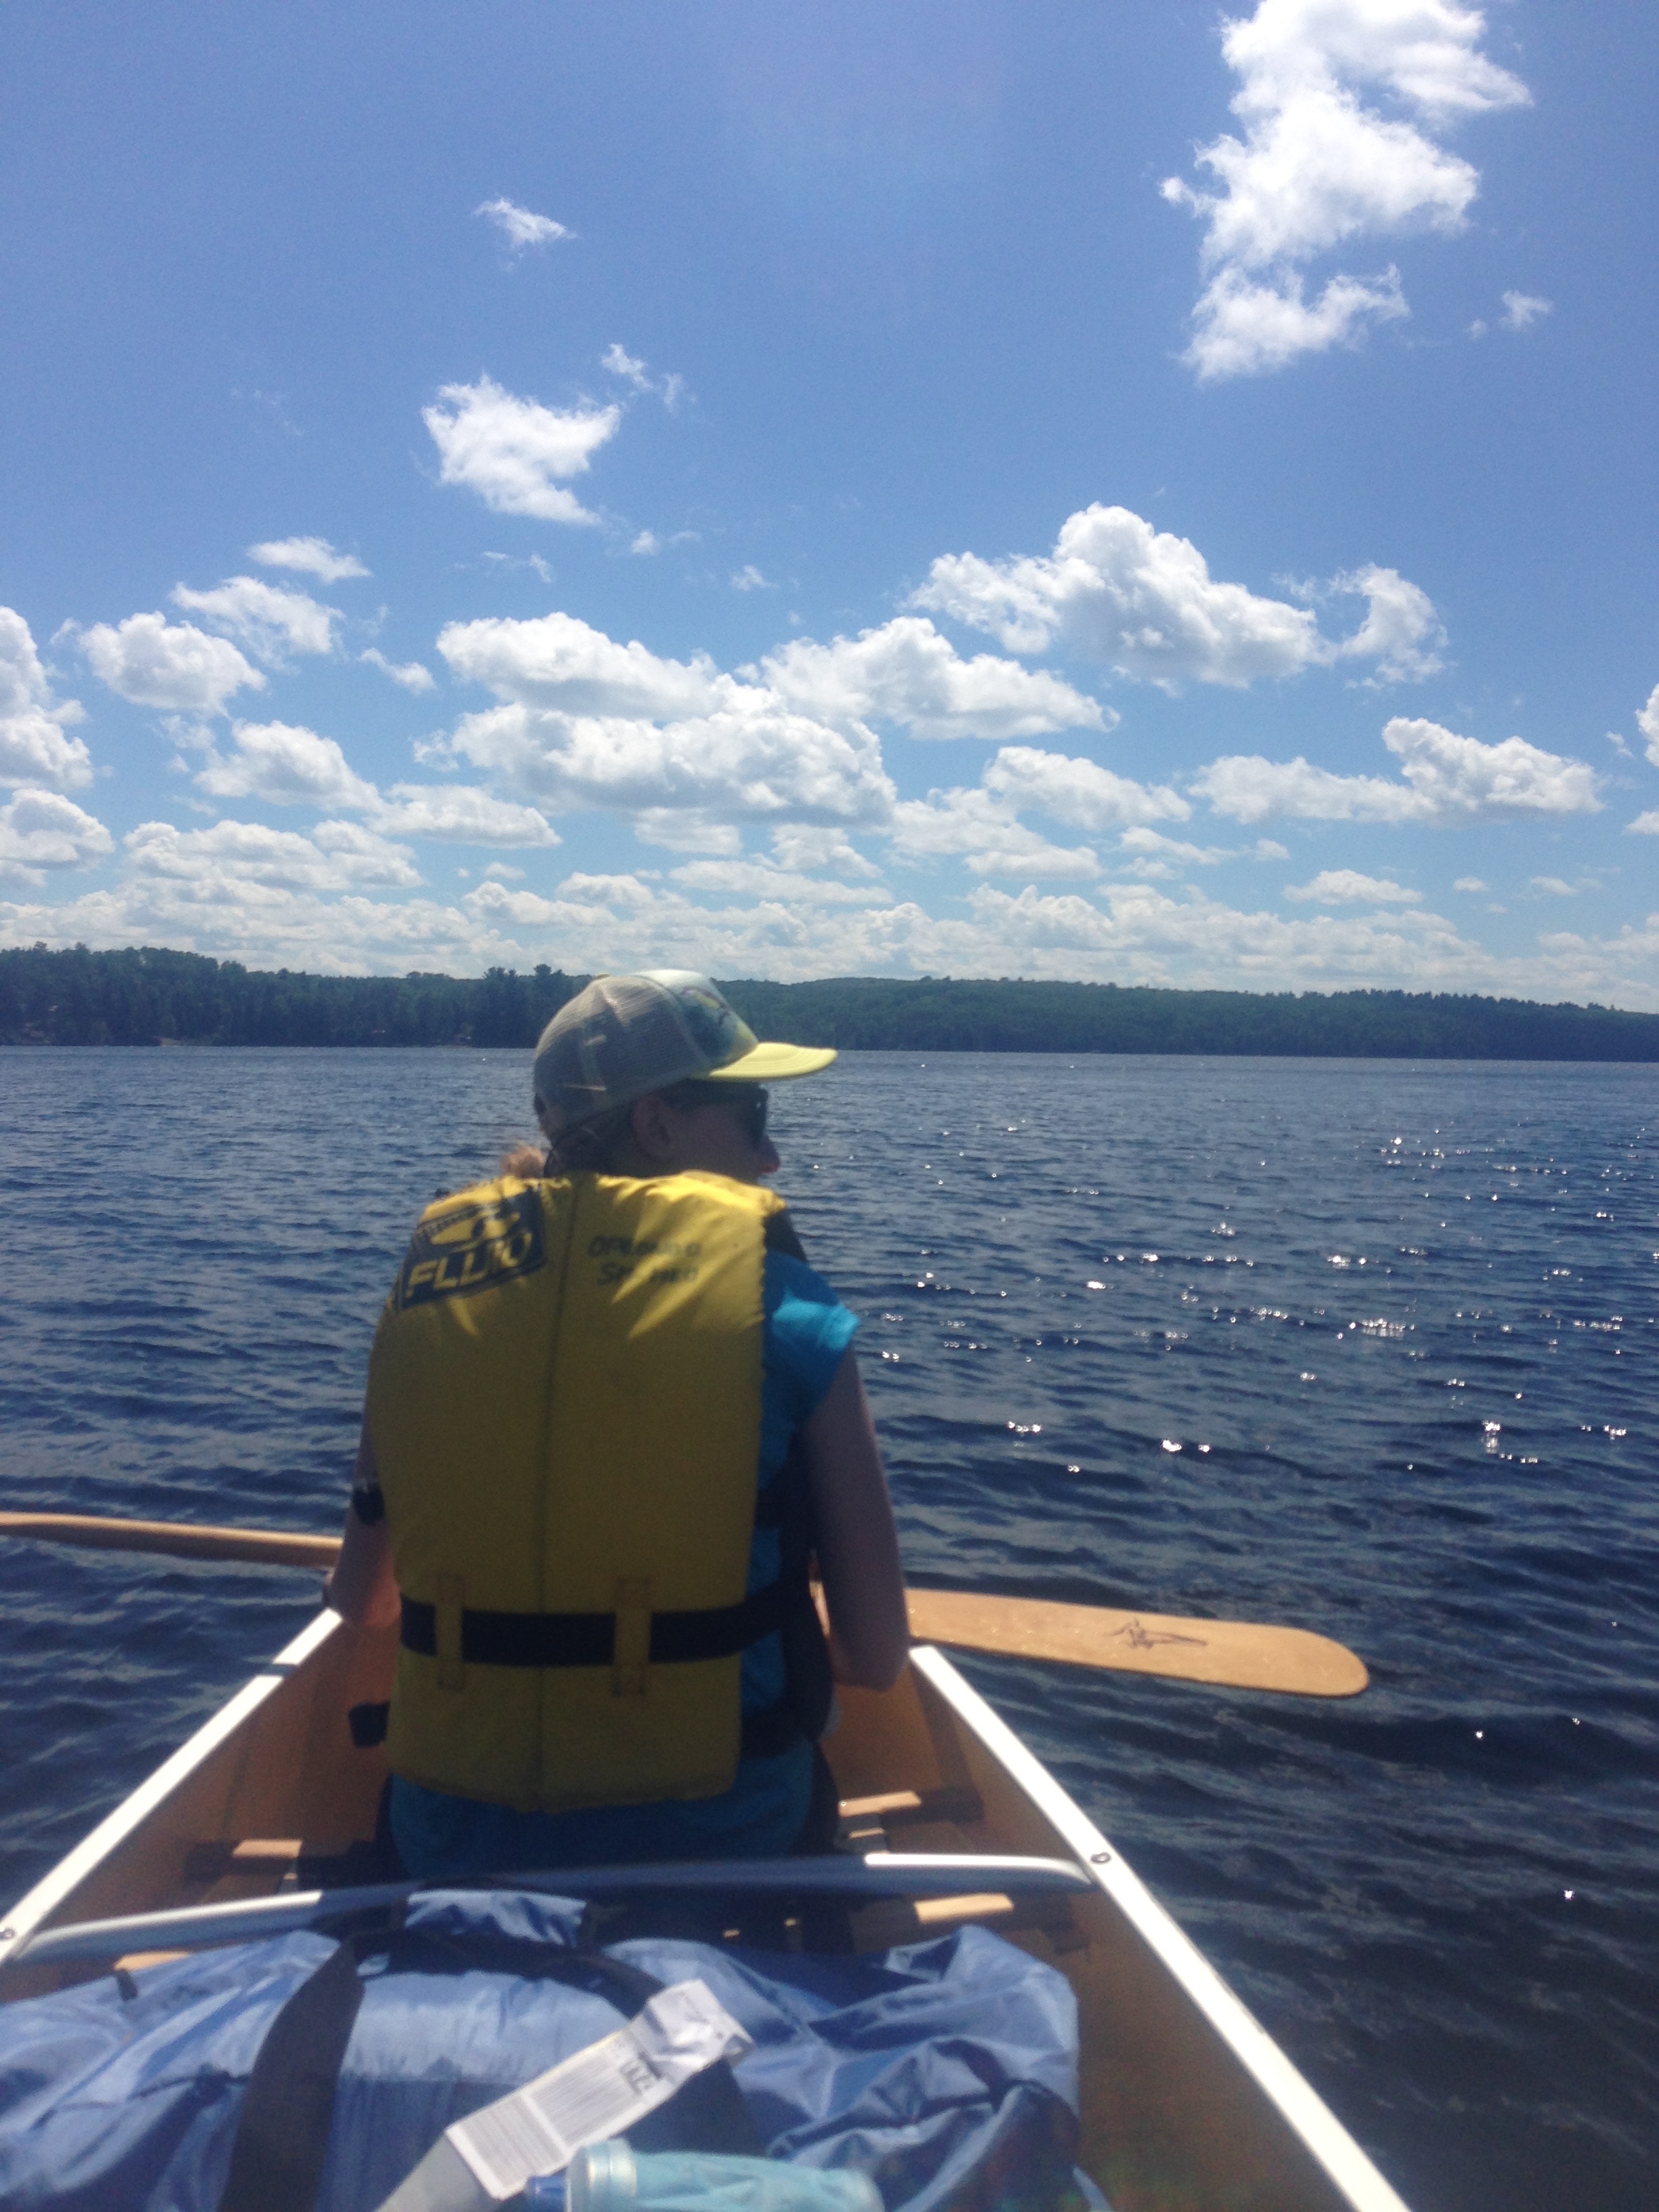
This past July the Fiancé and I, with 6 of our lovely friendlies, went backcountry canoeing in Algonquin park for 9 days. For the record, I have never spent more than two days in the backcountry, never mind also canoeing and portaging, but it was the best friend vacation ever.
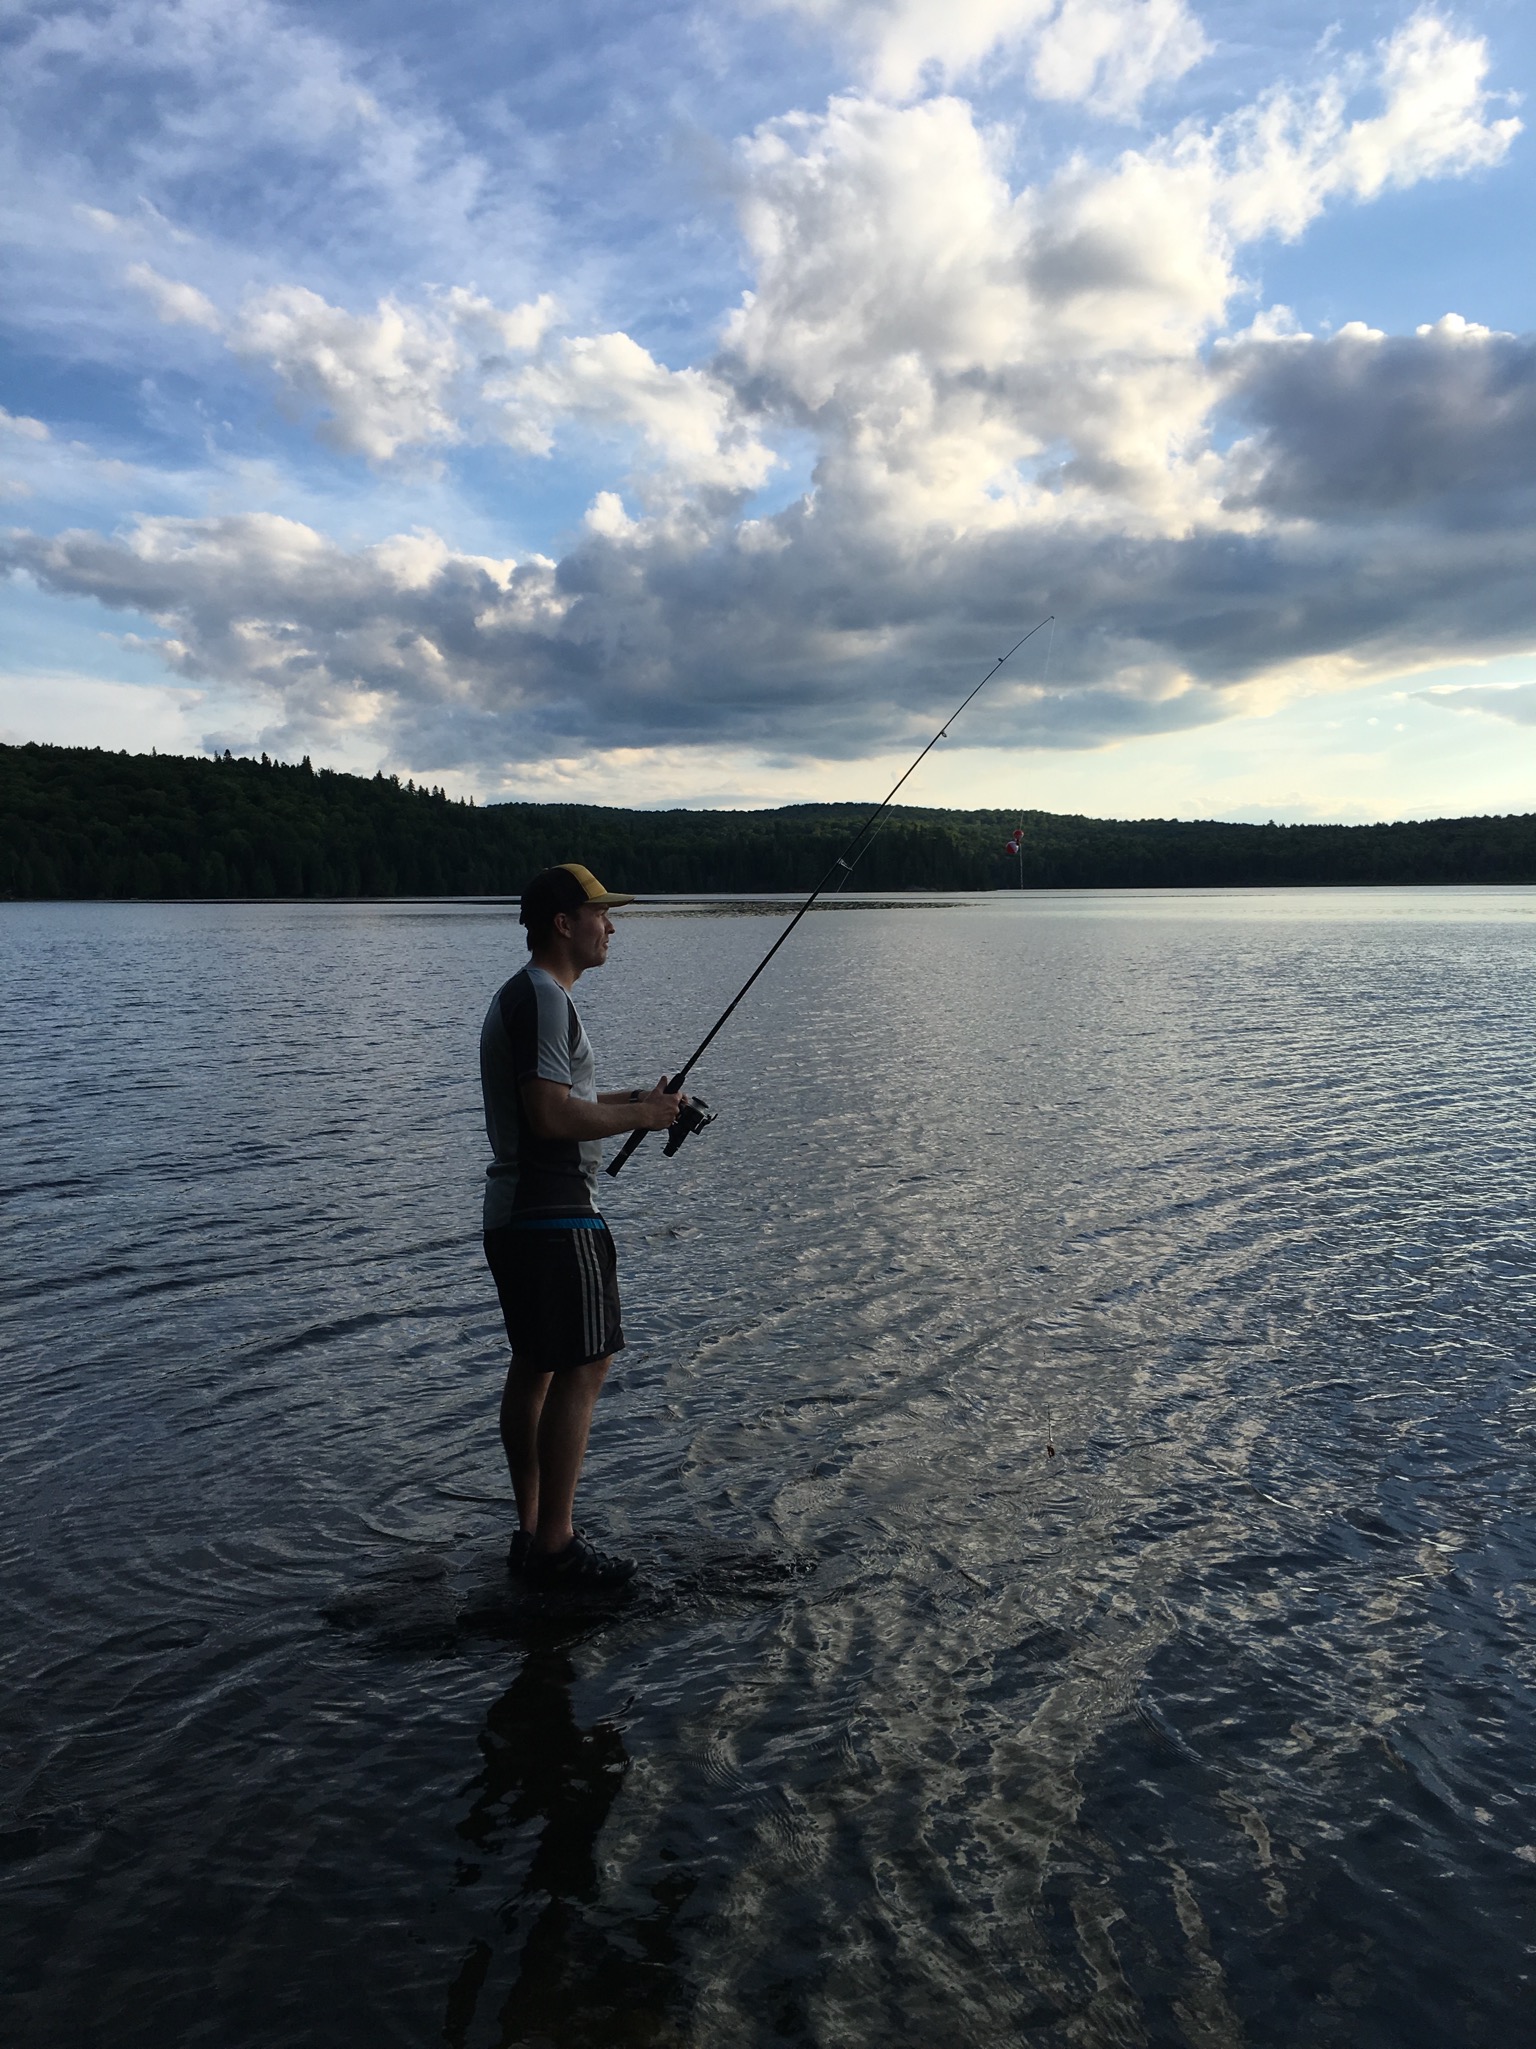
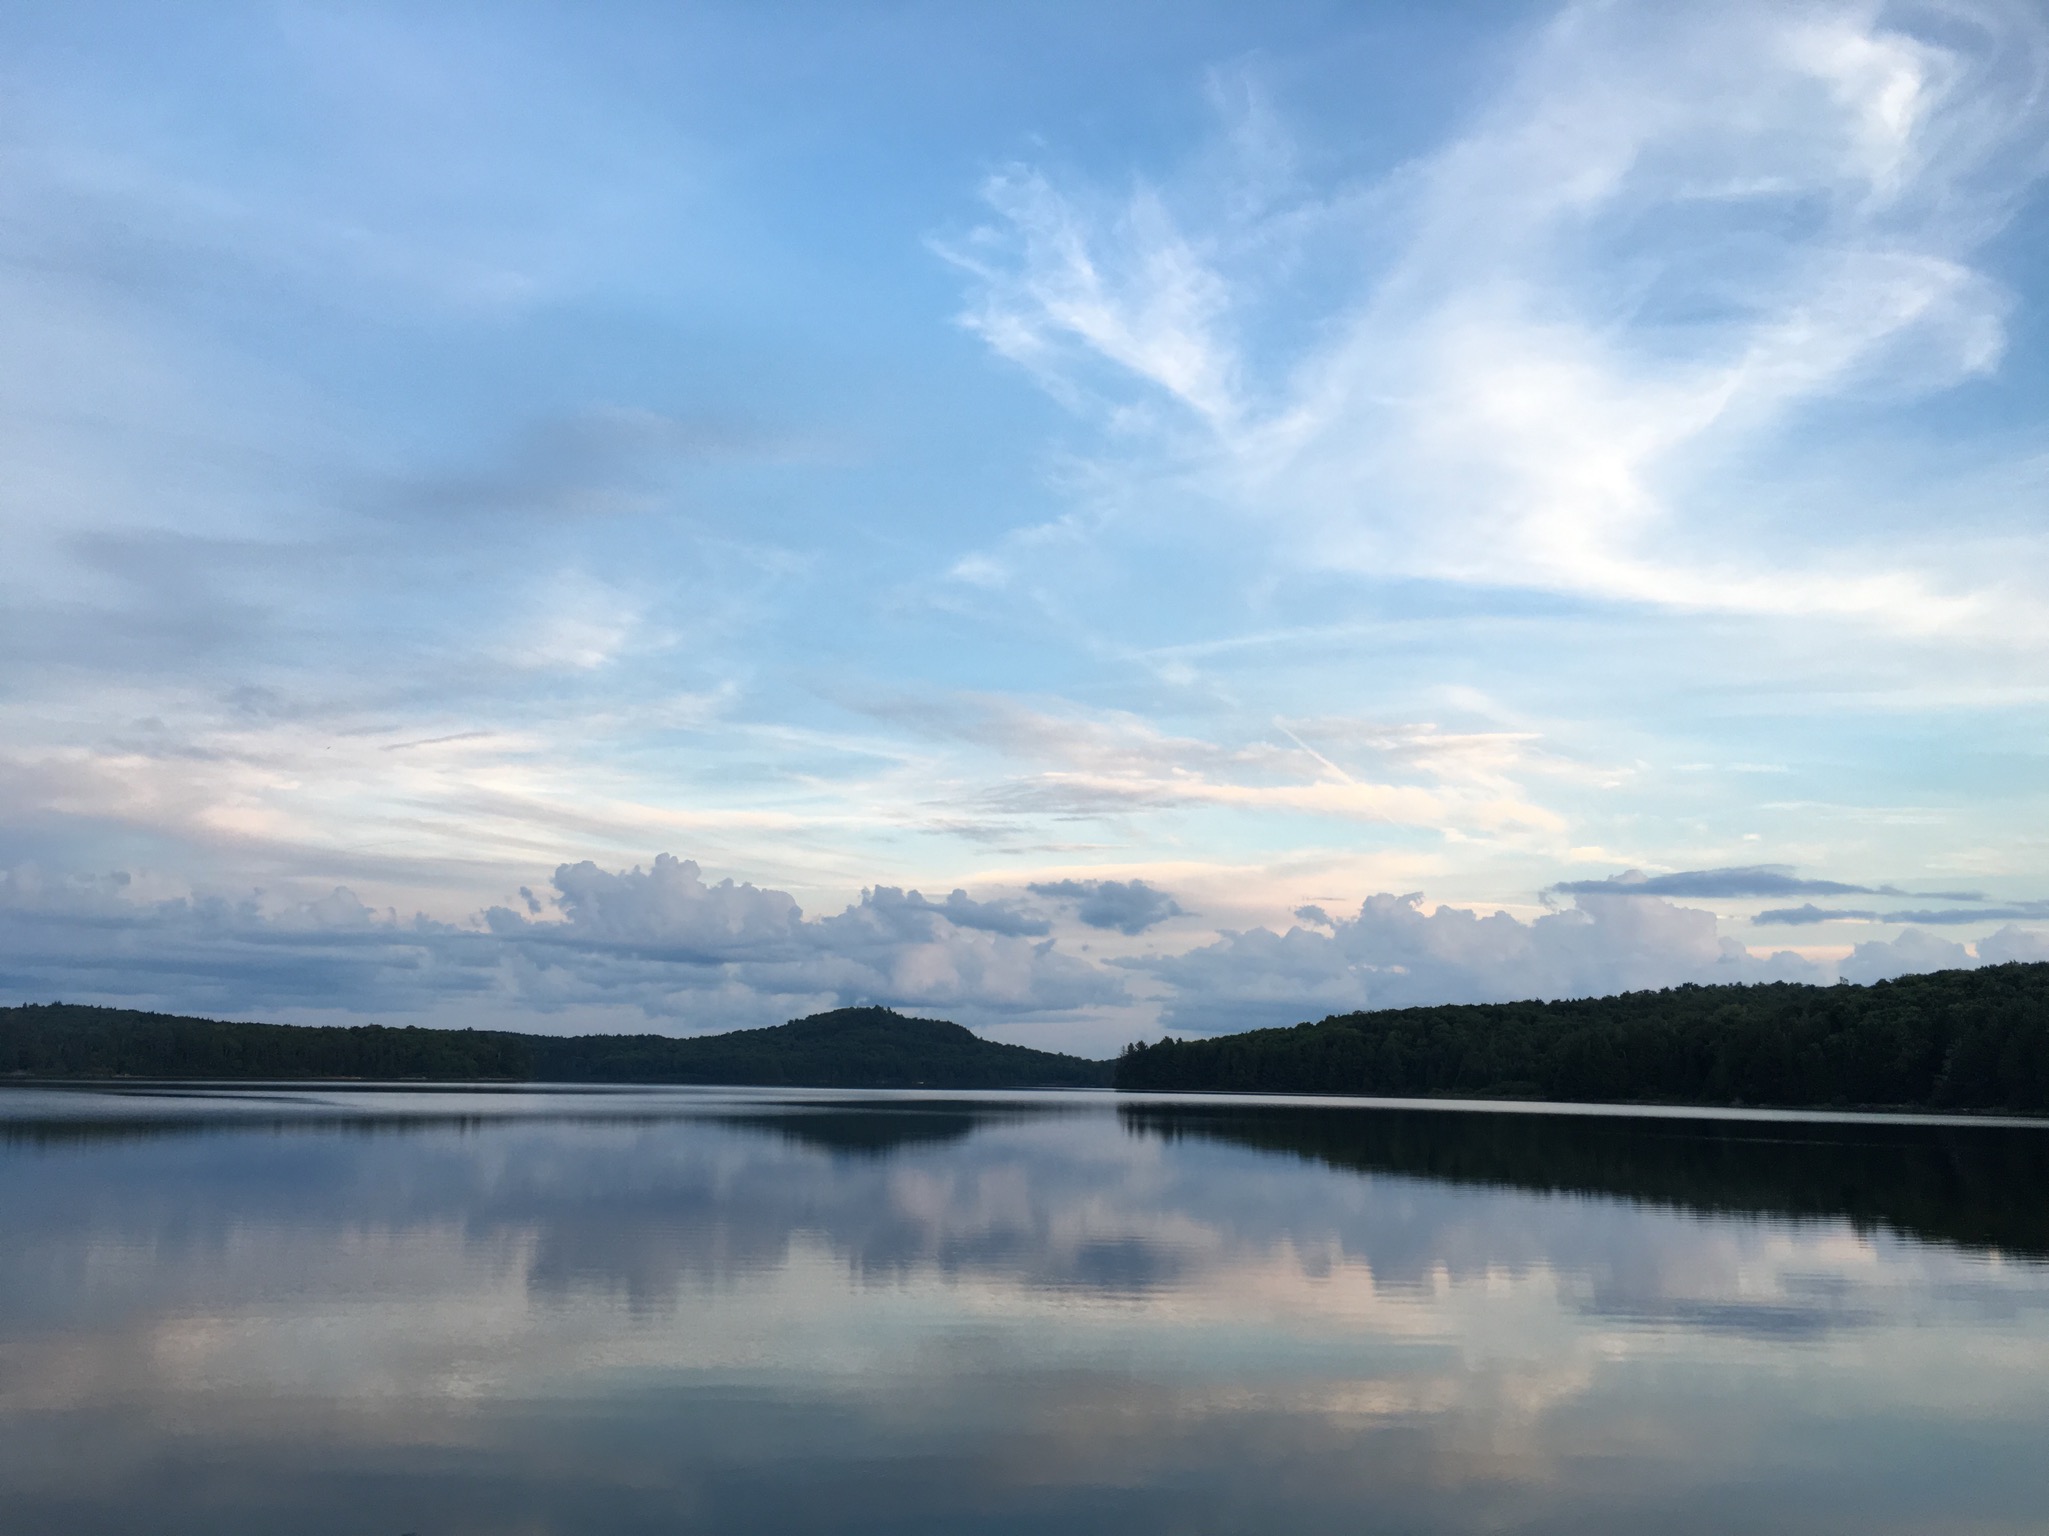
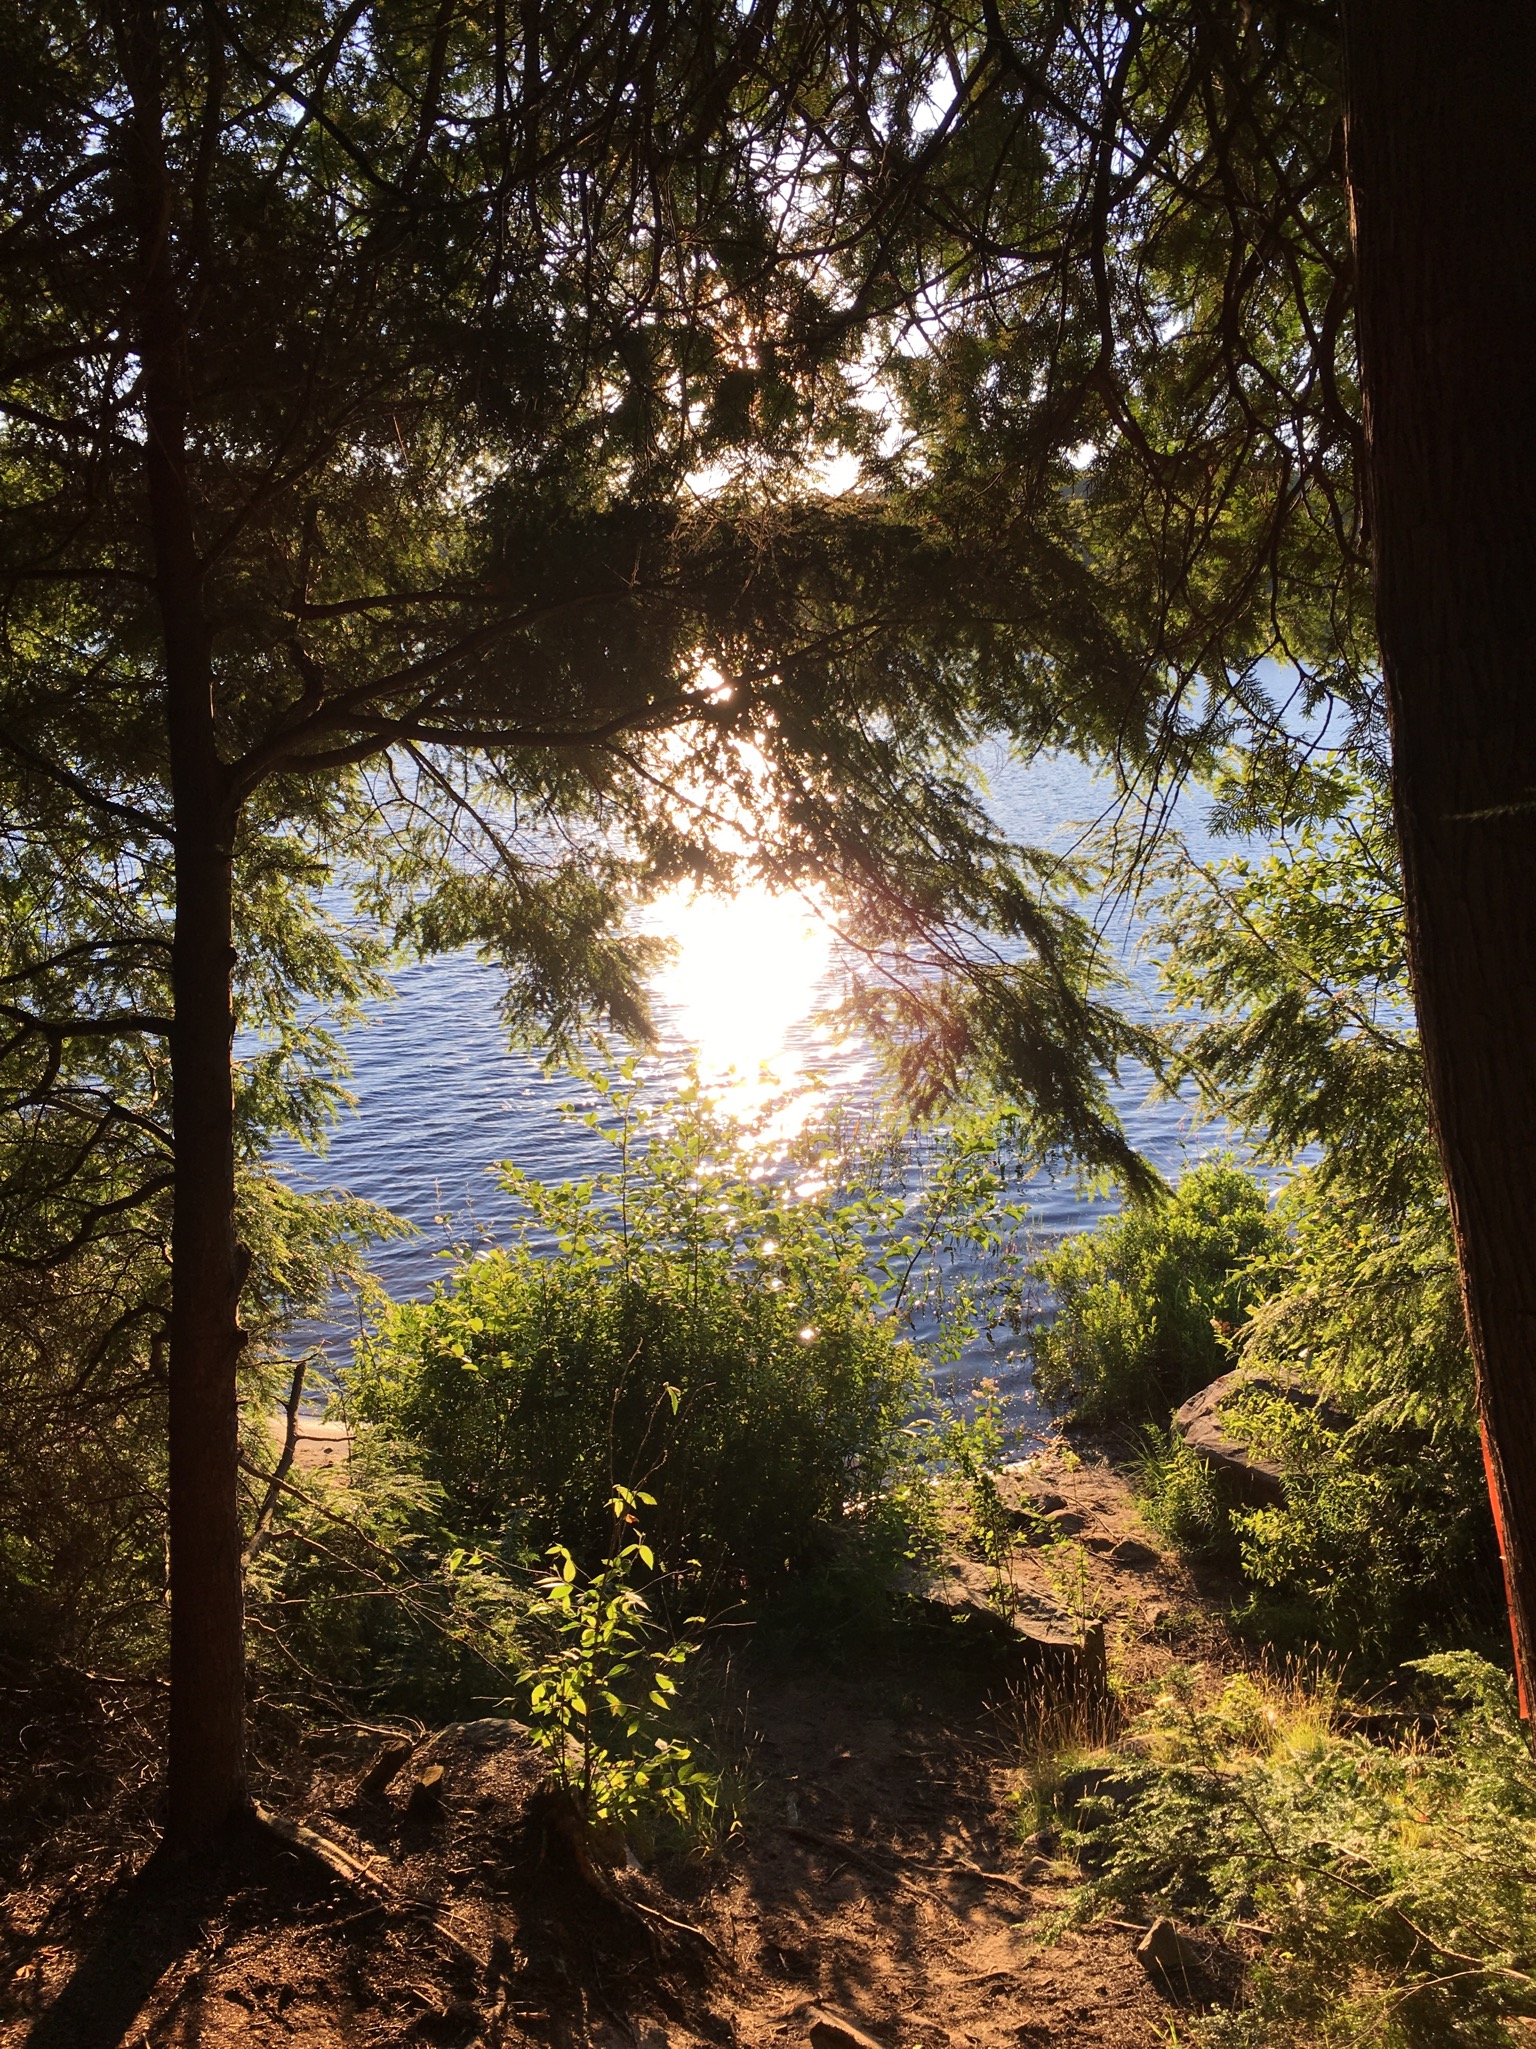
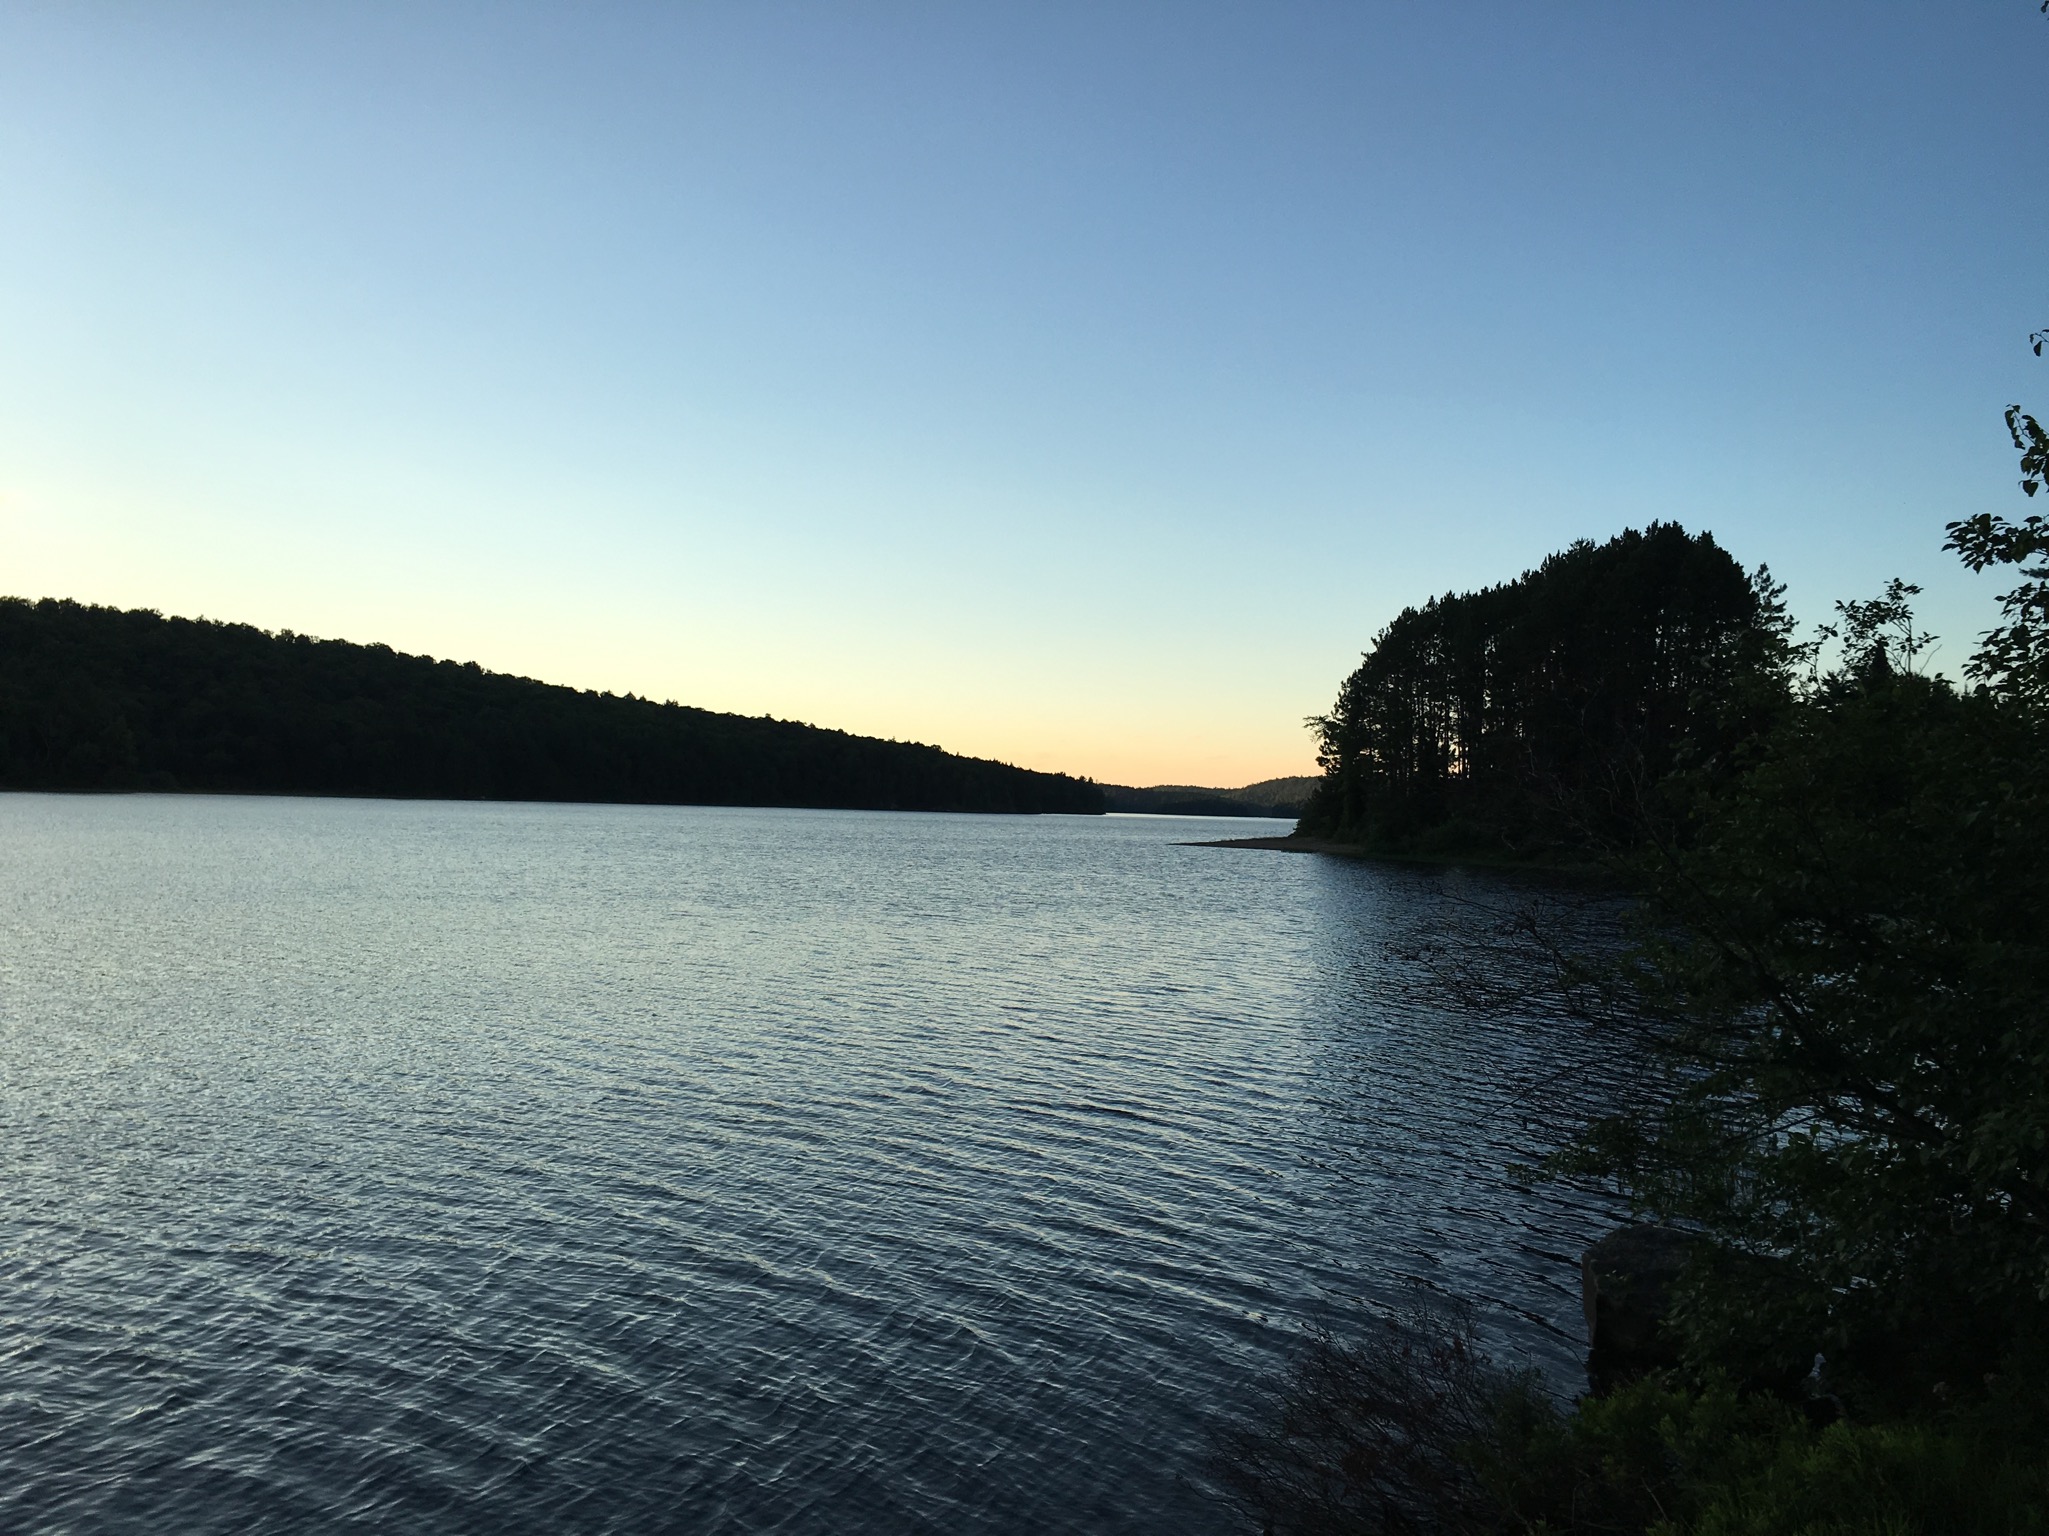
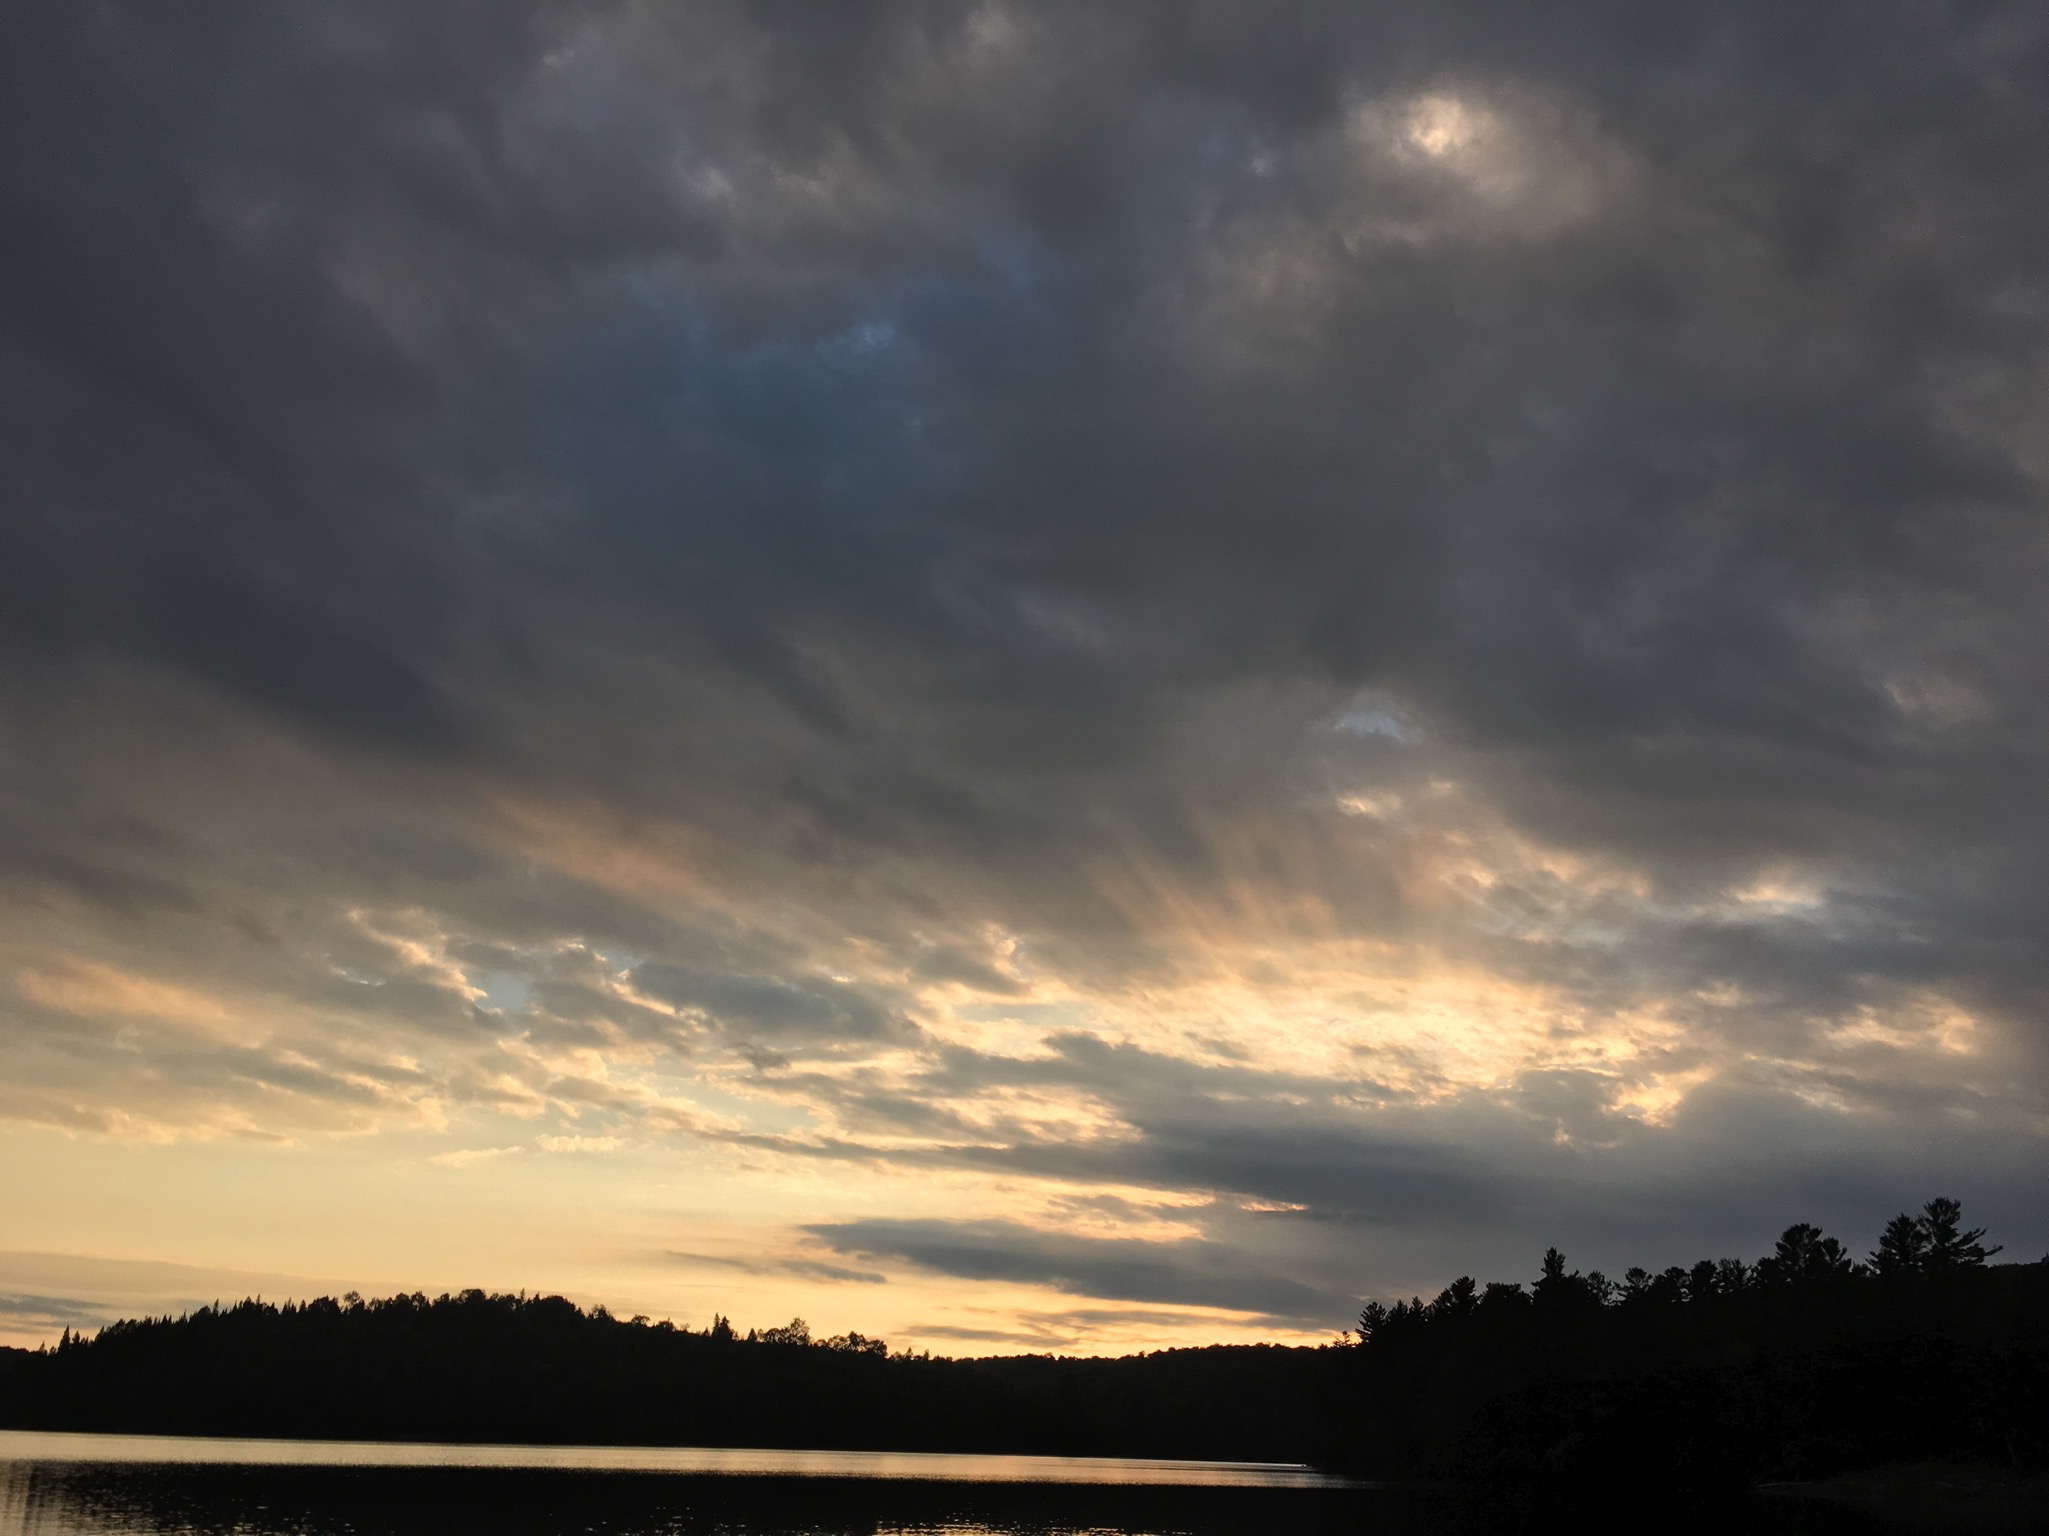
It was absolutely beautiful. I can't find the words to describe it. But there is nothing quite like travelling in good company on an Ontario lake.
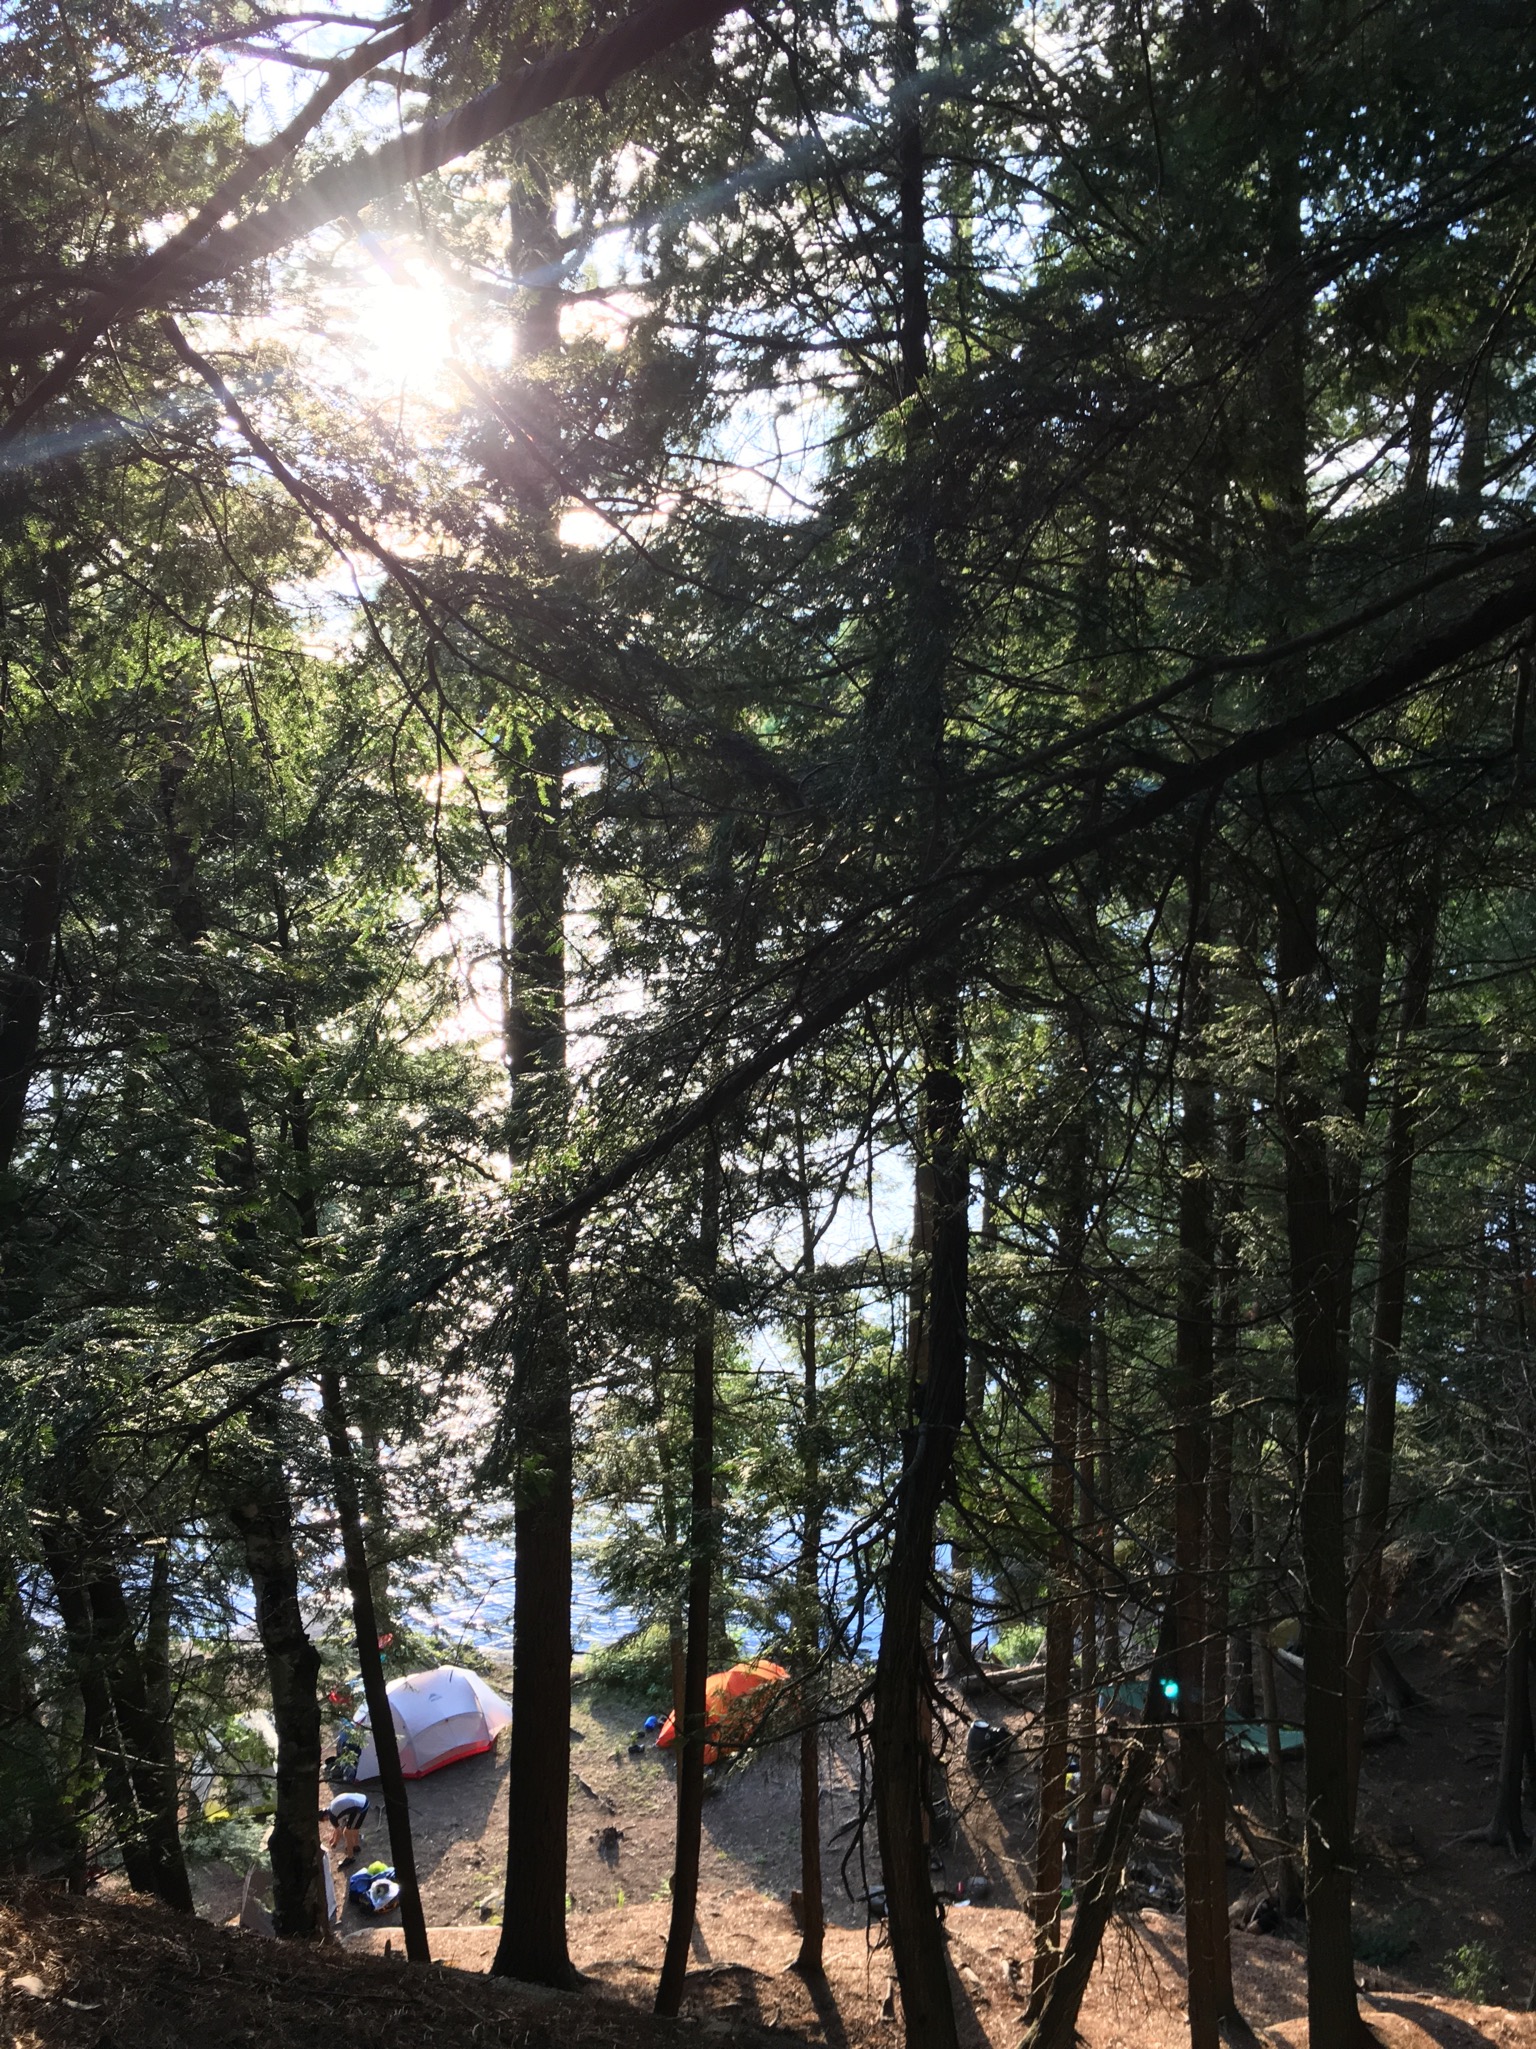

Now, 8 people in the backcountry, is a lot of people. On top of that, we were also getting more friendlies on day 7 and 8, for a total of 12 people. And people gotta eat. Luckily we had Rob, our master fooder, who had planned out our meals and bought all the foods. About 200lbs of it. Steaks, potatoes, bacon, eggs, clif bars, apples, corn on the cob, oatmeal, and snackies!
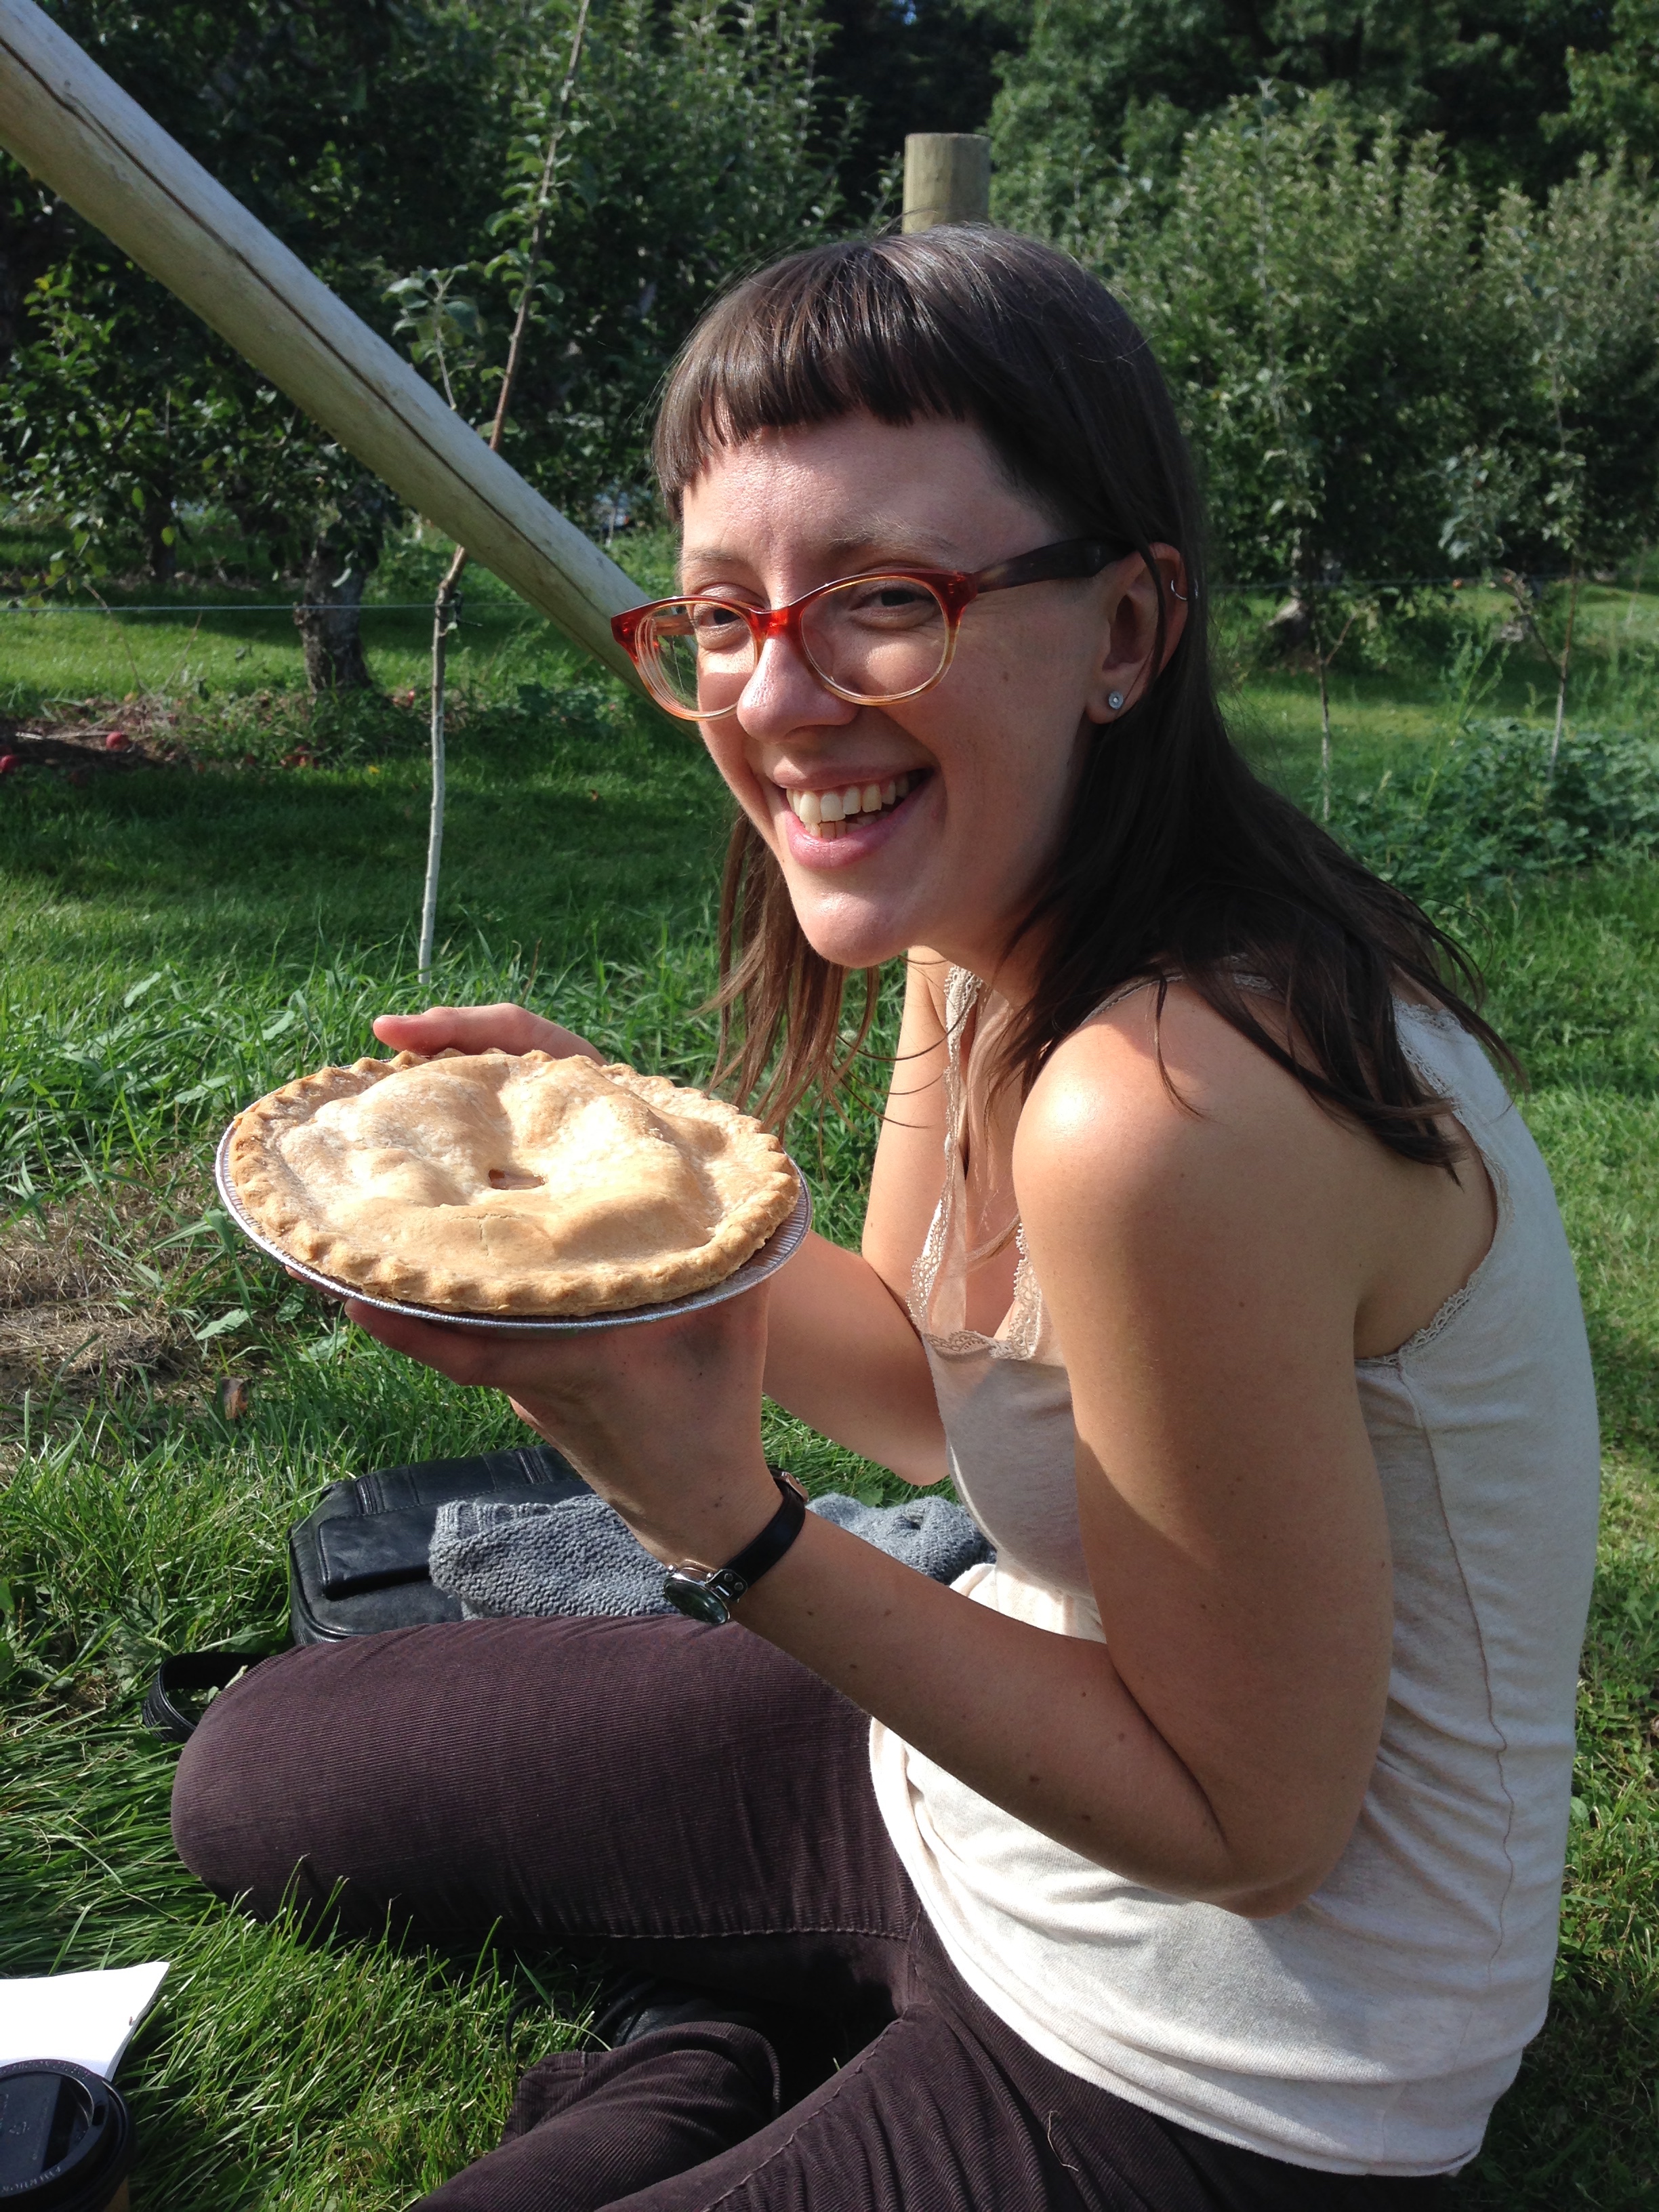
We ate like the kings and queens of the forest. But we had one particular dessert that was a lovely unplanned delight. With a huge bag of apples still left to eat and bannock dry mix to use up, a plan was hatched to make use of the literal metric butt ton of tin foil we'd packed along with us. This plan's hopeful outcome: Back Country Apple Pie.
Back Country Apple Pie
Step one for backcountry apple pie isn't about ingredients. Although important of course, the real trick is having an oven to bake it in. Below is the story of how we built an oven out of a metric butt ton of tin foil, some abandoned grills and a desire for back country pie. The following recipe makes 2 pies, approx. 9' in diameter.
Pie Filling:
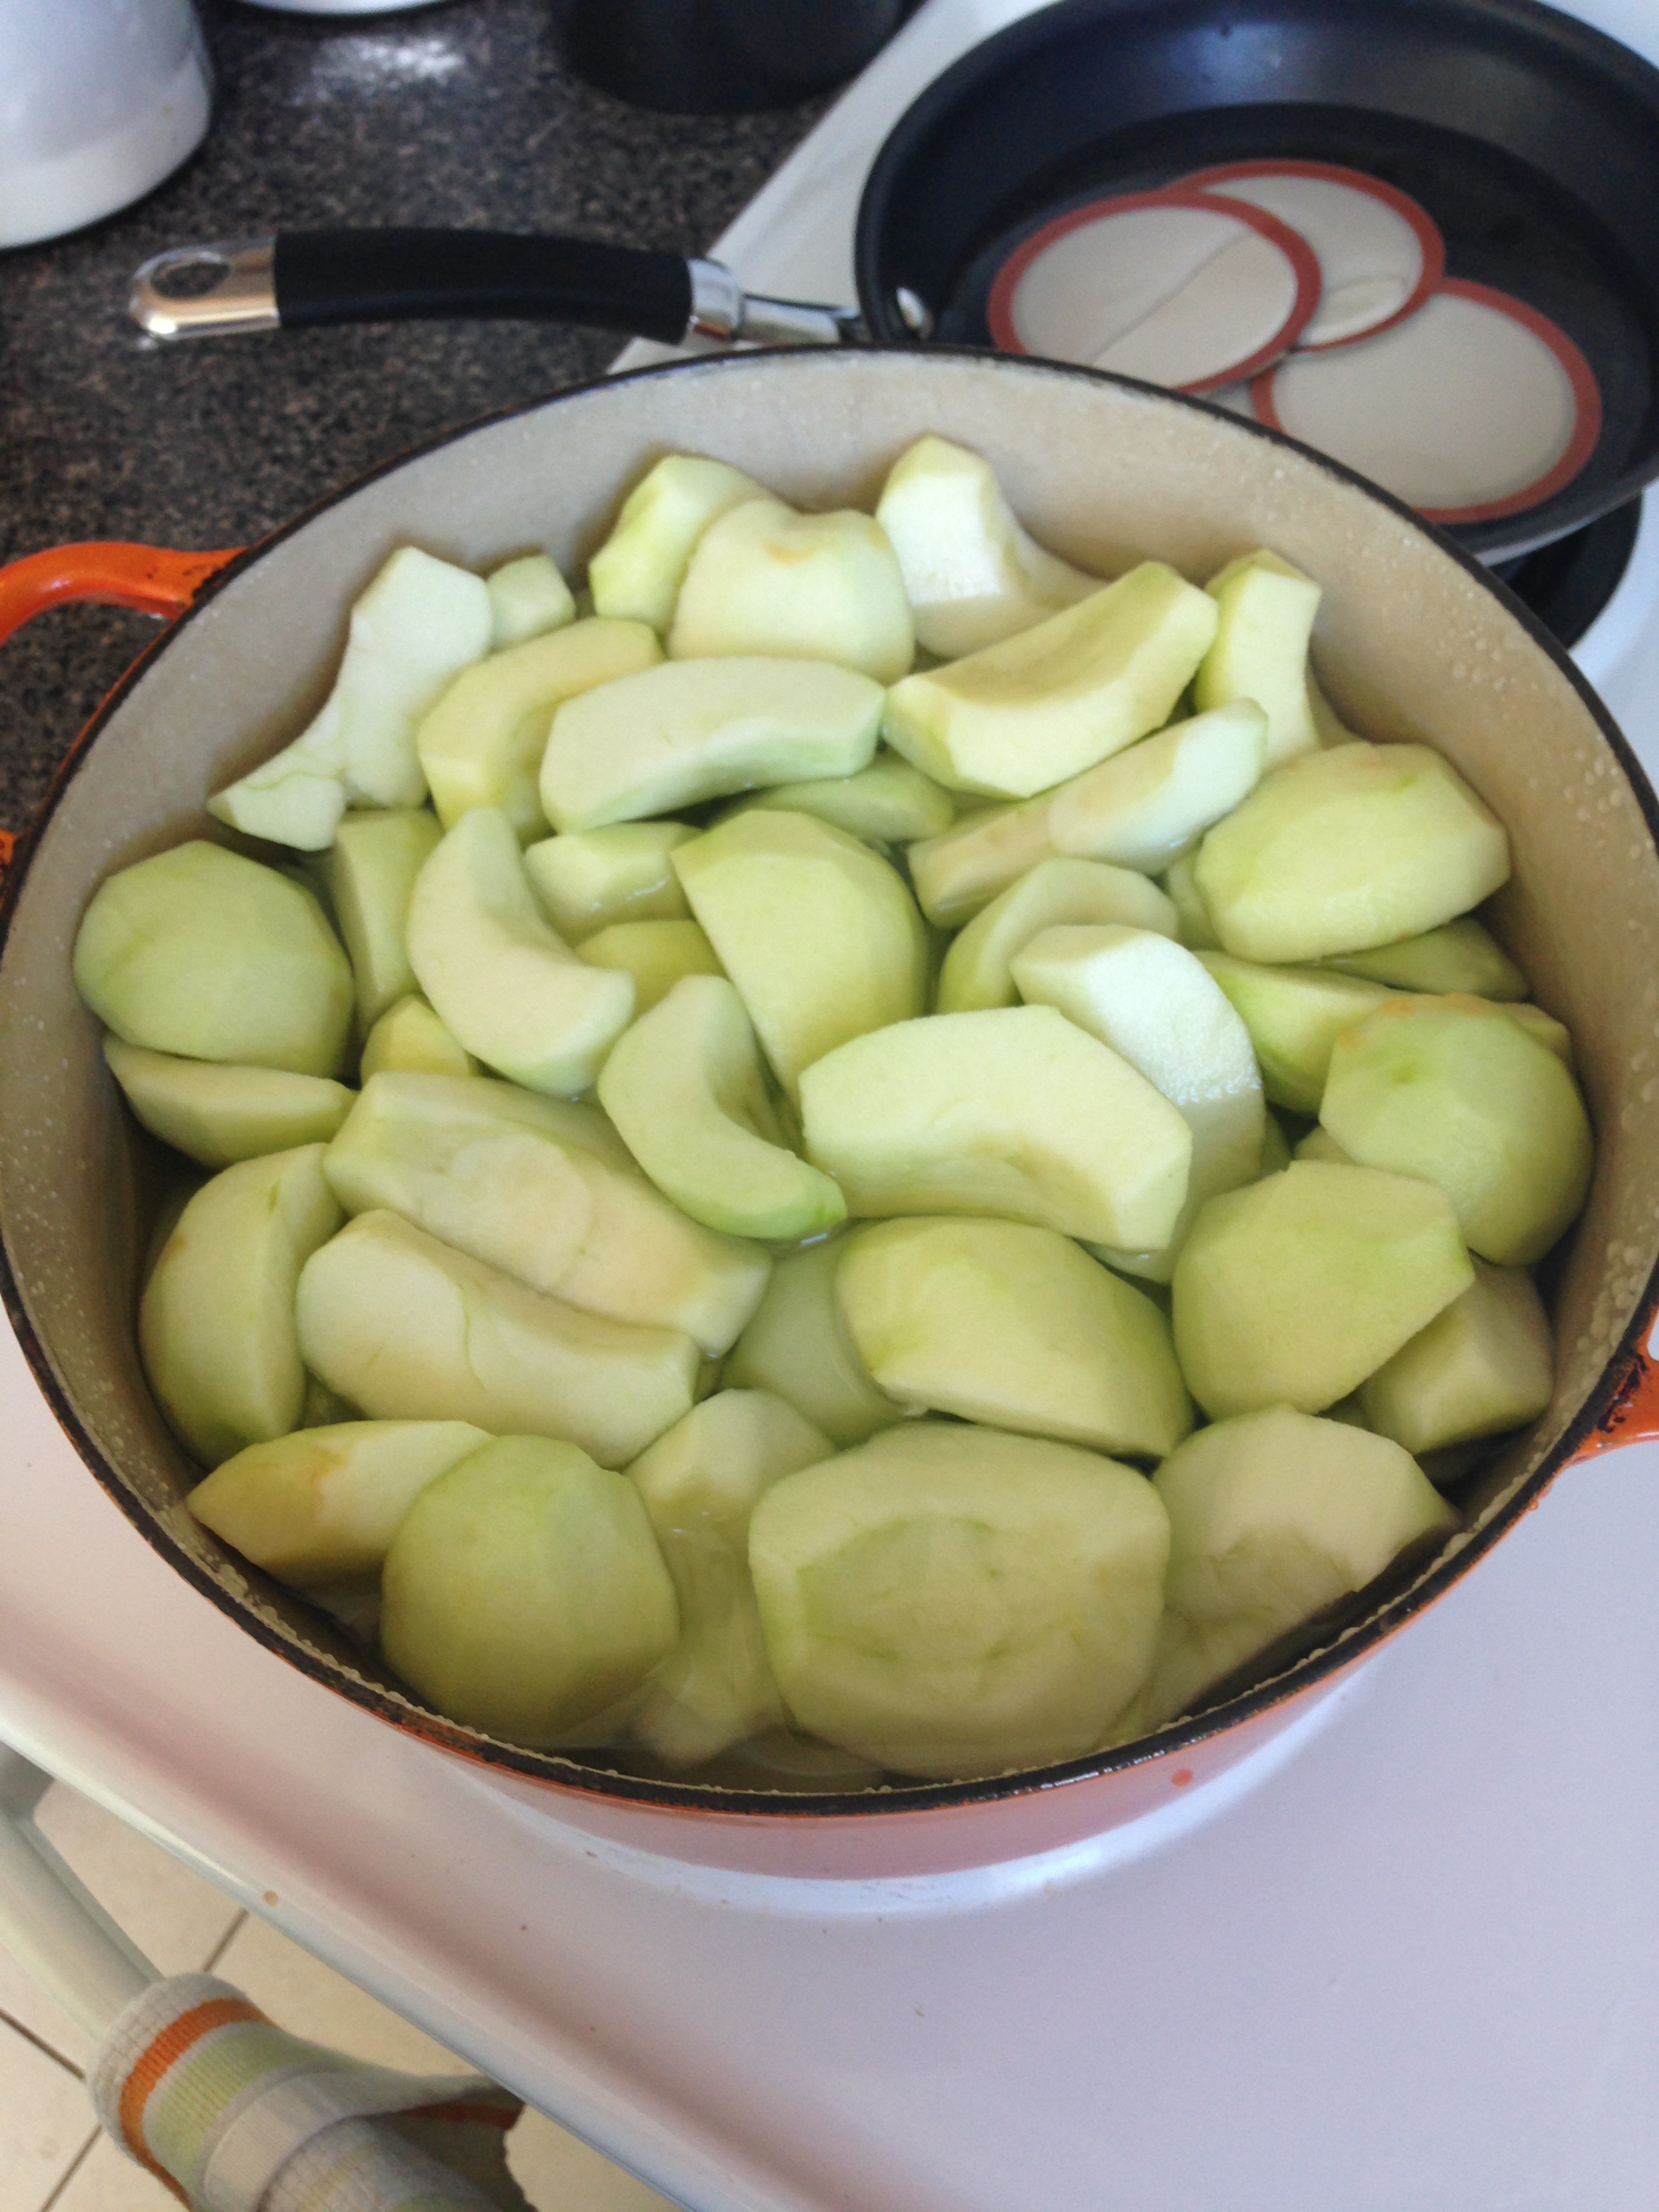
6-8 apples, cored and sliced
1 tsp cinammon
2 TBSP drinking water
2 squirts Mio (concentrated juice flavour. We used the peach one! =D)
Bannok mixture: (dry ingredients can be mixed together in advance and stored in a sealed bag)
2 cups flour
2/3 tsp salt
1 1/3 TBSP baking powder
1/4 cup butter, melted
~1/4 to 1/2 drinking water
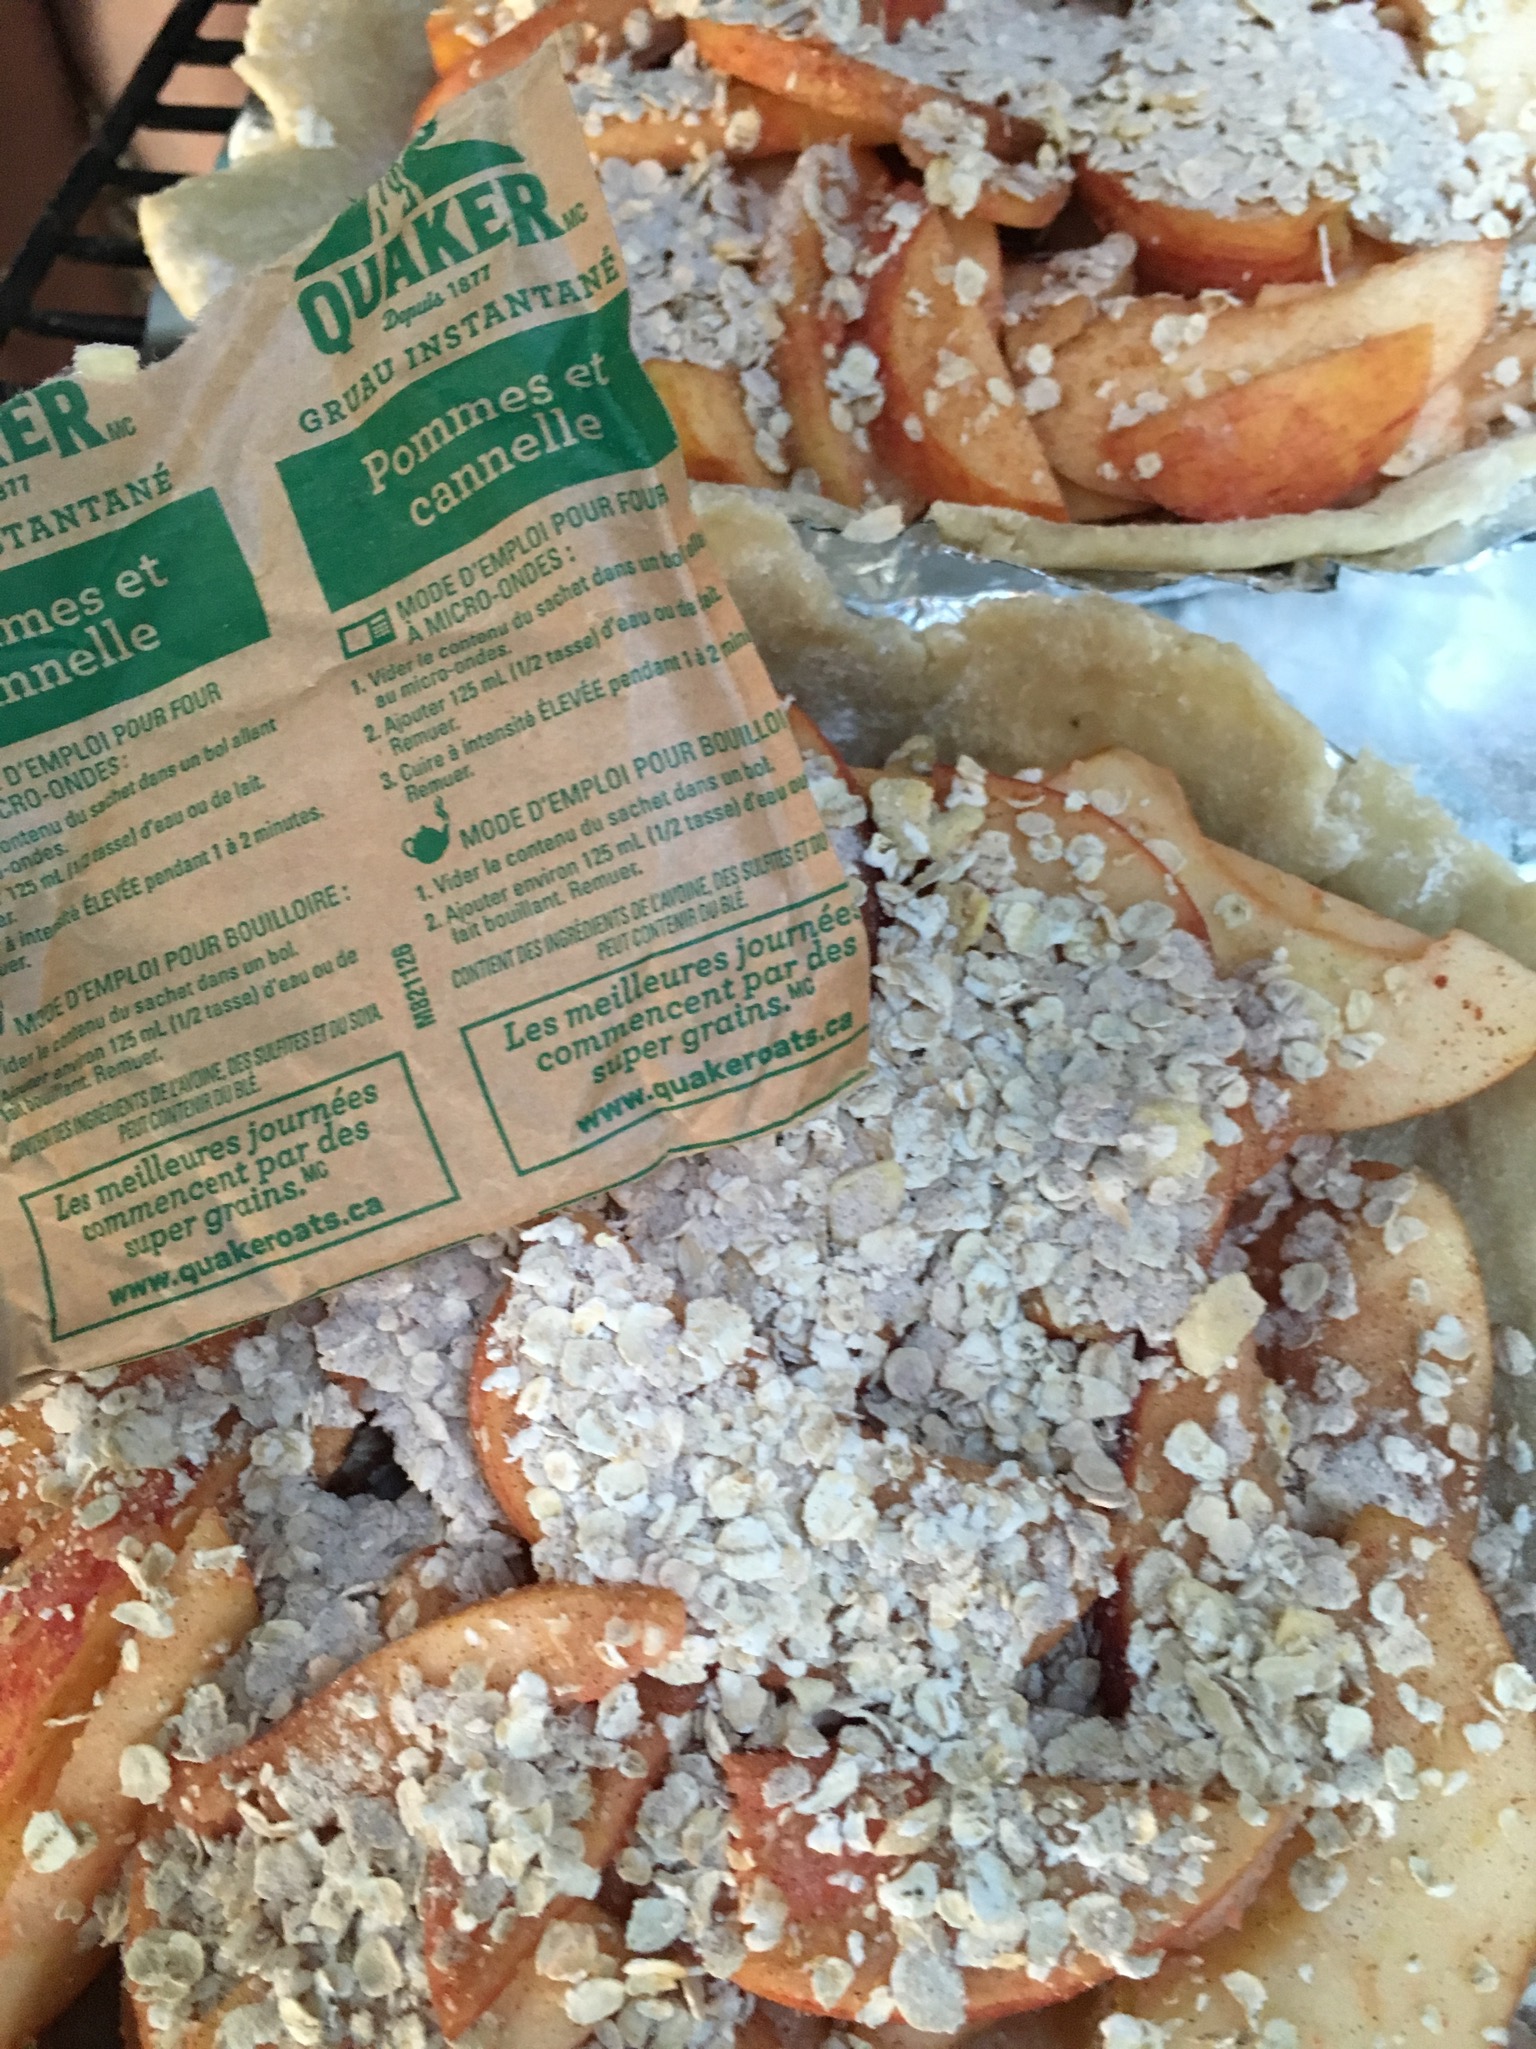
Topping:
2 packs apple cinnamon instant oatmeal
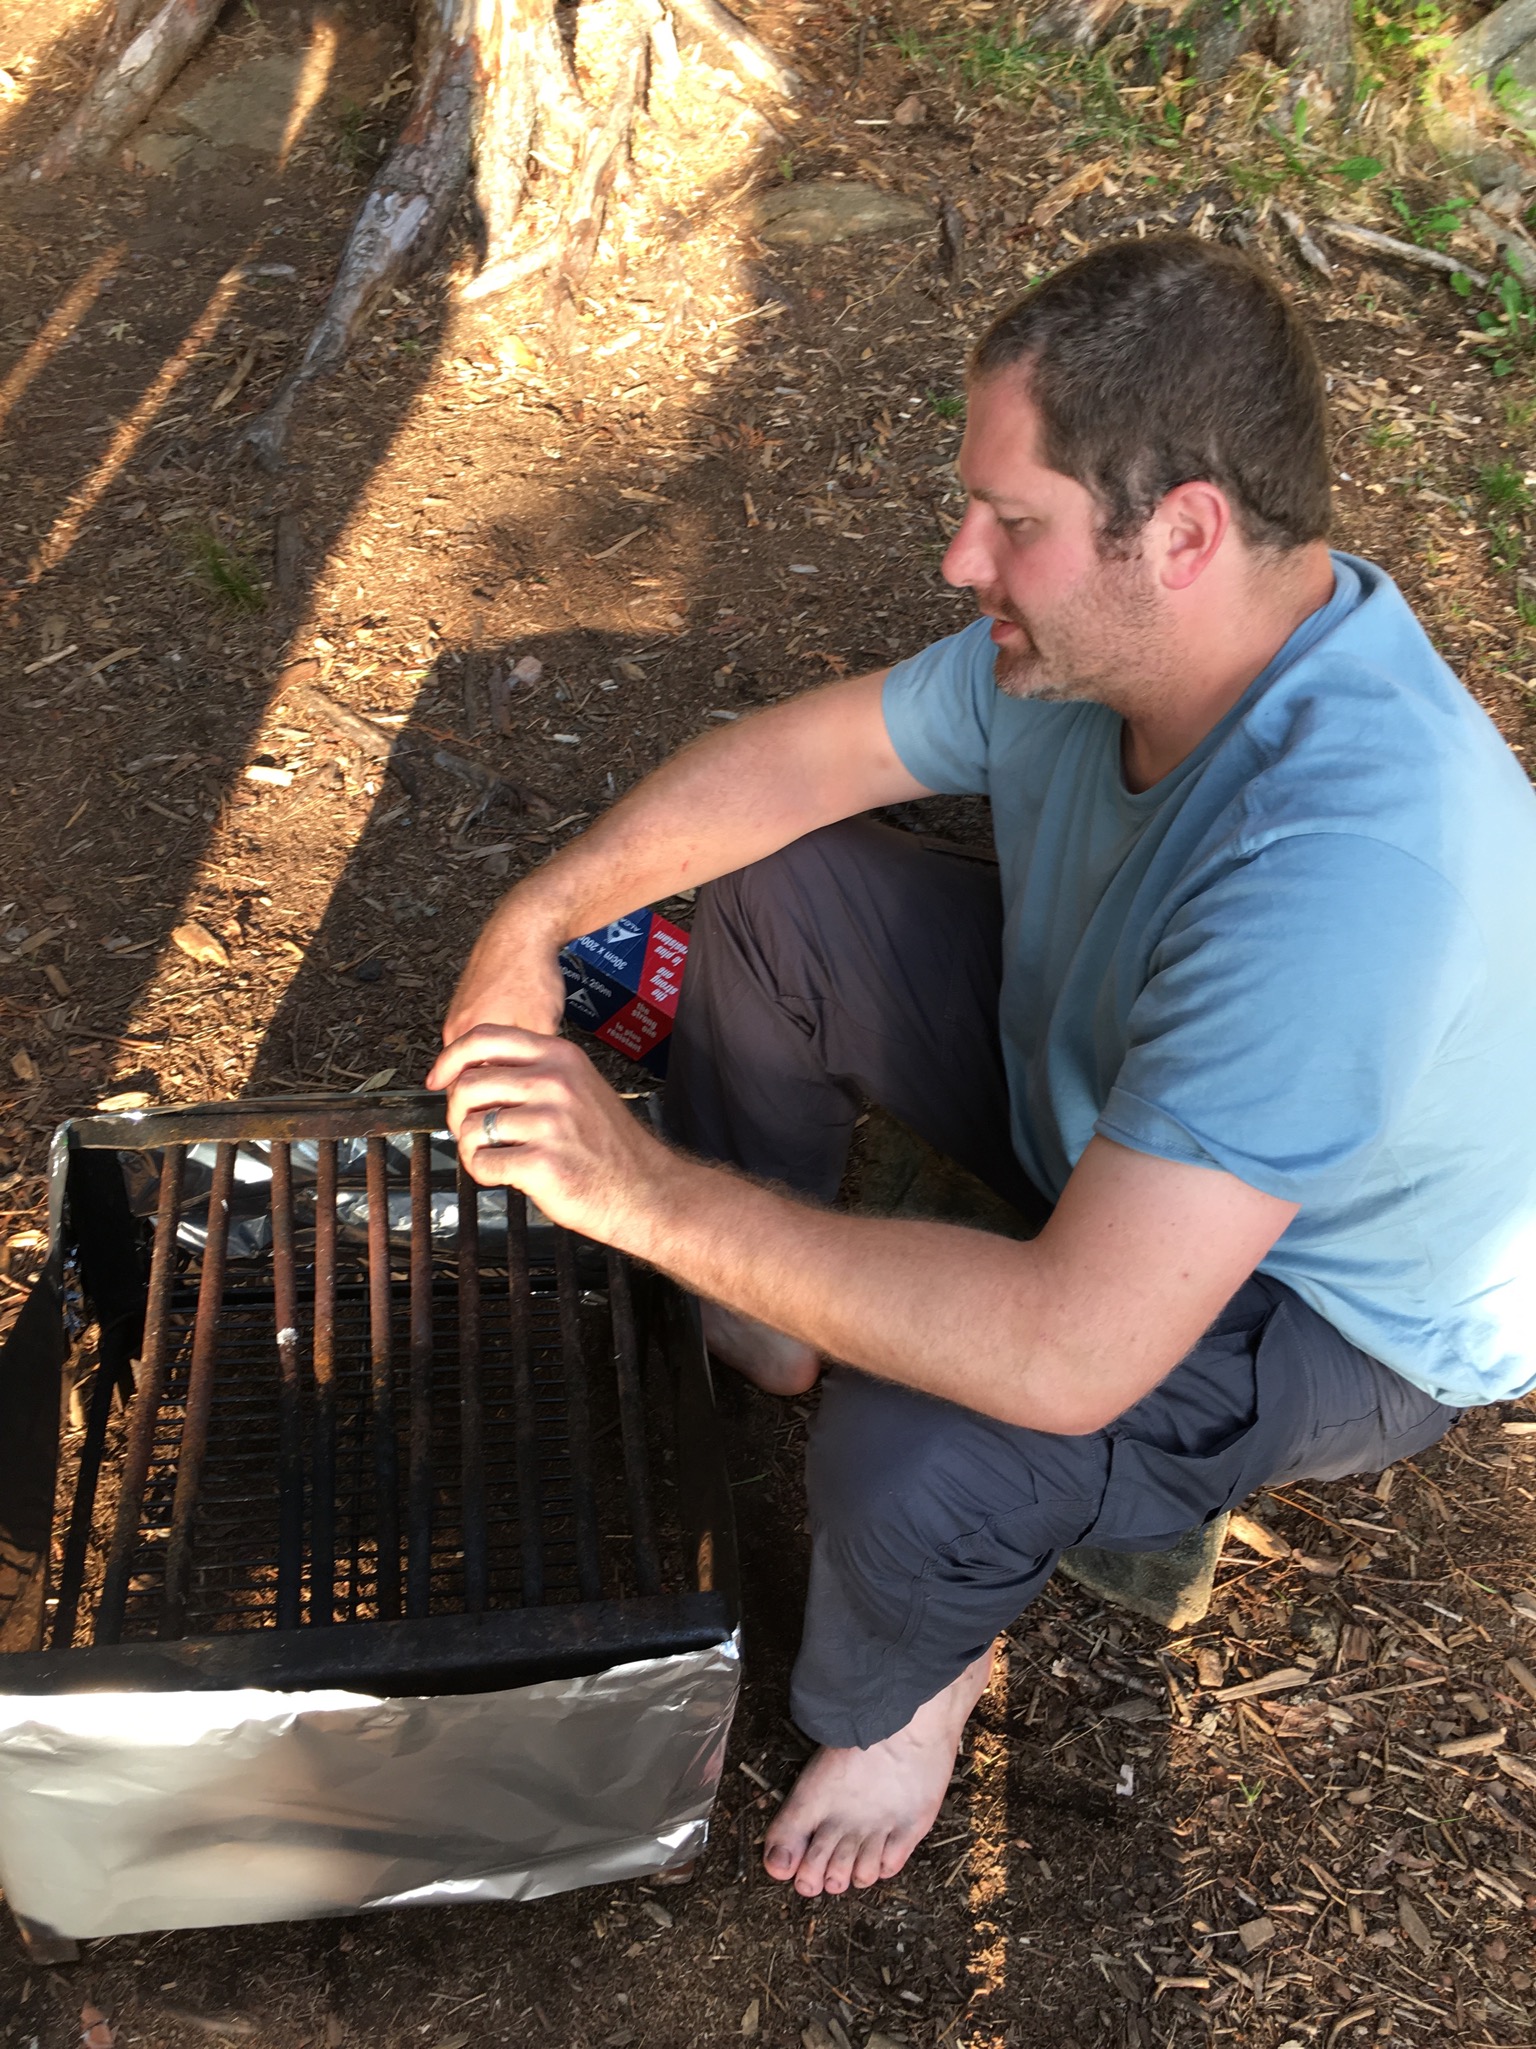

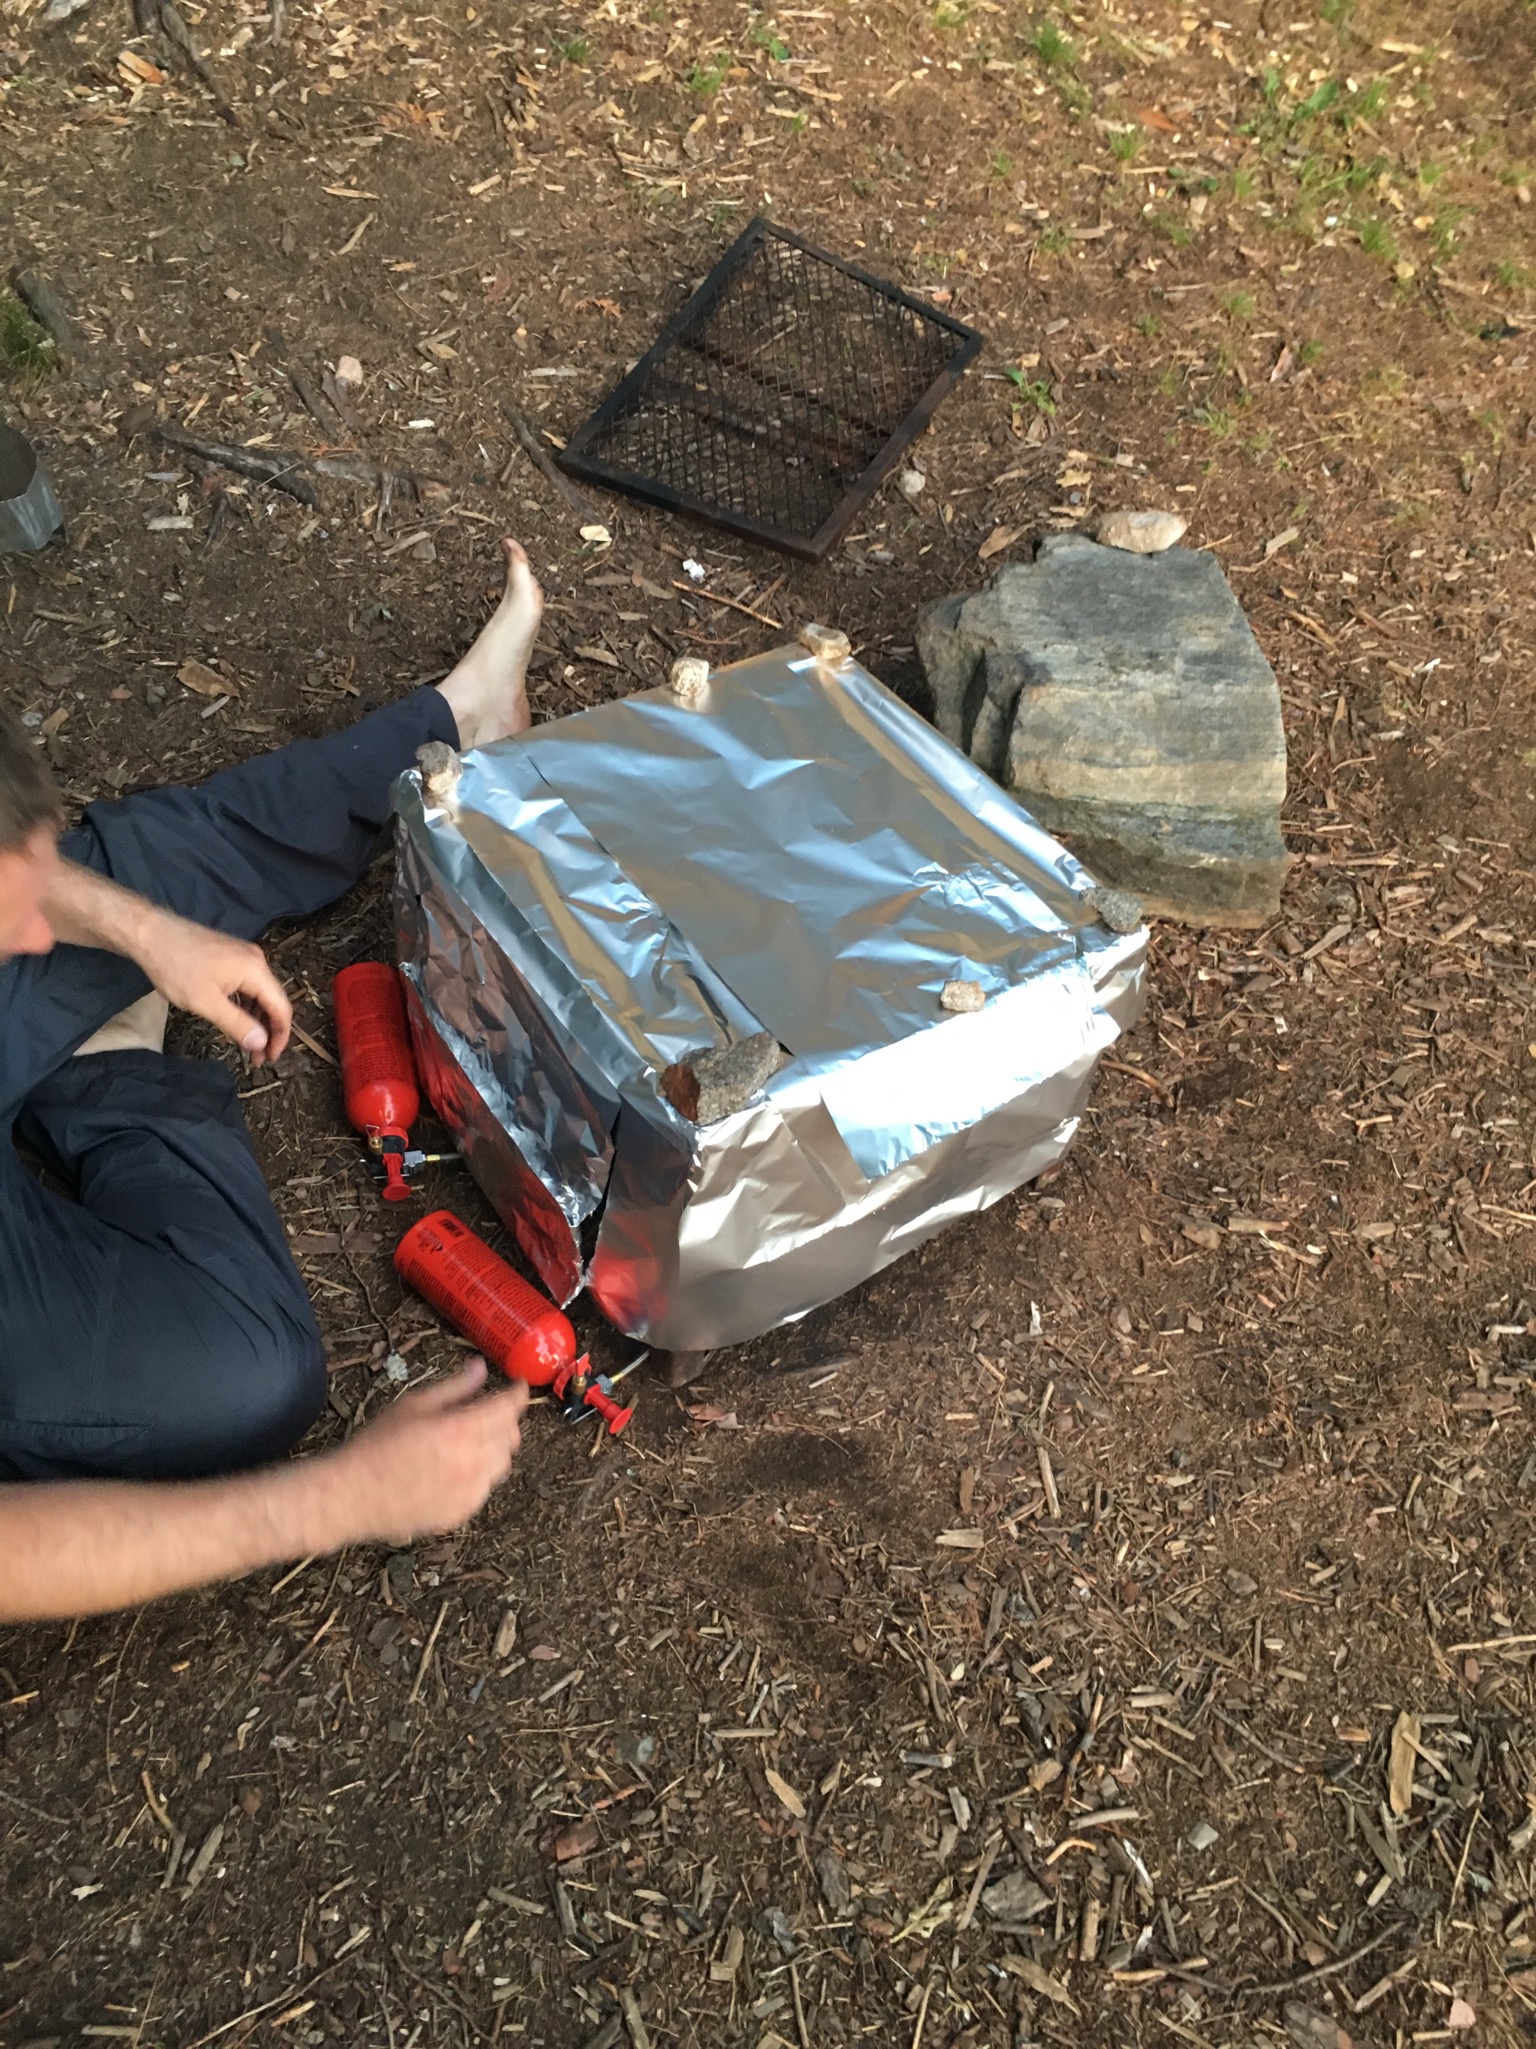

Making a tin foil oven in the middle of nowhere:
- First, find a discarded metal grate, preferably multiple, that has been left among the various campsites throughout the lake. (No, don't steal them, leaving future campers with none. Jerk.)
- Set up the metal grates above the ground leaving space underneath for at least one gas burner. (We used two.) There should be at least 2 inches of clearance between the burner and the bottom of your baking grate. You don't want to burn the pie bottoms!
- Cover the interior and exterior of your makeshift oven with tin foil. Make sure to overlap any cracks to keep it as air tight as possible.
- Cut a door flap in your oven. Roll the long ends together a bit to keep it from coming apart.
- Place your burners into the oven. Make sure that the gas canisters fit on the outside of the oven. NO EXPLOSIONS PLEASE.
- Once you're satisfied that there is enough clearance for your burners and canisters, it's pie time!
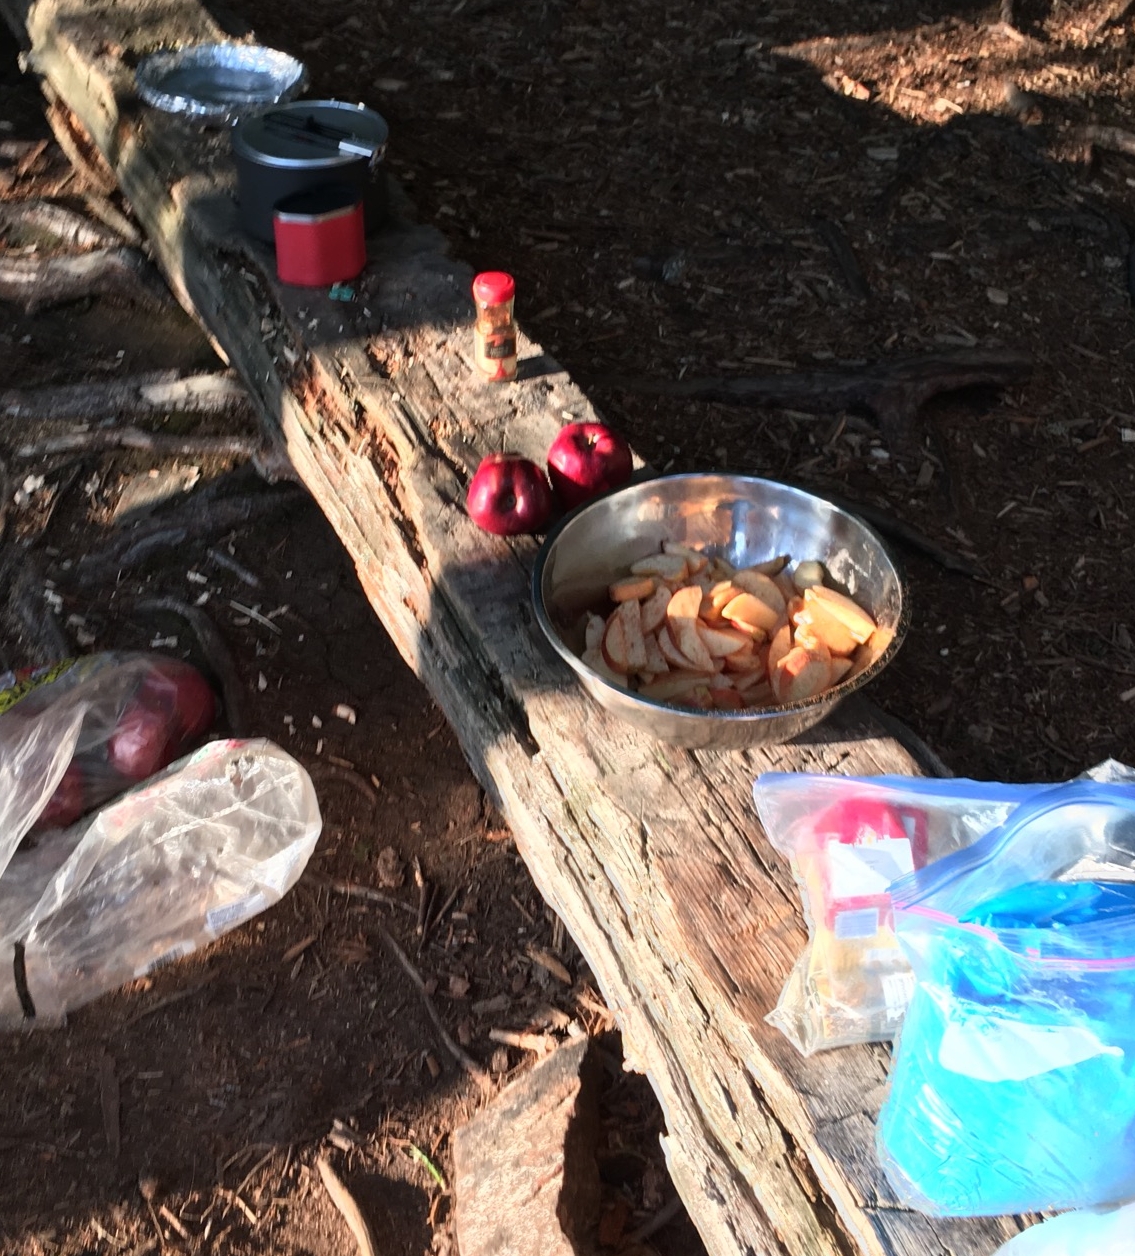


Pie Filling:
- Wash all your apples in drinking water. (Especially if they've been sitting at the bottom of your bear barrel for 5 days.)
- Using a makeshift counter log, remove the cores and slice your apples into a bowl.
- Dust your apples with cinnamon.
- In a cup, dissolve Mio in drinking water. Pour over apple mixture. Mix together until apples are coated in Mio mixture.
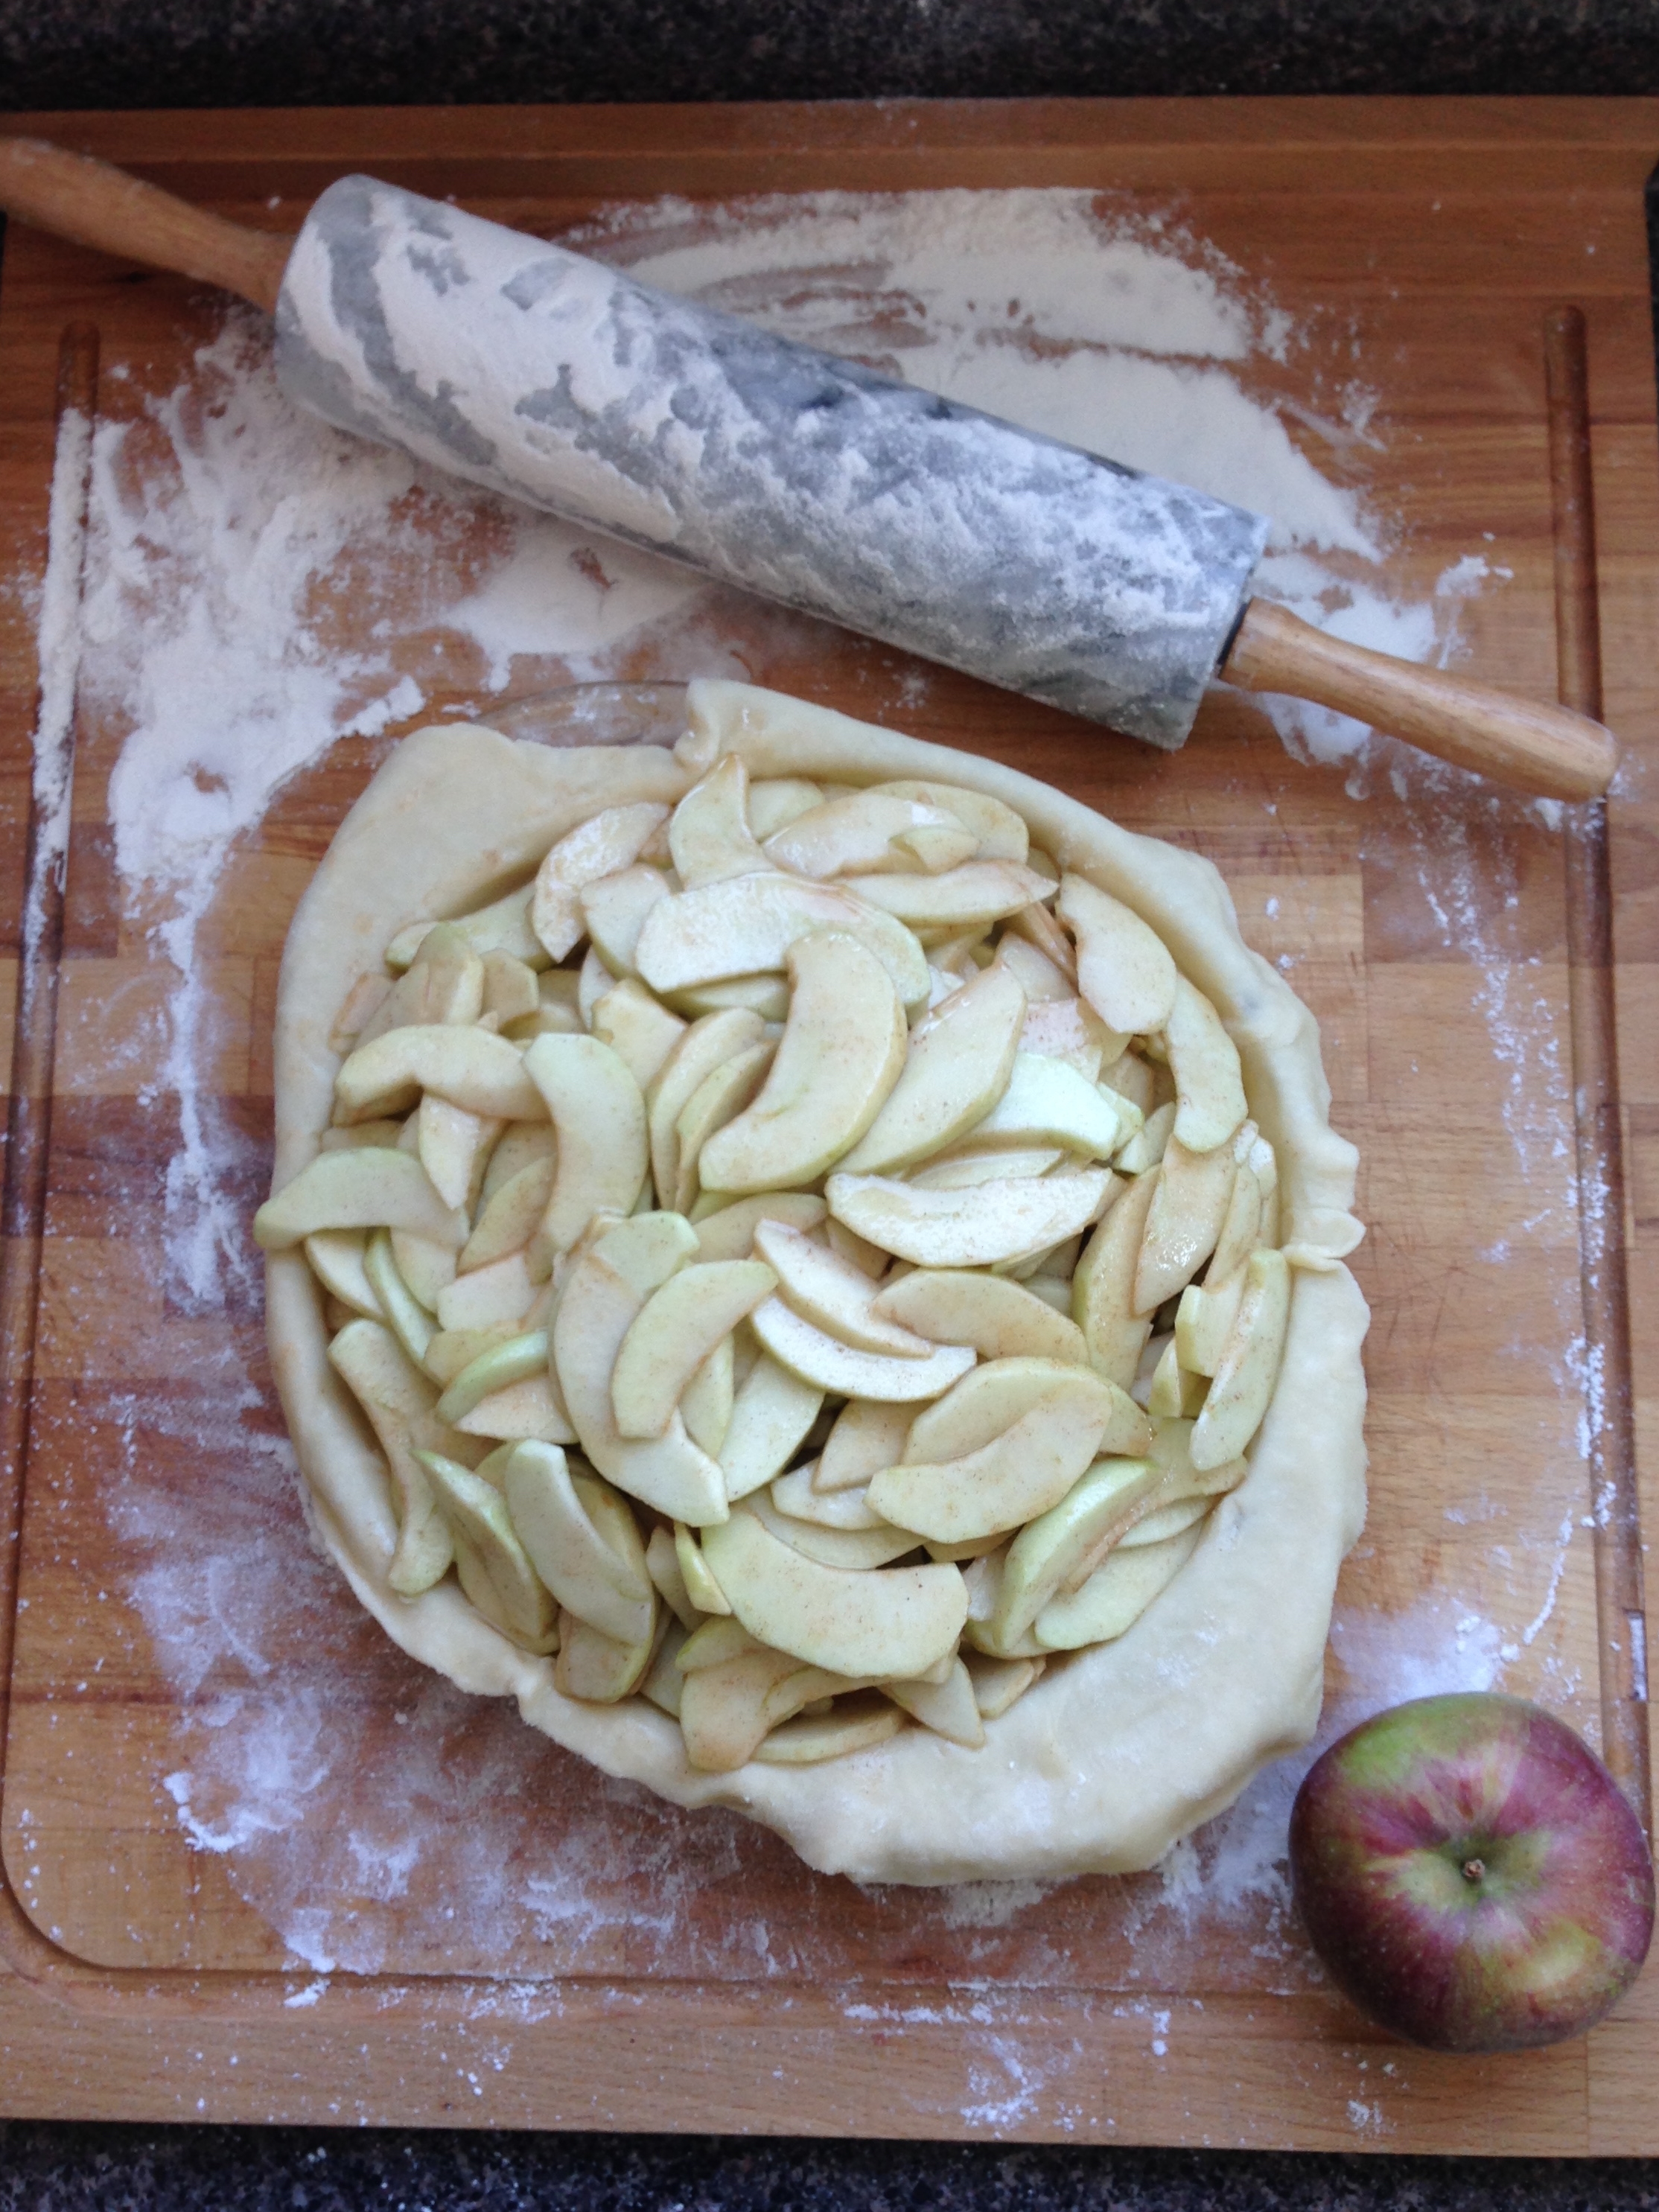
Pie Crust:
- First thing: you need something to bake your pies in. Luckily, with ample tinfoil, this is not a problem. Using a frying pan bottom as a template, form tinfoil into pie plates. Magic!
- In a bowl, combine the dry ingredients with the butter. Work the butter into the flour with a fork (or between your thumbs) so that there are no large lumps.
- Add ~1/4 cup of drinking water to the mixture, to start. Continue adding water until the dough starts to come together, using your hands to work the moisture into the dough.
- Once the dough has come together, divide it in half. Using the palm of your hand, press the dough out flat on a cutting board (aka Elsa). It should be less than a 1/4 inch thick. Carefully transfer the dough to your pie plates of magic.
Baking:
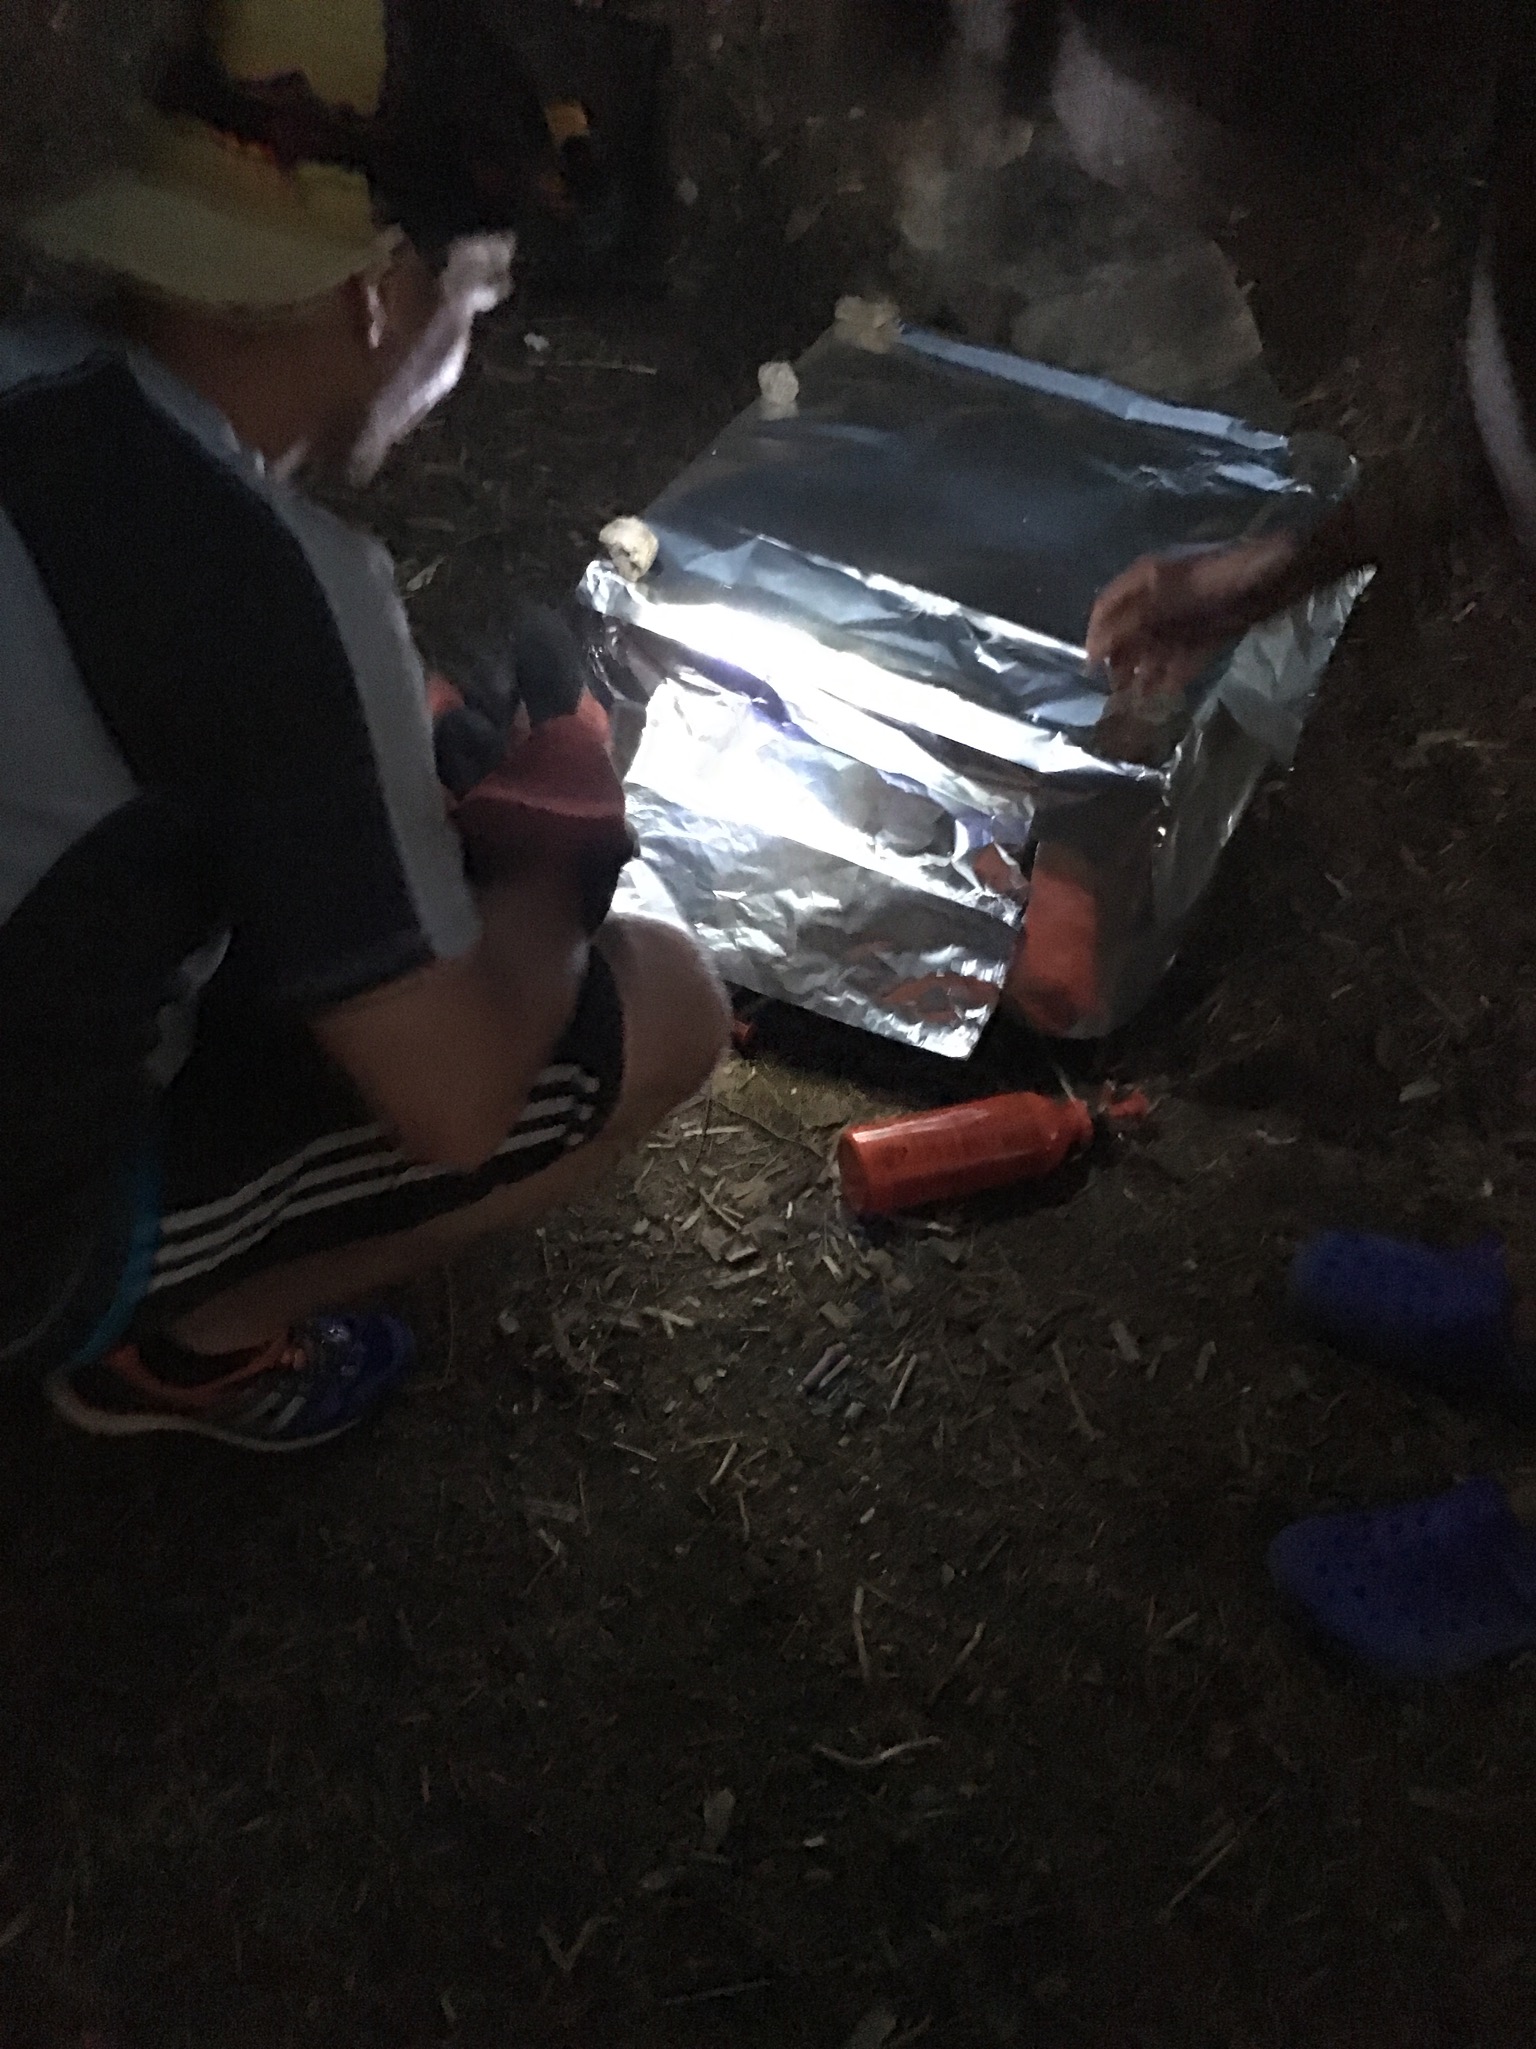
- Preheat your backcountry oven. To do so, ignited and warm up your burners. Once lit, turn them to moderate-inferno temperature and slowly and carefully position them in the oven. Close the door and let the oven heat up. (We added stones to the top of the oven so the tinfoil wouldn't blow away. We also used the metal shield from the burner kits to keep heat away from the fuel canisters.)
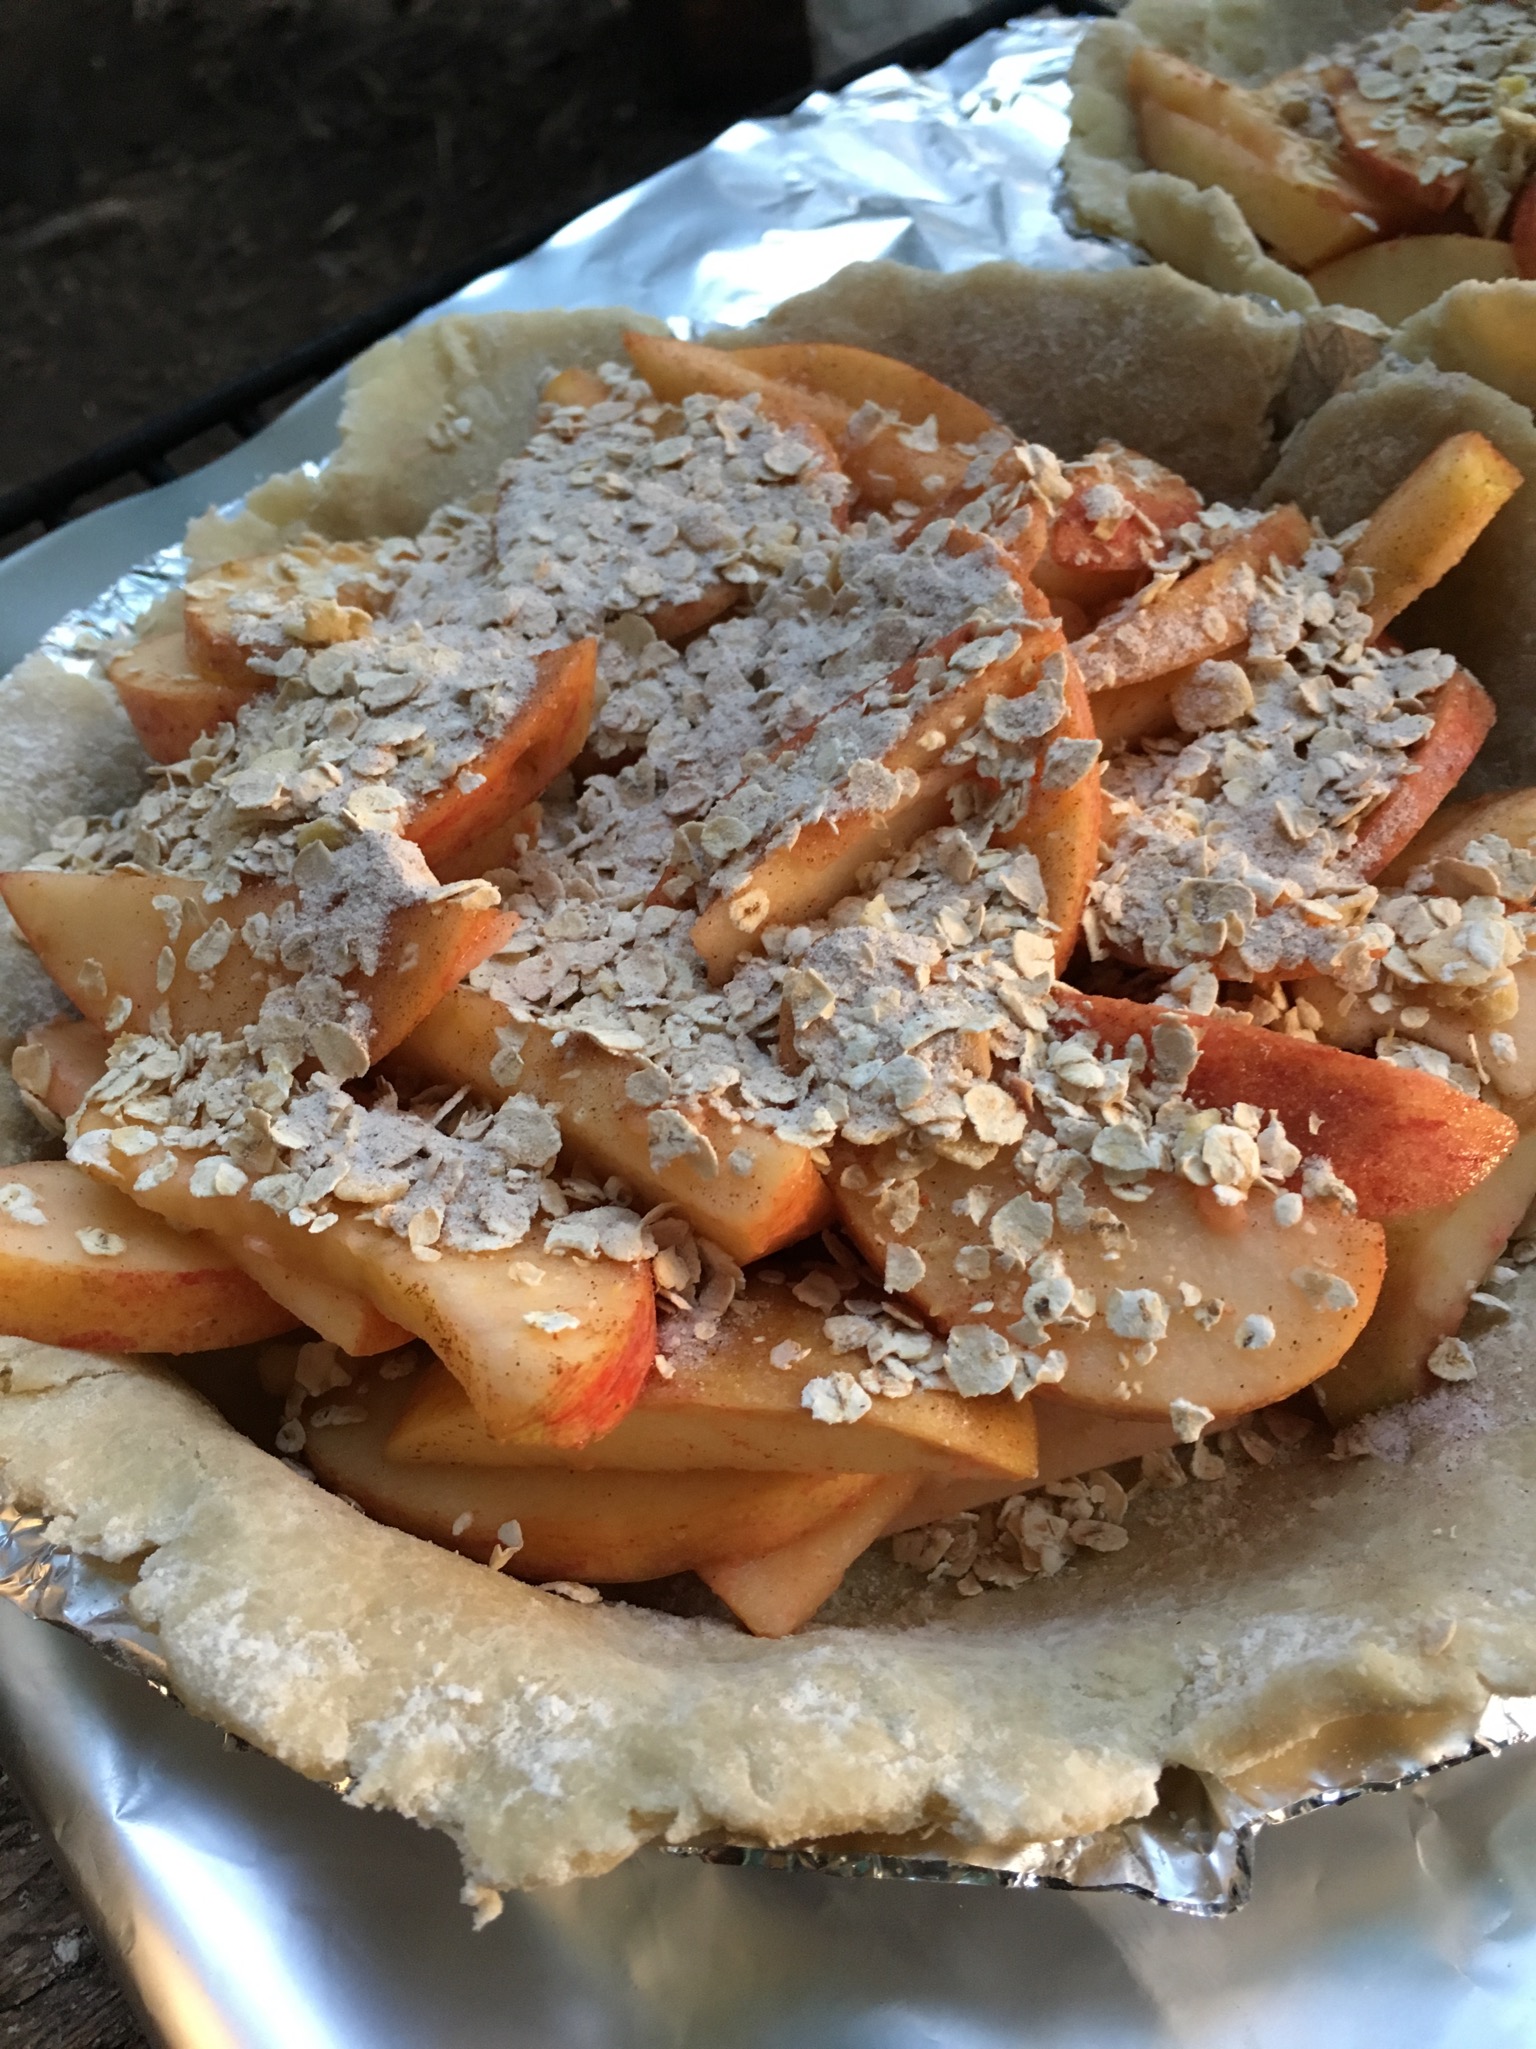
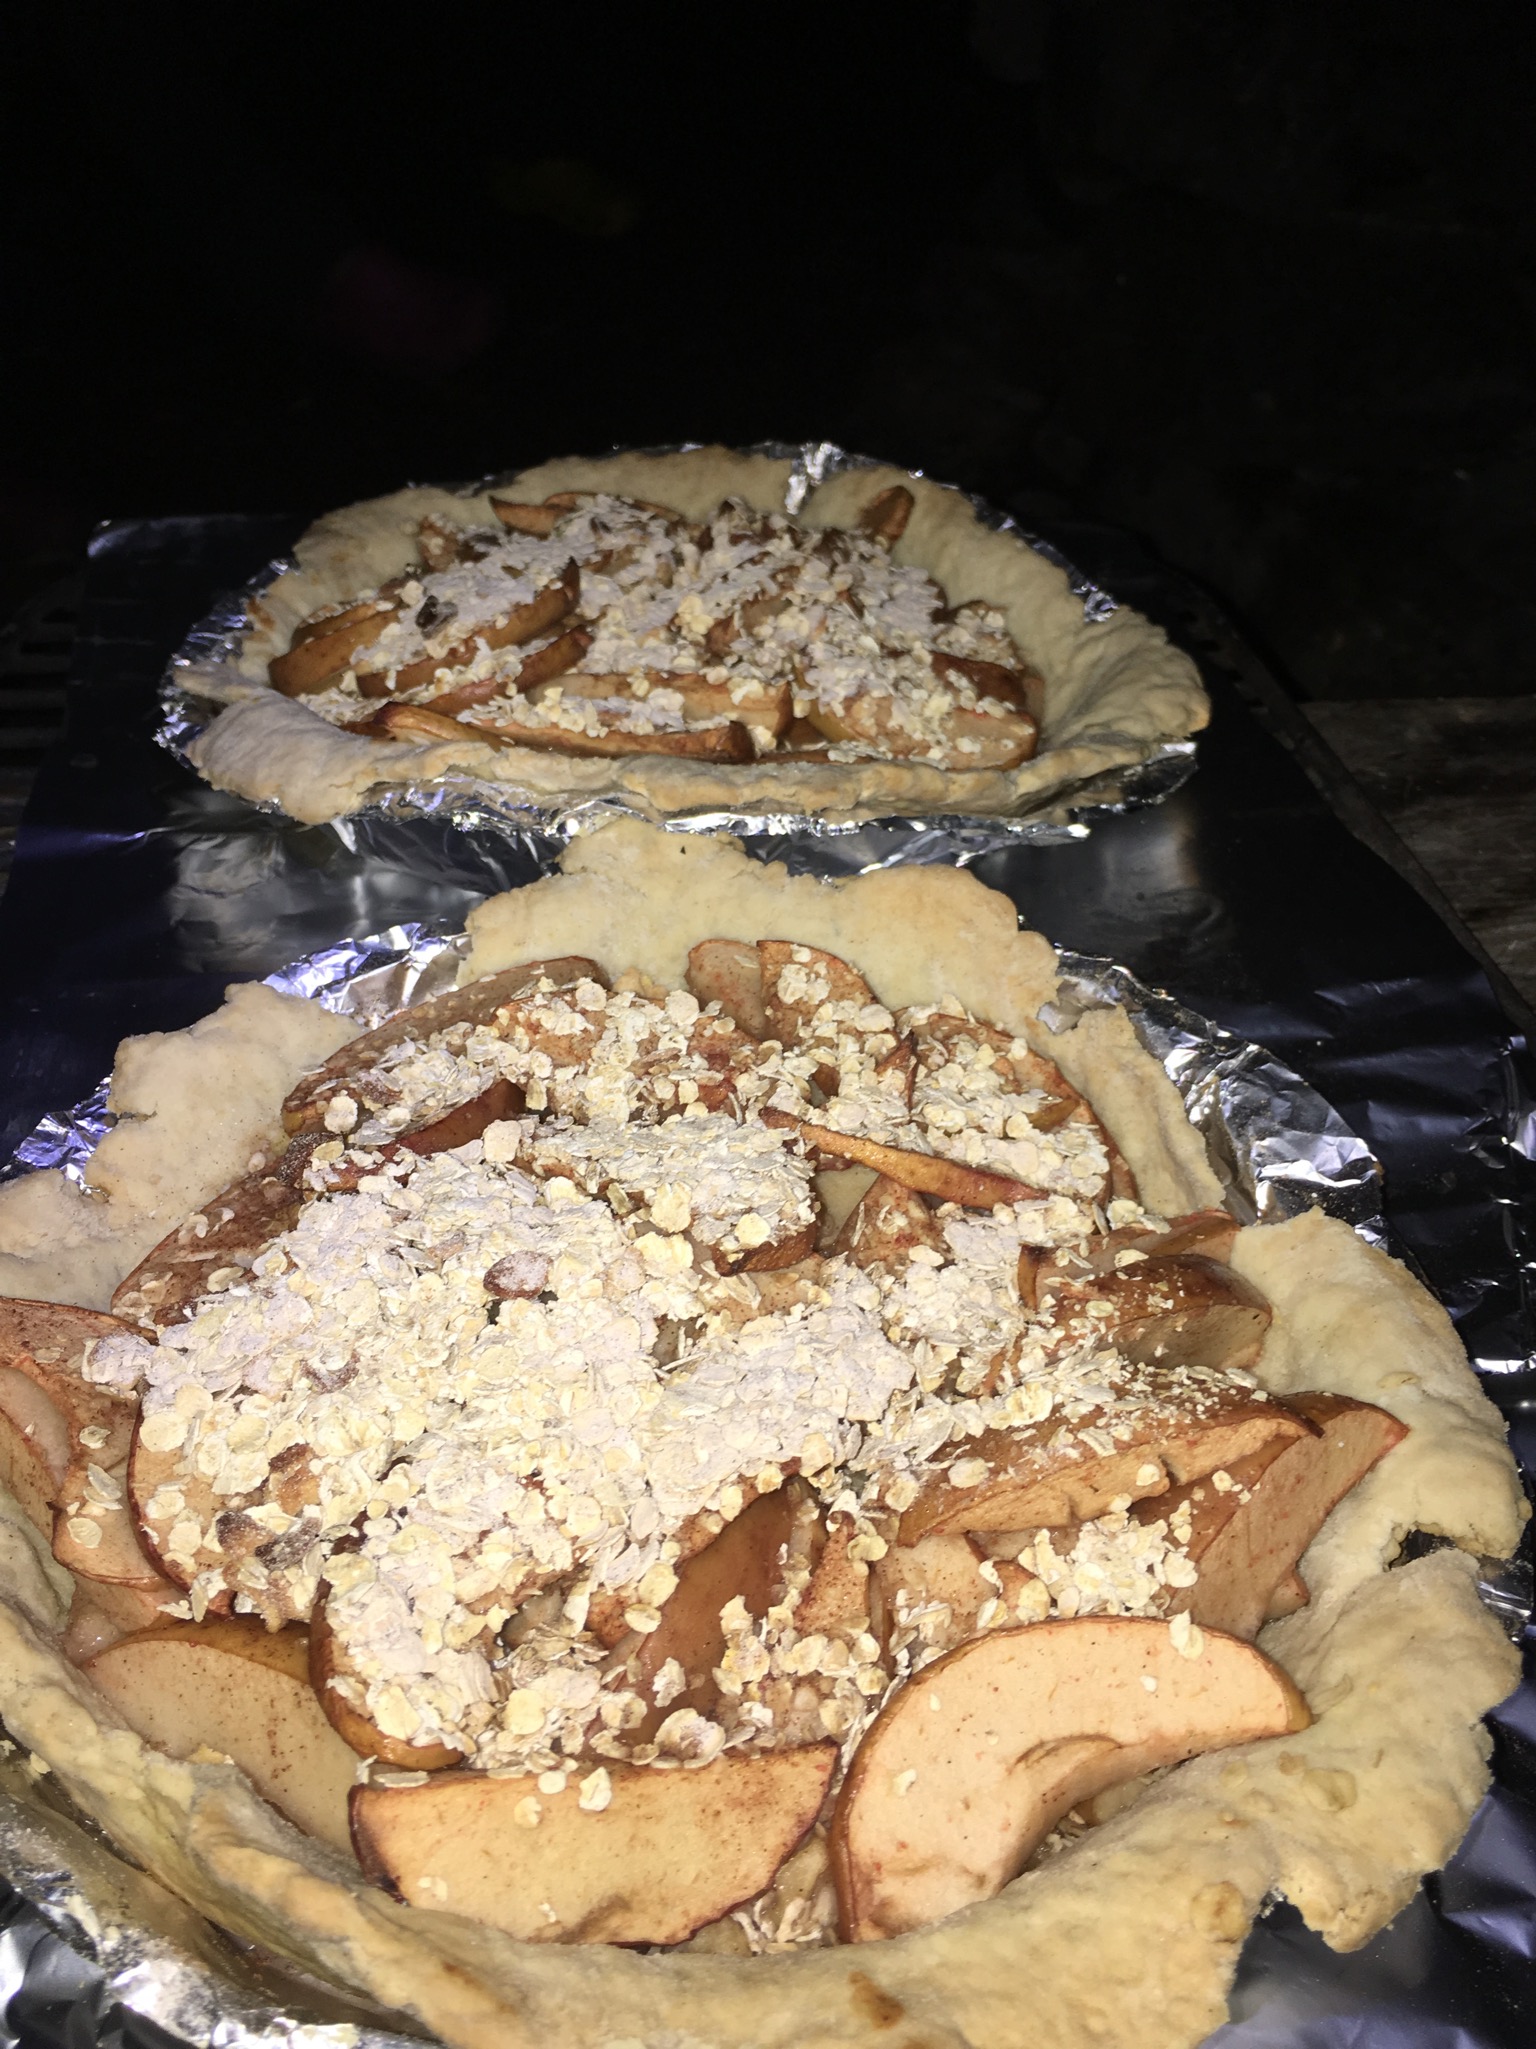
- While the oven is preheating, place the two pie shells on a grate (it will make it easier to move the pies in and out of the oven on the grate rather than two flimsy pie shells separately). Divide the apple mixture into the two pie shells. Top each pie with a package of instant oatmeal. (Apple cinnamon preferable, if you have it!)
- It's bakin' time! Using an oven mit, place your grate carrying the two pies into your oven. Close the door. And put the timer on for an hour. Depending on the ambient temperature and the air tightness of the oven it will take anywhere from 45 minutes to an hour and a half. We also rotated the pies once as well to keep the bottoms from burning.
- Sit back and enjoy that apple pie smell.
- Once the pies are done, which you can tell by how soft the apples are, out the oven they come. Turn off the burners and let the oven cool Completely before attempting to disassemble it. (Or don't and use it again to bake birthday cake!!! =D)

It was quite the adventure. TL;DR: Would do again. <3
-Andrea
The Half-Assed Hobbyist