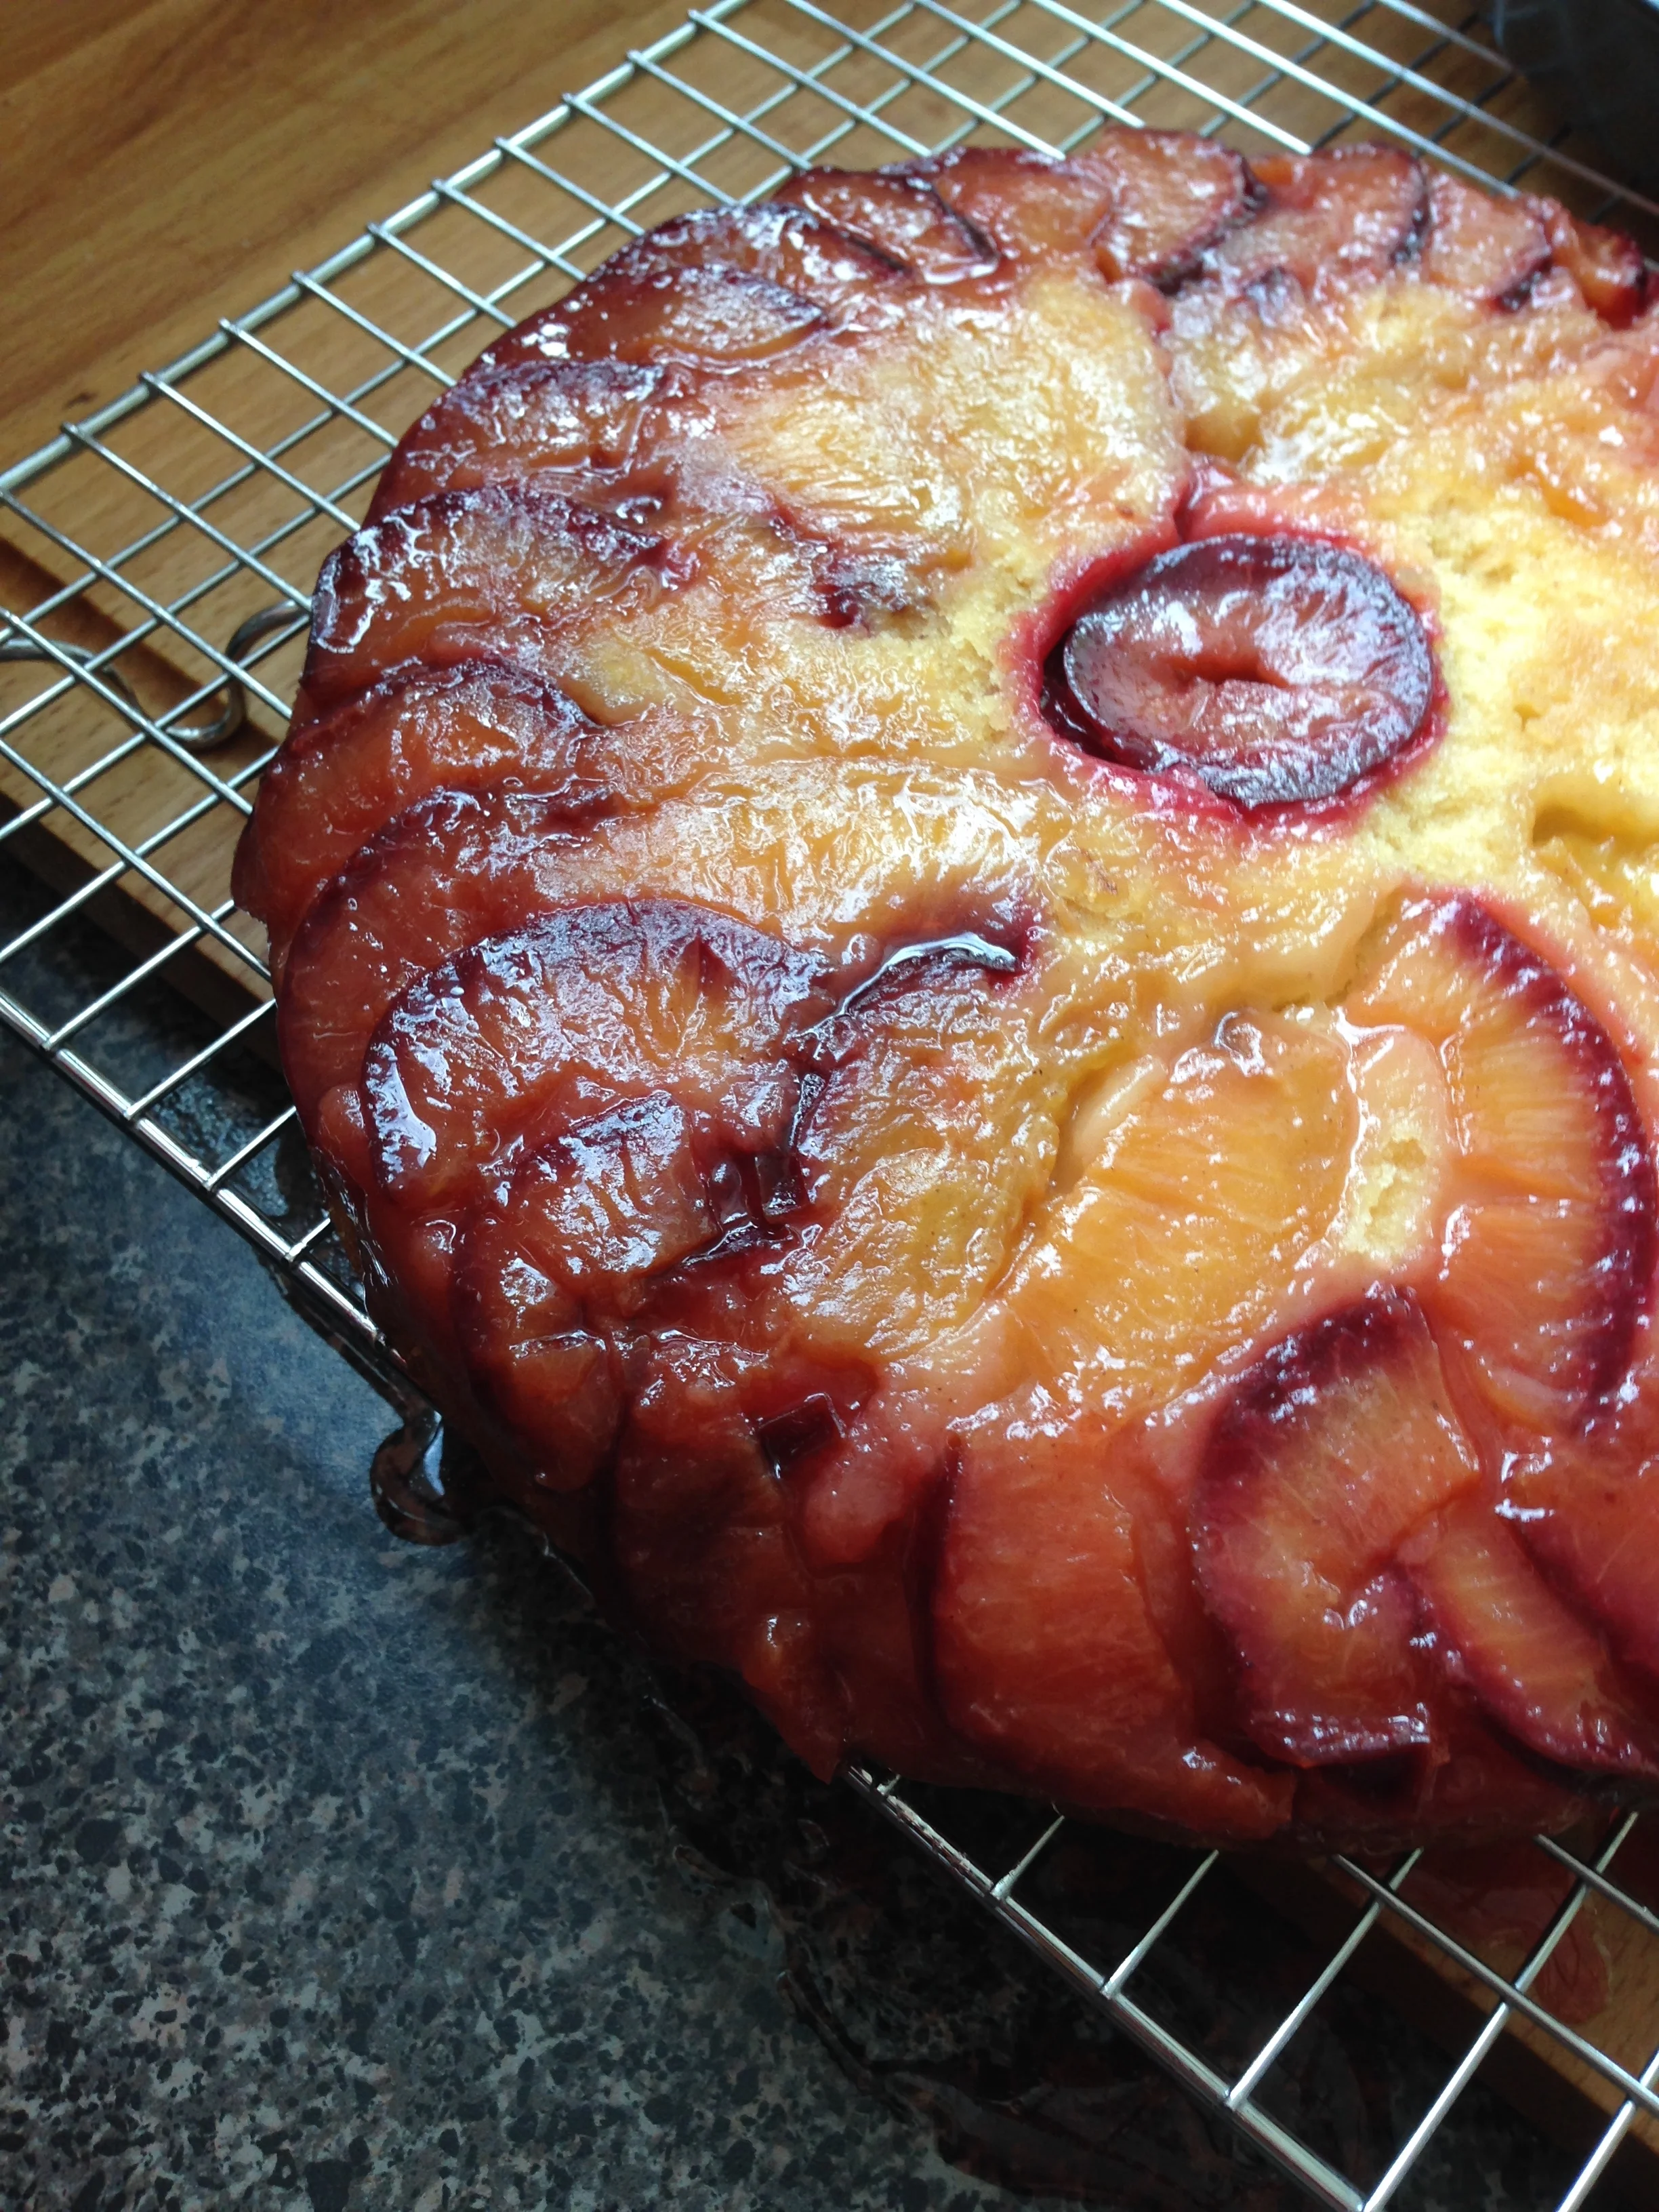
In an unsurprising turn of events, I have made friends with some yeasty fellows. The story of how we met is a rather fun one! Once upon a time....
Ok ok. In all seriousness though. A couple months ago my lovely lady friend Gloria attempted to set up a friend date with myself and her friend Donna. It was going to be an afternoon Introduction to Mead Making class, and I was super excited. Unfortunately though, the mead class was moved and we had to cancel the date. Sad Panda. But! It was always meant to be! Another mead class was found and the date set! The Depanneur, a very neat kitchen space on College near Dufferin, was hosting a mead making night with Fran Freeman, an urban beekeeper here in Toronto.
The date back on, Gloria, Donna, Donna's GF and myself, all met up at The Depanneur, along with the rest of mead making class, and had a round of introductions. It was a neat class, starting off with some history of mead and mead making. Like how there are records of bee keeping in ancient Egypt! And where there is honey and environmental yeasts, there is mead!
Most of our other friend date compatriots were interested in either urban beekeeping or home brewing mead. For me, it was all about the mead. We were given a simple recipe for a melomel mead. (Melomel being a fruit and spiced mead). It's for a cooked mead. Apparently you can not heat the mead and ferment using natural environmental yeasts but the results can vary dramatically. So a cooked mead-ing we will go.
Melomel Mead

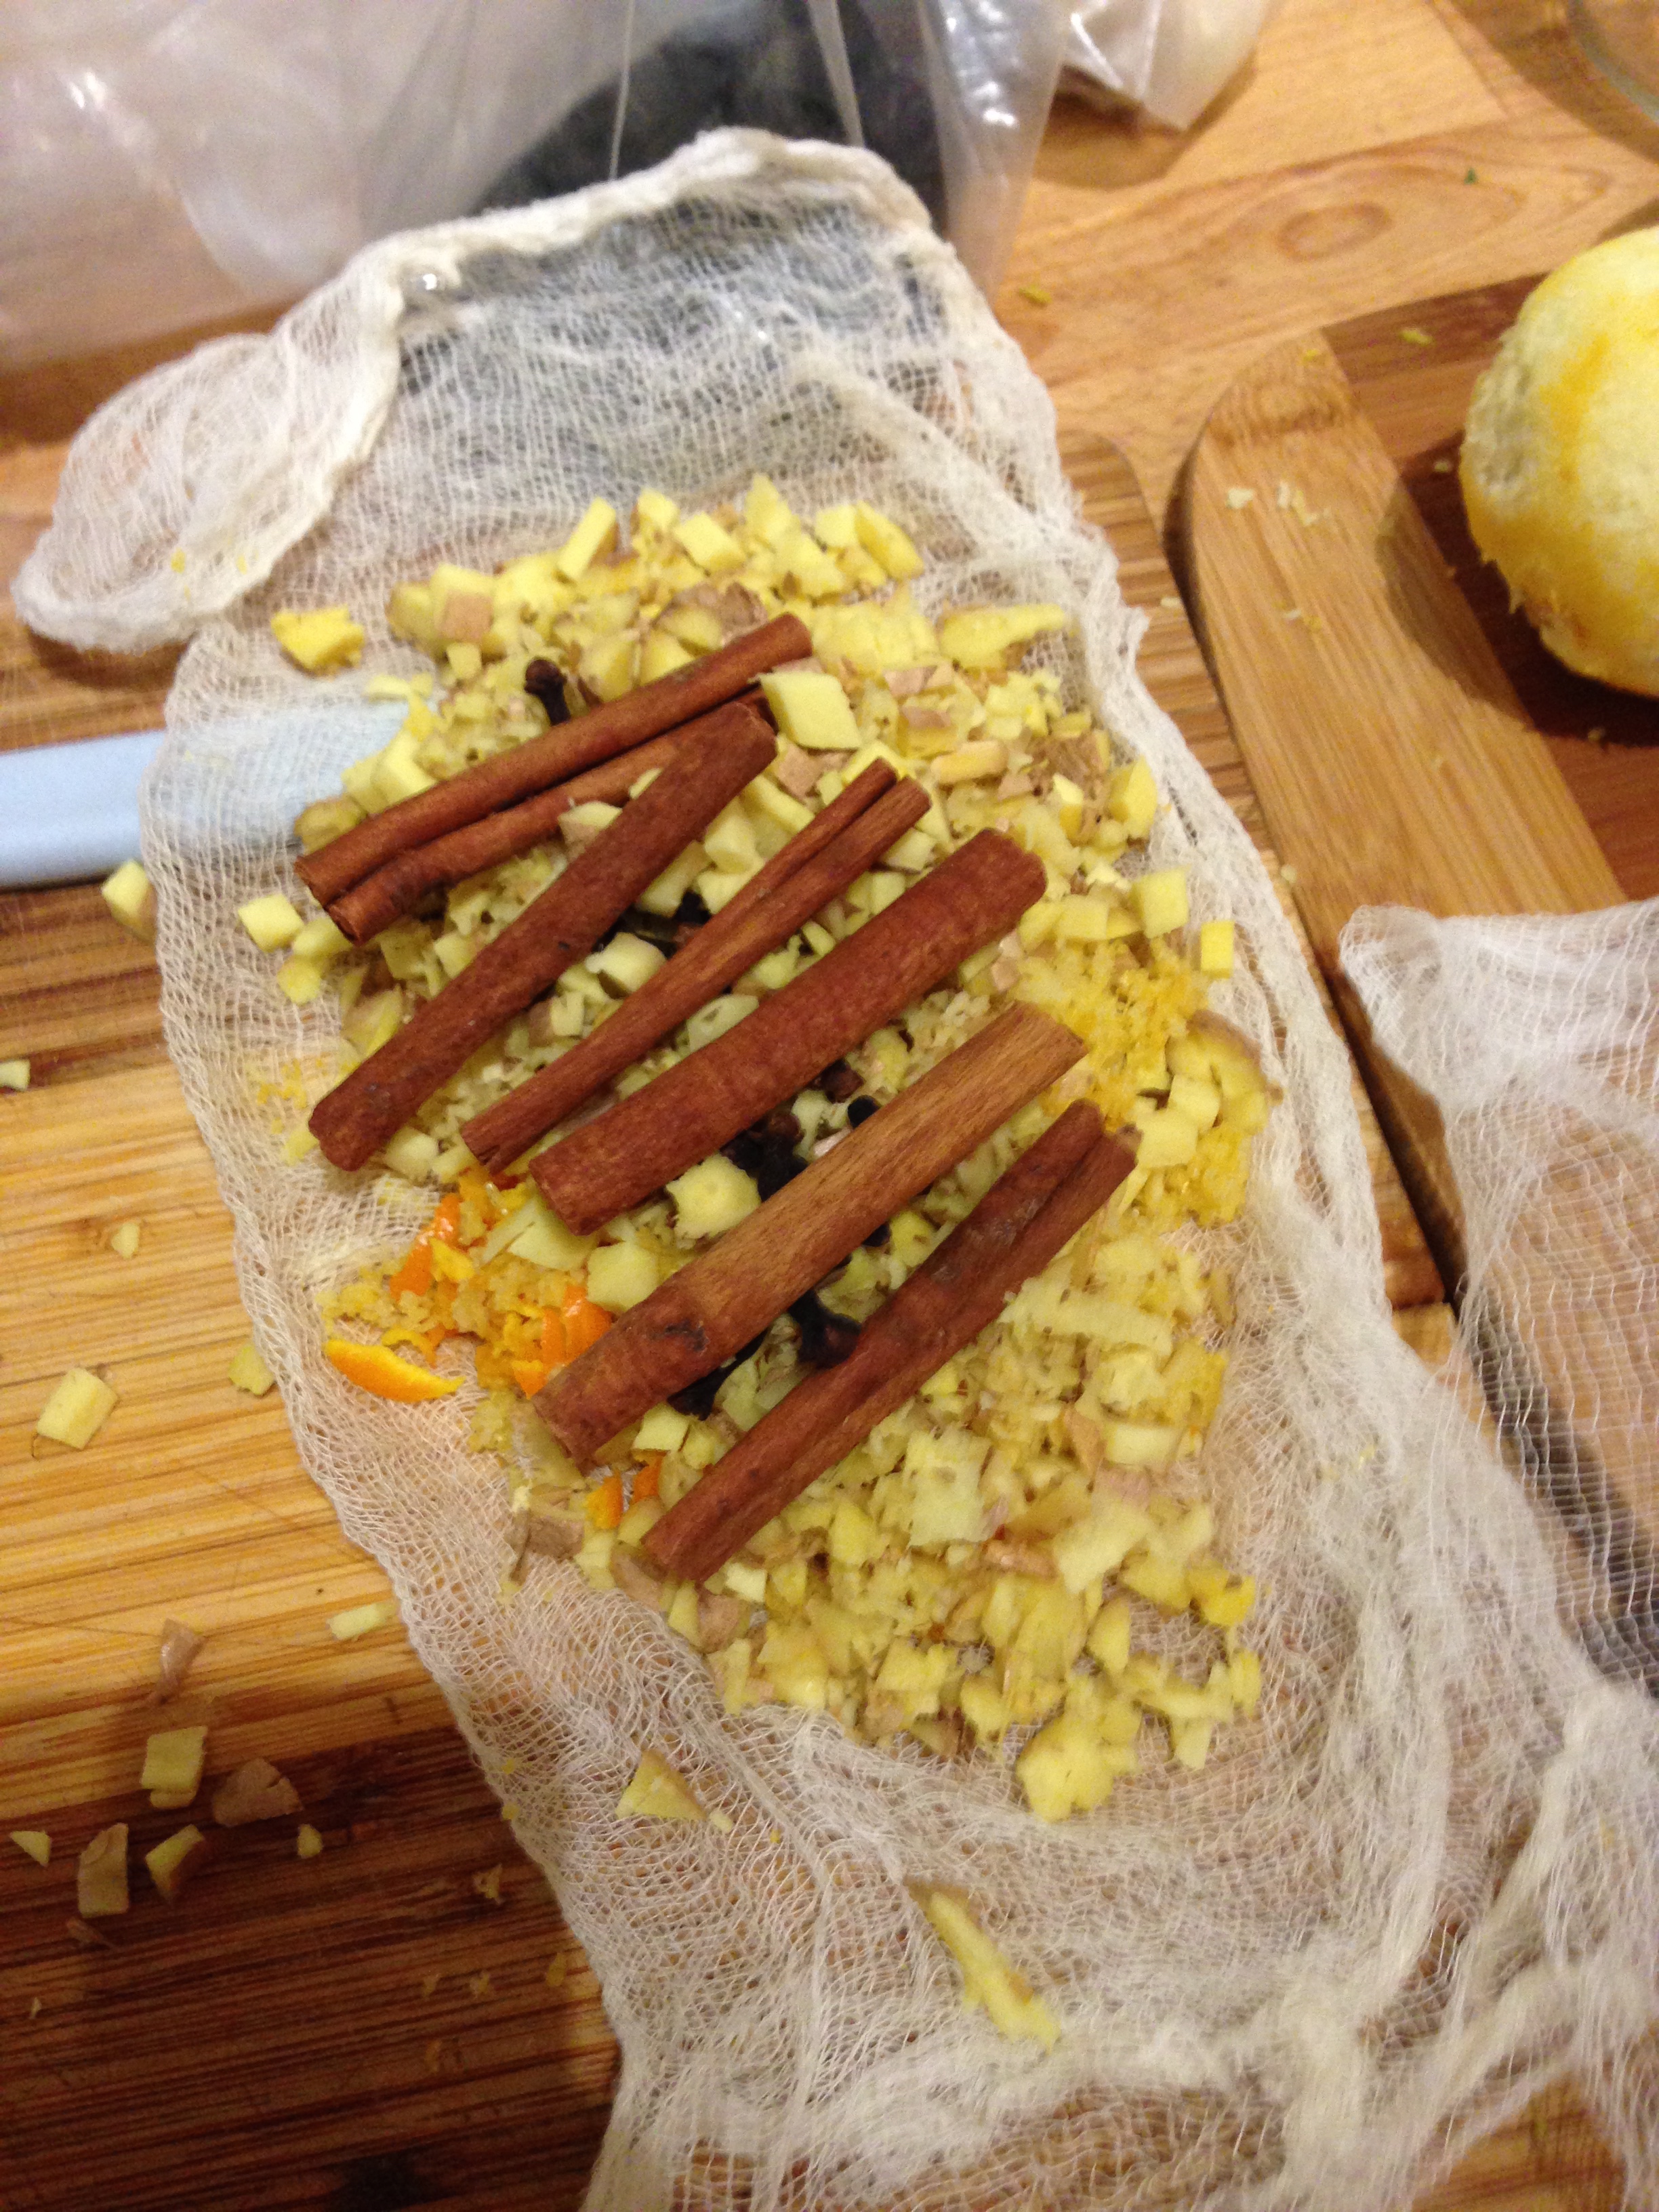





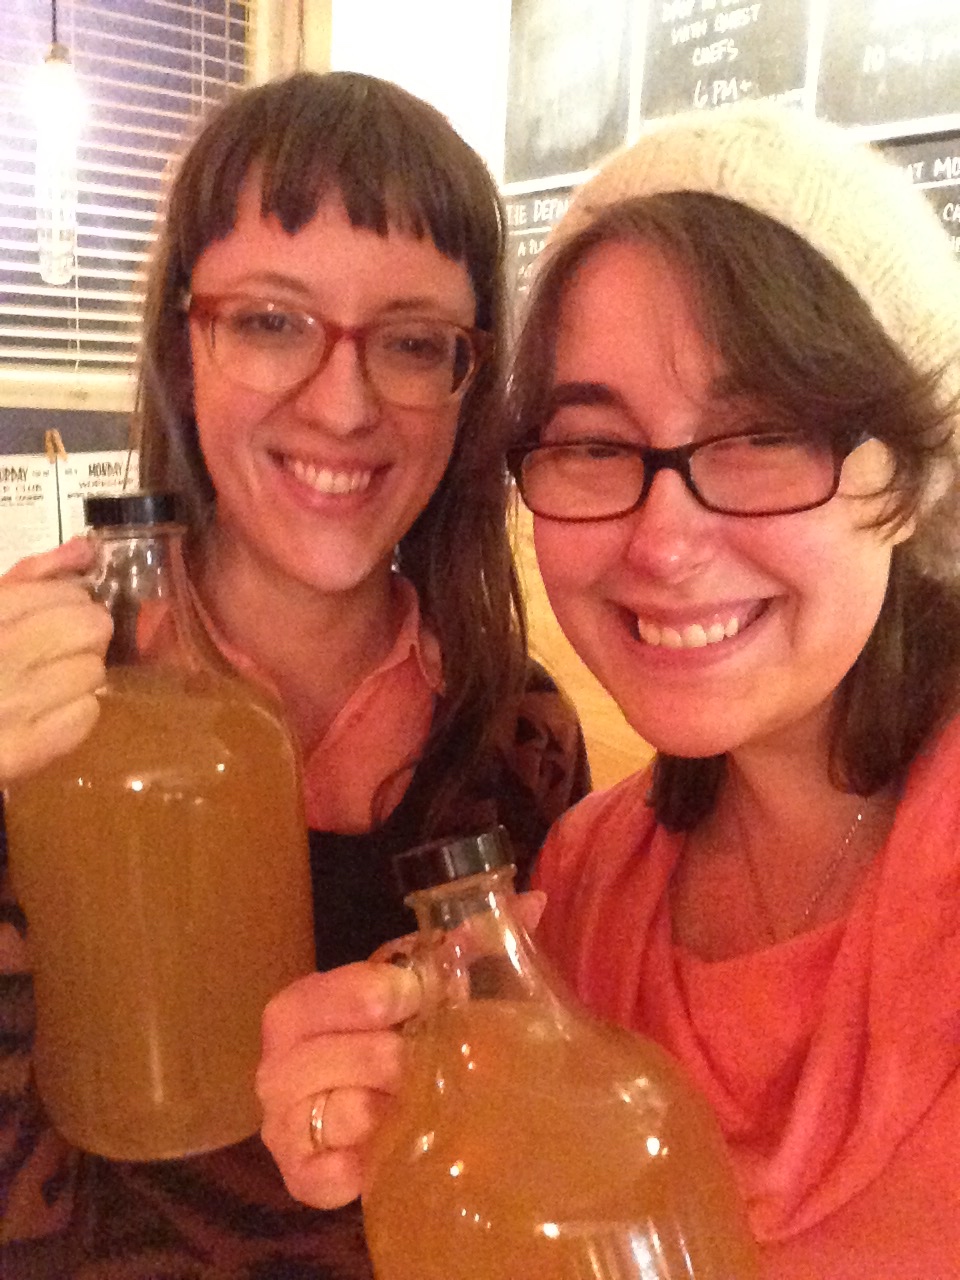
This recipe make 1 gallon or two X 1/2 gallon growlers. (Which you can buy for $5 from Toronto Brewing. Easy Peasy.)
1 pkg brewer's yeast
2/3 gallon (~11 cups) filtered or distilled water
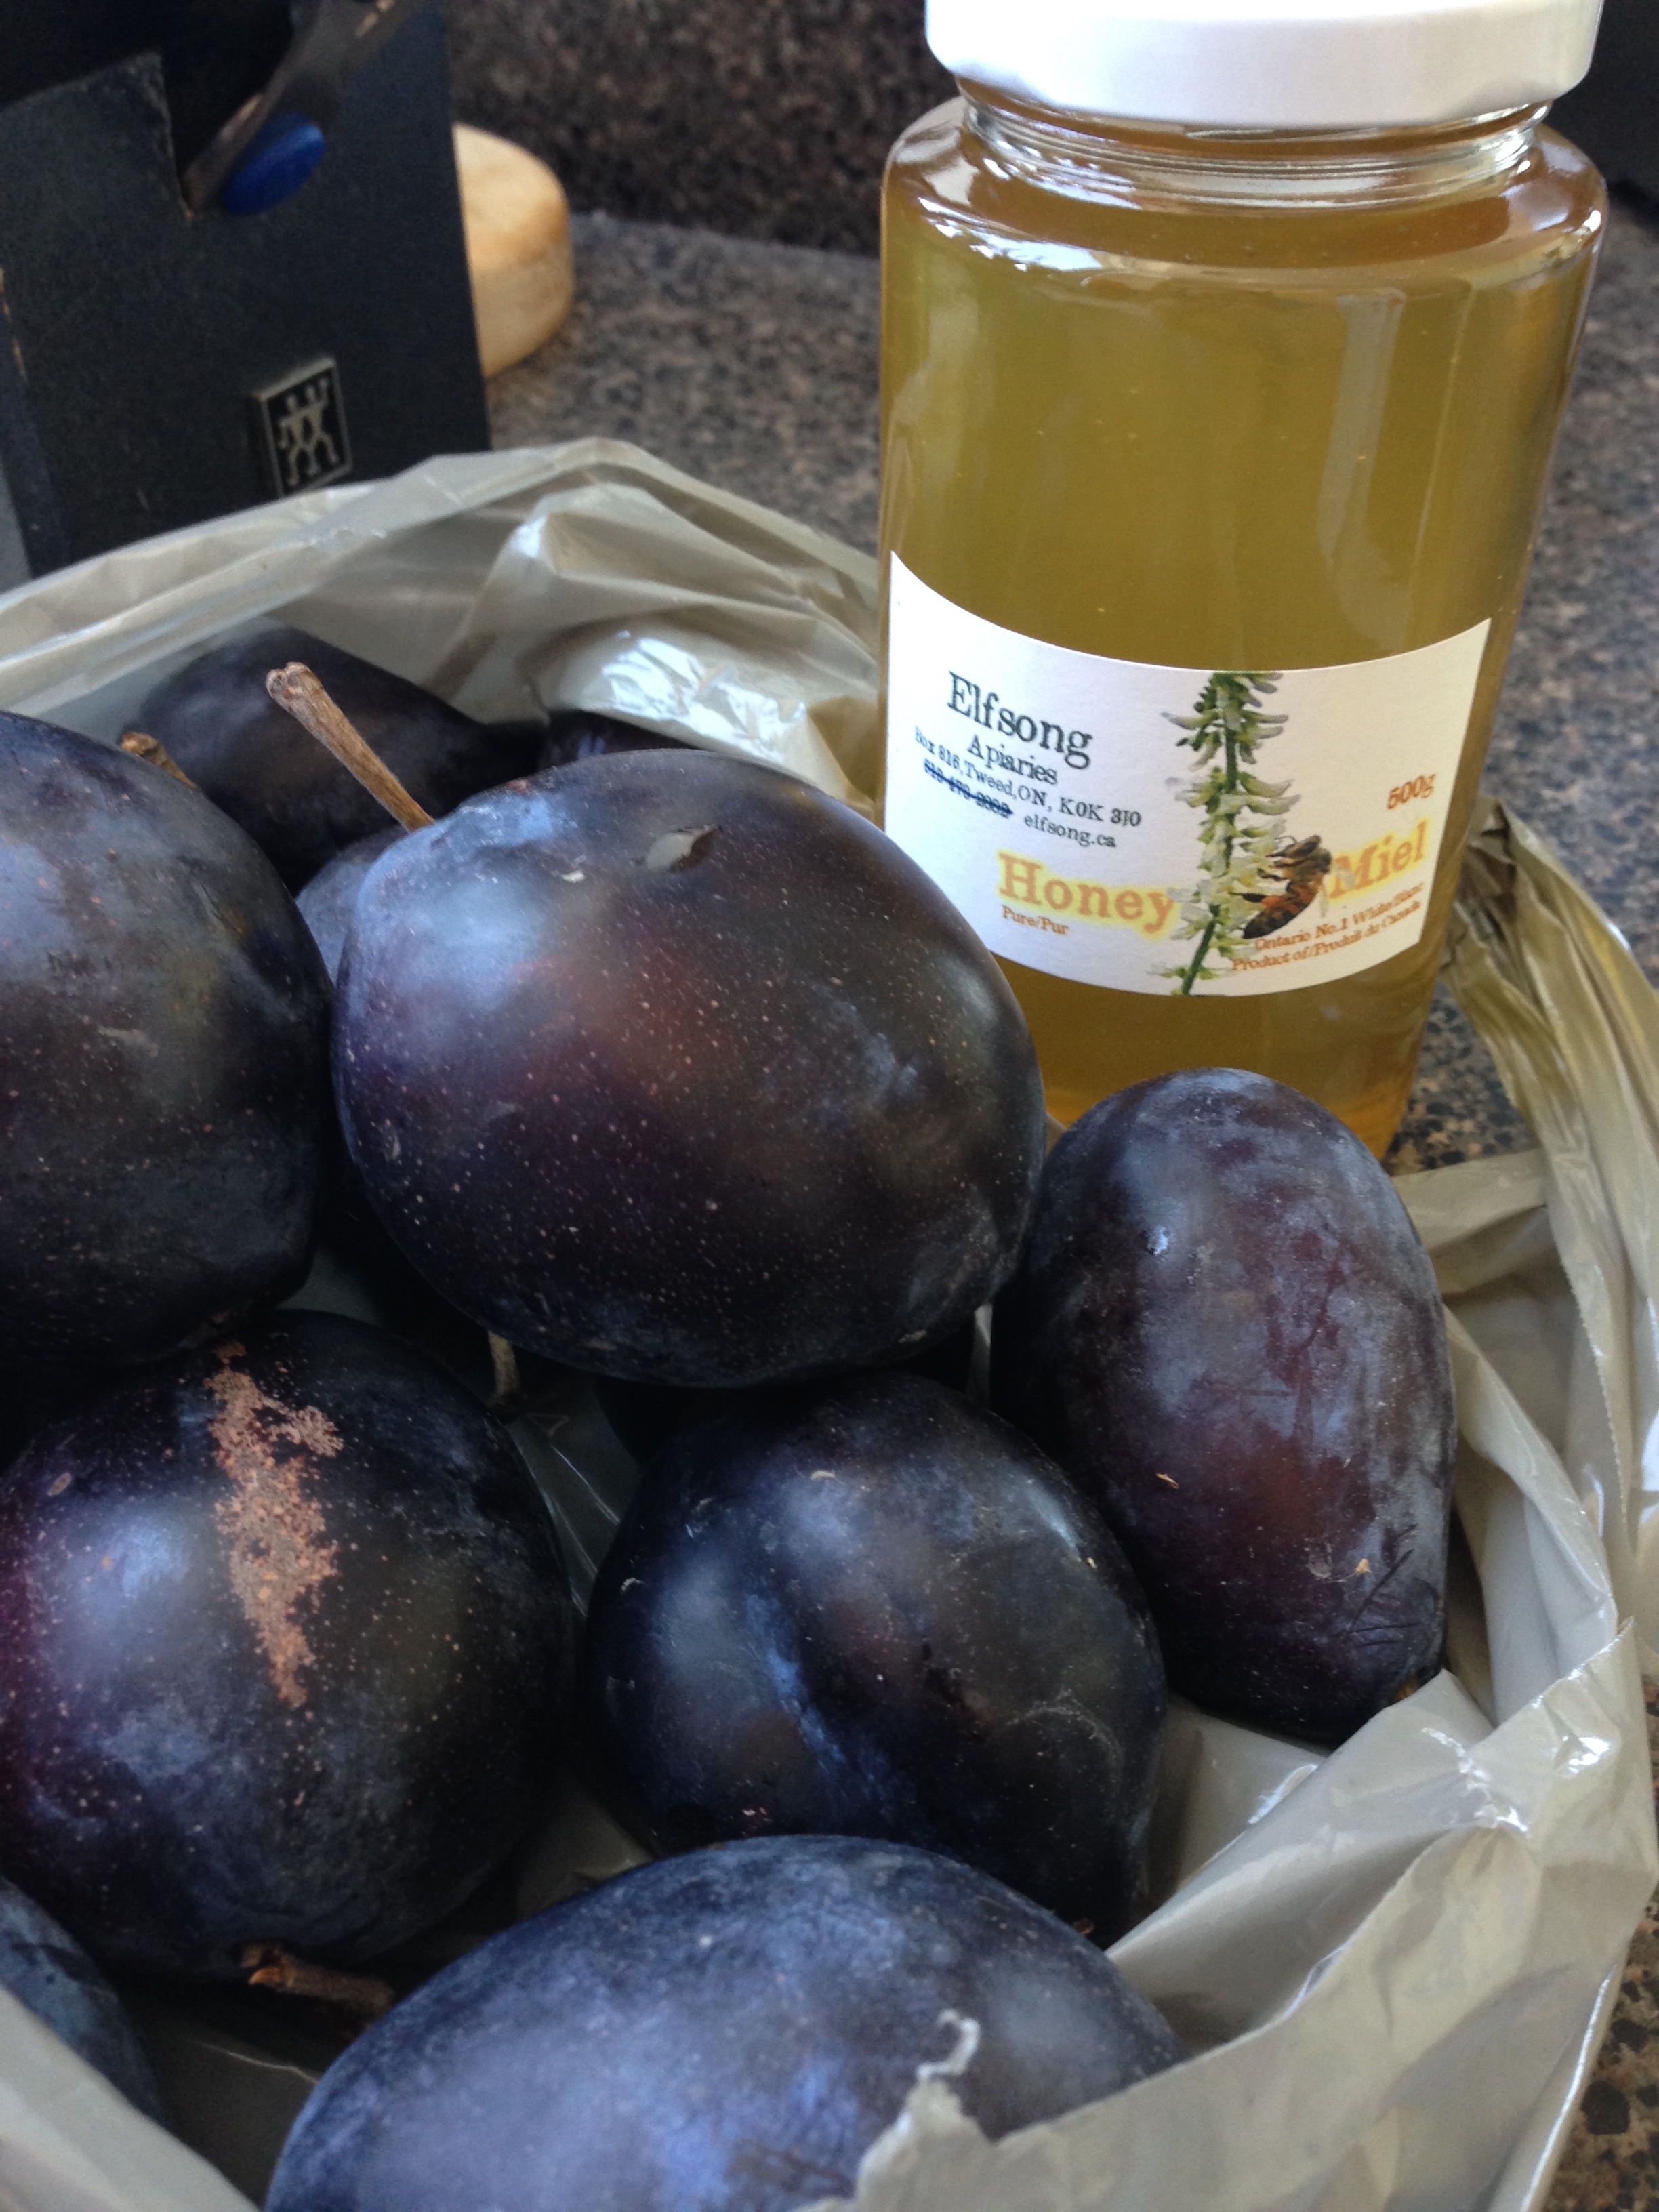
2-4 lbs honey
2 tsp tartaric acid
2 1/2 tsp malic acid
1 tsp yeast nutrient (rehydrated)
Spice Packet:
1-2 tea bags
zest of a lemon
zest of an orange
grated ginger
2 cinnamon sticks
6 cloves
- Clean and sanitize all equipment. I used a product called StarSan. Rinse, let air dry, done.
- In a large stock pot, bring water, and a cheese cloth packet containing spice packet ingredients, to a boil.
- Add acid powders to 'must' (aka the boiling spice water, in this case).
- Reduce heat and simmer for an ~40 minutes.
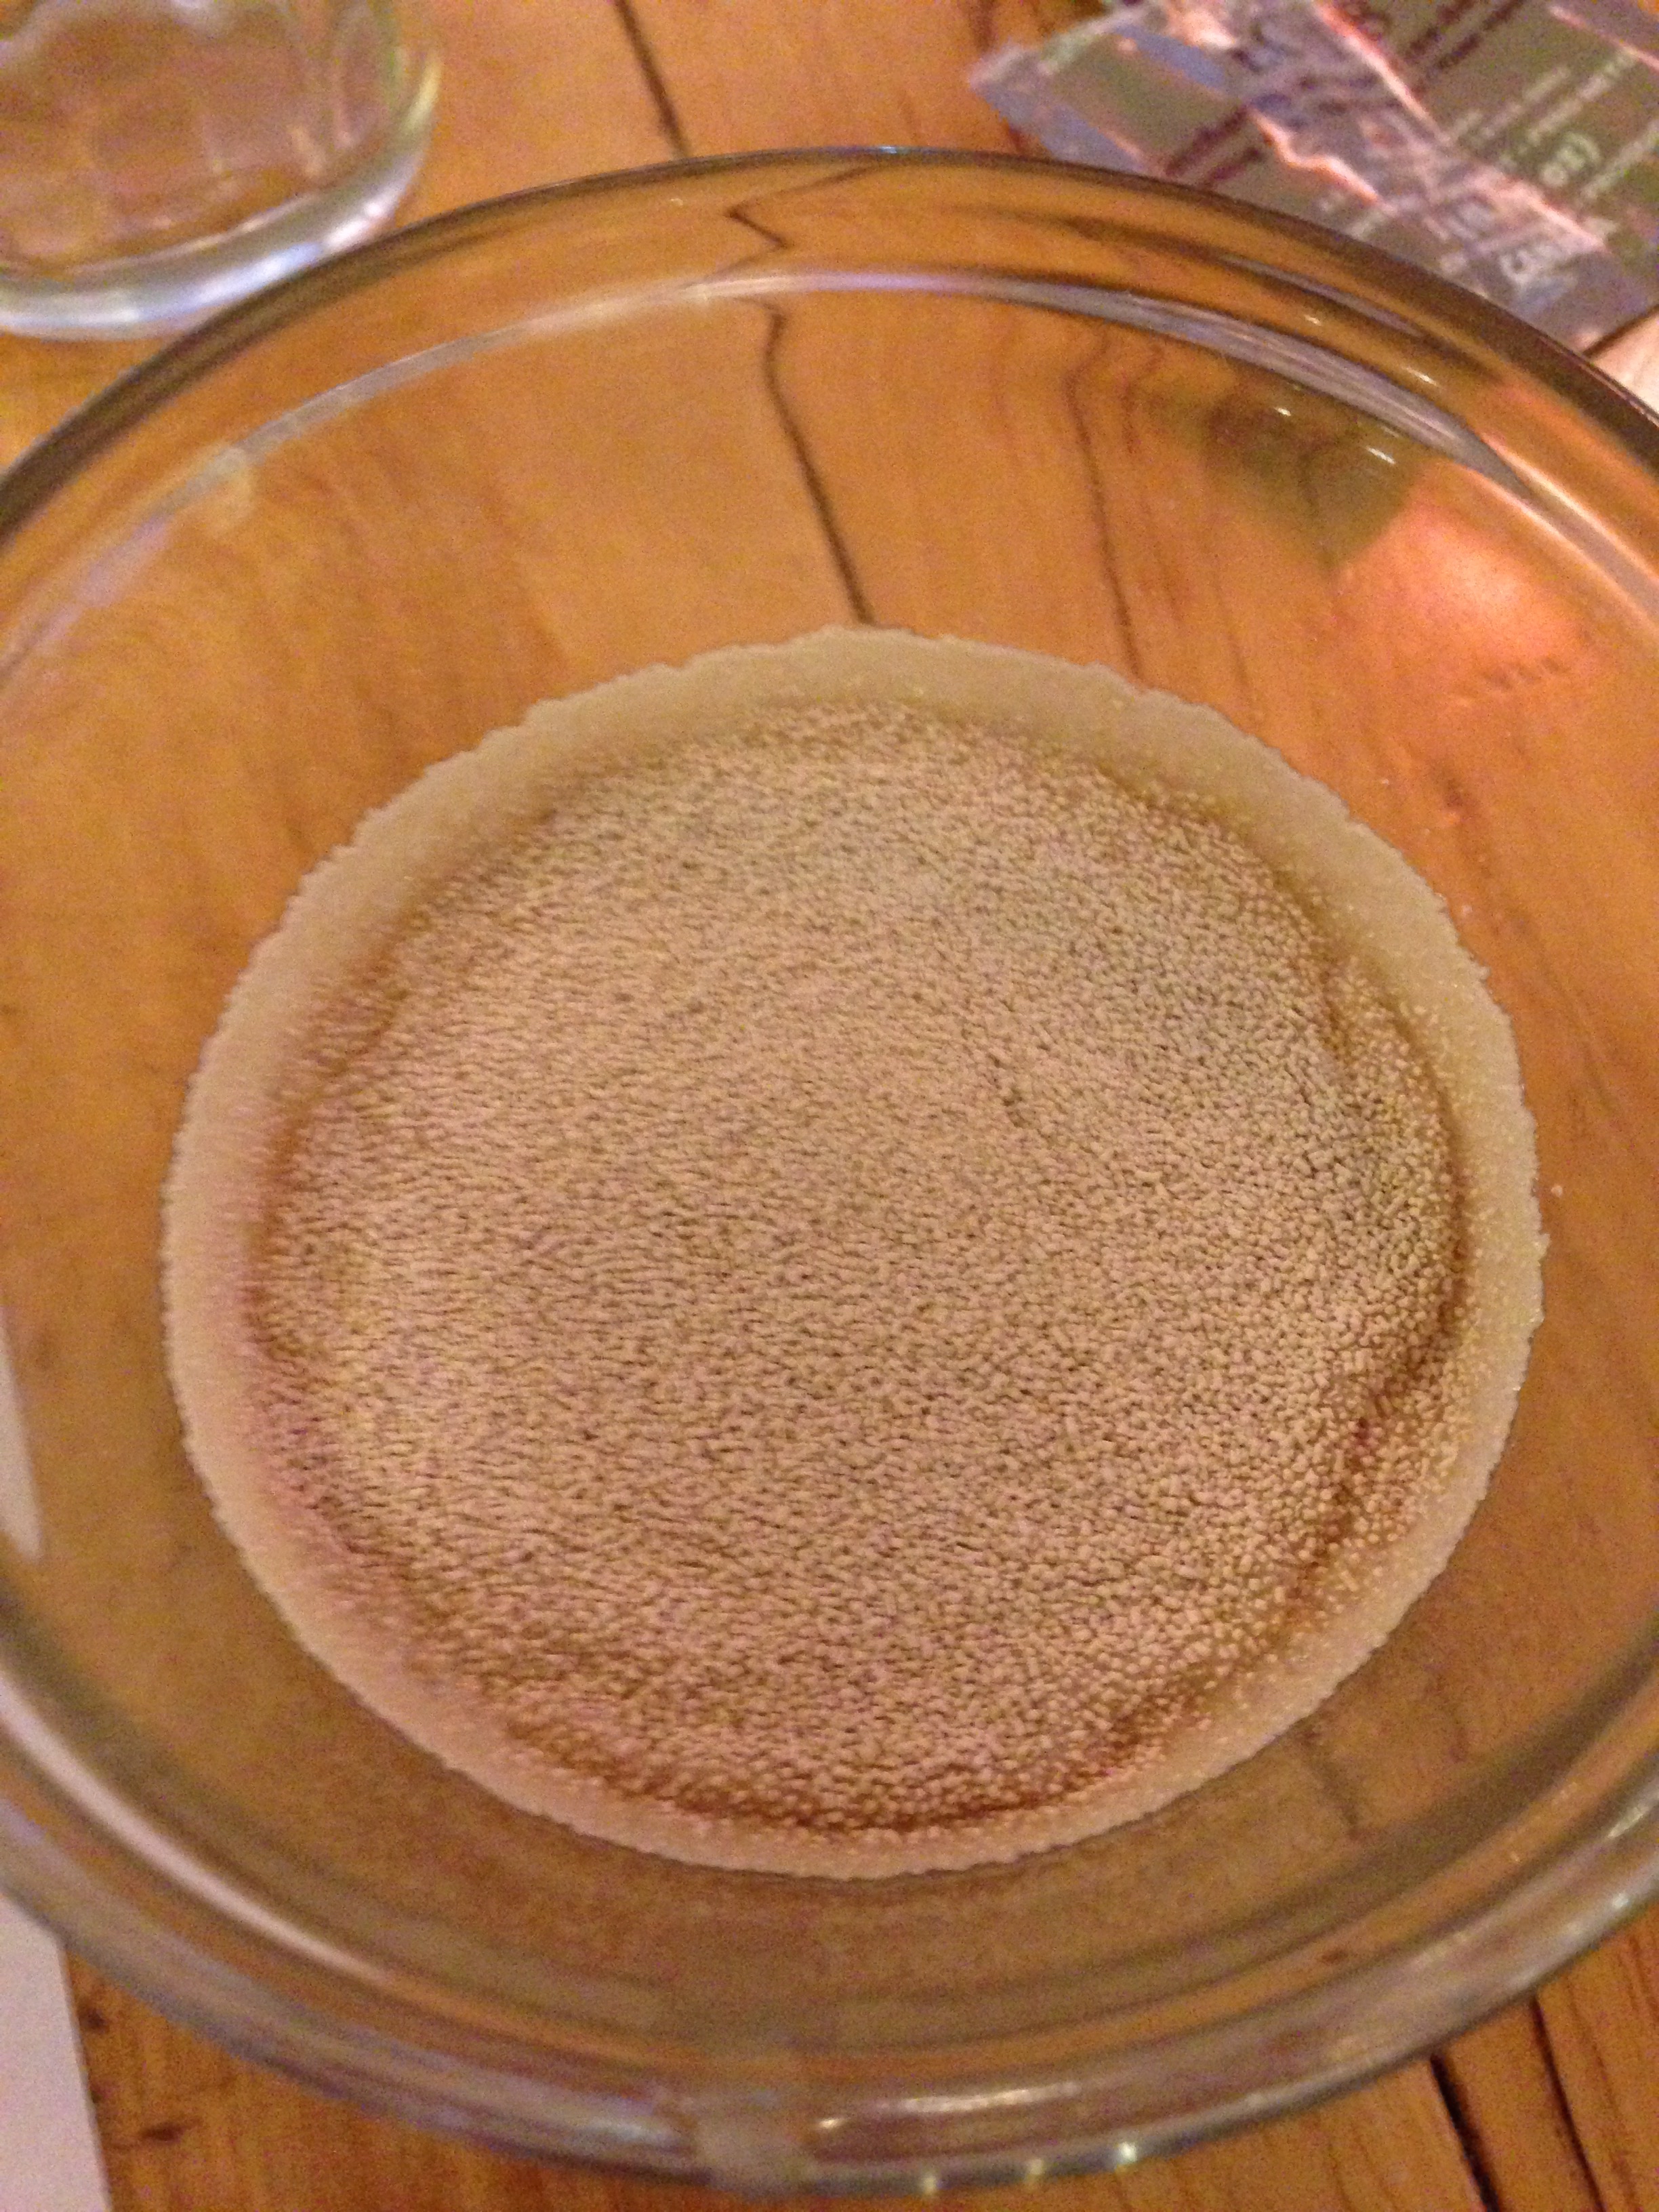
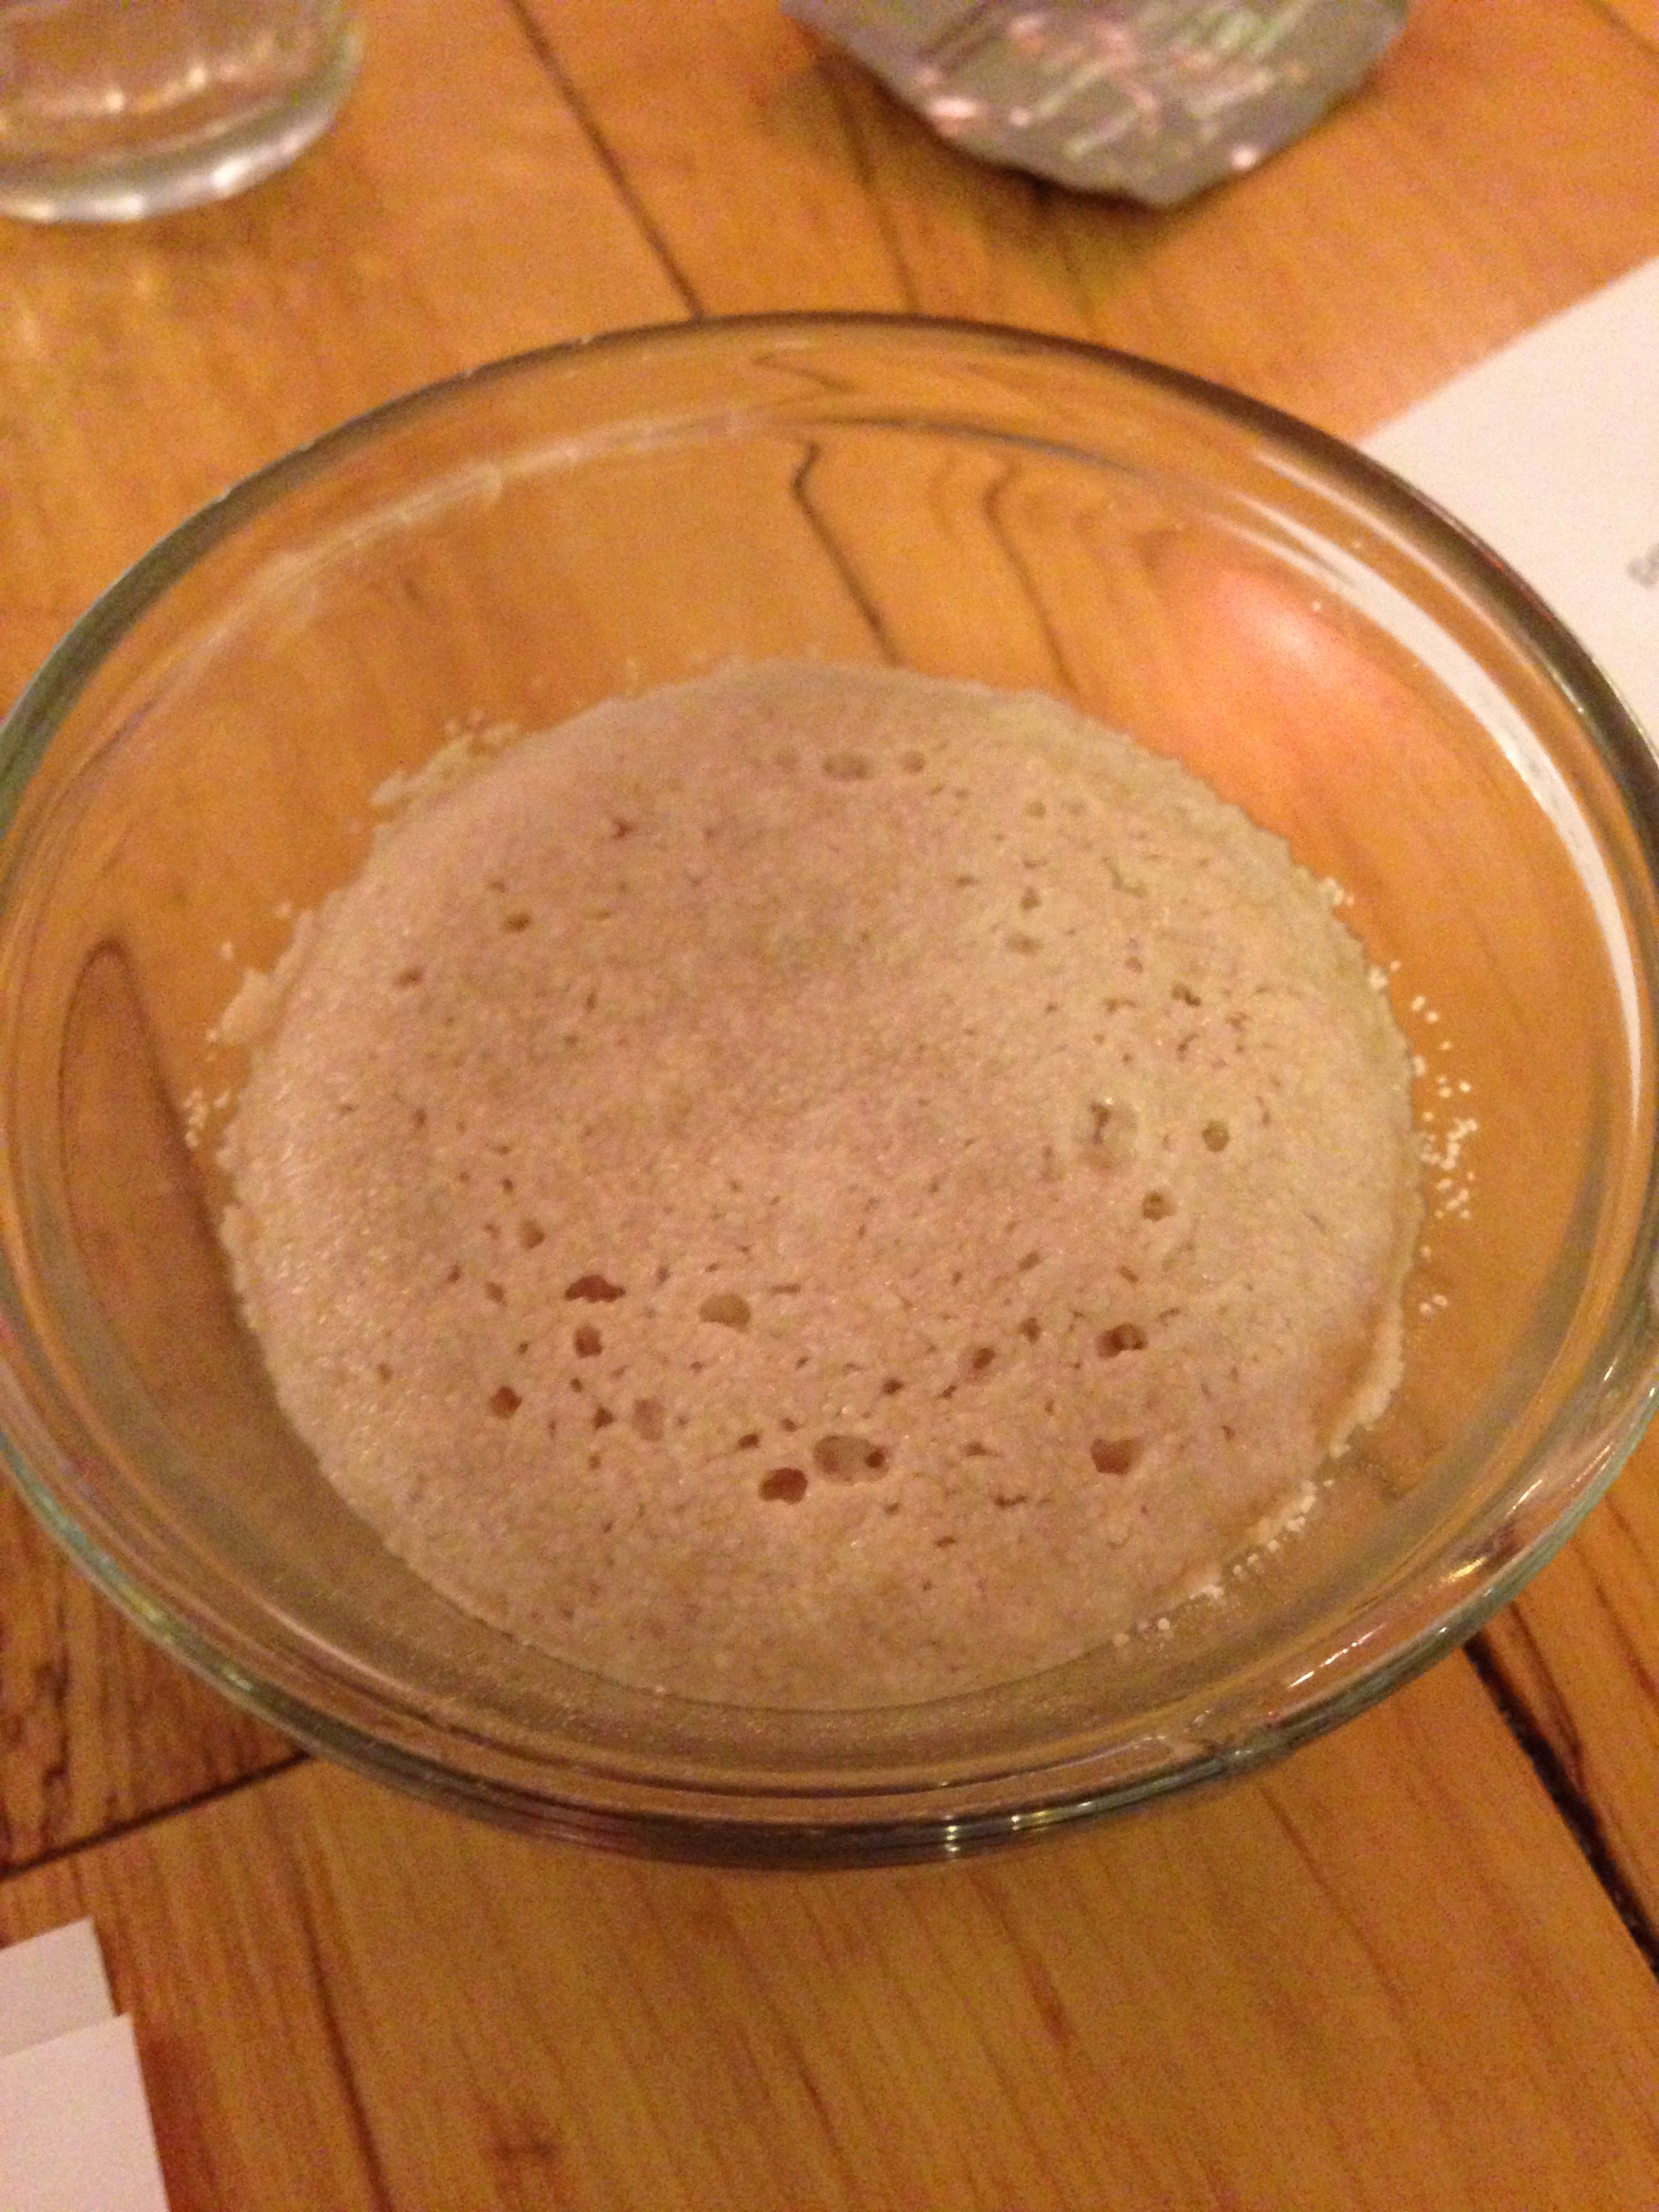
- Activate yeast in a clean bowl: Add 1/4 cup warm water (27'C) with 2-3 TBSP honey and yeast packet. Let sit until foamy.
- Add honey to the simmering pot and skim any foam from the must. Bring back to a boil and continue simmering for ~20 minutes.
- Remove pot form heat. Place stock pot in a sink of ice water and cool quickly to 27'C. Remove spice packet.
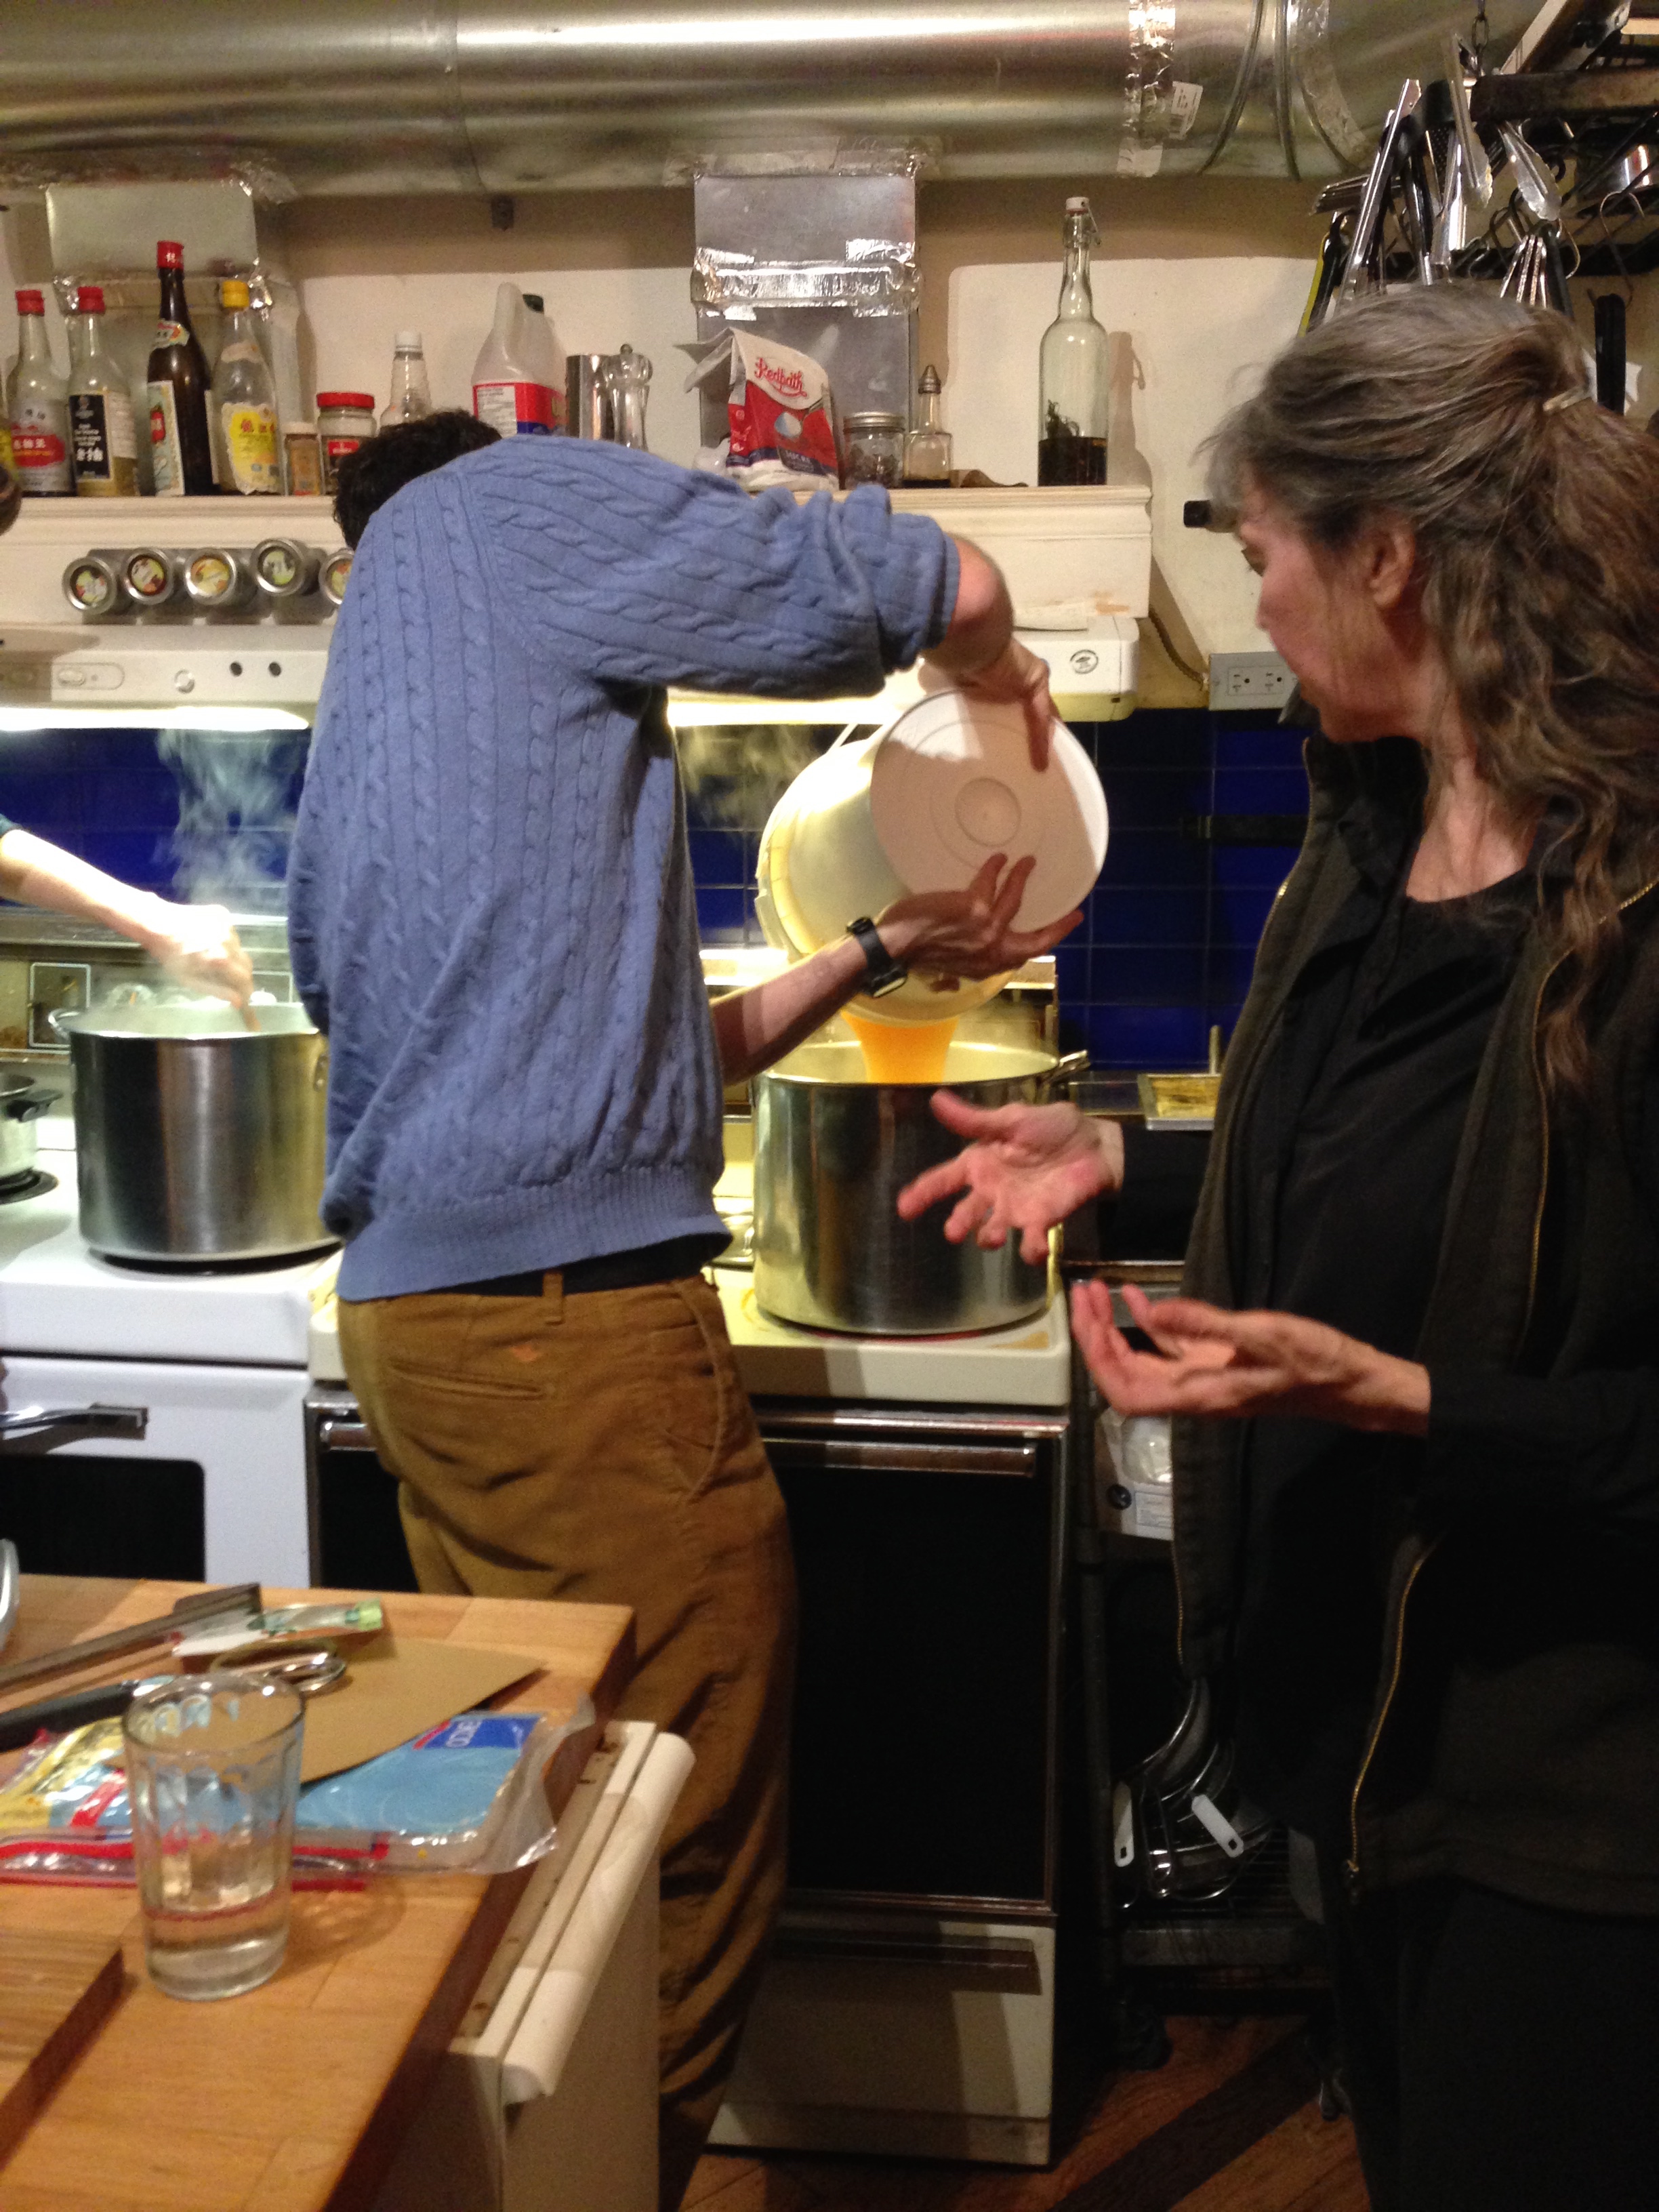
- When at the right temperature, pour (using a sanitized funnel and ladle) into 1 gal or two 1/2 gal growler(s).
- Add yeast and rehydrated yeast nutrients (divid as necessary).
- Swirl growler carefully to dissolve any yeast foam.
- Bung (or plug) the growler with an airlock-plug. Put water in the airlock. This stops air from getting into the growler but allows the yeasties gases to escape. (And not explode your glass growler.)
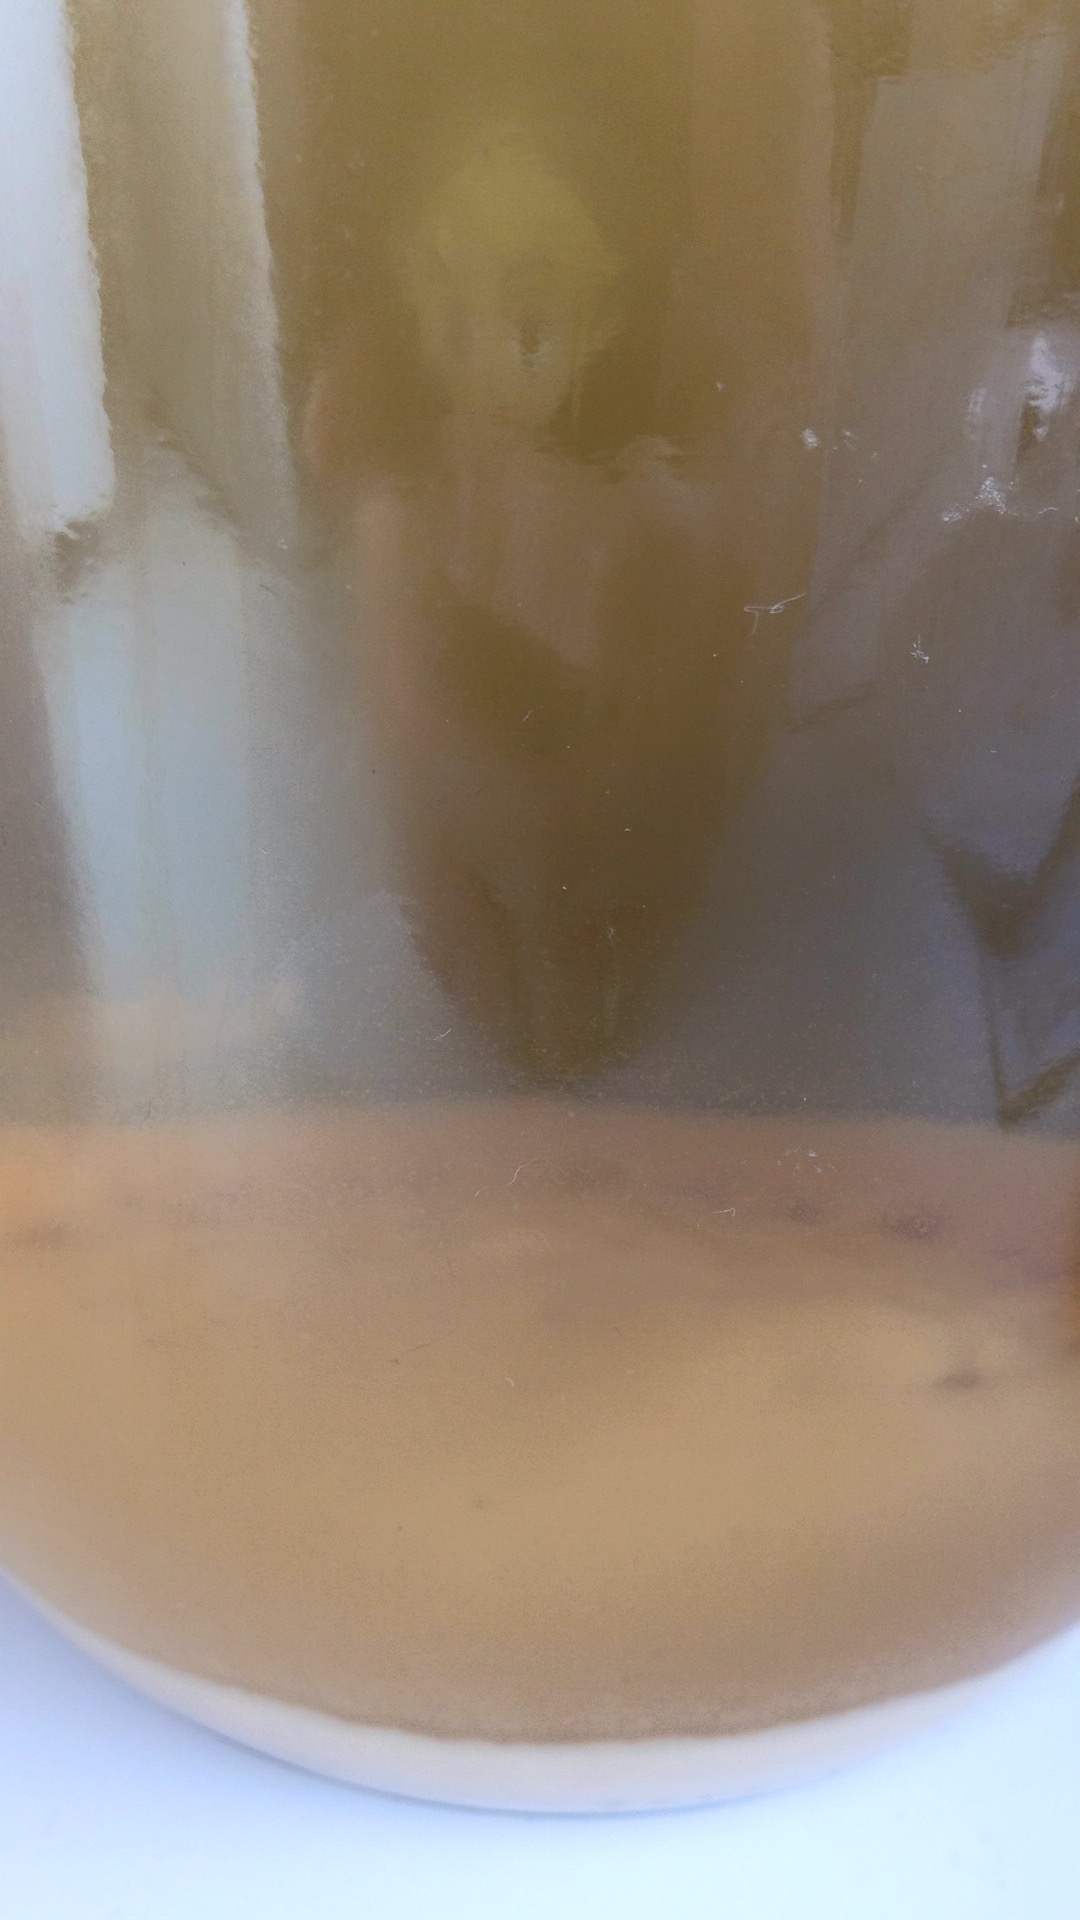
- Let sit in a cool place for about two weeks. About 1/2 inch of sediment will gather on the bottom. After the bubbling has stopped, siphon mead, making sure to not disturb the sediment into another clean and sanitized growler.
- Let sit for 3 months! Repeat racking until desired taste. Bottle!
BAM.
So essentially: Sterilize jars, boil water, activate yeast, add honey, add yeast nutrients, add yeast, swirl and stopper. Actually, super easy!
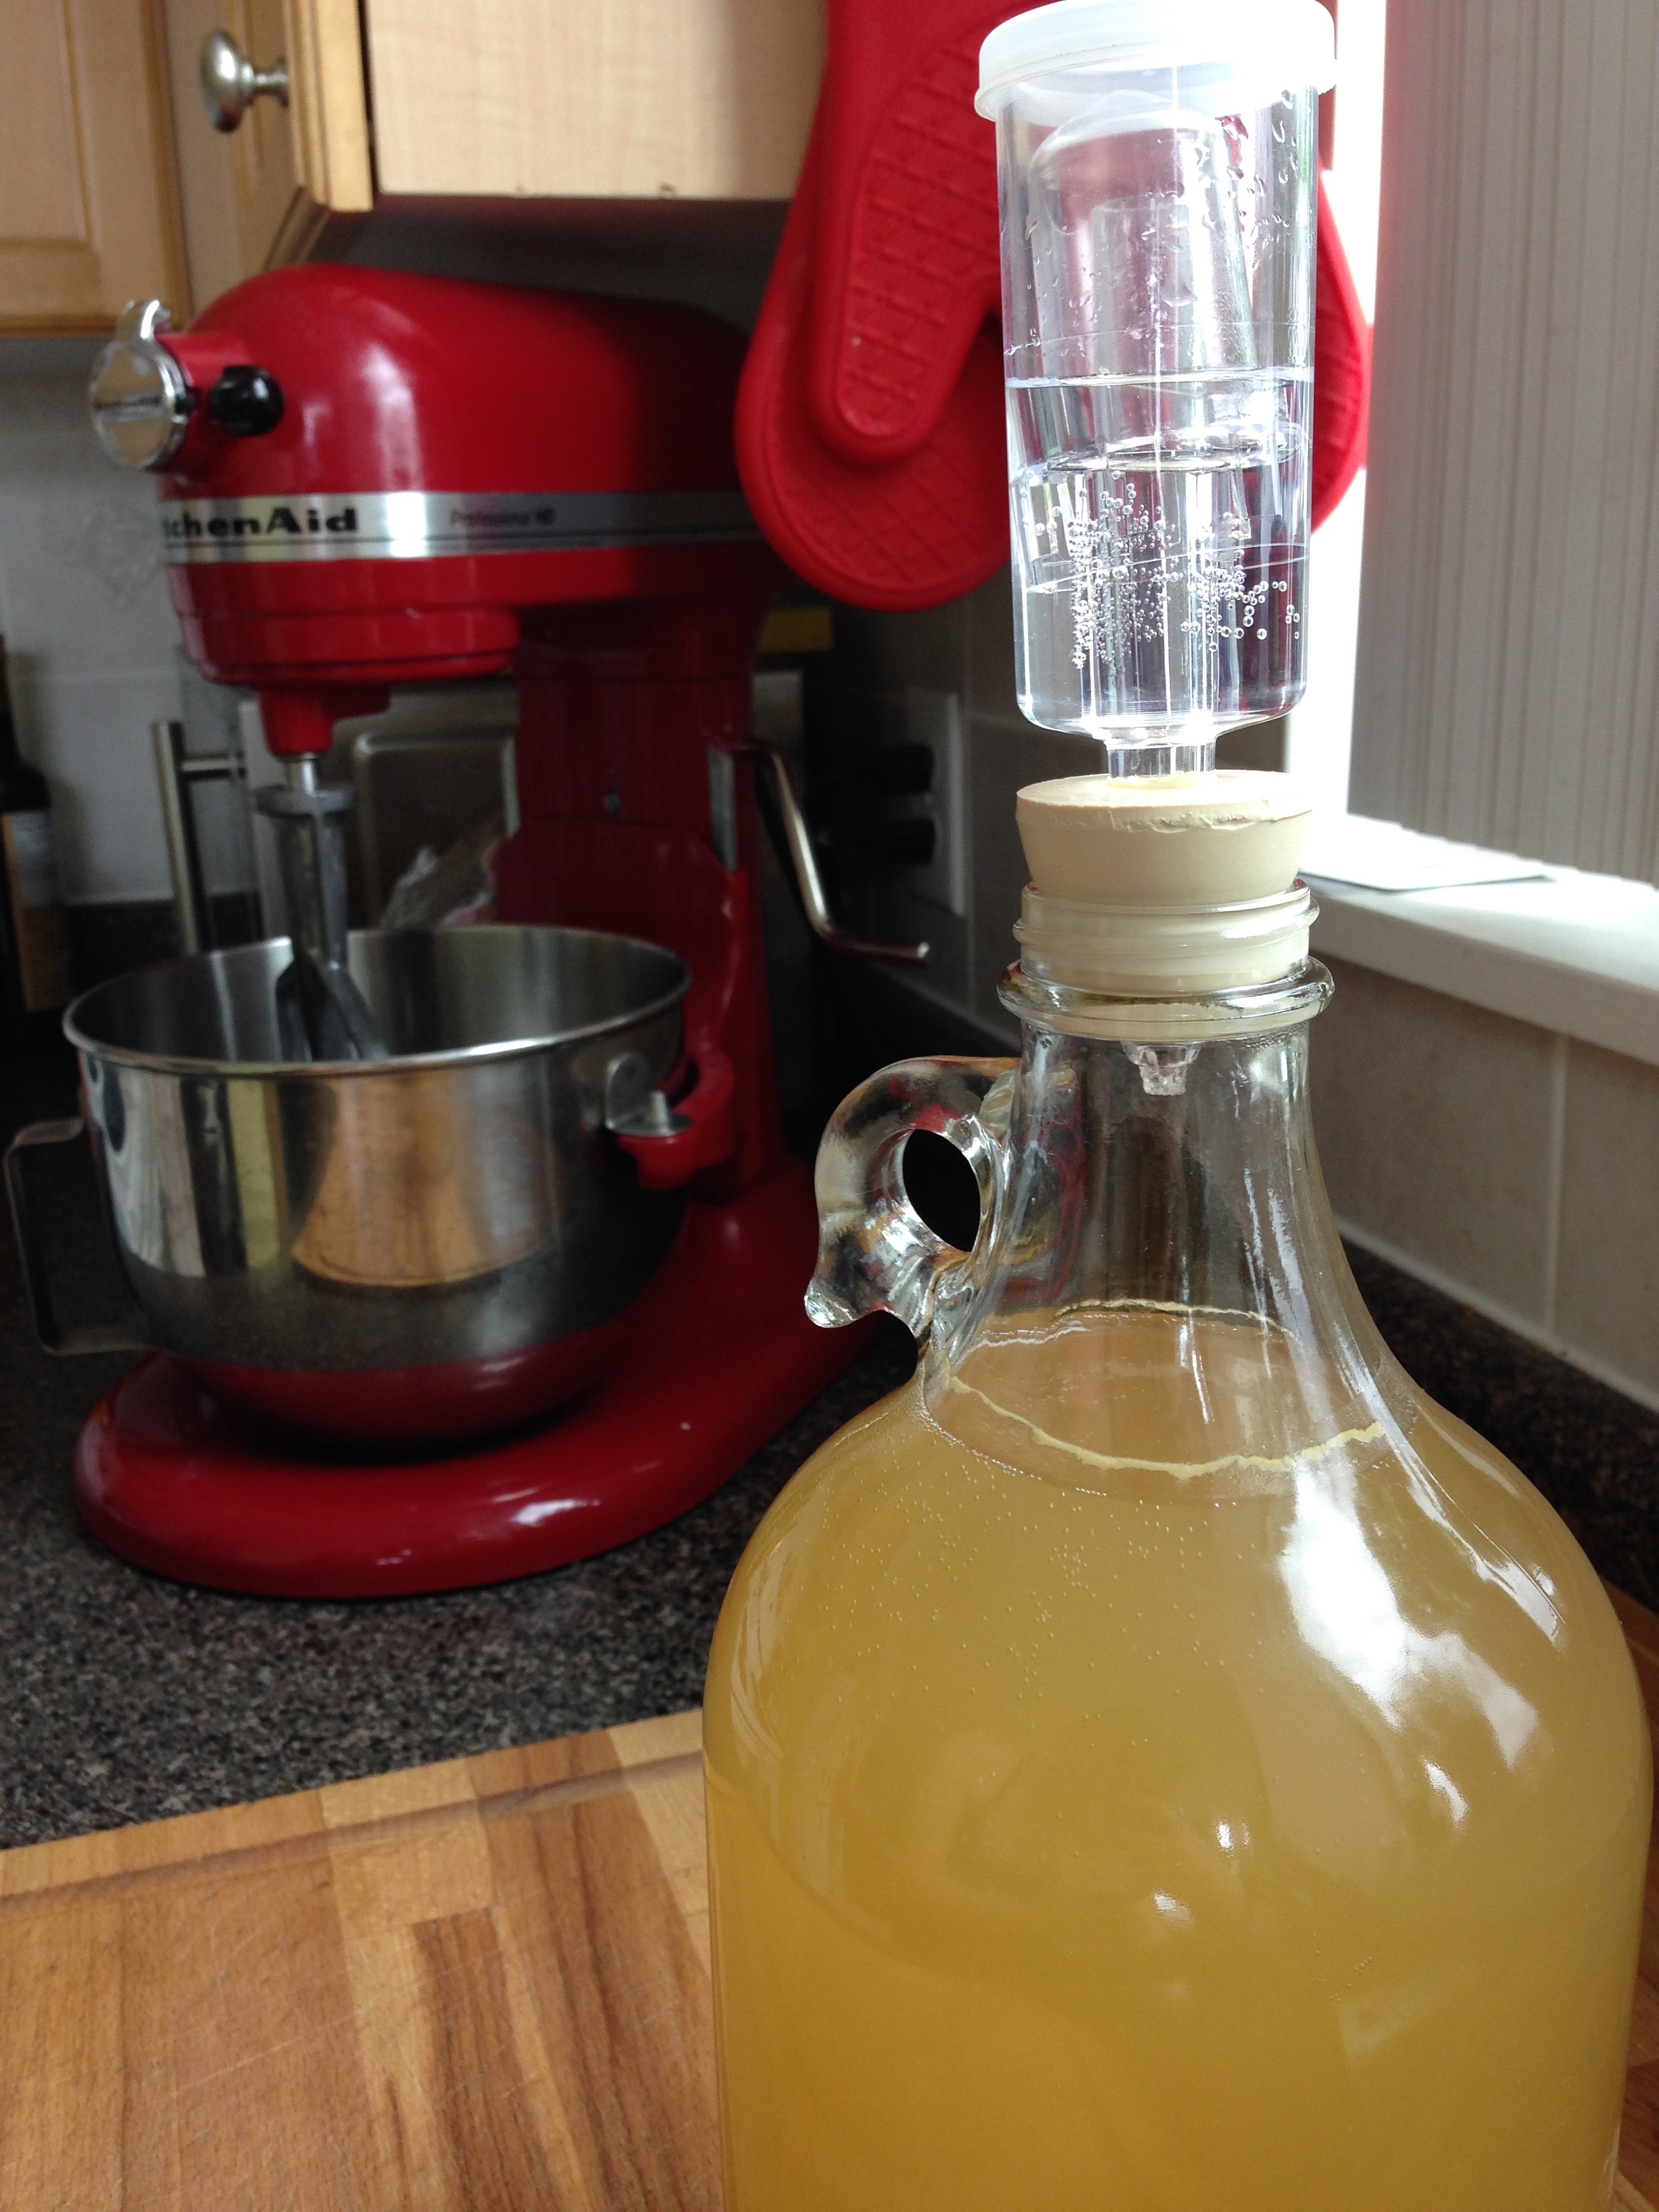

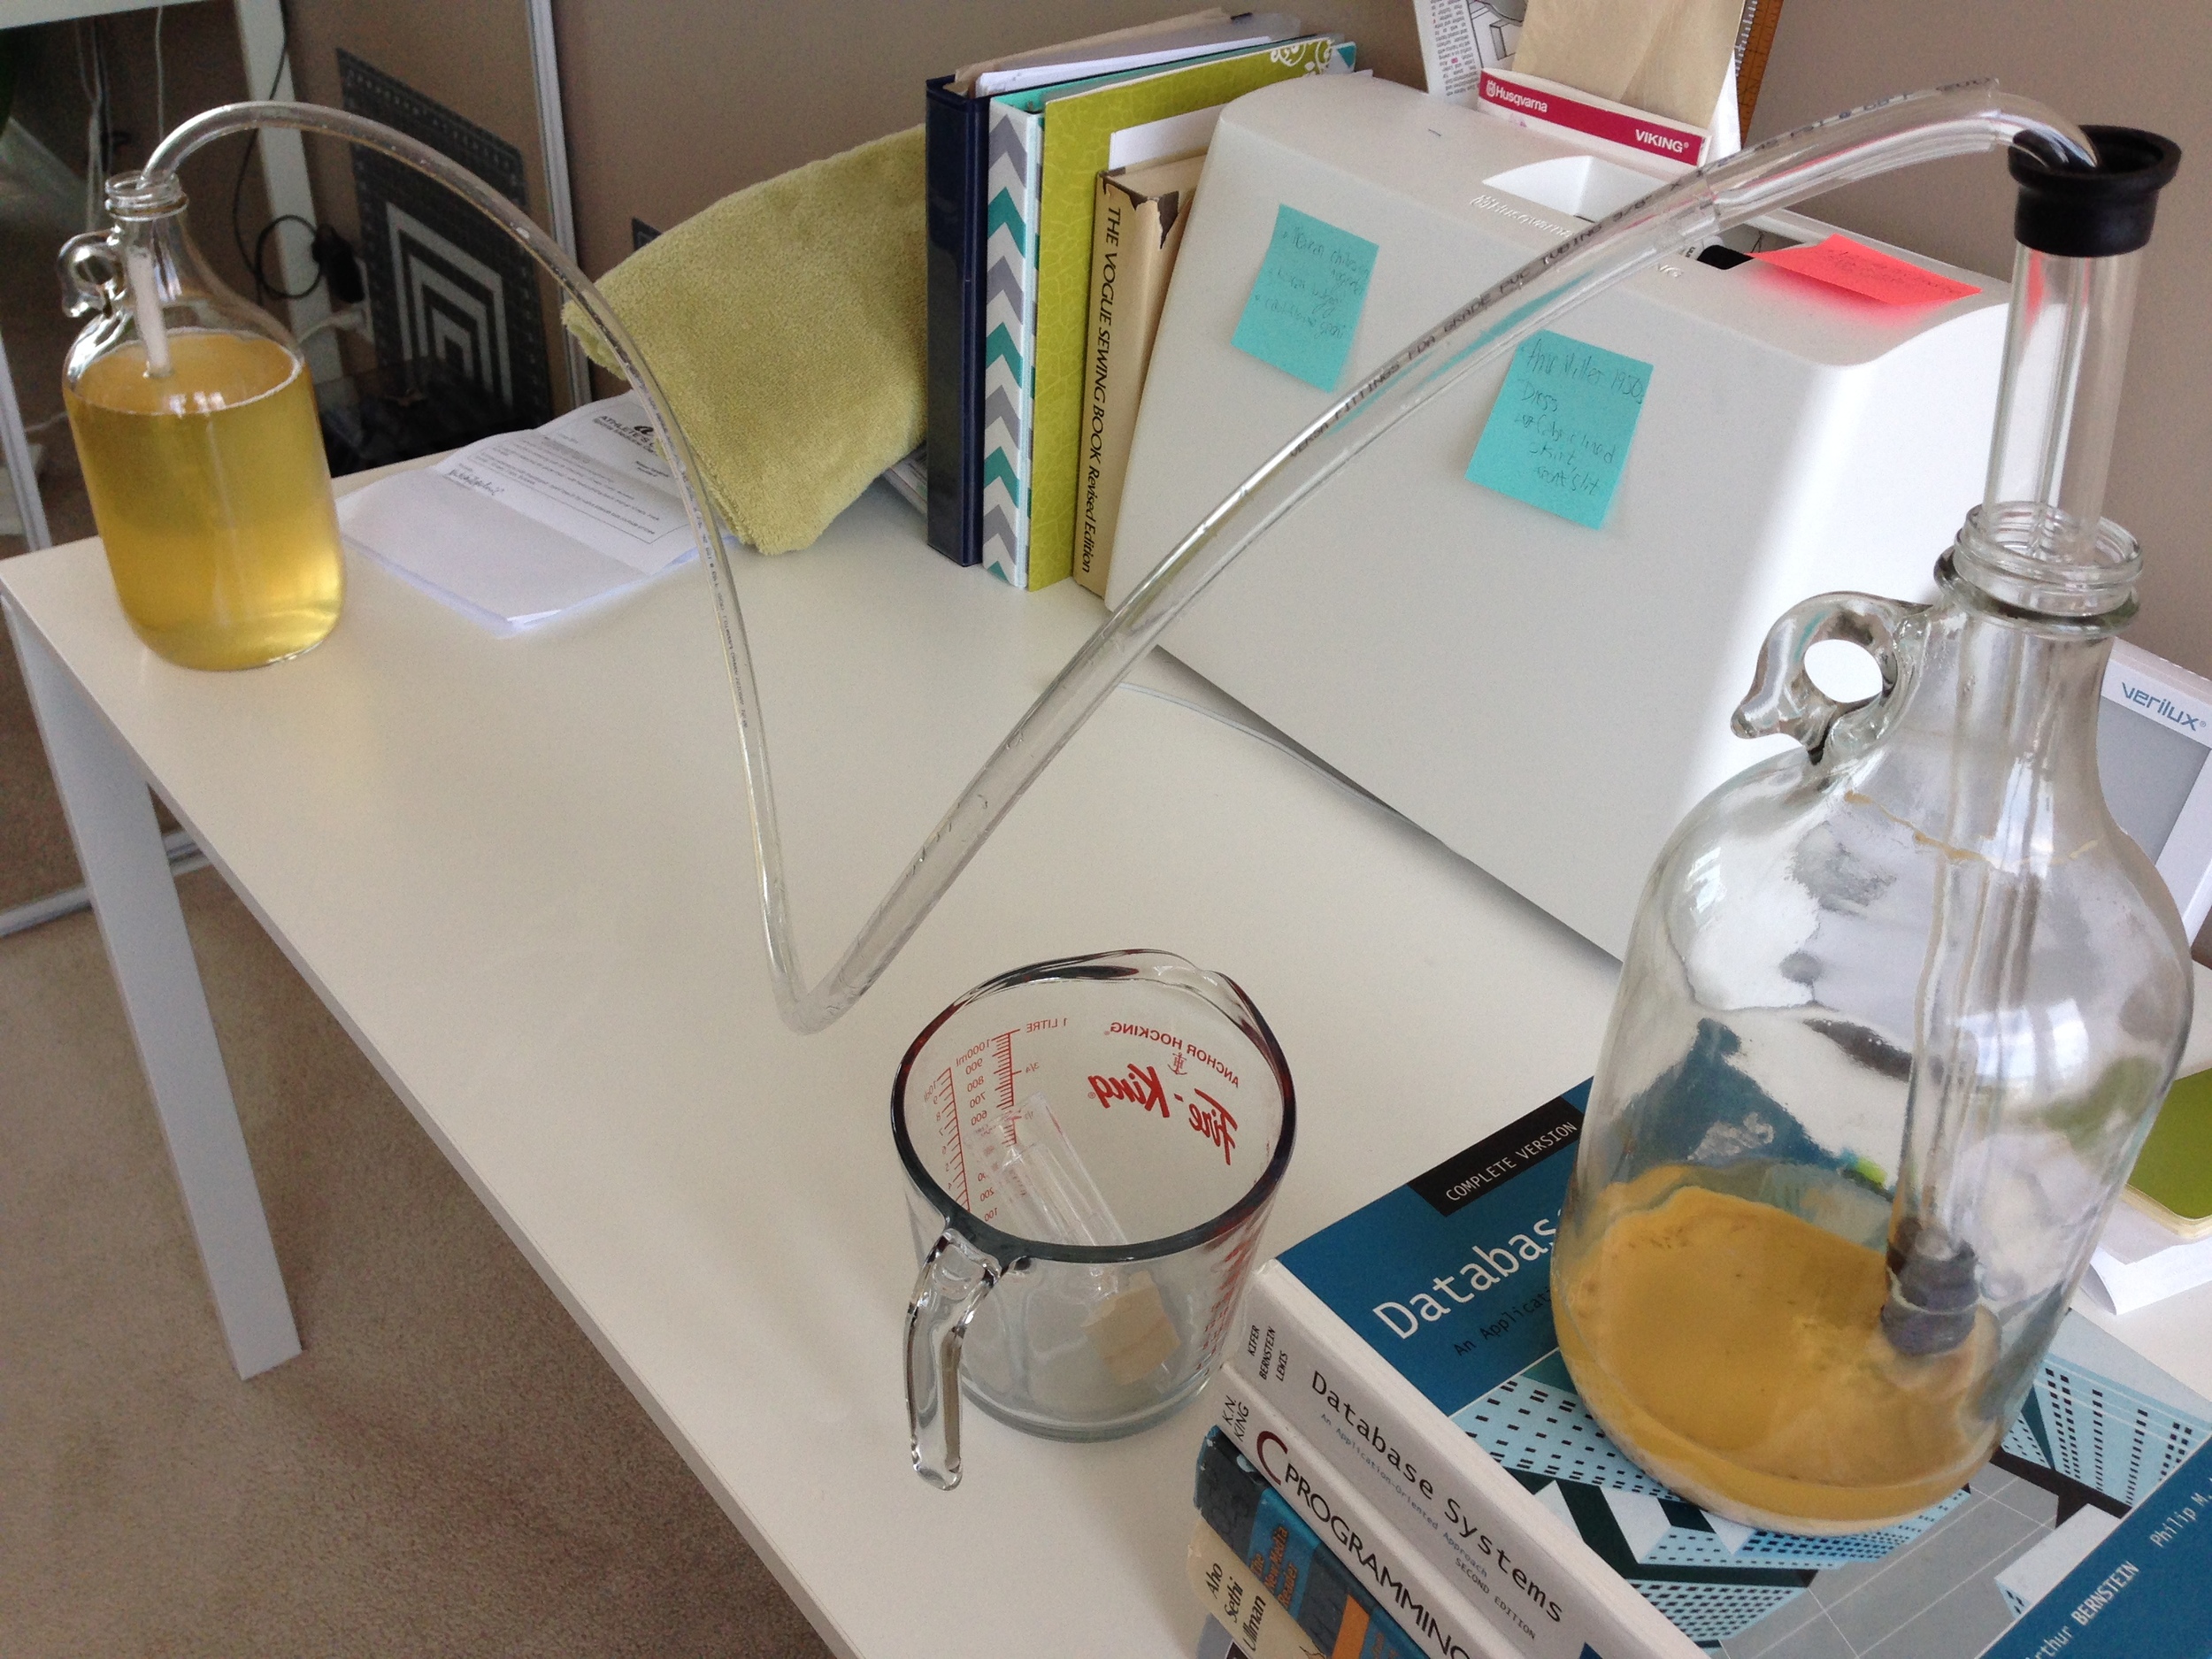

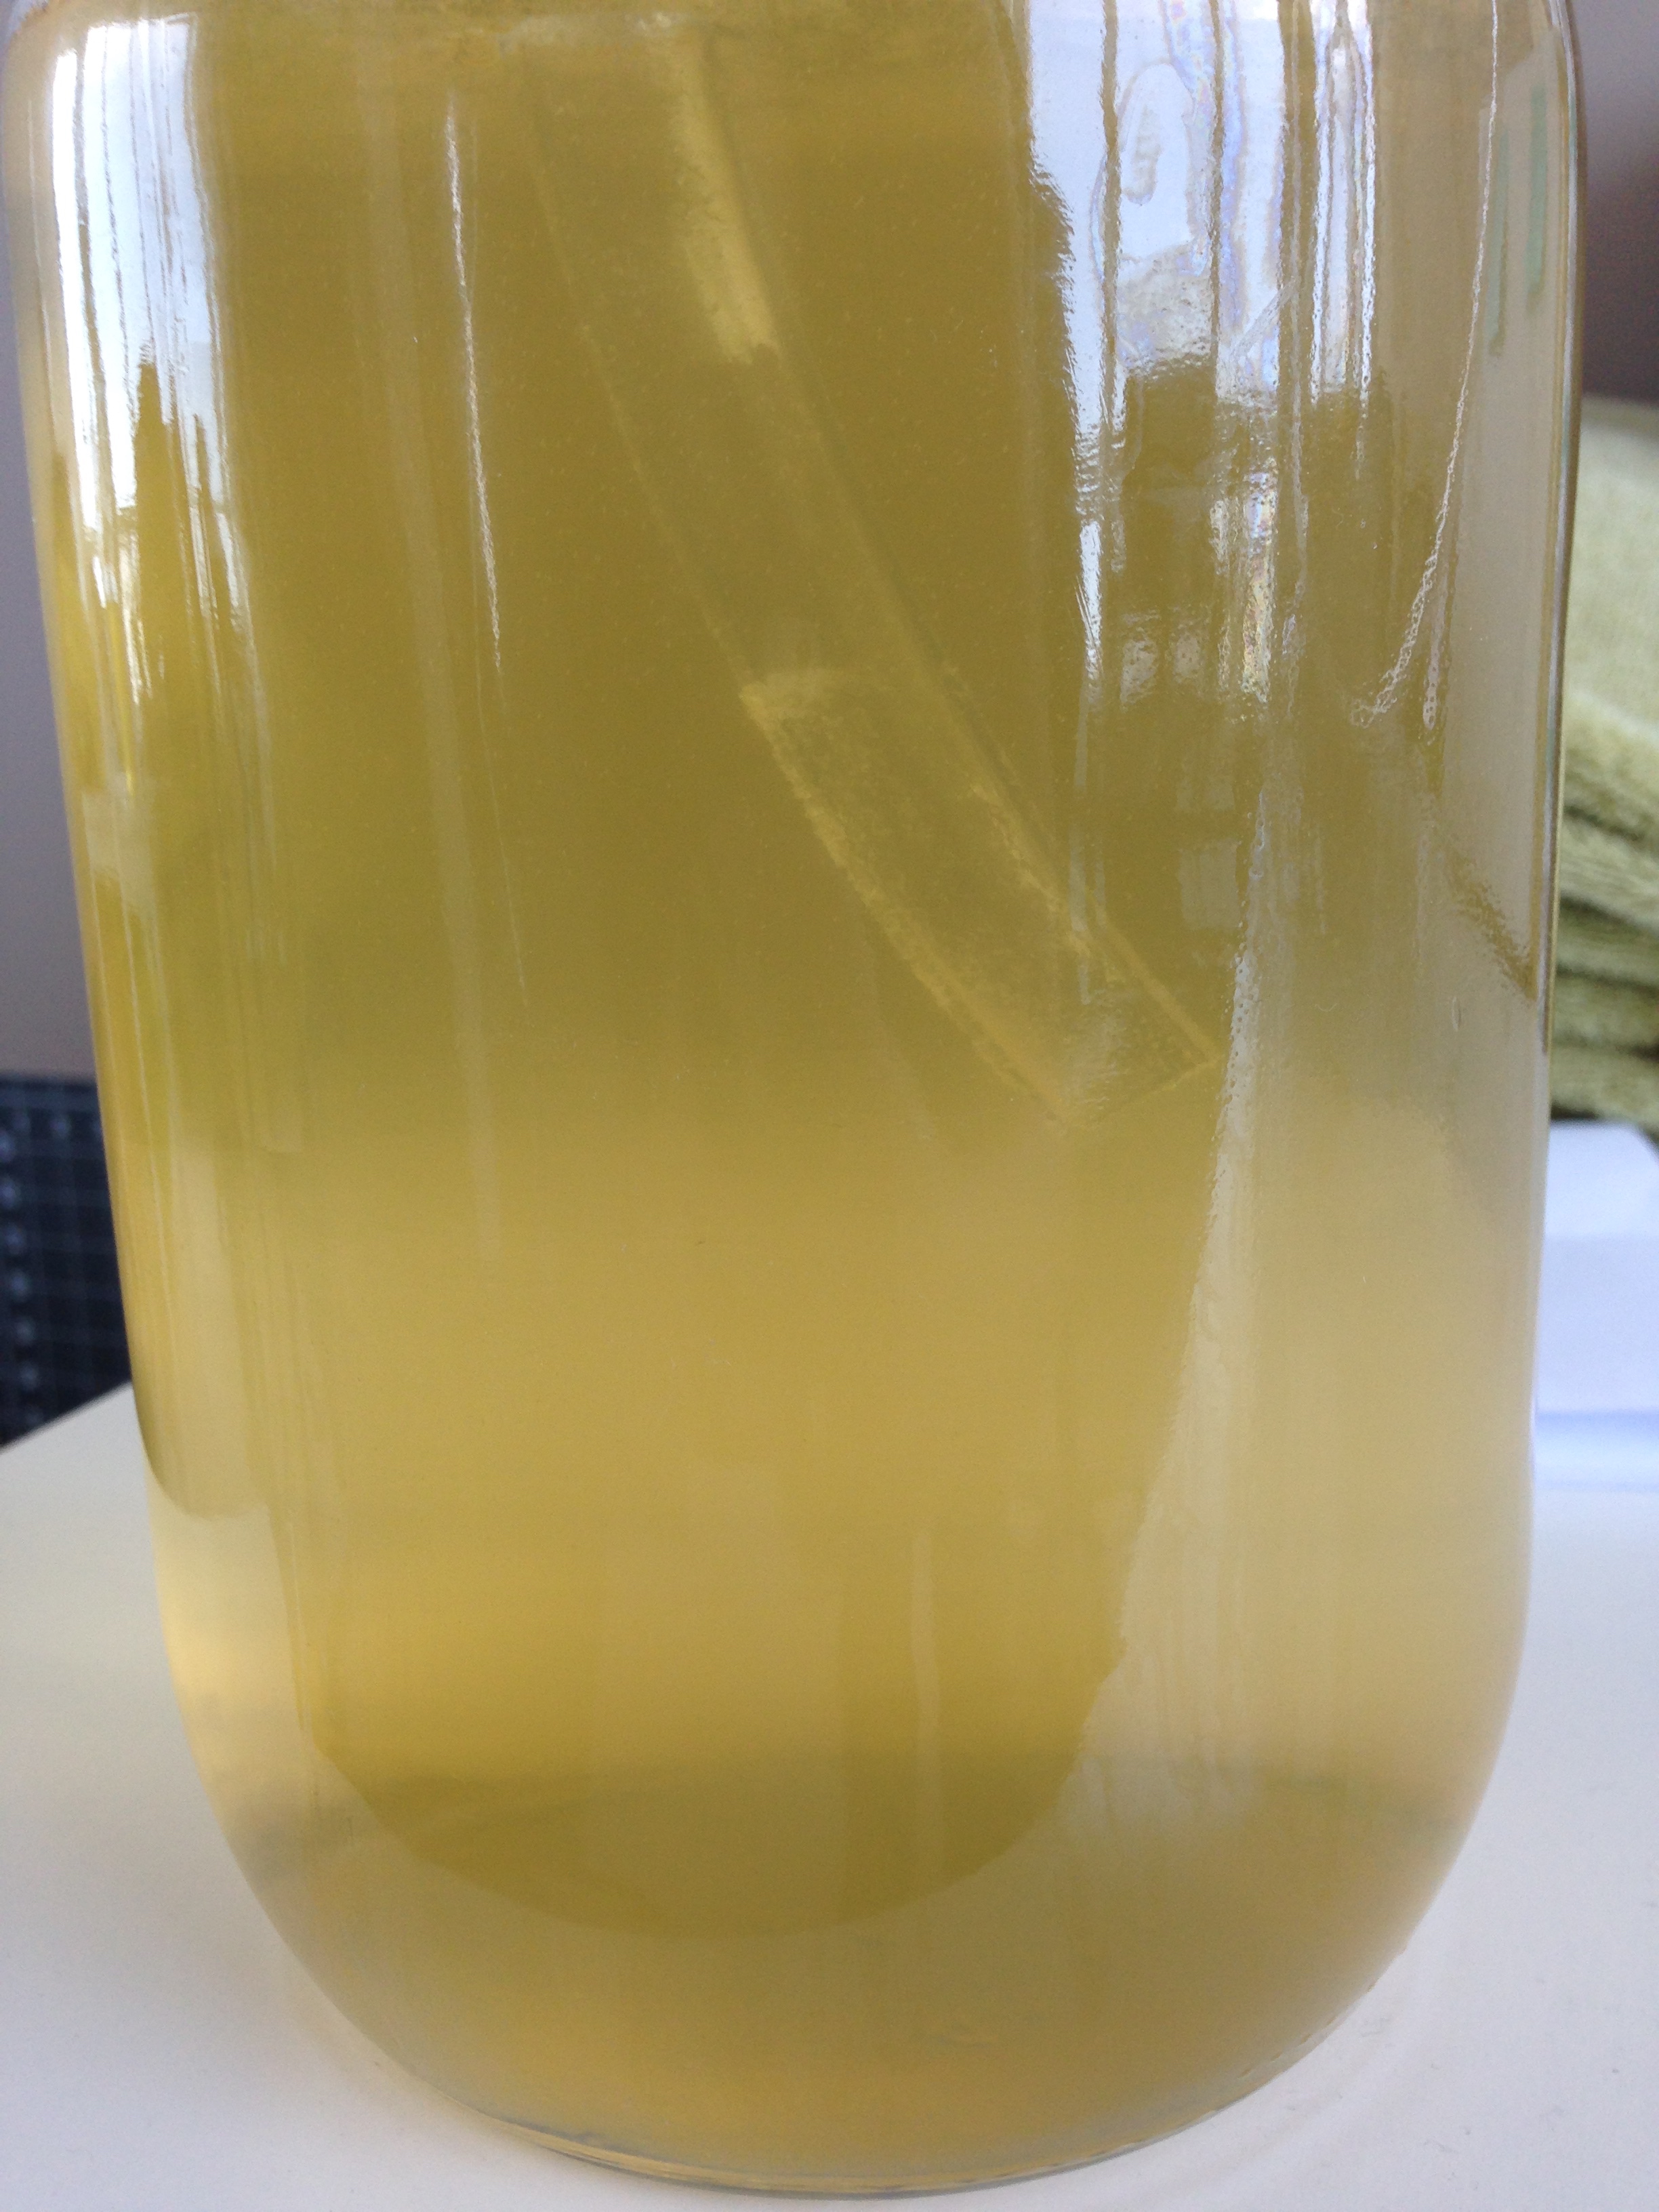
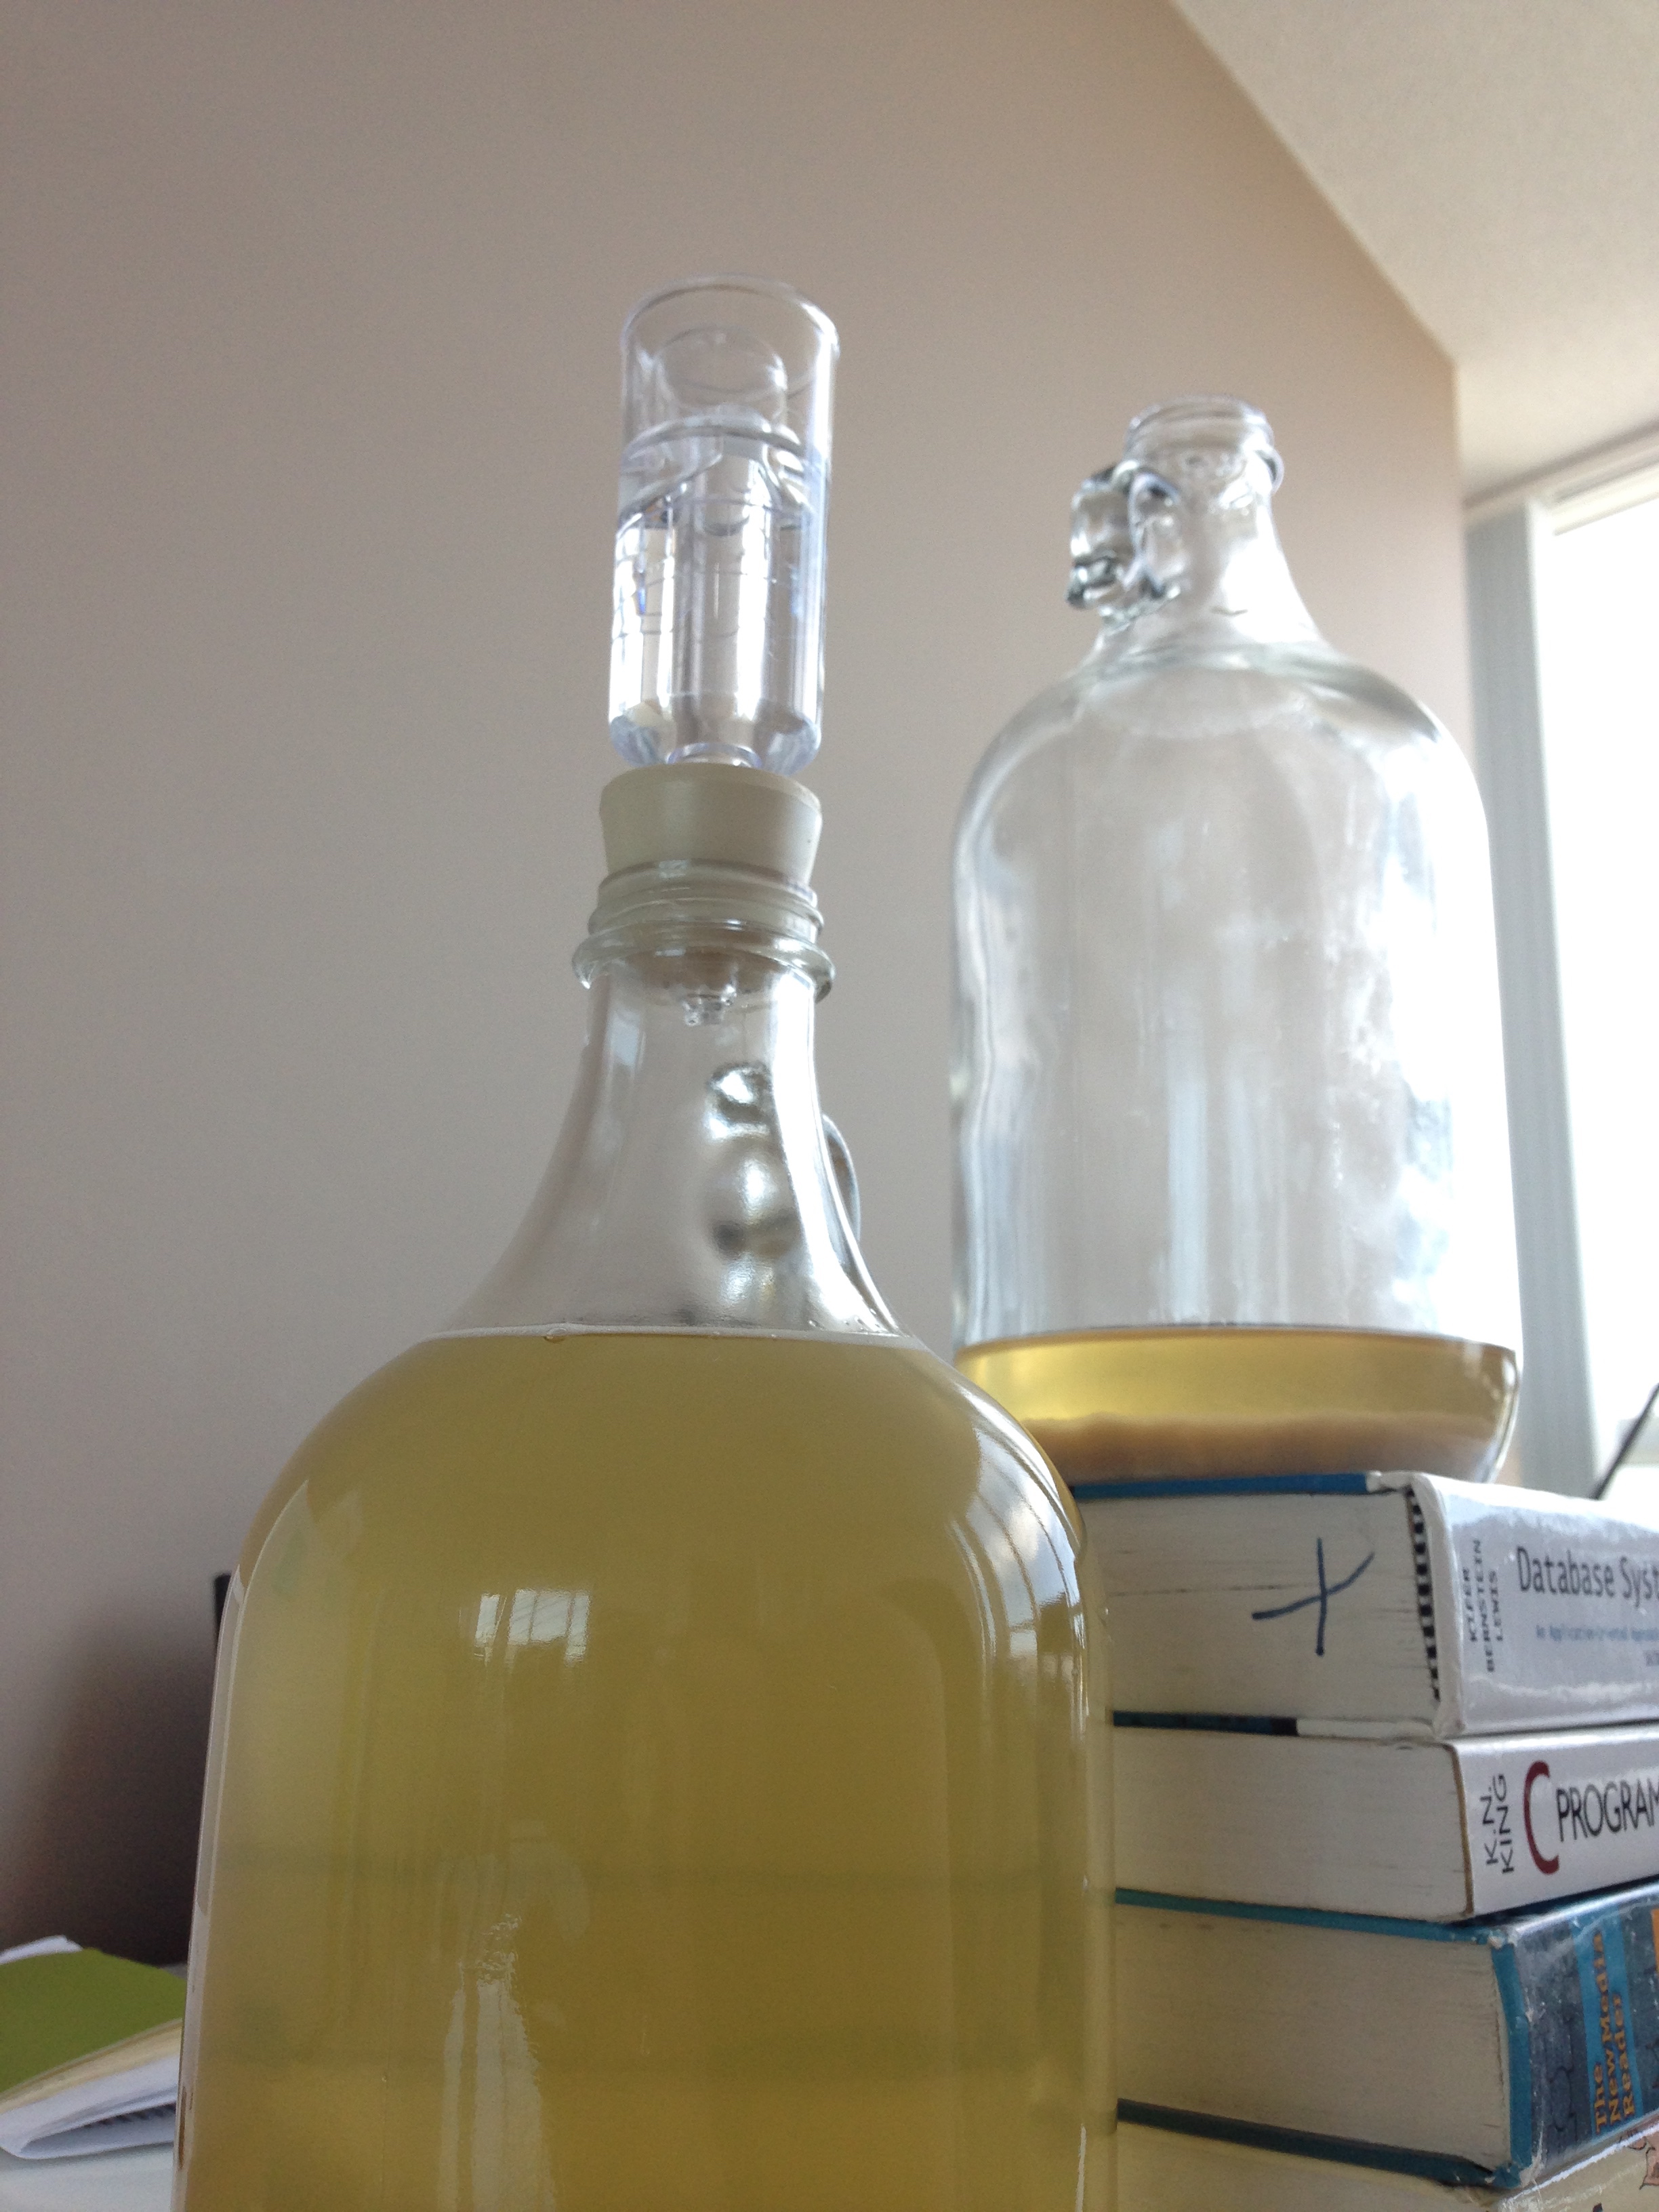
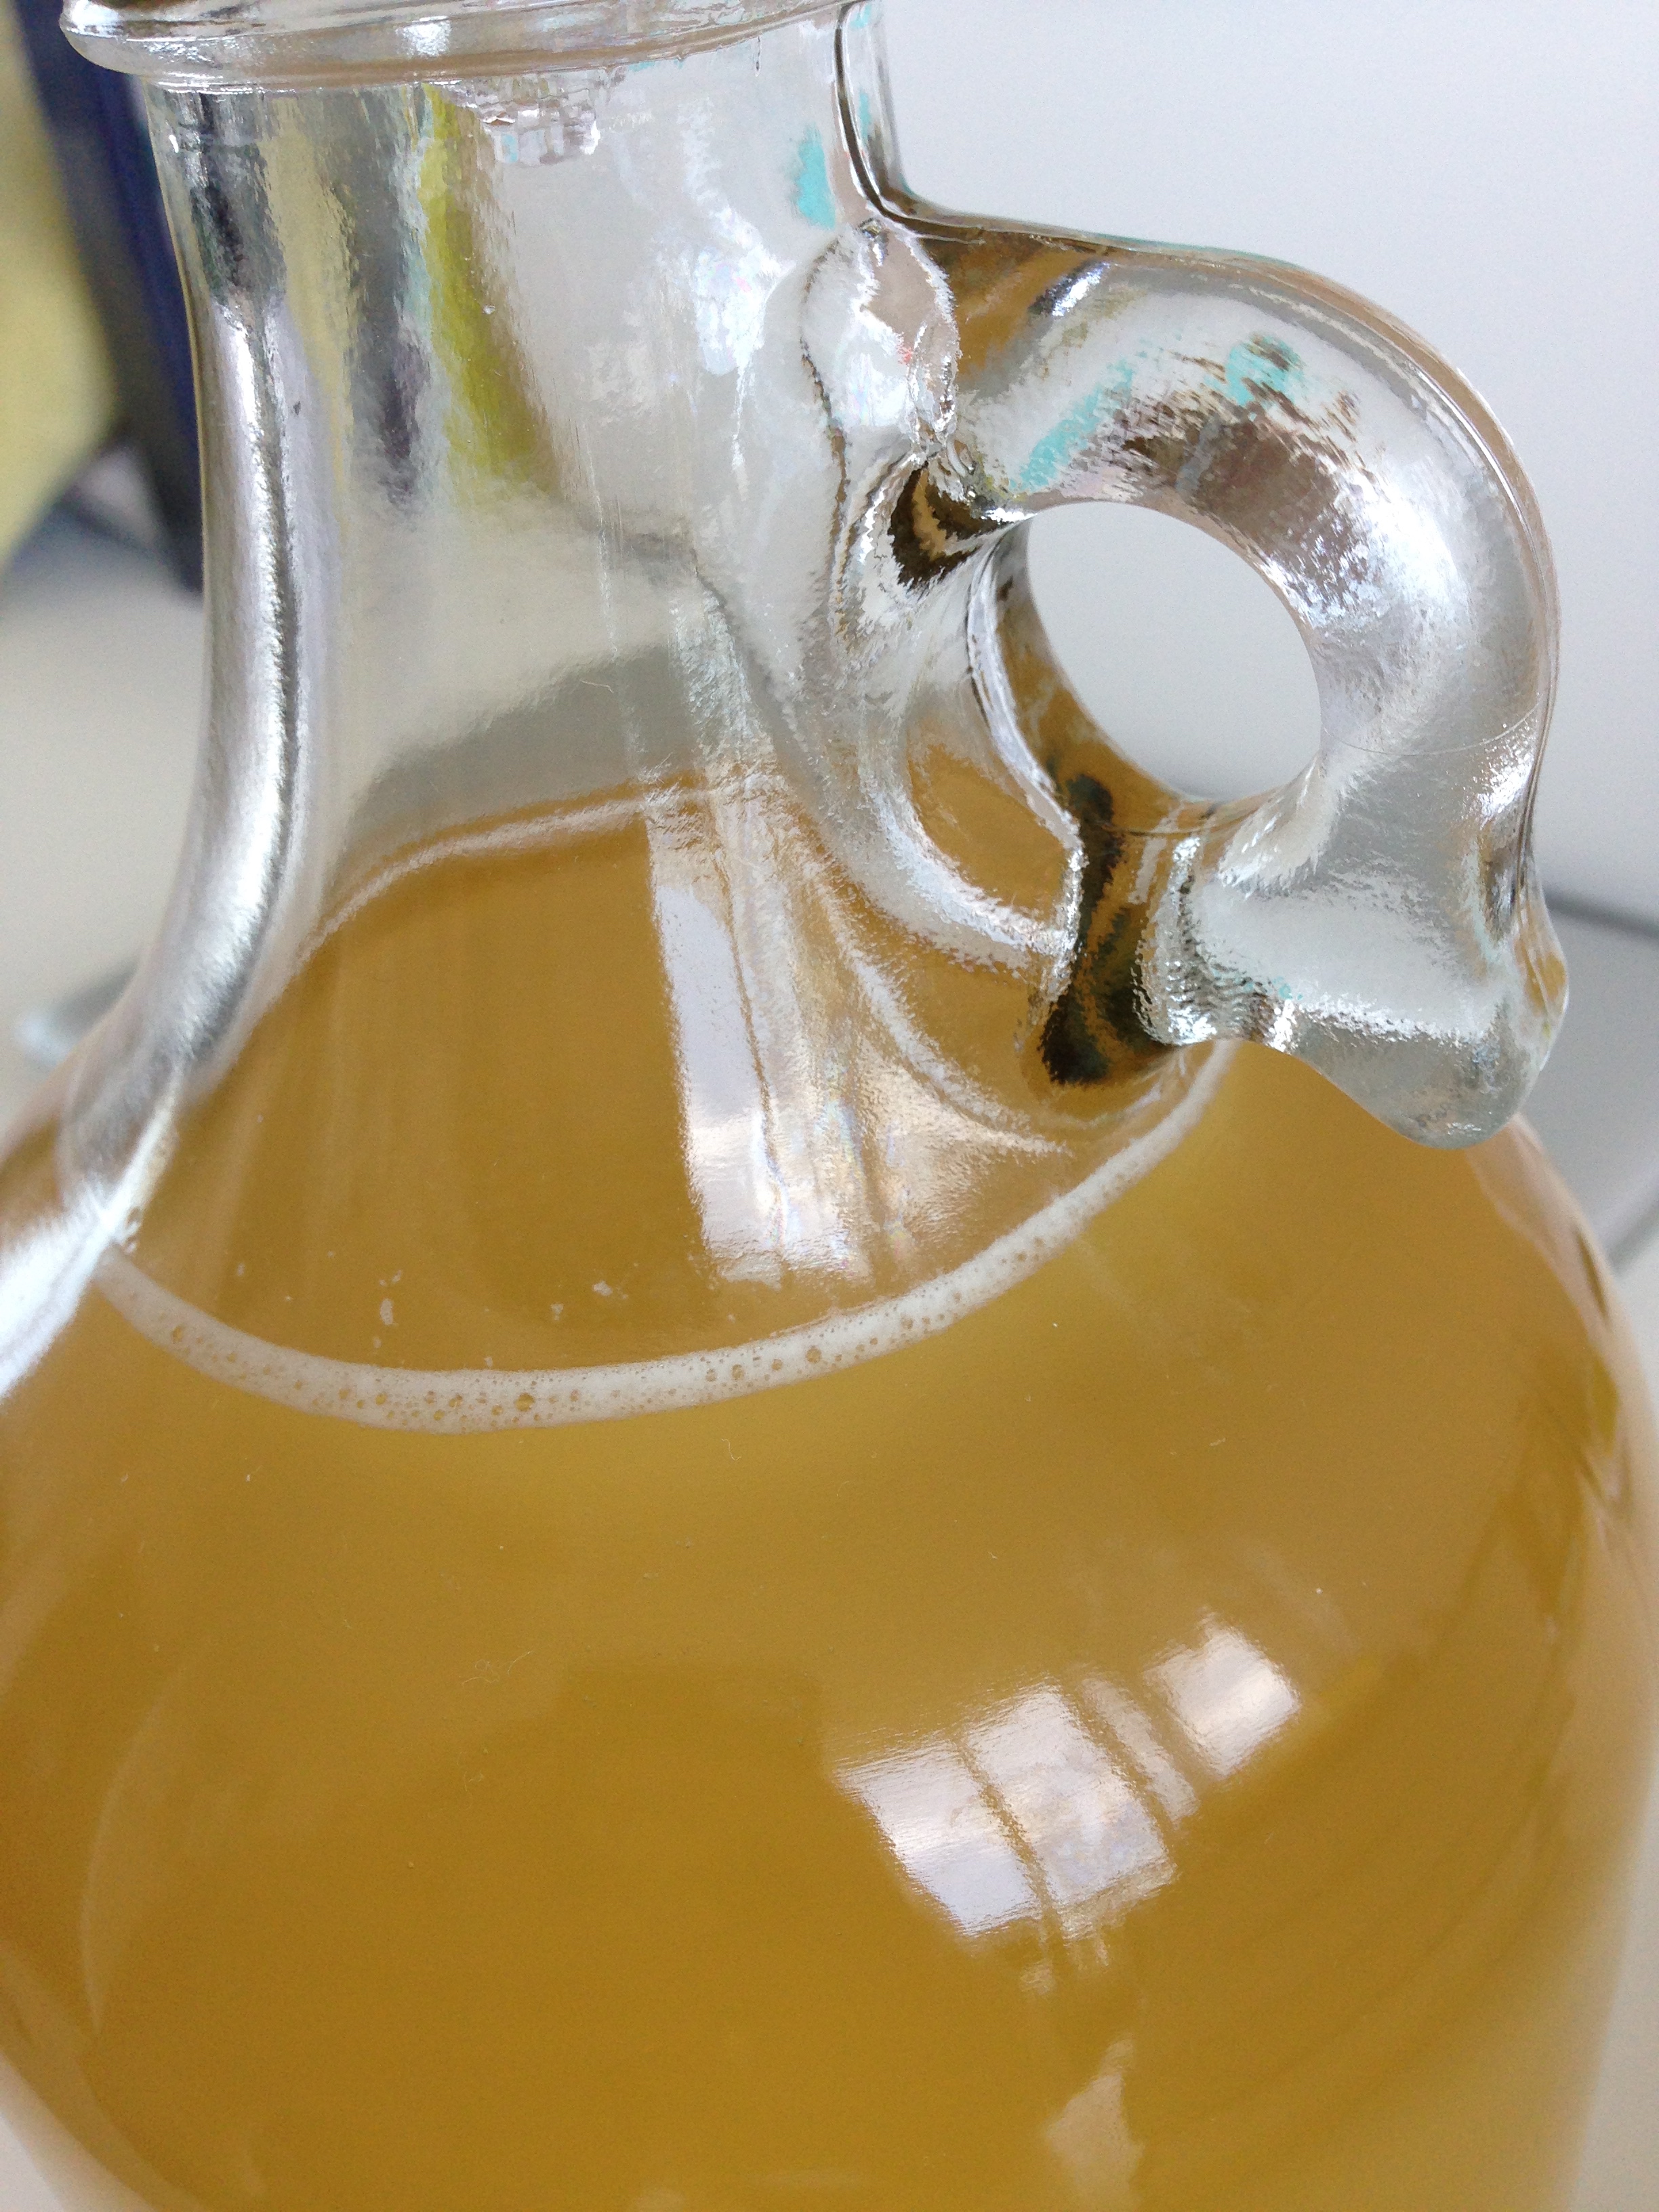
It's been almost a month now and the little bubbles have ceased. The inch layer of dead little yeasty friends on the bottom of the growler is the tell tale sign that it's time to siphon the mead to a new home for another 3-4 months. So I got day trippin' to Toronto Brewing with my lady Glo and bought some siphoning necessities: Tubing, pump, starsan, extra growler.
The siphoning went pretty well! I wish I had got all my mead out but I had to leave about an inch behind so I didn't suck up any more sediment. Ah well. Practice I suppose!
Now to wait.
Also. Spoiler. I tried some. And it knocked my socks off.
So. Excited.
Cheers!
-Andrea
The Half-Assed Hobbyist


