Sultry Saucy... Apples

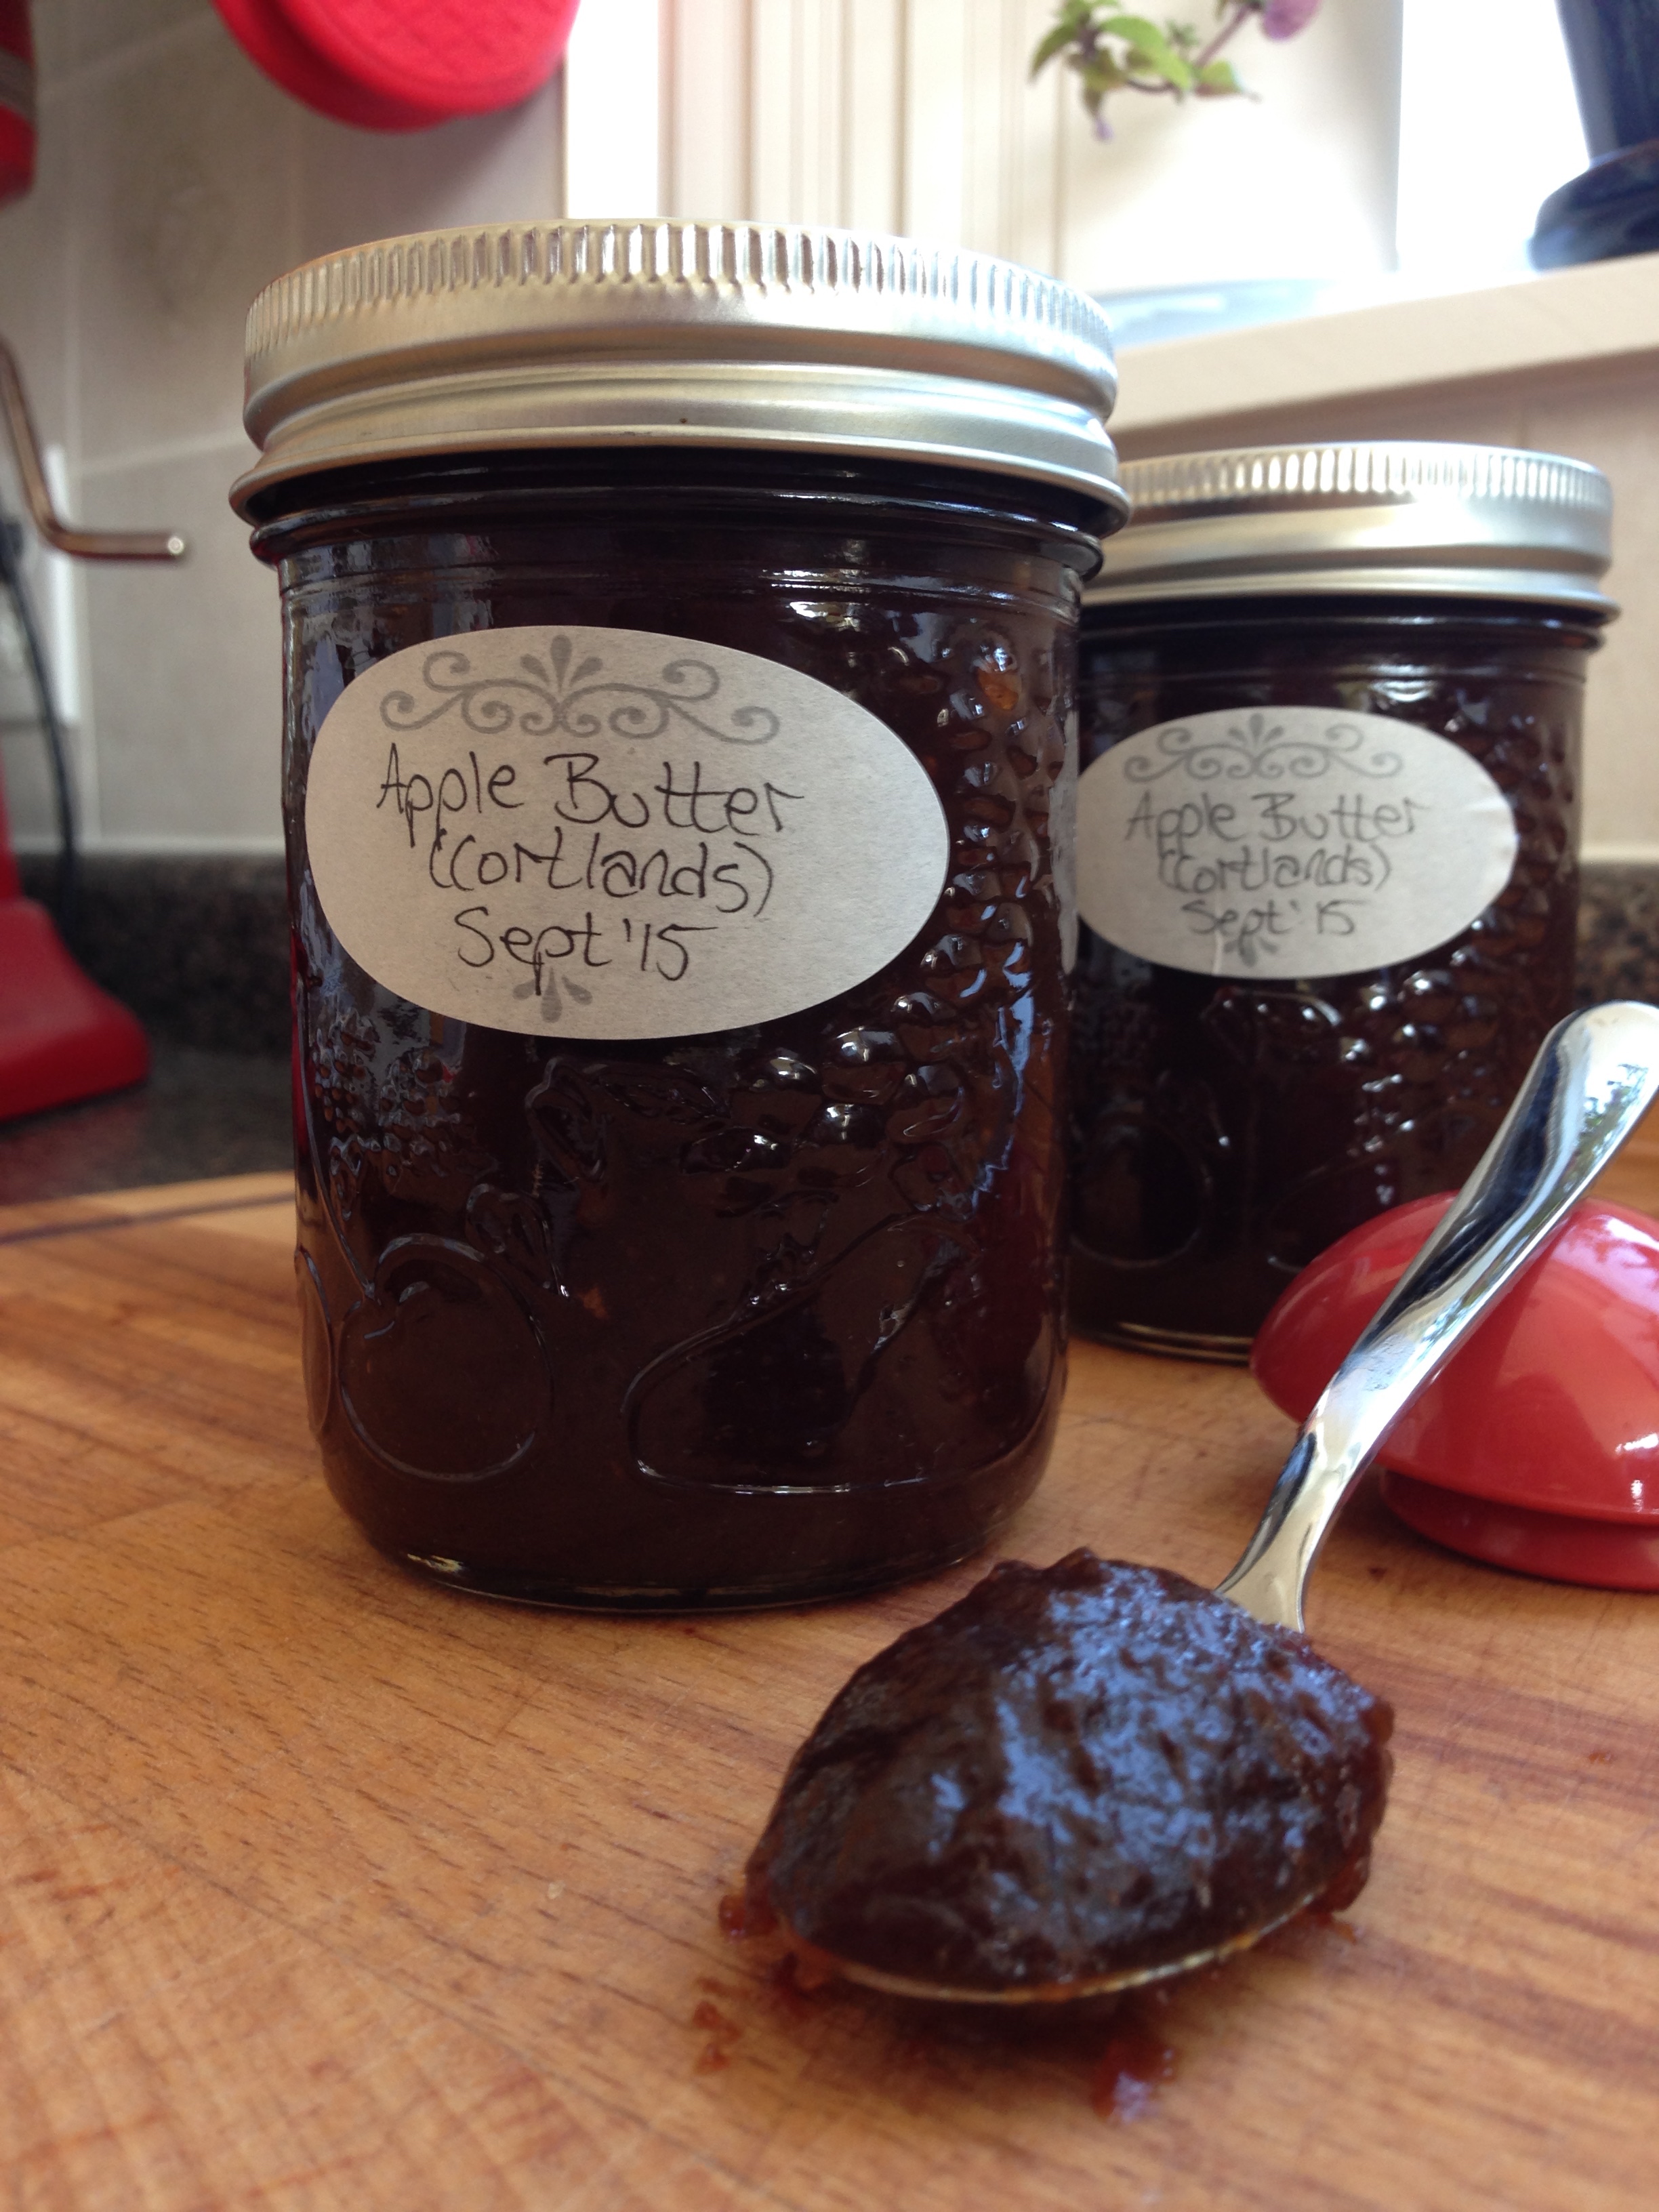
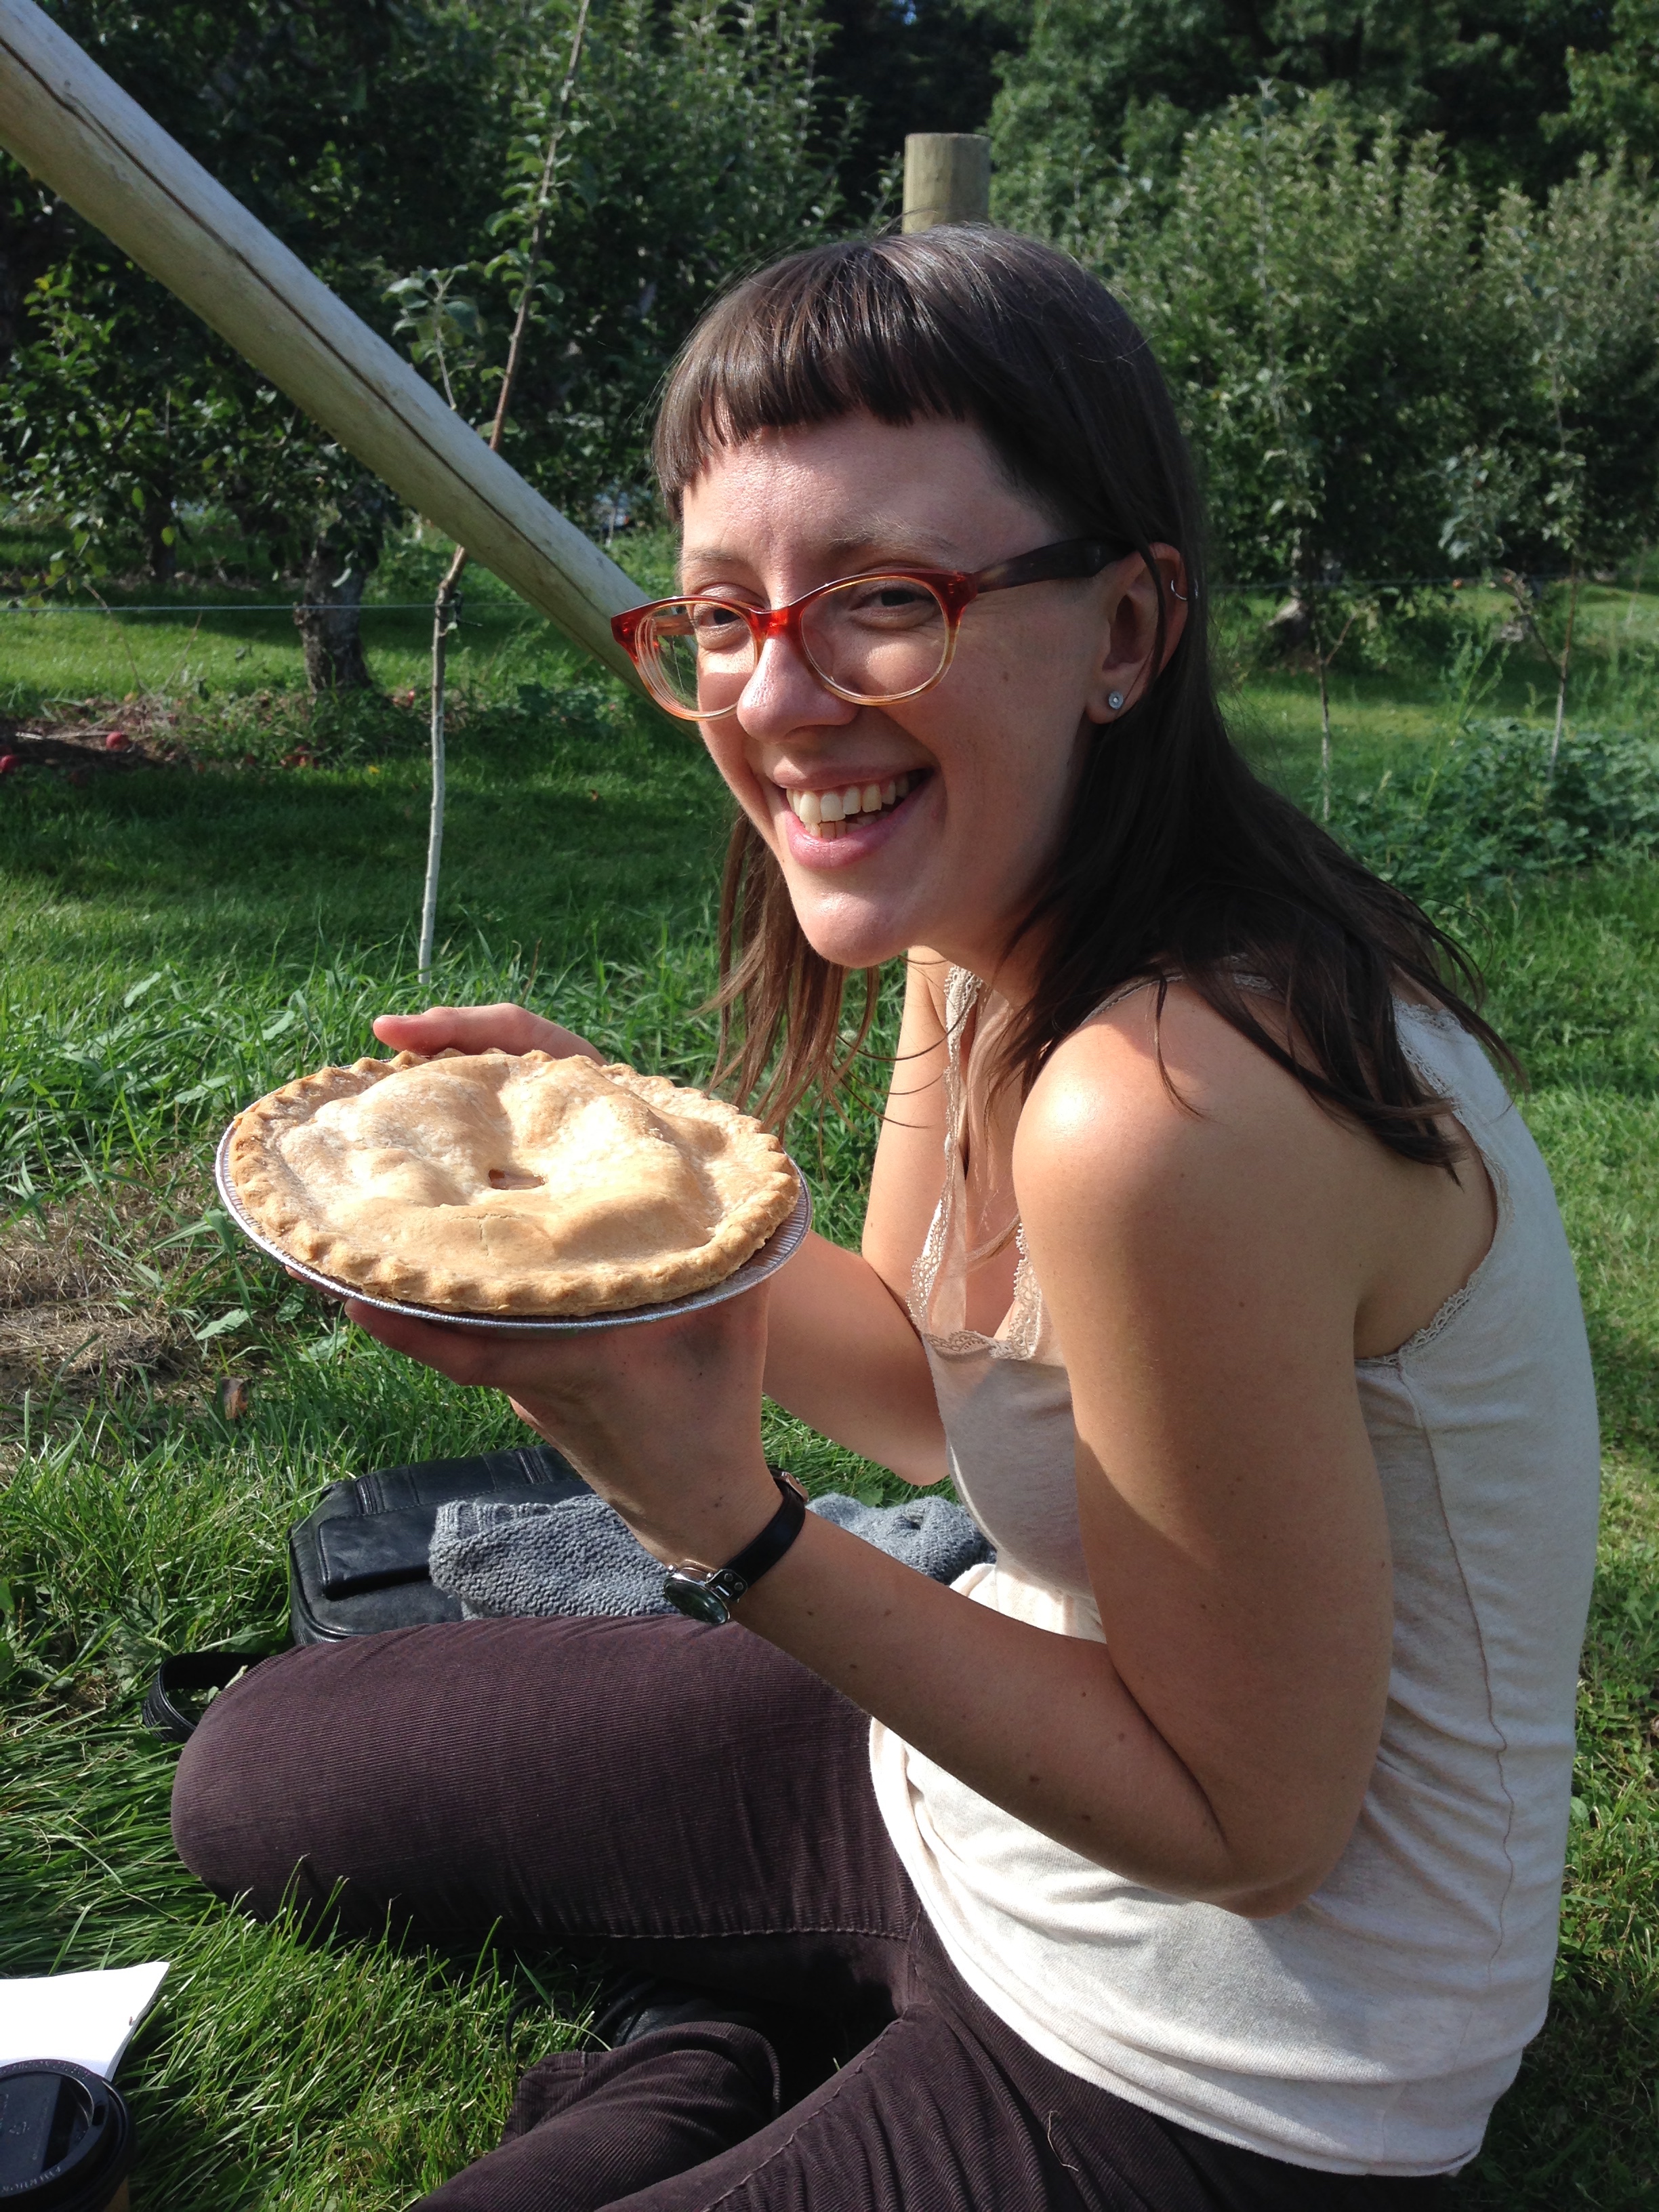
After three pies and 2 batches of apple butter I still had about 15lbs of apples left. 

Yah. 

Next time I won't pick so many.... (But it could be argued that it worked out for the better! Shhhhh....)

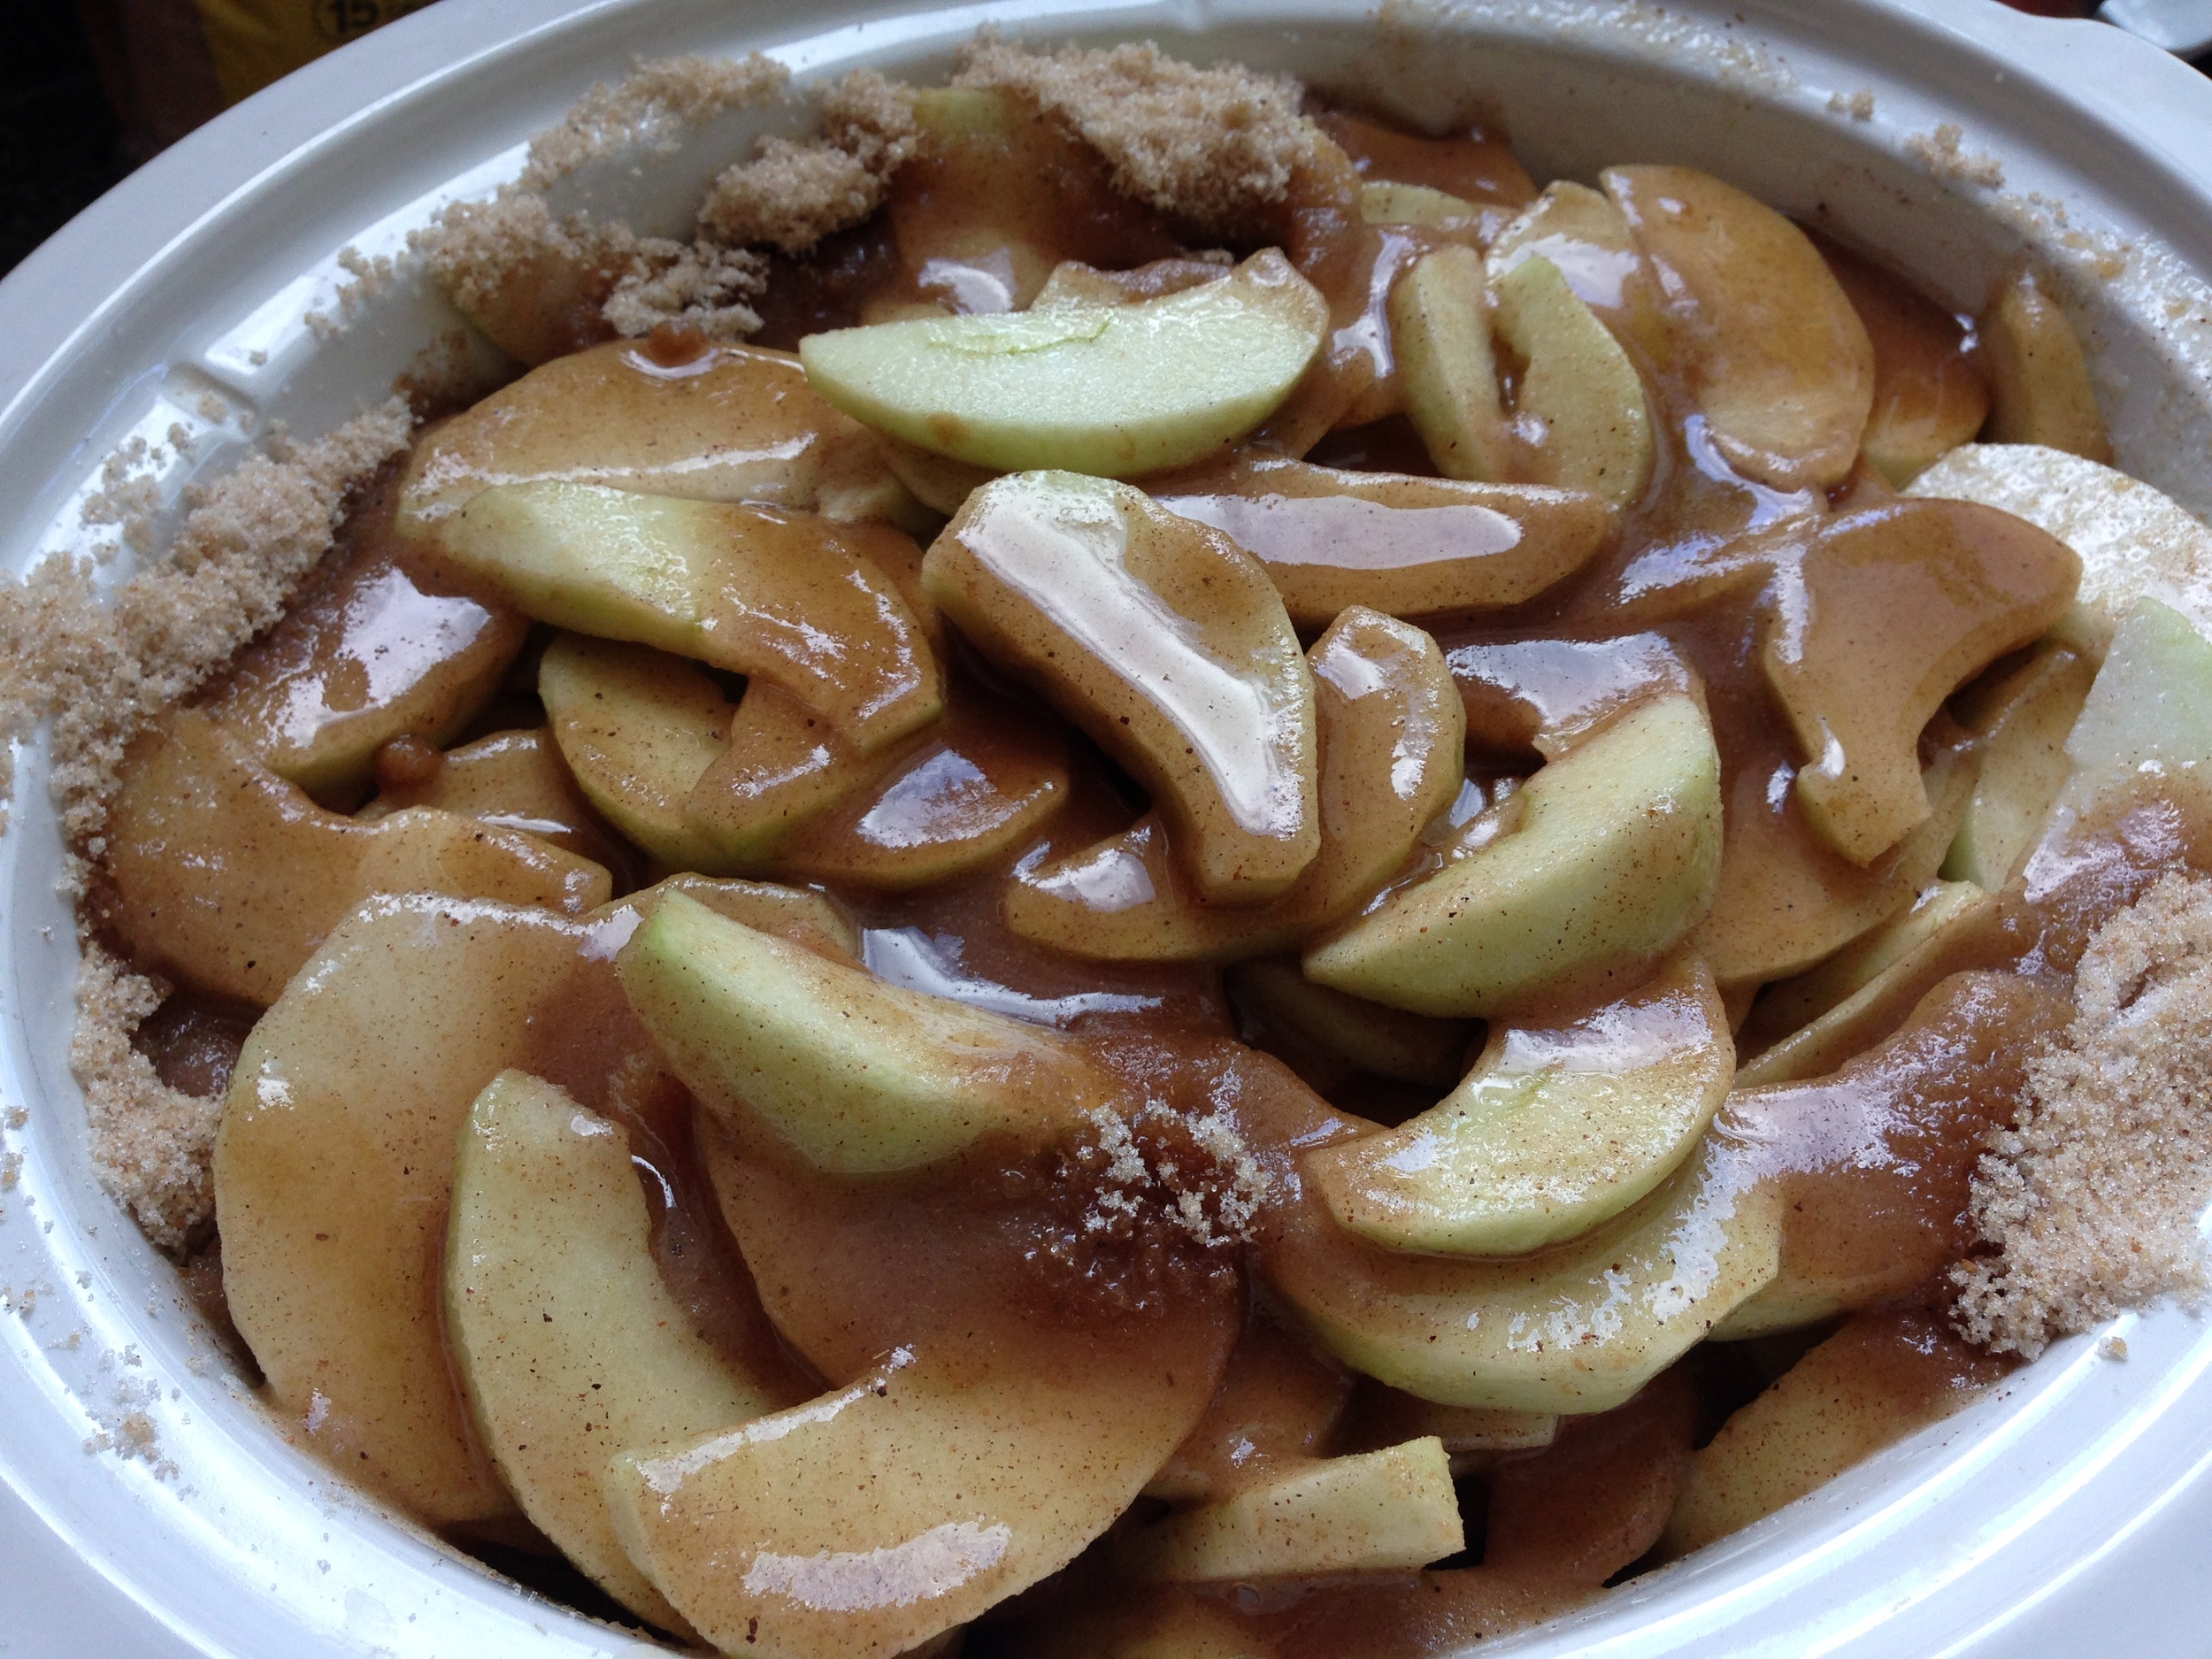
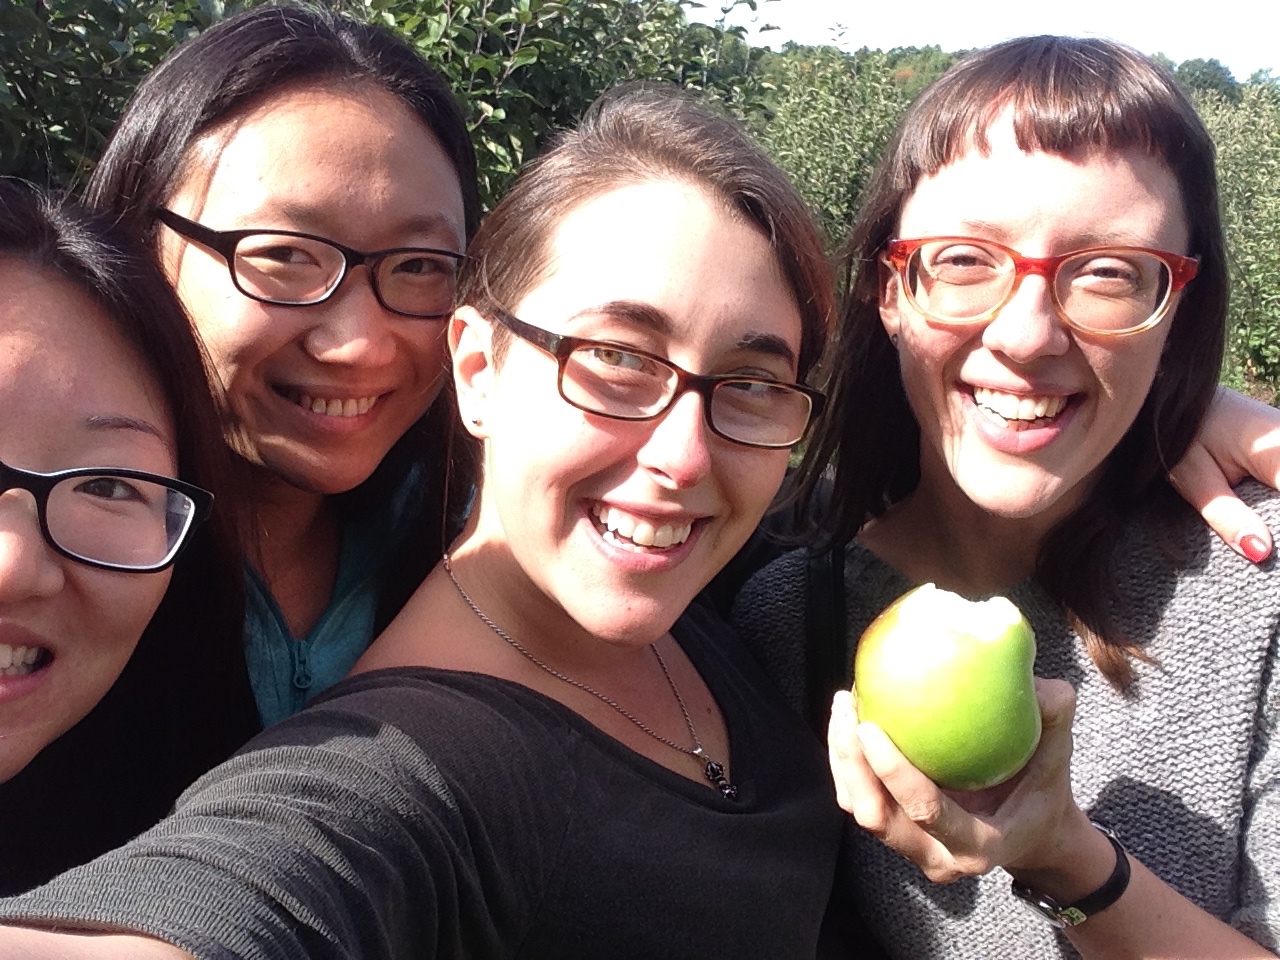
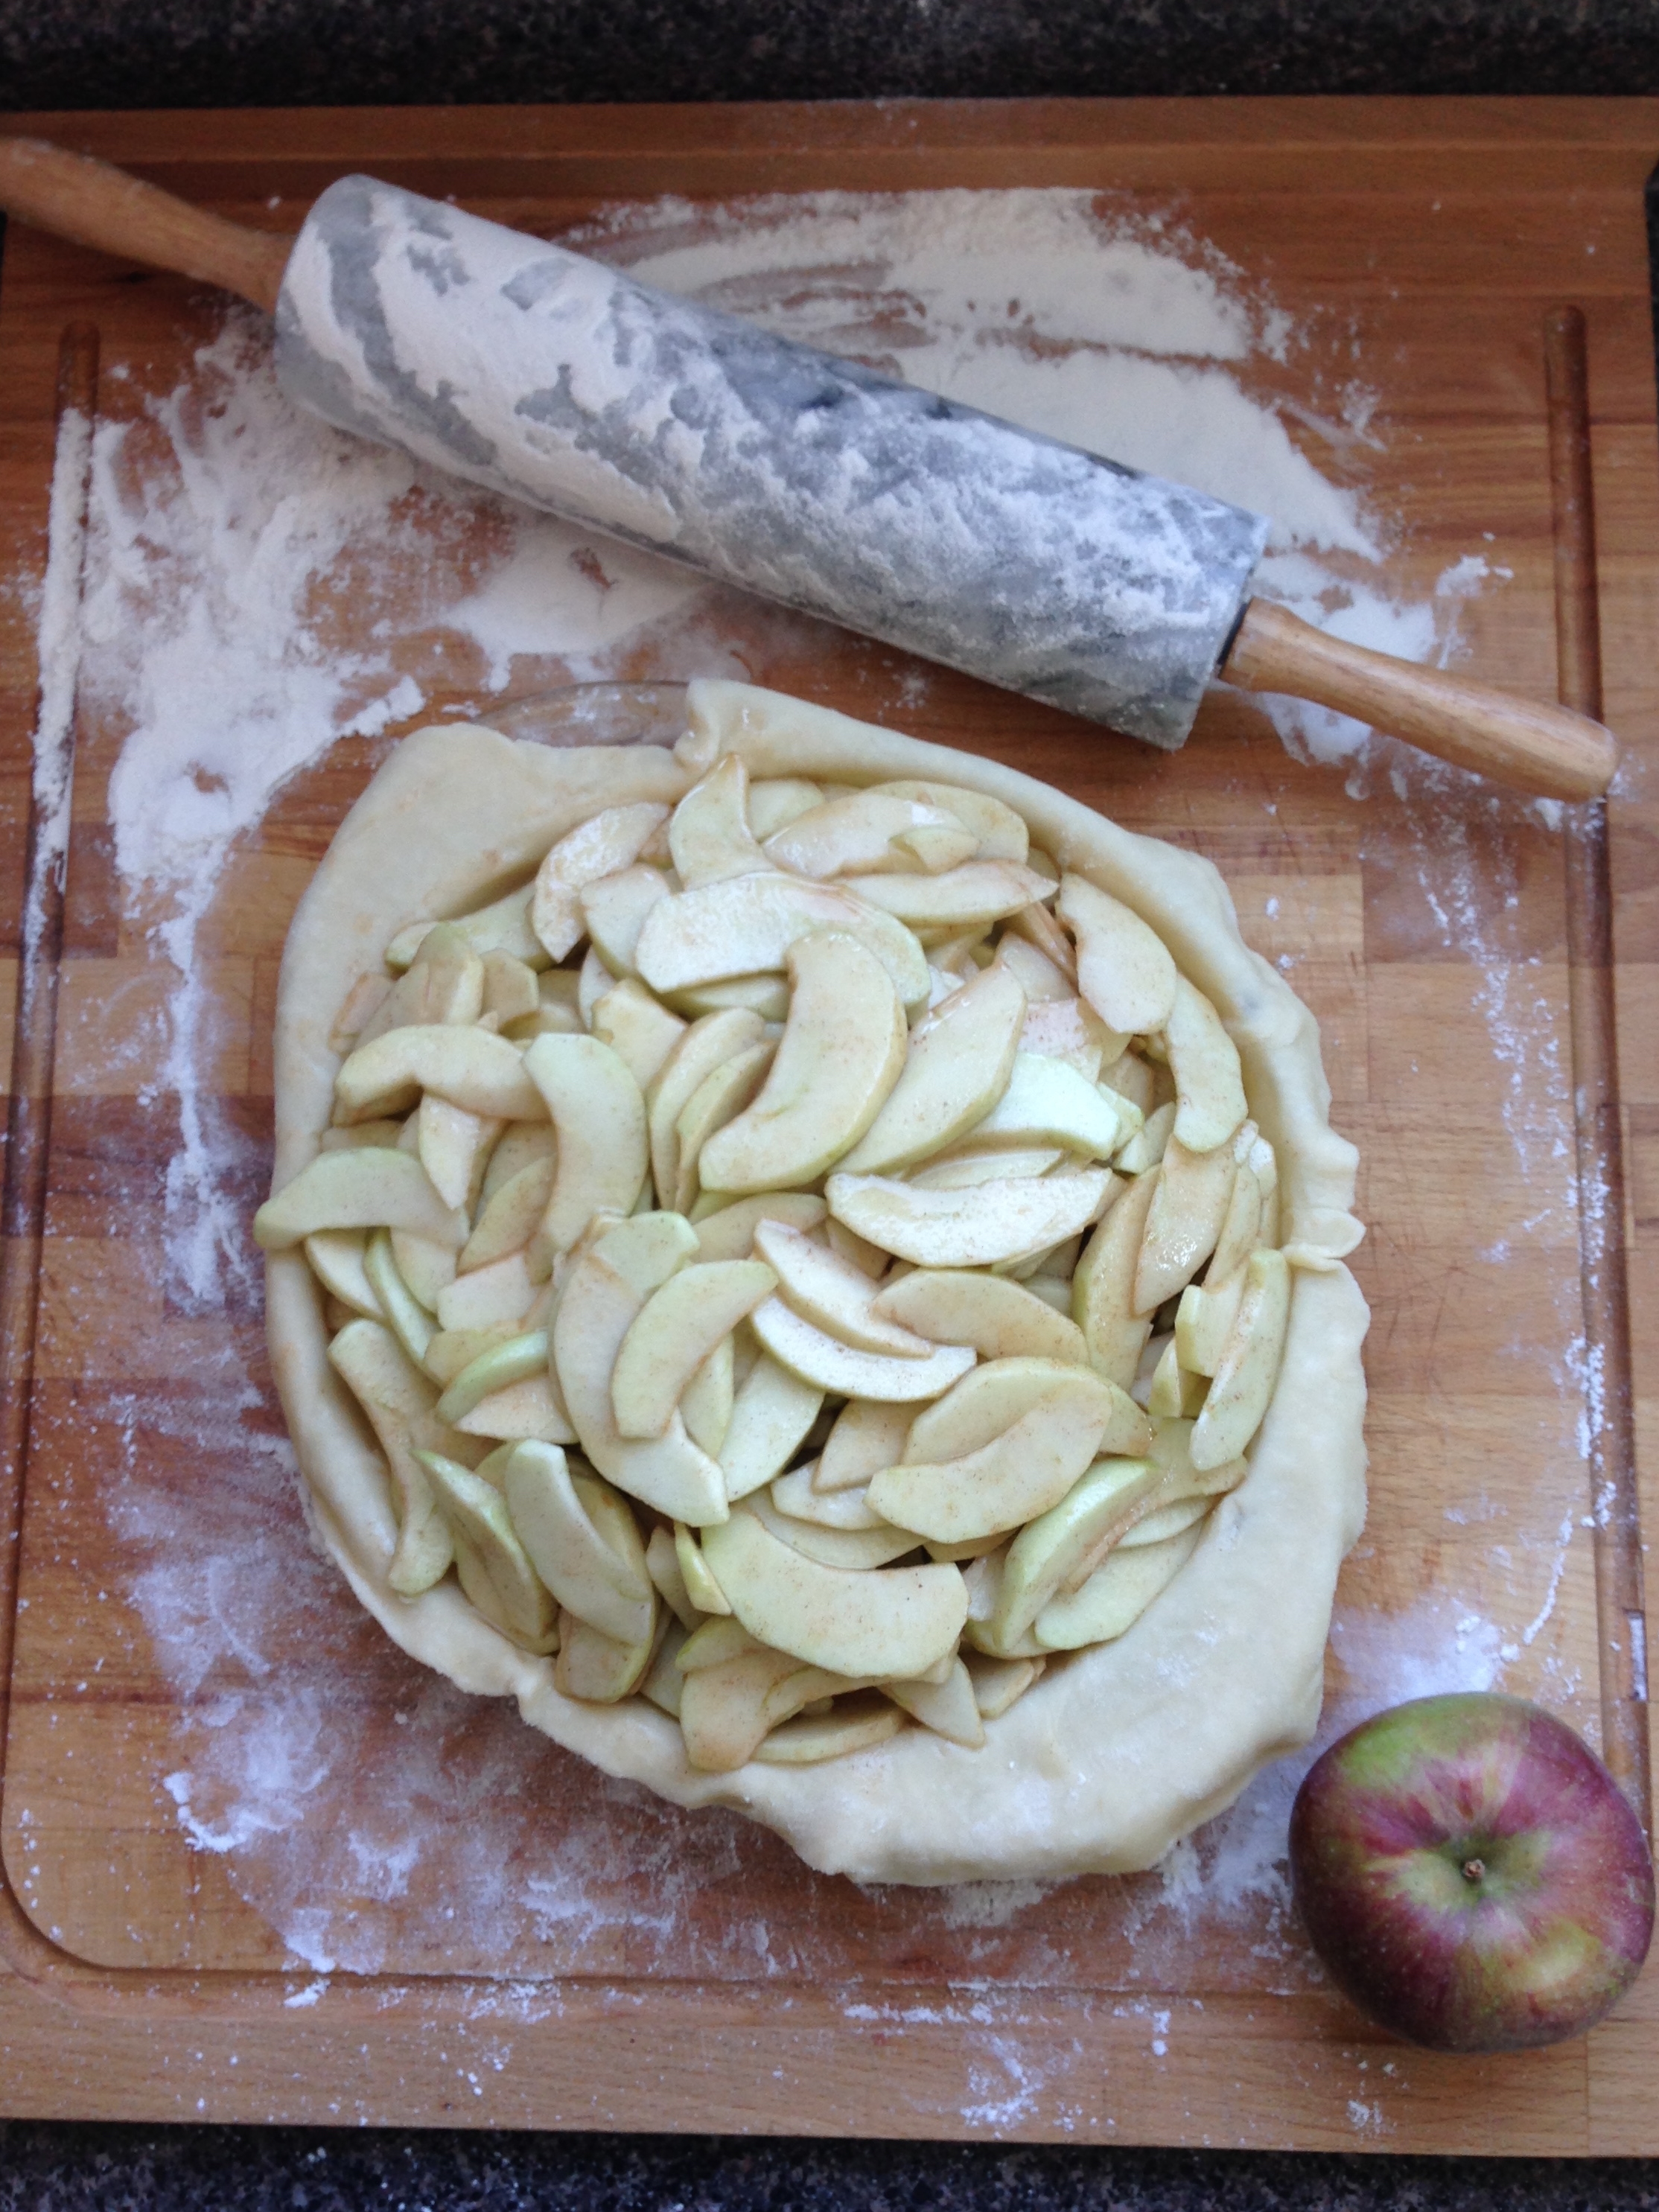
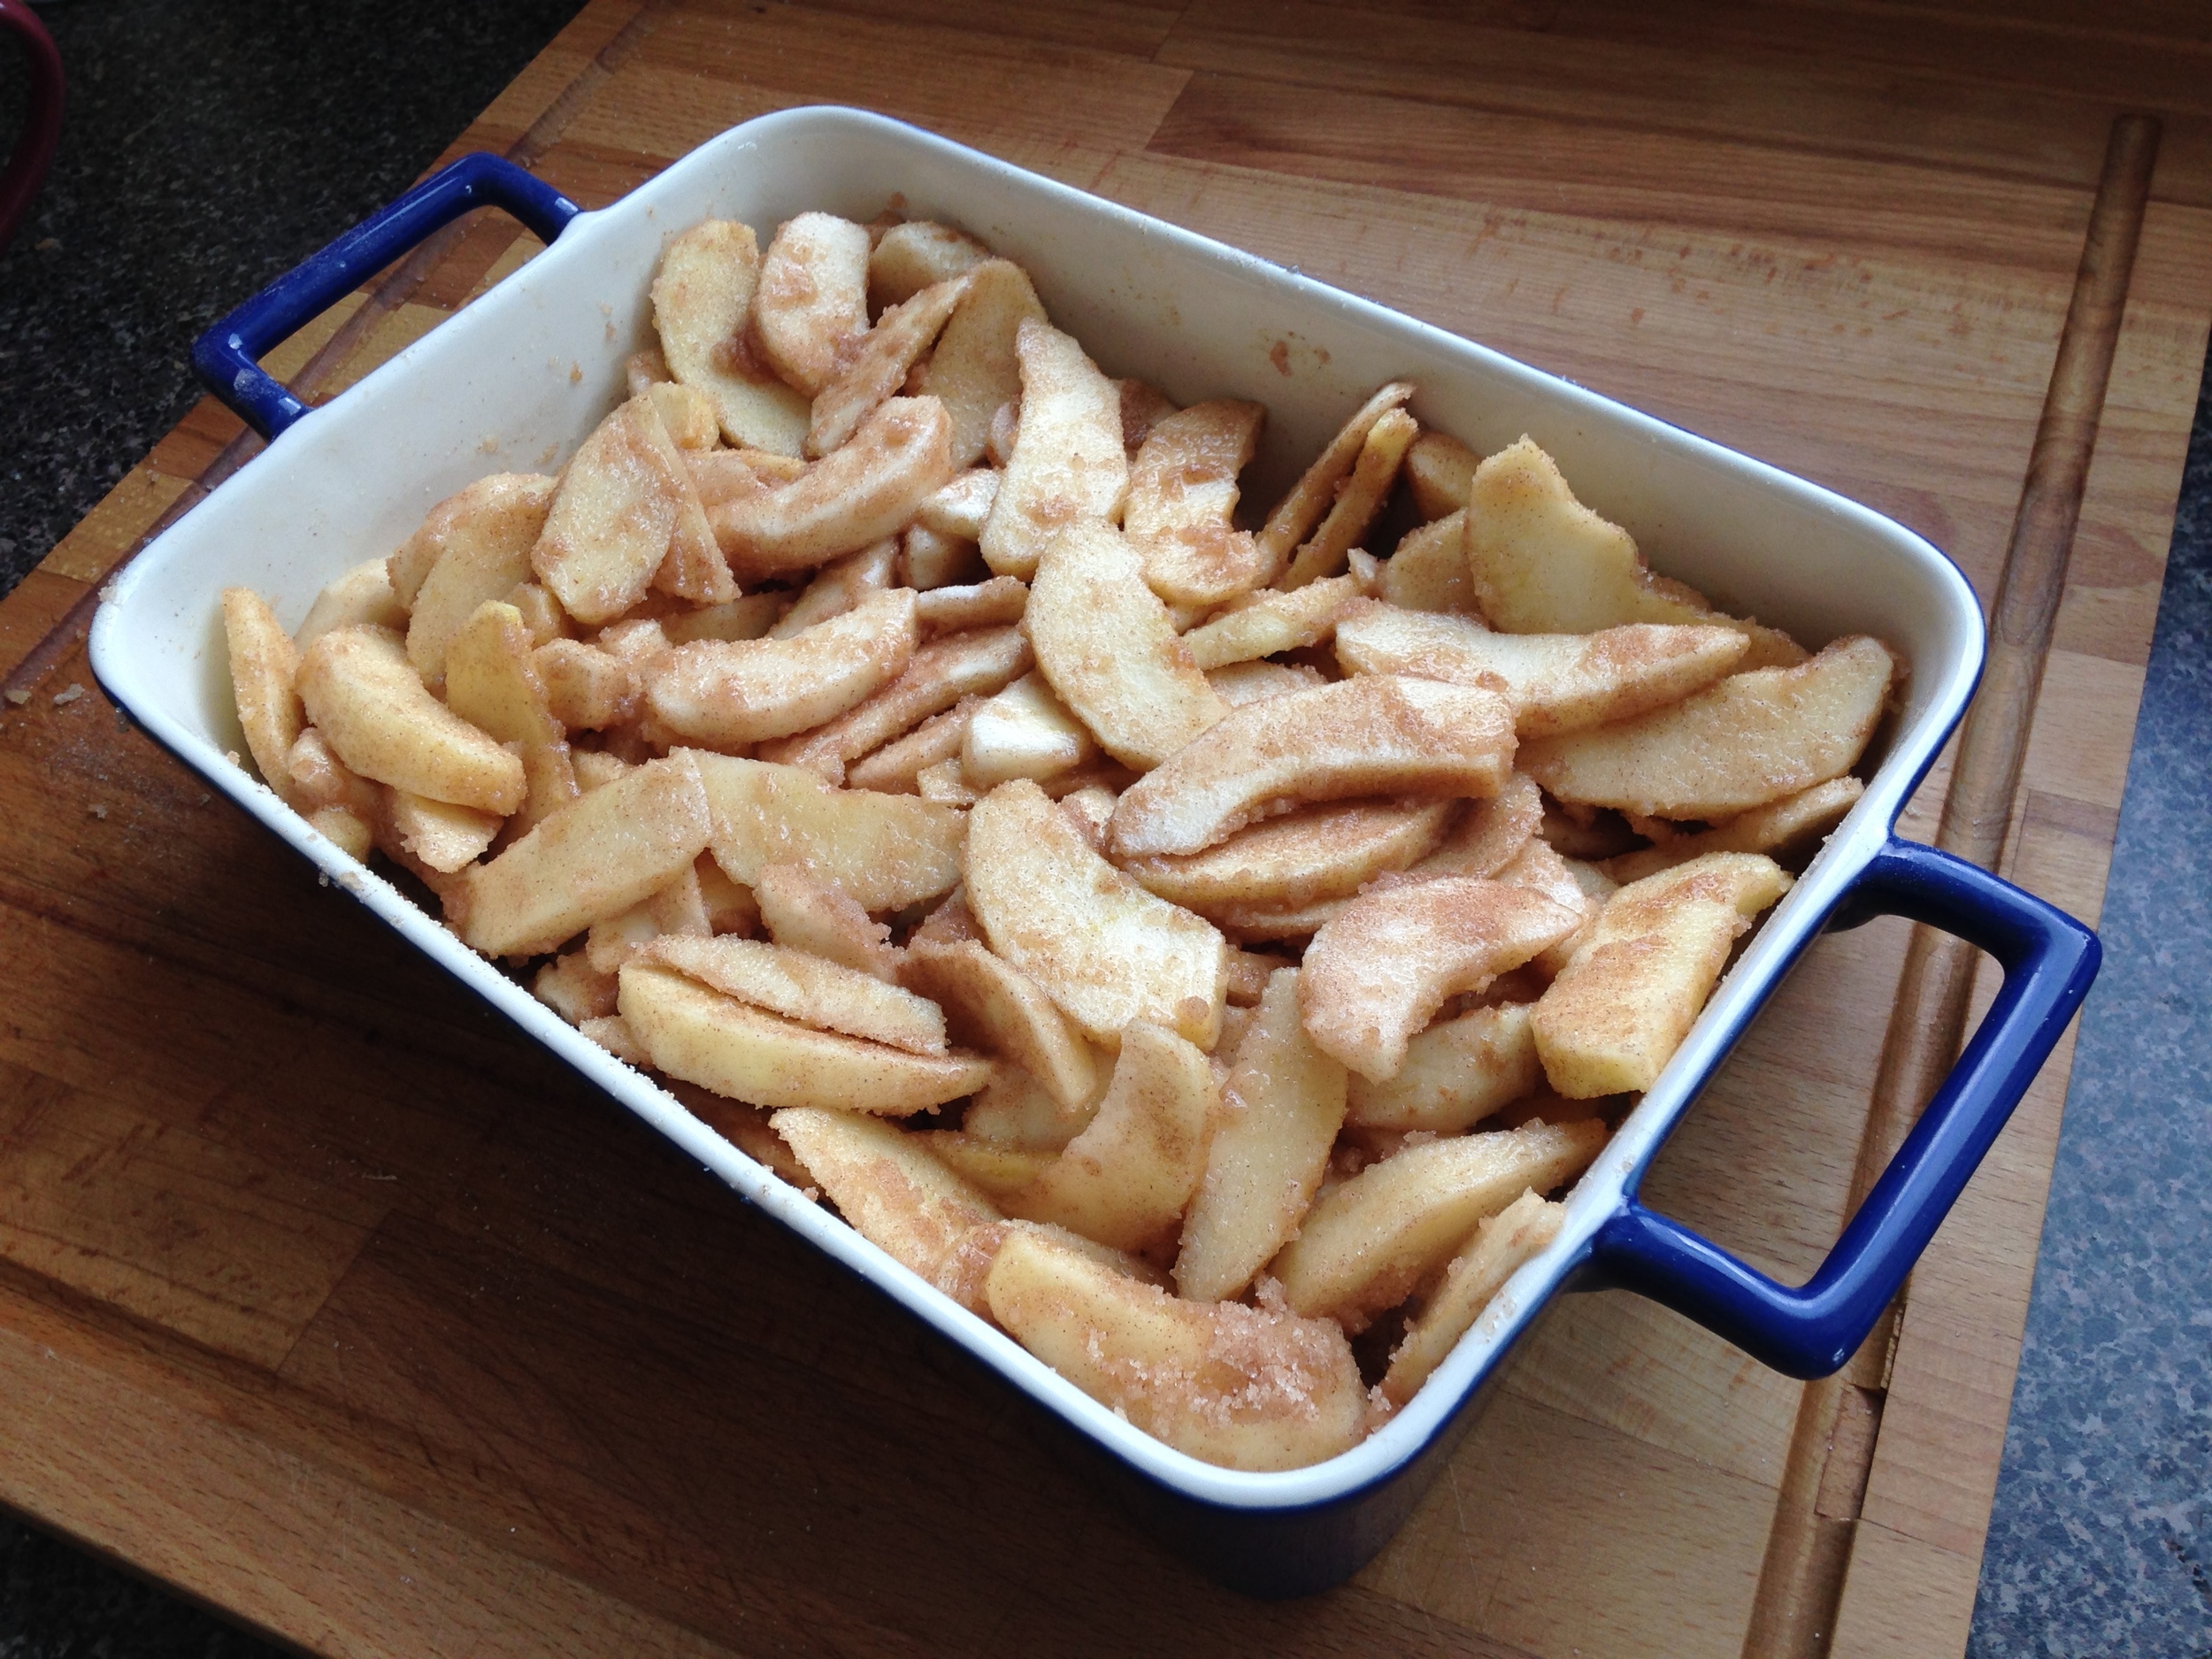
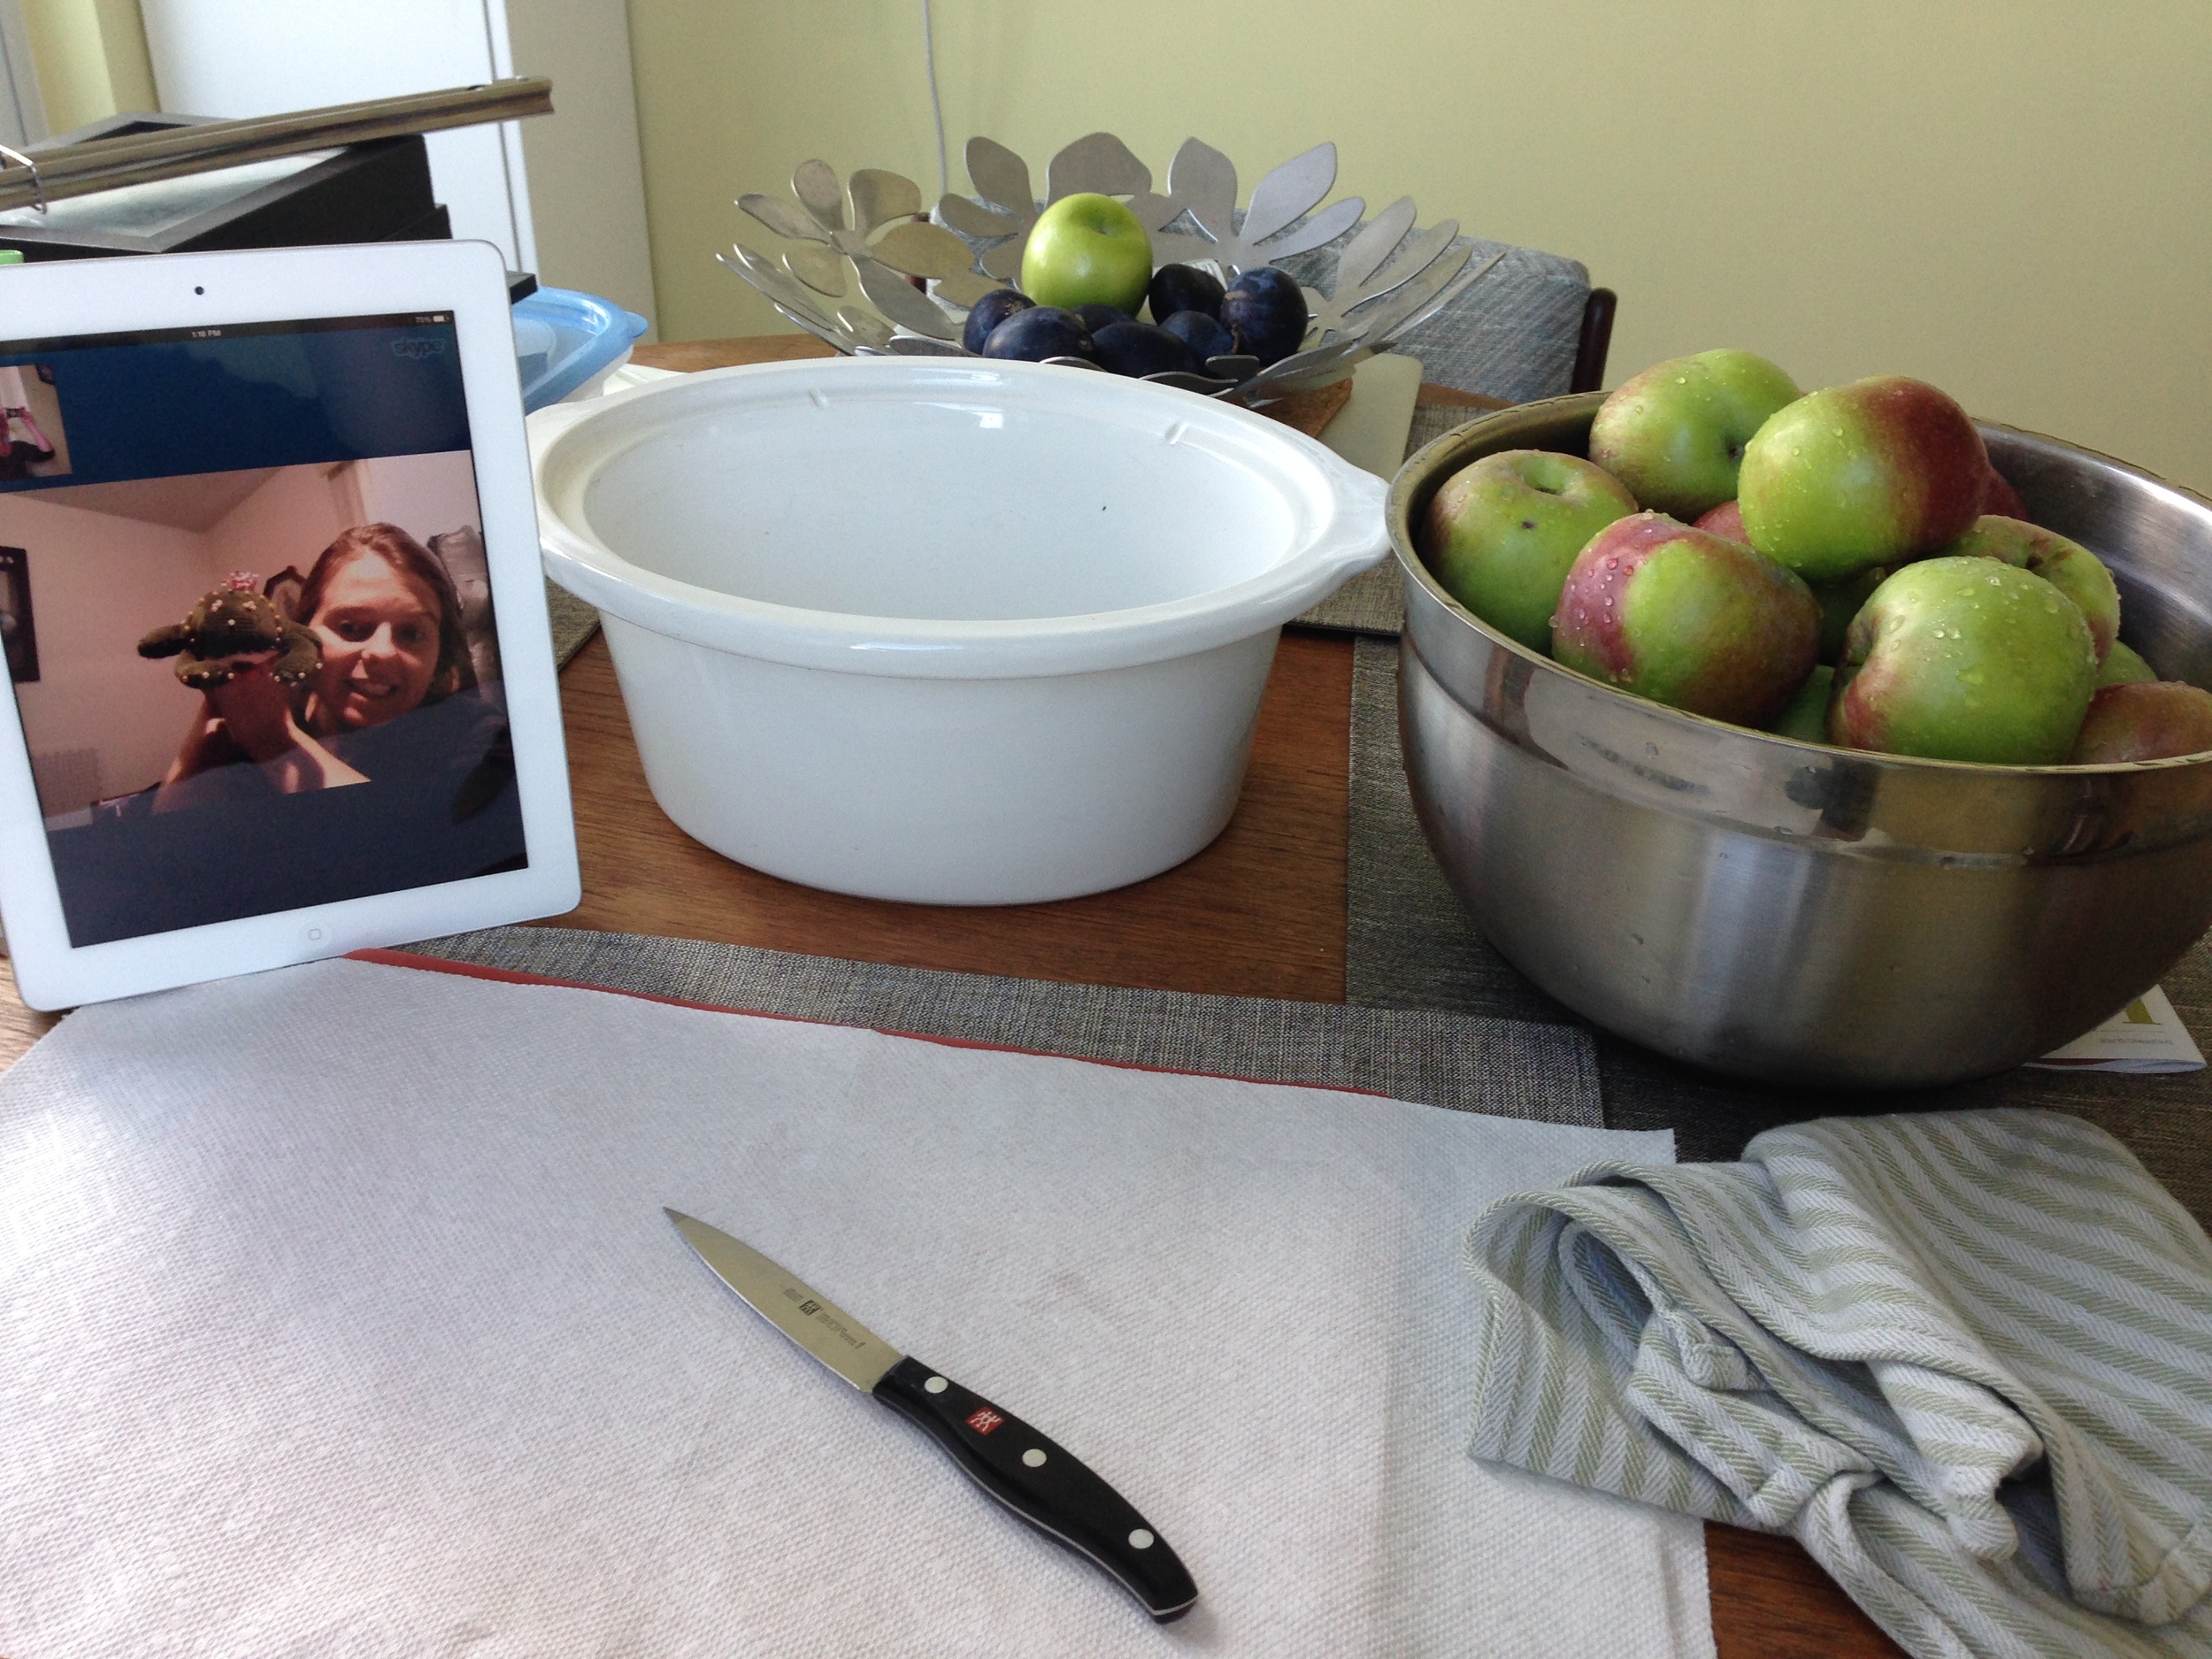
So I sat down with my lovely lady Lesley and got a'peelin'! The last of the apples were allotted for apple sauce, another canning first. I got out the handy dandy Joy of Cooking book and took a peek at what making apple sauce entailed. It's probably the simplest recipe I've seen when it comes to canning. Apples, washed and cored (peeled if you want), boil 'em, mash 'em and stick 'em in a can! I tweaked it a bit: 

Apple Sauce

~7lbs apples (I used McIntosh)
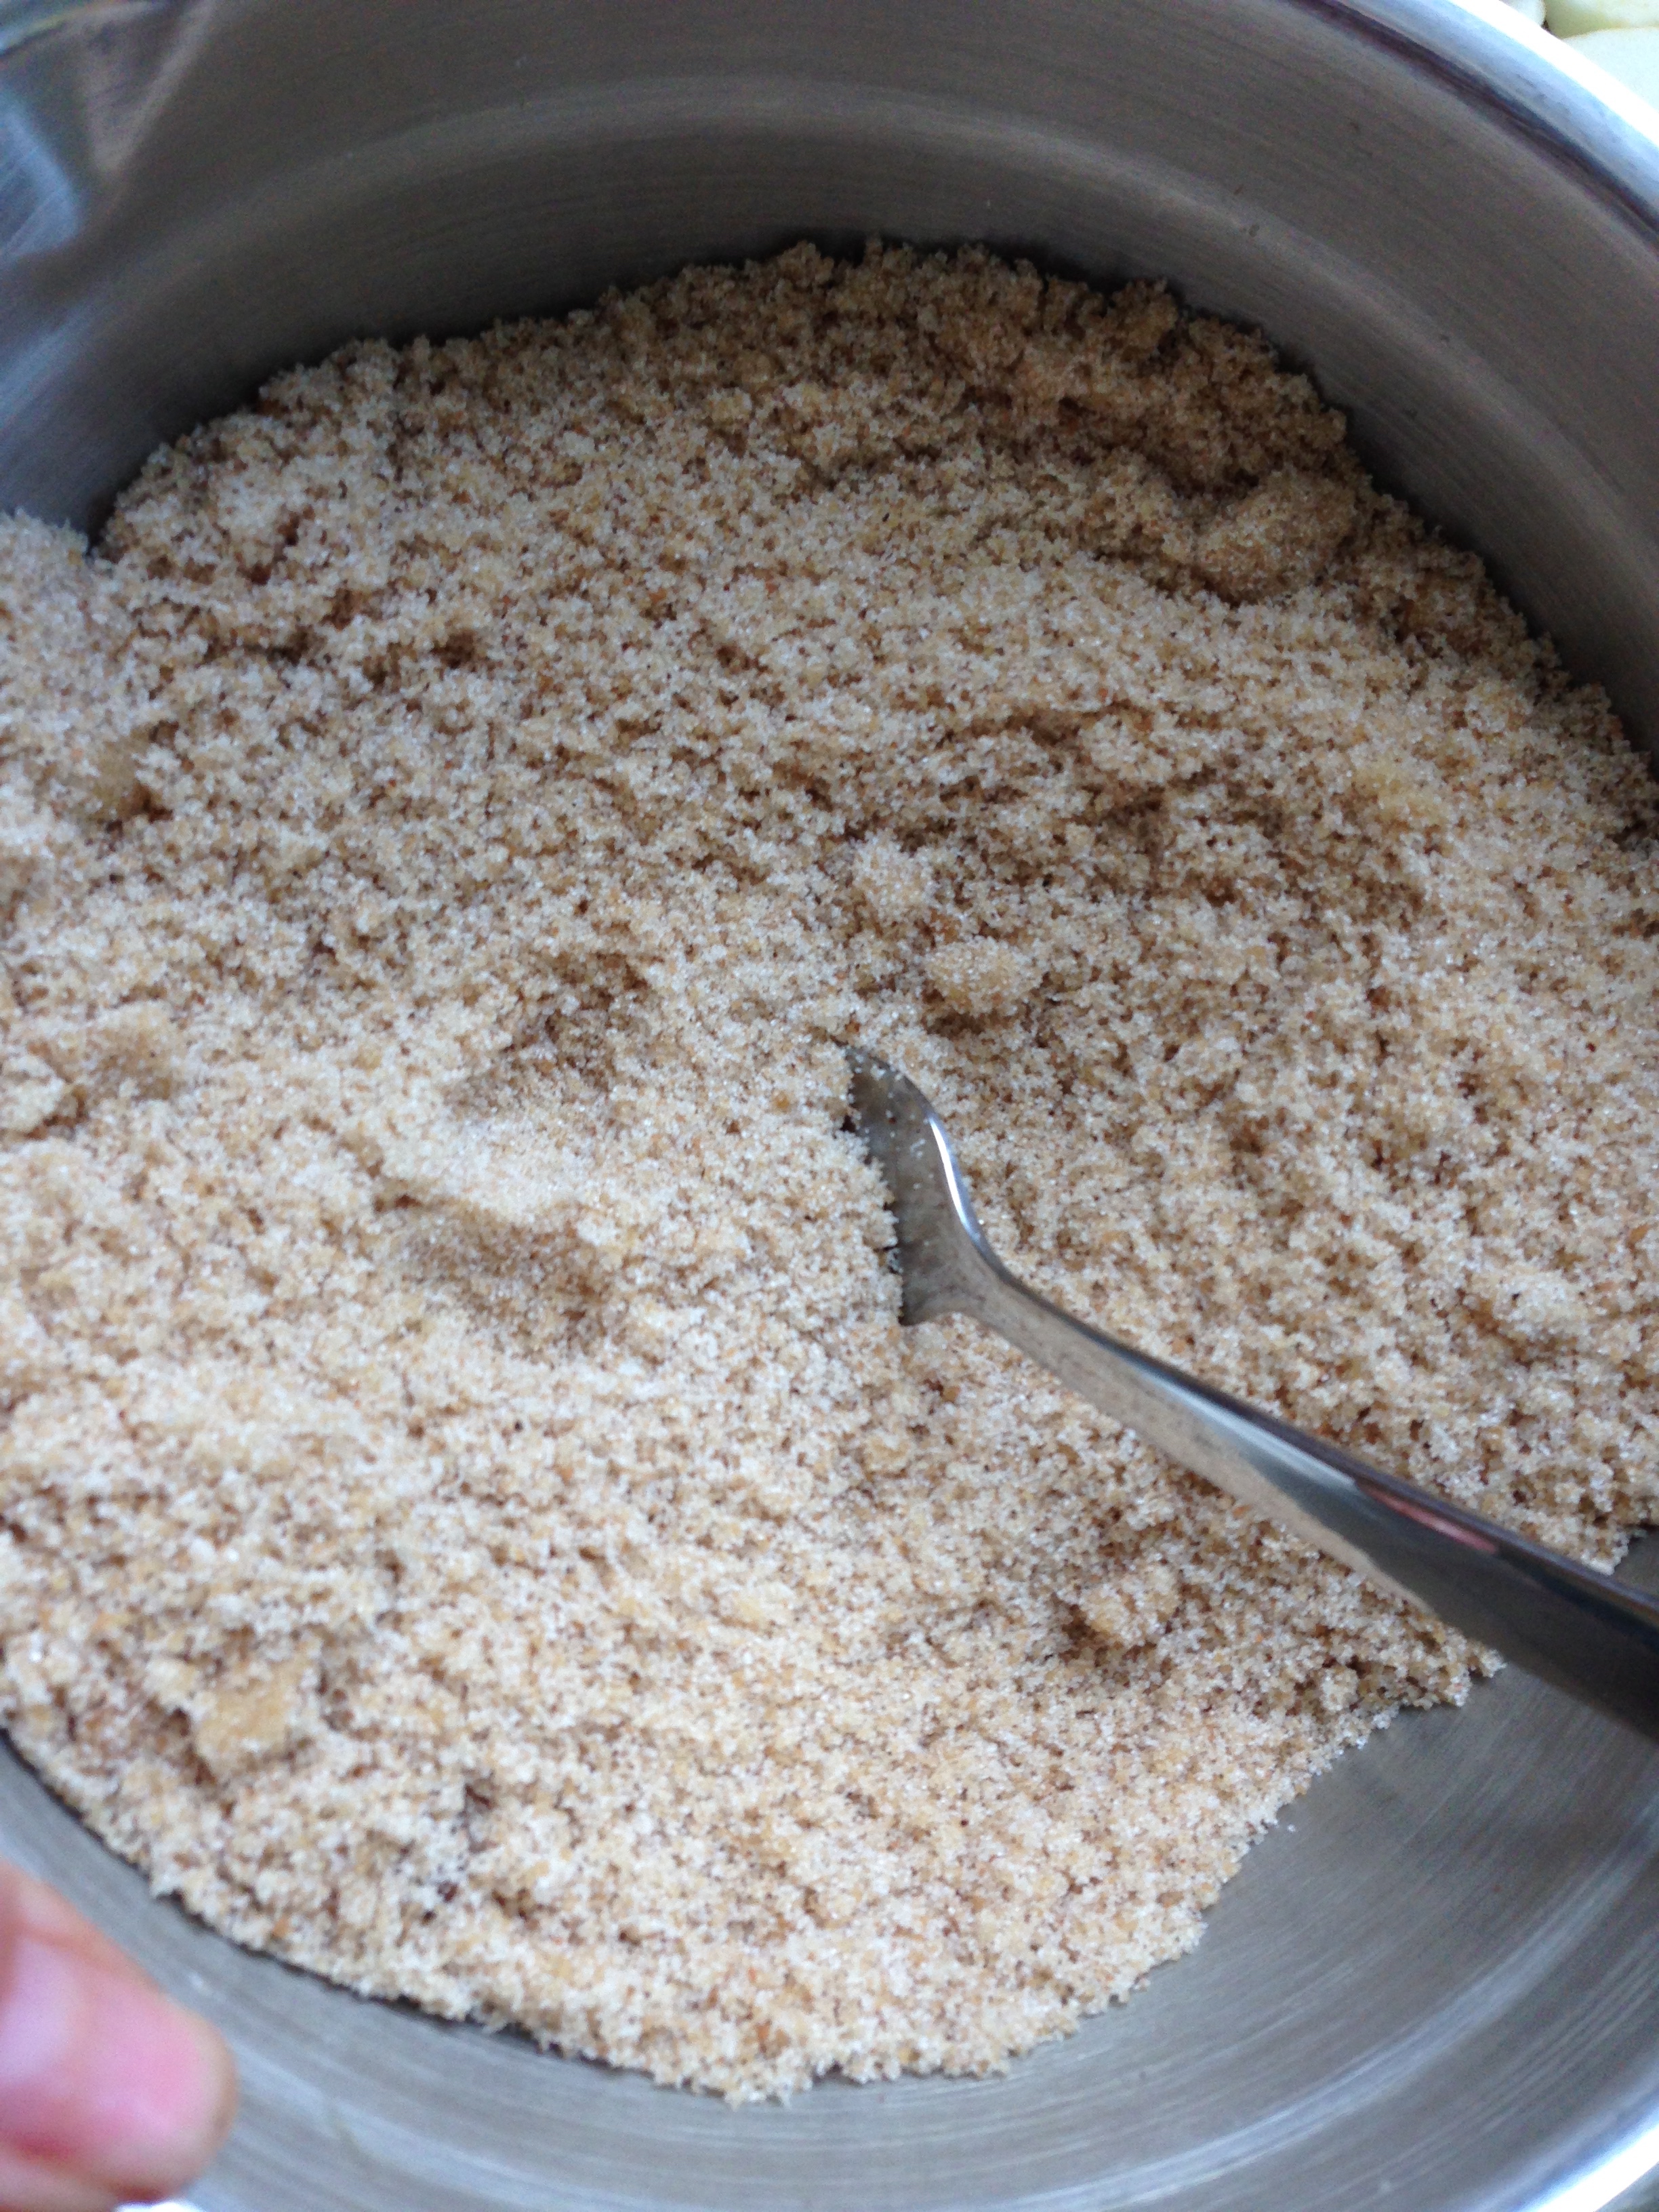
Cinnamon (optional)
Brown Sugar (optional)

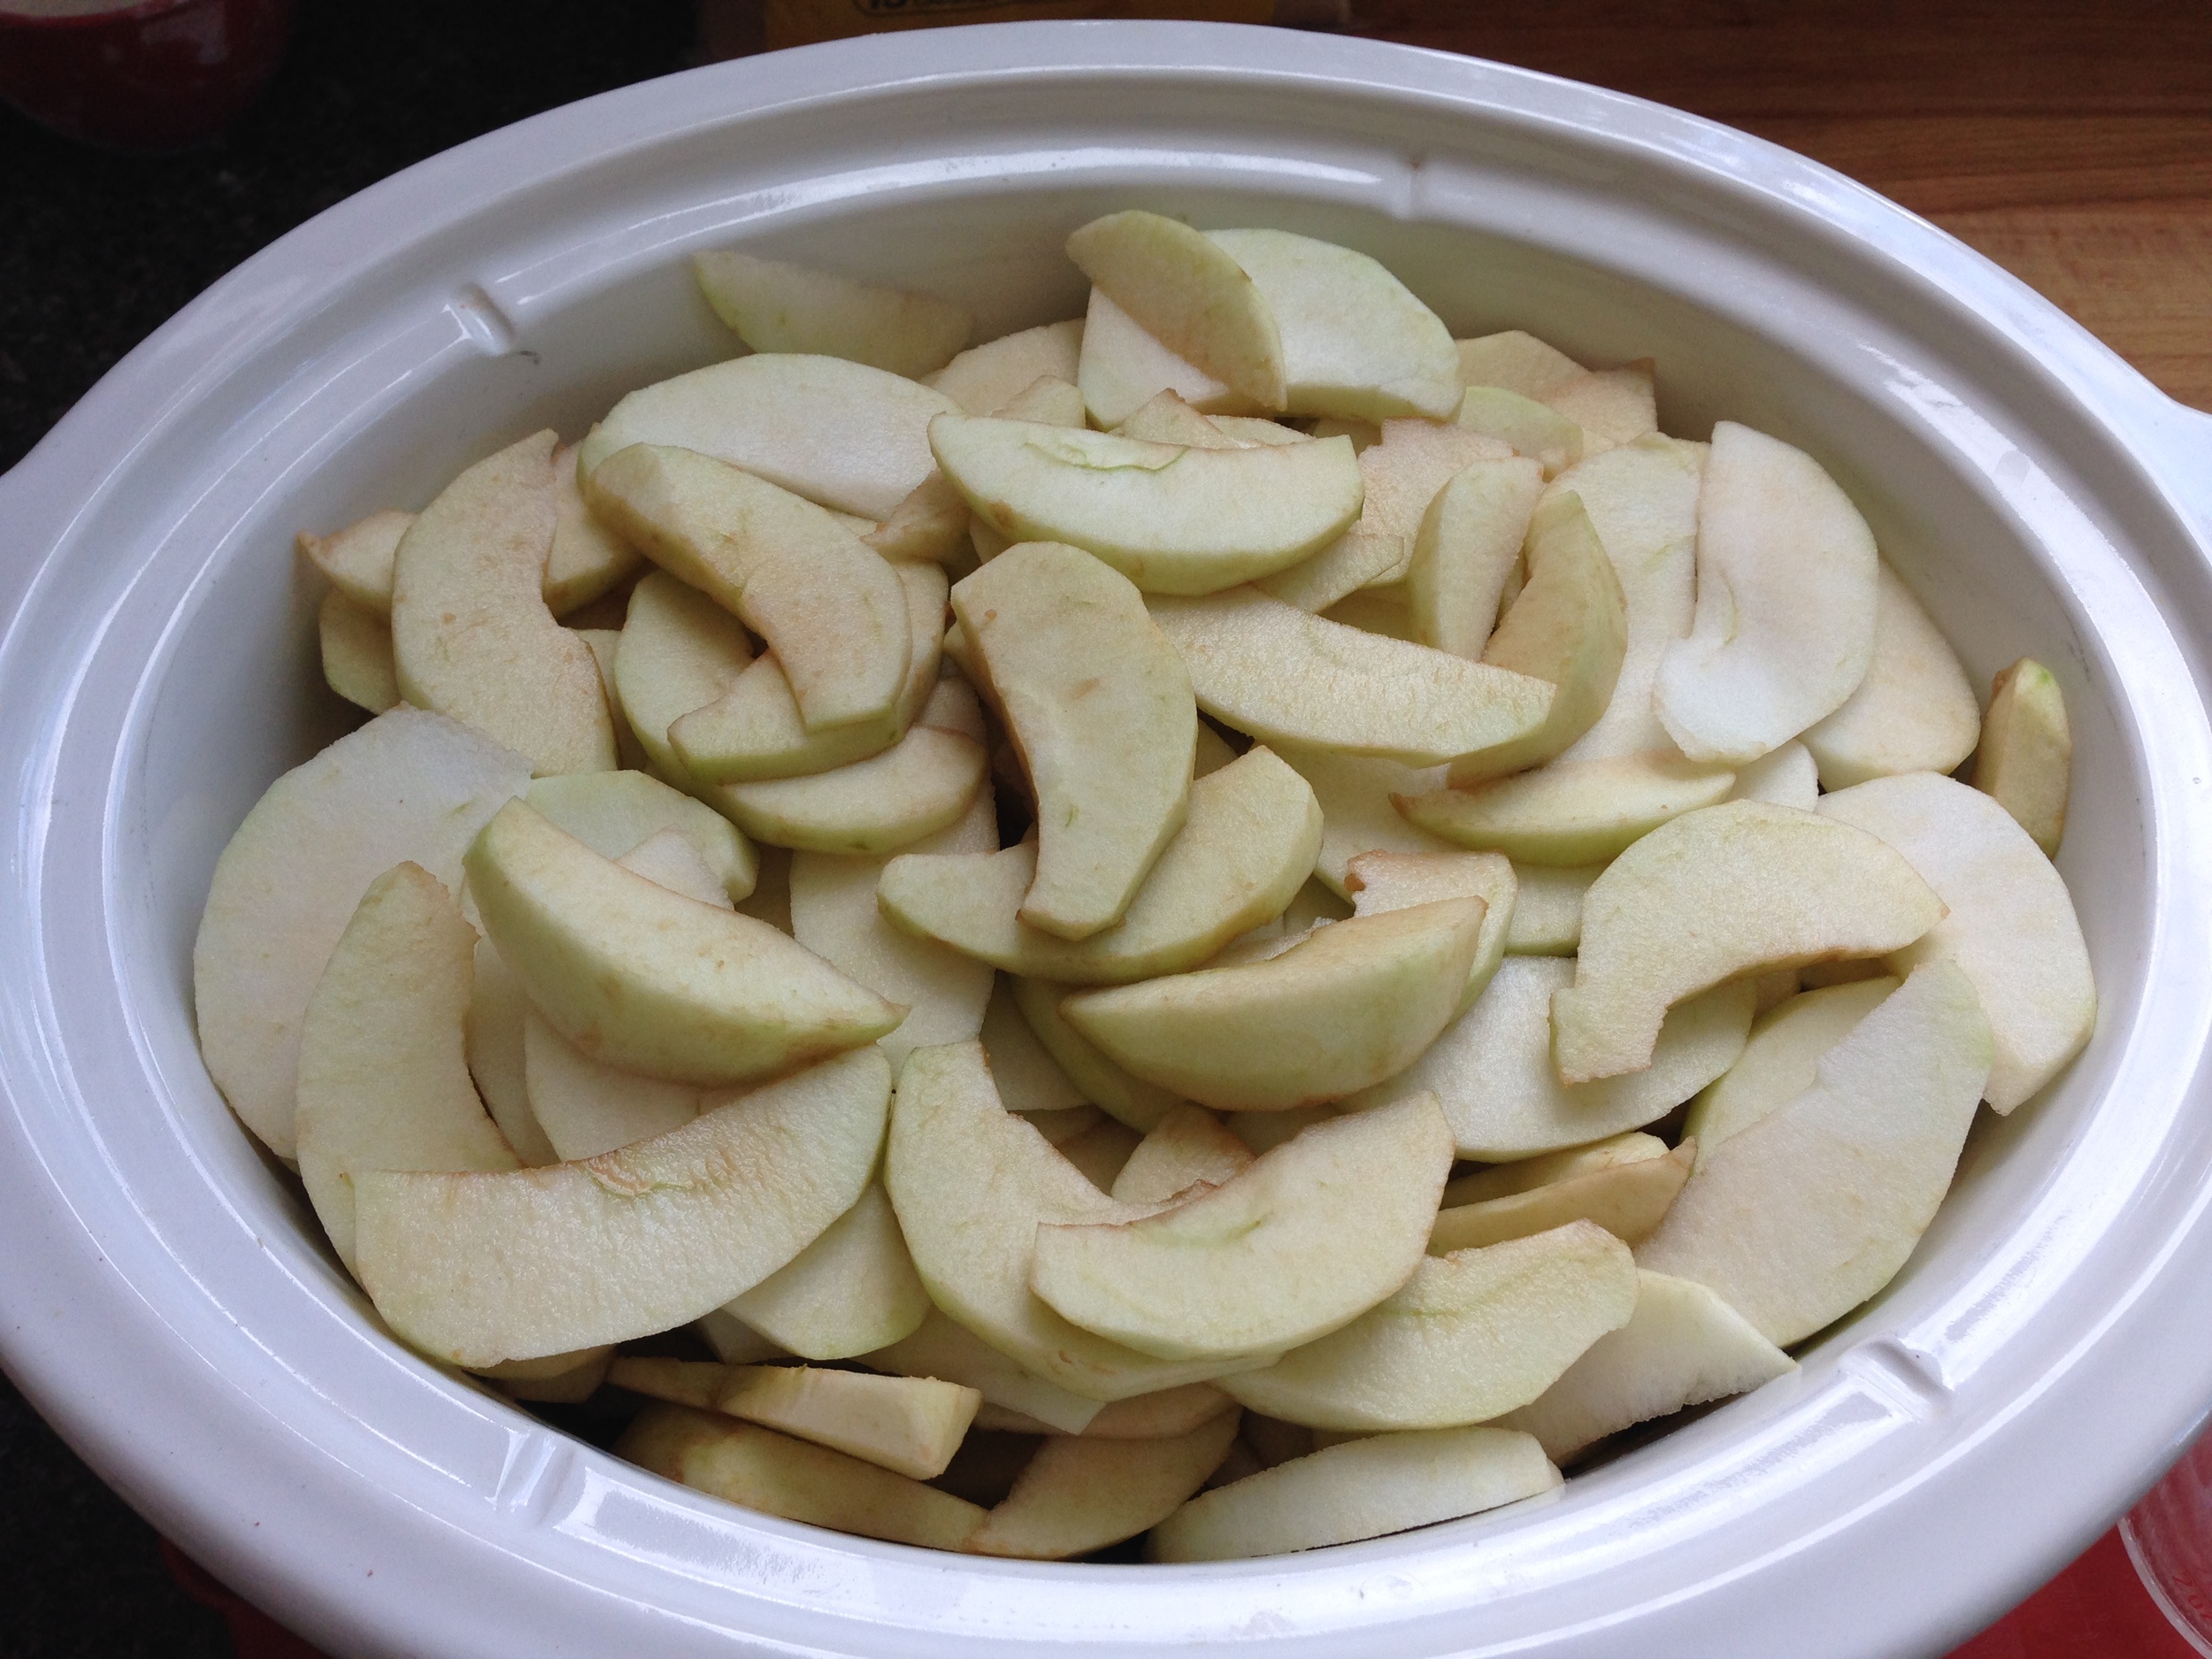
  1. Prepare an anti-browning solution. (Either lemon juice or dissolved vitamin C tablets or a specifically purchased anti-browning agent.)
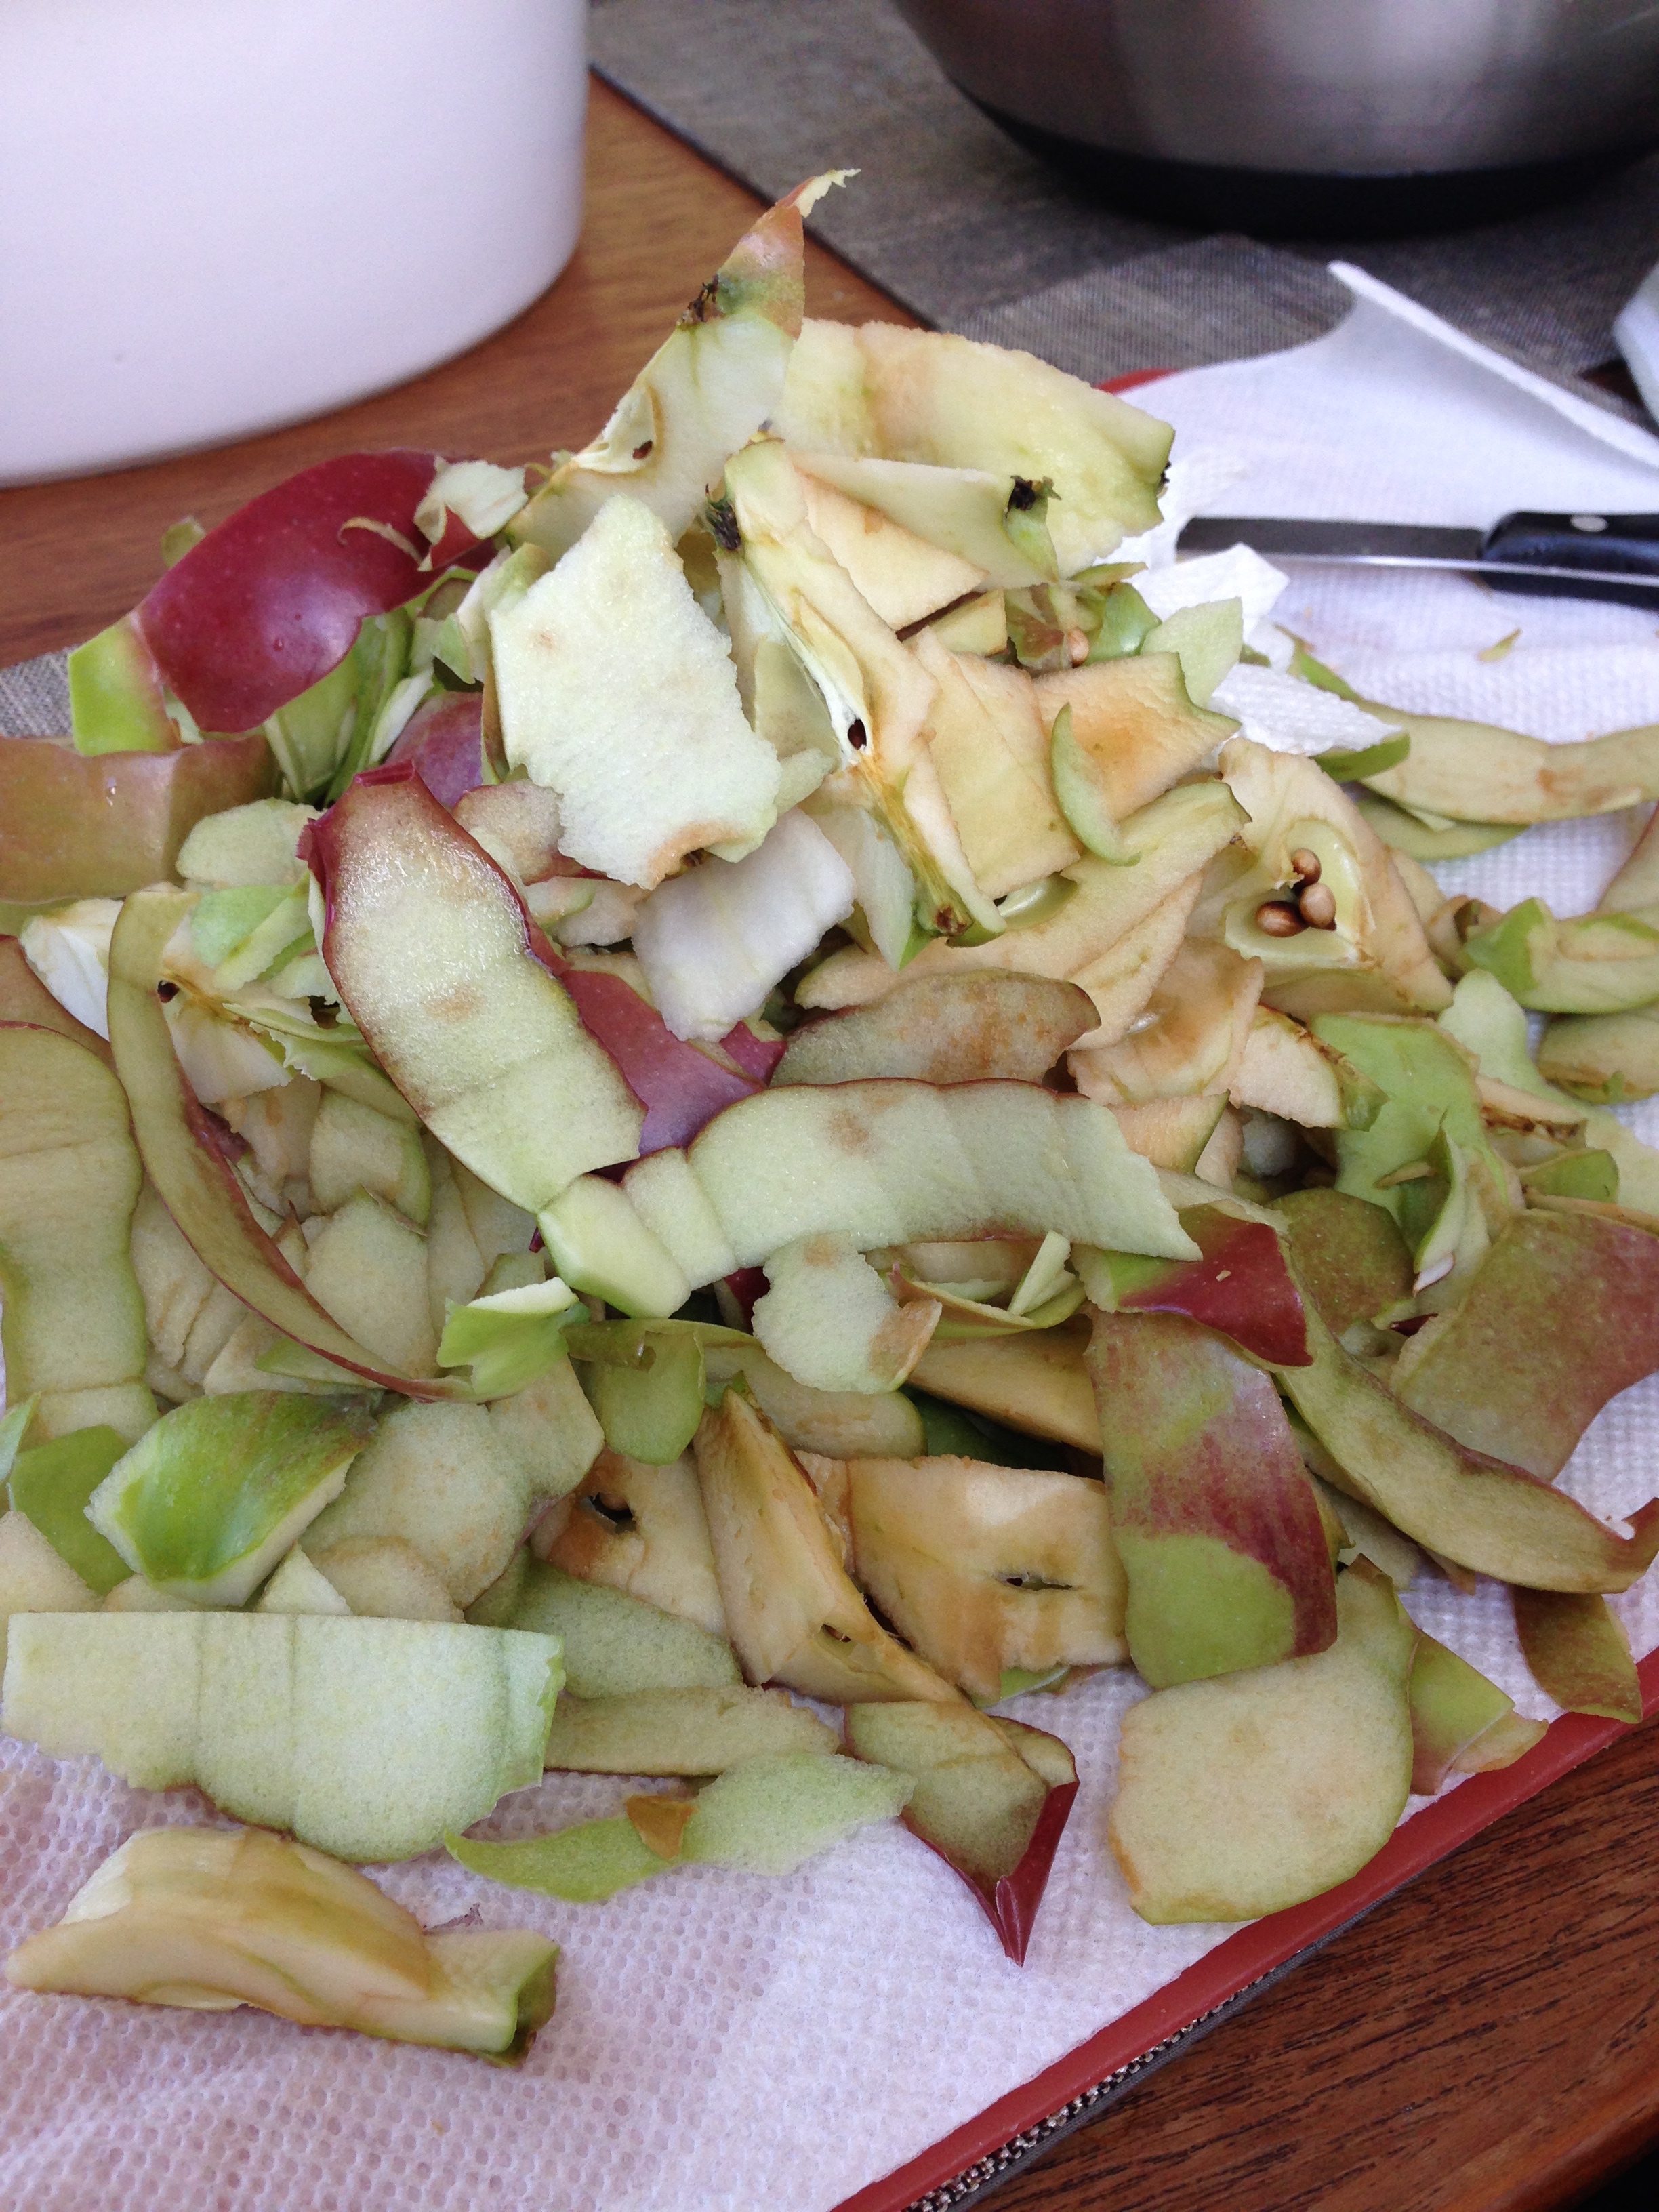
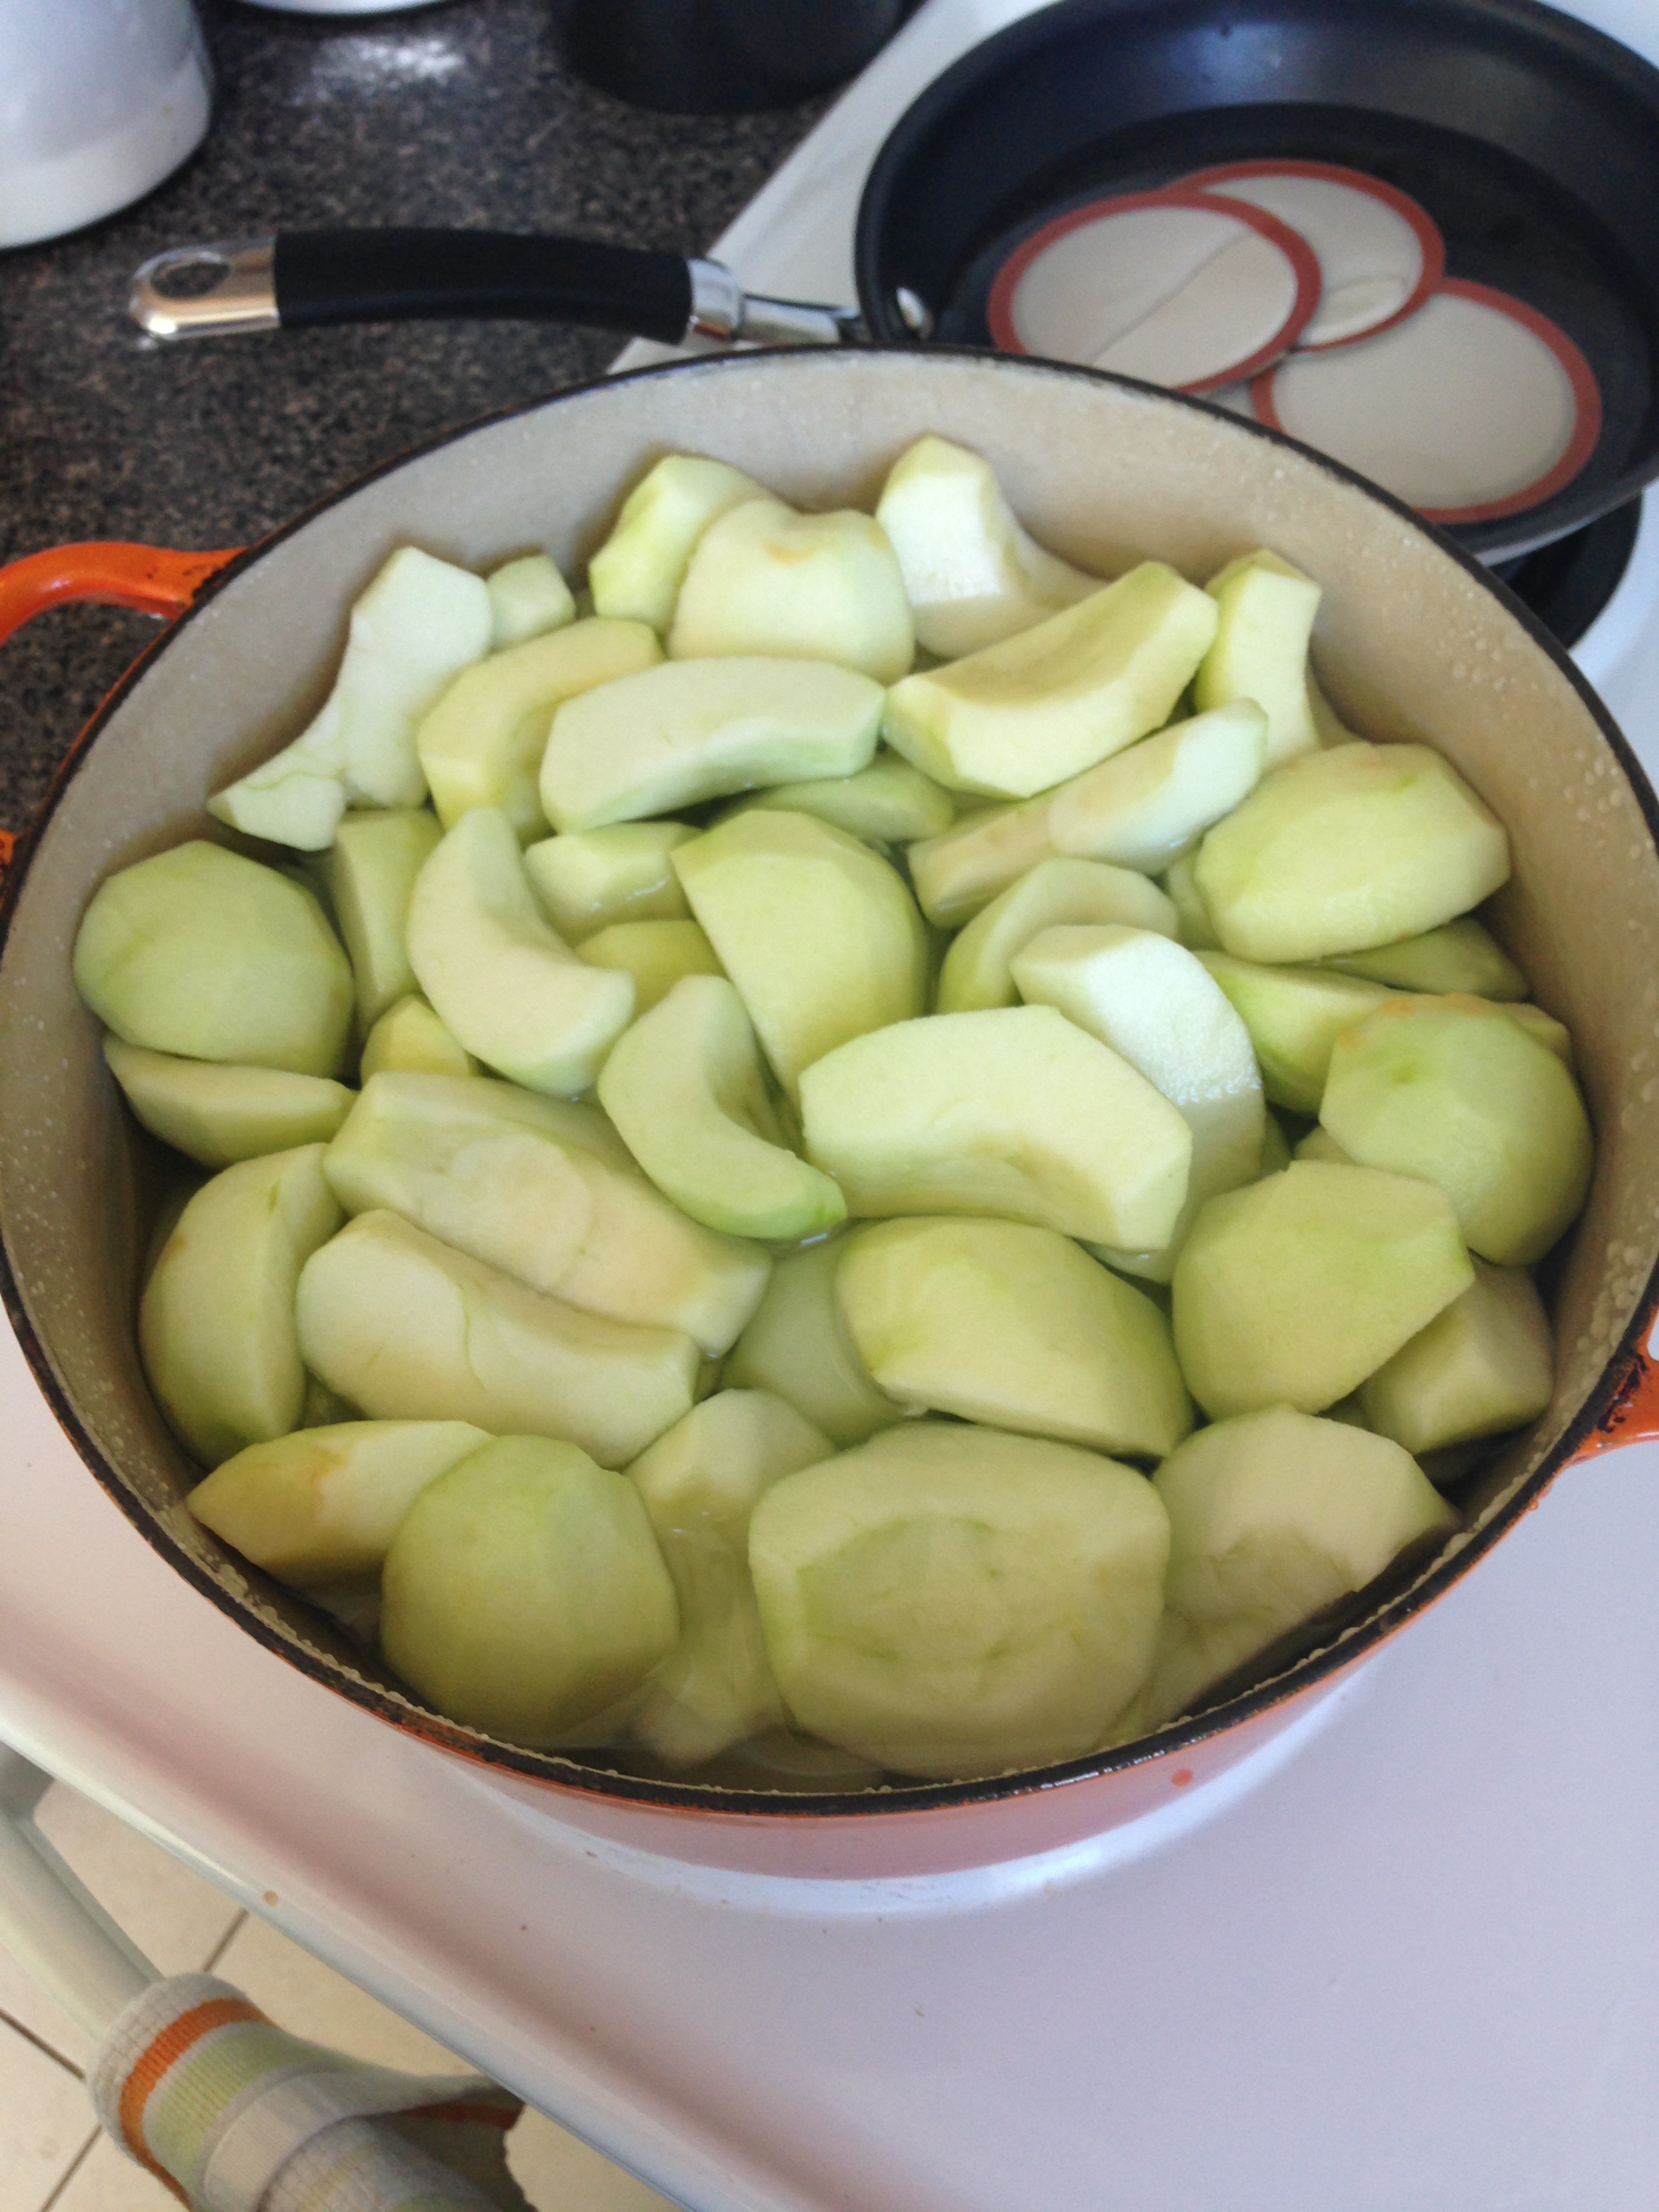
  2. Wash, peel and core apples. Cut into quarters. Place into anti-browning solution. Repeat till all the apples are prepared. 
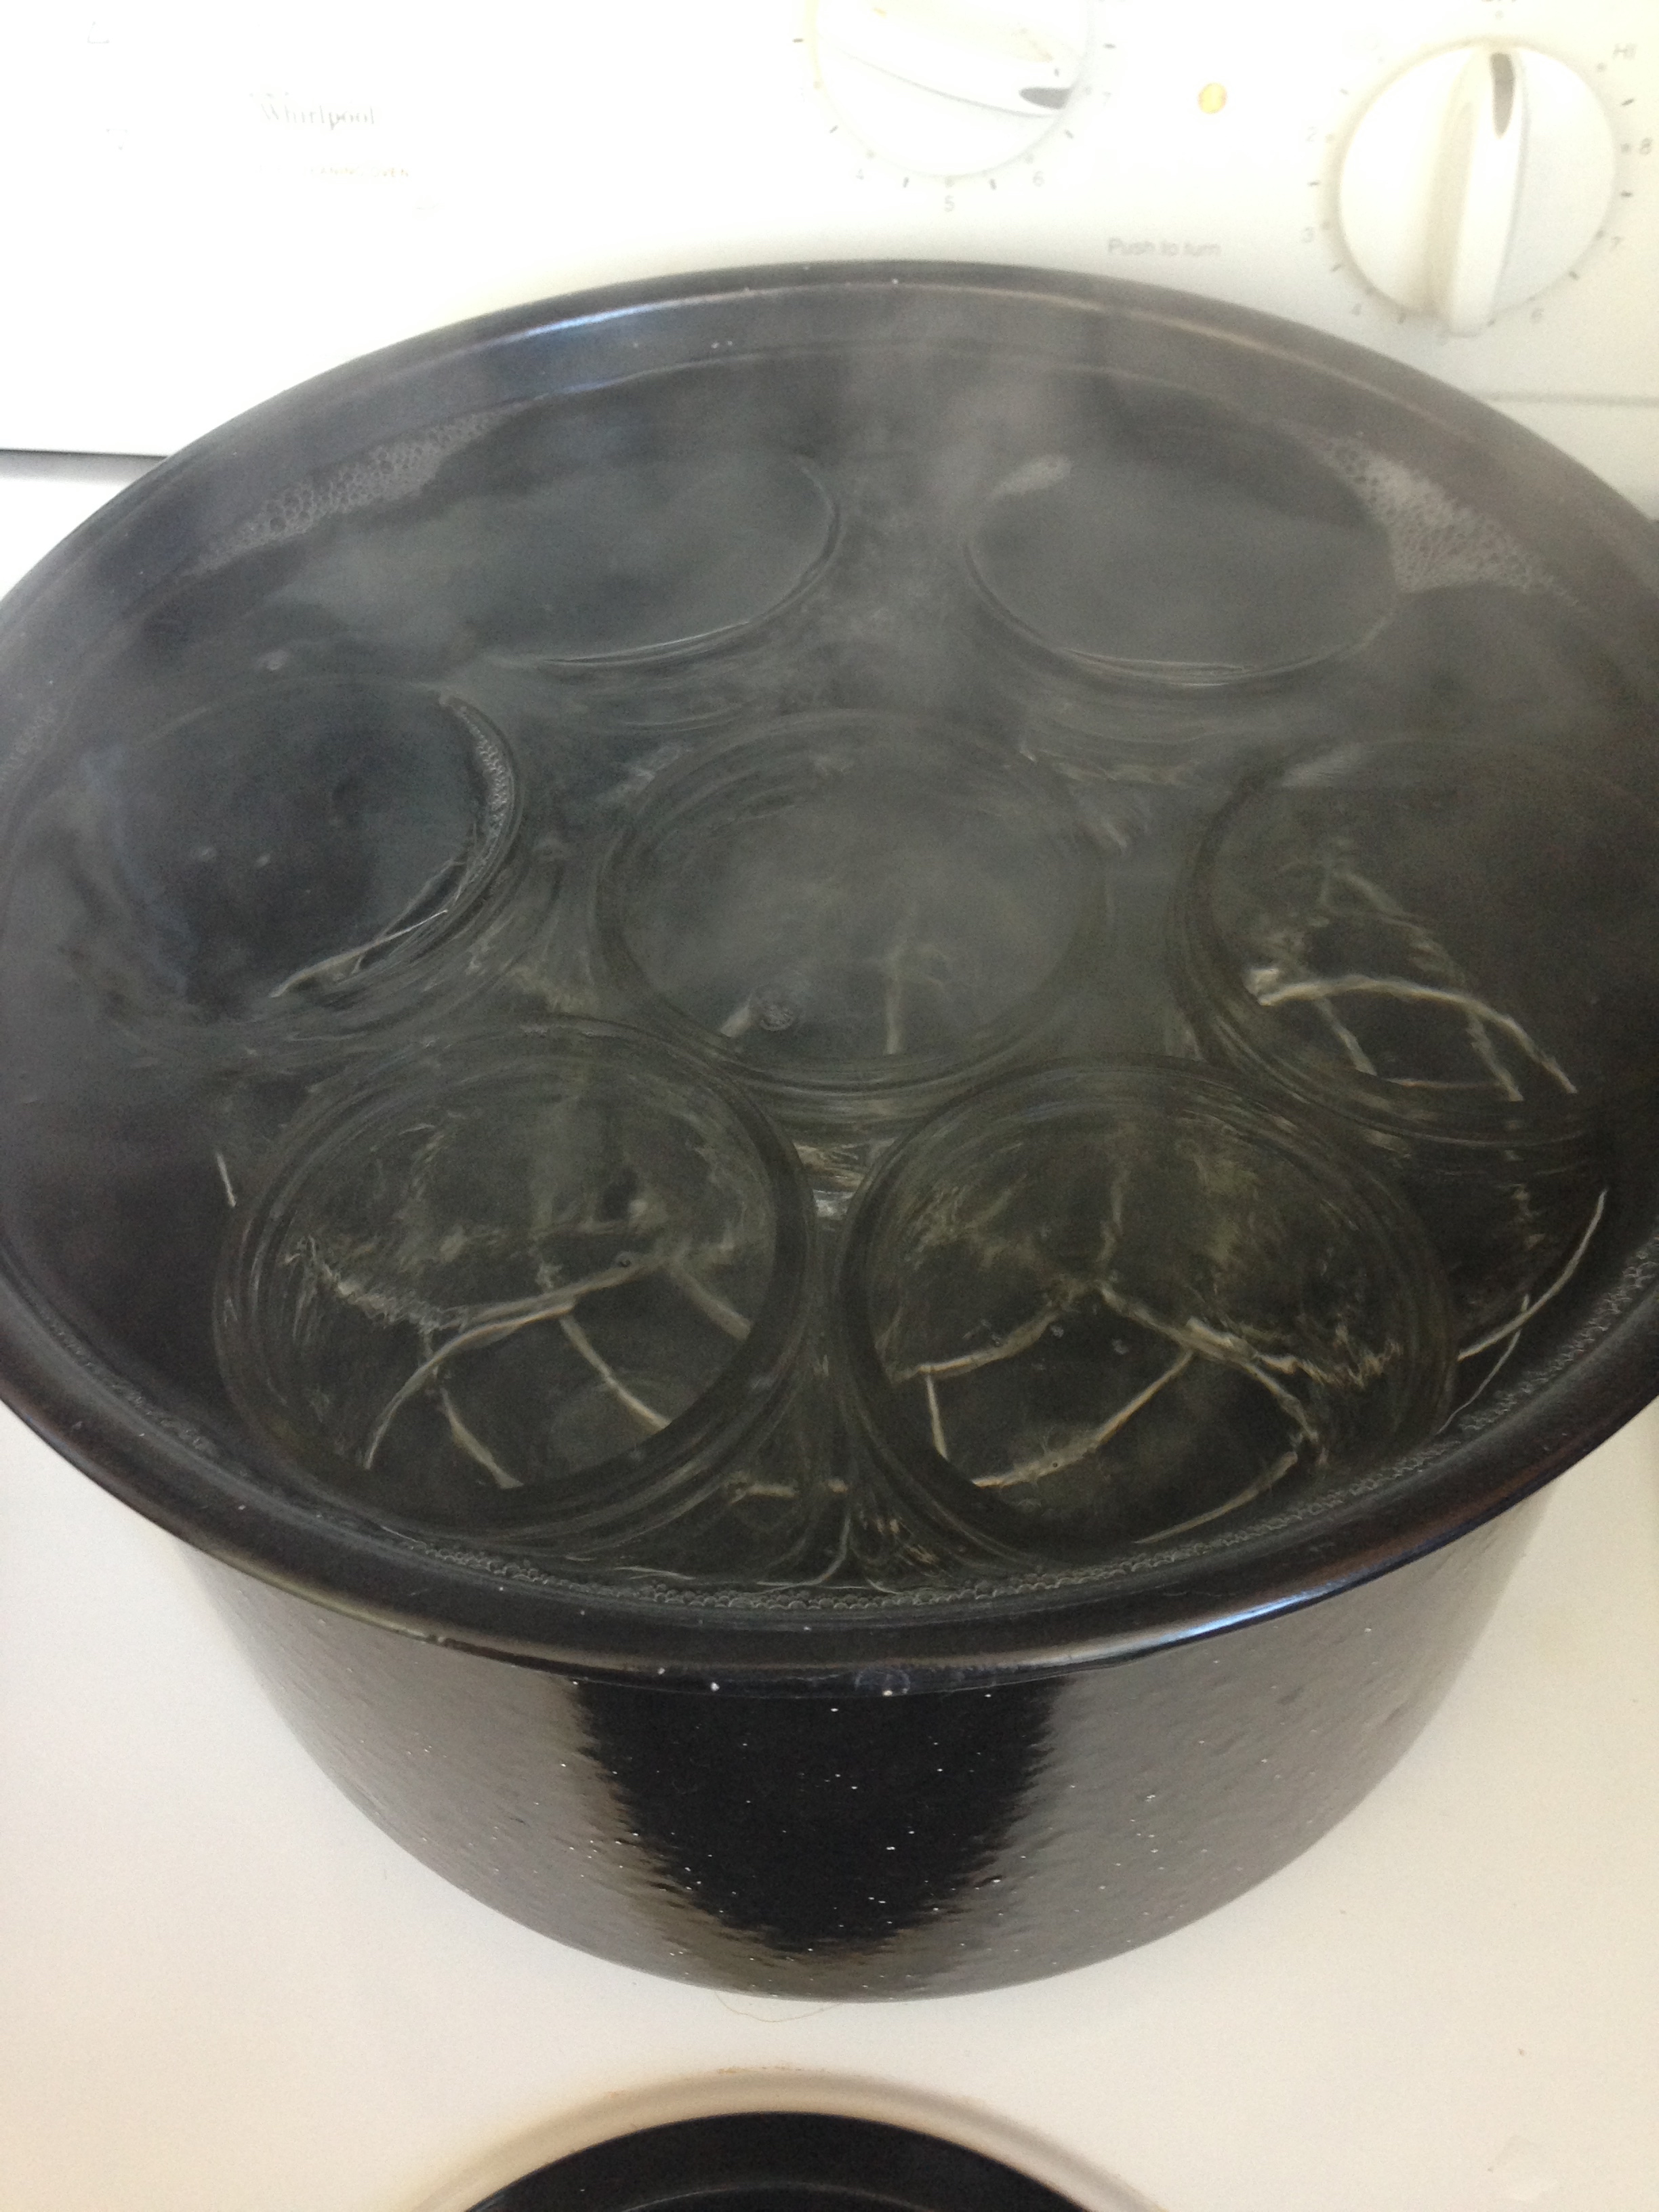
  3. Prepare jars for canning. See here for sterilization directions.
  4. Drain apples from anti-browning solution.
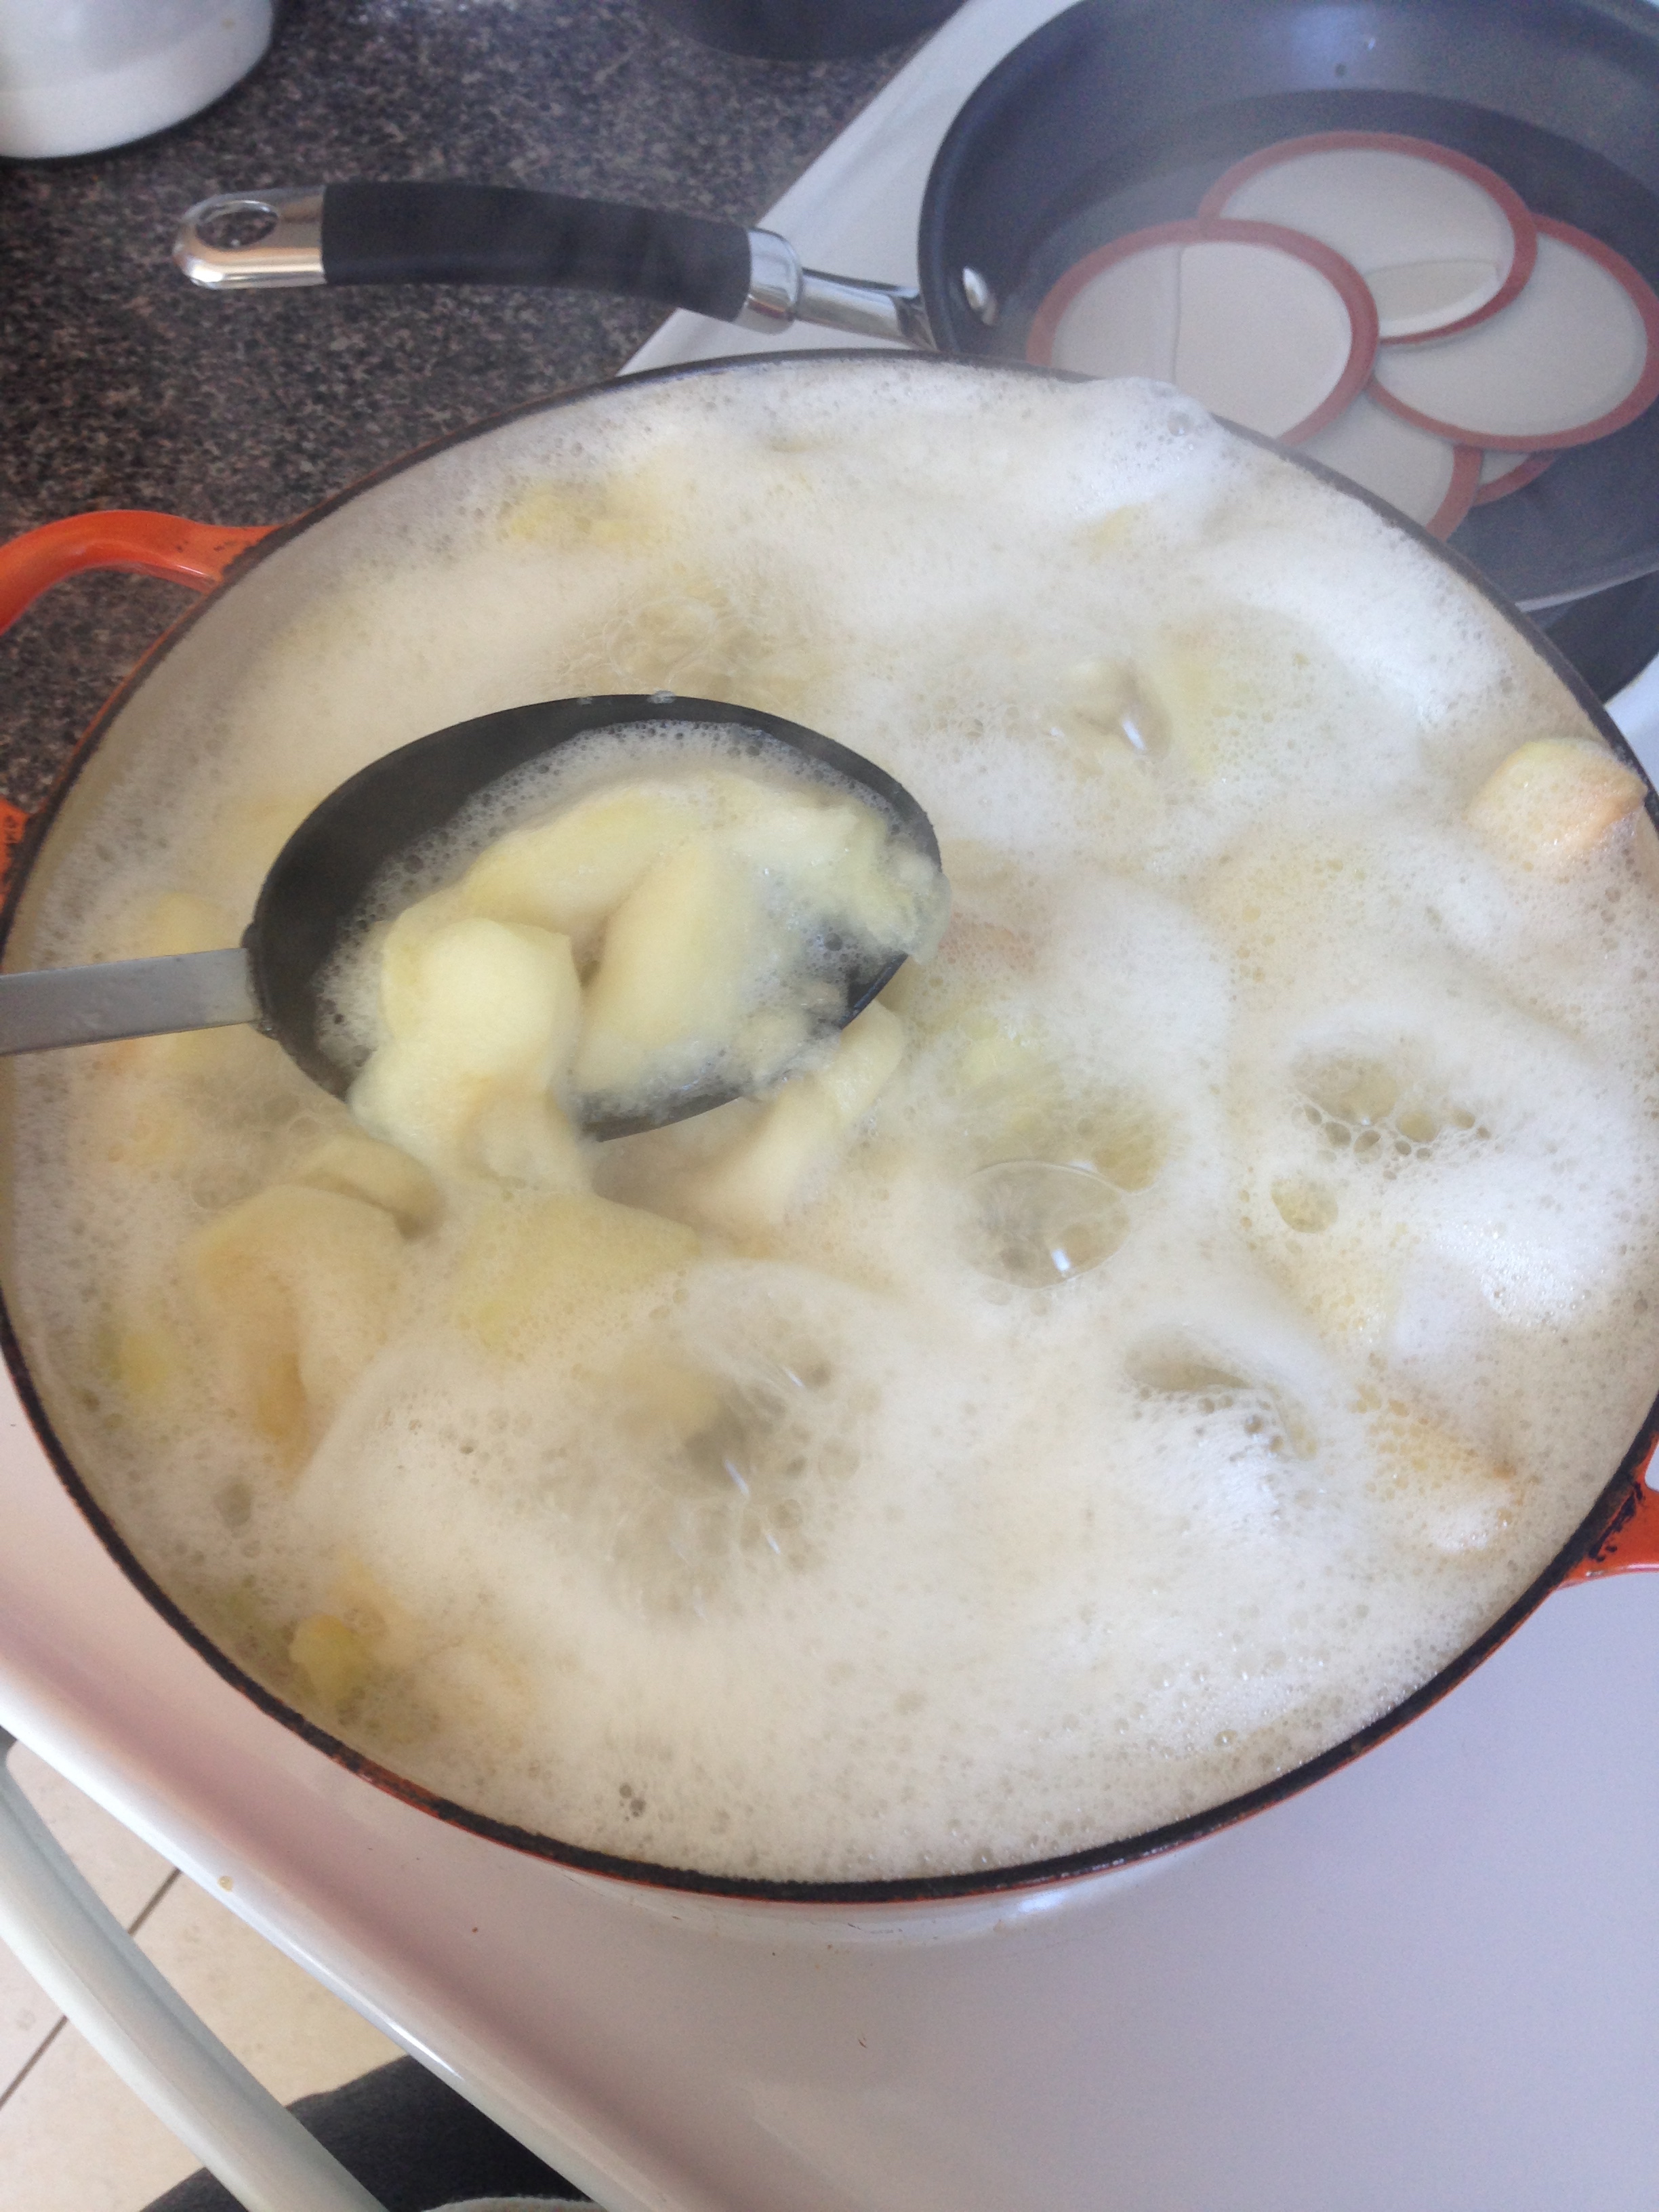
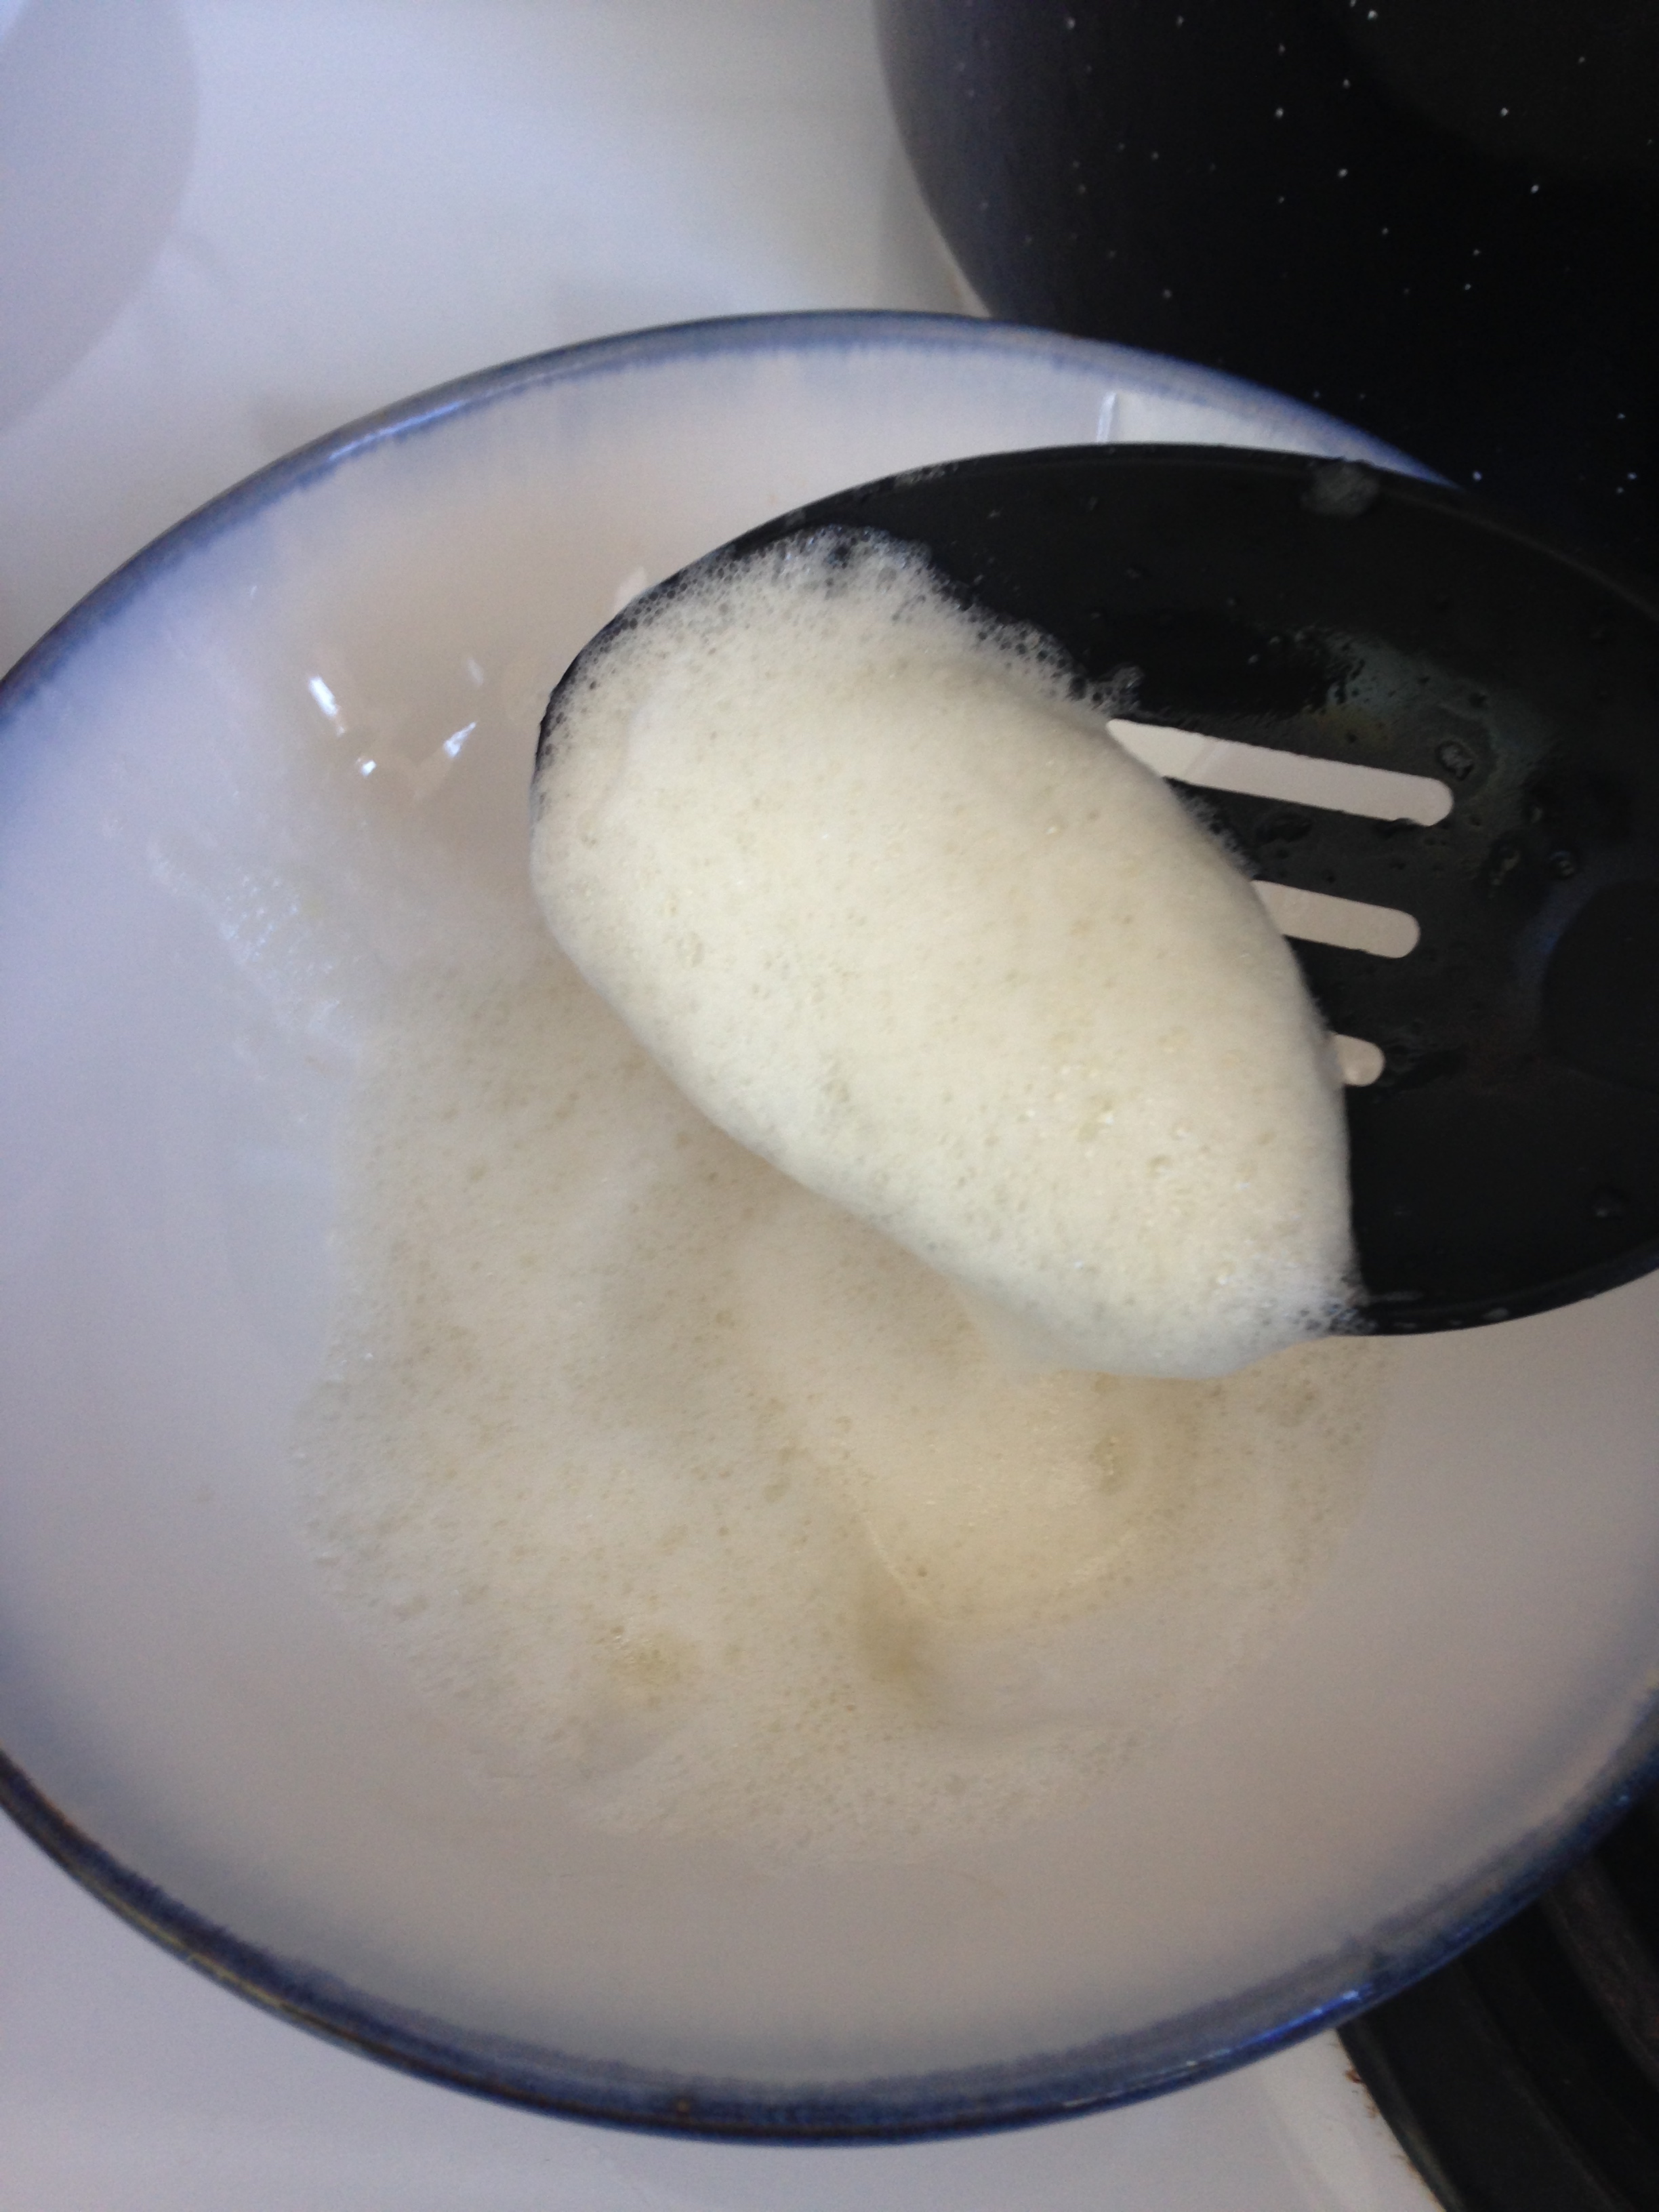
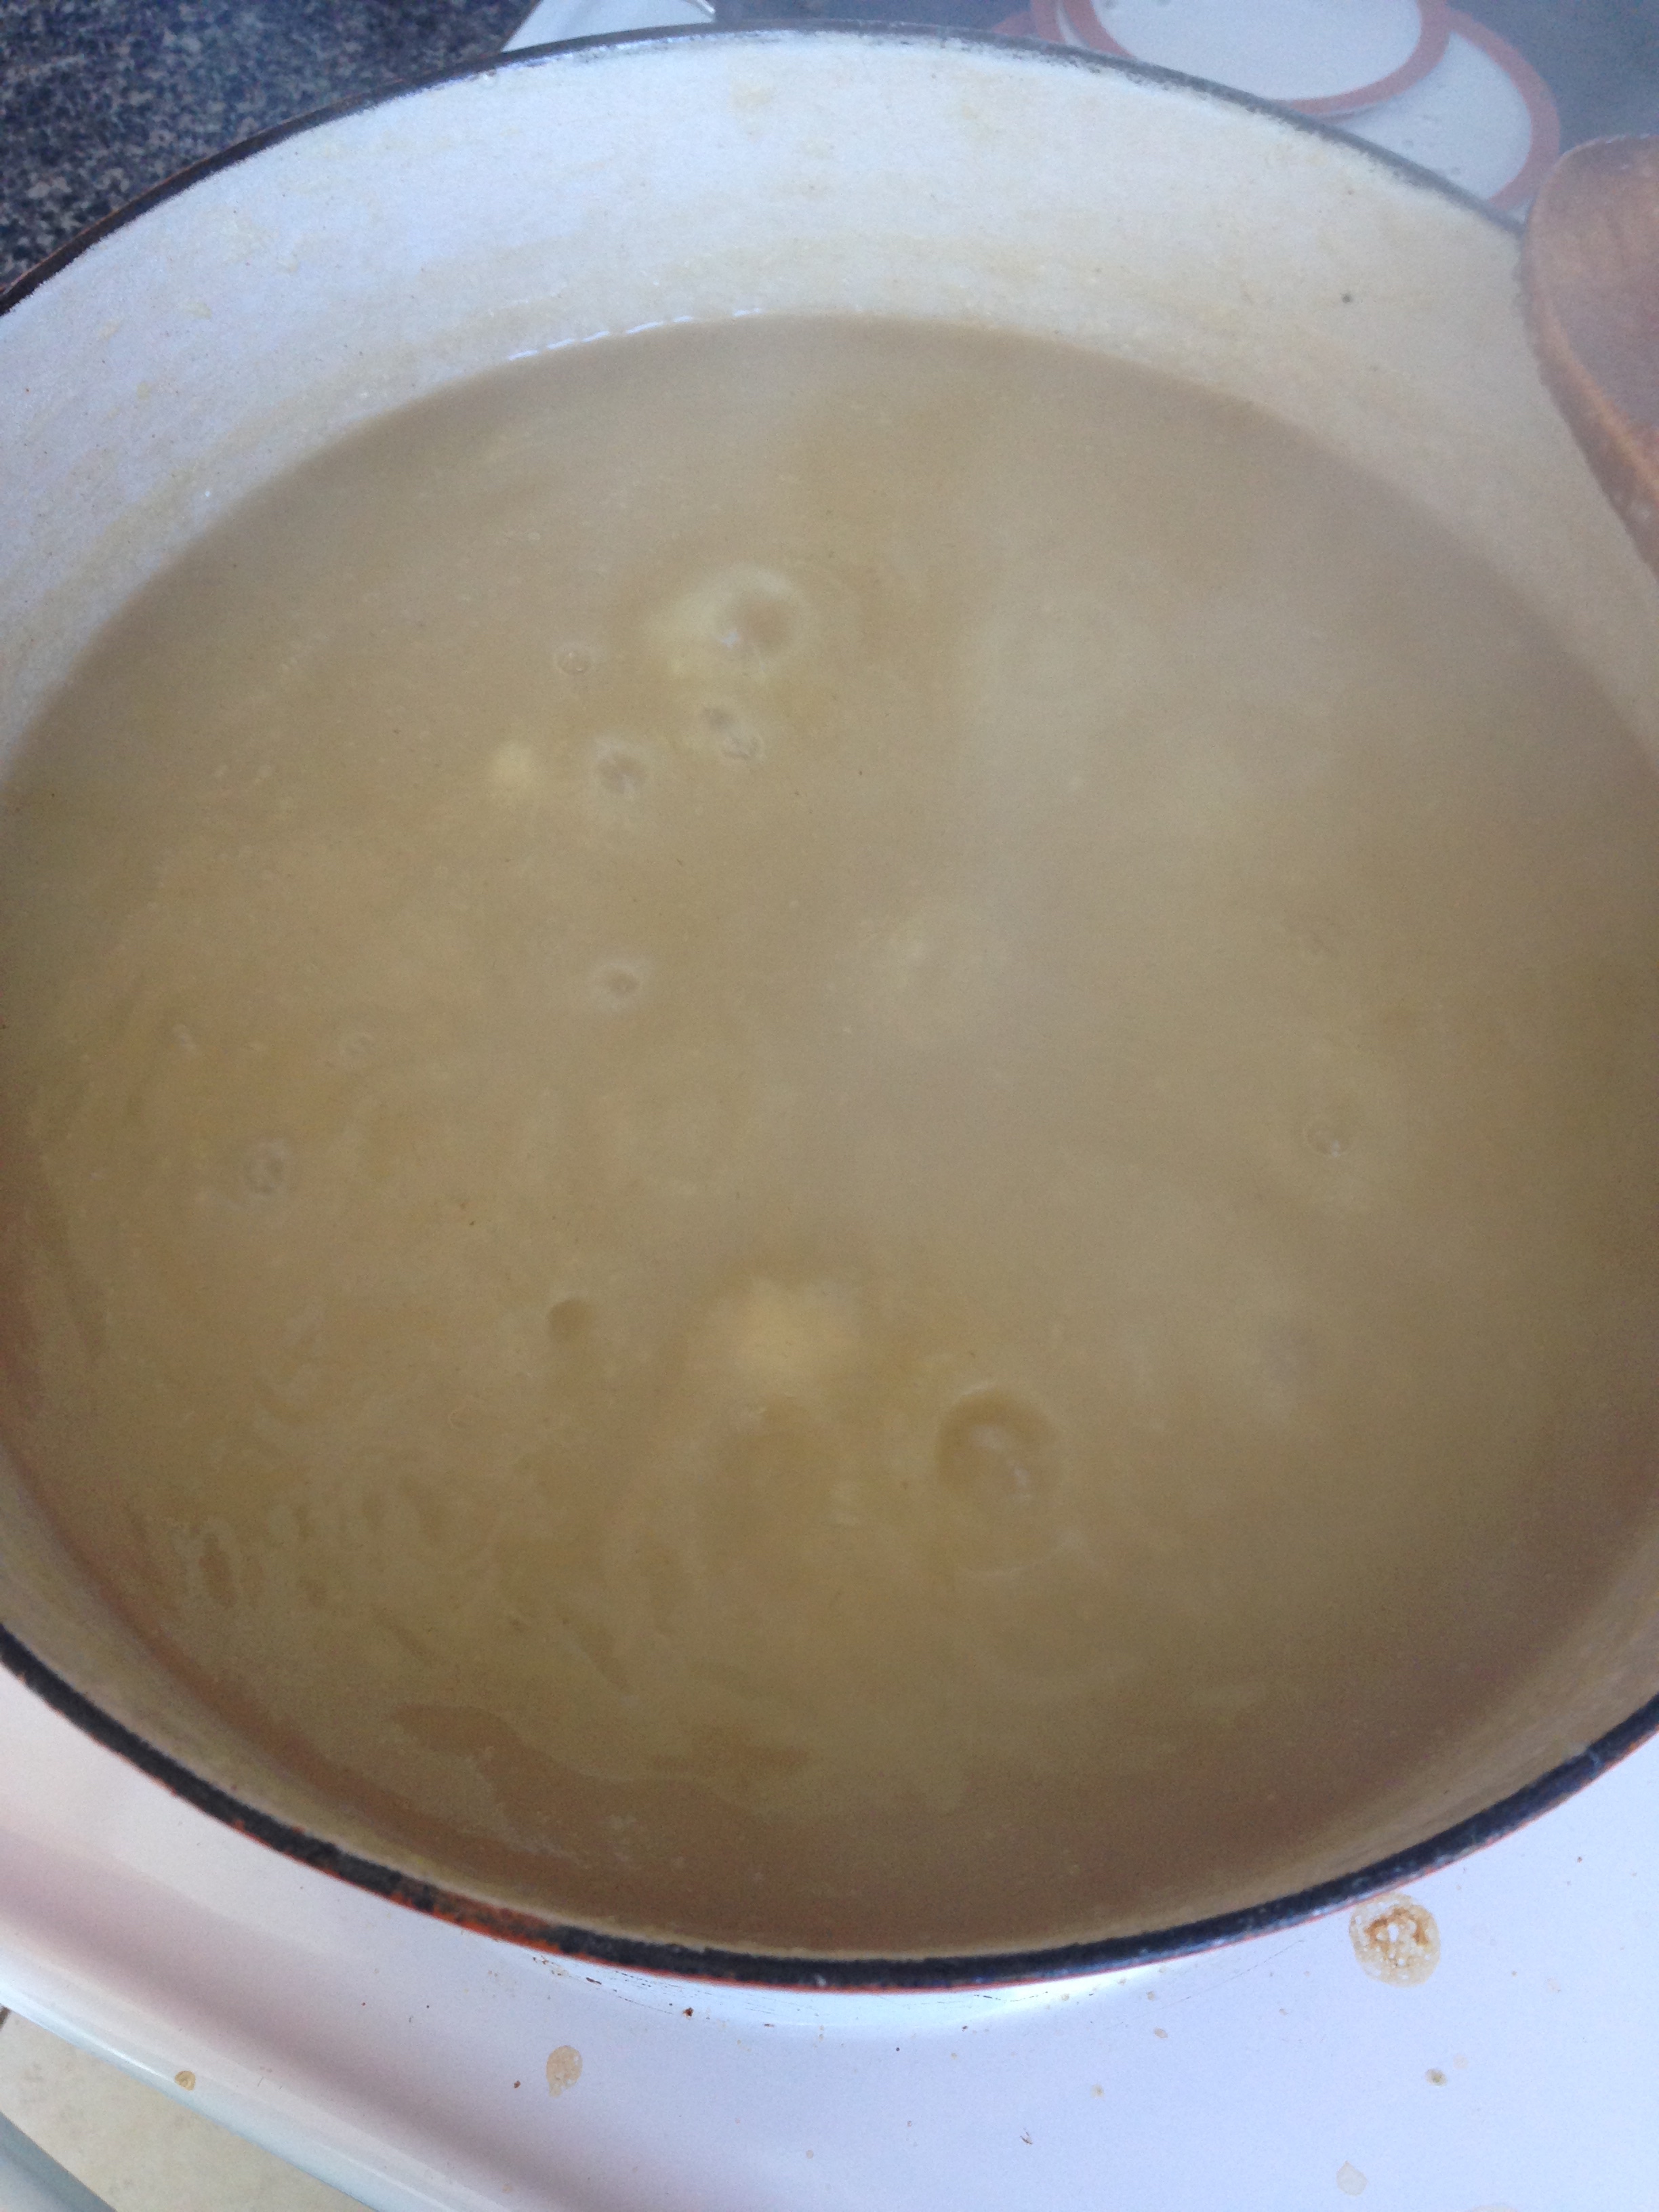
  5. In a large non-reactive saucepan, place apples and 1  1/2 cups of water. Bring to a boil over high heat. Stir occasionally and skim off excess foam into a separate bowl to discard.
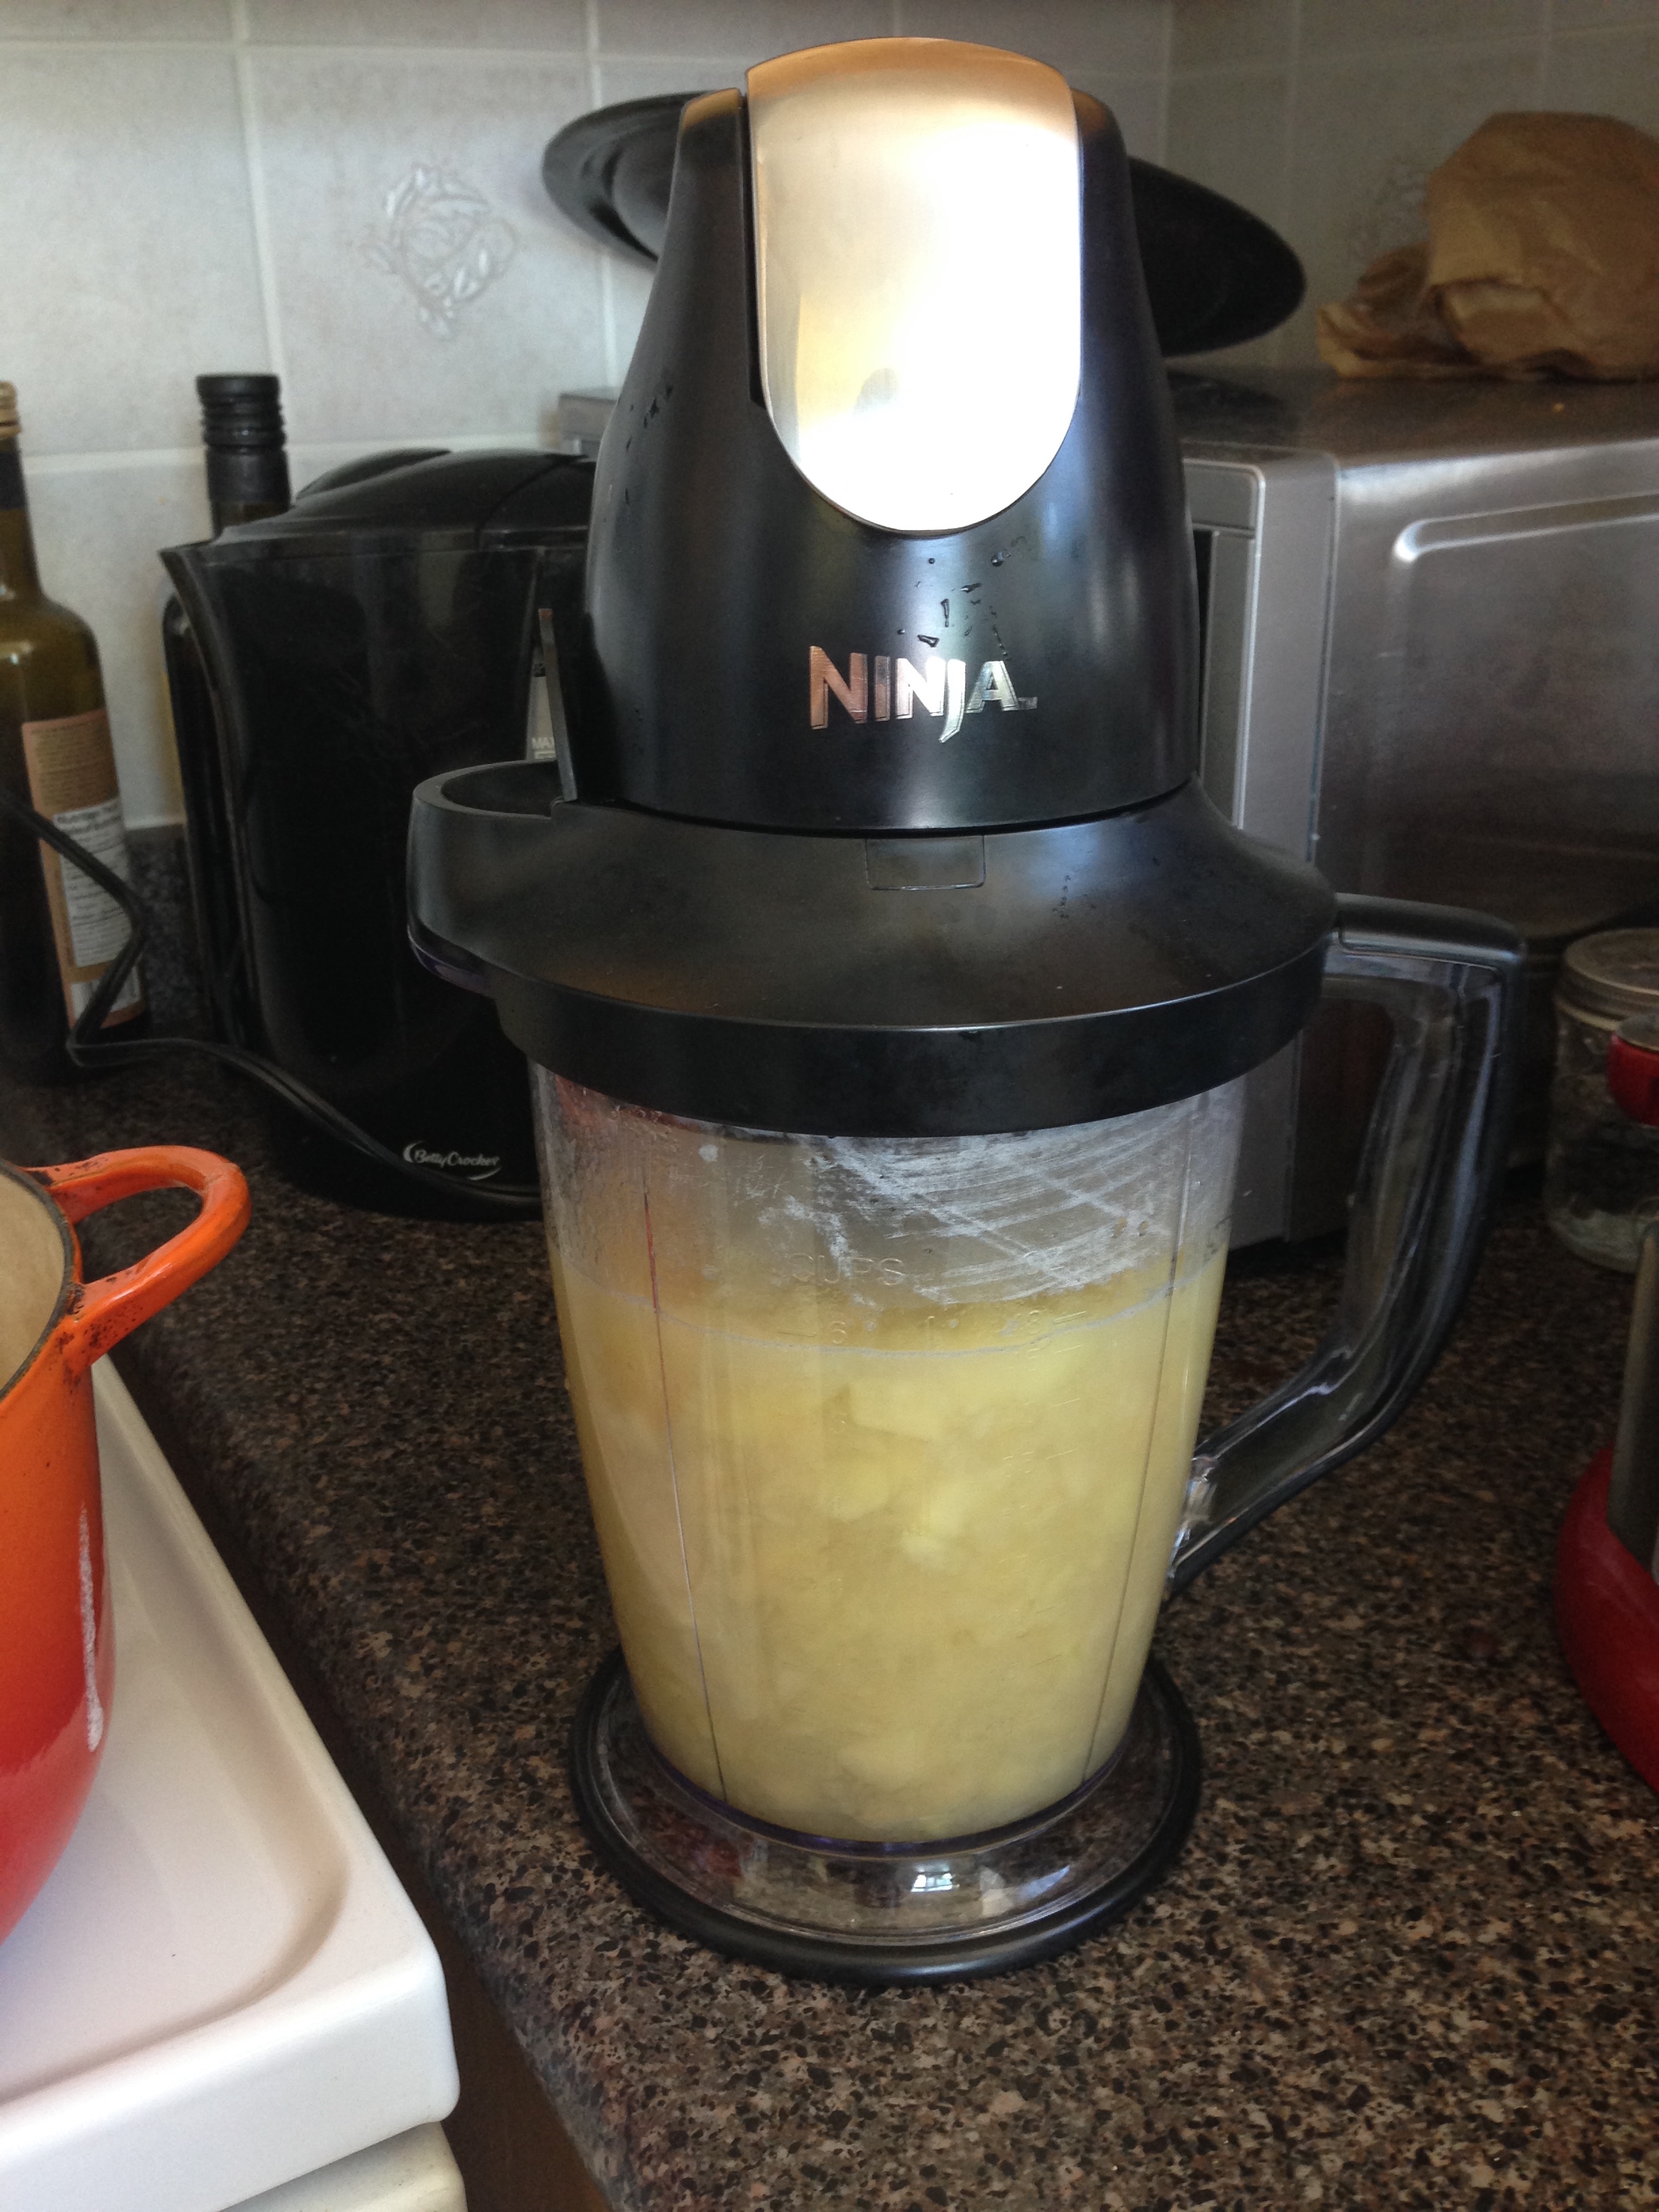
  6. Mash apples with a potato masher, emersion blender or transfer apples in batches to a blender to puree. (Transfer back puree to the saucepan afterwards.)
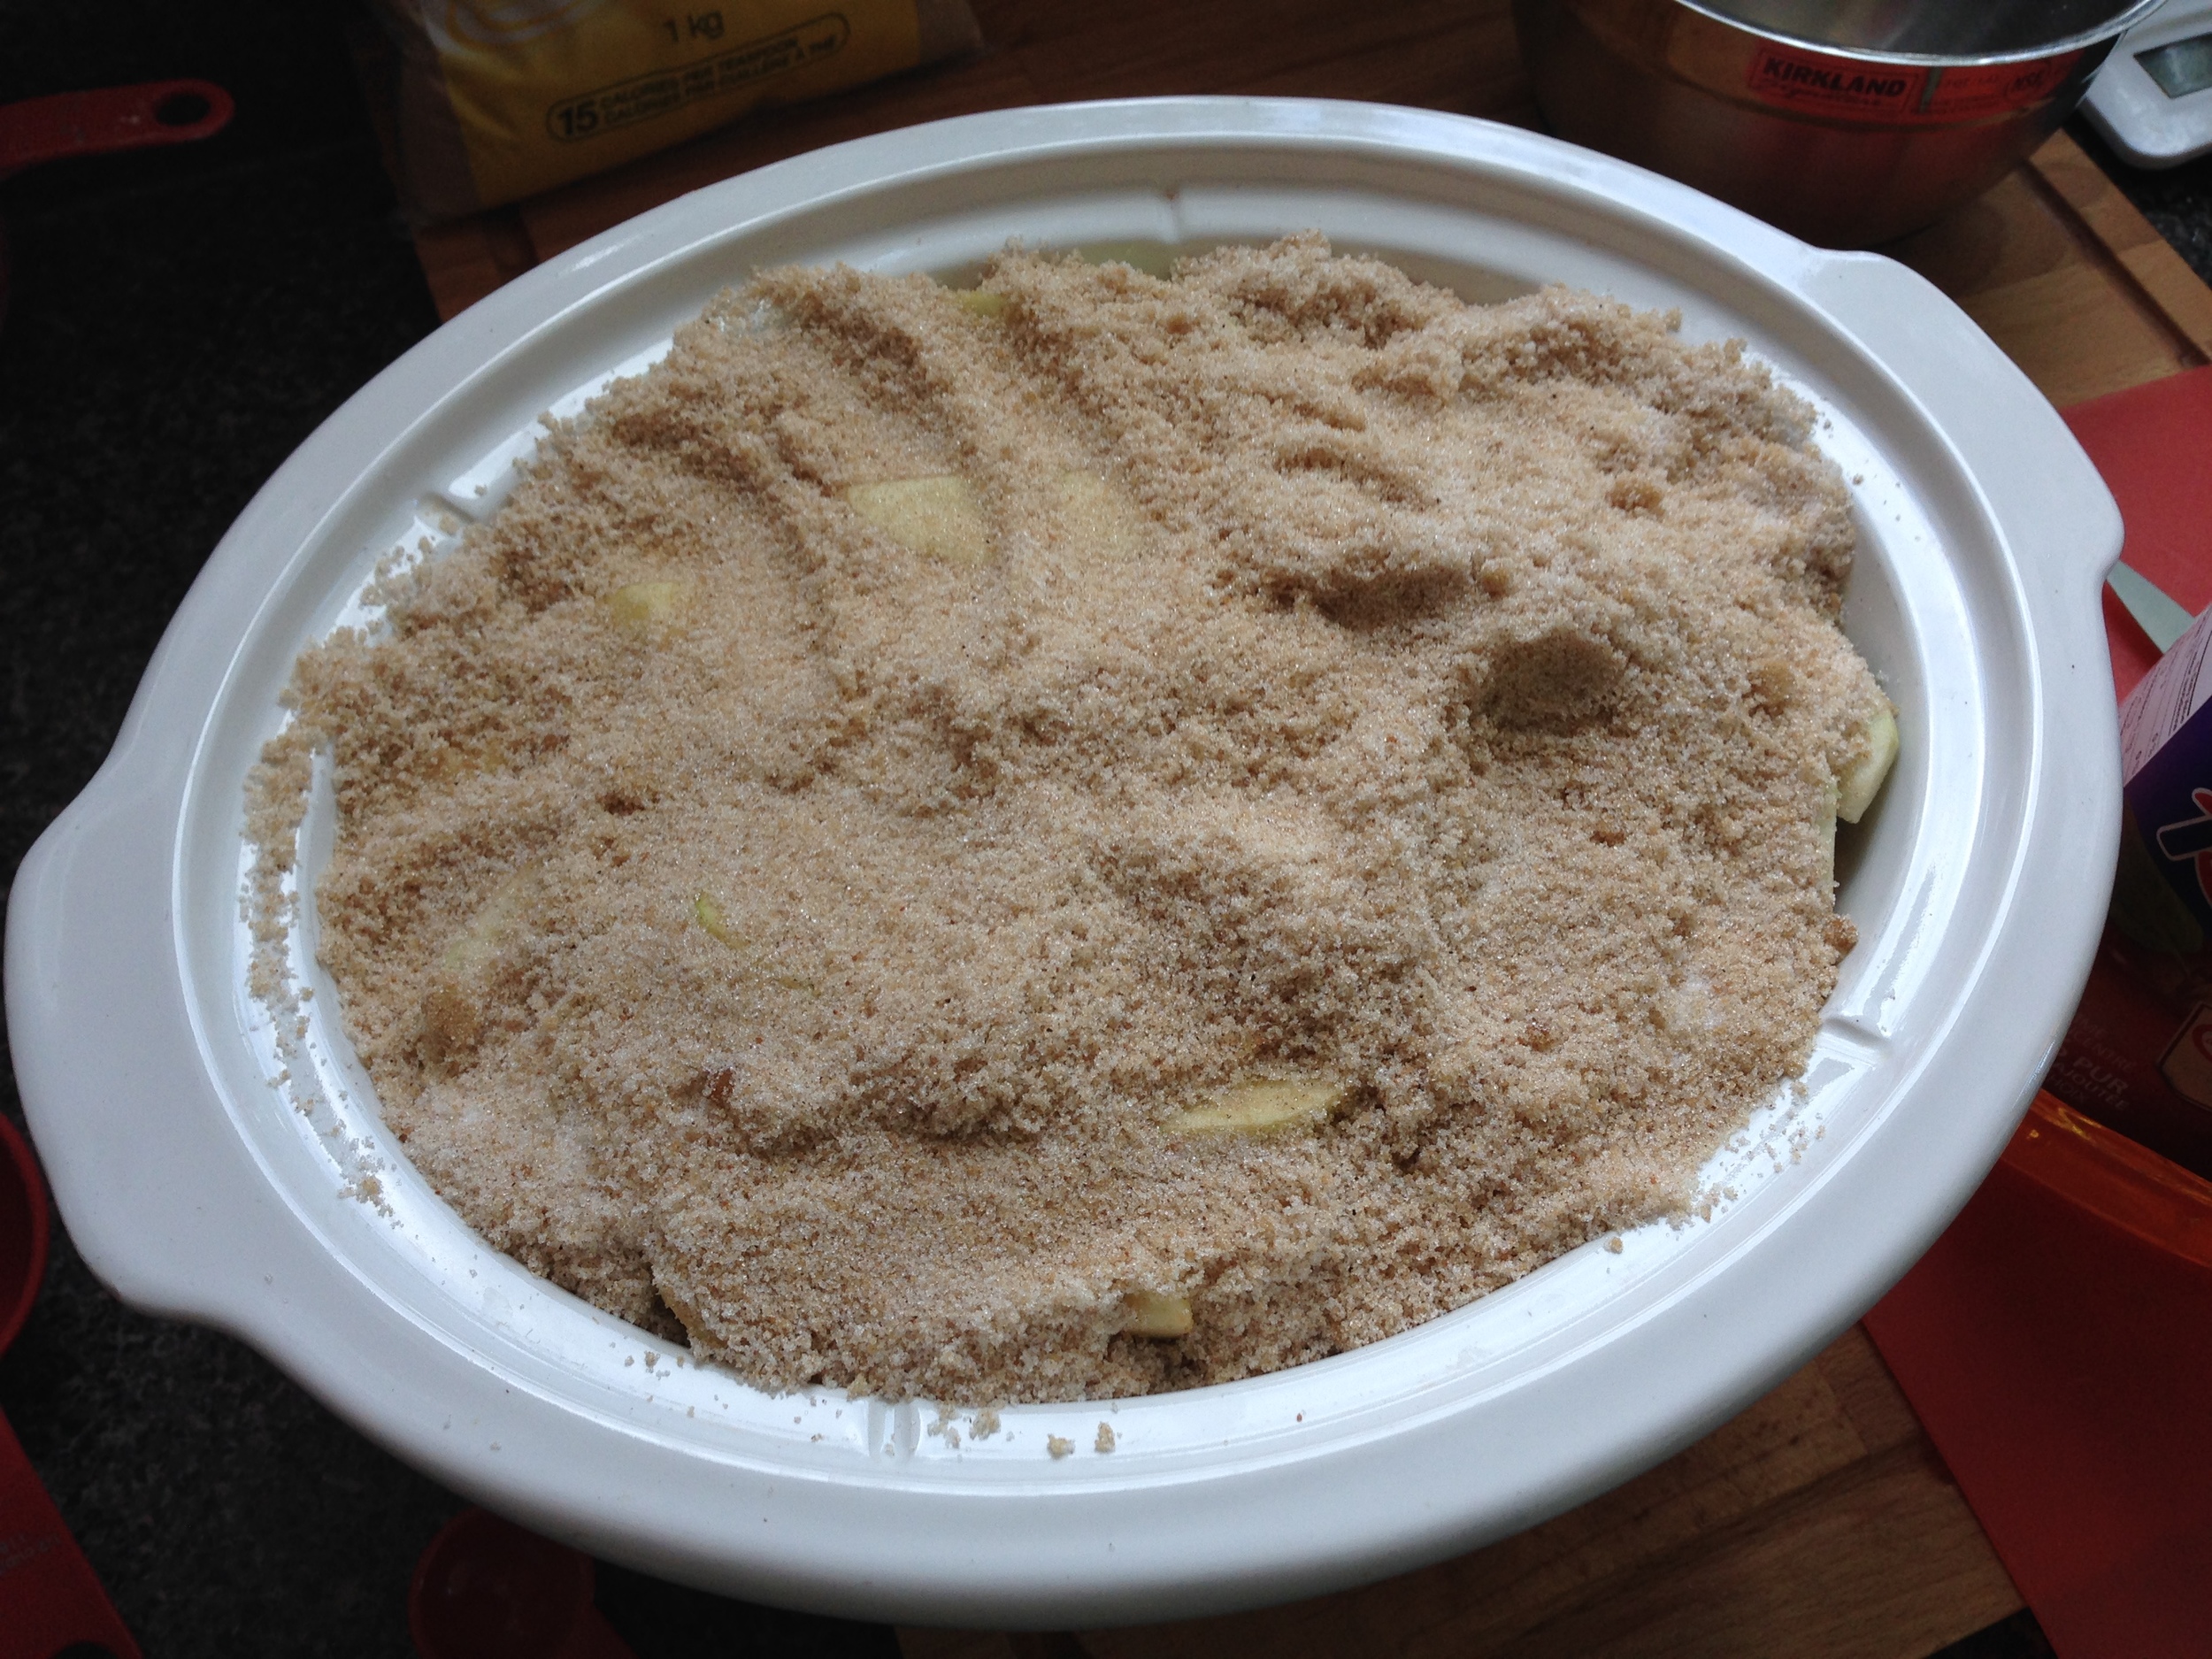
  7. When the apple sauce is a consistency you like, add cinnamon and/or sugar to taste. (I added ~2tsp cinnamon and ~1/8 cup brown sugar.) Stir to combine and bring back to a boil. 
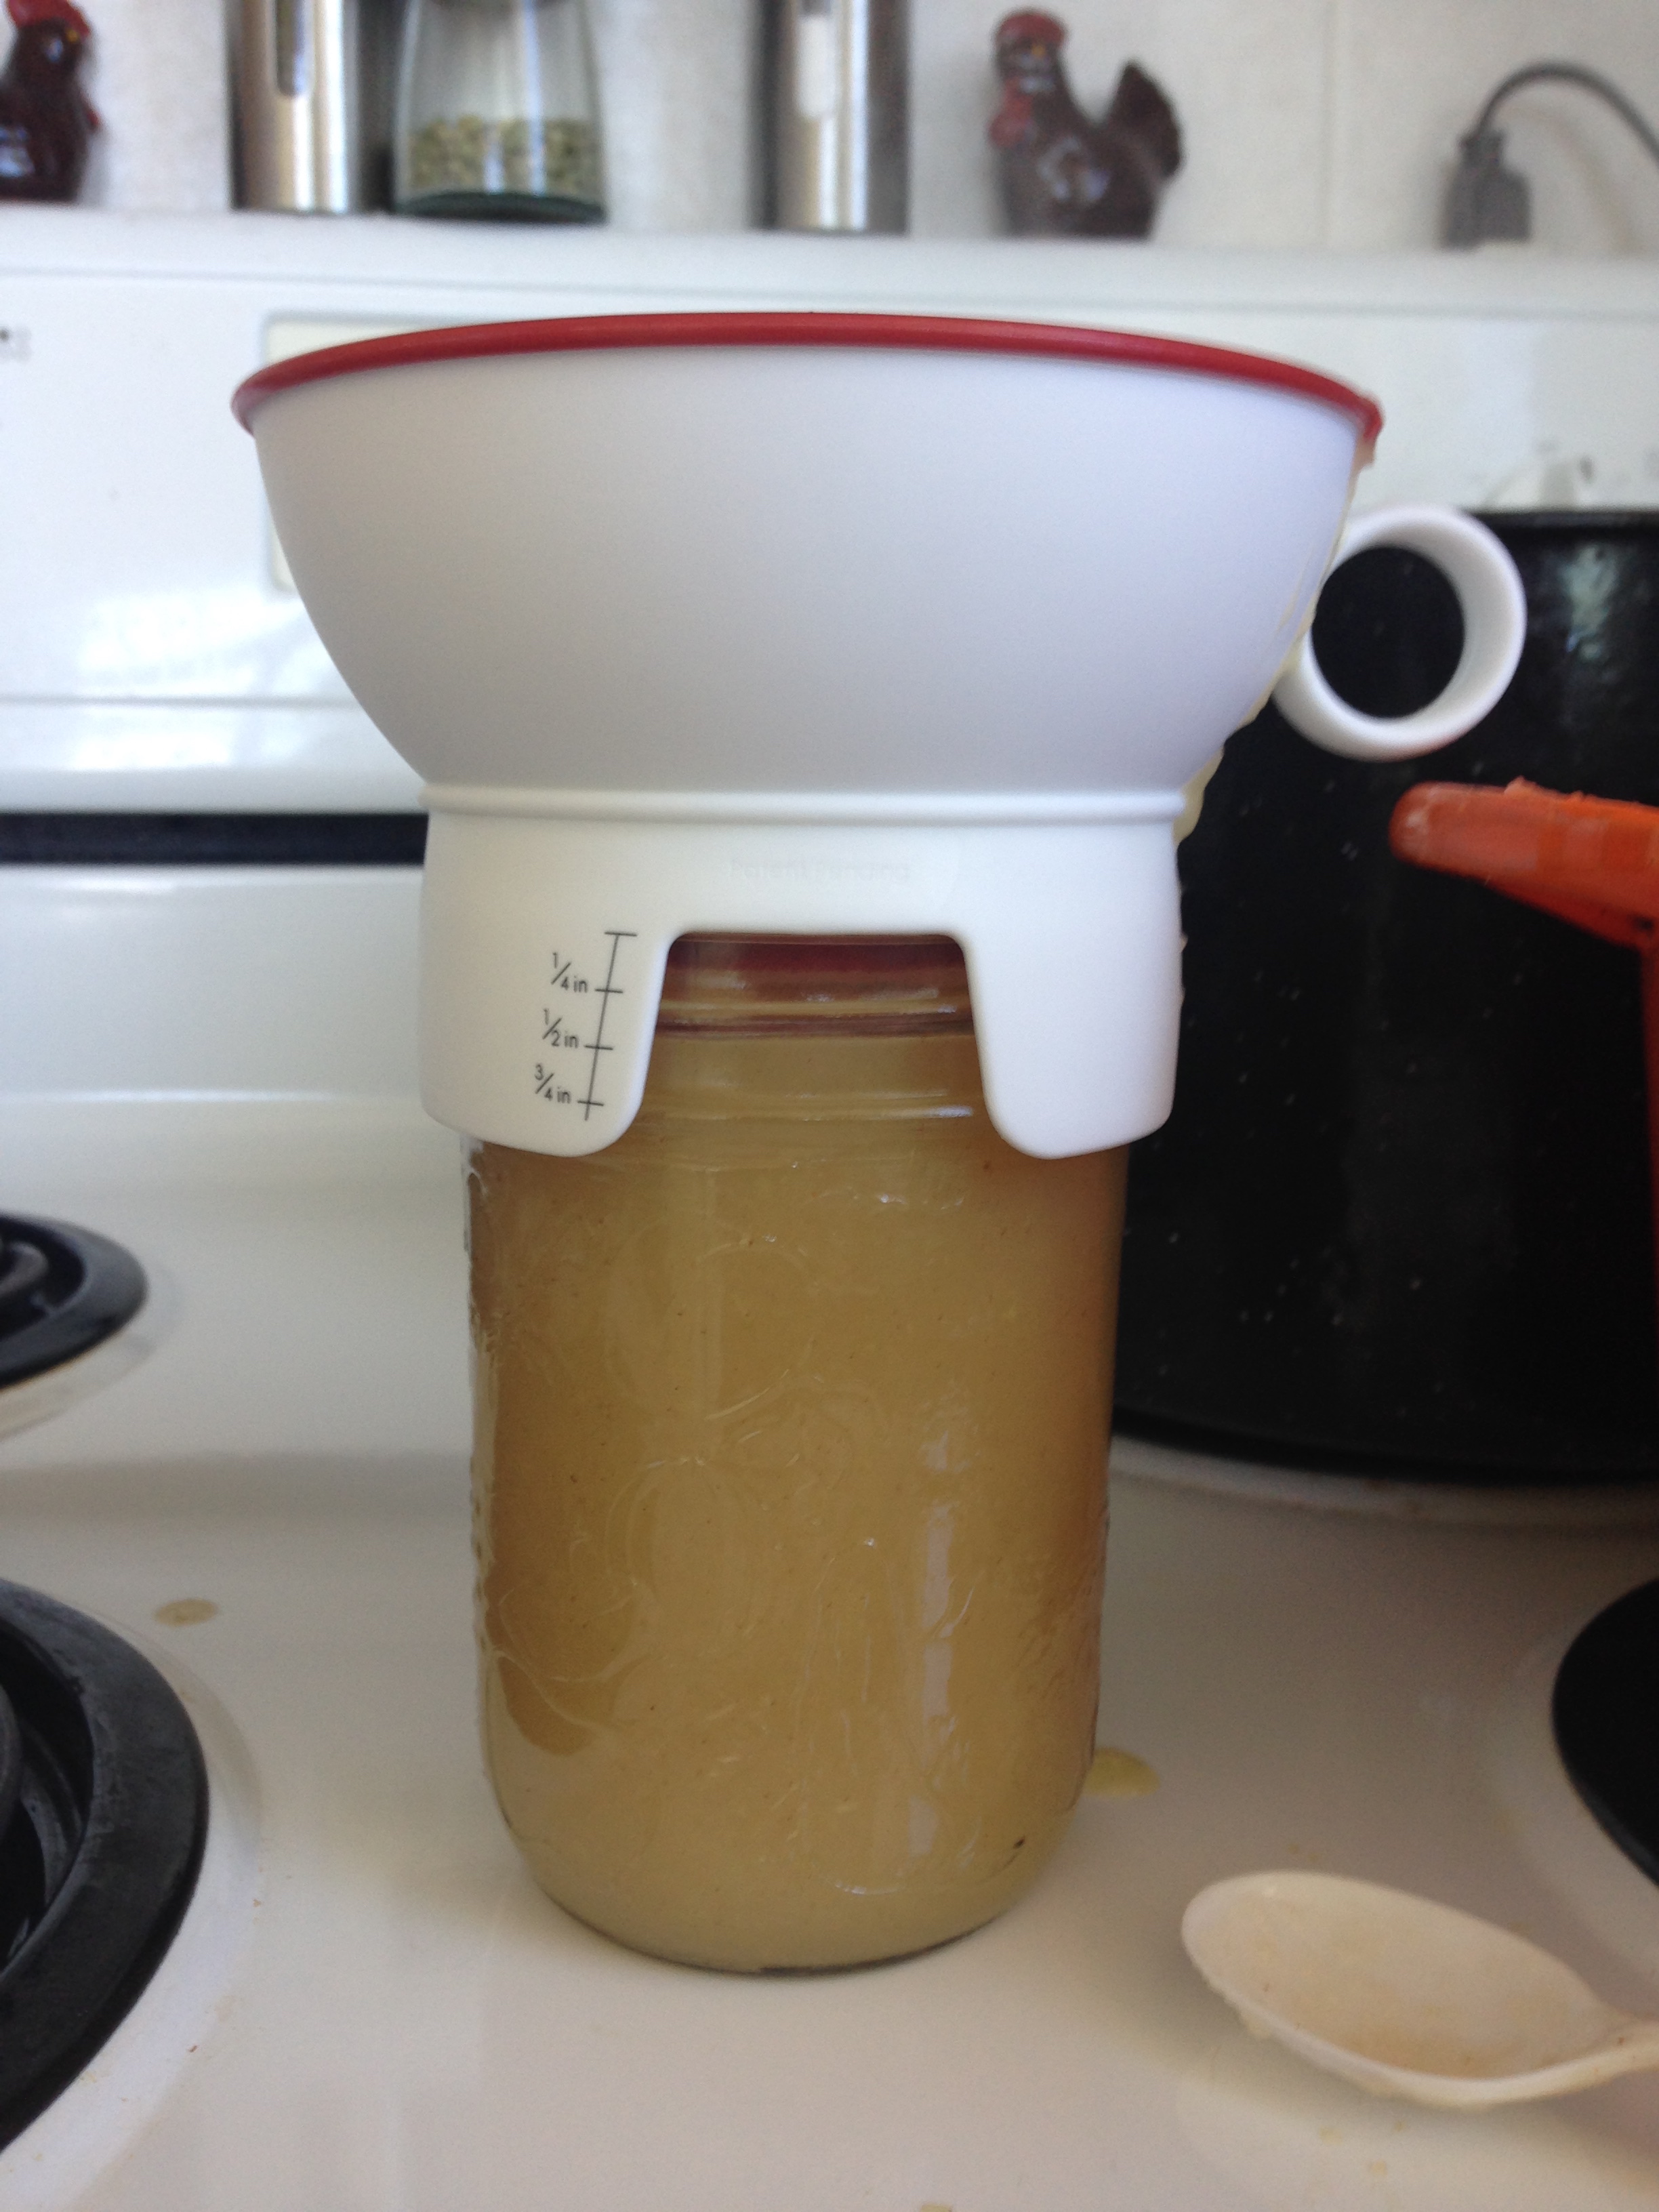
  8. It's canning time! Fill hot jars with boiling applesauce leaving a 1/2 inch headspace. (Remove the funnel, wipe the rim with a damp paper towel or clean damp cloth. Place a warmed lid on top. Place a screwband on the jar, then grasp the jar with the jar tongs. Tighten the screwband to ONLY fingertip tight. This literally means using your finger tips only, tighten the screwband until there is enough resistance that it stops.) Place in waterbath canner. Repeat. 
  9. Process apples sauce for minimum 15 minutes. Check your altitude though! Higher altitudes need longer! Add 5 minutes if you're 1000m above sea level and so on. 
  10. Remove apples sauce from the canner and leave to cool completely. I usually leave mine for 24 hours before handling. 
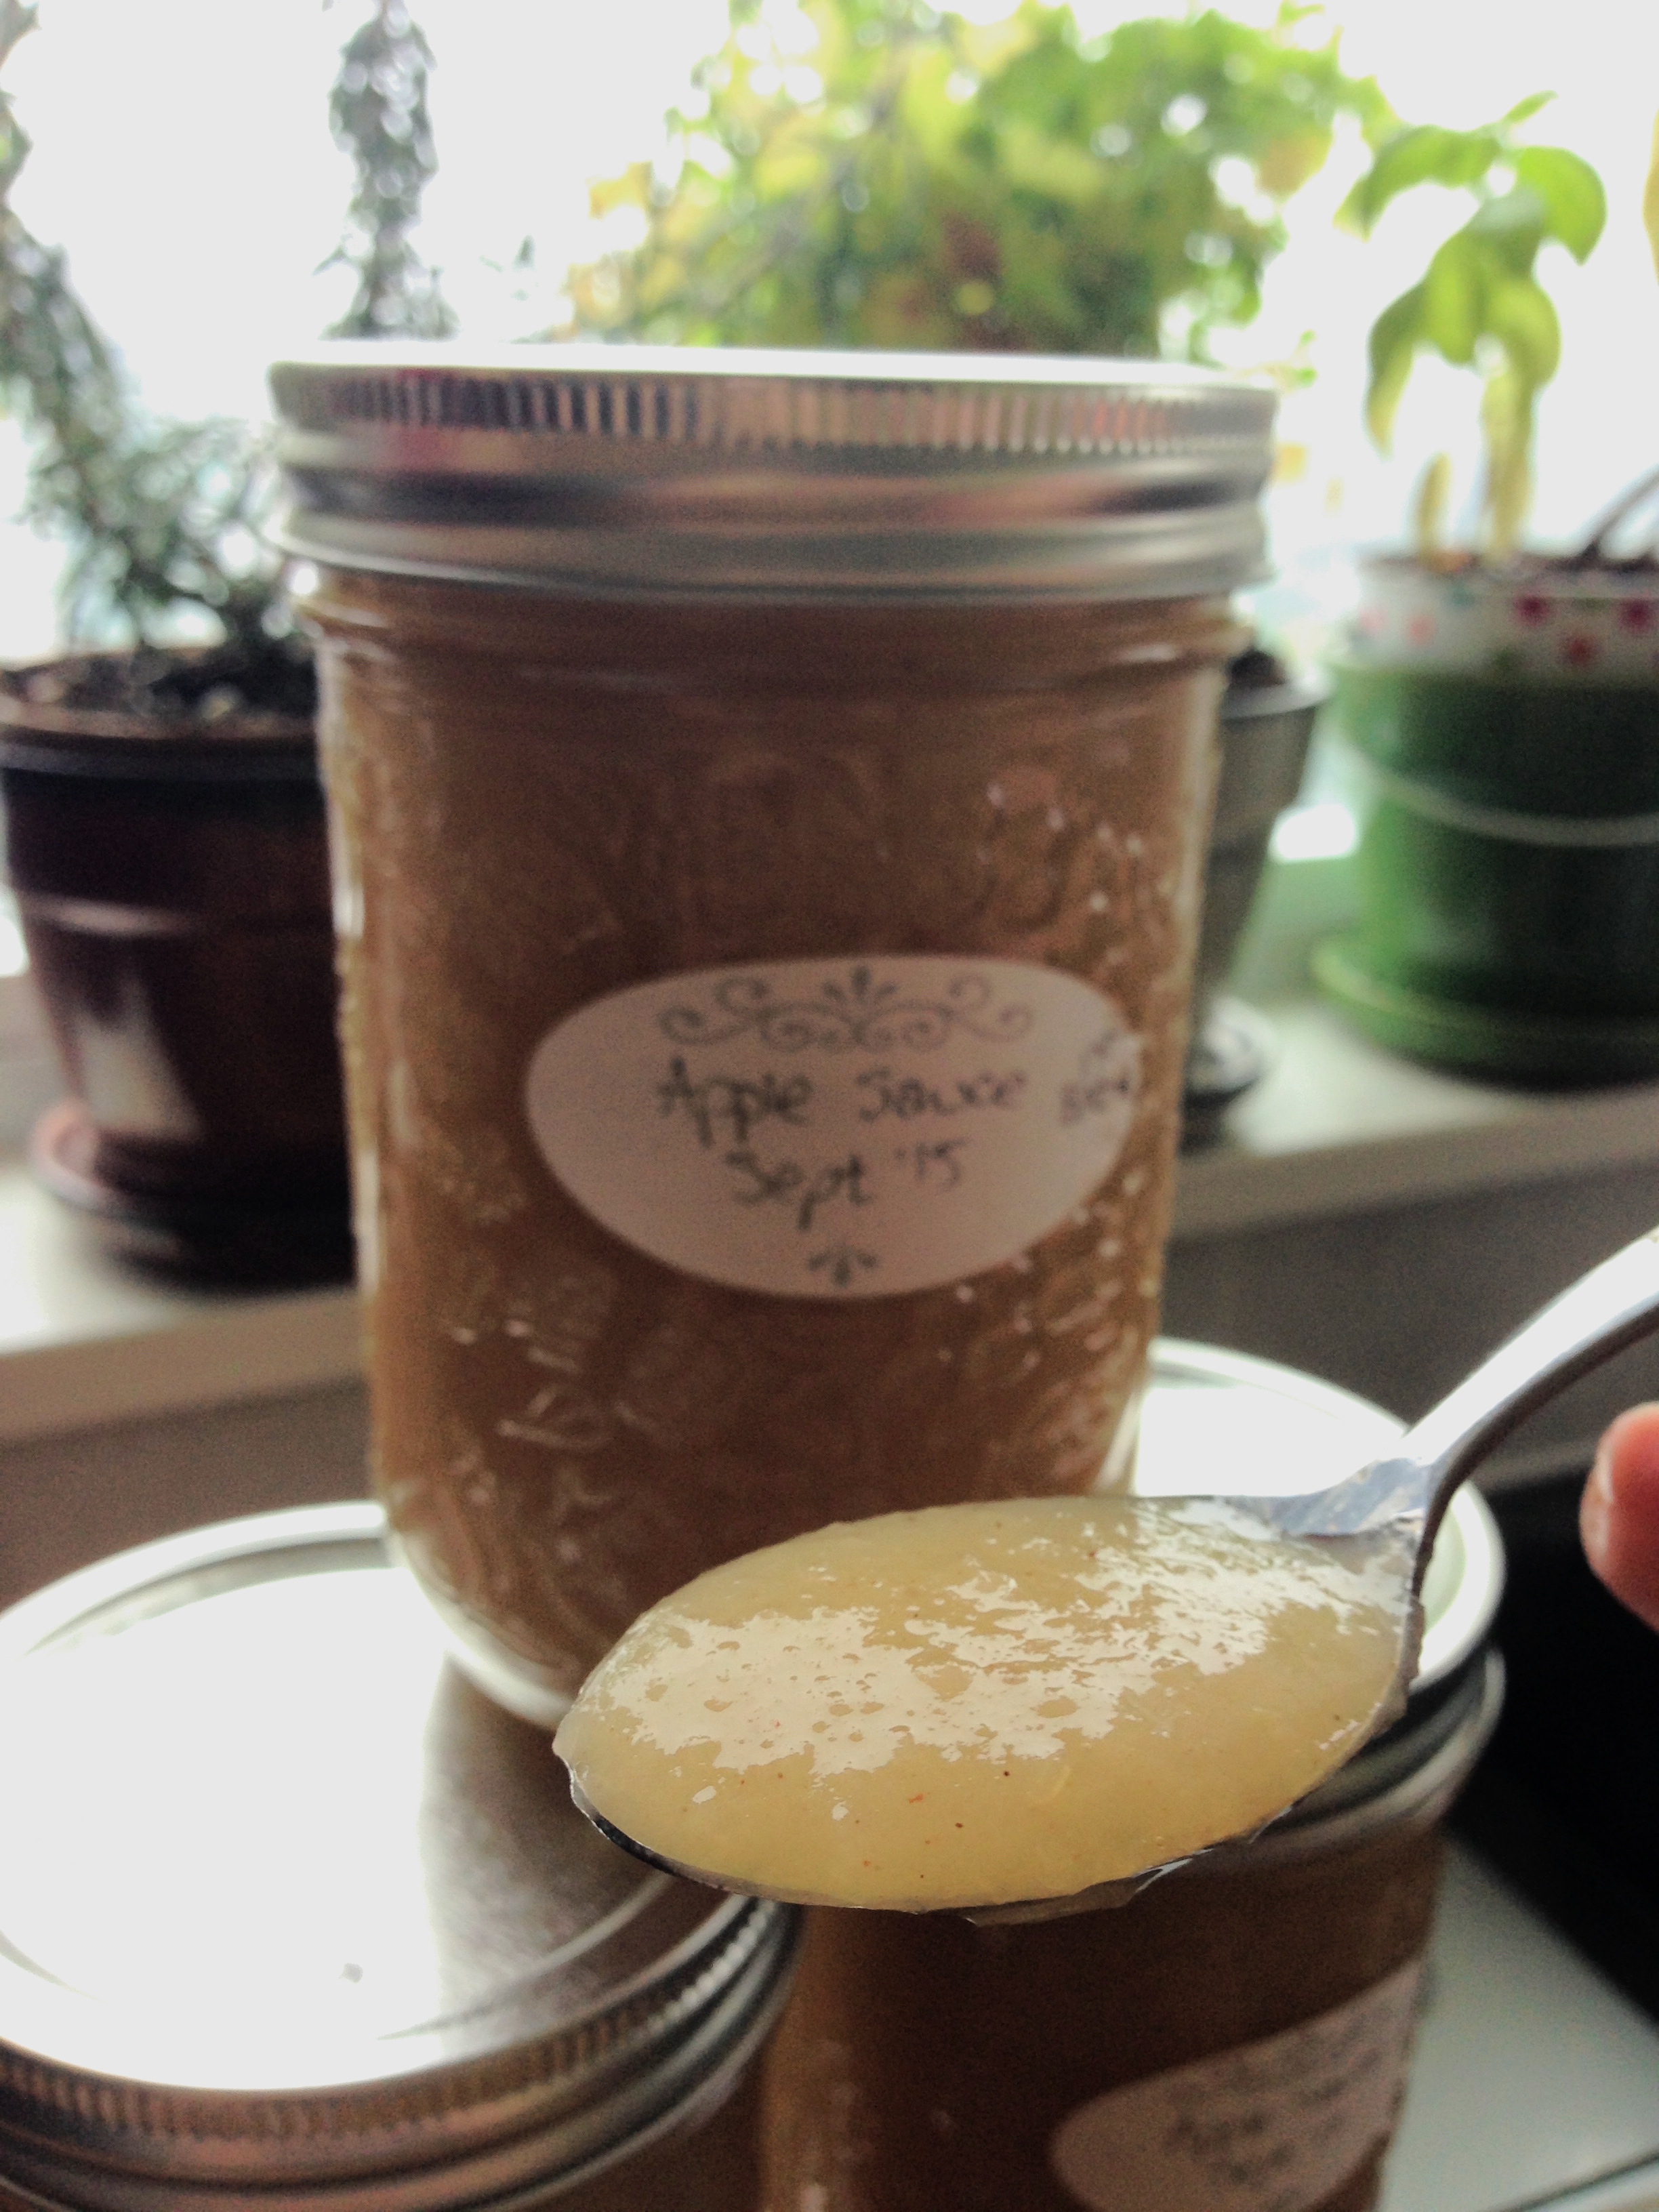
  11. Check the jars have sealed. If you can't lift off the snap lids with your fingers, they've sealed! Yay! Label and store in a cool dark place. 

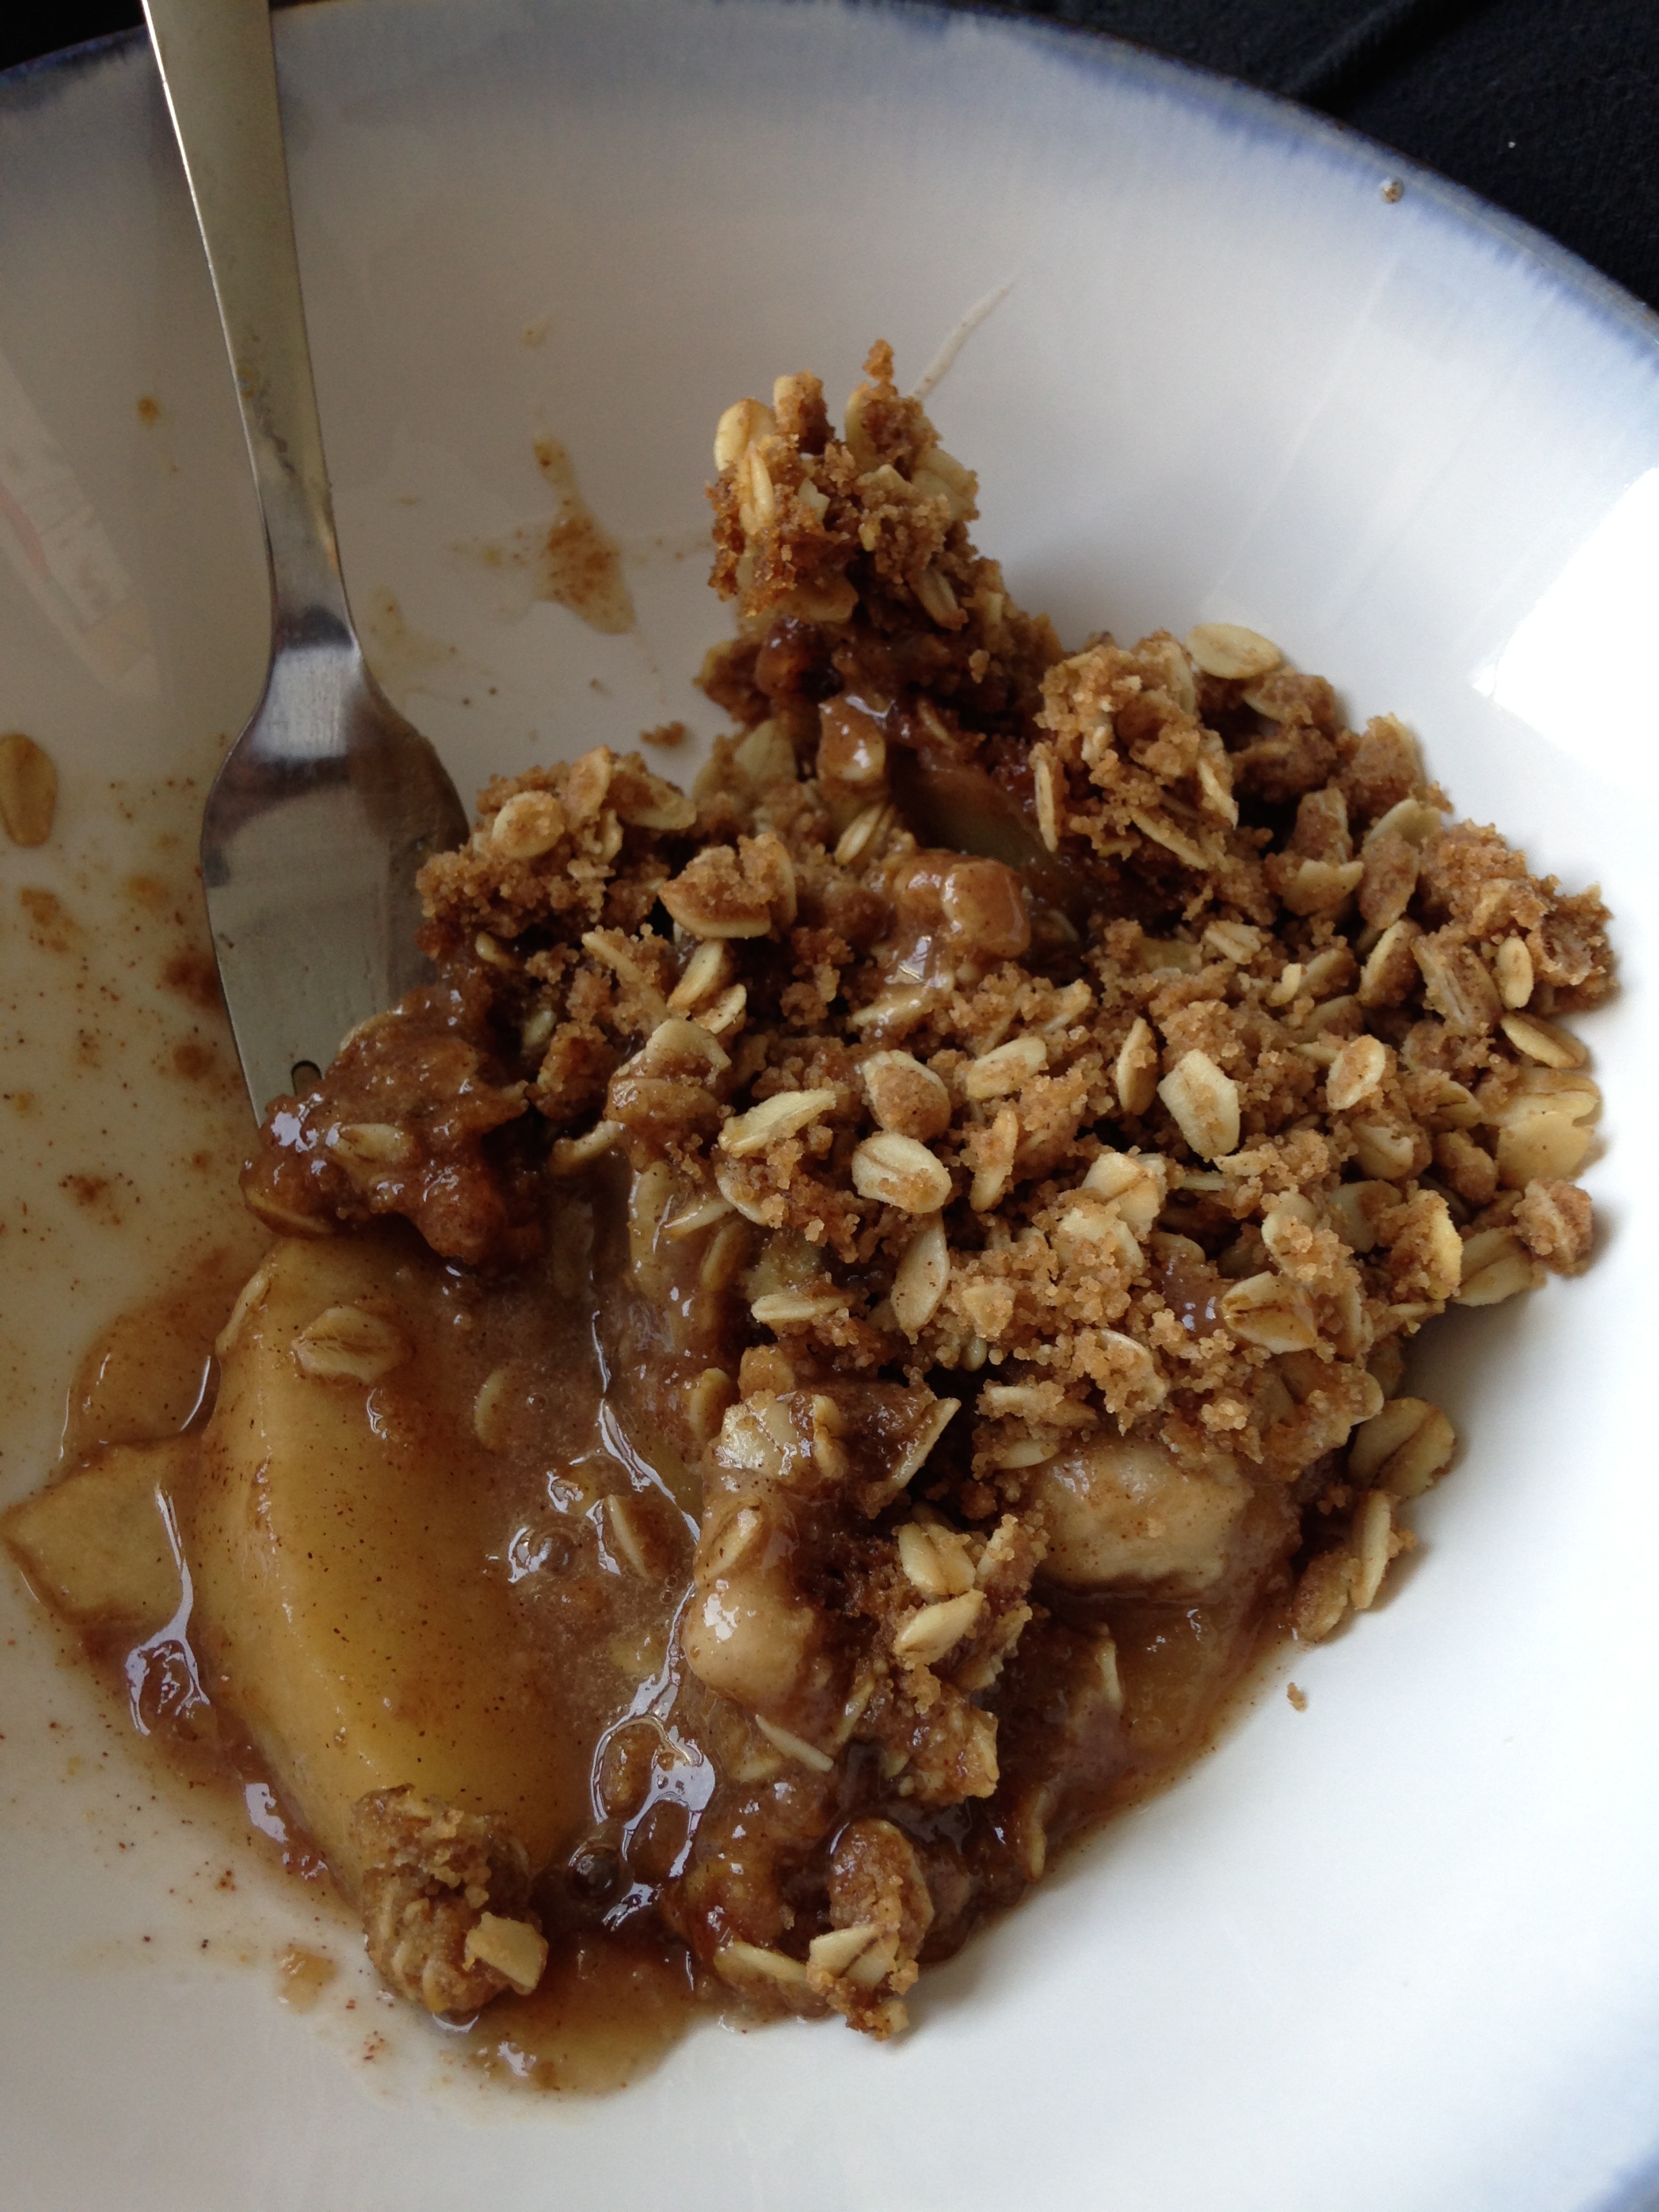
My my my. What an apple-y success! 

Now what to do with a metric ton of apple sauce? Well I made the most amazing applesauce and bacon pancakes.... So good. 

But that story's for another day! ;)

-Andrea

The Half-Assed Hobbyist

Apples Apples Everywhere

Since my lovely trip to the apple orchard, I had 40 pounds of apples to deal with. There were literally apples Everywhere. When I worked for the test kitchen in Alberta, one of my coworkers brought in a batch of her apple butter. I was initially super confused... as it wasn't butter at all. The name refers to butter in the way that it spreads. Apple butter is an apple spread made by reducing the moisture content of the apples to the point that it gains a spreadable constancy. 

Which is fancy wordage for bake the apples till they're spready-like. 

Since this takes forever (some recipes say to bake apple puree for over 12 hours in the oven, stirring every hour. WAT.) I decided to look up some slowcooker recipes. More energy efficient AND I get to sleep and cook at the same time. Woo slowcookery! Below is my recipe for overnight apple butter. I started mine at 8pm so It would be ready for the following morning.  

Overnight Apple Butter

~5 lbs apples (Cortlands or similar), washed, peeled, cored and sliced

1 cup sugar
1 cup brown sugar
1 tsp cinnamon
1 tsp ginger
1/2 tsp cloves
1/2 tsp nutmeg
1 1/2 cup apple juice
1/2 cup lemon juice
1 tbsp vinegar

  1. In a 5L slowcooker, place apples. 
  2. In a bowl, combine sugar through nutmeg. Pour over apples in slowcooker.
  3. Pour remaining ingredients (apple juice through vinegar) over apples. 
  4. Place lid on slowcooker. Cook, covered, on high for 2 hours, stirring once an hour. 
  5. Lift lid and place slightly off centre so steam can escape from the slowcooker. Cook on low for 10 hours. (Sleepy time!)
  6. Using a clean blender or food processor, puree apple butter and return puree to the slowcooker, on high, uncovered, for another 2-3 hours or until desired consistency is reached. 
  7. Can safely in sterilized jars using a waterbath canner to process. Follow the canning process used here. It made 3 X 250mL jars and a bit extra. So prepare 4-5 jars just in case. 
  8. Enjoy!

Mmmm. It's super concentrated apple-y goodness. I used it as a spread on toast (or fresh bread). Or for something totally different: spread it on fresh hot biscuits and serve with ice cream. Or use it in BBQ sauce. Ooo. That's a good idea. Hmmmmm. Apple butter BBQ sauce. 

>>

Why didn't I think of that sooner?

Stay tuned. <3

-Andrea 

The Half-Assed Hobbyist

ย 

Apple Adventurers

Since moving to Ontario I've tried being Ontarian. I've got my OHIP card, my Ontario drivers license, and my voter card, so for all intents and purposes, I am, but that's not really the same as being from here. My mission: Find out some Ontarian specific adventures and go on them. 

Some of my lovely lady friends were into the idea of apple picking. Being from Alberta, I have never been to an apple orchard. (Trees? What are these 'tree' things? ;) ) It seems to be a very eastern Canada thing. Sold. 

I did a bit of research (this site was really helpful) and found two orchards reasonably close to Toronto. I was surprised that some orchards charge entry fees so we found one that didn't: Pine Farms Orchard. (The entry fee later made sense as some orchards, like Chudleigh's, is entire day experience, with a petting zoo and restaurant etc. Some orchards even let you drive right in and up to the trees!) 

Pine Farms was INSANLY busy. When we got there people were parking on the side of the road. Eventually police showed up to direct traffic. It was truly nuts busy. Unsurprisingly, on the lovely sunny sunday afternoon we went, the patrons were mostly families, young and old. My lovely lady friends and I wandered around a bit to get our bearings. There wasn't much signage as to what to do but we figured it out: Get a bag, pick apples, get them weighed at the main cabin, pay and away! So we hunted for some bags and got picking. 

I had grand master plans for apple pie and apple butter and apple sauce so I needed about 22lbs of apples.  They had Cortlands, Gala, McIntosh, Honey Crisp, and more ready for picking. Needless to say, I got picking and within a half hour I had "enough". (Turned out I don't know how much a pound of apples is.... specifically, I bought 40 lbs of apples... oops. Haha. Half-Assery Engaged!)

After the picking we decided to get our Impromptu Picnic on. Fresh and hot apple pie in tow, we sat and ate in amongst the trees in the sunshine. It was absolutely amazing. Afterwards, before the orchard closed, we wander walked around the back of the orchard. It was the perfect day. Highly recommend. 

And now I've got all the apple posts to put up too! Stay tuned! 

-Andrea

The Half-Assed Hobbyist


Past the Maybes, maybe...

So I've been down the last couple weeks. A mix of lonely Toronto and ridiculous rain for a week straight. (I honest to gad didn't know Edmonton was the sunniest city in Canada). But this past week has been sunny and wonderful! So, to celebrate, I made some apple crumble (and I may have had it for lunch).

Apple Crumble

5 - 6 large apples, peeled, cored and sliced (I used whatever ones where deemed "not quite right" by the BF. They were fine. He's apple picky.)

Filling:
1 cup sugar
2 TBSP flour
1 tsp cinnamon
1/4 tsp salt

1/4 cup apple cider or lemon juice

Crumble:
1 cup flour
1 cup rolled oats
3/4 cup brown sugar
1/2 butter, melted
1 tsp cinnamon
1/4 tsp salt

  1. Preheat oven to 350'F.
  2. Wash, core, peel and slice apples. To core and peel apples, chop washed apples into quarters. With a paring knife, slice out the apple quarter's core with a scooping motion. The apple piece should look like a crescent now. With the paring knife, slip the blade underneath the apple skin at one end of the crescent and, in one stroke if you can, slide the blade to the other end of the crescent, as close to the skin as possible. Practice, practice, practice! Now slice the apples into 1/2cm pieces longwise. You can make the slices as big or as little as you want, depending on what you like. They will cook pretty much the same. Place your apples into a large casserole dish. Spread apples evenly so that the apples come about halfway up the sides of the dish.
  3. Pour the apple cider (or lemon juice) over the apples. 
  4. Add the filling ingredients together in a bowl. Mix well. Pour the filling mixture over the apples. Mix the apples so they are well coated in the filling mixture. Spread the apples out evenly again. 
  5. In a bowl, add the crumble ingredients. Mix well together so that there are no large chunks. Sprinkle the crumble over the apples in an even layer. 
  6. Bake for 45 minutes until crumble is golden brown and the filling juices are bubbling. You can tell if the apples are done if you can easily insert a fork into the centre of the crumble. Remove from oven and let cool a bit. Serve still a bit warm! A la mode, if you have it!

Cheers!

-Andrea

The Half-Assed Hobbyist