Surprise Grape-ing

Born and raised in Alberta, I find it extremely weird to find fruit trees that aren't apple trees in peoples back yards. I'm getting used to this idea that there are commonly pear, lemon, cherry, and concord grape trees throughout most neighbourhoods. Heck. I'm getting more used to it now because it means I can foray into a world of otherwise unthought-of jams and jellies! Muaha!

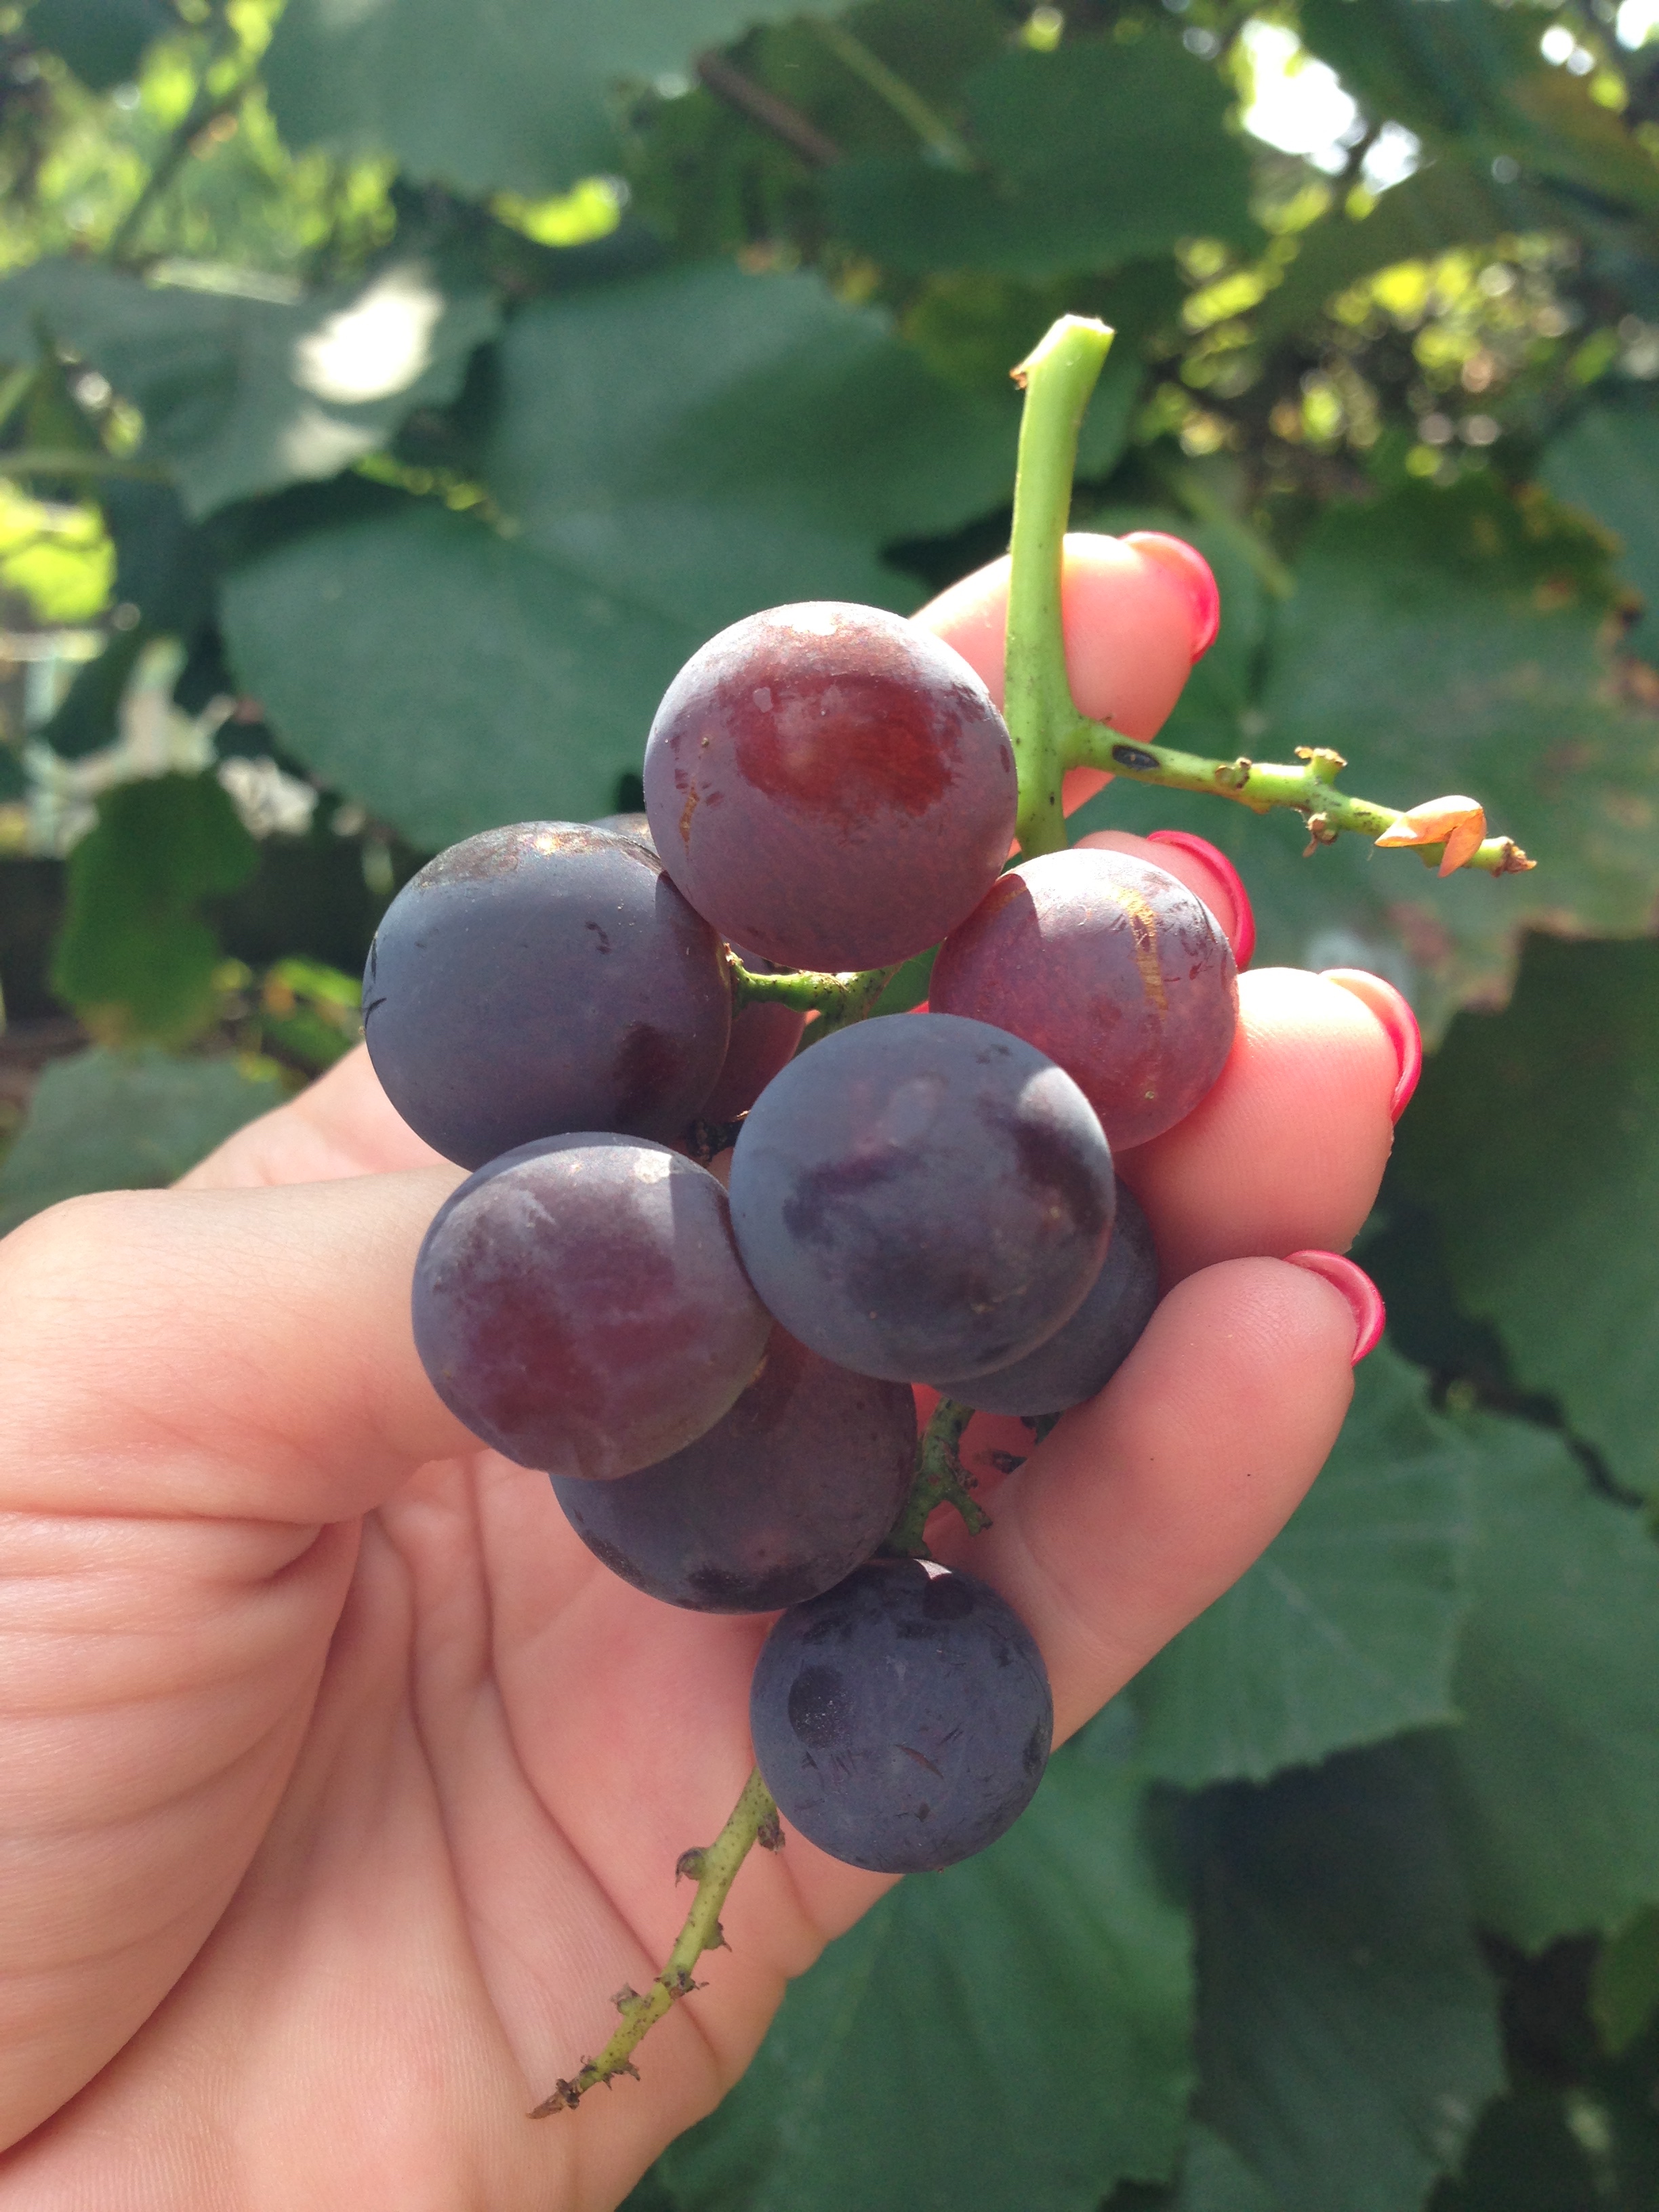
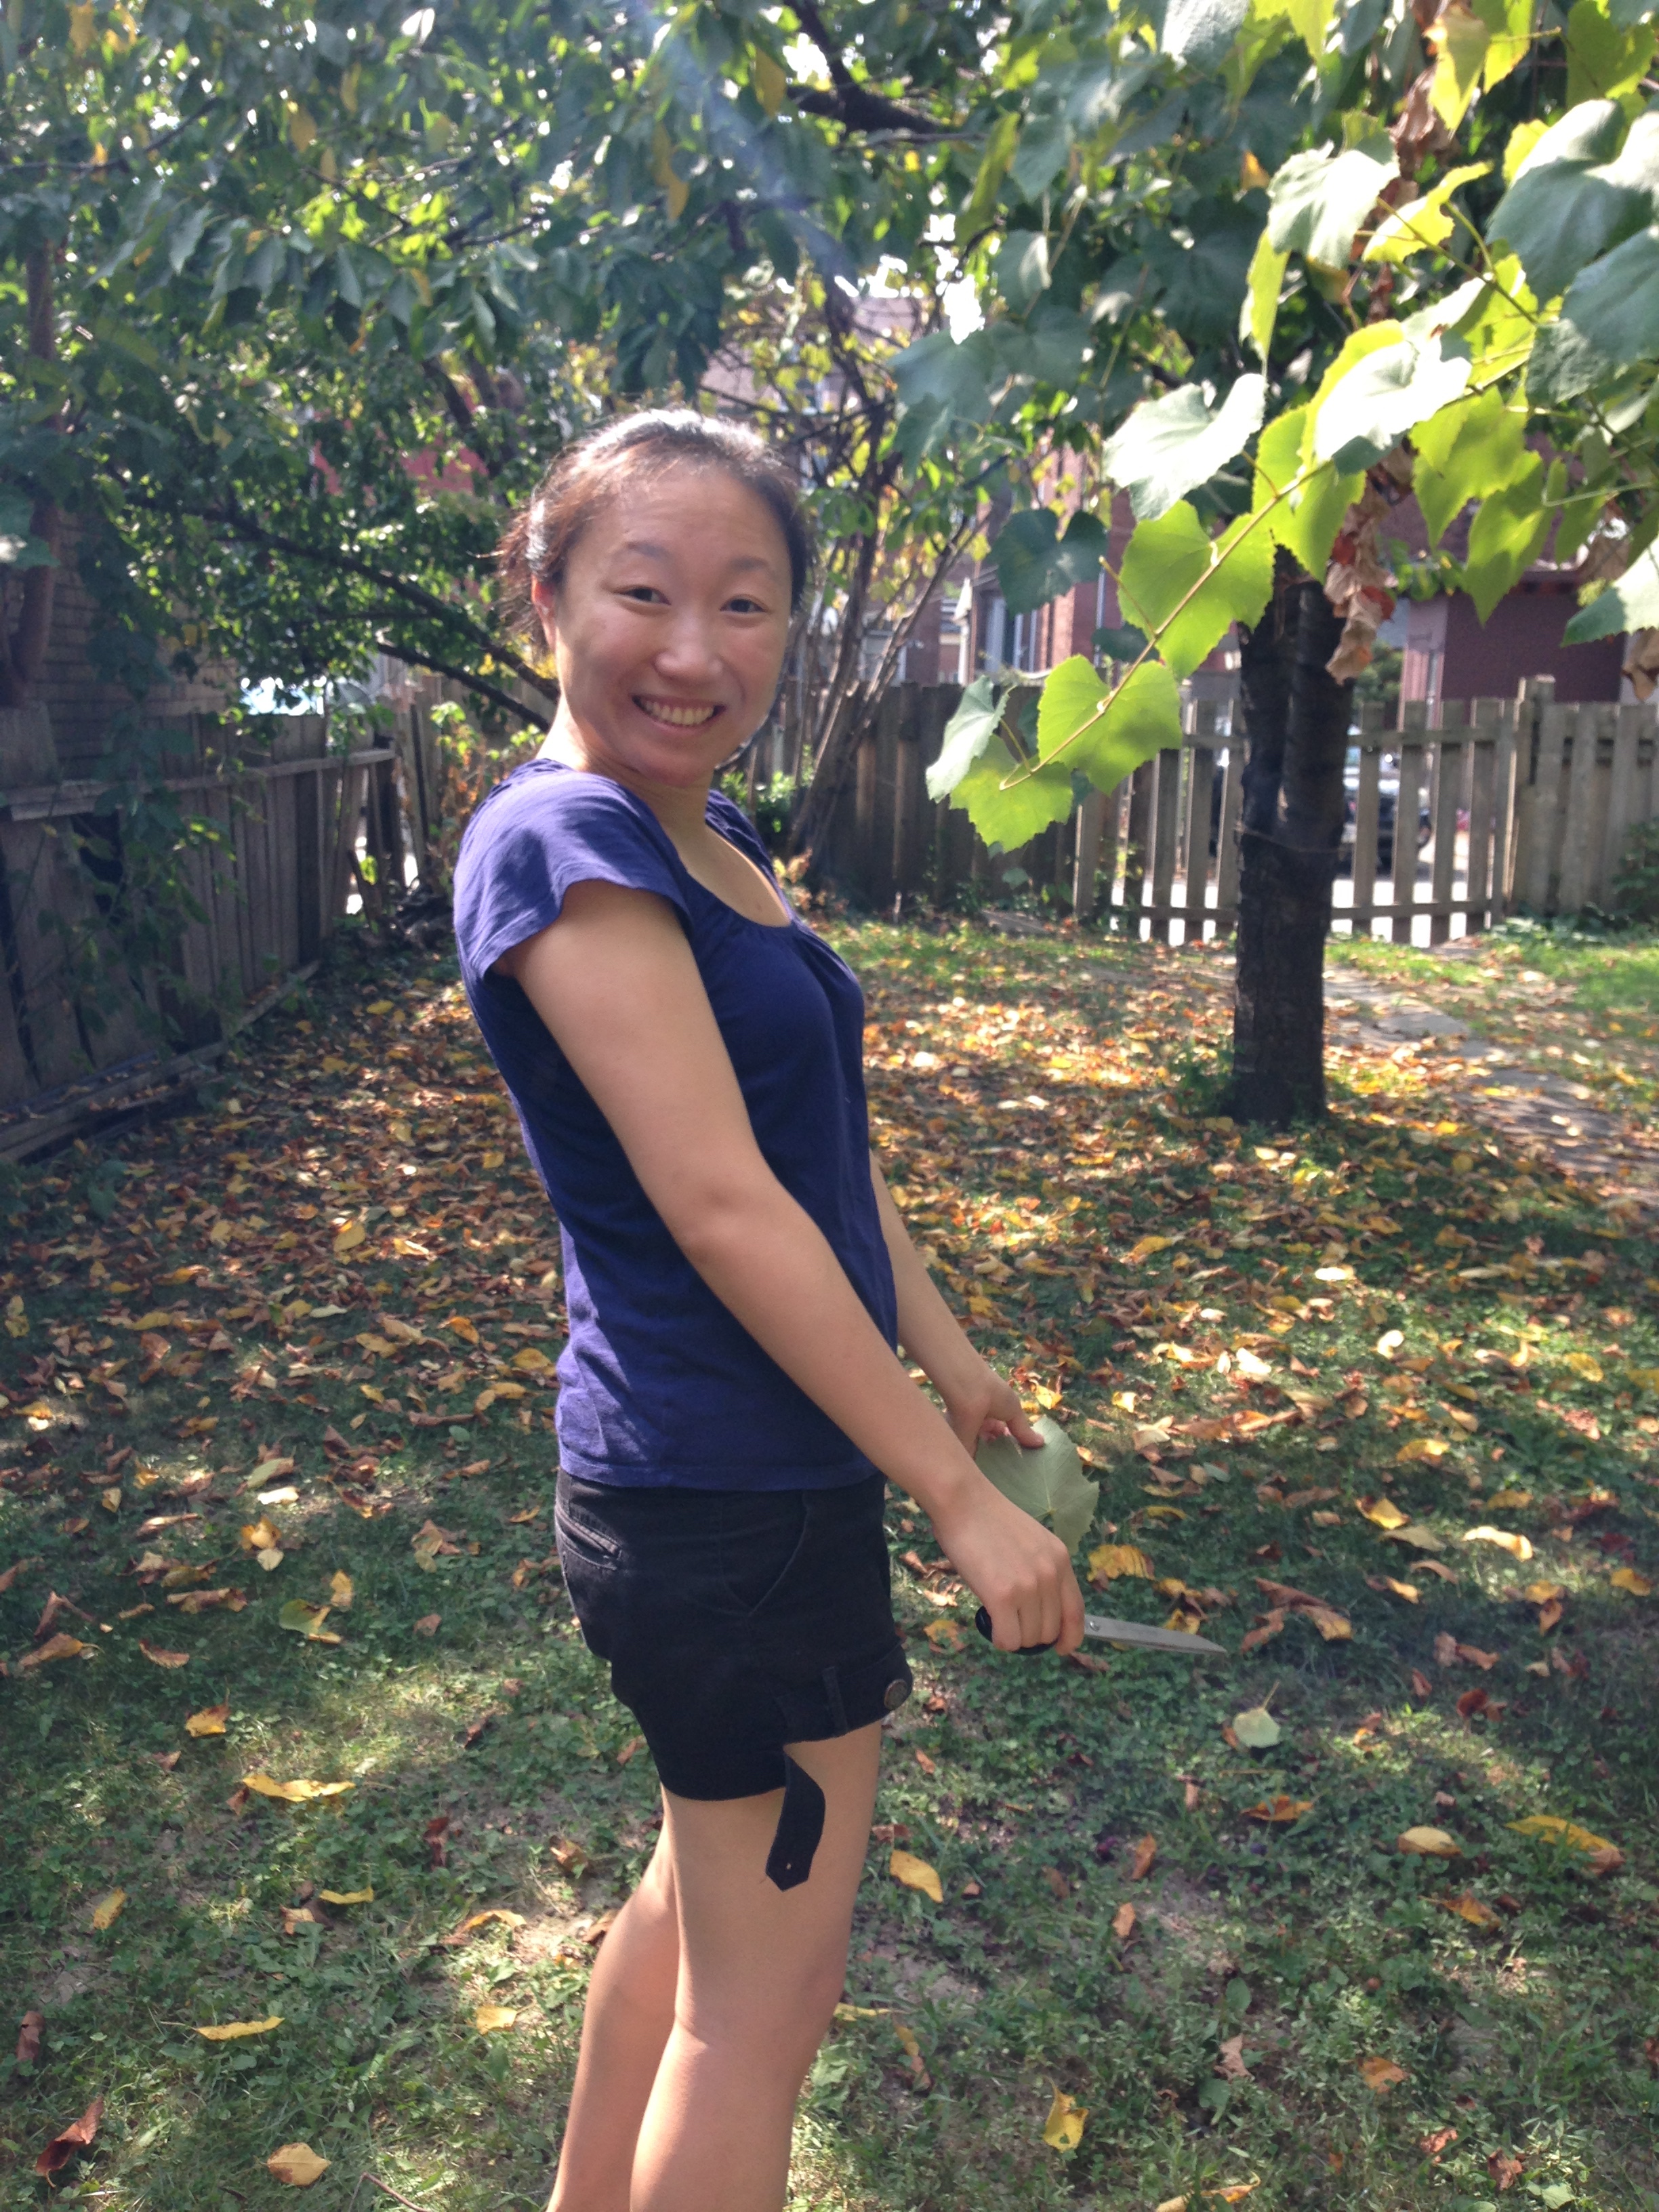
My lovely lady friend Gloria let me adventure with some buddies into her and her husband's backyard fruit paradise! Grape hunting and harvesting was an afternoon affair. A successful affair. We picked all the ones we could reach and there were still a grape ton high up above out heads. (Yes. Grape Tree. Mind Blown.) Next year perhaps there will be wine to be made. First step will be get a ladder! XD

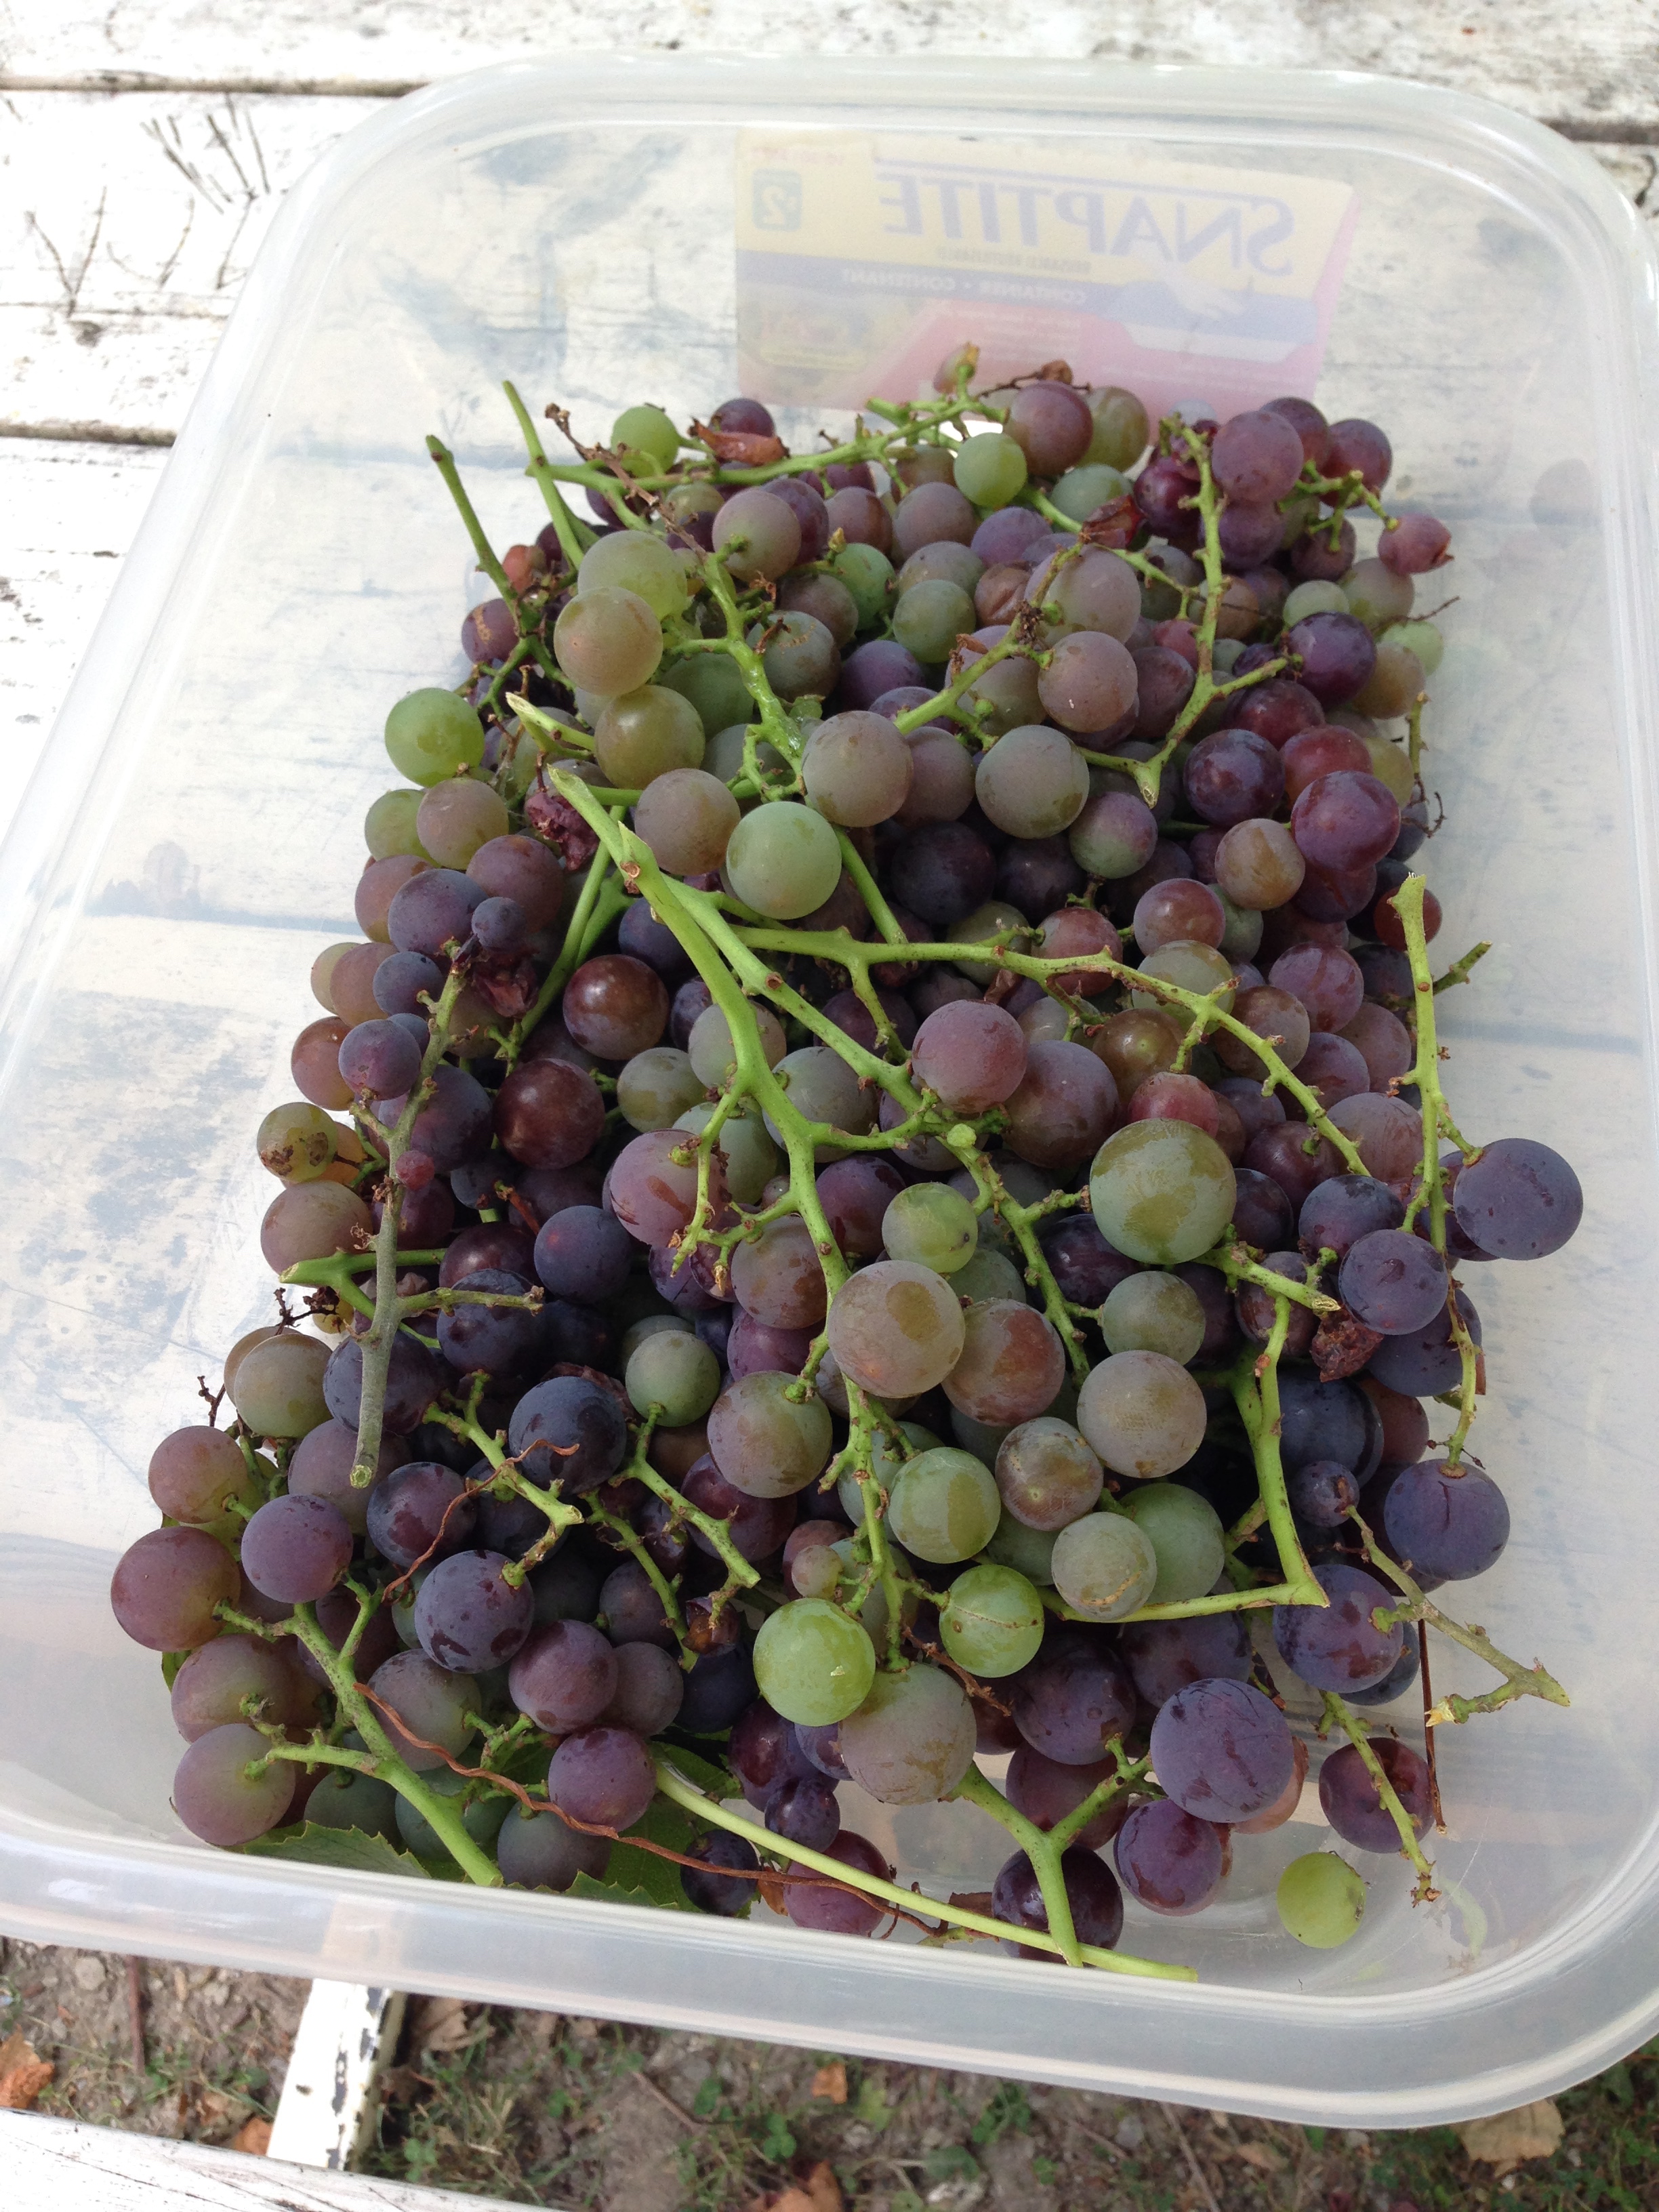
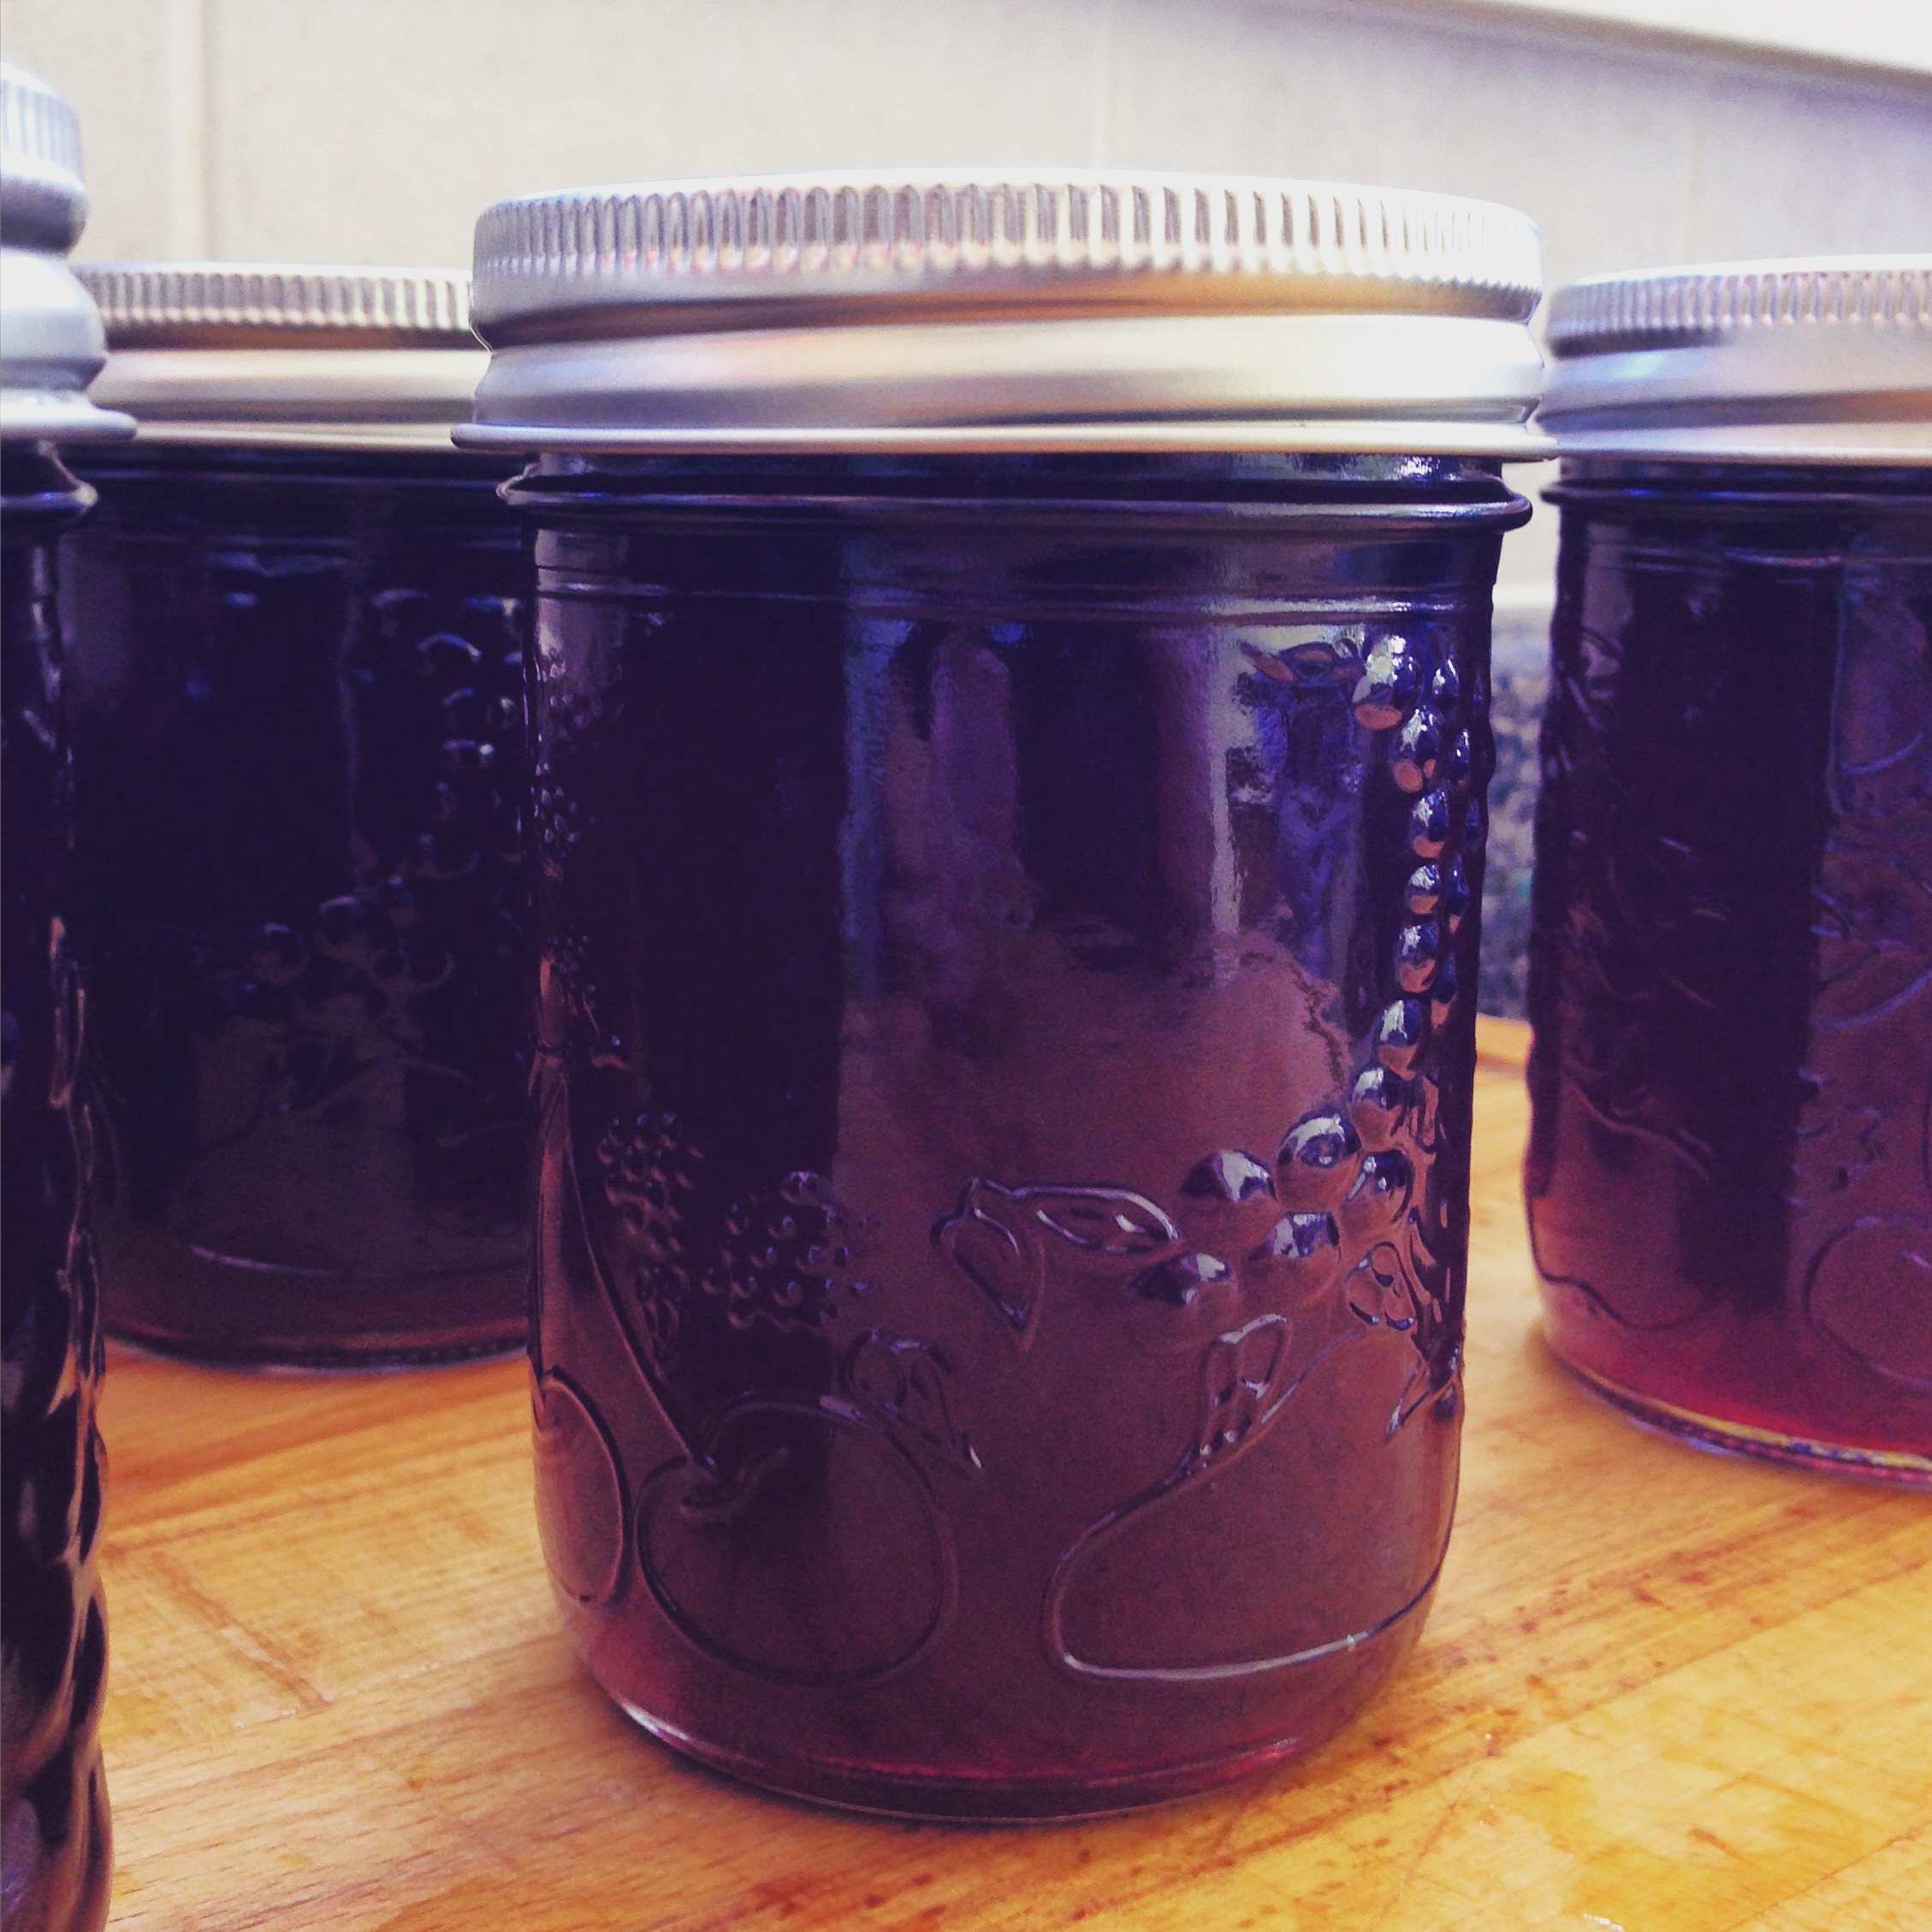
We collected all we could and attempted to not nom them all. There were master plans for these grapes: Grape Jelly.

So I got the grapes home and (eventually) set to work. 
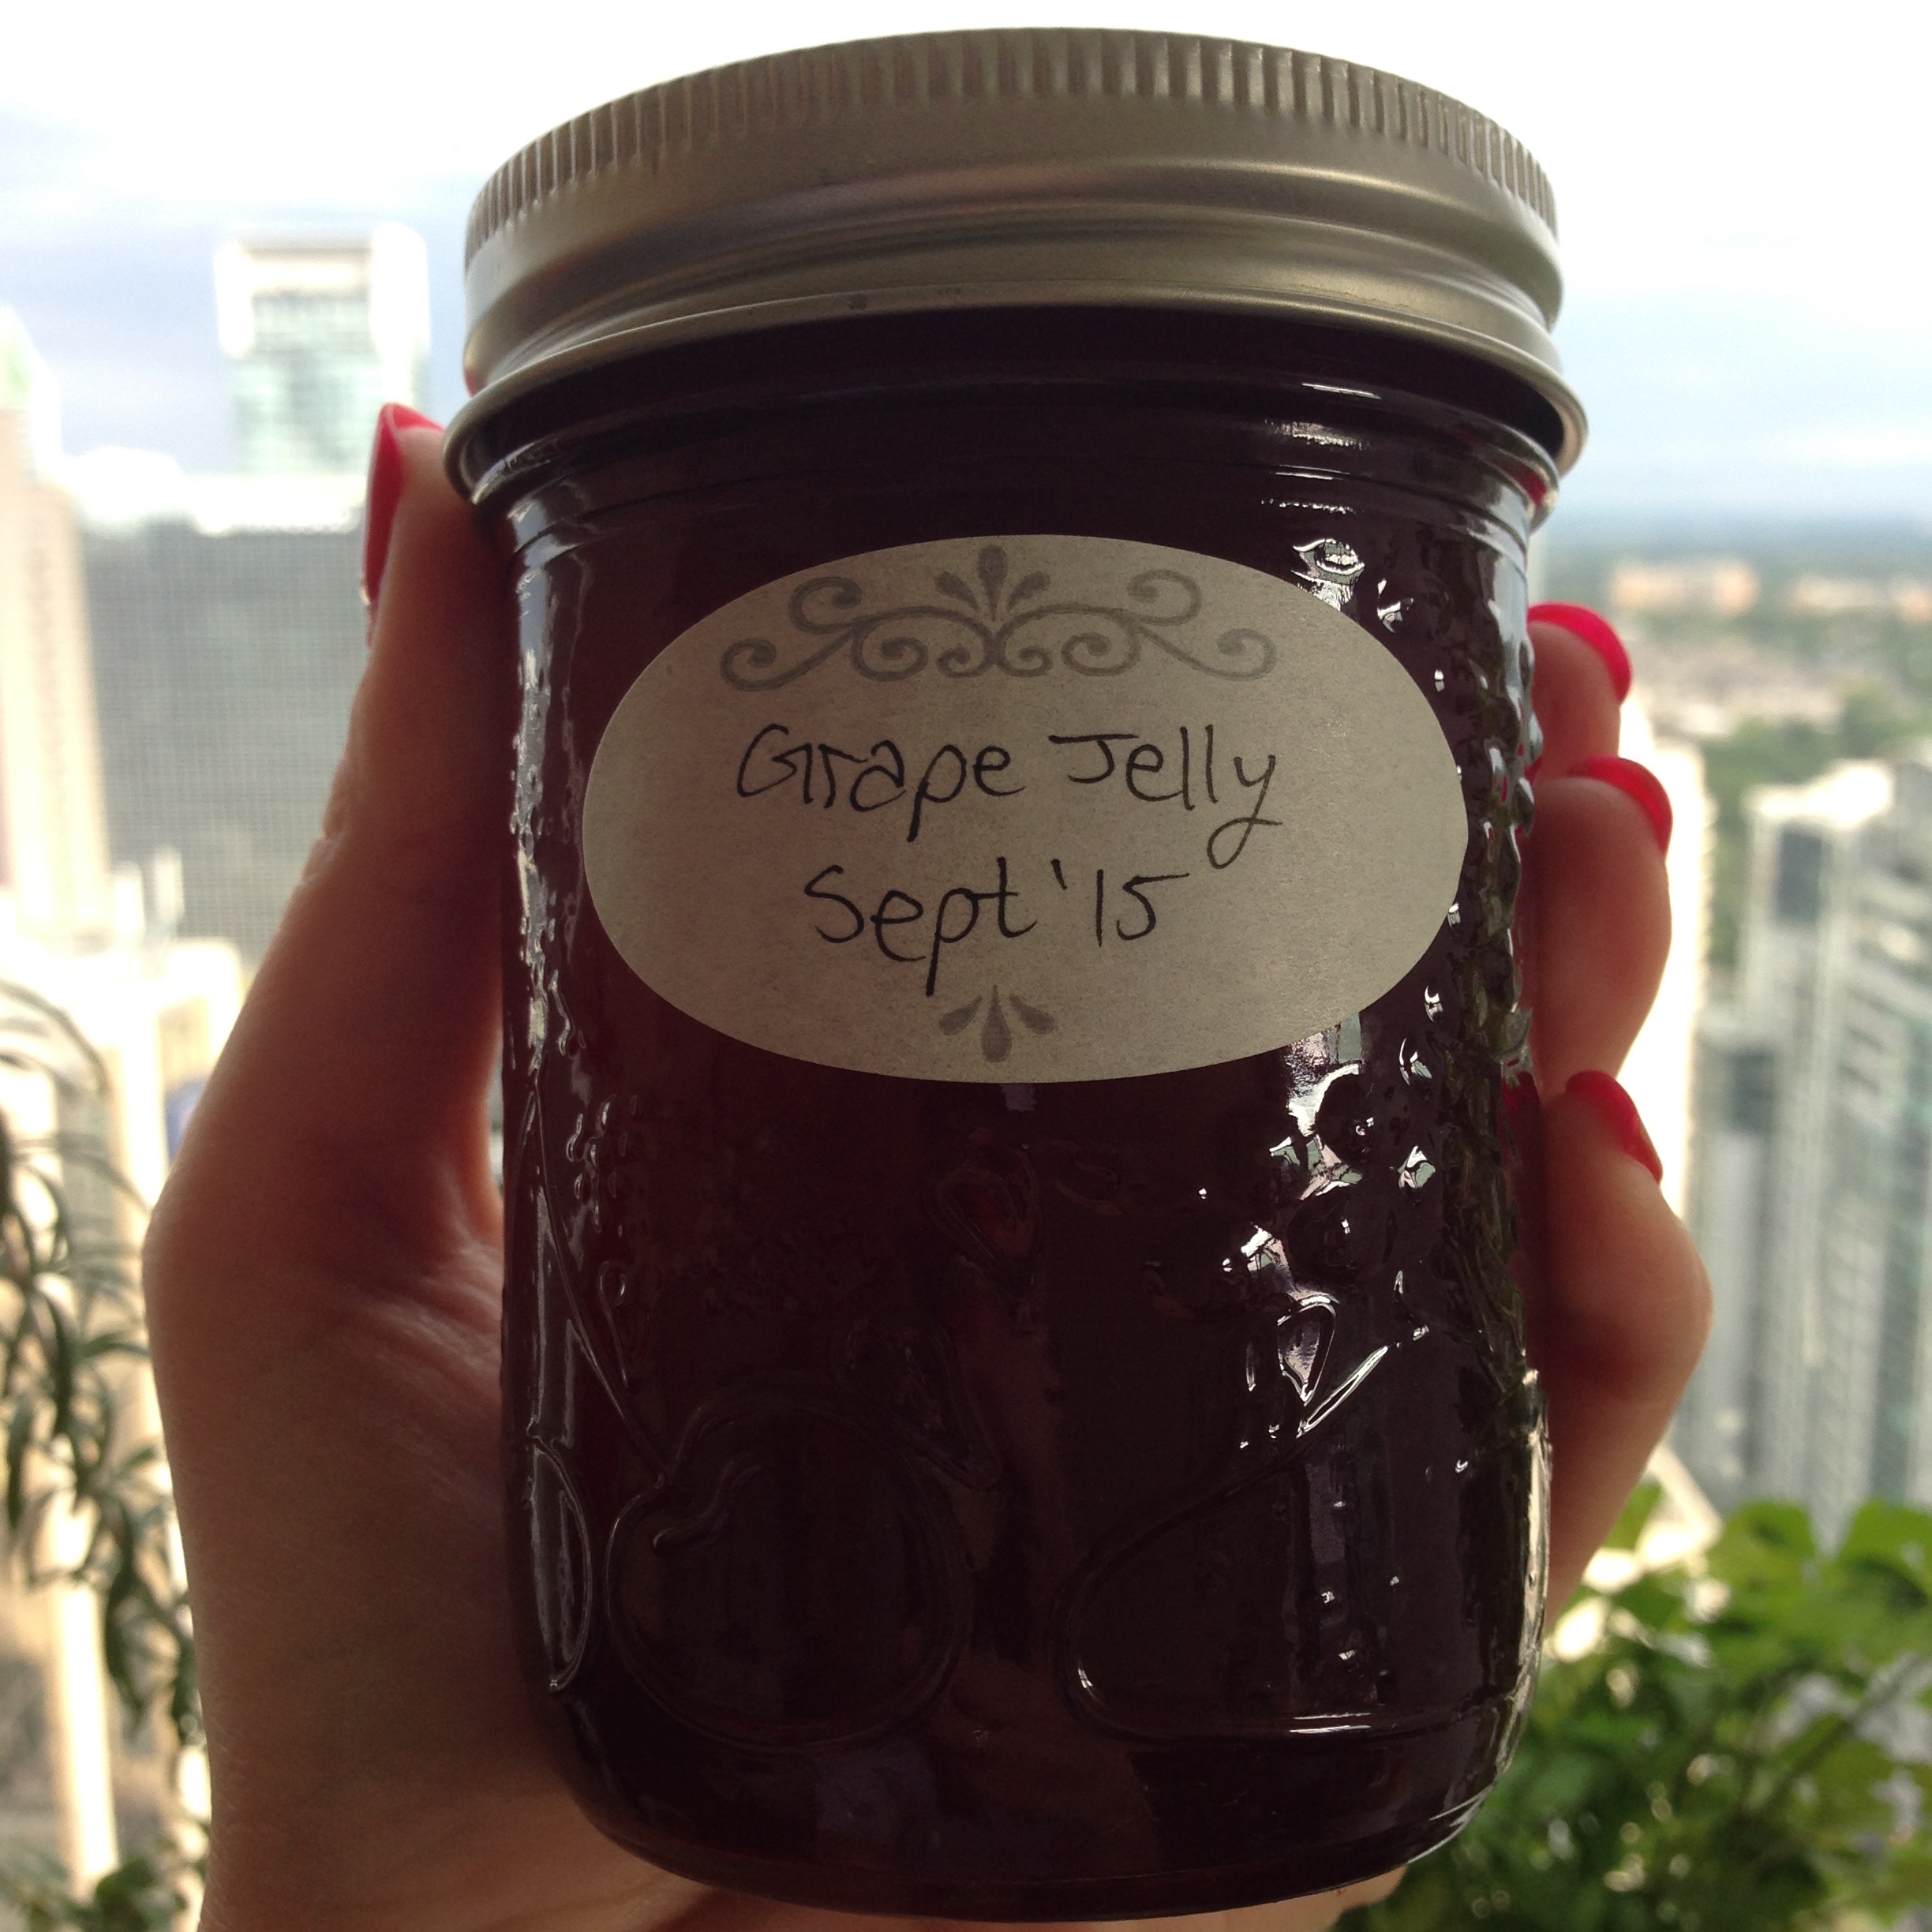
Grape Jelly

5 cups juice
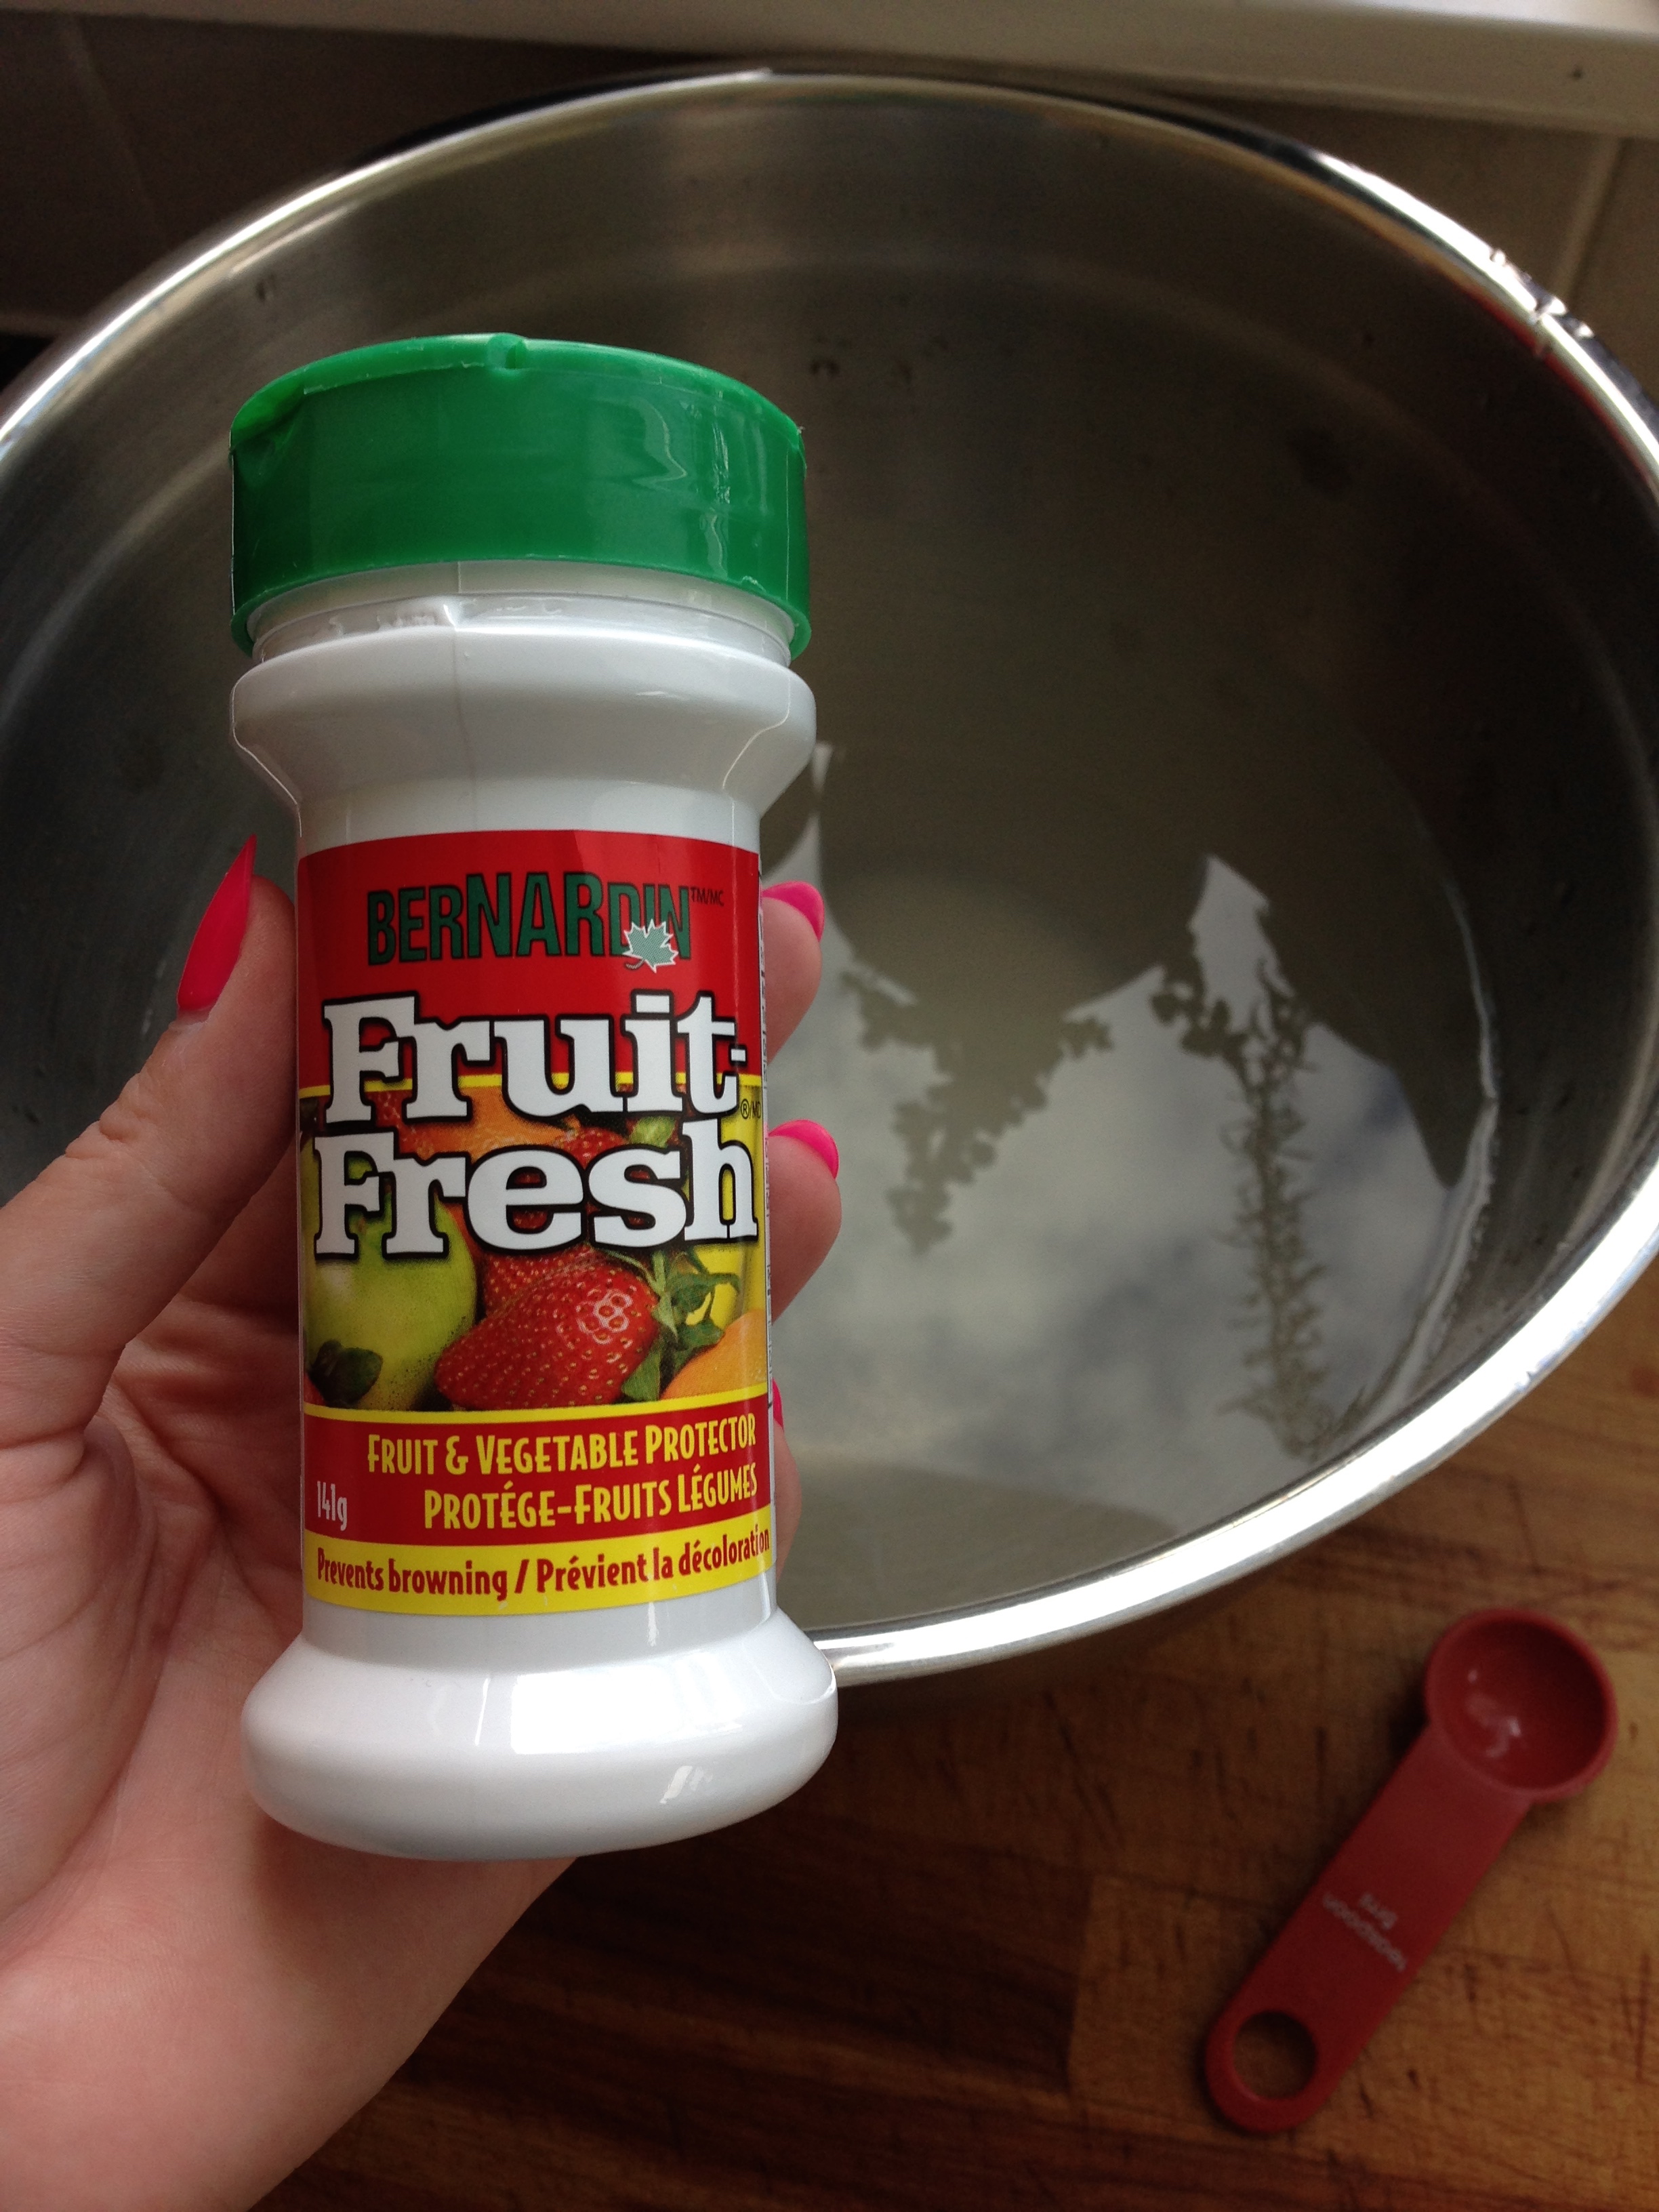
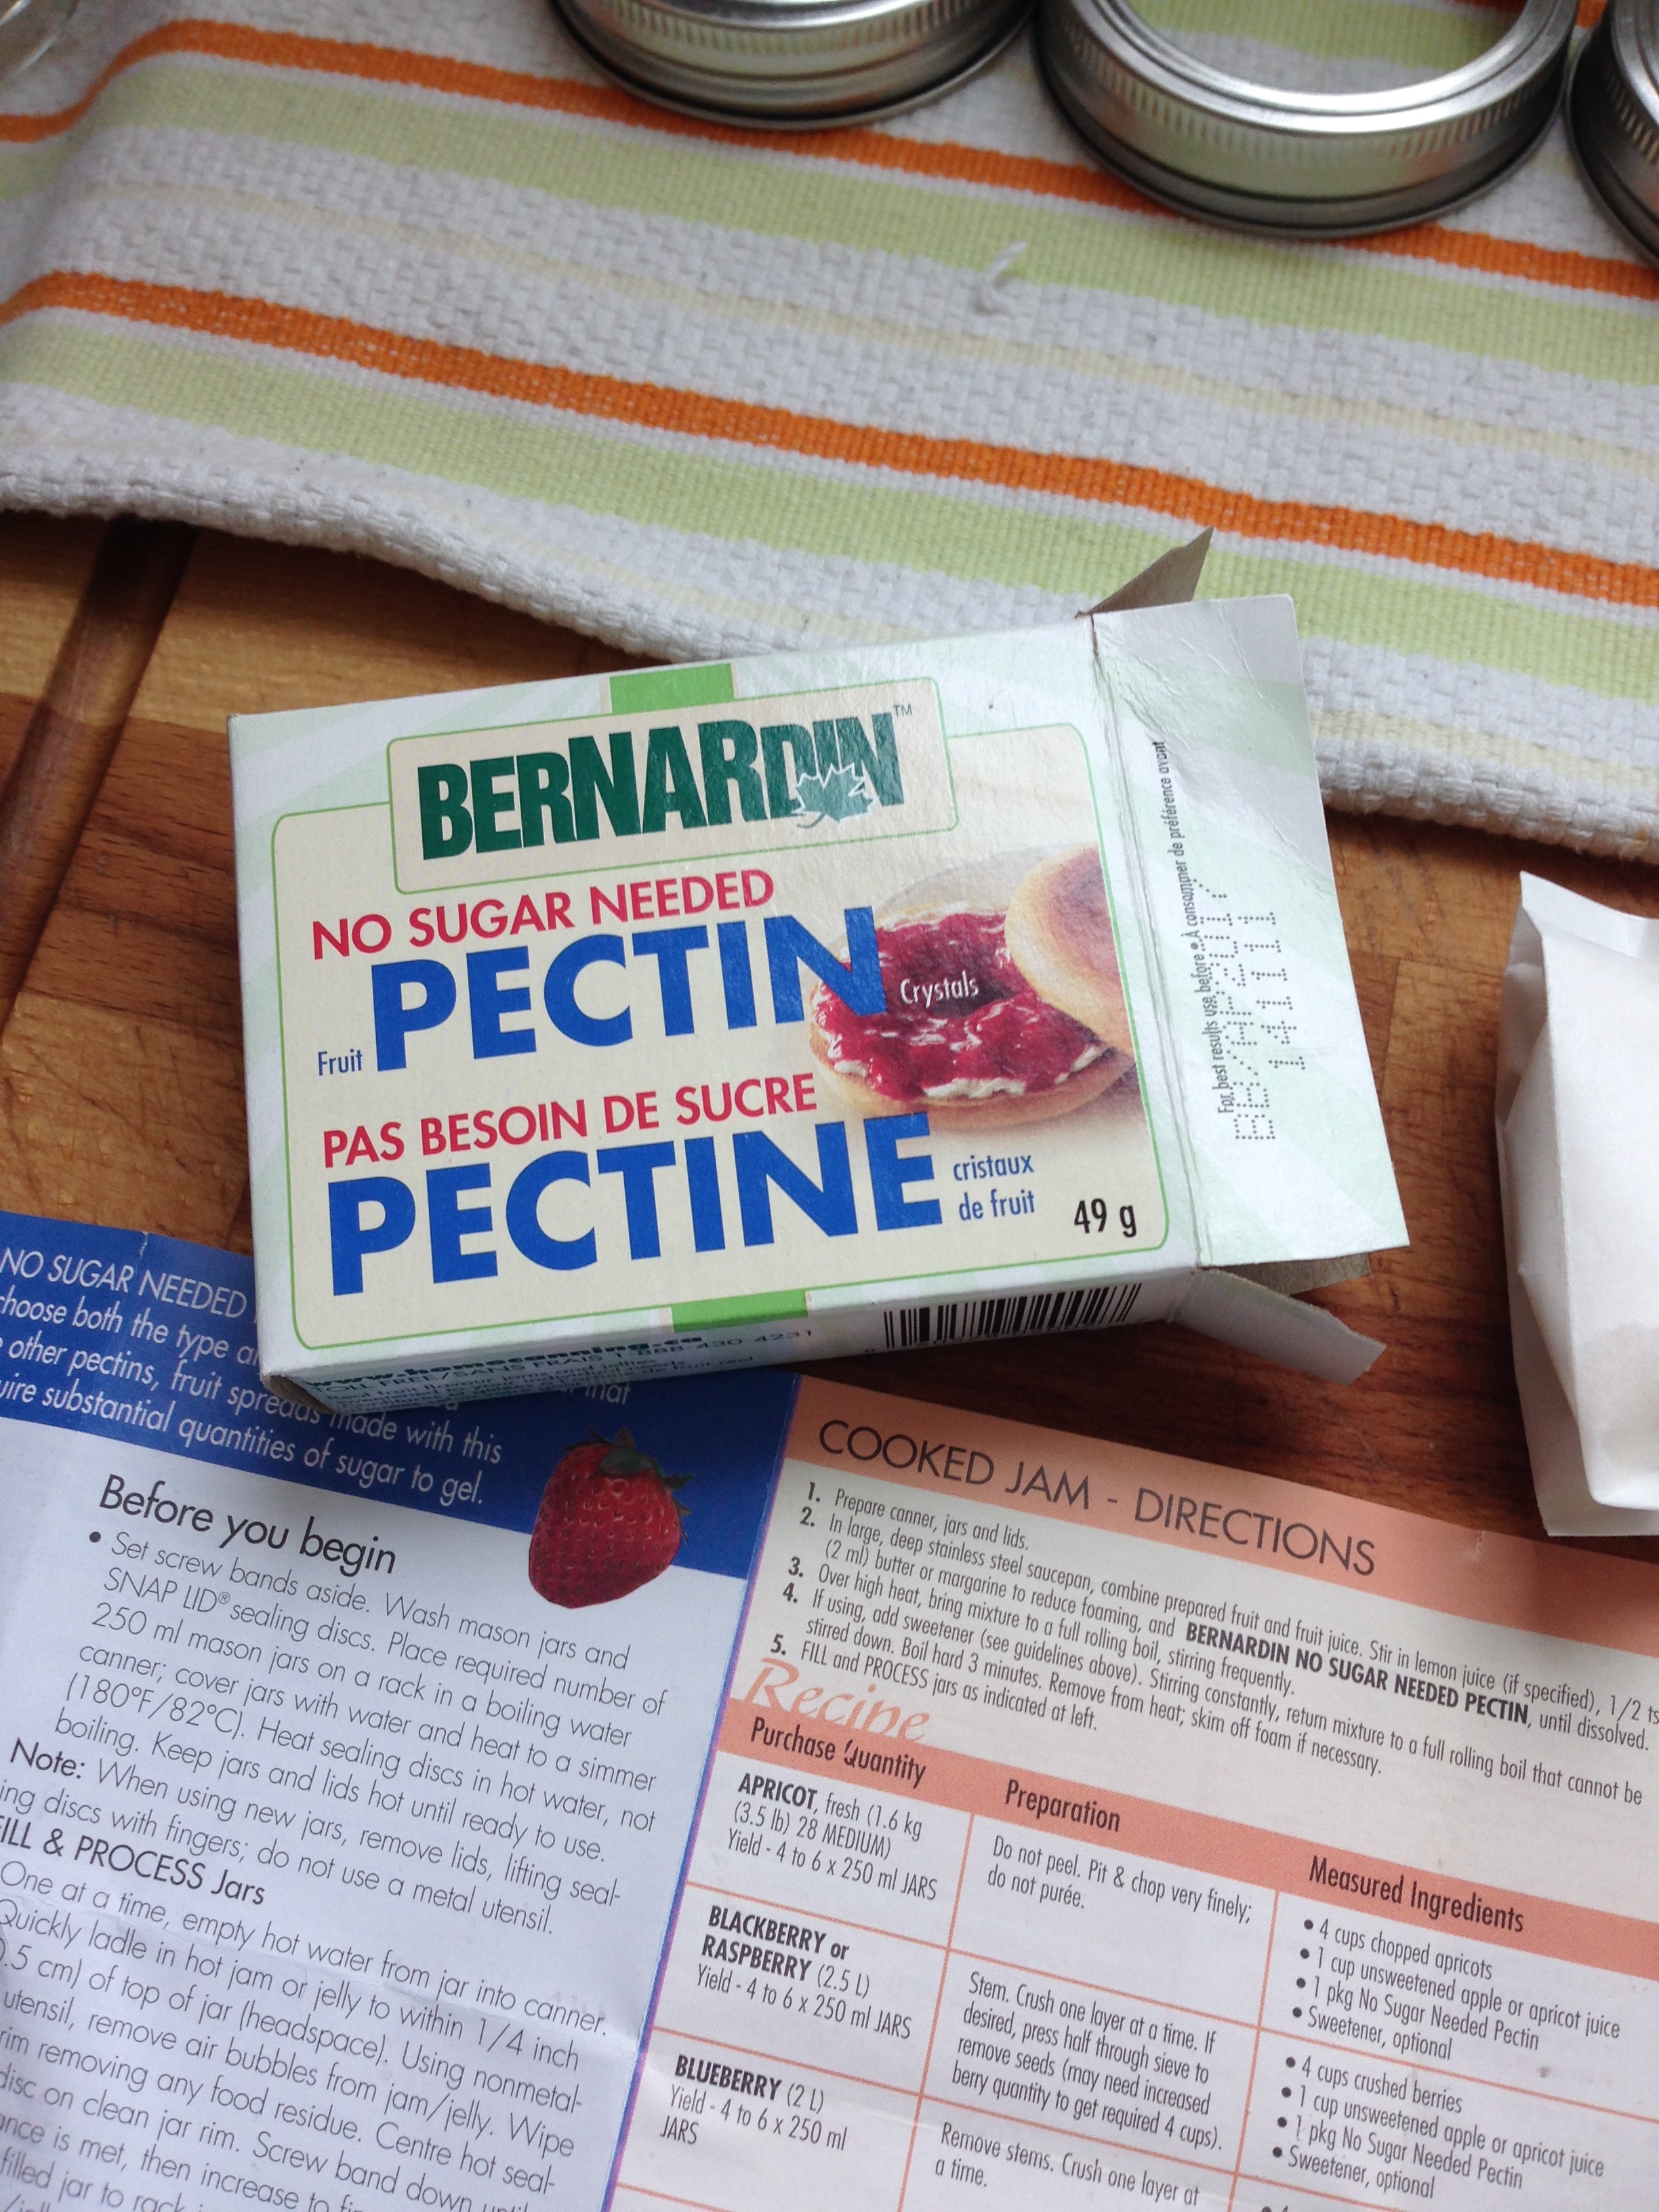
1 packet pectin (I used Bernardin)
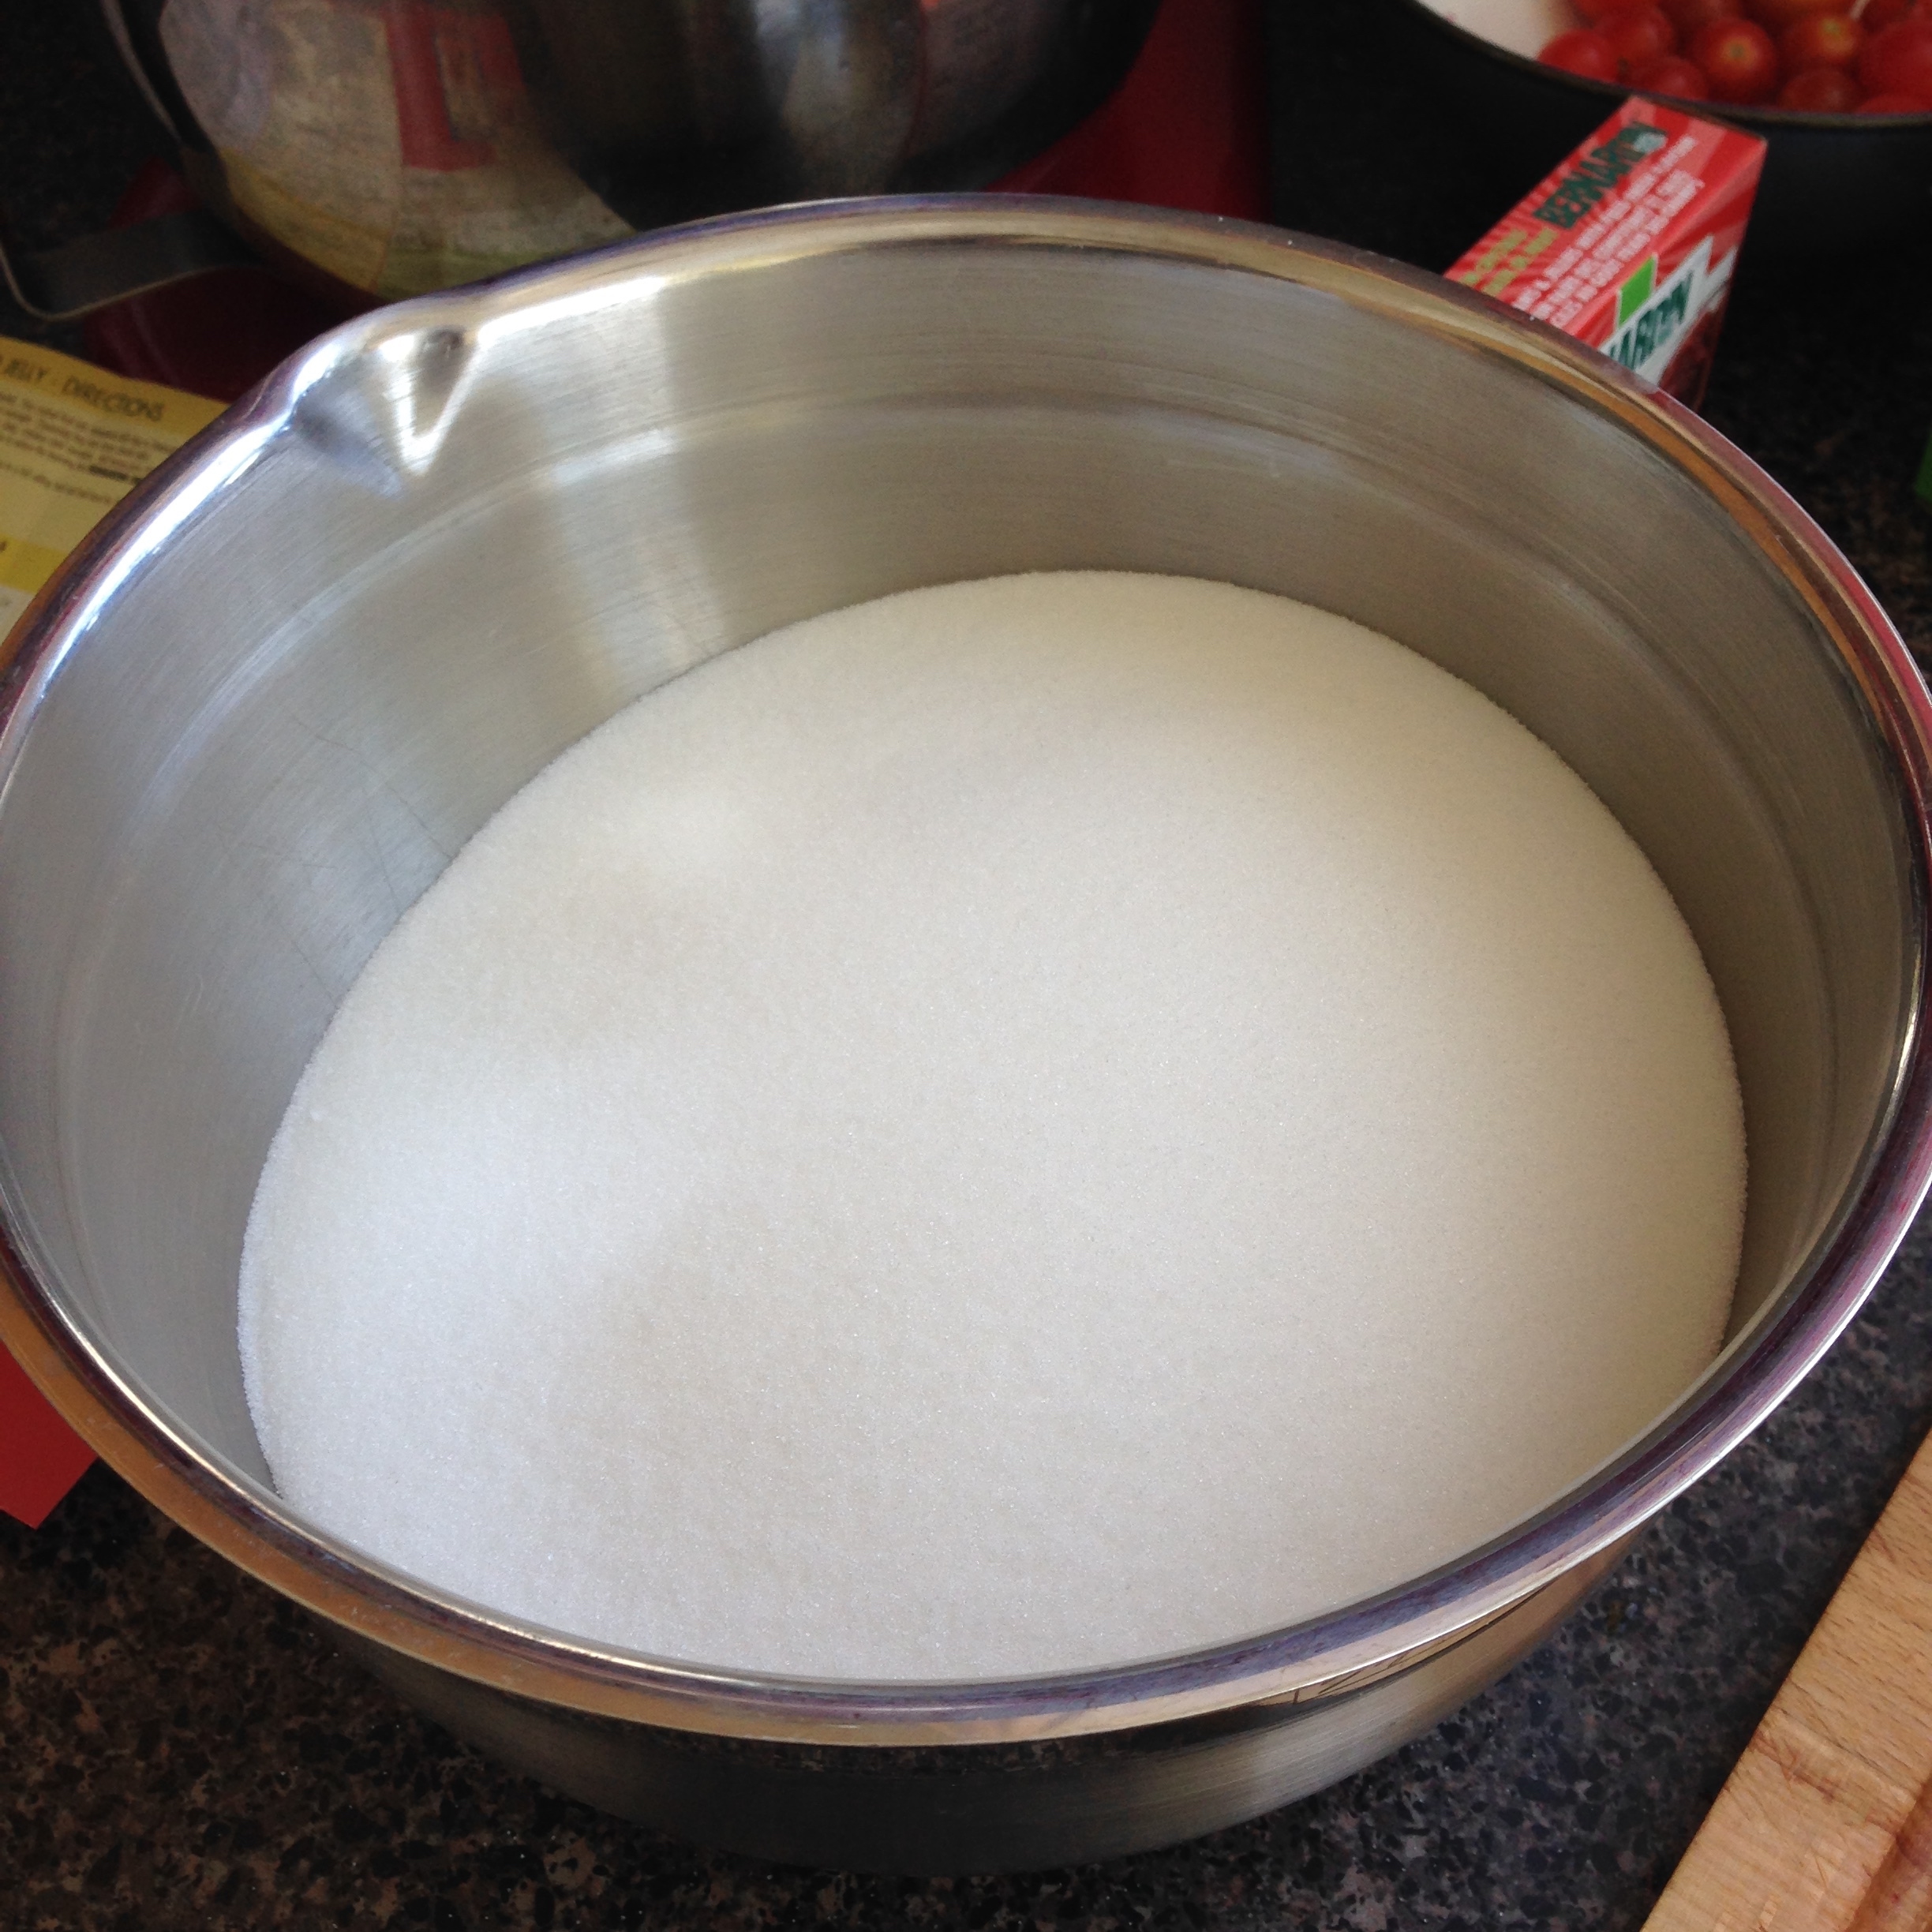
6 cups sugar

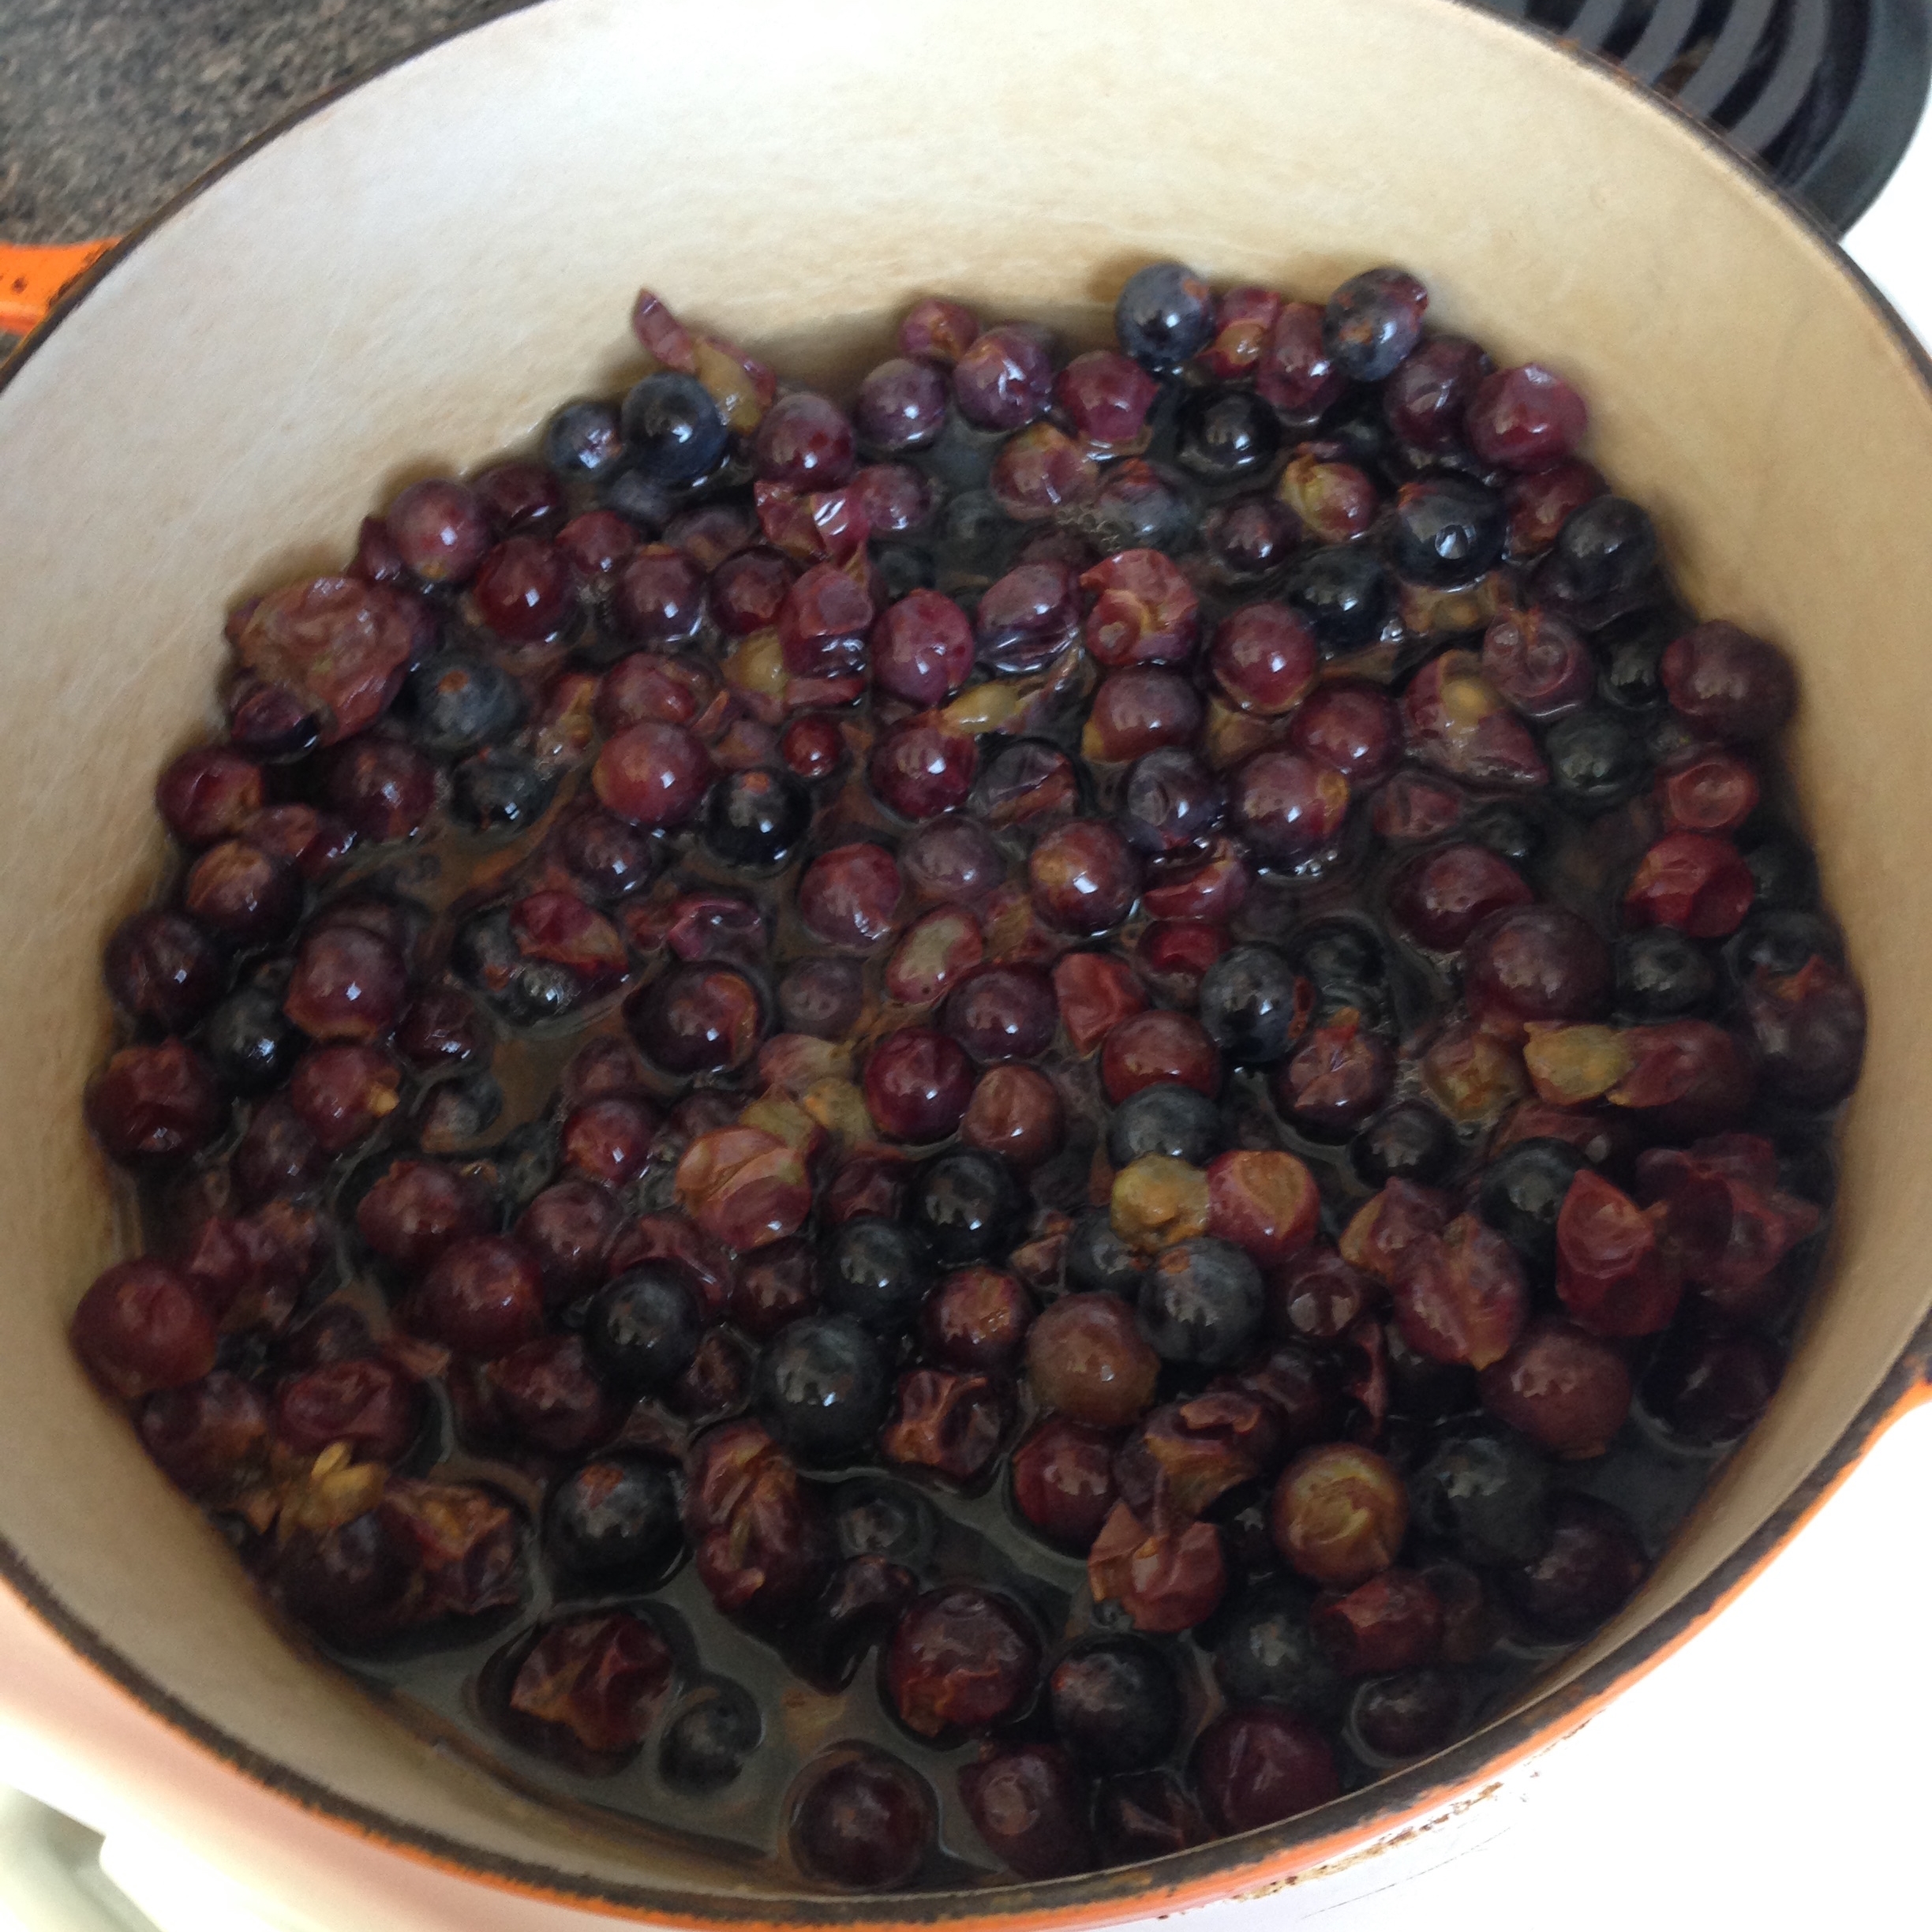
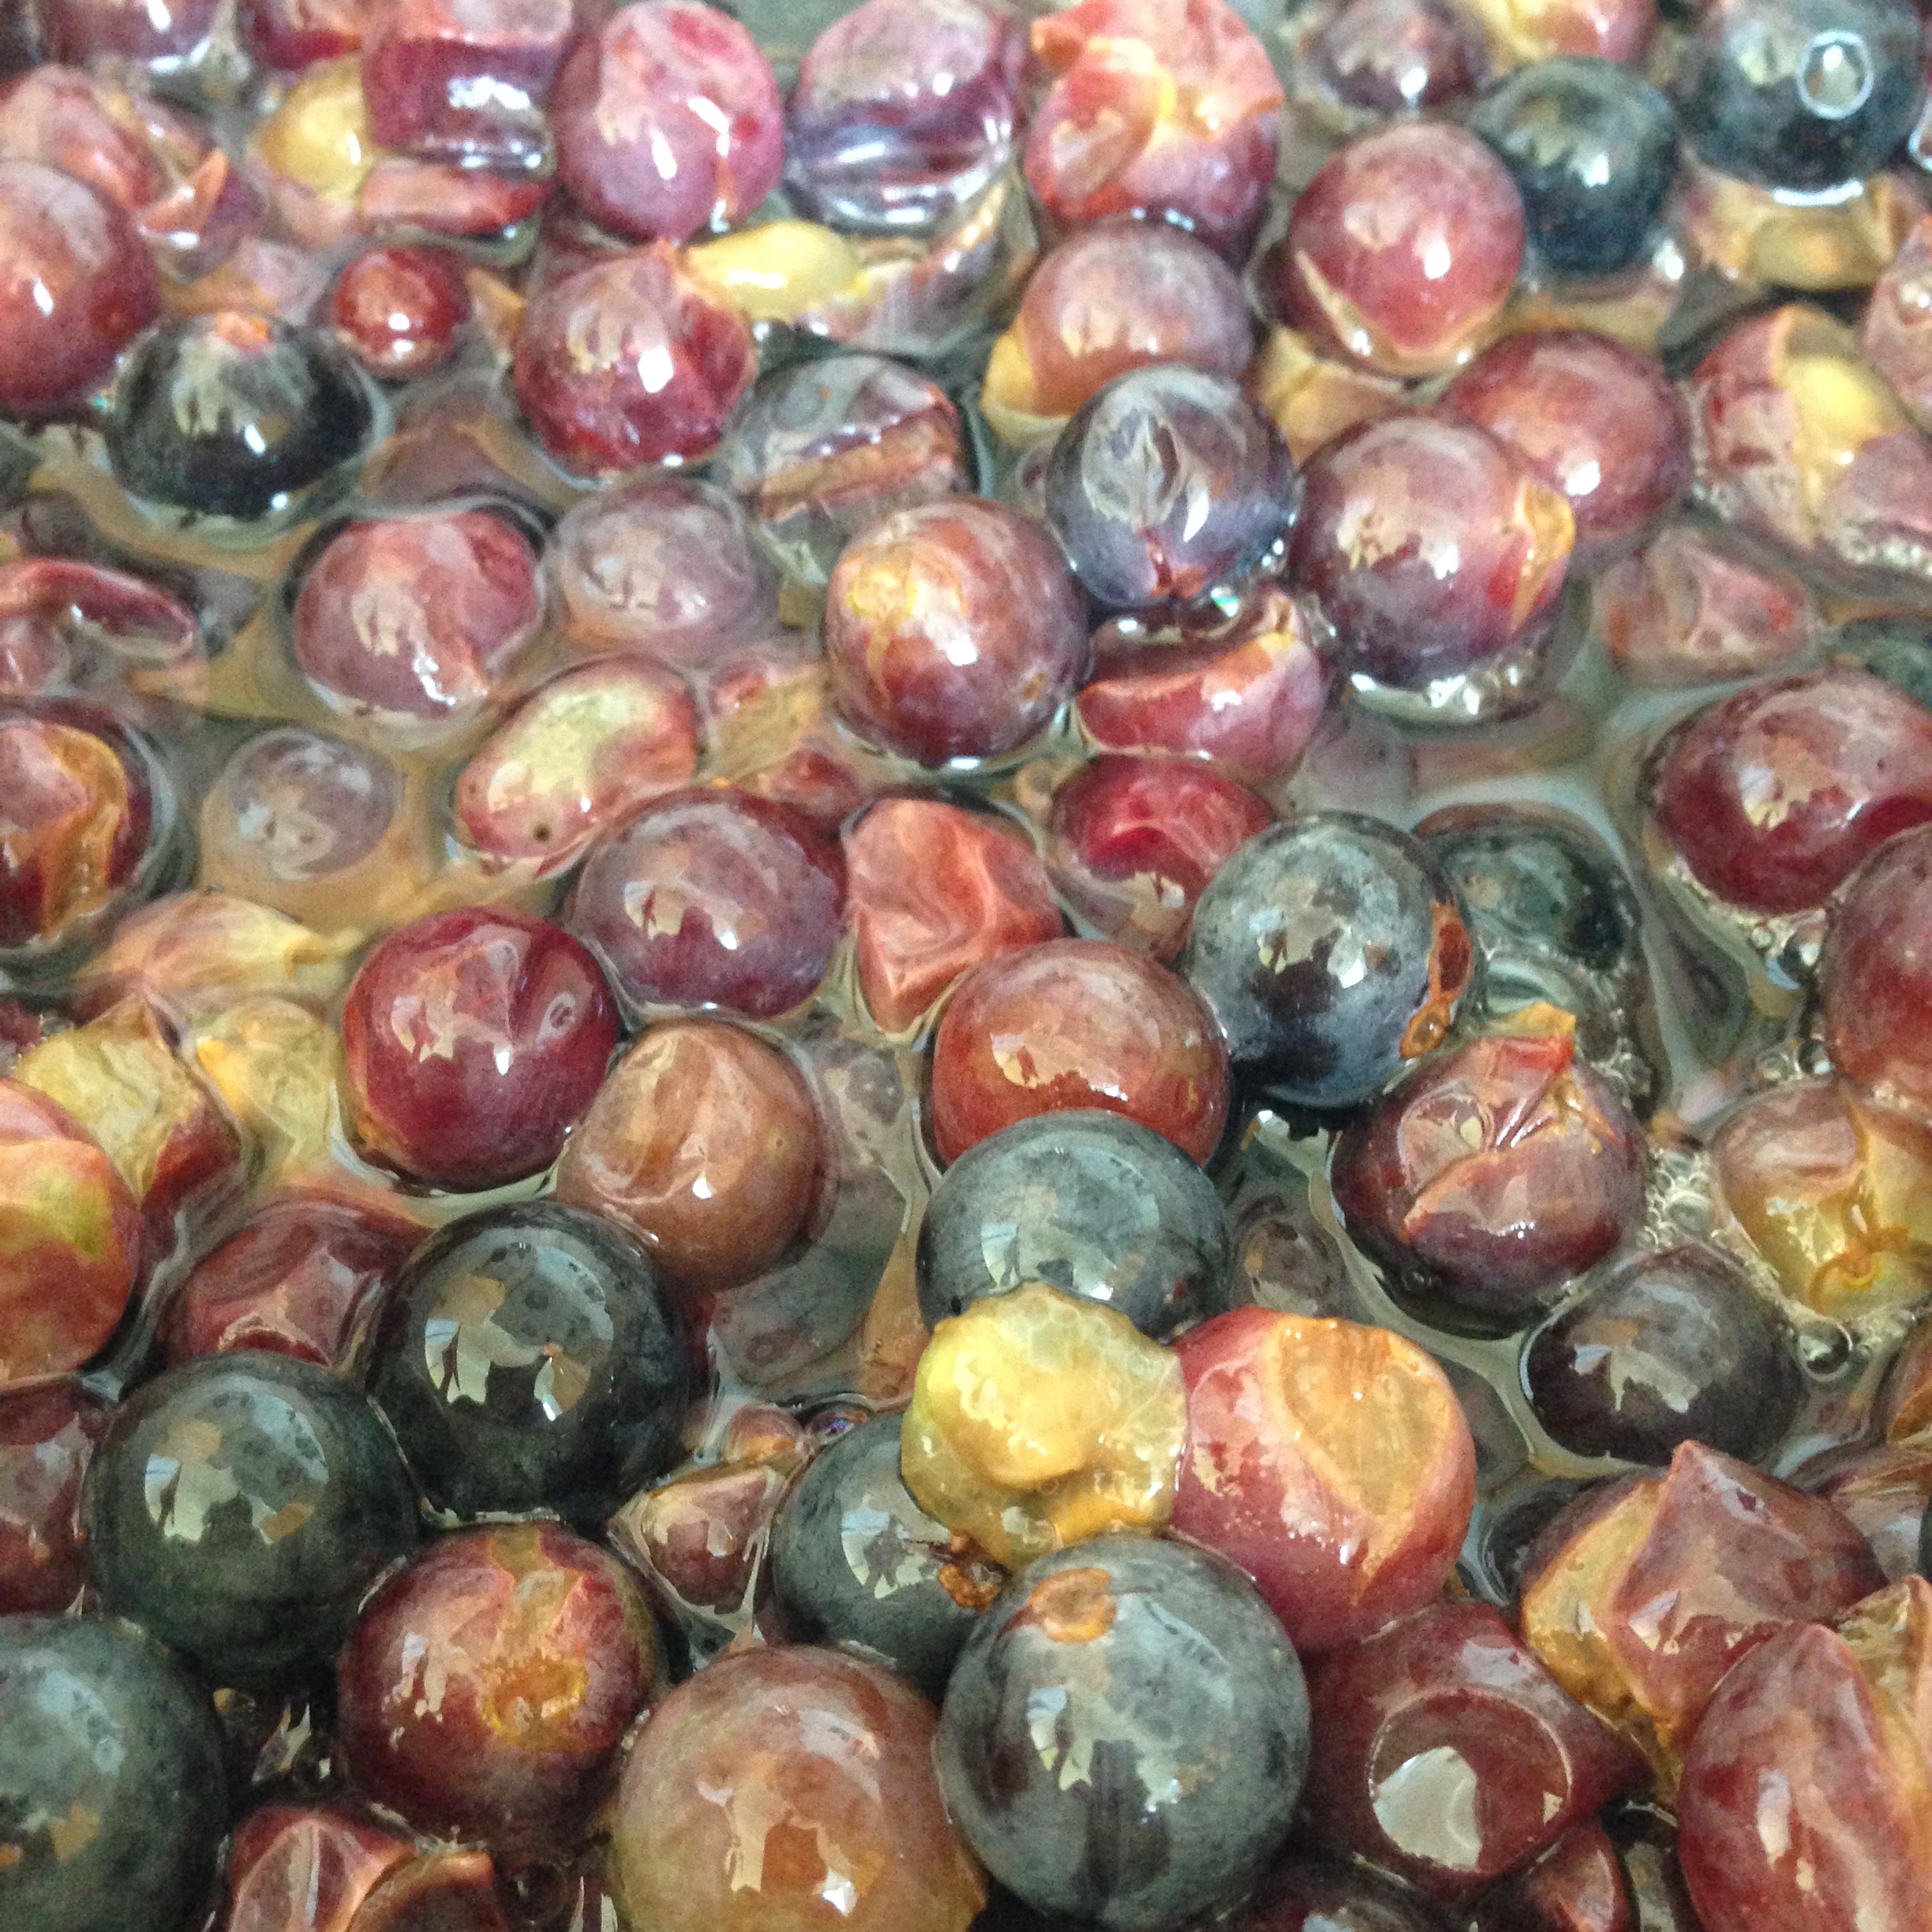
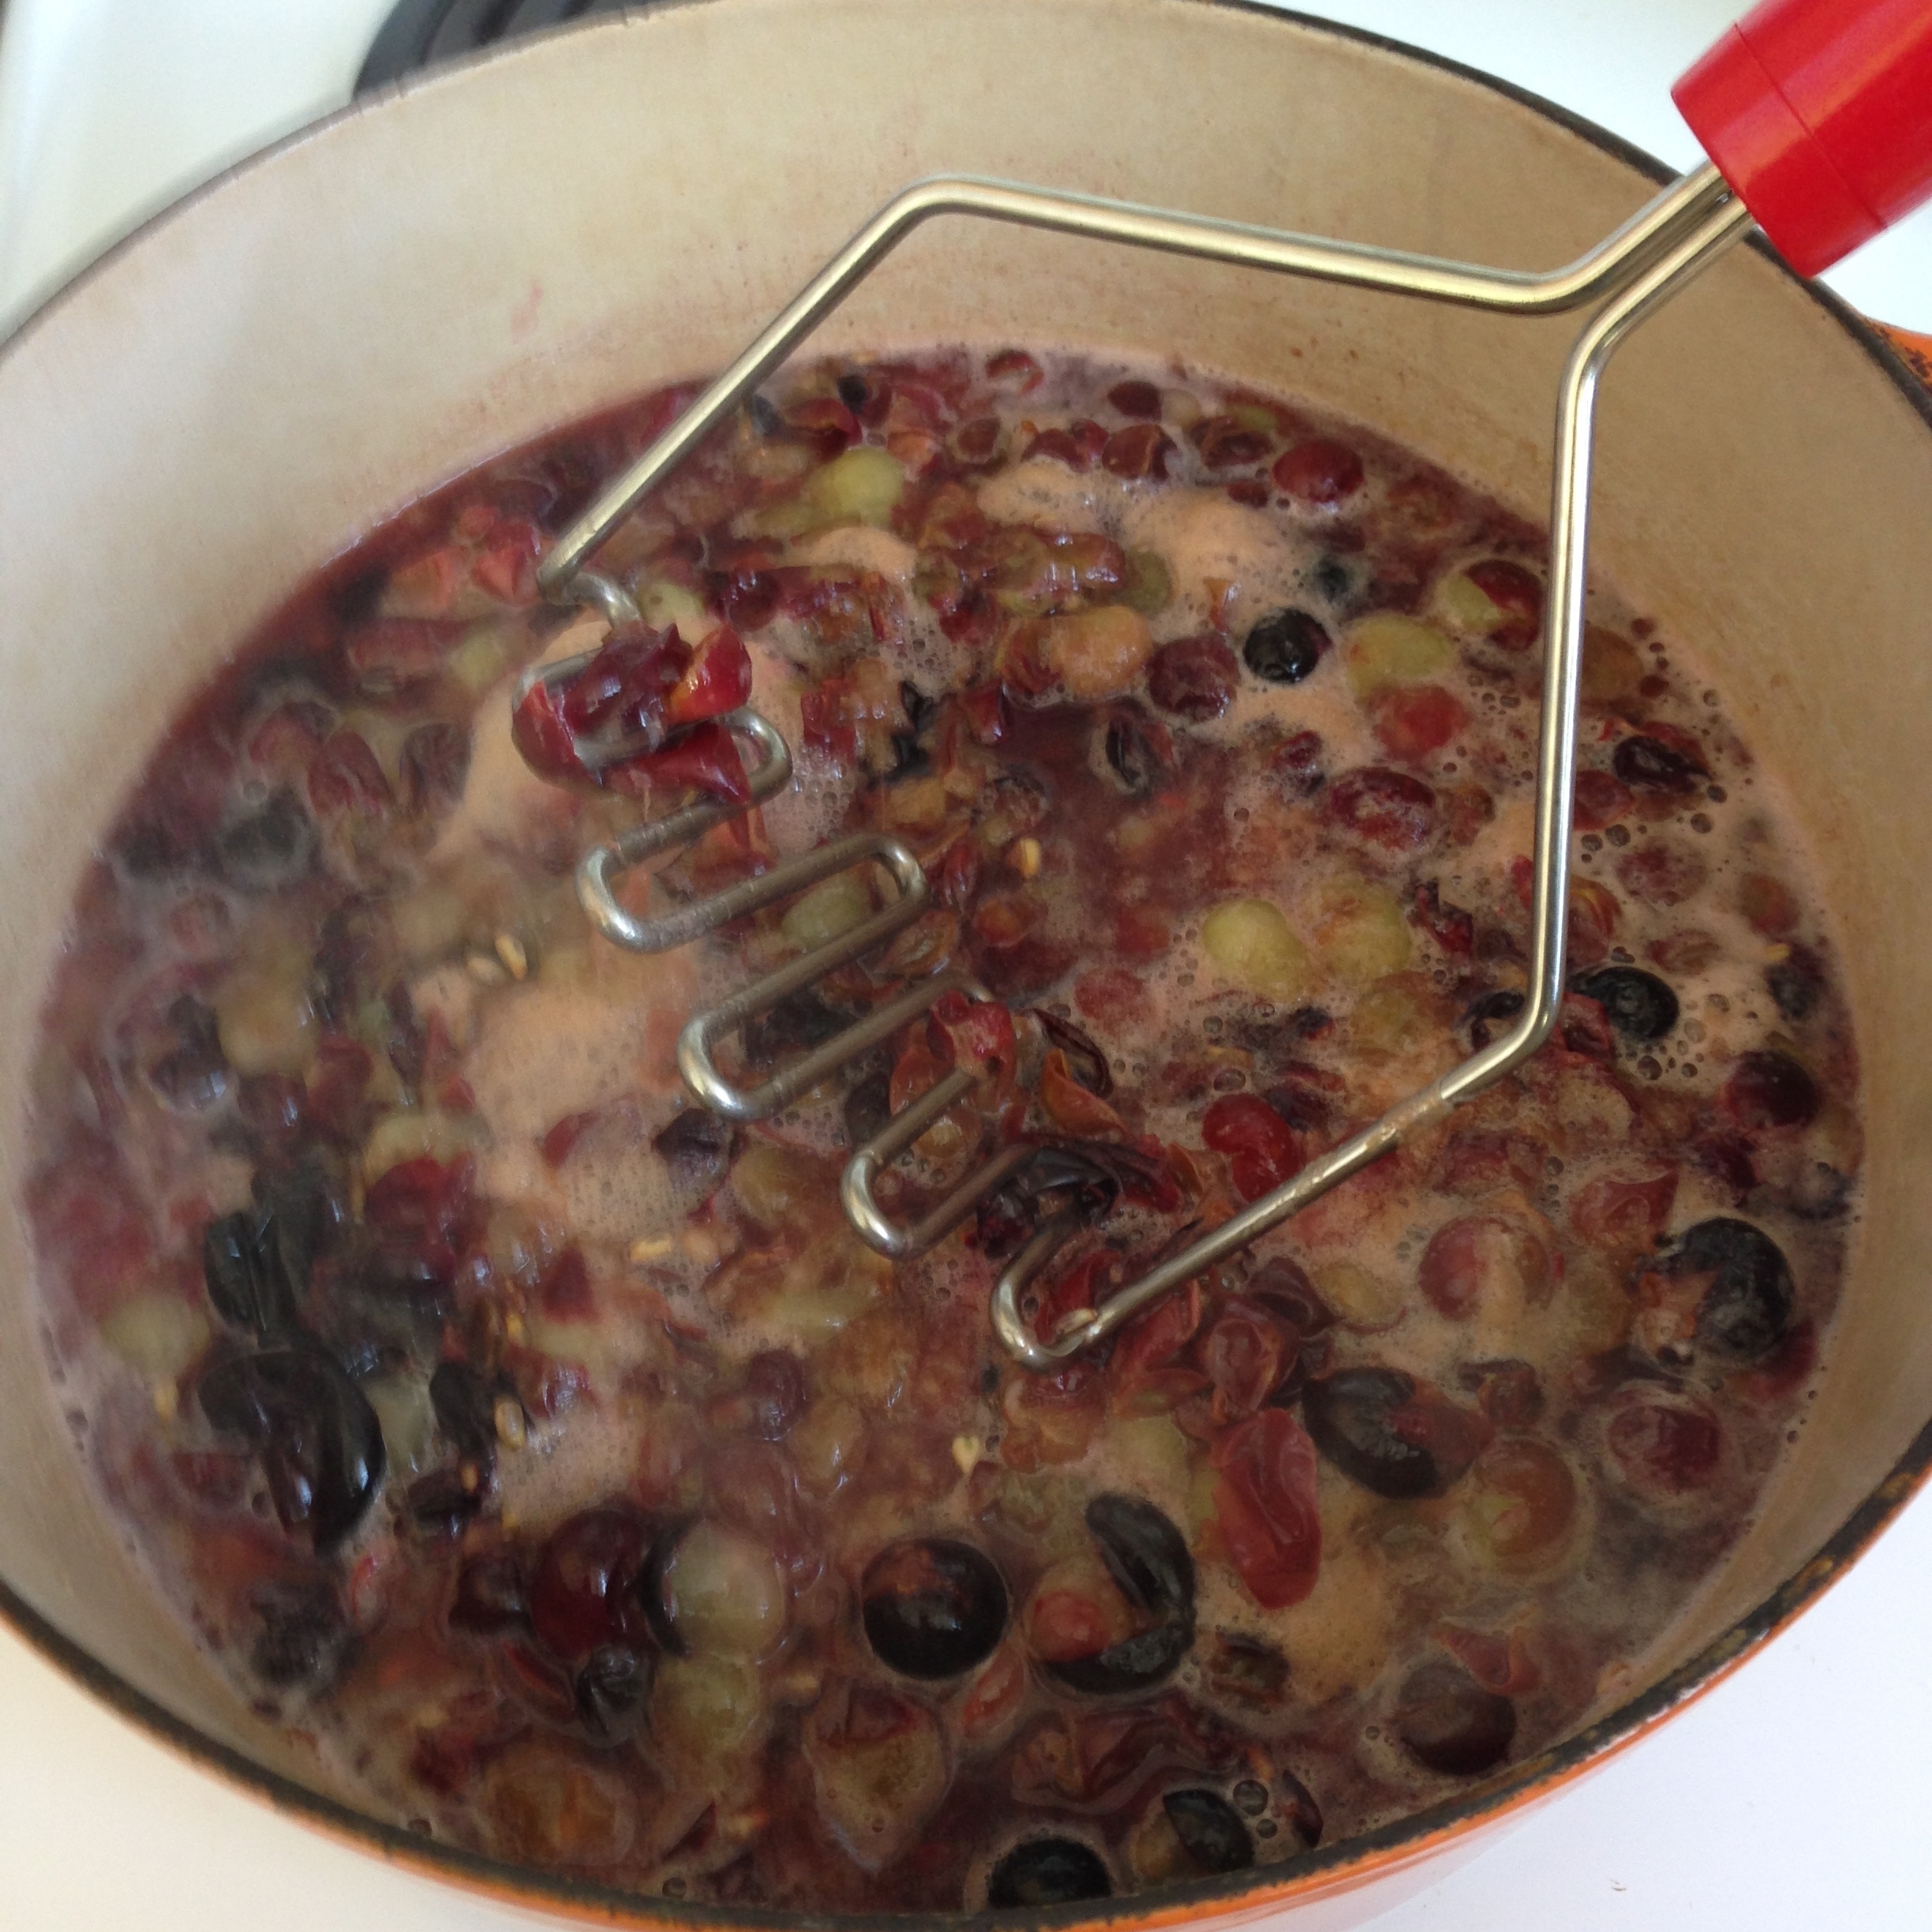
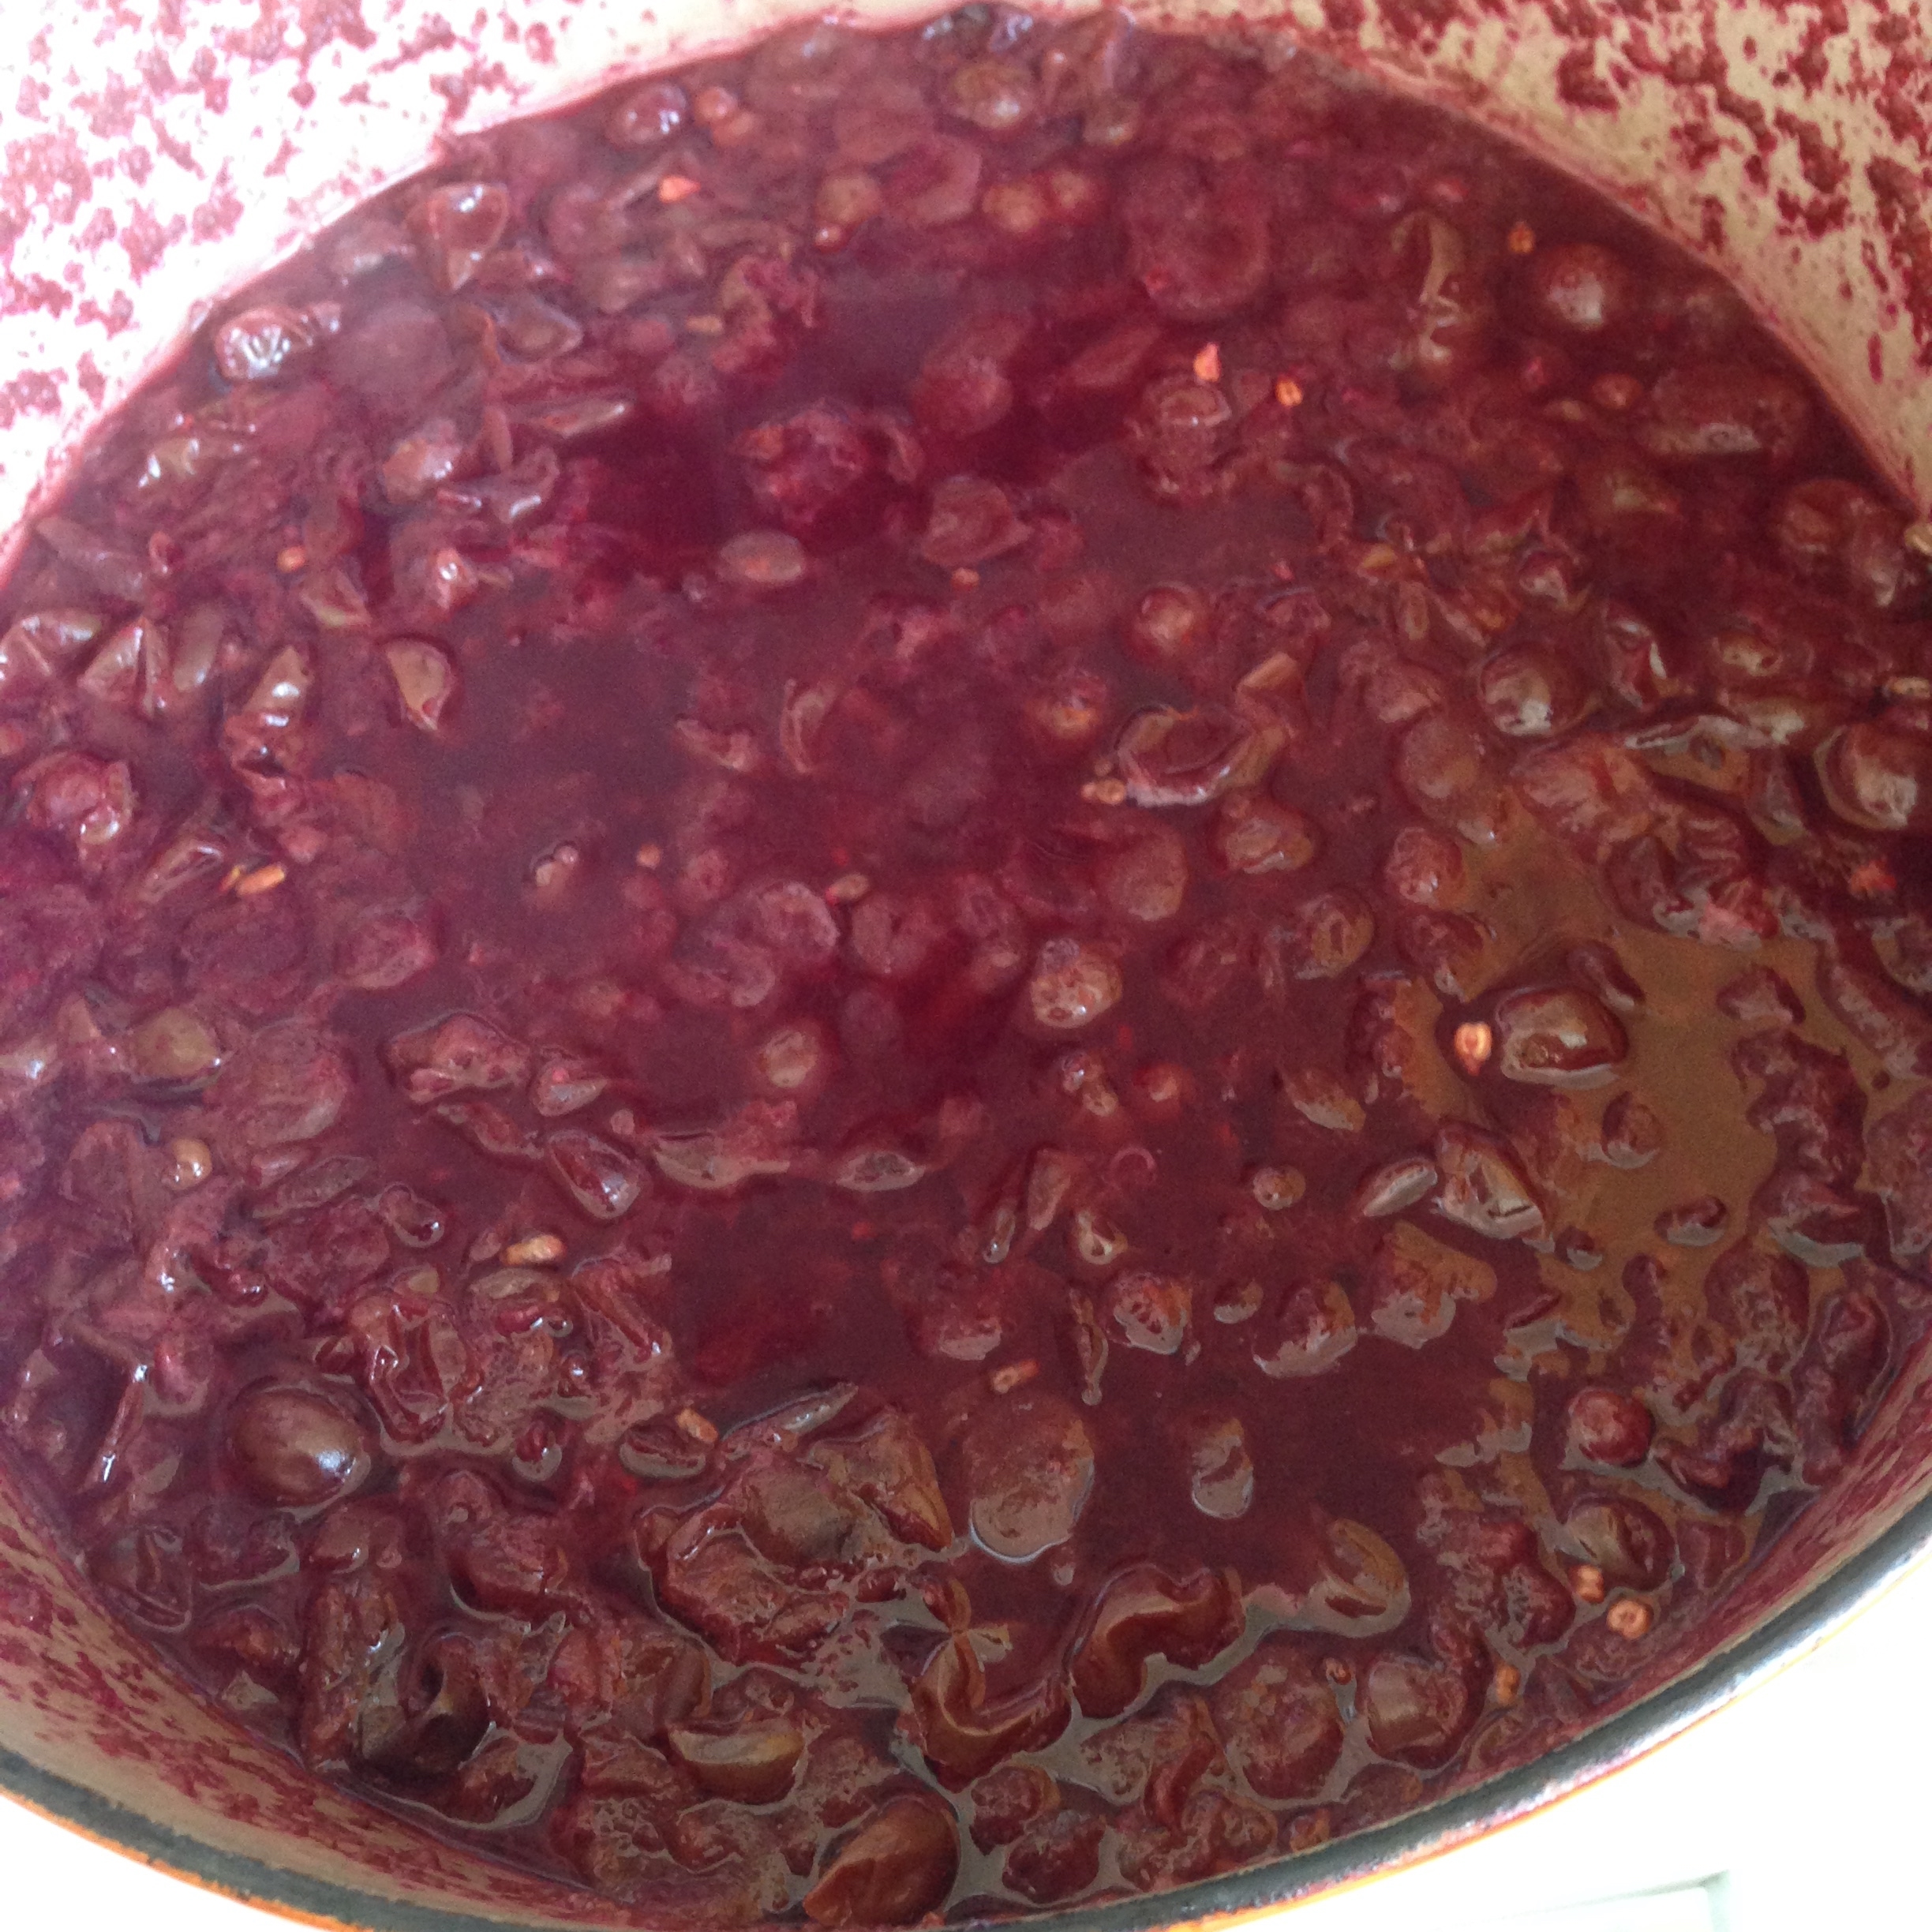
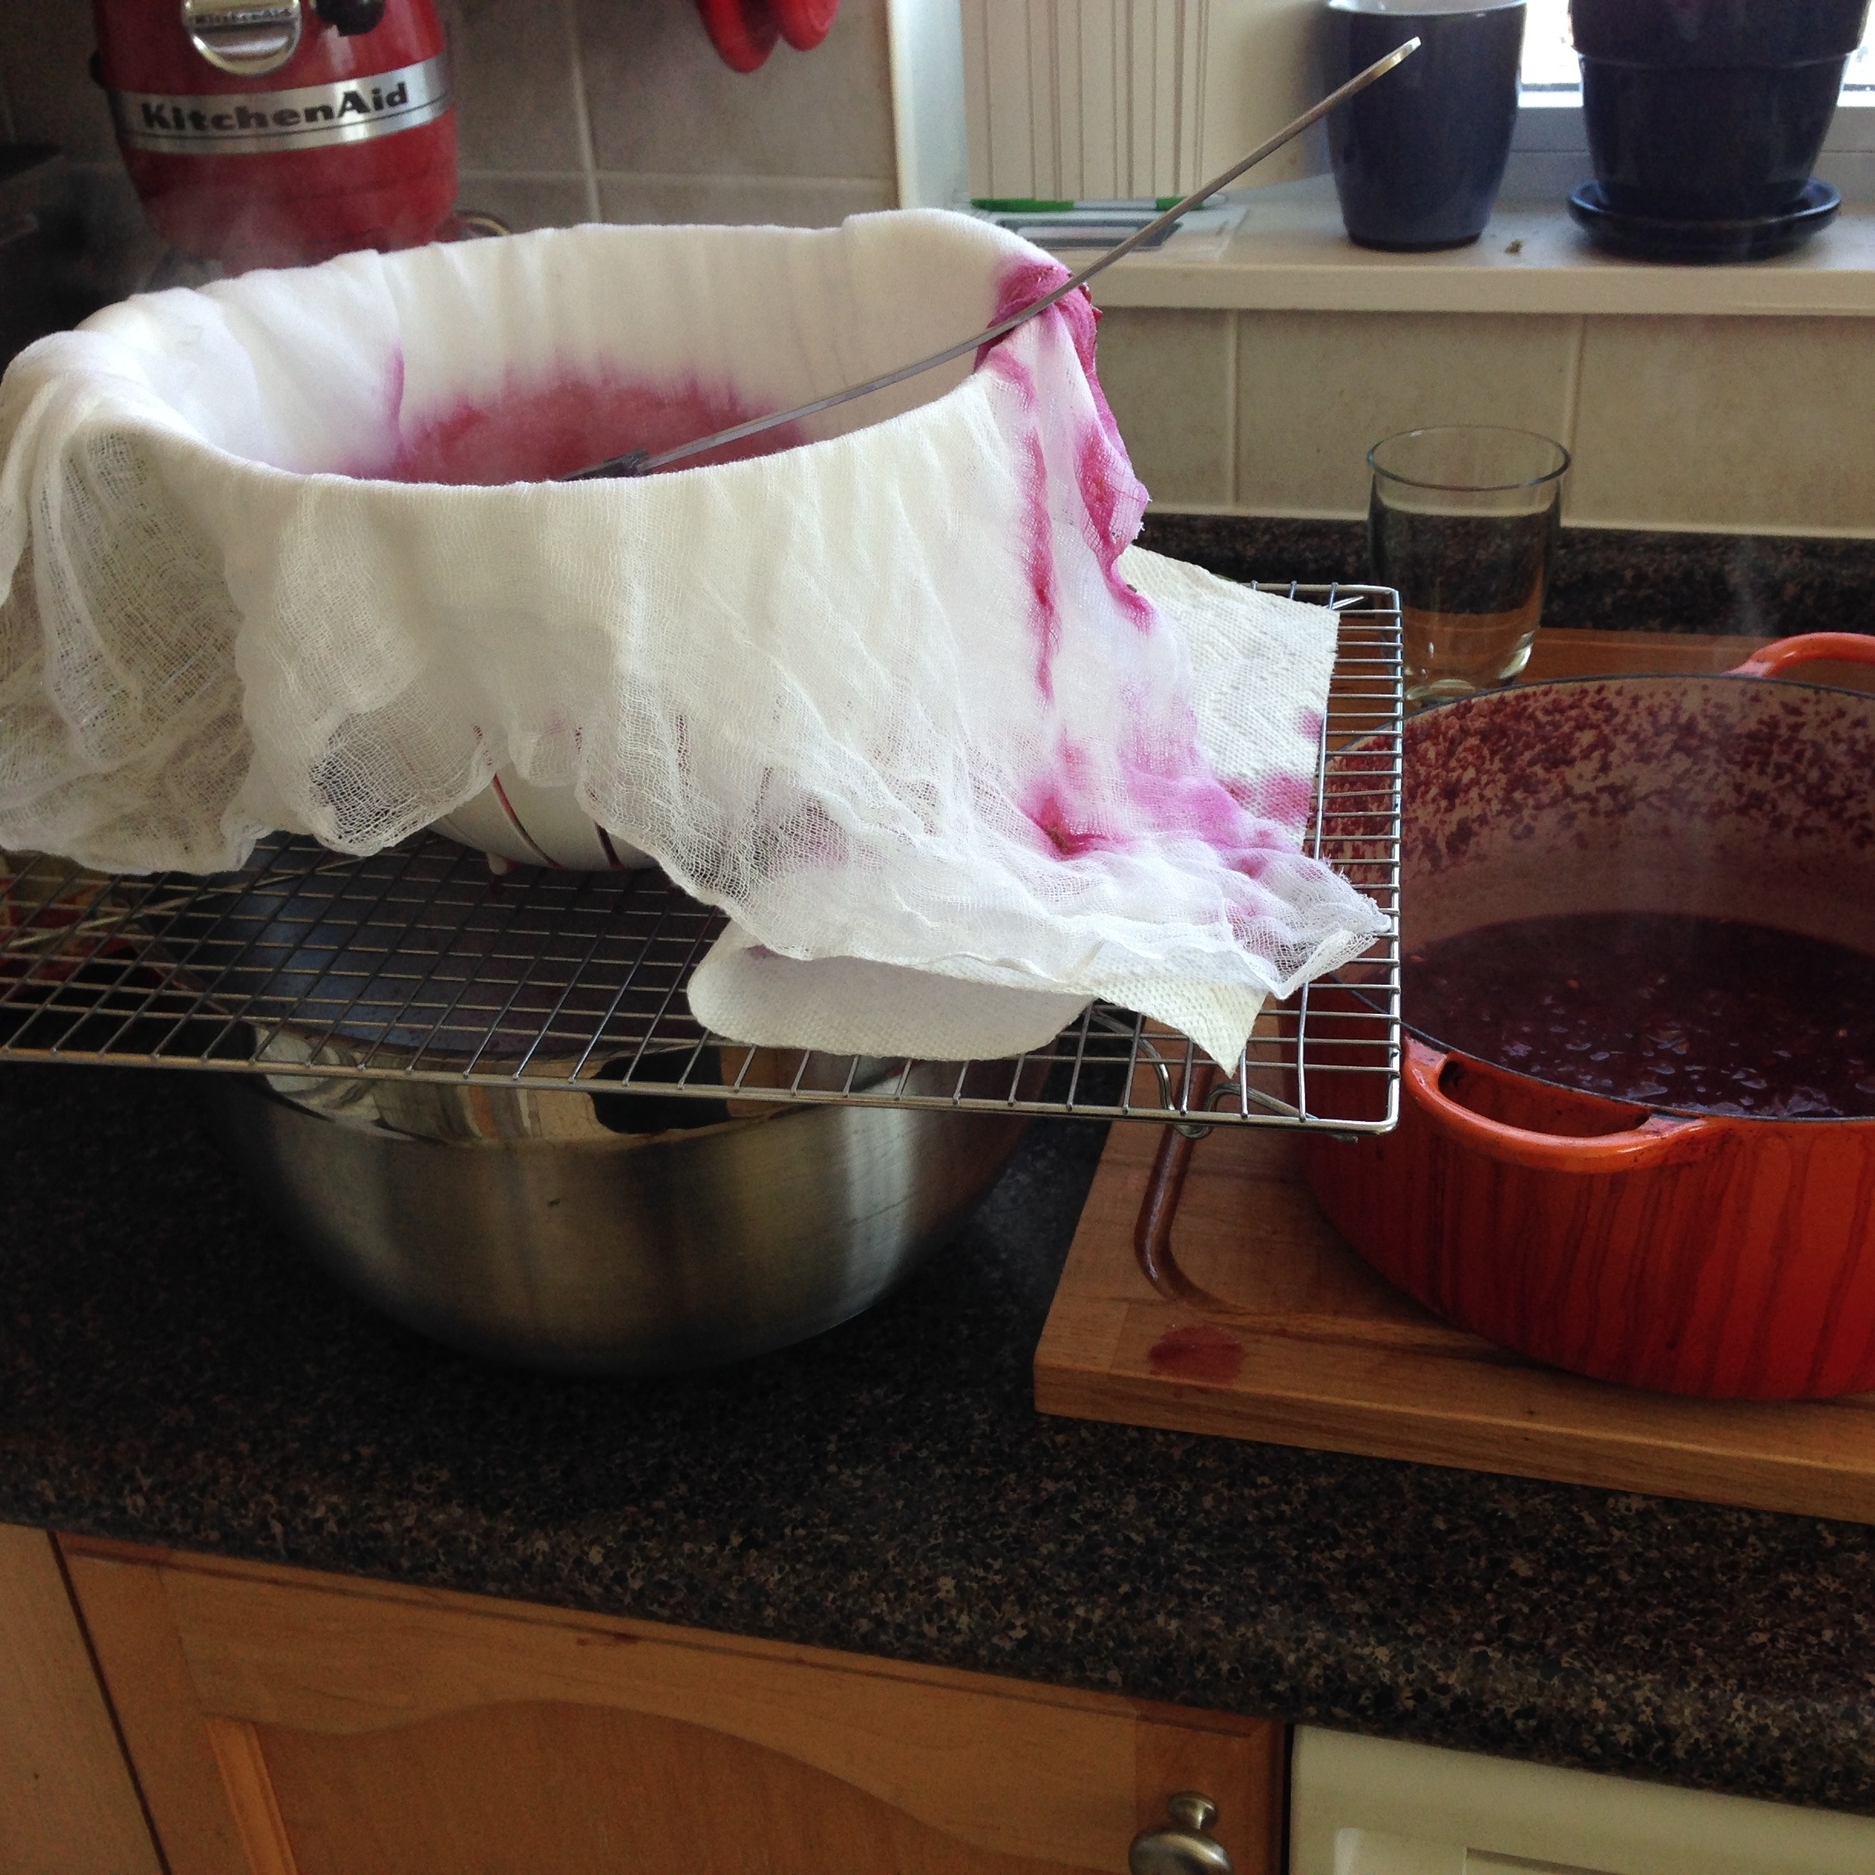
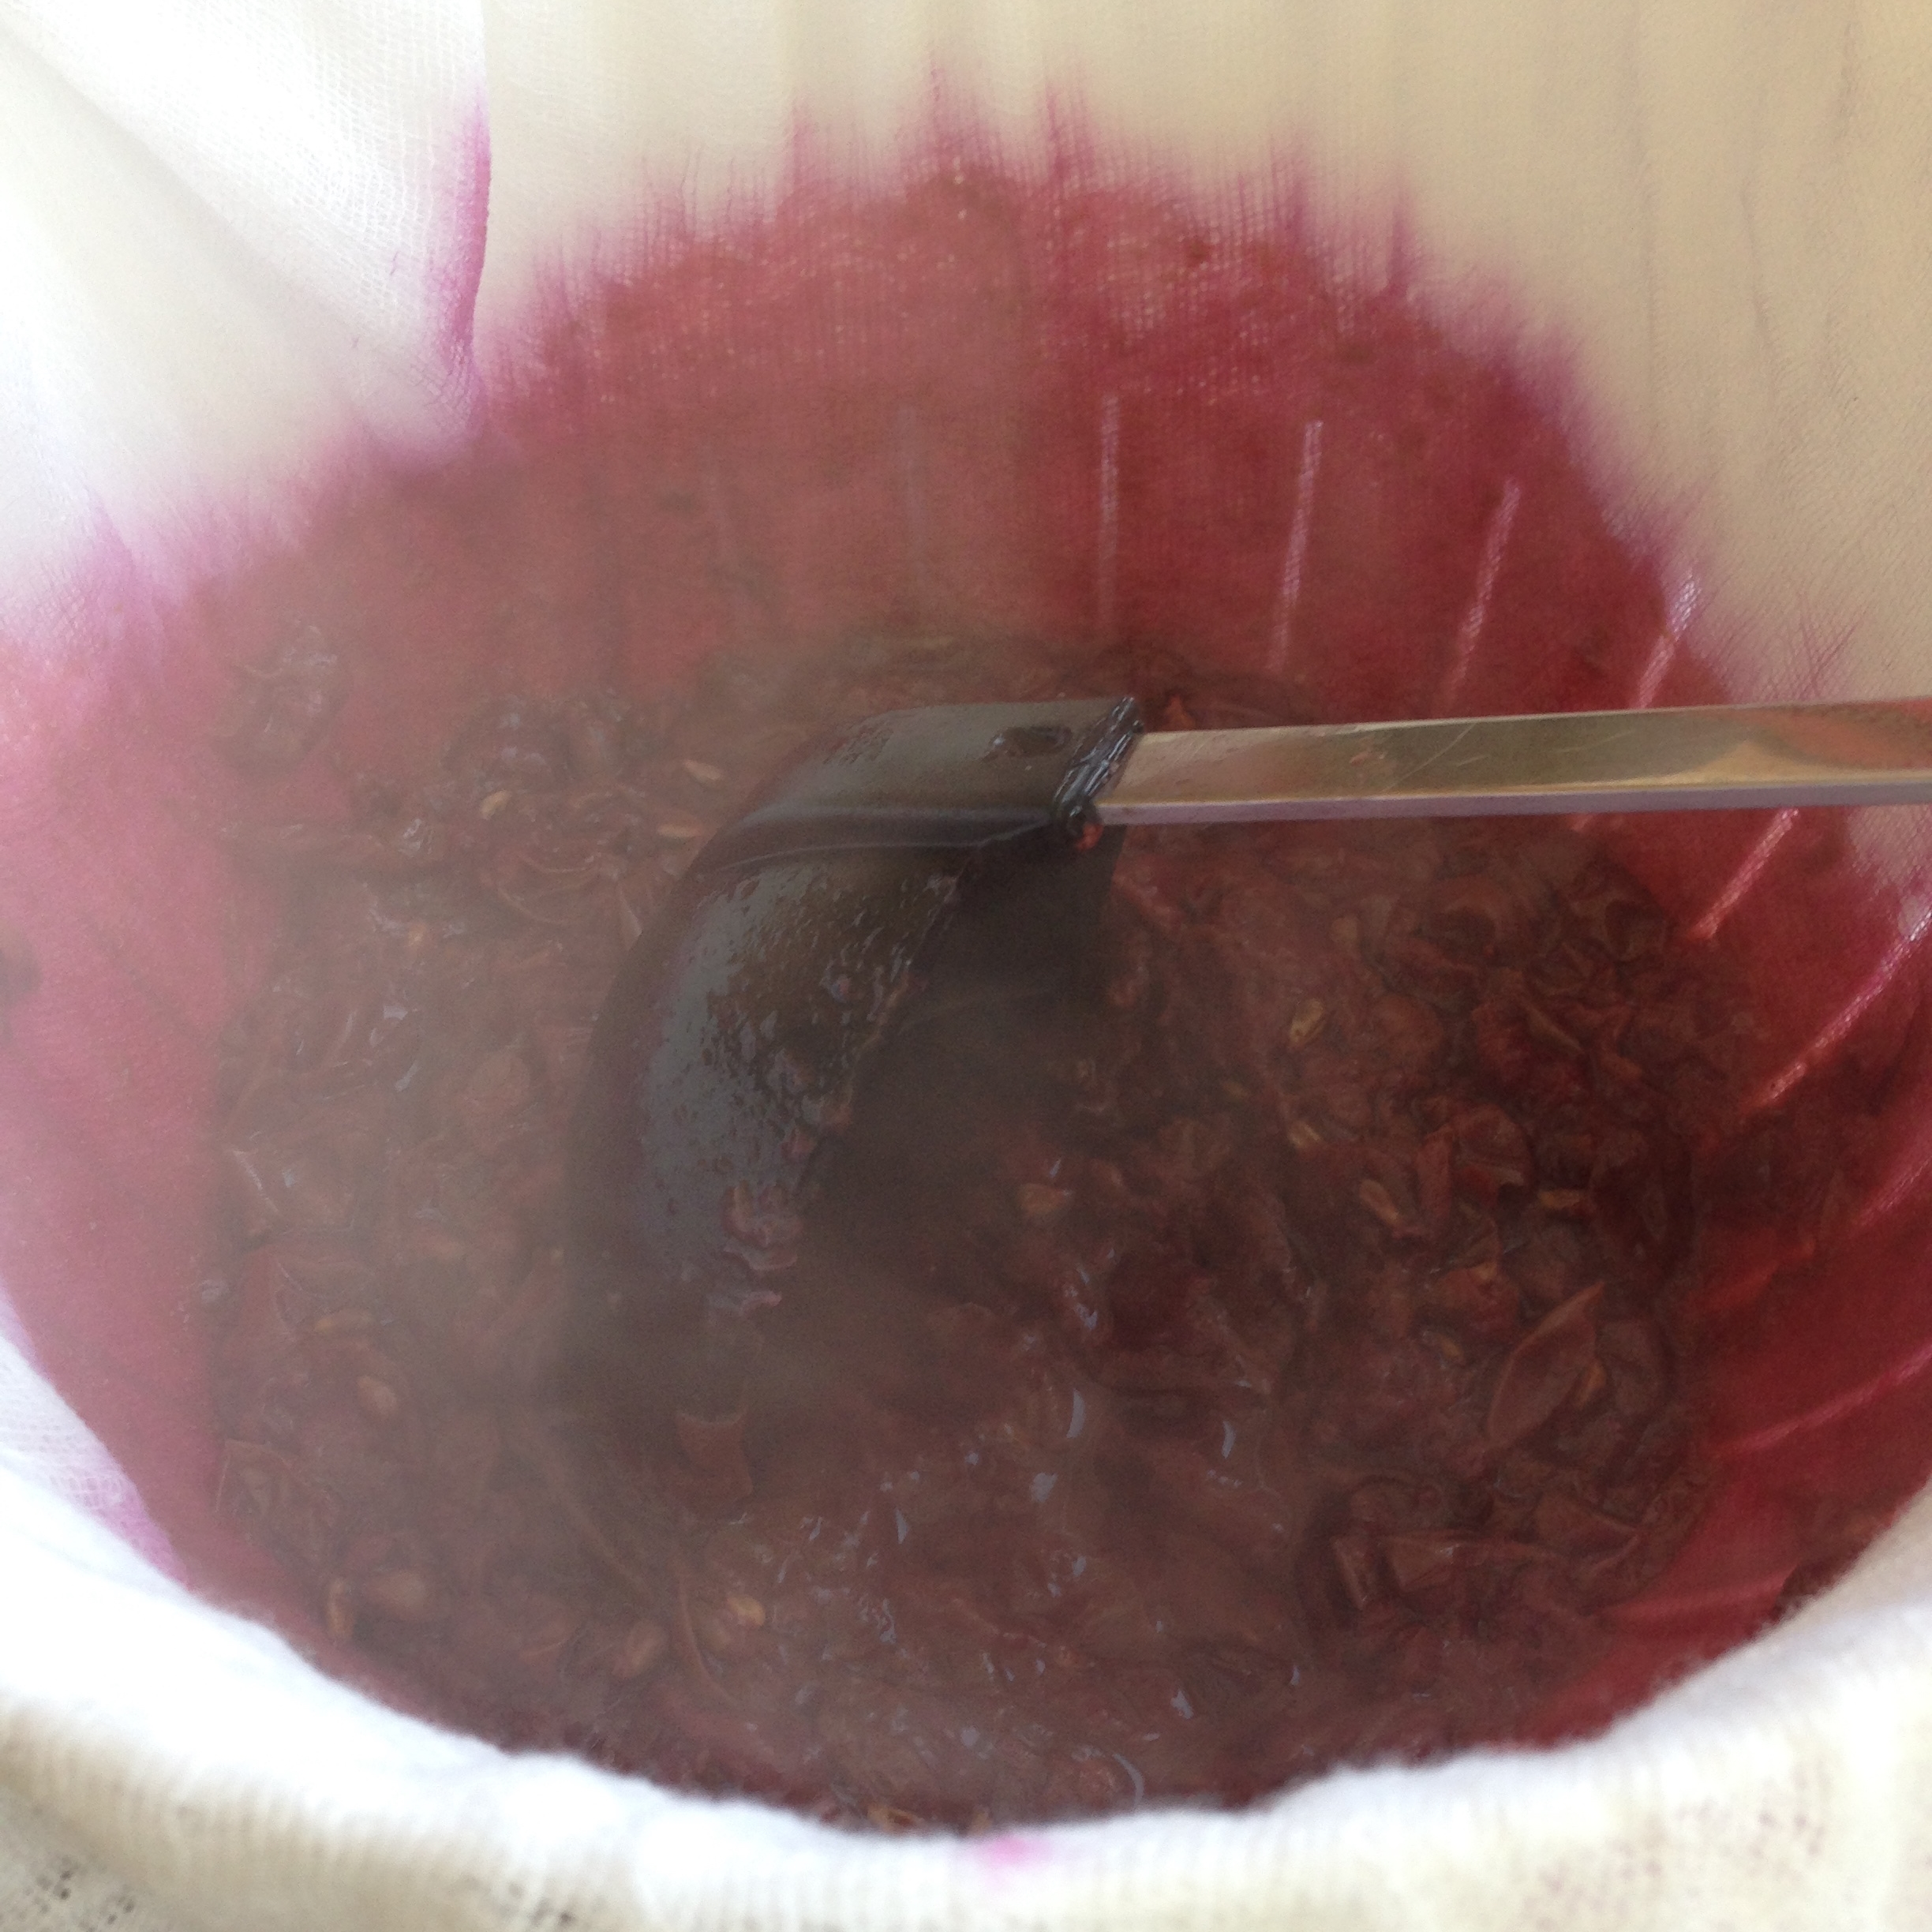
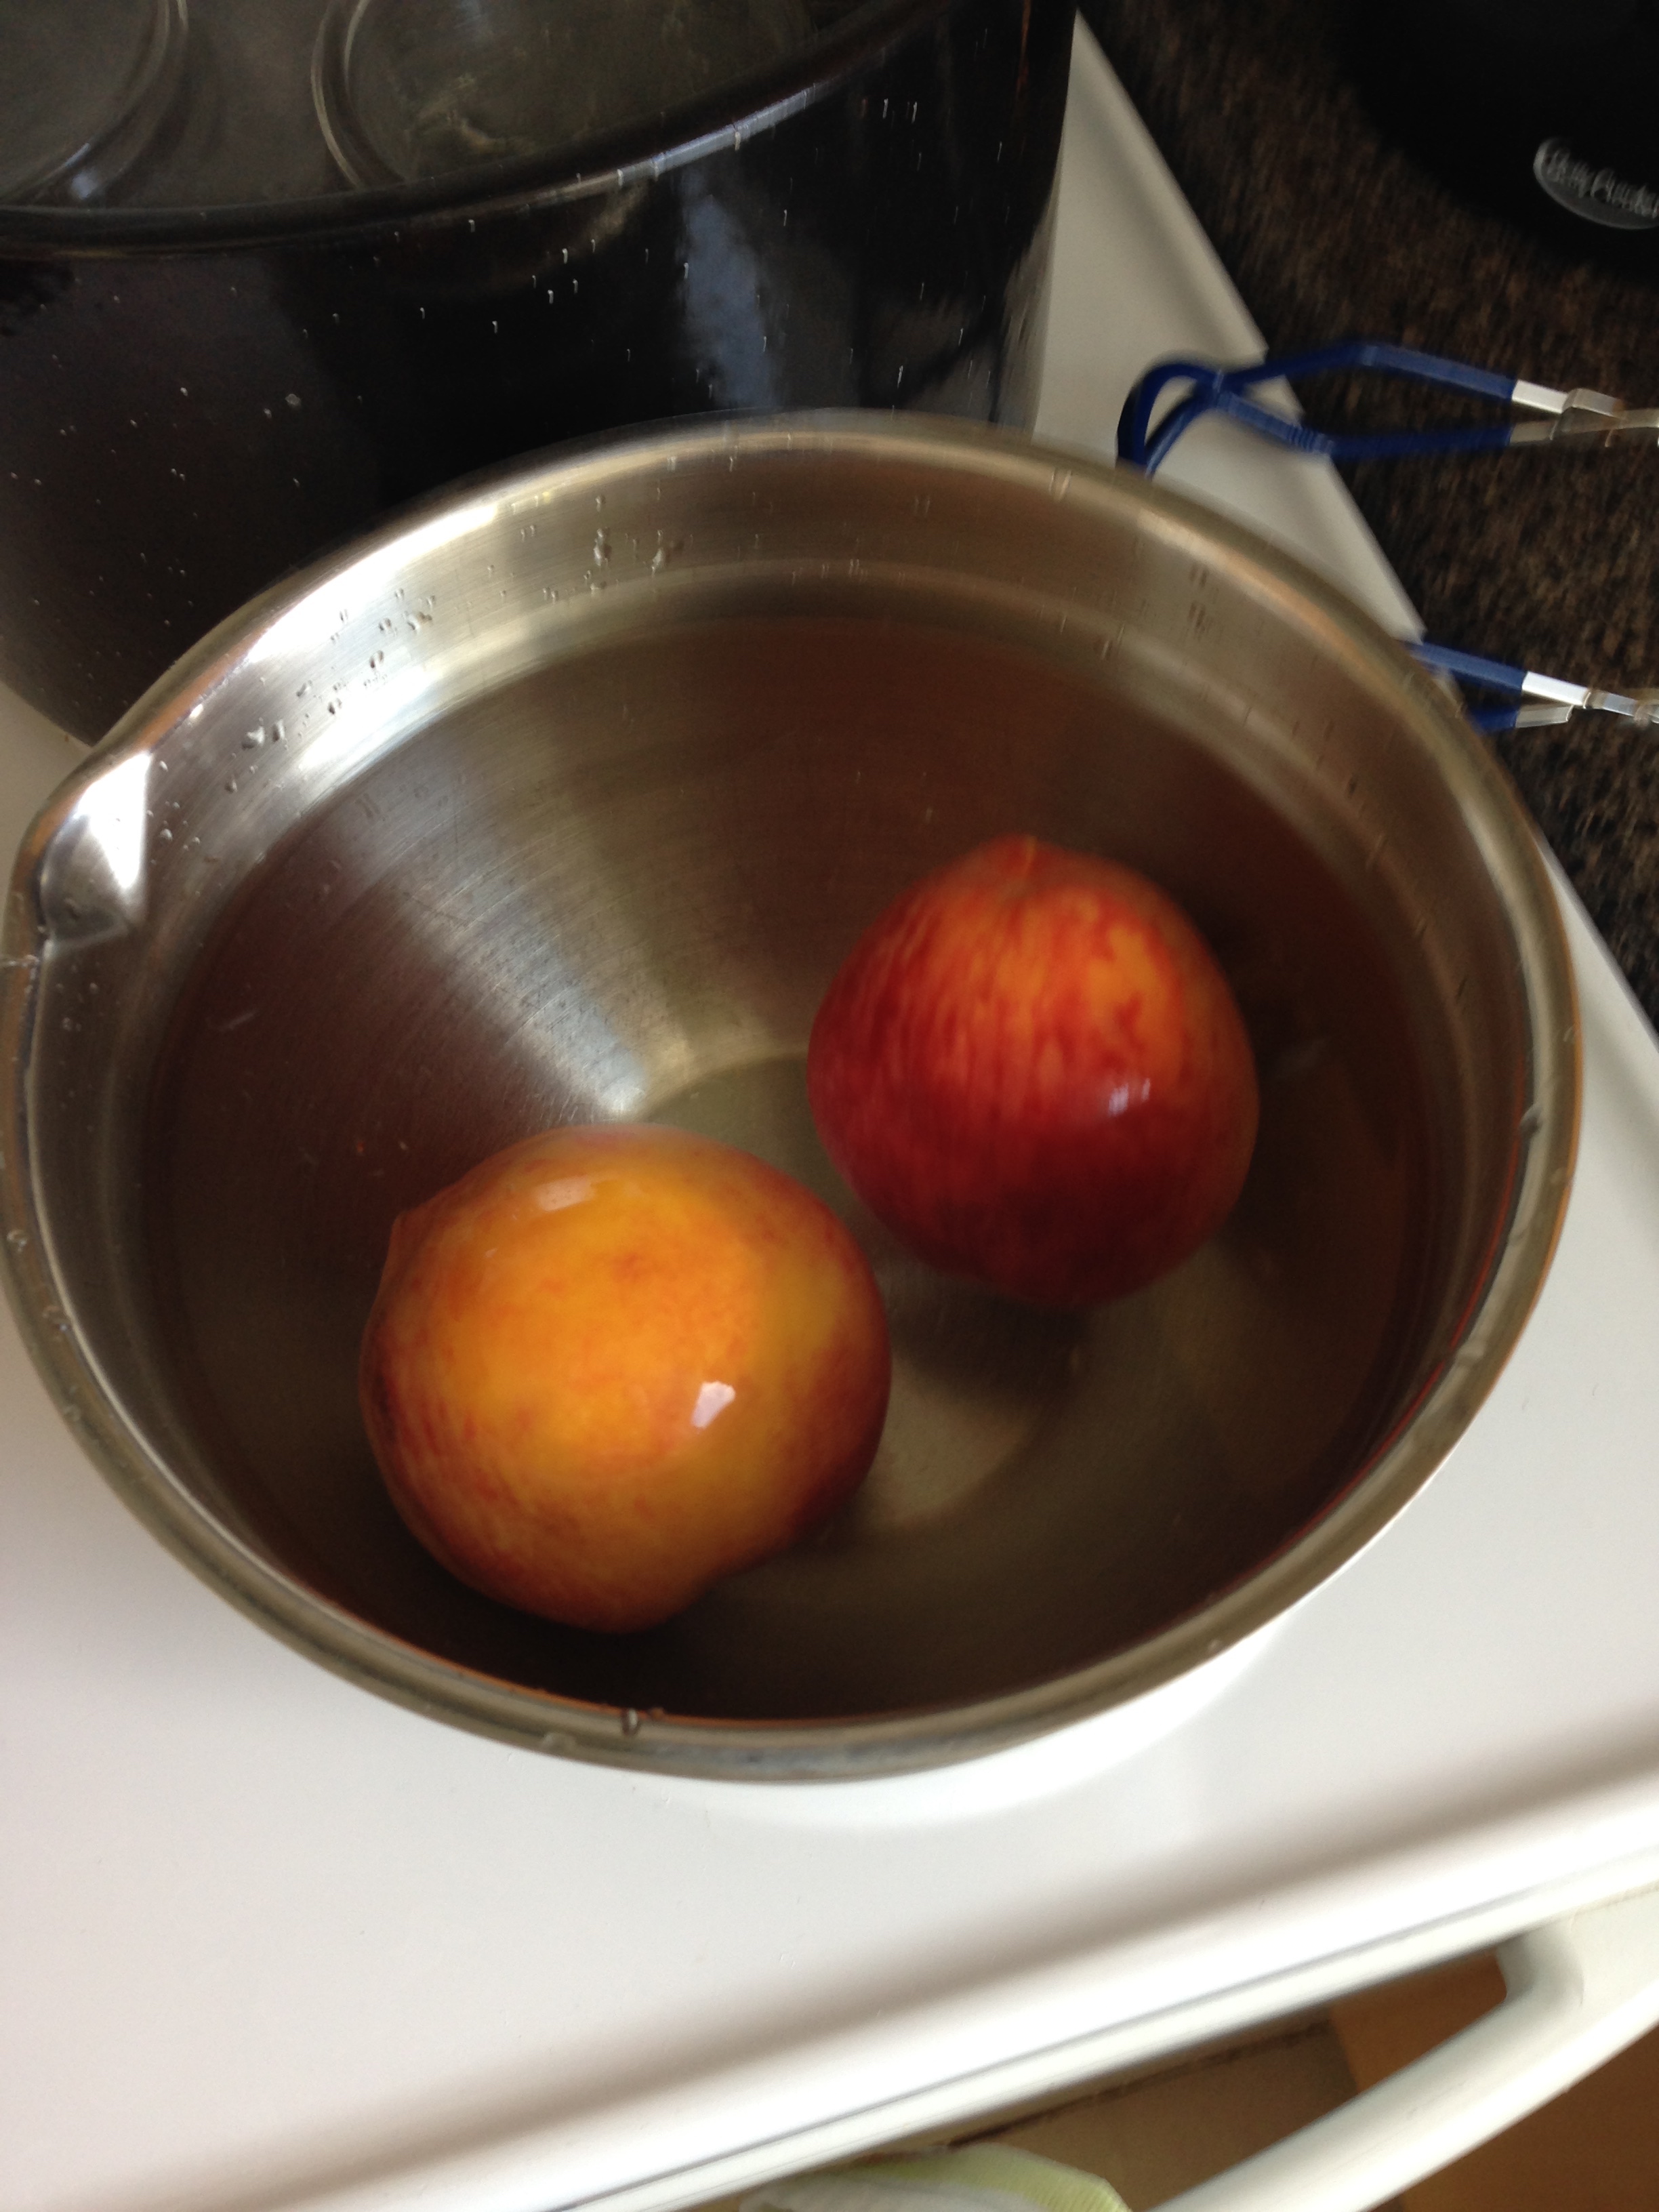
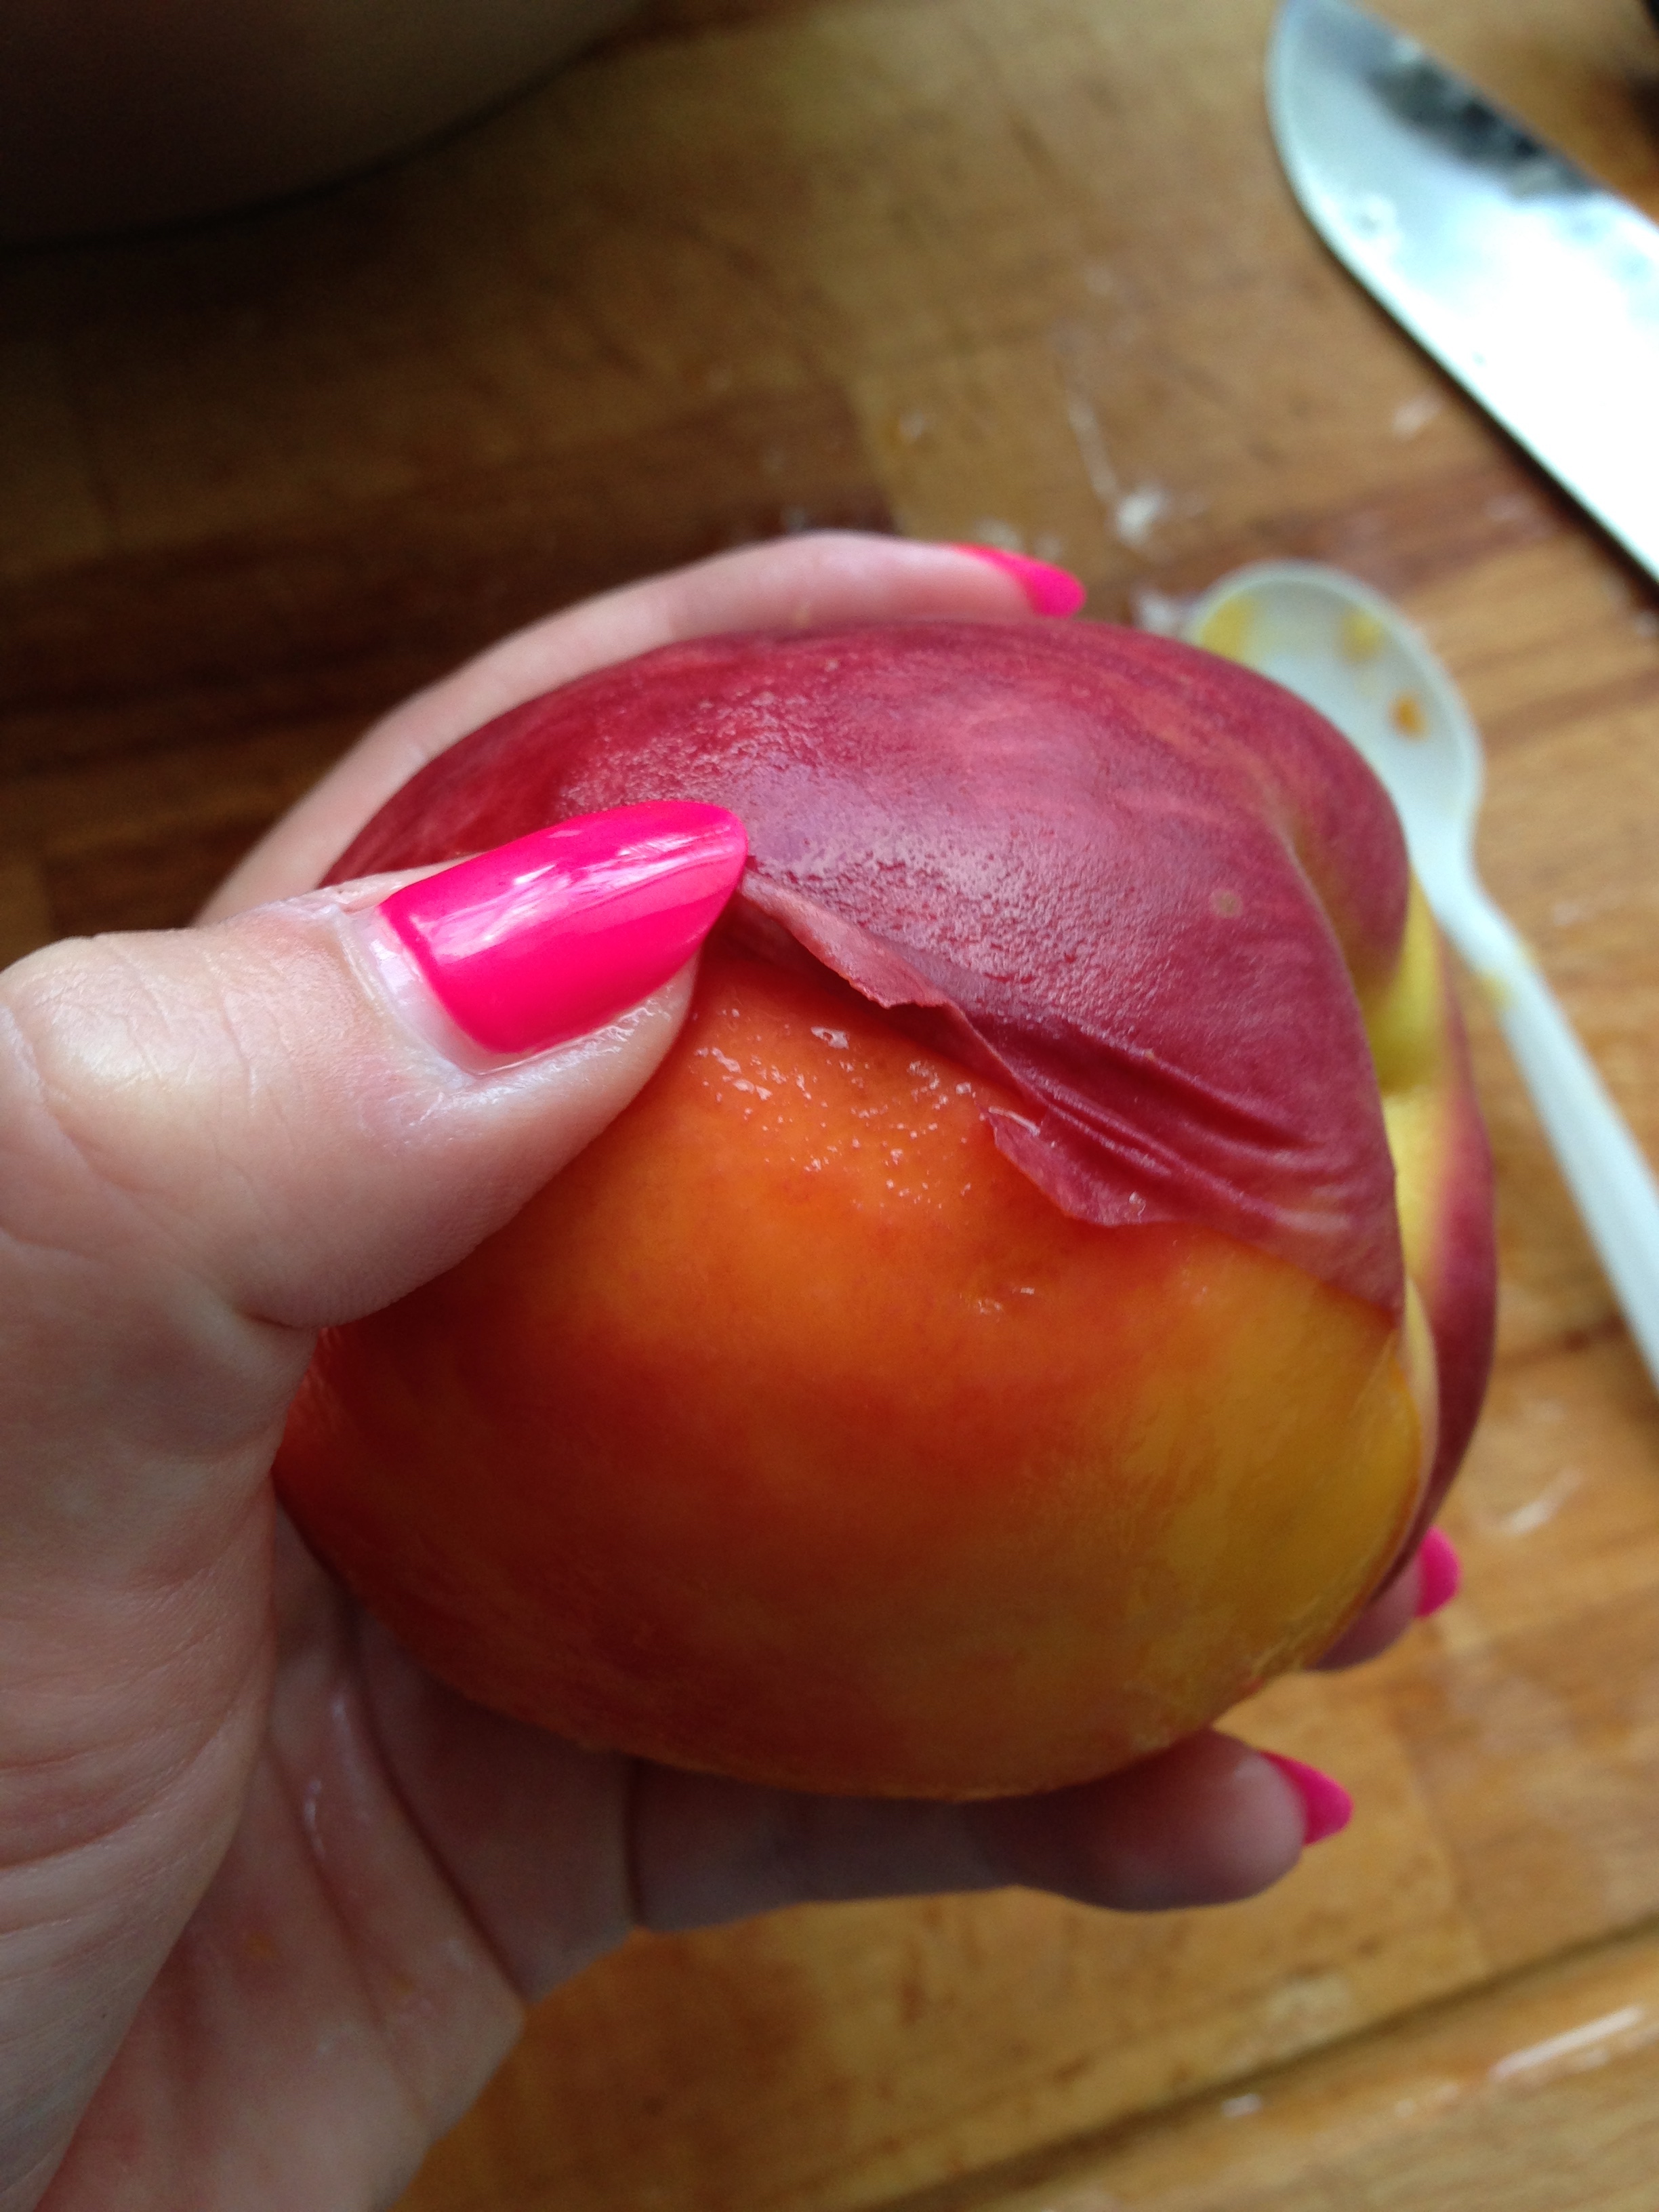
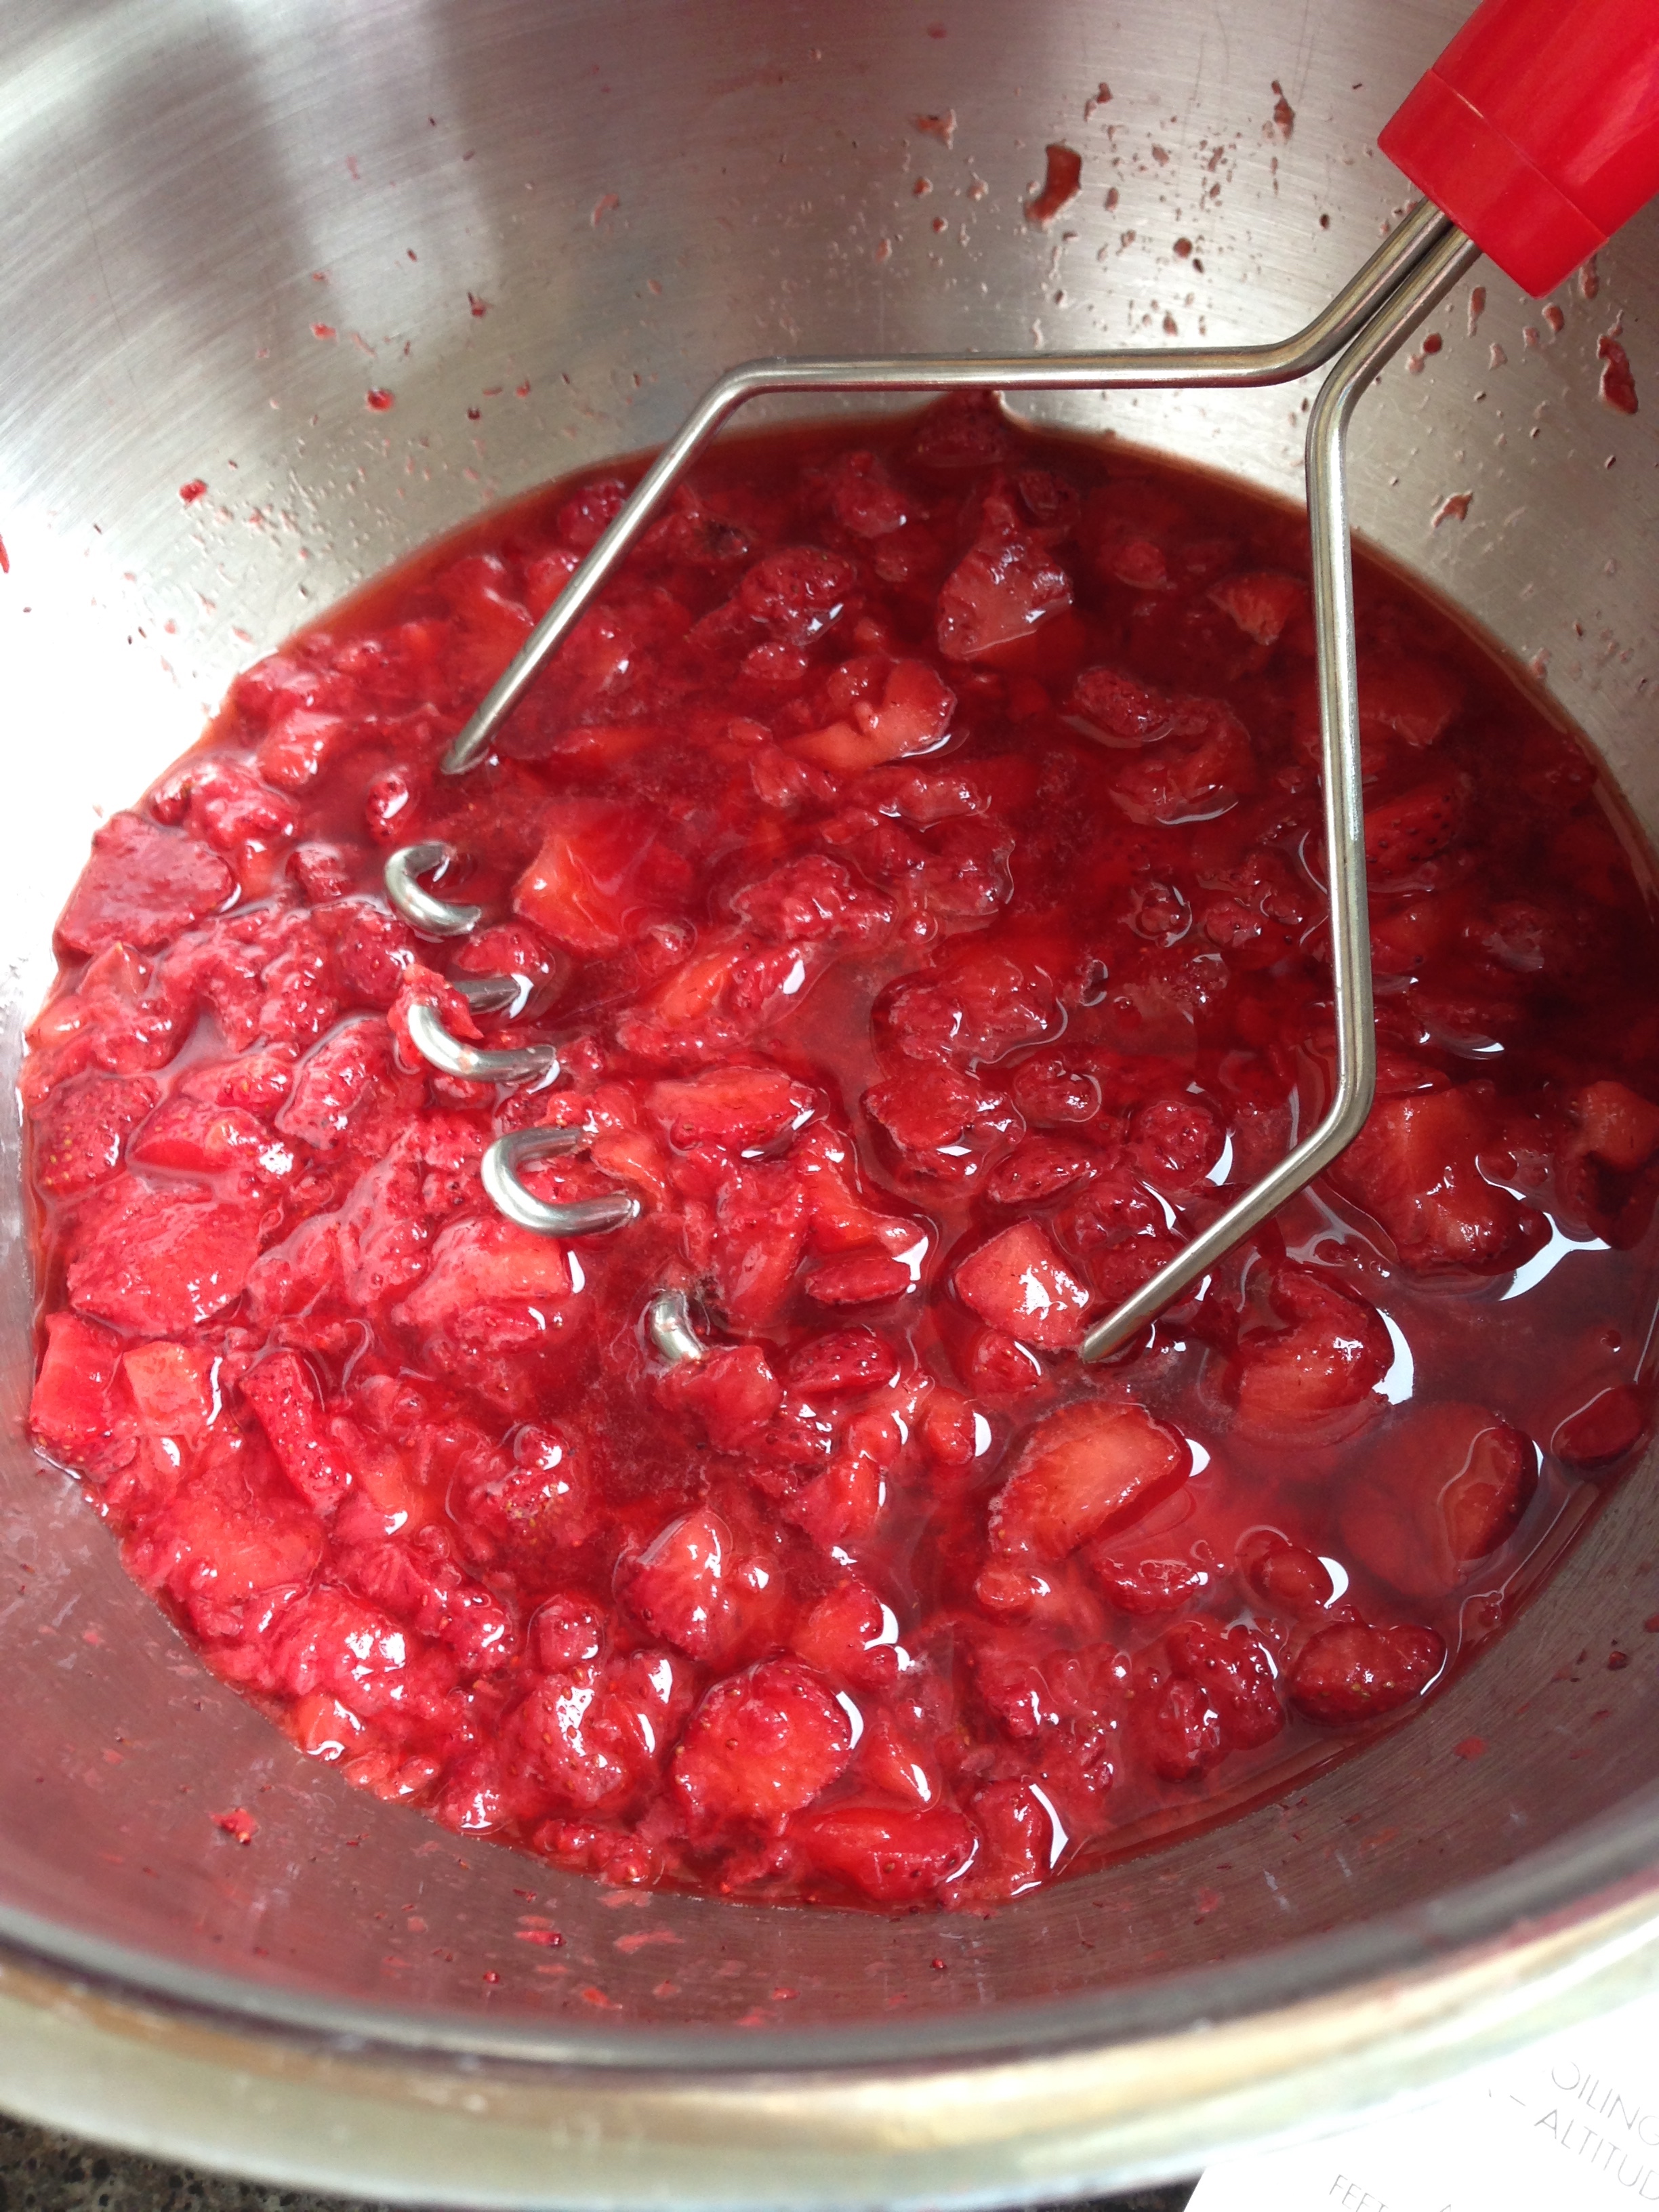
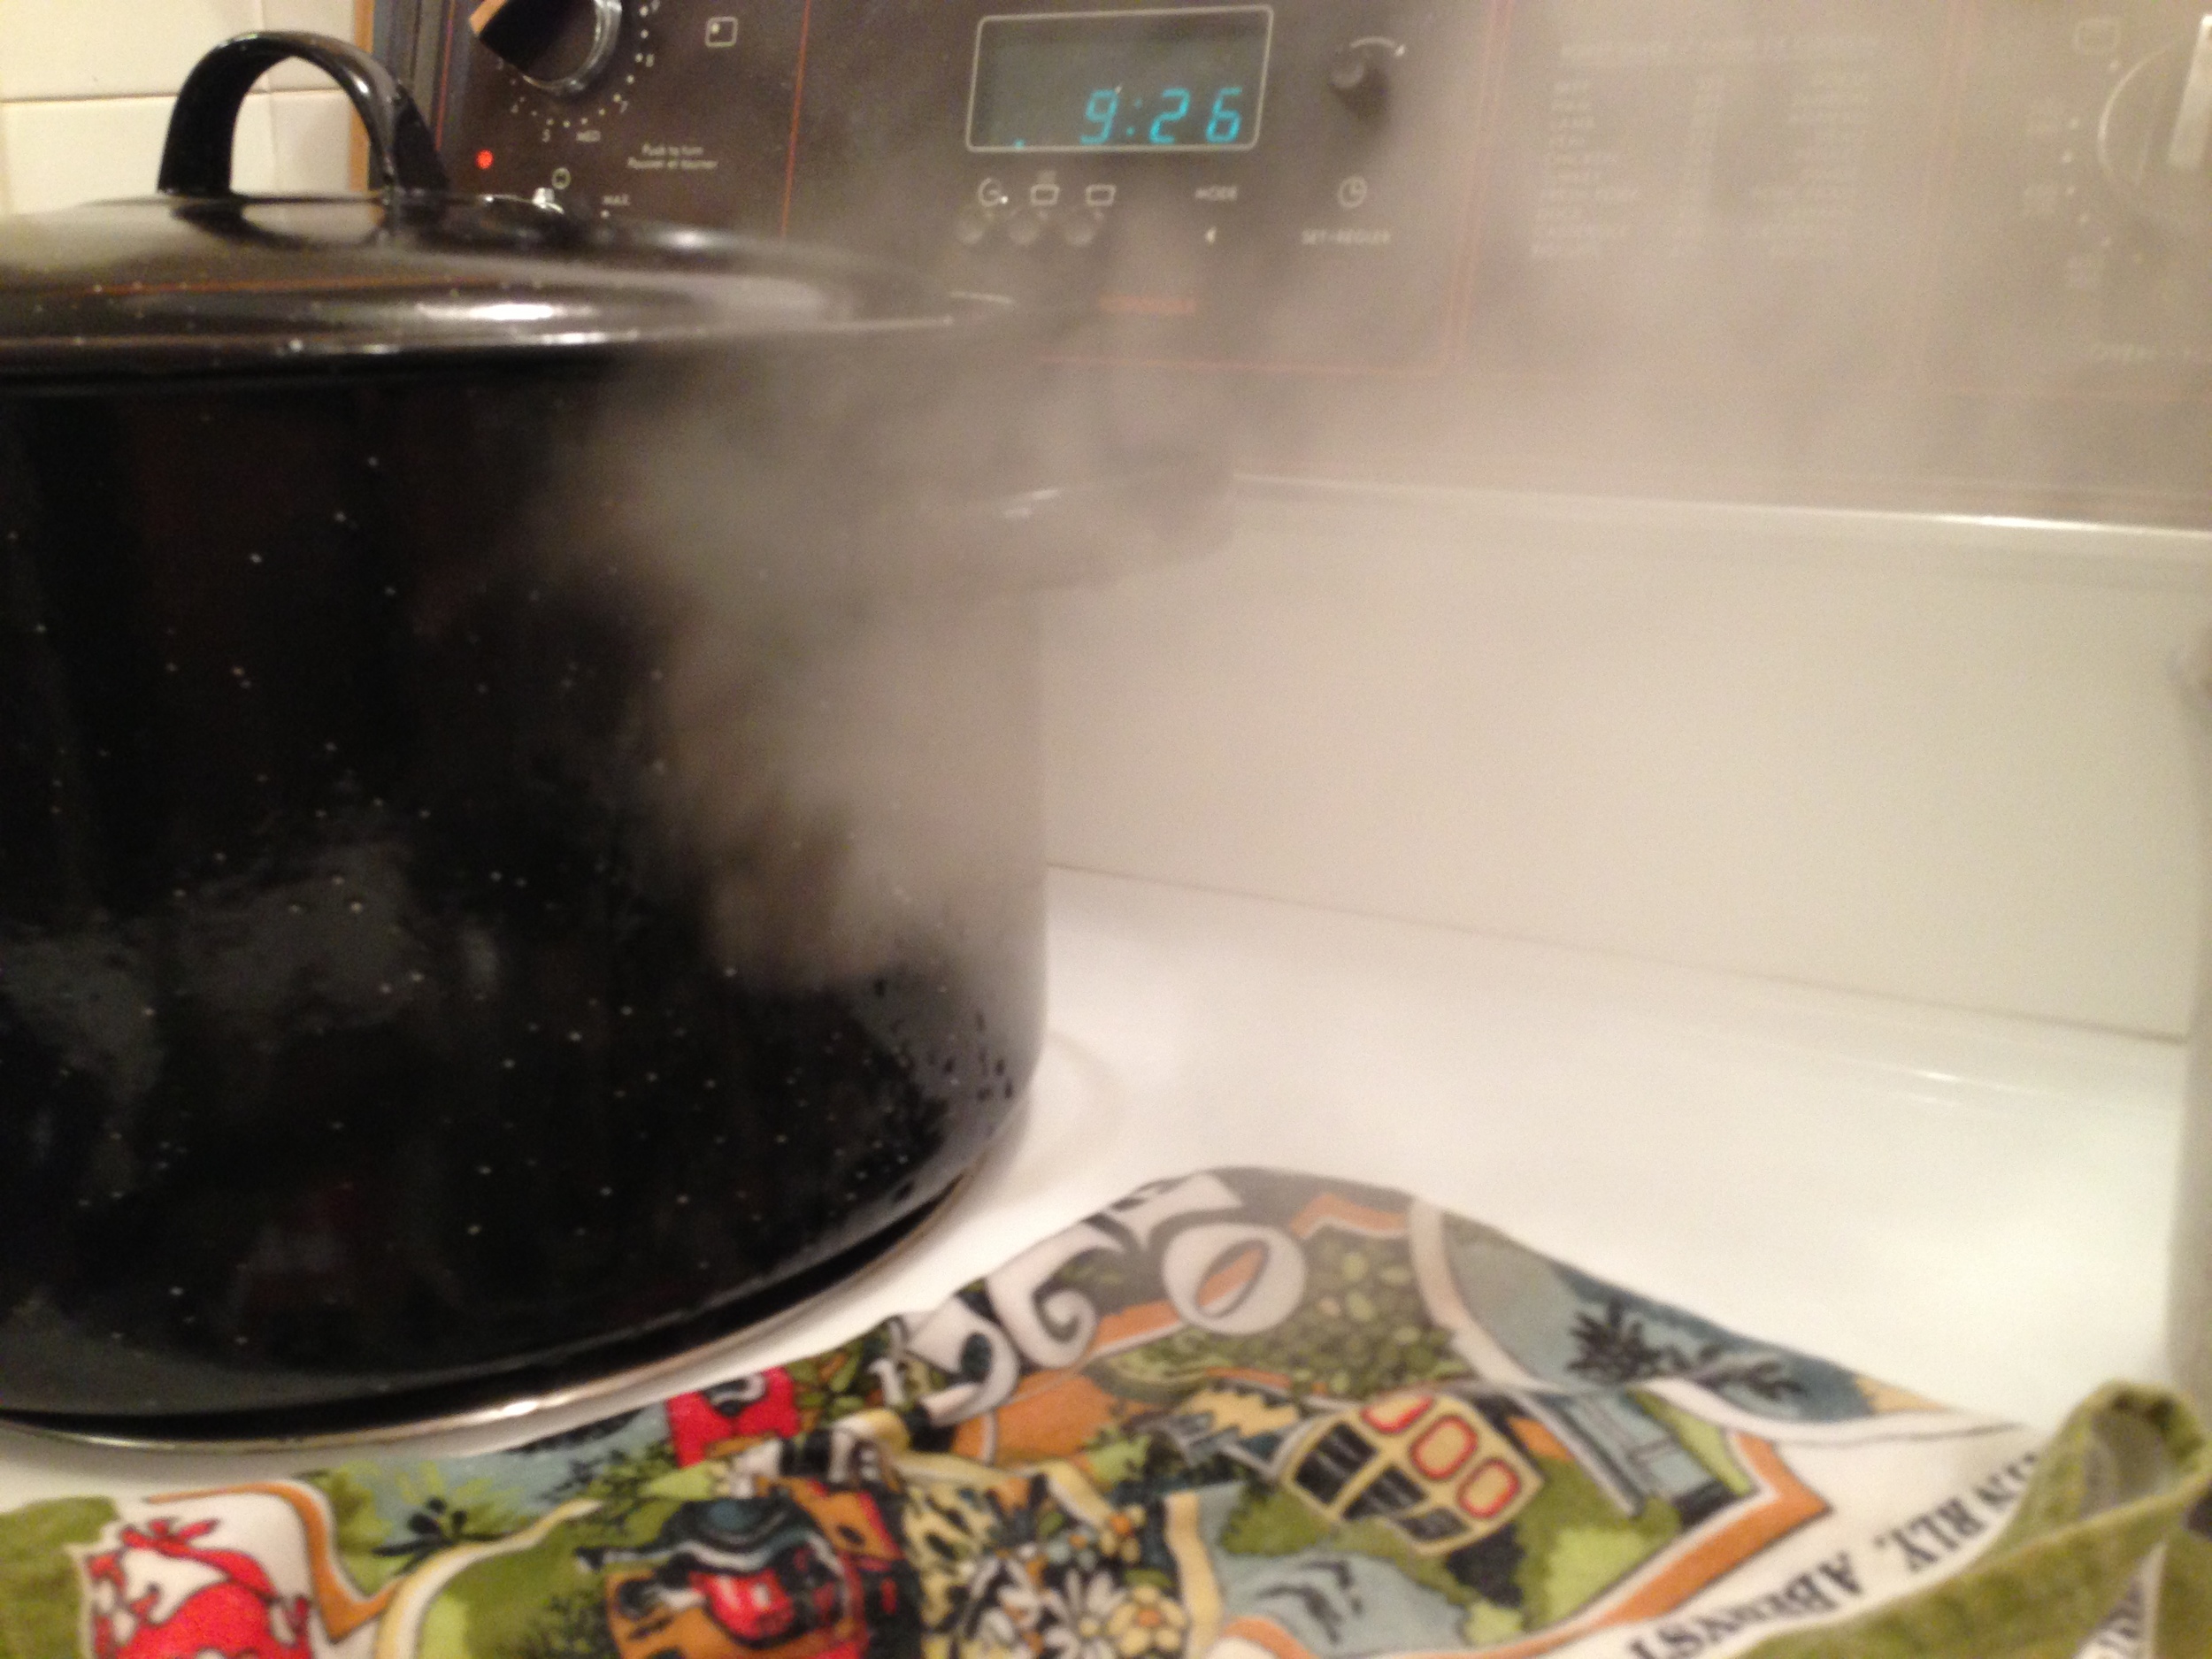
Making the juice is first on the roster! Wash and de-stem the grapes. In a non-reactive pot with a lid, place grapes inside and fill the pot with water till the grapes are Almost covered, usually about 1  1/2 cups of water. Bring this to a boil over high heat. Using a potato masher, mash the grapes. This releases juice. Cover the pot with the lid and boil the grapes for about 10 minutes, stirring occasionally. Watch it! So it doesn't boil over and make a sticky charcoal-y mess of your stove top.... She says from experience.  Once the fruit is done being a boiling mash, take it off the heat. It's straining time! There are a couple ways of straining out the juice from this mash: There are actual sieves you can buy; there is cheese cloth; and there is the old school clean pillowcase method. I opted for the makeshift cheese cloth strainer method, although the pillowcase method makes for the clearest jelly. Let the juice drain from the mash for about 2 hours. Don't press the mash down or squeeze it or the resulting juice and jelly may be cloudy. 


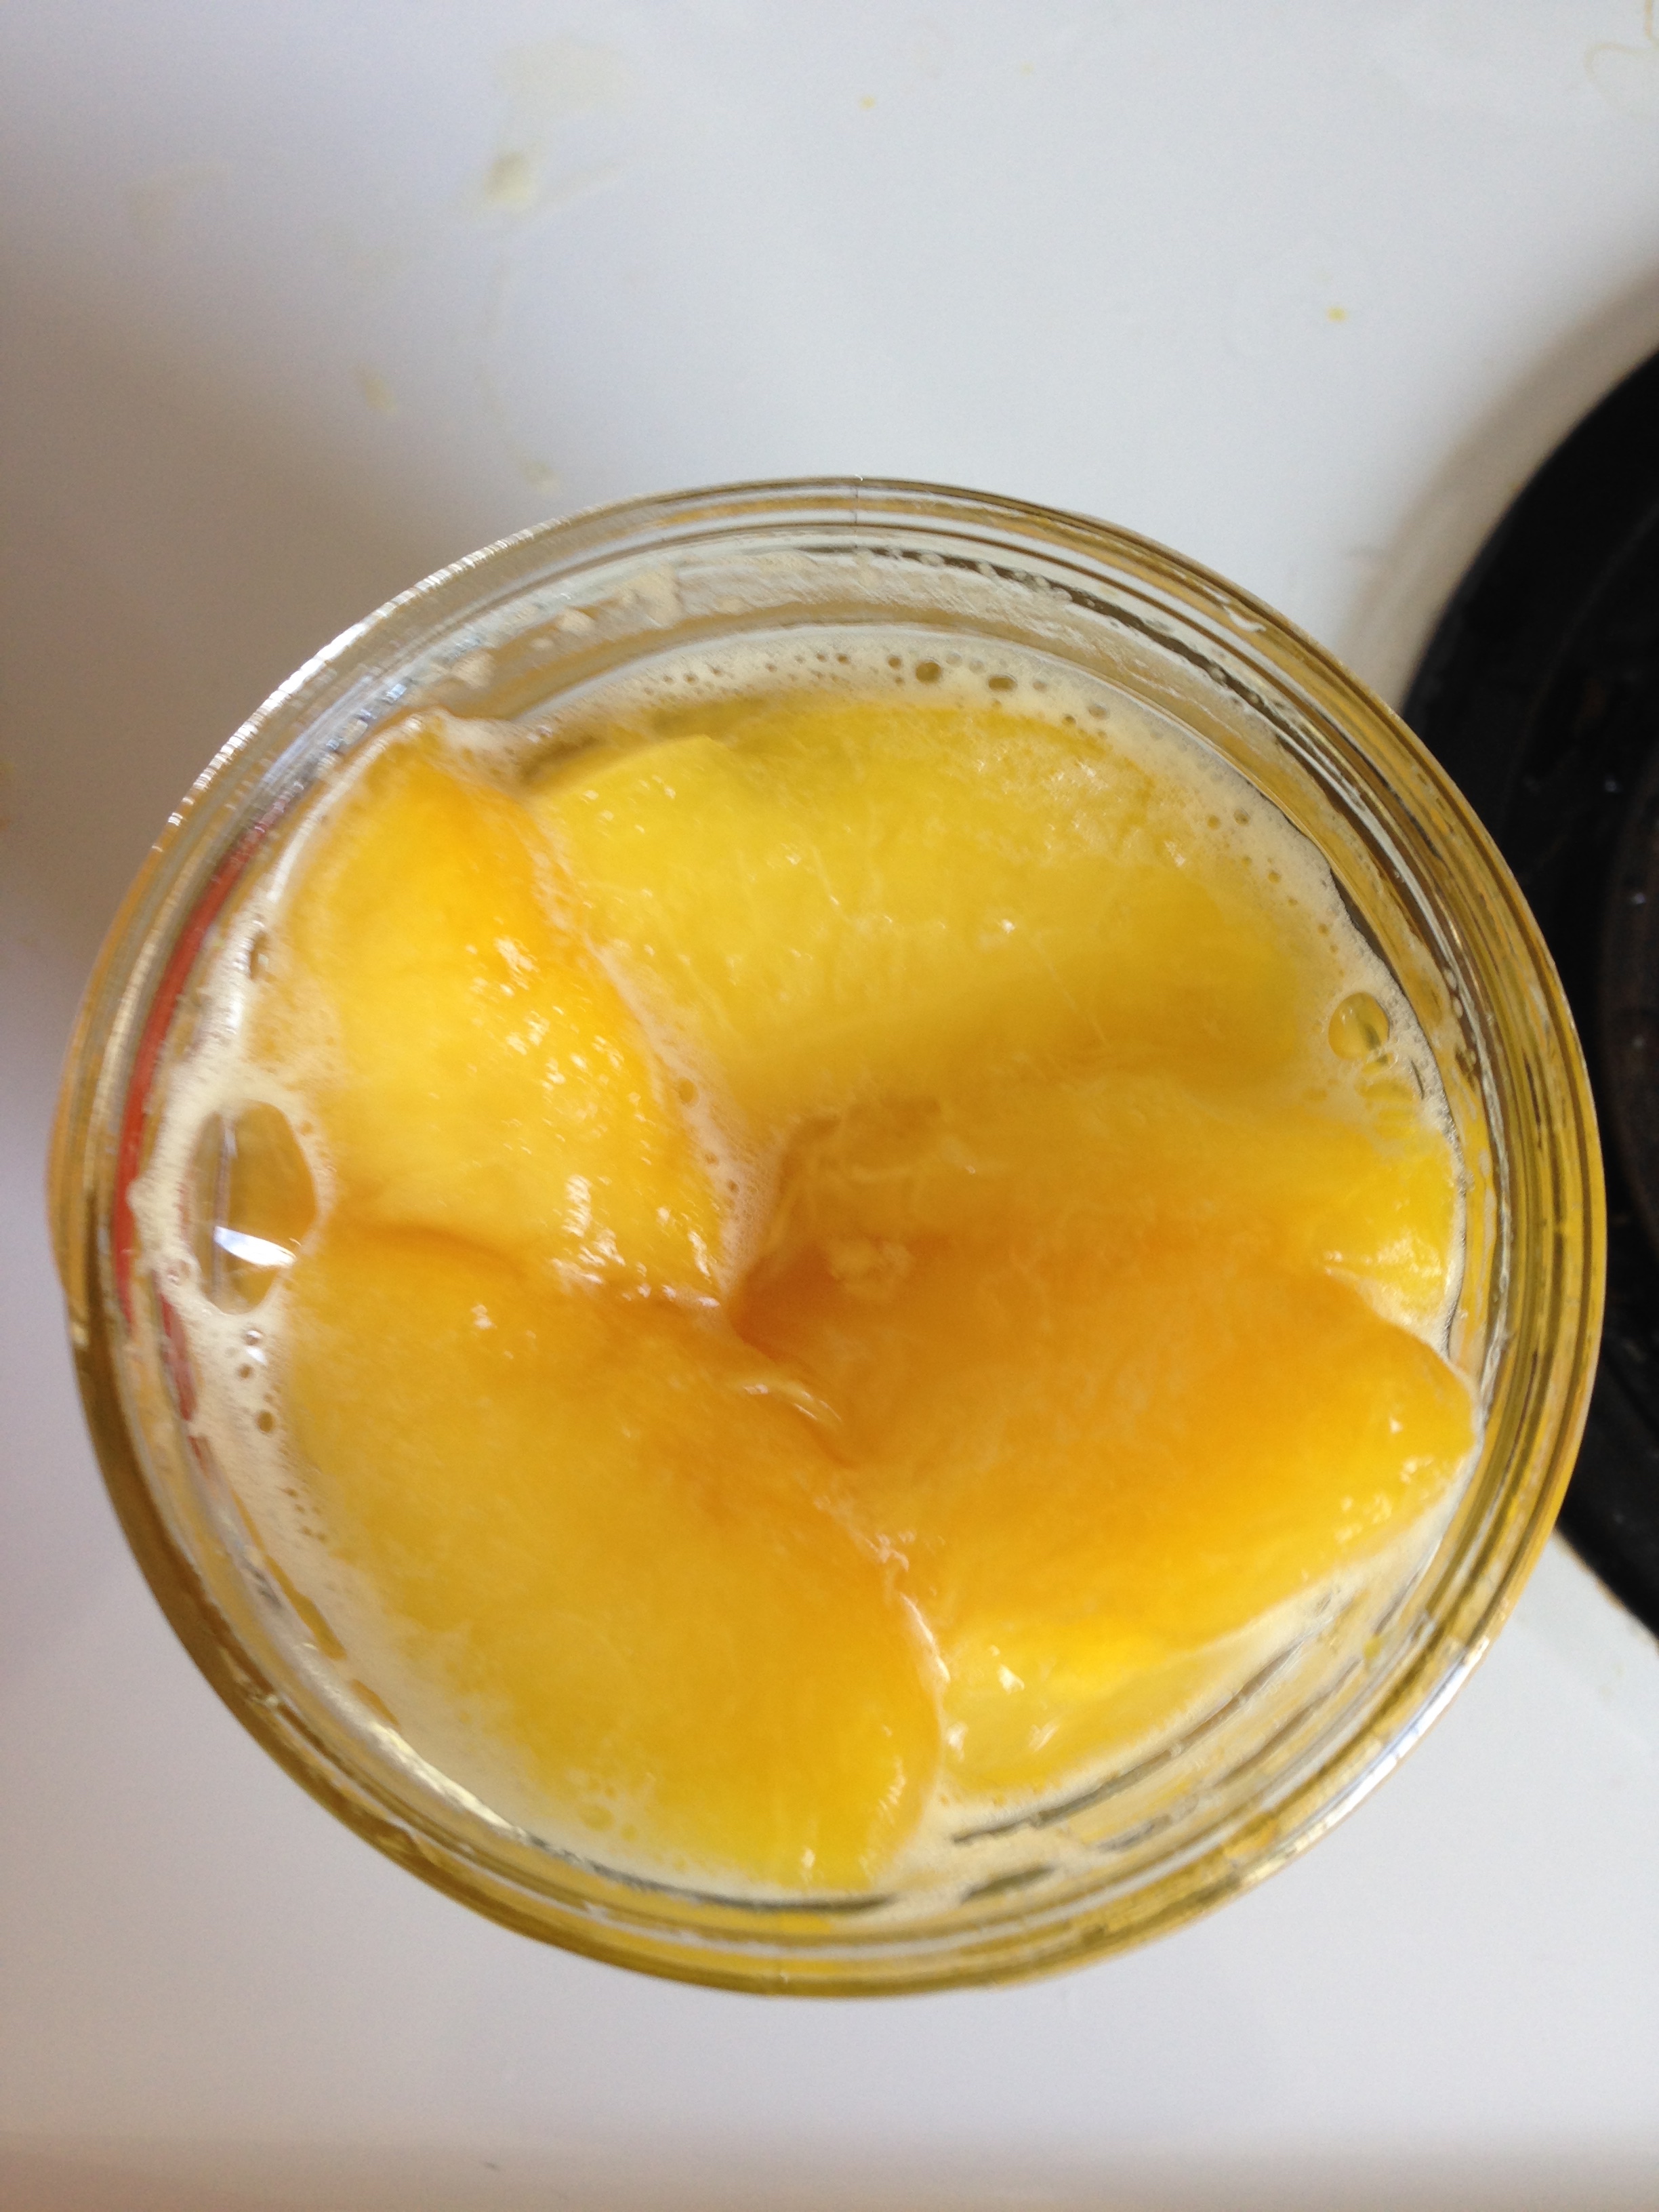
Success! Homemade grape juice made! =D It's jelly making time! (Unless you drink it all... and have to start over.)


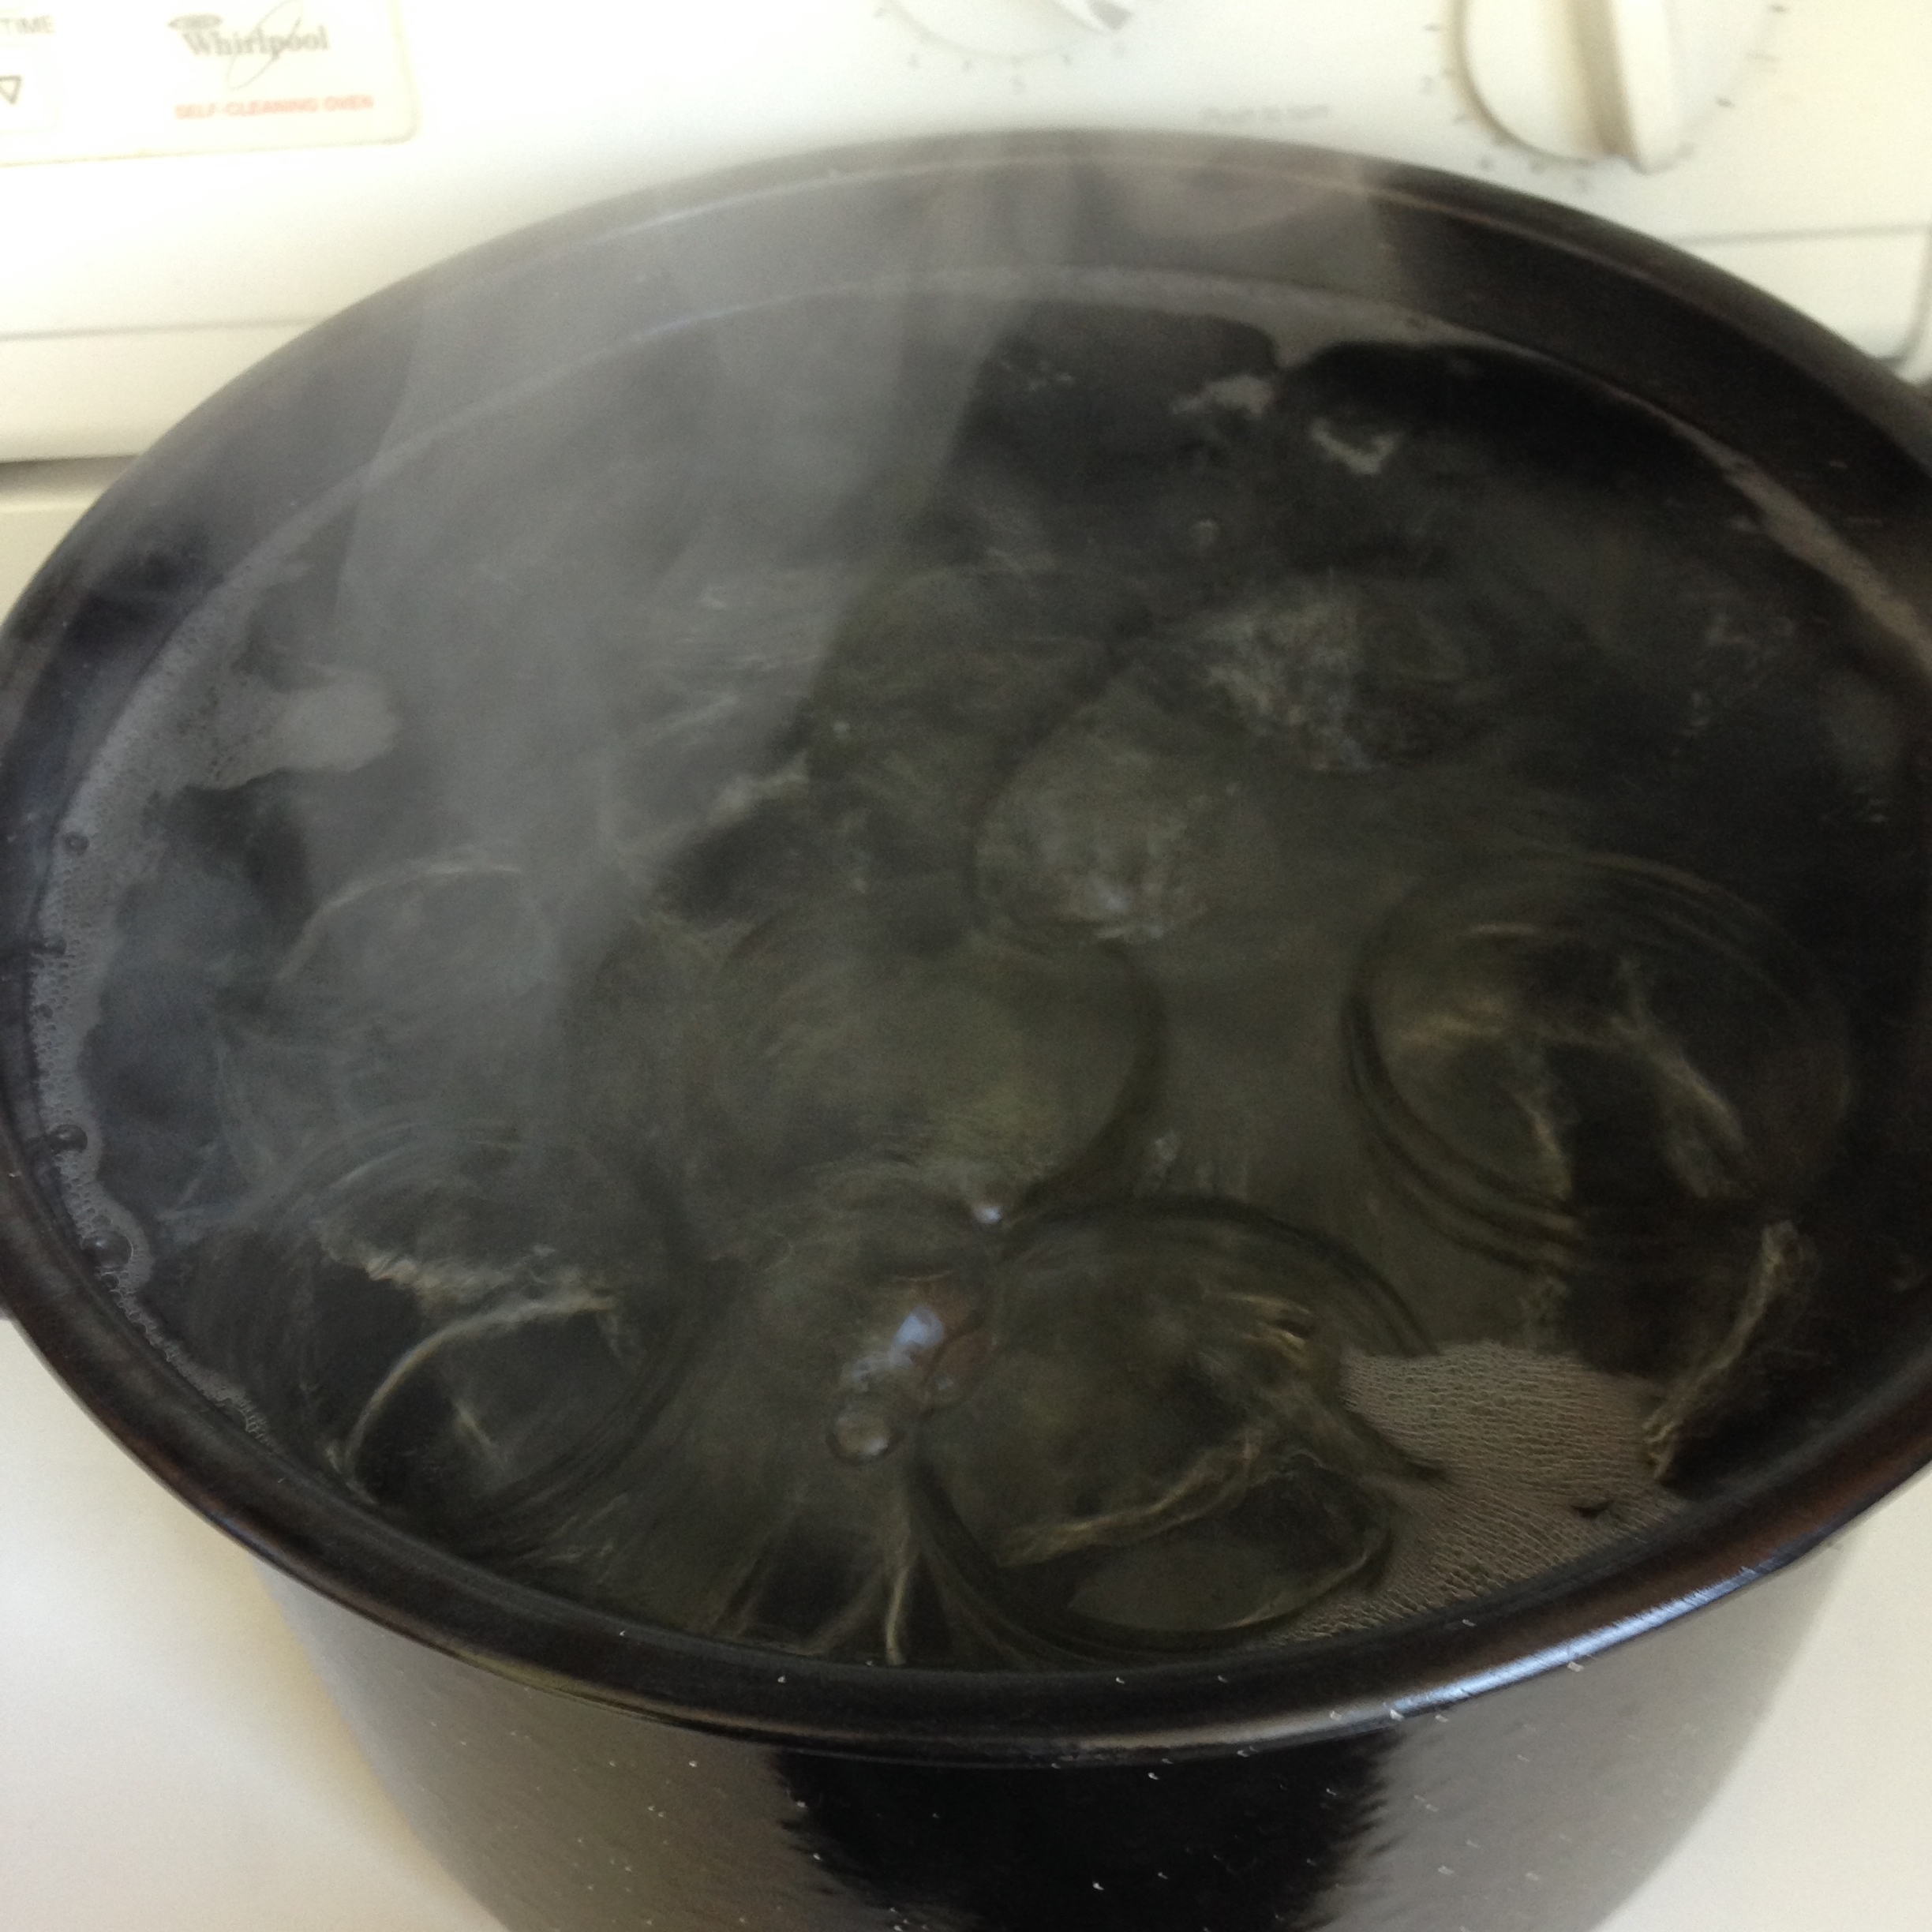
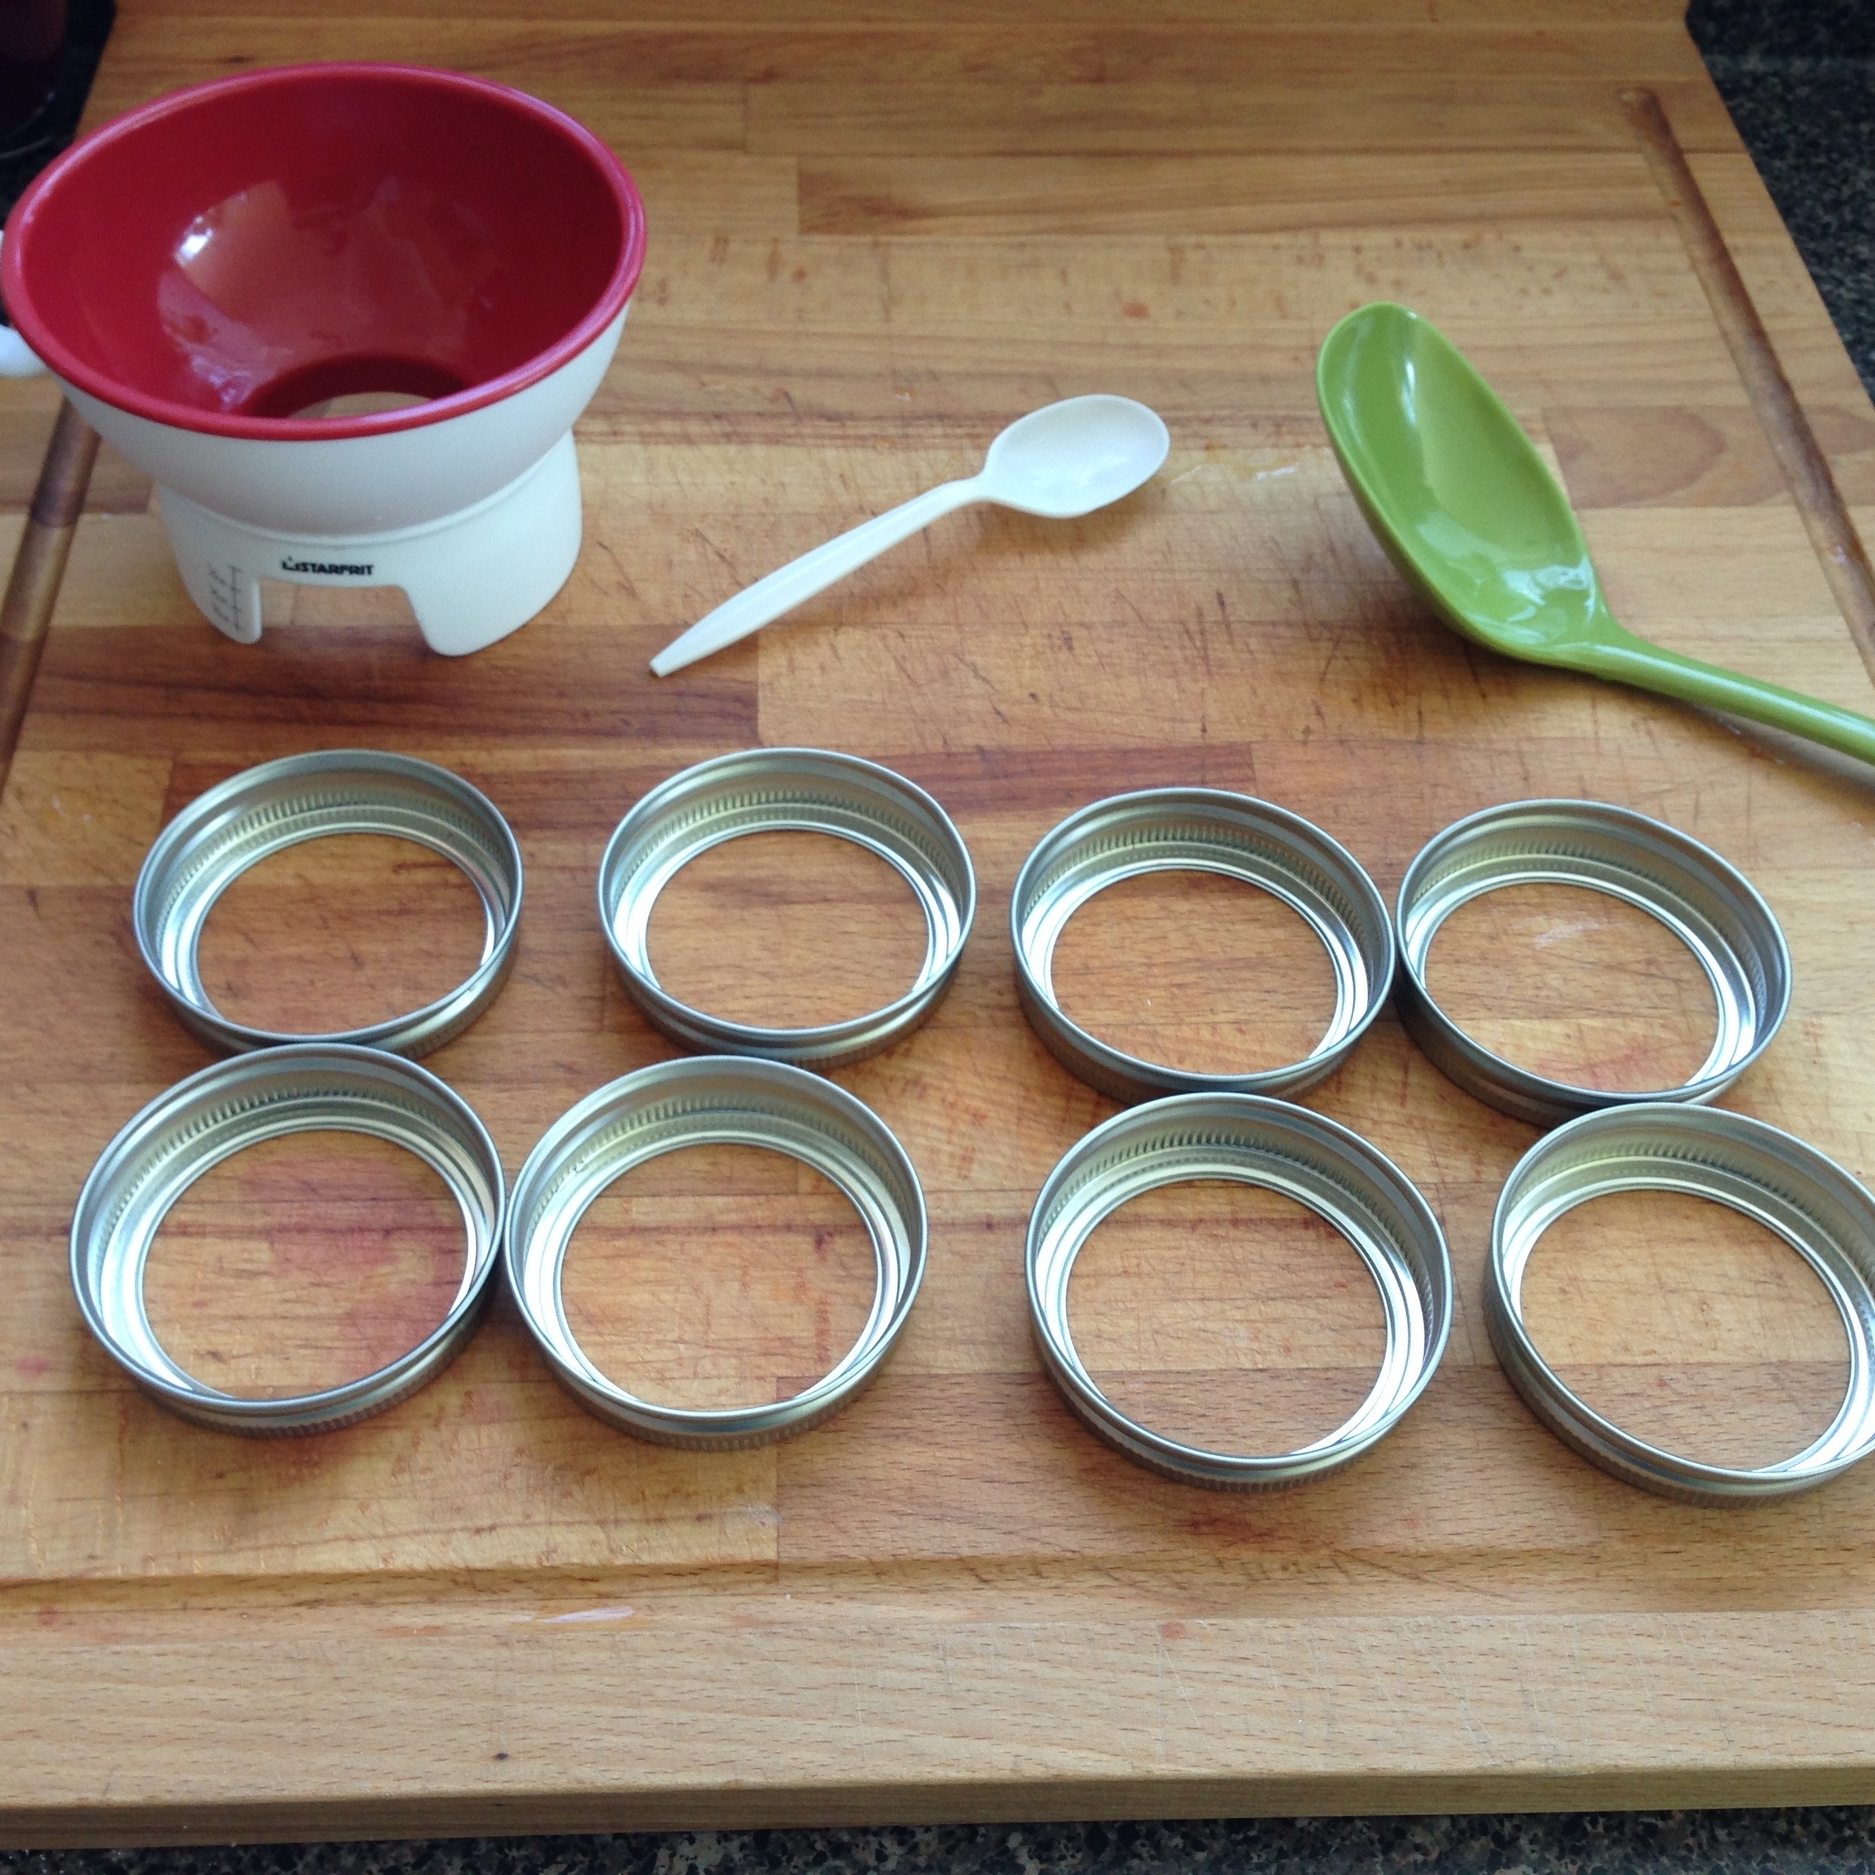
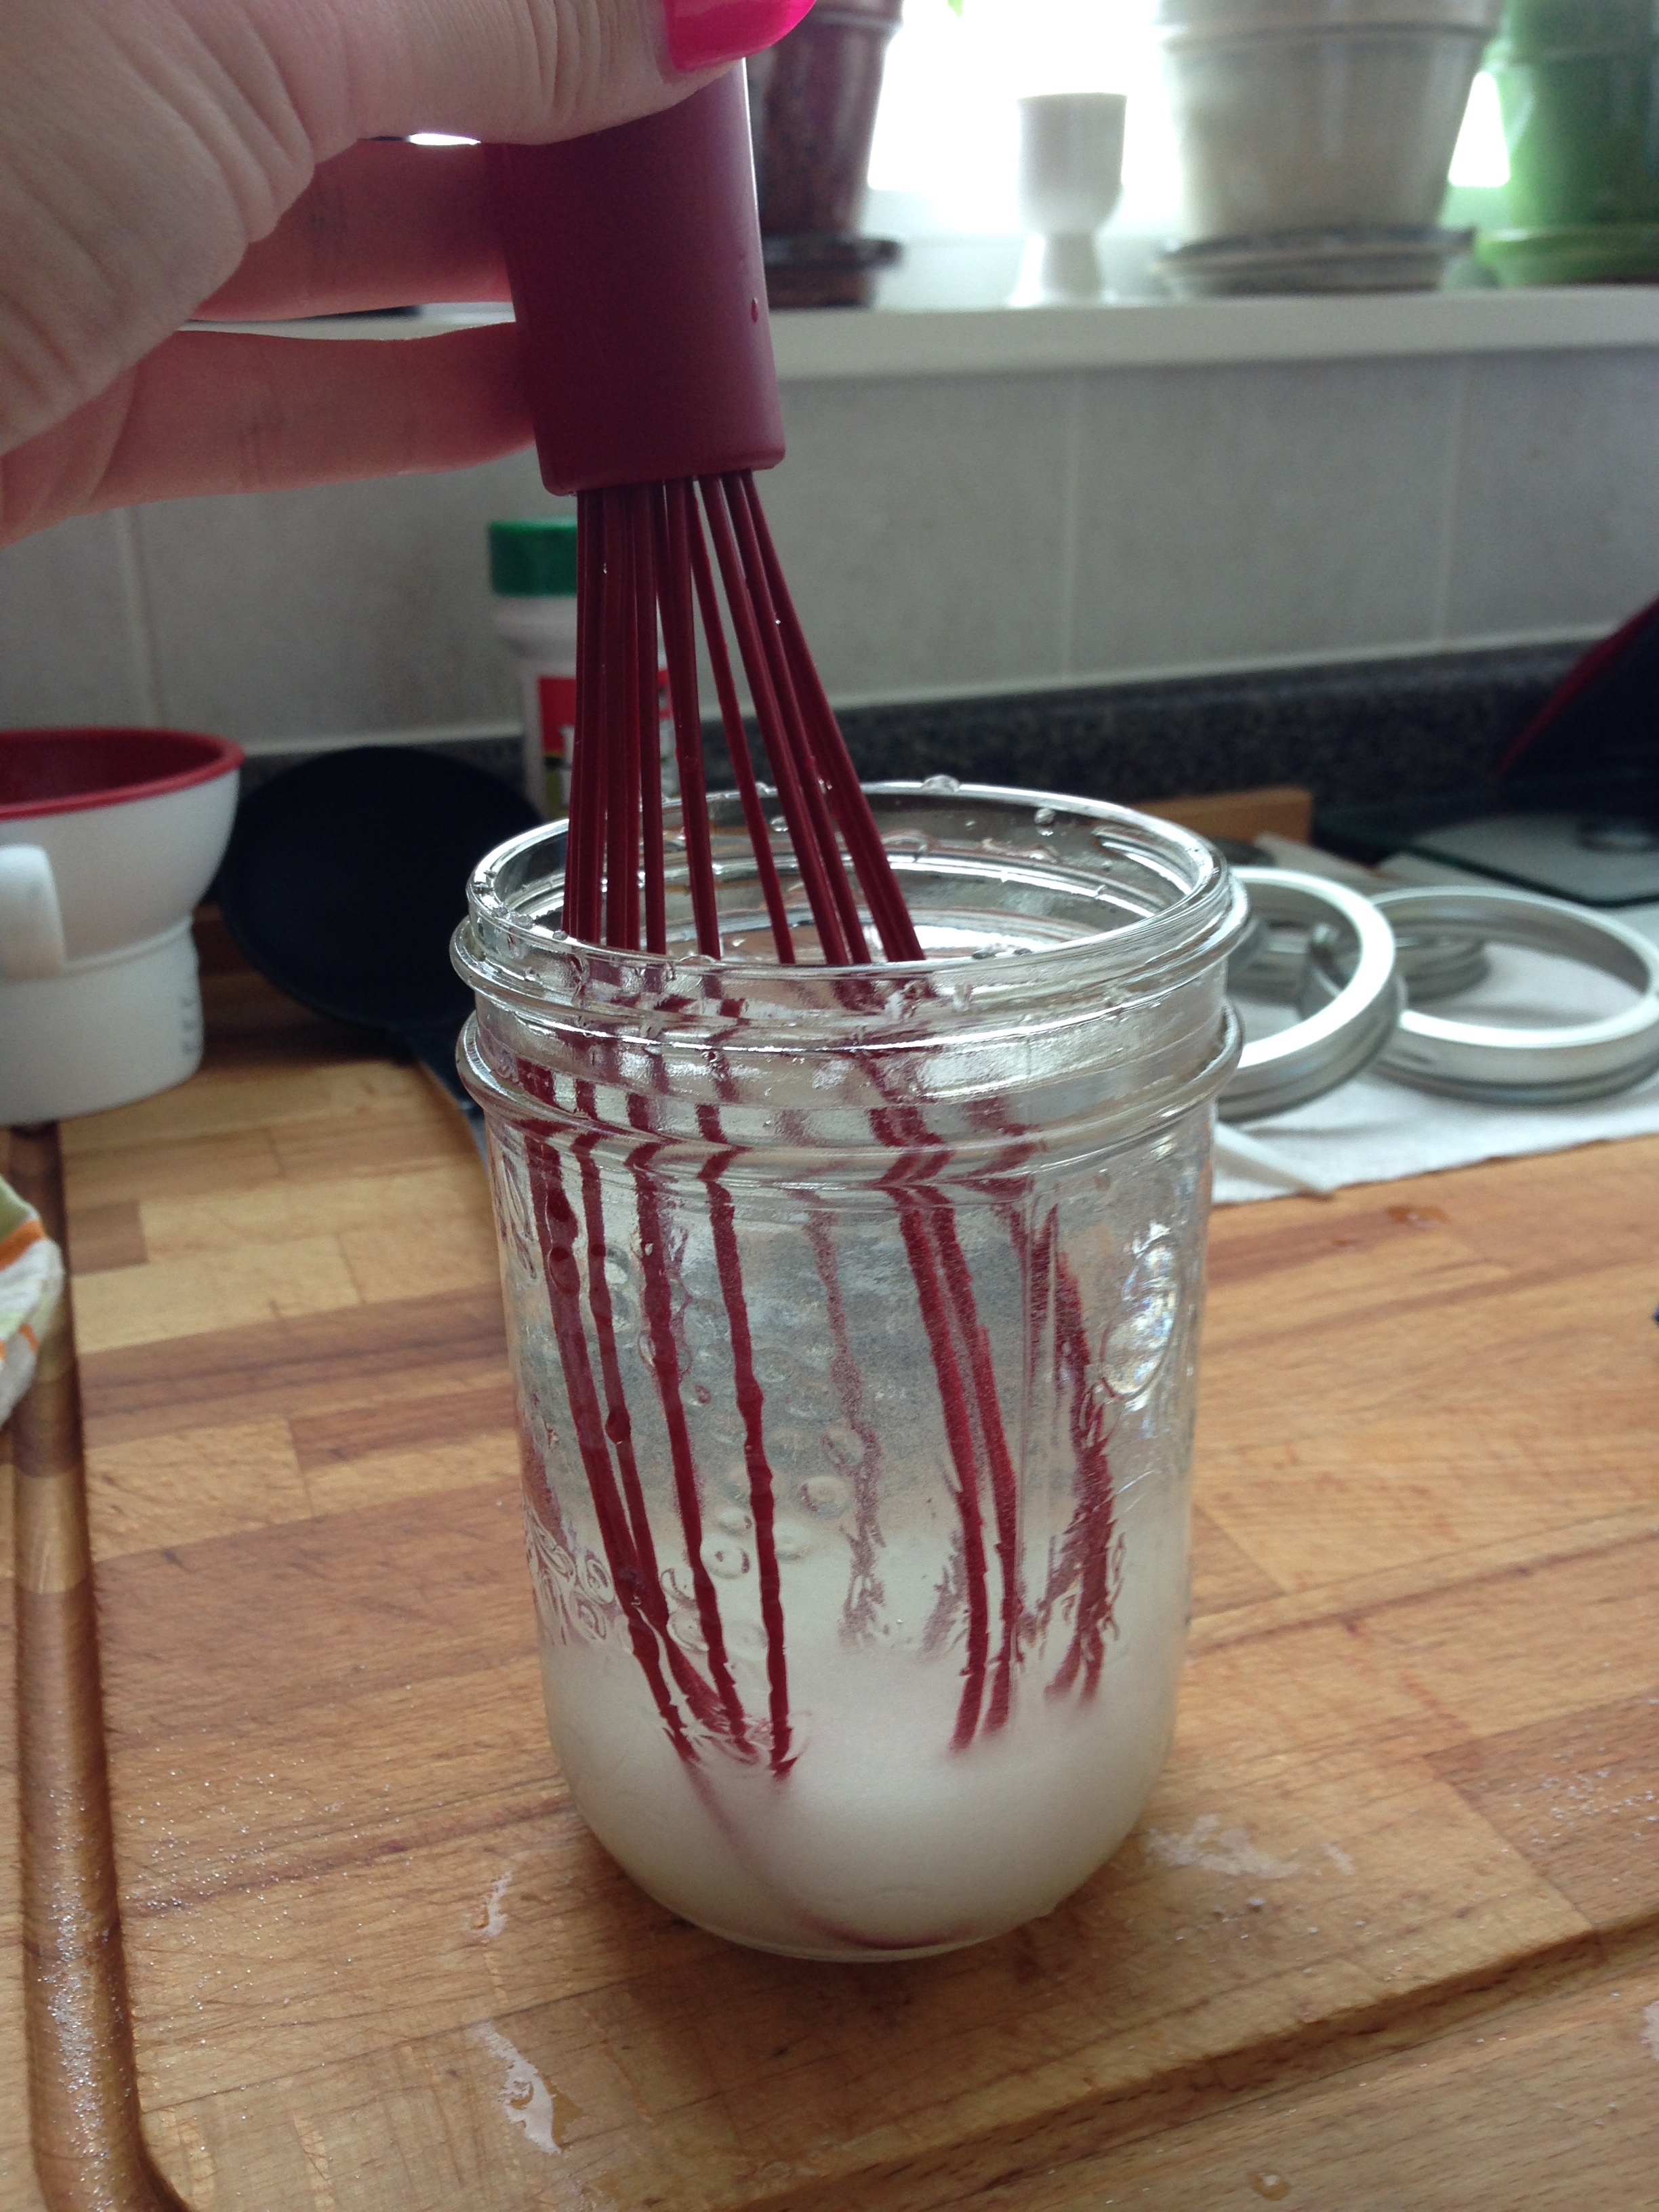
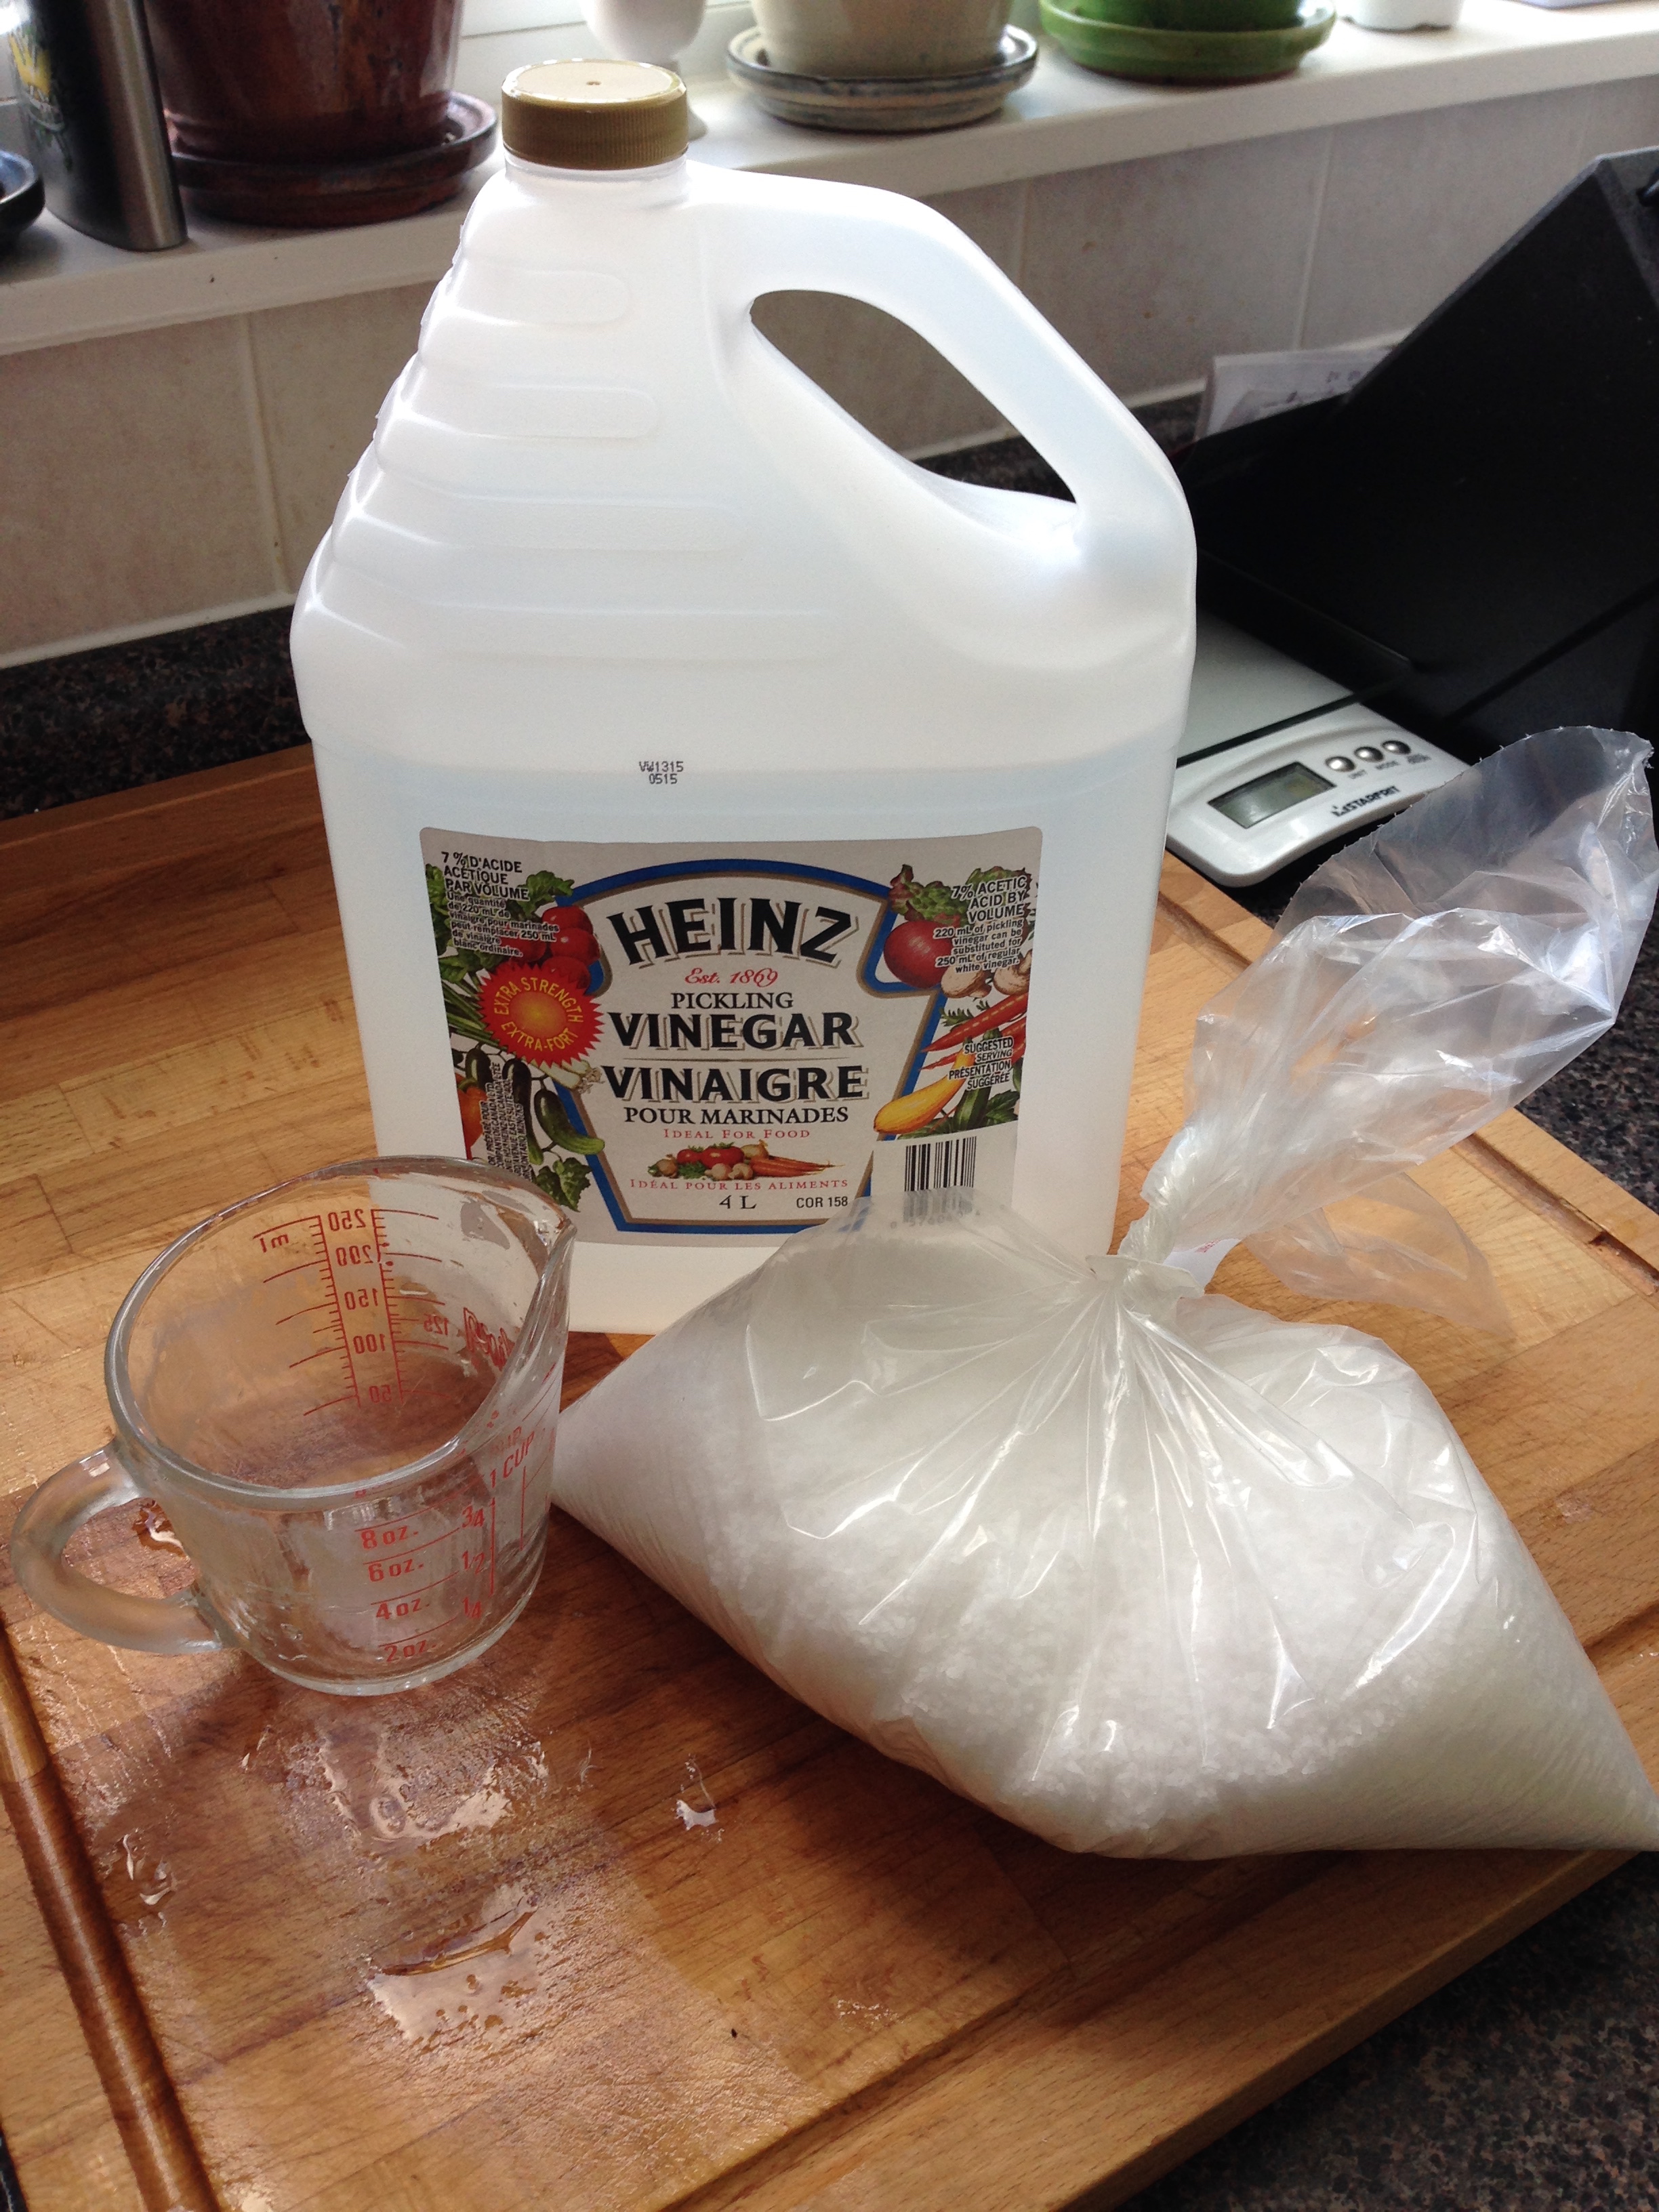
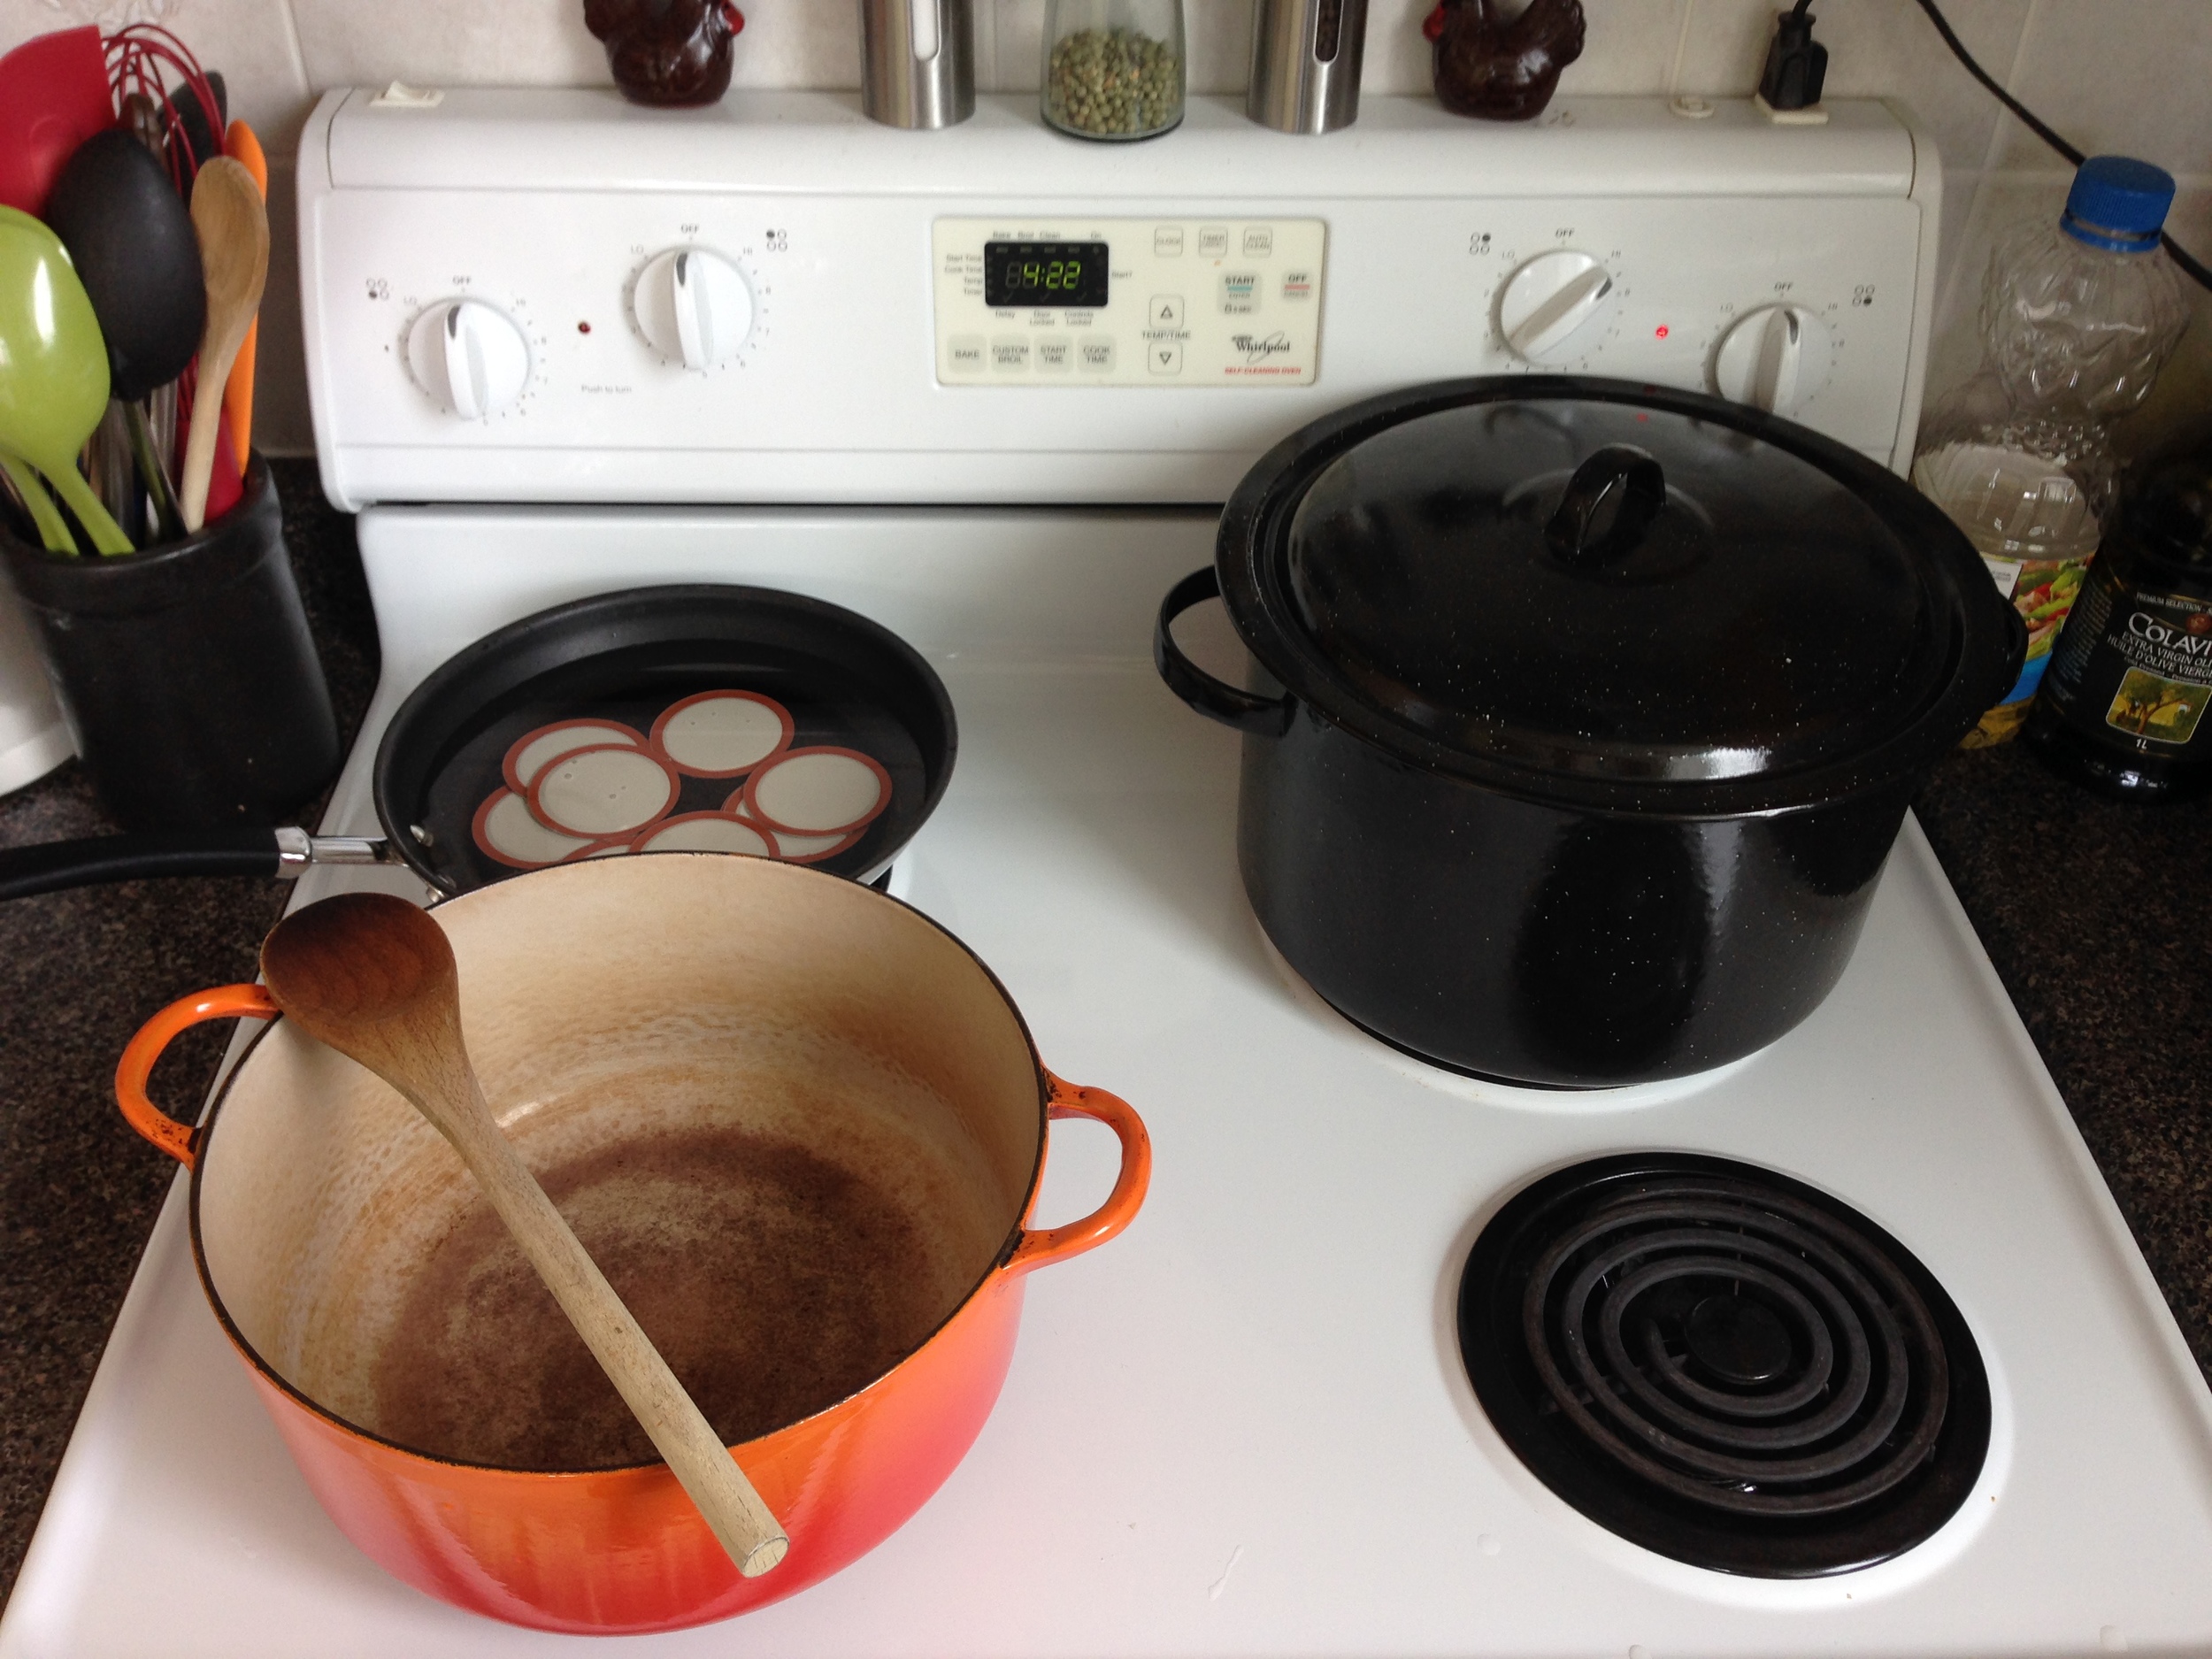
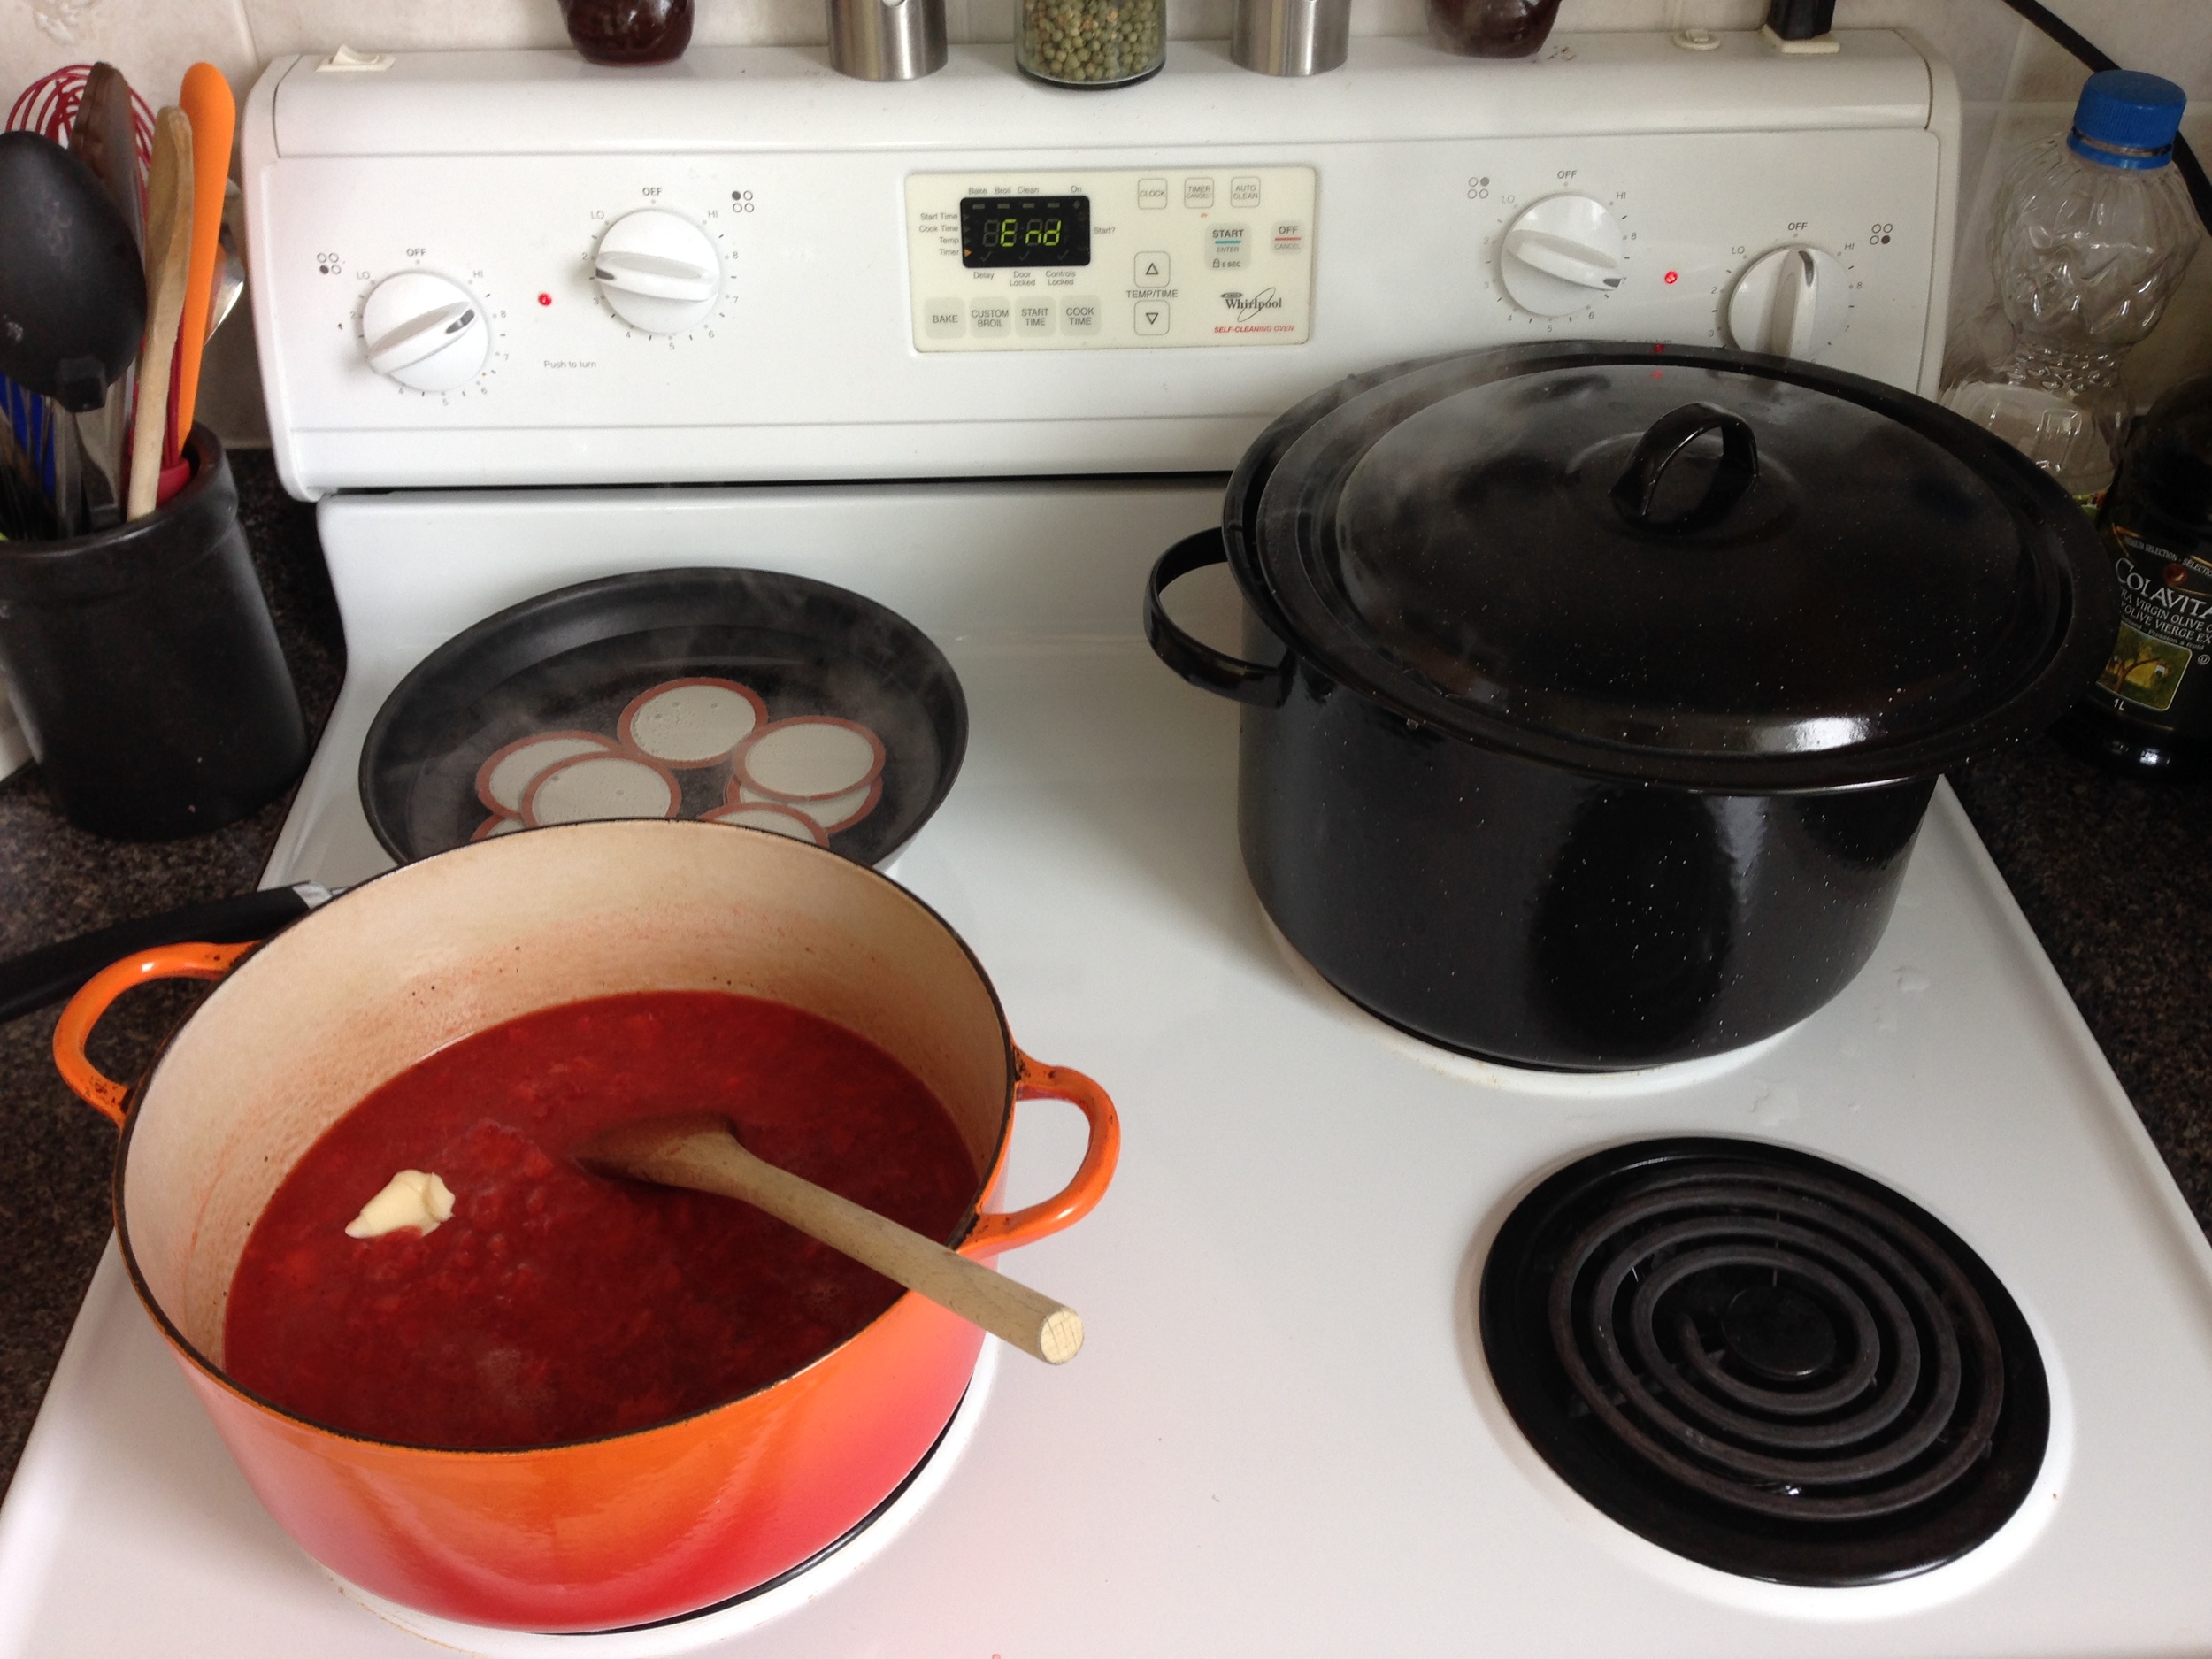
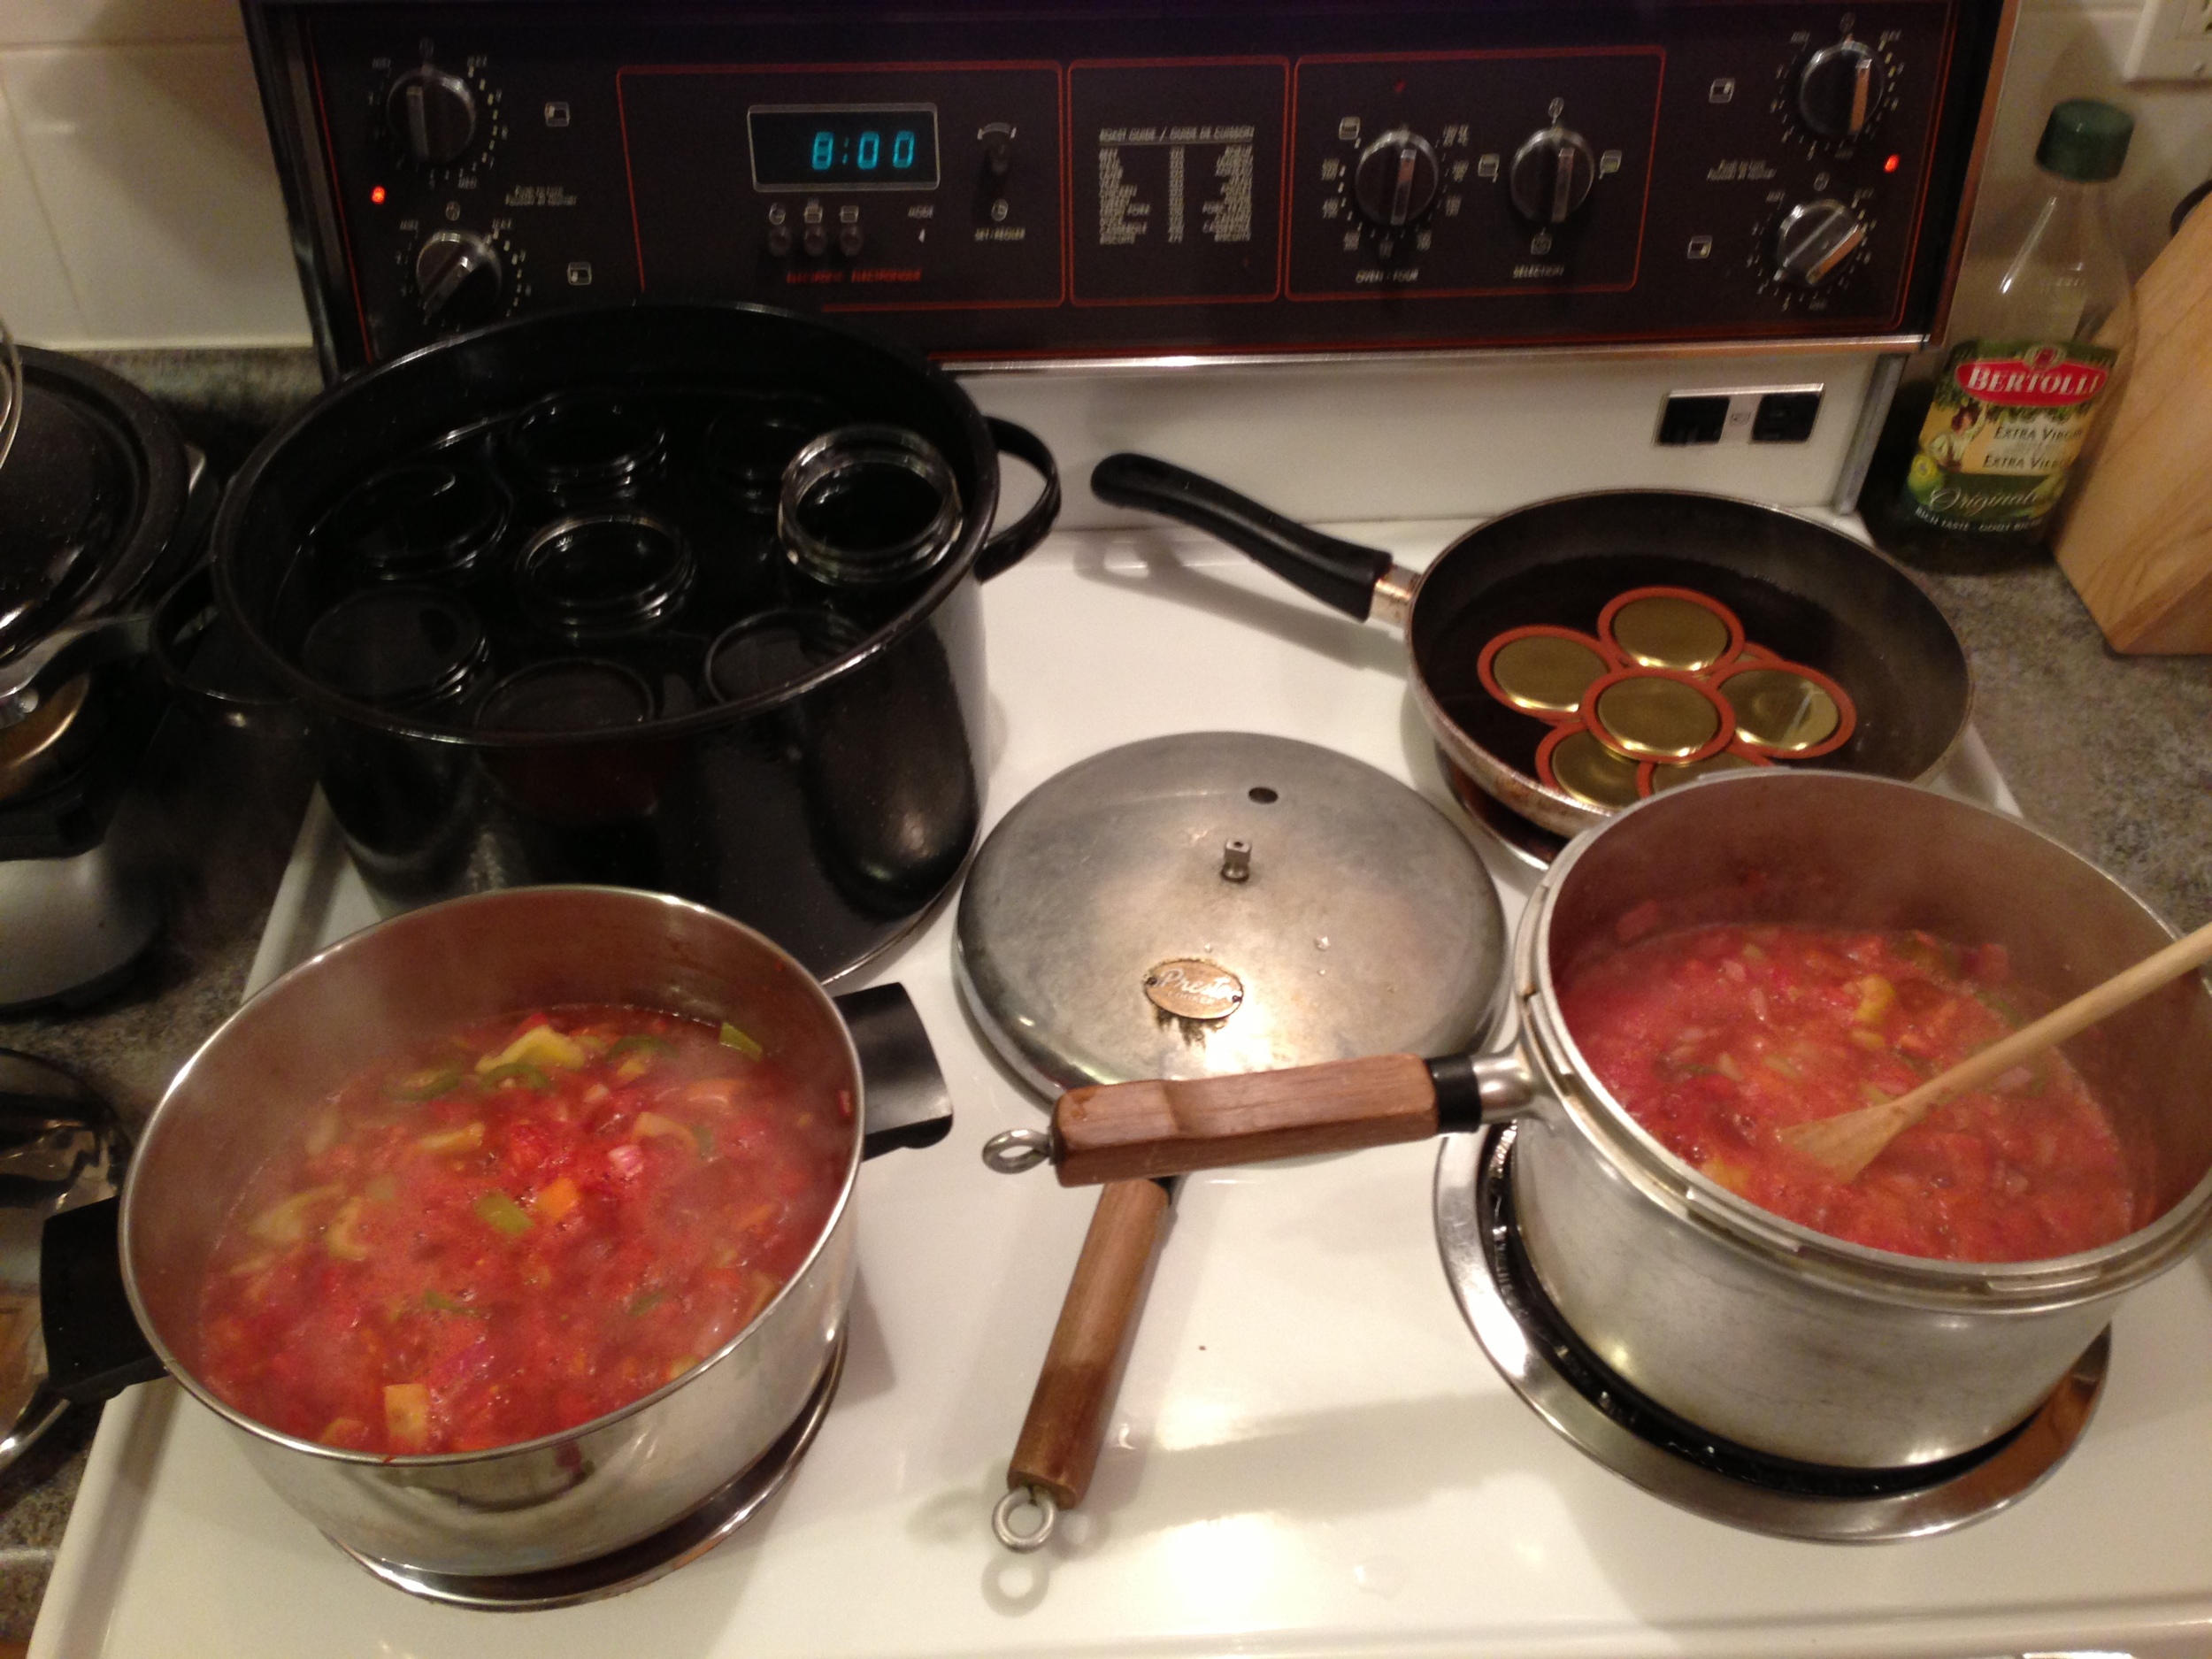
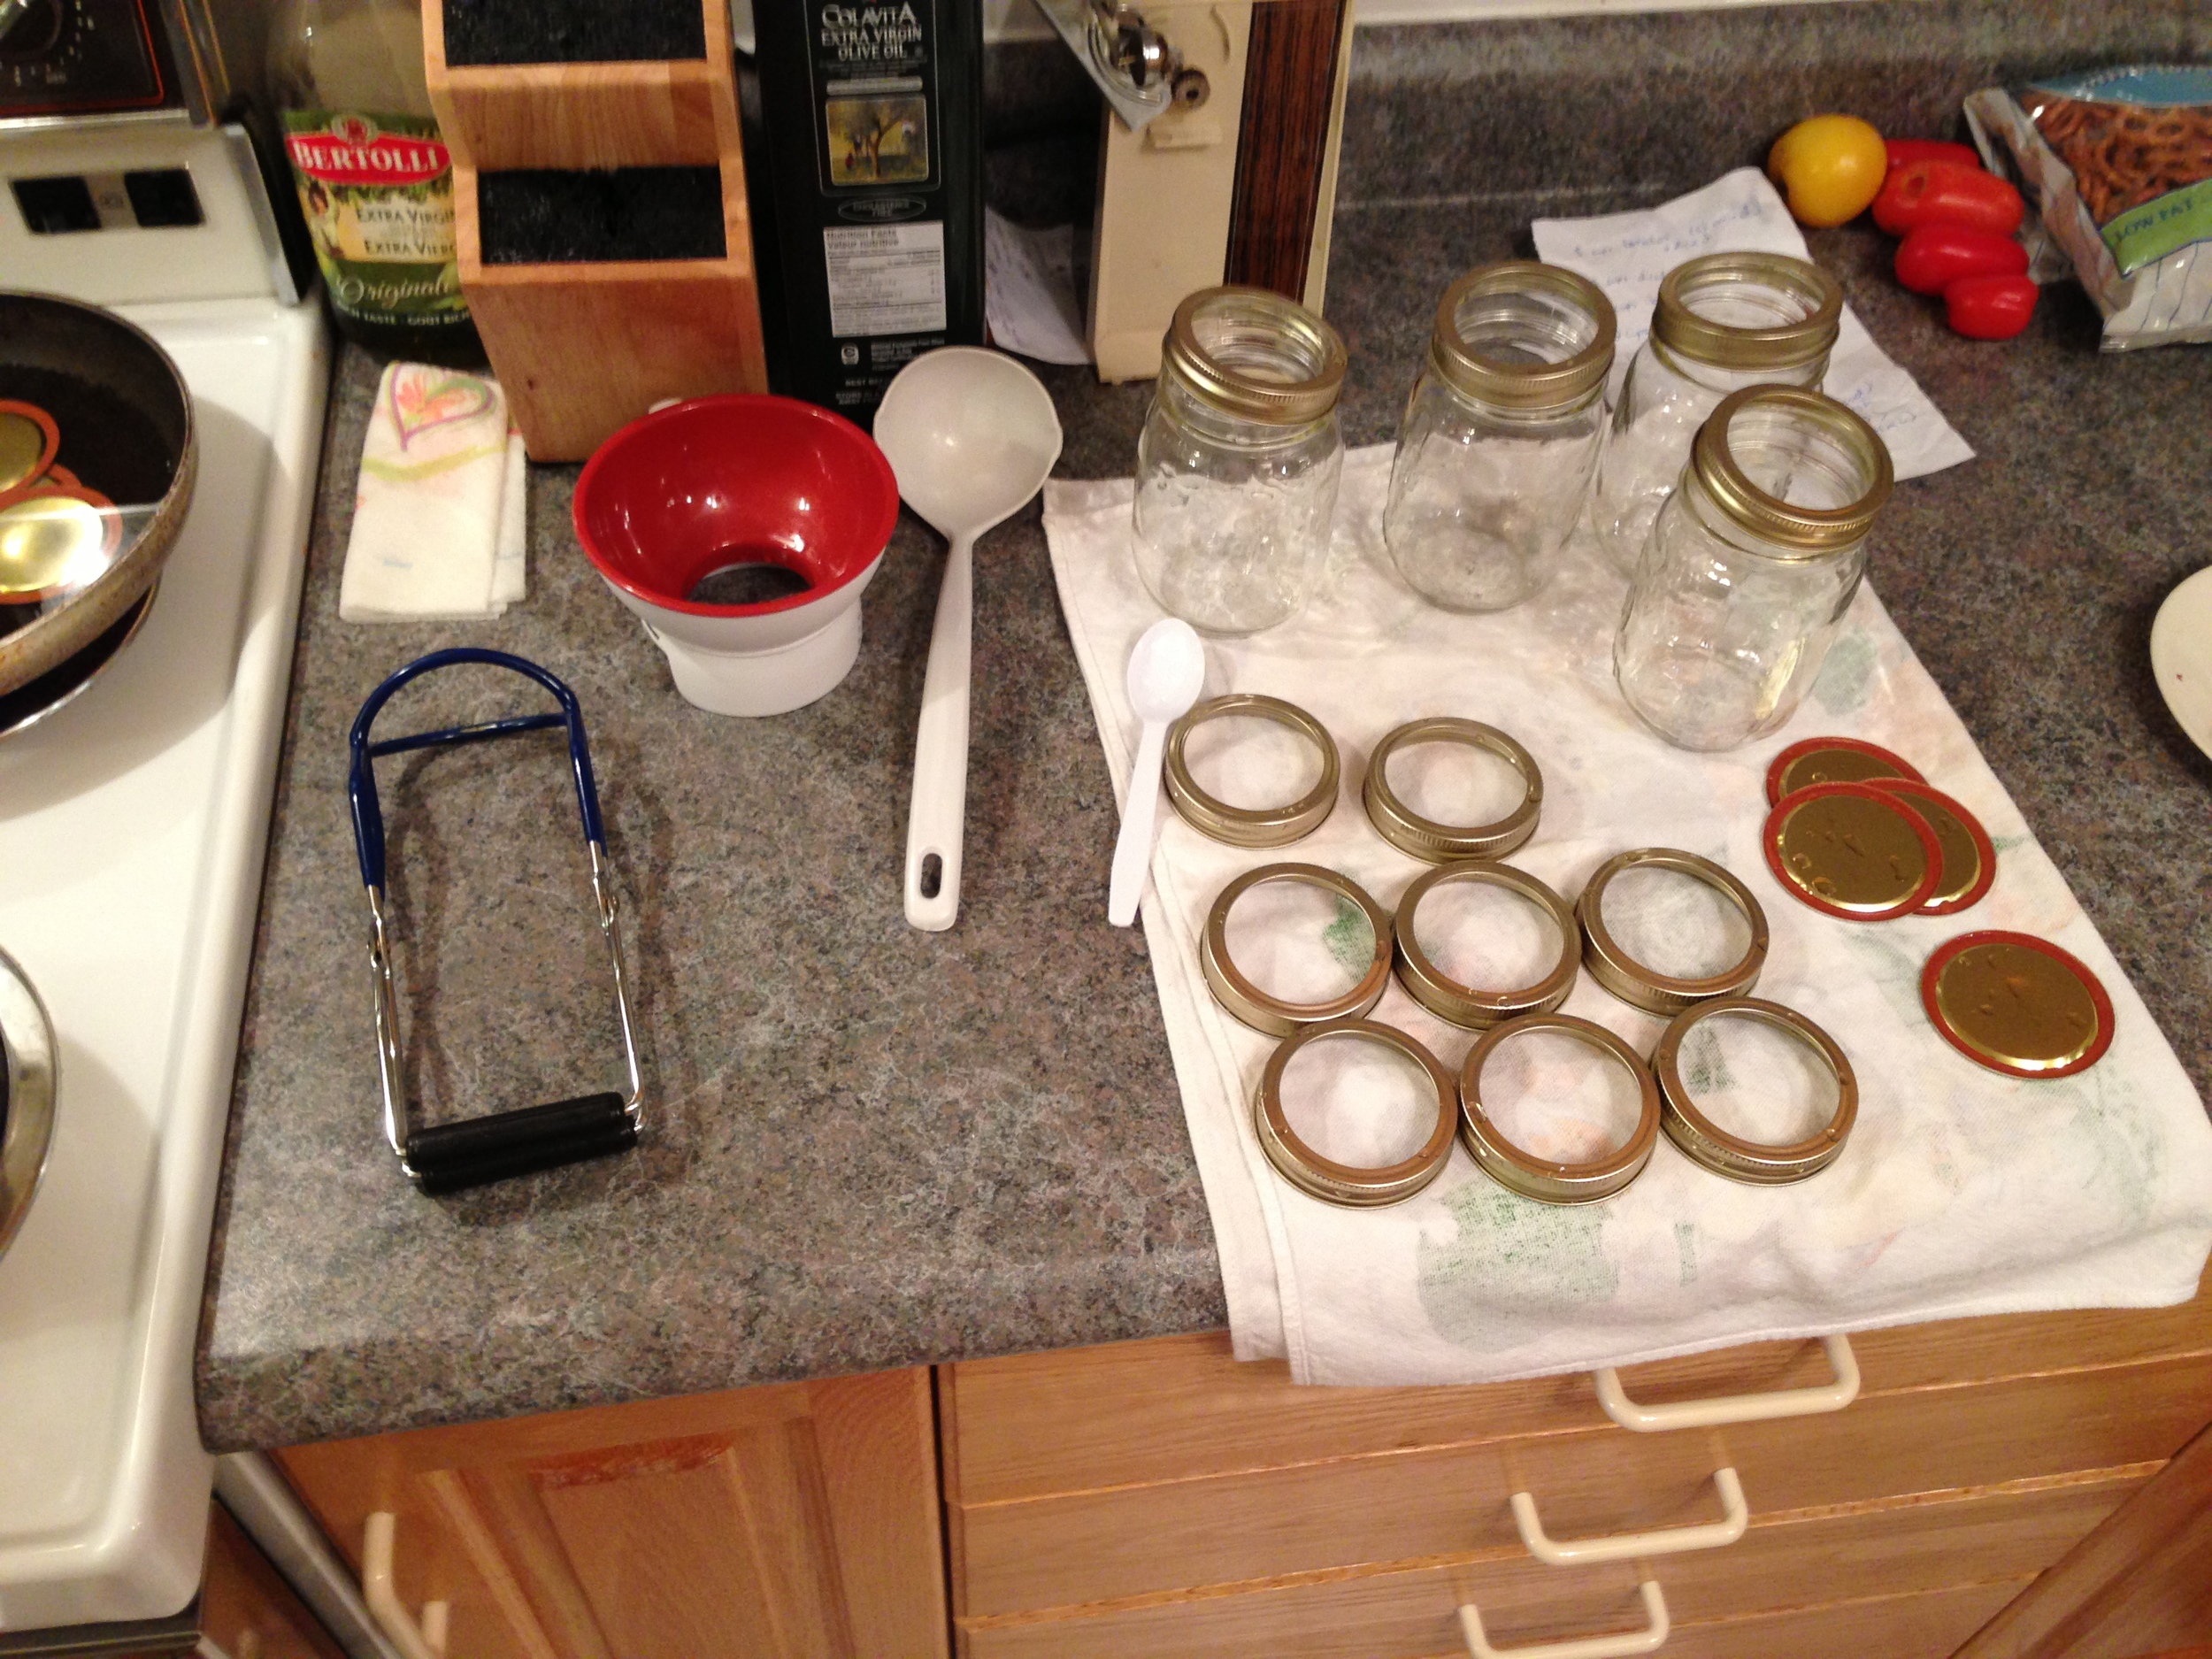
As per all my canning shenanigans, prepare, prepare, prepare! Clean all the utensils needed (ladle, wooden spoon, plastic spoon, plastic funnel). Also clean the jars and sterilize them in a boiling water bath canner for about 10 minutes. Keep this canner boiling! I usually keep a kettle of boiled water on stand by in case the canner needs to be topped up. Clean and set the screw bands in an accessible place. Set cleaned snap lids in a saucepan filled with water on low heat on the stove. This will soften the waxed rims and make for a better seal. Also measure out the sugar into a bowl and set this in an accessible place too. Ready! 


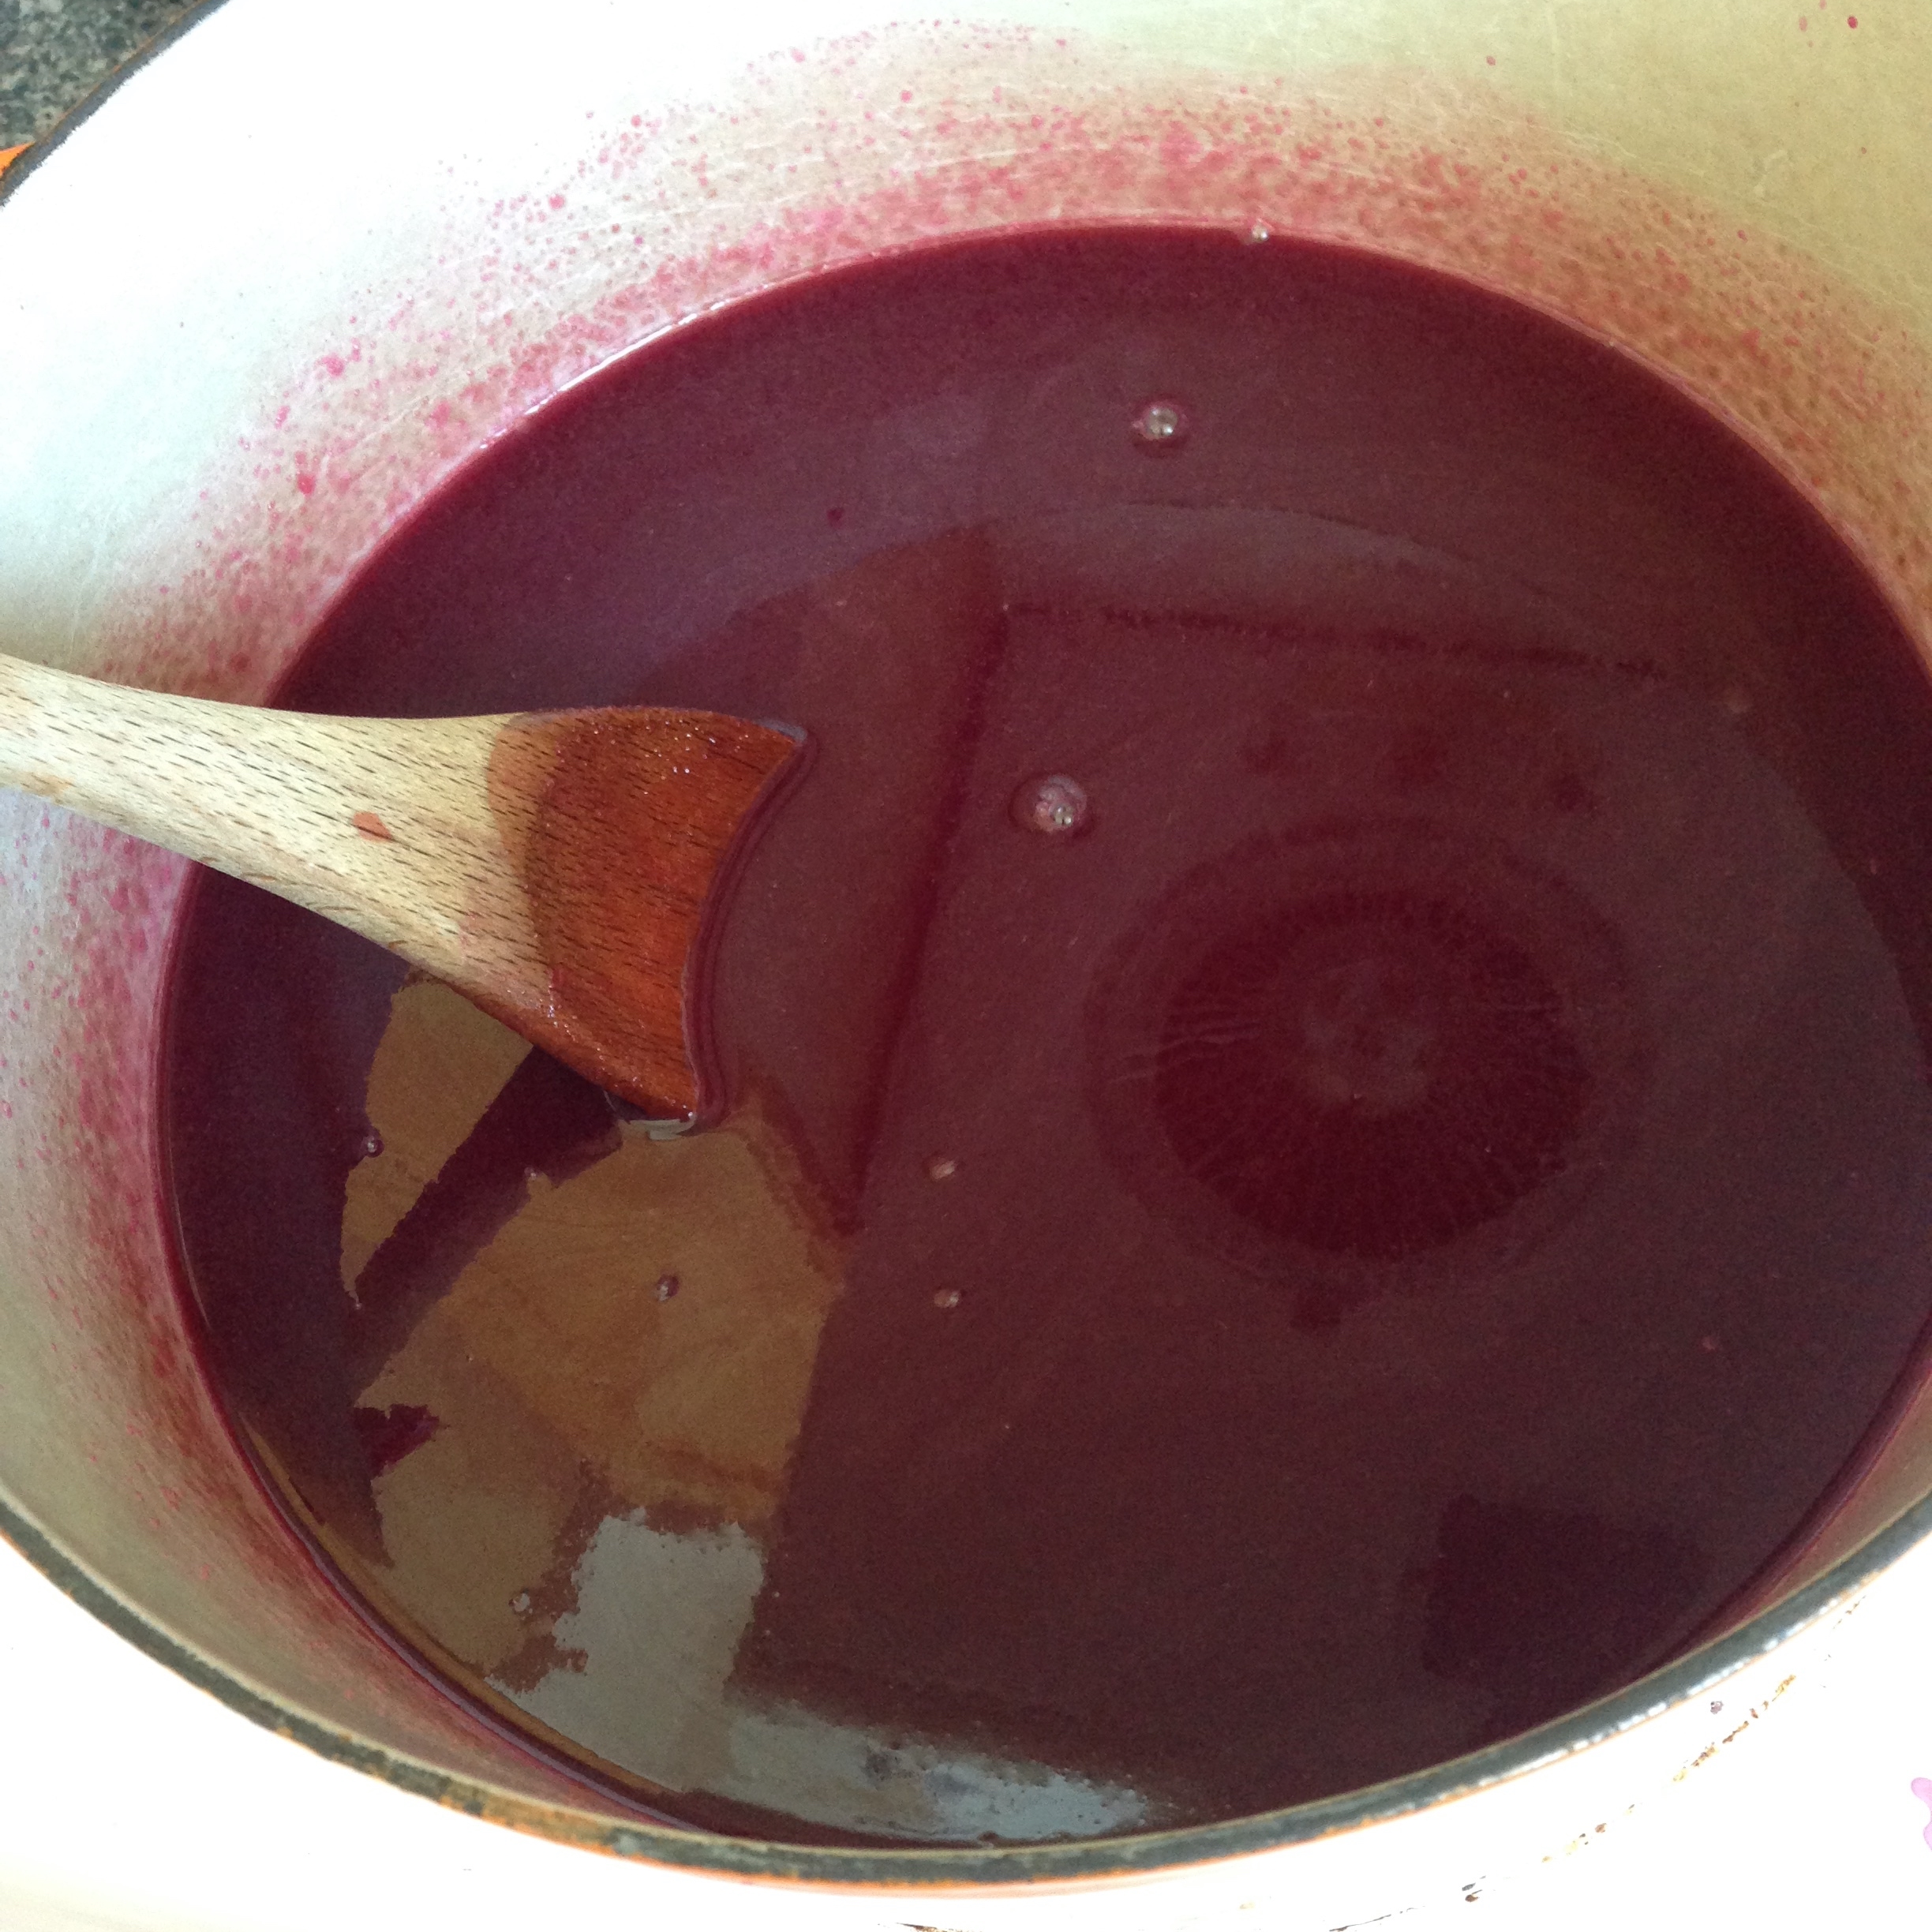
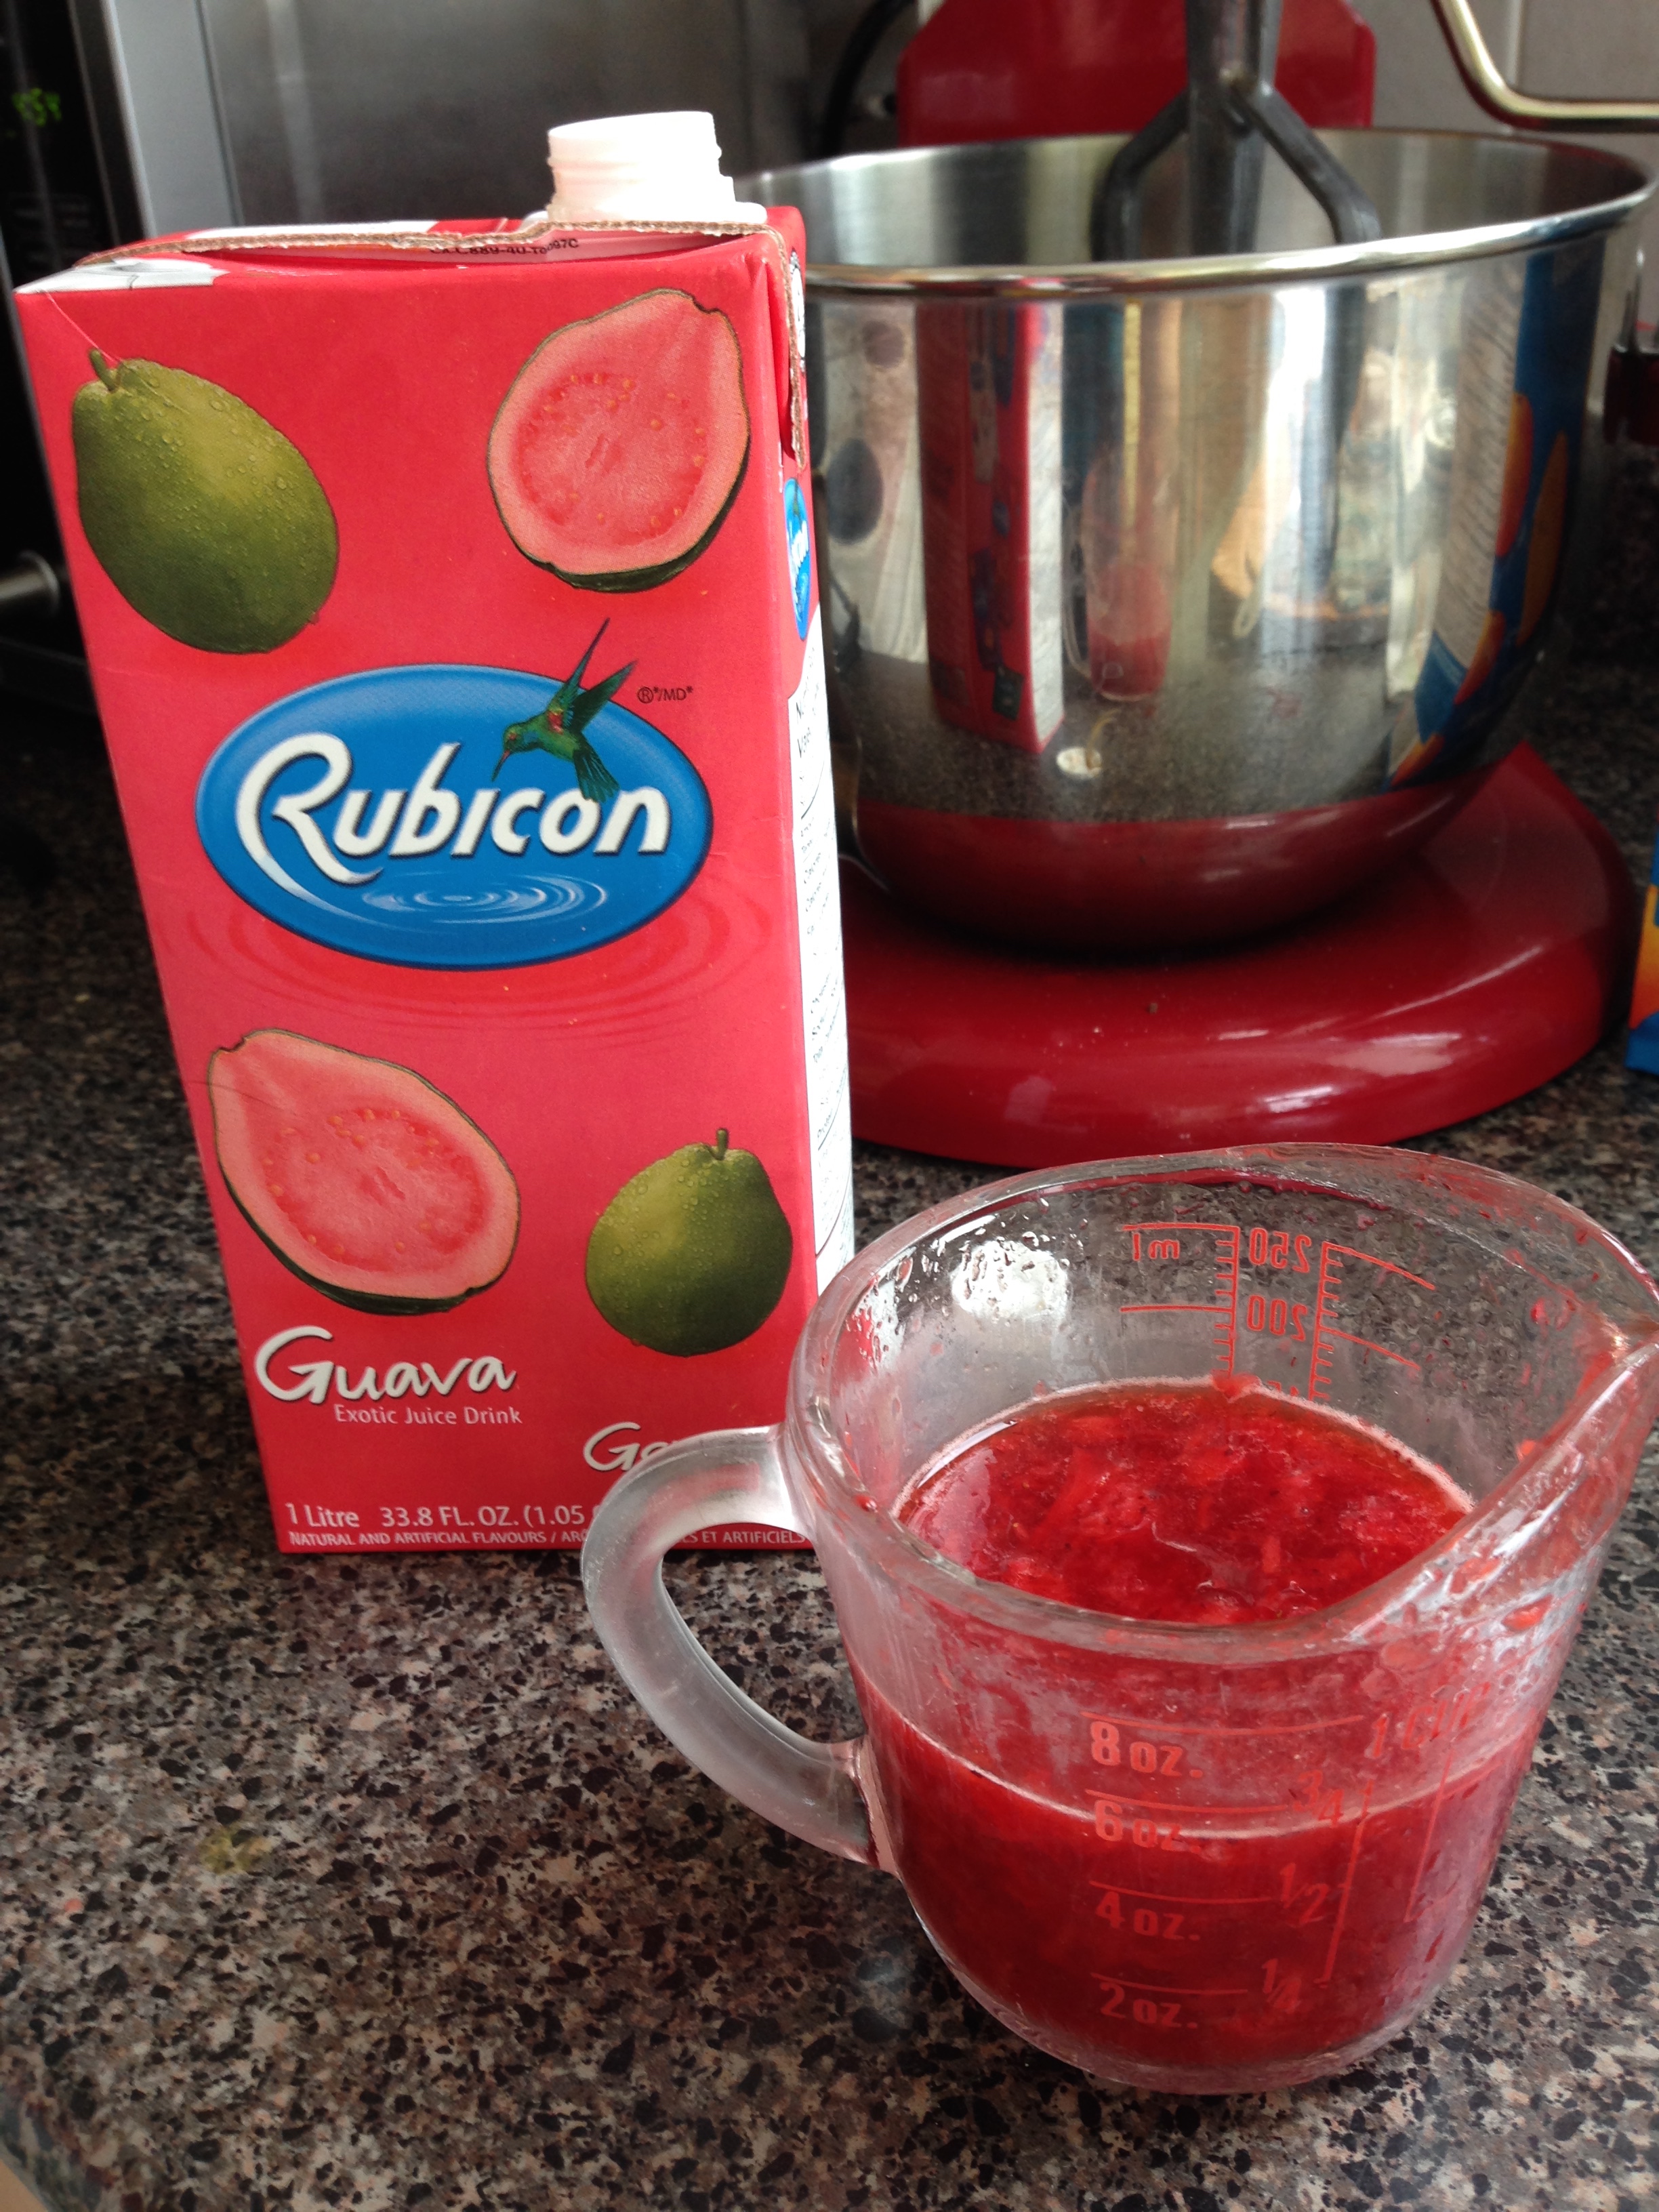
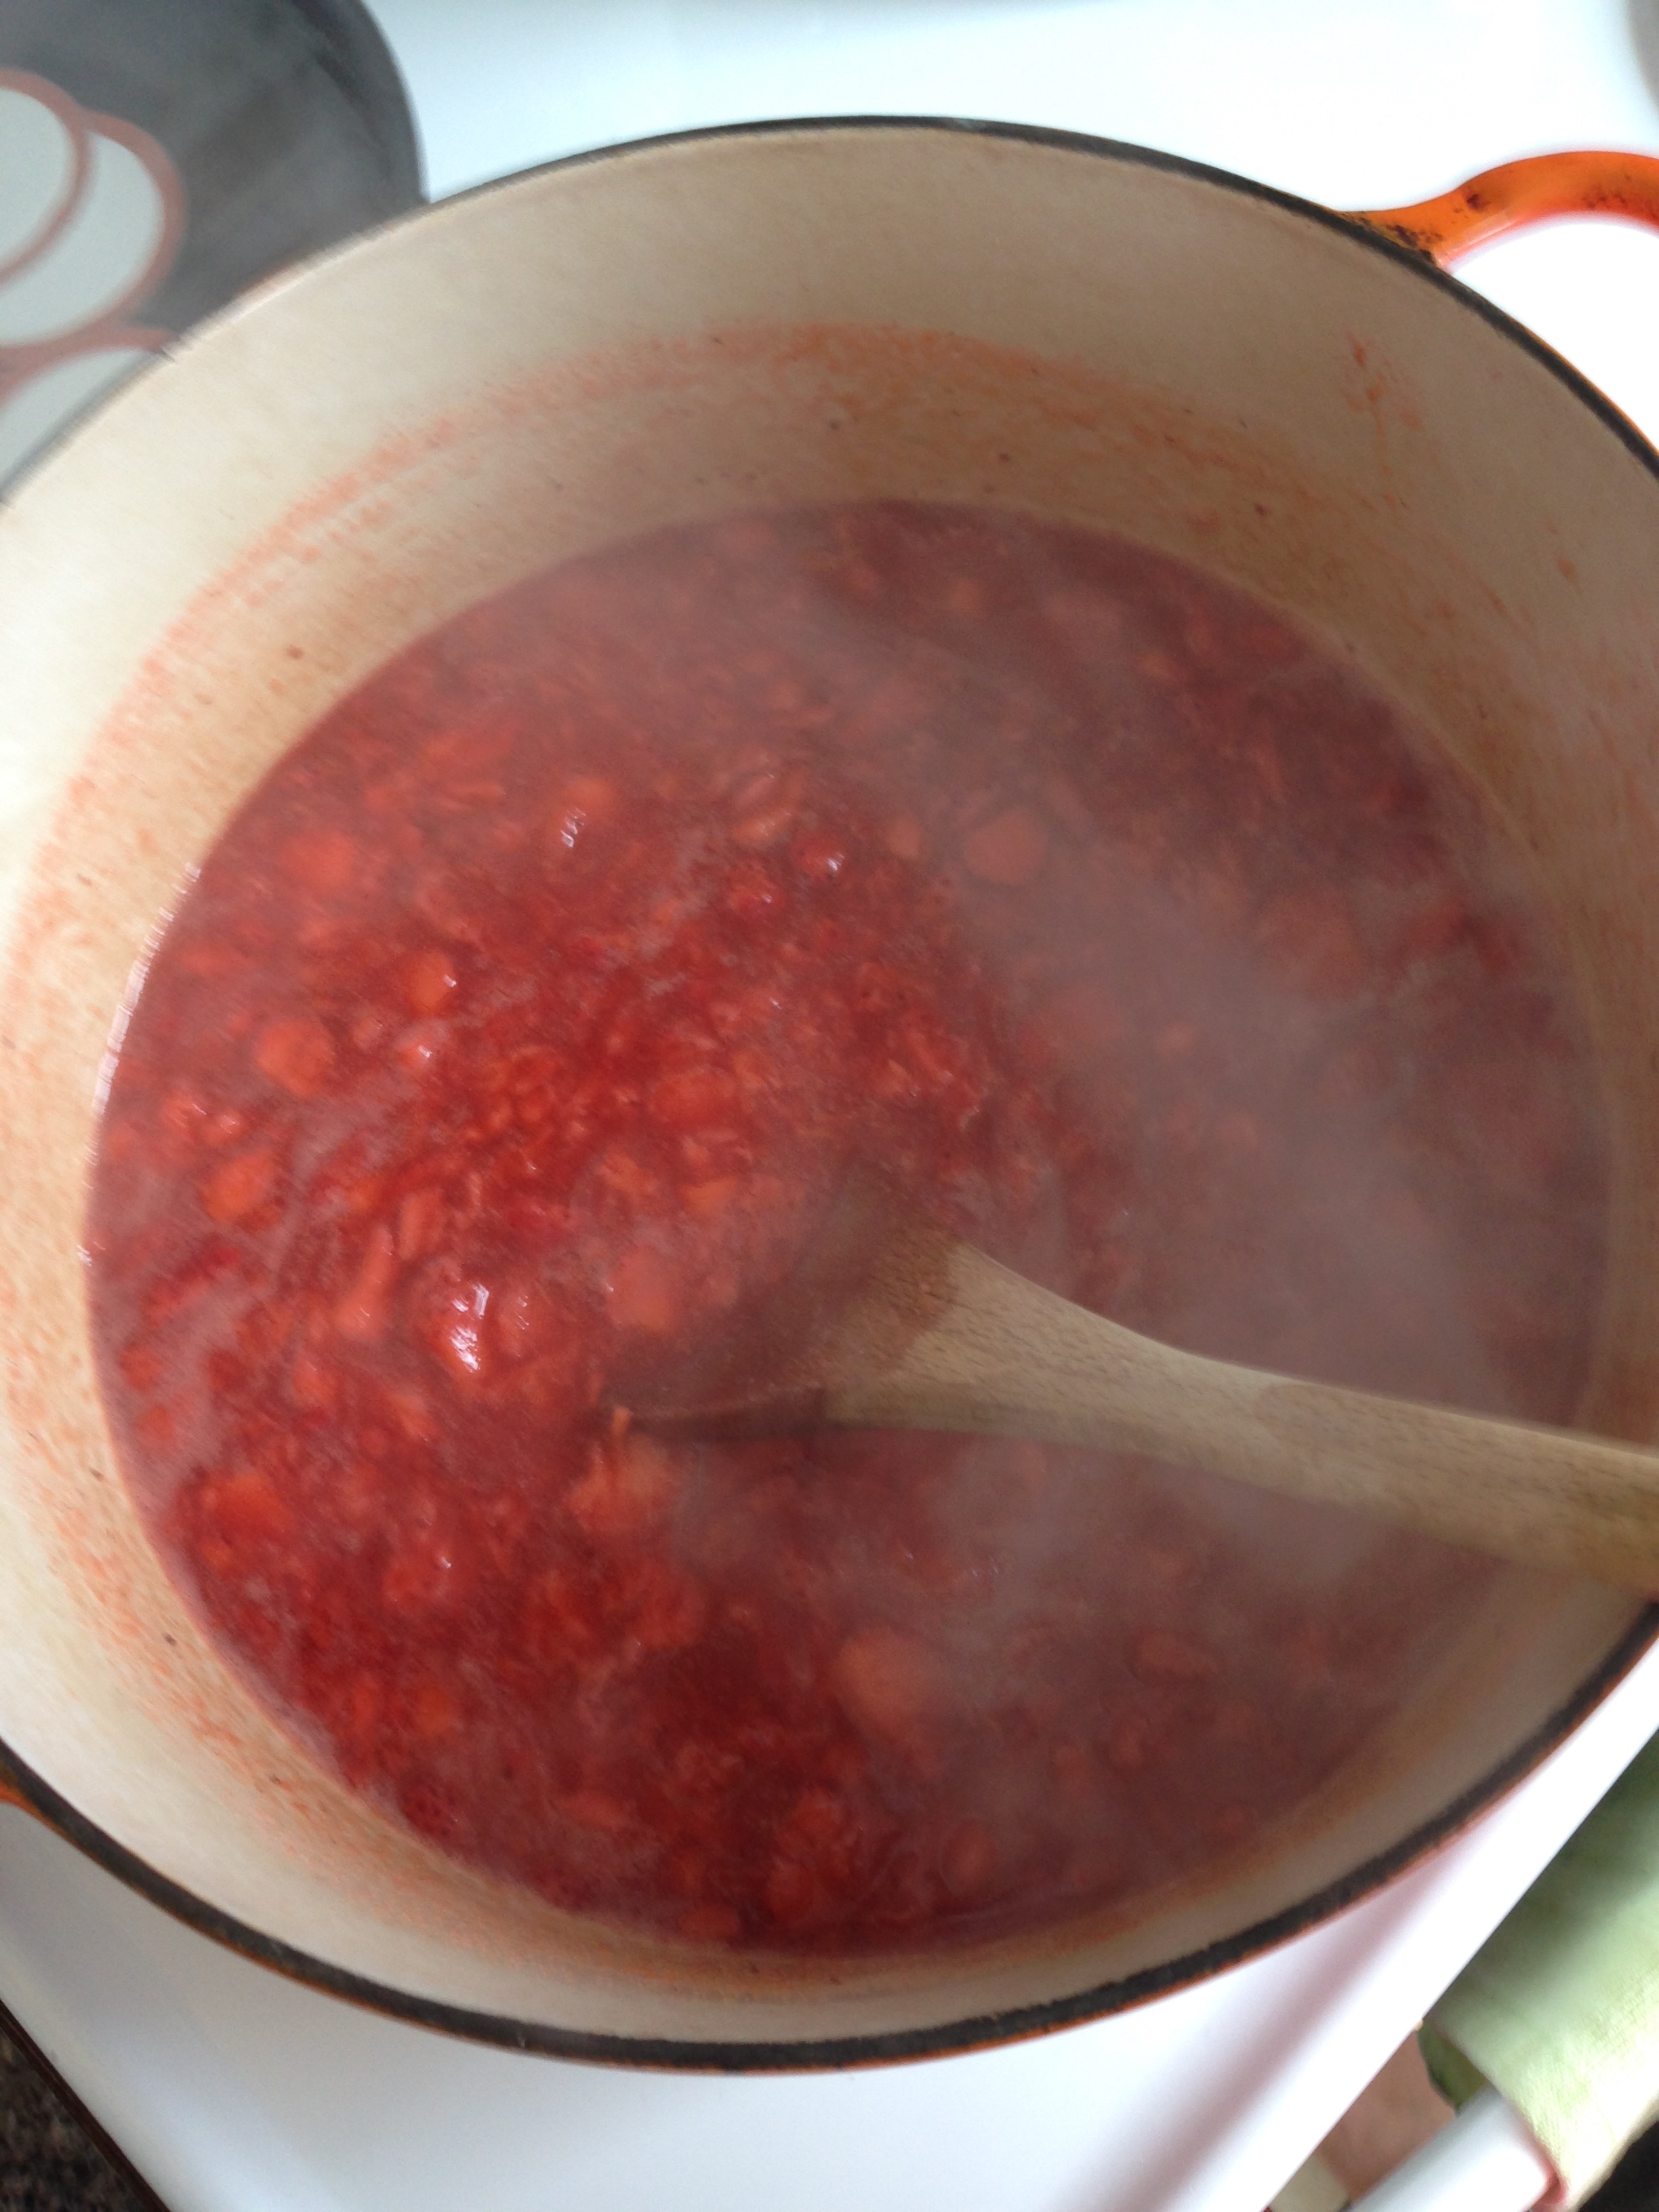
In a non-reactive pot, add 5 cups of your homemade grape juice. (If you don't have enough you can add apple juice or some other acidic juice.) ***If the juice takes up more than half the volume of the pot it's tooooo small. Get a bigger one. Bigger is better in this situation.*** Stir in the pectin until it's all dissolved. (Add 1/2 tsp of margarine too. It cuts down on the foaming.)


Bring this to a rolling boil. That's a boil that won't stir down. Wait for it. You'll know it when you see it. 

Add the sugar all in one go and stir quickly to mix it all together. Bring this back to a rolling boil and boil hard for 1 minute. 

Remove the pot from the heat carefully. Molten sugar goo is not skin friendly. Skim the formed foam from the top of the jelly with a slotted spoon as good as possible. The foam can go in the sink. Bye bye proteins! 


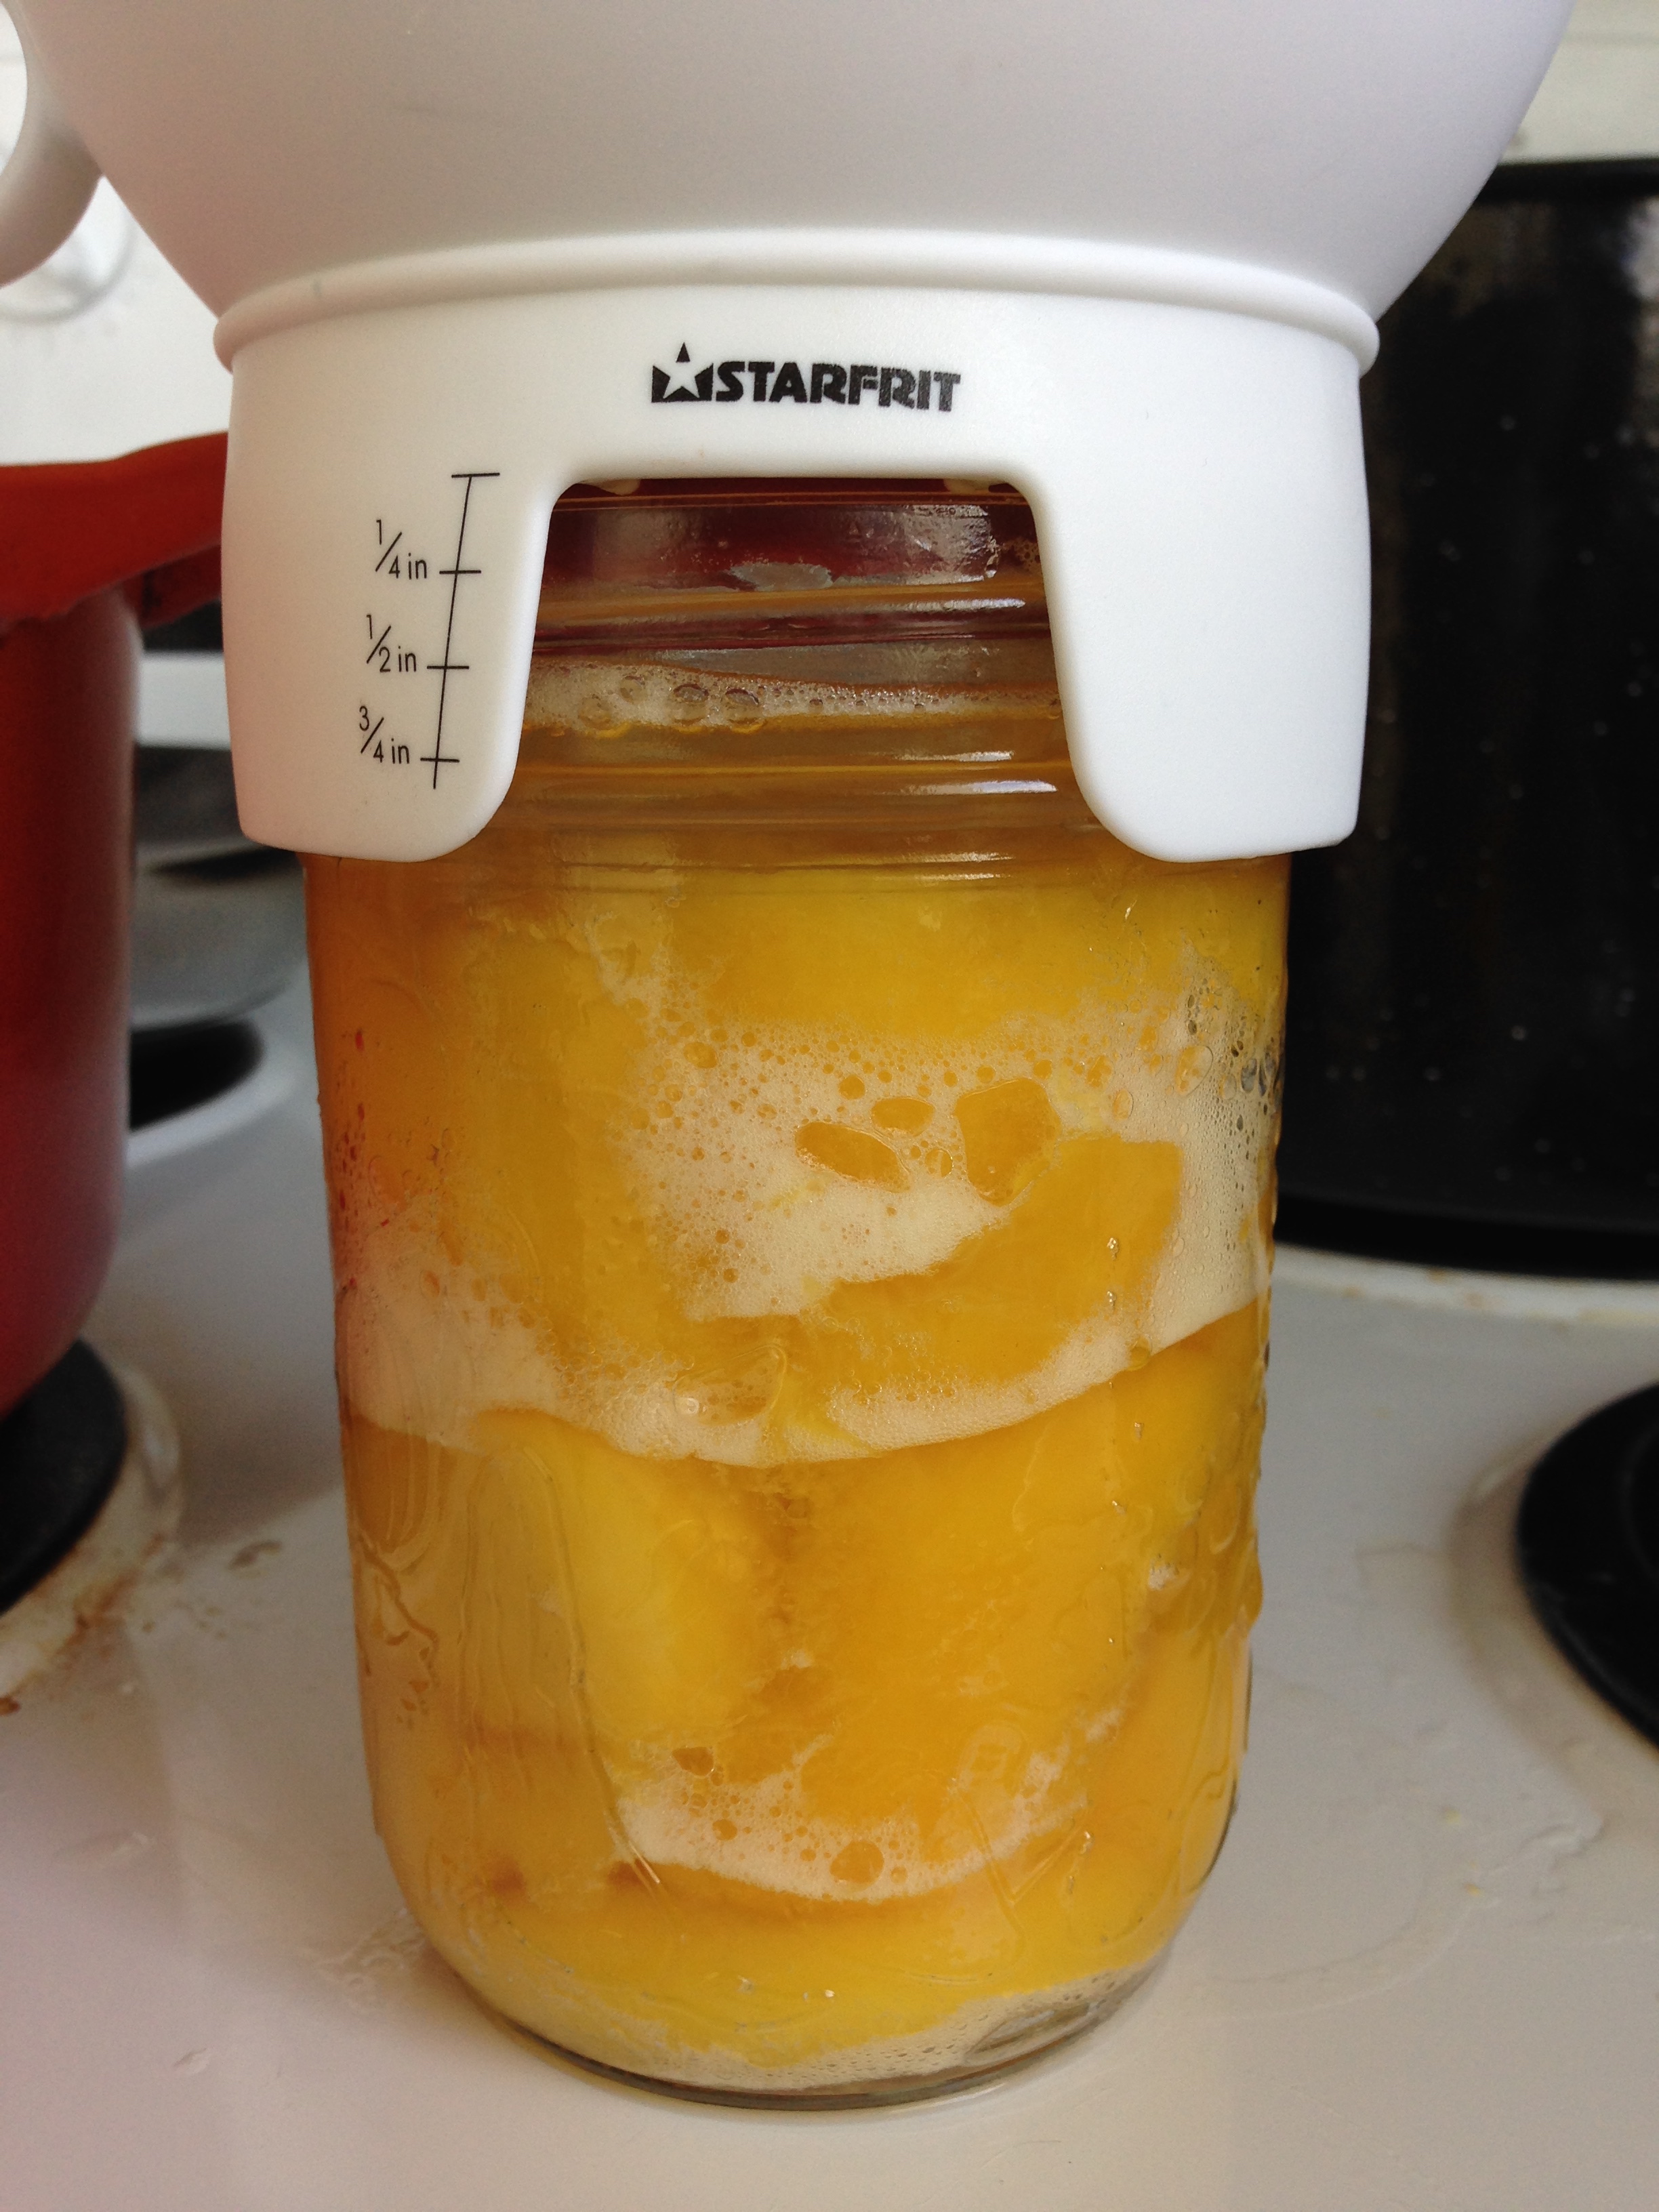
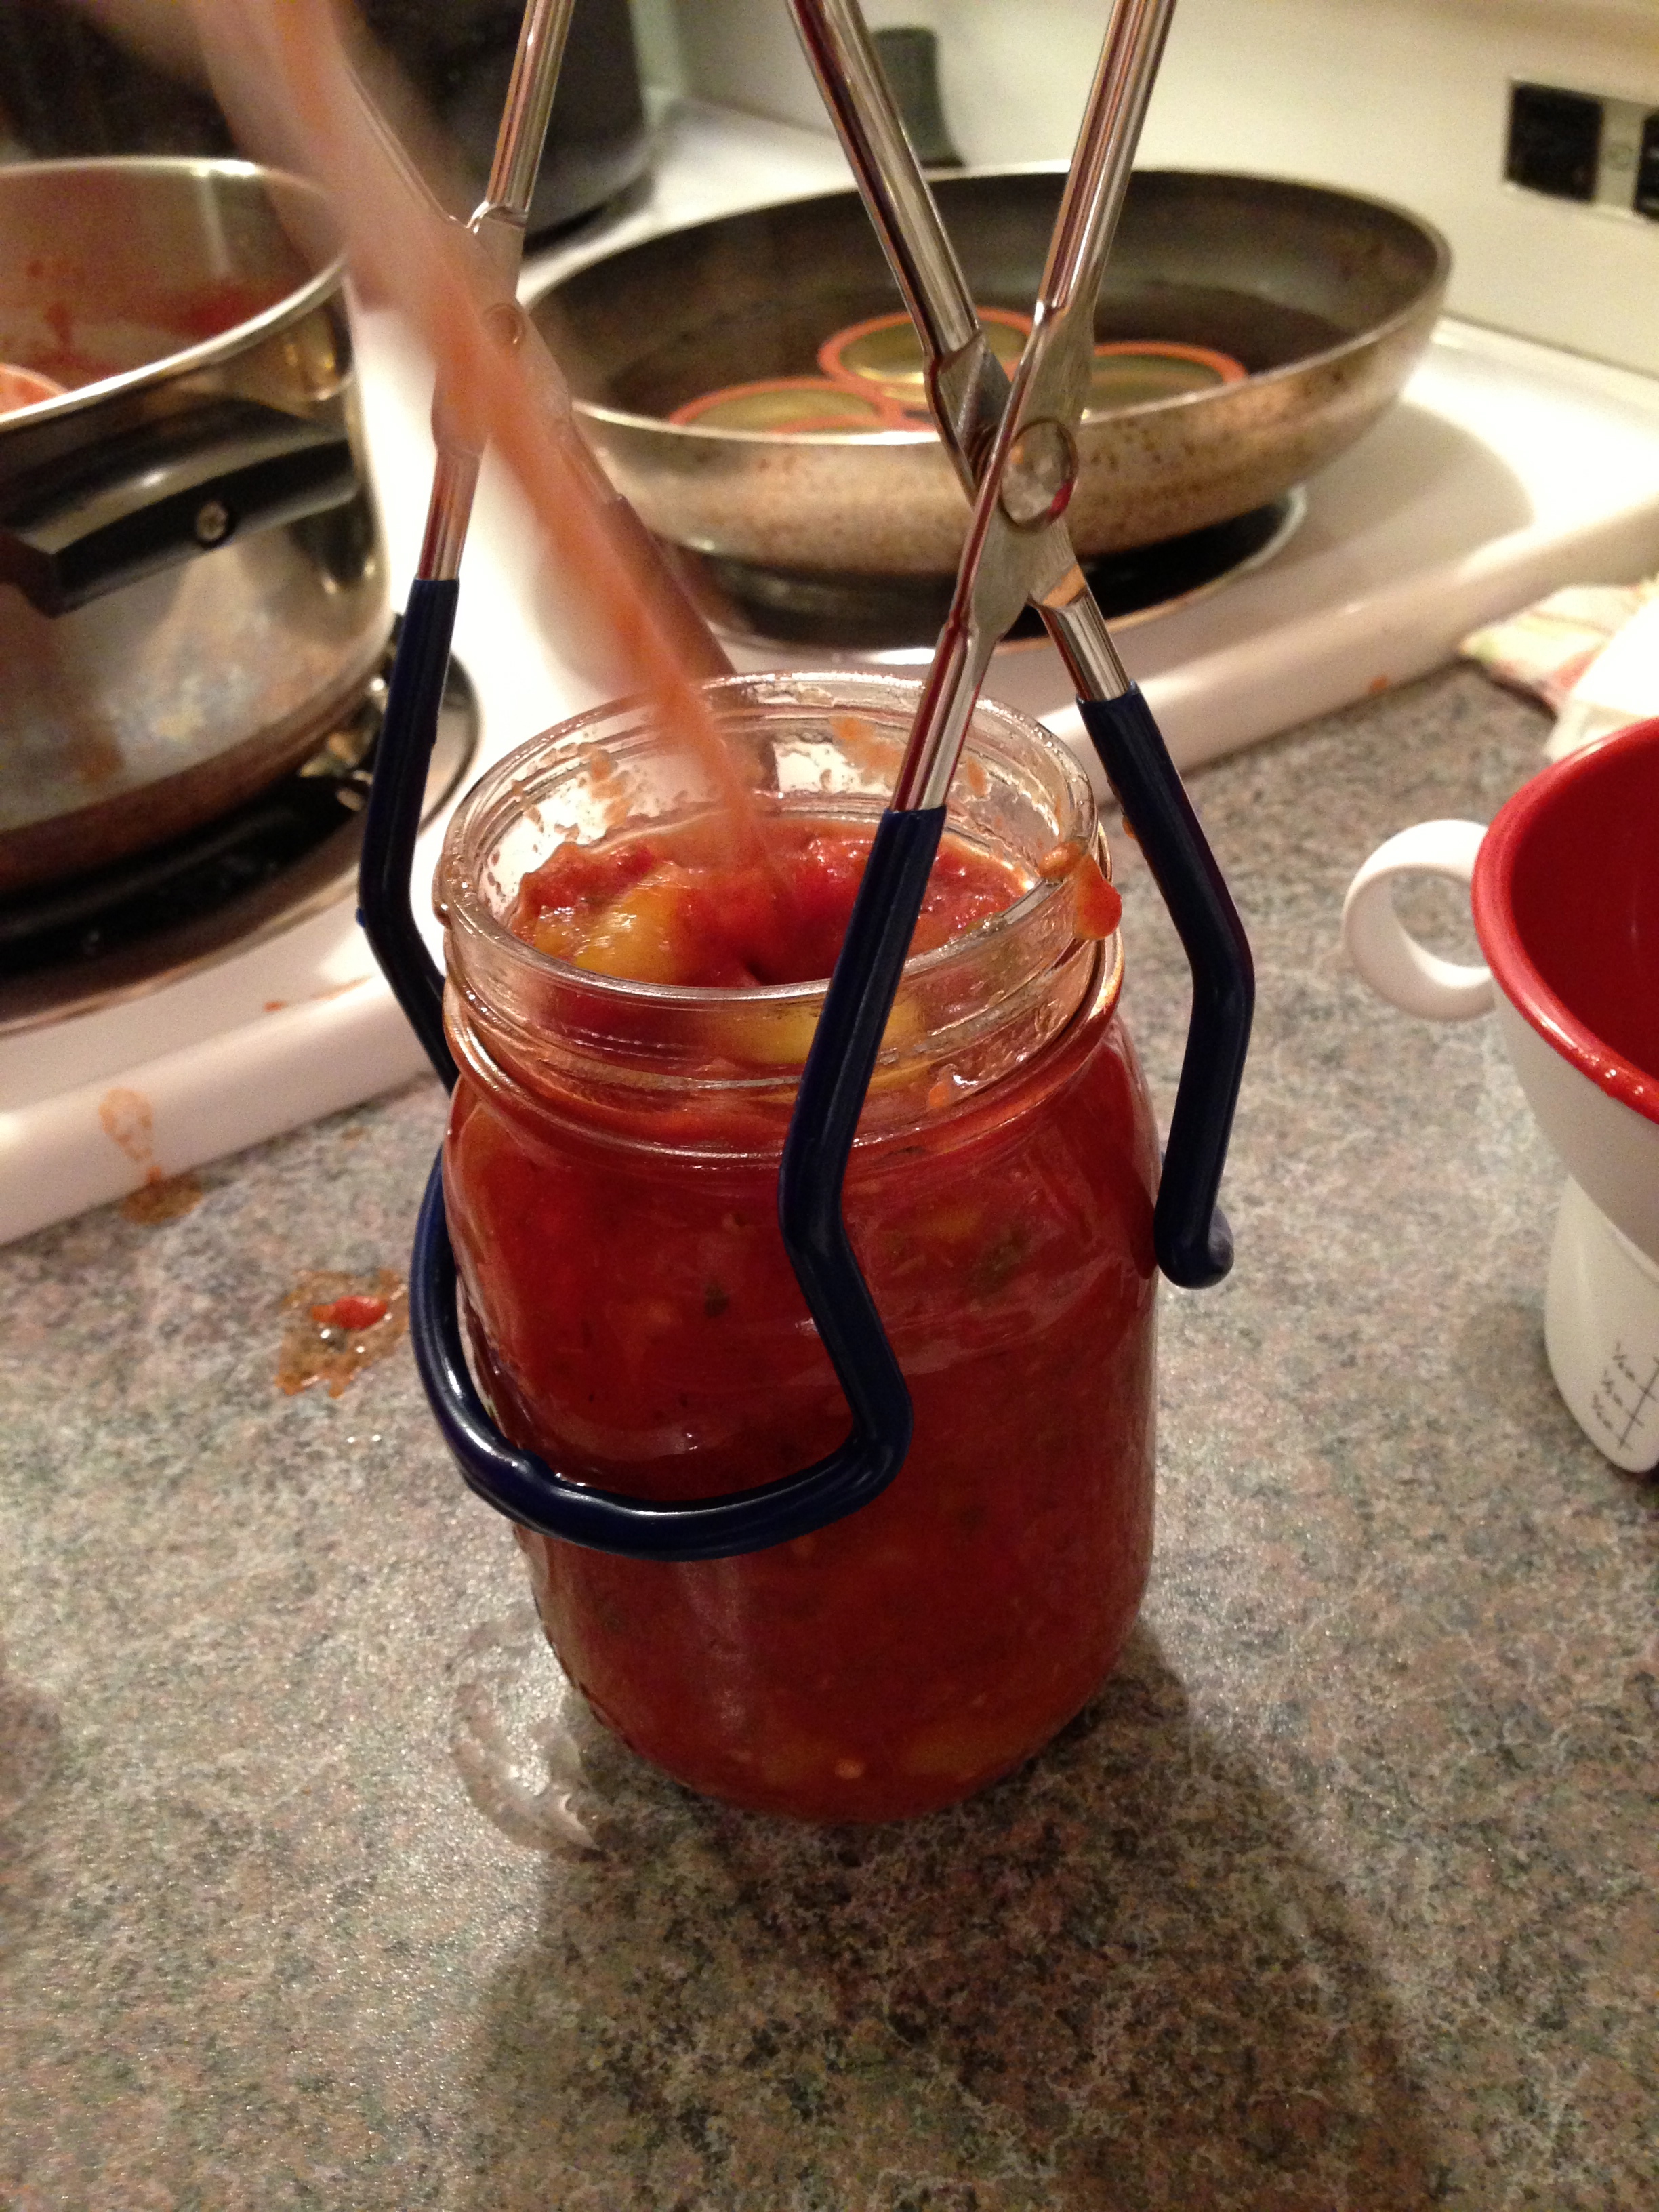
It's jar filling time! Remove one jar at a time from the boiling waterbath. Empty water in the jar back into the canner. Place the funnel a top the jar and ladle jelly slowly into the jar, leaving a 1/4 inch headspace. Using the plastic spoon, get out any air bubbles. Wipe the rim of the jar with a damp paper towel or clean damp cloth. Place a warmed snap lid onto the jar rim. Screw on a screw band until JUST Fingertip tight. As soon as there is enough resistance to your thumb and forefinger that the band won't turn anymore, Stop. Into the canner! Repeat!


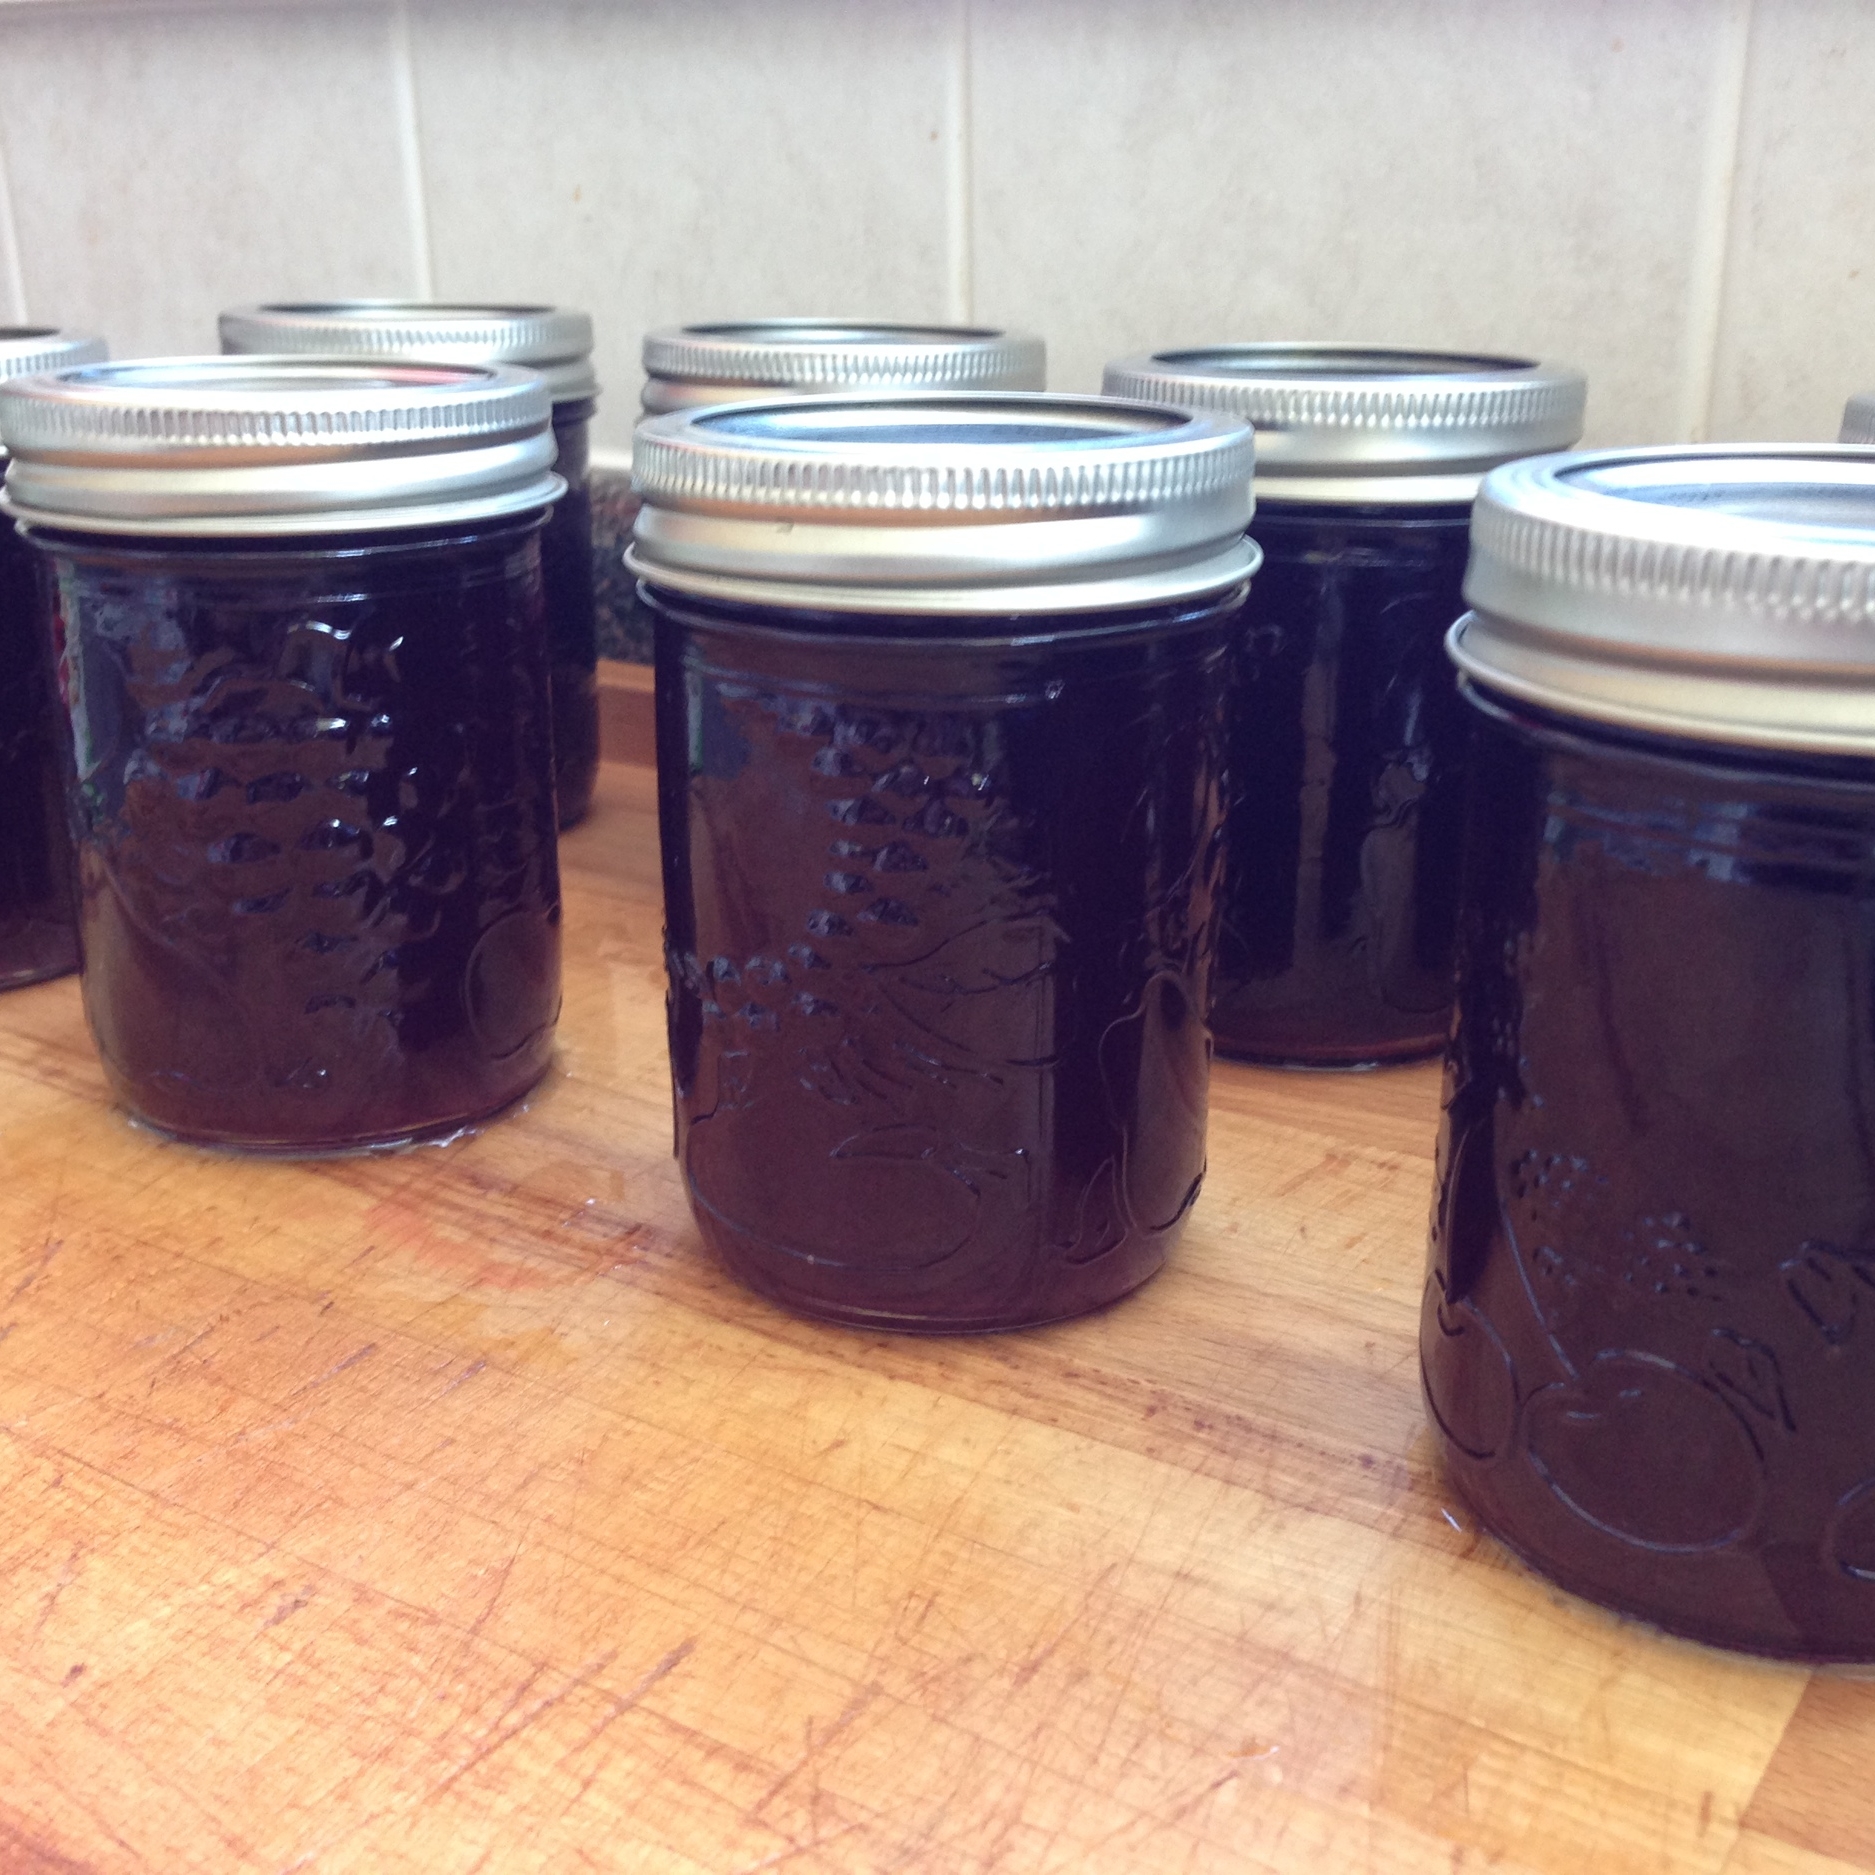
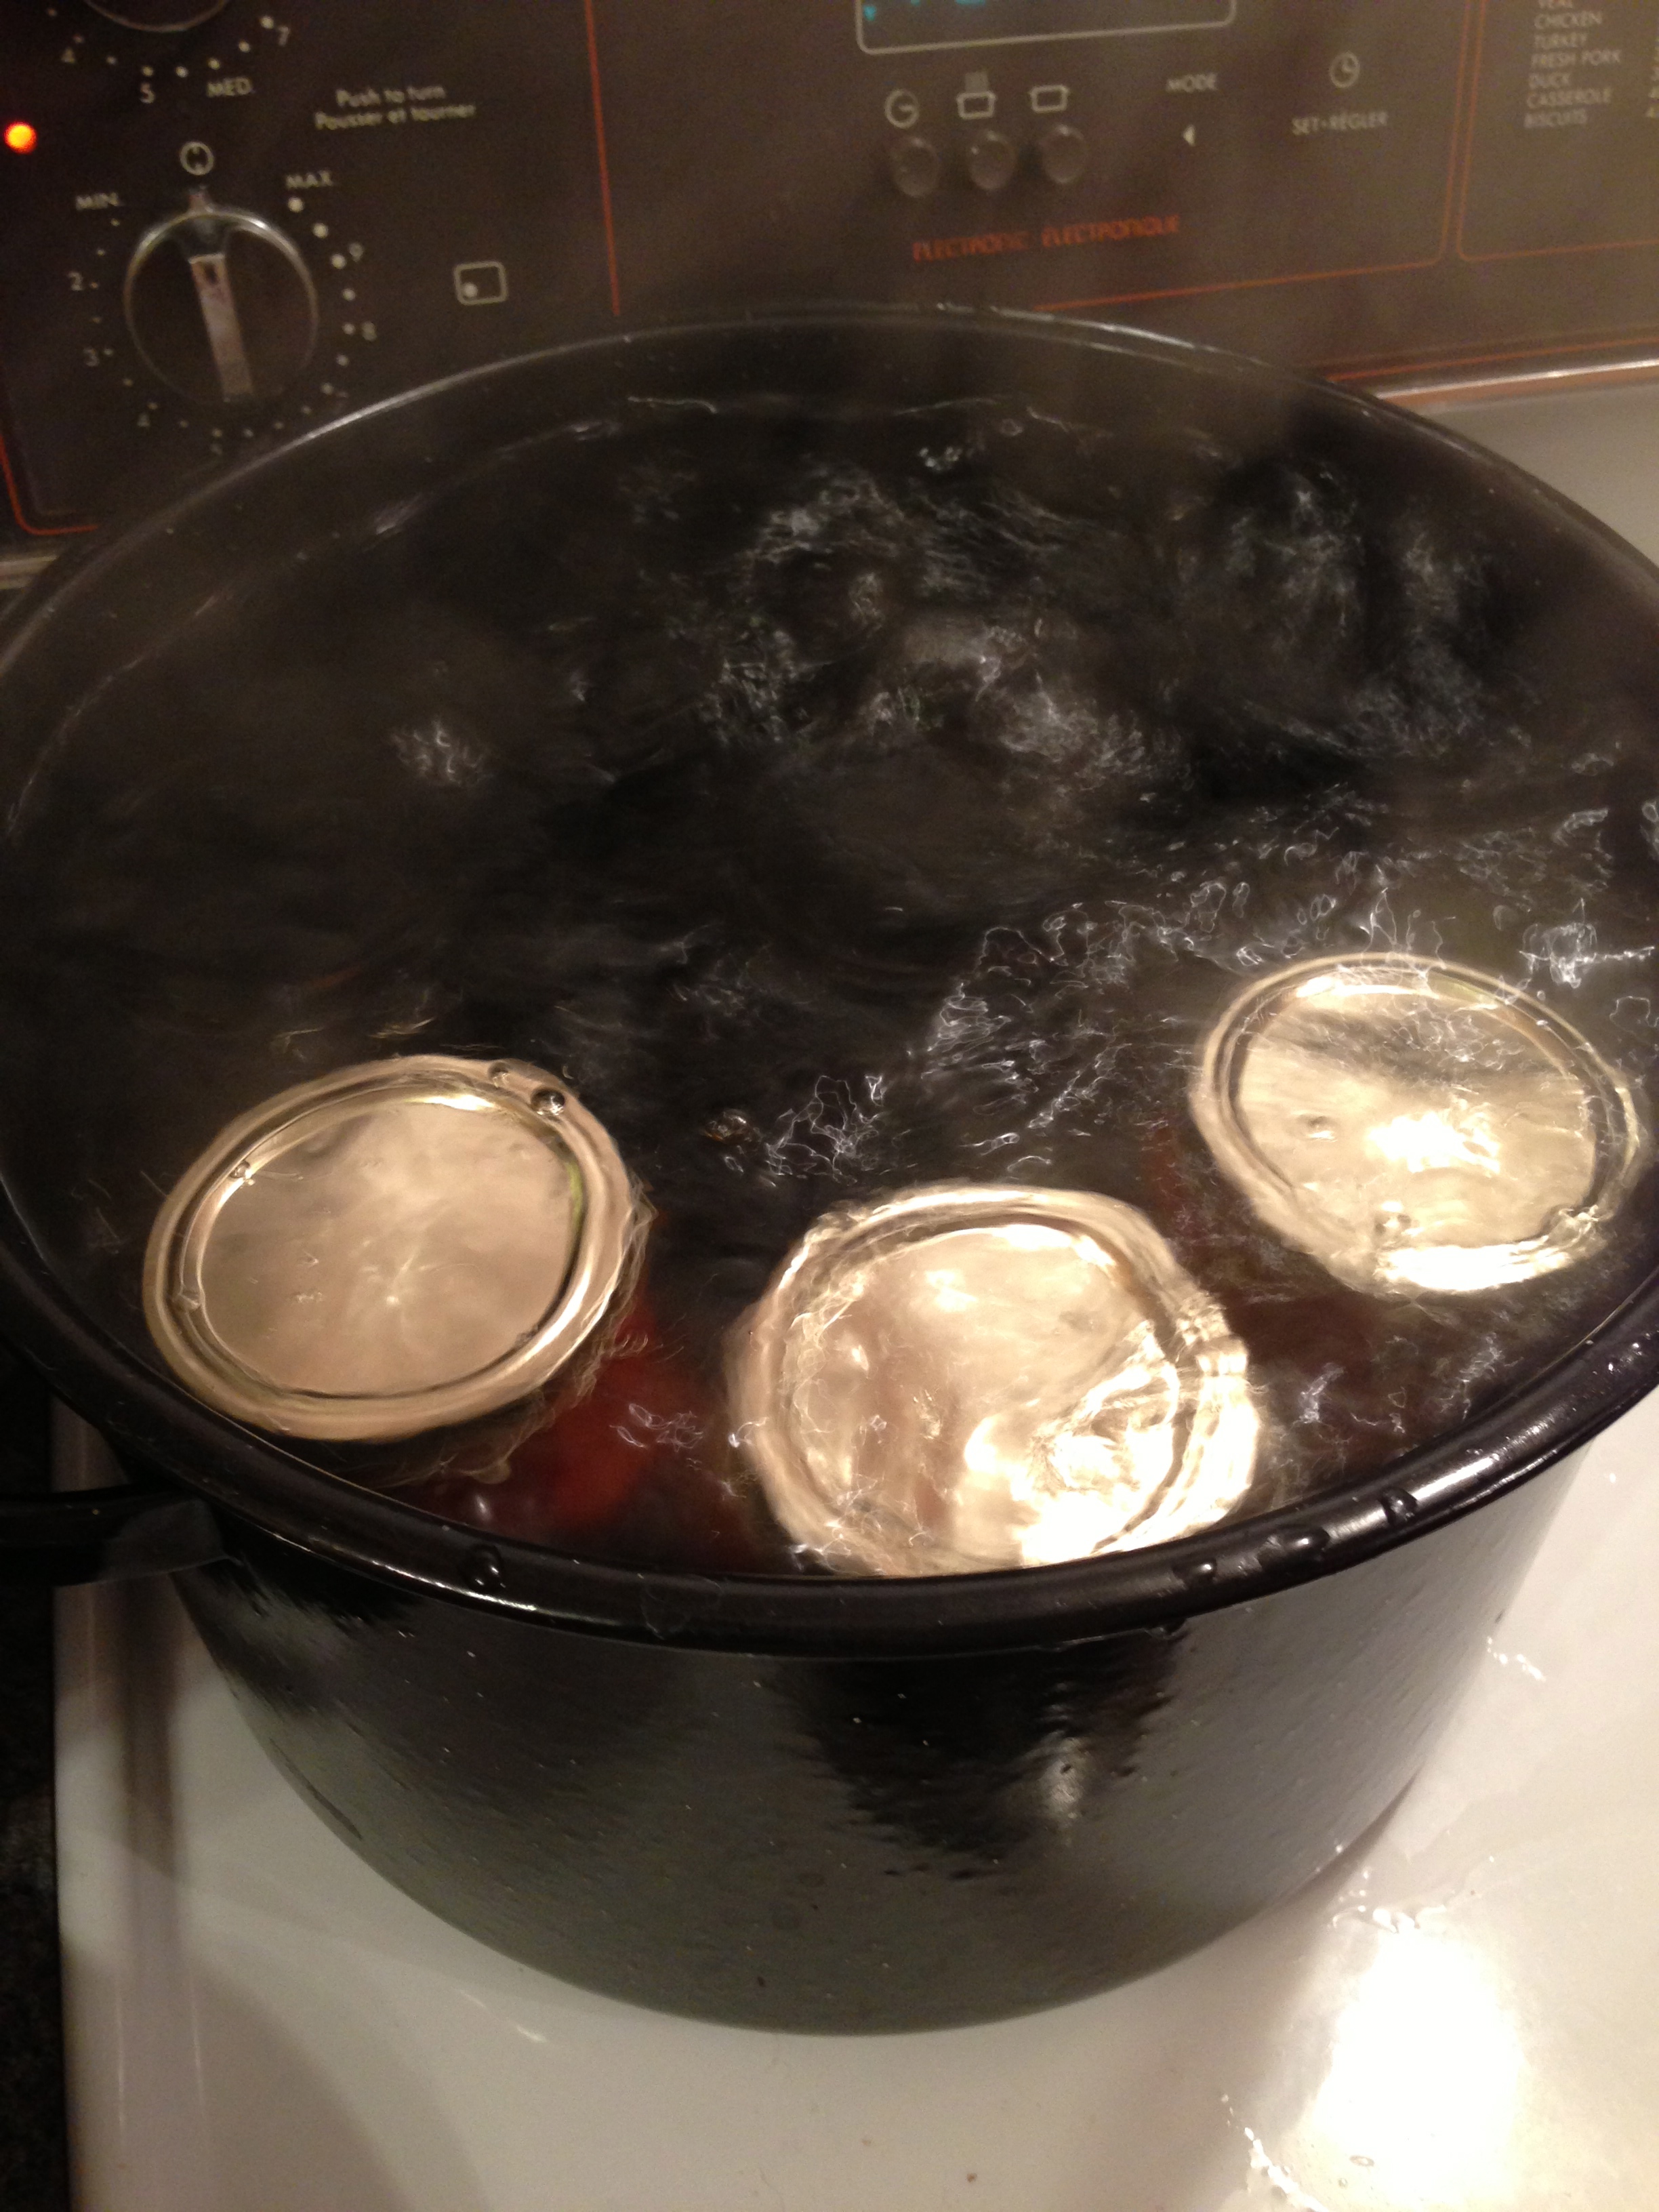
When all the jars are filled and in the canner, boil the jars vigorously for at least 10 minutes. Check the altitudes though! Higher altitudes need longer. Most pectins will come with a sheet that say how long to process the jars. 

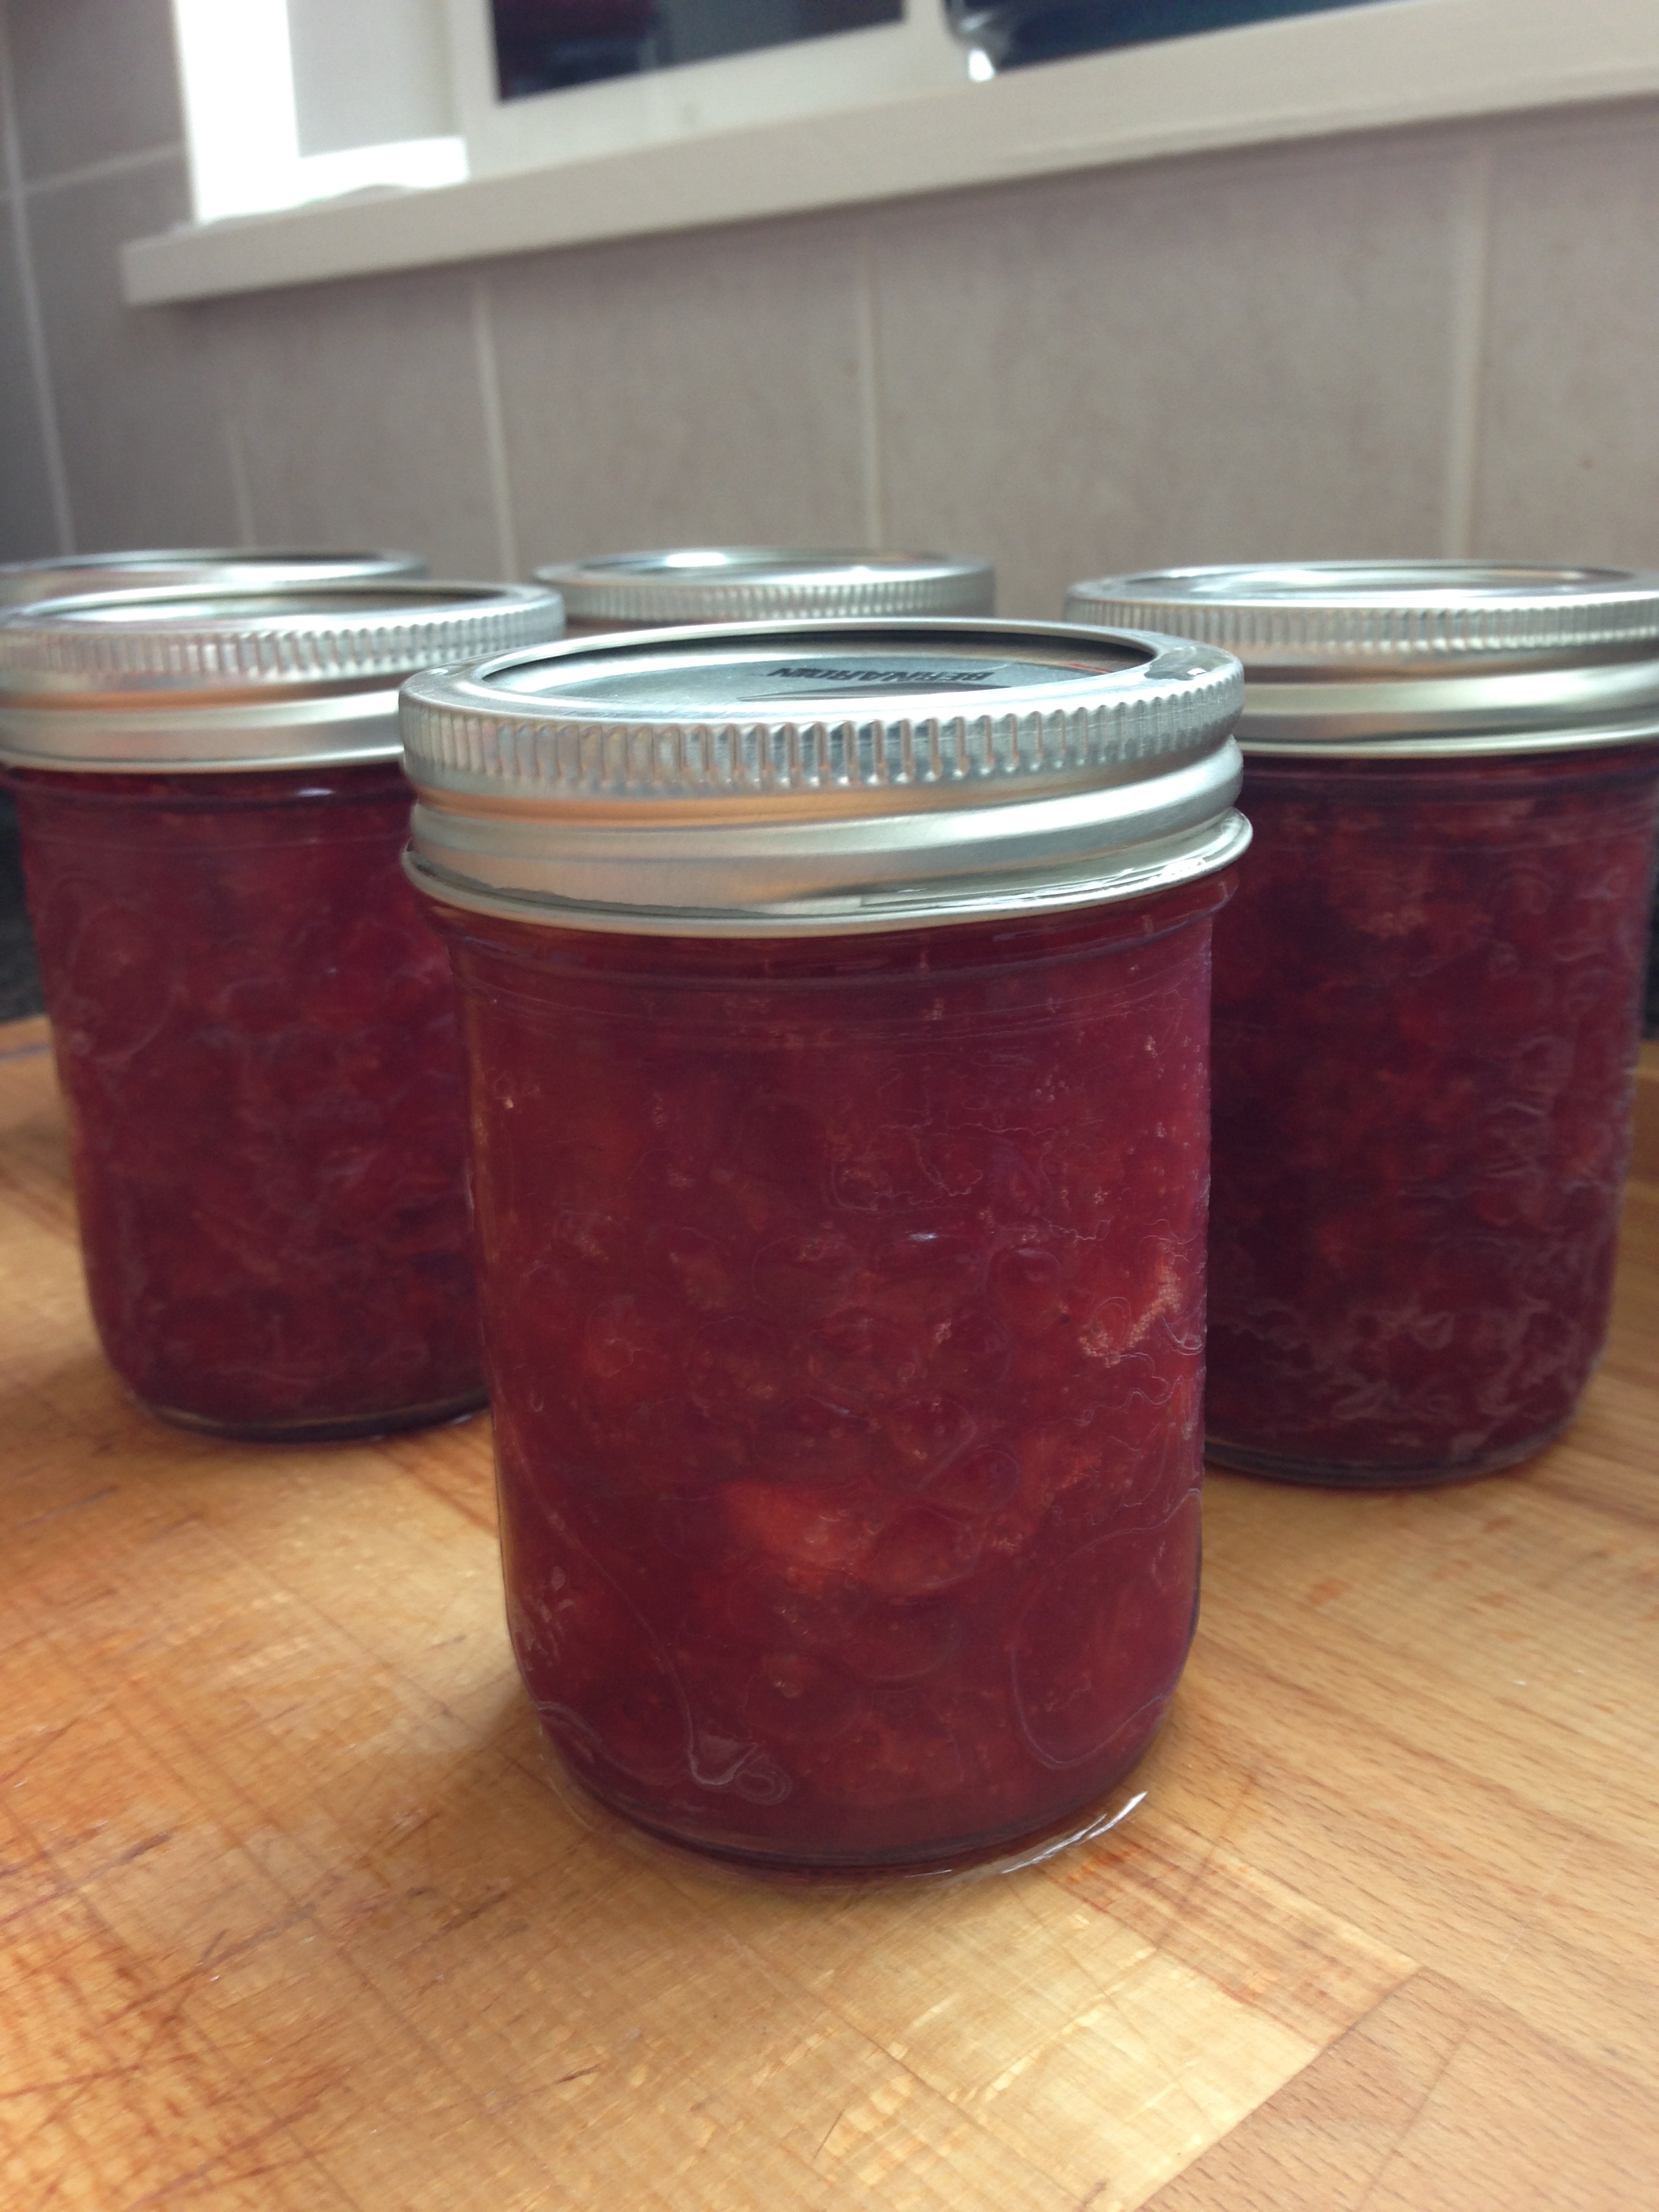
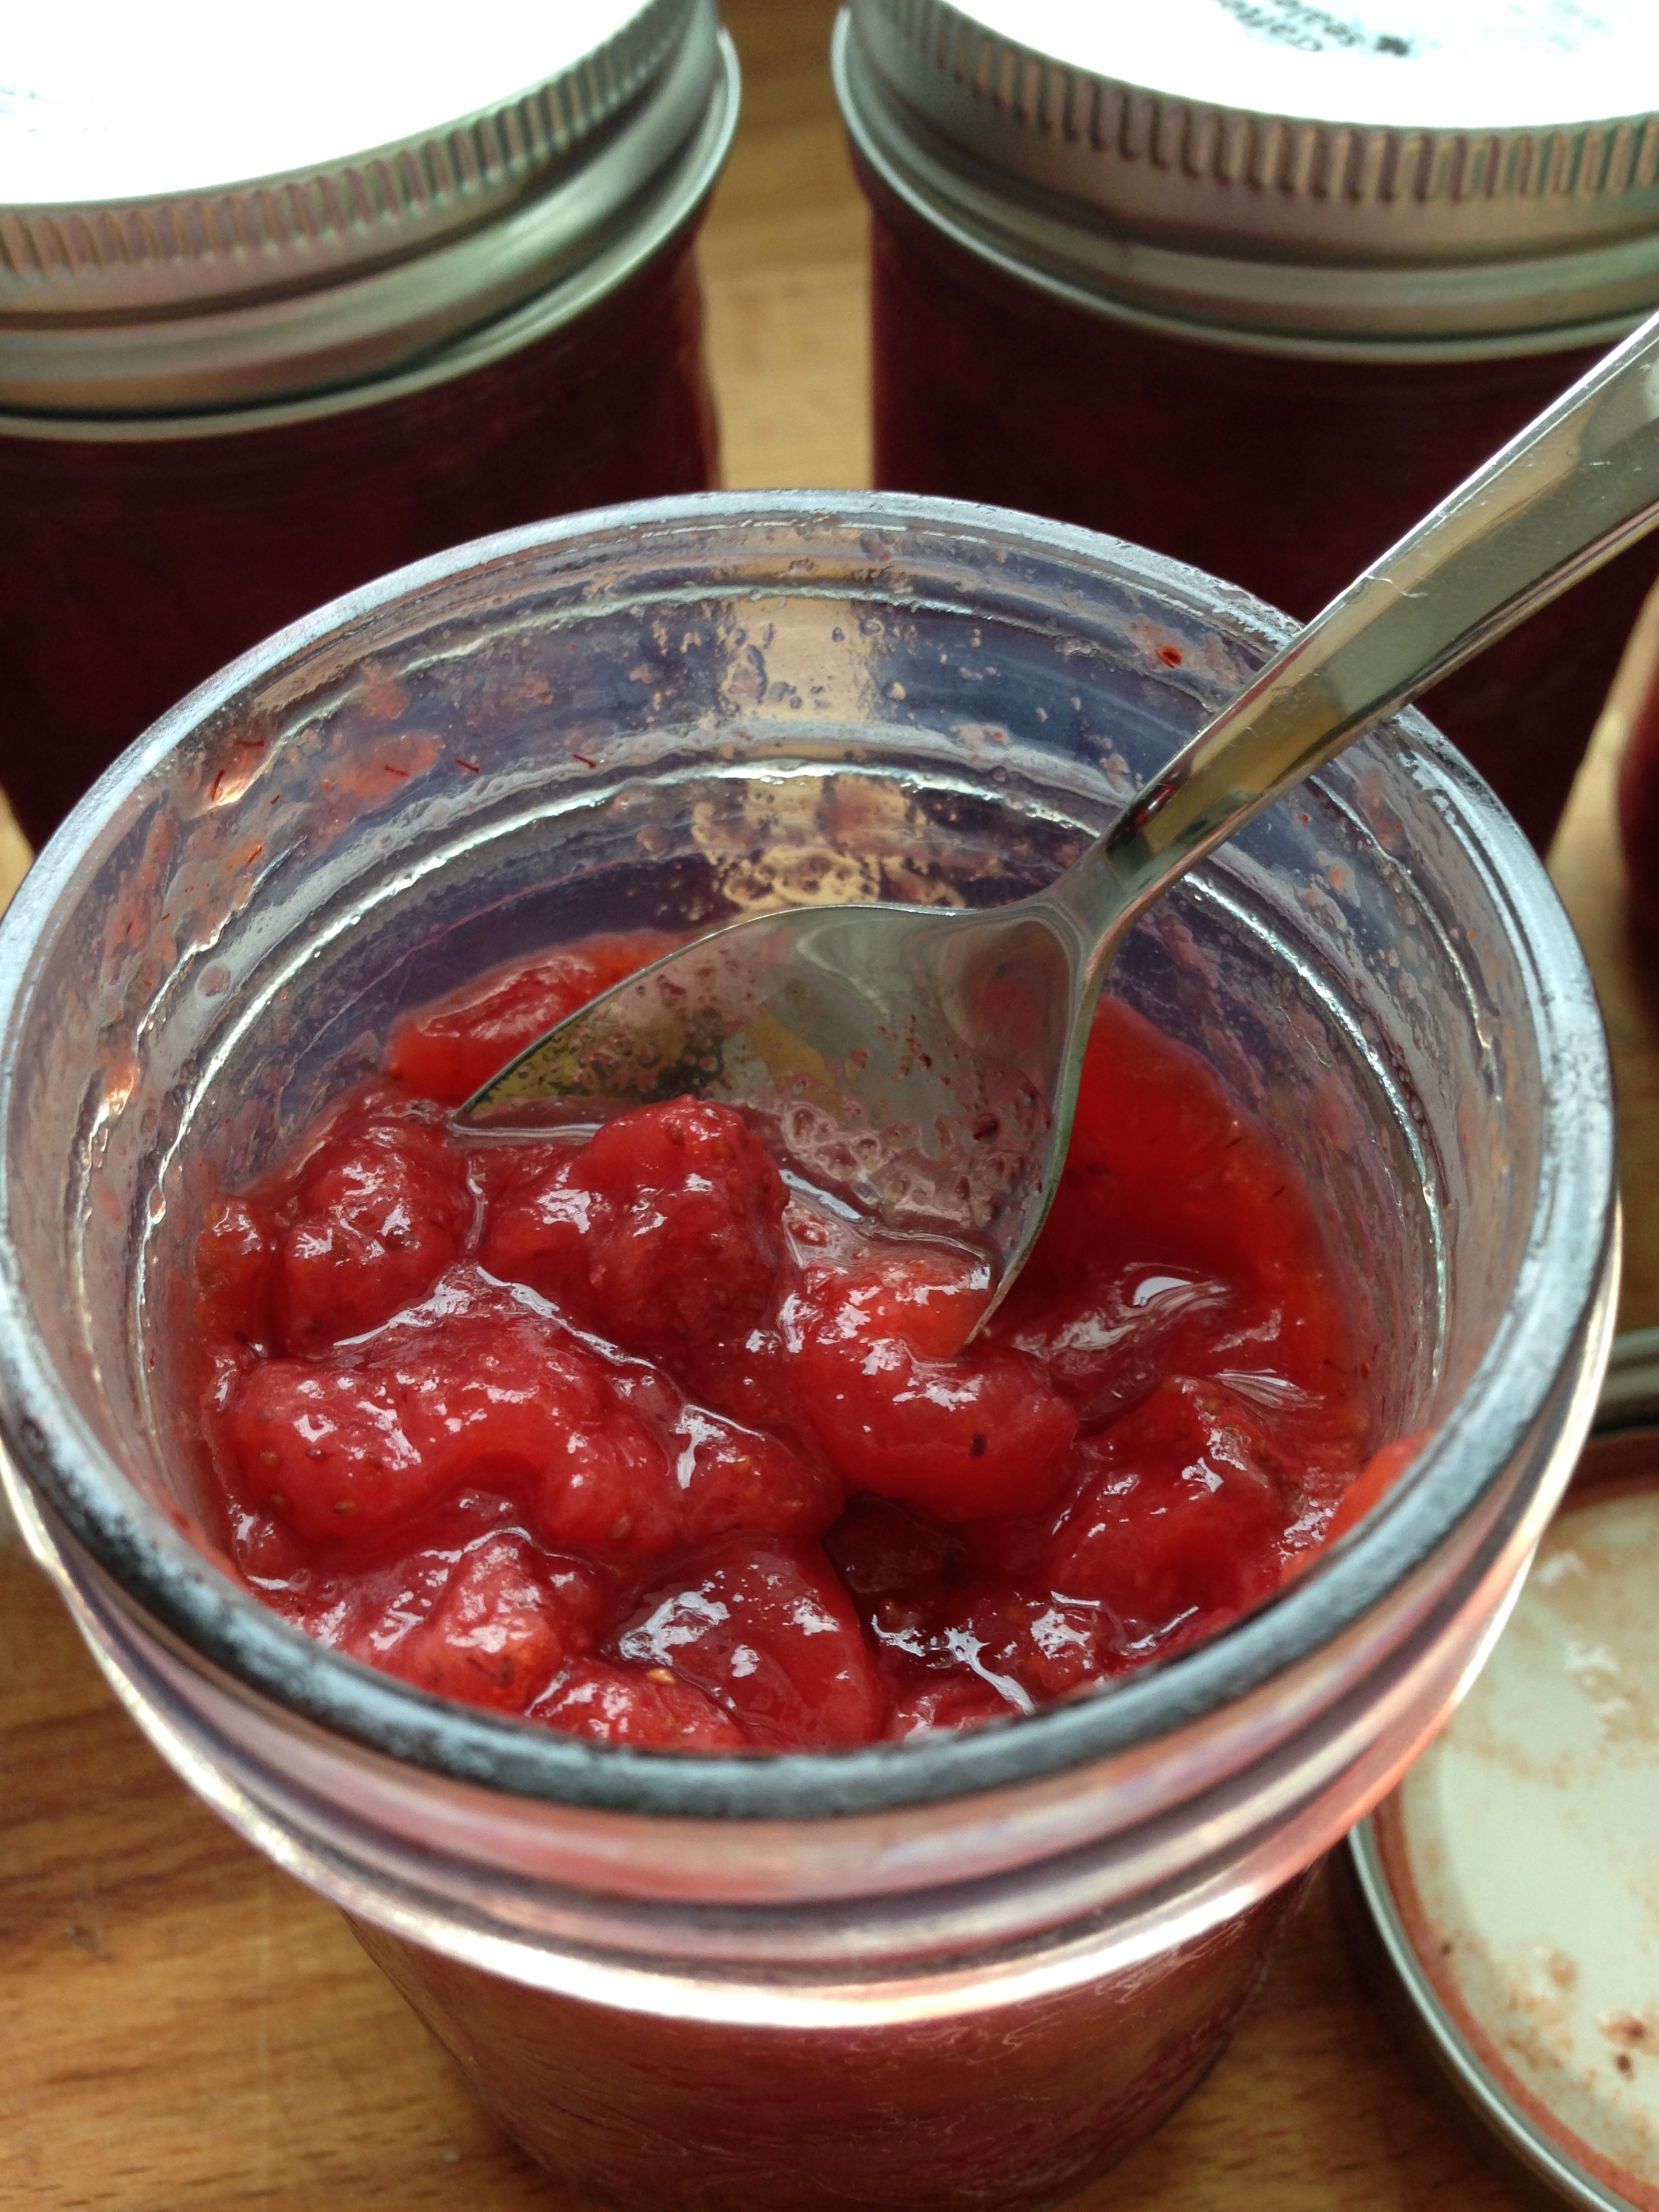
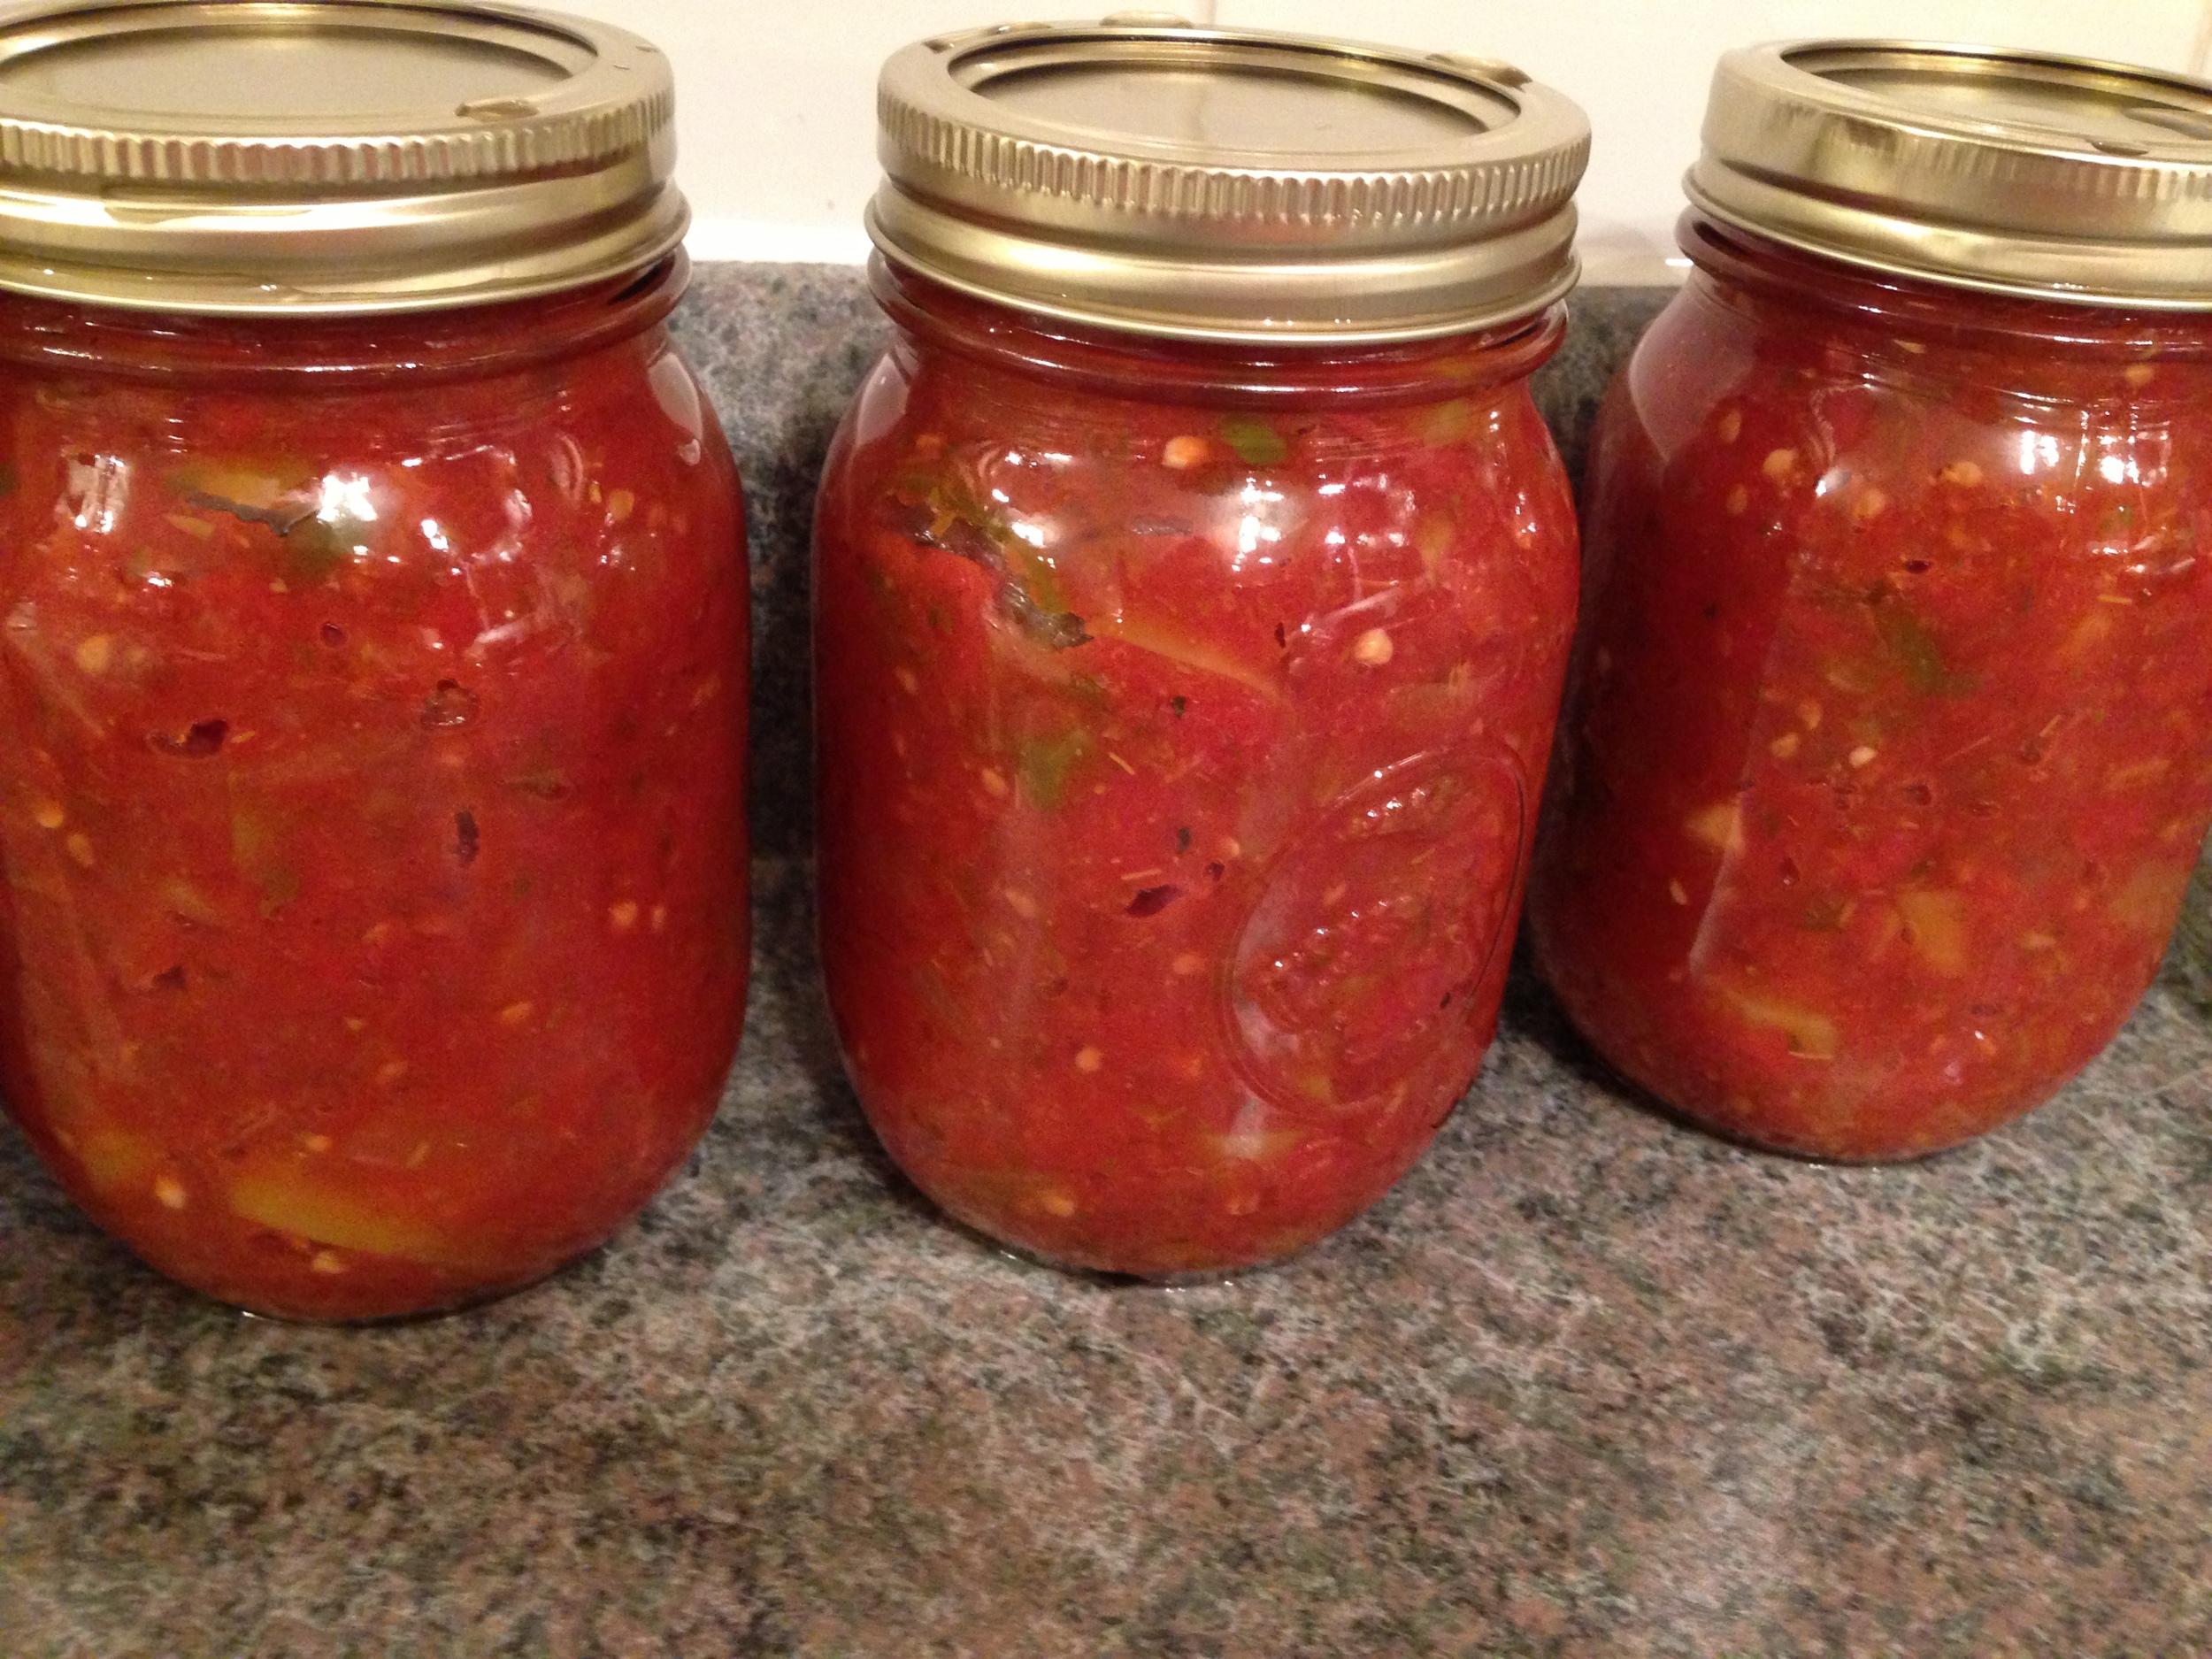
Remove the jars from the canner and set down in a place where they won't be disturbed. Let them cool completely. I leave mine fore 24 hours before handling them. After they're cooled, check that the jars have properly sealed. The snap lid should have a divot inwards and also should be securely suctioned to the jar. Don't worry if they haven't sealed! They just get to live in the fridge and get eaten first! Lucky them!


That was quite the grape adventure. Great - grape - great.... Eh?? =D =D =D

..... 

Shhhhhh. It's funny. Really. 

Also! I made some not purple grape juice! Essentially just take out the grapes skins when making the juice. =) Yuuuuum.

Also! I made some not purple grape juice! Essentially just take out the grapes skins when making the juice. =) Yuuuuum.

-Andrea

The Half-Assed Hobbyist

Peaches, All of the Peaches!

An apology to all peaches for the 1995 Peaches song. I can't get that song out of my head. It's been over a month since I canned these peaches and still, every morning, Plenty of Peaches, Peaches for Me!

Anyways! Here's a how-to (or more like a How-I-do):

As per every canning episode, the first step is always Prepare All the Things! Having never canned peaches before, I read up on it. Canned peaches requires: Peaches (surprise!) and a canning liquid, either water or a sugar syrup. There seems to be a dearth of agreed upon ratios of weight of peaches to number of jars so I ended up having to guess a lot during this process. I had 14lbs of raw peaches, which supposedly meant that I should be able to get around 7 500mL jars of peaches out of them - 2lbs of peaches per jar. When it comes down to it though, the limiting factor (whoo chemistry) is the number of cans that can go in canner. You can prepare all the fruit and syrup you want, but per round of canning, there's only so much room in the canner. 

Most of the recipe books and blogs agree that canning peaches in a sugar syrup is the best way to do it. Sold! Sugar: good. Peaches: good. Can of peaches in sugar syrup? Sounds good to me! 

My cookbook recommended a way to make a "percent" sugar syrup. Essentially, for a 25% sugar syrup, measure 1/2 cup sugar into a 500mL jar and then fill the jar with cold water. (Or if you like it 'cloyingly' sweet, 1 cup/500mL jar.) Mix the sugar in until it dissolves with a plastic or silicon tool so the glass doesn't get chipped. My canner, luckily, has room for 7-ish jars at a time, so I did some math, 3/4 cup of syrup per jar meant about 5 jars of prepared sugar syrup - extra just in case, right? This ended up being totally wrong. Of course. But it turned out in the end! 

Now on to prepping the fruit! This takes a bit of doing. (<-Understatement.) First, removing the skins. Then on to pitting and quartering. To get the skins off, I used a technique called blanching. Essentially, dipping the clean peaches into a pot of boiling water for about 30 seconds. Then dunking the peaches in cold water to stop any further cooking. The skins now slip right off! Easy Peasy! To pit them, run a knife around the pit starting at the top of the fruit. Then, slide a thumb or finger into the gap and the peach halves with come apart. (The firmer the peach, the better this works.) Remove the pit, scrape any tendrils or pit bits away with a plastic spoon and slice the halves into quarters. 

Most recipes will say to soak the fruit in an anti-browning solution at this point. I bought an actual product meant for this purpose but vitamin C pills and lemon juice also works to stop the peaches going mooshy. So in a giant bowl, plop the newly cut peach quarters into the prepared anti-browning solution. (Give is a stir every now and then so all the quarters get a chance to be submerged. 

Almost ready to actually Can the peaches. Phew. If it's not boiling already, now is the time to get those jars sterilized! 

First thing is to get that sugar syrup into a non-reactive pot. Also, drain off the peaches from their anti-browning bath.  Depending on how many peaches there are, slip in just enough peaches to be covered by the syrup. (I ended up doing about half of my giant bowl of peaches.)

Make sure all the items are set up now! Screw bands are clean and in a easy place to reach, ladle and slotted spoon, plastic spoon for getting out bubbles, boiling canner, warmed snap lids, etc. Time to fire blast 'em peaches!

Bring the peaches and syrup to a boil. Once boiling, it's peach ladling time! Use a slotted spoon to get the peaches into the jar first, fill it as much as possible, but below the screw band threads. Push them down a weeeee bit. But don't moosh them! Then ladle the hot syrup into the jar, leaving a 1/2 inch headspace. Repeat! 

When the cooked peaches run down, add the rest to the hot syrup and bring them back to a boil. Repeat filling all your jars until your canner is full. I ended up having to keep 2 jars worth of peaches simmering in my non-reactive pot while the full canner did it's thing. Boil the peaches in their jars for ~20 minutes. 

It turned out to be a good thing that I had made a butt ton extra syrup! I actually canned it for cocktails use. Peach Whiskey Drops and Peach Lemonade Spritzers. Sploosh. 

-Andrea

The Half-Assed Hobbyist

Pickling: A Nasal Passage Adventure

2015: The Year of the Pickle. As part of my "Projects: A New Years List of Stuff to Do!" I decided to try my hand at making homemade pickles! So I read up on how to pickle cucumbers. Surprisingly, it sounded easier than I thought. Basically, take cucumber, slice cucumber, put cucumber in jar, put spices in jar, put pickling solution in jar, can jar, wait! 

I found a recipe in my Joy of Cooking book and got collecting. 

As with all canning, the key is preparation. I bought about 4 pounds of pickling cucumbers and all the spices required to make the Quick Dill Pickles recipe pictured. I got jars and pickling salt and vinegar. All the things!

I started by washing all the cucumbers, jars, lids and screwbands, also the ladle, plastic spoon, and funnel I'd need. The cucumbers need to be washed in cool water and the ends need to be scrubbed. No dirt allowed! Some recipes actually recommend cutting off stem ends of the cucumbers.  All the rest of the stuffs can be washed in Hot soapy water and then rinsed thoroughly and dried. Set everything out in an accessible place near your stove.

Also, I started the water bath canner to sterilize the jars. To do this, fill the canner as much water as you can and bring it to a boil (this takes a Long Time so make sure to do this First before starting any pickling stuff). Place the cleaned jars into the boiling waterbath. Wait for the water to come back up to a vigorous boil and then set the timer for 10 minutes. Leave the jars in the boiling water and take them out as needed for filling. I usually fill my canner with as many jars as it can hold just in case I end up needing more jars. Also, I keep a kettle full of boiling water beside the stove to top up the canner. 

Last set up consideration! Get the snap lids immersed in water in a frying pan. Set the frying on the stove on low heat. Do not boil the lids. You just want to keep them warm so the waxed rims seal better. 

-shifts Planner Hat brim to the side, all gansta like-

Ok. Hot Pack Pickle Process Initiation! Below is a step by step of the process I used!


Step 1: Make up the pickling solution. In a clean non-reactive (aka not metal) pot combine:

2 1/4 cups water
3 cups Pickling vinegar
3/4 cup Pickling salt

This solution is, obviously, very vinegary. Watch your nostrils! It's the stuff sinus drano should be made of. 

Bring solution to a boil over high heat. Once all the salt is dissolved and the boil is sustained, it's cucumber time!


Step 2: Slice the cleaned cucumbers in half lengthwise. 

Grab out a sterilized jar from the water bath canner, empty it of water (I usually poured 2/3rds back into the canner and the rest in the sink, because of water displacement). 

Pack the cucumbers in the jar tightly, making sure that the cucumbers aren't taller than the screw band threads. 


Step 3: Add your pickle spices. In my case it was: 

6 peppercorns
1 tsp Dill seeds
1 tsp pickling seasoning
1-2 garlic cloves, sliced to fit

Fit the garlic pieces in below the screw band threads as well. 

ย 


Step 4: Ladle in boiling picking solution into the jar. Making sure to leave a 1/2 inch head space!


Step 5: Check that your head space is just right. 


Step 6: Get out any air bubbles hiding in your jar with a non-reactive (aka plastic) utensil (aka spoon). 

Then place the snap lid and twist on the screw band til JUST fingertip tight. So when the screw band gives resistance enough that you can't easily tighen it with your fore finger and your thumb, it's tight. 

Place this jar into your boiling water bath and repeat this process till your canner is full (or you run out of pickles!).


Step 7: Process your jars for 10 minutes (minimum). Check your altitude! If you are over 1000Ft above sea level you have to add 5 mins. 


Now all that's left to do is wait! ....this is the worst part. They look so yum. D=

-Andrea

The Half-Assed Hobbyist

Get Jammin'

My glee cannot be contained. It's my second favourite time of year! (My favourite time being reserved for when gorging on pumpkin pie after all meals is 'socially acceptable'.) Canning Season has begun! Yay!!!!

Now, as I am land locked and car-less, driving out to find u-picks (which are apparently not that big a thing in the GTA) has been an issue. However! My lovely lady friend Lesley came to visit me after she went backpacking around the Maritimes, and brought a special treat: wild strawberries from St Hubert. Obviously we had to work to do. These berries weren't going to eat themselves! So we made a tart and, with the leftovers, some wild strawberry jam. 

This isn't my first time round the jamming bend. In 2013, the BF and I picked a ridiculous amount of fruit and I made a ridiculous amount of jam. Nom. I used the same process this time round as I did before:

  1. Sterilize All The Things. Thoroughly wash all jars and screwbands and lids and utensils (jar tongs; wooden spoon; ladle; jar funnel; plastic knife or spoon) in hot soapy water. Rinse clean of all soap residue. Fill the waterbath canner with jars and water (and ~2 TBSP vinegar) and bring the canner to boil. Place all your jars evenly spaced in the canner and boil the jars for at least 10 minutes. (This will sterilize the jars.) Dry all screwbands and utensils and lay them out so they're easily accessible. Also, set a sauce pan filled with water over medium-low heat on the stove (don't boil the water though!). Put in the snap lids. This will soften the wax ring on the lids helping the jars seal completely.
  2. Prep All the Ingredients. Read the recipe through and assemble all the ingredients you'll need. Make sure you find a reputable recipe to follow. I use Bernardin as my mainstay. Mash and then measure the fruit, measure out the sugar, get the pectin pack ready (I used a sugar-reduced pectin for the strawberries. No particular reason other than I wanted to try it). Once everything is prepped you can Start. ALSO. Make sure your canner is boiling hot! You won't have time to bring it back to a boil after you've started your jam. I also usually have a kettle of boiling water going as well in case I need to top up the canner during the process. 
  3. Start Jamming. Now for the fast hot mess that is jam making. Add fruit, juice, pectin and margarine to a large pot, making sure that there's lots of room in the pot as the jam will expand to almost double when it's boiling. Stir well so all the pectin powder is dissolved. Now add heat! Bring the jam to a rolling boil over high heat. You'll know a 'rolling boil' when you see it. It's bubbling sugar paste that doesn't stir down. Think molten sugar lava. Add your sugar and stir well and fast to combine. Continue stirring until the mixture comes back to a rolling boil. Boil and stir for as long as the recipe says (for me it was 3 minutes). After the time is up, take the pot off the heat and prepare to fill your jars! (Sometimes a 'skin' or 'foam' may form on the top of your jam. Use a slotted spoon to scoop it off. It can be discarded in the sink for now.)
  4. Start Canning. Now that your jam has been sufficiently lava-ed, using the jar tongs, remove a sterilized jar from the boiling canner and empty the water in it back into the canner. Place the jar on your clean counter next to the jam pot. Place the jar funnel on the jar and ladle the jam smoothly up to the recommended head space marker (my recipe called for a 1/4 inch headspace). Remove the funnel, wipe the rim with a damp paper towel or clean damp cloth. Place a warmed lid on top. Place a screwband on the jar, then grasp the jar with the jar tongs. Tighten the screwband to ONLY fingertip tight. This literally means using your finger tips only, tighten the screwband until there is enough resistance that it stops. Then, keeping the jar level, lift it up and place it back into the canner. Repeat!
  5. Finish Canning. Now that all your jam has been put in jars in your canner, top up the boil water with more boiling water from the kettle, if need be (I usually like about 2 inches of water above my cans, if I can get it). Depending on your altitude, you'll need to adjust the time you process the jars. But it's a standard 10 minutes across the board, no matter what. For Alberta, I had to add an extra 5 minutes, but good ol' Toronto is set at the standard 10. With the canner lid on, process the jam in the boiling waterbath for the required time. After the time is done, remove the jars with the tongs, lifting them straight out of the canner (NO tipping to get water off the top!). Set them down to cool in an out of the way space. From this point on, till they're completely cooled, No Touching! Resist the urge to poke them! As they cool, you'll hear the popping sounds of the snap lids sealing. Even after this has happened, No Touchy! It's a waiting game now. If you did it right, you'll have delicious shelf-stable jam to look forwards. 
  6. Enjoy! Let the jars cool completely. This will take up to 8 hours. I usually leave mine sit for 12 to 24 hours. After they've cooled, check that all the jars have sealed. The snap lids should be divoted inwards and you should be unable to pry them off with your fingers.** Ta Da!!! The jam is now shelf stable! Label the jam with the date and the contents and bask in the glory that is homemade jam. 

Also eat the jam. By the spoonful. Obviously. 

But yah! I look forward to more canning to come! I want to try pickles this year. And maybe peaches...? Definitely marmalade. All the Things! (As Always.)

-Andrea

The Half-Assed Hobbyist  


** If the lid did not seal do not fret! The jam is still good to eat! It just needs to live in the fridge and be eaten first. I don't recommend attempting to re-can the jars. Instead, bake something with jam! Oooo. That's a good idea actually. Hmmmm. Haha.

Being an adult is hard

There are some moments in my young adult life that really kick me in the emotional butt. Specifically when a big change happens. Lesley, my partner in sewing-crime and my baking-twin is moving on to an adventure life of travel. I helped her pack up her house on the 31st (in one day too! We're house cleaning/packing ninjas) and then said goodbye at her farewell party. And while I'm happy that she's following her adventurous soul, I'm also super sad that my remaining time in the prairies won't be filled with sewing Sundays or Lesley Muffin Specials: chia seed banana muffins with pecans. 

It was last summer that we made salsa together (wine included, of course). And after I reminisced a bit, I thought this would be the perfect time to write all about it.

The processing is much like the jams and jellies I've done: Boil the jars, pour boiling food-stuffs into jars, and then boil jars again. The difference is in the recipe. The recipe below isn't the one we used - we were so expert at cooking that I forgot to write it down (haha, maybe to much wine). So instead below is an approximation of the salsa we made, if memory serves.

Wine, tomatoes and smiles!

Wine, tomatoes and smiles!

Salsa

6 ripe Roma tomatoes, skinned and chopped
2 jalapenos, chopped (seeded if you want a milder salsa)
2 banana peppers, chopped
2 cups red onions, chopped 
1/2 cup lime juice
1/2 cup white vinegar
1/3 cup tomato paste
1 can diced tomatoes
5 tsp minced garlic
1/2 tsp ground cumin
1 tsp salt
1 tsp ground black pepper
3 cups yellow, green or red peppers, chopped

  1. Blanch the tomatoes to remove the skins. To do this, boil some water in a sauce pan. When boiling, drop in a couple tomatoes. Boil them for 30 secs to 1 min. Remove from the boiling water and place them in a bowl of ice water - this stops the cooking. Once cool enough to touch, the skins should slip right off.
  2. Chop the things!
  3. Mix all ingredients together in a large pot. Bring to a boil. Reduce heat and simmer salsa for minimum an hour till all ingredients are cooked through and liquid is reduced.
  4. **Process jars in boiling water bath. Fill jars with boiling salsa (making sure to get out any air bubbles). Place on lids and screw bands till only finger tight. Placed filled jars in boiling water bath. 
  5. Process filled jars for appropriate time. (Edmonton - 15 minutes)
  6. Remove jars from boiling water bath and let cool. 

** Check out my jam post for all the processing specifics and reasoning.

Delicious salsa. I believe it make between 3 - 4 500mL jars. We got 3 because we ate the remainder. Mmmm.

But yah, I'm going to miss you Lesley! Stay safe. Love you lady. 

-Andrea

The Half-Assed Hobbyist