The Forgotten Slouchy Knits

Since I've recently taken up knitting again, after a hiatus brought on my lack of pre-planning and sheep having to grow me some more wool, I got distracted by updating my Ravelry profile with projects that I've done over the last couple years. I am super bad at keeping up to date with Ravelry, much like can be with blogging (haha), but I realized that there are two projects that I have never mentioned before!

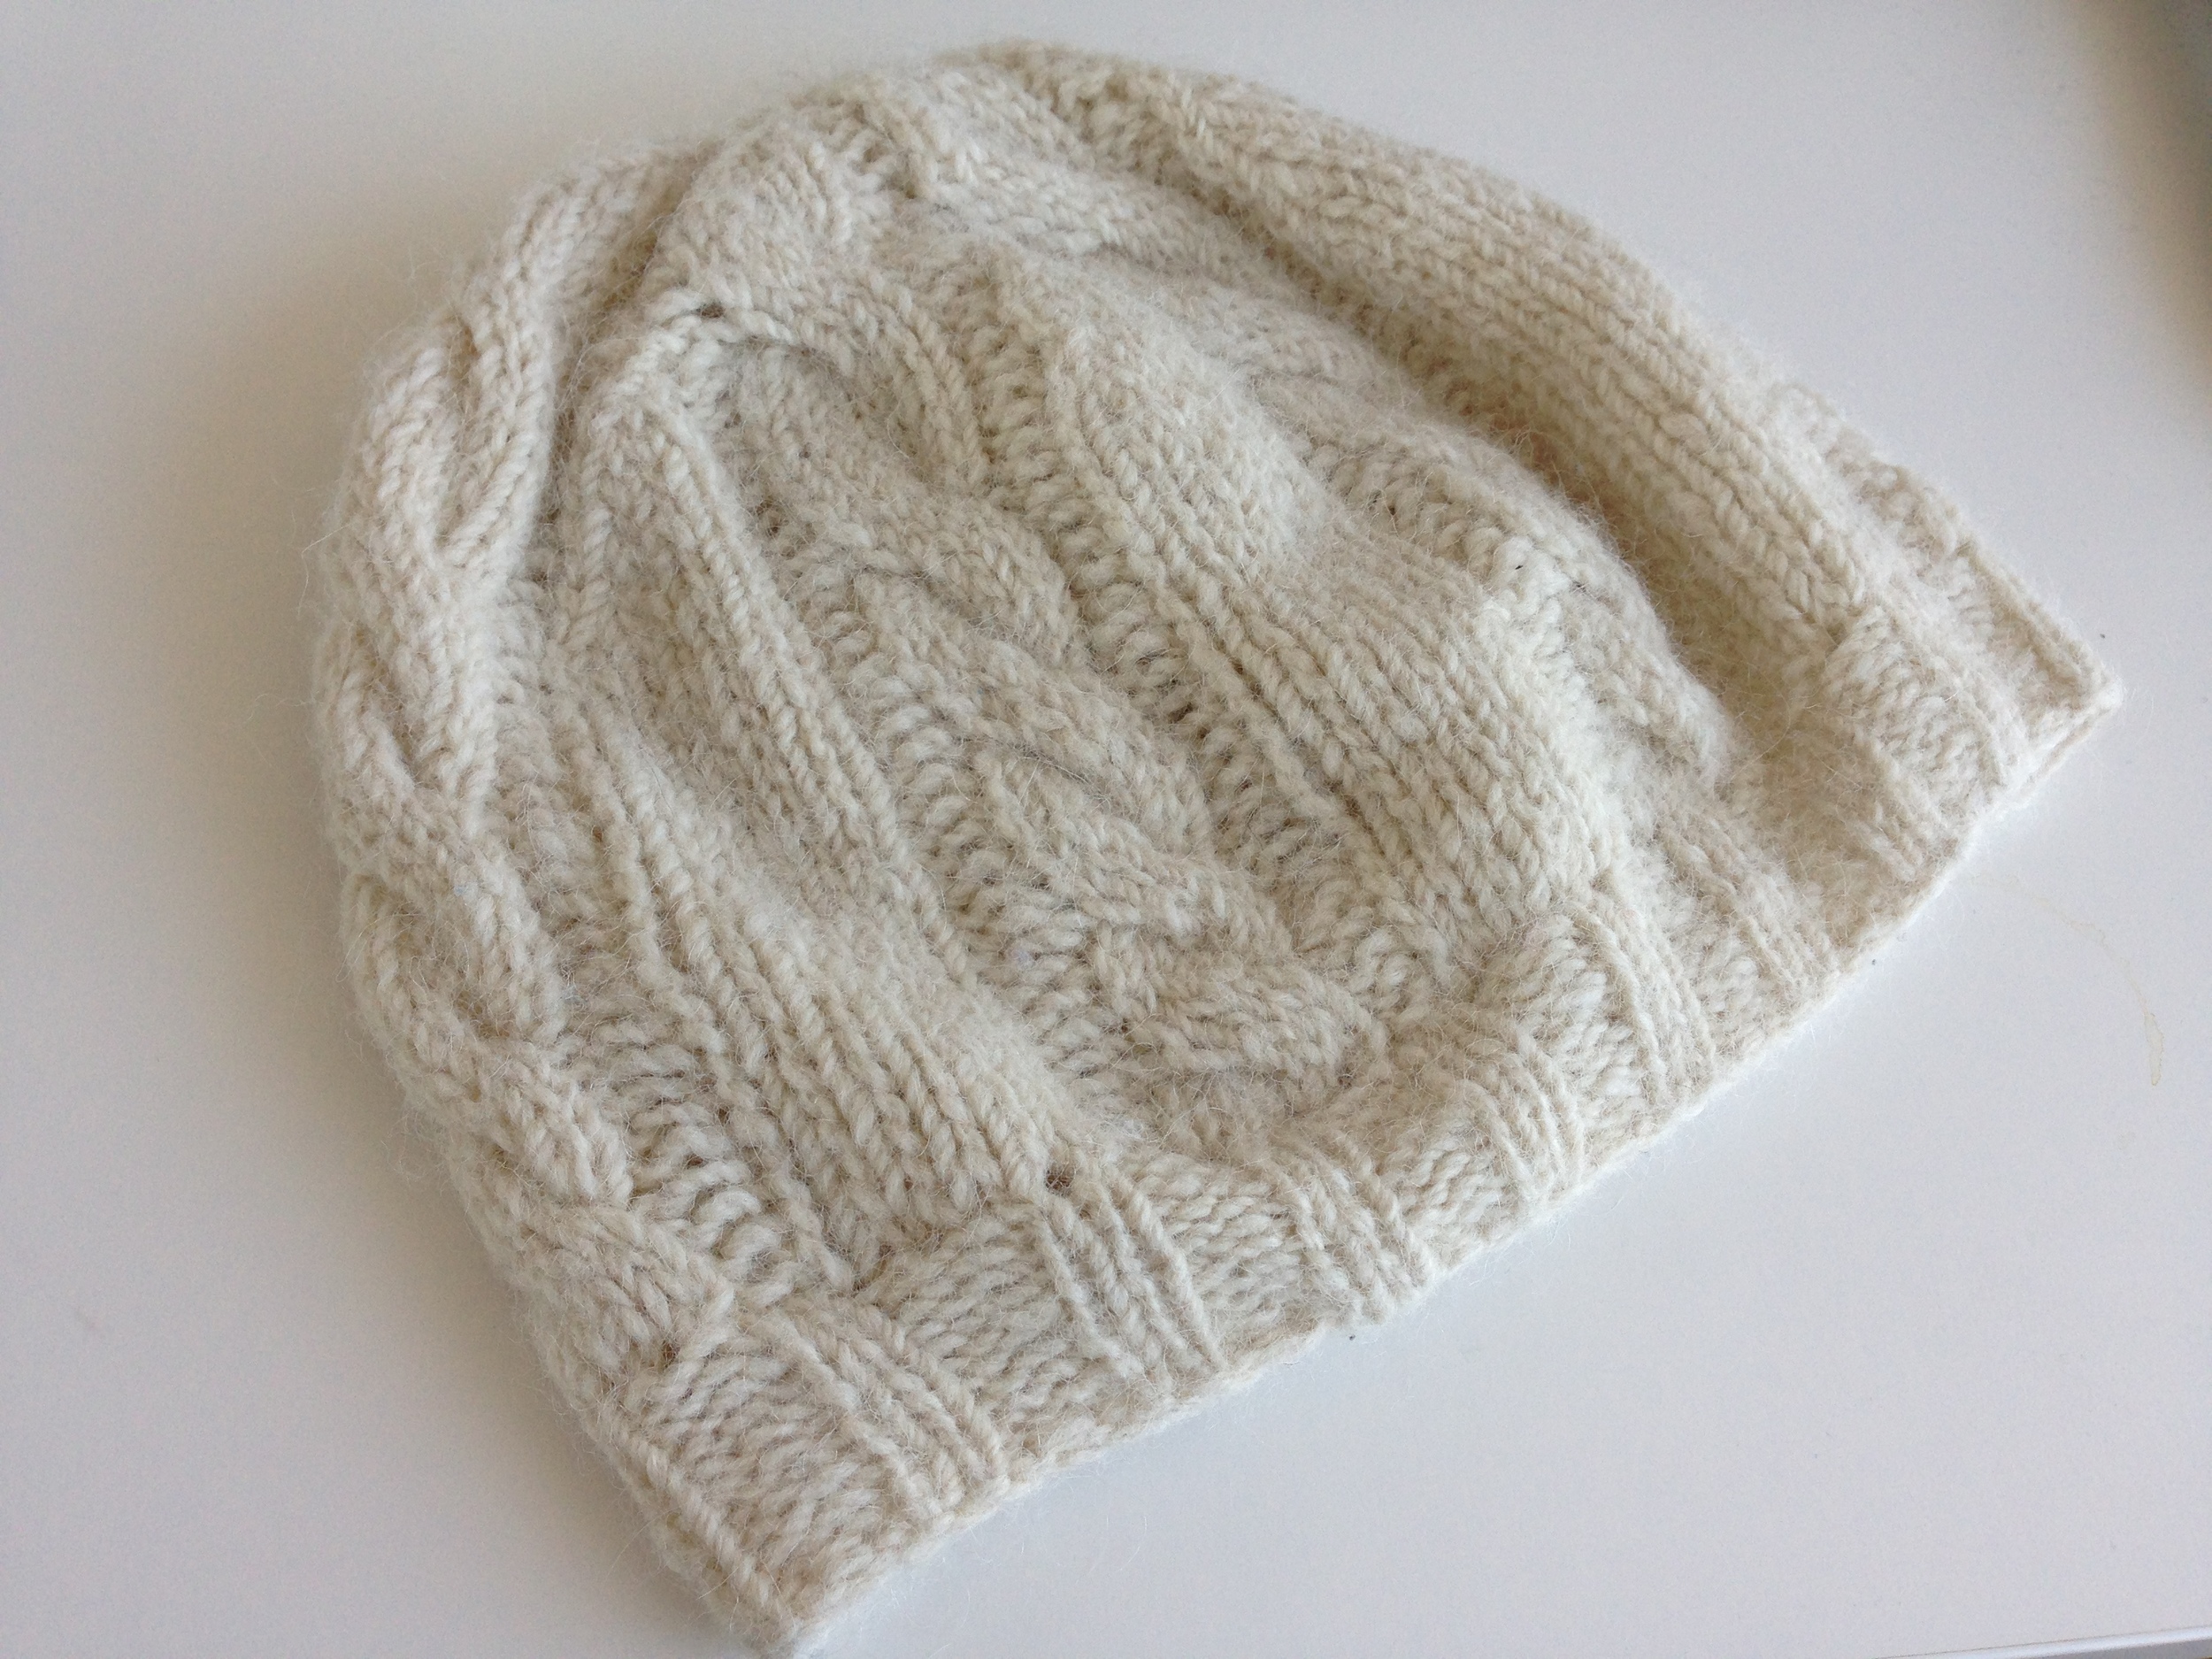
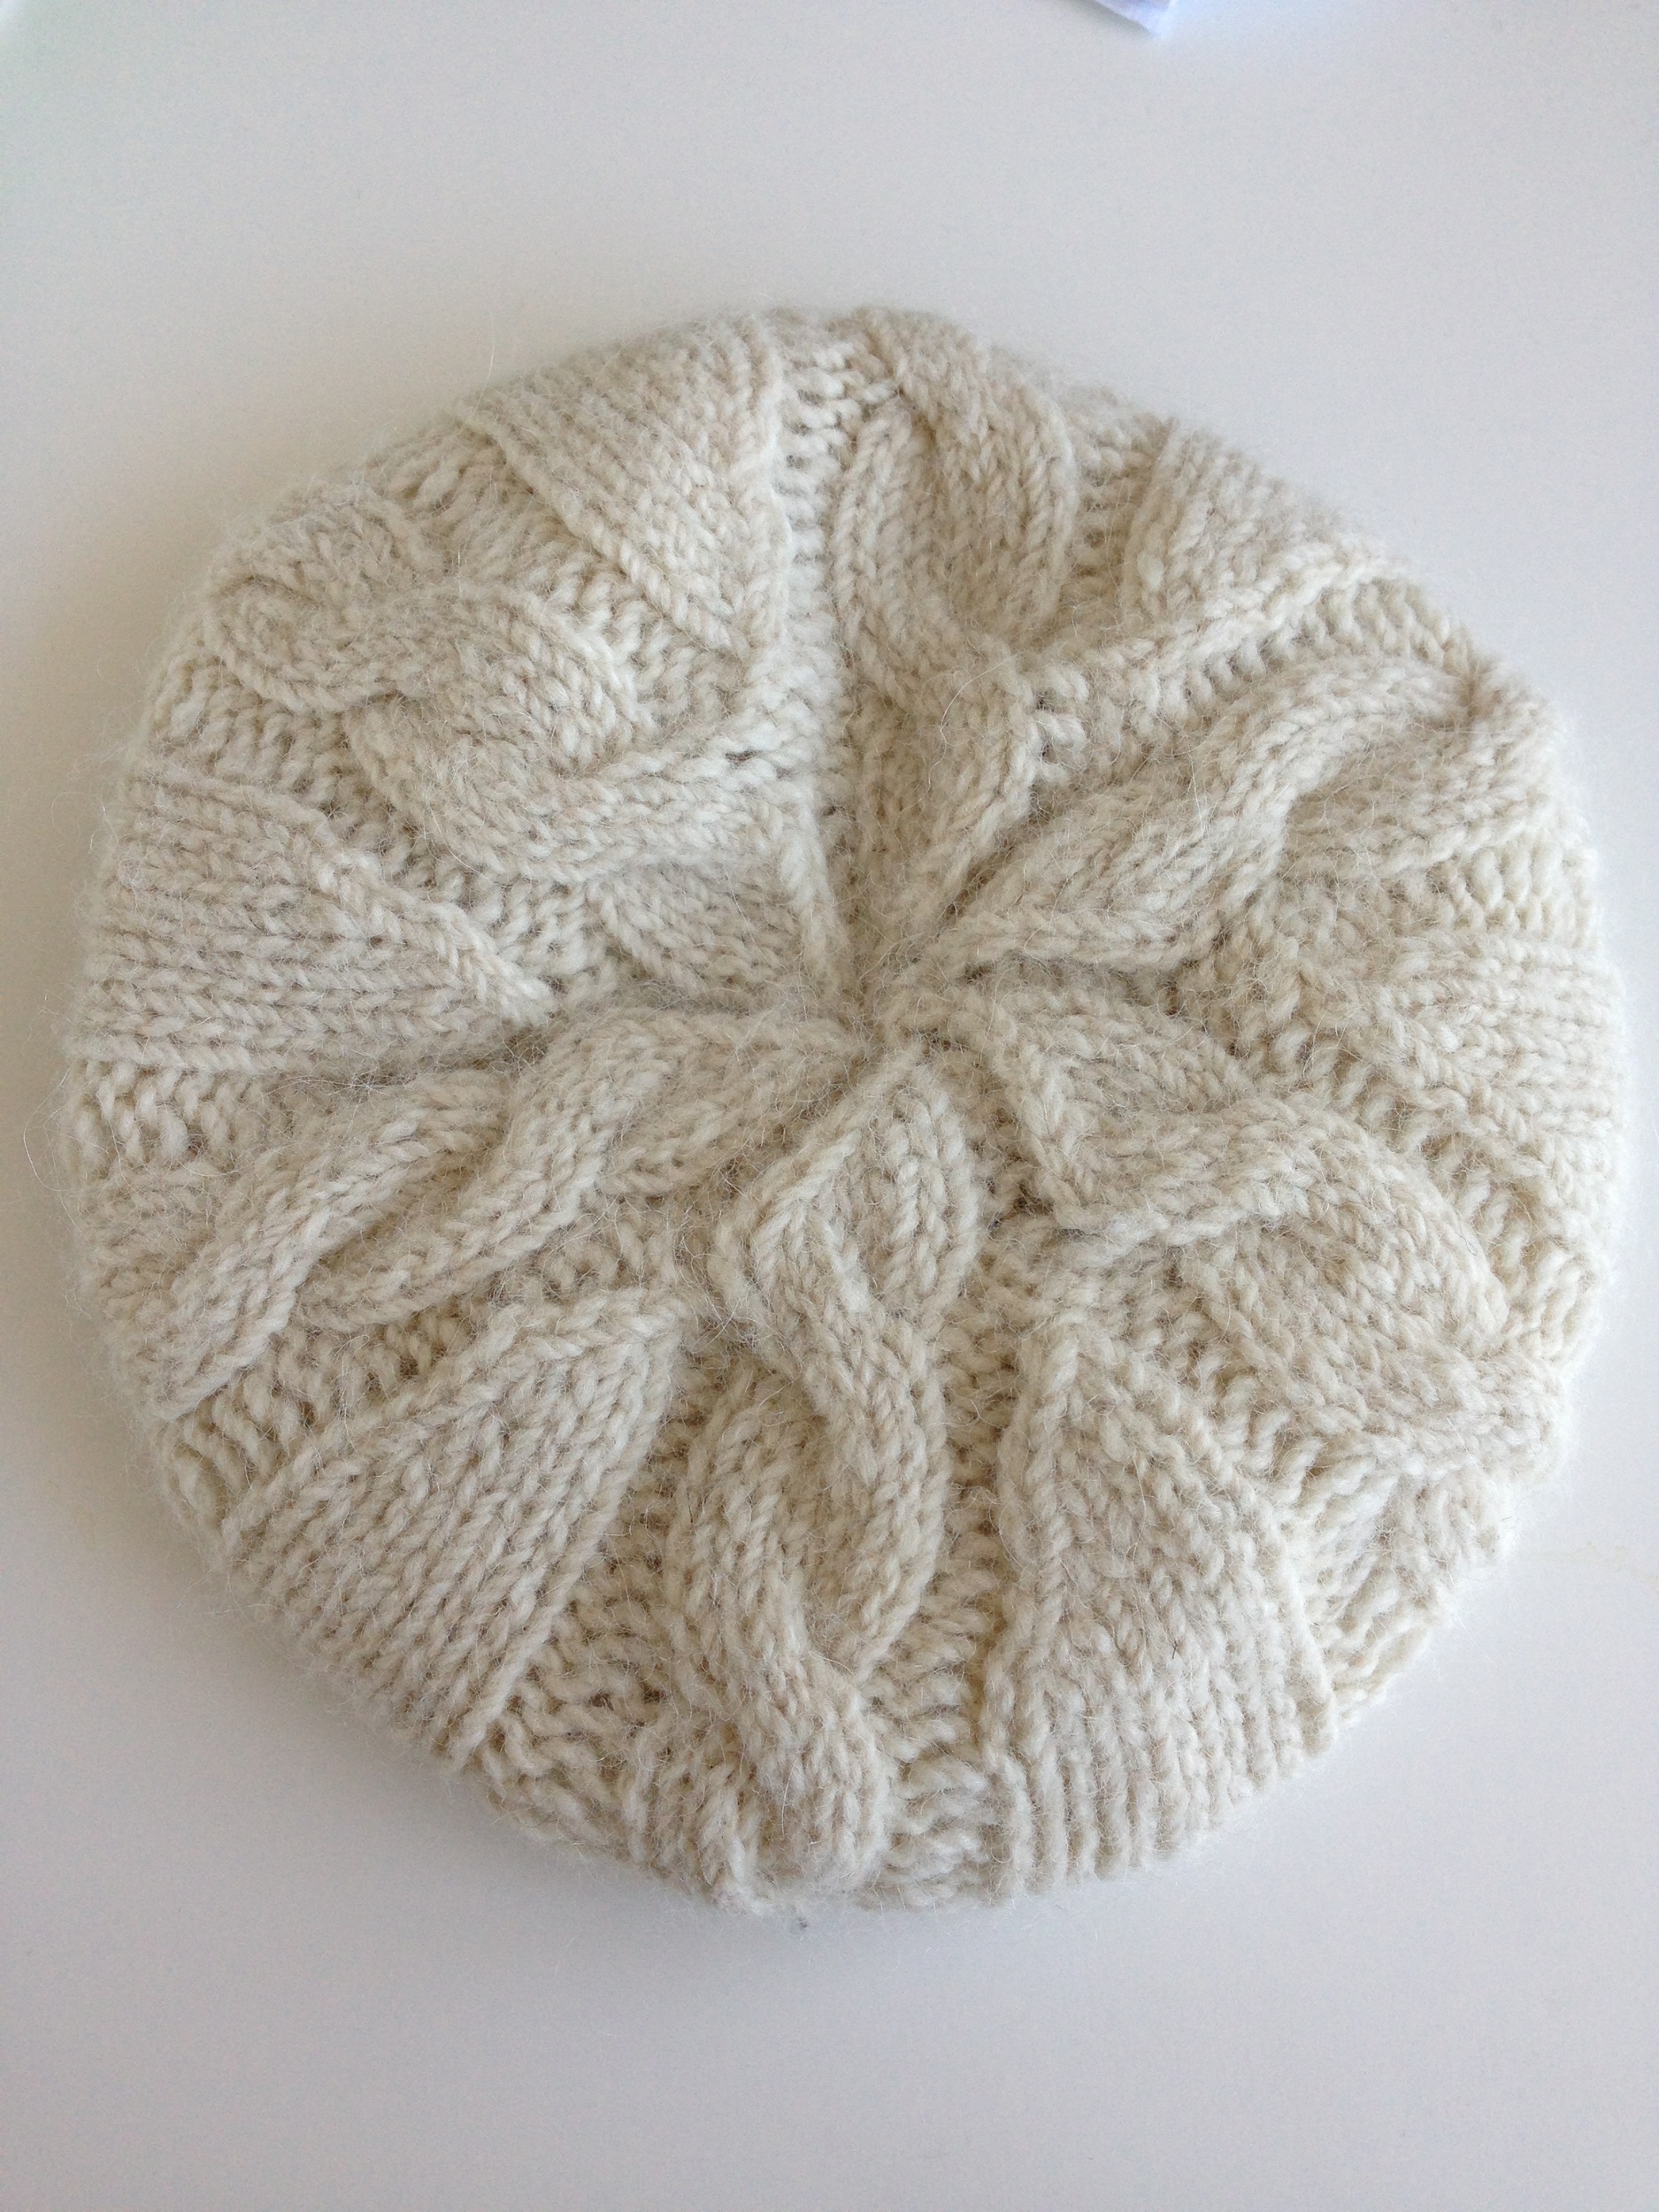
The first is actually from a while ago, back when I was still living in AB. The pattern was posted by a favourite artist of mine: Azure cabled slouchy hat. The yarn I found at a farmers market in Kelowna BC in October of 2013. Alpaca I'm pretty sure. And I Loved it and how soft it was. I kept the yarn around because I wanted a slouchy hat pattern with a cabled star. Azure's pattern was Perfect! Made it in April 2015 and have been wearing it everywhere since.

The second is a pattern and yarn I had specifically sought out. The yarn, Classic Elite Yarns Liberty Wool, came from a store in Edmonton (now closed -GASP-). I fell in love with the yarn and, more specifically, the pattern for the slouchy that came free with purchase! It felt like space invaders. Love! I actually ended up at Romni Wools in Toronto to get a contrasting colour to complete the look. But after I'd finished it, it was so very tight that it looked more like a beanie than a slouchy hat. So it got stuffed into my finished pile where it lay until I fished it out for this post. I decided, disappointed memories a thing of the past, that I'd take the time to actually block it. I took the 20 minutes to soak it and got stretching. It's still not as slouchy as I'd hoped but it's much better! And hopefully with some wear it will relax a bit.

Knitting all the things! Just in time for the warm weather...? I suppose I could wear wool ironically?

No. Not.

XD

-Andrea

The Half-Assed Hobbyist

Shoulder at it

It's been forever since I knit anything.

I've been working on my crochet skills (just making dish towels though, nothing fancy). And my last knititng project got put on hold because I ran out of wool. Unfortunate problem with using real fibers is that the sheep needs to grow more when the skein runs out! Haha.

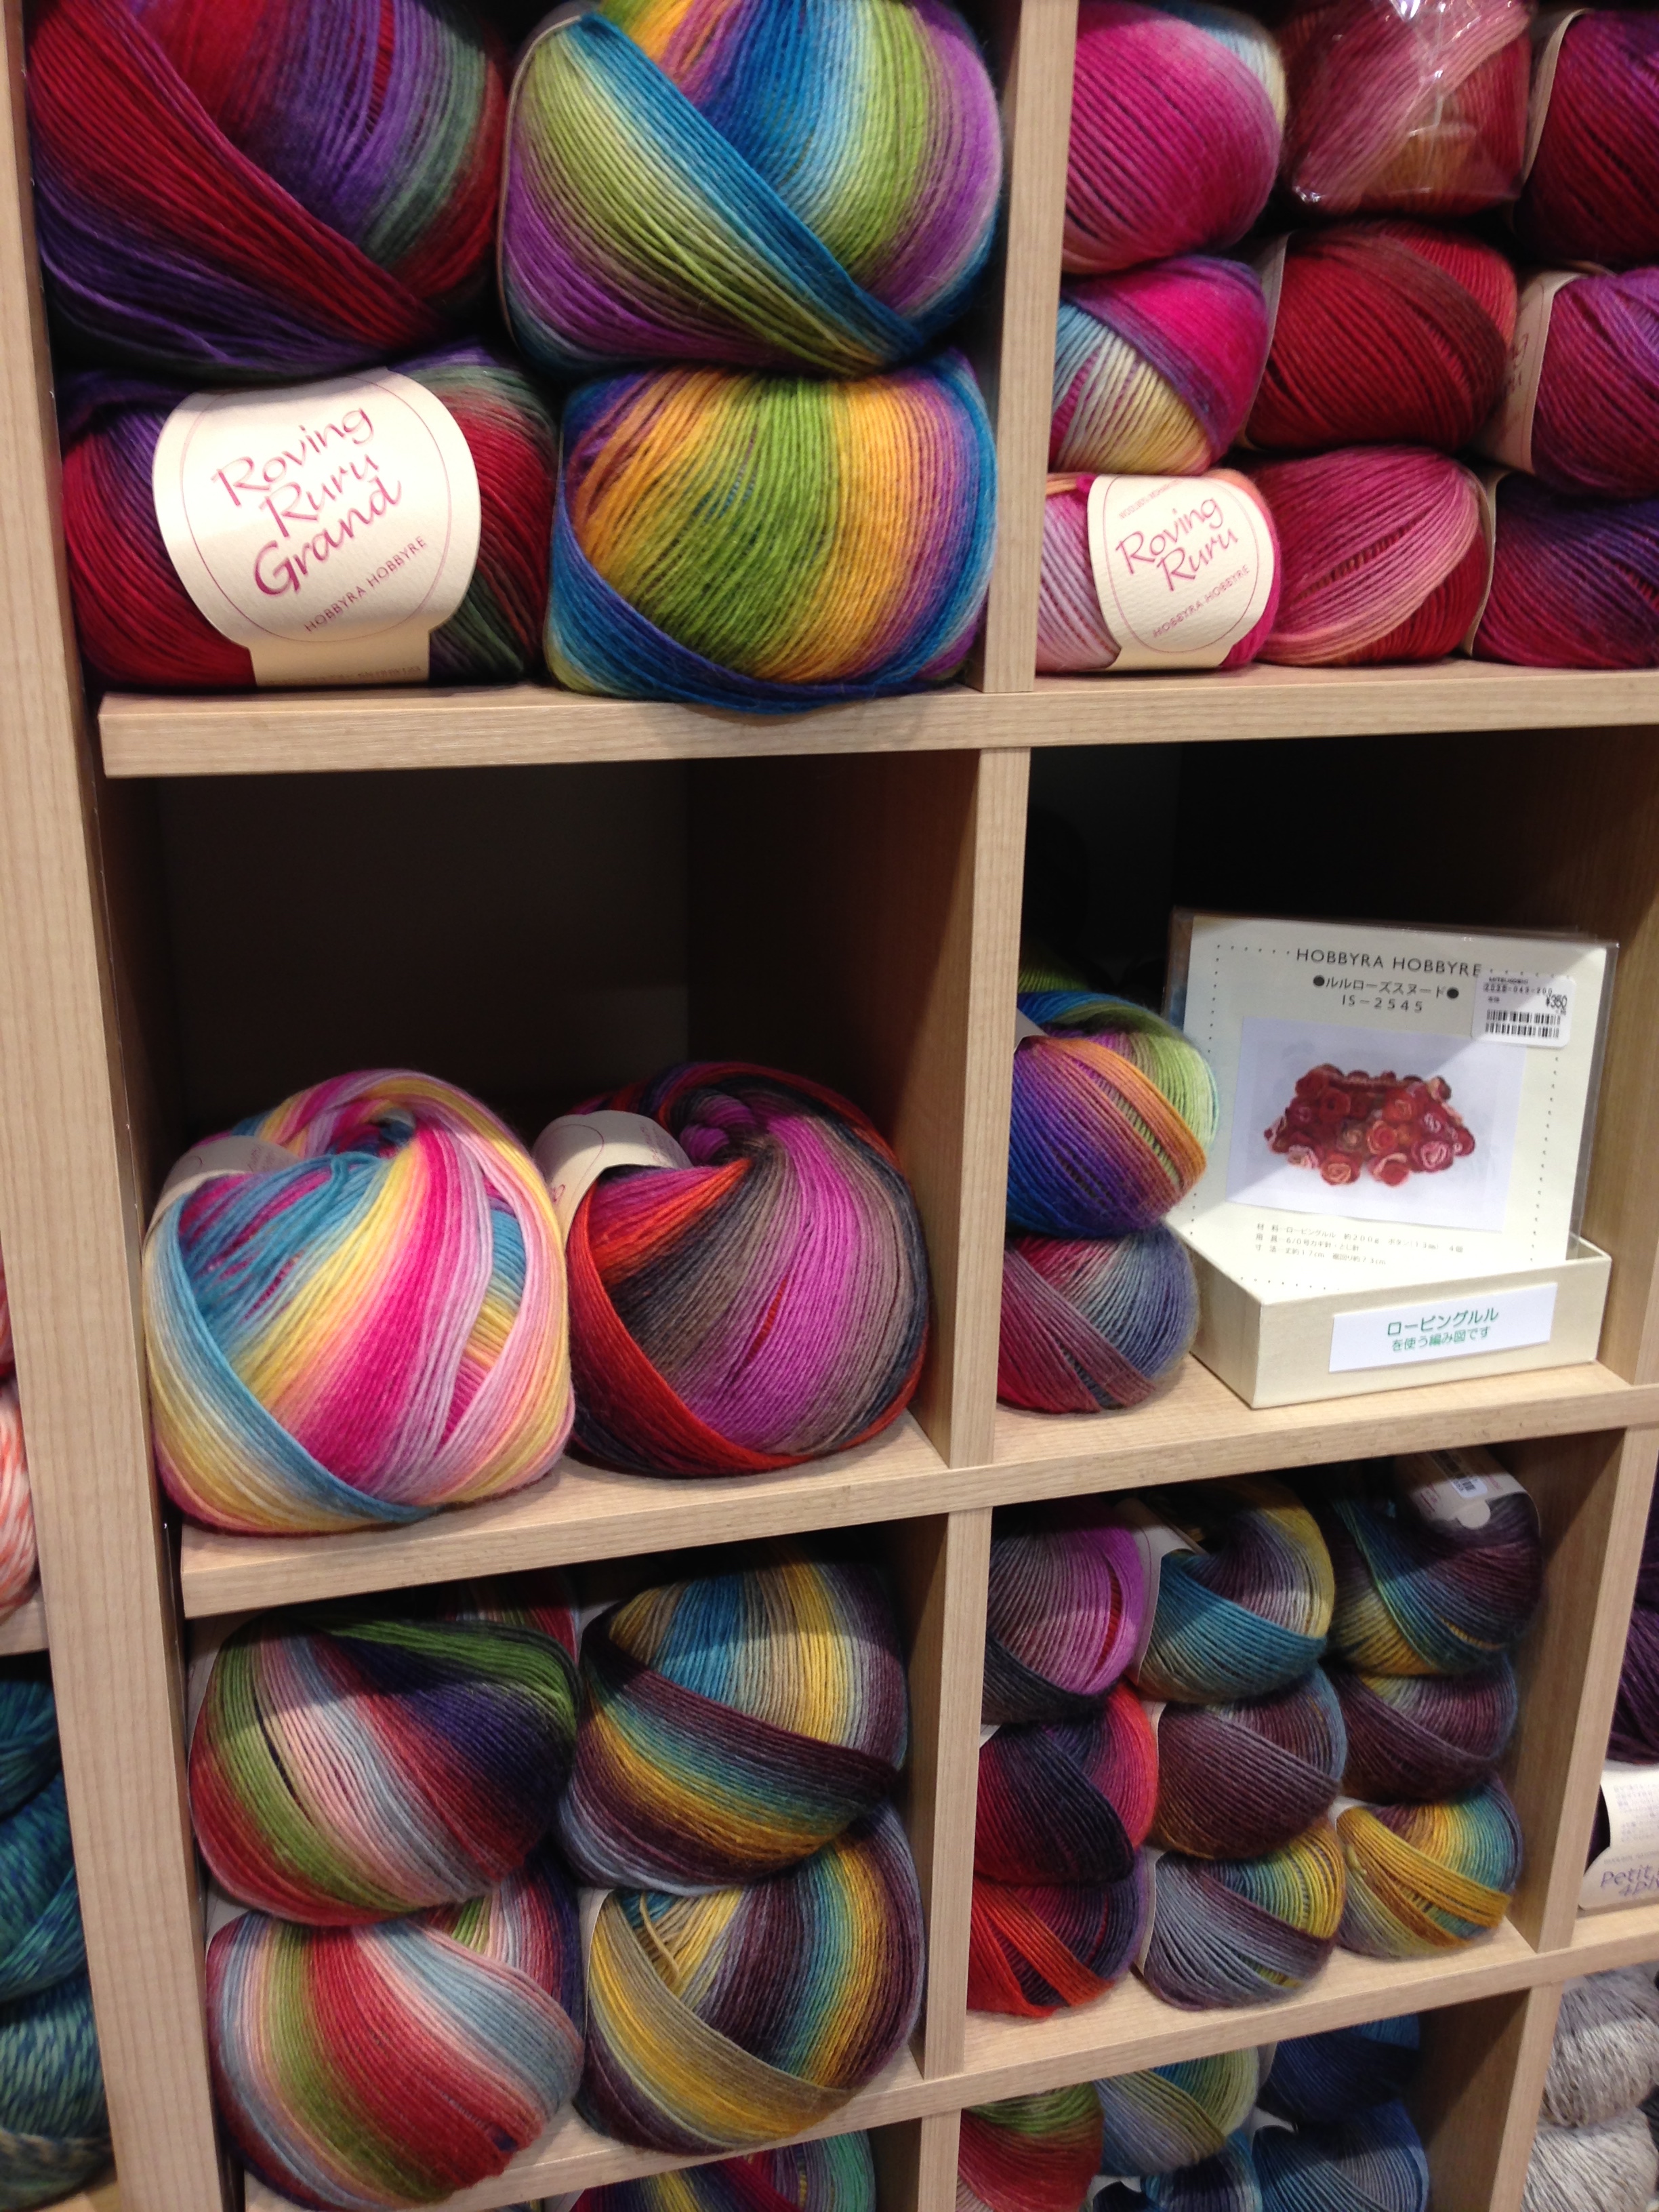
Anyways! I bought this amazing wool in Japan from the Mitsukoshi store in Nihonbashi so decided to get back to knitting. Mitsukoshi was the Fanciest department store I have Ever been in. Not only was it the most clean and organized multiple-storey tall store I've ever seen, but it also was well staffed. I had a personal knit shopping assistant to myself when I hit up the Wall of yarns in the craft section. (There was also fabric... but I restrained myself.) The store also sold Handmade sweaters and hats, made In-Store. For real. There were ladies sitting at a table in the middle of the craft floor, dressed fabulously, knitting and making hats. Wat. Japan.

Anyways again! Backstory of this lovely yarn complete. I wanted something special for this yarn. I got to pursuing Ravelry and also free pattern sites (my favourite is purlavenue.com) to find something. It turned into a bit of a process.

I started with this pattern for a beautiful leaf patterned cowl done on circular needles. I loved the look and the yarn fit the bill. Unfortunately, the colourwise in my yarn was variegated in much shorter chunks than the yarn that was used in the example pattern. So the lovely fading colour turned into weird striping. Abort.

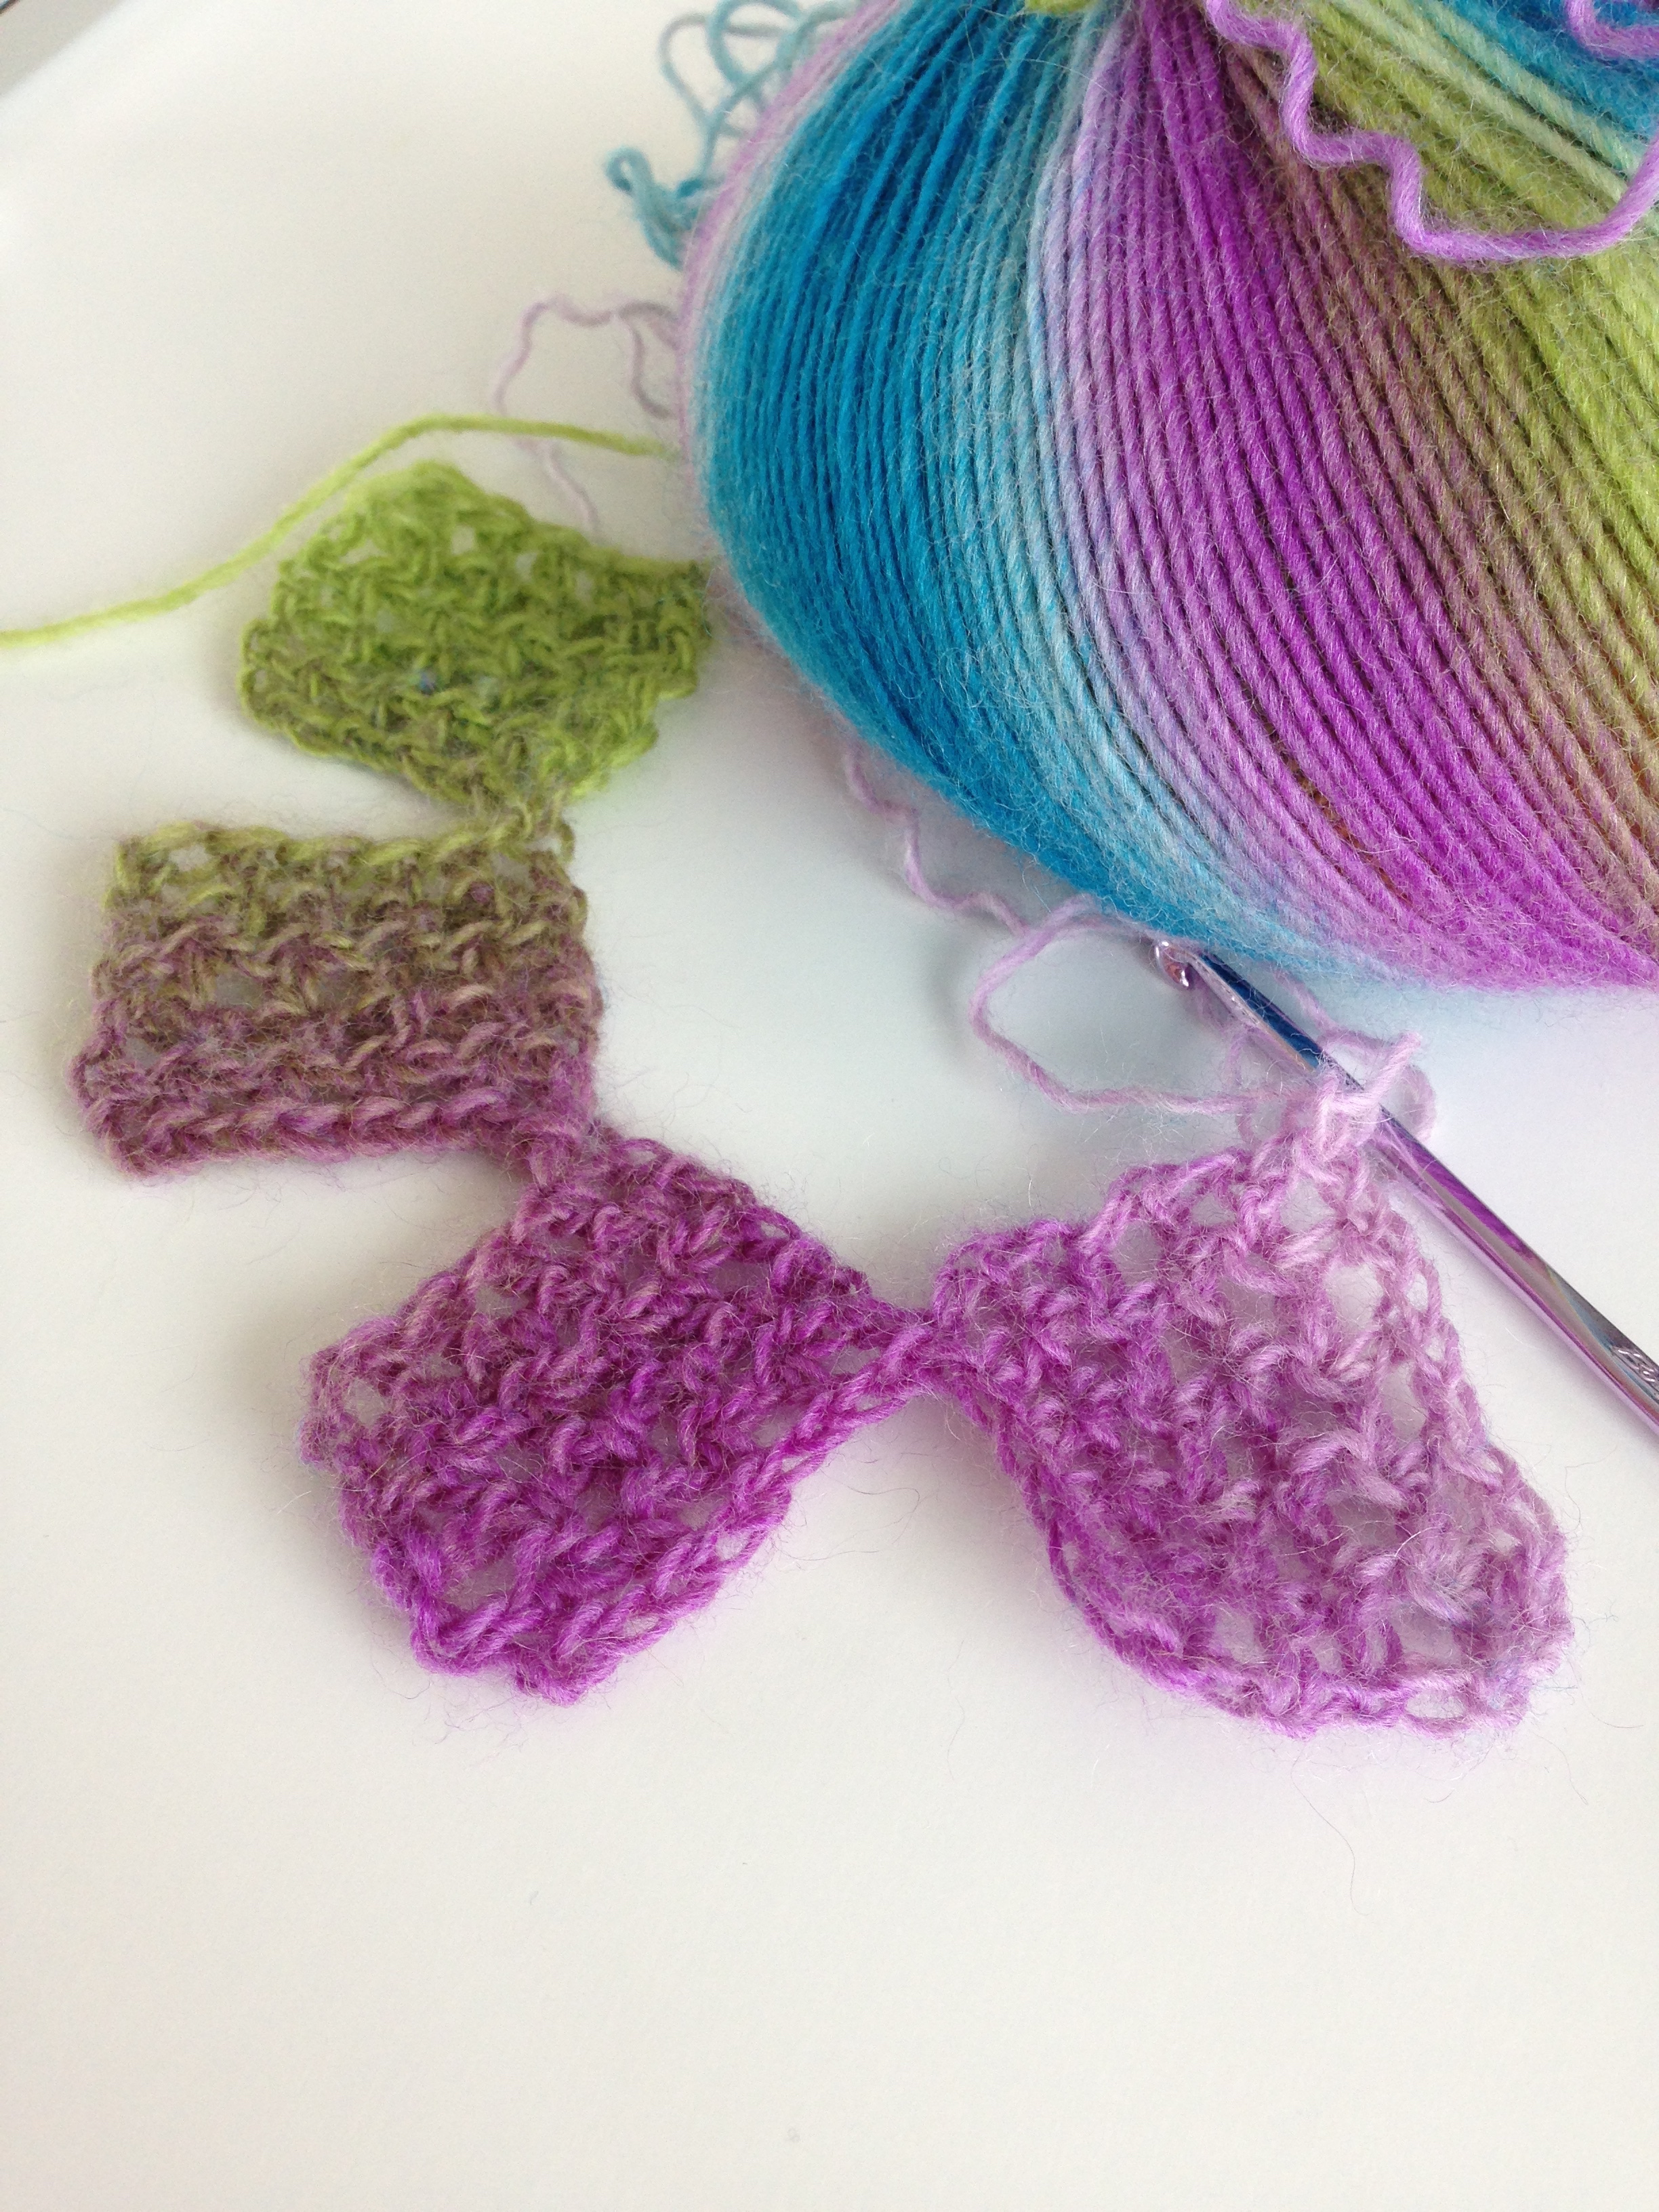
Next up, I found a project on instagram for the Roving Ruru Grand skein in crochet. It looked super wonderful, but it didn't have a pattern. Now, with knitting I have enough experience to fake it. This is not the case for crochet yet. Attempt to crochet a 'enterlac' blanket: fail. Back to the drawing board. (Or rather Raverly....)

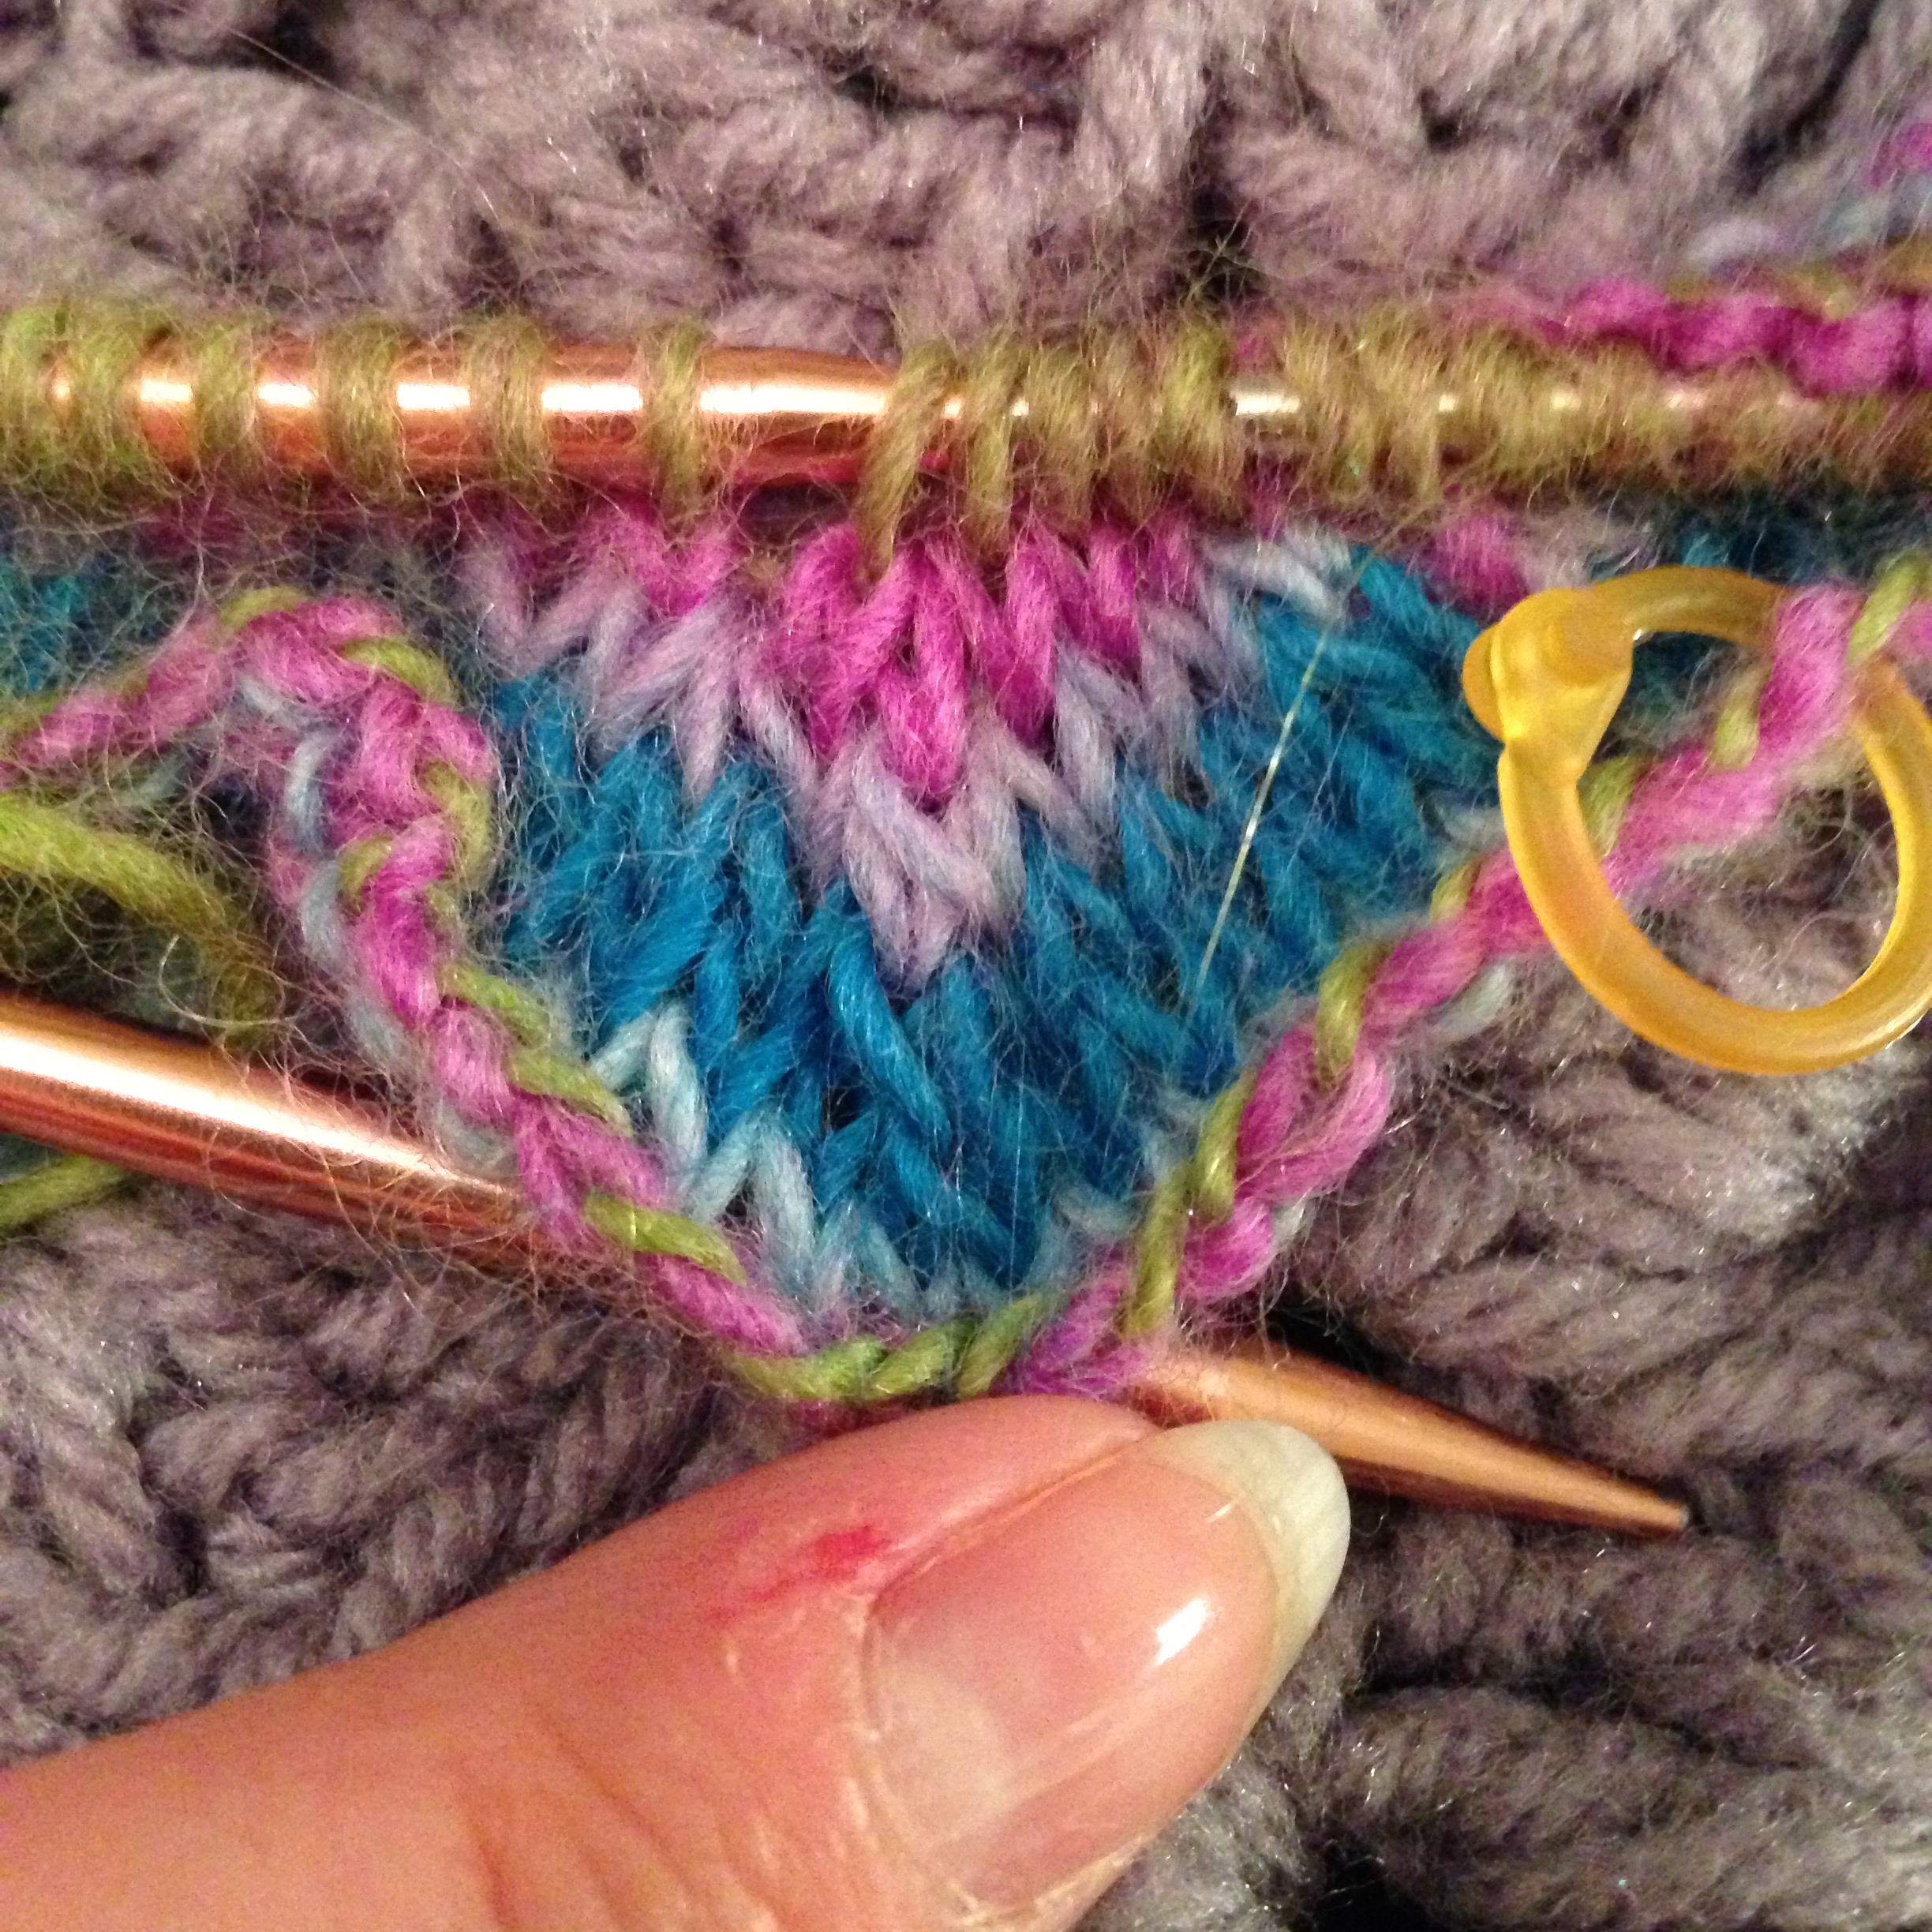
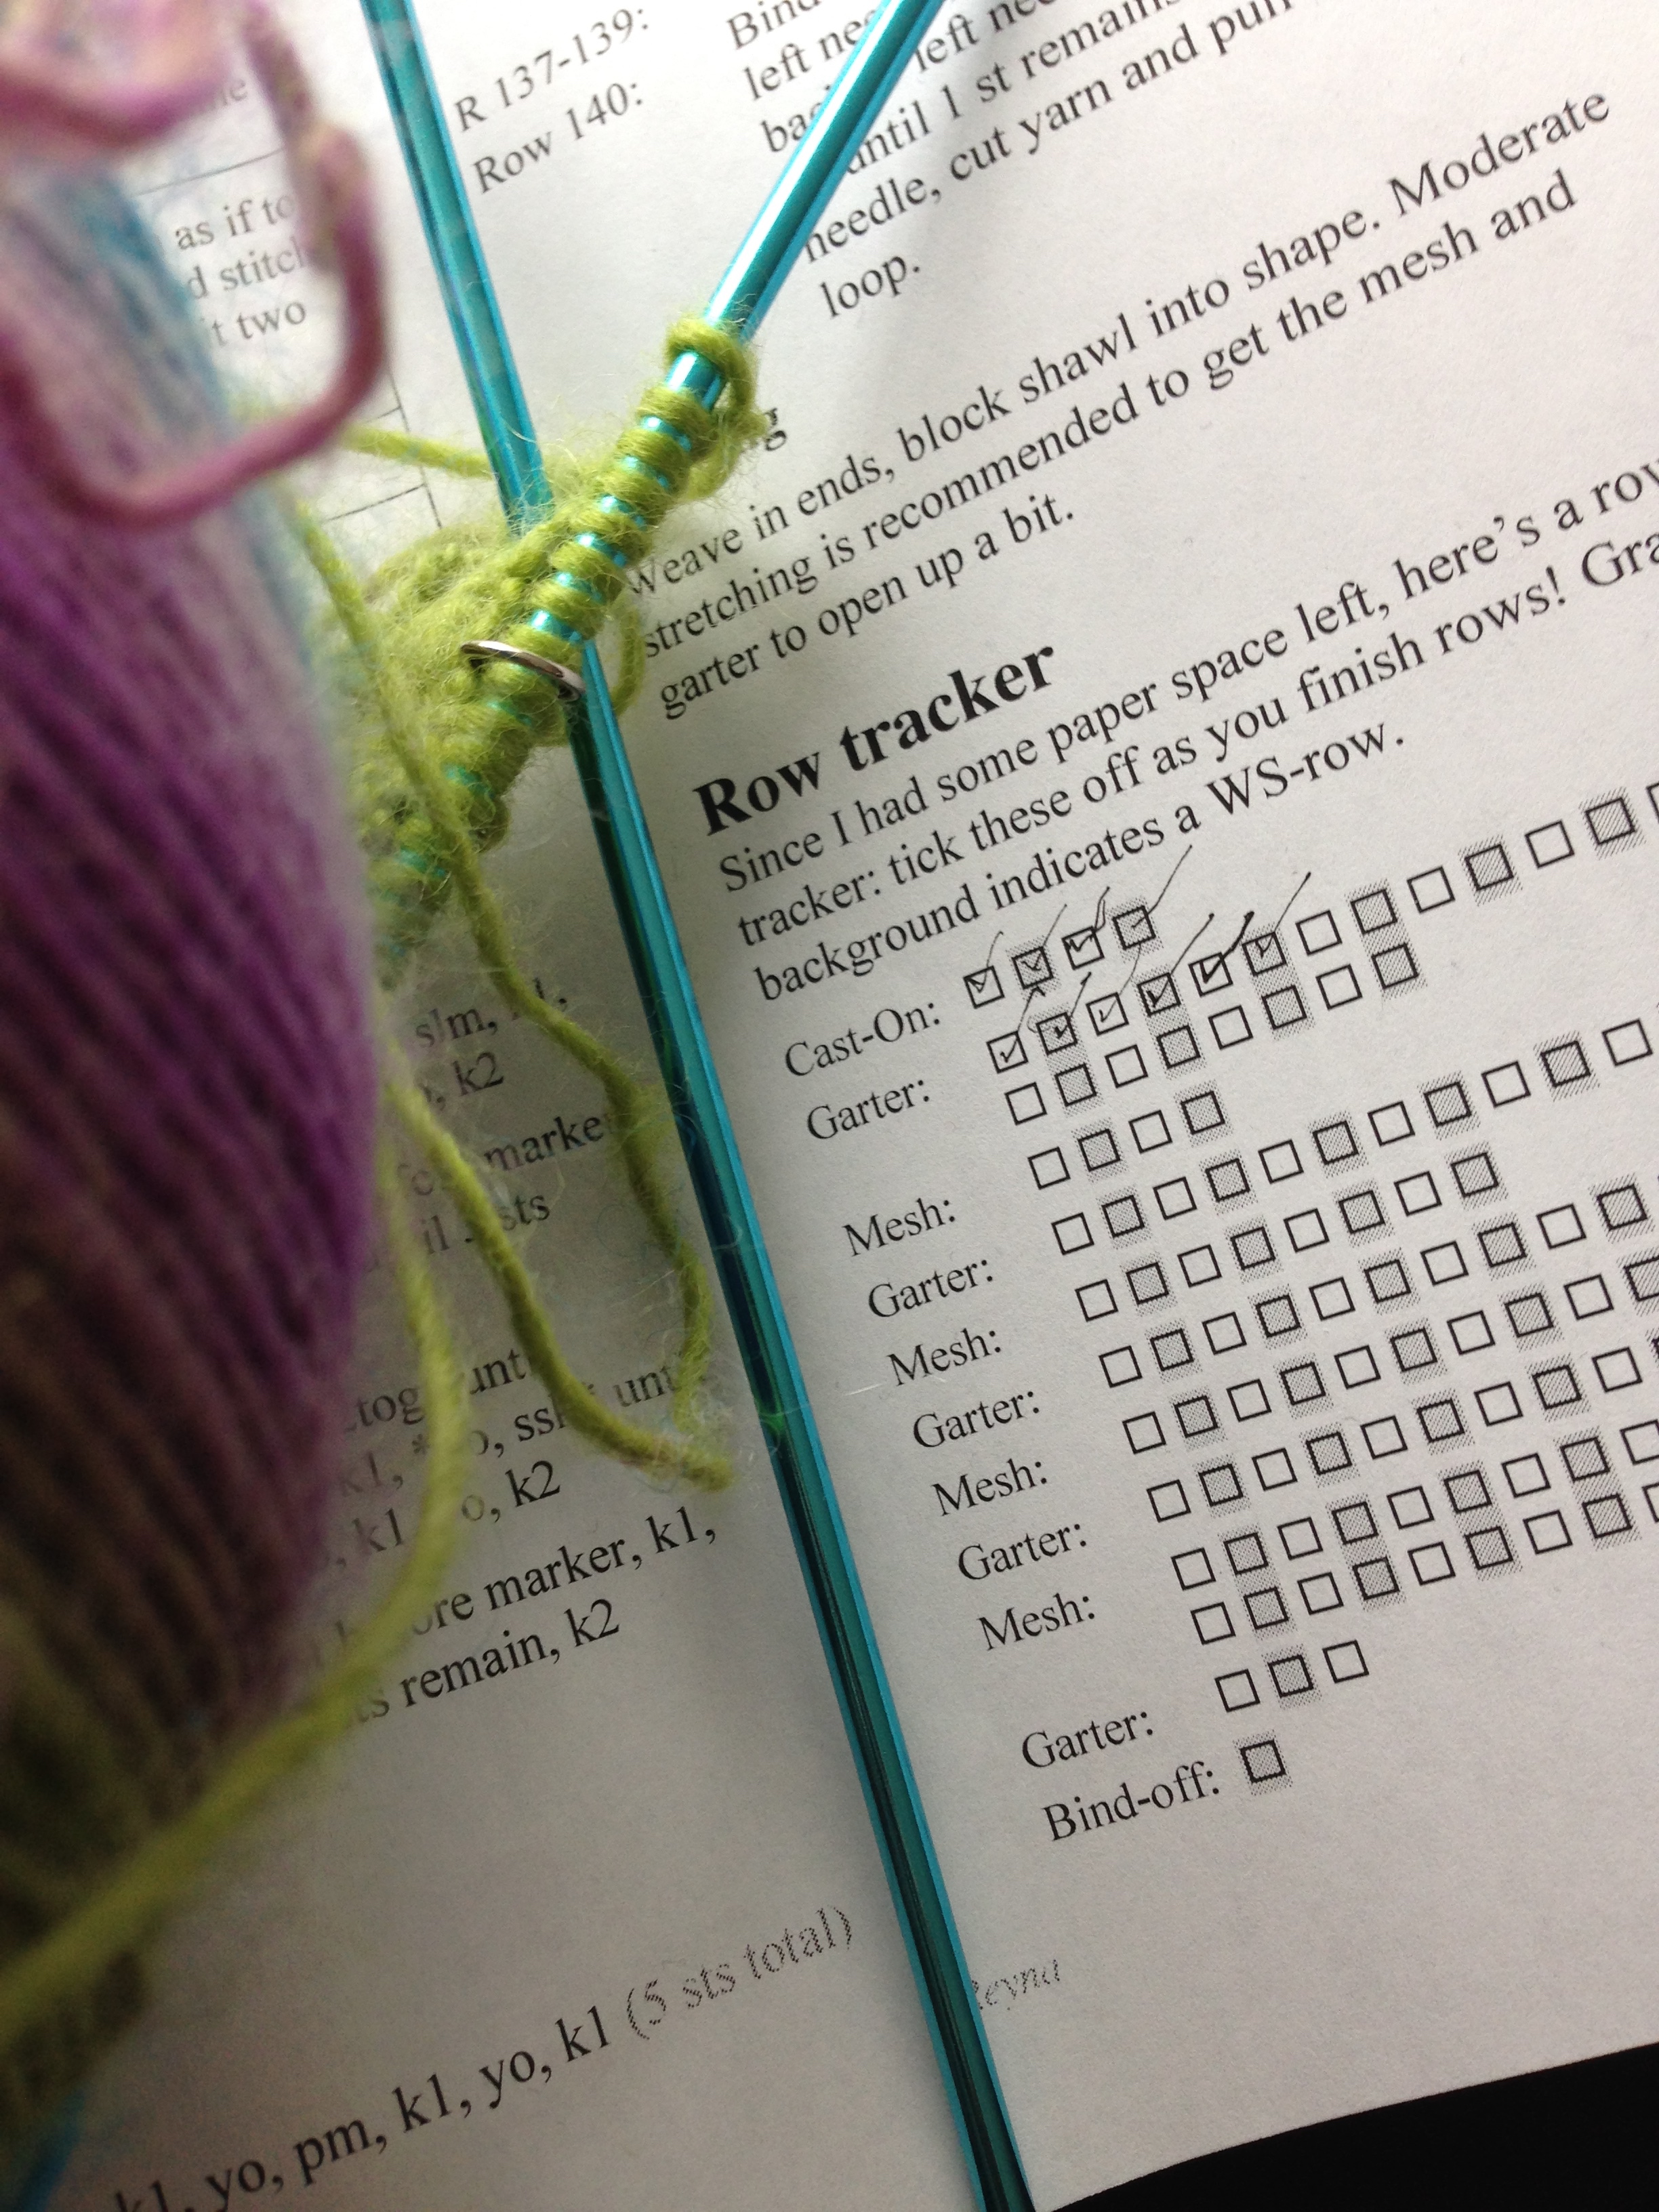
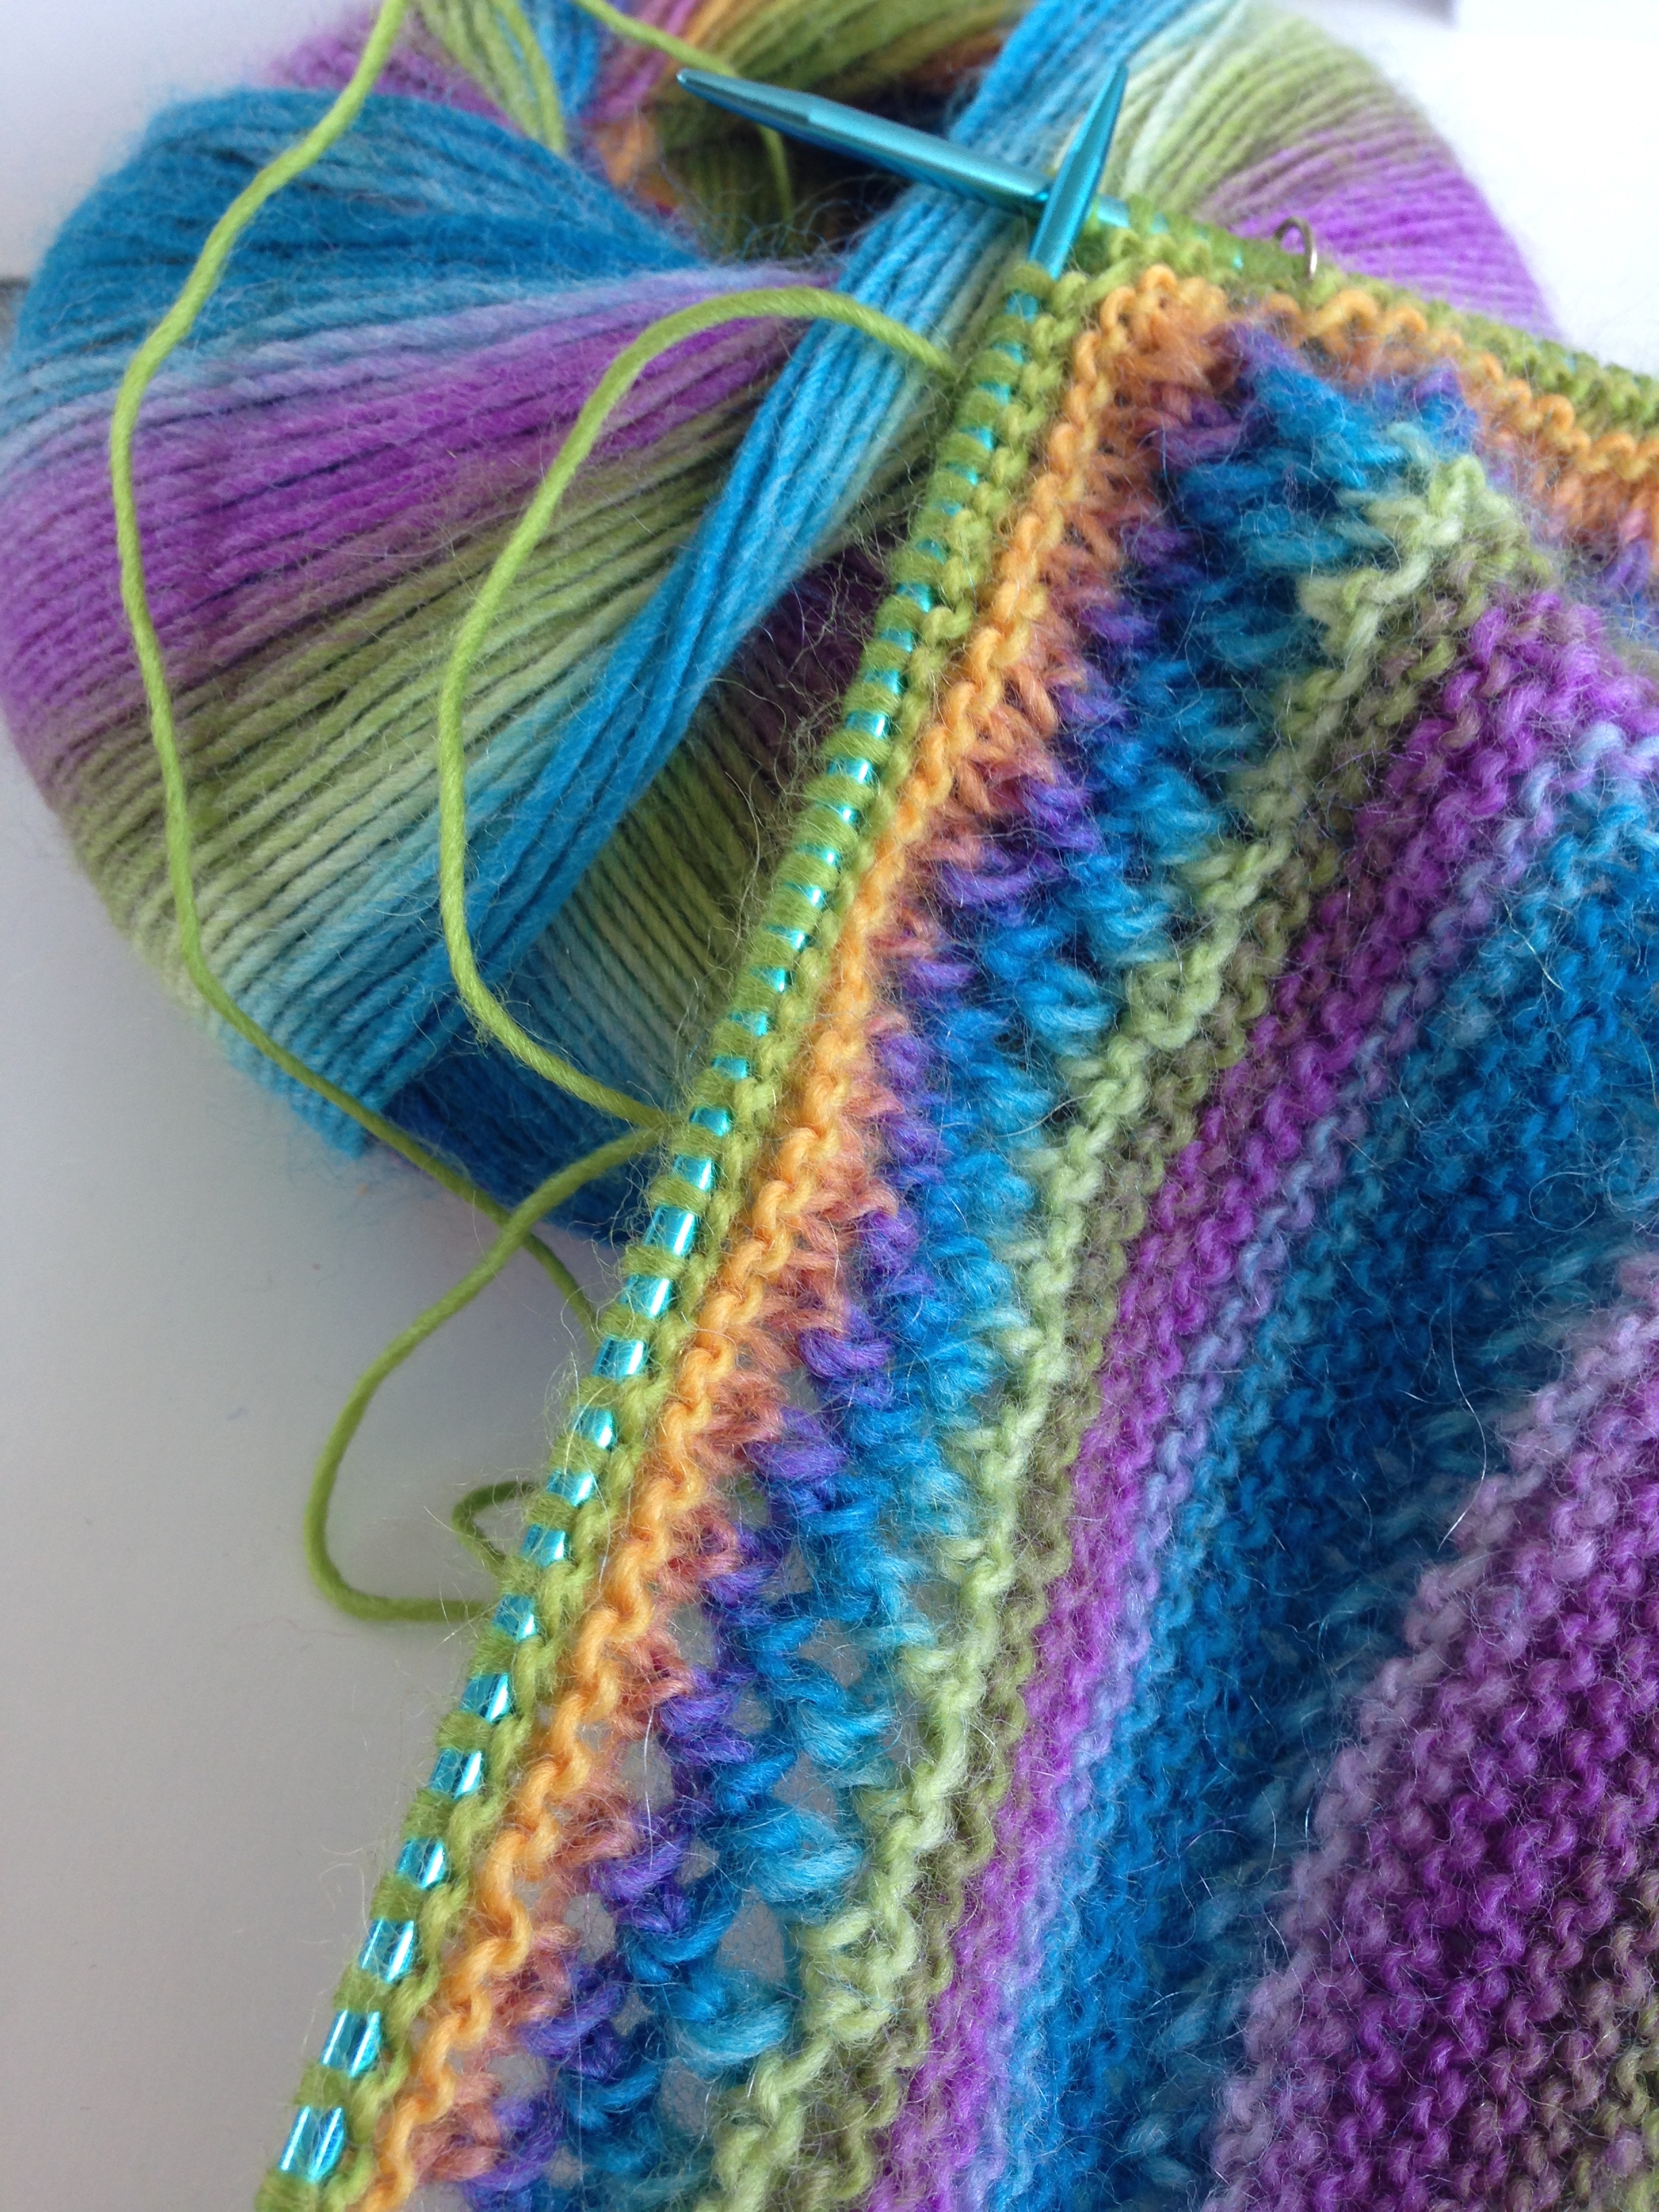
Heading back to Ravelry turned out to be a good decision. I went through some past favourites from a million years ago and found this pattern. Sold. It even looked nice with some striping! Success. So I got to it. The pattern came with a Row Tracker, which initially also came with a groan of 'Ugh, learning' but was actually super simple to use: Finish a row, get a checkmark, never forget where you're at. Genius. I wish every project had this. And the colour continued really nicely, I think, and even when it started striping it got a very nice contrast.

Yarn Justice, me thinks. =)

I still have to block it out. Which will happen eventually. She Says.

XD

-Andrea

The Half-Assed Hobbyist

ย 

ย 

Adventure in Spiceland

One of my 'New Year To-Dos' last year was to make three different meals that I've never made before from different cultures around the world. Since it didn't happen last year, I've been attempting to actually succeed this year. It's been going well this year already: Korean Spicy Bulgogi, and Mexican Chiles en Nogada. But what I really want to learn is how to make Indian curry

The Fiancรฉ and I hit up a local Chapters for a 'cookbook'. I'm picky about my cookbooks though.... I really could care less how many recipes a cookbook has. What I look for in a cookbook is an explanation of the basic cooking methods, flavours or ingredients and some history of the type of cuisine the book is about. Essentially, I want to learn how to make the food; I already know how to follow a recipe. I found one book called '50 Great Curries of India' by Camellia Panjabi which fit the bill. (And I get the hilariousness of 'not caring how many recipes a cookbook has' XD). The book started with a lovely intro from the Indian hospitality mogul who 'collected' the recipes. (Fun fact about these anthologies is that typically they are compilations of recipes from many different people, not just one.) Anyway, regardless of whether the name on the cover actually wrote a word of the cookbook, I want the information and I want it to be accurate. In this cookbook there's about 50 pages of well written background of Indian curries and spices and acidifiers. Also how and why they are used. Yay! Learning!

Below is a recipe I made from that new cookbook, but edited so it's easier to follow. NOTE: First time making it, It Will at least 2 hours to make this curry properly so heads up that it's not a lazy late dinner type meal. (Which I learned the hard/h-angry way. Haha.)

Cauliflower Gashi (or Aloo Gobi - Cauliflower Potato Curry)

This curry really comes in three parts. First is to make your coconut milk (or if you super don't want to you can just buy a can. You'll need at least 2 cups). Second is to make the spice paste. And third is to make the actual curry itself.

Coconut milk:

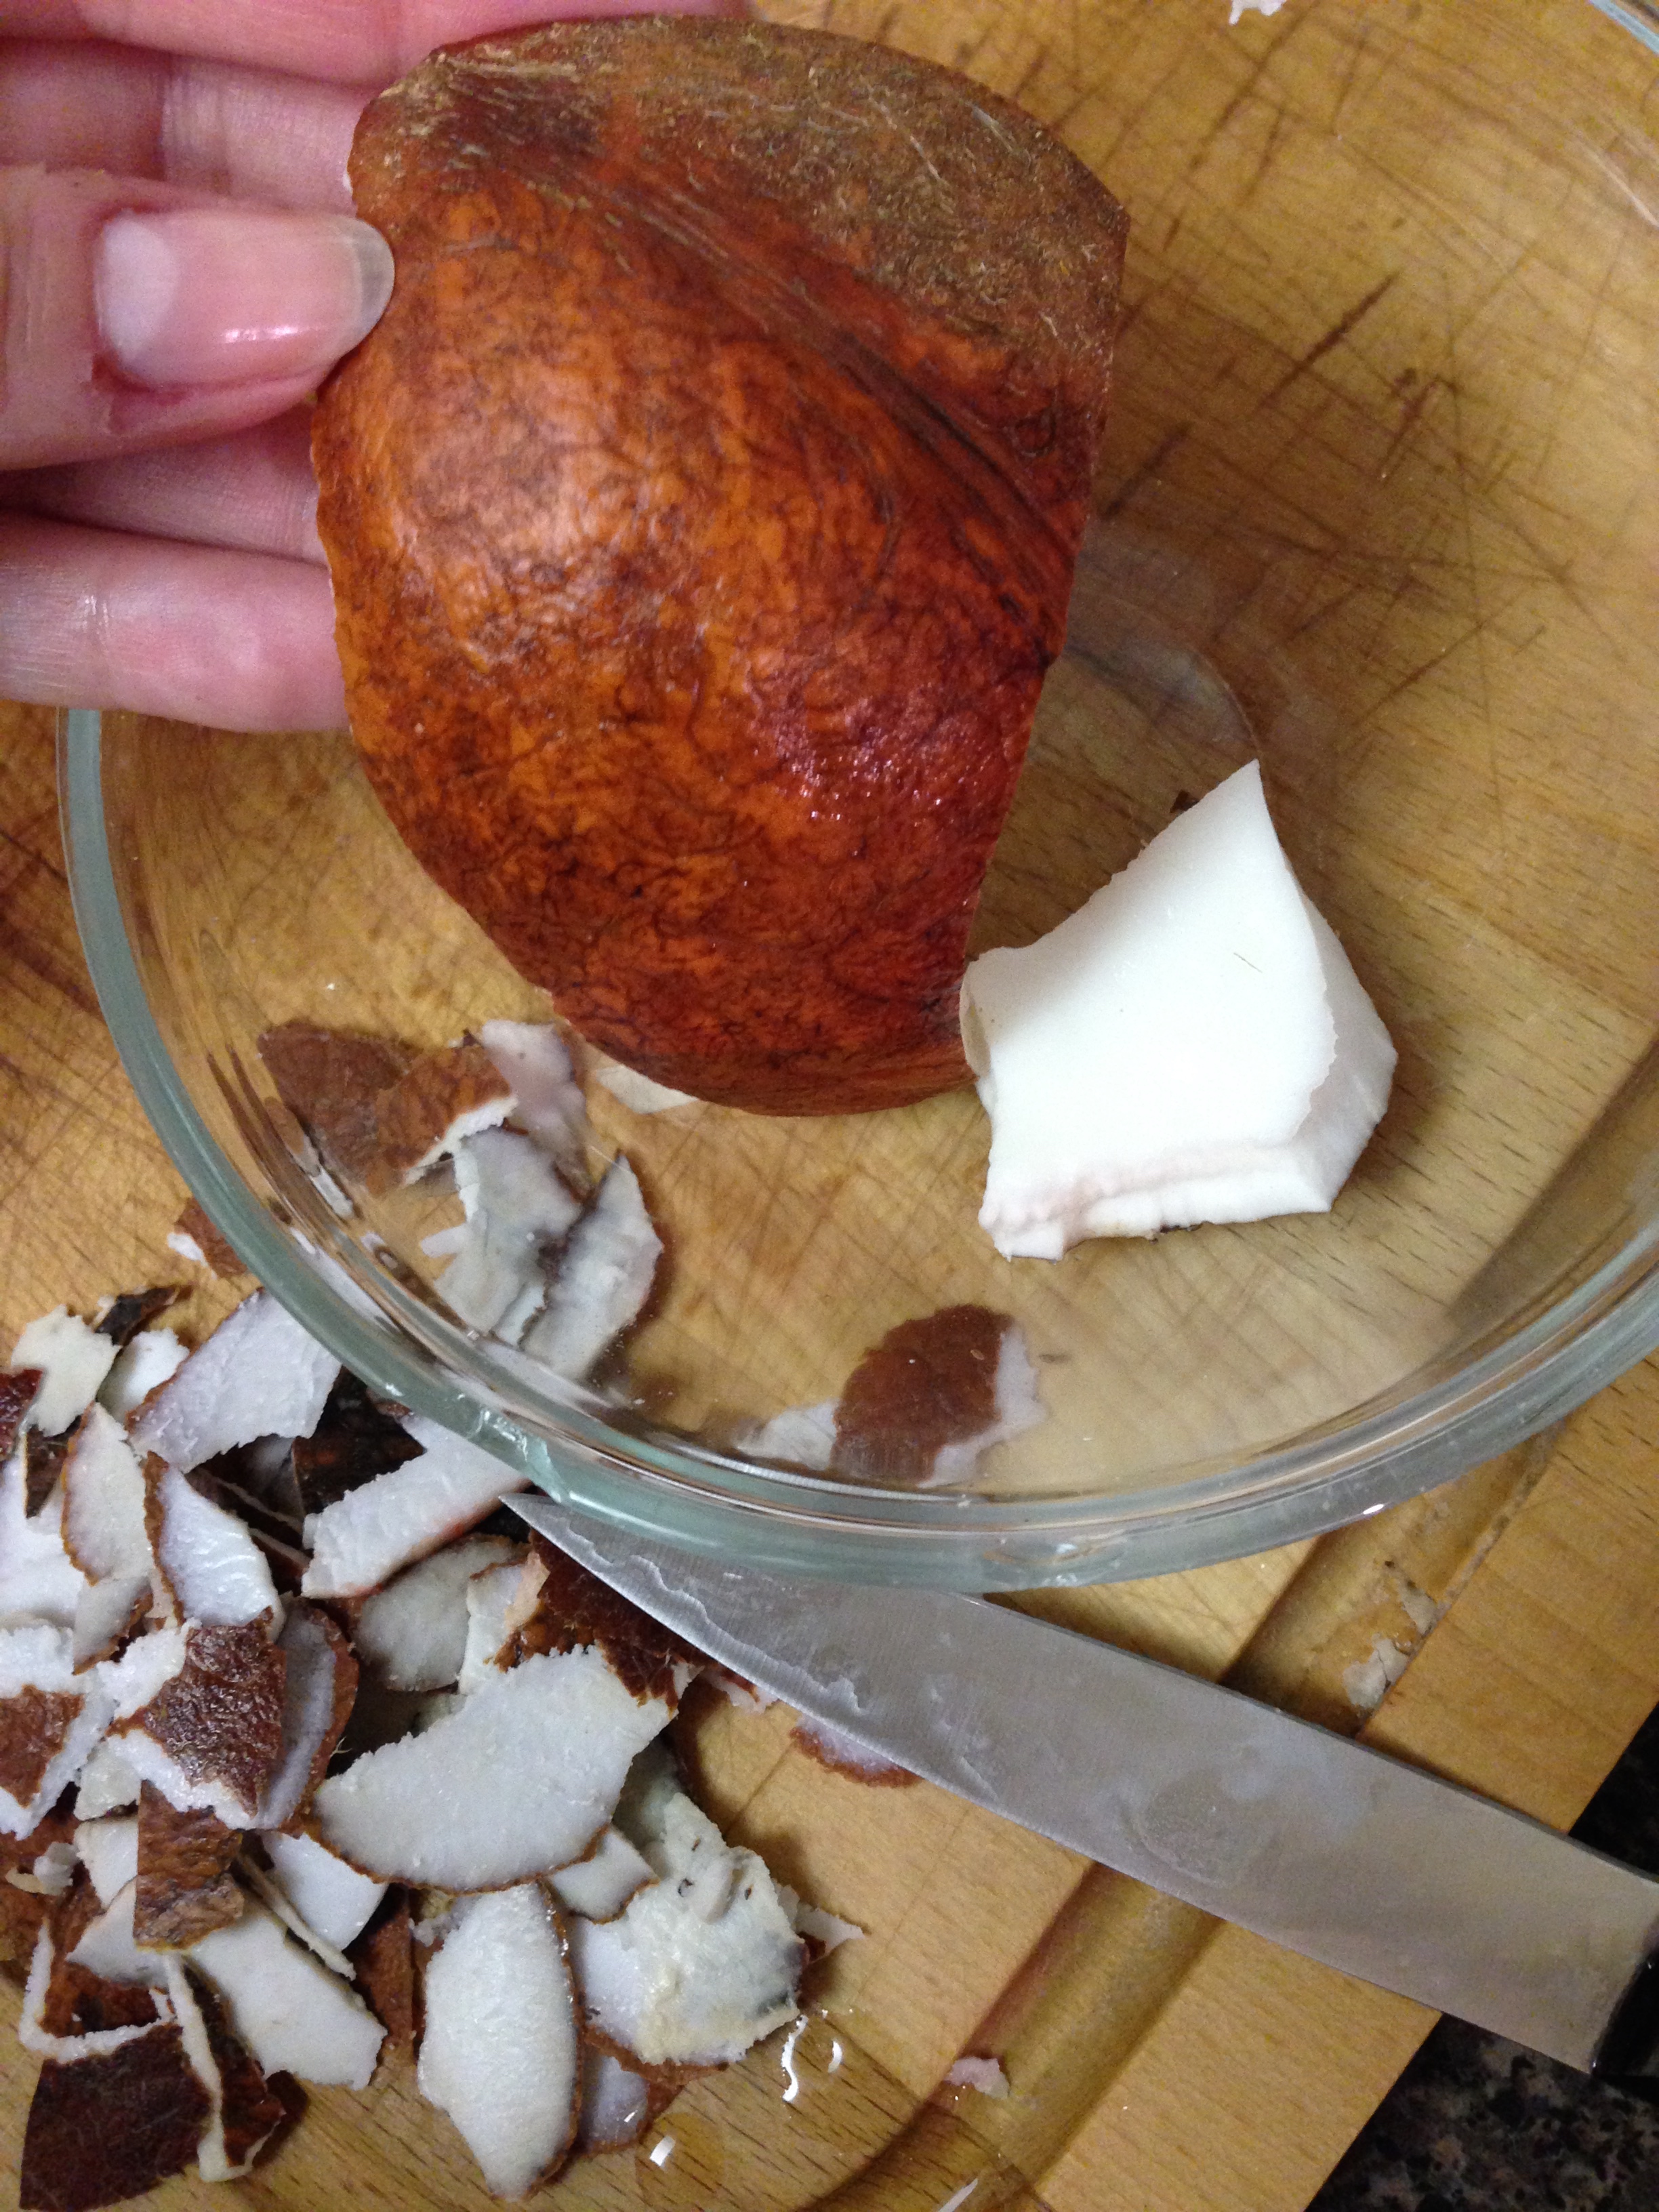
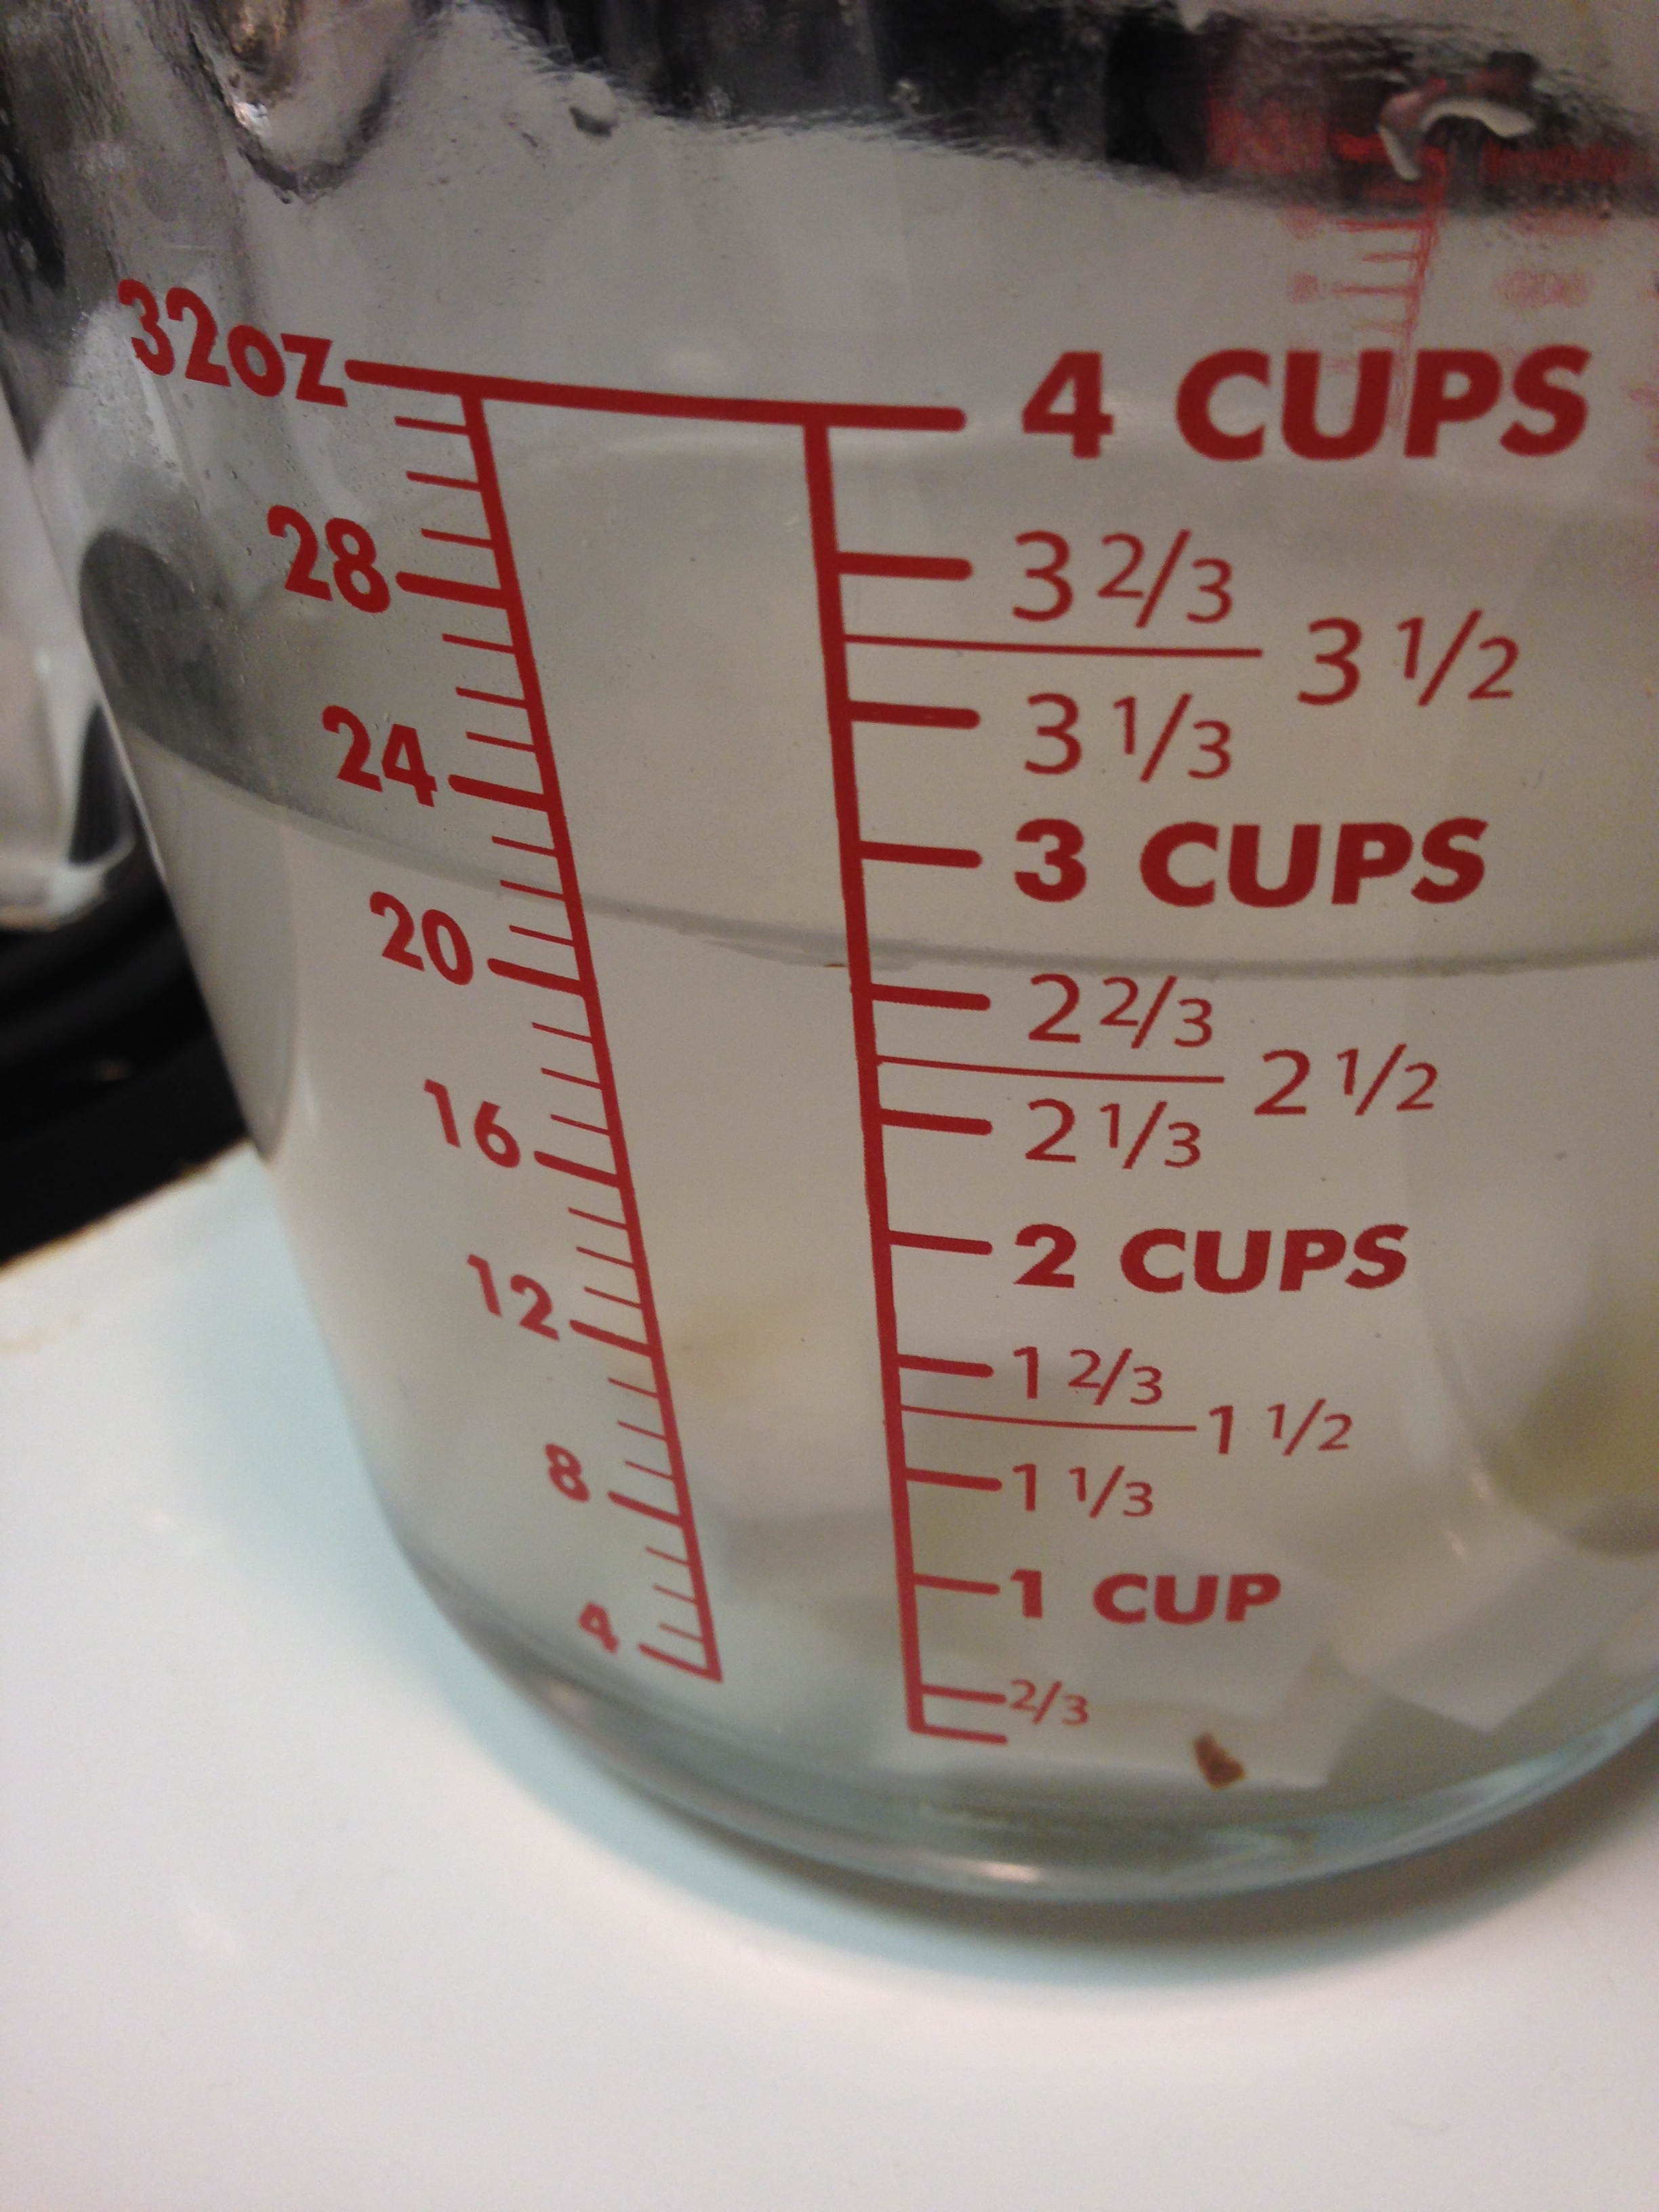
1/2 cup fresh chopped coconut**
2 cups warm water

  1. Combine fresh coconut and warm water.
  2. Let soak for 30 minutes.
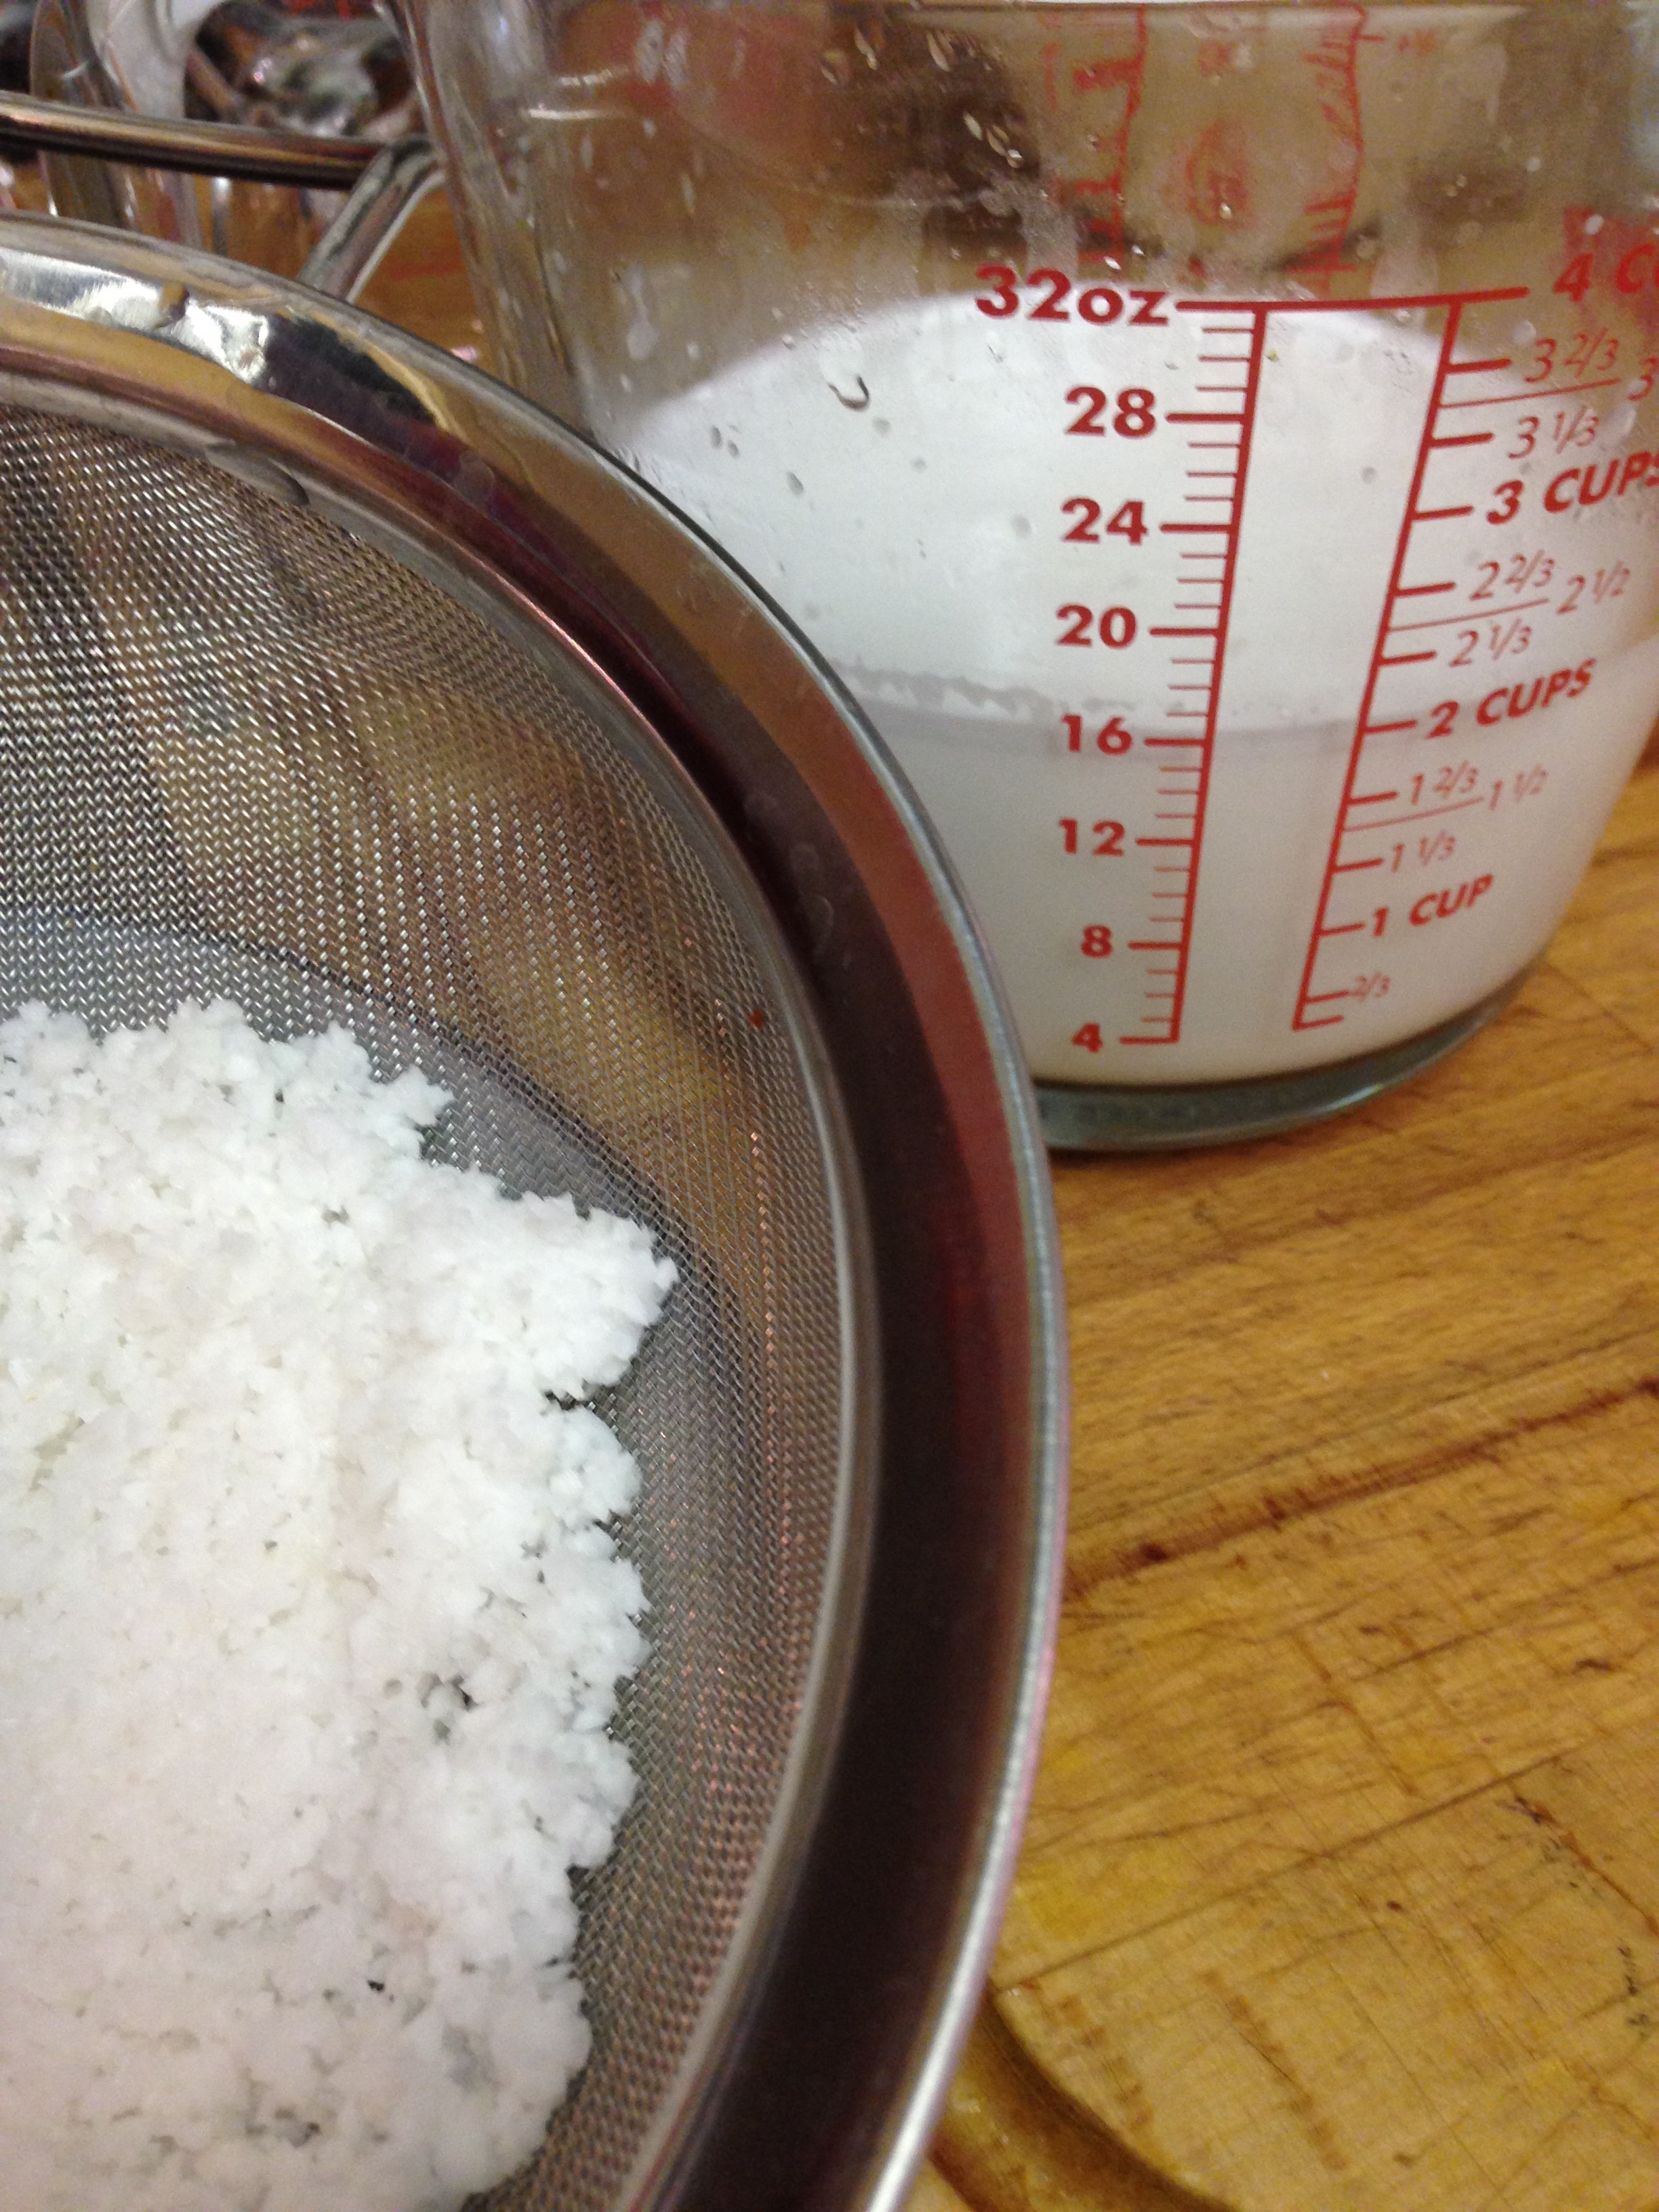
  3. Blend together well and strain out coconut with a fine mesh sieve. Set aside milk. (If you make this way ahead you can store it in the fridge. It may separate but don't fret! A good stir and some heat will bring it back together. Also, you won't be using the left over coconut mulch. But I'm looking into what can be done with it!)

** I found fresh coconut in the 'fruit salad section' at a reasonably fancy grocery store. It was even cut up already. I think some other grocery stores sell it whole. If you hit up a Indian or Asian market though, it's relatively common.

ย 

Spice Paste:

3 TBSP oil, separated
1 medium onion, chopped
1 cup fresh chopped coconut
5 whole dried red chiles
2 tsp coriander seeds
1/4 tsp cumin seeds
1/8 tsp mustard seeds
1/8 tsp fenugreek seeds
1 inch piece cinnamon stick
2 cloves
4 black peppercorns
2 tsp tamarind paste
1/2 tsp turmeric
1/2 tsp paprika
Water

  1. Heat 2 TBSP oil in a frying pan over medium heat.
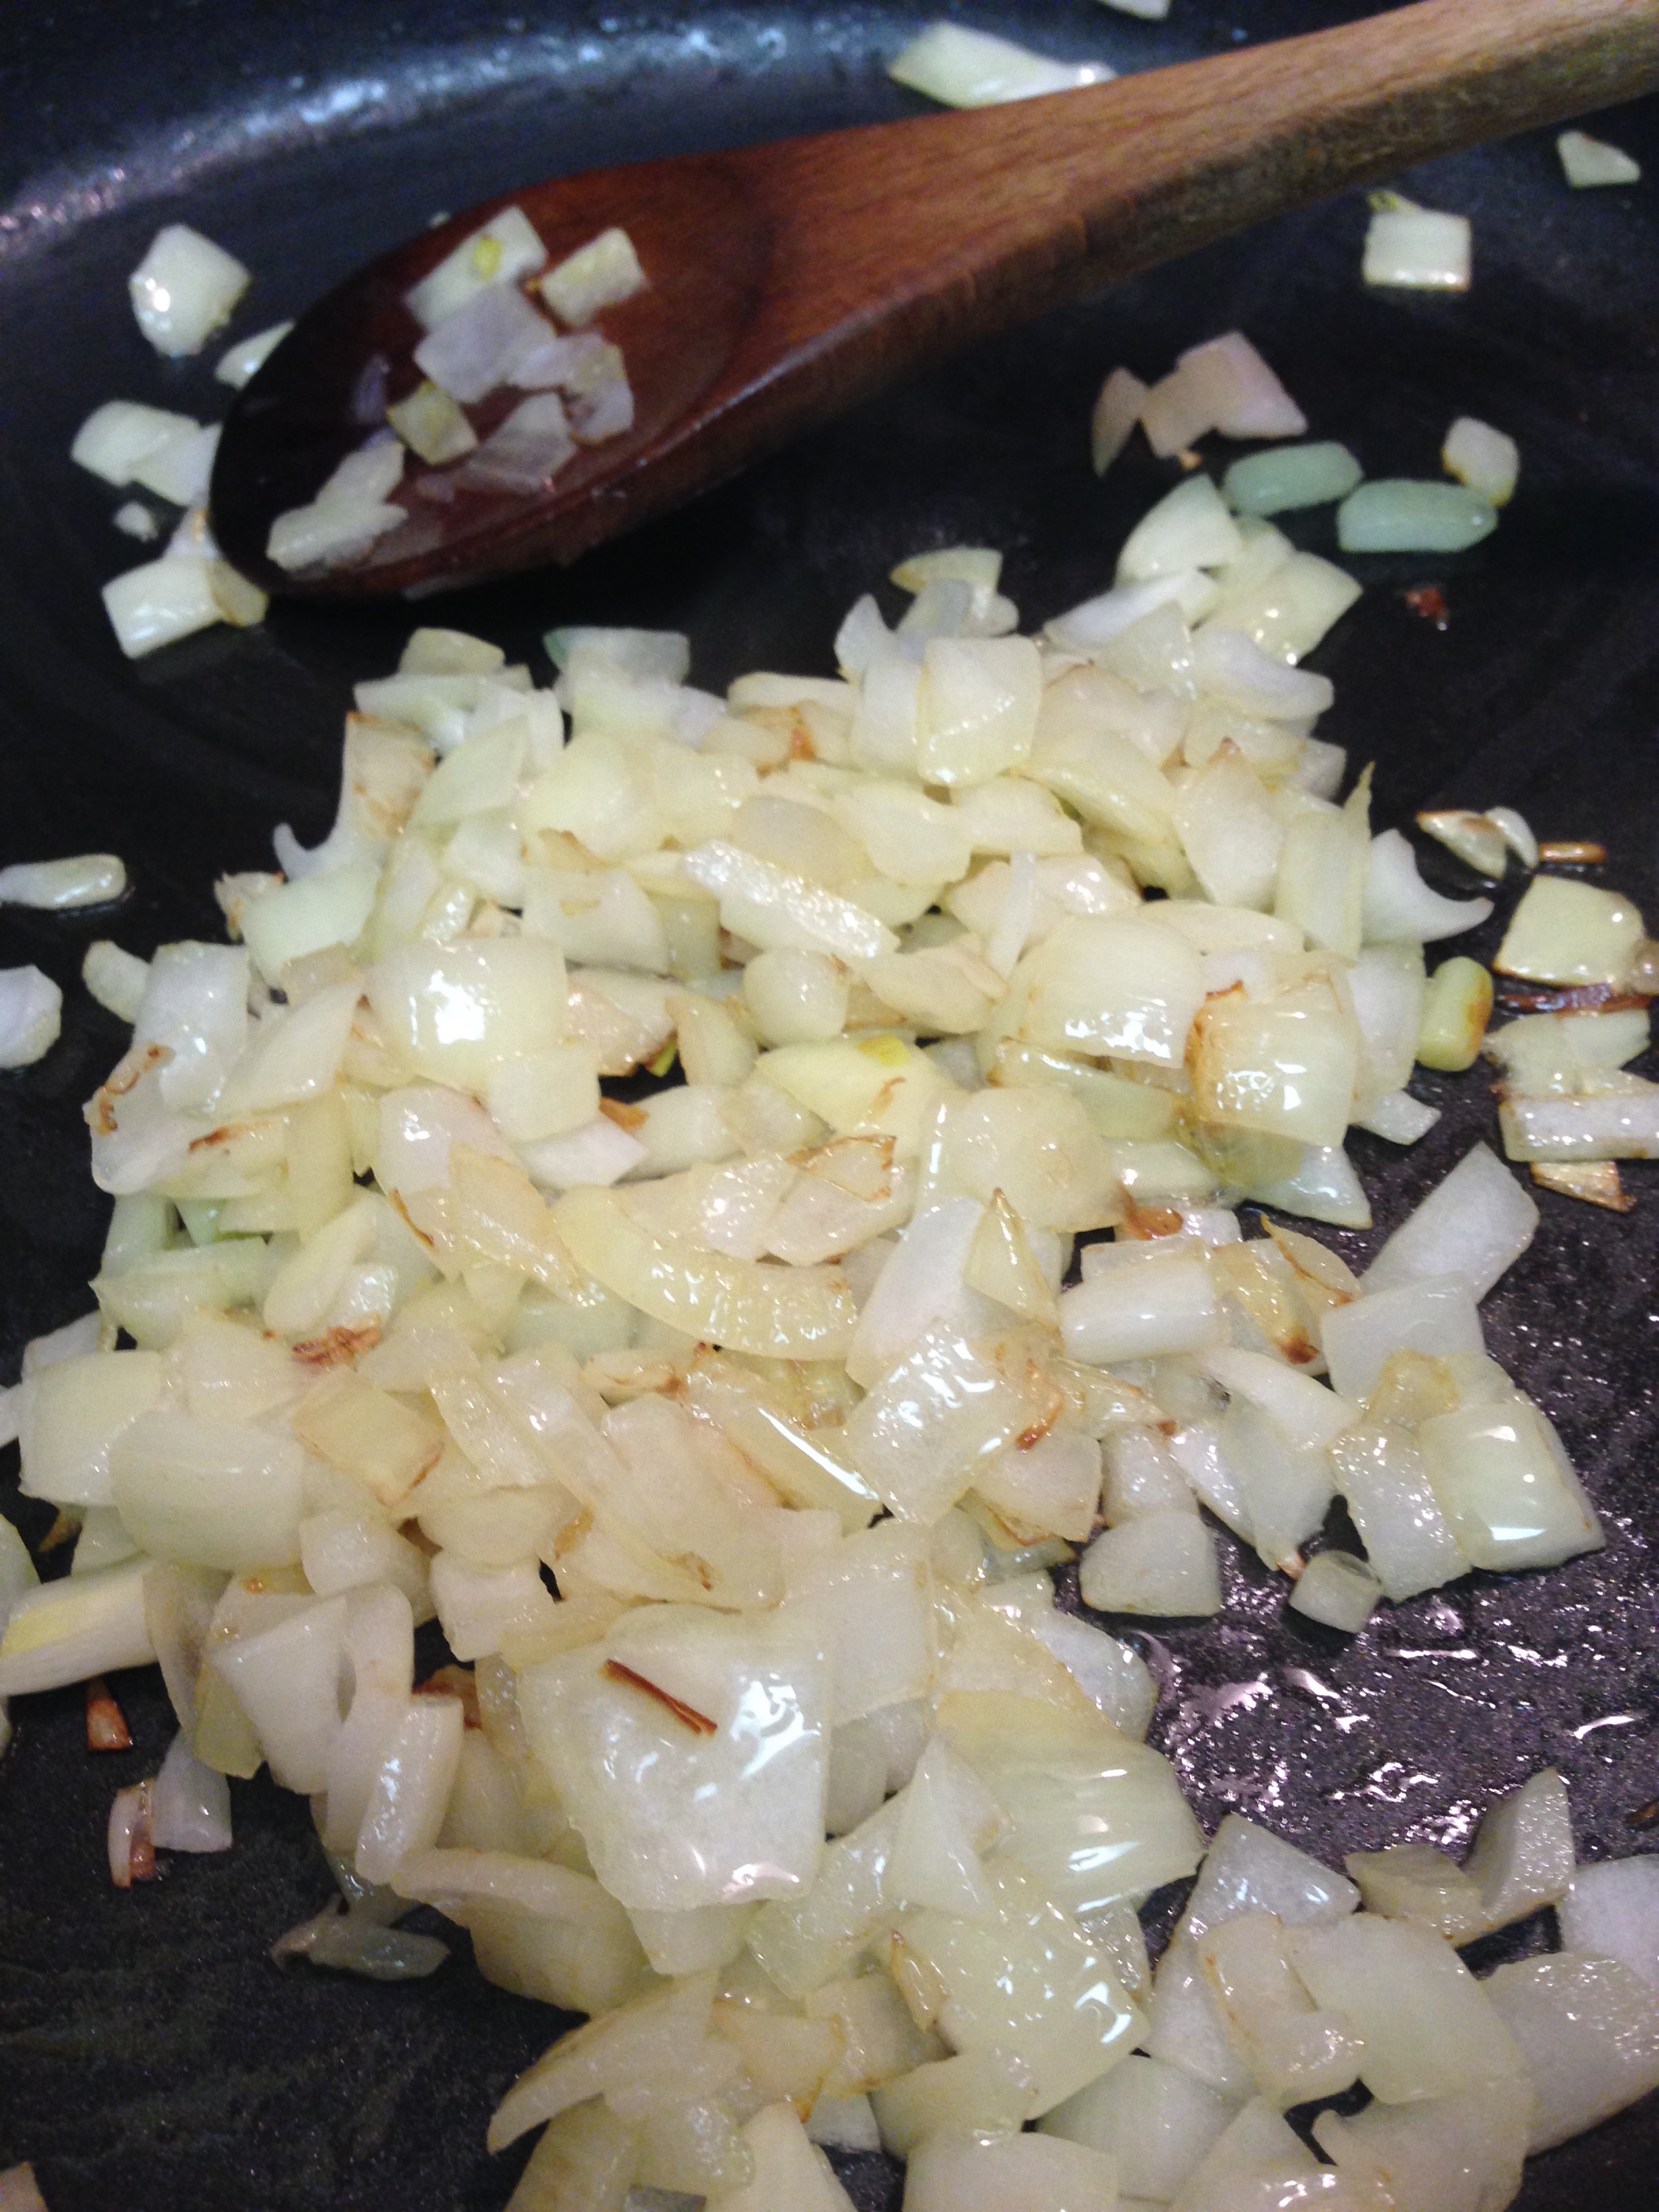
  2. Cook onion and coconut together, stirring frequently, until they start to brown. Remove from heat.
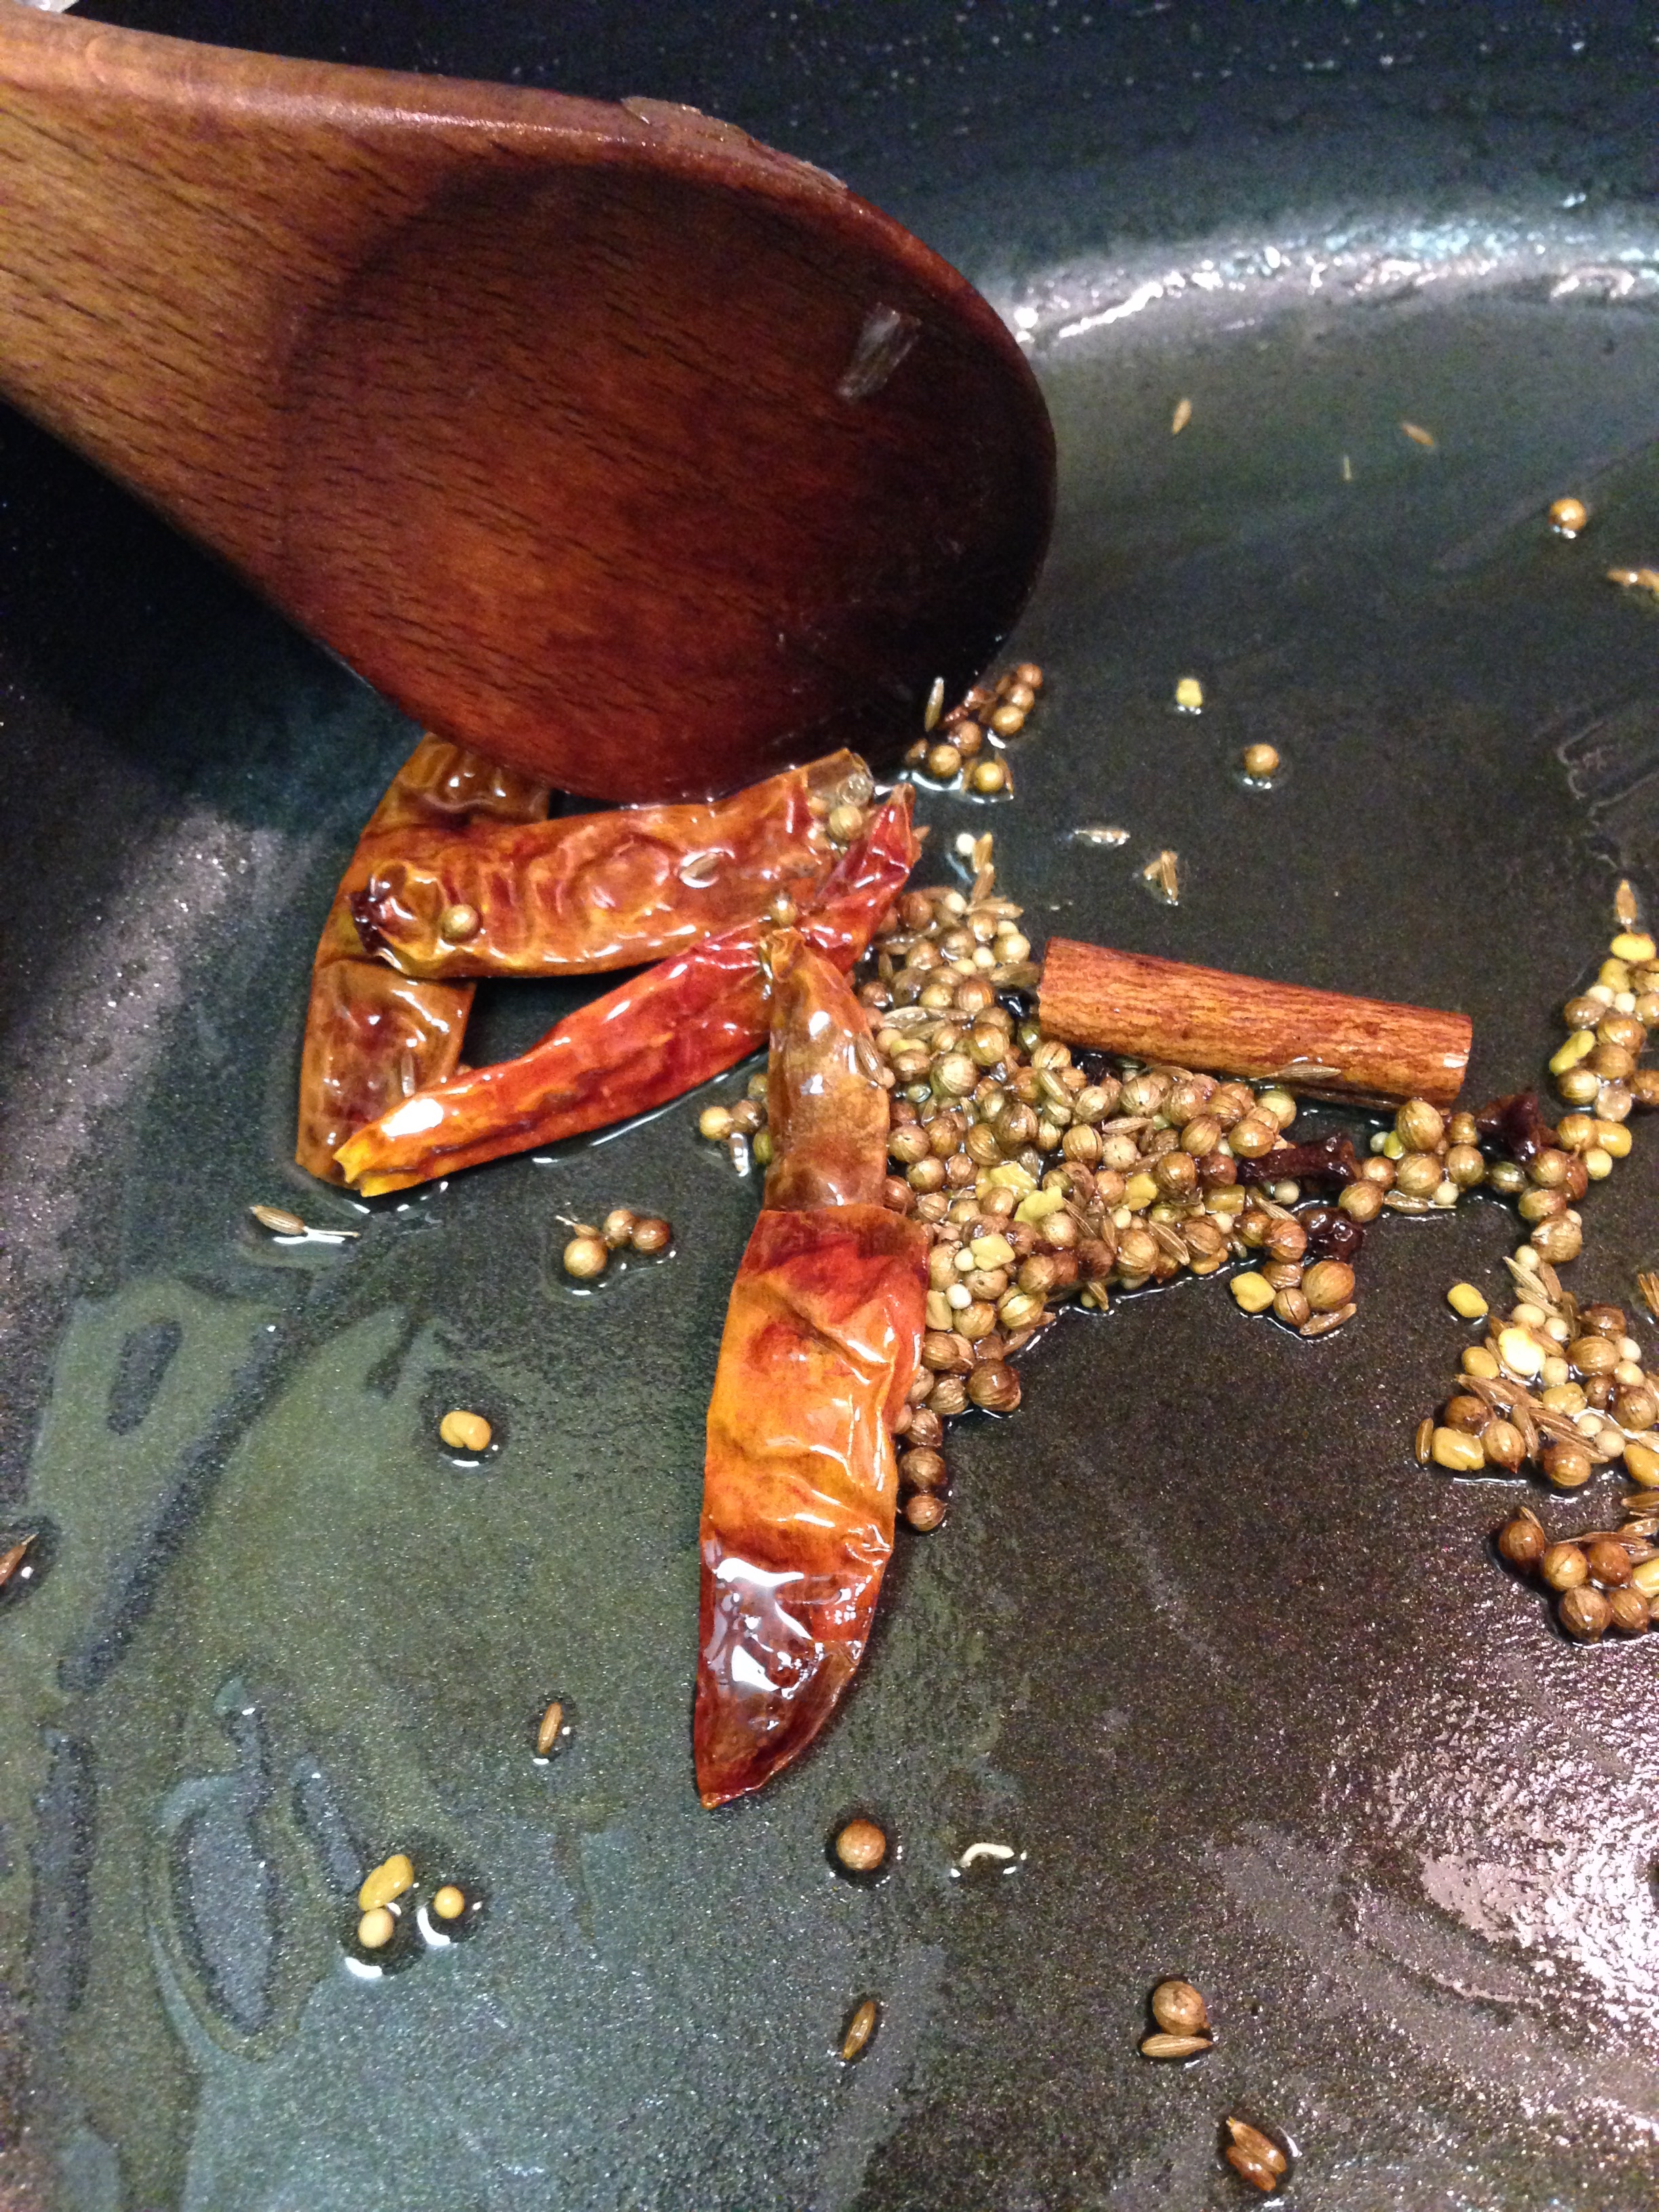
  3. While the onion and coconut cool, combine chiles, coriander, cumin, mustard, fenugreek, cinnamon, cloves, and peppercorns into a bowl. Heat 1 TBSP oil in a frying pan over medium heat. Add spices and cook for 1 minutes. Remove from heat.
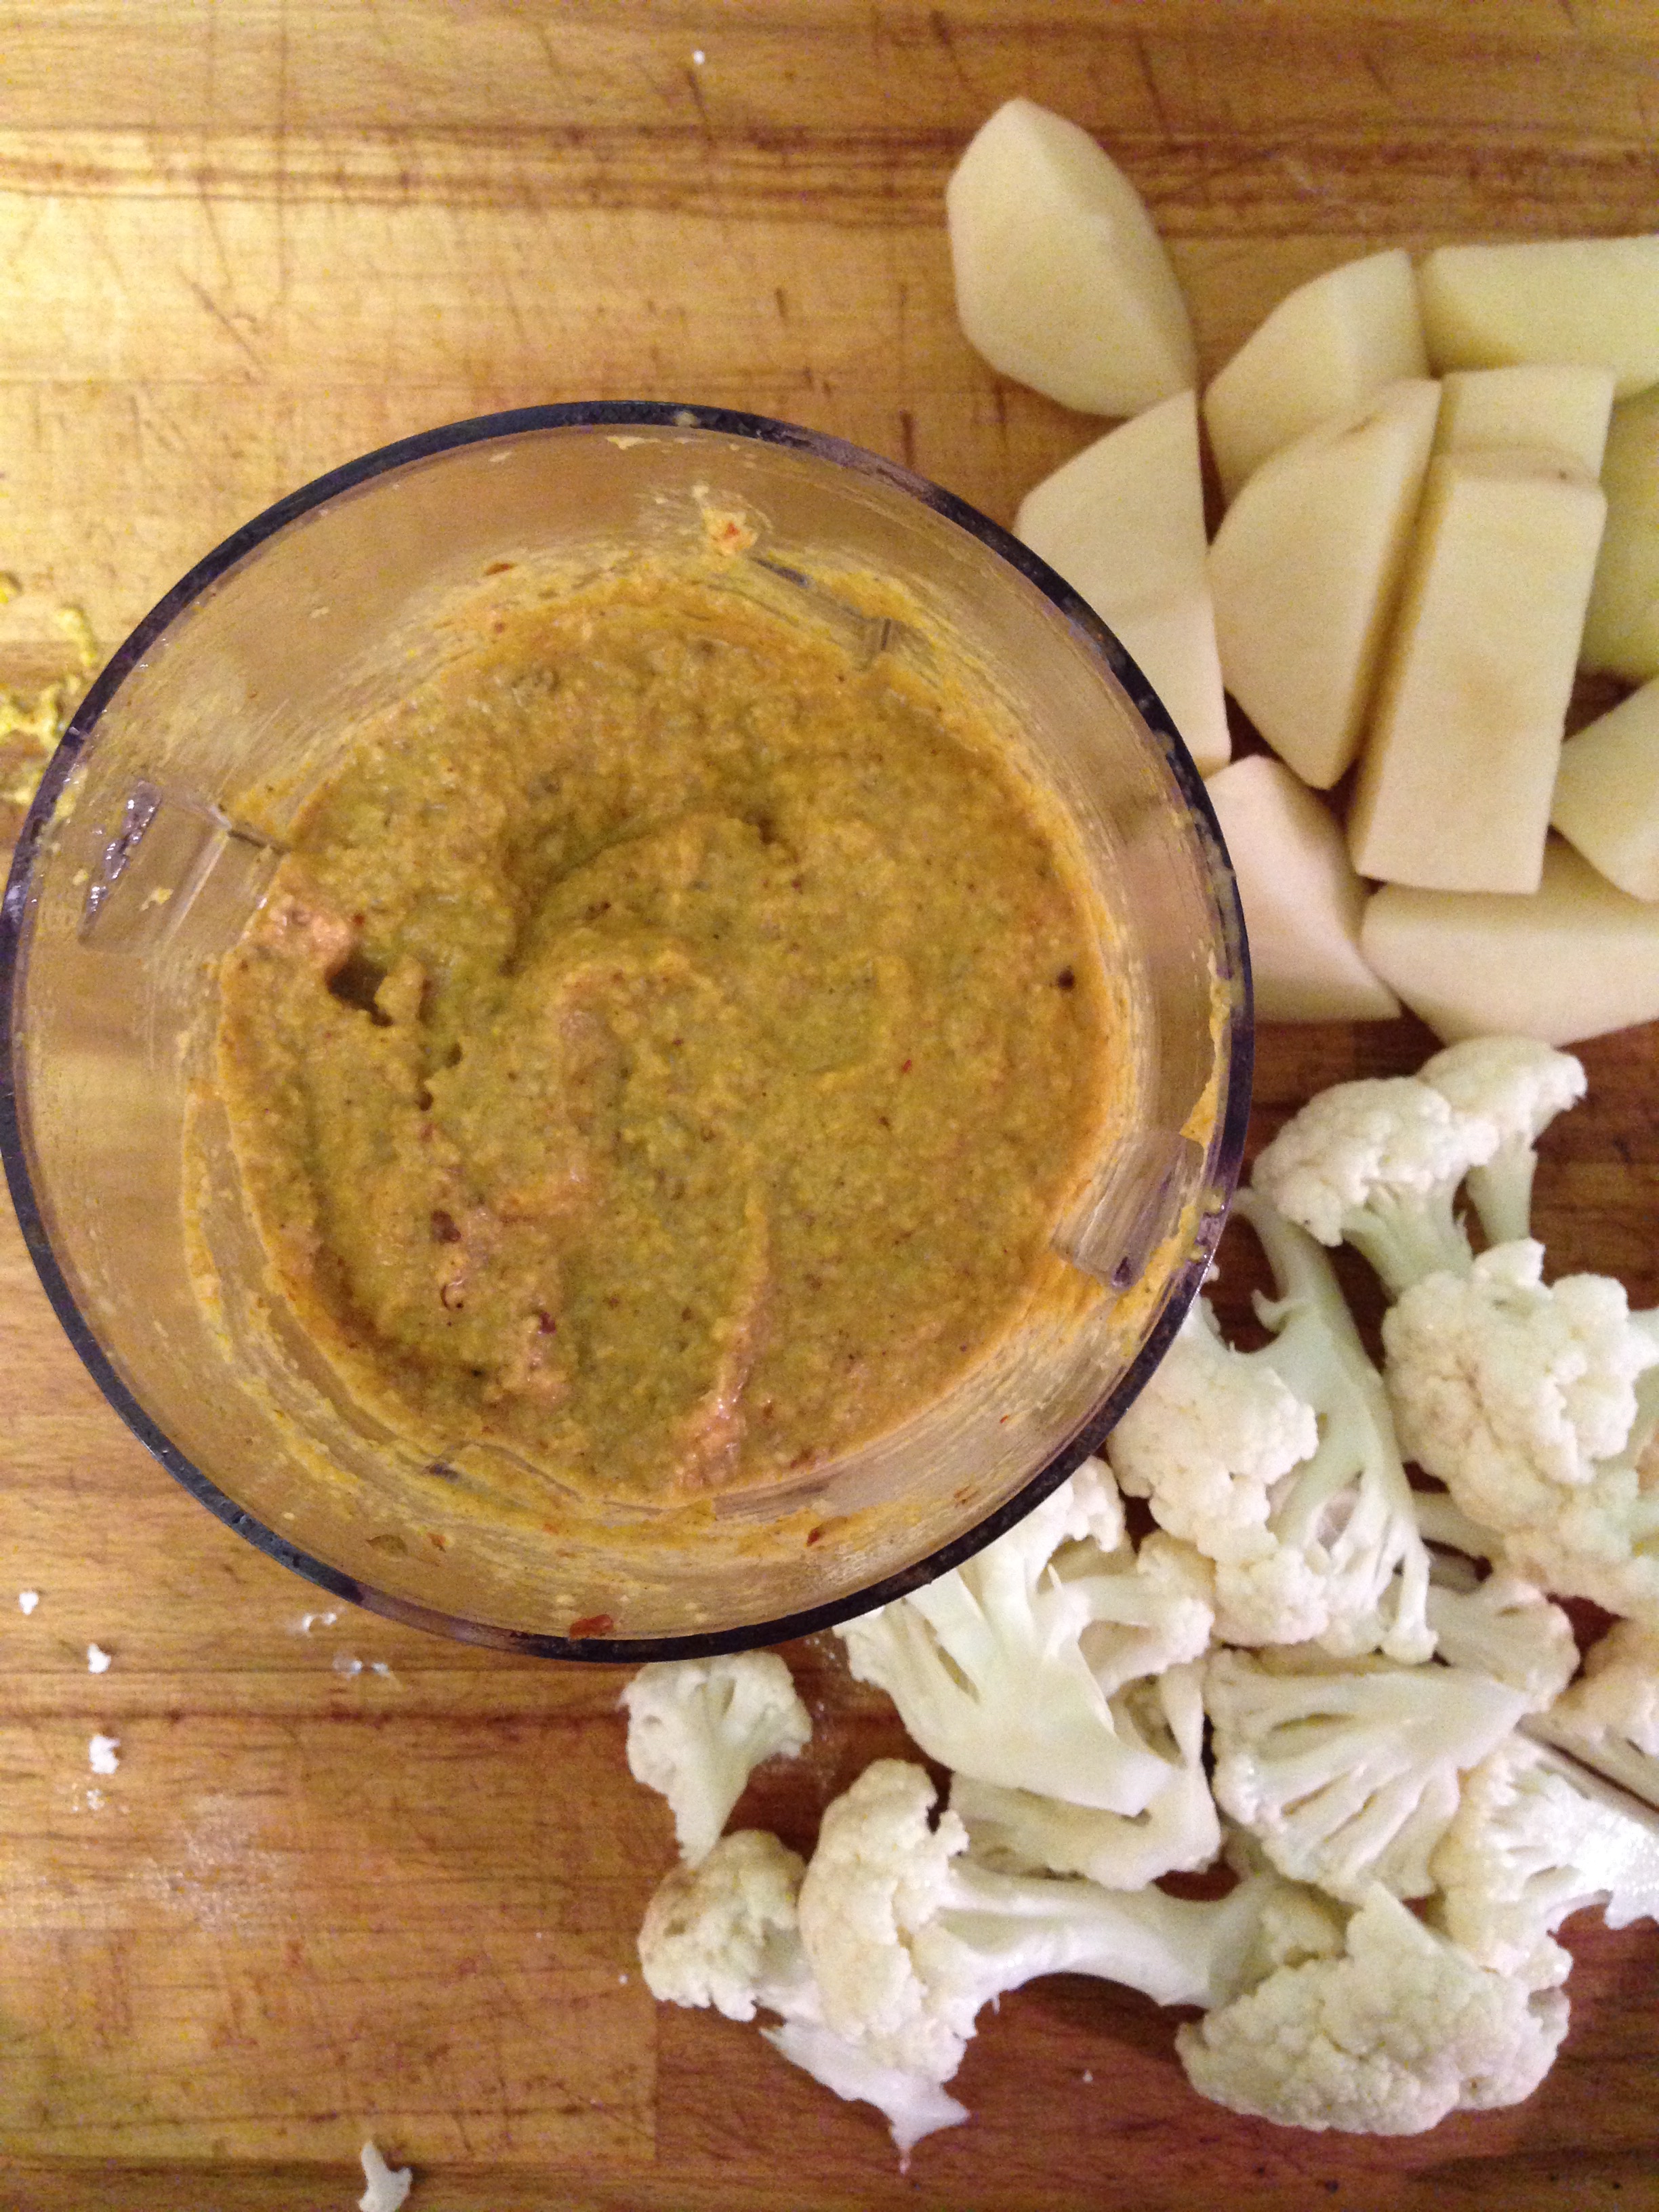
  4. In a food processor or blender, combine cooked onion, coconut, and spices. Add tamarind, turmeric, paprika and 1/2 cup water. Blend until smooth and paste-like. Makes about 11/4 cups.

**I got ALL these spices from Bulk Farm. That's right, the knock off Bulk Barn. Haha. And it was way less expensive than buying them from the grocery store too. You can buy as much or little as you want. To store them, I use IKEA spice jars. They're relatively cheap but still look nice and seal well.

ย 

Curry:

1 1/2 TBSP minced ginger
1 medium onion, chopped
4 tsp minced garlic (or 4 cloves garlic, finely chopped)
Spice Paste (~1 1/4 cups)
2 medium potatoes, peeled and cut into large pieces
1 tsp salt (or to taste)
Half a head of cauliflower, cut into florets
Water

Coconut Milk (~2 cups)

  1. In a large frying pan, heat oil over medium heat.
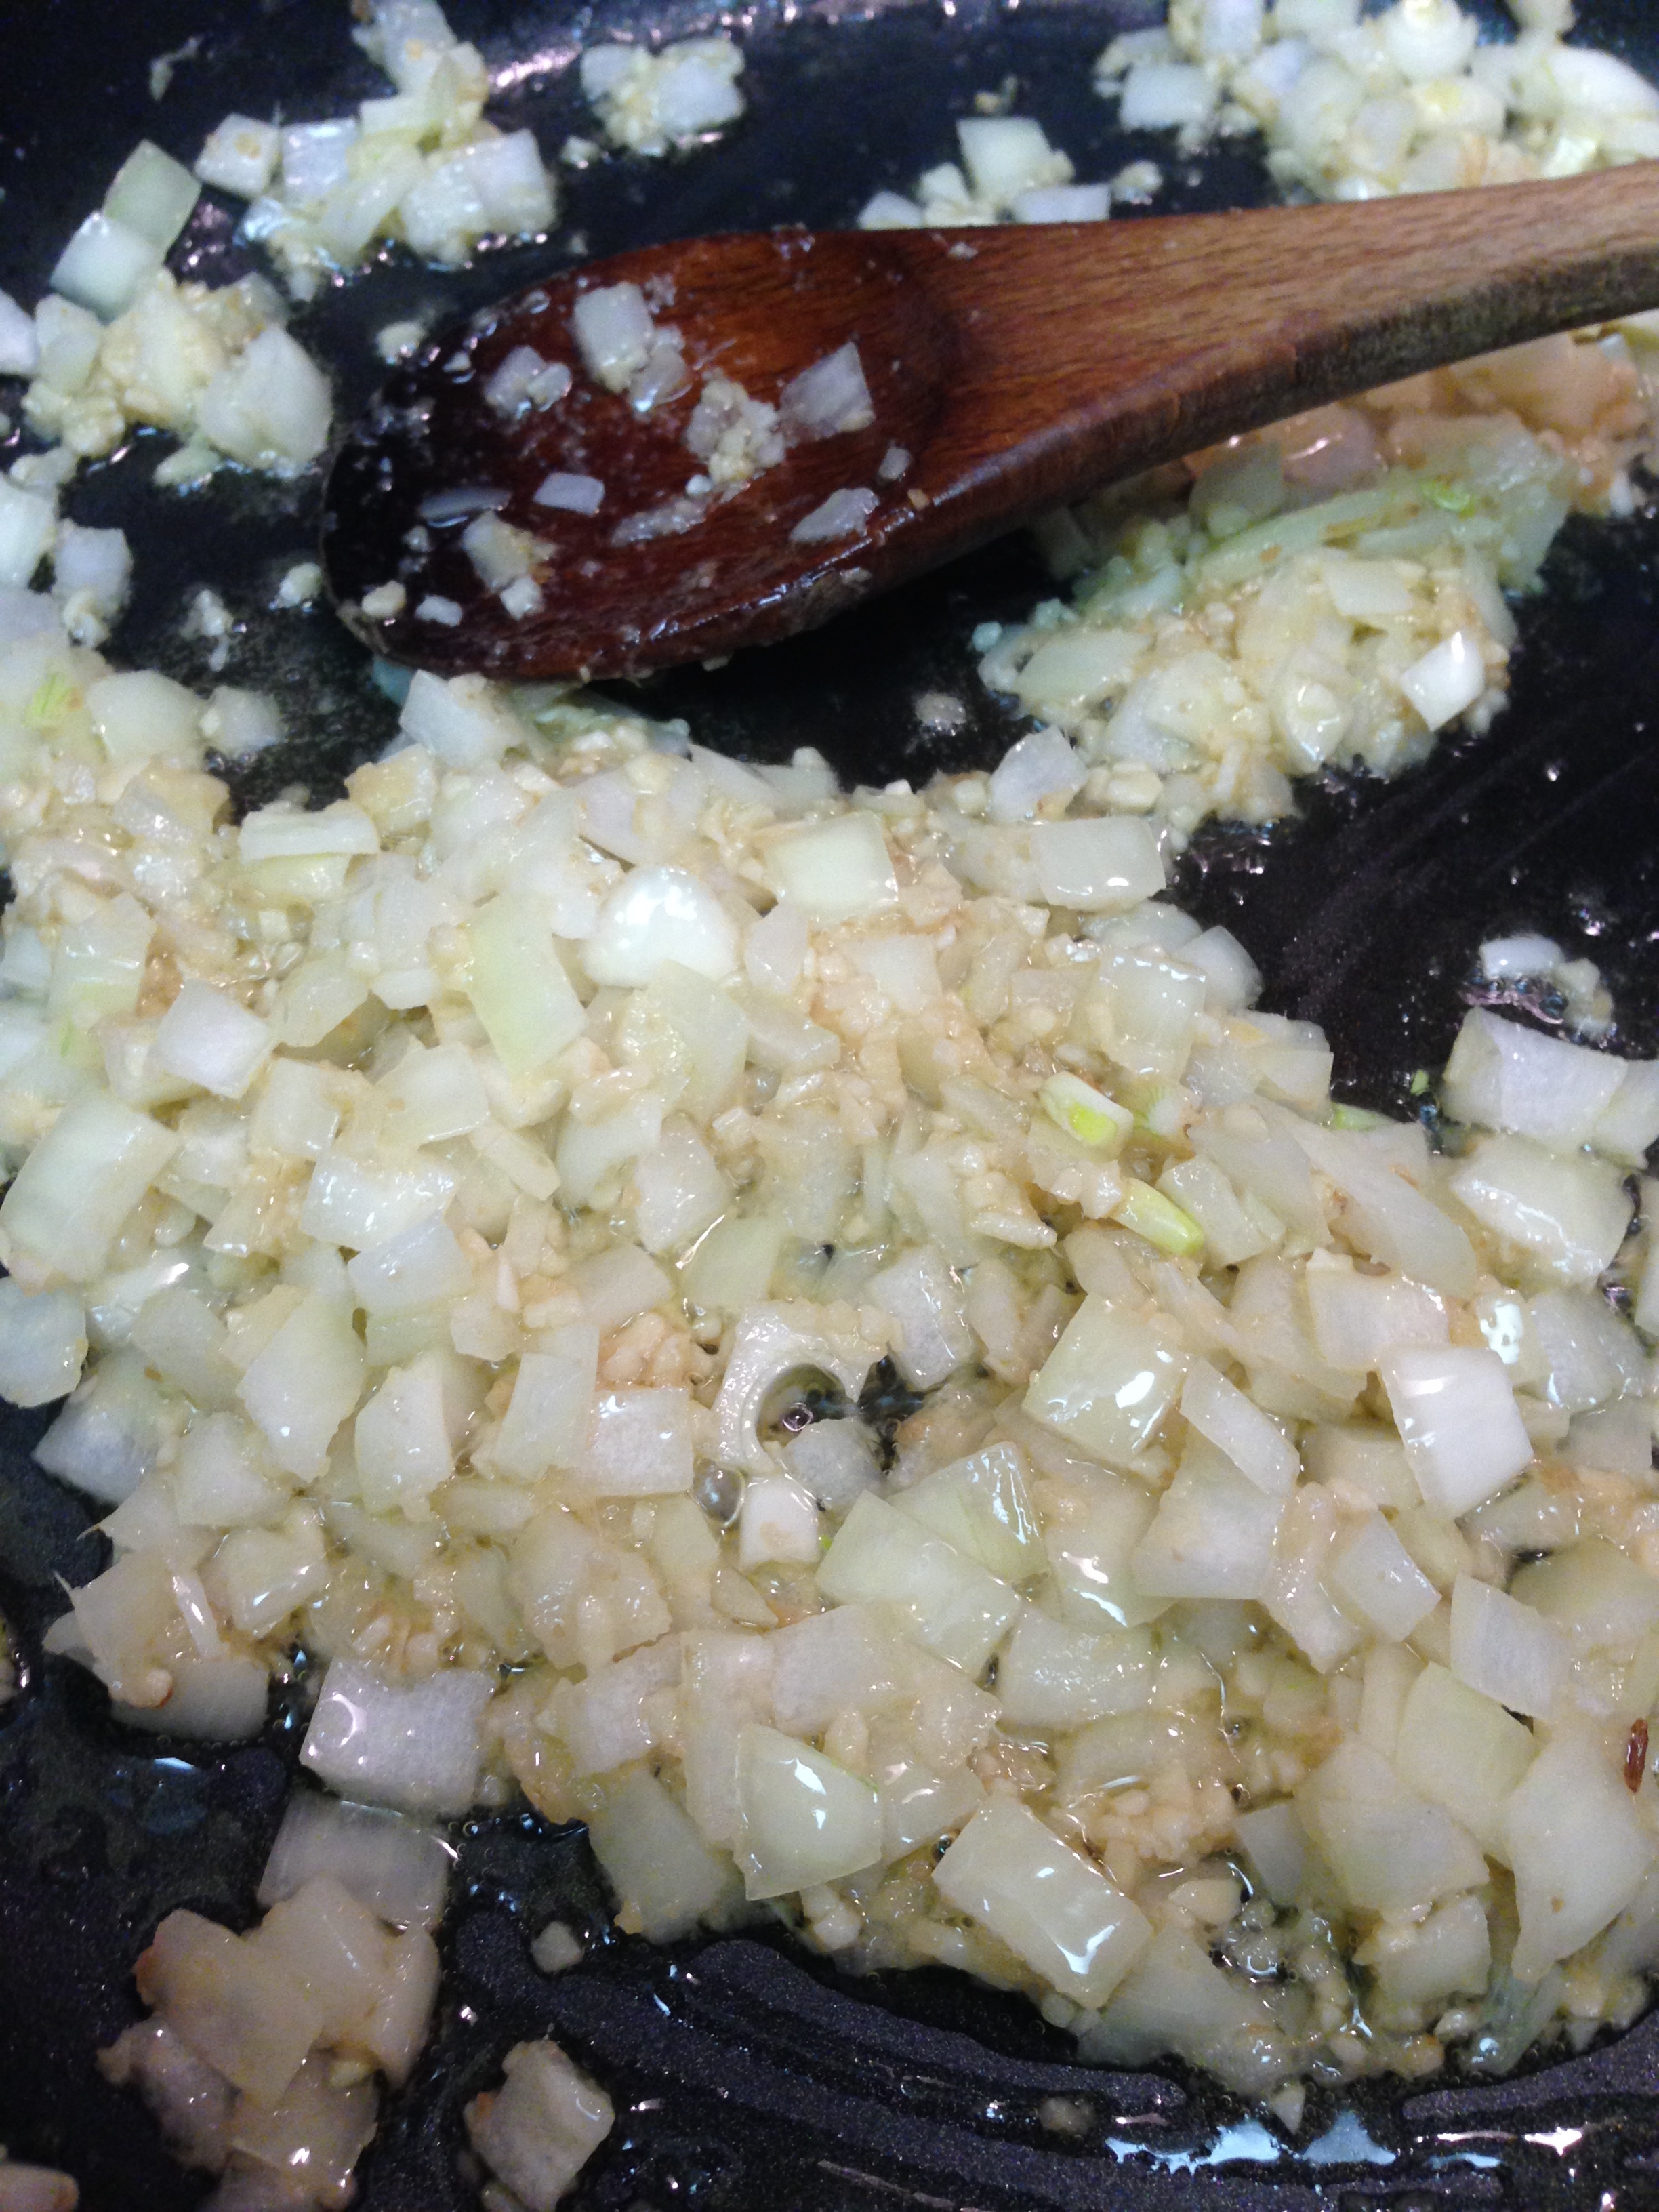
  2. Cook ginger for 2 minutes. Add onions and cook until clear, about 5 minutes.
  3. Add garlic and cook until fragrant, about 2 minutes.
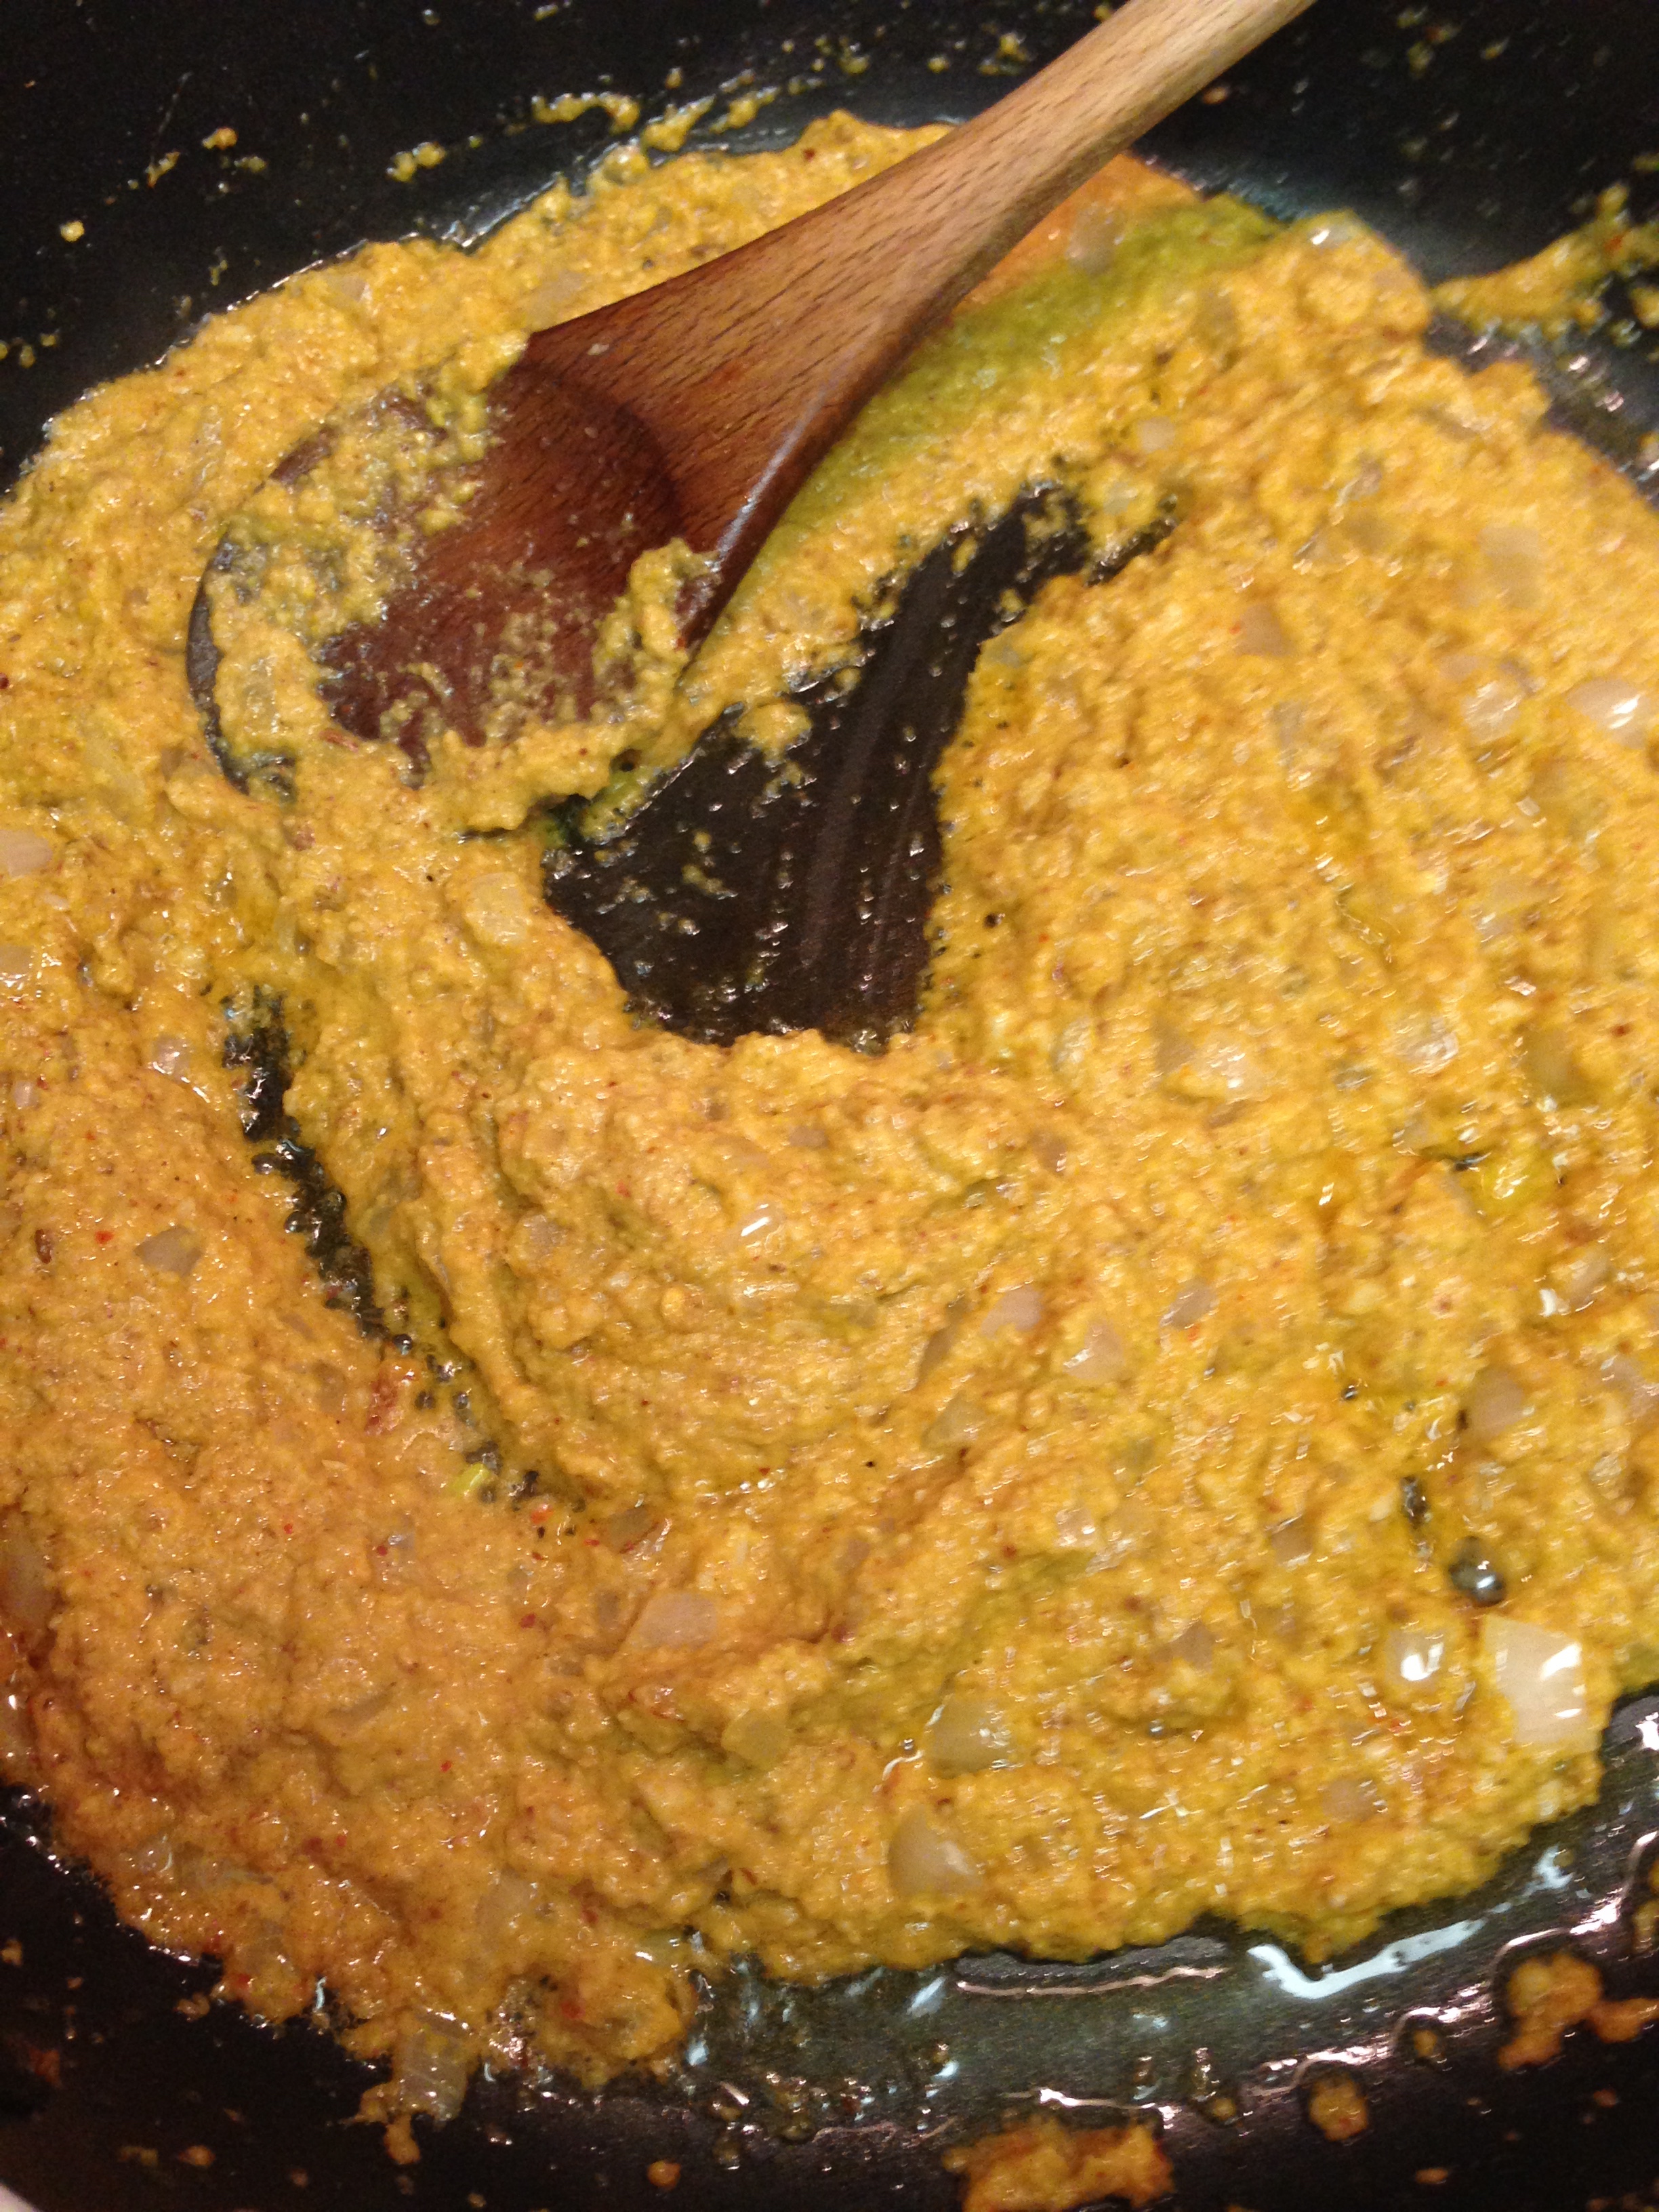
  4. Add the spice paste and stir everything together well. Cook for 2 minutes and then add 1/2 cup water. Stir together.
  5. Add potatoes and salt, stir to cover potatoes in curry sauce. Cook for 5 minutes. Add another 1/2 cup water, stir to combine, and cover frying pan with a lid. Cook for 8-10 minutes, lid on.
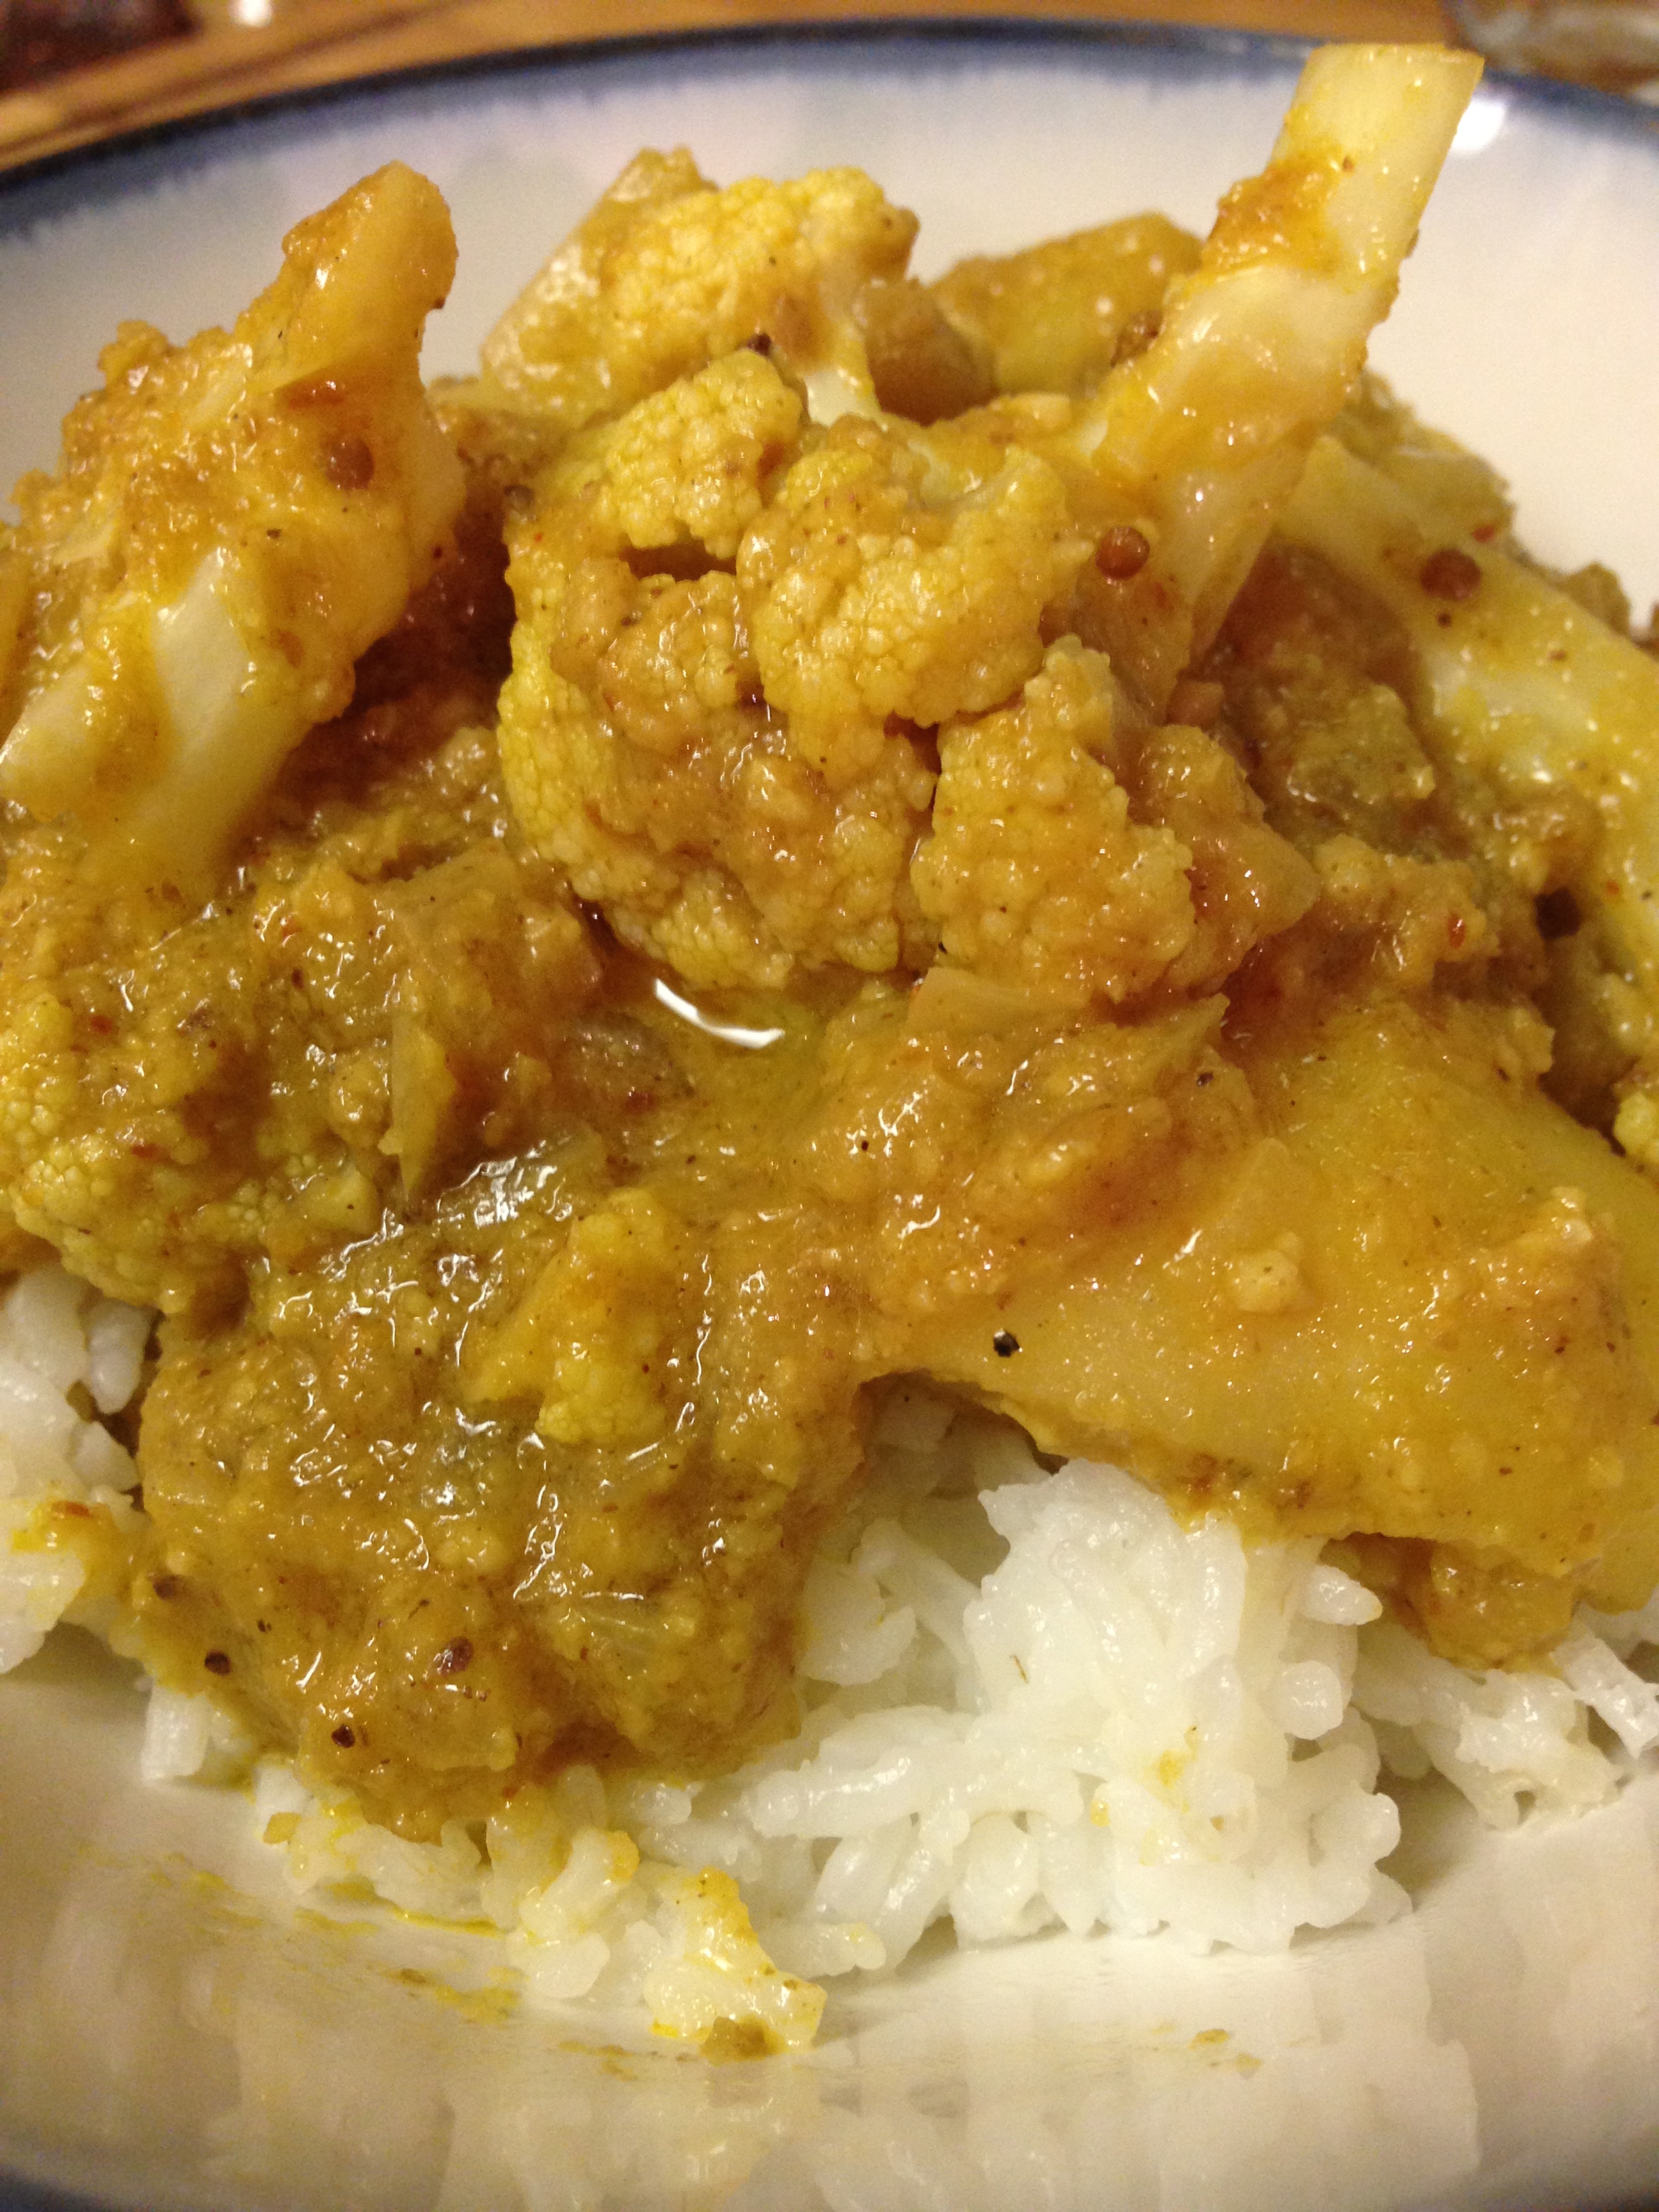
  6. Add cauliflower florets and coconut milk. Stir together. Bring to a boil. Reduce temperature (low-med) and simmer curry until potatoes are cooked and cauliflower is tender, at least 30 minutes. Serve over white rice.

Super yum. Also, you can always use fresh ginger and garlic too. I buy pre-minced stuff all the time so I just use that instead. Time saver and hands-constantly-smelling-of-garlic saver.

The recipe did take a lot longer than I initially had thought (like almost 3 hours) but the next day when the Fiancรฉ took the leftovers to work, his coworkers lucky enough to get curries for dinner all the time were surprised that we spent so little time cooking! Haha. Lesson learned! Good curry takes a good chunk of time! I look forward to making many more recipes from this book. (And hopefully I'll get the hang of it and be able to make my own!)

Cheers!

-Andrea

The Half-Assed Hobbyist
Balcony Gardening: Take-Two

It's that time of year again! End of February is seed sowing time! It always seems so early, with the weather still below freezing and the sunlight still under 5 hours a day. BUT! The gardening book say-ith it's seed sowing time! So it's seed sowing time.

IMG_1565.jpg

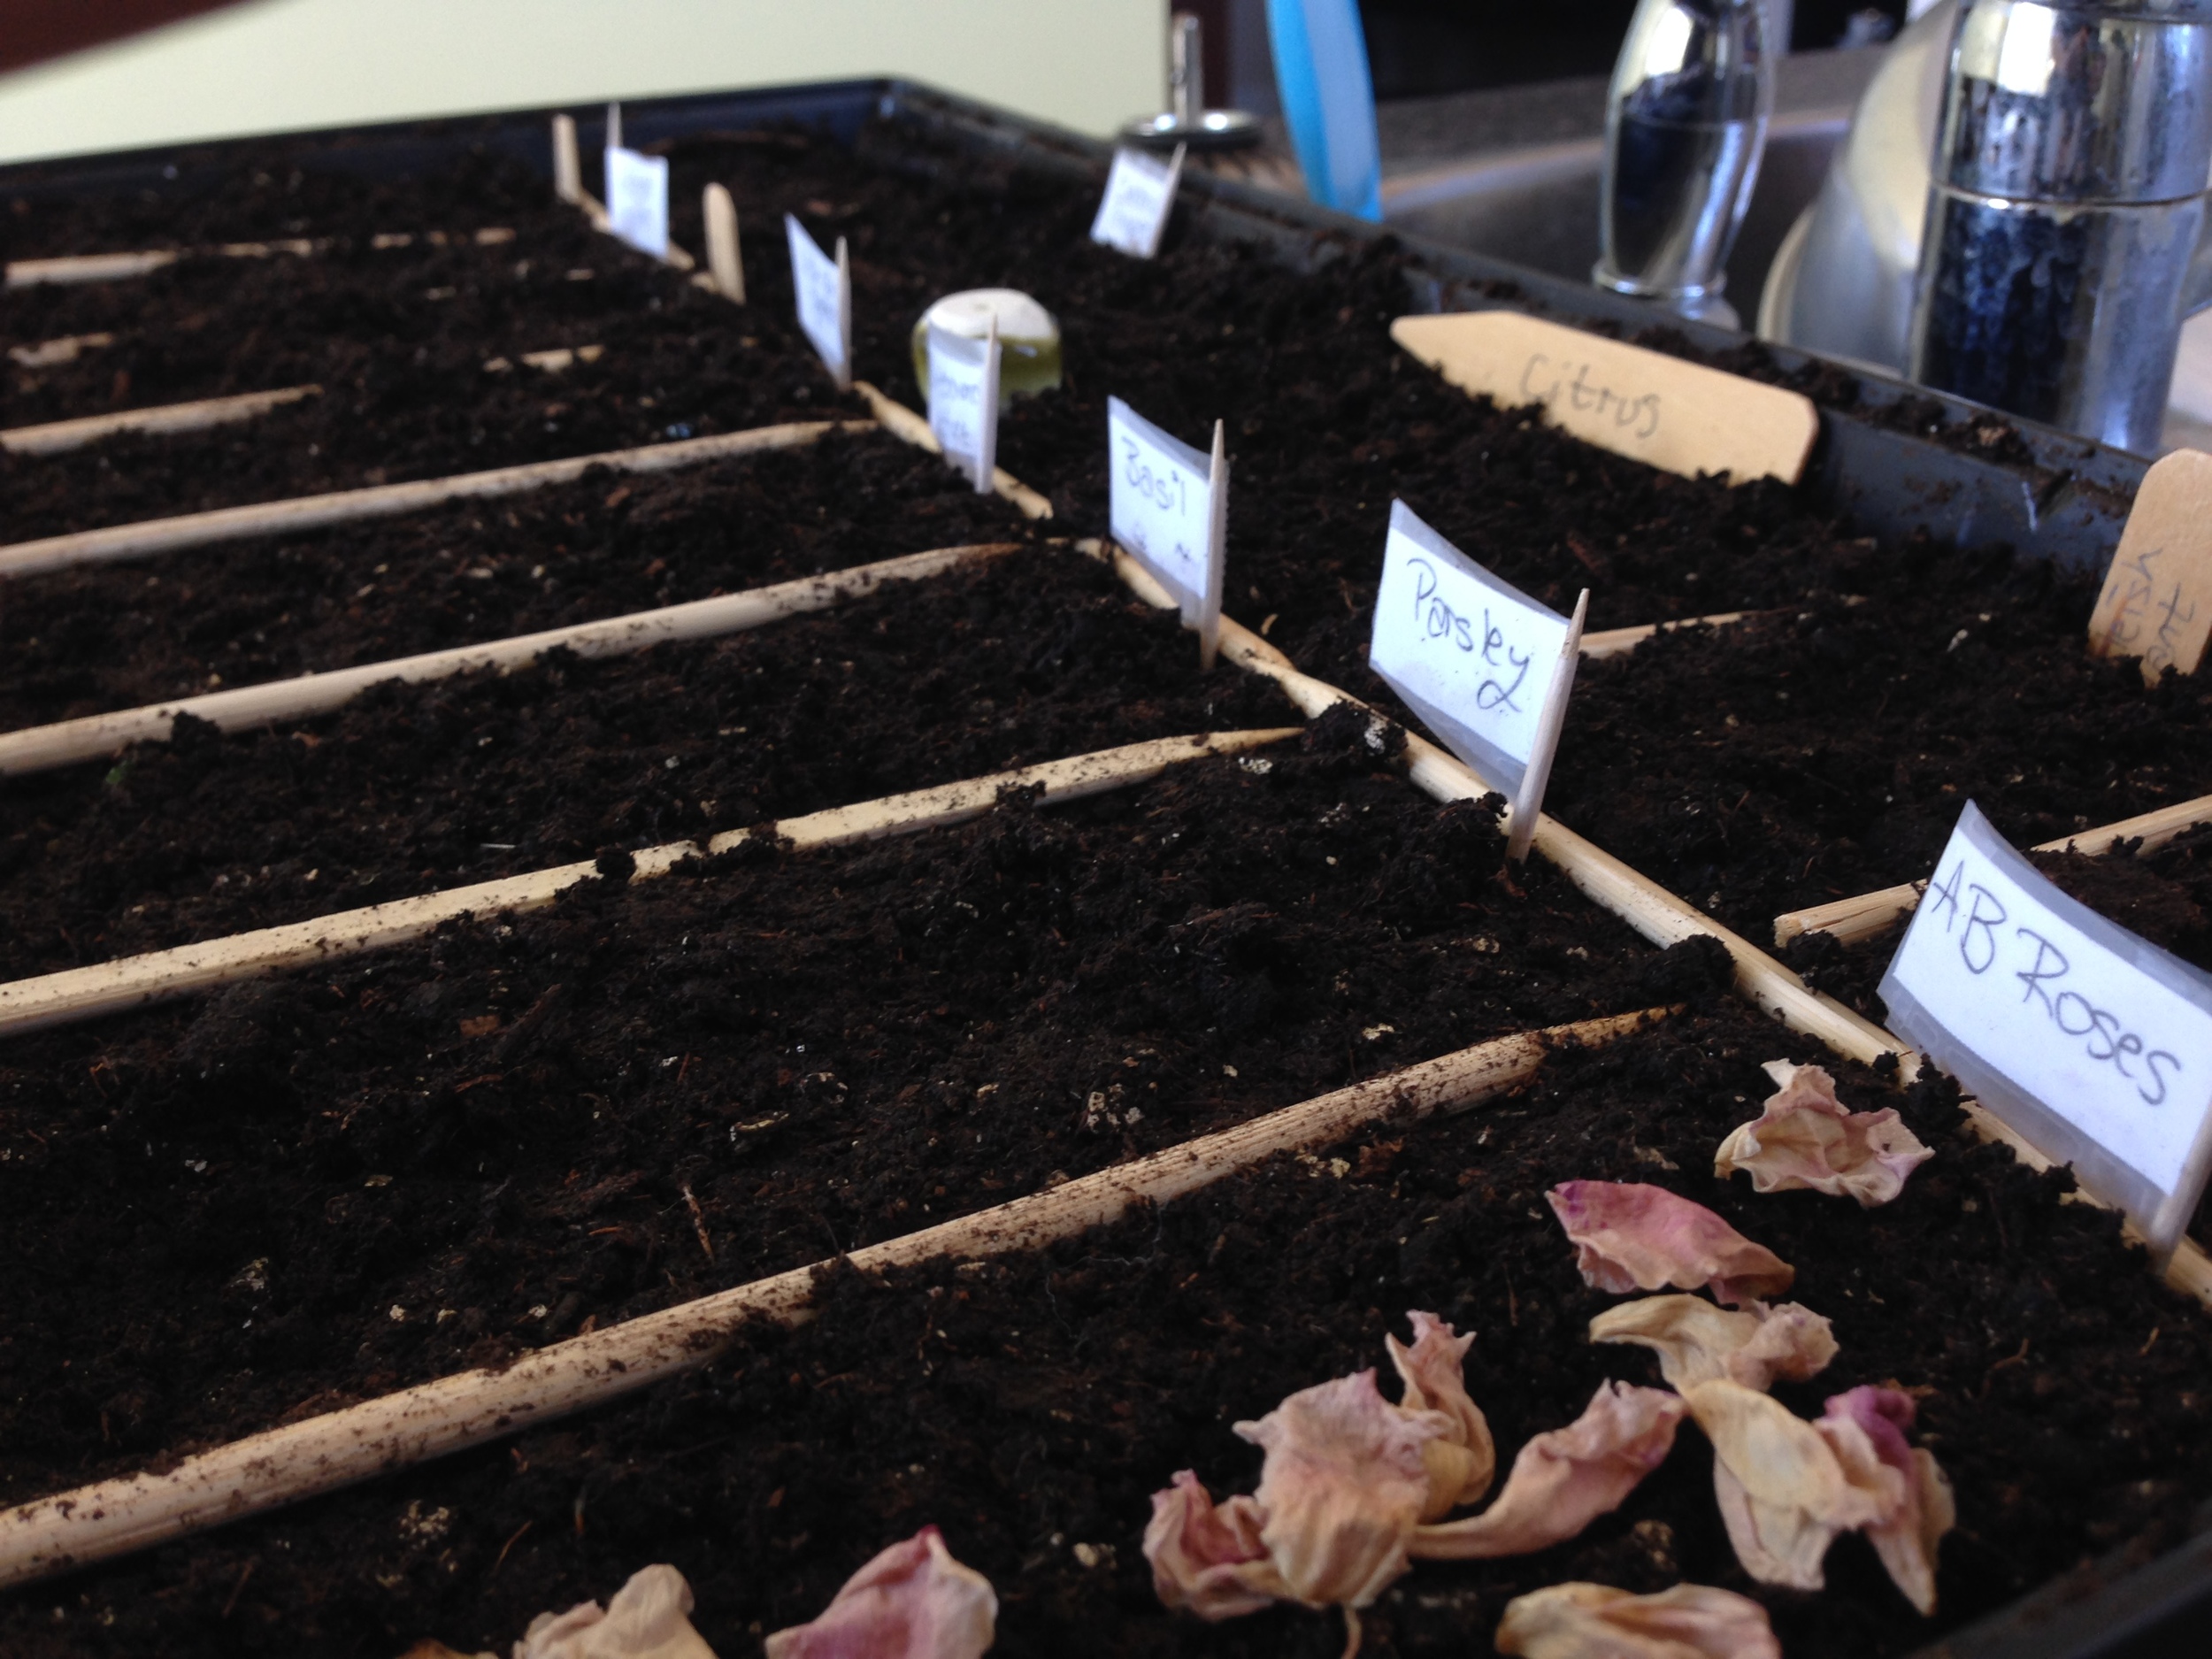
I decided to take a little bit of a different approach from last year. Last year I bought a little terrarium seed starter kit with little dehydrated soil puck things. It worked well but I ended up wasting a lot of the little soil puck things. This year I bought a 14 lb bag of soilless seed starter for $7 instead. (Yay Canadian Tire!) I filled the terrarium thing from last year, moistened the 'soil' and divided out little plots. I had a list of seeds that I wanted to plant: Tomatoes, squash, lettuce, herbs, citrus, apples, peppers and Alberta roses.

The roses are my 'something special' that I wanted to try this year. They always remind me of visiting my grandparents house as a kid. My grandma used to have two bushes on either side of the front door. Whenever we came to visit, she'd give us 3 or 4 blooms. We'd take them home and put them in a glass bowl filled with water and the kitchen would smell of roses.

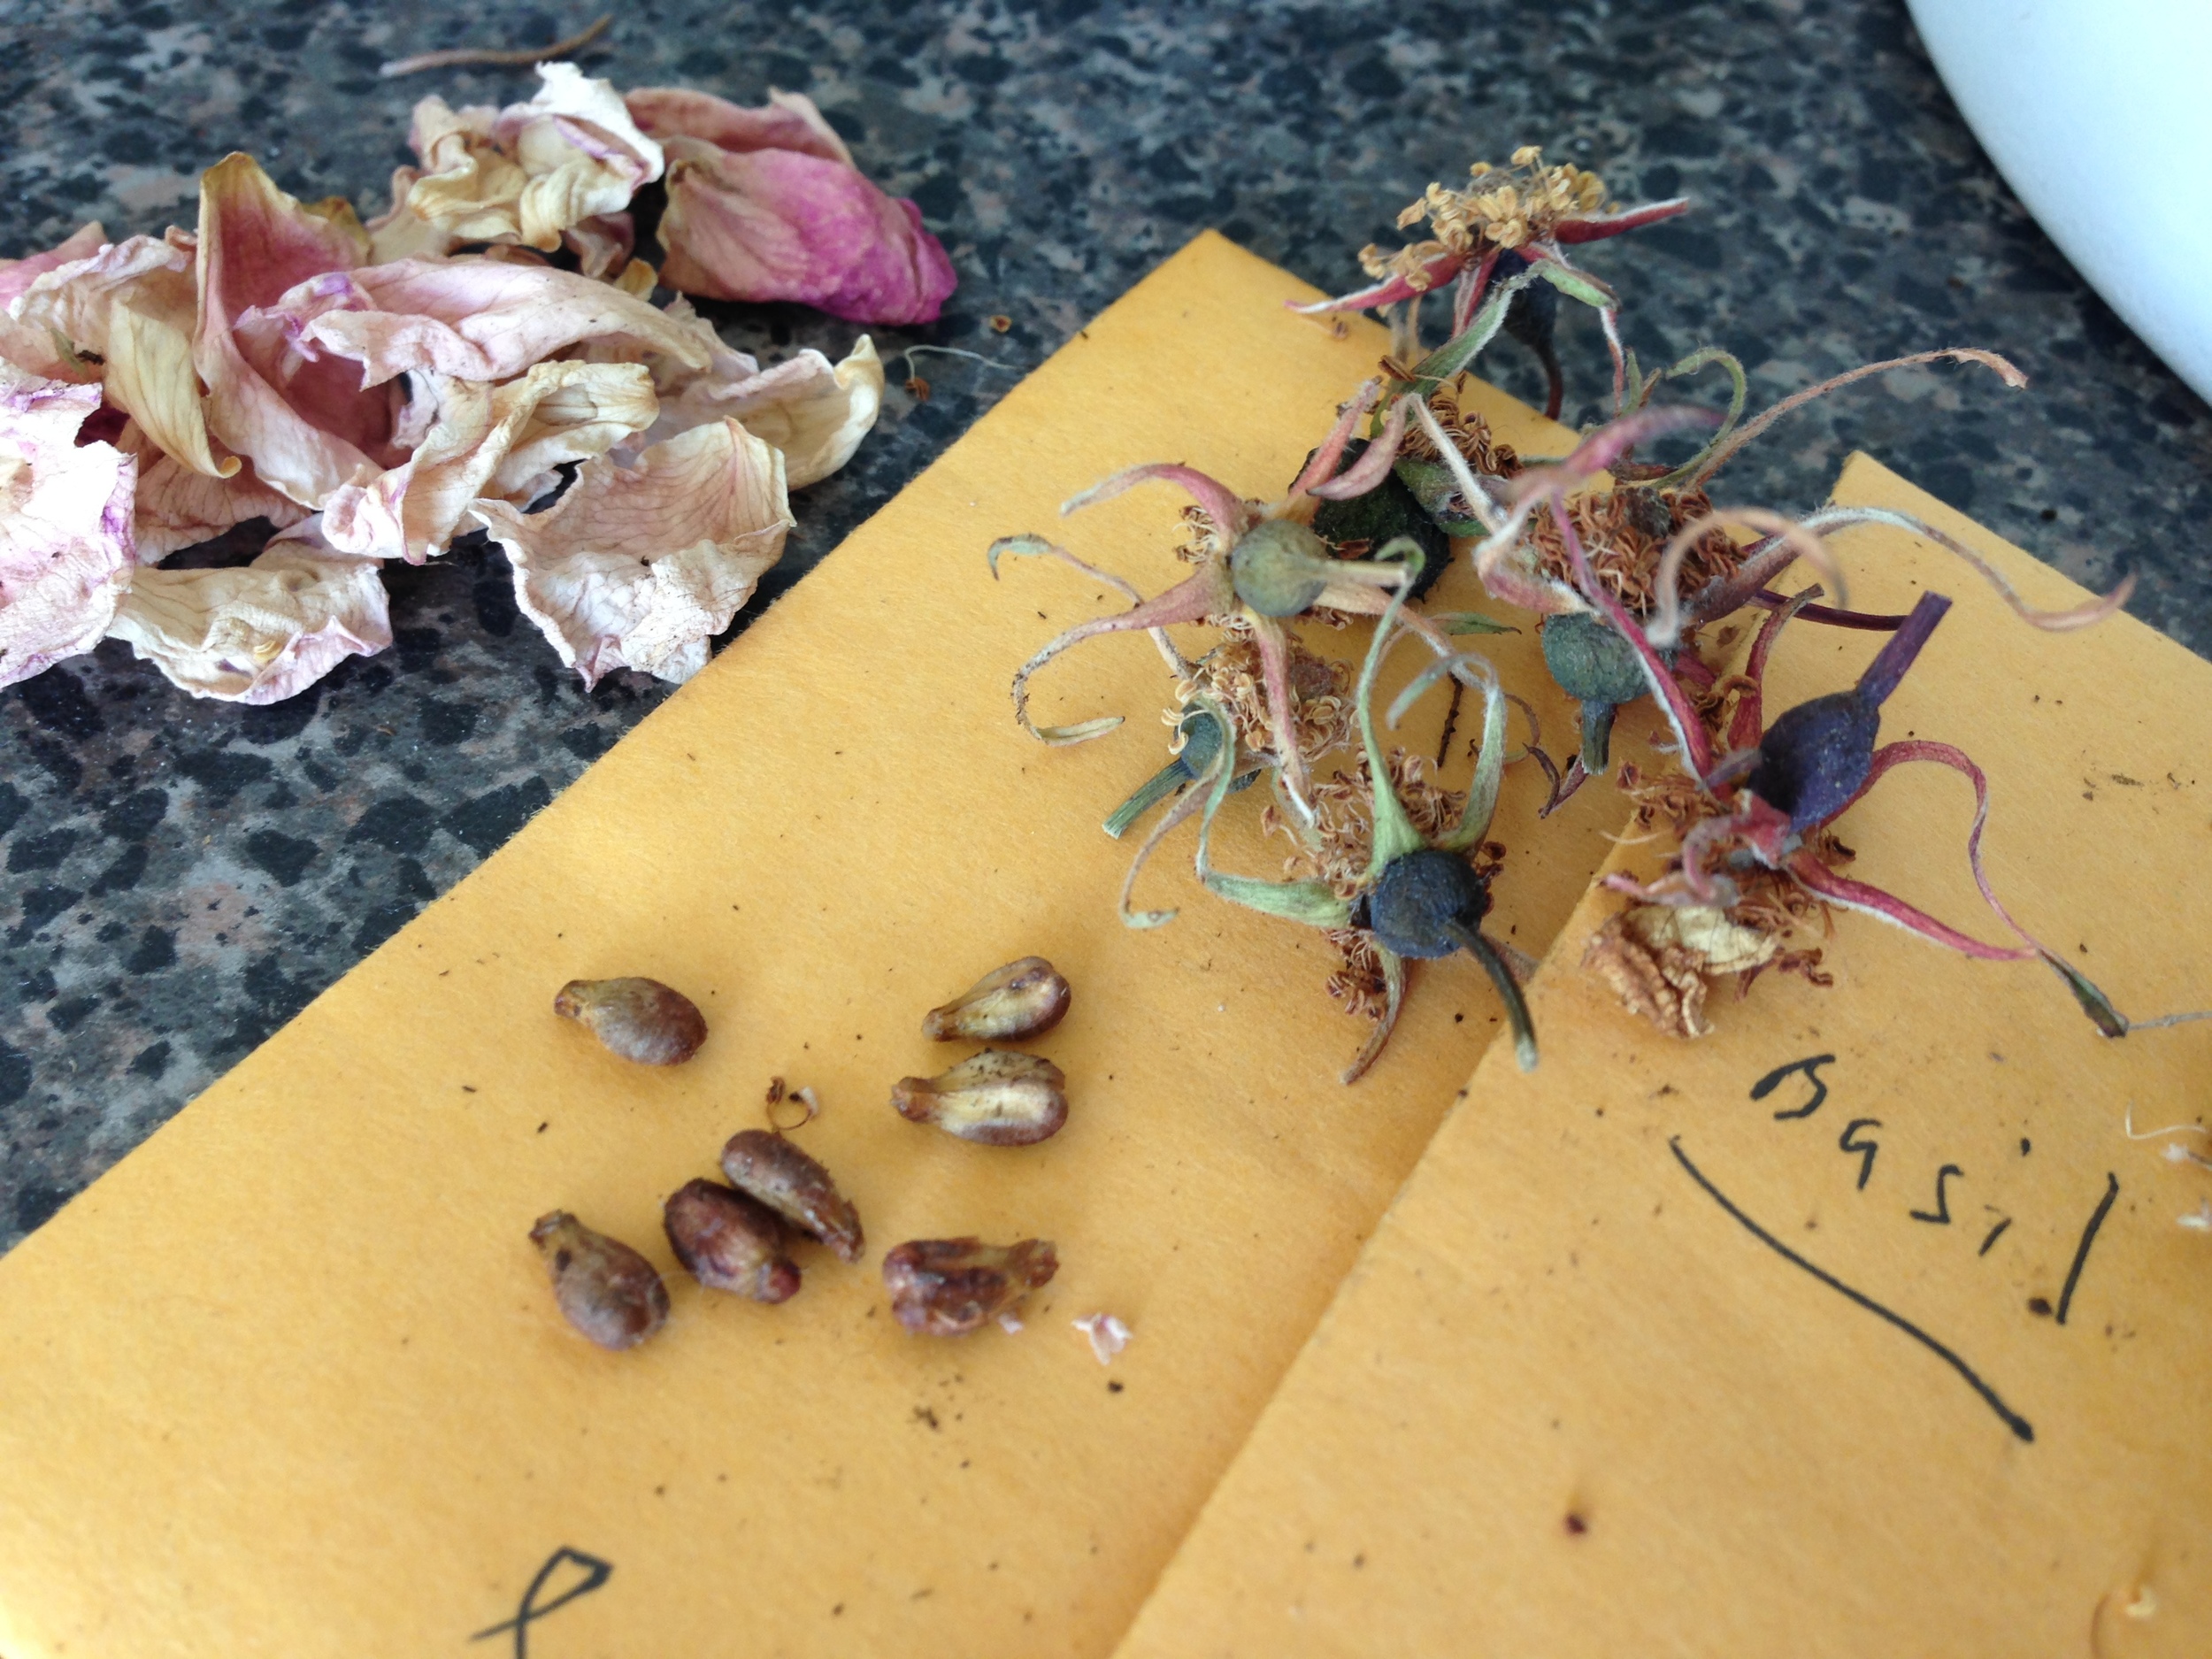
These roses are from my lovely lady Lesley who came to visit me a bunch last year. She flew them here in a mug, fresh from an Alberta field. I tried to get the flower stems to root with some soft wood enzymes, but alas, it did not take. I wasn't overly hopeful so the disappointment was minimal. BUT what was successful was many of the flowers went to seed! (I maaaaaay have pollinated them by rubbing the different blooms all together... Plant sex is weird.) But yay! Seed pods! Results!

I'd never collected seeds before so I kept the whole seed pod of each flower. I was actually just going to plant the pods themselves when, because I had a bunch of them, I decided see what was inside by breaking one open with the flat of my scissors. Poof! A million little under developed seeds came puffing out. Ack! Well under developed seeds are probs not going to grow, so I broke open the biggest seed pod and out puffed a load of under developed seeds AND 5 fully developed seeds. Haphazard gardening skills, check.

And that's the story so far! Watered and lidded the terrarium thing and now to wait. All the future seed babies get to live on my kitchen counter for the time being. (I may have to figure out a warming lamp/mat situation because winter is back with a vengeance....) Everything I planted has a 10 - 12 day germination period so I'll see what sprouts in a couple weeks! Fingers crossed!

-Andrea

The Half-Assed Hobbyist
ย