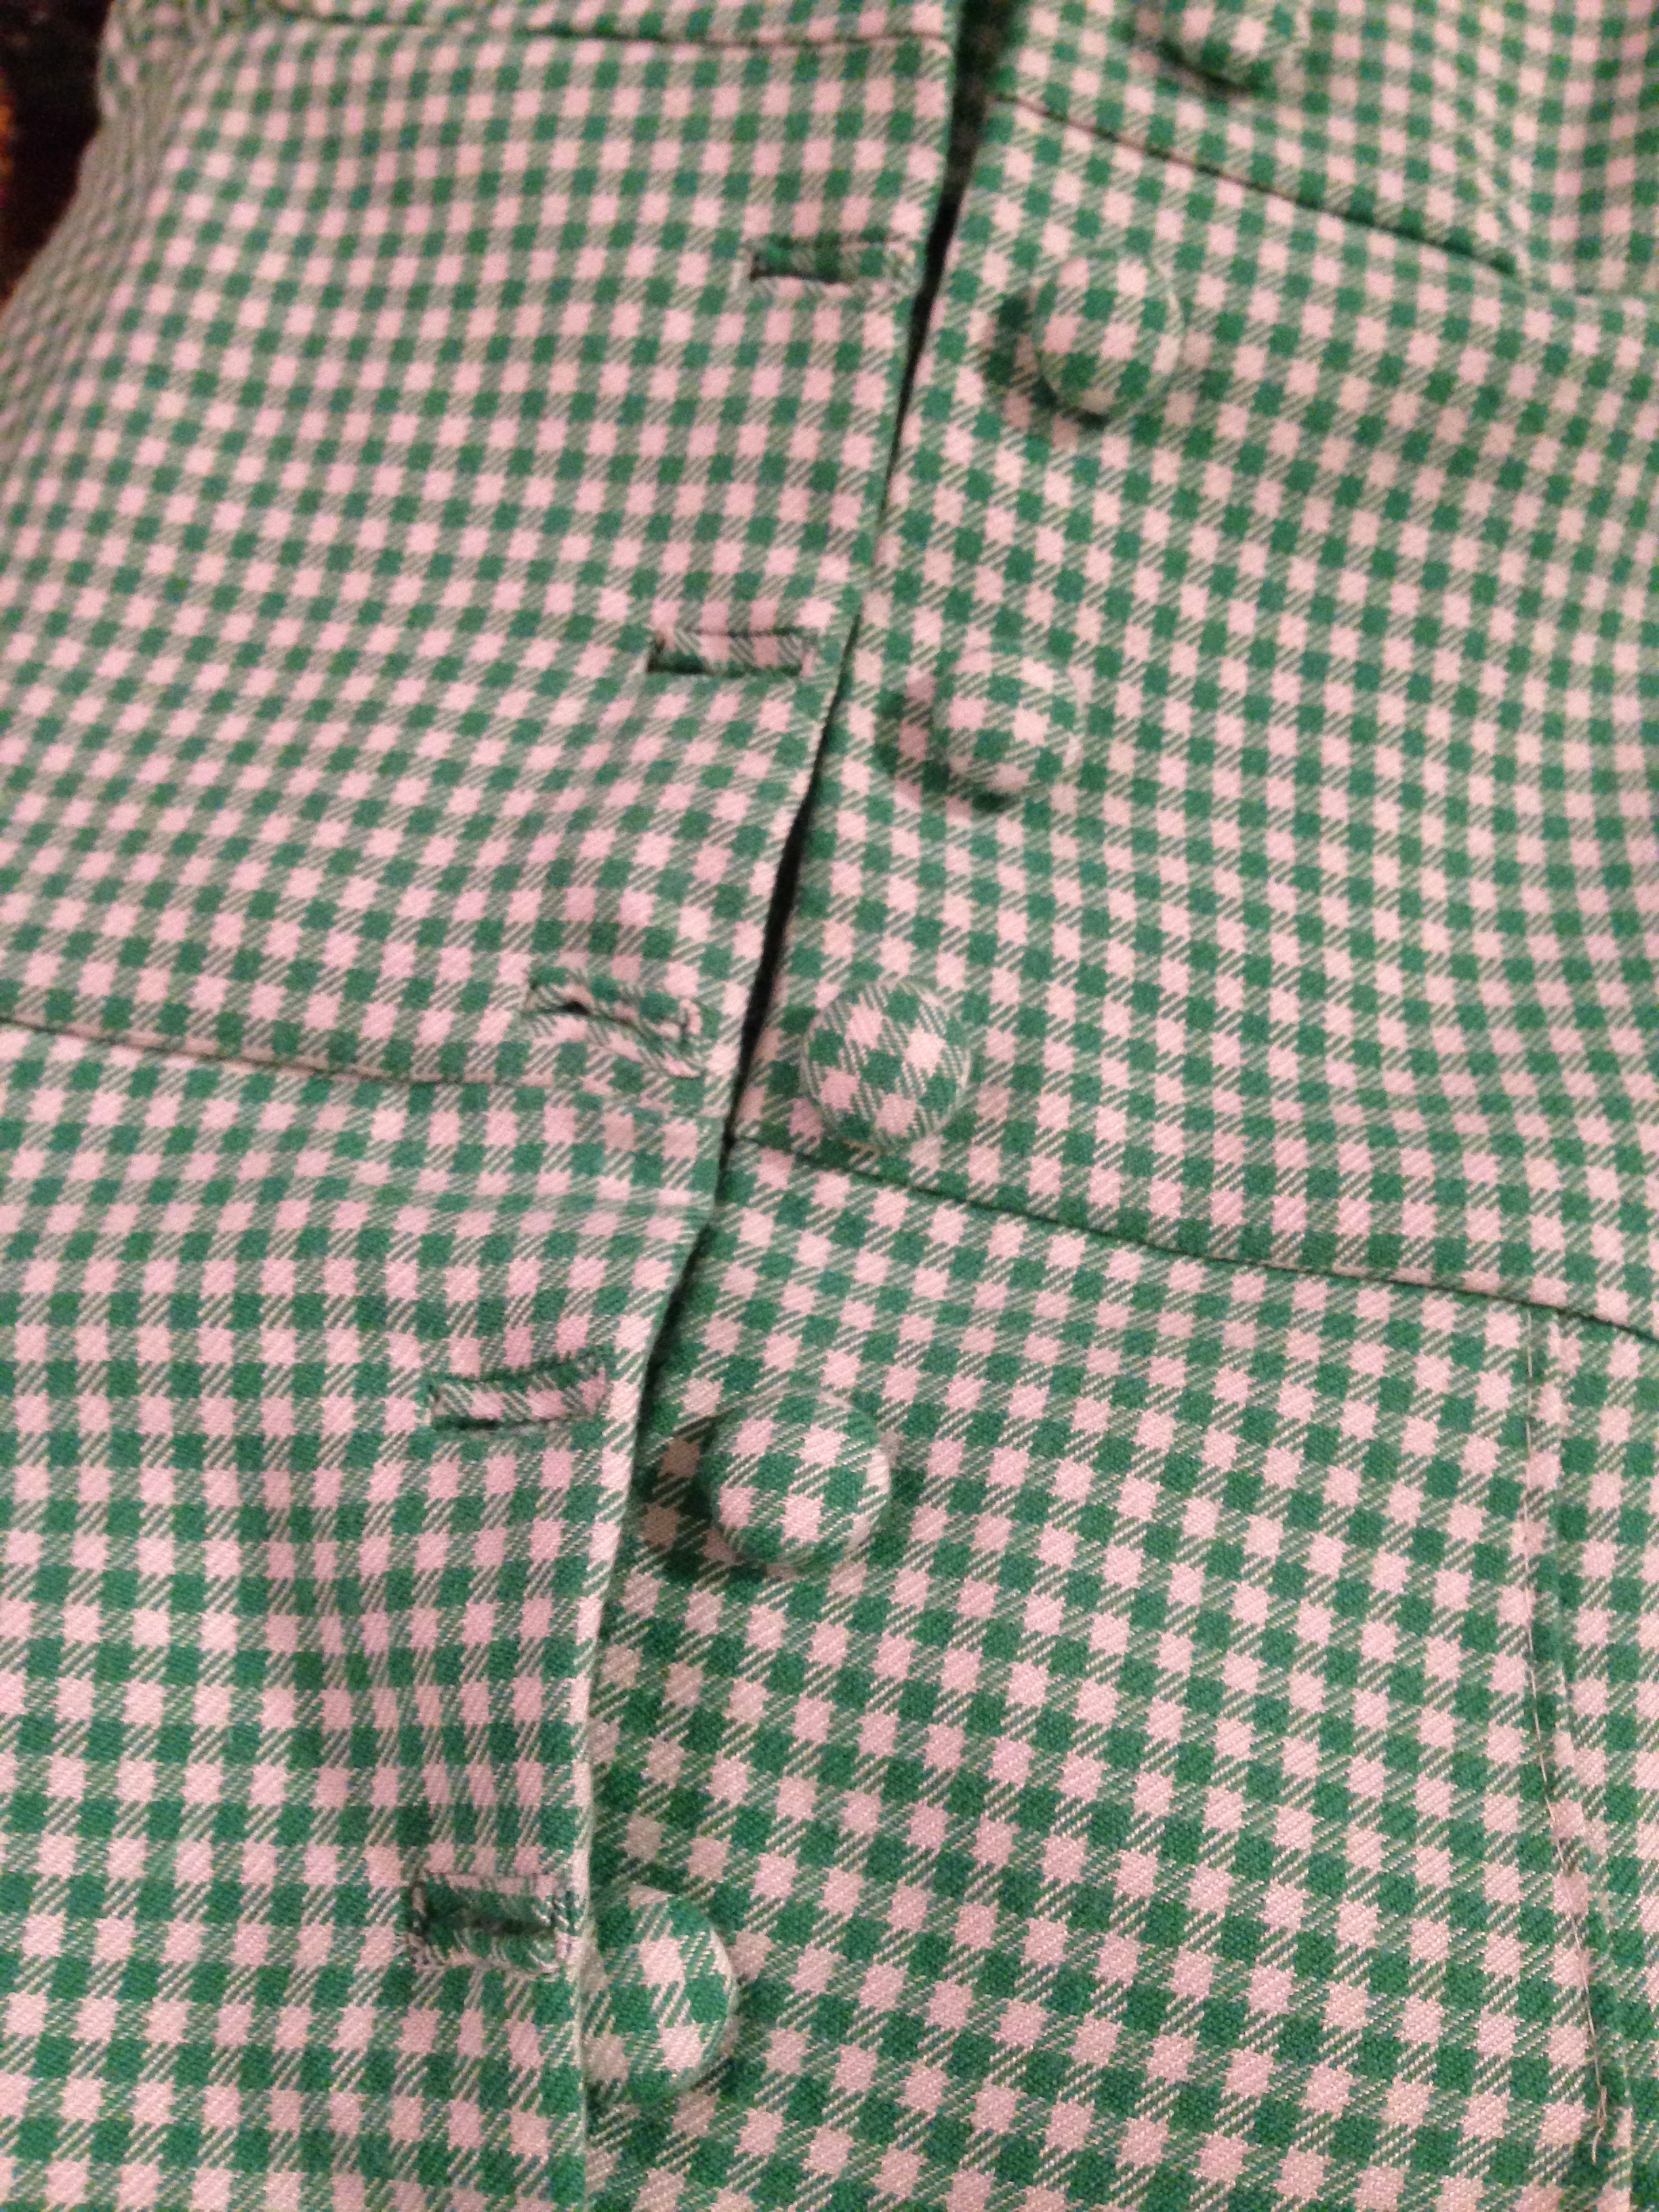
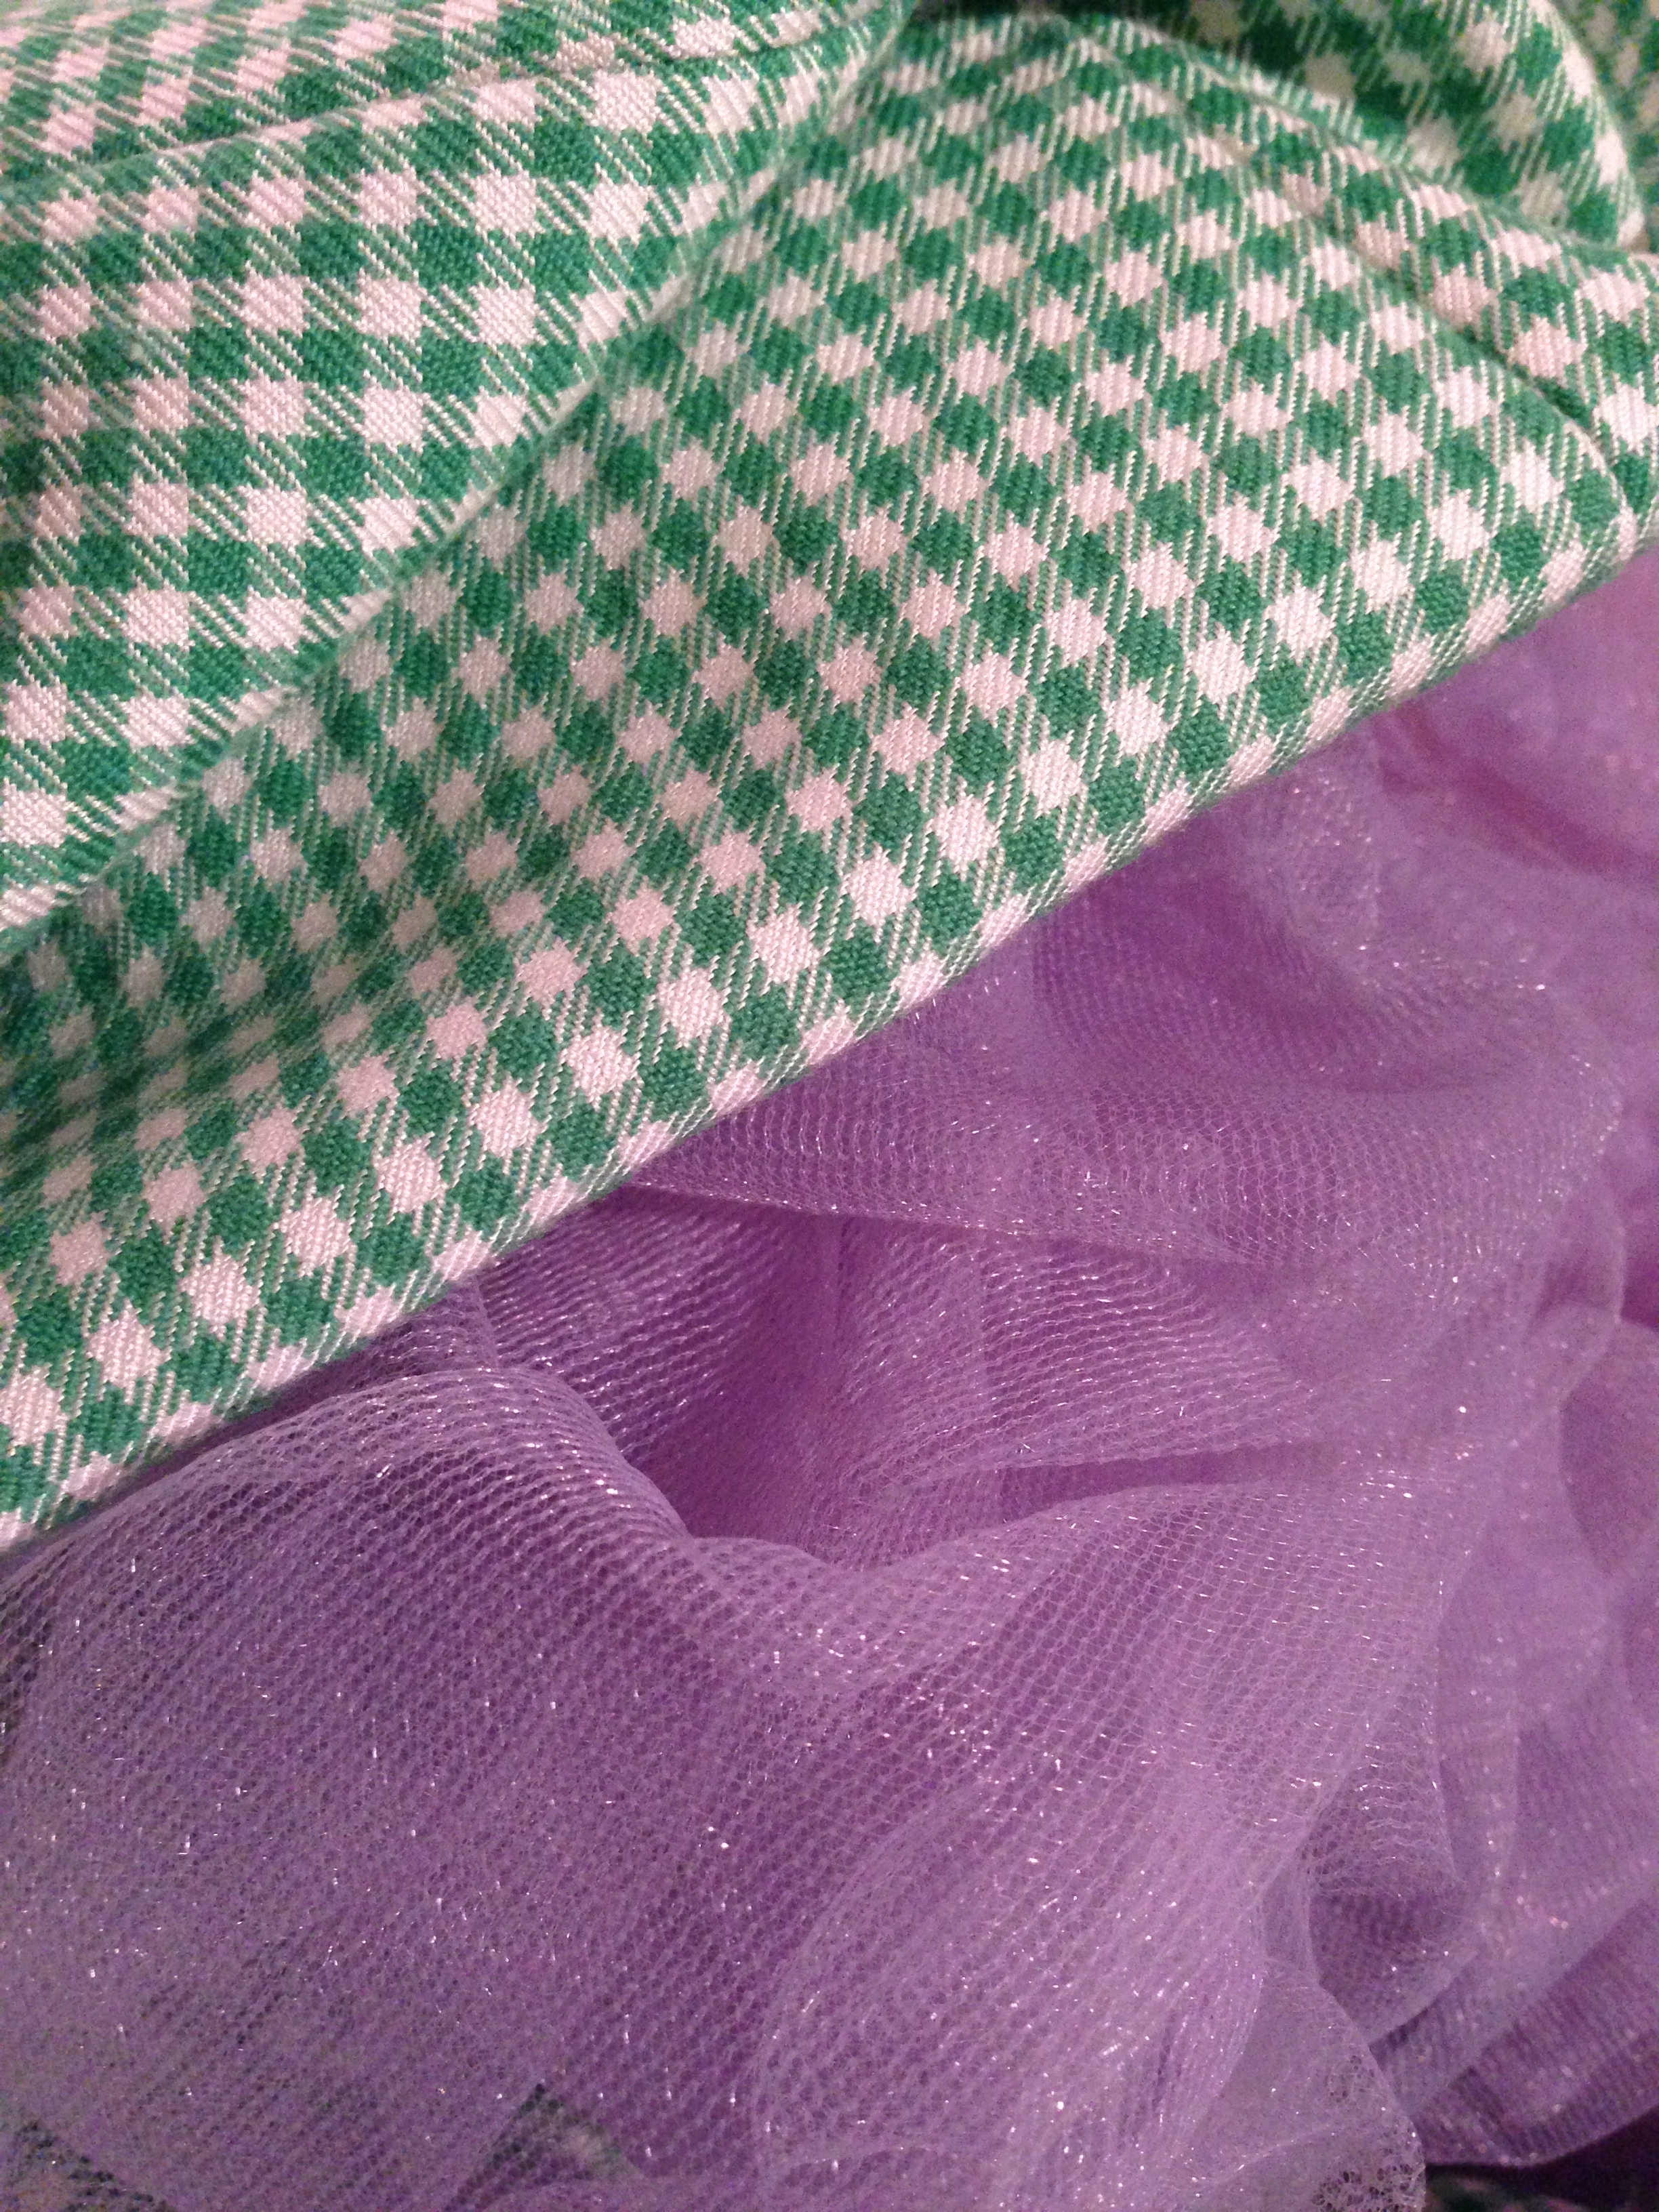
The Green Gingham Dress

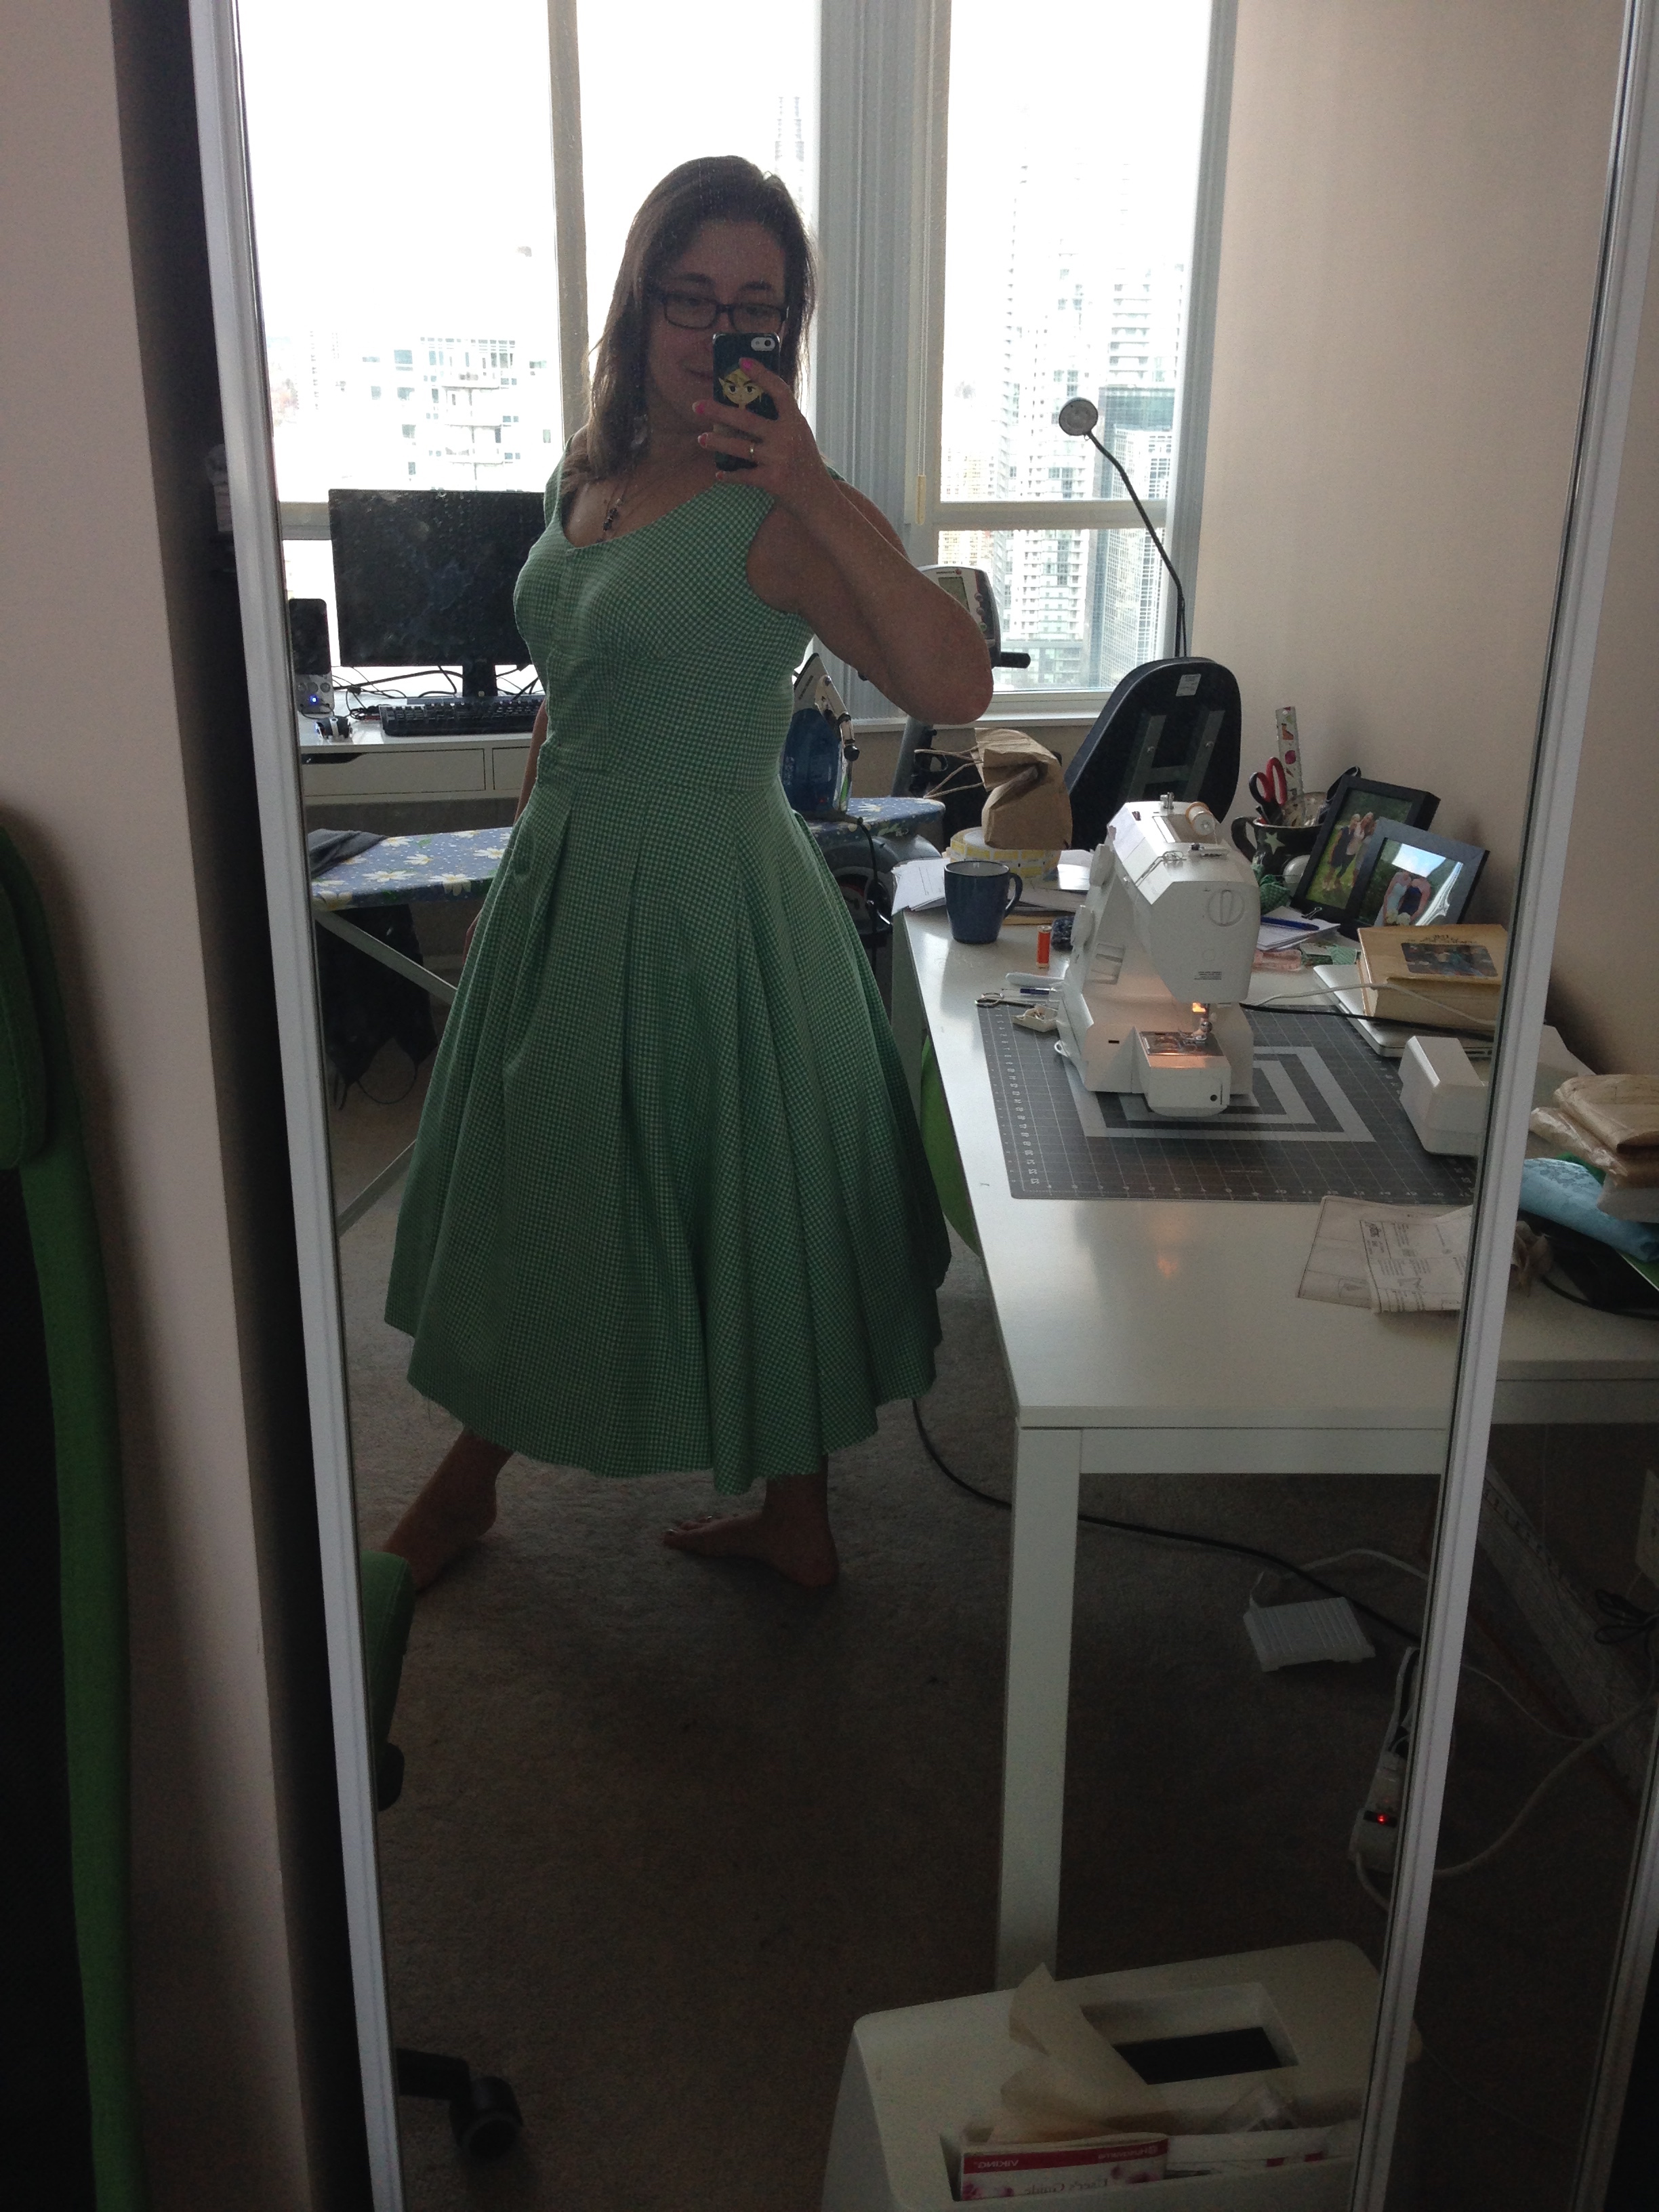
I'll hopefully take a better picture. Eventually.... ;)

I'll hopefully take a better picture. Eventually.... ;)

After the inspiration (or more likely guilt) of not having sew-ed in ages, and, having no outdoorsy fun planned for this winter, I decided it was high time to get out the ol' fabric stockpile and figure out what project I could while away the gloomy non-snow-filled months of Ontario winter.

I started this project in November and finished it mid-December. And looky looky! I'm finally posting about it! Yay! It's happening! (Shhhhhh. Let me have this one....) The pattern was a Vogue vintage pattern, V2960.
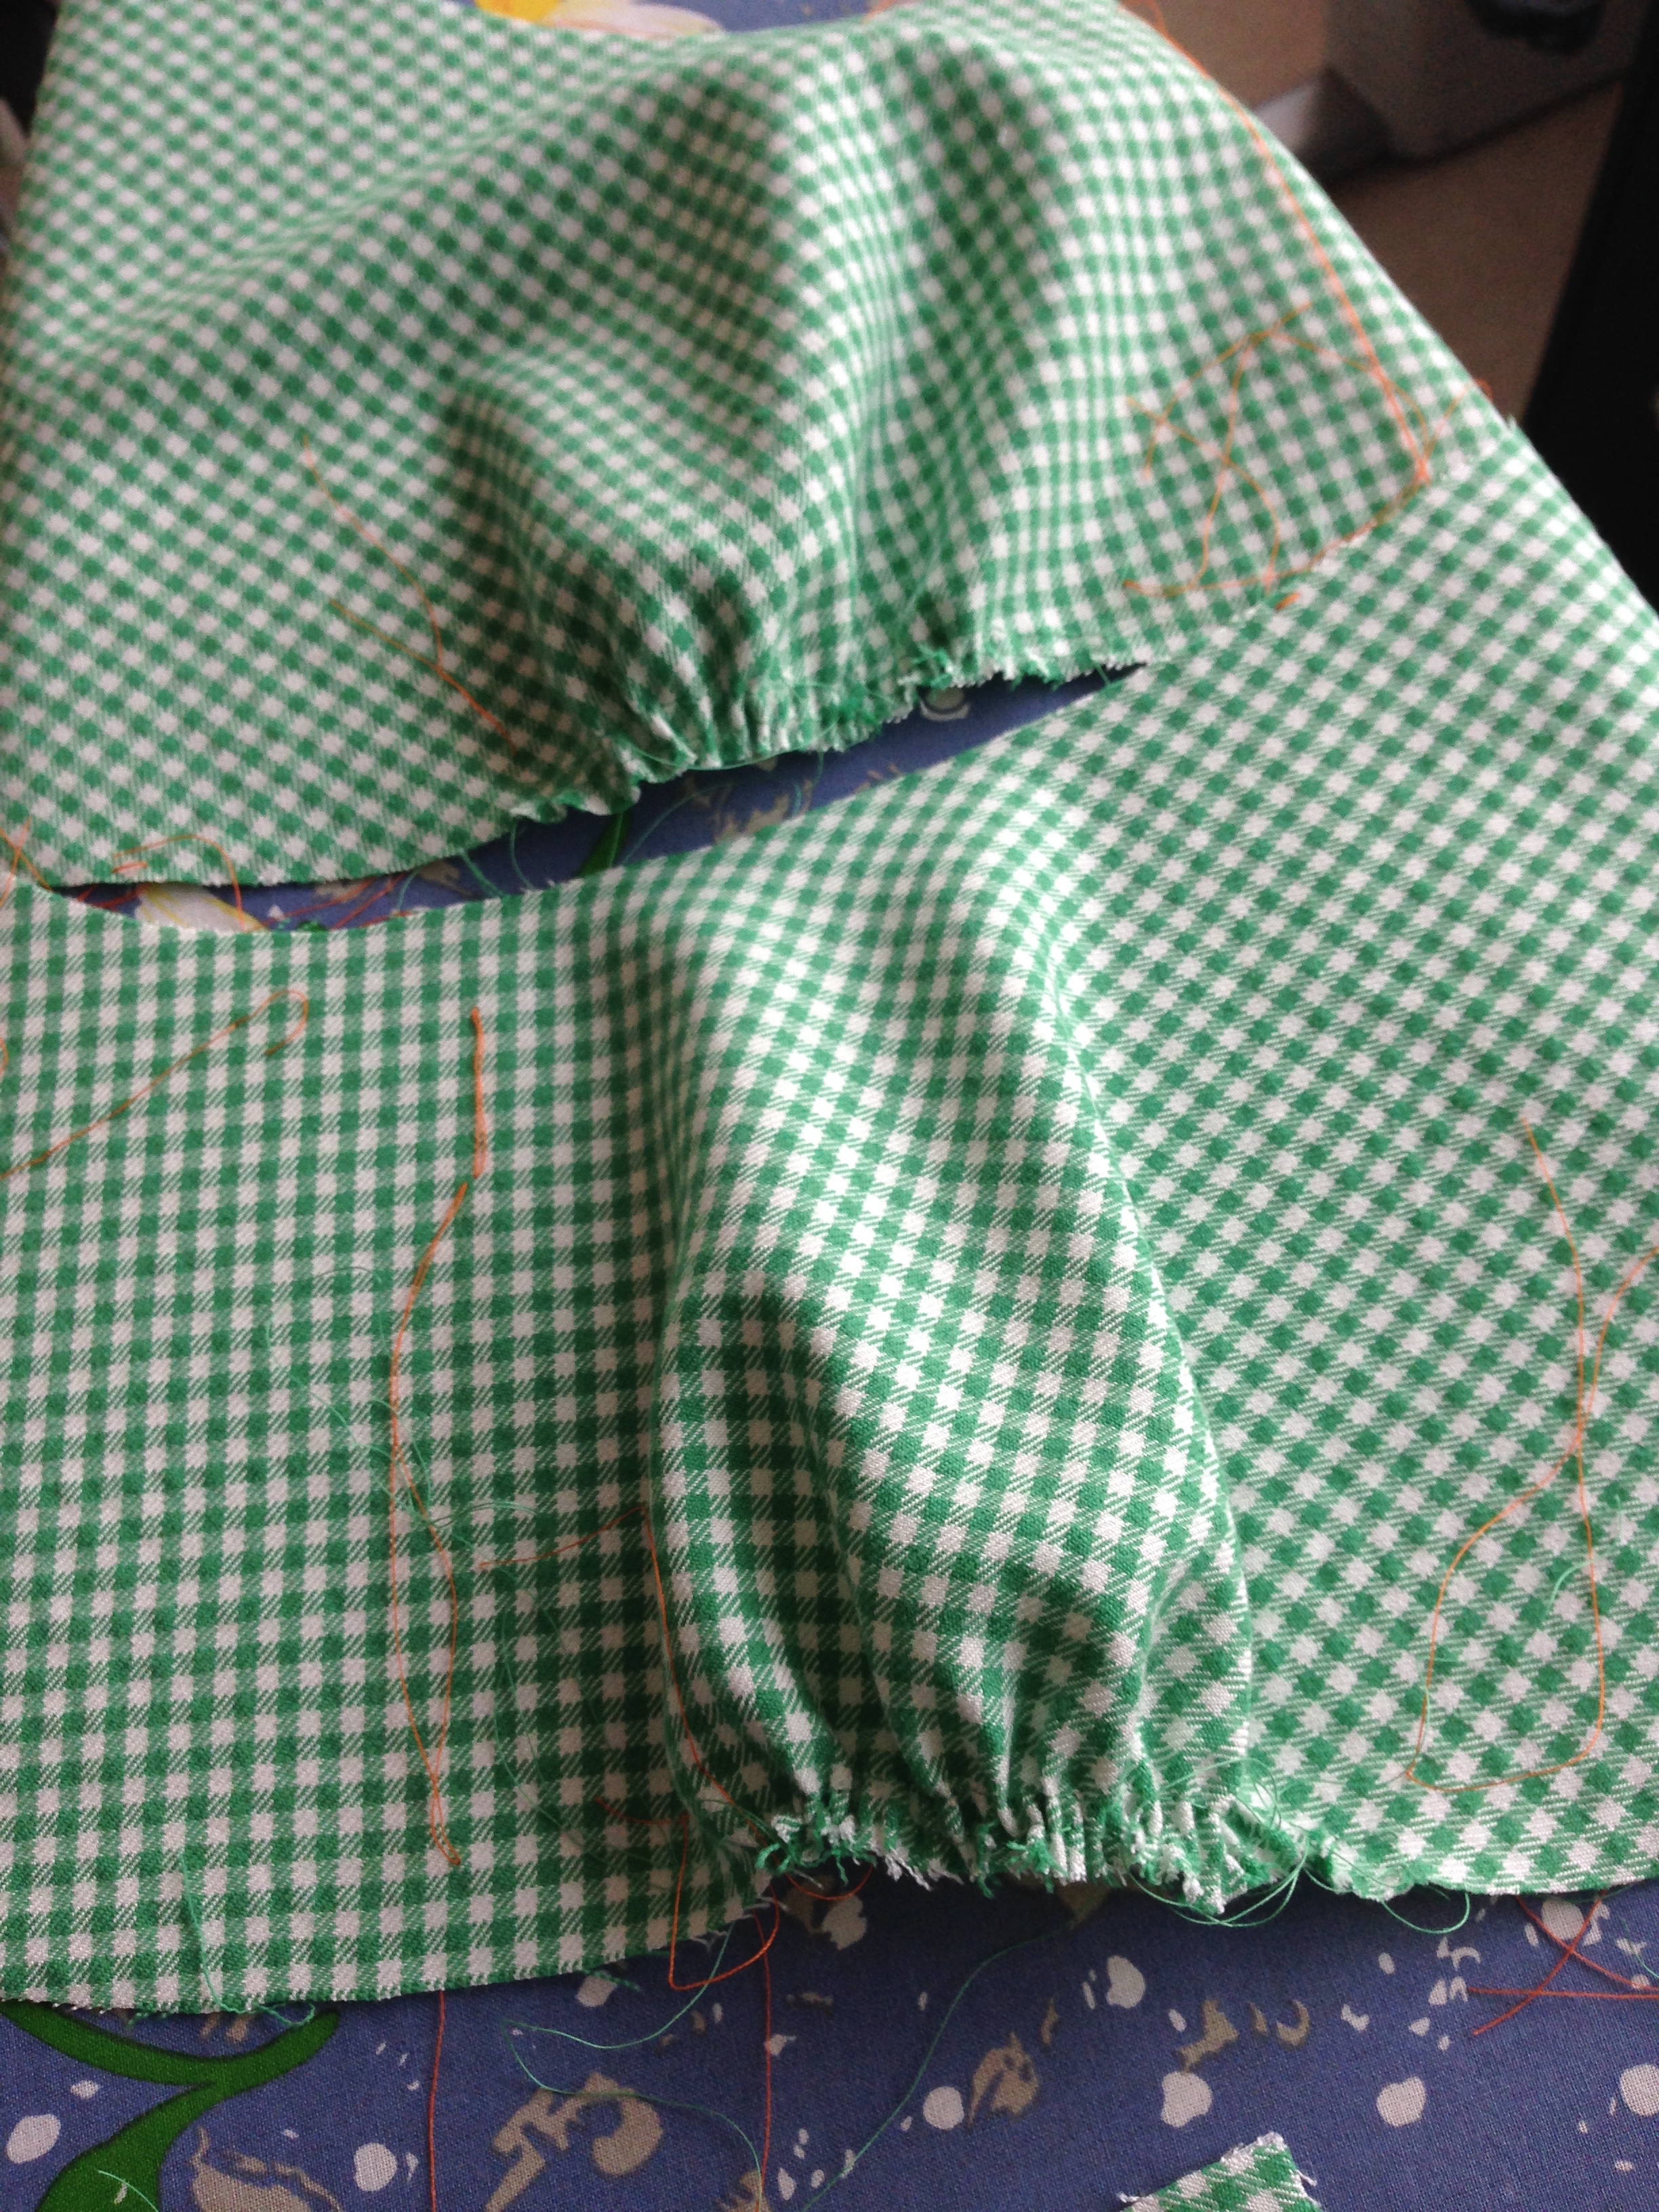
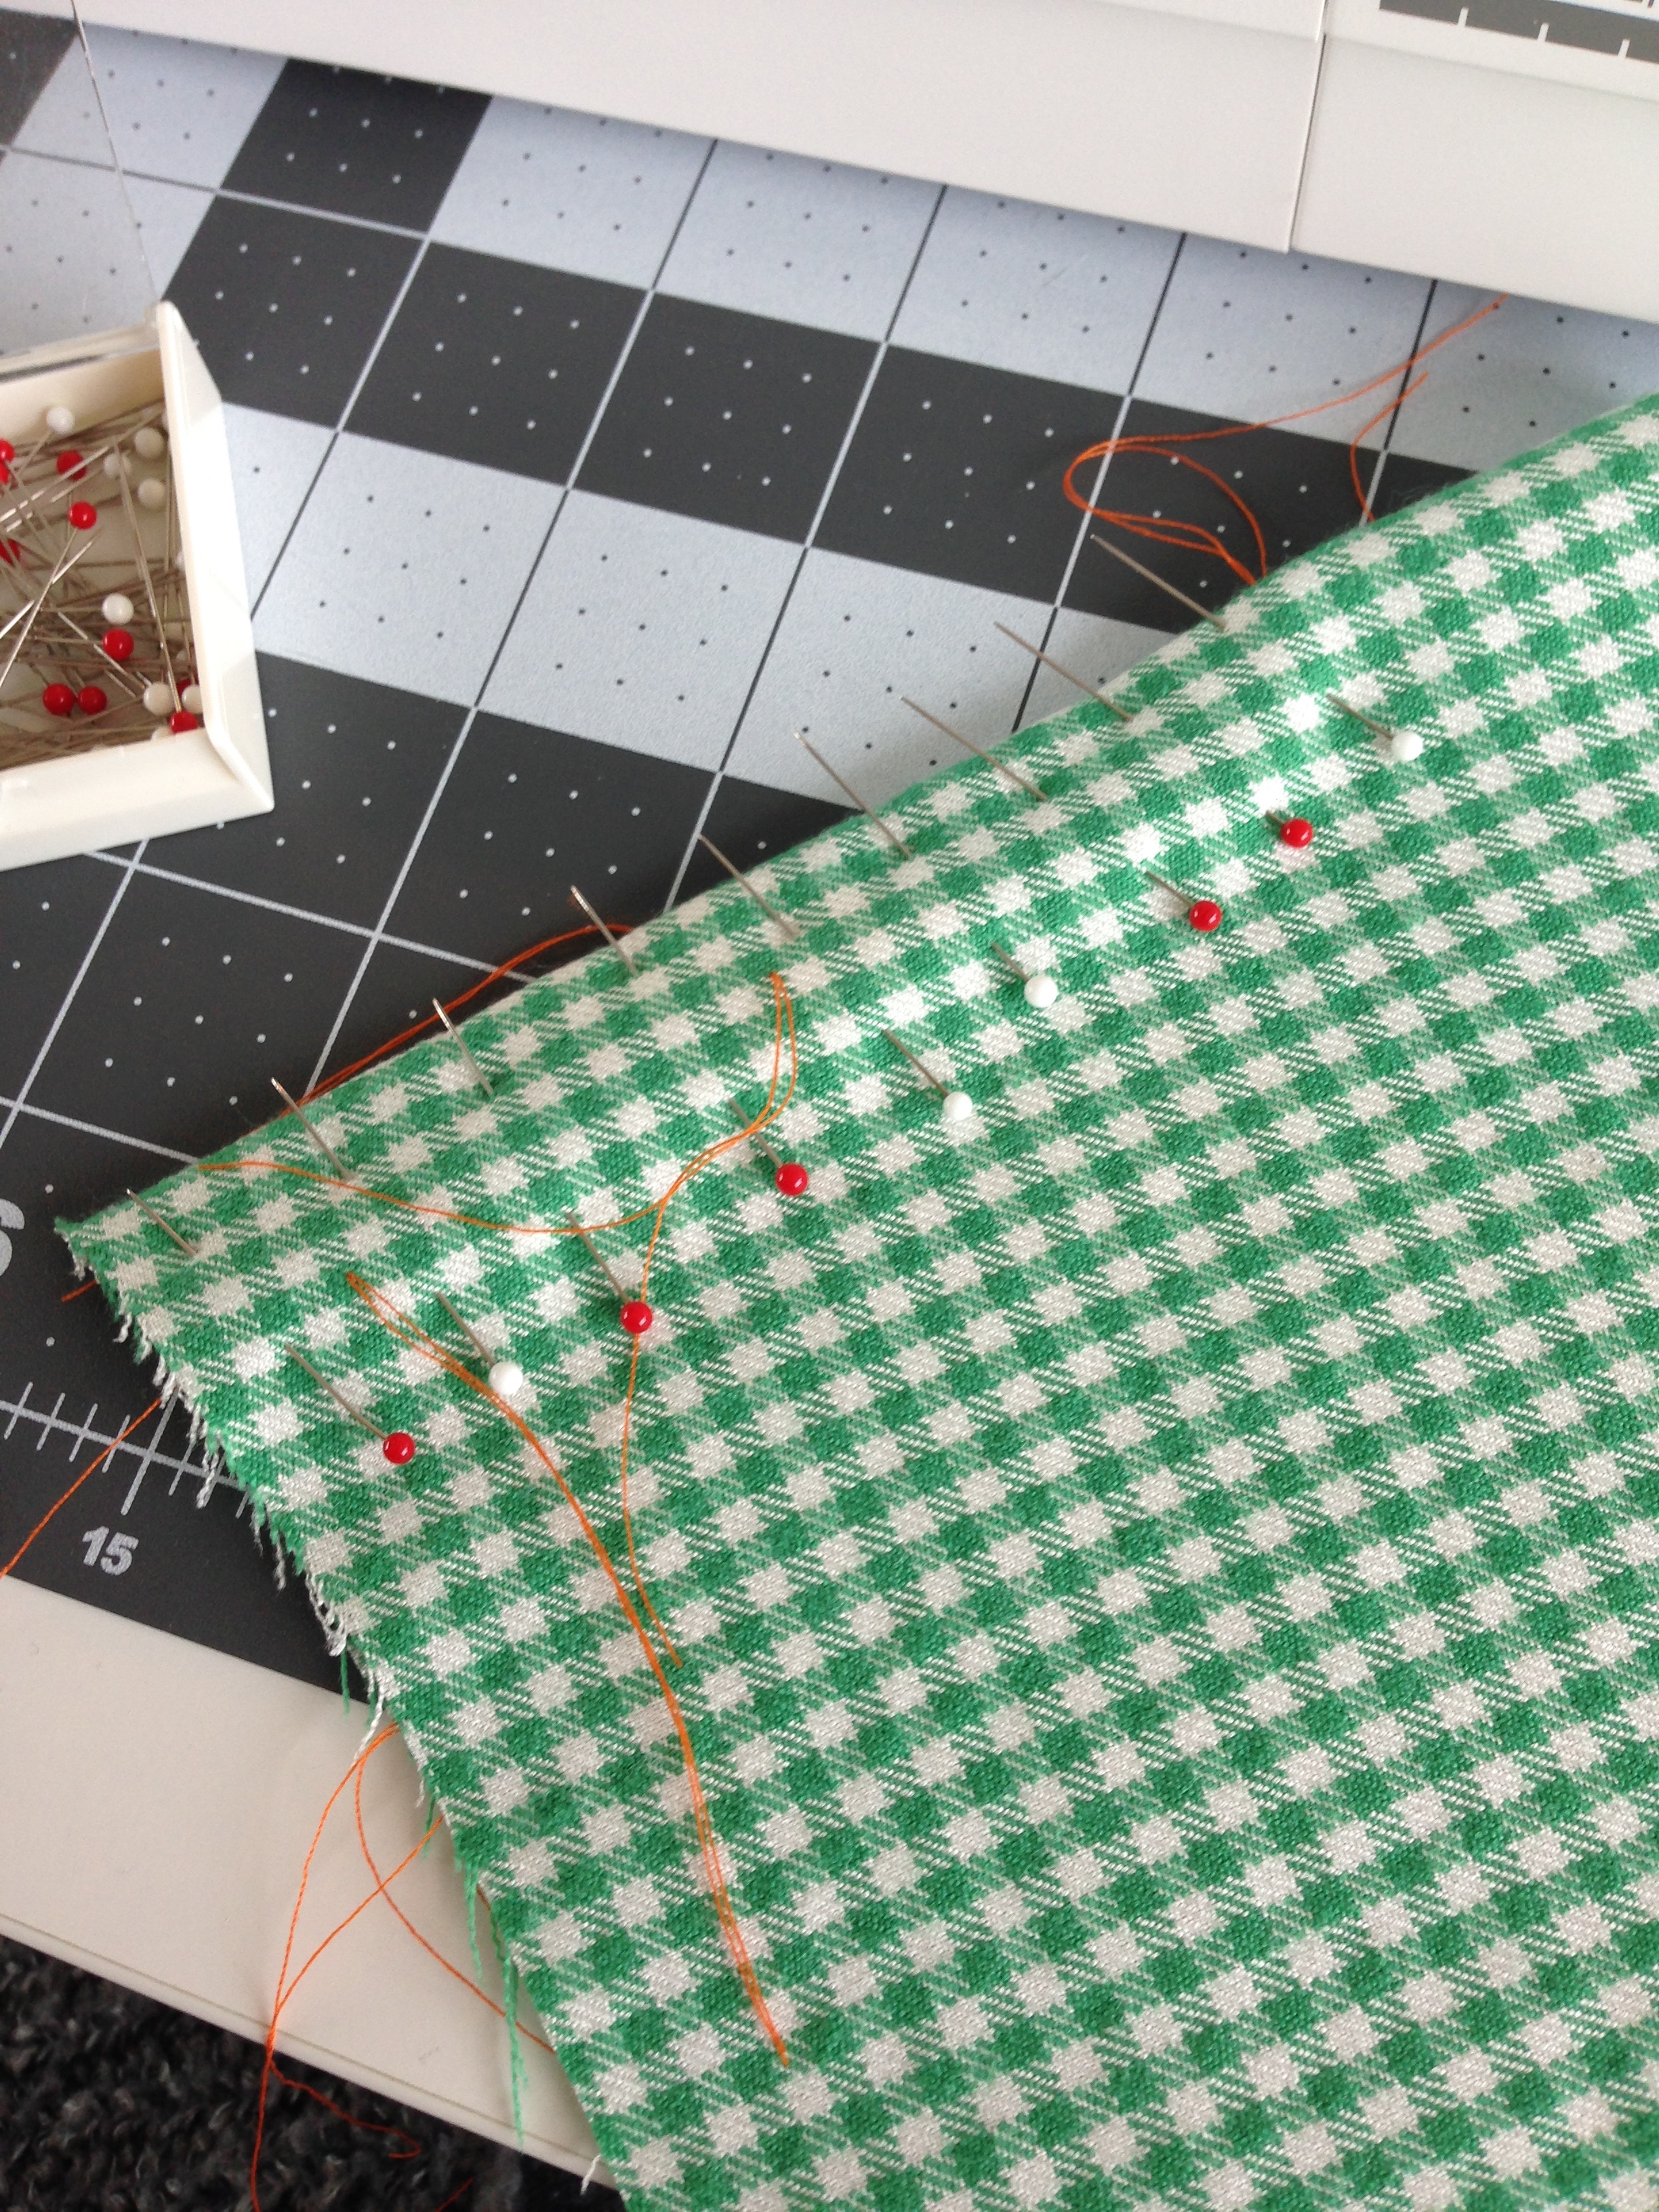
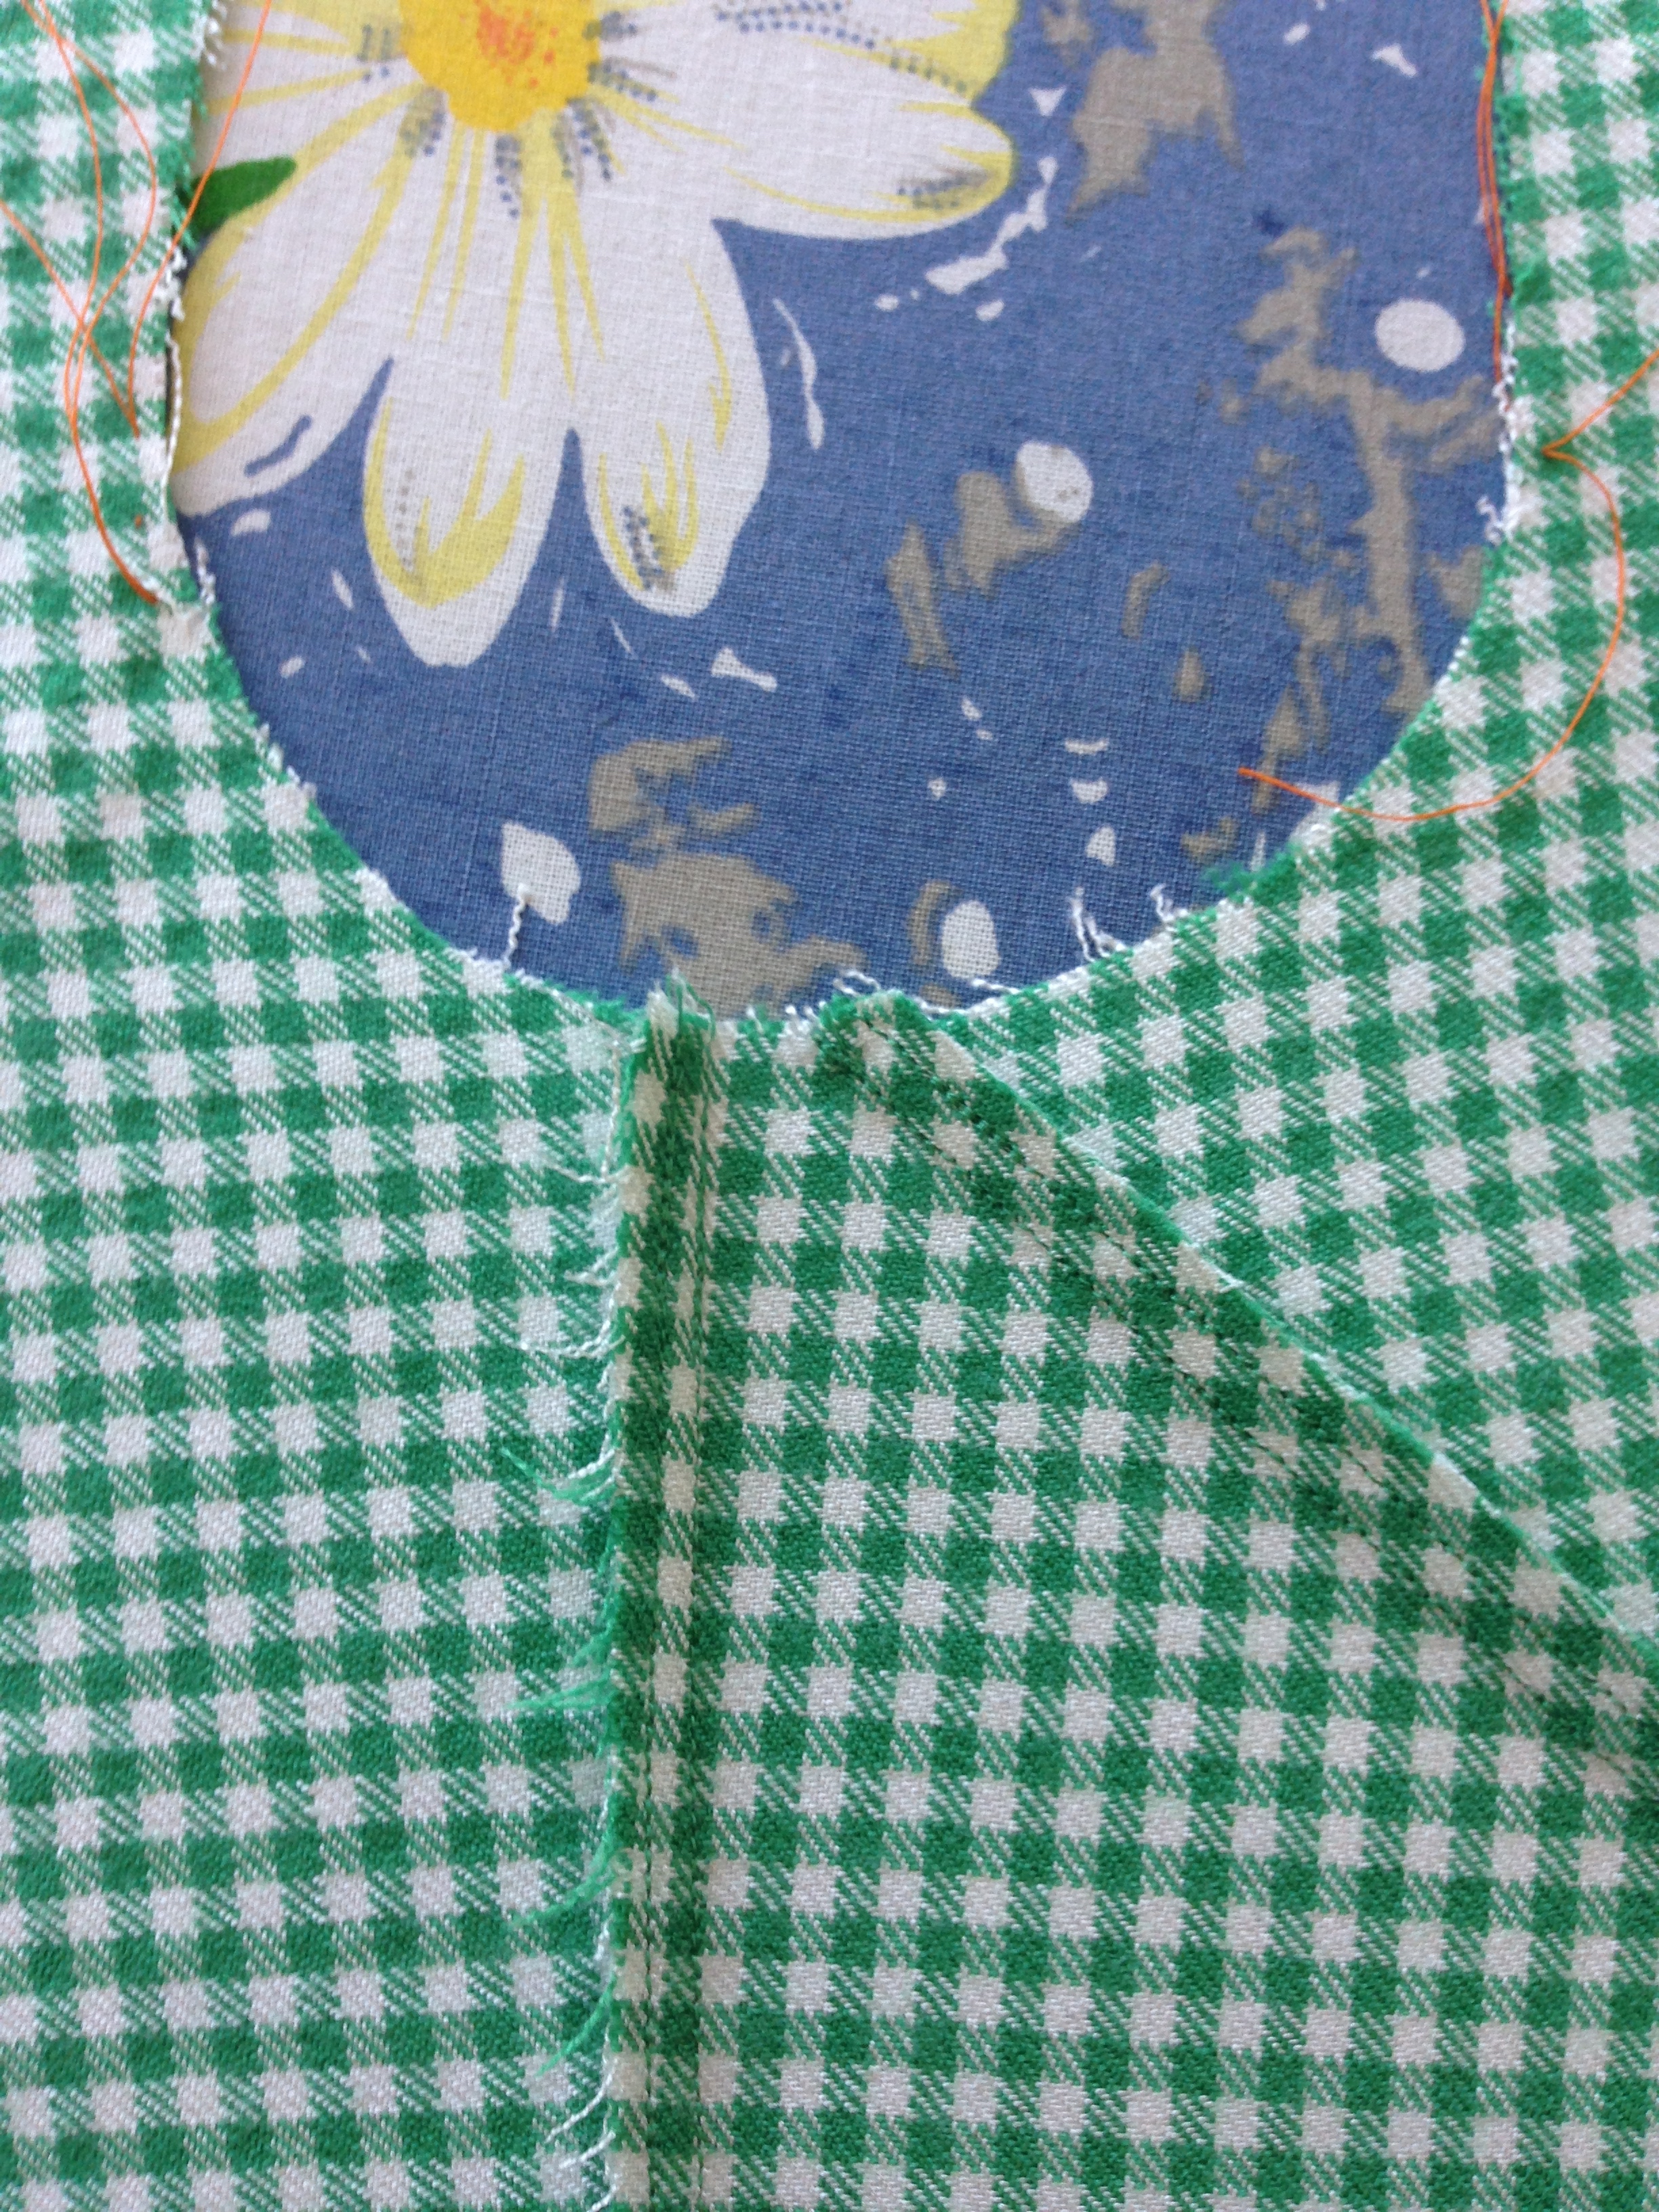
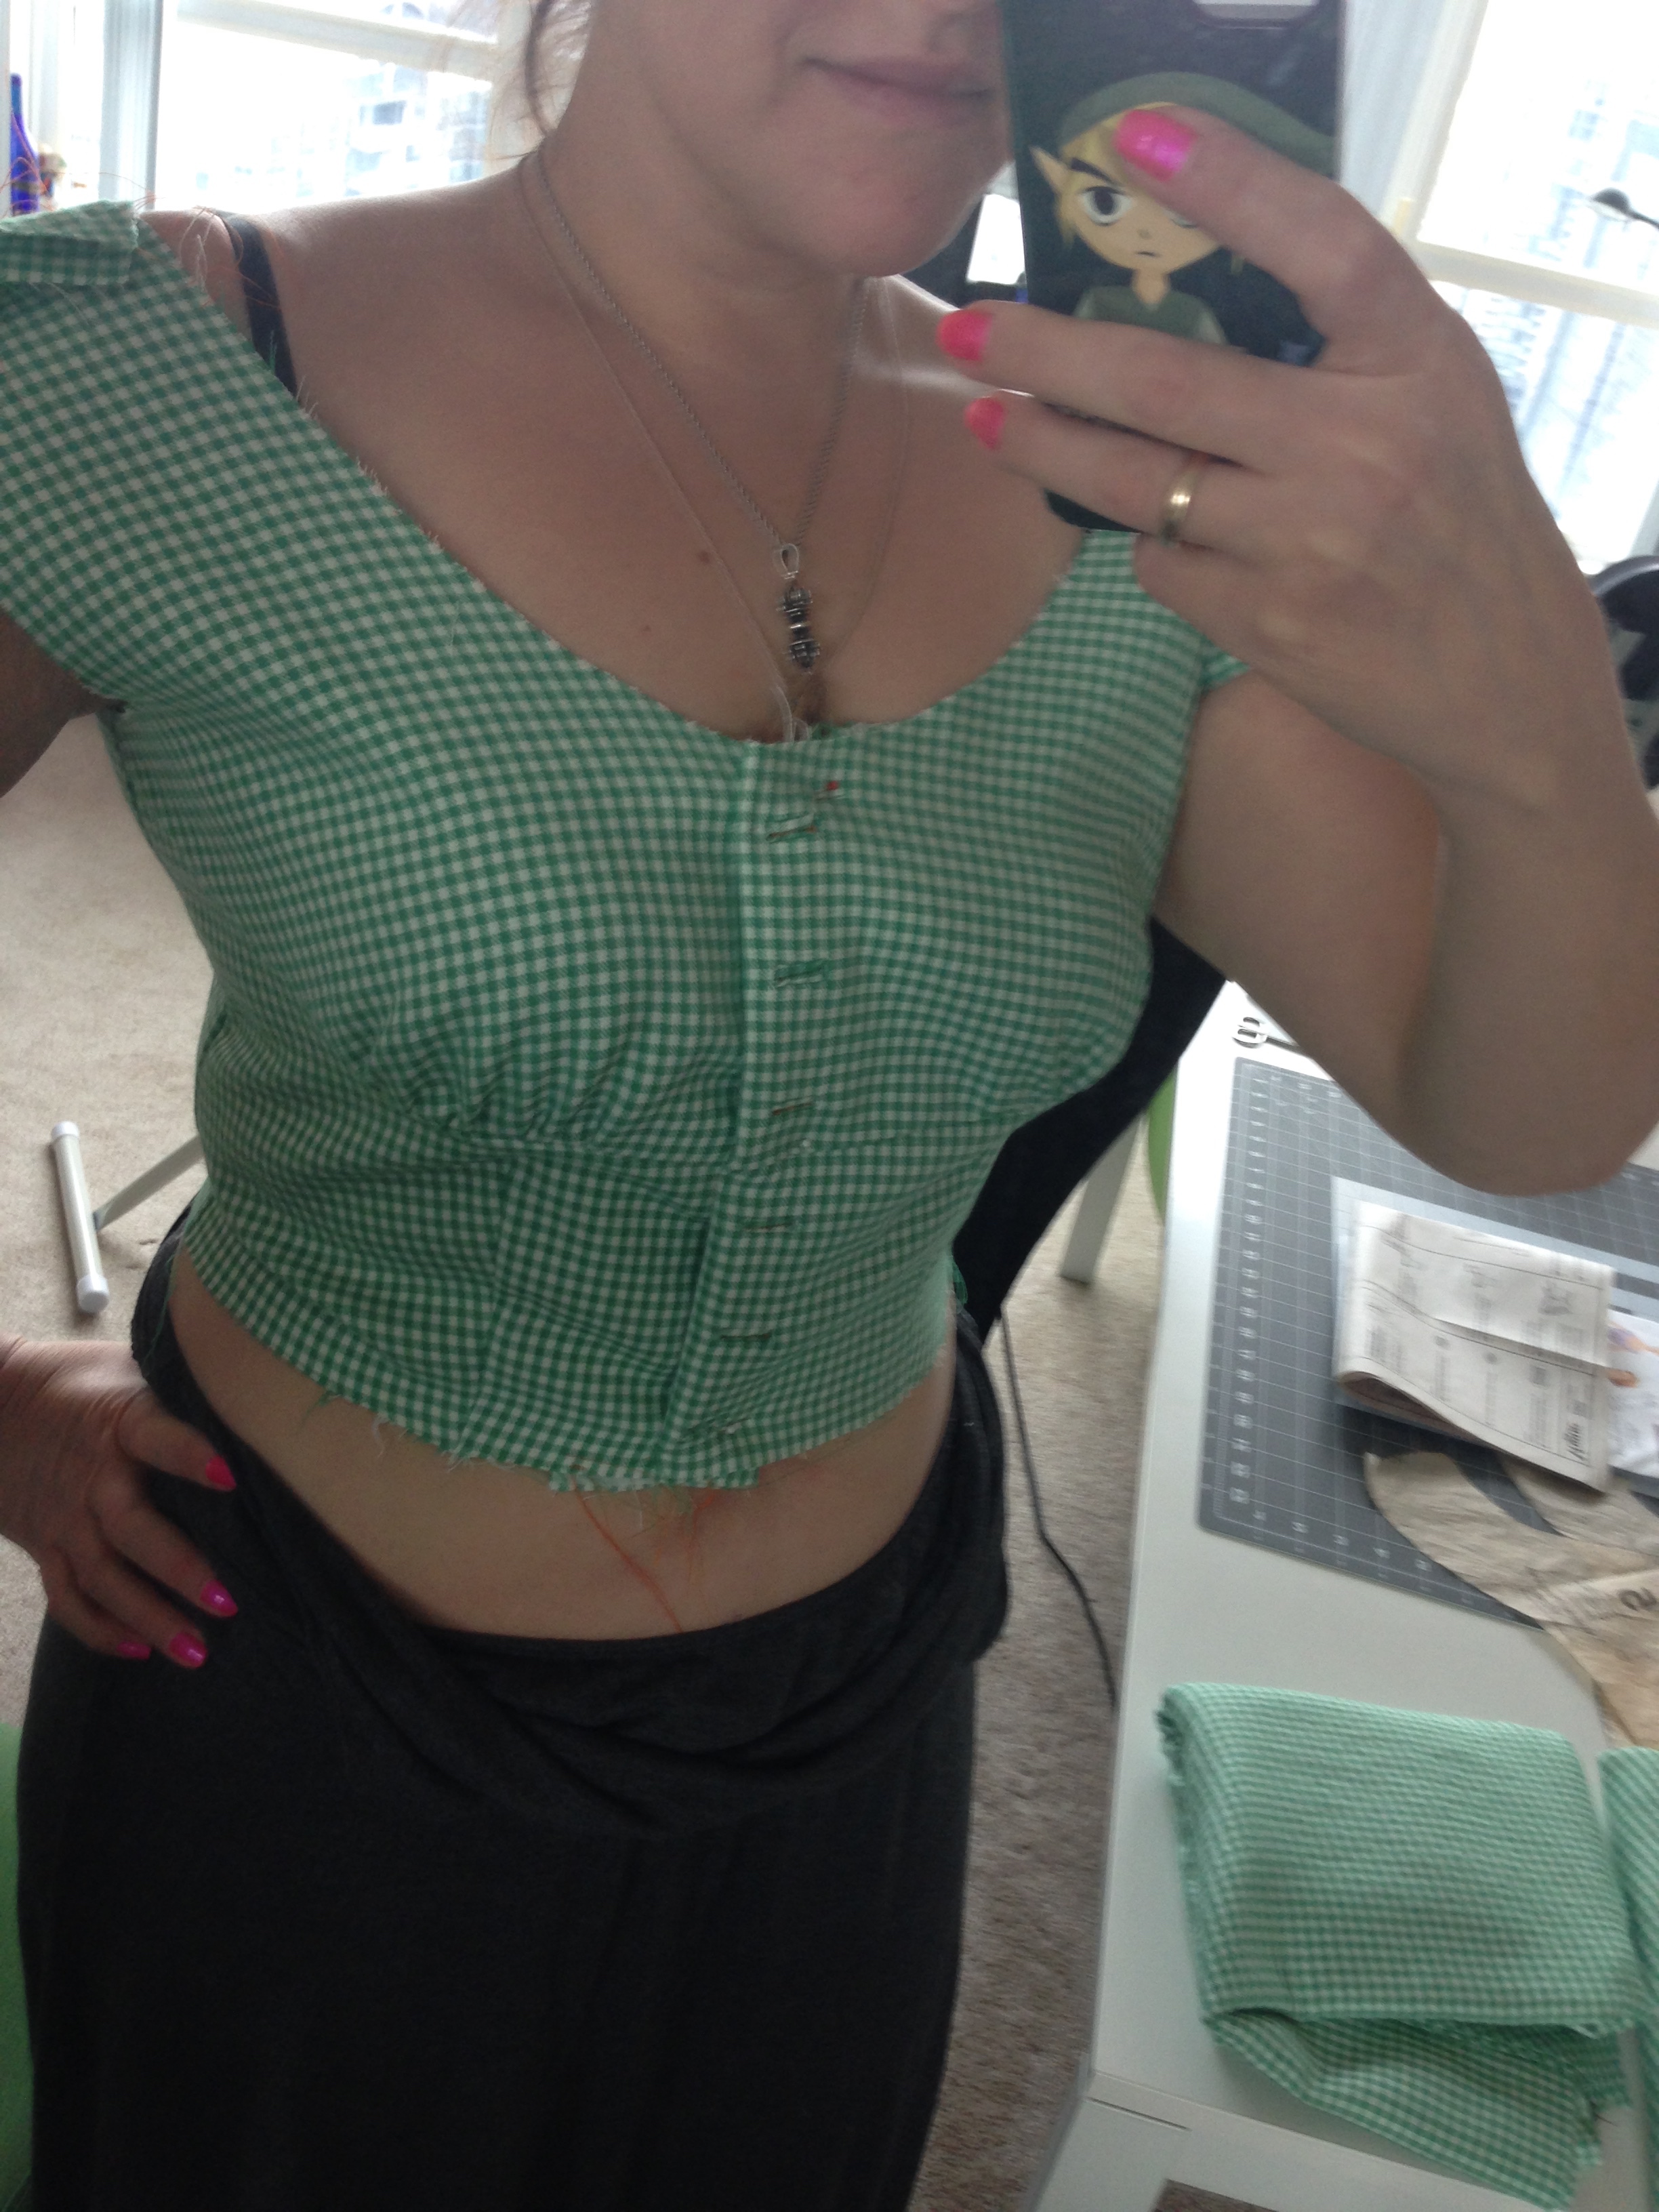
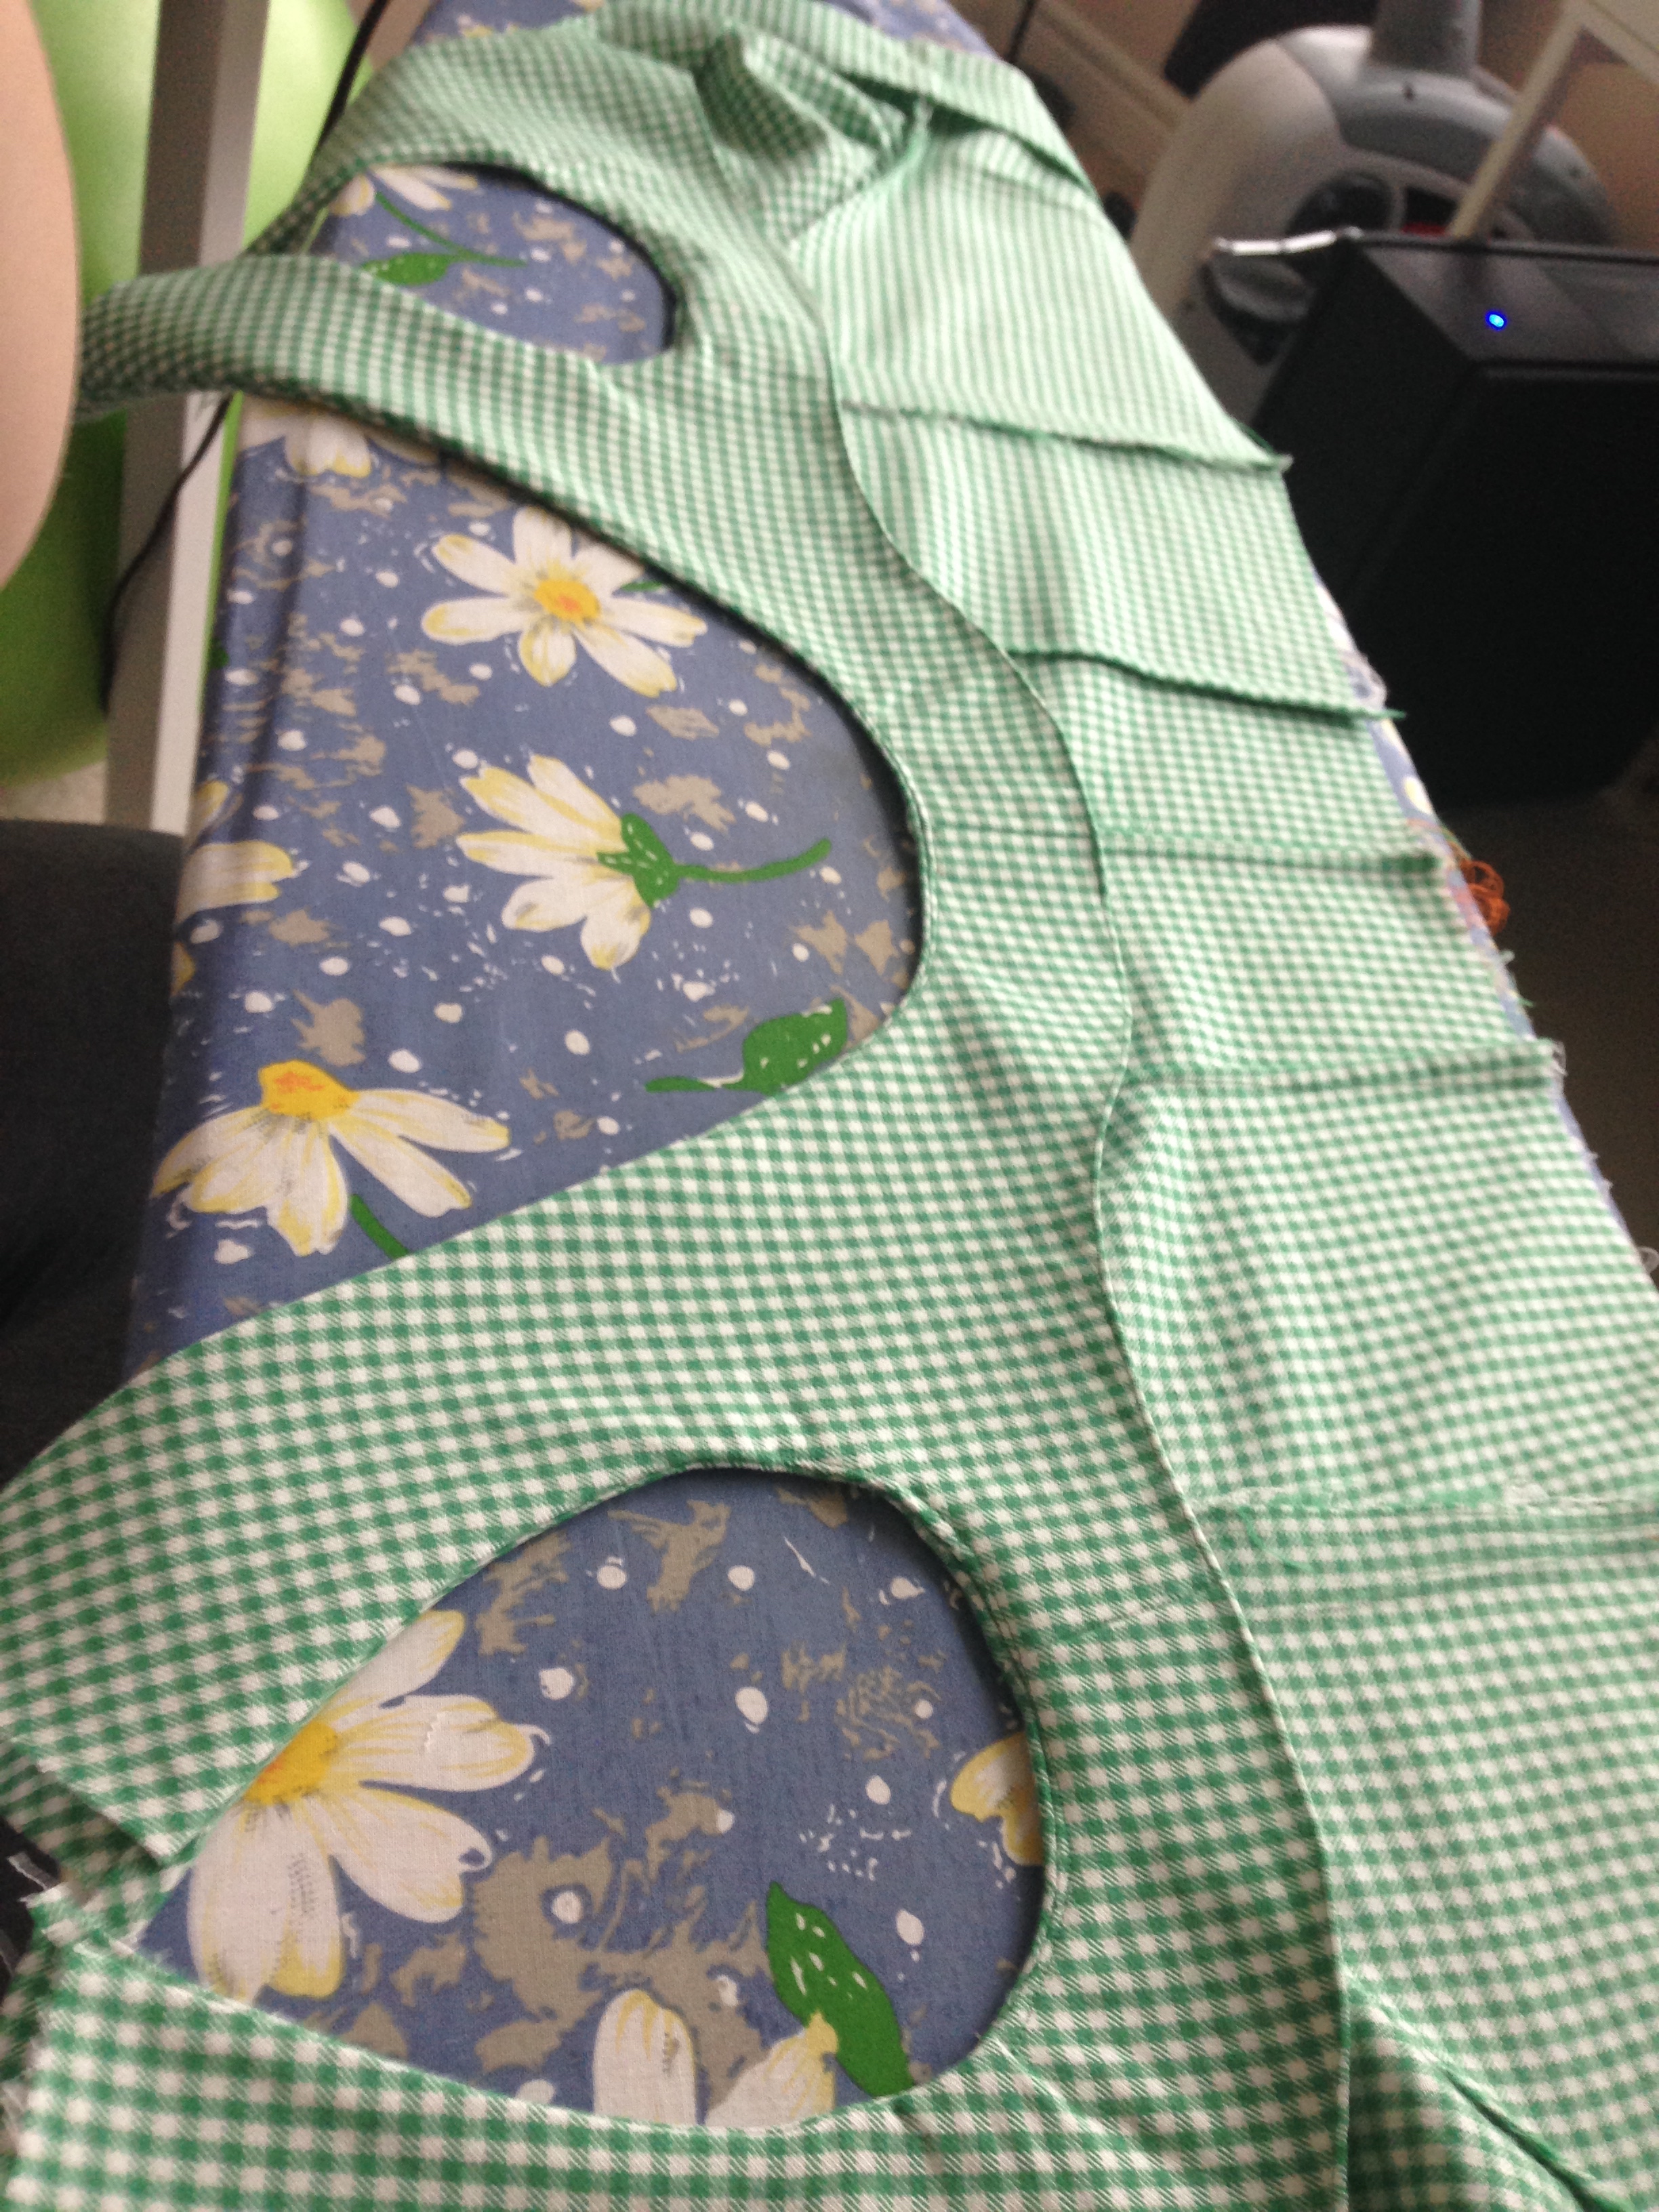
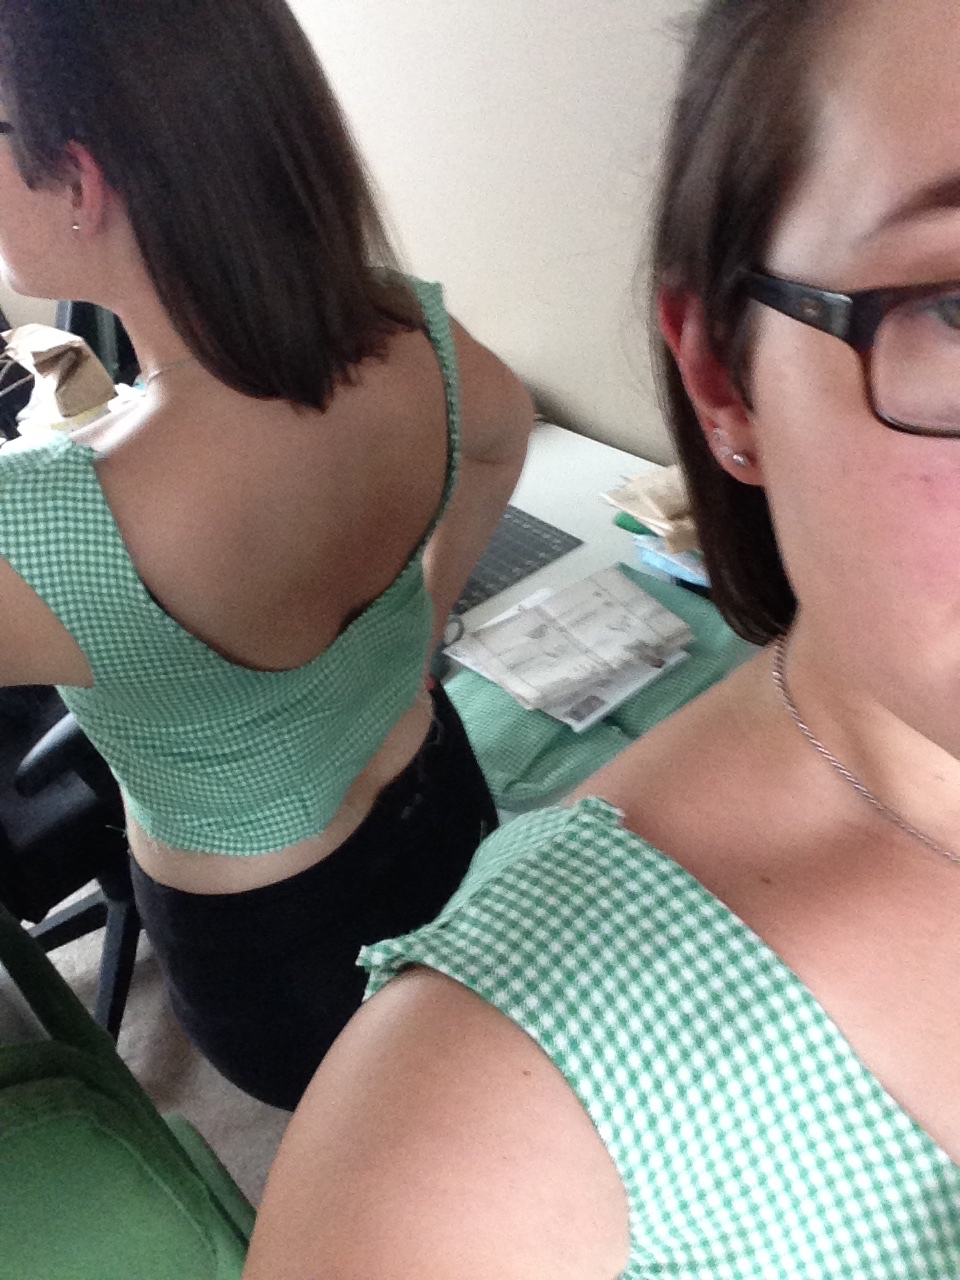
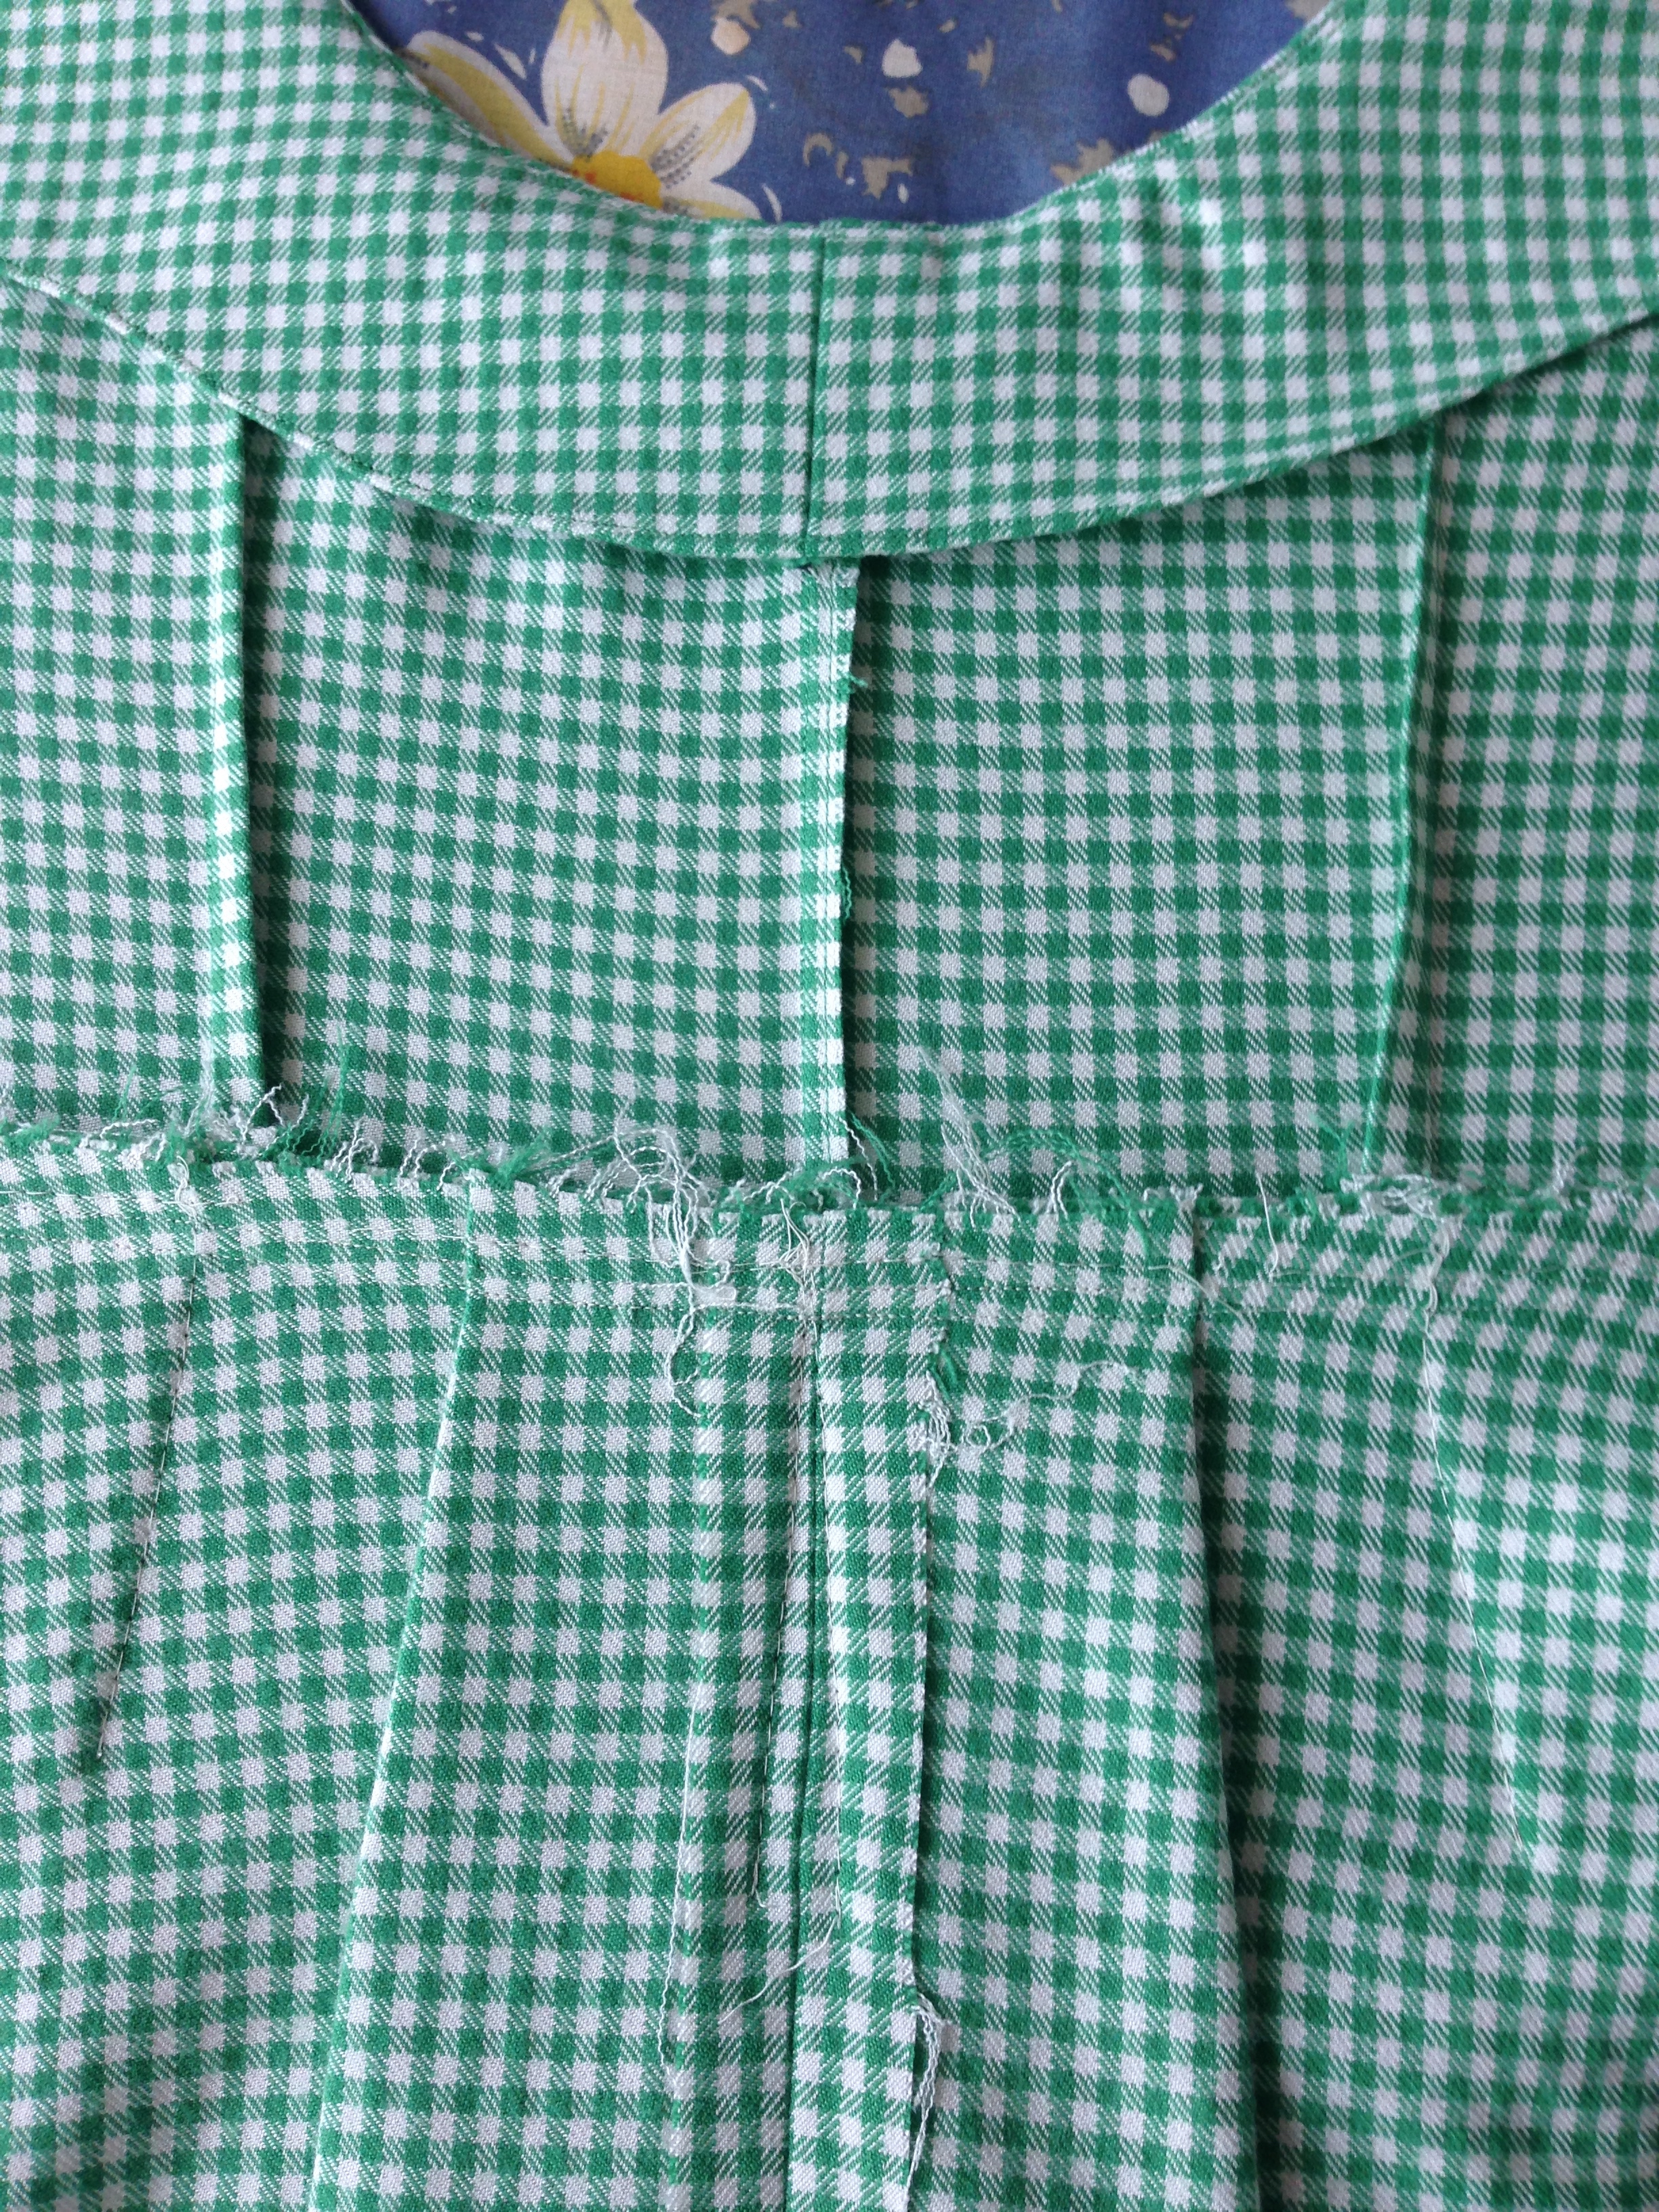
Anyways. After all the fun cutting out and ironing on interfacing and such I got to working the bodice. I've made quite a few dresses in my day, notably my Plaid Pink Ballgown. This would be the first dress with buttonholes though, and down the front none the less. (Why I do these things to myself only a good therapist can discover.)

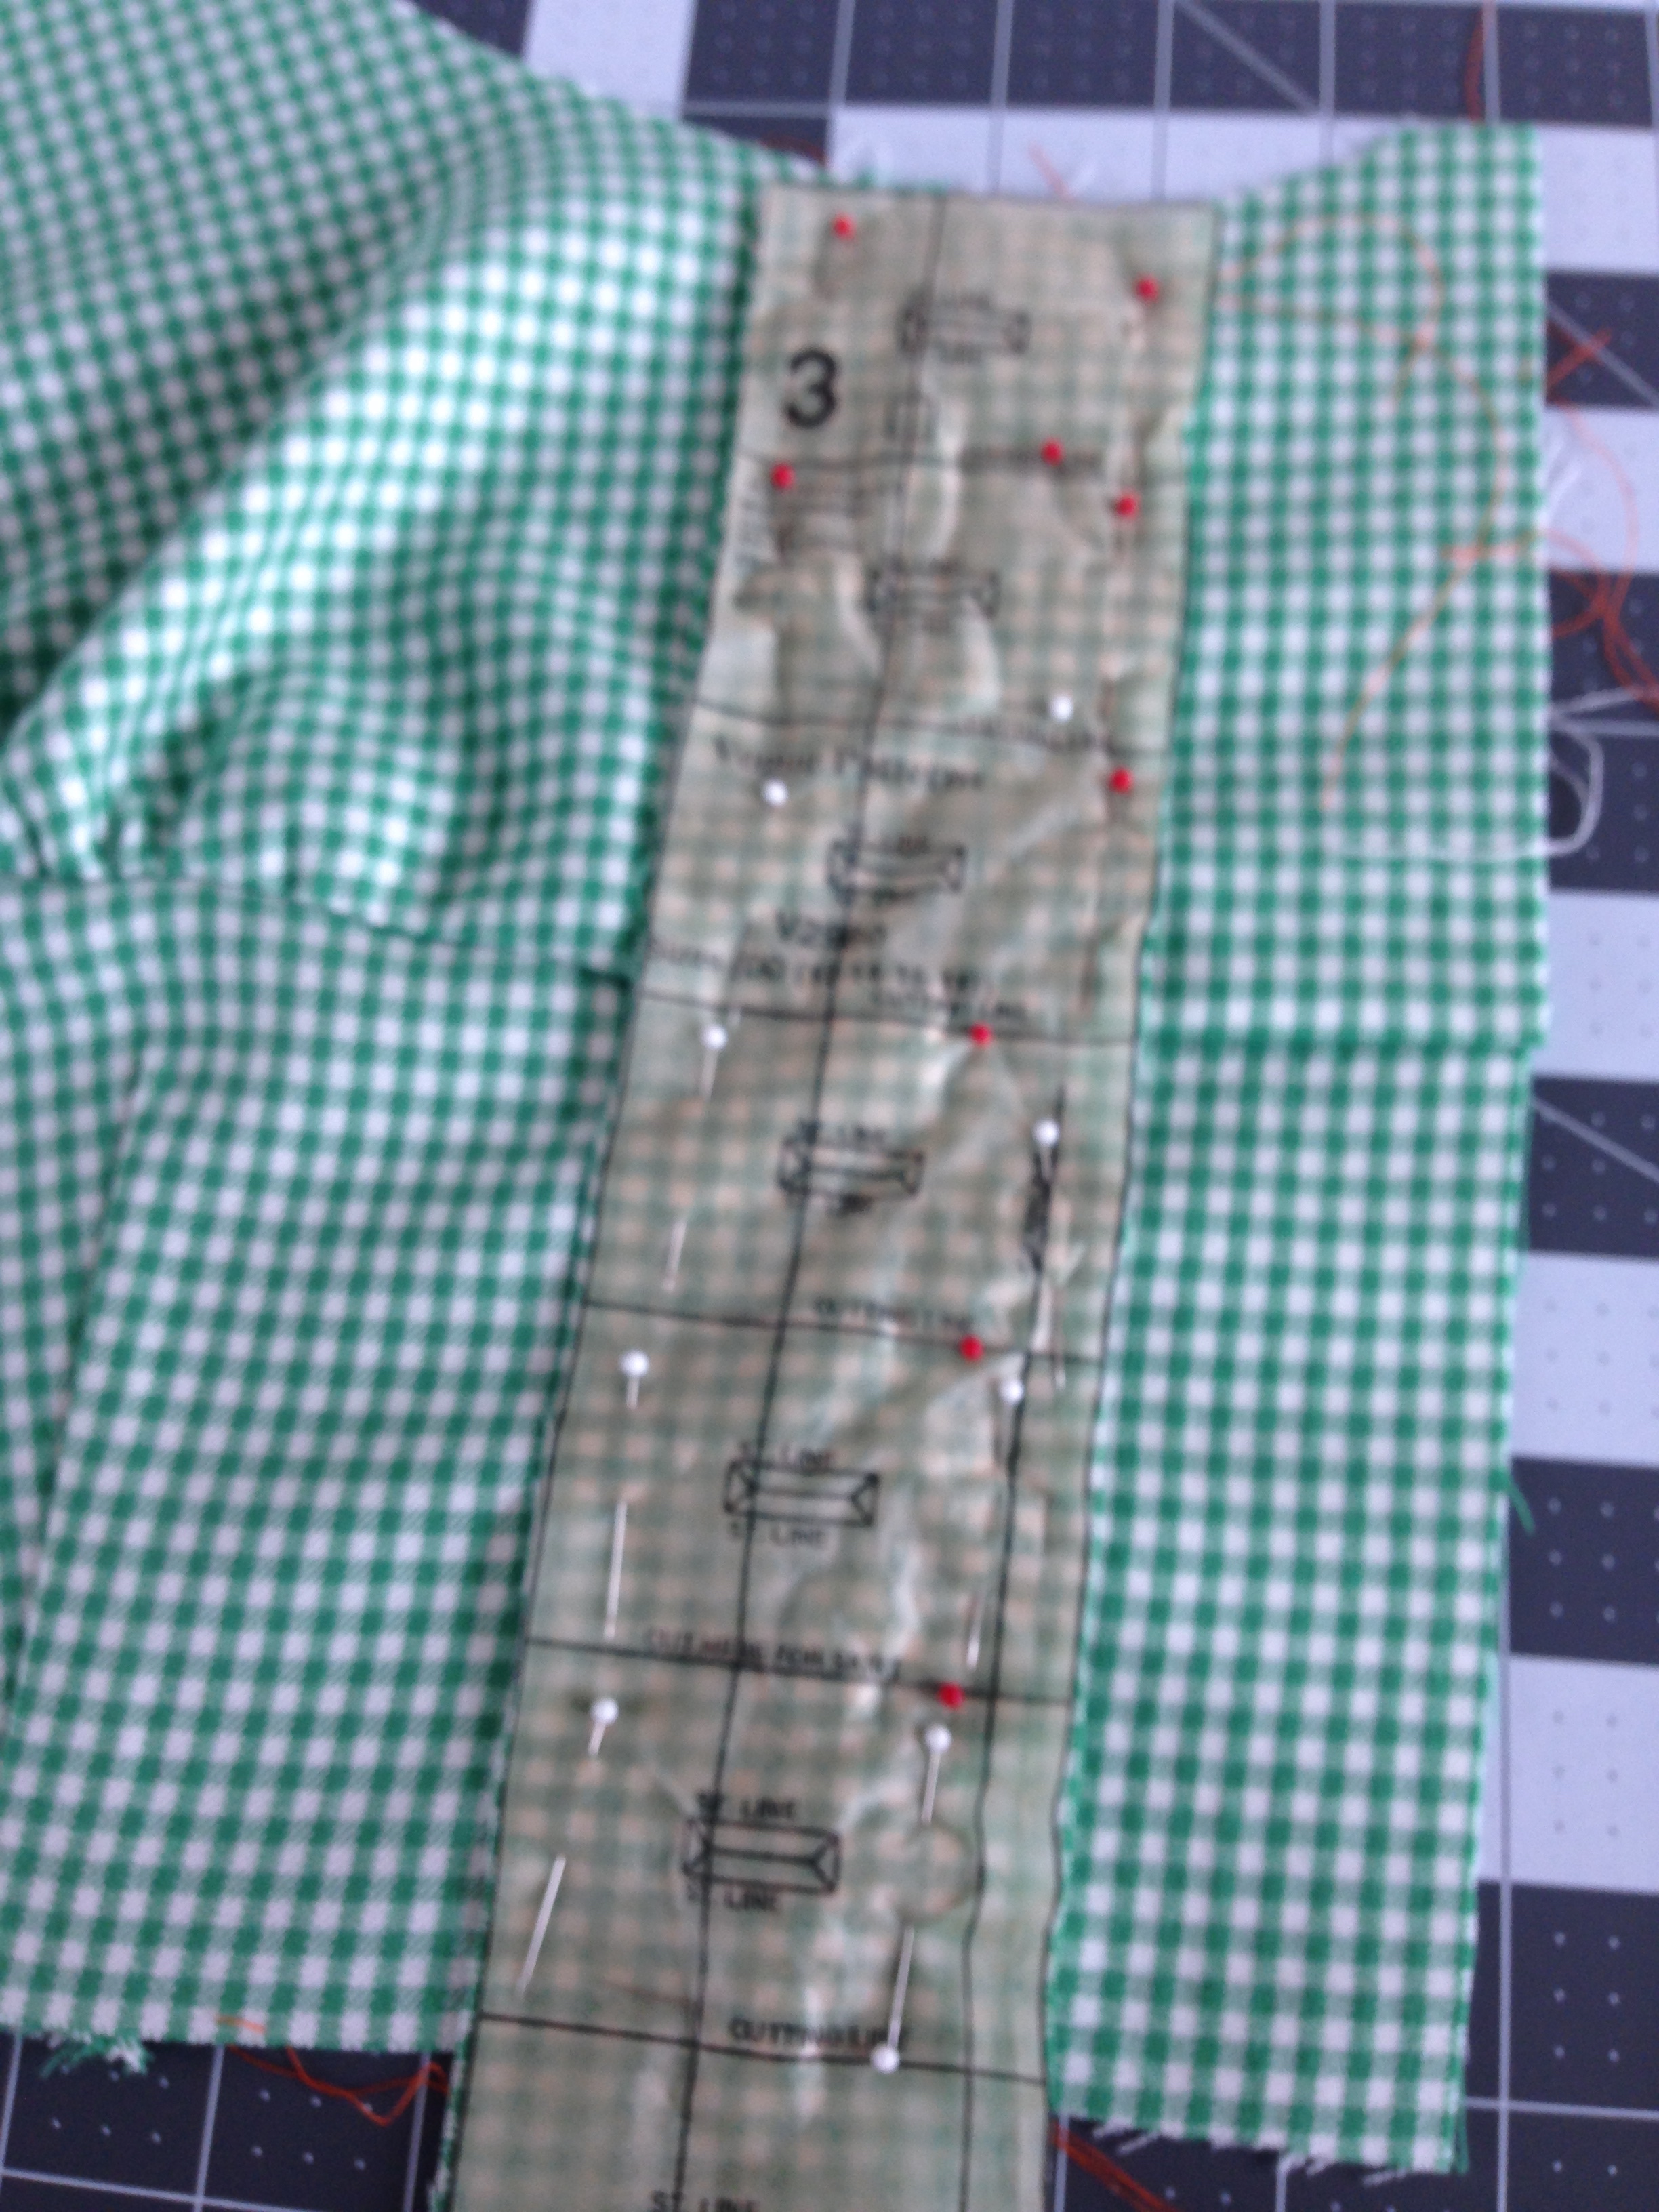
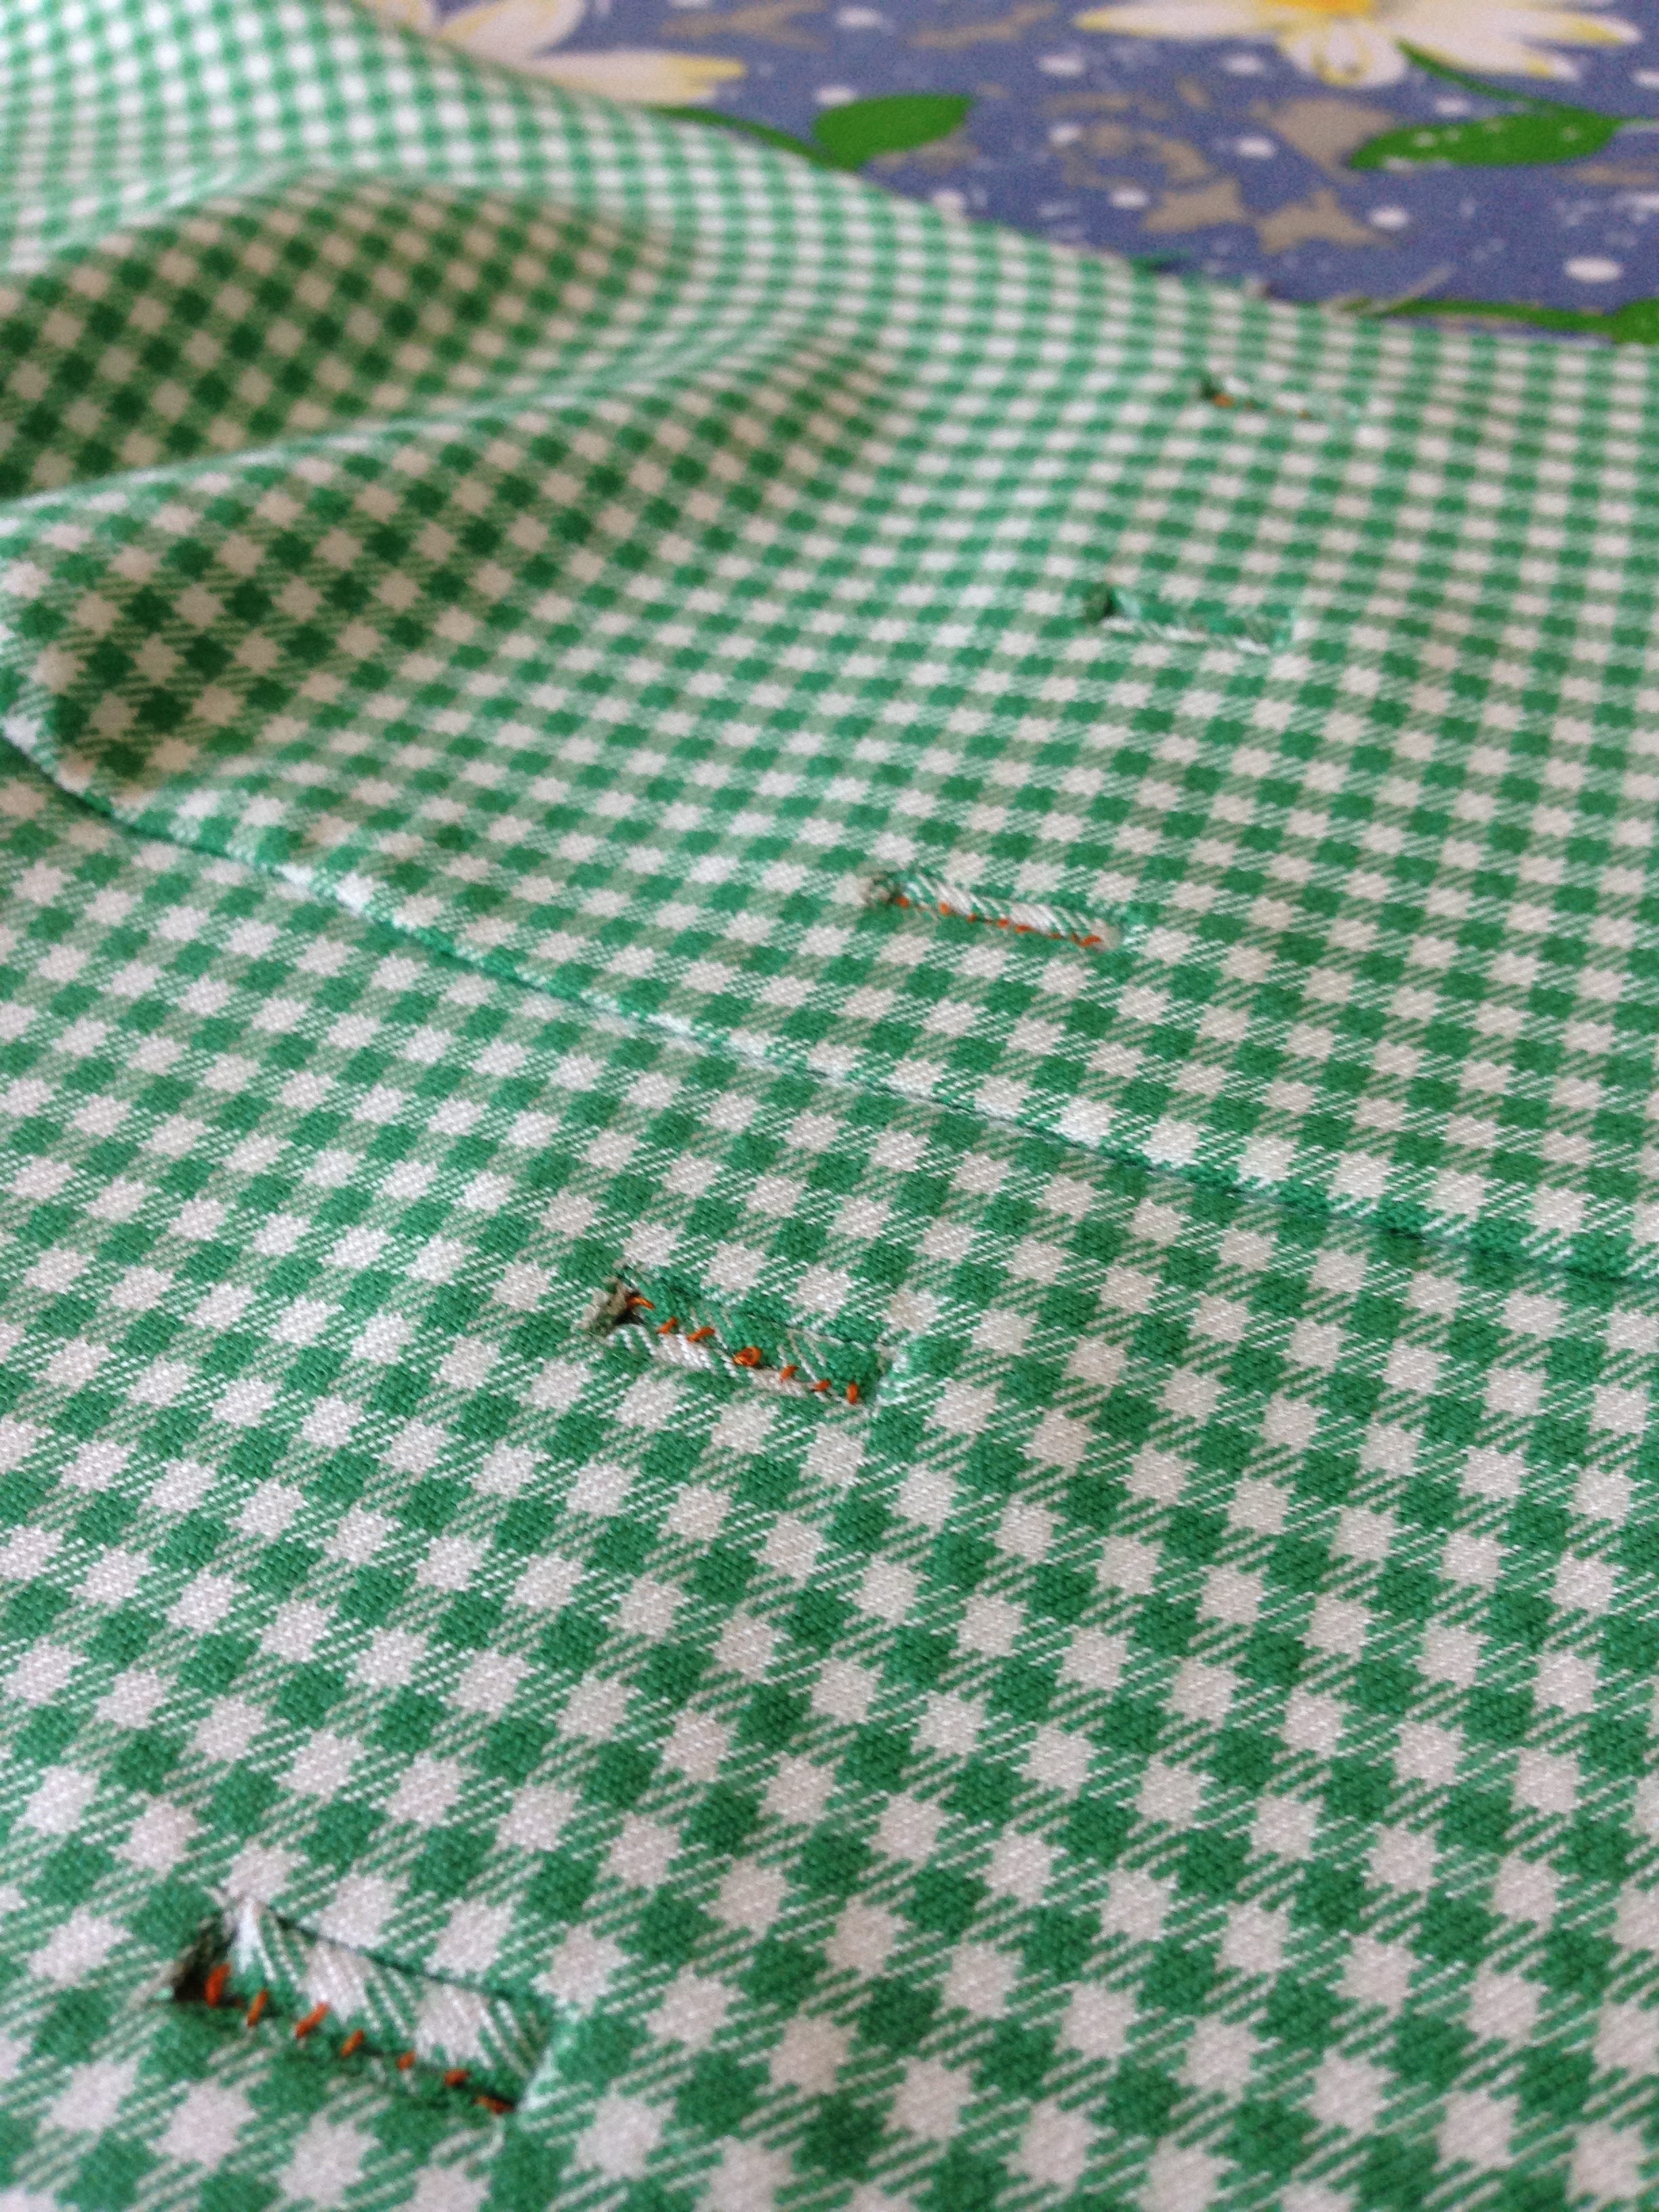
The bodice pattern was super easy to put together! (Gasp! Vogue pattern instructions being straight forward??!!) And the fabric worked beautifully with all the darts (Gingham Power!). But, because everything has it's snags, after I started cutting my welt buttonholes, I realized that the buttonhole pattern piece I was measuring from was wrong side/right side, making my buttonholes a whole half inch over from where they were supposed to live.

-cries-

Ah well. I'm not called the half-assed hobbyist because everything goes well all the time. Live and Learn! My buttonholes would just live dangerously close to the fabric edge, just how I like it.
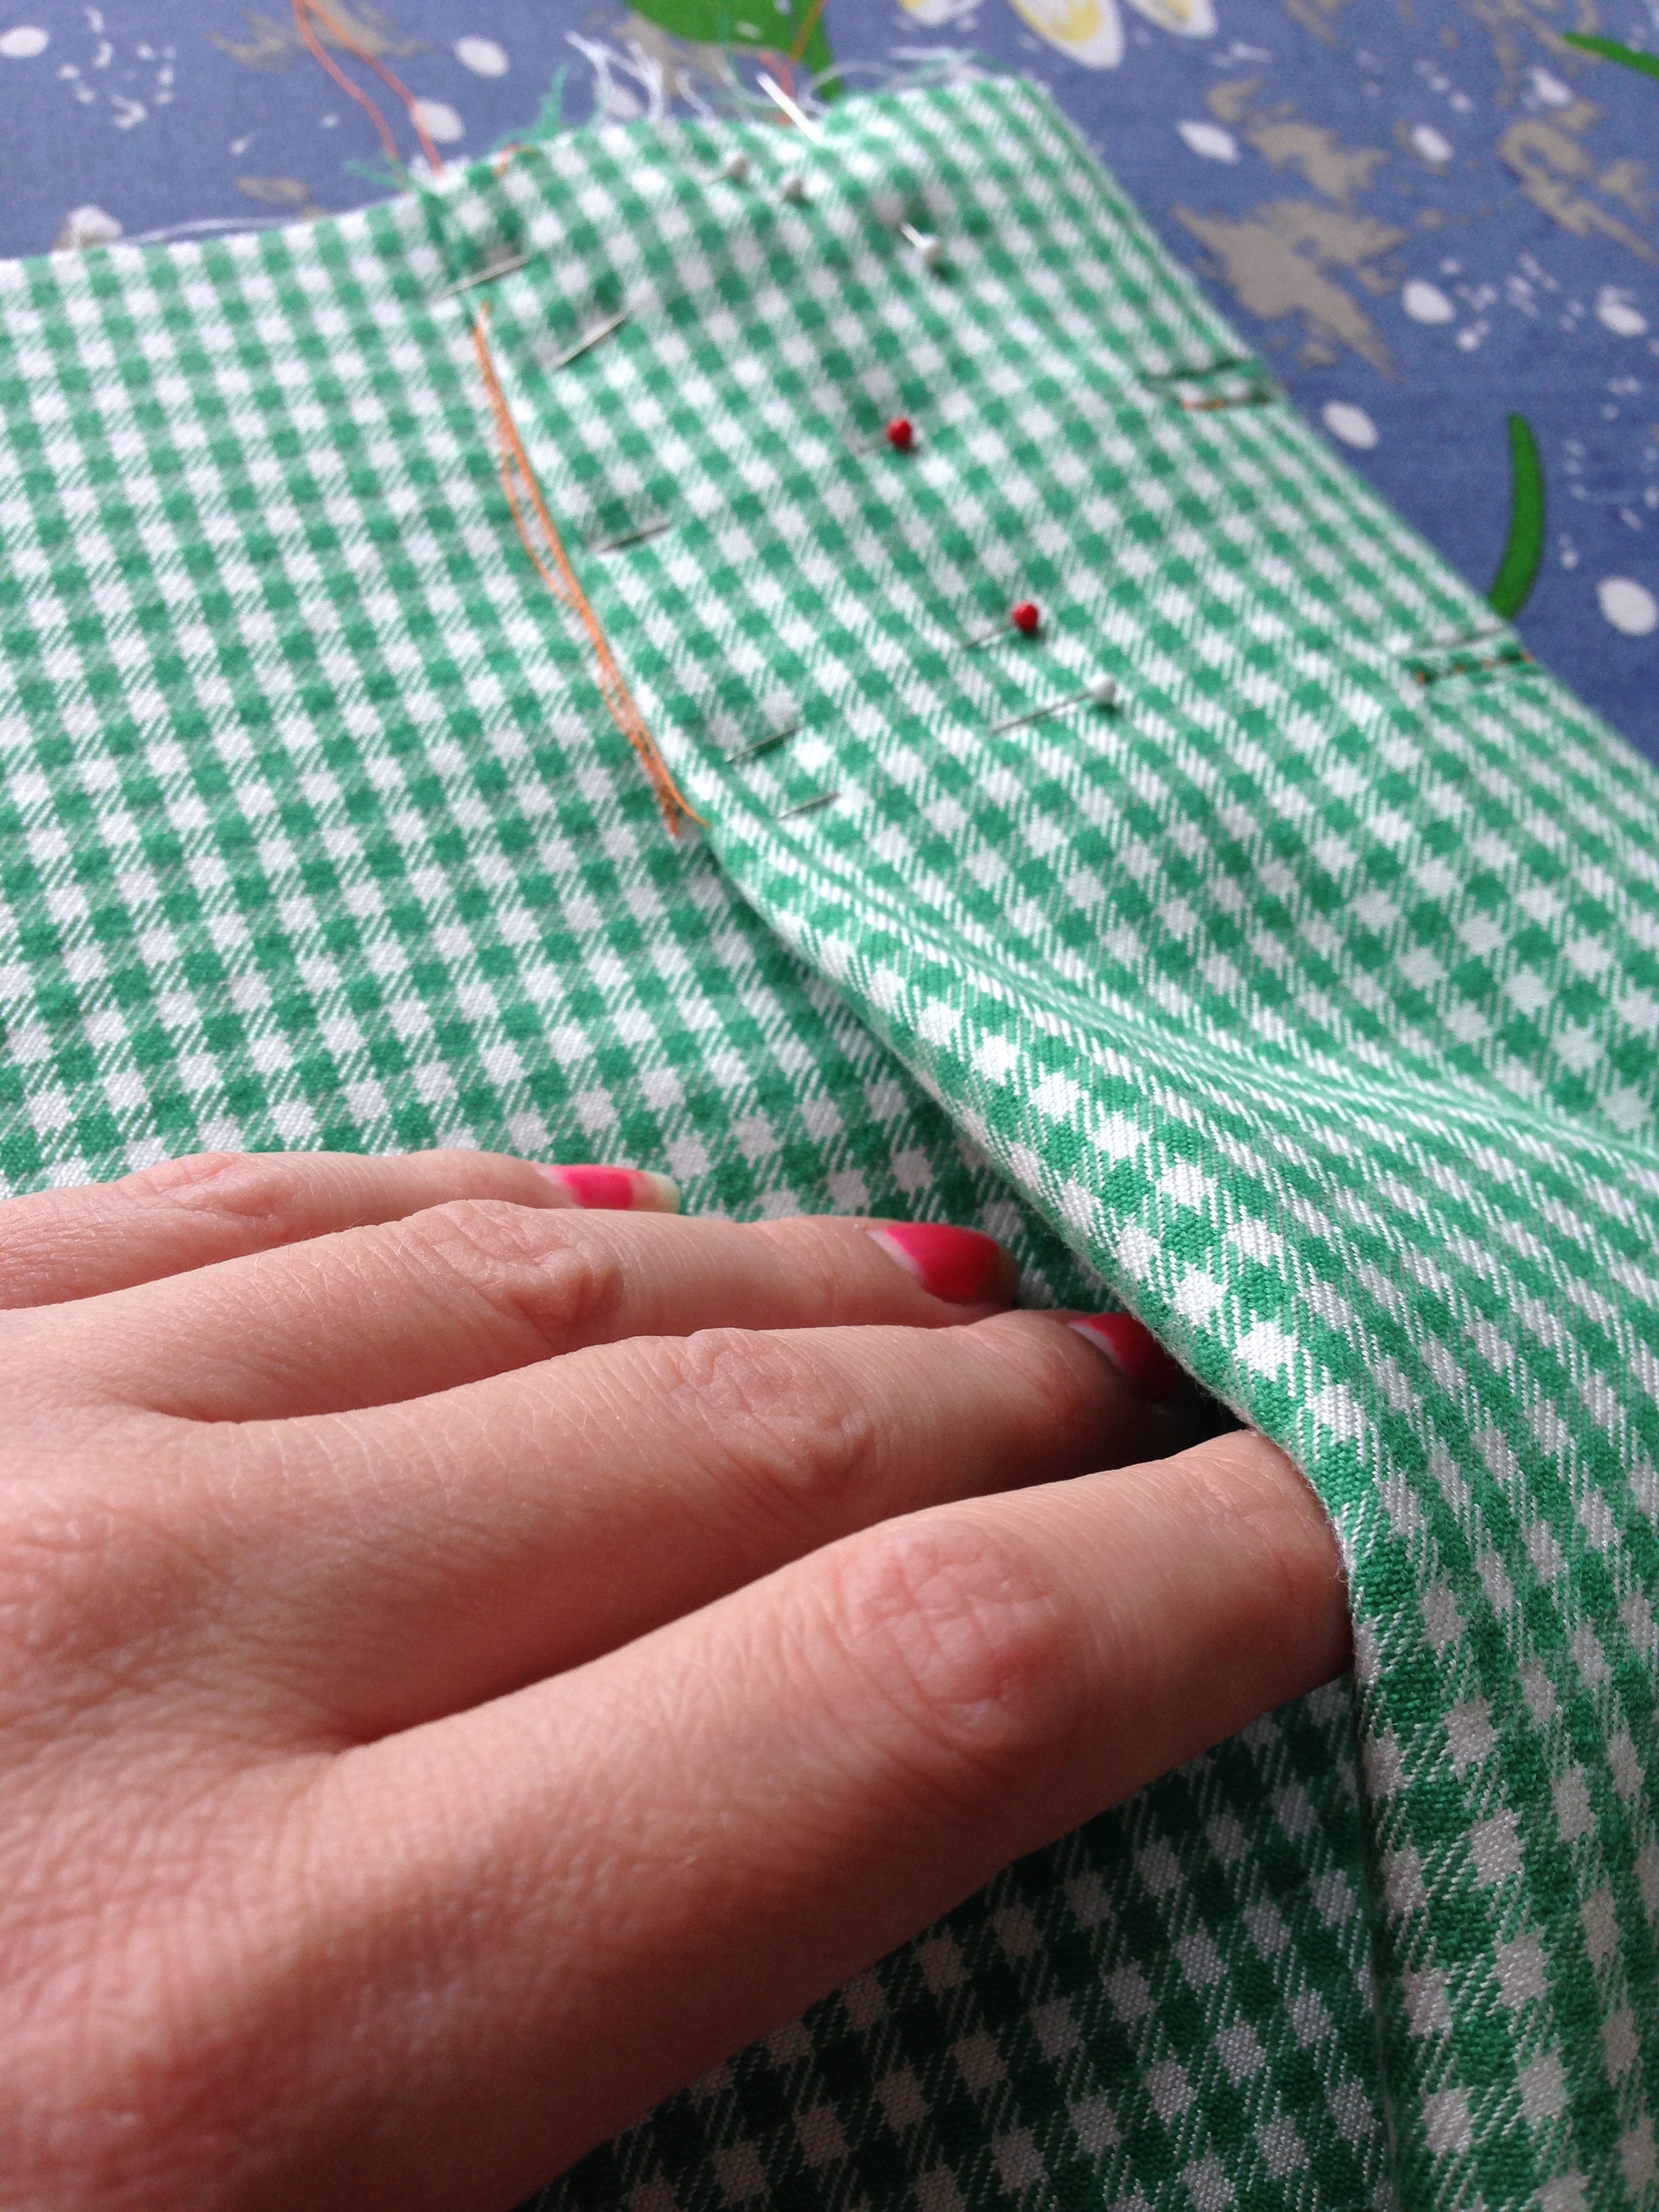
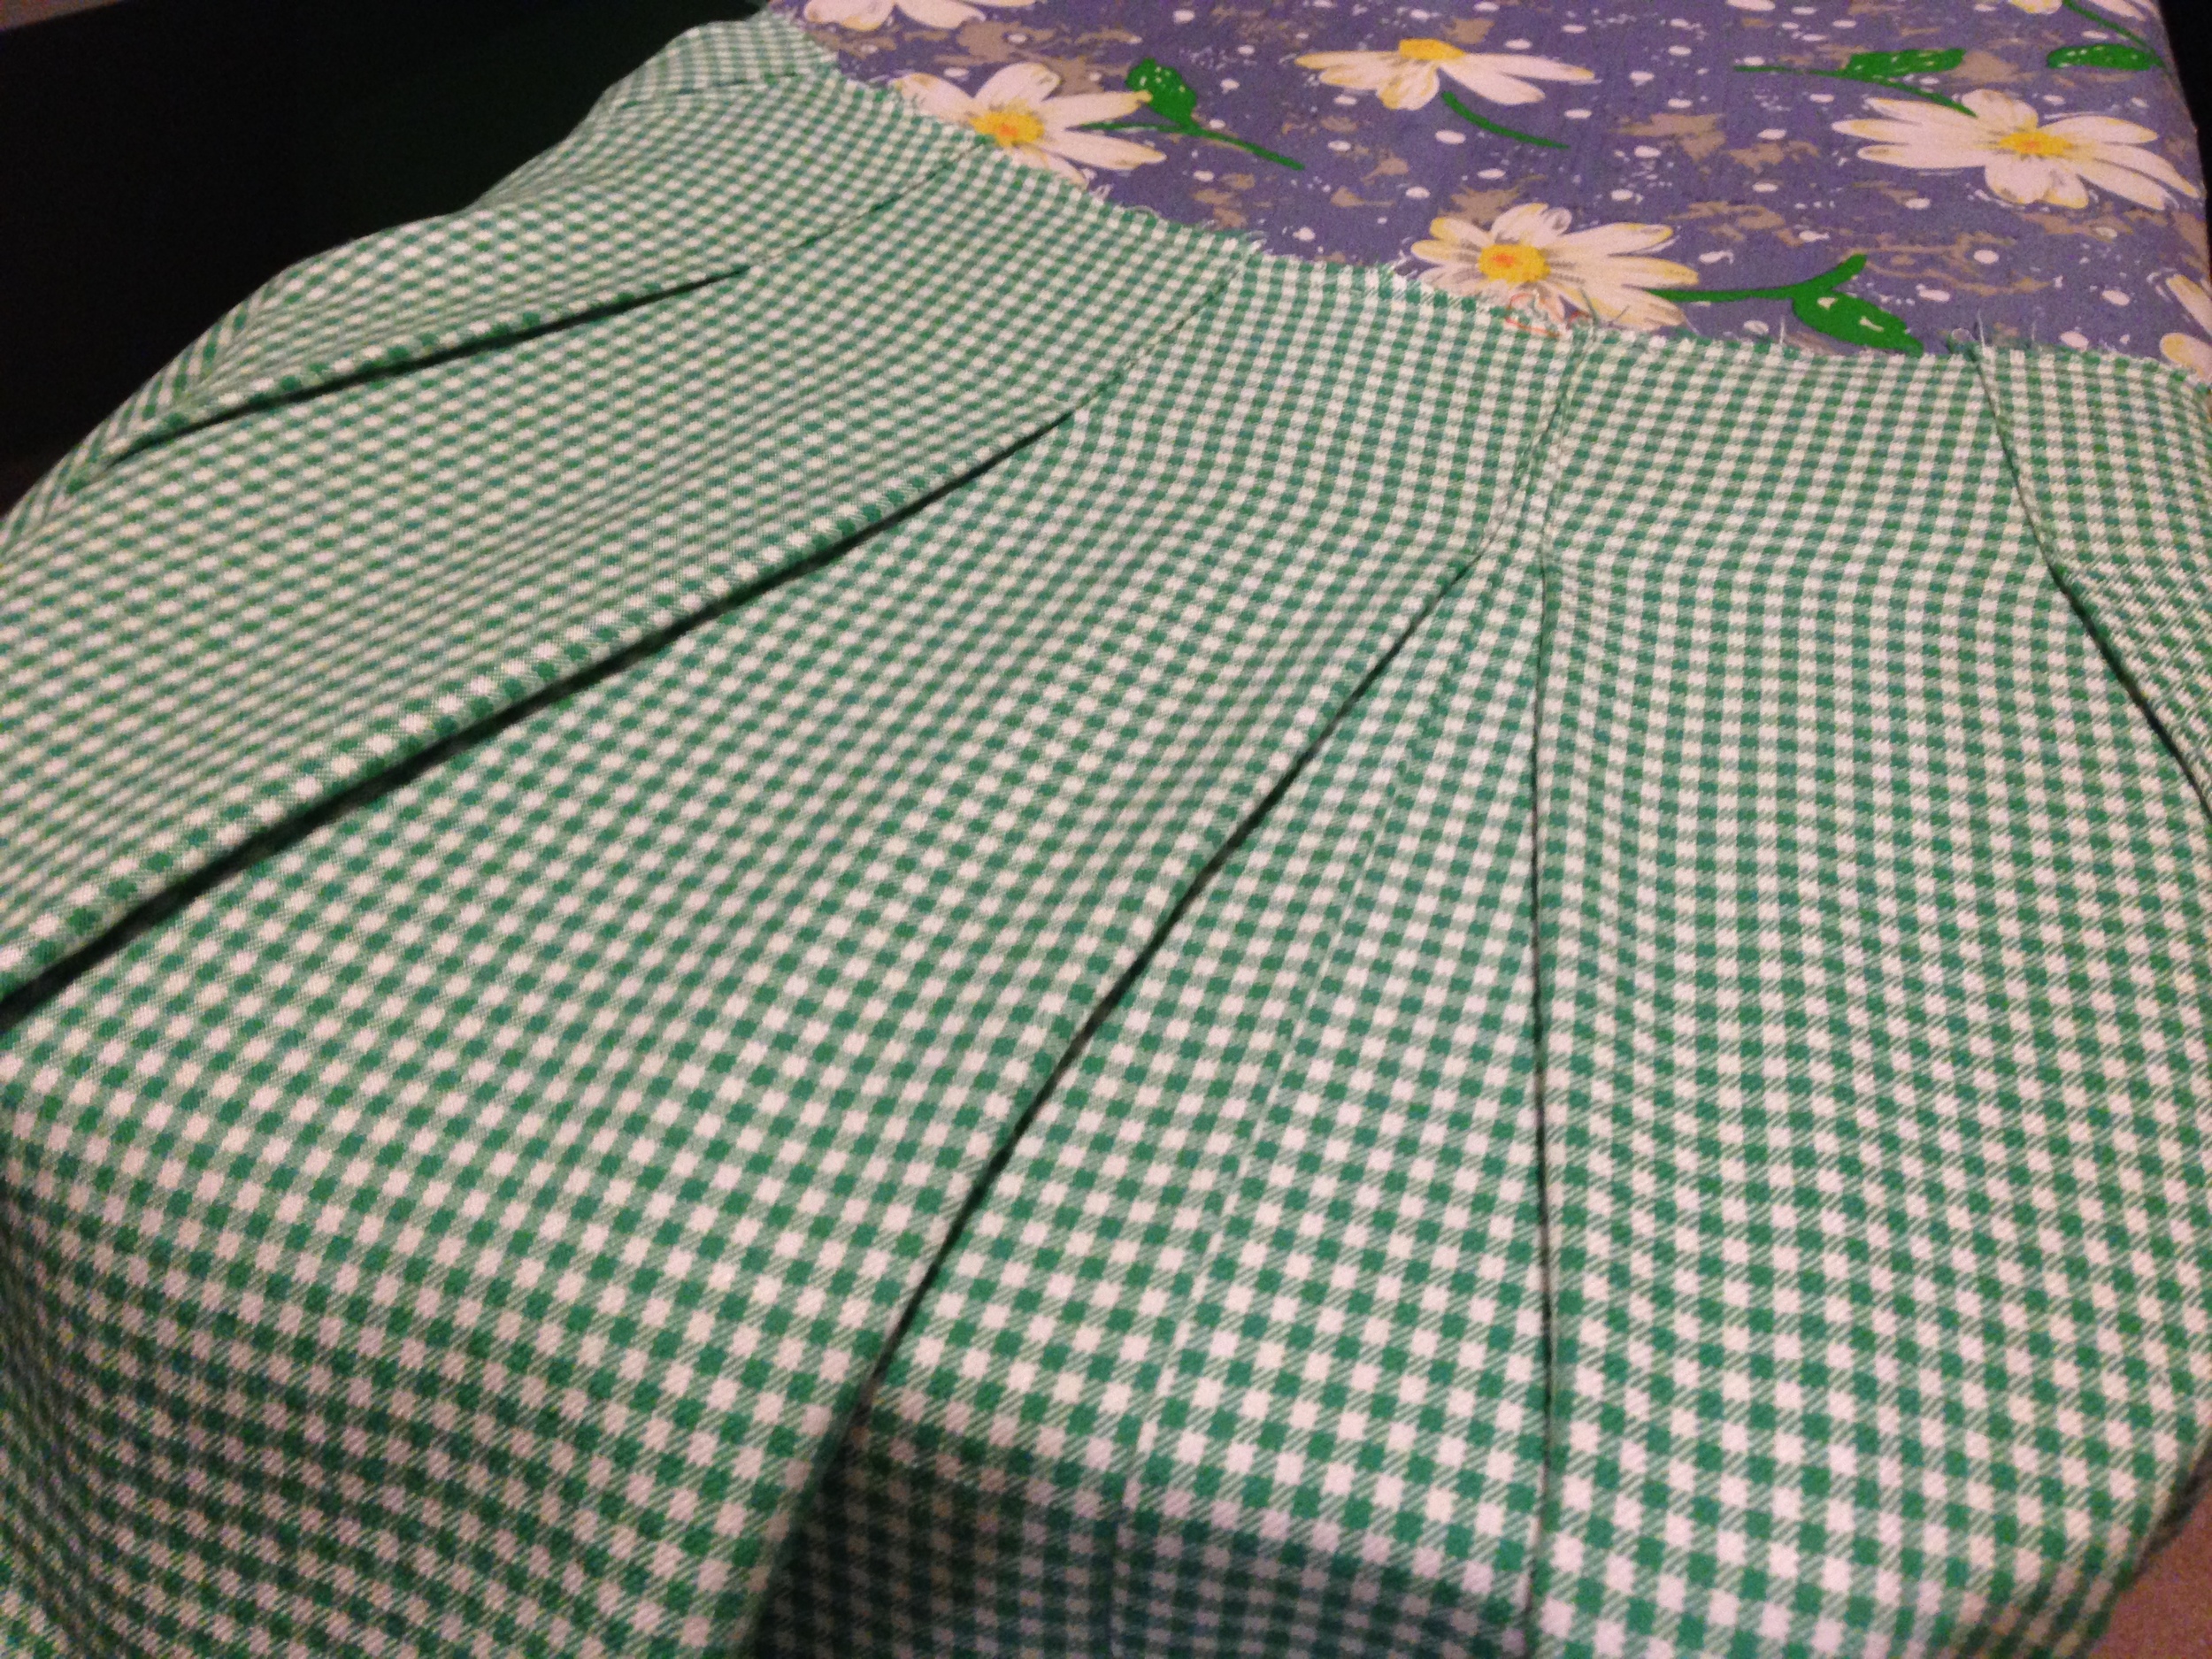
Next was the skirt. My favourite part! But actually. I love skirts. If wind didn't exist, I would wear skirts everyday. -She says, thinking about the global ramifications of a windless world on general ecosystems-

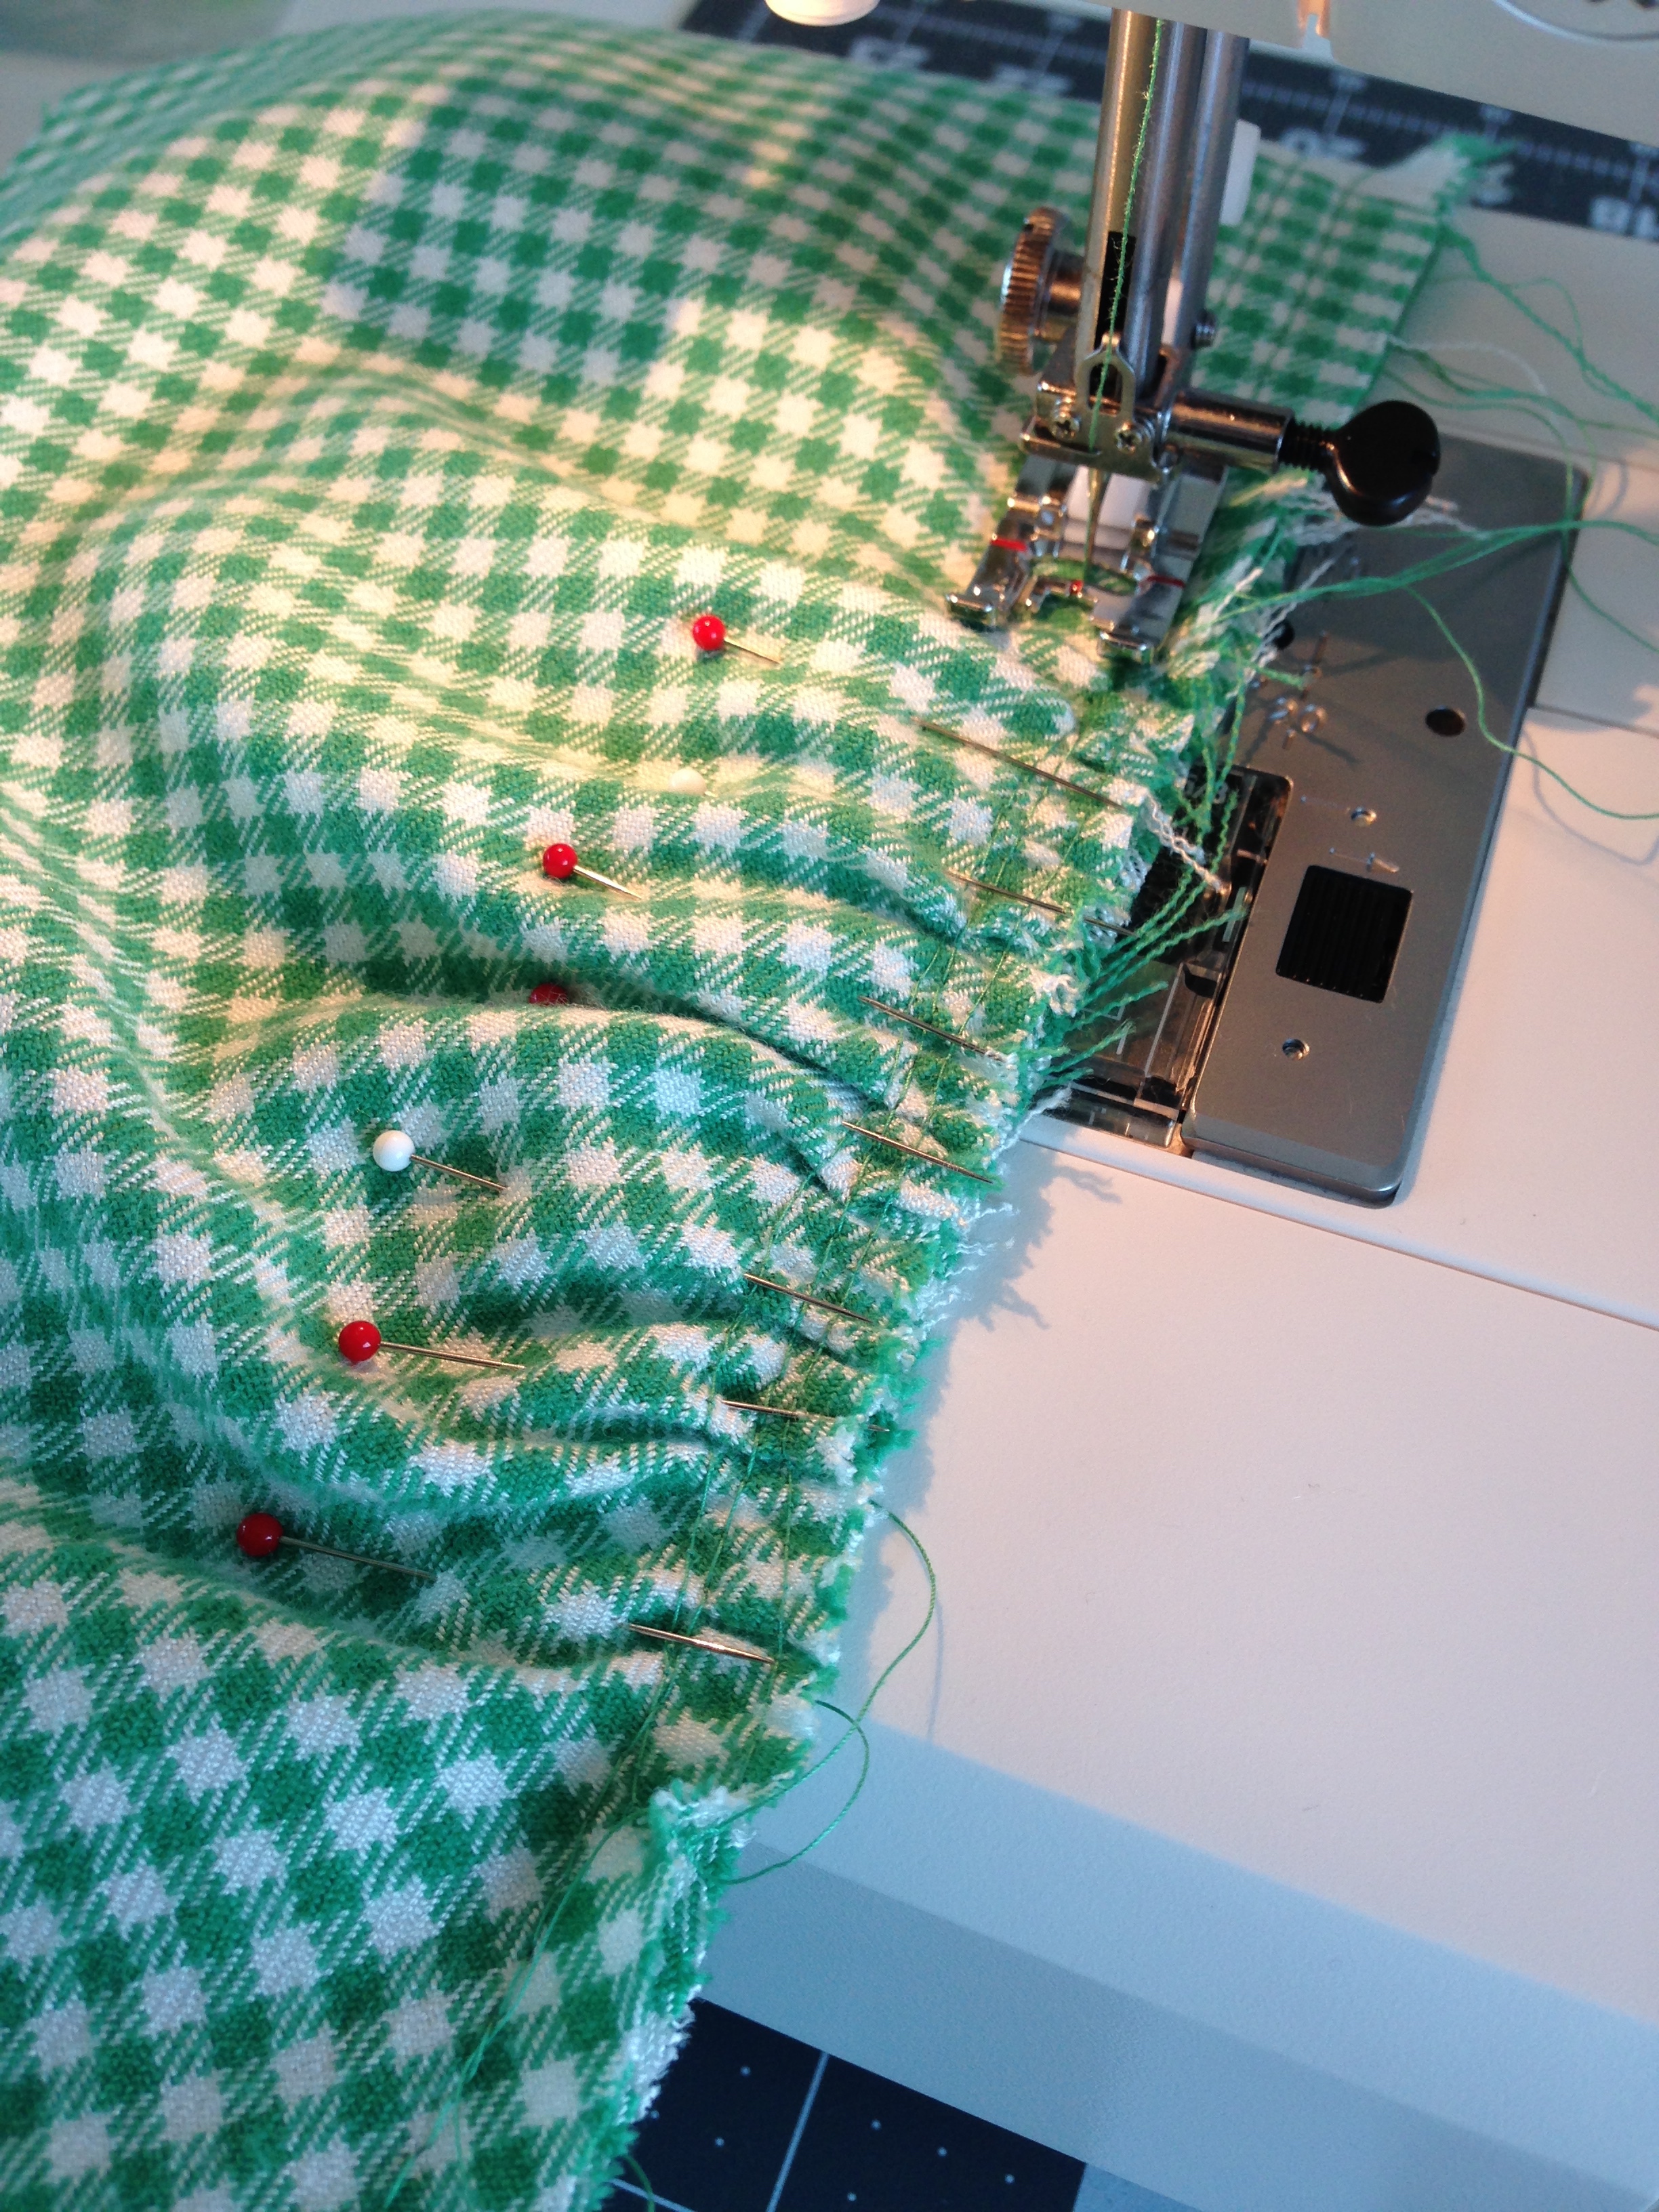
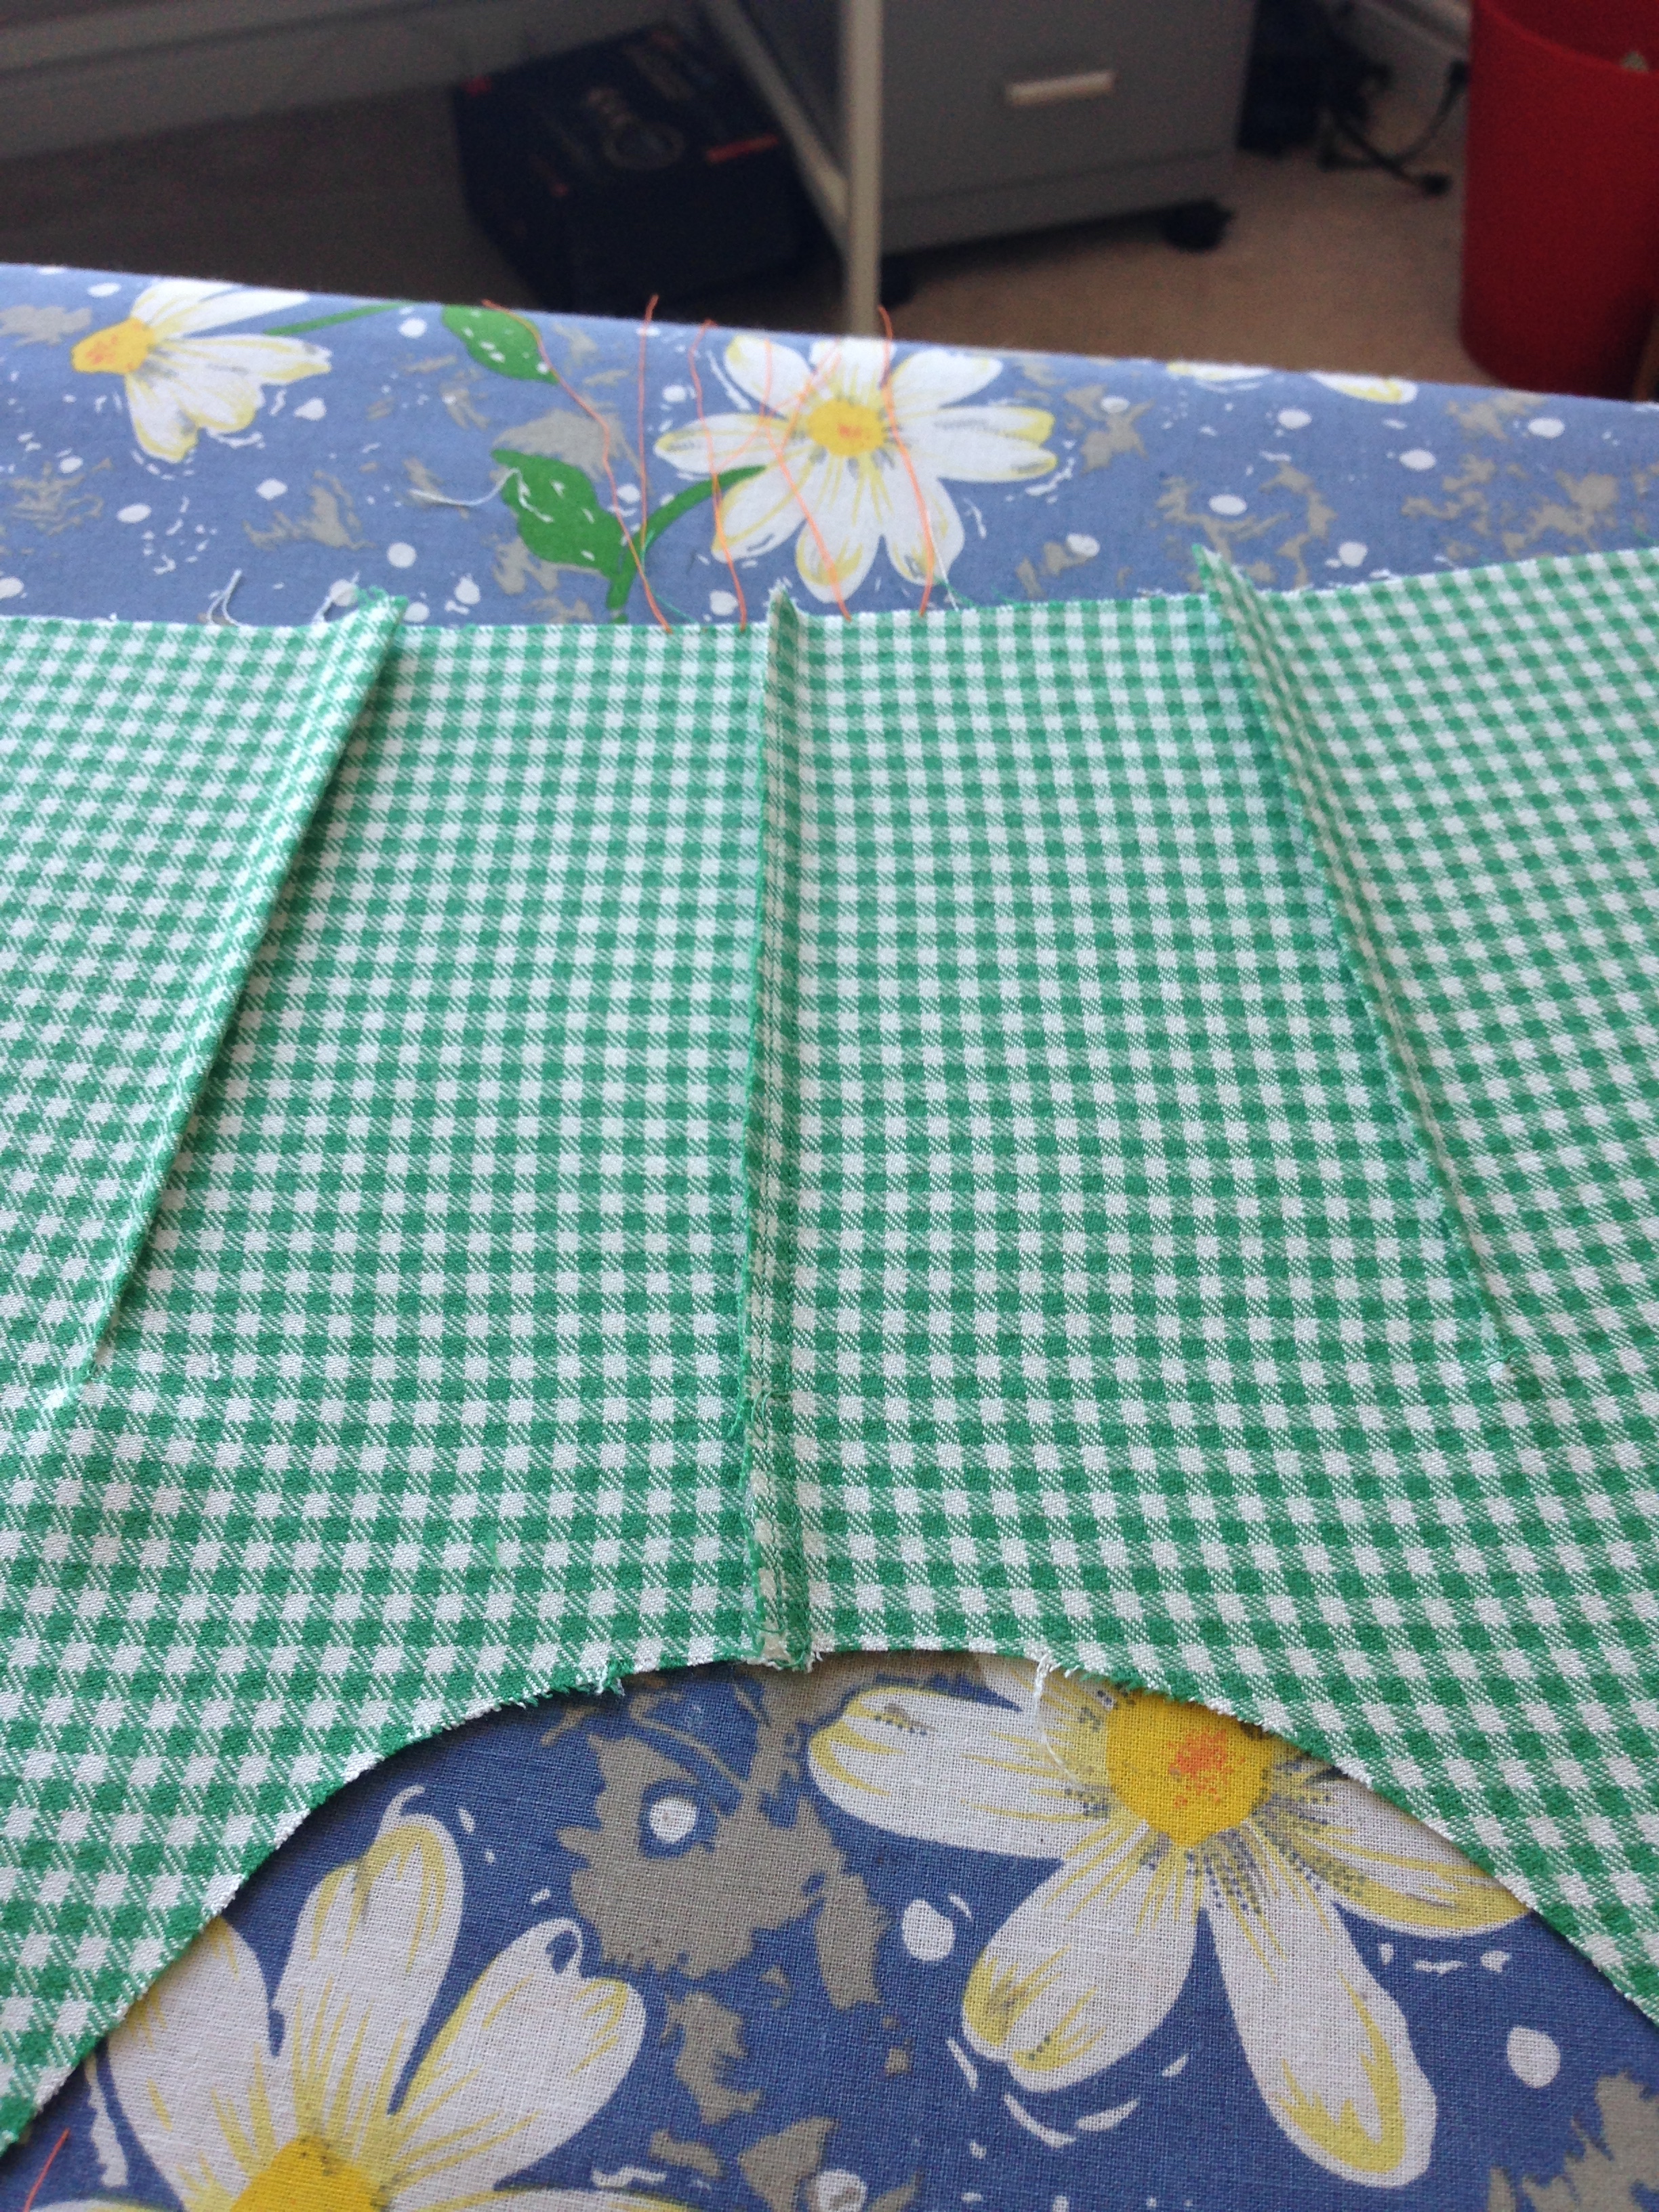
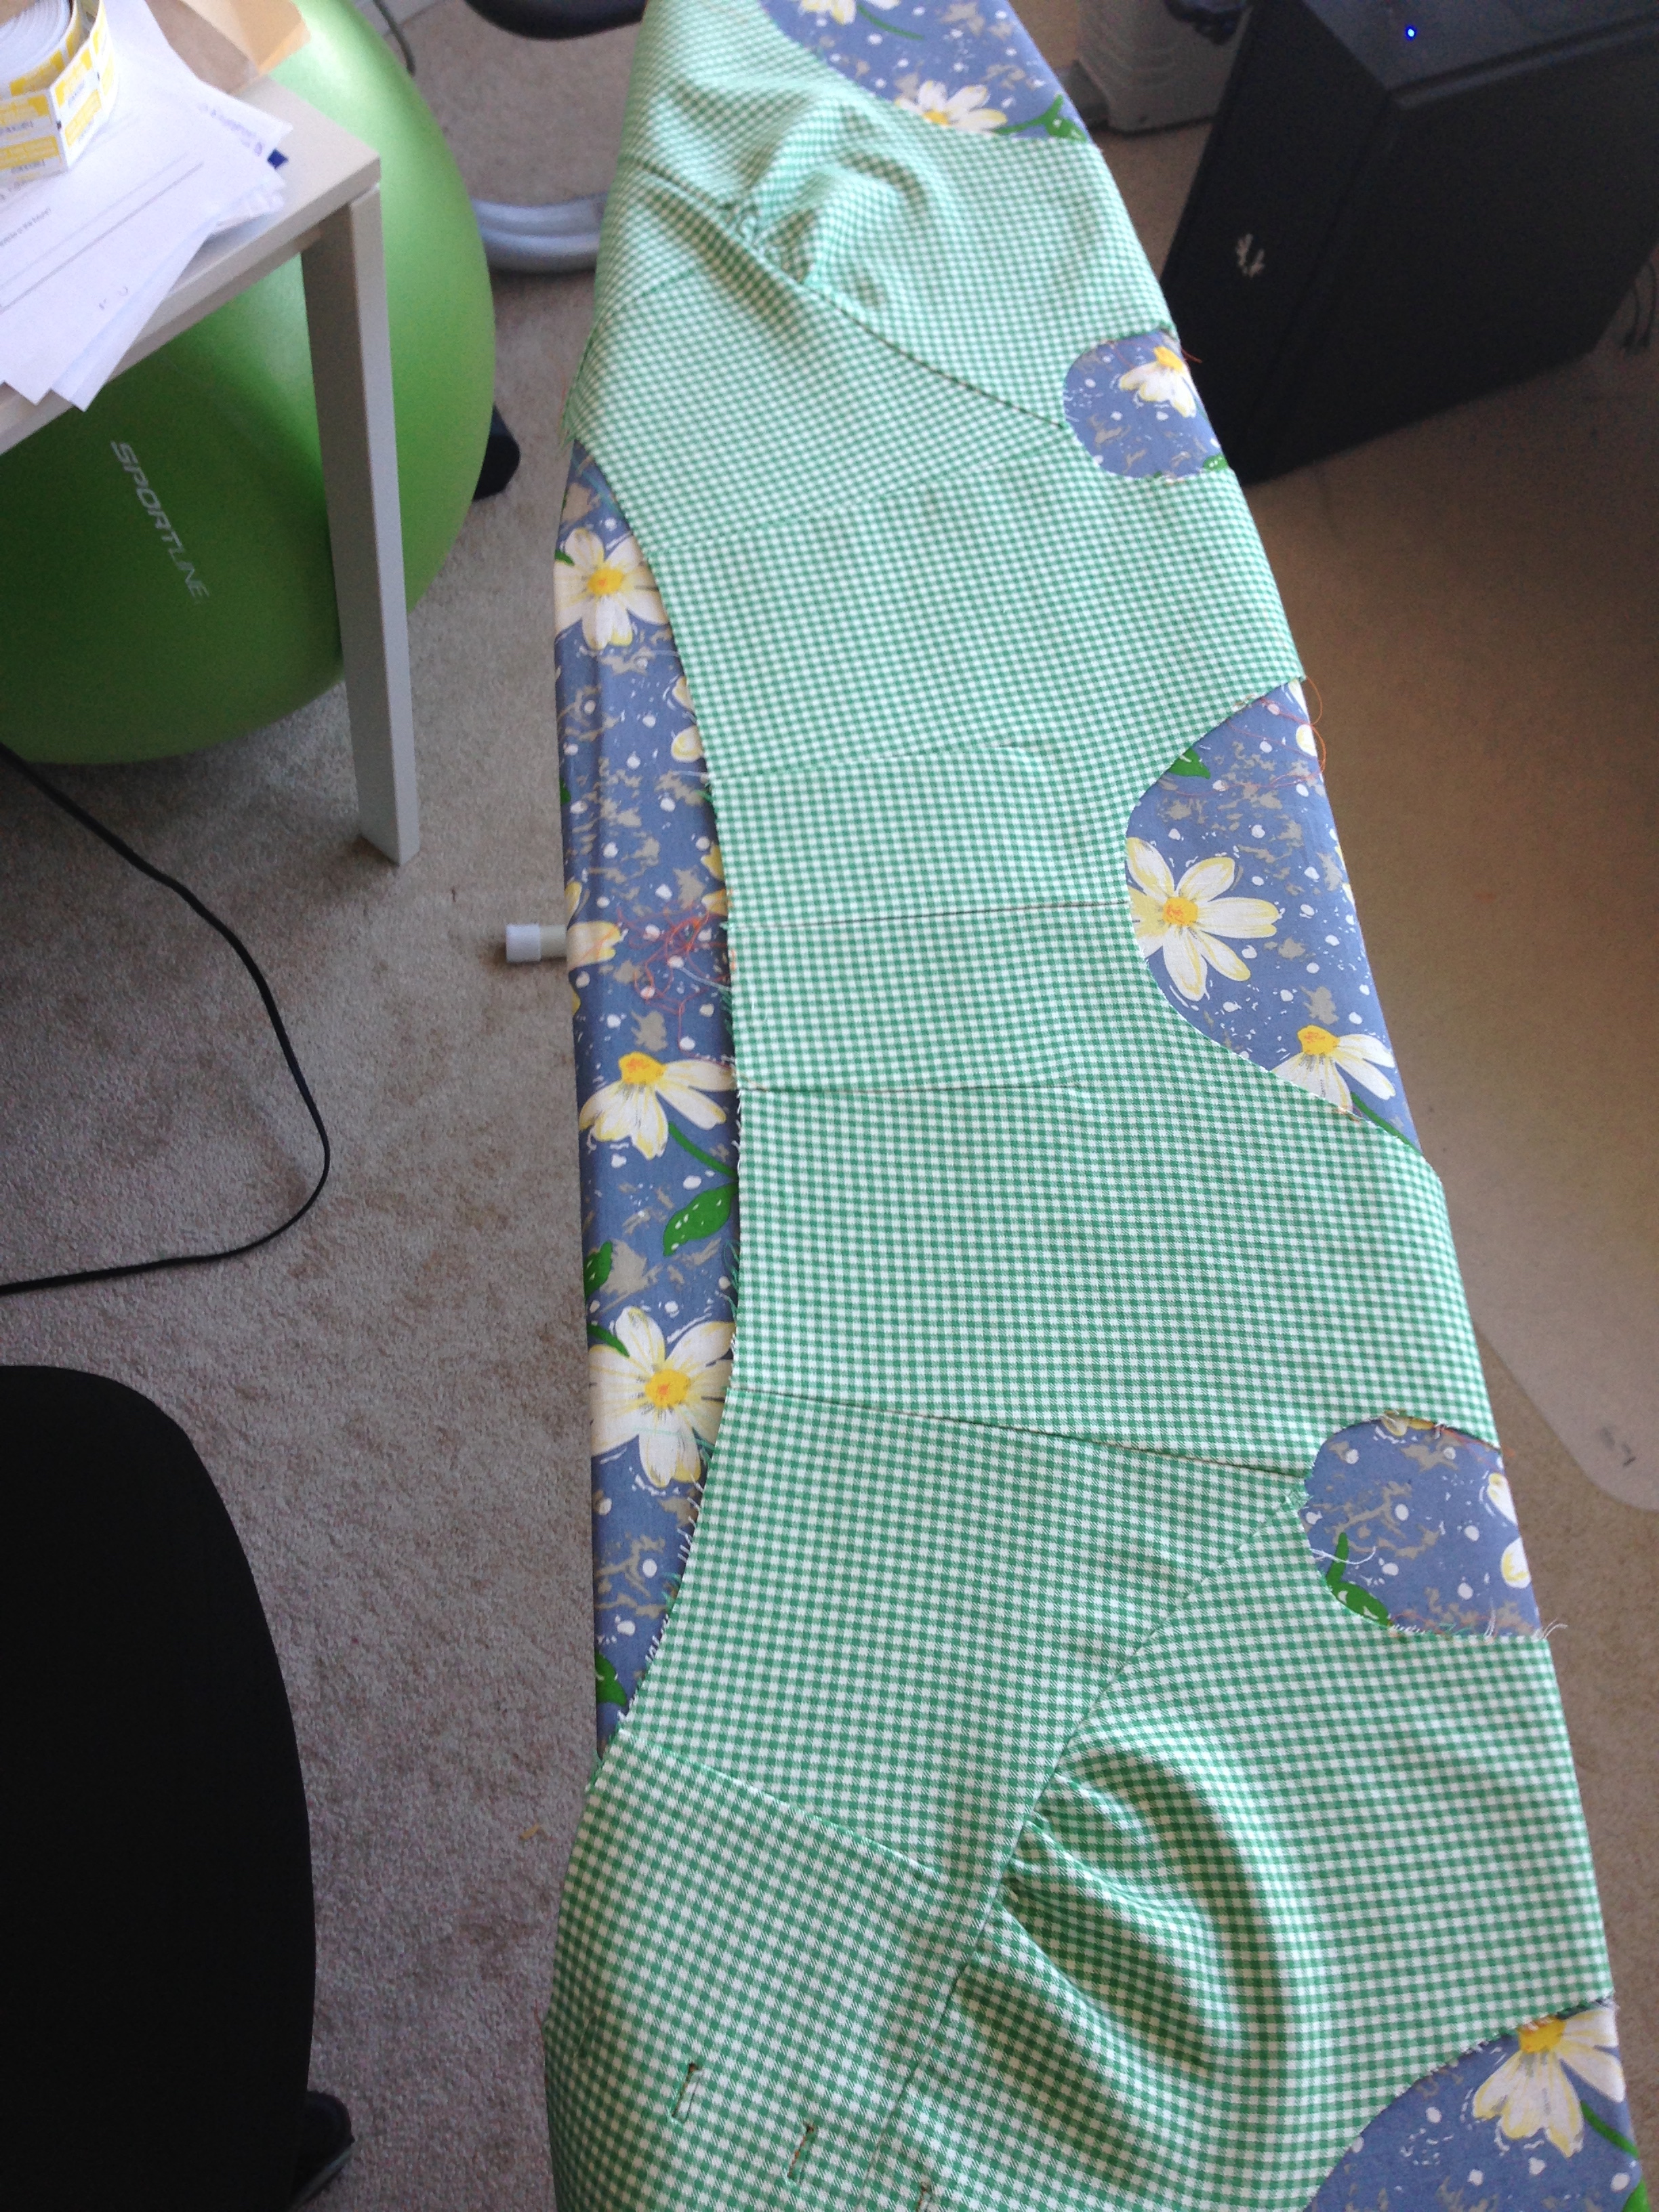
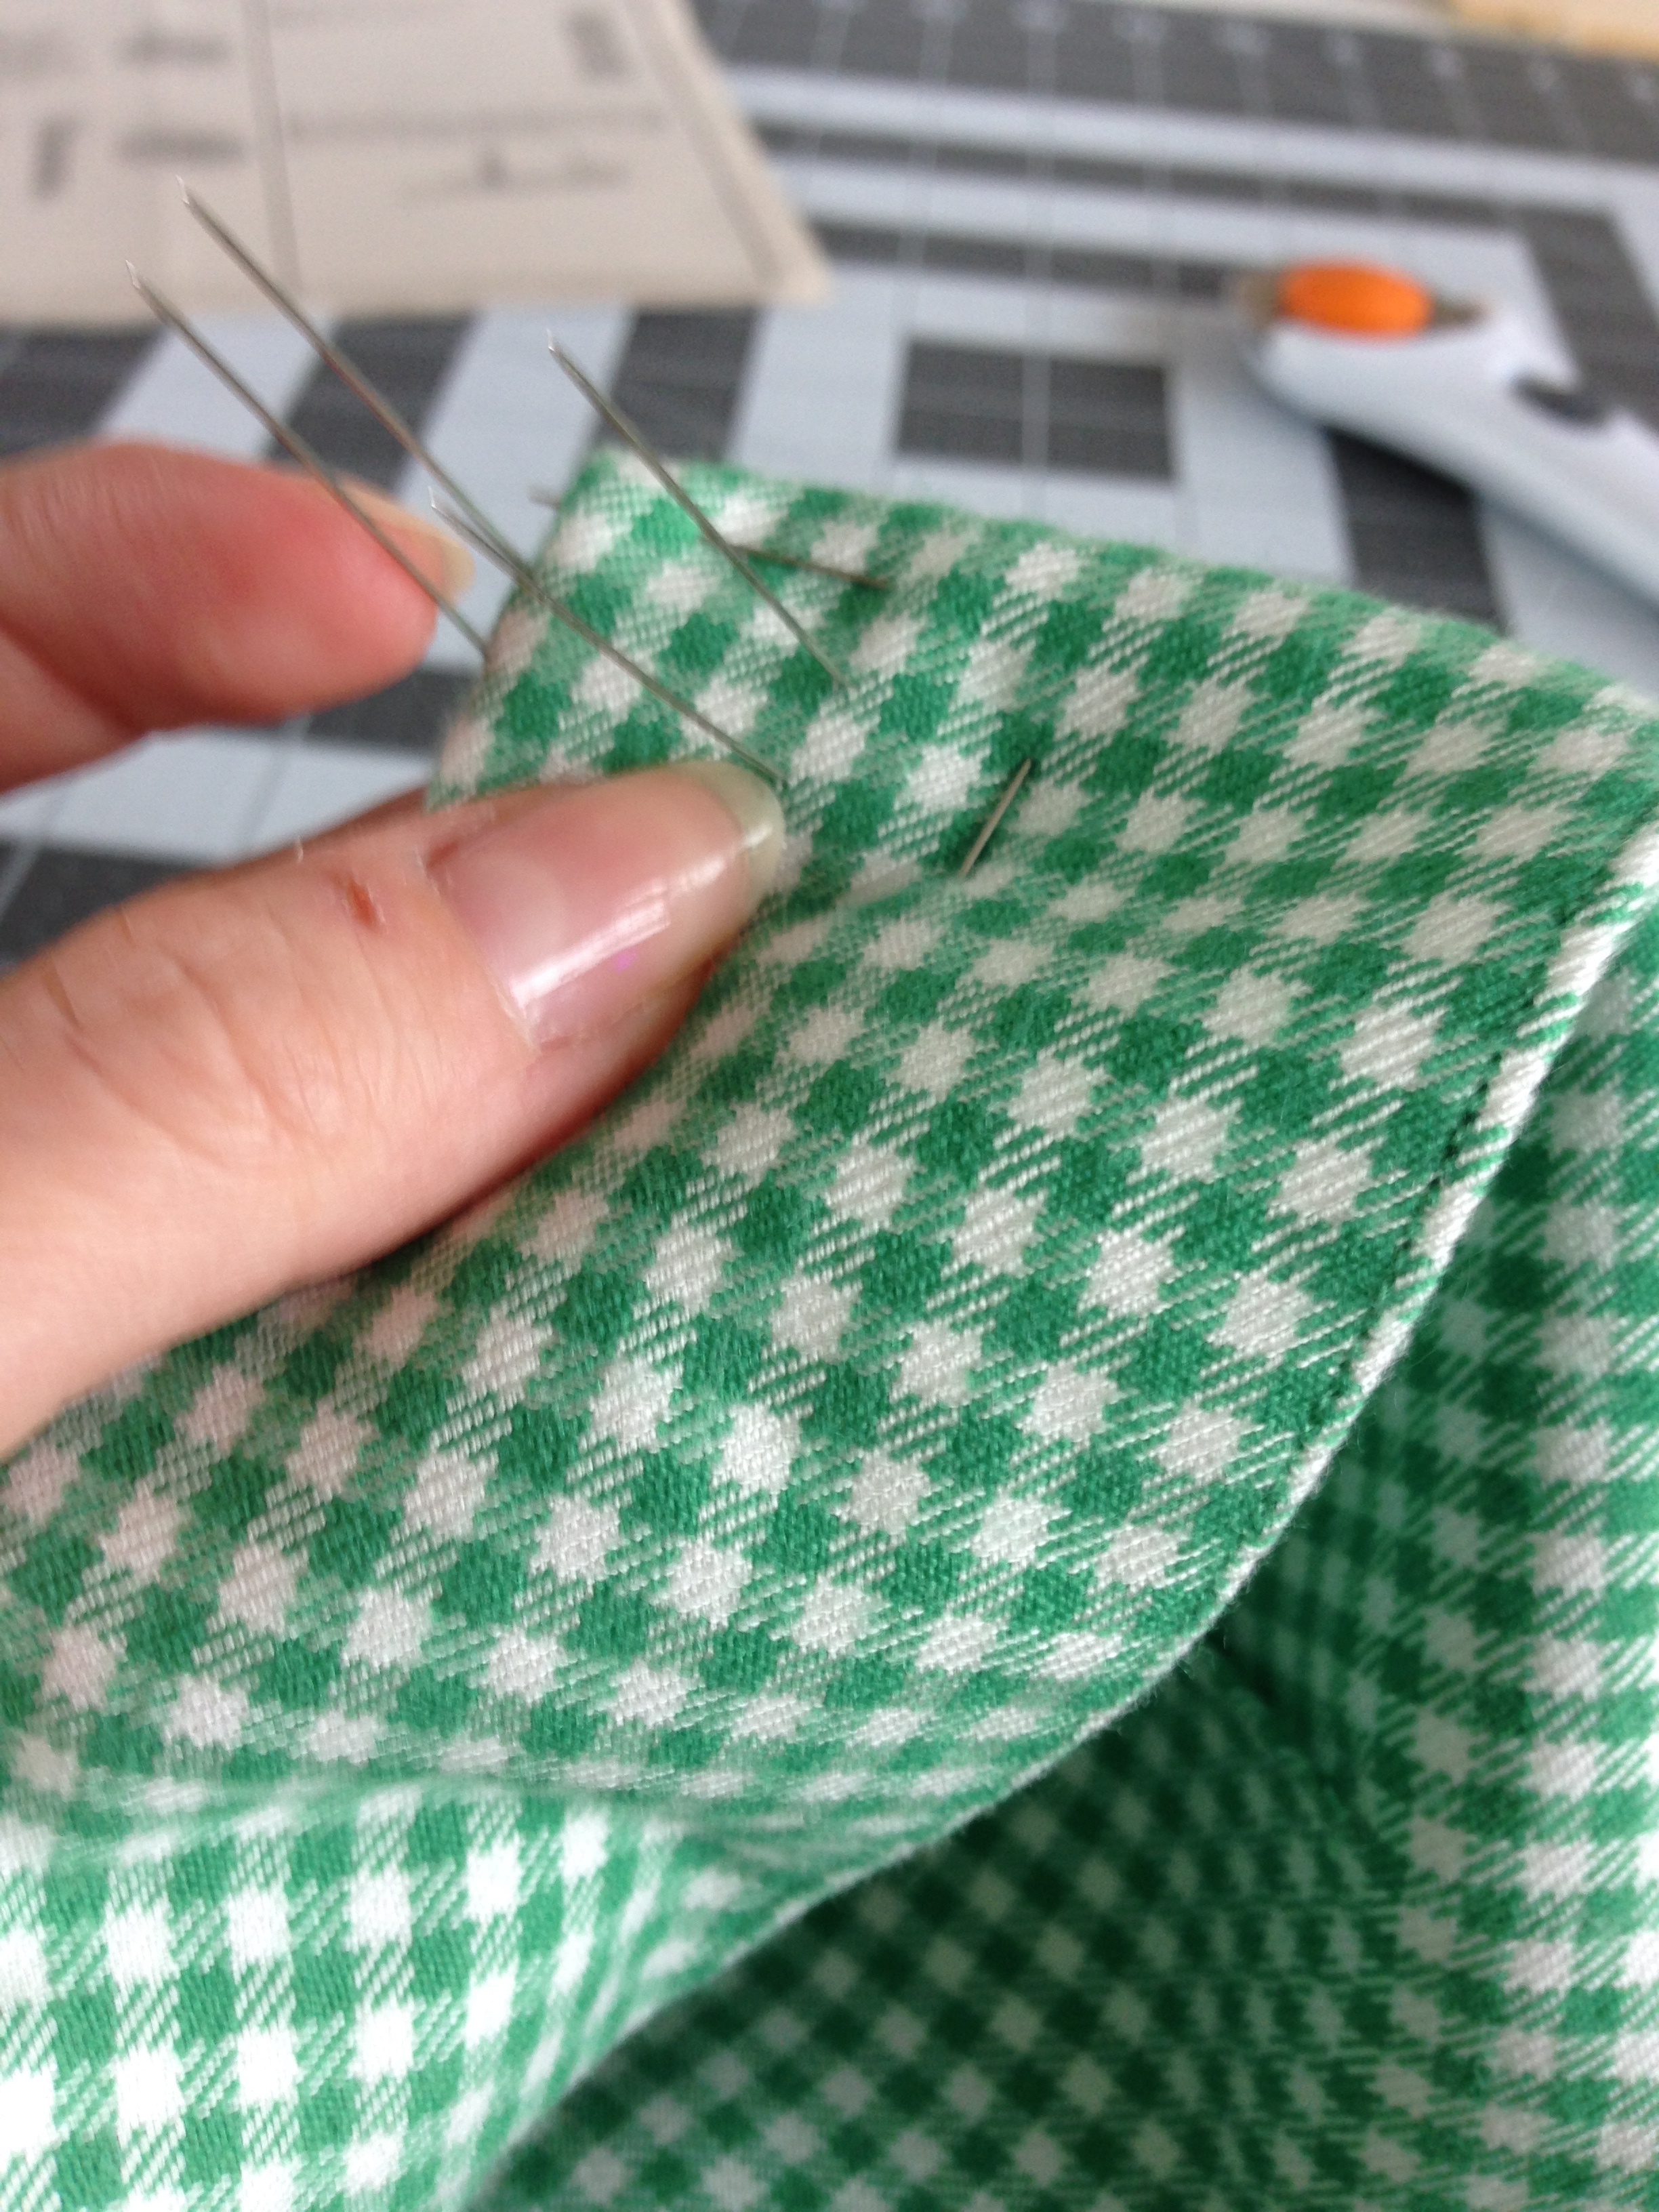
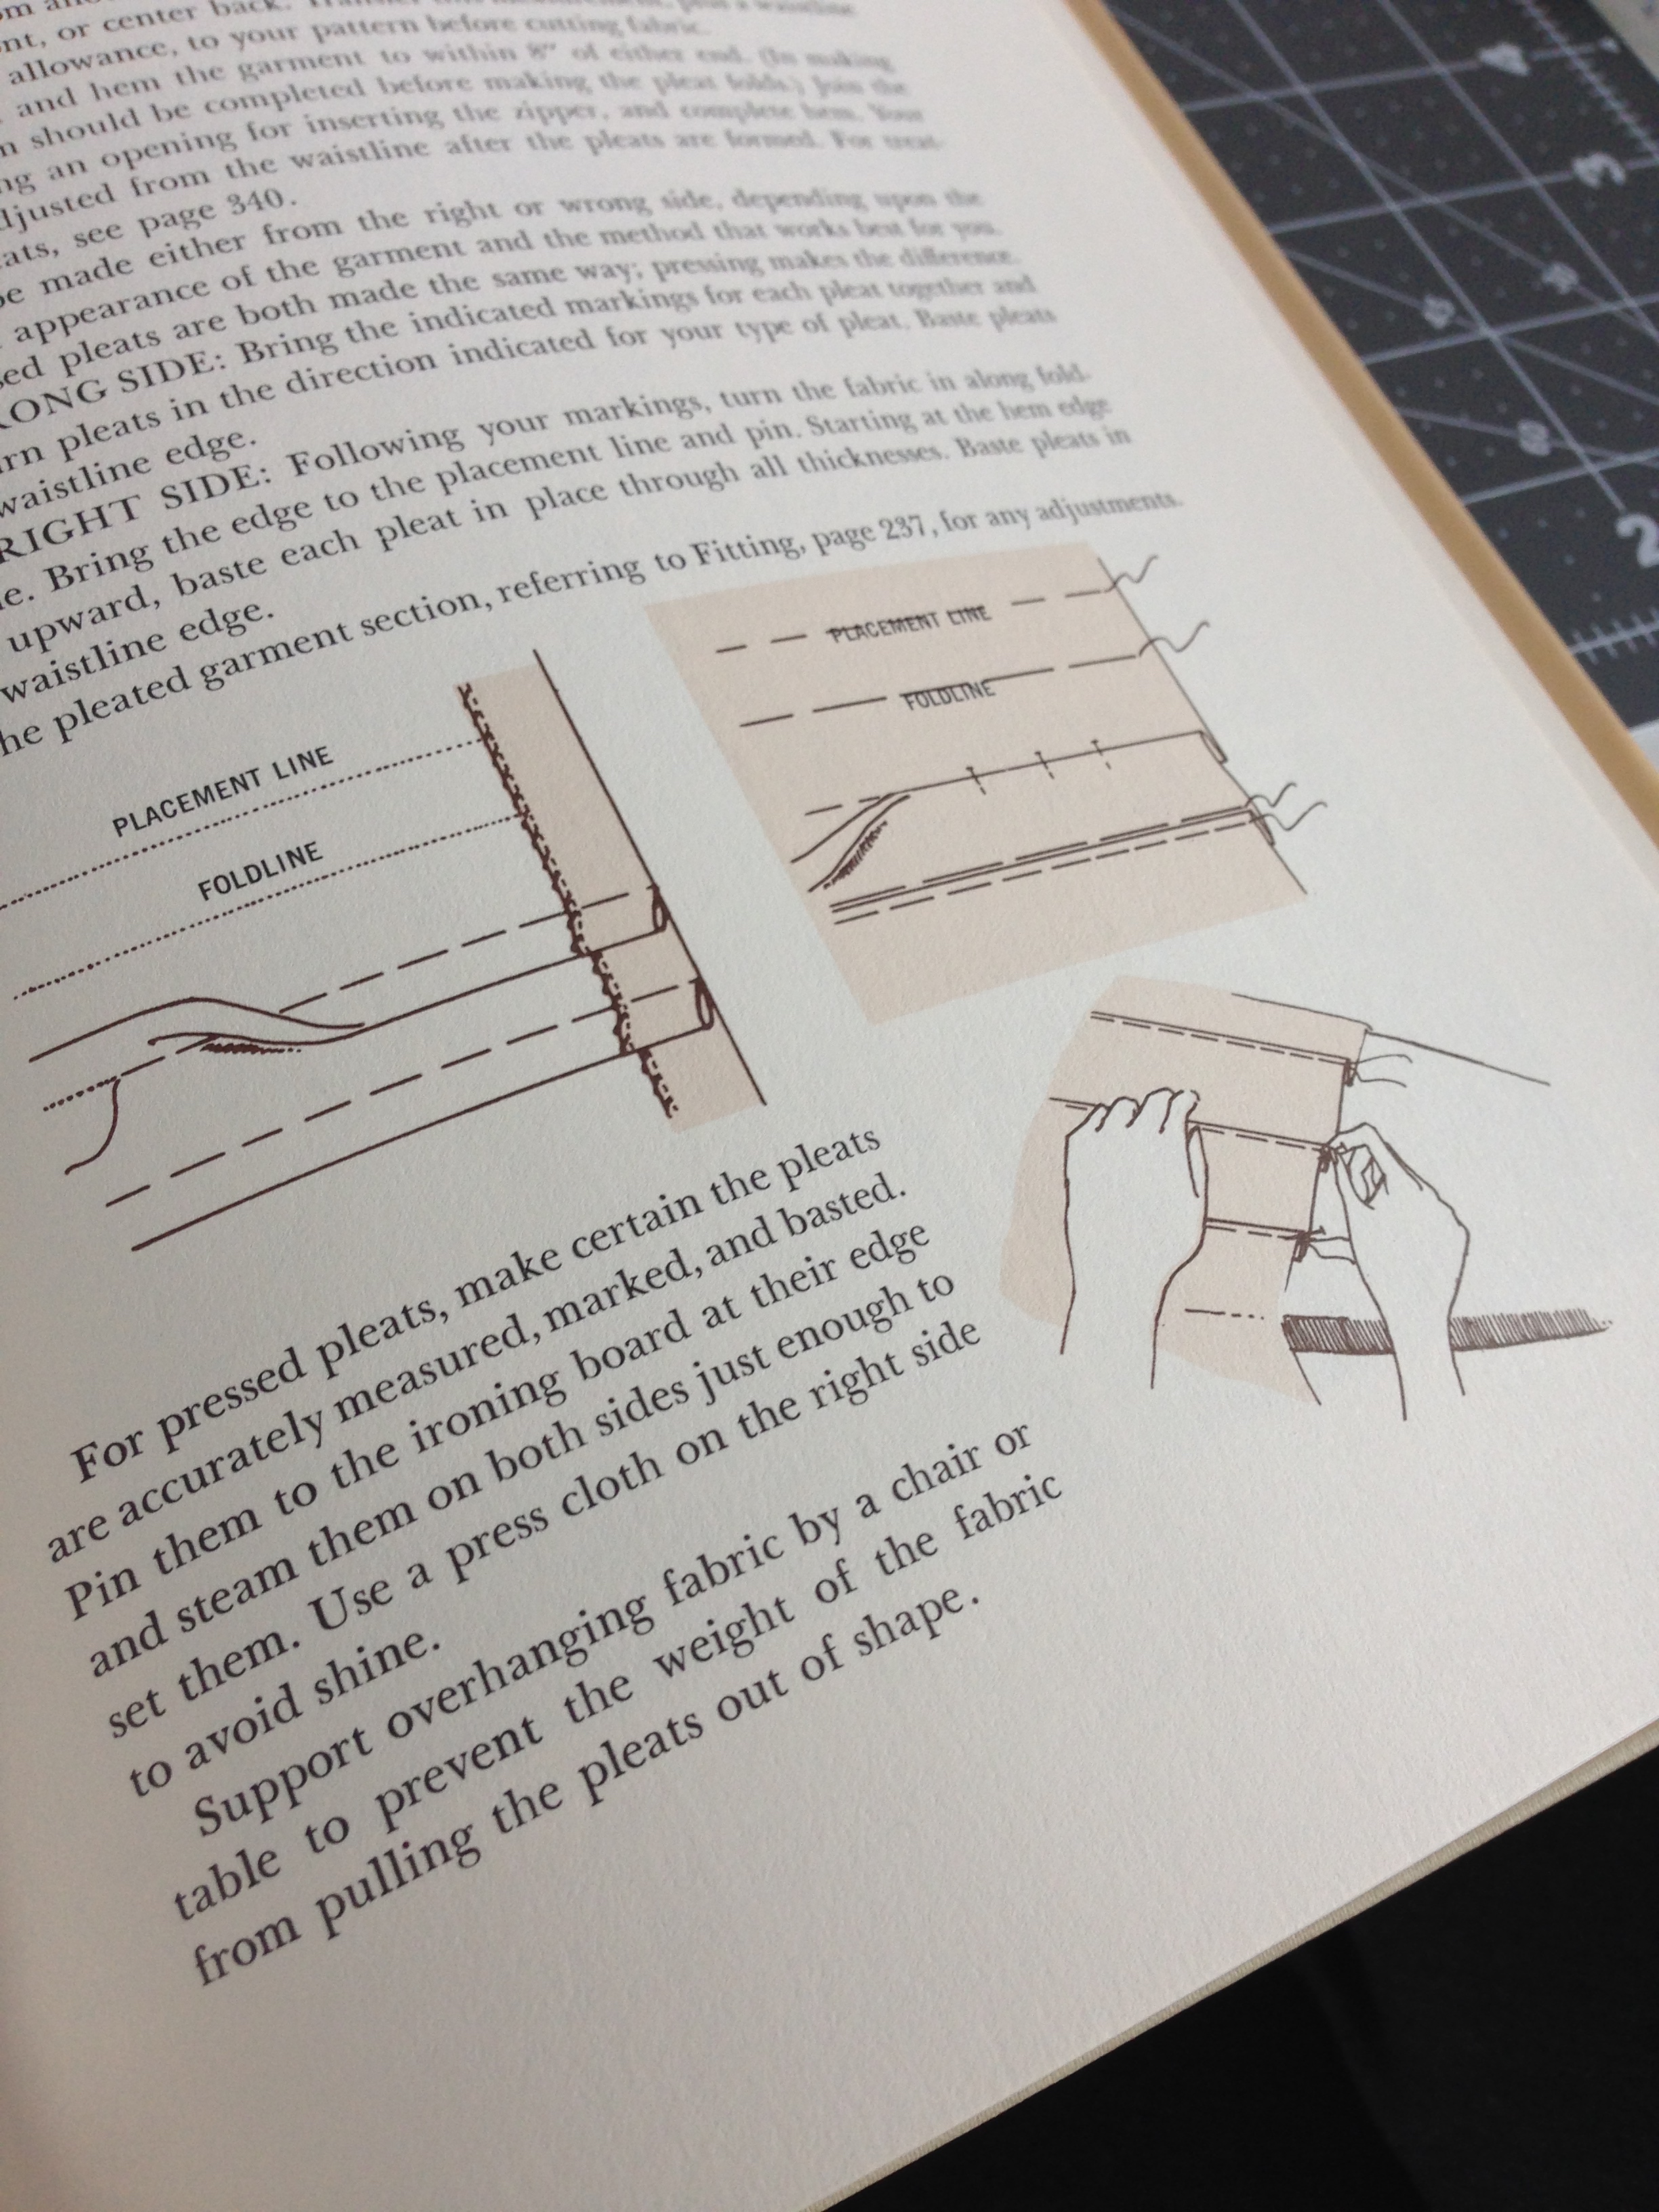
I've never done folded pleats like this before, so I got out my lovely old Vogue sewing paperwei- I mean, book. Very good advice, which I took and Actually followed. Ironing every pleat fold before pining it where it needed to be sewn, and ironing again. All the Ironing. But it worked! Success! Learning!

Bodice and skirt sewn, it was time for the hard part: dealing with the off-center welt buttonholes I'd messed up already. Never fear! My unabashed desire to plow onward afforded me some courage, which without, I would still be desperately sobbing in a corner clinging to the gingham dress dreams of yesteryear.
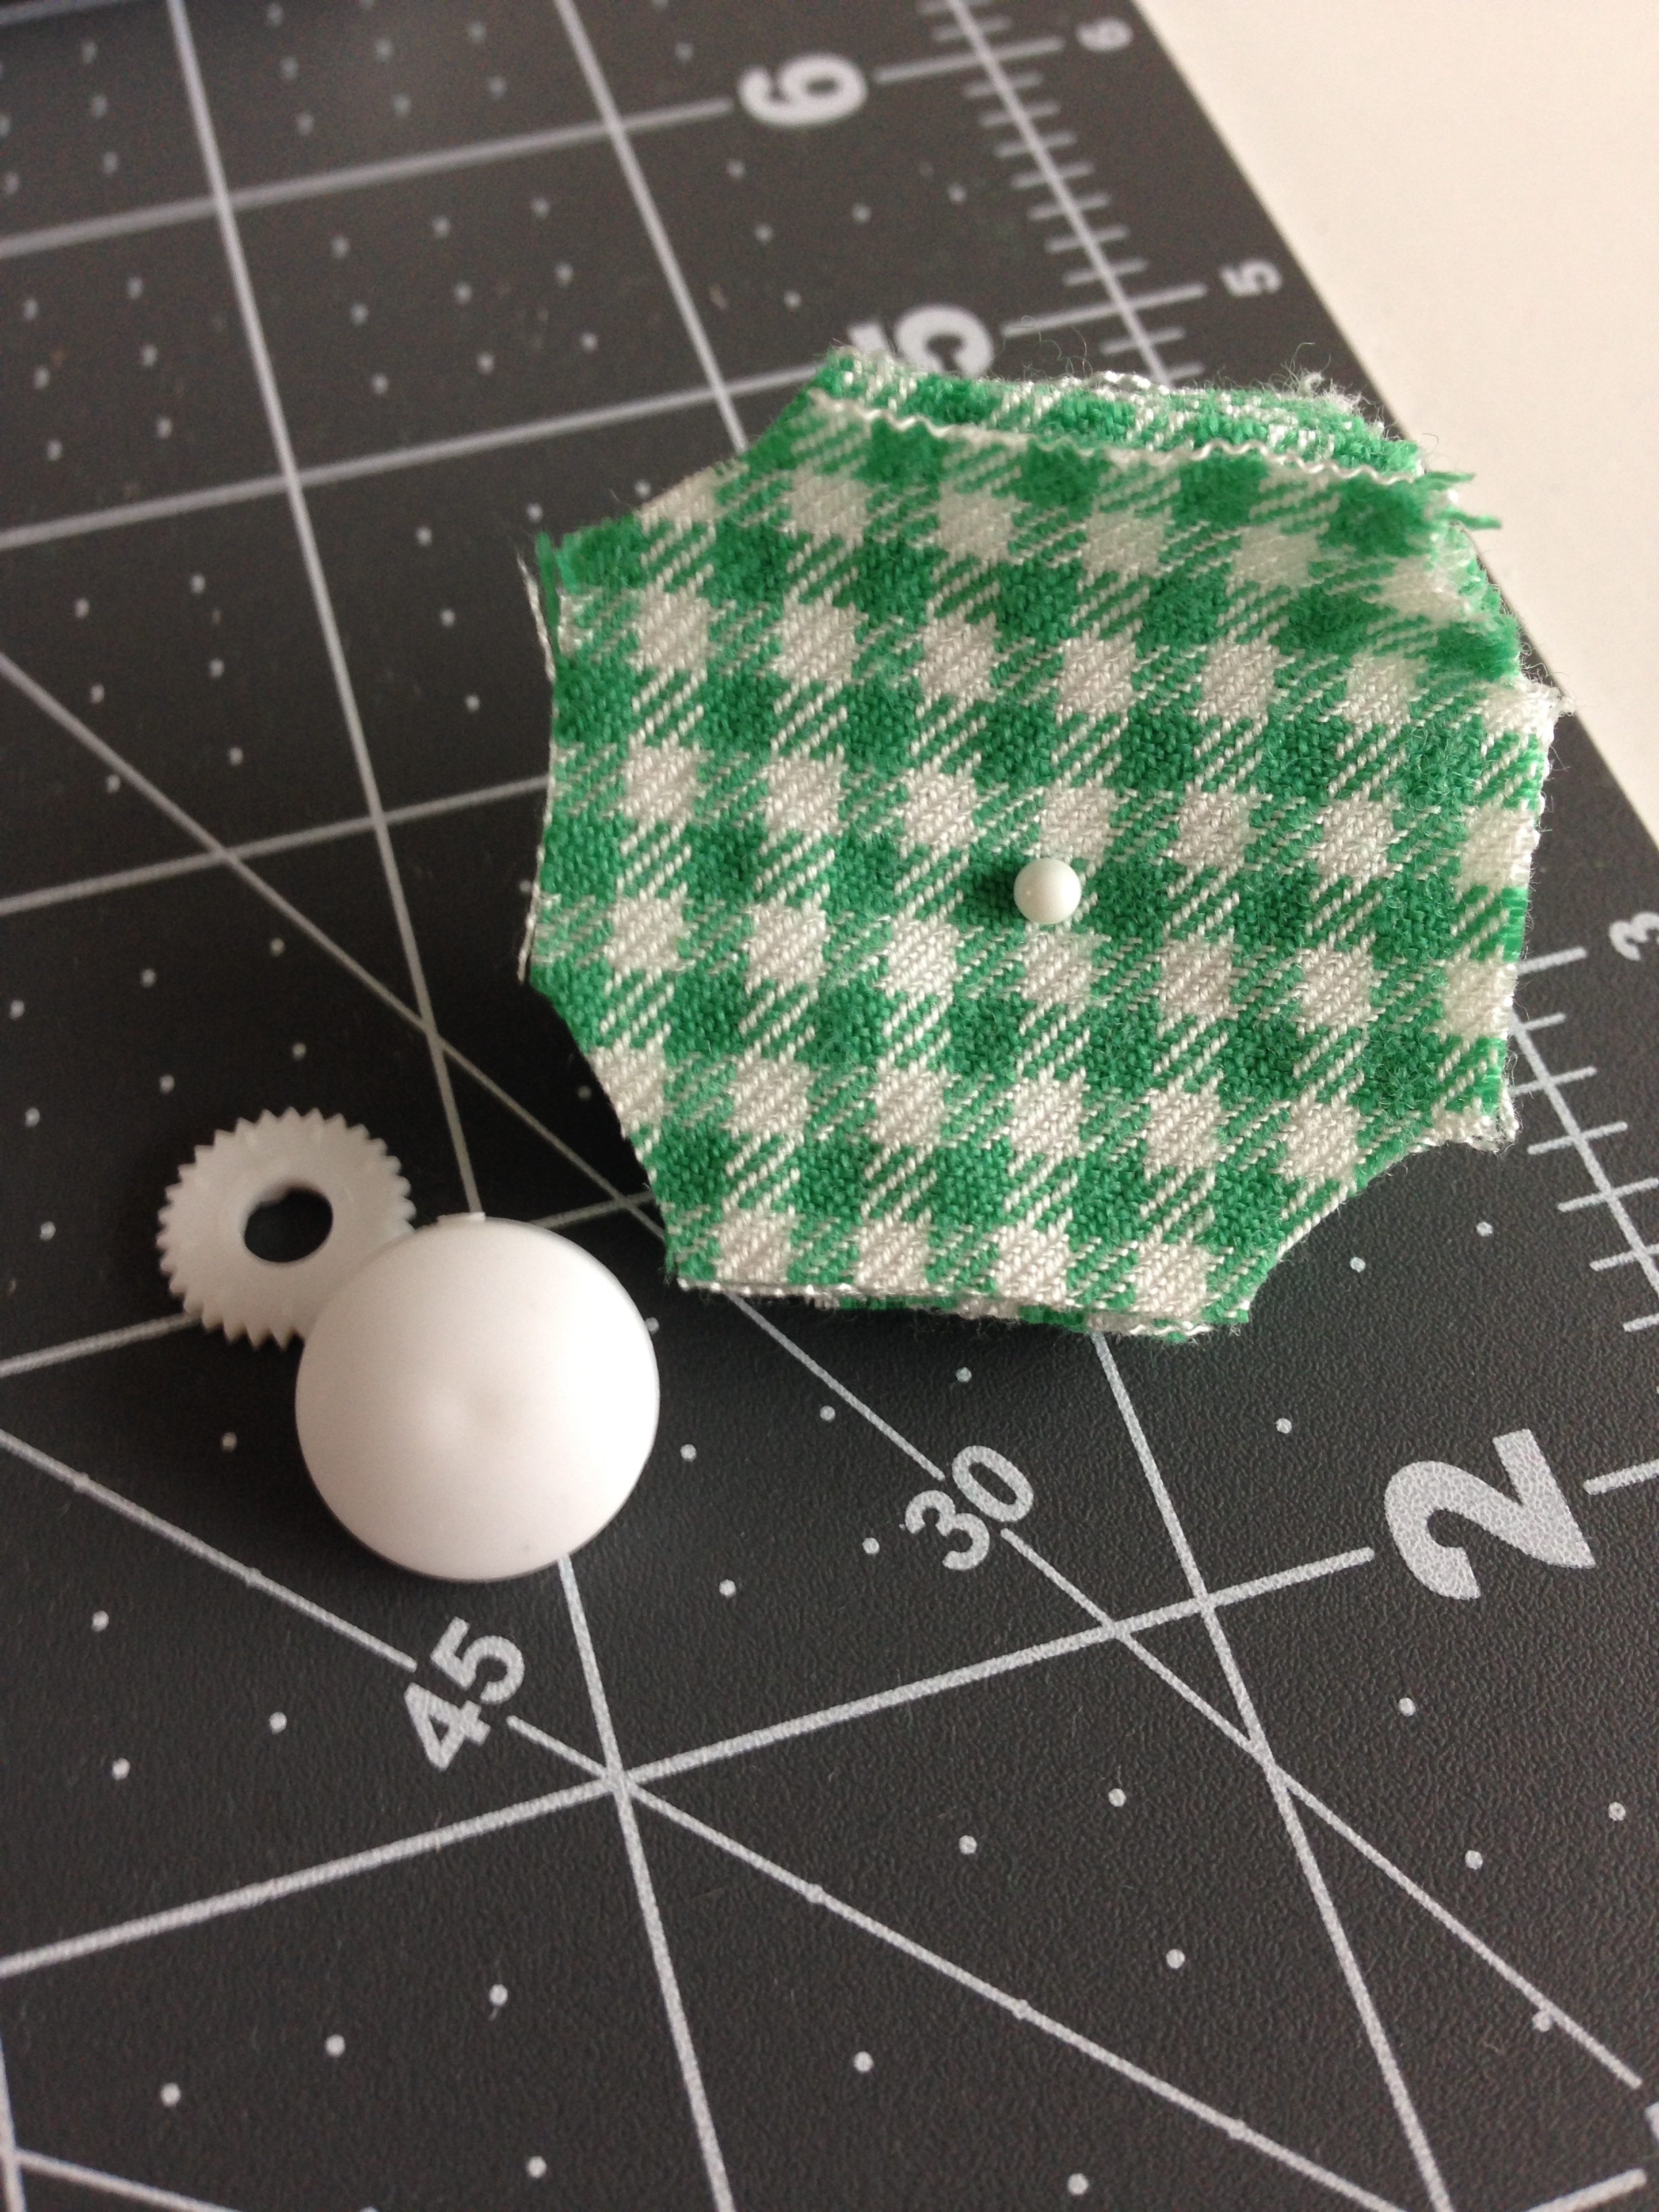
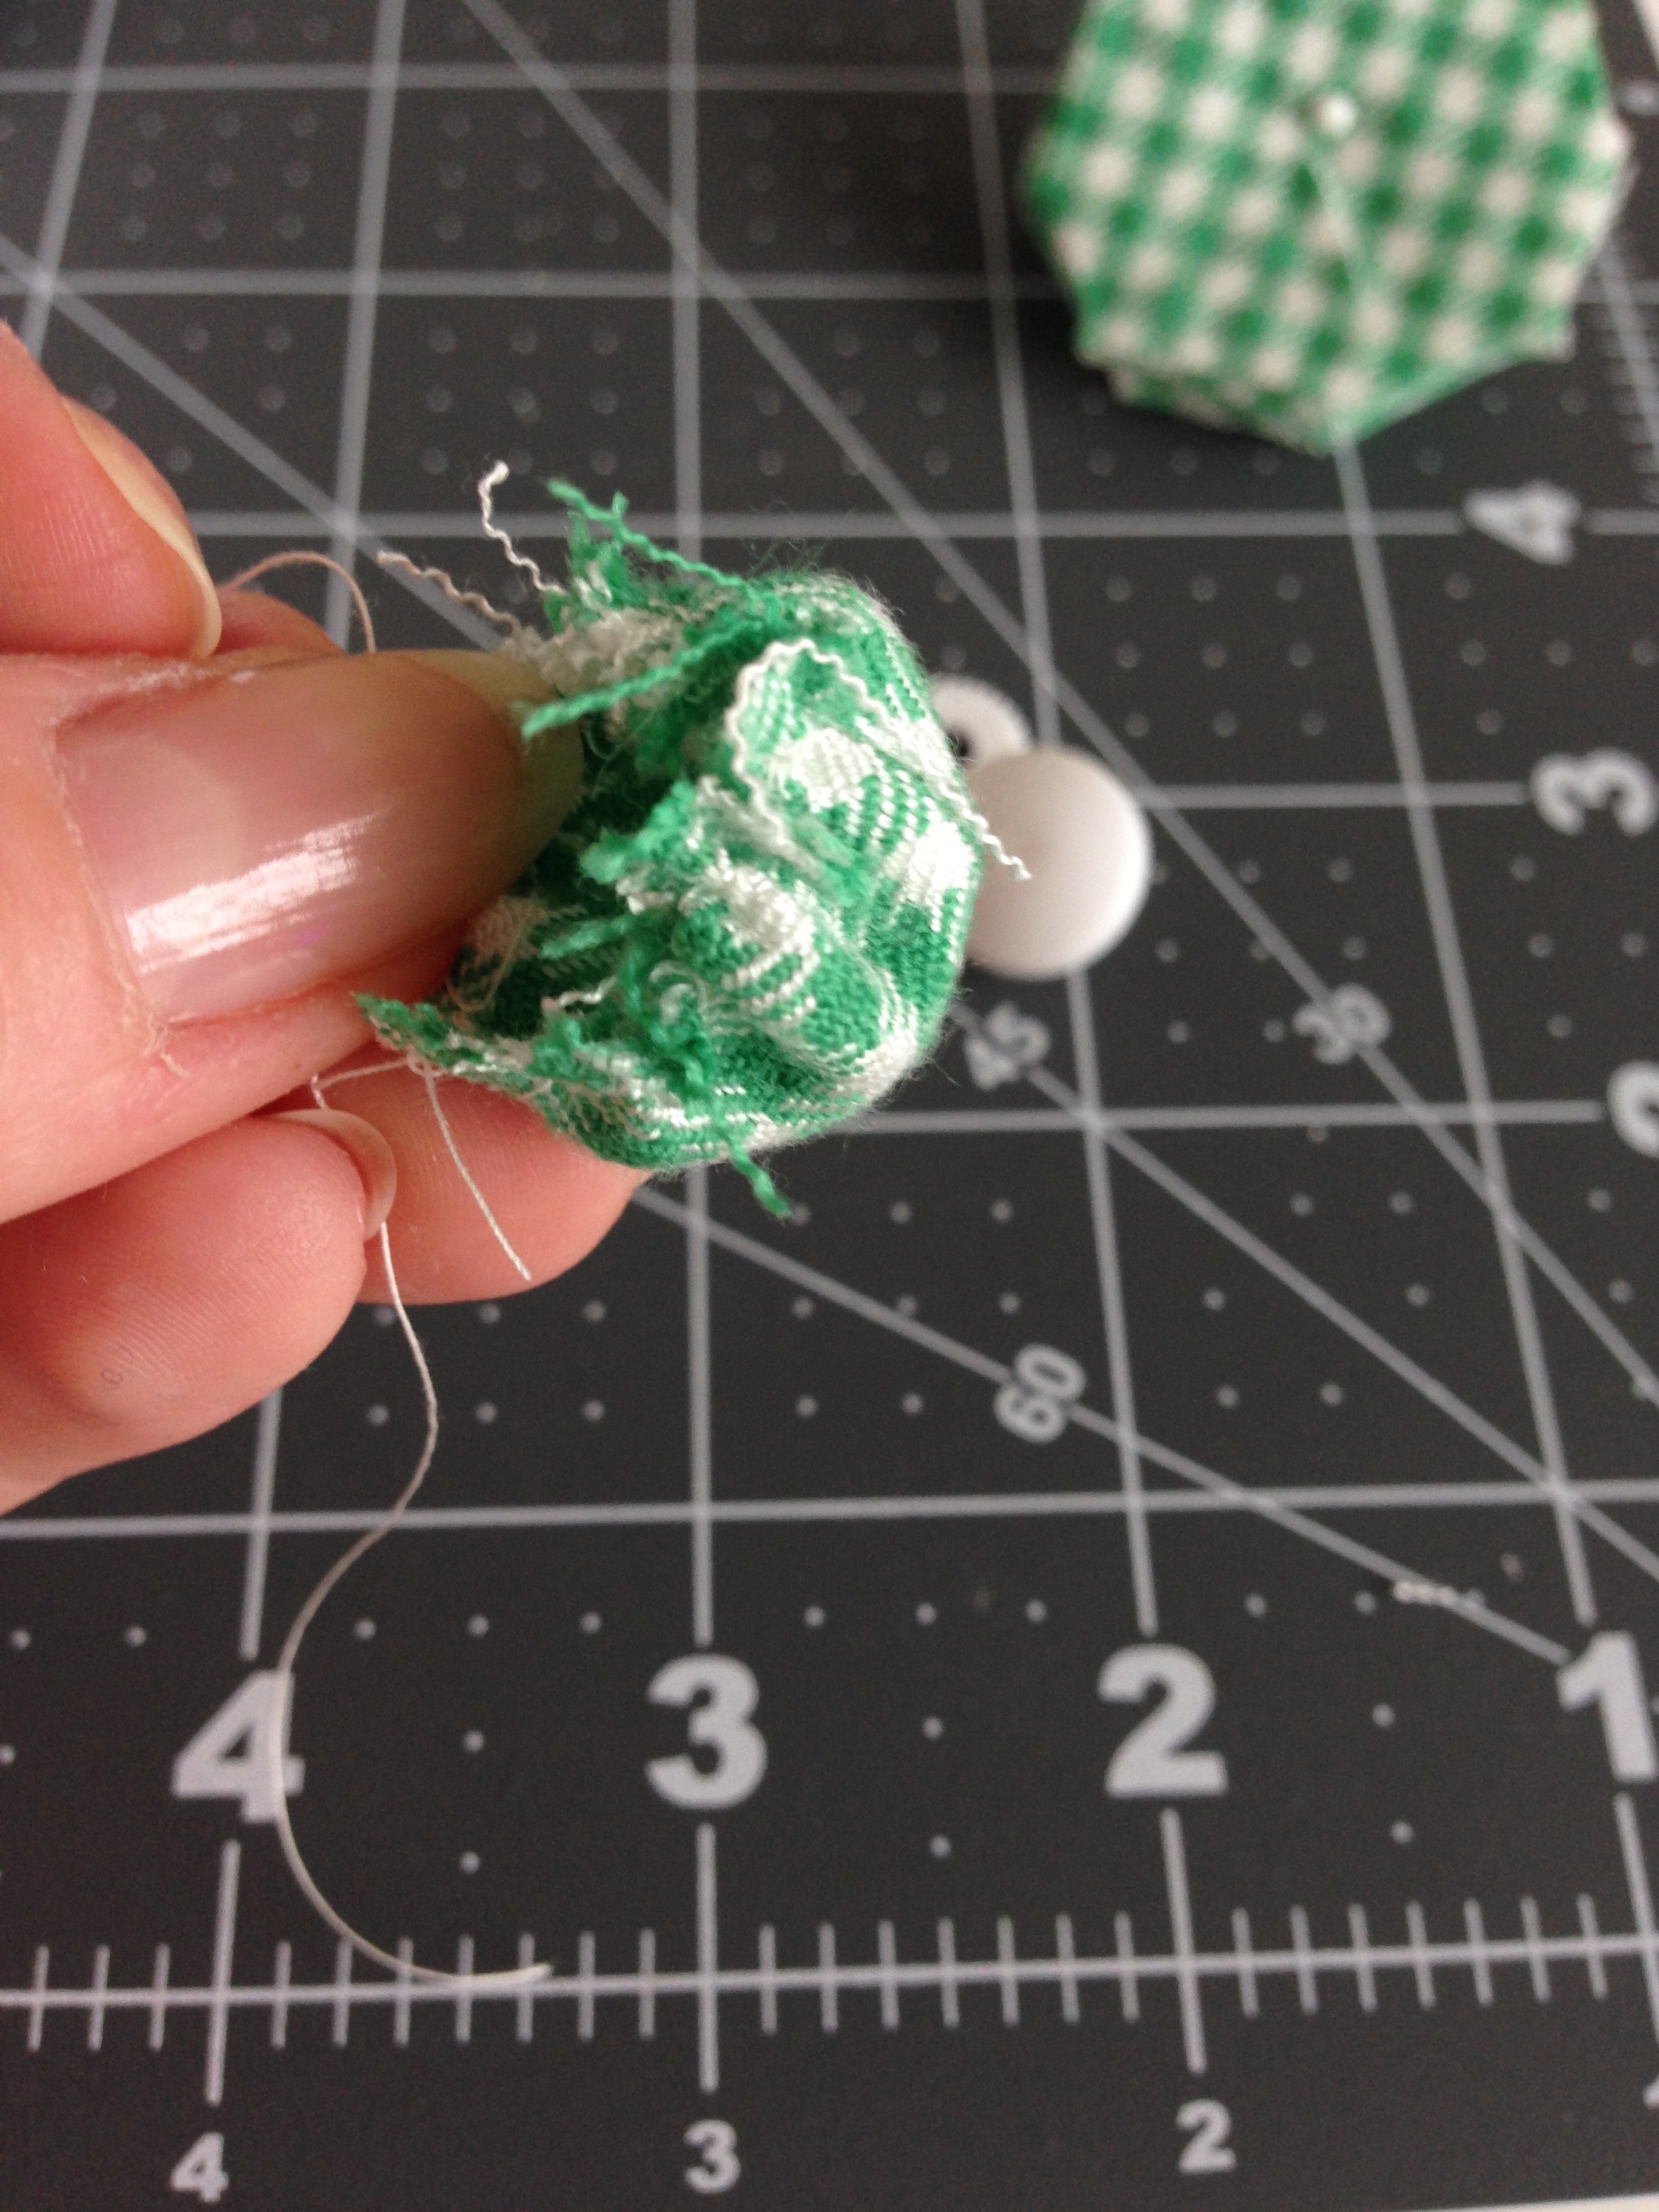
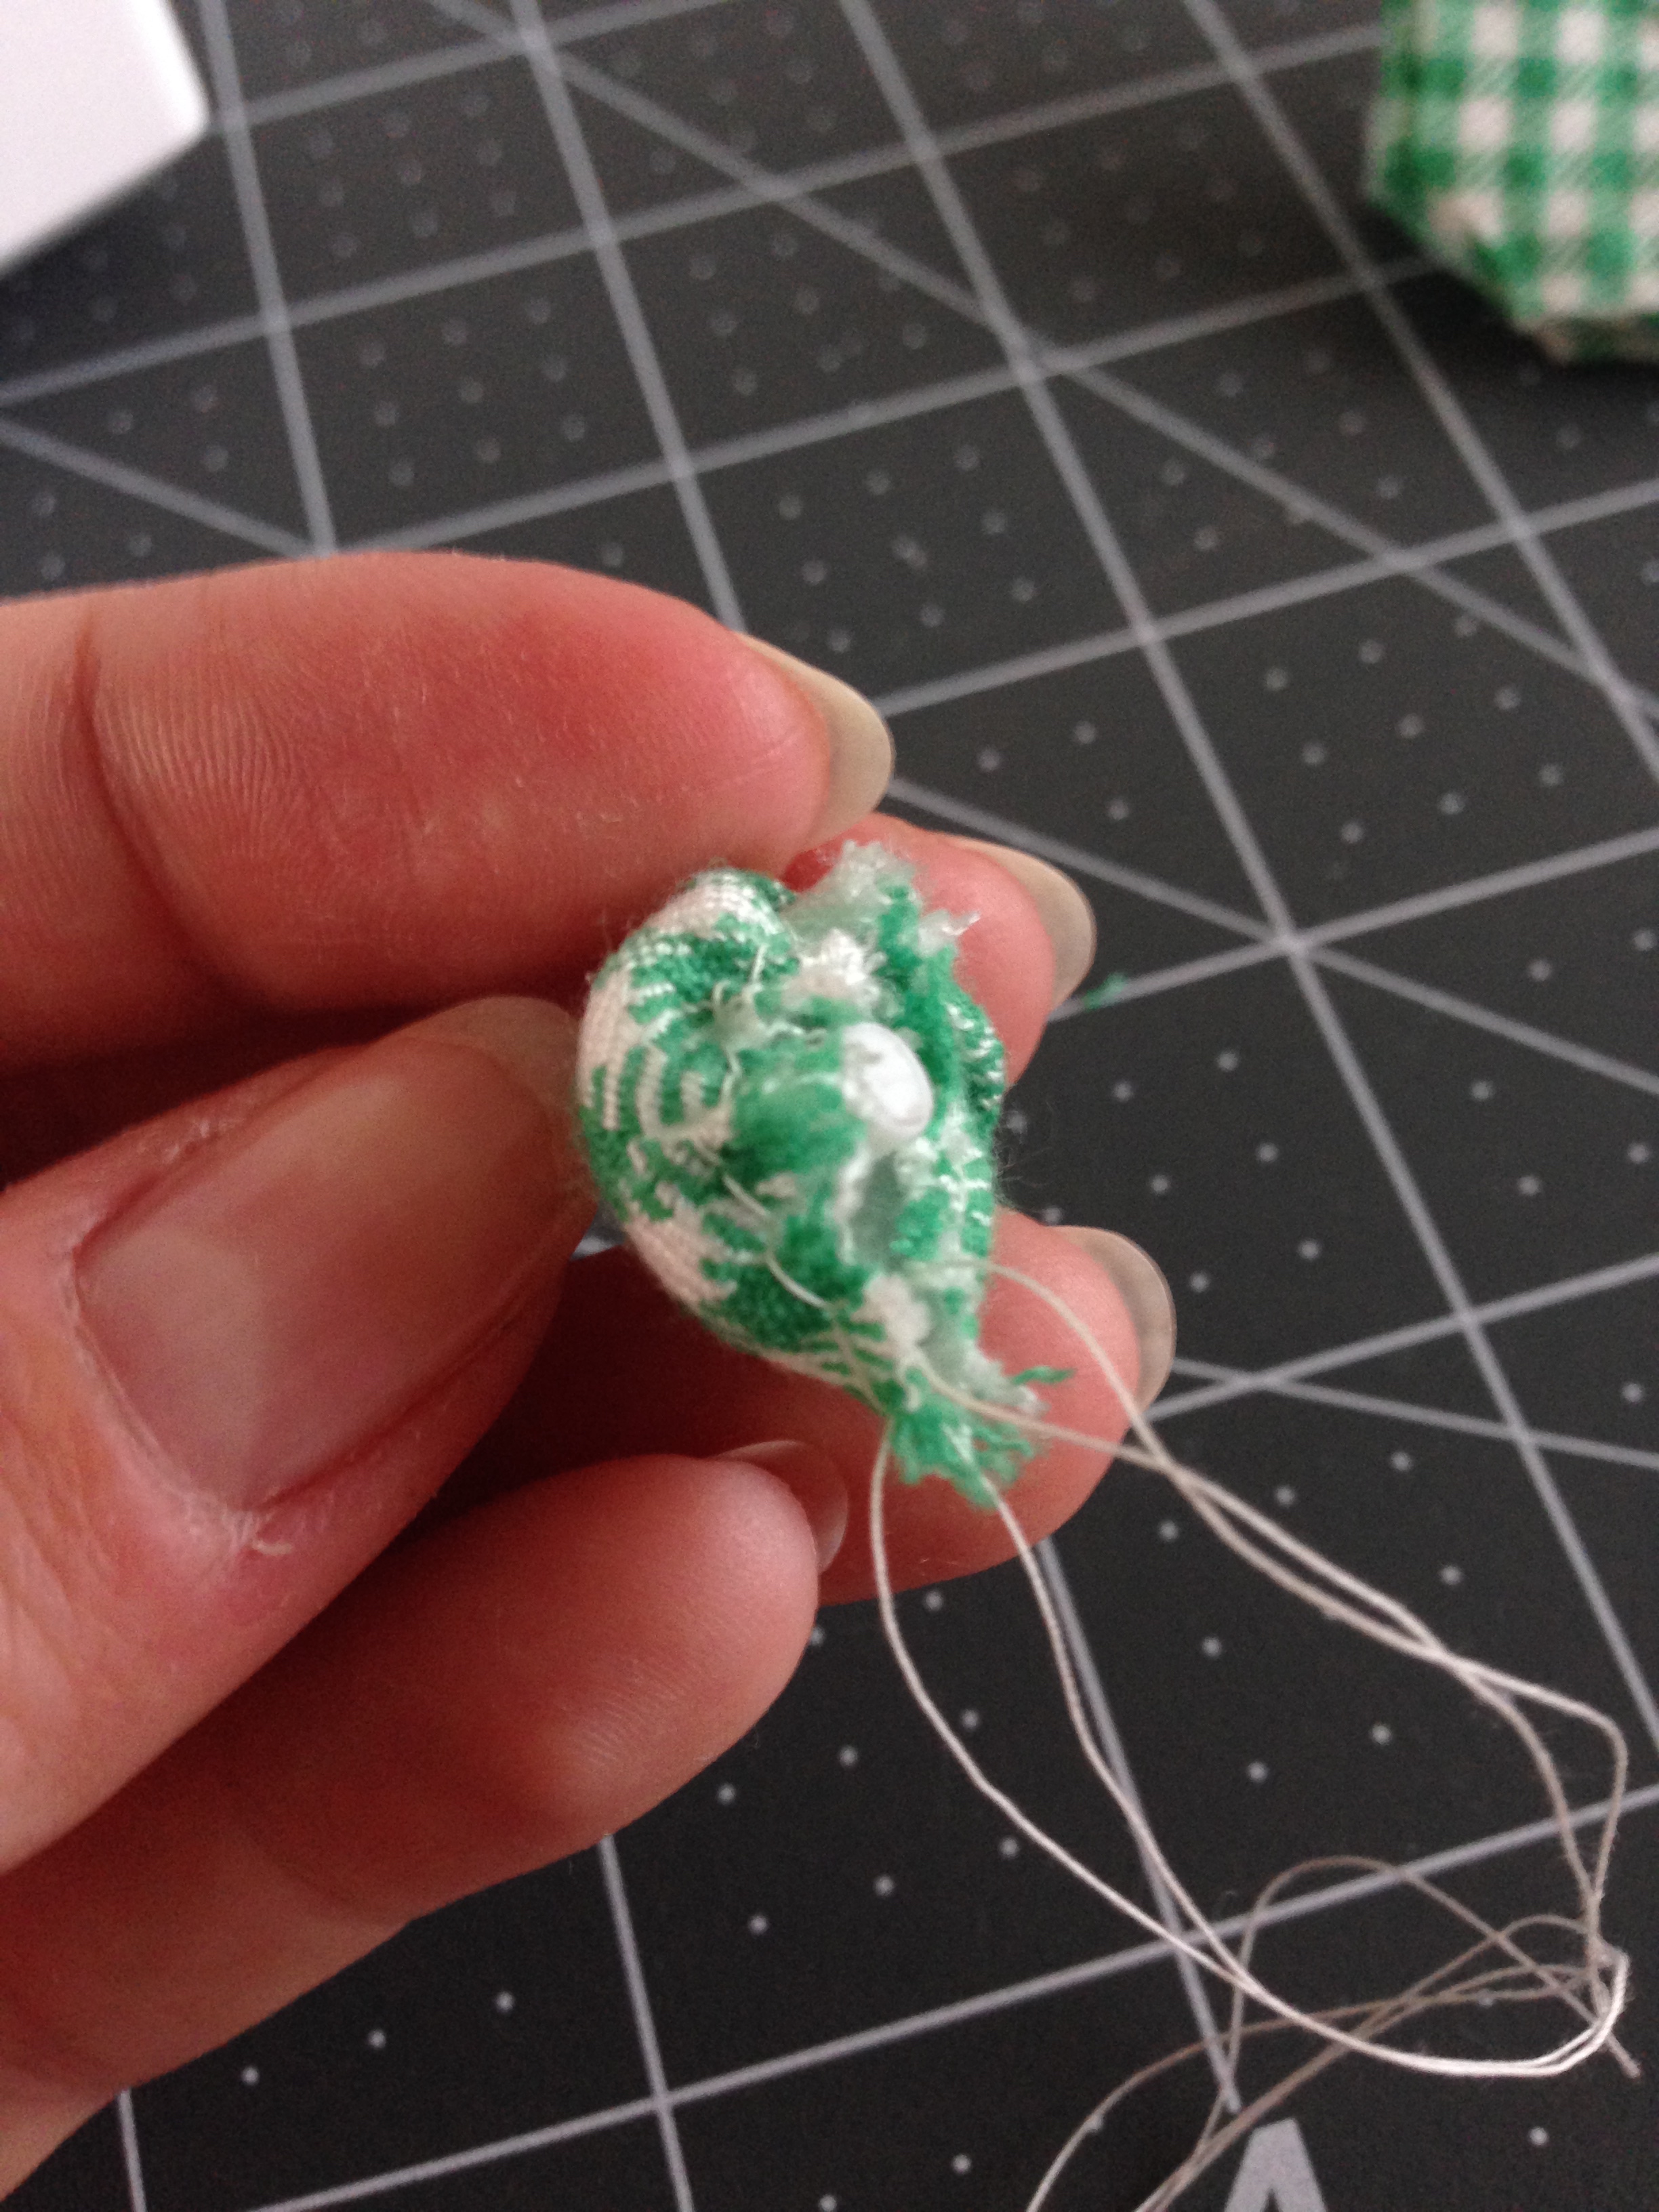
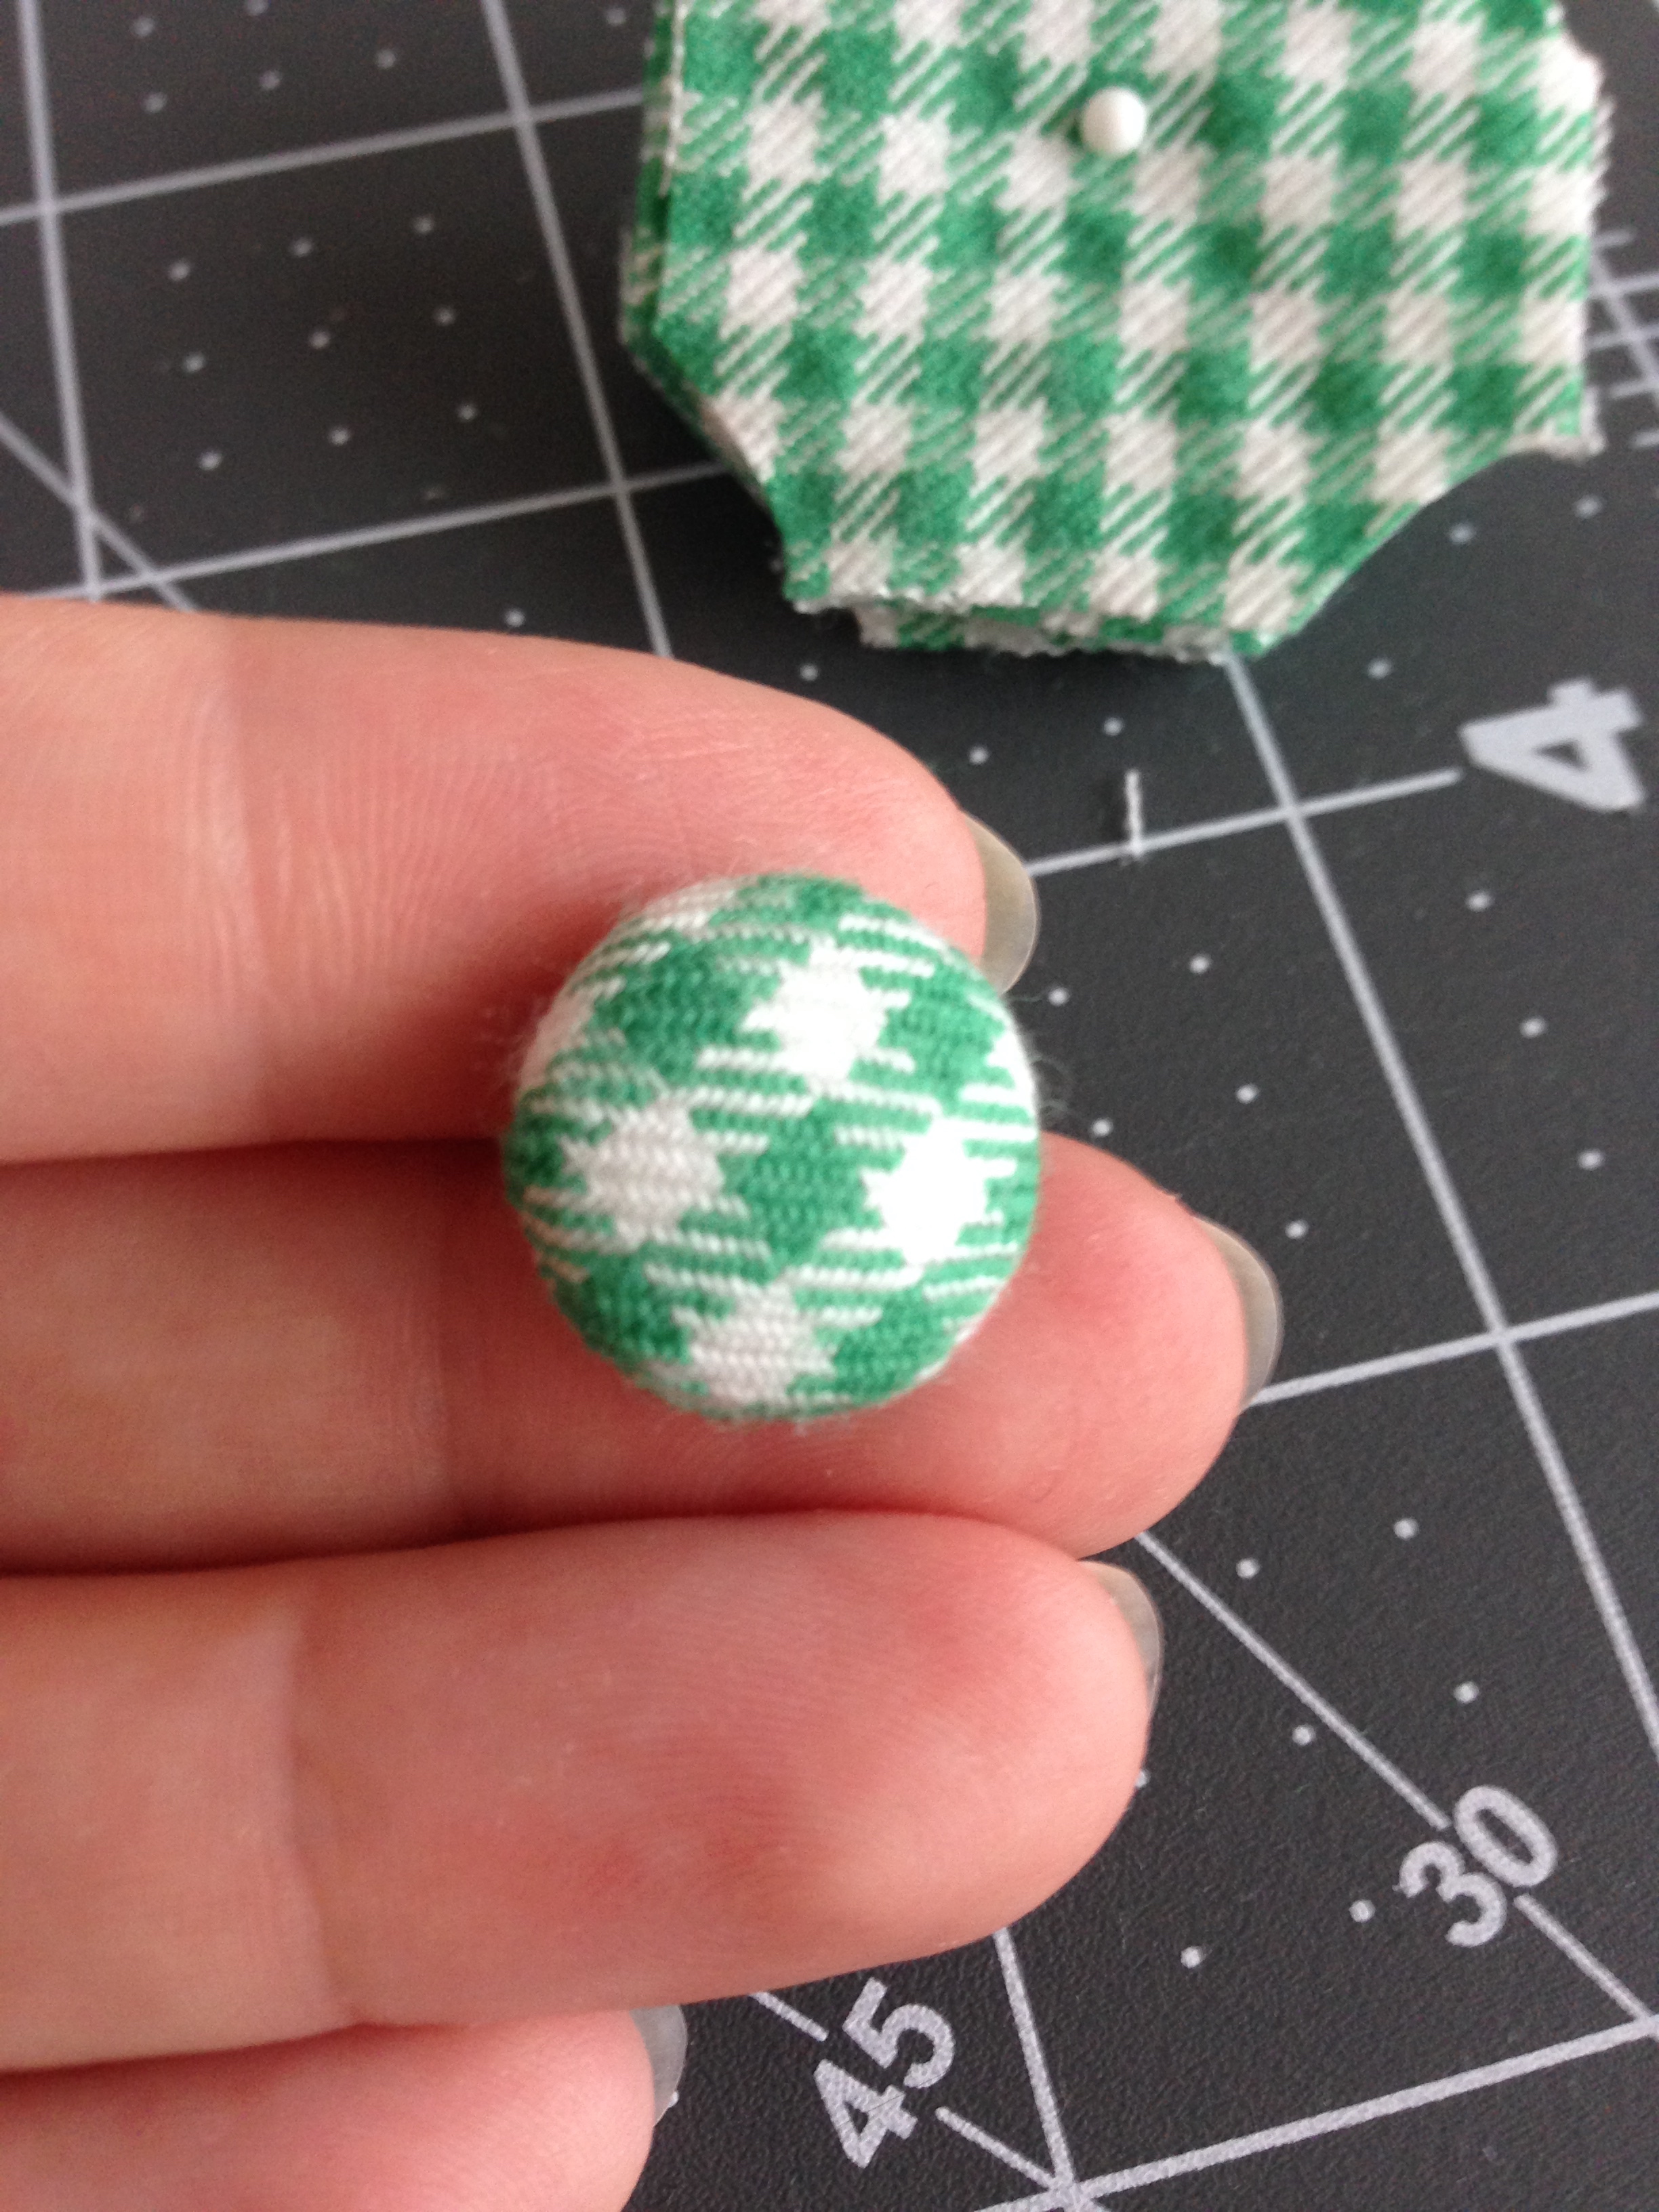
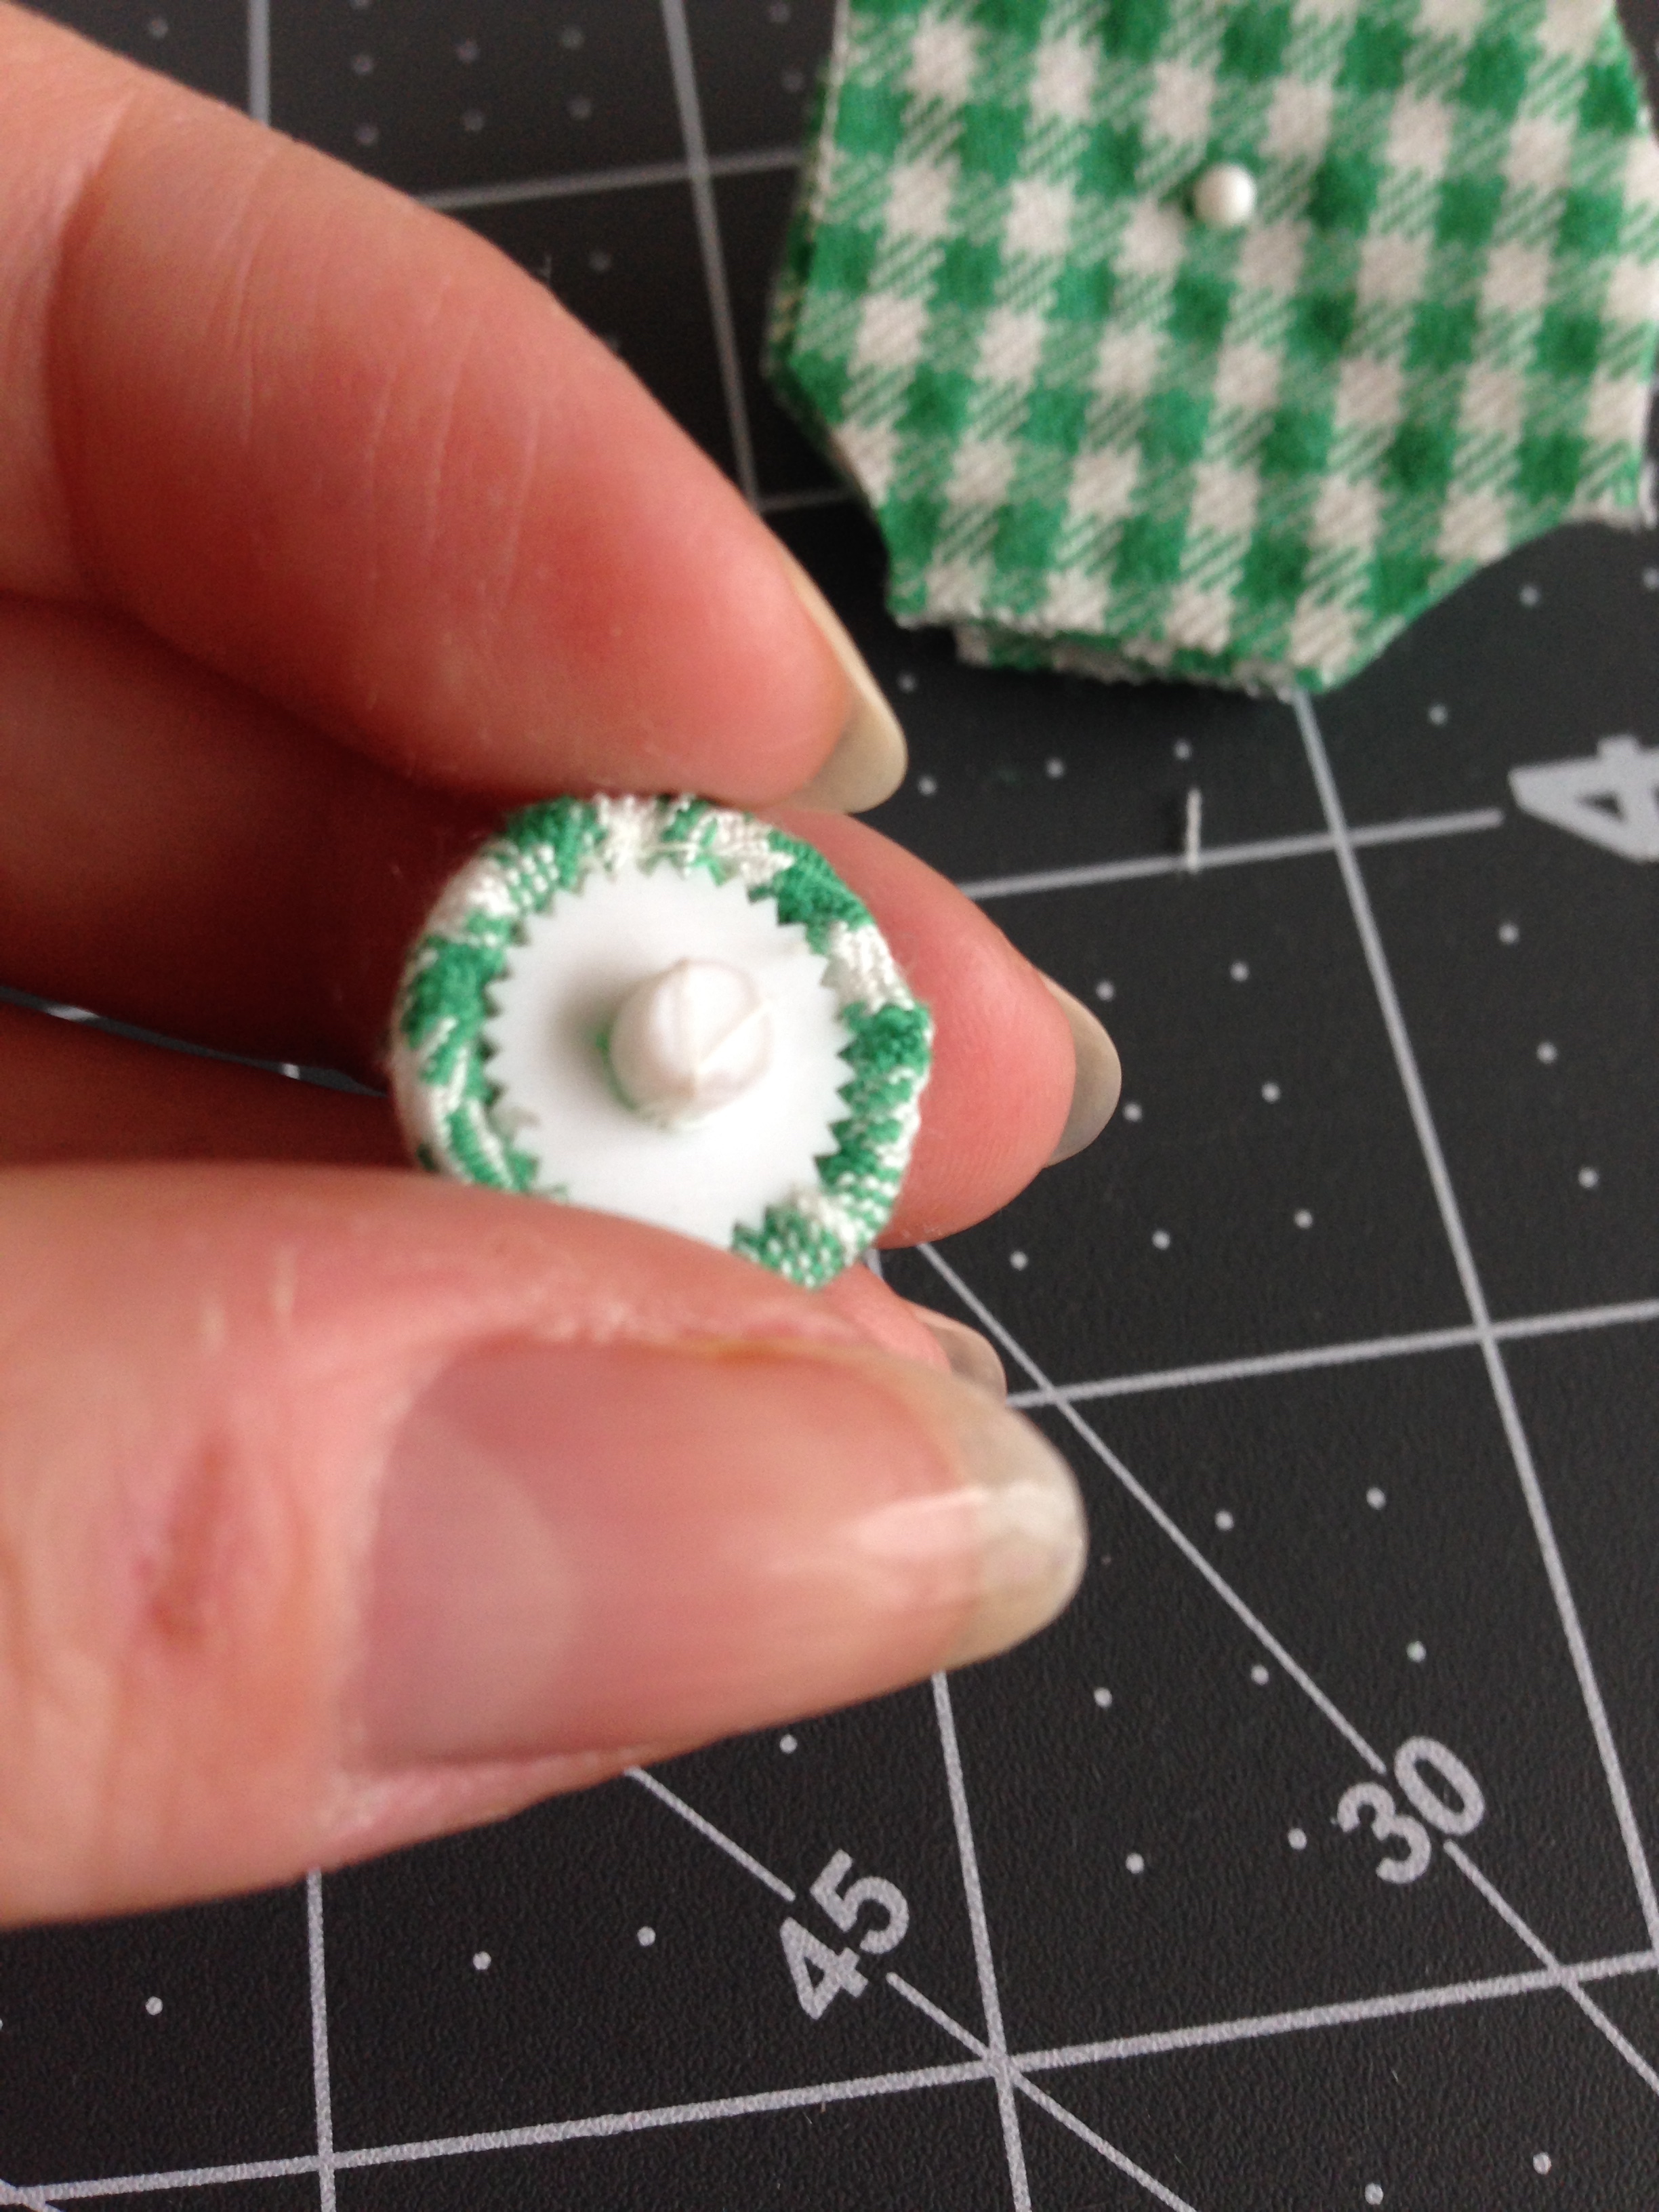
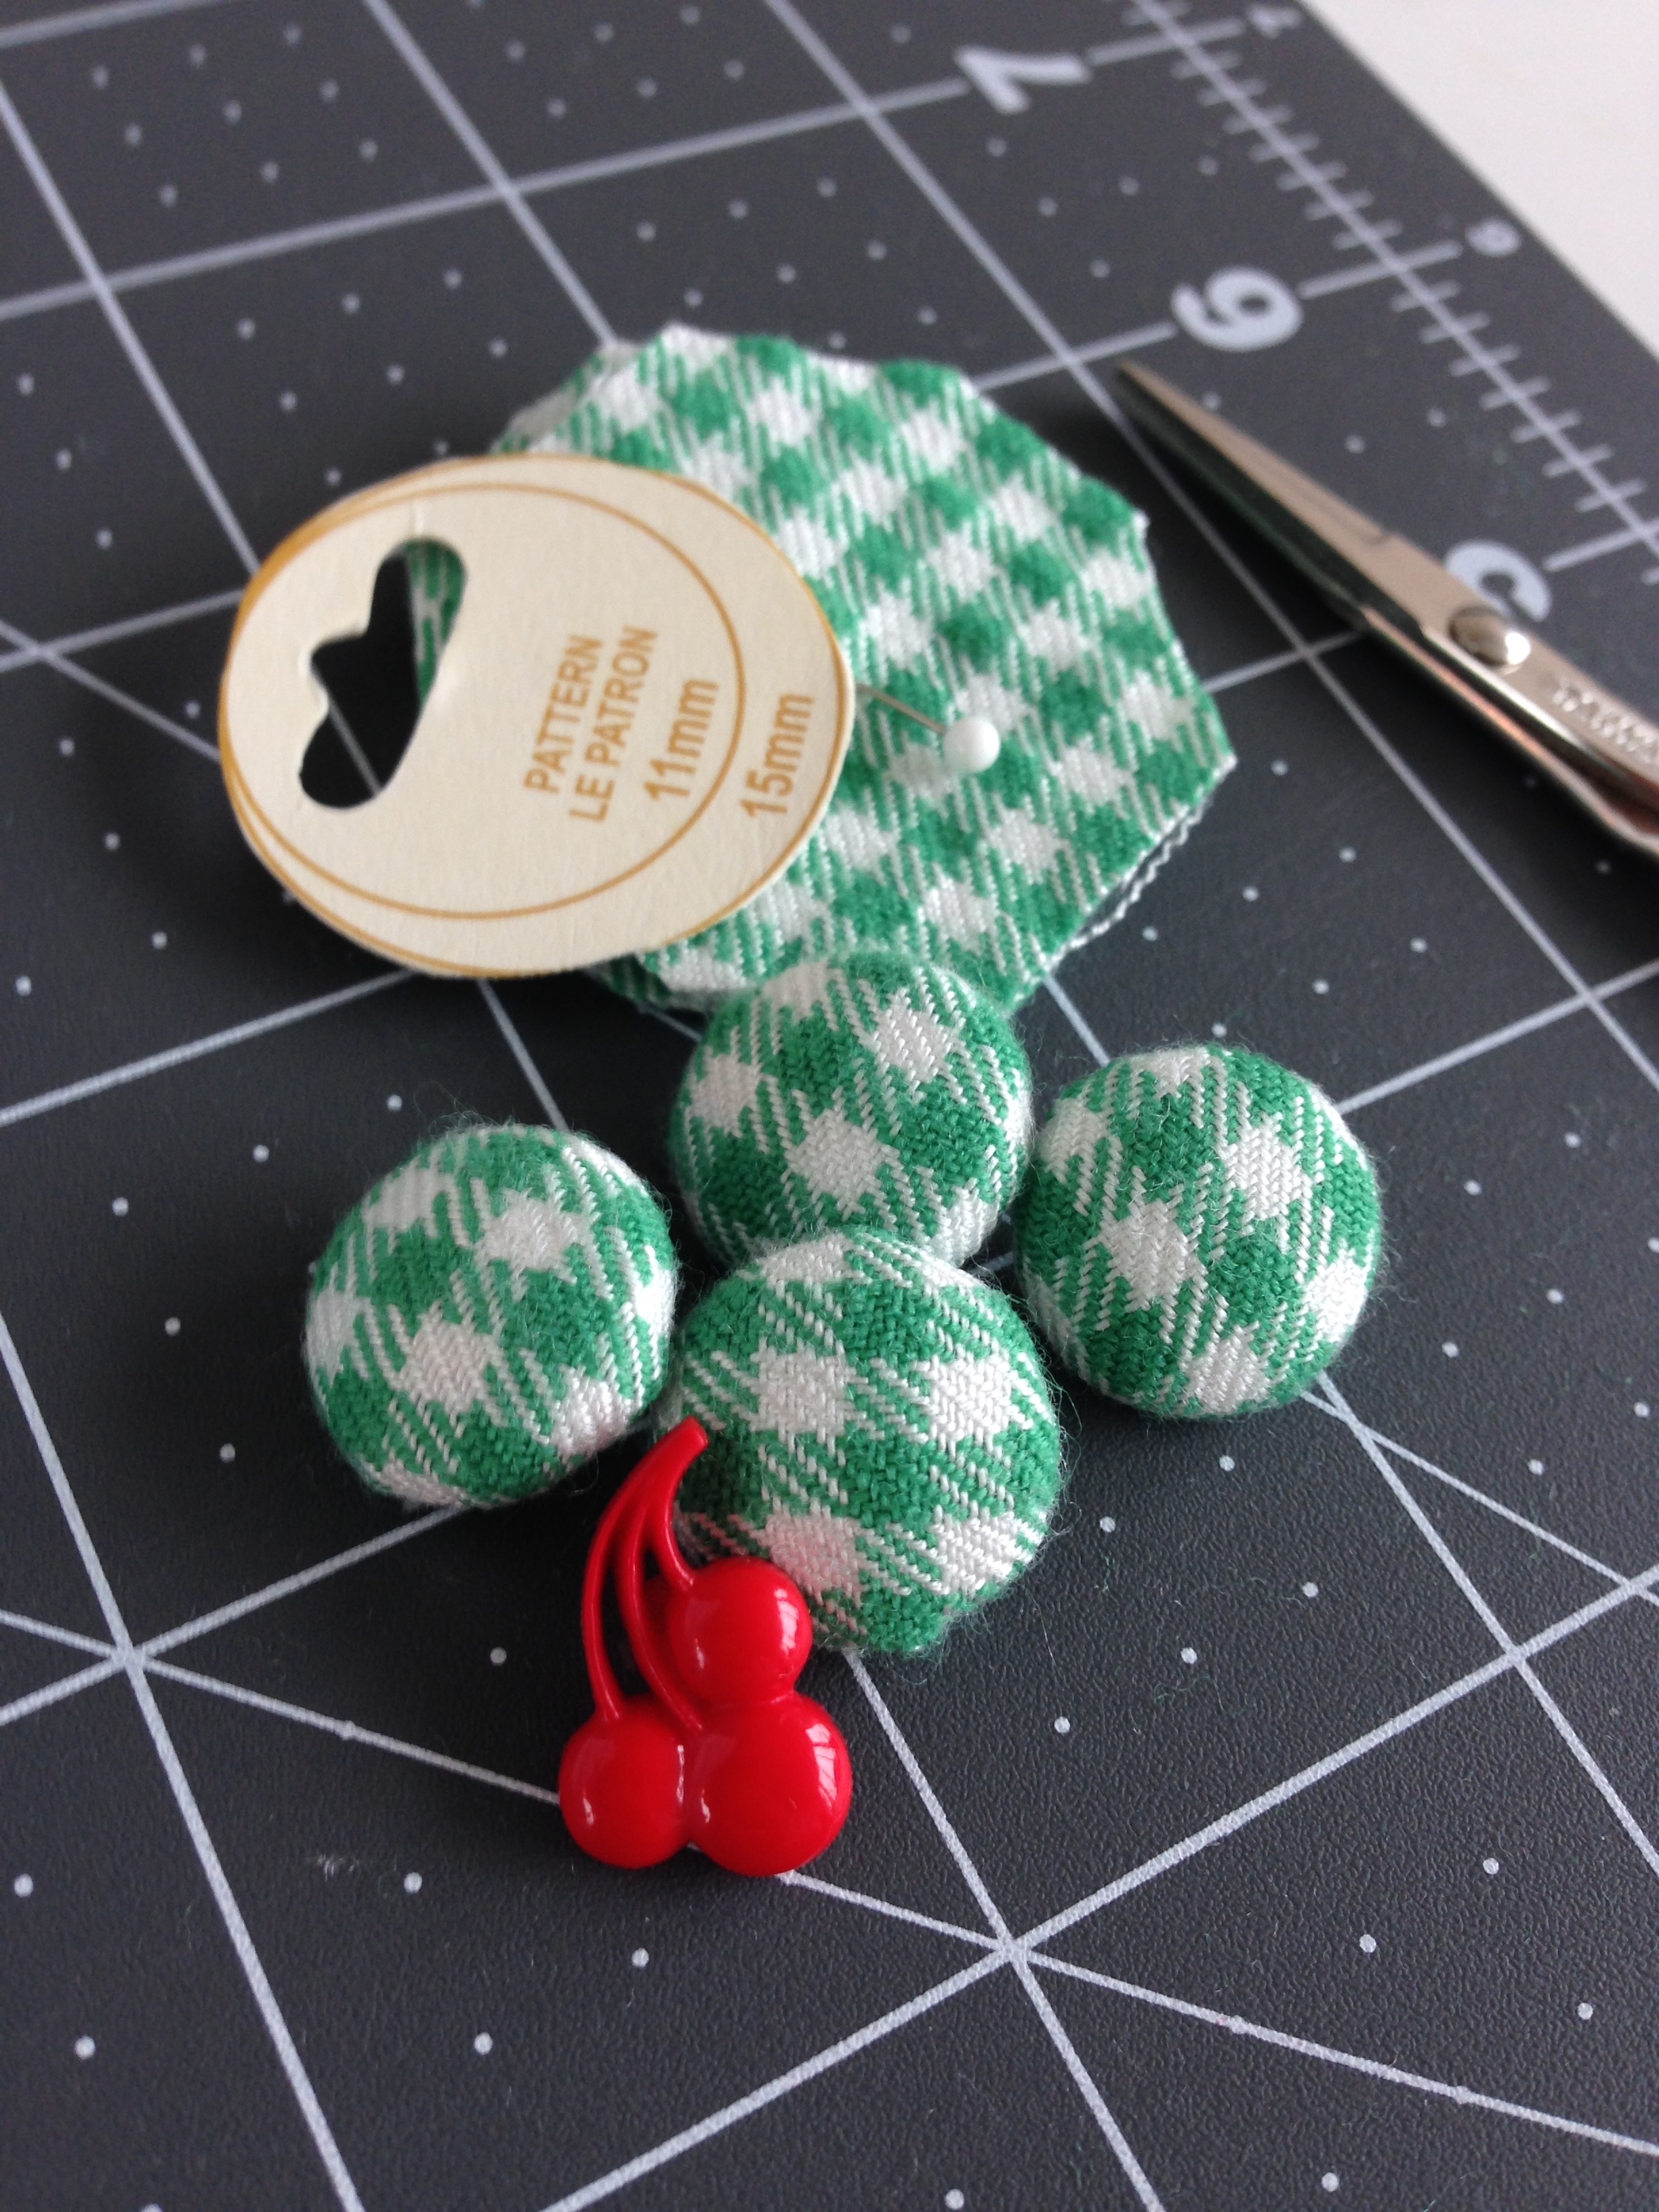
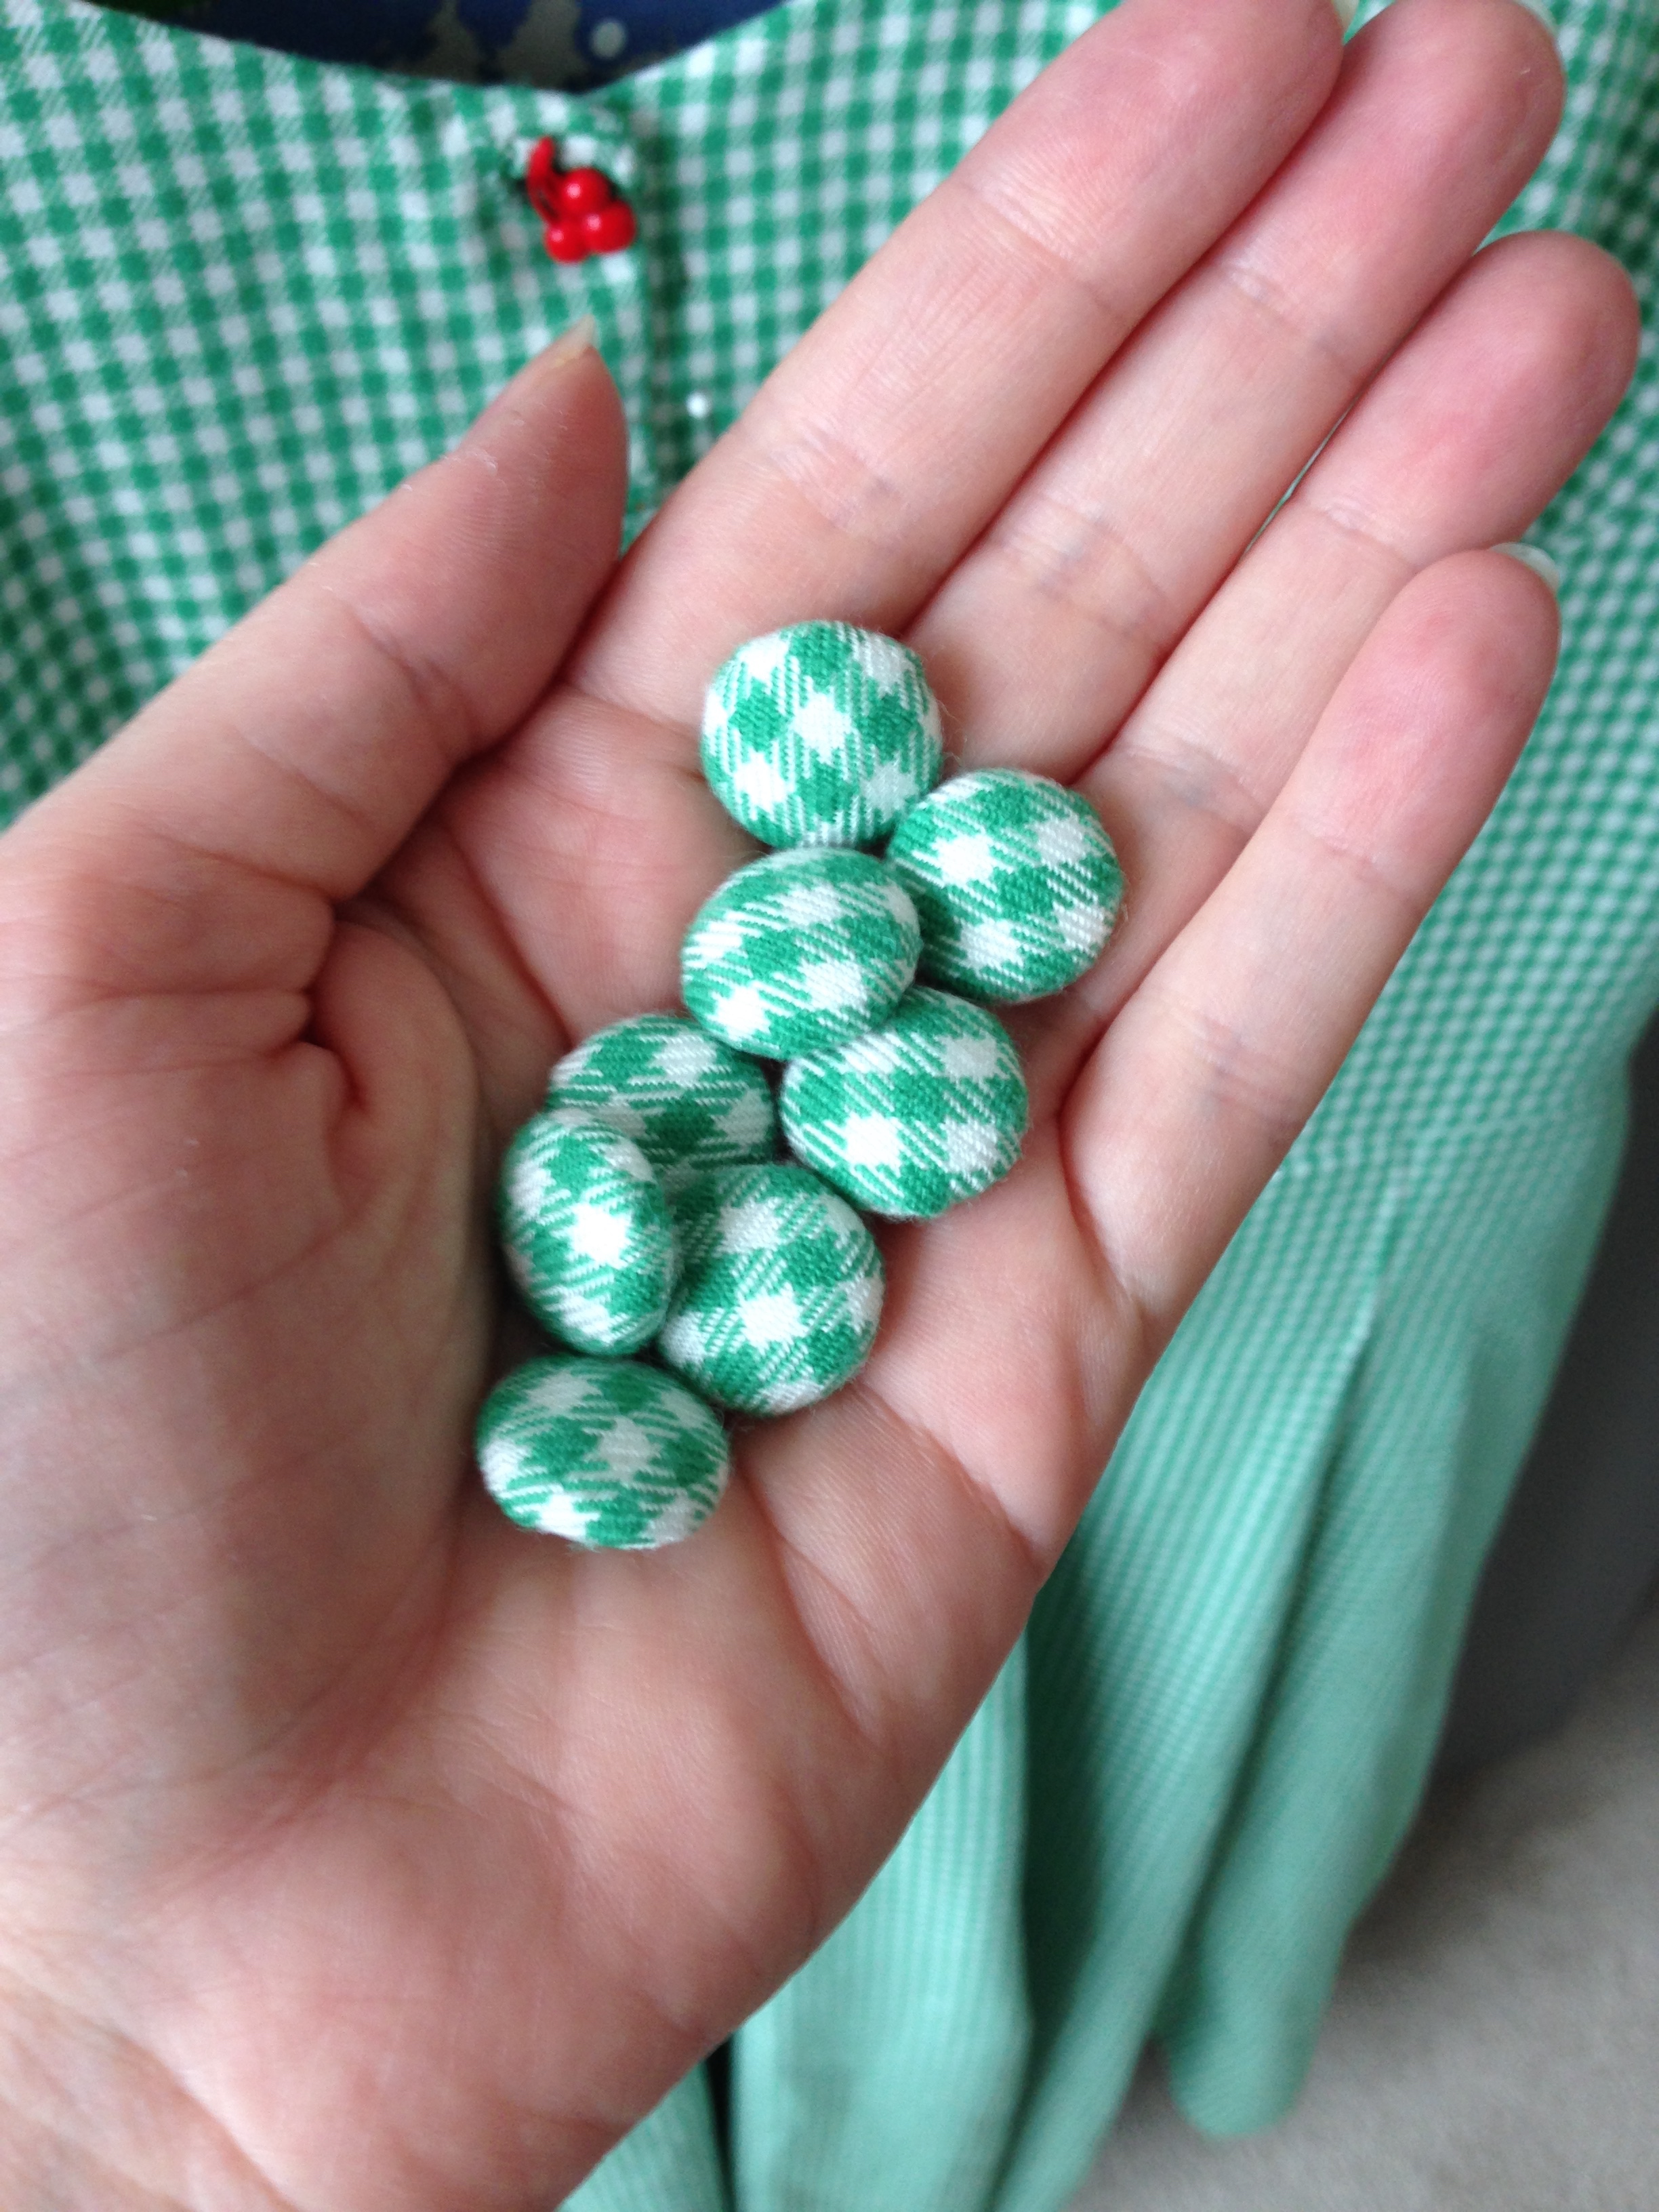
The buttonholes. It was almost a stand-off. At first I thought I'd just move over the seam allowance but because of the interfacing that idea was a no go. I'd have to deal with the buttonholes being closer to the edge than recommended.  So I focused on button making. Now there's a story. It took me 3 hours stuck in Toronto traffic to get those plastic buttons. I could have walked it in 2. Sigh.

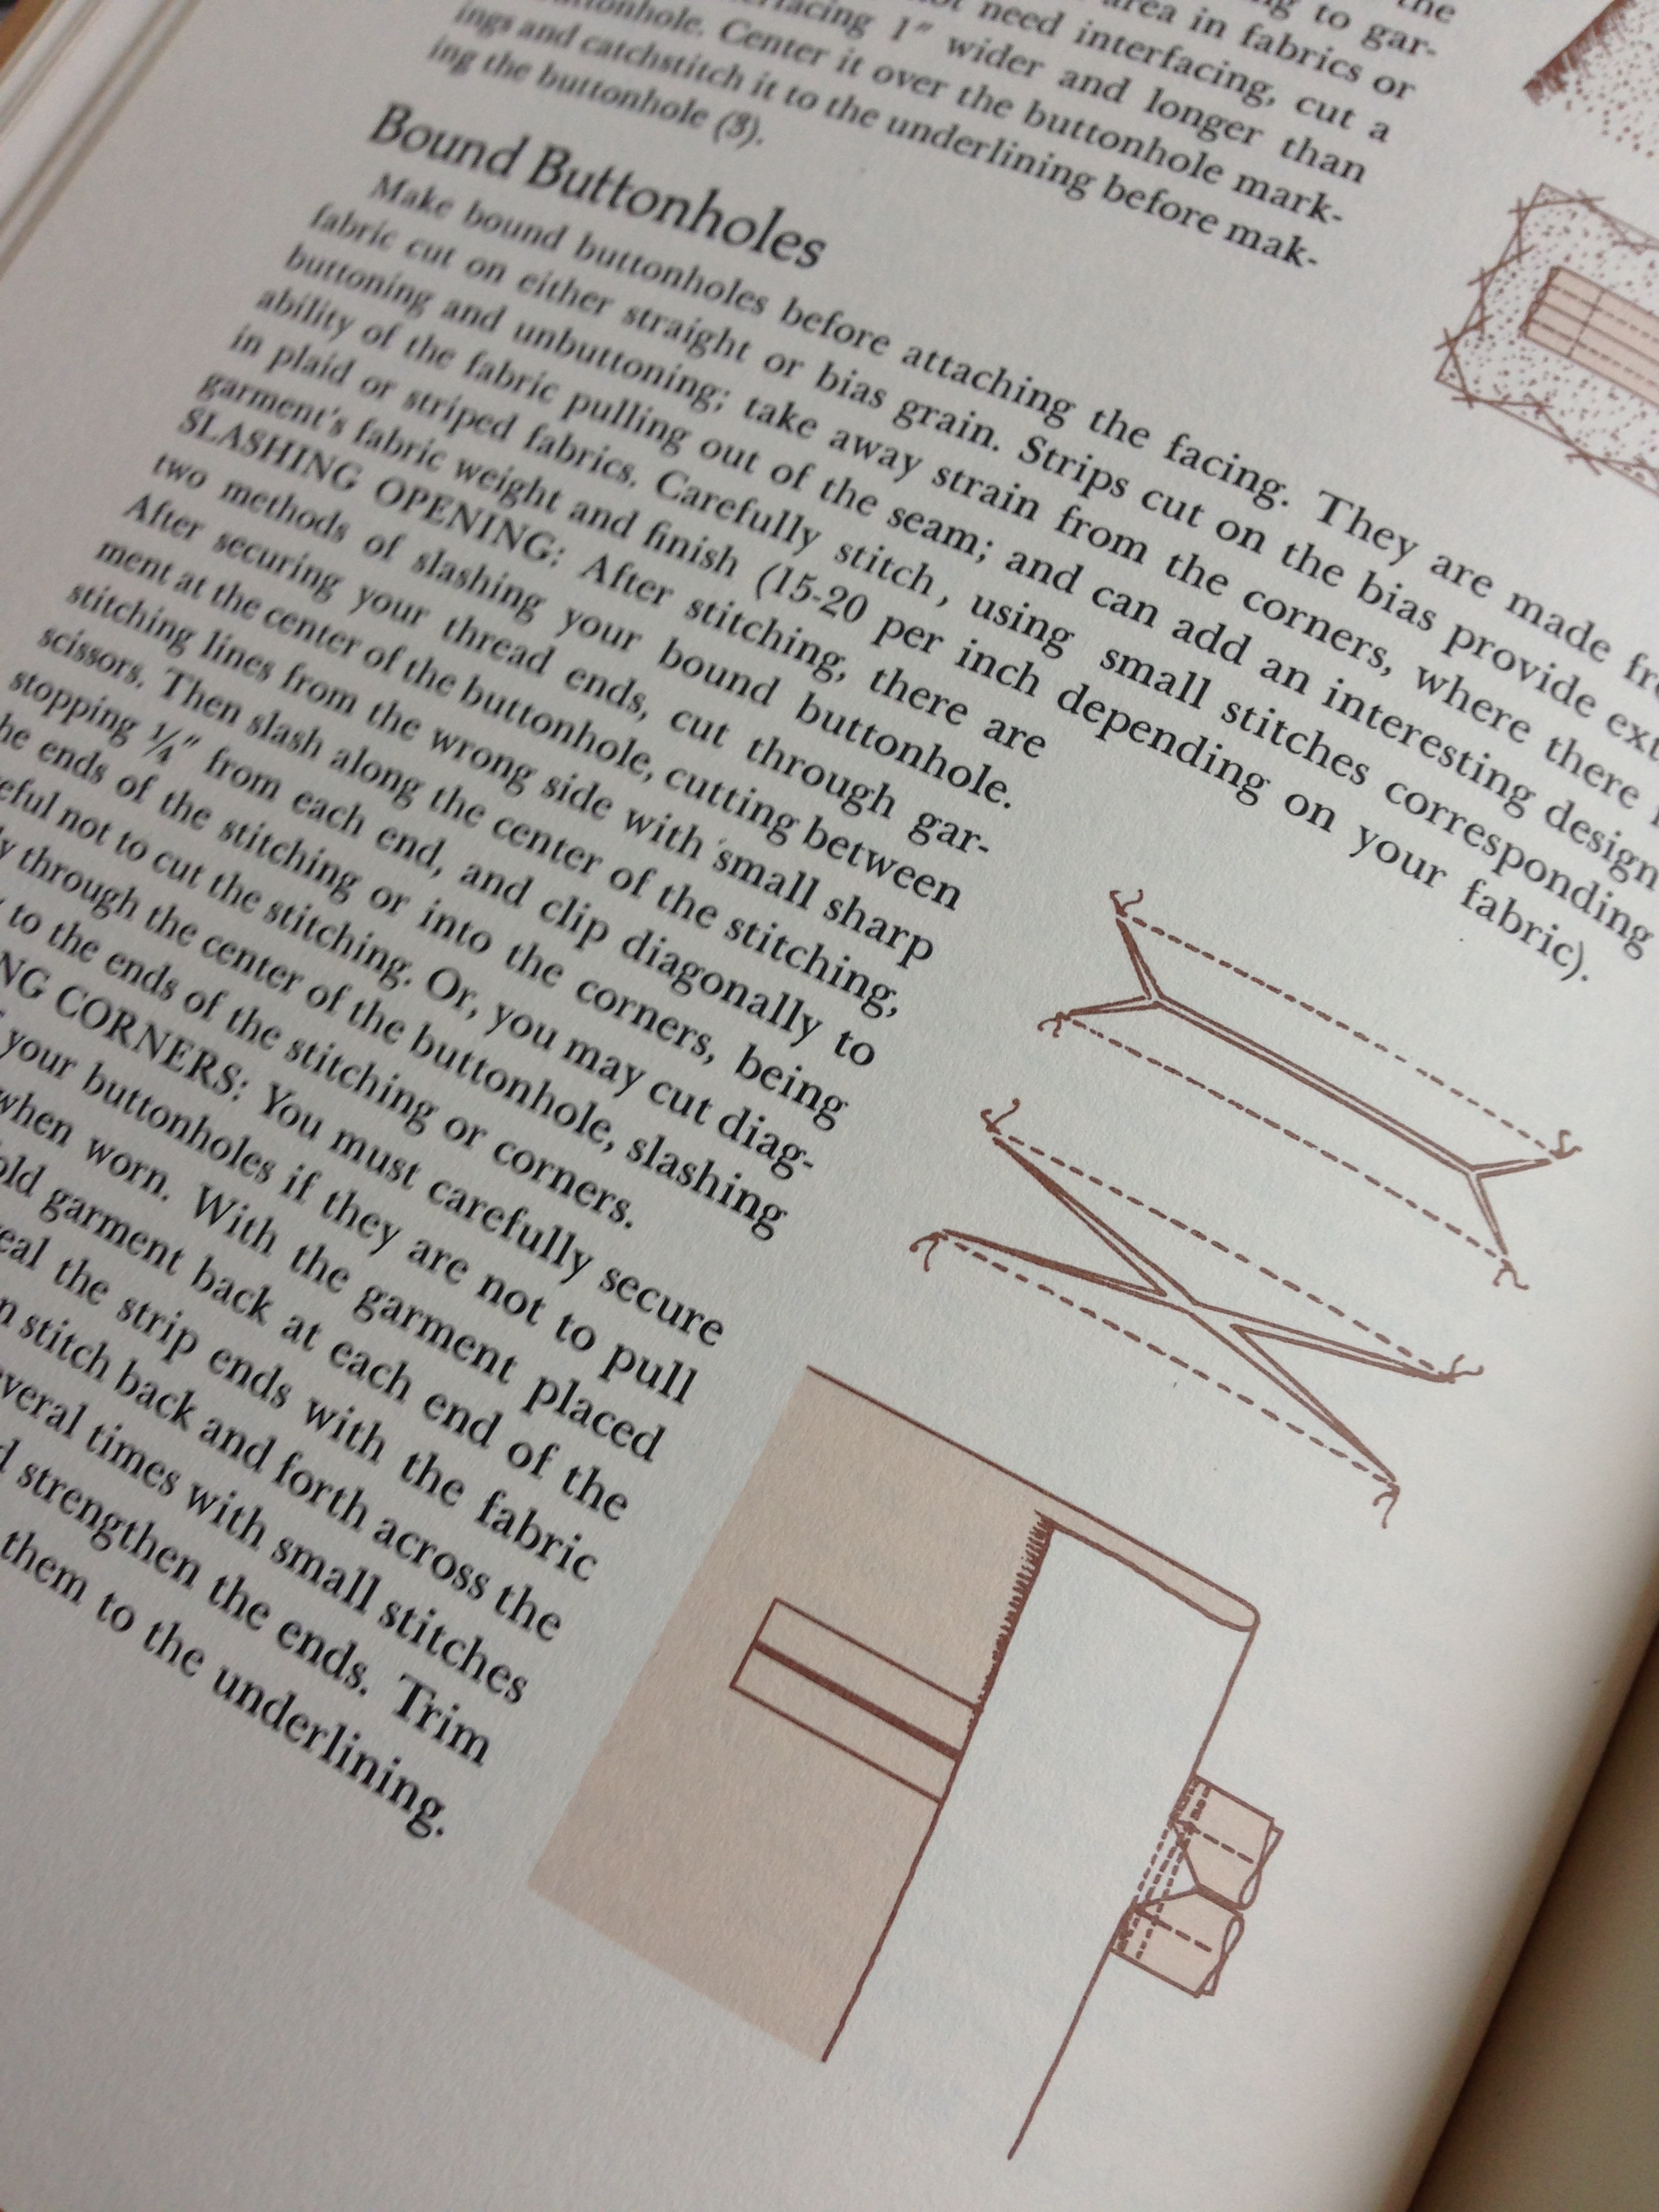
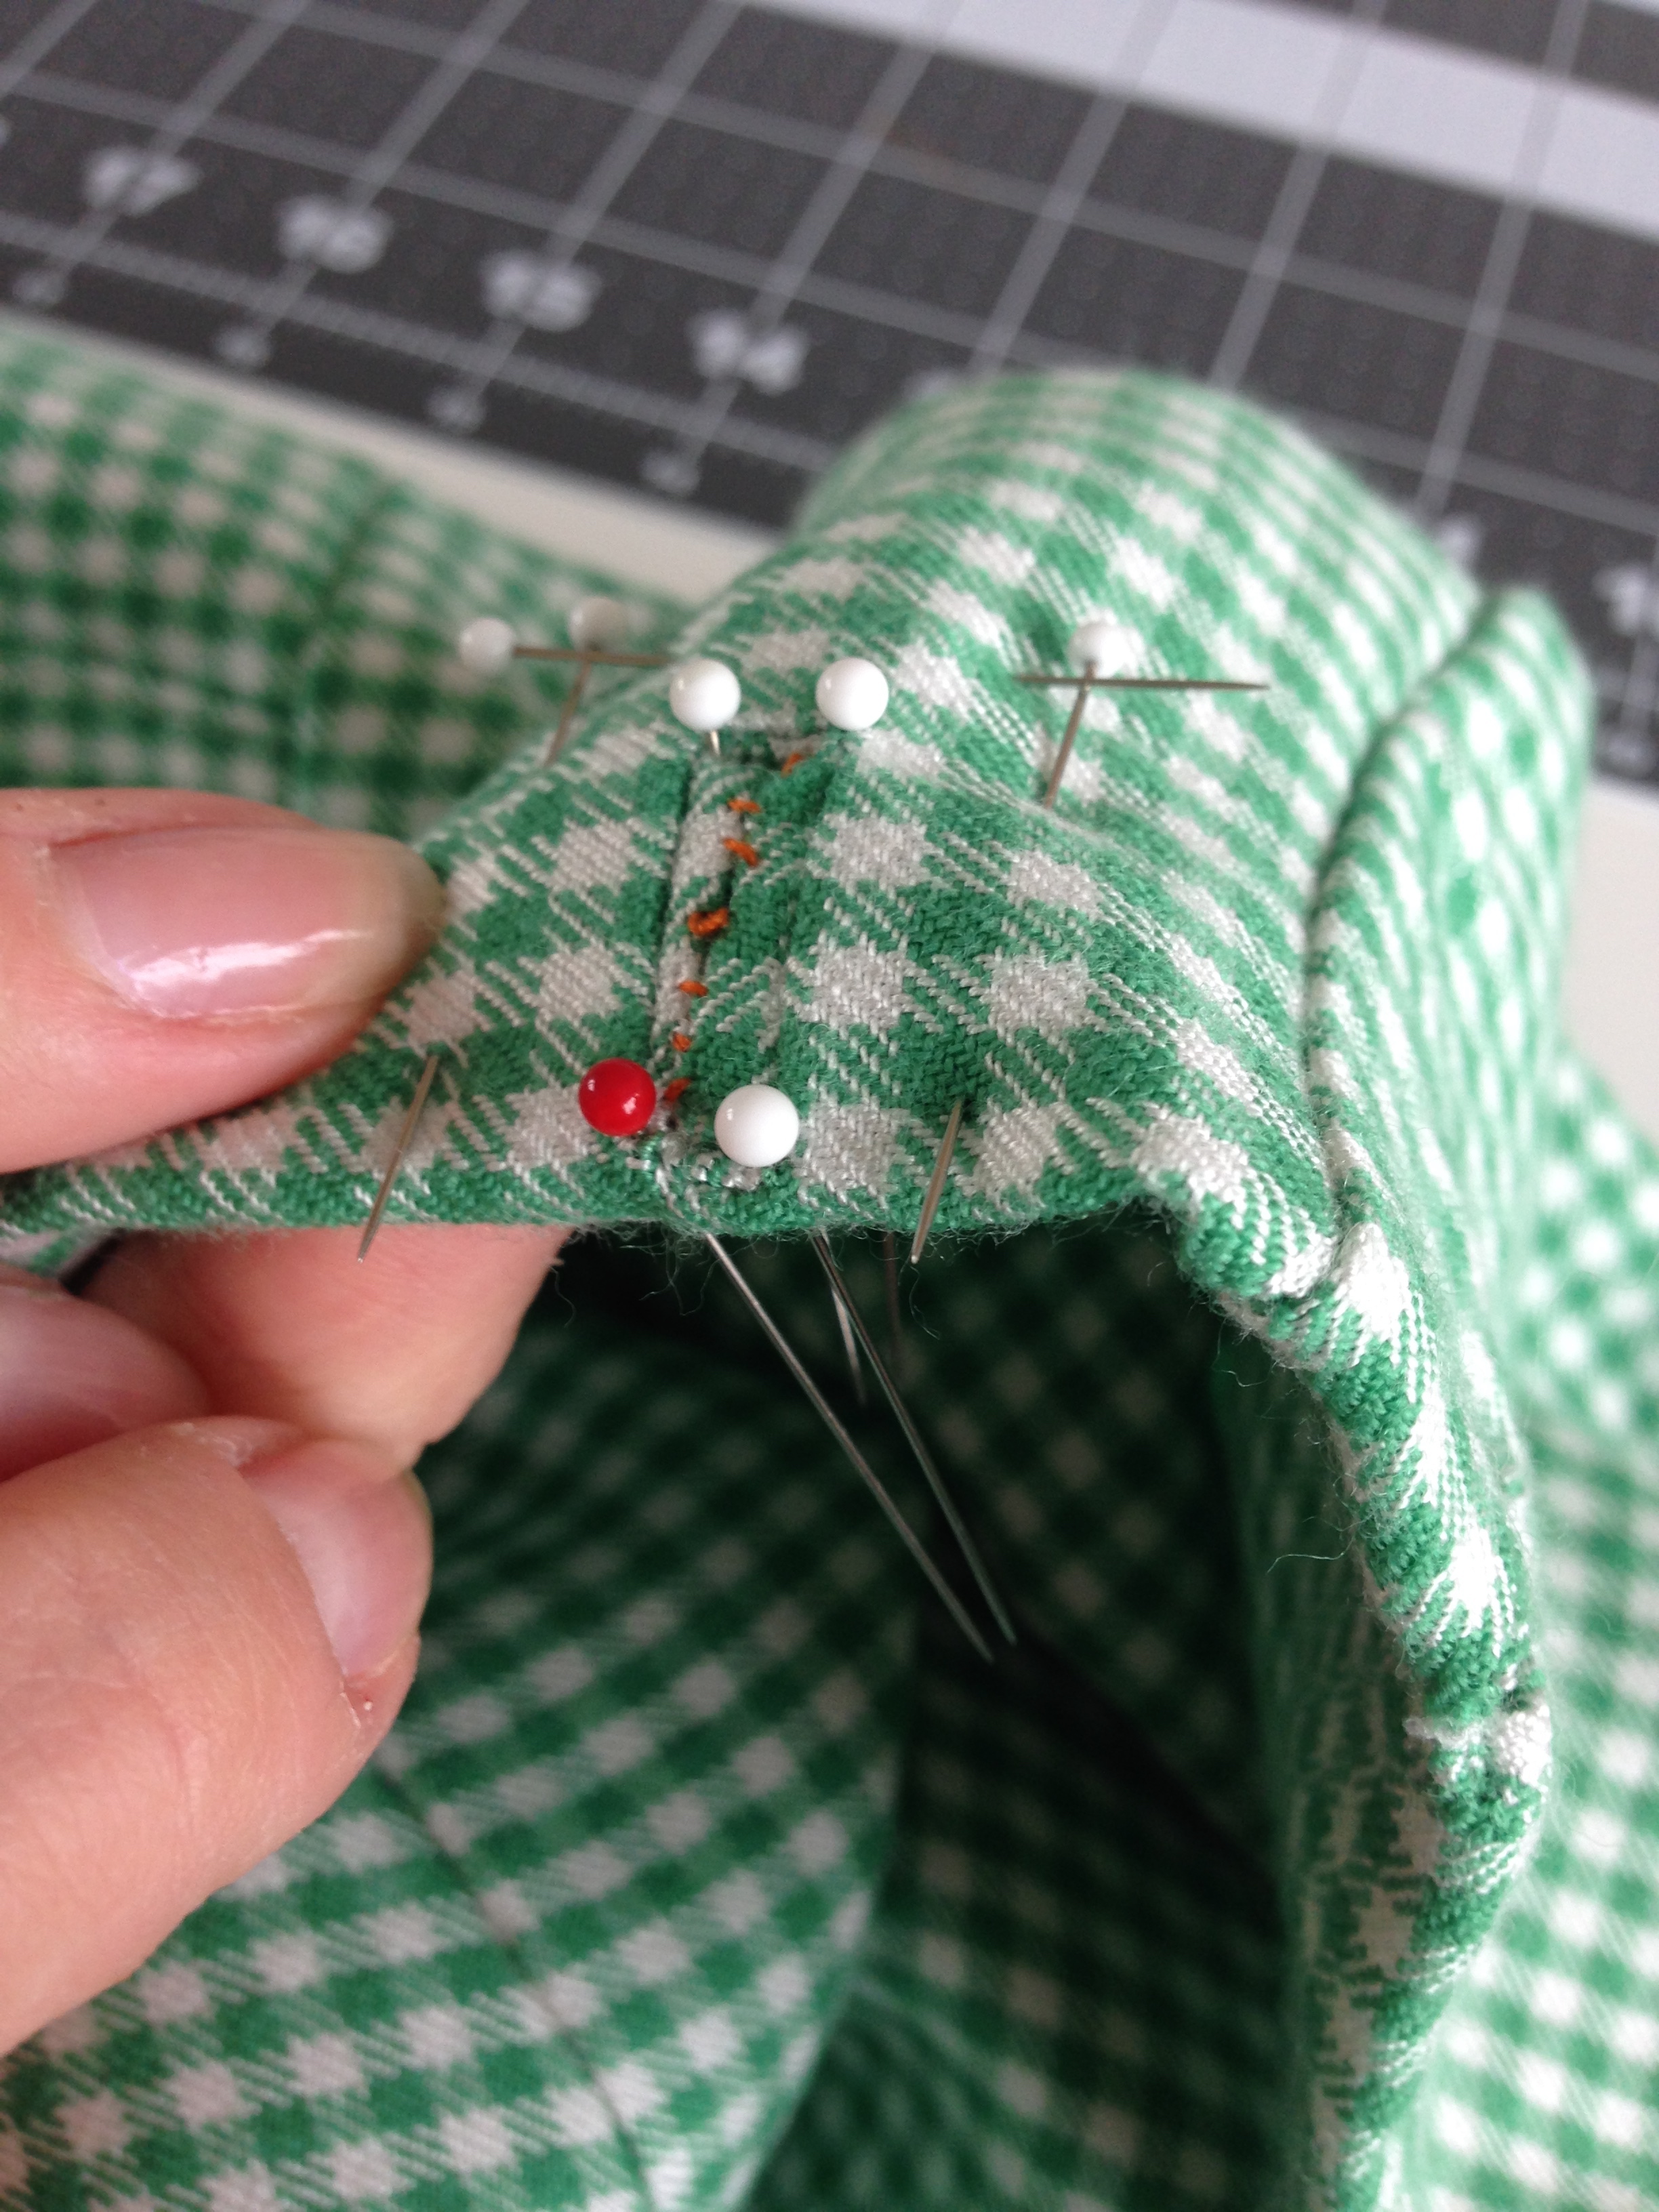
The covered buttons finished (YAY for easy rotary cutter circles), it was time to finish the welt buttonholes. Cutting time! I fitted the bodice so that despite the half inch extra it fit well. I ironed the lovely interfacing as flat as possible without scorching the wool. Success! Using my vogue book as a guideline, I used four pins, one in each corner of the welt, to indicate where to cut a small slit for each buttonhole opening. I finished them as I went. All but the last buttonhole wasn't stable enough to take buttoning. Luckily the last button was more for symmetry, so I sewed the button directly overtop of it, just for show, so it avoids any tearing. And the rest was a matter of pinning the buttonholes in place over where I wanted the buttons, marking and affixing.
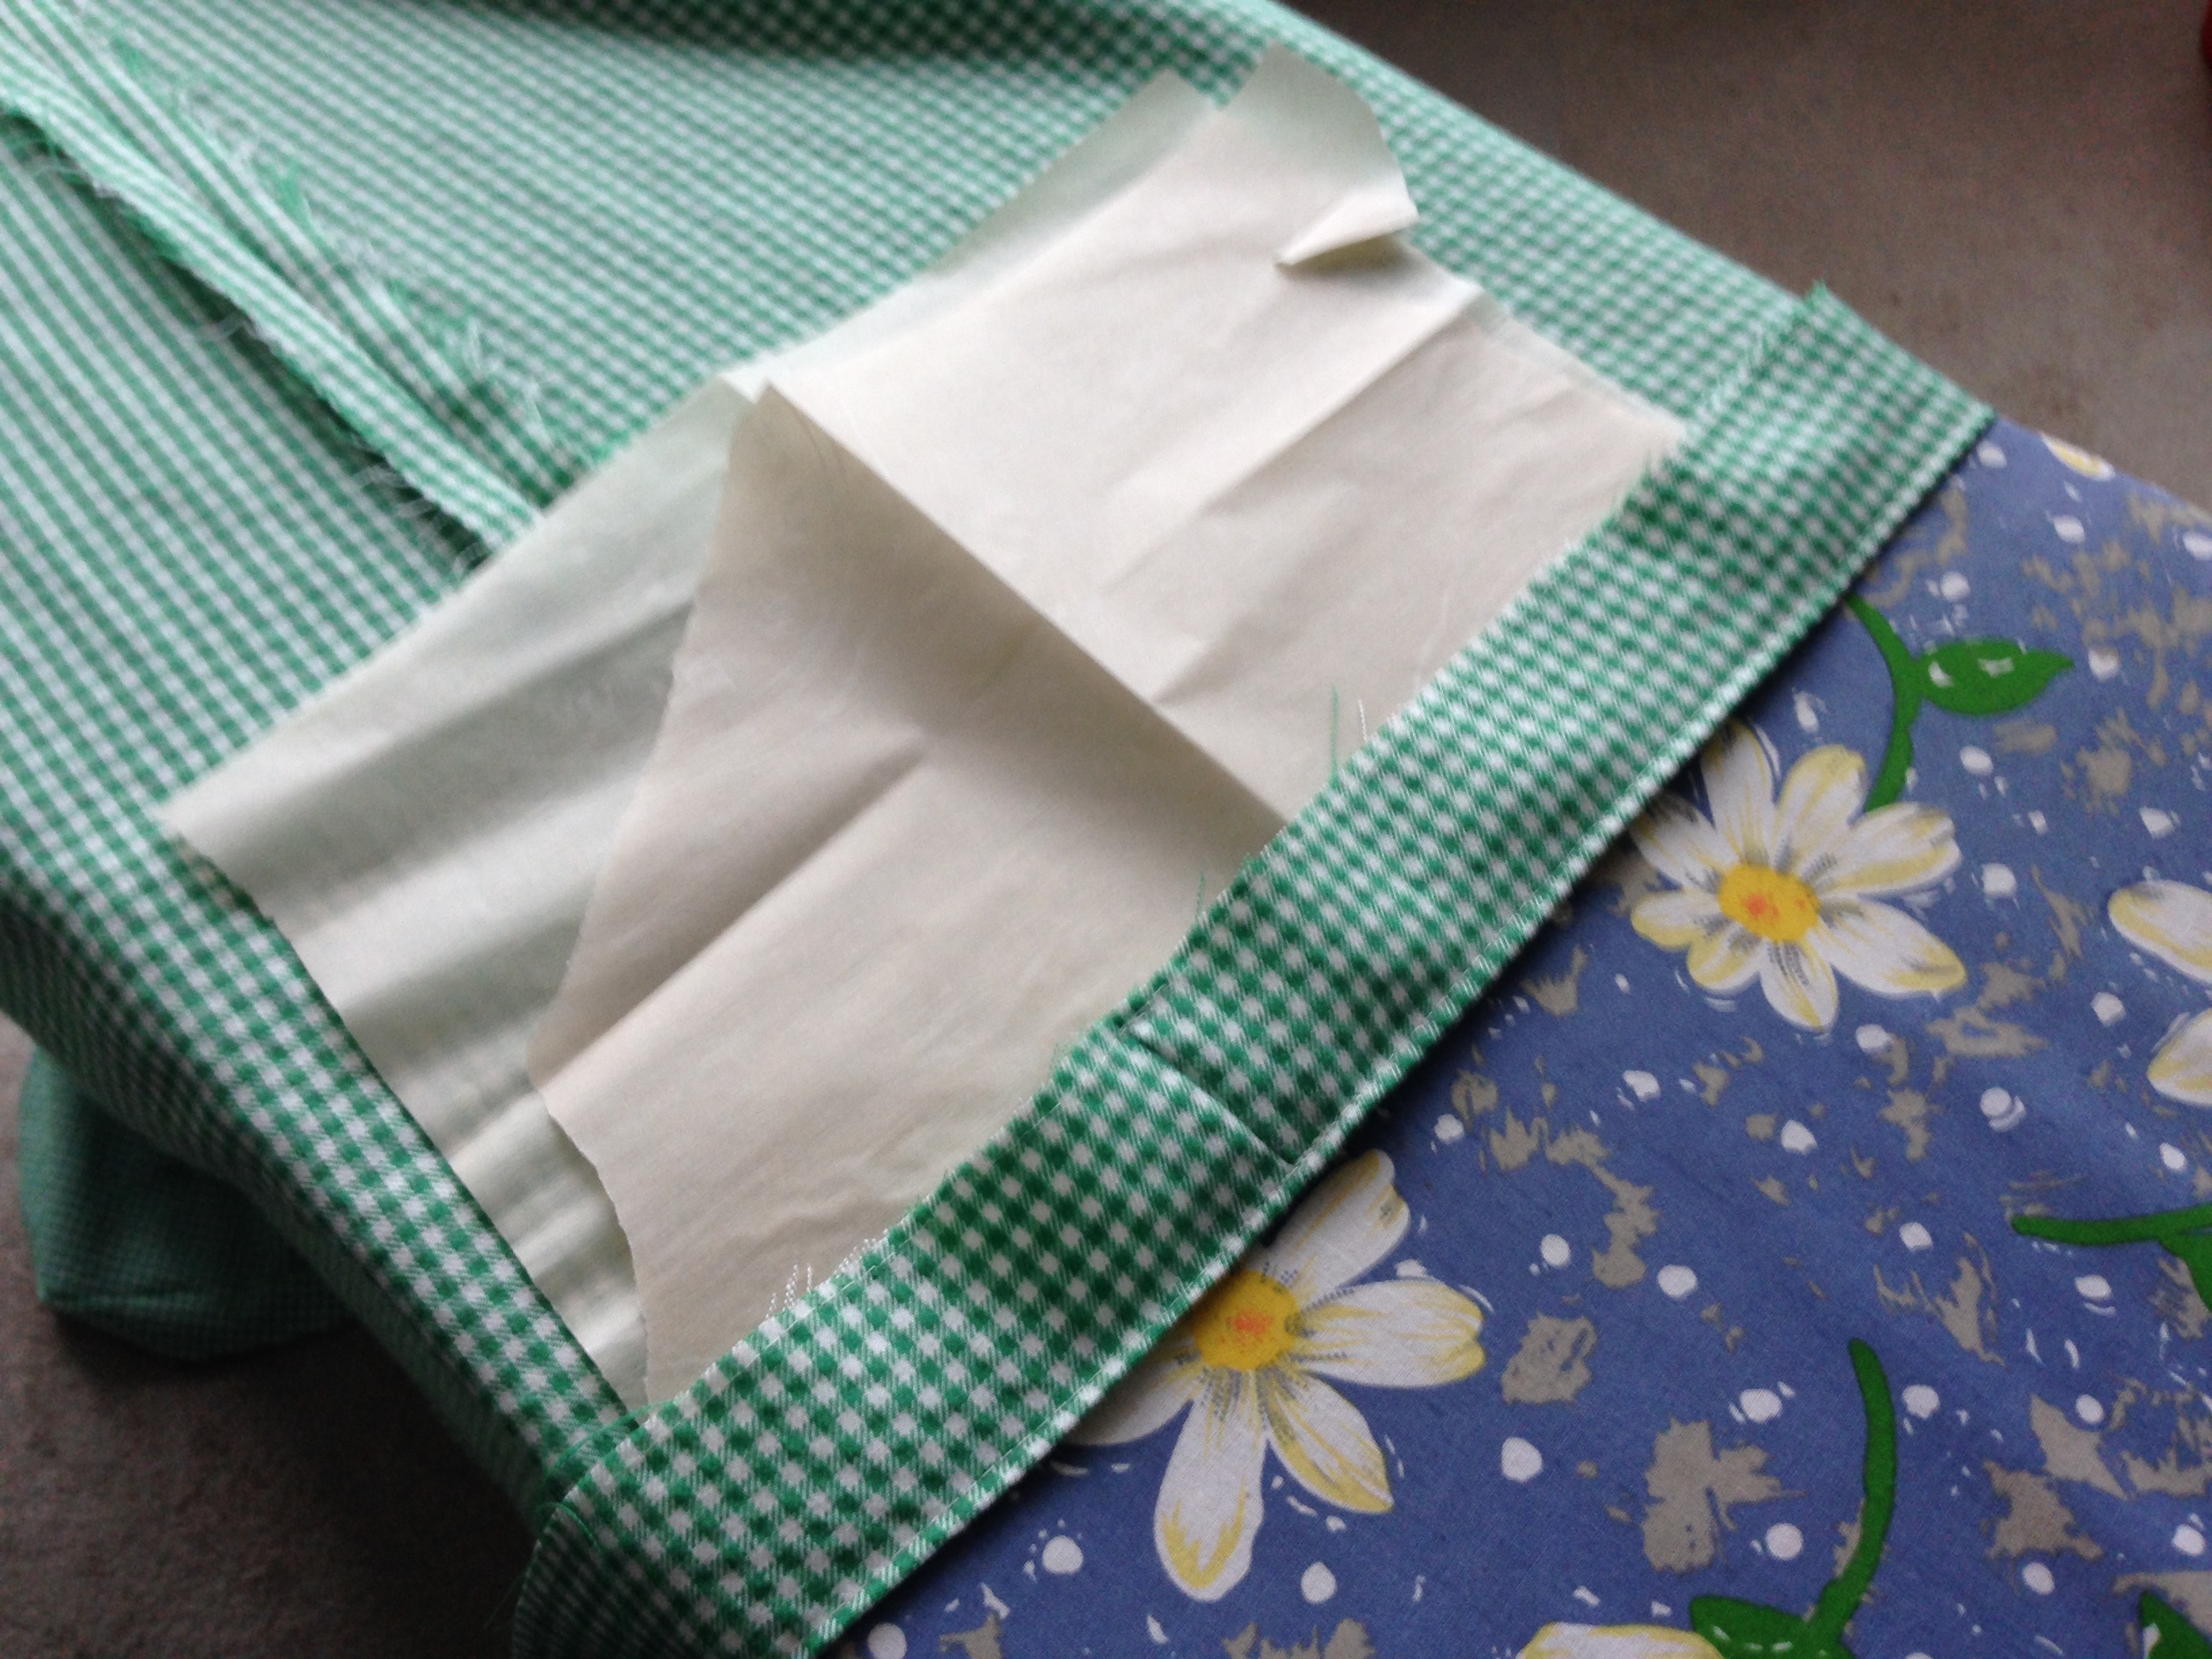
Last but not least was the hem. Urk. I hate hemming. Luckily, my new fancy sewing machine has a million wonderful stitches to do a nice easy pick-up hem thing.

BAM!

One project down!

NEXT!

-Andrea

The Half-Assed Hobbyist

Easy Cinnamon Buns

Here is a recipe for what the fiancรฉ's family calls "easy cinnamon buns" that I haven't made in ages. The sad sad fact of reality is I totally forgot about them. As did my pant size. No more! Ah memory, how I love and curse you.

The reason this recipe is so easy is it's actually a baking powder biscuit recipe made to look like cinnamon buns. So no bun rising required! All the goodness of cinnamon buns with only a fraction of the time necessary until you can start putting these tasty devils in your face.

Easy Cinnamon Buns

Baking Powder Biscuit Dough:
2 cups flour
3 teaspoon baking powder
1/2 teaspoon salt
1/3 cup margarine
~3/4 cup milk (use more if it's dry outside)

  1. Combine dry ingredients in bowl.
  2. Using a fork or pastry blender, cut in cold margarine until mixture forms little pea sized crumbles. (Make sure there are no big lumpies of margarine!)
  3. Stir in milk. Mix until a wet dough forms.
  4. On a floured counter, knead dough for 10 strokes. (Use more flour to stop it sticking to everything and the dog.)

(At this point, the dough can be rolled out to 1/2 inch thick and cut into circles for biscuits. Bake at 450'F for 12 minutes.)

OR

Easy Cinnamon Buns:

Margarine (~1/4 cup)
Brown Sugar (~1 cup)
Cinnamon (~ 1/2 TSBP)

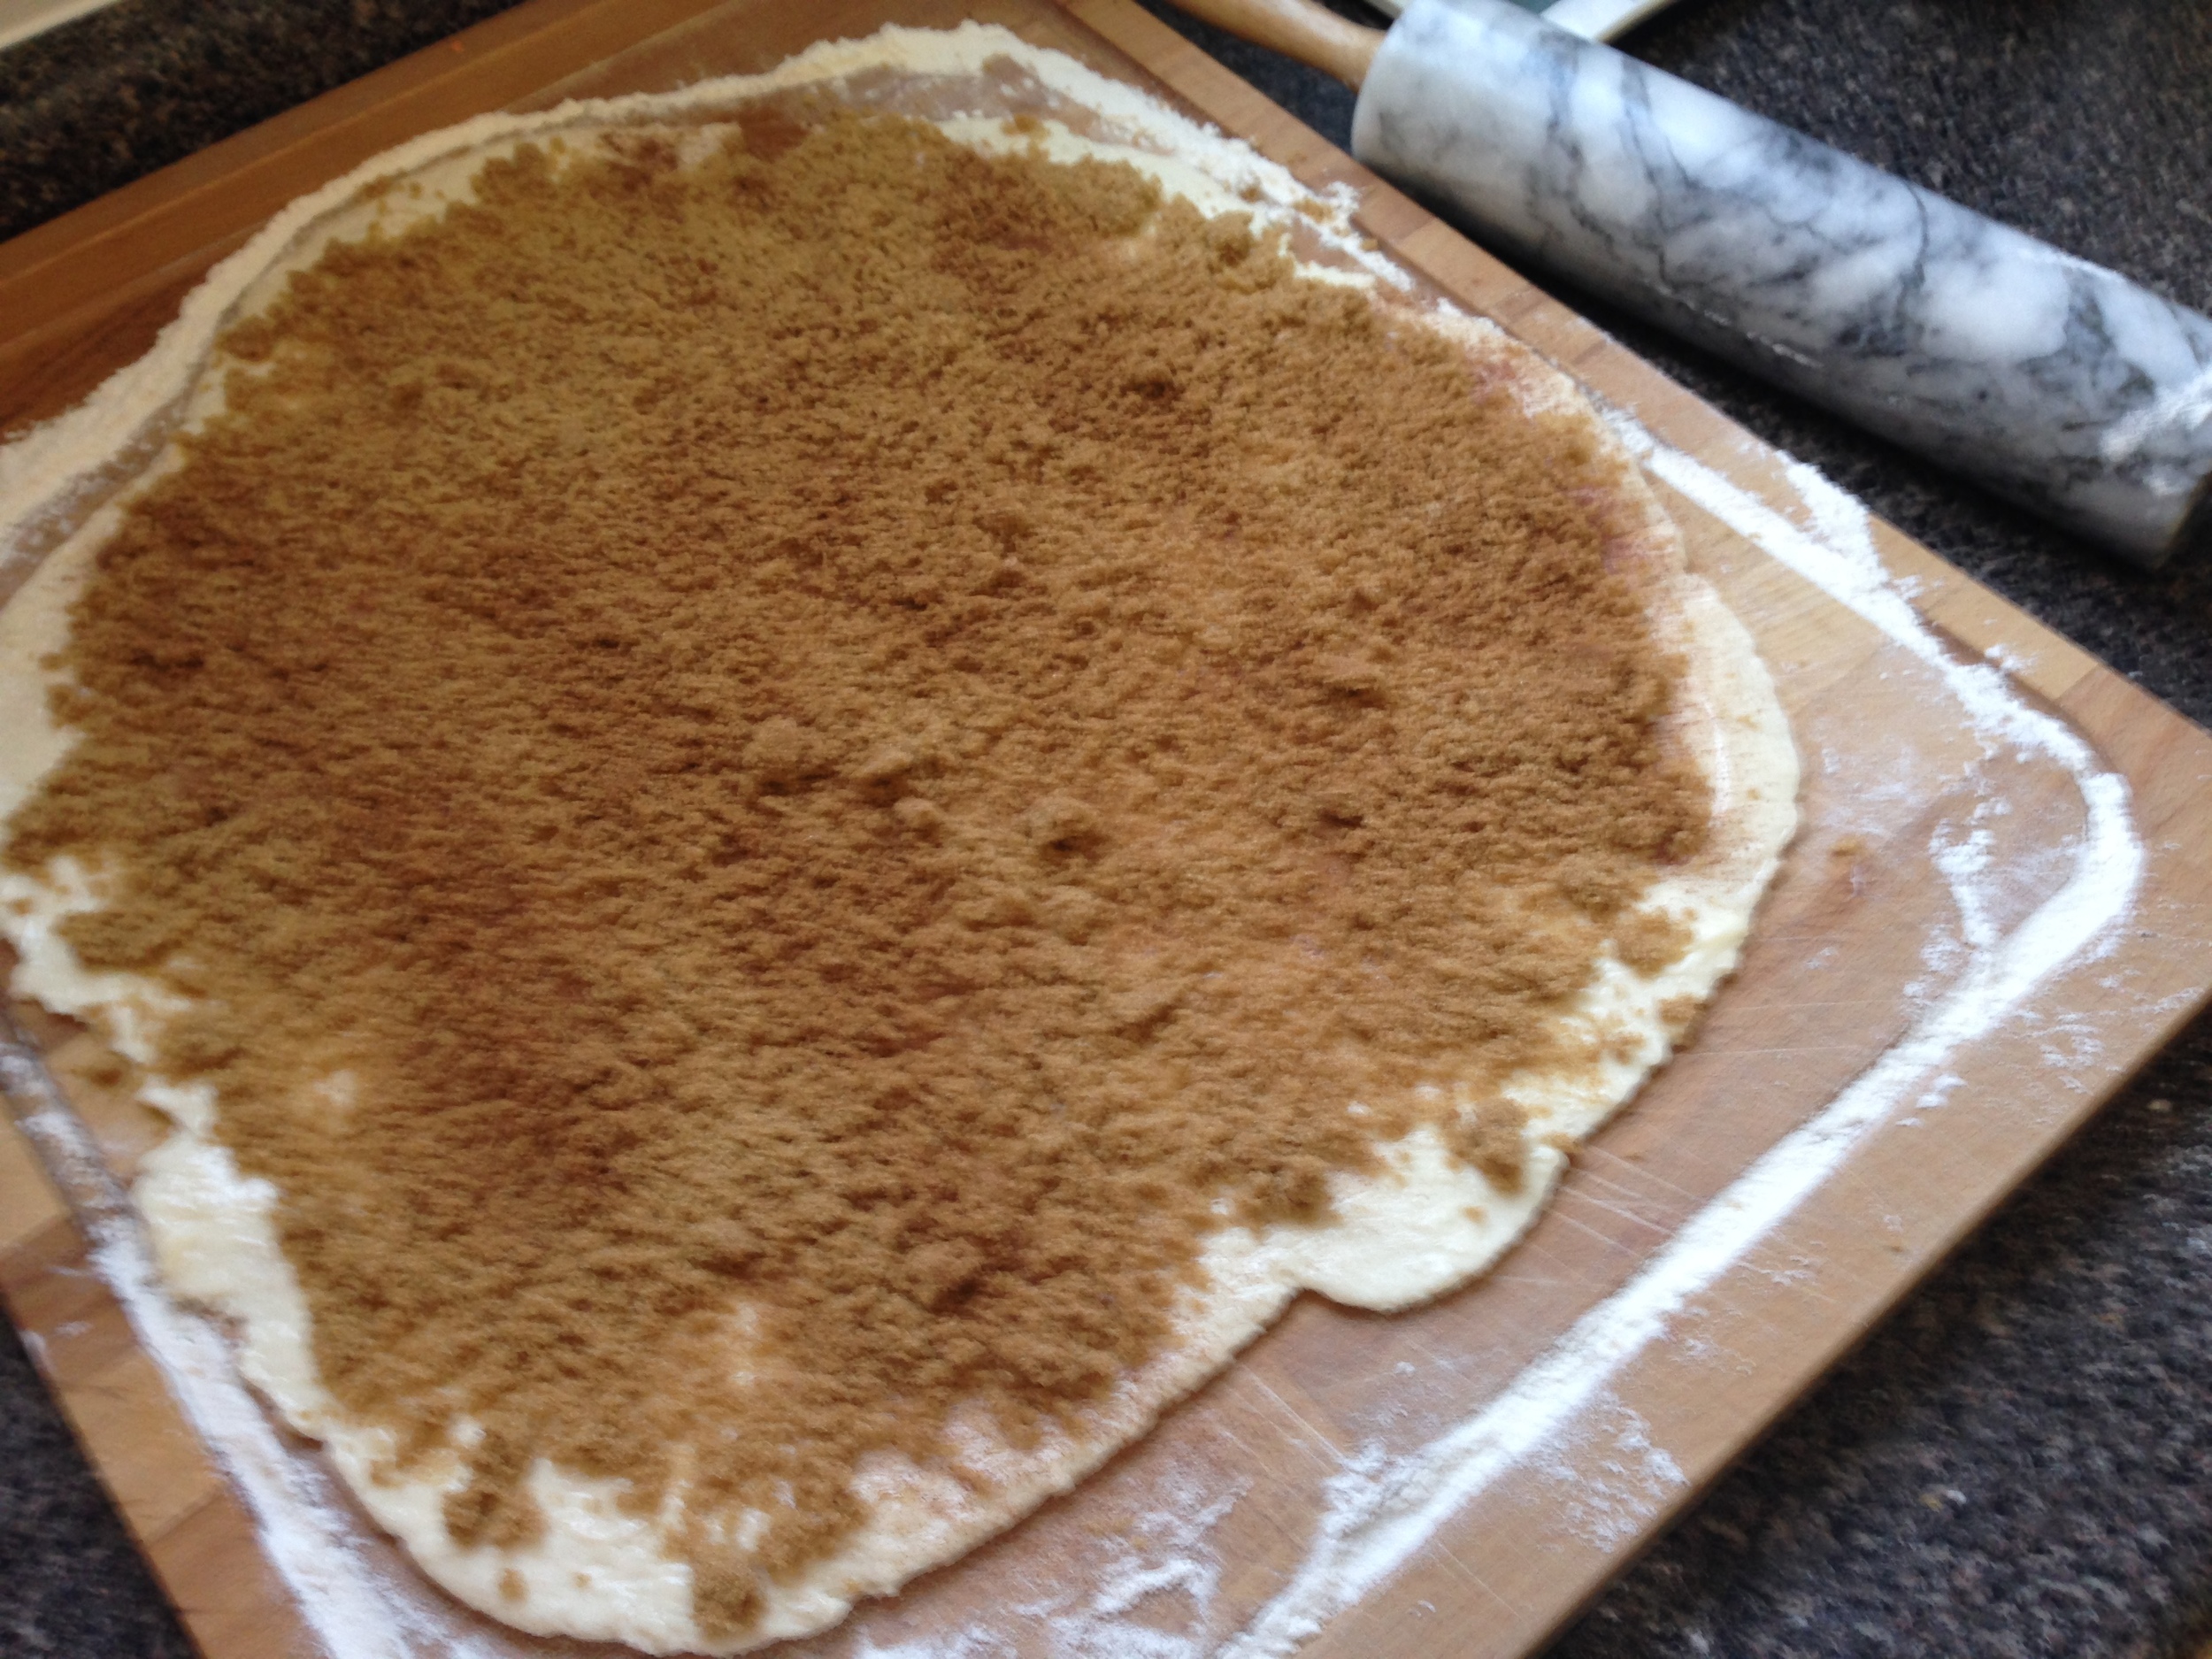
Note: The amounts of ingredients for this recipe are variable. If you want more goopy, add more sugar. If you want super cinnamon-y, add more cinnamon. My pictures have way more sugar than I normally use because I wanted to see what would happen. Super syrupy is the answer.

  1. Pre-heat the oven to 450'F.
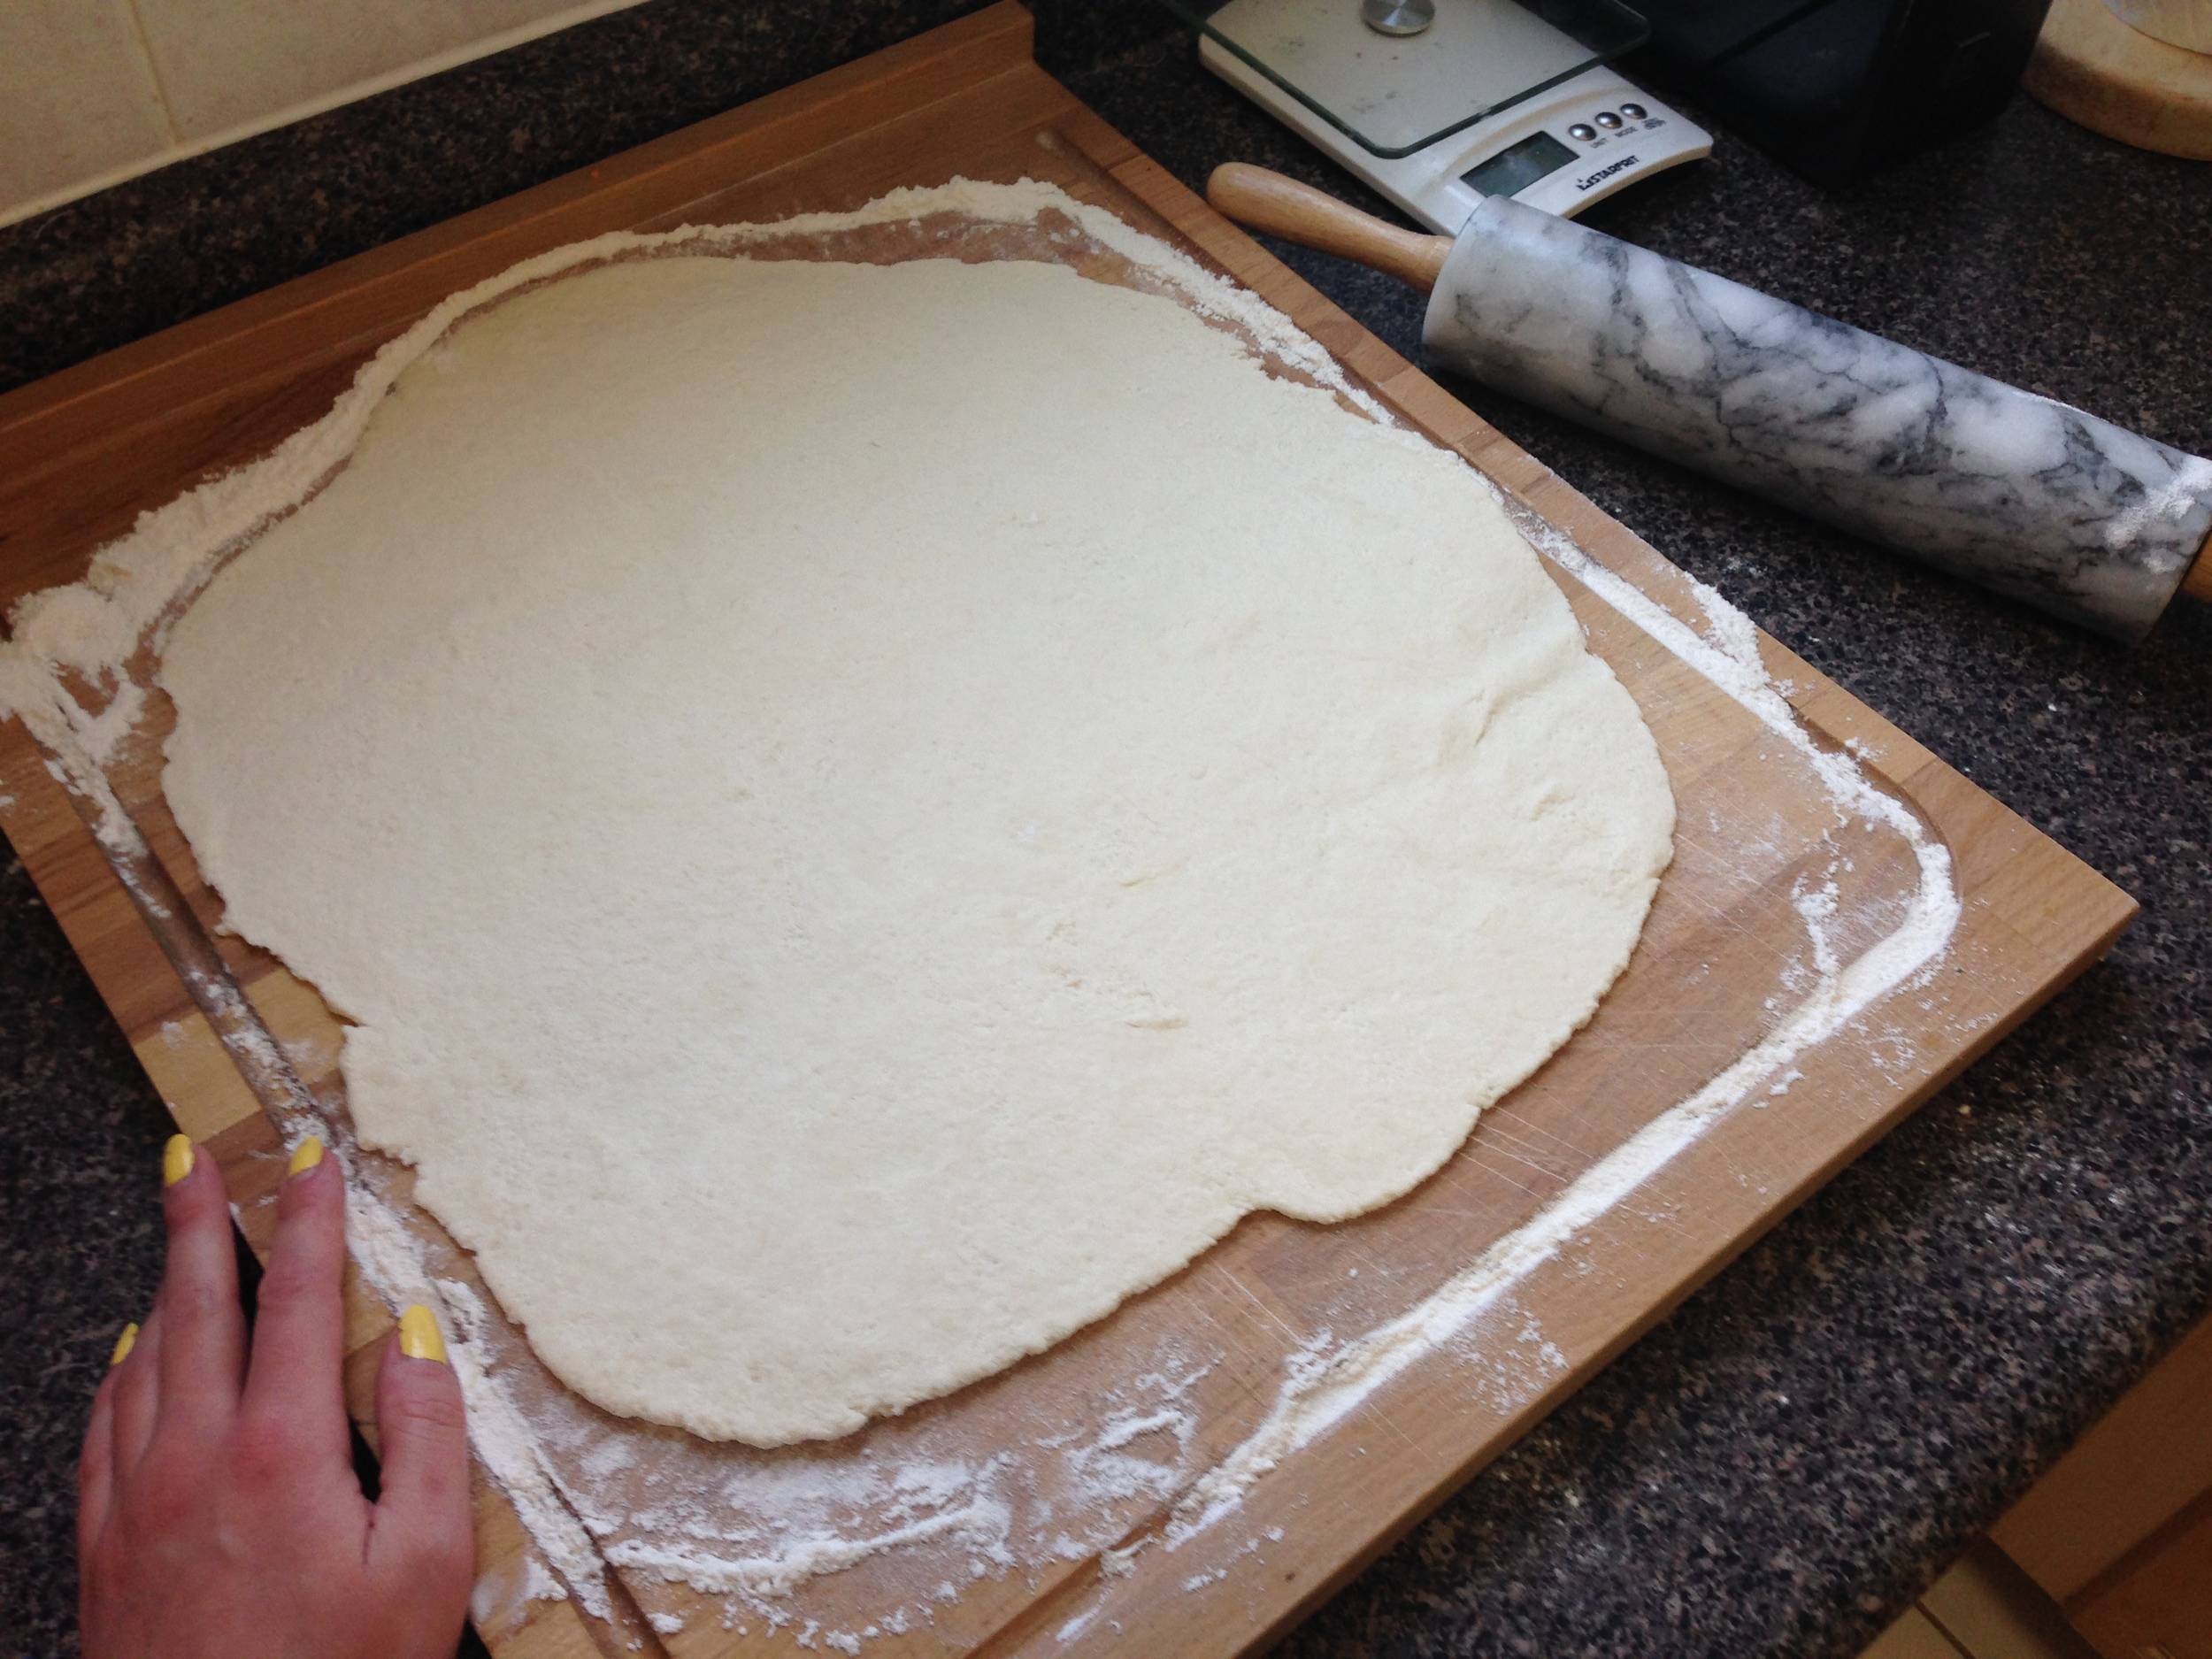
  2. Roll out baking powder biscuit dough into a rectangle, ~1/4 inch thick.
  3. Spread margarine on dough. (I use my fingers so I don't make holes in the soft dough.)
  4. Sprinkle dough with brown sugar and cinnamon.
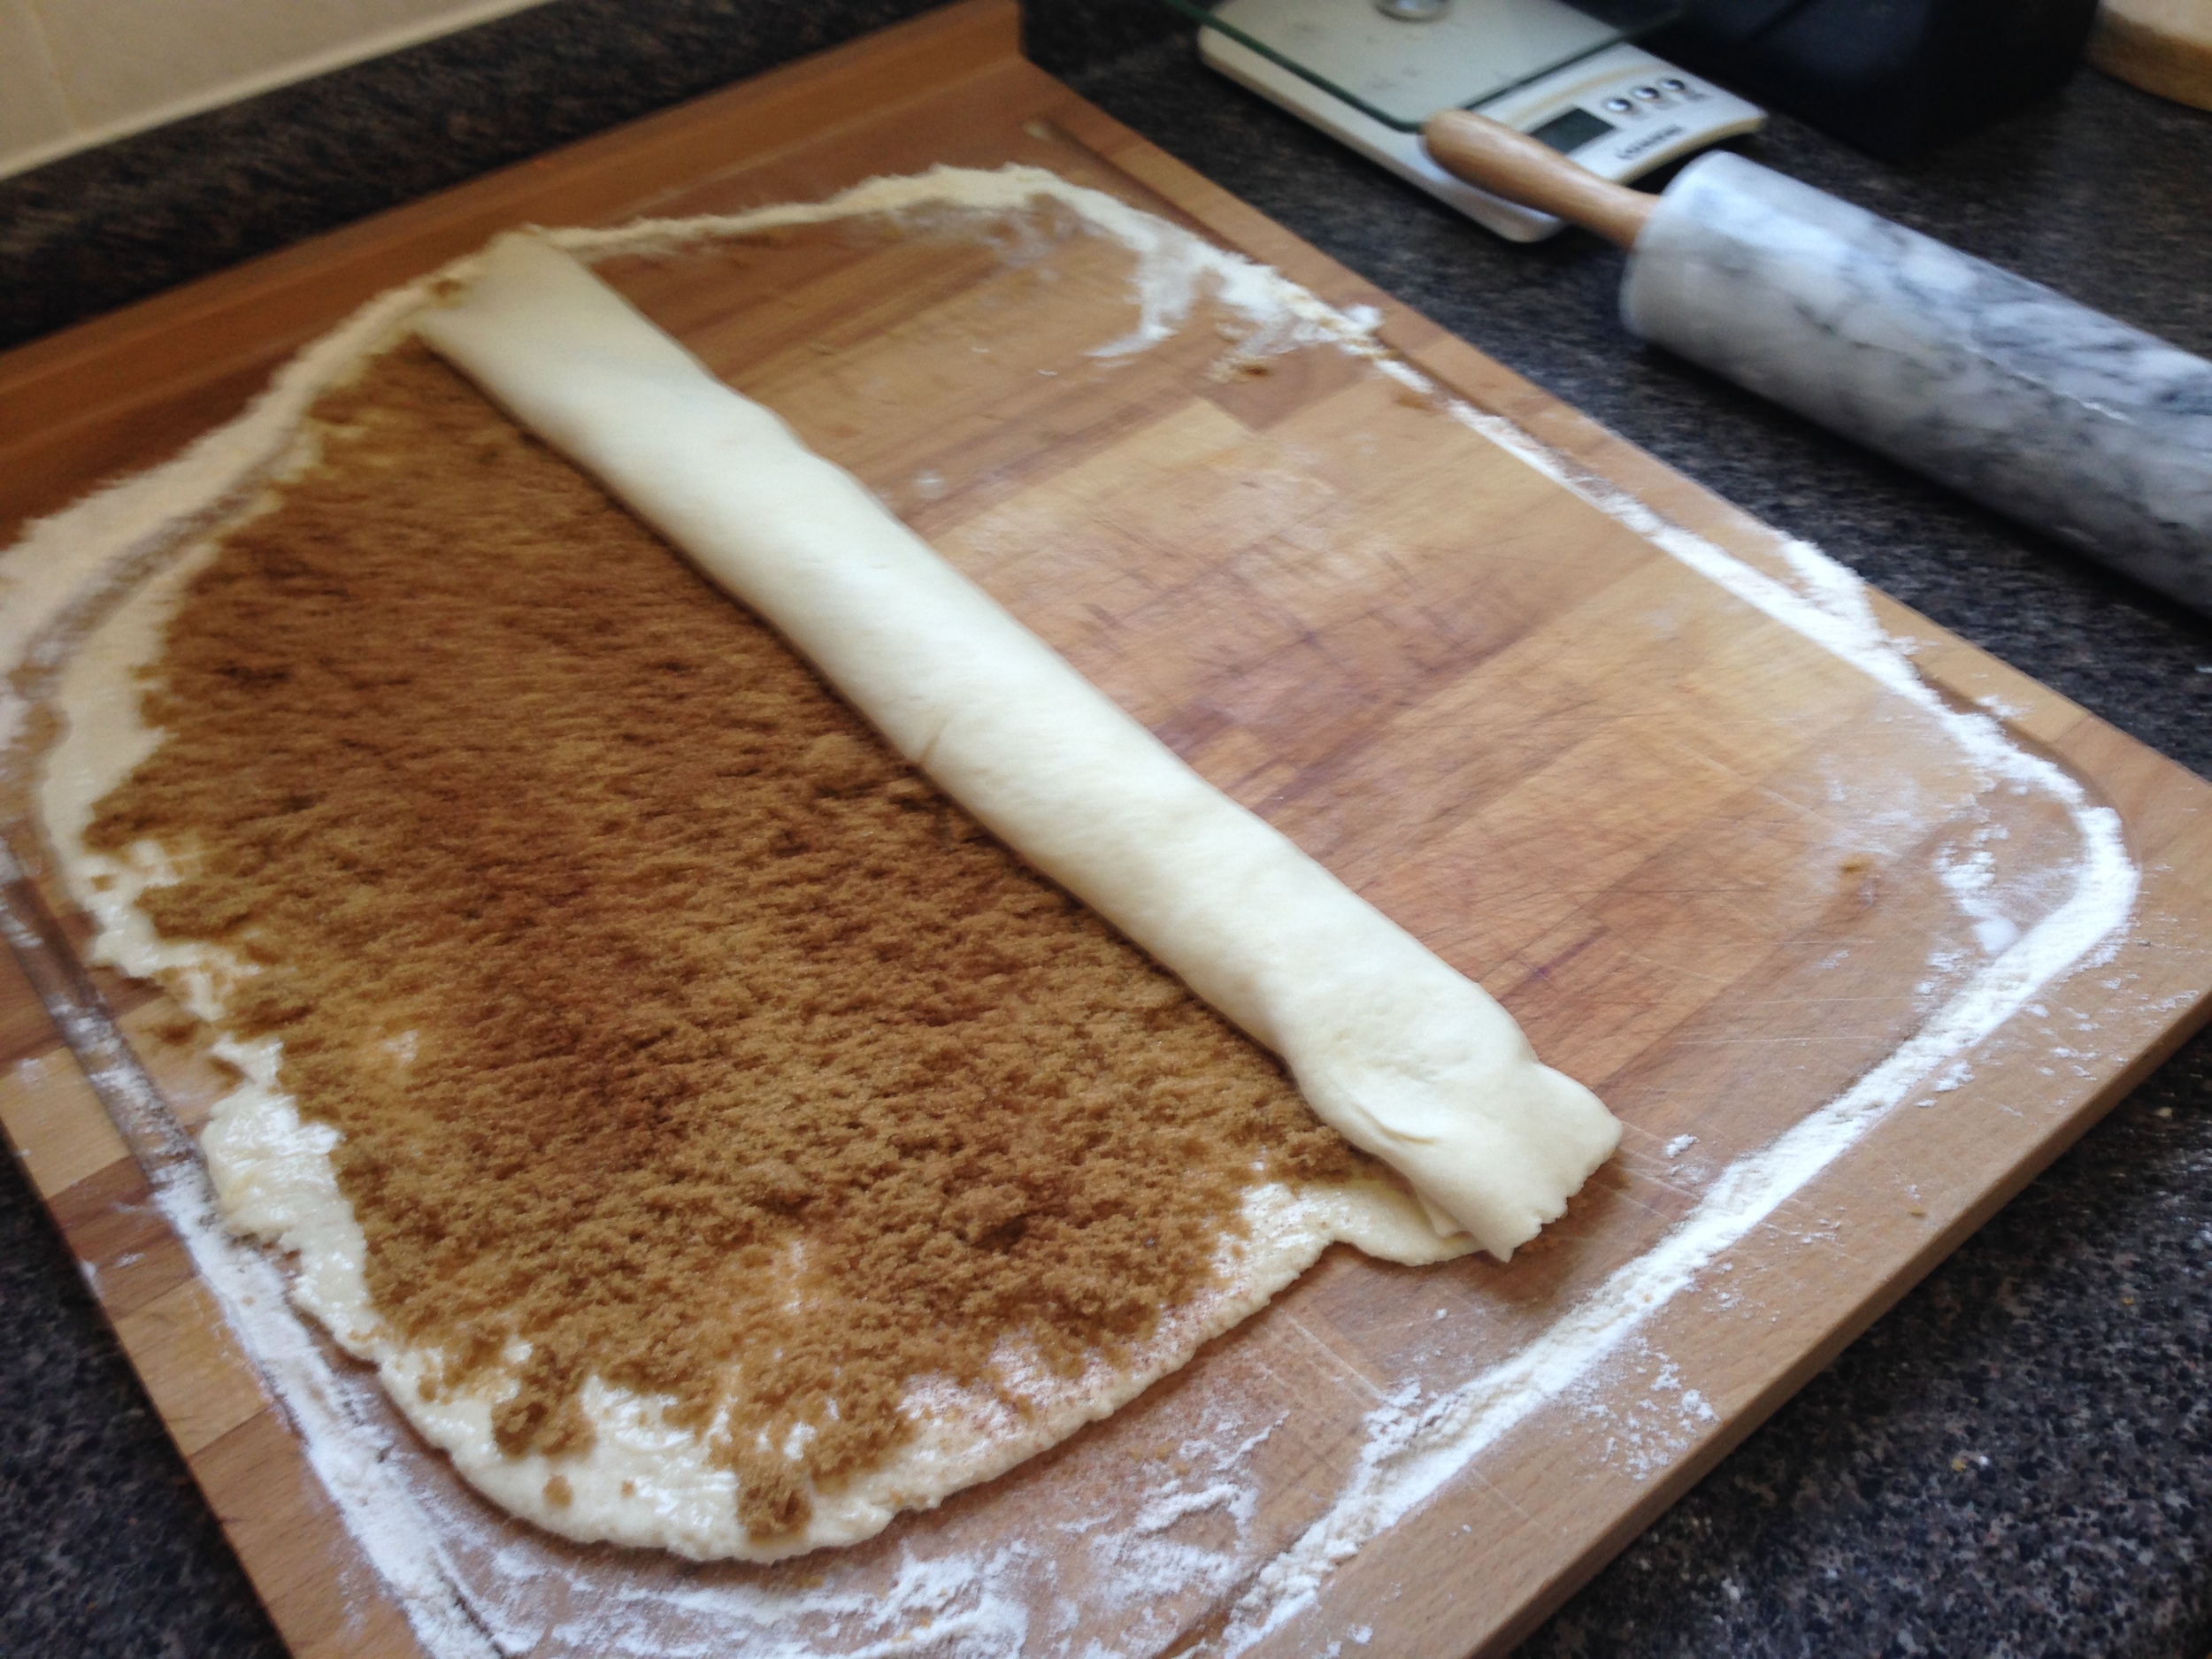
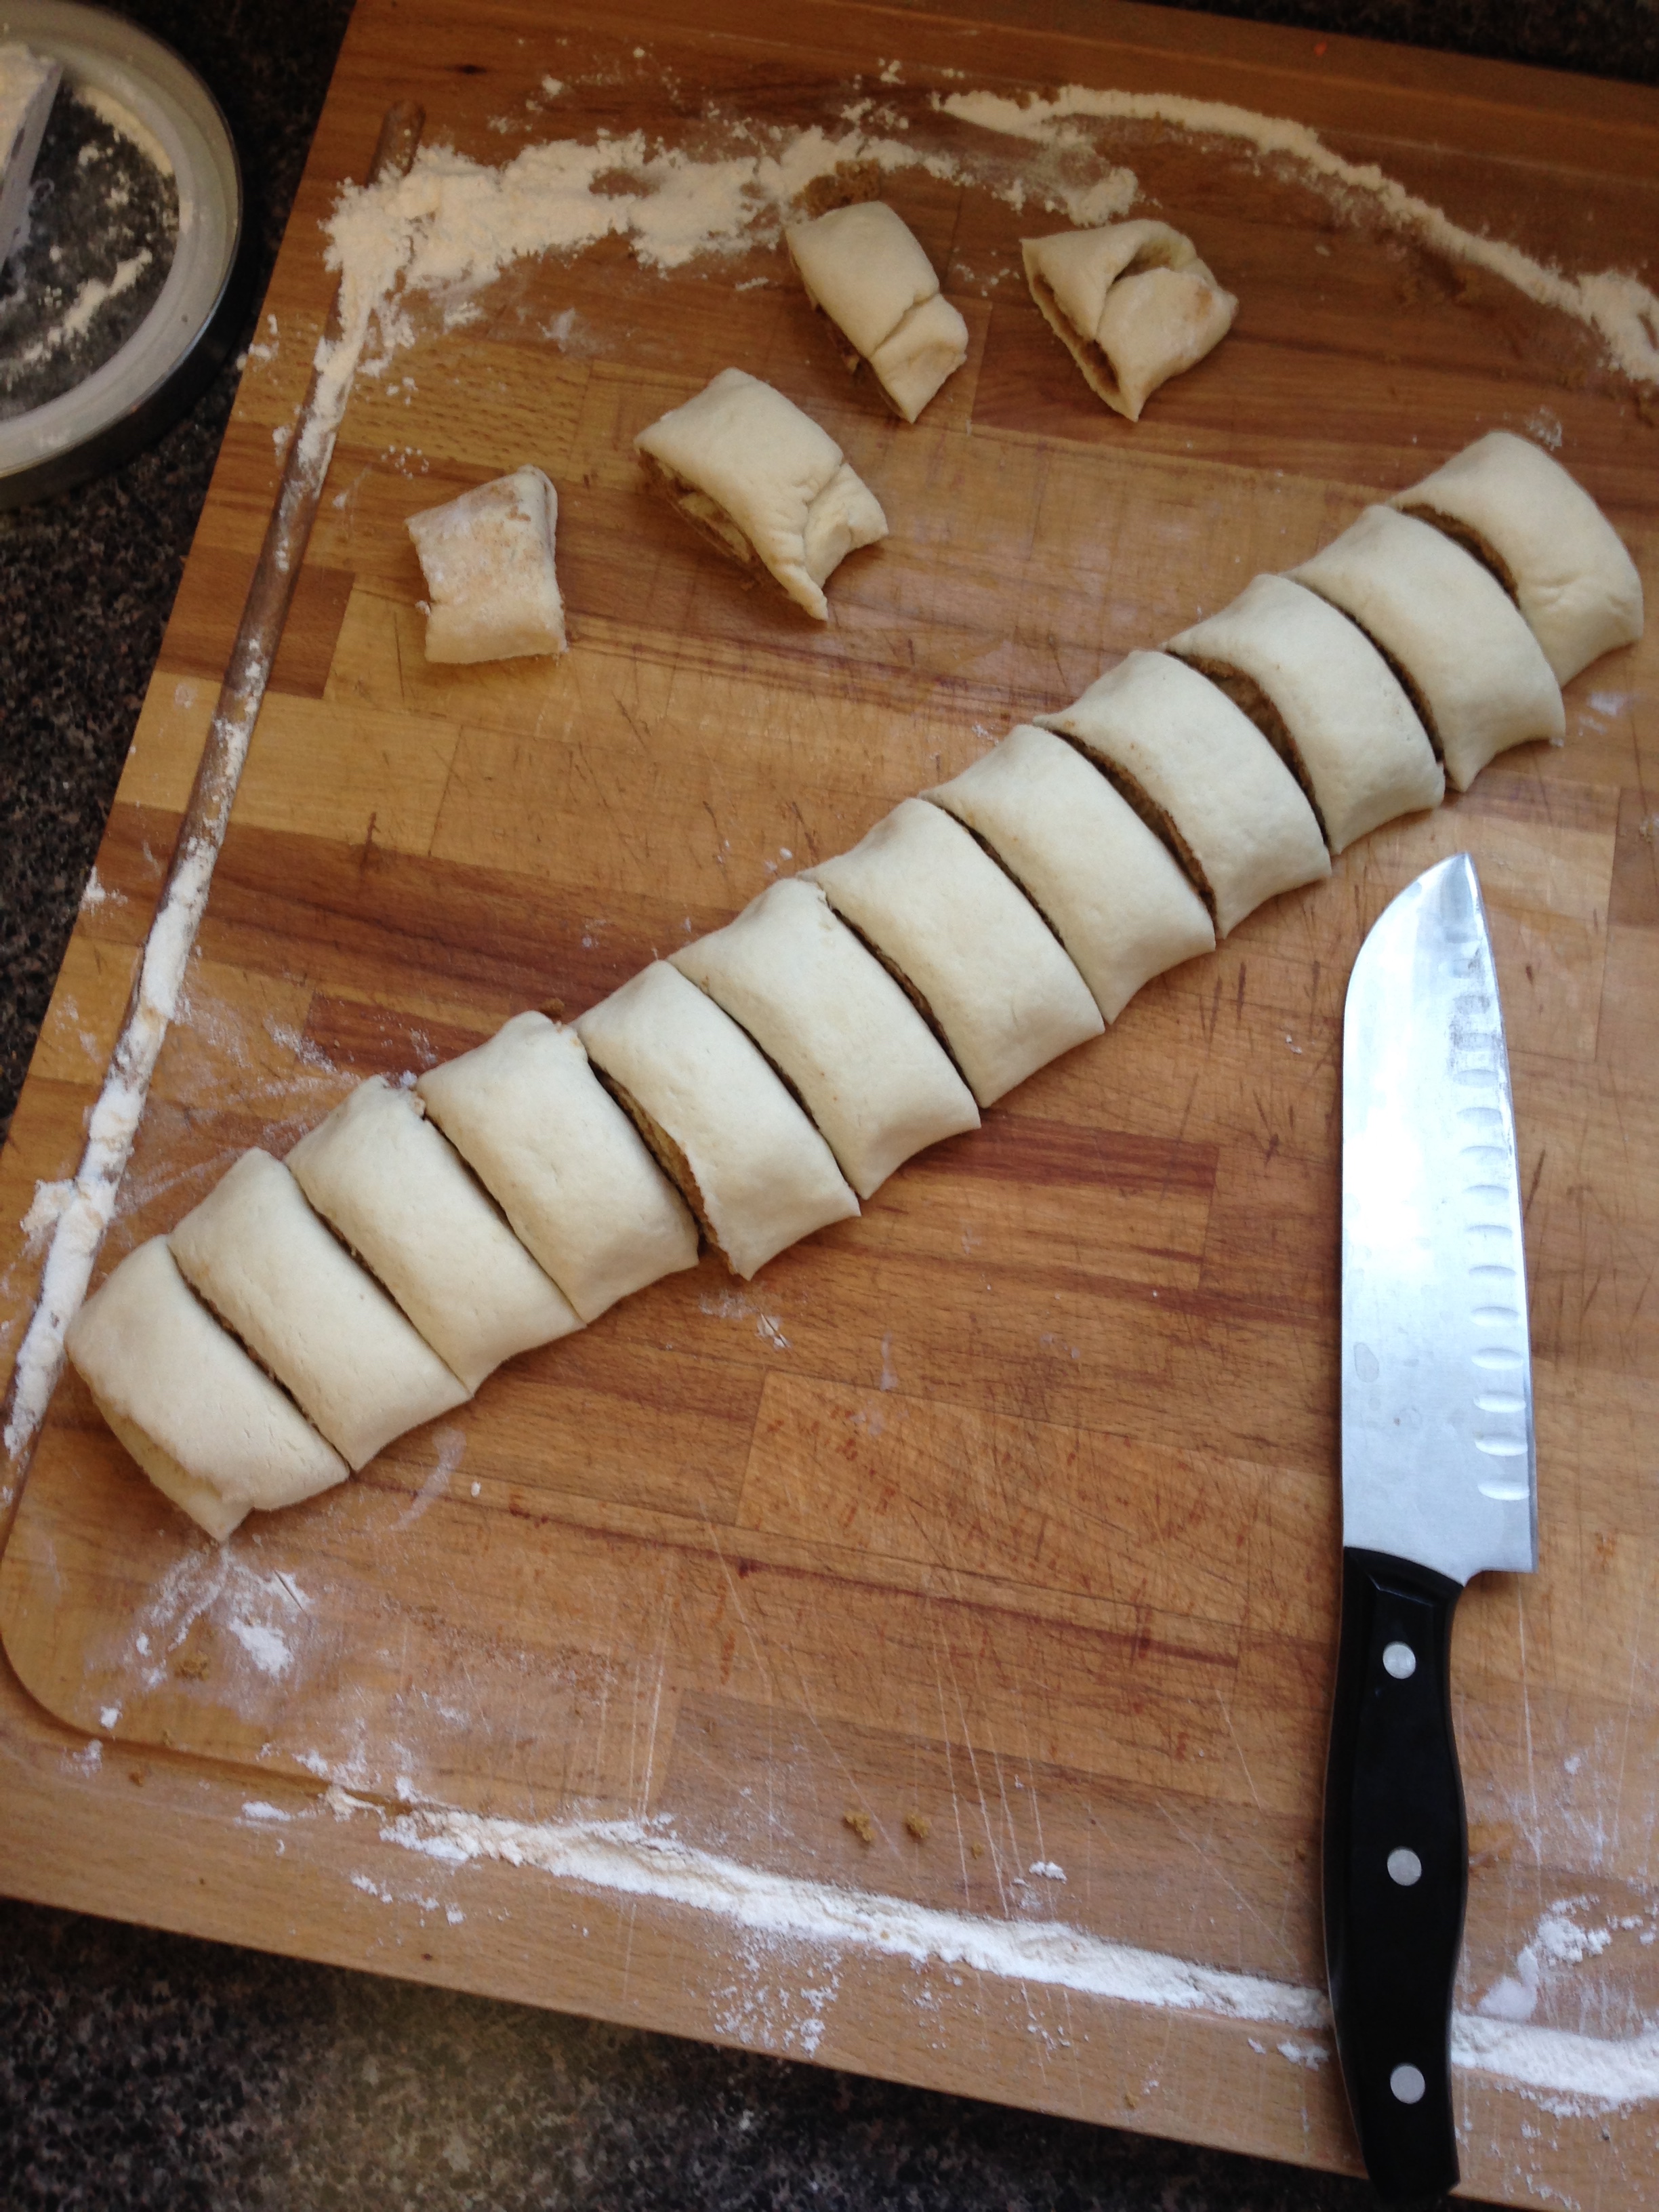
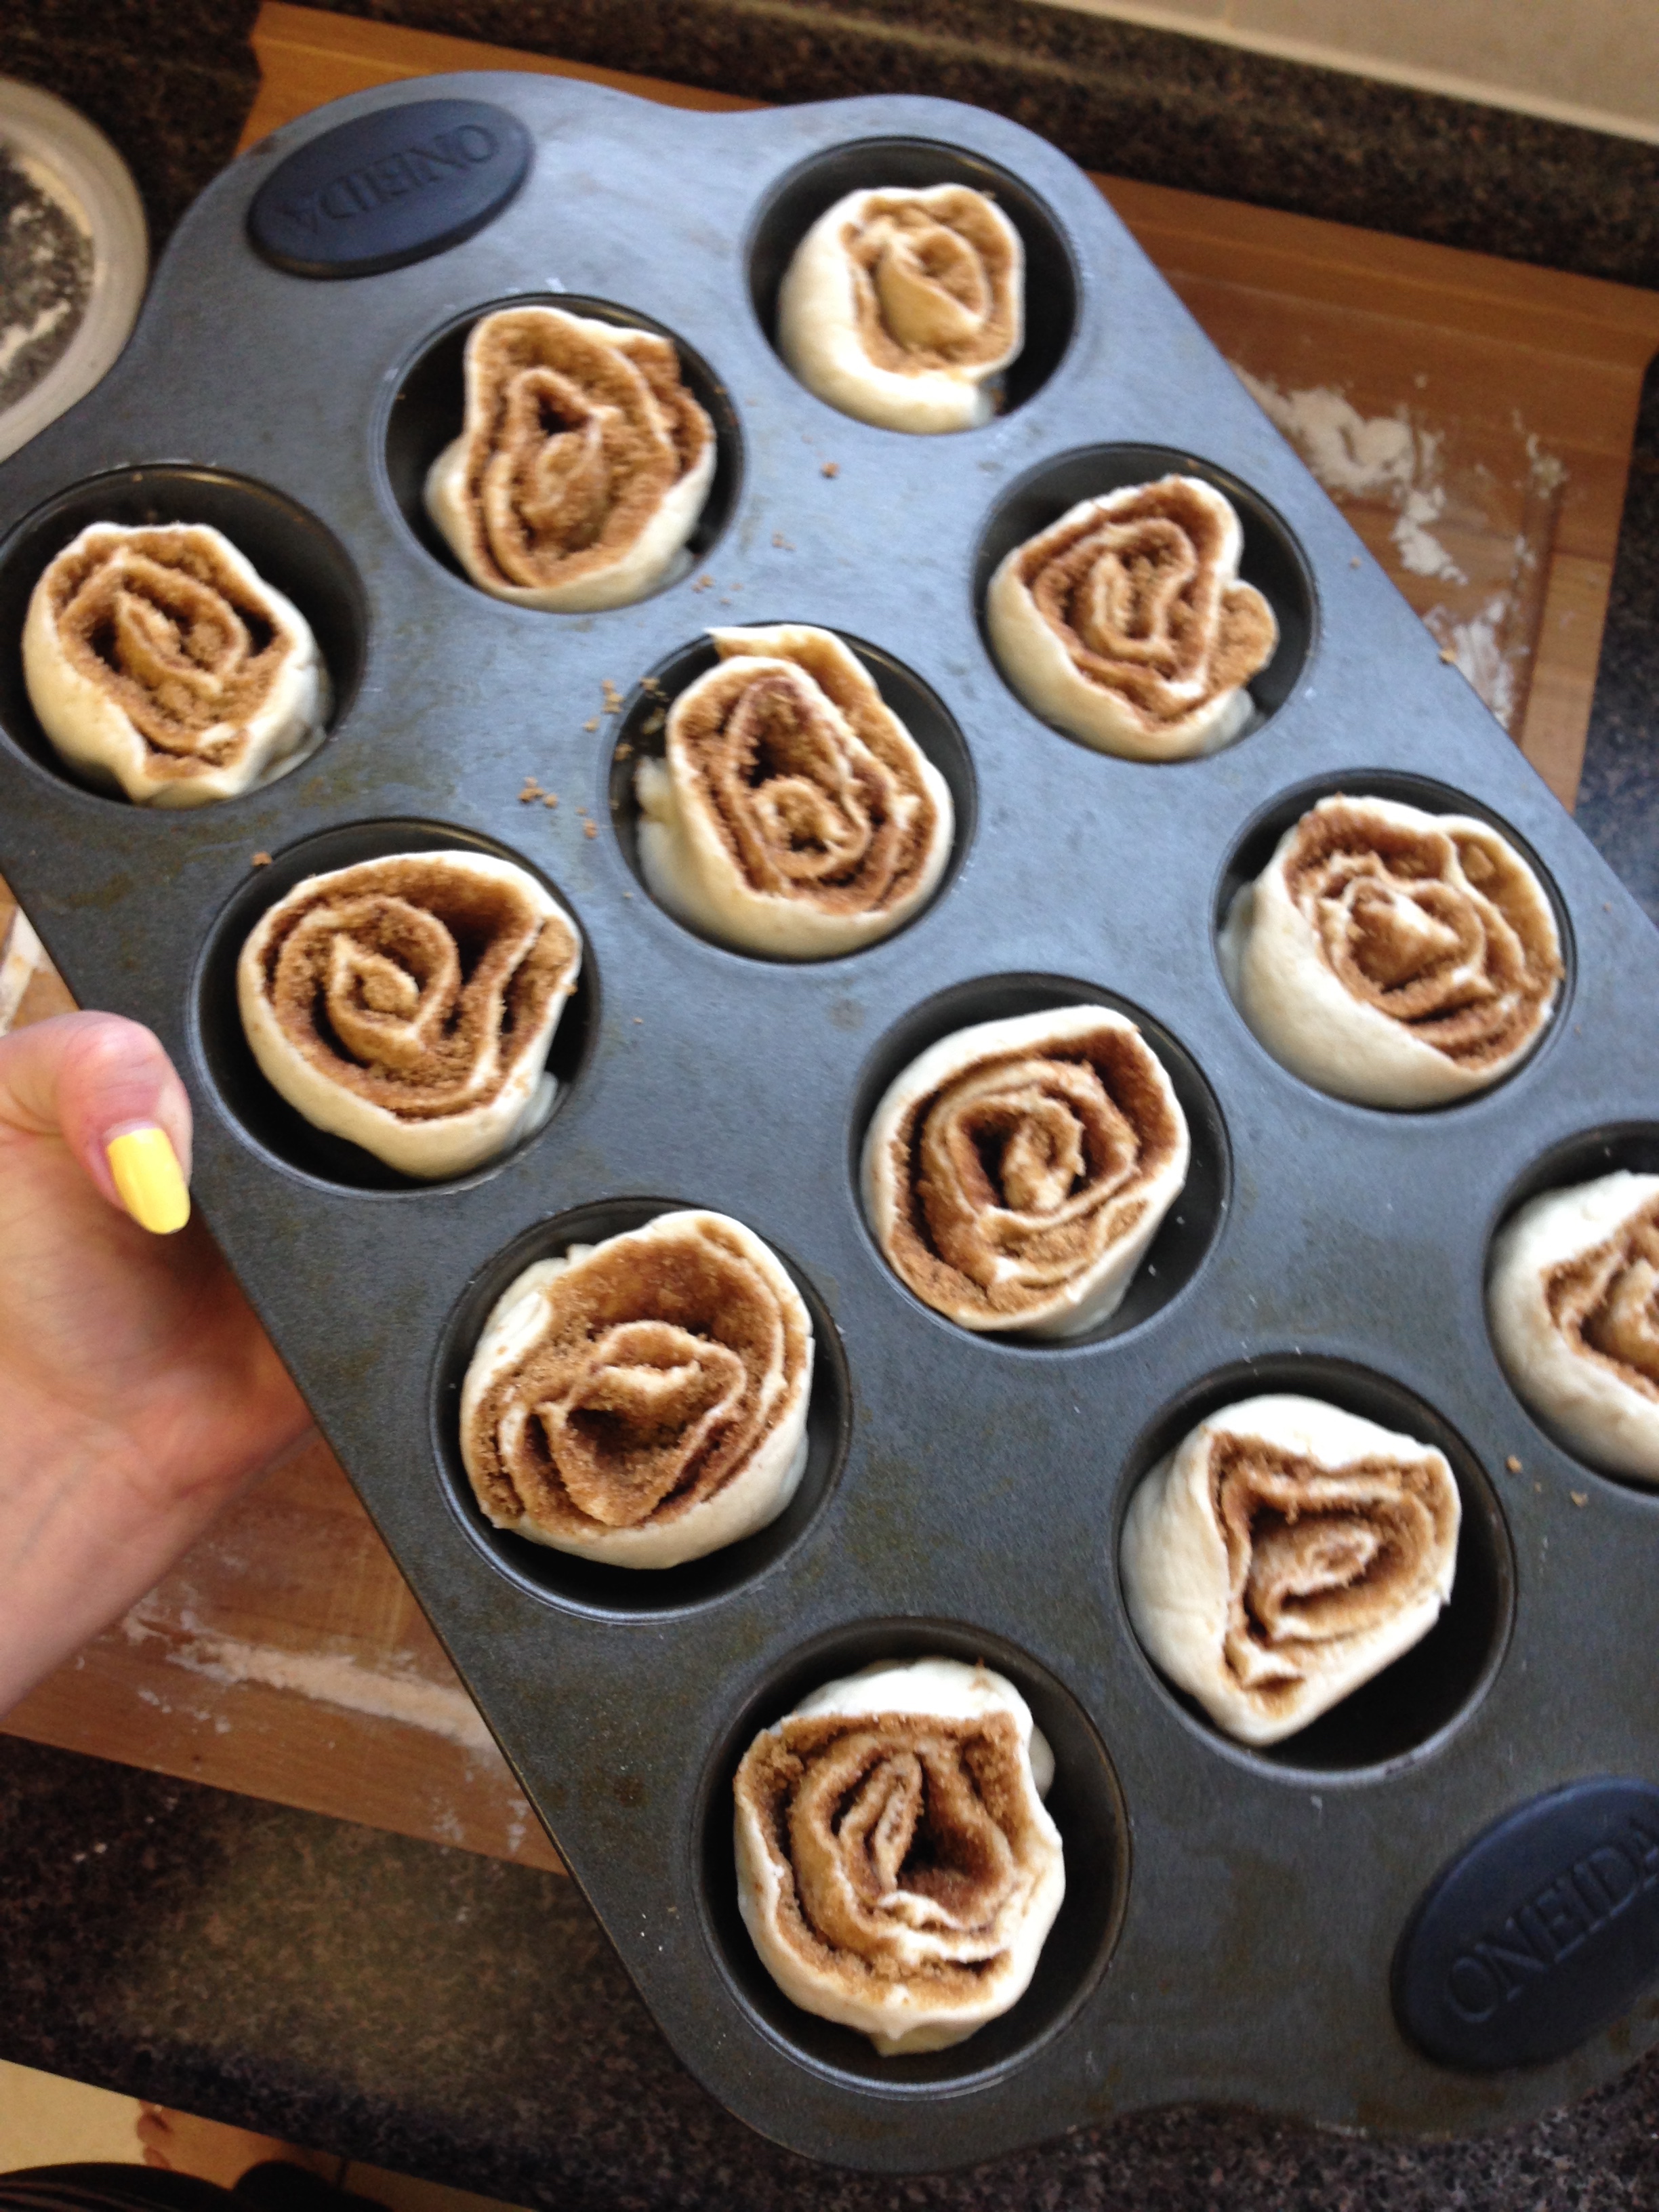
  5. Roll gently and cut into 12 X 11/2 inch sections.
  6. Place in greased muffin tins.
  7. Bake for 12 minutes, until golden brown.

These little delights remind me that sometimes making the easy version can be just as satisfying as making the more complex version. You know, except for the whole having hot homemade cinnamon buns within a half hour part.

;)

-Andrea

The Half-Assed Hobbyist
Spring hasn't Rolled By (yet)

(Ok. Here goes the Second time I've written this post, because Safari sucks balls.)

When I started writing this post a sense of dรฉja-vu came over me. I was pretty sure that amongst the many many blog posts I've done there was a spring roll recipe. Hilariously enough, there was a post titled "Spring Rollin' By" which was exactly what I had titled this post. Good to know that there is a limit in my brain to bad spring roll title puns.

There's been a lull in recipe work over the last month so the urge to make a thing came over me. When last we were in the grocery store, spring roll wrappers were on sale: Sold. 

The Spring Roll Story (as it goes), is a pretty simple one. And since our grocery store has a predominately Asian clientele there are always neat foodie things I've never used before to inspire. The below recipe is one I made up based on the picture on the back of the spring roll wrapper.

Egg Fried Rice Spring Rolls

Oil for frying (like vegetable oil)

~2 cups cooked rice (1 cup uncooked rice, prepared)
1/2 cup finely chopped white onion
2 TBSP minced garlic
1/4 cup teriyaki sauce
3 TBSP rice vinegar
1 tsp ground pepper
1/2 tsp red pepper flakes
1 cup frozen vegetables (or shredded carrot and peas)
1 egg

Spring Roll Wrappers, thawed - if frozen (~25 or half a package)
Water

Egg Fried Rice

  1. Prepare rice. (I used a cup uncooked basmati. It almost doubles in volume. Don't worry if you make extra though, the great thing about fried rice is you can make as much or as little as you want. And if not all of it goes into the spring rolls, you can just eat it as is!)
  2. In a large frying pan, heat ~2-3 TBSP oil over medium-high heat. Fry onion and garlic for 2 minutes, until garlic is fragrant.
  3. Add cooked rice to frying pan, stirring everything thoroughly together.
  4. Add teriyaki sauce, rice vinegar, pepper and pepper flakes to frying pan and stir together thoroughly. Add frozen veg and stir together.
  5. Fry rice until all liquids are absorbed and rice starts to brown. (You'll hear the rice start to crackle when you stir it.) 
  6. Clear a spot in the center of the frying pan. Crack the egg into the frying pan. Break yolk and cook egg in the center of the pan, stirring just the egg, until its cooked. Then stir egg and fried rice together. 
  7. Remove from heat. Let cool - about 10 minutes. (It's done! If you want to eat this I won't judge you. I definitely had a bite... or two.)

How to Wrap

  1. Take out the spring roll wrappers from the freezer (if frozen) and let them thaw on the counter for about 50 minutes. When thawed and ready to use, keep them covered with a damp cloth at all times. Dealing with these wrappers when they're normal is hard enough, don't dry them out.
  2. Fill a bowl with water - this water is used to wet the wrappers to seal them up. 
  3. Place a wrapper on it's diagonal (so it looks like a diamond).
  4. Put ~1 1/2 TBSP of rice mixture in the lower centre of the diamond. 
  5. Wet bottom corner of wrapper and wrap it firmly over rice. (Making sure the wet part contacts a dry part on the other side of the rice to seal).
  6. Wet the side corners and stretch them inwards and slightly forwards, to seal.
  7. Wet the top corner. Roll spring roll up over top corner, to seal. Makes ~20 spring rolls. 

Cooking Spring Rolls

There are really two ways I like spring rolls:

  1. Frying - either use a deep fryer or a pan frying method. Cook for ~8 minutes, until wrappers are golden-brown.
  2. Baking - Pre-heat oven to 425'F. Brush spring rolls with oil. Bake for ~25 minutes, turning them over at least once, until wrappers are browned.

The best thing about these spring rolls is they can also be frozen for later. I usually place them in a freezer bag on a cookie sheet in the freezer initially. That way they don't stick together. After about 8 hours (or the next day) take the cookie sheet out and POOF - bag of frozen ready-to-bake homemade spring rolls. Dinner for a lazy night? Check Mark.

-Andrea

The Half-Assed Hobbyist

The Orchid Continues

As I attempt to not die from whatever lung disease I caught over the holidays, I have had one amazing delight that's helped me through the phelgm-iest illness parts: My orchid is blooming! 

The very same orchid from this post in 2013. I told myself even then that it would bloom eventually, and it did. 

So happy! 

It's been three years since I rescued it from it's near death experience and it seems to finally be happy enough to bloom.

Now for my lungs to get happy... and to get back to posting! <3

-Andrea

The Half-Assed Hobbyist
Dottery Pottery

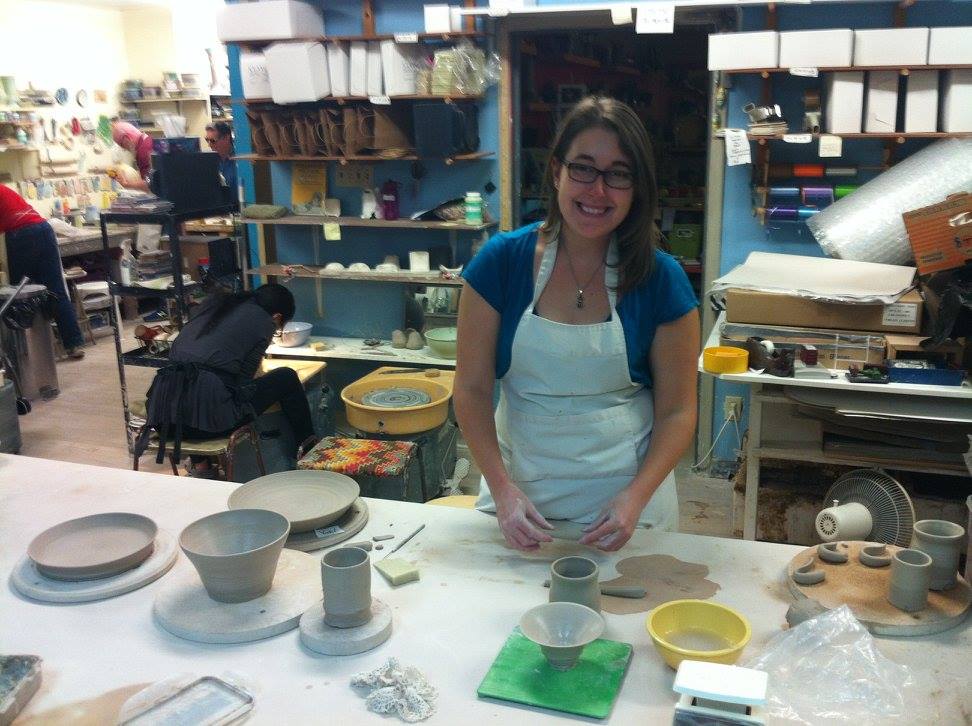
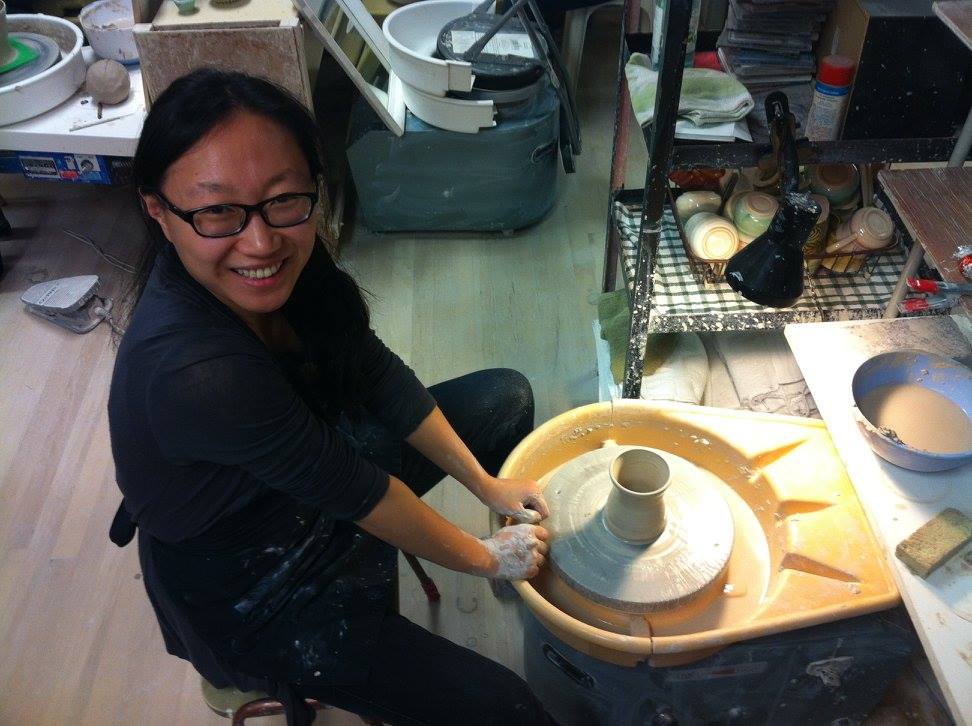
This past September I started a pottery class. I've always wanted to try making stuffs out of clay and when my lovely lady friend Jia asked if I'd be interested the answer was a very yes!

Pottery right of passage! Clay clay everywhere!

Pottery right of passage! Clay clay everywhere!

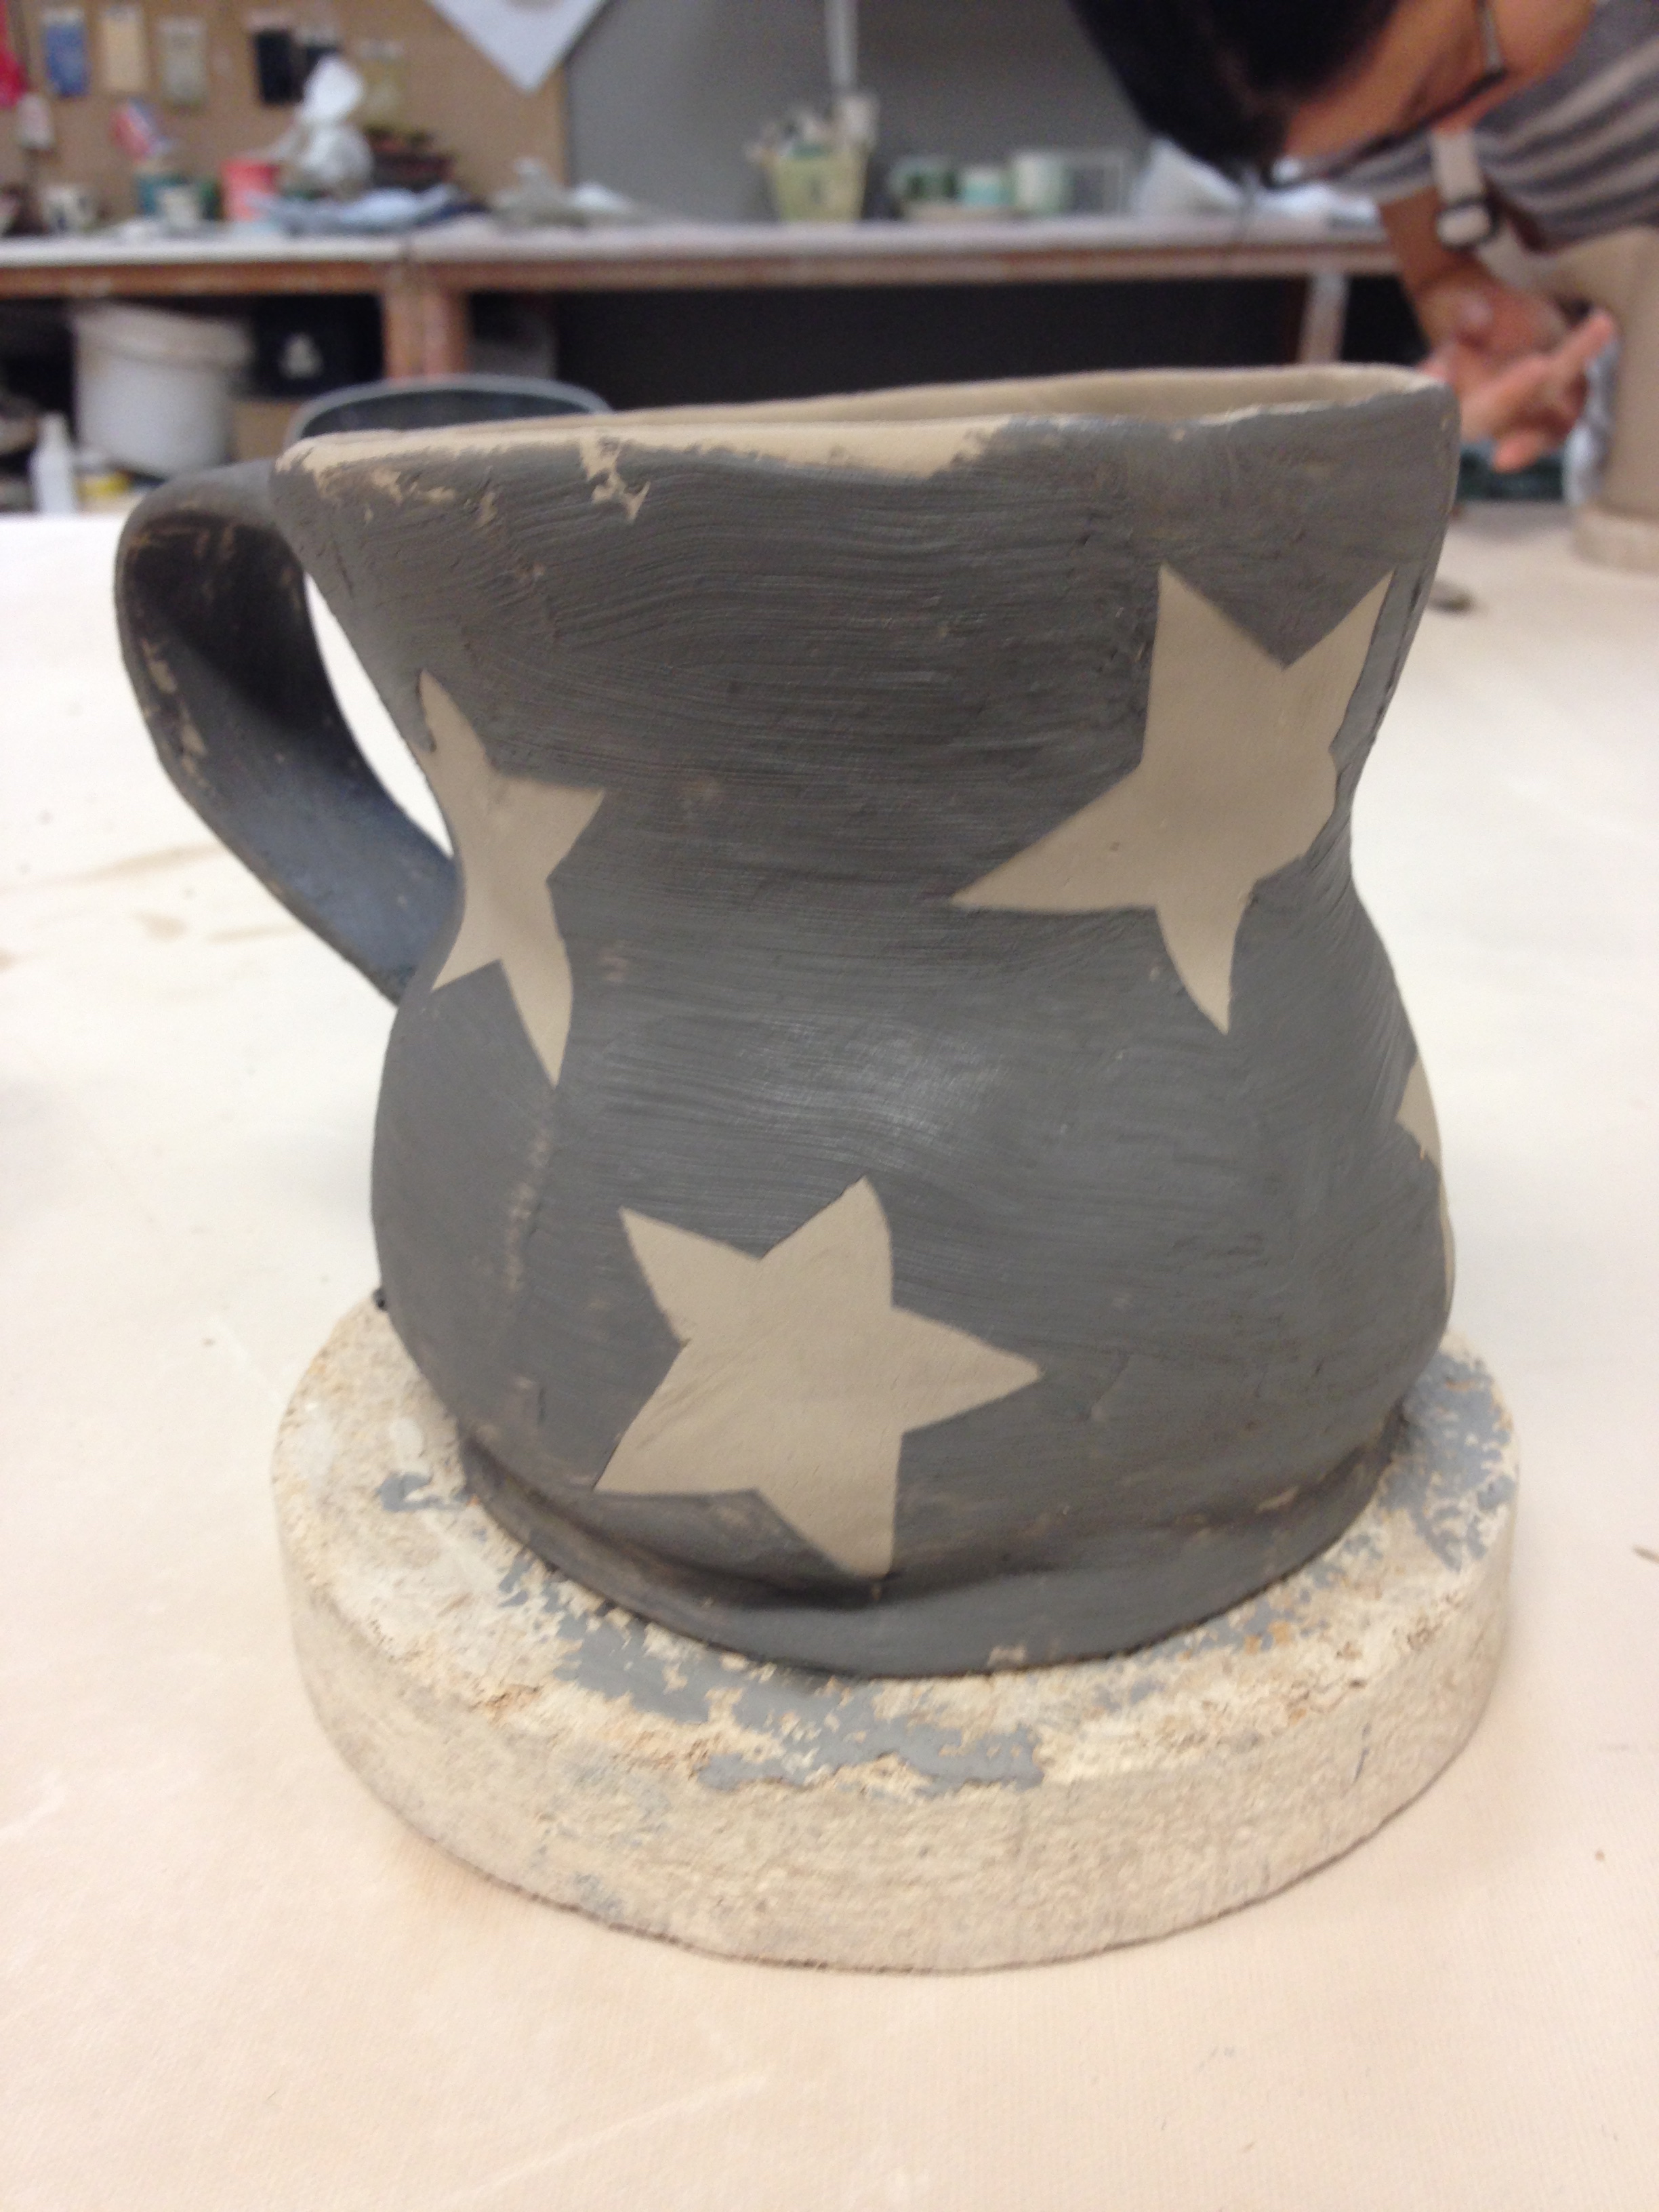
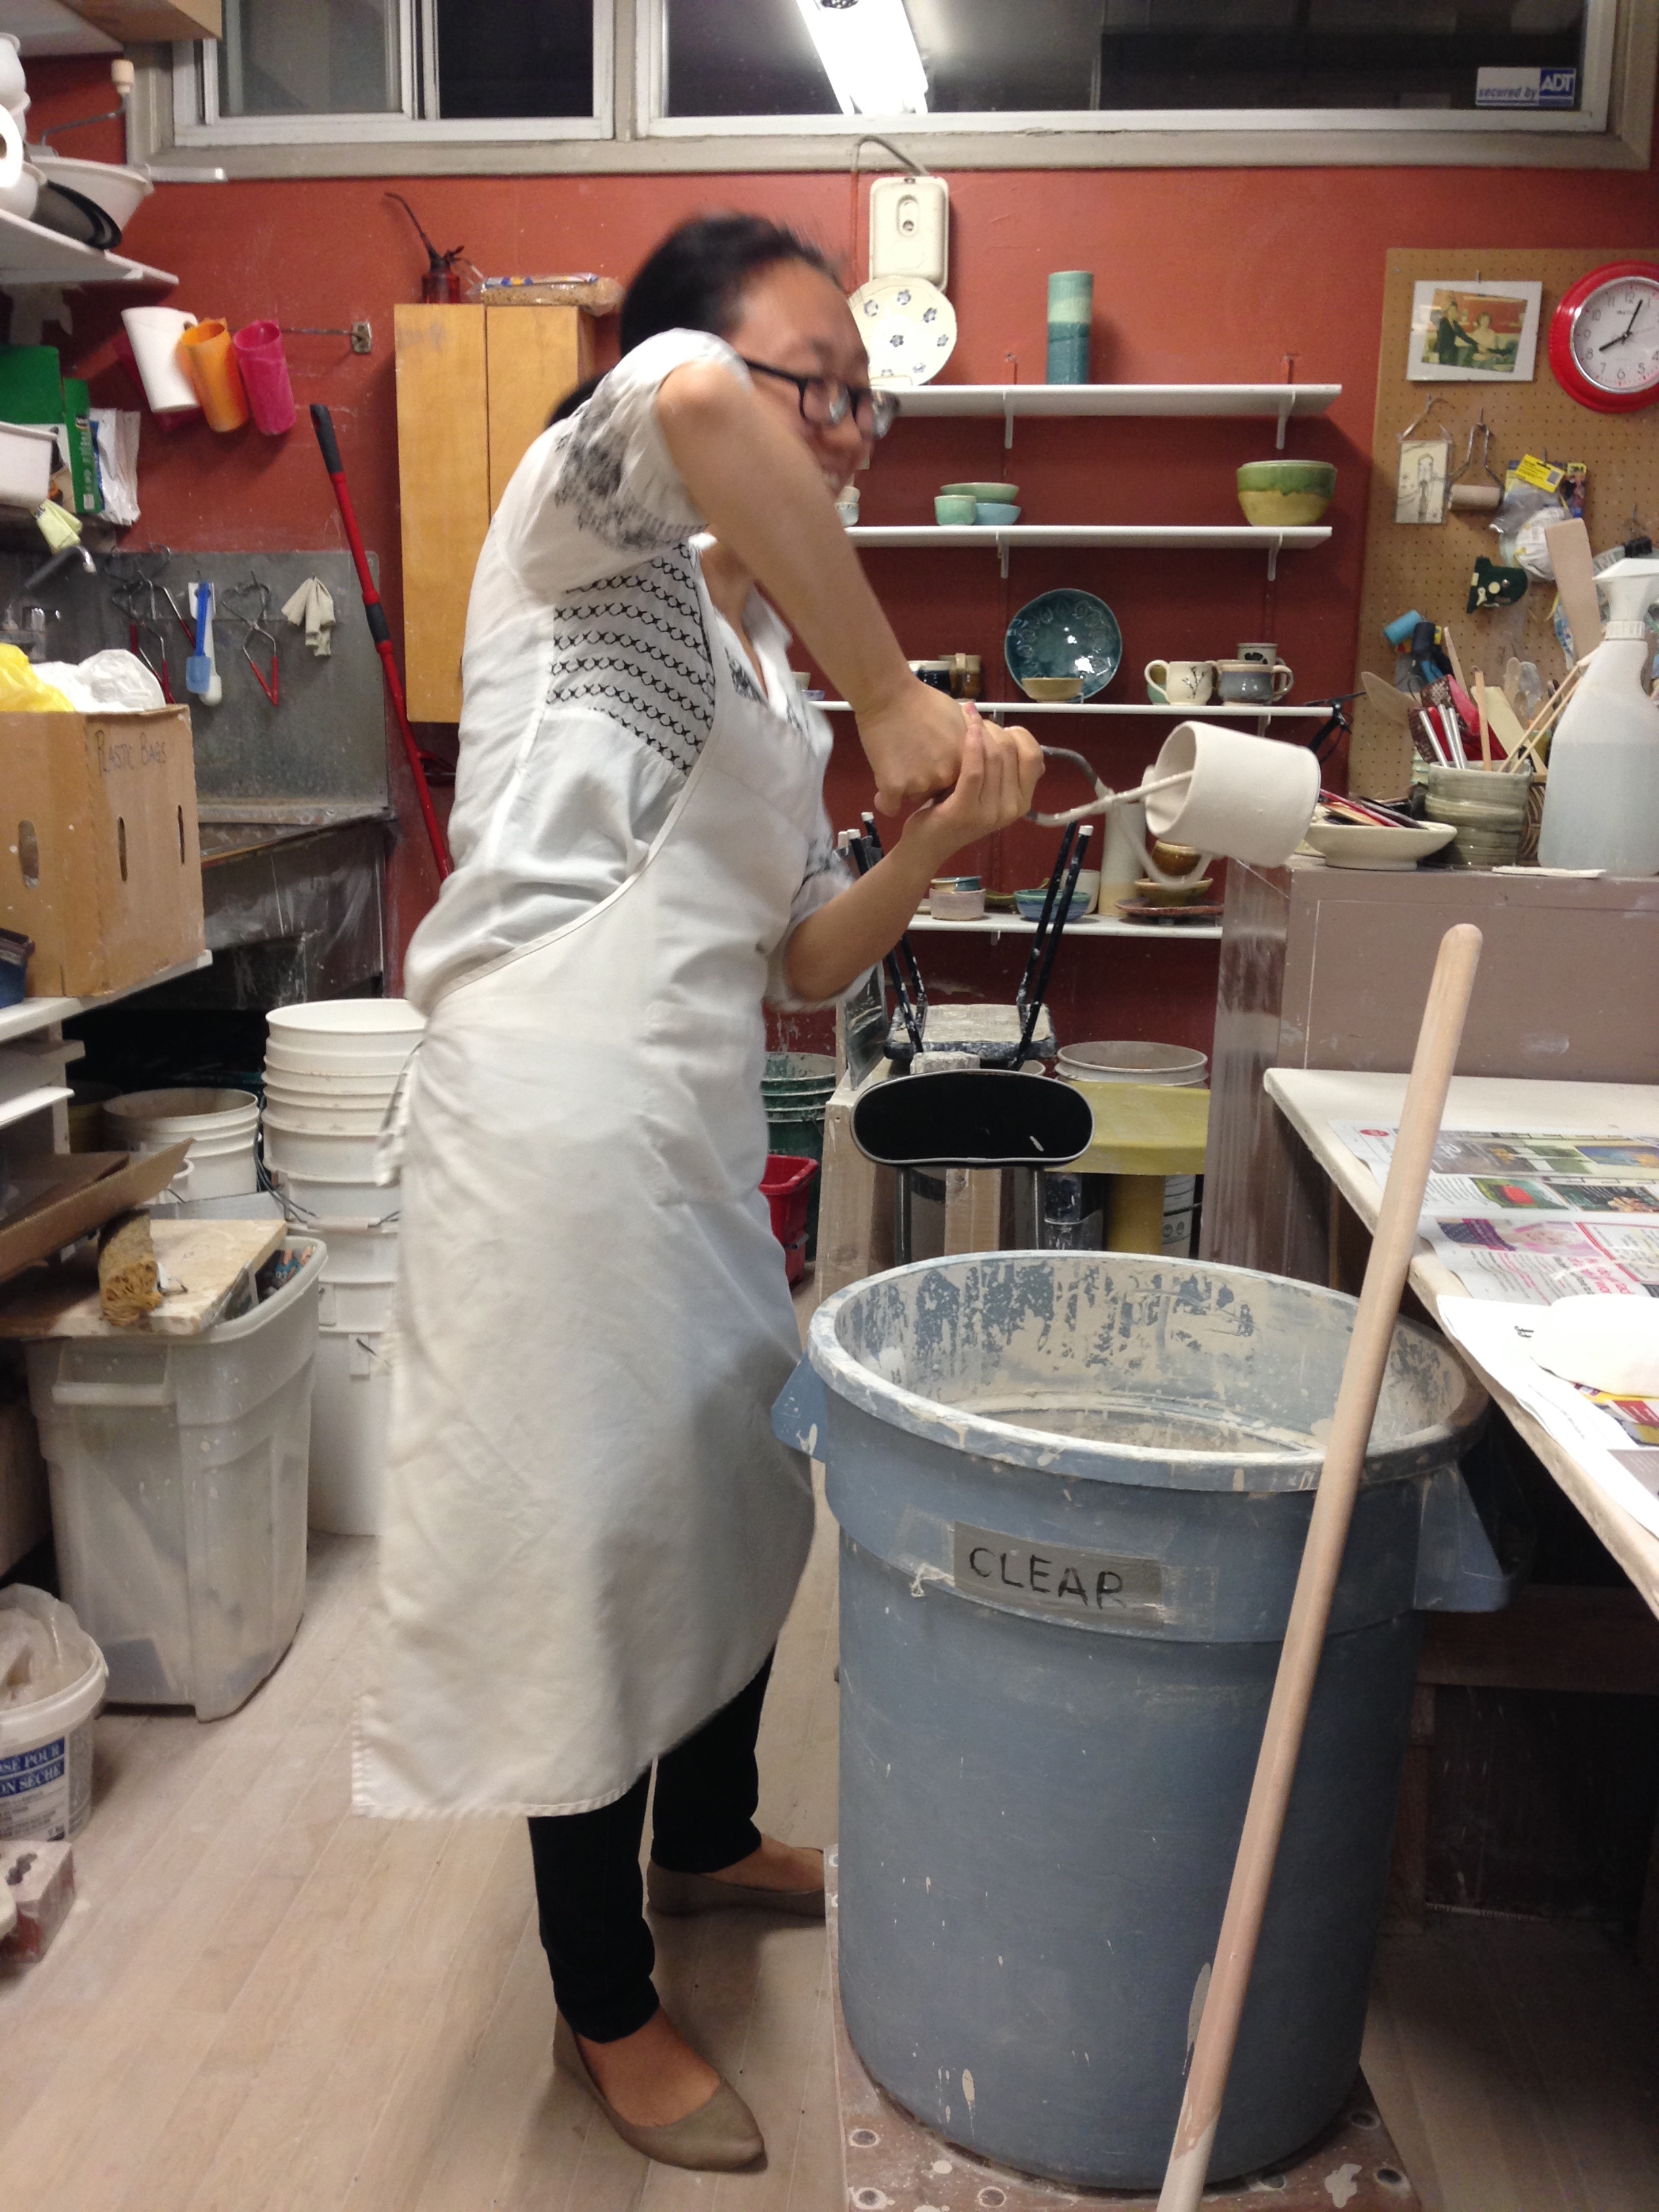
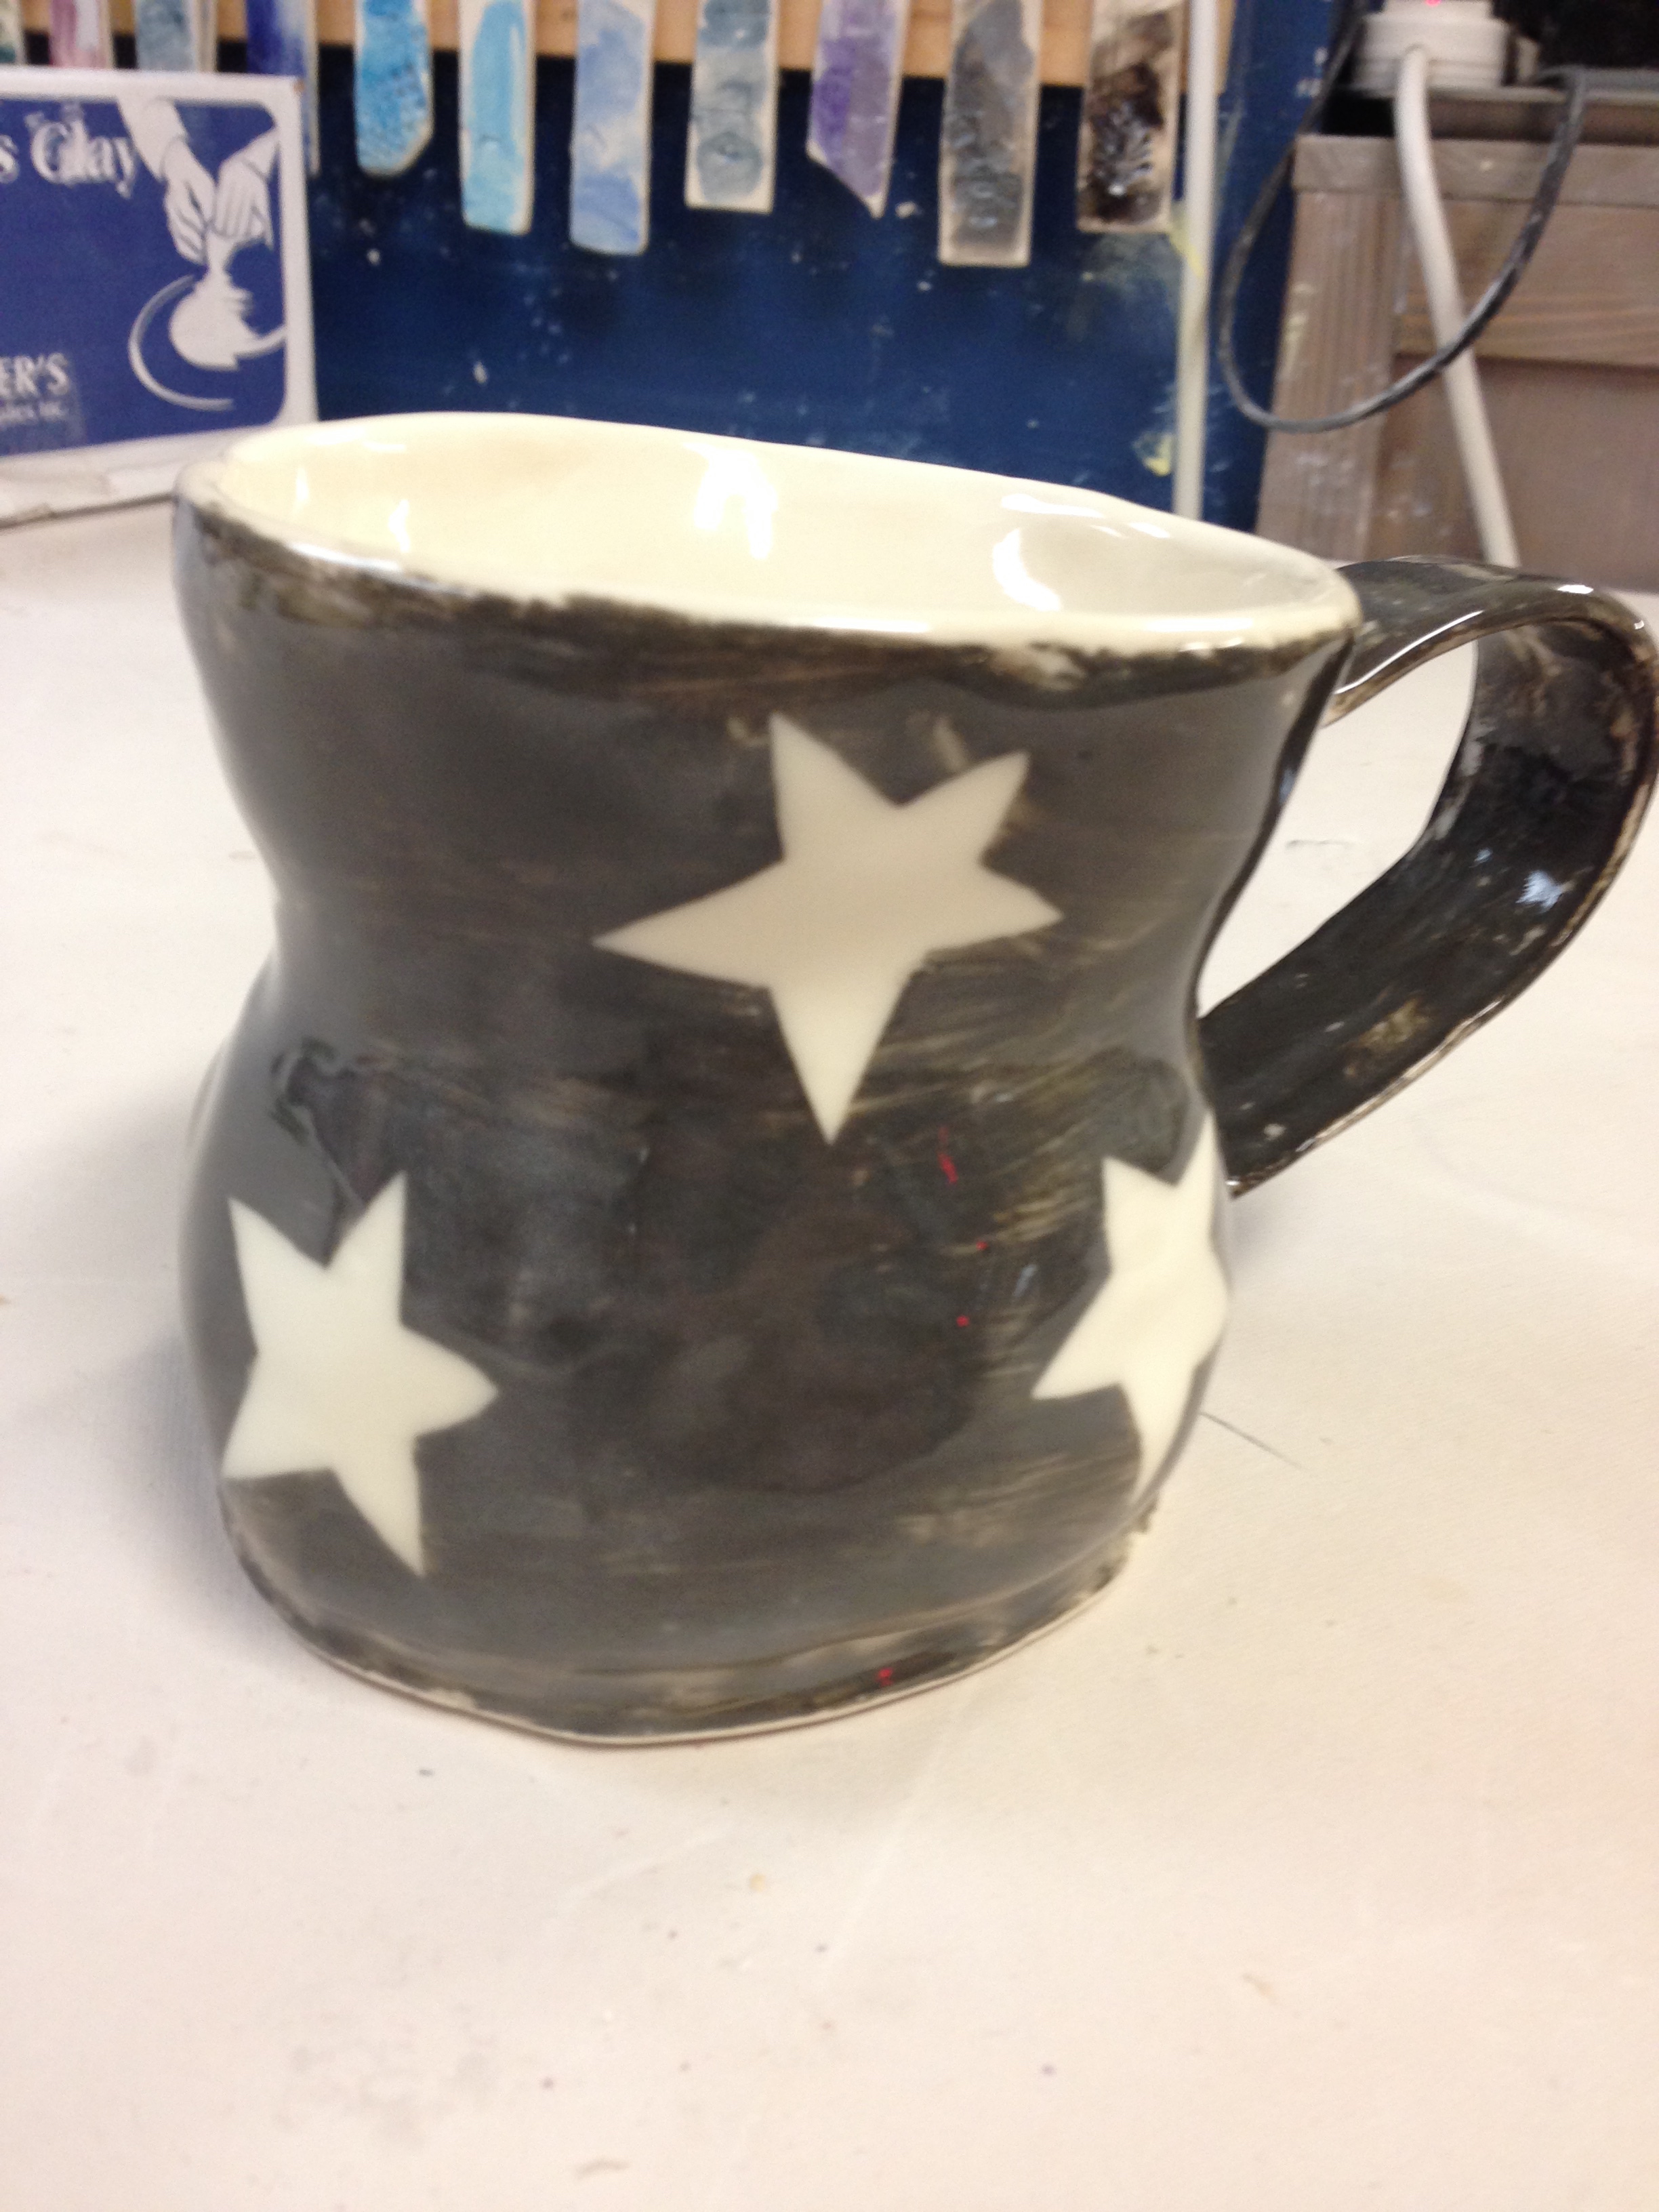
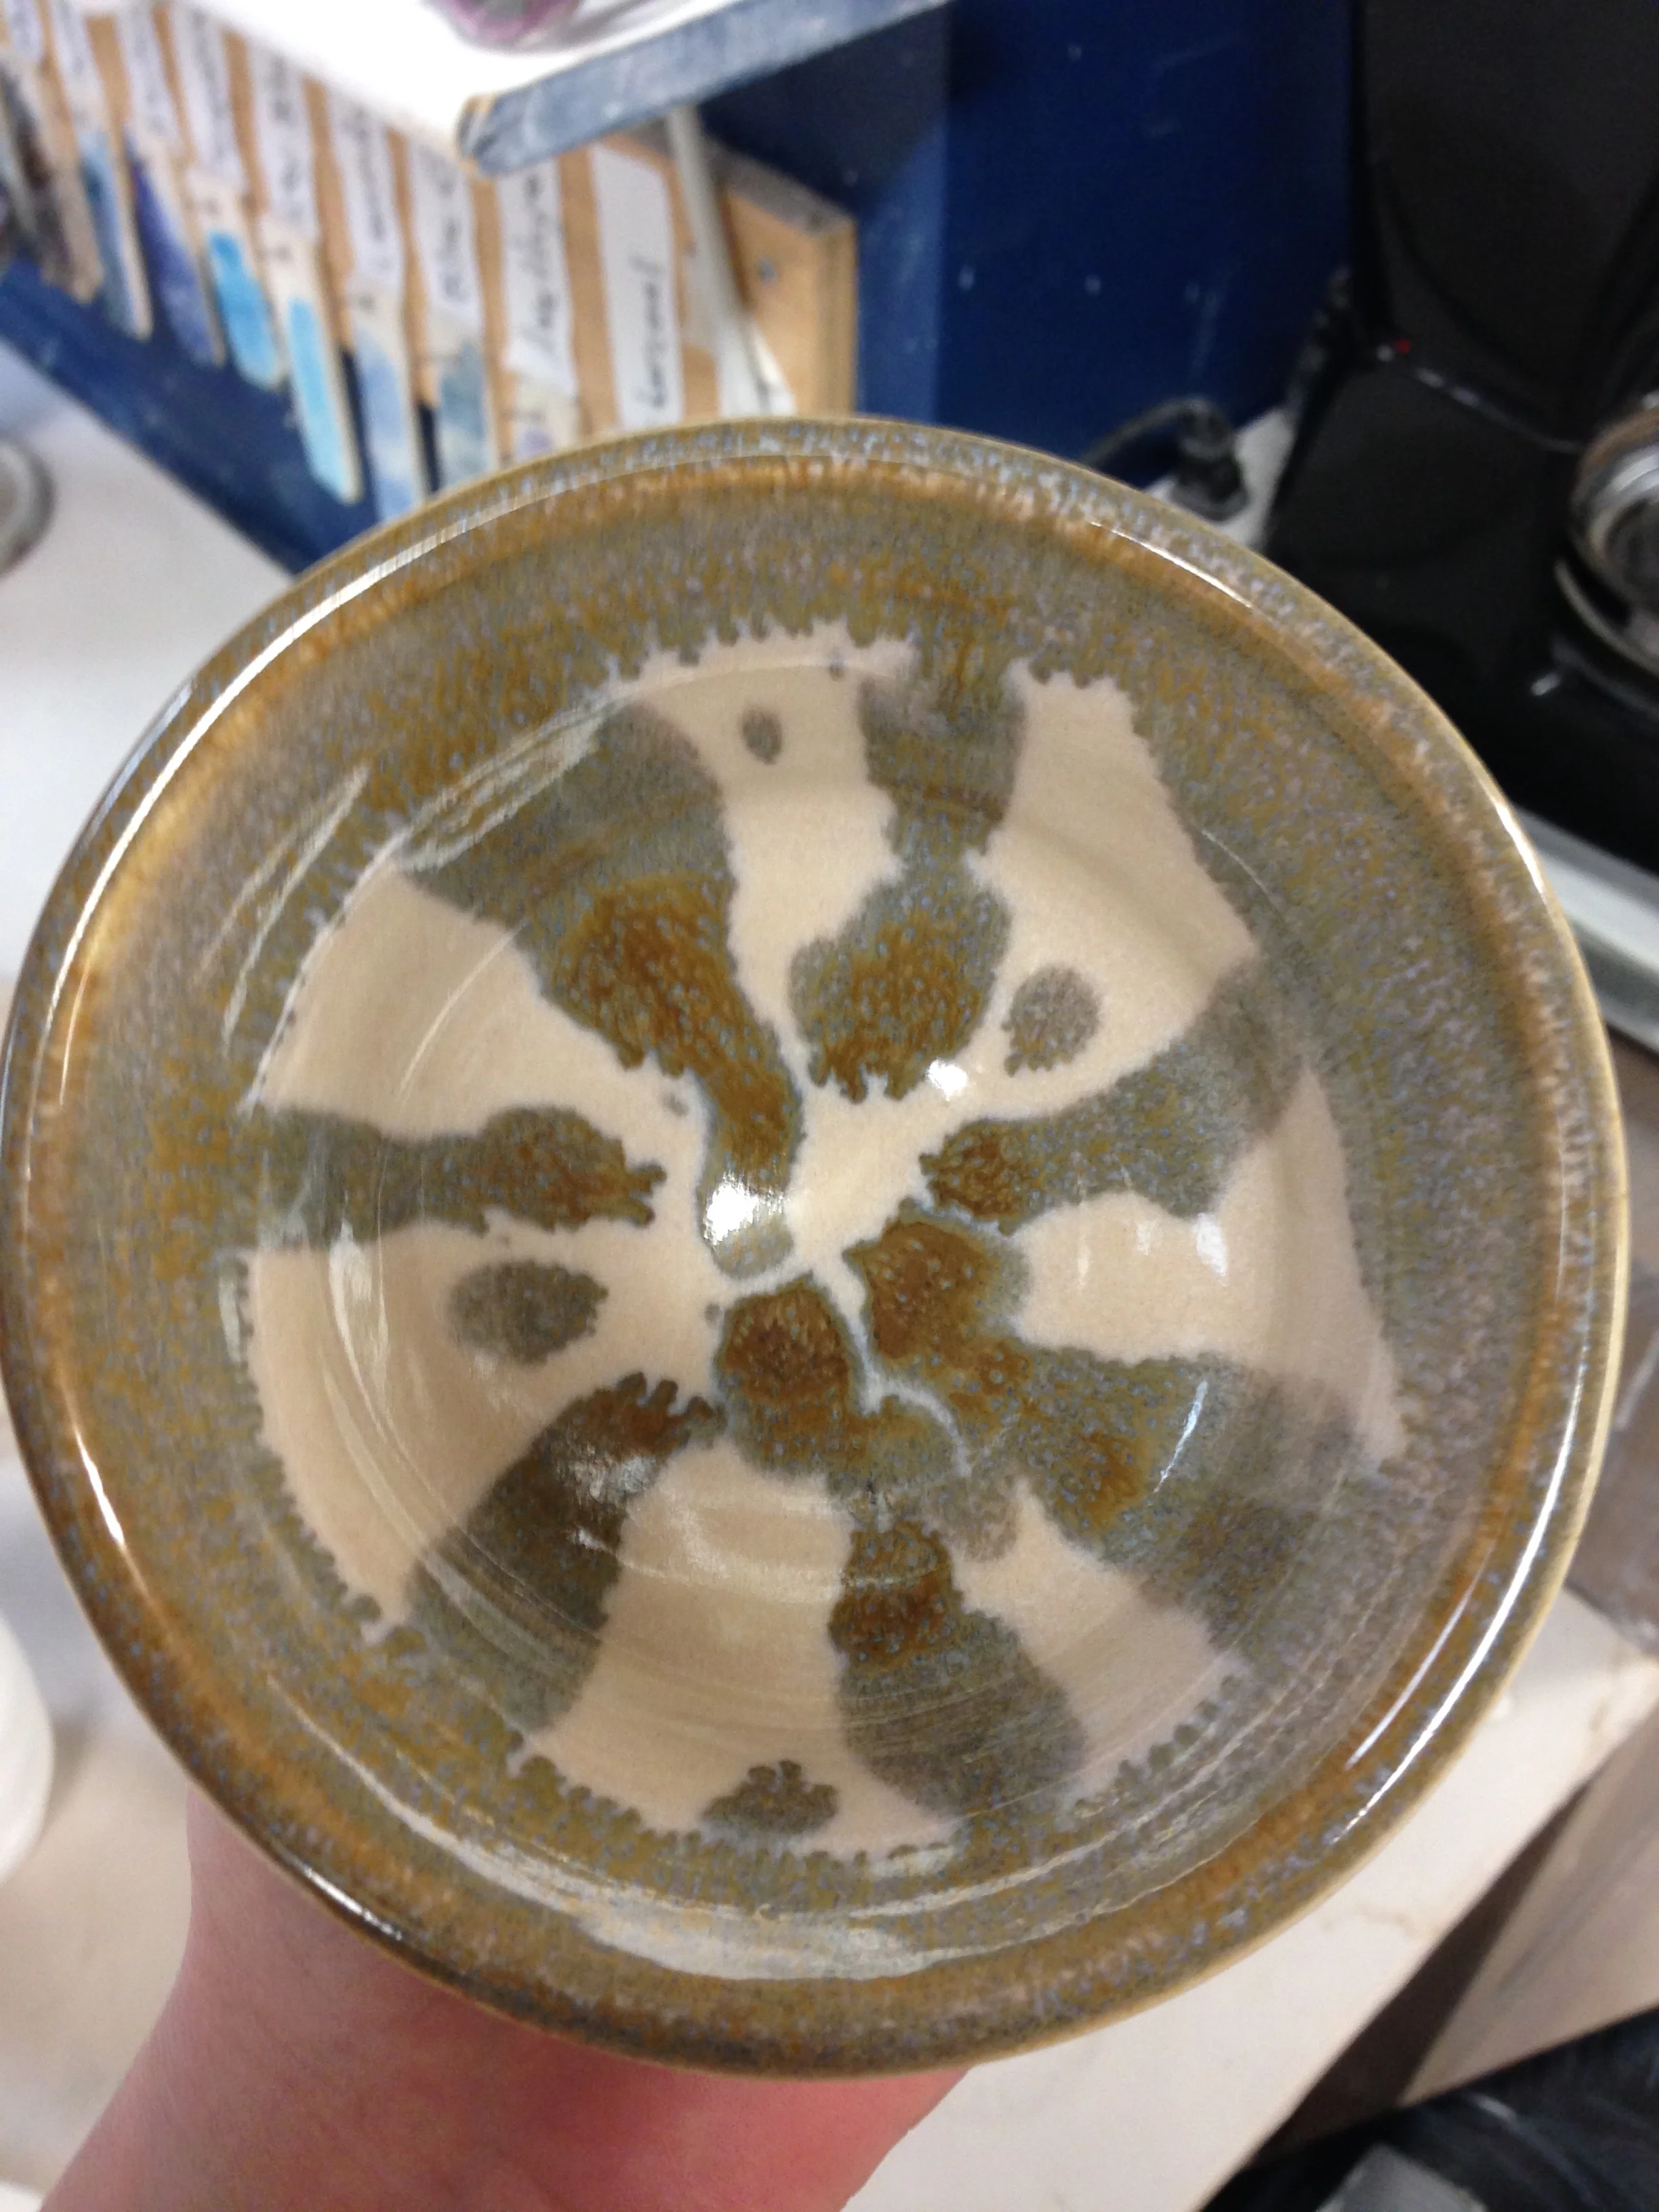
The class was down at a studio called Clay Design on Harbord Street and Brunswick Ave in Toronto. It was an all levels welcome class, which was perfect because I had only ever played with clay as a child. There were about 10 of us in the class but only three that were beginners. We started super easy (but super necessary to get used to handling the clay) making mugs out of slabs. We played with coloured slip and making stencils. And I played with the extent I could make something that resembled a 'mug'... Hah. We moved on to making slab dishes using stamps and rounded plaster. And then we tried our hand at glazing too. All in all, it went very well.

But then we moved on to the pottery wheel. 

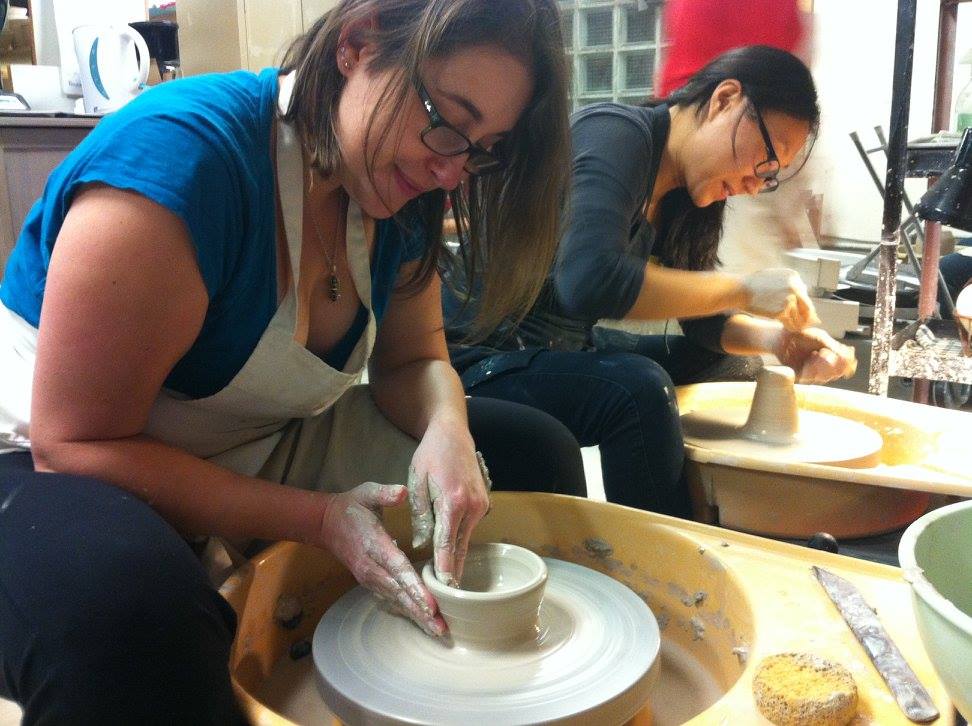
There is a mystique to the Pottery Wheel. It looks So easy, to whip wet clay into a bowl or tall cylinder. But let me tell you - It's super not. Our teacher, who is a professional, can throw a piece in about 3 minutes. First try, it took me about a half hour to have anything that was remotely bowl-like, and it would collapse if you poked it wrong. It takes a surprising amount of upper body control to centre the clay on the wheel. (Note to self: Add 'potters' to the list of people to never get into a fight with.) And if the clay isn't centred then you may as well go back to slab mugs. The motion of 'pulling' the clay up into a shape is very slow and smooth. So, if you're super spazzy like me it's a bit of an exercise in concentration and focus. (Seriously good physical therapy though.) I did manage to make one bowl! 1 out of 3 throws on my first wheel day, not bad for a beginner.... she tells herself. 
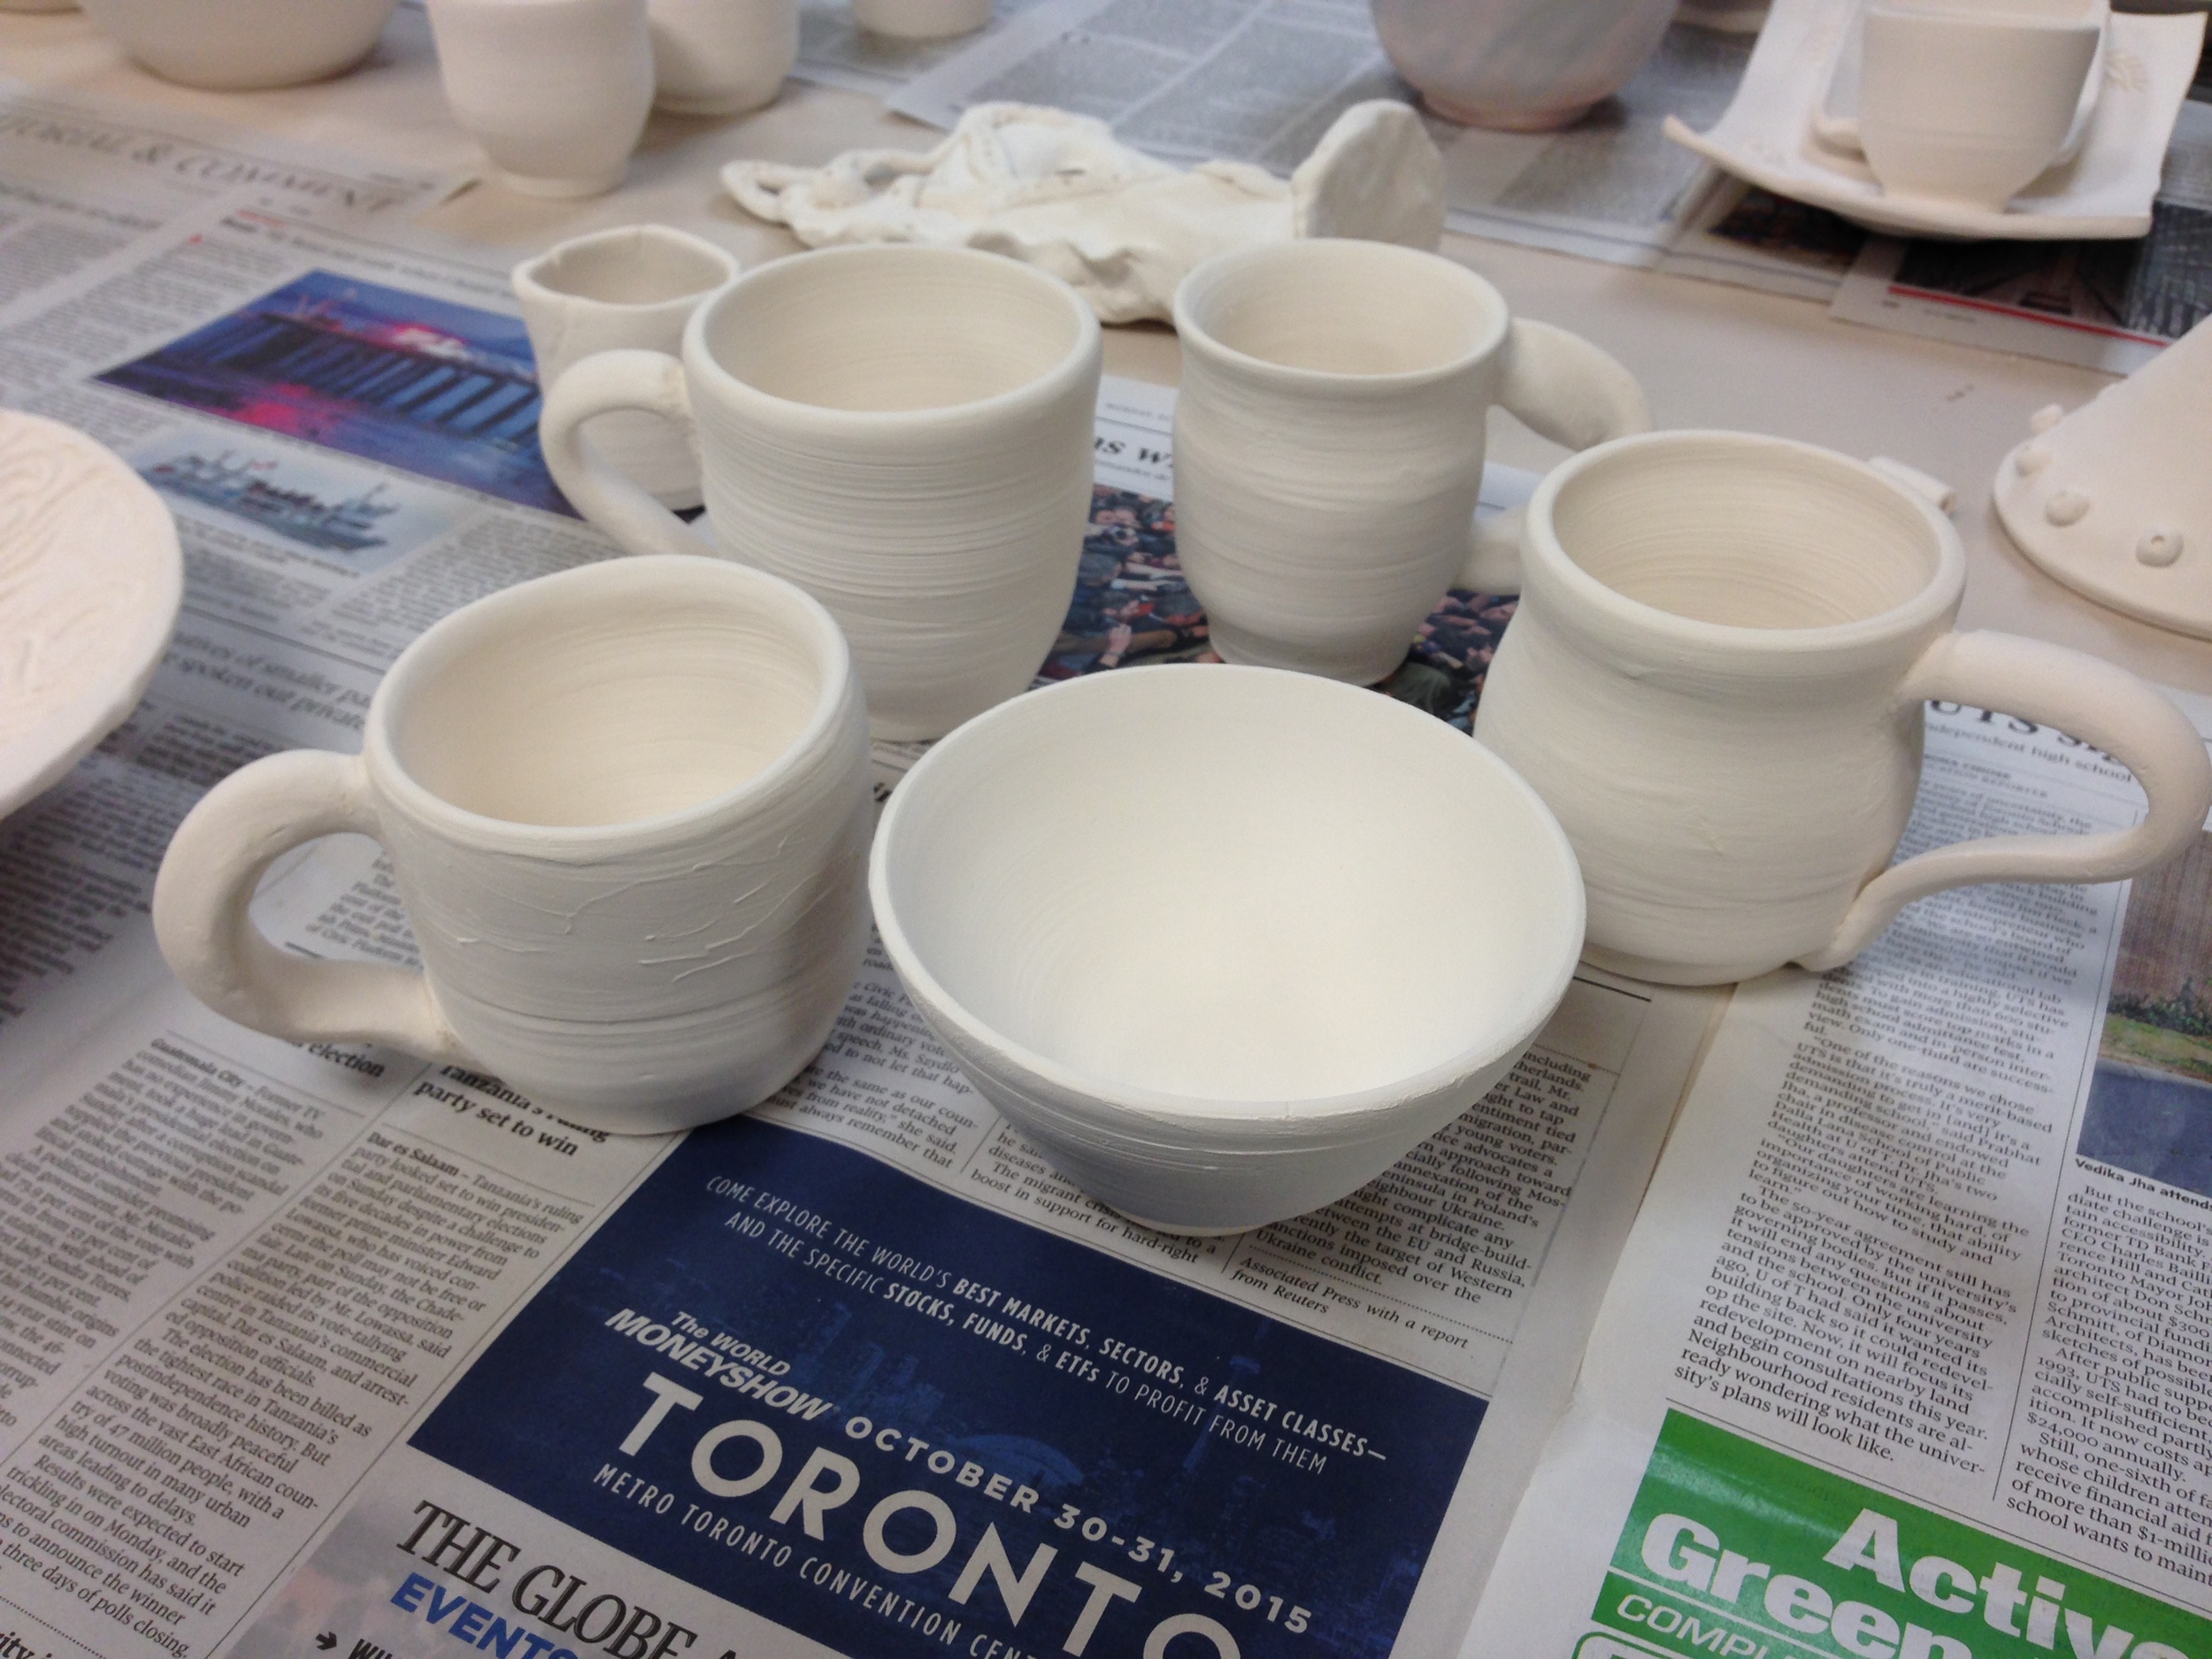
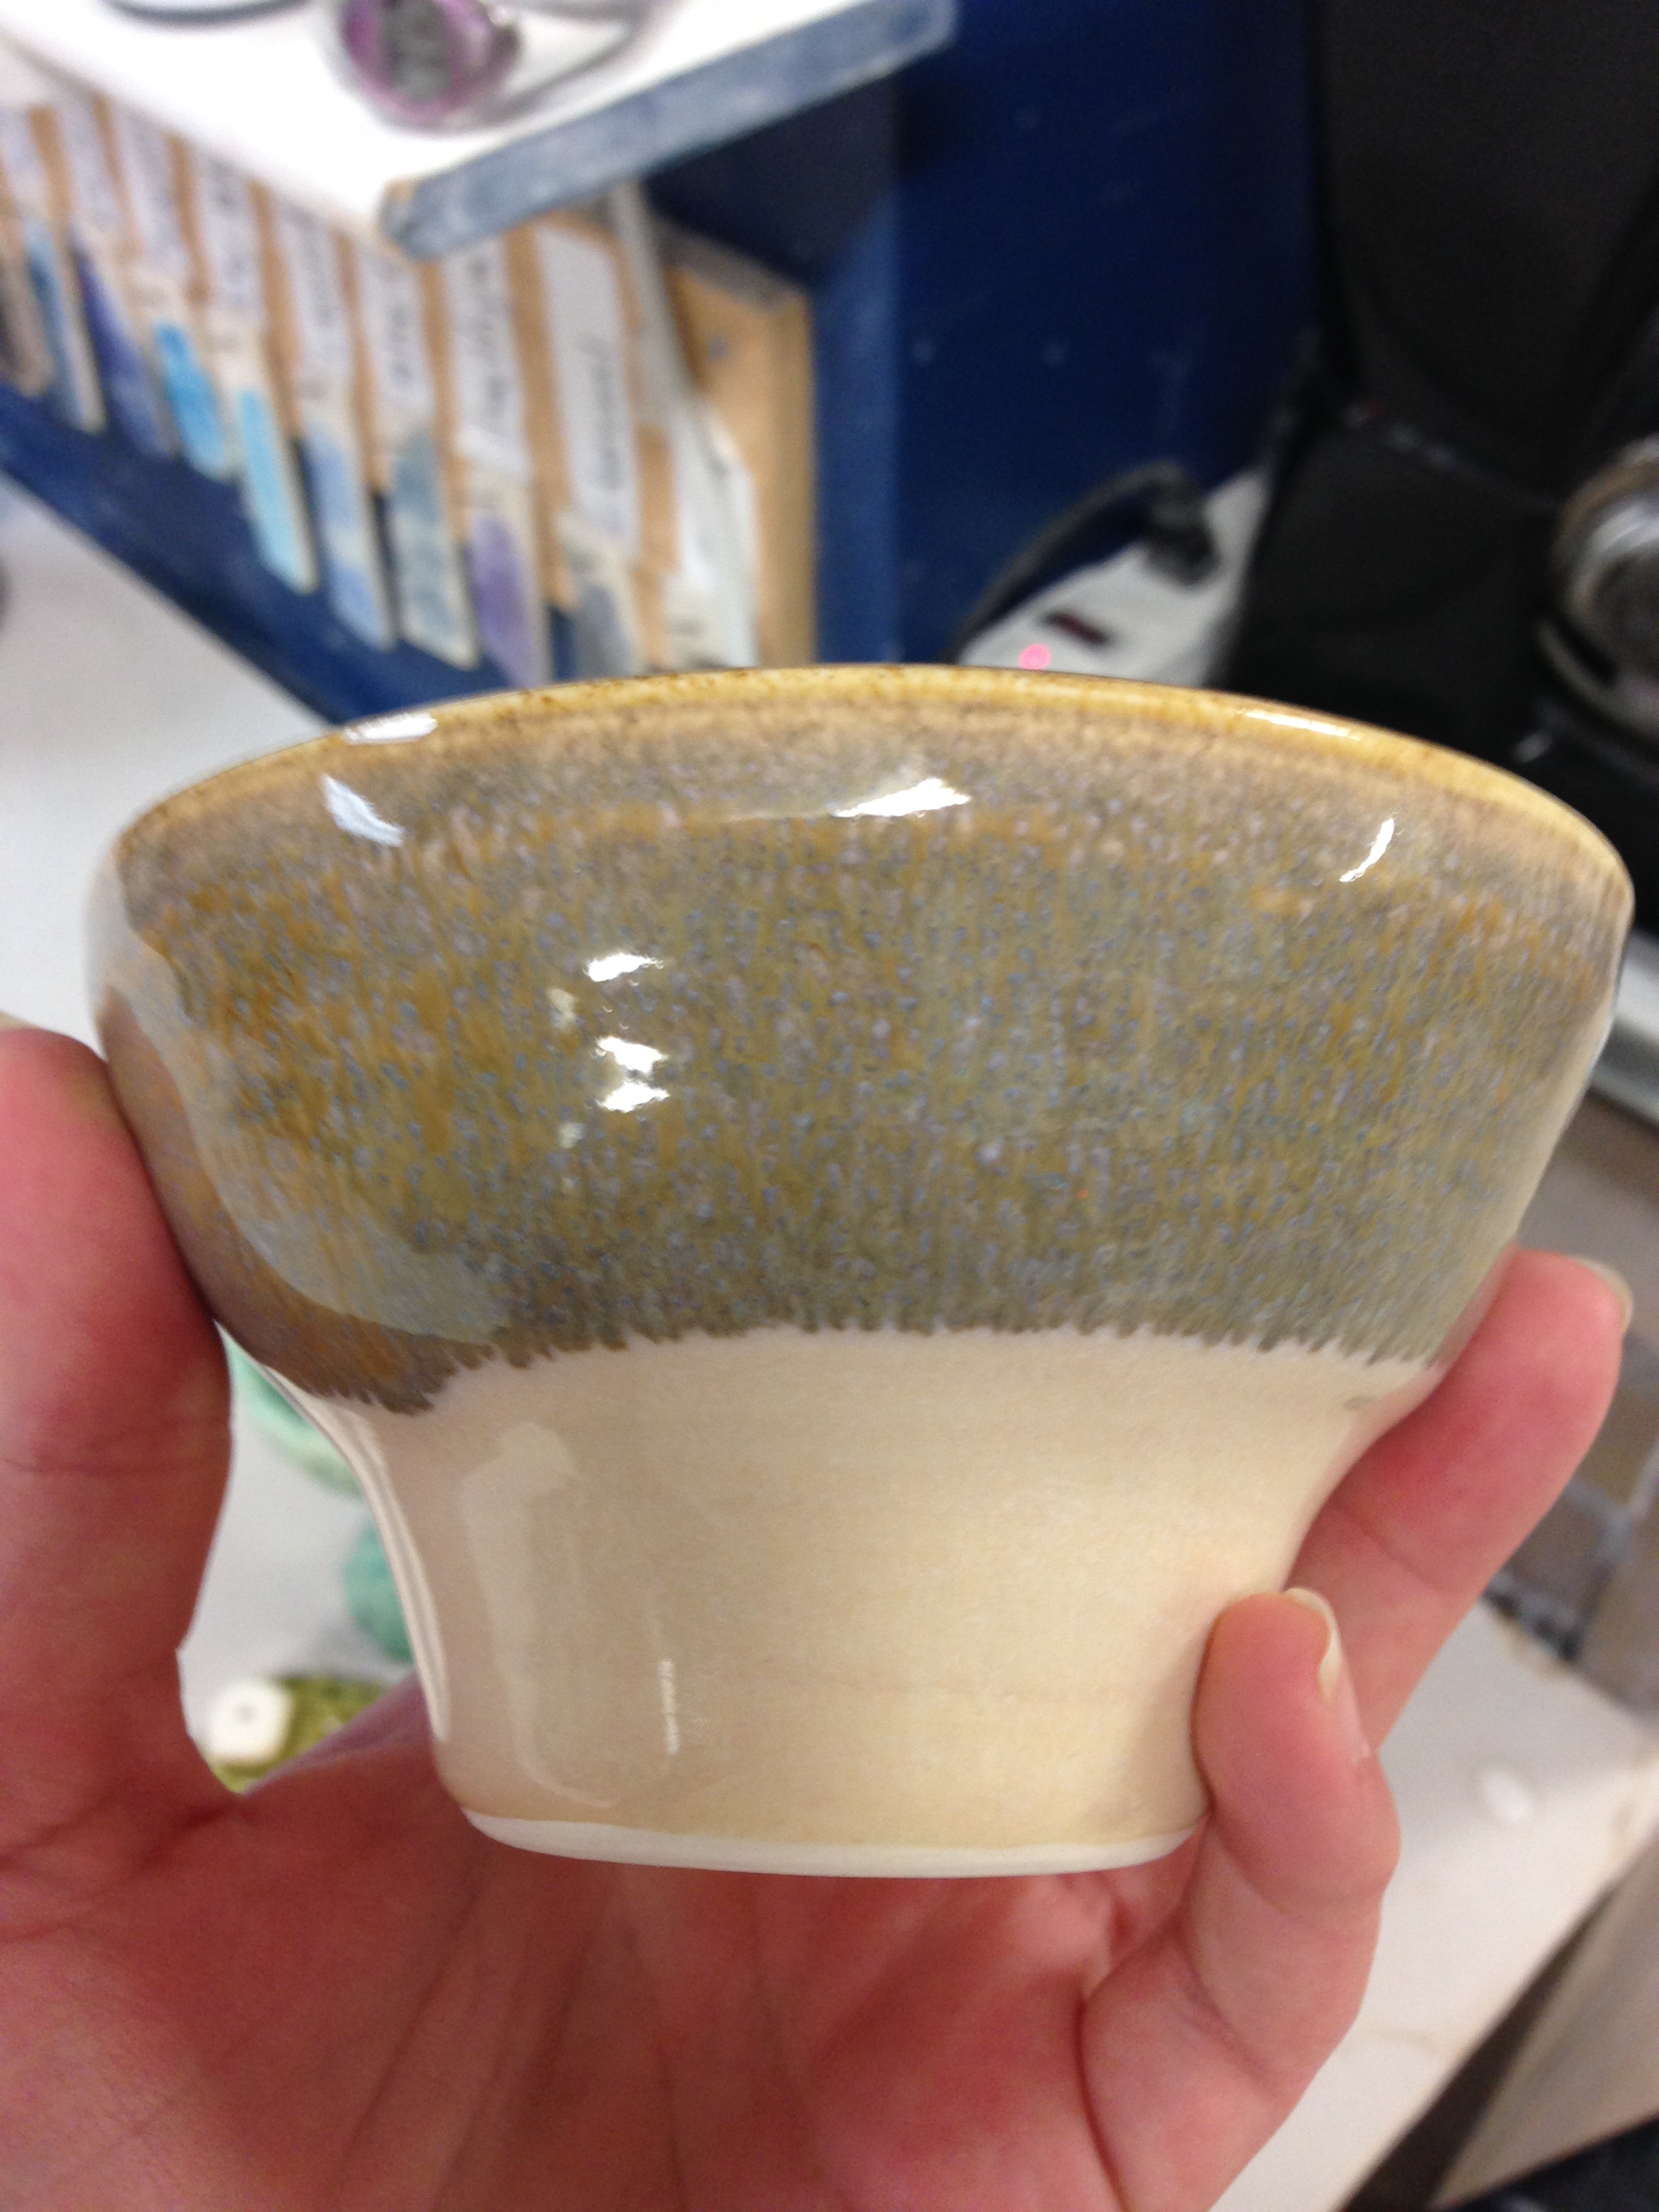
The next week we worked on trimming out bowls. Essentially, shaping the base of the bowl because there is no access to it on the wheel. The process is to centre the bowl on the wheel, fasten it down and then using a trimming tool, skim off the excess clay. Again. Centring clay on the wheel is a magic that I will never possess. The end result is pretty amazing though!

Anyway. I've got Way much more respect for people who throw their own pottery. Those prices on handmade pottery pieces now make A Lot more sense. It's hard to make! And the owners at Clay Design are Amazing teachers. I've learned so much, about pottery but also about my own erratic hands. I will probably stick to knitting and whisking but it was a great experience to have. Defs Recommend! 

-Andrea

The Half-Assed Hobbyist