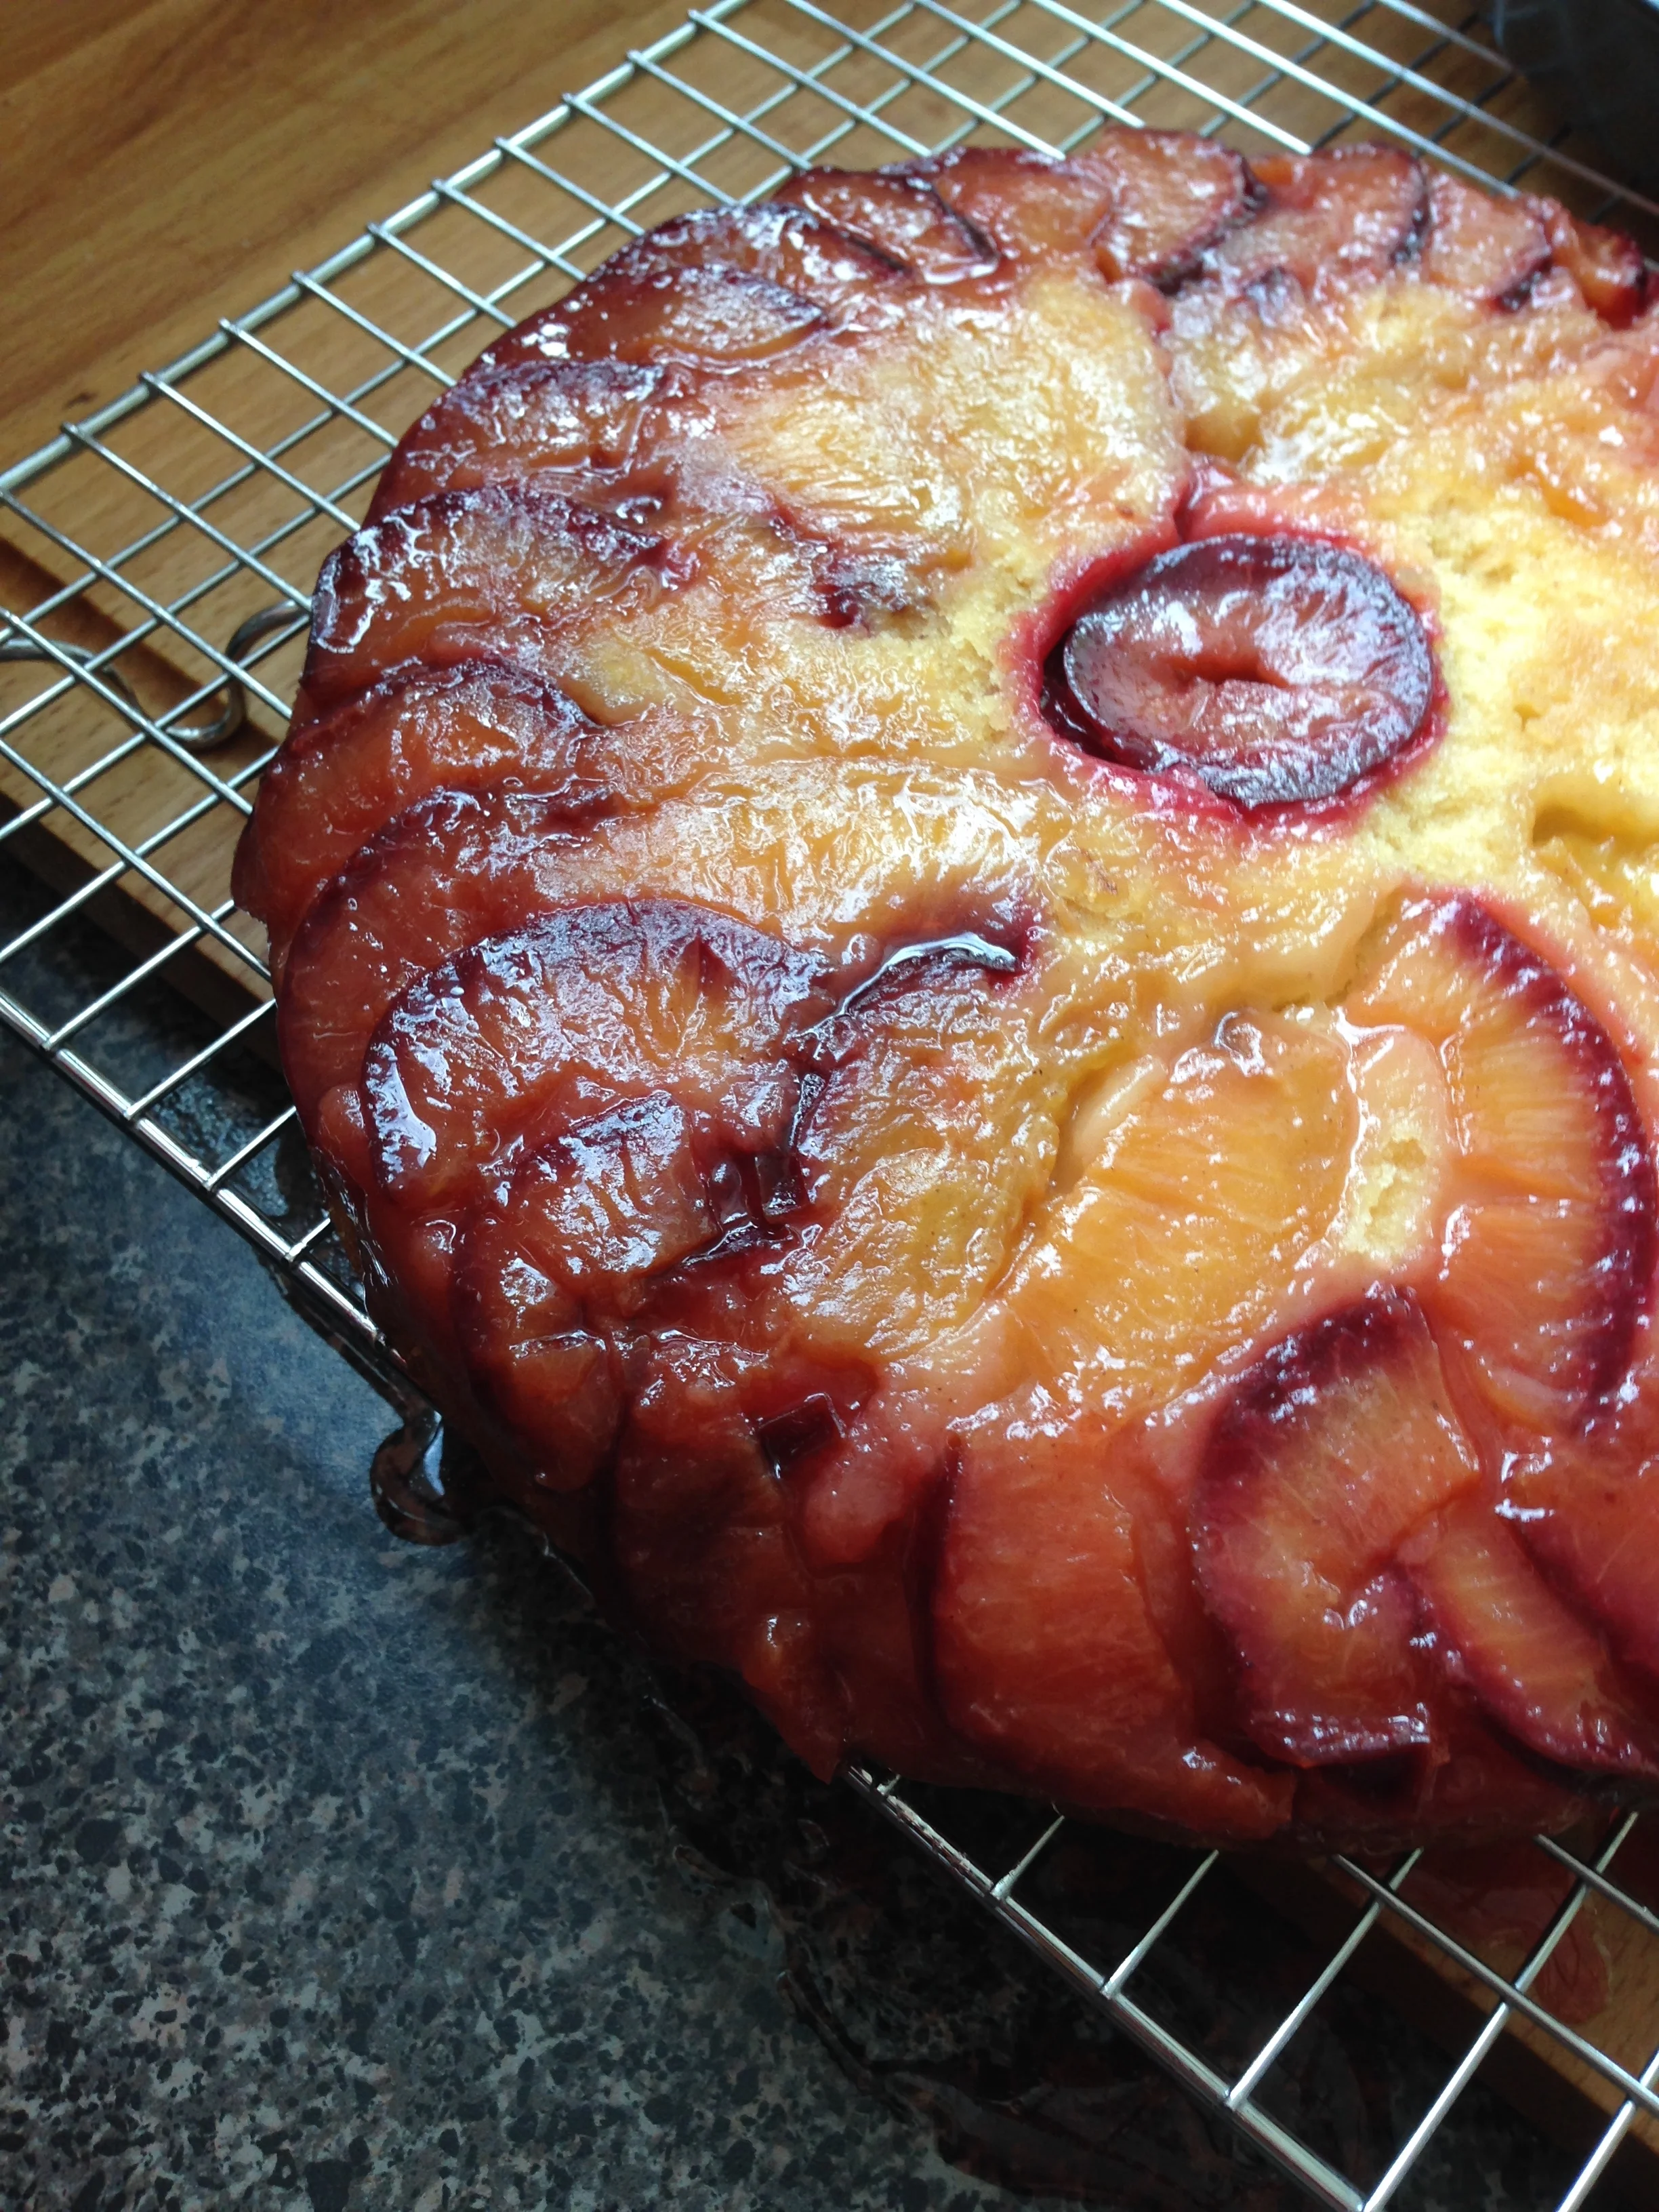
Plum'in It.

I've been super busy this past week at a new jobbins so here's an oldie but a goodie recipe!

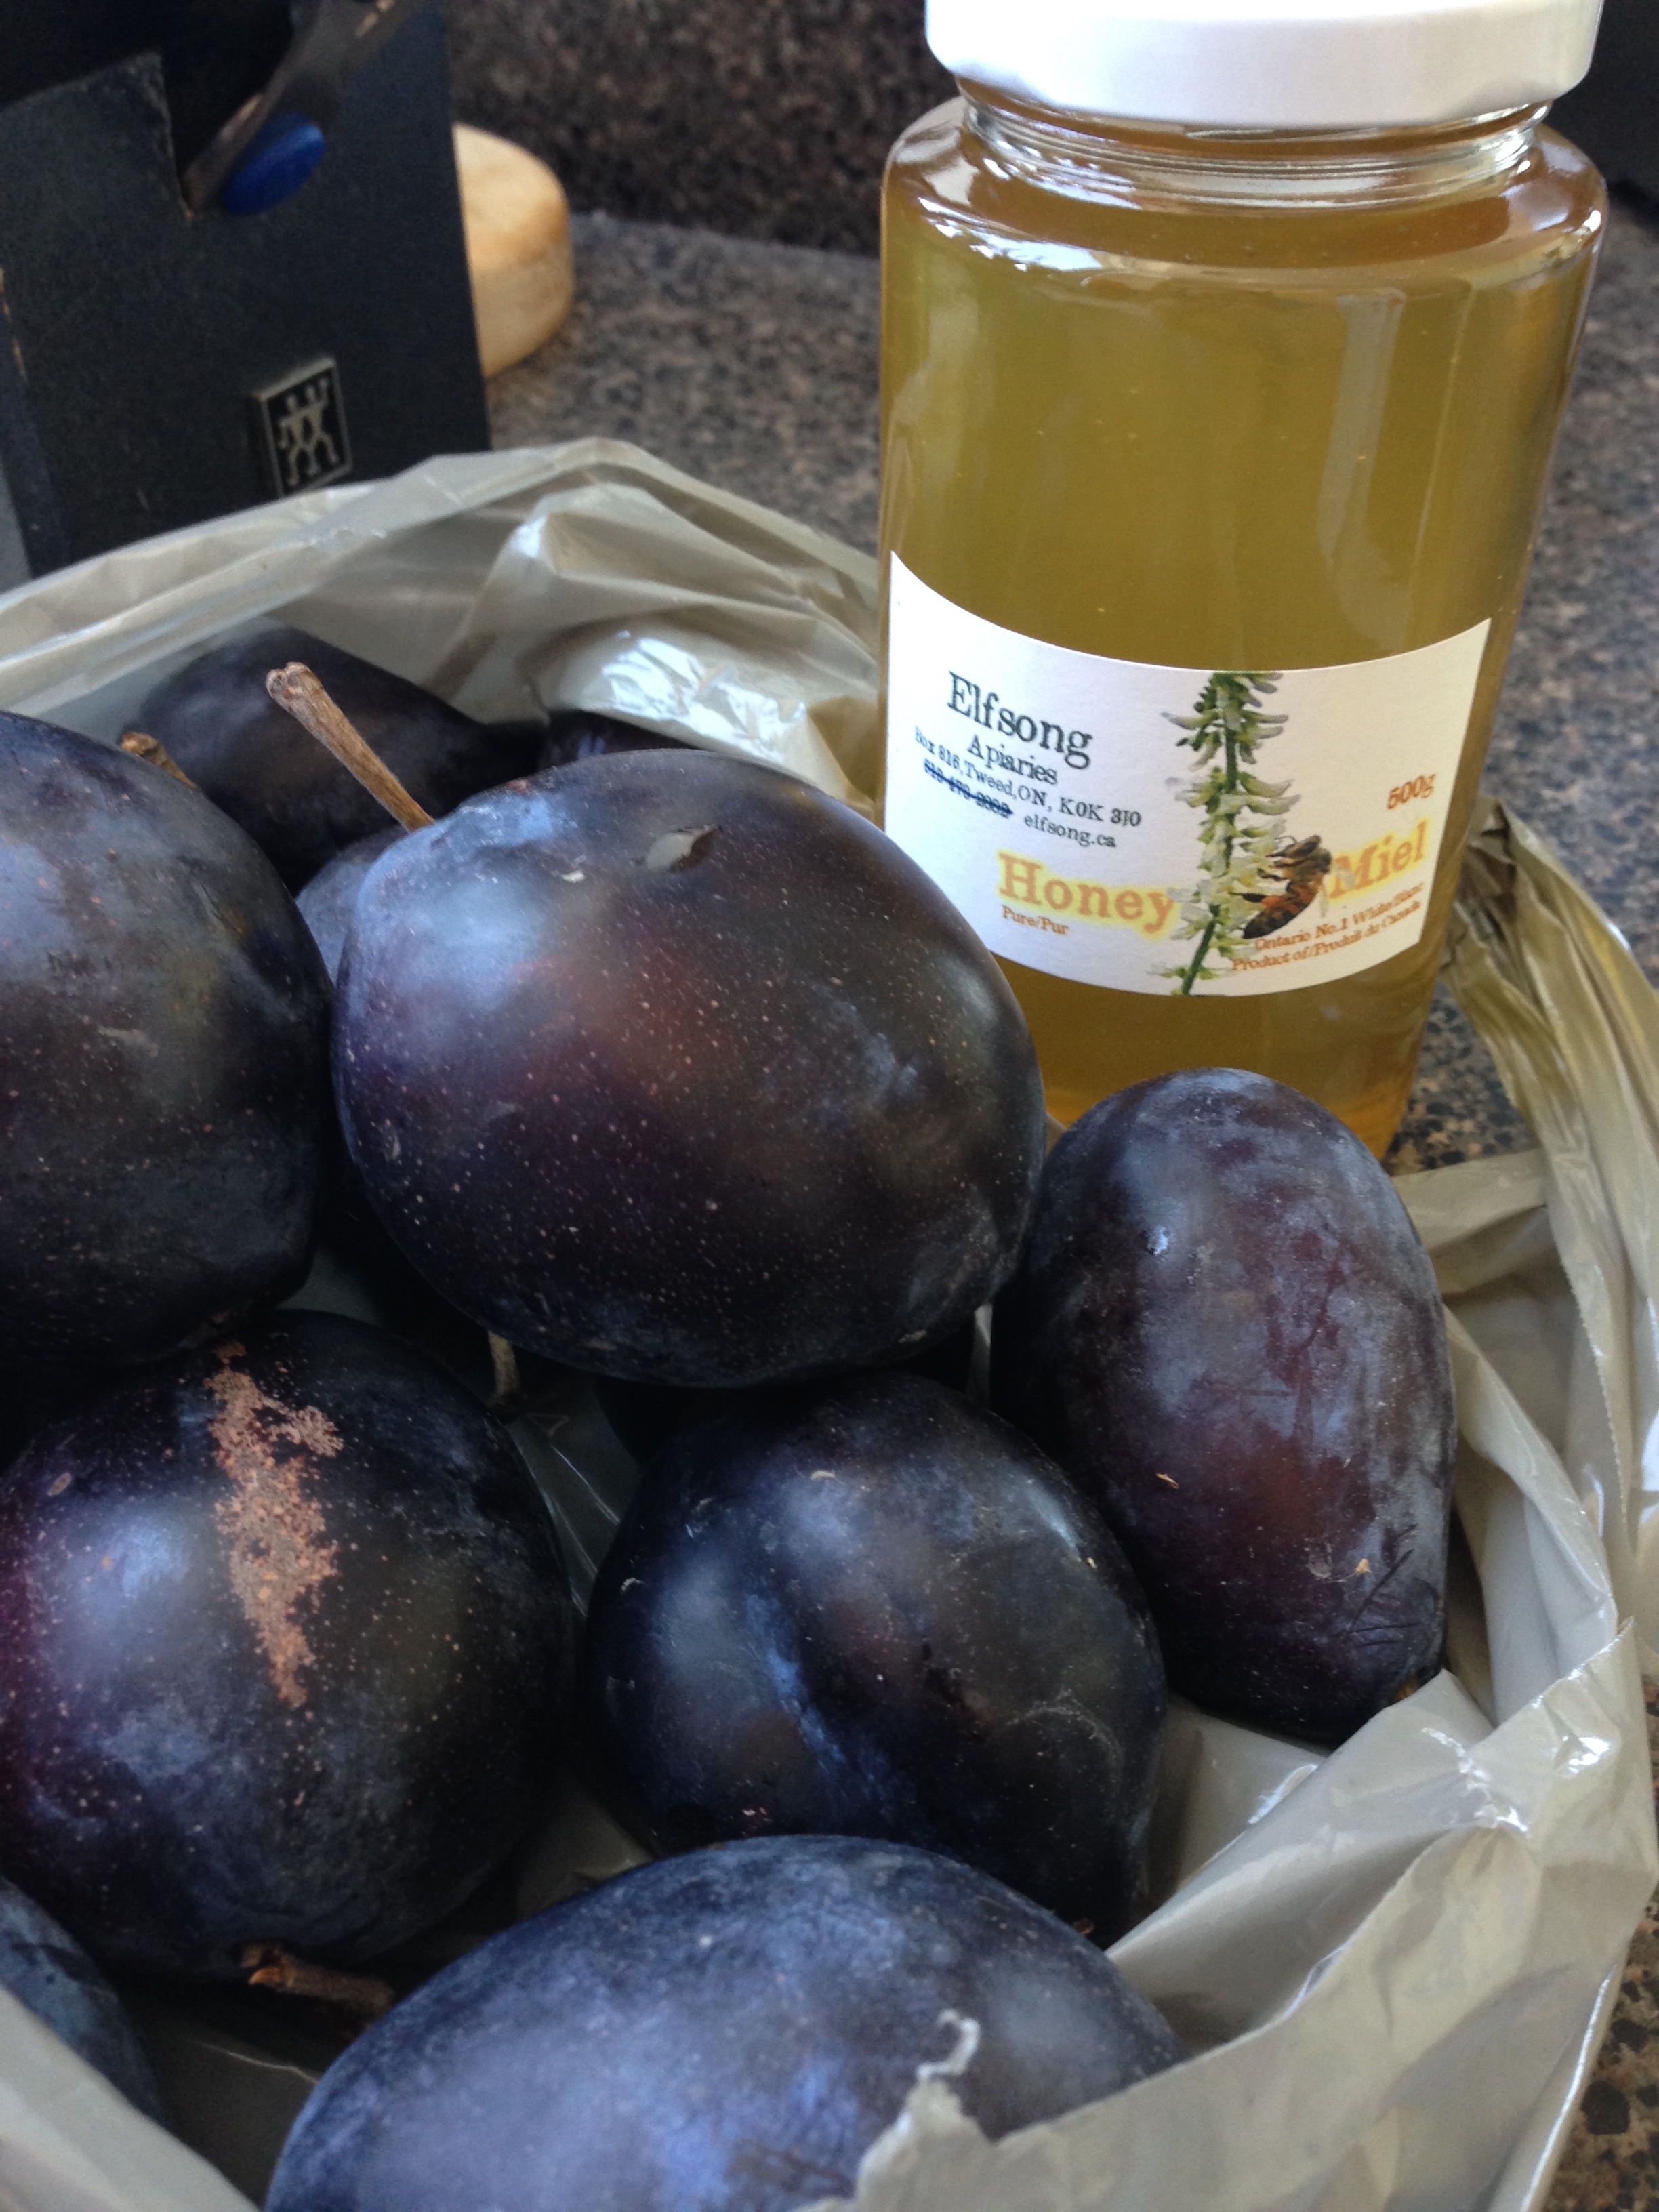
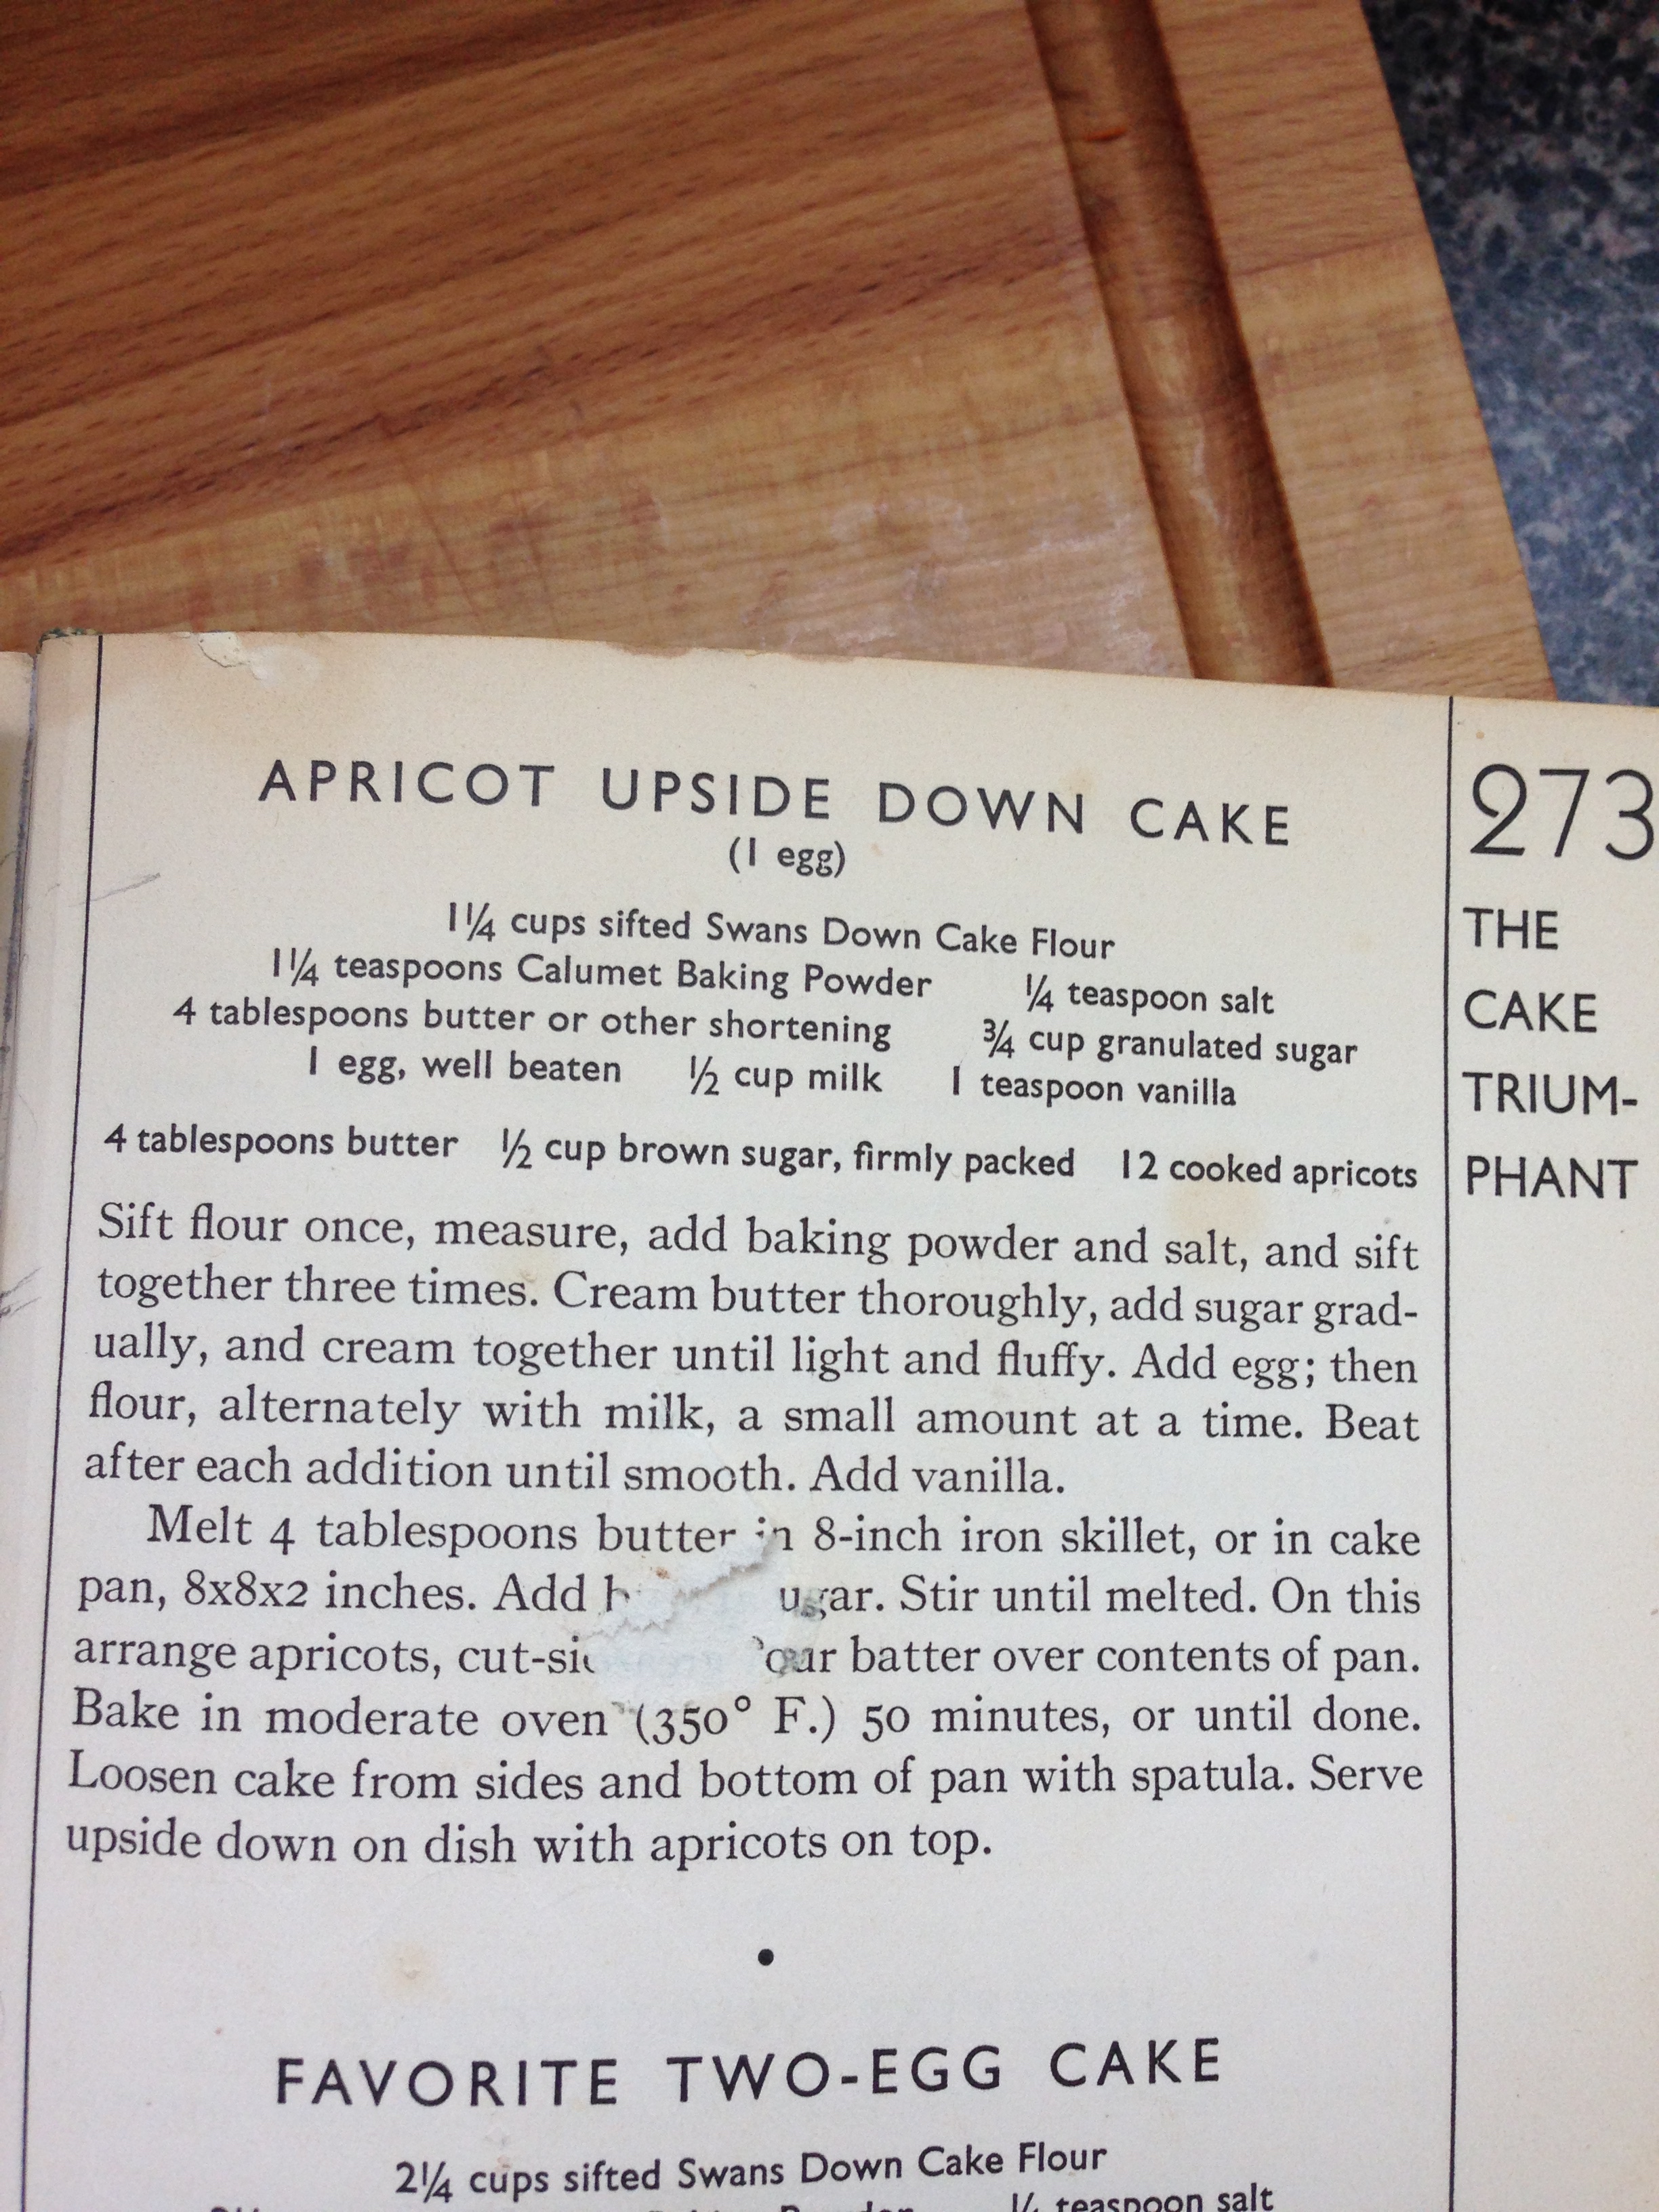
I've done a similar recipe here but I changed it up a bit. I used blue plums (that were in season at the time, yay!) and some clover honey from the local market. 

Blue Plum and Honey Upside-down Cake

12 Blue Plums, sliced thinly

4 TBSP butter
1/4 cup brown sugar
1/4 cup clover honey
1/2 tsp ground cinnamon

1 1/4 cup flour
1 1/4 tsp baking powder
1/4 tsp salt

4 TBSP butter
3/4 cups granulated sugar
1 egg, well beaten
1/2 milk
1 tsp vanilla

9 inch round pan

  1. To slice plums: With a sharp knife, make a slit around the centre of the plum, all the way around the pit. Twist one half of fruit off the pit. Remove the pit. Slice up the plum flesh. 
  2. Preheat your oven to 350'F.
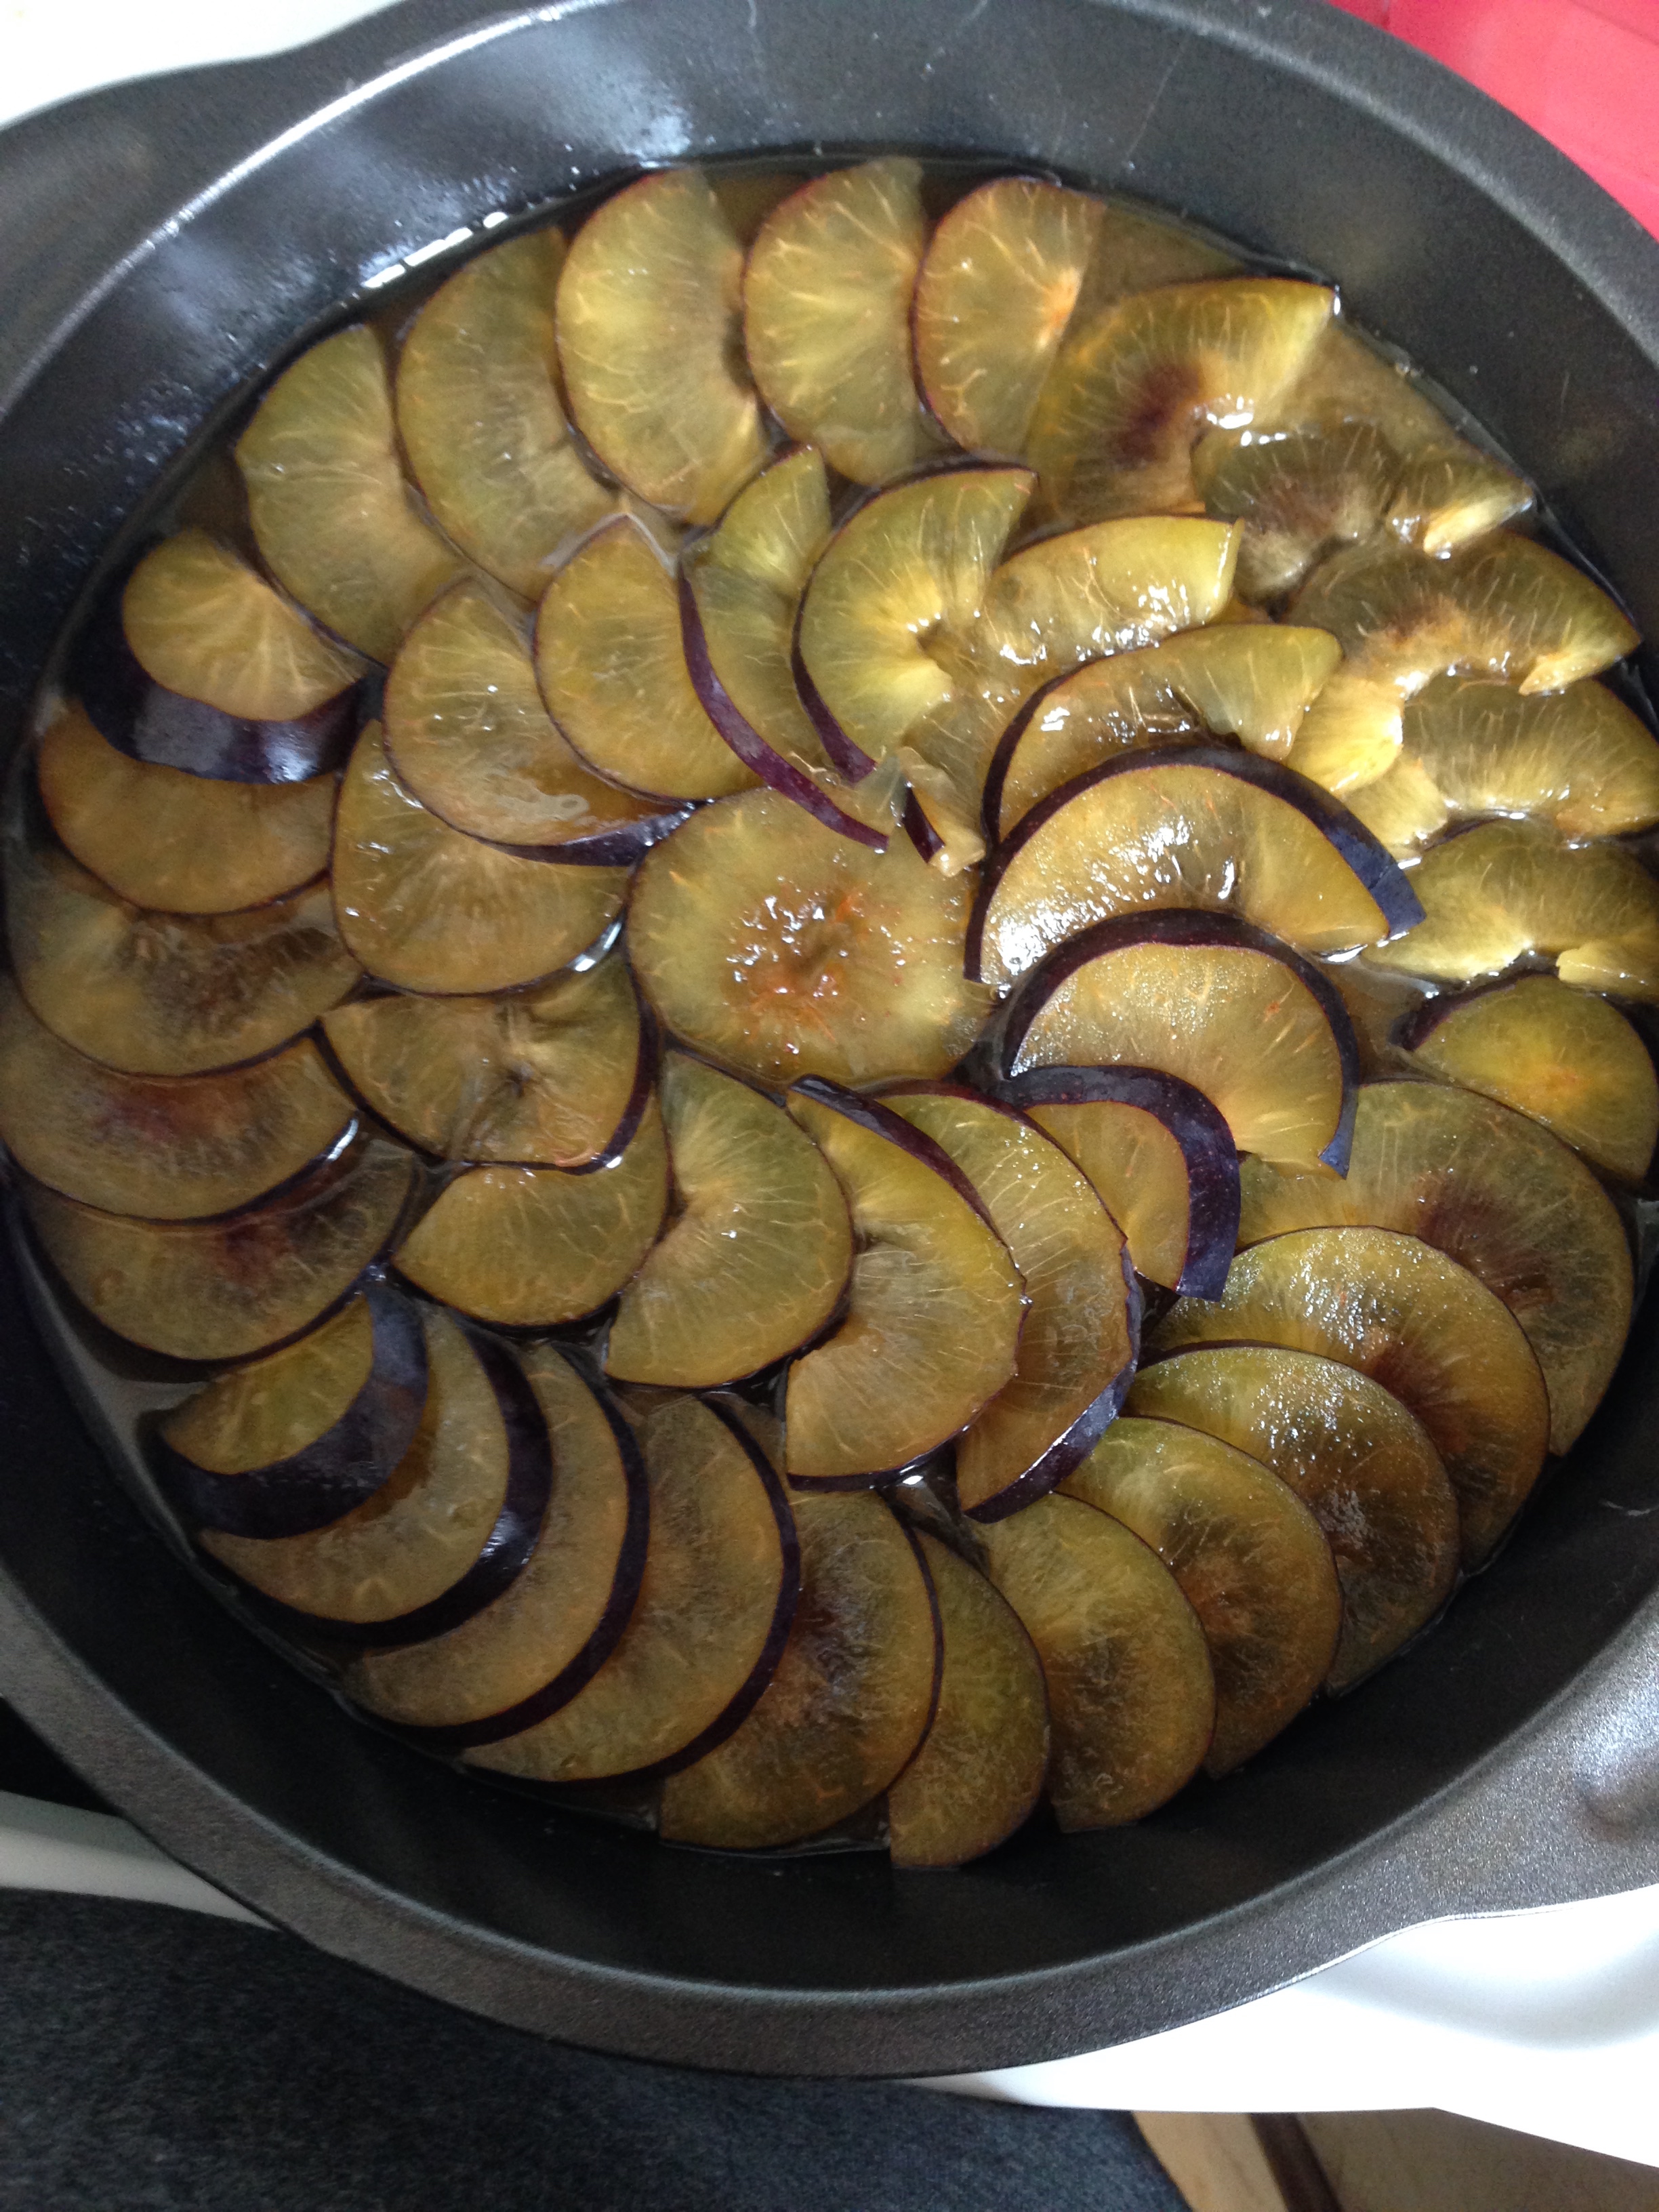
  3. Combine butter, sugar, honey and cinnamon in the round baking pan. Place pan in the oven for 2 minutes until butter is melted. Stir melted butter mixture in the pan together thoroughly. Arrange the sliced plums on top of the sugar mixture in the baking pan. Set aside.
  4. In a bowl, combine flour, baking powder and salt. Set aside. 
  5. In an electric mixer, cream butter. Add sugar and beat until butter is light and fluffy. (It will literally change colour. From butter yellow to a light white yellow.)
  6. Add pre-beaten egg. Stir. 
  7. Now combine flour and milk in with the sugar/egg mixture, alternating between adding milk and flour mixture. Mix each part until smooth before adding the next part. 
  8. Stir in vanilla. 
  9. Pour cake batter on top of the plums in the baking pan. Smooth the top so all the plums are covered. 
  10. Bake for ~50 minutes or until a fork inserted into centre of cake comes out clean. 
  11. After it's done baking, let cool for an hour before you flip it out onto a serving platter. Serve warm or let cool completely and top with icing sugar. 

De-ricious!

And hopefully I'll be able to share some of  my work-y endeavours soon! (Confidentially agreements are weird....)

-Andrea

The Half-Assed Hobbyist
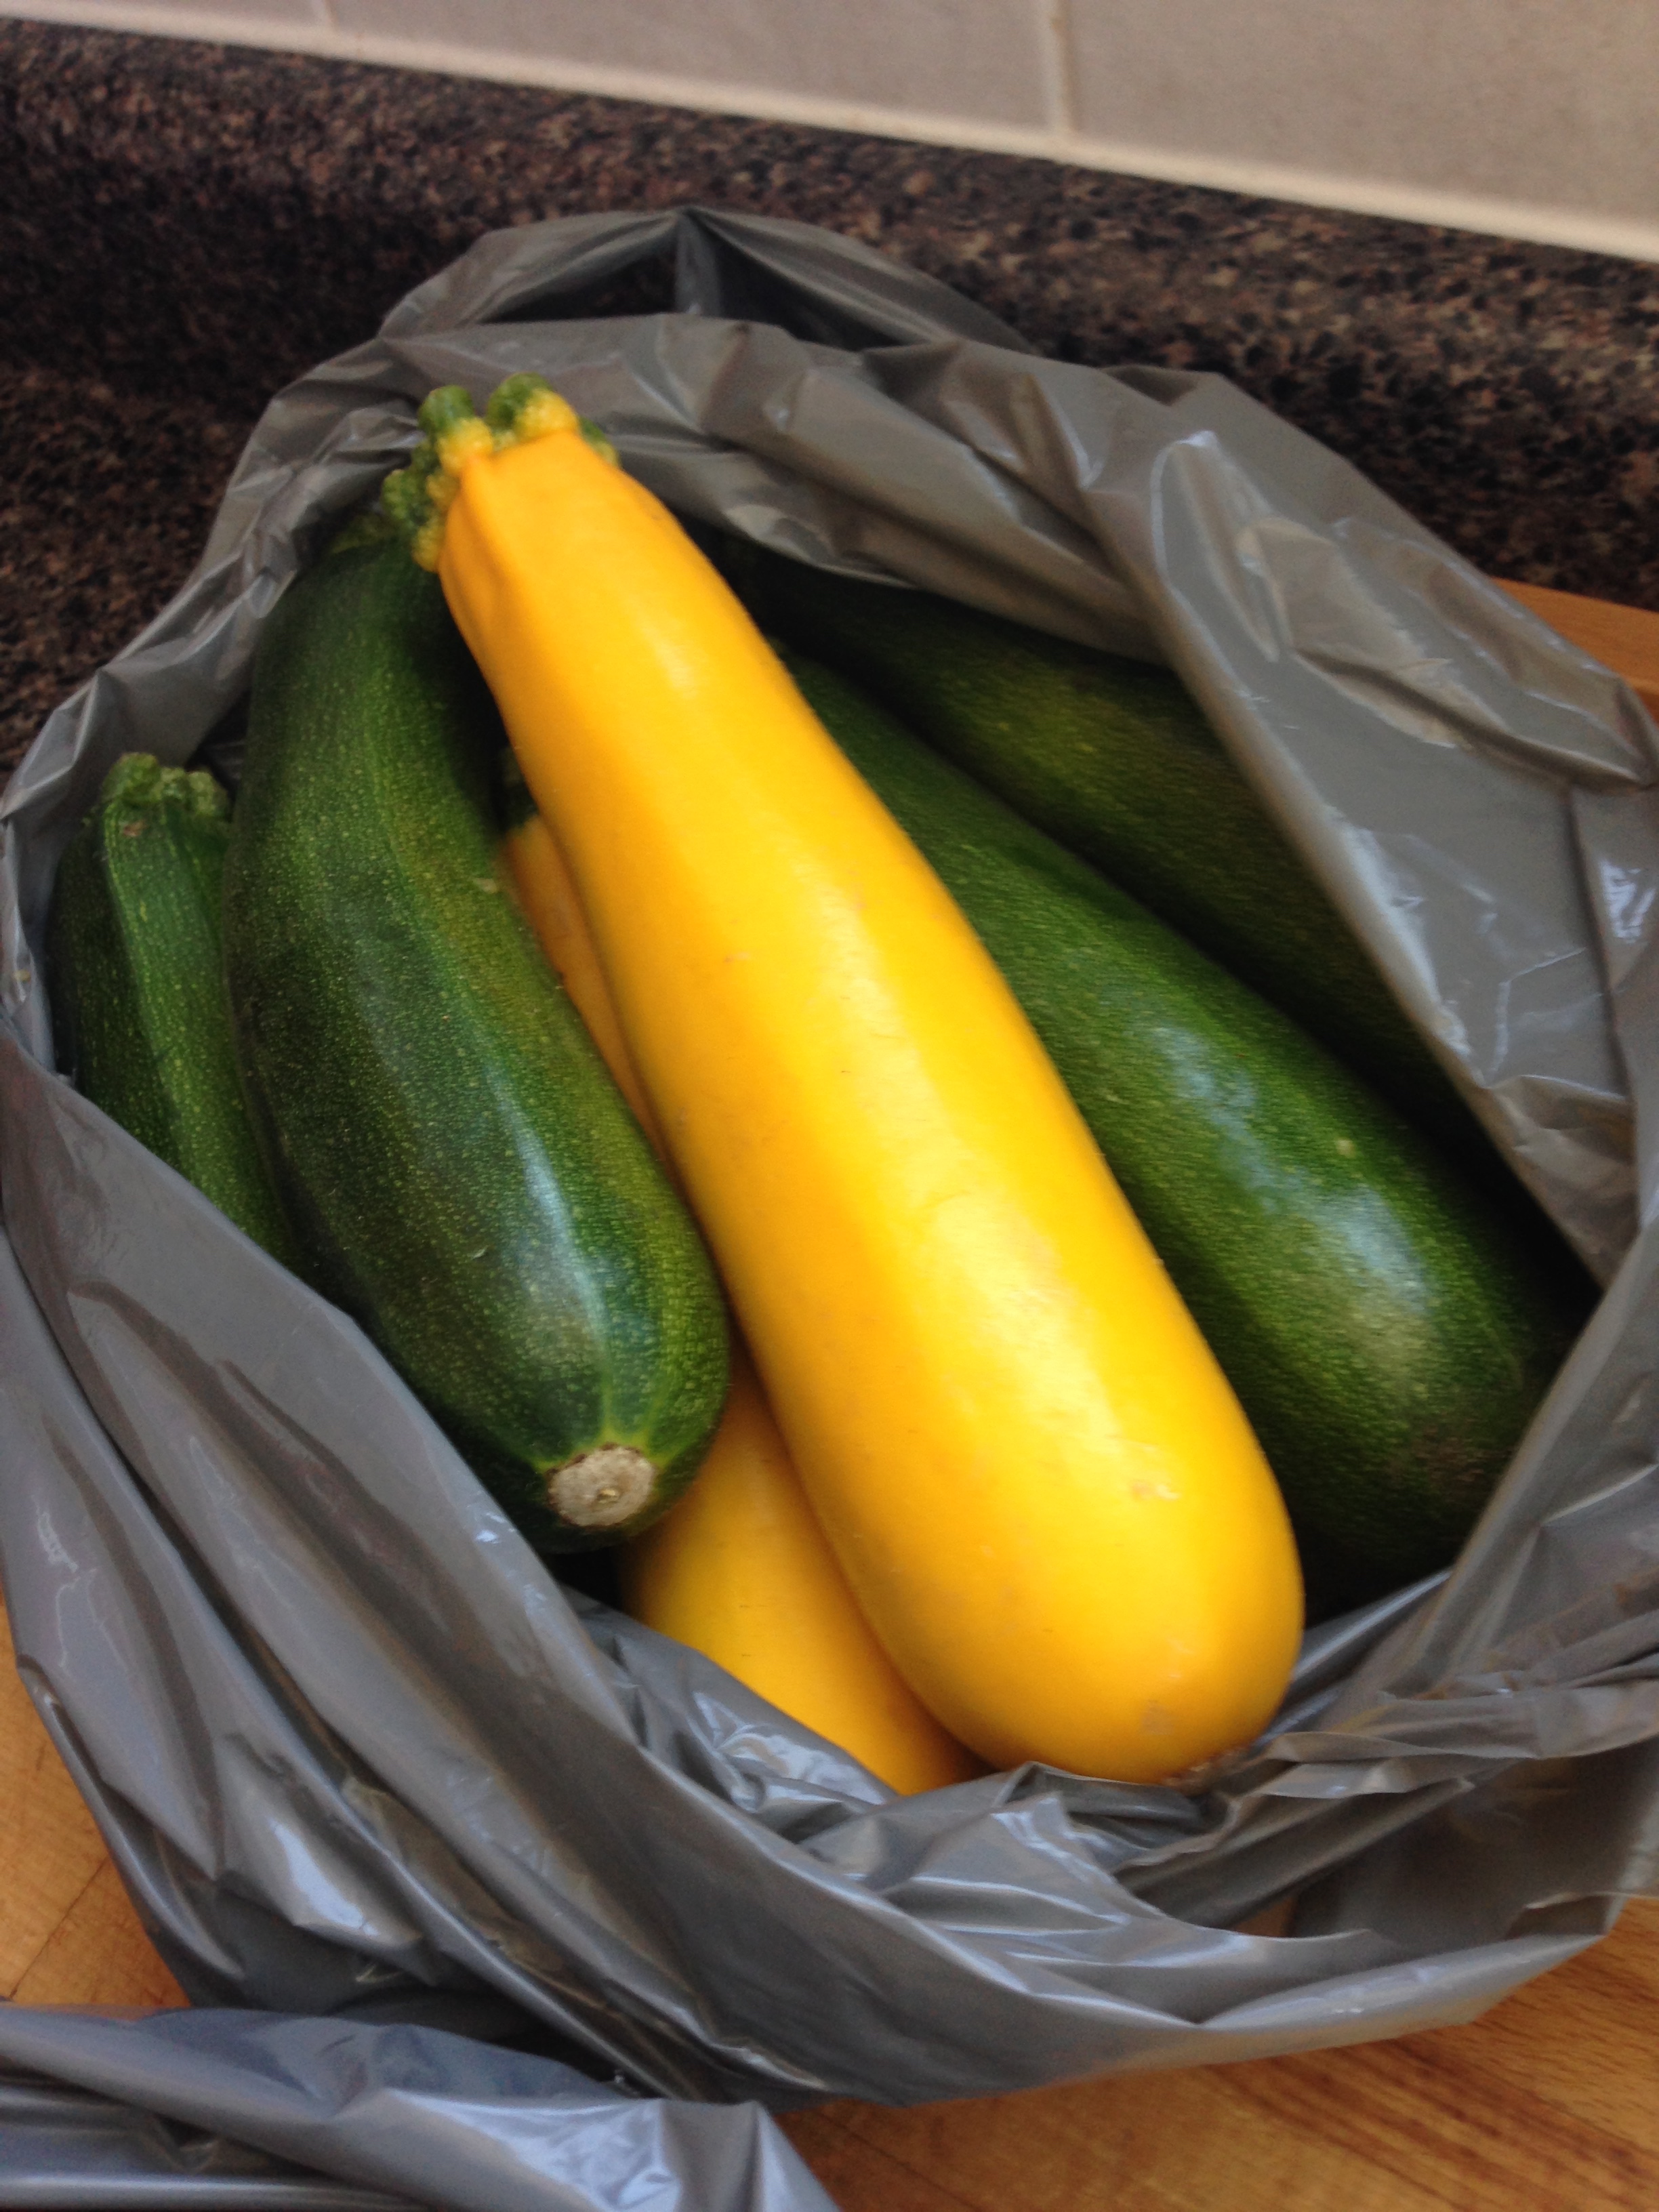
Zoo-chi-nee

So I suck at spelling. I'm one of ~those~ people that just really never got the hang of word-ing. Definitely influenced by a family dyslexia disorder that no one really talks about, but wibbly switching words aside, I always check my spelling by saying the words out loud (....in my head....alright, you got me, I'm the crazy girl saying words out loud to herself). Some words are funner to check than others. Like saying 'piece' in an english accent to remember to check that the 'i' and 'e' are in the right place, because in Canadian (hah) it's said 'pee-ce', which is really confusing. Or another favourite word to say: Zoo-chi-nee, also known as zucchini. 

-SMOOTH TRANSITION-

As I had a bunch of market zucchini in my fridge, below is a recipe for:

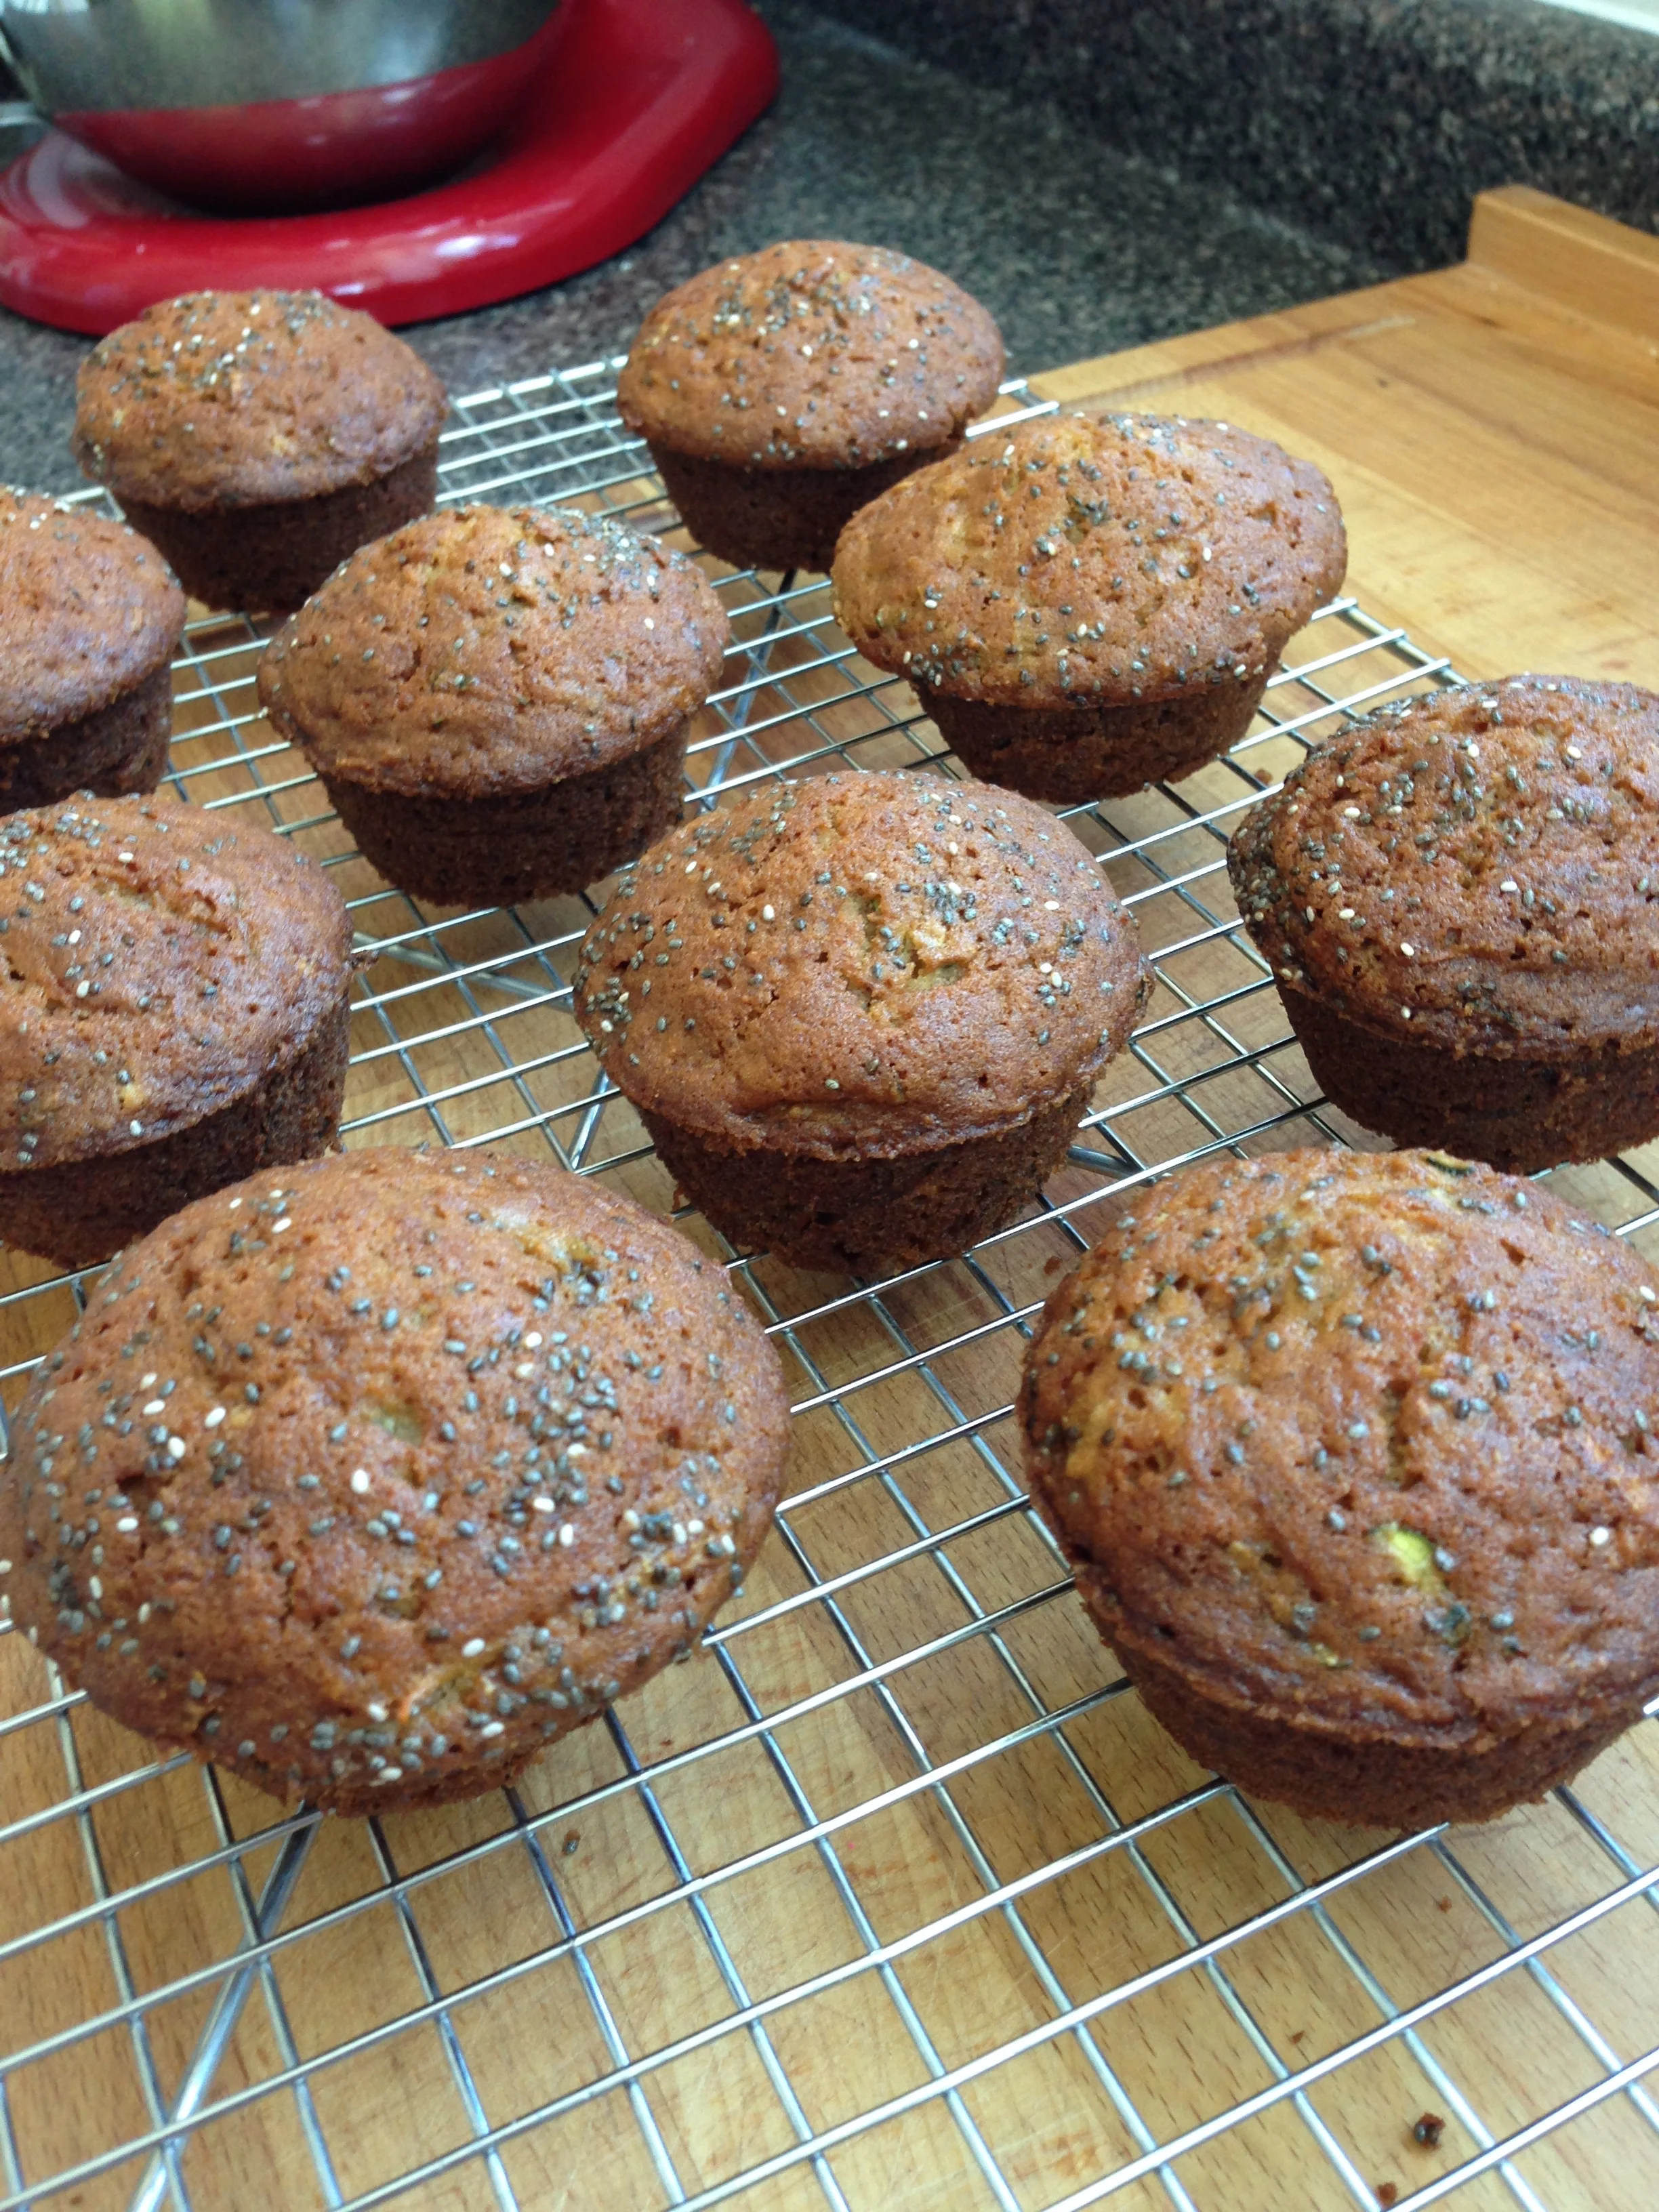
Zucchini Muffins with Chia Seeds

2 cups flour
1 cup sugar
1/4 tsp salt
2 tsp baking soda
1 tsp cinnamon

2 eggs
1/3 cup oil
1/3 cup margarine 

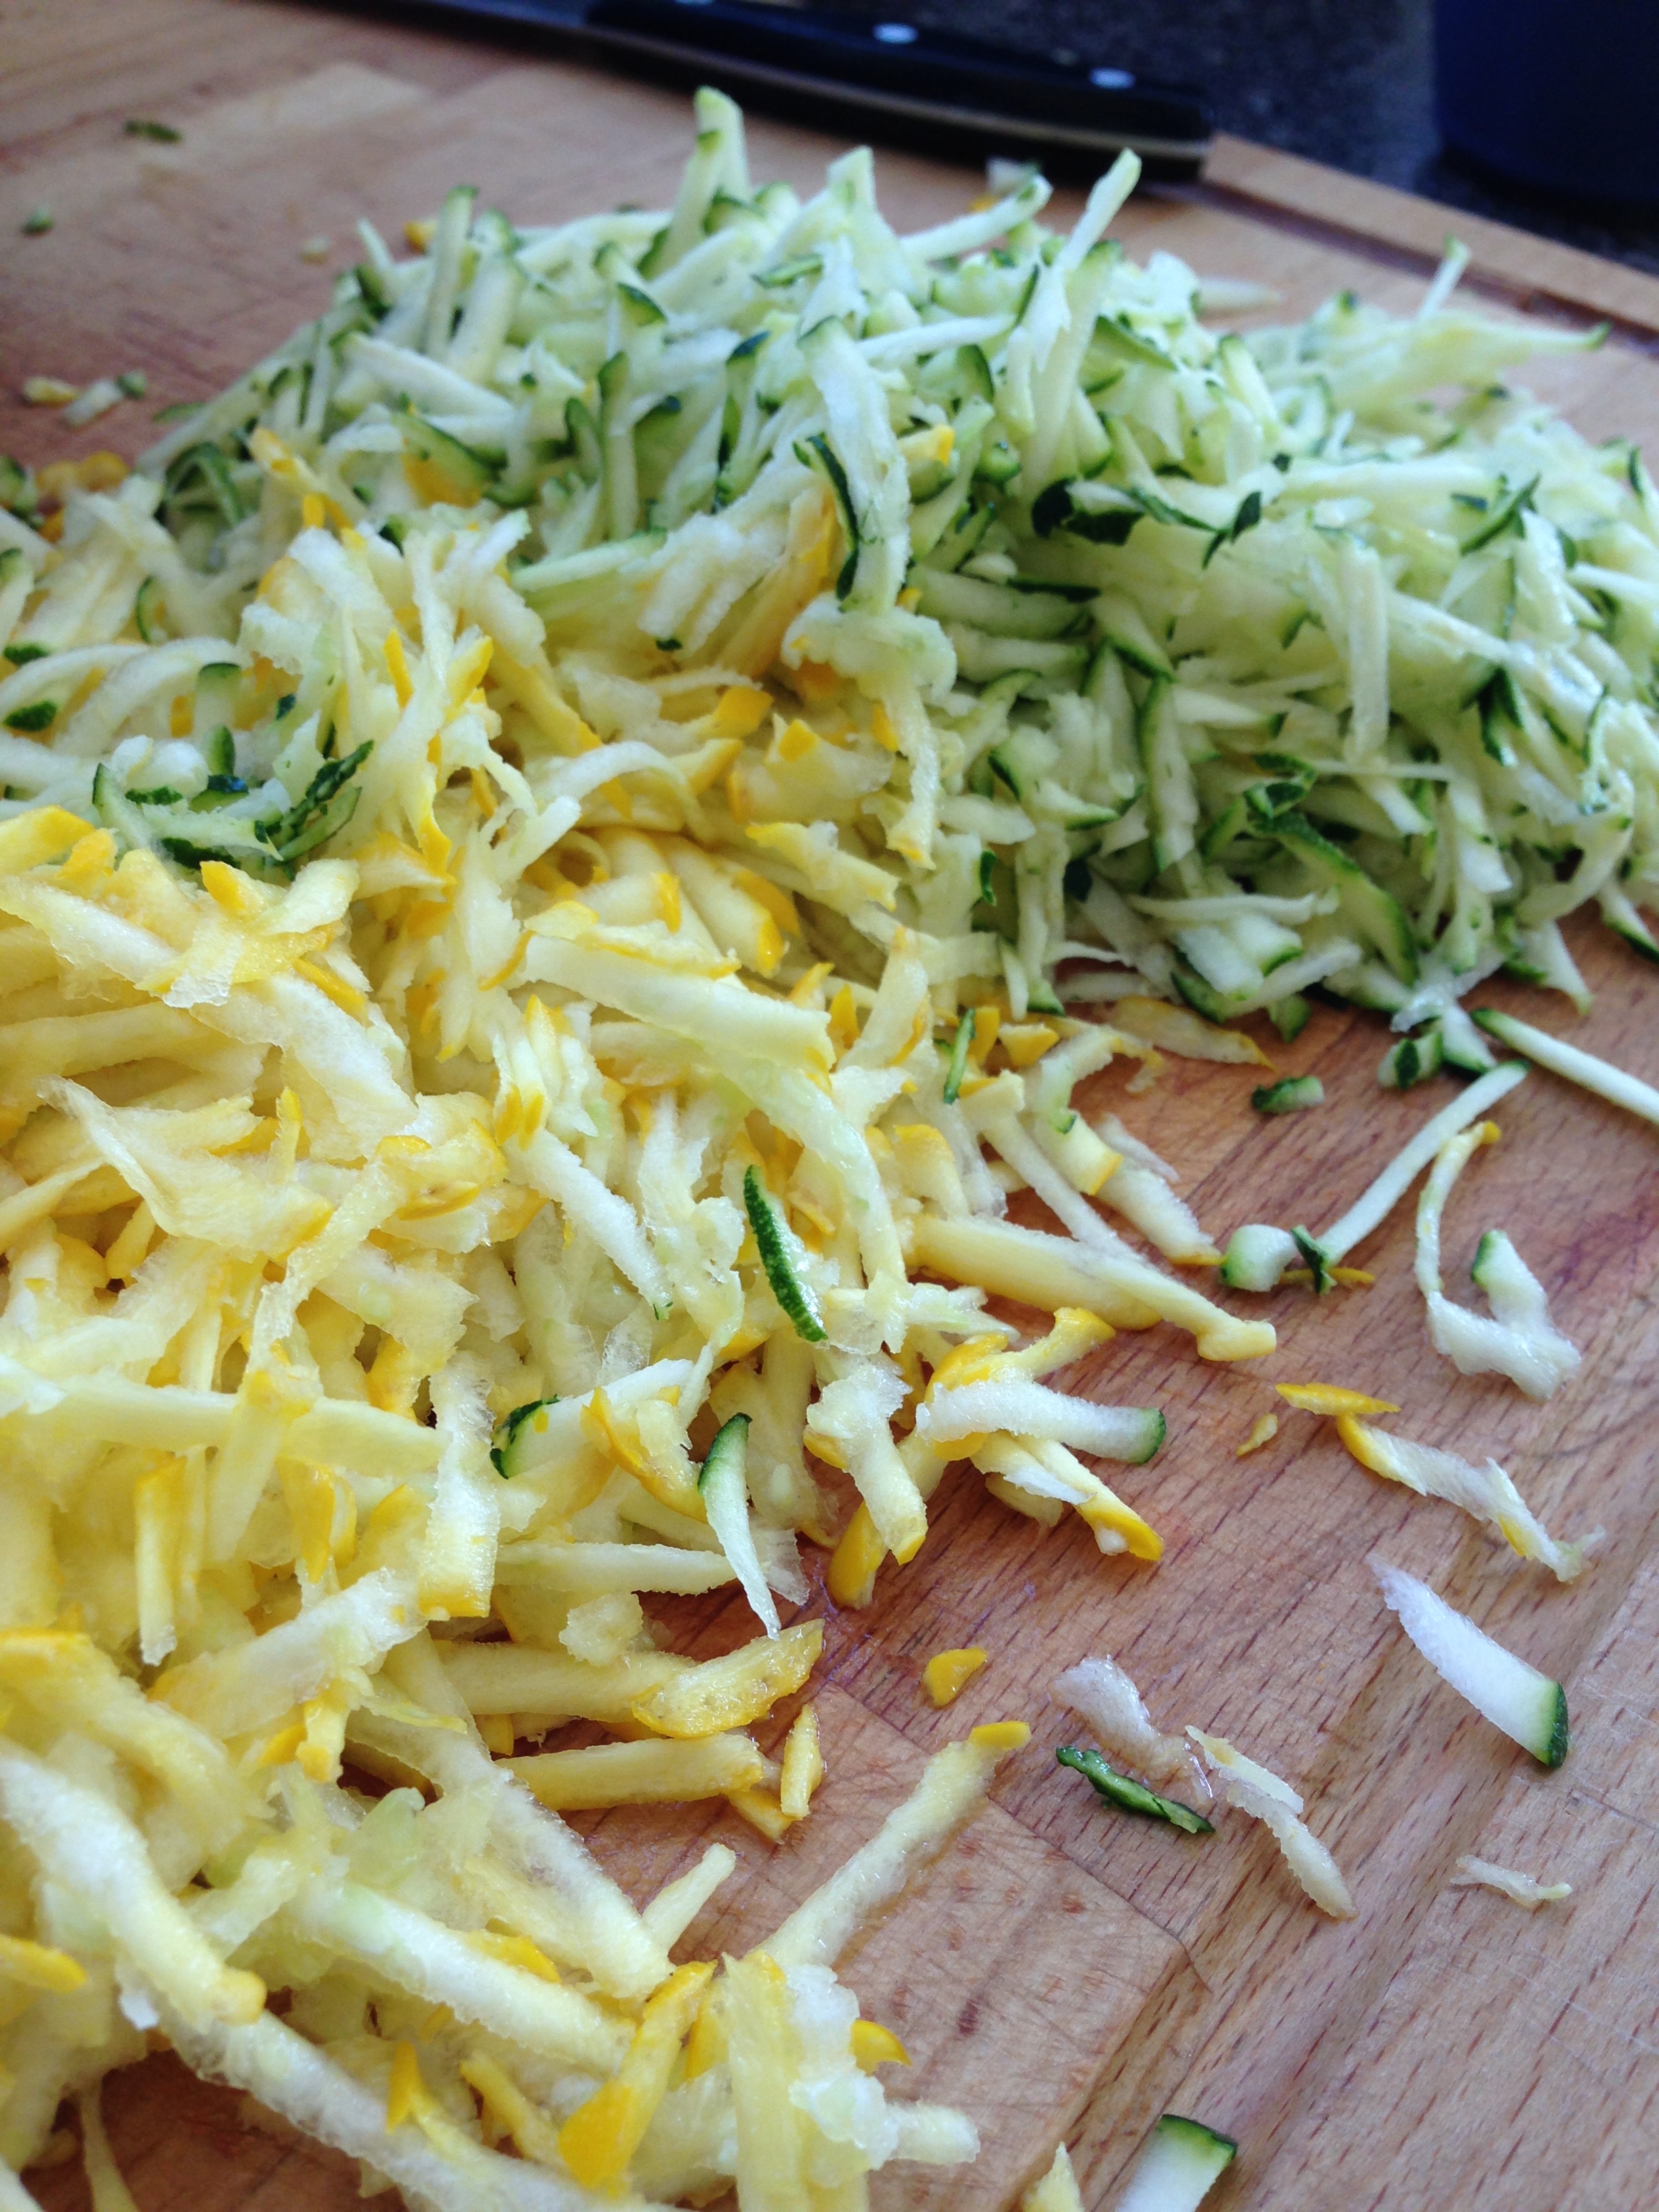
2 medium zucchini, grated

Chia seeds

  1. Pre-heat oven to 375'. Oil a muffin pan. Set aside. 
  2. Combine all the dry ingredients in one bowl. Stir to combine.
  3. Combine eggs, oil and margarine in another bowl. Stir to combine. 
  4. Add 'liquid' ingredients to the dry ingredients. Mix thoroughly. 
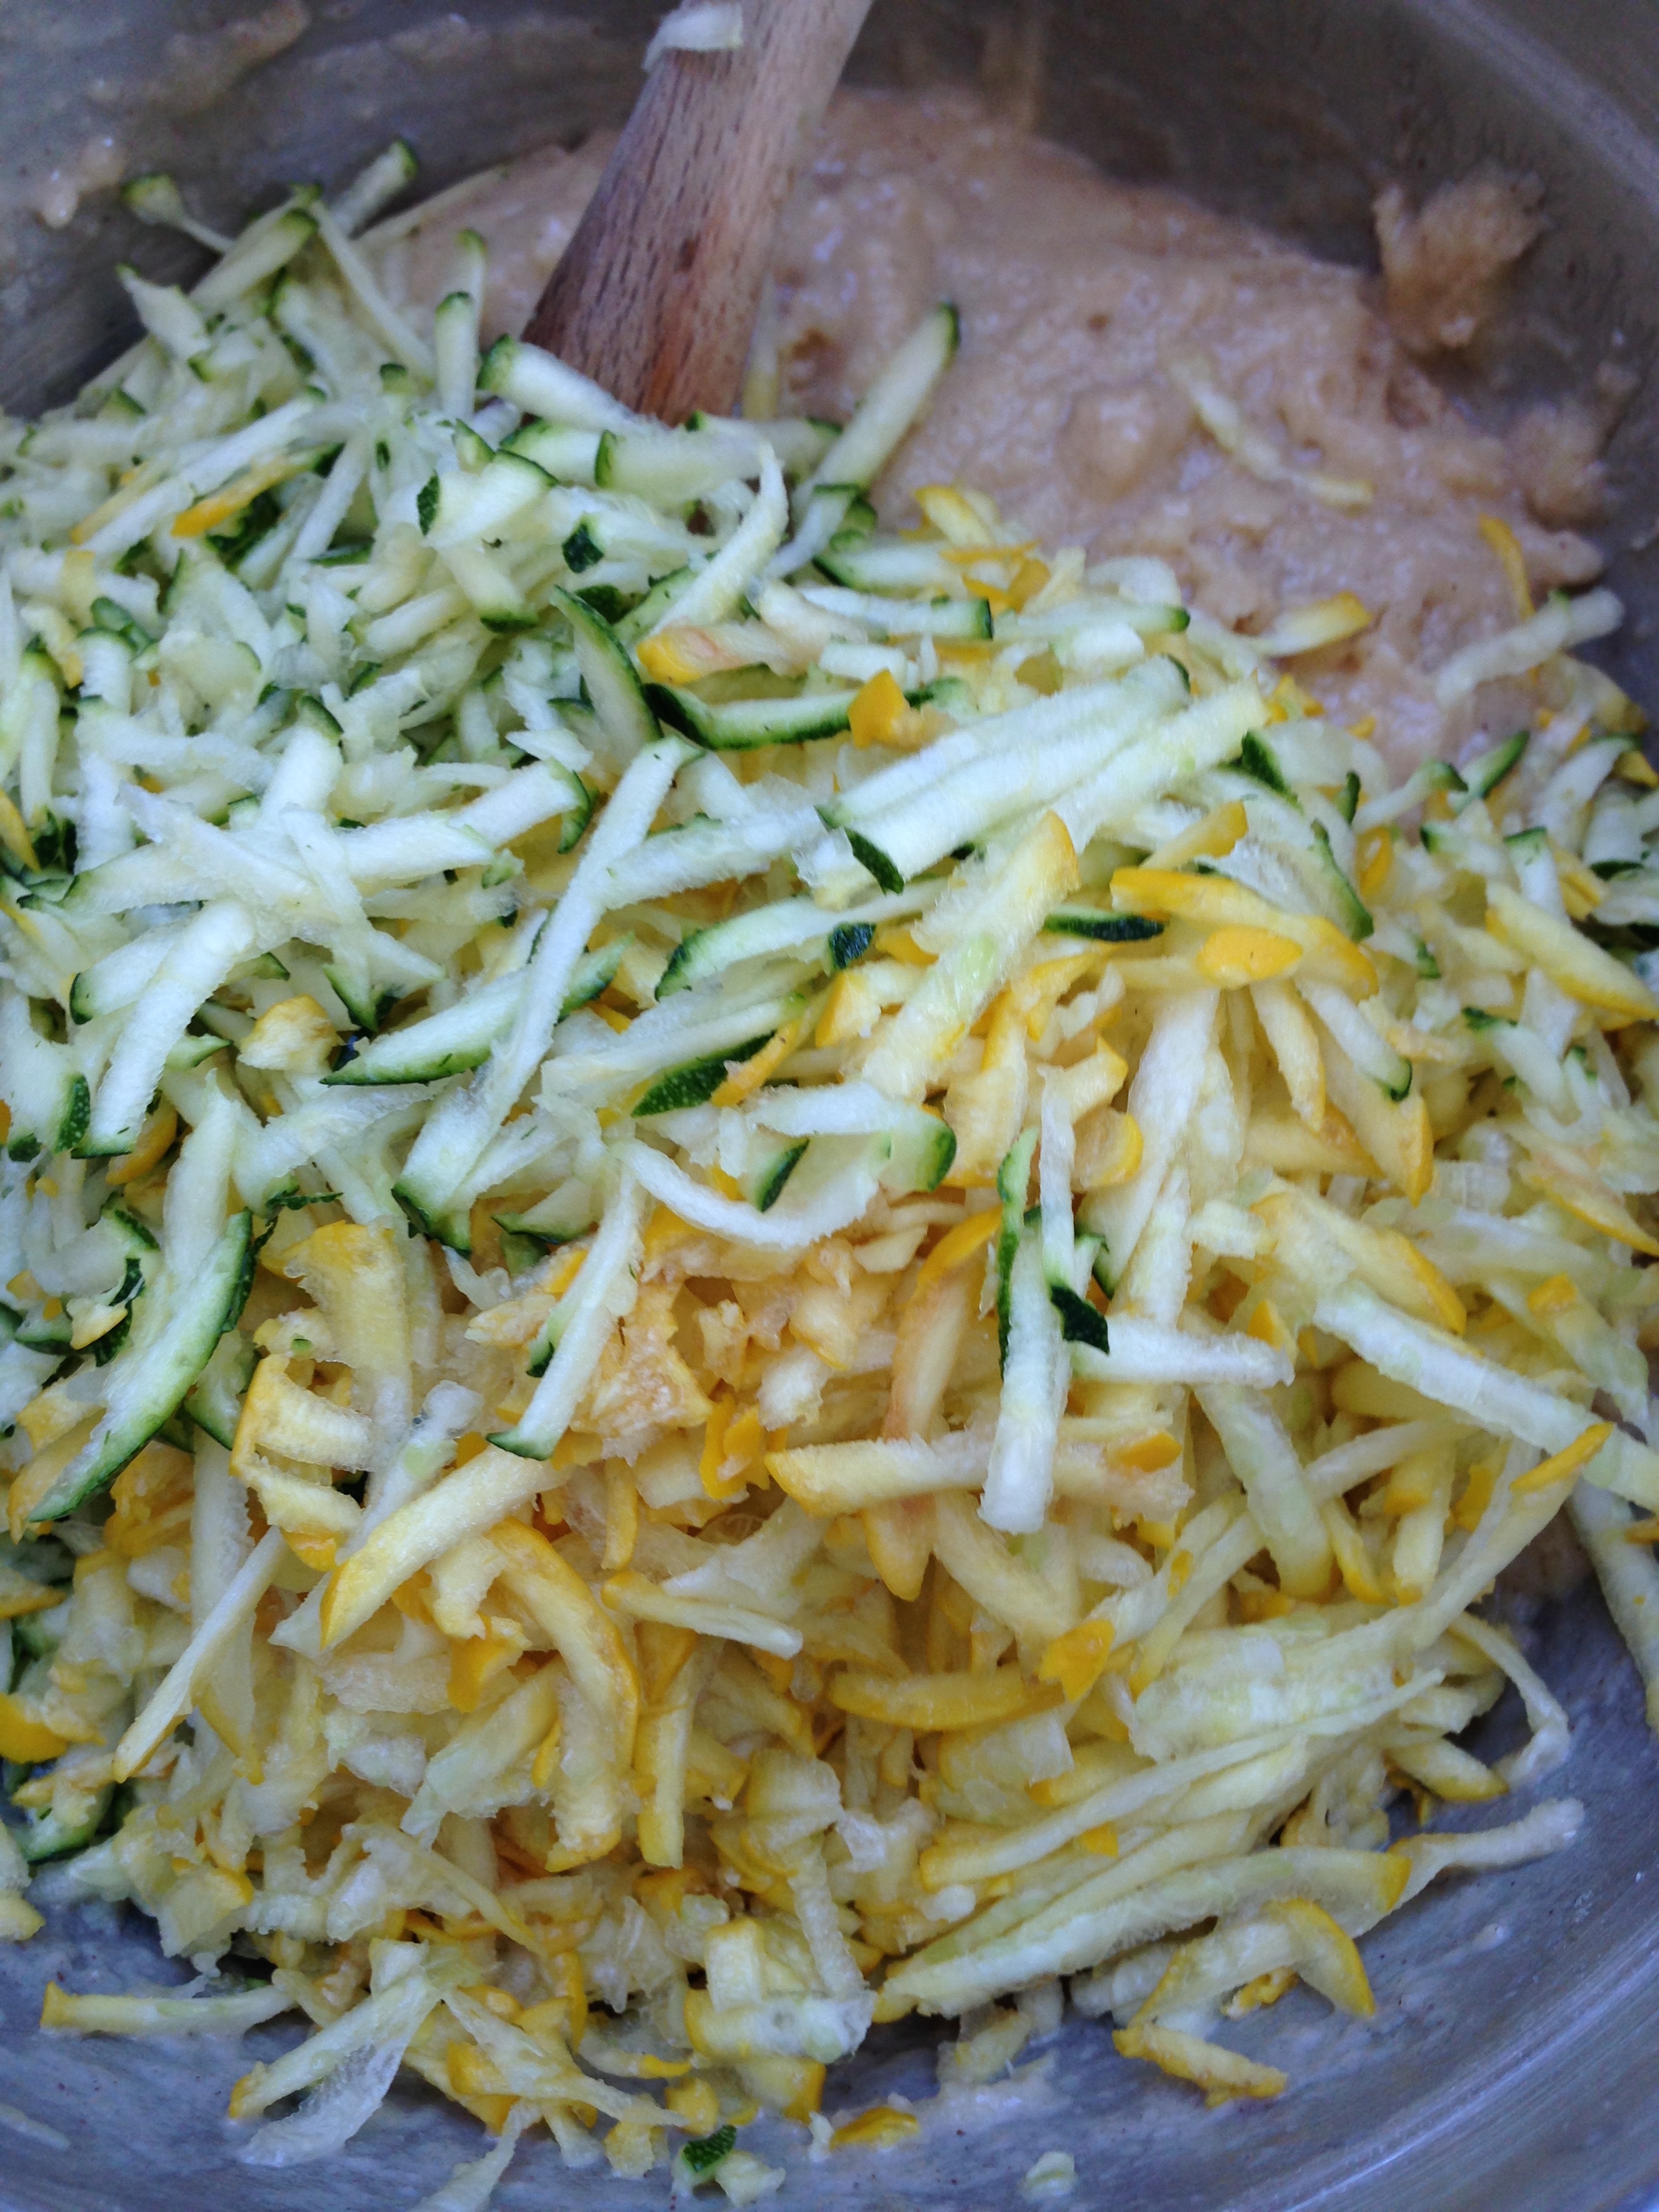
  5. Add shredded zucchini to batter. Mix together. 
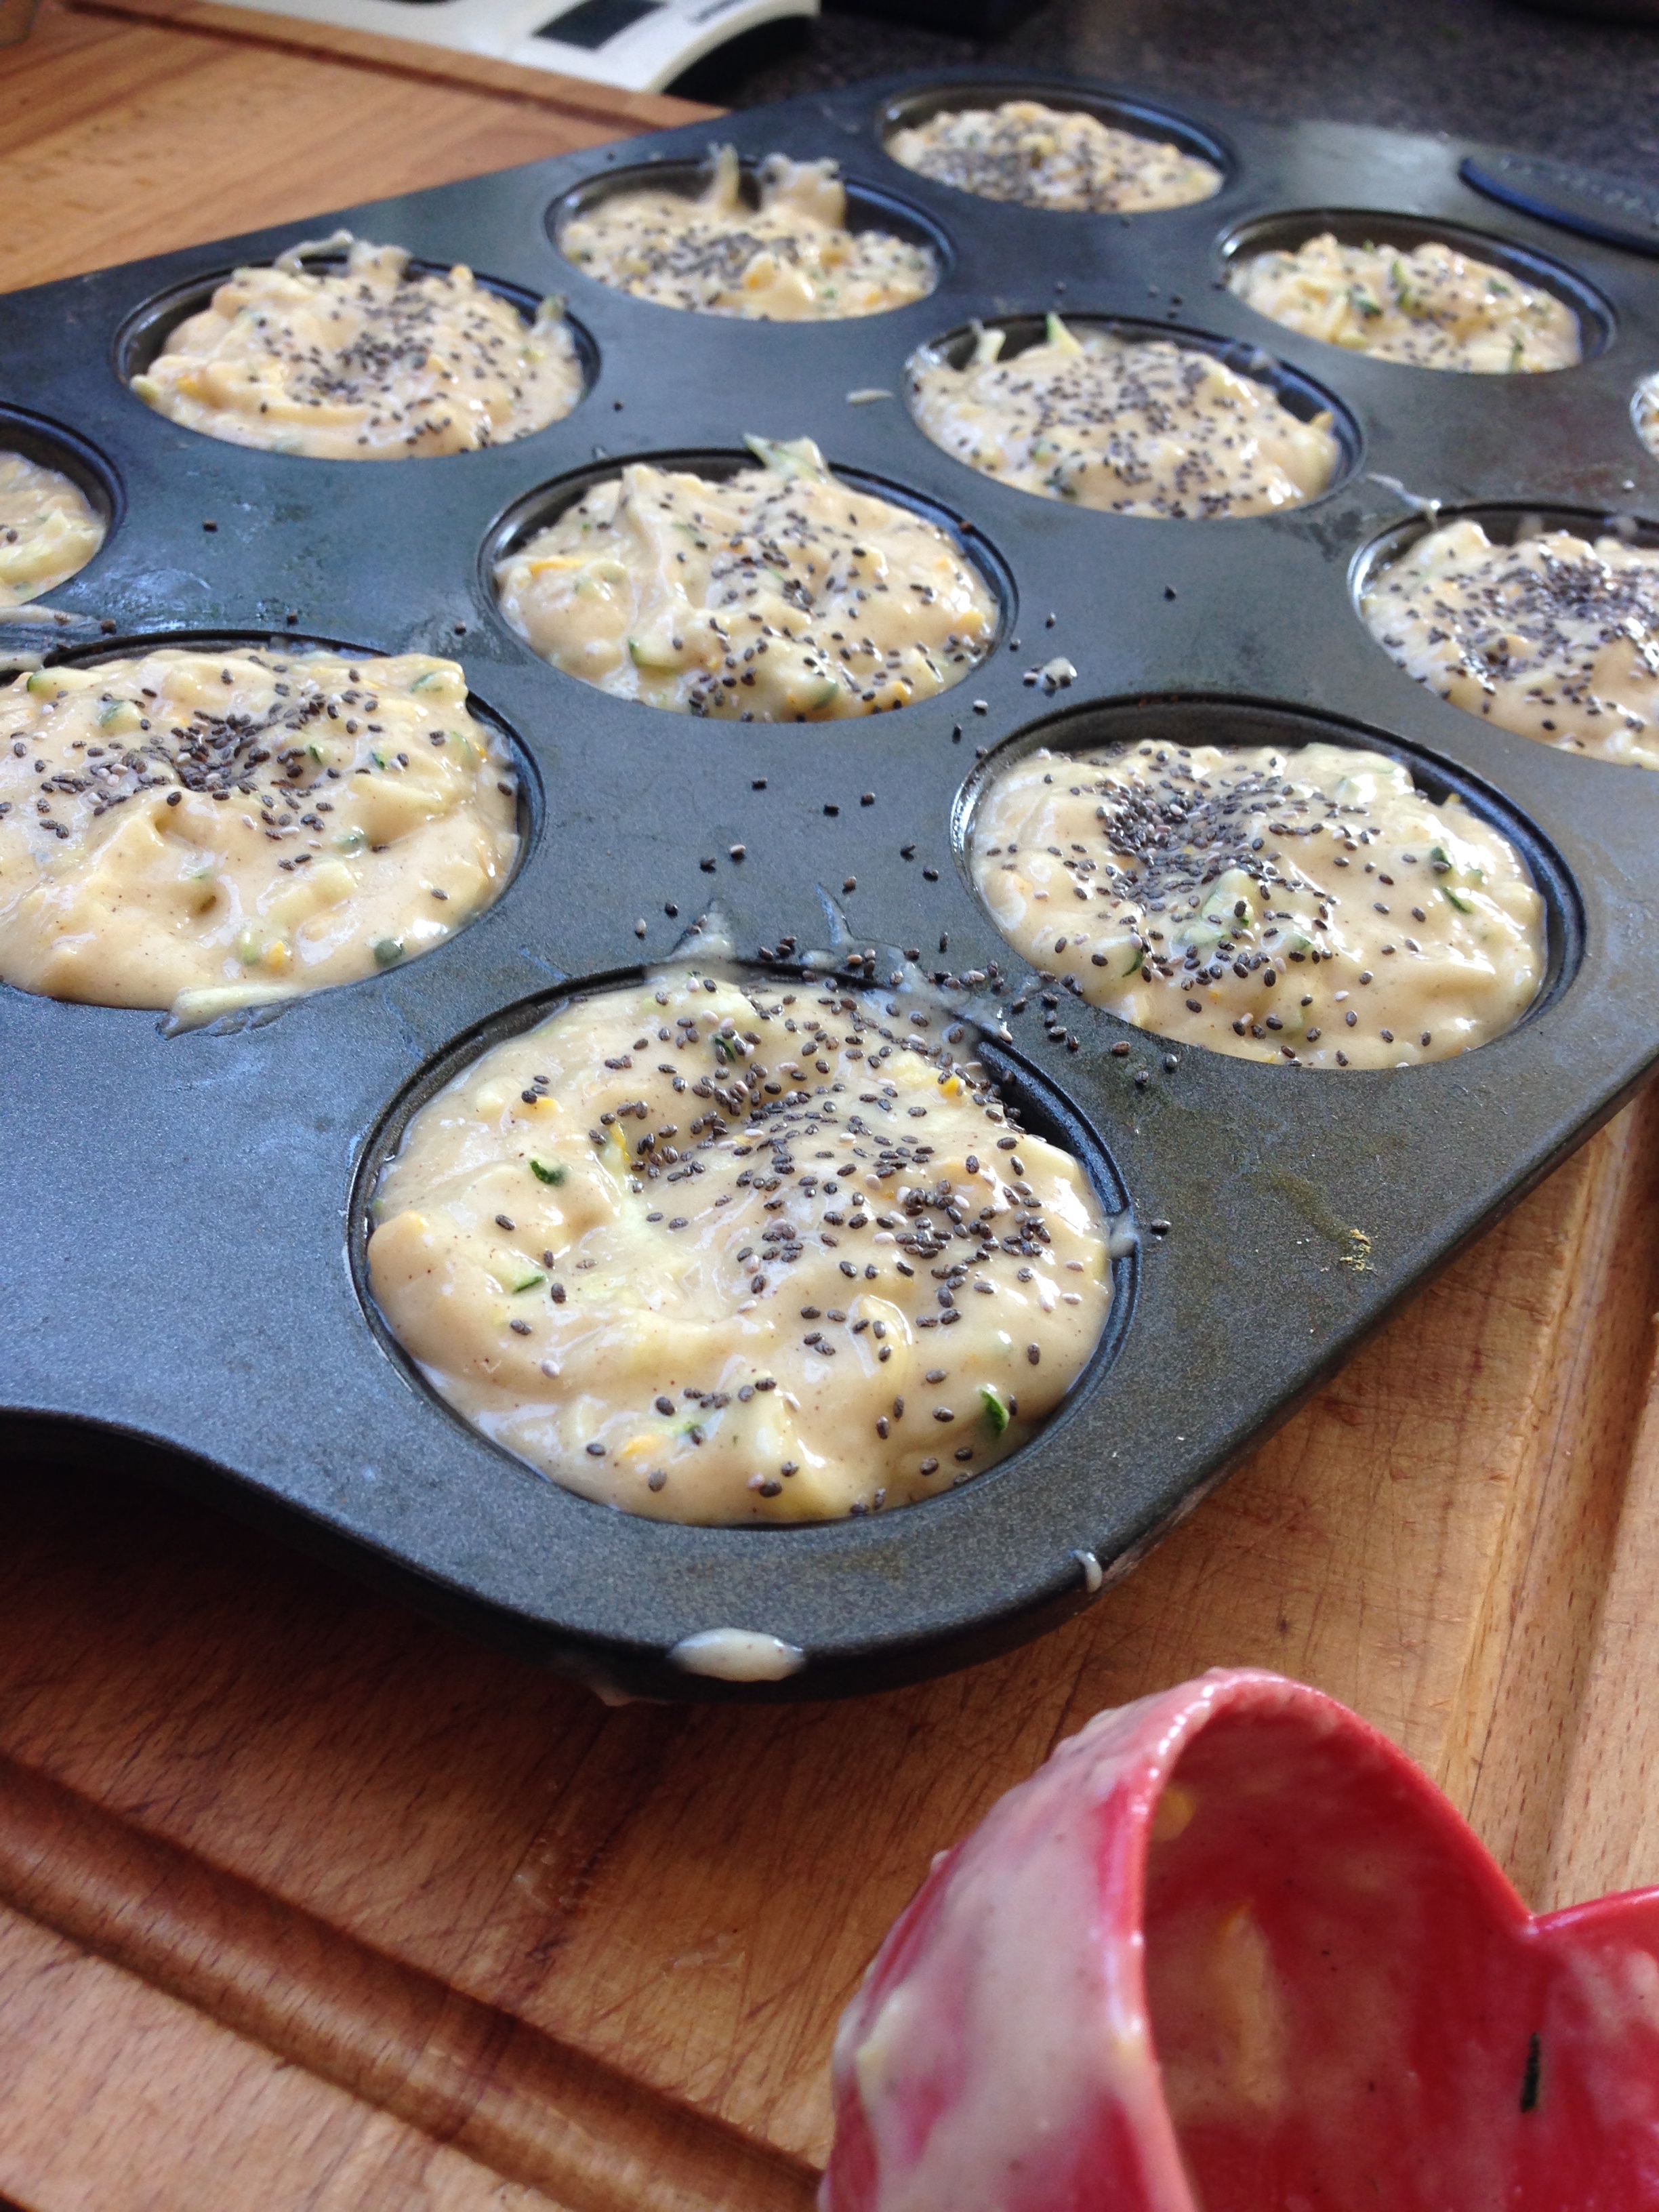
  6. Using a 1/4 cup measure, scoop batter into prepare muffin pan. 
  7. Sprinkle chia seeds over top of muffins. 
  8. Bake muffins for ~25 minutes or until golden brown and a toothpick inserted into centre of a muffin comes out clean.
  9. Serve warm with margarine and clover honey. 

Haha. Anyways. Word-ing. Check. 

Enjoy!

-Andrea

The Half-Assed Hobbyist
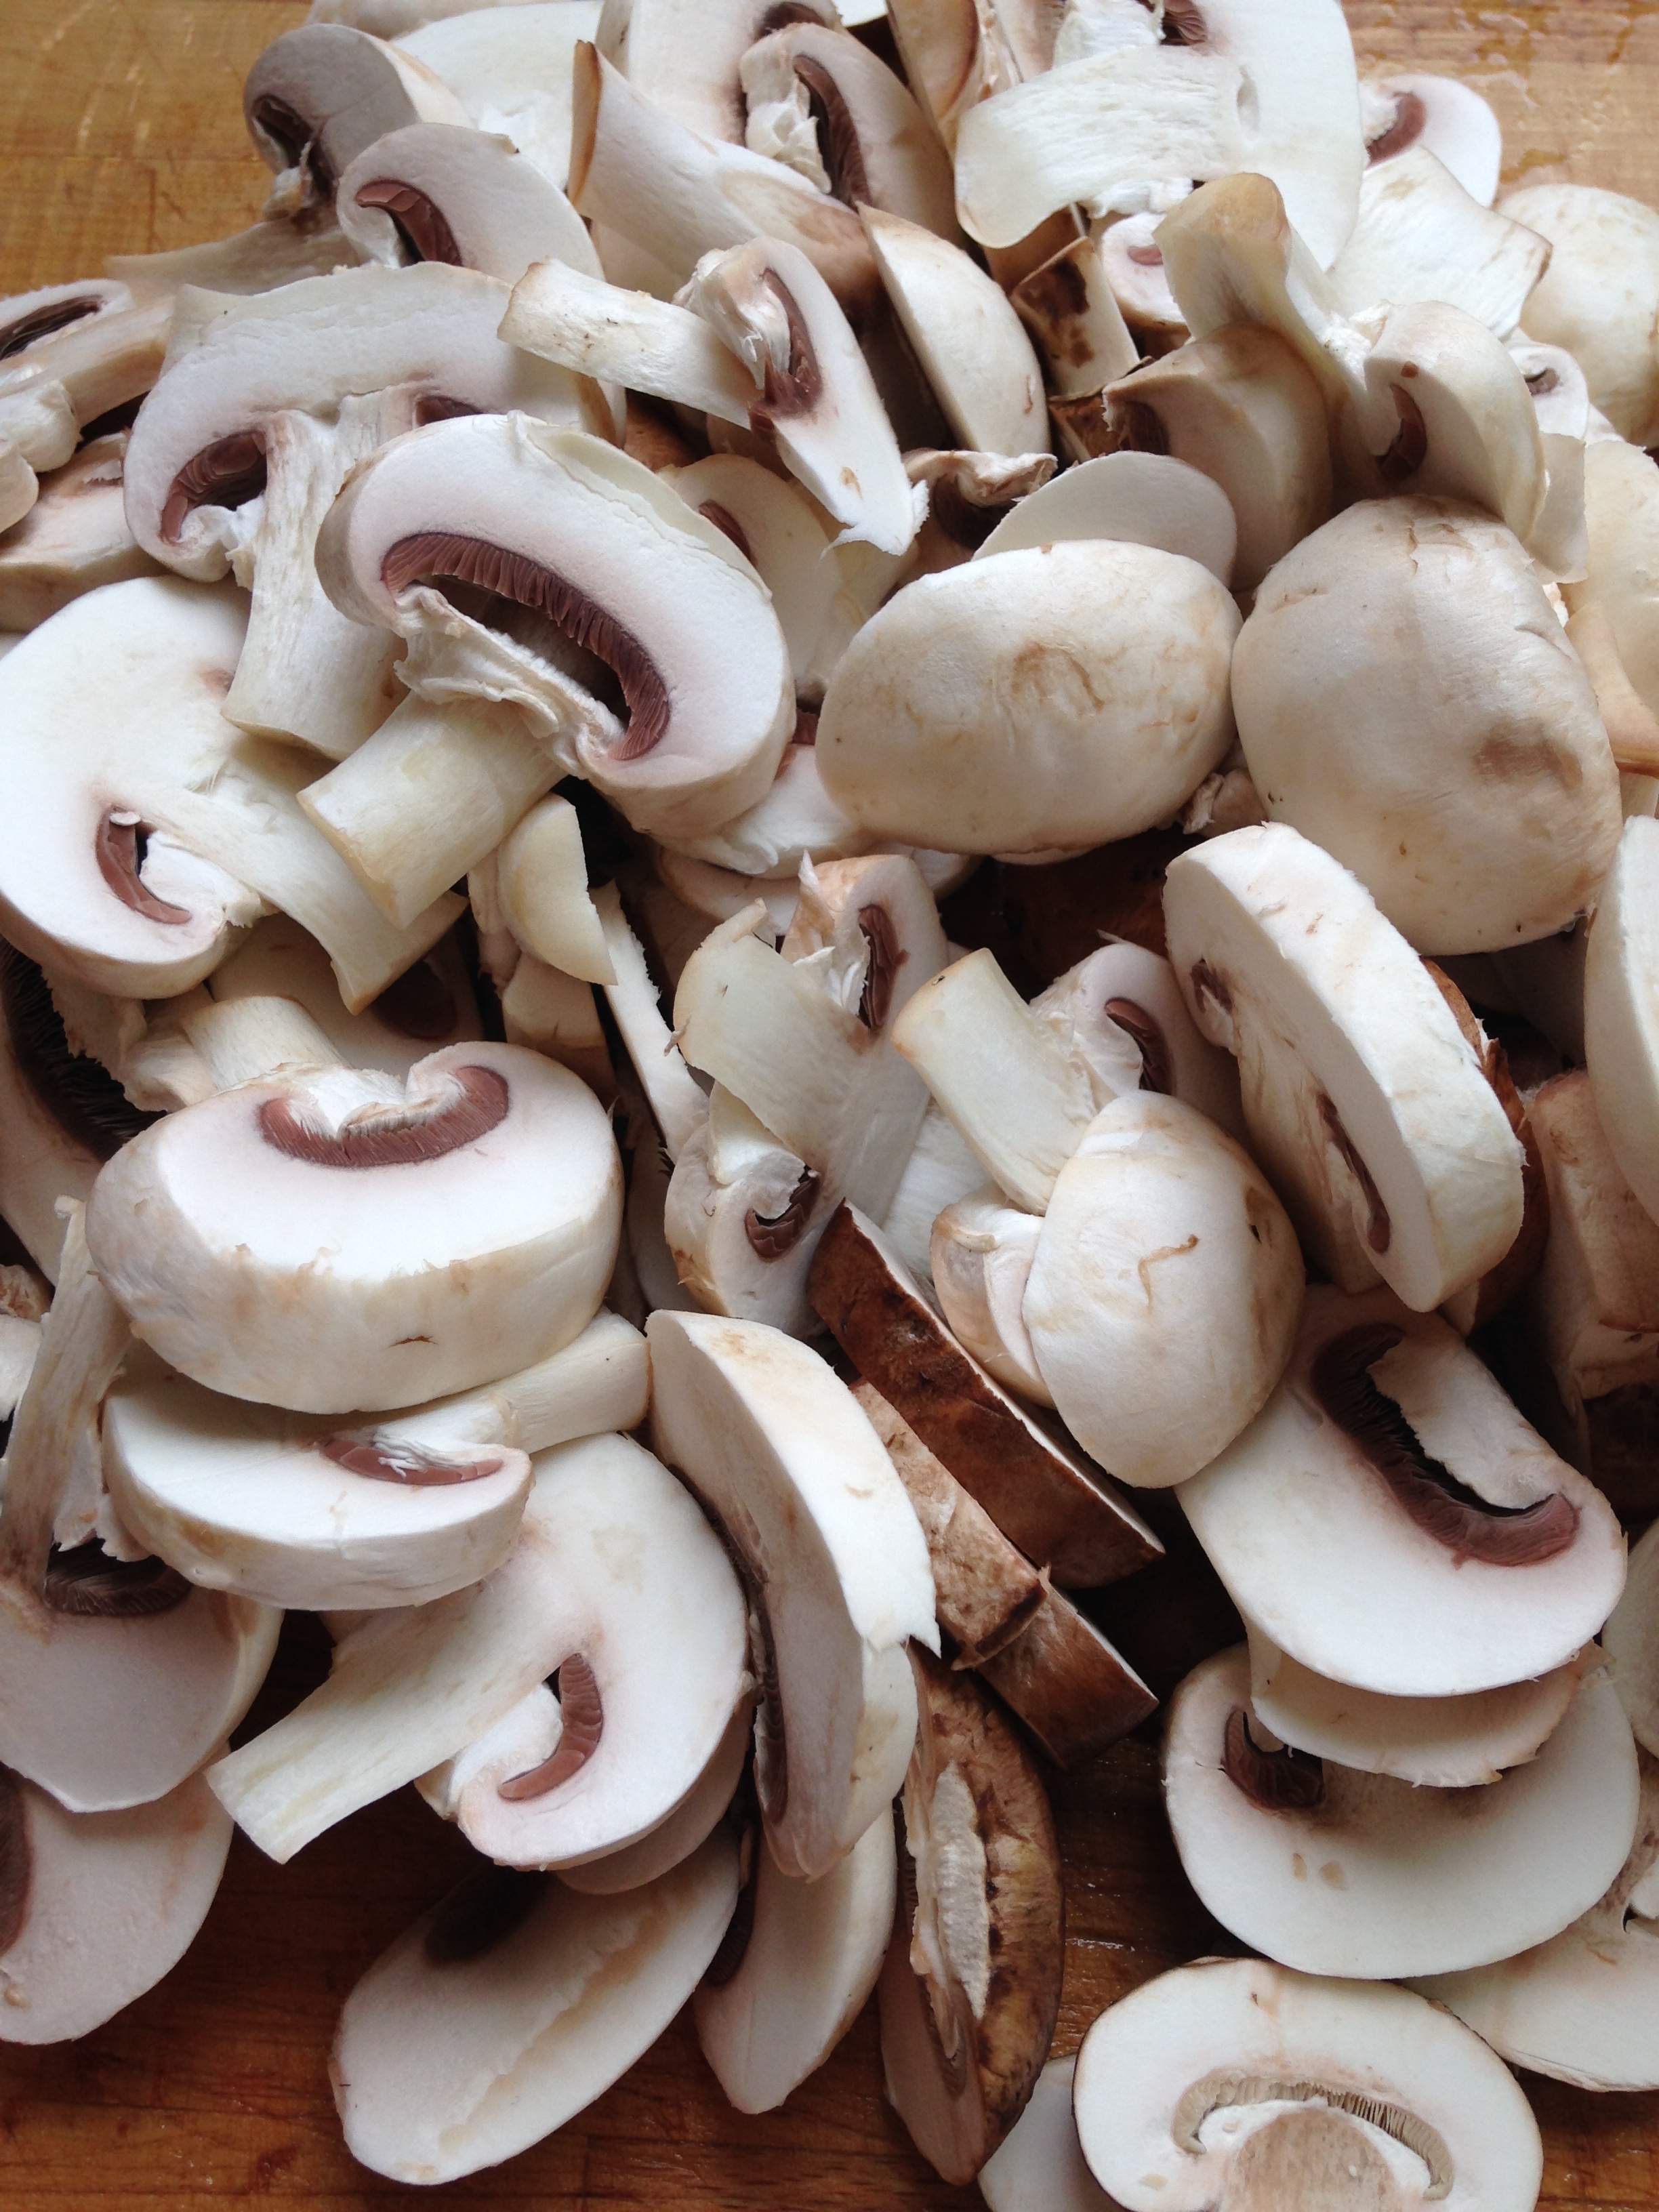
 

Markets full of Mushrooms

Settling into the kitchen now. I went to the weekday market (held on Thursdays) and bought all the things! (And for cheap, double score!) There were these radishes that were absolutely massive. They must be grown at 0 gravity because I've never seen radishes that big before. 

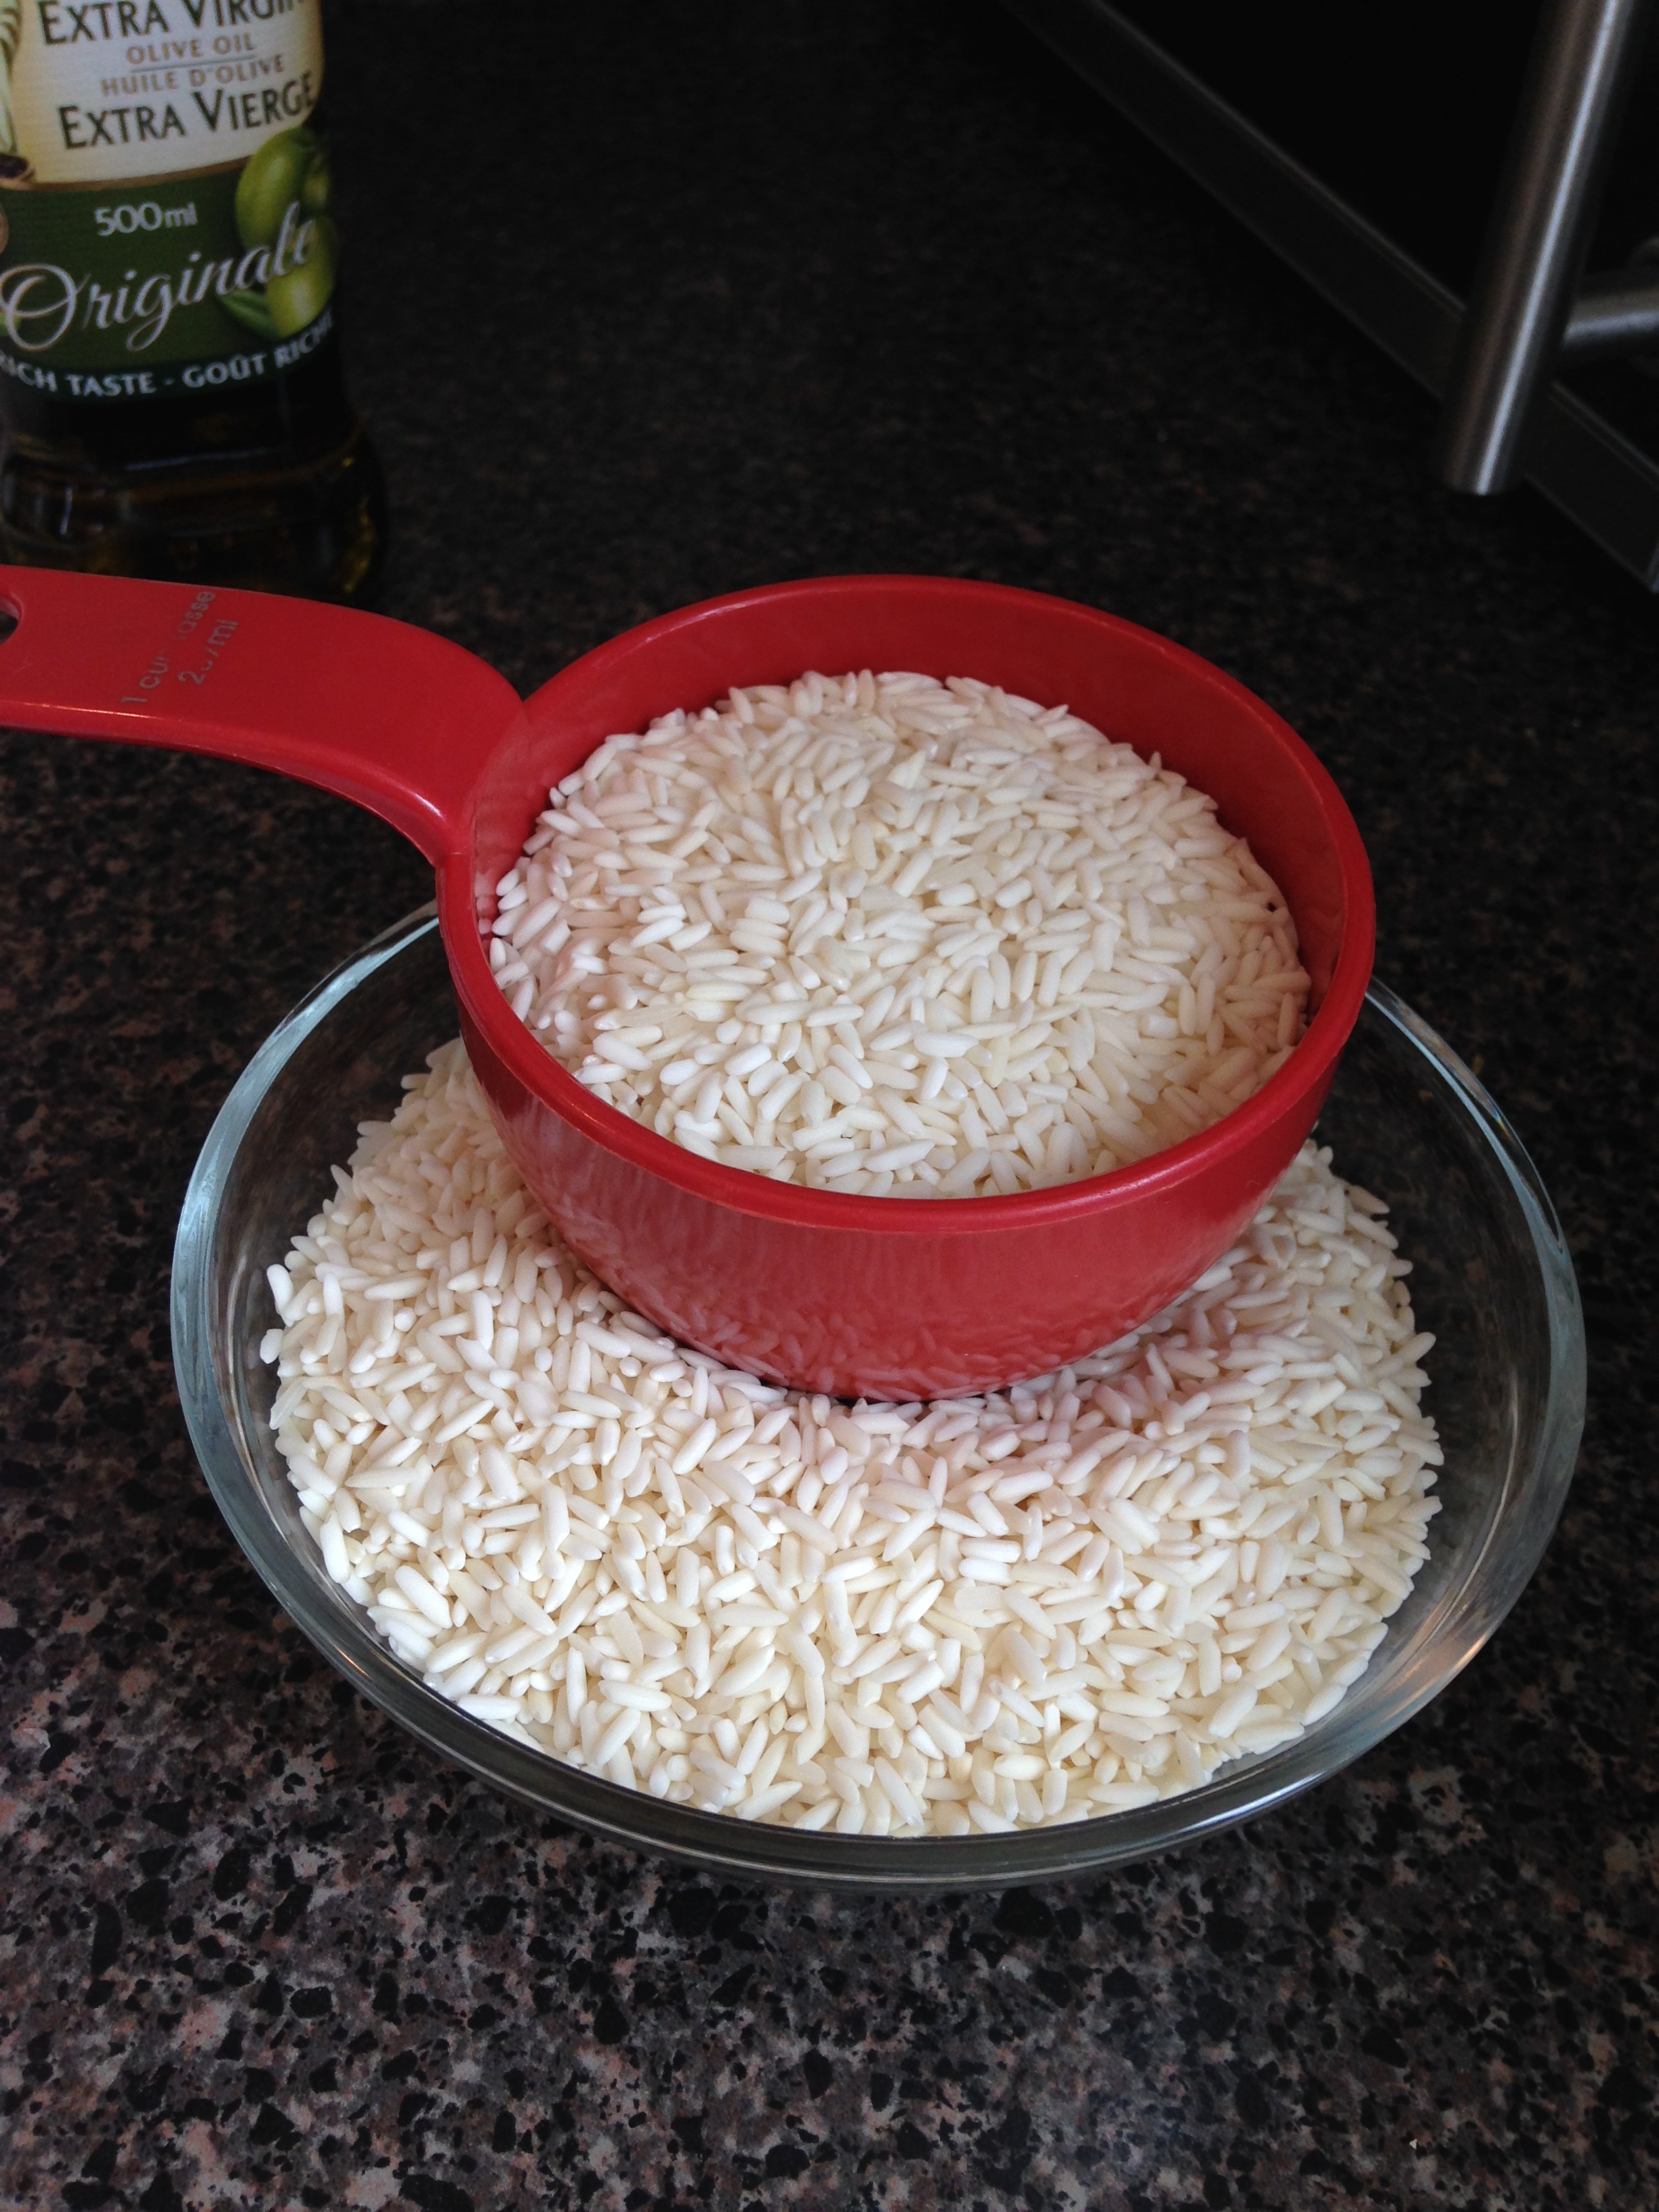
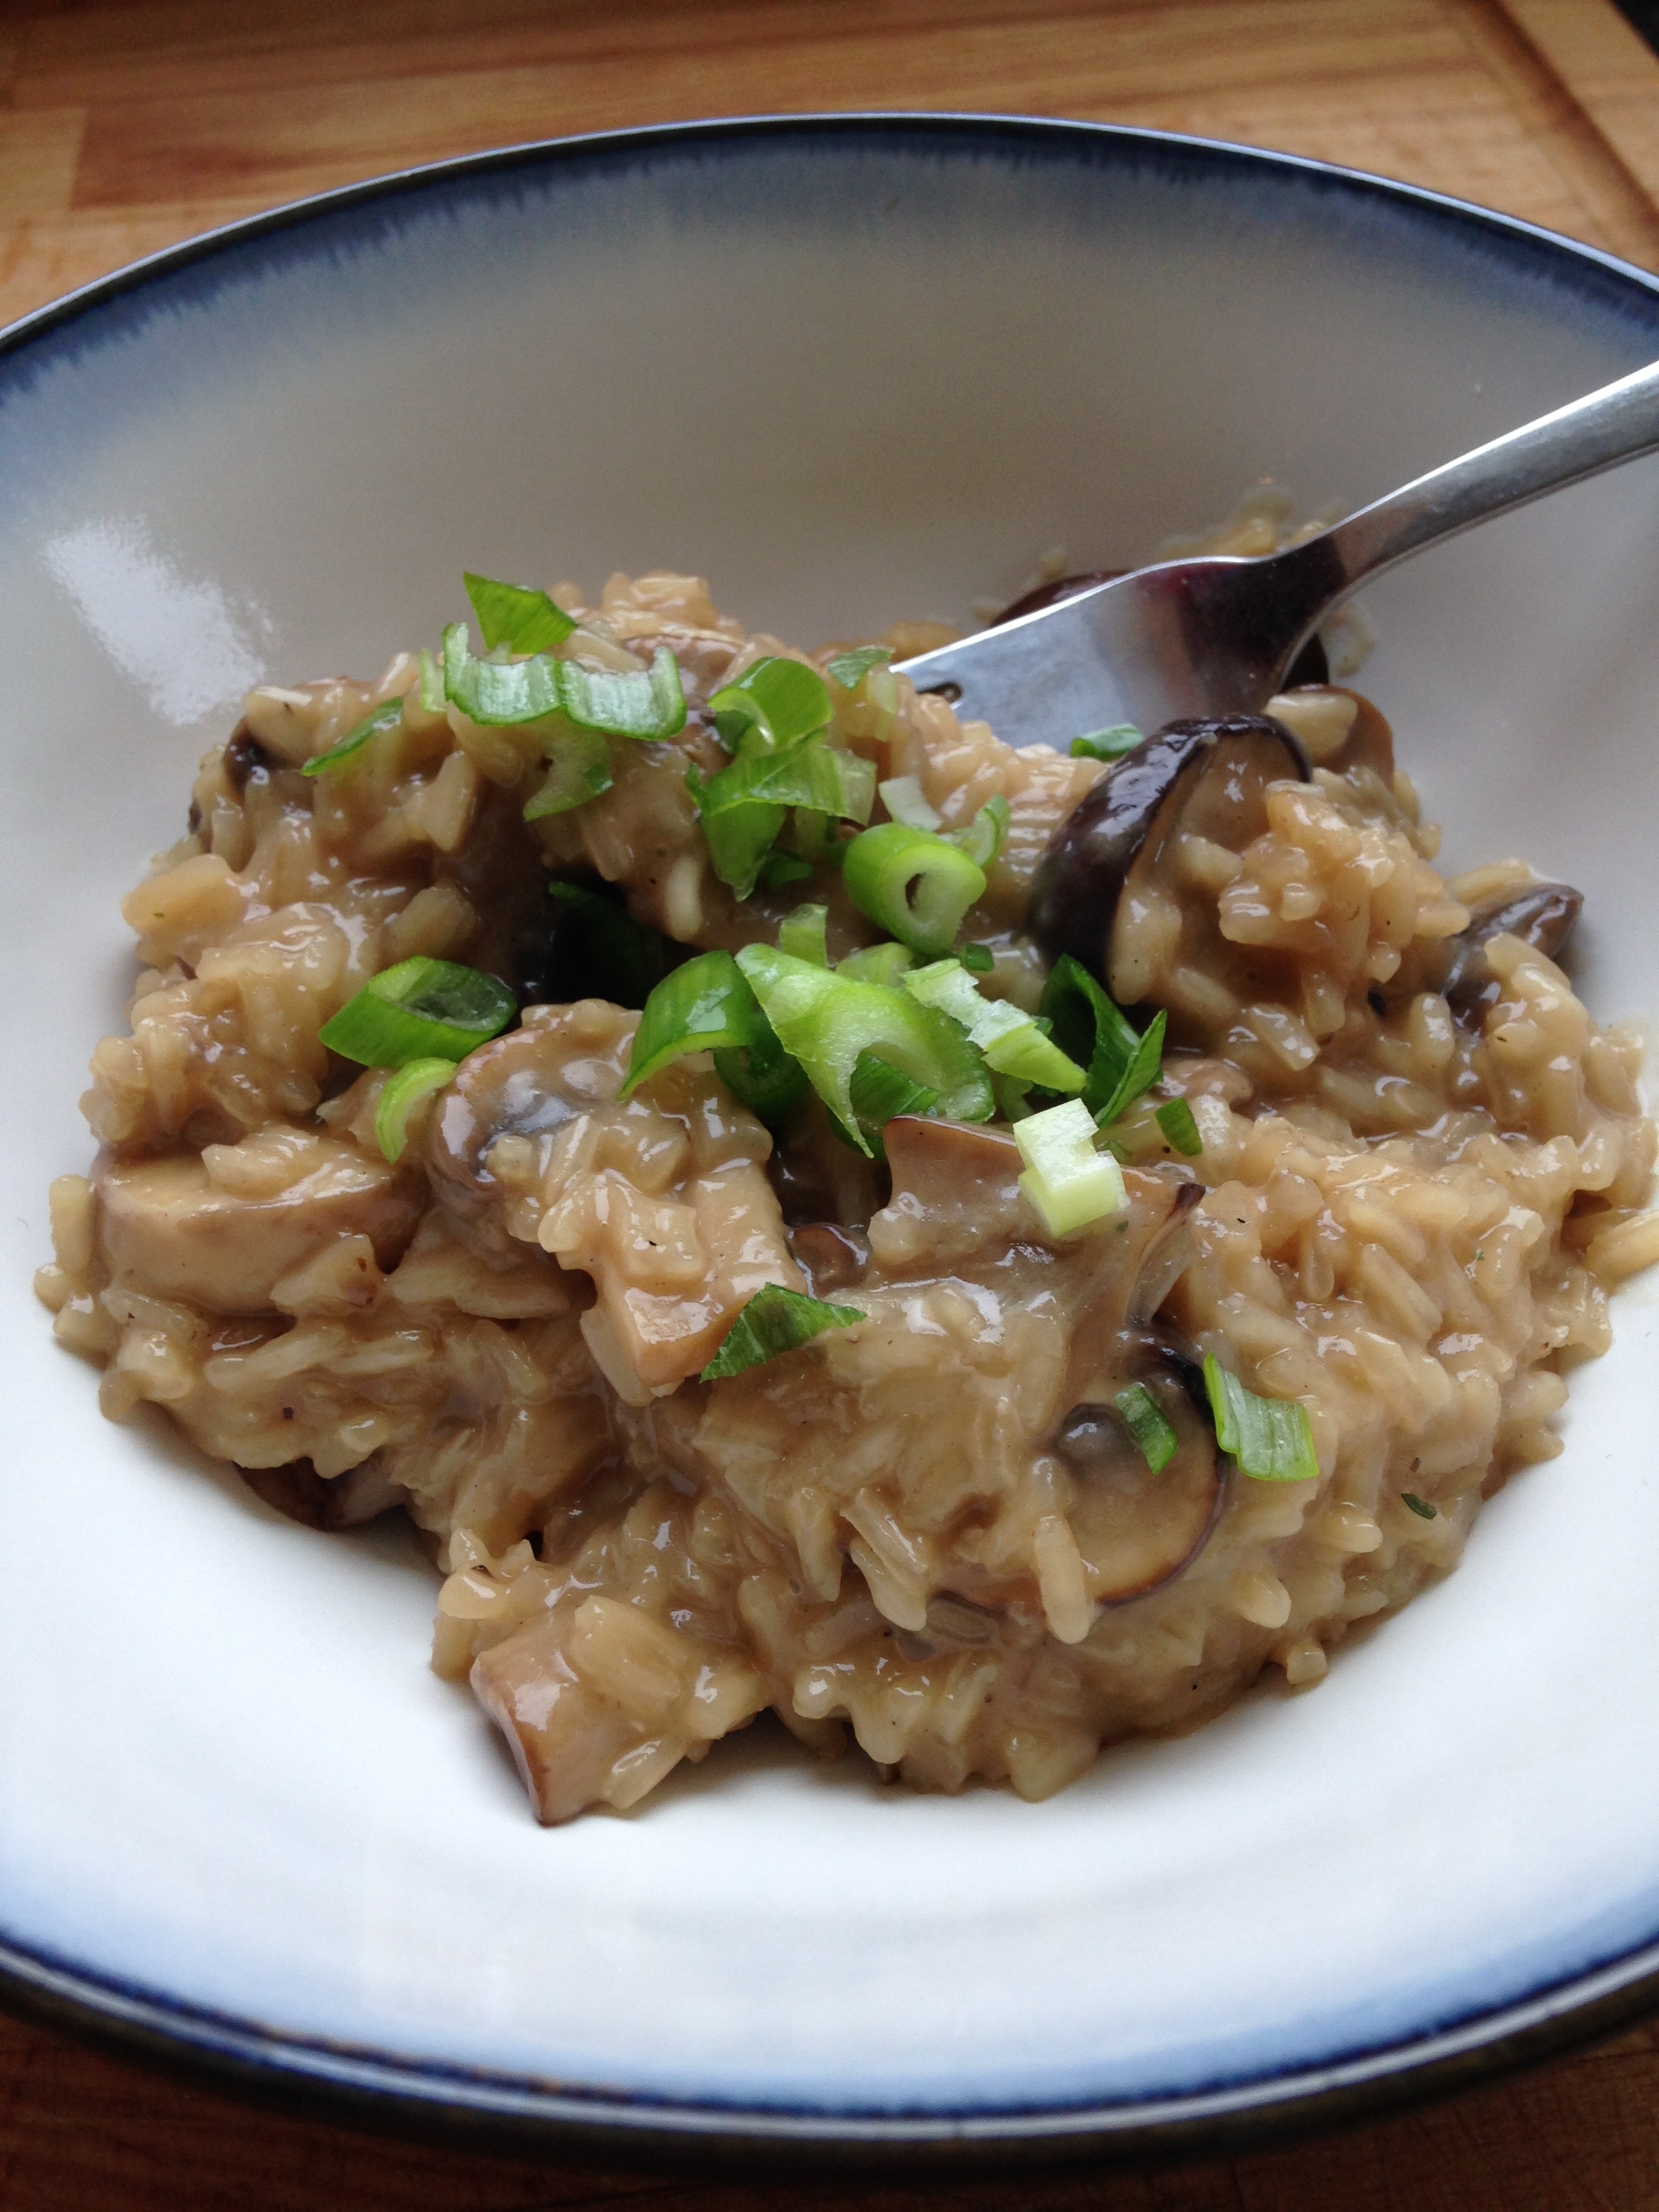
Anyway. I also bought a bunch of mushrooms and thought I'd try my hand at making a mushroom risotto. I had accidentally bought a whole bag of glutinous rice last week and what better to use it up that a ridiculously time consuming lunch! (I don't have a job yet, so why not.)

Now, I may have mentioned in previous posts how much I loath making risotto. It takes forever and is probably the most boring thing to make. Except it tastes soooo gooood. I typically order risottos at restaurants so that I get to enjoy the rice-y cheese-y deliciousness without the boredum of stirring rice constantly, for 45 minutes. But it had been a while since I tried my hand at it so my silly brain thought 'Why not?'.

Mushroom Risotto a la Andrea

2 TBSP oil
1/4 white onion, finely chopped
1 tsp garlic, minced
18 mushrooms, sliced thick
2 tsp Worchestershire Sauce
Fresh ground pepper
2 cups glutinous rice
6 cups broth, simmering (I did chicken broth but beef or vegetable works too!)
1/2 cup sharp cheddar cheese, shredded

  1. Wash, slice and chop all the things. 
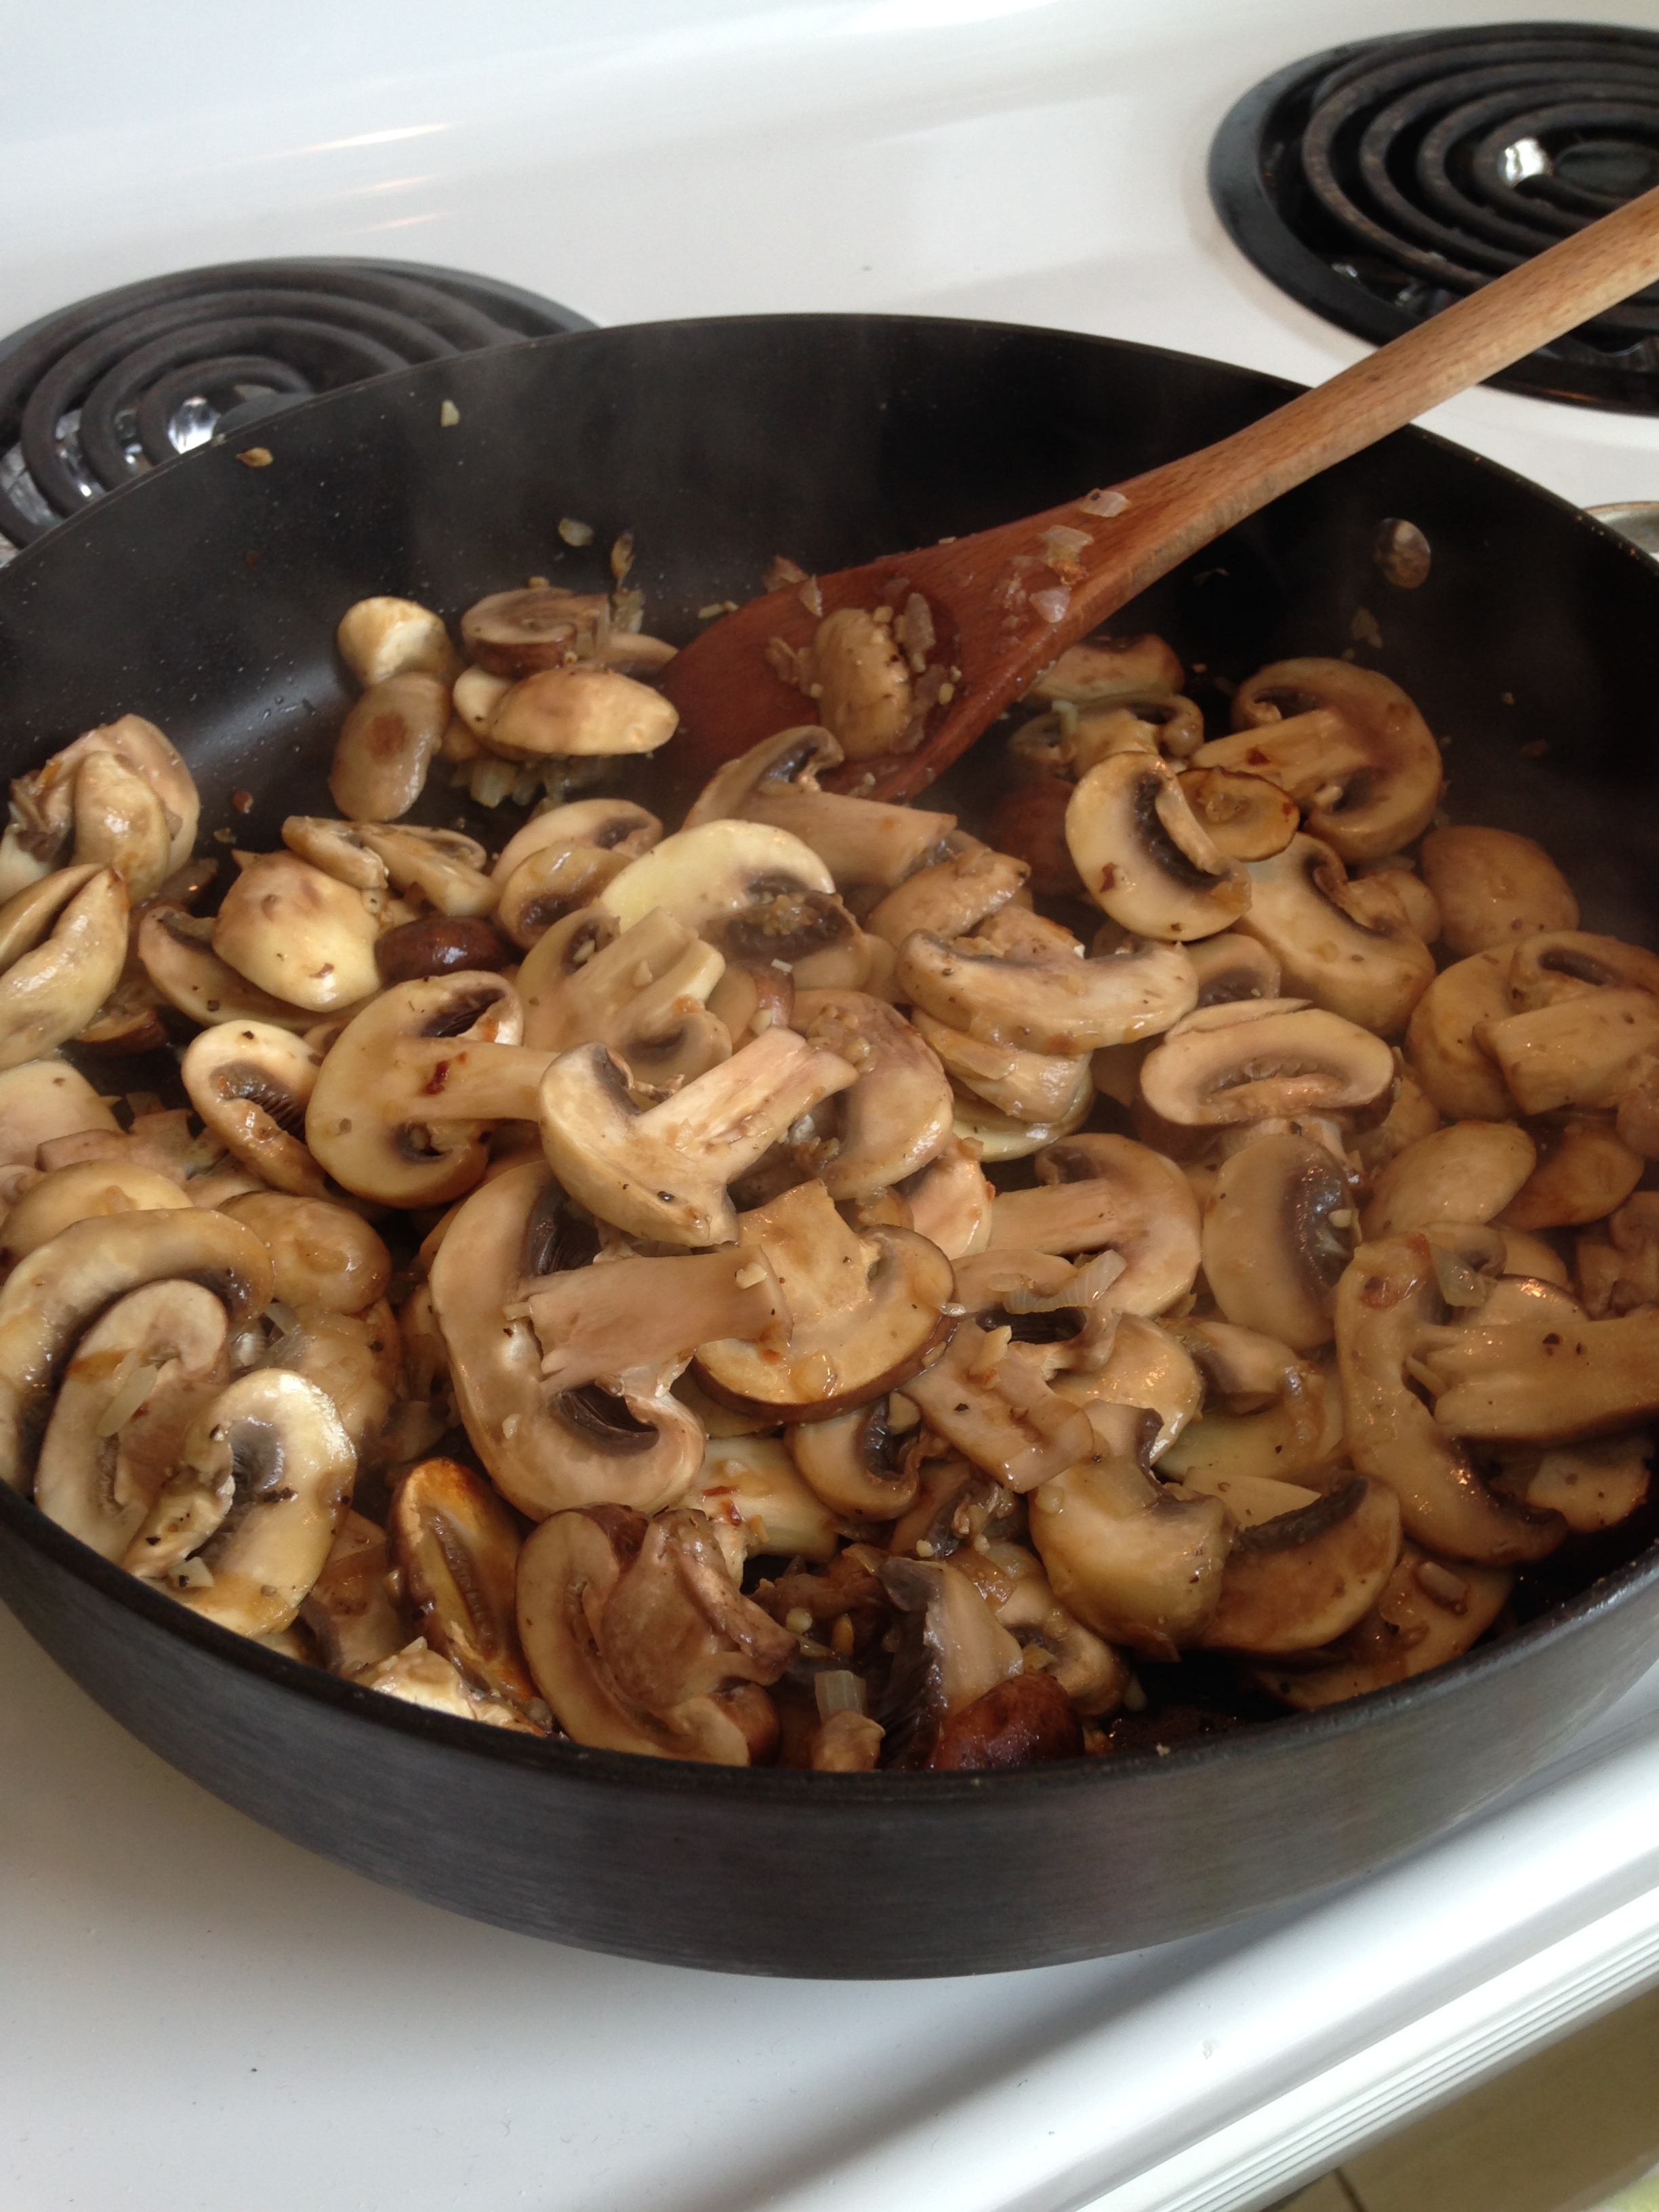
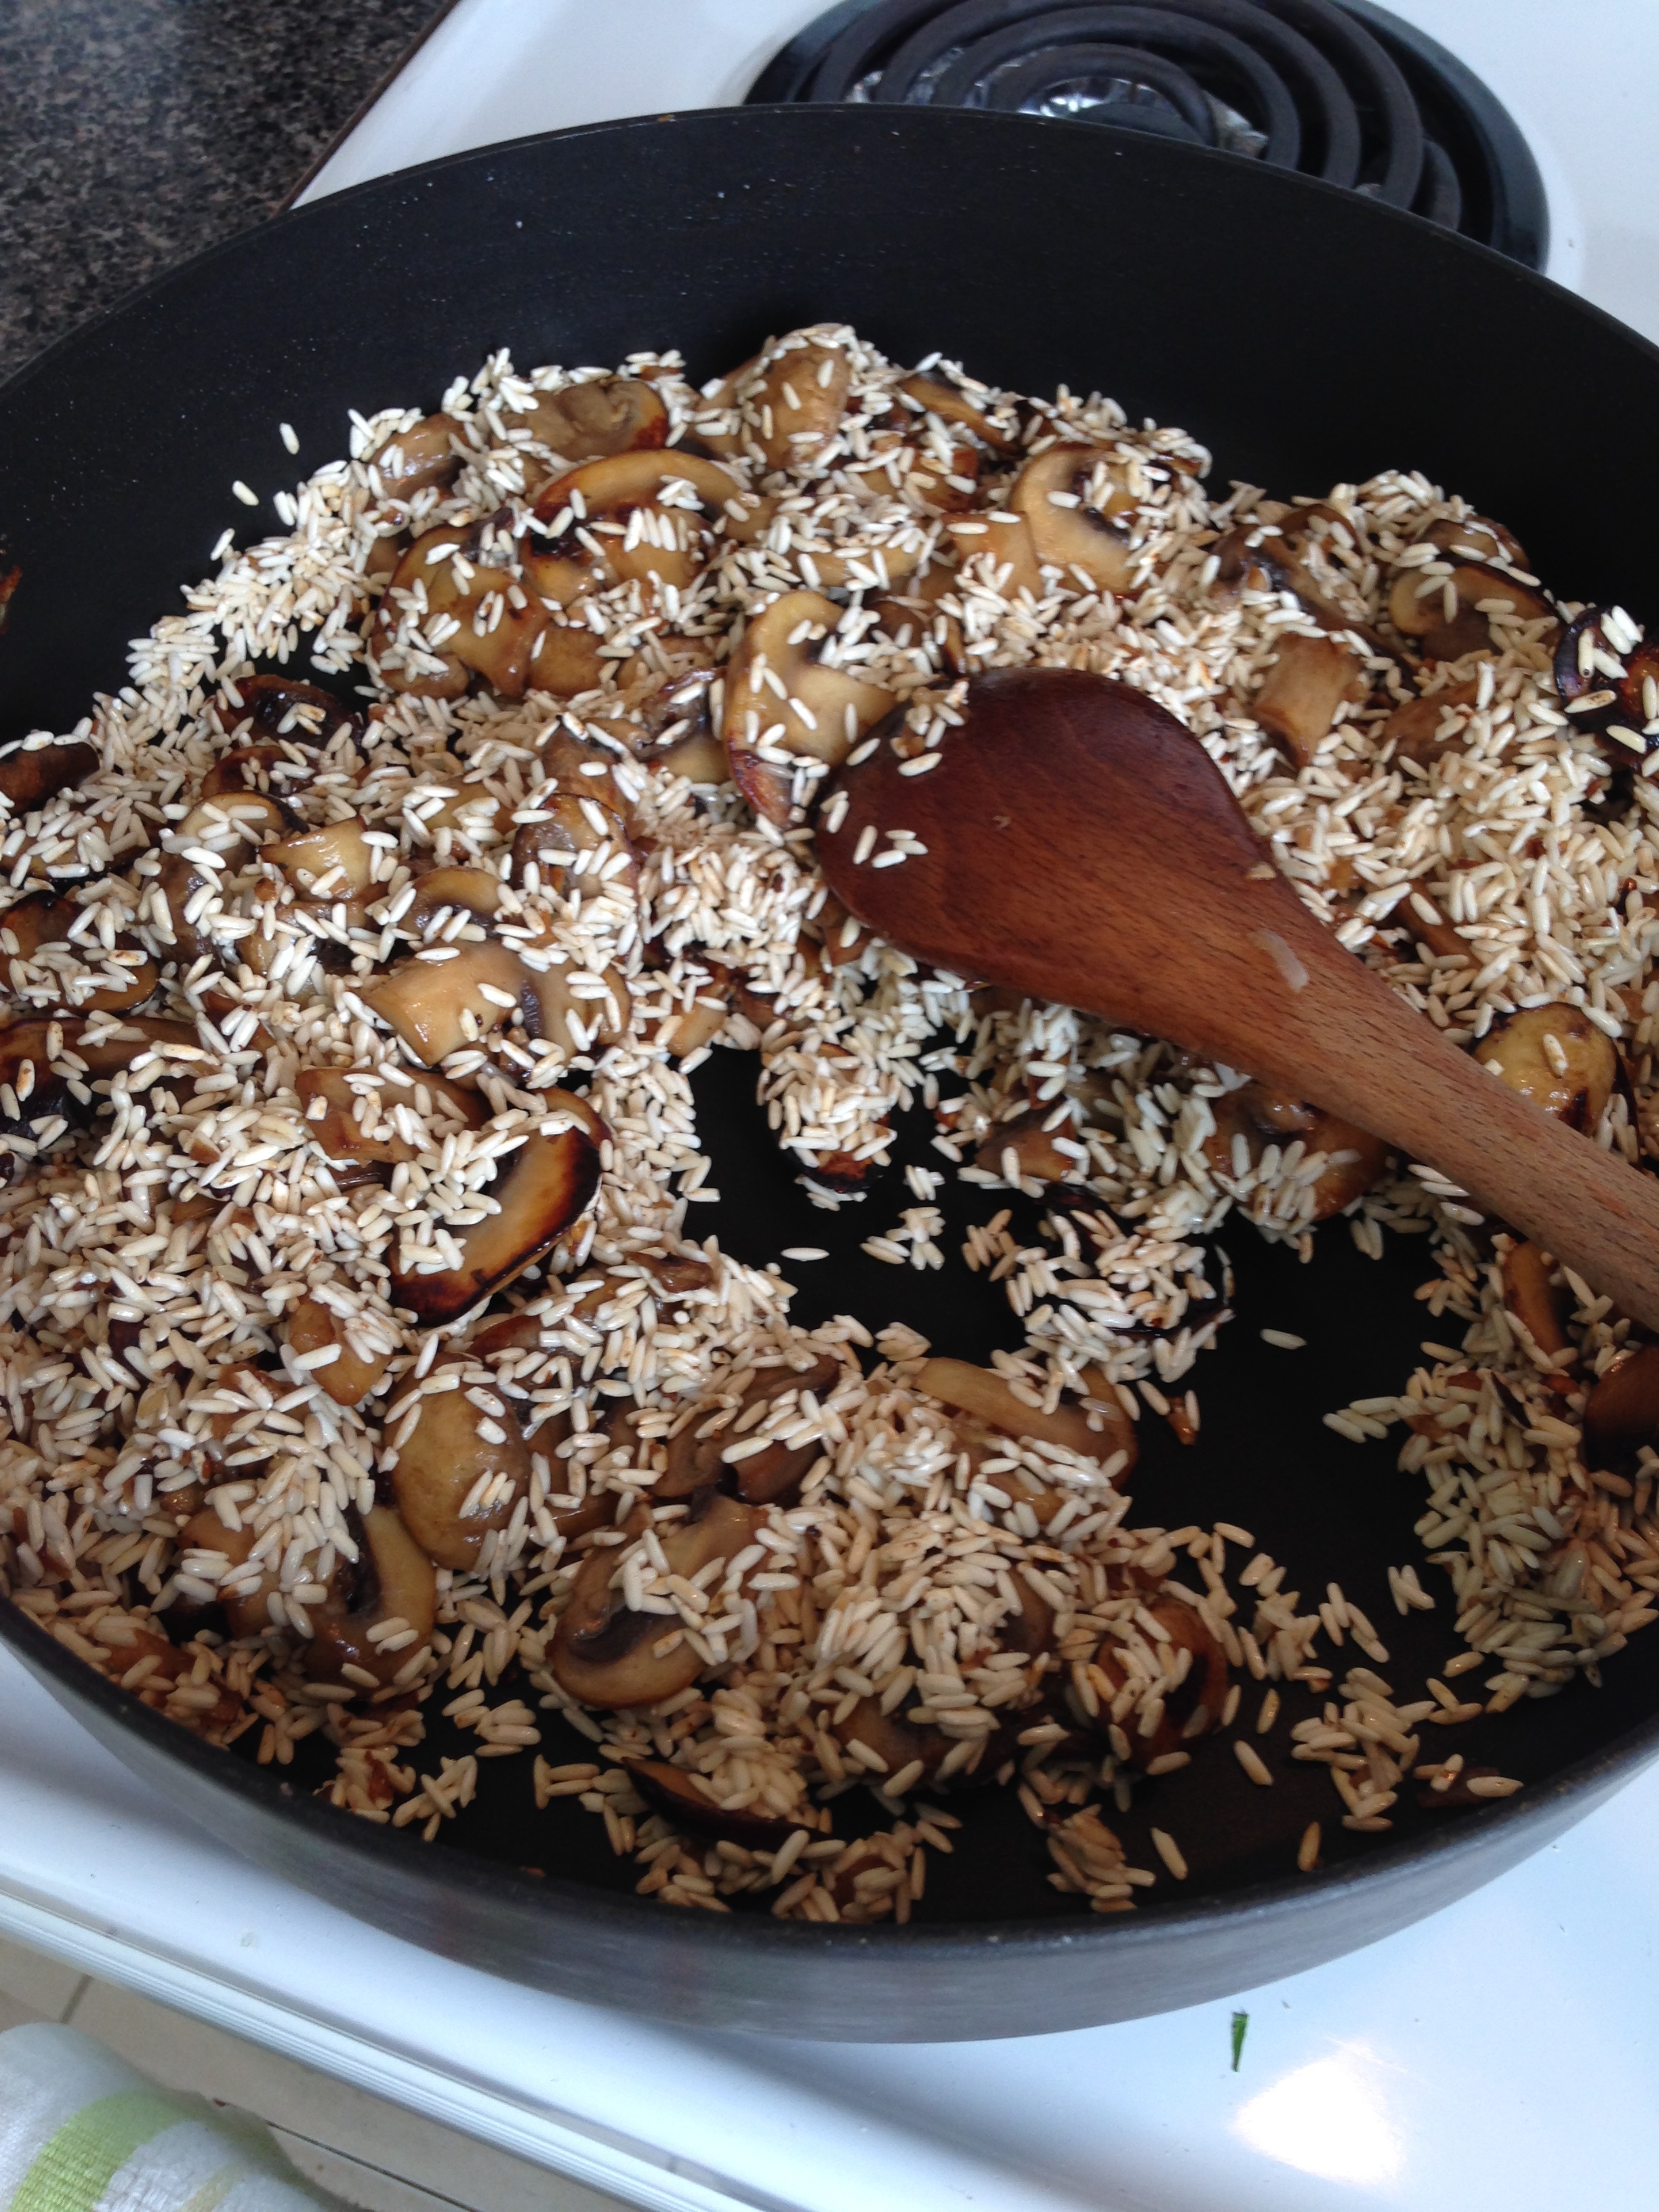
  2. In a large skillet or frying pan, heat oil over med-high heat. Add onion and fry until clear. Add garlic and mushrooms. Stir well to coat all mushrooms in oil. Add Worcestershire sauce and fresh ground pepper (to your liking). Cook mushrooms, stirring frequently, until they are golden brown. (This can take up to a half hour.)
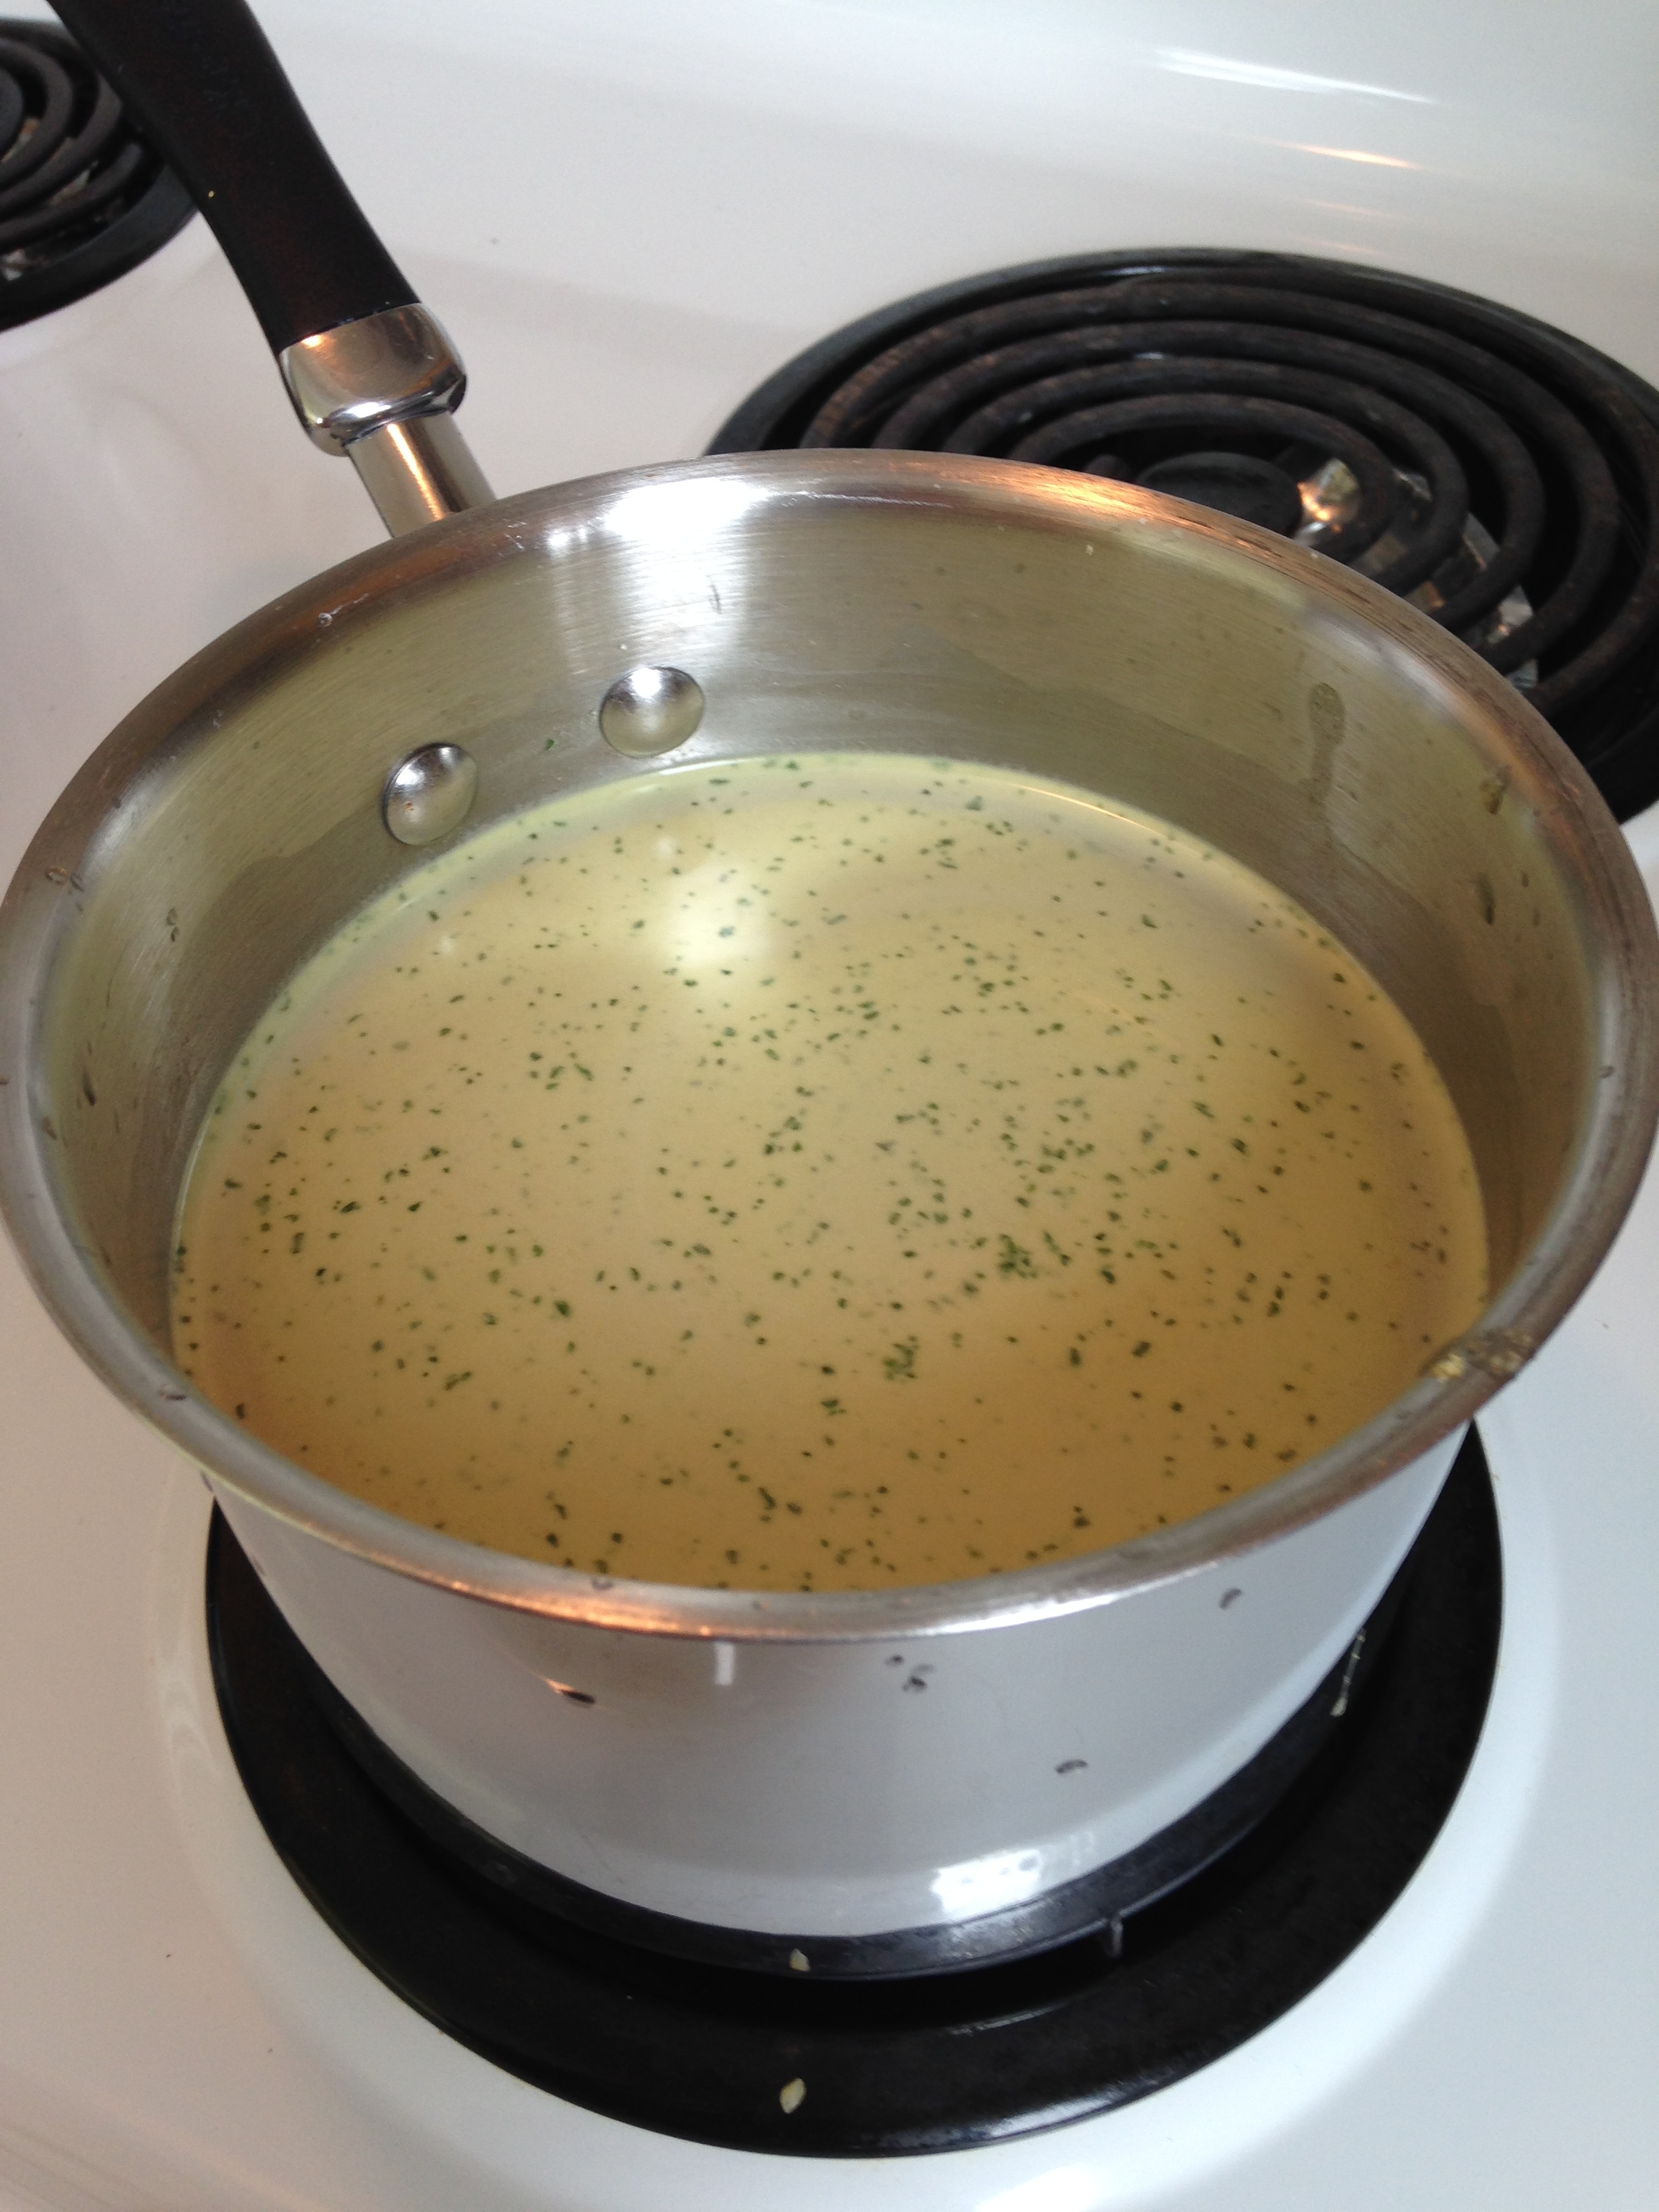
  3. While your mushroom mix is cooking, put on your broth to boil. I usually make mine out of OXO cubes. After the broth is boiling, turn it to a simmer. Keep it simmering. 
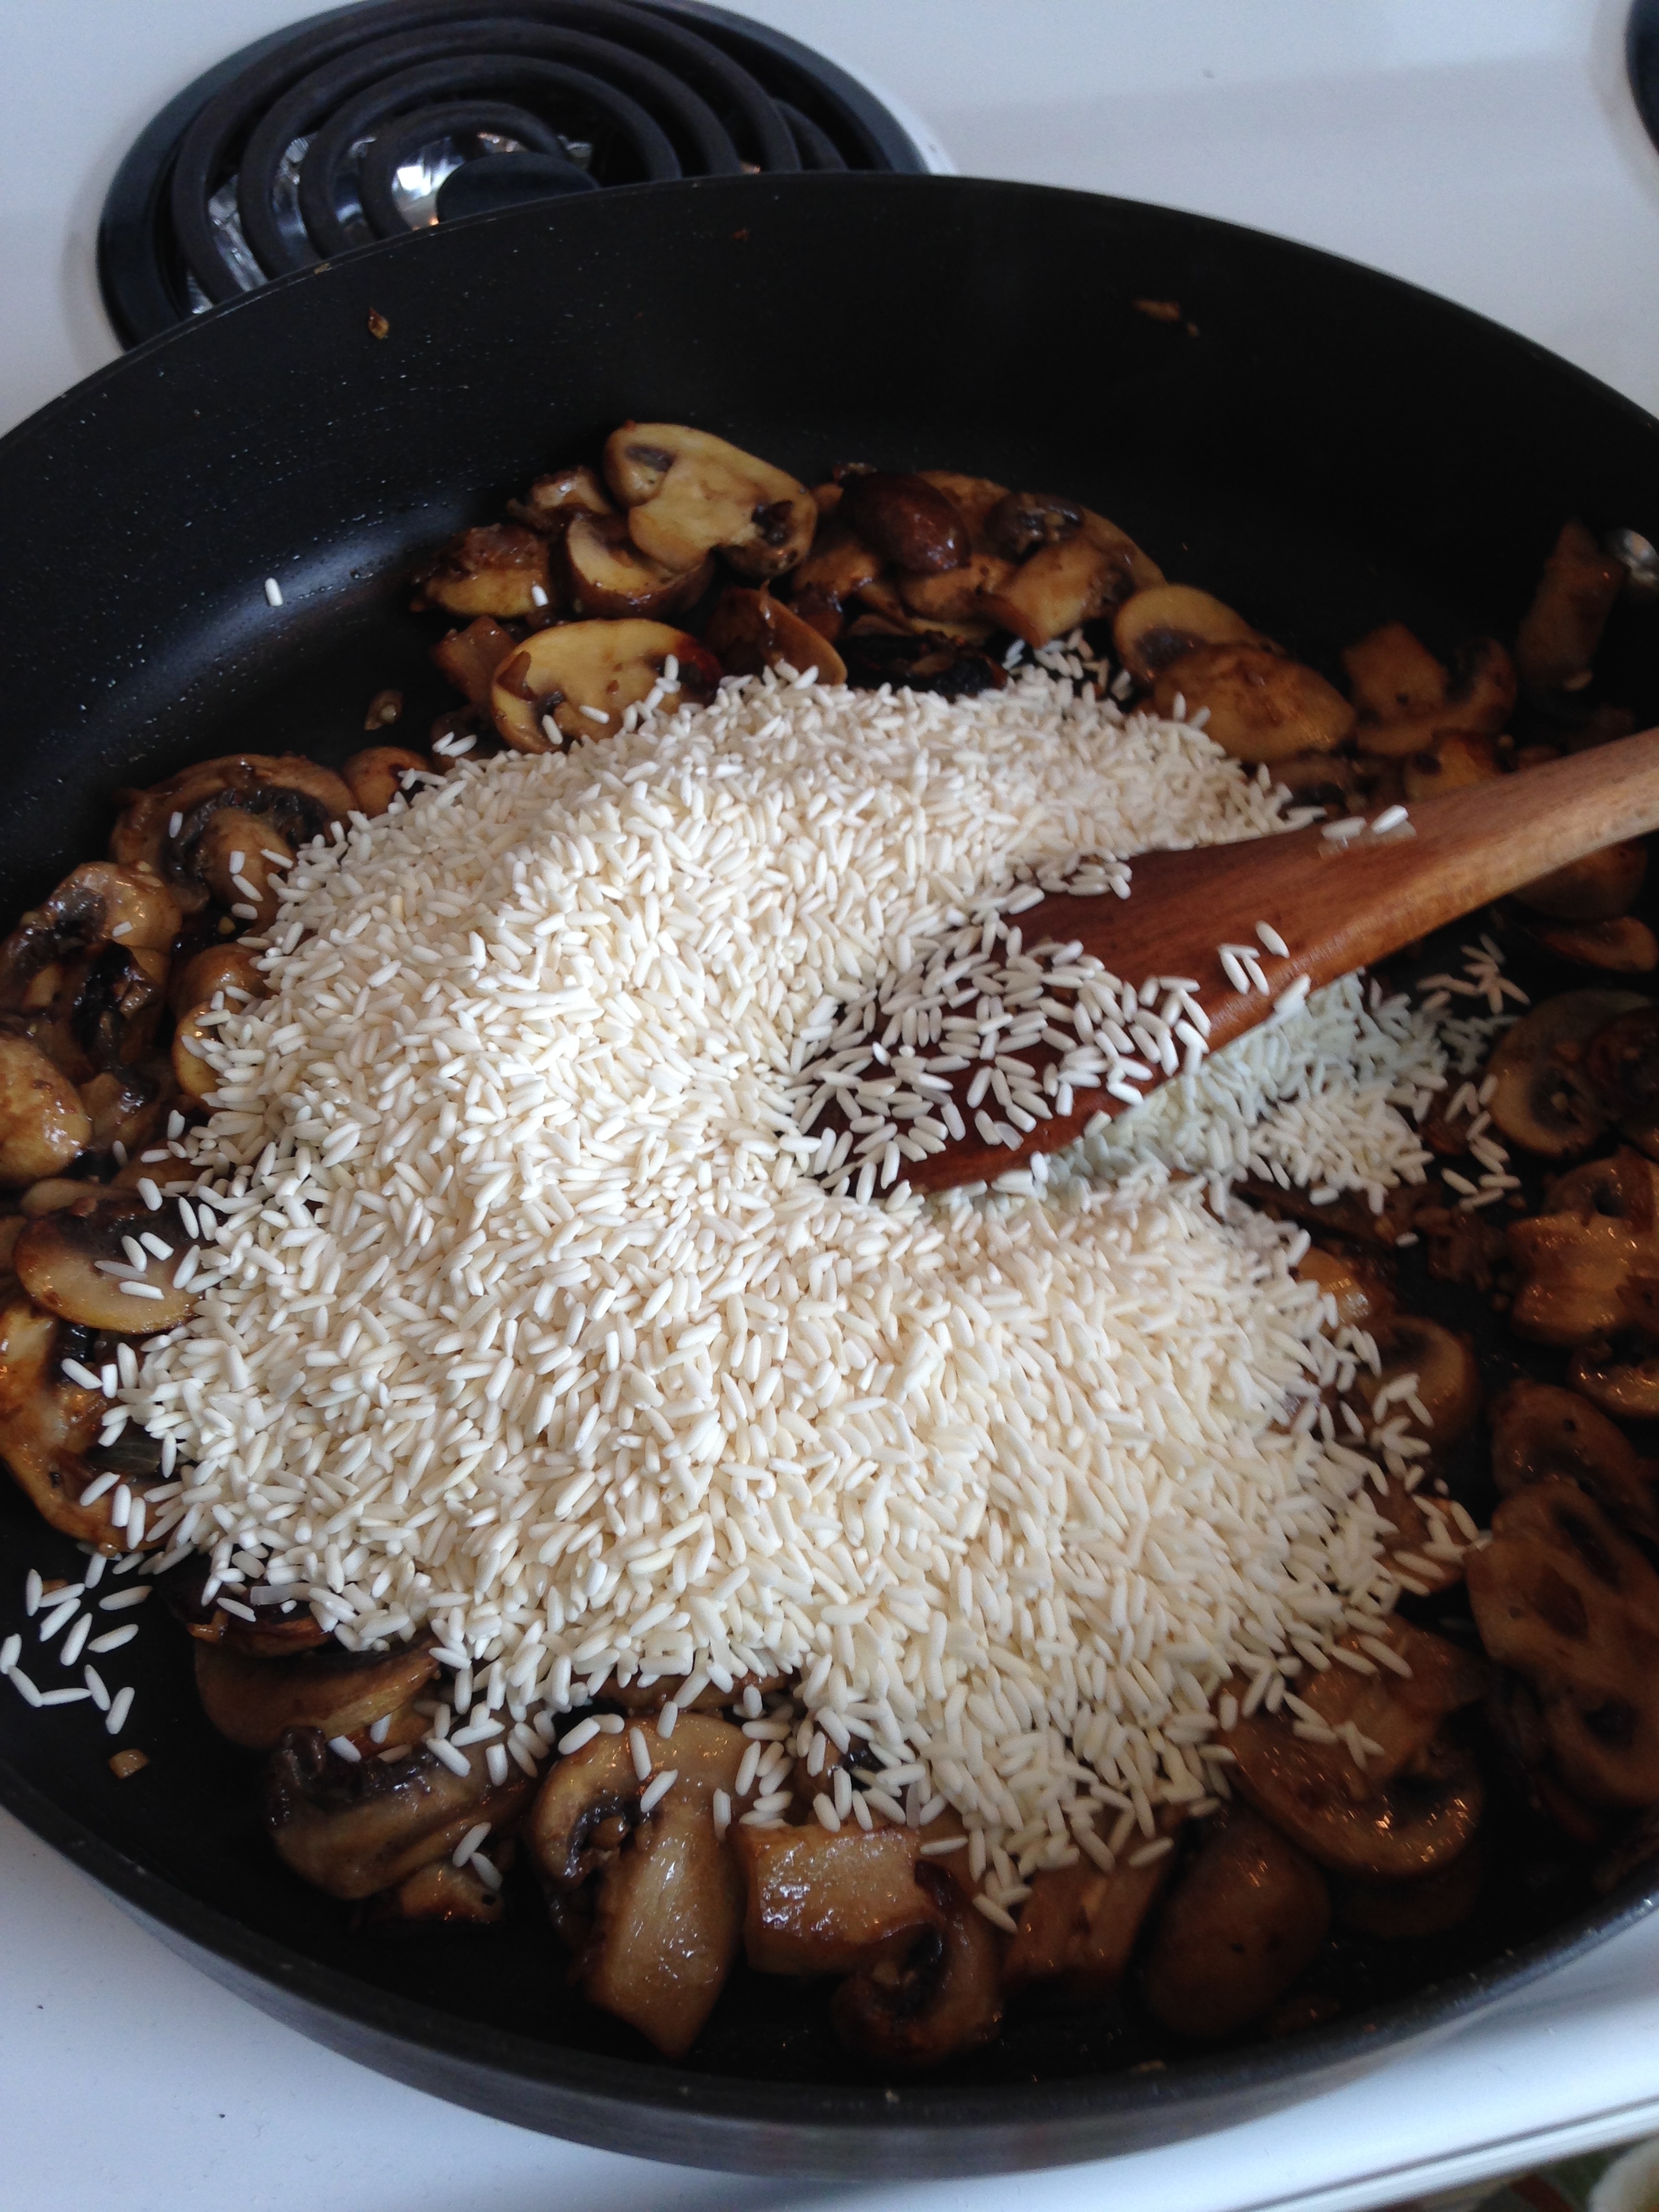
  4. Add the rice to the mushroom mix. Stir and fry the rice with the mushrooms until the rice starts to brown. 
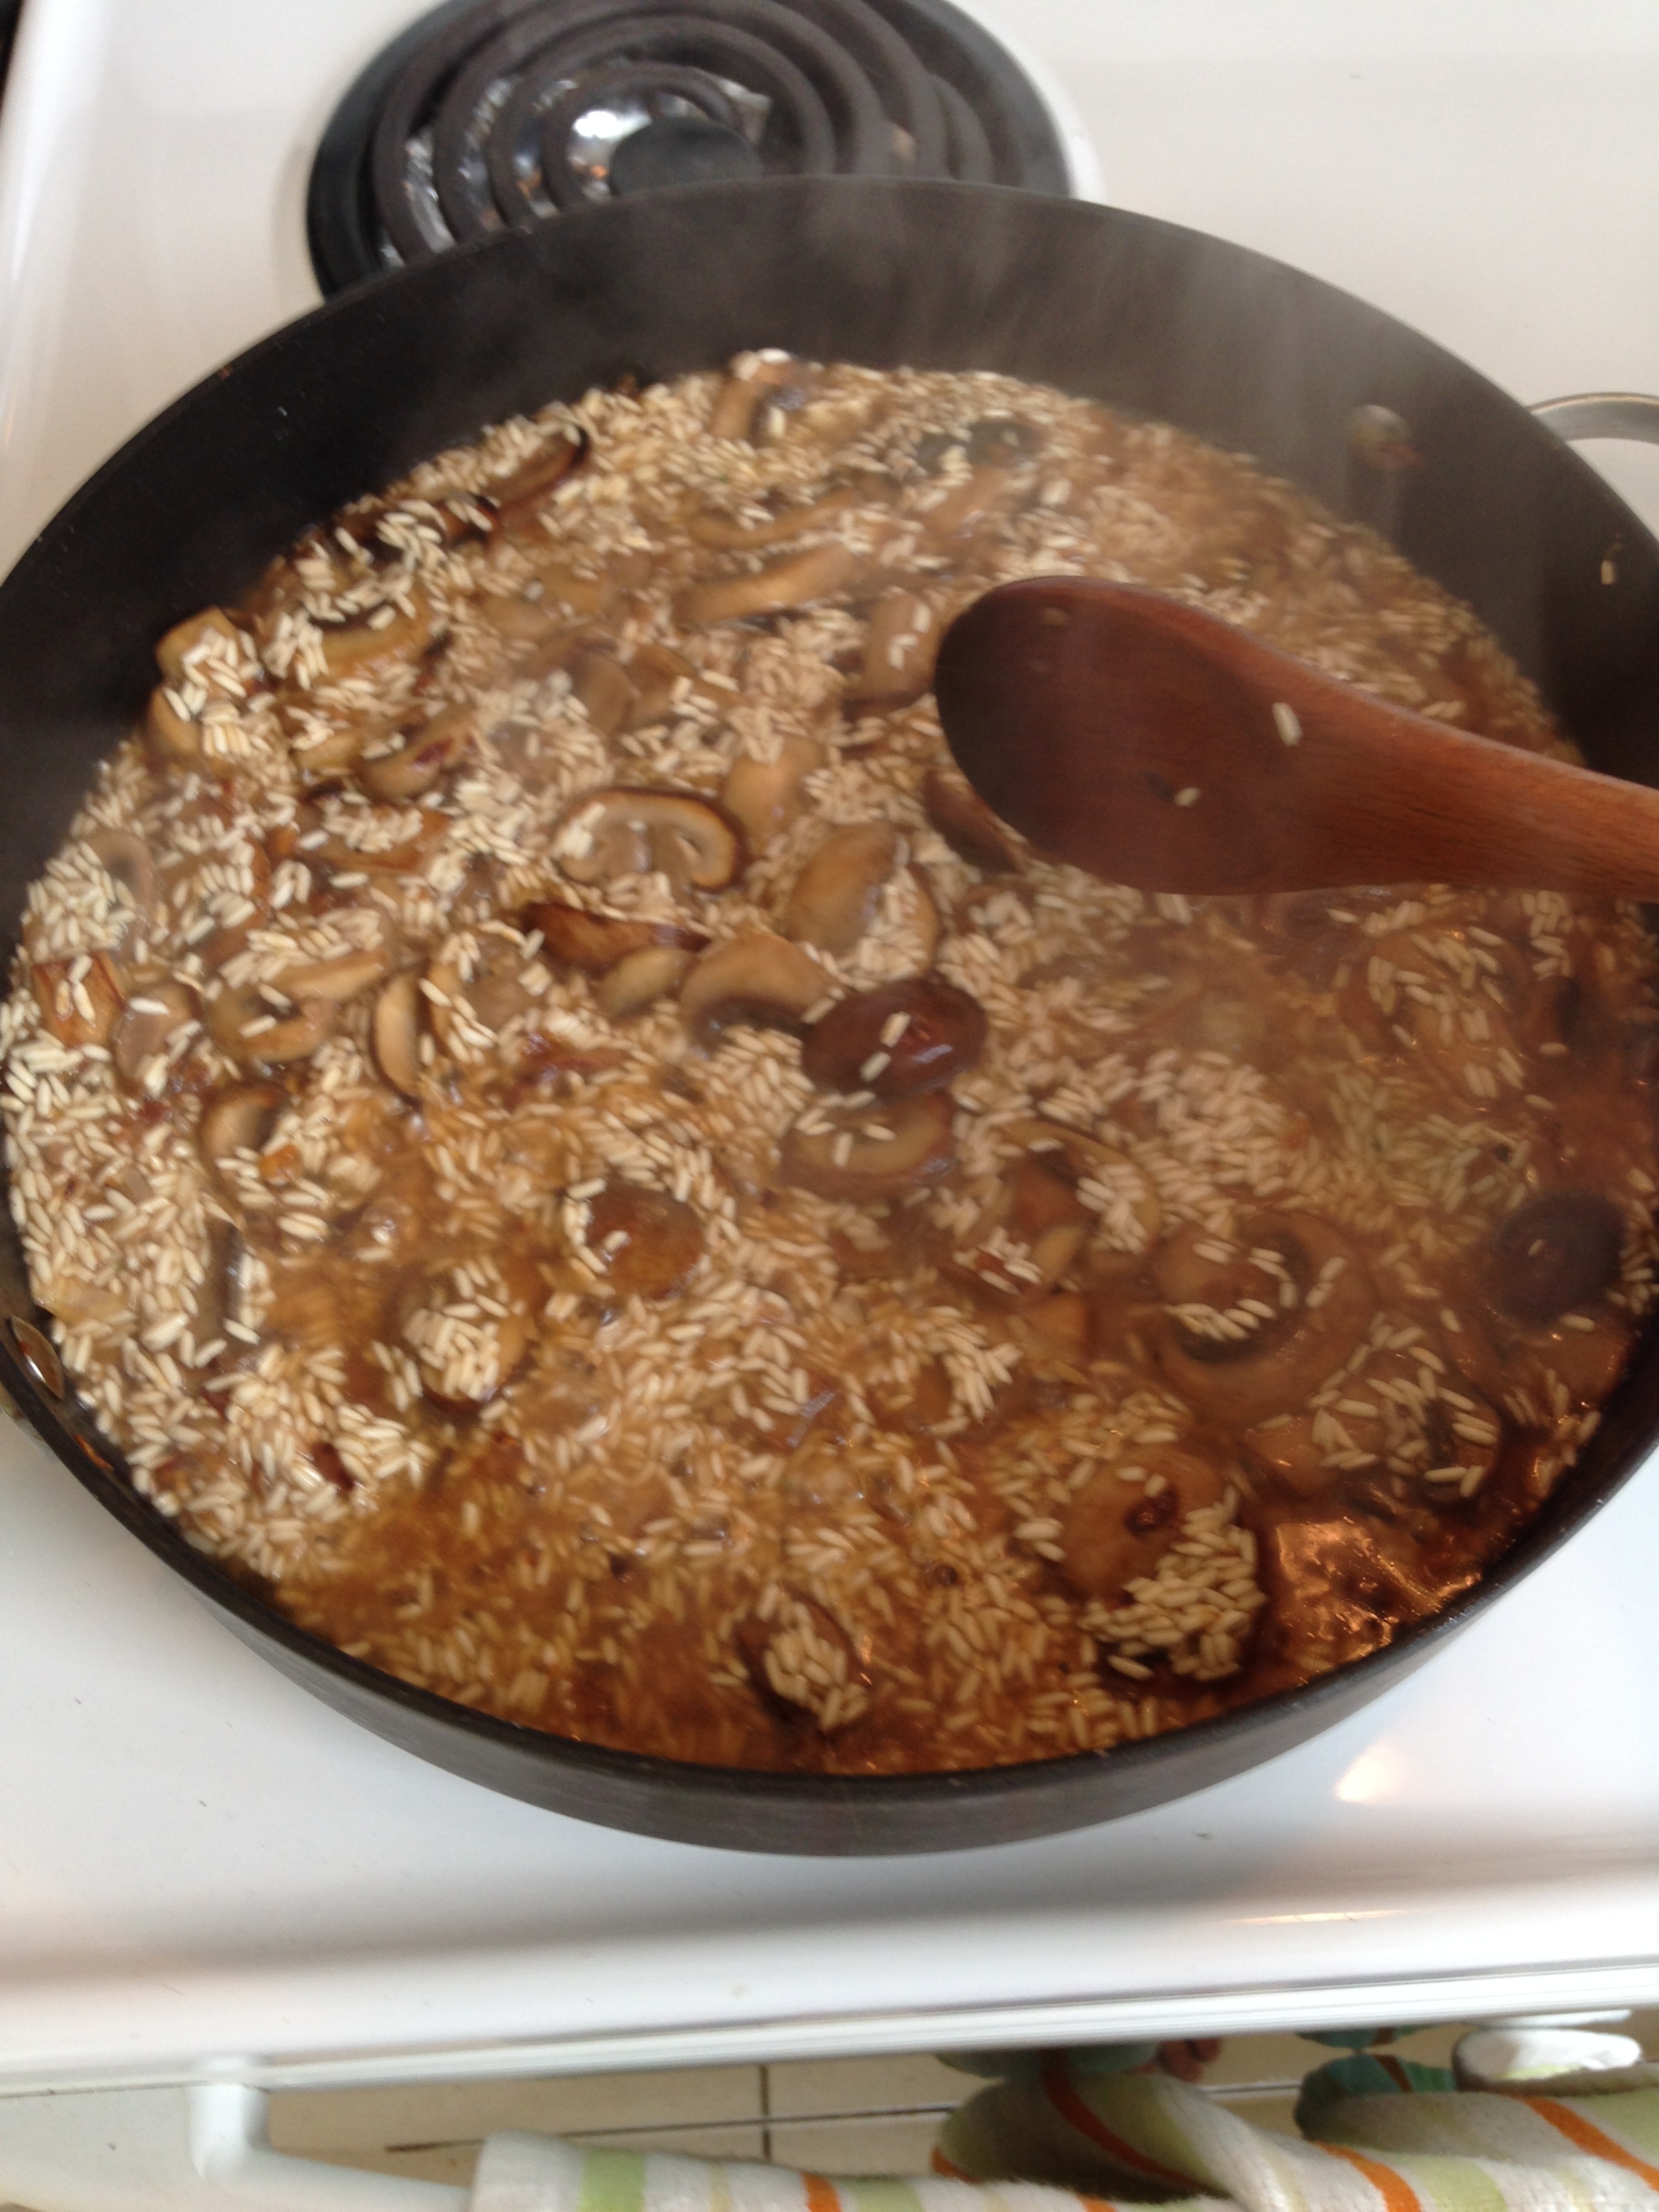
  5. Ladle simmering broth into the frying pan. Fill enough of the pan with broth to just cover the rice. Stir the mixture until the rice absorbs all the water. This takes FOREVER. Seriously. From the first addition of broth to the risotto rice actually being cooked it will take about 45 minutes. 
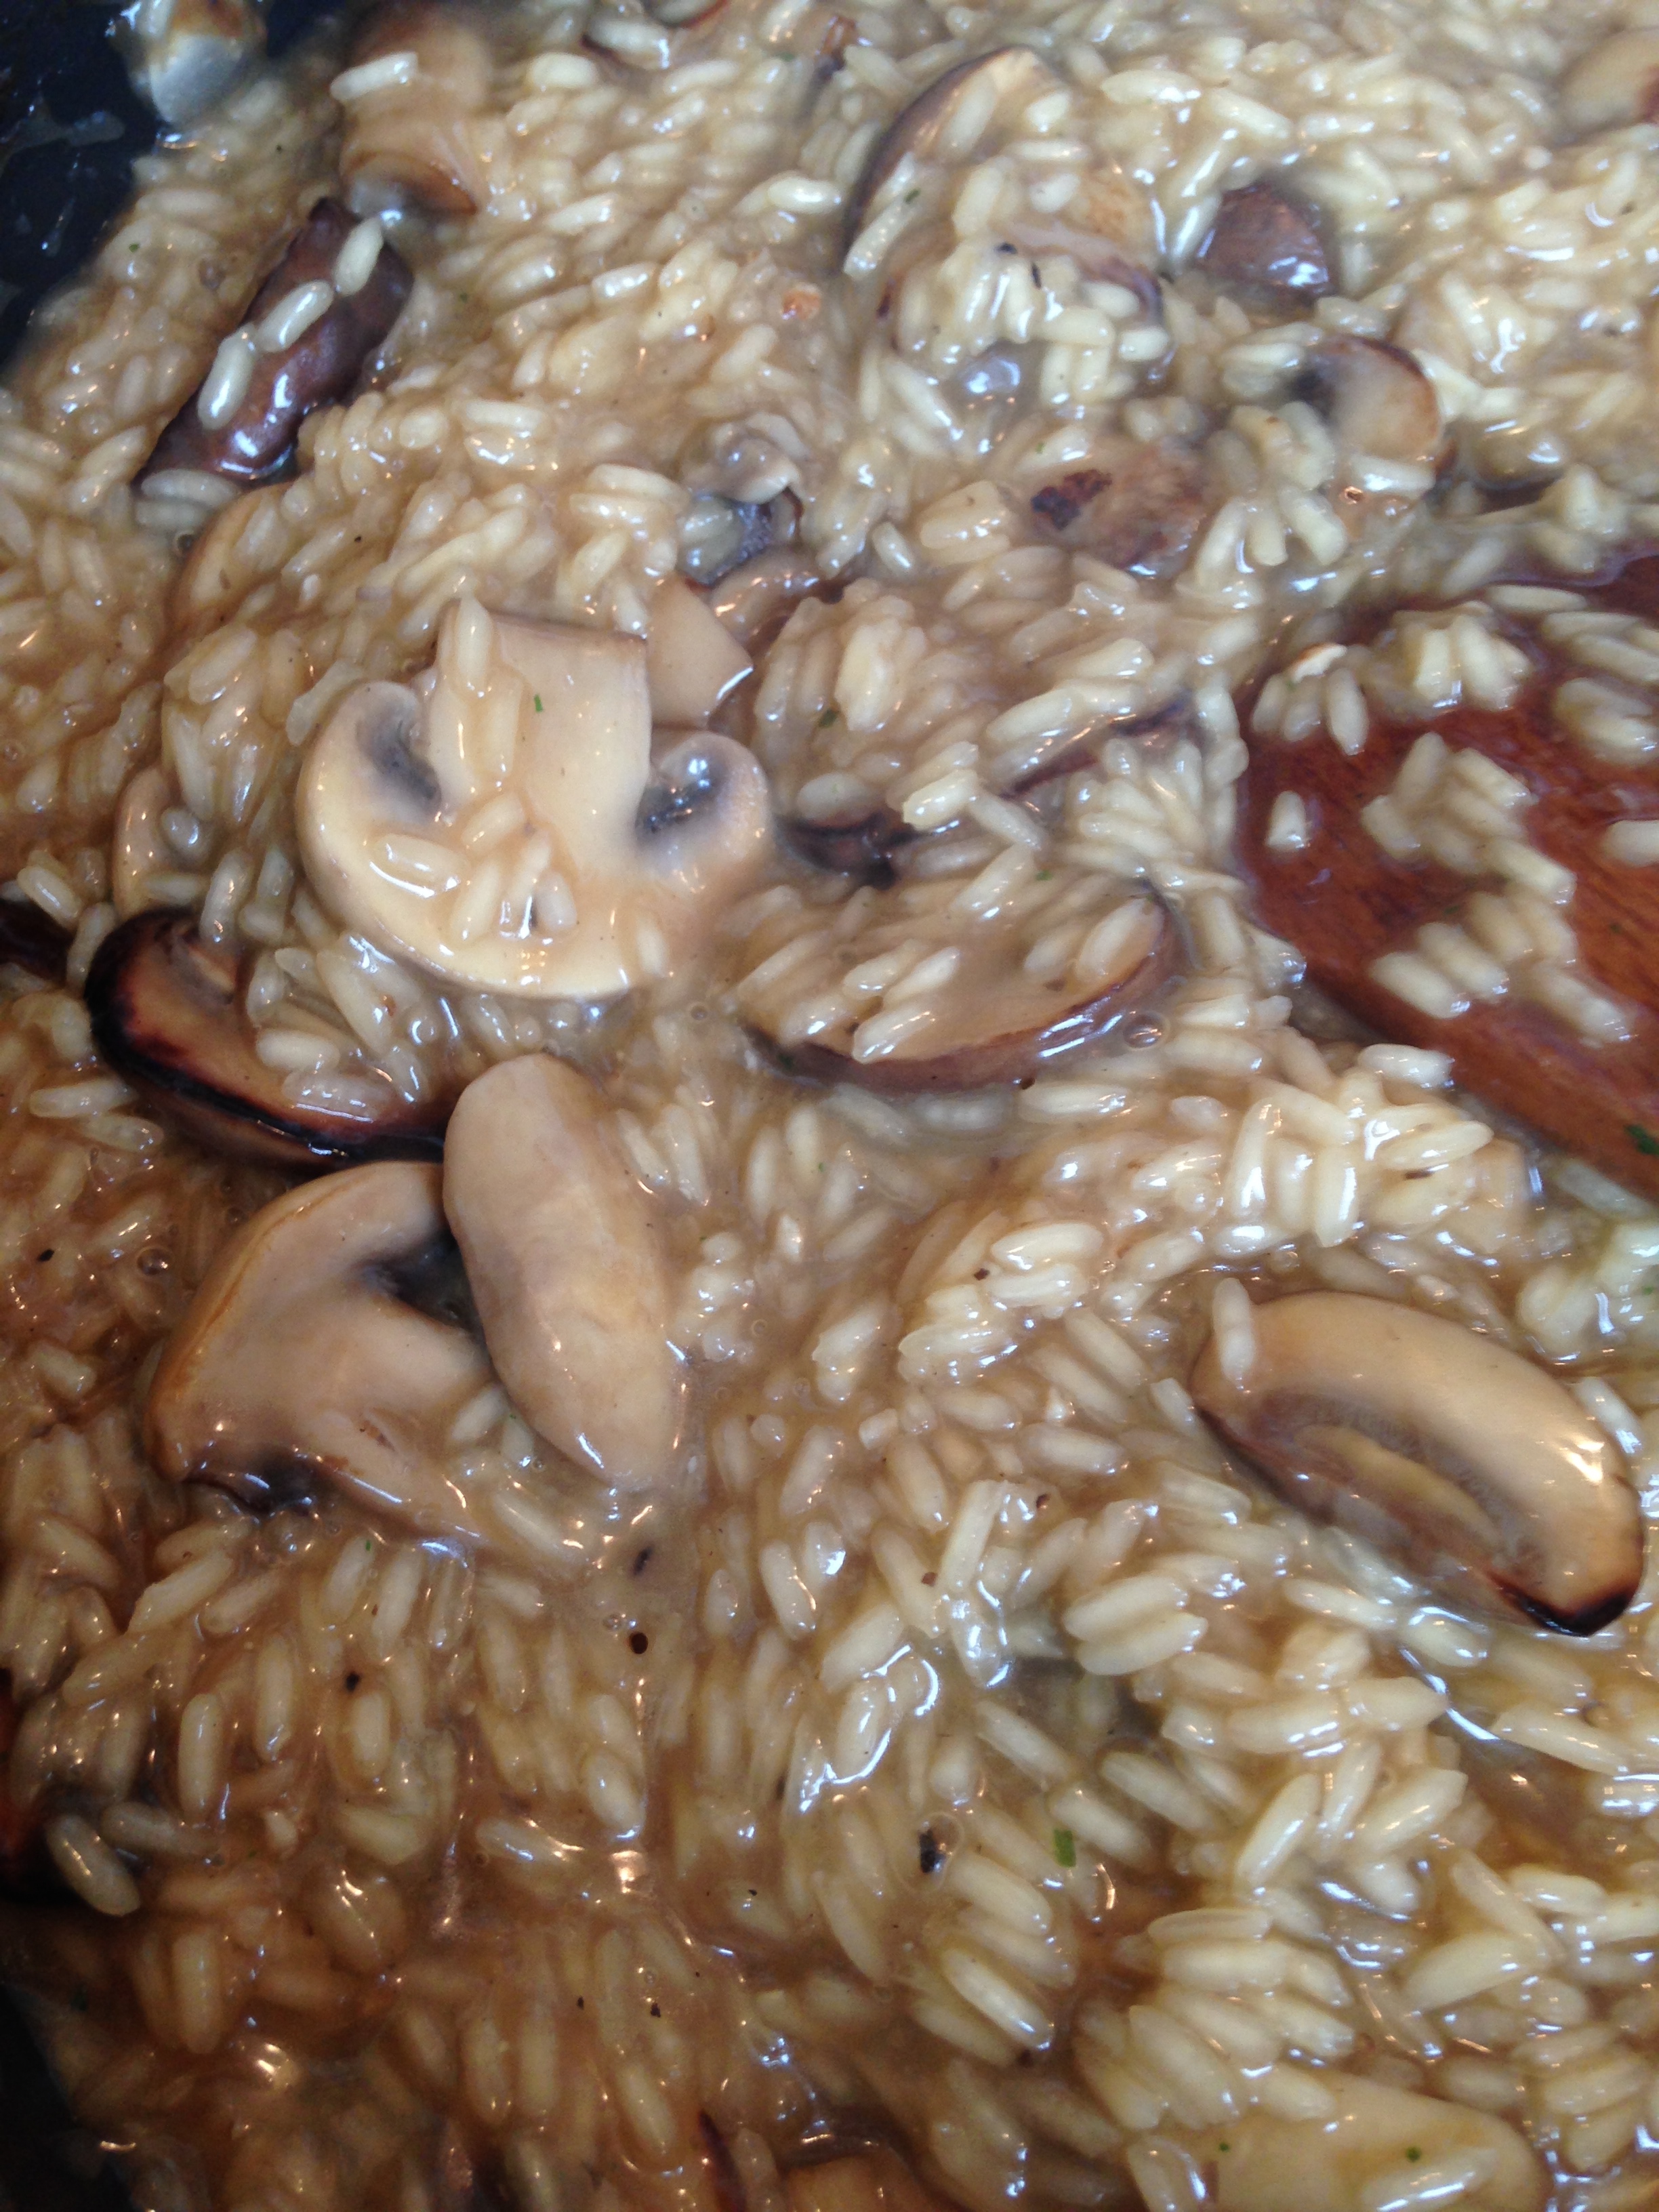
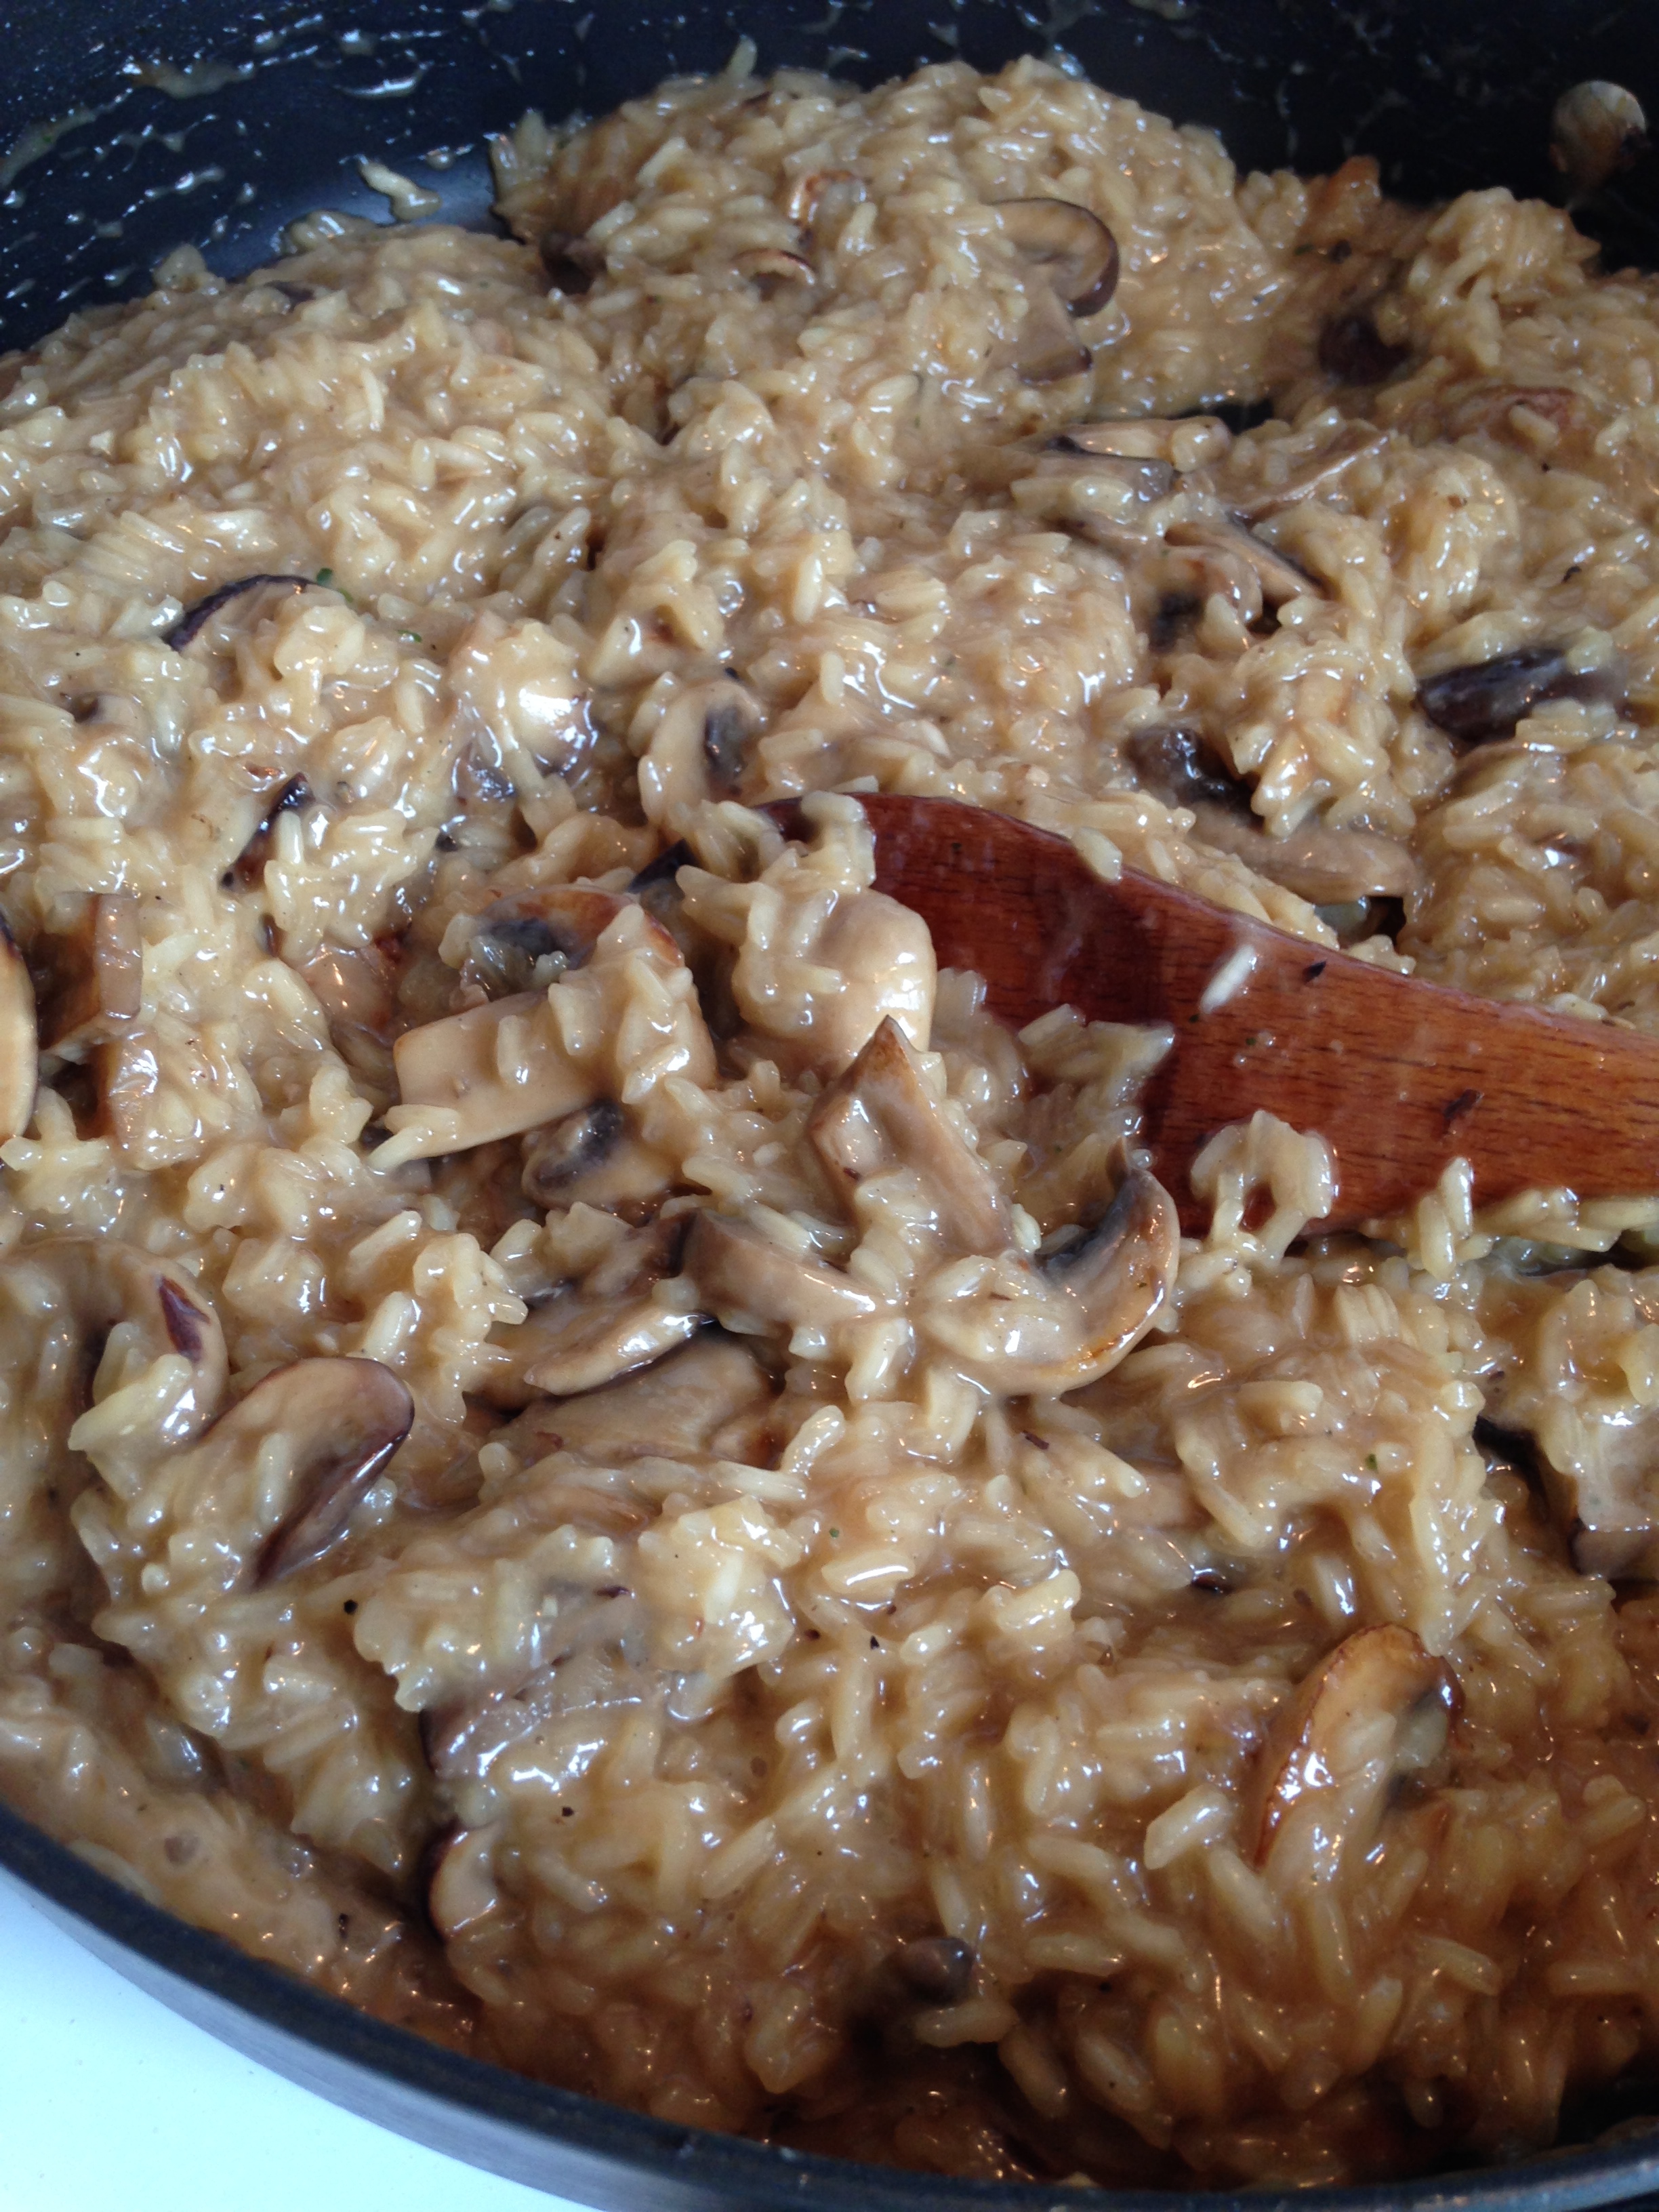
  6. Continue adding ladles of simmering broth to the rice, and stirring, until the rice absorbs all the broth. You'll notice a change in the way the rice stirs when it's almost done. Instead of individual grains of rice being stirred, the rice will start to stick together (this is why glutinous rice is used). Glutinous rice differs from regular long grain rice in the type of starch in contains. This particular starch gets sticky and forms a kind of gel when it cooks. Perfect for risottos. 
  7. Check that your rice is done by testing the rice. If it's soft, it's good to go to the next step. If it's still crunchy At All, keep adding broth and stirring. Don't turn up the heat or you'll risk burning the rice. 
  8. When your rice is done, take your pan off the heat and add your cheese. Stir touroughly, until the cheese is mixed in. 
  9. You're ready to serve! Portion out your risotto and garnish with green onion. Nom! (Makes about 6 servings.)

From start to finish, making risotto take almost an hour and a half. But the deliciousness can't be rivalled. It's still one of my most favourite meals and with so many options and combinations of ingredients, you can keep making up new recipes using the same basic technique. 

The market goes until October, I think, so I'll be going back next week to see what I can find. Maybe homemade broccoli-slaw with those gargantuan radishes? Mmm. Yes. 

-Andrea

The Half-Assed Hobbyist