The Baked Alaska

As part of Christmas Baking 2013.
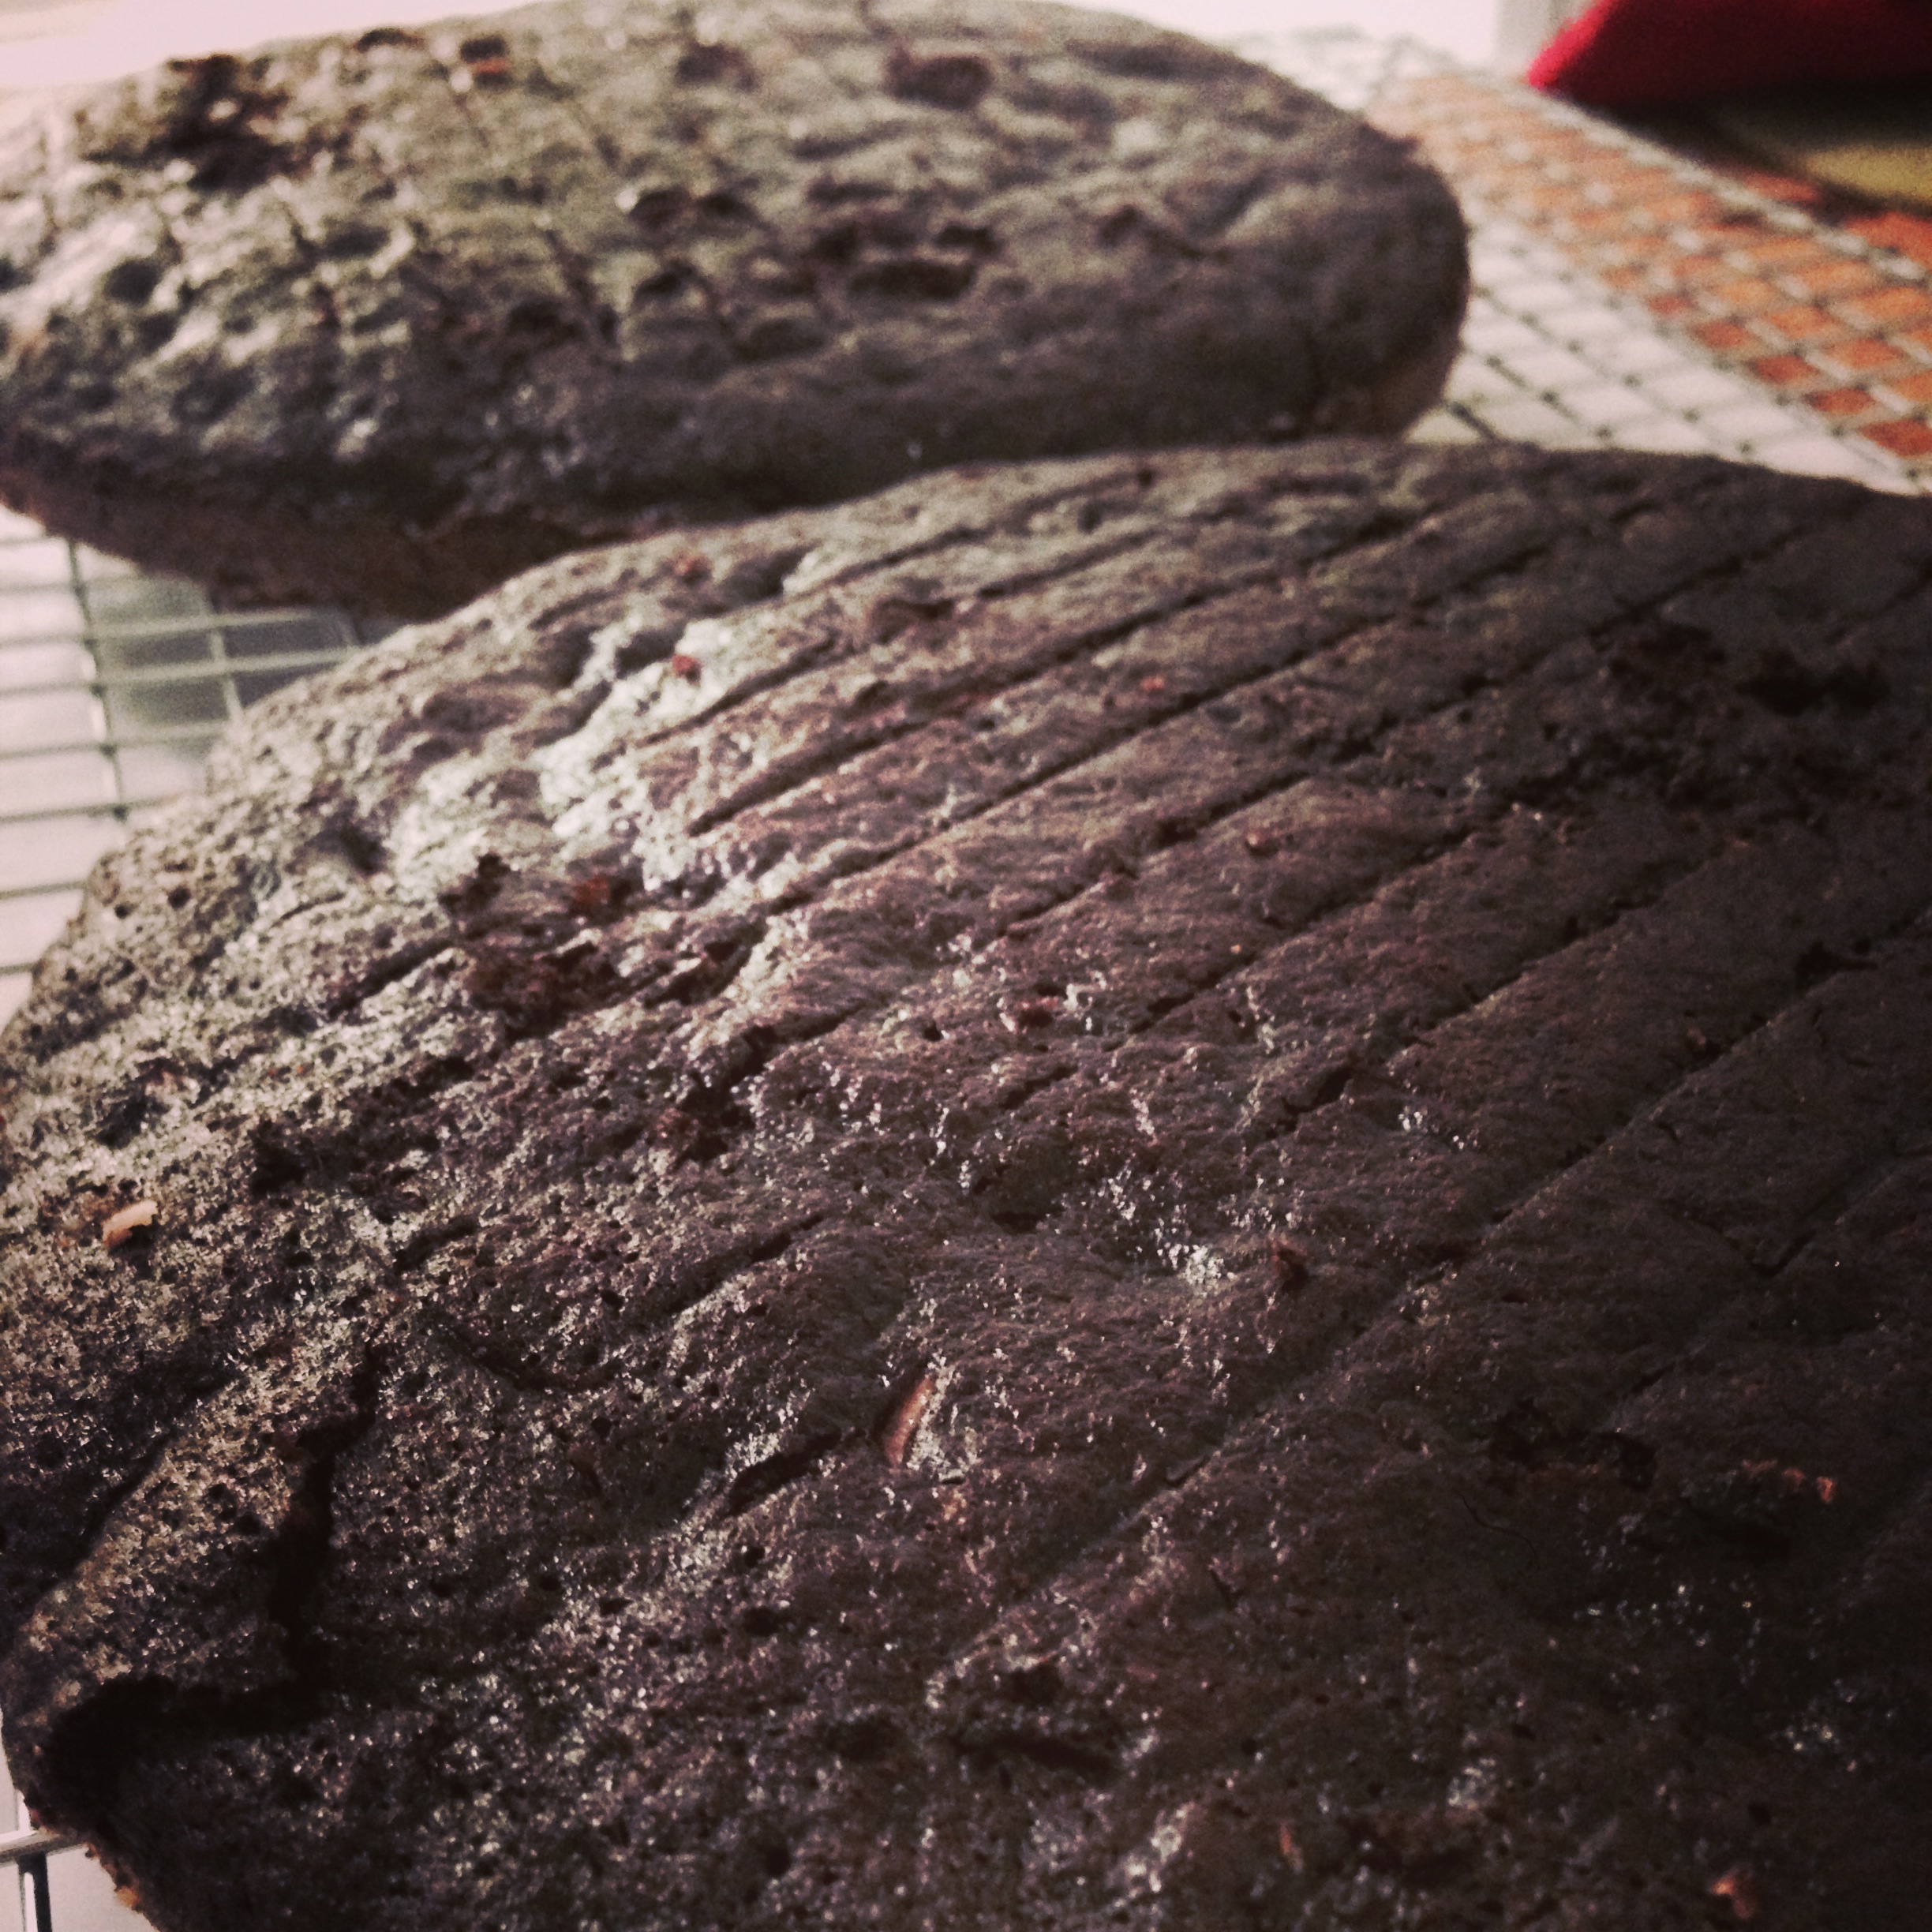
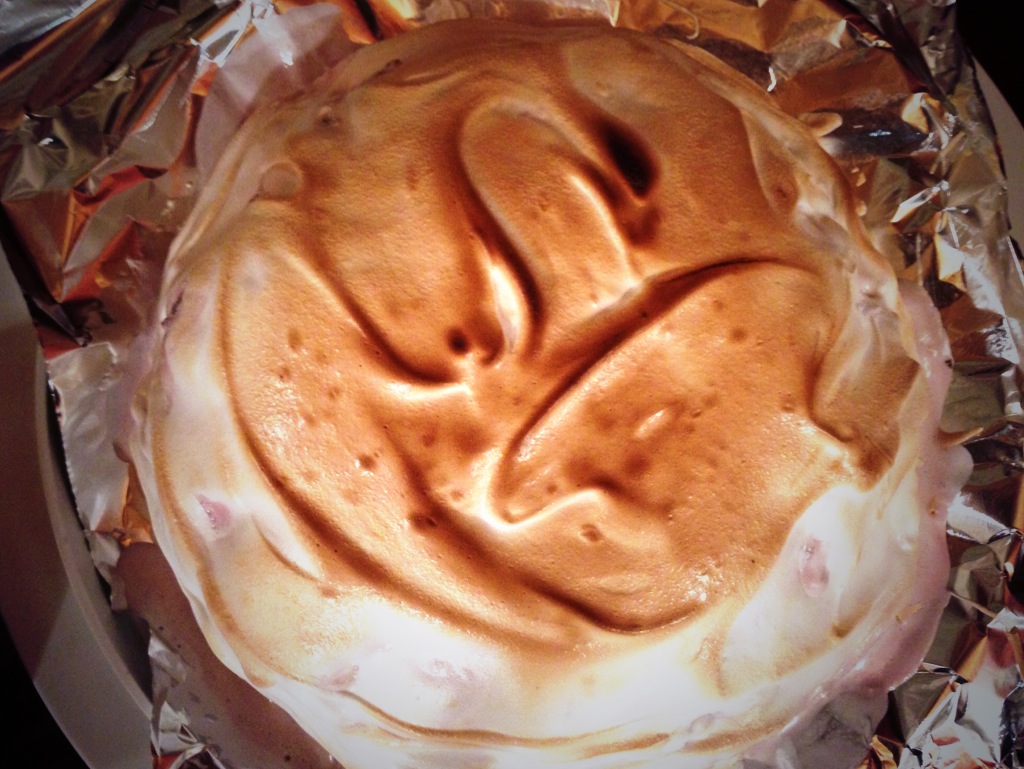
The last sugar filled treat I made during the battle of Christmas 2013. This was the first dessert I actually ate and the last one I made. (I made the Chiffon Cake and the Chocolate Hazelnut Tarts first.)

Baked Alaska

(Based off the Blue Flame Kitchen recipe. Changes made by me!)

An 9 inch round layer of your favourite Cake! (See below for my favourite)
Ice Cream (I used Cherry Vanilla)
1/4 cup pasteurized egg whites (Easy to find in your local grocers egg isle)
1/8 tsp cream of tartar
1/4 cup sugar

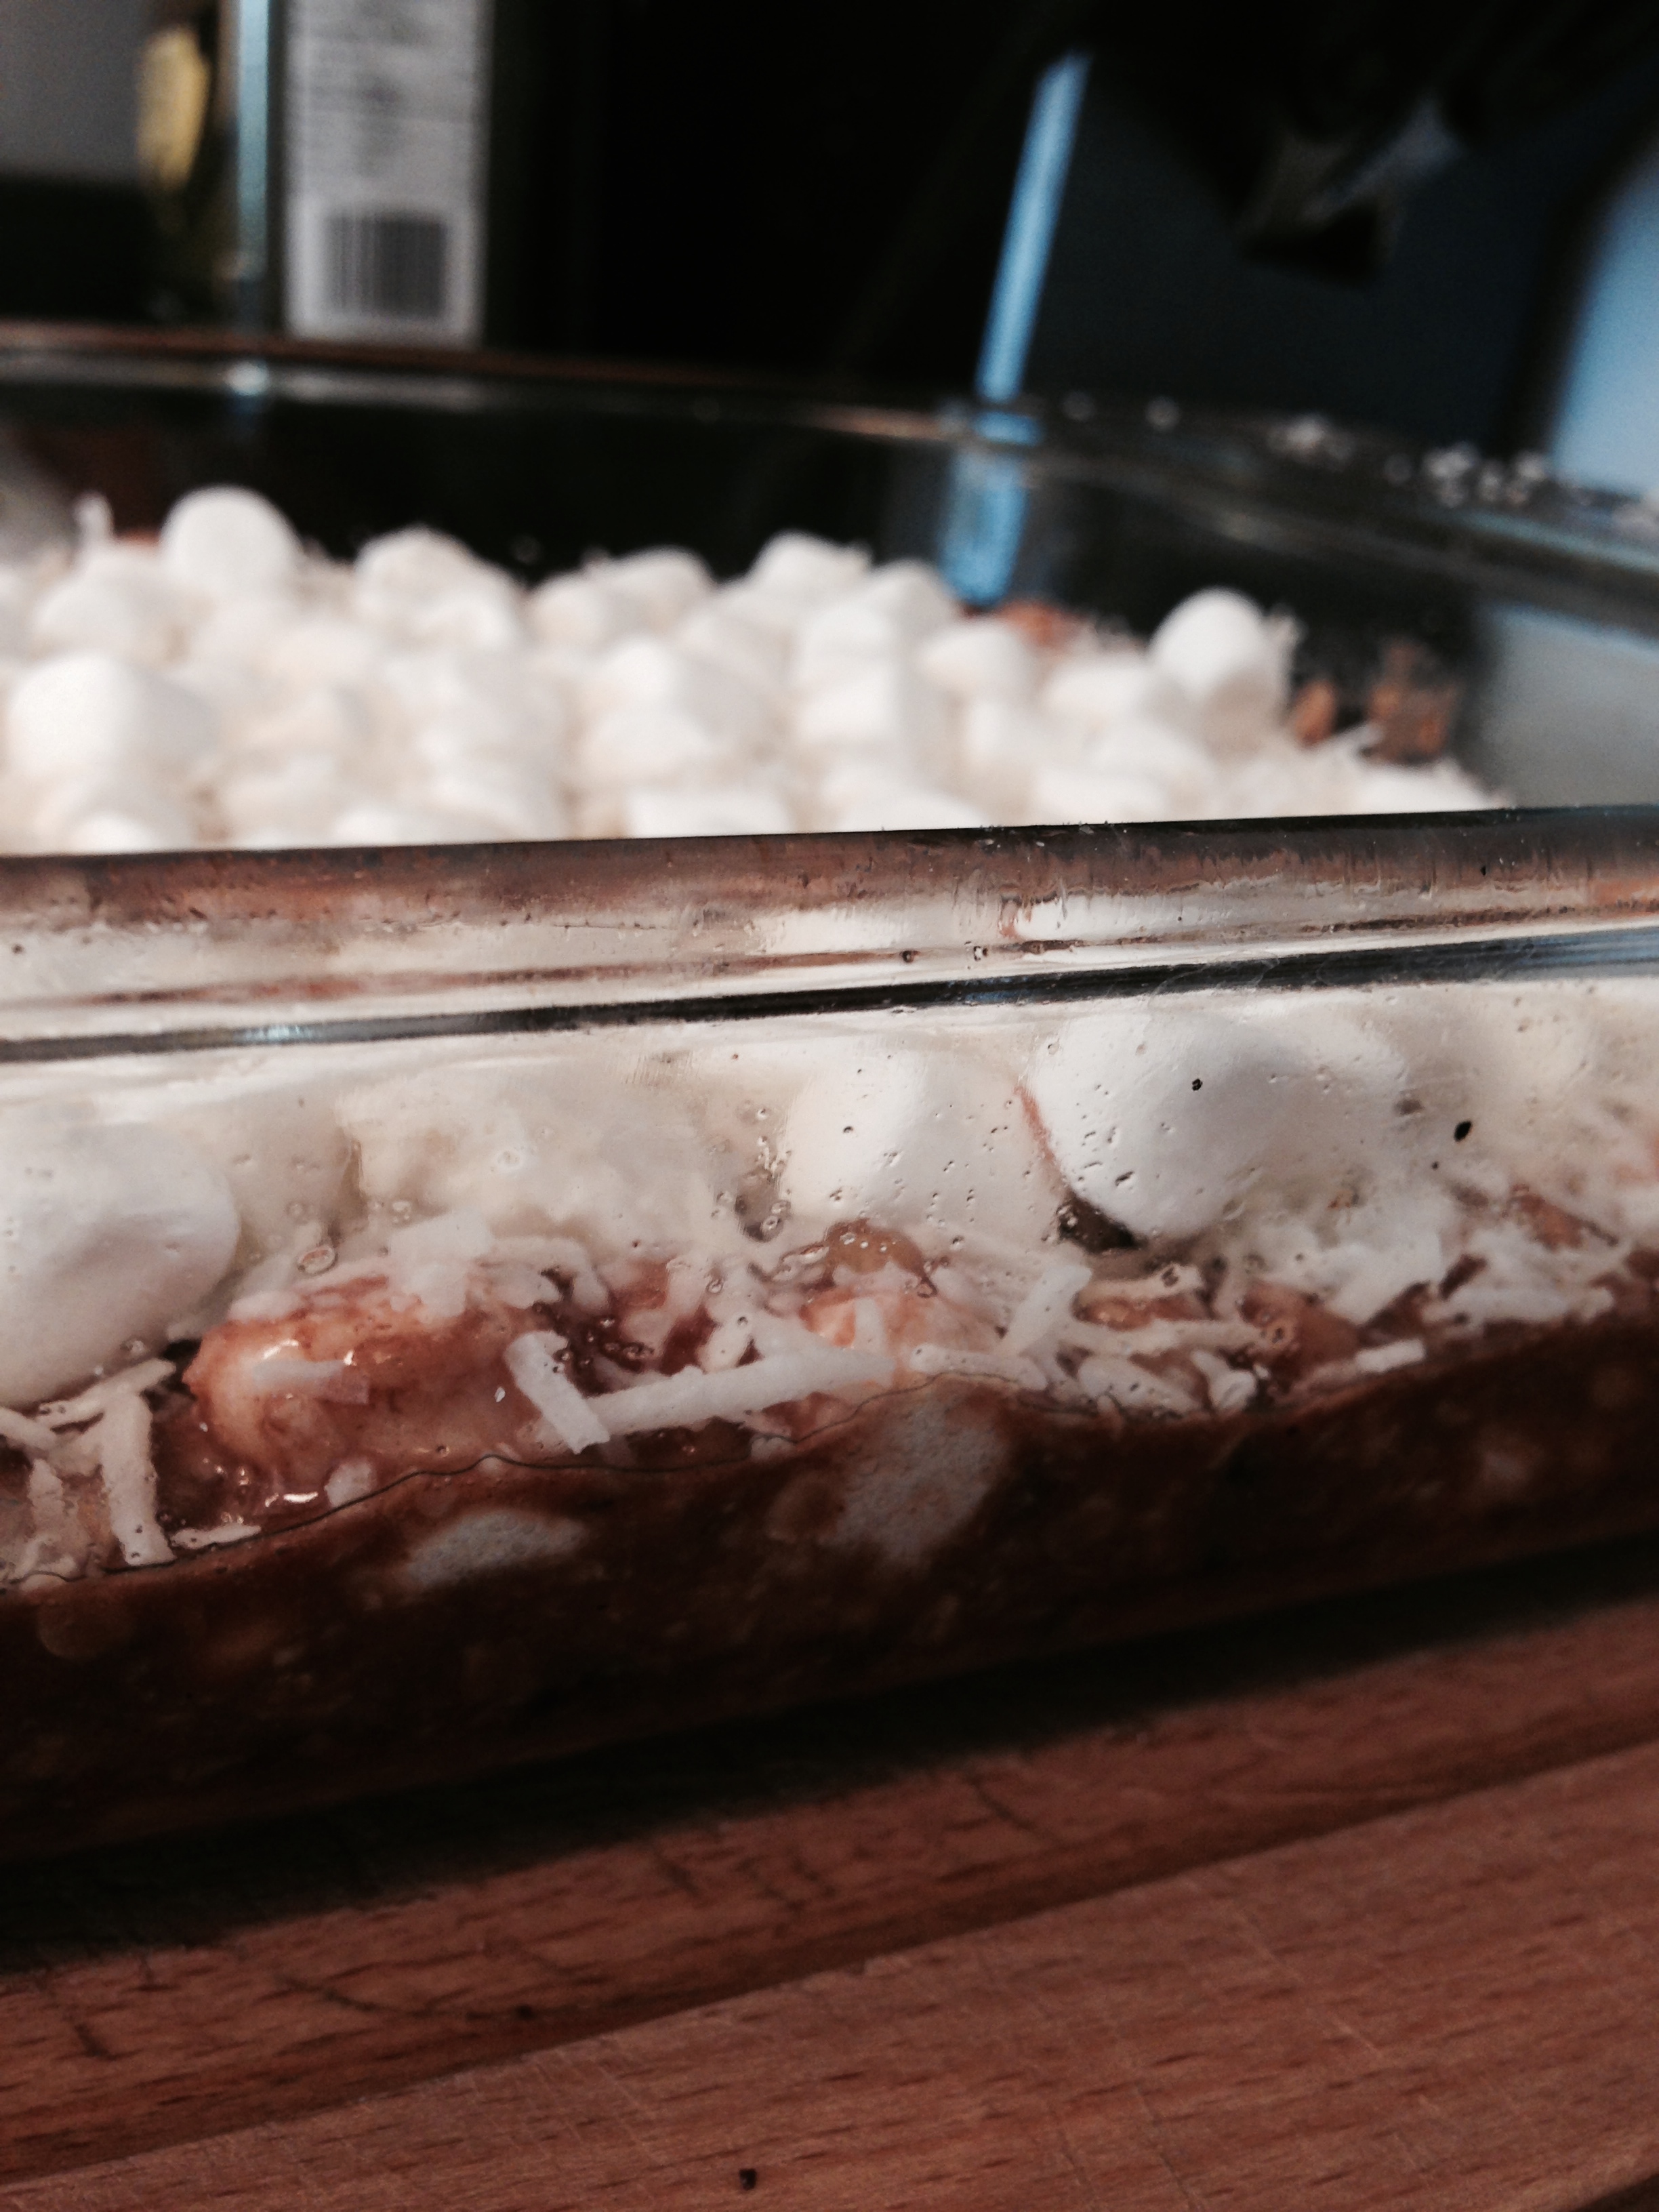
  1. Make the cake (boxed or otherwise); let it cool. Cover it in the ice cream, about an inch and a half thick. Wrap in plastic wrap and freeze flat for at least 2 hours (preferably on a sheet of tinfoil for easy transferring.)
  2. Preheat oven to 500ΒΊF.
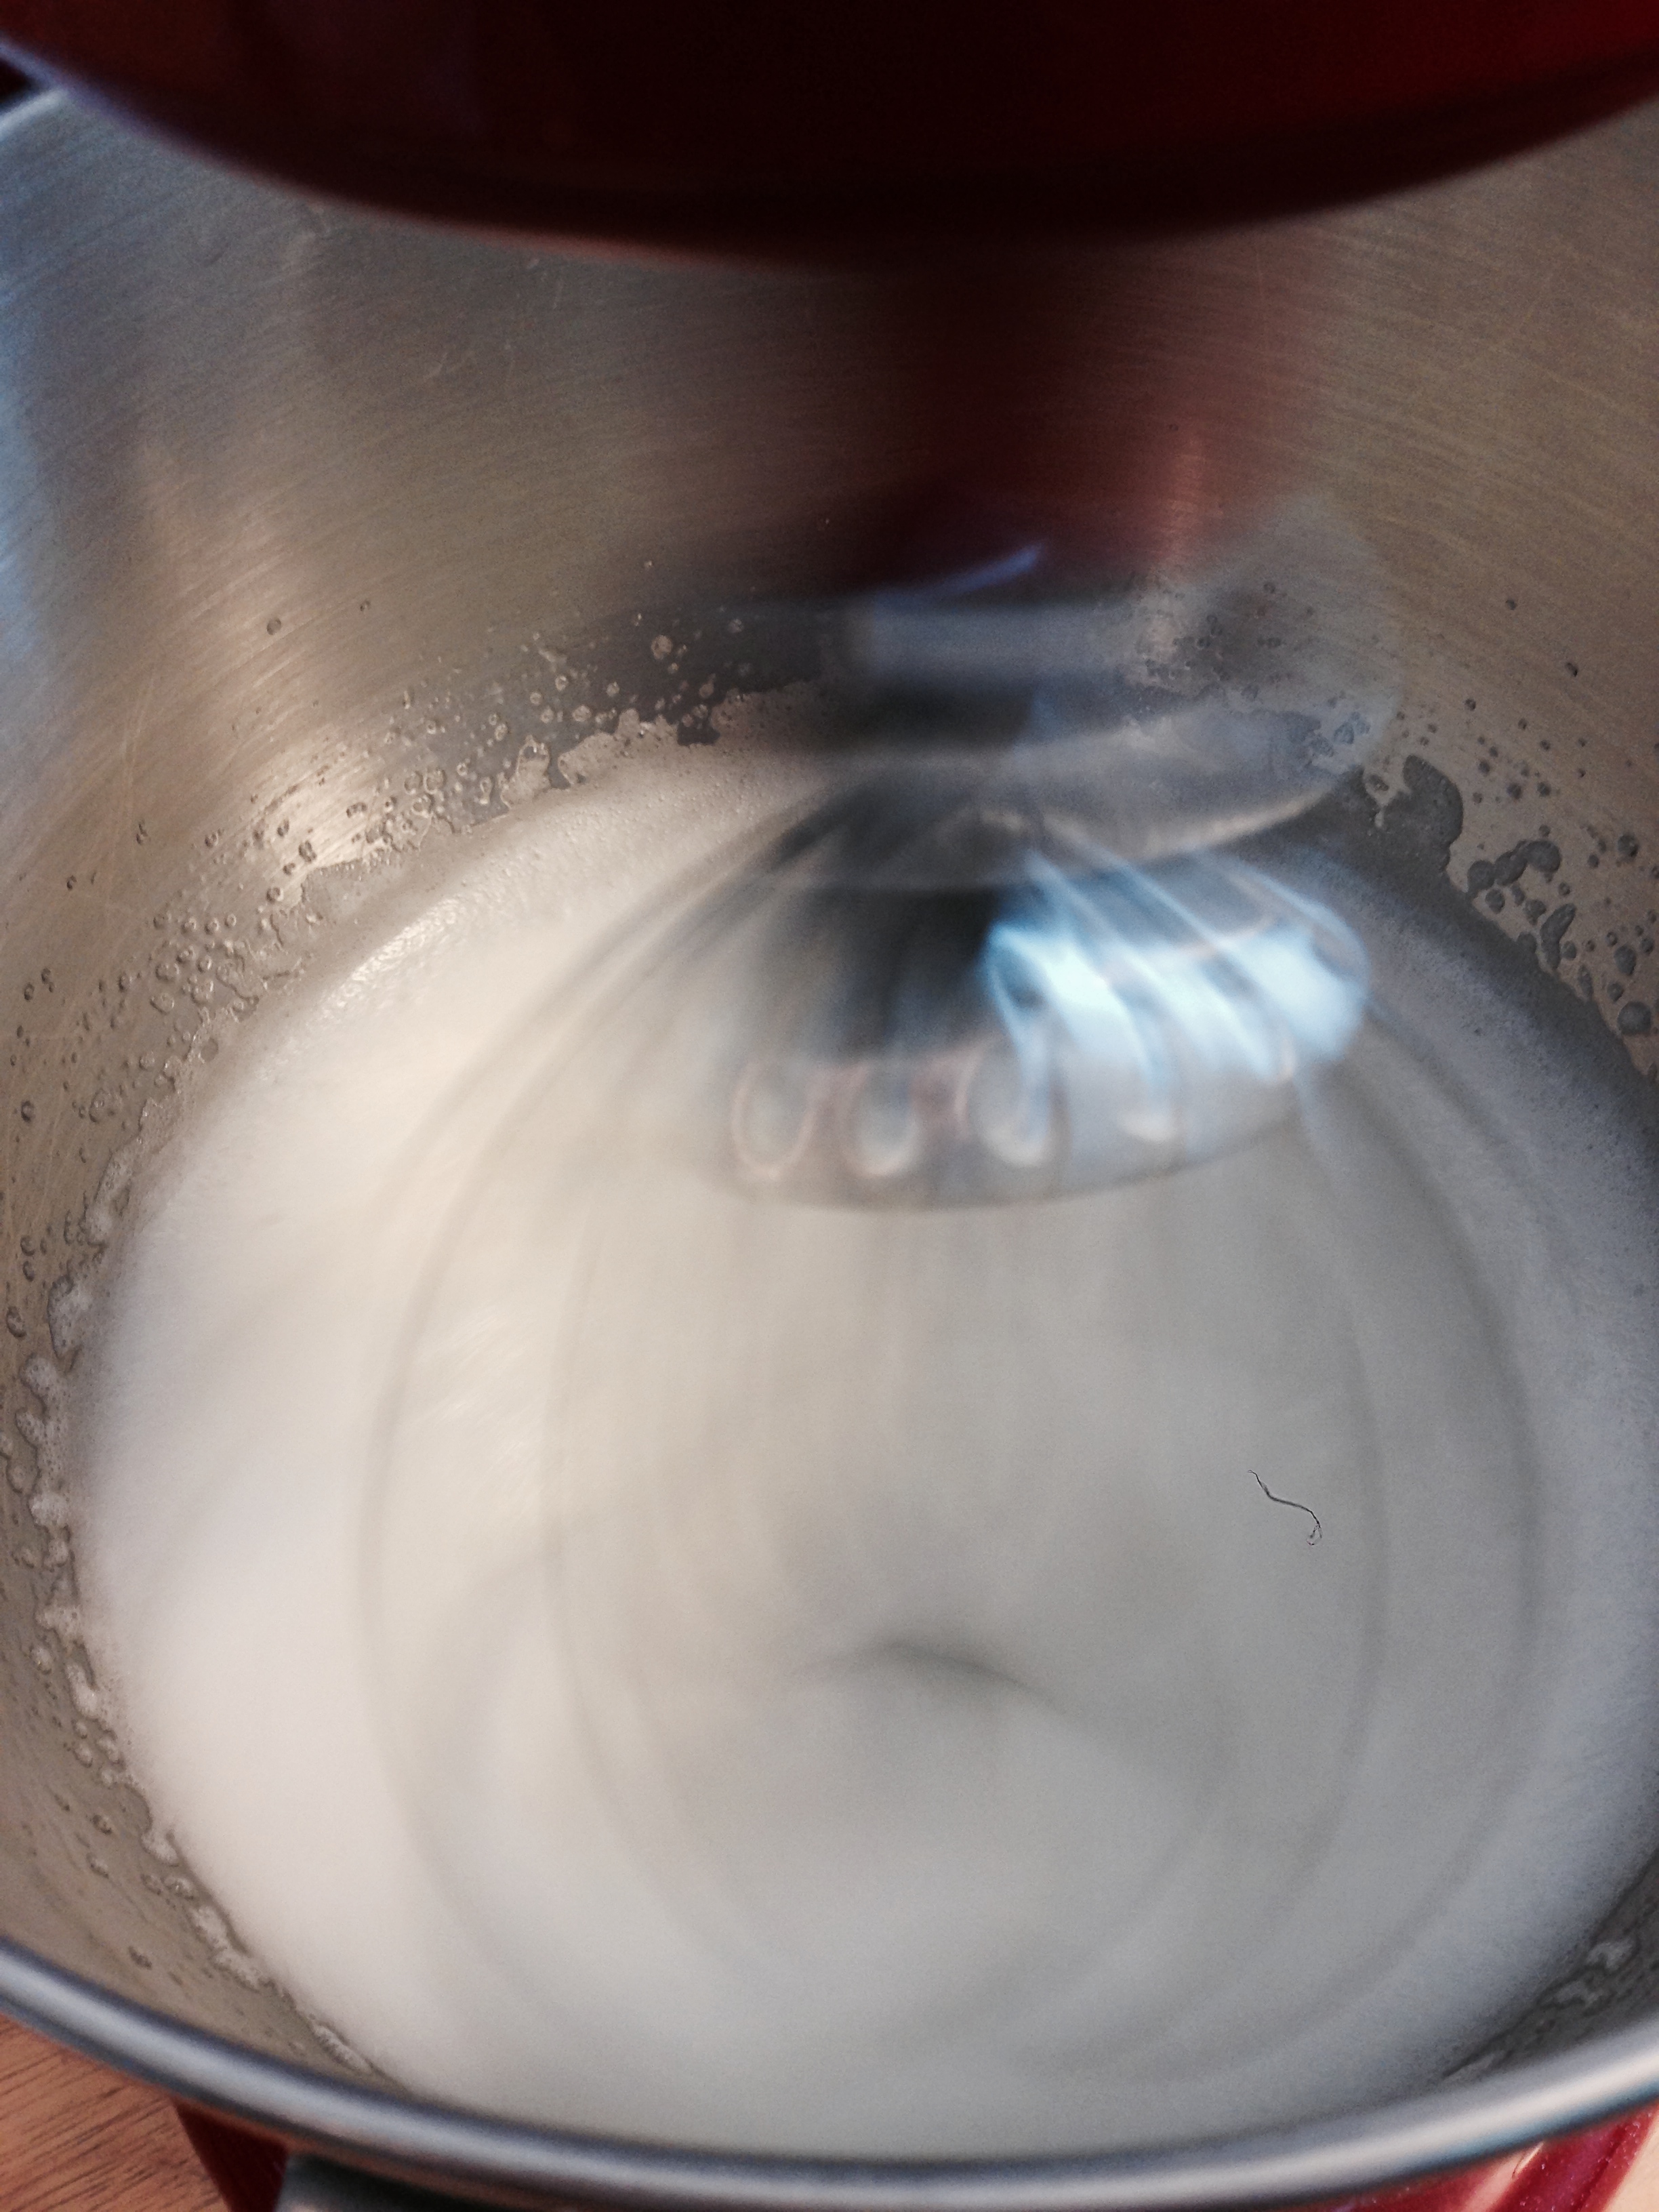
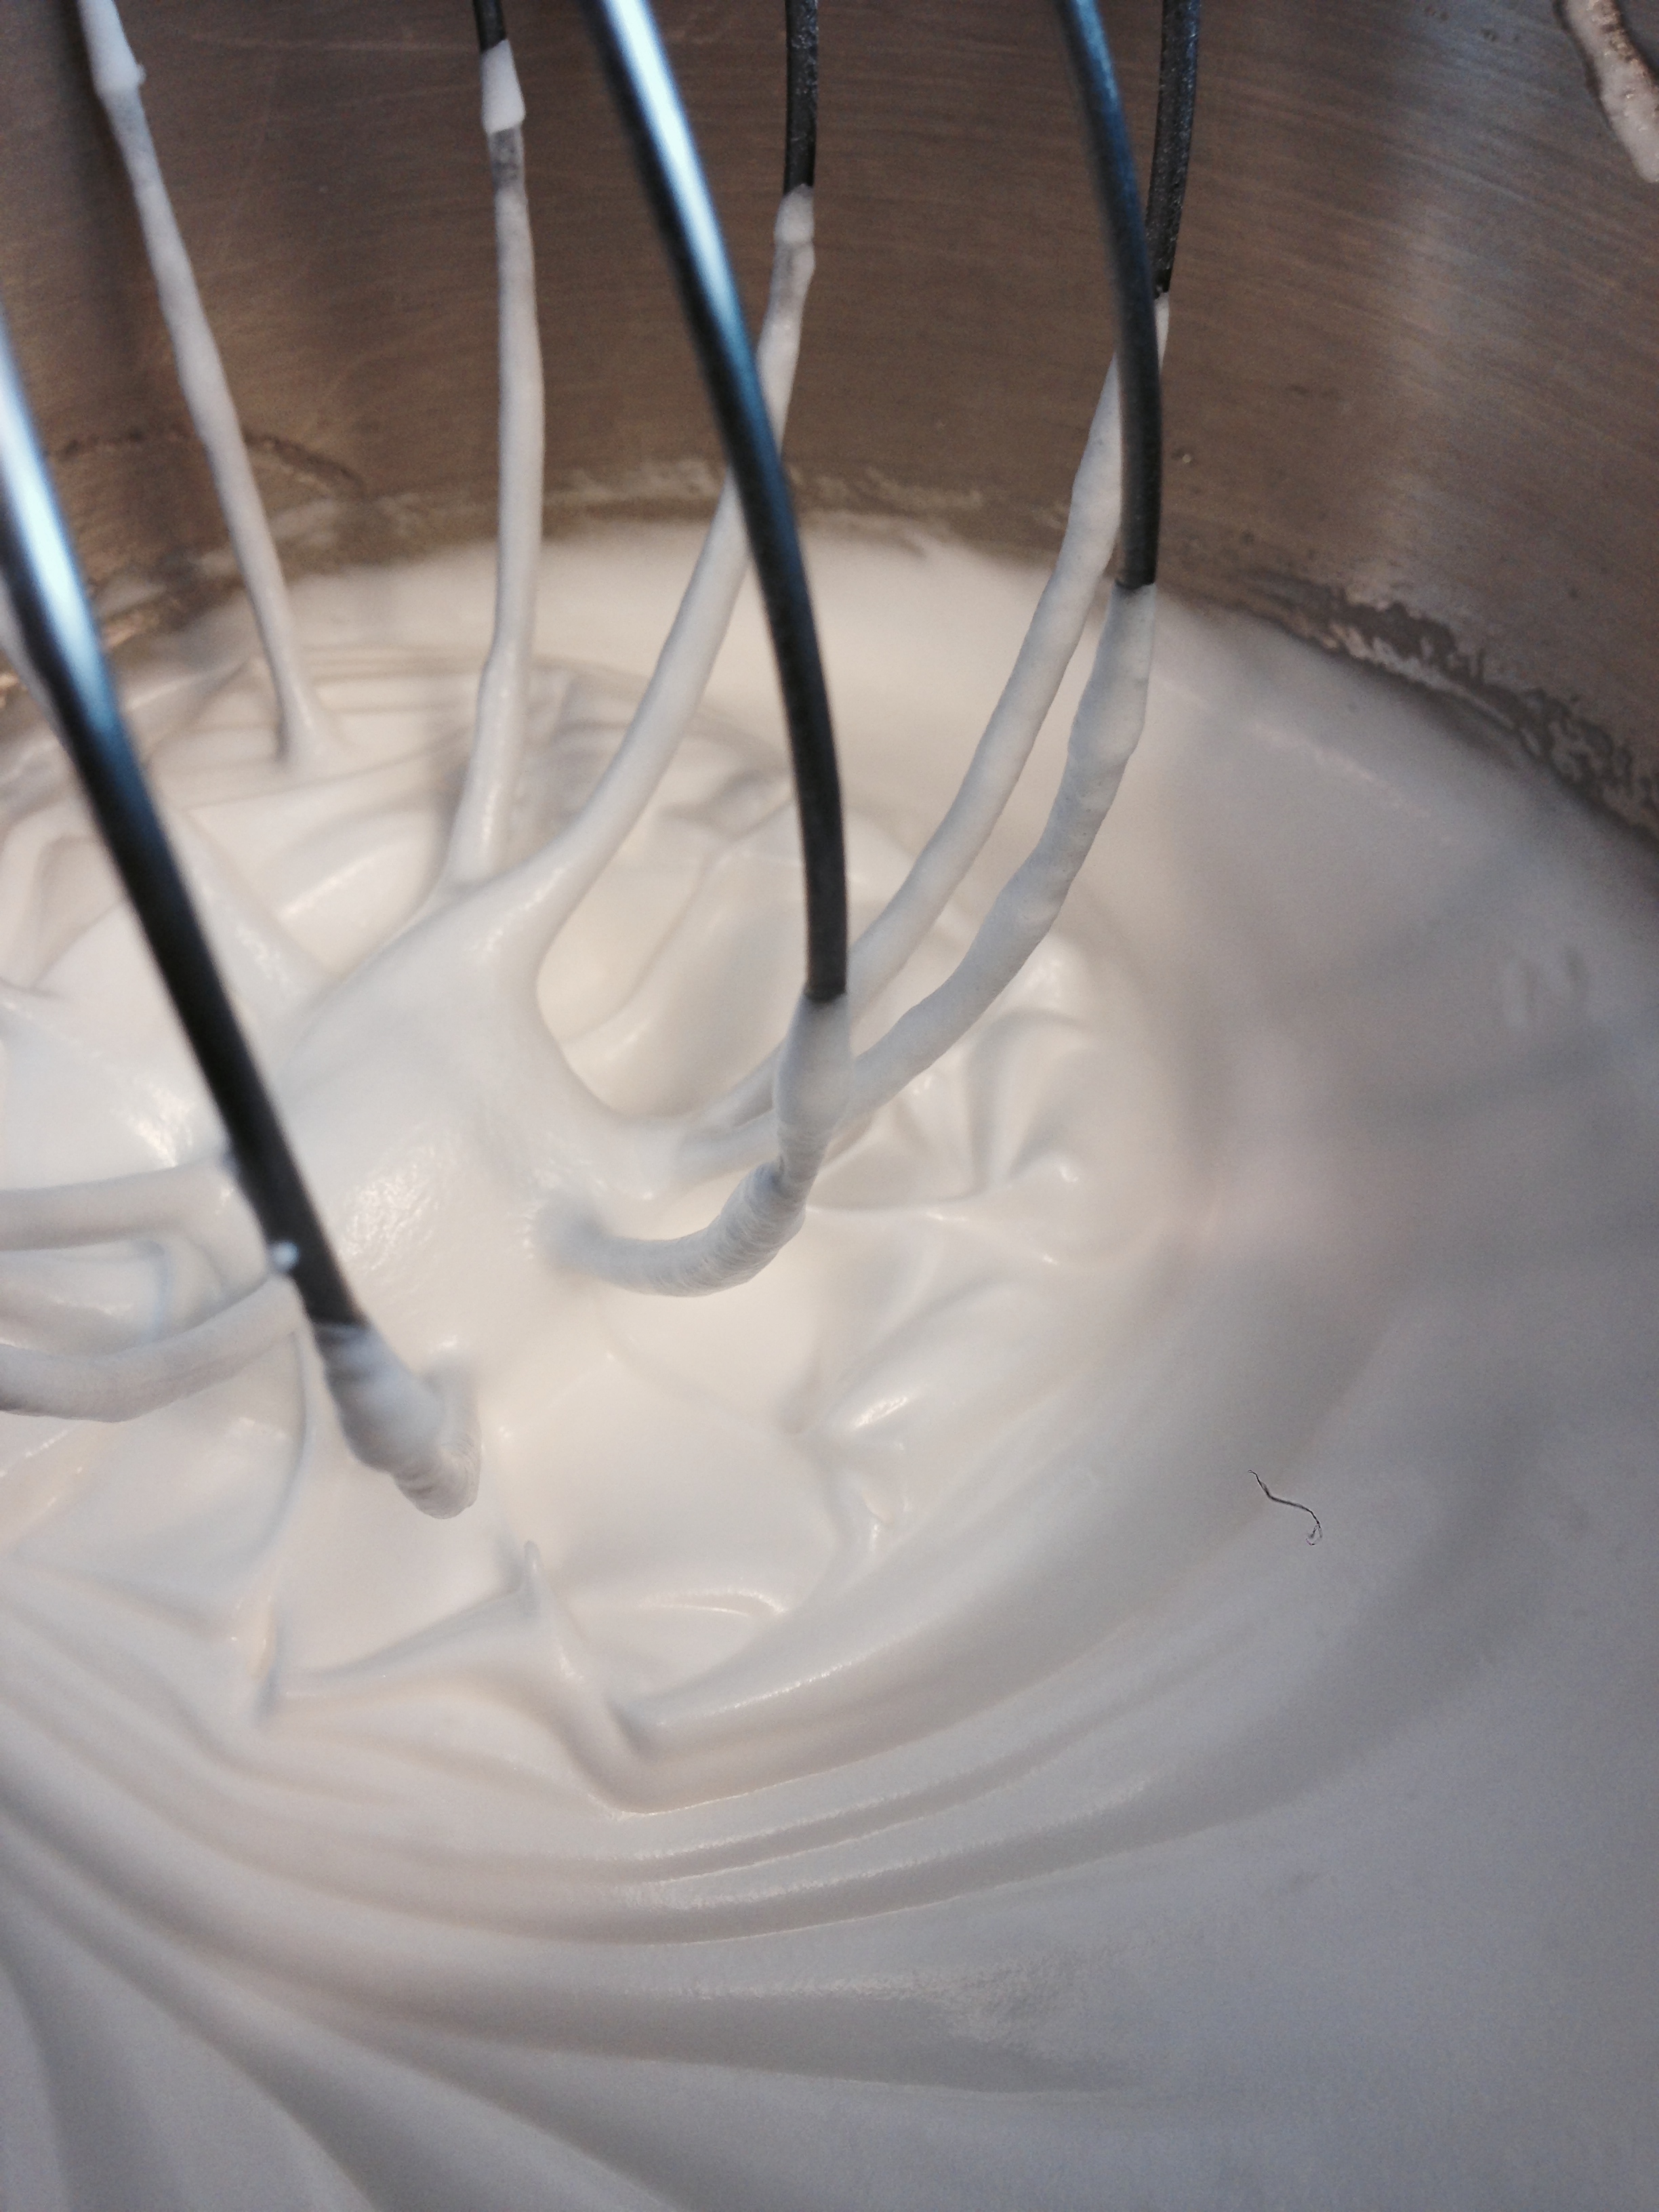
  3. Prepare the meringue by whipping the egg whites and cream of tartar with an electric mixer until soft peaks form. Add sugar, 2 TSBP at a time, to egg mixture until stiff peaks form. (If you can put your finger in meringue and when you pull it out the meringue's peak does not collapse, it's done!)
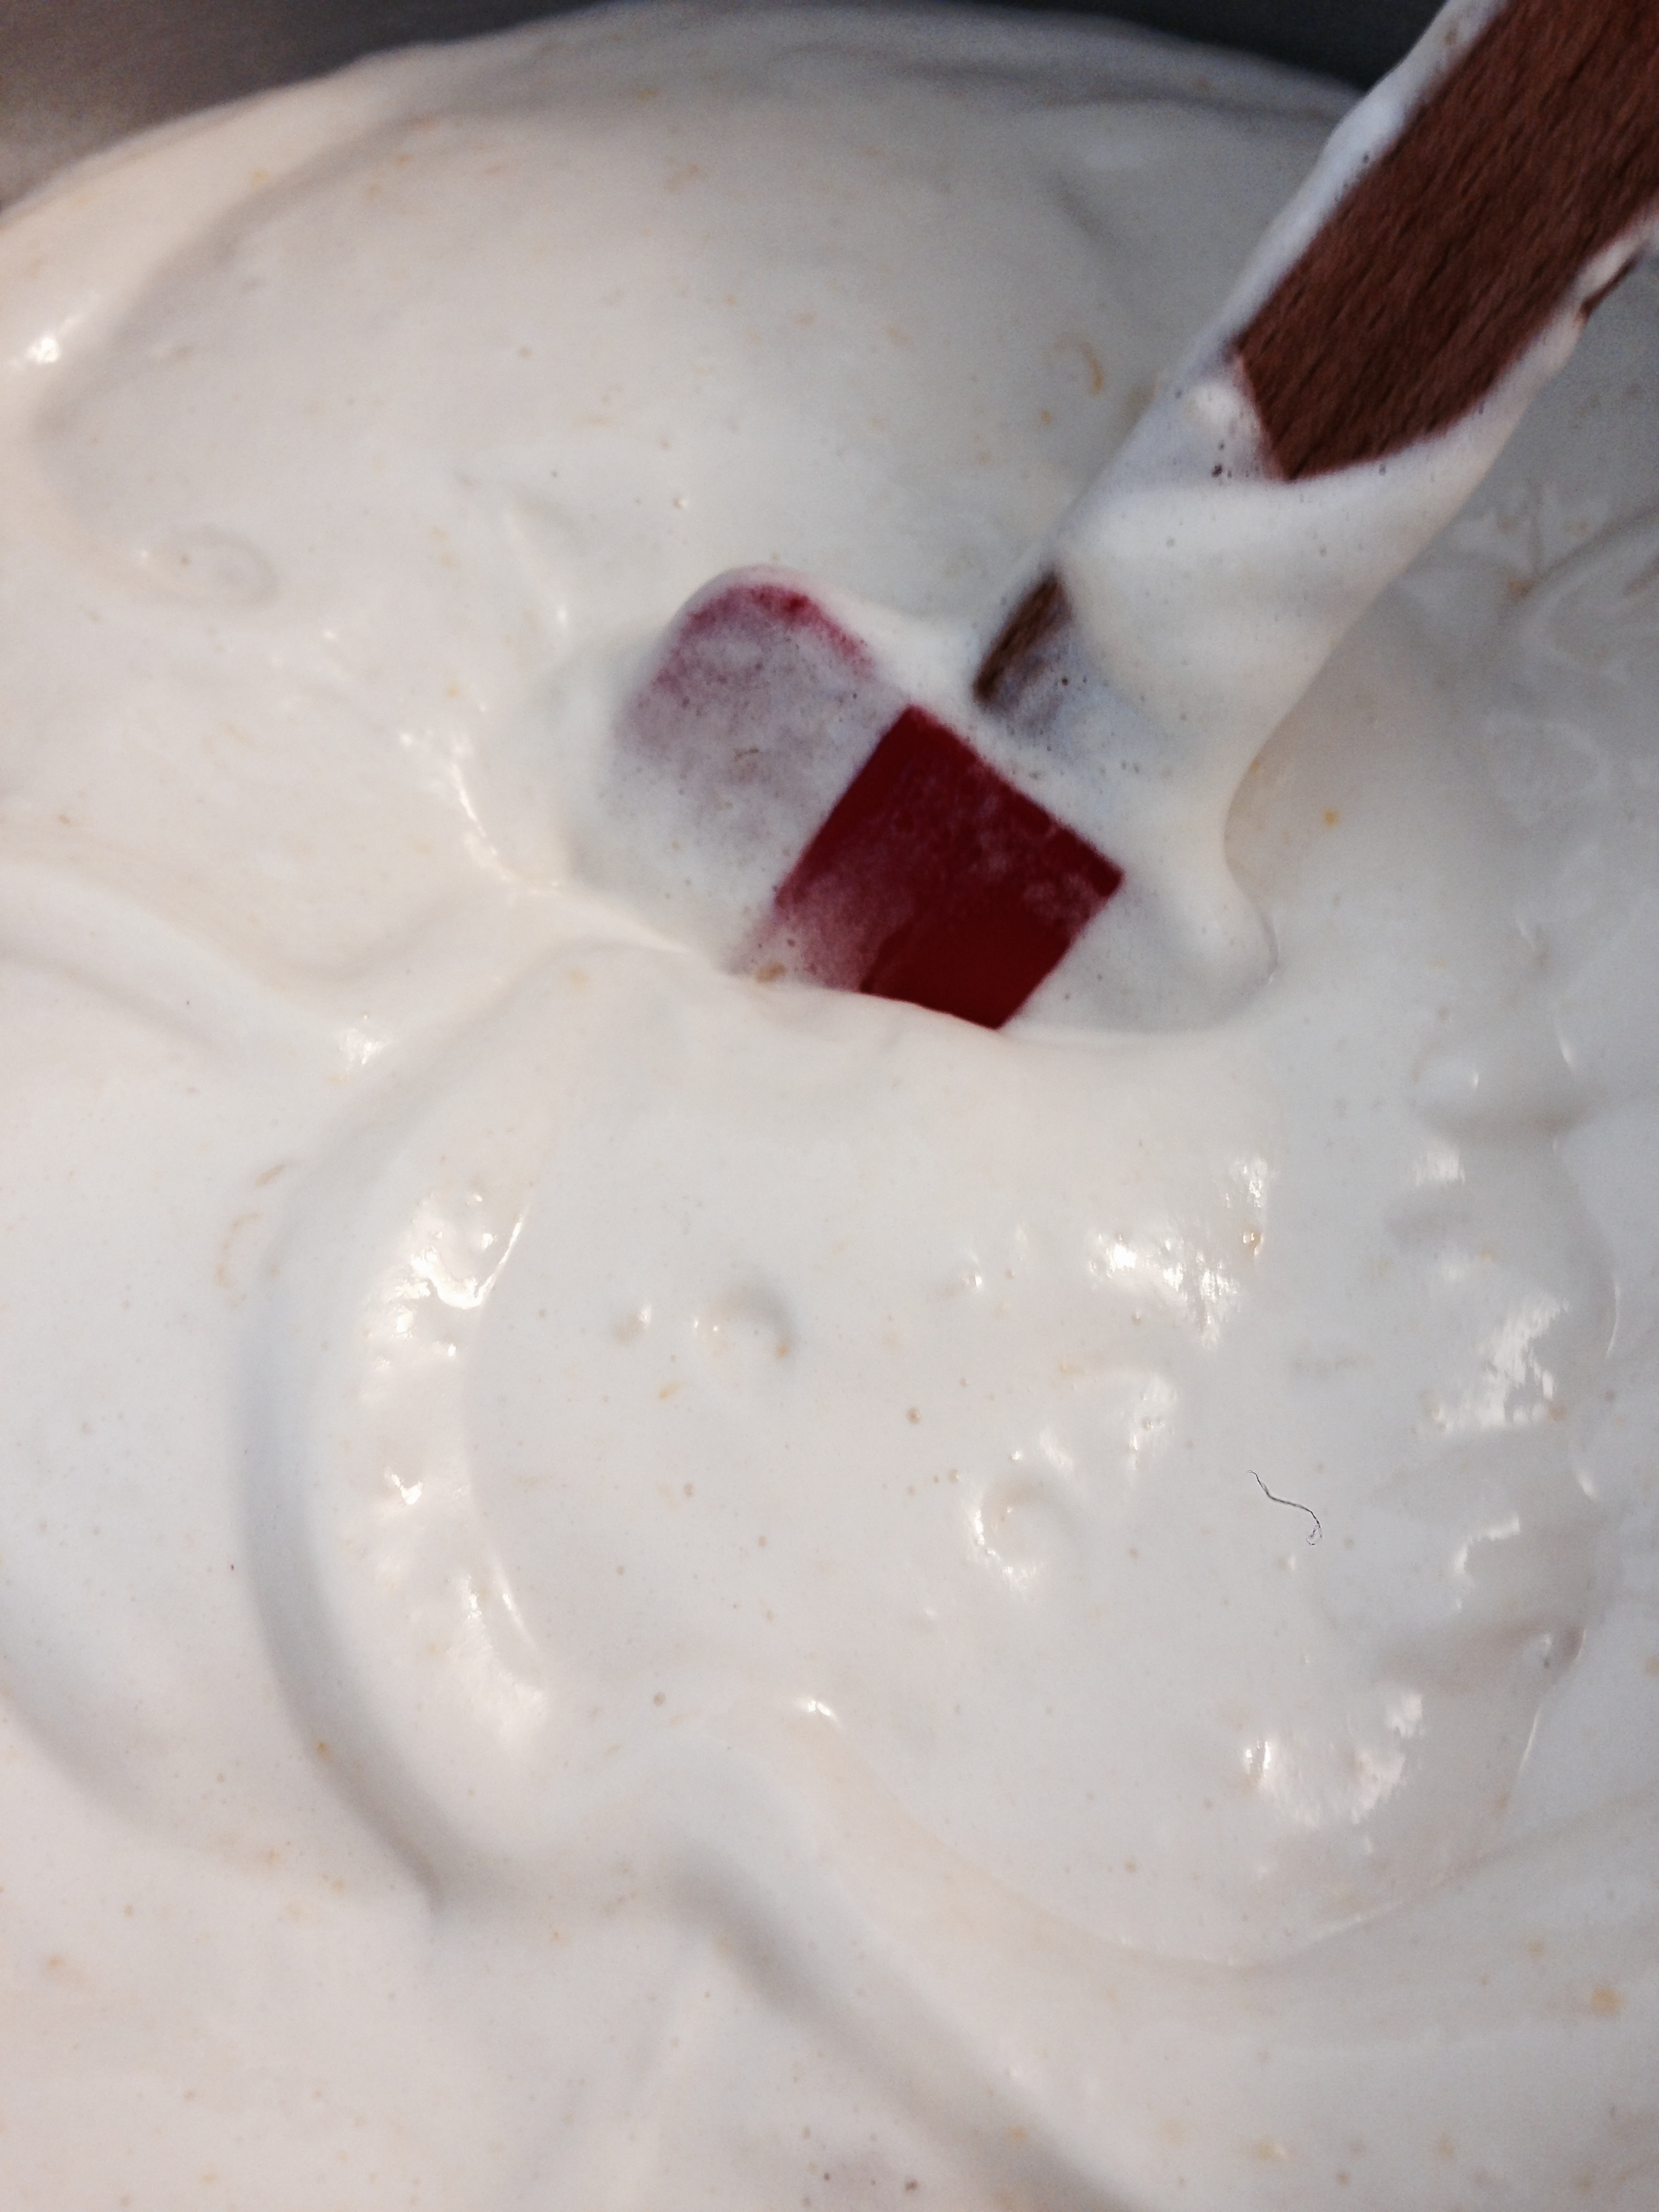
  4. Remove the cake from the freezer. Quickly spoon meringue on top of cake, using a silicon spatula to spread the meringue over the top and sides of the ice cream and cake. (You can do fancy twirly motions to get some nice swooshy patterns.)
  5. Bake until meringue is lightly browned, about 6 minutes. (You can also put the broiler on at the same time to hasten the browning. But WATCH IT. The browning reaction happens within seconds.) Serve immediately! 
IMG_3092.jpg

Chocolate Zucchini Cake 

I used this recipe from the For the Love of Cooking.net. It's my favourite chocolate zucchini muffin recipe and it easily turned into a great cake layer for my baked alaska! I made the recipe exactly they way it said but split the batter into two 9 inch round baking pans. Baked at 350ΒΊF for about 30 minutes. Easy!

And thus concludes the crazy baking of 2013. I did make some pretty delicious hot chocolate mix as well. But they were for Christmas presents. (Mind, I had to sample to see if it was any good! Just a bit though. Honest!)

-Andrea

The Half-Assed Hobbyist

The Chocolate Hazelnut Tarts

As part of Christmas Baking 2013.

To make sure that I survive the Christmas season, I attempt to give myself diabetes with amazing homemade desserts. I had two Christmas and 13 people to get sugared so, along with the Chiffon cake, I made these Chocolate Hazelnut Tarts.

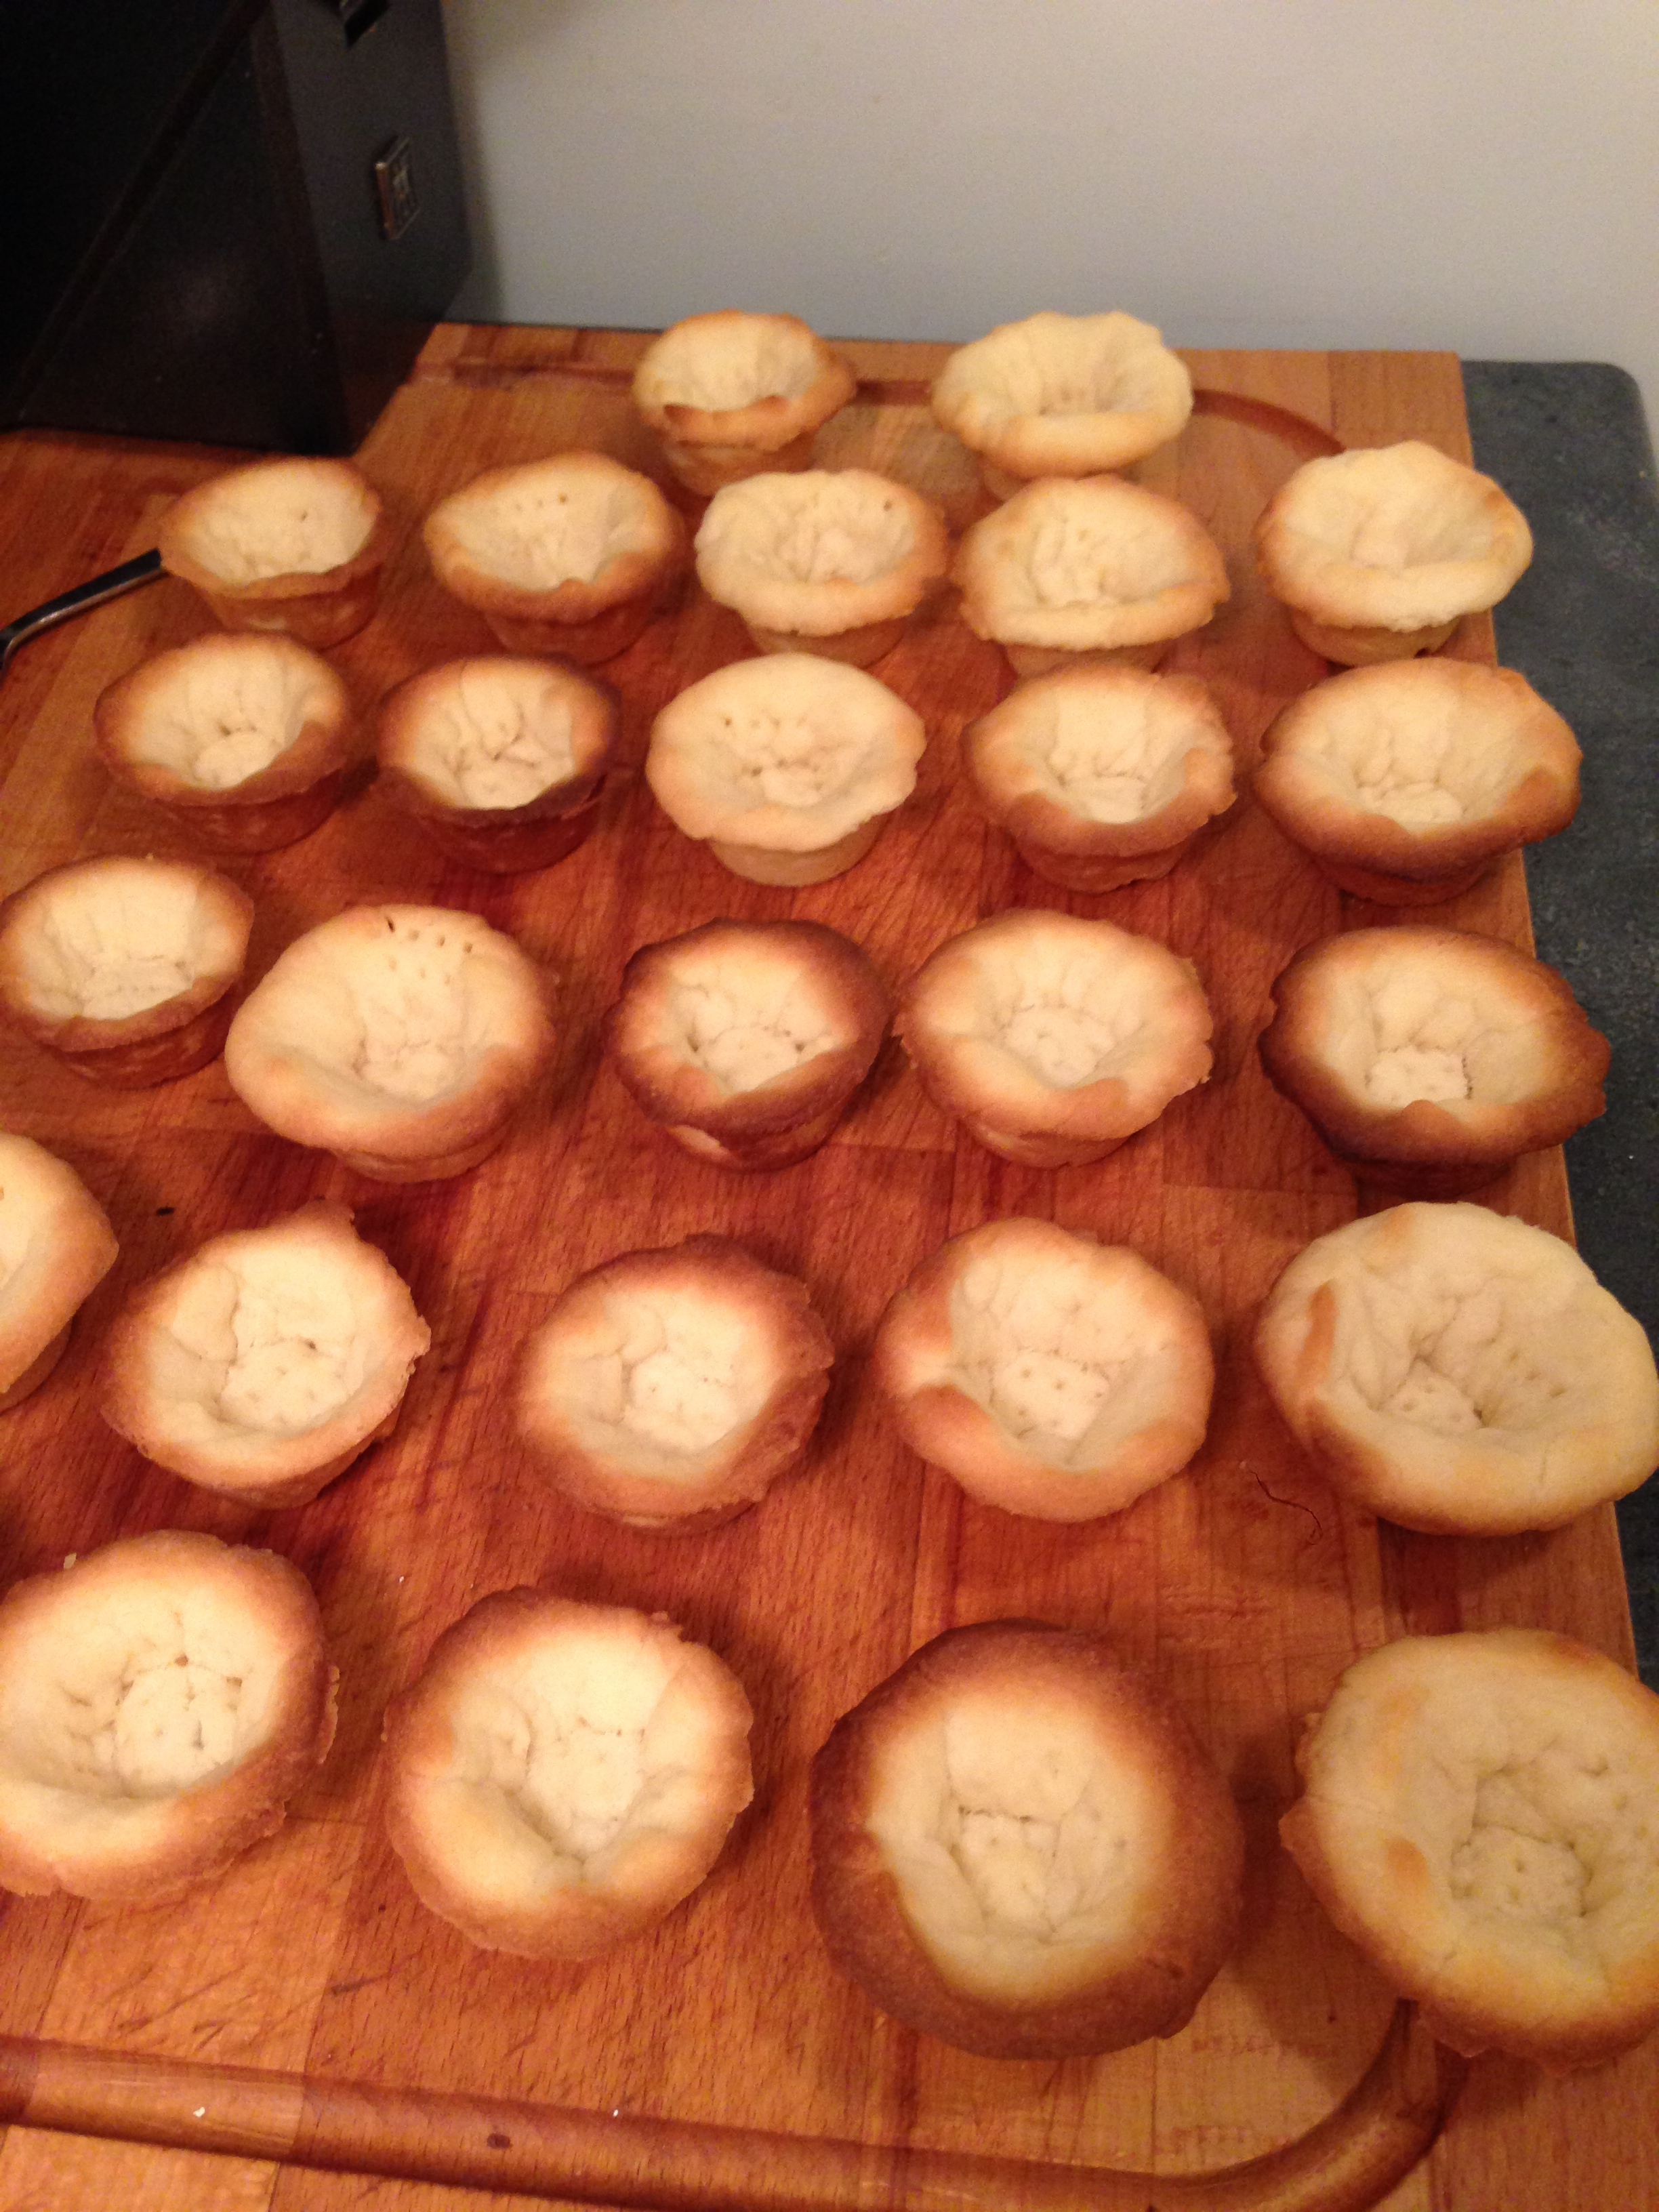
First thing I made was the tart shells. More out of necessity as the grocery store was dangerously low on tart shell stock. Plus, my sister had given me a mini tart shell pan 3 years ago and I had never used it.... So I thought I'd break it in. 

IMG_3170.jpg

Sweet Vanilla Tart Shells

(From the Blue Flame Kitchen; Changed a little by me!)

1 cup (250 mL) butter, softened 
3/4 cup (175 mL) icing sugar 
4 tsp (20 mL) vanilla 
2 cups (500 mL) flour 
1 tsp (5 mL) salt
Β 

  1. Preheat oven to 400ΒΊF.
  2. Using medium speed of an electric mixer, beat together butter and icing sugar until fluffy.  Using low speed, beat in vanilla.  Gradually beat in flour and salt just until combined. Gather dough into a ball; divide in half.  Flatten each half into a disc shape.  Wrap each disc with plastic wrap and refrigerate for 1 hour or until firm. 
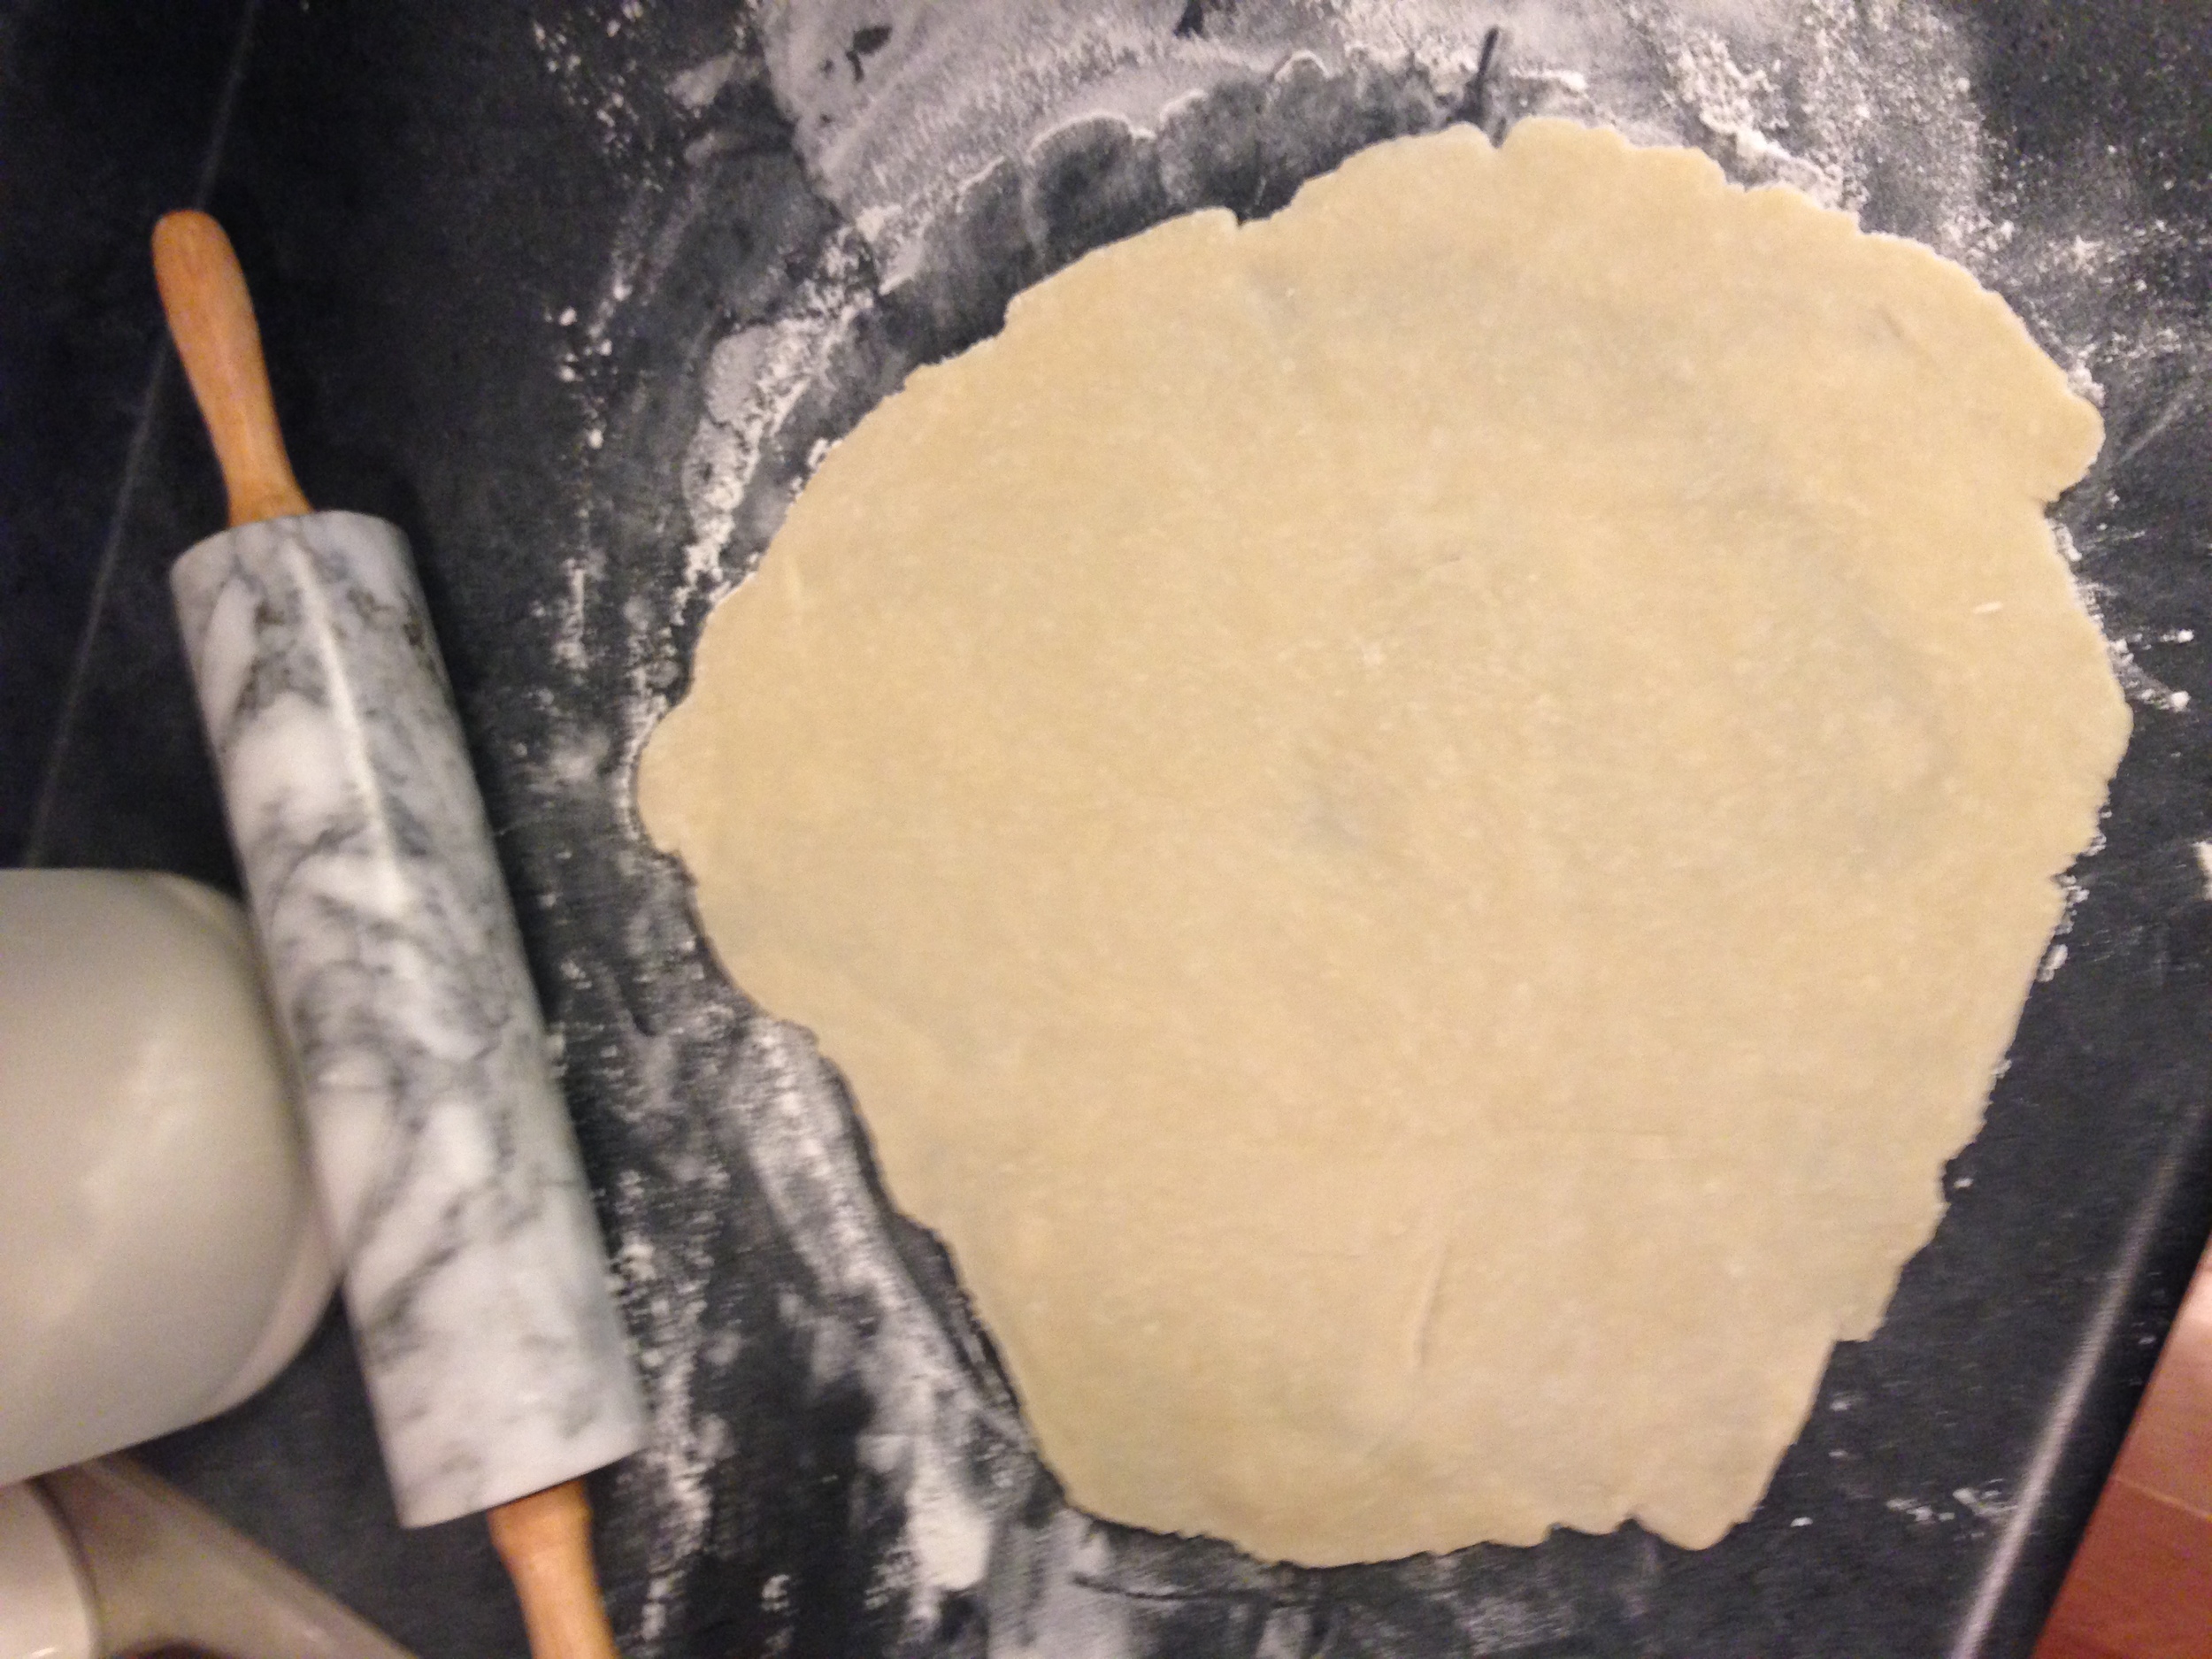
  3. Remove one disc of dough from refrigerator.  On a lightly floured surface, roll out dough 1/8 inch (3 mm) thick.  Using a floured 3 inch (7.5 cm) cookie cutter, cut dough into rounds.  Transfer each round to a mini tart pan using your fingers to press pastry into a tart shell shape. Prick bottom of tart shells all over with a fork. Repeat procedure with remaining disc of dough. Bake for 10 minutes or until tart shells are light golden around edges.  Cool completely in pans on racks. Remove tart shells from pans. 

Now, that my lovely, slightly deformed tart shells were cooling, I started making my ganache for the filling.

Chocolate Hazelnut Tarts

(From The Blue Flam Kitchen; Also, changed by me)

8 ounces Bernard Callebaut bittersweet chocolate drops
1/2 cup whipping cream
~1/4 cup Bernard Callebaut chocolate hazelnut spread
~24 mini baked tart shells
2 tbsp finely chopped walnuts

  1. Combine chocolate and cream in a 4 cup microwave-safe bowl.
  2. Microwave, uncovered, on medium (50% power), stirring twice, for 1 1/2 minutes or just until chocolate is melted and mixture is smooth.
  3. Spread 1 tsp chocolate hazelnut spread on bottom of each tart shell. Spoon about 1 tsp of chocolate mixture on top, covering hazelnut spread underneath.
  4. Sprinkle with walnuts.
  5. Refrigerate for at least 1 hour or up to 3 days.

So good. It's a strange recipe but I like it. You can also top of the tarts with flaked sea salt, if you have it. Also good. 

-Andrea

The Half-Assed Hobbyist

The Chiffon Cake

As part of Christmas Baking 2013.

My family has a whirlwind tradition of doing everything Christmasy on one day. Christmas Eve. It's typically a very smoothly scheduled day where my sister and I visit all the parents and all the family in the course of 8 hours. 

In order to survive I make lots and lots of sweets. 

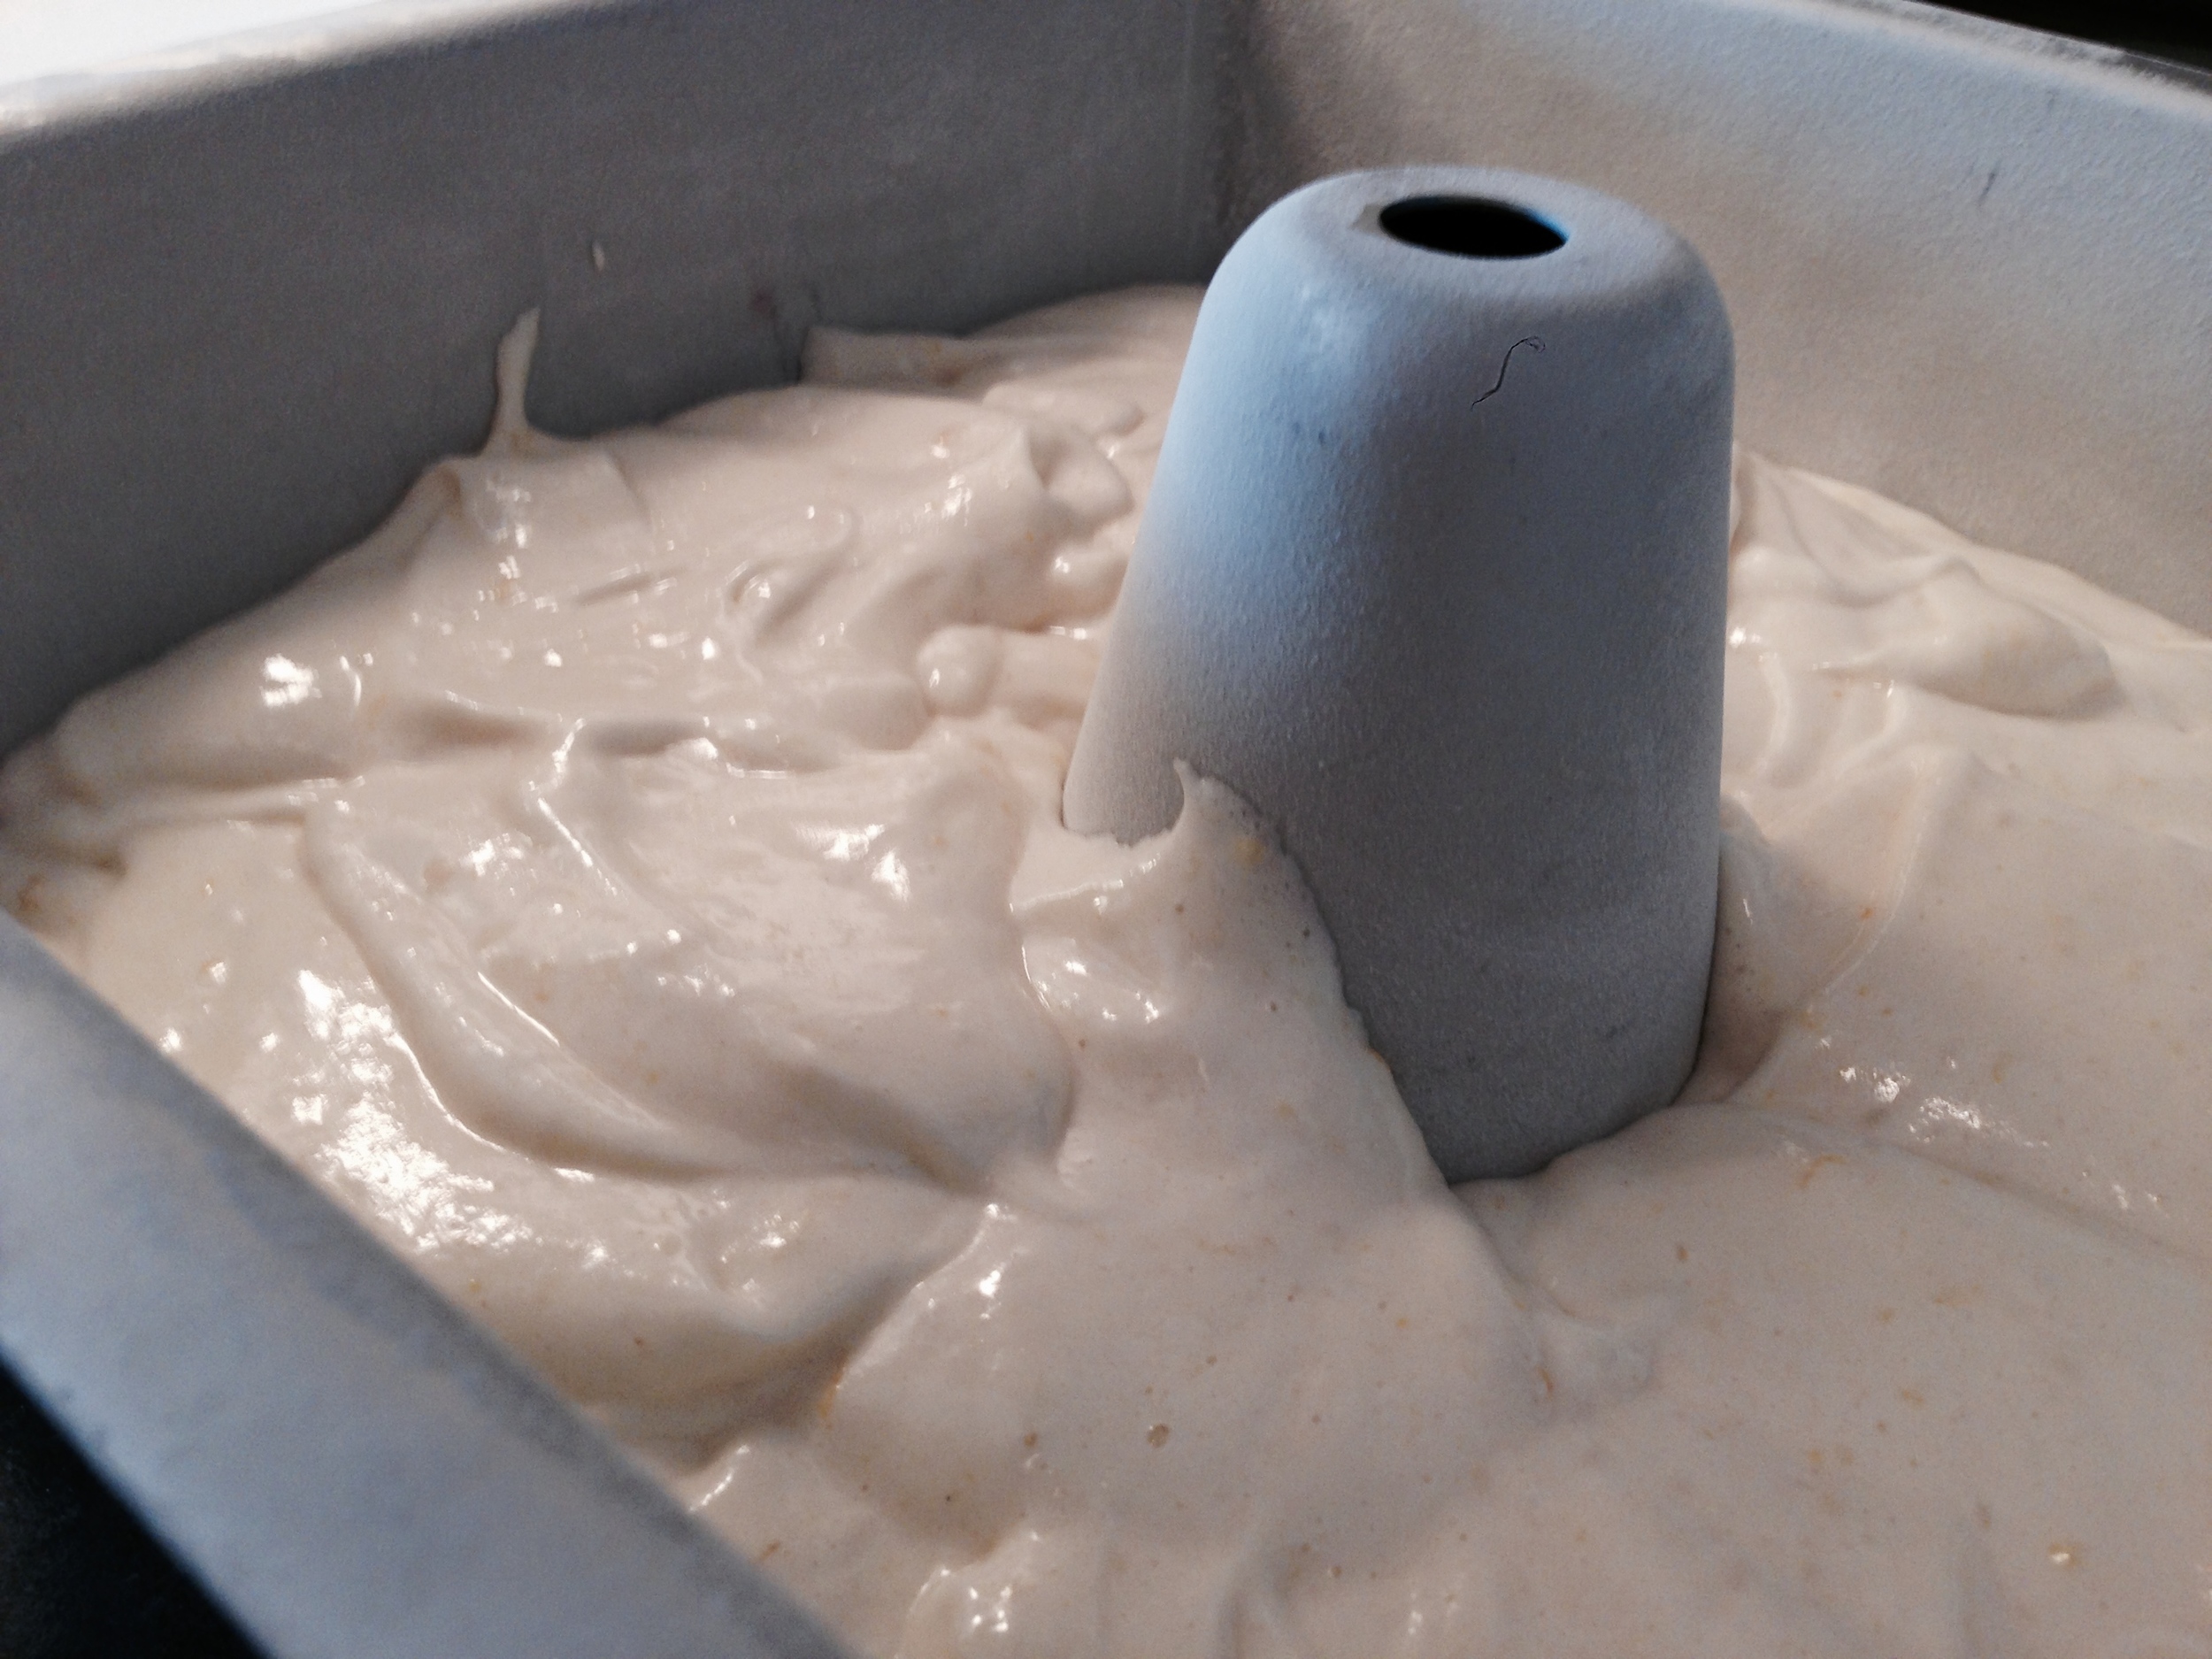
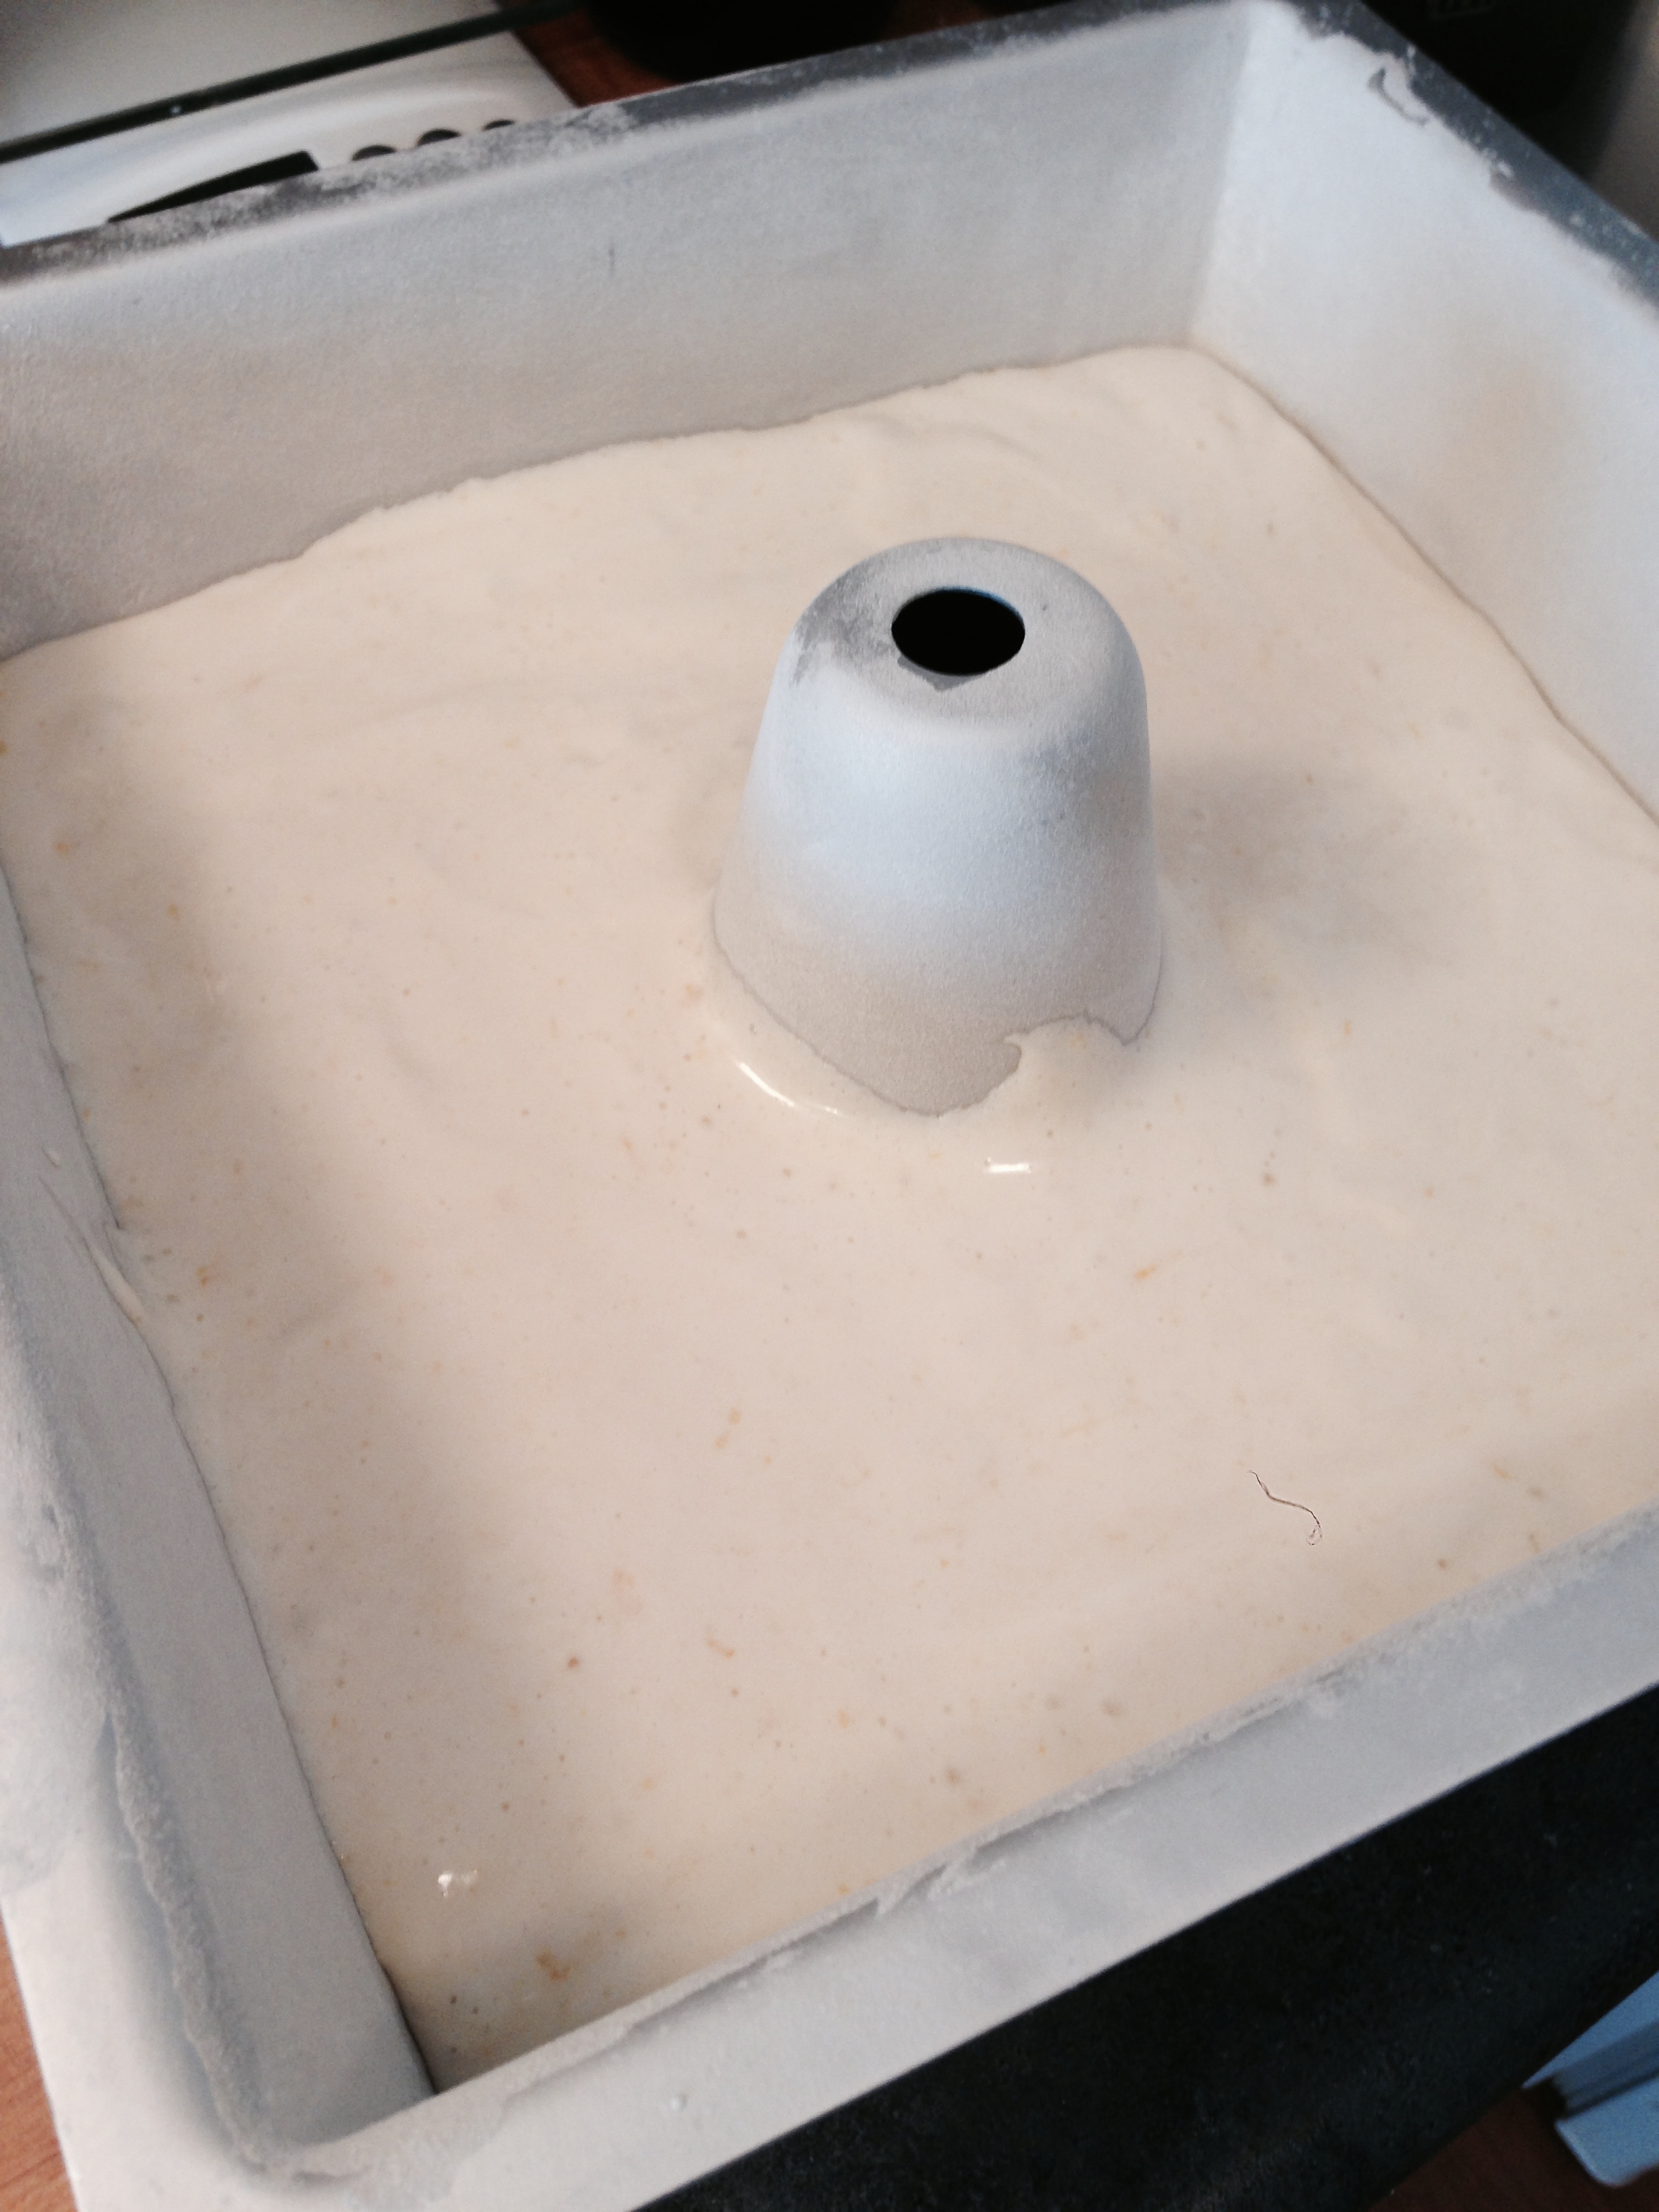
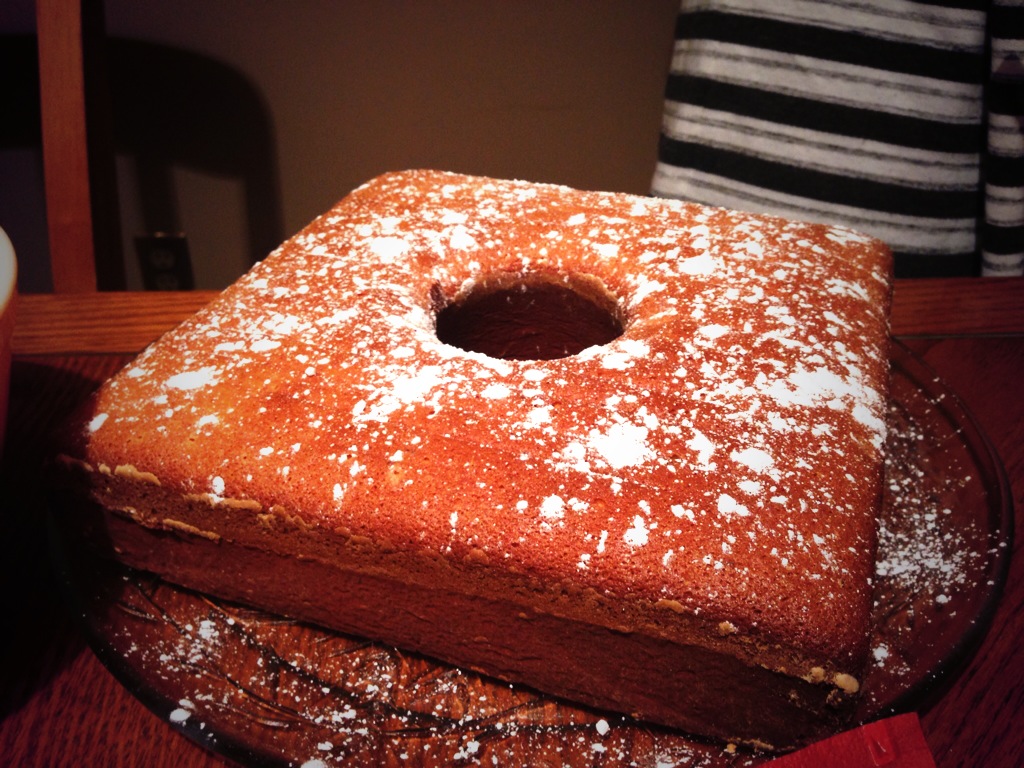
The chocolate shop I worked at over Christmas was going through a chocolate product shortage because of the flood in Calgary early 2013, so I had to find some less chocolatey alternatives to my regular chocolate cake with chocolate ganache and chocolate frosting. First on my list was a lemon and vanilla chiffon cake. Basically a fancy angel food cake. 

I've never made angel food cake before. I even had to go out and buy a pan. And since I might as well make it as impossible as I can for this cake to turn out, I bought a square angel food pan! Neat!  

The recipe I used was from my Canadian Living Complete Baking book for Sunshine cake. I used the just regular, non-passover recipe. 

Sunshine Cake 

(from Canadian Living's The Complete Canadian Living Baking Book; also changed a bit by me!)

2 egg yolks
7 eggs, separated
1 1/2 cups granulated sugar
1 2/3 cups cake and pastry flour
2 tbsp grated lemon rind
1/4 cup lemon juice
1 tbsp (15 mL) vanilla
1/2 tsp (2 mL) salt

  1. In large bowl, beat together 9 egg yolks, half of sugar, all of flour, lemon rind and juice, and vanilla until blended. Set aside.
  2. In separate large bowl and with clean beaters, beat egg whites with salt until soft peaks form. Beat in remaining sugar, 2 tbsp (25 mL) at a time, until stiff peaks form.
  3. With spatula, gently fold one-third of the egg whites into yolk mixture; fold in remaining whites just until no streaks remain. Scrape into prepared pan; smooth top. Bake in centre of 350Β°F oven until top springs back when lightly touched, about 50 minutes.
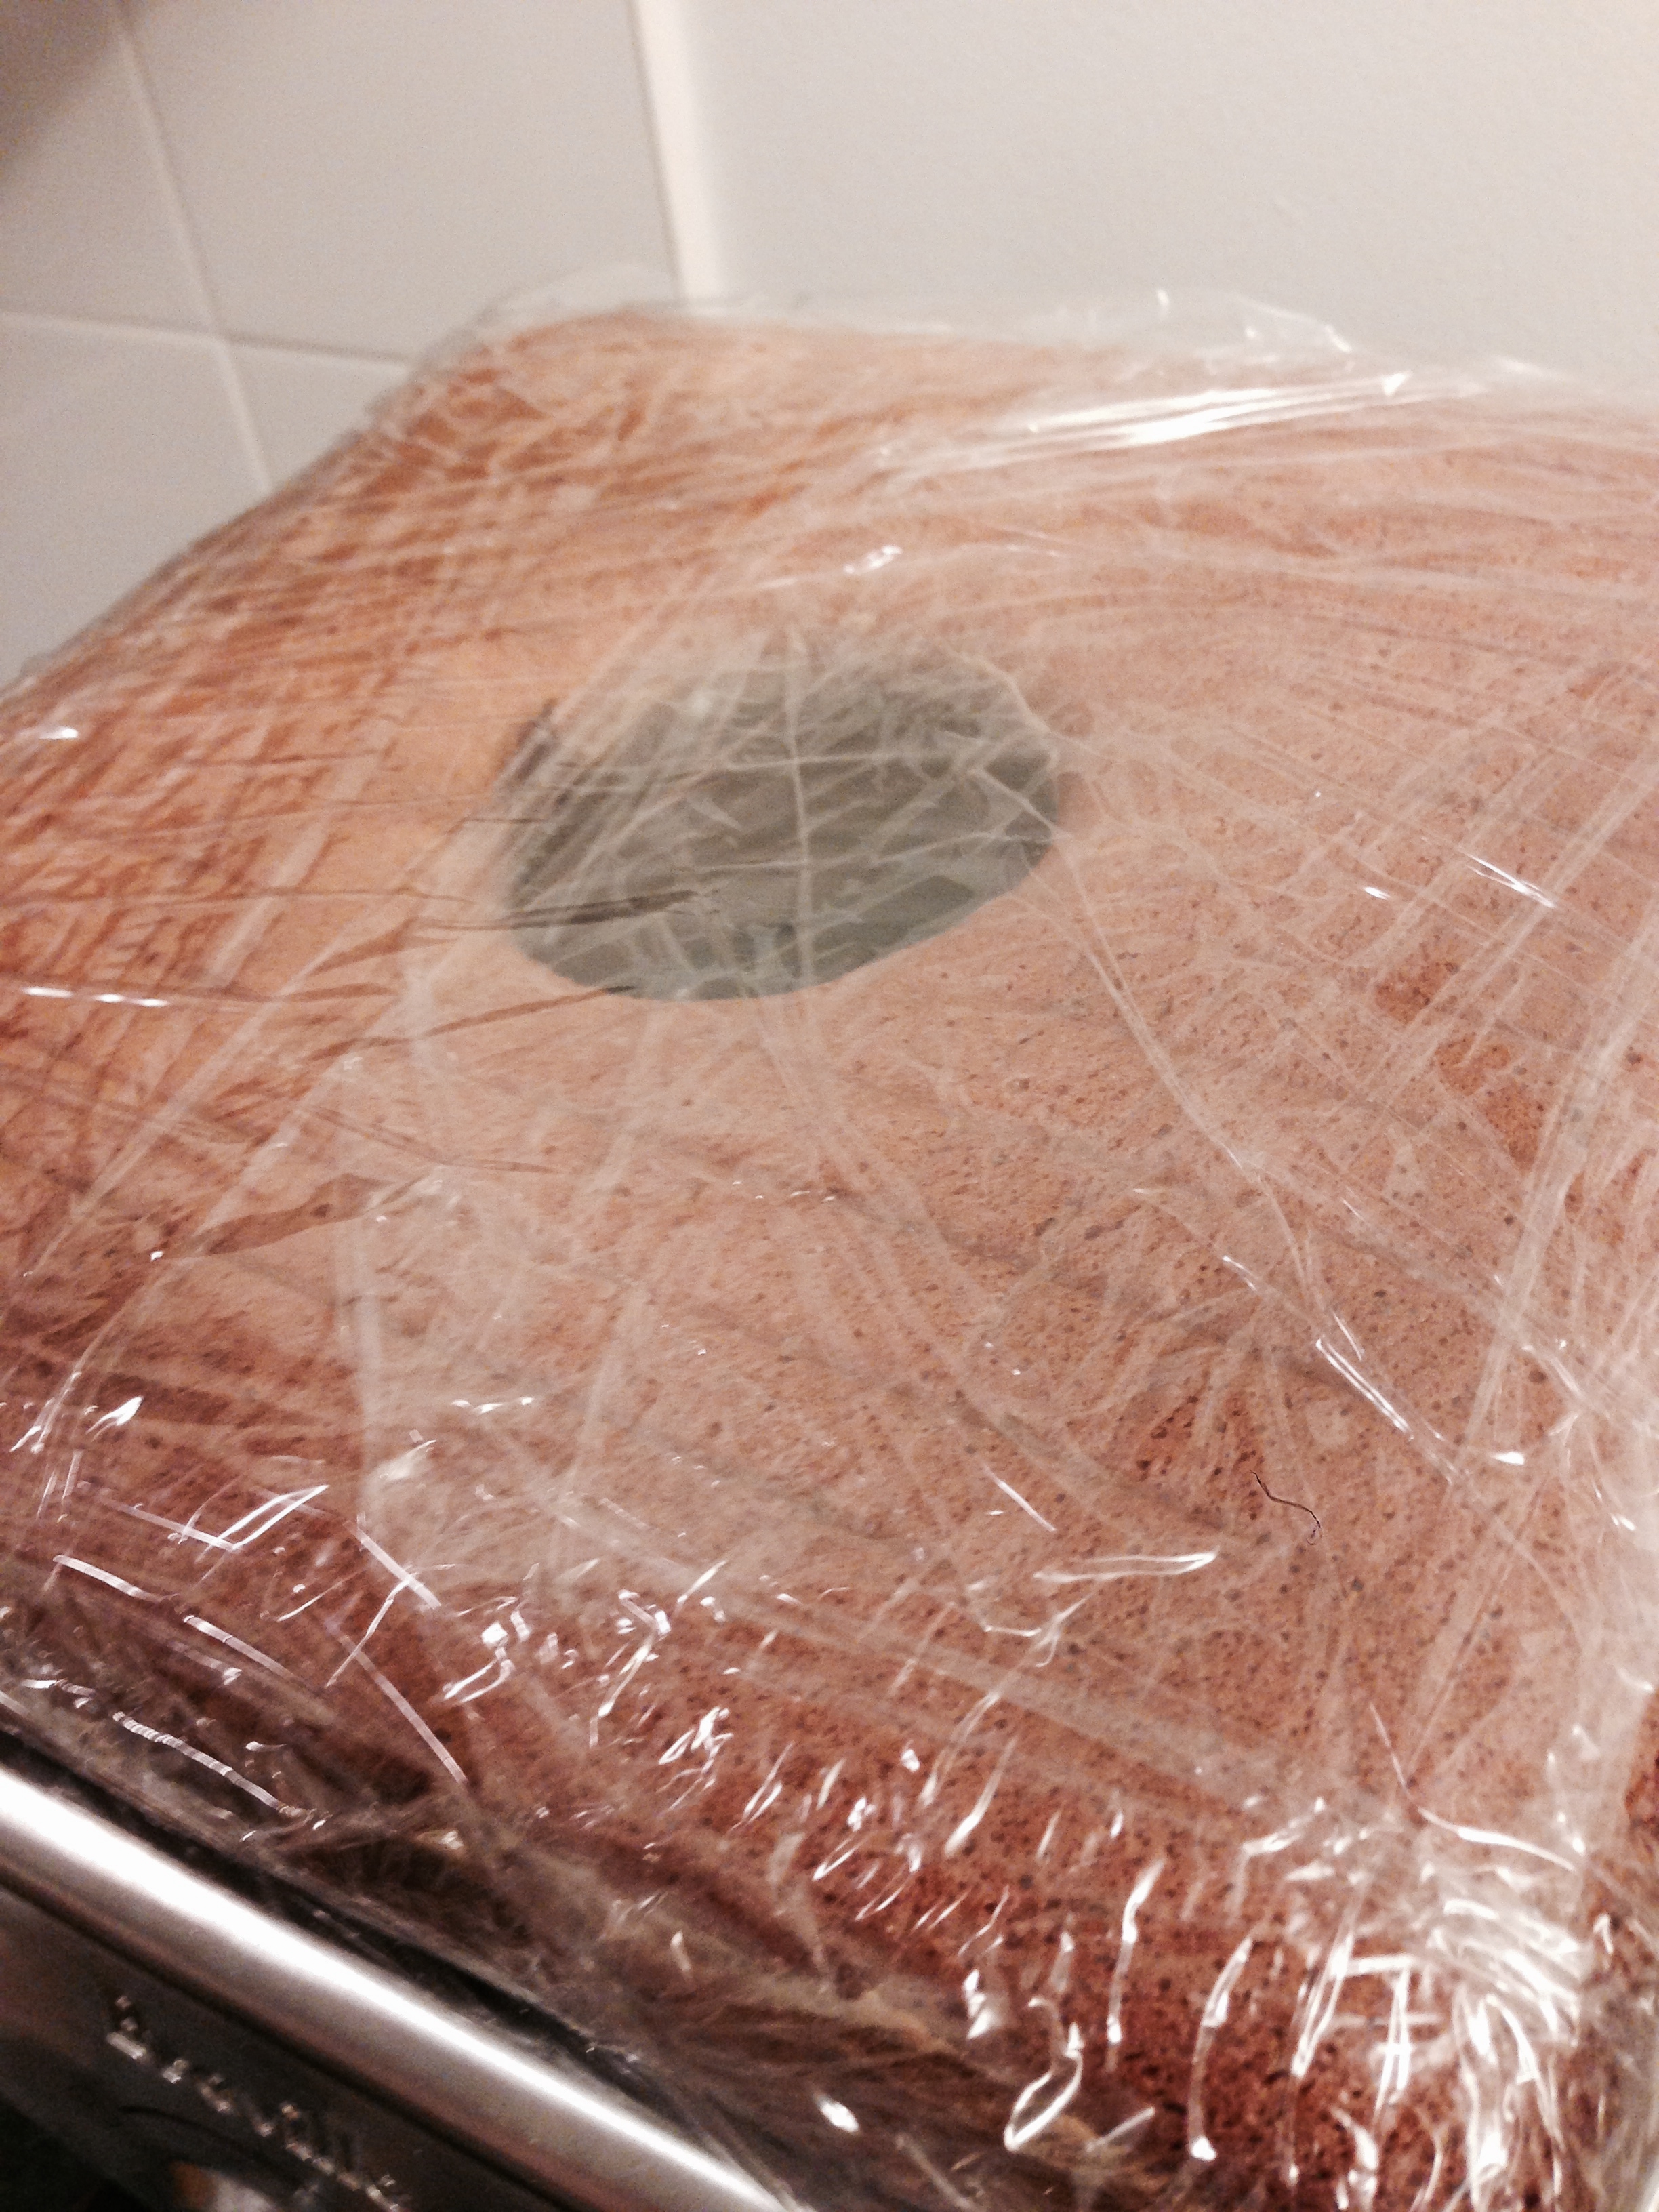
  4. Turn pan upside down and let cake hang on legs attached to pan or on inverted funnel, or bottle, until cooled, about 3 hours. Run long palate knife around centre and side of pan, pressing blade against pan and reaching to bottom to loosen cake. Unmould onto cake plate. (Make-ahead: Cover with plastic wrap; store for up to 24 hours.)

I definitely tried very hard to follow the recipe....  But I really don't like oranges in cake so I changed it to lemon zest and lemon juice instead. Even with the acidity change the cake still was very fluffy. 

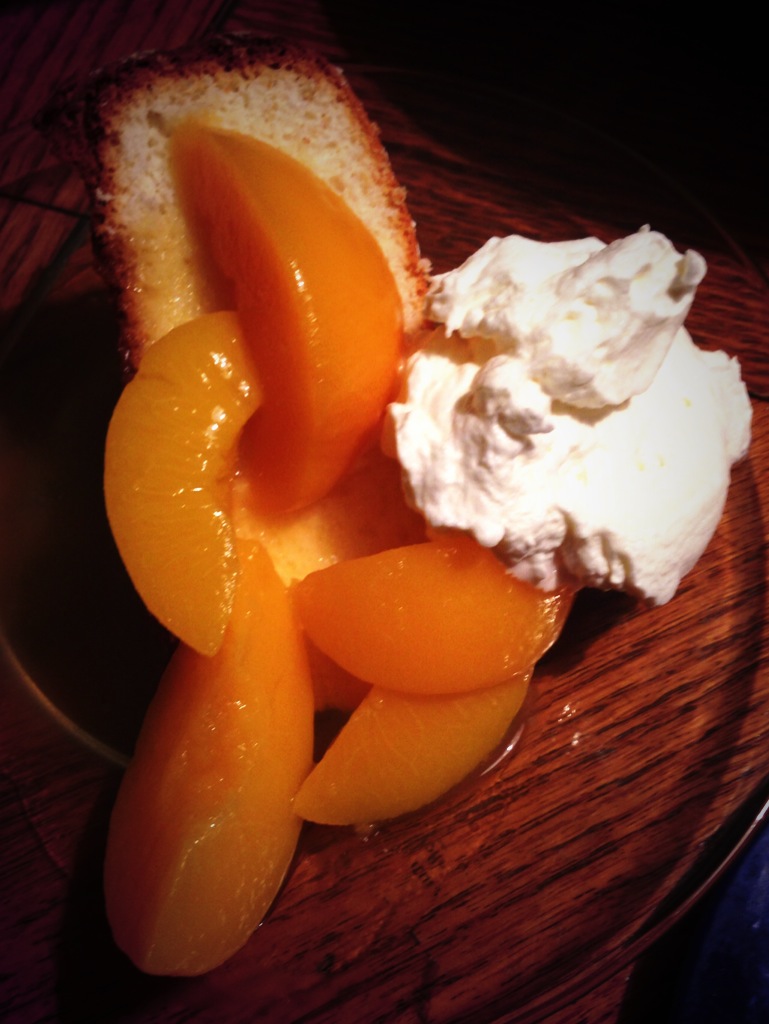
When trying to make the peaches, I'll admit to a giant fail. With all the family gathered around me, I attempted to light the whiskey I'd brought on fire. FlambΓ©ed peaches! Sounds fancy, right? I thought so too. It turns out though that a regular 40% alcohol won't work. As I tried many times, my expectant and soon to be disappointed family surrounding me, waiting. The whiskey light briefly (very briefly) so I called it done and poured it into the peaches, rather sad that it hadn't really worked. 

Β 

Β 

Β 

But, regardless, it was still pretty delicious. Whipped cream covered and very whiskey-ed peach covered vanilla and lemon chiffon cake. Yum!

-Andrea

The Half-Assed Hobbyist

One down, 54 to go: A Brownie Challenge

I bake habitually. 

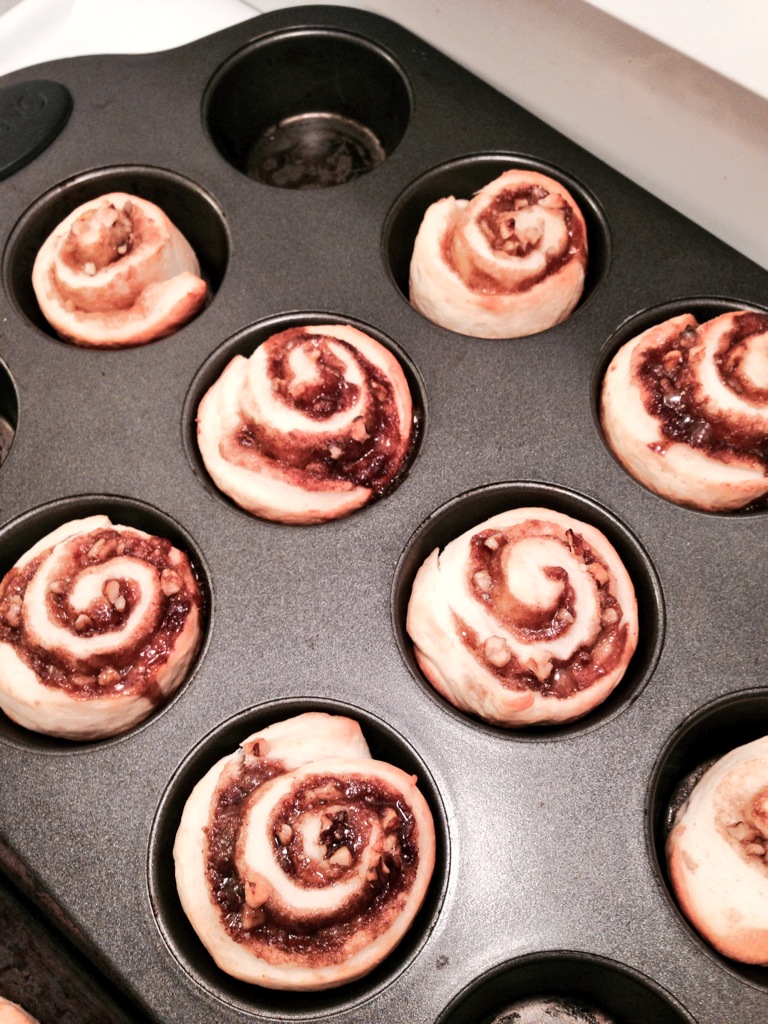
Whether it's because I'm bored or stressed or both, I love to bake. I am not, however, incredibly good at baking. To this day I cannot make baking powder biscuits to save my life. They come out as hard little hockey pucks, still delicious but very much Not a risen flaky baking powder biscuit. (It's ok though, I usually give up on biscuits and make poor-man's cinnamon buns instead.)

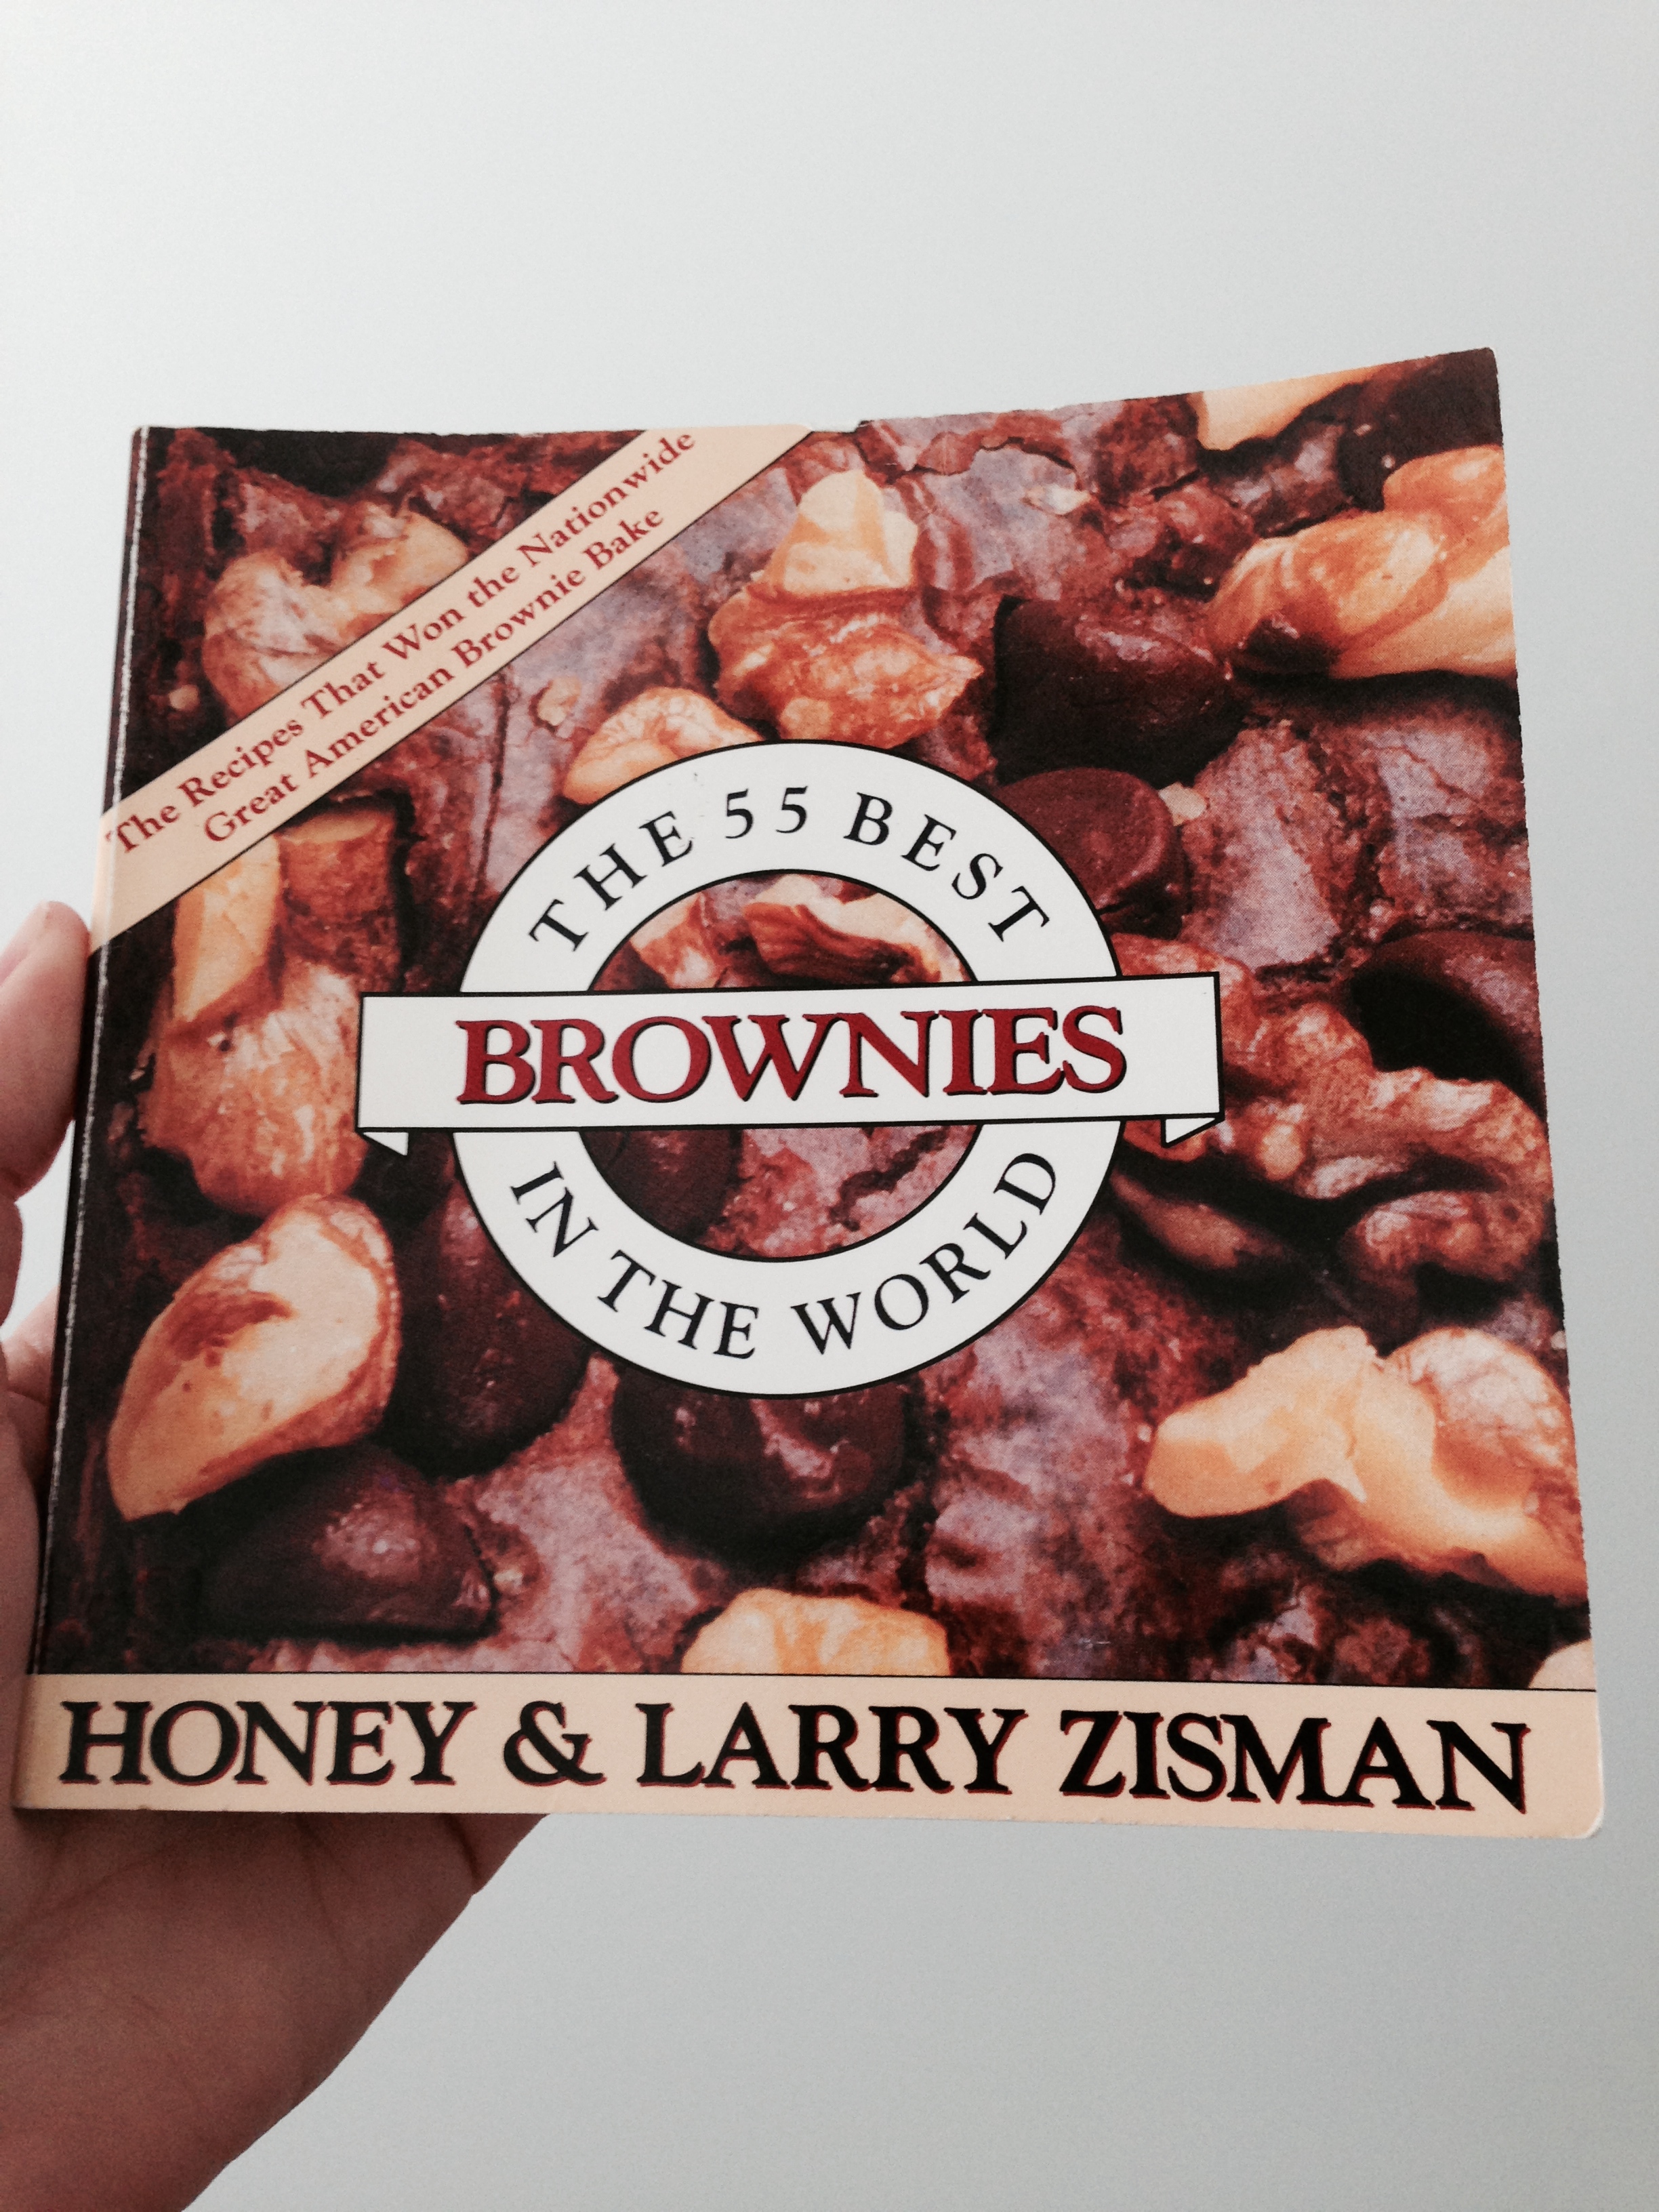
I remember my very first baking disaster very clearly. I was 13, my parents had just divorced and my mother had moved into this super old condo with yellowed crunchy carpet and white plaster scenes of mountains and boats and other worldly-type-things all over the walls. I had got a book of brownie recipes for the previous Christmas and I wanted to try out a fancy brownie recipe. So, I made a list of the ingredients for Mom to get at the store and waited for her to get back. When she did I collected all the ingredients and got cracking! 

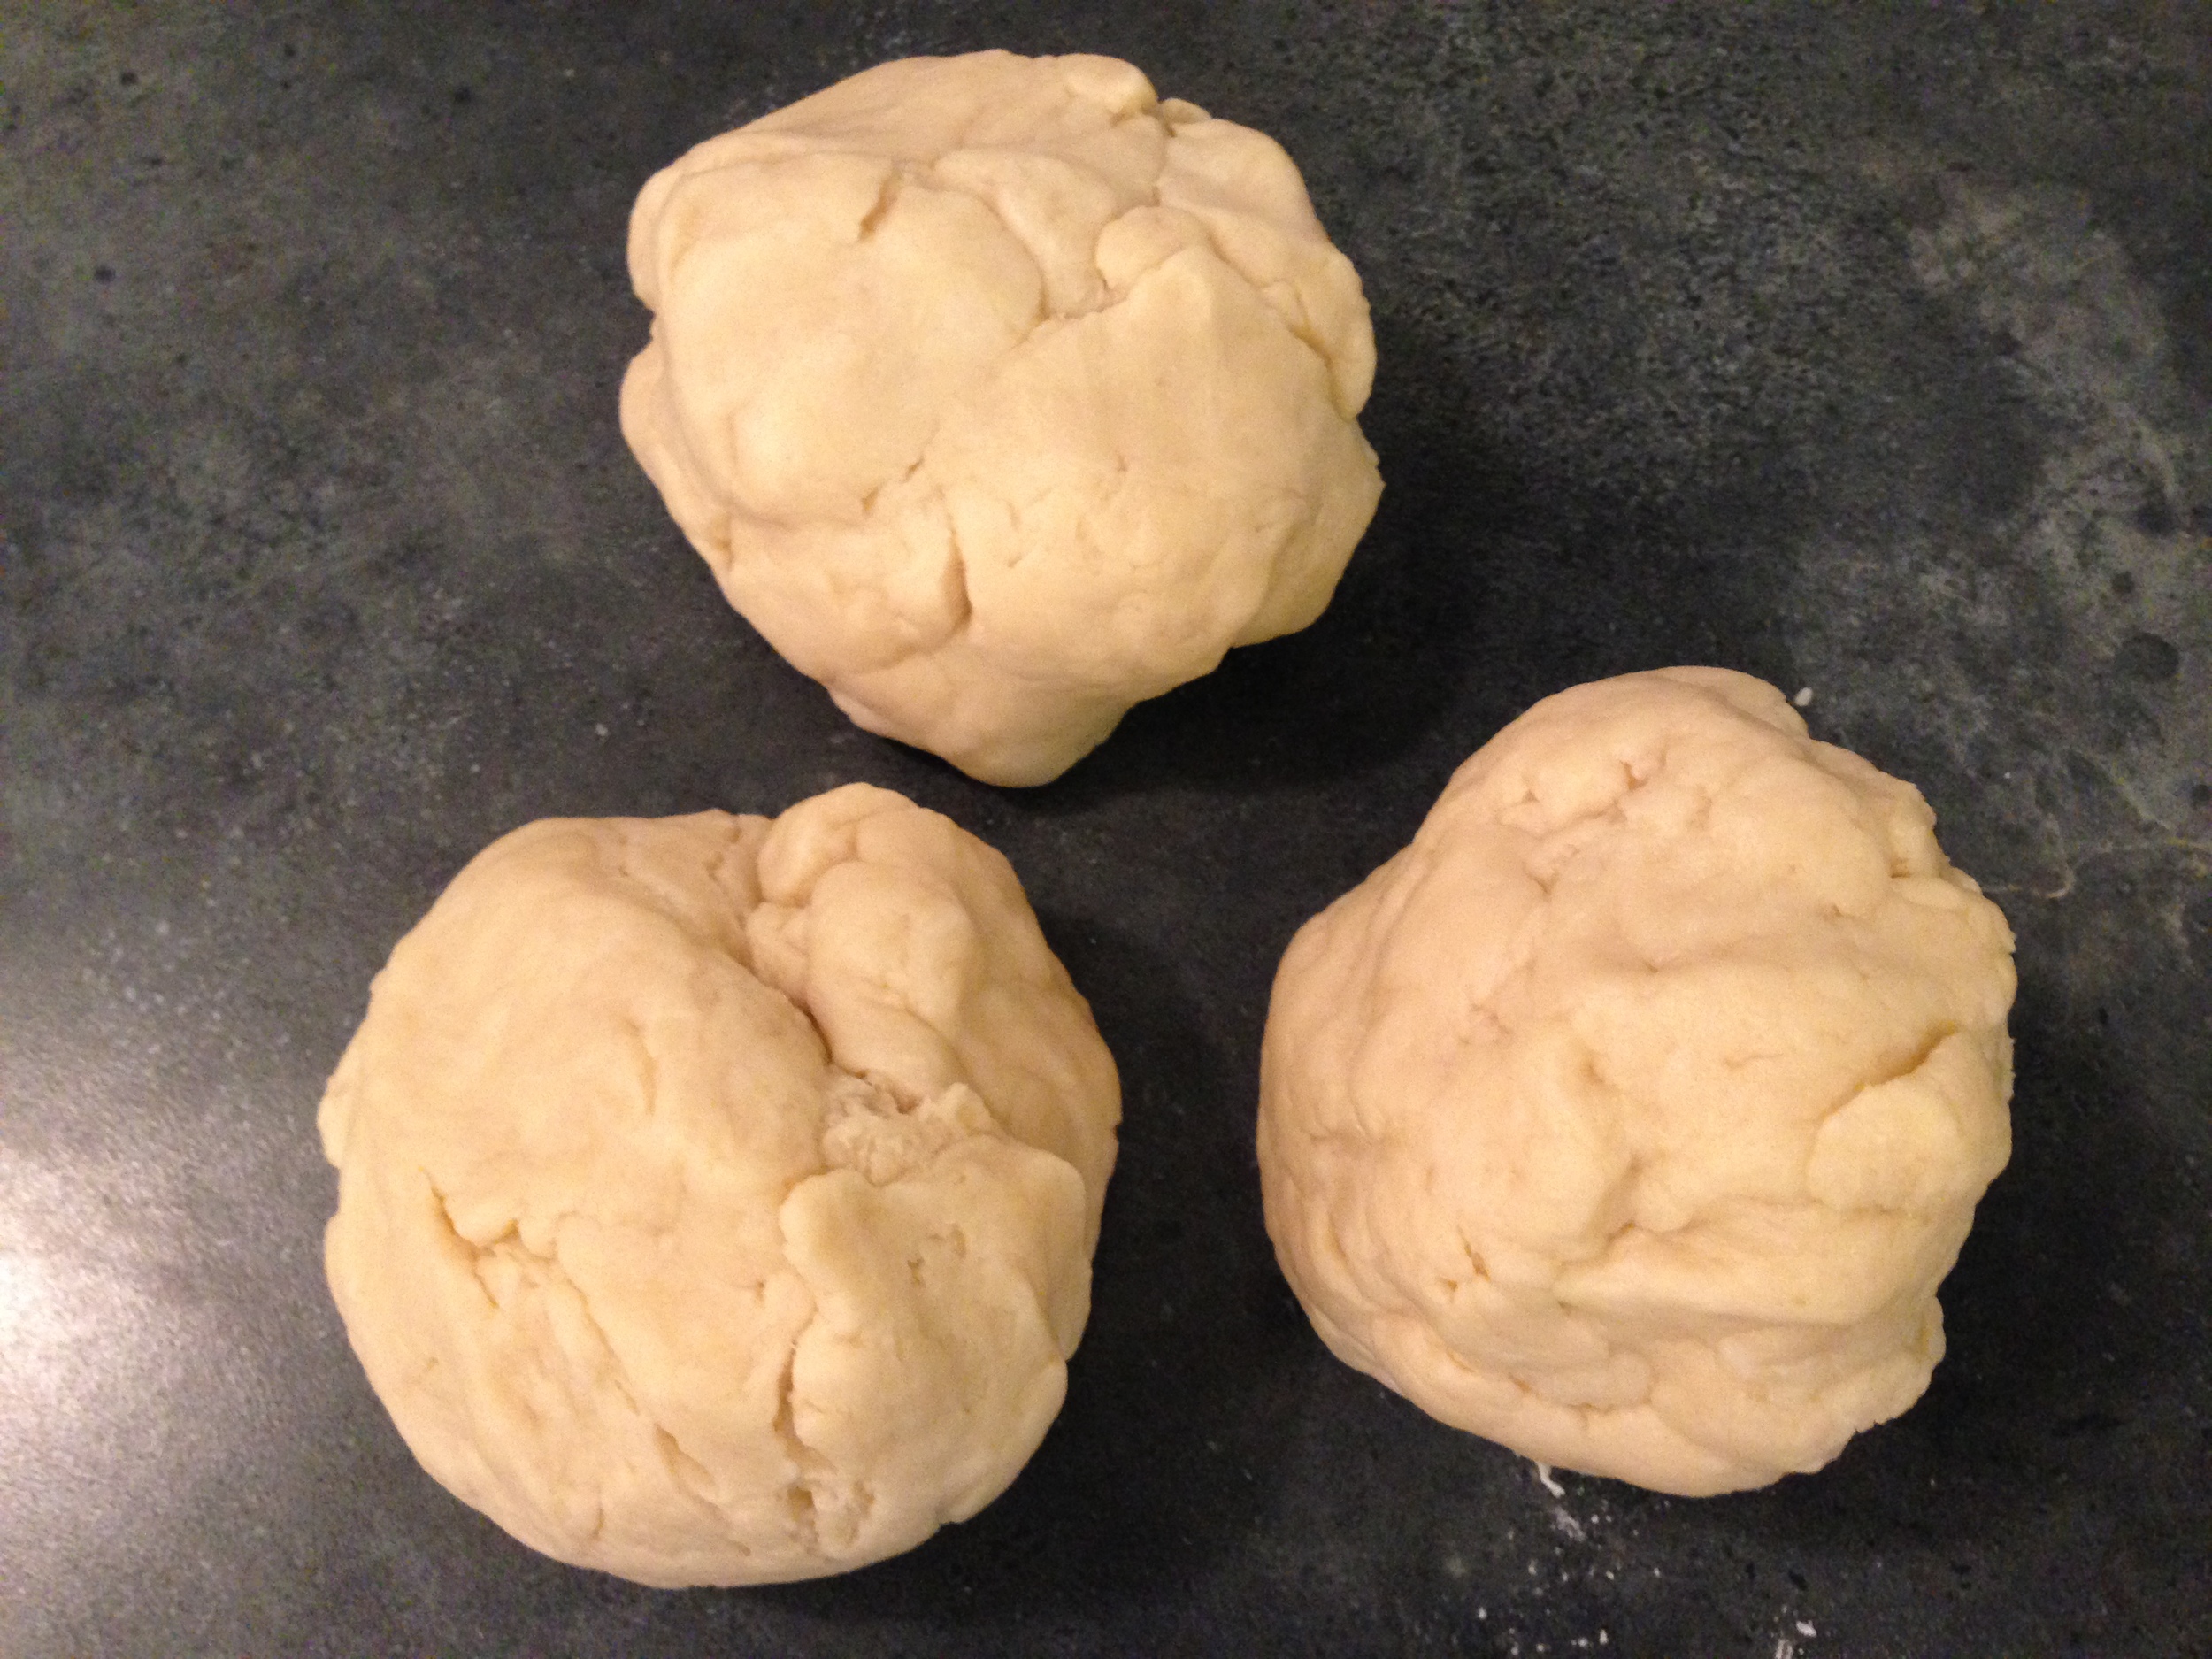
Biscuit dough! You will obey me!

Biscuit dough! You will obey me!

I knew something had gone horribly wrong very early in my attempt. Usually, thought my child brain, when something goes into the oven to bake it does not look like watered down soup. I read and reread the recipe but I had done everything right, mixed everything properly, I had no idea what had gone wrong. I even, desperately, added flour to the slawsh to see if I could thicken it. 


The Book.

The Book.

Now, keeping in mind that no one else baked in my house, not even my mother, it made total sense that something like this was bound to happen. It was just unfortunate that it had to be on my very first attempt to bake anything fancy. The recipe I was trying to make called for condensed milk. As I learned years later, condensed milk is Not the same as evaporated milk. Also note, one can of evaporated milk is typically much larger than one can of condensed milk. So you can bet on which can of milk my mother brought home for me to use in my fancy brownies. I didn't find out there was a difference between the two till many years later when I worked for a test kitchen, so I didn't blame my mom for not knowing the difference. I was just glad that, years later, I realized I wasn't as inept at baking as I thought I had been at 13. 

This whole adventure down memory lane has a purpose! I swear. You see, I found that brownie book (or rather, I had never lost it, I was just afraid of it), and the plan is to make every single recipe out of it. Starting with one that really has evaporated milk in it. 

Easy Peanut Butter Delights 

IMG_2871.jpg

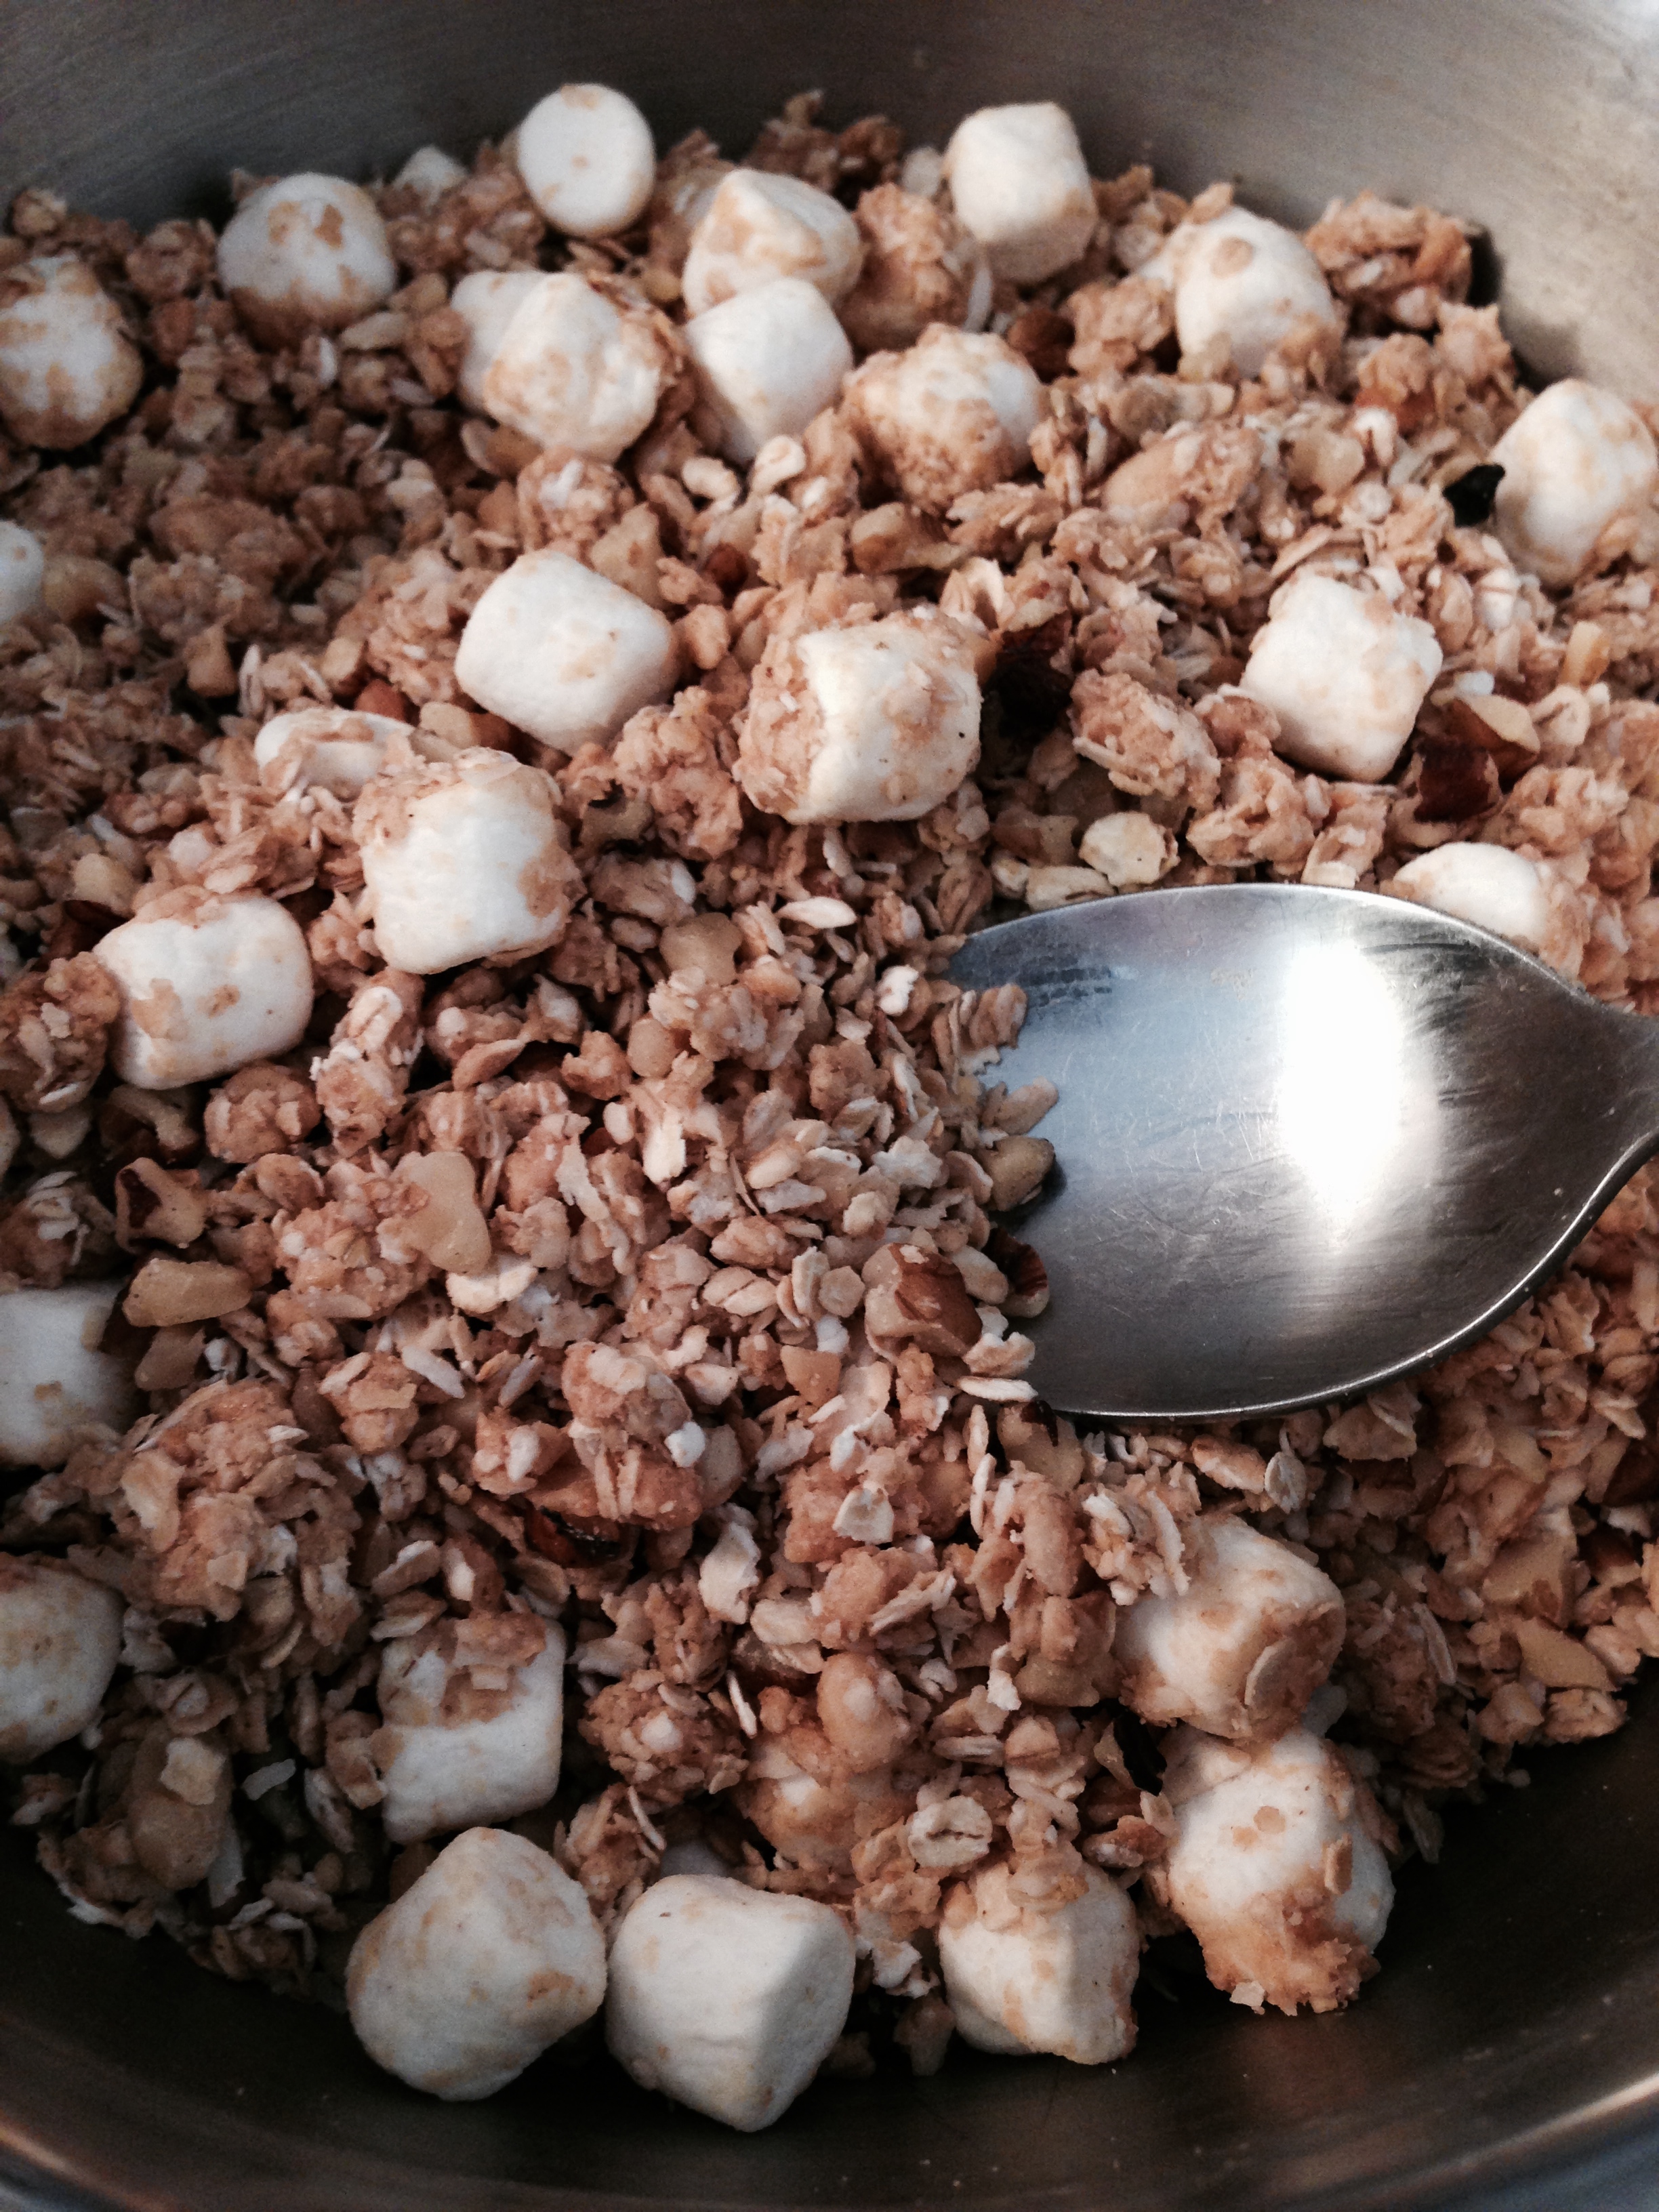
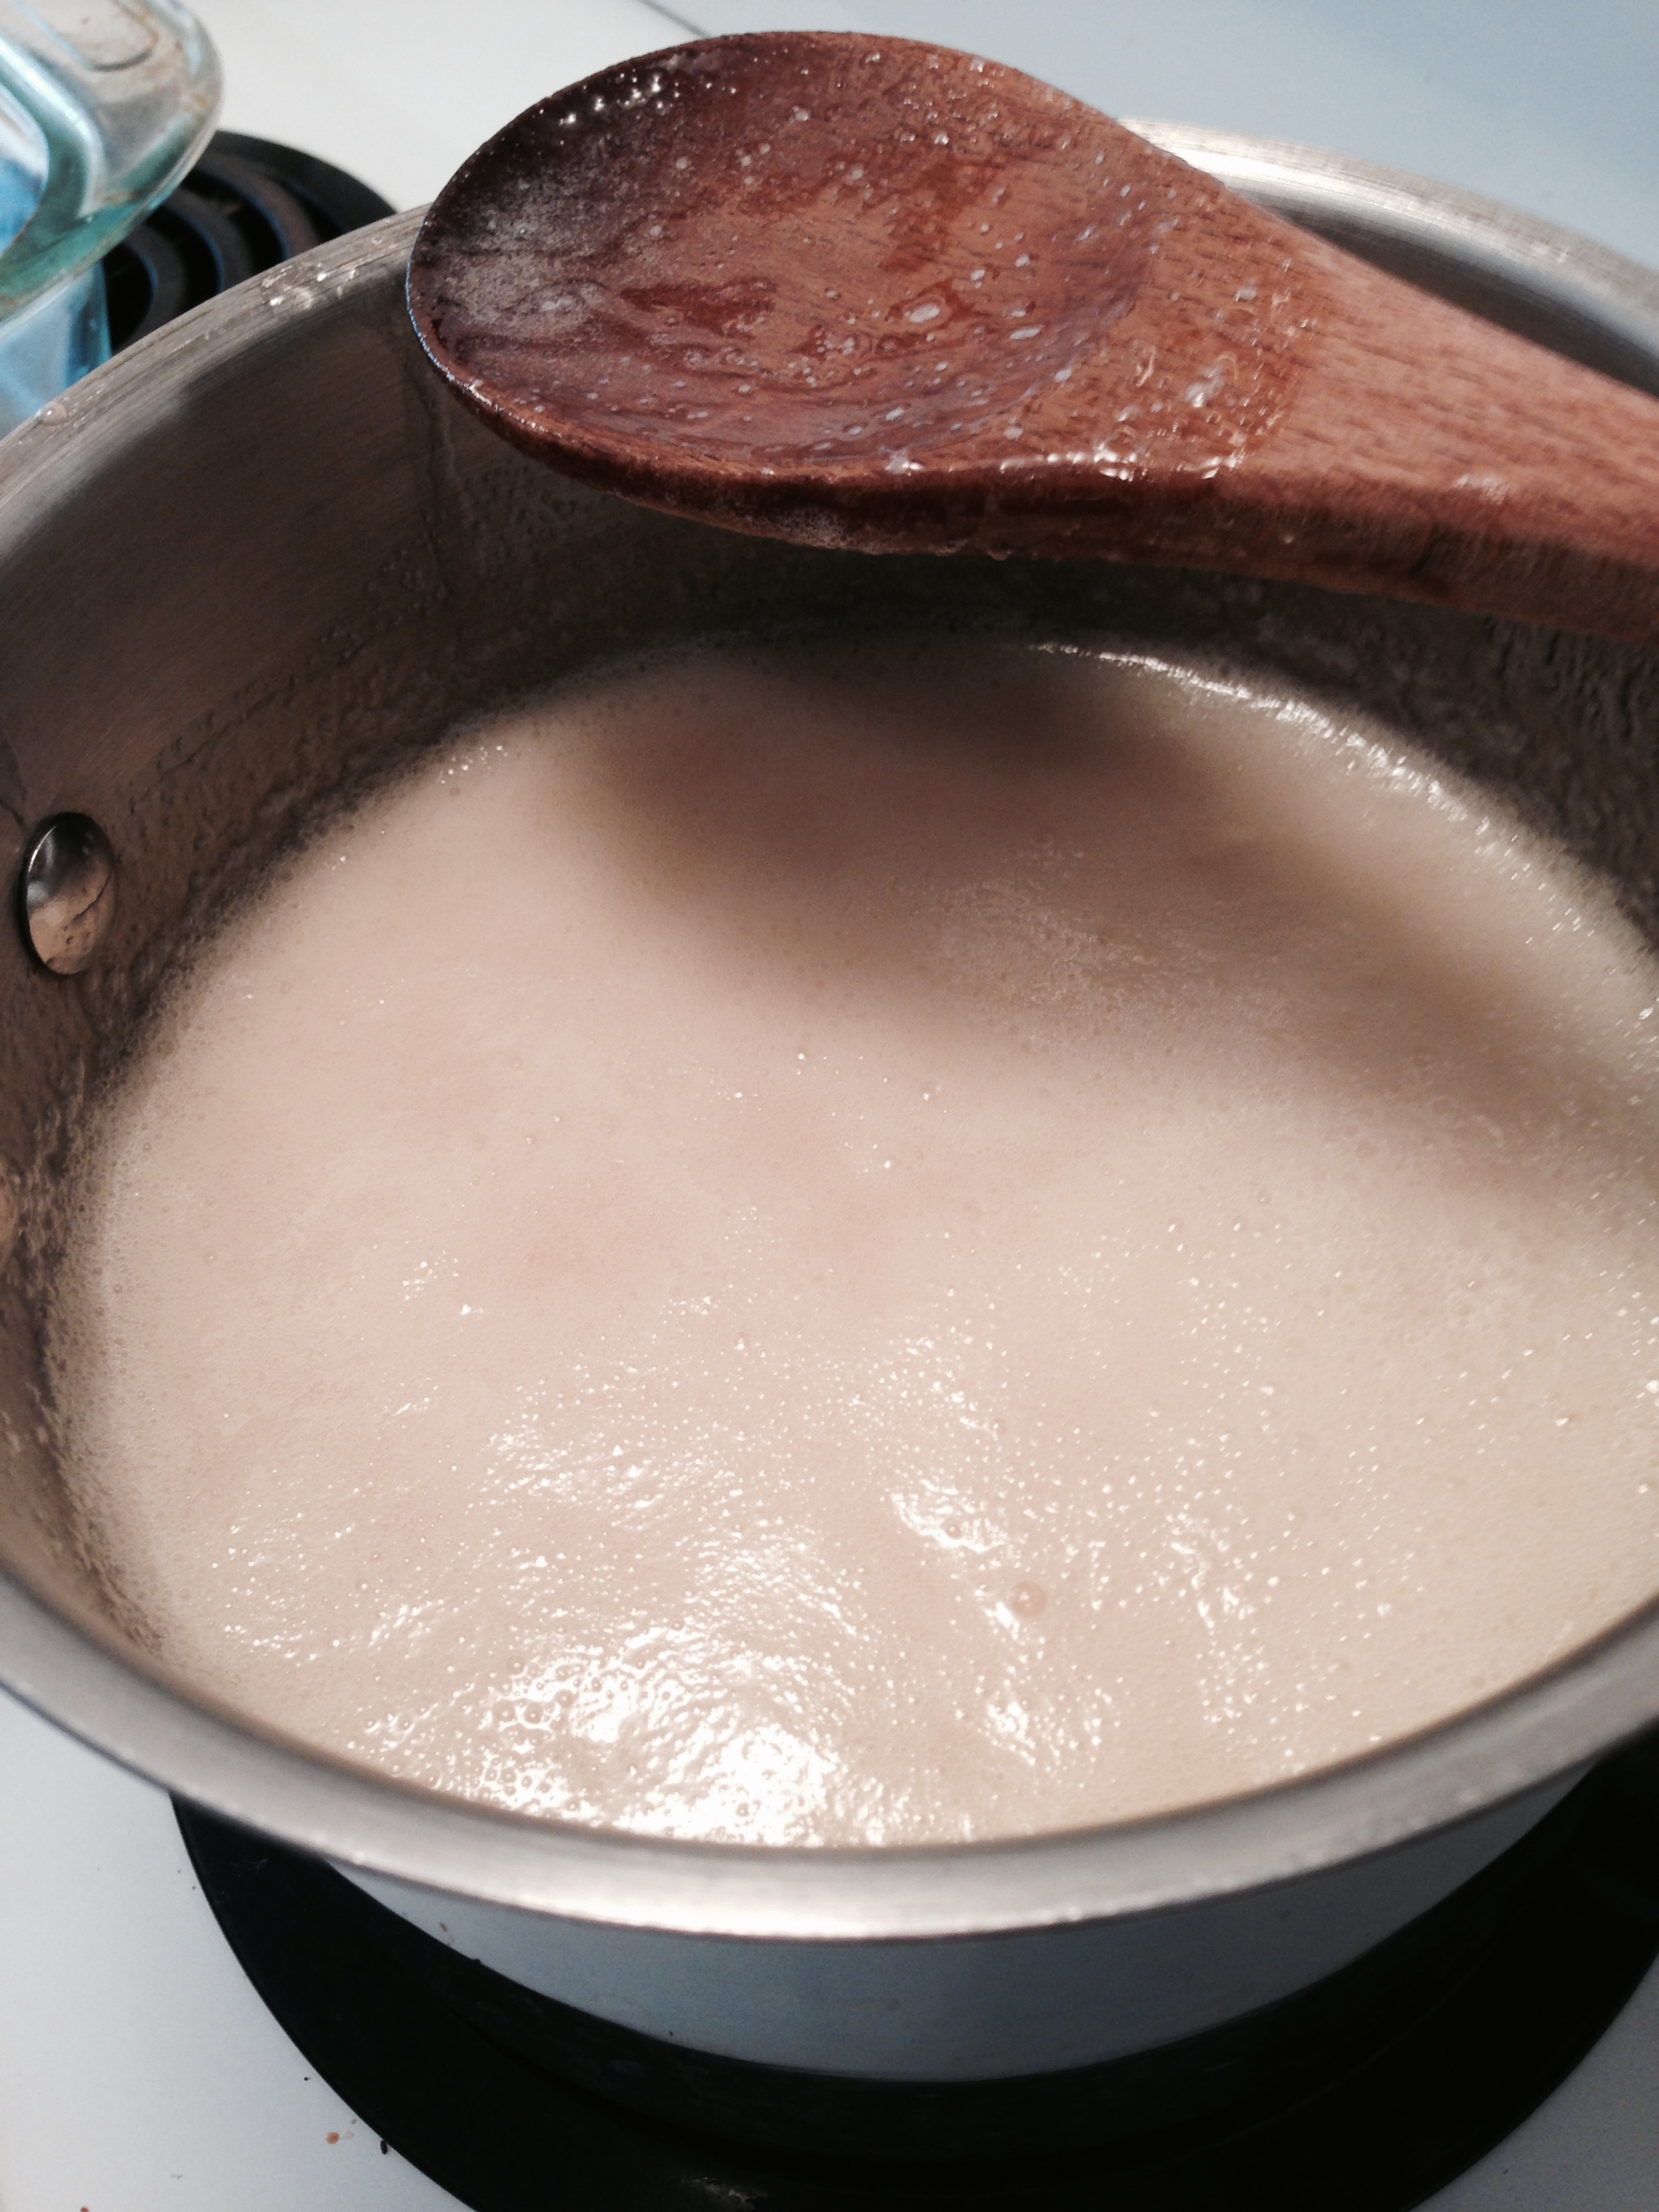
I do have some additional notes for this recipe. For example, when candying the sugar, margarine and milk together, it takes about 1 1/2 minutes of boiling to bring it to a stage where it's sticky enough to keep all the ingredients together. Also, prep the dry ingredients first, before candying the sugar, so that as soon as the candy syrup is done, you can pour it into the peanut butter/oat/marshmallow mix, stir and press the brownie goop into the prepared pan. It happens all fast, so it's good to be ready. 

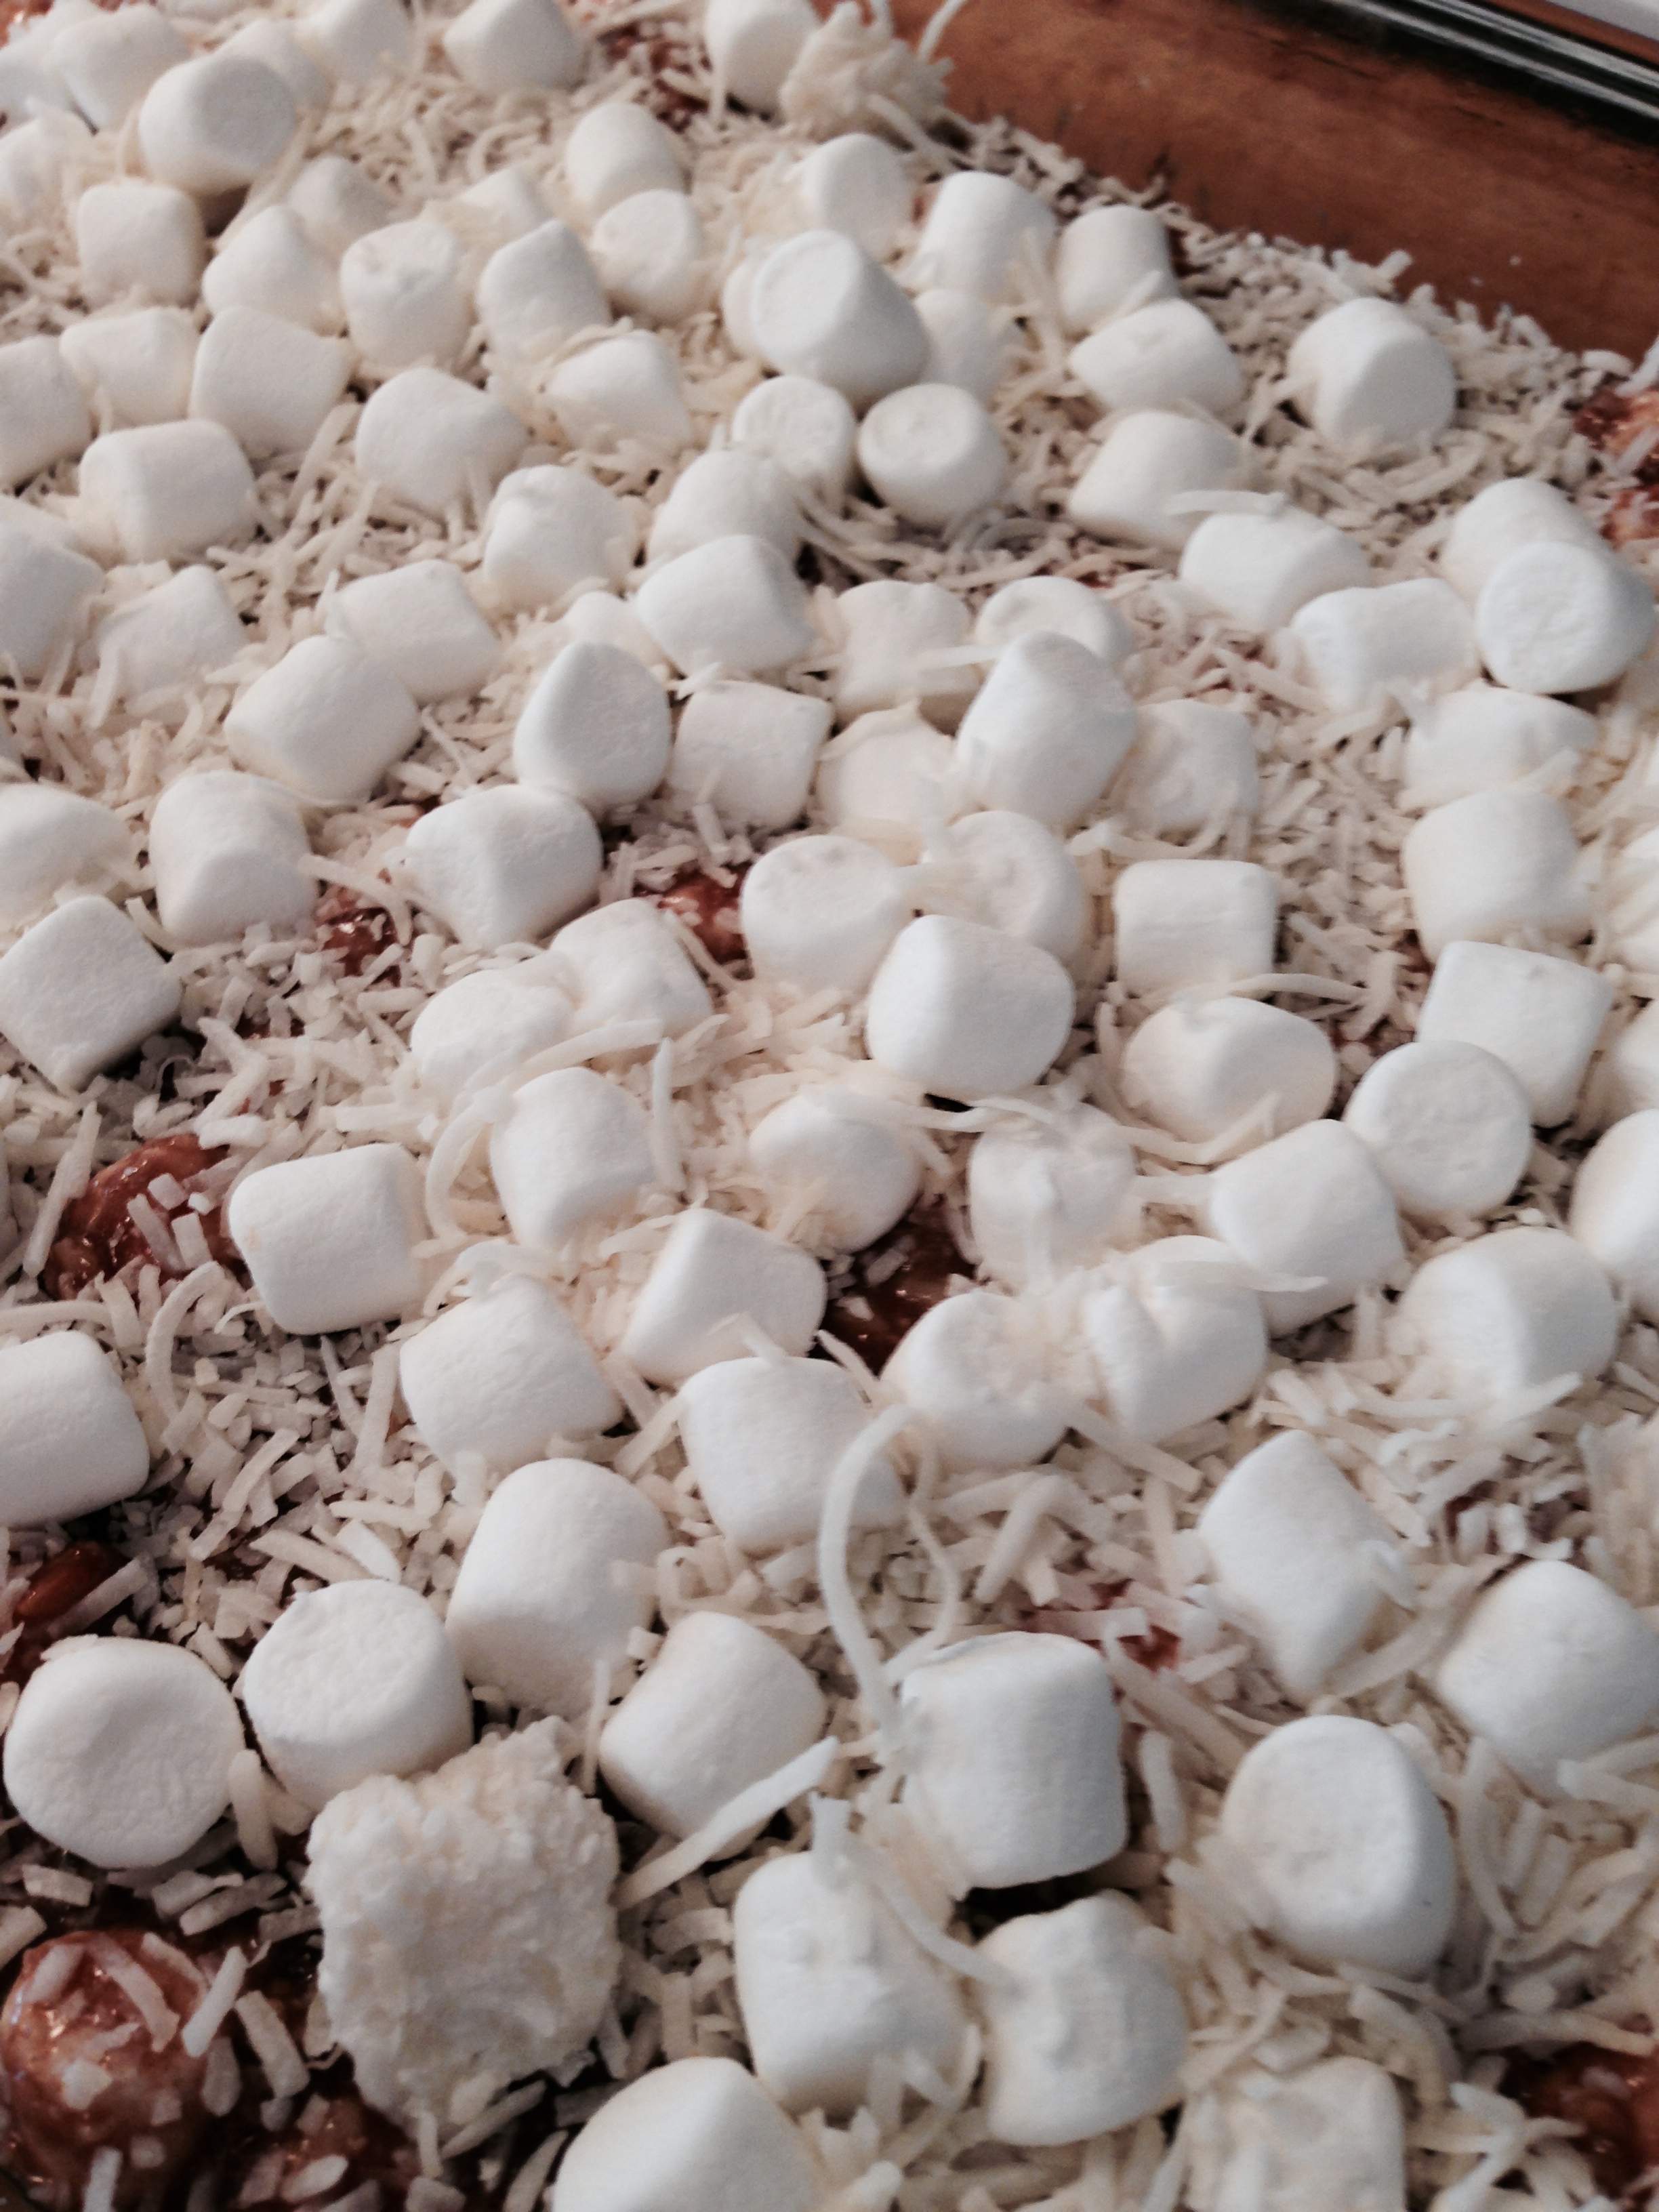
The result was a little goopy at first, but after I refrigerated them for a day they were good to go. Peanut buttery marshmallow bars. Much more successful than my previous attempt to make something out of this book. Only took me 12 years to regain my courage! ....Hmmmmm.

-Andrea

The Half-Assed Hobbyist

Thunder Thighs: The Pie Reckoning

When I was a kid we had this apple tree in our backyard. Every year my mother, sister and I would make pie after pie after pie. For about 2 weeks straight in the end of August, weeknights and weekends, we would make pie. One year we made 24. Needless to say, I don't ever make that many pies anymore. Having that many pies around might unleash Thunder Thighs: The Pie Reckoning .

But I do still enjoy making pie. Specifically apple. So when we were invited to dinner at the BF's Aunt's and the option of picking their huge garden grown apples was offered I jumped at the chance. And by that I mean I made the BF go pick some. 

The recipe I used is a simple recipe that my mom drilled into me as a child. 

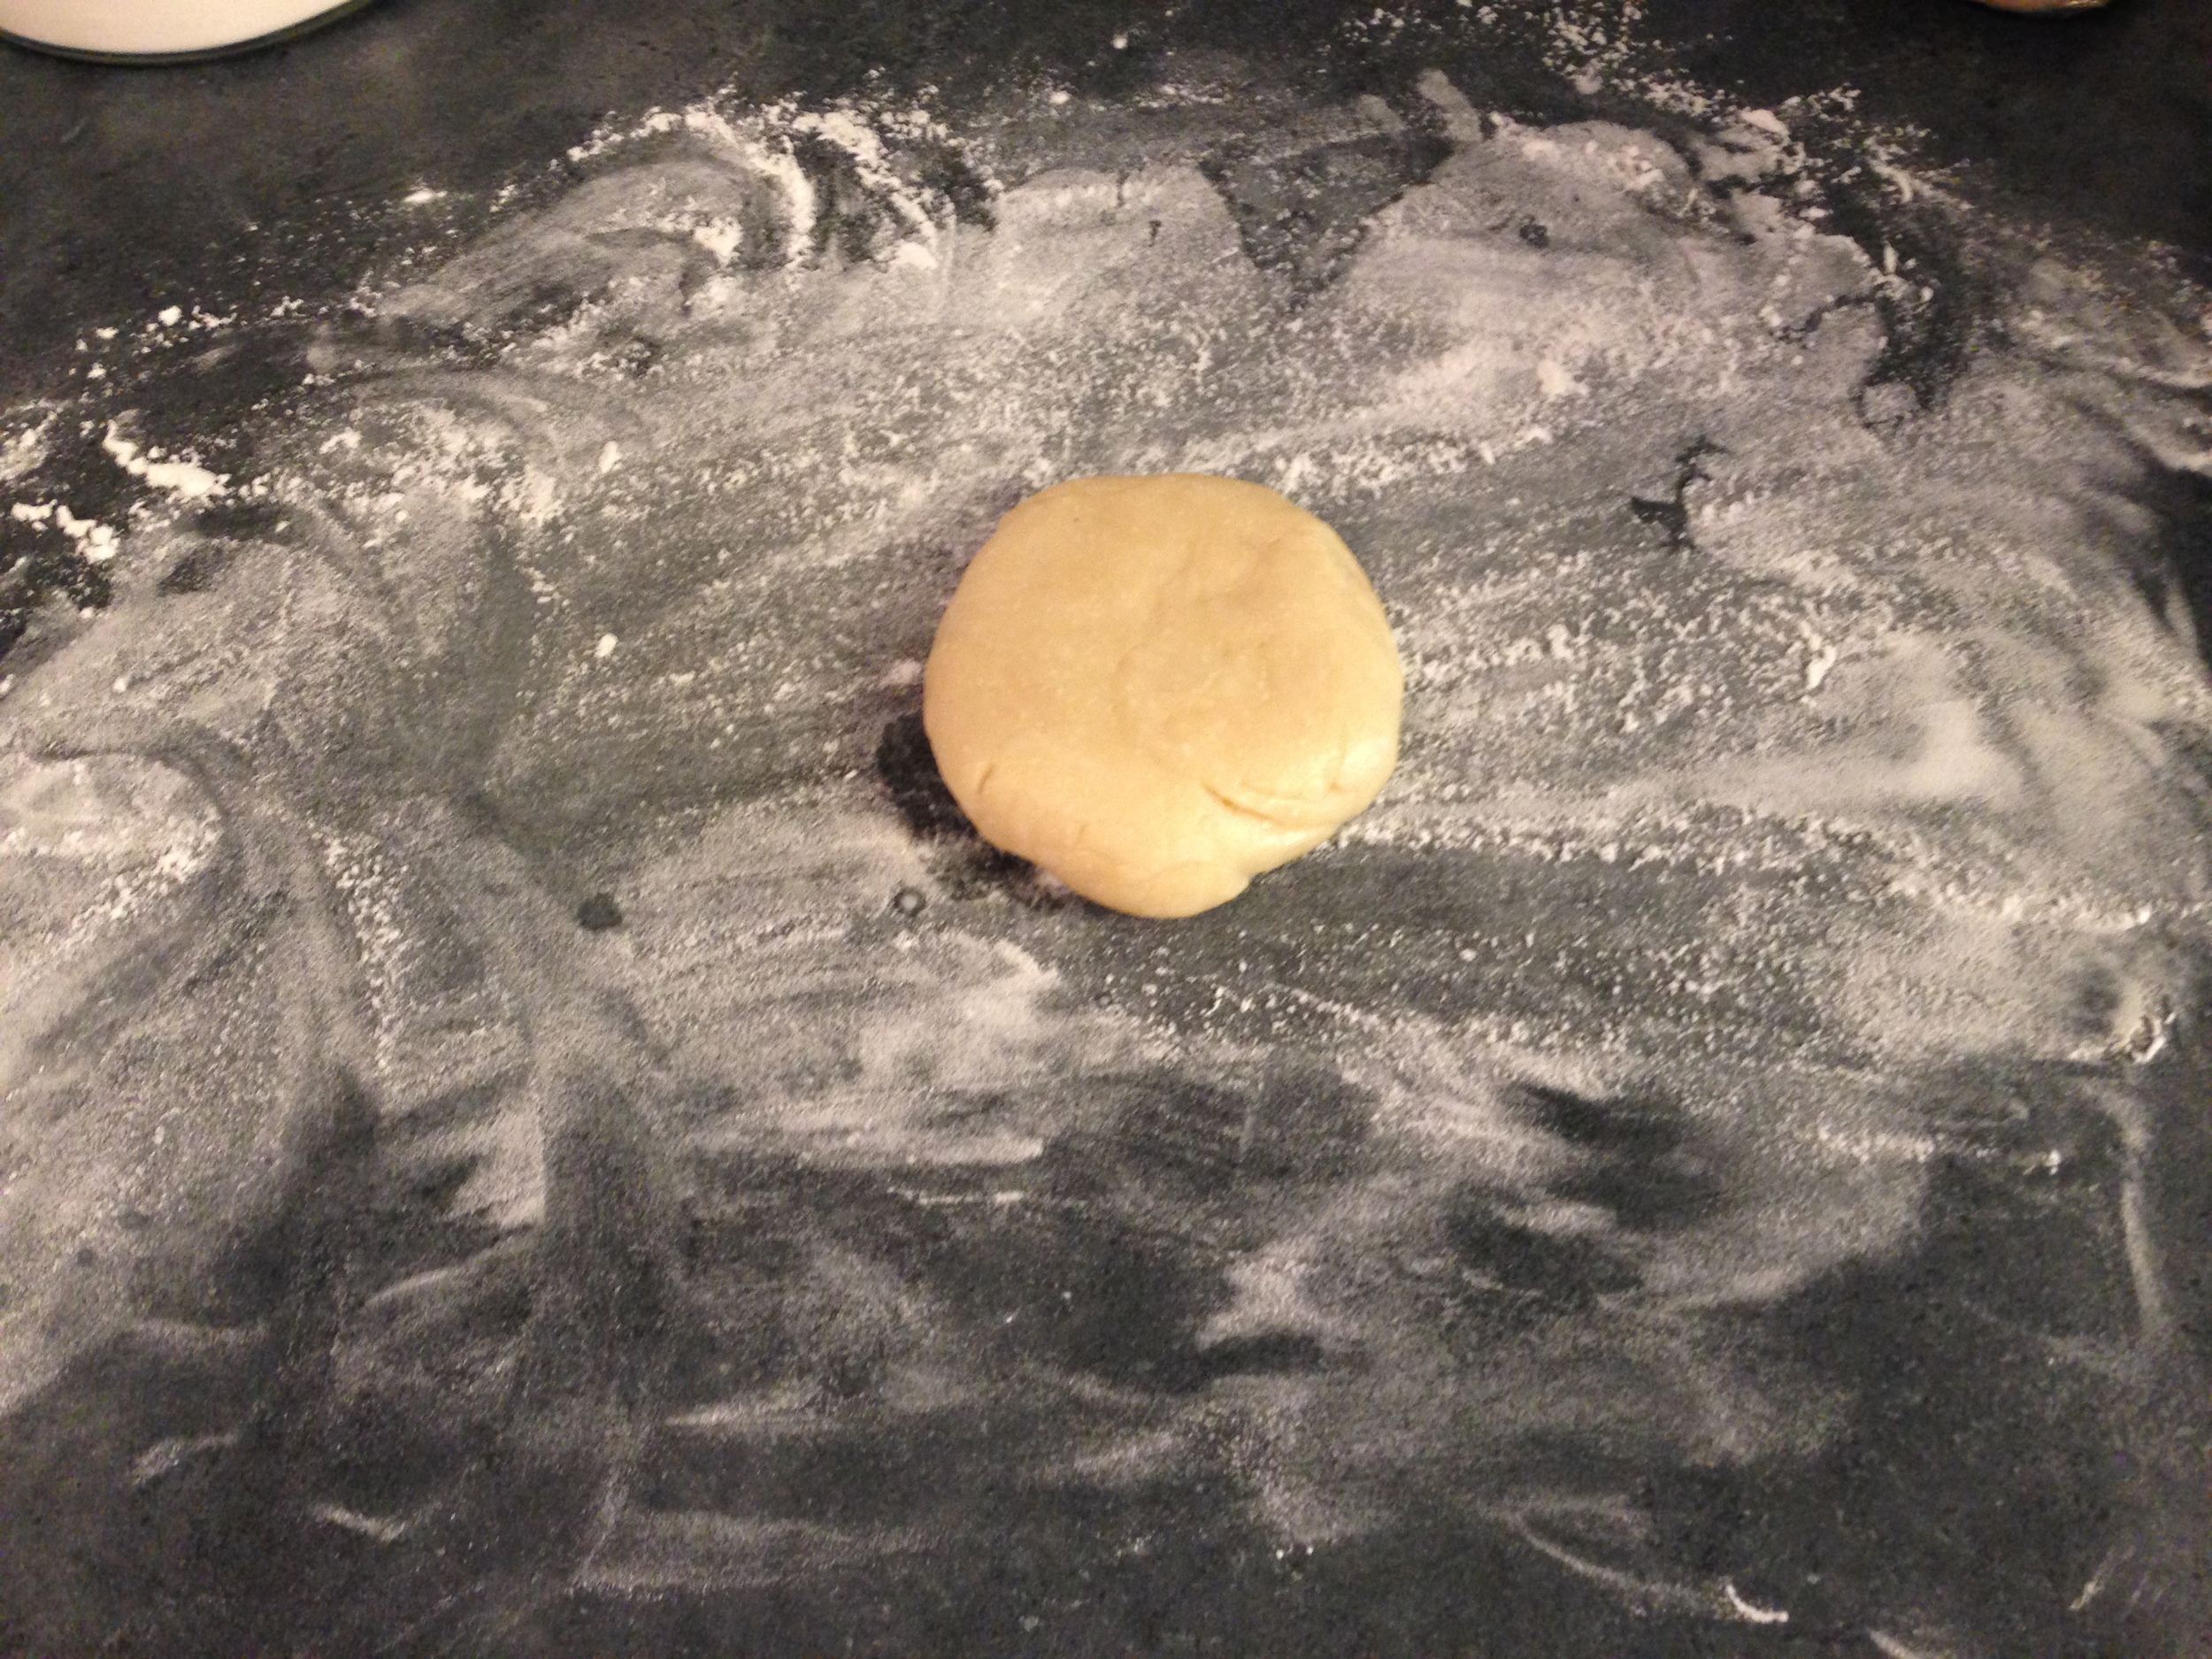
Dough

5 cups flour

2 tsp salt

1 lb shortening 

(I used butter.... and crisco.... cause that's what was in my apartment) 

1 egg

2 TBSP white vinegar

Cold Water

Instructions: 

  1. Measure out flour and salt into a large bowl. Mix. 
  2. Cut in shortening until pea sized.
  3. Crack egg into a 1 cup liquid measure. Beat egg.  
  4. Add vinegar to beaten egg.
  5. Add cold water to egg and vinegar mixture until 1 cup measure.  Mix.
  6. Pour liquid mixture into flour mixture. Mix till a dough forms. (Add extra flour if dough is to sticky to handle)

Make enough for 3 pies (top and bottom).

Freezes well! 

Pie Filling

7-8 cups peeled, cored and sliced apples

1 cup granulated sugar

2 TBSP flour

1 tsp cinnamon

1/4 tsp salt

Instructions:

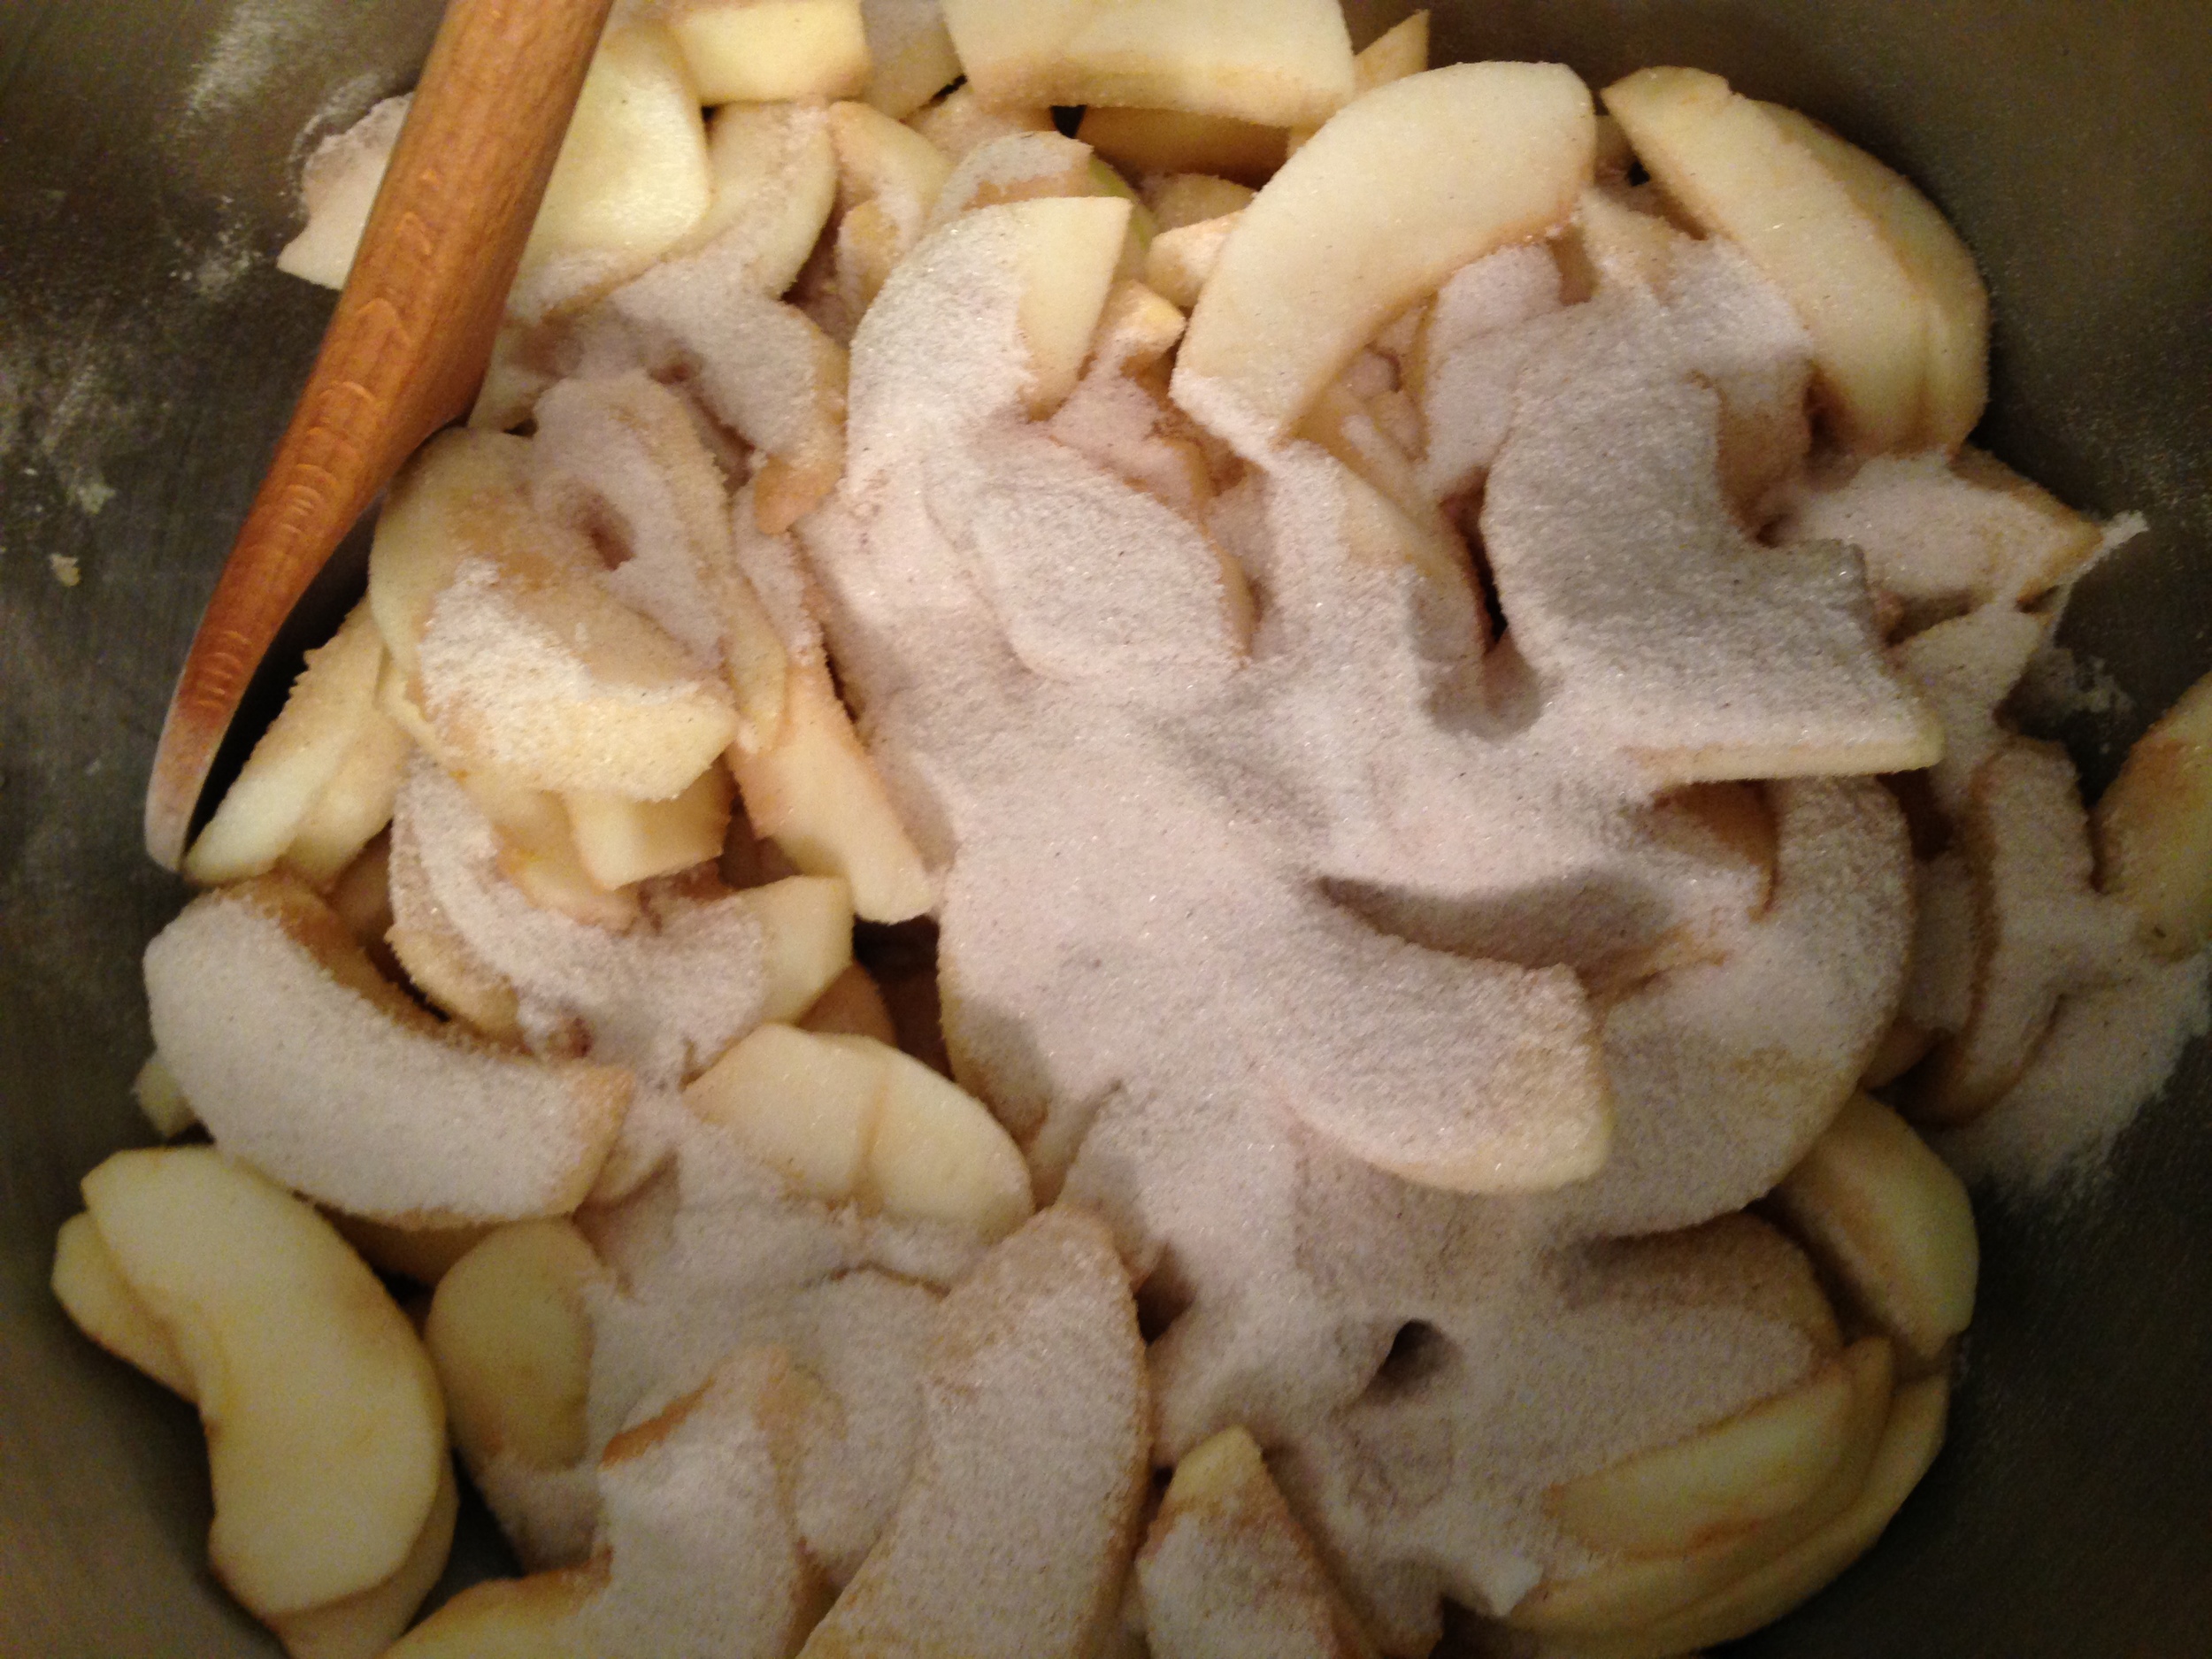
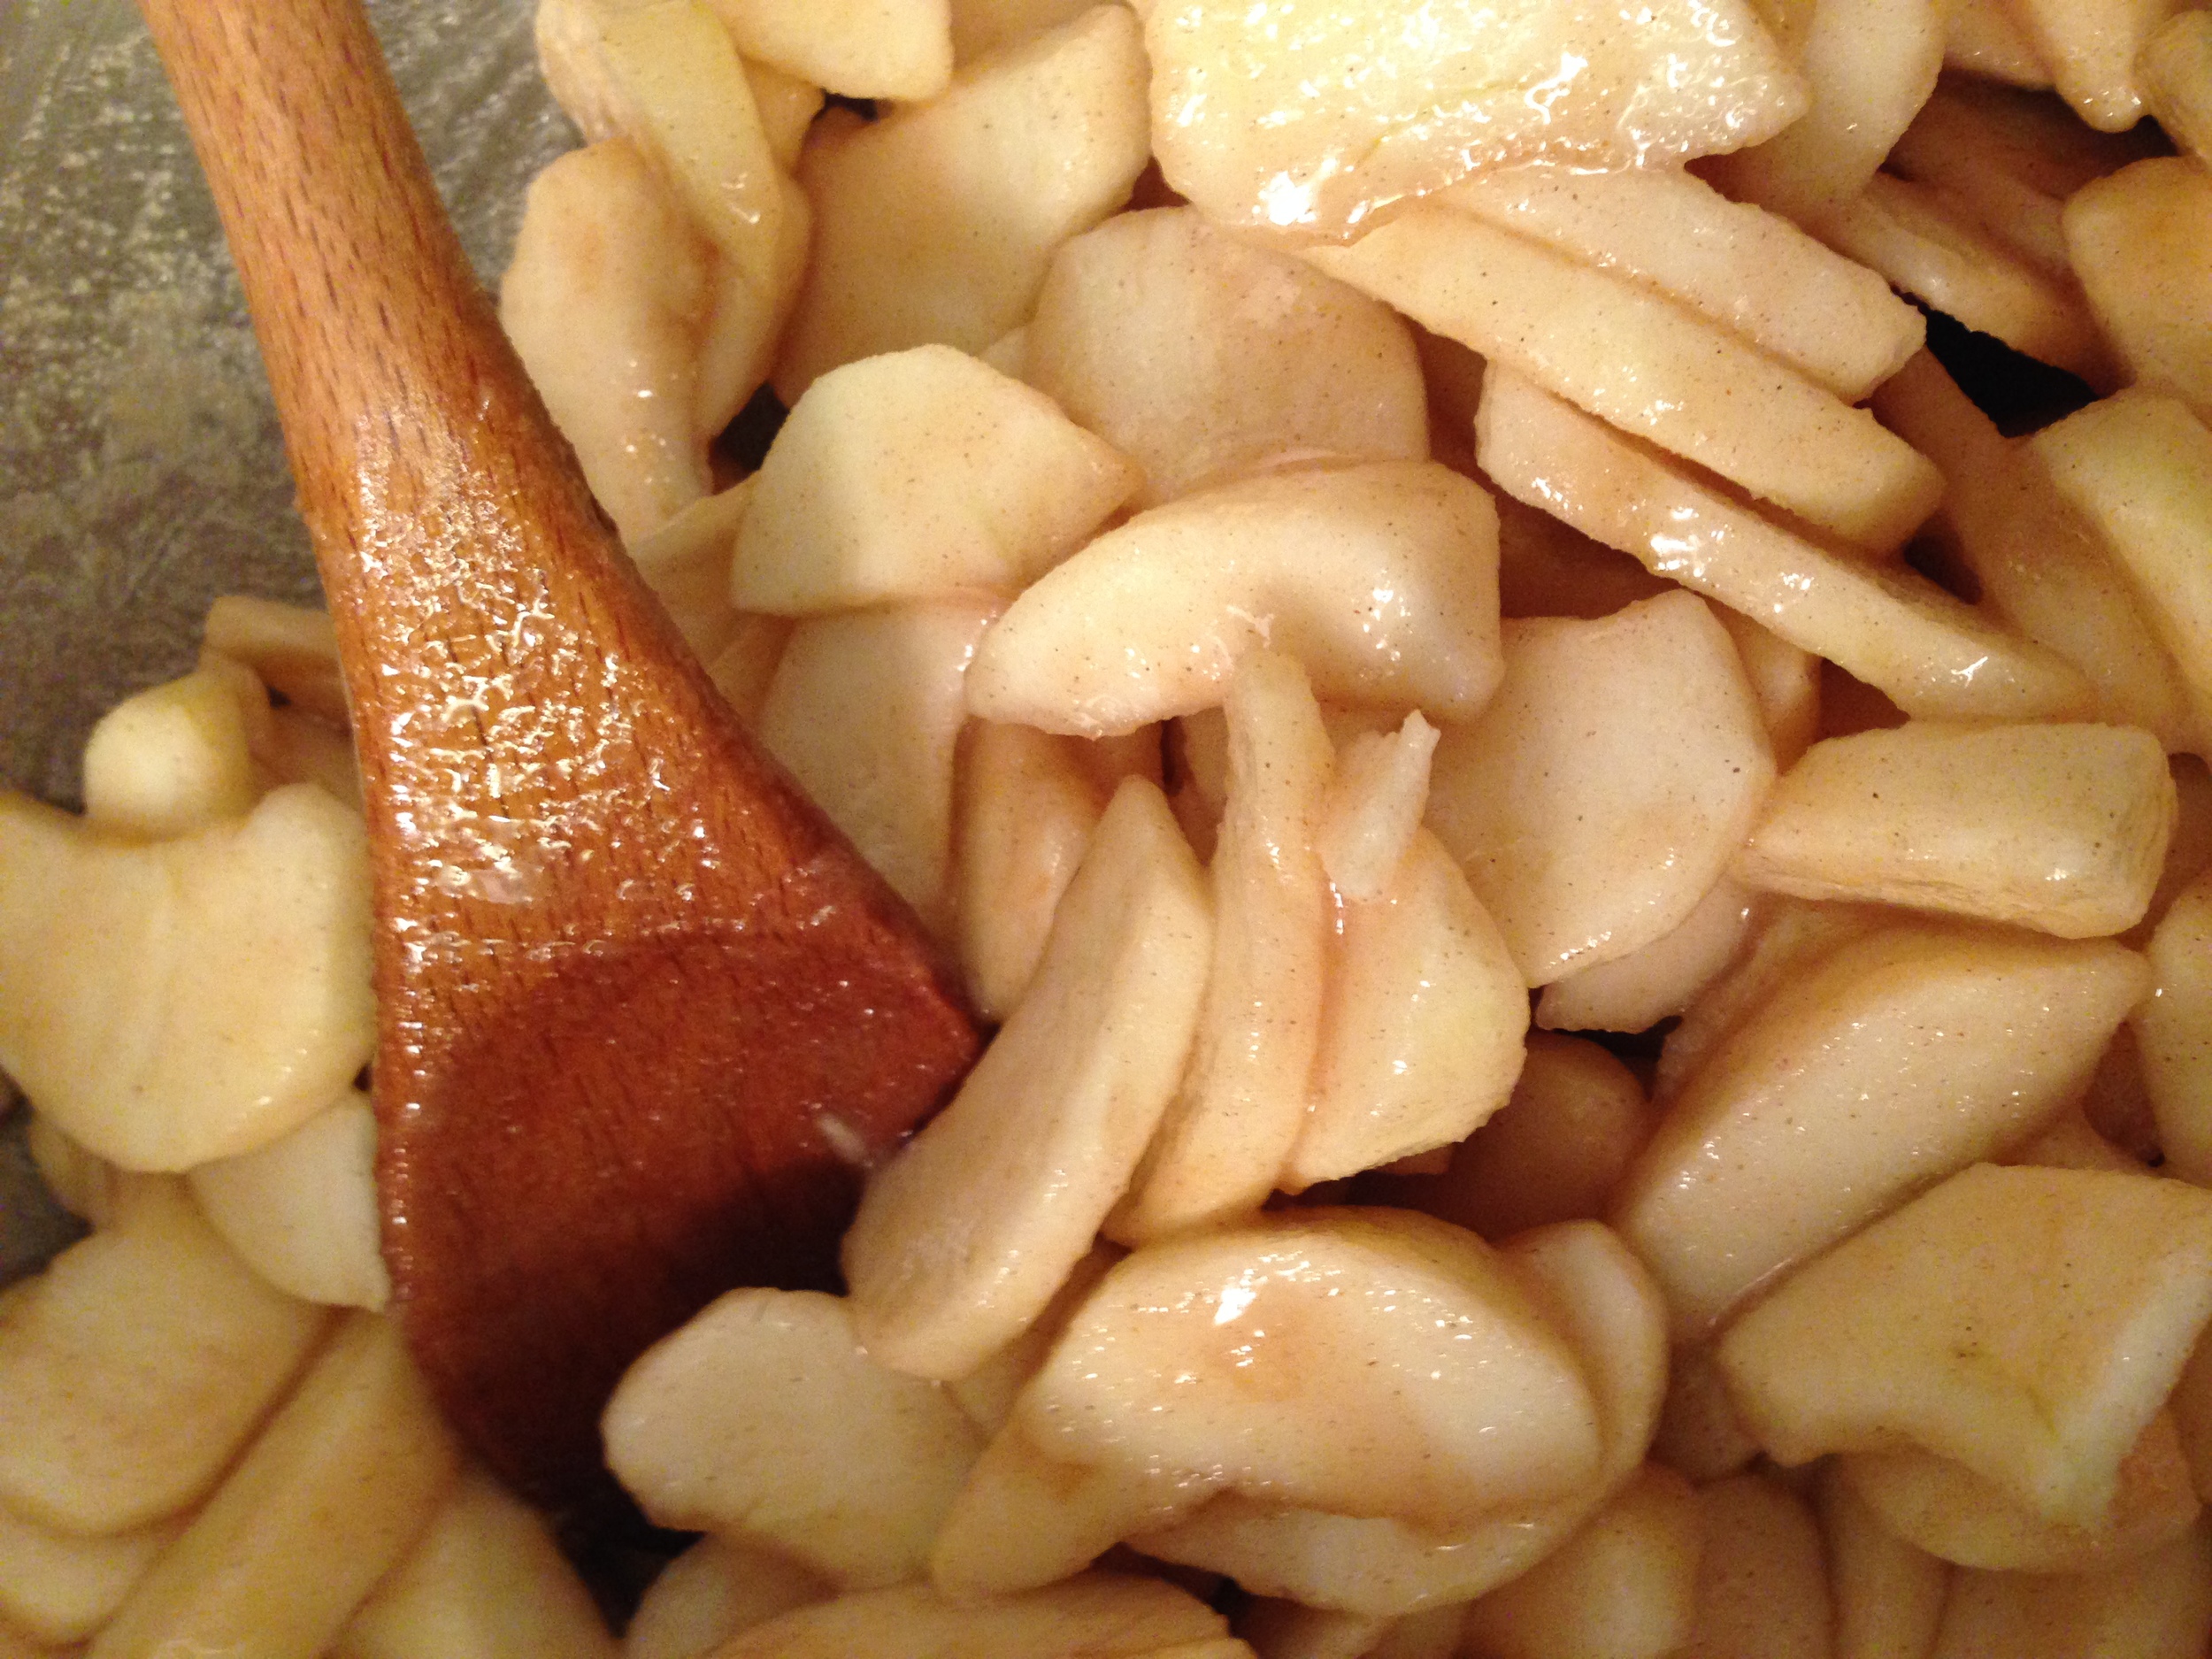
Mix everything together! Let sit while you roll out the pie dough. Stir once more before filling pie.  

Bake at 400 for 1 hour or until filling is bubbling and pastry is golden brown.  

Future Apple Babies

Future Apple Babies

Not even needing to look up the recipe gives me a feeling of mild pride, mixed with a sense of lost potential as a human recipe book. Anyway.

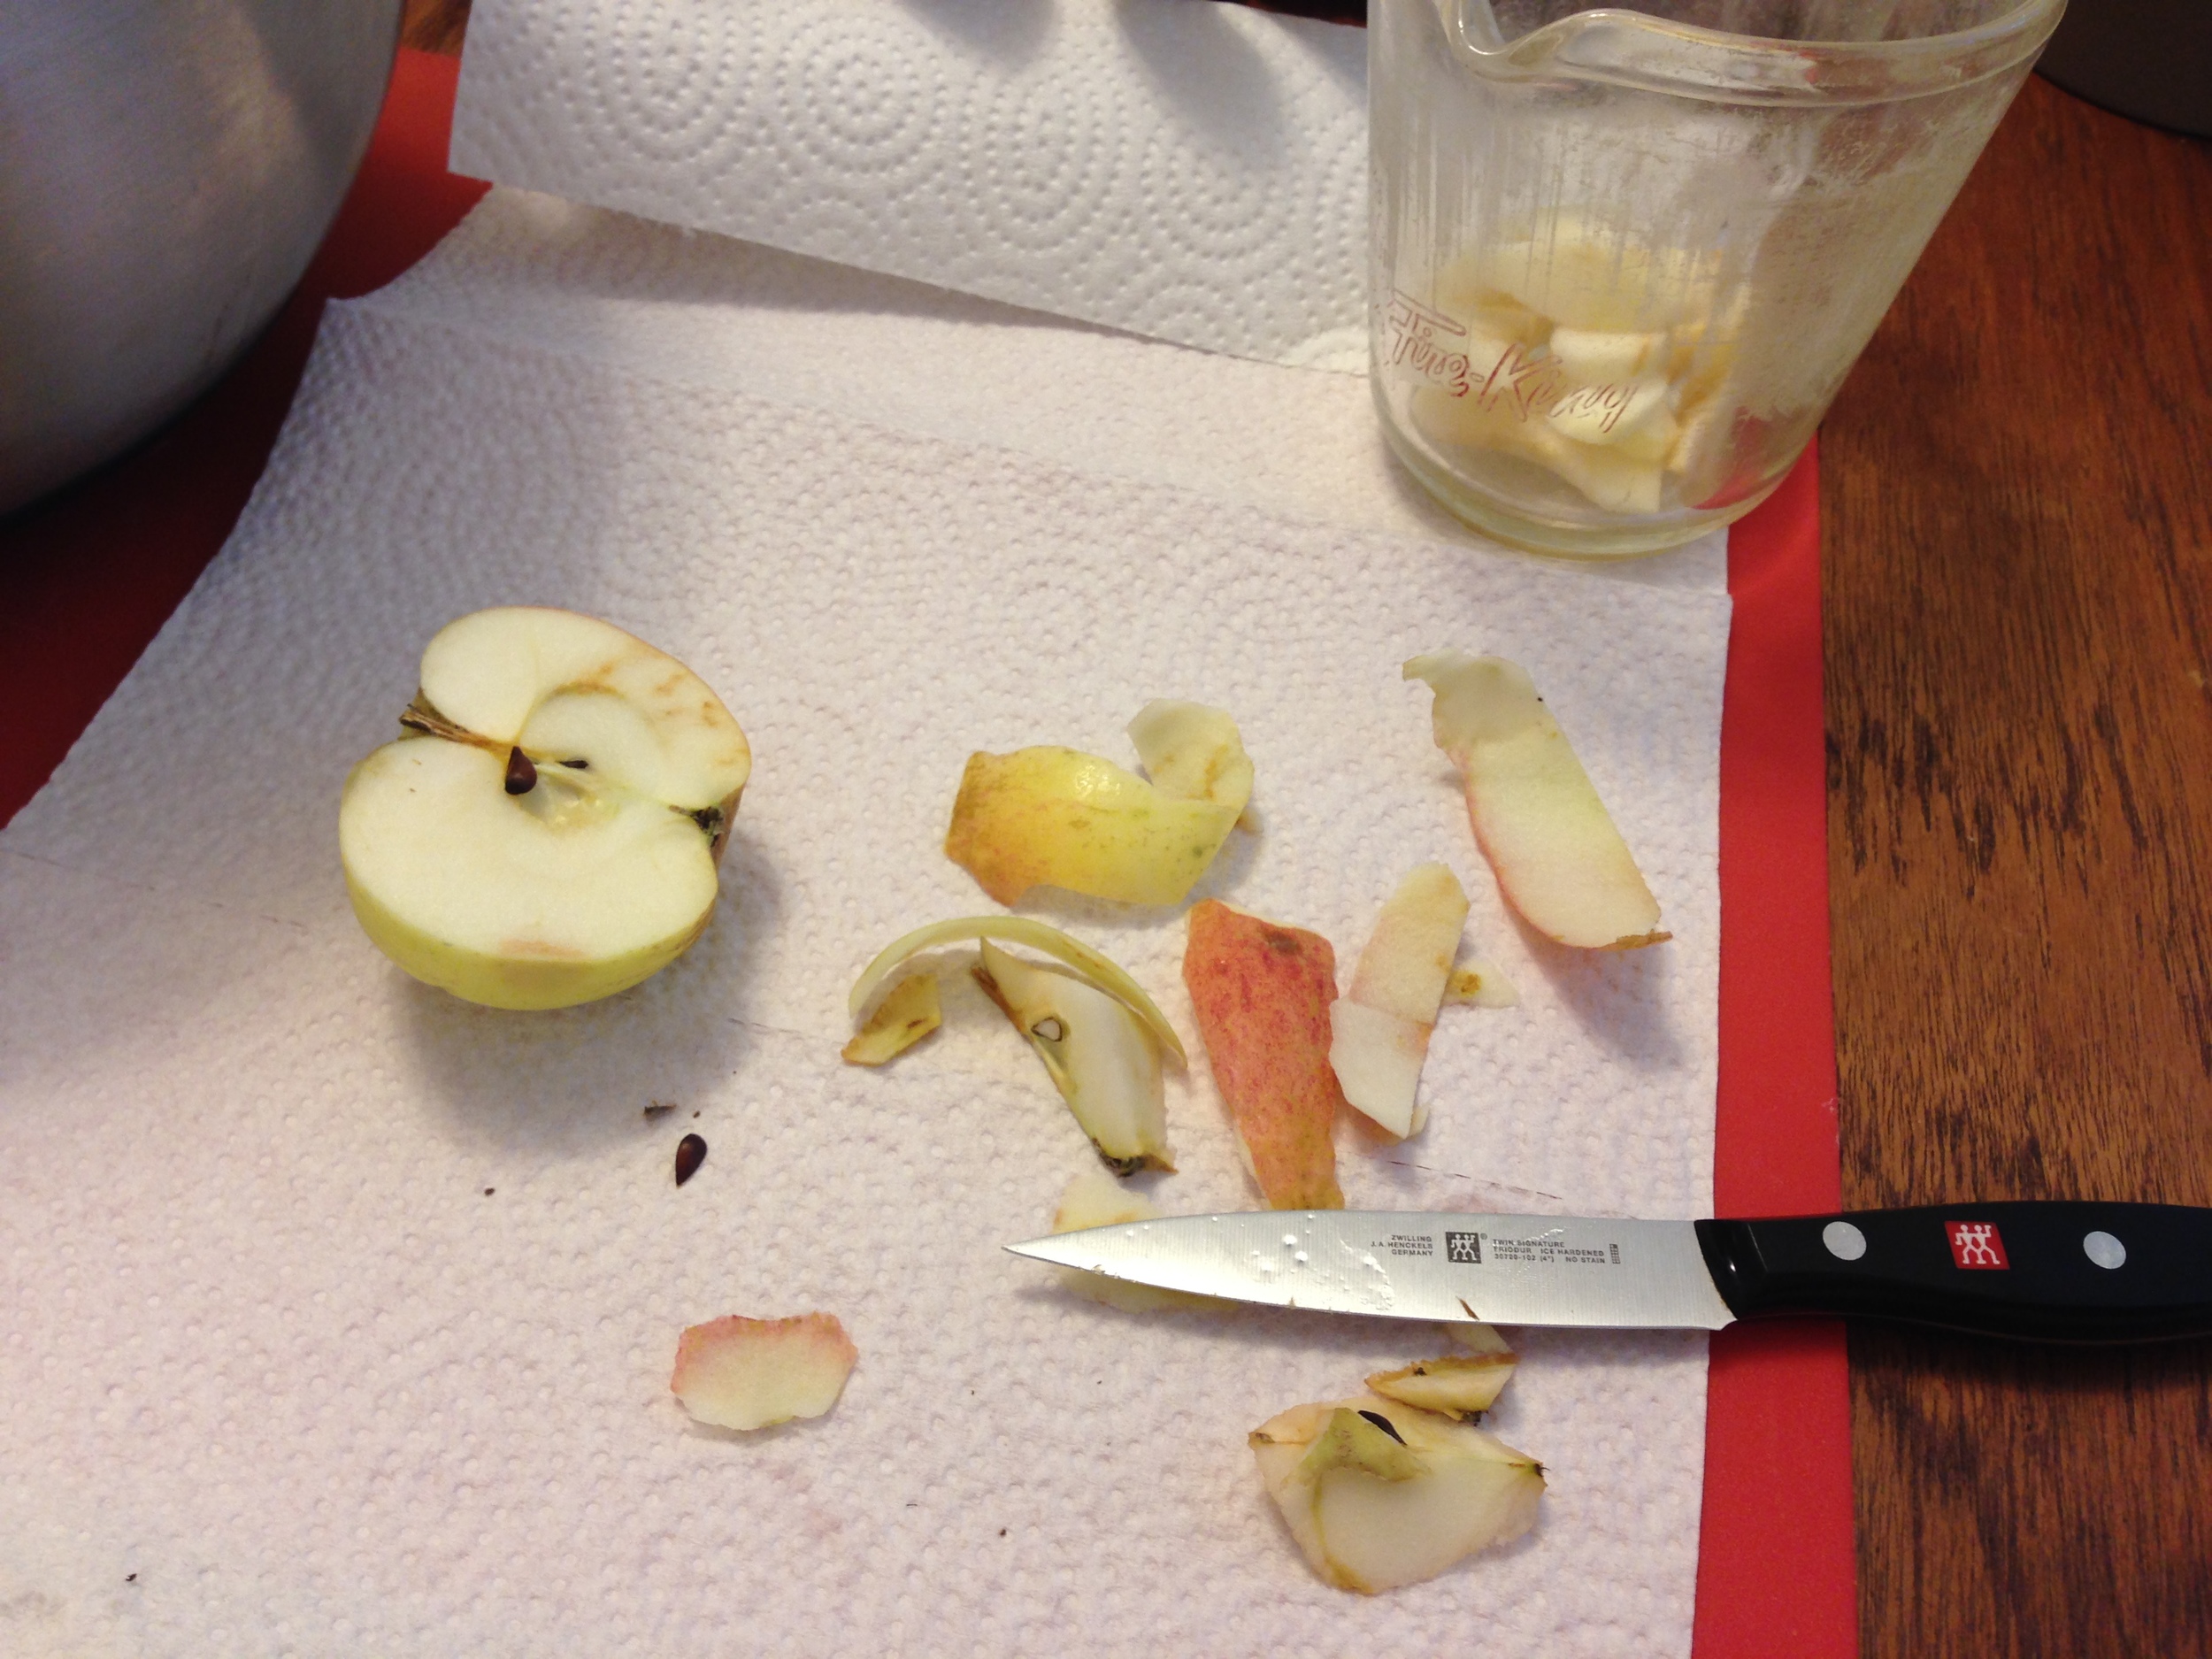
I managed to get some primo apple seeds out of the hugest apples so hopefully I will have a baby apple tree in the next couple months!  

Cheers! 

-Andrea

The Half-Assed Hobbyist