Sultry Saucy... Apples

After three pies and 2 batches of apple butter I still had about 15lbs of apples left. 

Yah. 

Next time I won't pick so many.... (But it could be argued that it worked out for the better! Shhhhh....)

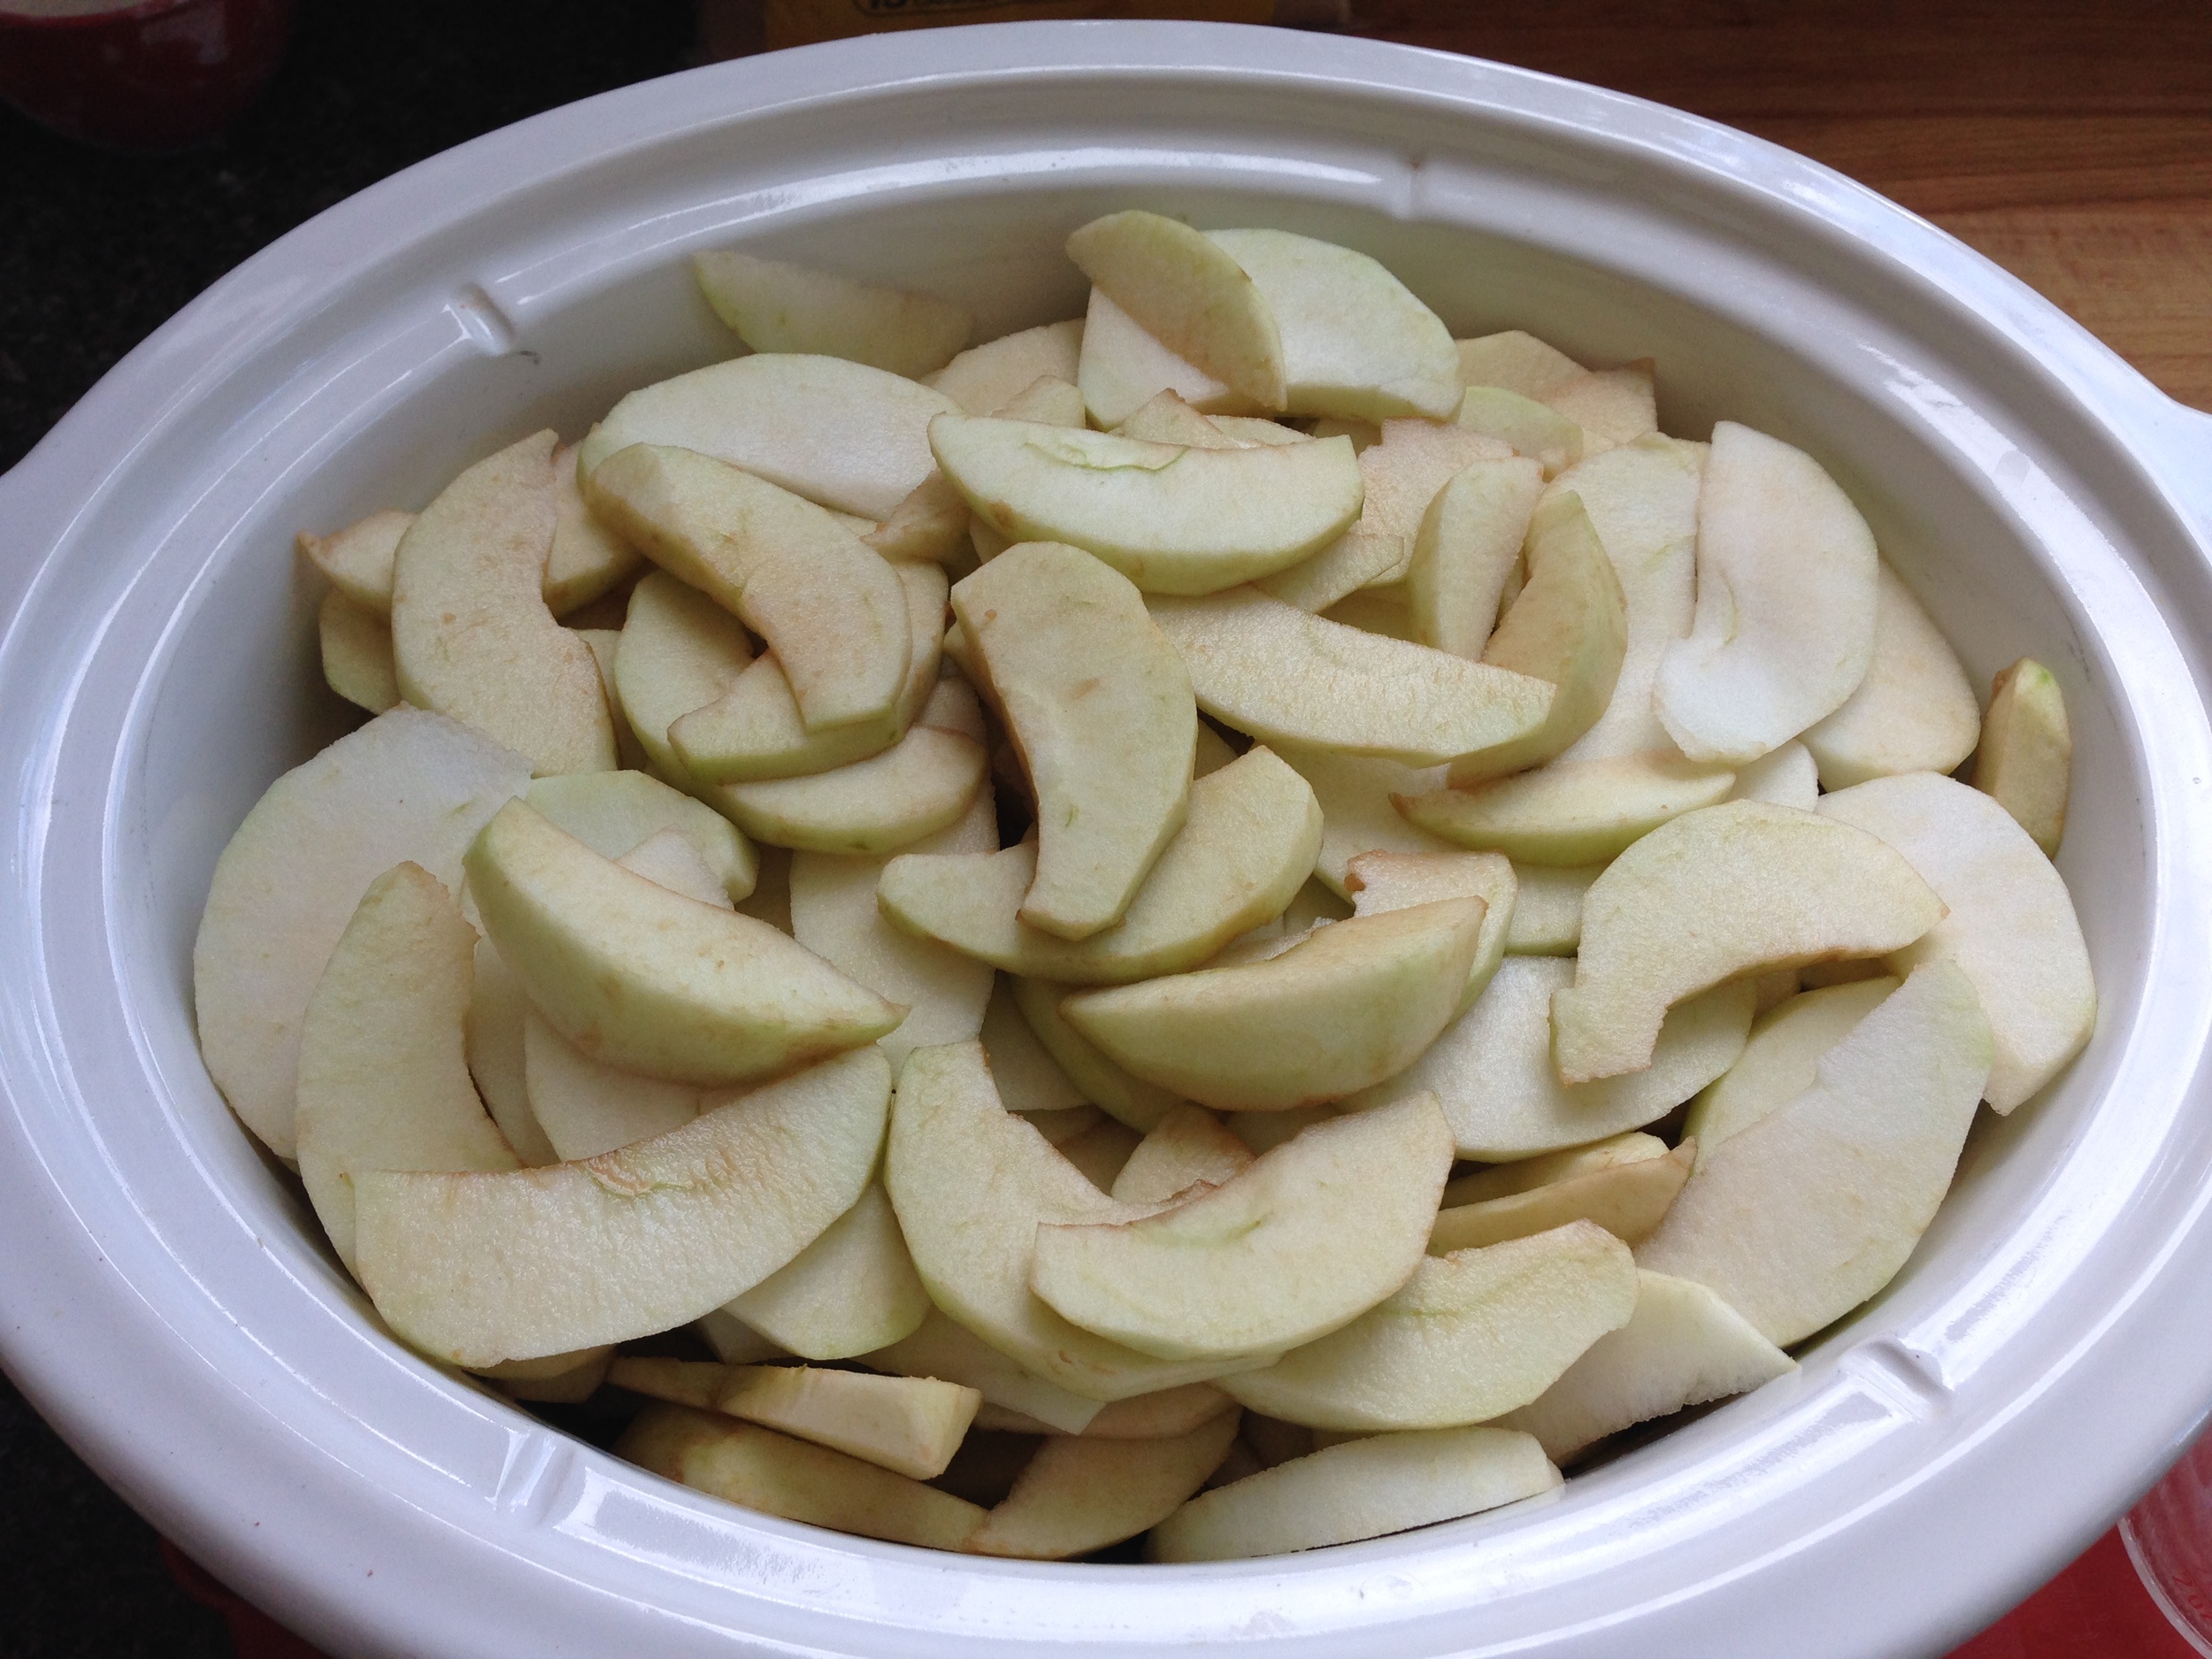
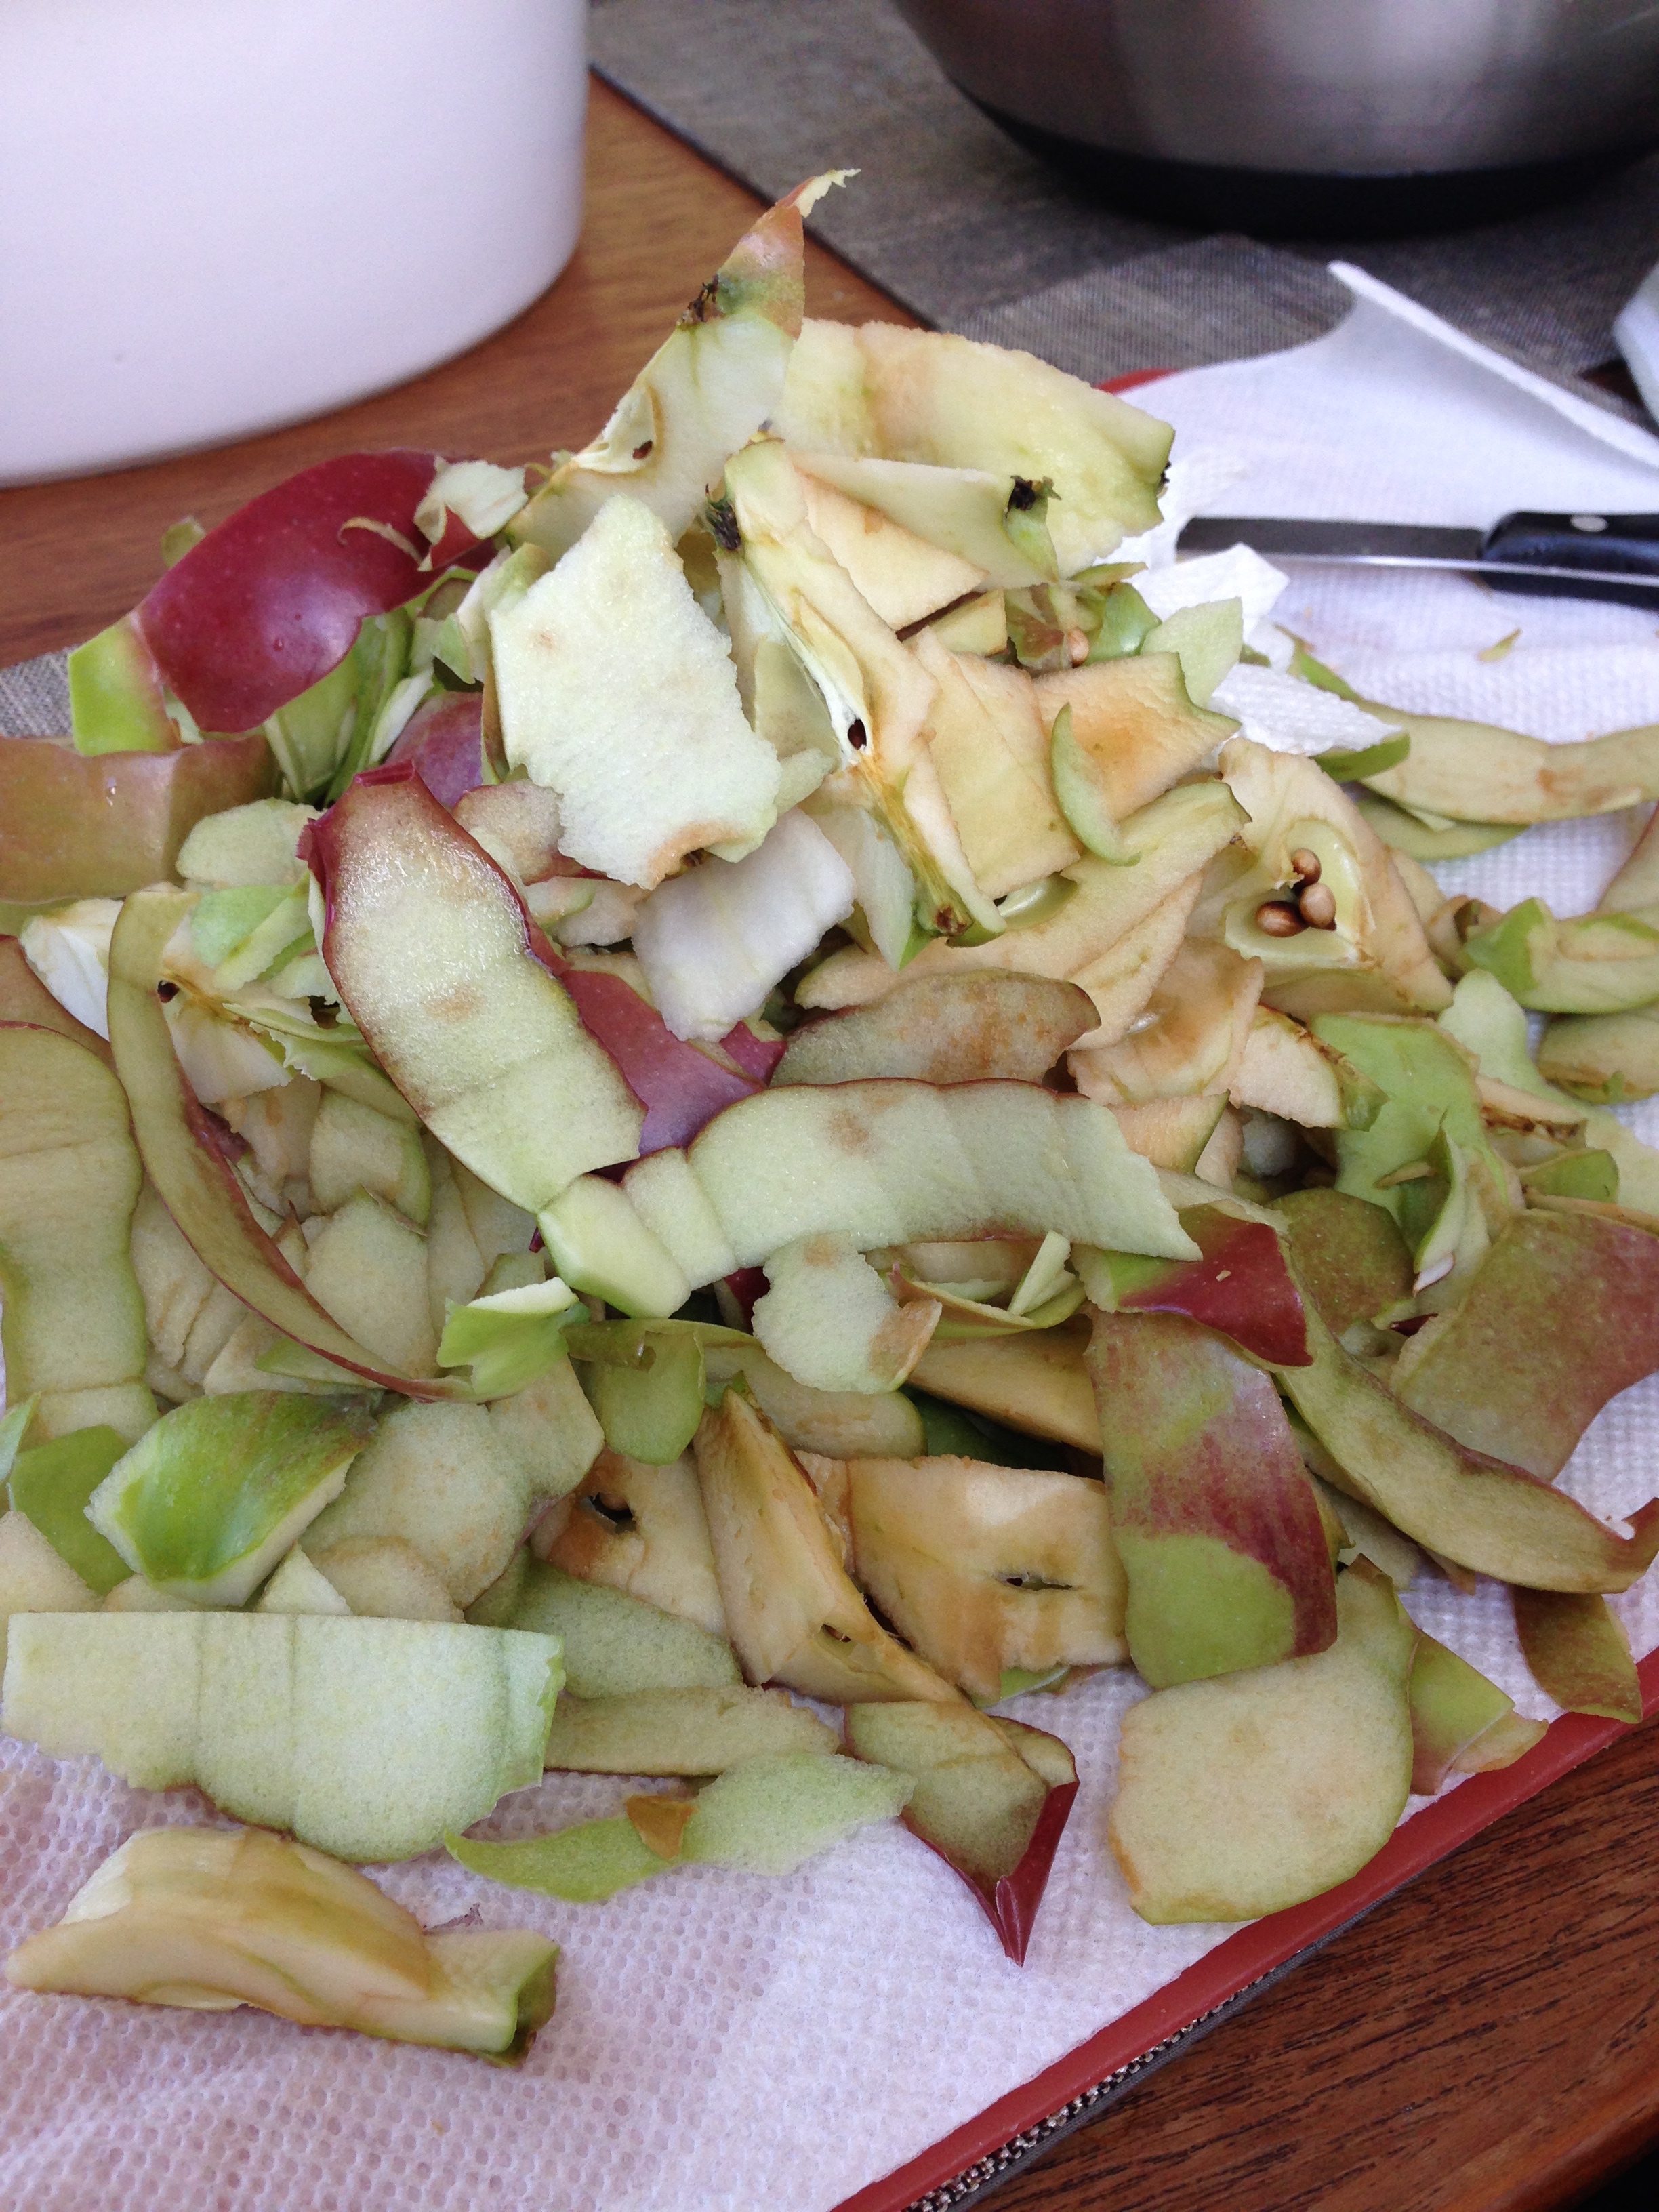
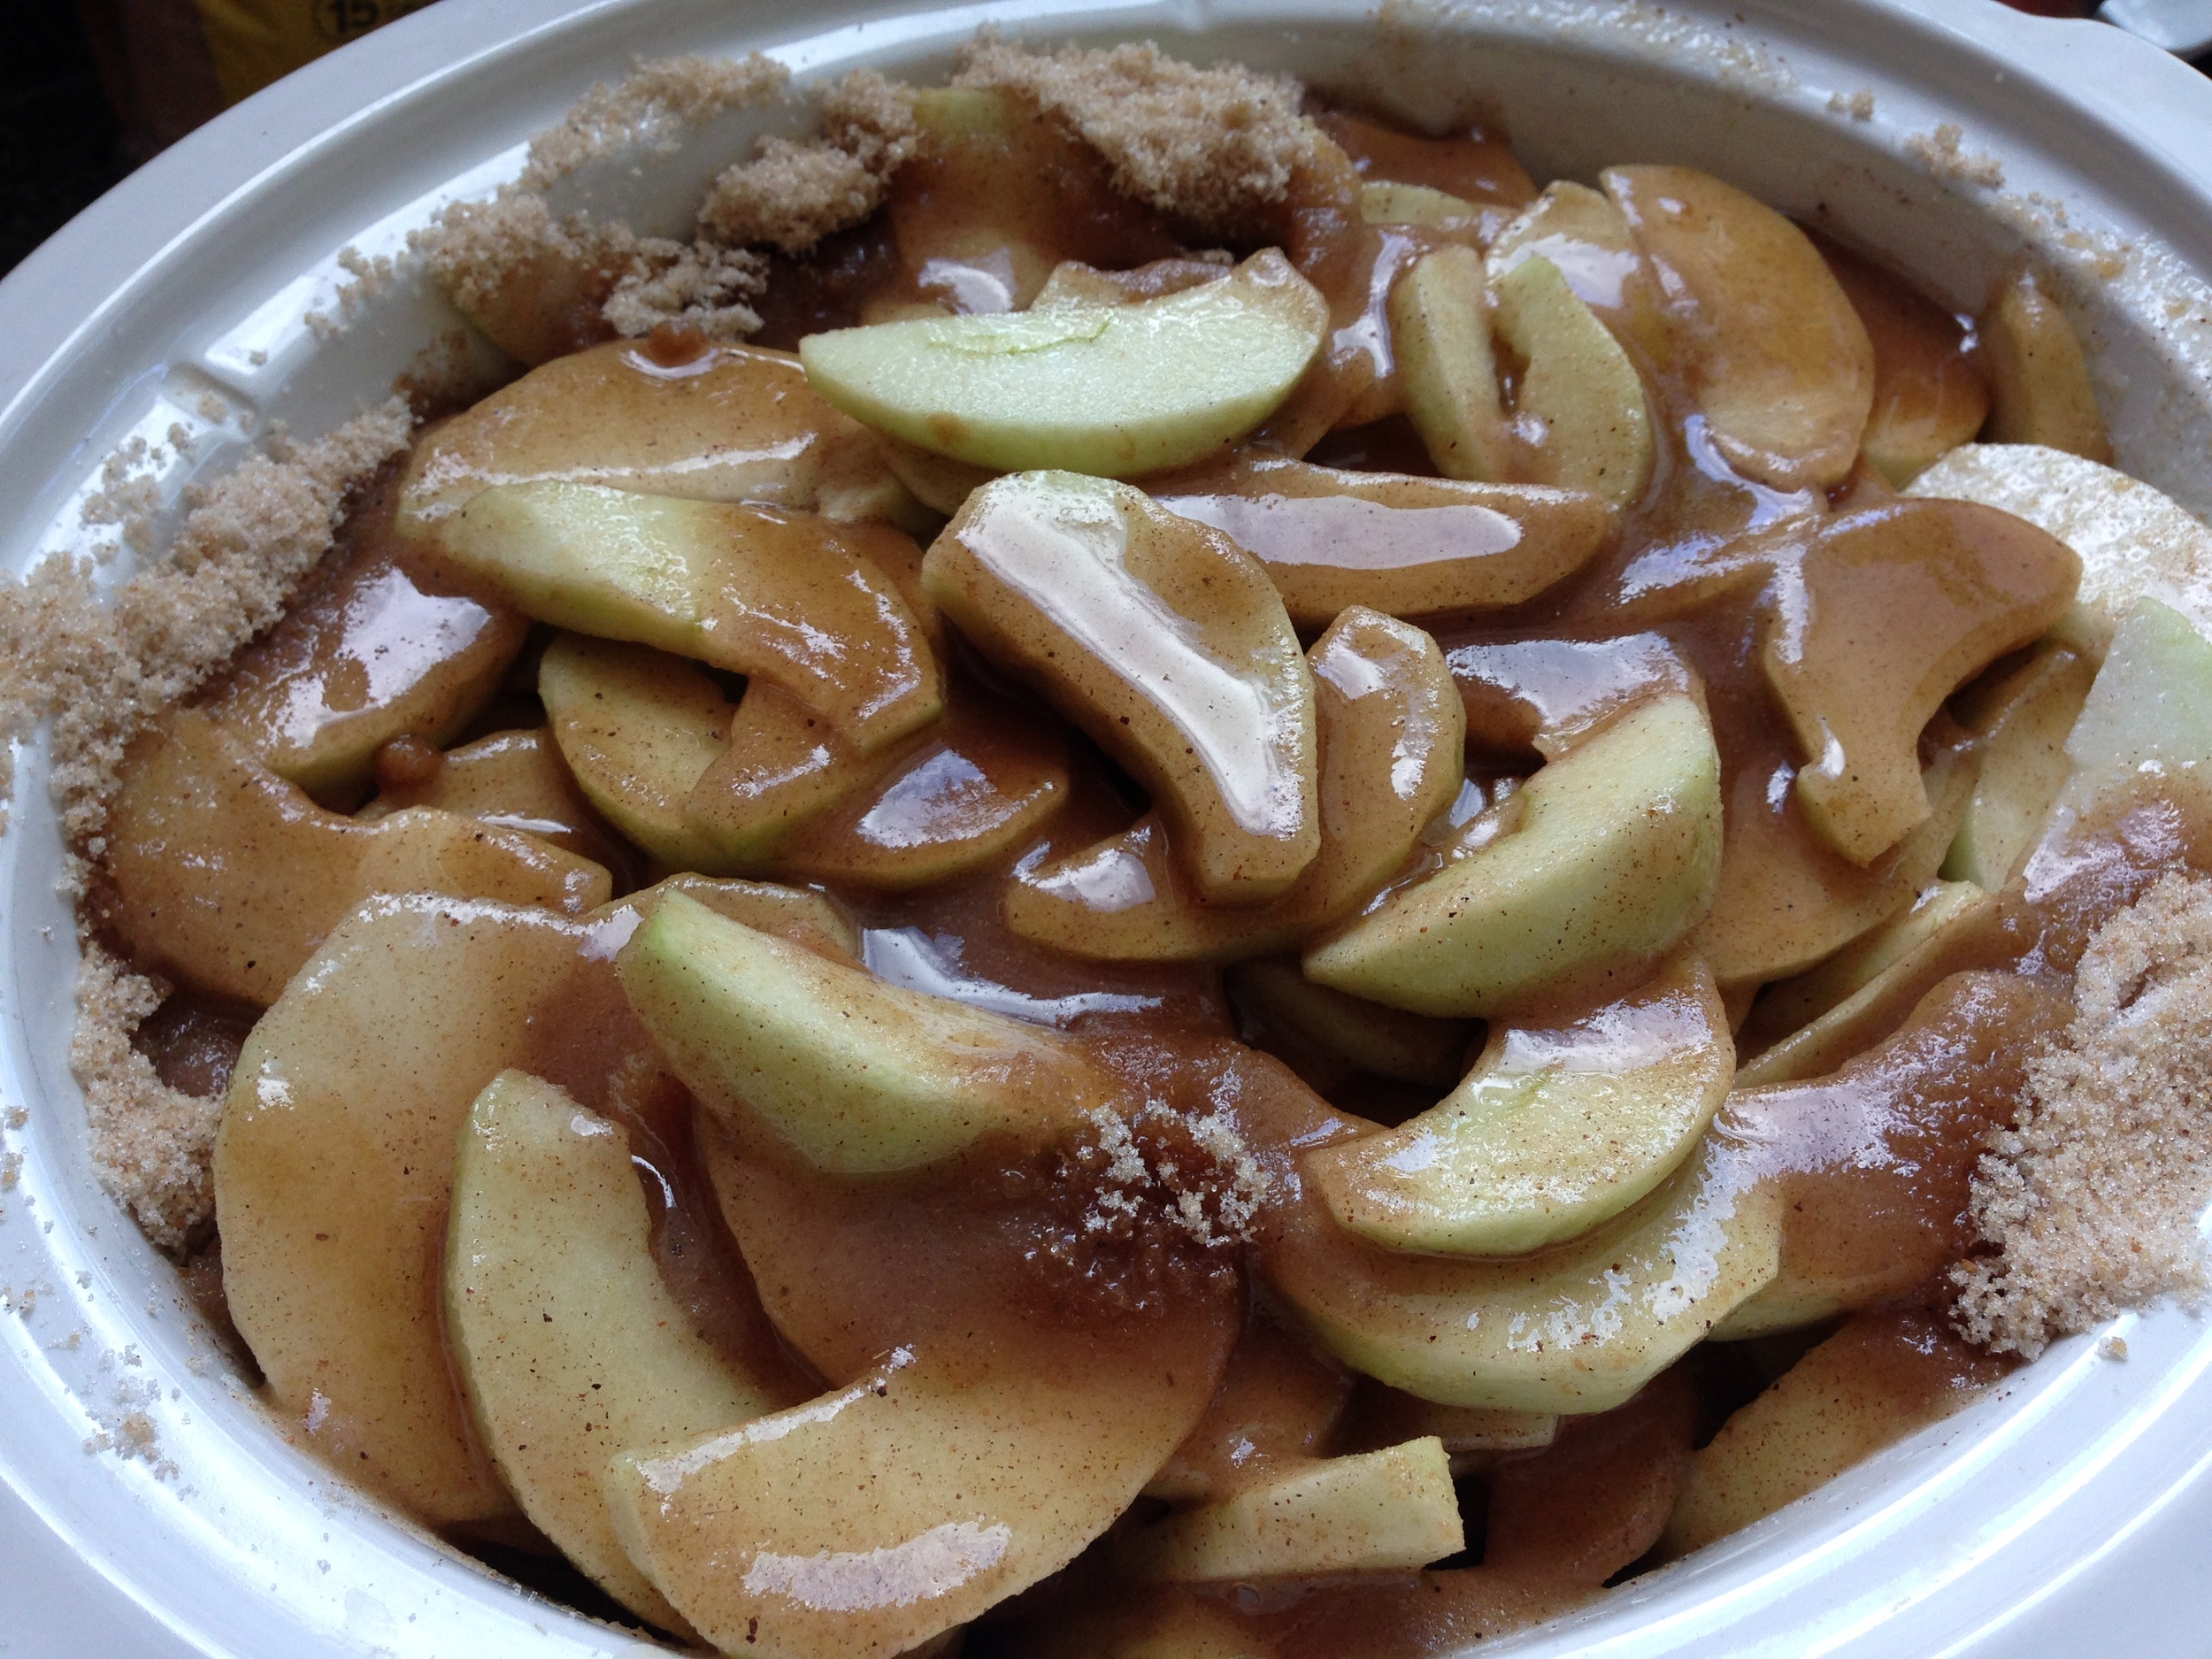
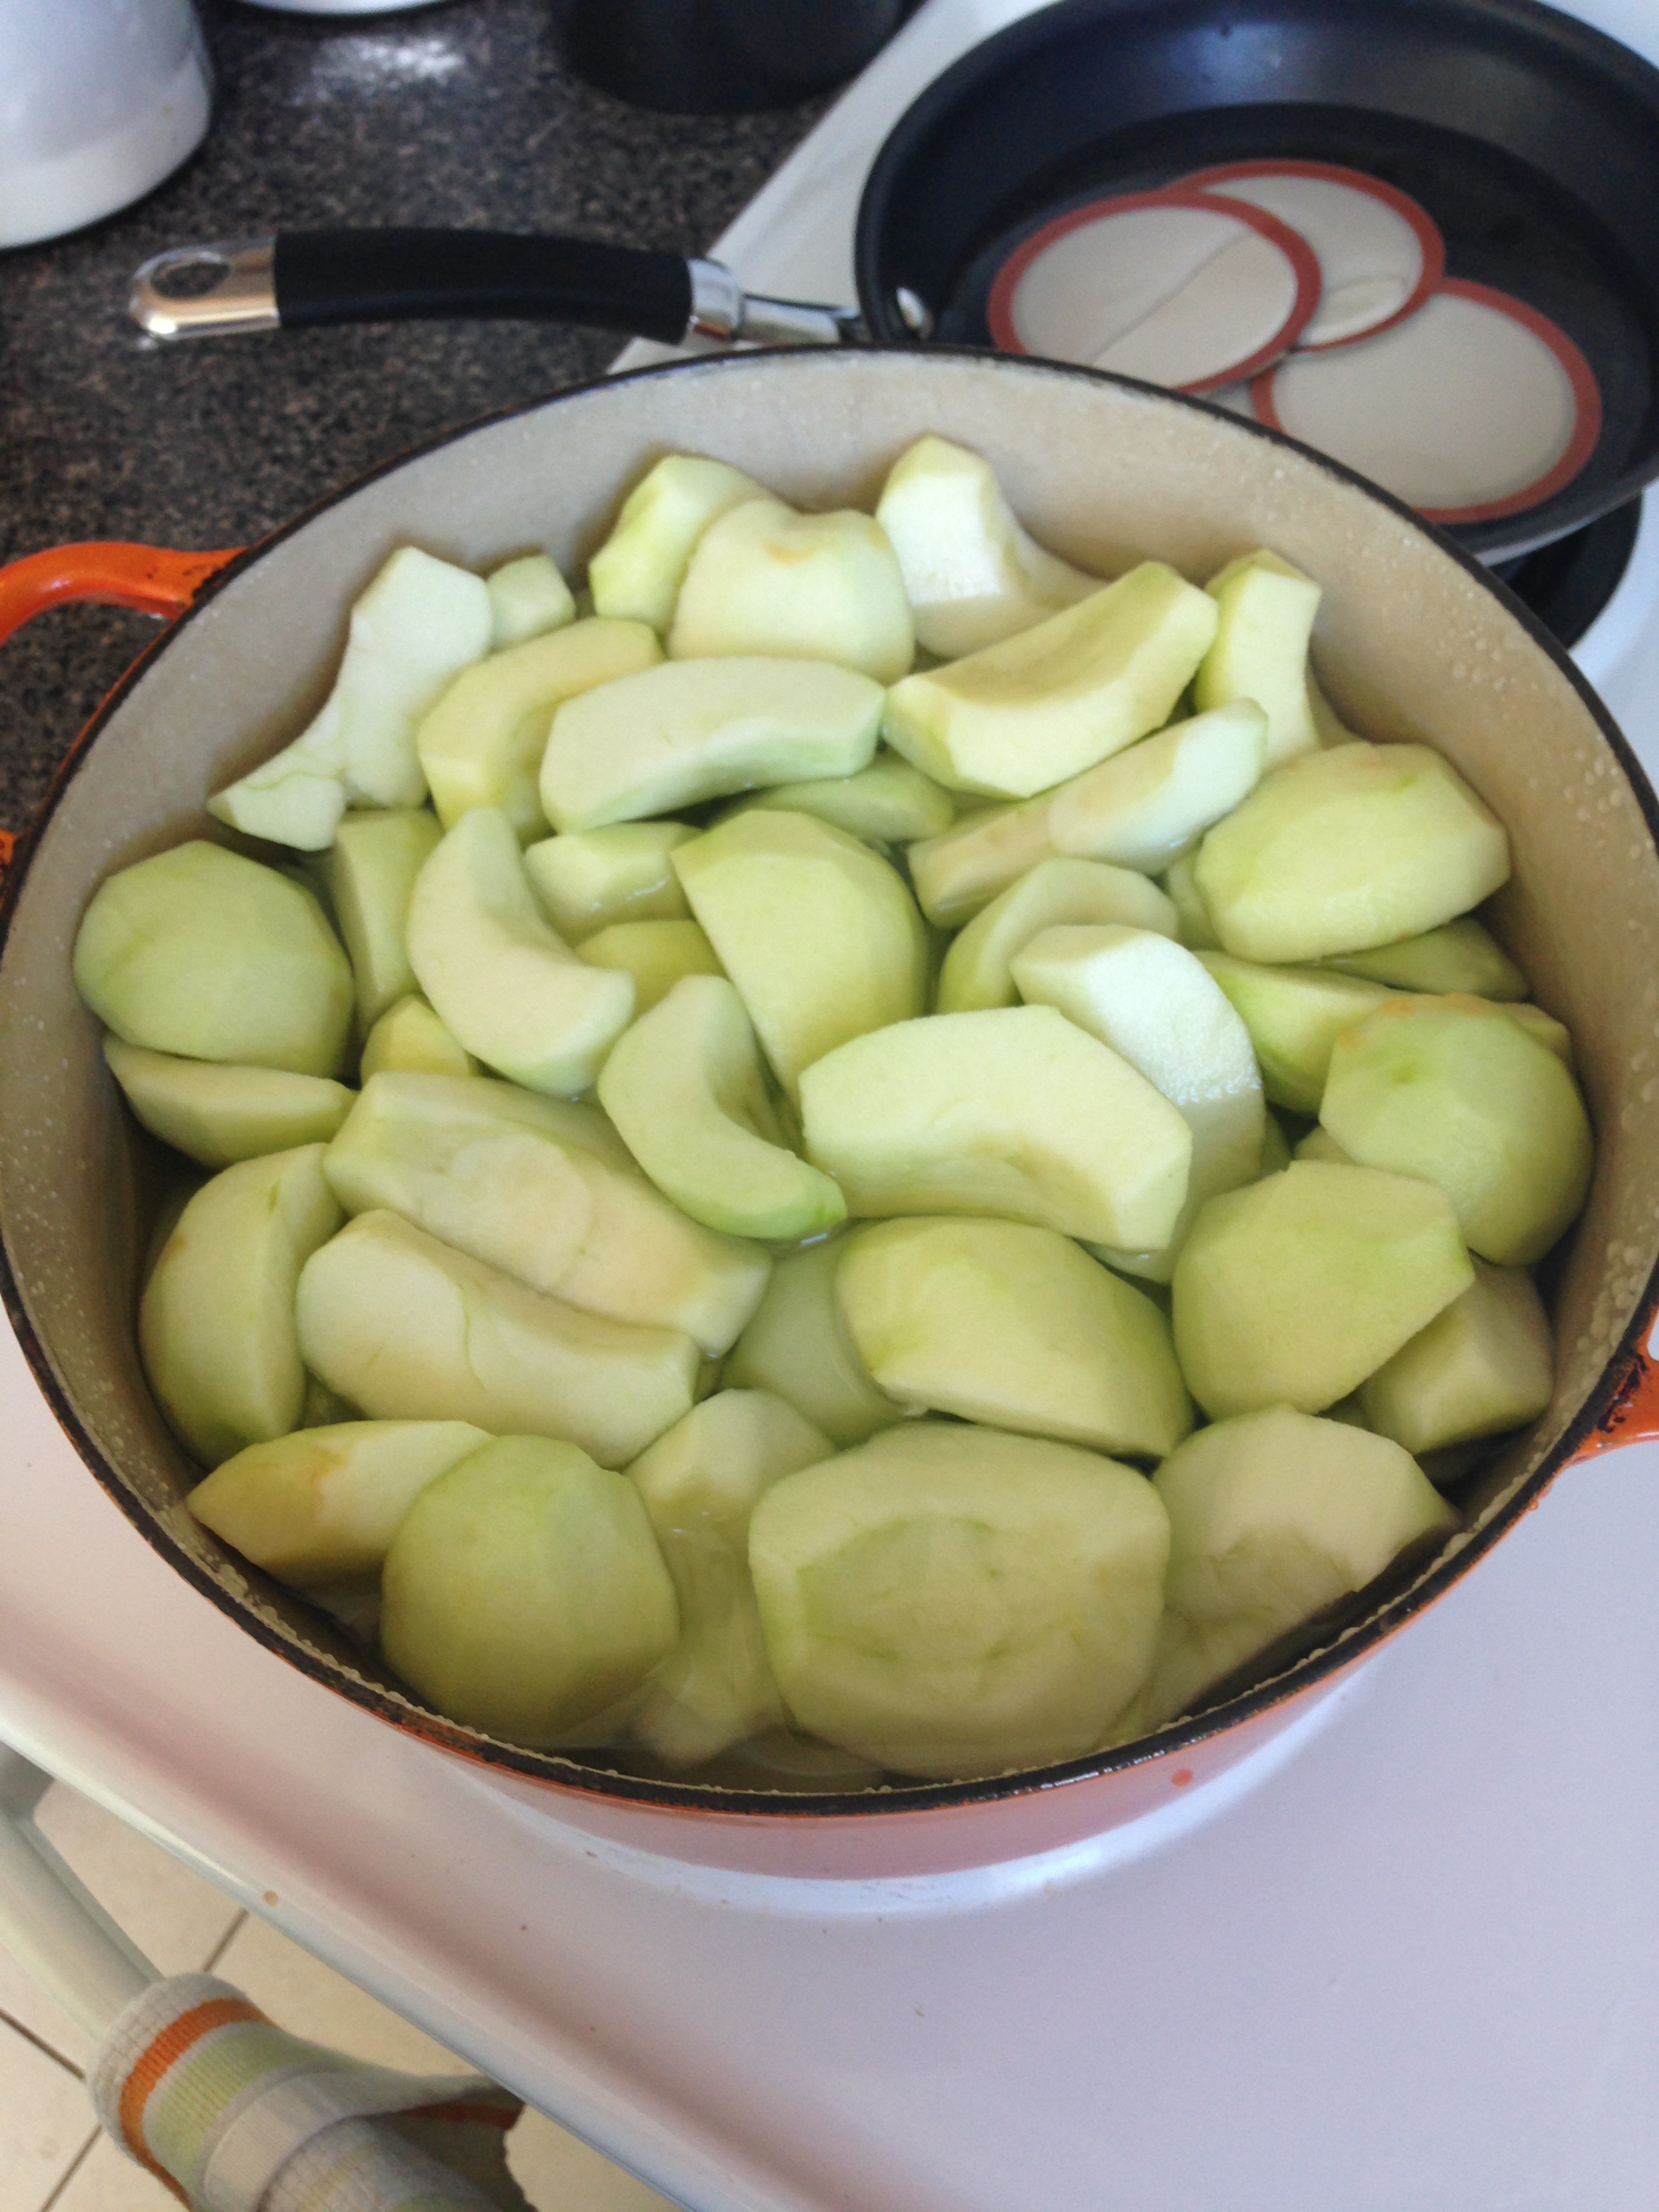
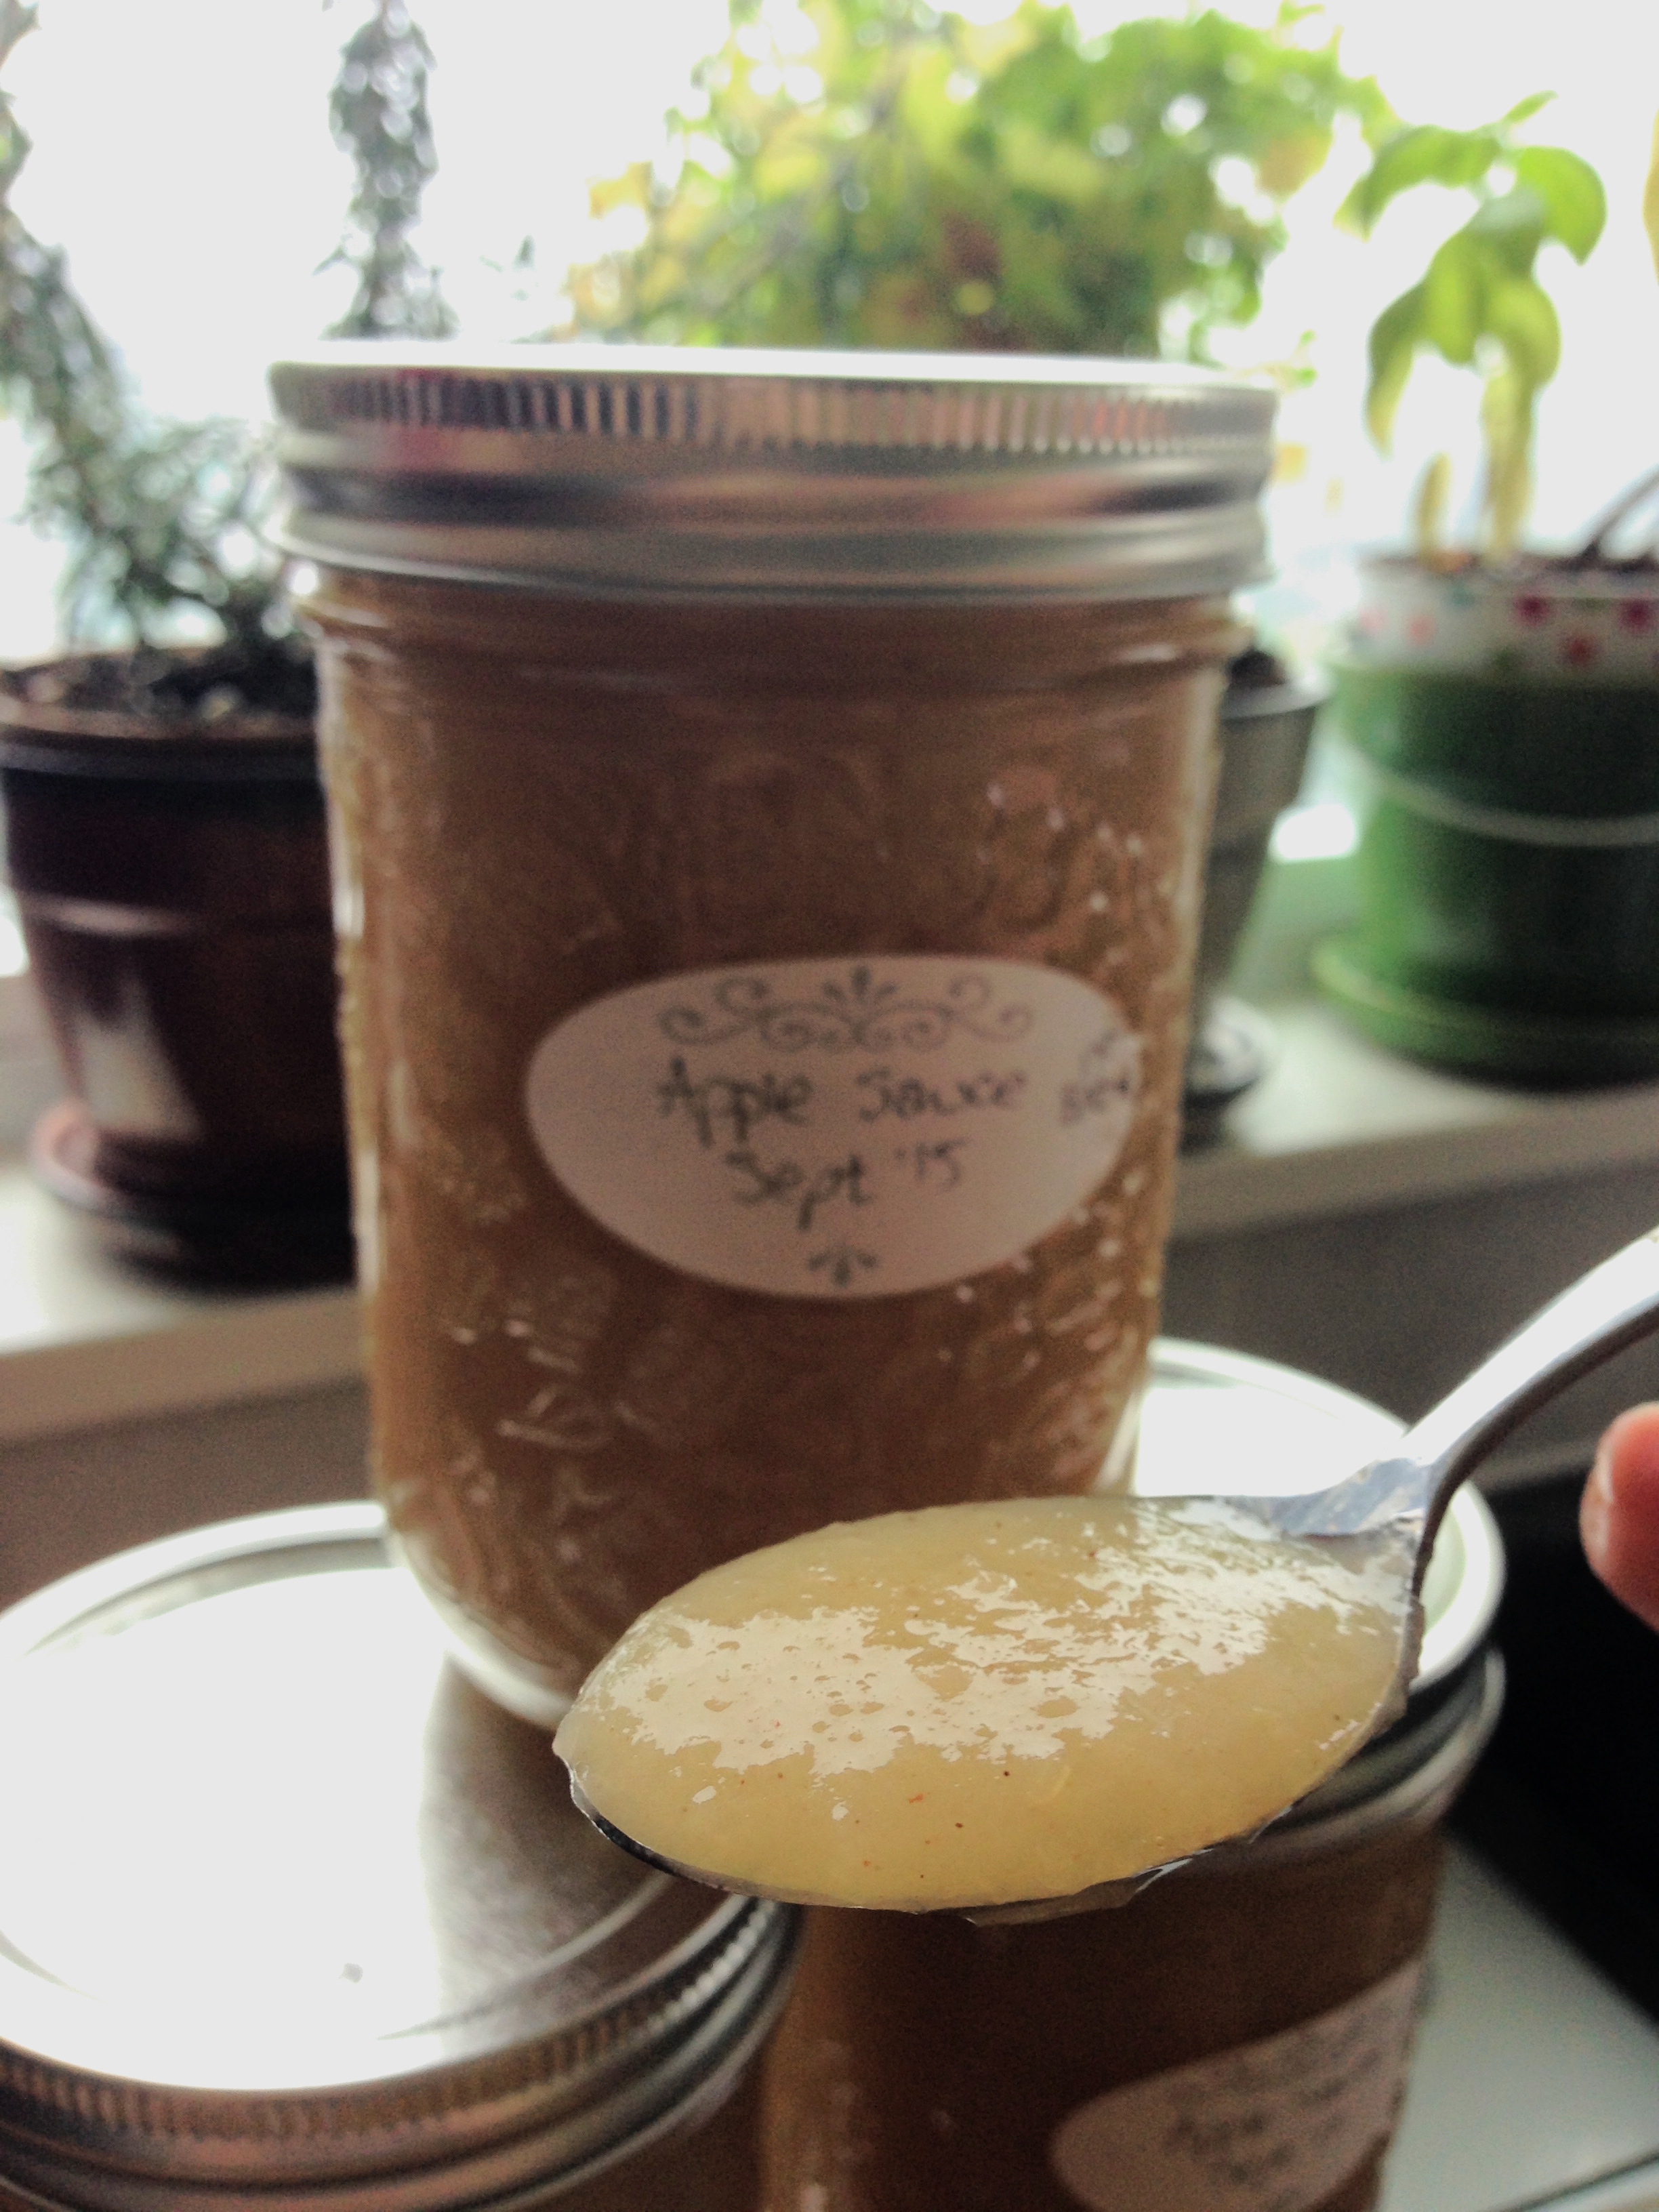
So I sat down with my lovely lady Lesley and got a'peelin'! The last of the apples were allotted for apple sauce, another canning first. I got out the handy dandy Joy of Cooking book and took a peek at what making apple sauce entailed. It's probably the simplest recipe I've seen when it comes to canning. Apples, washed and cored (peeled if you want), boil 'em, mash 'em and stick 'em in a can! I tweaked it a bit: 

Apple Sauce

~7lbs apples (I used McIntosh)

Cinnamon (optional)
Brown Sugar (optional)

  1. Prepare an anti-browning solution. (Either lemon juice or dissolved vitamin C tablets or a specifically purchased anti-browning agent.)
  2. Wash, peel and core apples. Cut into quarters. Place into anti-browning solution. Repeat till all the apples are prepared. 
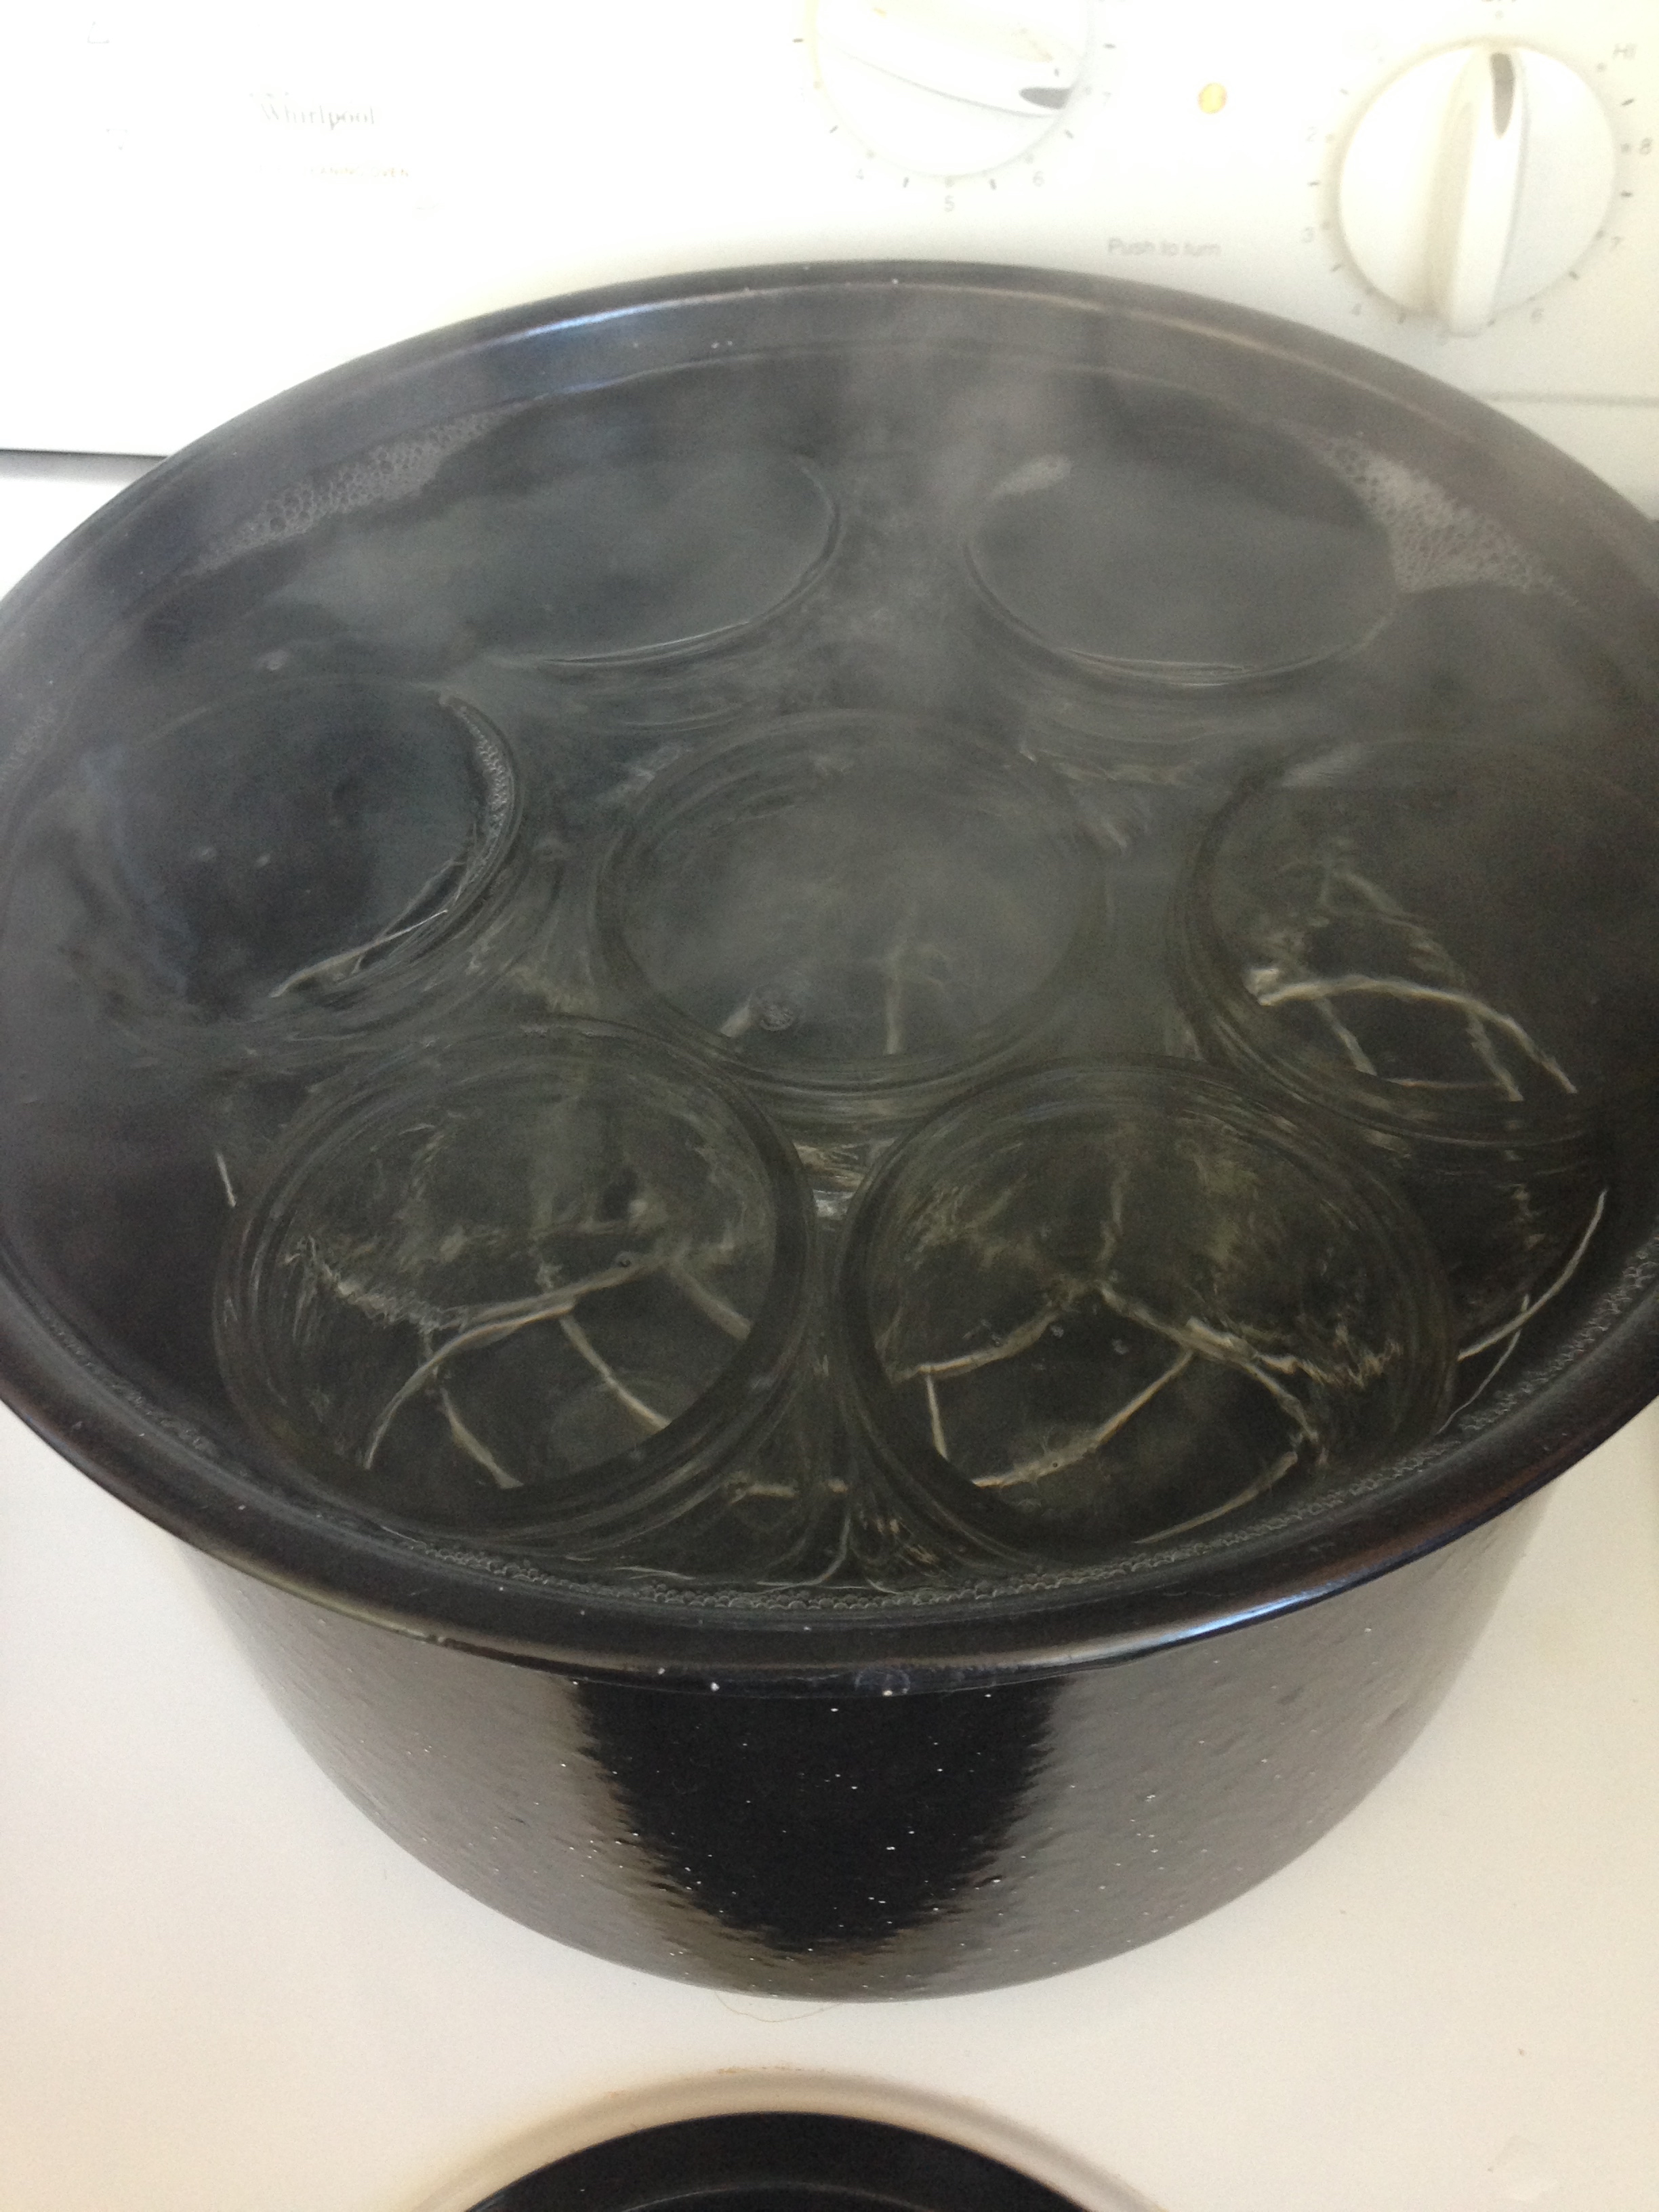
  3. Prepare jars for canning. See here for sterilization directions.
  4. Drain apples from anti-browning solution.
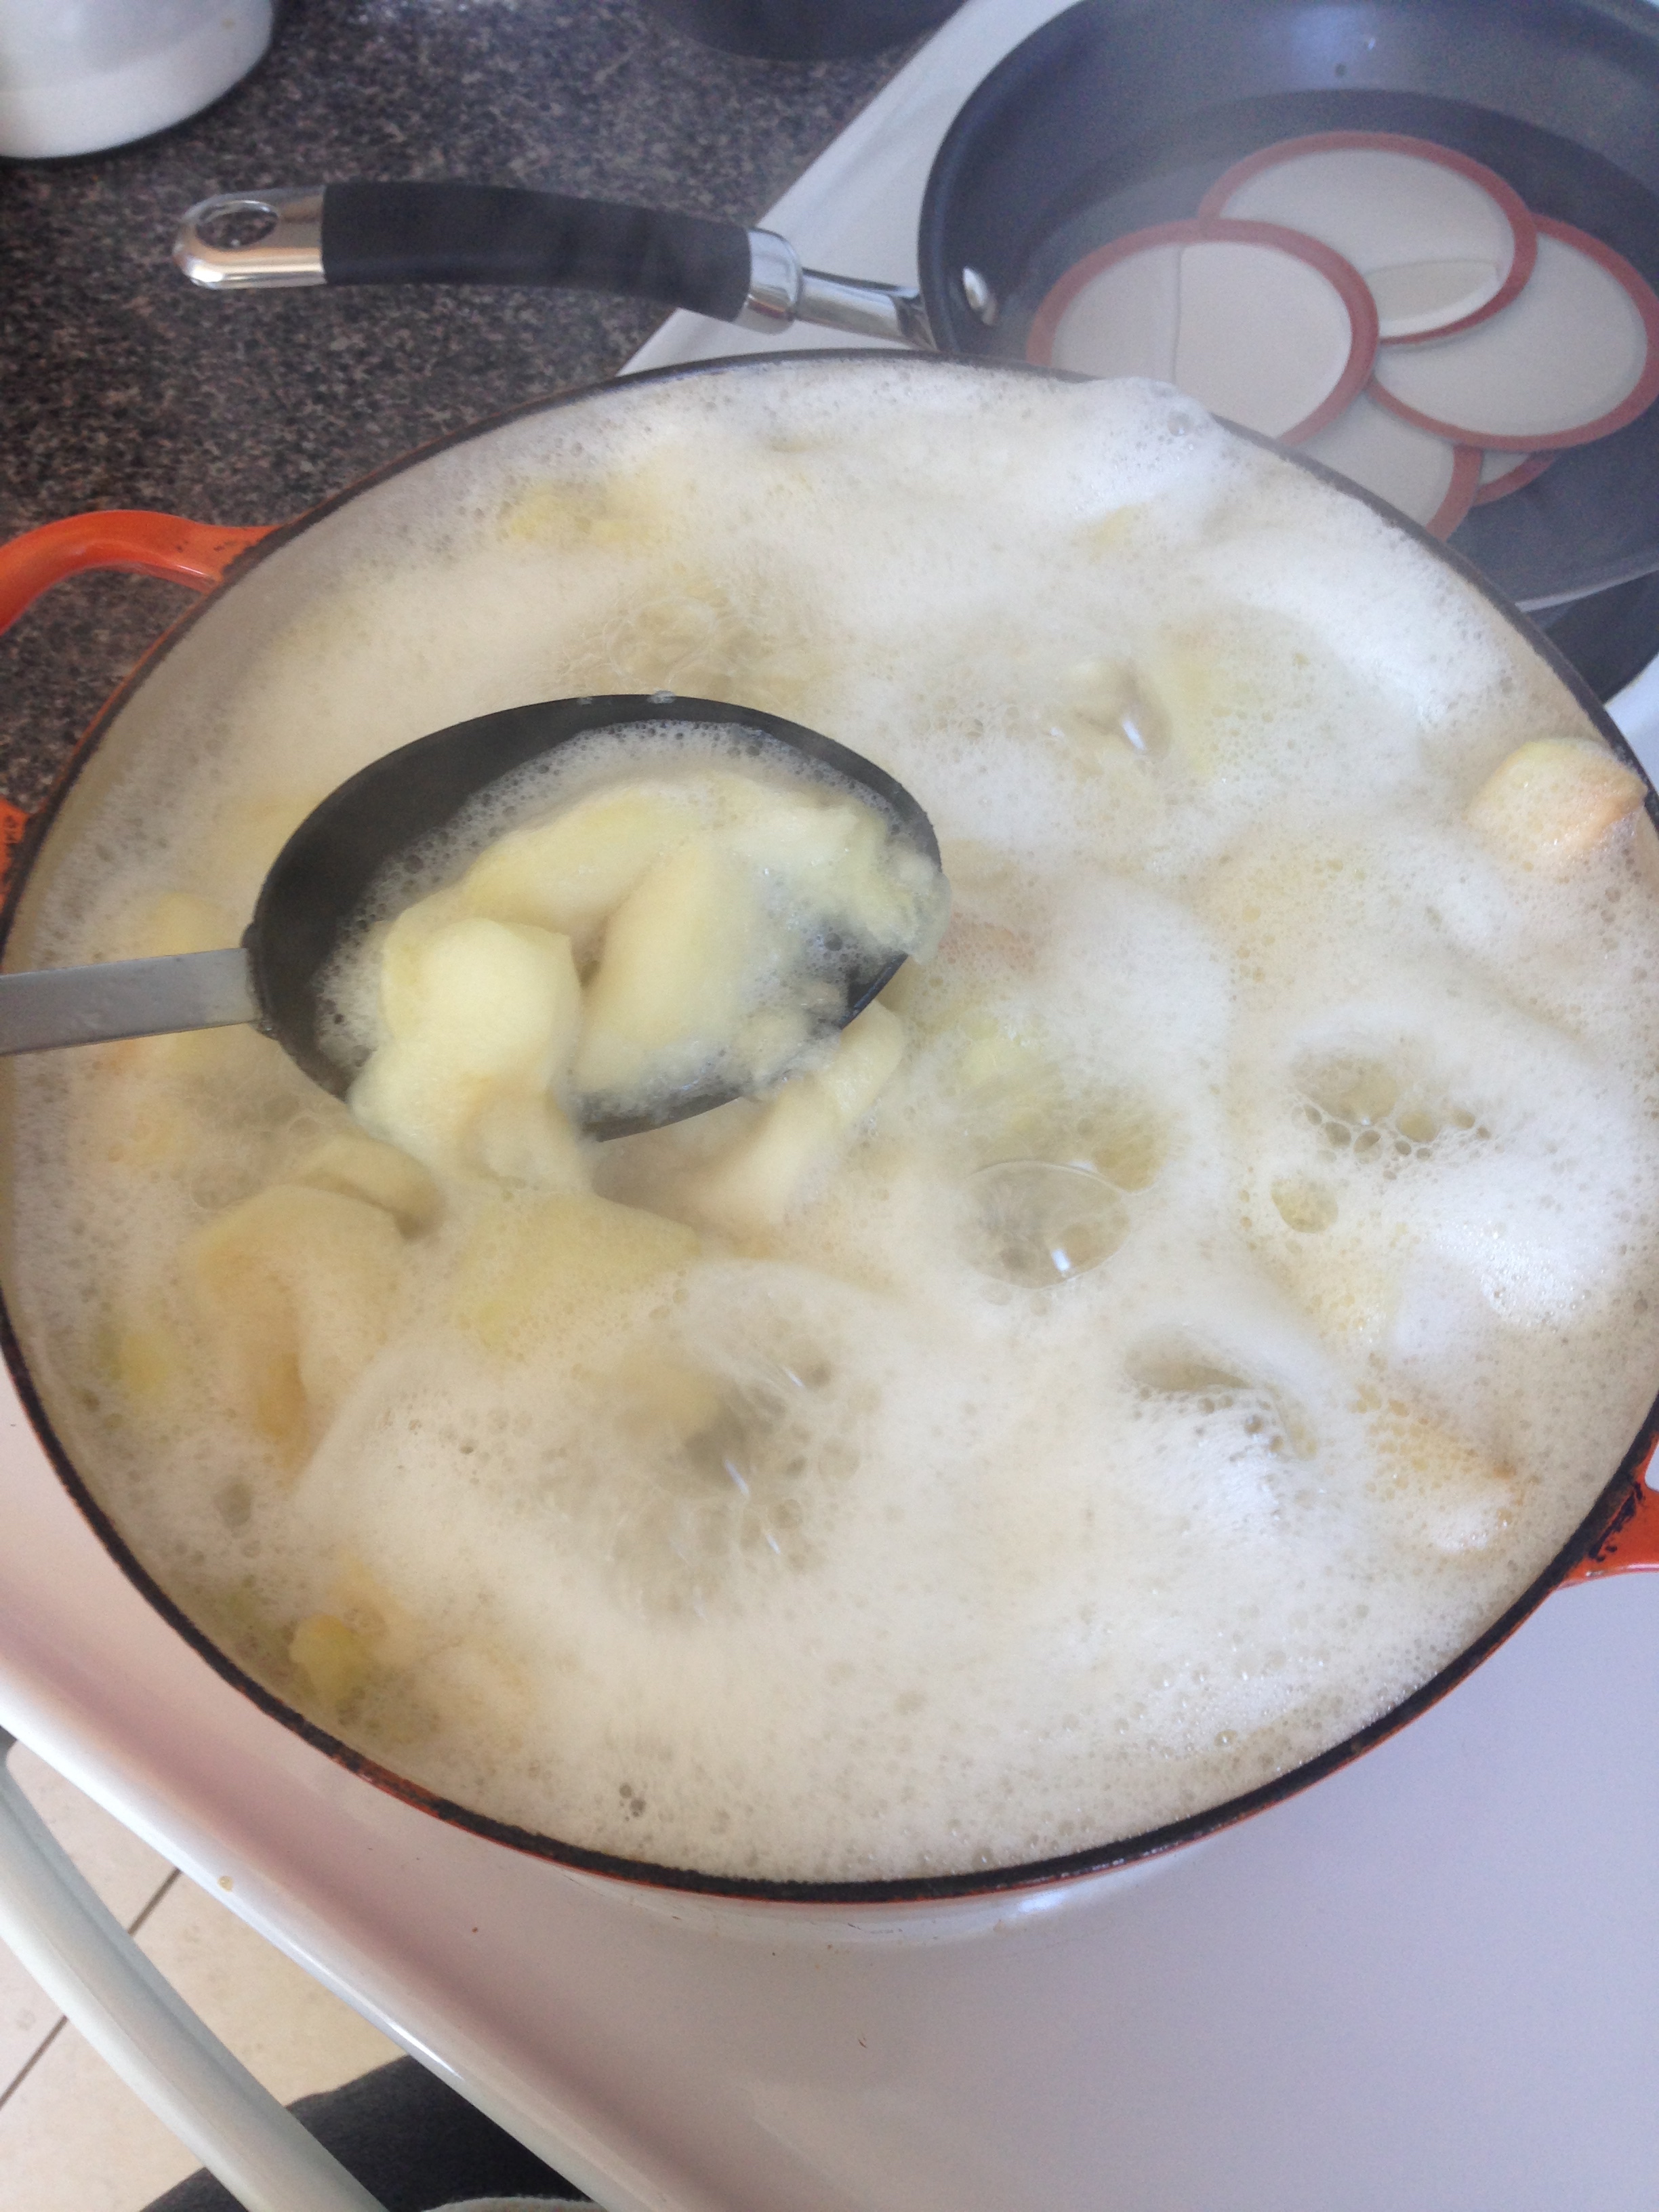
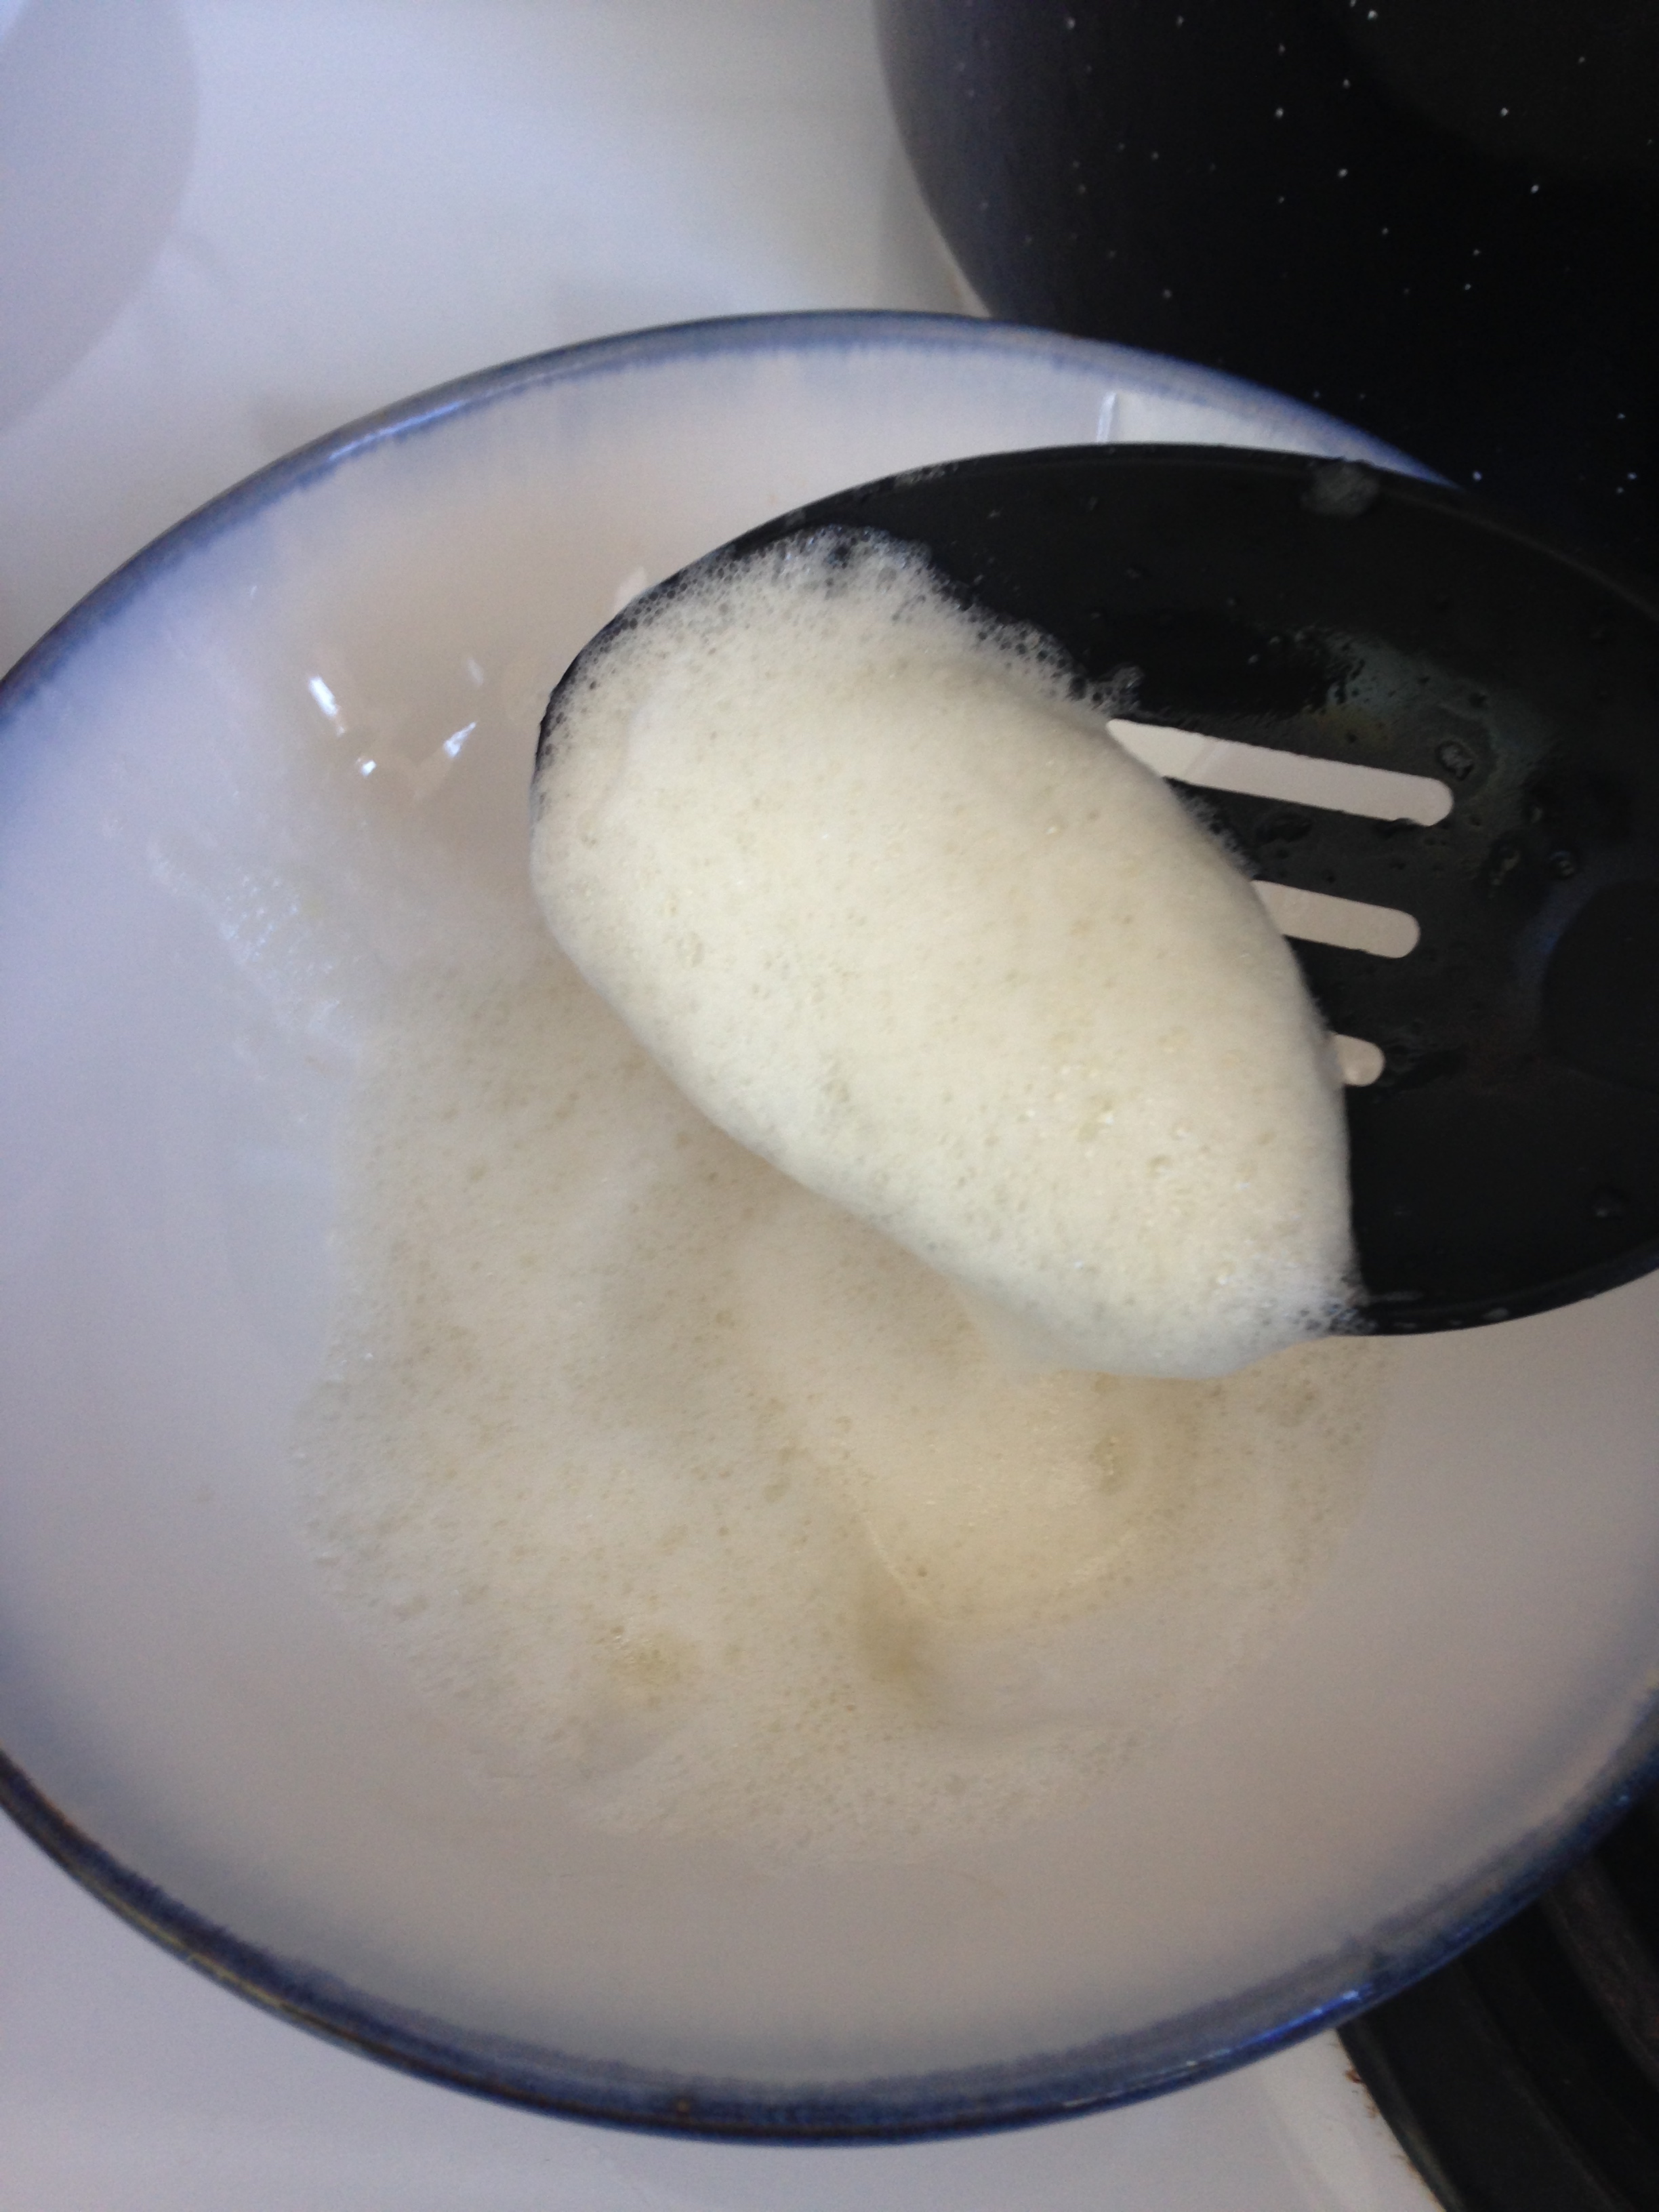
  5. In a large non-reactive saucepan, place apples and 1  1/2 cups of water. Bring to a boil over high heat. Stir occasionally and skim off excess foam into a separate bowl to discard.
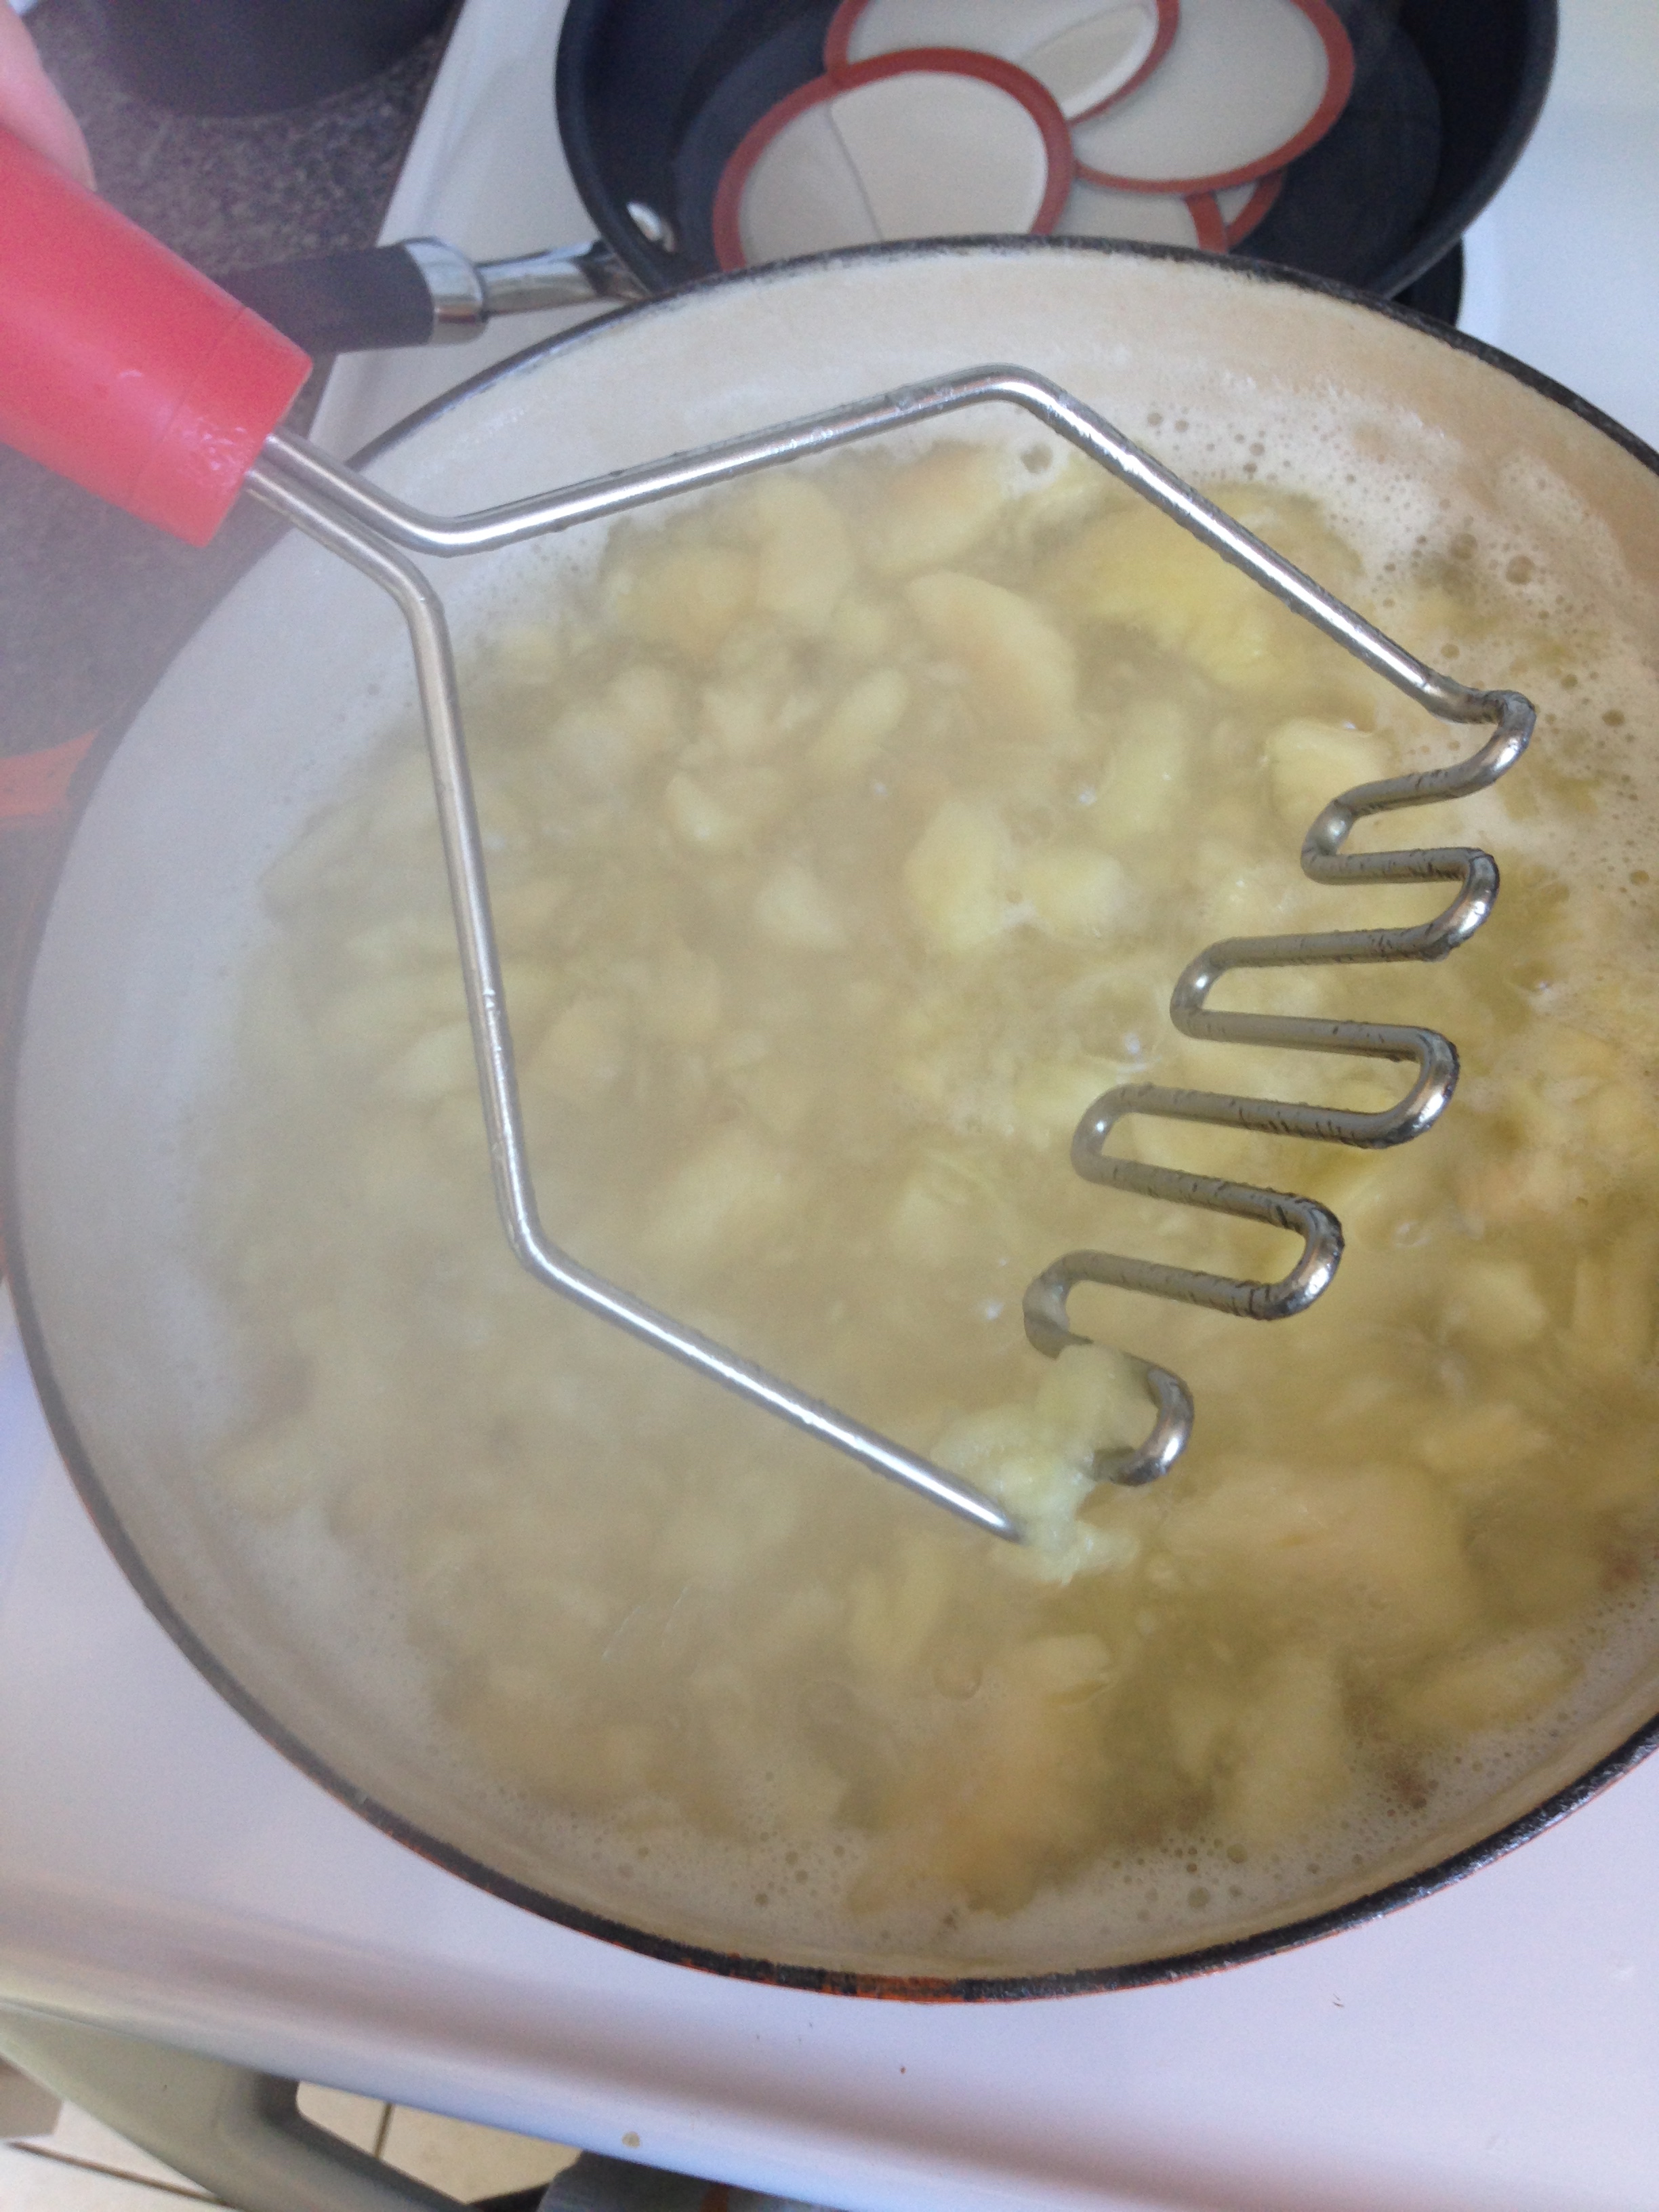
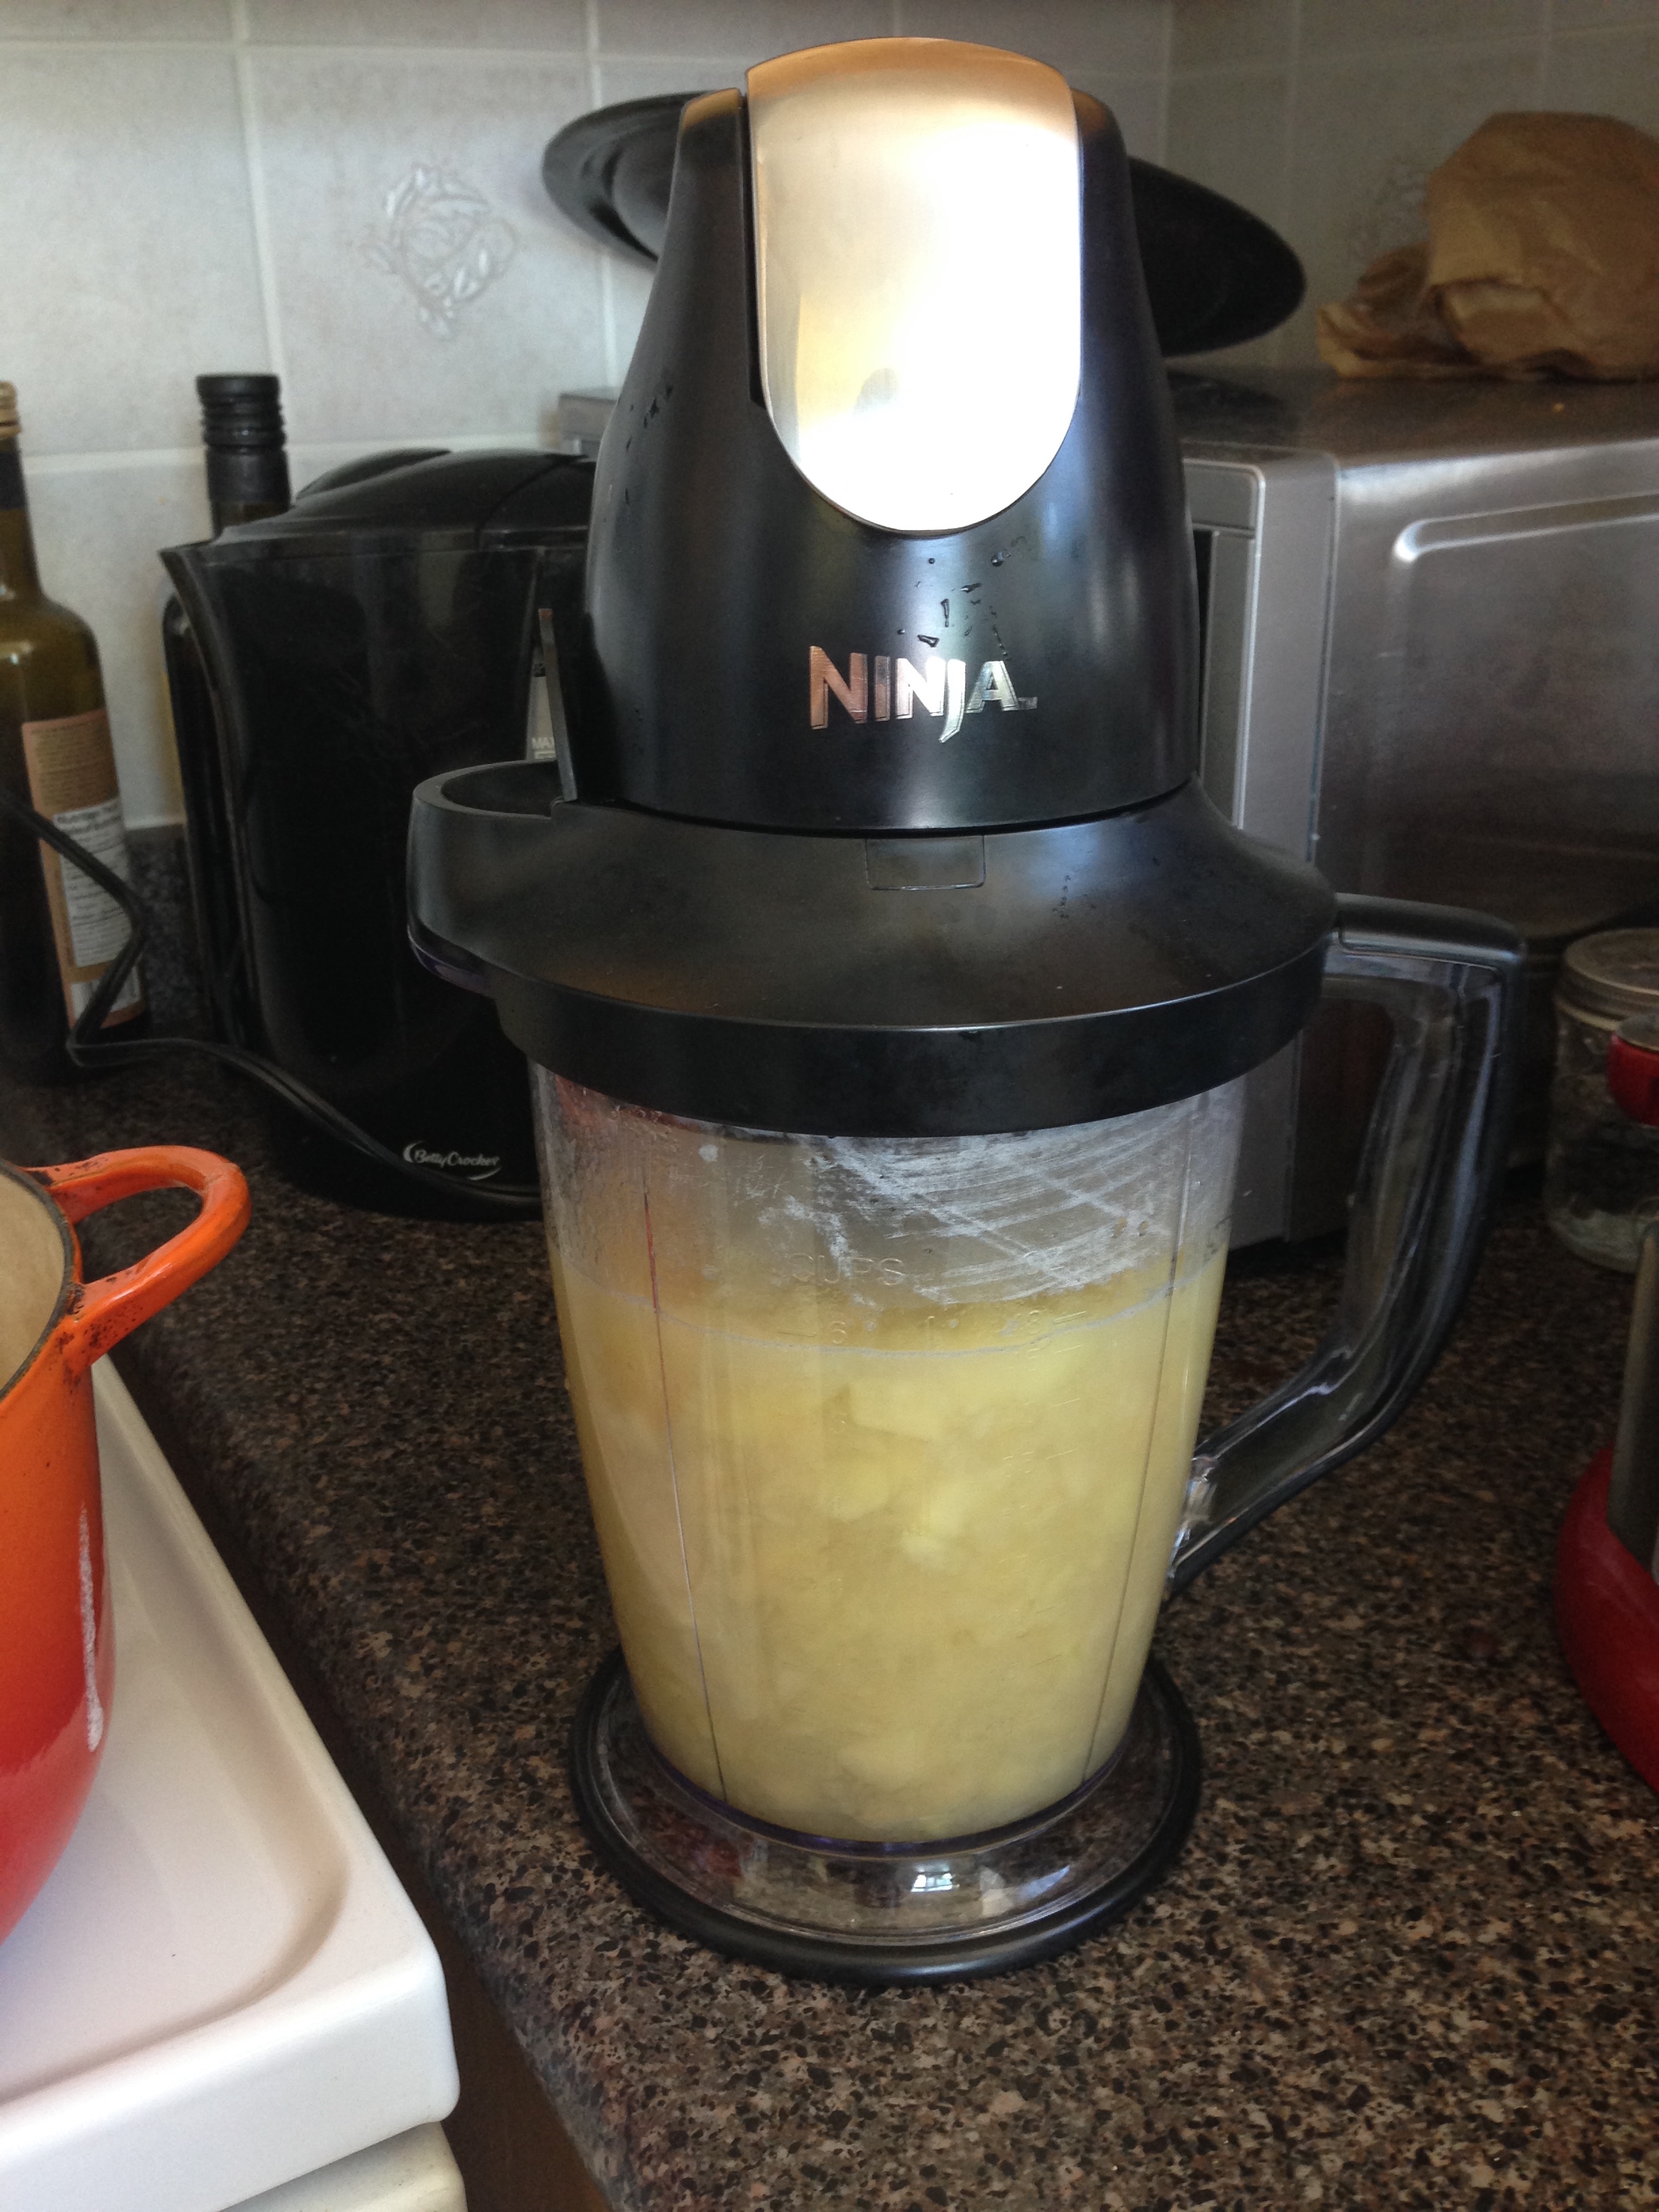
  6. Mash apples with a potato masher, emersion blender or transfer apples in batches to a blender to puree. (Transfer back puree to the saucepan afterwards.)
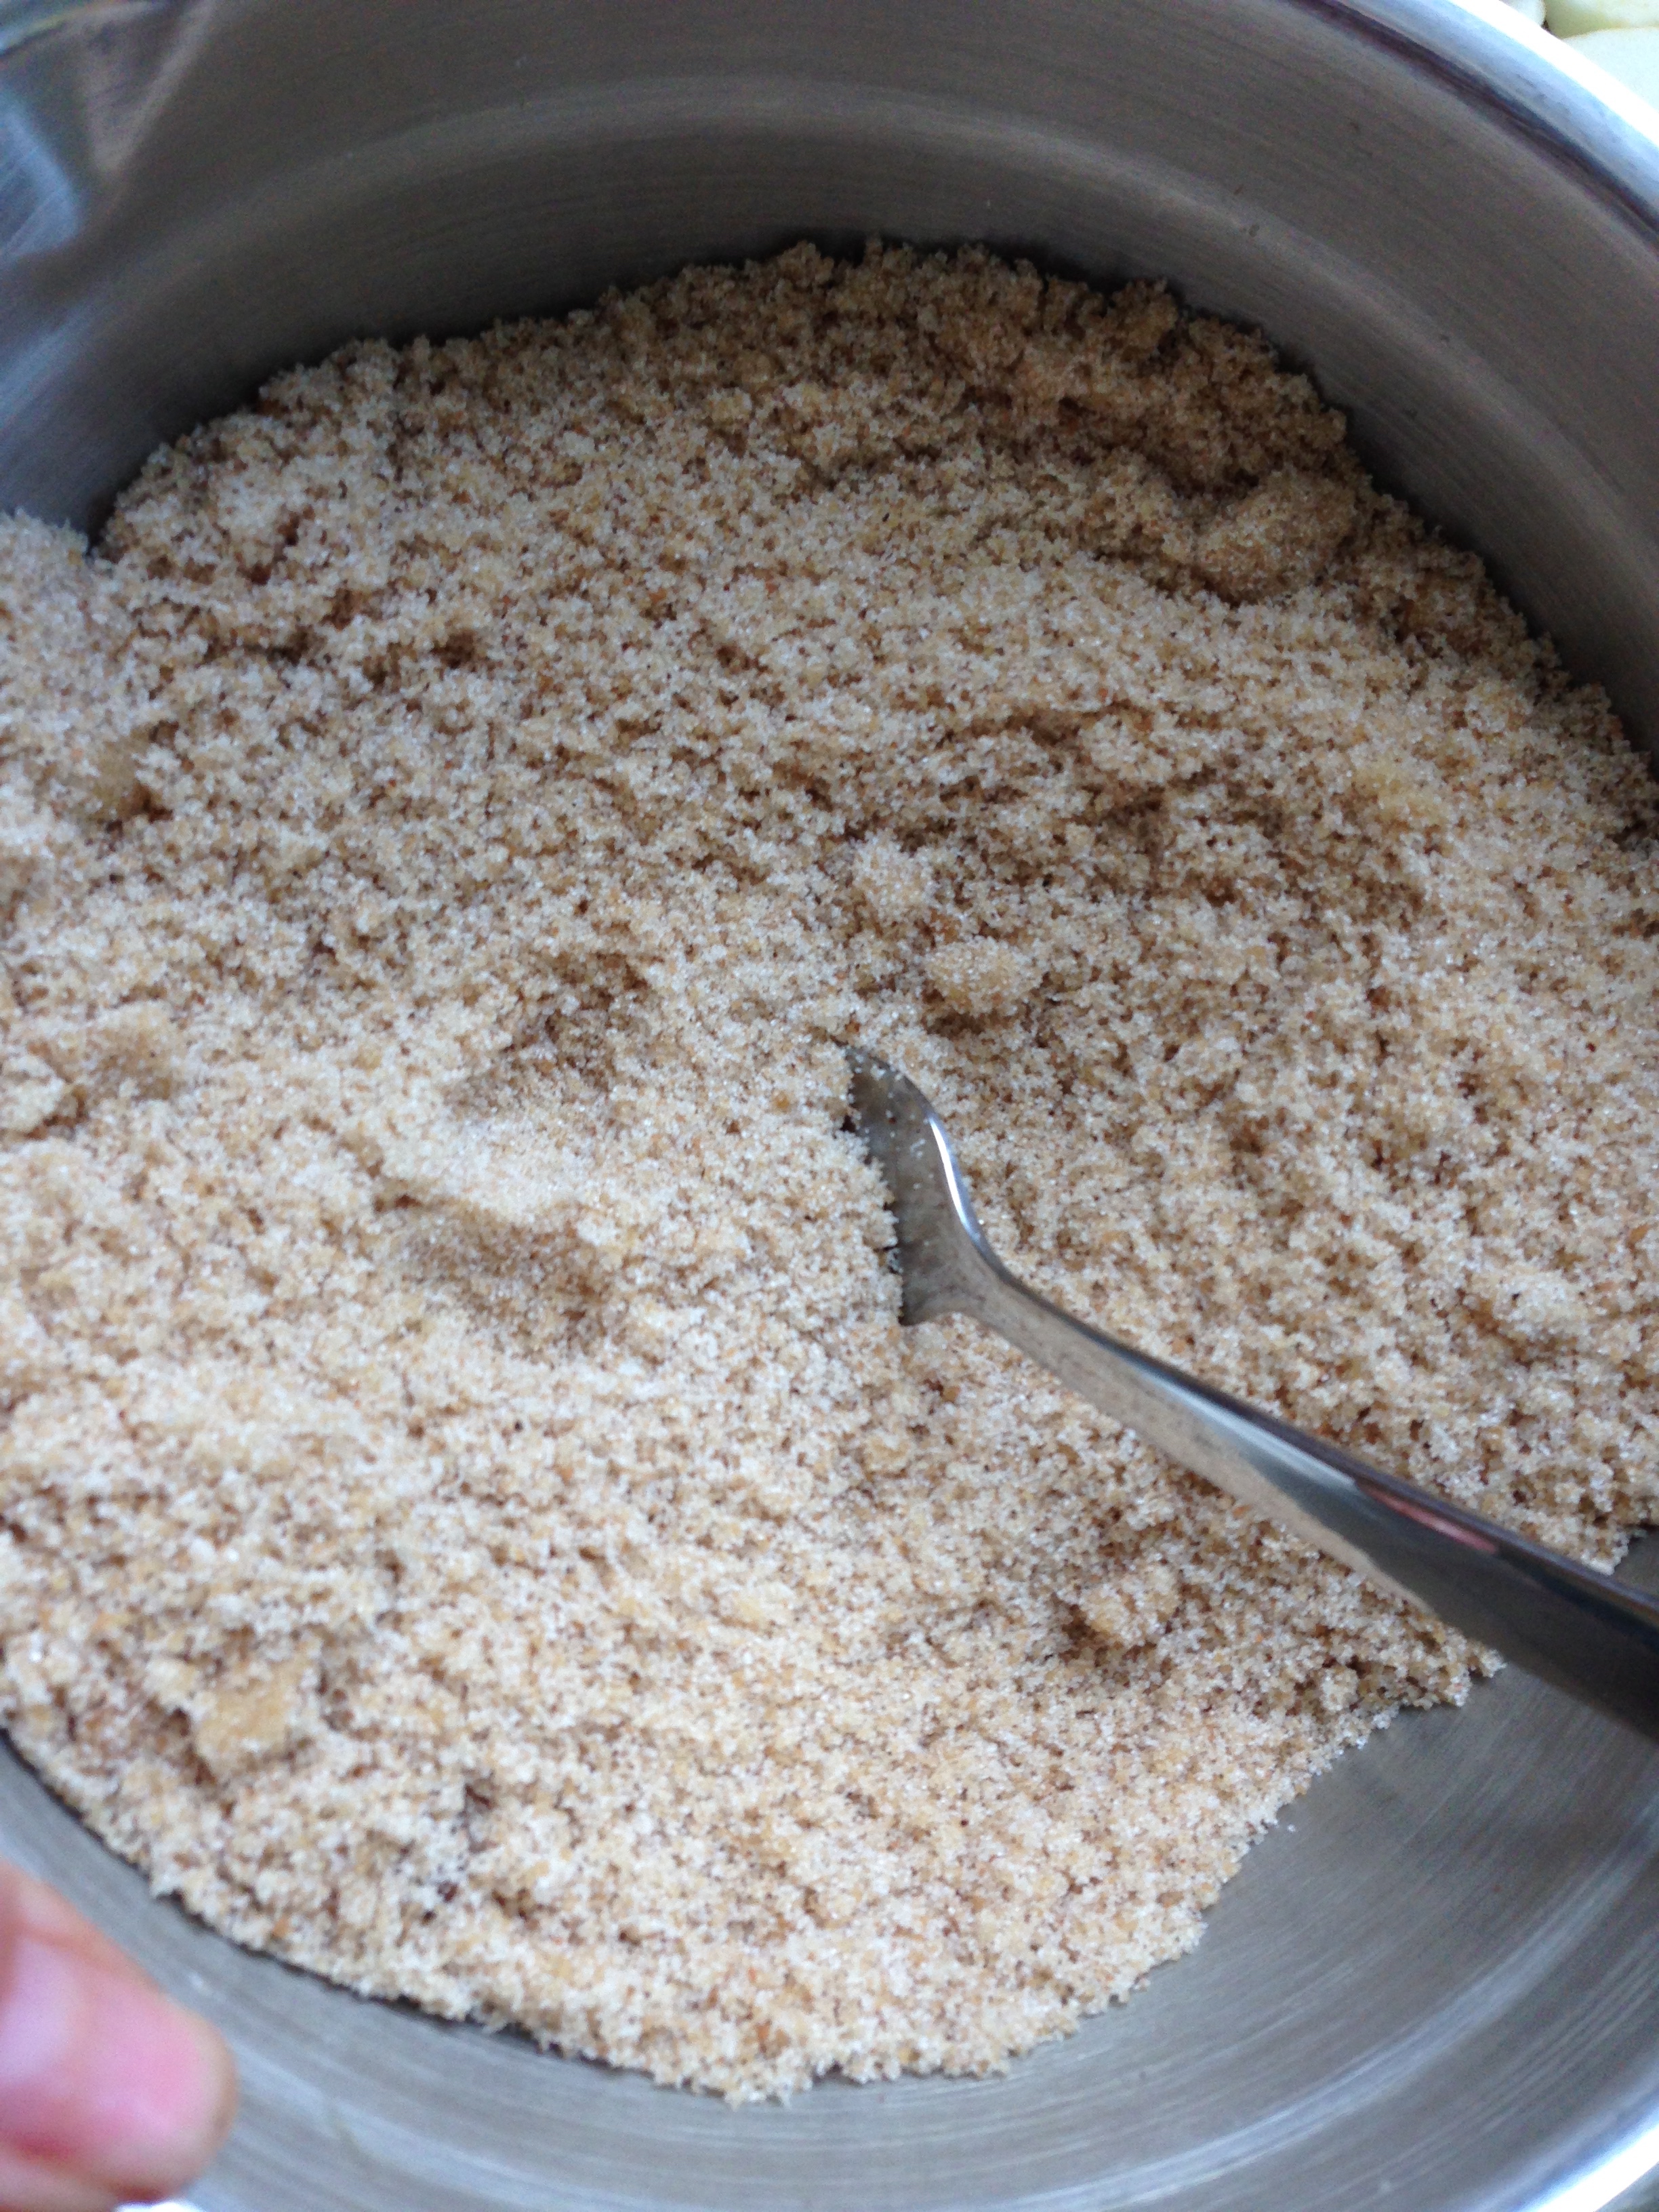
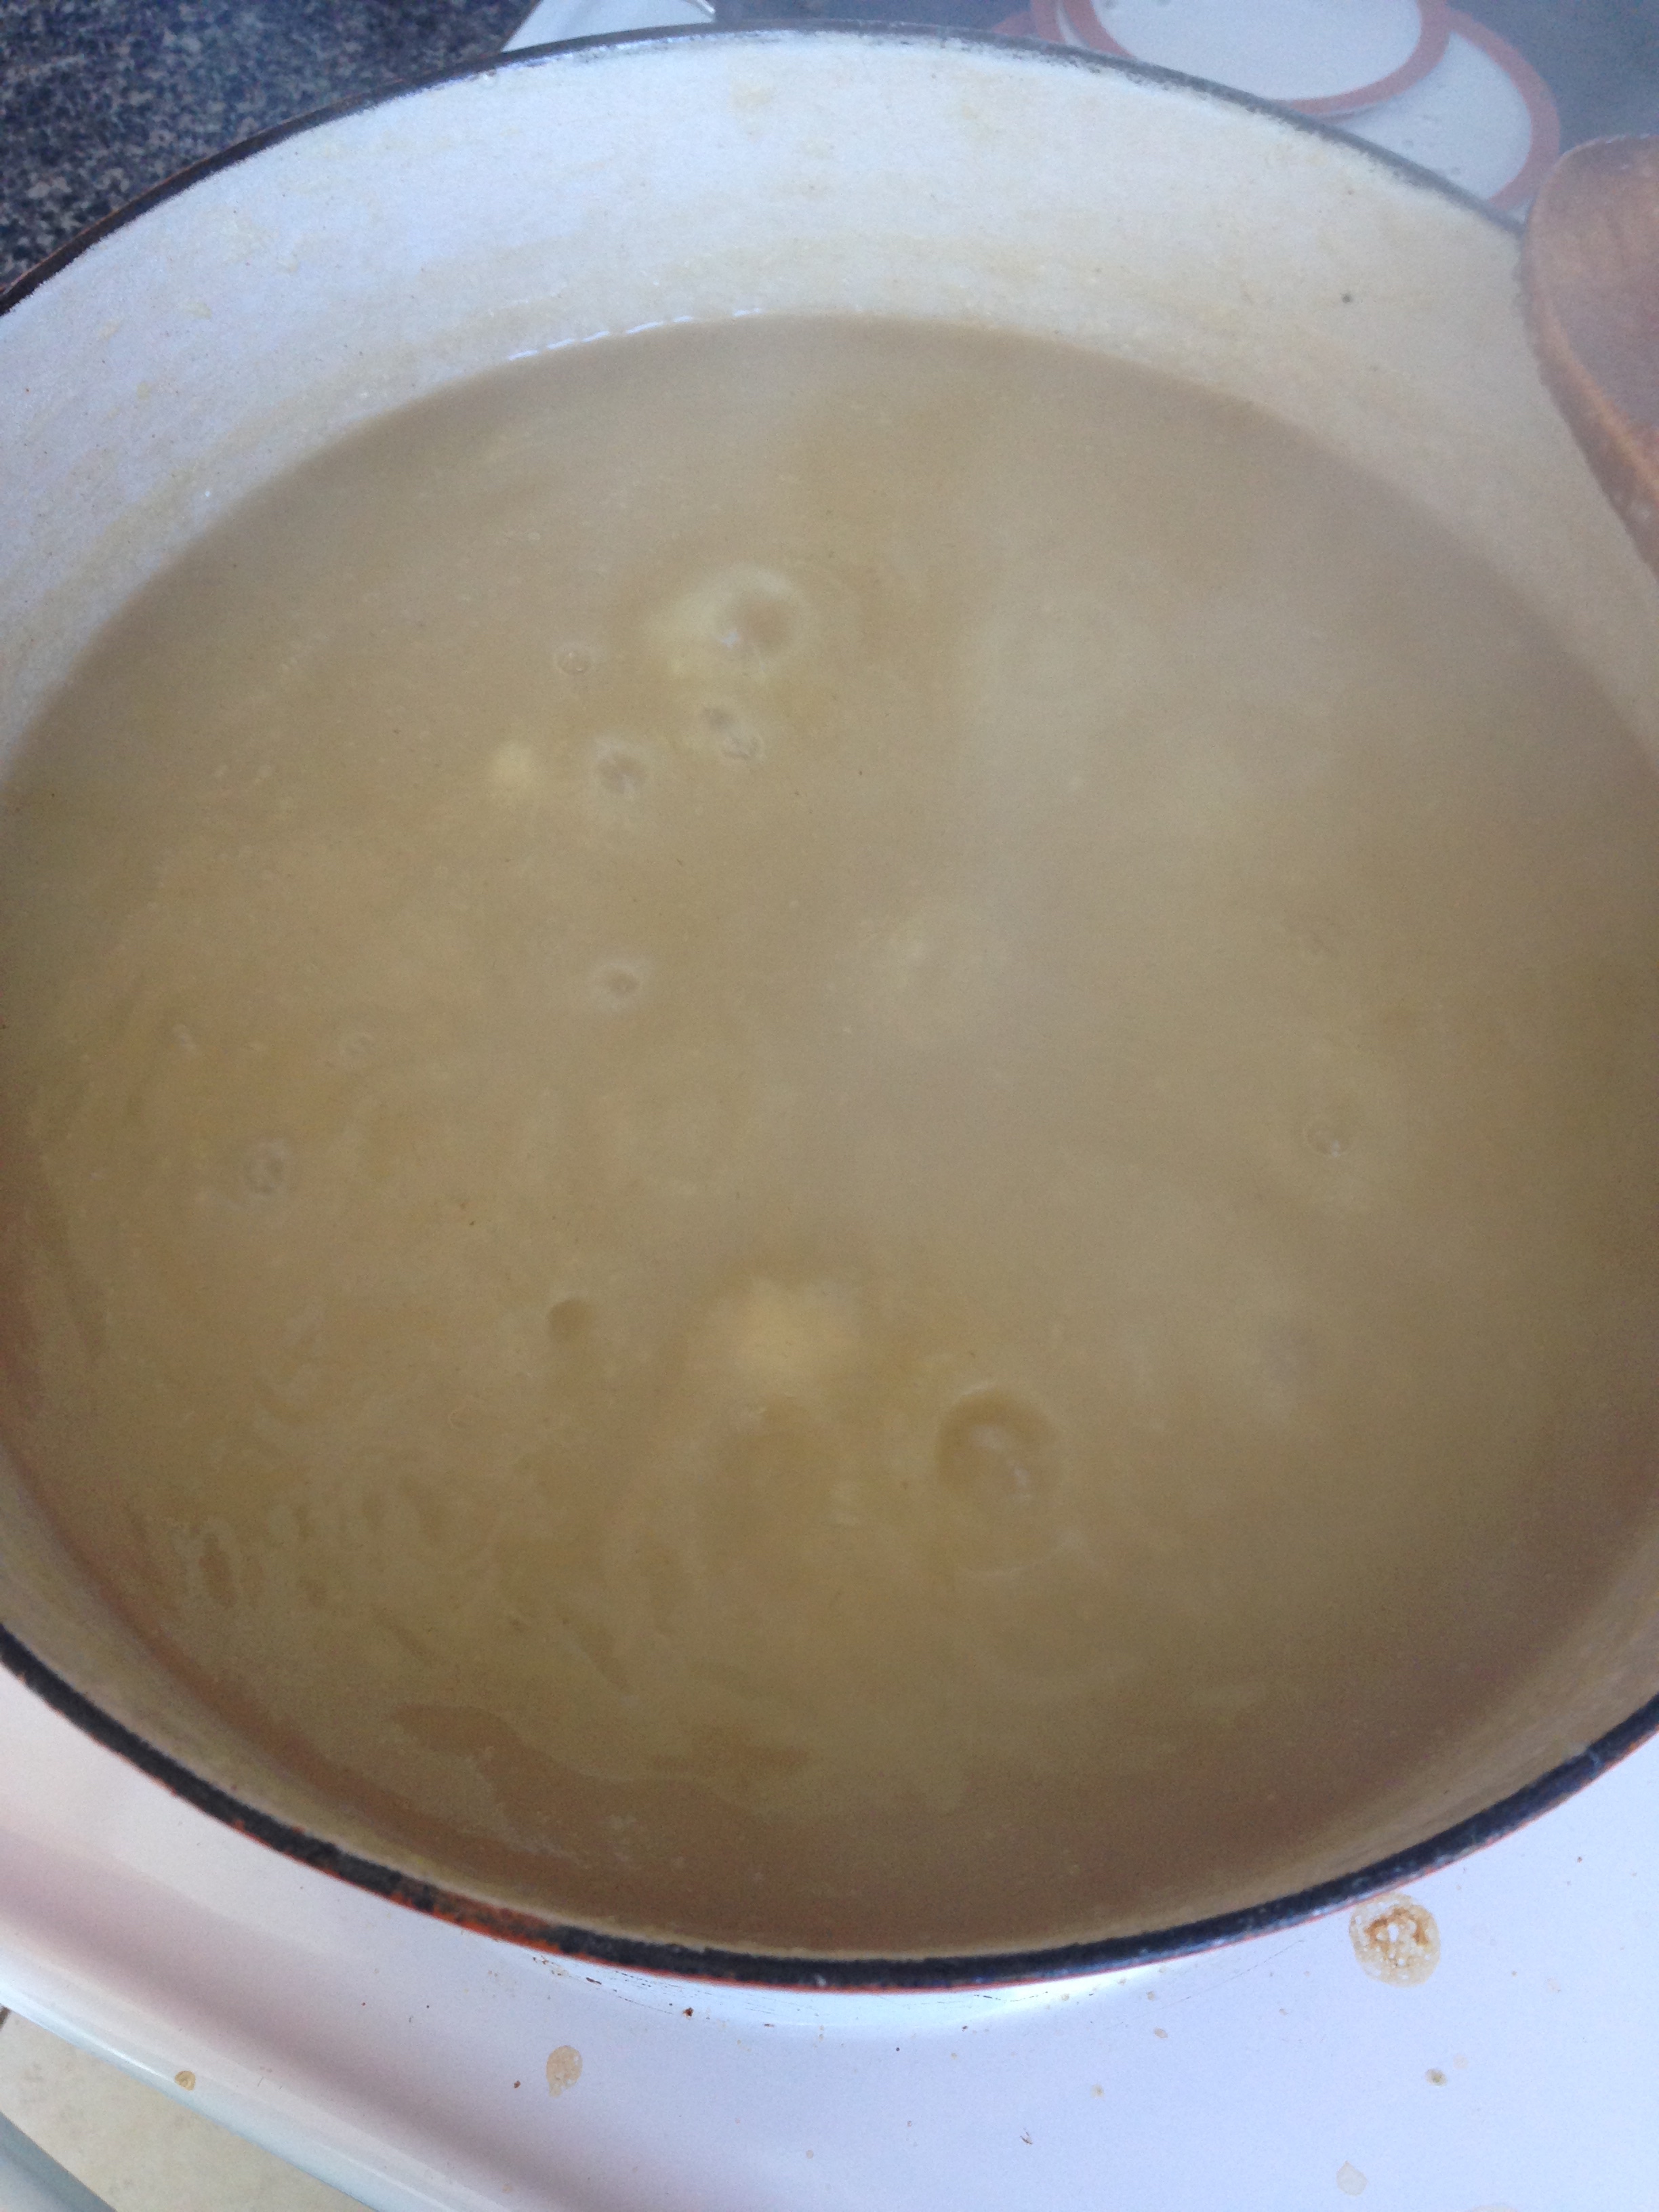
  7. When the apple sauce is a consistency you like, add cinnamon and/or sugar to taste. (I added ~2tsp cinnamon and ~1/8 cup brown sugar.) Stir to combine and bring back to a boil. 
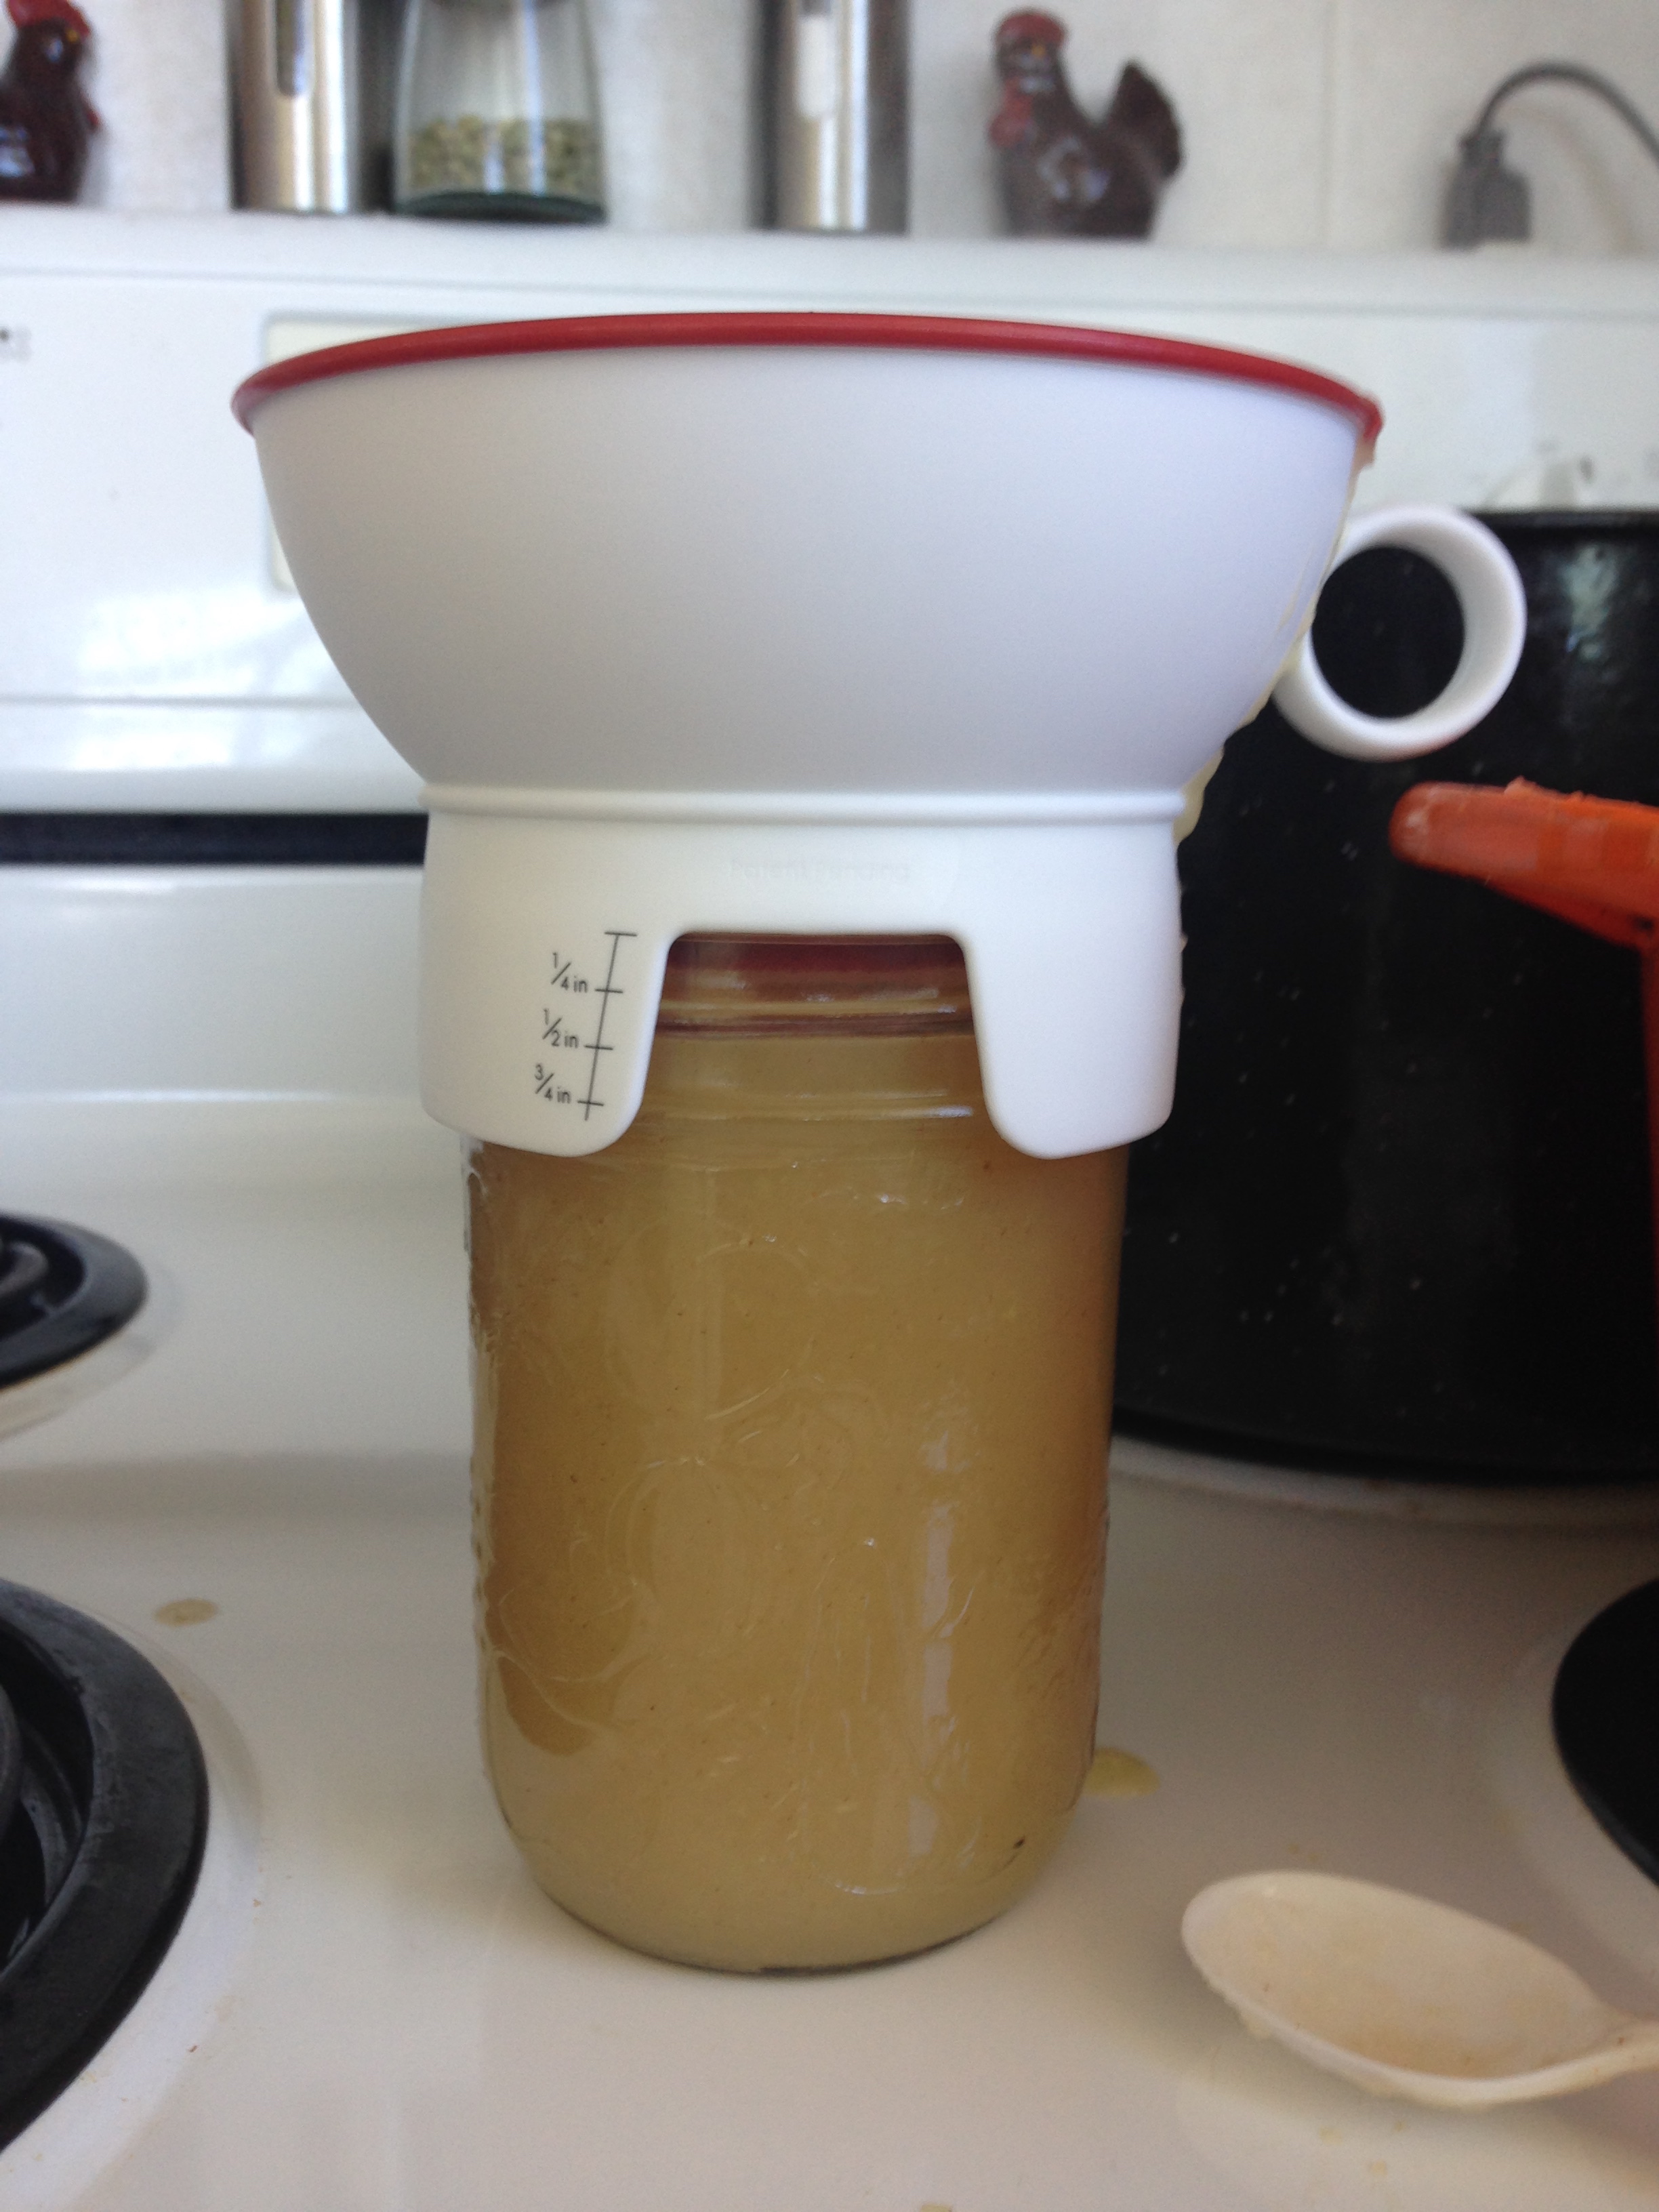
  8. It's canning time! Fill hot jars with boiling applesauce leaving a 1/2 inch headspace. (Remove the funnel, wipe the rim with a damp paper towel or clean damp cloth. Place a warmed lid on top. Place a screwband on the jar, then grasp the jar with the jar tongs. Tighten the screwband to ONLY fingertip tight. This literally means using your finger tips only, tighten the screwband until there is enough resistance that it stops.) Place in waterbath canner. Repeat. 
  9. Process apples sauce for minimum 15 minutes. Check your altitude though! Higher altitudes need longer! Add 5 minutes if you're 1000m above sea level and so on. 
  10. Remove apples sauce from the canner and leave to cool completely. I usually leave mine for 24 hours before handling. 
  11. Check the jars have sealed. If you can't lift off the snap lids with your fingers, they've sealed! Yay! Label and store in a cool dark place. 

My my my. What an apple-y success! 

Now what to do with a metric ton of apple sauce? Well I made the most amazing applesauce and bacon pancakes.... So good. 

But that story's for another day! ;)

-Andrea

The Half-Assed Hobbyist

Apples Apples Everywhere

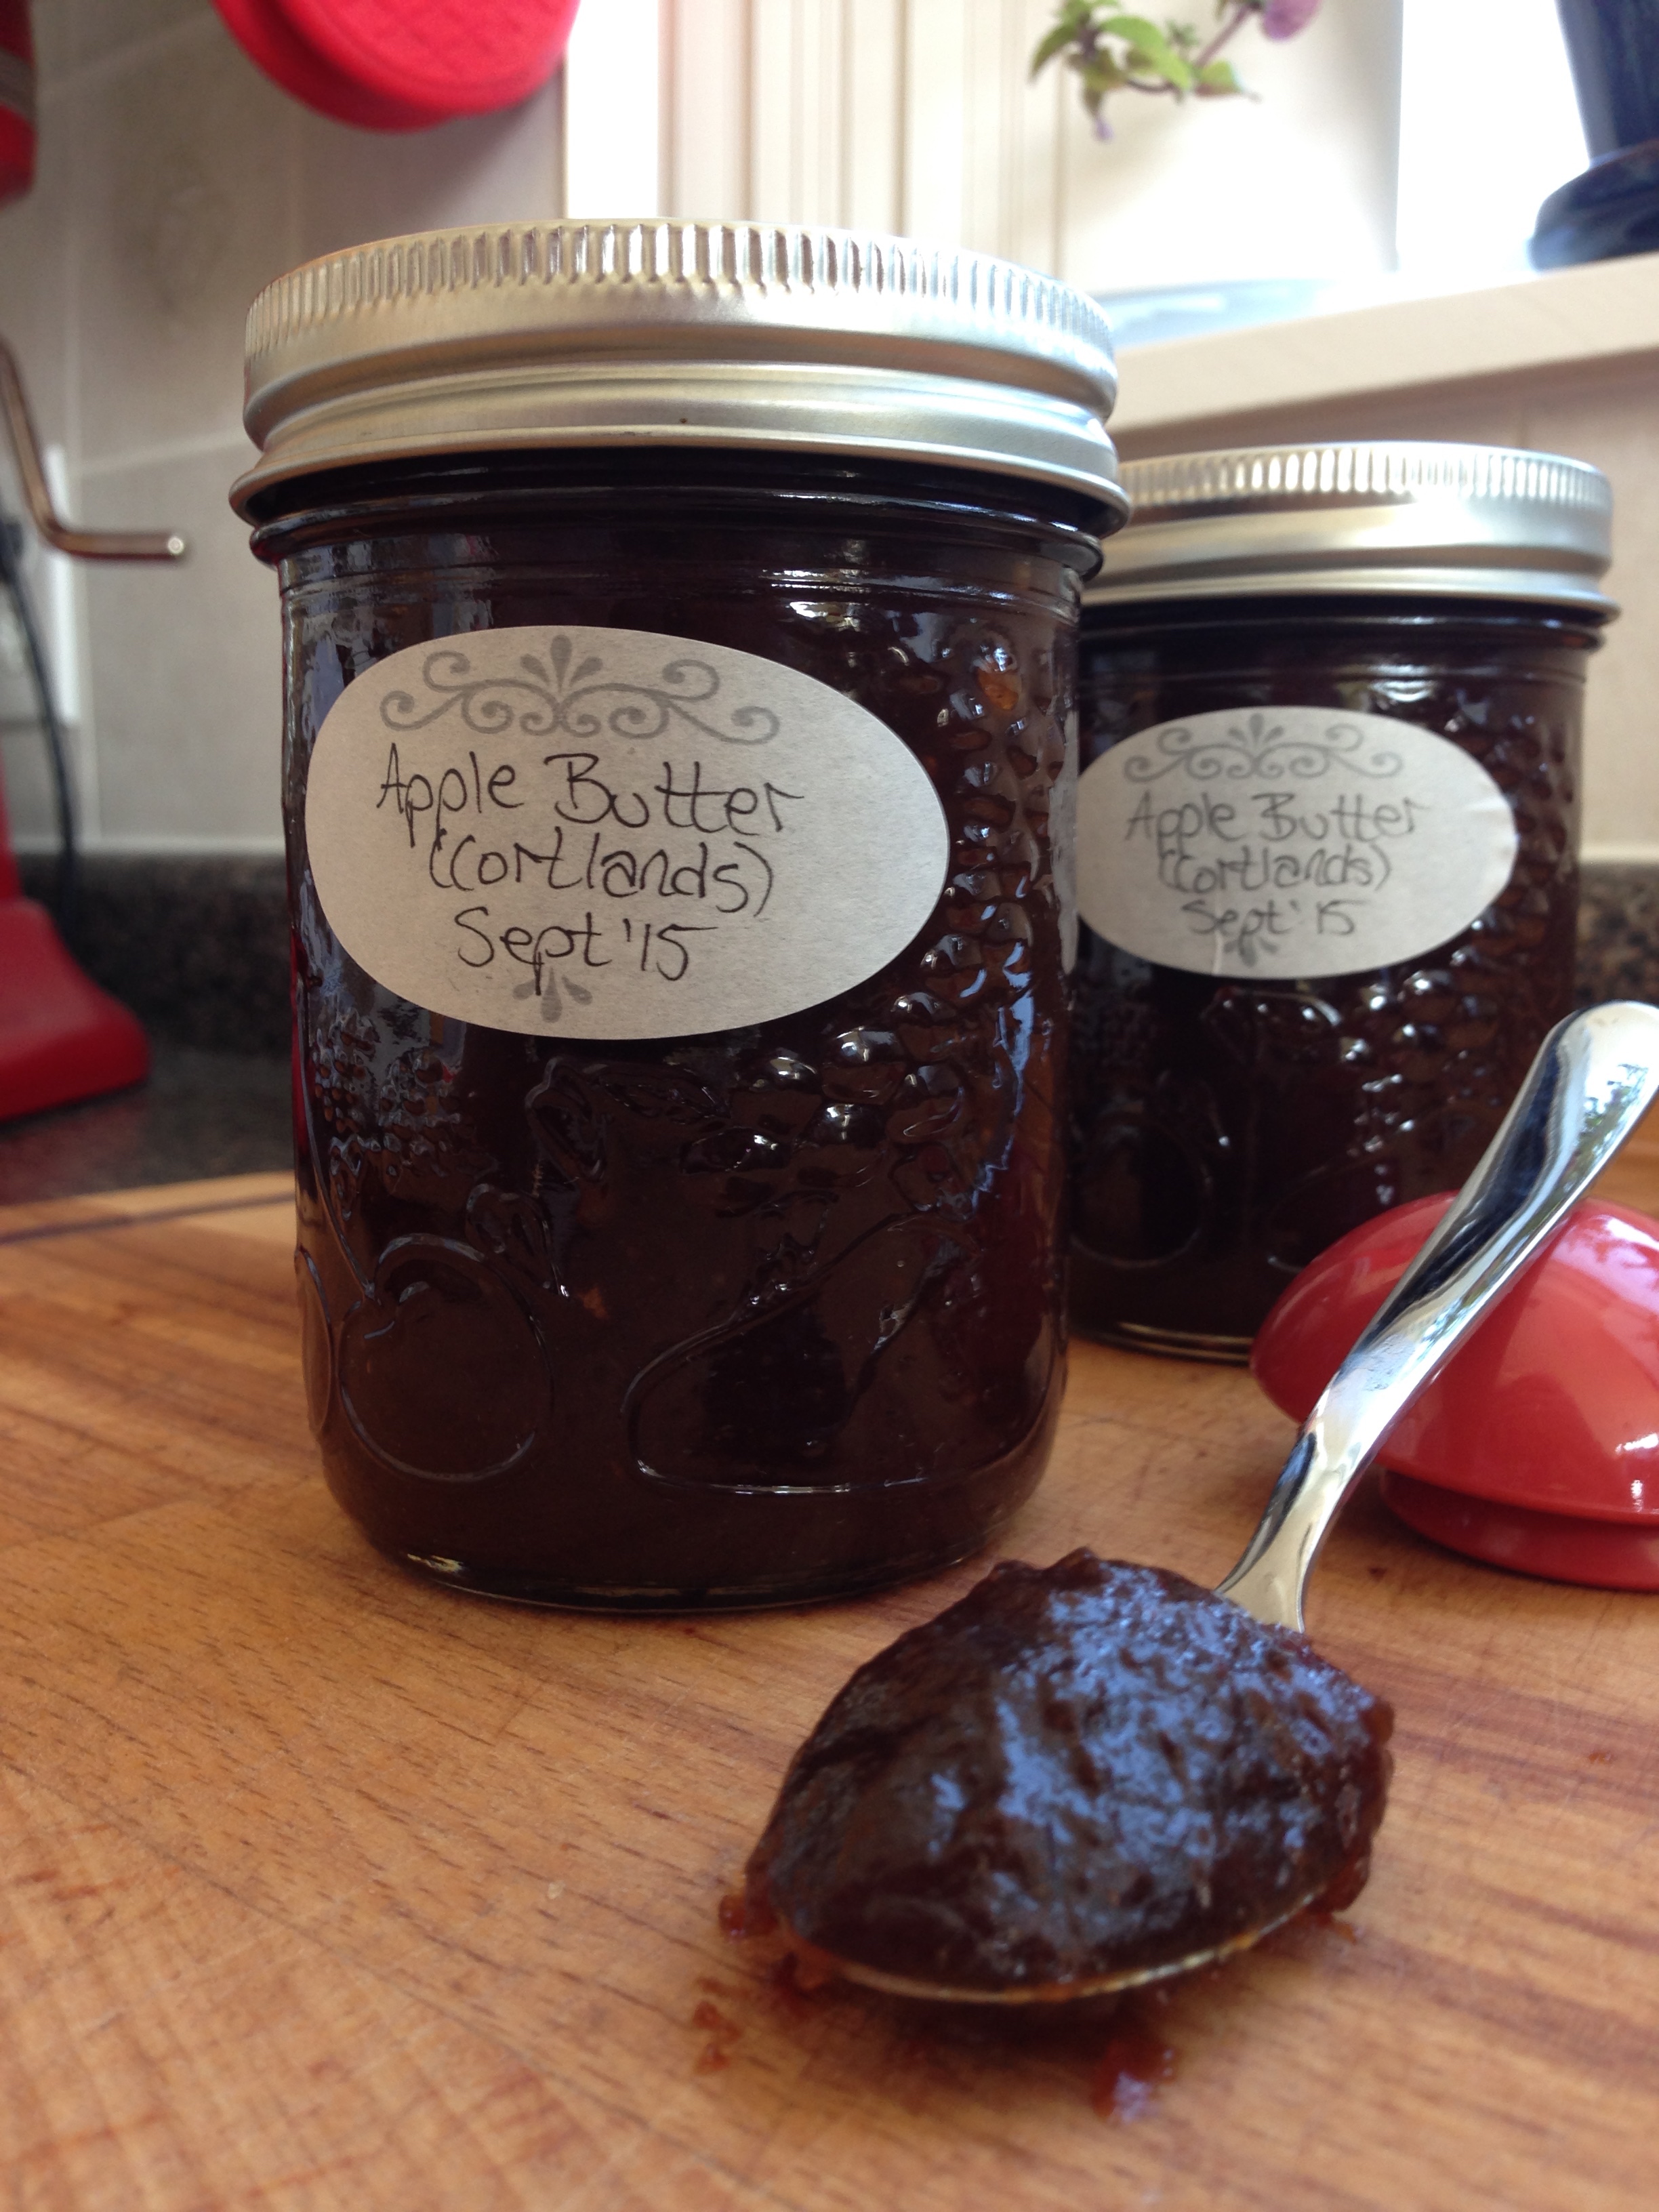
Since my lovely trip to the apple orchard, I had 40 pounds of apples to deal with. There were literally apples Everywhere. When I worked for the test kitchen in Alberta, one of my coworkers brought in a batch of her apple butter. I was initially super confused... as it wasn't butter at all. The name refers to butter in the way that it spreads. Apple butter is an apple spread made by reducing the moisture content of the apples to the point that it gains a spreadable constancy. 

Which is fancy wordage for bake the apples till they're spready-like. 

Since this takes forever (some recipes say to bake apple puree for over 12 hours in the oven, stirring every hour. WAT.) I decided to look up some slowcooker recipes. More energy efficient AND I get to sleep and cook at the same time. Woo slowcookery! Below is my recipe for overnight apple butter. I started mine at 8pm so It would be ready for the following morning.  

Overnight Apple Butter

~5 lbs apples (Cortlands or similar), washed, peeled, cored and sliced

1 cup sugar
1 cup brown sugar
1 tsp cinnamon
1 tsp ginger
1/2 tsp cloves
1/2 tsp nutmeg
1 1/2 cup apple juice
1/2 cup lemon juice
1 tbsp vinegar

  1. In a 5L slowcooker, place apples. 
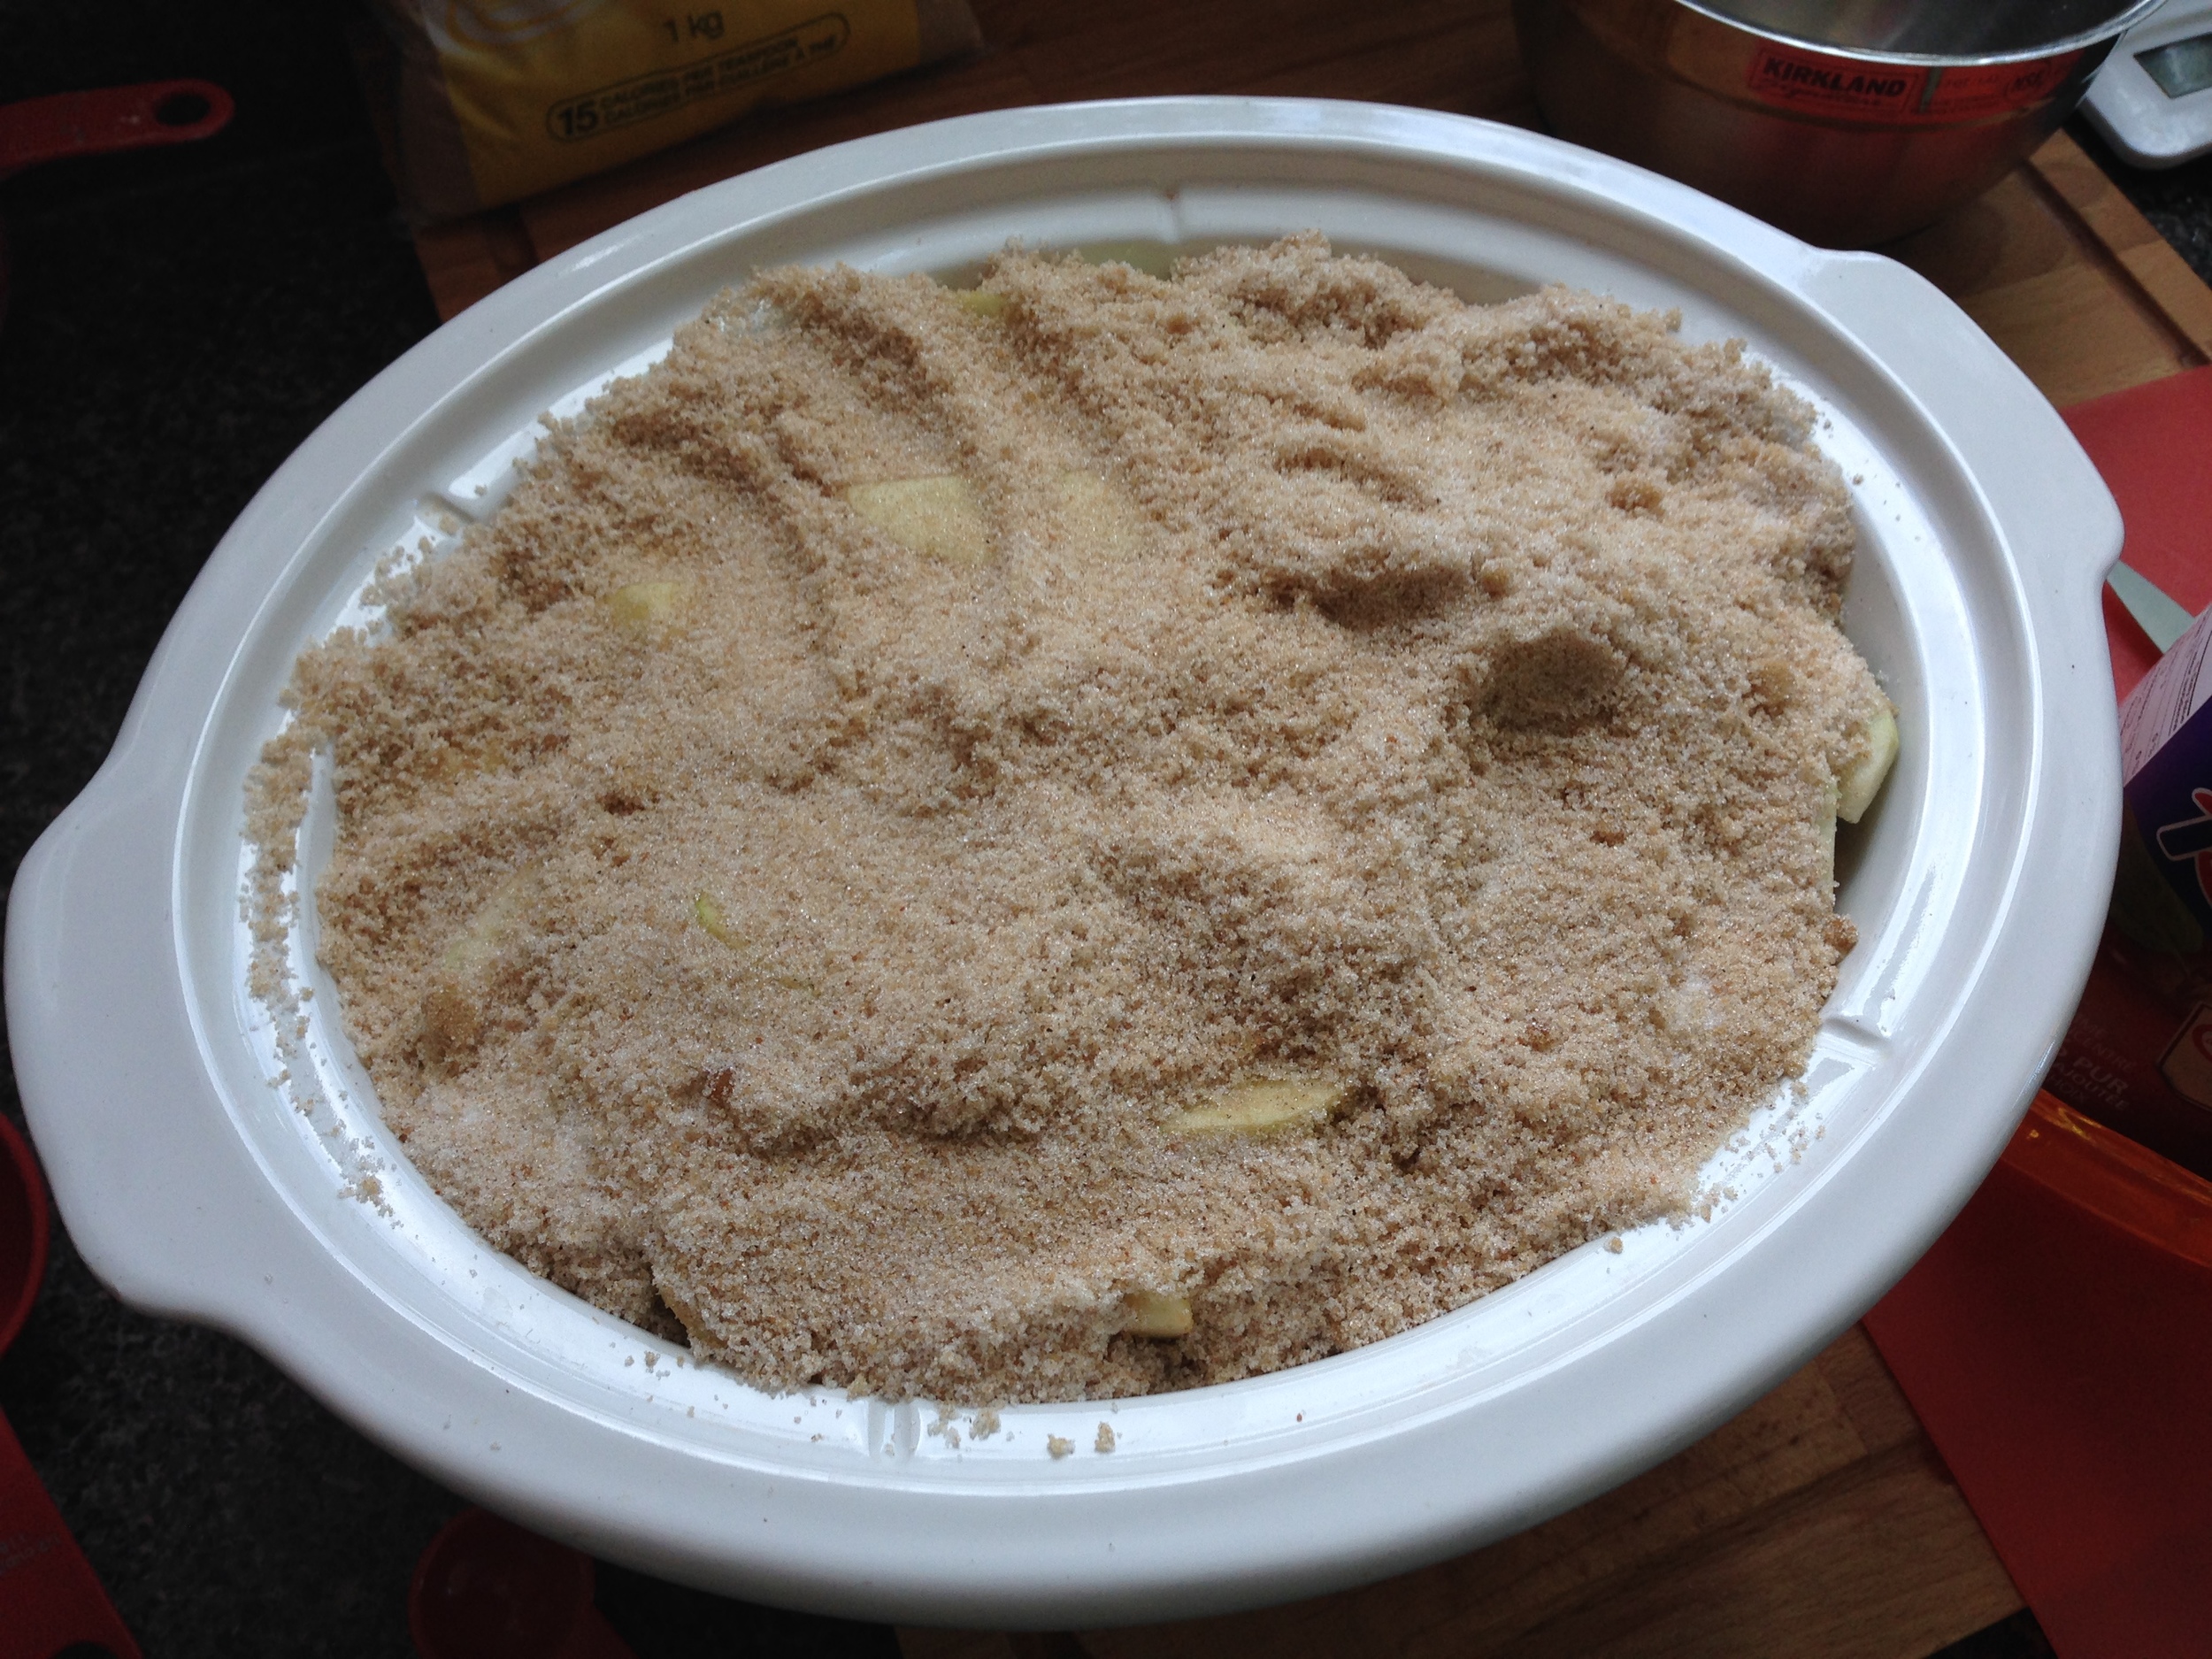
  2. In a bowl, combine sugar through nutmeg. Pour over apples in slowcooker.
  3. Pour remaining ingredients (apple juice through vinegar) over apples. 
  4. Place lid on slowcooker. Cook, covered, on high for 2 hours, stirring once an hour. 
  5. Lift lid and place slightly off centre so steam can escape from the slowcooker. Cook on low for 10 hours. (Sleepy time!)
  6. Using a clean blender or food processor, puree apple butter and return puree to the slowcooker, on high, uncovered, for another 2-3 hours or until desired consistency is reached. 
  7. Can safely in sterilized jars using a waterbath canner to process. Follow the canning process used here. It made 3 X 250mL jars and a bit extra. So prepare 4-5 jars just in case. 
  8. Enjoy!

Mmmm. It's super concentrated apple-y goodness. I used it as a spread on toast (or fresh bread). Or for something totally different: spread it on fresh hot biscuits and serve with ice cream. Or use it in BBQ sauce. Ooo. That's a good idea. Hmmmmm. Apple butter BBQ sauce. 

>>

Why didn't I think of that sooner?

Stay tuned. <3

-Andrea 

The Half-Assed Hobbyist


Breakfasting

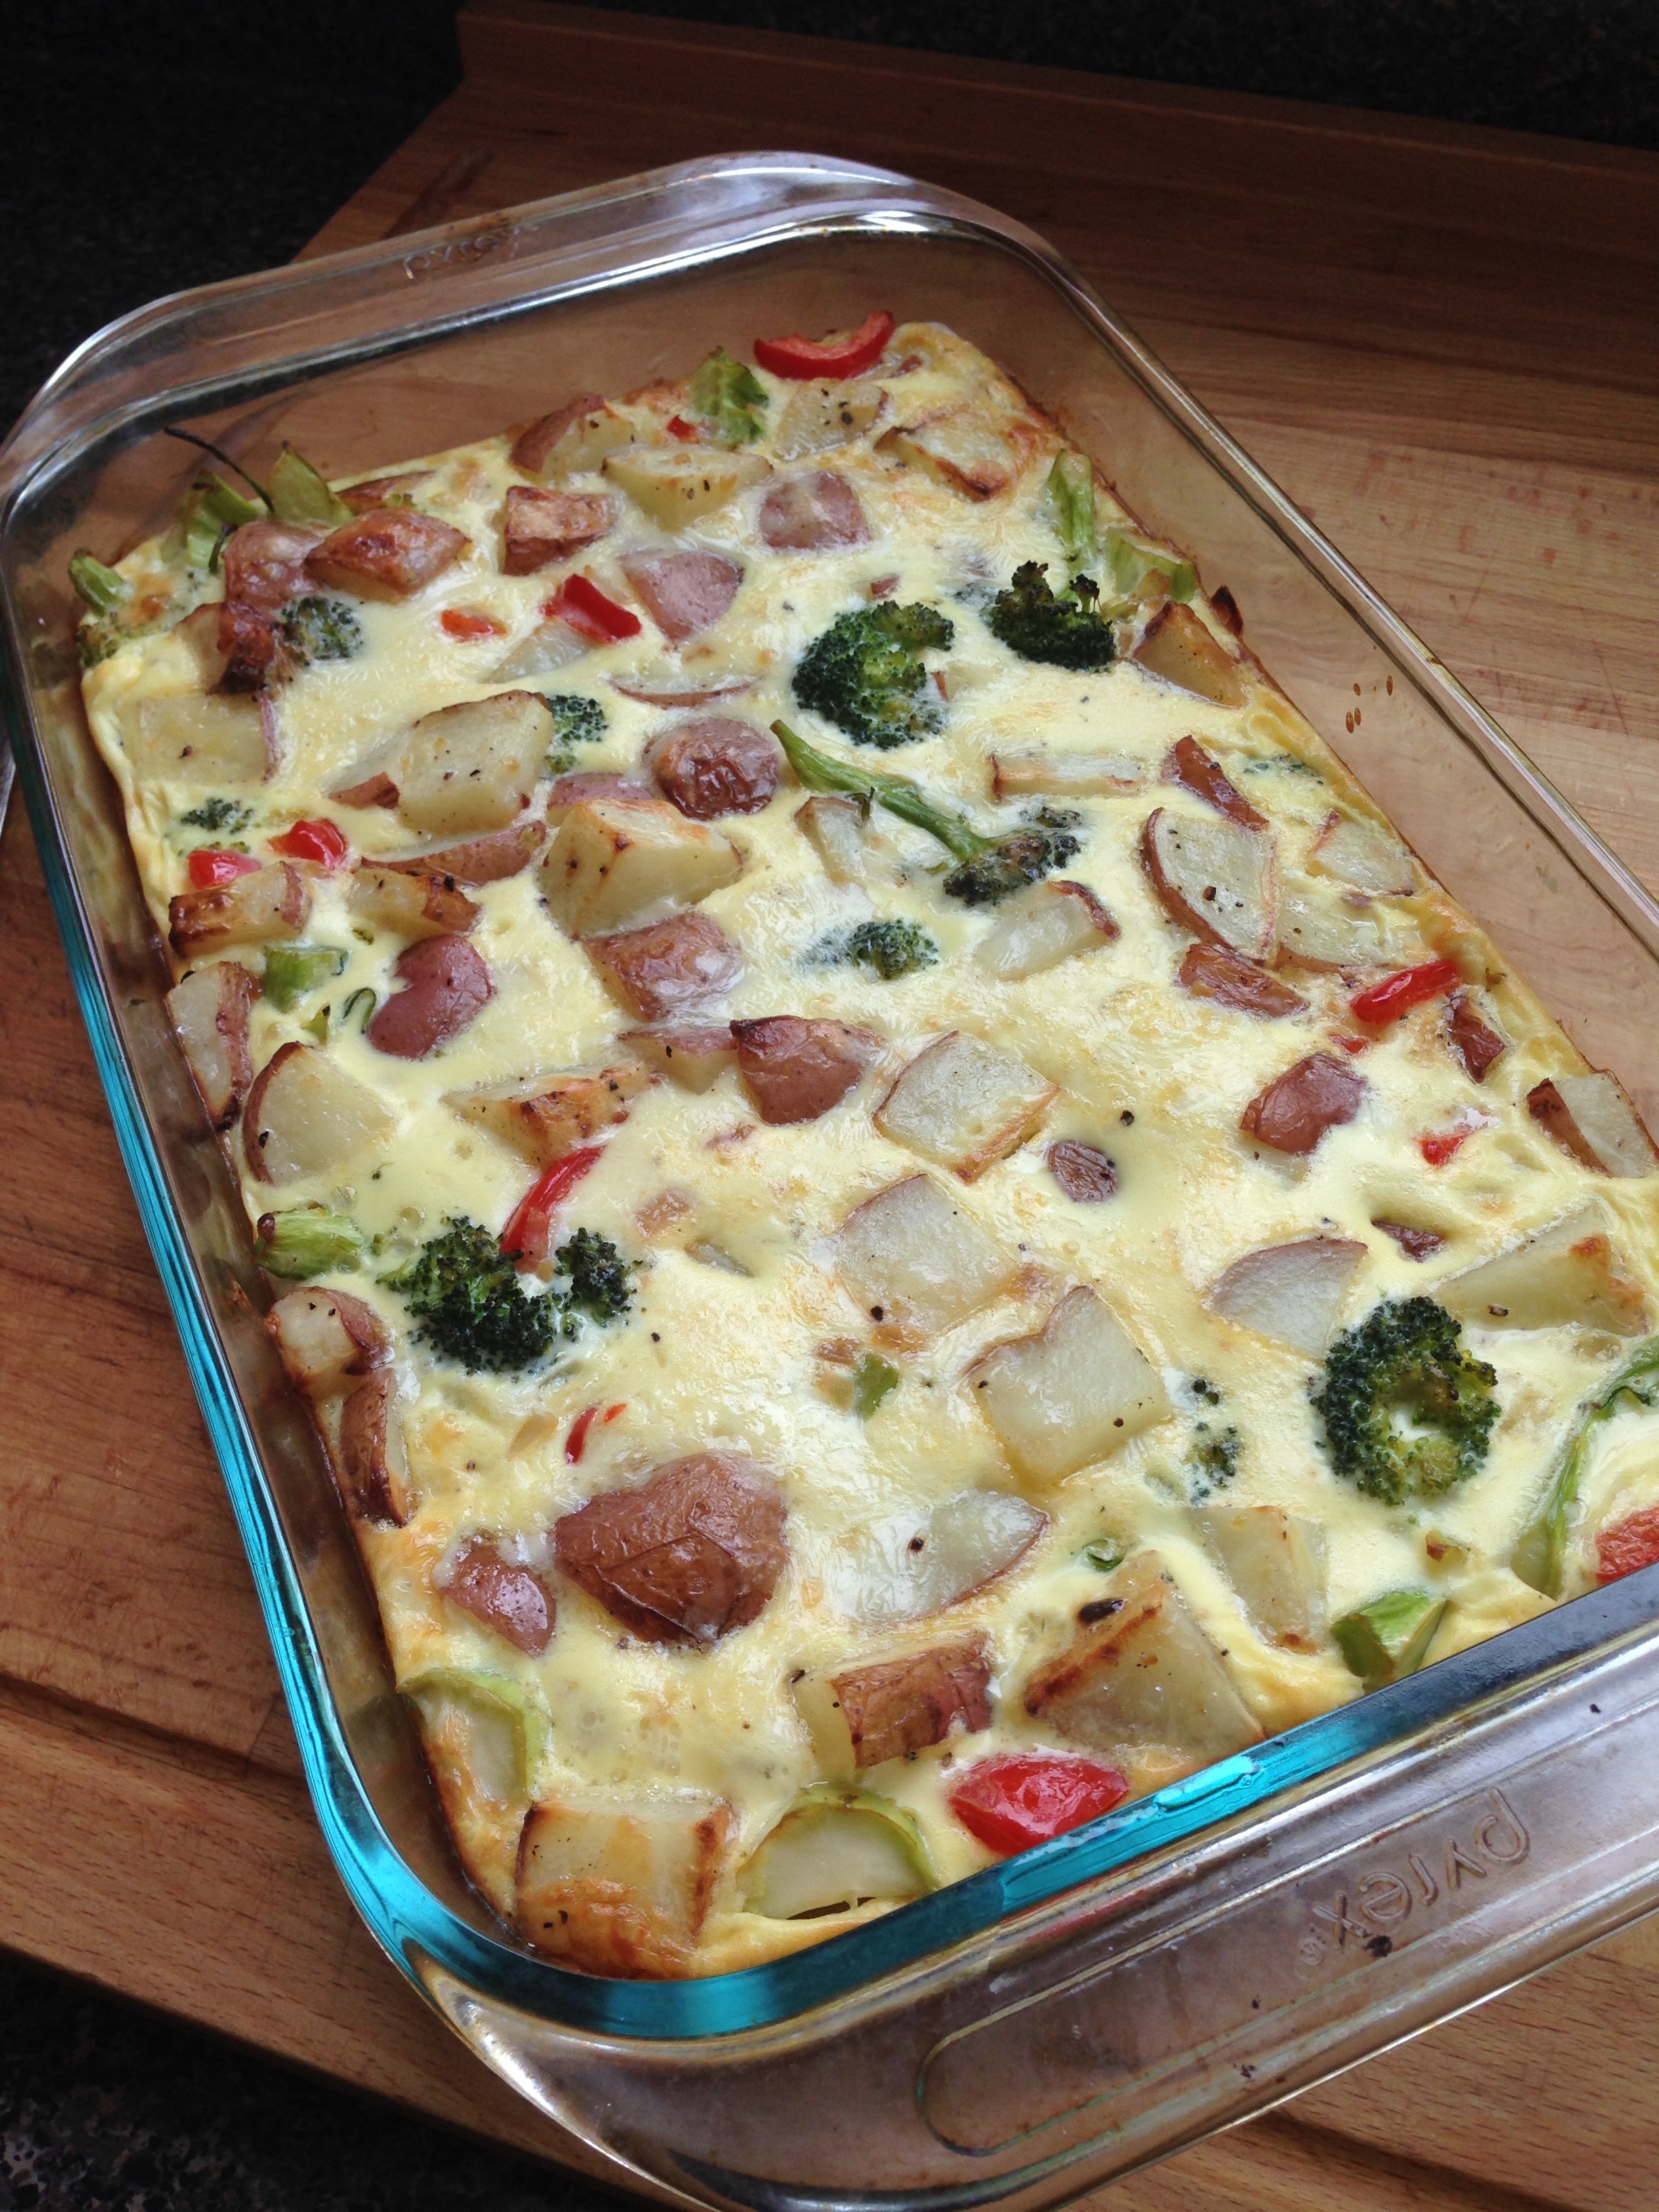
I love breakfast. Oatmeal, eggs, waffles, cold cuts, toast and jam, all yummy things that when made for dinner give that grin worthy I'm-doing-it-so-wrong-it's-right-again feeling. I made the following recipe for a veggie frittata on a spontaneous Wednesday. (I didn't have bacon in my fridge, or else it probably would have been "veggie-ish".)

Frittata

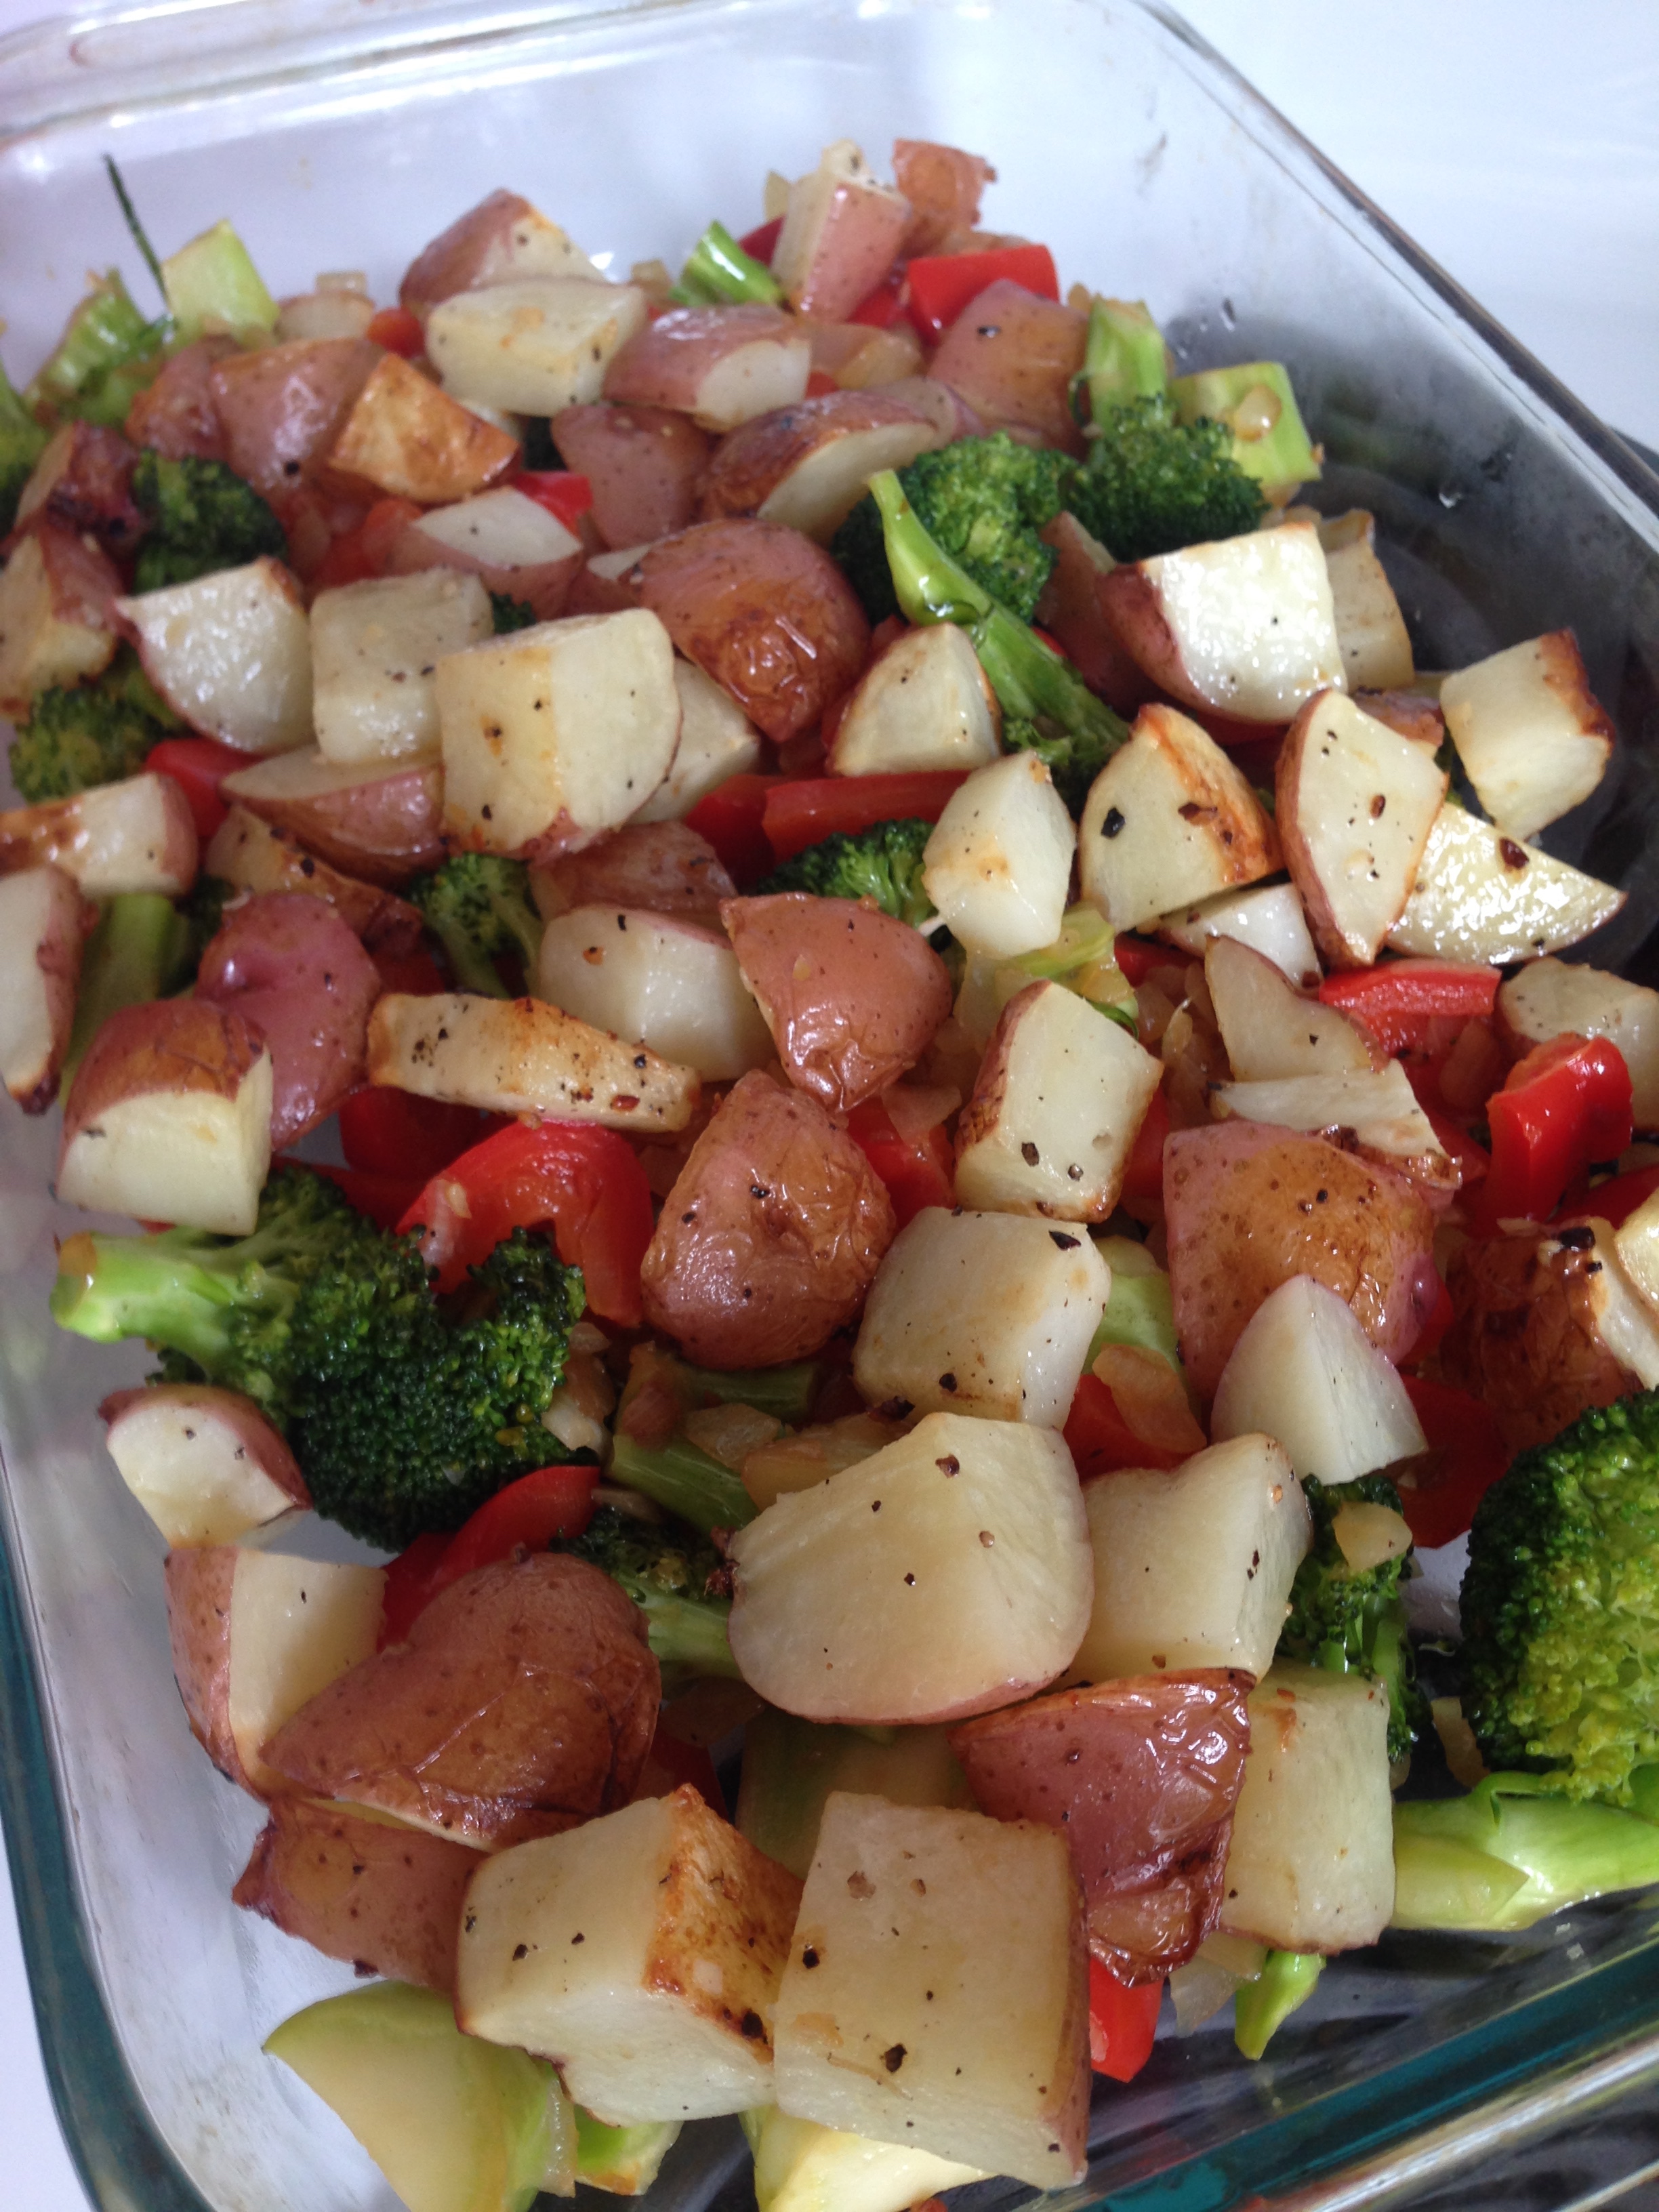
5 red potatoes, cubed and roasted
Oil
Salt and Pepper

1/2 white onion, chopped
2 heads broccolli, cut into florets
1 red pepper, cut into slices and roughly chopped

6 eggs
~ 1 cup milk (add more depending on the size of your dish.)
1 cup havarti cheese, shredded

  1. First, roast the potatoes! Pre-heat the oven to 400'. Wash, cut and cover potatoes with ~4 TBSP oil. (Best way to do this is to place the potatoes in a bowl, pour oil over them, and stir to coat them.) Spread out potatoes evenly on a baking sheet. Sprinkle sparingly with salt and pepper.  Roast for 45 minutes to an hour, stirring at least once. 
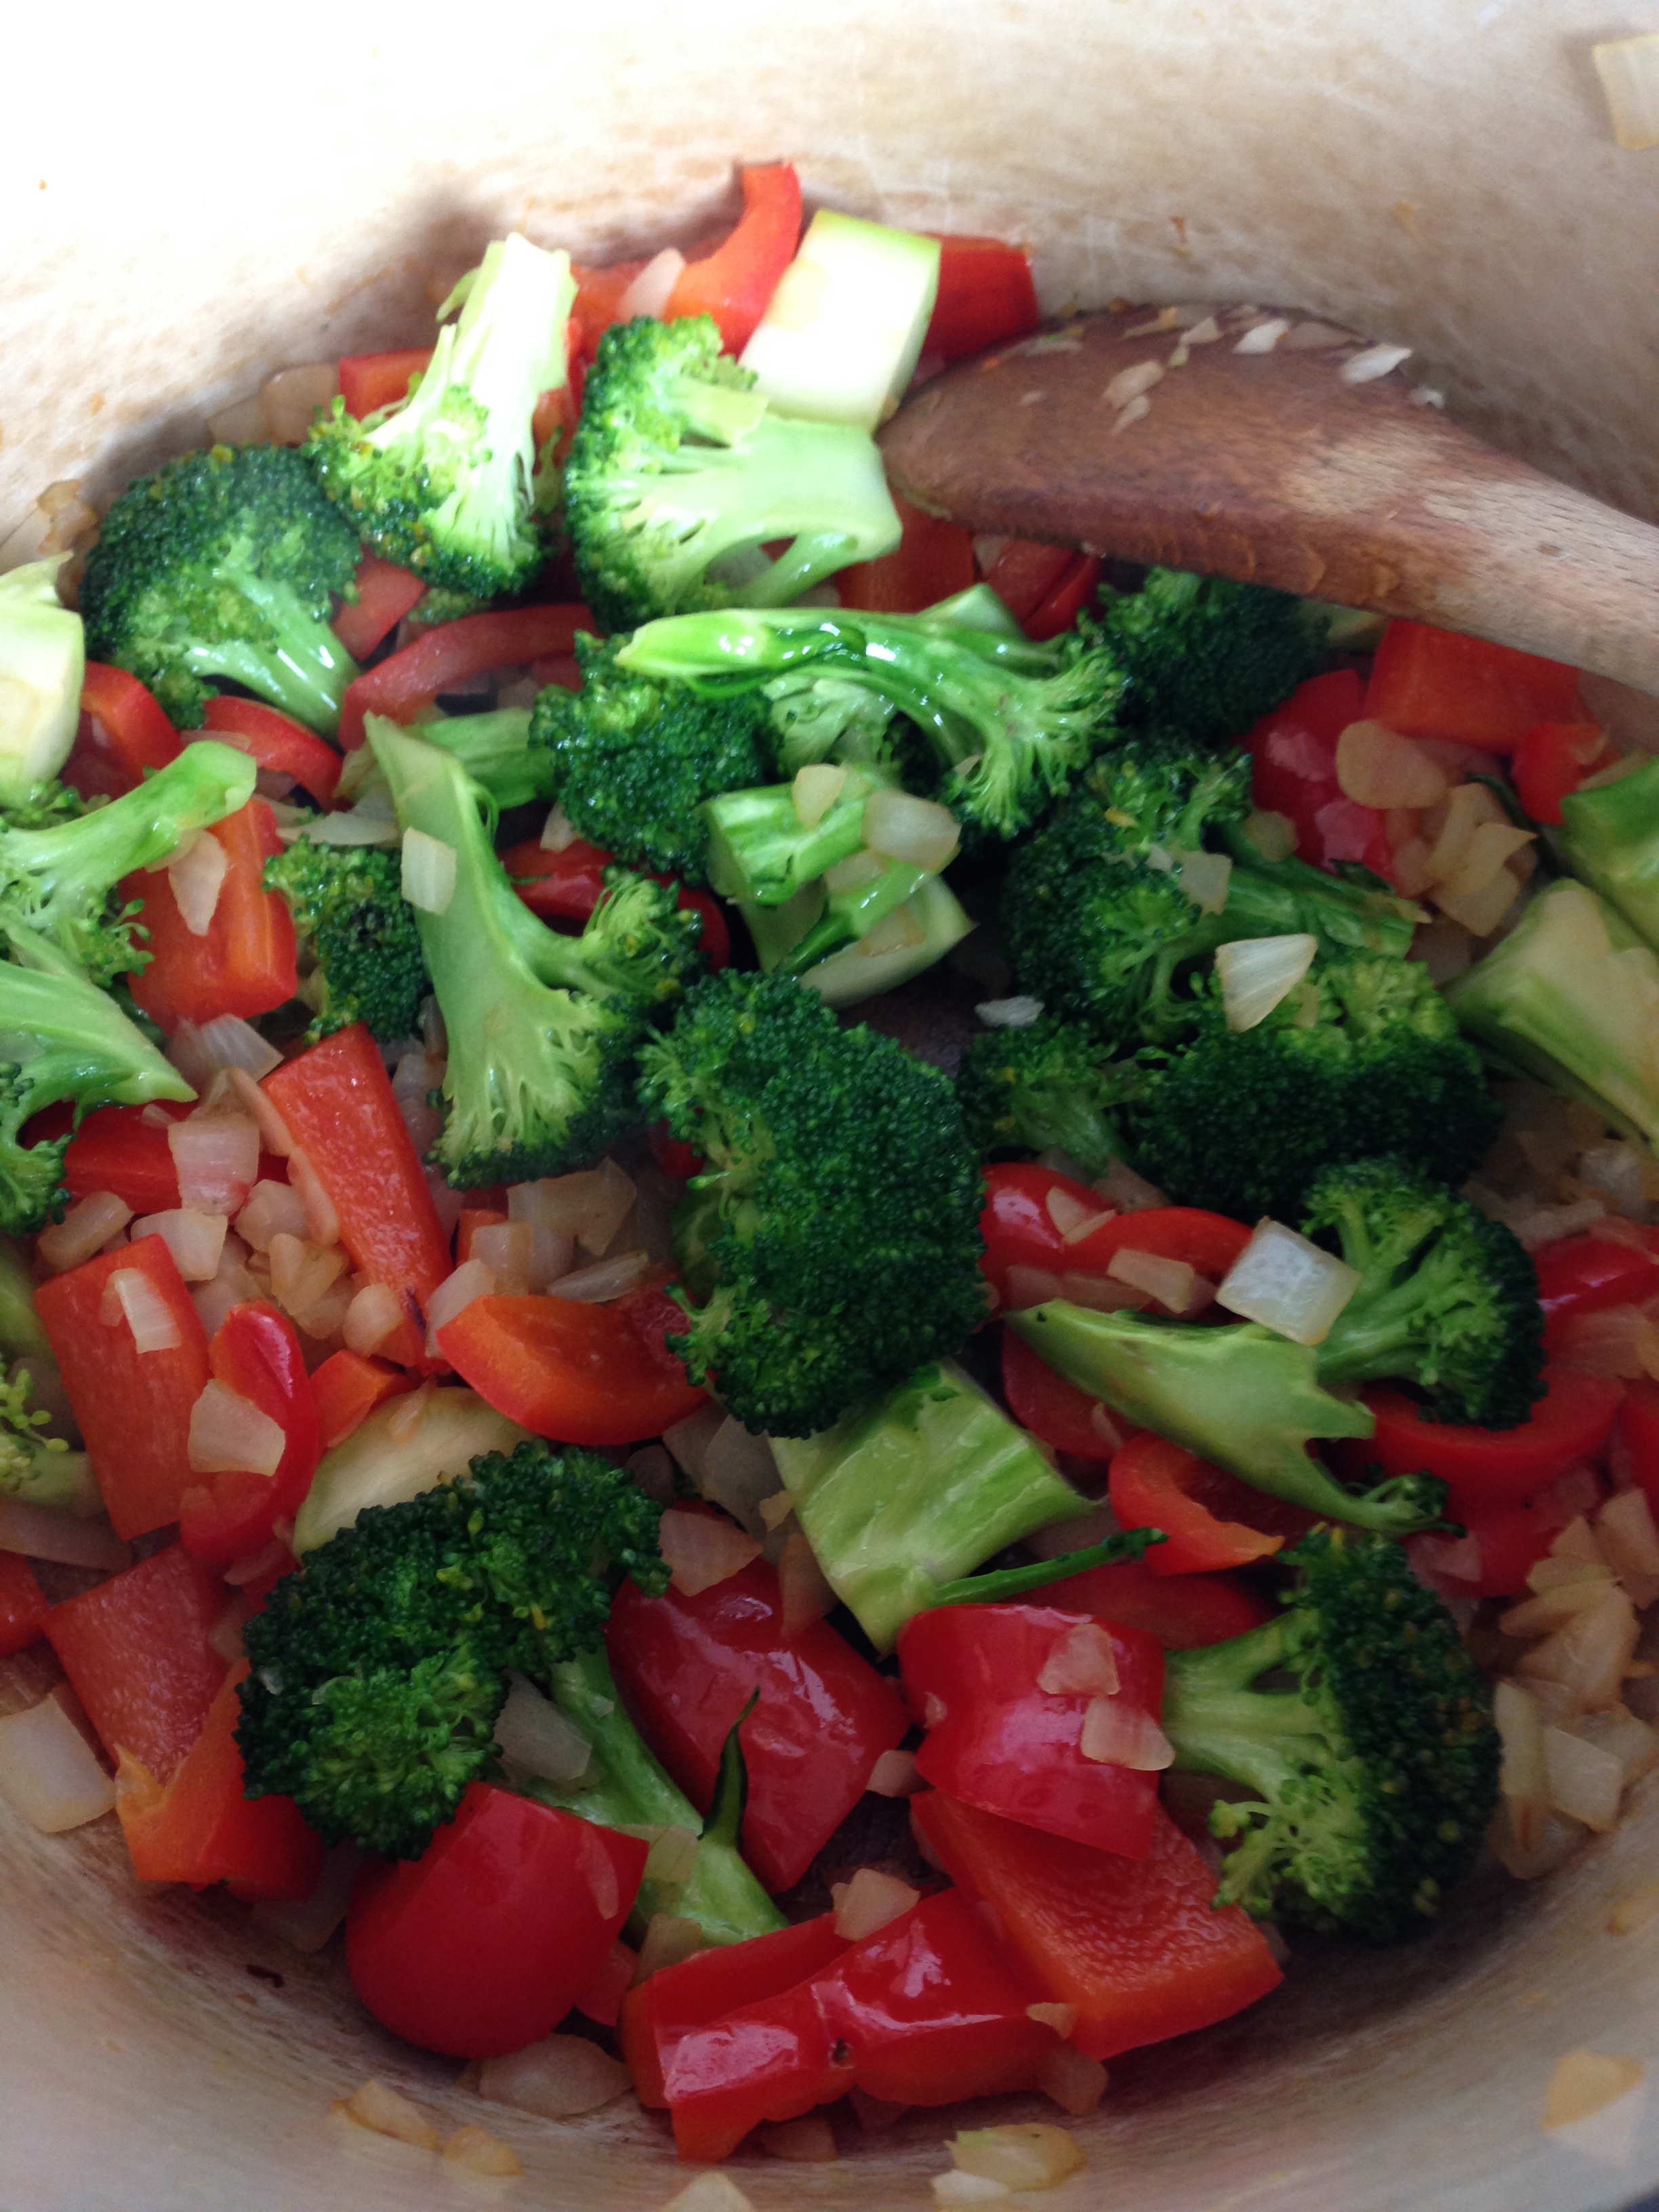
  2. When your potatoes are nearing the 15 minutes left mark, start your veg cooking. In a frying pan or dutch oven, heat ~2 TBSP oil over medium heat. Add and sauté the onions till they're clear, about 5 mins. Add the broccoli and red peppers. Cook until the broccoli starts to soften, about 10 minutes. 
  3. In a rectangular baking dish, combine cooked veg and roasted potatoes. 
  4. Whip eggs together till light yellow. Add milk and continue to whip for another minute.
  5. Pour egg mixture over vegetables. Sprinkle cheese over frittata. 
  6. Bake for 25-30 minutes or until the top of the frittata is lightly browned and the egg is puffy.
  7. Serve!

 What's even better is this frittata keeps well in the fridge so if you make it on the weekend you can have a super satisfying prepped breakfast (or dinner!) for during the week. Food Plan-eration = Check!

-Andrea 

The Half-Assed Hobbyist
 

My Favourite Holiday

Thanksgiving is my favourite holiday. A giant roasted turkey; bread stuffing poultry spiced out the wa-zoo; a hot mashed potato and gravy volcanos; pumpkin pie with a literal mountain of whipped cream; and last but not least, leftovers. Part of my love affair with the entirely food focused holiday is the fact that leftovers are not a sign that you over did it, but a reward for having done so well. 

This year was the first year we celebrated in TO. We decided that it was also going to be our first thanksgiving just the BF and I. We made a 15 pound bird. That's right. We had a double bunk berth on the train to Leftover Town, and we were excited. So with the pumpkin pie made and the bacon stuffing ready for turkey time, I pre-heated my oven, stuffed my bird and began the magic that is roasting a turkey. The magic = I put a timer on for 3 1/2 hours and walked away from the kitchen. 

Anyways. With turkey cooked and fixings ready we had ourselves a wonderful first thanksgiving. I even managed to get the kitchen cleaned up and food packed away within two hours. Record to beat.

We proceeded to make a meal plan for the days to come: Hot Turkey Sandwiches, Turkey Noodle Soup, Turkey Pot Pie, and, my favourite, Turkey Leftovers Pizza.  

This recipe comes from my days at the test kitchen. It was a weird recipe, I'll give it that. One of those recipes that you'll either gag at the thought of or wonder why you never thought of it before: The goodness of Pizza and Thanksgiving Dinner all in one. 

Turkey Leftovers Pizza

Dough
3/4 cup warm water (104'F/40'C)
1 tsp granulated sugar
1 pkg dry yeast (Or 2 1/4 tsp if you have a jar)
2 cups flour
3/4 cup cold mashed potatoes
1/2 tsp salt
2 TBSP oil

Toppings
1 cup gravy
1 cup turkey, pulled unto pieces
1 cup stuffing, broken apart into chunks
Cranberry sauce (optional)

Gravy, hot (for dipping!)

  1. Pre-heat oven to 400'F.
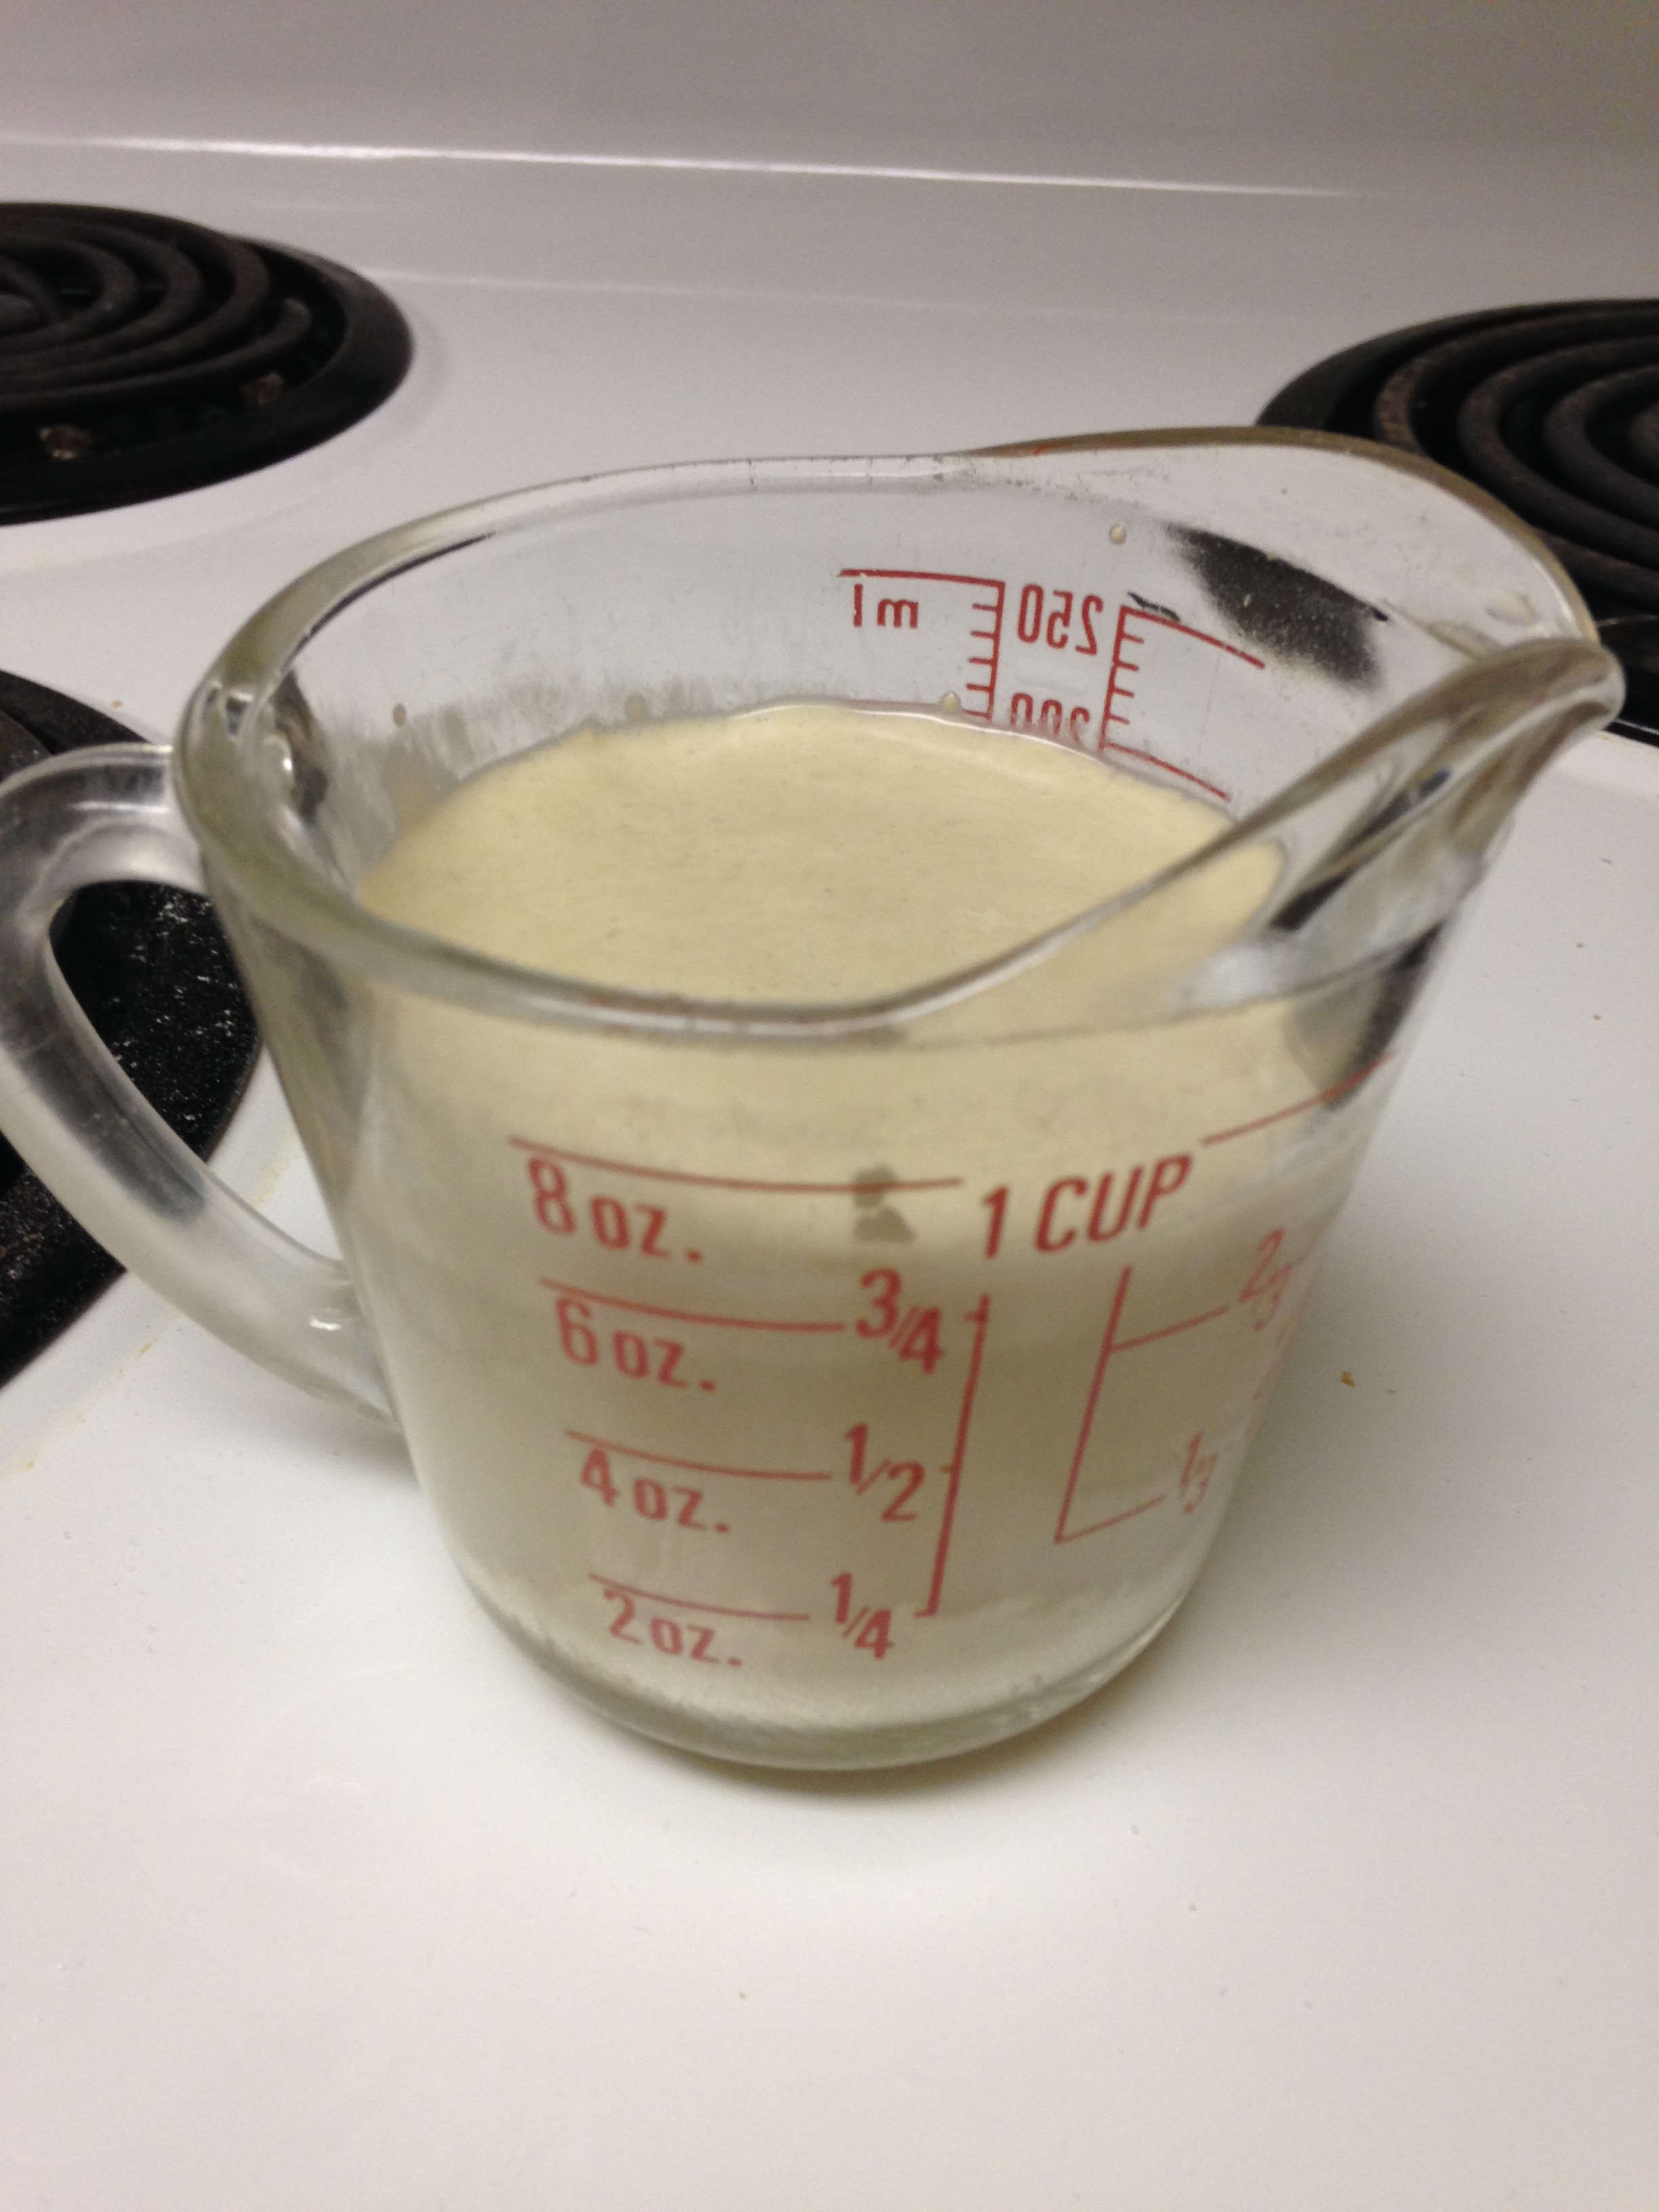
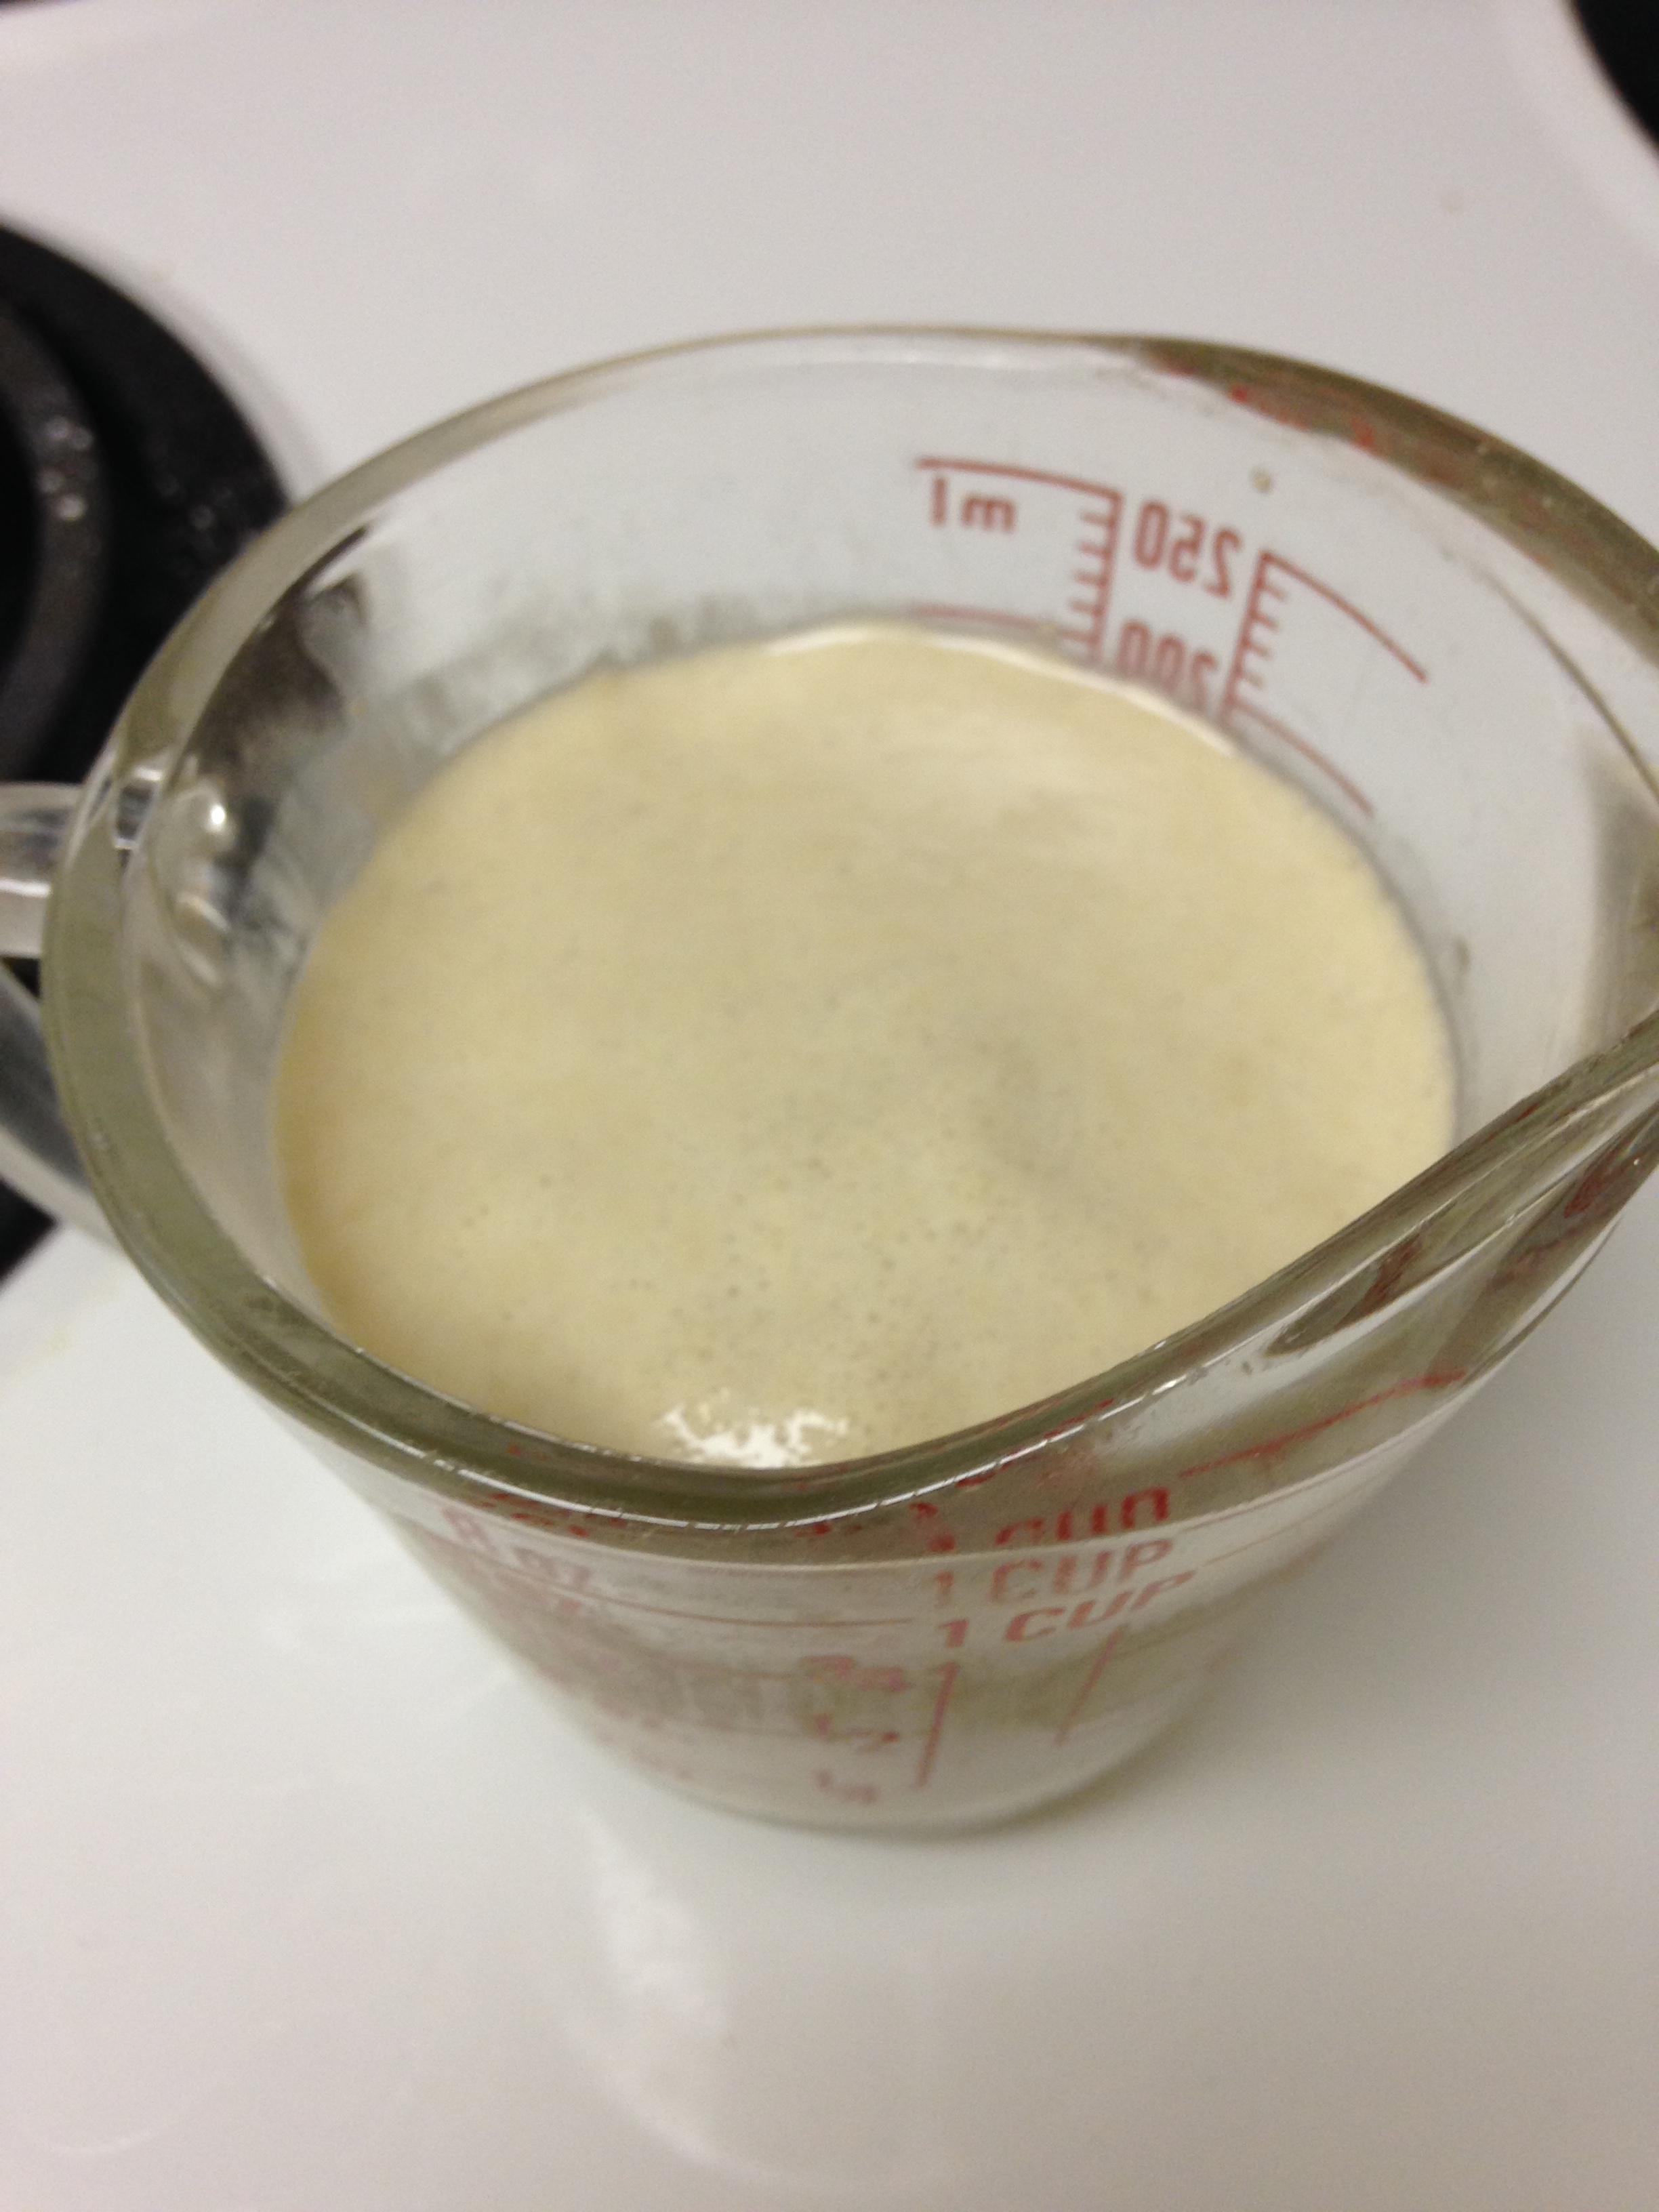
  2. Add sugar to warm water and stir to dissolve sugar completely. 
  3. Add yeast to sugar/water and let sit in a warm place (like the top of your oven range) for about 5 minutes or until yeast looks foamy. 
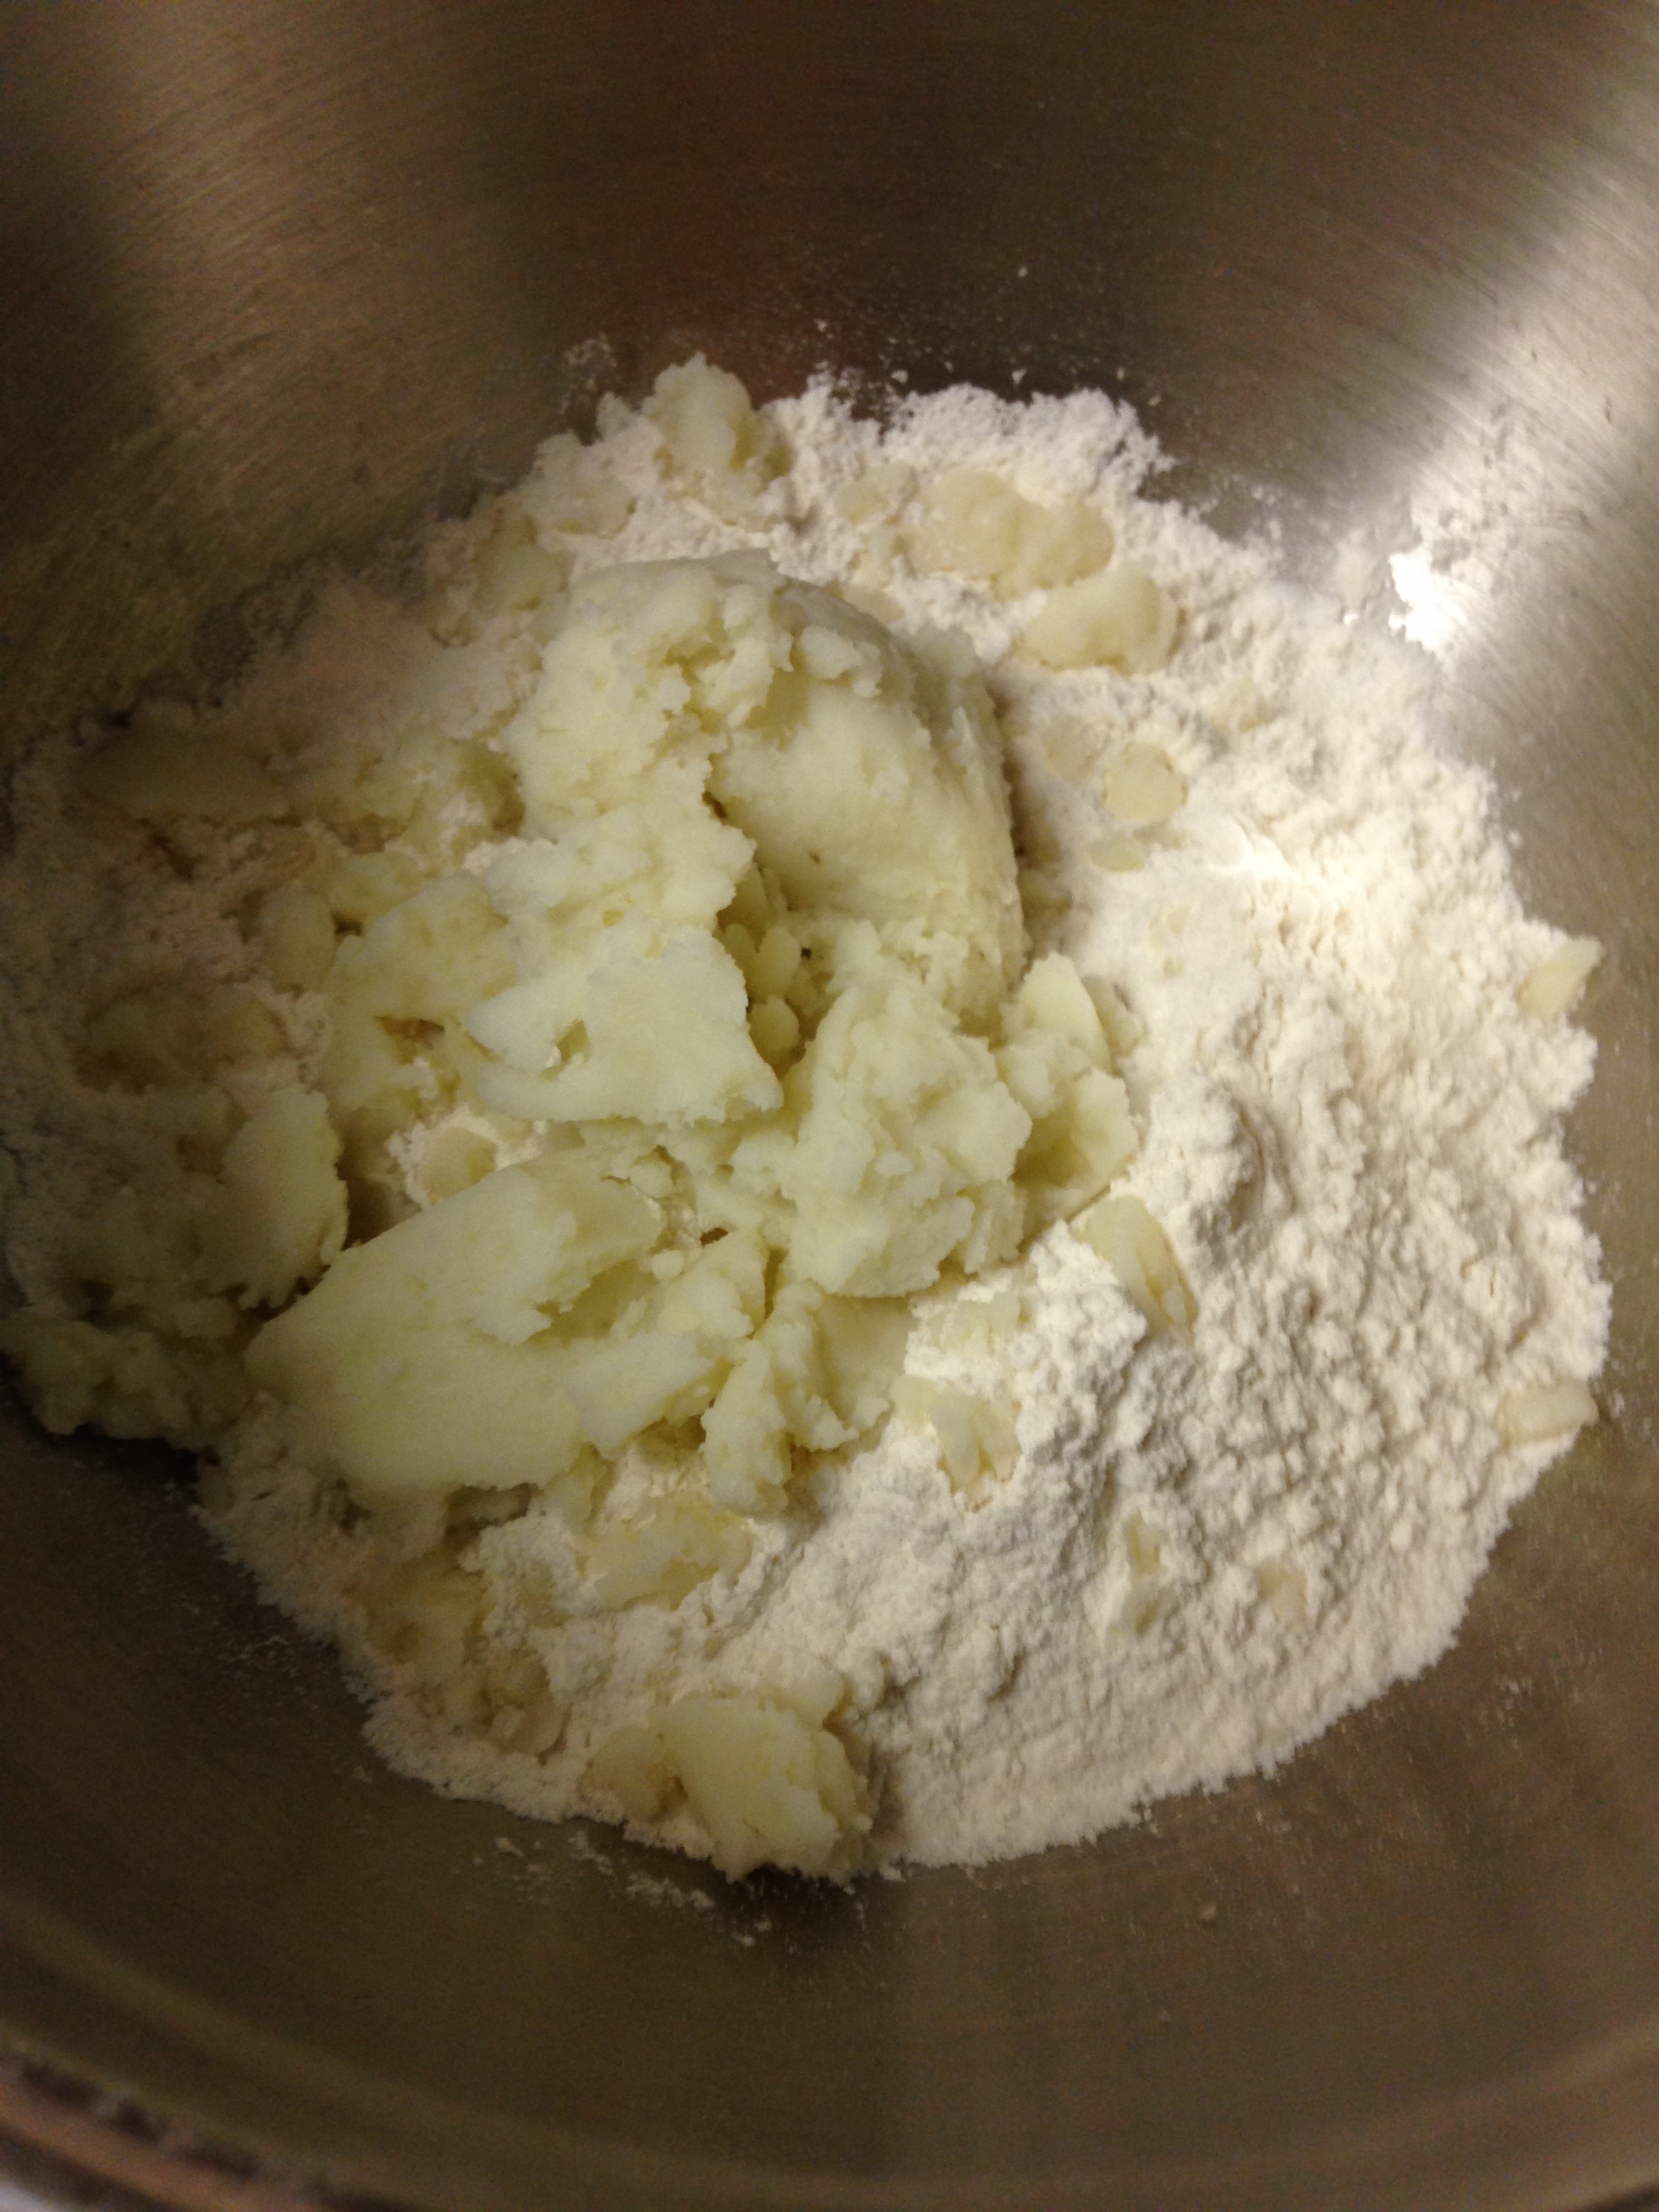
  4. In another bowl, mix together flour, mashed potatoes and salt. 
  5. Add oil into the foamy yeast mixture.
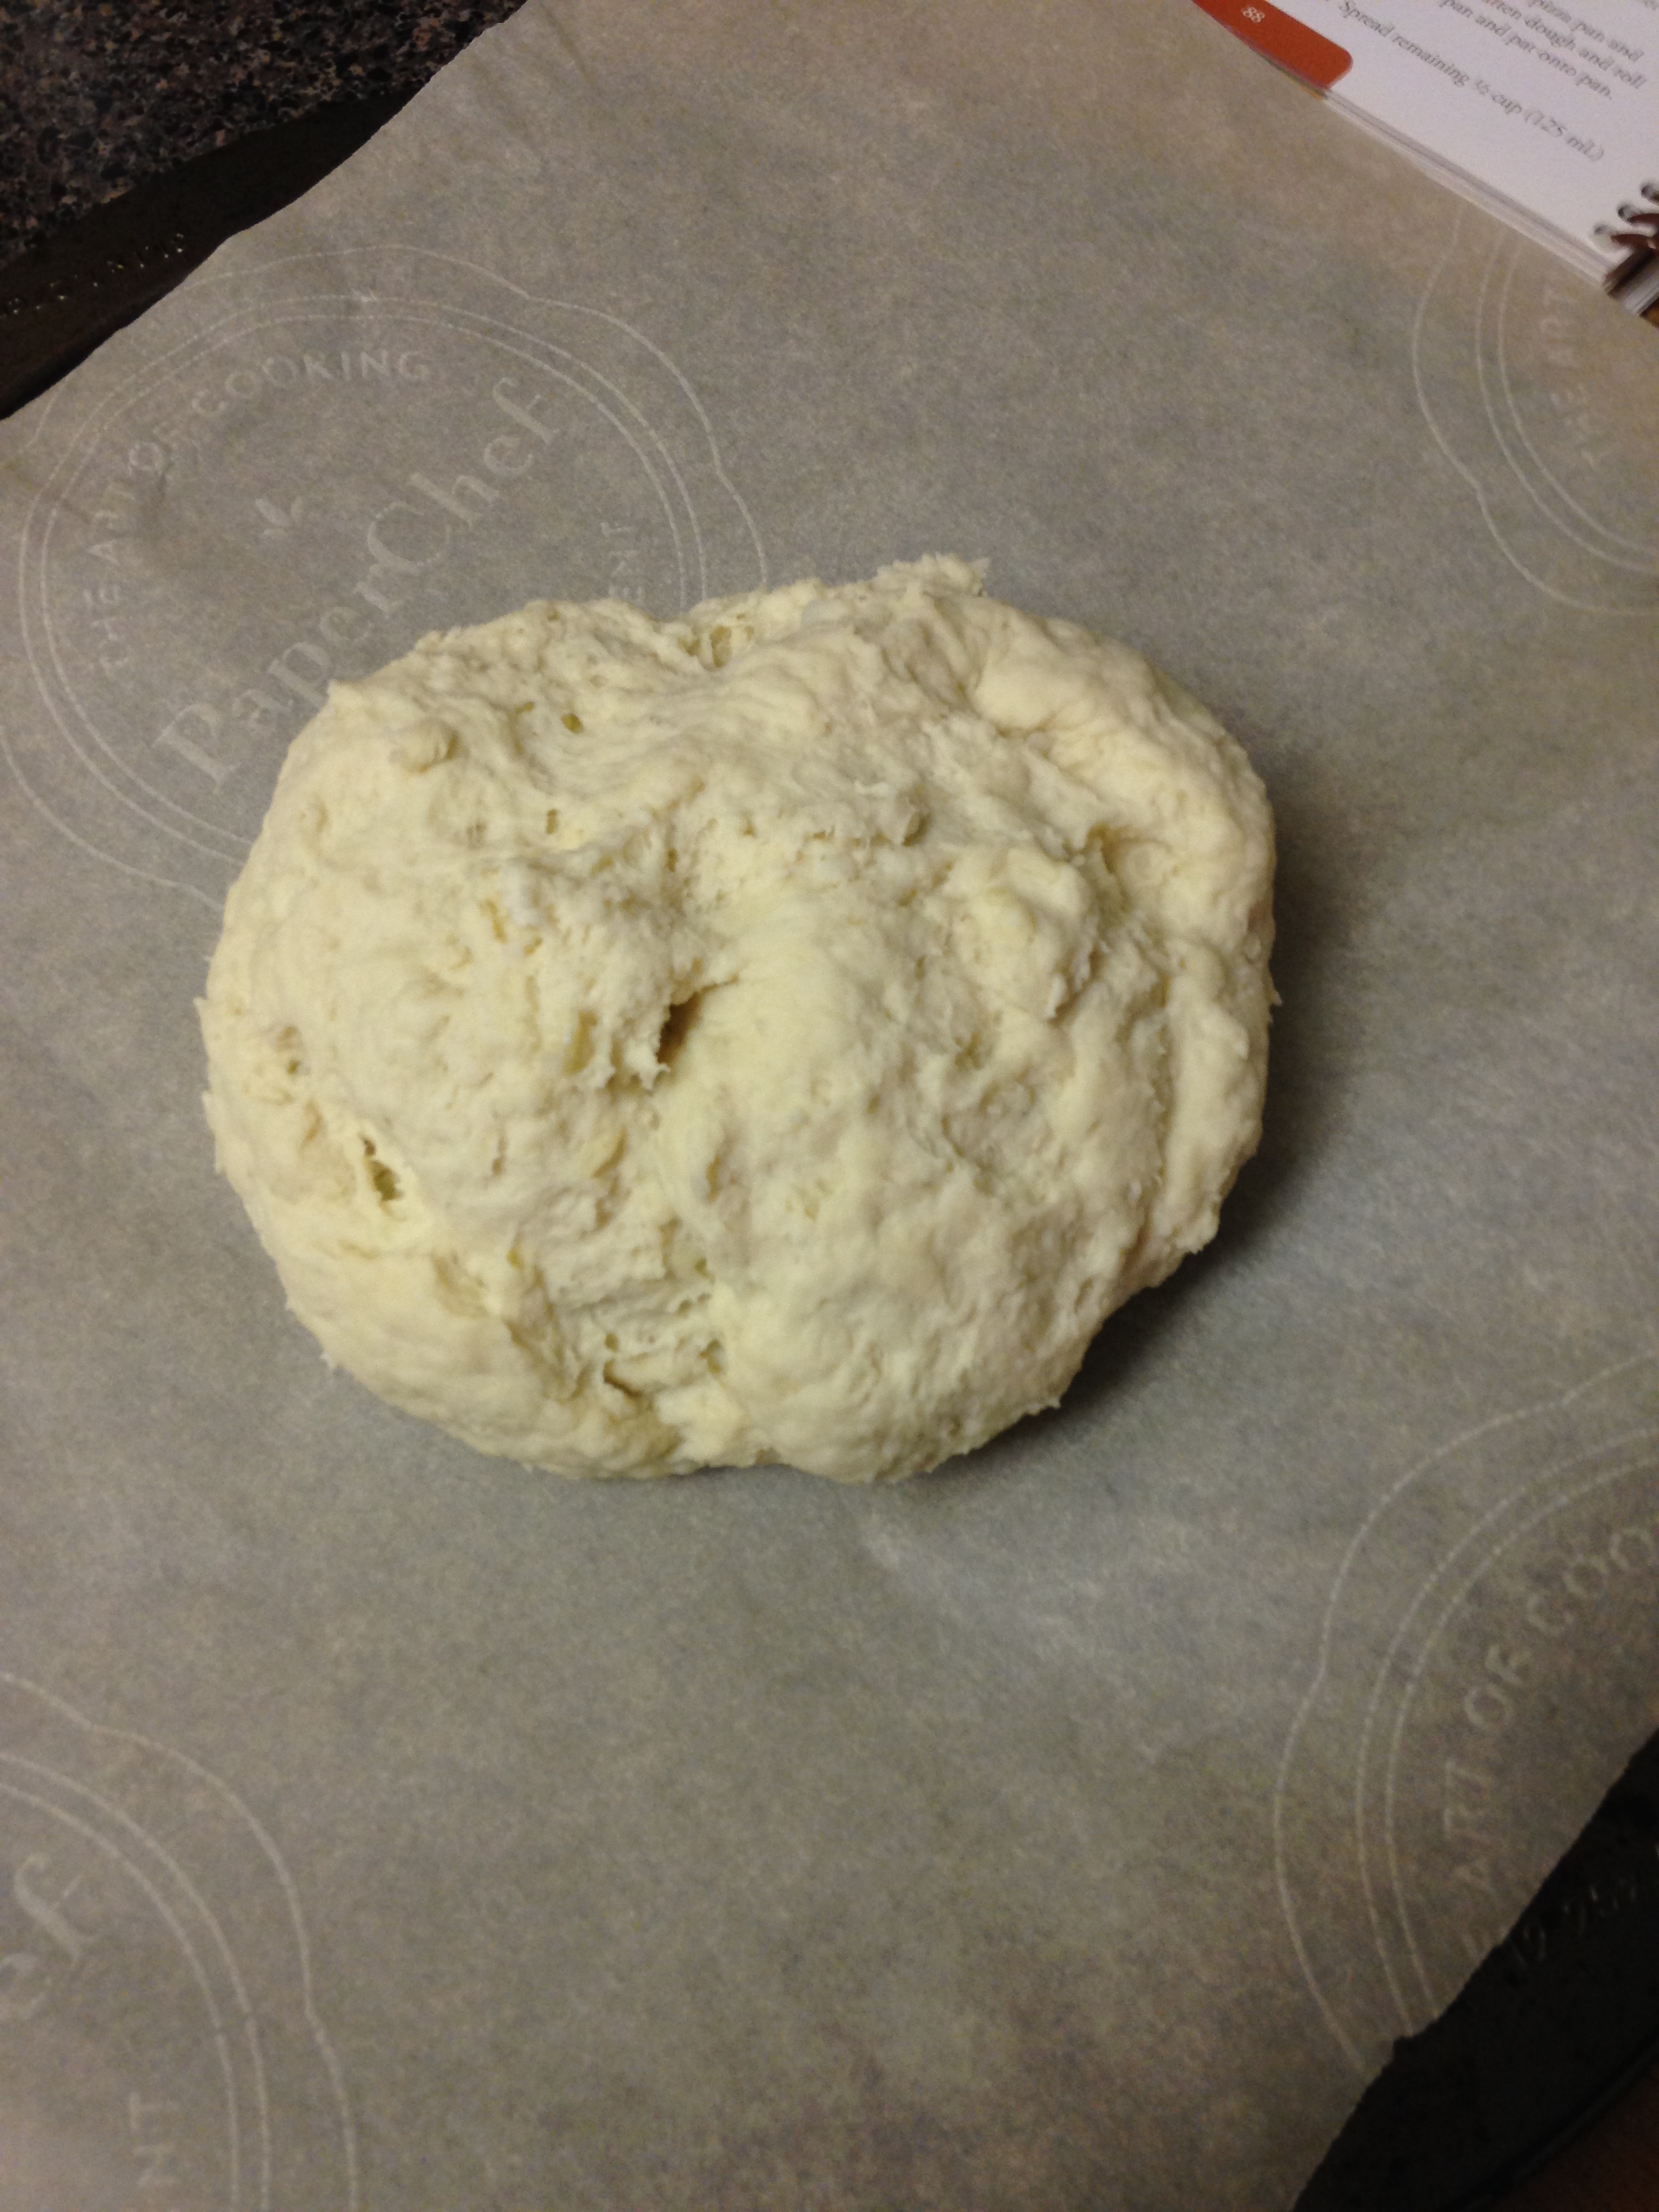
  6. Pour foamy yeast mixture over flour/potato mixture. Stir until the dough comes together. Knead dough for a minute until uniform (no potato lumpies). Use extra flour if your hands are sticking.
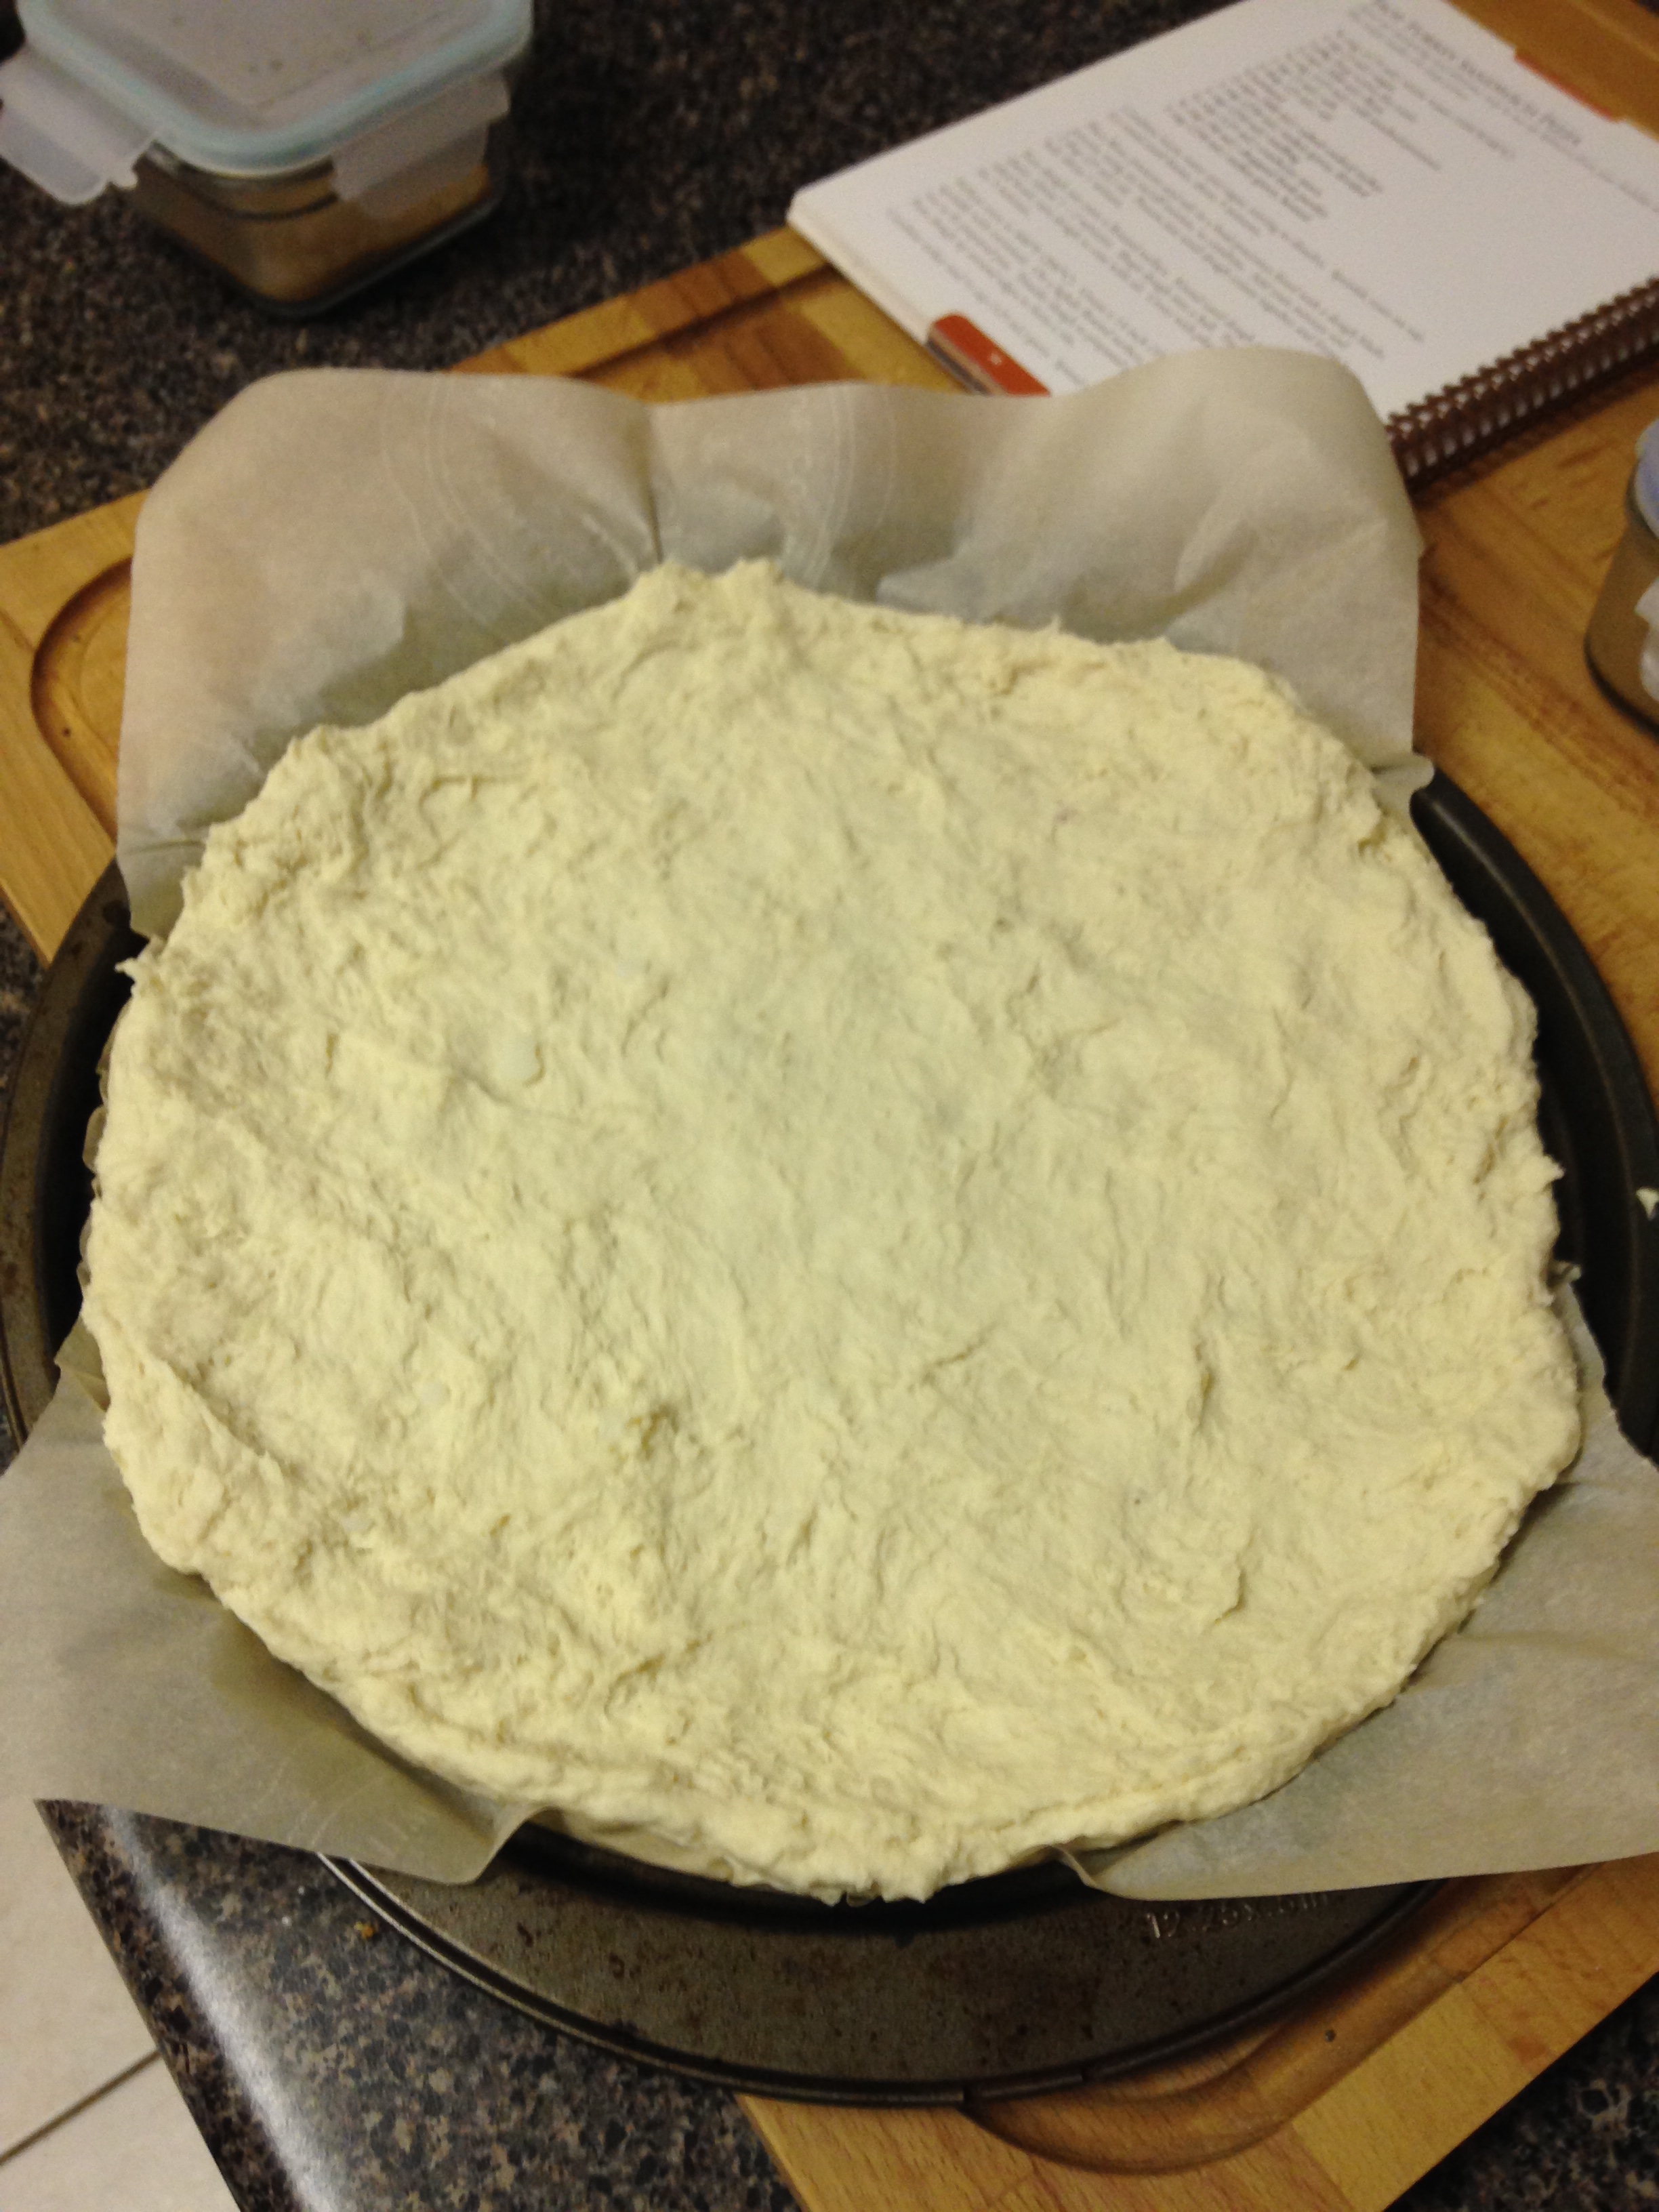
  7. On a baking sheet covered in parchment, pat out your pizza shell. 
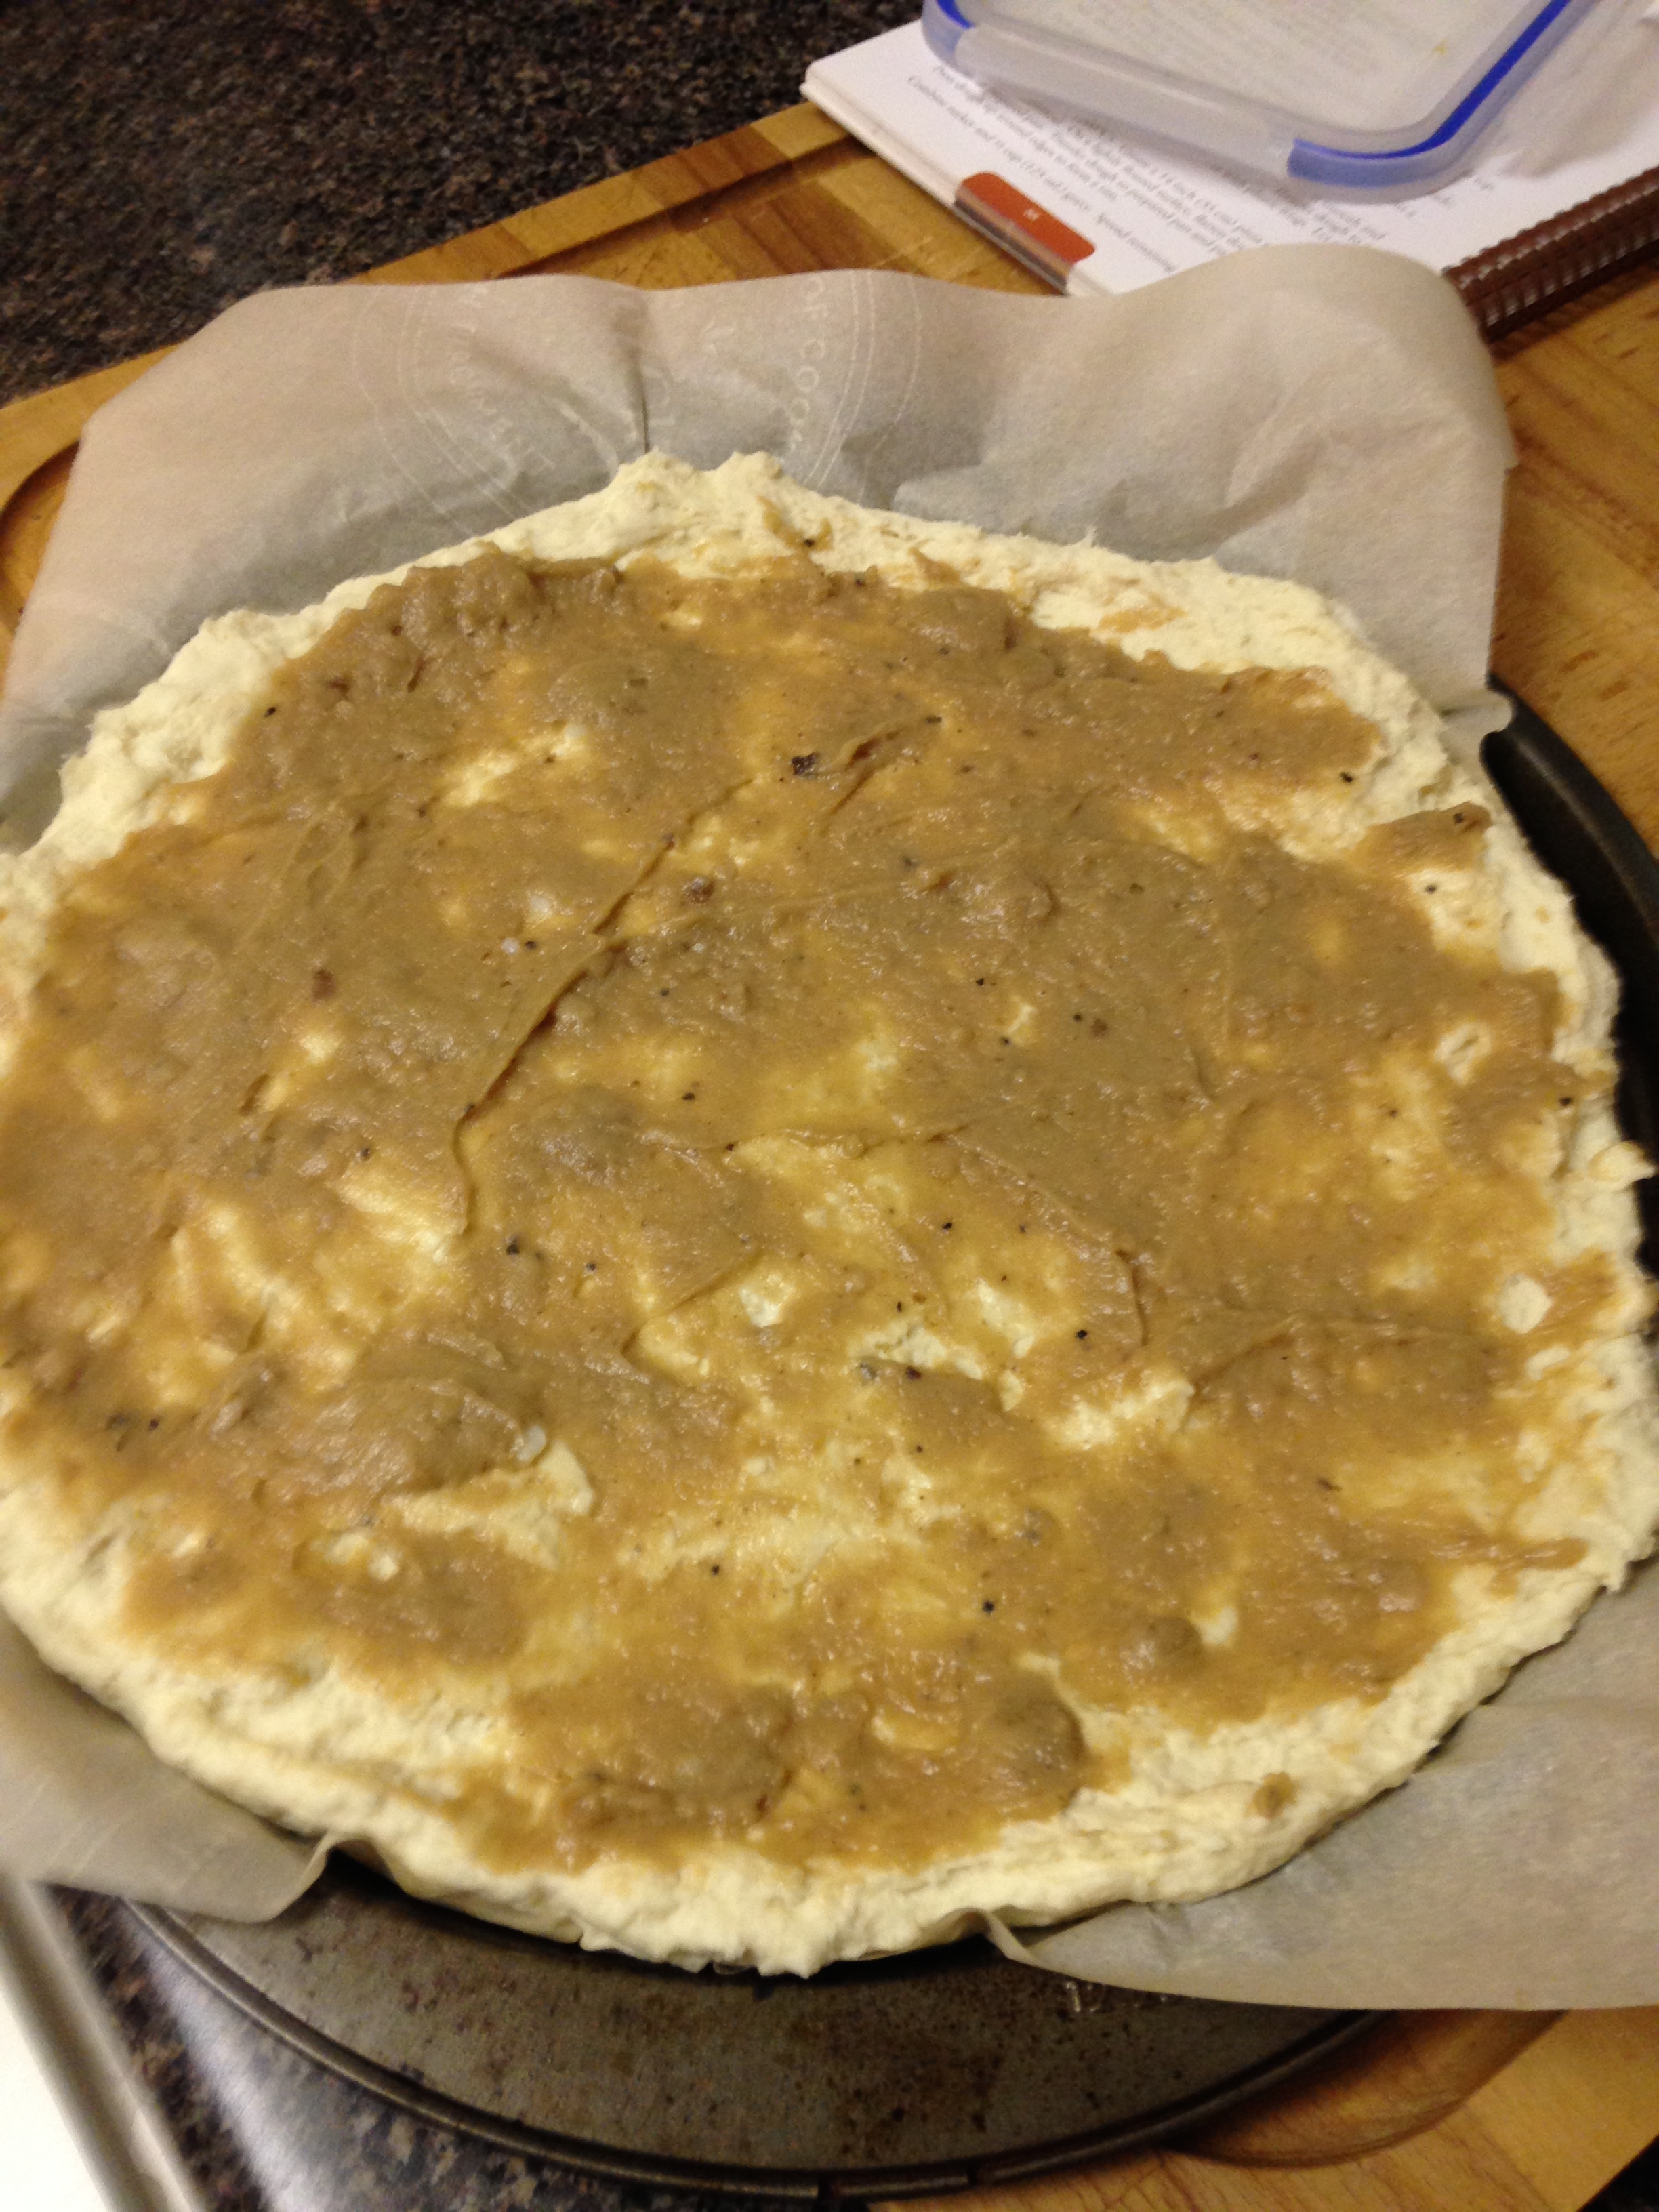
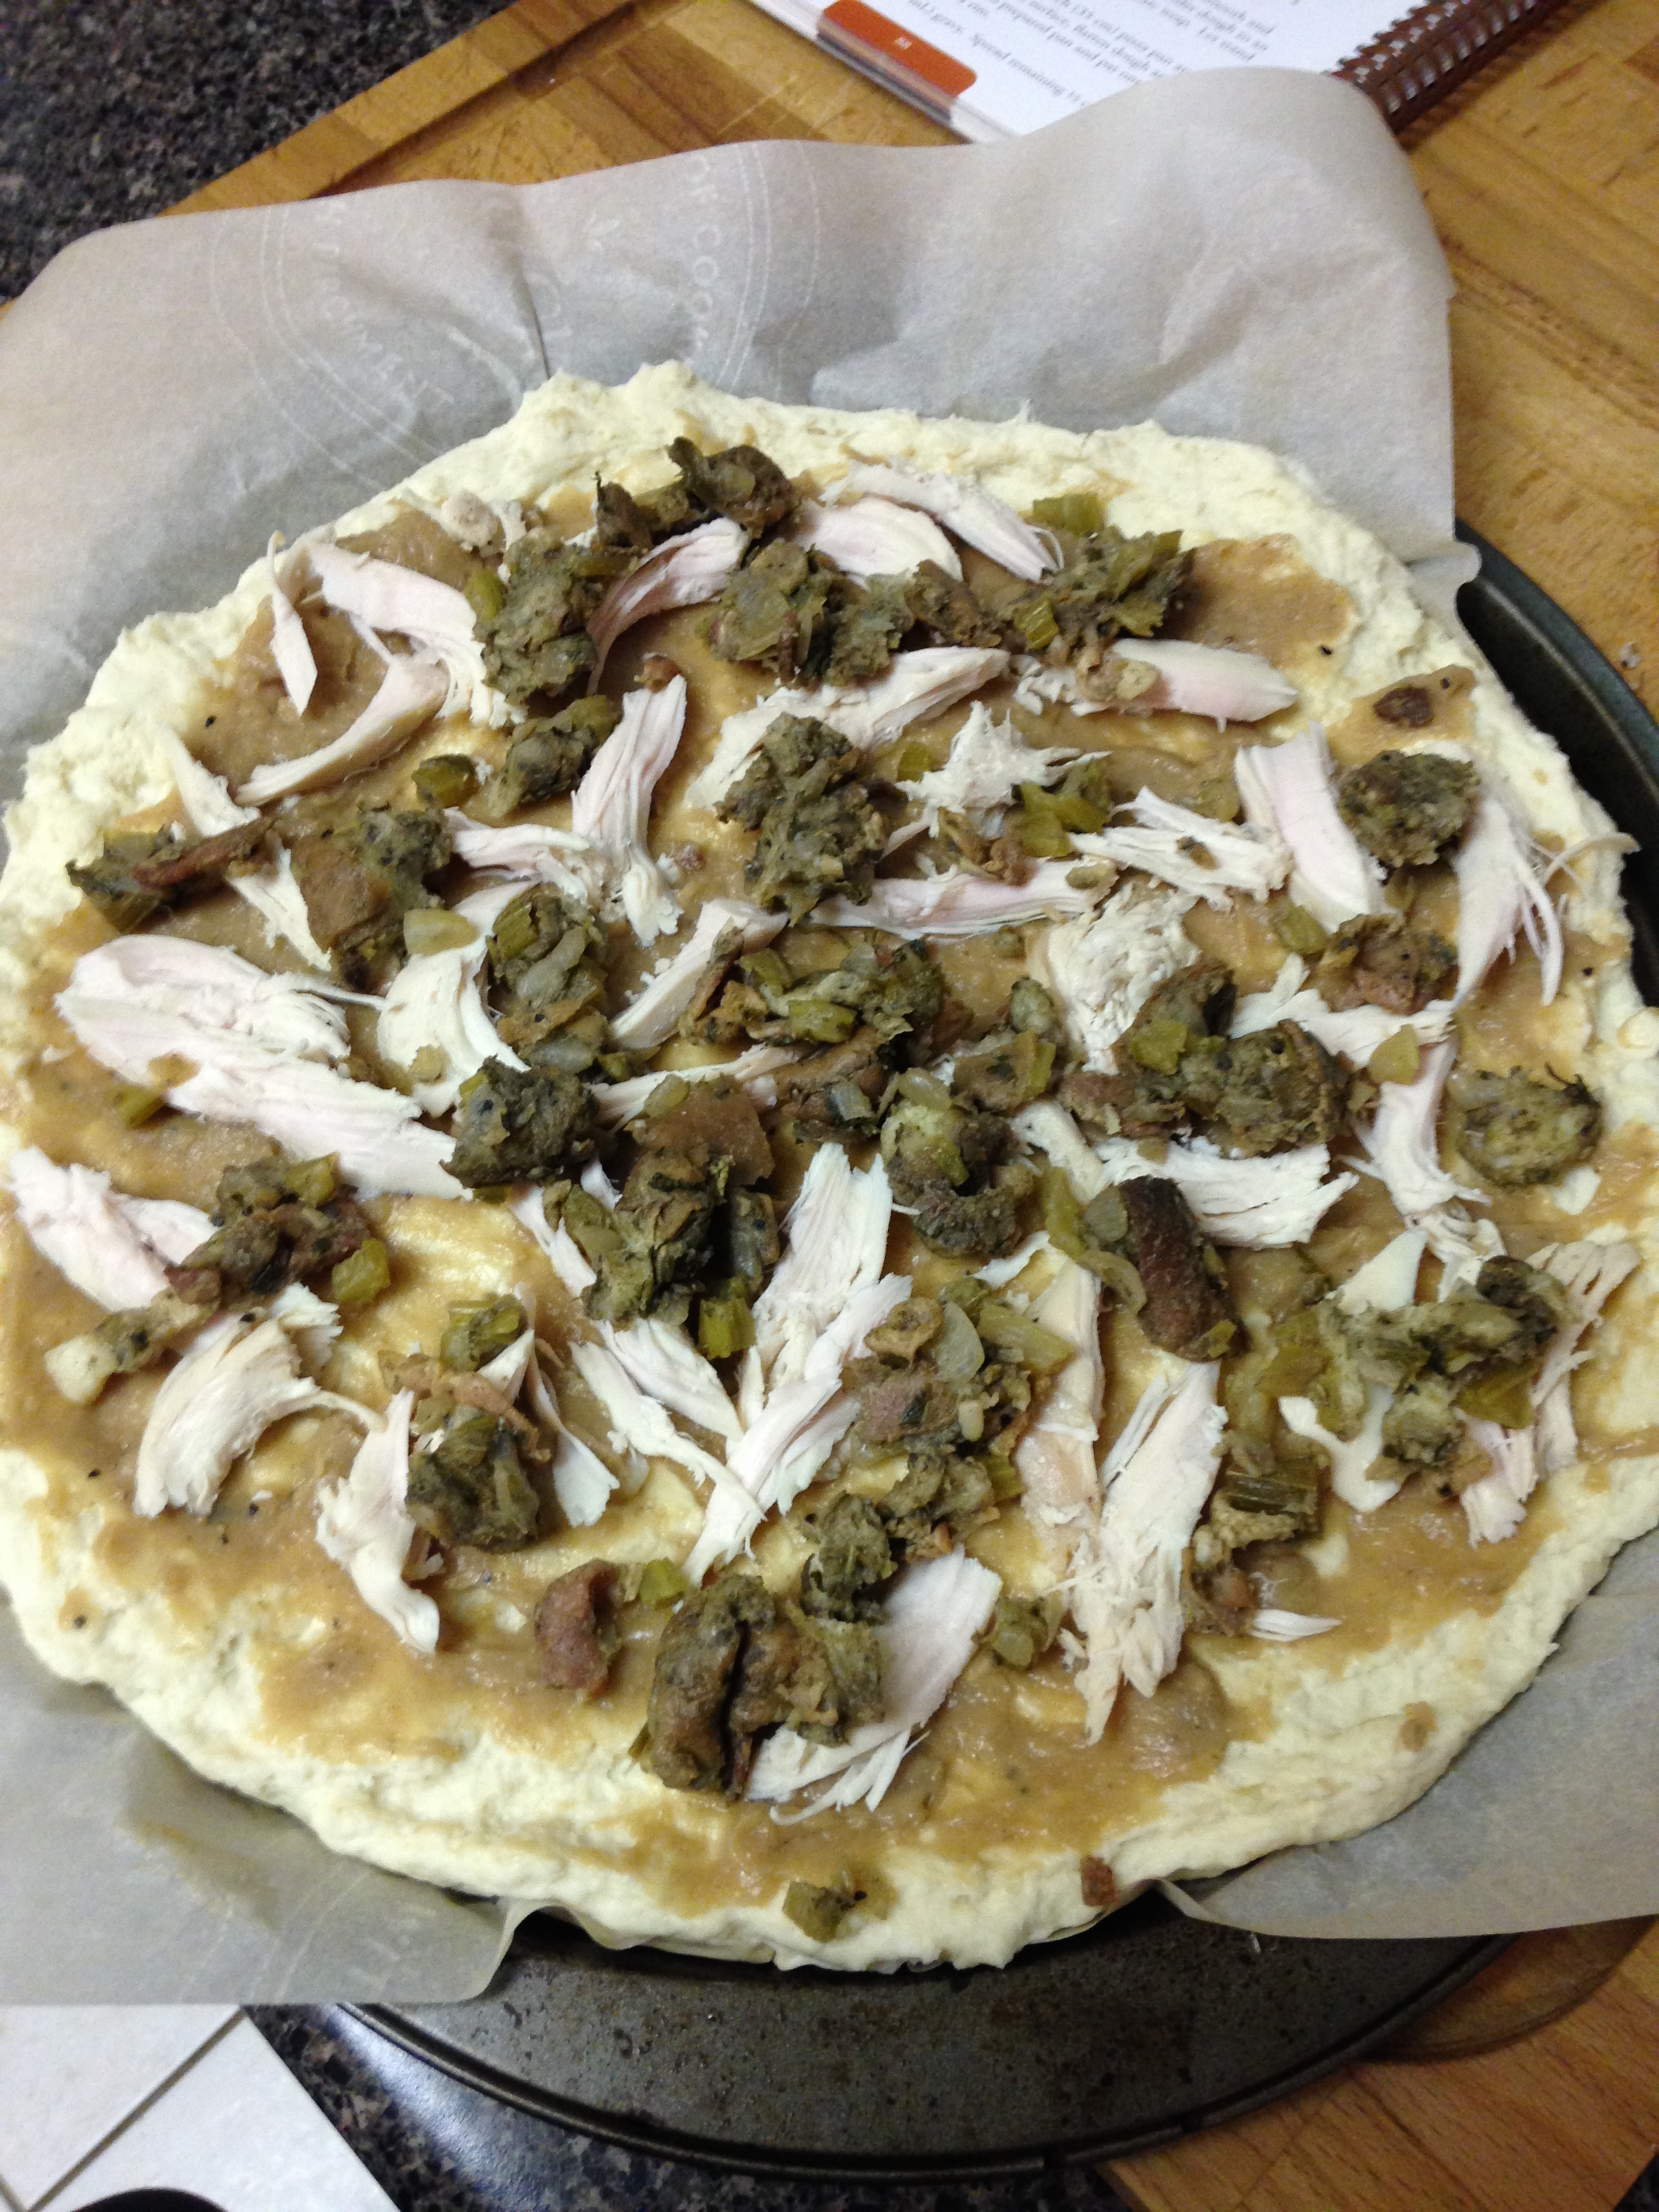
  8. Spread gravy on shell (it's the sauce!). Cover pizza with turkey, stuffing and cranberry sauce (optional). 
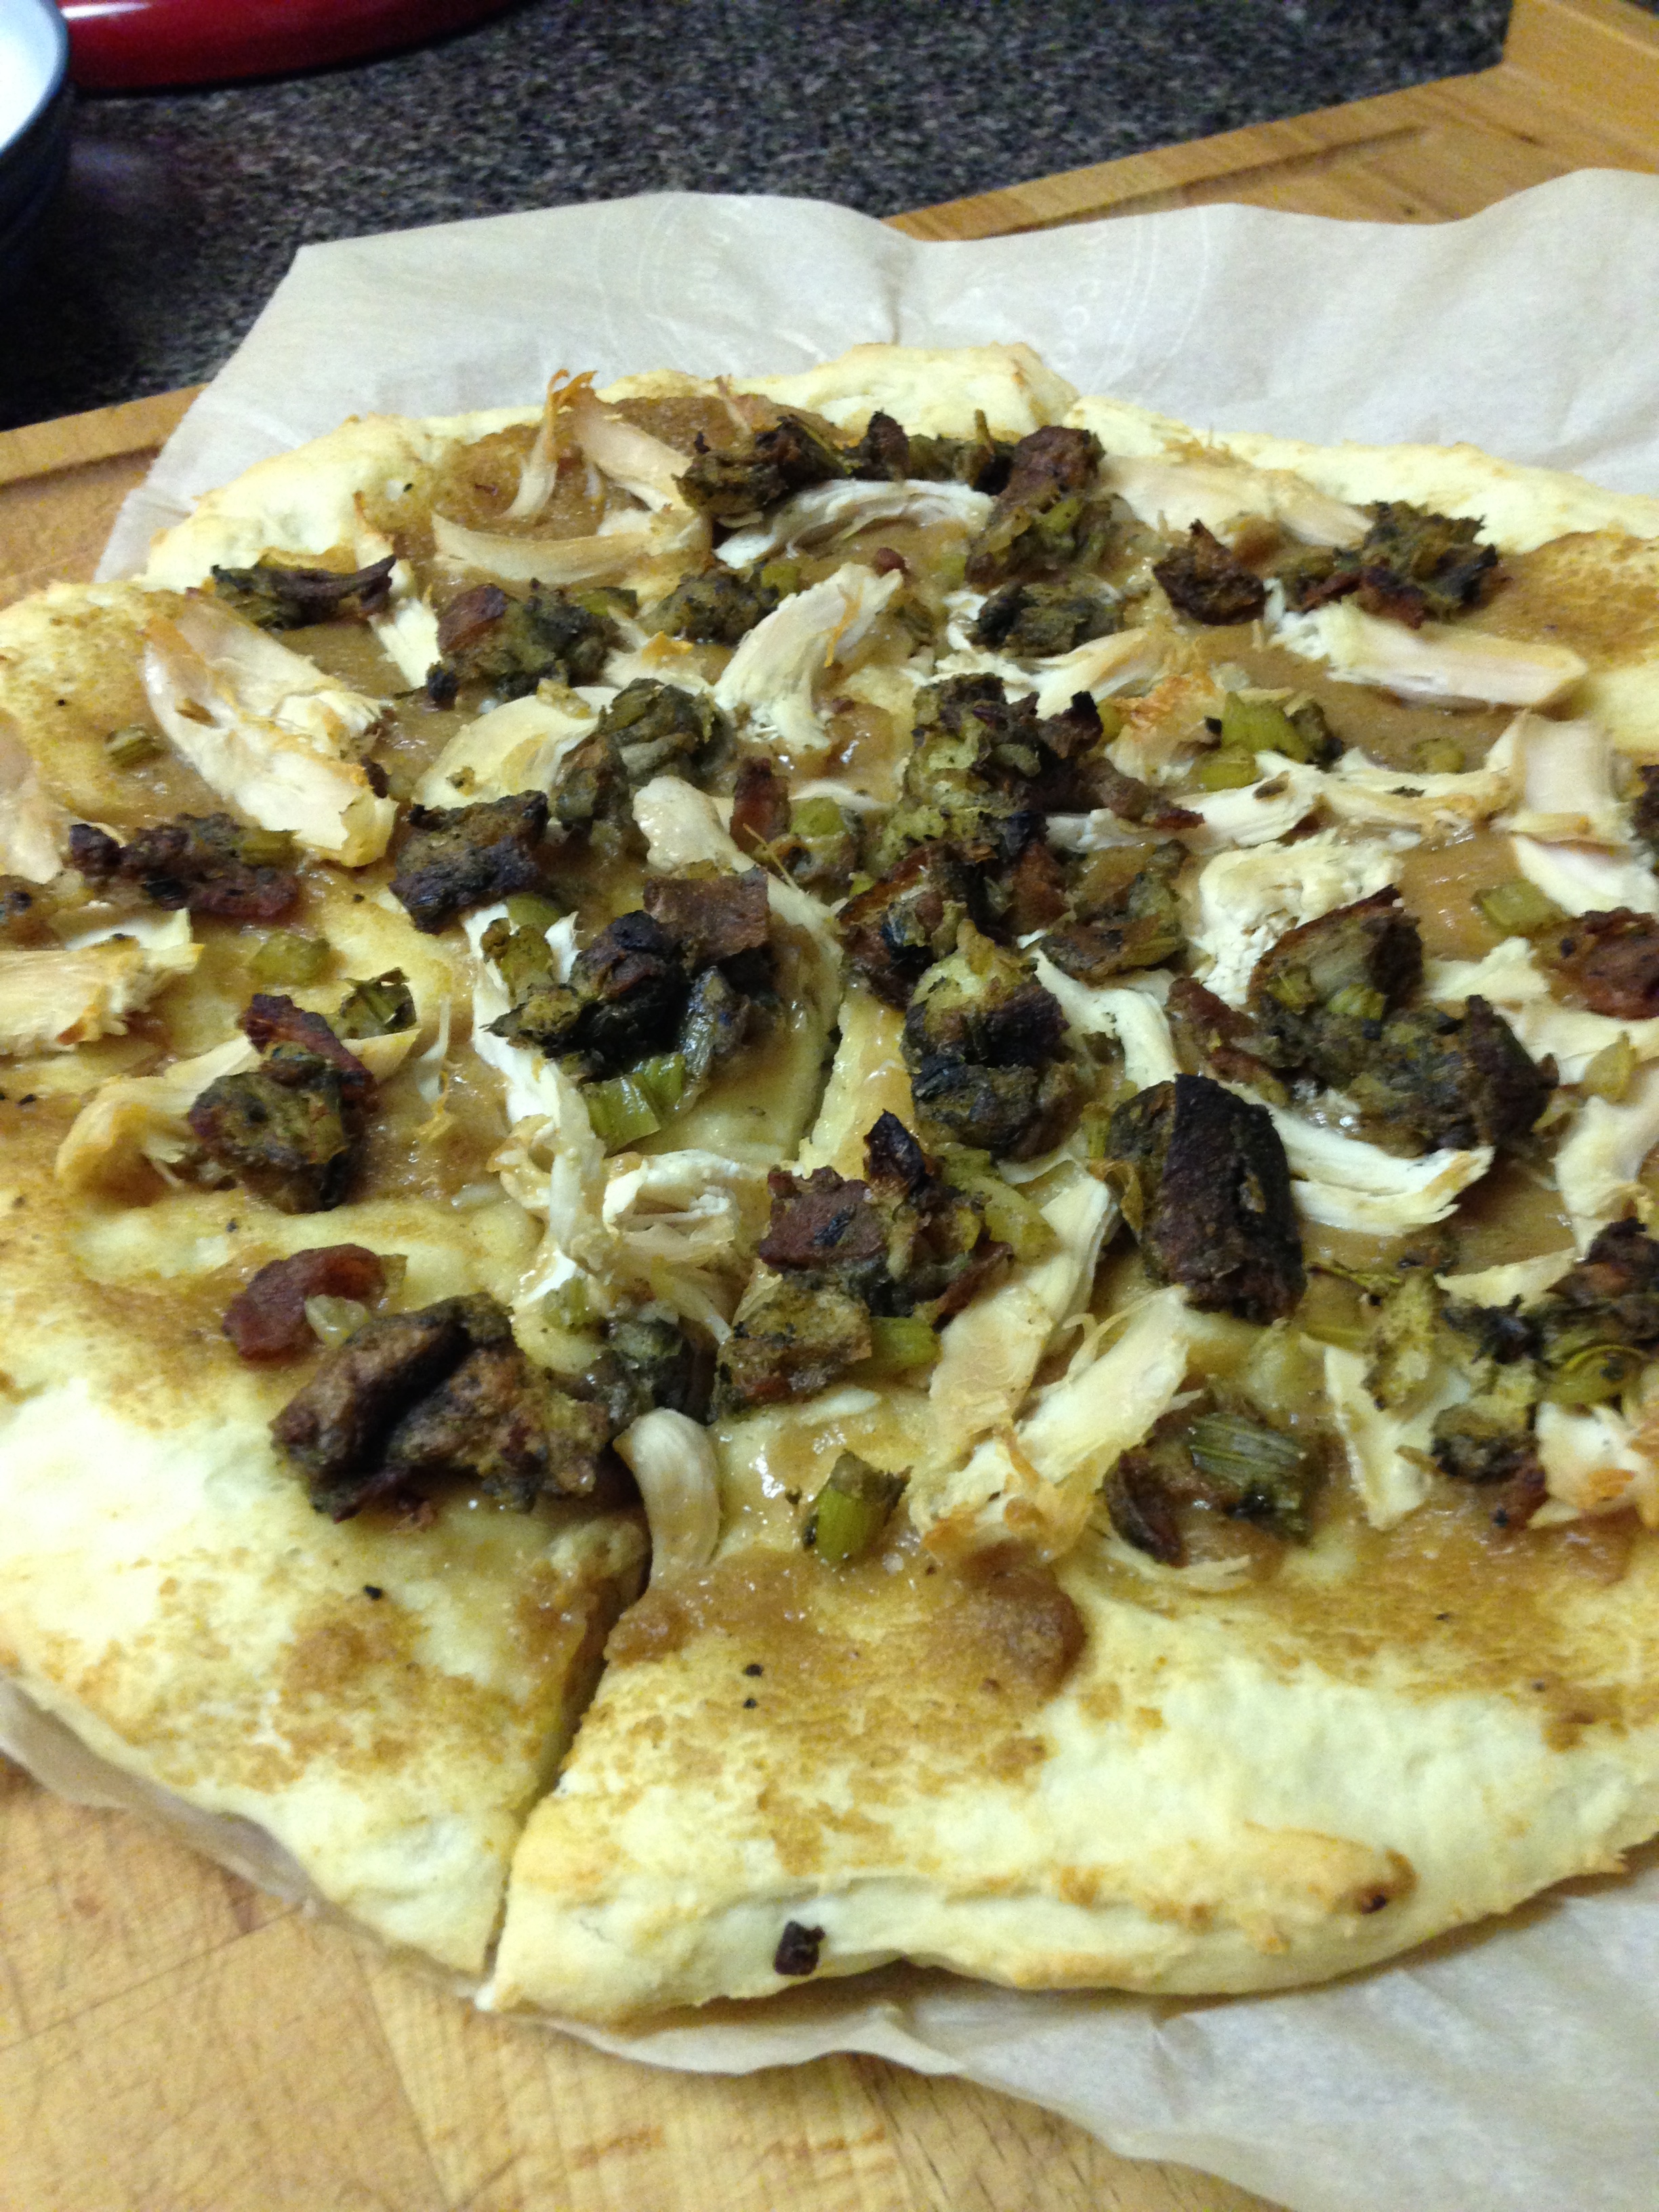
  9. Bake for 25 minutes or until pizza crust looks browned. Serve hot with gravy for "dipping" sauce. 

Don't knock it till you've tried it! 

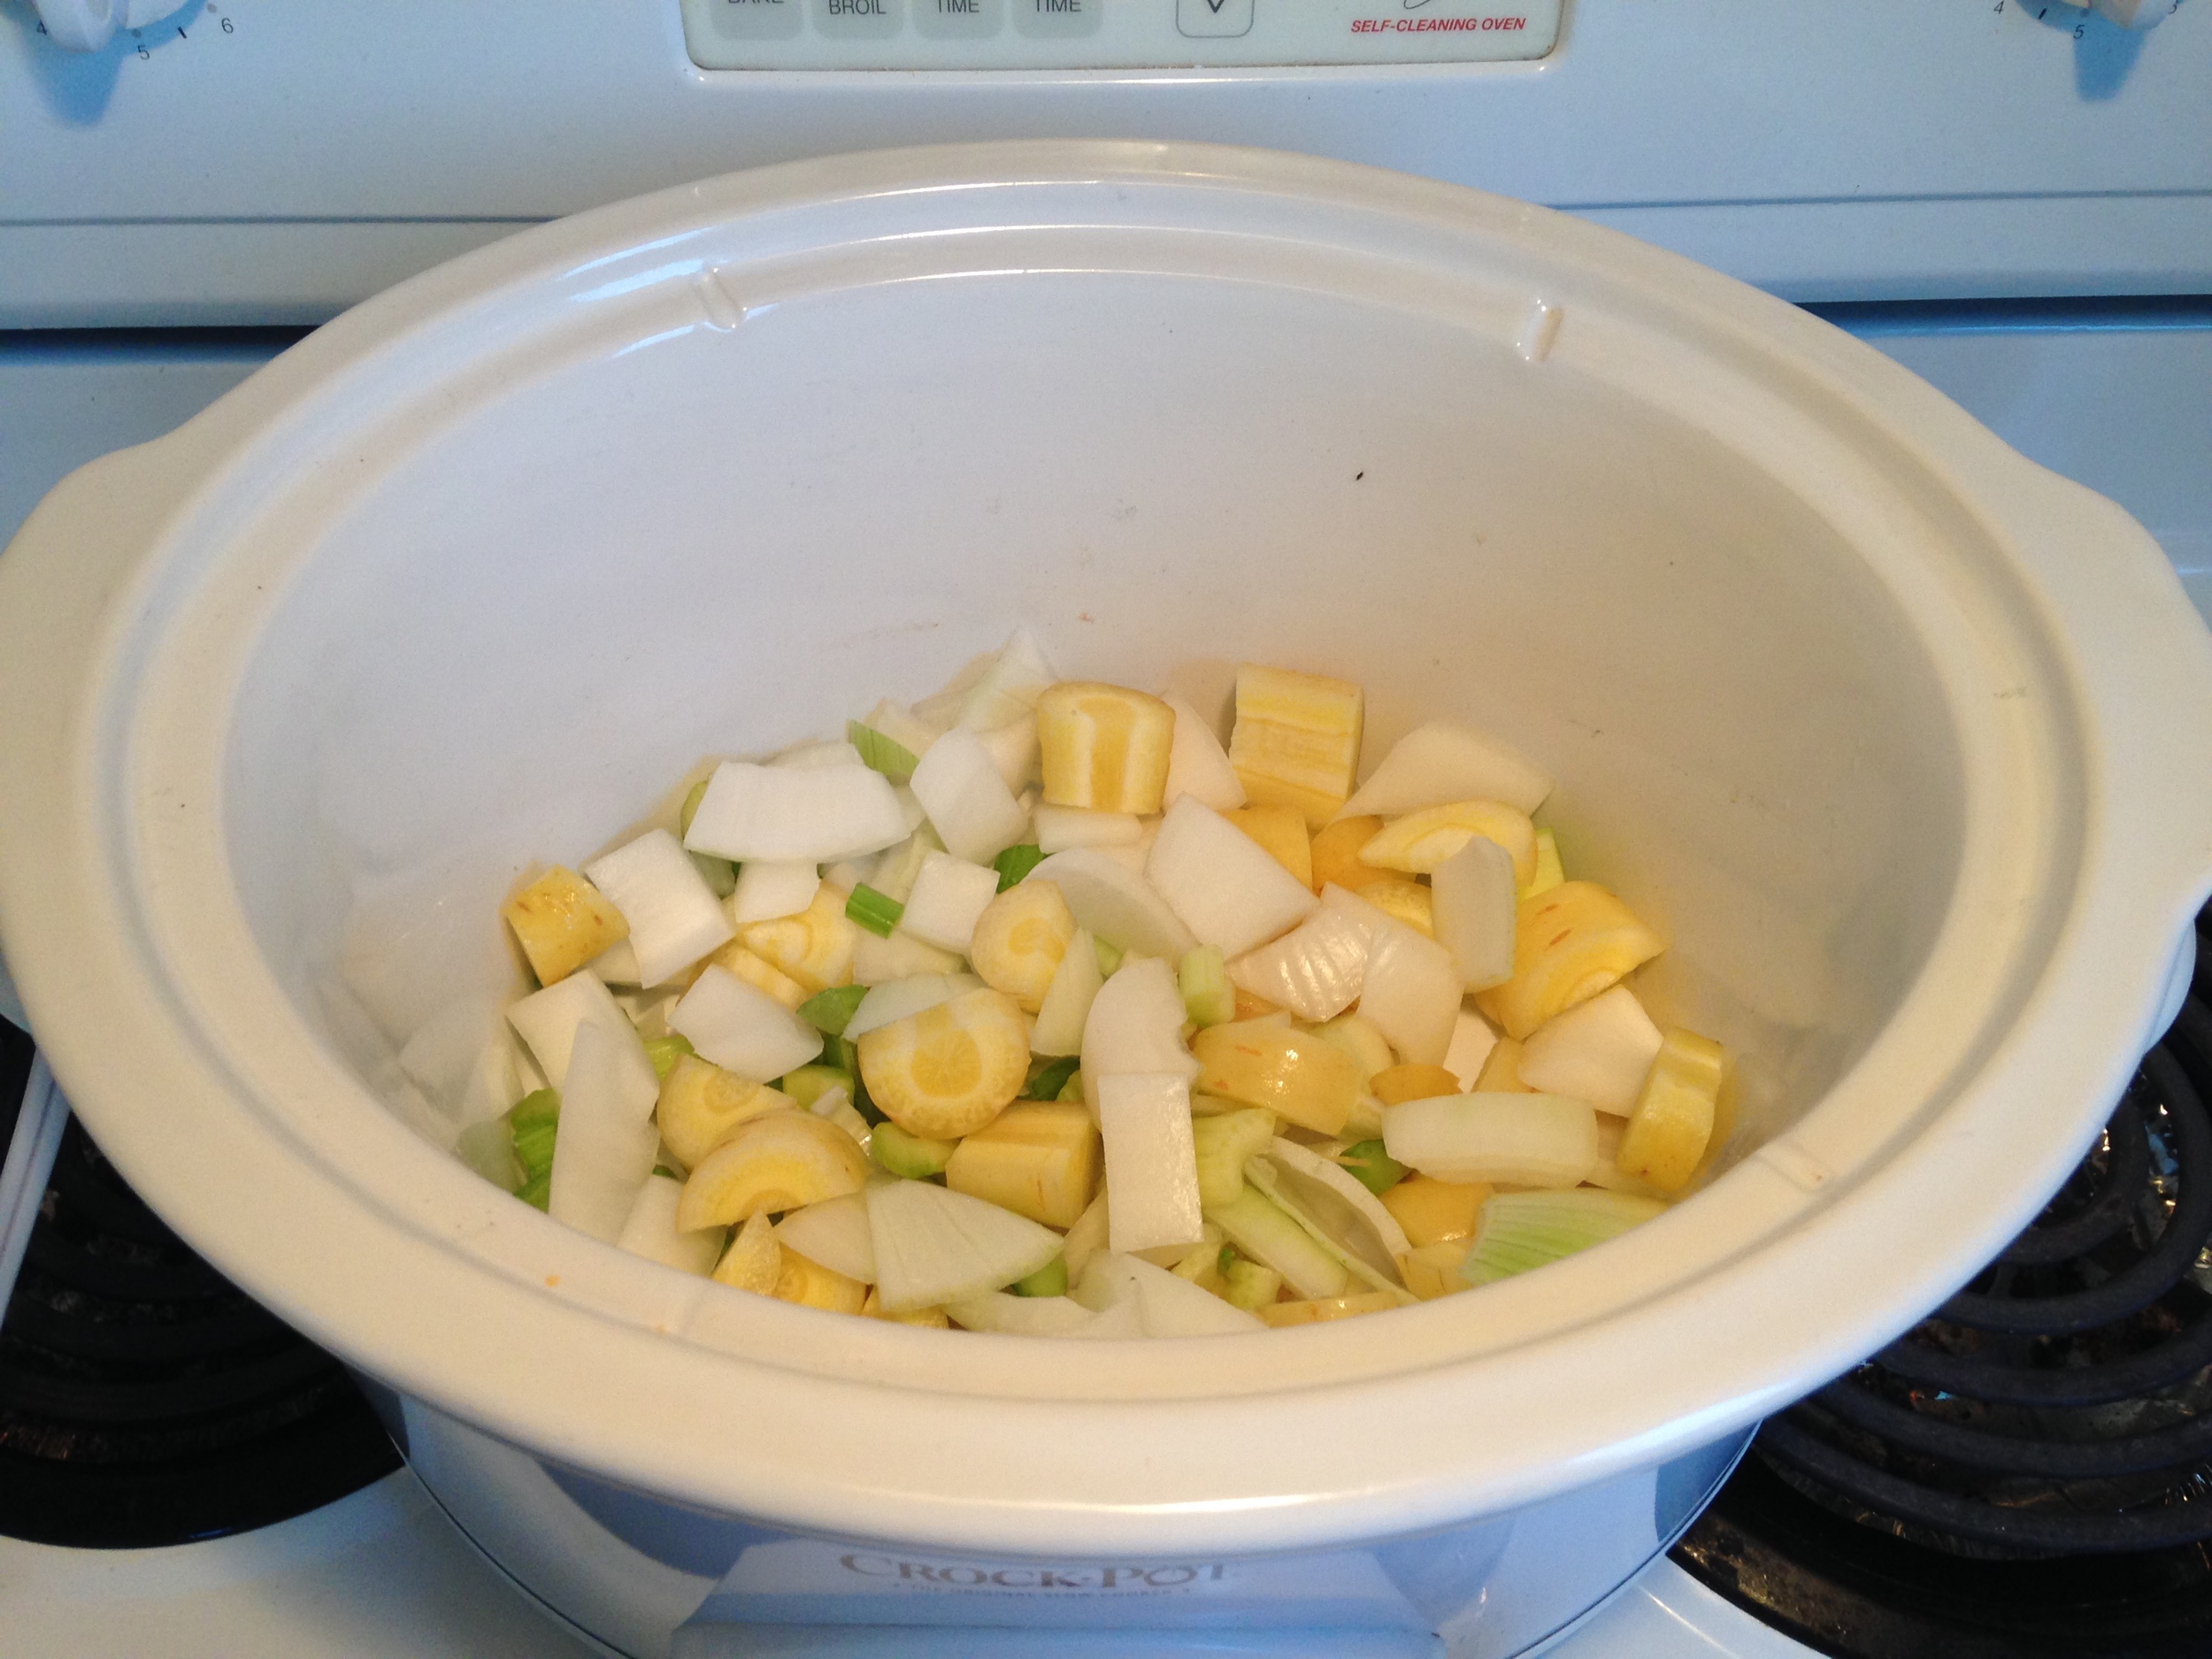
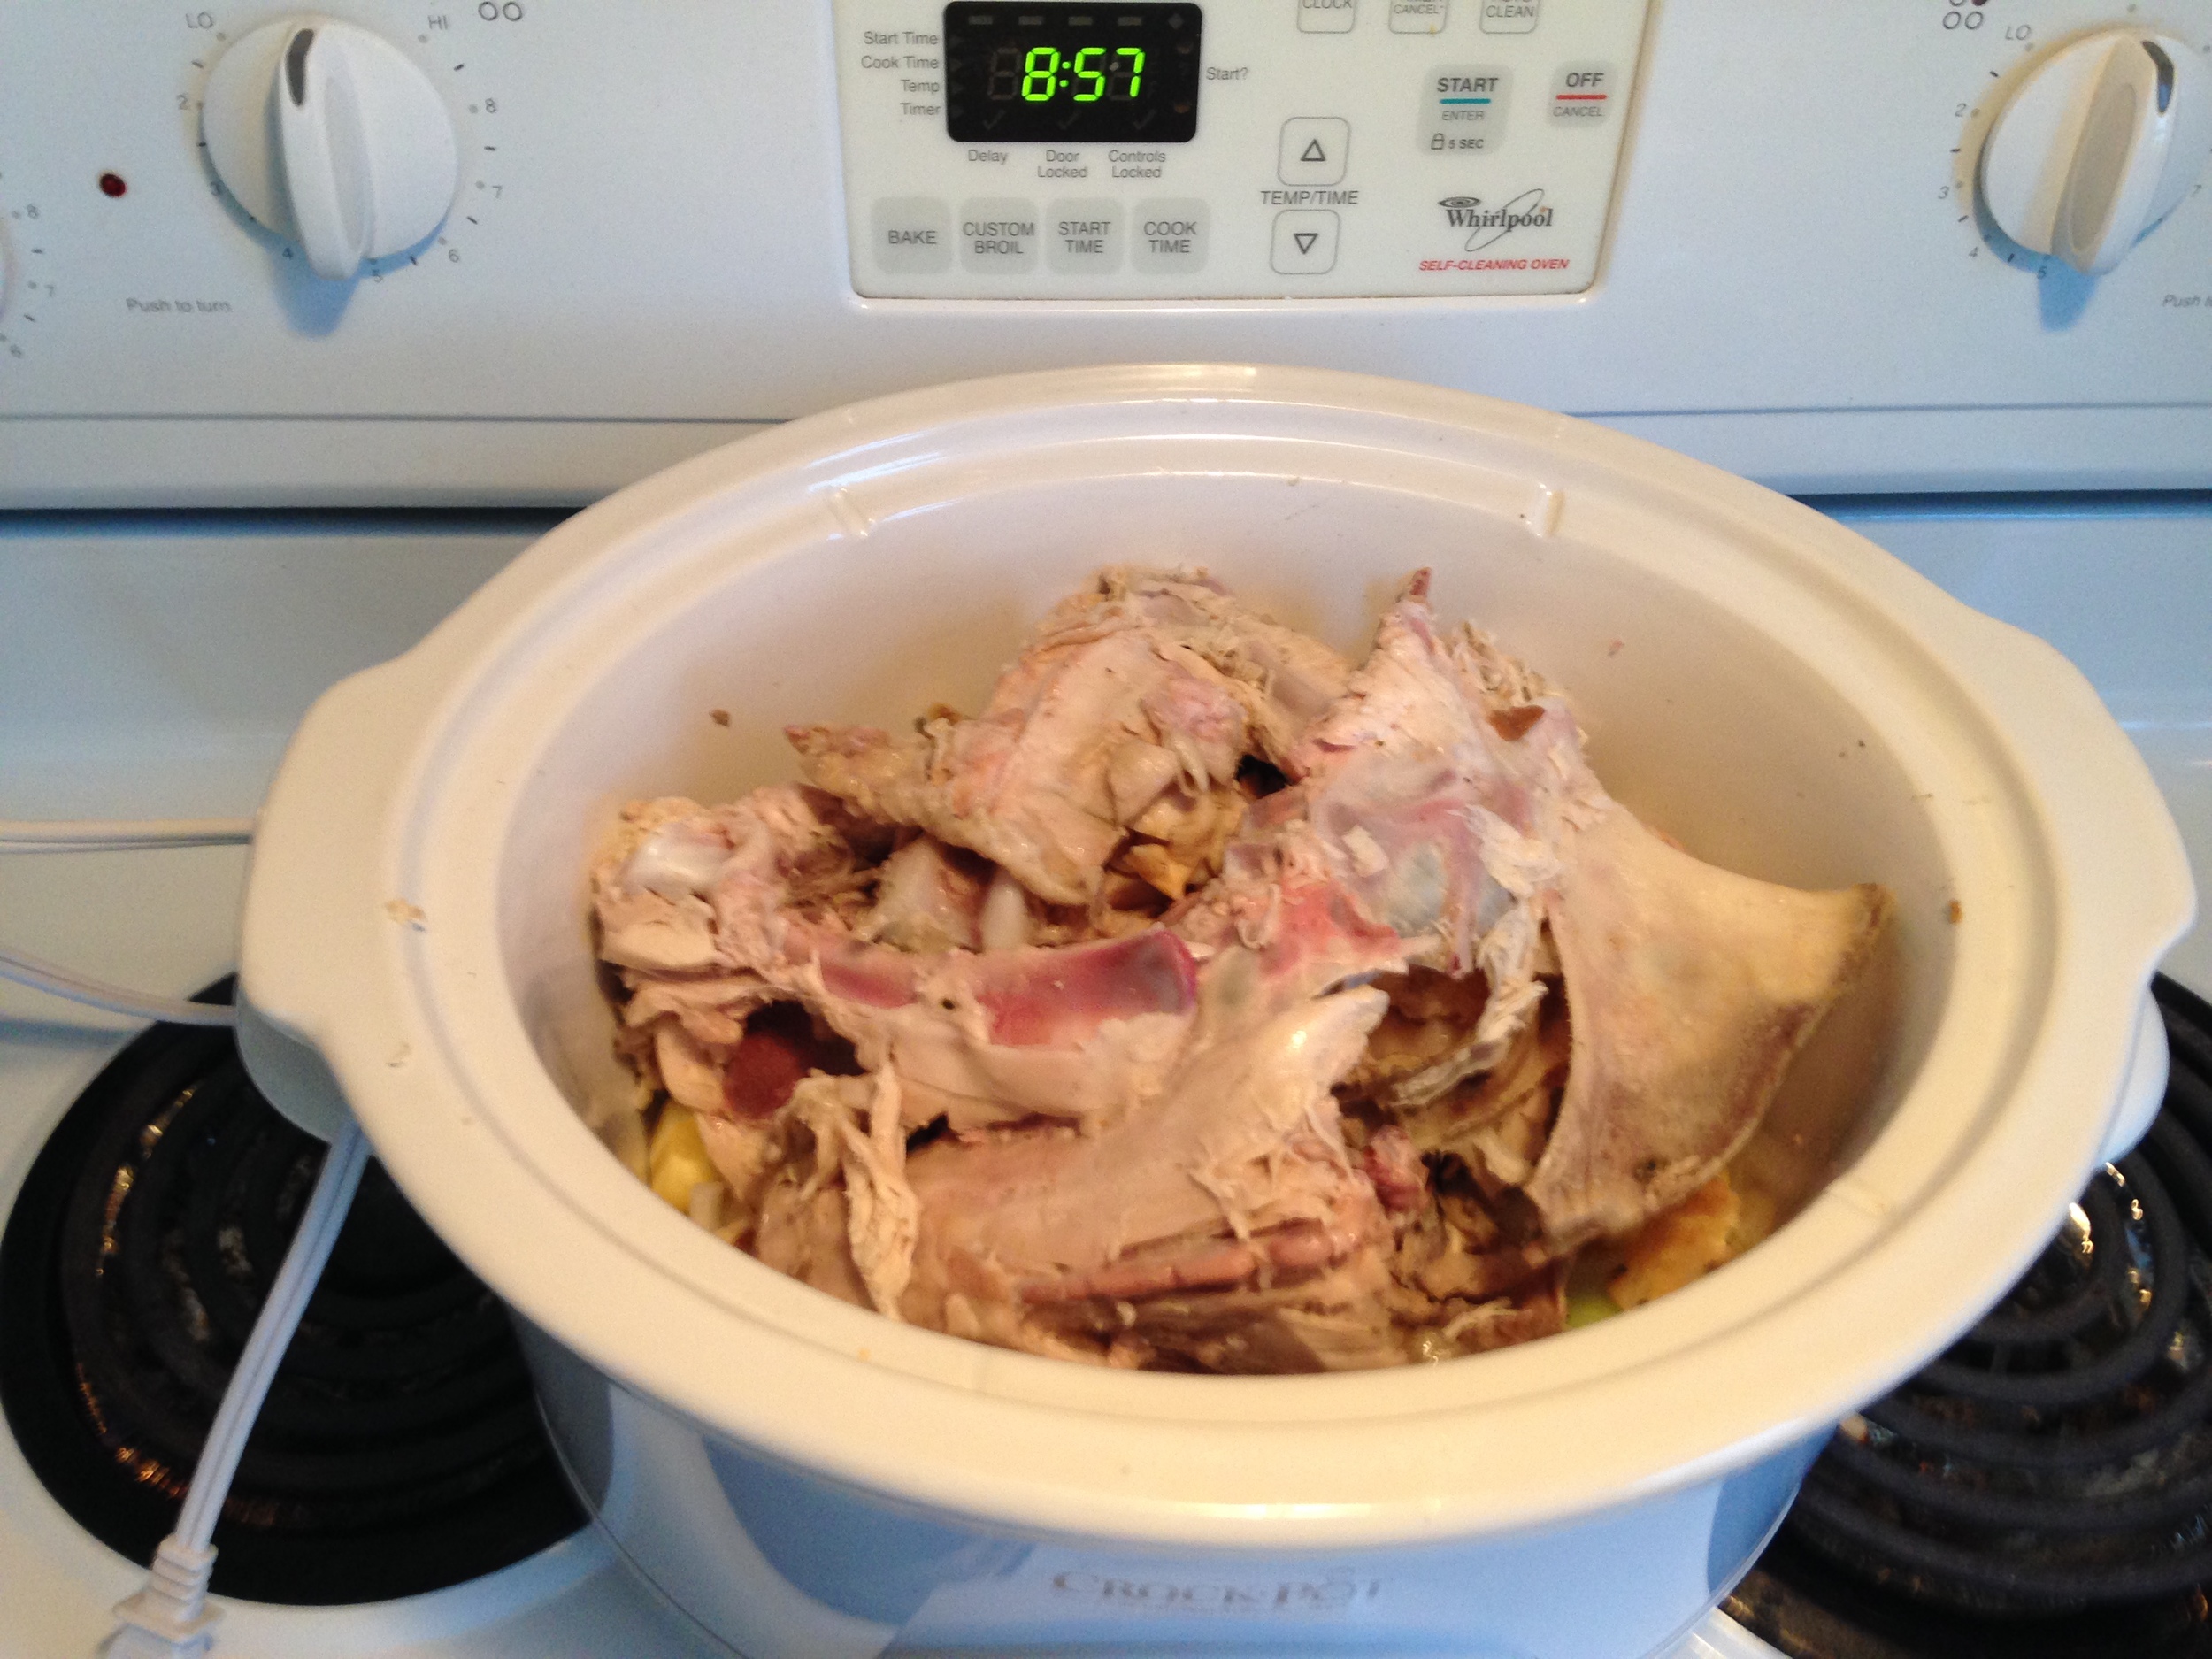
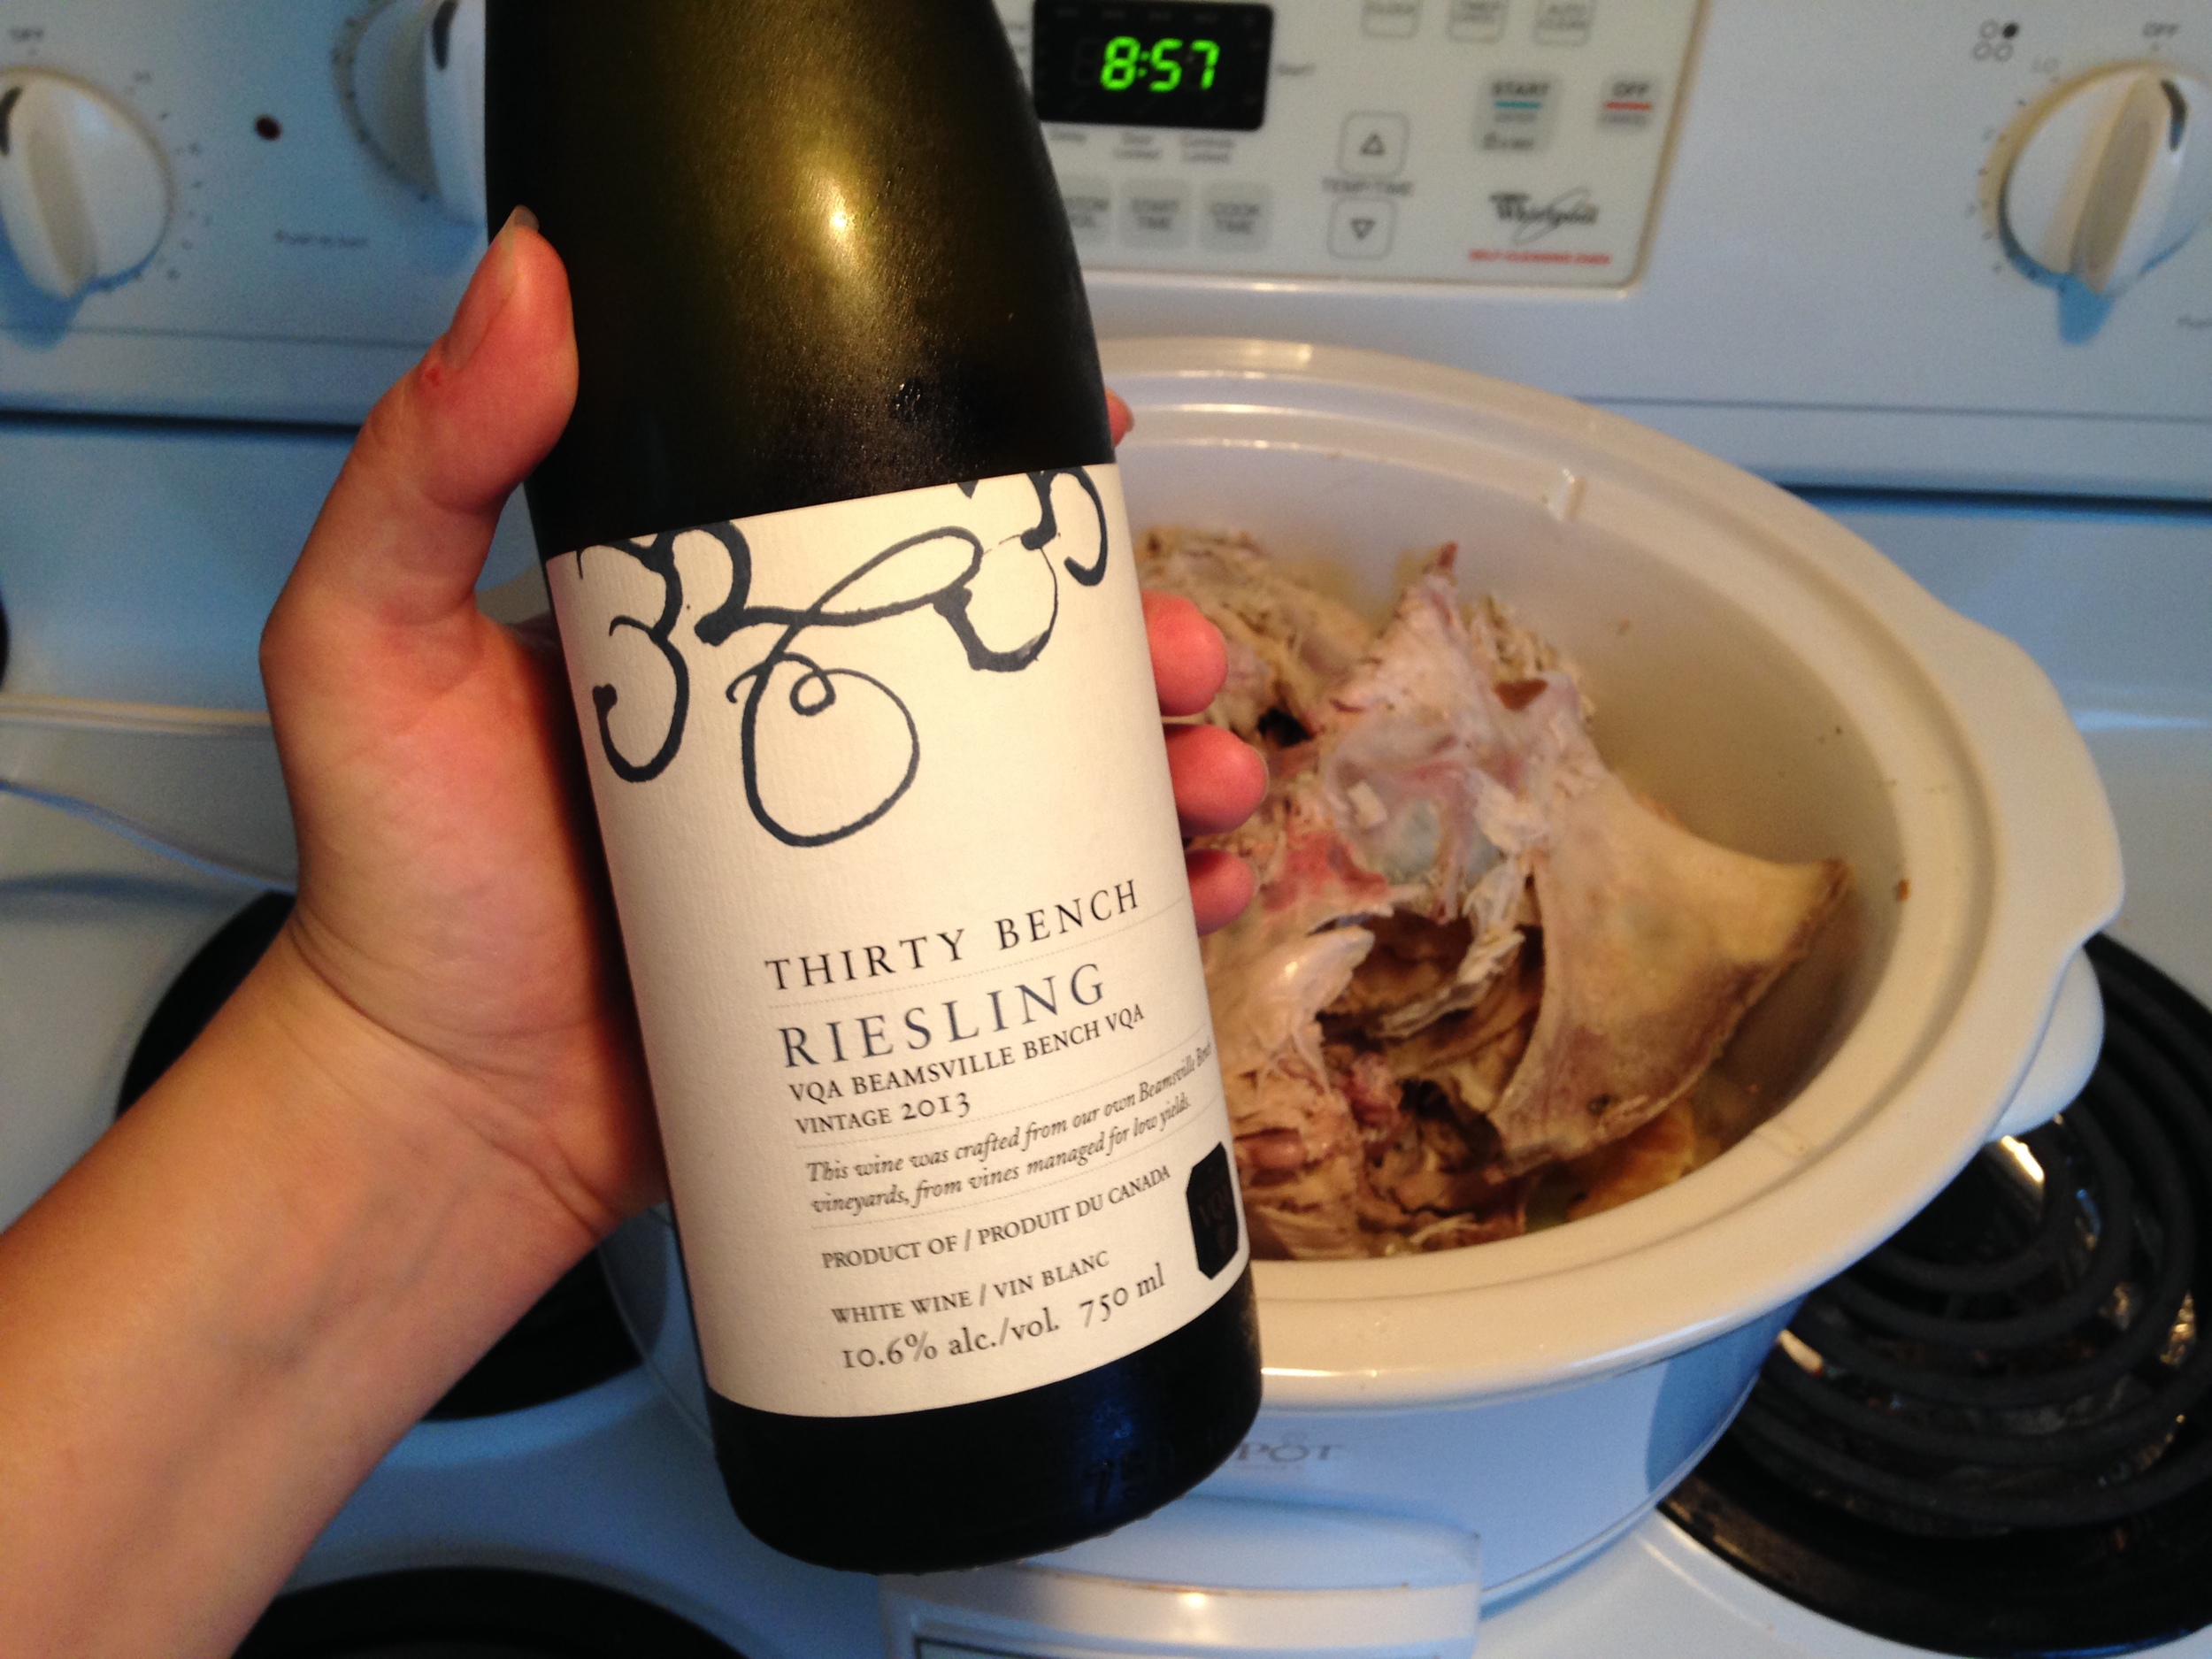
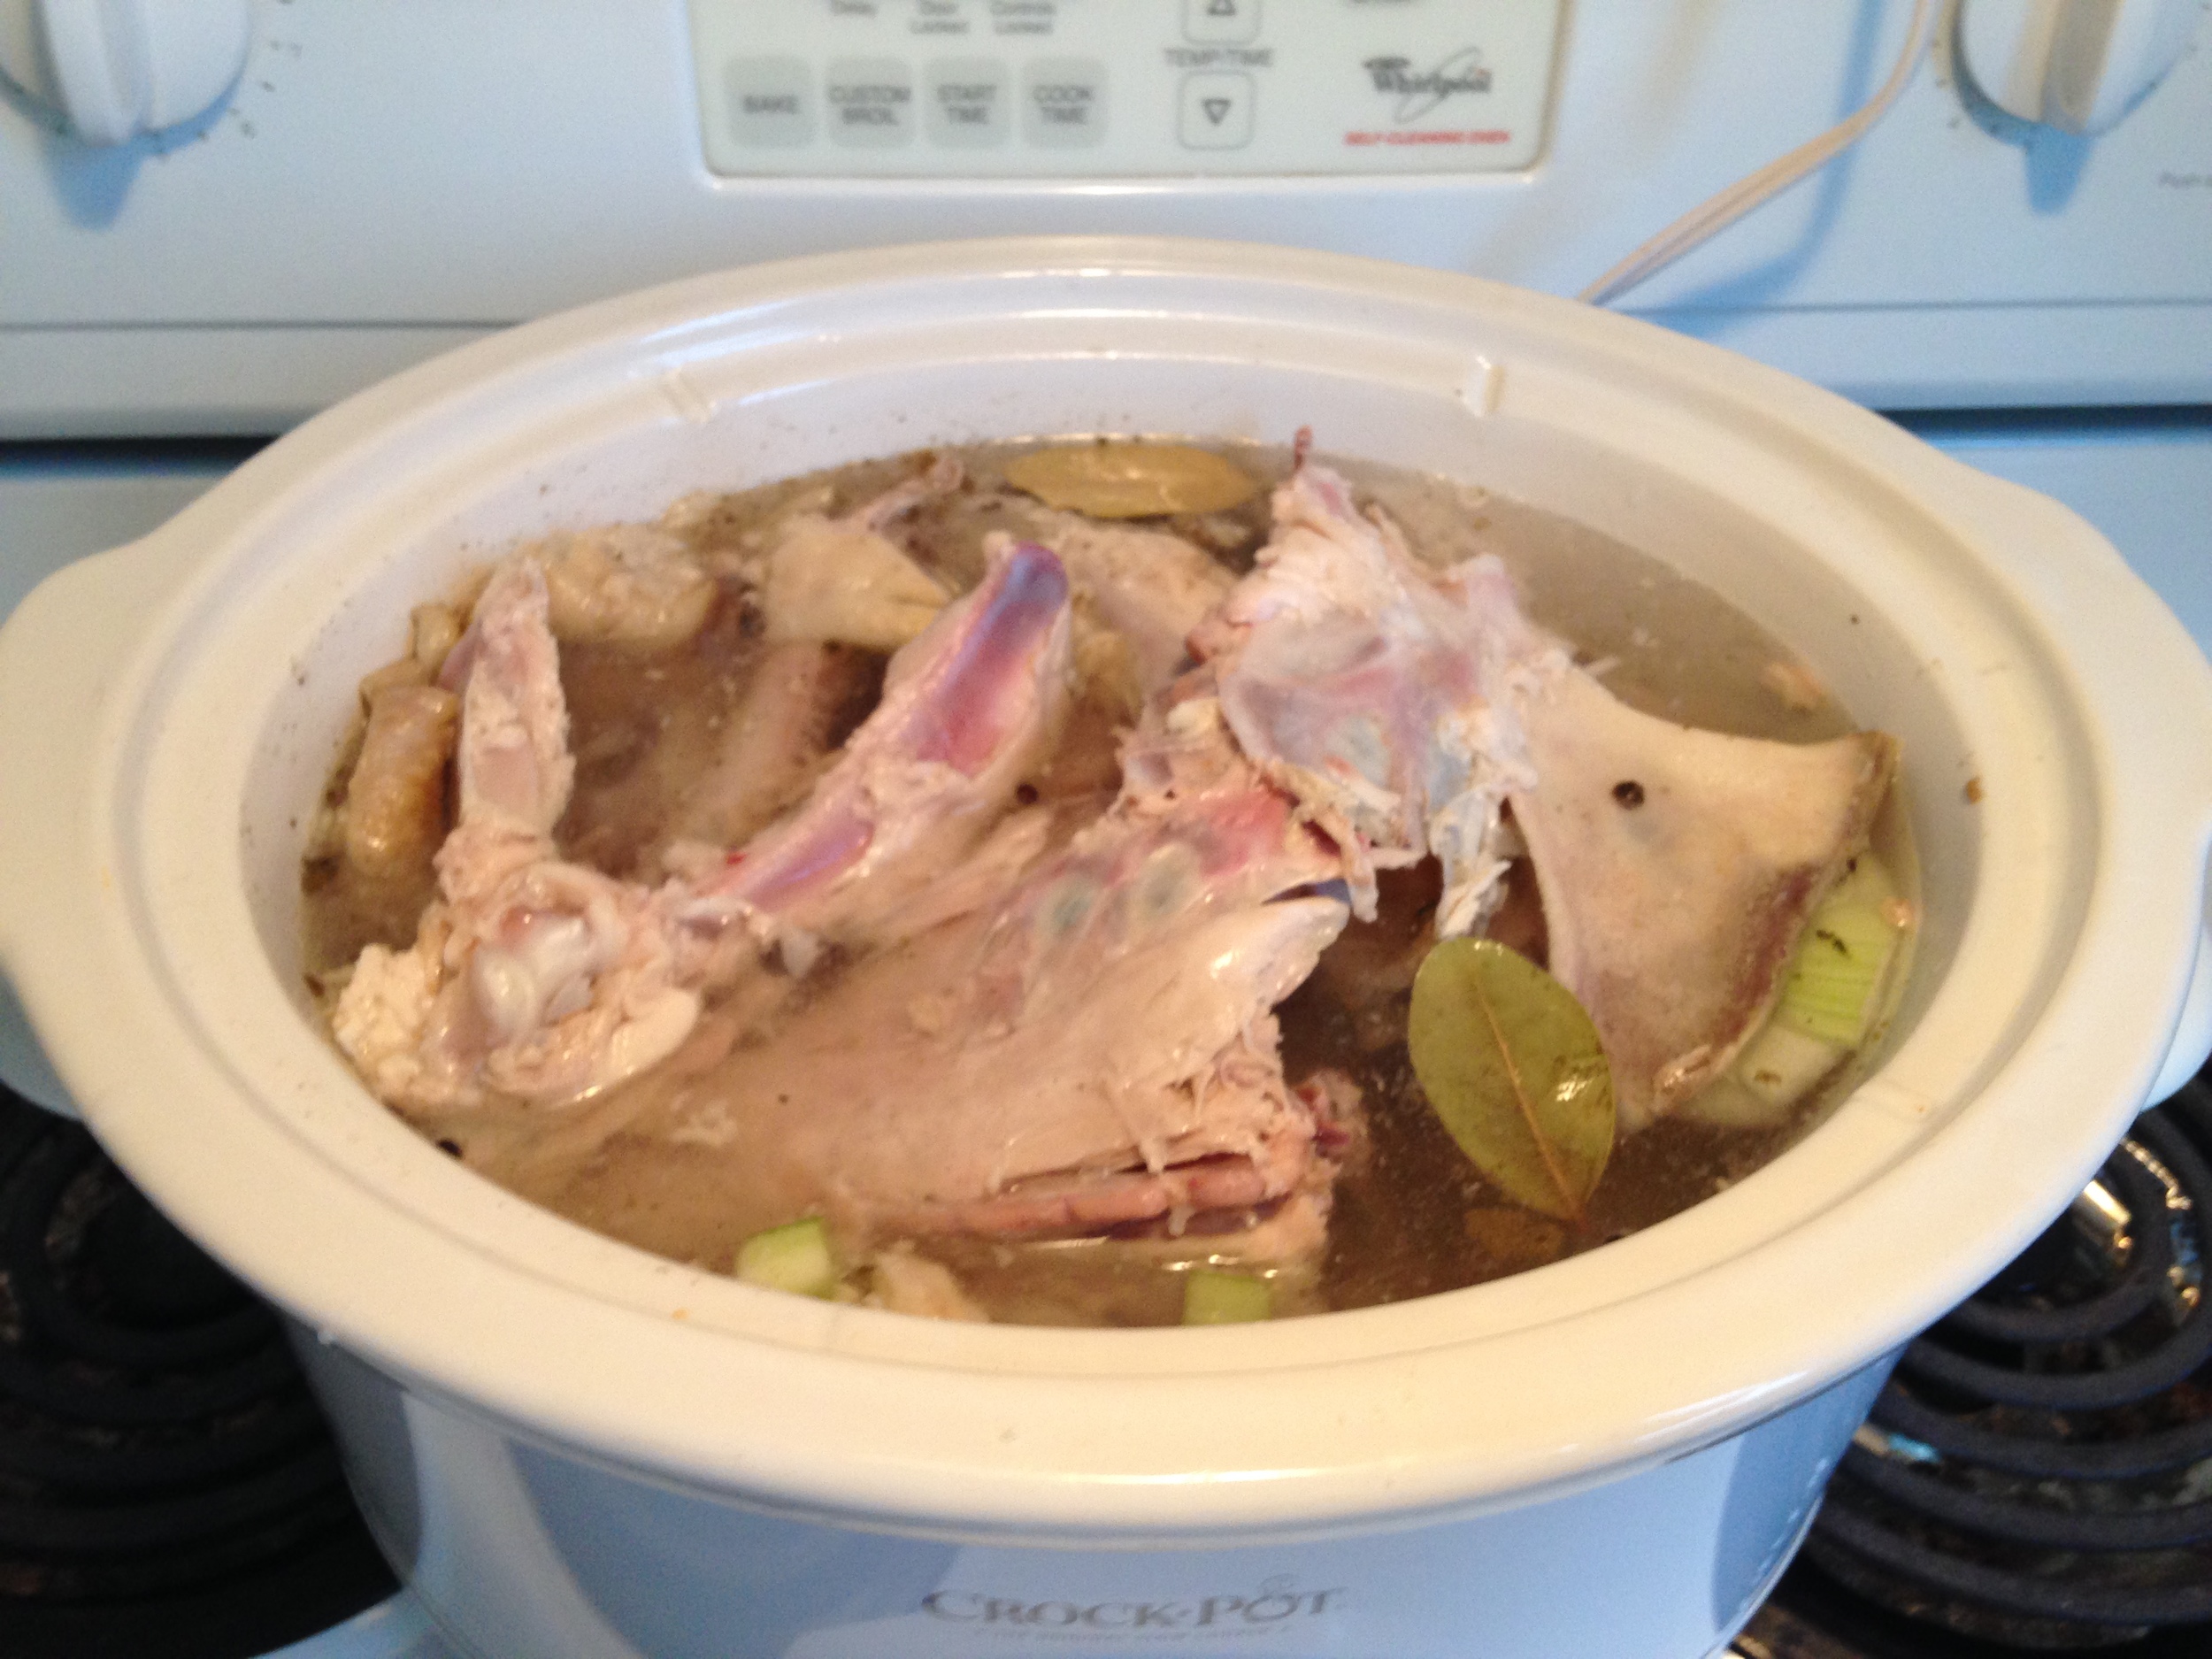
As I make the other leftover-insipred dinners I'll post them. Till then, have a peek at the stock I made. Mmm Turkey. 

-Andrea

The Half-Assed Hobbyist
Markets full of Mushrooms

Settling into the kitchen now. I went to the weekday market (held on Thursdays) and bought all the things! (And for cheap, double score!) There were these radishes that were absolutely massive. They must be grown at 0 gravity because I've never seen radishes that big before. 
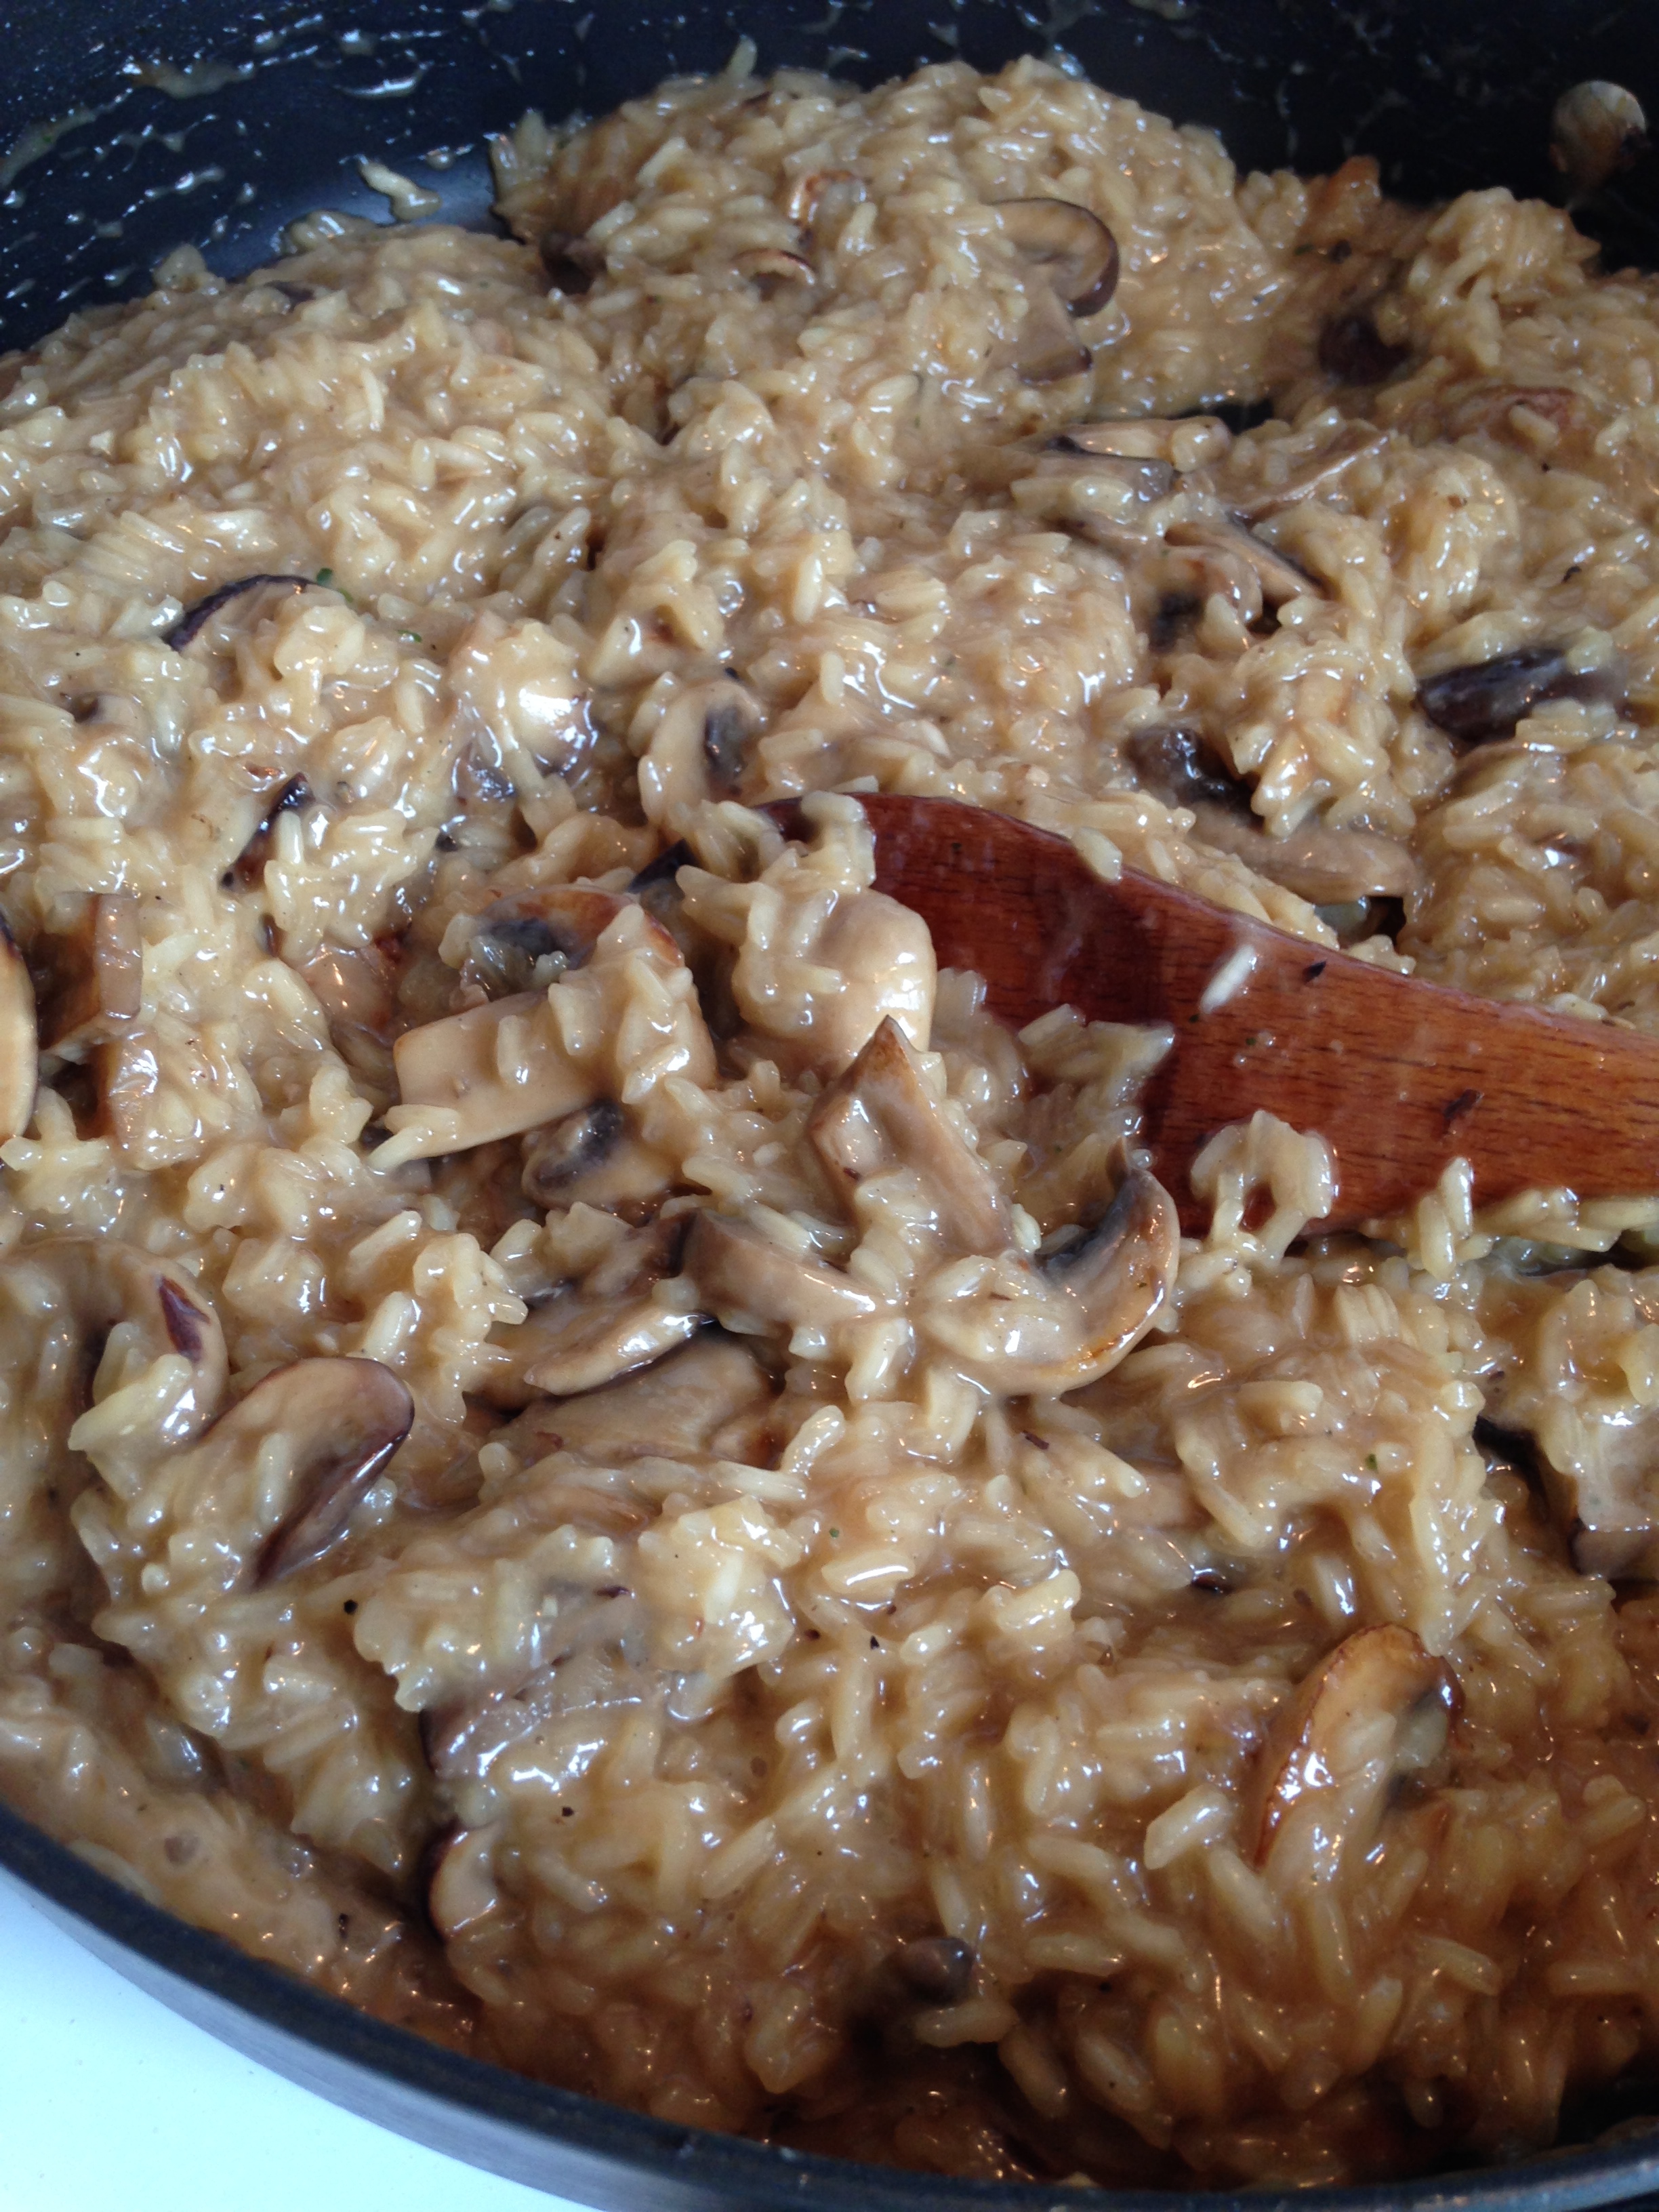
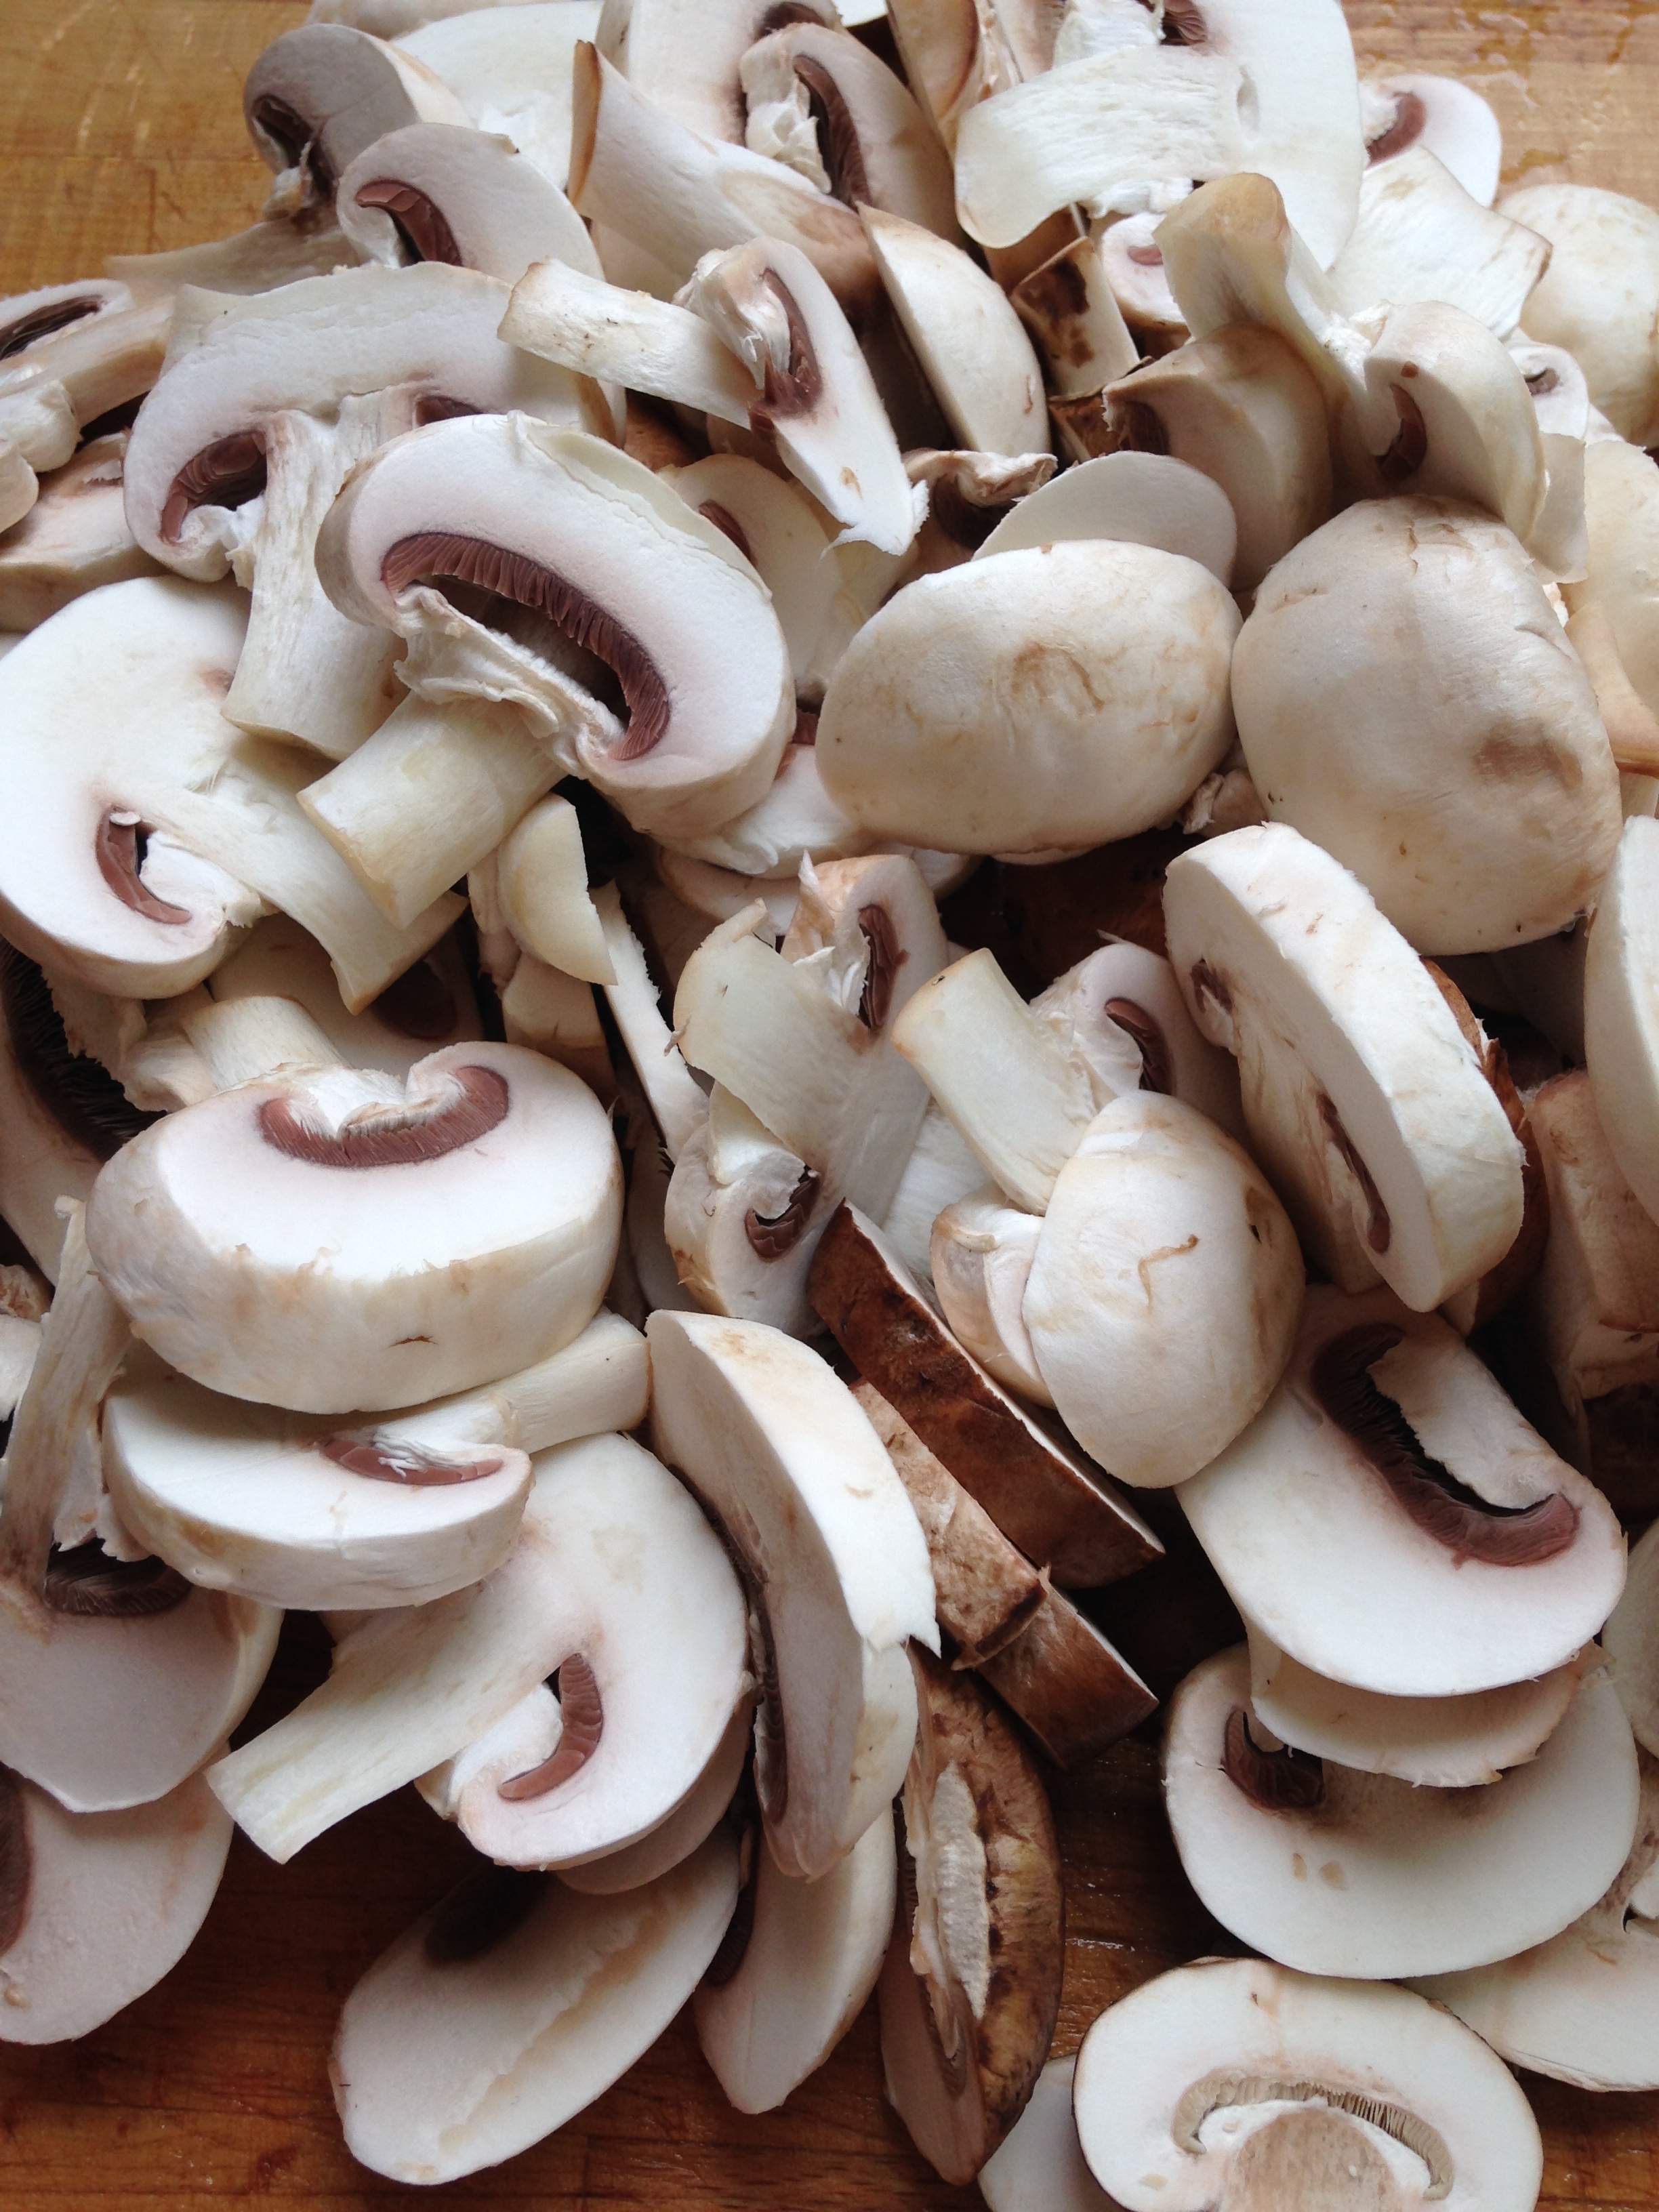
Anyway. I also bought a bunch of mushrooms and thought I'd try my hand at making a mushroom risotto. I had accidentally bought a whole bag of glutinous rice last week and what better to use it up that a ridiculously time consuming lunch! (I don't have a job yet, so why not.)

Now, I may have mentioned in previous posts how much I loath making risotto. It takes forever and is probably the most boring thing to make. Except it tastes soooo gooood. I typically order risottos at restaurants so that I get to enjoy the rice-y cheese-y deliciousness without the boredum of stirring rice constantly, for 45 minutes. But it had been a while since I tried my hand at it so my silly brain thought 'Why not?'.

Mushroom Risotto a la Andrea

2 TBSP oil
1/4 white onion, finely chopped
1 tsp garlic, minced
18 mushrooms, sliced thick
2 tsp Worchestershire Sauce
Fresh ground pepper
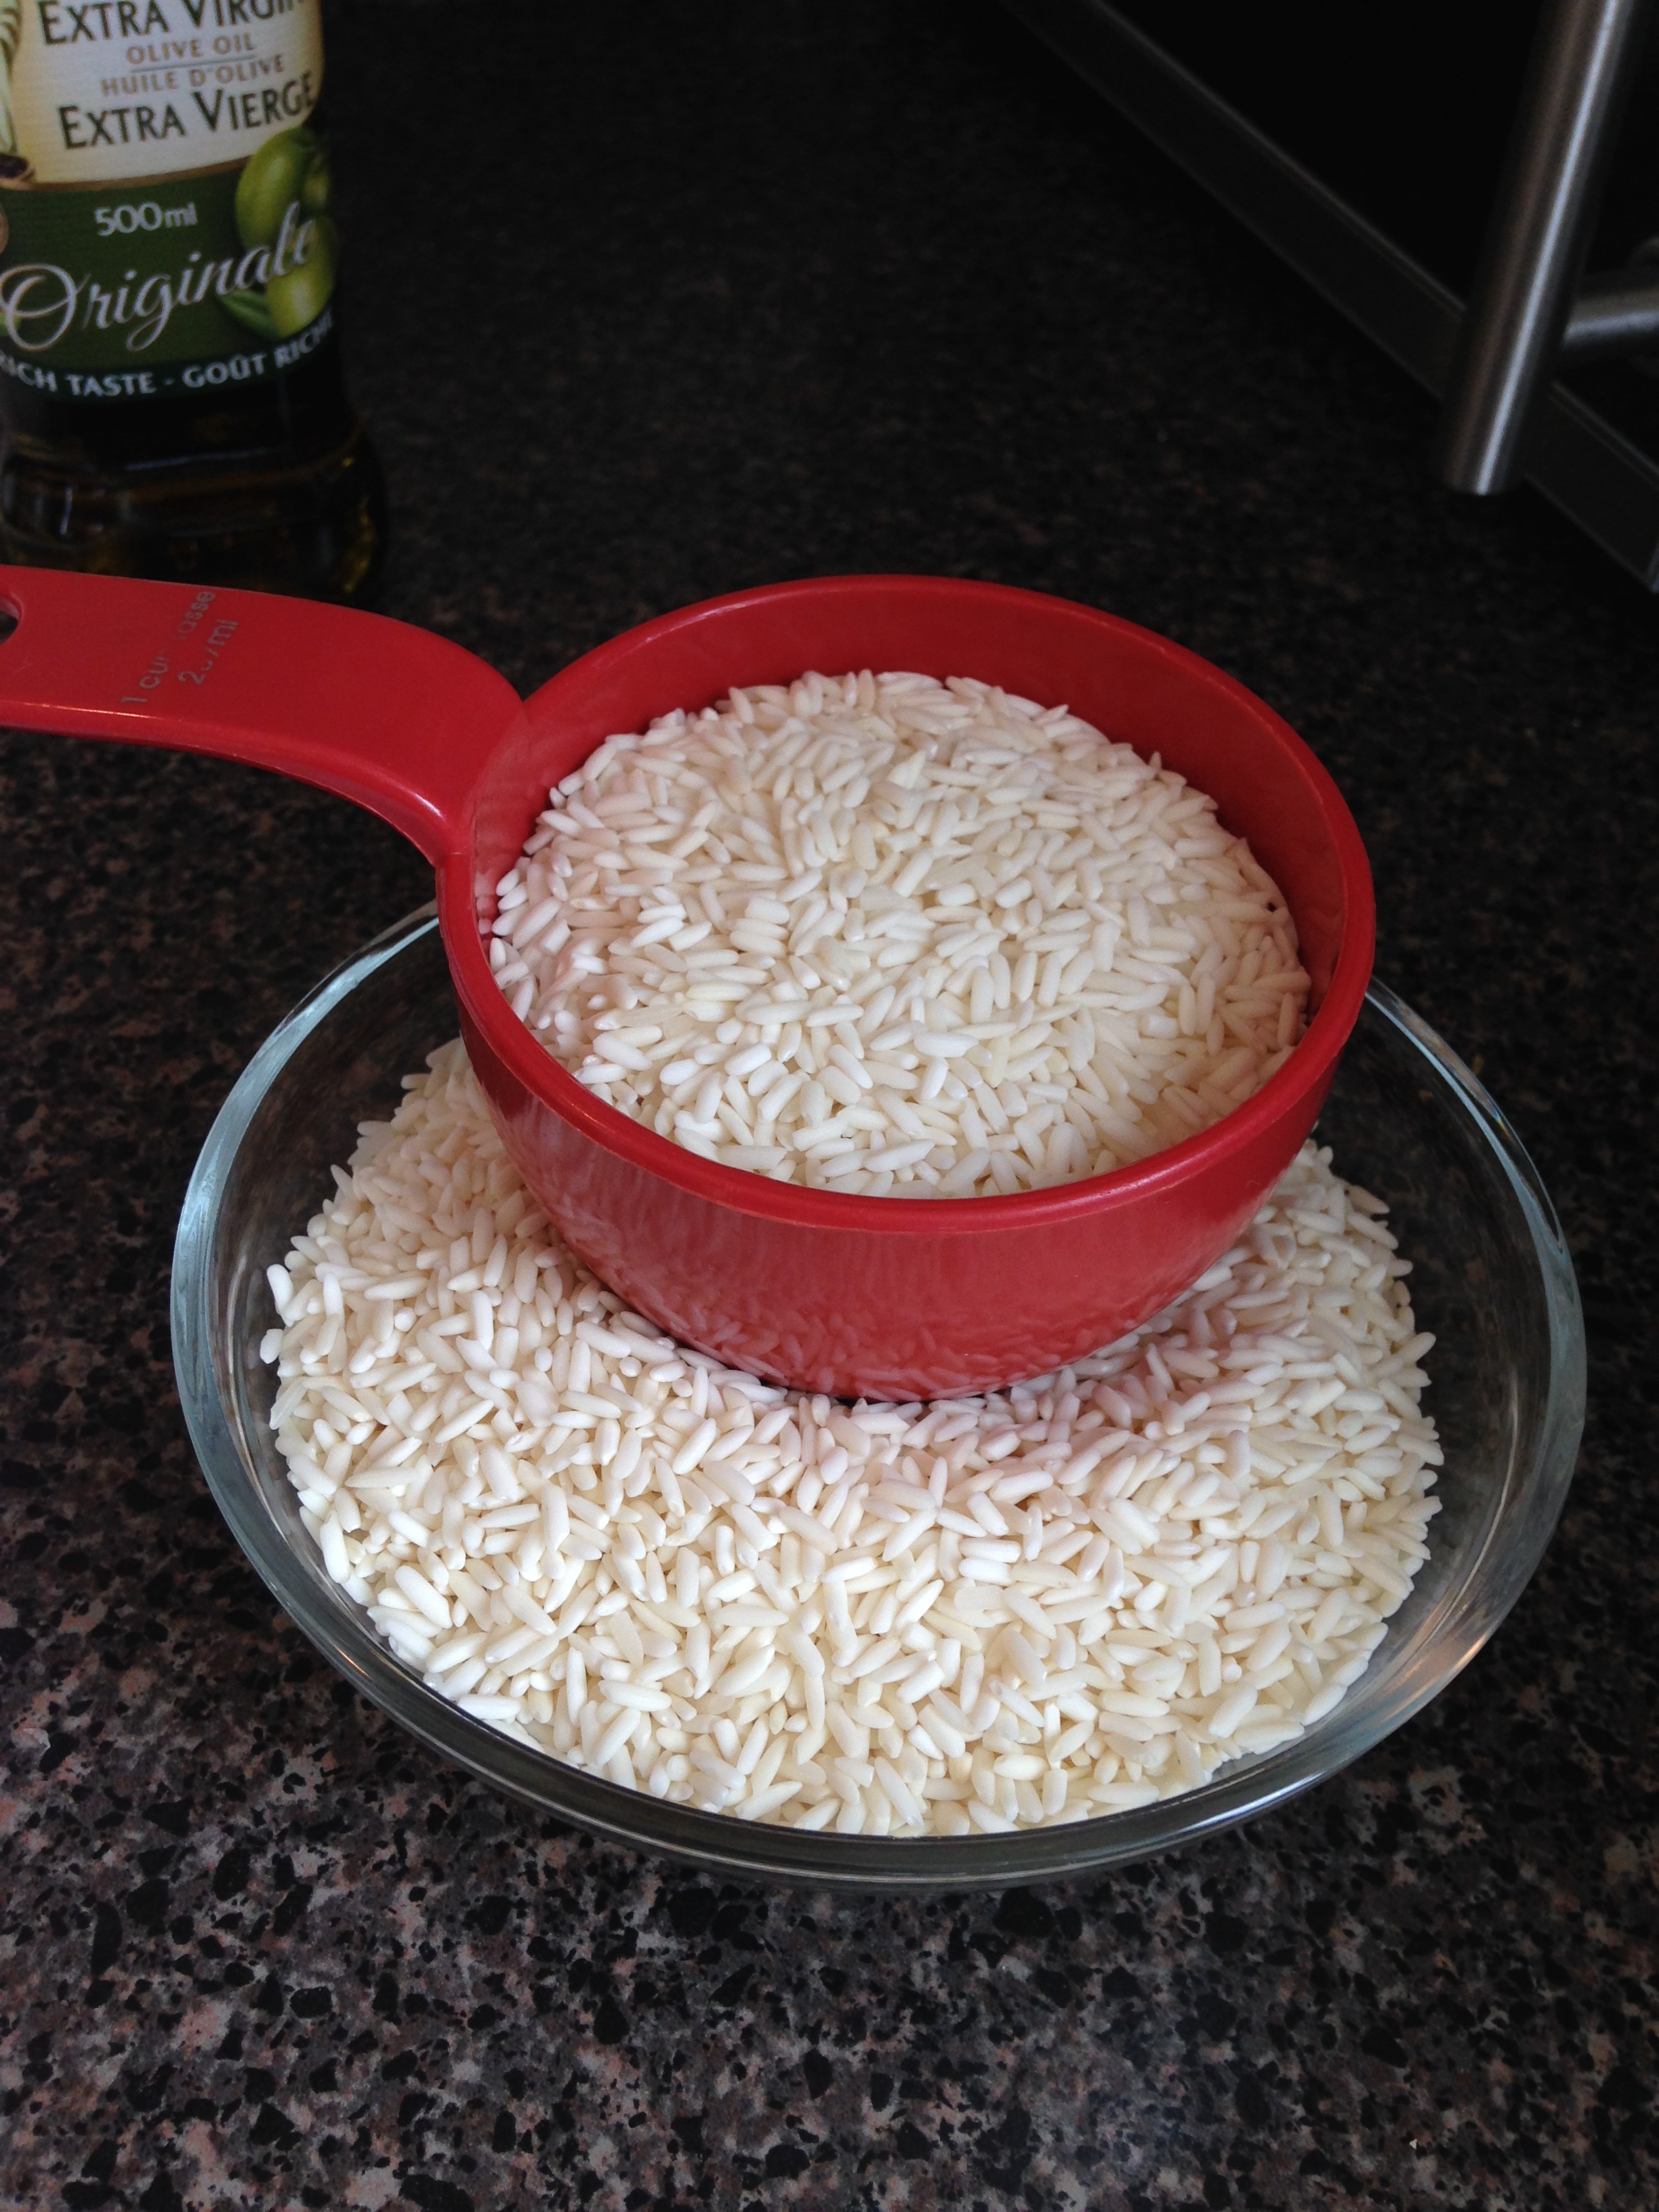
2 cups glutinous rice
6 cups broth, simmering (I did chicken broth but beef or vegetable works too!)
1/2 cup sharp cheddar cheese, shredded

  1. Wash, slice and chop all the things. 
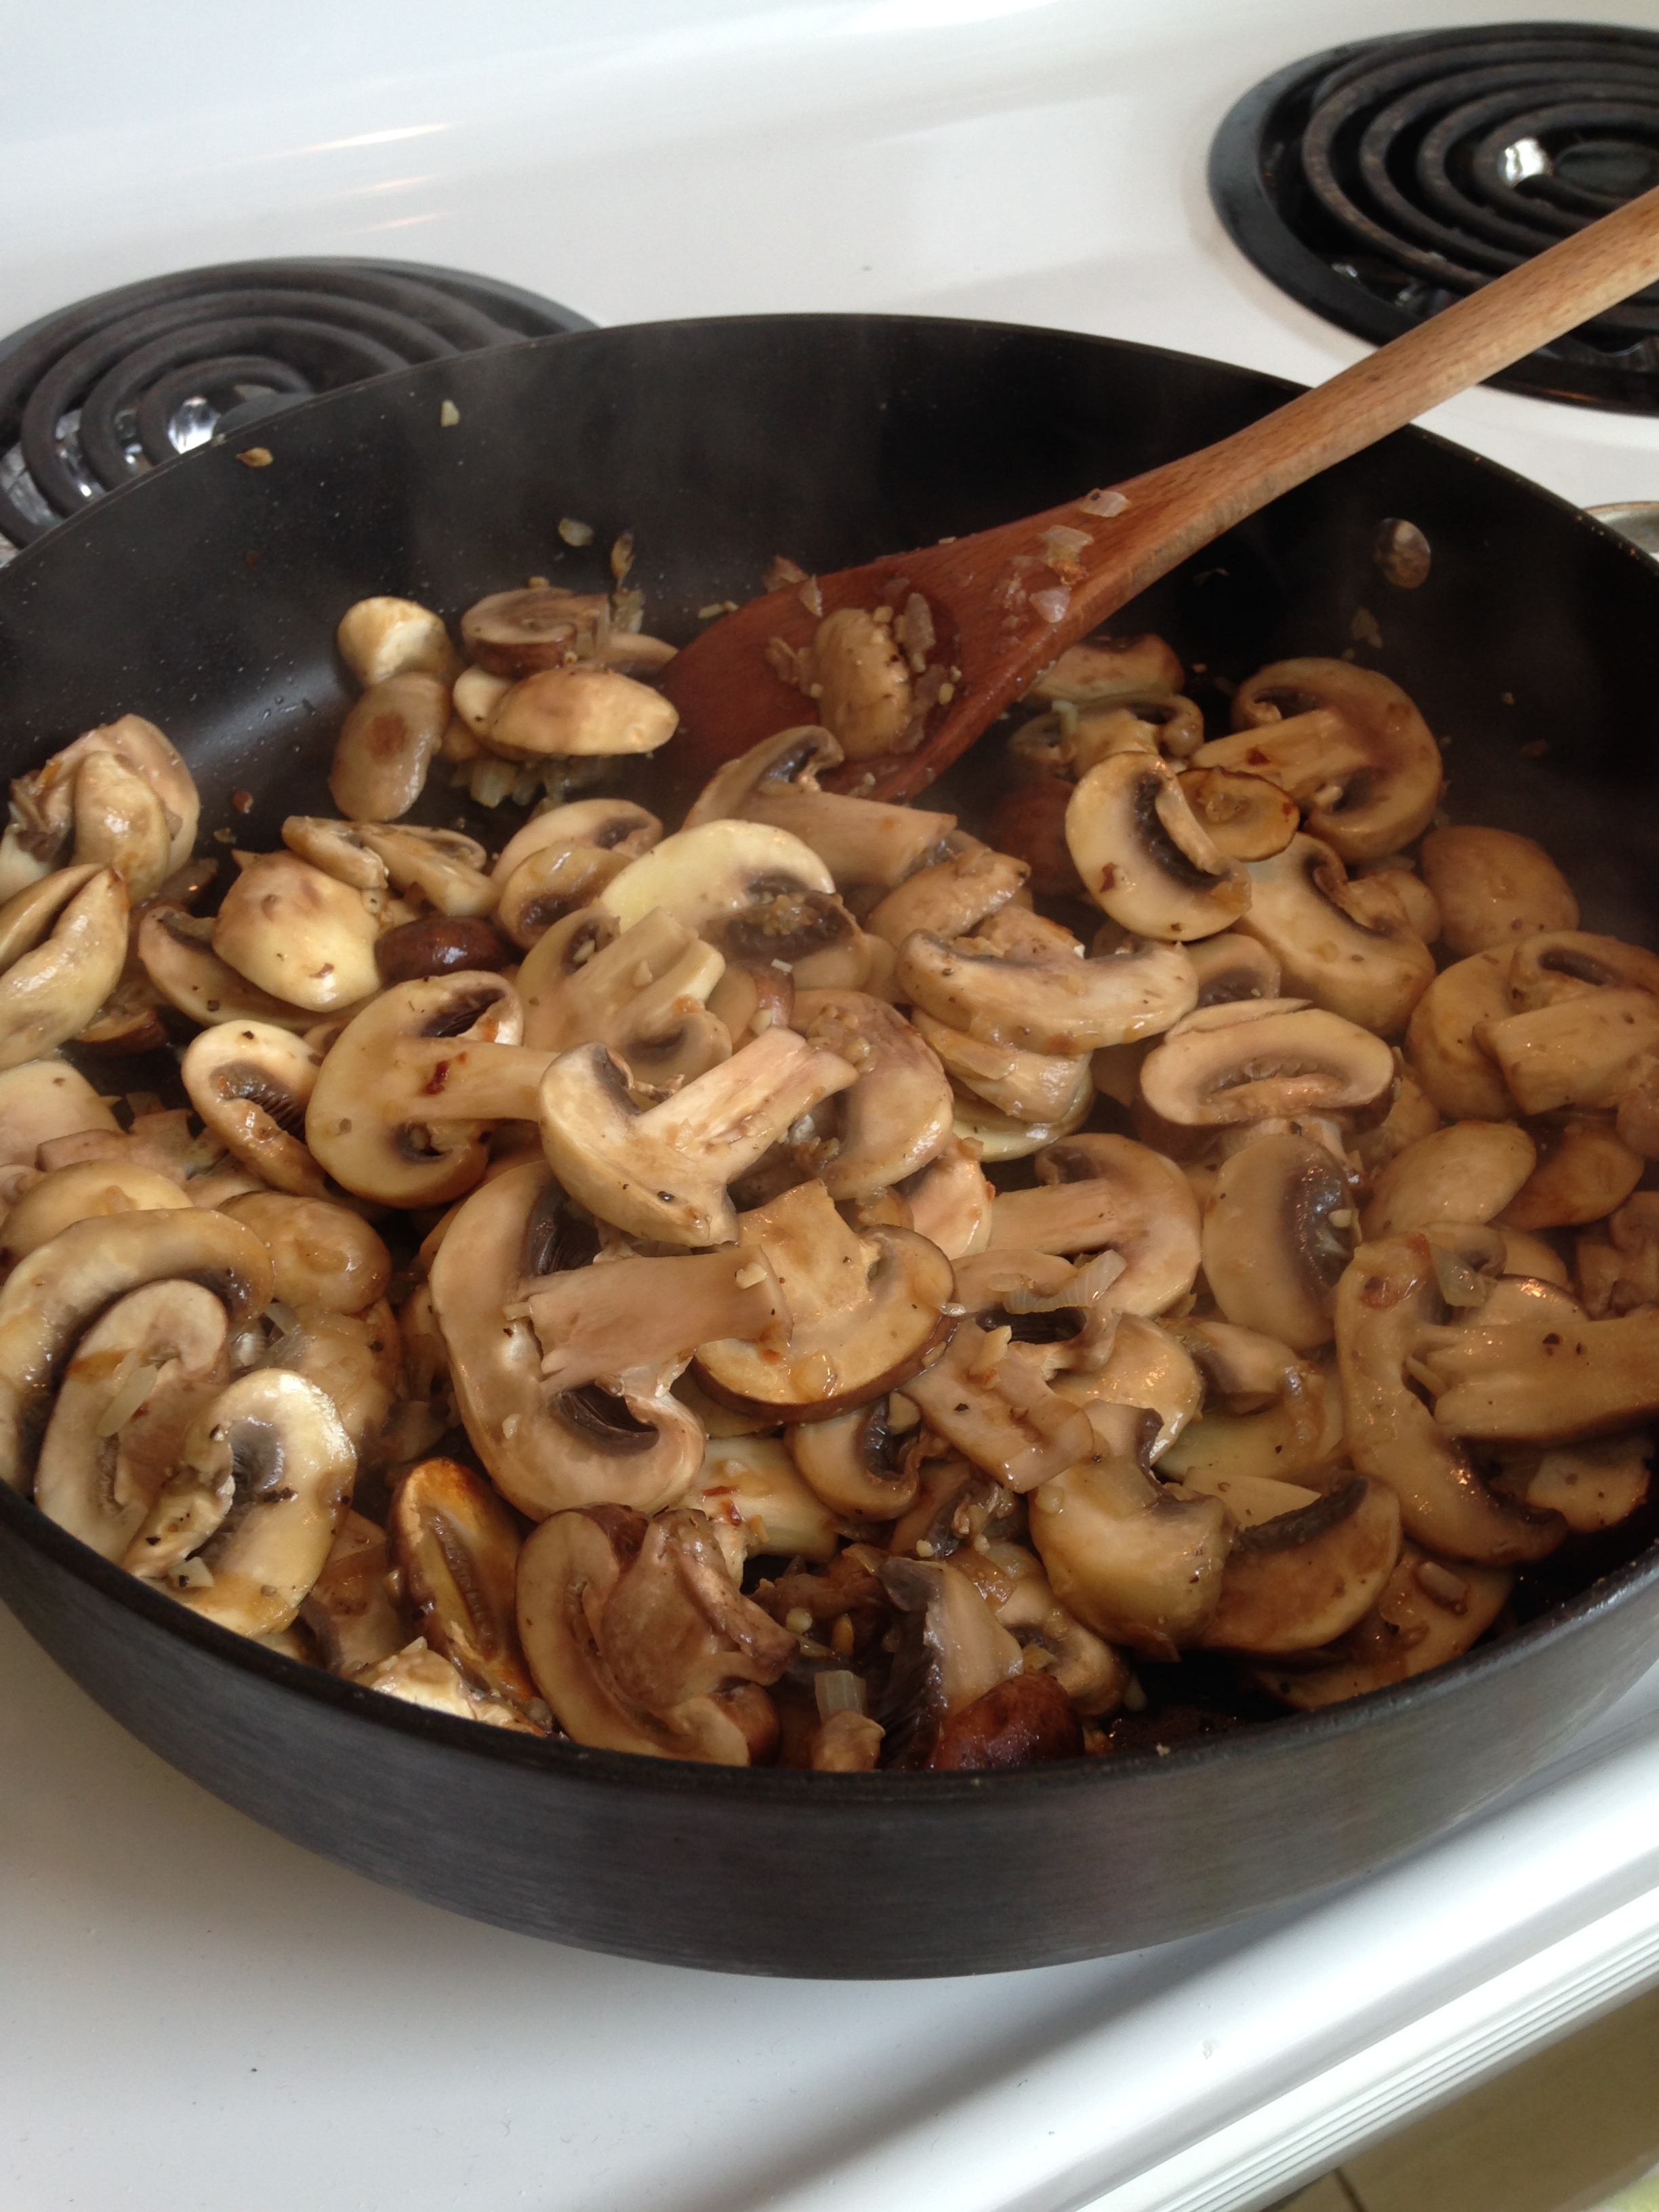
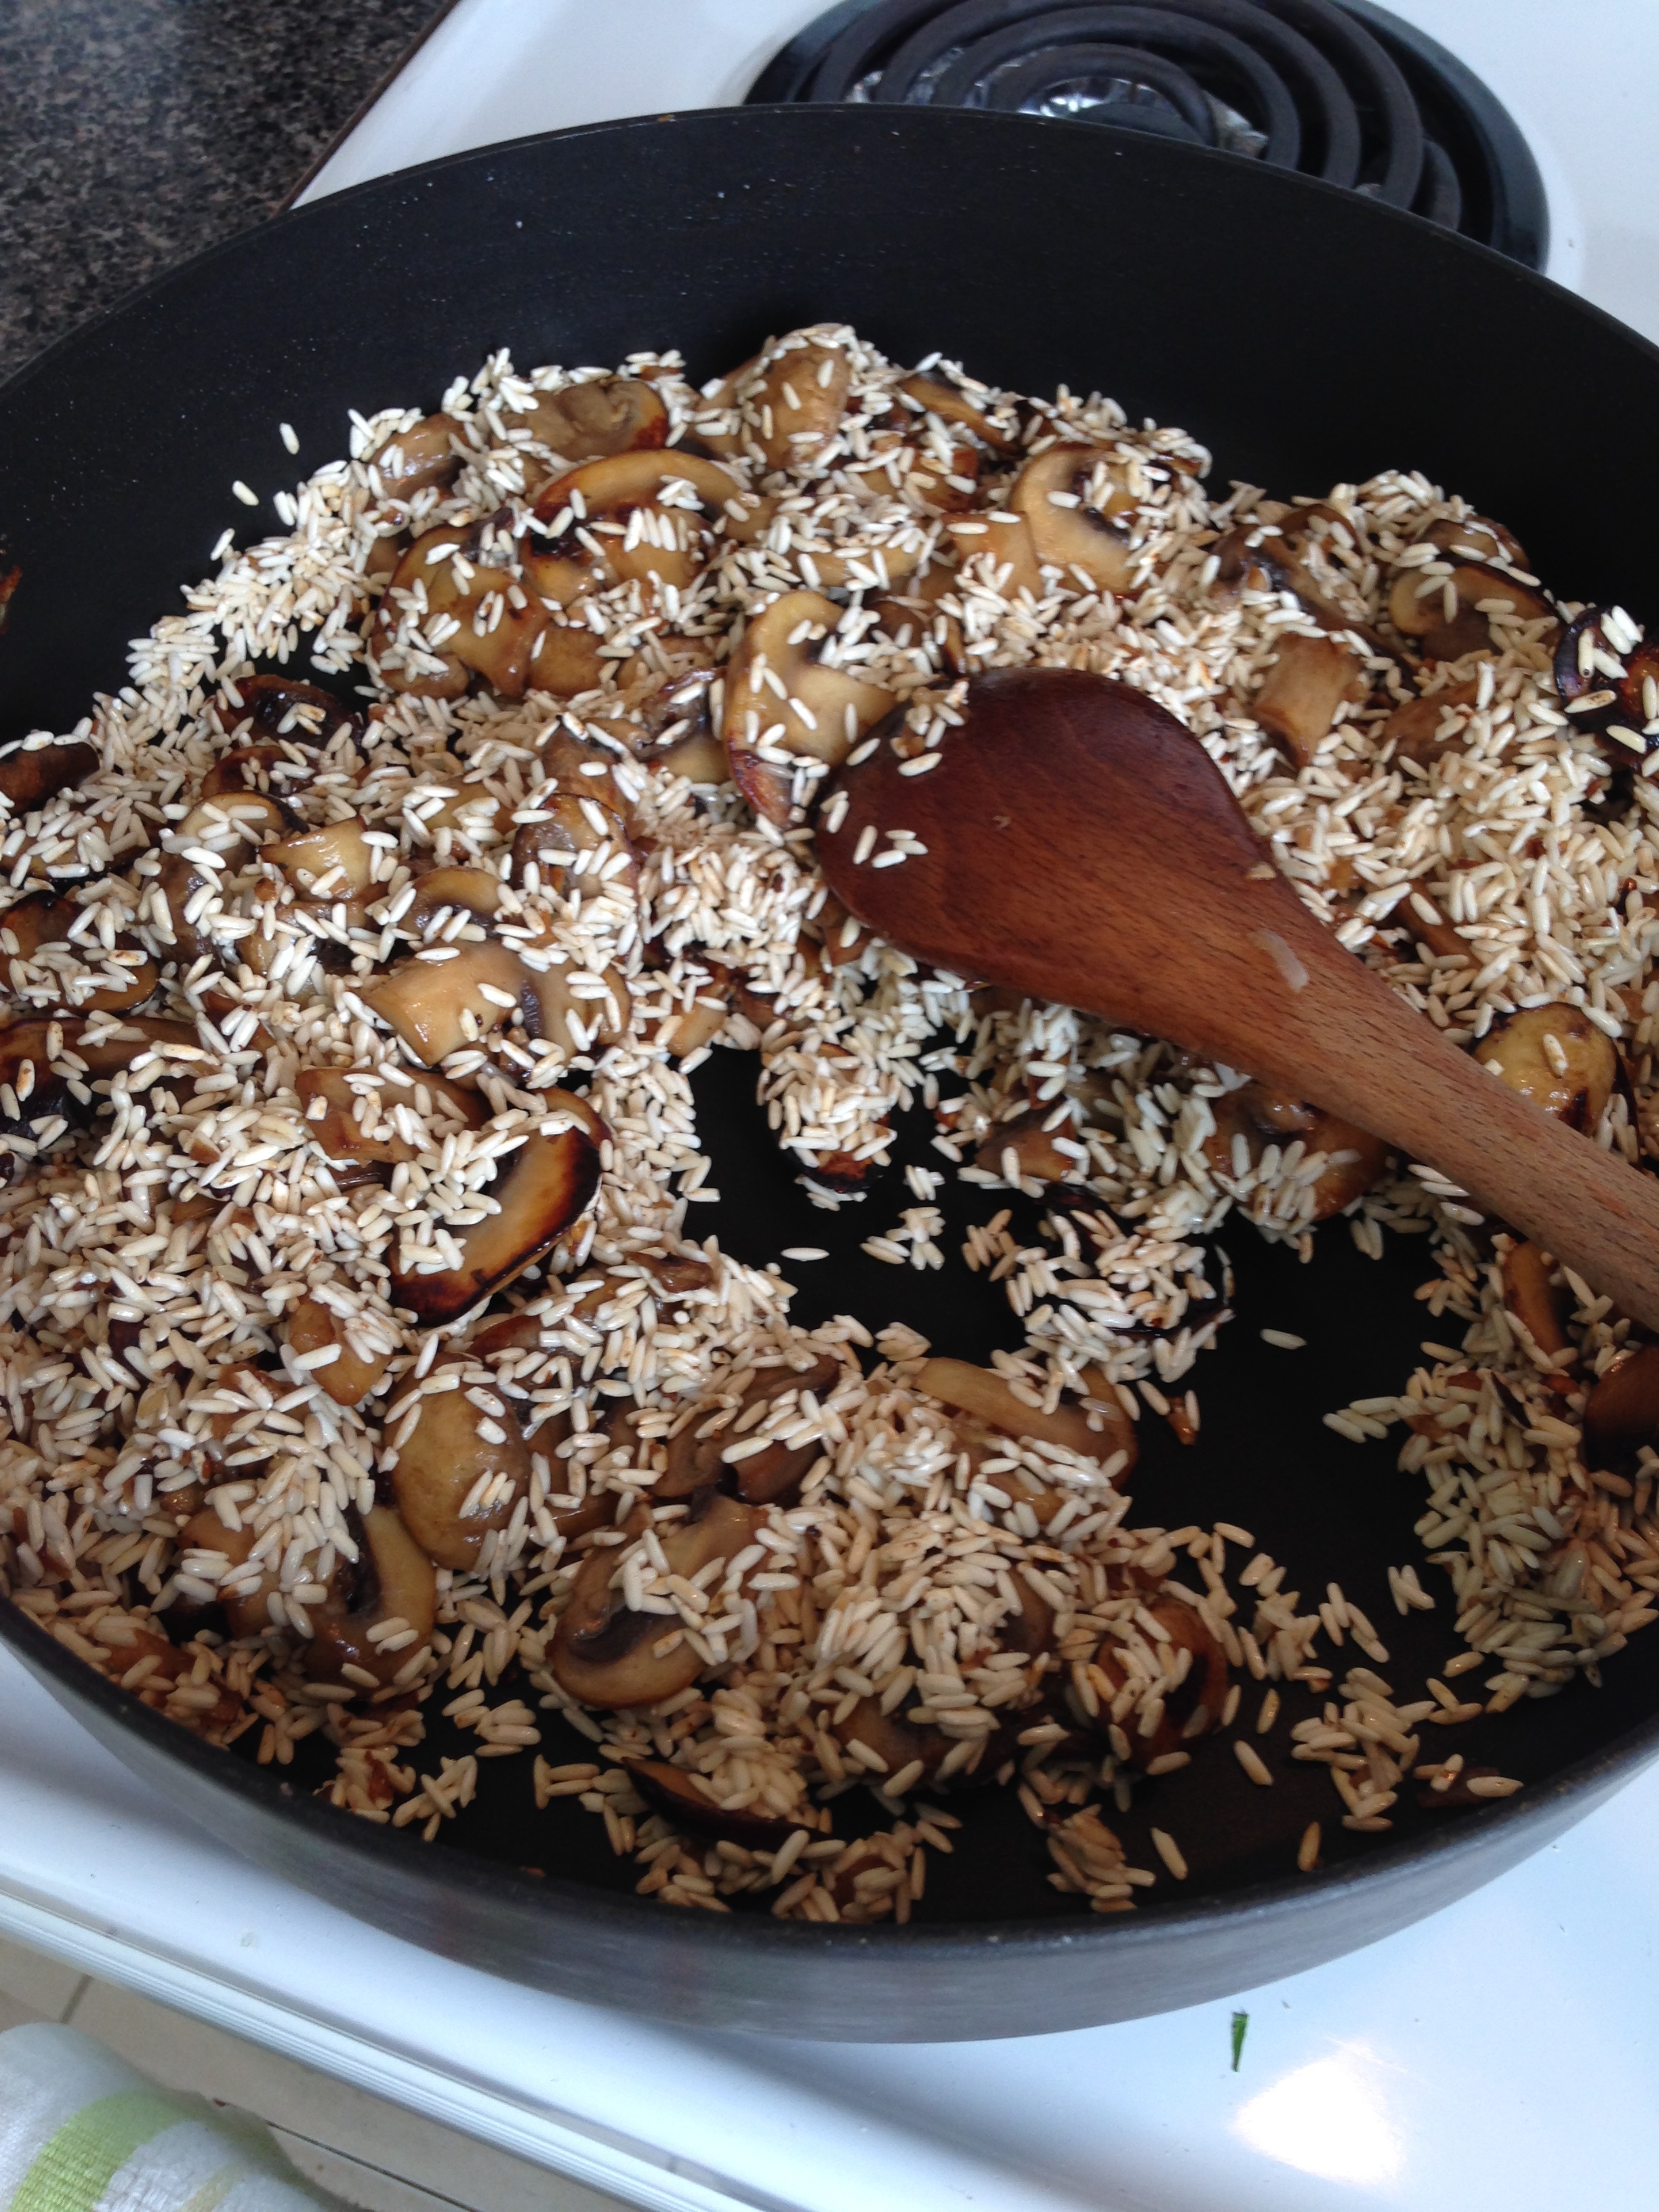
  2. In a large skillet or frying pan, heat oil over med-high heat. Add onion and fry until clear. Add garlic and mushrooms. Stir well to coat all mushrooms in oil. Add Worcestershire sauce and fresh ground pepper (to your liking). Cook mushrooms, stirring frequently, until they are golden brown. (This can take up to a half hour.)
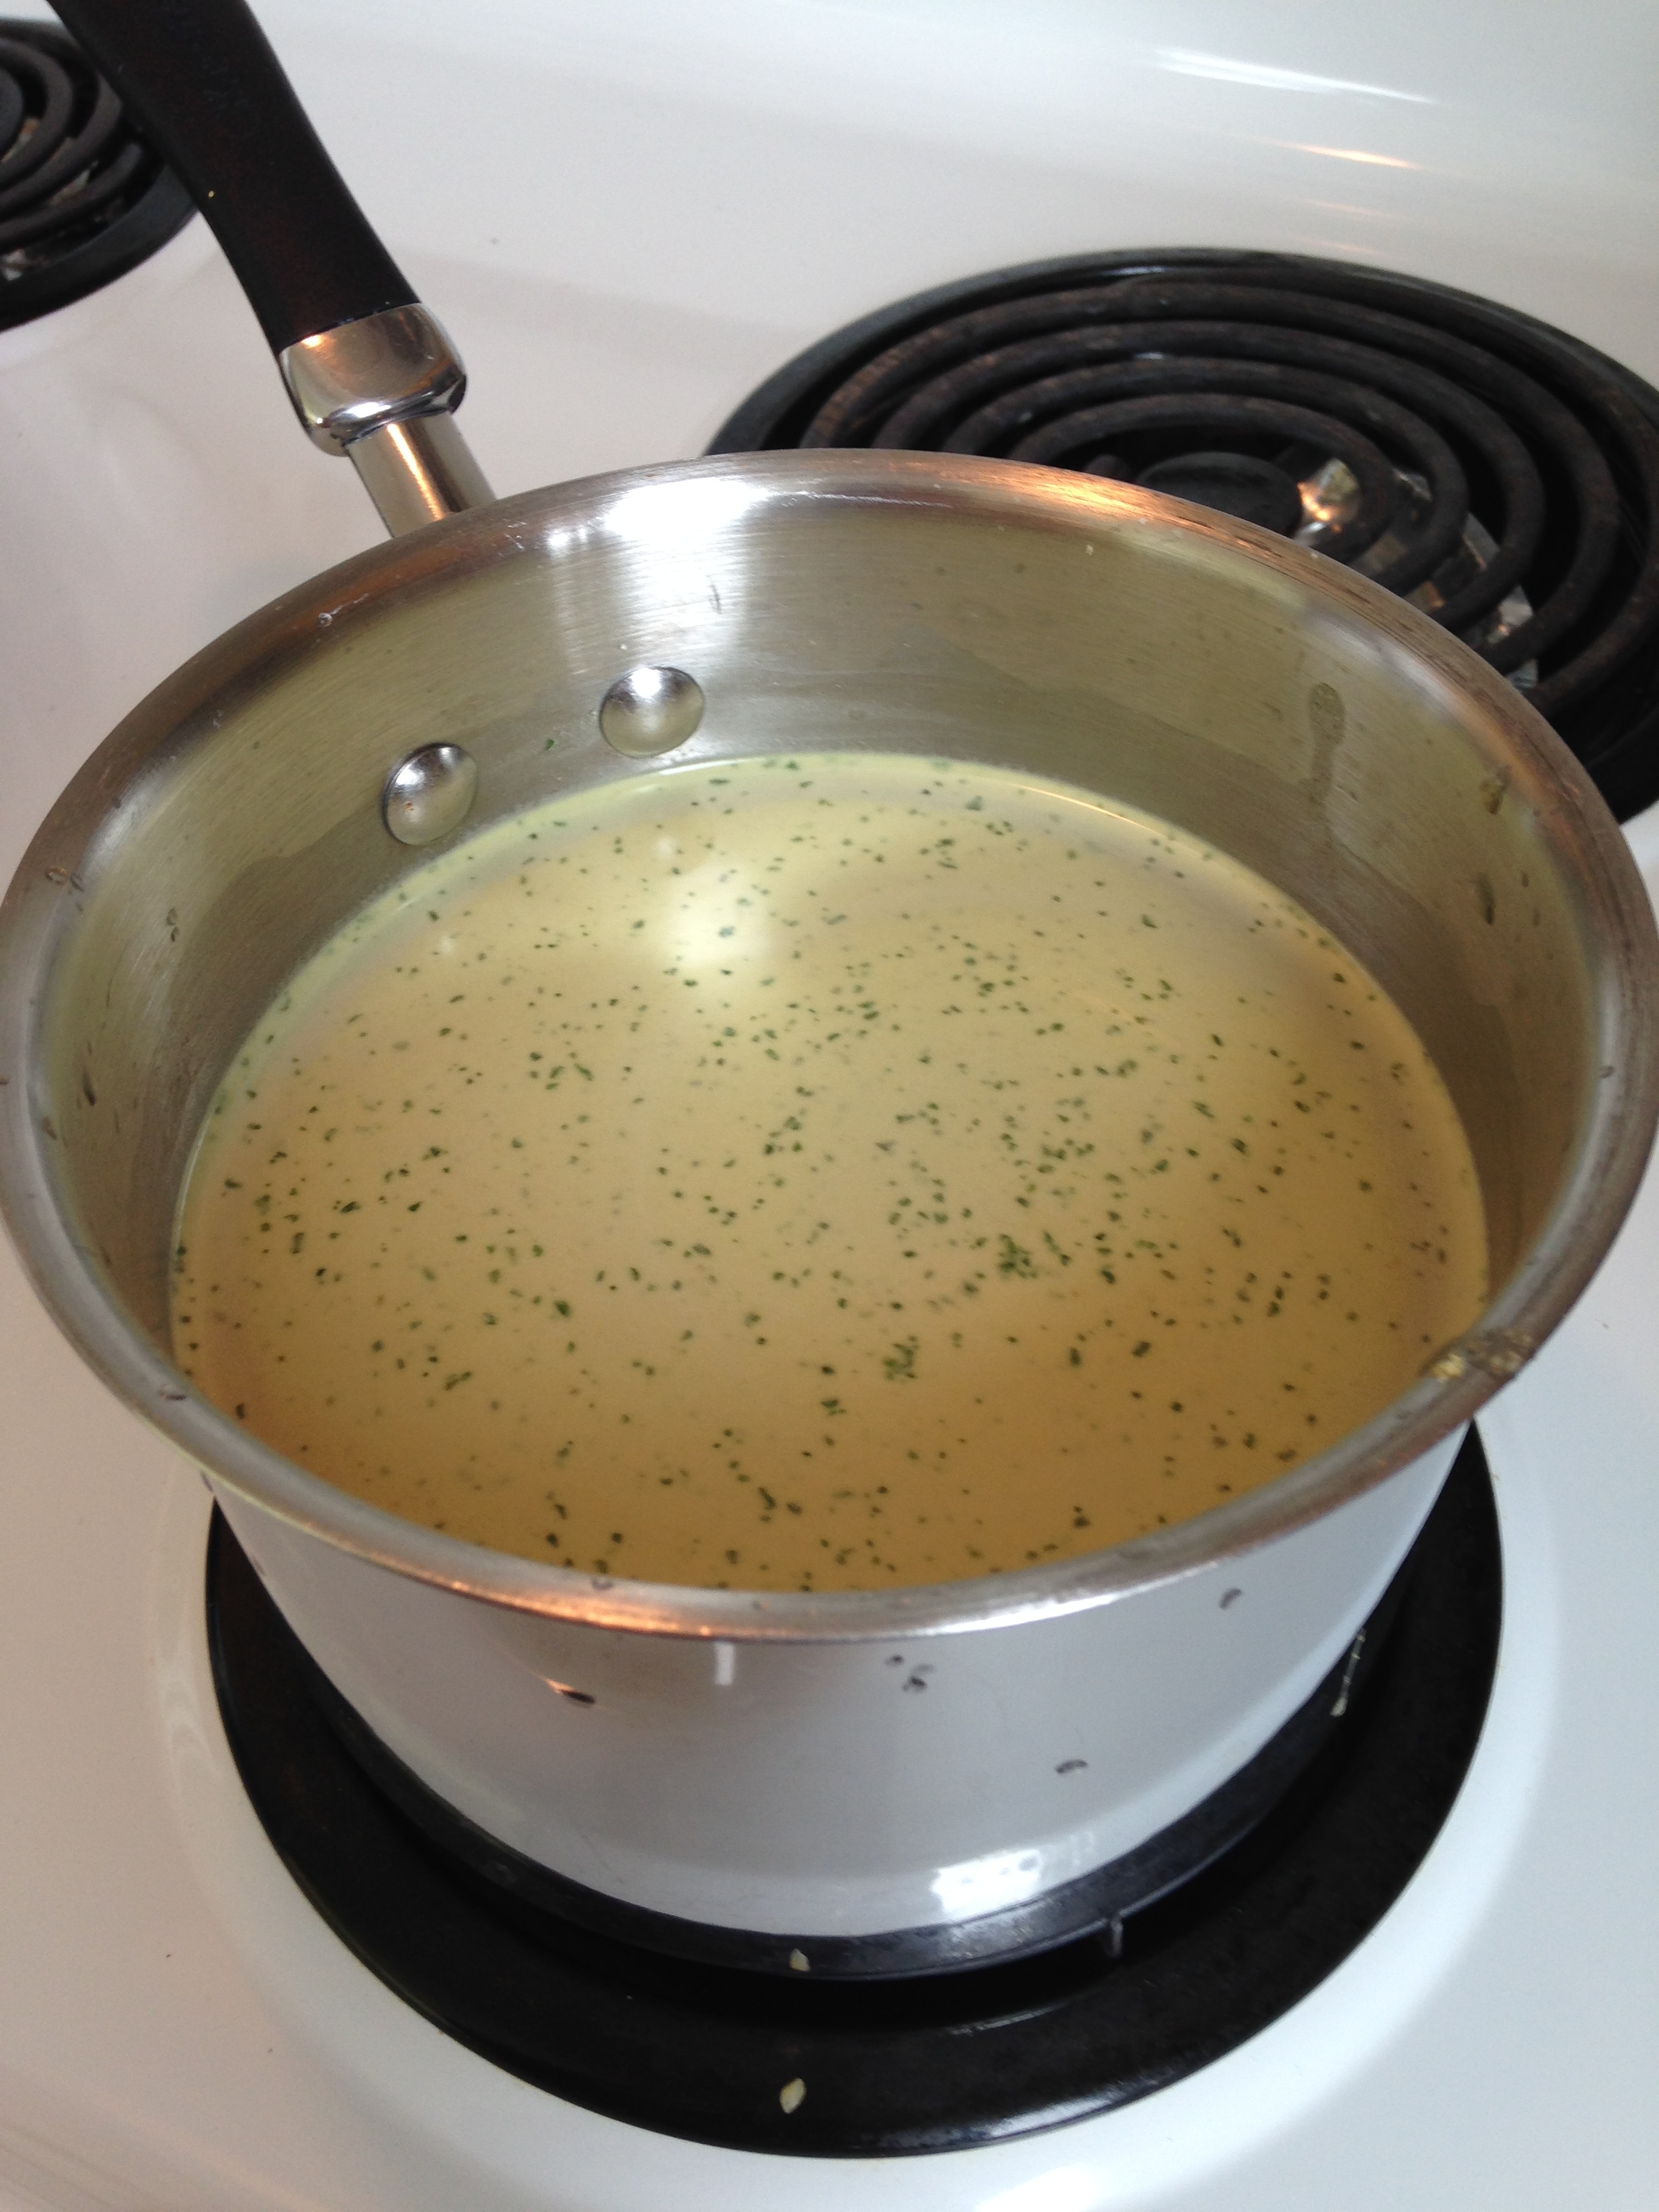
  3. While your mushroom mix is cooking, put on your broth to boil. I usually make mine out of OXO cubes. After the broth is boiling, turn it to a simmer. Keep it simmering. 
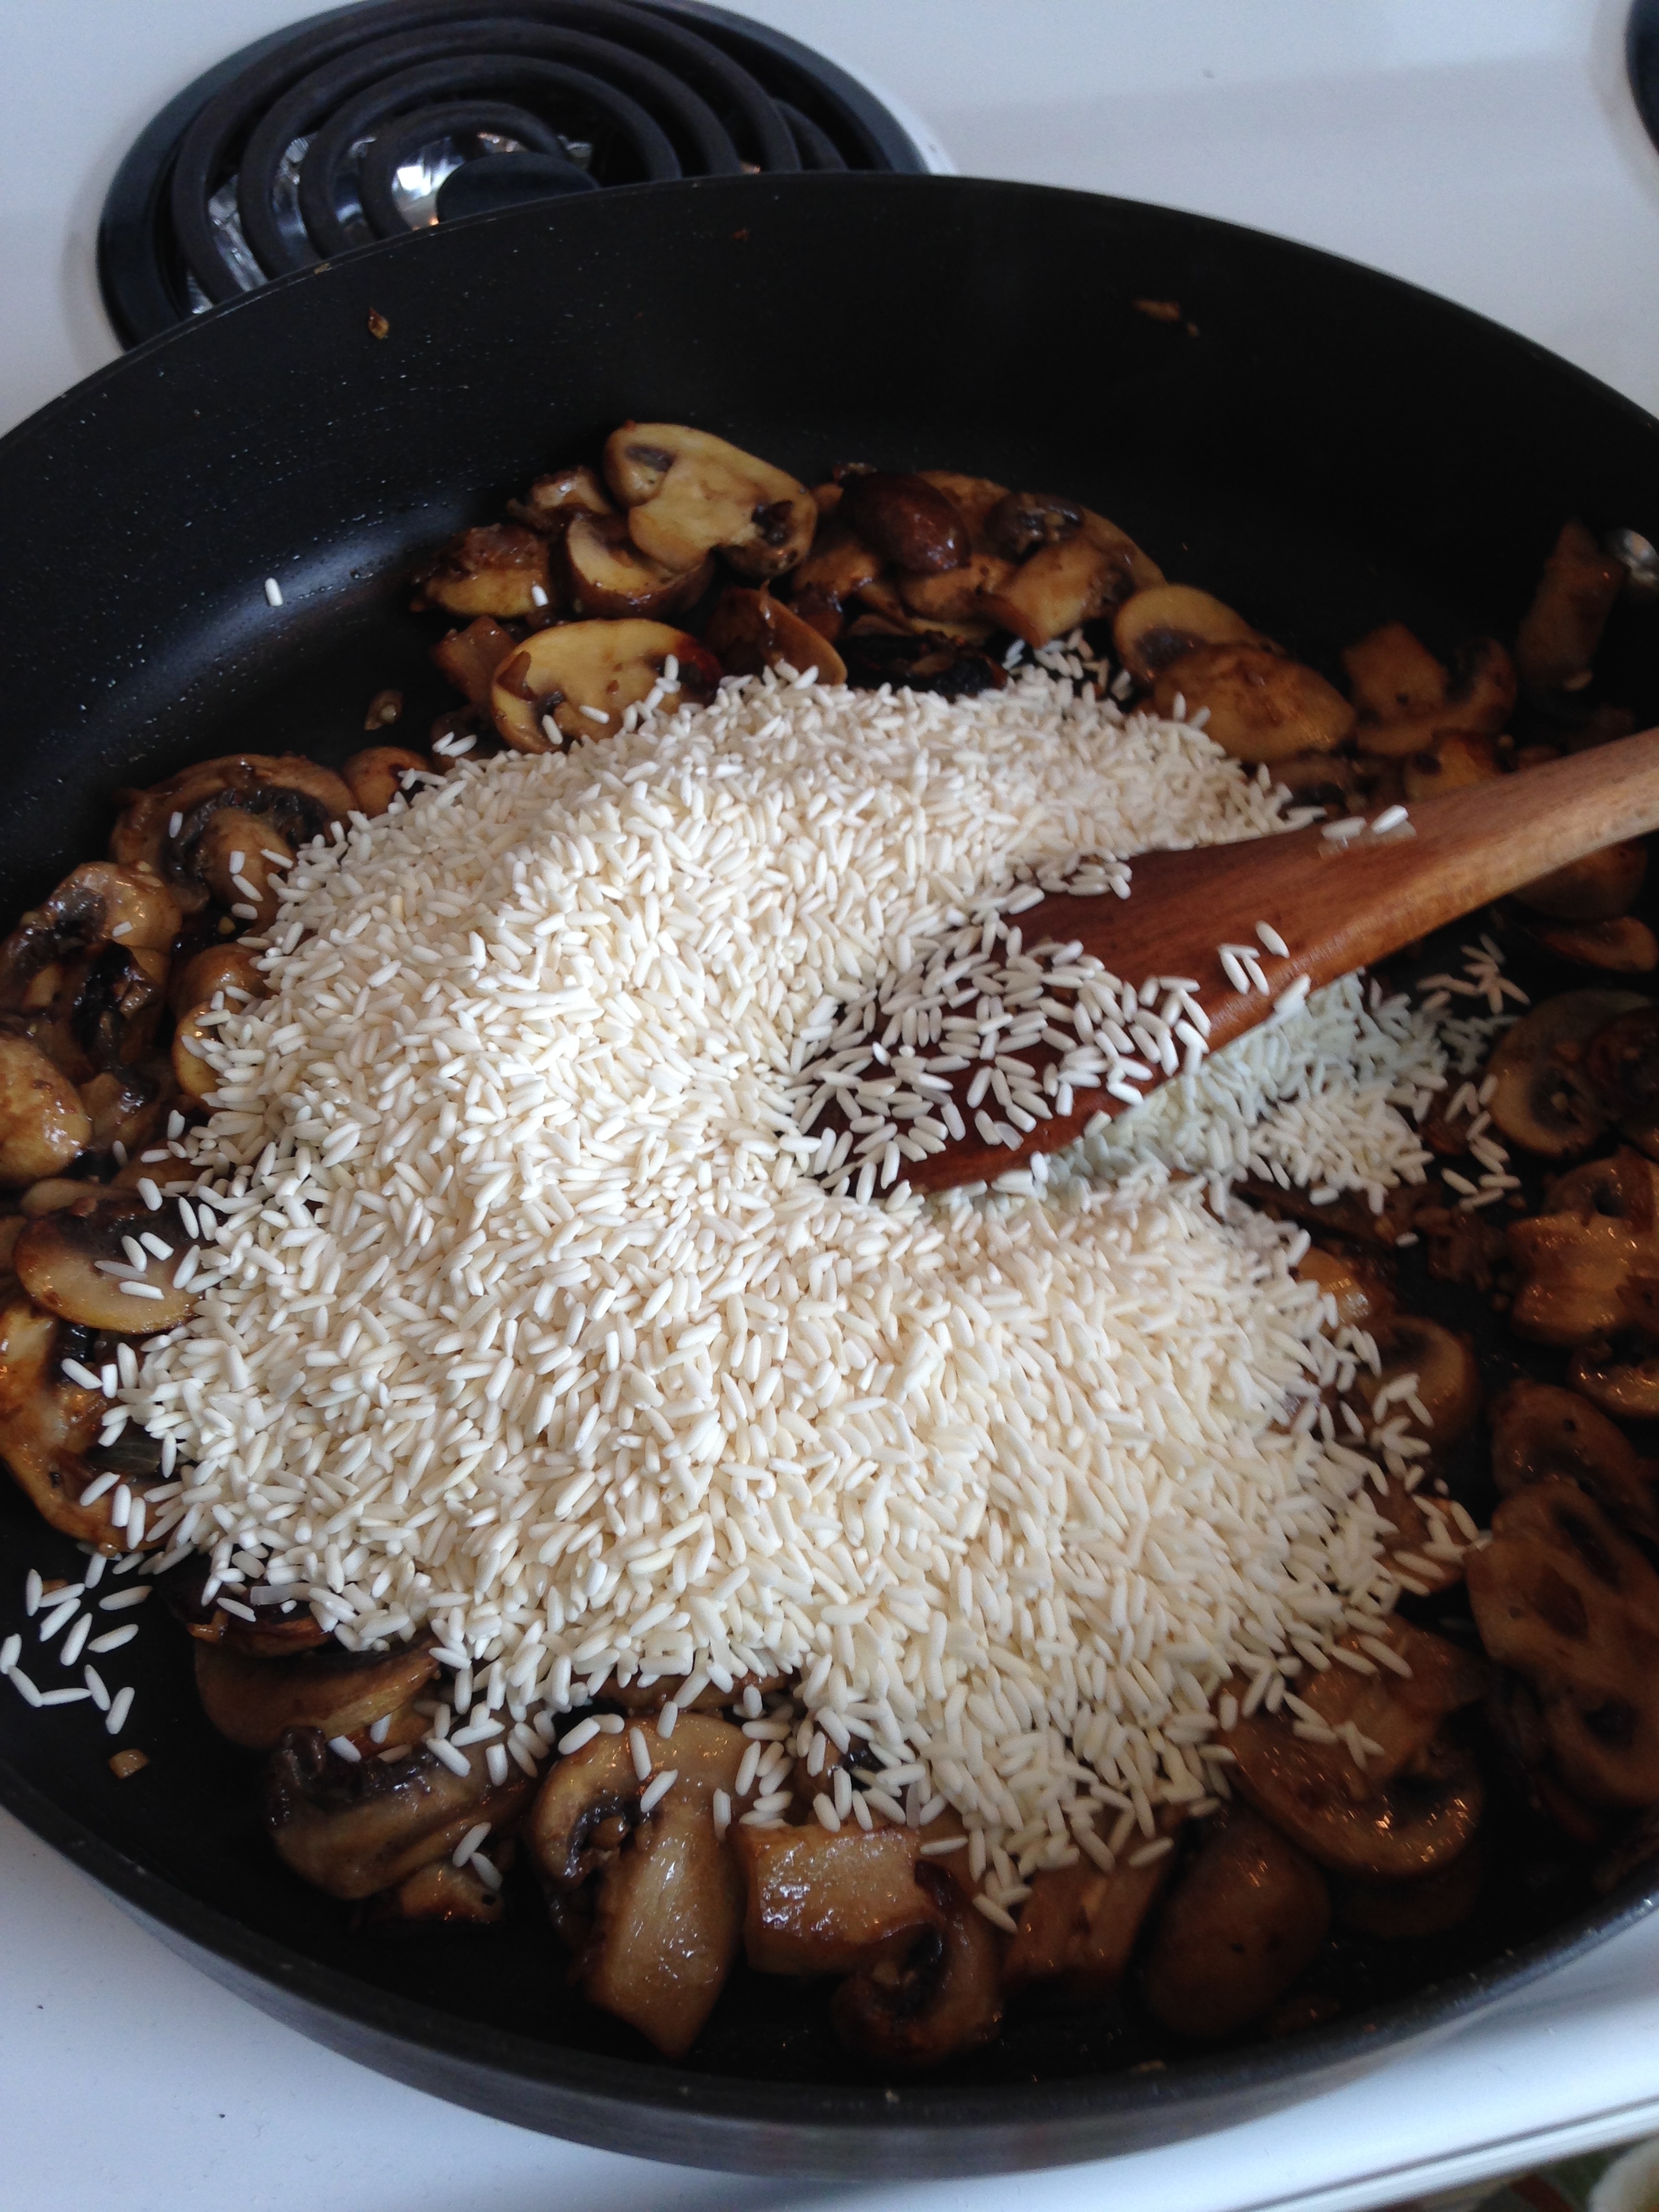
  4. Add the rice to the mushroom mix. Stir and fry the rice with the mushrooms until the rice starts to brown. 
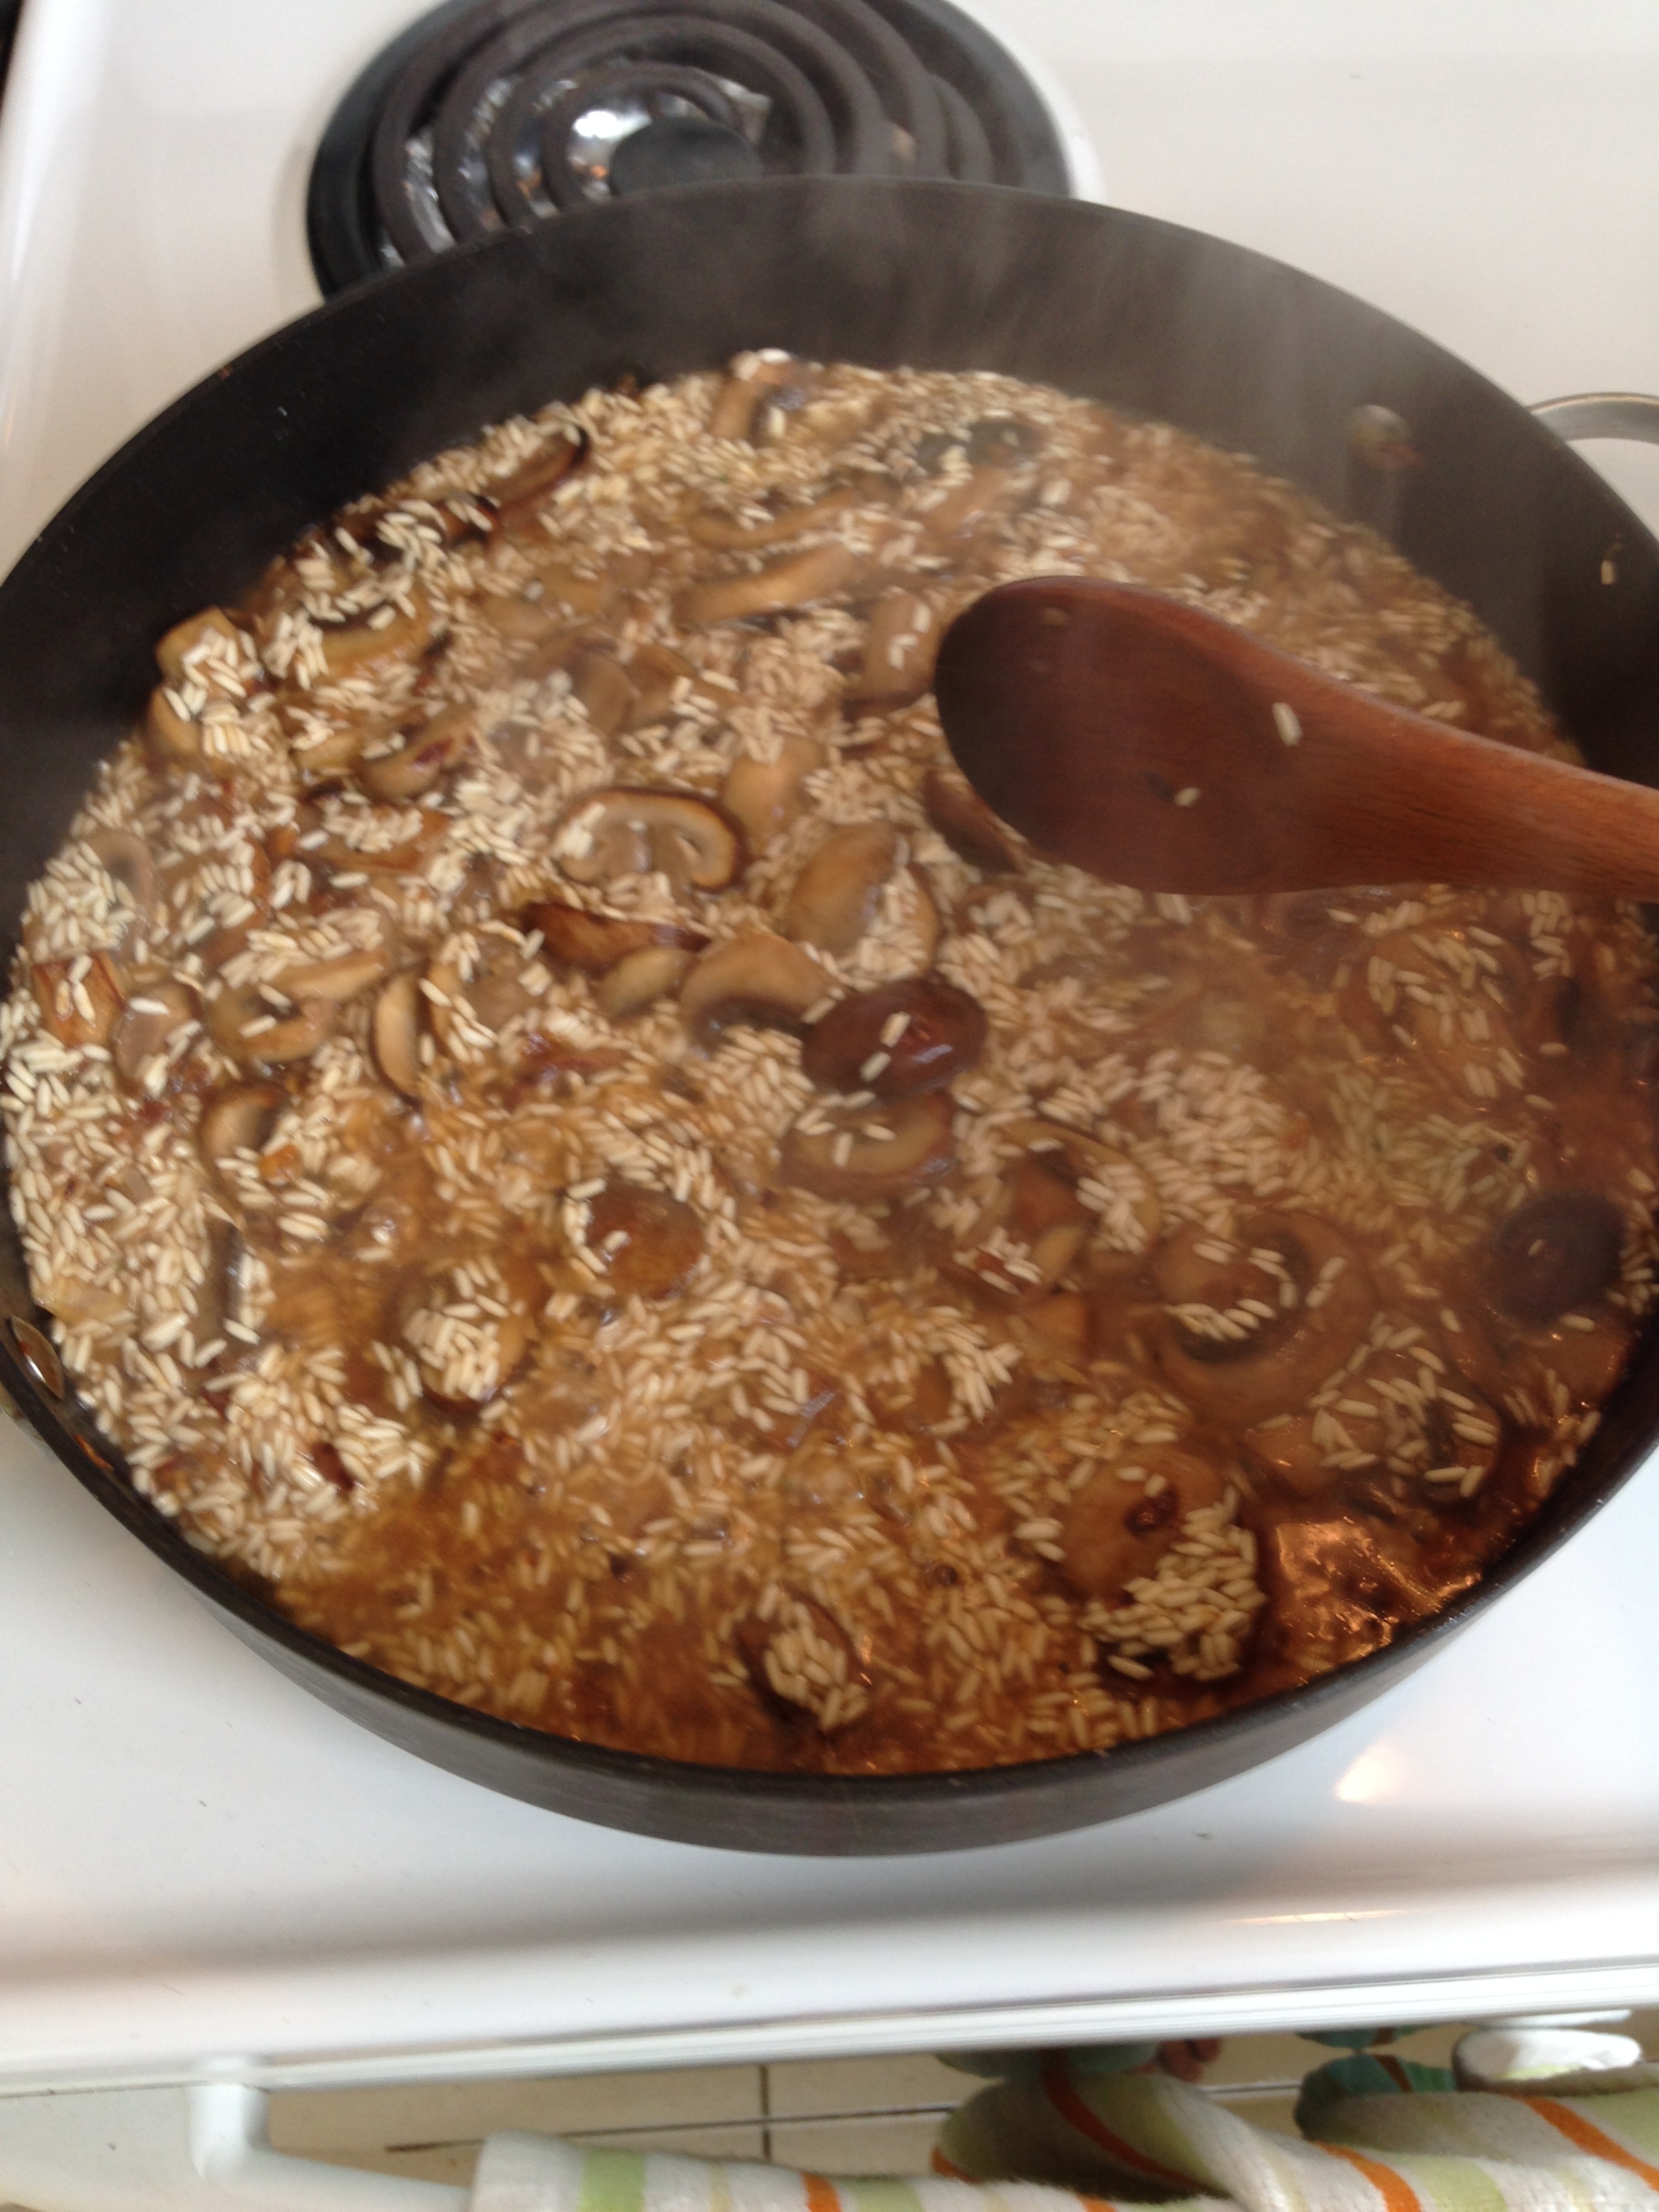
  5. Ladle simmering broth into the frying pan. Fill enough of the pan with broth to just cover the rice. Stir the mixture until the rice absorbs all the water. This takes FOREVER. Seriously. From the first addition of broth to the risotto rice actually being cooked it will take about 45 minutes. 
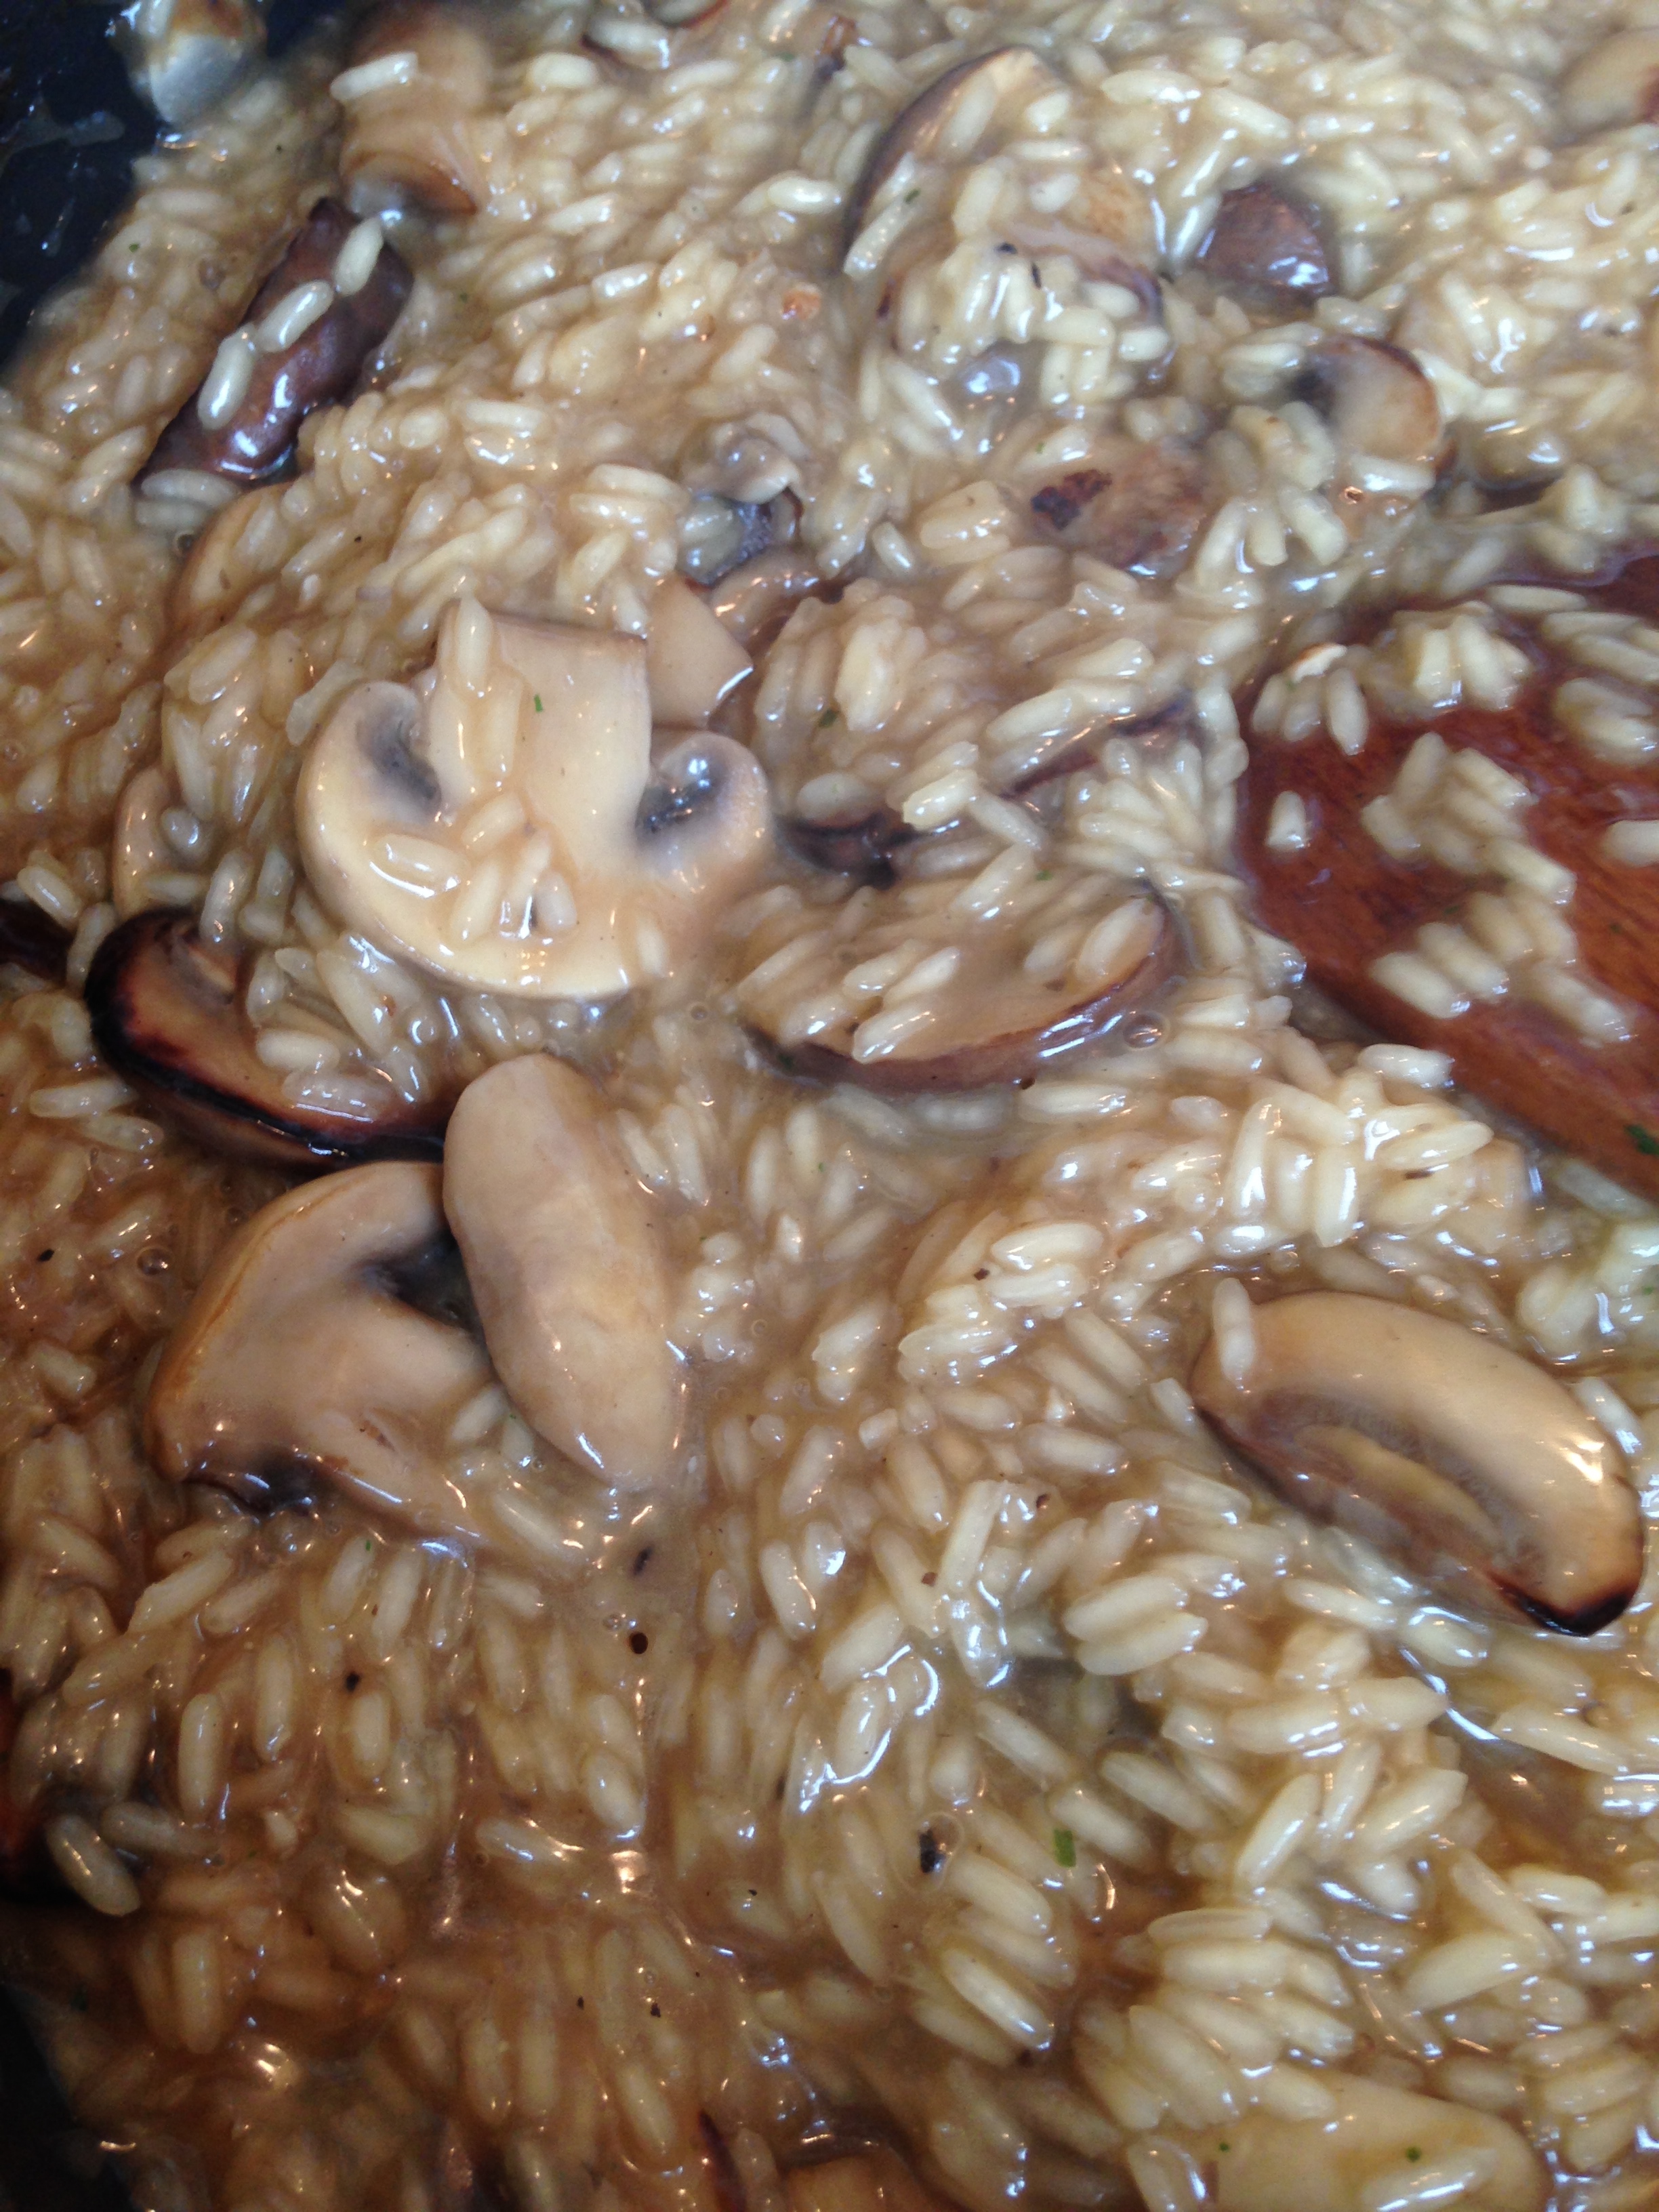
  6. Continue adding ladles of simmering broth to the rice, and stirring, until the rice absorbs all the broth. You'll notice a change in the way the rice stirs when it's almost done. Instead of individual grains of rice being stirred, the rice will start to stick together (this is why glutinous rice is used). Glutinous rice differs from regular long grain rice in the type of starch in contains. This particular starch gets sticky and forms a kind of gel when it cooks. Perfect for risottos. 
  7. Check that your rice is done by testing the rice. If it's soft, it's good to go to the next step. If it's still crunchy At All, keep adding broth and stirring. Don't turn up the heat or you'll risk burning the rice. 
  8. When your rice is done, take your pan off the heat and add your cheese. Stir touroughly, until the cheese is mixed in. 
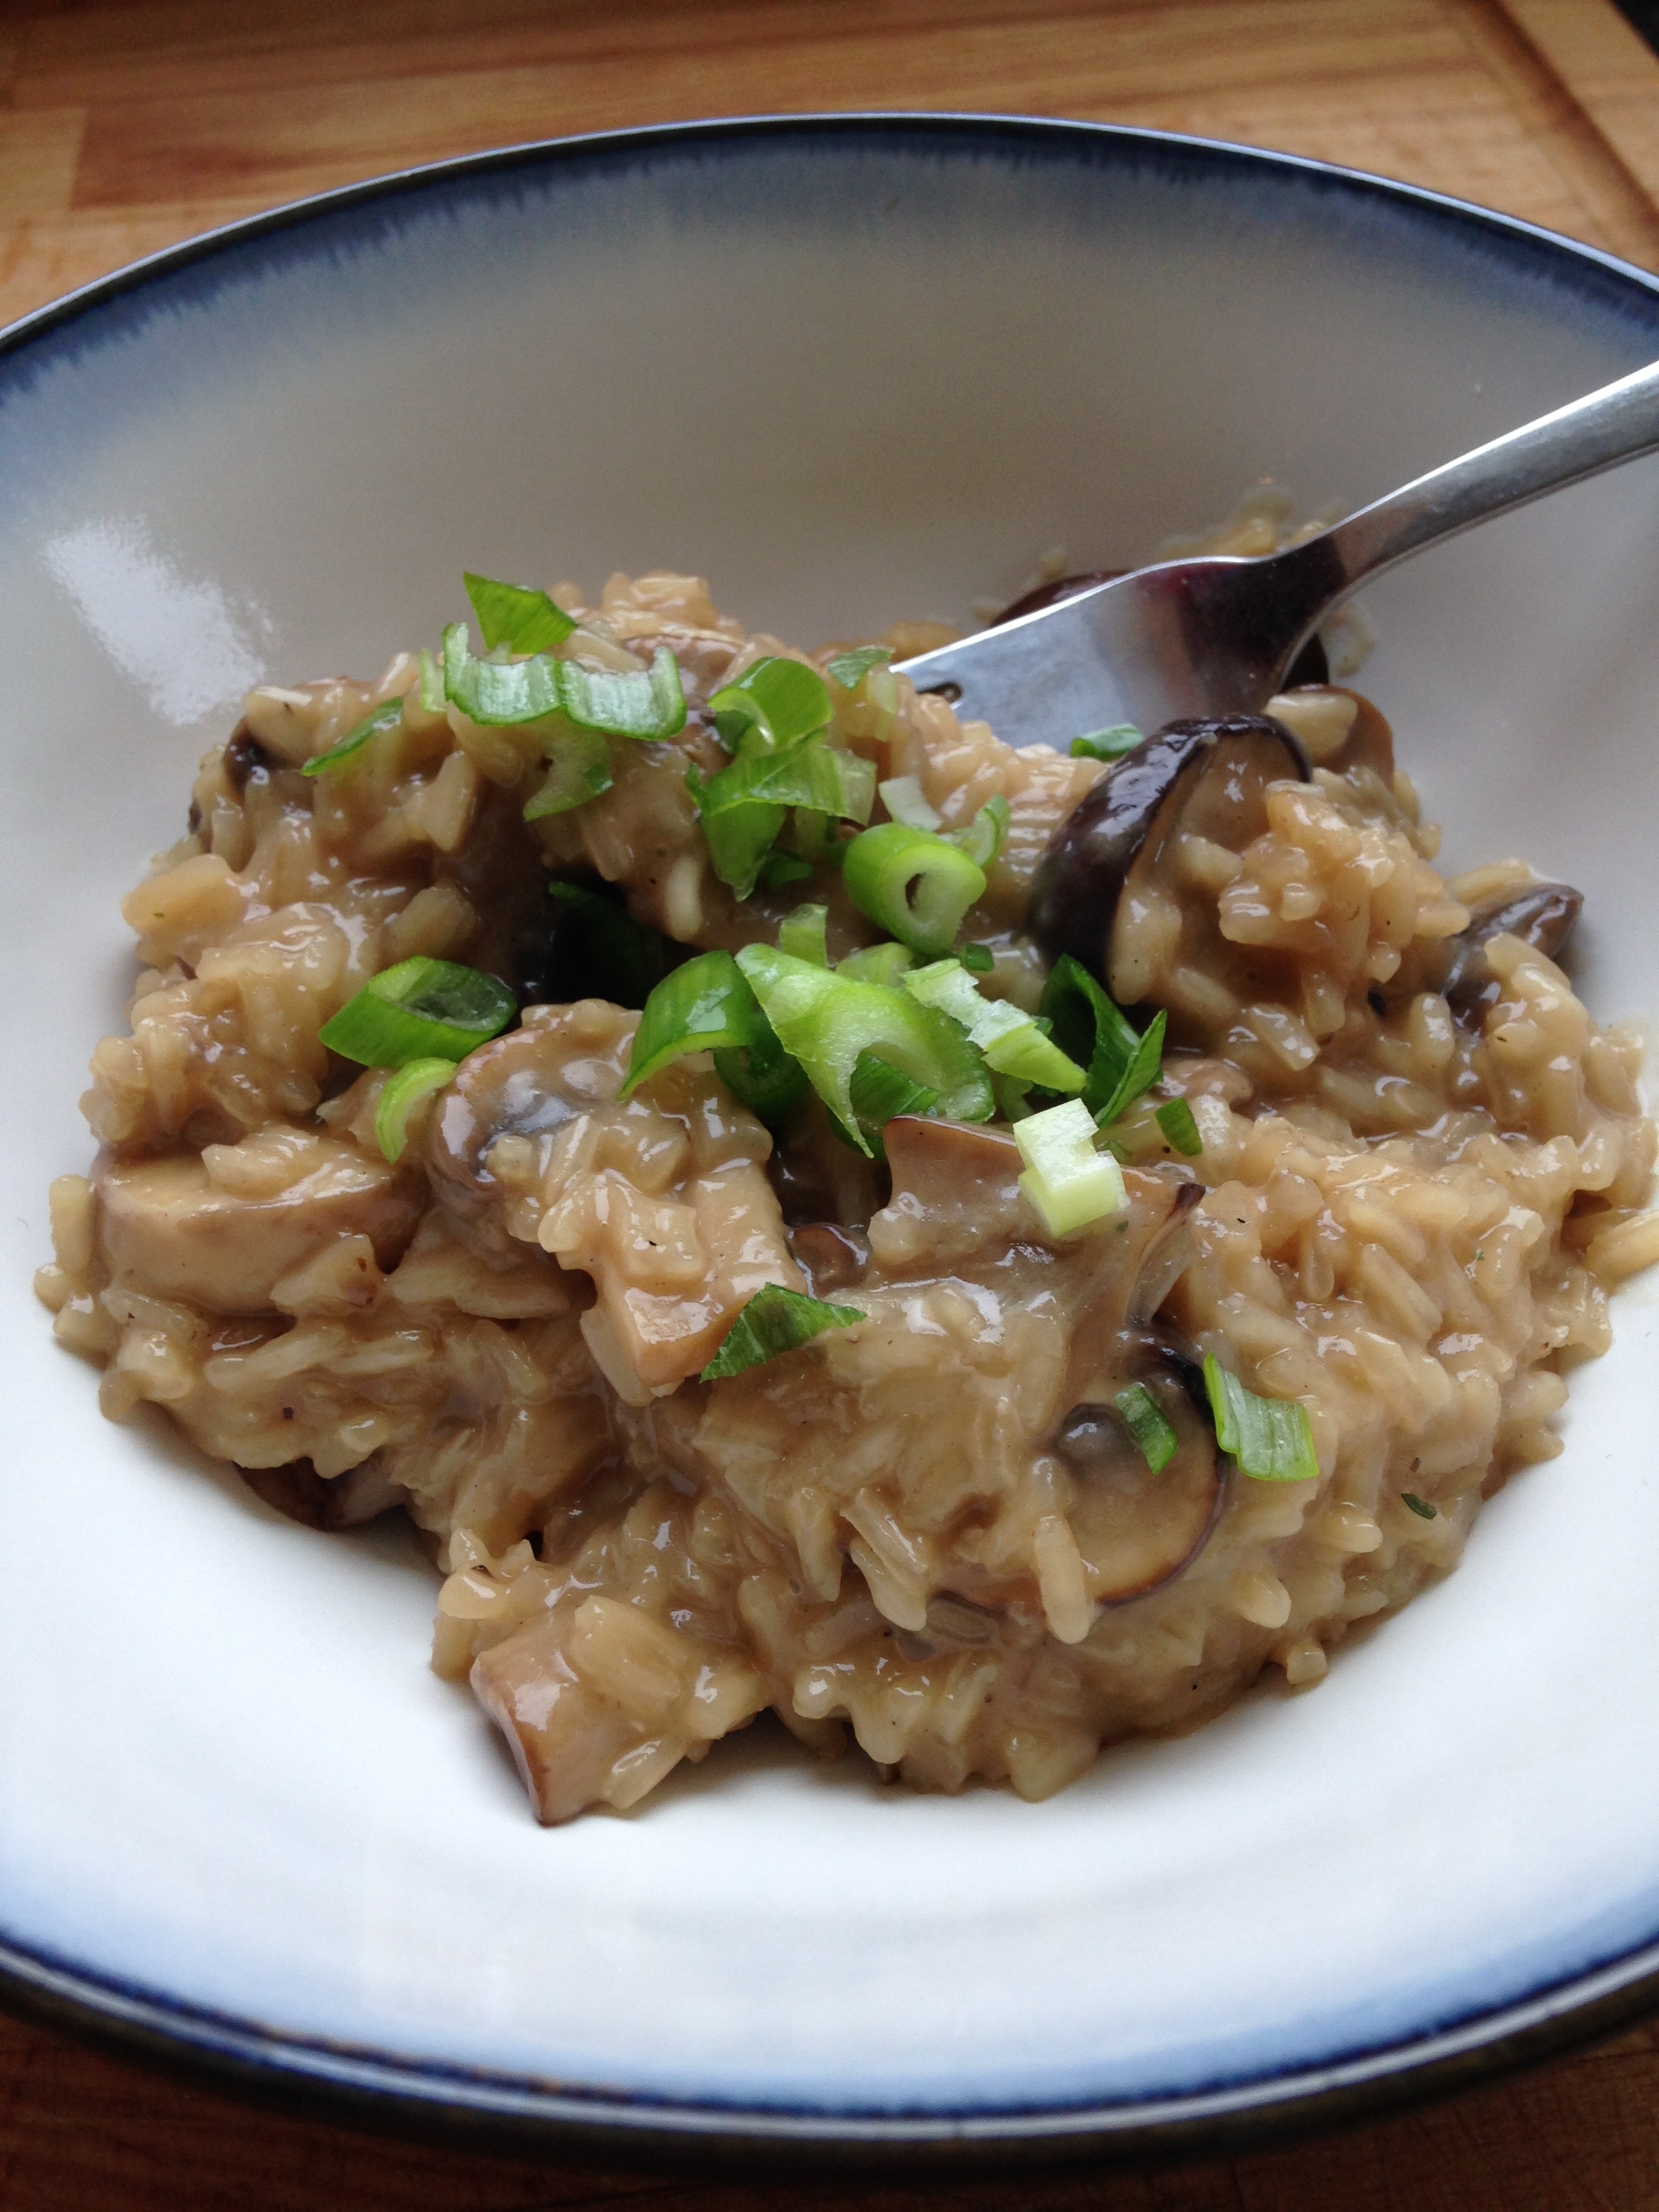
  9. You're ready to serve! Portion out your risotto and garnish with green onion. Nom! (Makes about 6 servings.)

From start to finish, making risotto take almost an hour and a half. But the deliciousness can't be rivalled. It's still one of my most favourite meals and with so many options and combinations of ingredients, you can keep making up new recipes using the same basic technique. 

The market goes until October, I think, so I'll be going back next week to see what I can find. Maybe homemade broccoli-slaw with those gargantuan radishes? Mmm. Yes. 

-Andrea

The Half-Assed Hobbyist