My German Roots

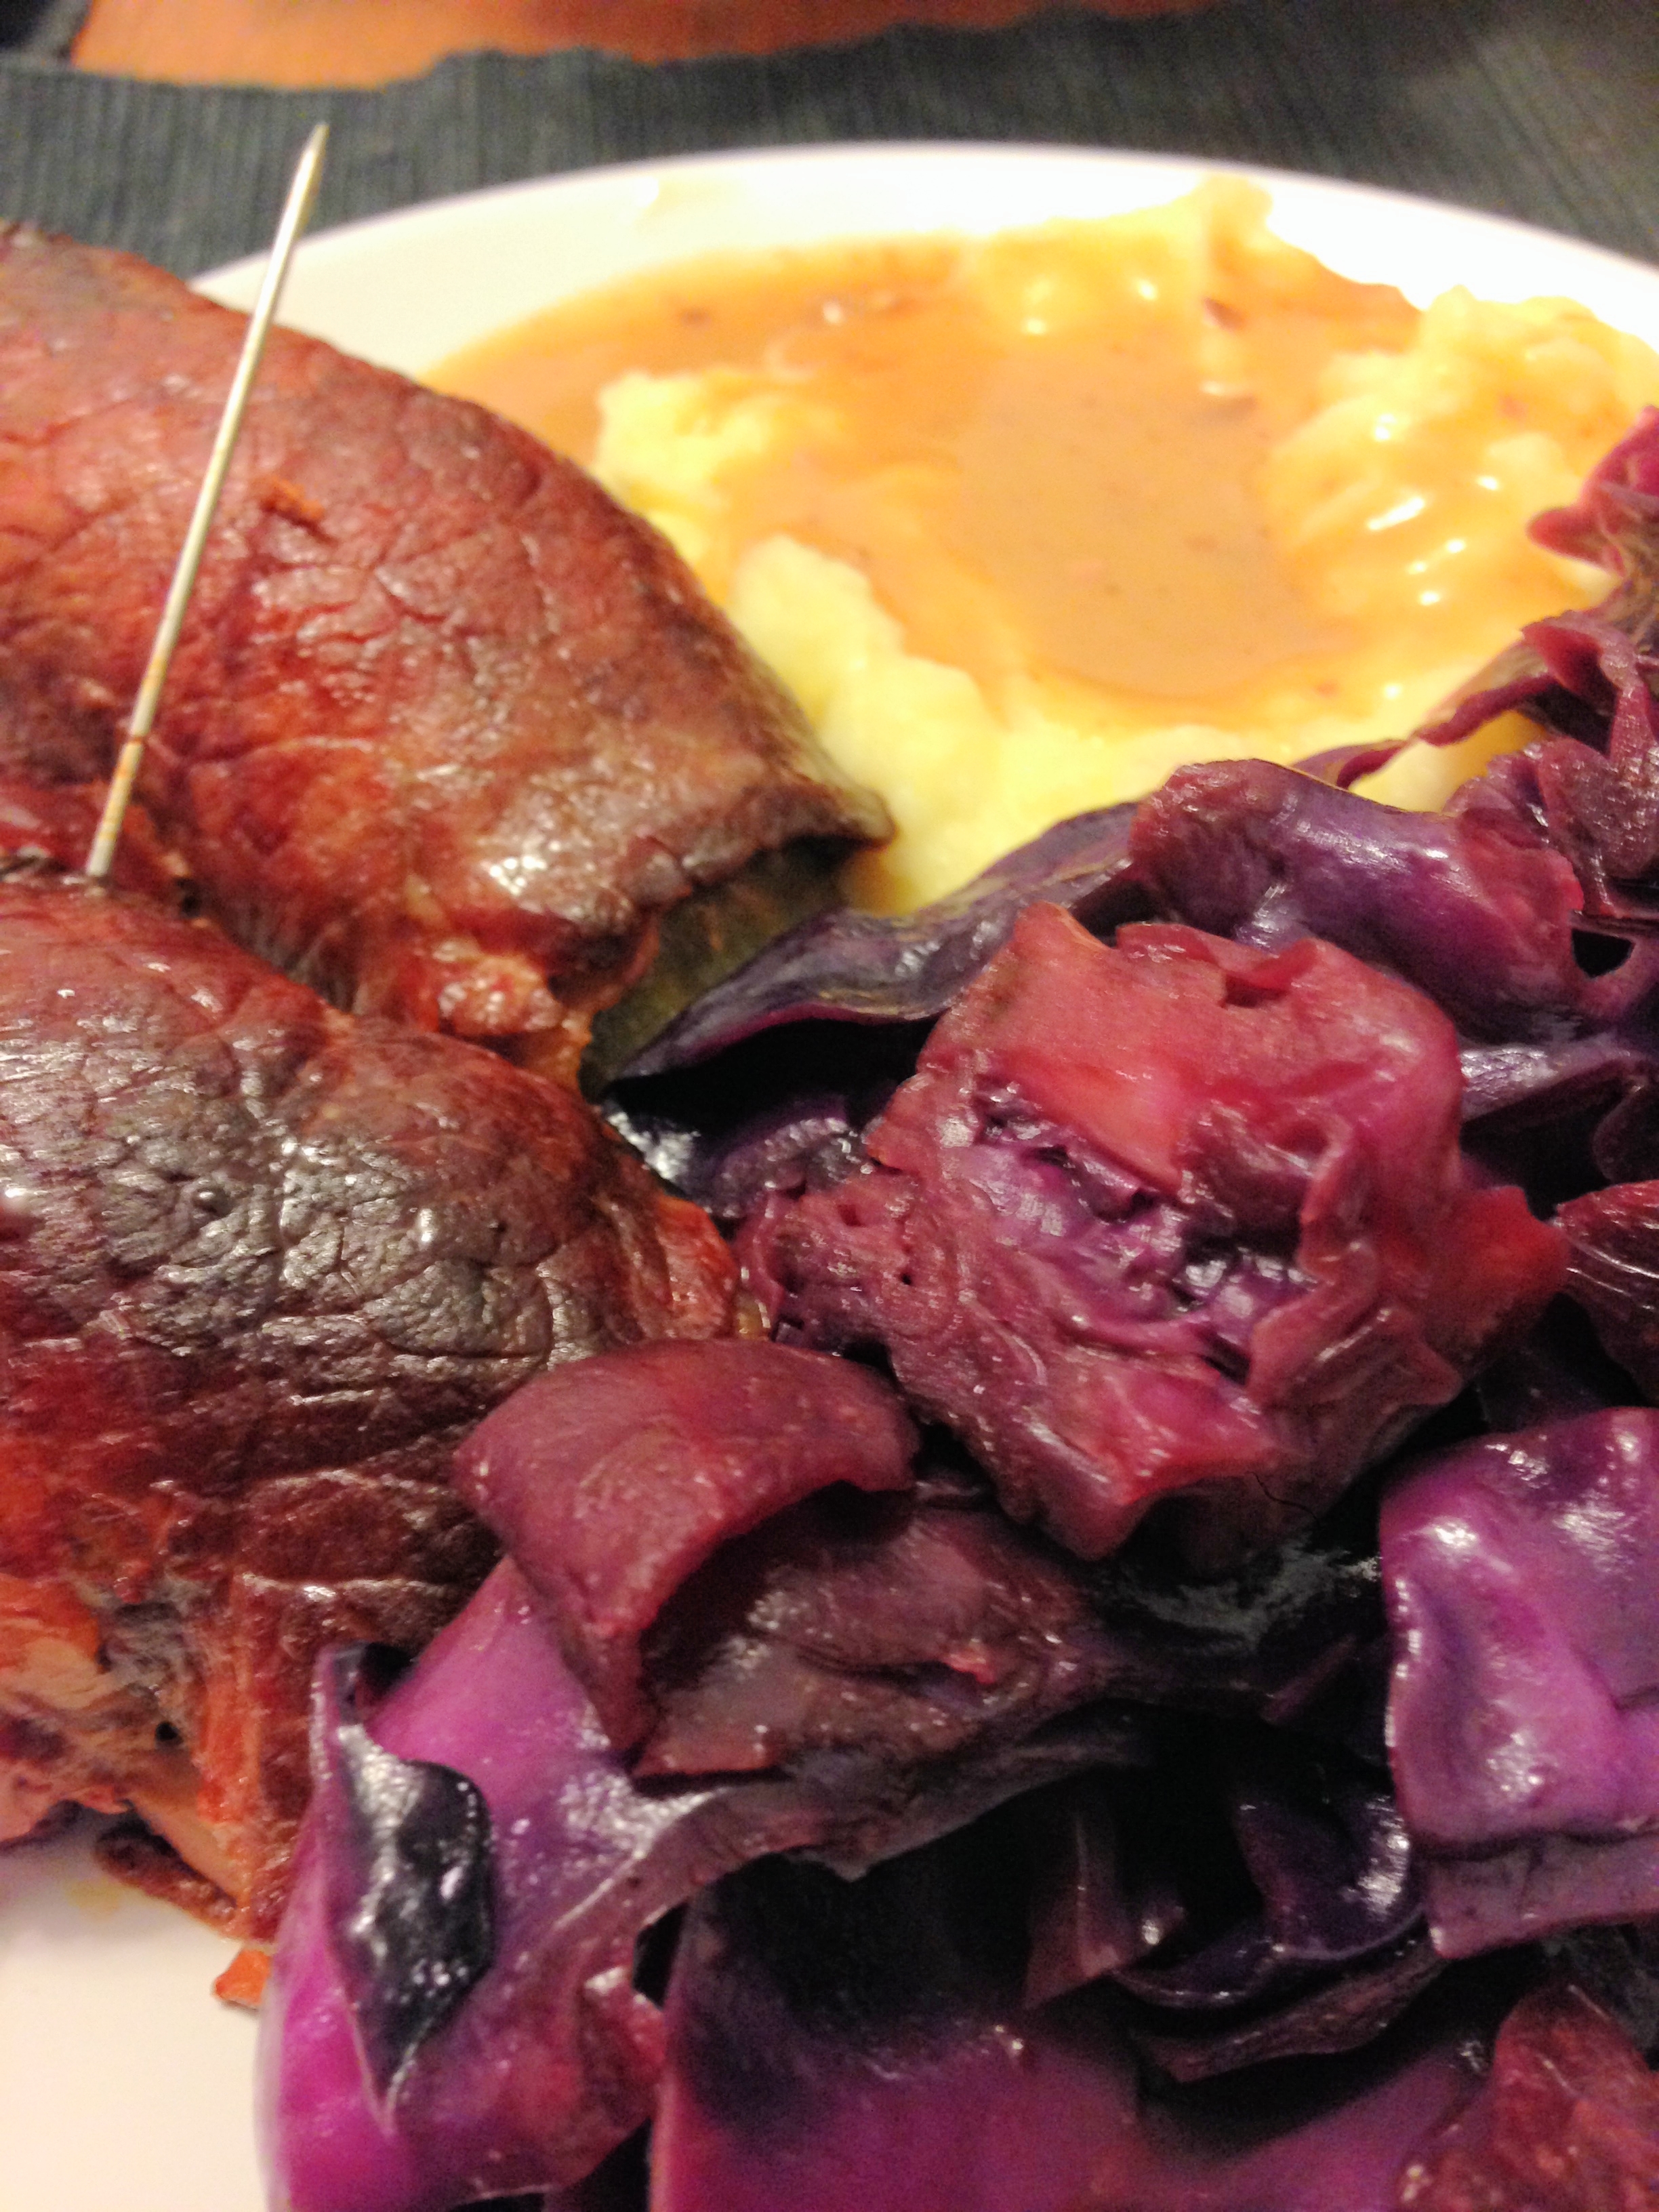
 As previously mentioned, I have had much more experience cooking German fare than French. Rouladen and red cabbage are two foods that my Oma used to make when I was a little kid. (Although back then I hated the pickle. Rouladen blasphemy.) I've made up my own recipes based on helping my Oma make them.

Rouladen

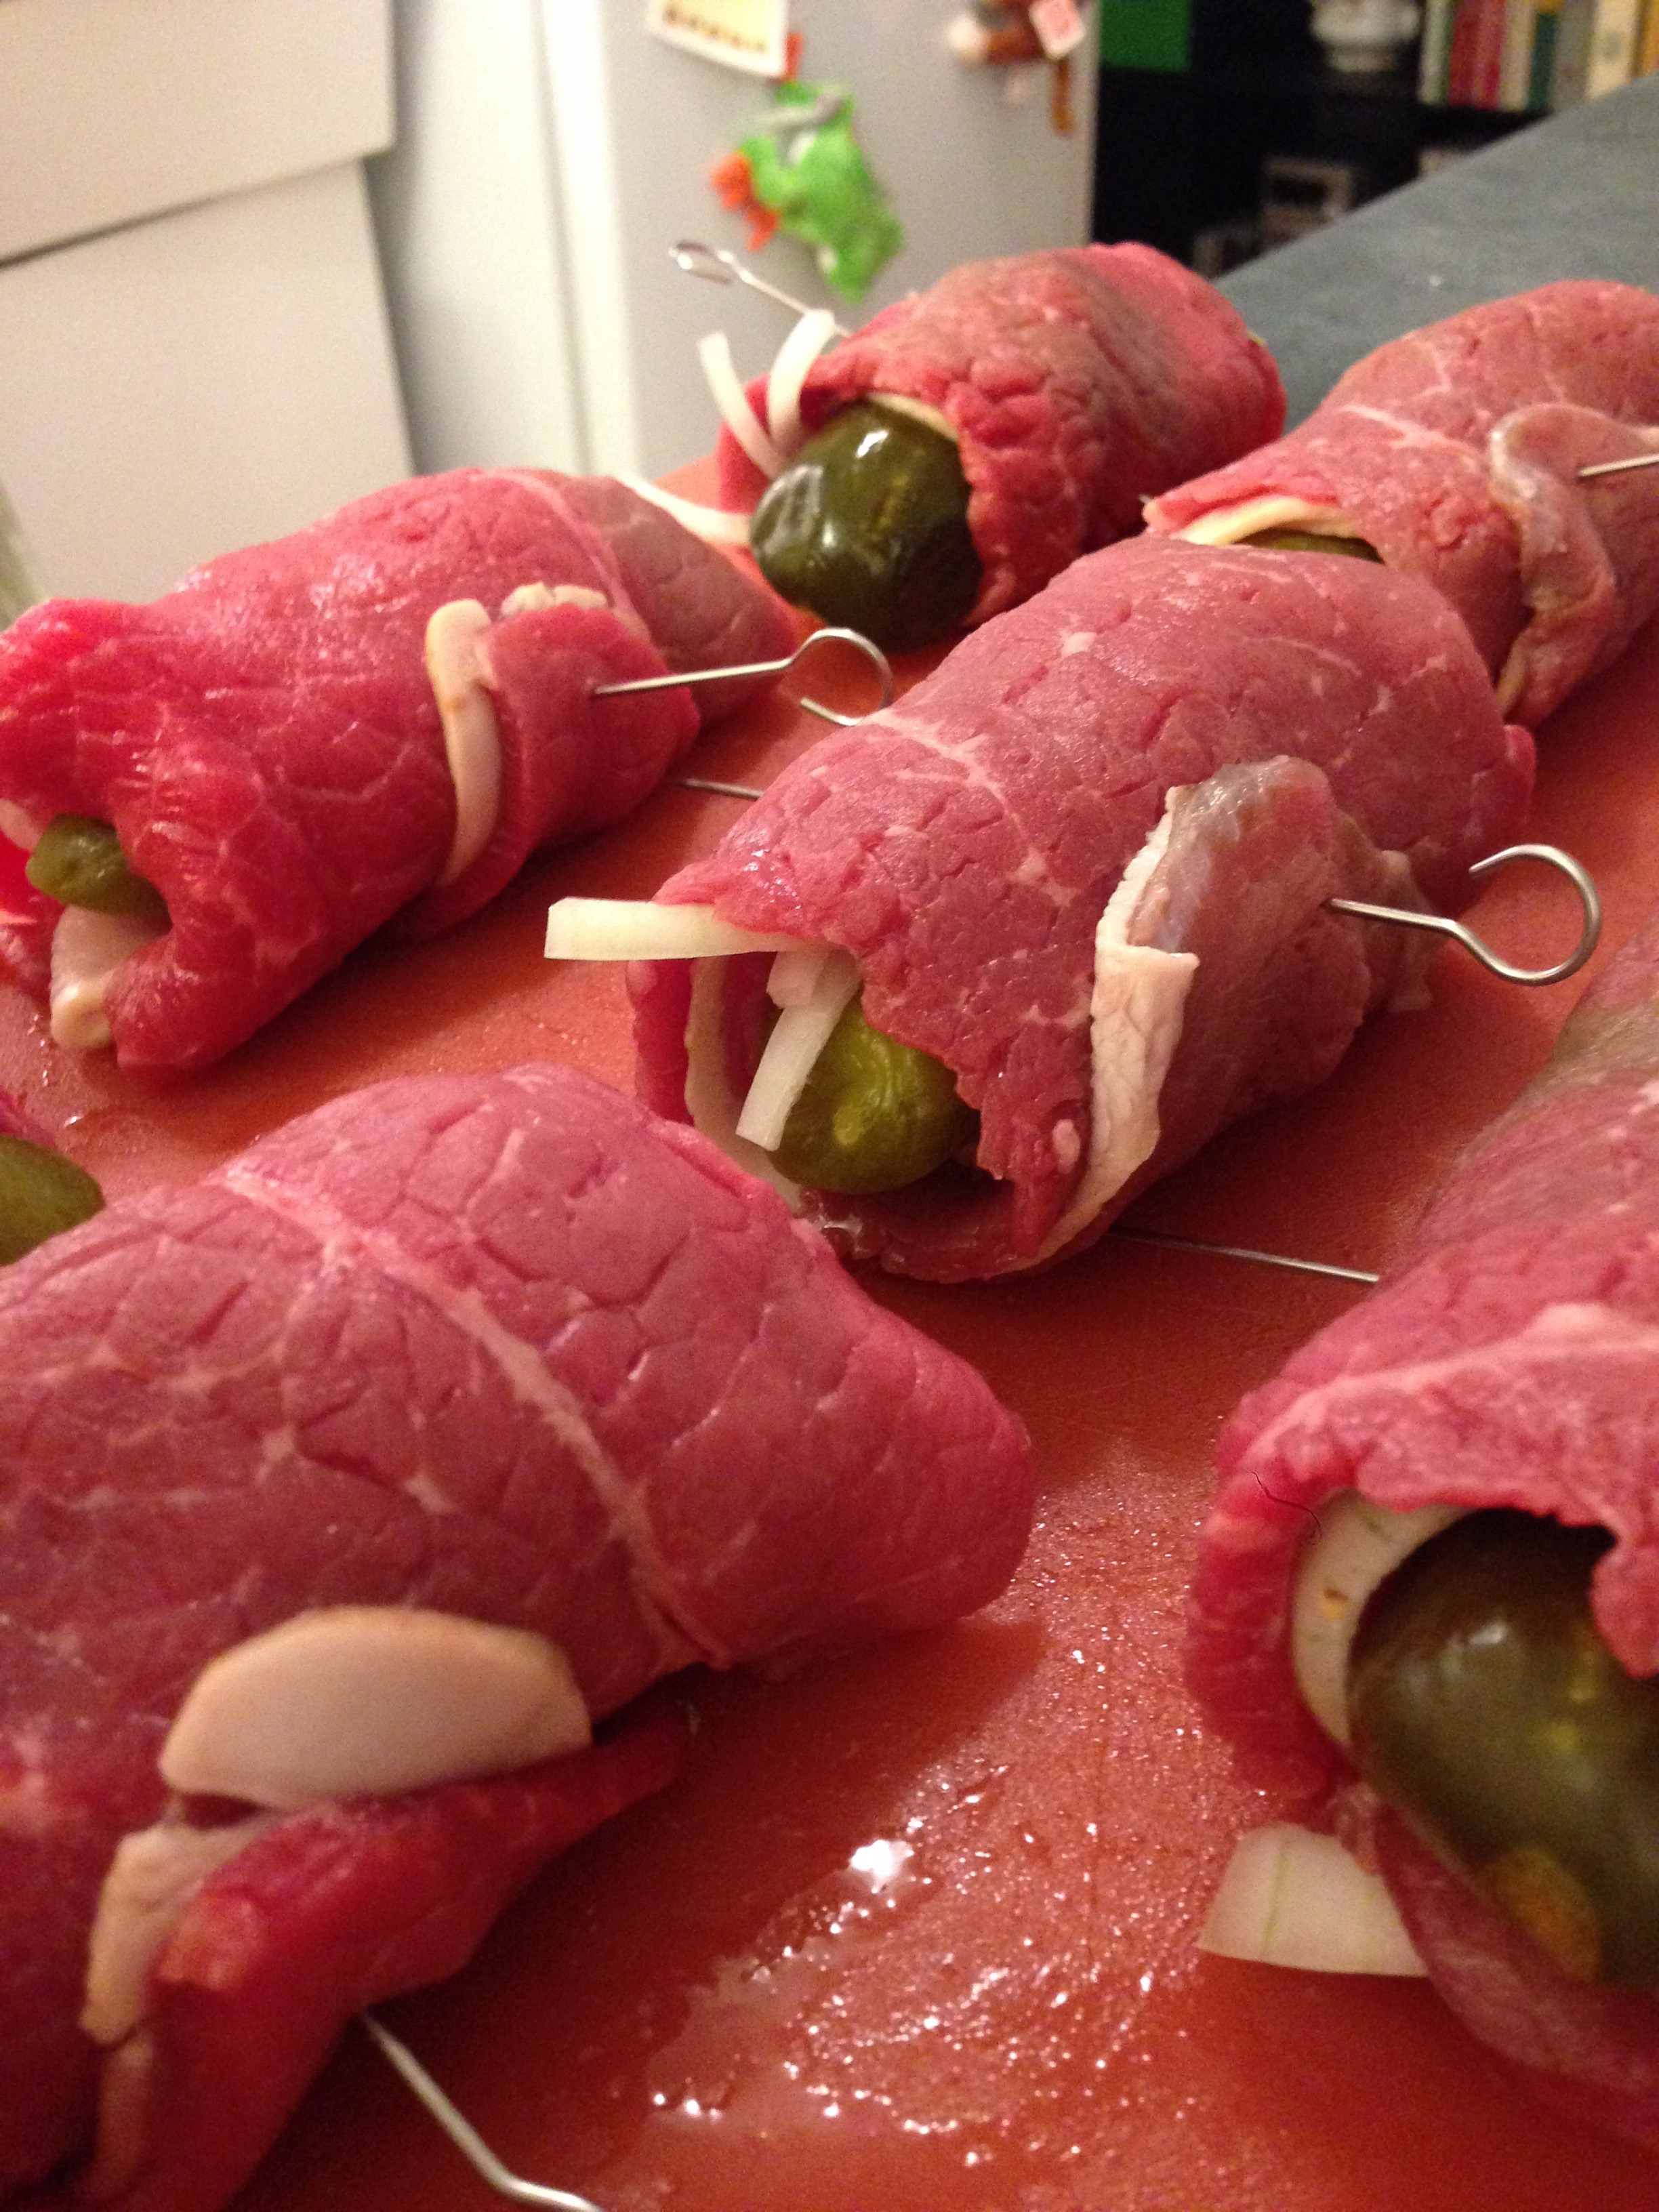
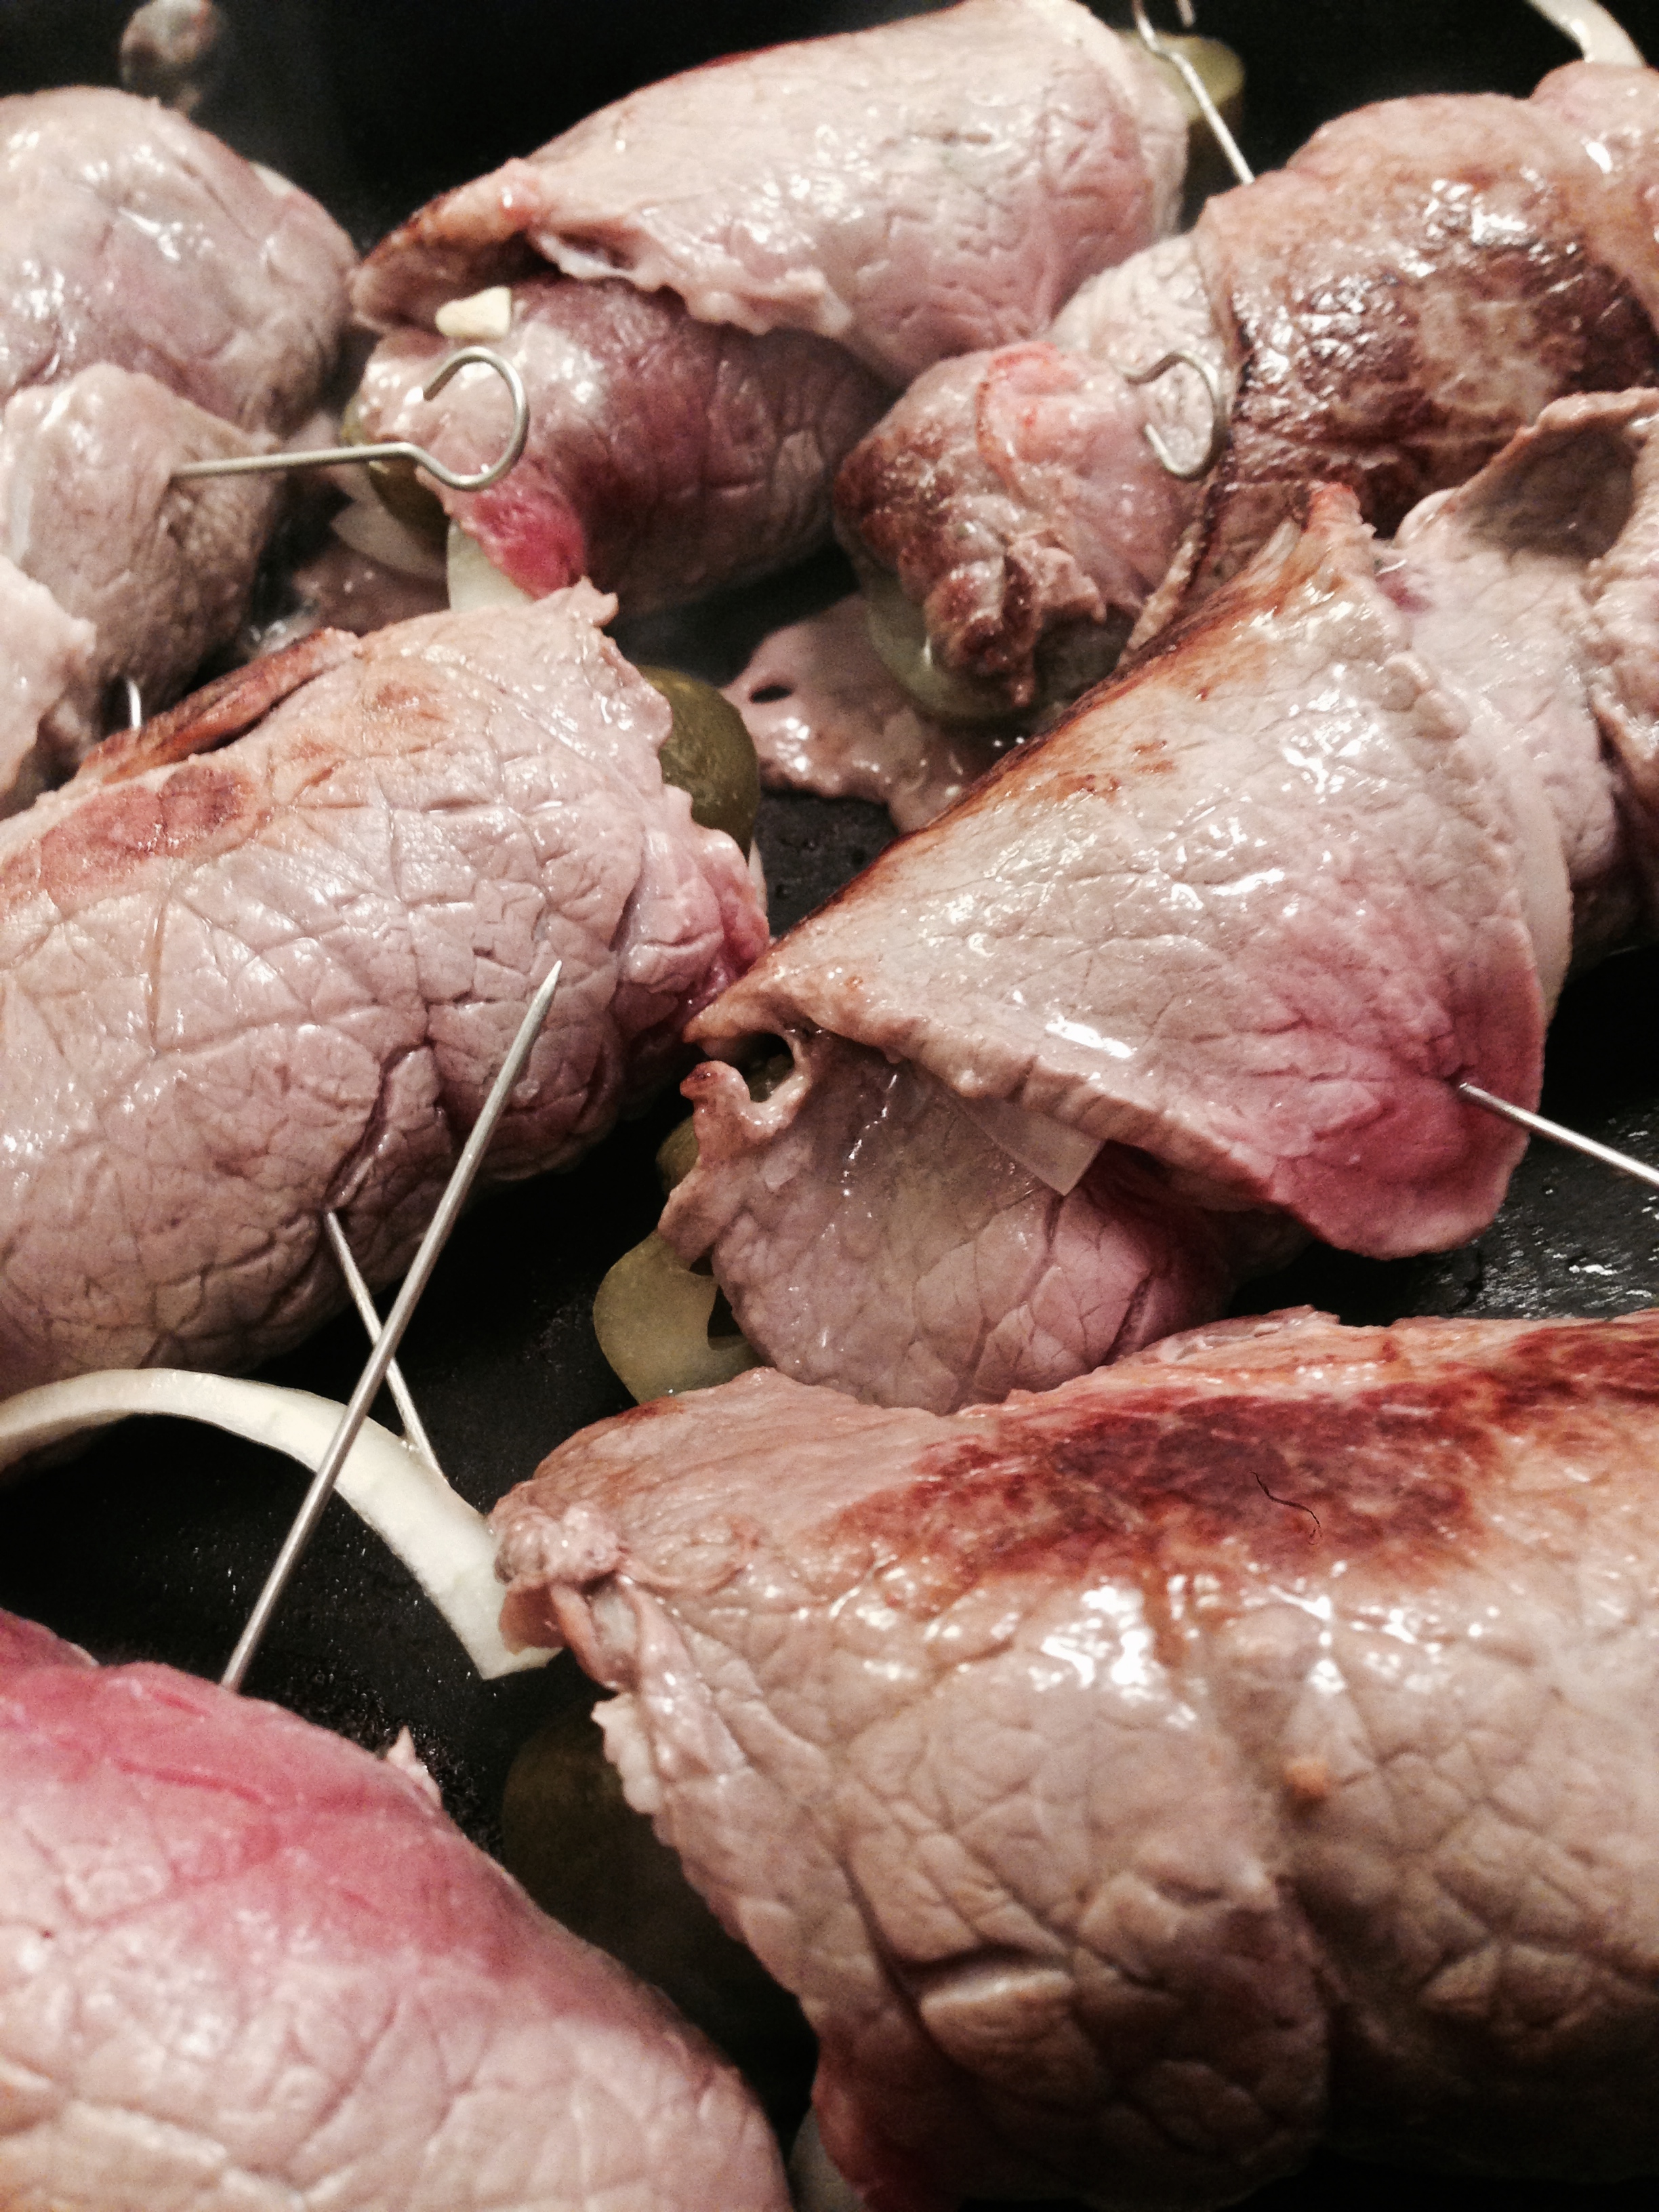
8 thinly sliced beef roulades (usually called rouladen beef)
8 slices bacon (Thick or Thin, personal preference)
1 white onion, sliced thinly and cut in half
8 garlic pickles (or 4 huge ones sliced in half)
Salt and Pepper

  1. On a meat cutting board, lay out one peice of beef.
  2. Layer bacon, then onion, then salt and pepper. 
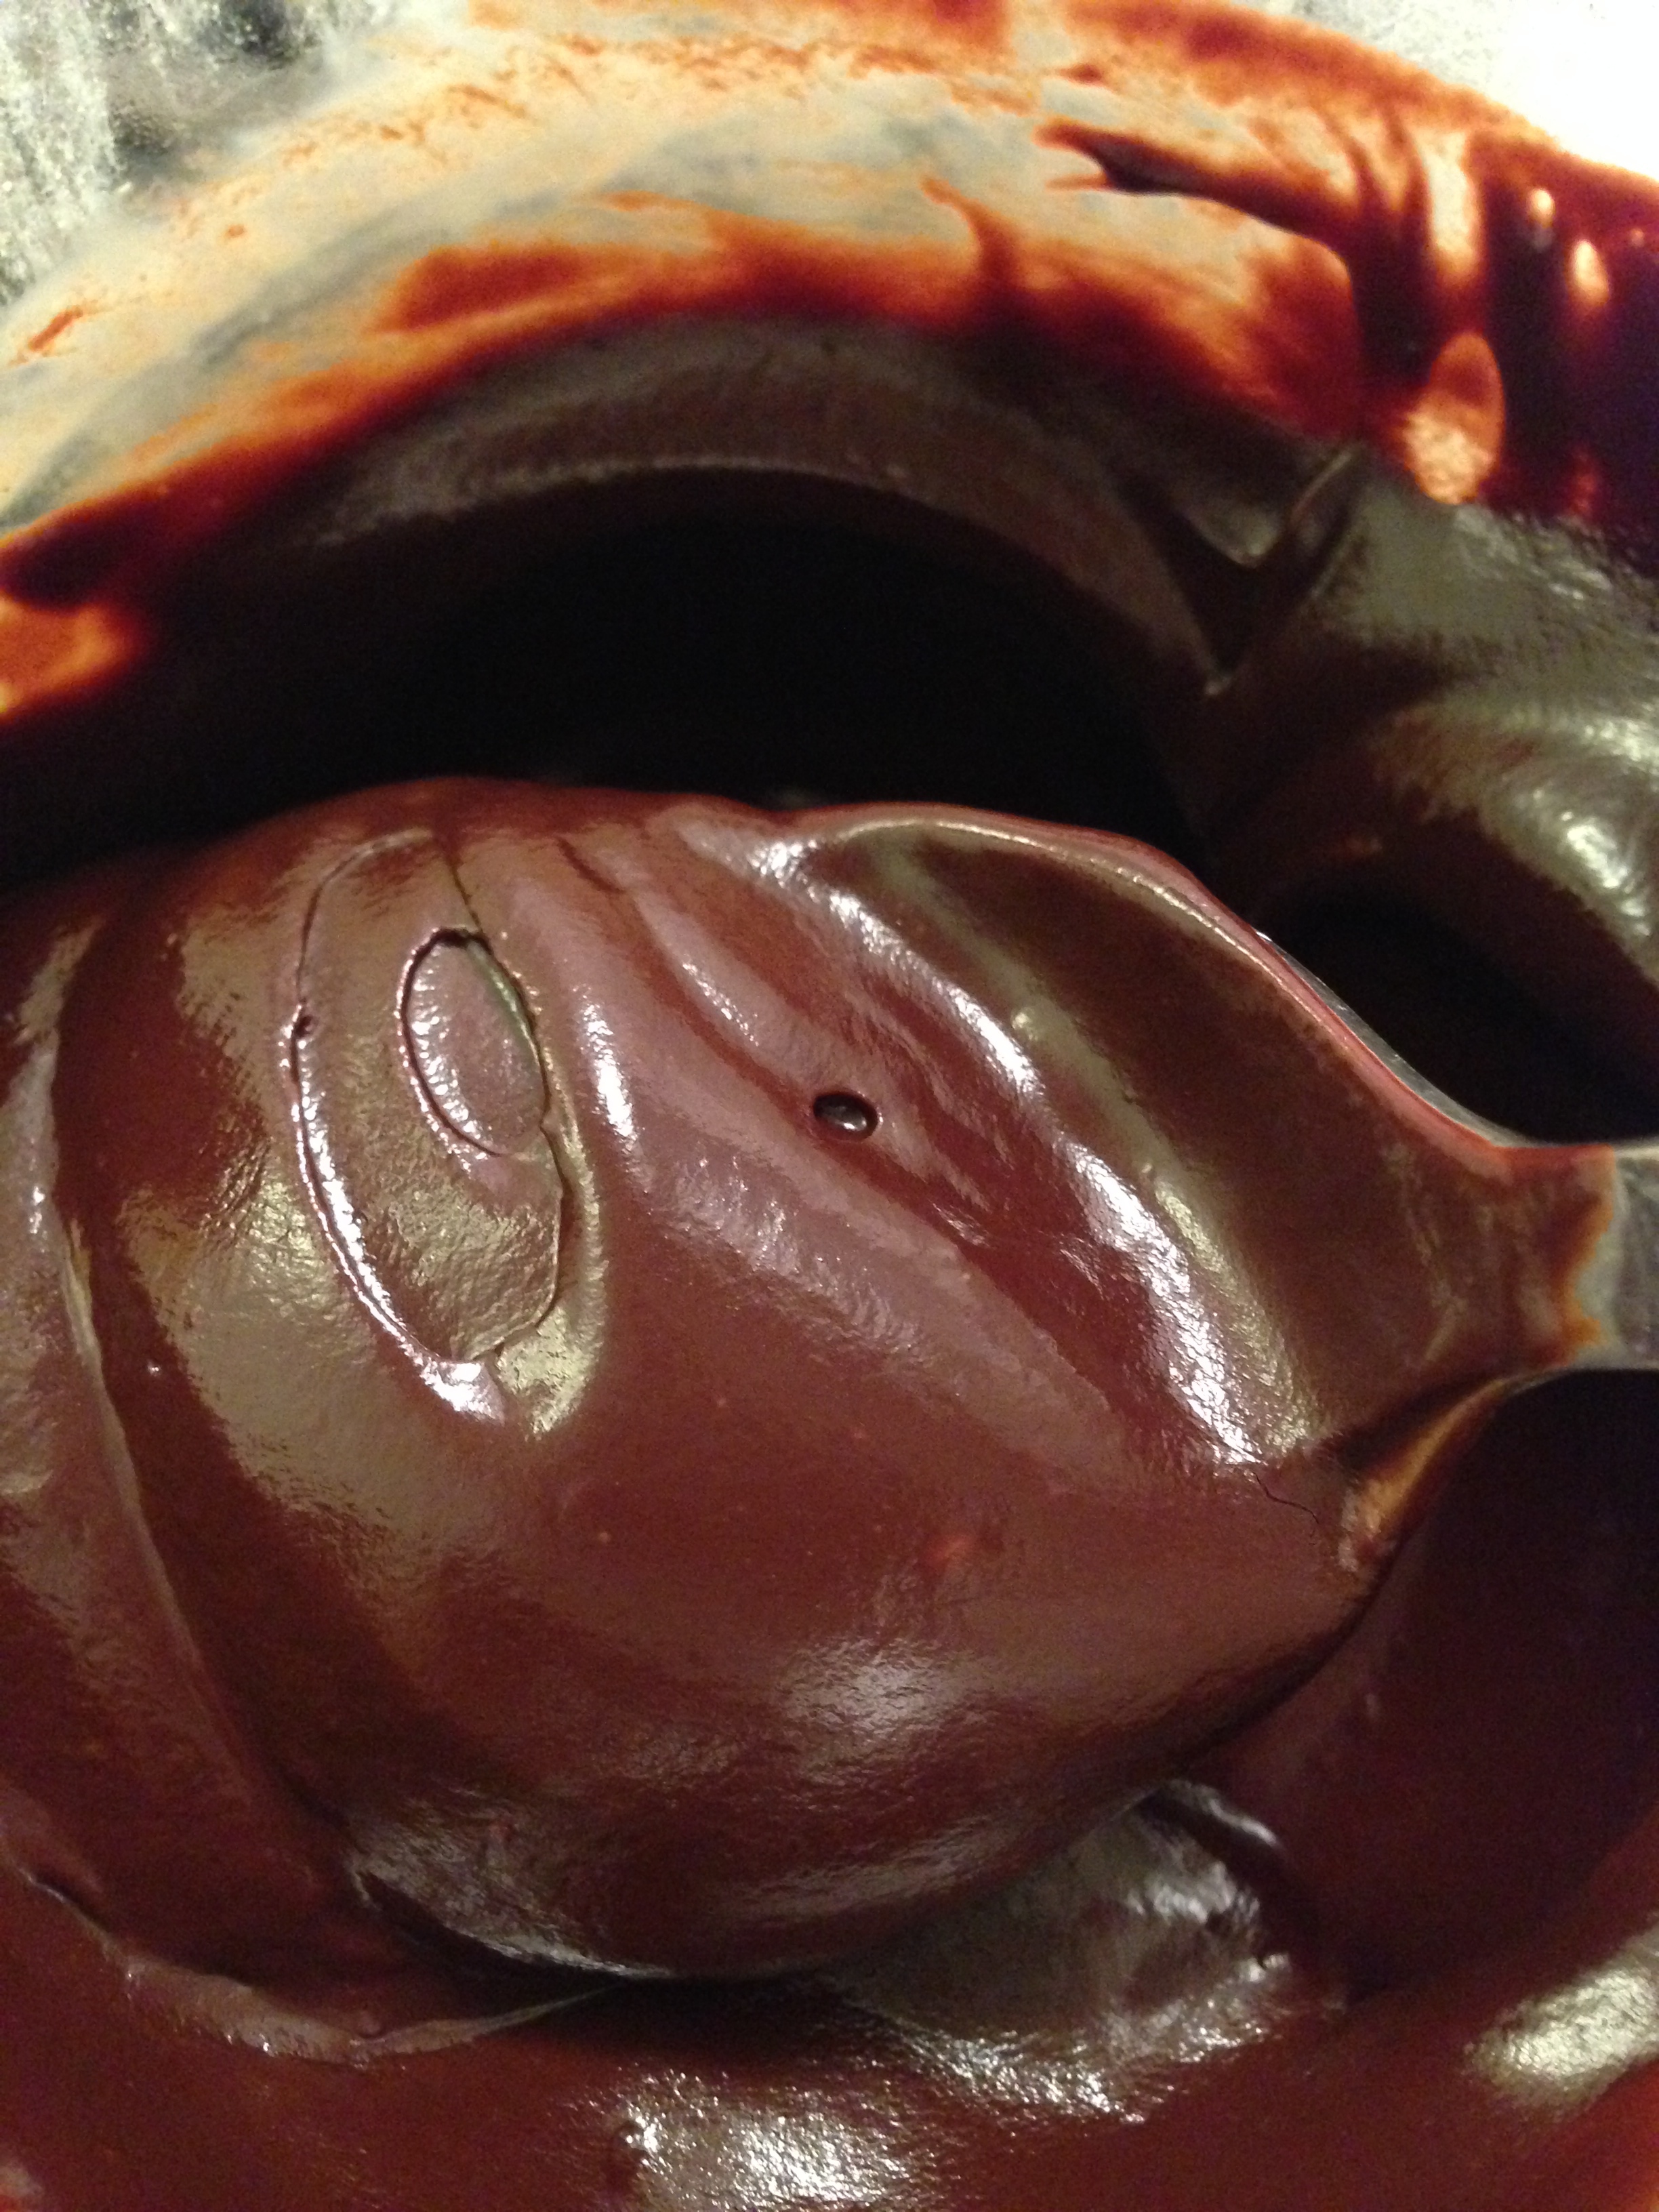
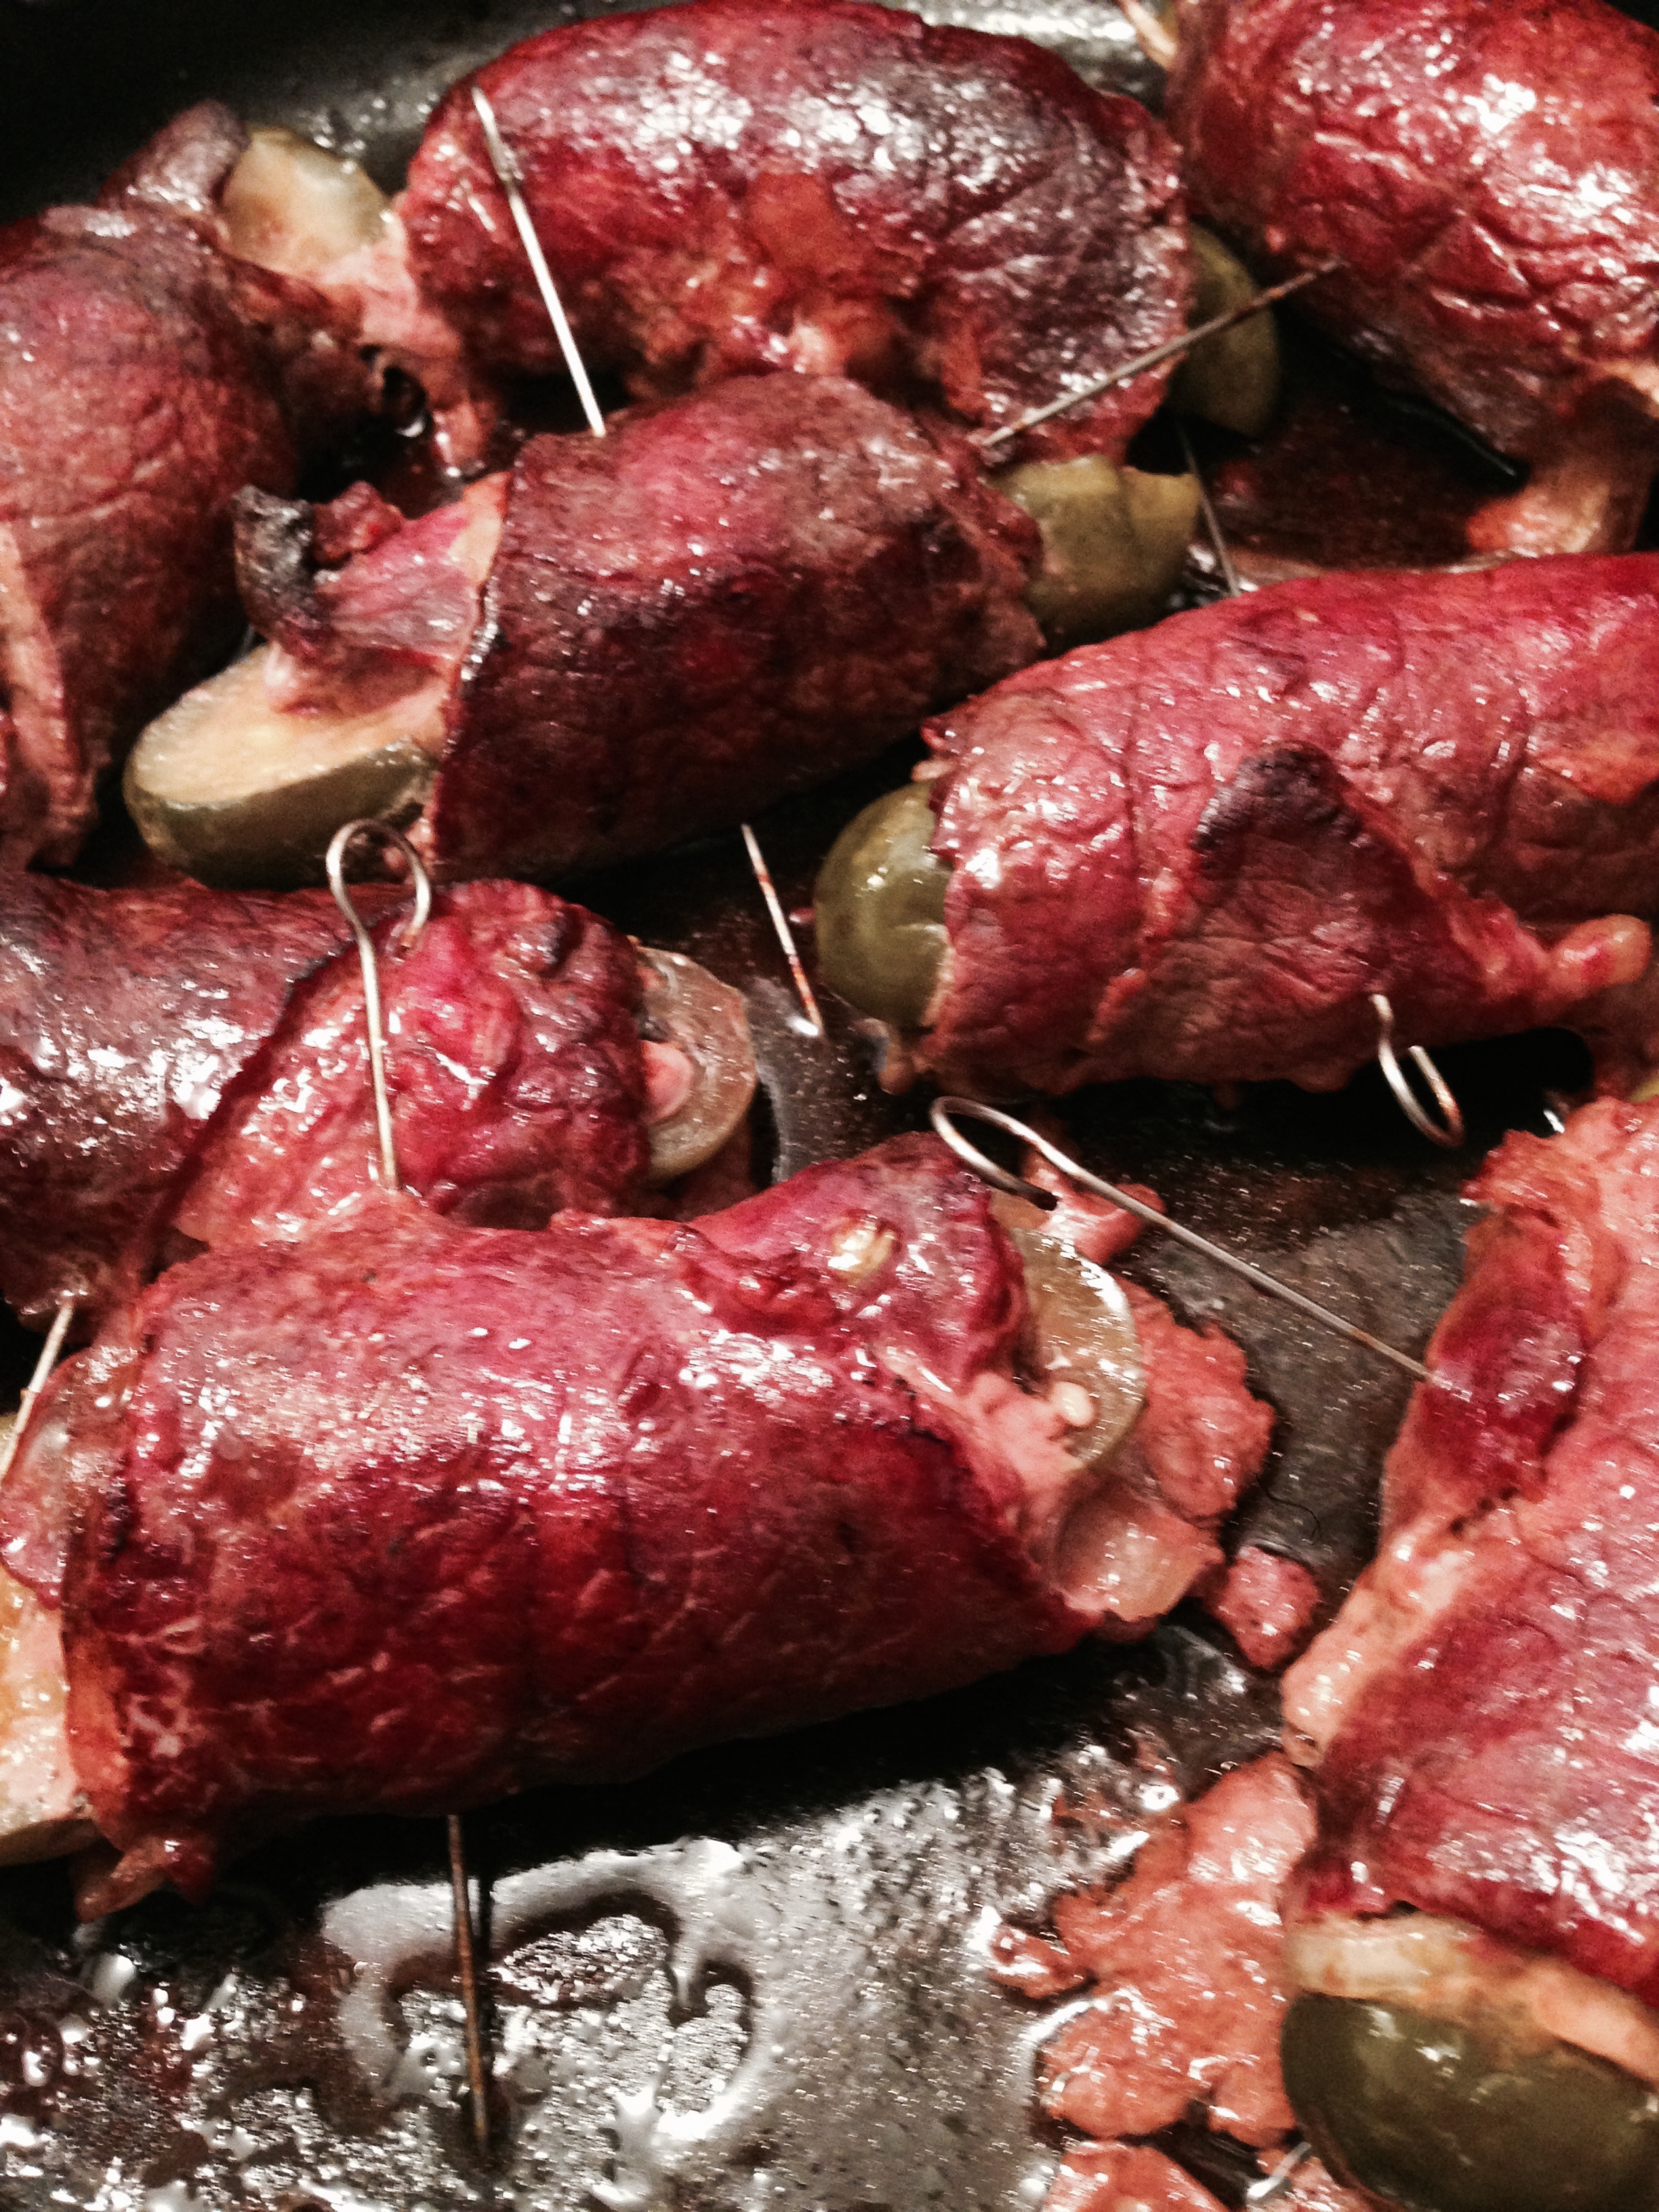
  3. Place pickle at one end and roll up beef into a roulade, using a metal (oven-safe) skewer to hold it together. 
  4. Repeat!
  5. Pre-heat oven to 350F.
  6. Once all the rouladen are done, in an oven-safe frying pan, heat 2 TBSP of oil over med-high heat. (Watch that it doesn't start to smoke.)
  7. Place all rouladen in hot pan. Sear all sides of each rouladen until golden brown. 
  8. Place frying pan, with all the rouladen, into the oven. 
  9. Fill bottom of pan with 1/4 cup water. 
  10. Bake rouladen for about 50 minutes. Checking every ~15 minutes to baste rouladen in pan juices. (If juices run low, add more water. Make sure you don't let the pan run dry! If the fats burn your gravy will be ucky.)
  11. After rouladen are finished, place on a plate and tent with tin foil (to keep warm). 

Gravy

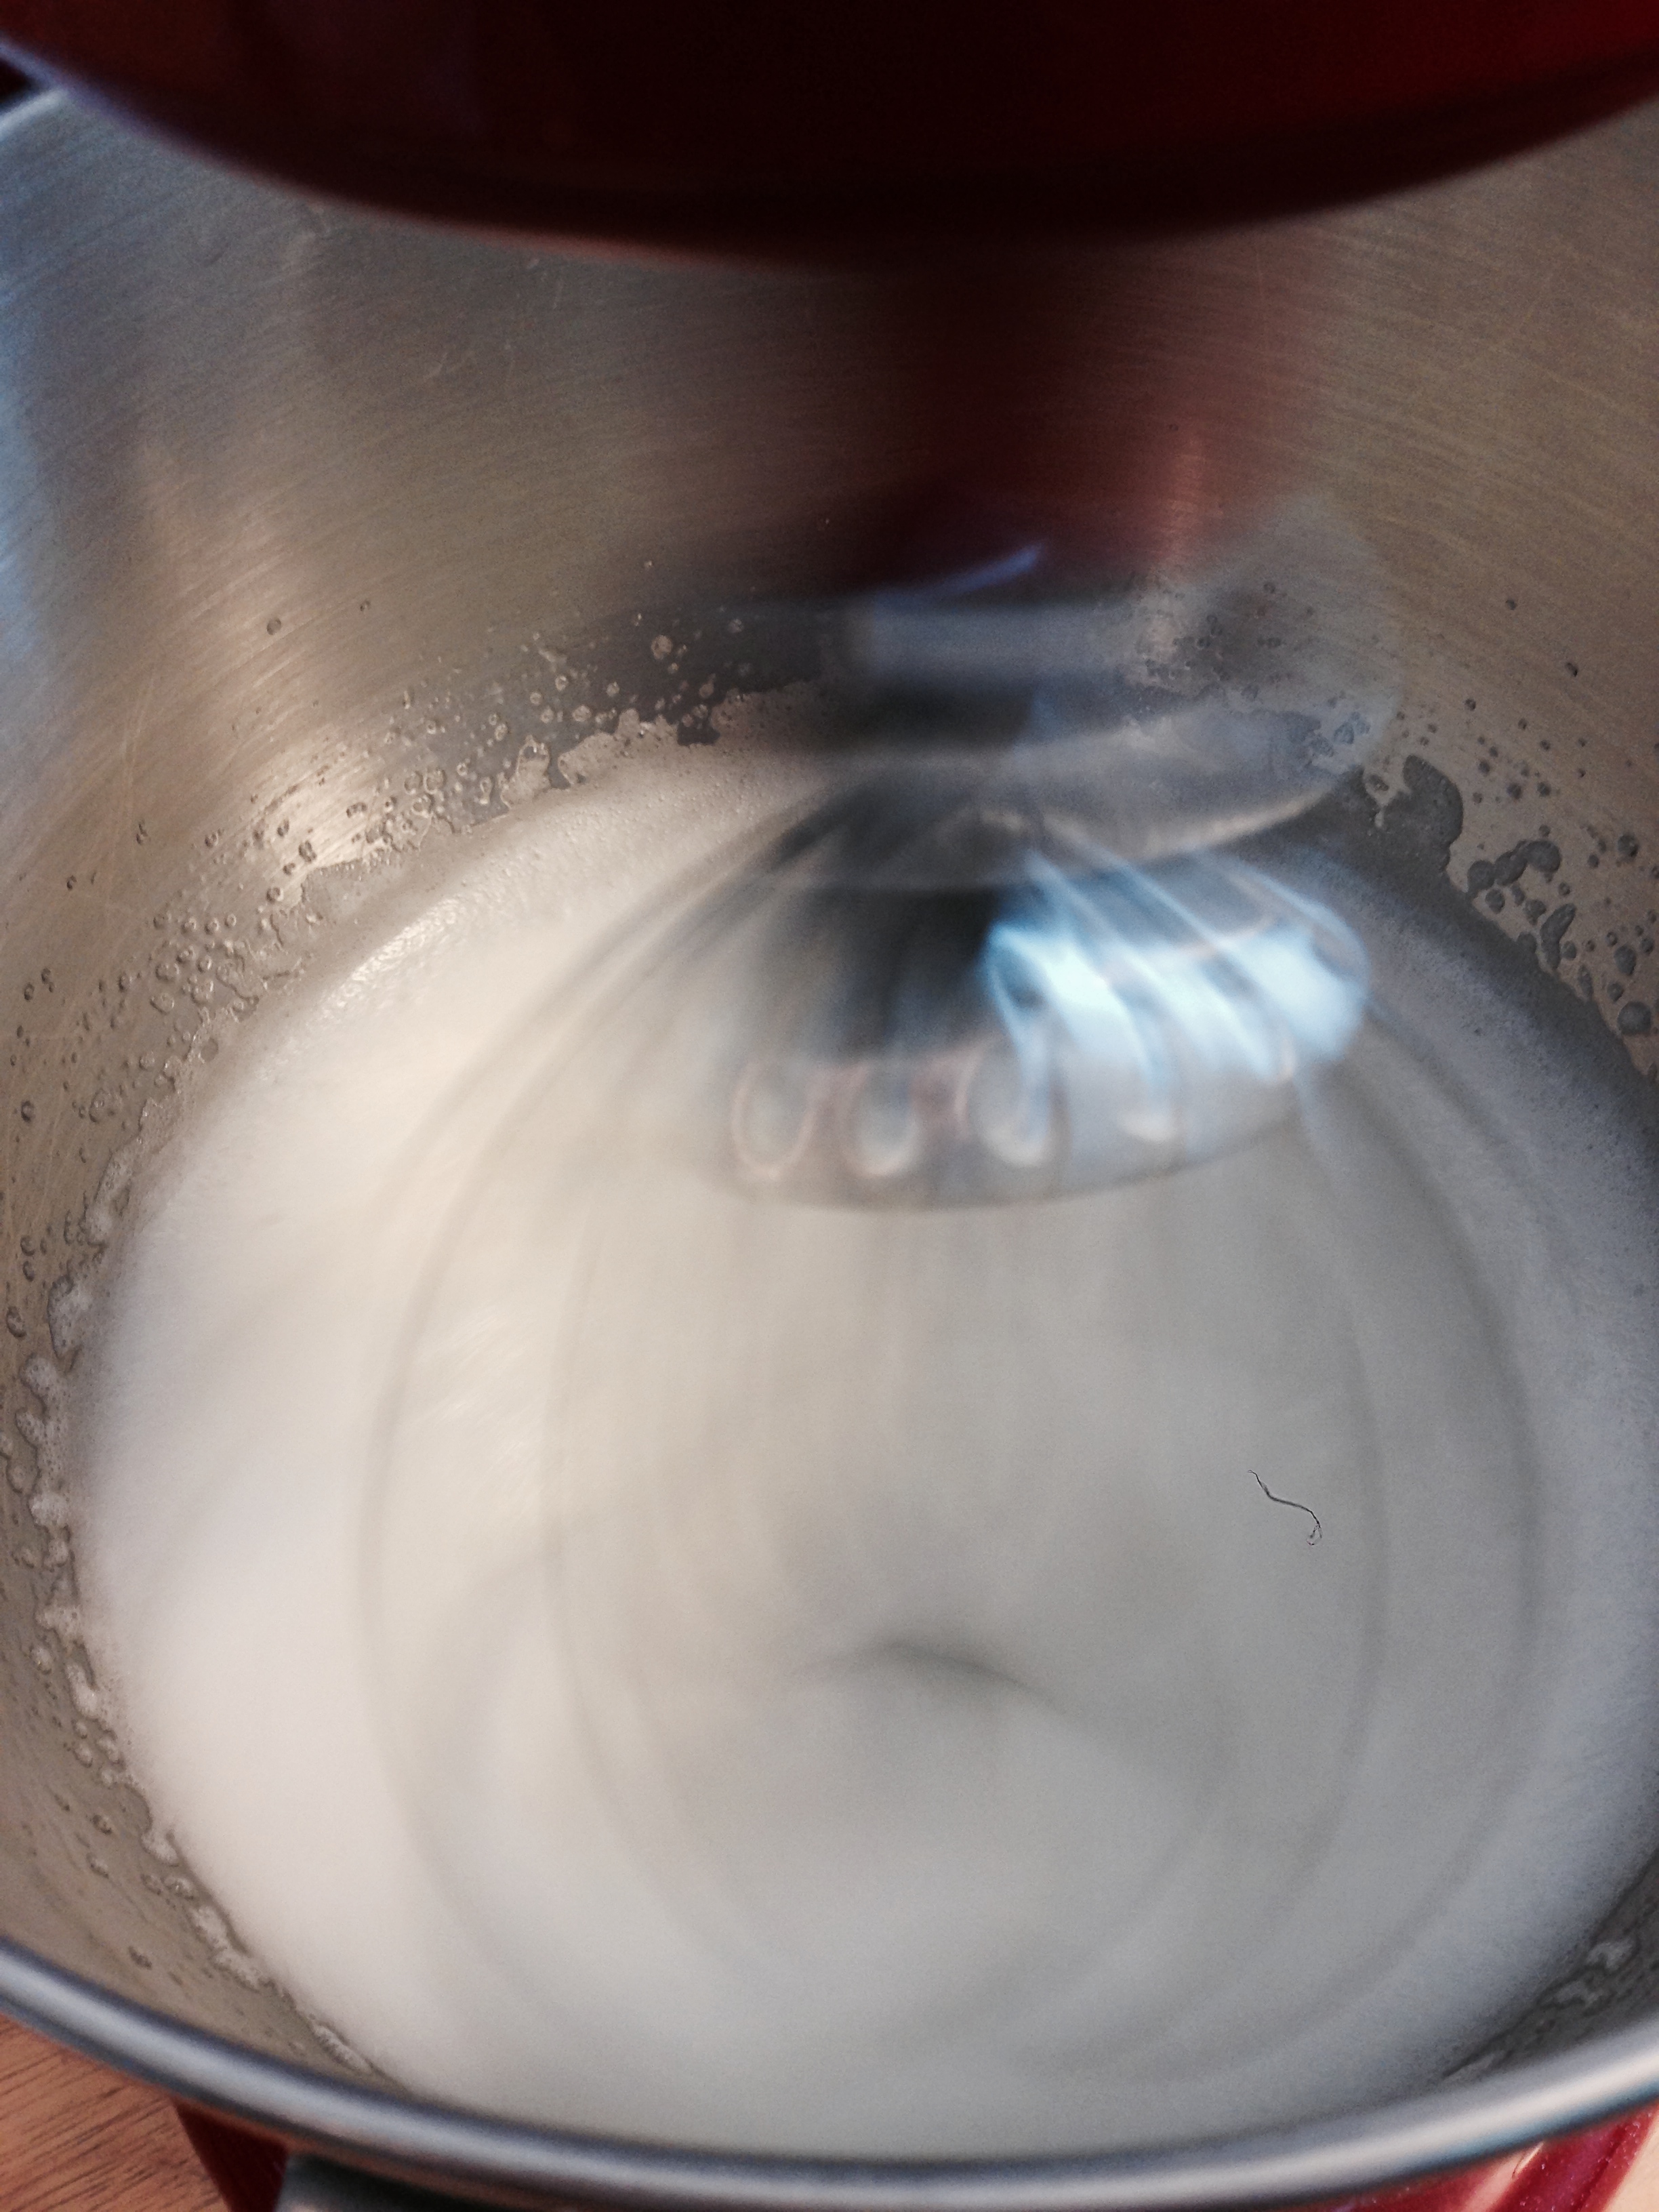
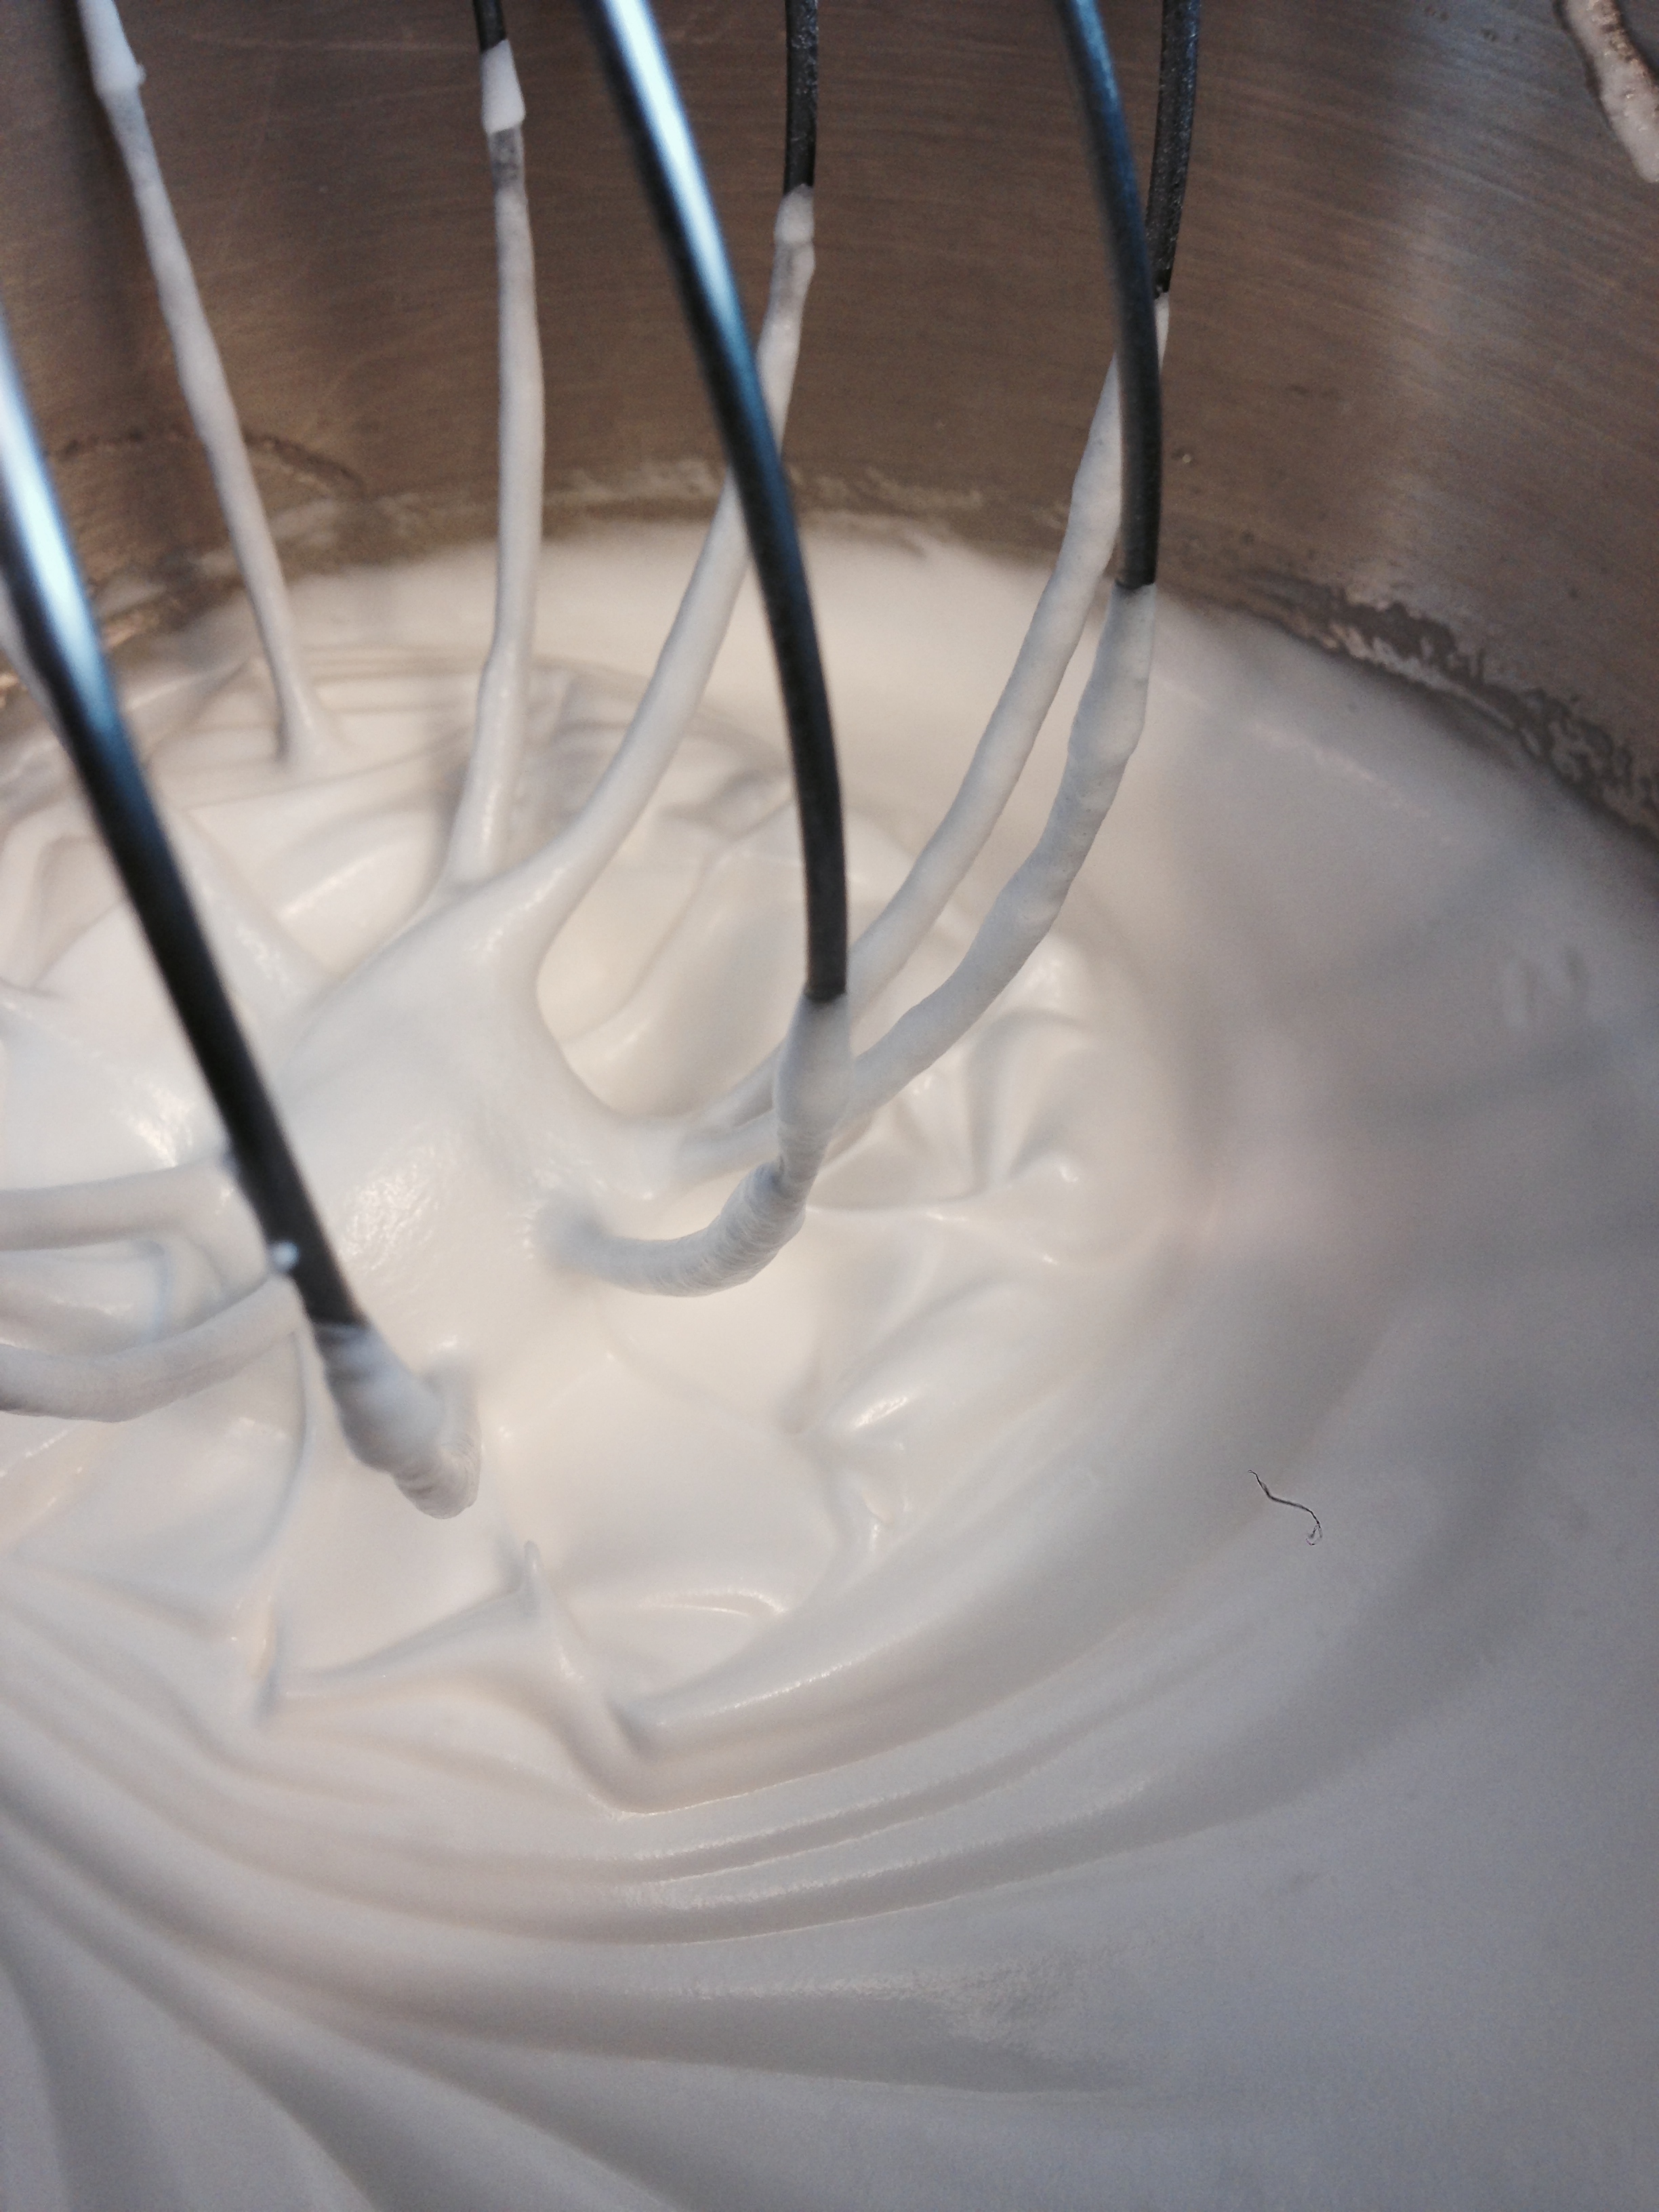
  1. Start the gravy! No heat to start. In rouladen pan, add flour to soak up all the fat, using a whisk to break up the chunks. (Add more flour until all fat is adsorbed.)
  2. Add COLD water to pan, whisking ferociously to get lumps out. Add enough water to dissolve all lumpies. 
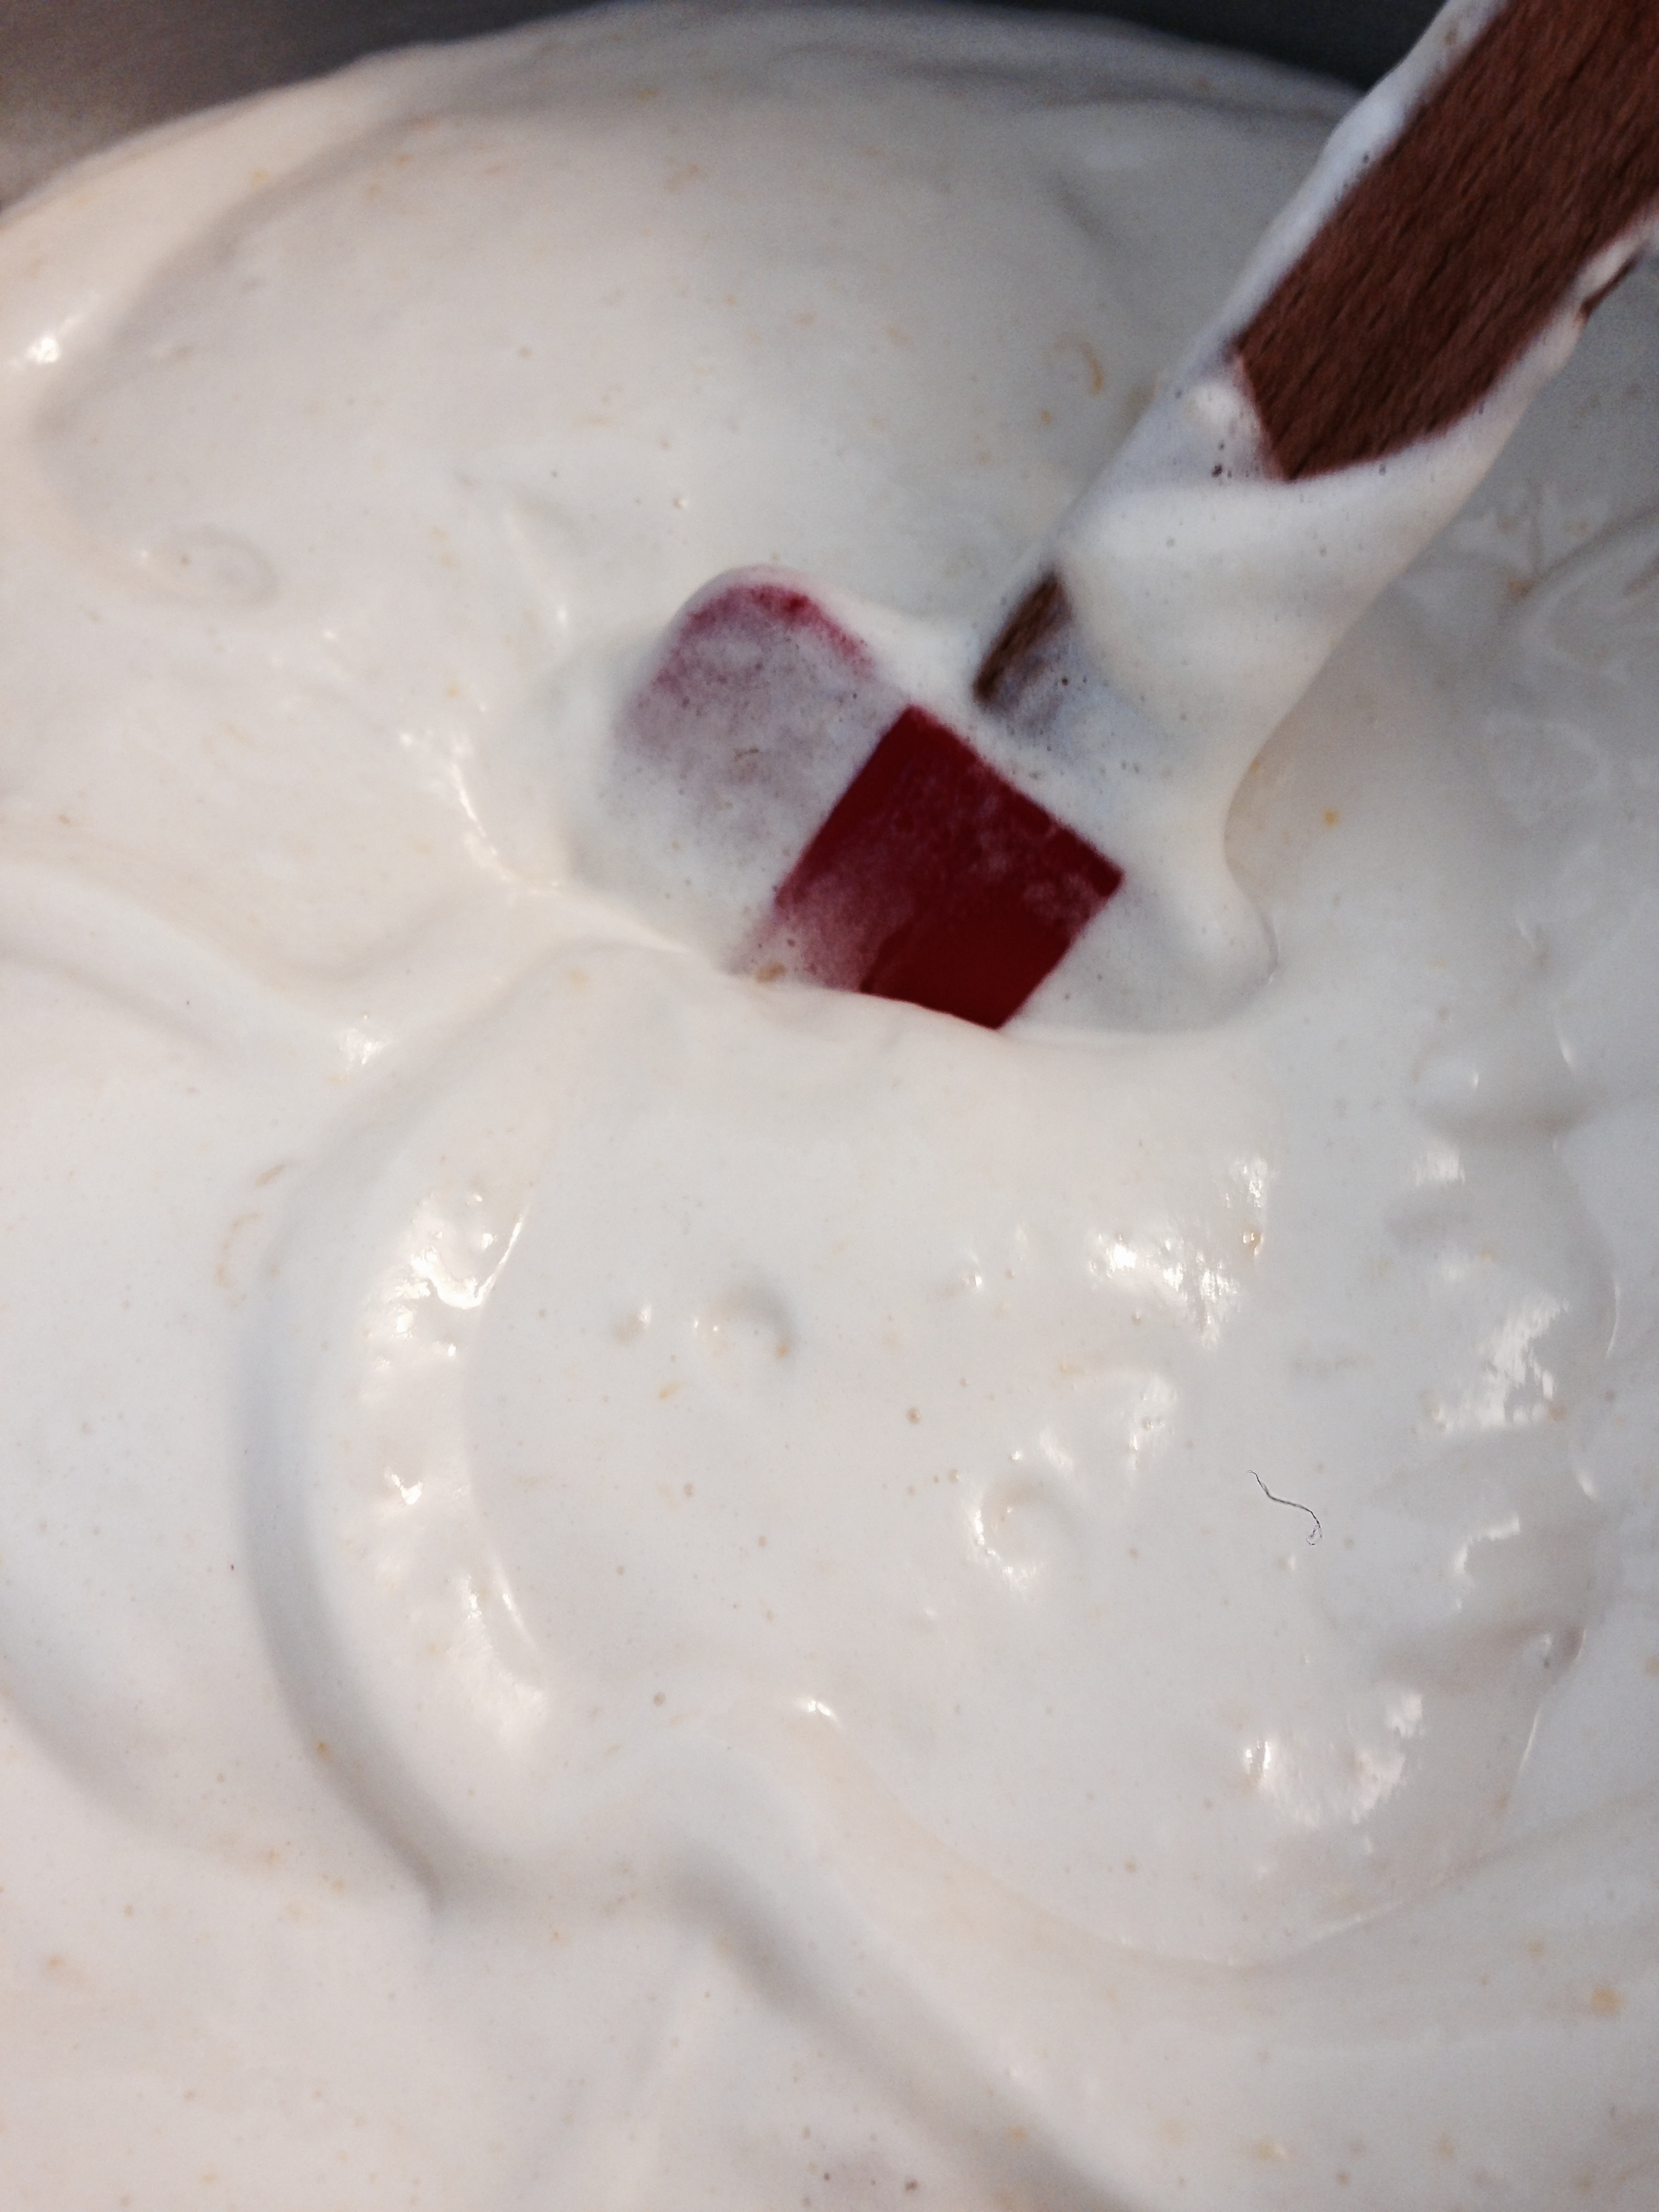
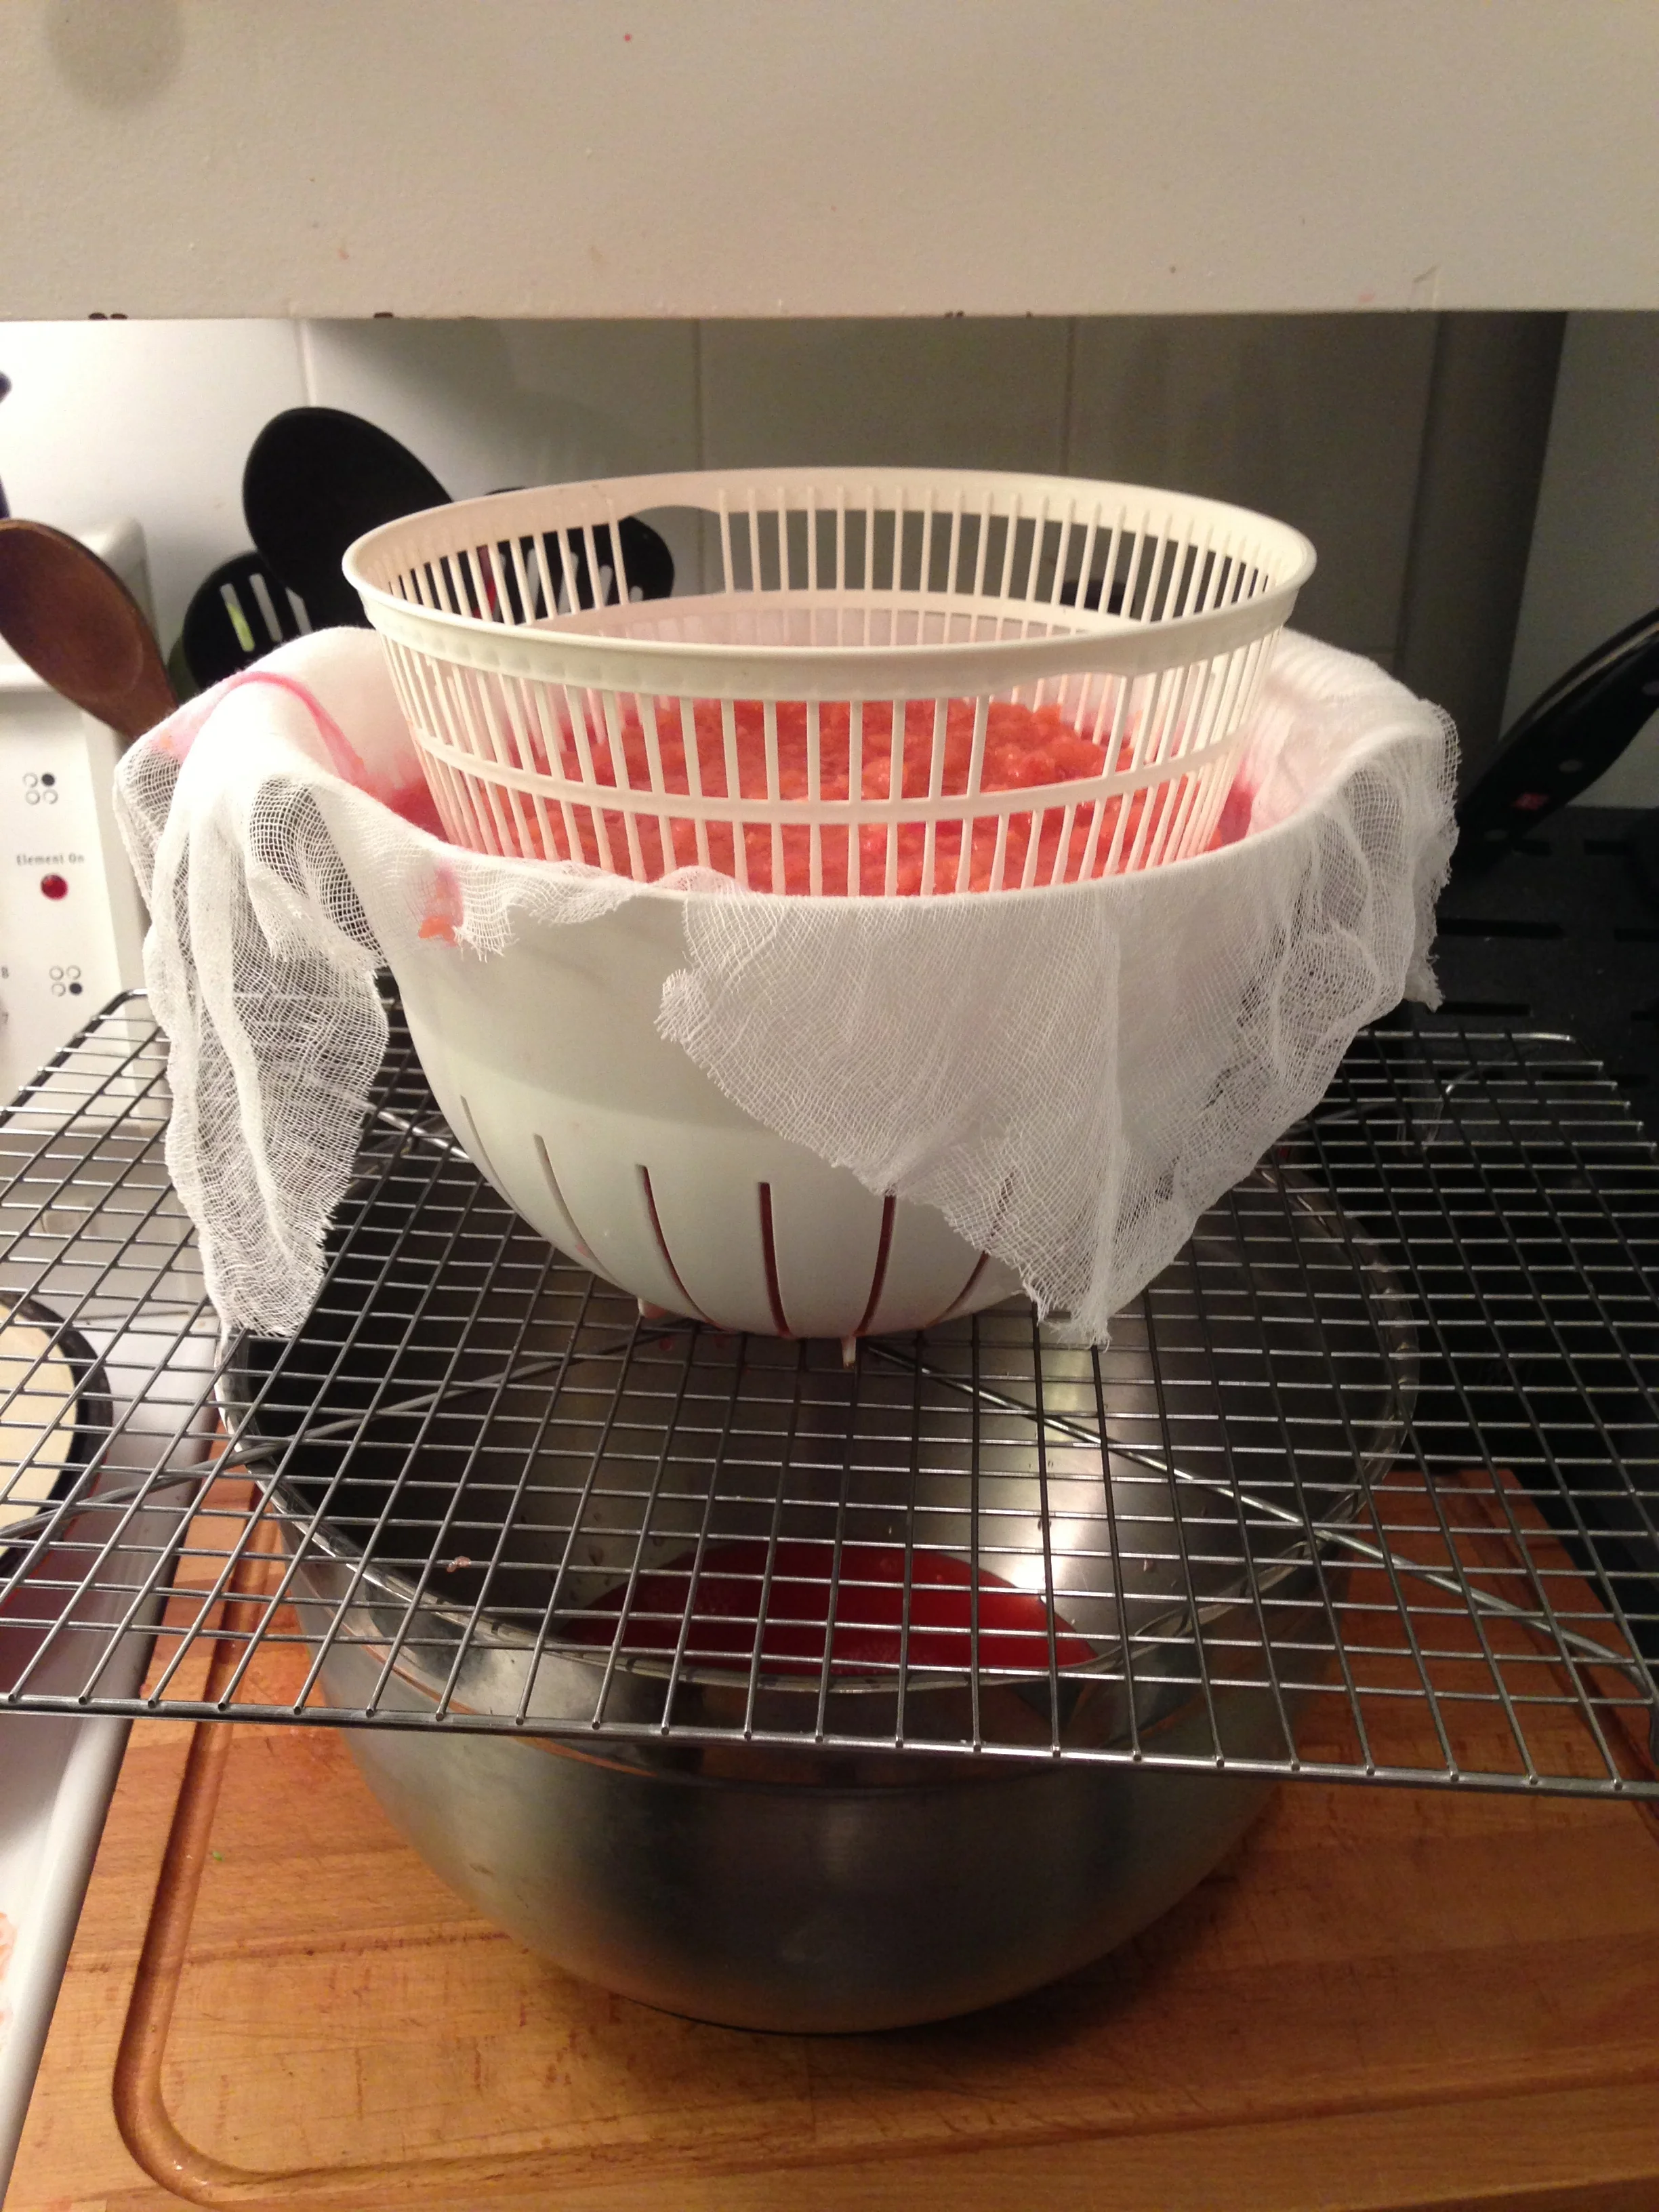
  3. Turn on the heat (med-high). Bring gravy to a boil. It should start thickening. Add water to thin gravy as it comes to a boil (I like to use the potato water from the boiled potatoes because it's salty).
  4. After the gravy has re-thickened again, season with salt and pepper to taste. Serve!

Now, the red cabbage is a different story. Traditionally made, it's much like sauerkraut in that's it supposed to be fermented. But that takes forever. So I make my own fresh. 

Rot Kohl (or Red Cabbage)

Oil
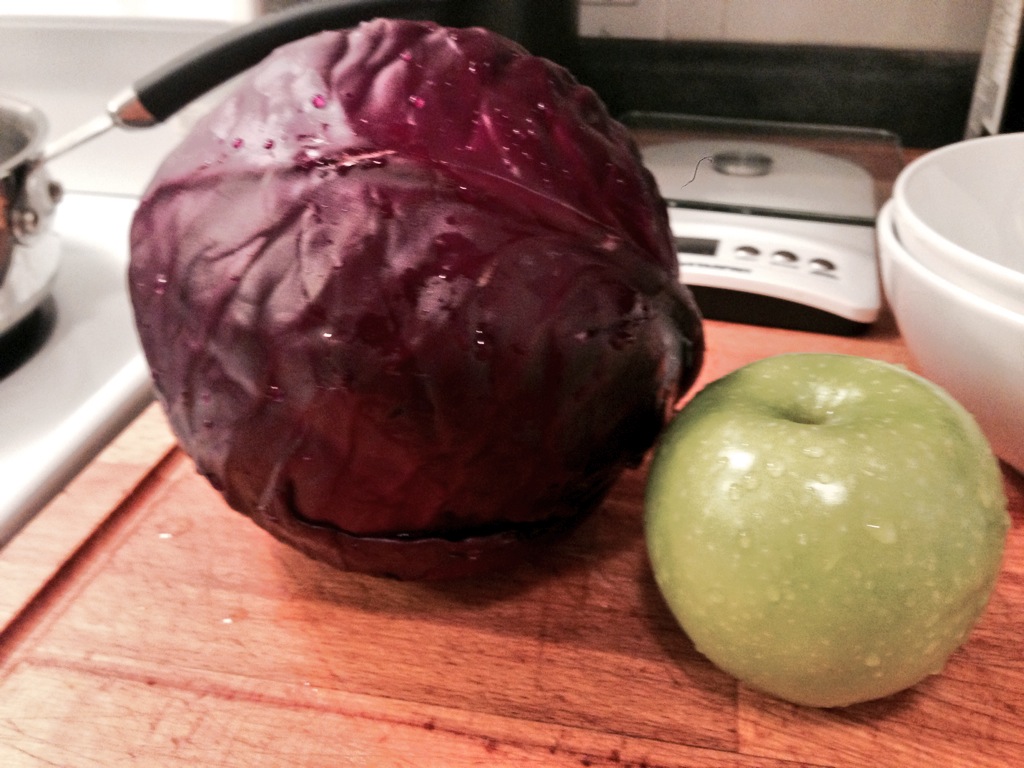
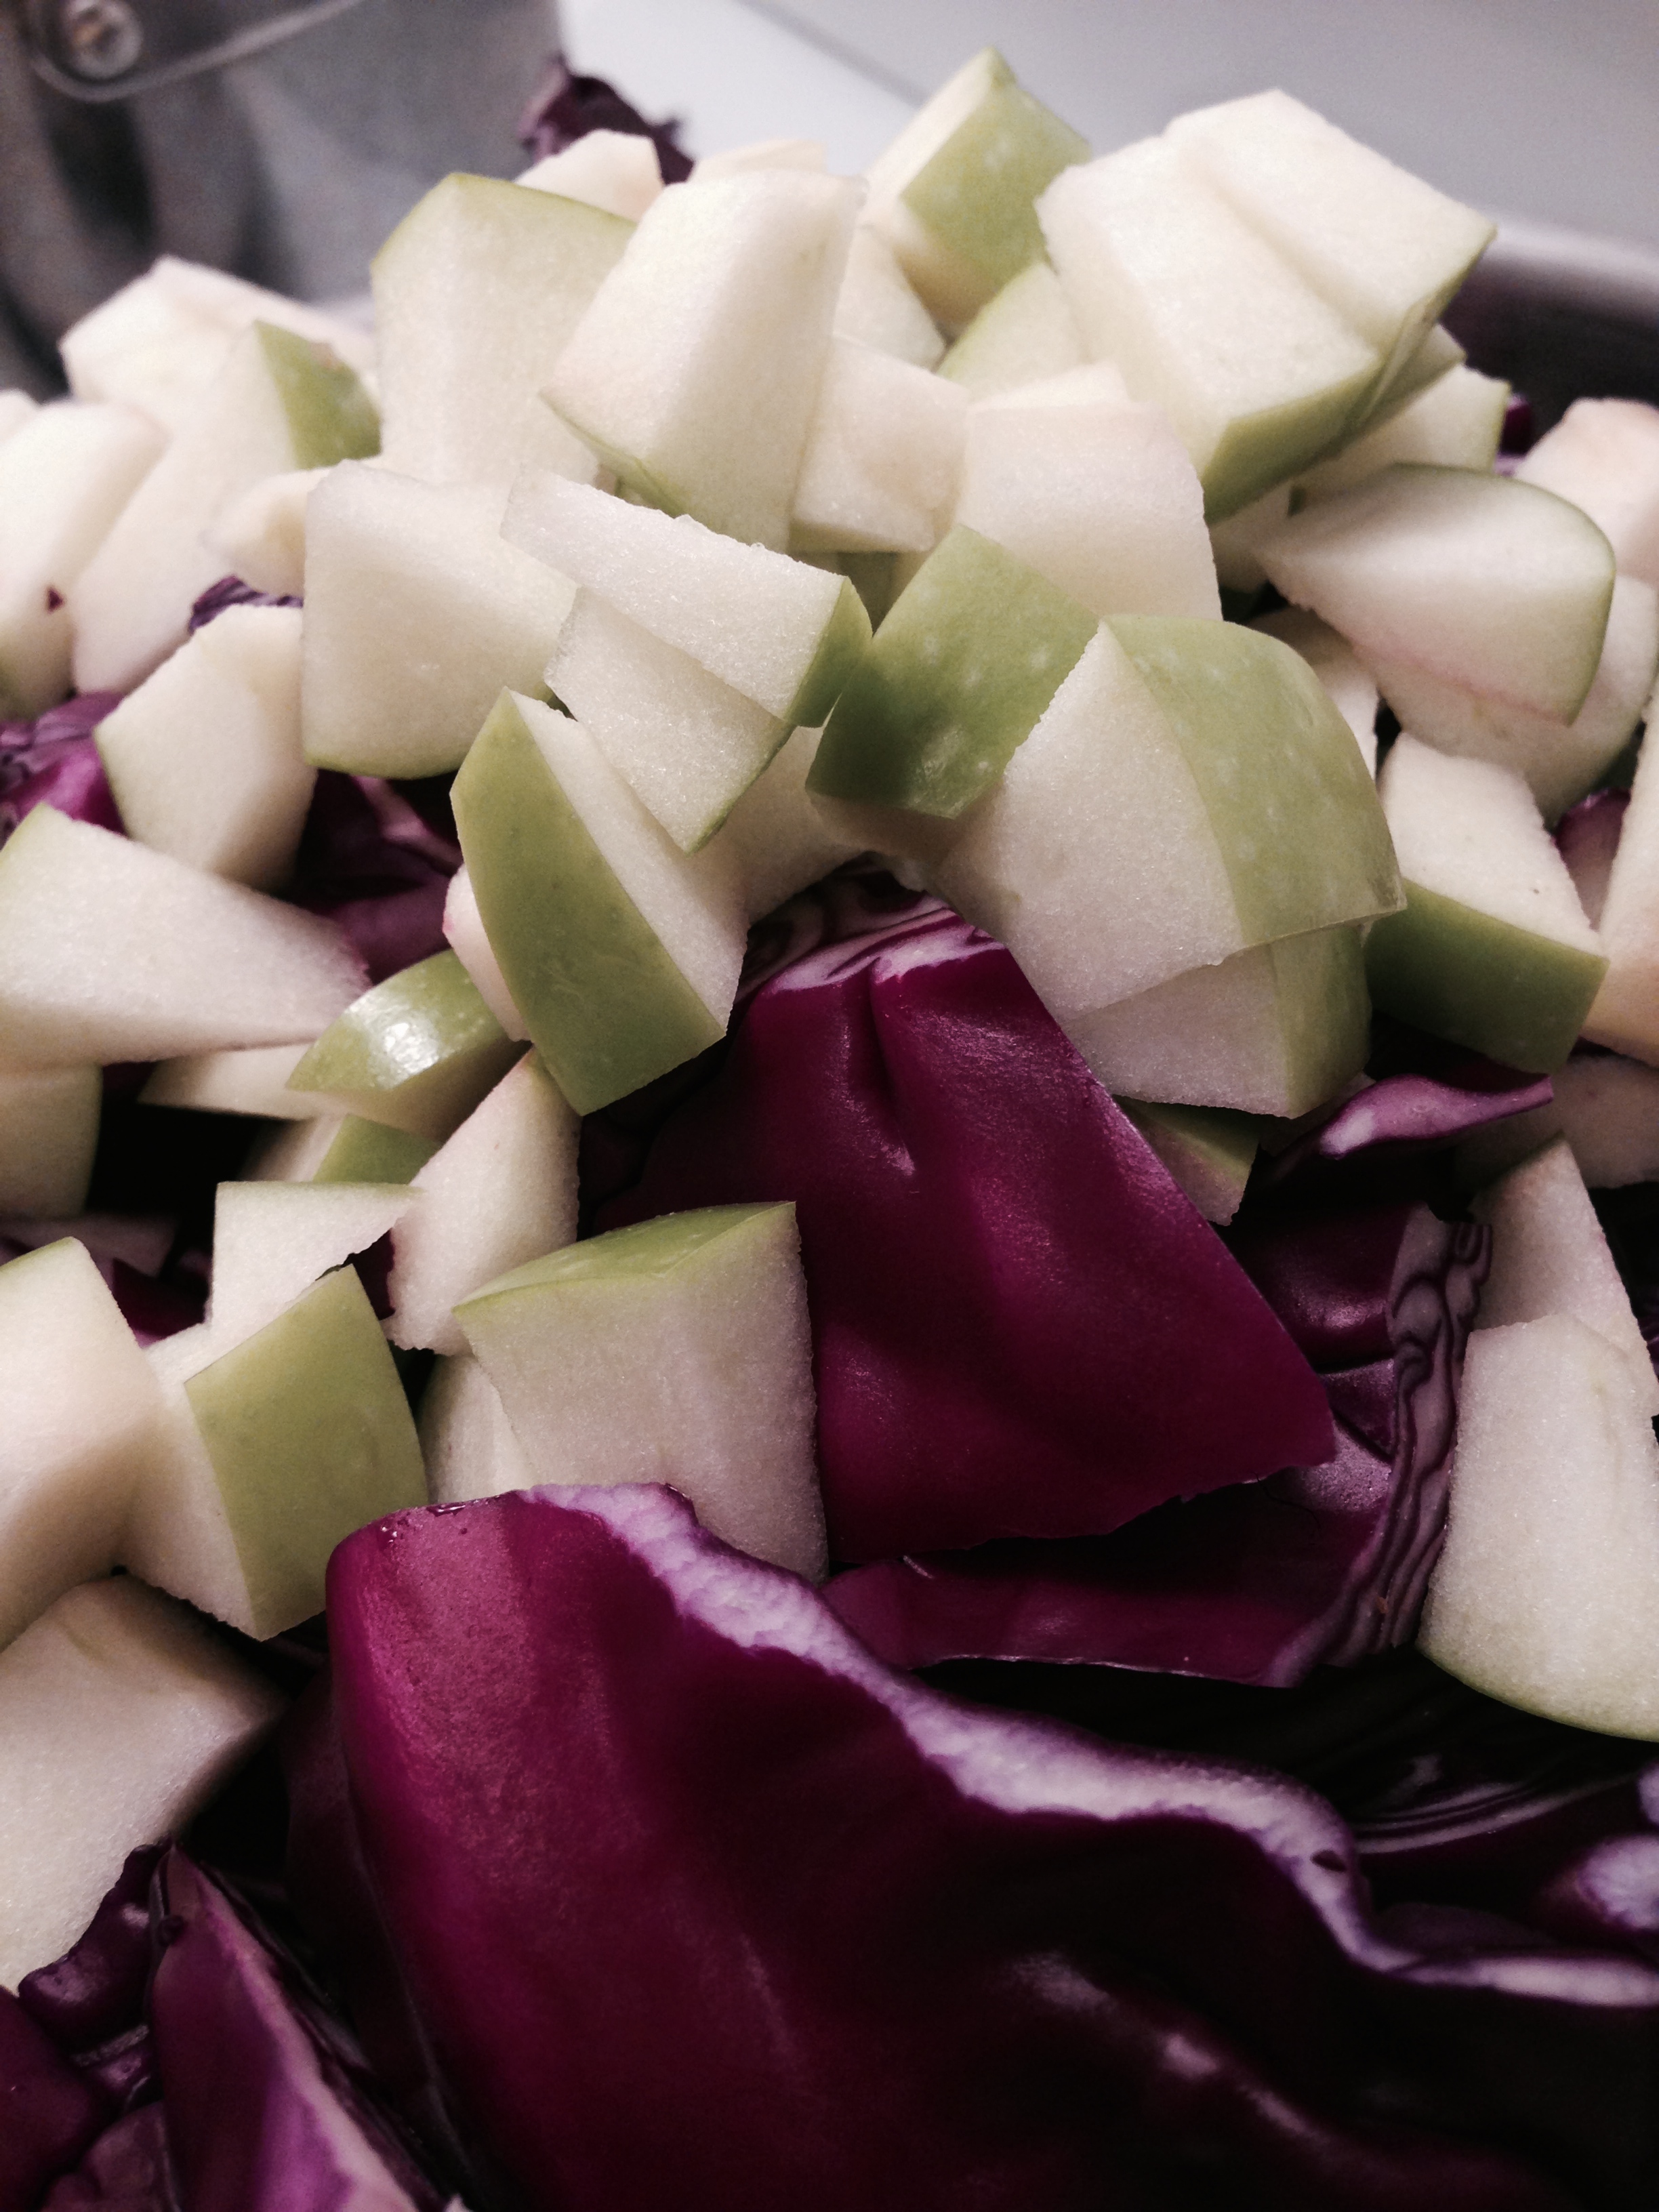
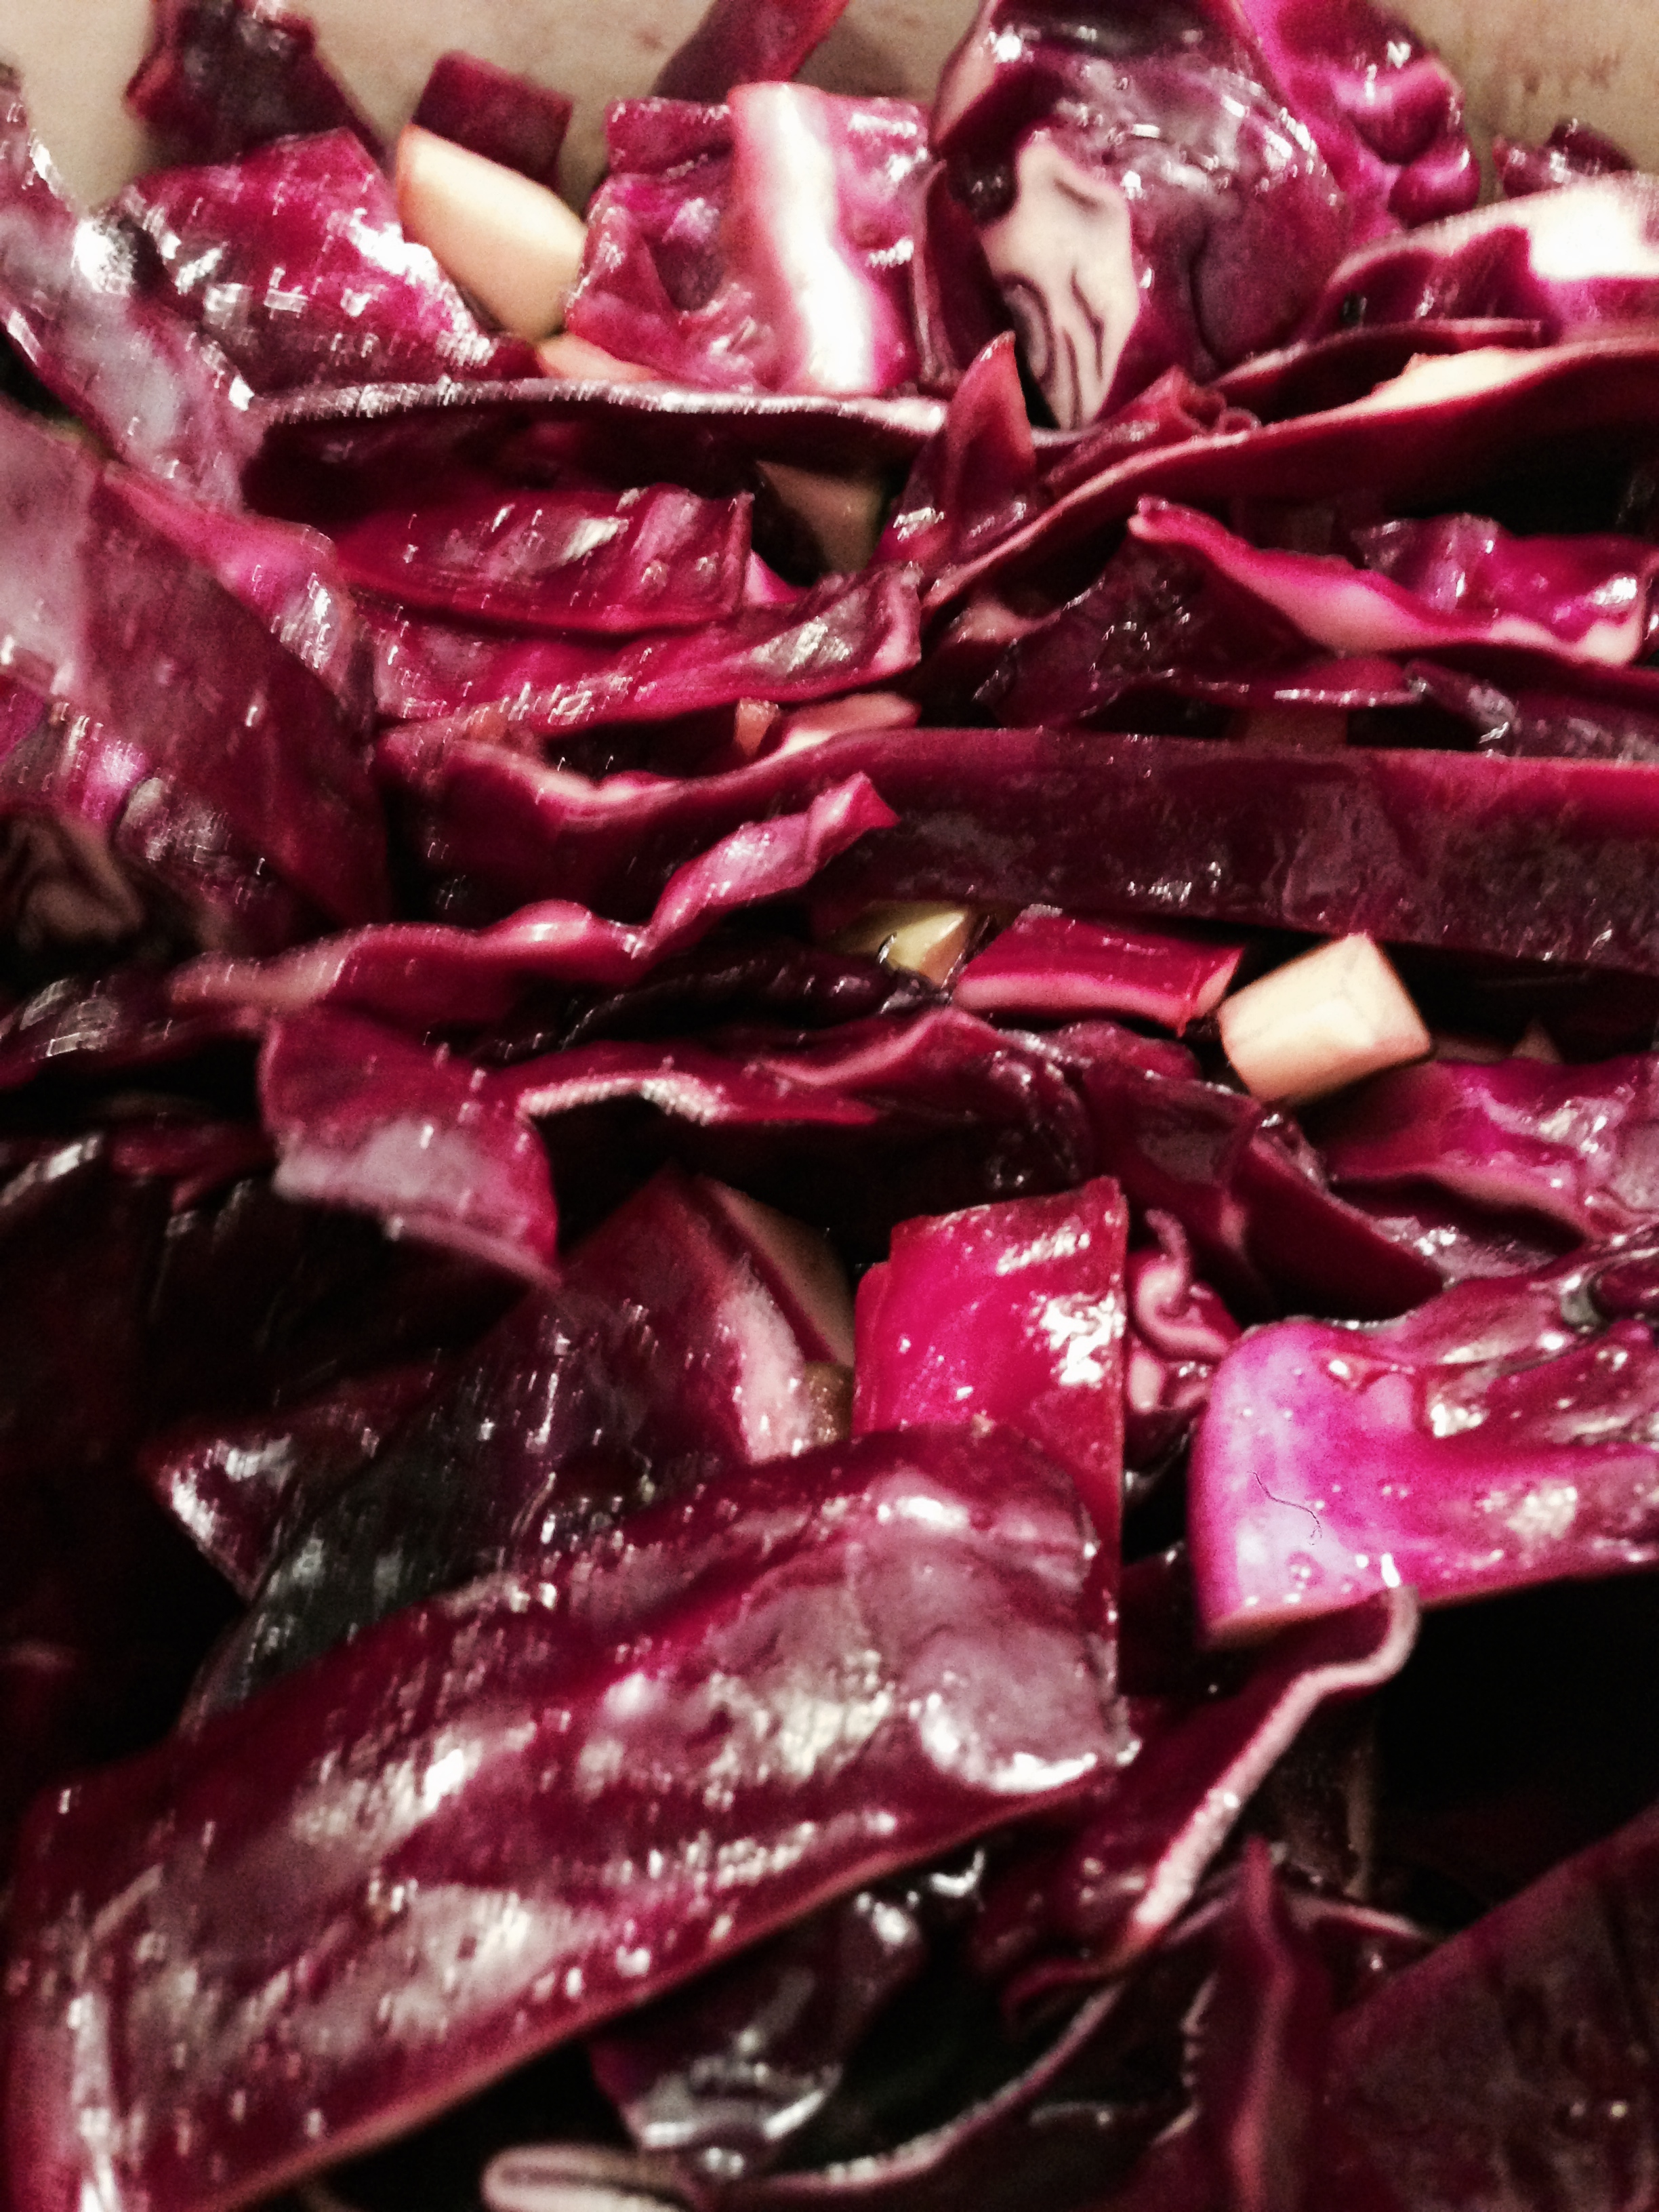
1 head red cabbage, cored and sliced thinly
1 Granny Smith apple (or other tangy green apple), cored and chopped
3 - 4 TBSP balsamic vinegar (depending on the size of your cabbage, add more or less)
2 TSBP brown sugar

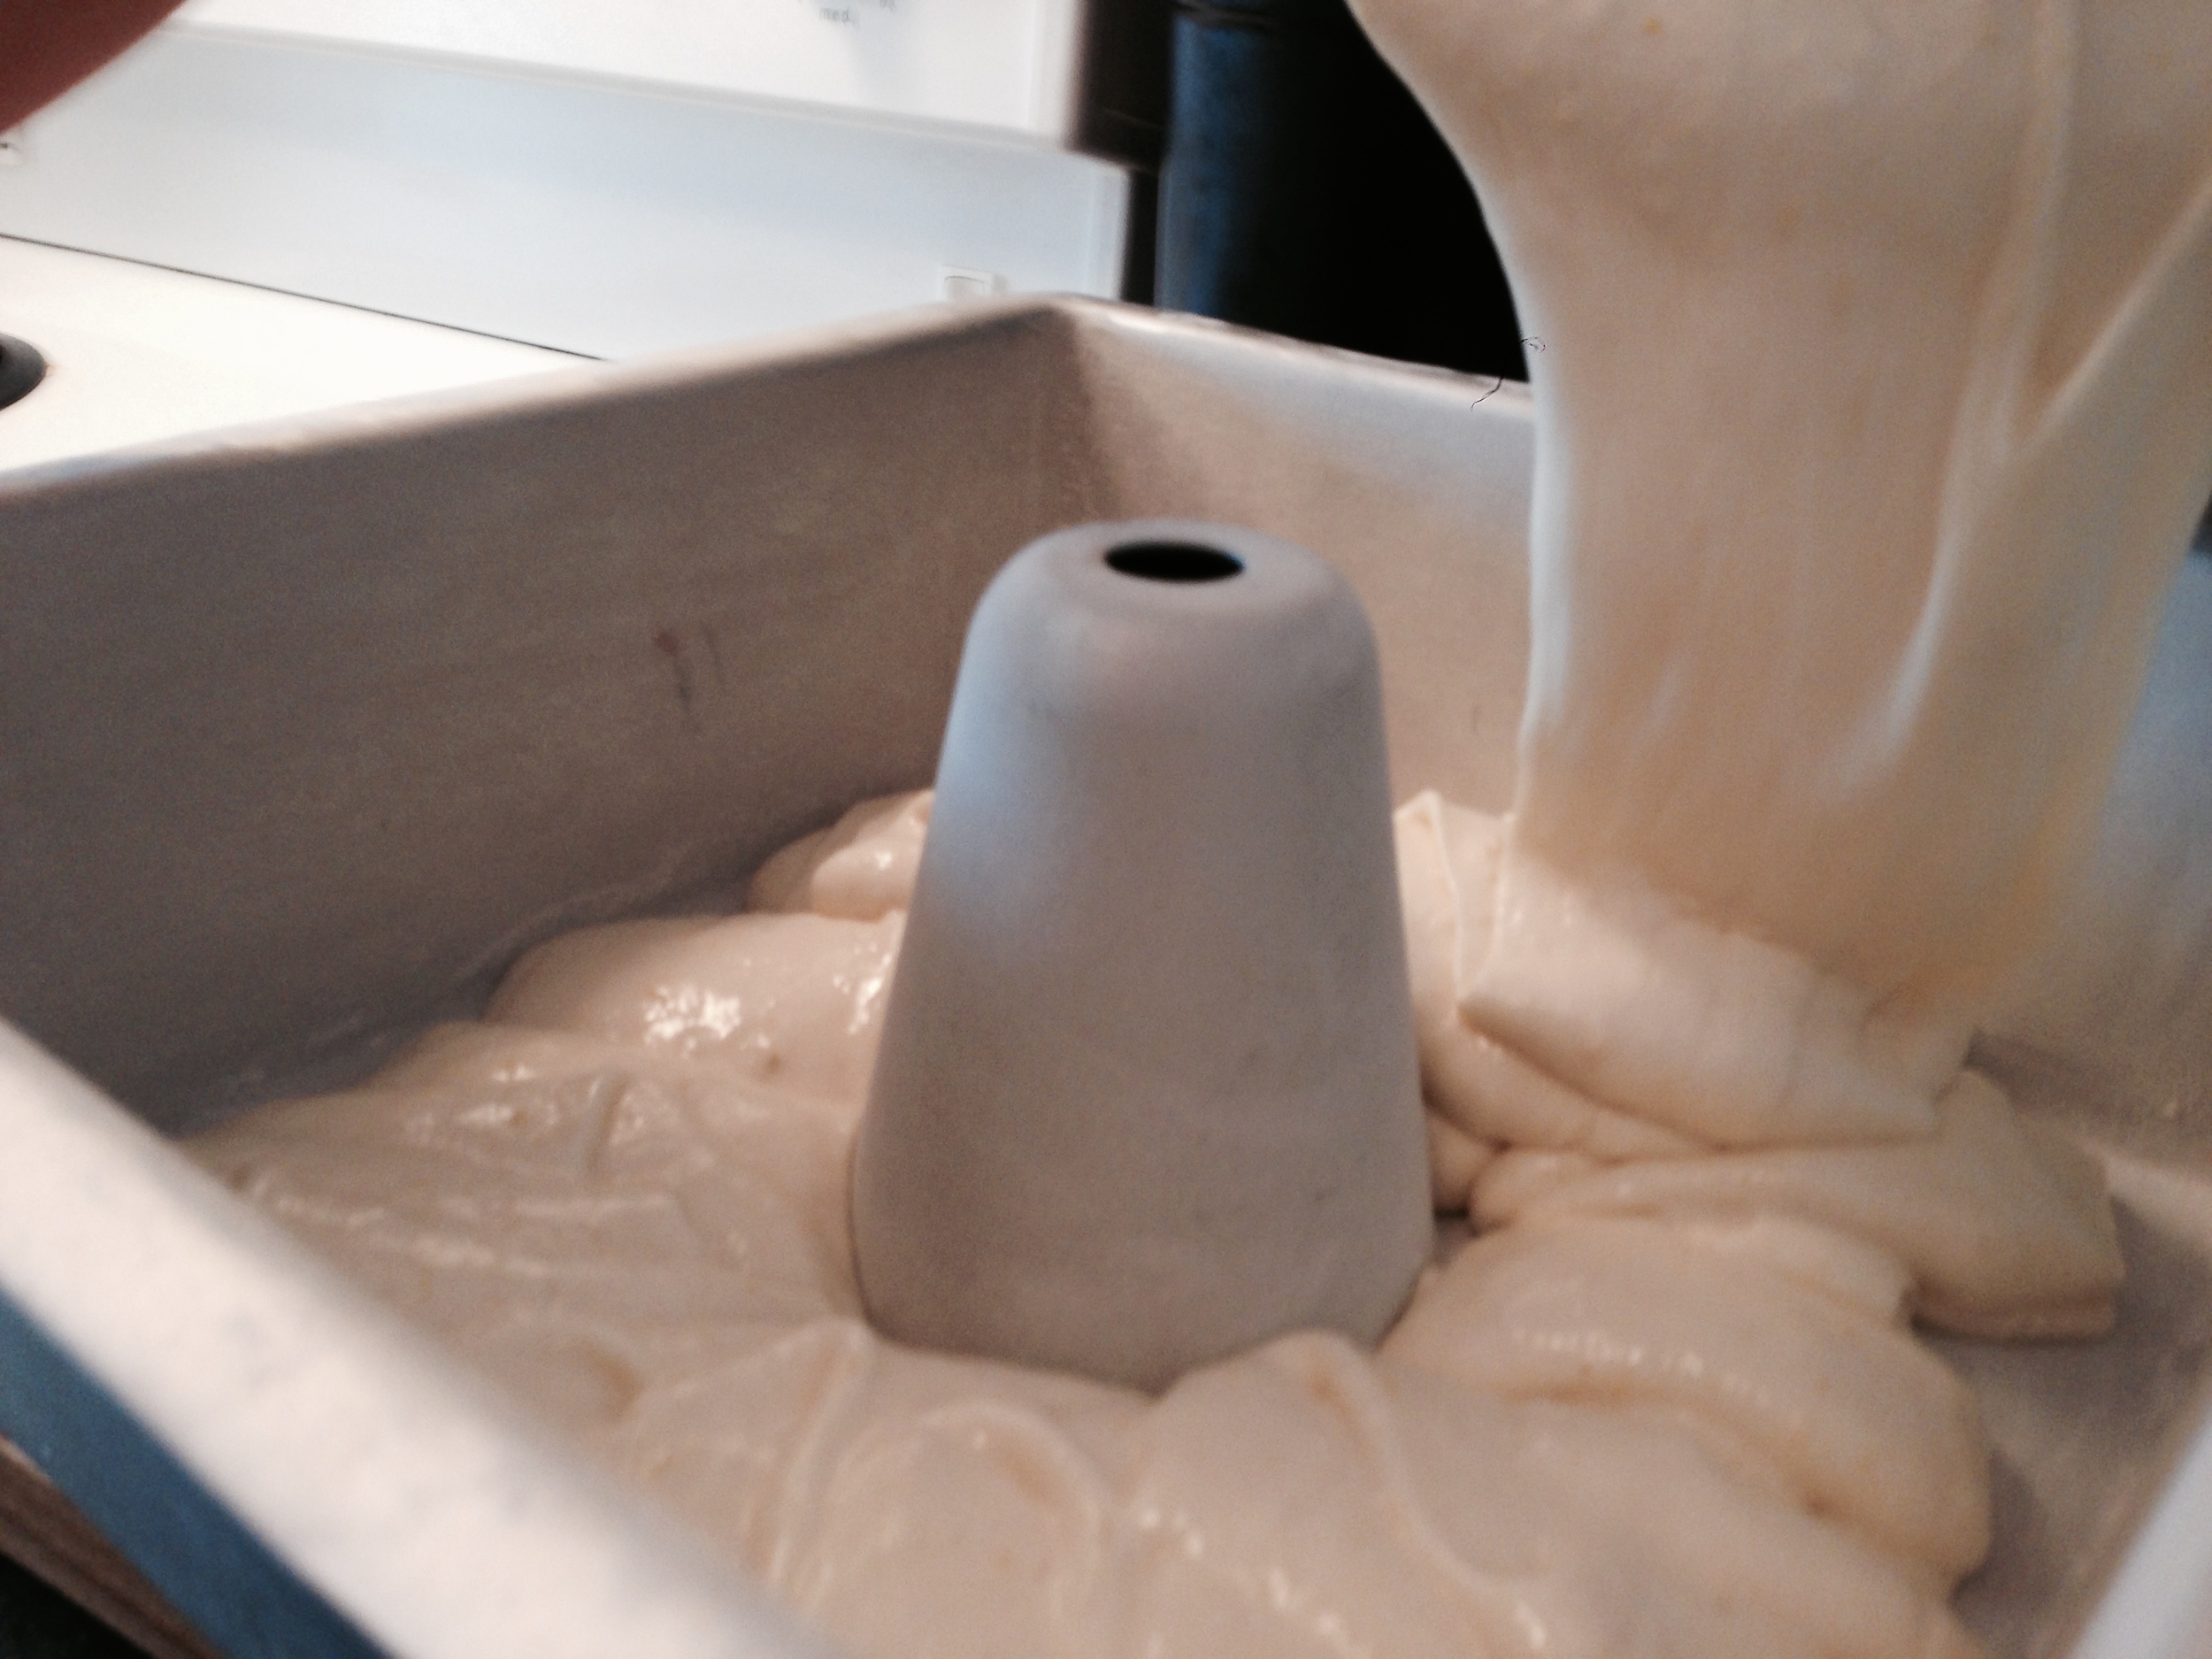
  1. In a large dutch oven, heat oil over medium heat. 
  2. Add red cabbage and apple. Stir. 
  3. As cabbage starts to soften, add balsamic vinegar and sugar. 
  4. Cook, stirring often, for 45 minutes to an hour (or until cabbage is soft). 
Shortbreadcookies.jpg

When I was a kid we usually served the rouladen with mustard. For me, gravy is just fine. Mmm Mmm childhood memory meals.

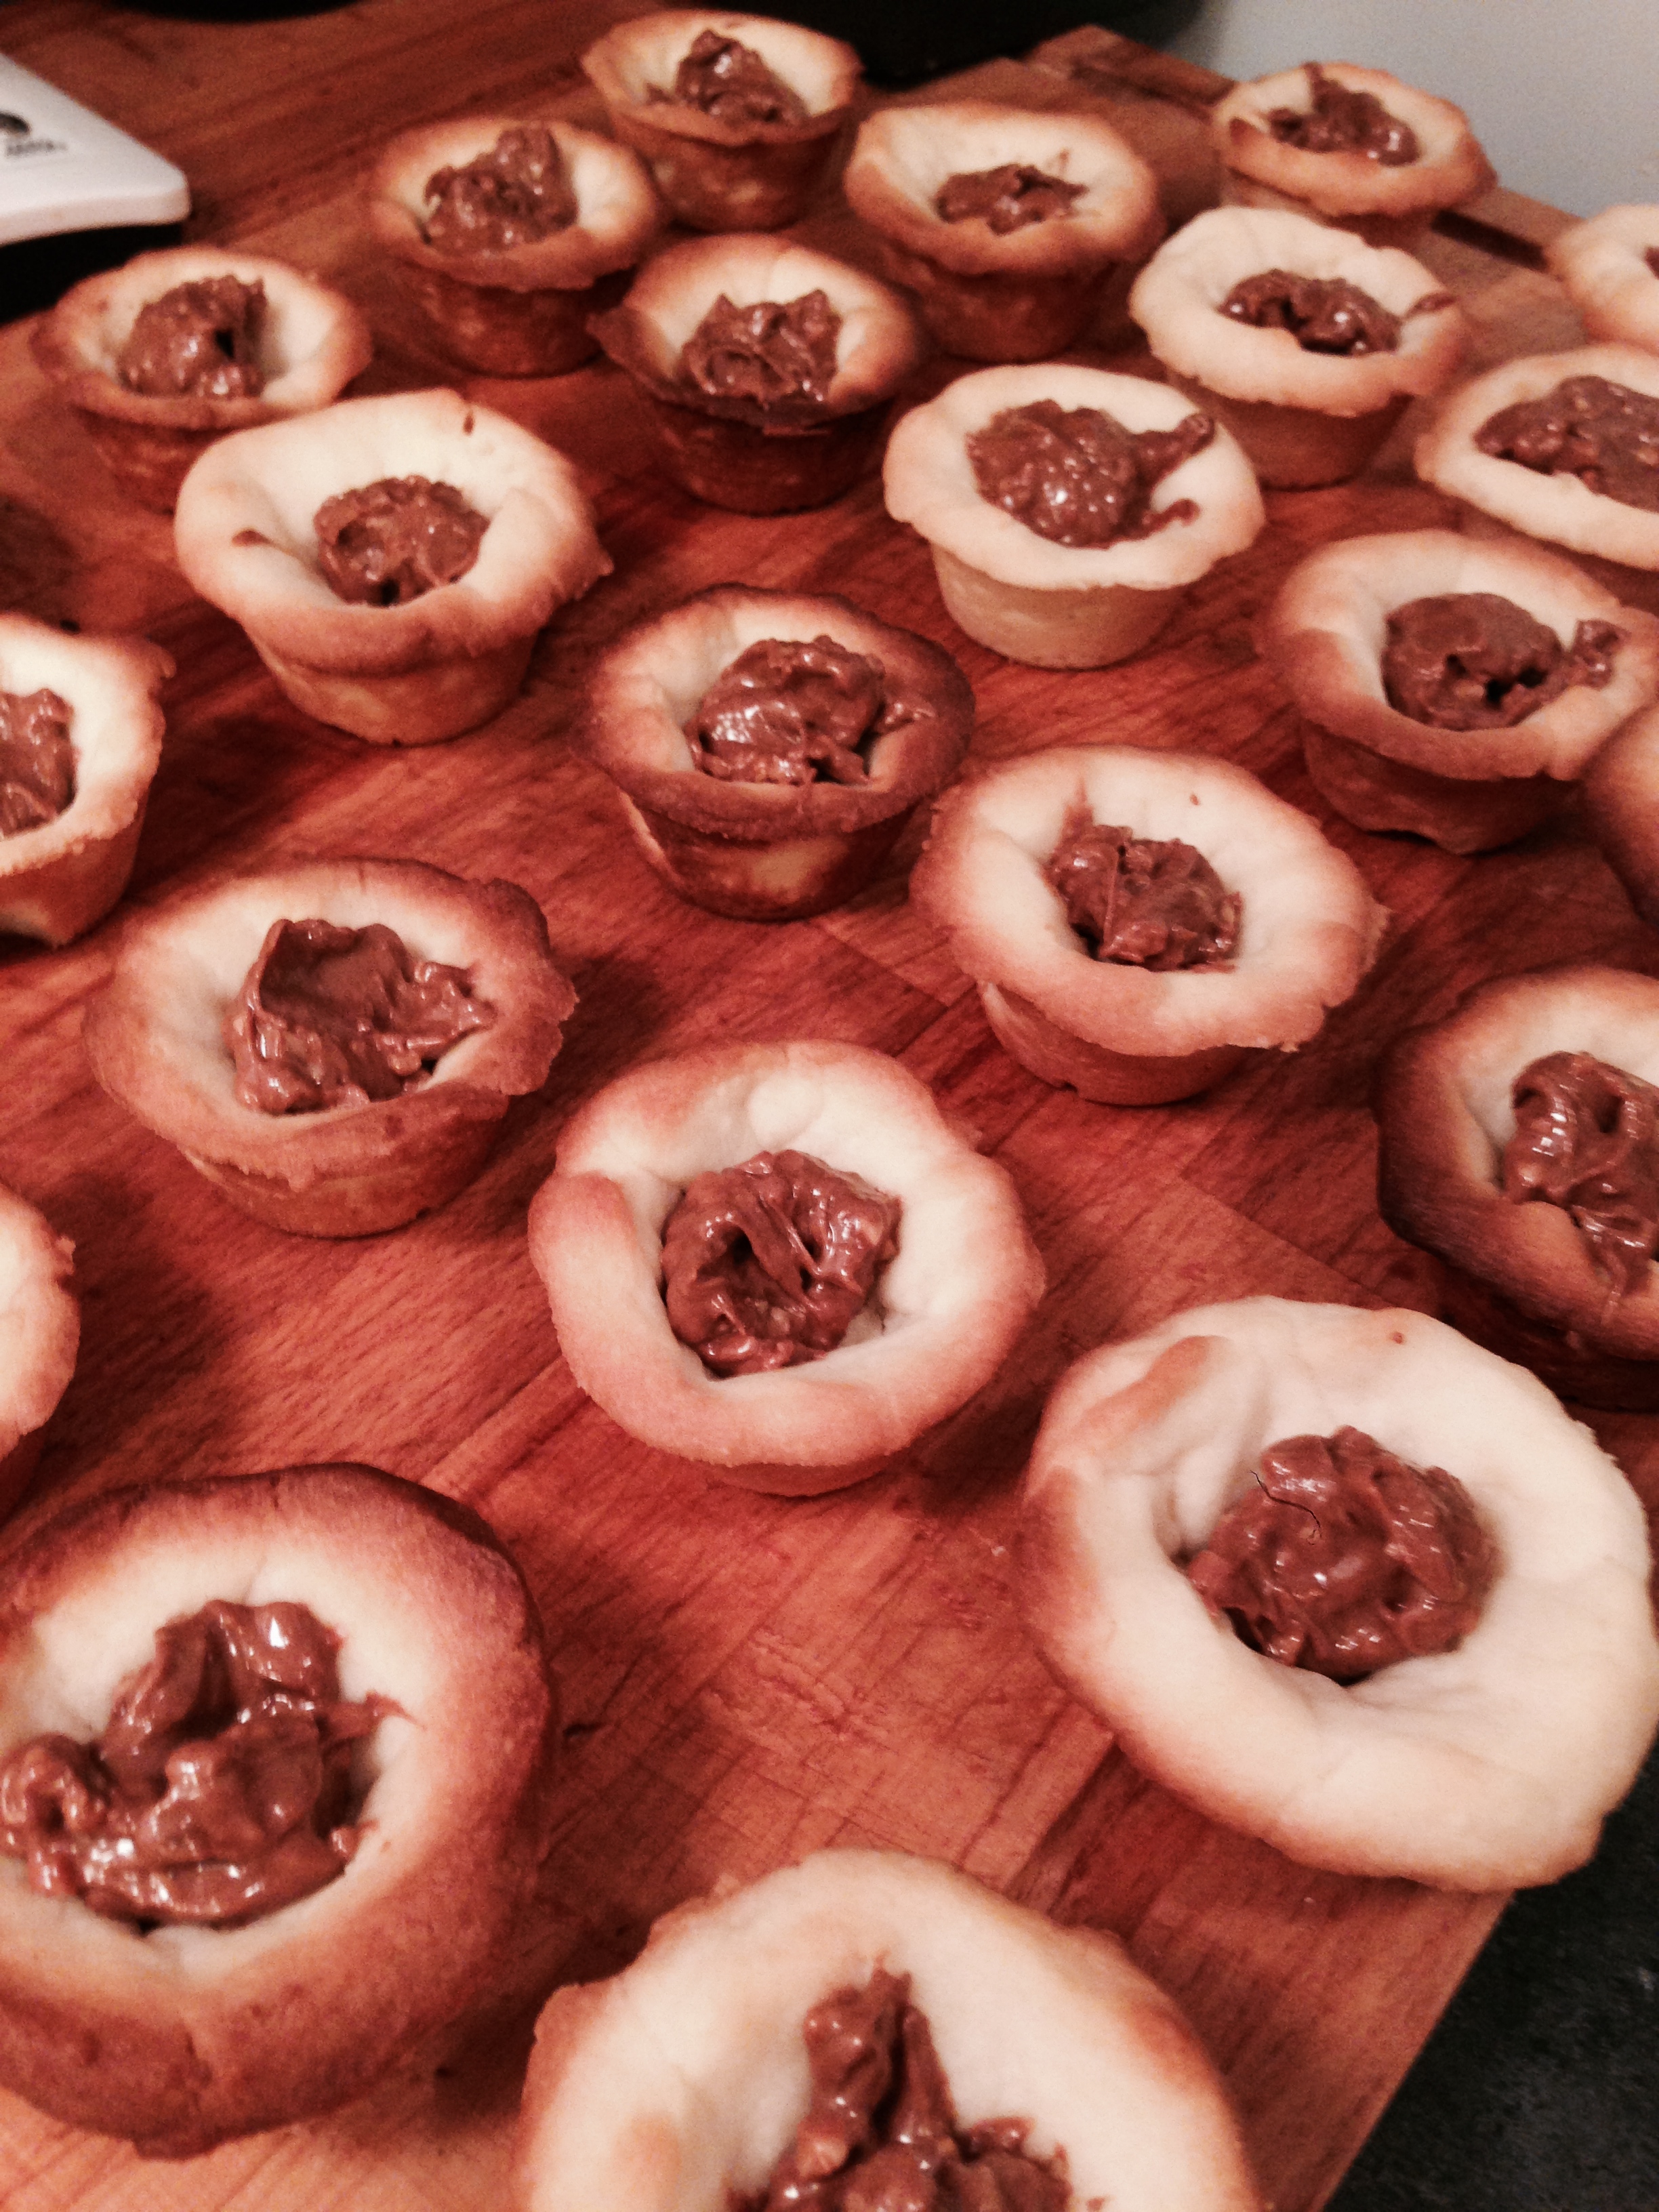
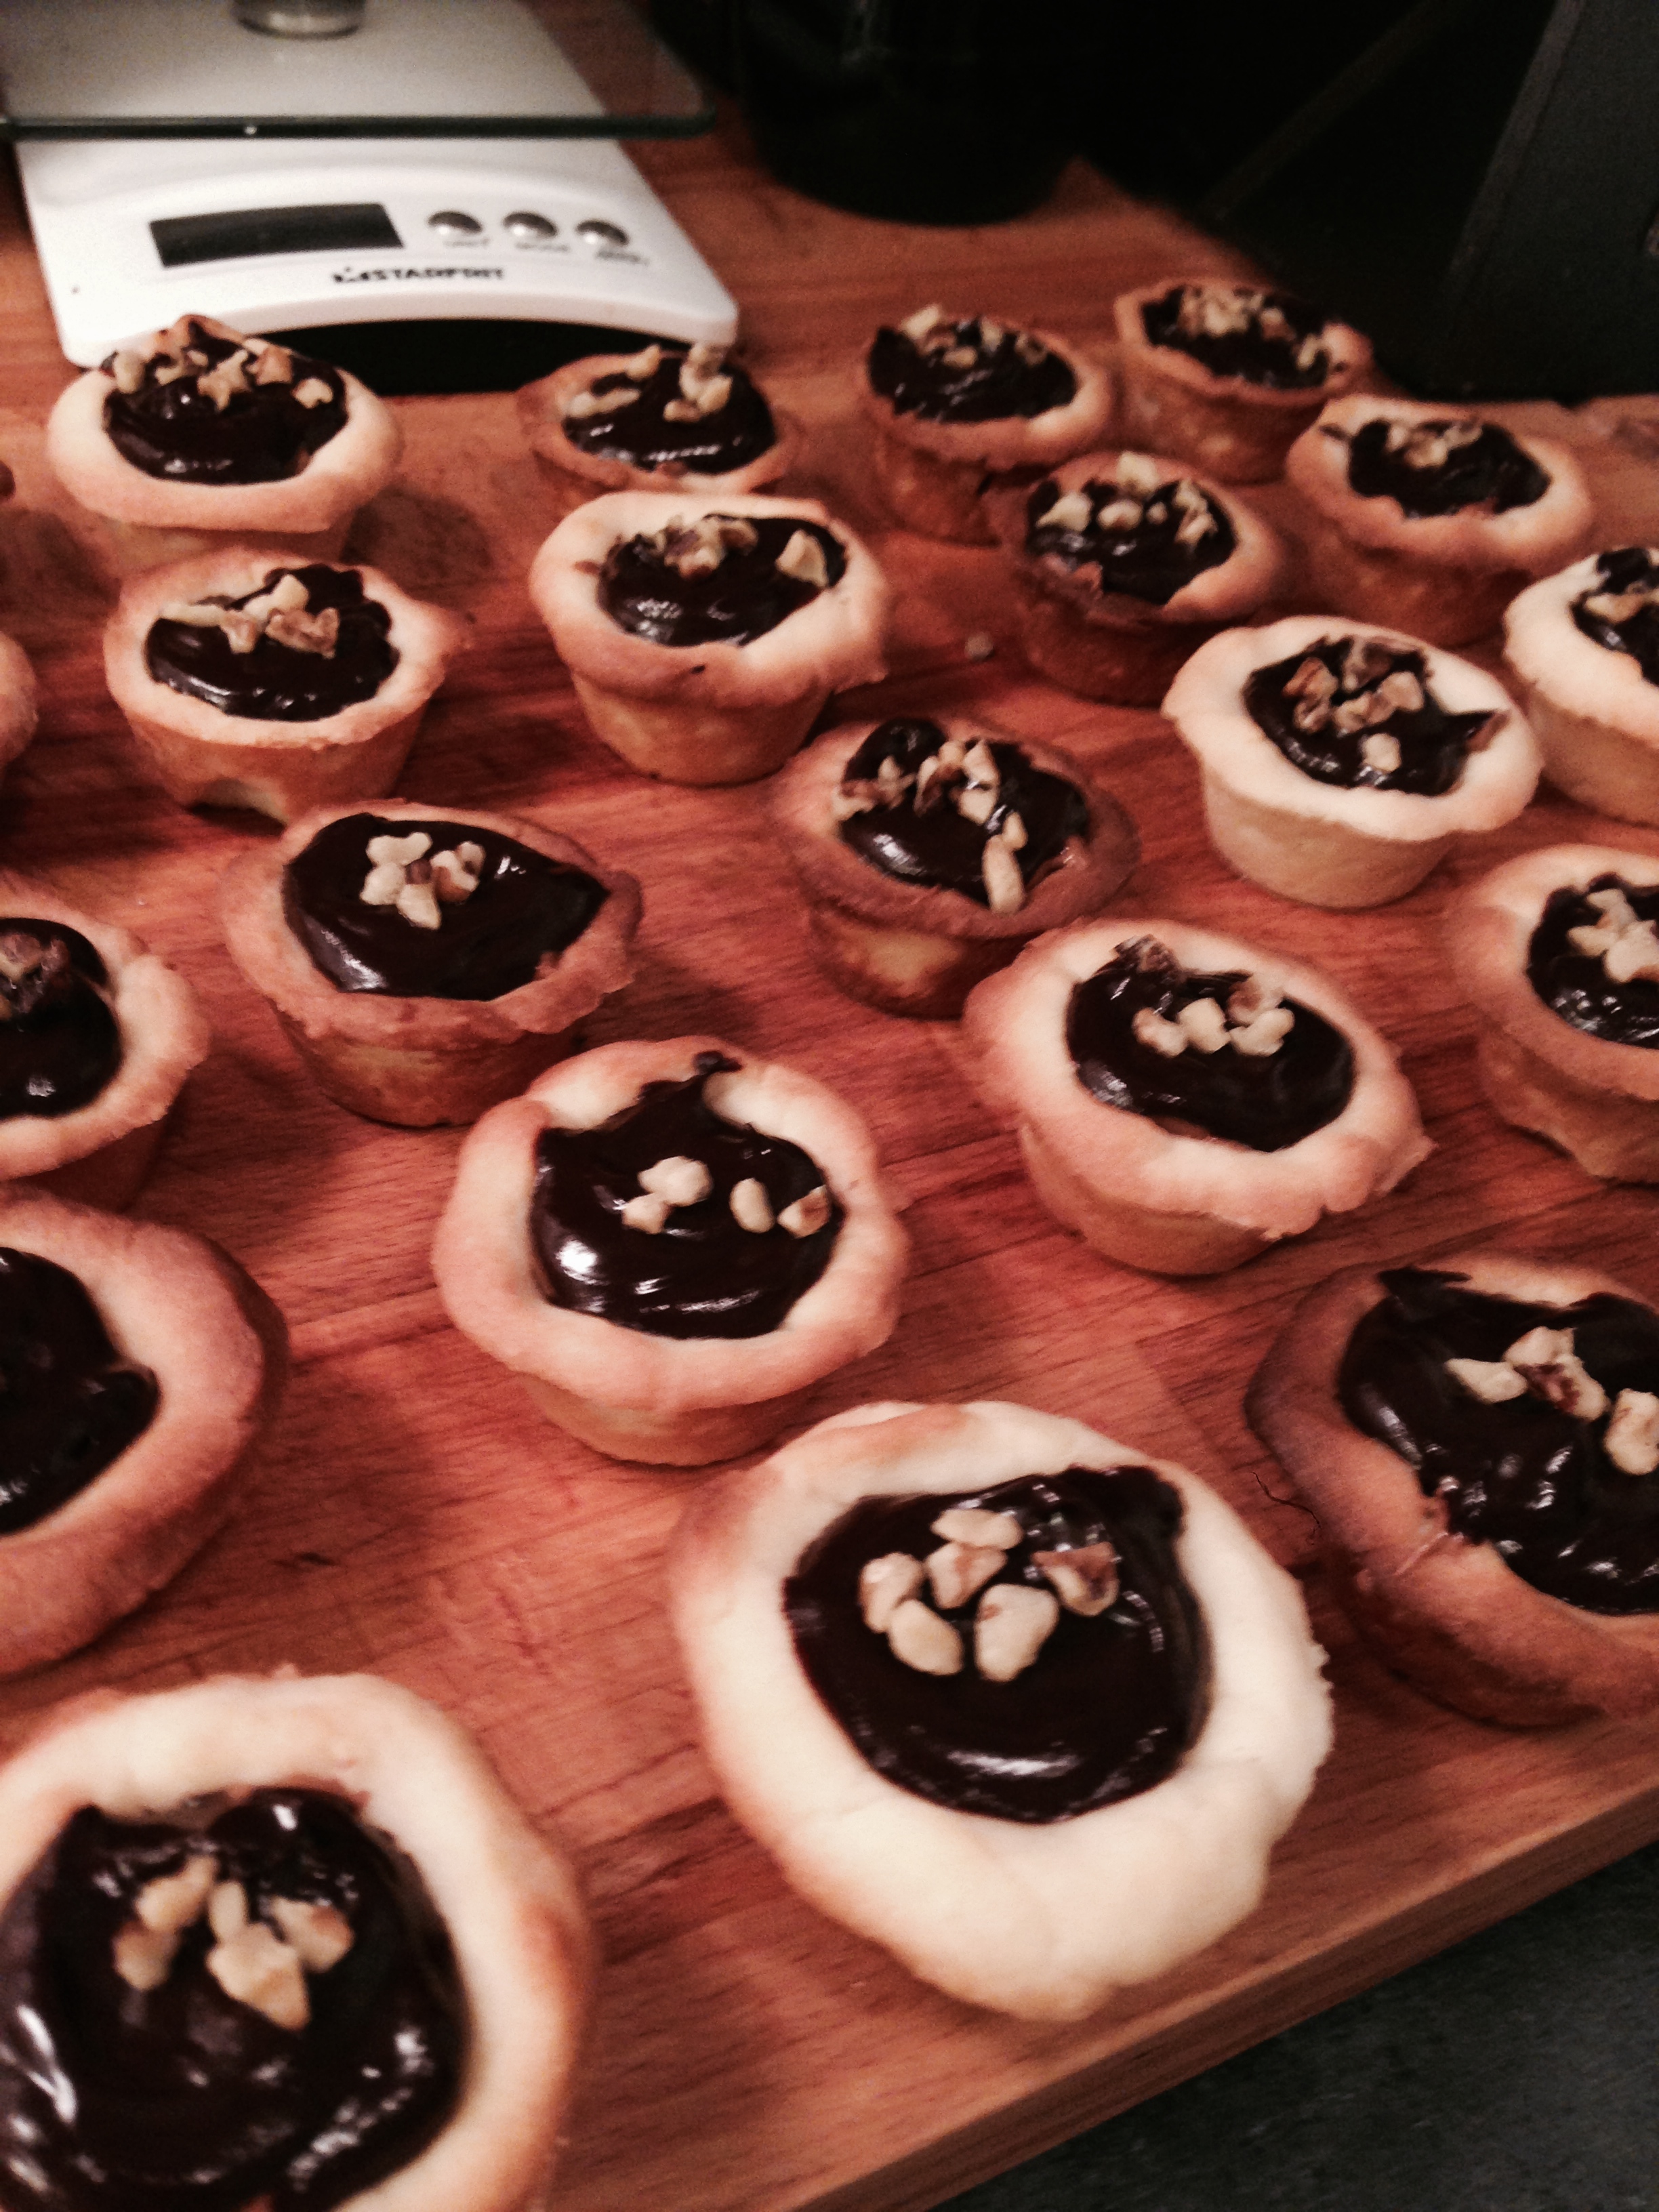
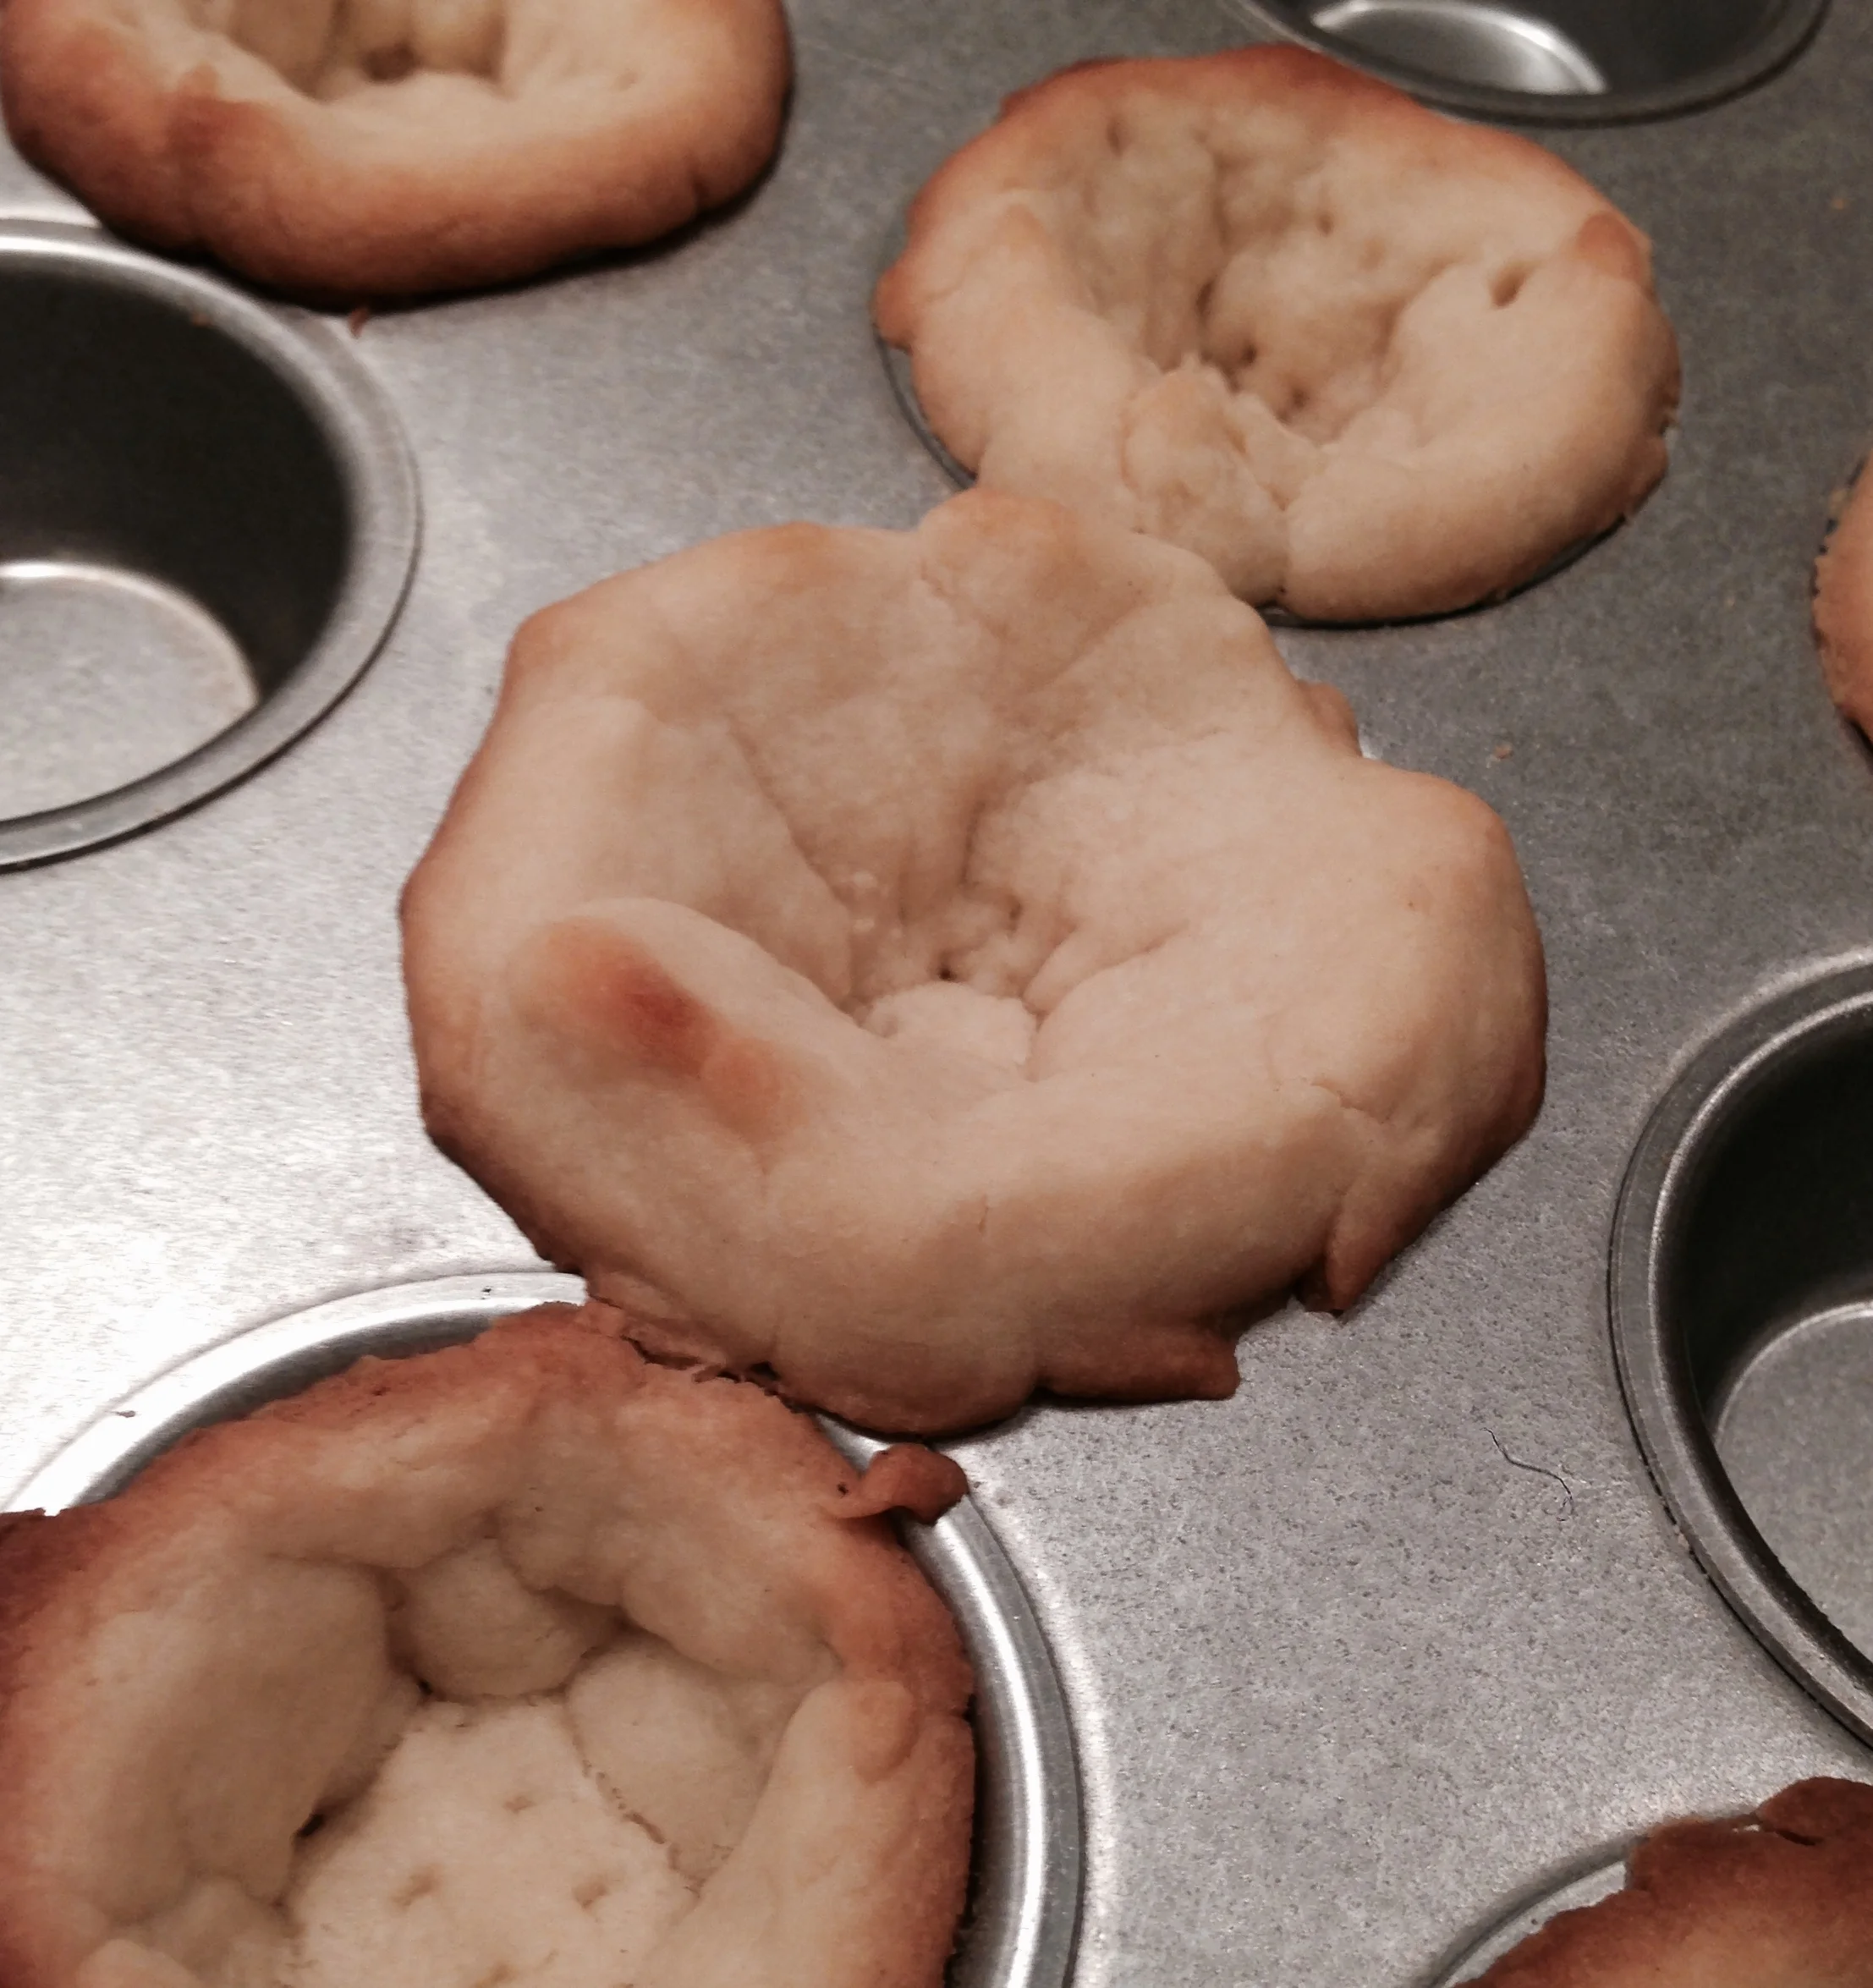
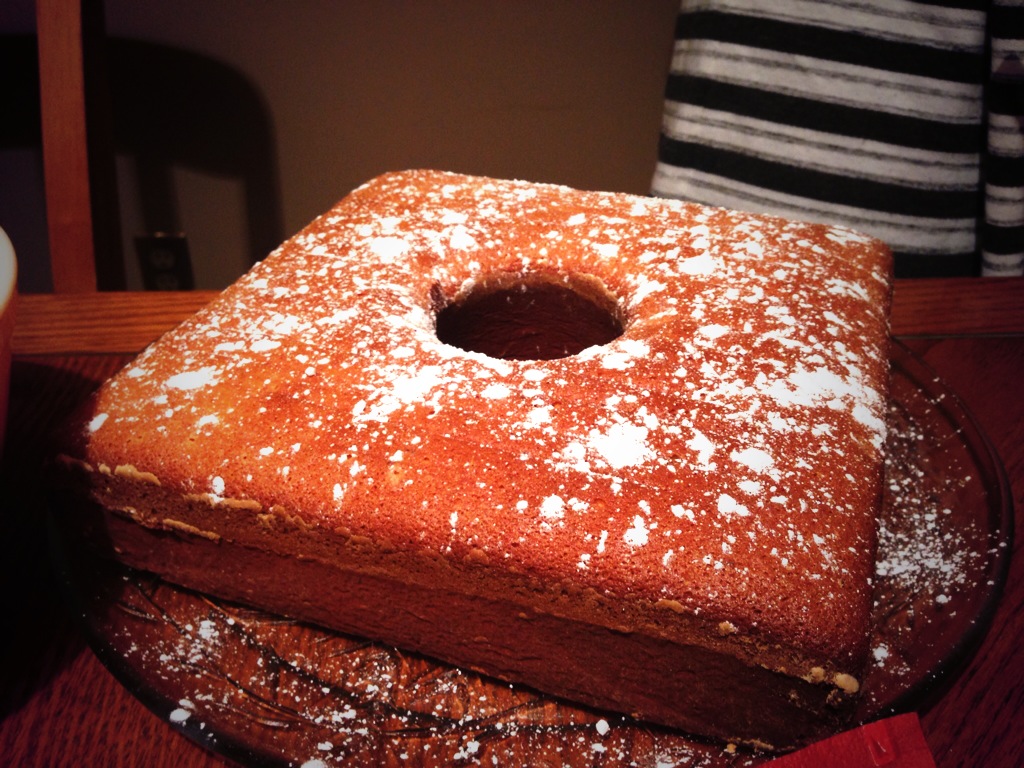
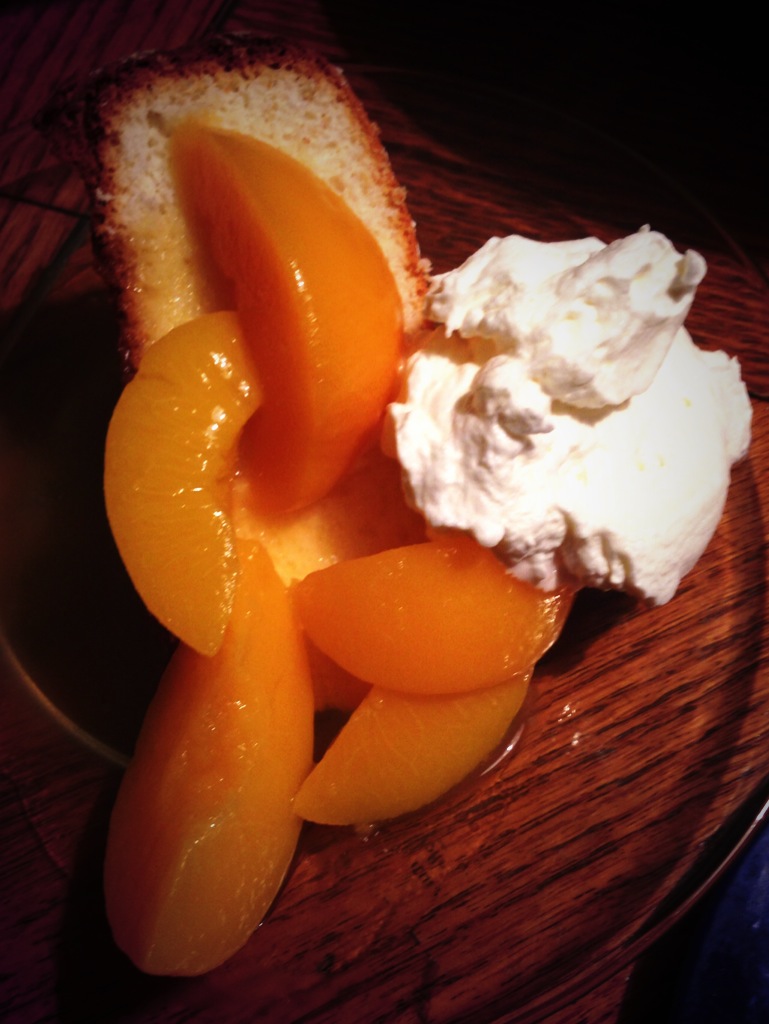
Also! The BF made sure we had dessert. Lovely shortbread cookies! 

But yah, basic german fare. I think I'll track down a goose for the next german cuisine experiment. Dun Dun Duuuun! (And make some klose -potato dumplings- too.)

-Andrea

The Half-Assed Hobbyist 

The Baked Alaska

As part of Christmas Baking 2013.

The last sugar filled treat I made during the battle of Christmas 2013. This was the first dessert I actually ate and the last one I made. (I made the Chiffon Cake and the Chocolate Hazelnut Tarts first.)

Baked Alaska

(Based off the Blue Flame Kitchen recipe. Changes made by me!)

An 9 inch round layer of your favourite Cake! (See below for my favourite)
Ice Cream (I used Cherry Vanilla)
1/4 cup pasteurized egg whites (Easy to find in your local grocers egg isle)
1/8 tsp cream of tartar
1/4 cup sugar

  1. Make the cake (boxed or otherwise); let it cool. Cover it in the ice cream, about an inch and a half thick. Wrap in plastic wrap and freeze flat for at least 2 hours (preferably on a sheet of tinfoil for easy transferring.)
  2. Preheat oven to 500ยบF.
  3. Prepare the meringue by whipping the egg whites and cream of tartar with an electric mixer until soft peaks form. Add sugar, 2 TSBP at a time, to egg mixture until stiff peaks form. (If you can put your finger in meringue and when you pull it out the meringue's peak does not collapse, it's done!)
  4. Remove the cake from the freezer. Quickly spoon meringue on top of cake, using a silicon spatula to spread the meringue over the top and sides of the ice cream and cake. (You can do fancy twirly motions to get some nice swooshy patterns.)
  5. Bake until meringue is lightly browned, about 6 minutes. (You can also put the broiler on at the same time to hasten the browning. But WATCH IT. The browning reaction happens within seconds.) Serve immediately! 
IMG_3092.jpg

Chocolate Zucchini Cake 

I used this recipe from the For the Love of Cooking.net. It's my favourite chocolate zucchini muffin recipe and it easily turned into a great cake layer for my baked alaska! I made the recipe exactly they way it said but split the batter into two 9 inch round baking pans. Baked at 350ยบF for about 30 minutes. Easy!

And thus concludes the crazy baking of 2013. I did make some pretty delicious hot chocolate mix as well. But they were for Christmas presents. (Mind, I had to sample to see if it was any good! Just a bit though. Honest!)

-Andrea

The Half-Assed Hobbyist

The Chocolate Hazelnut Tarts

As part of Christmas Baking 2013.

To make sure that I survive the Christmas season, I attempt to give myself diabetes with amazing homemade desserts. I had two Christmas and 13 people to get sugared so, along with the Chiffon cake, I made these Chocolate Hazelnut Tarts.

First thing I made was the tart shells. More out of necessity as the grocery store was dangerously low on tart shell stock. Plus, my sister had given me a mini tart shell pan 3 years ago and I had never used it.... So I thought I'd break it in. 

IMG_3170.jpg

Sweet Vanilla Tart Shells

(From the Blue Flame Kitchen; Changed a little by me!)

1 cup (250 mL) butter, softened 
3/4 cup (175 mL) icing sugar 
4 tsp (20 mL) vanilla 
2 cups (500 mL) flour 
1 tsp (5 mL) salt
ย 

  1. Preheat oven to 400ยบF.
  2. Using medium speed of an electric mixer, beat together butter and icing sugar until fluffy.  Using low speed, beat in vanilla.  Gradually beat in flour and salt just until combined. Gather dough into a ball; divide in half.  Flatten each half into a disc shape.  Wrap each disc with plastic wrap and refrigerate for 1 hour or until firm. 
  3. Remove one disc of dough from refrigerator.  On a lightly floured surface, roll out dough 1/8 inch (3 mm) thick.  Using a floured 3 inch (7.5 cm) cookie cutter, cut dough into rounds.  Transfer each round to a mini tart pan using your fingers to press pastry into a tart shell shape. Prick bottom of tart shells all over with a fork. Repeat procedure with remaining disc of dough. Bake for 10 minutes or until tart shells are light golden around edges.  Cool completely in pans on racks. Remove tart shells from pans. 

Now, that my lovely, slightly deformed tart shells were cooling, I started making my ganache for the filling.

Chocolate Hazelnut Tarts

(From The Blue Flam Kitchen; Also, changed by me)

8 ounces Bernard Callebaut bittersweet chocolate drops
1/2 cup whipping cream
~1/4 cup Bernard Callebaut chocolate hazelnut spread
~24 mini baked tart shells
2 tbsp finely chopped walnuts

  1. Combine chocolate and cream in a 4 cup microwave-safe bowl.
  2. Microwave, uncovered, on medium (50% power), stirring twice, for 1 1/2 minutes or just until chocolate is melted and mixture is smooth.
  3. Spread 1 tsp chocolate hazelnut spread on bottom of each tart shell. Spoon about 1 tsp of chocolate mixture on top, covering hazelnut spread underneath.
  4. Sprinkle with walnuts.
  5. Refrigerate for at least 1 hour or up to 3 days.

So good. It's a strange recipe but I like it. You can also top of the tarts with flaked sea salt, if you have it. Also good. 

-Andrea

The Half-Assed Hobbyist

The Chiffon Cake

As part of Christmas Baking 2013.

My family has a whirlwind tradition of doing everything Christmasy on one day. Christmas Eve. It's typically a very smoothly scheduled day where my sister and I visit all the parents and all the family in the course of 8 hours. 

In order to survive I make lots and lots of sweets. 

The chocolate shop I worked at over Christmas was going through a chocolate product shortage because of the flood in Calgary early 2013, so I had to find some less chocolatey alternatives to my regular chocolate cake with chocolate ganache and chocolate frosting. First on my list was a lemon and vanilla chiffon cake. Basically a fancy angel food cake. 

I've never made angel food cake before. I even had to go out and buy a pan. And since I might as well make it as impossible as I can for this cake to turn out, I bought a square angel food pan! Neat!  

The recipe I used was from my Canadian Living Complete Baking book for Sunshine cake. I used the just regular, non-passover recipe. 

Sunshine Cake 

(from Canadian Living's The Complete Canadian Living Baking Book; also changed a bit by me!)

2 egg yolks
7 eggs, separated
1 1/2 cups granulated sugar
1 2/3 cups cake and pastry flour
2 tbsp grated lemon rind
1/4 cup lemon juice
1 tbsp (15 mL) vanilla
1/2 tsp (2 mL) salt

  1. In large bowl, beat together 9 egg yolks, half of sugar, all of flour, lemon rind and juice, and vanilla until blended. Set aside.
  2. In separate large bowl and with clean beaters, beat egg whites with salt until soft peaks form. Beat in remaining sugar, 2 tbsp (25 mL) at a time, until stiff peaks form.
  3. With spatula, gently fold one-third of the egg whites into yolk mixture; fold in remaining whites just until no streaks remain. Scrape into prepared pan; smooth top. Bake in centre of 350ยฐF oven until top springs back when lightly touched, about 50 minutes.
  4. Turn pan upside down and let cake hang on legs attached to pan or on inverted funnel, or bottle, until cooled, about 3 hours. Run long palate knife around centre and side of pan, pressing blade against pan and reaching to bottom to loosen cake. Unmould onto cake plate. (Make-ahead: Cover with plastic wrap; store for up to 24 hours.)

I definitely tried very hard to follow the recipe....  But I really don't like oranges in cake so I changed it to lemon zest and lemon juice instead. Even with the acidity change the cake still was very fluffy. 

When trying to make the peaches, I'll admit to a giant fail. With all the family gathered around me, I attempted to light the whiskey I'd brought on fire. Flambรฉed peaches! Sounds fancy, right? I thought so too. It turns out though that a regular 40% alcohol won't work. As I tried many times, my expectant and soon to be disappointed family surrounding me, waiting. The whiskey light briefly (very briefly) so I called it done and poured it into the peaches, rather sad that it hadn't really worked. 

ย 

ย 

ย 

But, regardless, it was still pretty delicious. Whipped cream covered and very whiskey-ed peach covered vanilla and lemon chiffon cake. Yum!

-Andrea

The Half-Assed Hobbyist

The Mashable Fruit Juice

It seems that, in the middle of winter, I harken back to the days when 10 minutes outside didn't mean potential frost bite. 

This is probably the best thing about making my own jams and jellies. Popping a seal open to sweet memories of a summer picking fruit. (Also a reminder that it does warm up.) And that it is the grace of this ridiculously cold weather that we don't have cockroaches or really big hairy spiders. 

I made this crabapple jelly last August 2013. I picked the fruit from a friend's backyard. She had just bought the house the week before and I had my eye on the two giant crabapple trees looming over her newly purchased deck. I definitely grabbed one of my friends one afternoon and raided her trees when she was working, with permission, of course.  

For my crabapple jelly I used Bernardin pectin powder product. In retro spec, I probs would have done better to get the liquid stuff as my first jelly batch was a bit cloudy because the pectin didn't dissolve perfectly. BUT! It still tasted super good! So not a huge loss. 

The recipe I used can be found on Bernardin's website here (but, again, I used the powdered pectin, meh). Pretty simple. I made the juice by boiling about 5 pounds of trimmed crabapples in about 5 cups of water for 10 minutes and then mashing them into crabapple goop. I made a pretty innovative makeshift strainer with cheese cloth and a colander. I let the juice drain overnight in the open air. I will say that we had a fruit fly problem for weeks after.... But with that much fruit it's to be expected I guess. Then it was jelly making day! I was super surprised that the juice was pink. I expected red or yellow.

As per usual, first step was to prepare all the jars (no botulism for this girl!) and then prepare all the ingredients before the juice got boiling.

The process was pretty easy. Boil with sugar, add pectin, ladle into the hot jars, and process 15 minutes in a boiling water bath.  

What was really weird was that processing the jelly made it so that even out of the boiling water bath the jars continued to boil for minutes after. I thought I'd screwed it up, but no, it was just boiling sugar liquid in jars. Very very hot.

Sideways iPhone Video! Yay! 

Anyways, outside the weather is actually frightful; and not terribly delightful; so instead I'll just stay inside; and stay alive, stay alive, stay alive. 

Cheers! And Merry Christmas or Happy Holidays or Whatever. <3

-Andrea

The Half-Assed Hobbyist