Mohair. Never Again...?

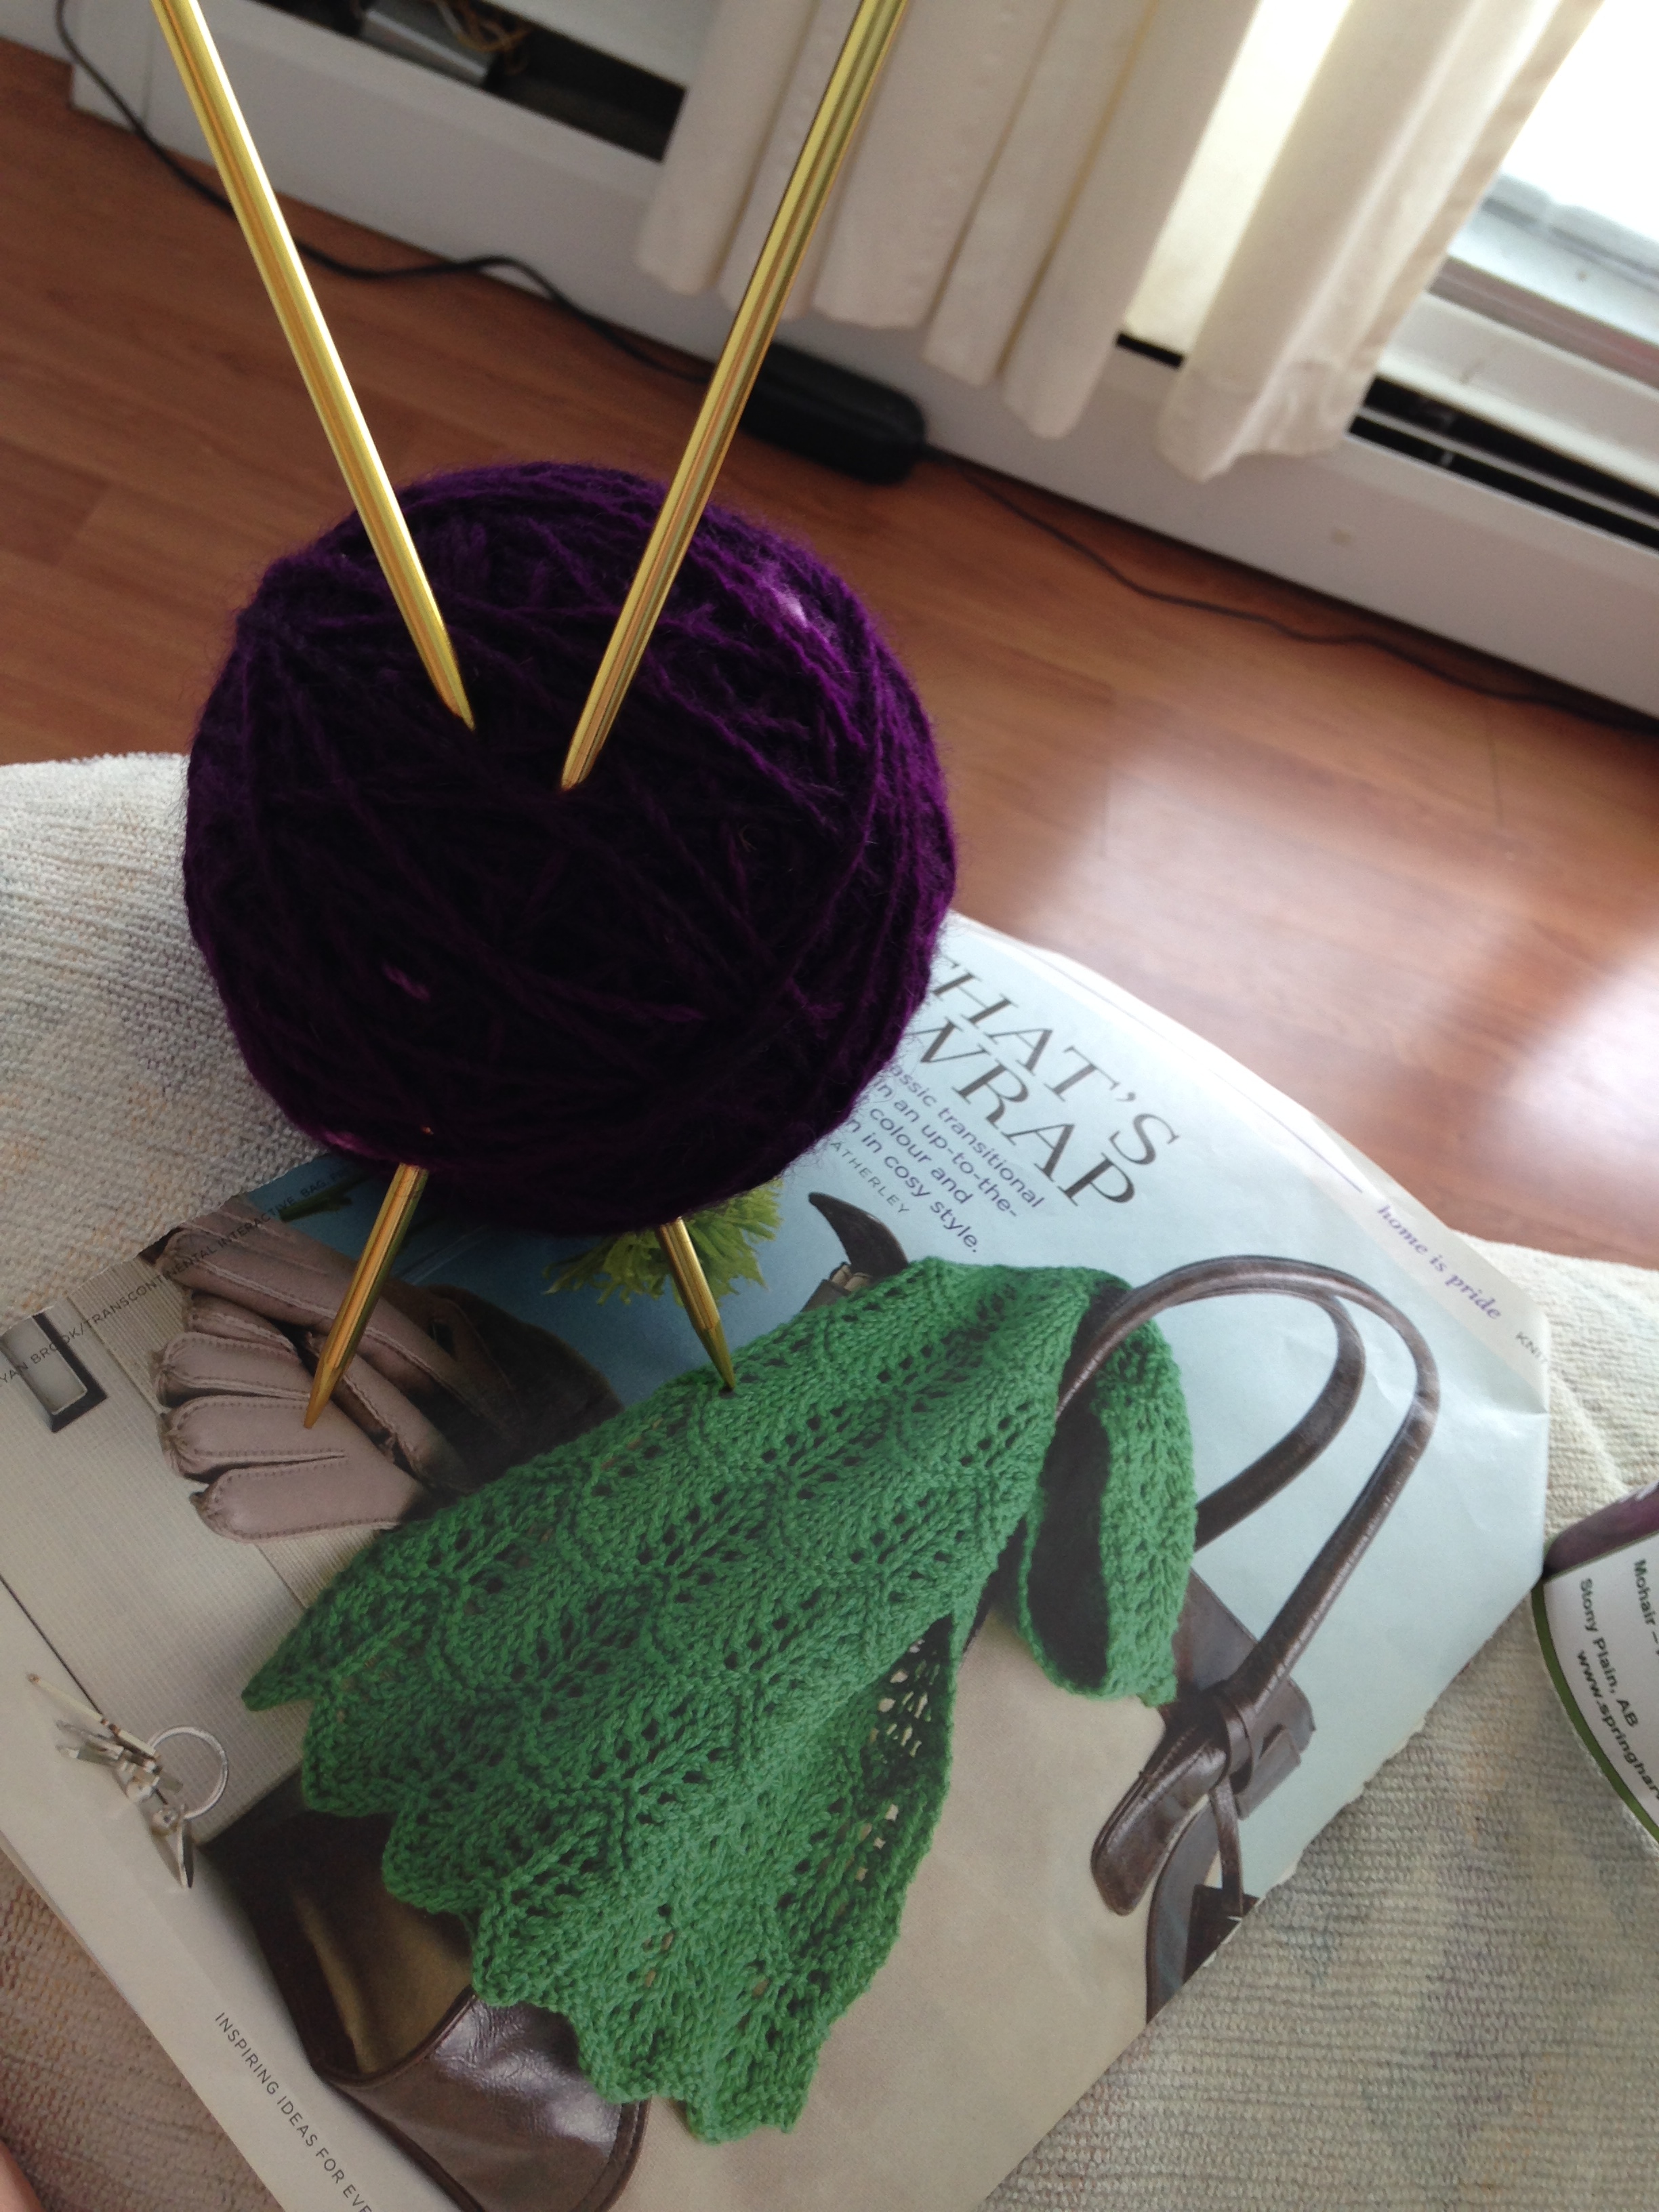
Since I started knitting there is one aspect I've never attempted. Lace. 

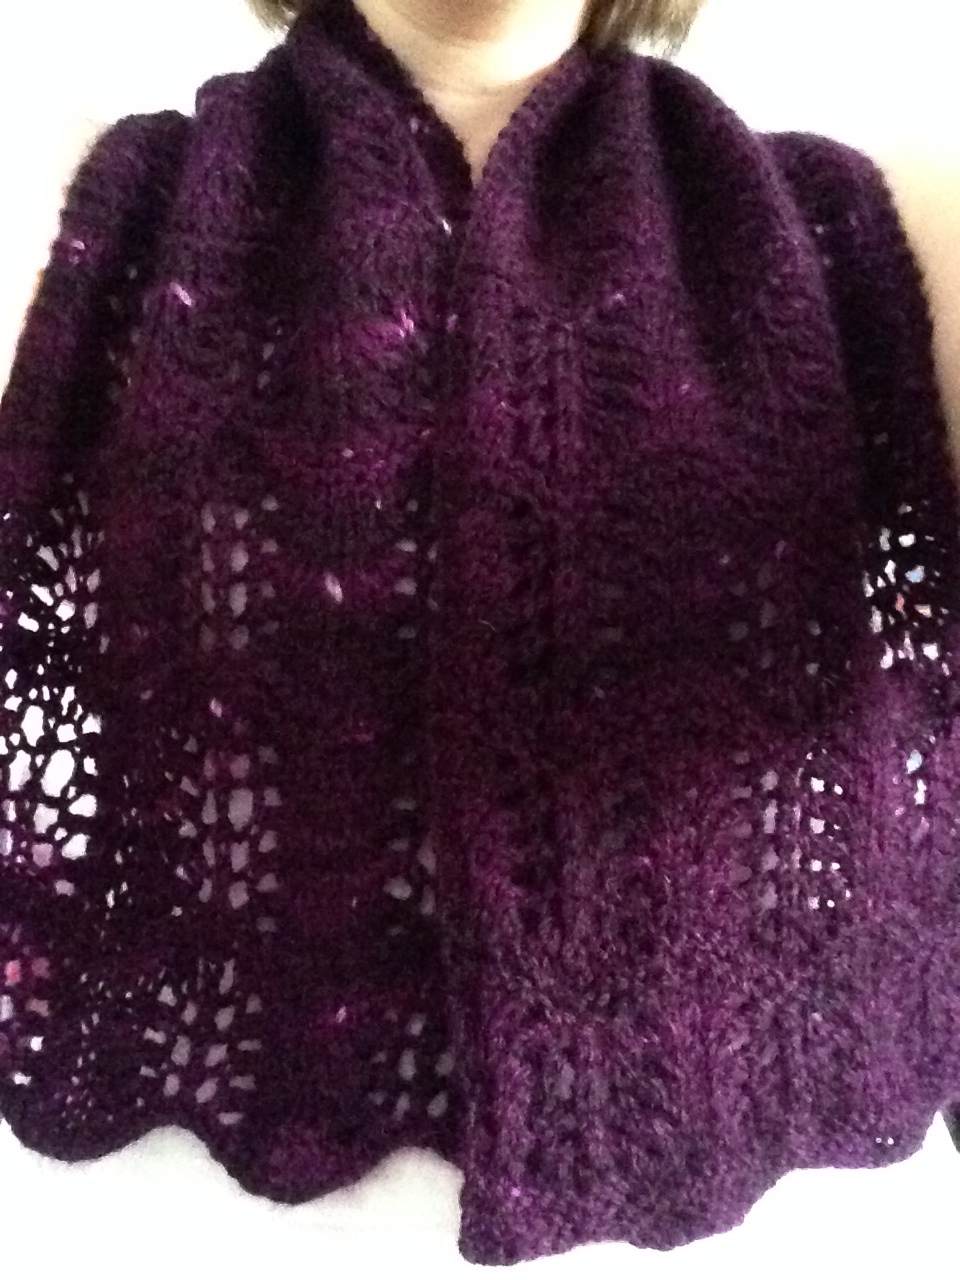
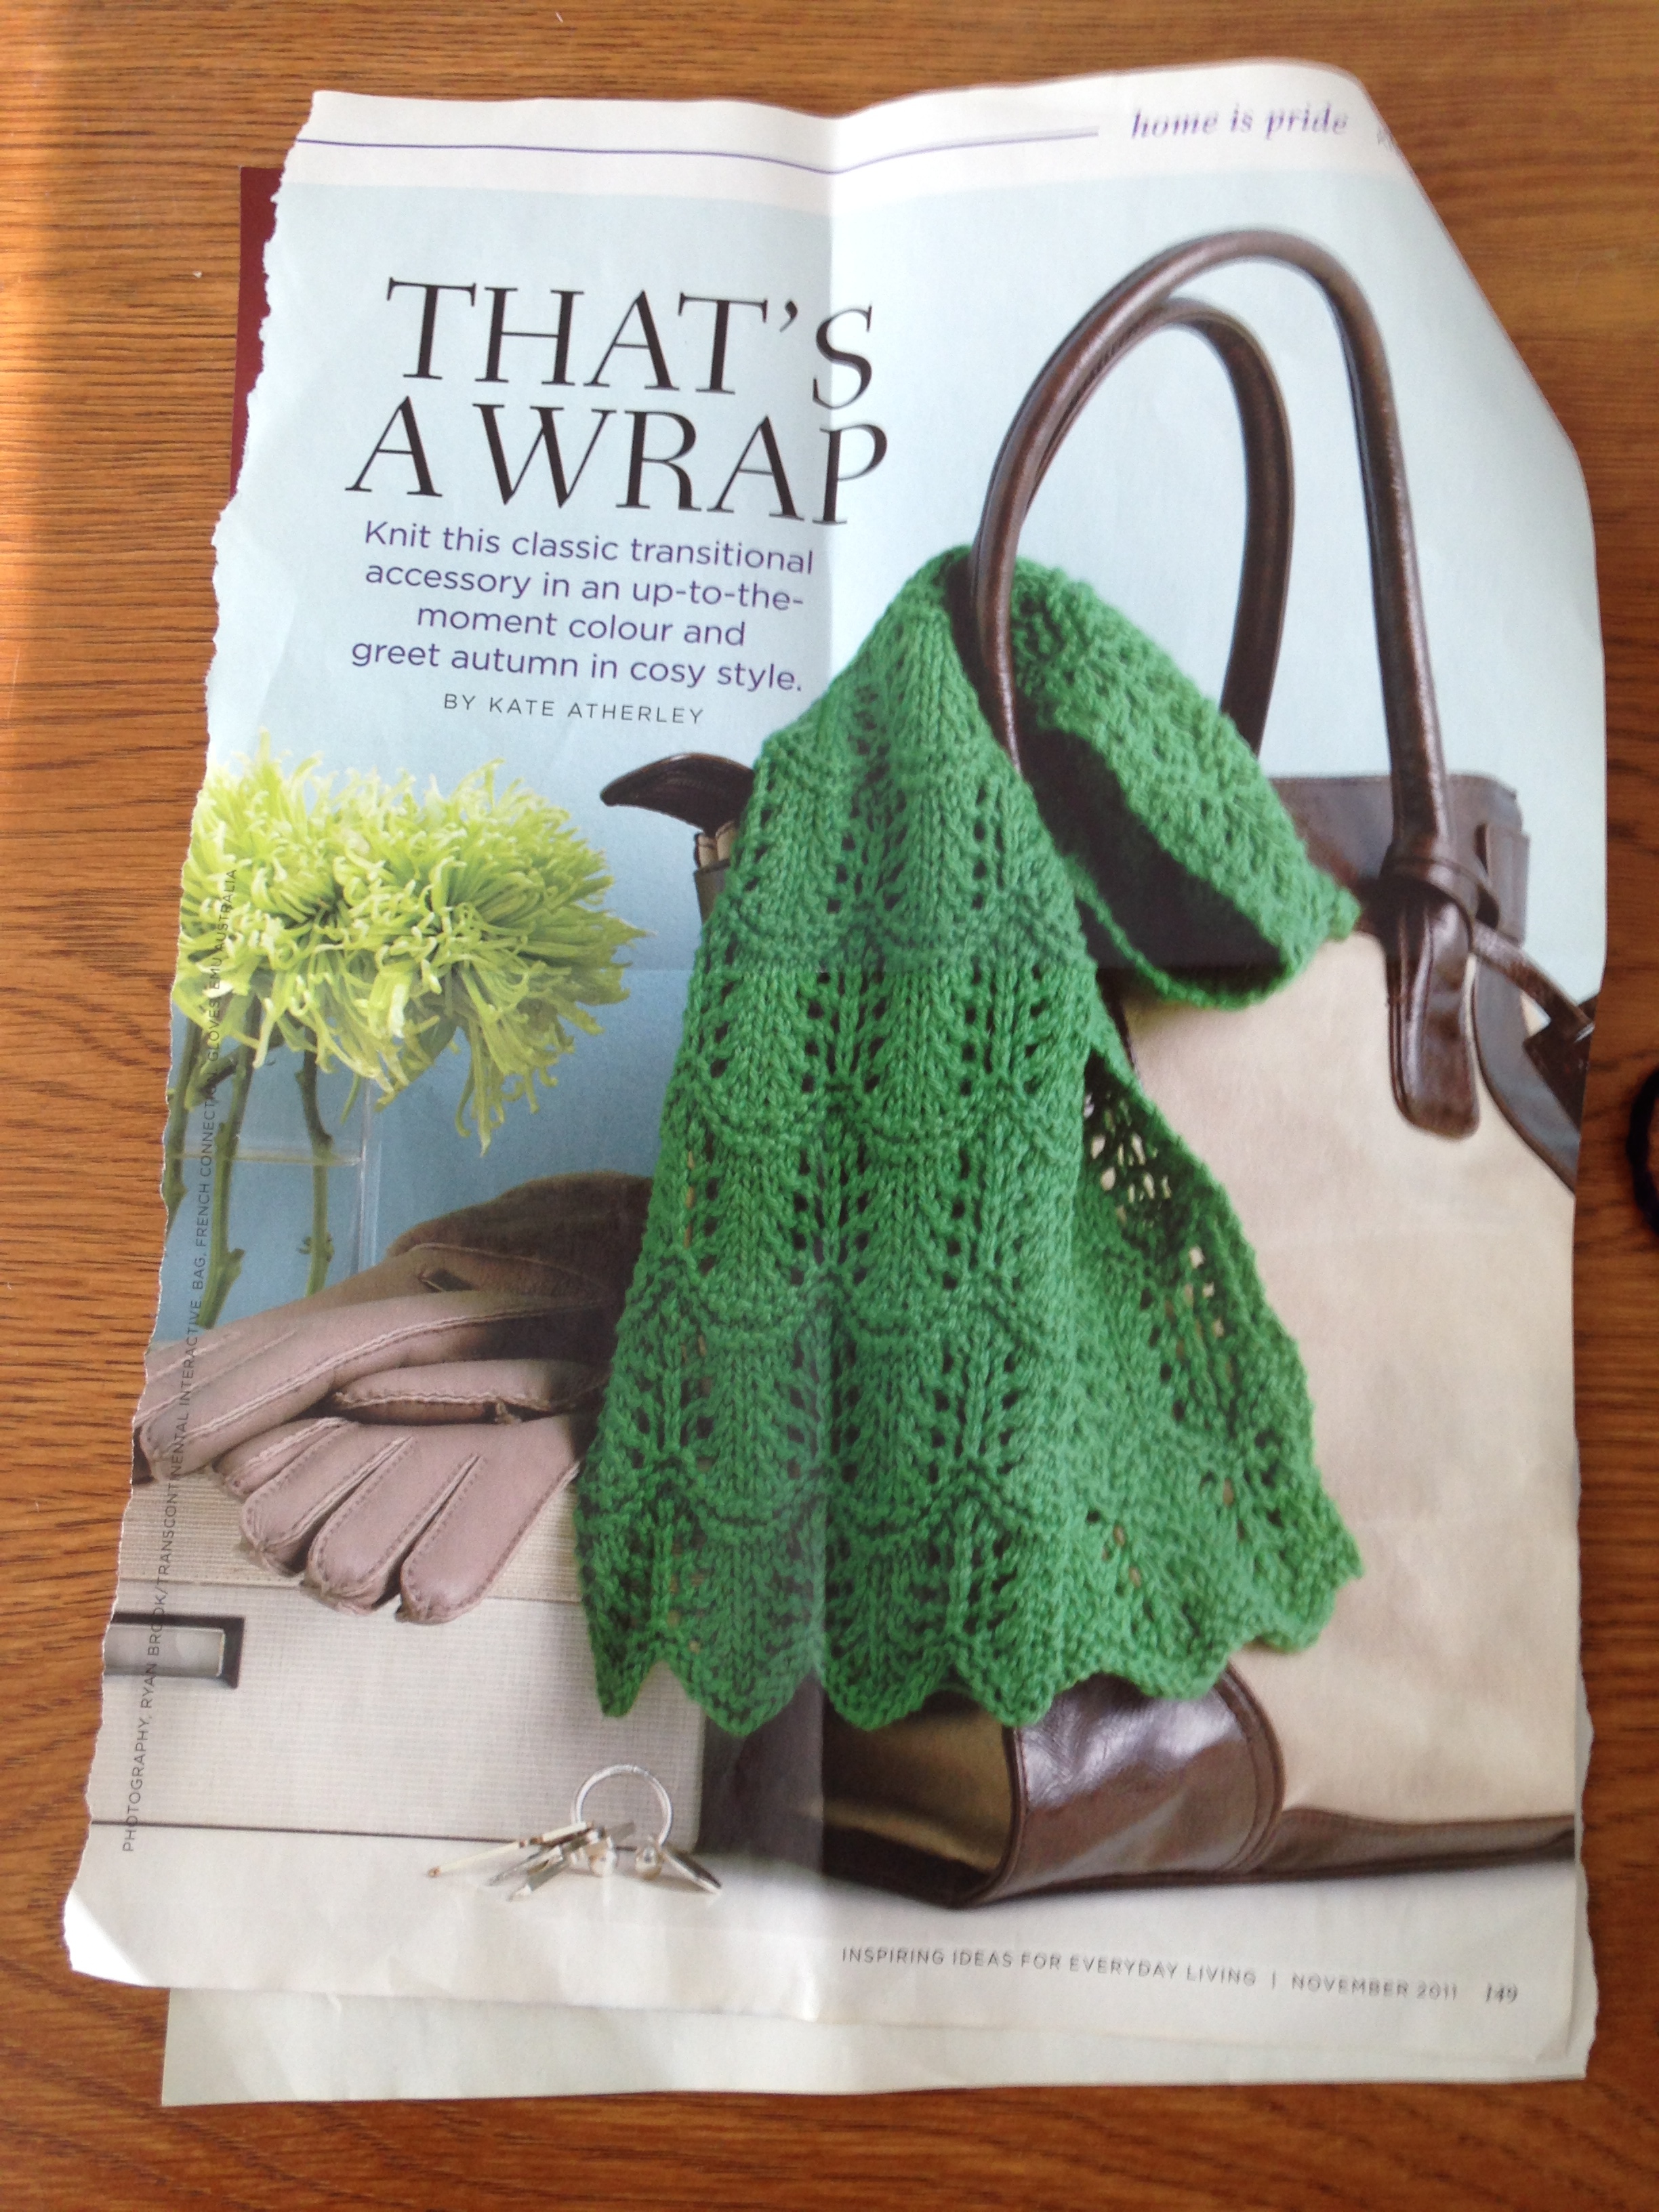
It's not that I have been avoiding it, it's just I've never really found a lace pattern that I had to make. The BF's Mum on the other hand, found a wonderful pattern that she wanted me to make: A lacey wrap/scarf thing. She got the pattern from the Nov '11 Everyday Living magazine (from what I can find). So I accepted the challenge, and 100g of mohair 'yarn', and got to work

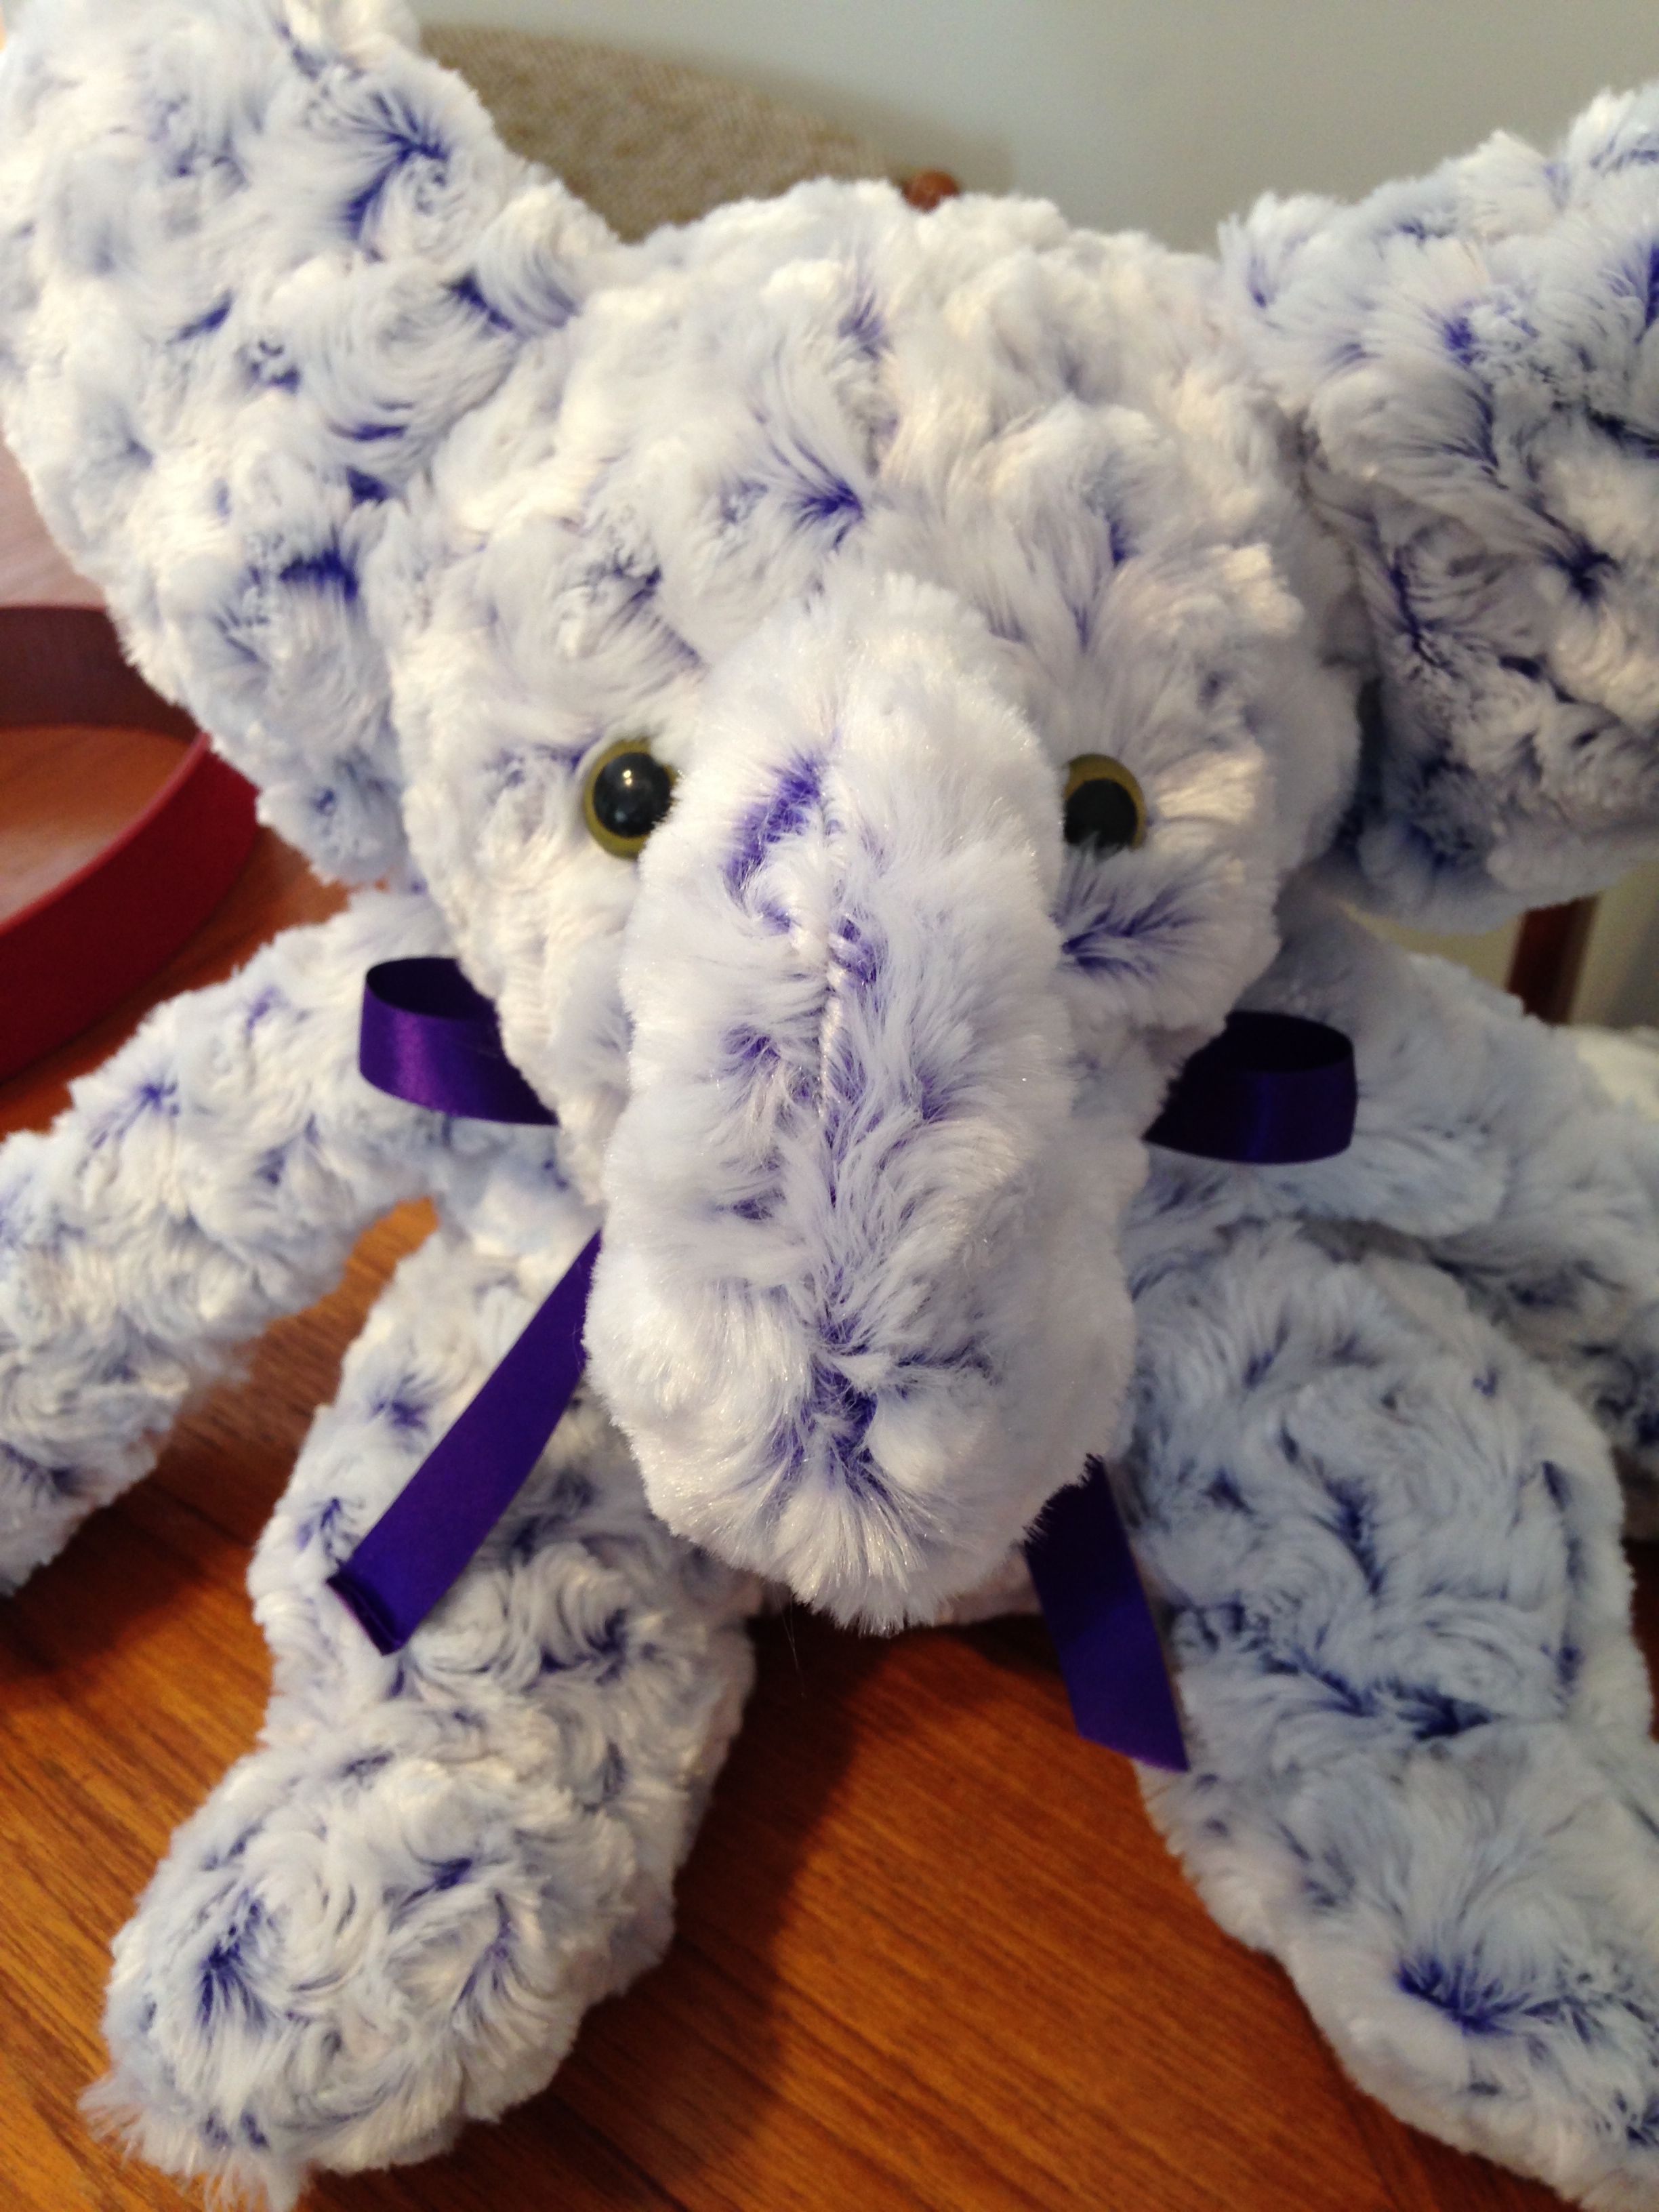
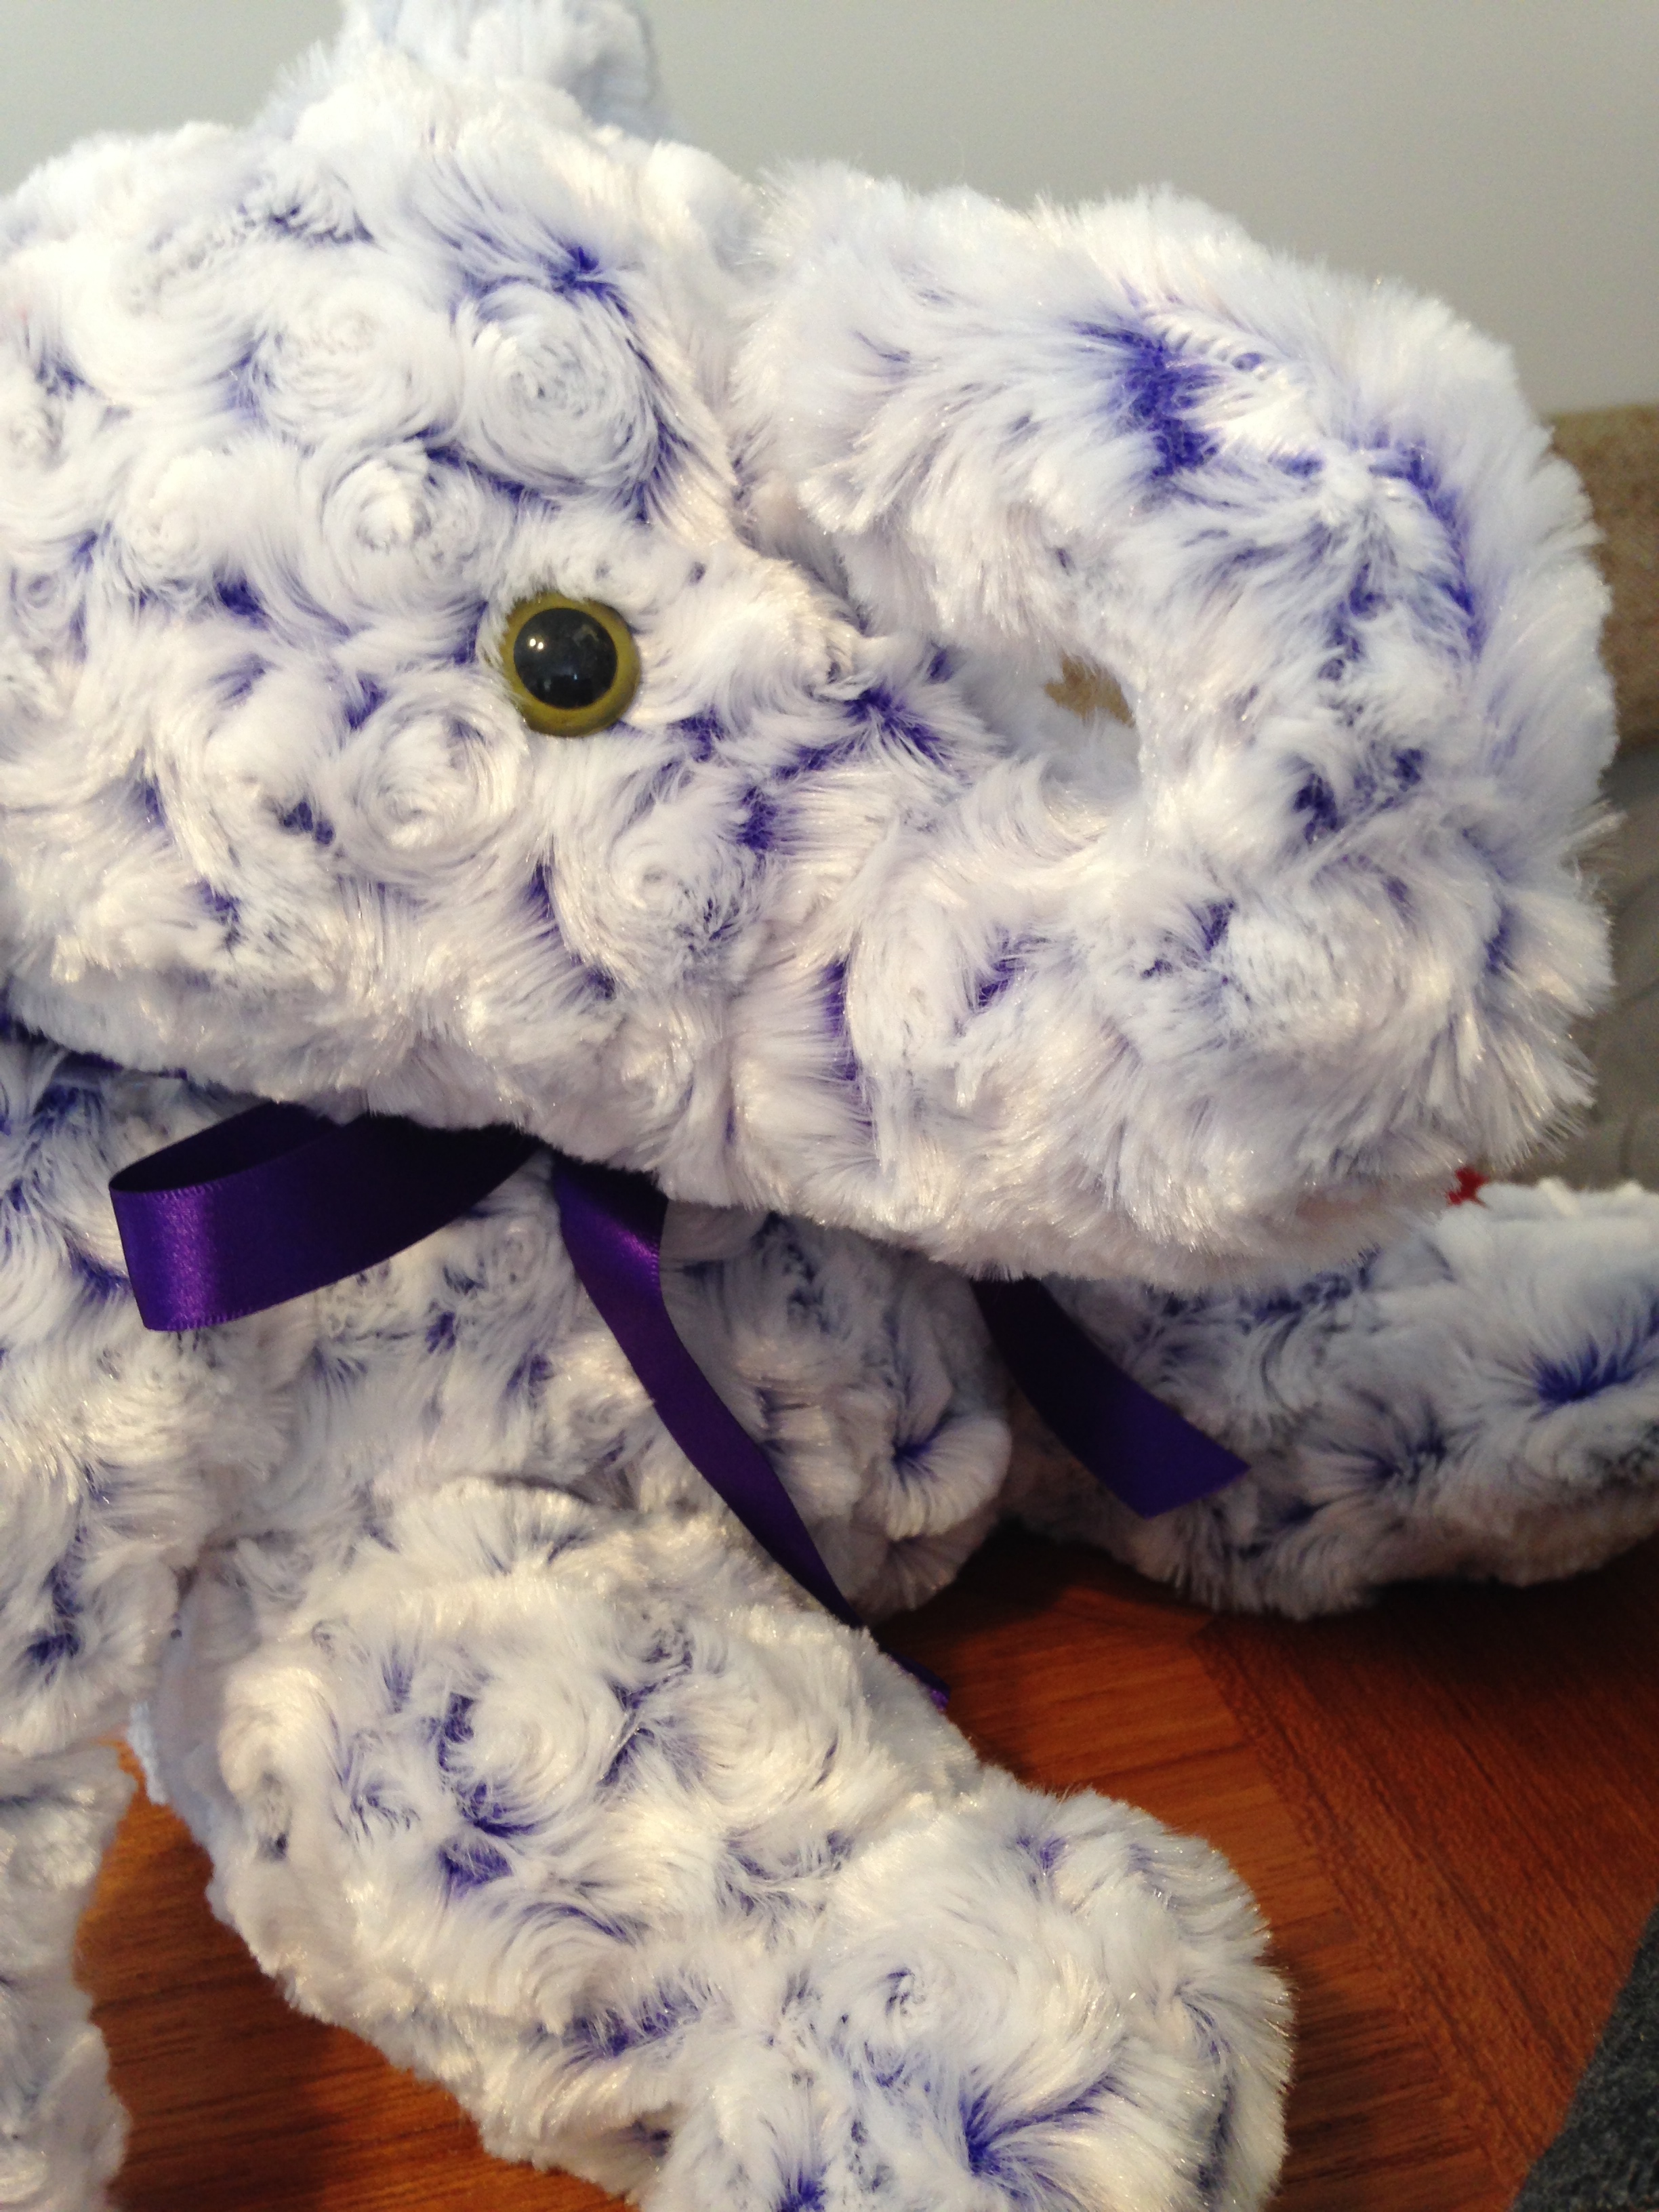
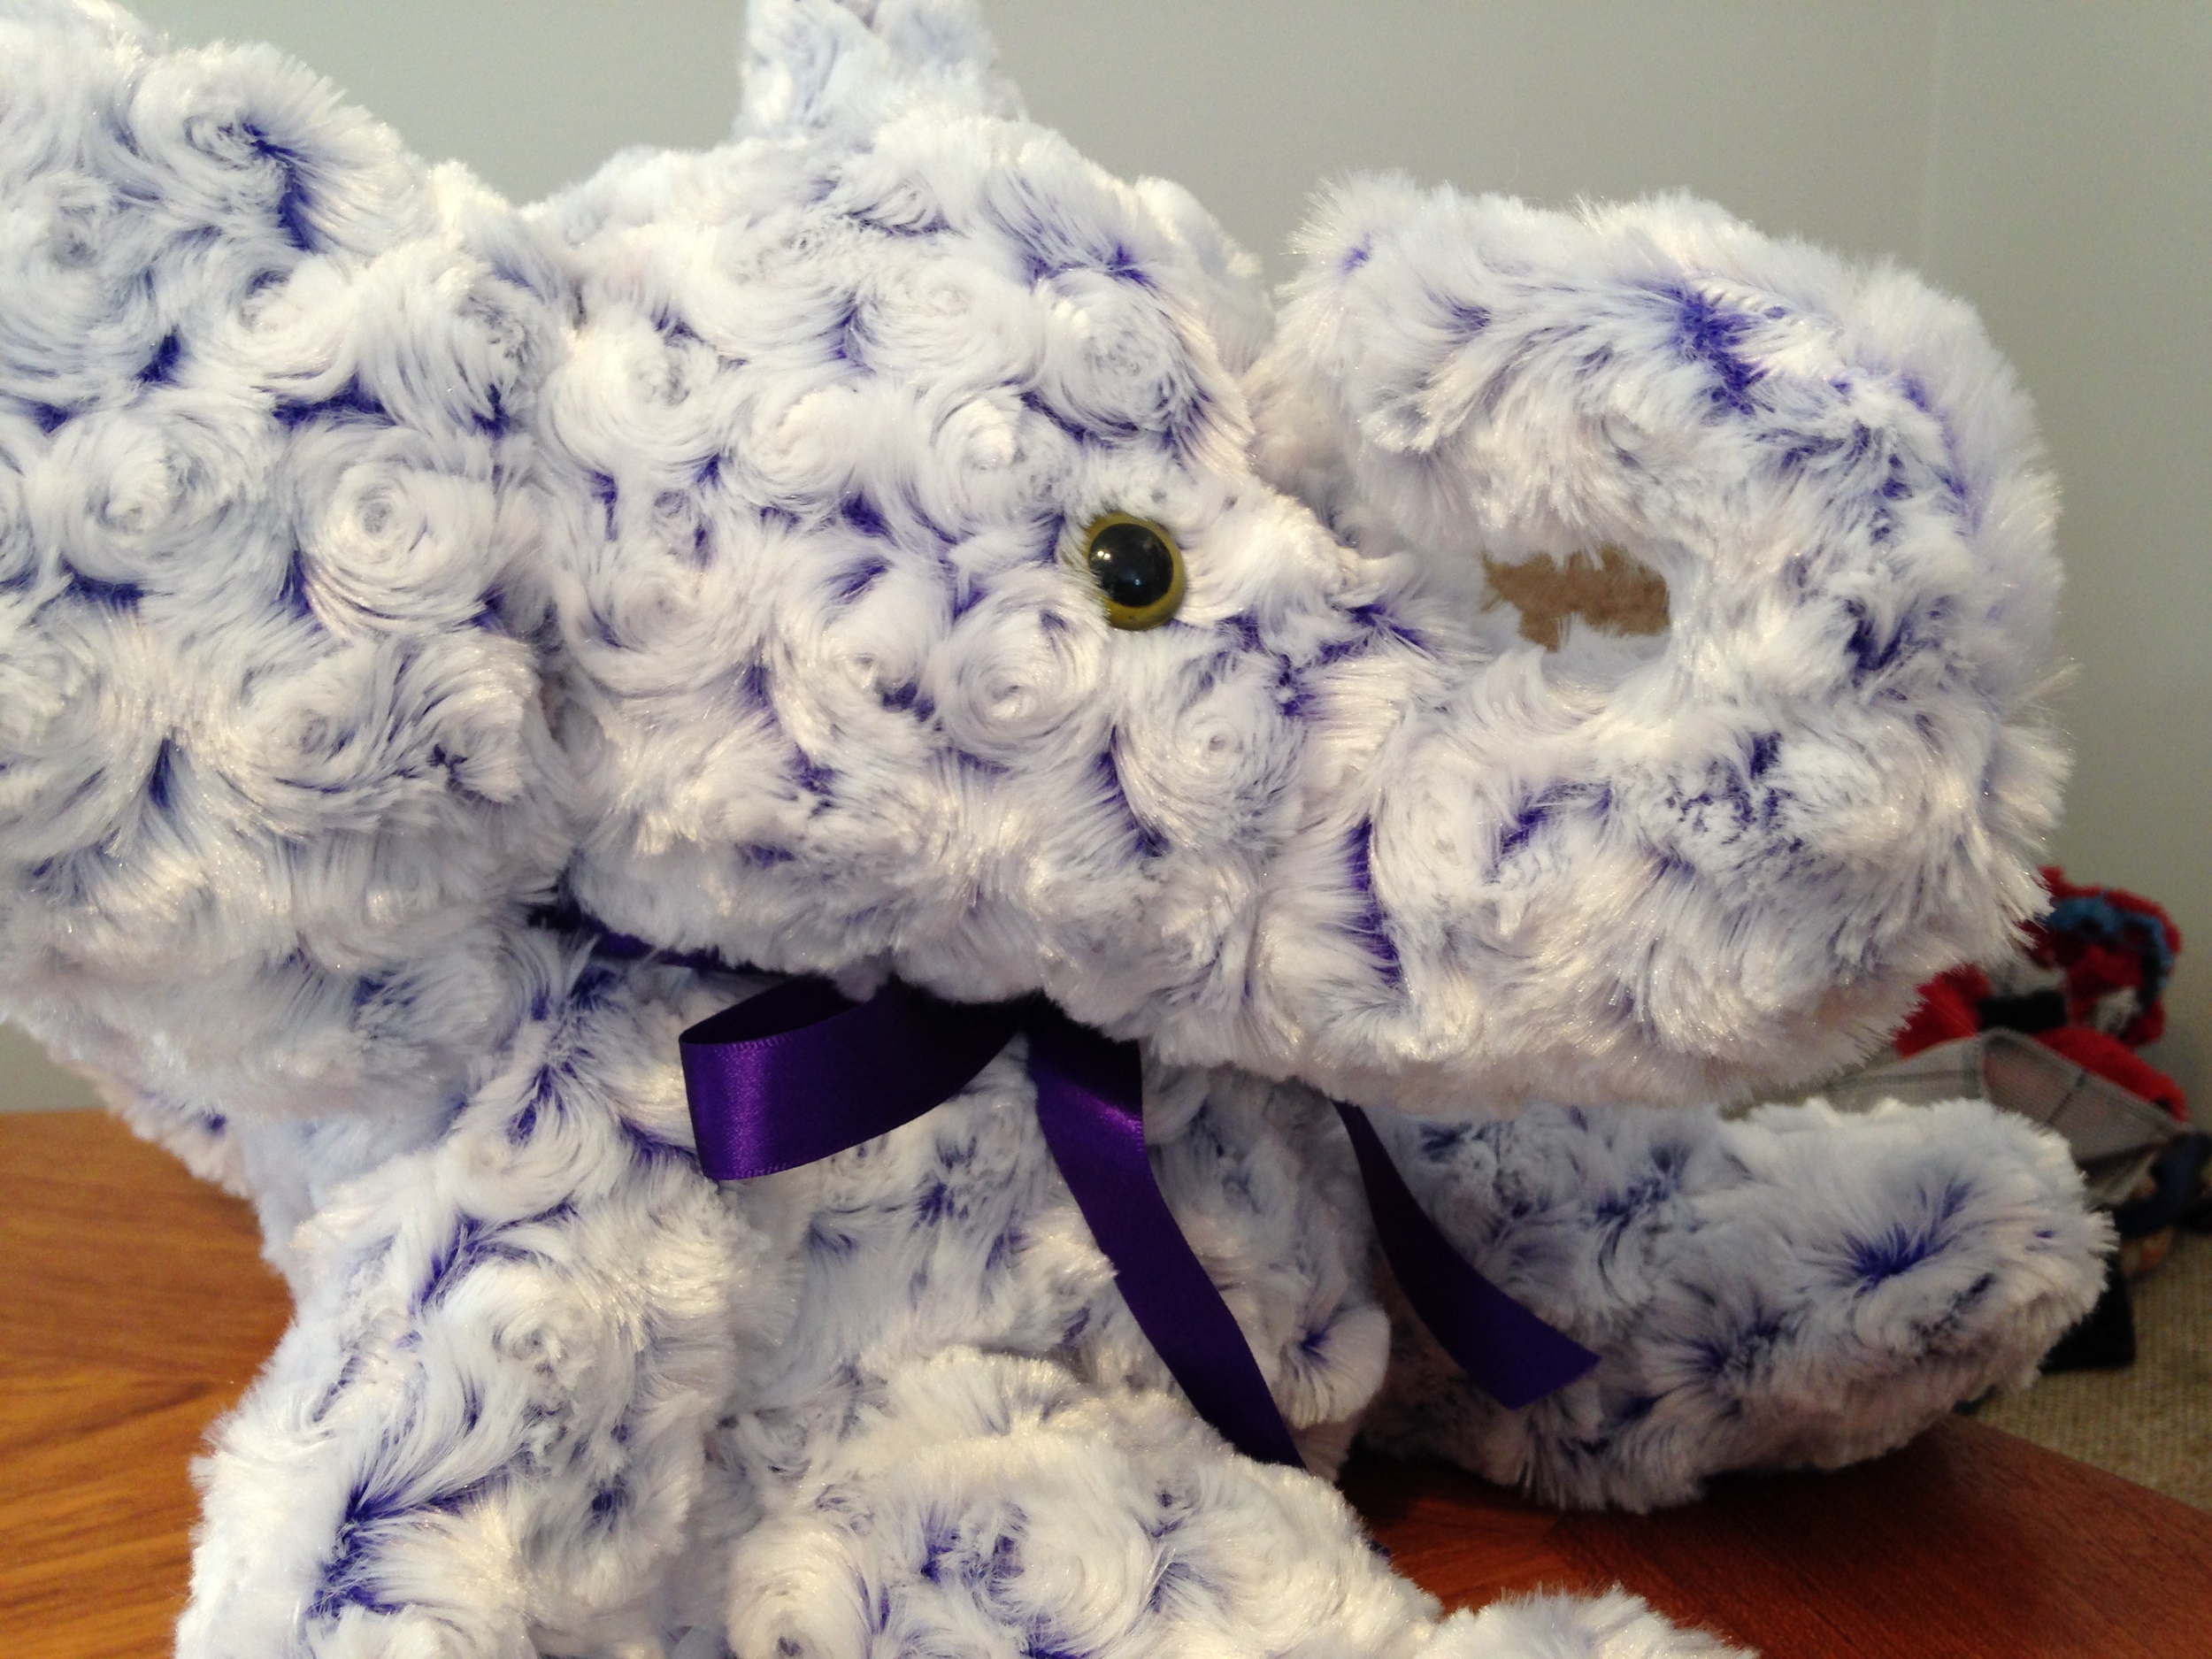
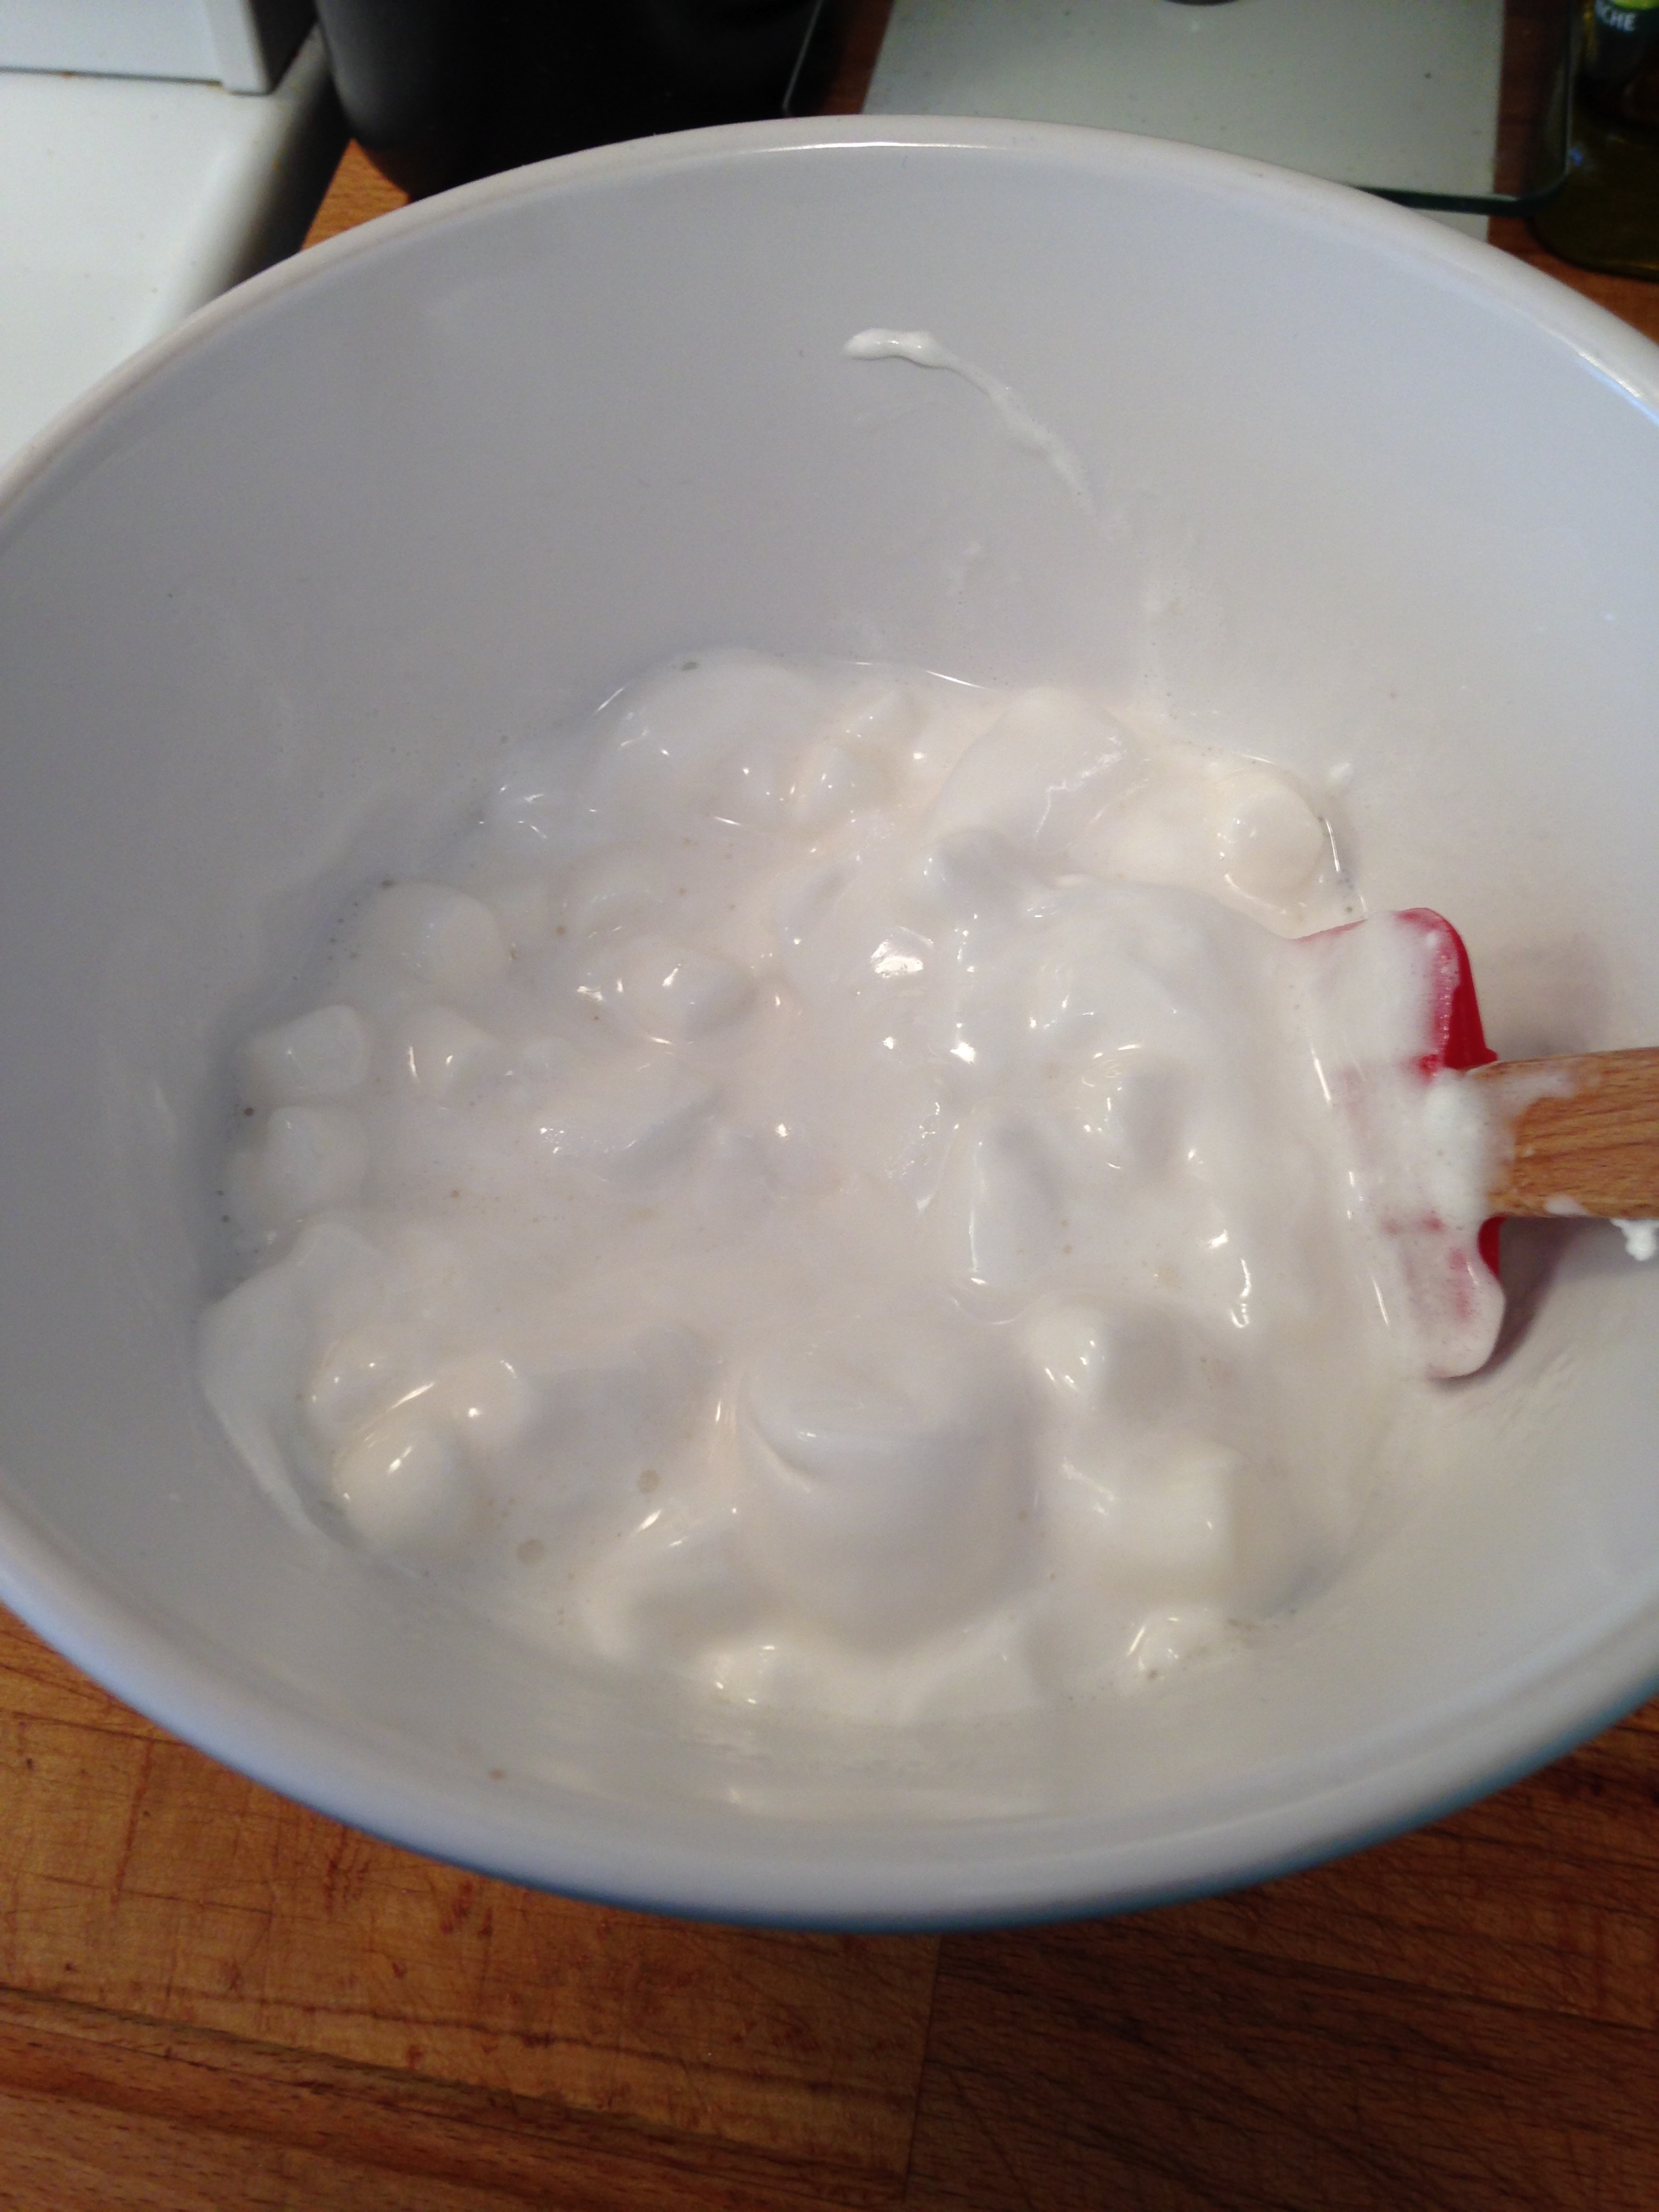
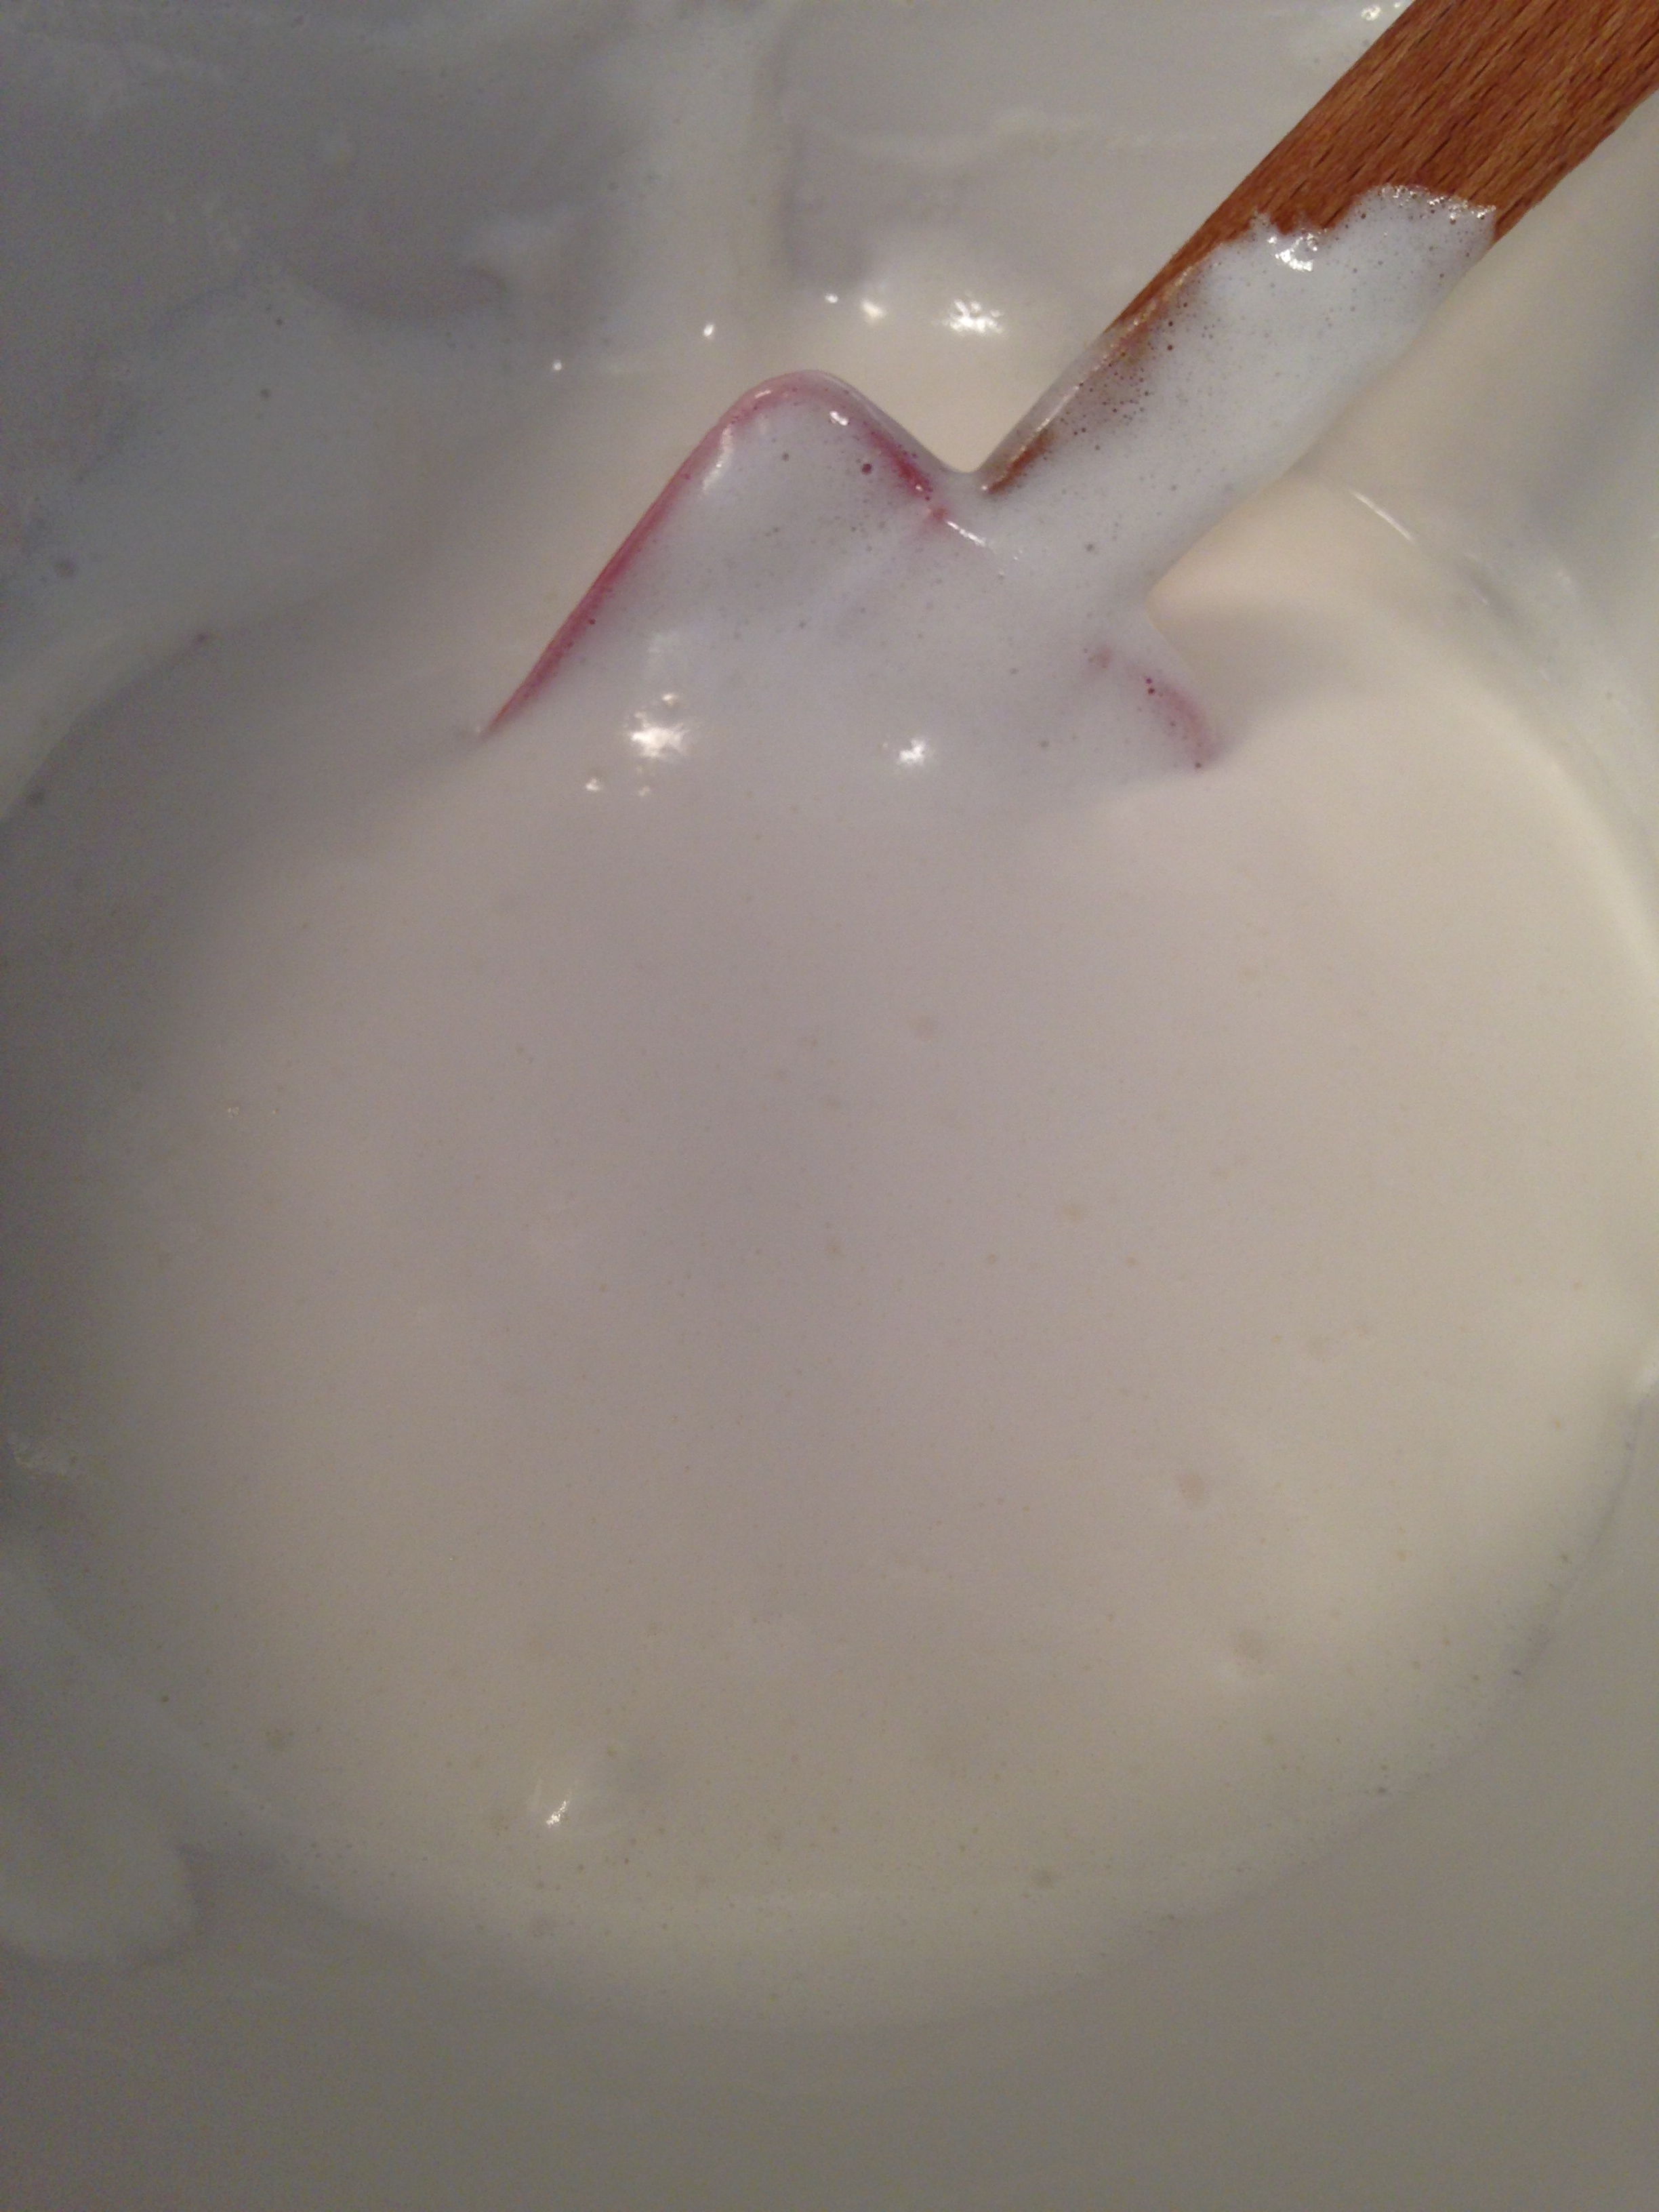
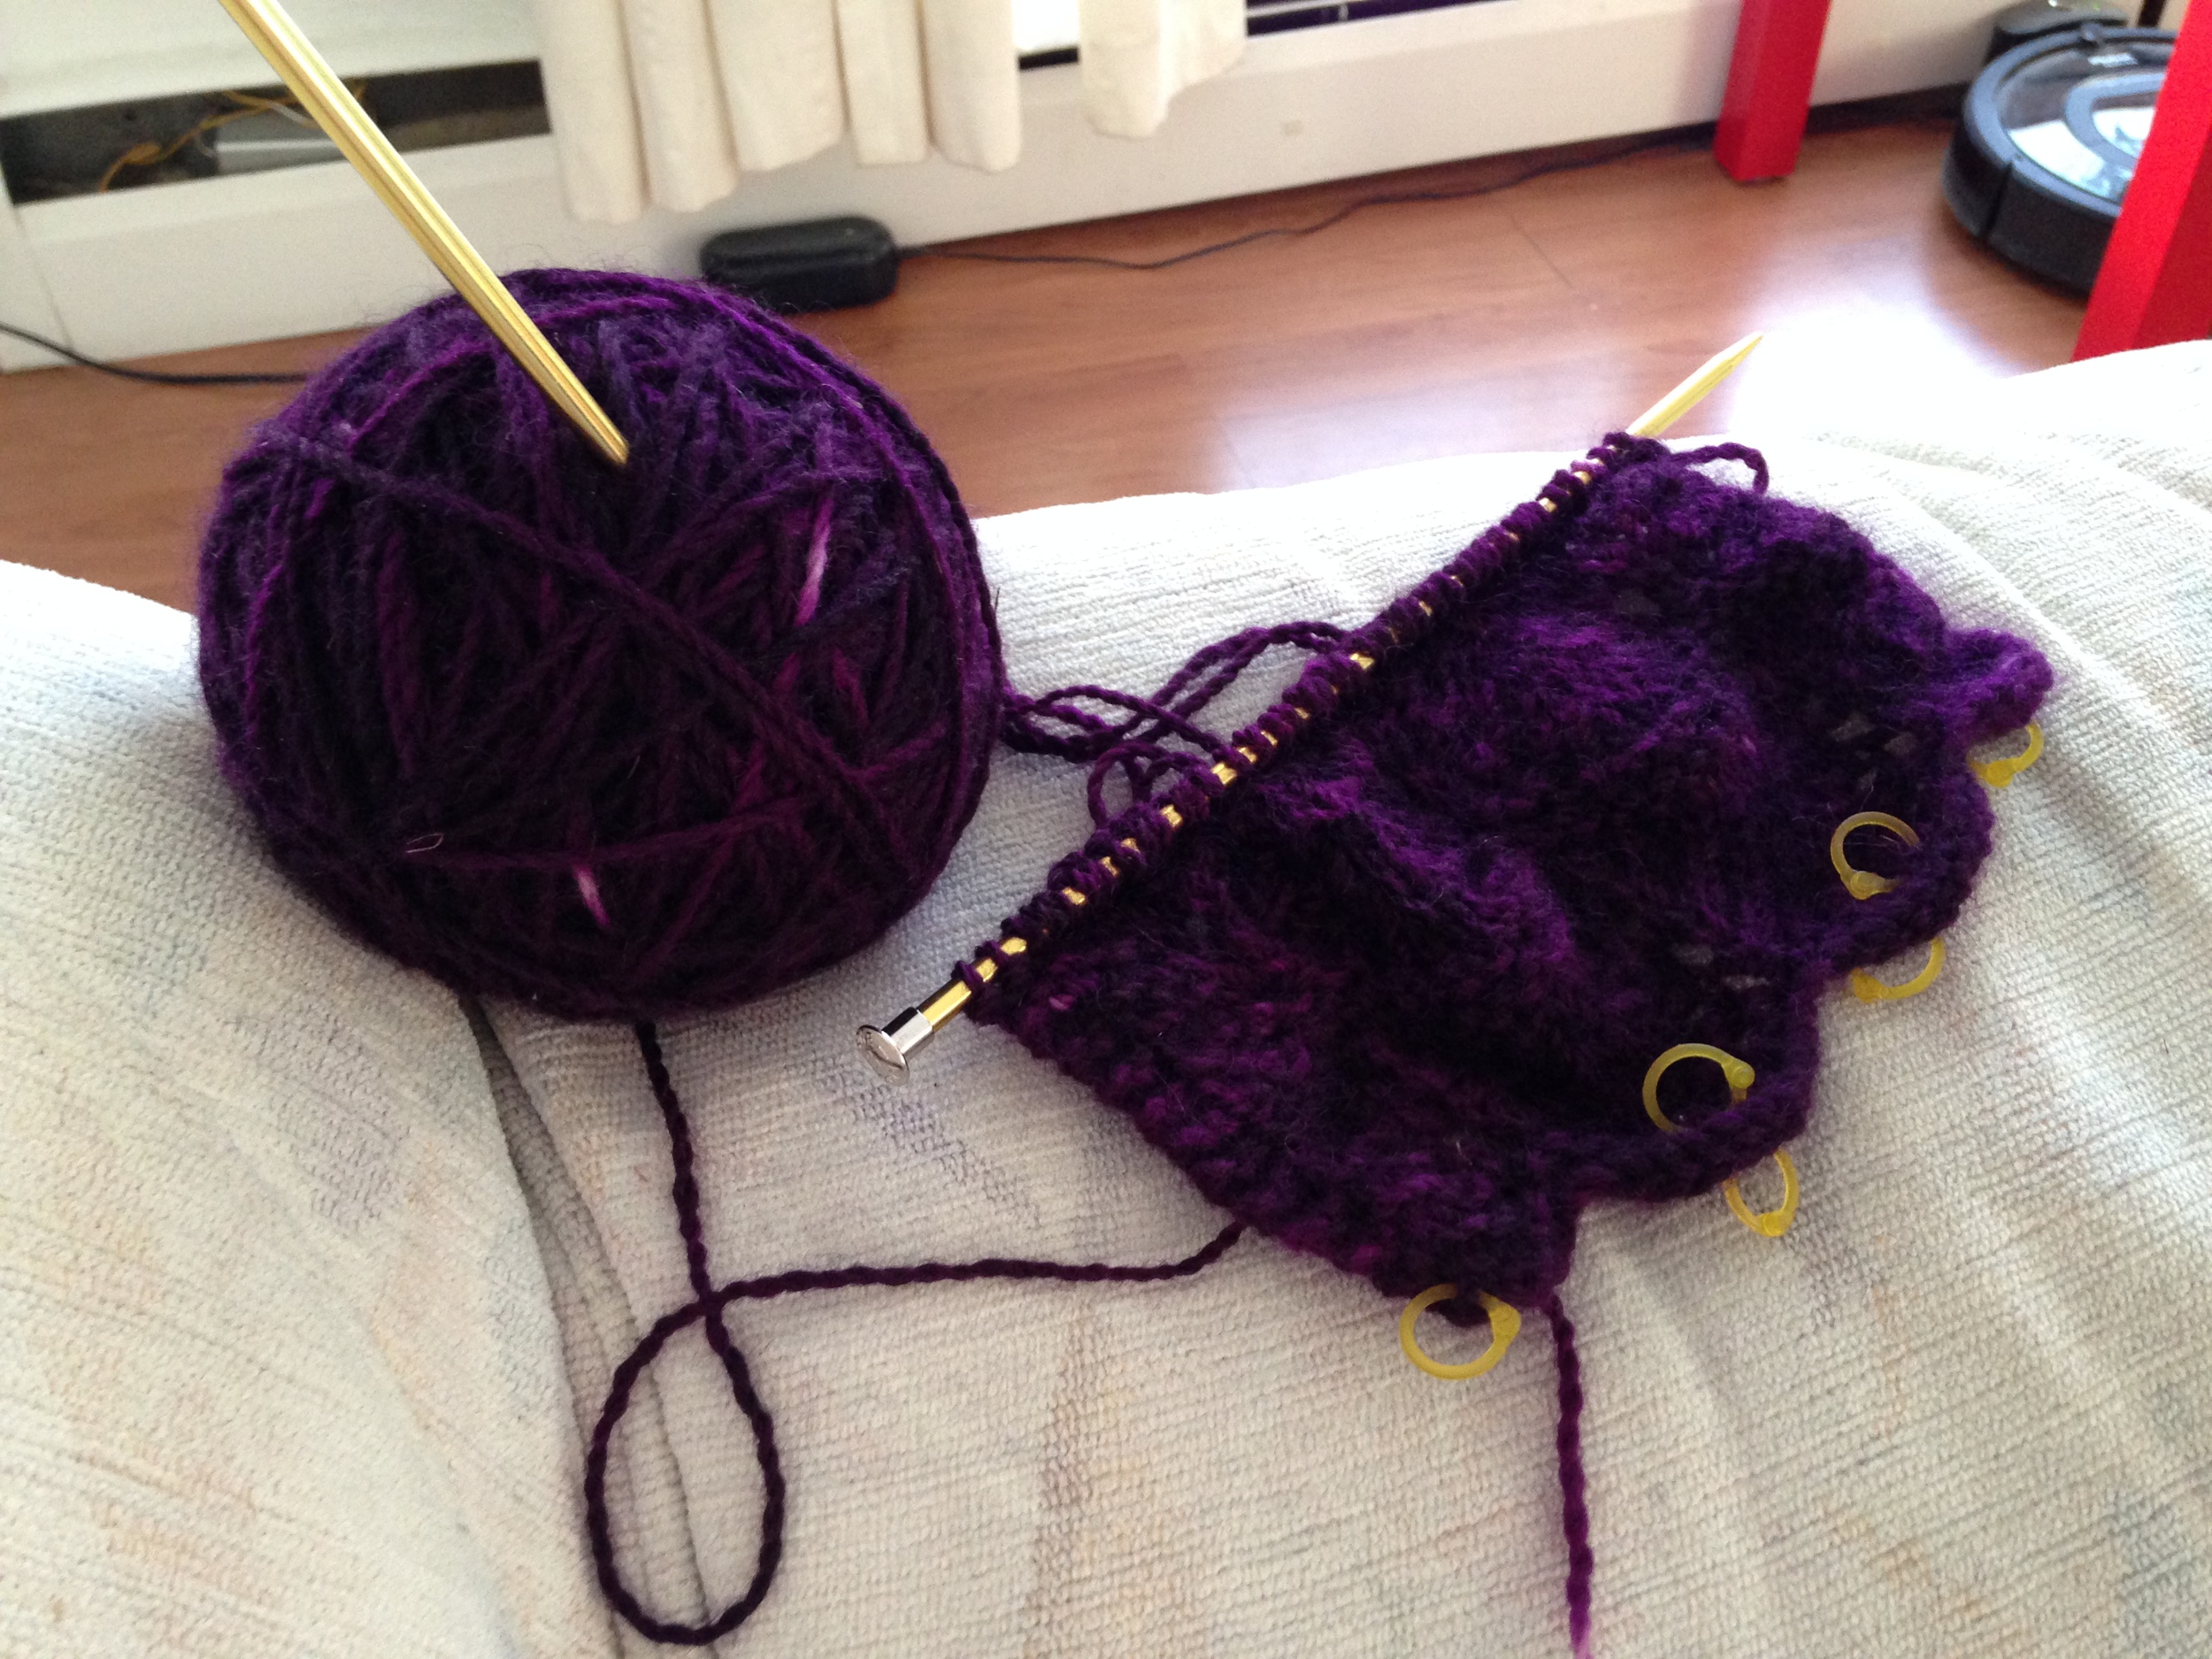
I have never worked with mohair before. If I had I most likely would have been not as keen to do this project. As I found out, mohair, typically from a goat, does not felt like sheep's wool (which is why its usually mixed with wool). It remains hairlike giving it the classic fuzzed look of angora and other fibres like it. The final product definitely looks nice but getting it there is a fuzzy fuzzy journey. As in, my couch is still covered in purple mohairs and I have a white shirt that will never be quite the same. (I need a lint roller ASAP.)

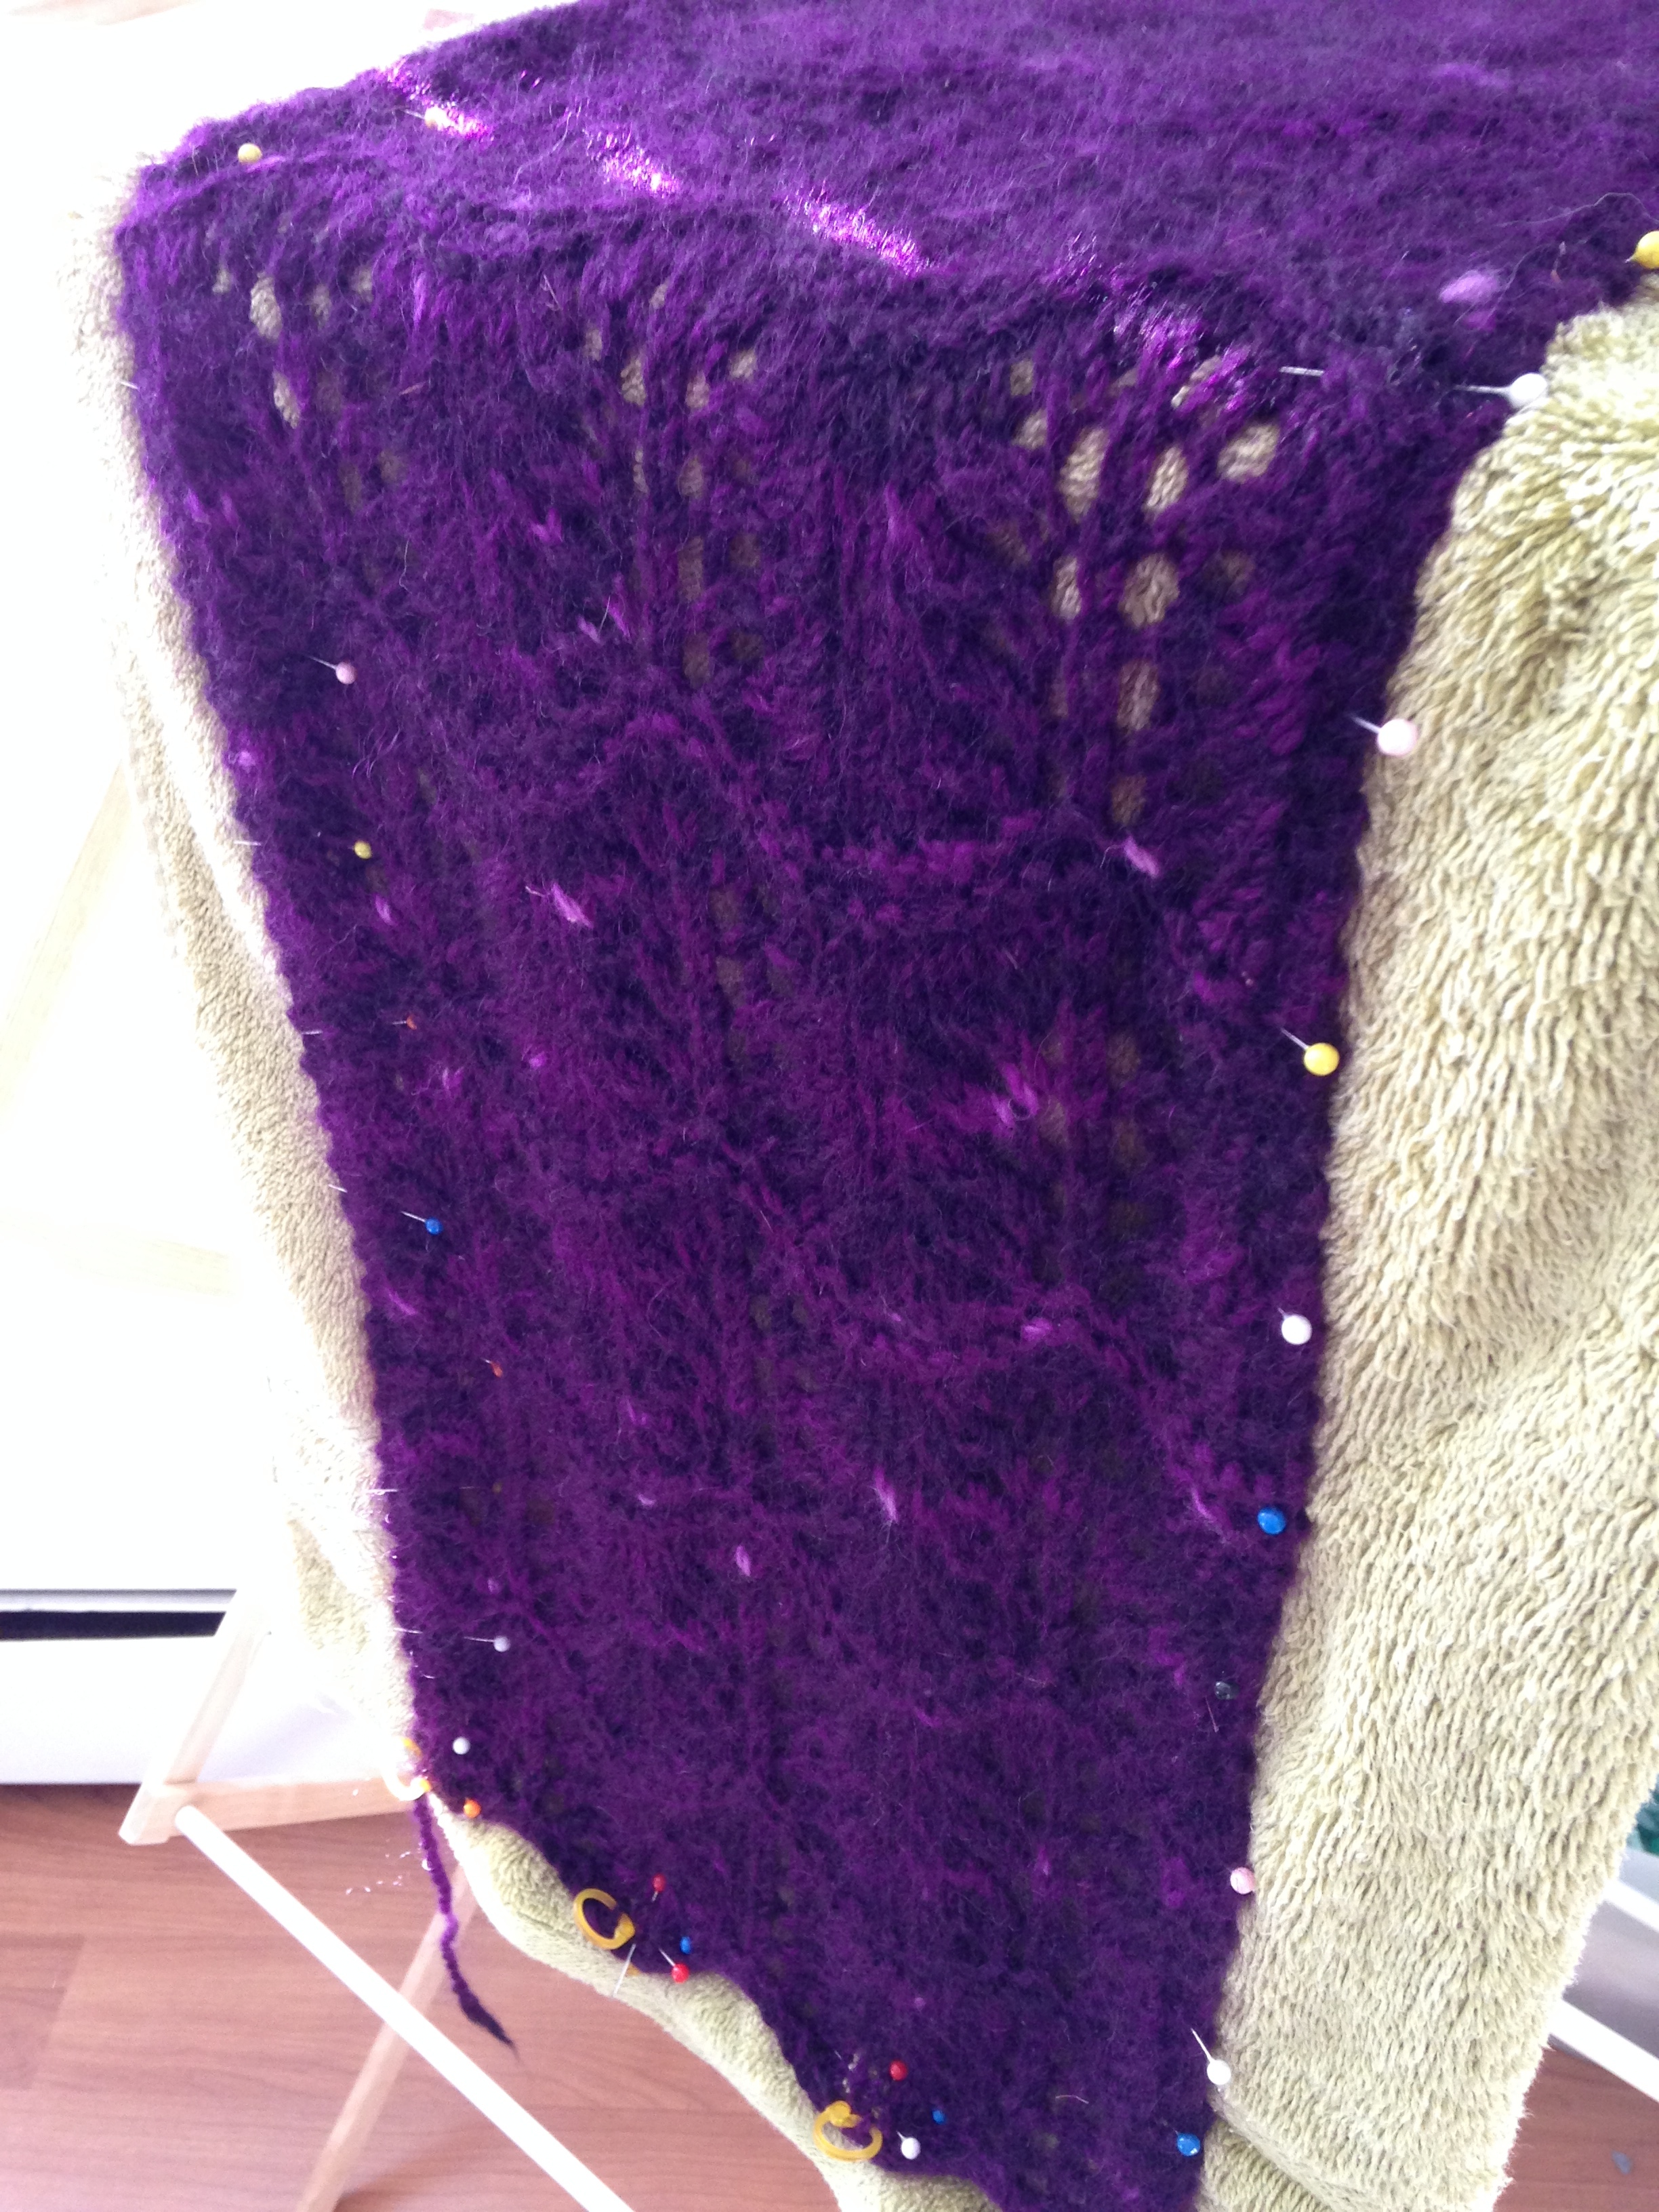
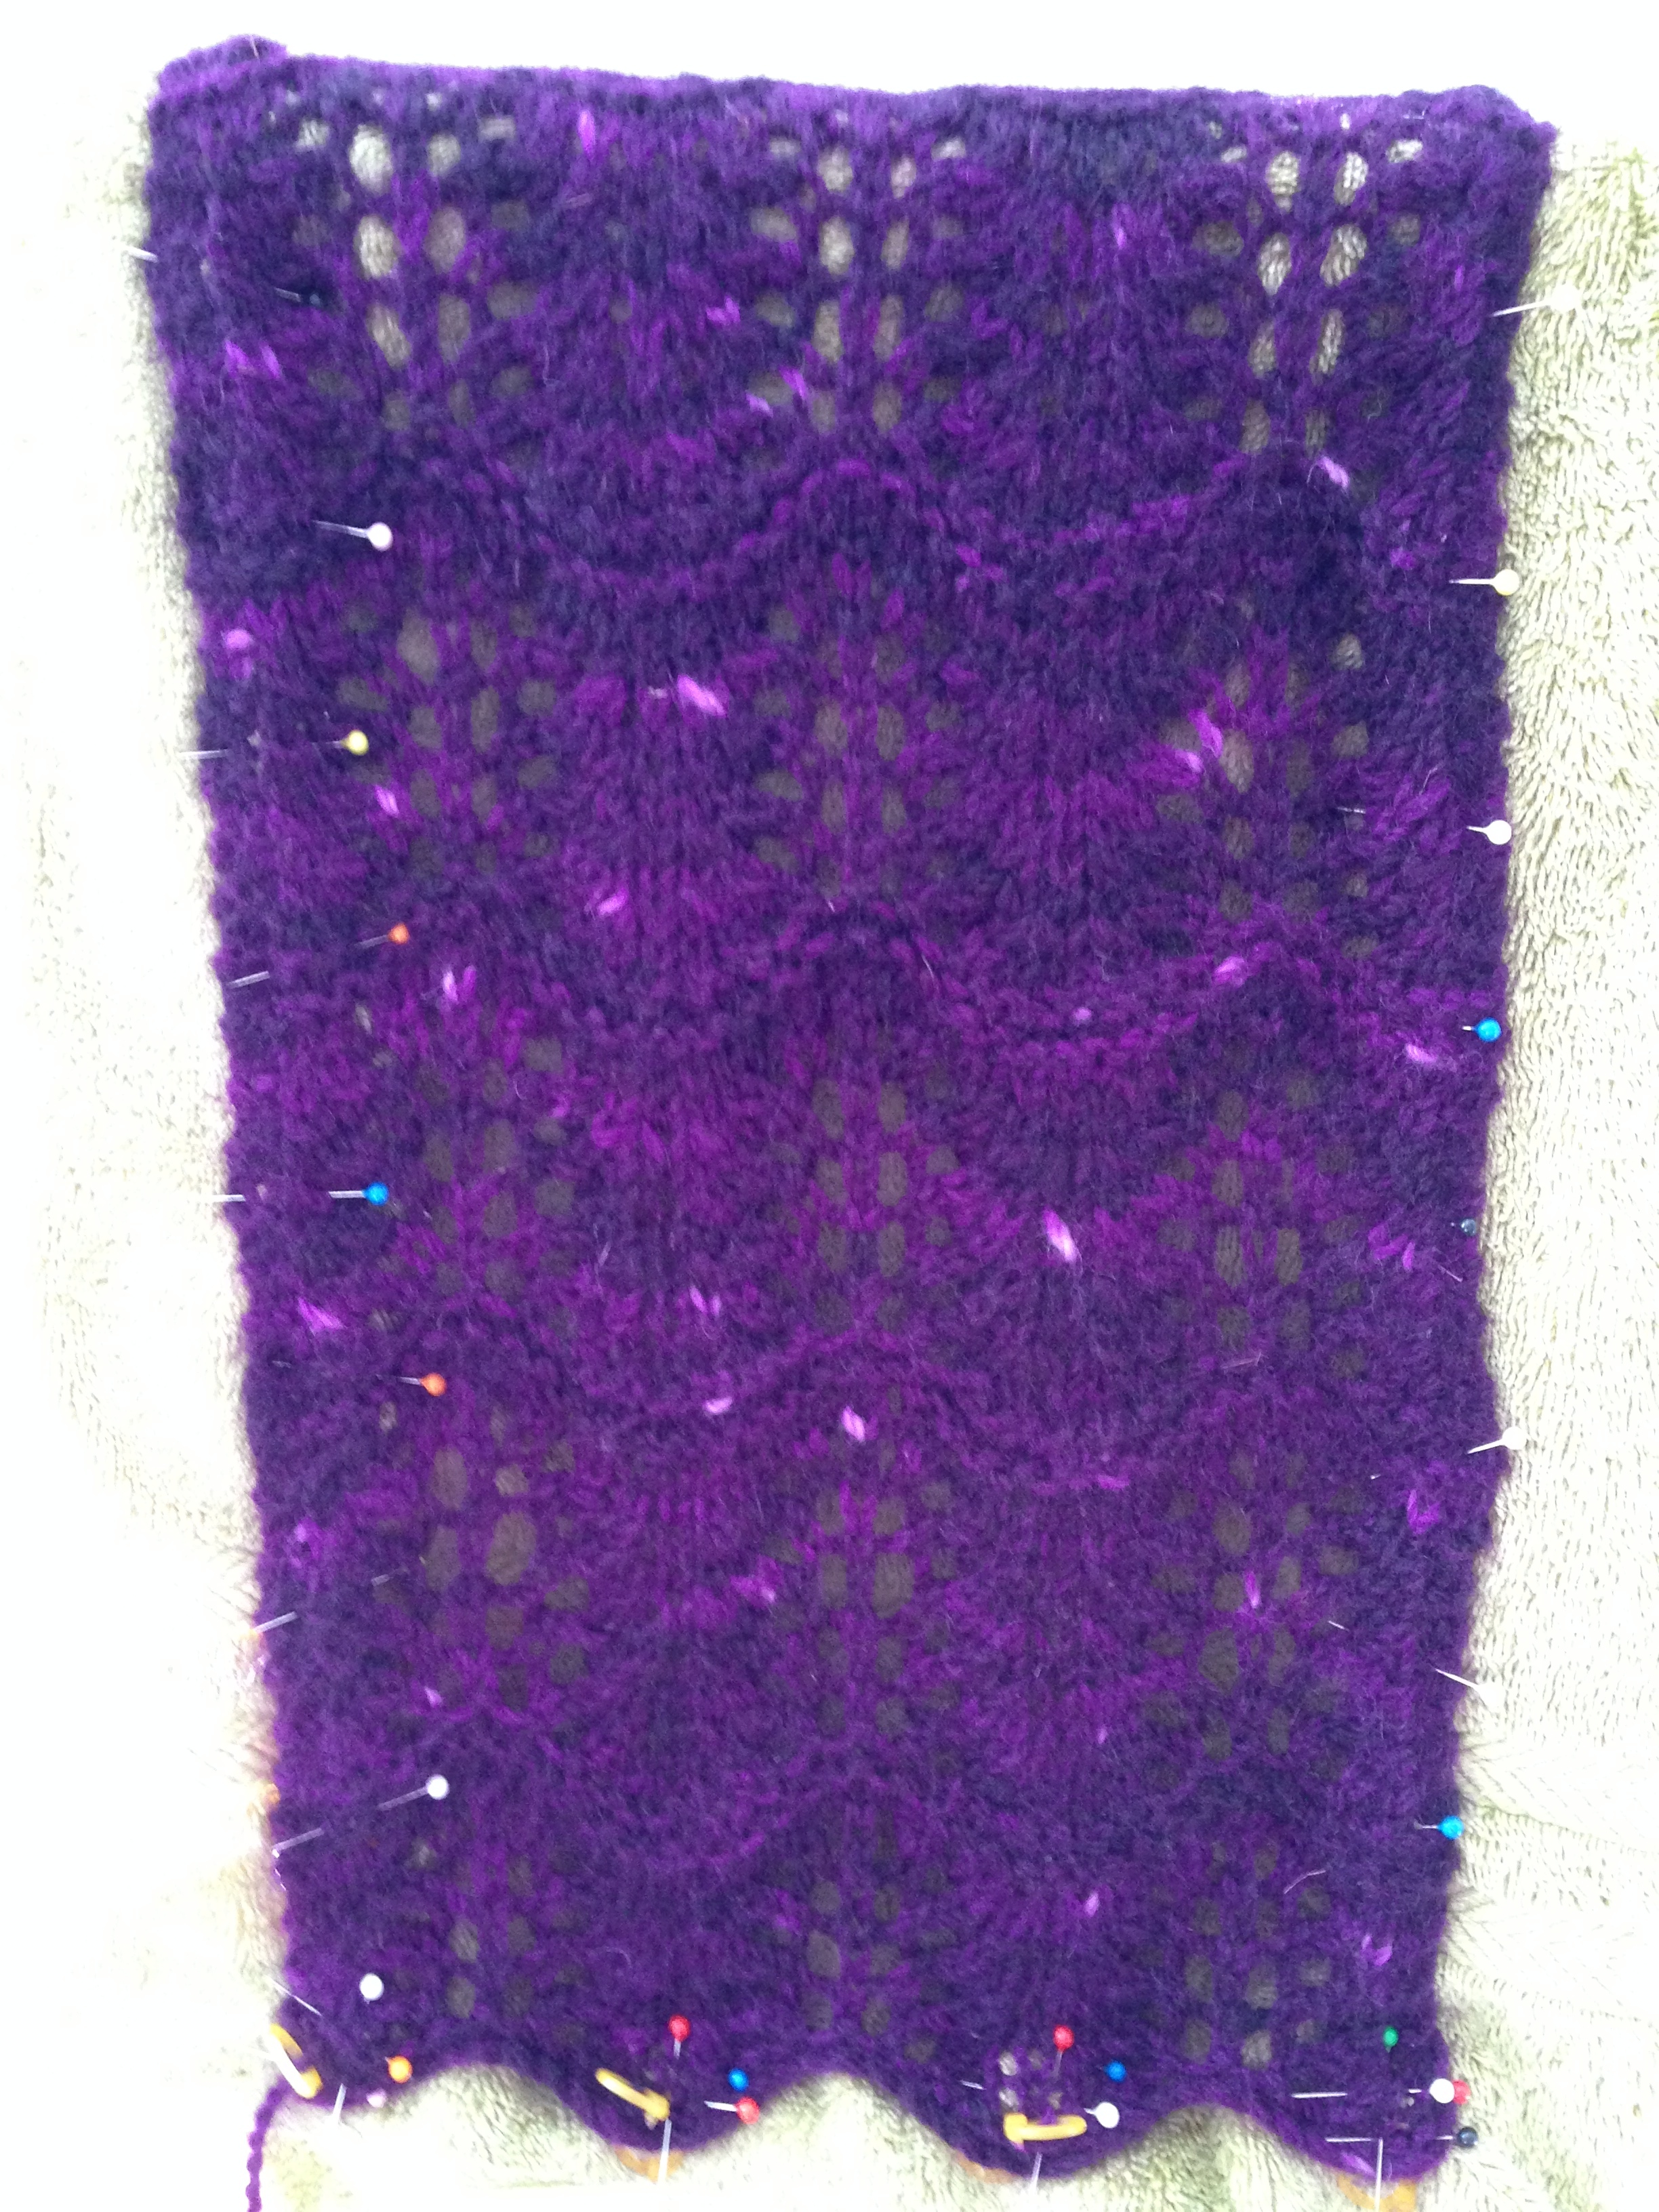
Regardless of the material I used though, the pattern was super easy to follow. It even included a backwards k2tog that I had never done before. Yay learning new stitches! Also the scalloped edges and ridges were super easy to replicate too. Especially with blocking.

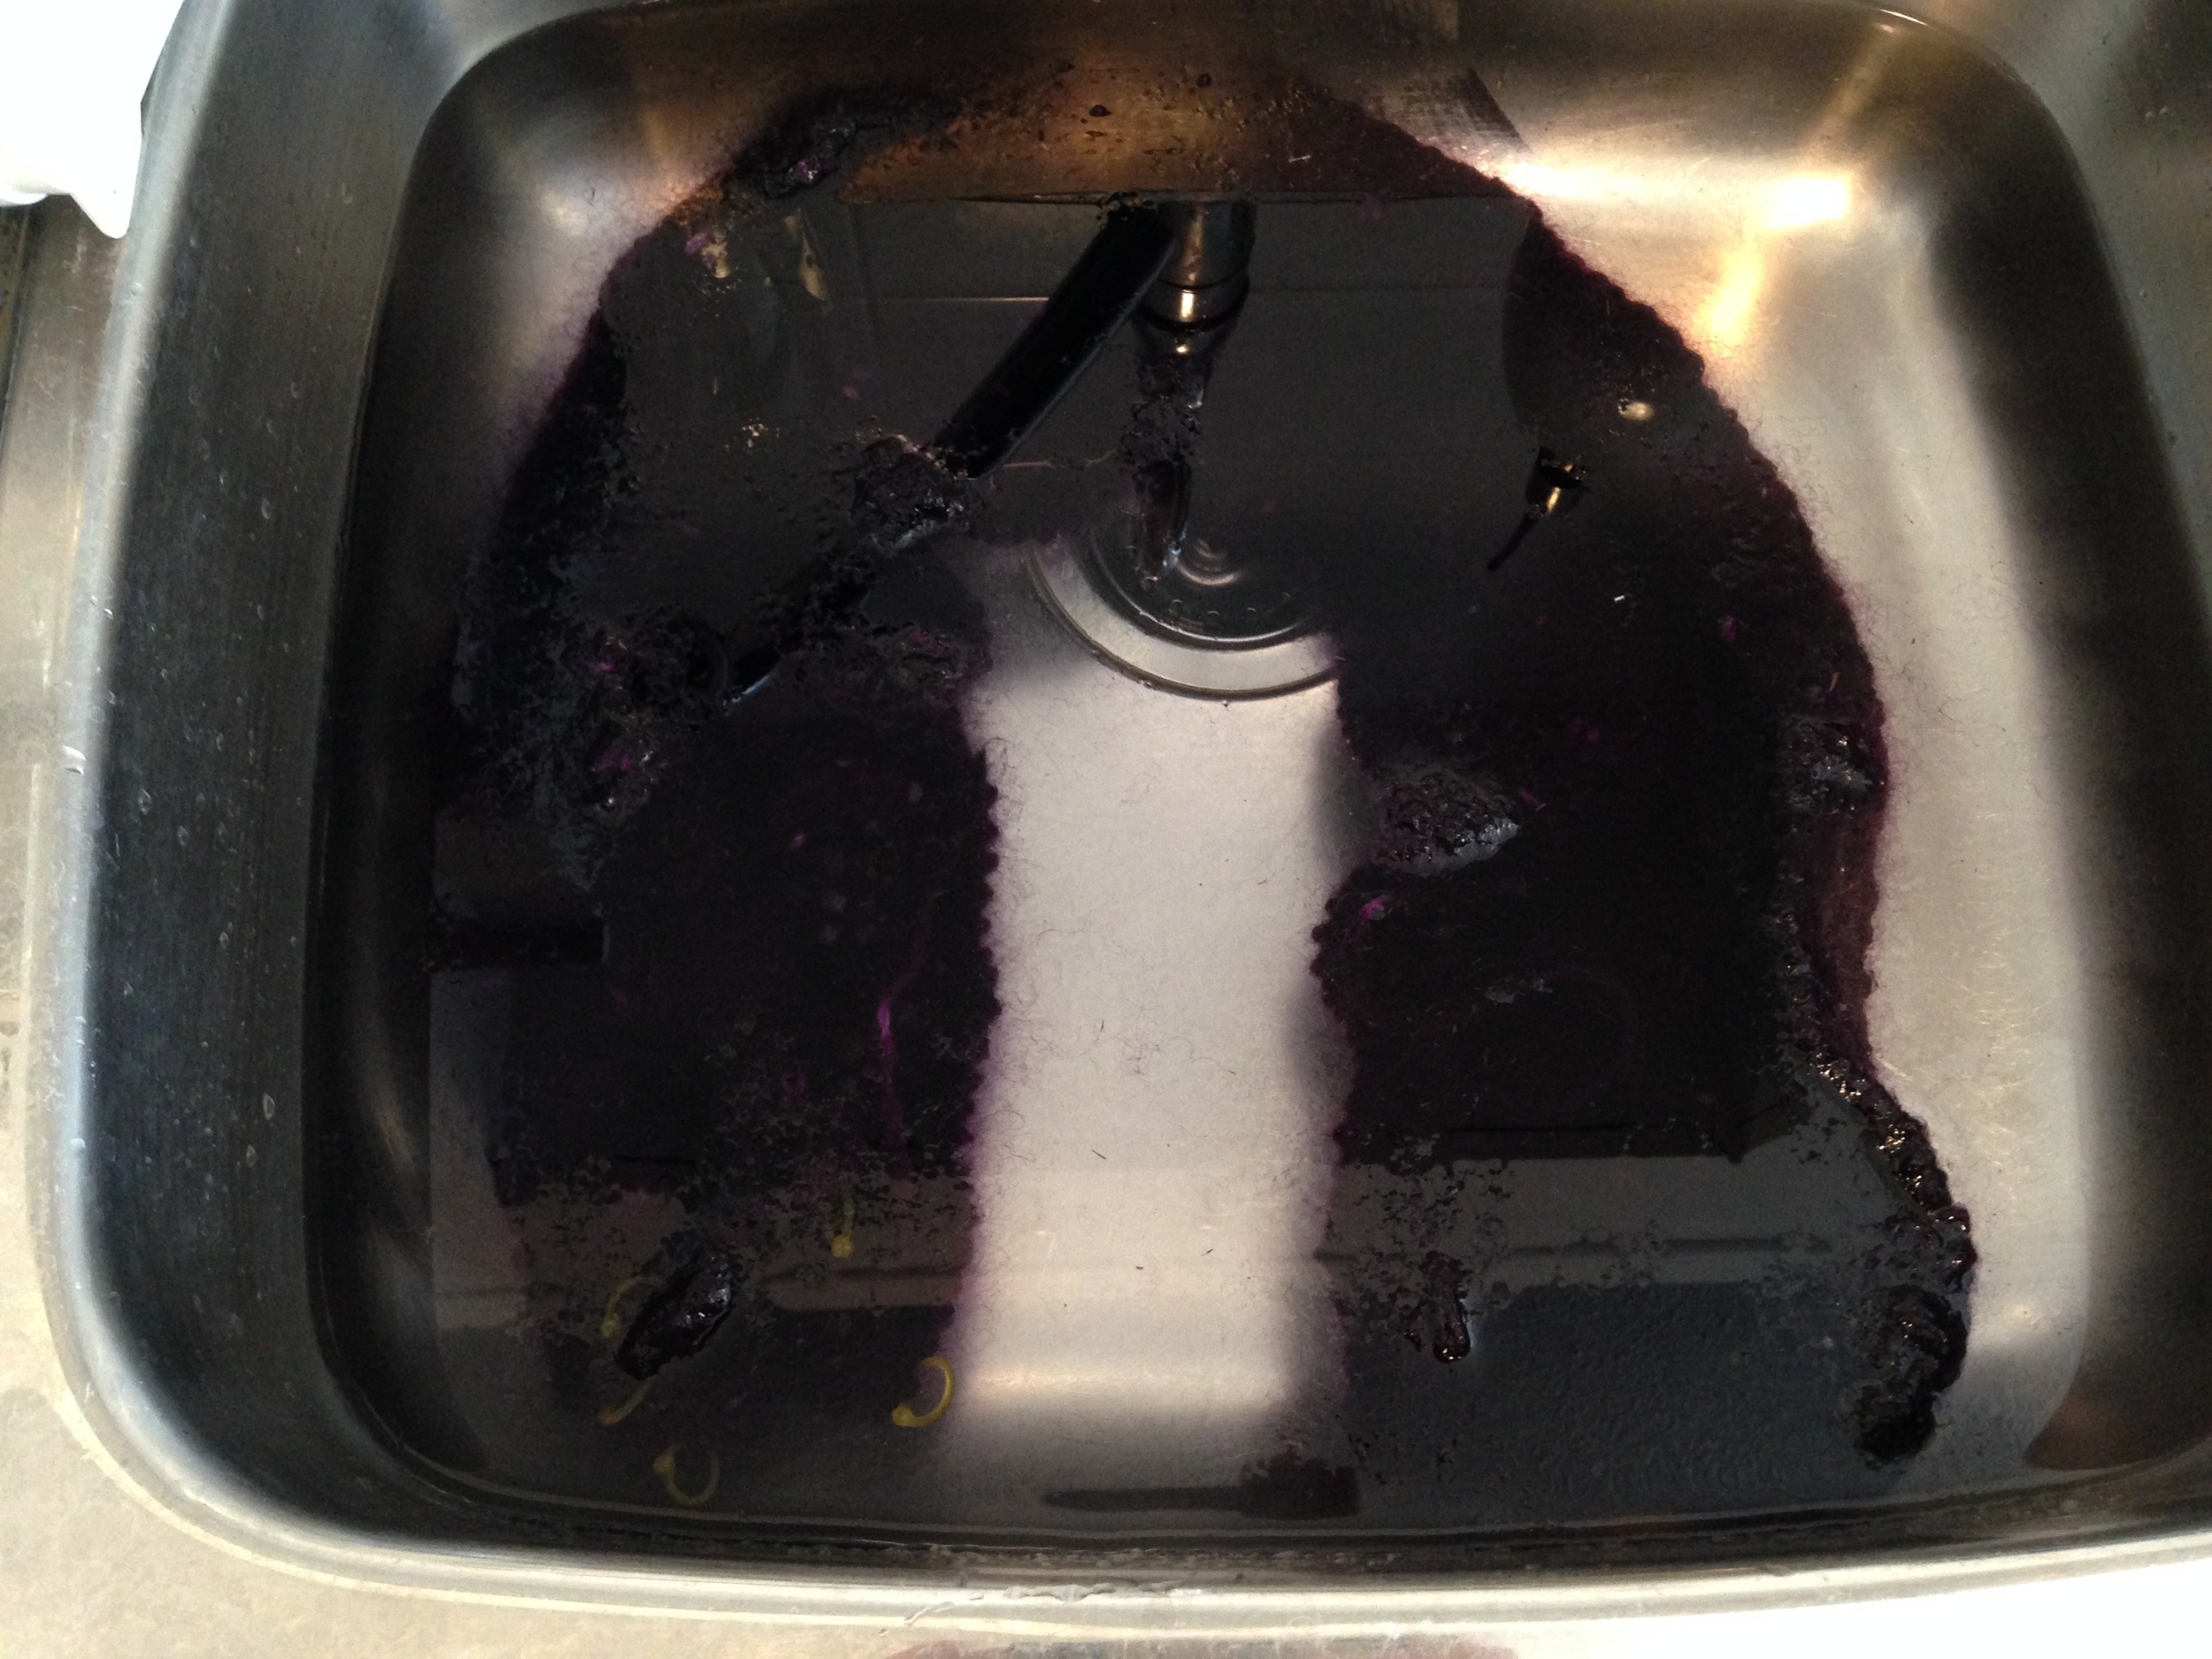
I had never blocked any of my knitting before. That mainly being because everything I knit is usually chunky and doesn't really need it. So this was a double new adventure.

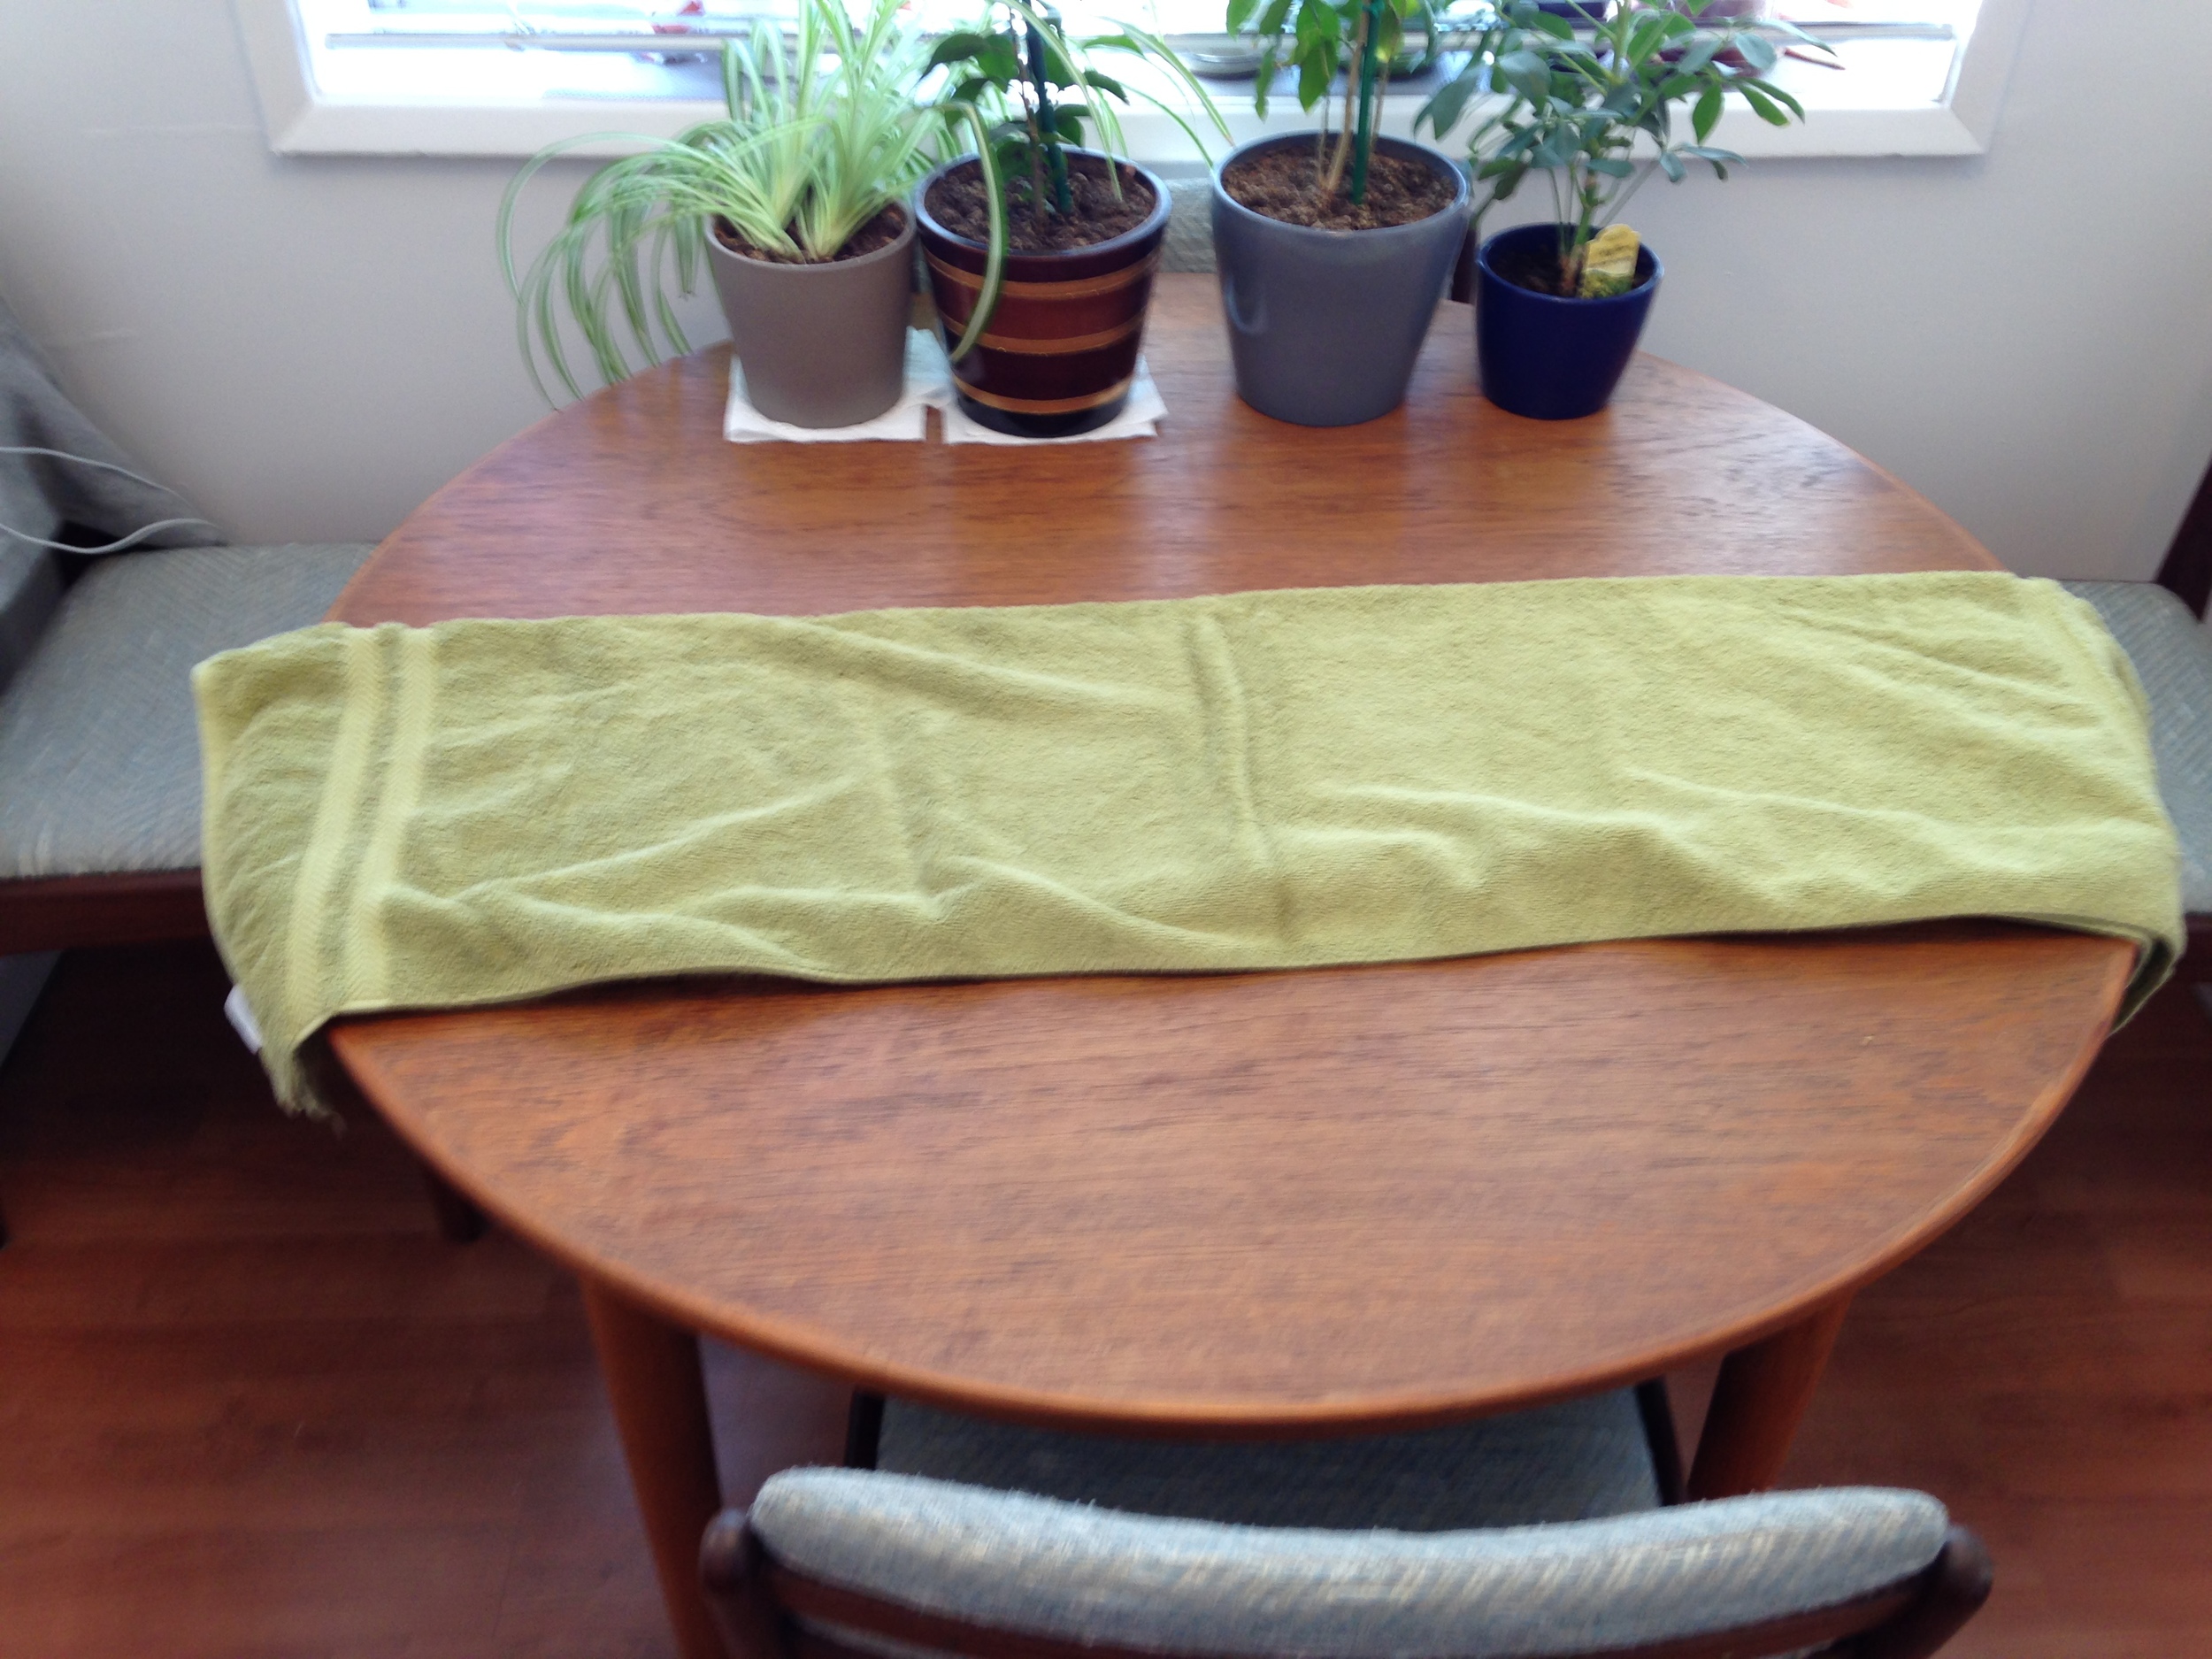
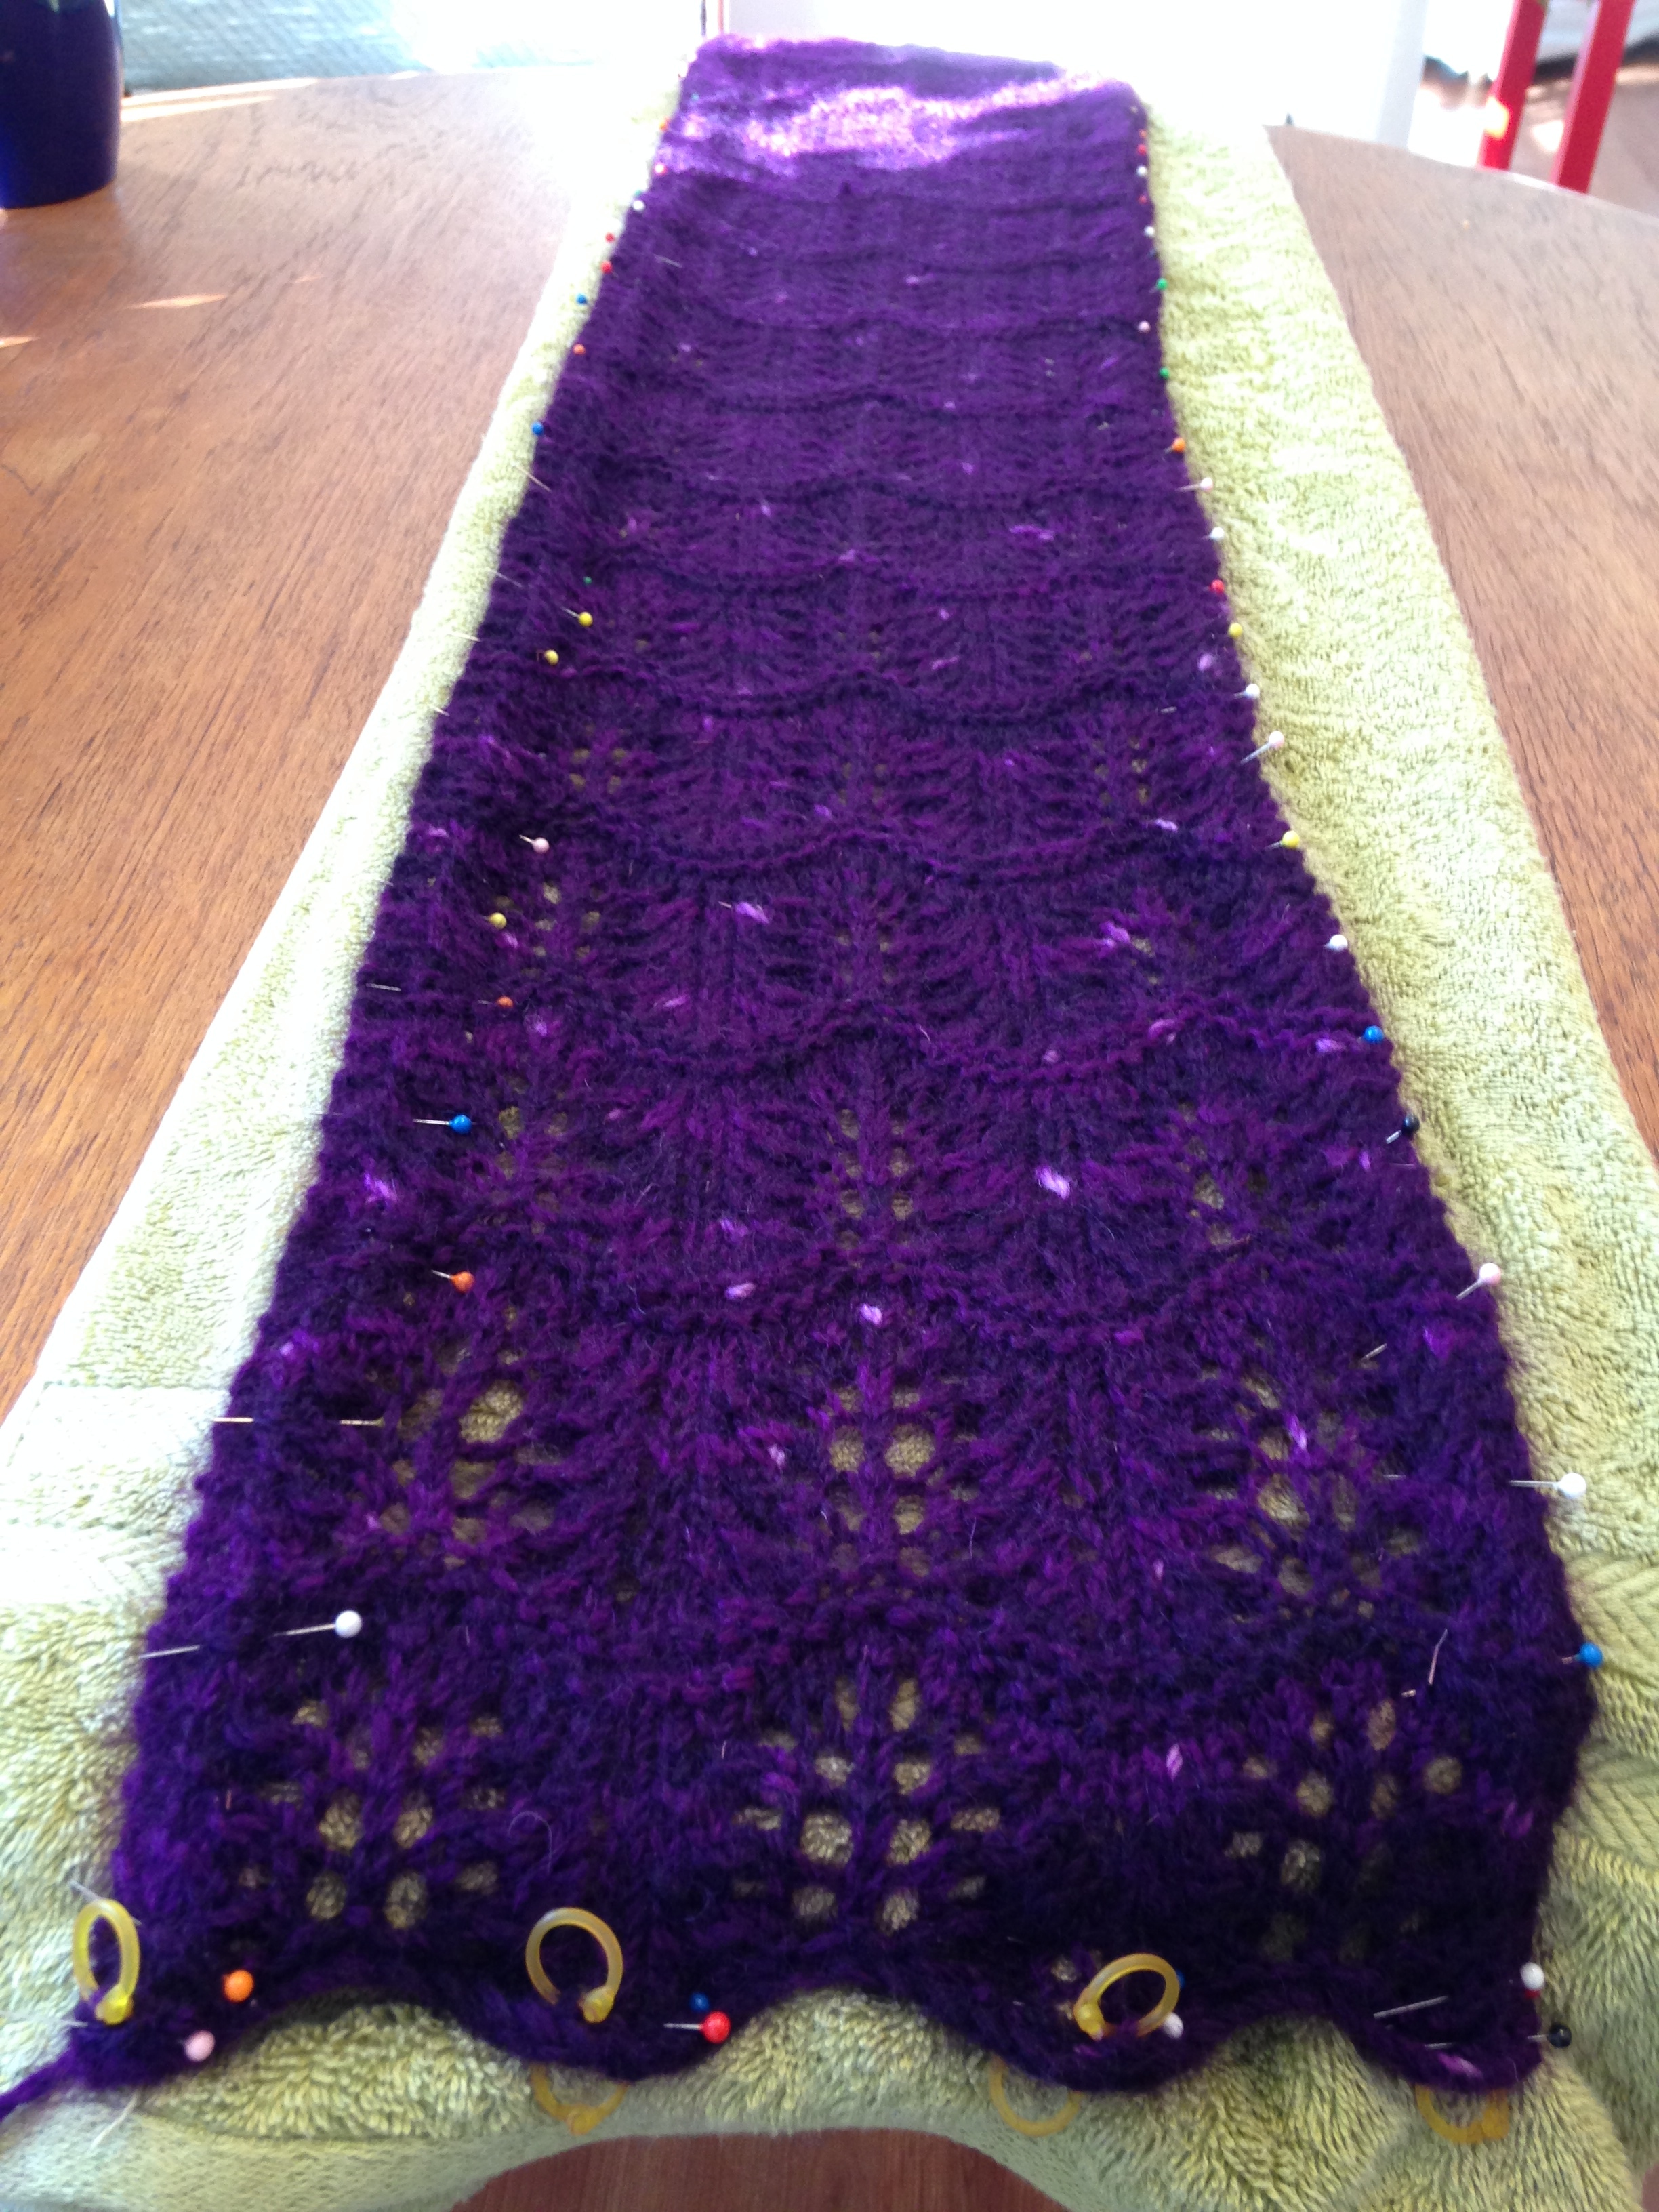
The instructions on the pattern said to soak the finished project in lukewarm water for 15 minutes. Then towel off the excess water, stretch and pin the wrap out and then let it dry. So I filled the kitchen sink with water, got out my old fabric pins and got to work. As previously discussed, mohair be moulting as %@*&. So I had to use the drain plug as a pseudo purple hair catcher (delicious). After the first soak I refilled the sink a second time to try and swish any left over purple fuzzes off the wrap. Then it was pinning time! Pretty straight forward (pun alert!): Start at one end and then stretch and pin till you get to the other end. I also made sure that the scalloped edges were at maximum scoop by pinning them down both horizontally and vertically. Seemed to work very well!  

A good, albeit fuzzy, journey.

I hope she likes it! (Now on to the next two projects! D=)

-Andrea

The Half-Assed Hobbyist

Mountain Climbing

This is the second year now that a group of friends, as organized by my bestie Jess, went to Canmore for a snowshoeing expedition. 

Two missing! They went snow boarding instead of breakfast =P

Two missing! They went snow boarding instead of breakfast =P

Last year there was 6 of us that hiked up a mountain. This year, however, we were a group of twelve. More the merrier! We drove up to the trail on the most precarious road I have ever been on. Literally mountain side, narrow road, cliff into a dammed lake. It took about an hour to drive the slippery curves, out of Canmore to start our hike to Rummel Lake. 

There were some pretty breathtaking views on the mountain top-ish. I have to say though, I'm so out of shape. Nothing motivates you to stop eating cake and go to the gym like when all your friends are hiking away from you at warp 2. (To be fair though, it wasn't as bad as last year!)

When we got to the top we had lunch: Safeway Lumberjacks and hot chocolate. Jess and Jon, master campers, had a portable/foldable camp stove. Best idea ever because it was freaking cold. Who would have thought the top of a mountain would be very cold. (JK!) Next time I'm bringing better gloves. 

Snow Bank = Snow Couches

Snow Bank = Snow Couches

The hike down didn't take nearly as much time as going up. (2 1/2 hours going up; 1 1/2 coming down. The BF wished we had crazy carpets.) We all made it back down in one, frozen, piece. Then back home for dinner and homemade pie. 

Cheers!

-Andrea

The Half-Assed Hobbyist

Making Friends is Easy

I have always assumed that making friends was difficult. This is not true when regarding stuffed animal friends. Those are rather easy to make, if not a little too easy to make. 

My friend Lesley was getting rid of some fabric last week and, treasure of treasures, she had remnants of some fuzzy purple fabric. The cogs of hilarity turning, Lesley joked about me making a fuzzy purple elephant out of the fabric, which she happened to have a pattern for. Challenge Accepted. 

The pattern, from Carol's Zoo, was the easiest pattern imaginable: Two pattern pieces cut out twice each and then sewed together. It says 1 hour from cutting to hugging and I believe it. It took me more time to drive to Fabricland and back (to buy eyes) than to cut out the pieces and pin them together. 

IMG_4369.JPG

I would definitely recommend this as an easy intro to sewing. And afterwards you get a cuddly buddy! Yay!

(I named her Violet. I may be 25 but I still love cute fuzzy things.)

Cheers!

-Andrea

The Half-Assed Hobbyist

Olympics for Dessert People

Everyone's got the olympic fever! 

My friend Jess was having an olympic party to watch the opening ceremonies last week-ish so I thought I'd spend that day playing with fondant. 

IMG_3847.jpg

My previous experience with fondant (kinda NSFW) was rather pleasing. My friend Mandy decided that combining our baking skills would yield the best dirty birthday cake ever. I think she was right on. (Soon we will start an adult novelty cake business. Hah.)

So for this next, non-dirty, attempt to fondant-arize a cake, I was going to make a more simple marble cake with caramel and toasted hazelnut centre. (Ok, maybe not simple. Just not penis shaped.)

Marble Cake

For this cake I used a recipe out of The Joy of Cooking. I over baked it a little so it was a bit chewier than I would have liked, but still ok. (Or rather everyone at the party politely ate it anyway.) 

2 1/4 cups cake flour
2 1/2 tsp baking powder
1/2 tsp salt
1 cup milk
1 tsp vanilla
1 1/4 cups sugar
1/2 cup butter
4 large egg whites
1/4 tsp cream of tartar

1 1/2 oz melted chocolate, cooled
1 tsp cinnamon
pinch of ground cloves
1/8 tsp baking soda

  1. Preheat oven to 350. Grease and flour 2 X 9-inch round pans. 
  2. Combine the flour, baking powder and salt in a bowl. Set aside.
  3. Combine the milk and vanilla. Set aside. 
  4. In an electric mixer, beat sugar and butter together until light and fluffy. (About 5 mins.)
  5. Stir into sugar/butter mixture the dry ingredients, in three parts, alternating with milk mixture, in two parts, until smooth.
  6. Separate batter into two separate bowls. Add melted chocolate, cinnamon, cloves and baking soda to one batch of batter. Stir until combined. Set both bowls aside. 
  7. In a clean bowl, using electric mixer on high, whisk egg whites and cream of tartar together until stiff peaks form. 
  8. Fold half of whipped eggs into each batter bowl. 
  9. Spoon batter into prepared pans, alternating between white and chocolate. 
  10. Bake for around 20-25 minutes or until a toothpick comes out clean. (Careful not to over bake!!)
  11. Let cool in pans for 10 minutes. Remove from pans and cool completely. 

Caramel Filling

I used a simple homemade caramel. Not to fancy. I topped the filling with toasted hazelnuts though.

1 cup butter
2 cups packed brown sugar
1/4 cup cream
1 teaspoon vanilla extract

  1. In a saucepan, over medium heat, melt the butter.
  2. Once melted, stir in the brown sugar and cream. Heat until all sugar is dissolved and caramel thickens, about 10 minutes.
  3. Remove from heat and stir in vanilla.
  4. Let cool completely before using. (About 2 hours in the fridge.)

Fondant

I used a super simple marshmallow fondant. Being the second time I've made this it went a loooot faster. For the Olympic rings, I separated out 5 X 3 ounce pieces of the finished fondant. I use concentrated colour from Wilton (it's meant for icing colour so yay!). Basically, put the colour in the centre of the ball of fondant and knead it until the colour is solid. If you don't have gloves you can try using plastic wrap mittens to keep the colour off your fingers. Key being TRY.

8 ounces miniature marshmallows (4 cups not packed, or half of a 16-ounce bag)
2 tbsp water
1 pound icing sugar (4 cups), plus extra for kneading and rolling it out

  1. Place the marshmallows and water in a large microwave-safe bowl. Microwave on high for 1 minute, until the marshmallows are puffy and expanded.
  2. Stir marshmallows with a rubber spatula until they are melted and smooth. (If some unmelted marshmallow pieces remain, return to the microwave for 30-45 seconds, until the marshmallow mixture is entirely smooth and free of lumps.)
  3. Add the icing sugar and begin to stir with the spatula. Stir until the sugar begins to incorporate and it becomes impossible to stir anymore.
  4. Sprinkle icing sugar on a clean and dry counter. Scrape out the marshmallow goo onto prepared counter. It will be sticky and lumpy, with lots of sugar that has not been incorporated yet. Begin to knead the fondant mixture like dough, working the sugar into the marshmallow goo with your hands.
  5. Continue to knead the fondant until it smoothes out and loses its stickiness. Add more sugar if necessary, but stop adding sugar once it is smooth. (Too much sugar will make it stiff and difficult to work with.) Once the fondant is a smooth ball, it is ready to be used.
  6. To roll out the fondant, cover a clean and dry counter in icing sugar. Using a rolling pin, start rolling the ball of fondant out by making cross like strokes with your rolling pin. Flip the flattened fondant ball over and repeat. Eventually you will get the point where you don't have to flip it anymore. Roll it to about 1 or a half centimetres. Pick it up gently and centre it over your cake. Lay it down and then cut off the excess using a sharp knife. 
IMG_4153.jpg

Once the caramel filling was cooled, and the cake too, I placed the bottom cake layer on a plater, spread the caramel filling on top, sprinkled on the toasted hazelnuts, and placed the second cake layer on top. Then it was rolling out the white fondant and laying it over the cake. Lastly, I cut out the rings using a variety of cup rims as cookie cutters. Et Voila! Edible Olympic rings.

Watching the Winter Olympics is very inspiring. But, really, the best part is listening to the snow boarding commentary while eating cake. So Clutch Man. So Clutch.

Cheers!

-Andrea

The Half-Assed Hobbyist

Micro Plums are a thing.

I can't wait for it to be summer again.

IMG_4093.jpg

This morning I defrosted my windows in a rather fun and horribly cold way. With my phalanges. Also my feet. (I think I need to get out of the house.)

Pining over warmer days made me look back through a bunch of woe begotten and forgotten drafts of hobby-ish things I did last year but never got around to posting. Making plum jelly was one of them. And with the beautiful summer greens and fruit purples, I had to reminisce. 

The recipe I used was pretty much exactly the same as a previous jelly post, here, about making crabapple jelly. I even continued to use powdered pectin because I'm so great at following my own suggestions not too. 

IMG_4096.jpg

Really there are only two differences between the two recipes, the rest of the process is the same. The first, obviously, plums are plums and not crabapples. We hunted the plums in the BFs parents backyard. (Tiniest plums I've ever seen! Hopefully not poisonous.... I mean I've eaten a whole thing of the jelly already and not died.... So hopefully that's a good sign.) And second, you don't really need to de-stem plums. They need to be pitted. Never fear though! Tiny plums are no match for a cherry pitter (random kitchen appliance win!). After they had been successfully pitted it was the same deal as with the crabapples.

  1. Make the juice! About 5lbs of plums to about 5 cups water. Boil, mash, strain like a boss.
  2. Sterilize all the jars! Water bath canning! Yay!
  3. Take plum juice and add pectin, etc. Bring to a boil, add sugar! Stir! Boil. Ladle into jars. 
  4. Process jars for right amount of minutes (15 in Edmonton) in a boiling water bath. Remove and cool. 

After all the jellies were made, the next crucial step. Get rid of them all. Which was way easier that I thought.

I'm looking forward to canning in 2014. I think pickles are in order. Lots and lots of pickles. 

-Andrea

The Half-Assed Hobbyist