
The BF's sister has also moved out east, to Ottawa, to complete a Master's degree at Carlton University. We actually shipped lots of her stuff out with us, back in July, with the intent of driving it up to her after she got a place. So that's what we did.
I've never driven in Ontario before, never mind on the 401. We rented a car from Enterprise on Yonge near Eglington last Friday and proceeded to be just as terrified of driving in Toronto as predicted. Within 2 minutes, I had accidentally cut off 2 pedestrians, managed to turn the wrong direction and had to go around the block to correct it, and I had to manoeuvre around 2 tow trucks, a cop car and a honda civic, which had spun crashed up onto the sidewalk on Yonge. Two Minutes. The rest of the drive to the apartment was much less eventful but I was wary nonetheless.
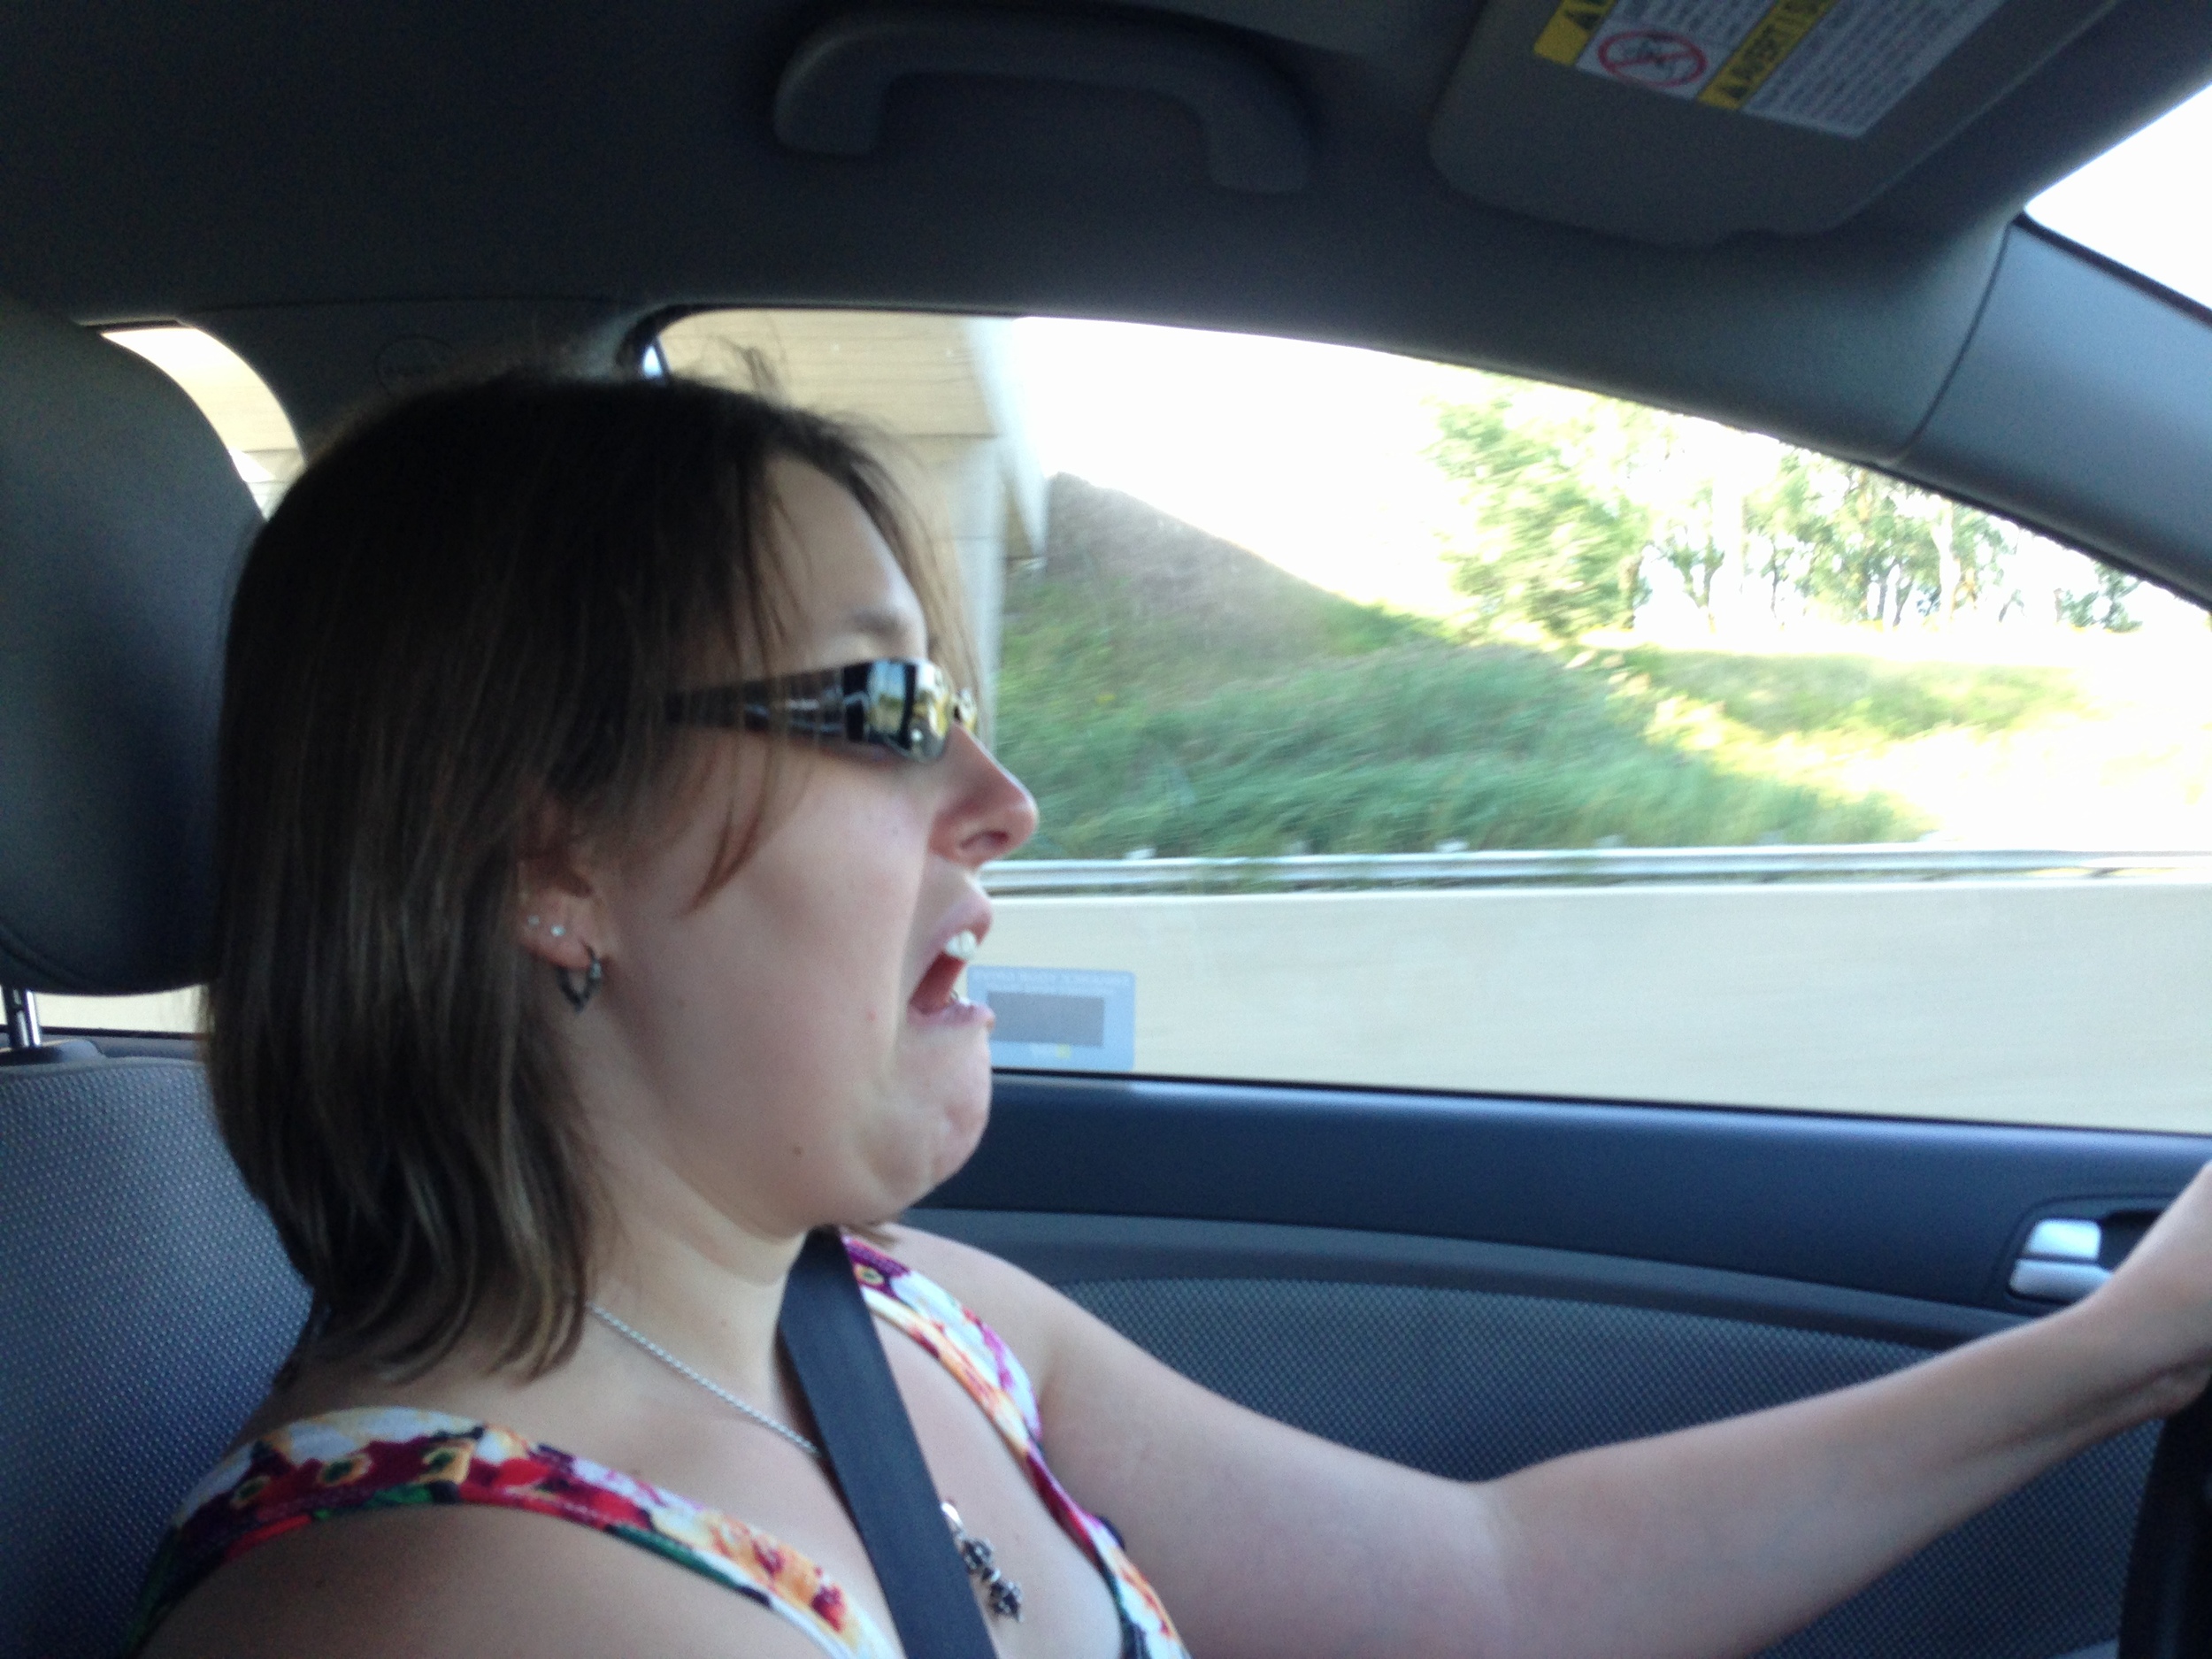
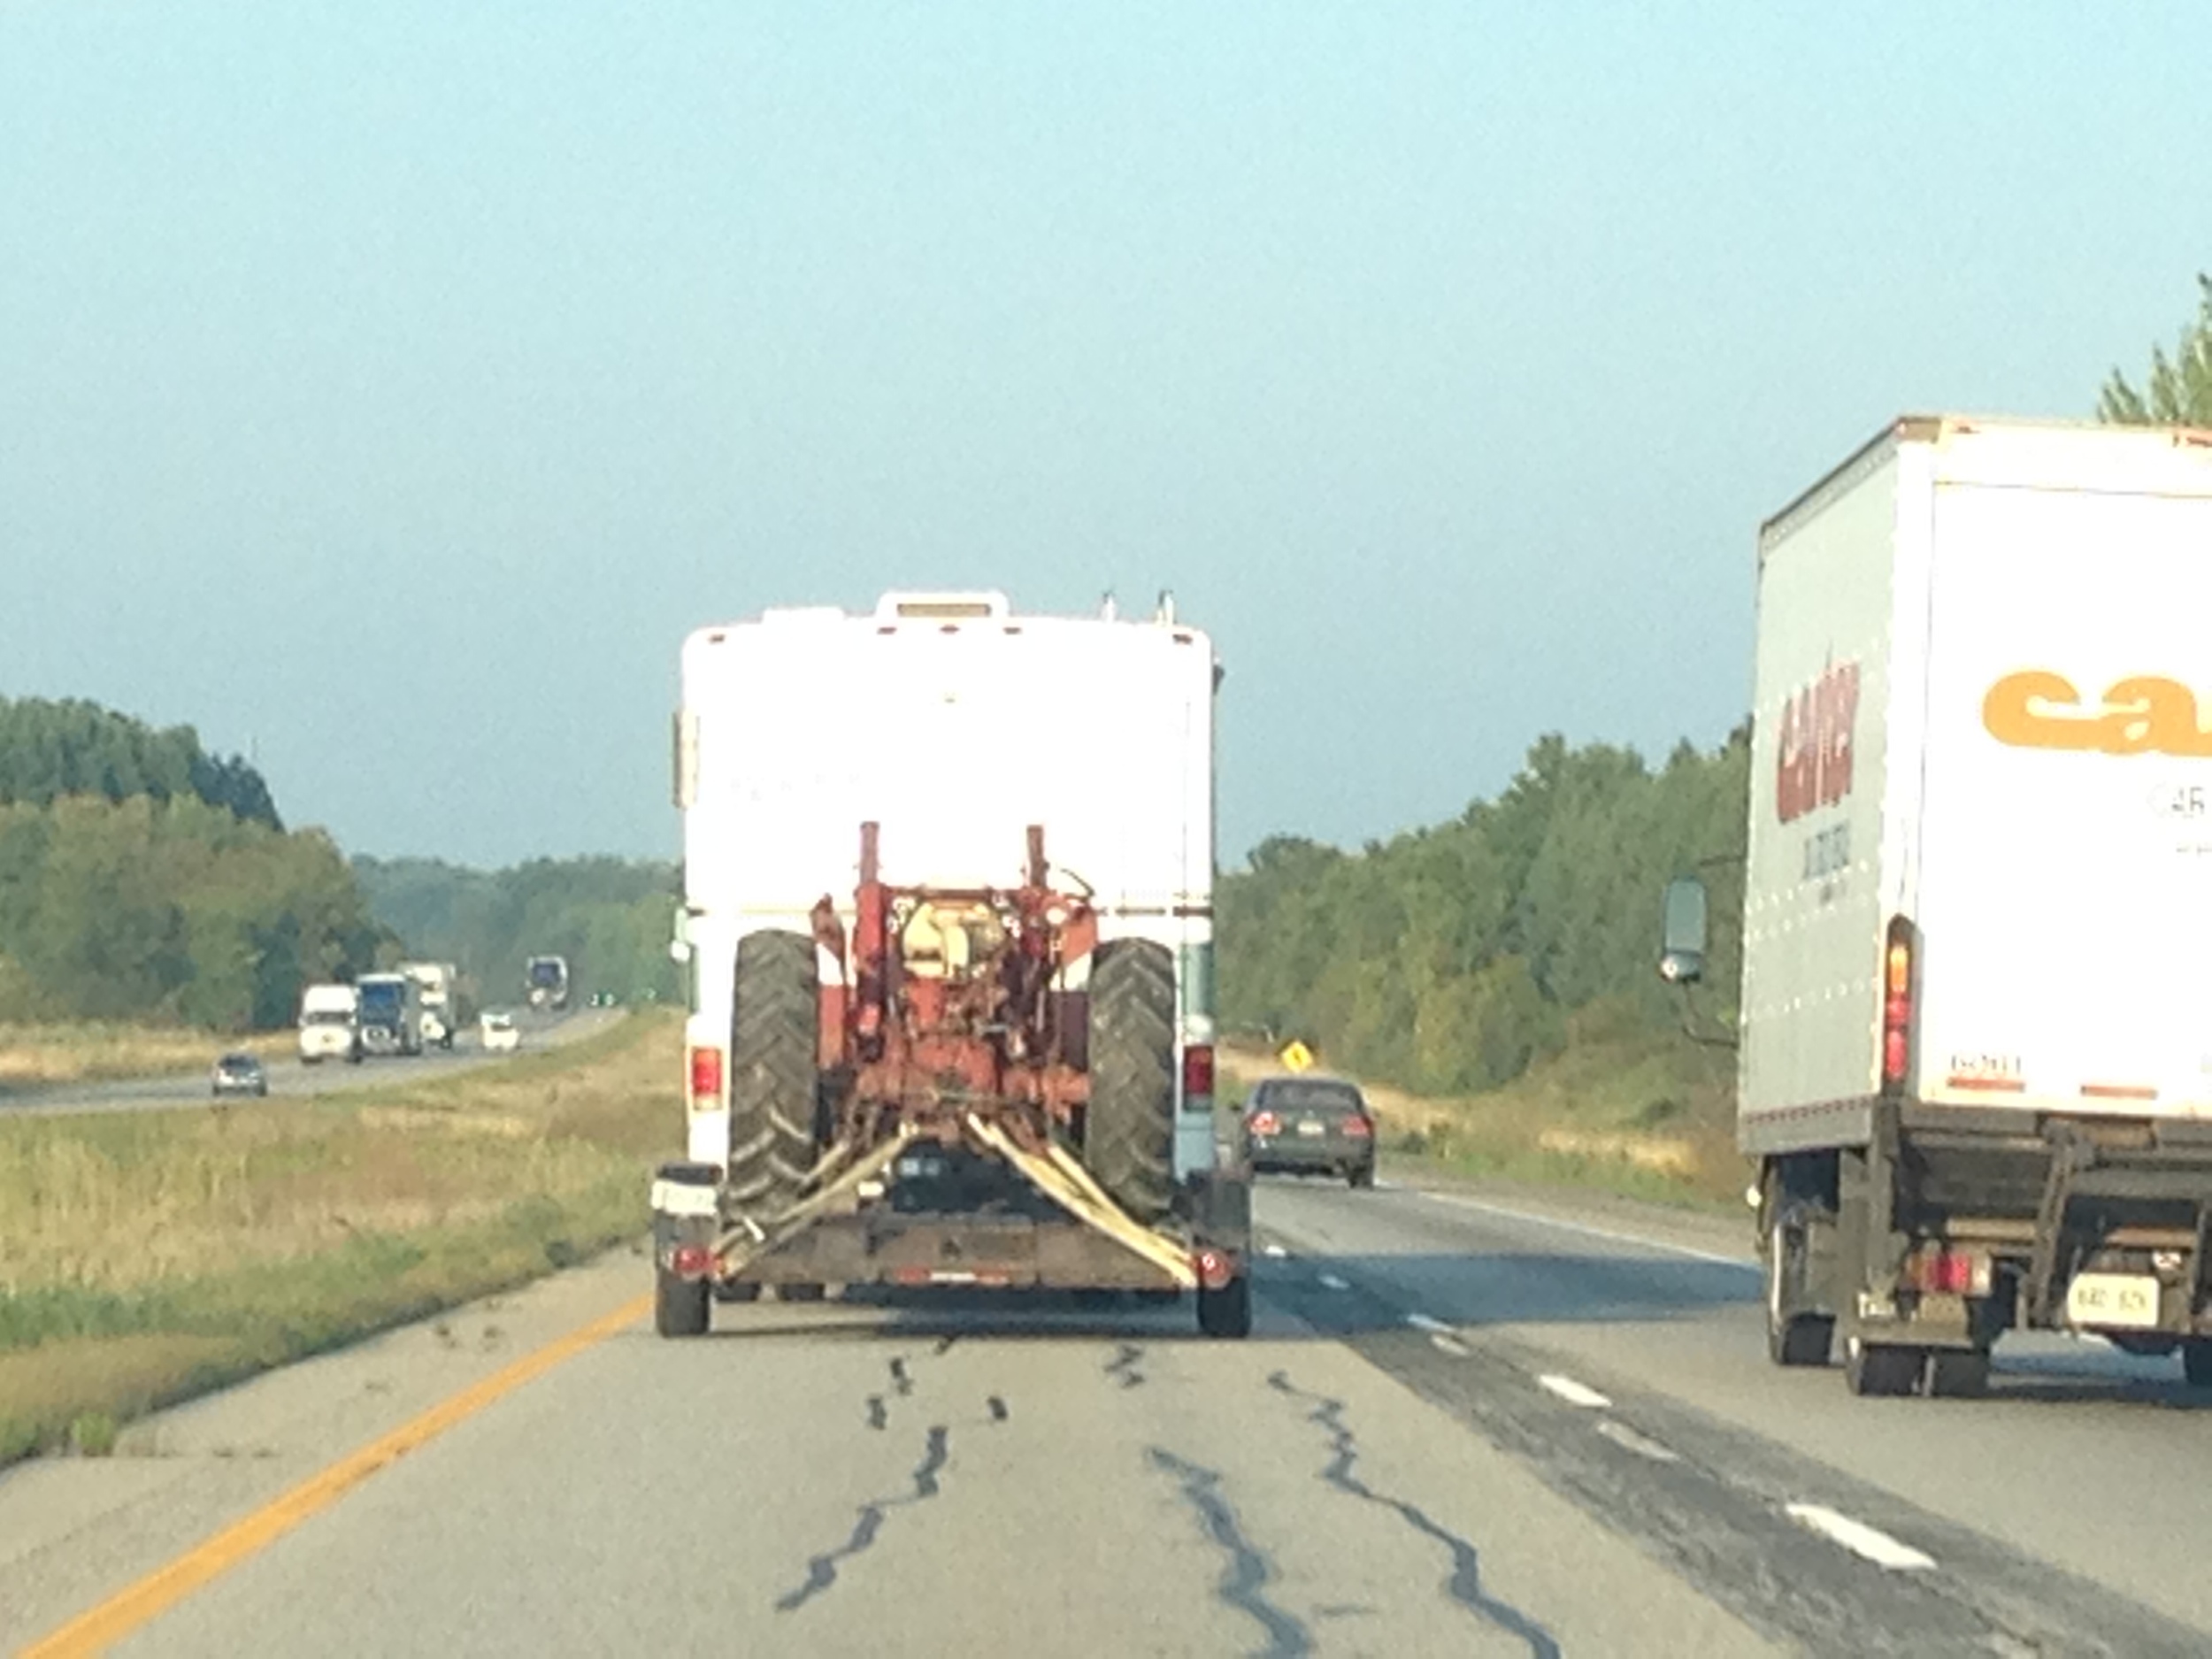
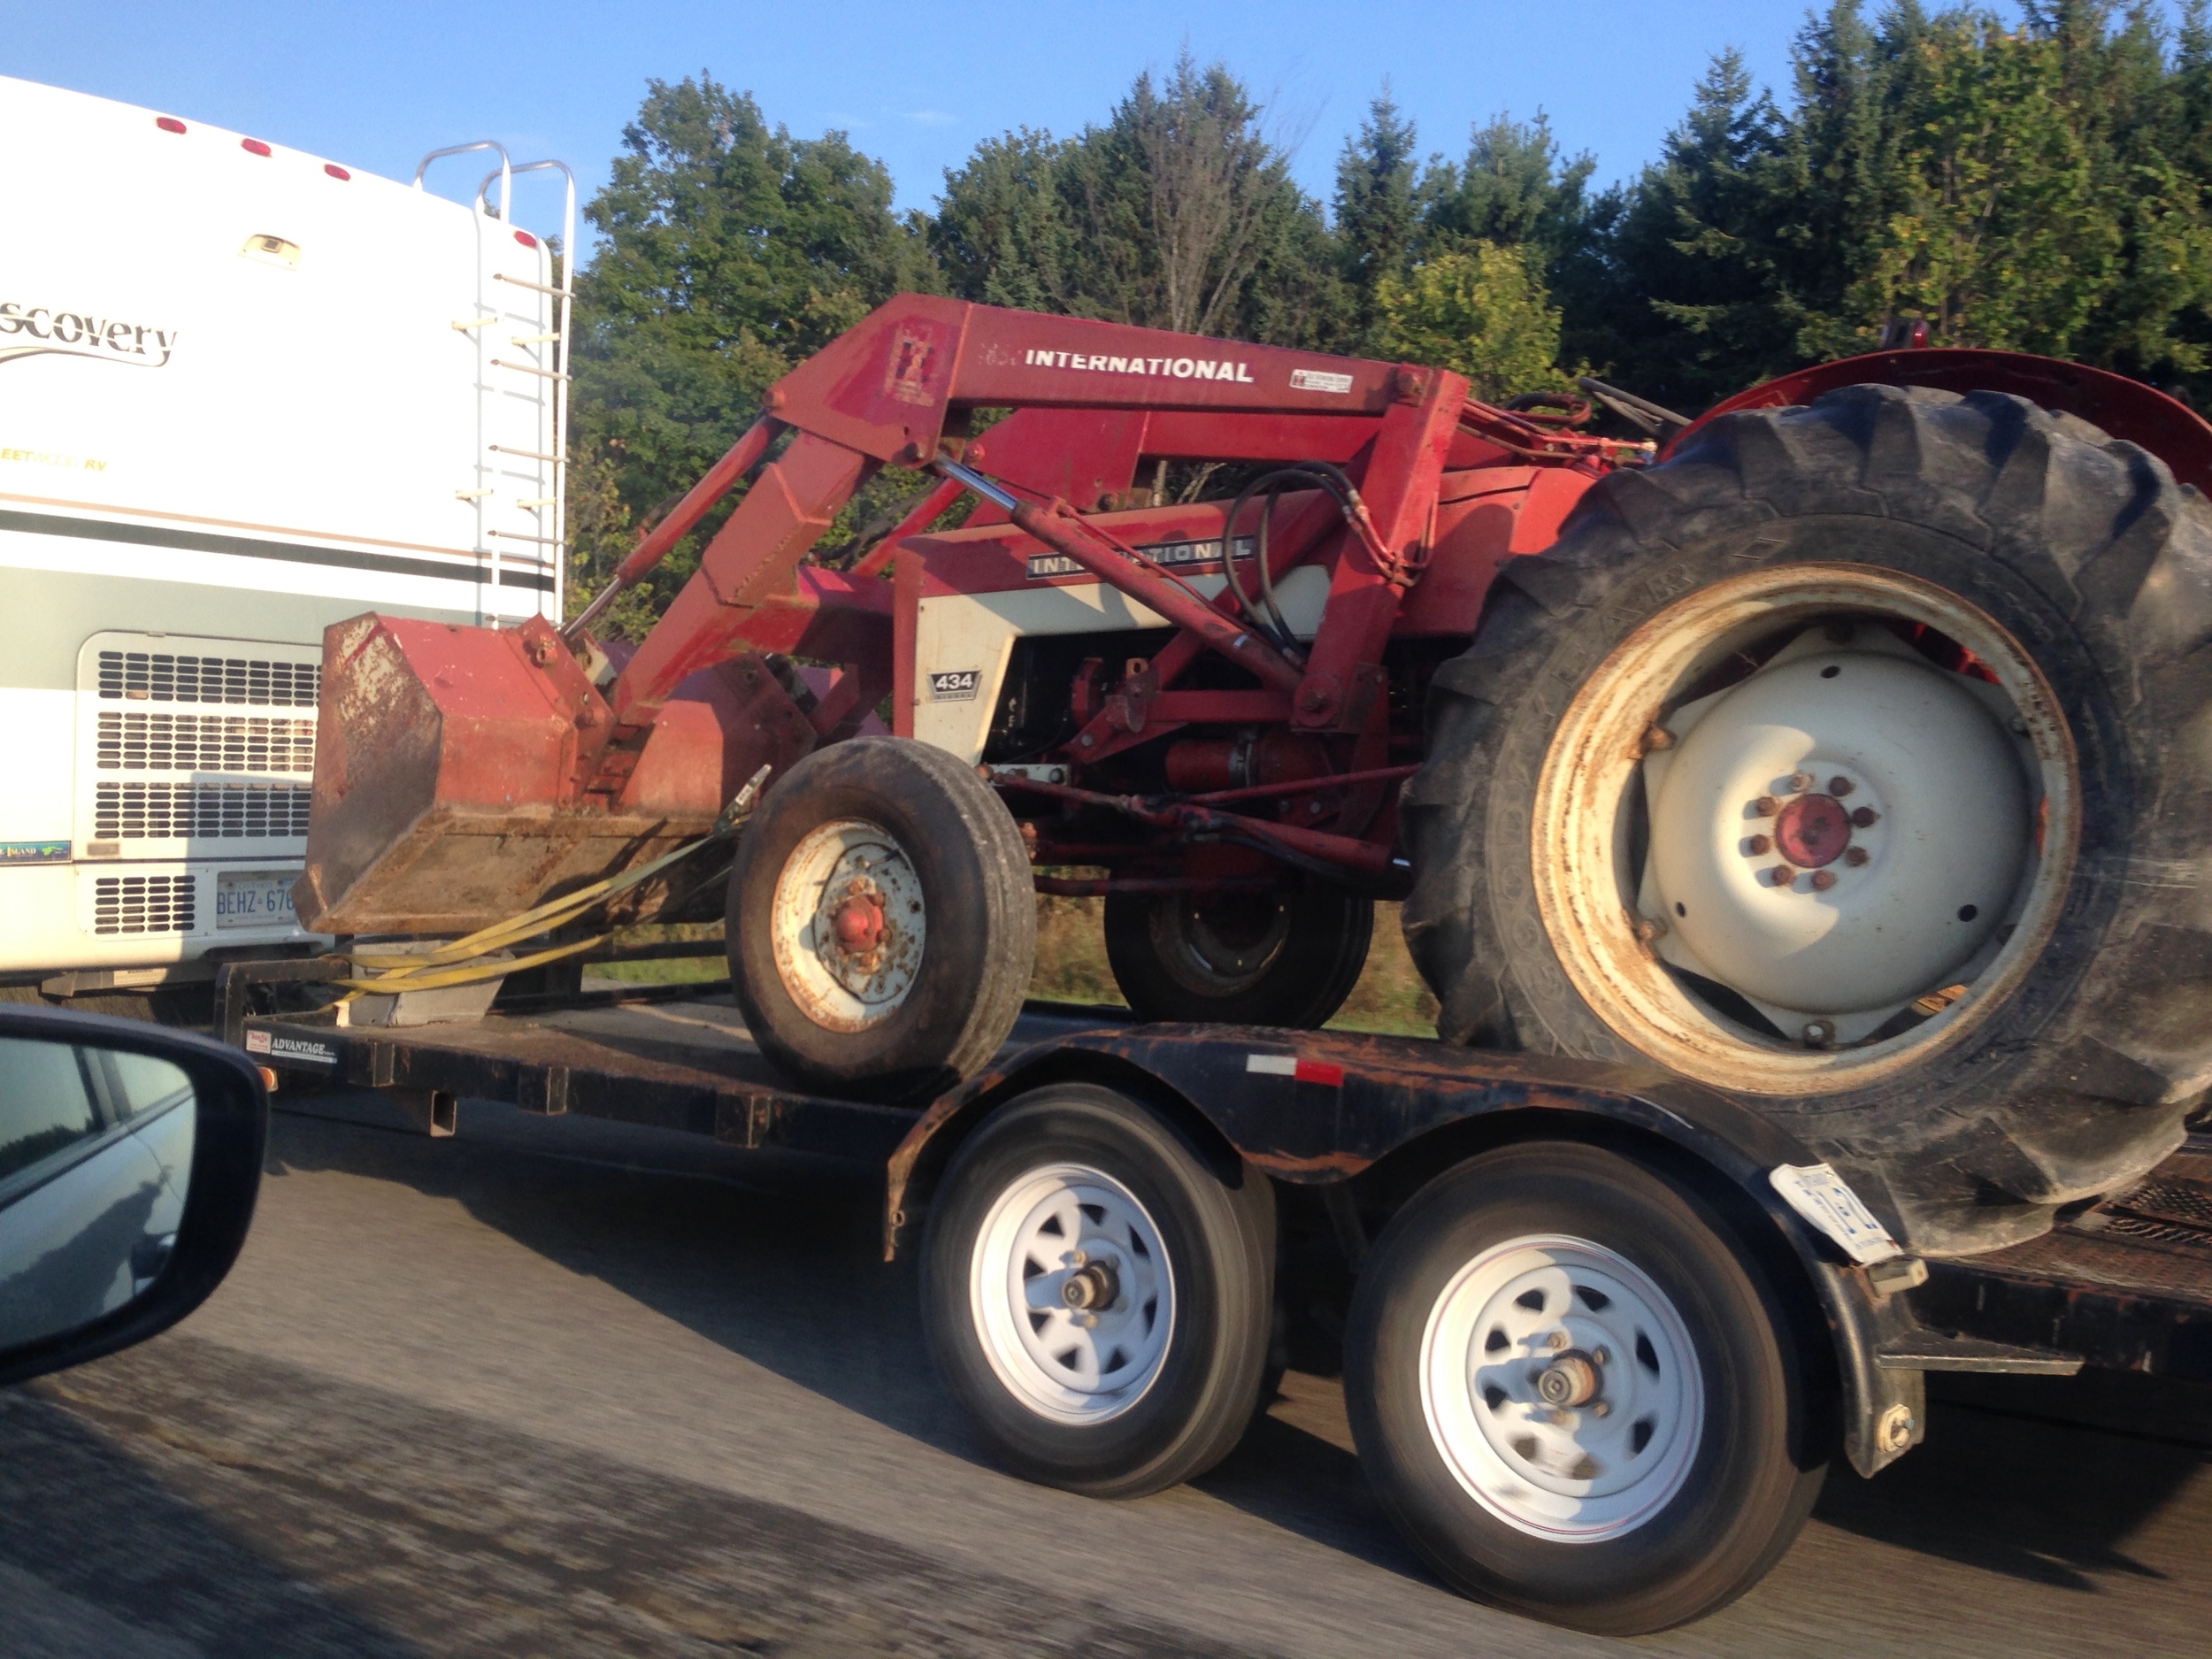
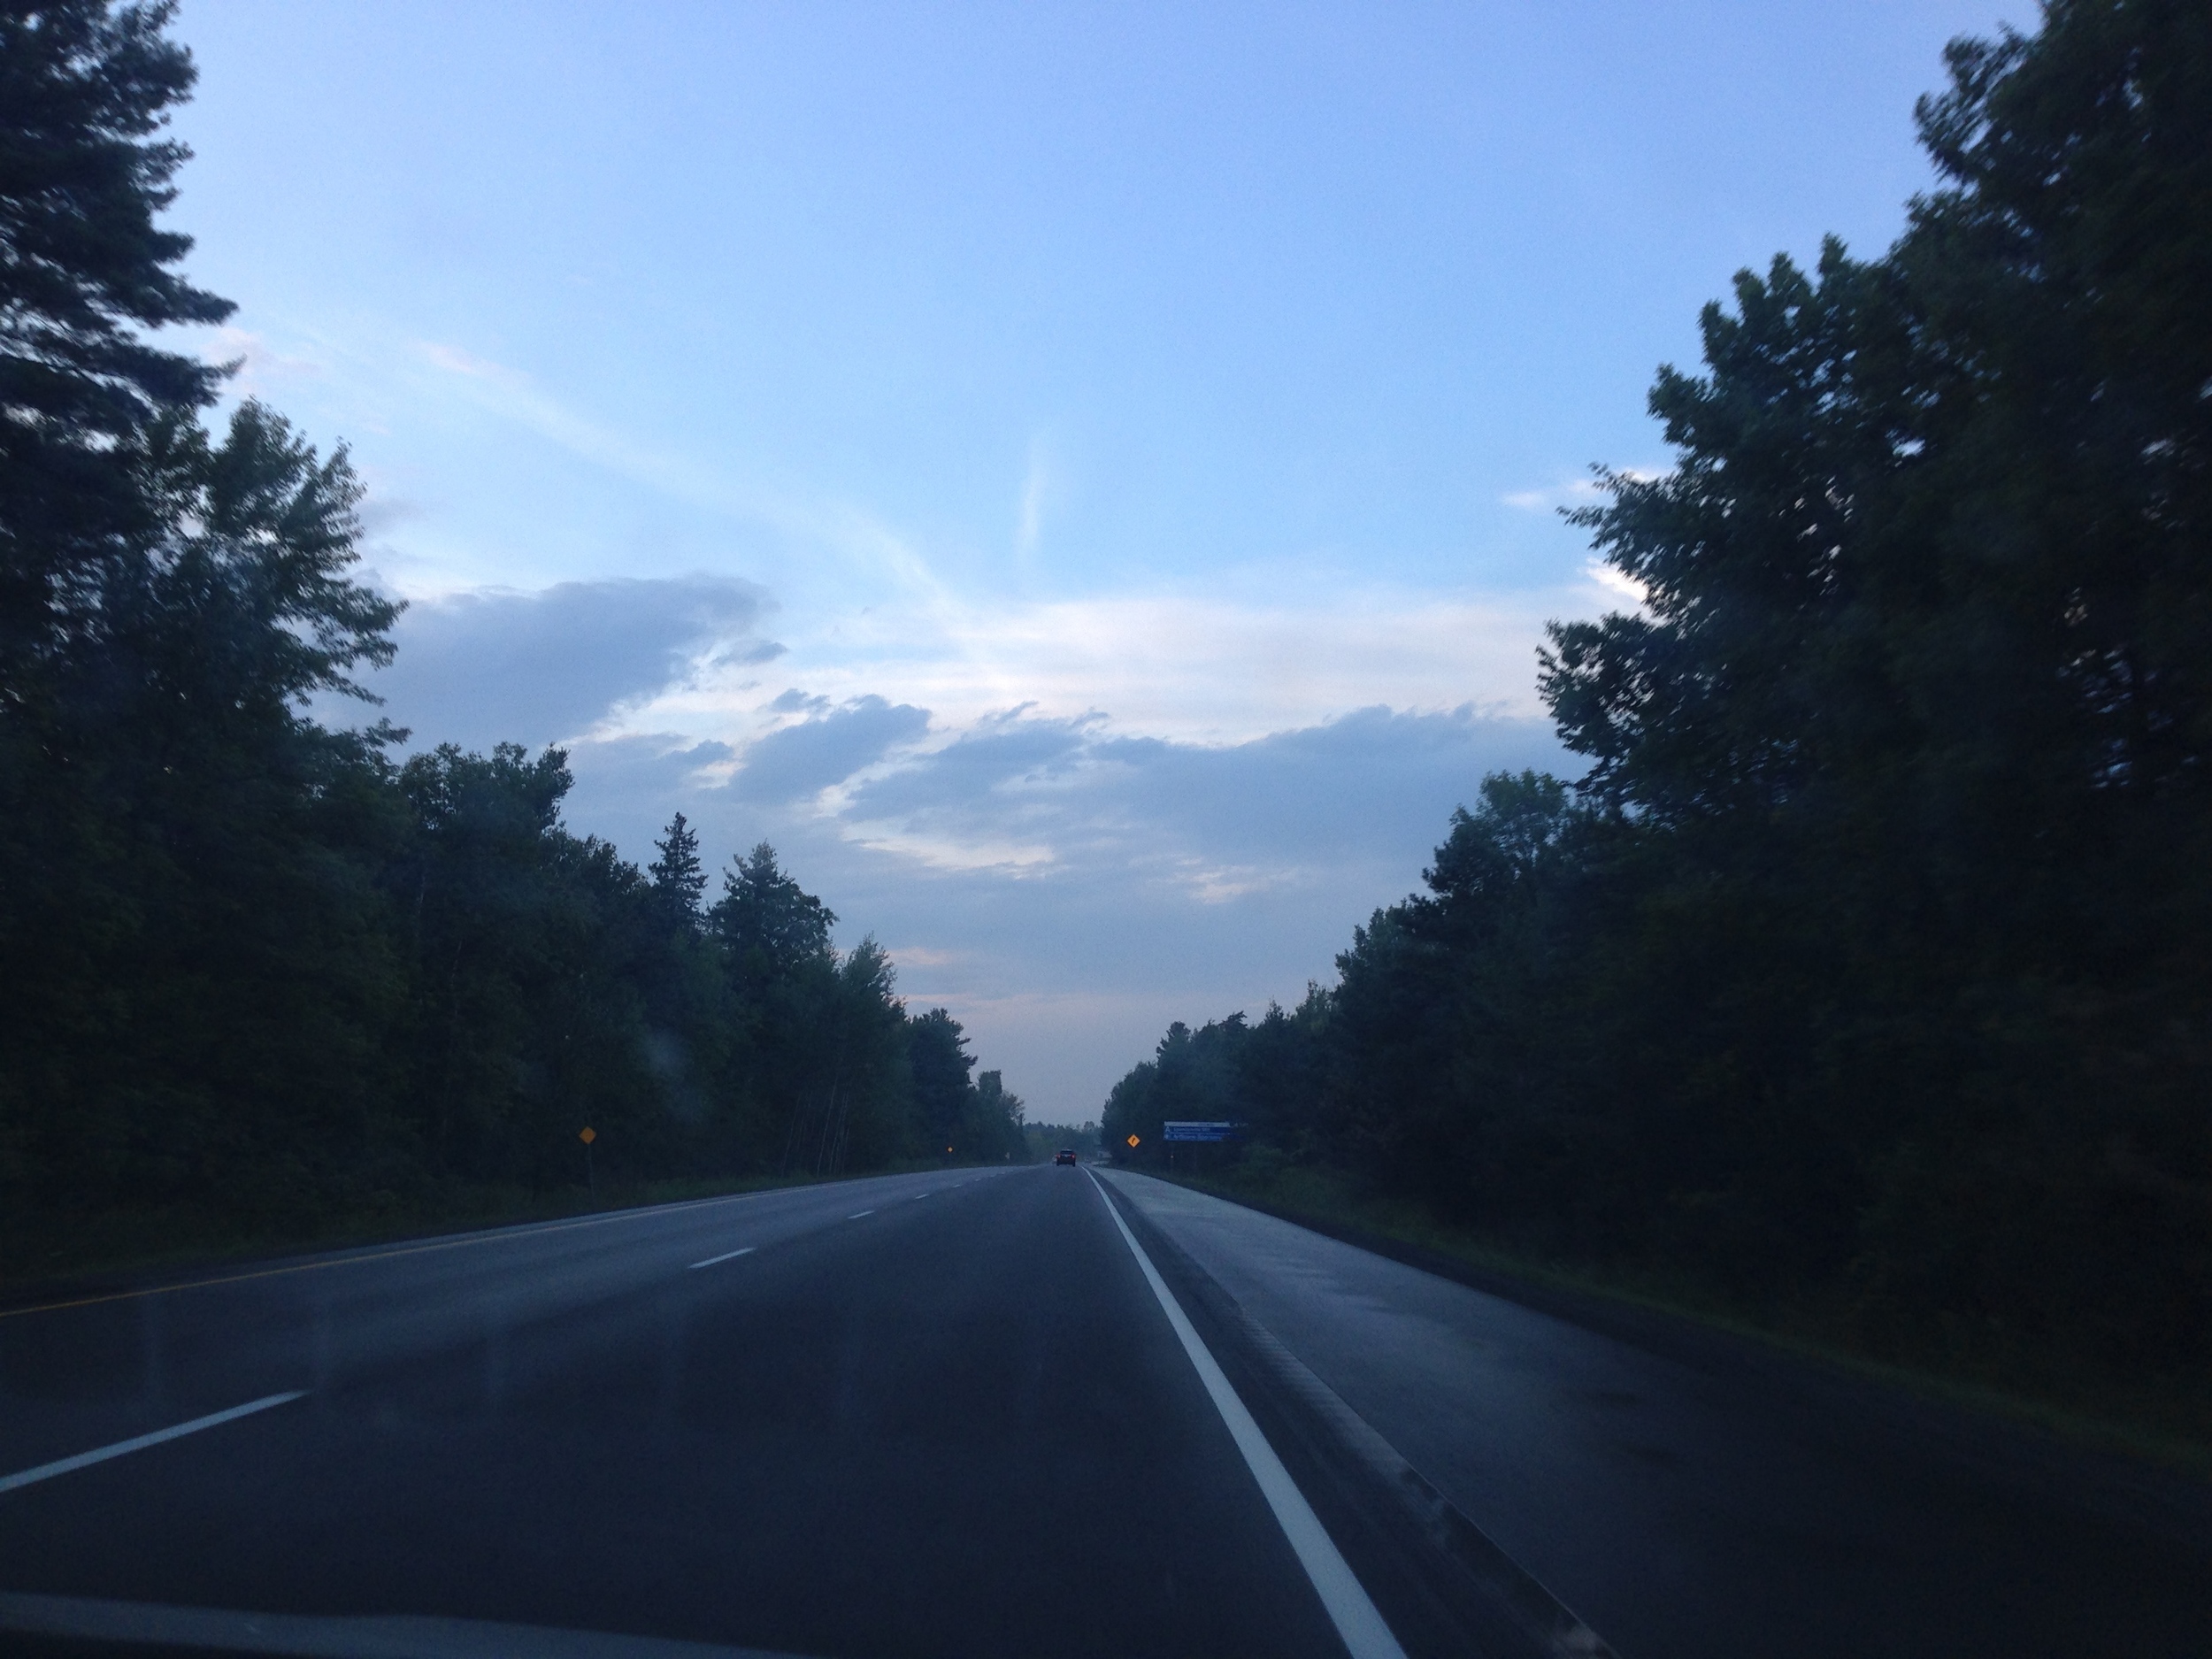
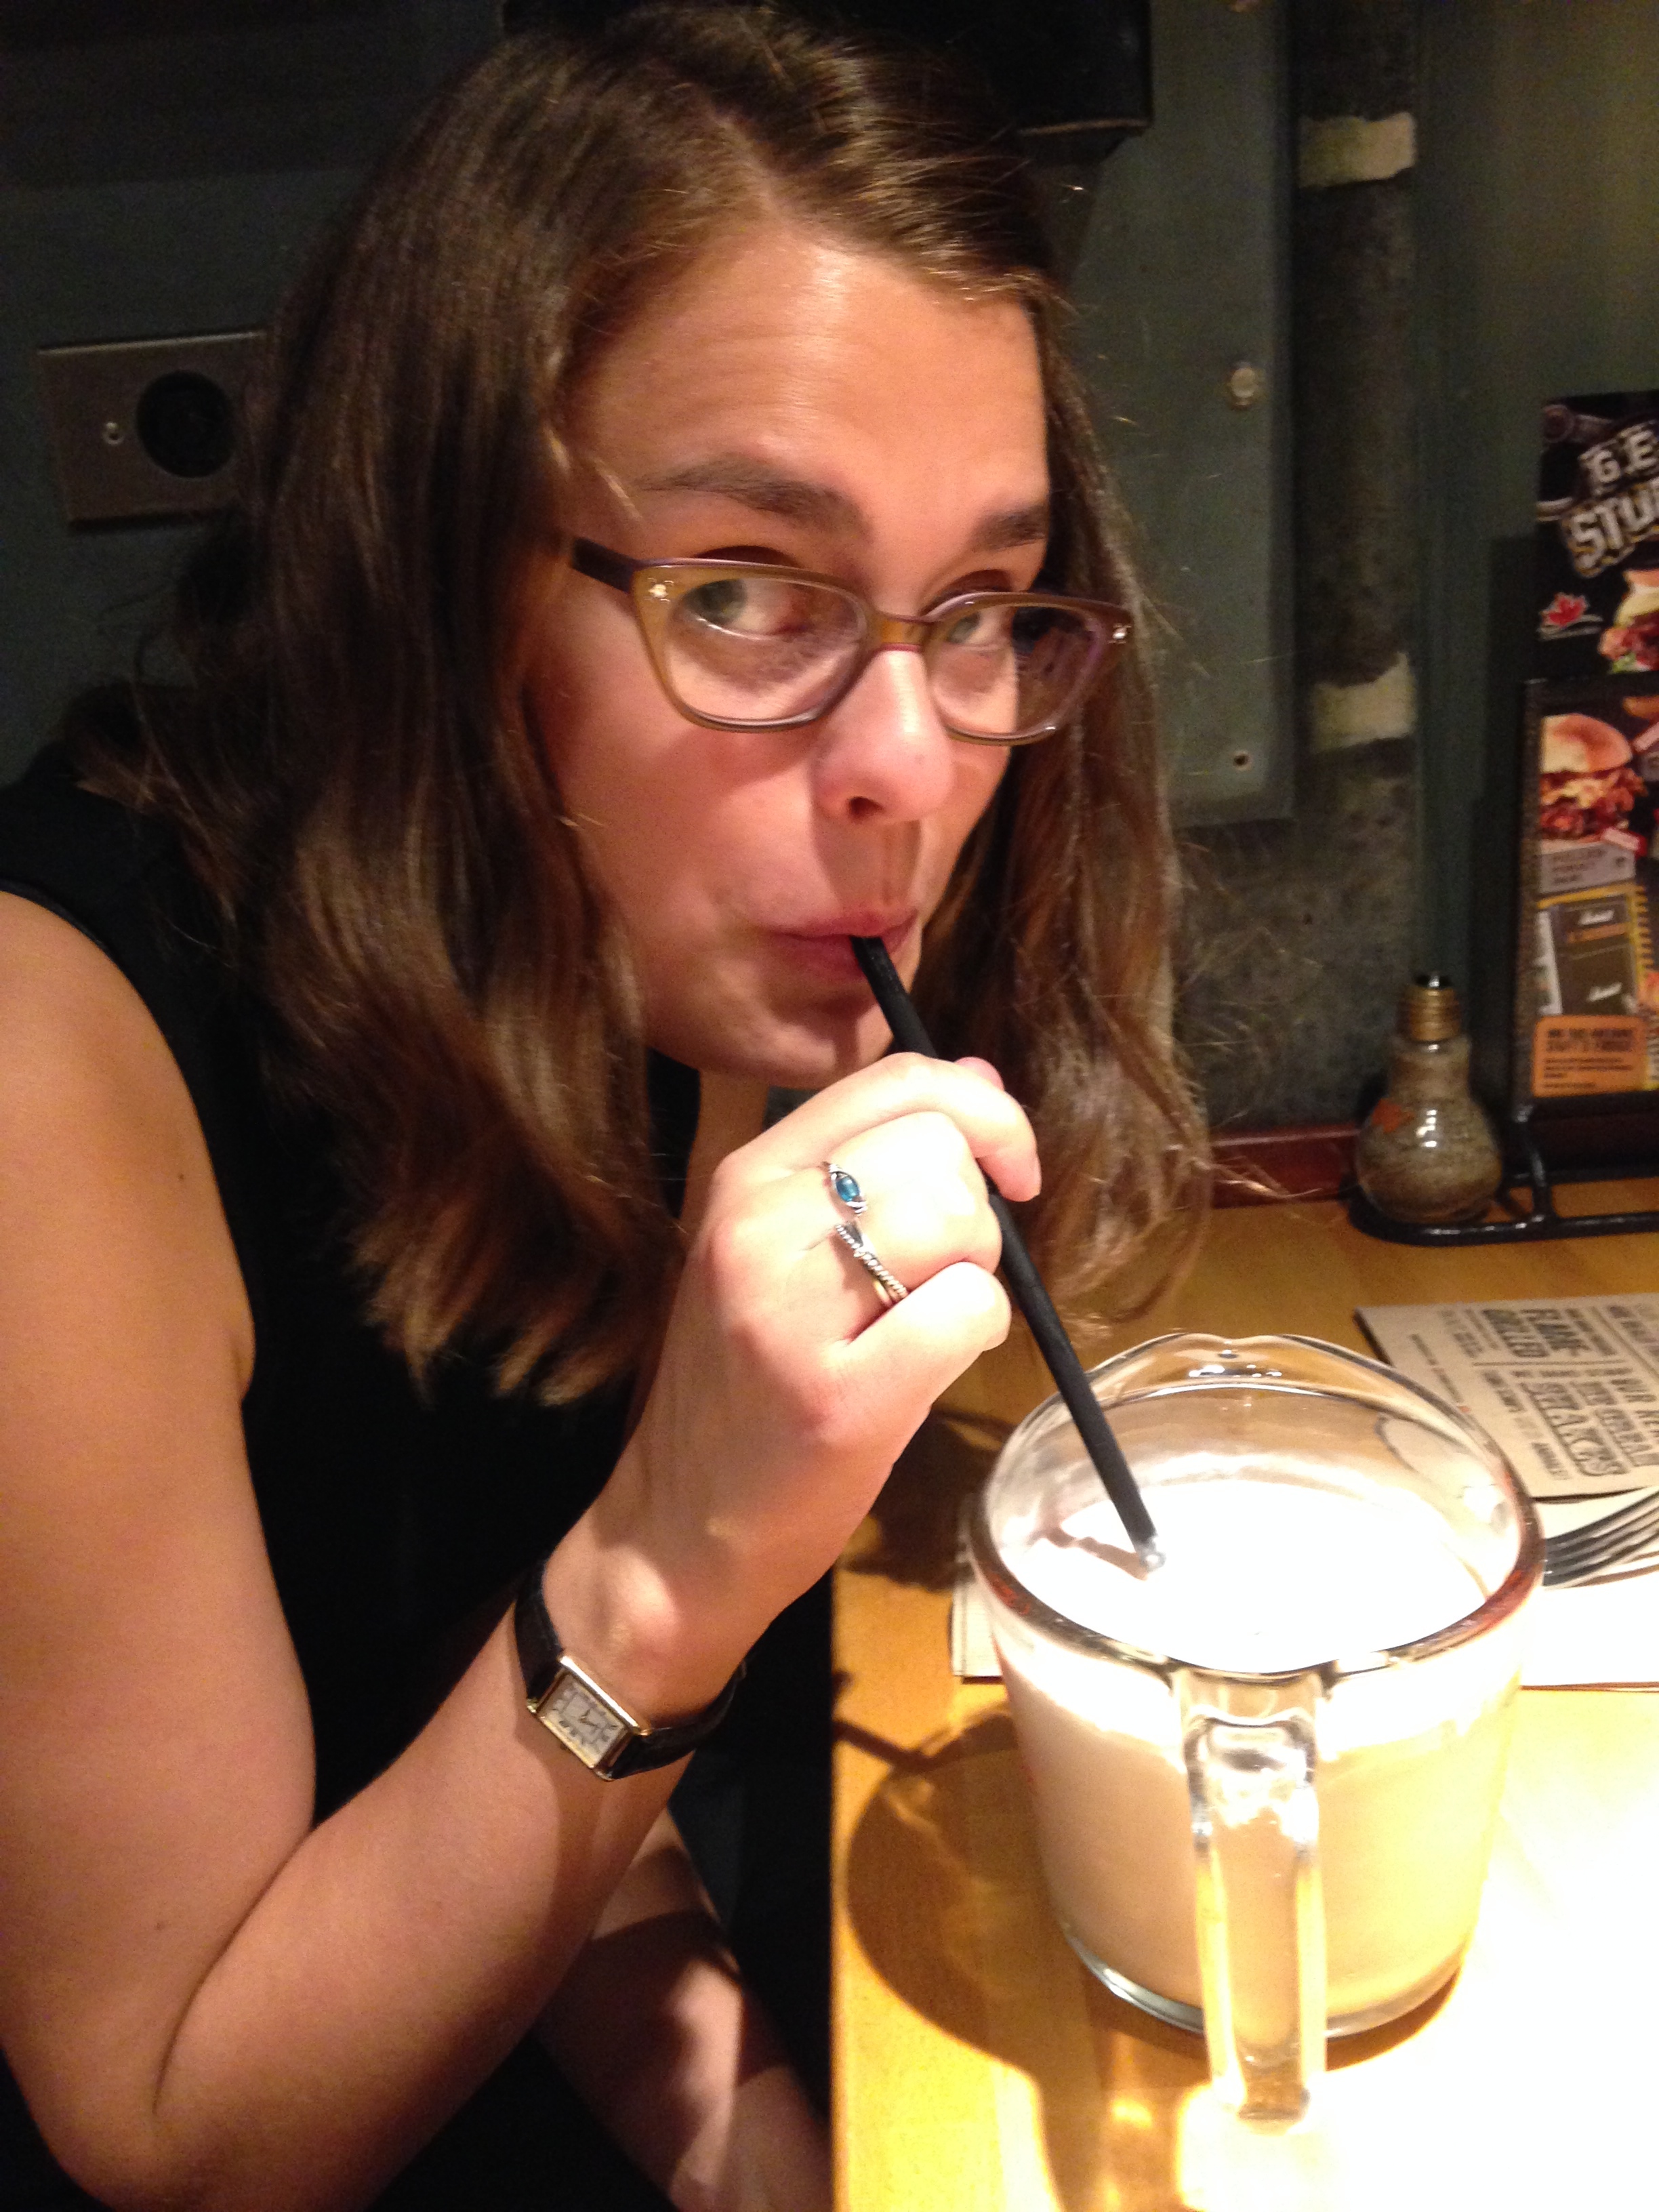
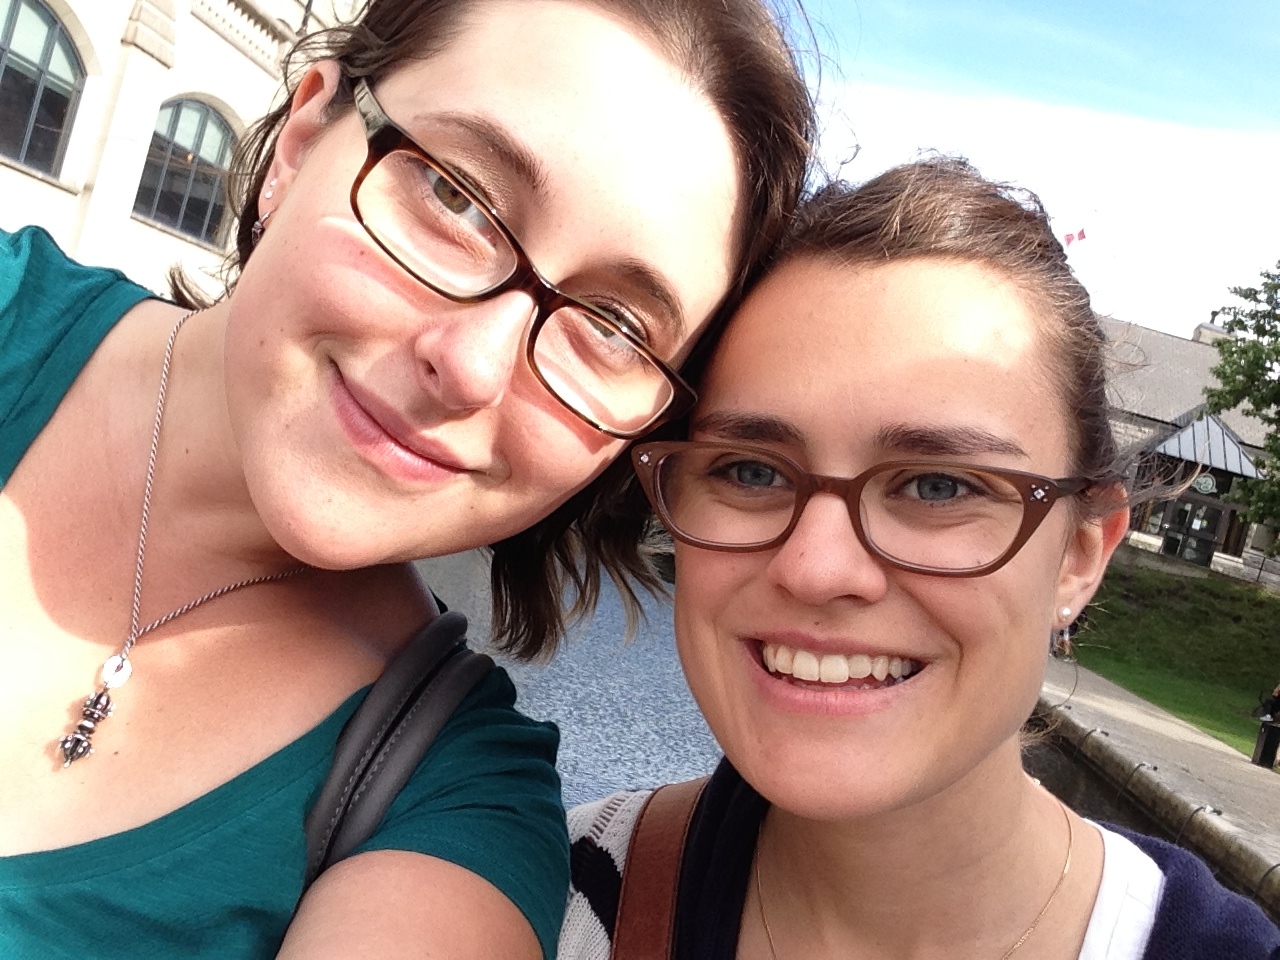
We packed up the car (expertly, however I forgot to take photos...) and hit the road. Now, having been a passenger on the 401 before, I was rightly terrified. Driving it is another matter. Yes, it's true, that no one ever goes the speed limit. In fact, most people didn't just go 10km over, like in Alberta. They were going 30km over. In the slow lane. I am not joking. Bumper to bumper traffic going 130 km/hr in the slow lane. I had big 16 wheelers going at least 160km/hr passing me. See above photos for my incredulous muppet face. There was a congestion issue in Ajax, forcing people to slow down (yay!) and after that the traffic lightened up (or at least spread out).
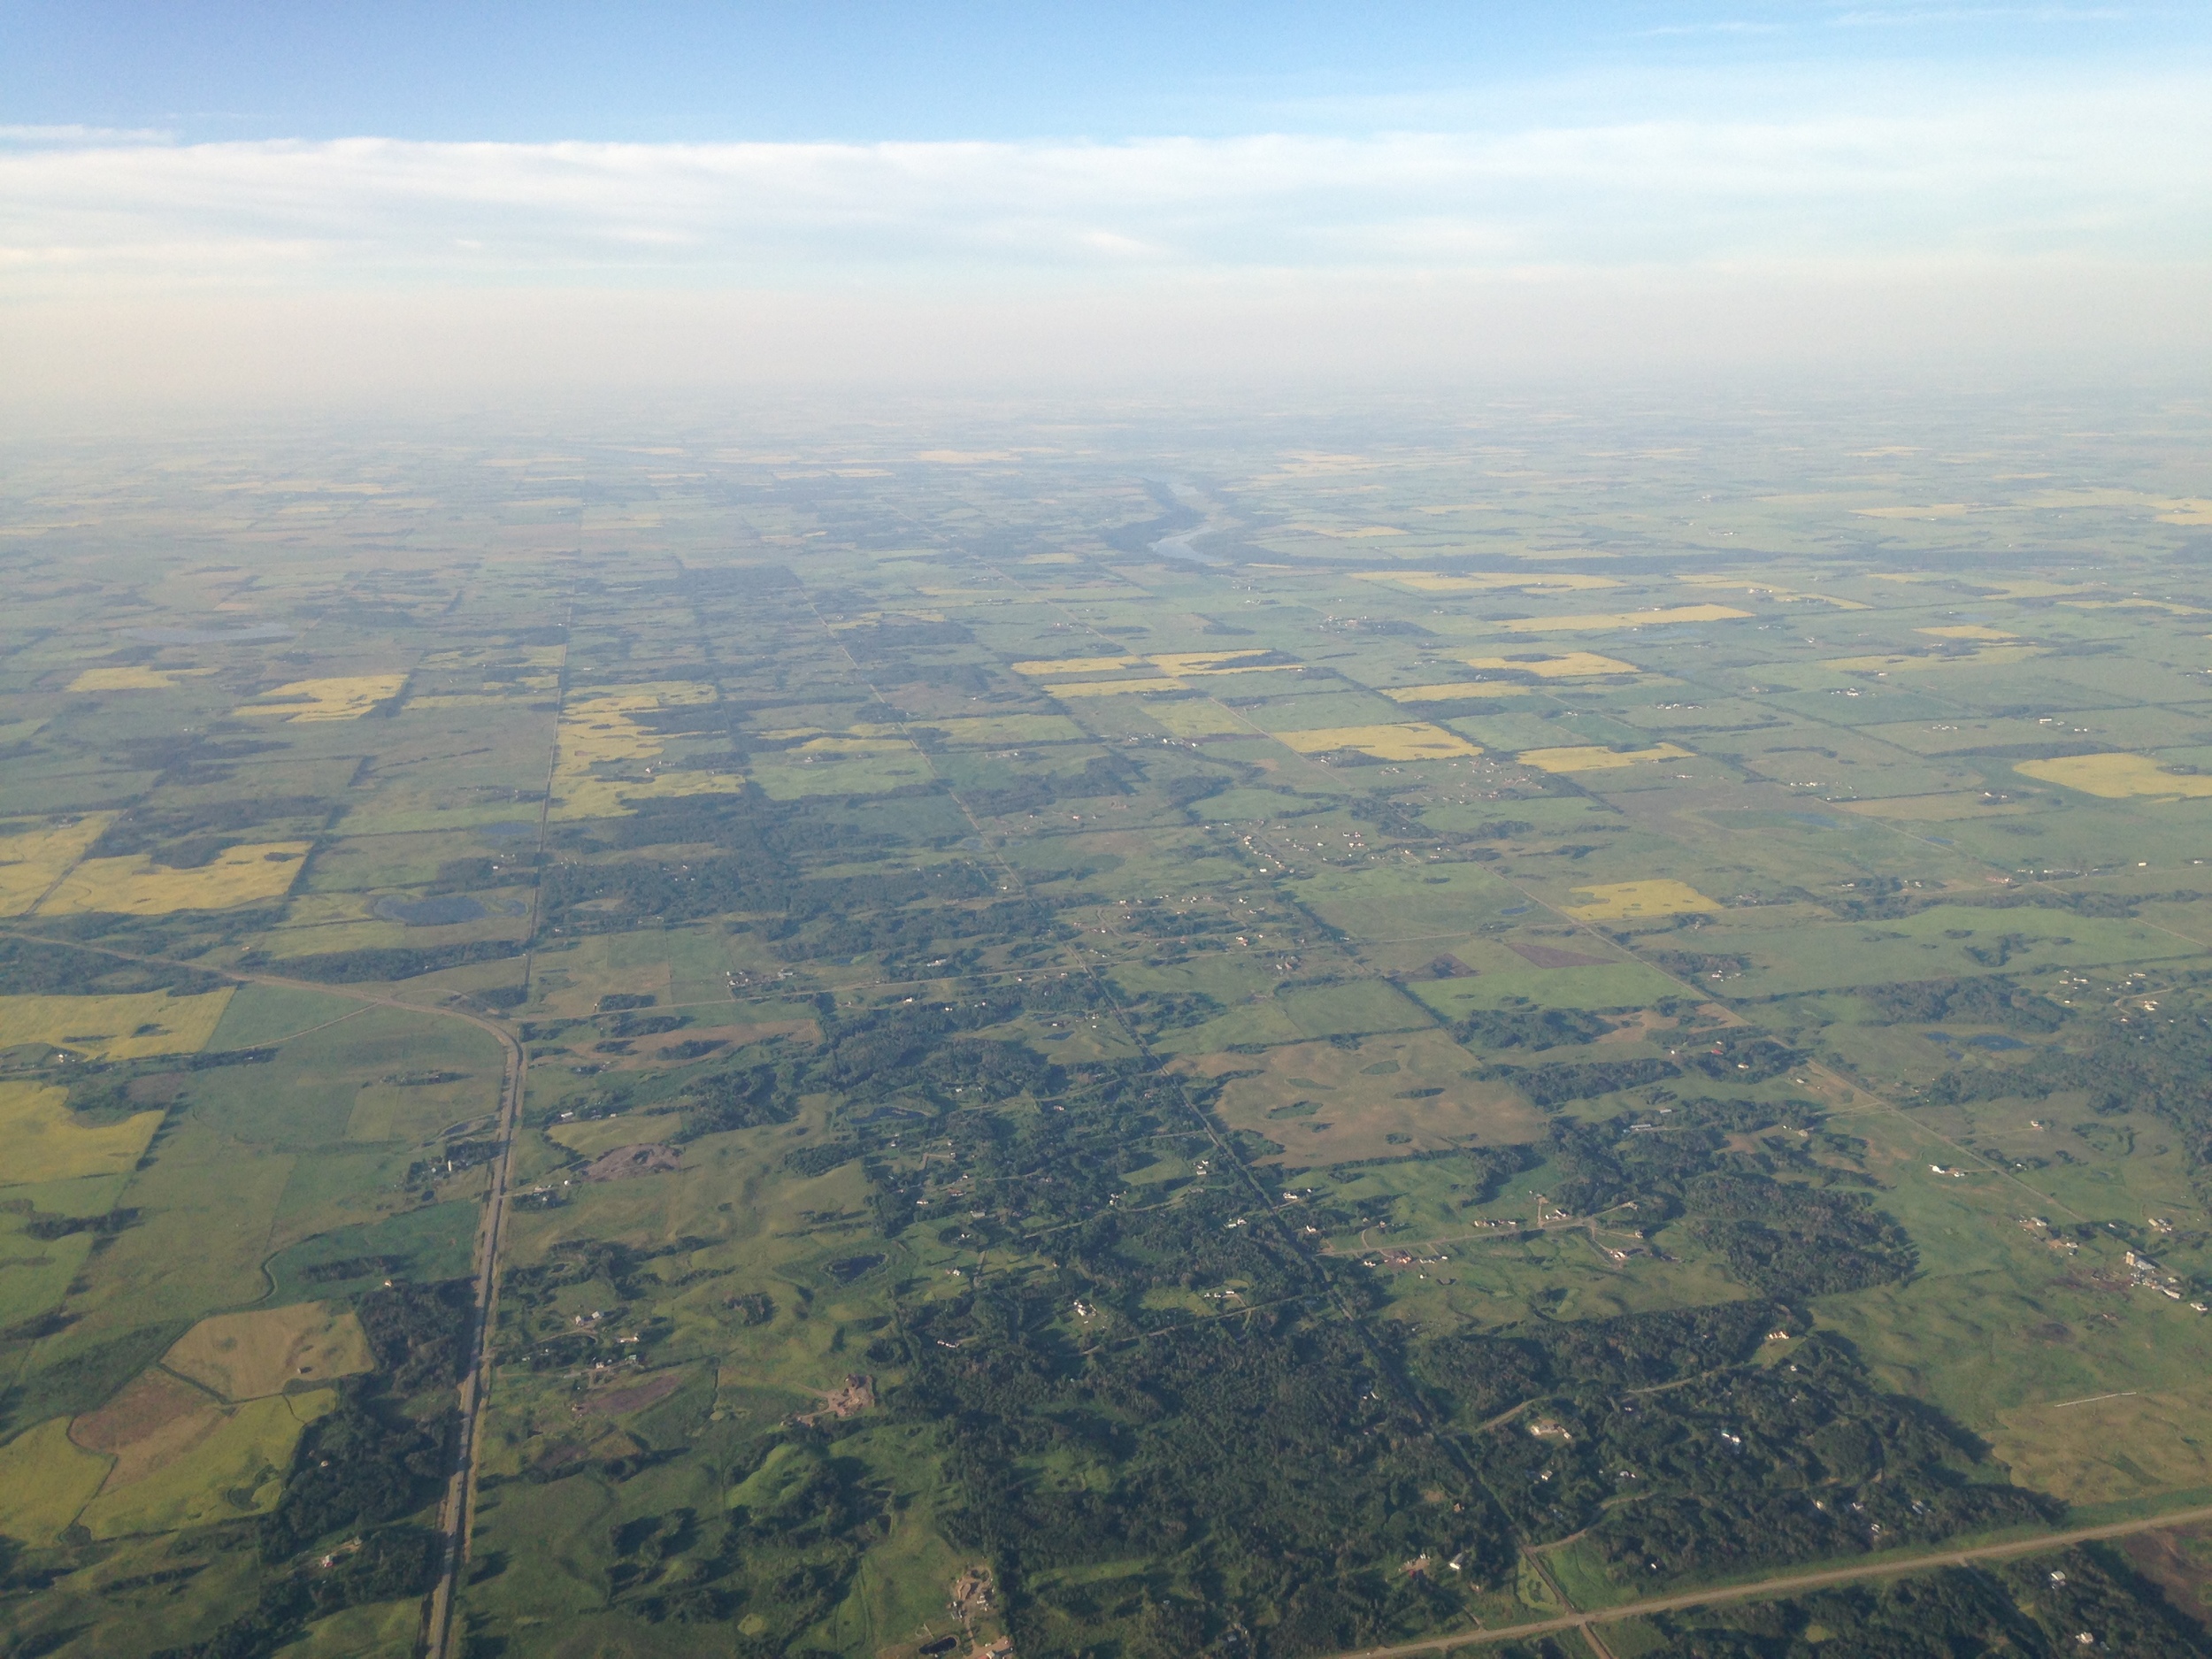
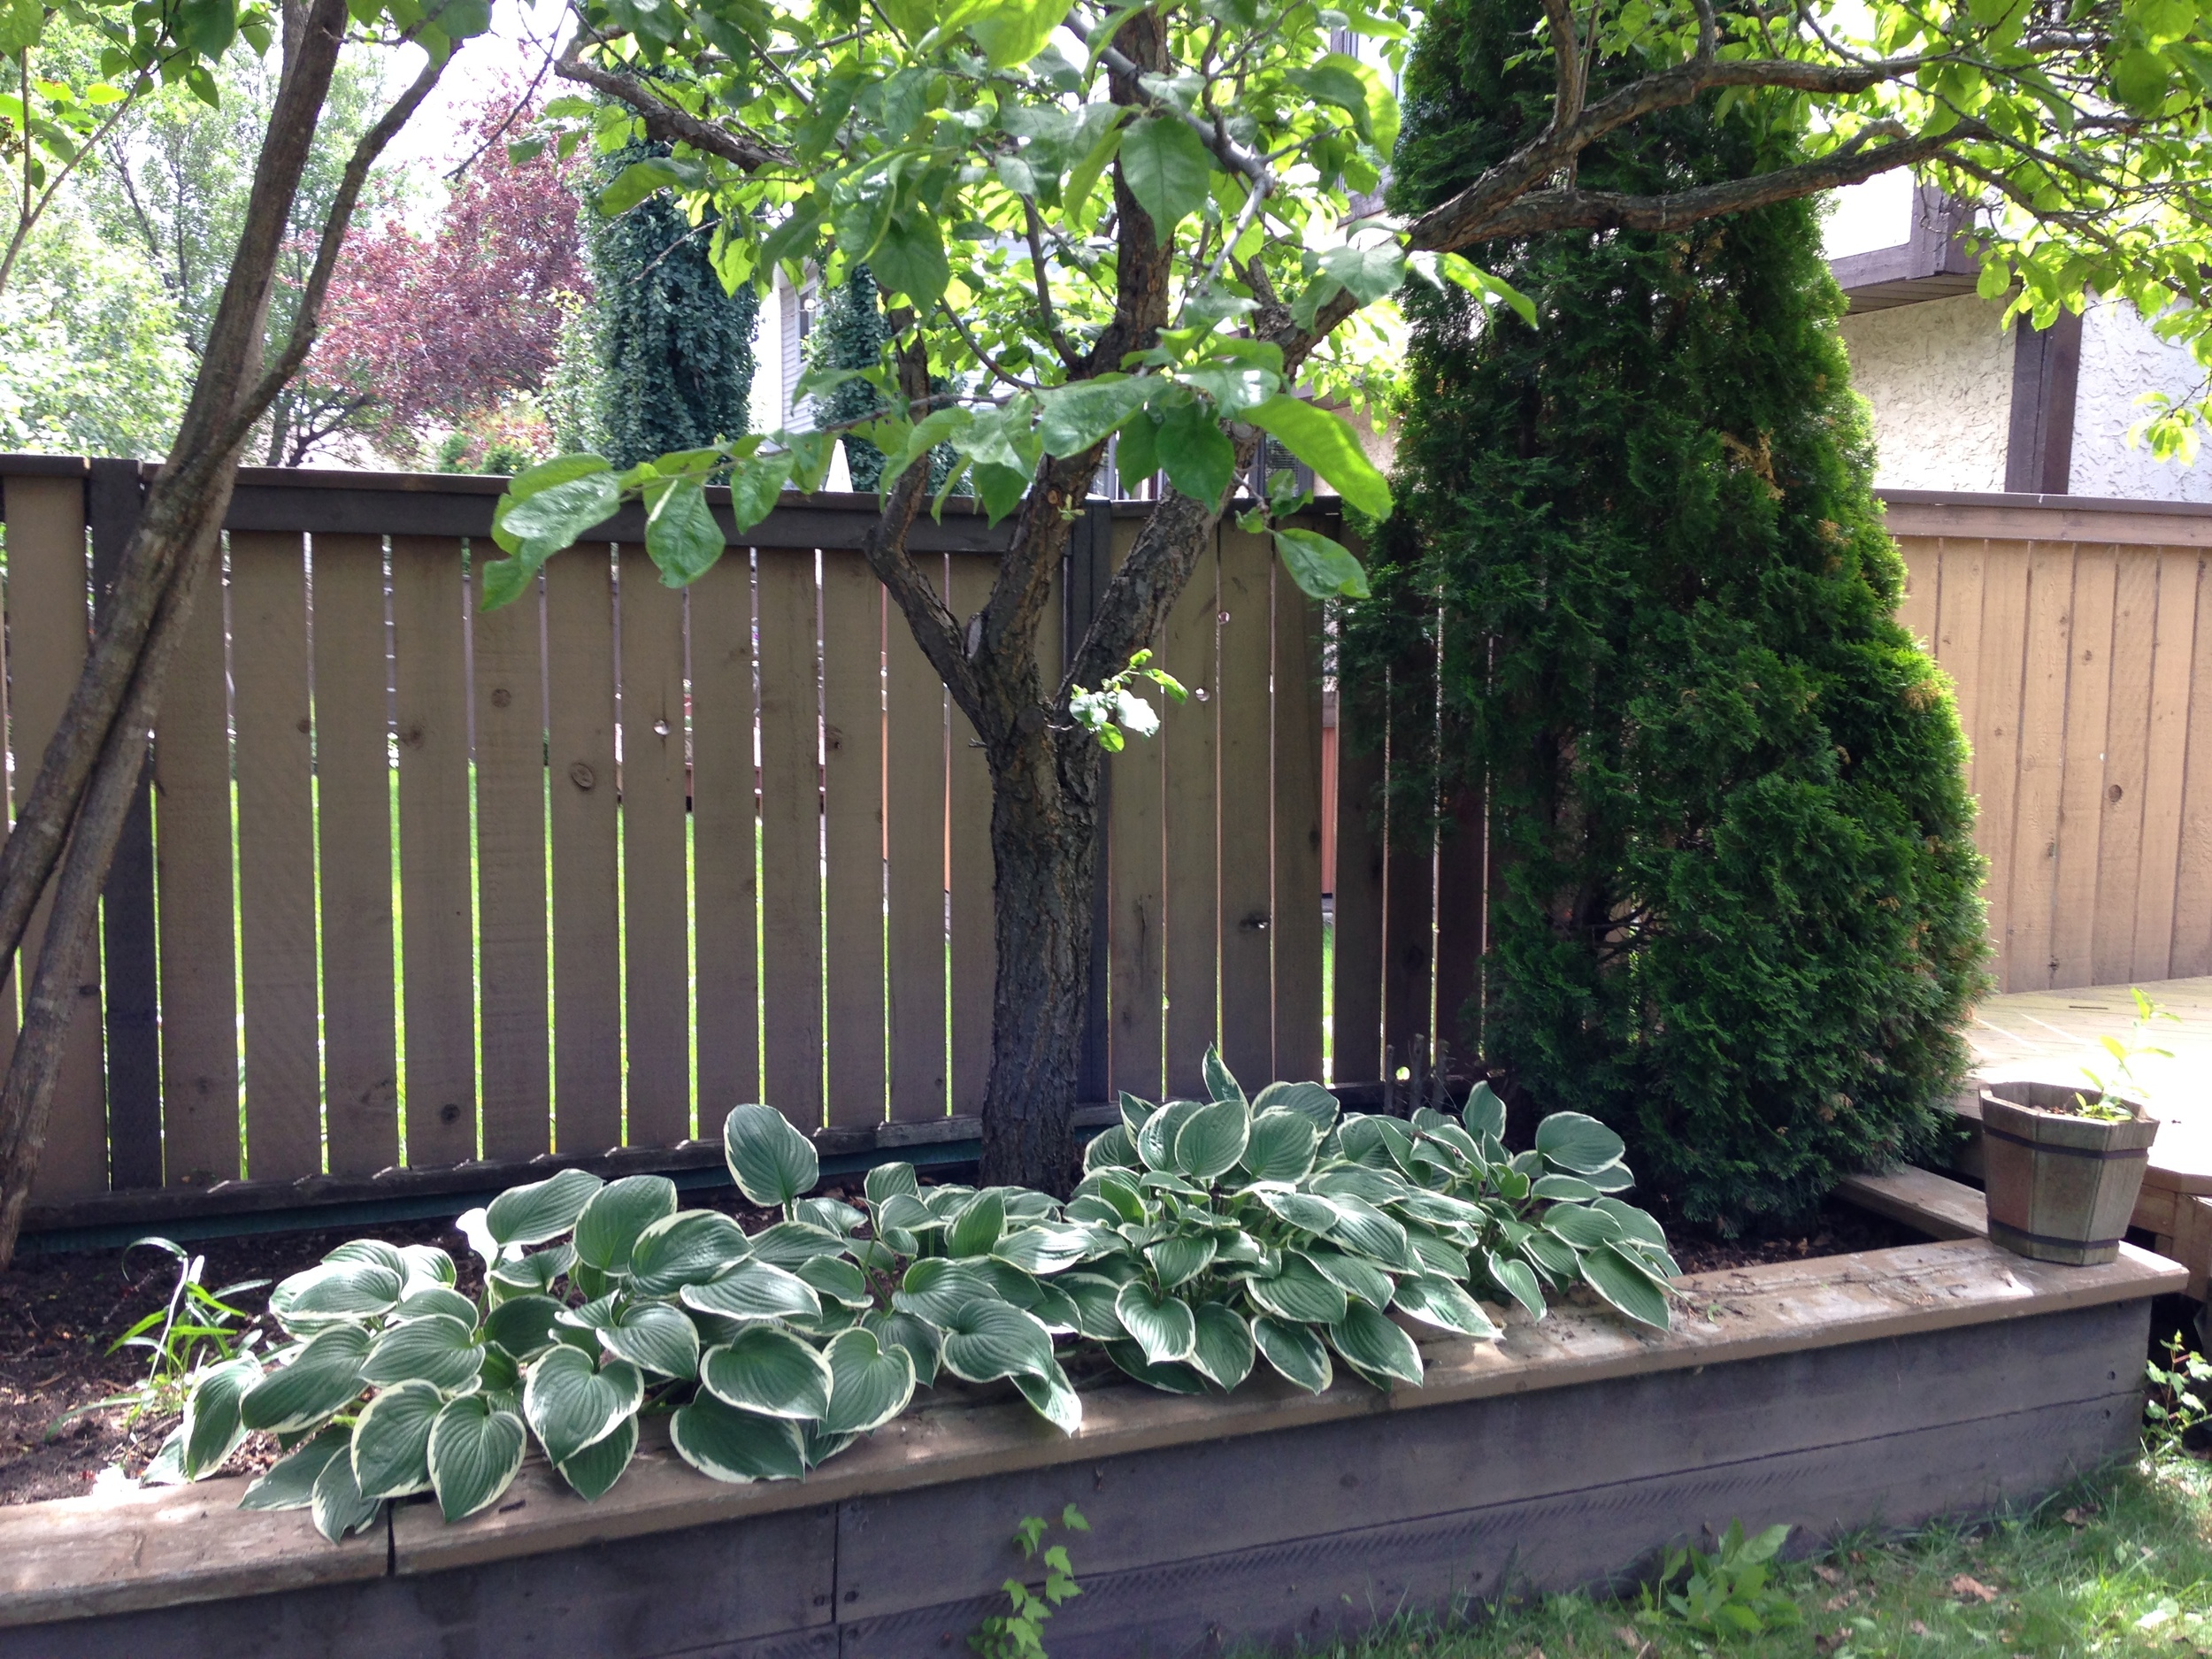
I think I was talking to Matt's mom about Ontario when the statement "There are a lot of trees" came up. Regardless of the origin of the conversation, it's stuck in my mind, even more so now, because it is correct. There are a lot of trees here. I'm used to the highways in Alberta, lined with fence posts delineating cattle pastures and canola fields. All the gravel range roads that shoot off the main highway towards the visible roofs of old barns or new houses. Here, there are a lot of trees.
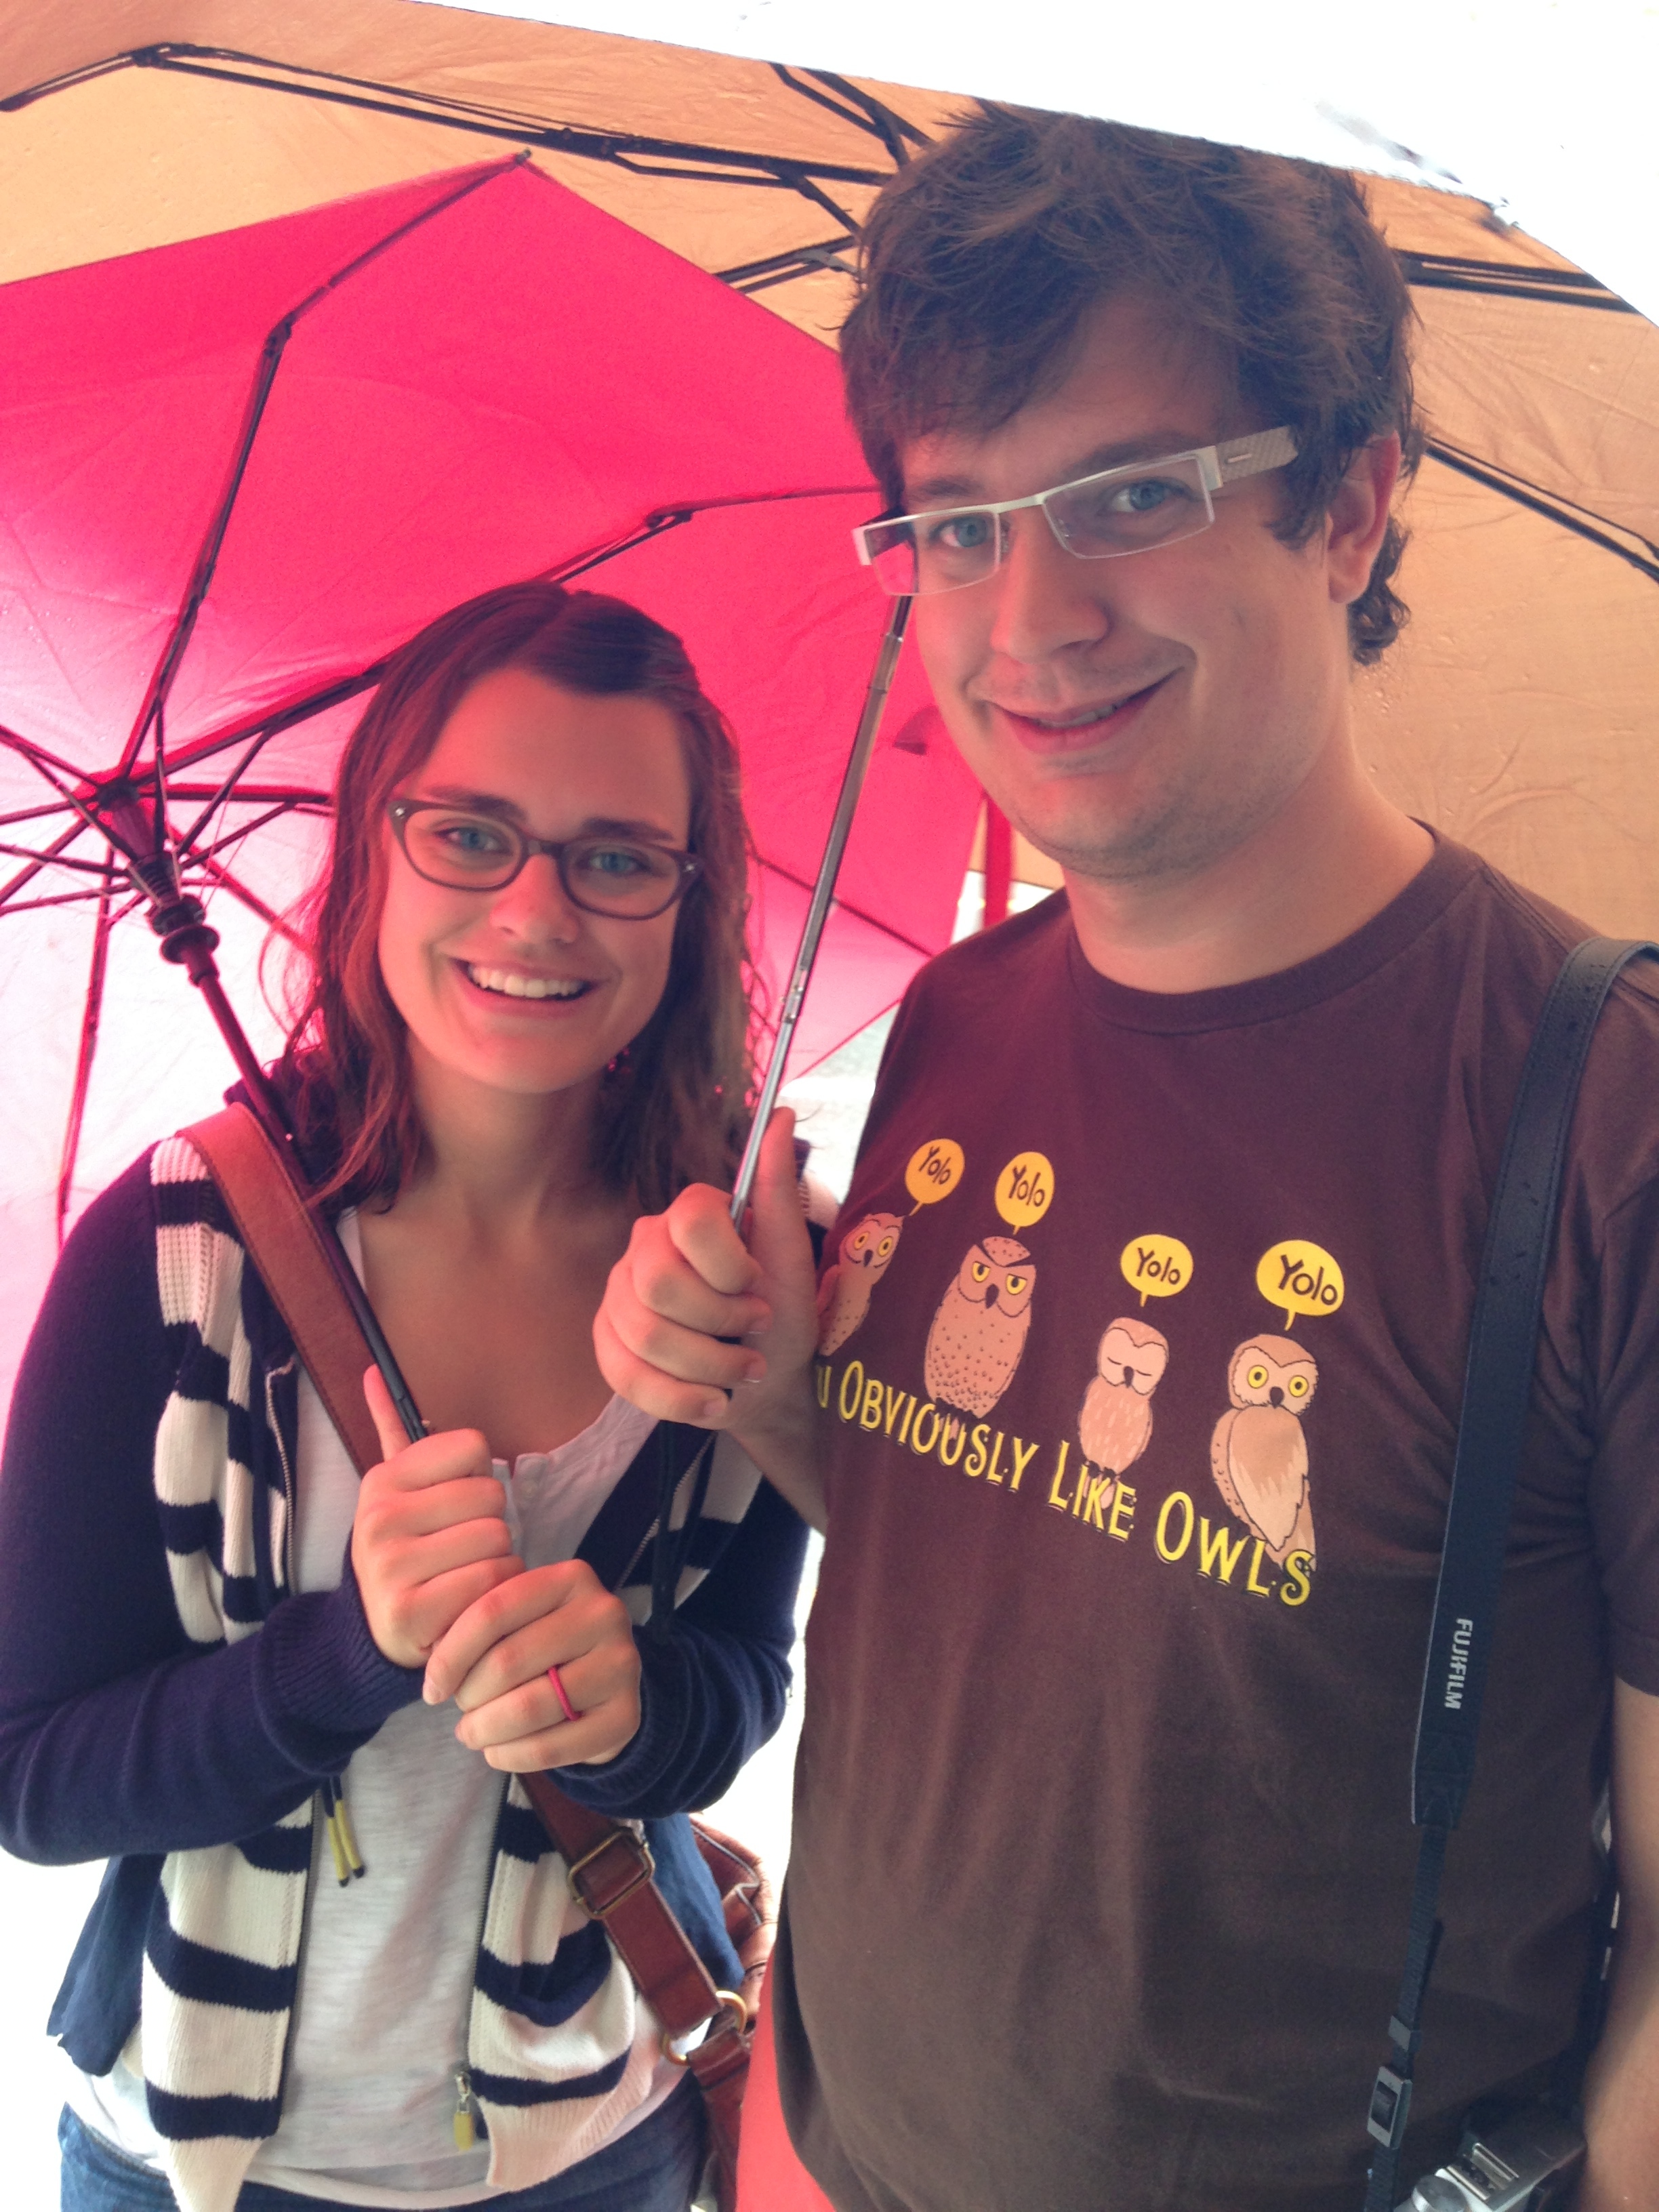
We took the 401 across to Kingston and the 416/417 up to Ottawa. After the 401, I felt I could probably drive anywhere. Well maybe not. But it was a definitely confidence boost. Matt's sister rents a house in the Glebes so we parked at her place and went to find some Canadian dinner, poutine style. It rained pretty epically that night so we decided to unpack the car the next day, Saturday.

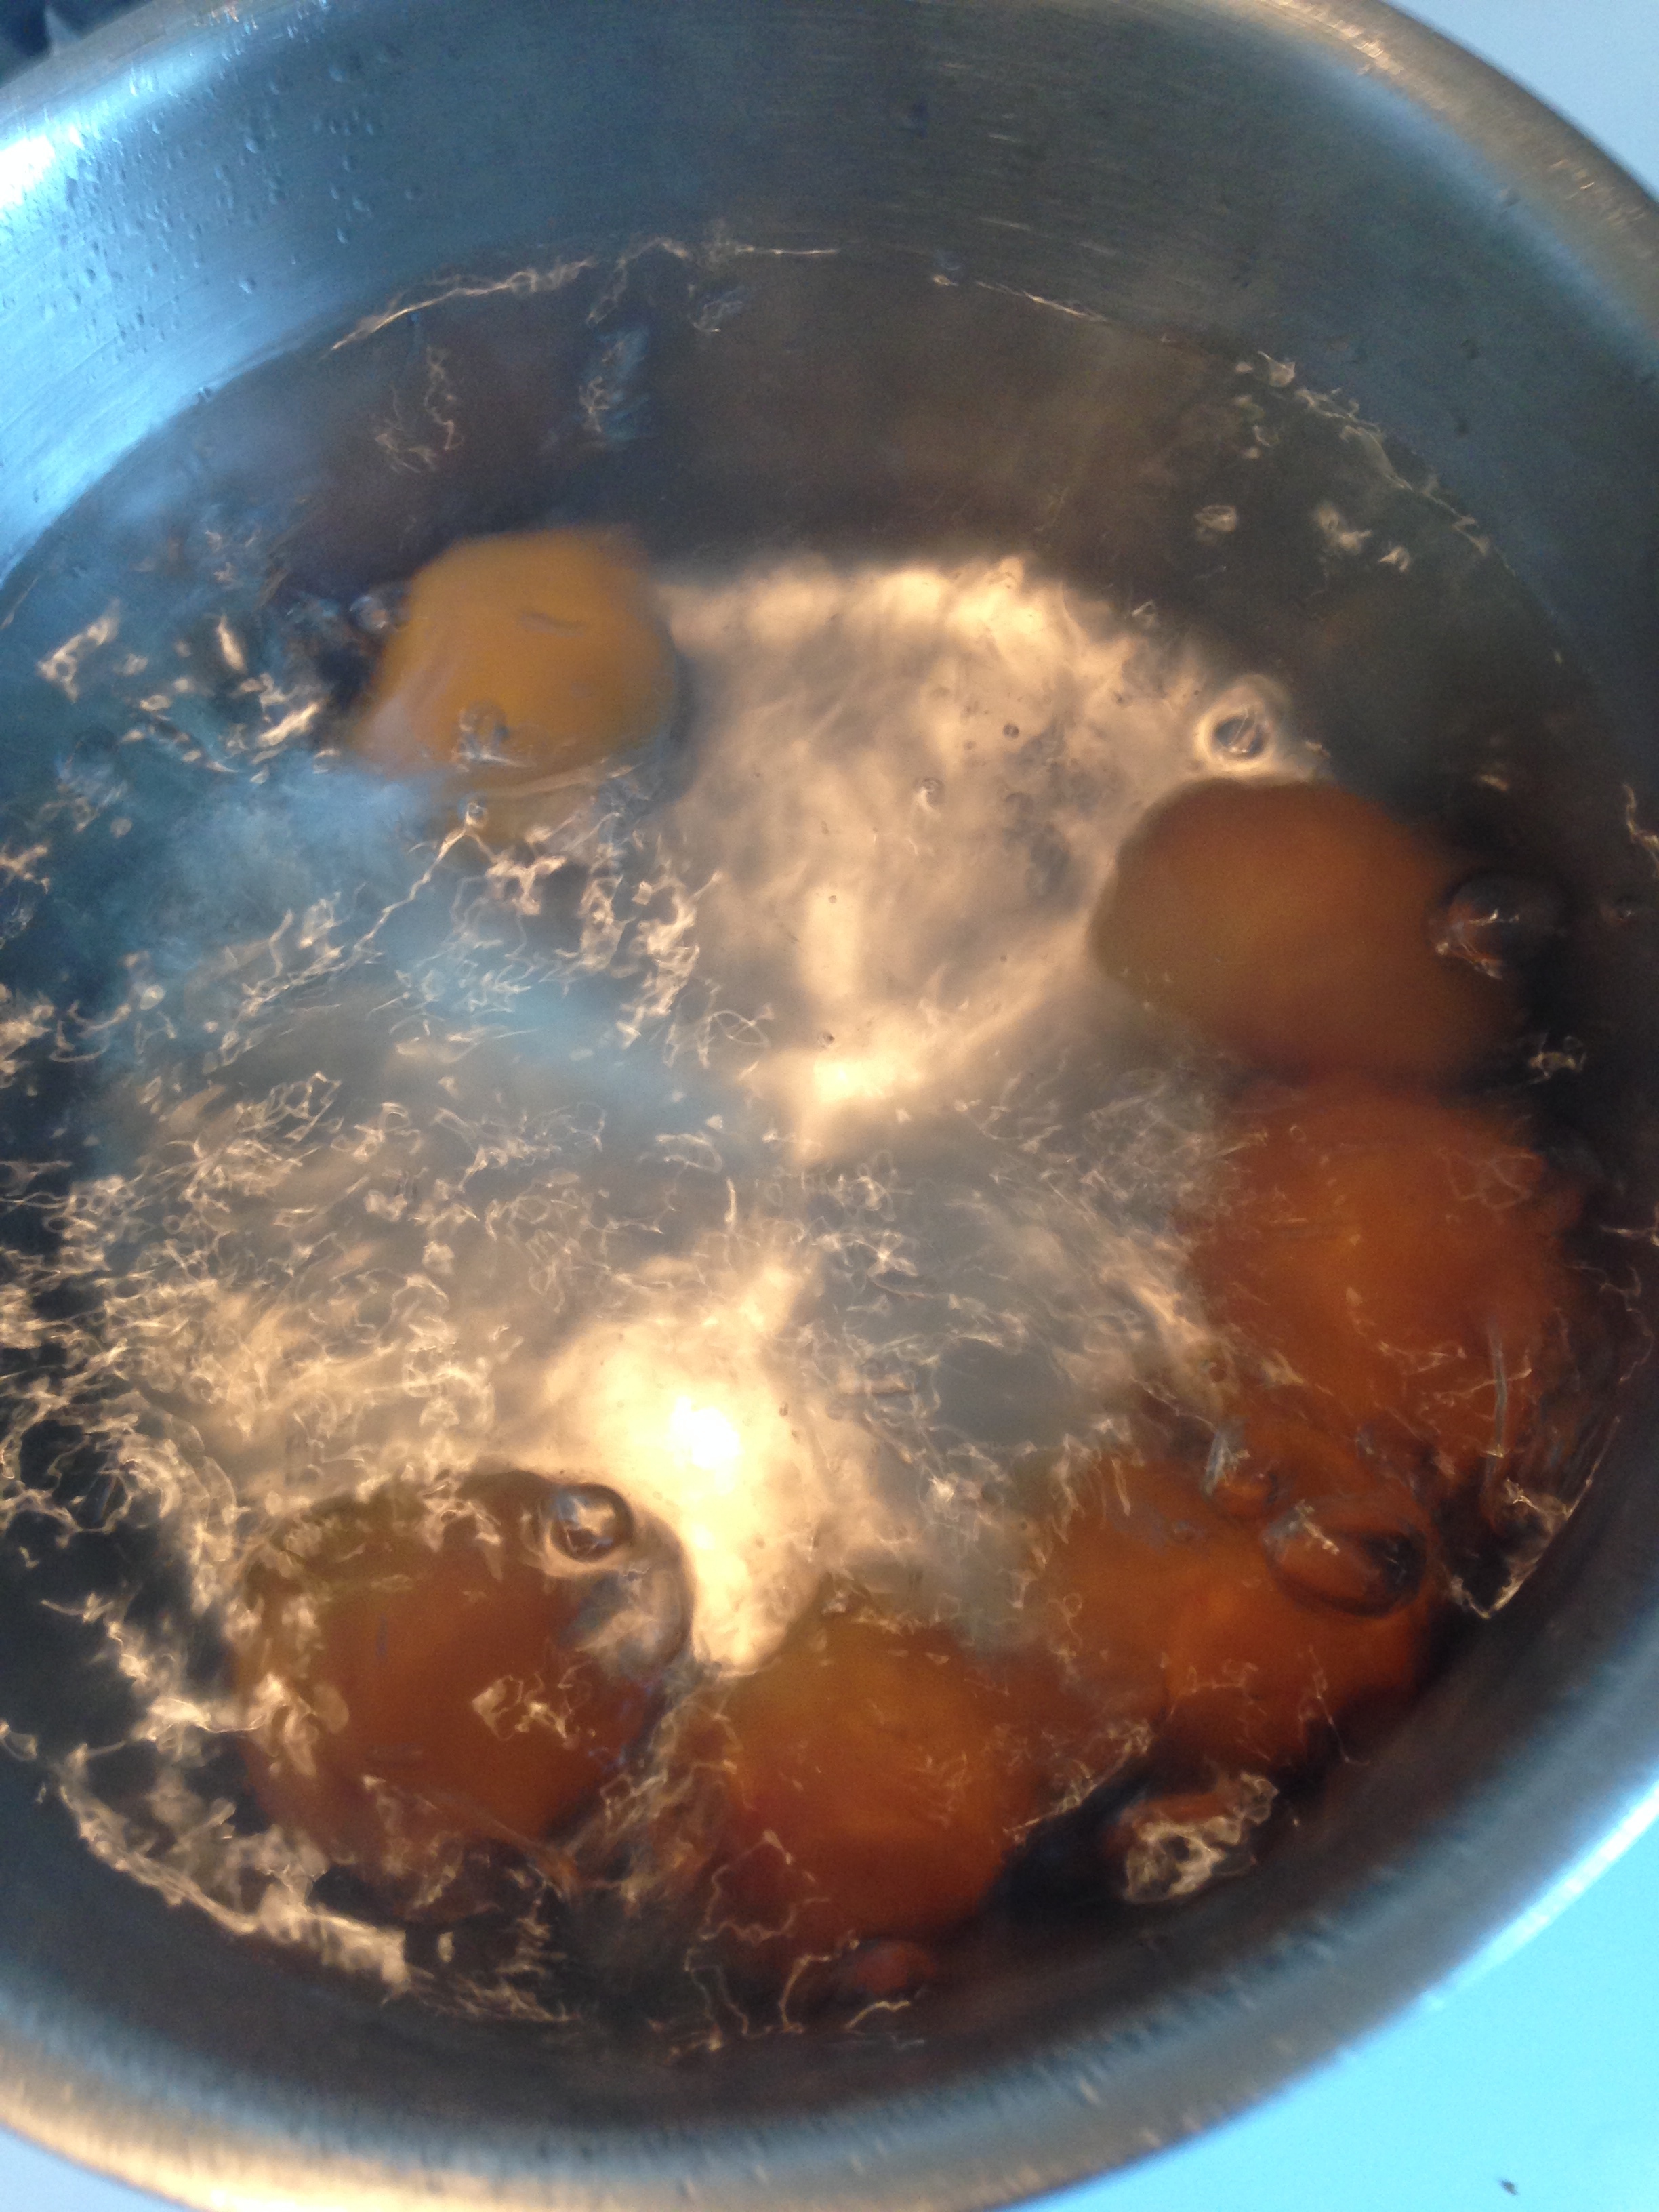
Eggs poached in a spicy tomato sauce. So Good.
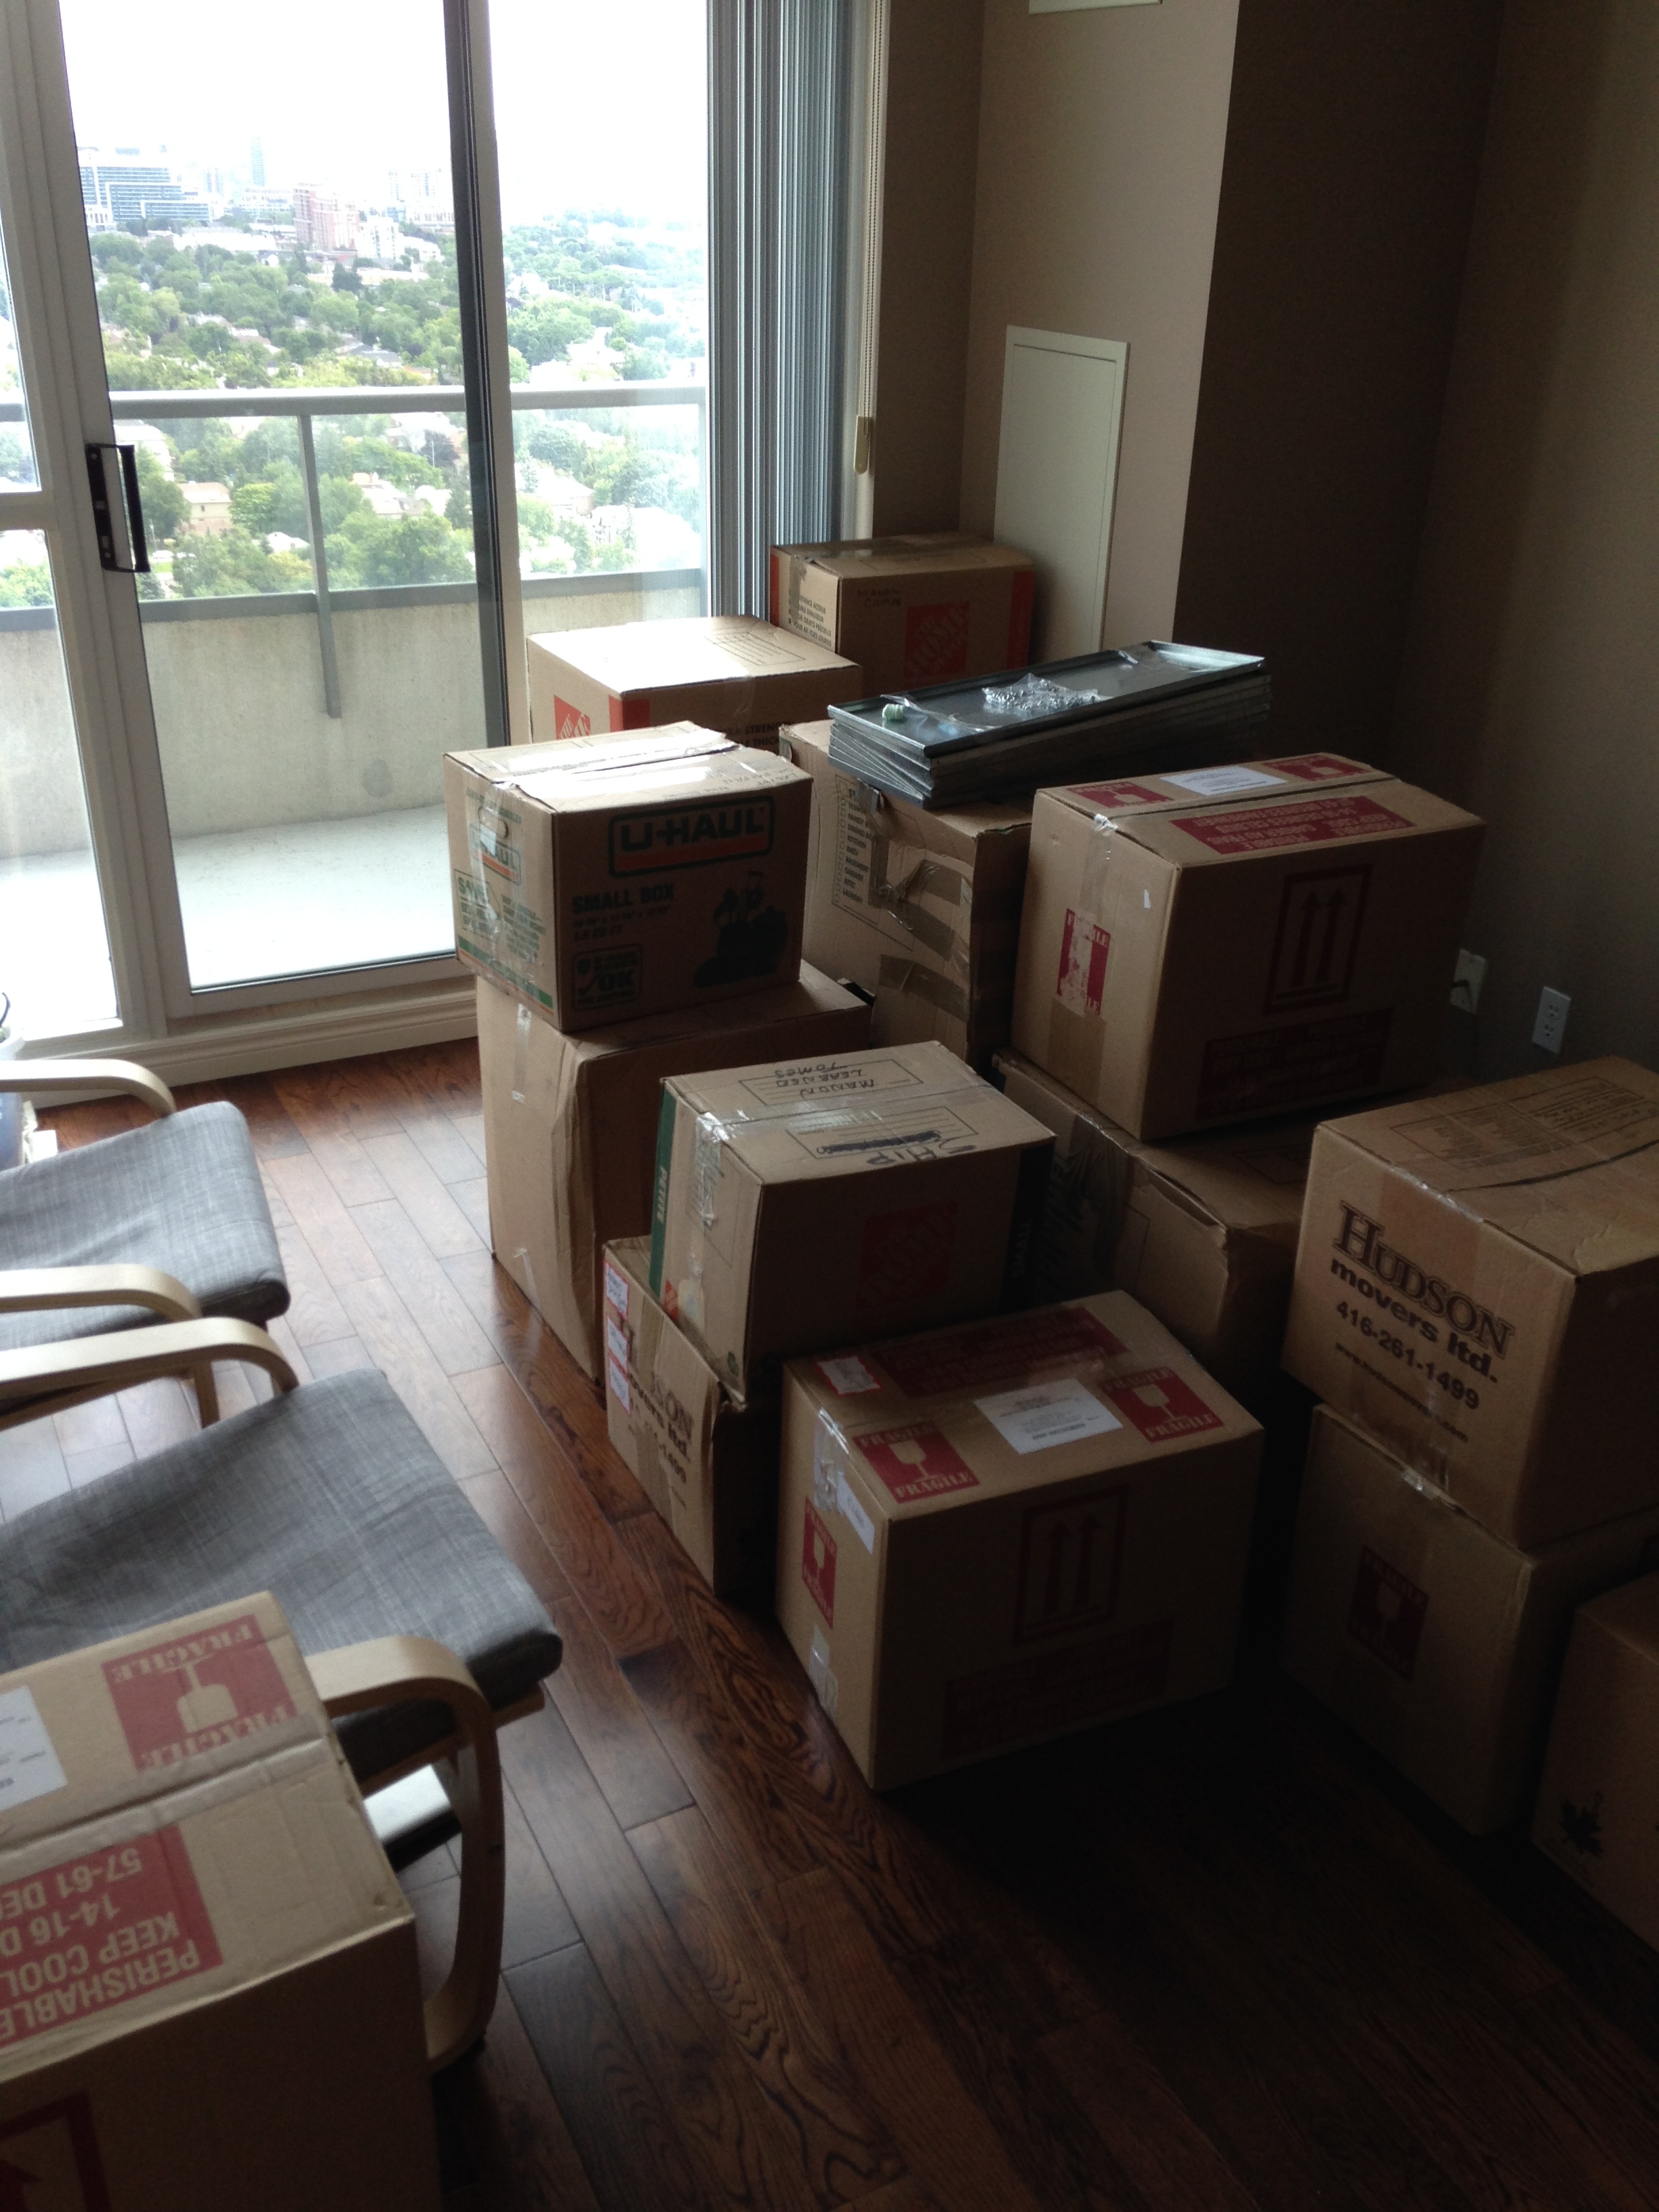
After an amazing breakfast, we unpacked the car and then headed to Ikea for some more supplies. The Ottawa Ikea is the biggest in Canada and it definitely shows it. It's three stories and has it's own underground parking lot. It even has four elevators, each the size of a small apartment, to get you and your stuff (couch, pfft, entire living room set!) to the ground. Pretty neat!
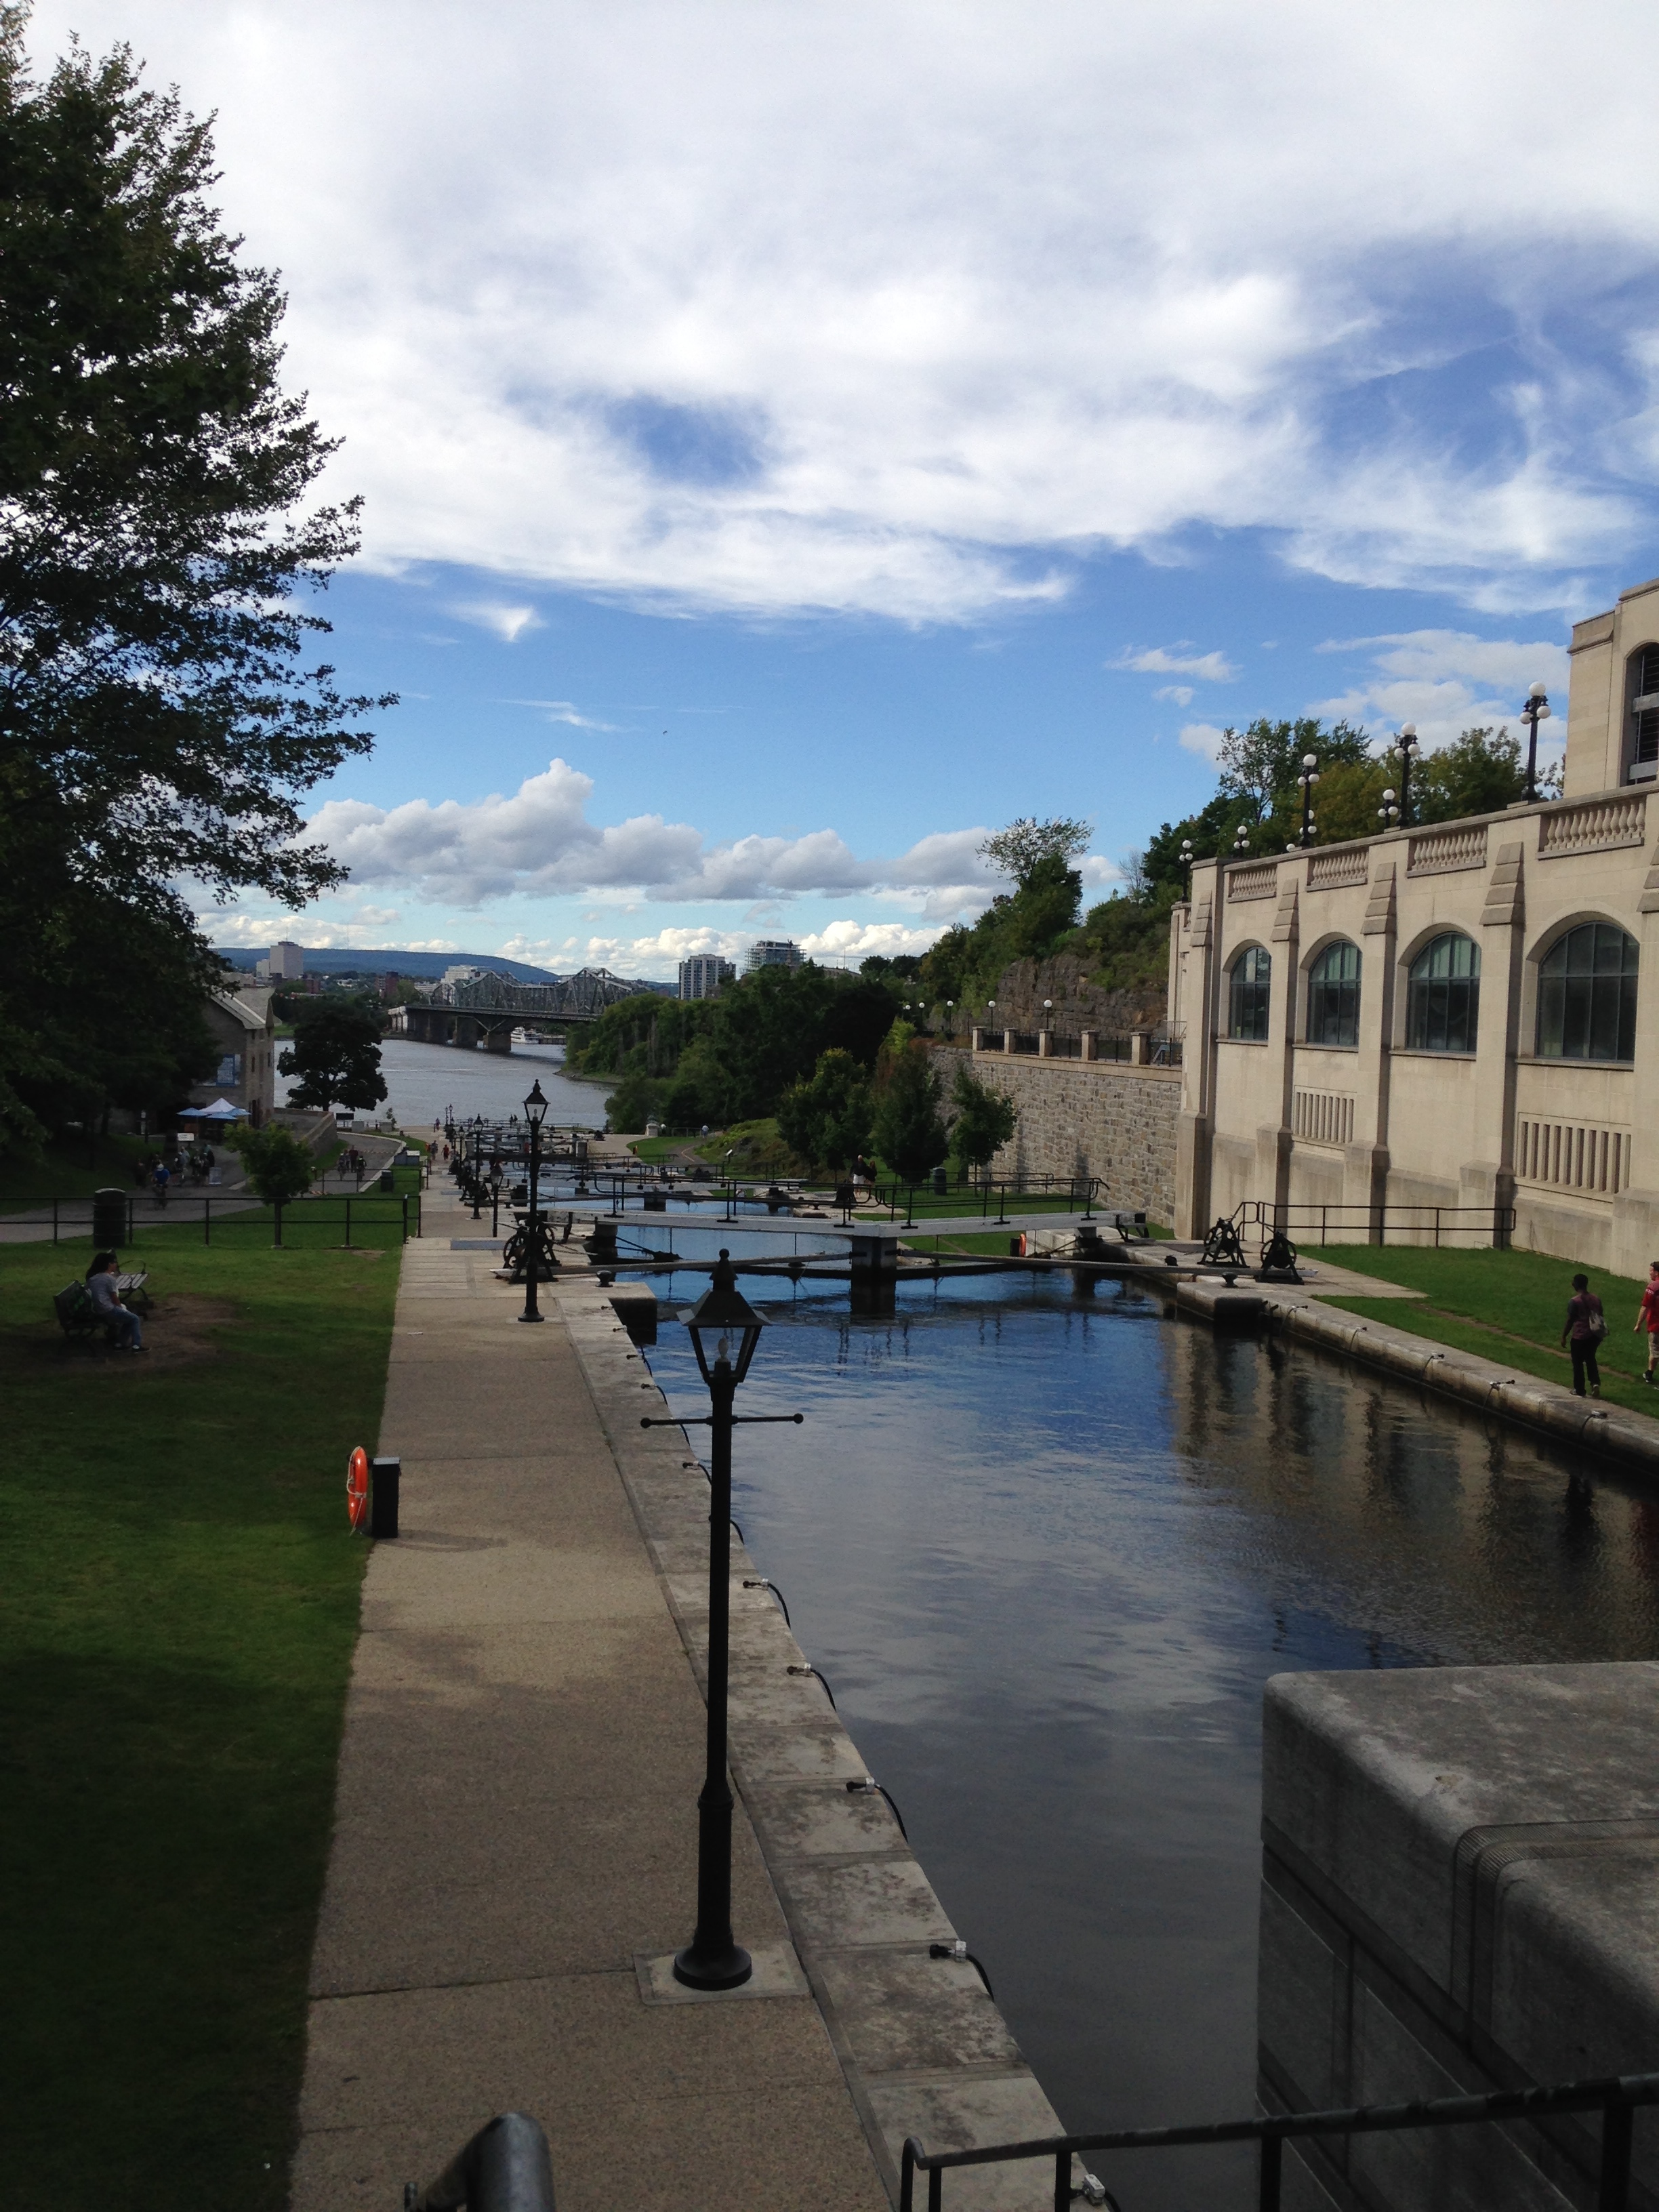
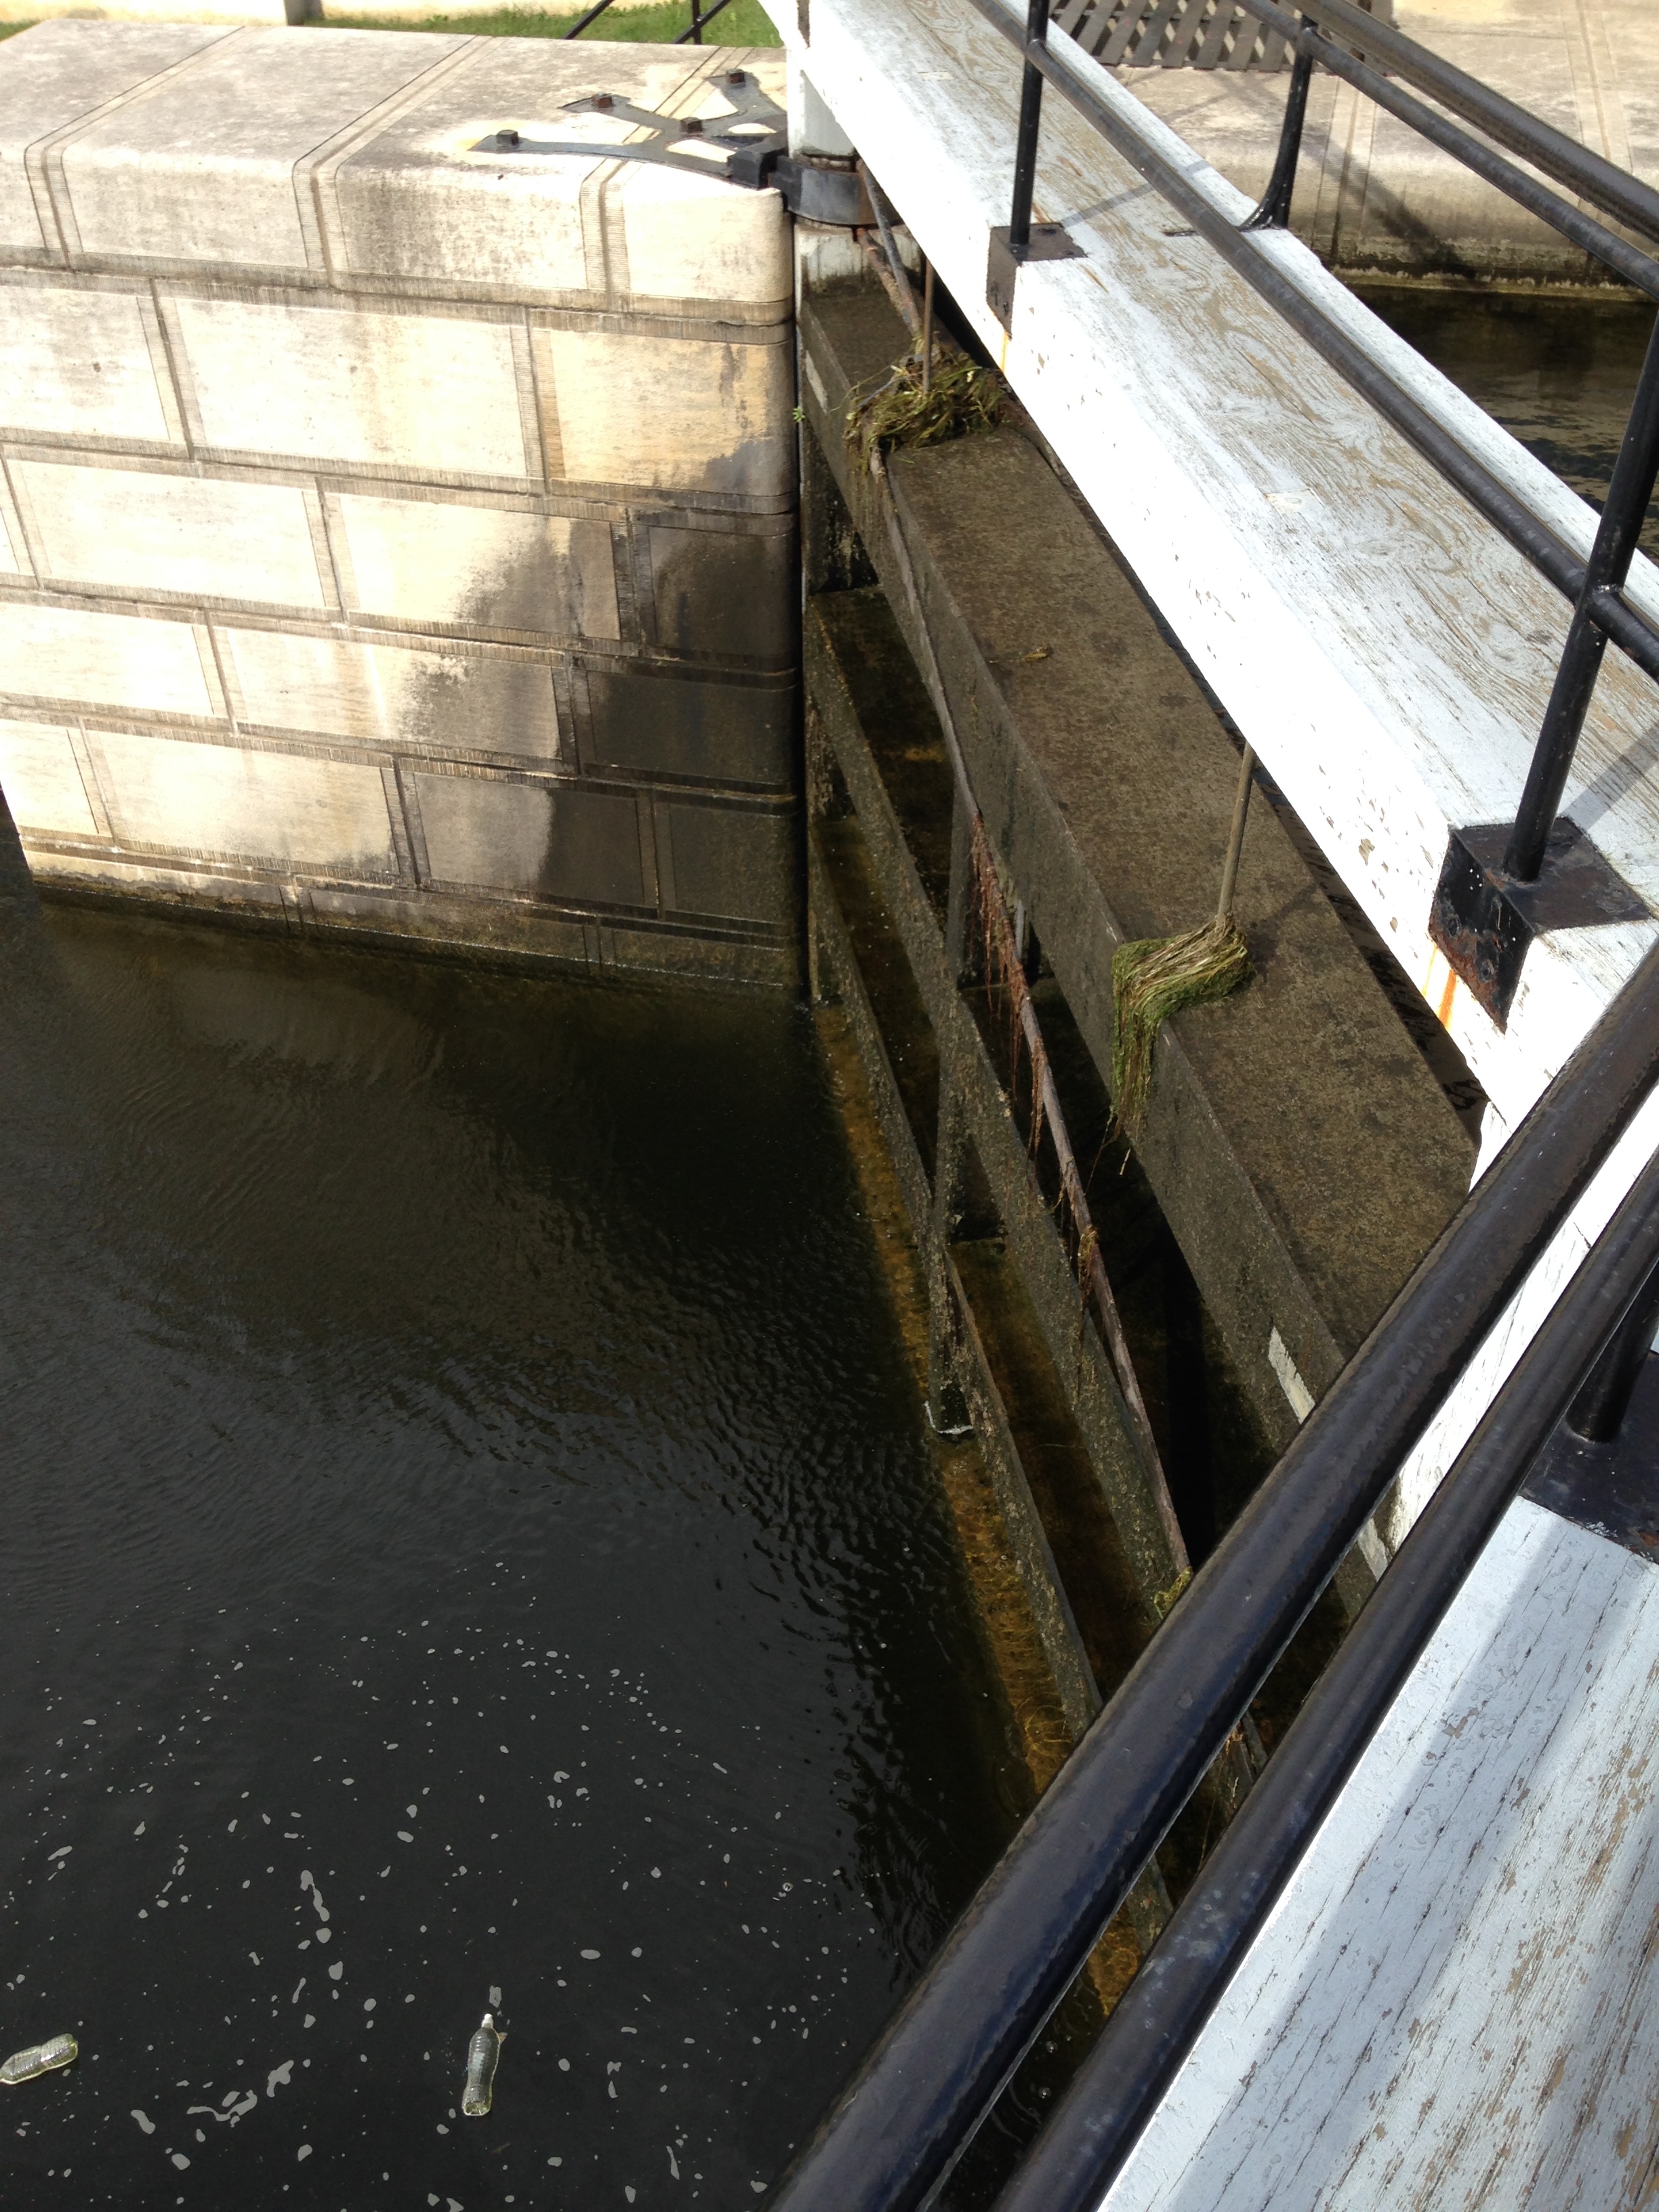
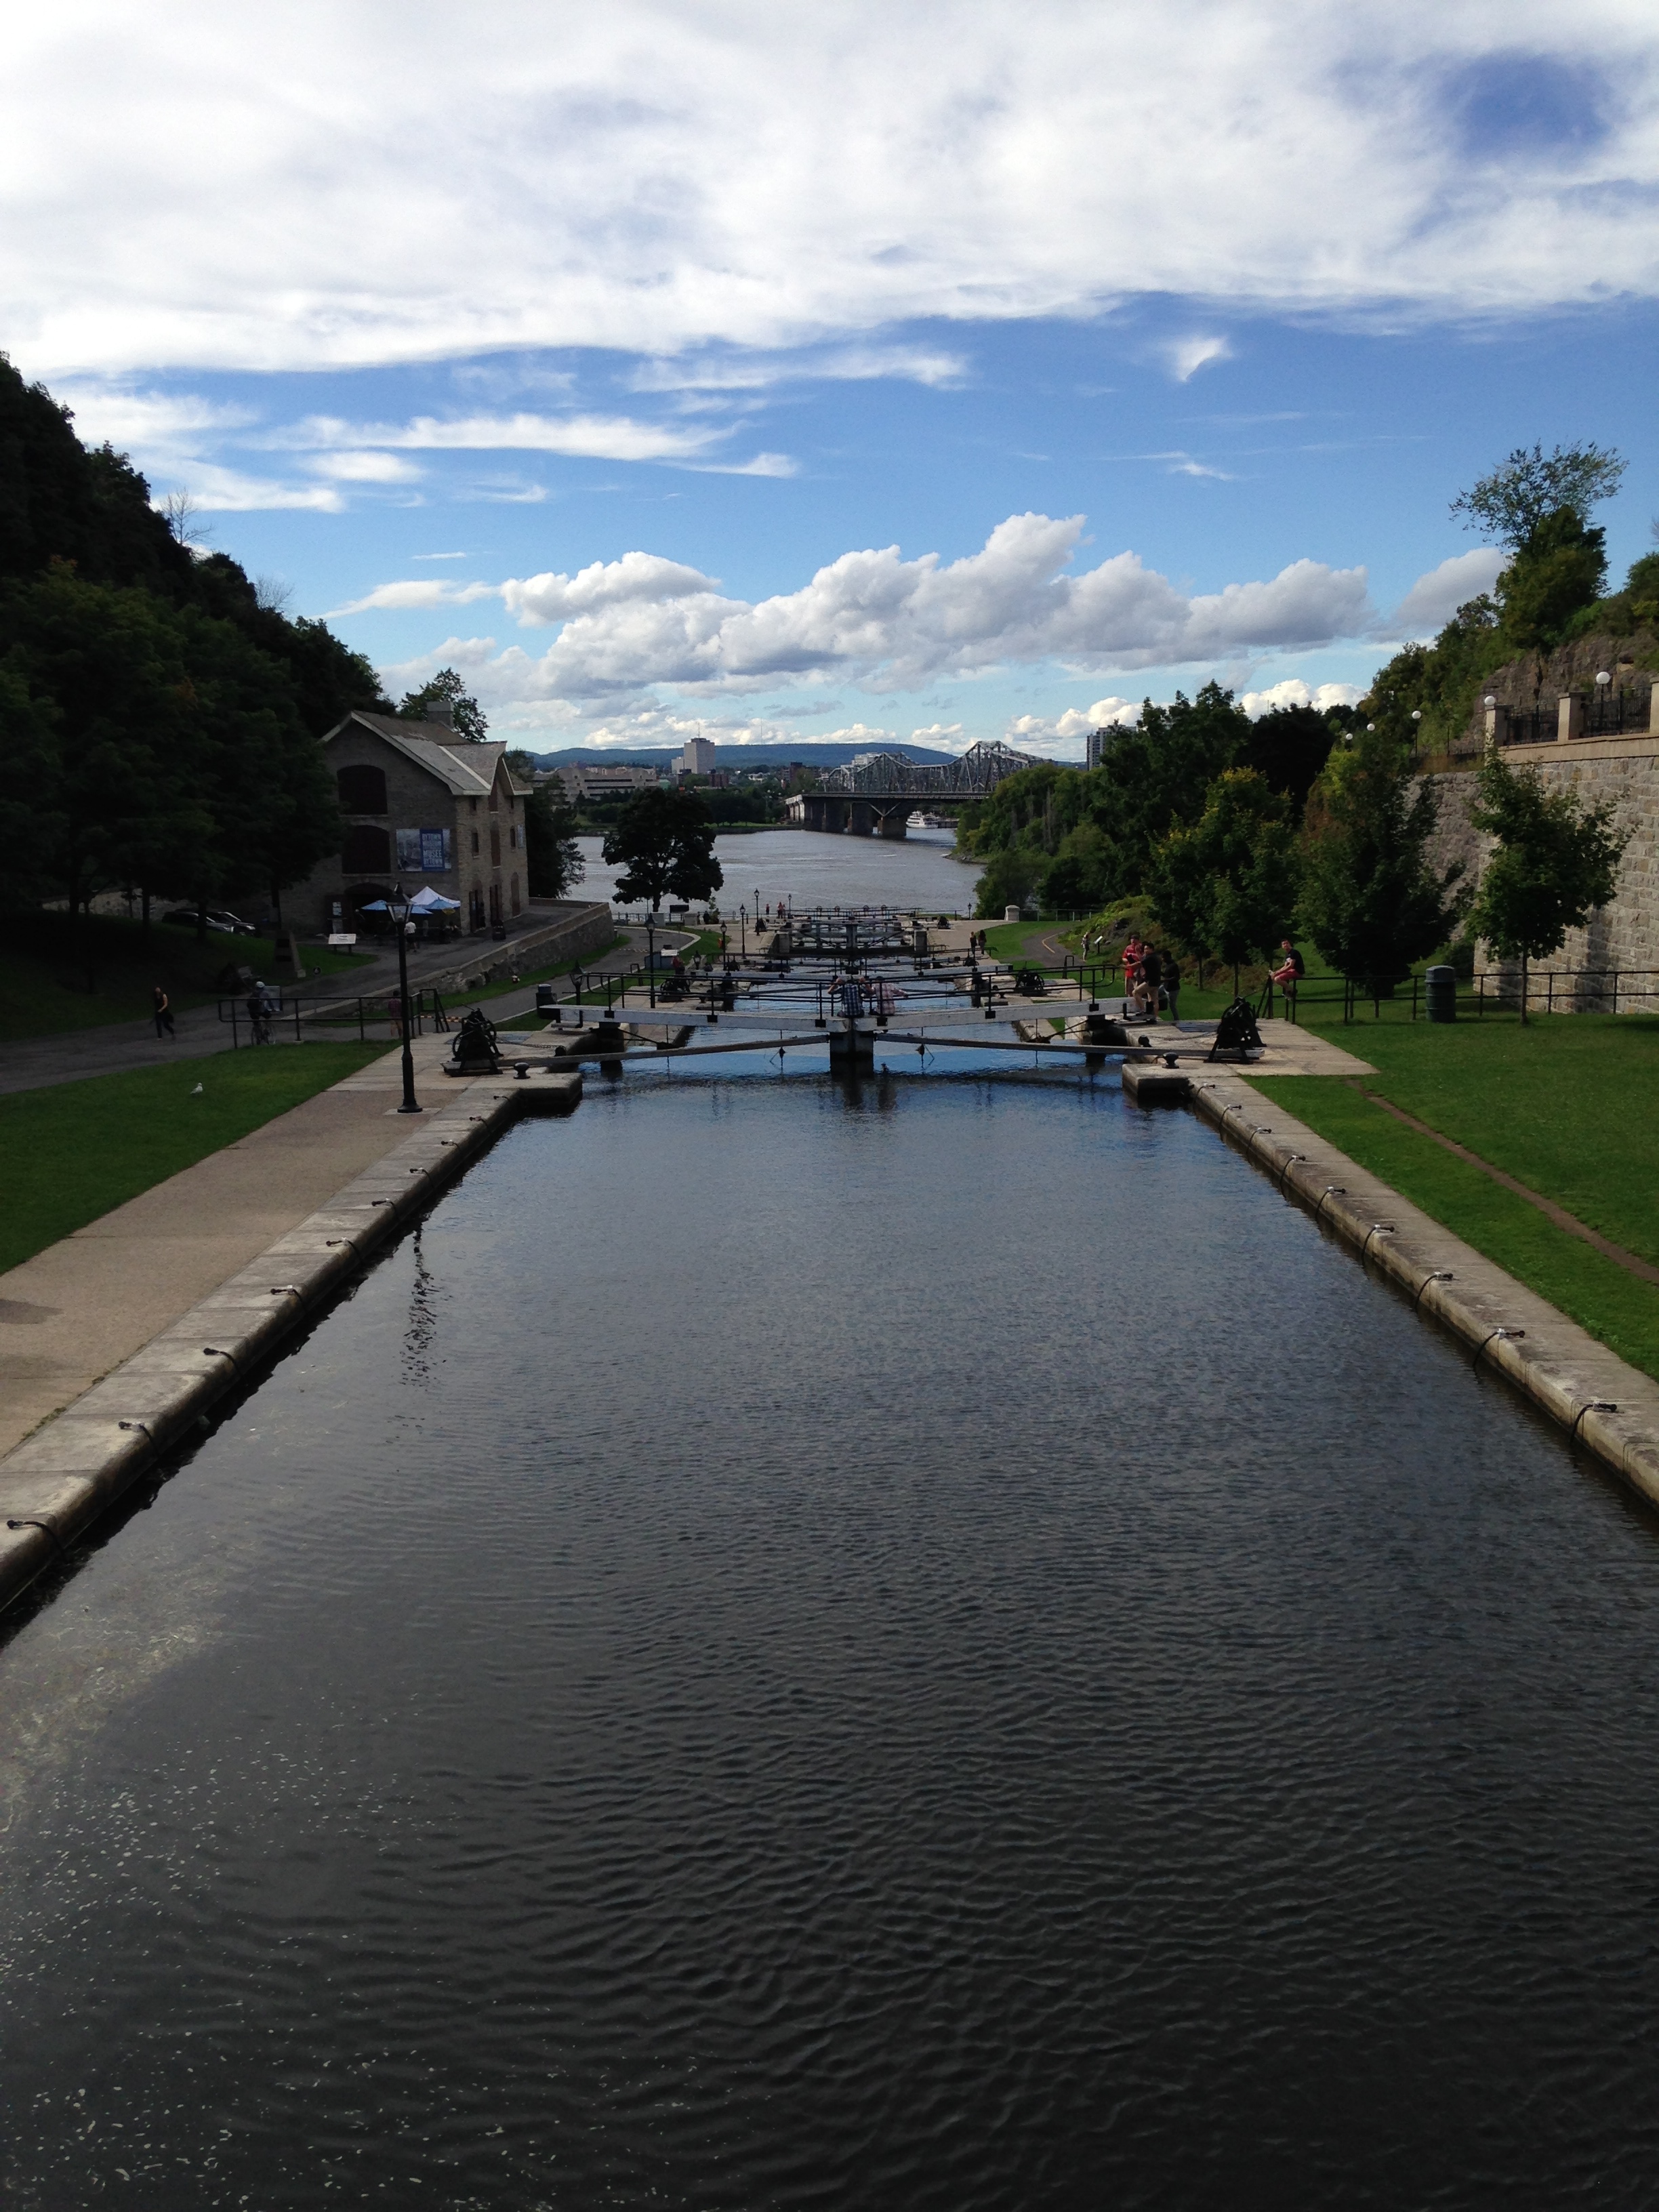
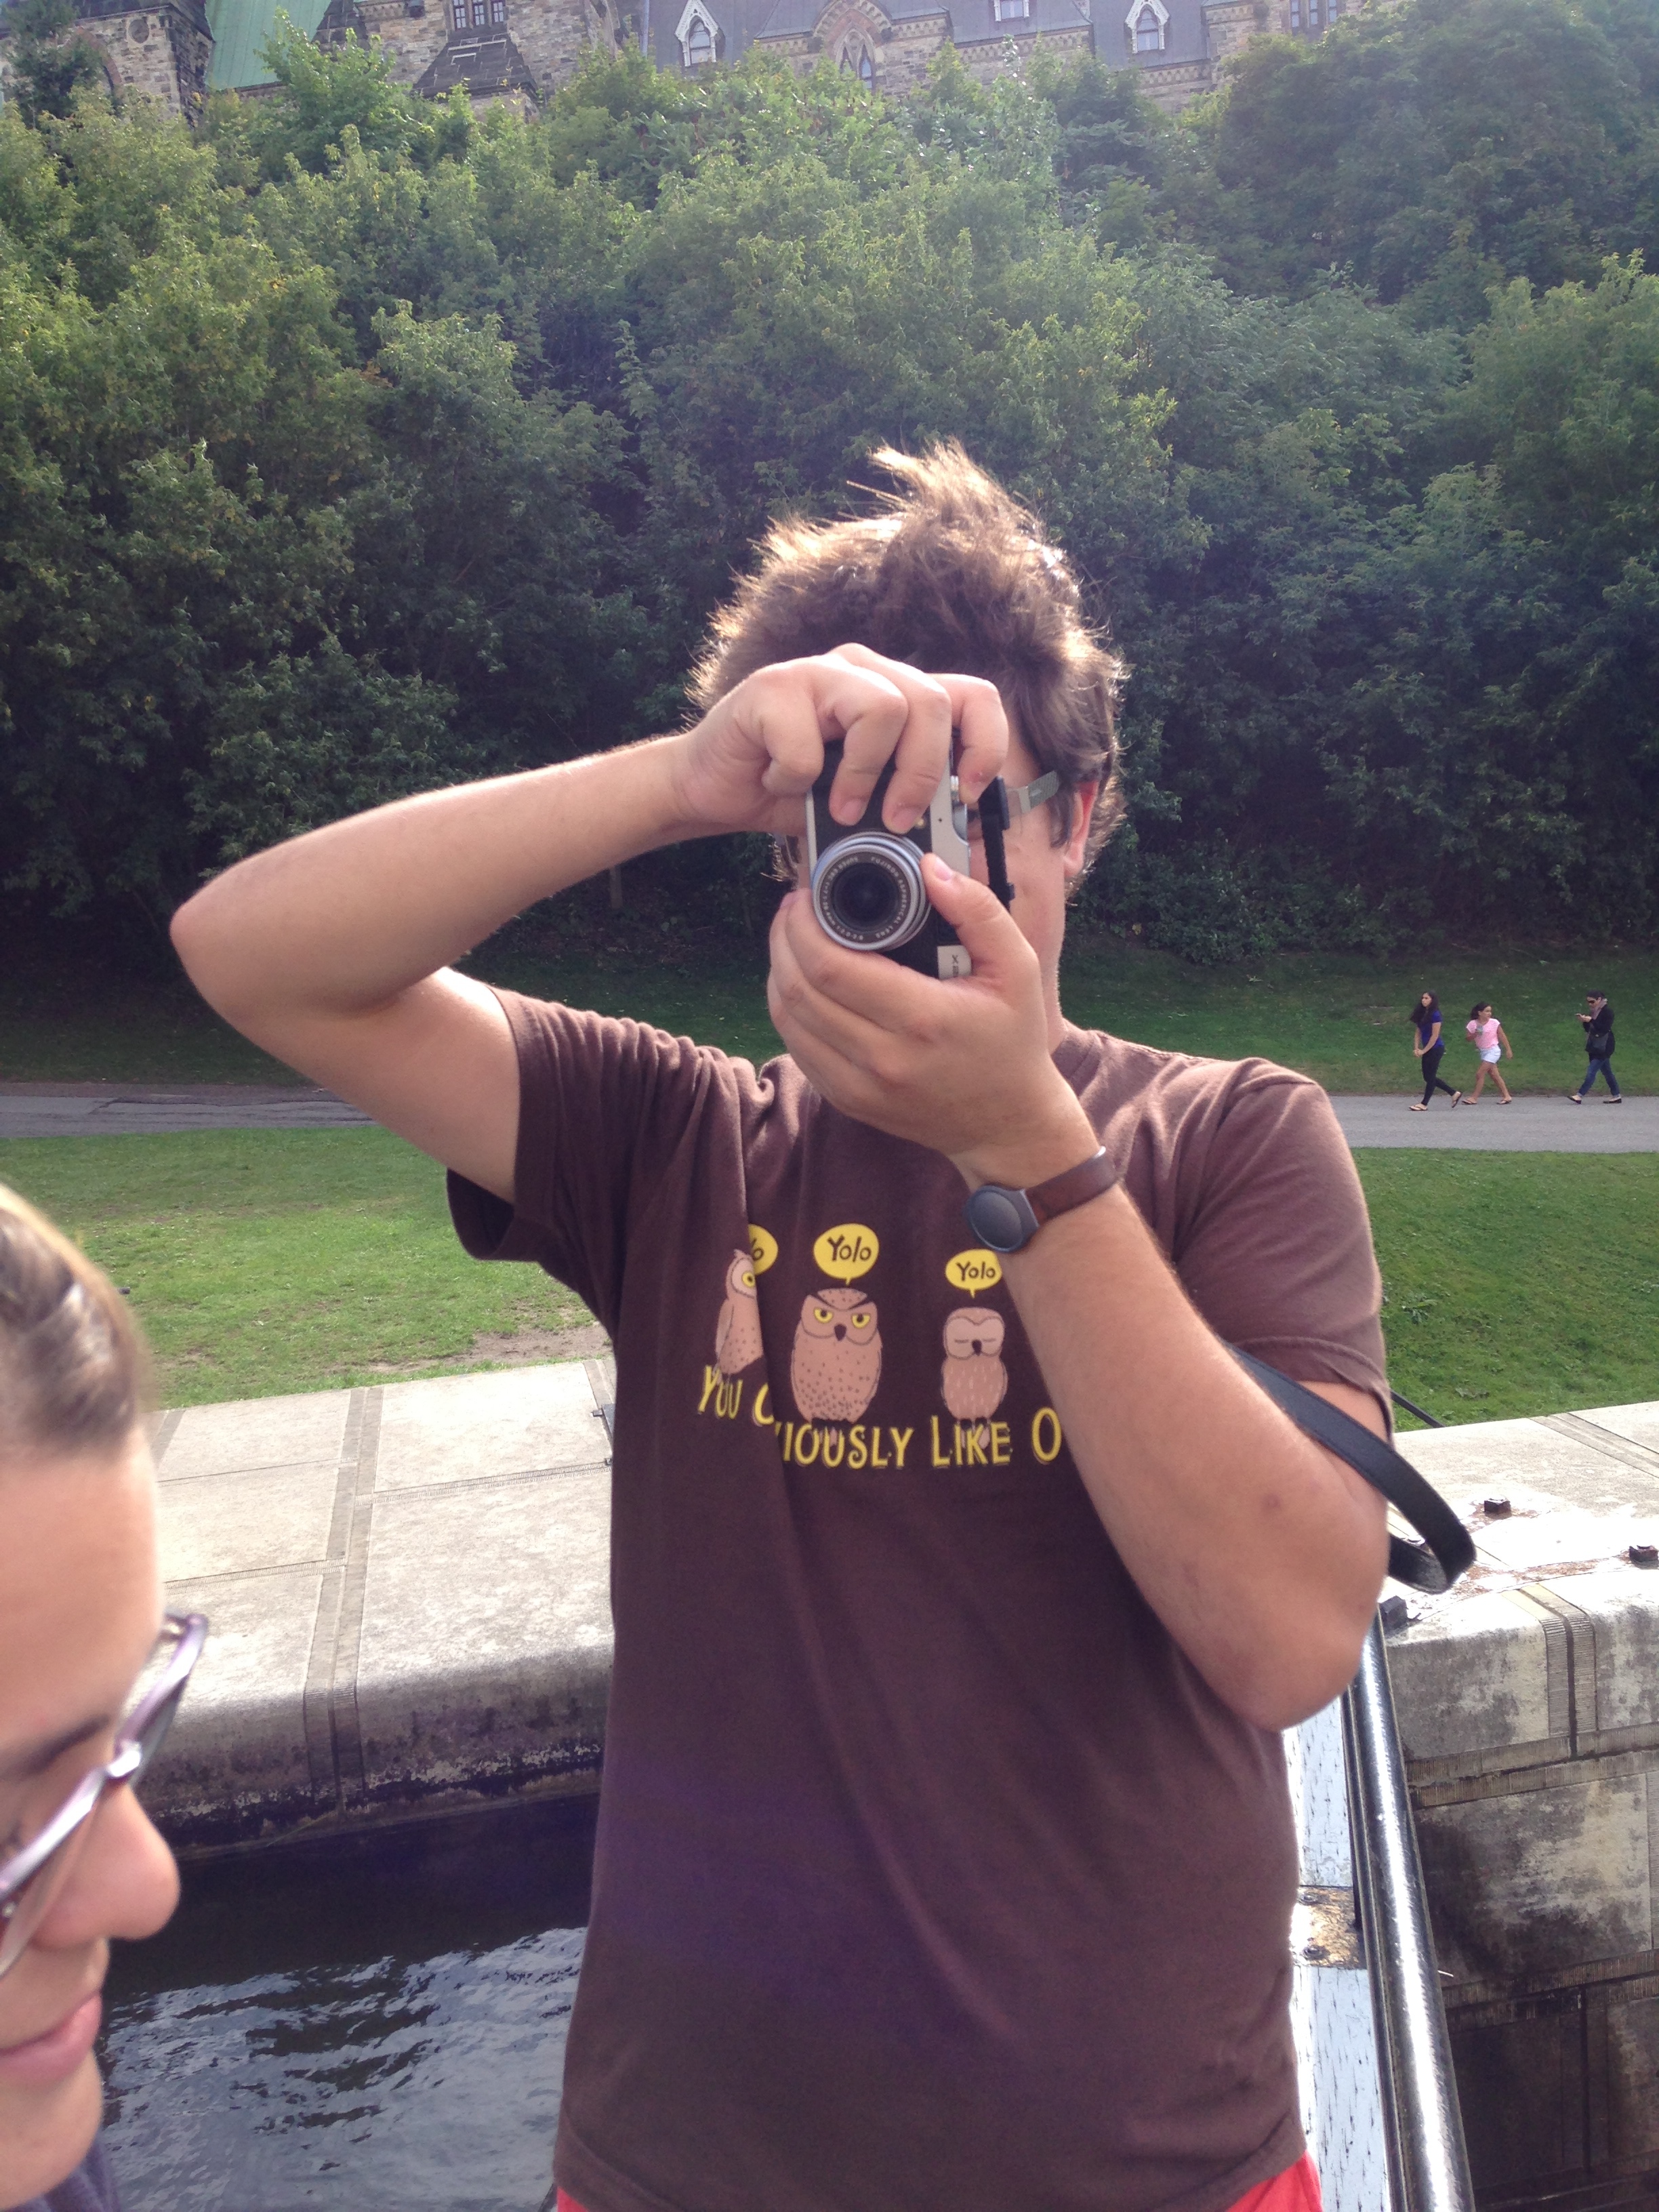
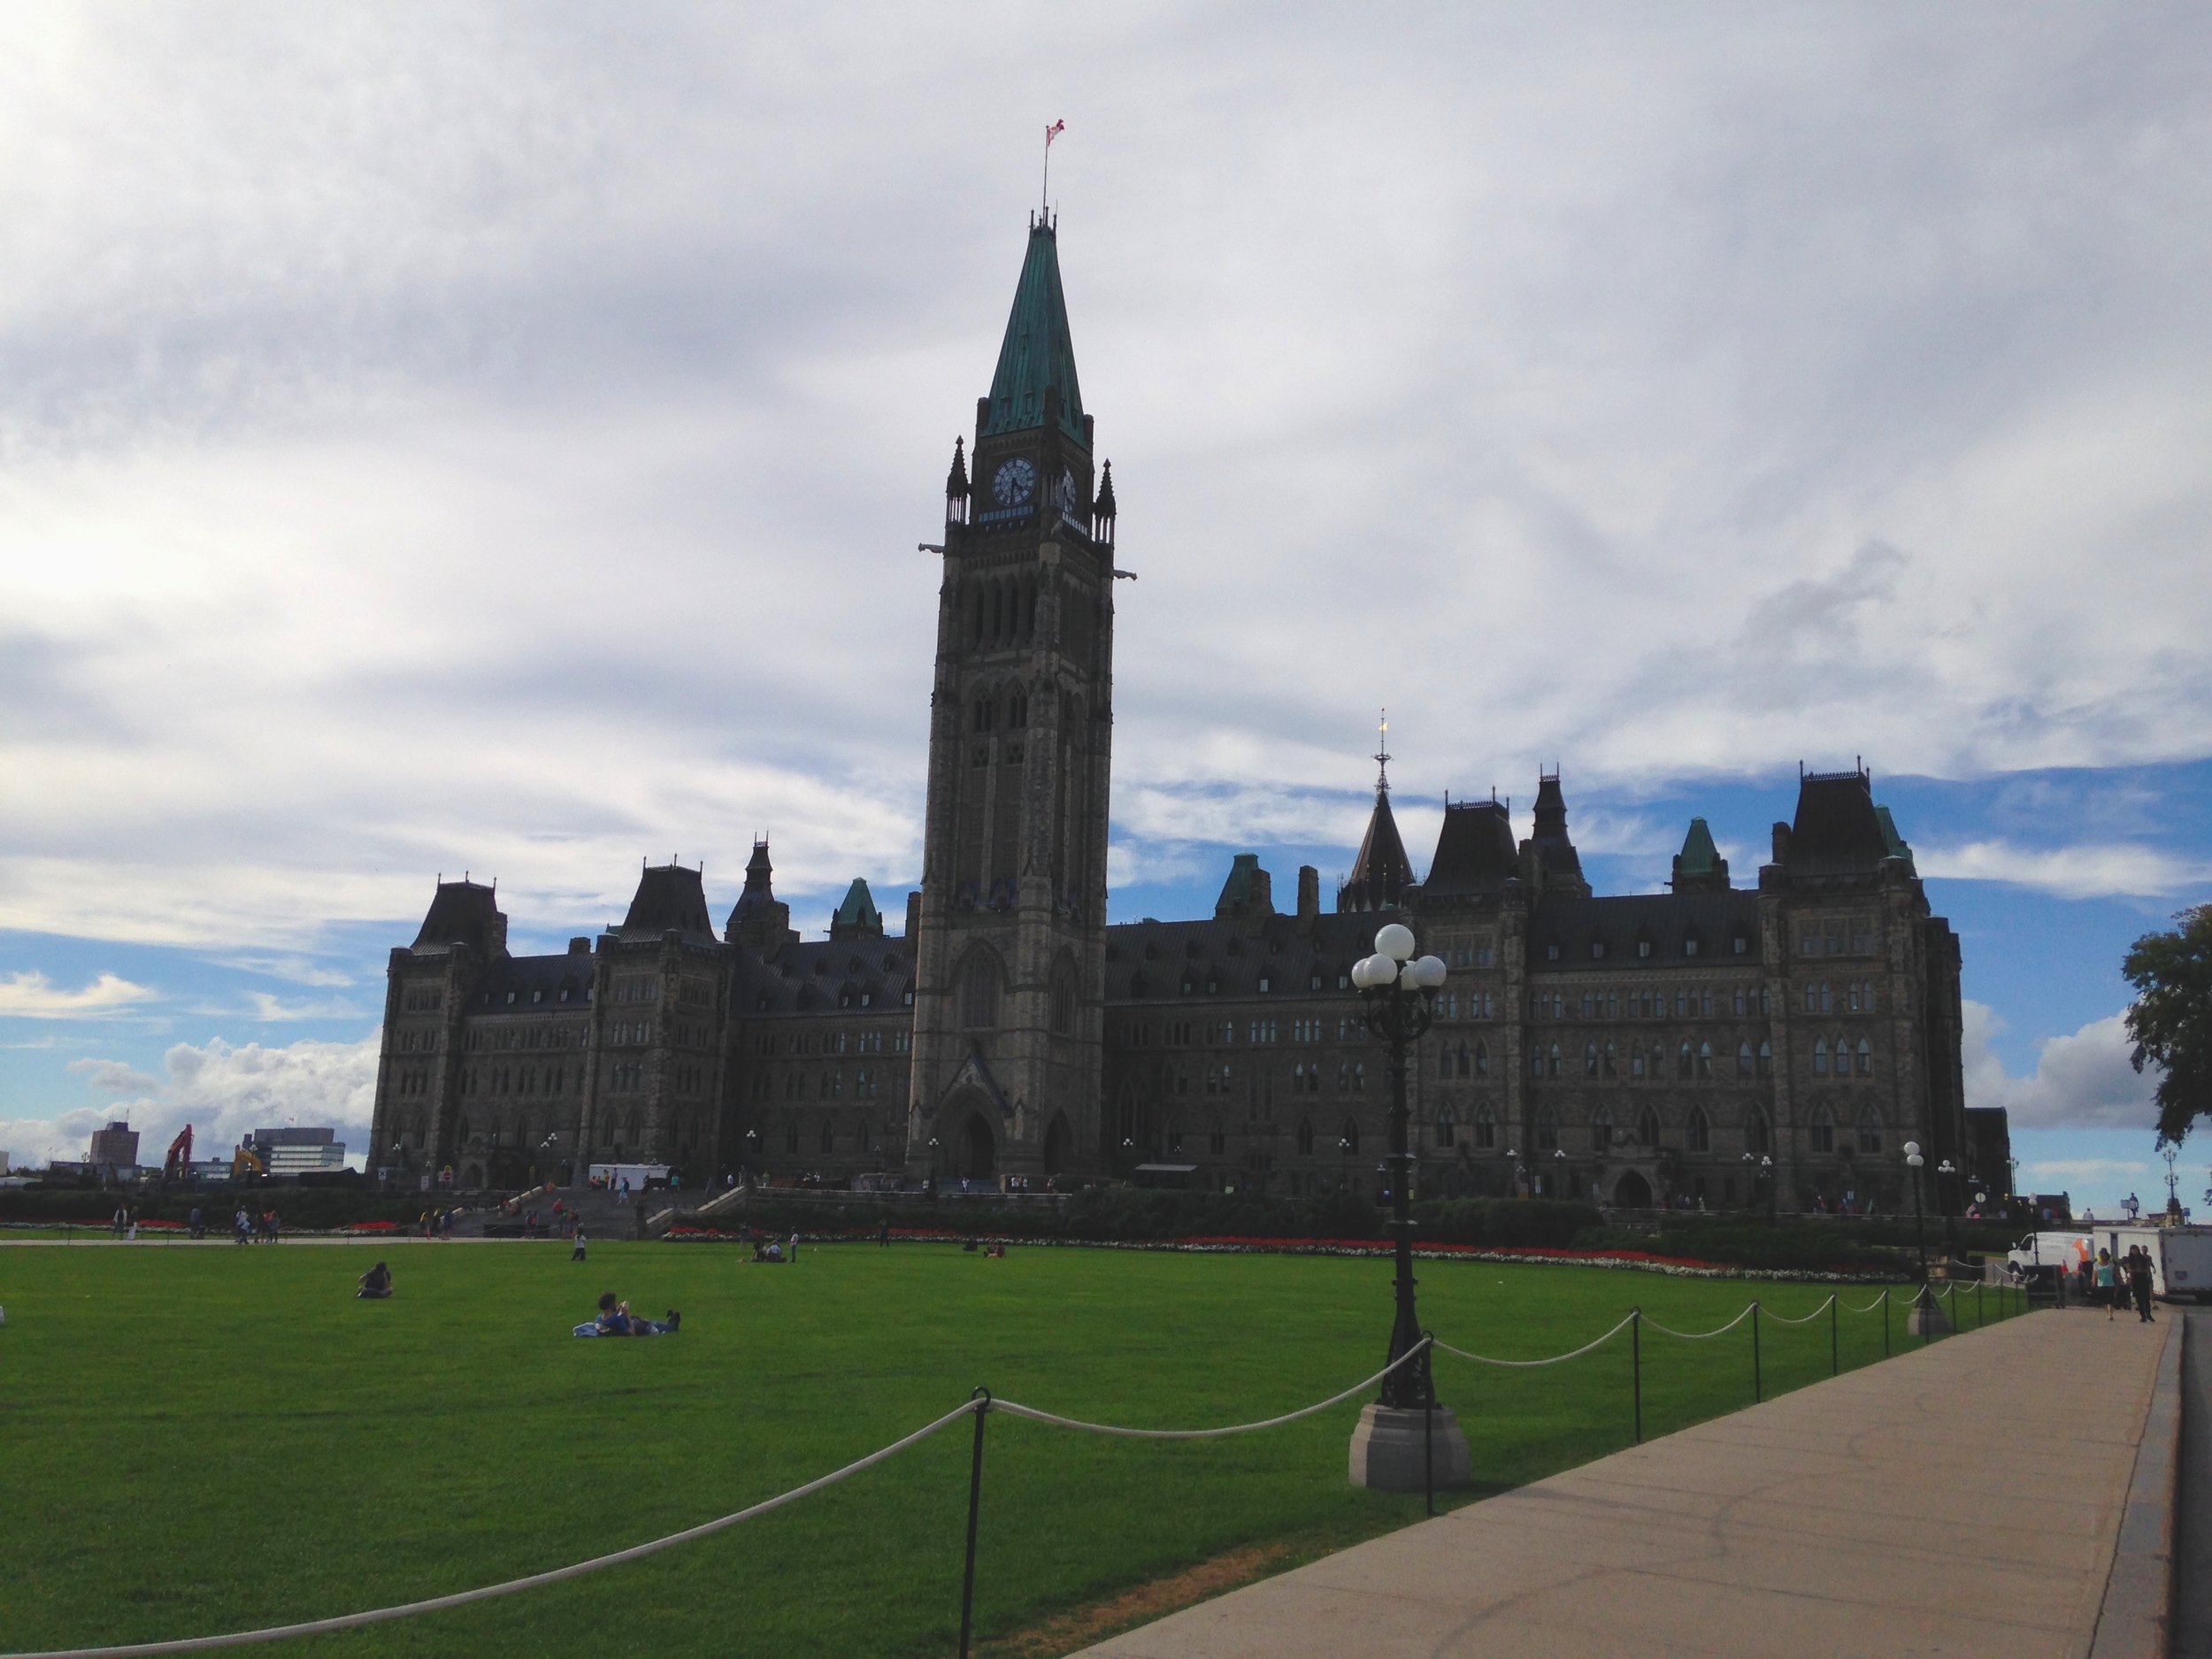
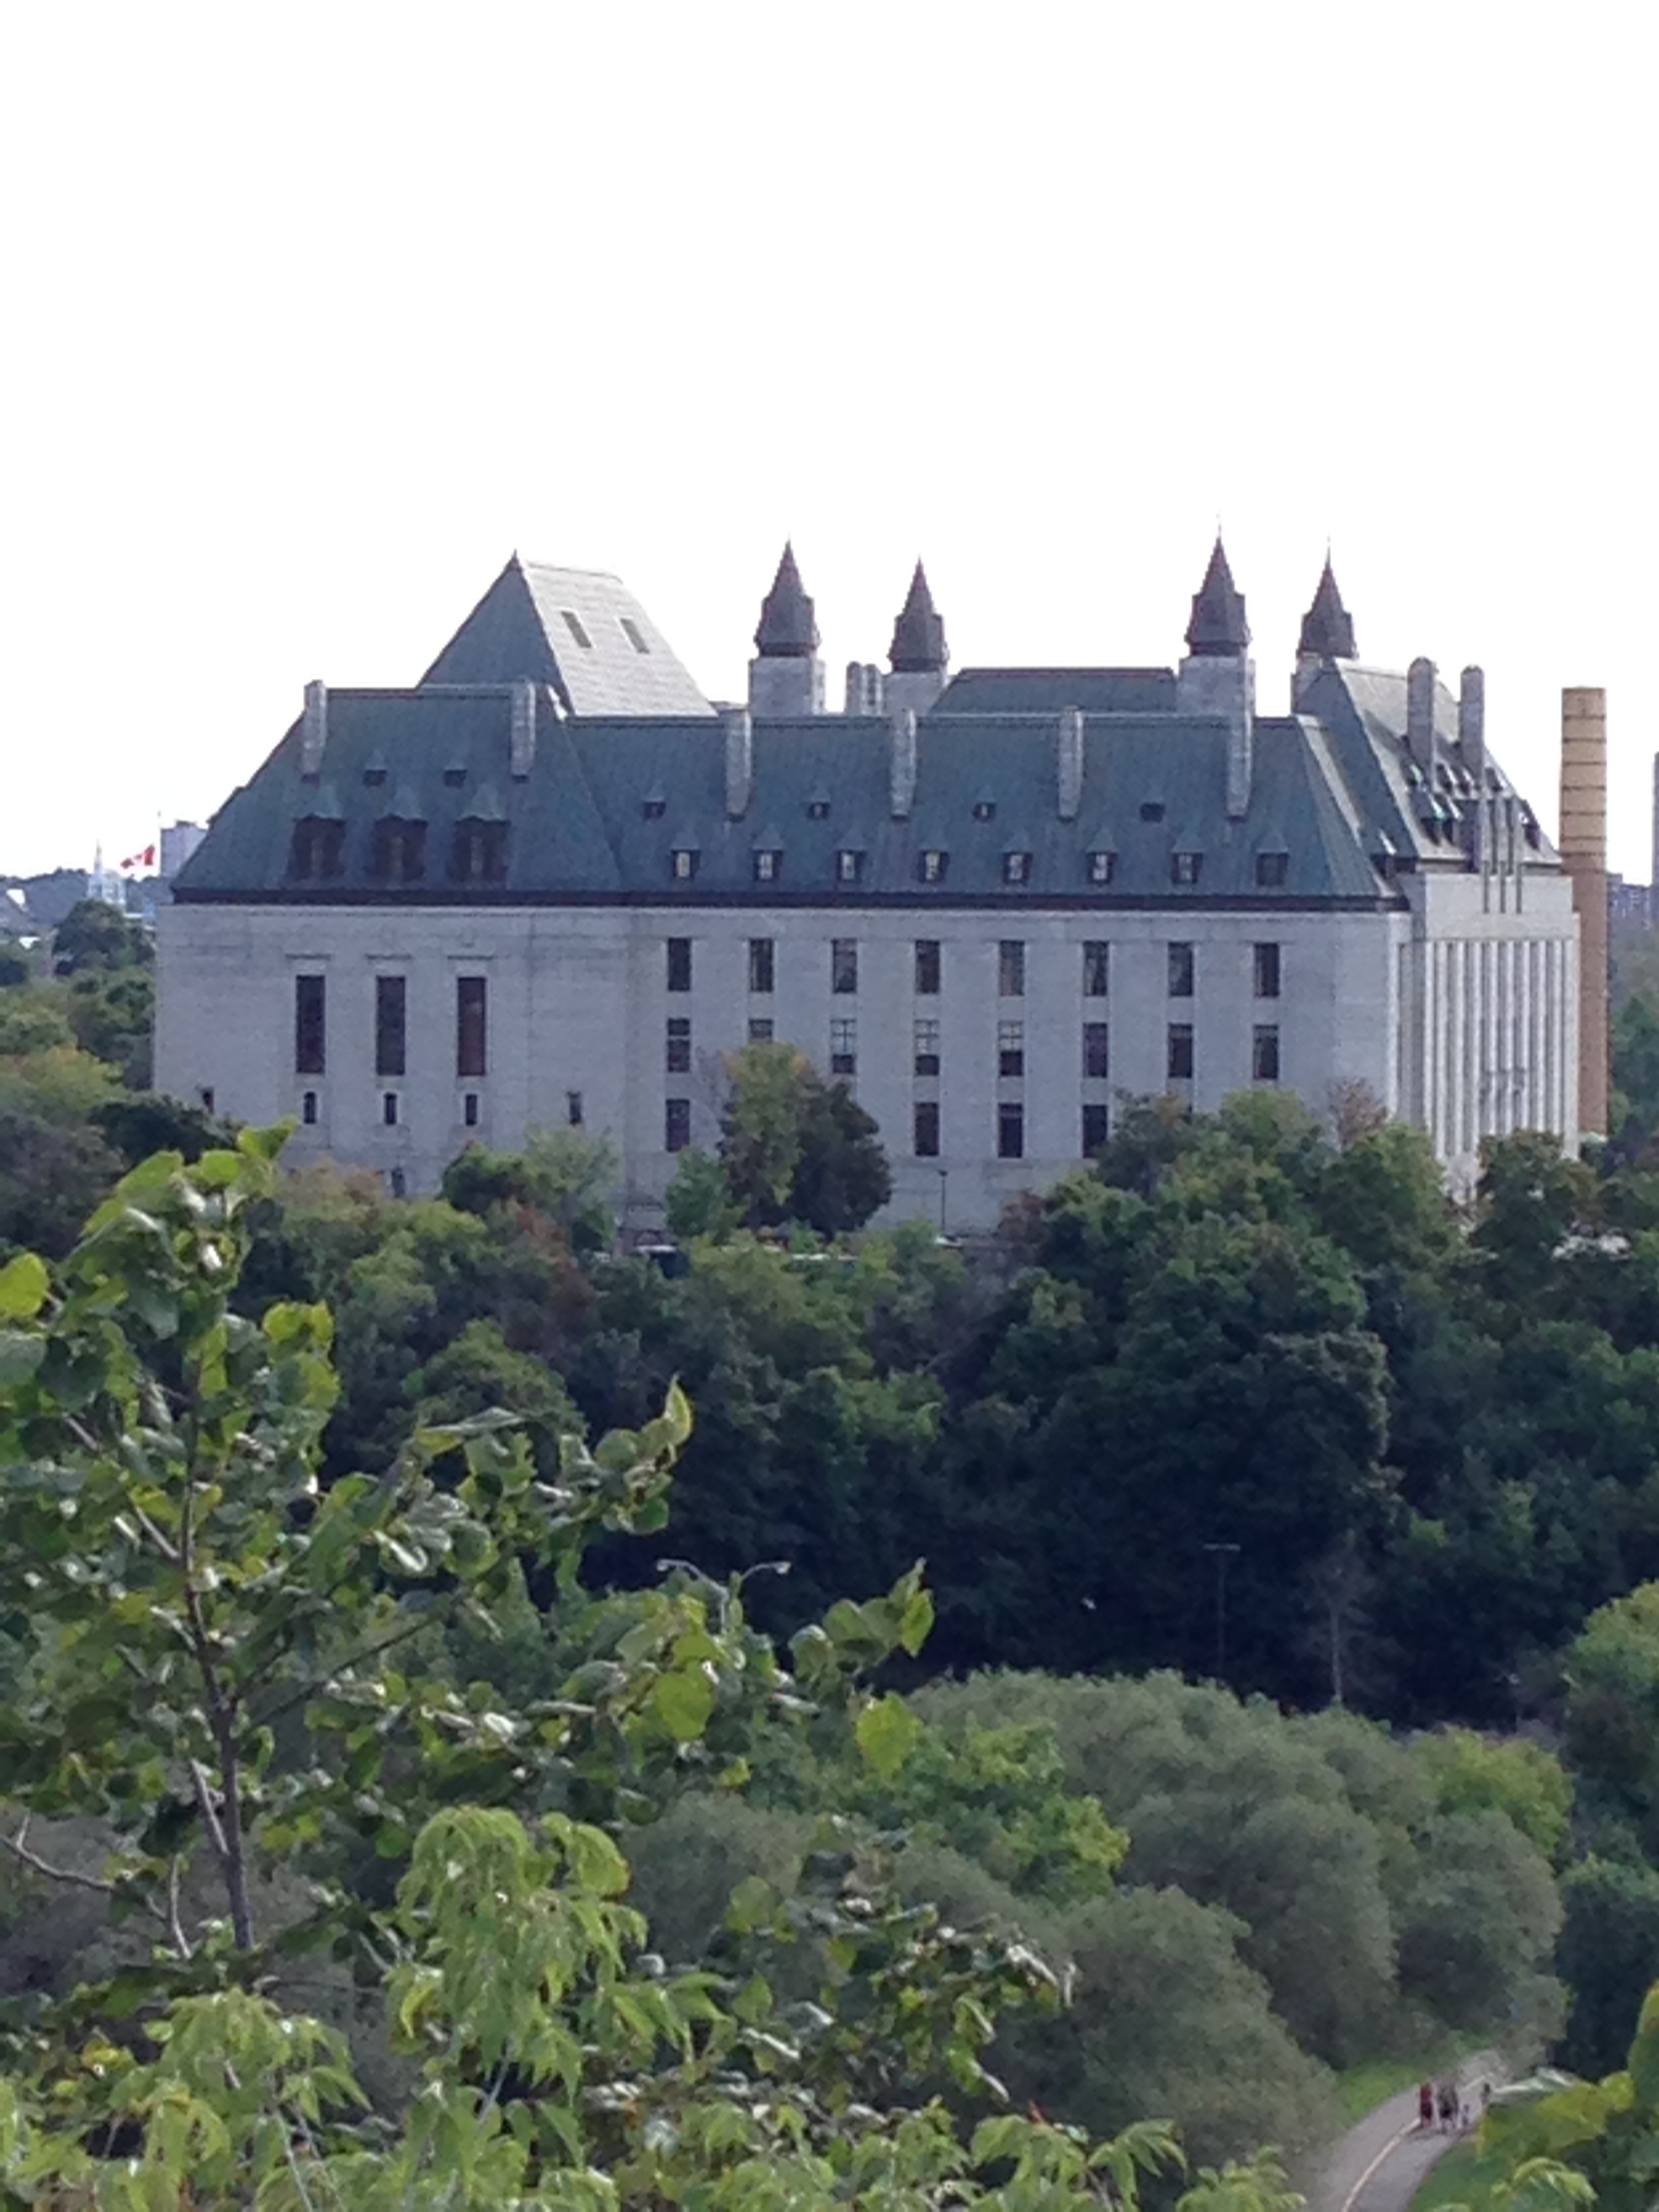
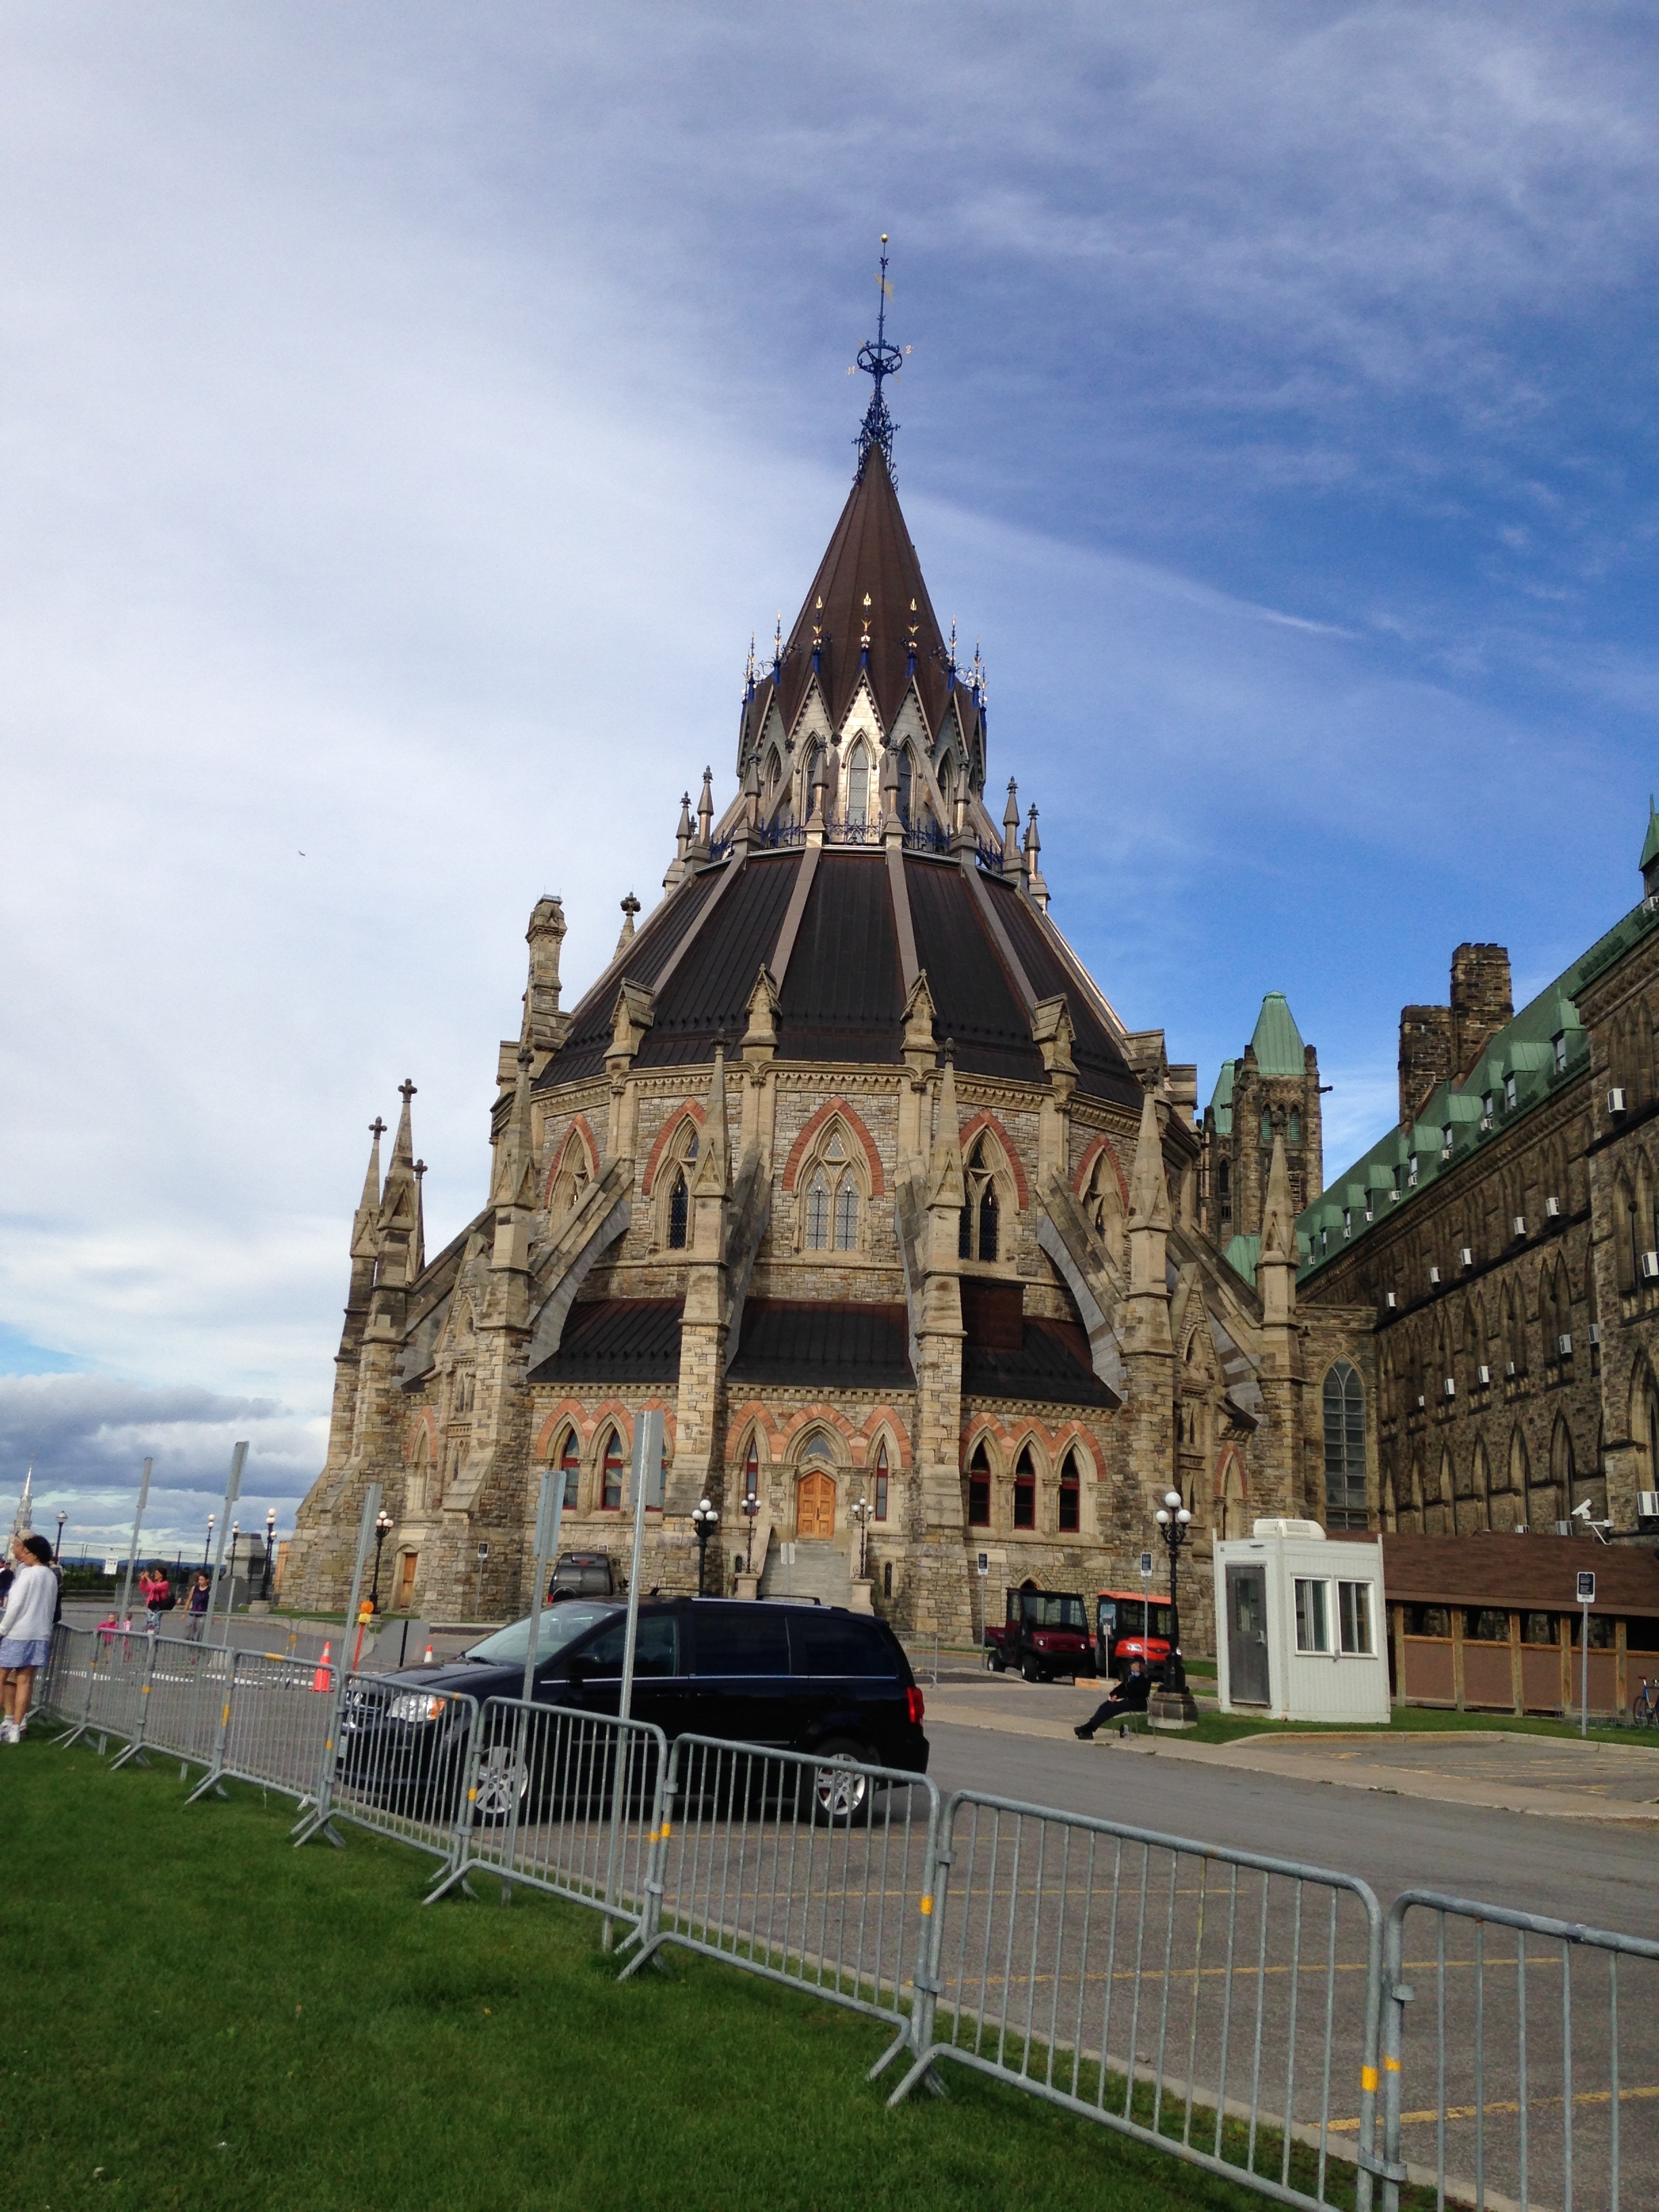
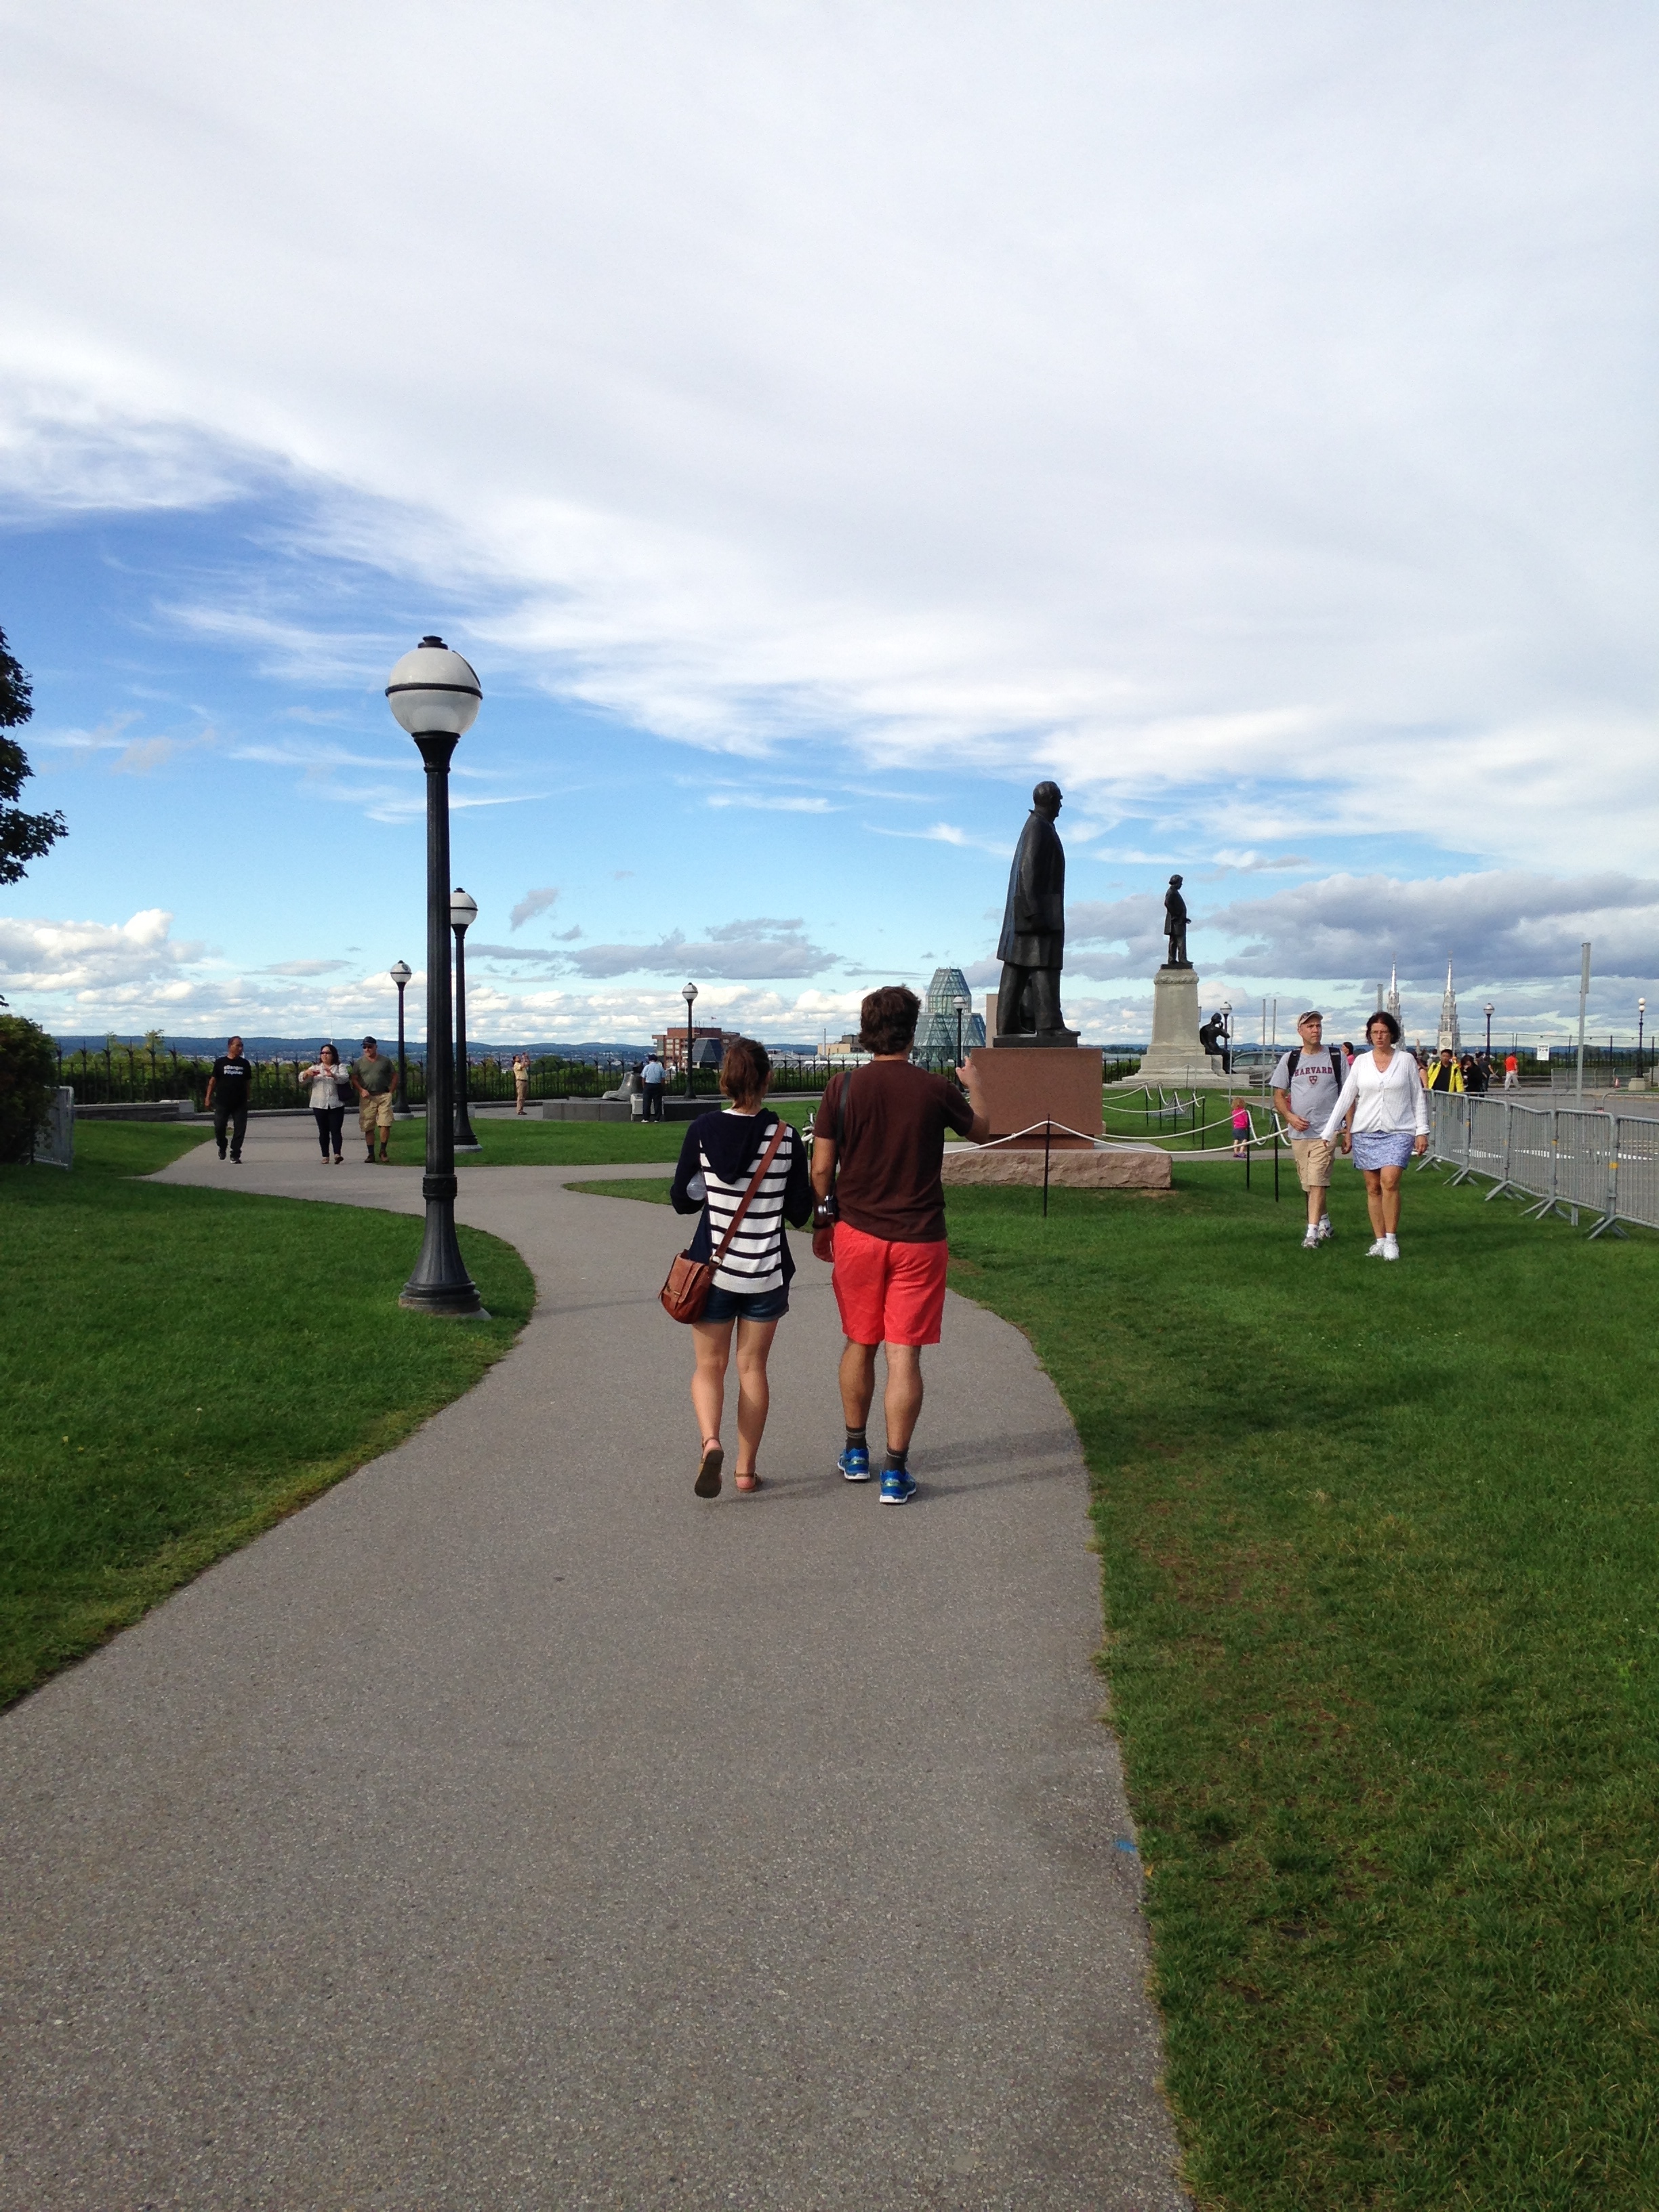
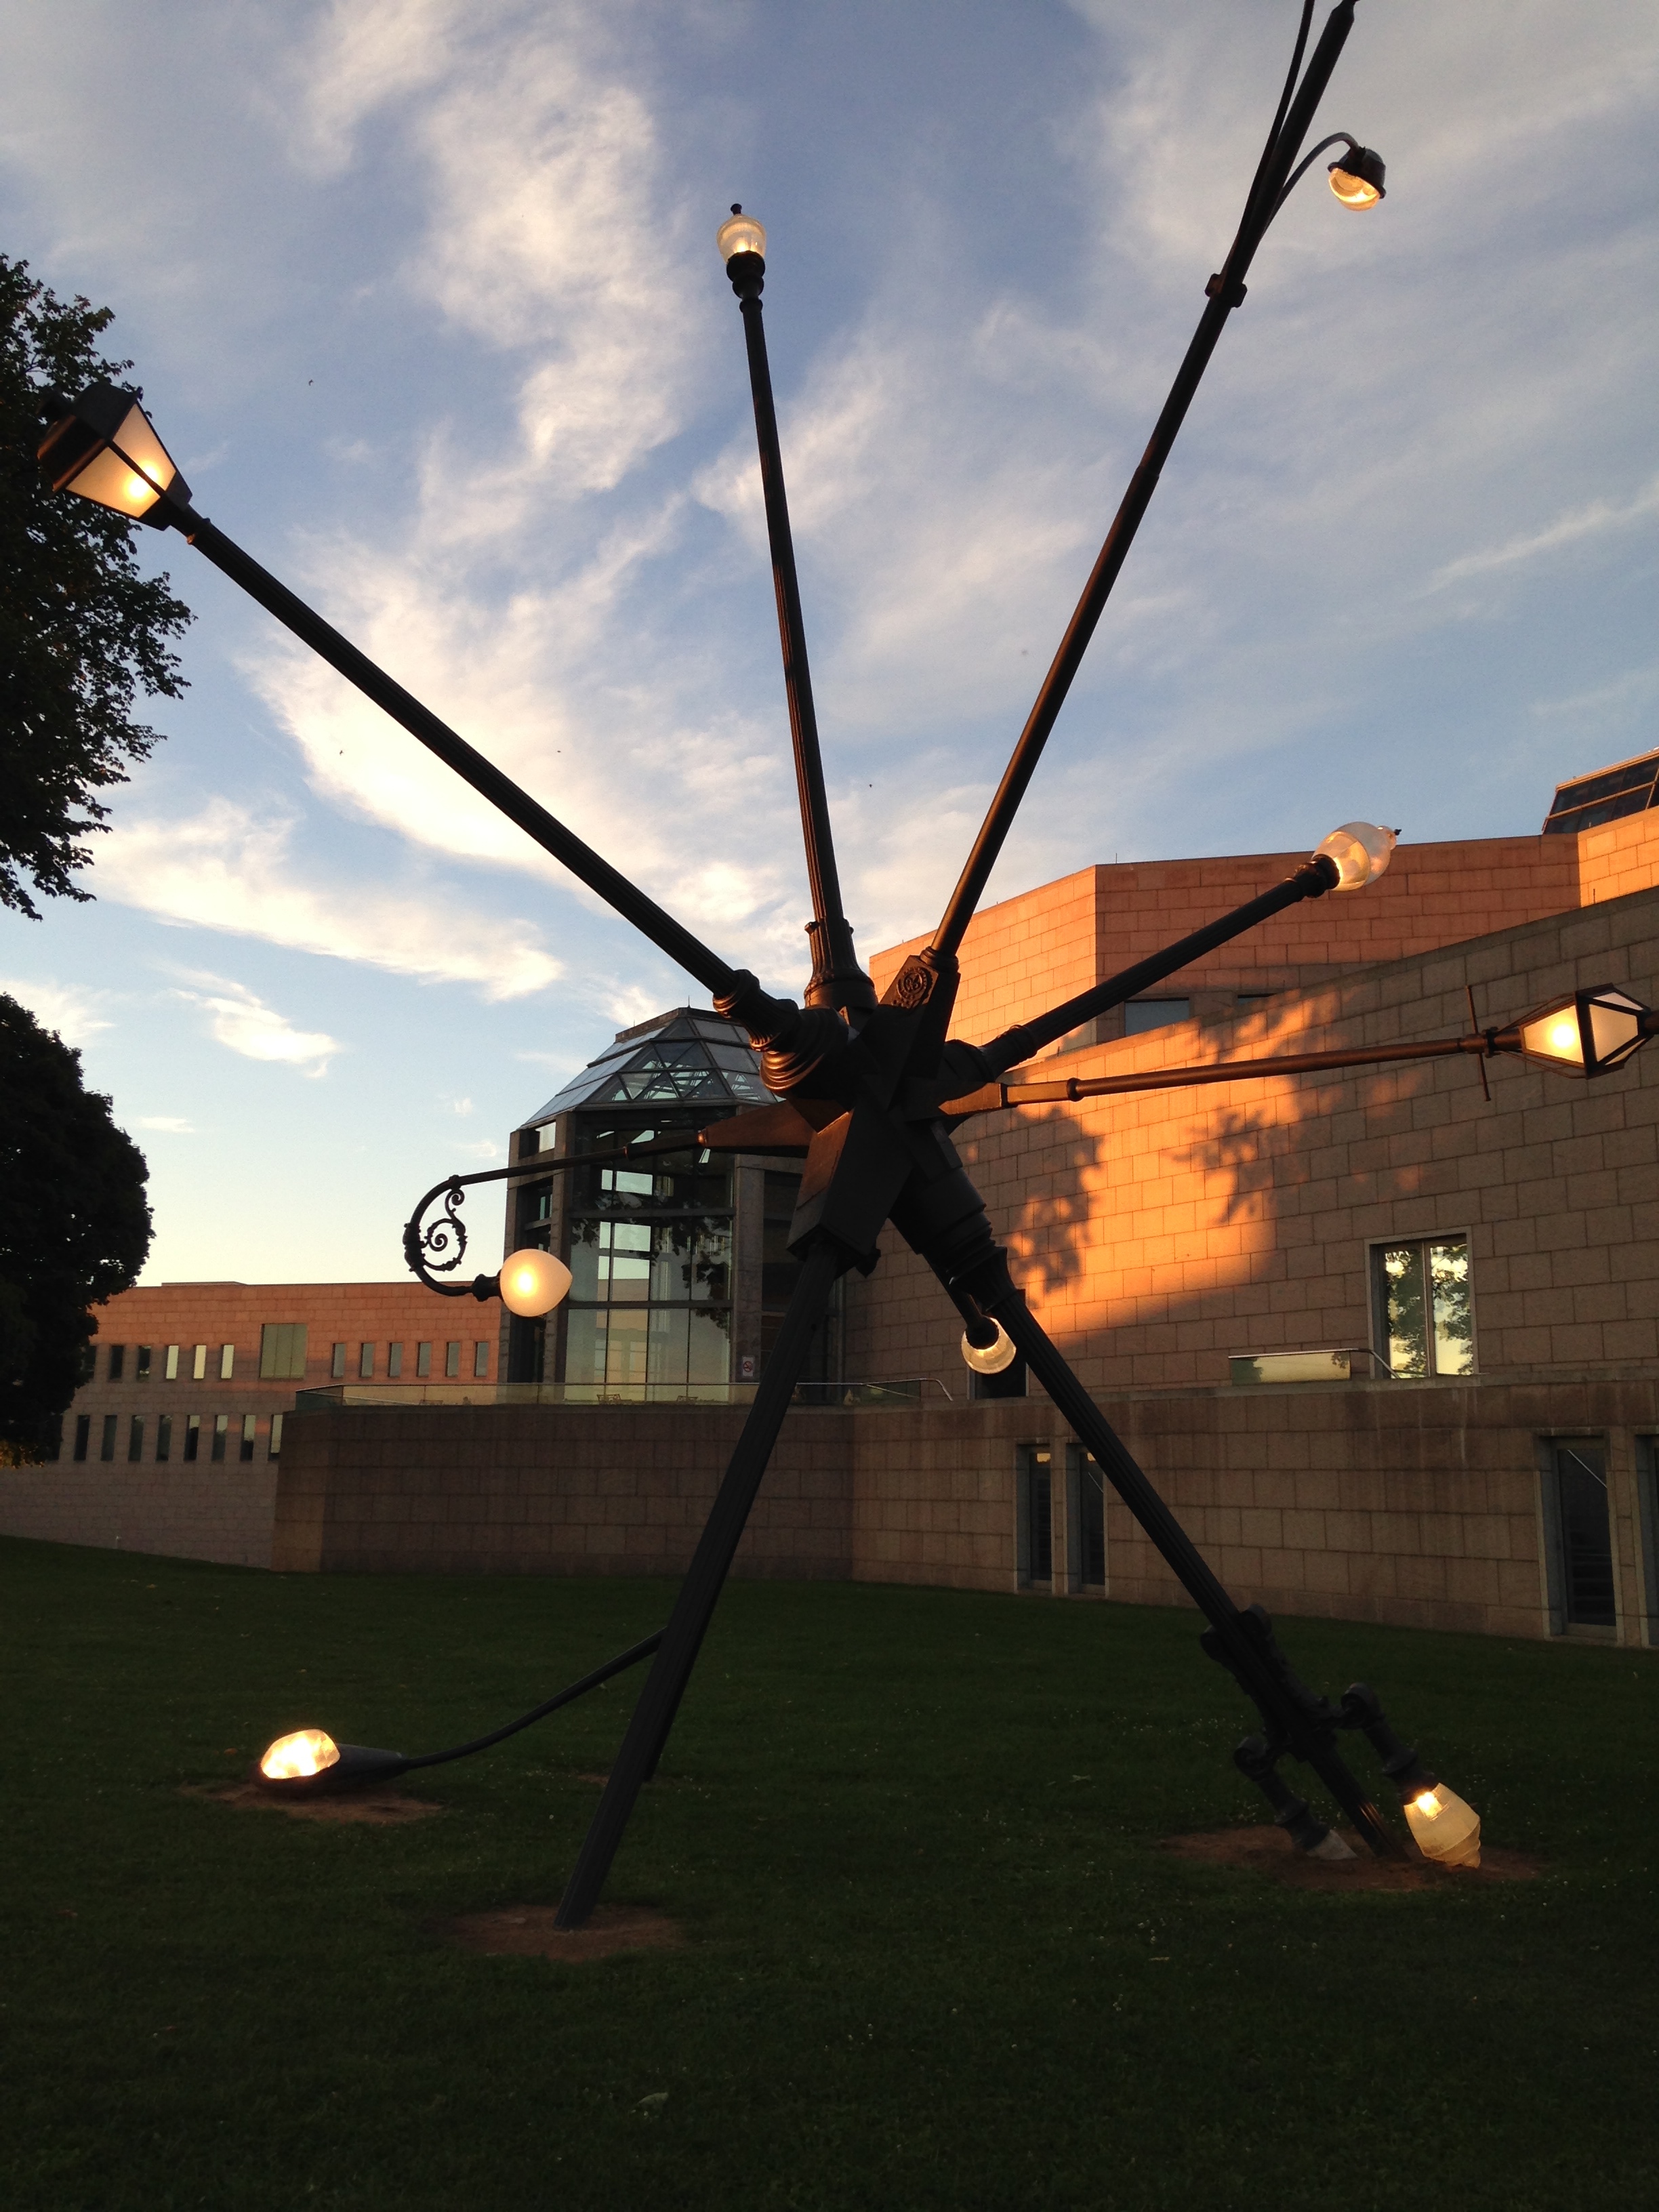
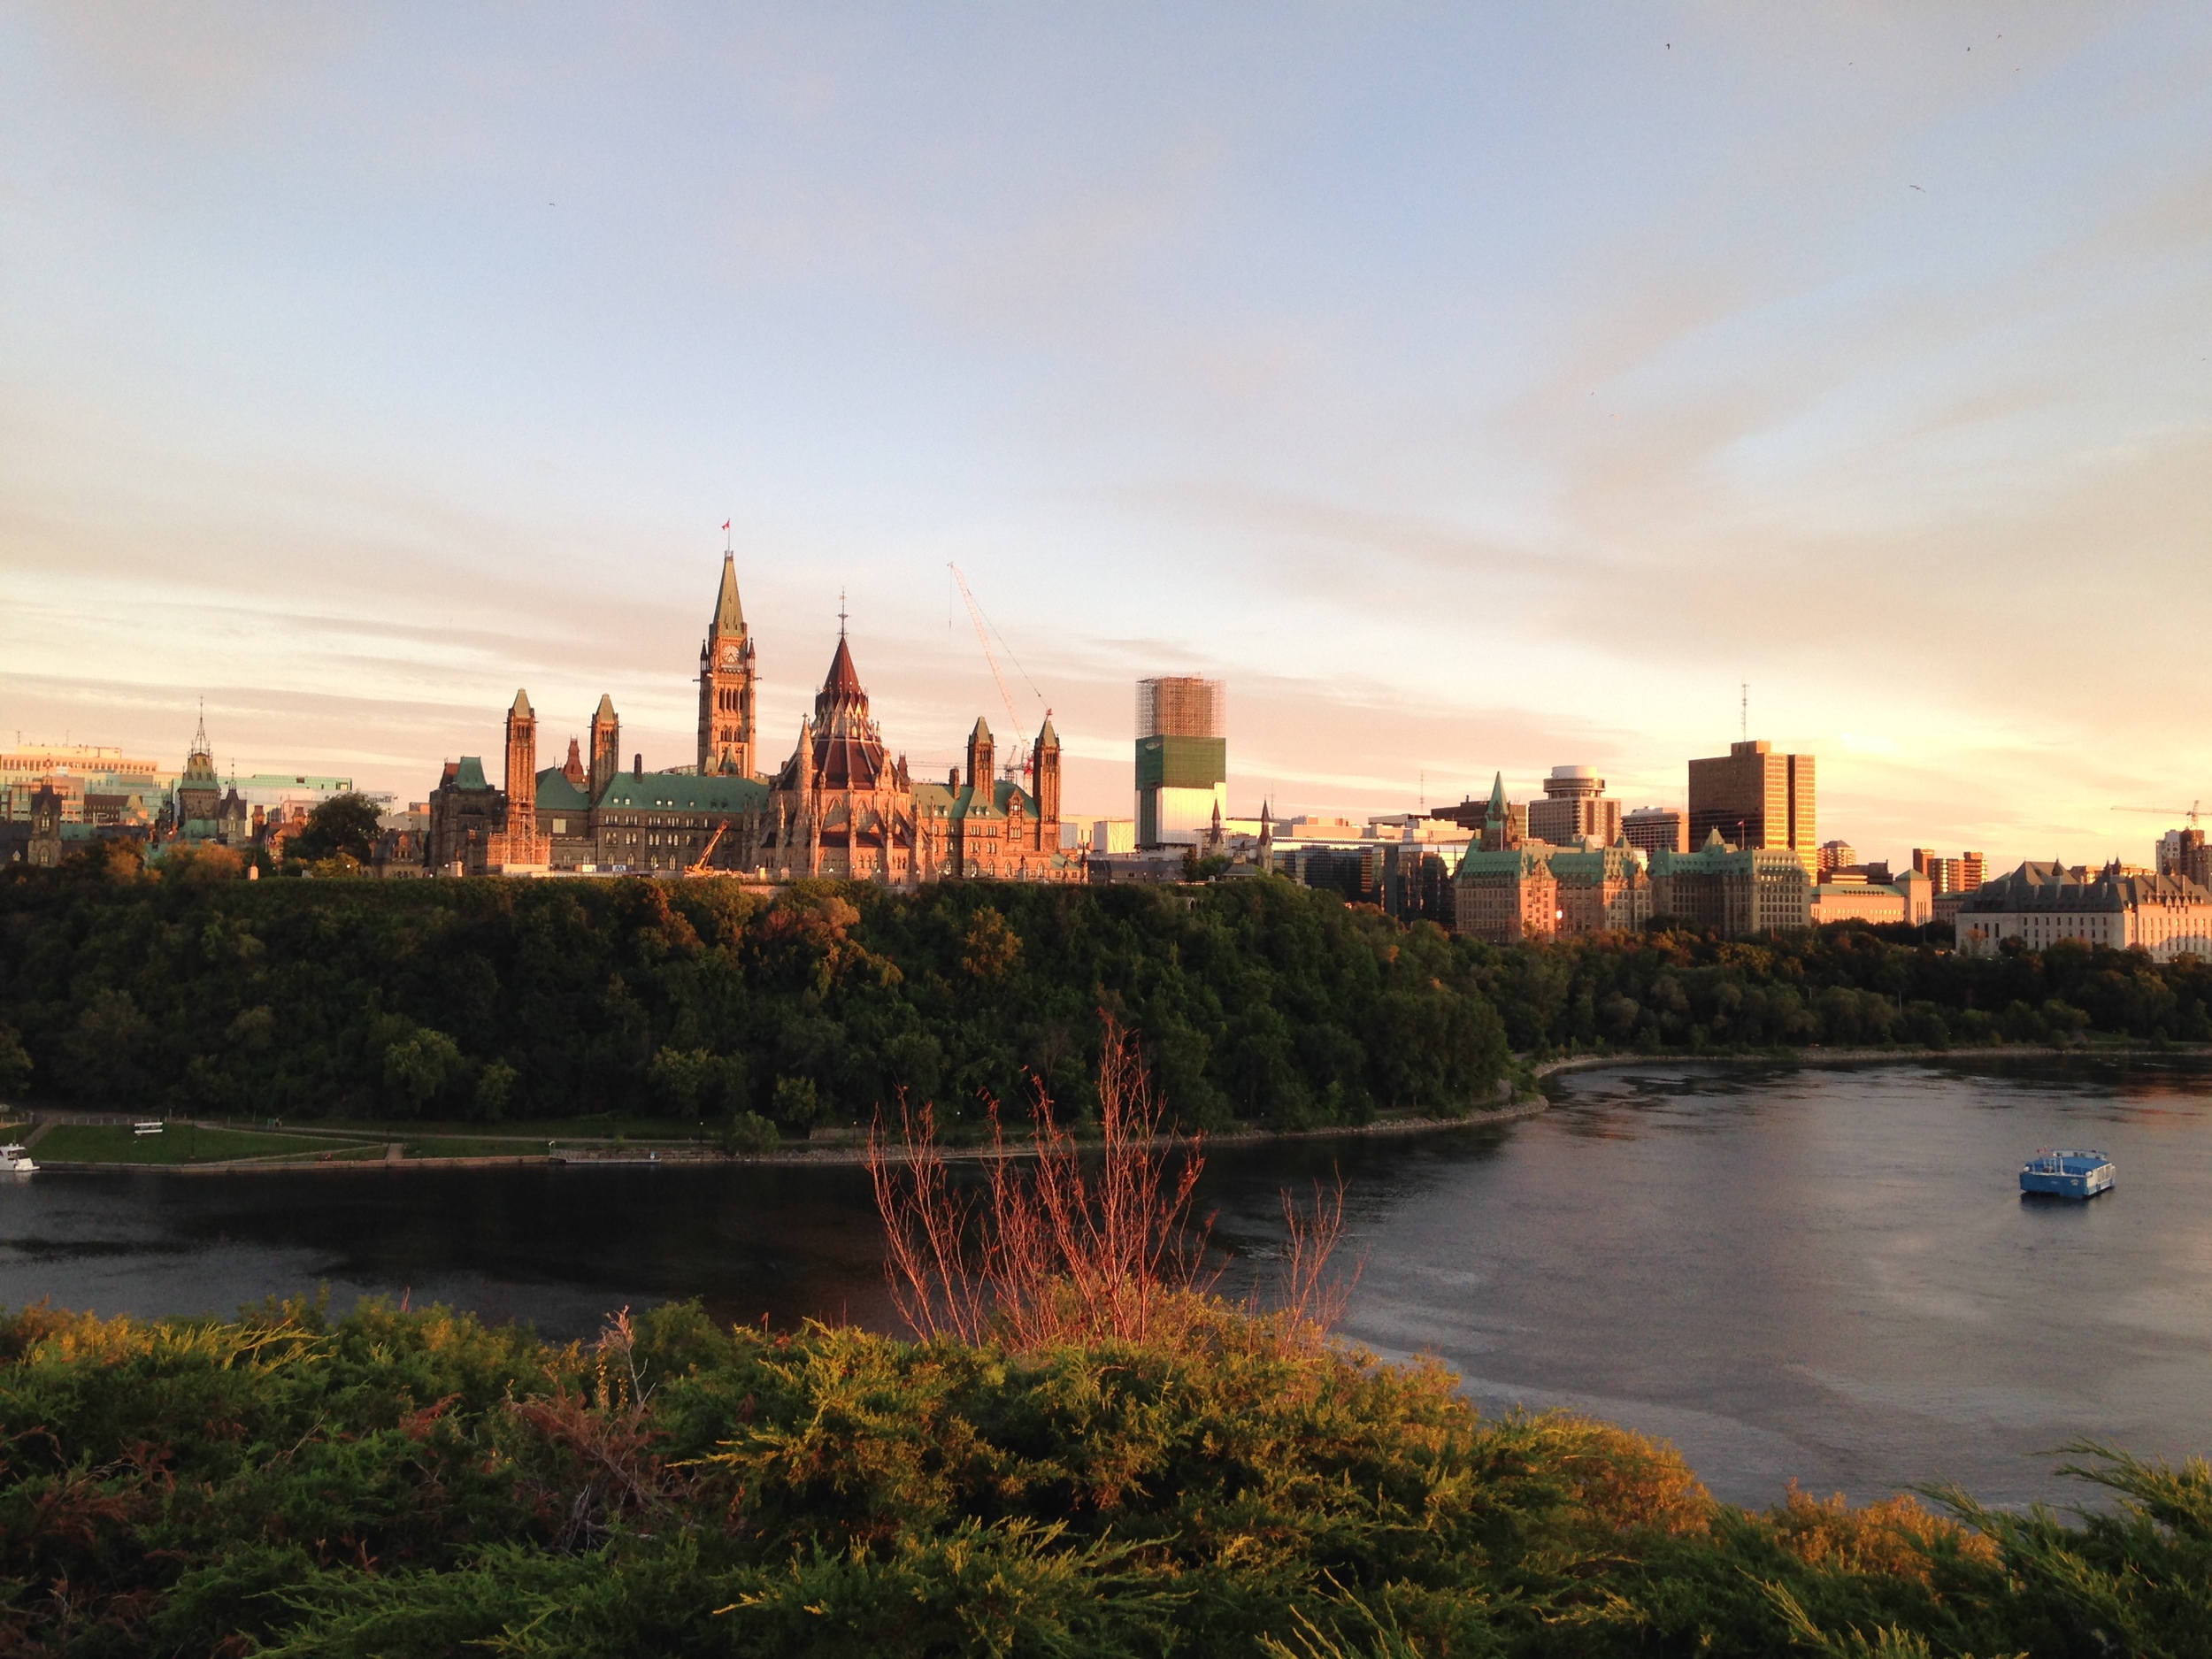
After unloading Ikea, we set off to explore Ottawa. I have been before, when I was a little kid. All I really remember was a lot of tours. So we walked along the Rideau canal, up to the locks and the entrance at the Rideau River. Then we walked to the Parliamentary grounds. After a bathroom break, we walked to see the national gallery and the de Champlain viewpoint that over looks the river into Hull, Quebec. Very Pretty.
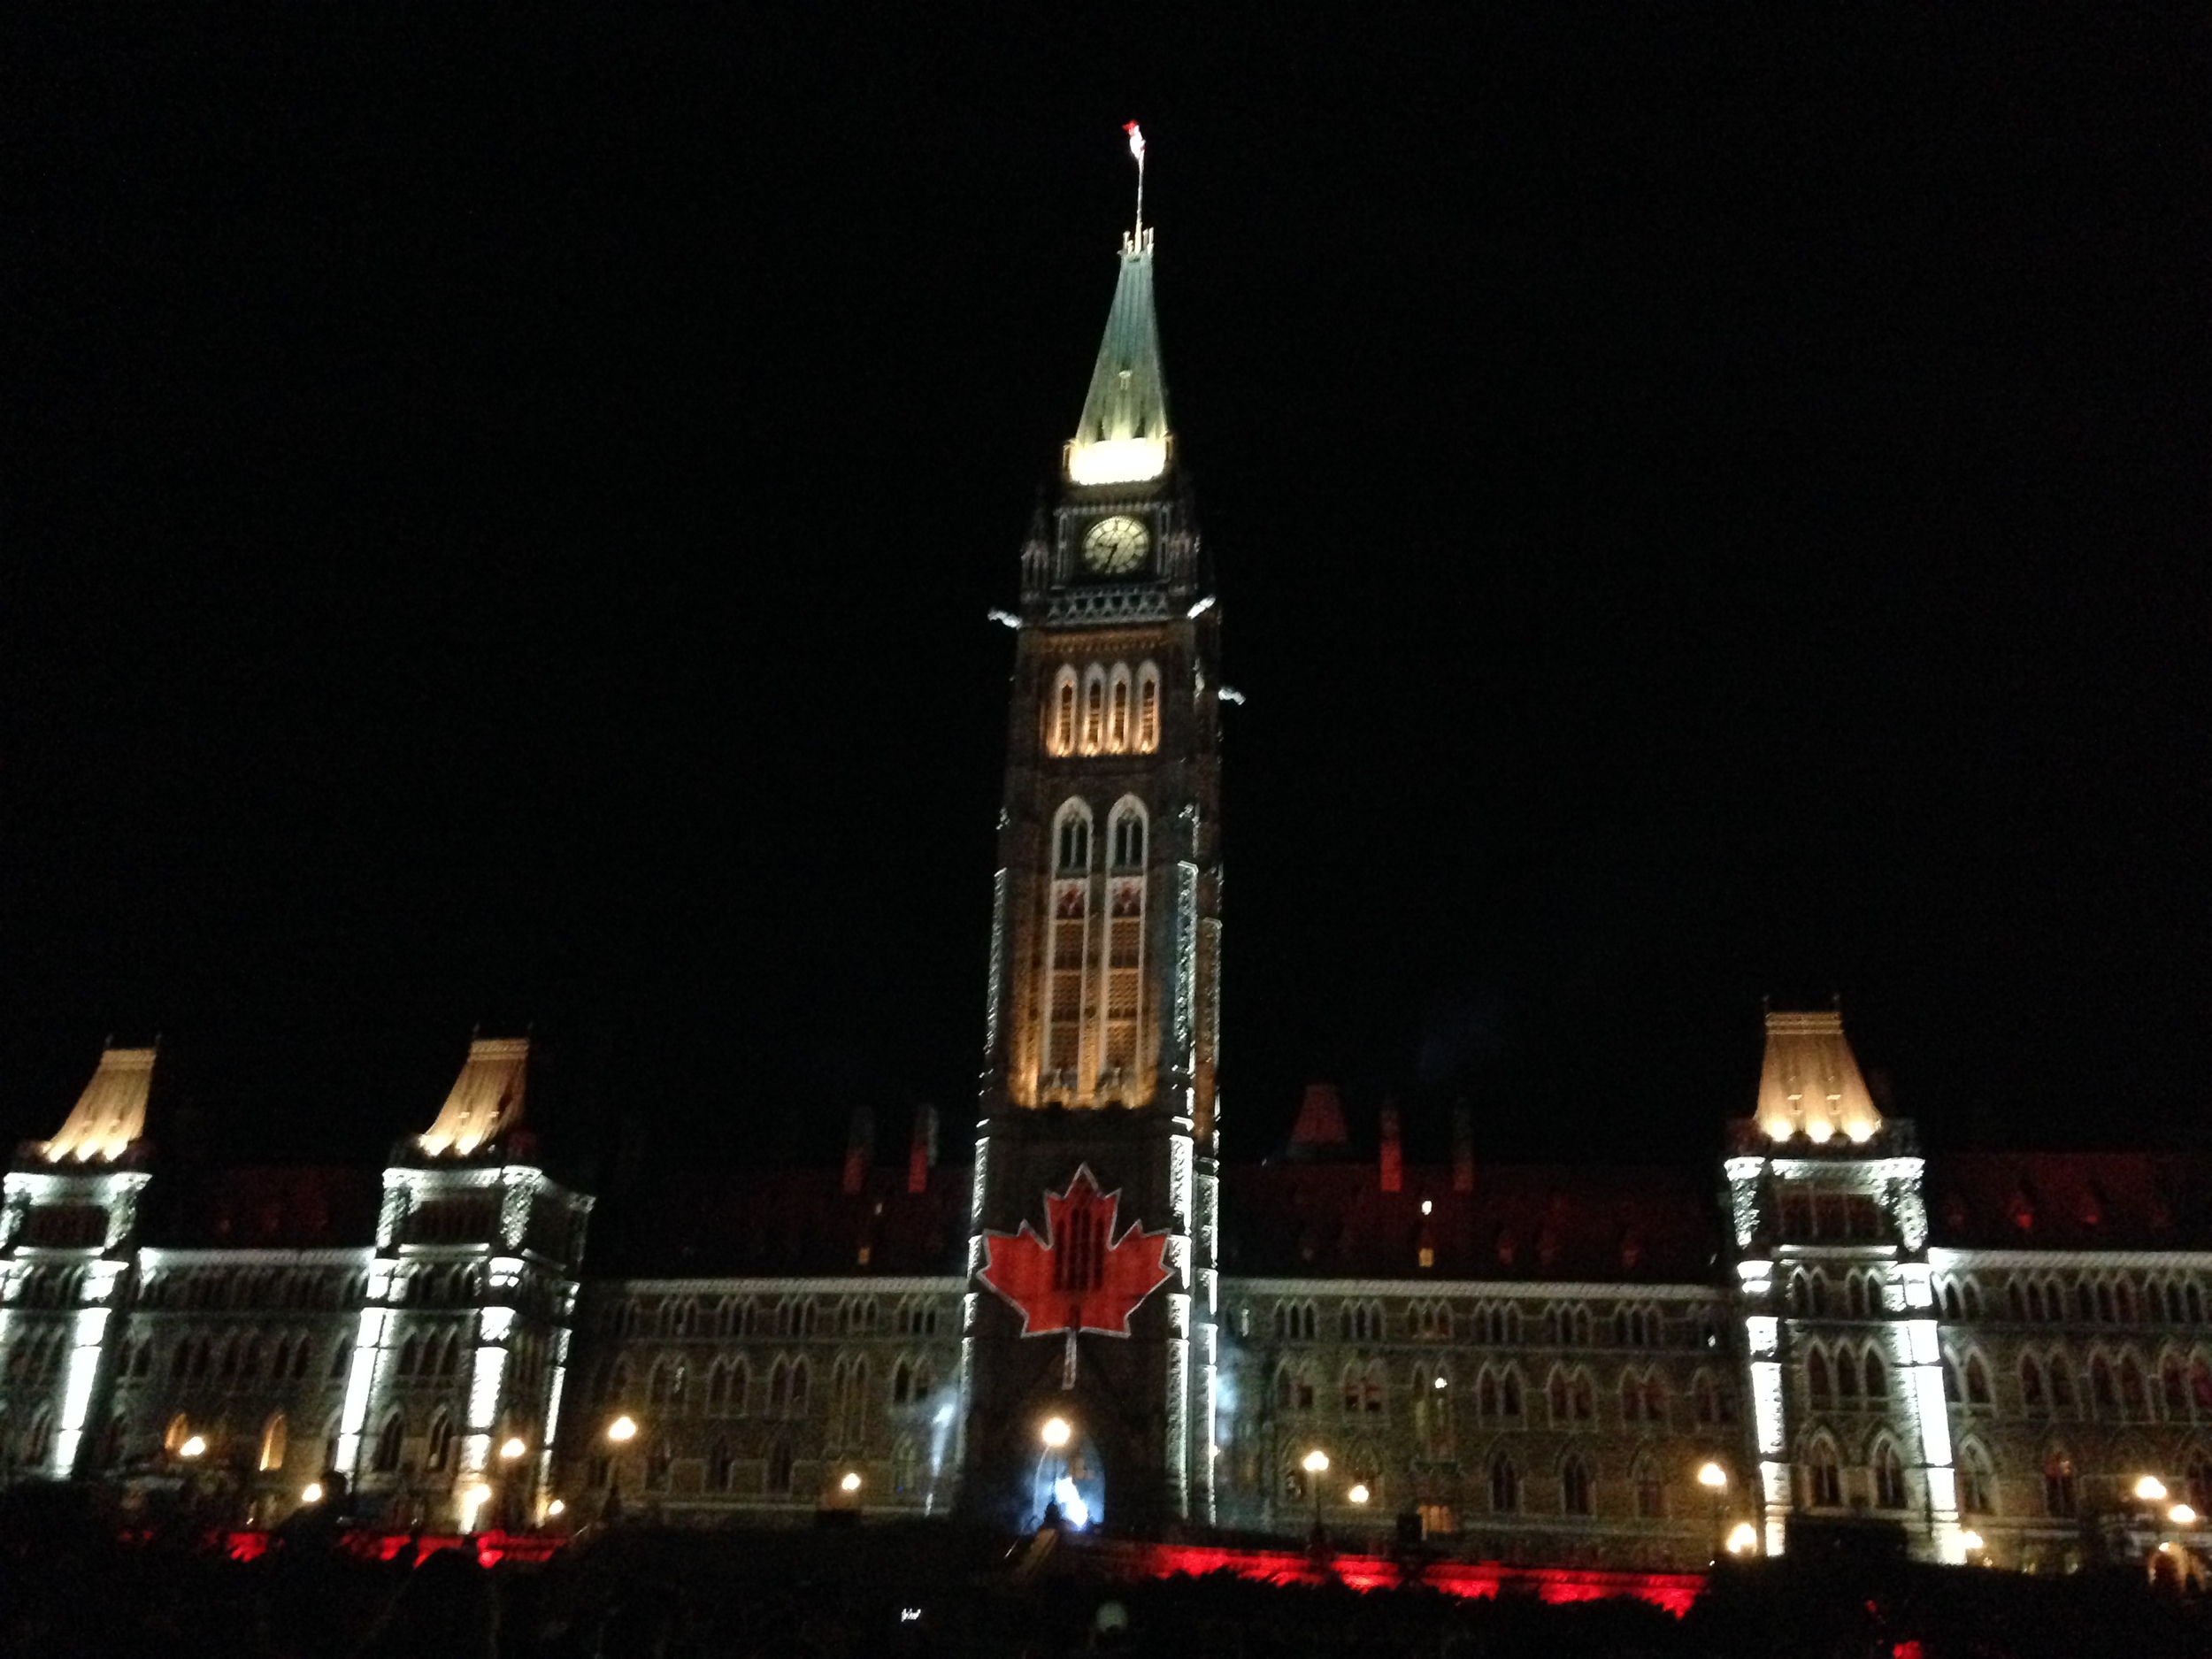
We ate dinner at a pizza place (The Grand?) at the ByWard market and then headed back to Parliament for the final showing of Mosaika, a light projection show projected onto the Parliament building. It's neat what they can do and what the eye thinks it's seeing.
Sunday morning, we walked to Carton University, down Bank Street. We were driving home Sunday so we left early afternoon so as to beat the lake traffic, which is apparently a thing here. The trip back on the 401 was a non-issue, now that I was a veteran of the road (hah). Even coming back into Toronto, the sun setting, was more relaxed.
Thanks to Manon for having us! It was a fun weekend adventure!
-Andrea
The Half-Assed Hobbyist