Winter Dance Soup

Around this time of year I get a hankering for soups and stews. Nice cold weather foods! The trouble is that winter in Toronto is... well... from an Alberta perspective, frankly disappointing. For weeks, there was not only no snow but the grass was still frostily green. The temperature stayed around 10 degrees during the day and I felt like buying industrial winter boots last year was probably a huge waste of money. 

So, to cheer myself up, I decided to make an old favourite of mine, Squash Soup. I first made this soup the very first time I had the BF over for dinner. 

Squash Soup

Olive oil

1 large white onion, chopped
4-5 stalks celery, chopped
1 lb carrots, peeled and chopped (I usually use leftover baby carrots)
2 tsp garlic, minced (I just buy the pre-minced stuff in a jar)
1 large butternut OR 2 acorn squash (~2lbs), peeled and chopped
½ cup orange juice
2 tsp cumin

Water
Salt to taste

  1.  In a large pot, heat about 2 TBSP oil over medium heat.
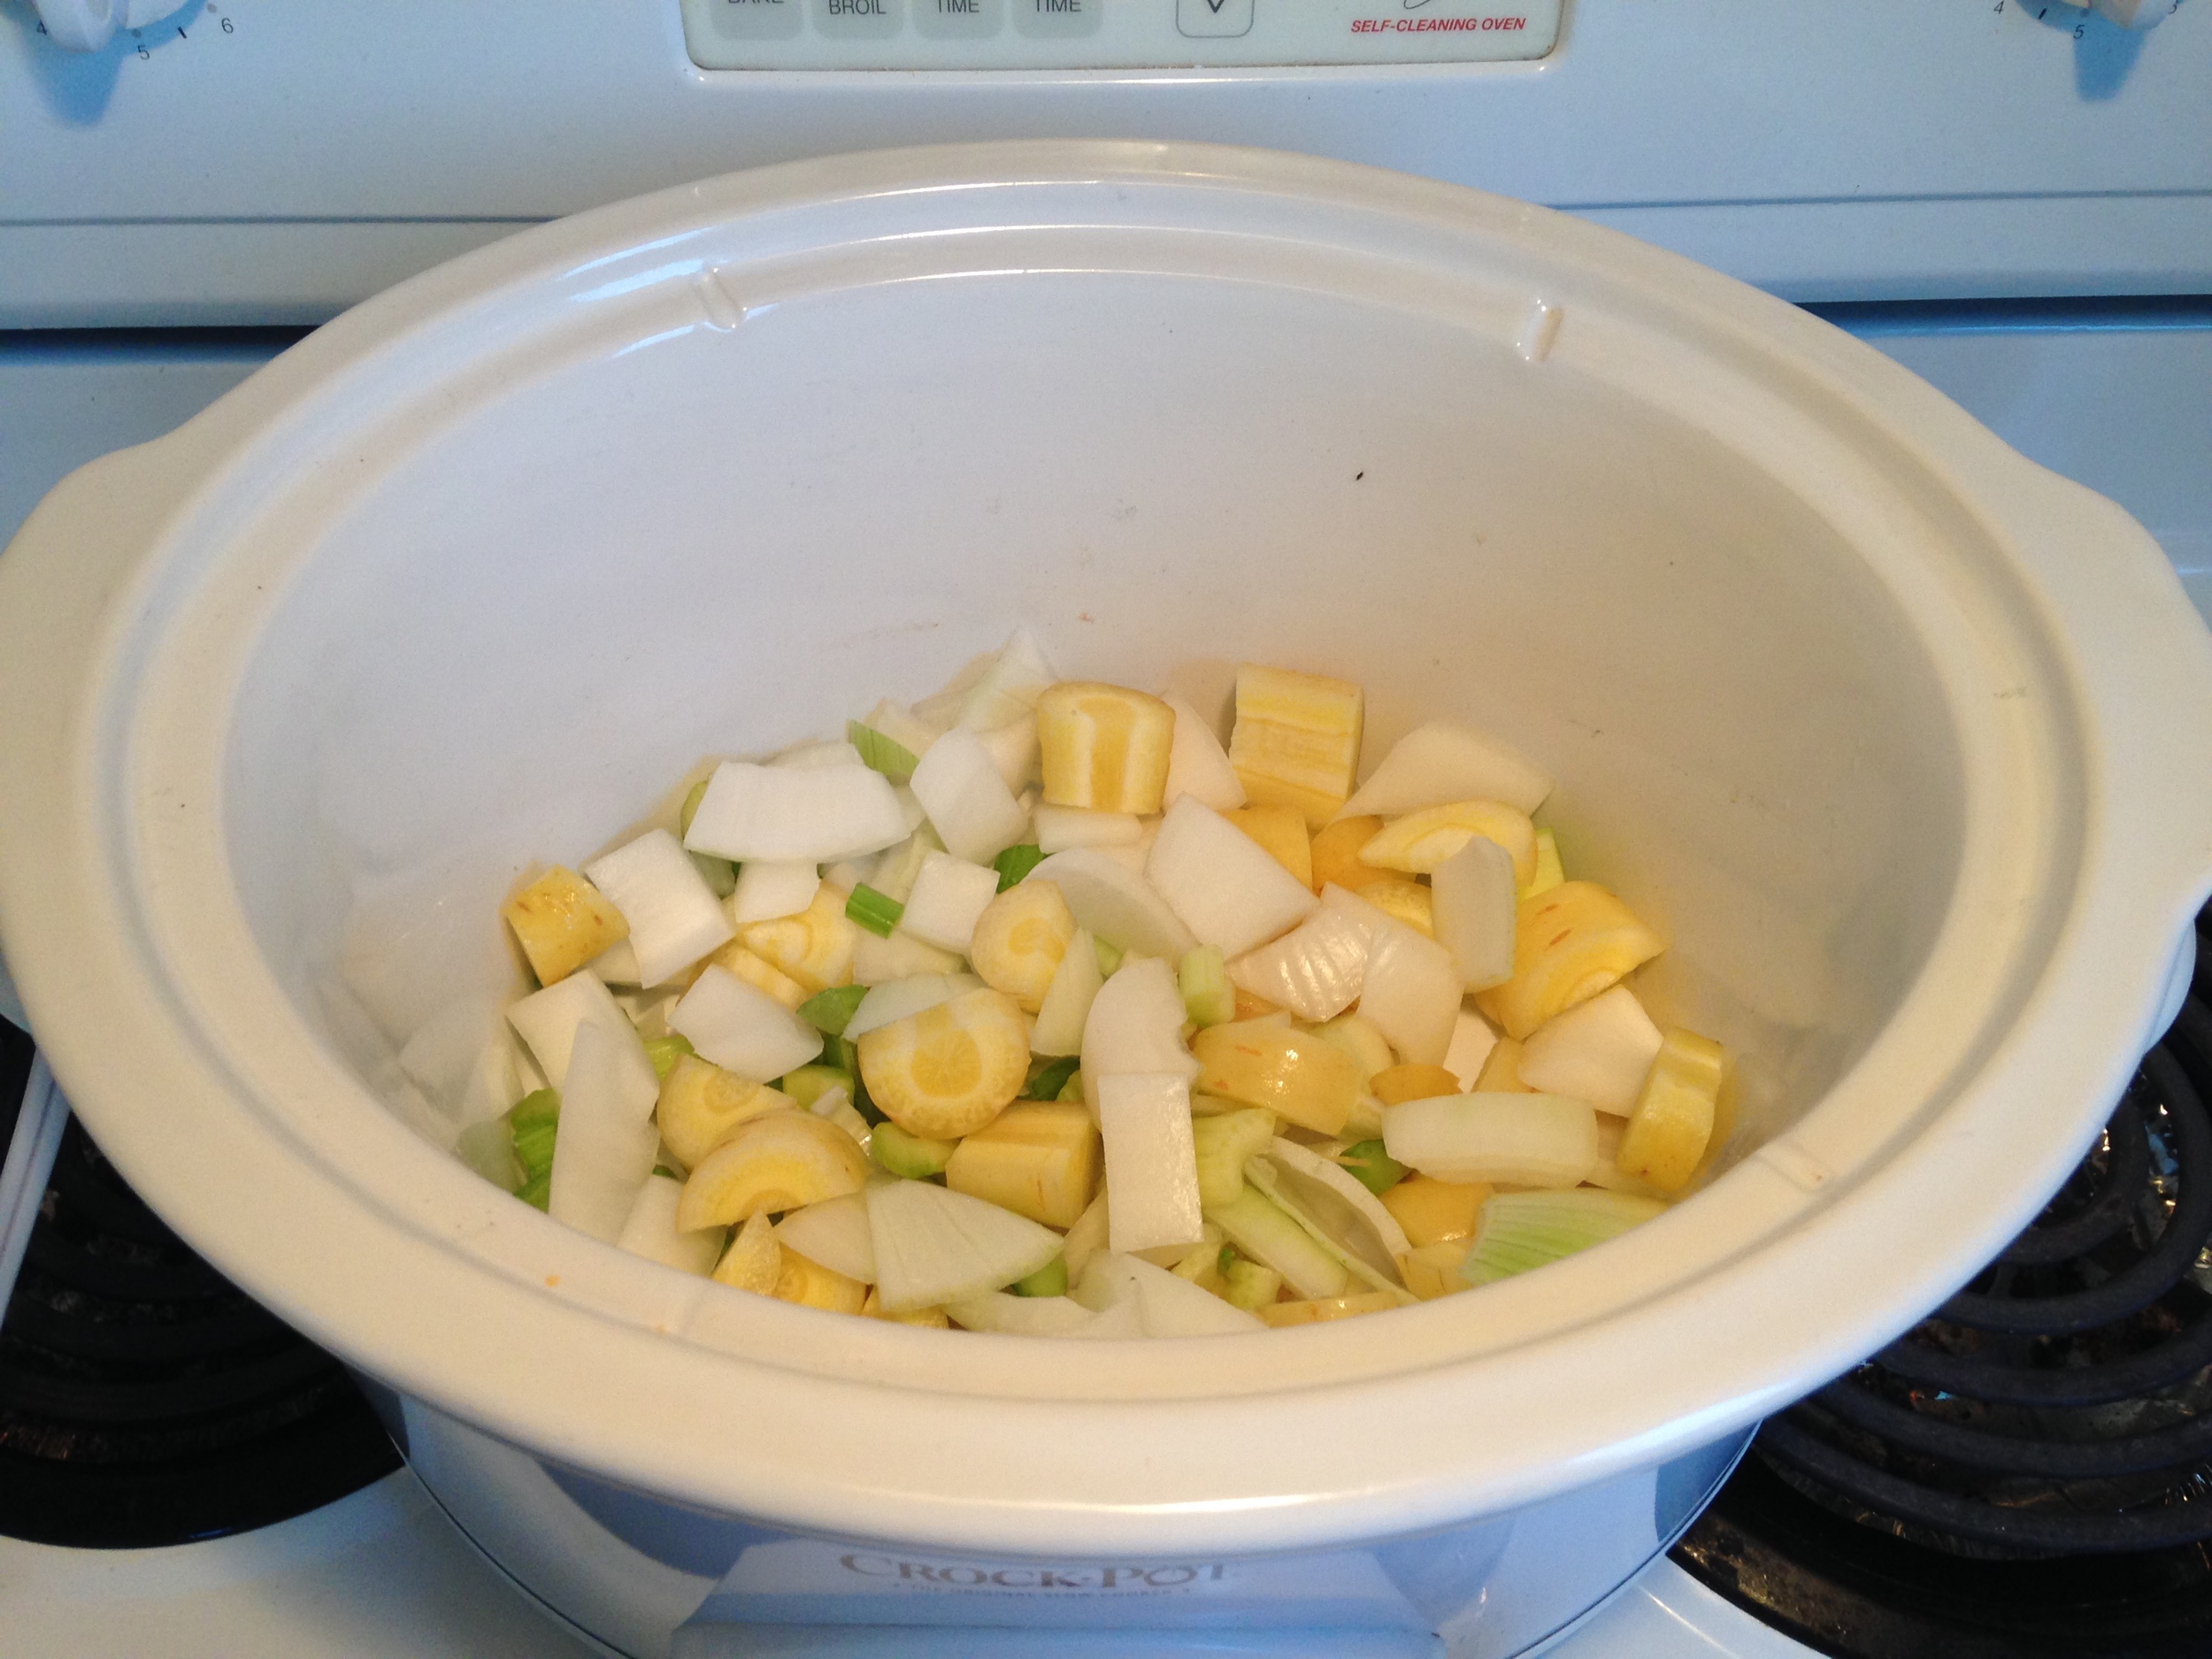
  2.  Add onion, celery and carrots. Cook until onions are clear. (~10 minutes)
  3. Add garlic and continue cooking for another 2 minutes. 
  4. Add remain ingredients (squash through cumin). Stir together. 
  5. Add enough water to just cover all the vegetables. (You can add stock to this instead, if you want, but I think it’s flavorful enough without.) 
  6. Bring to a boil. Reduce to a simmer, cover, and cook for 30 – 40 minutes or until the carrots and squash are soft. 
  7. Using either an emersion blender or ladling out the soup into a regular blender, batch by batch, puree the soup. 
  8. (If using the regular blender, pour your pureed soup back into your pot.) Add water to thin your soup if necessary. Bring soup back up to a simmer. Add salt to taste. 
  9. Serve with green onion and pepper. Serves 6. 

And, as if the weather gods heard by prayers, it mega snowed today! Yay! Real winter!

Cheers and Happy Snow Day!

-Andrea

The Half-Assed Hobbyist

Orchid Roots look like an Ood's Moustache

Well someone had to say it. 

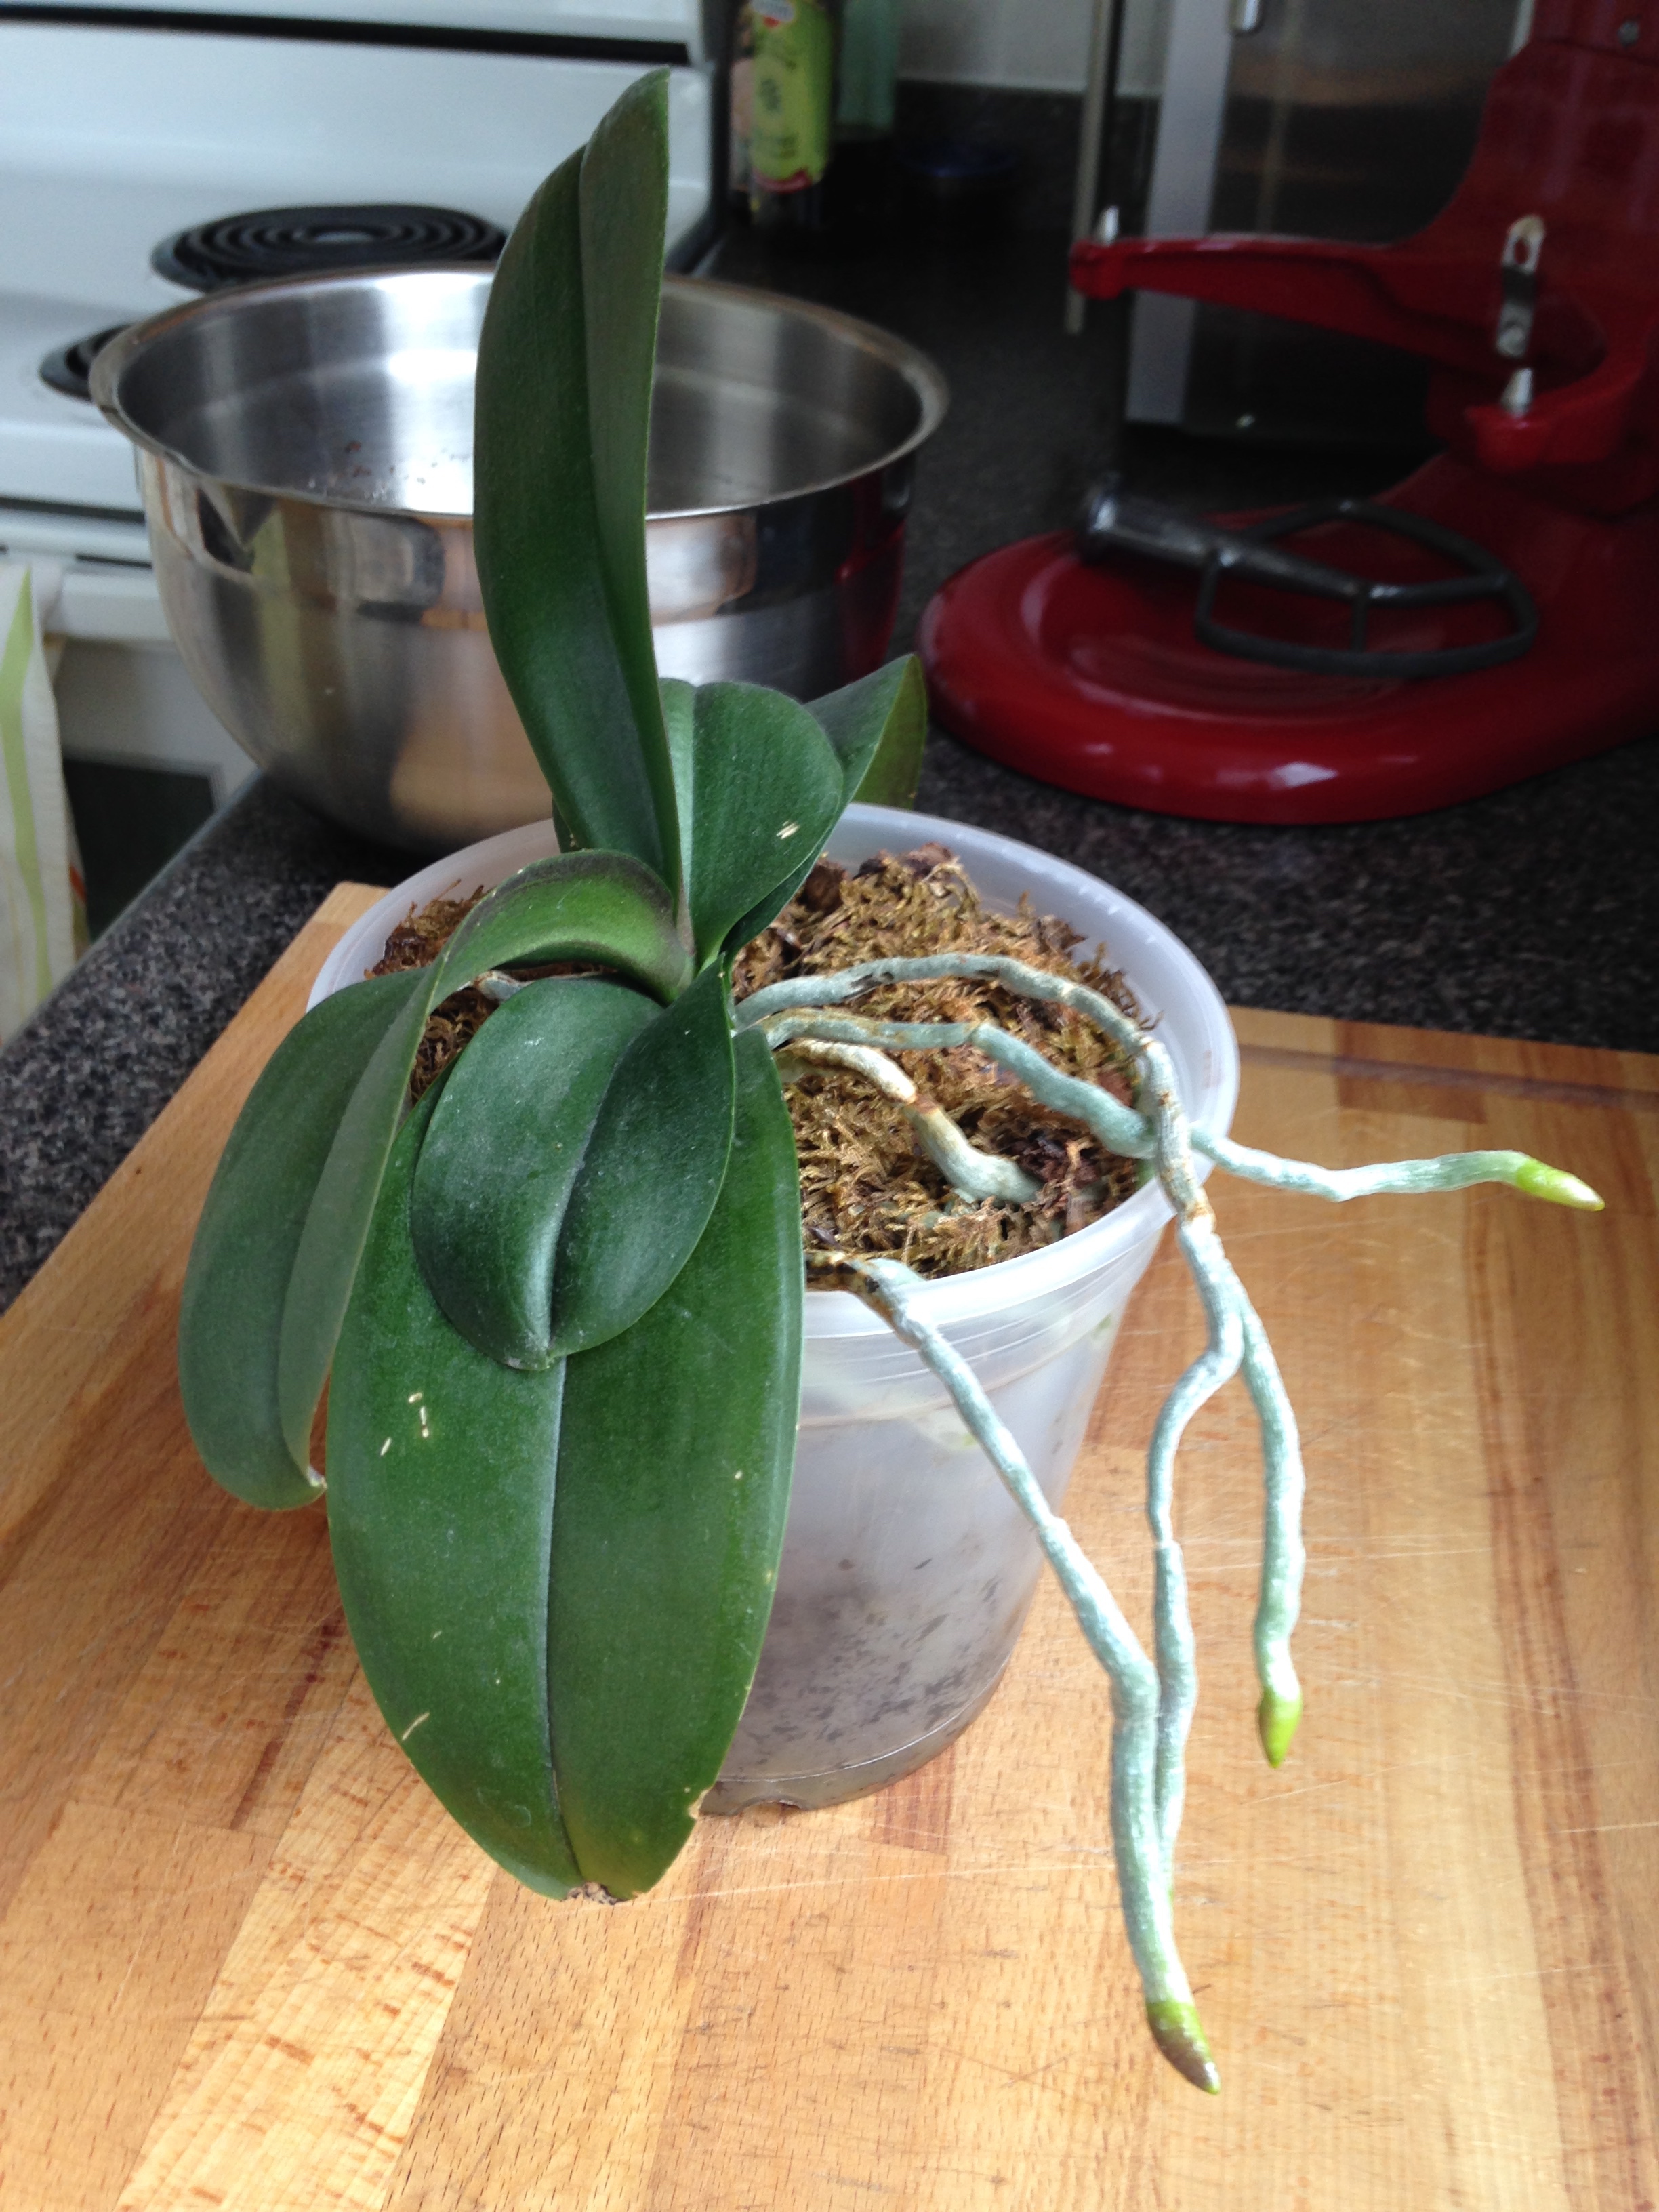
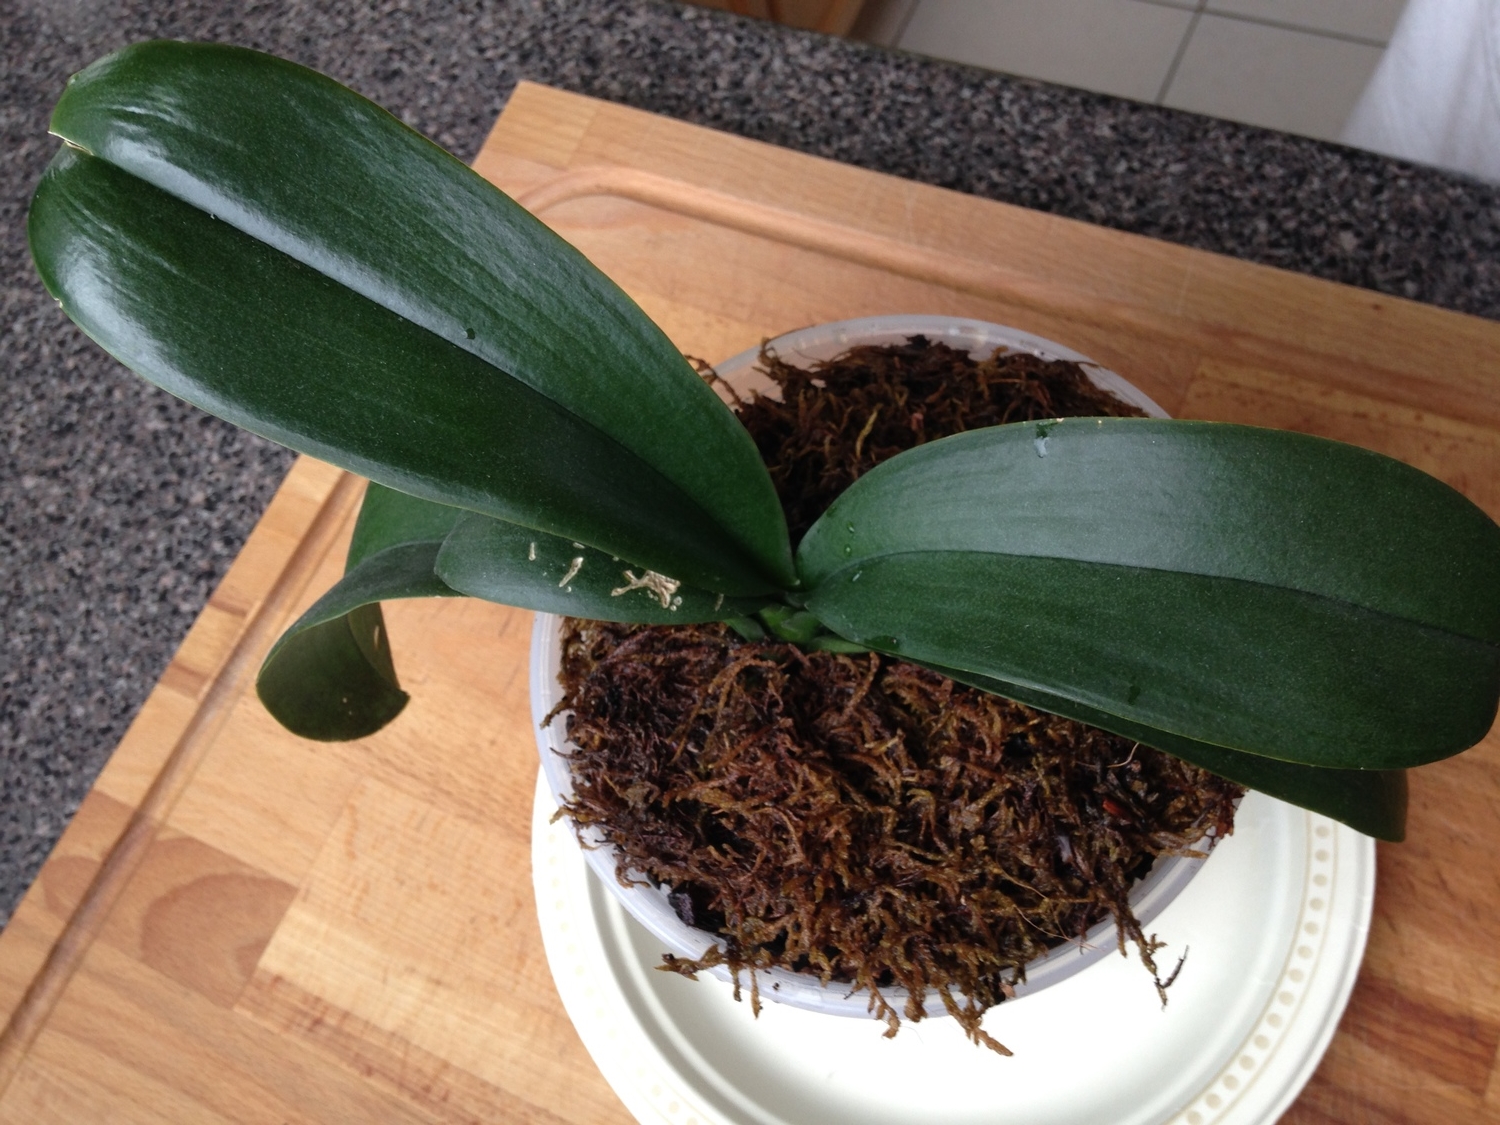
I recently repotted my orchid (for the second time) and, frankly, the roots look like an Ood's moustache. (Doctor Who Reference. Check). That being said, I hope that Ood's actual moustaches are made of much more hardy stuff.

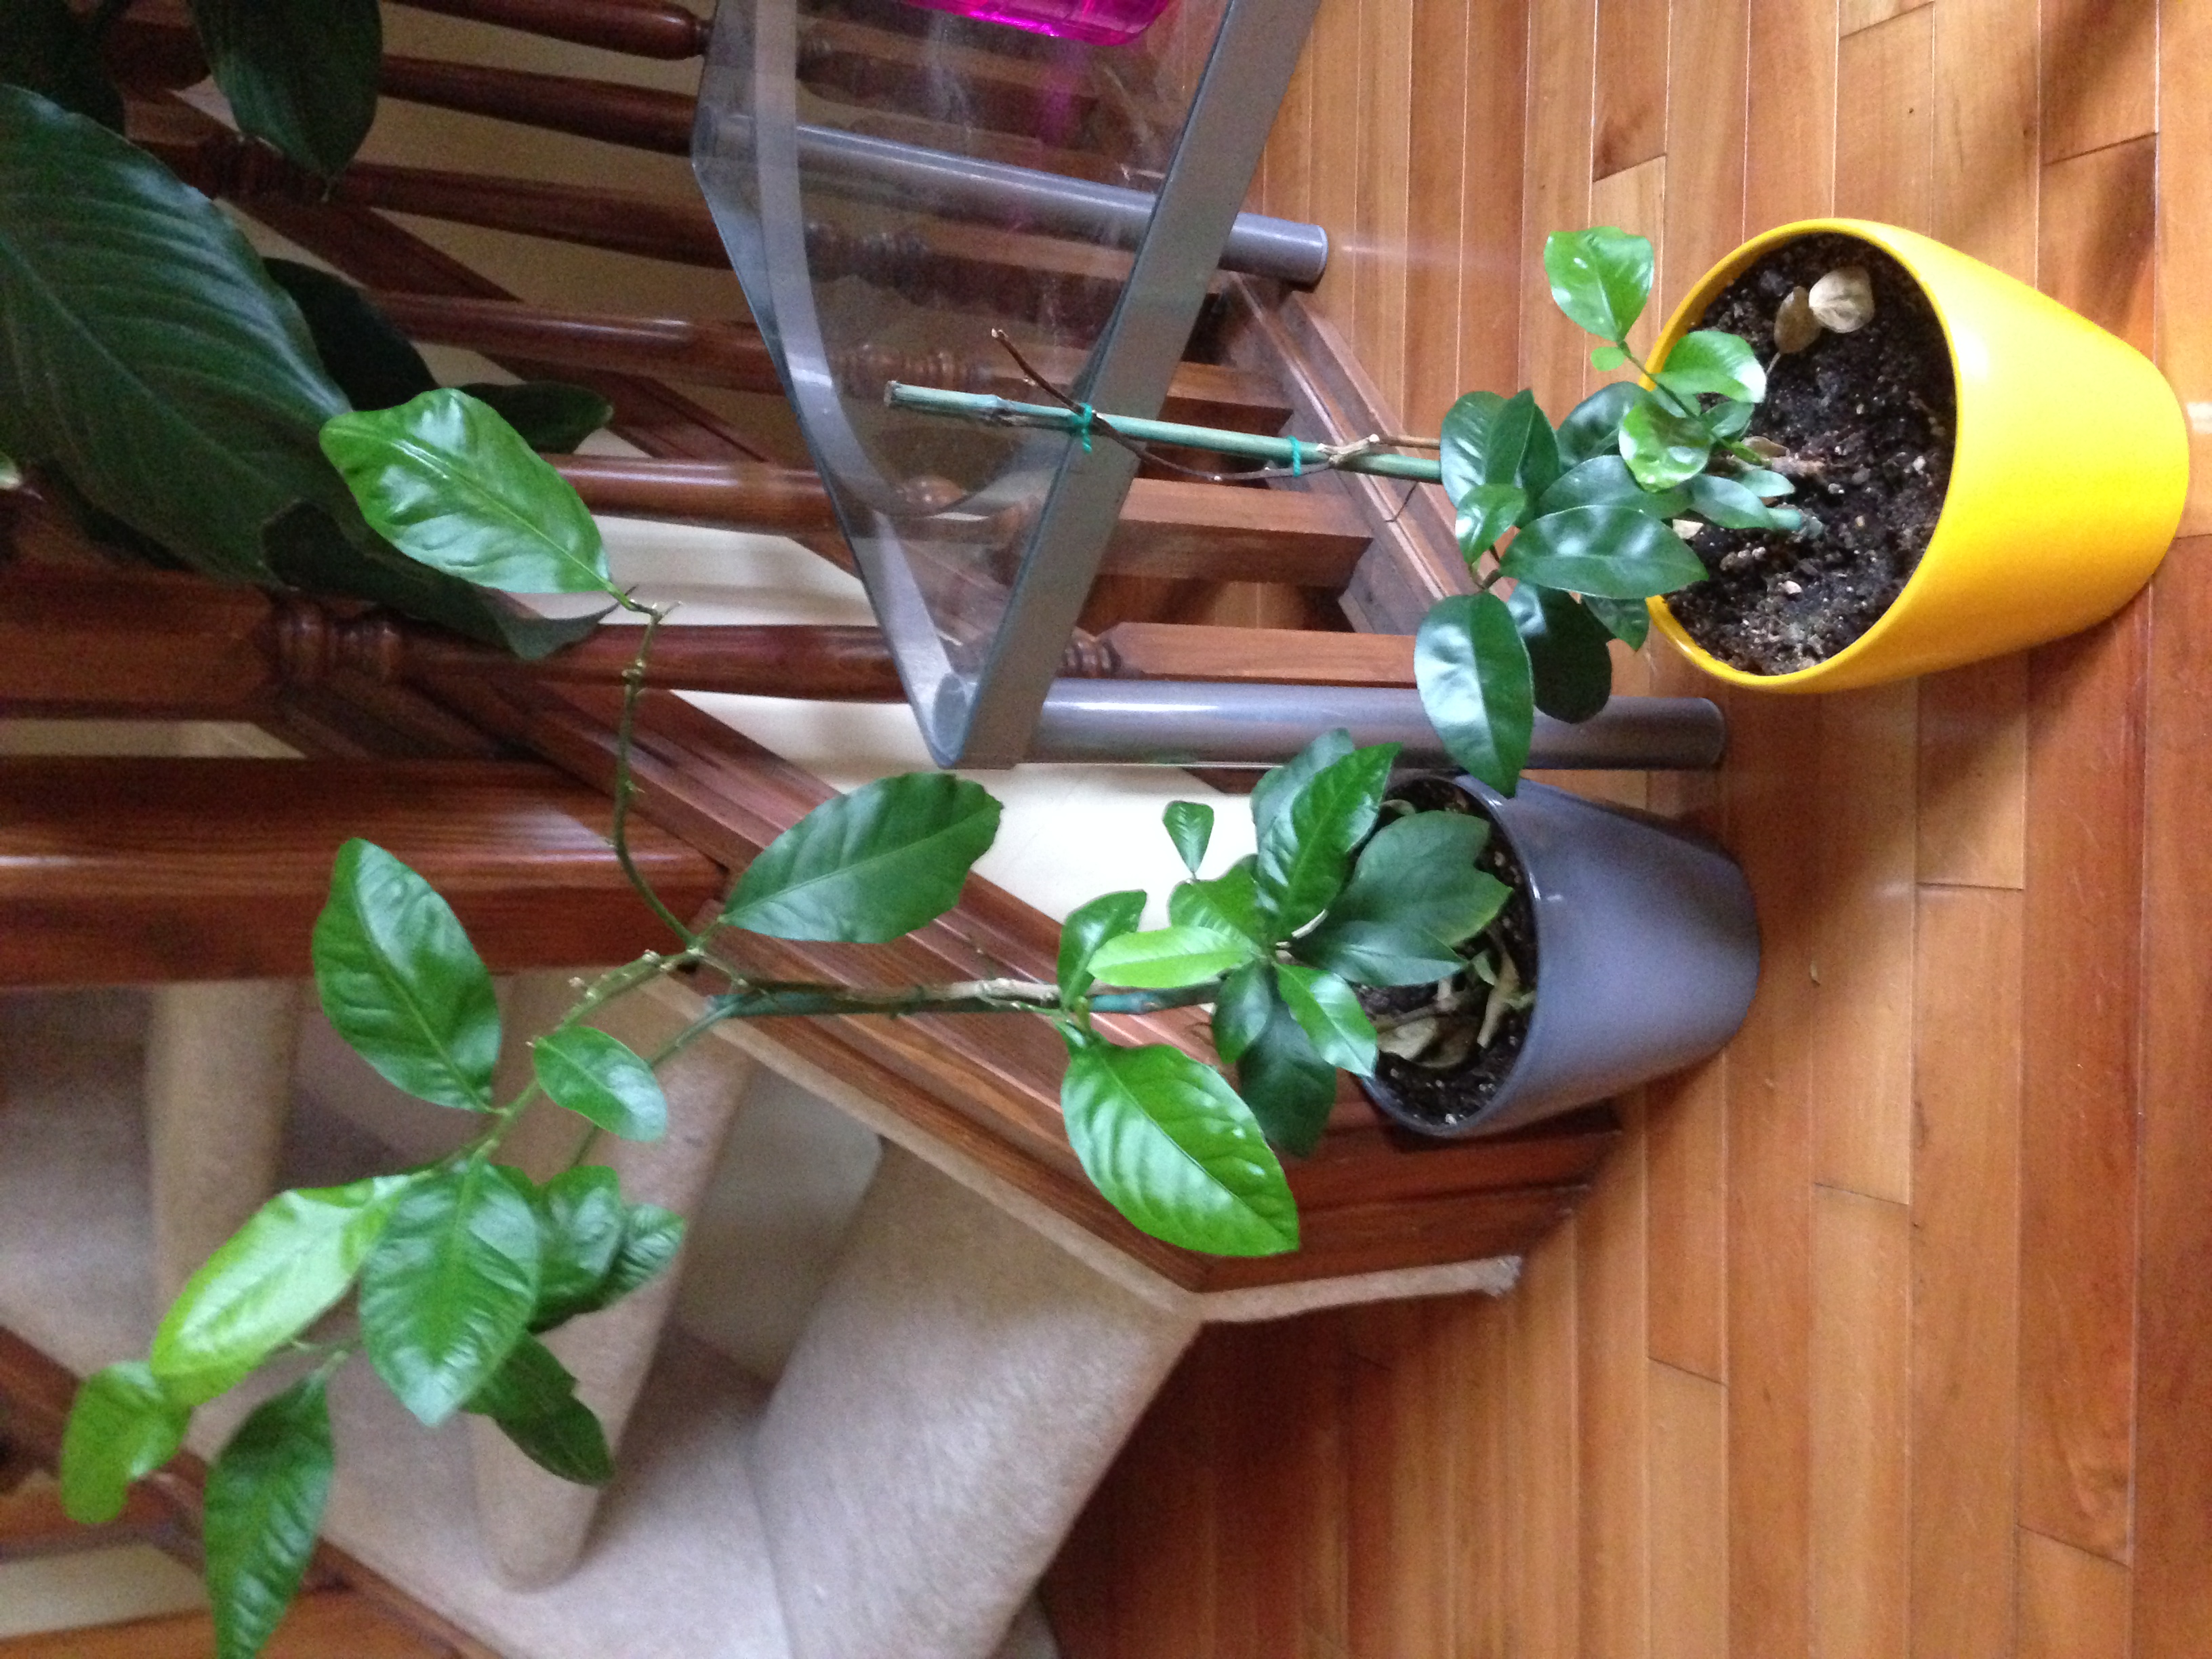
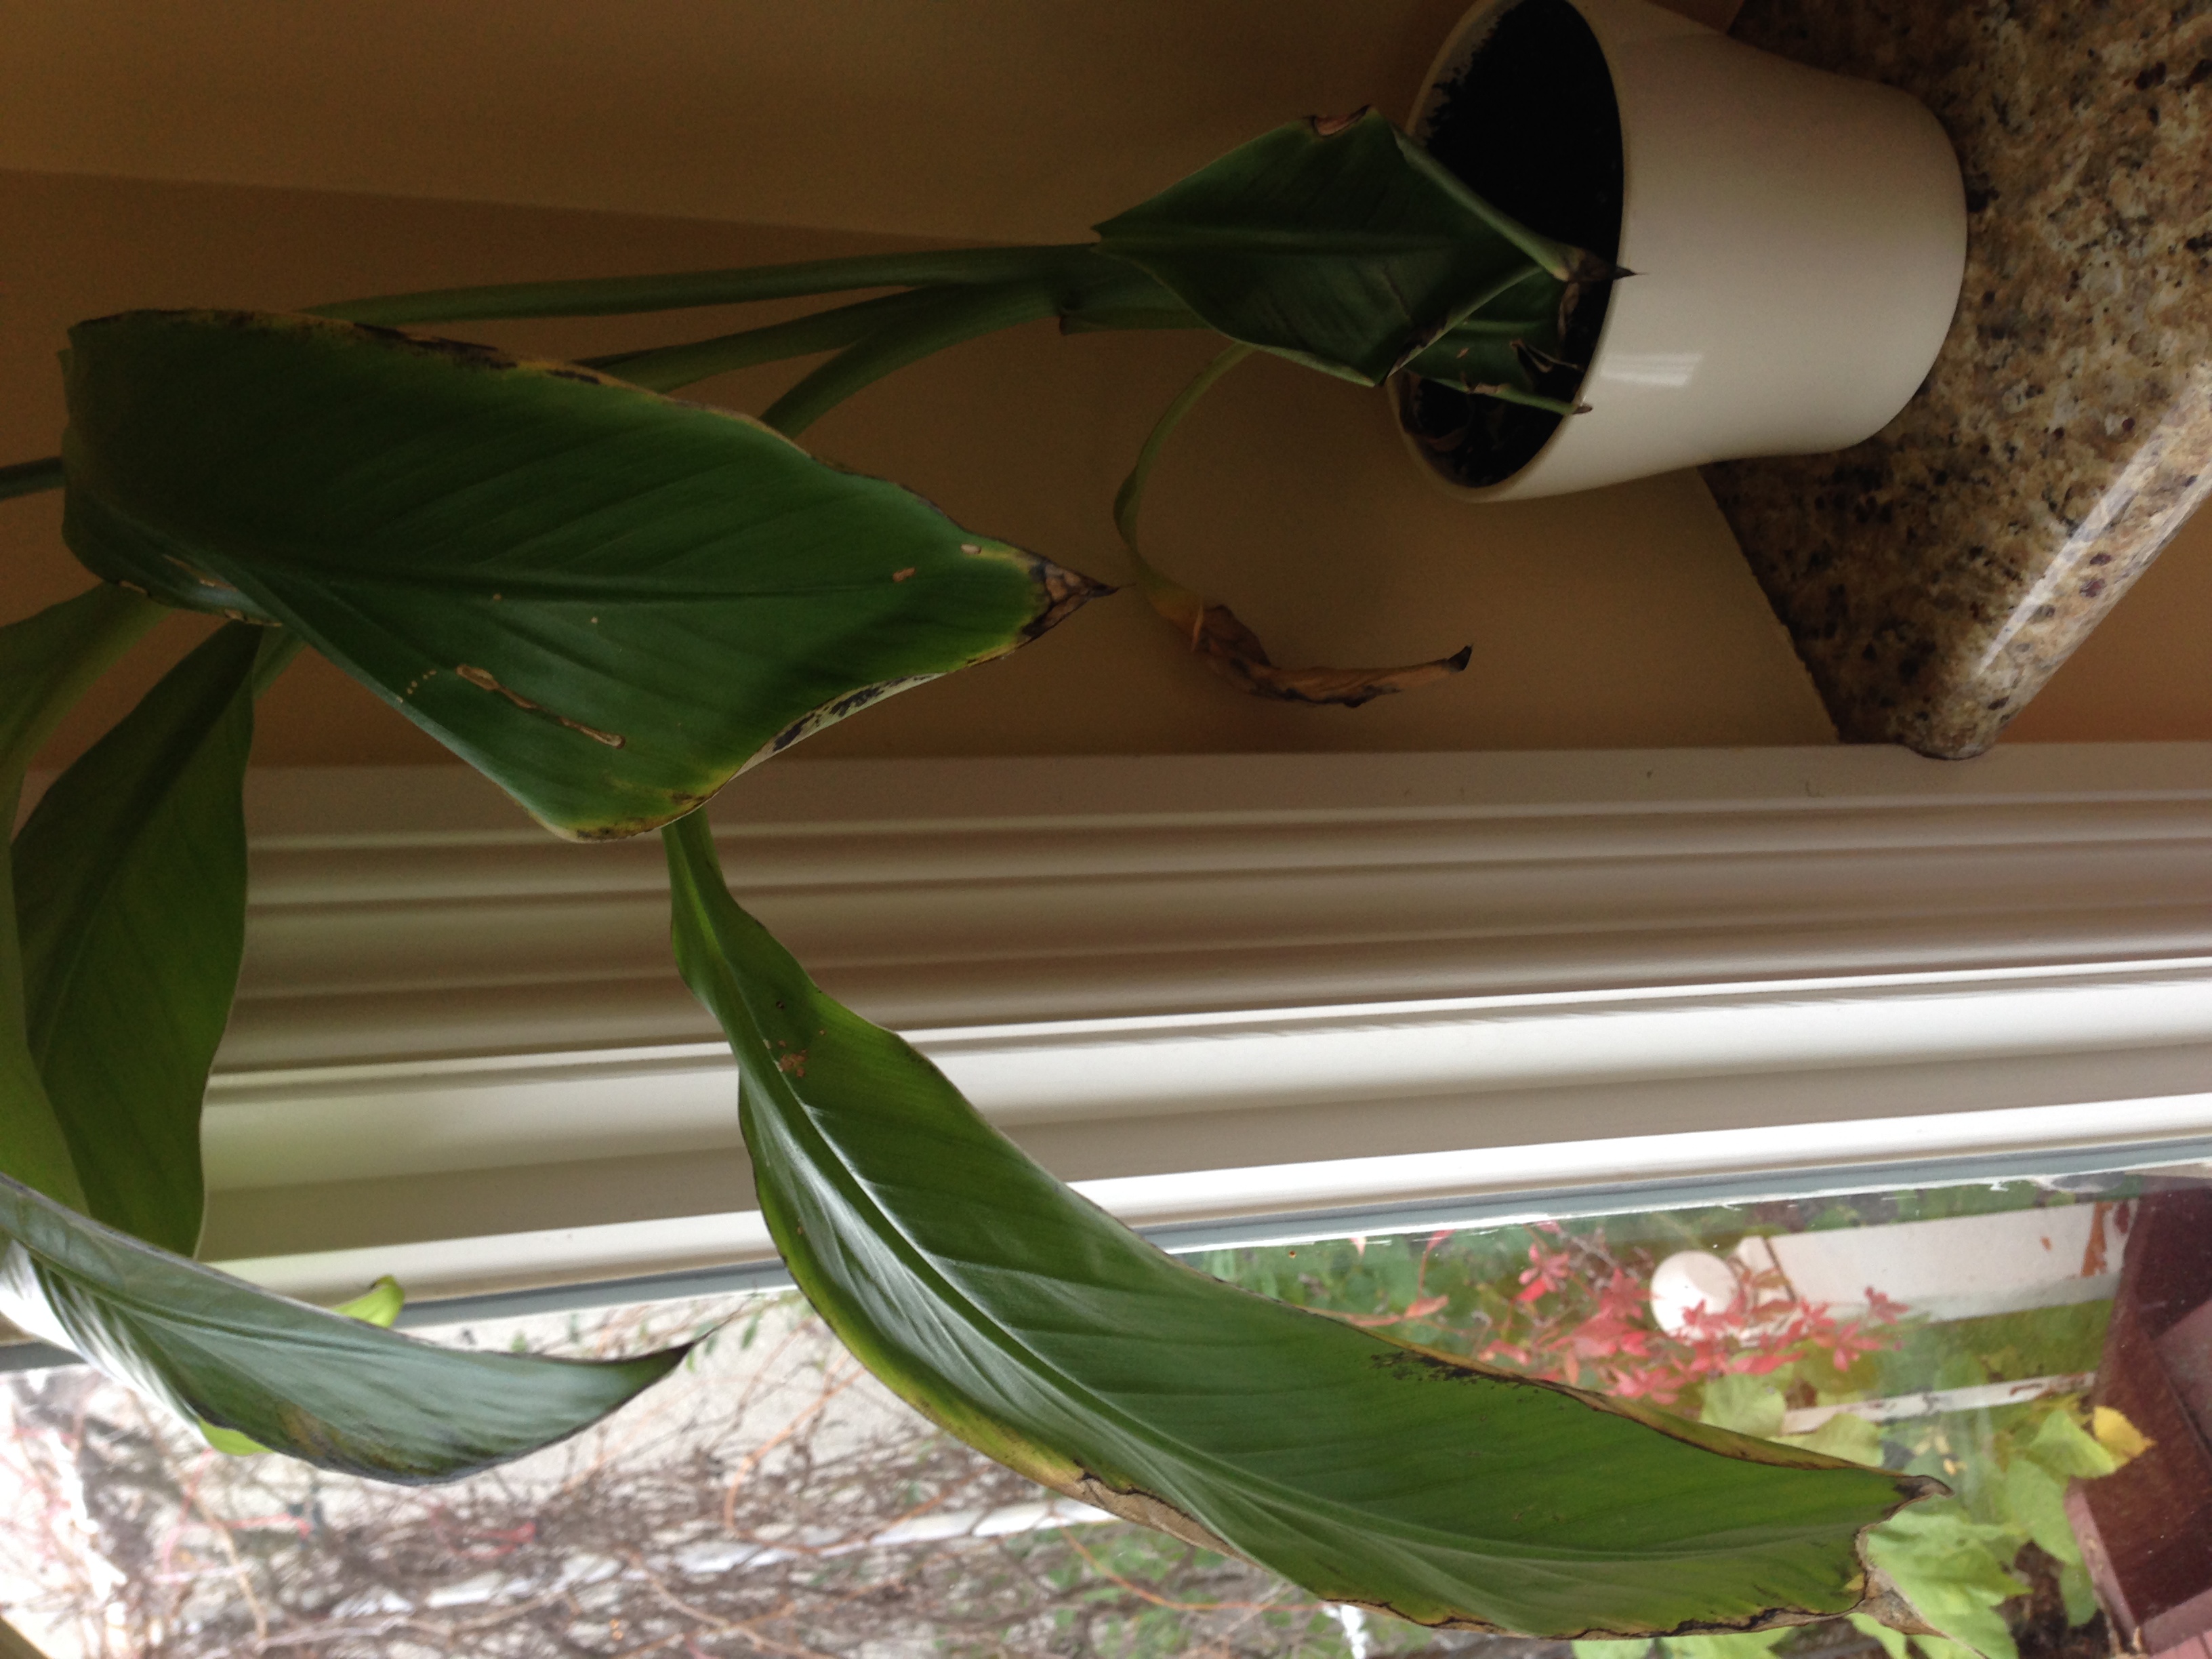
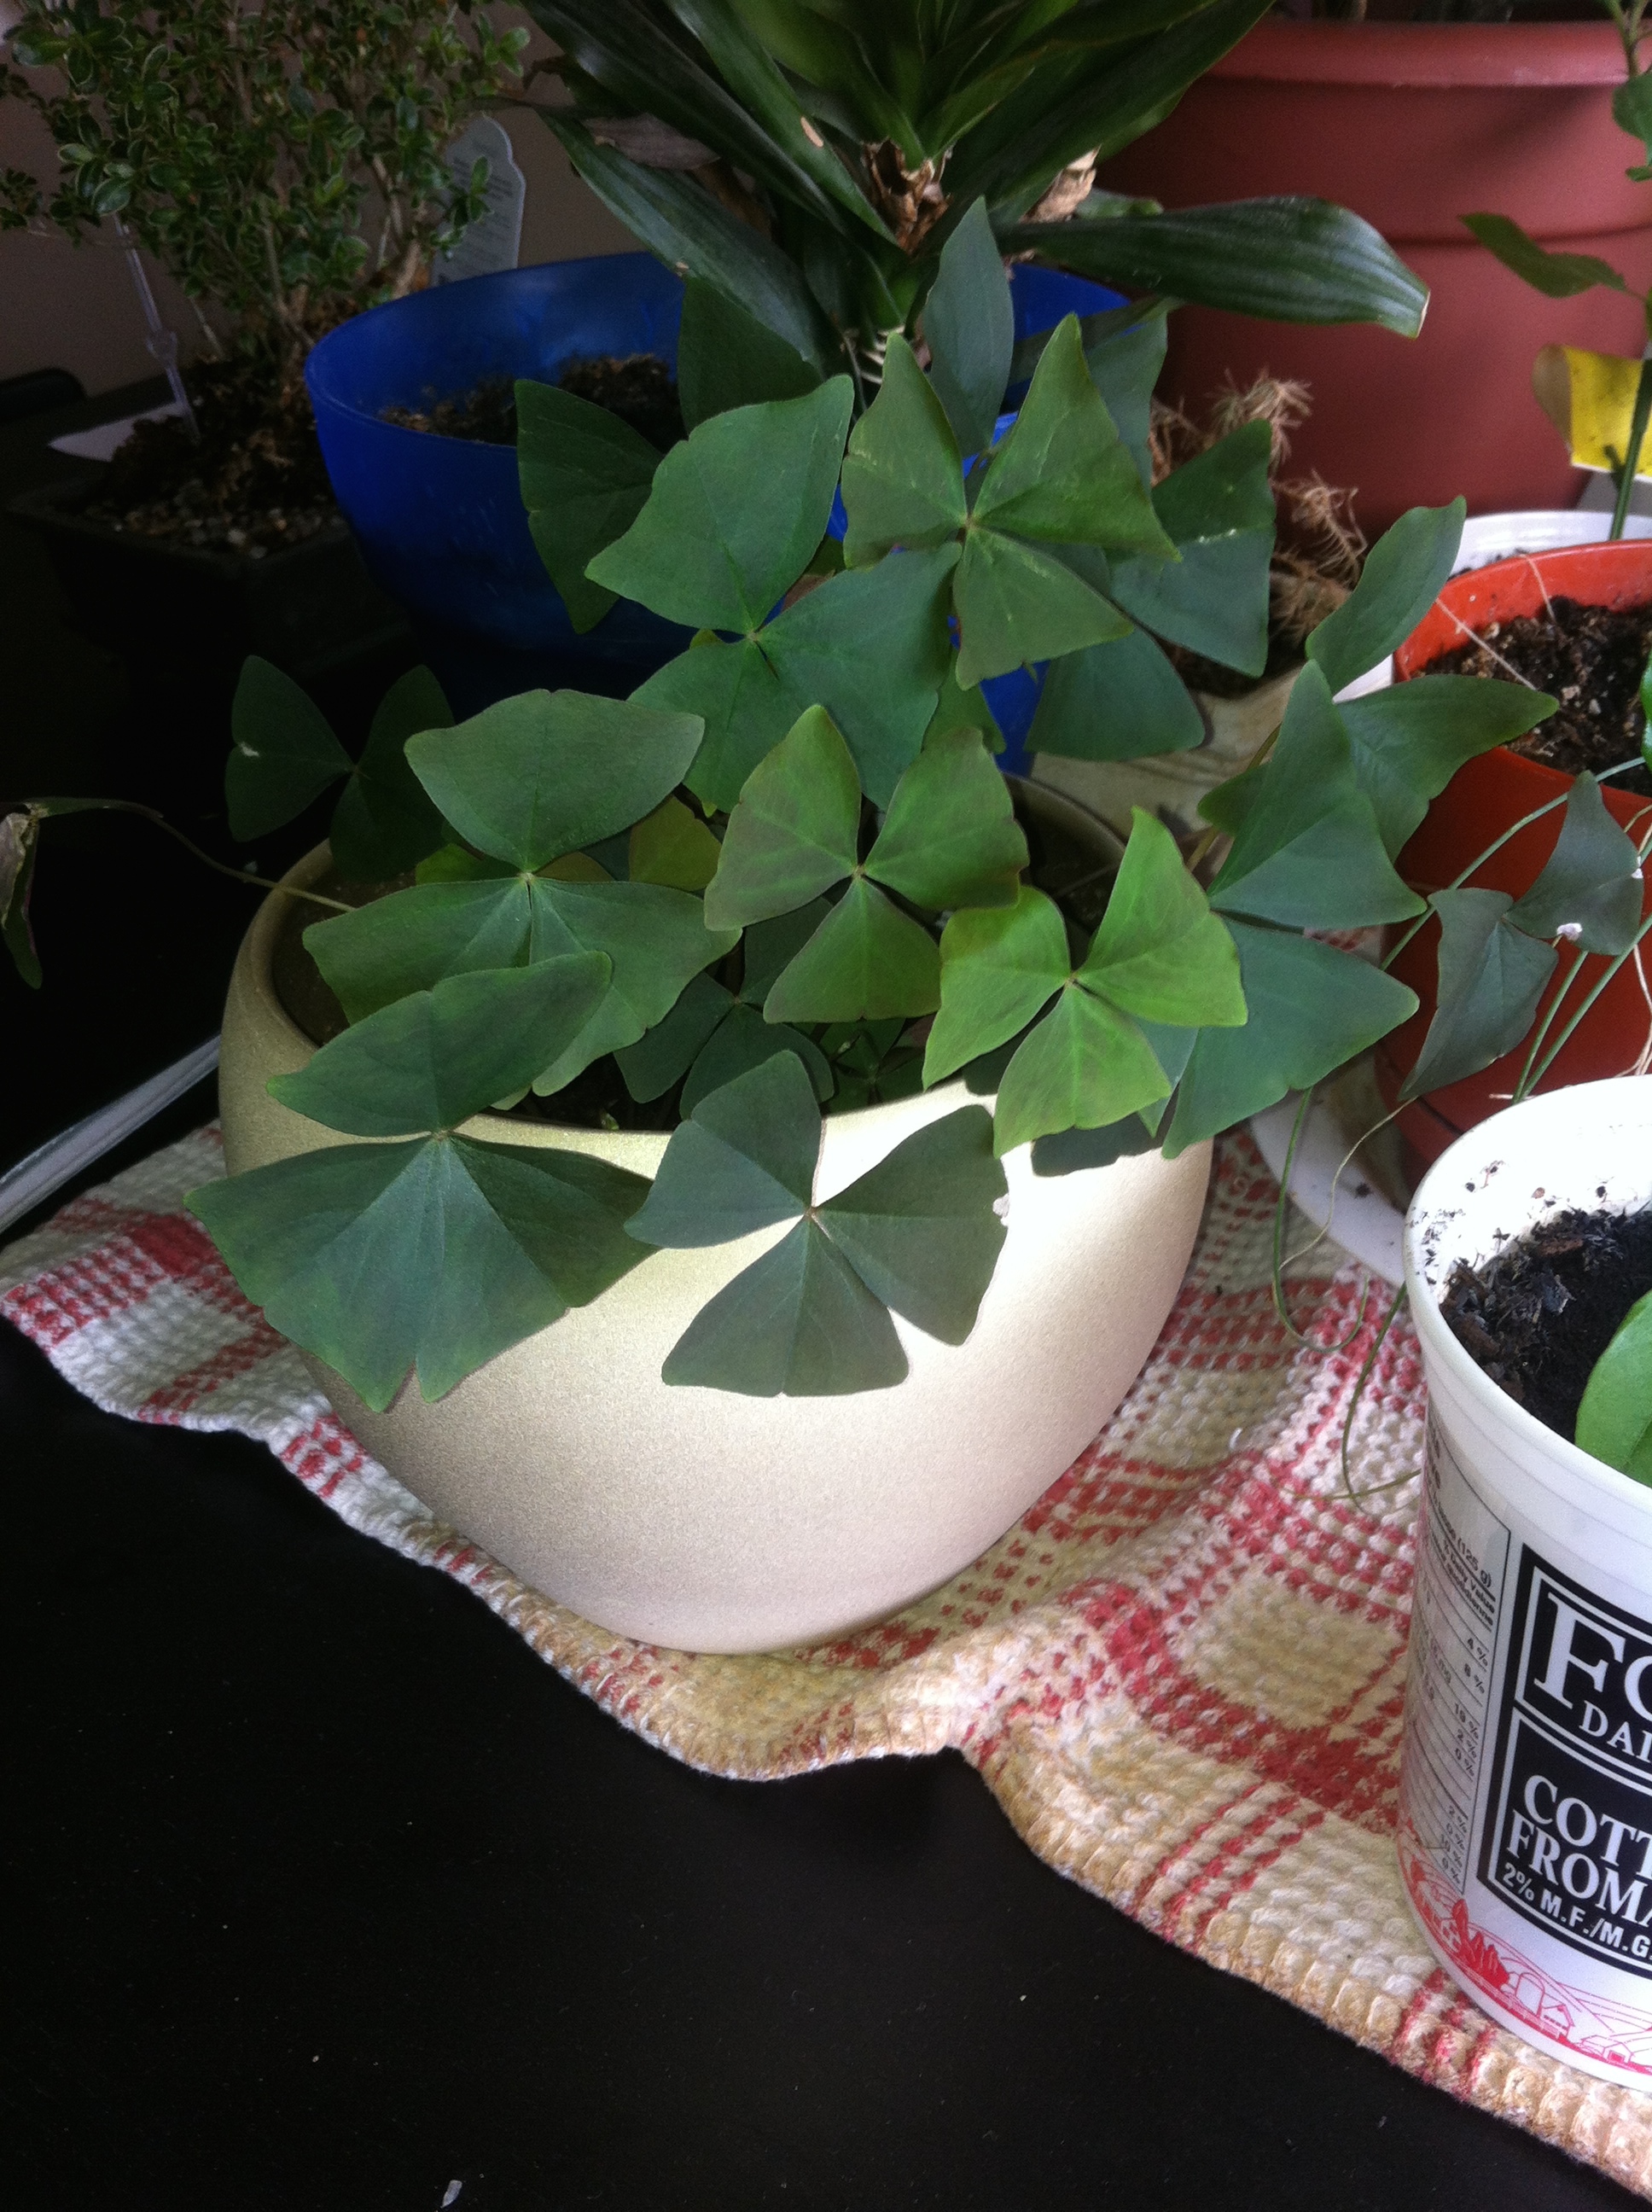
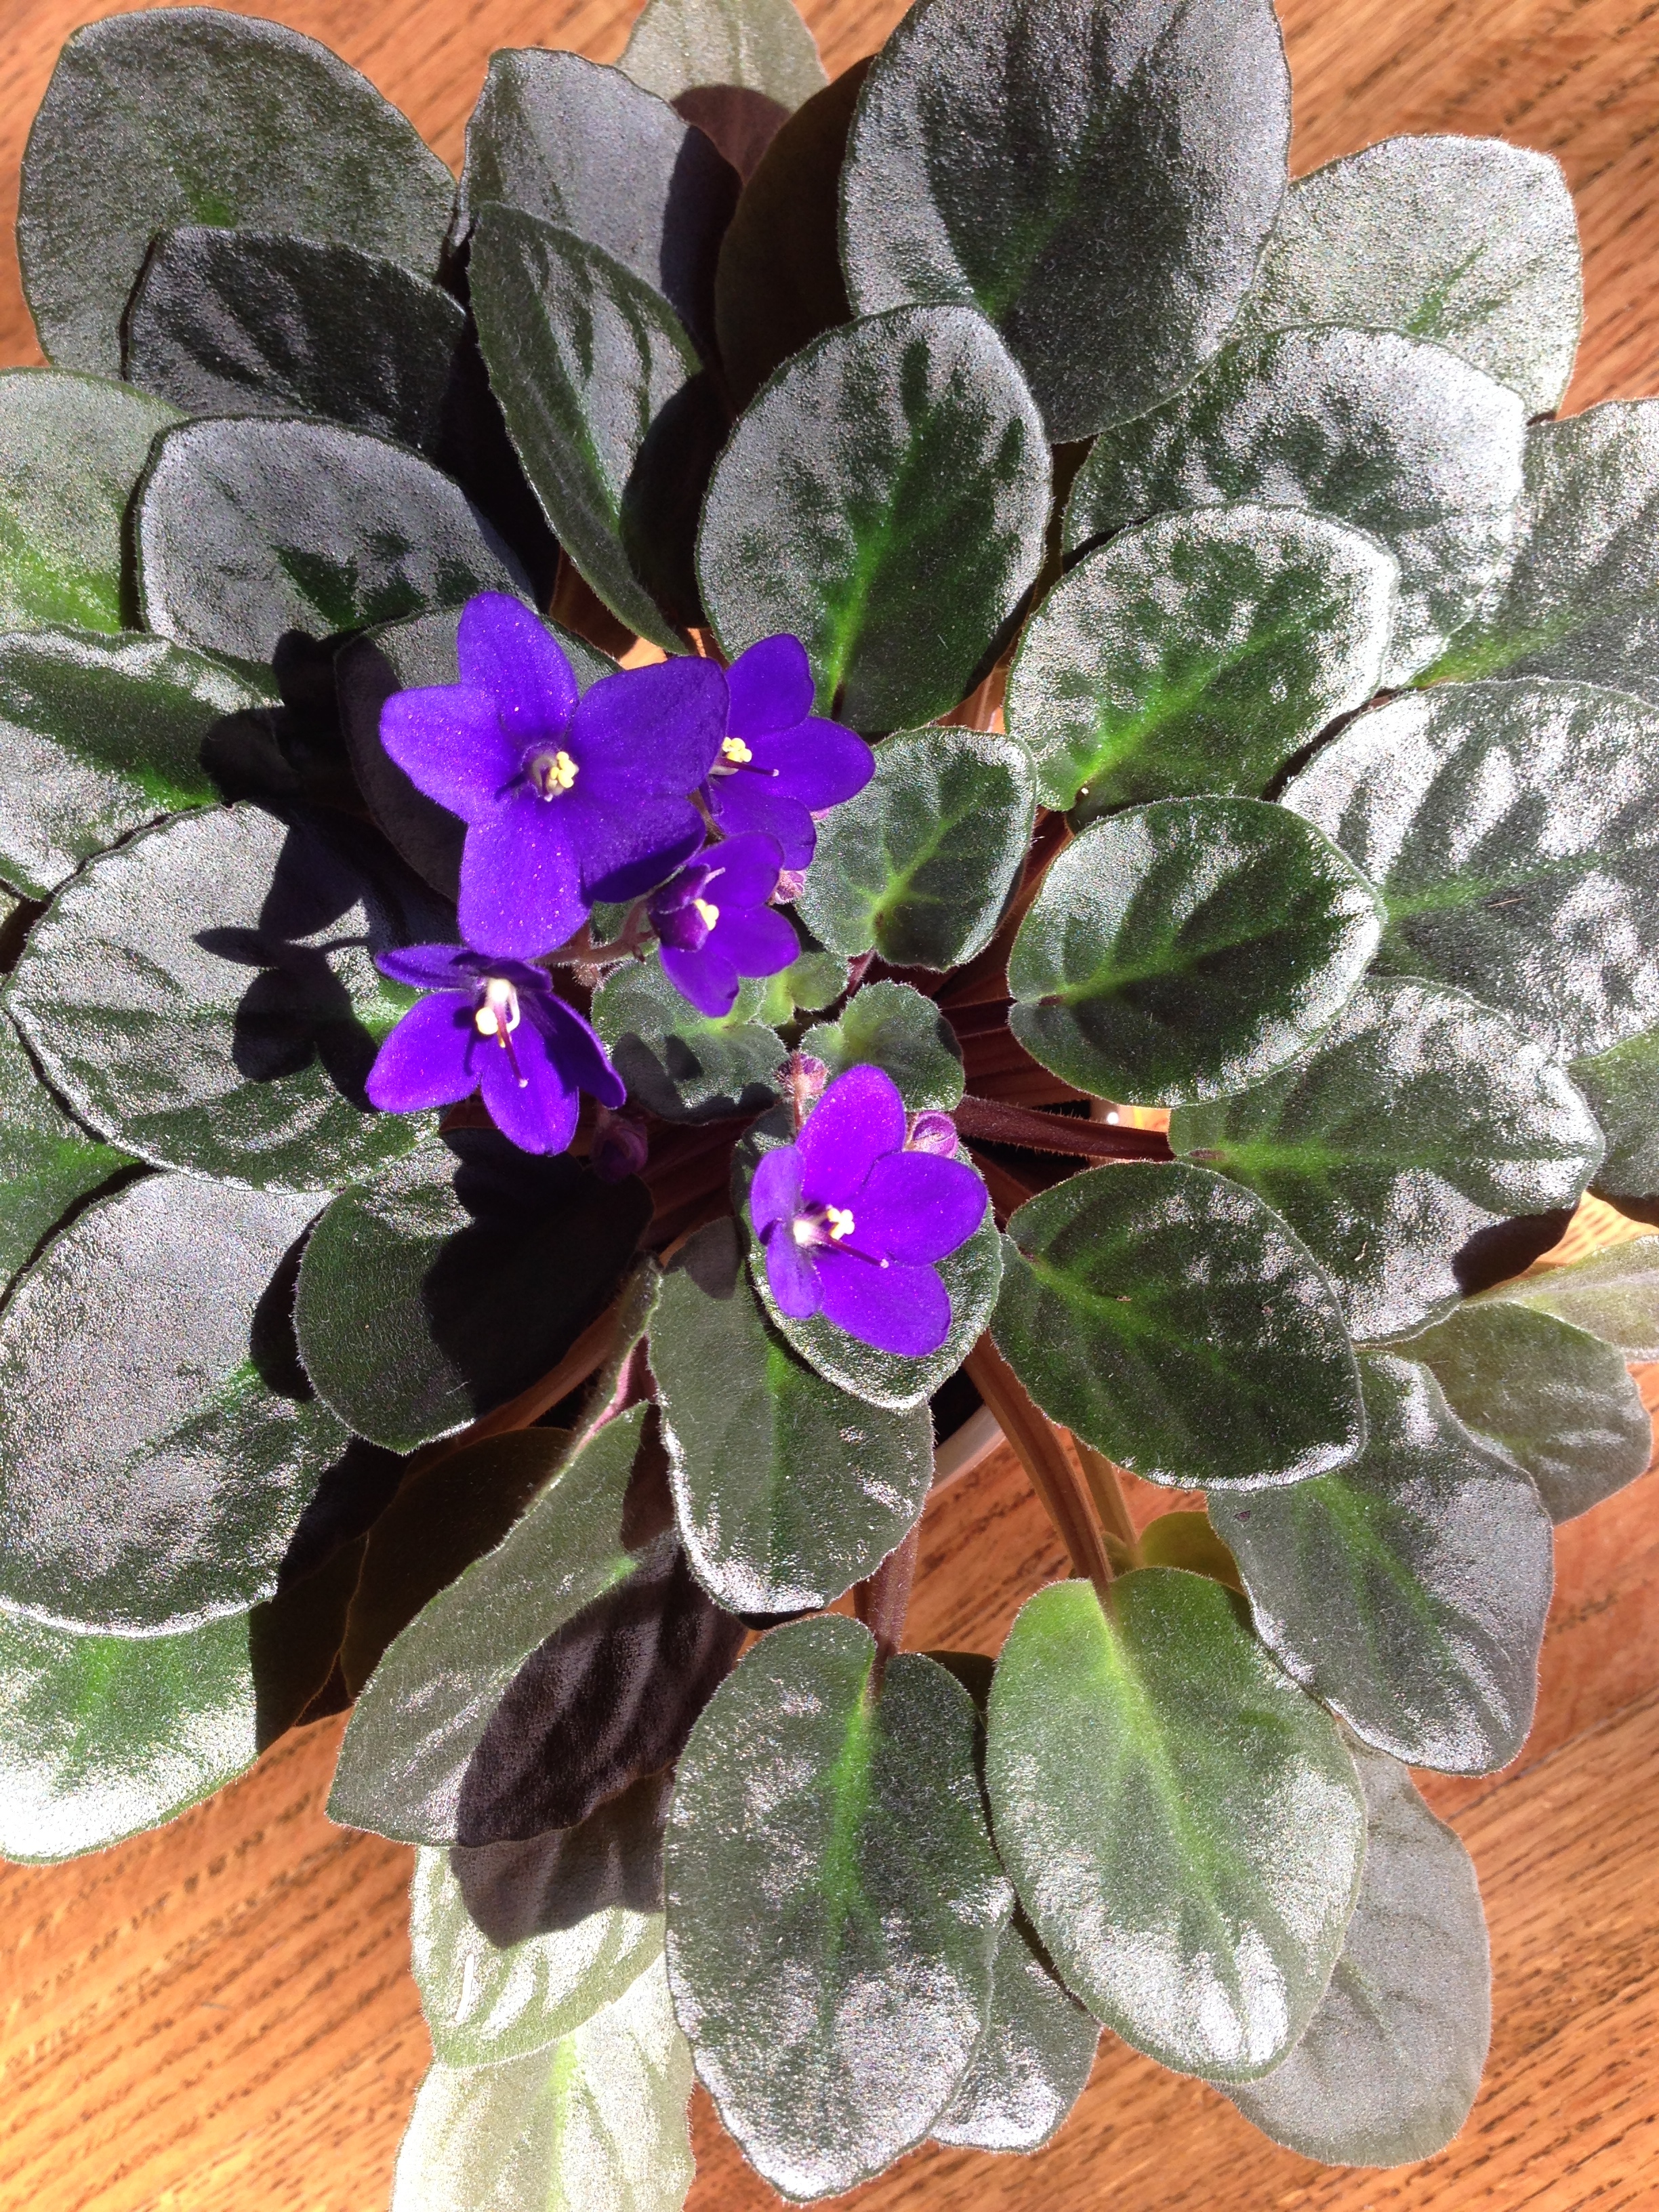
I haven't been gardening for a while.... Mostly because of the move (and also that I only brought 2 of my previously numerous house plant collection with me to ON). My other plant babies are doing well though! =D The African violet had bloomed twice! The orange and lemon plant are flourishing. The banana plant is growing like a tree. The vine is trailing like crazy. And the shamrock, that for the life of me I could not consistently keep, is growing like wildfire in the care of Aaron. I am very pleased and grateful to all my plant caring friends. <3

But yes. Orchid. 

Repotting orchids is a very easy but delicate task. As long as you've got the right substrate (bark and what-not) and the right sized pot (not too big and not too small!) the rest is easy. As there are many different kinds of orchids it's best to research the one that you have before adventuring to repot it. Some prefer bark, some prefer soil, and some prefer just moss. If you have no idea what kind of orchid you have (like me!) then it may be best to buy a mix of bark and soil (usually a generic orchid substrate). 

STEP 1 - Gathering the Materials
The first thing you'll want to do is buy your repotting necessities. Mainly, a suitably sized plastic pot with large drainage holes, or orchid pot. Usually you can buy these types of pots right besides the orchid substrates at your local garden shop or flower store, which you'll need to purchase too.

STEP 2 - Soaking the bark
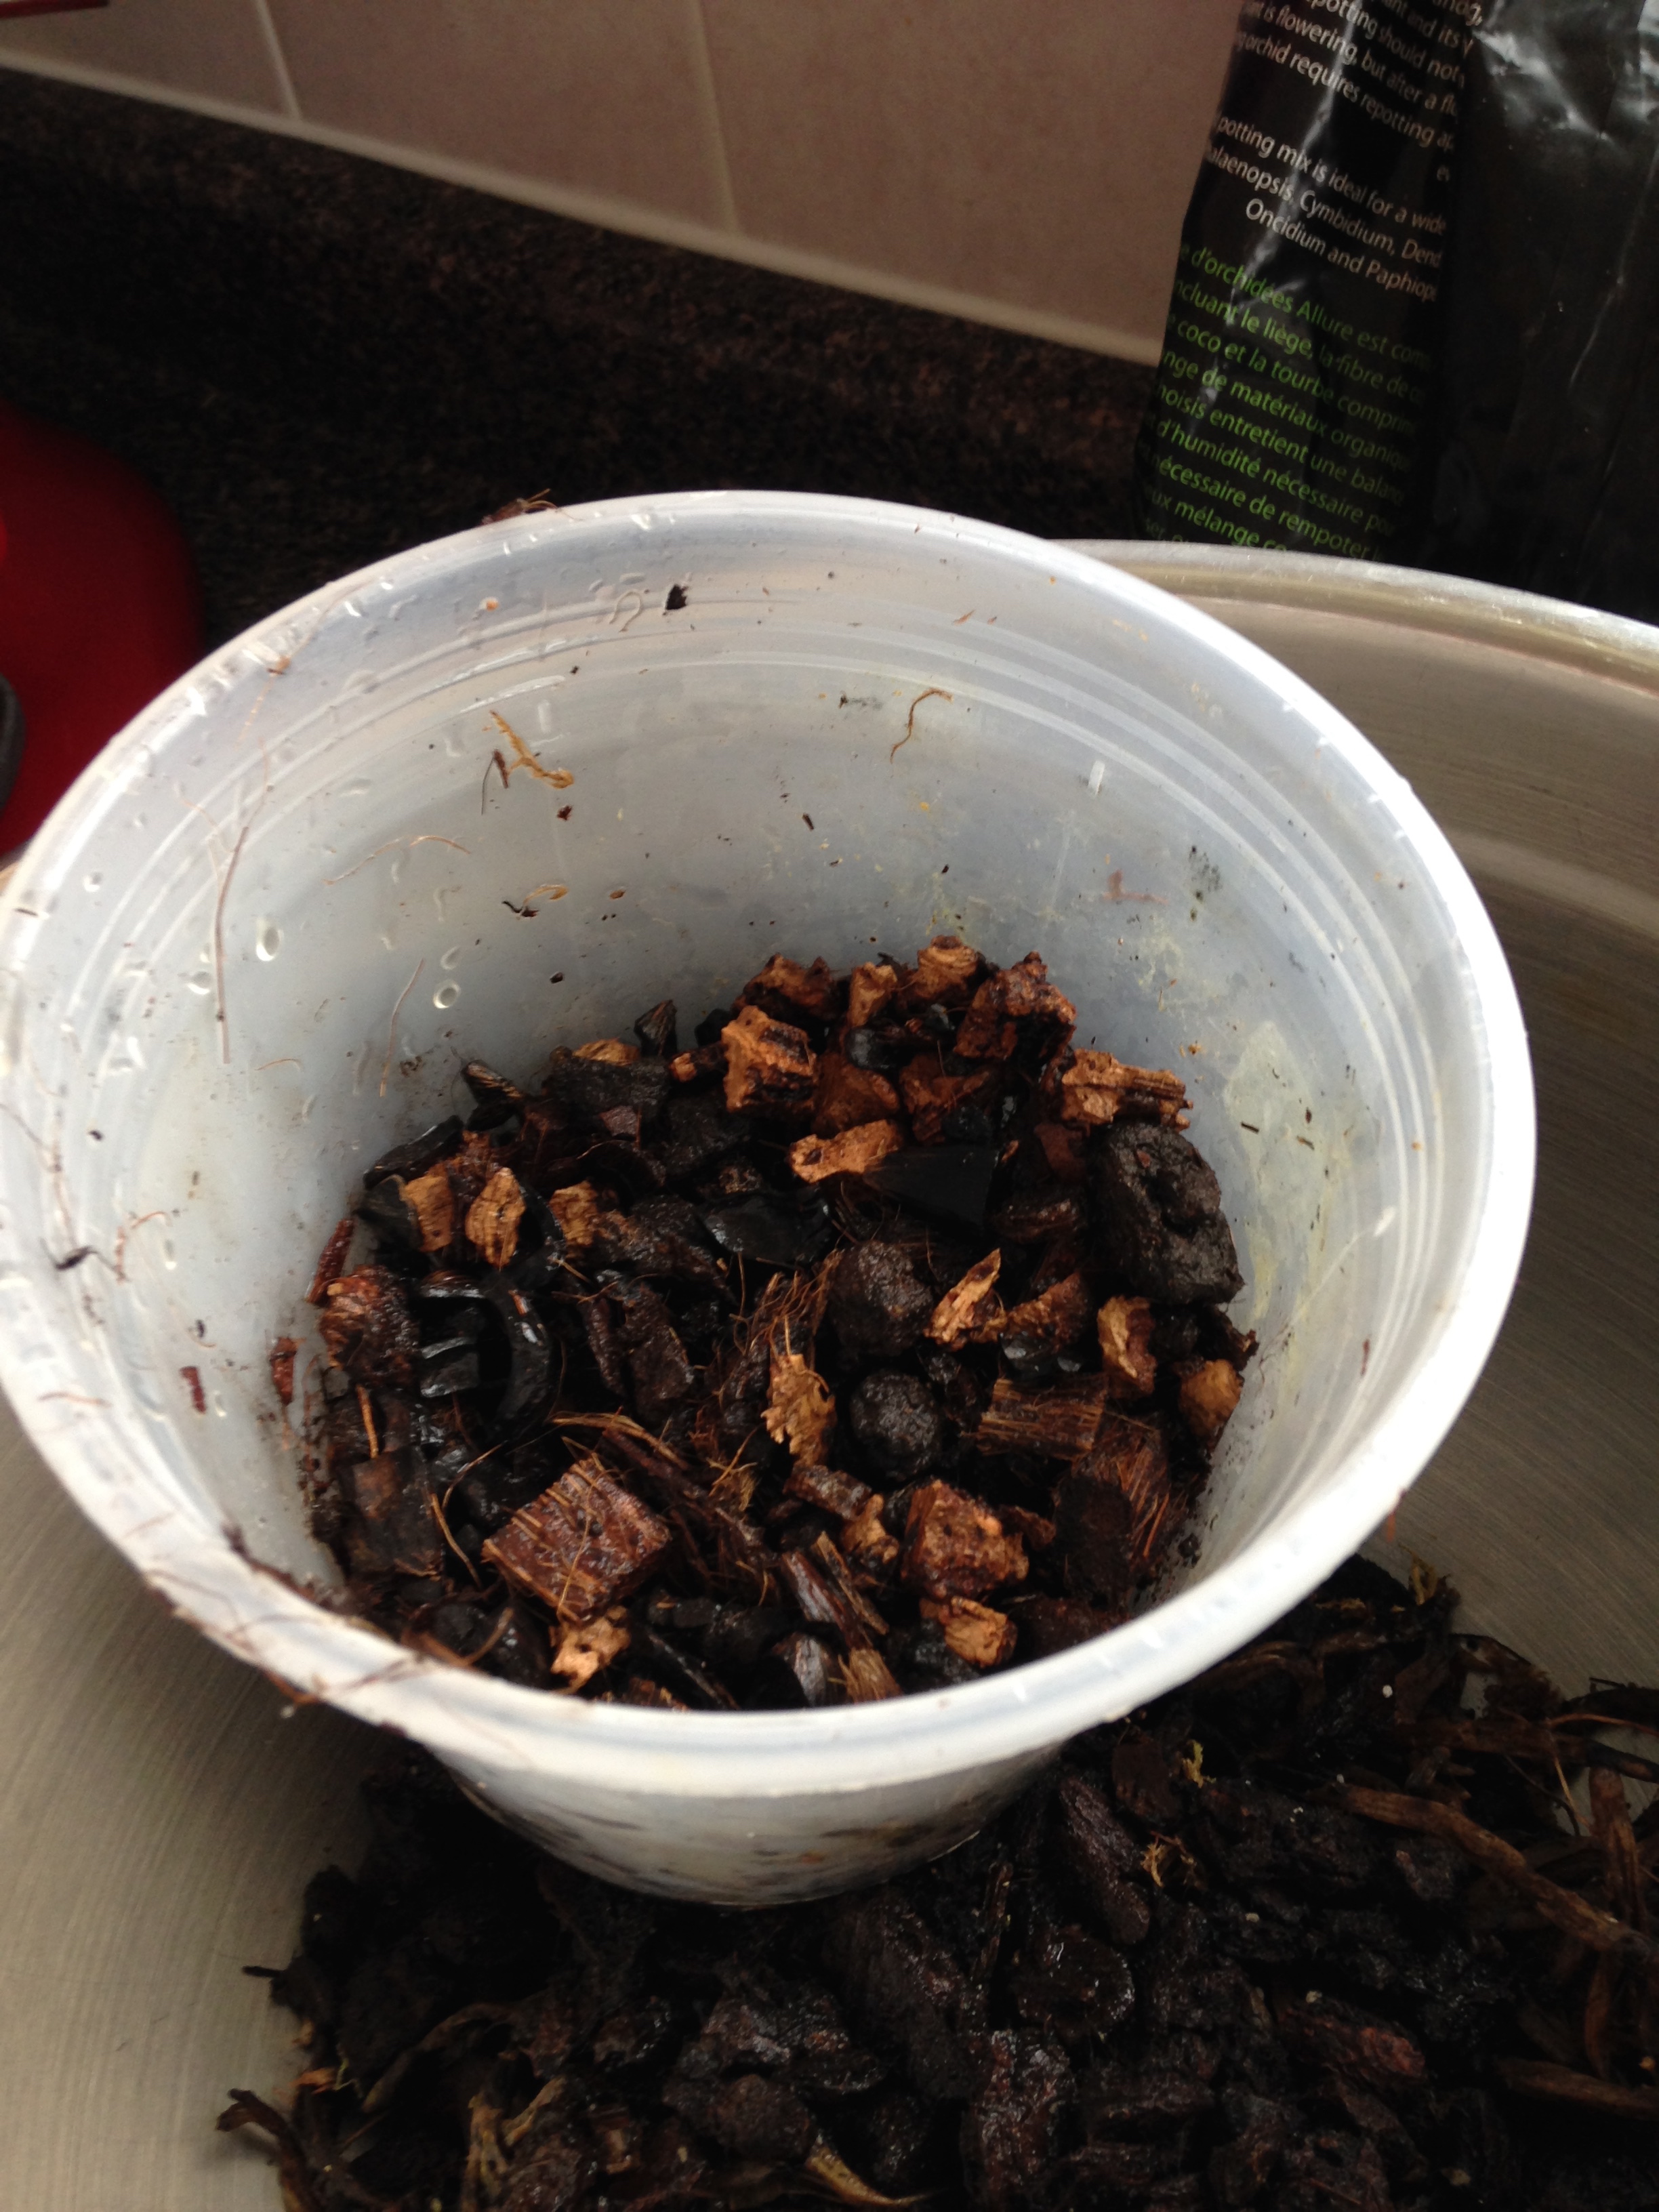
Now that you've got all your materials, the bark needs soaking. Measure out enough substrate into your orchid pot to go almost to the brim. Empty the measured substrate into a large bowl and fill it with just enough water to cover the bark. Use a plate to hold the floating bark under the water. Plastic wrap the top of the bowl and let the bark soak for 24 to 48 hours. Check the water level periodically and refill to cover the bark it necessary.

STEP 3 - Unpotting
After the bark has been soaked it's time to get this repotting started.

  1. First, it you don't have an outdoor space to do this, cover your space in newsprint, or do the remaining steps over a very large bowl.
  2. In your new orchid pot, fill it about 1/2 to 2/3rds full of the new pre-soaked substrate.
  3. Back to your orchid. Remove any moss surrounding your orchid from the top of the old substrate (you can still reuse this!). Set aside (I put it to soak in another bowl). 
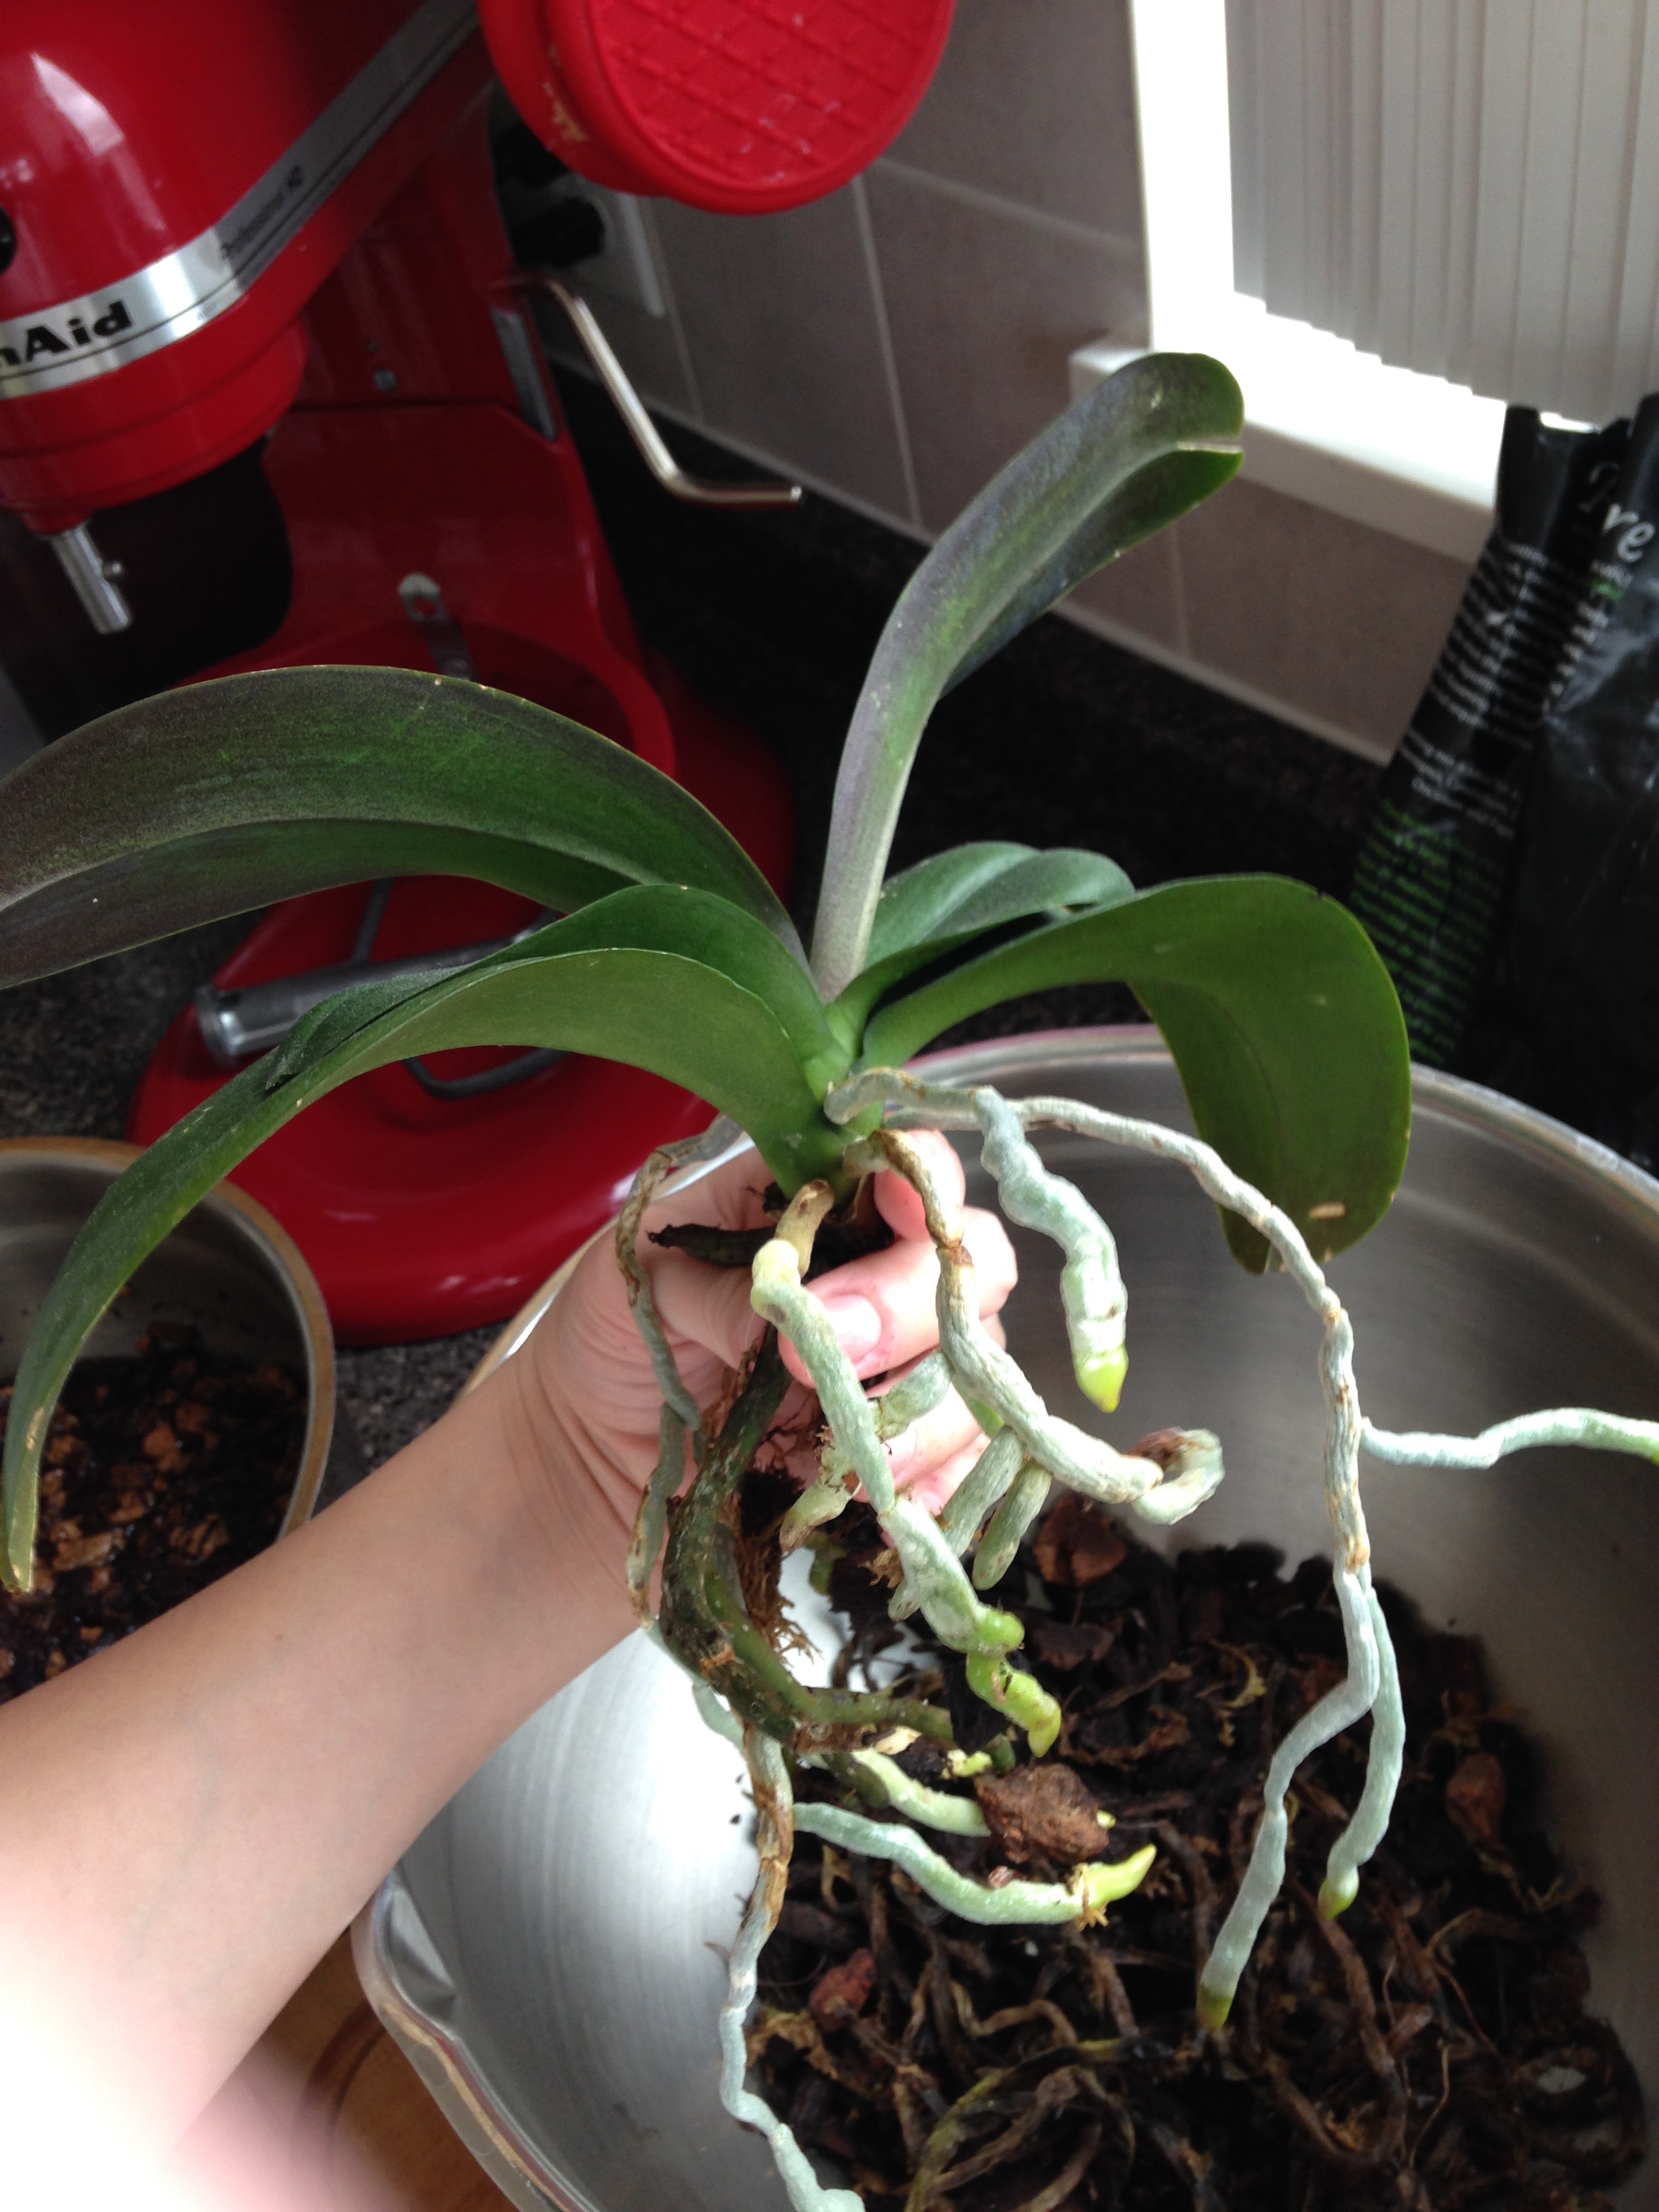
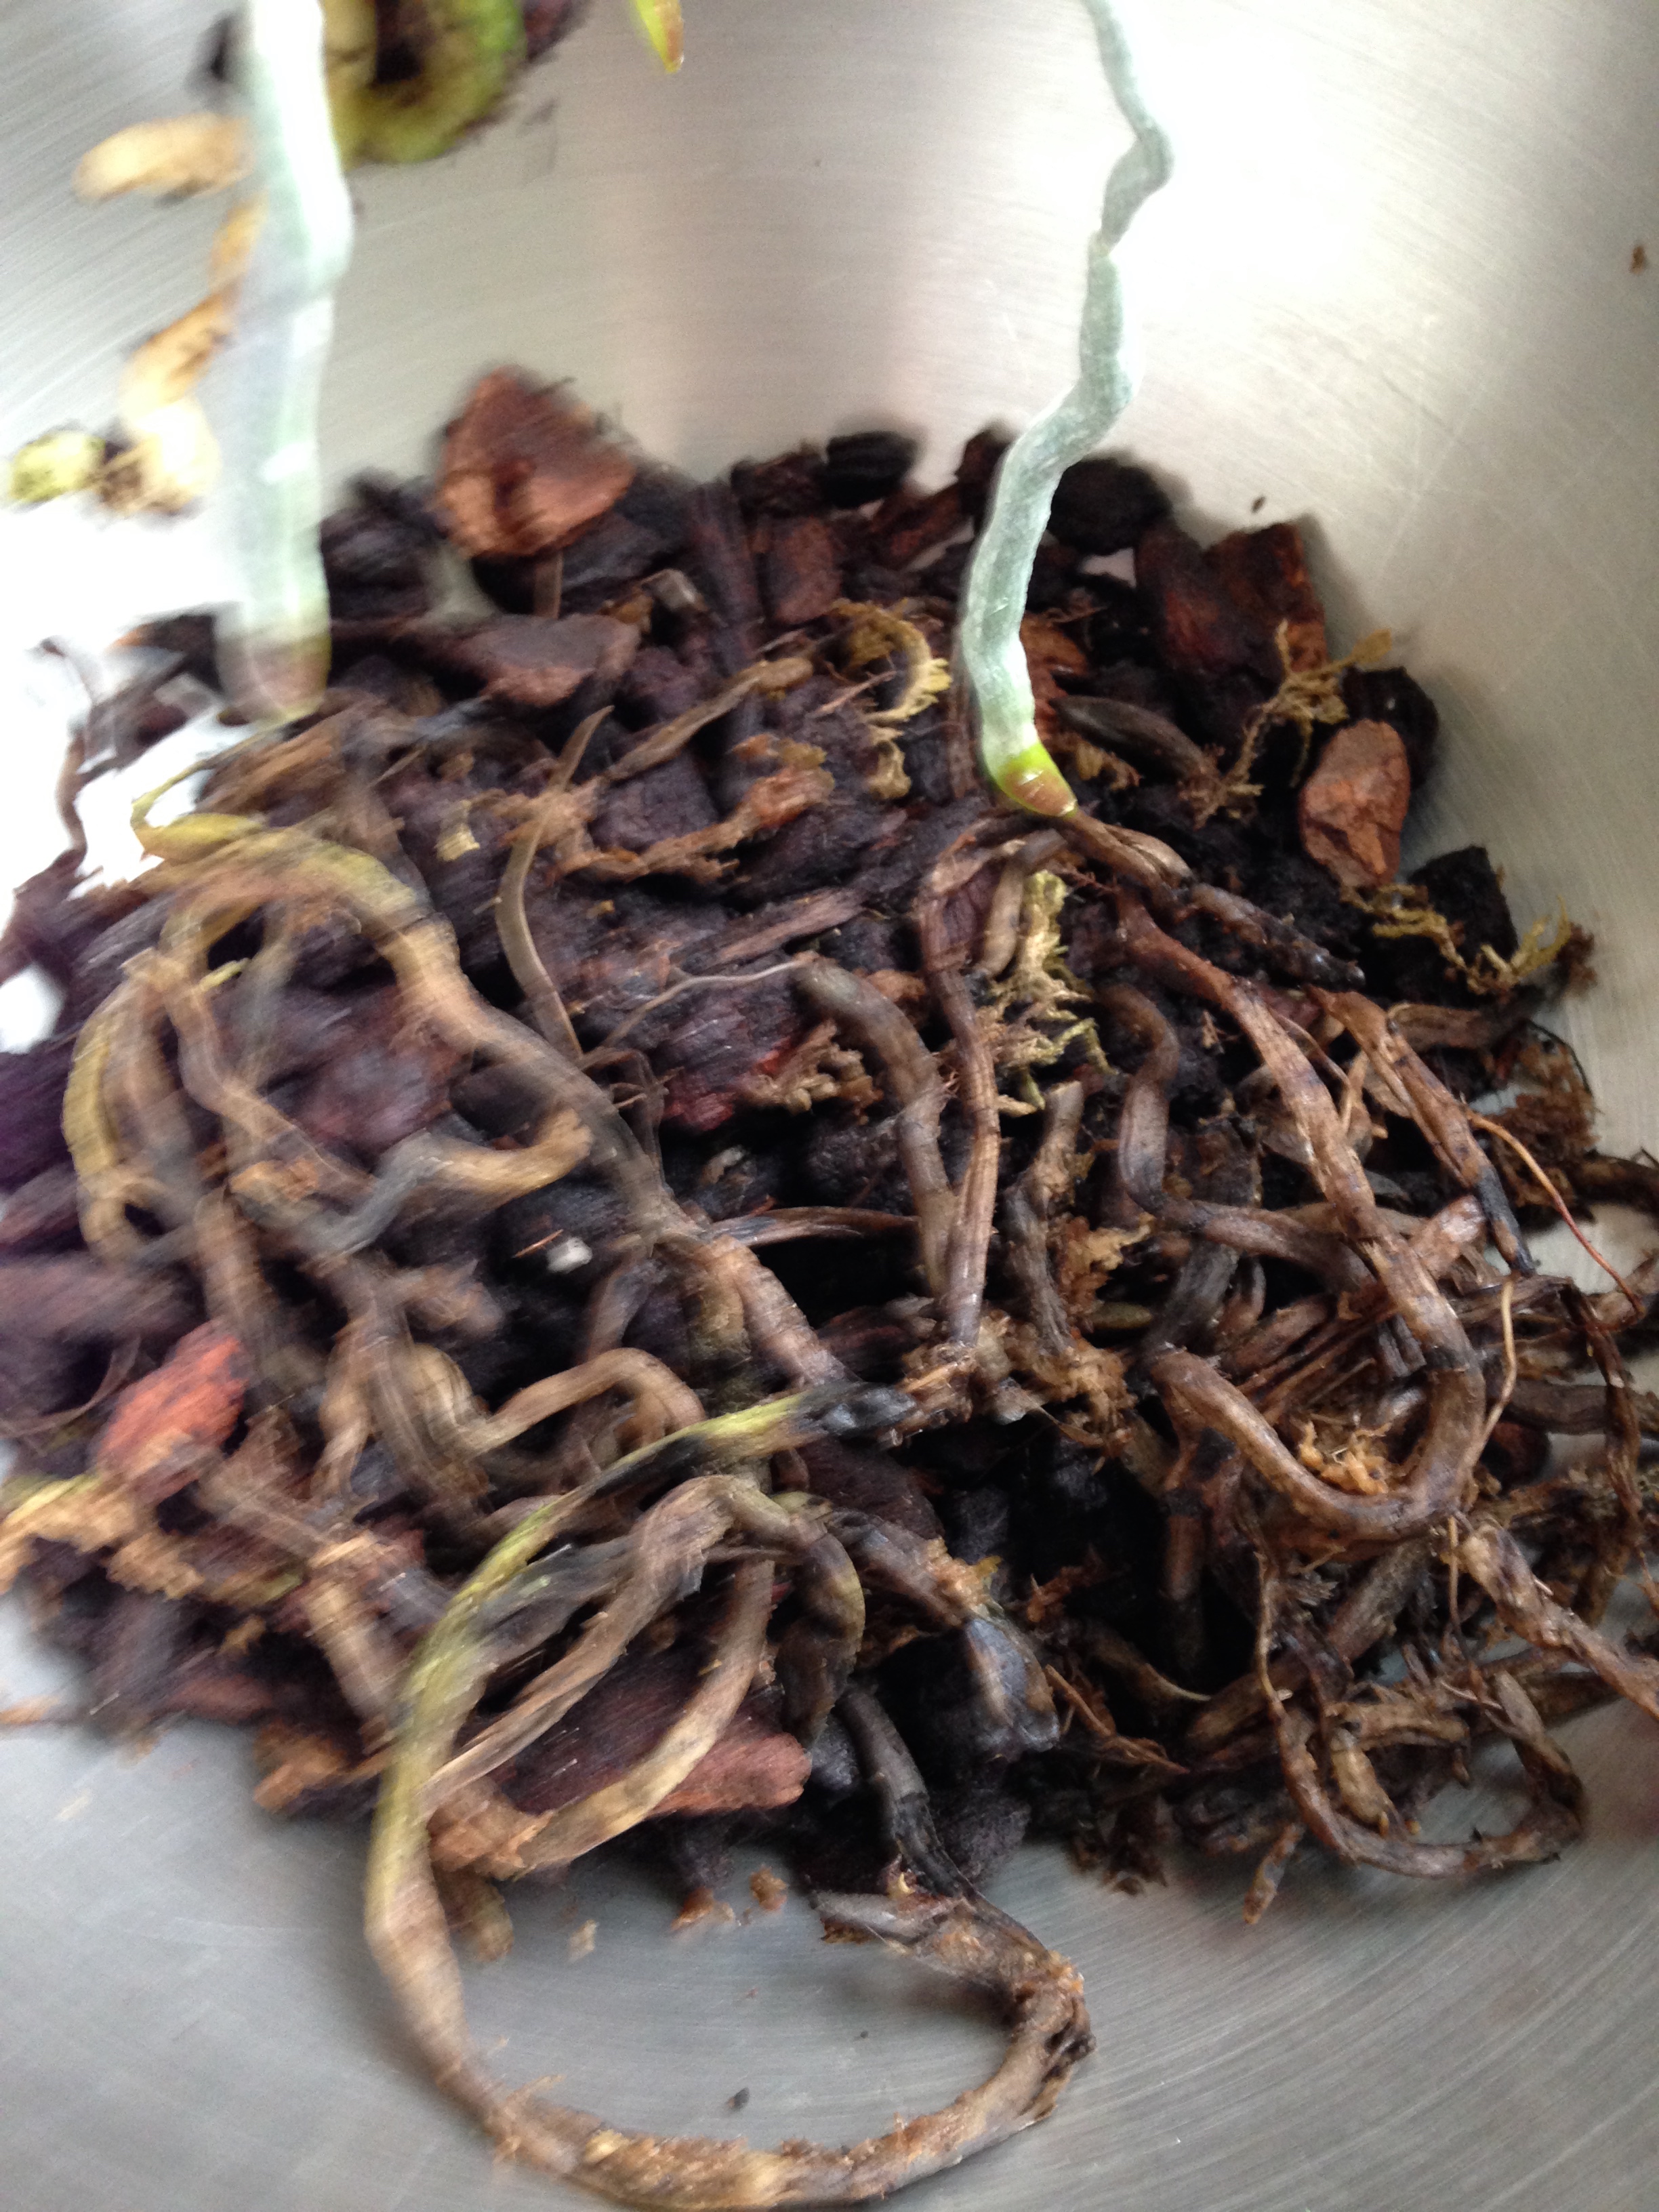
  4. Grasp your orchid firmly from it's base. If you need to remove some old substrate to get at the base do so carefully. Lift the orchid from it's base straight out of the old substrate. Discard the old substrate. 
  5. Still holding the orchid from it's base, examine the roots. All the roots should be healthy looking aka fleshy and slightly stiff. If any look mouldy or overly limp trim them at the base or at its joints.

STEP 4 - Repotting

  1. Place the orchid base in the centre of the new orchid pot in the new pre-soaked substrate. Make sure that all your roots are delicately placed. Do not force them to fit. If you need to remove some substrate to make room for them then do so.  
  2. Now that all your roots are placed within the orchid pot, while still holding the base centred in the pot, fill the remaining space around the roots and base with more pre-soaked substrate. Don't press the substrate in, simply let the bark and soil fall into place. You can shake the pot a bit (not to wildly) to make sure there are no gaps. You should now be able to remove your hand from the base and fill the remaining space with more substrate. 
  3. TaDa! Now place the moss back on top of th new substrate. You did it! 

STEP 5 - Wait. 
This it the hardest part to do, if I'm honest. The orchid is most likely going to be unhappy for the next couple weeks (but keep to your regular watering schedule anyways). It won't initially like having had it's home moved and it's root system given a trim. But, it should be a lot happier in the long run. Maybe it will even flower...? Please Orchid?

-Andrea

The Half-Assed Hobbyist


My Favourite Holiday

Thanksgiving is my favourite holiday. A giant roasted turkey; bread stuffing poultry spiced out the wa-zoo; a hot mashed potato and gravy volcanos; pumpkin pie with a literal mountain of whipped cream; and last but not least, leftovers. Part of my love affair with the entirely food focused holiday is the fact that leftovers are not a sign that you over did it, but a reward for having done so well. 

This year was the first year we celebrated in TO. We decided that it was also going to be our first thanksgiving just the BF and I. We made a 15 pound bird. That's right. We had a double bunk berth on the train to Leftover Town, and we were excited. So with the pumpkin pie made and the bacon stuffing ready for turkey time, I pre-heated my oven, stuffed my bird and began the magic that is roasting a turkey. The magic = I put a timer on for 3 1/2 hours and walked away from the kitchen. 

Anyways. With turkey cooked and fixings ready we had ourselves a wonderful first thanksgiving. I even managed to get the kitchen cleaned up and food packed away within two hours. Record to beat.

We proceeded to make a meal plan for the days to come: Hot Turkey Sandwiches, Turkey Noodle Soup, Turkey Pot Pie, and, my favourite, Turkey Leftovers Pizza.  

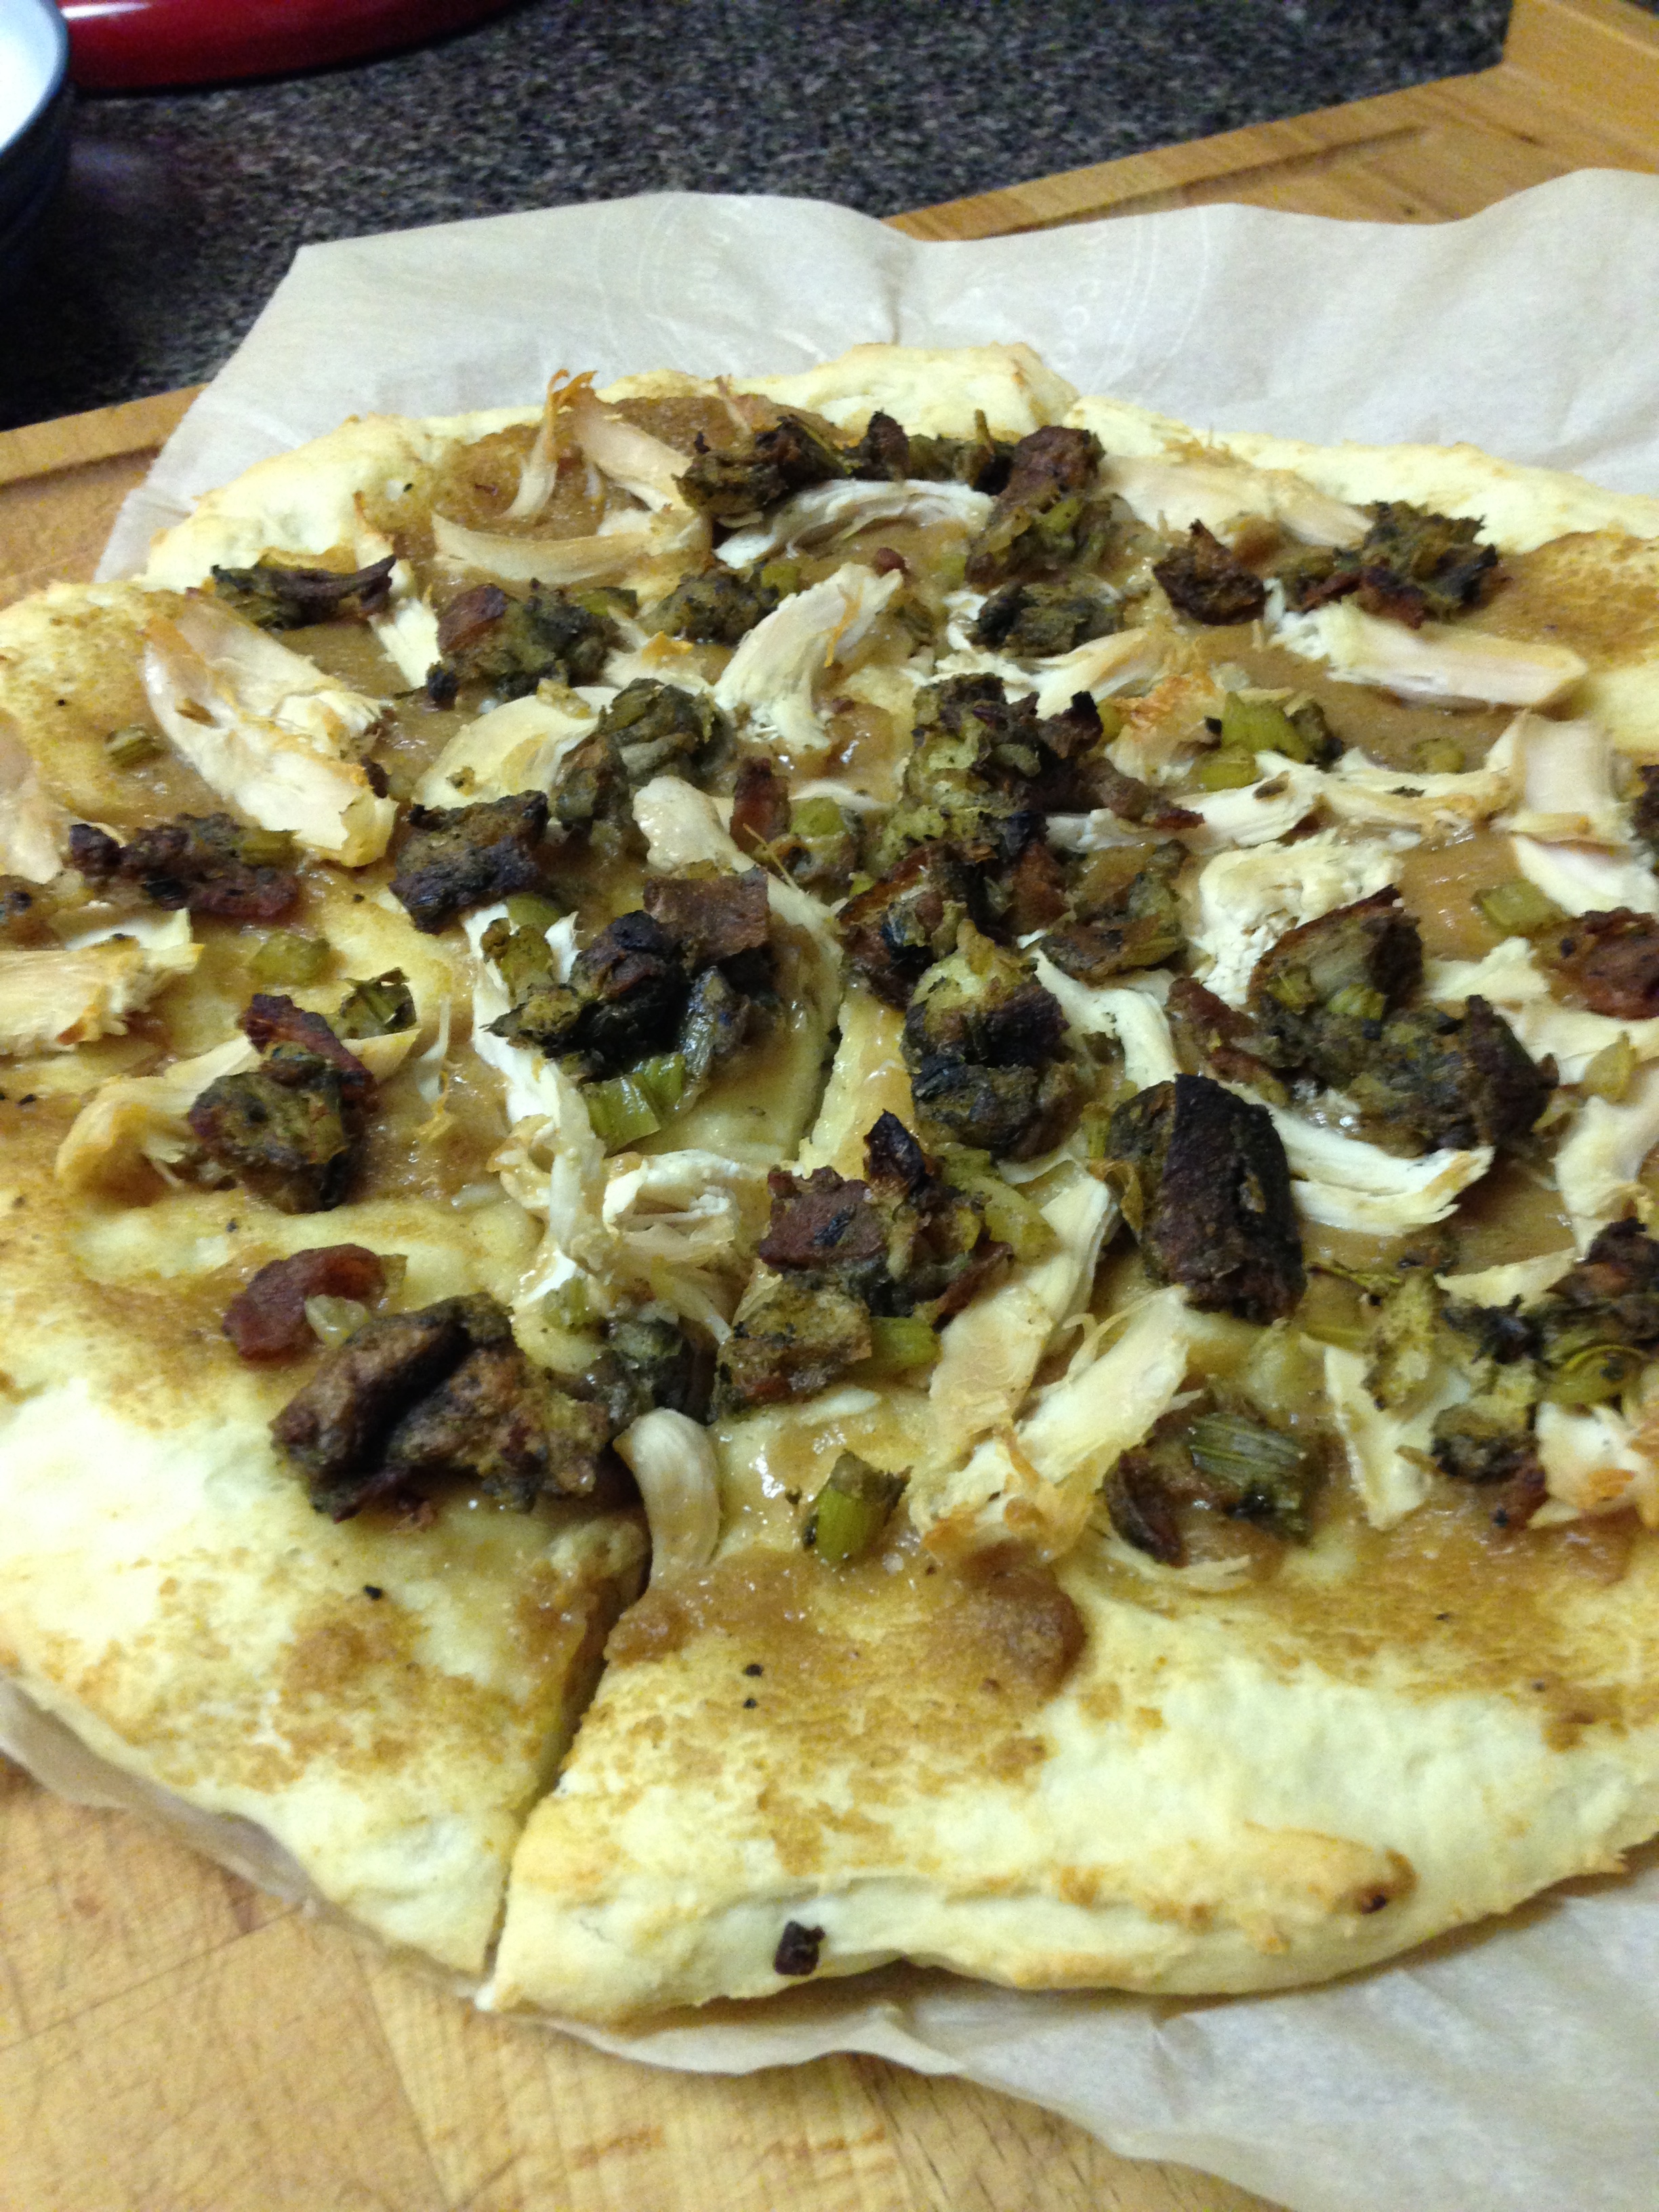
This recipe comes from my days at the test kitchen. It was a weird recipe, I'll give it that. One of those recipes that you'll either gag at the thought of or wonder why you never thought of it before: The goodness of Pizza and Thanksgiving Dinner all in one. 

Turkey Leftovers Pizza

Dough
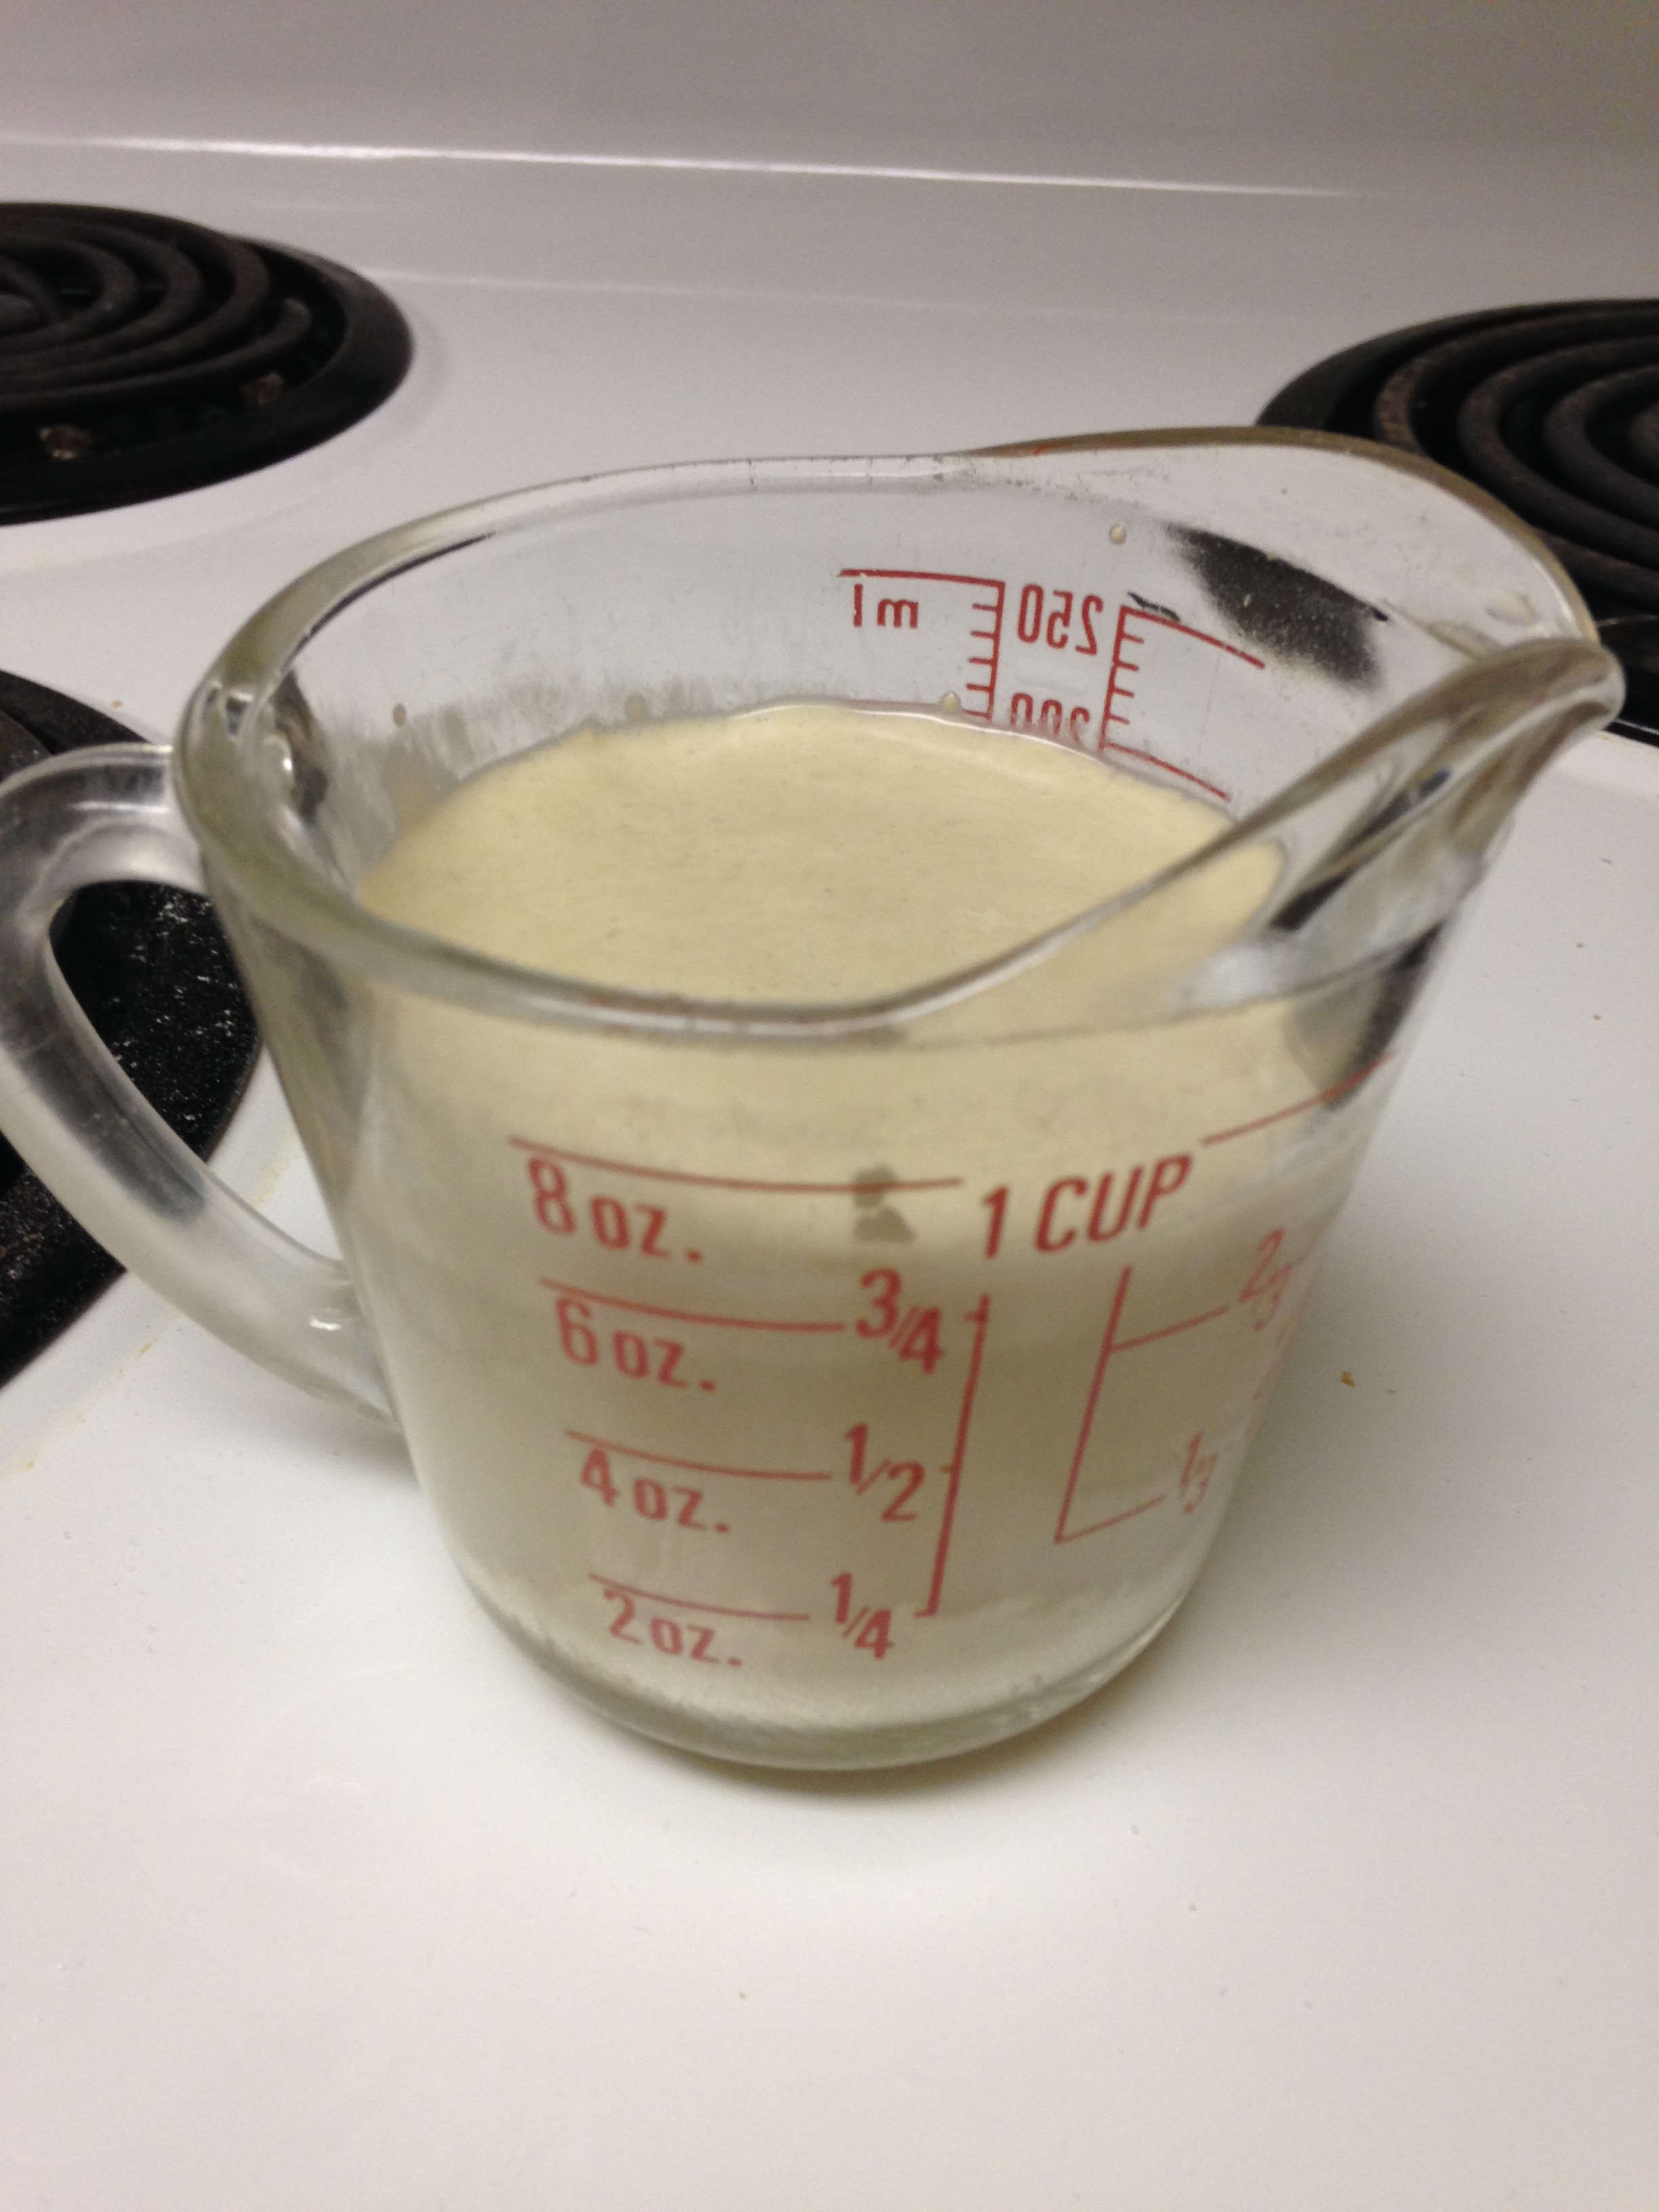
3/4 cup warm water (104'F/40'C)
1 tsp granulated sugar
1 pkg dry yeast (Or 2 1/4 tsp if you have a jar)
2 cups flour
3/4 cup cold mashed potatoes
1/2 tsp salt
2 TBSP oil

Toppings
1 cup gravy
1 cup turkey, pulled unto pieces
1 cup stuffing, broken apart into chunks
Cranberry sauce (optional)

Gravy, hot (for dipping!)

  1. Pre-heat oven to 400'F.
  2. Add sugar to warm water and stir to dissolve sugar completely. 
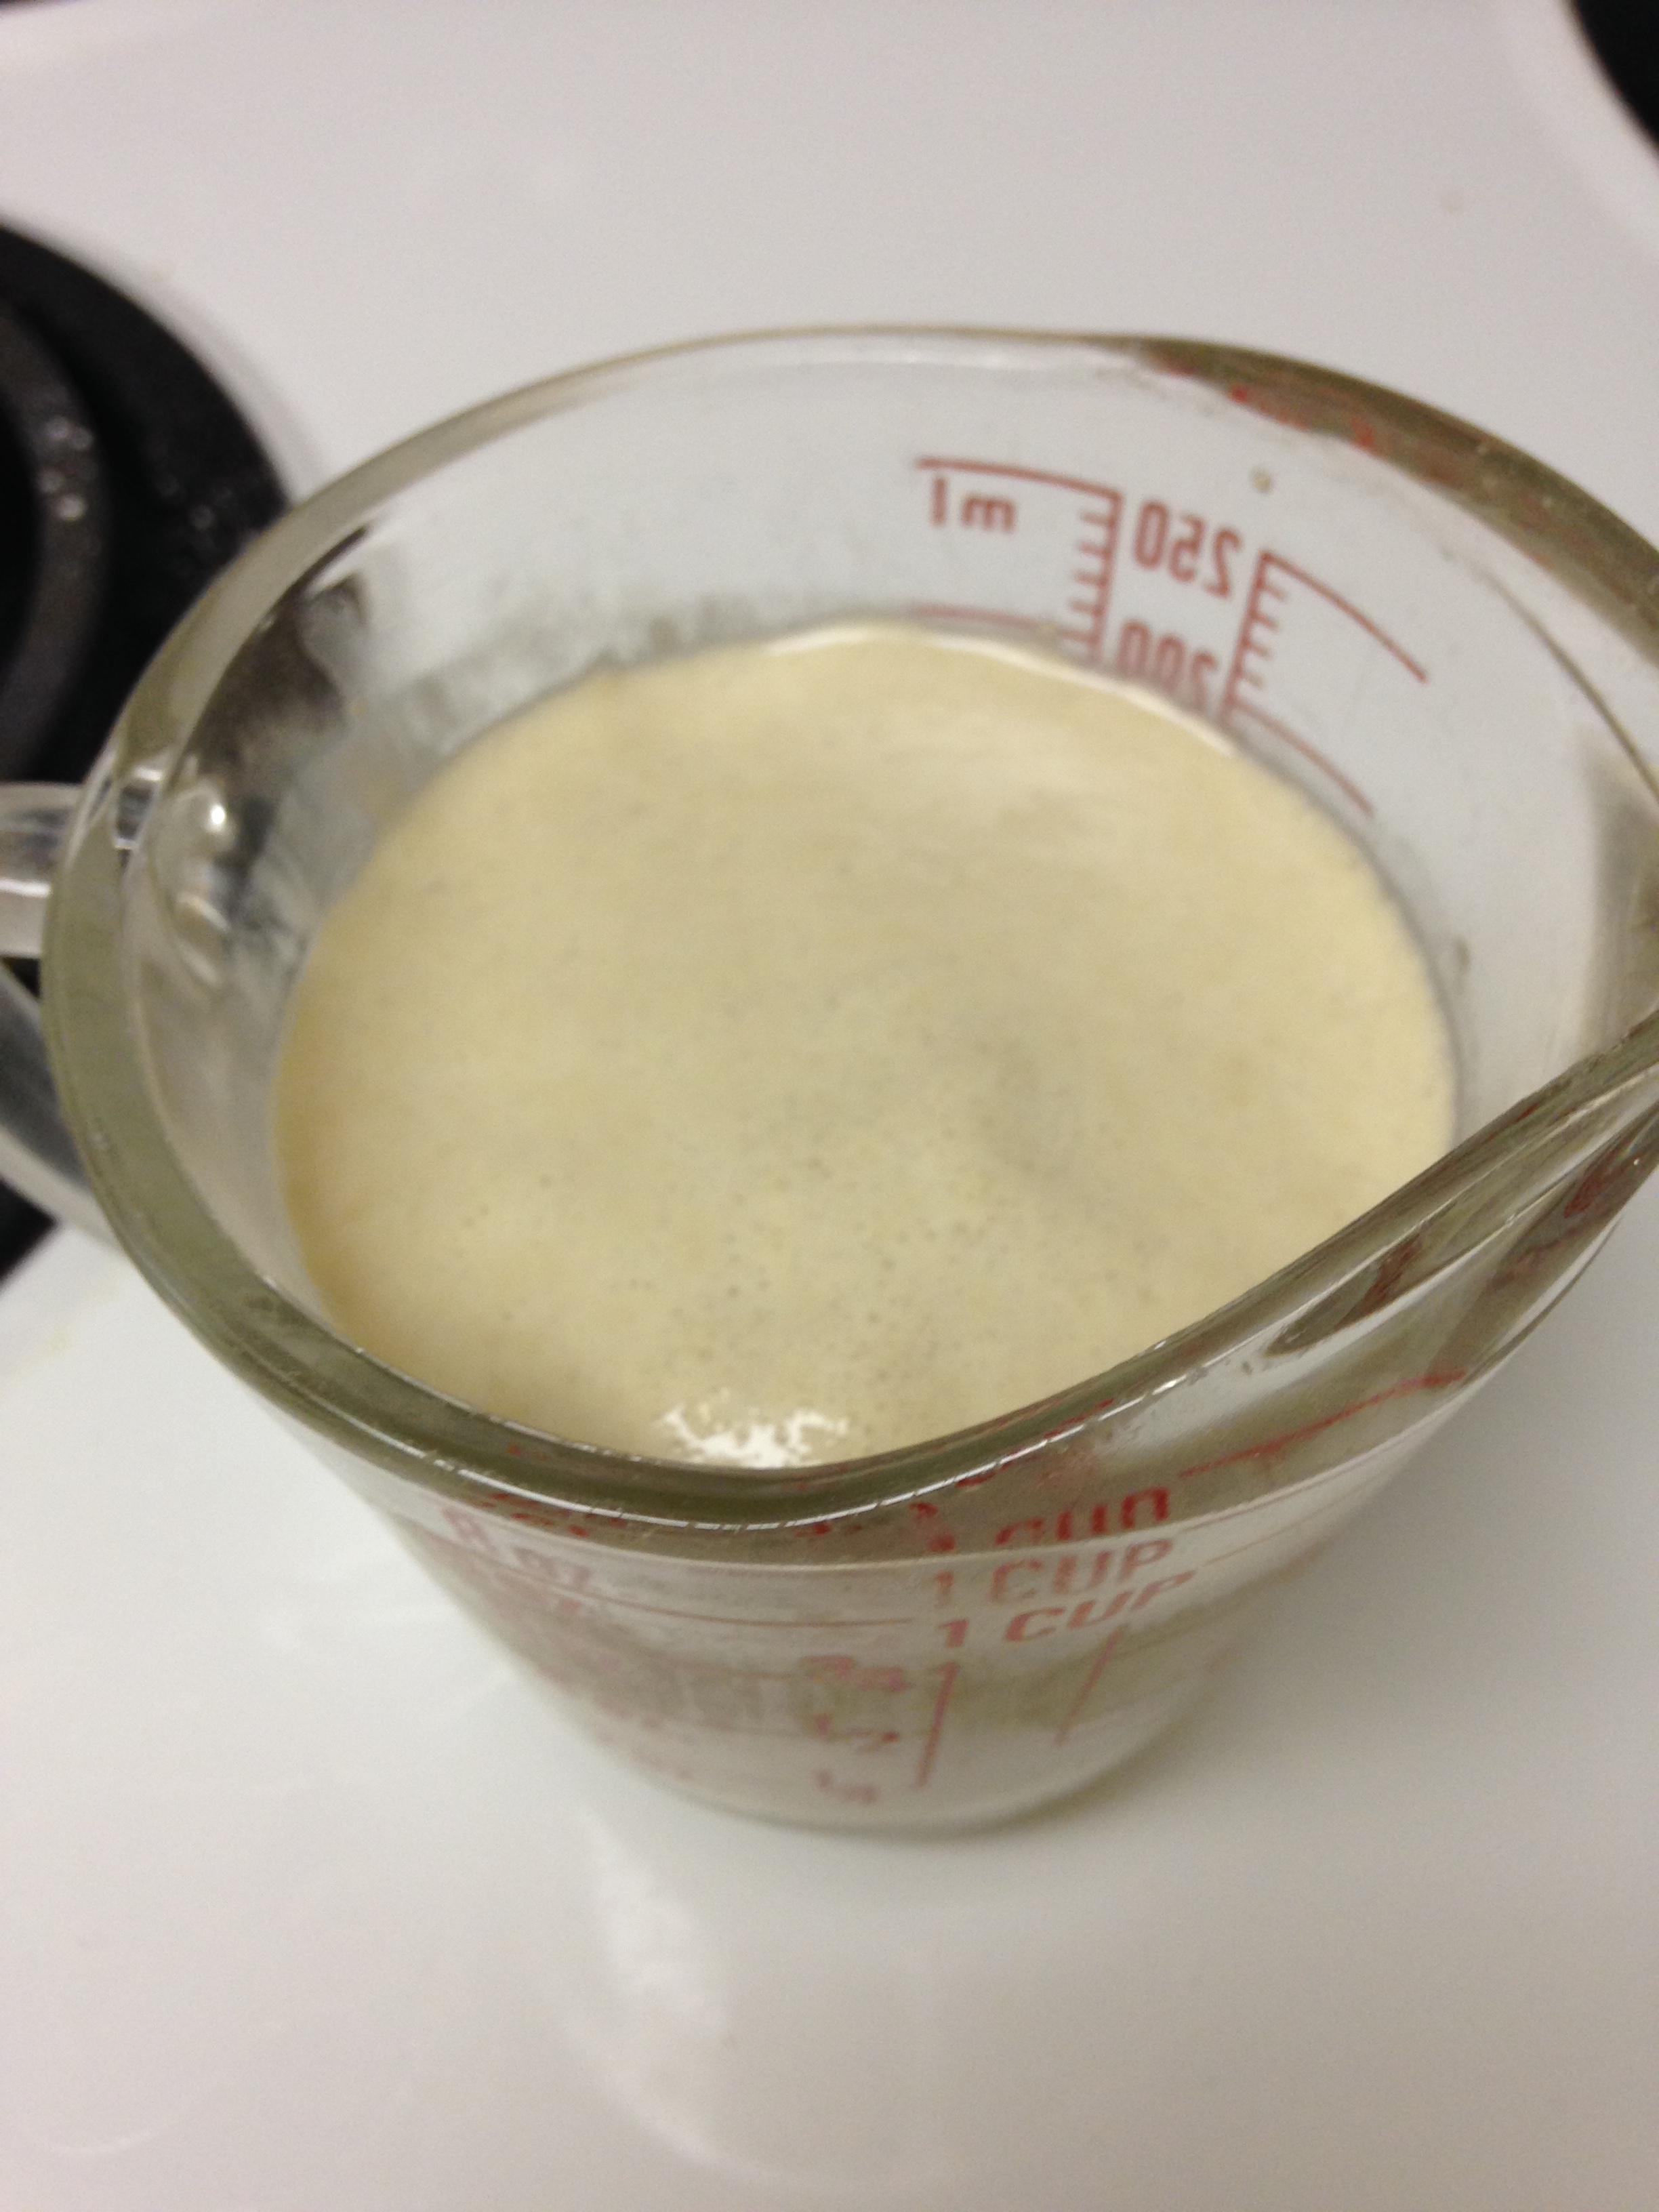
  3. Add yeast to sugar/water and let sit in a warm place (like the top of your oven range) for about 5 minutes or until yeast looks foamy. 
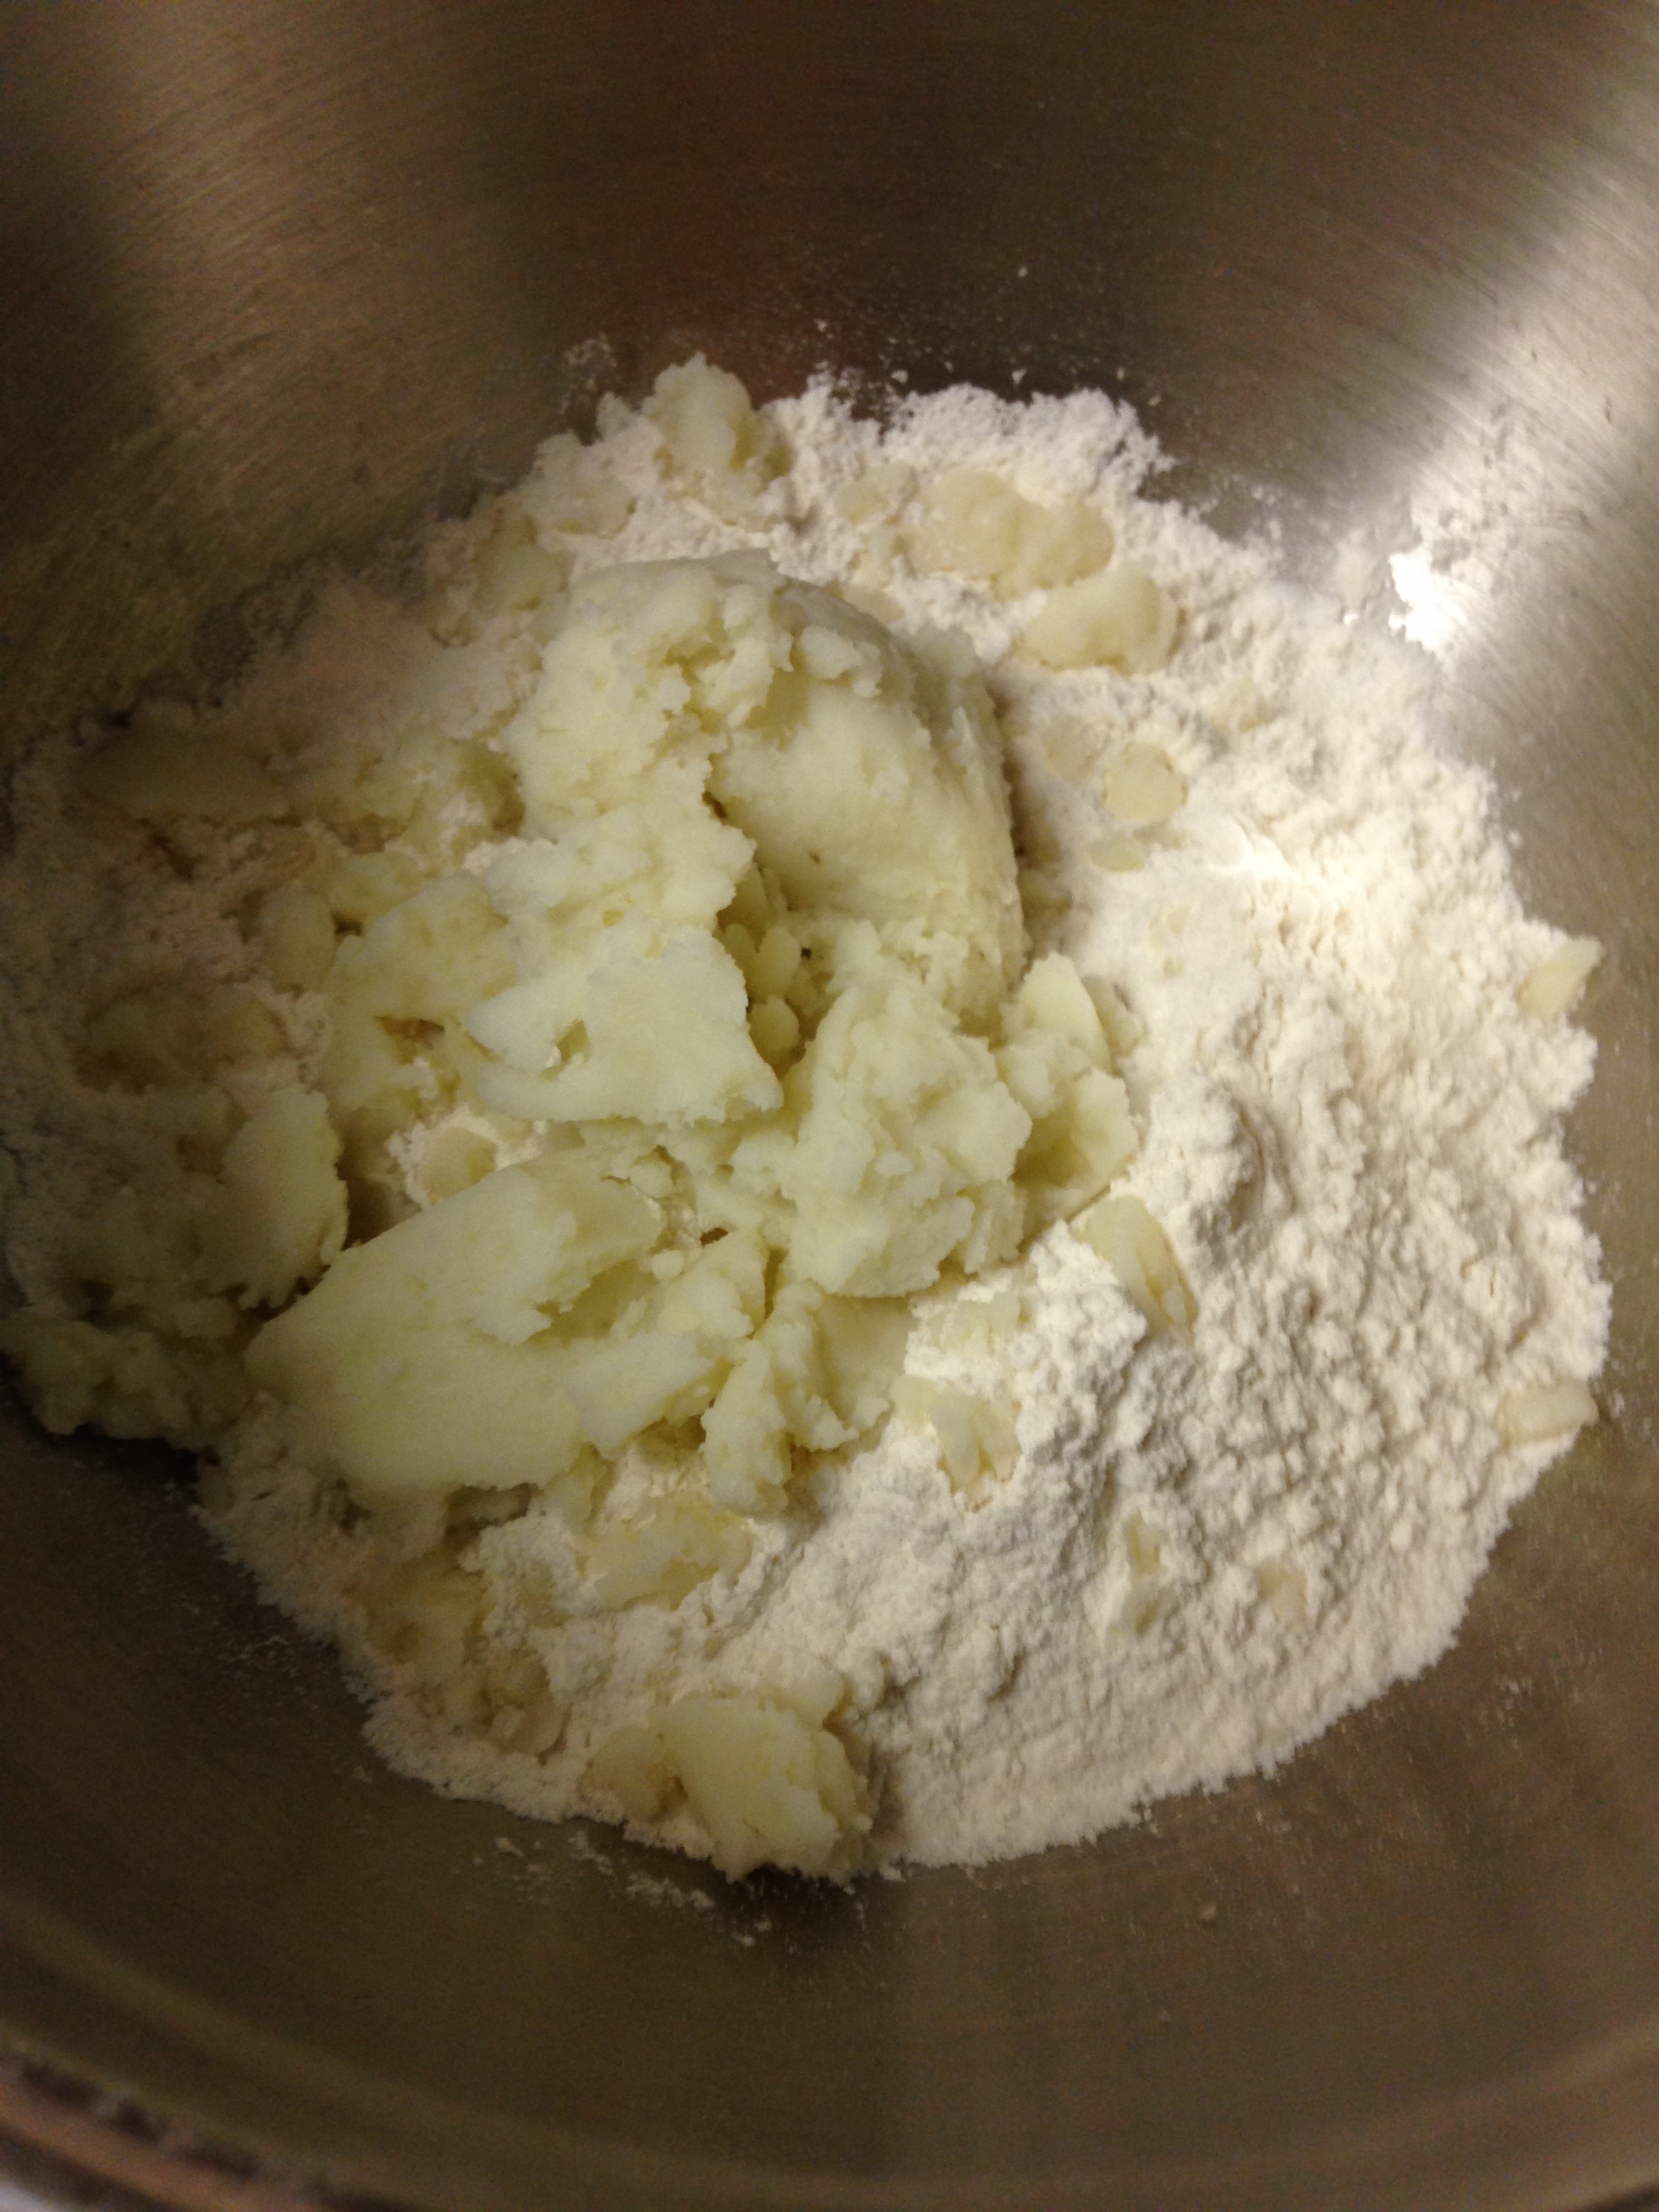
  4. In another bowl, mix together flour, mashed potatoes and salt. 
  5. Add oil into the foamy yeast mixture.
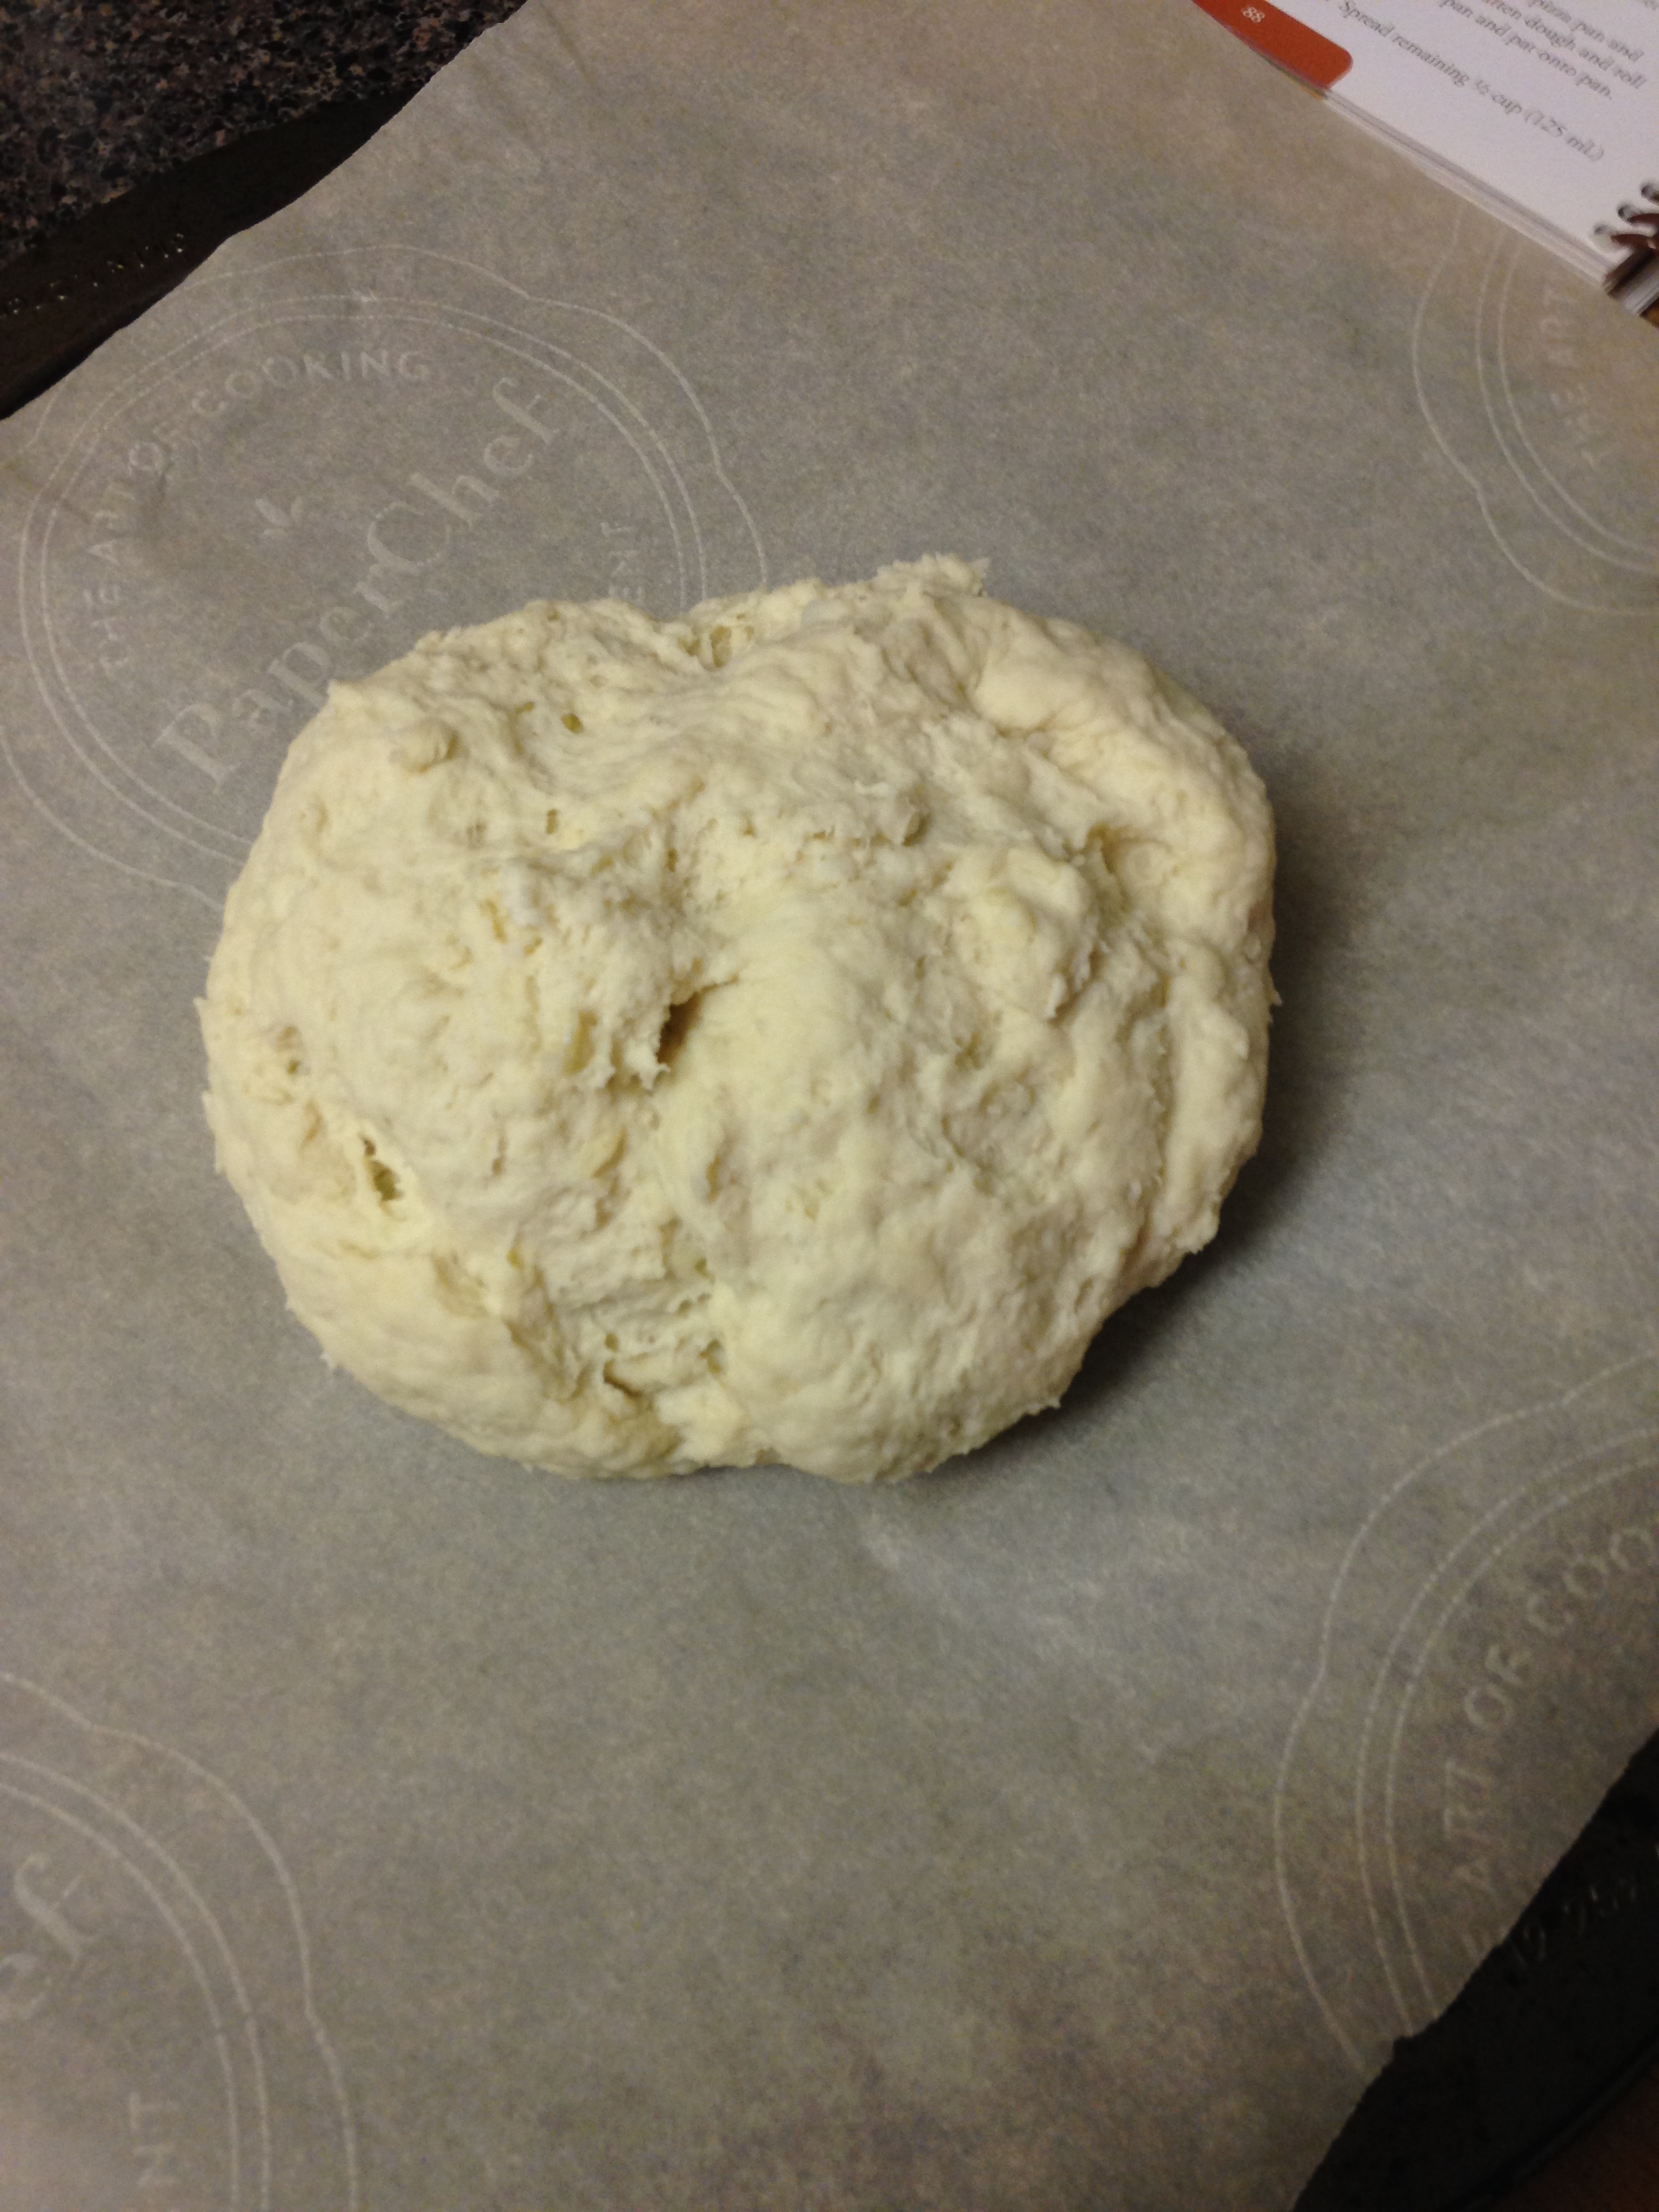
  6. Pour foamy yeast mixture over flour/potato mixture. Stir until the dough comes together. Knead dough for a minute until uniform (no potato lumpies). Use extra flour if your hands are sticking.
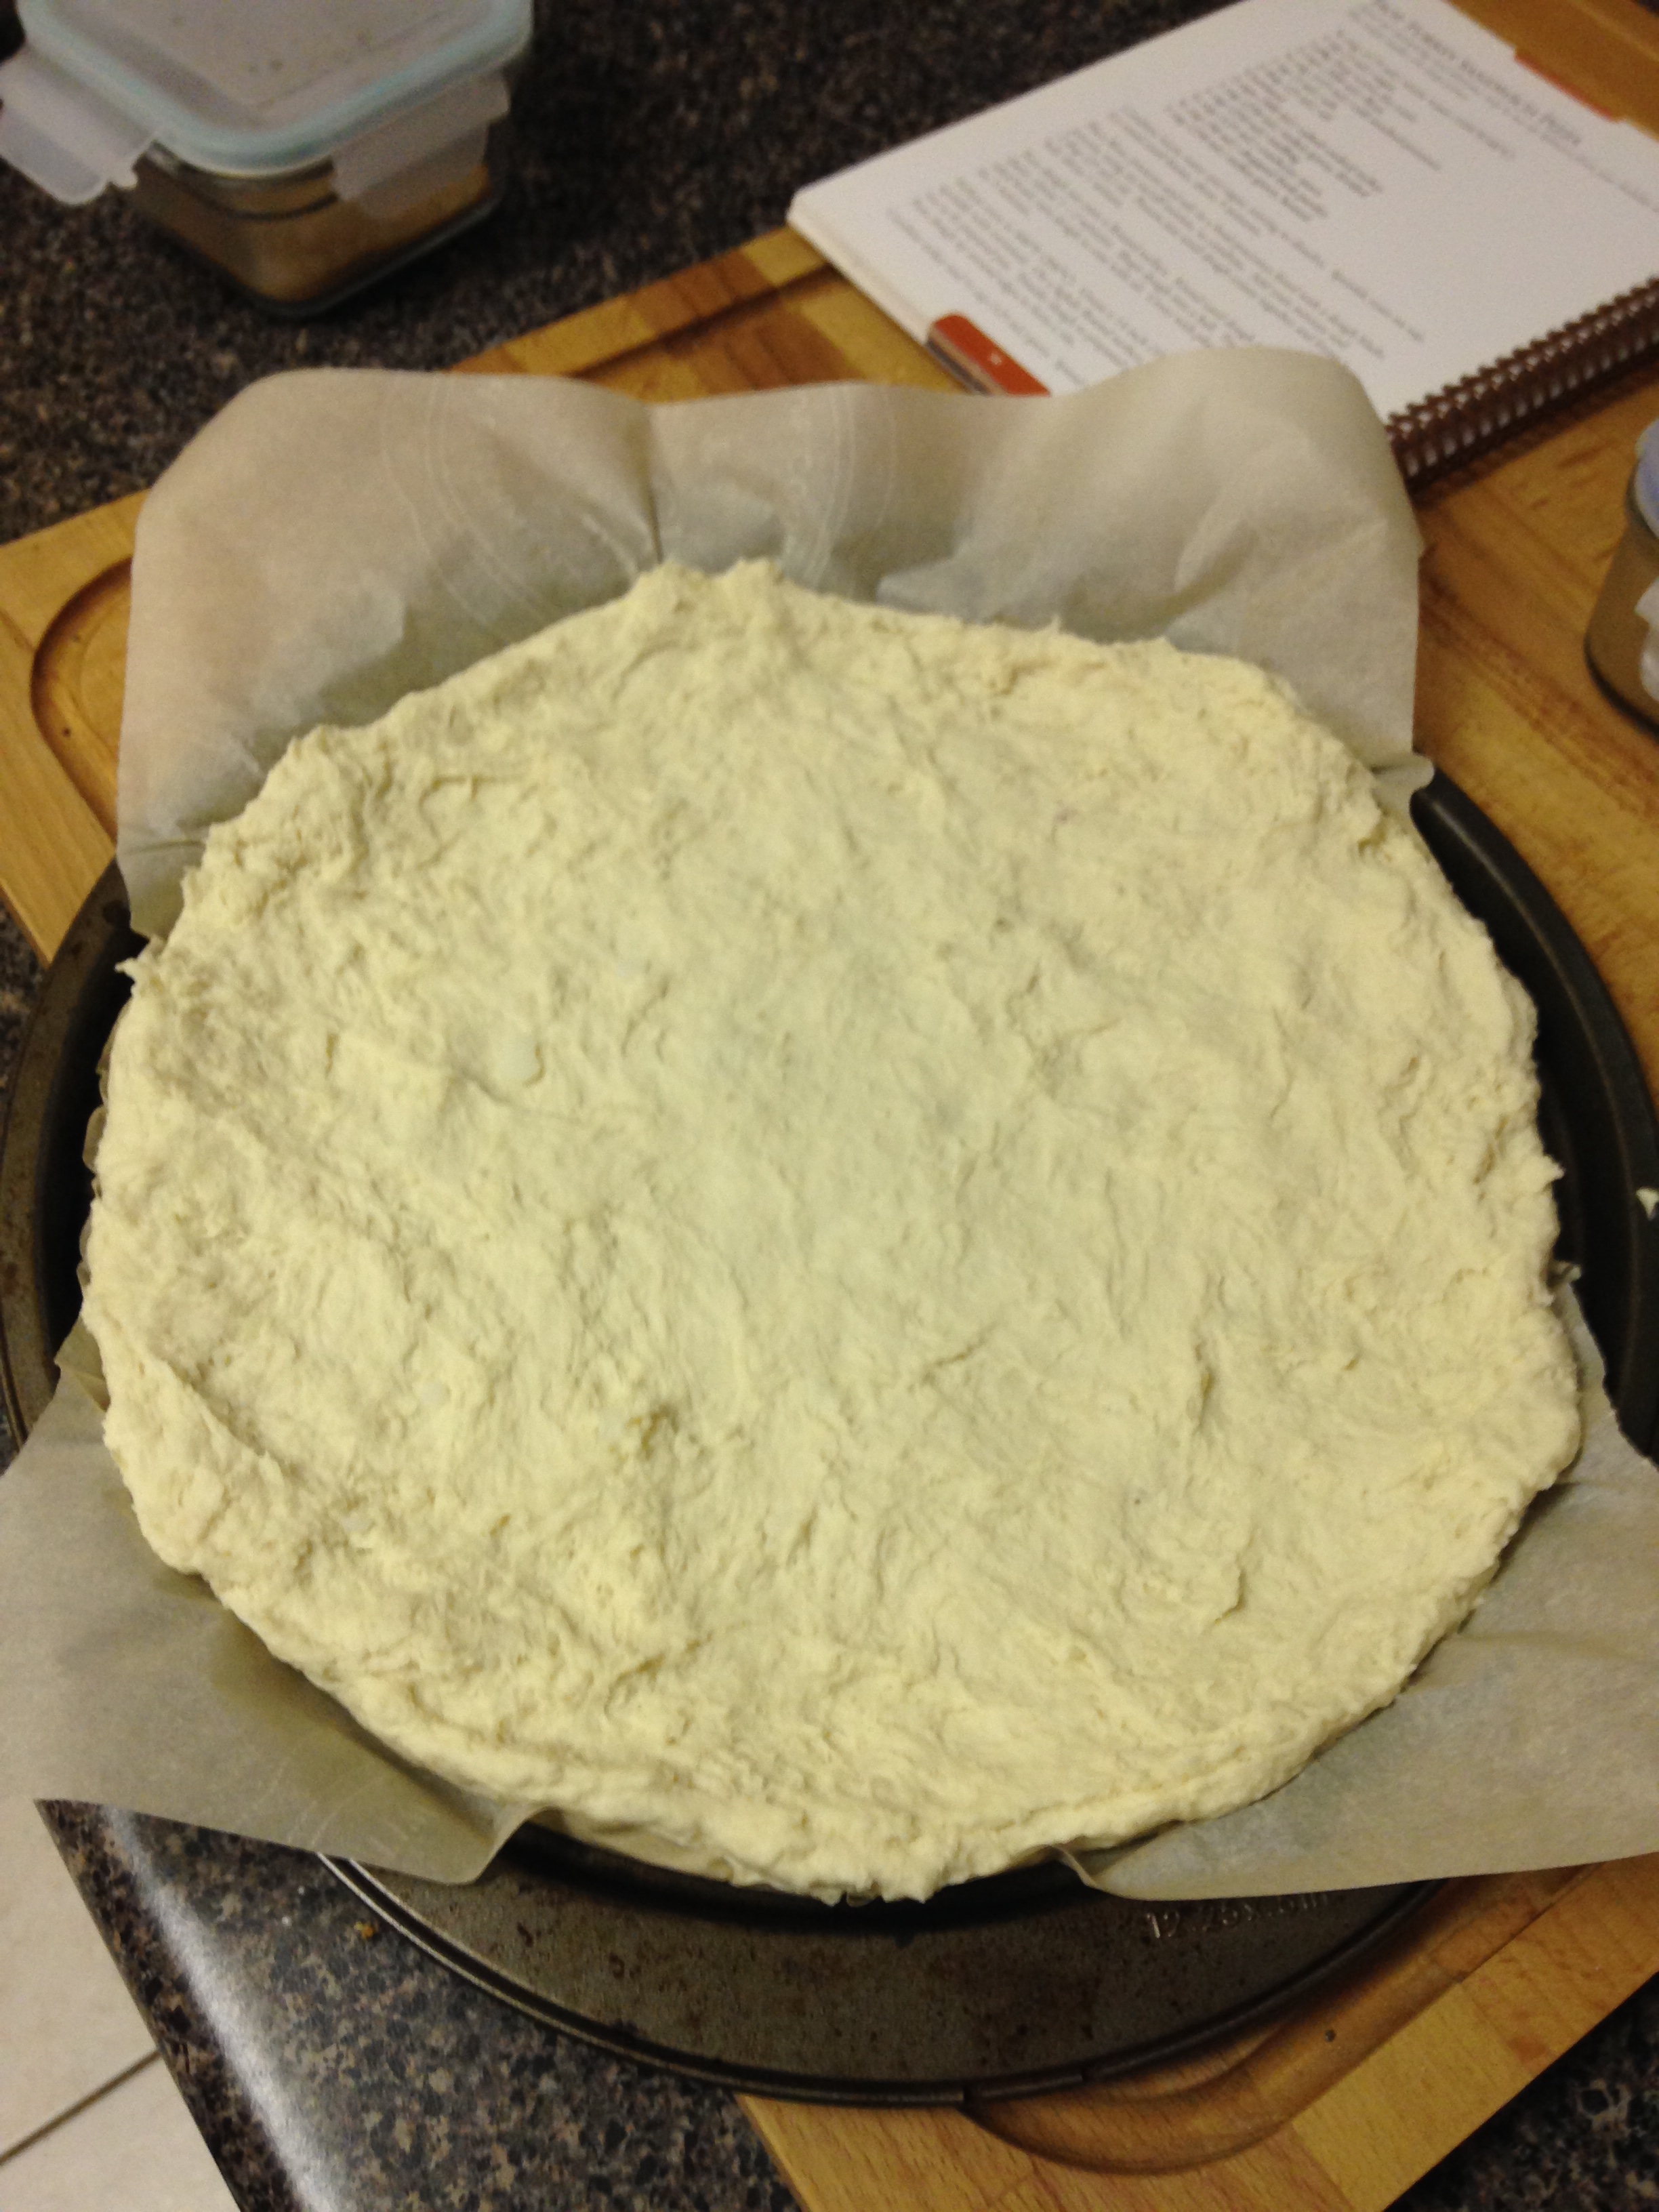
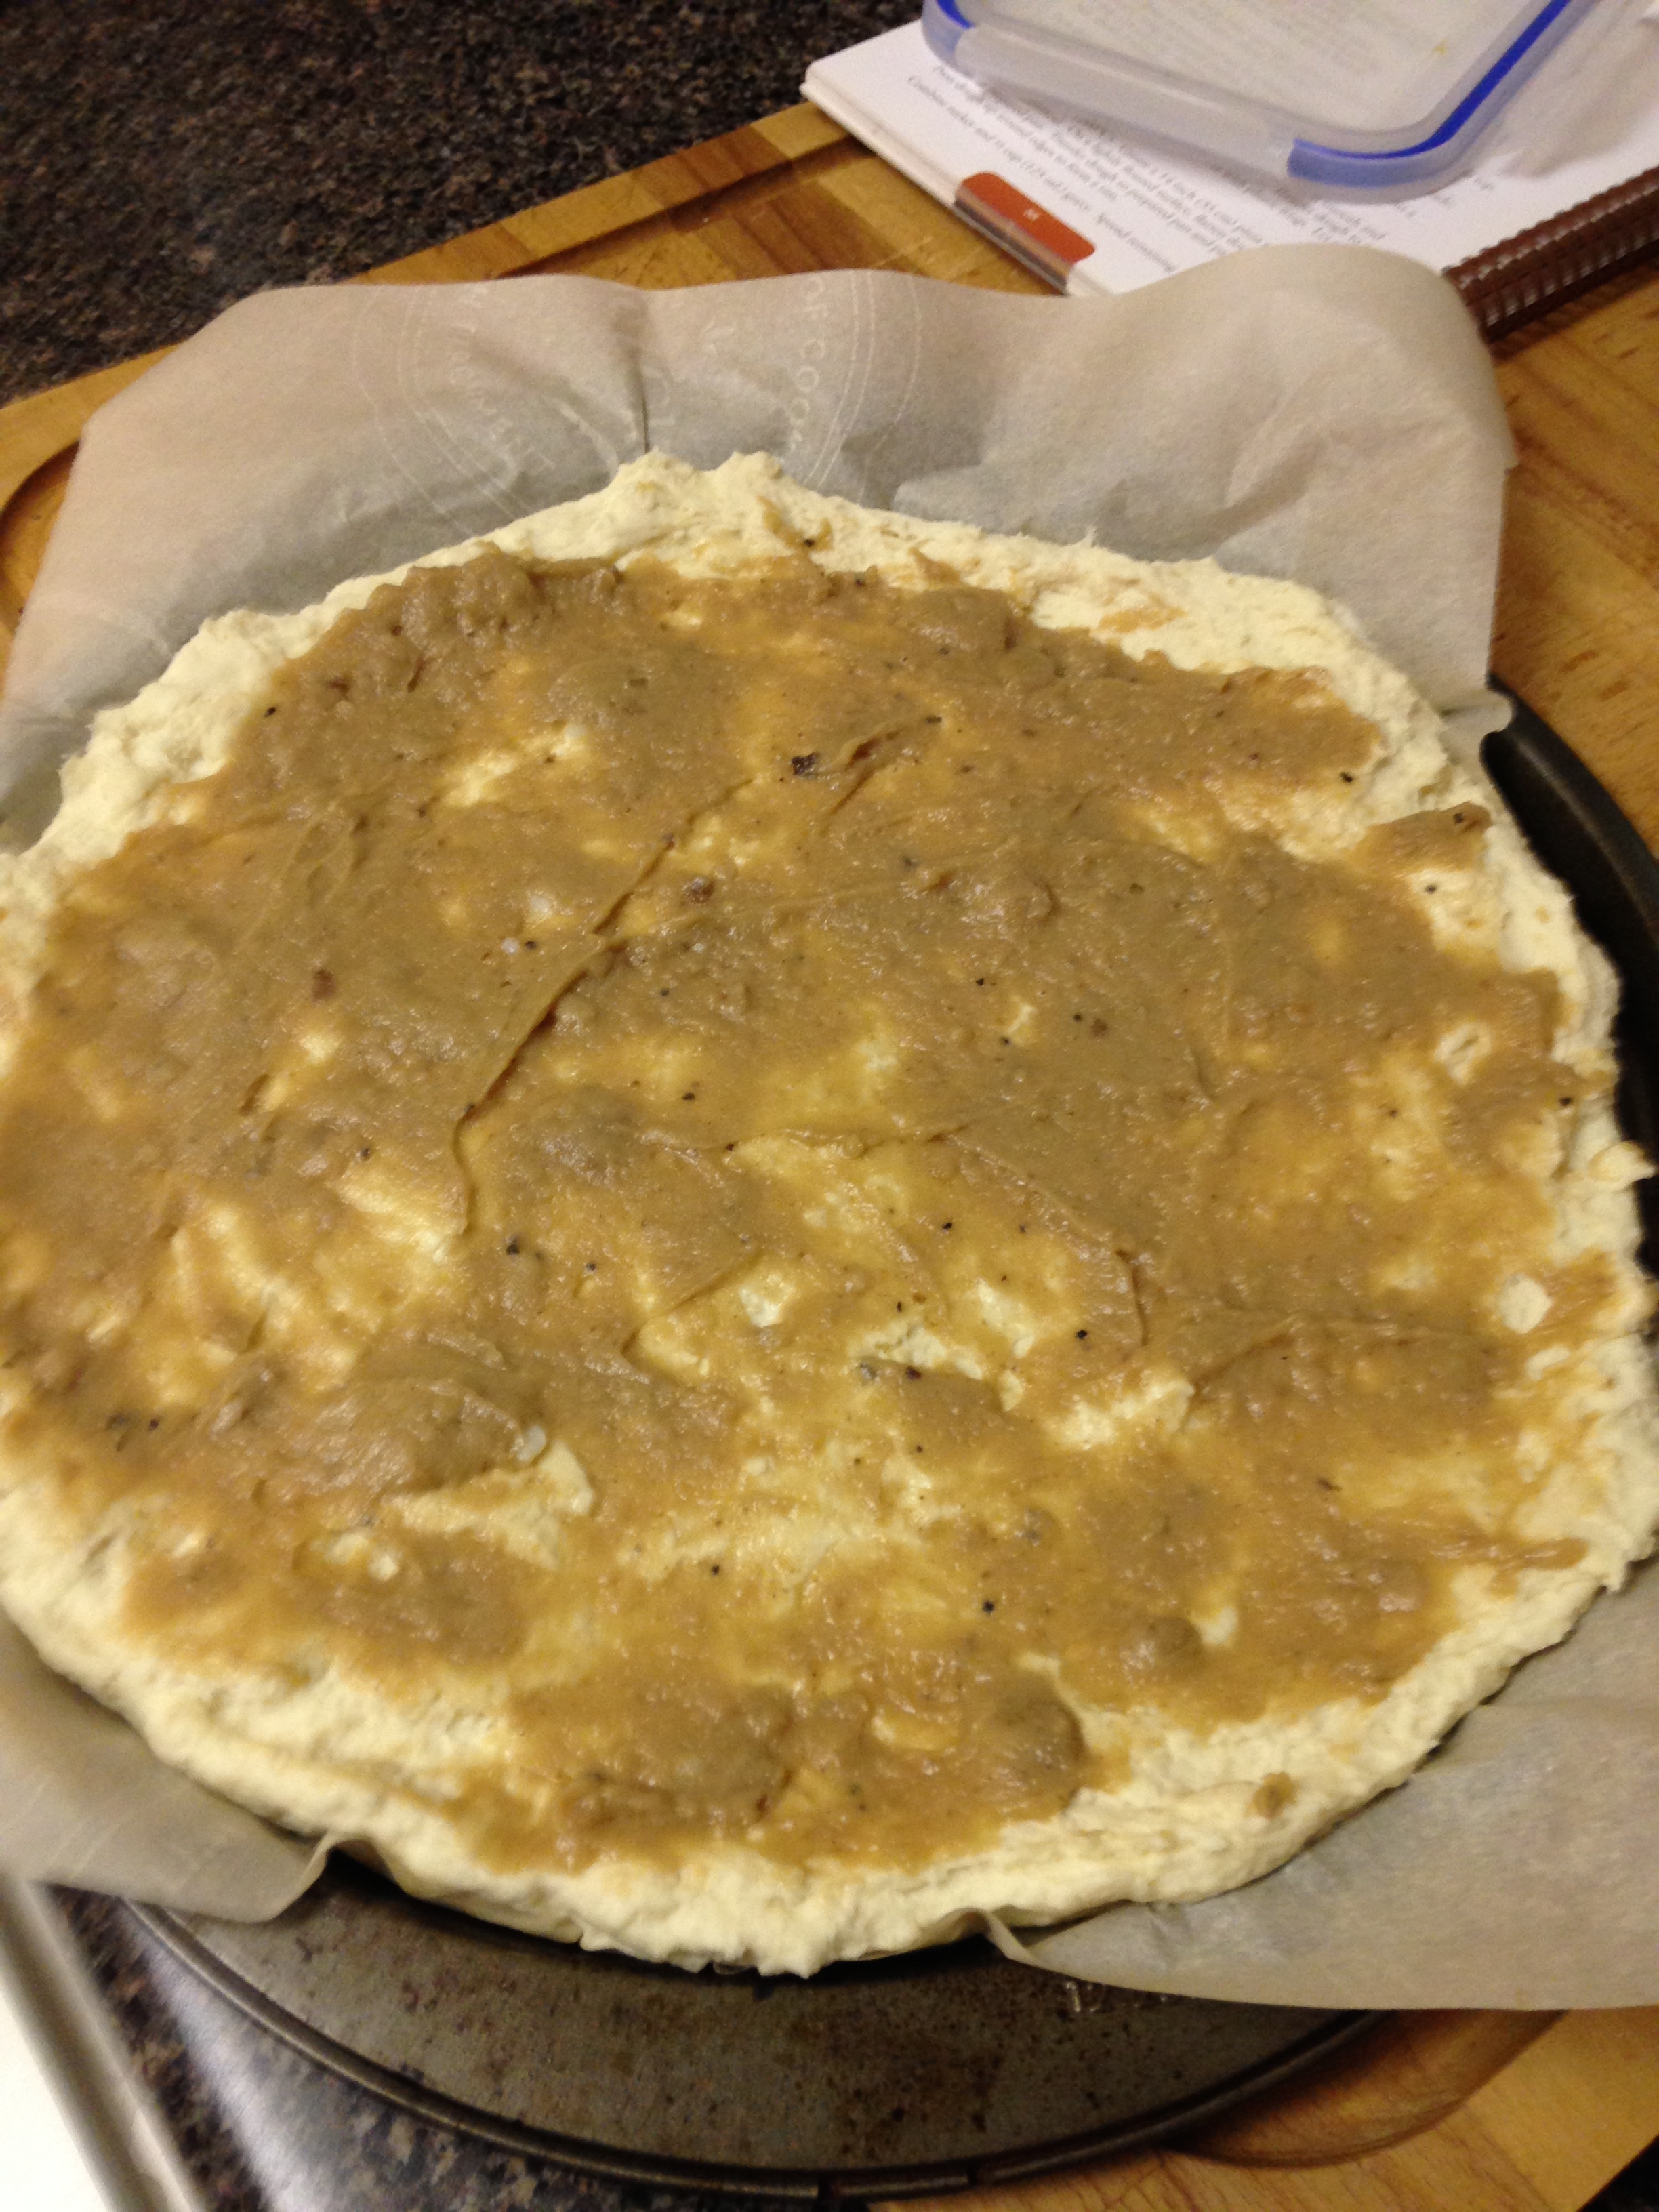
  7. On a baking sheet covered in parchment, pat out your pizza shell. 
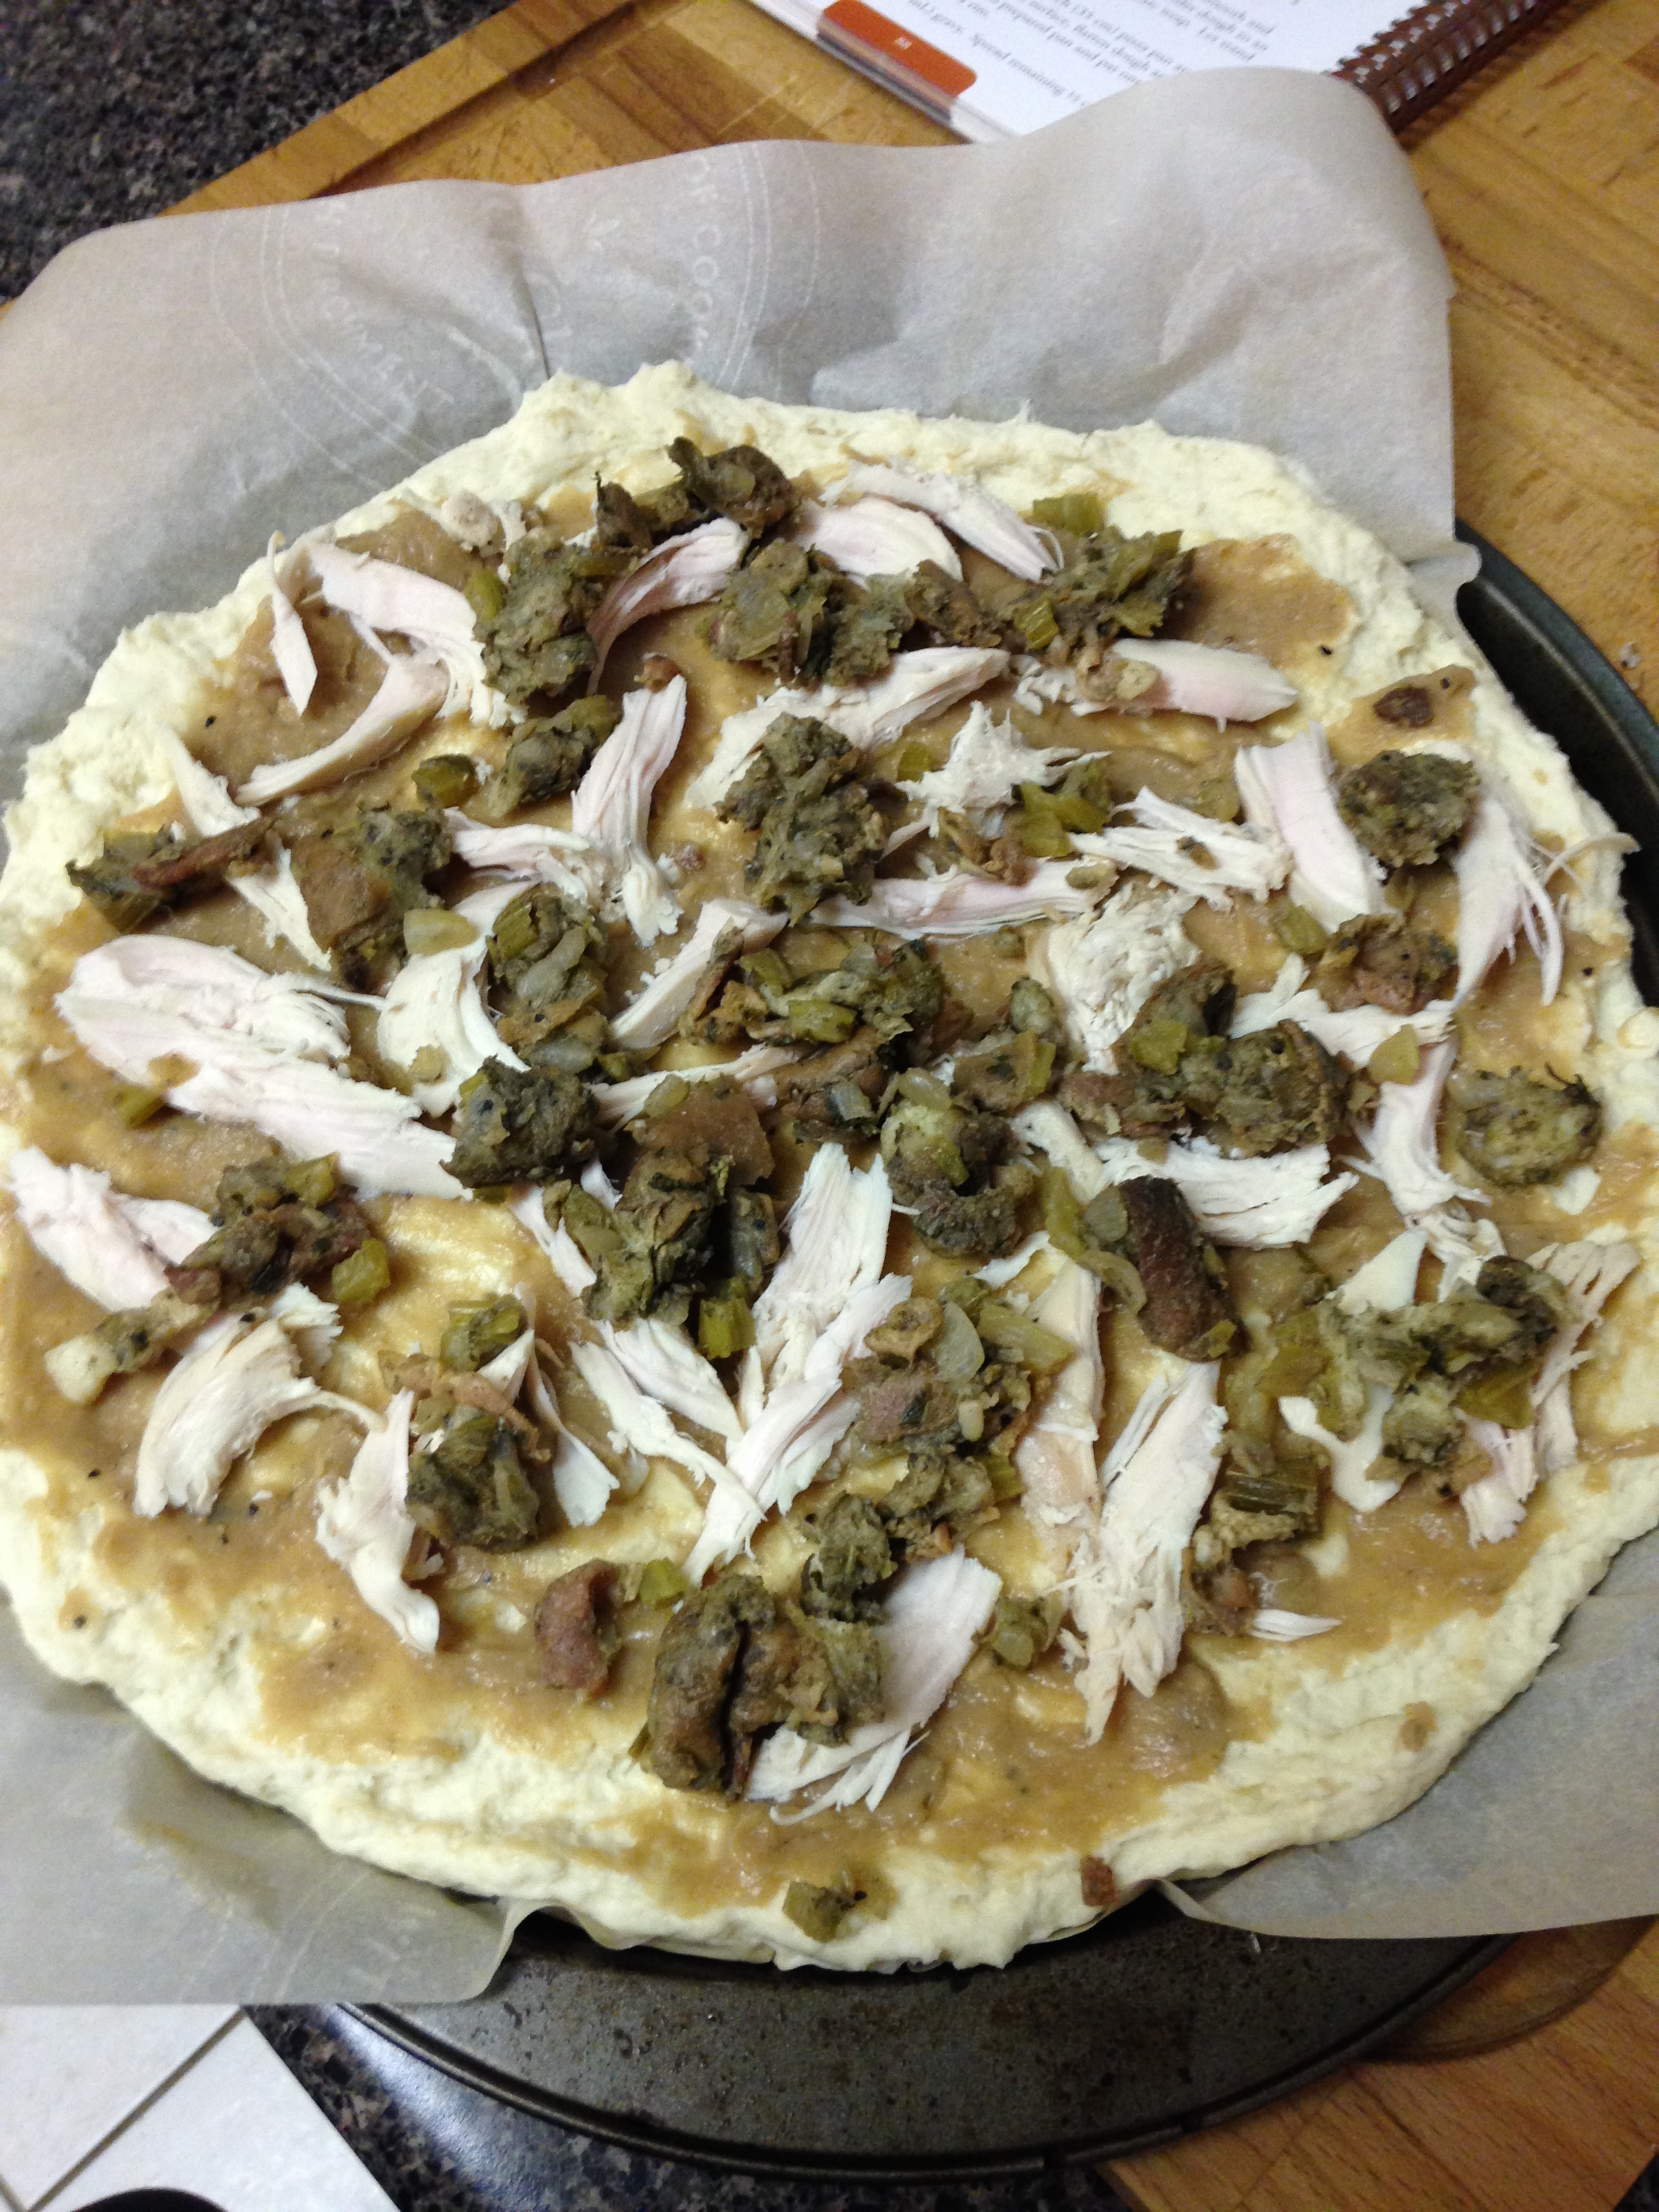
  8. Spread gravy on shell (it's the sauce!). Cover pizza with turkey, stuffing and cranberry sauce (optional). 
  9. Bake for 25 minutes or until pizza crust looks browned. Serve hot with gravy for "dipping" sauce. 

Don't knock it till you've tried it! 

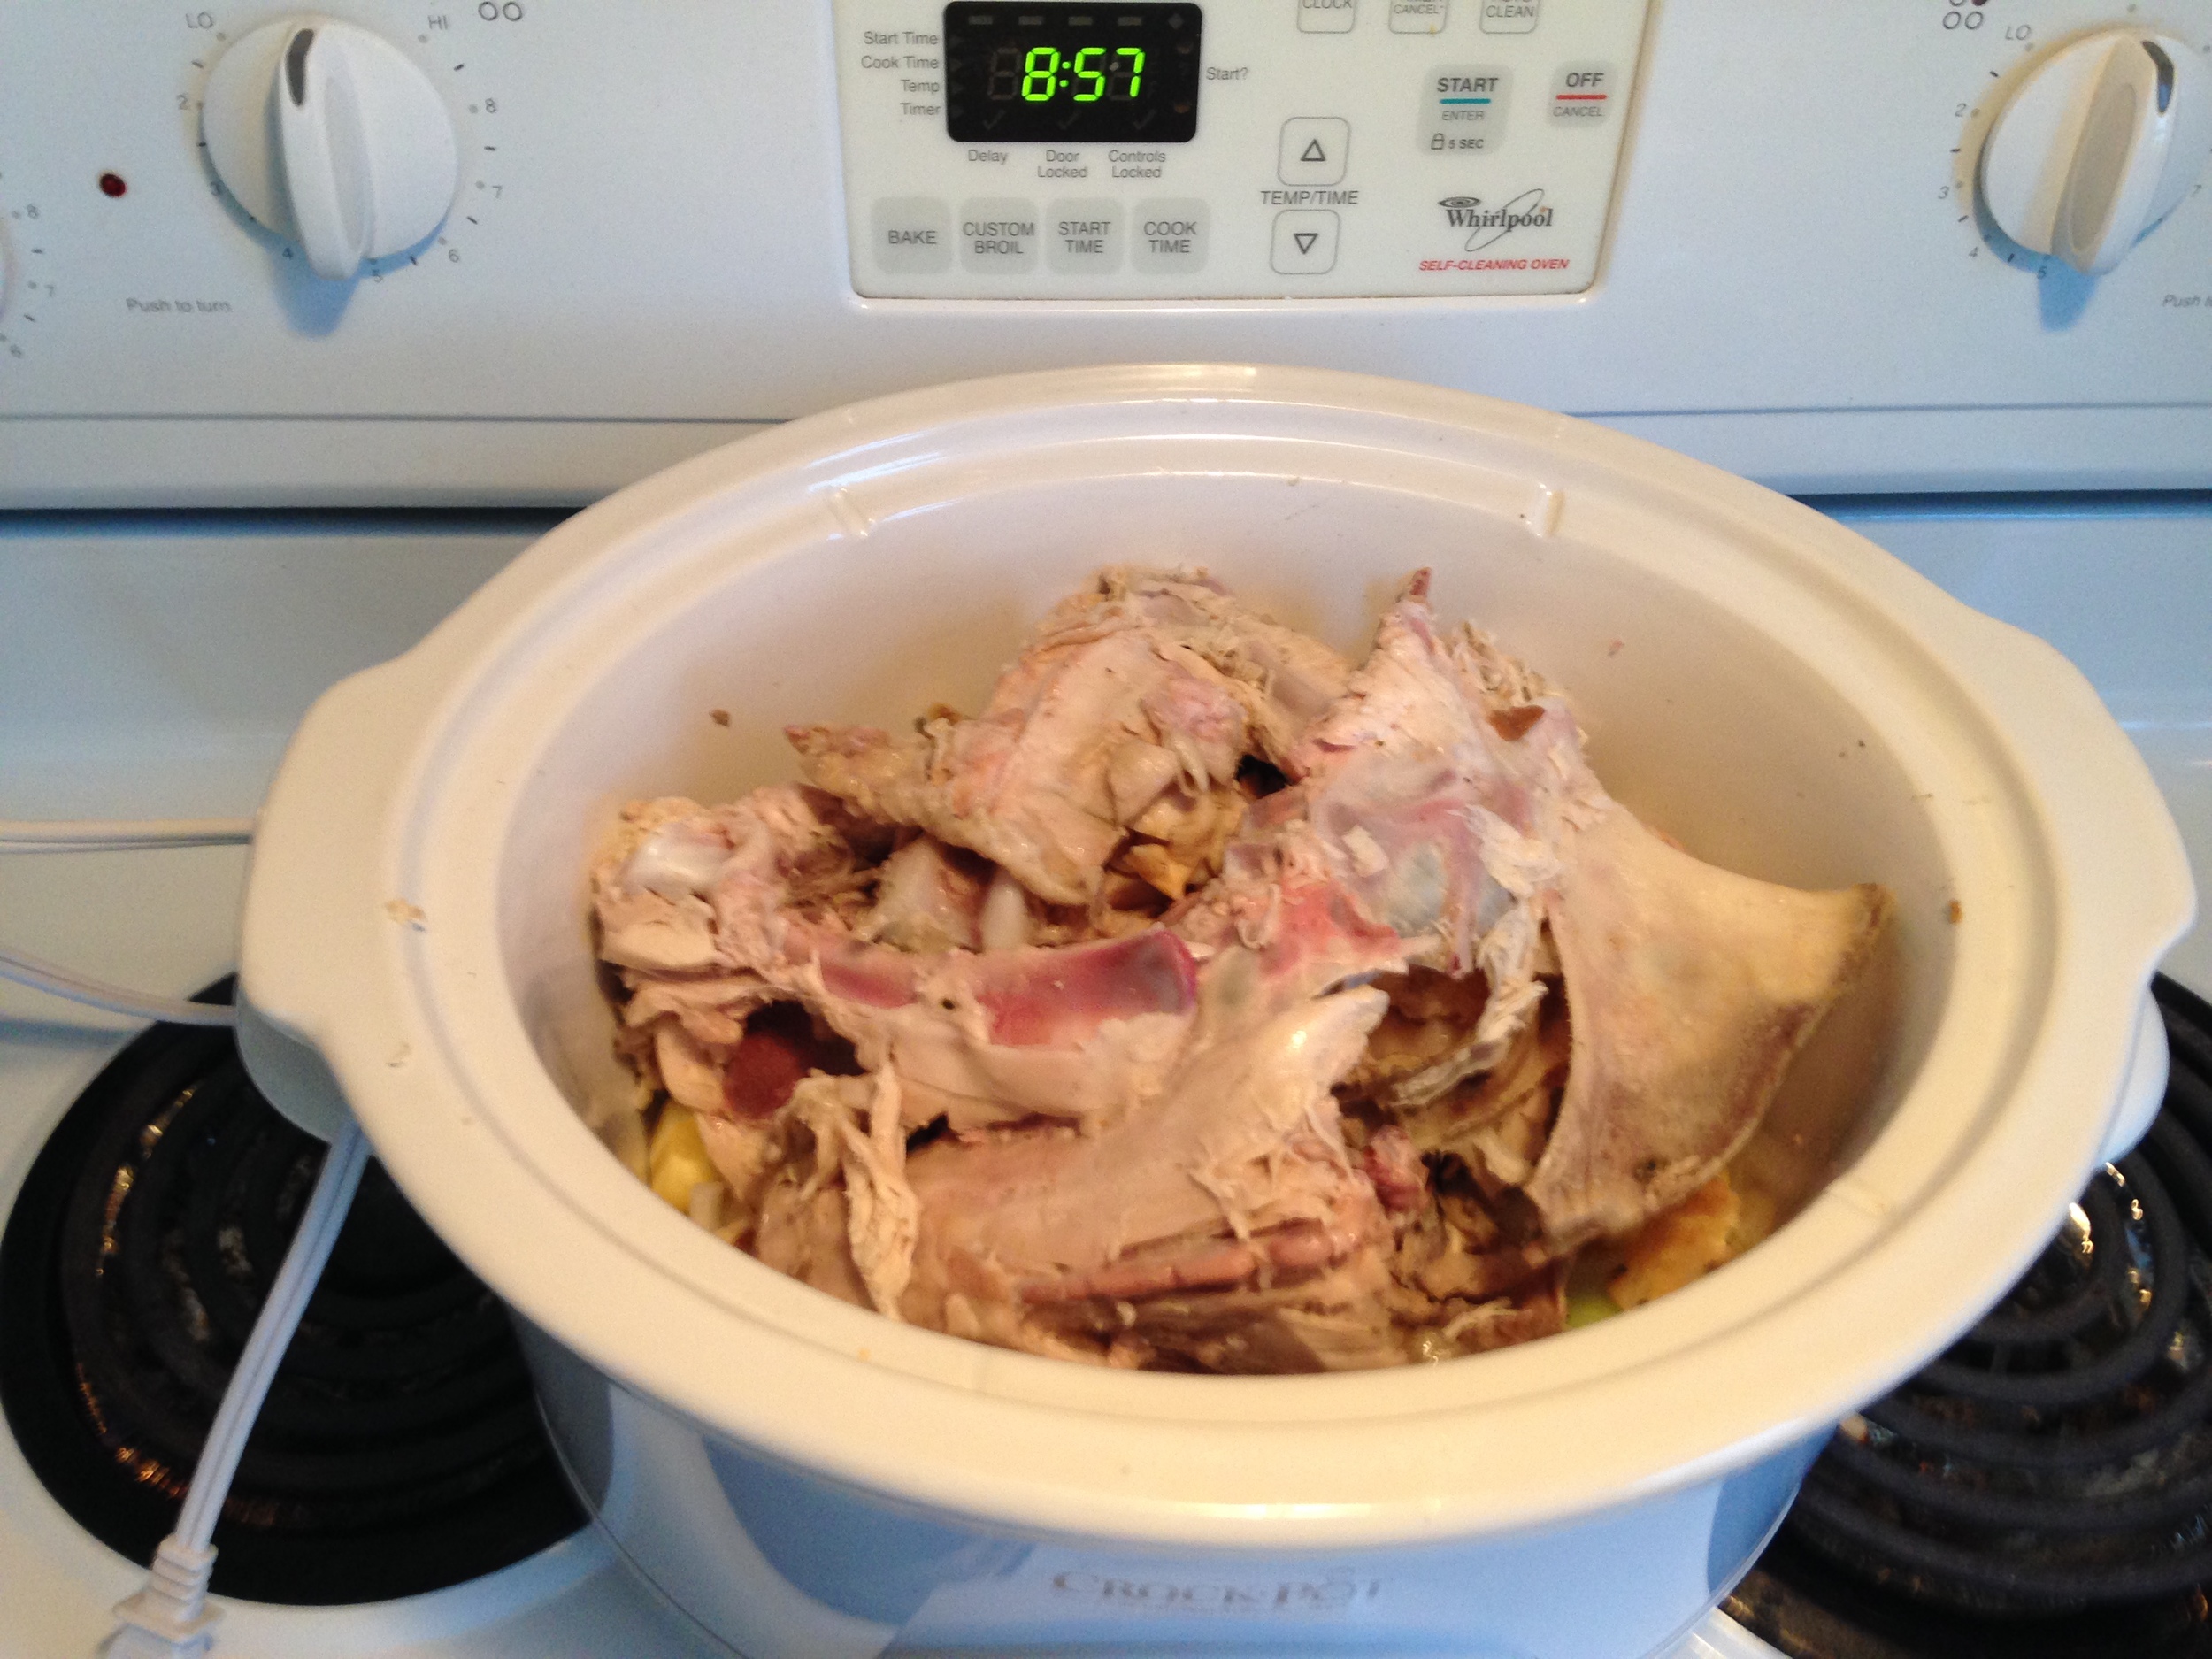
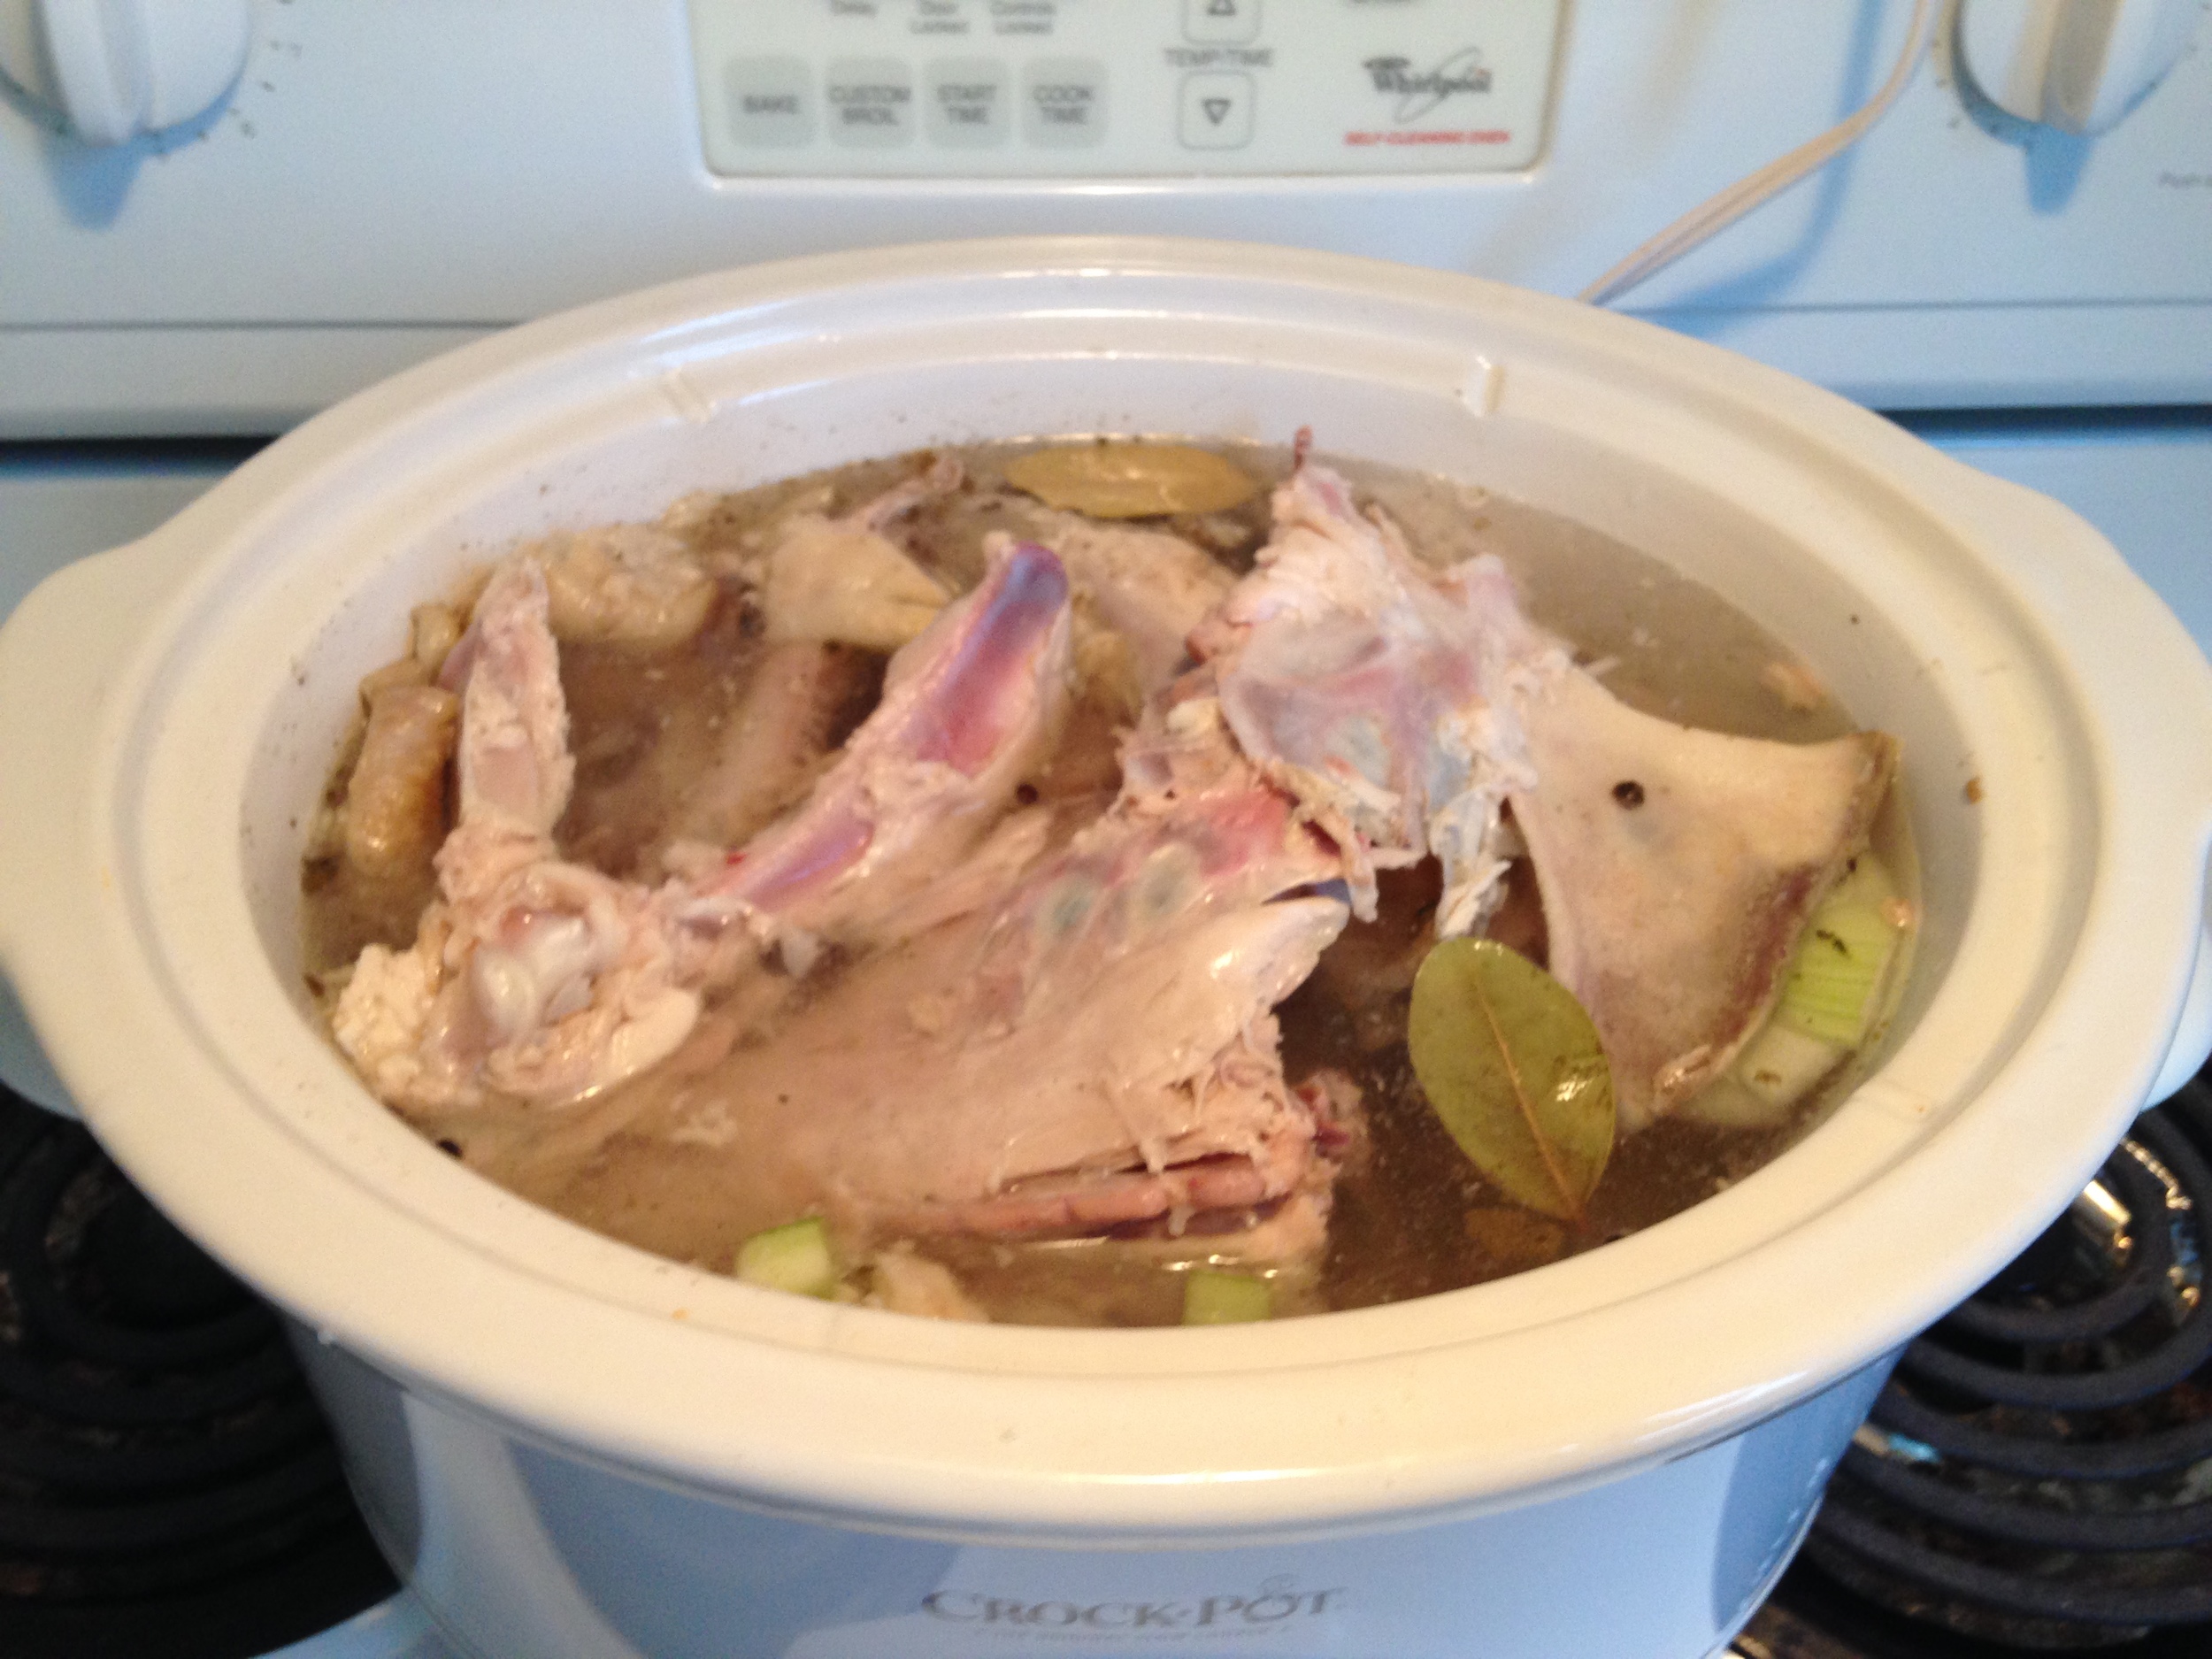
As I make the other leftover-insipred dinners I'll post them. Till then, have a peek at the stock I made. Mmm Turkey. 

-Andrea

The Half-Assed Hobbyist
Past the Maybes, maybe...

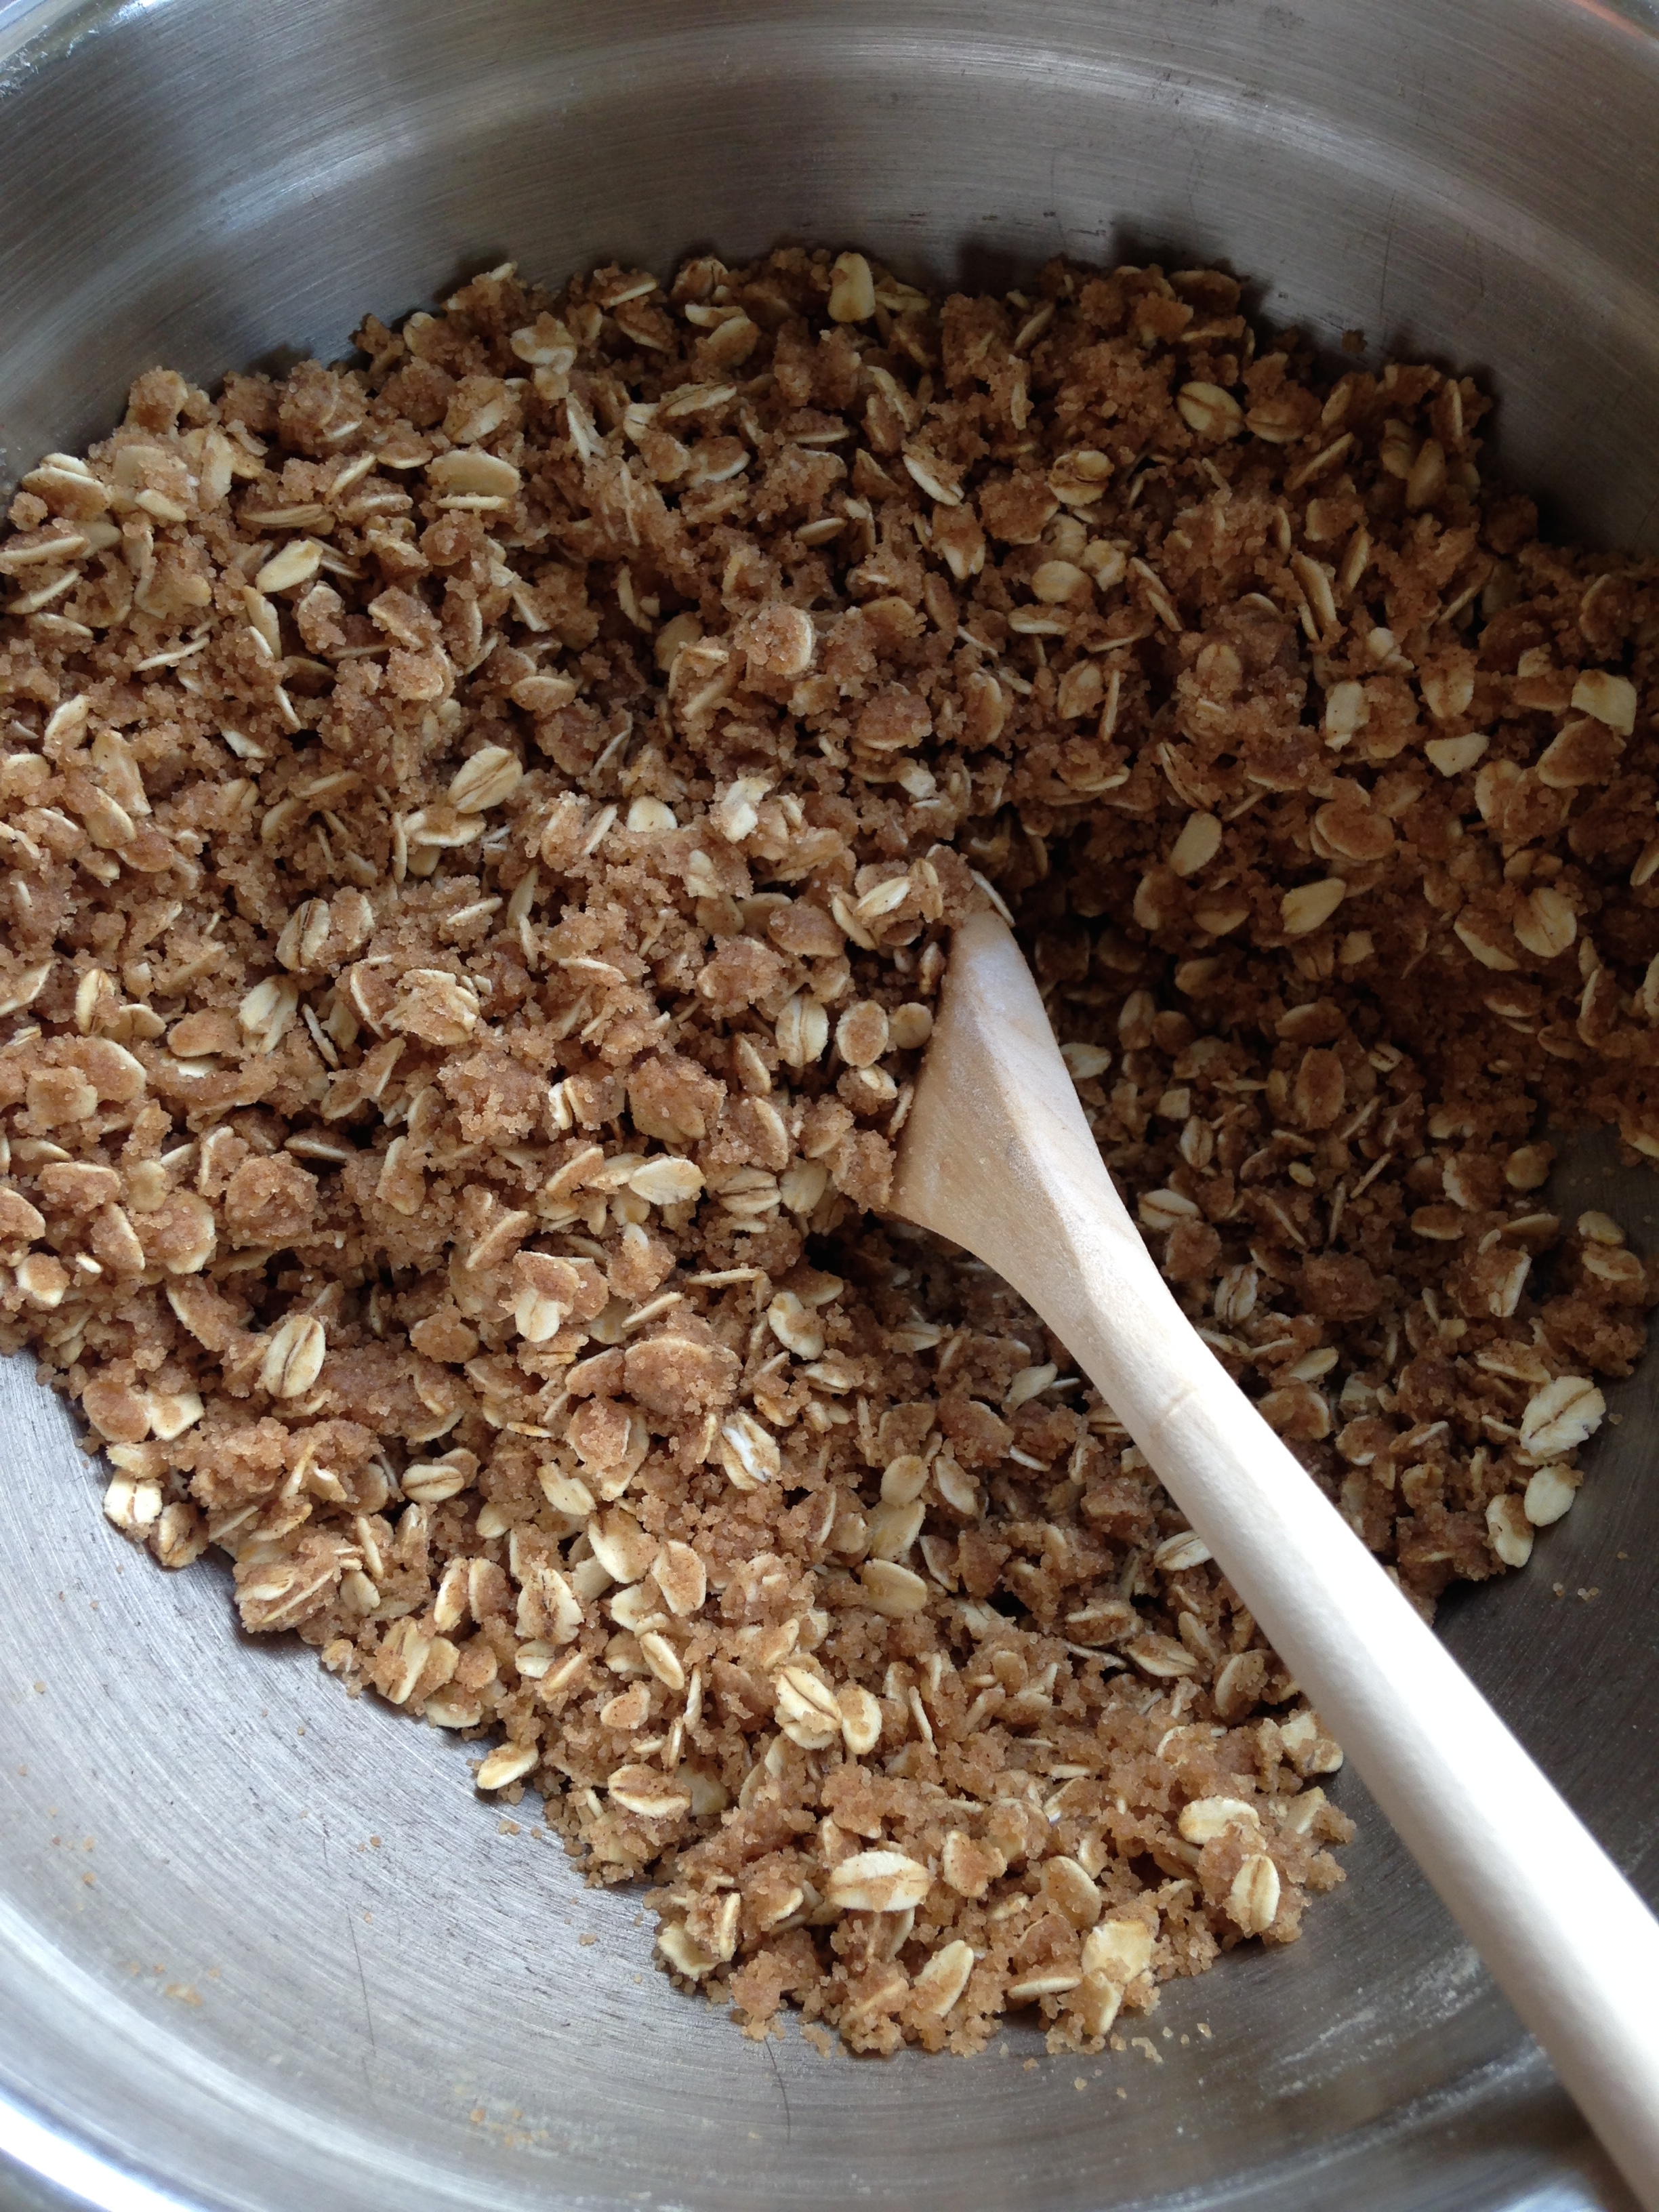
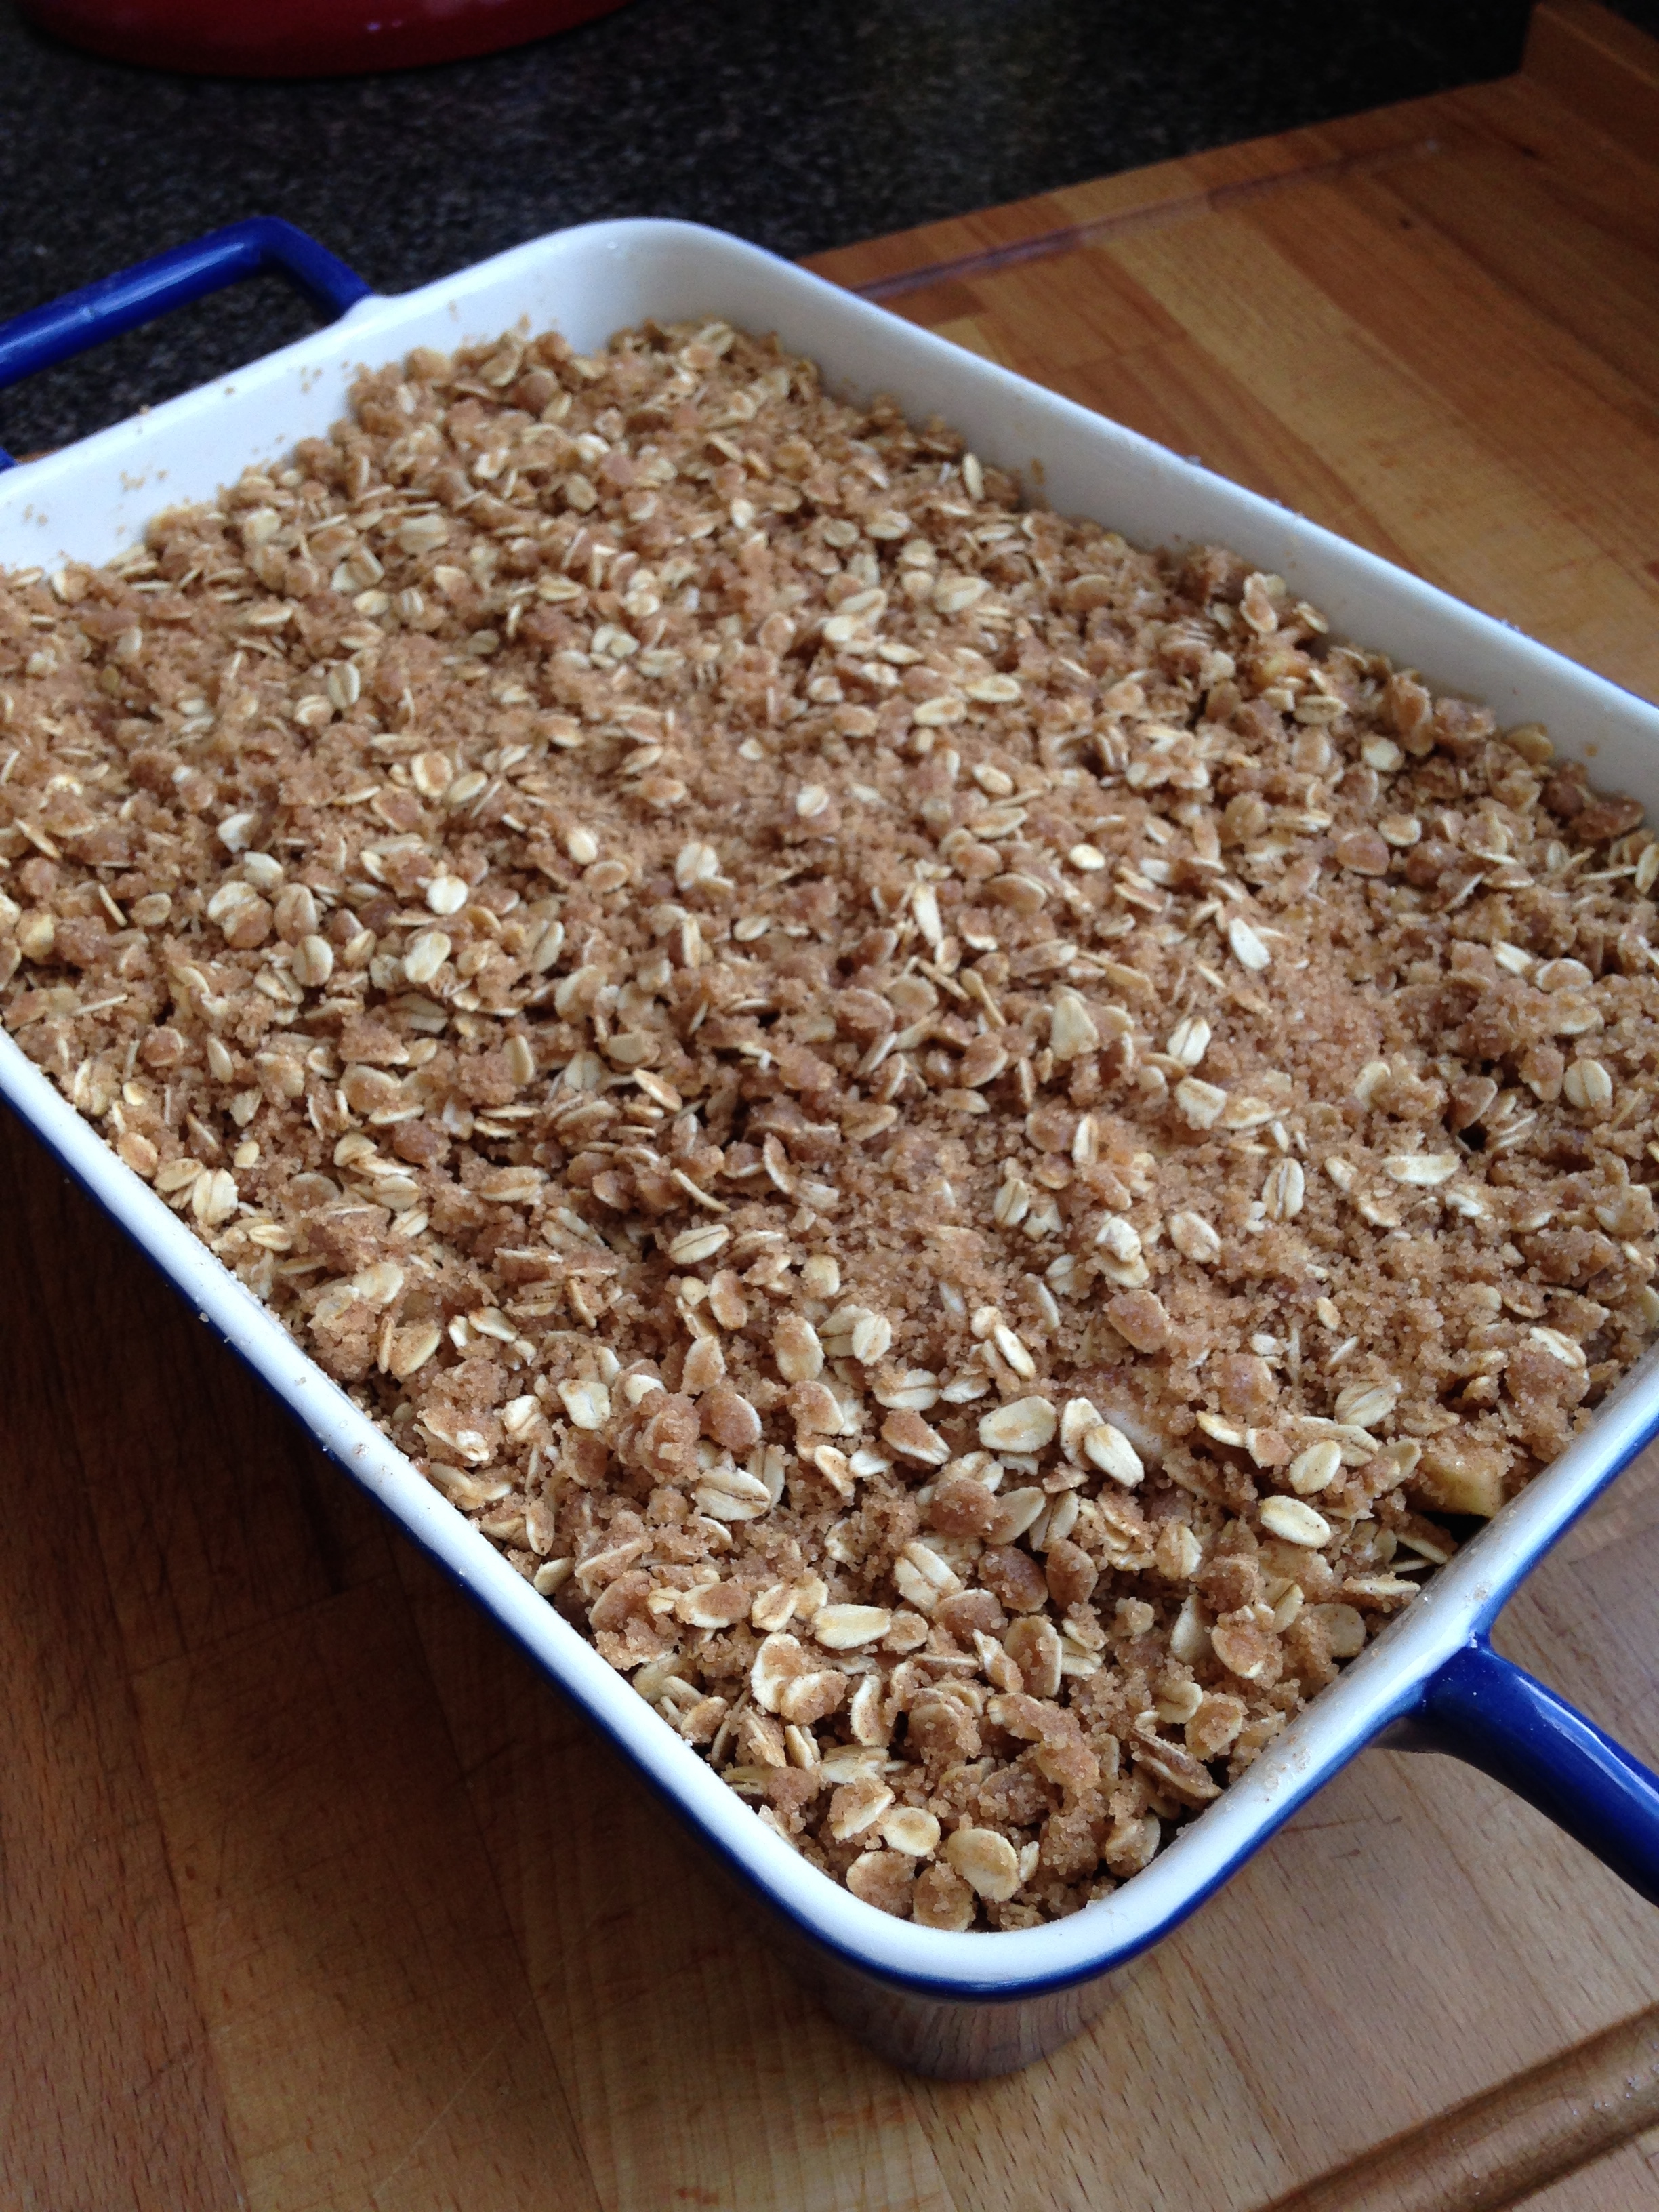
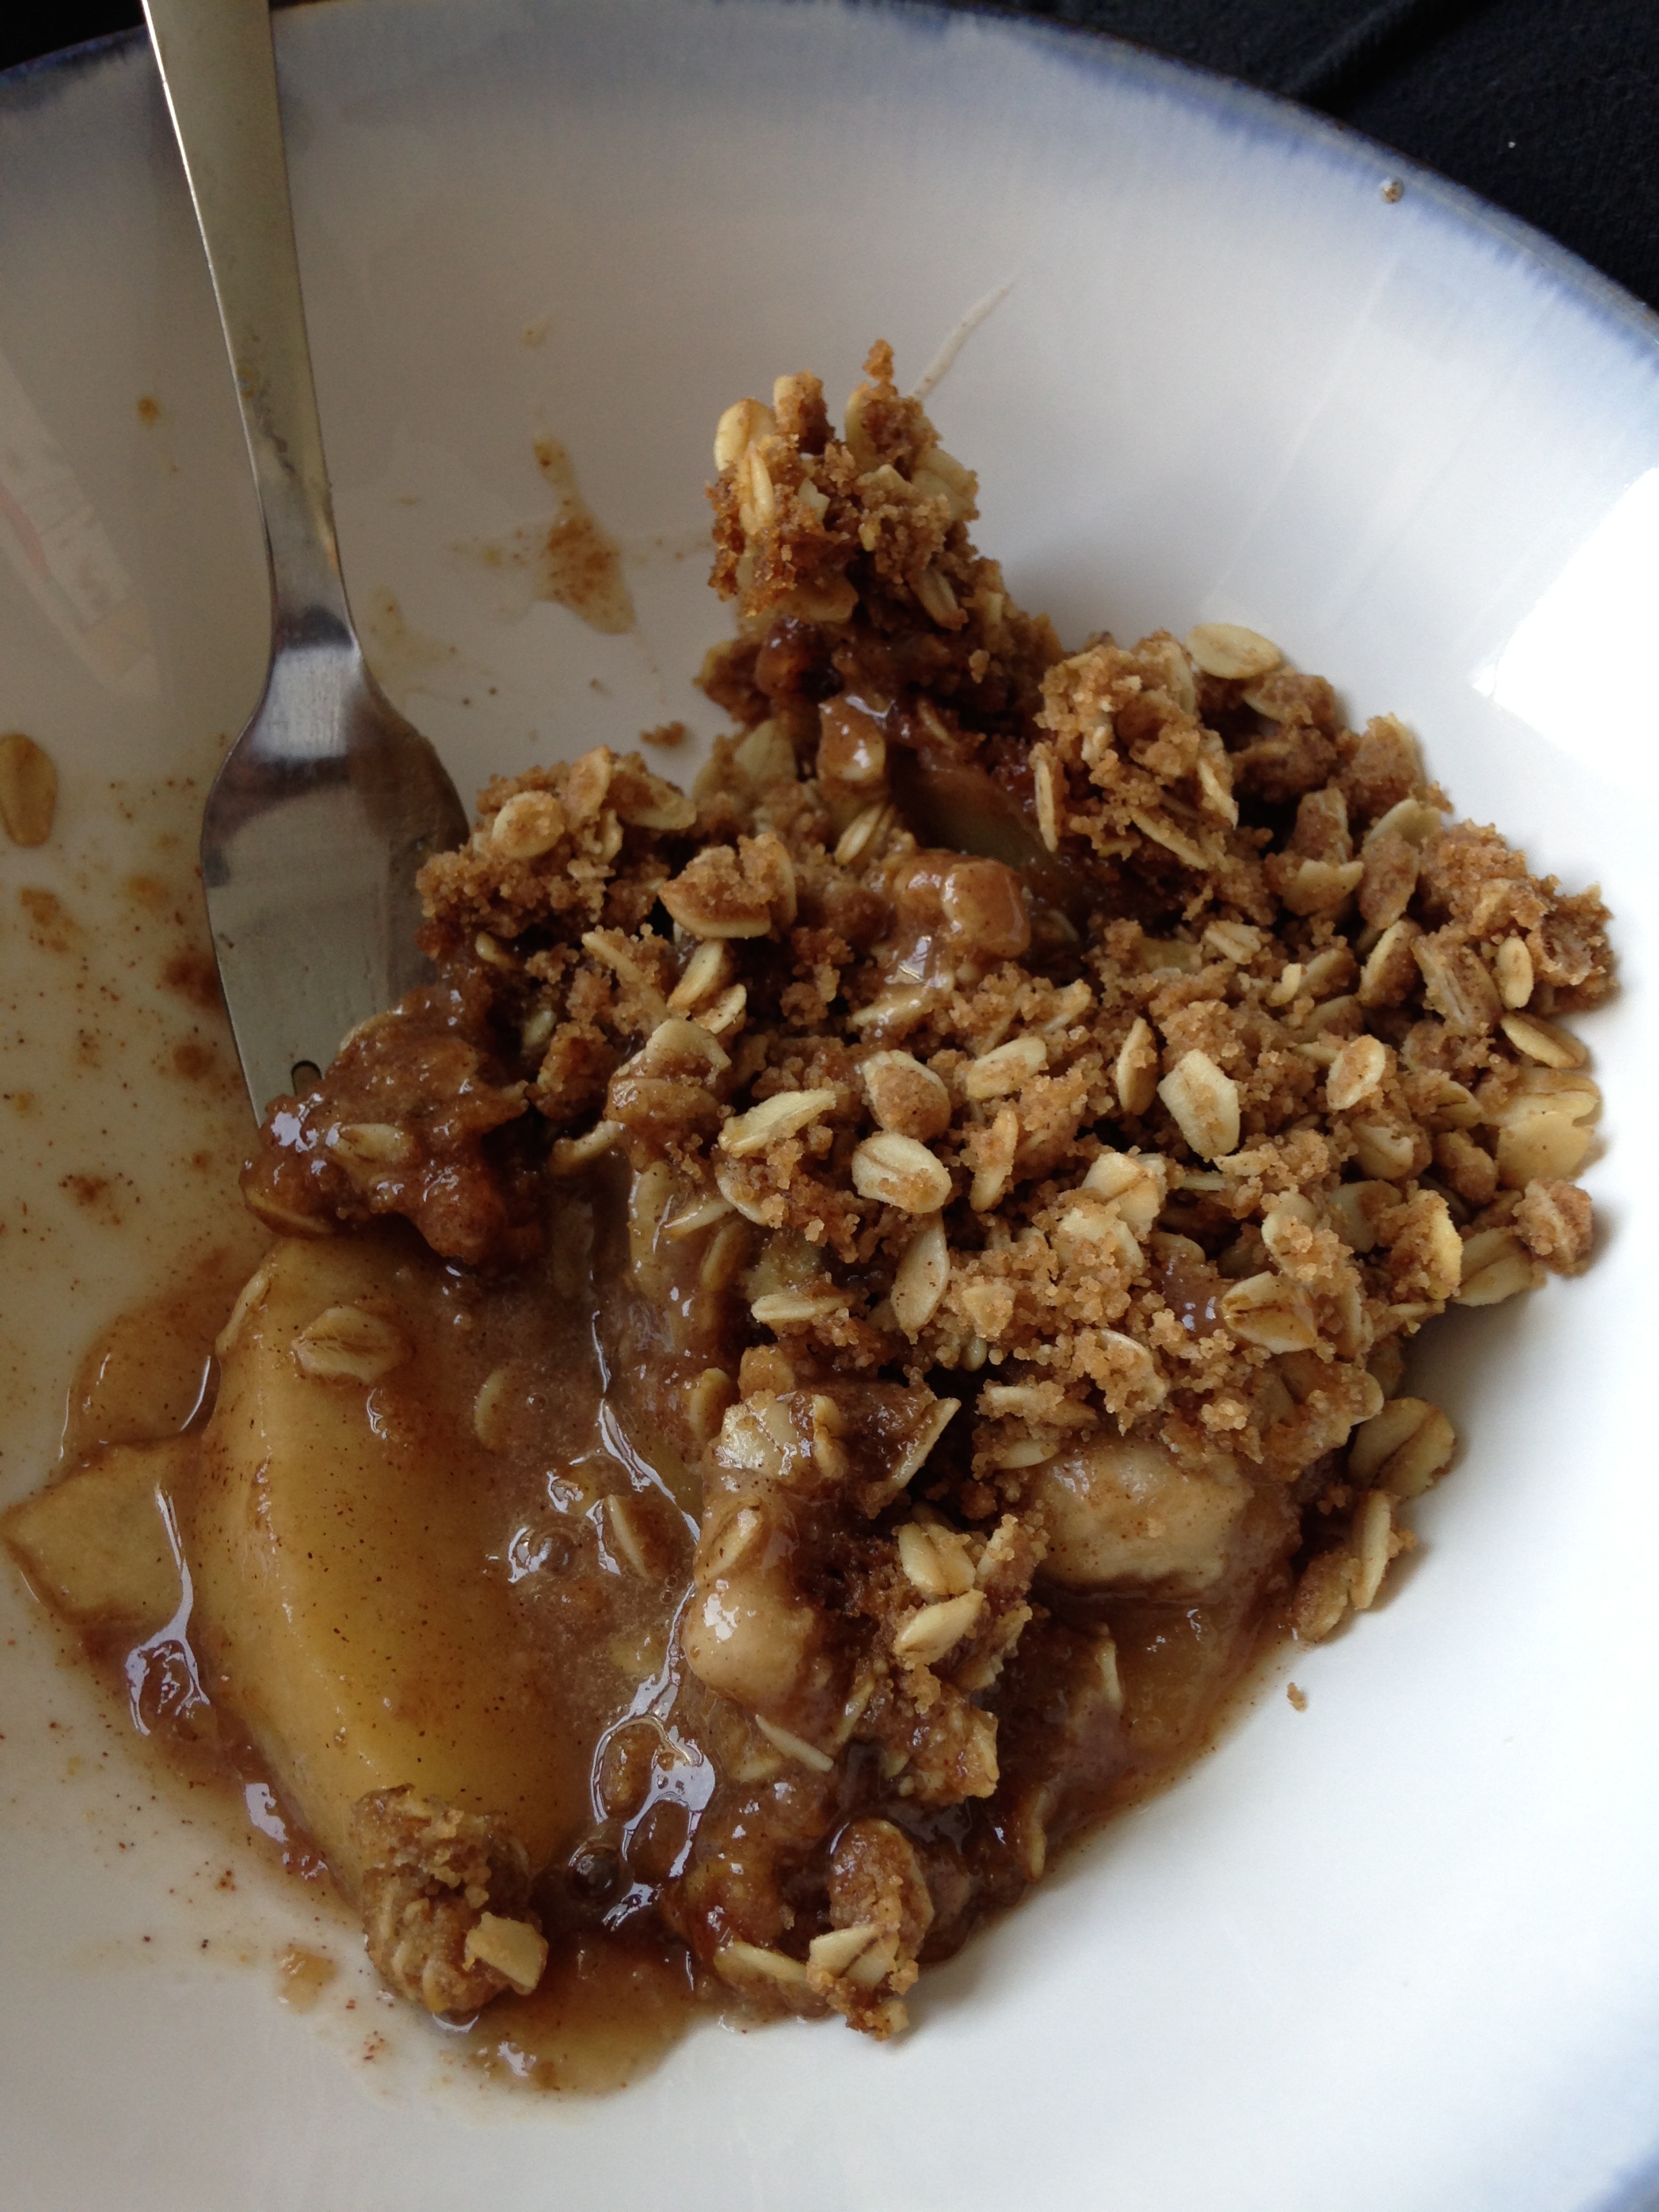
So I've been down the last couple weeks. A mix of lonely Toronto and ridiculous rain for a week straight. (I honest to gad didn't know Edmonton was the sunniest city in Canada). But this past week has been sunny and wonderful! So, to celebrate, I made some apple crumble (and I may have had it for lunch).

Apple Crumble

5 - 6 large apples, peeled, cored and sliced (I used whatever ones where deemed "not quite right" by the BF. They were fine. He's apple picky.)

Filling:
1 cup sugar
2 TBSP flour
1 tsp cinnamon
1/4 tsp salt

1/4 cup apple cider or lemon juice

Crumble:
1 cup flour
1 cup rolled oats
3/4 cup brown sugar
1/2 butter, melted
1 tsp cinnamon
1/4 tsp salt

  1. Preheat oven to 350'F.
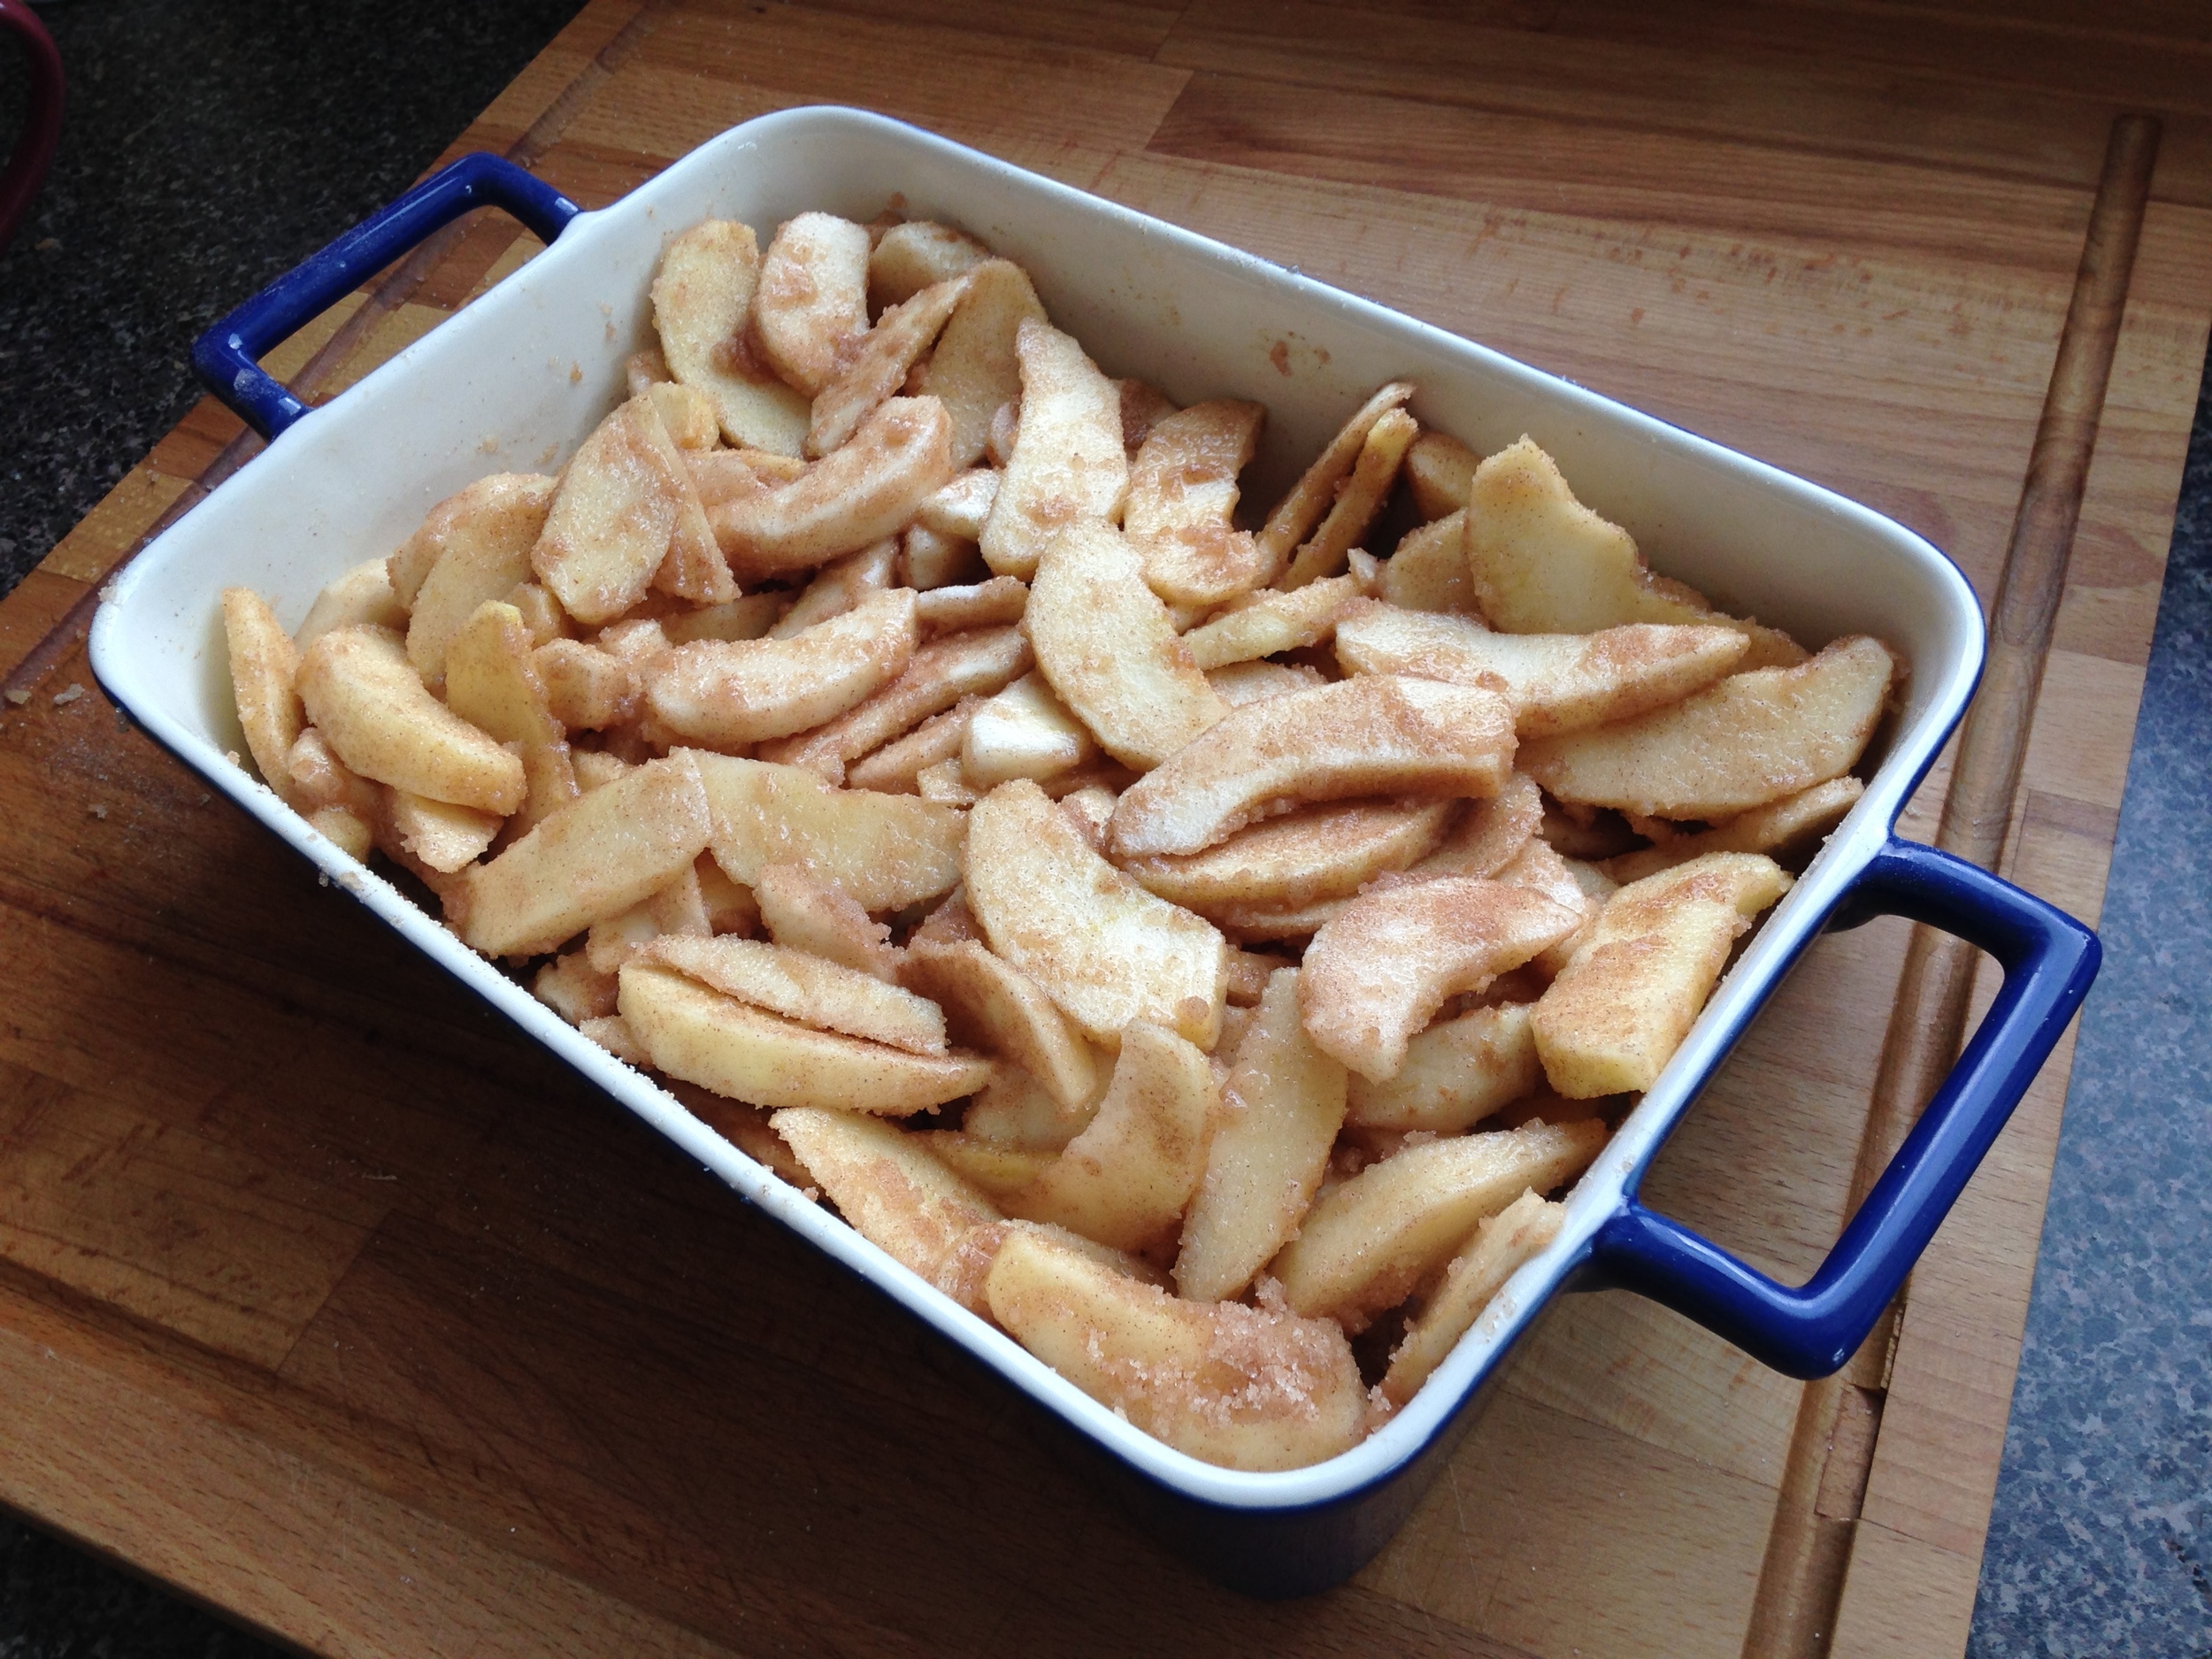
  2. Wash, core, peel and slice apples. To core and peel apples, chop washed apples into quarters. With a paring knife, slice out the apple quarter's core with a scooping motion. The apple piece should look like a crescent now. With the paring knife, slip the blade underneath the apple skin at one end of the crescent and, in one stroke if you can, slide the blade to the other end of the crescent, as close to the skin as possible. Practice, practice, practice! Now slice the apples into 1/2cm pieces longwise. You can make the slices as big or as little as you want, depending on what you like. They will cook pretty much the same. Place your apples into a large casserole dish. Spread apples evenly so that the apples come about halfway up the sides of the dish.
  3. Pour the apple cider (or lemon juice) over the apples. 
  4. Add the filling ingredients together in a bowl. Mix well. Pour the filling mixture over the apples. Mix the apples so they are well coated in the filling mixture. Spread the apples out evenly again. 
  5. In a bowl, add the crumble ingredients. Mix well together so that there are no large chunks. Sprinkle the crumble over the apples in an even layer. 
  6. Bake for 45 minutes until crumble is golden brown and the filling juices are bubbling. You can tell if the apples are done if you can easily insert a fork into the centre of the crumble. Remove from oven and let cool a bit. Serve still a bit warm! A la mode, if you have it!

Cheers!

-Andrea

The Half-Assed Hobbyist
The Harry Potter Wedding

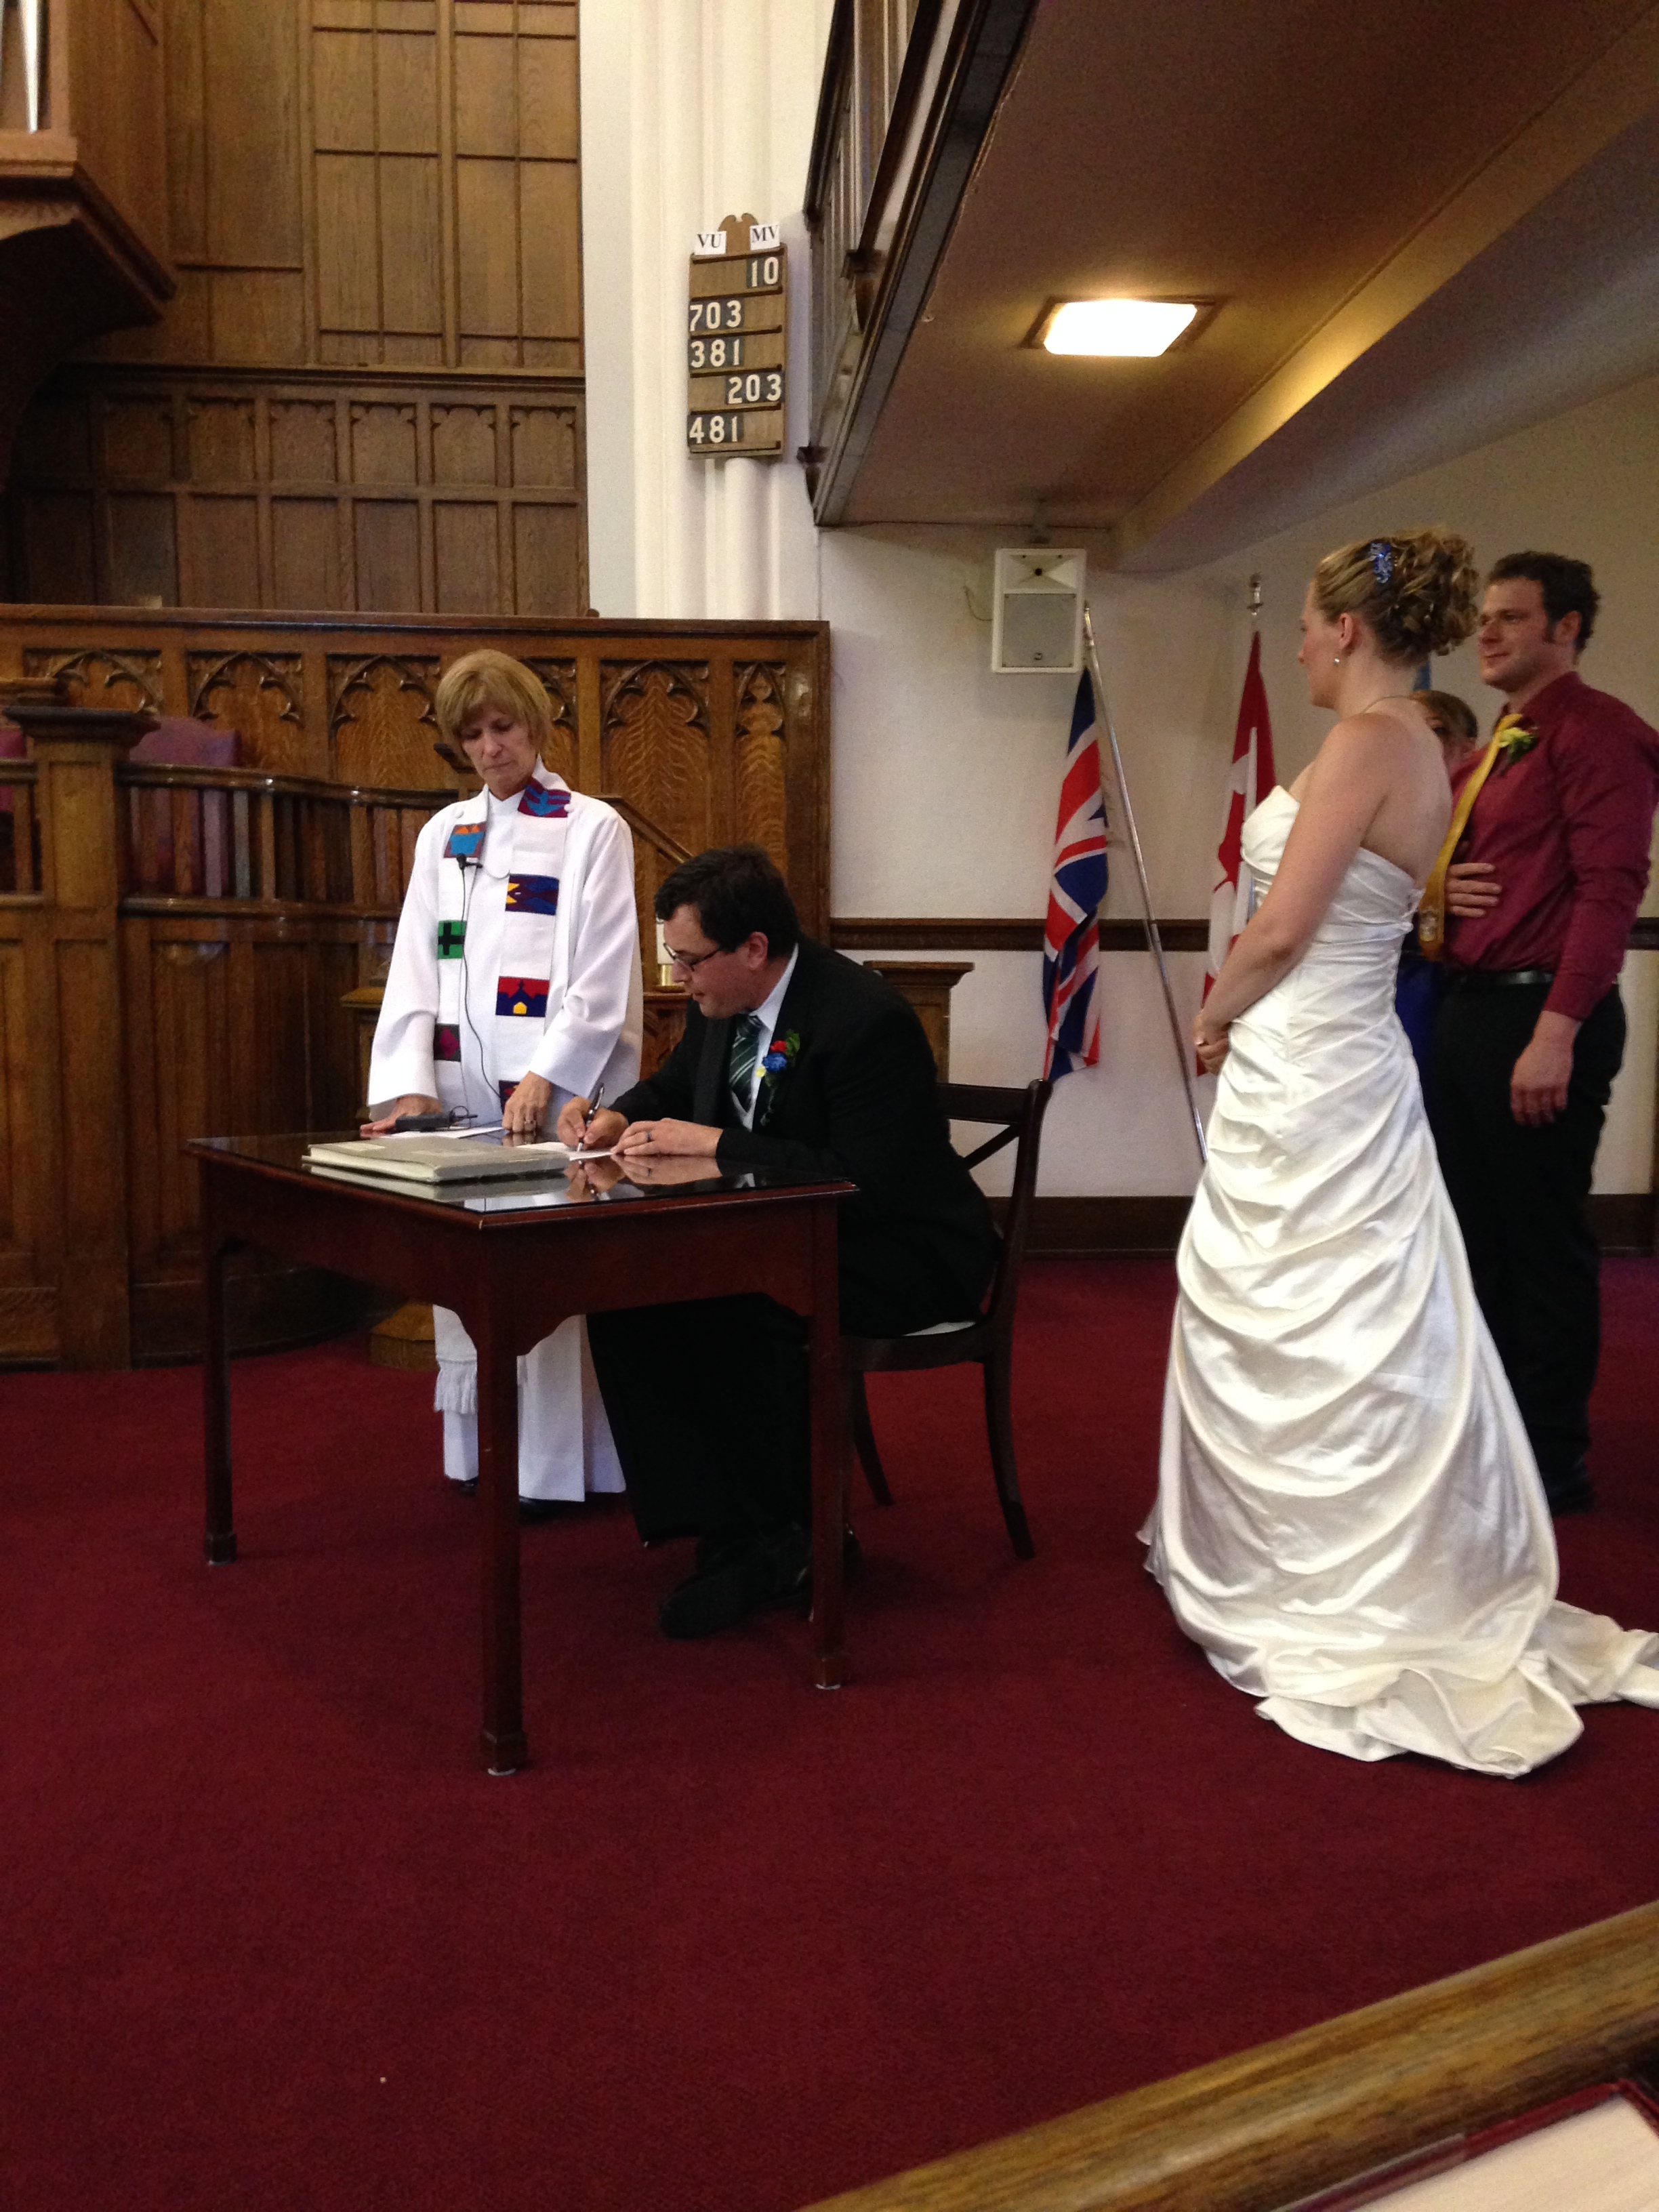
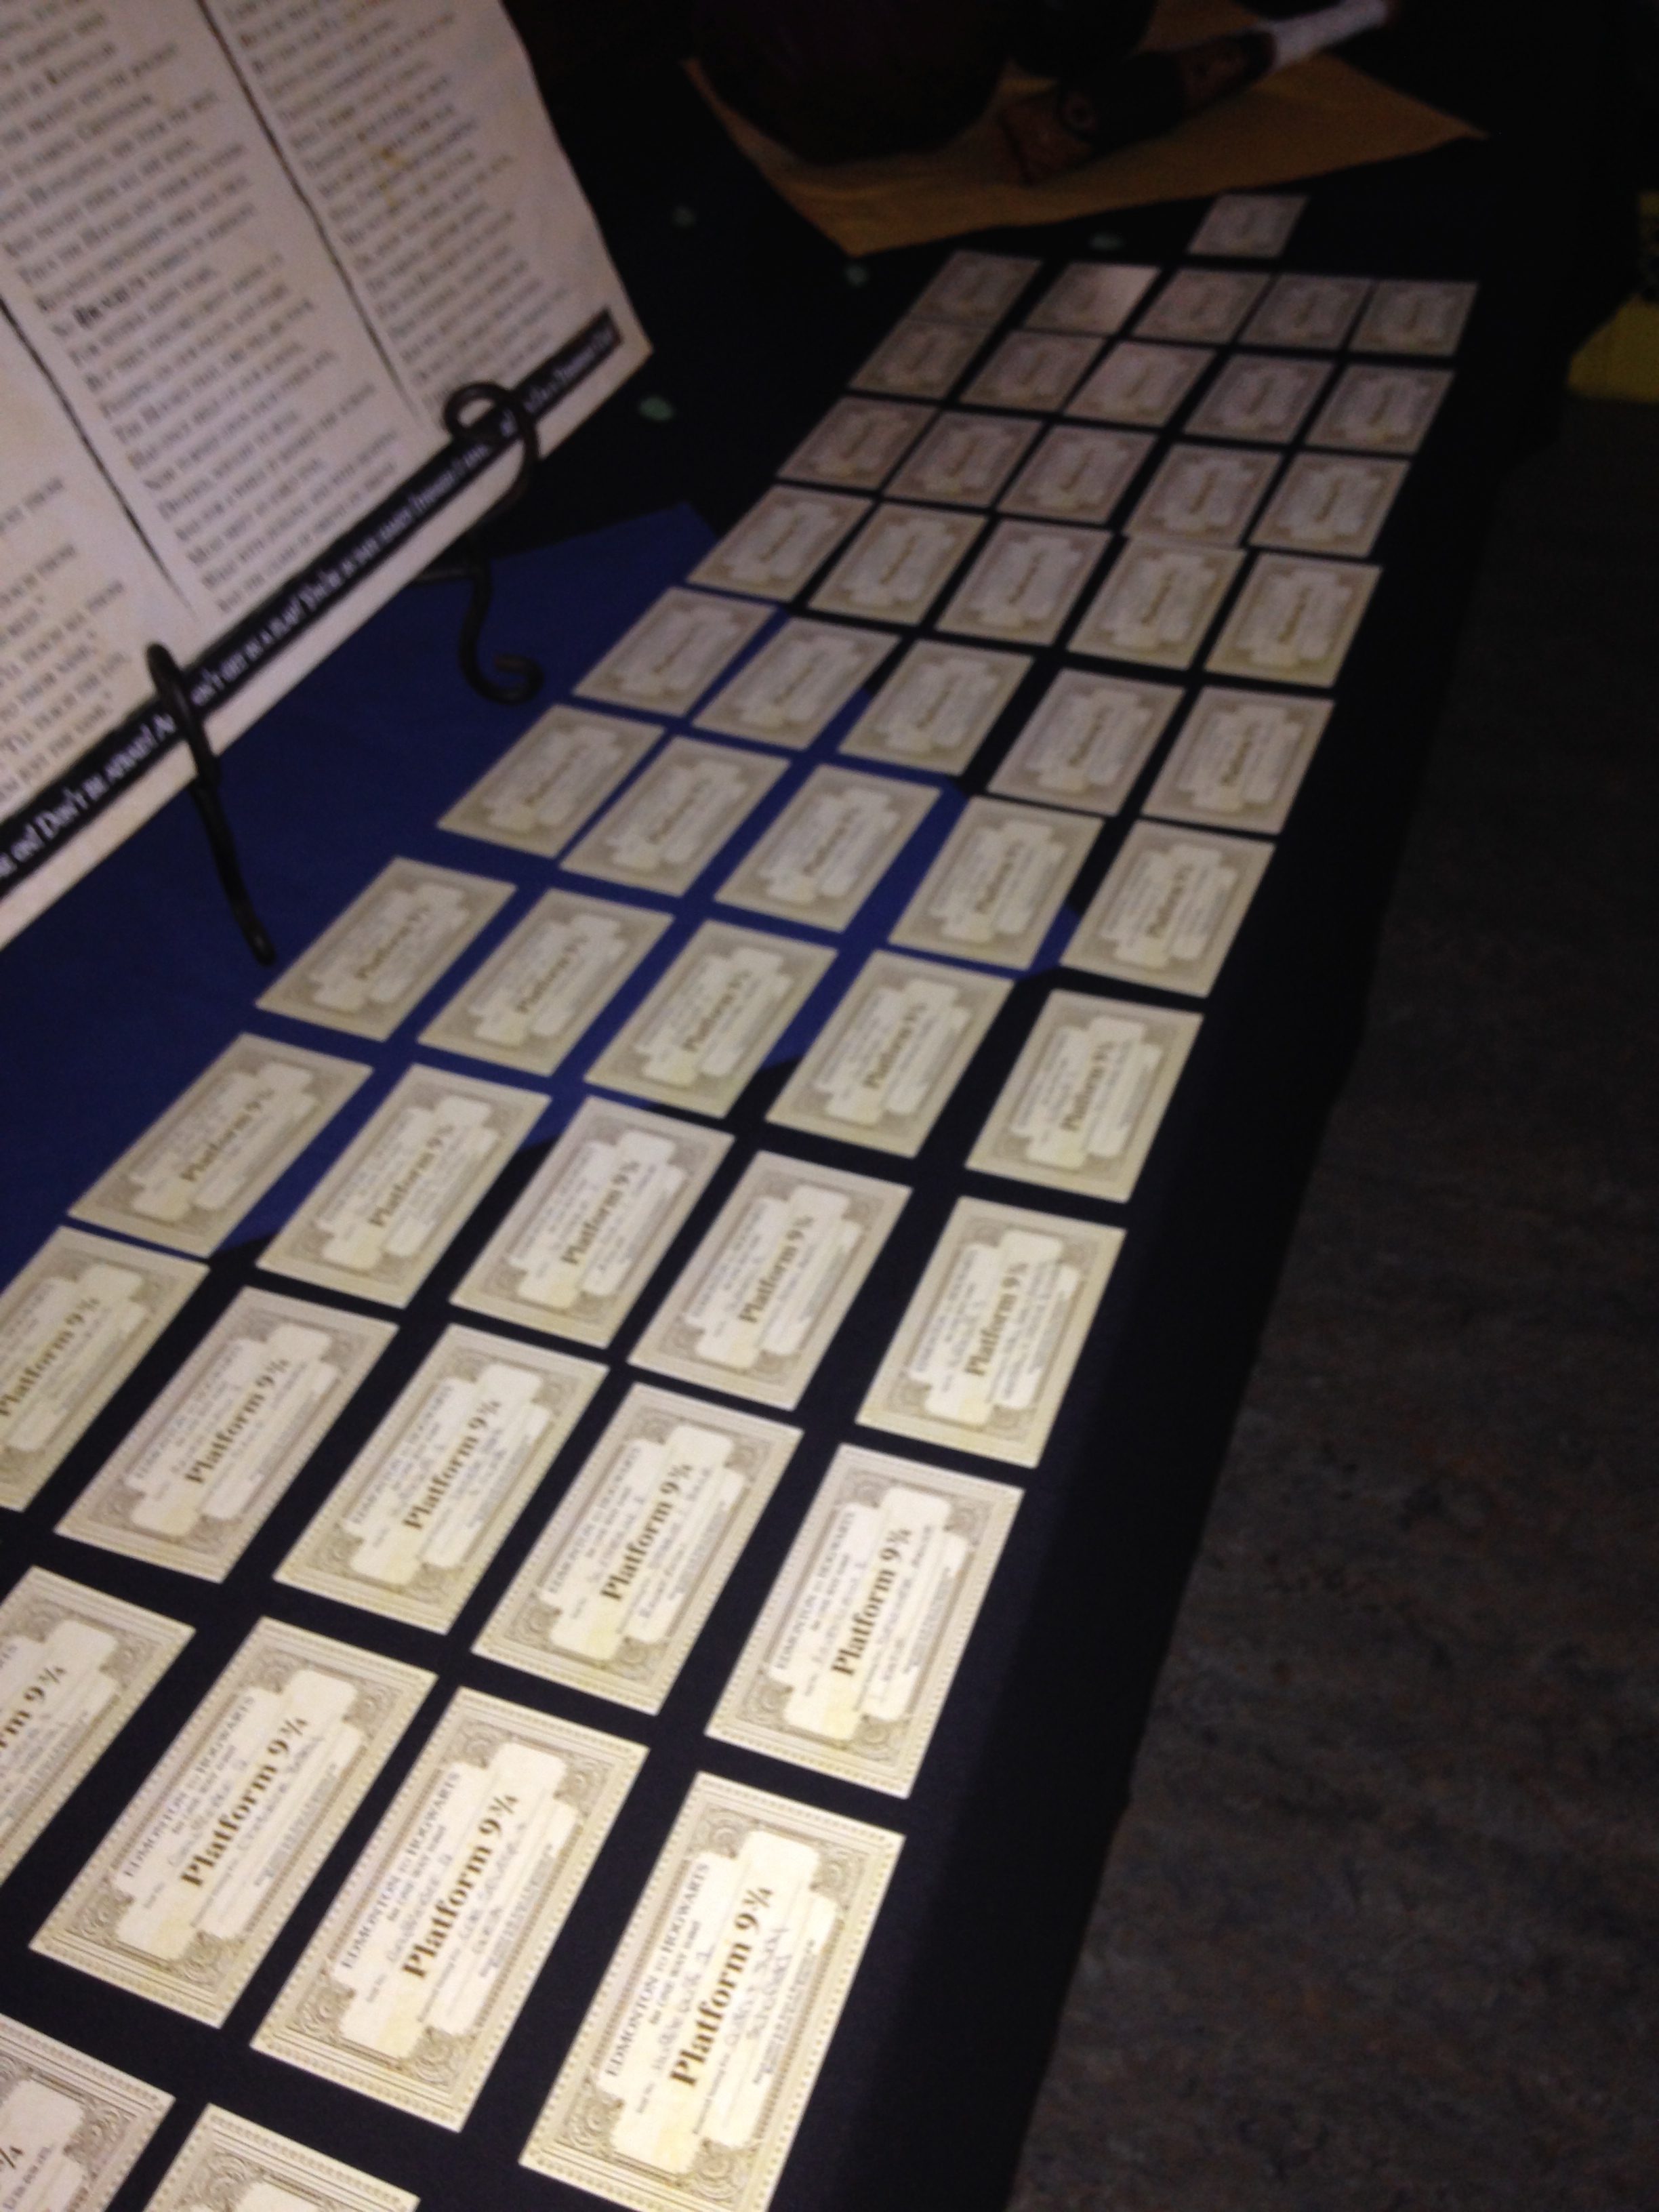
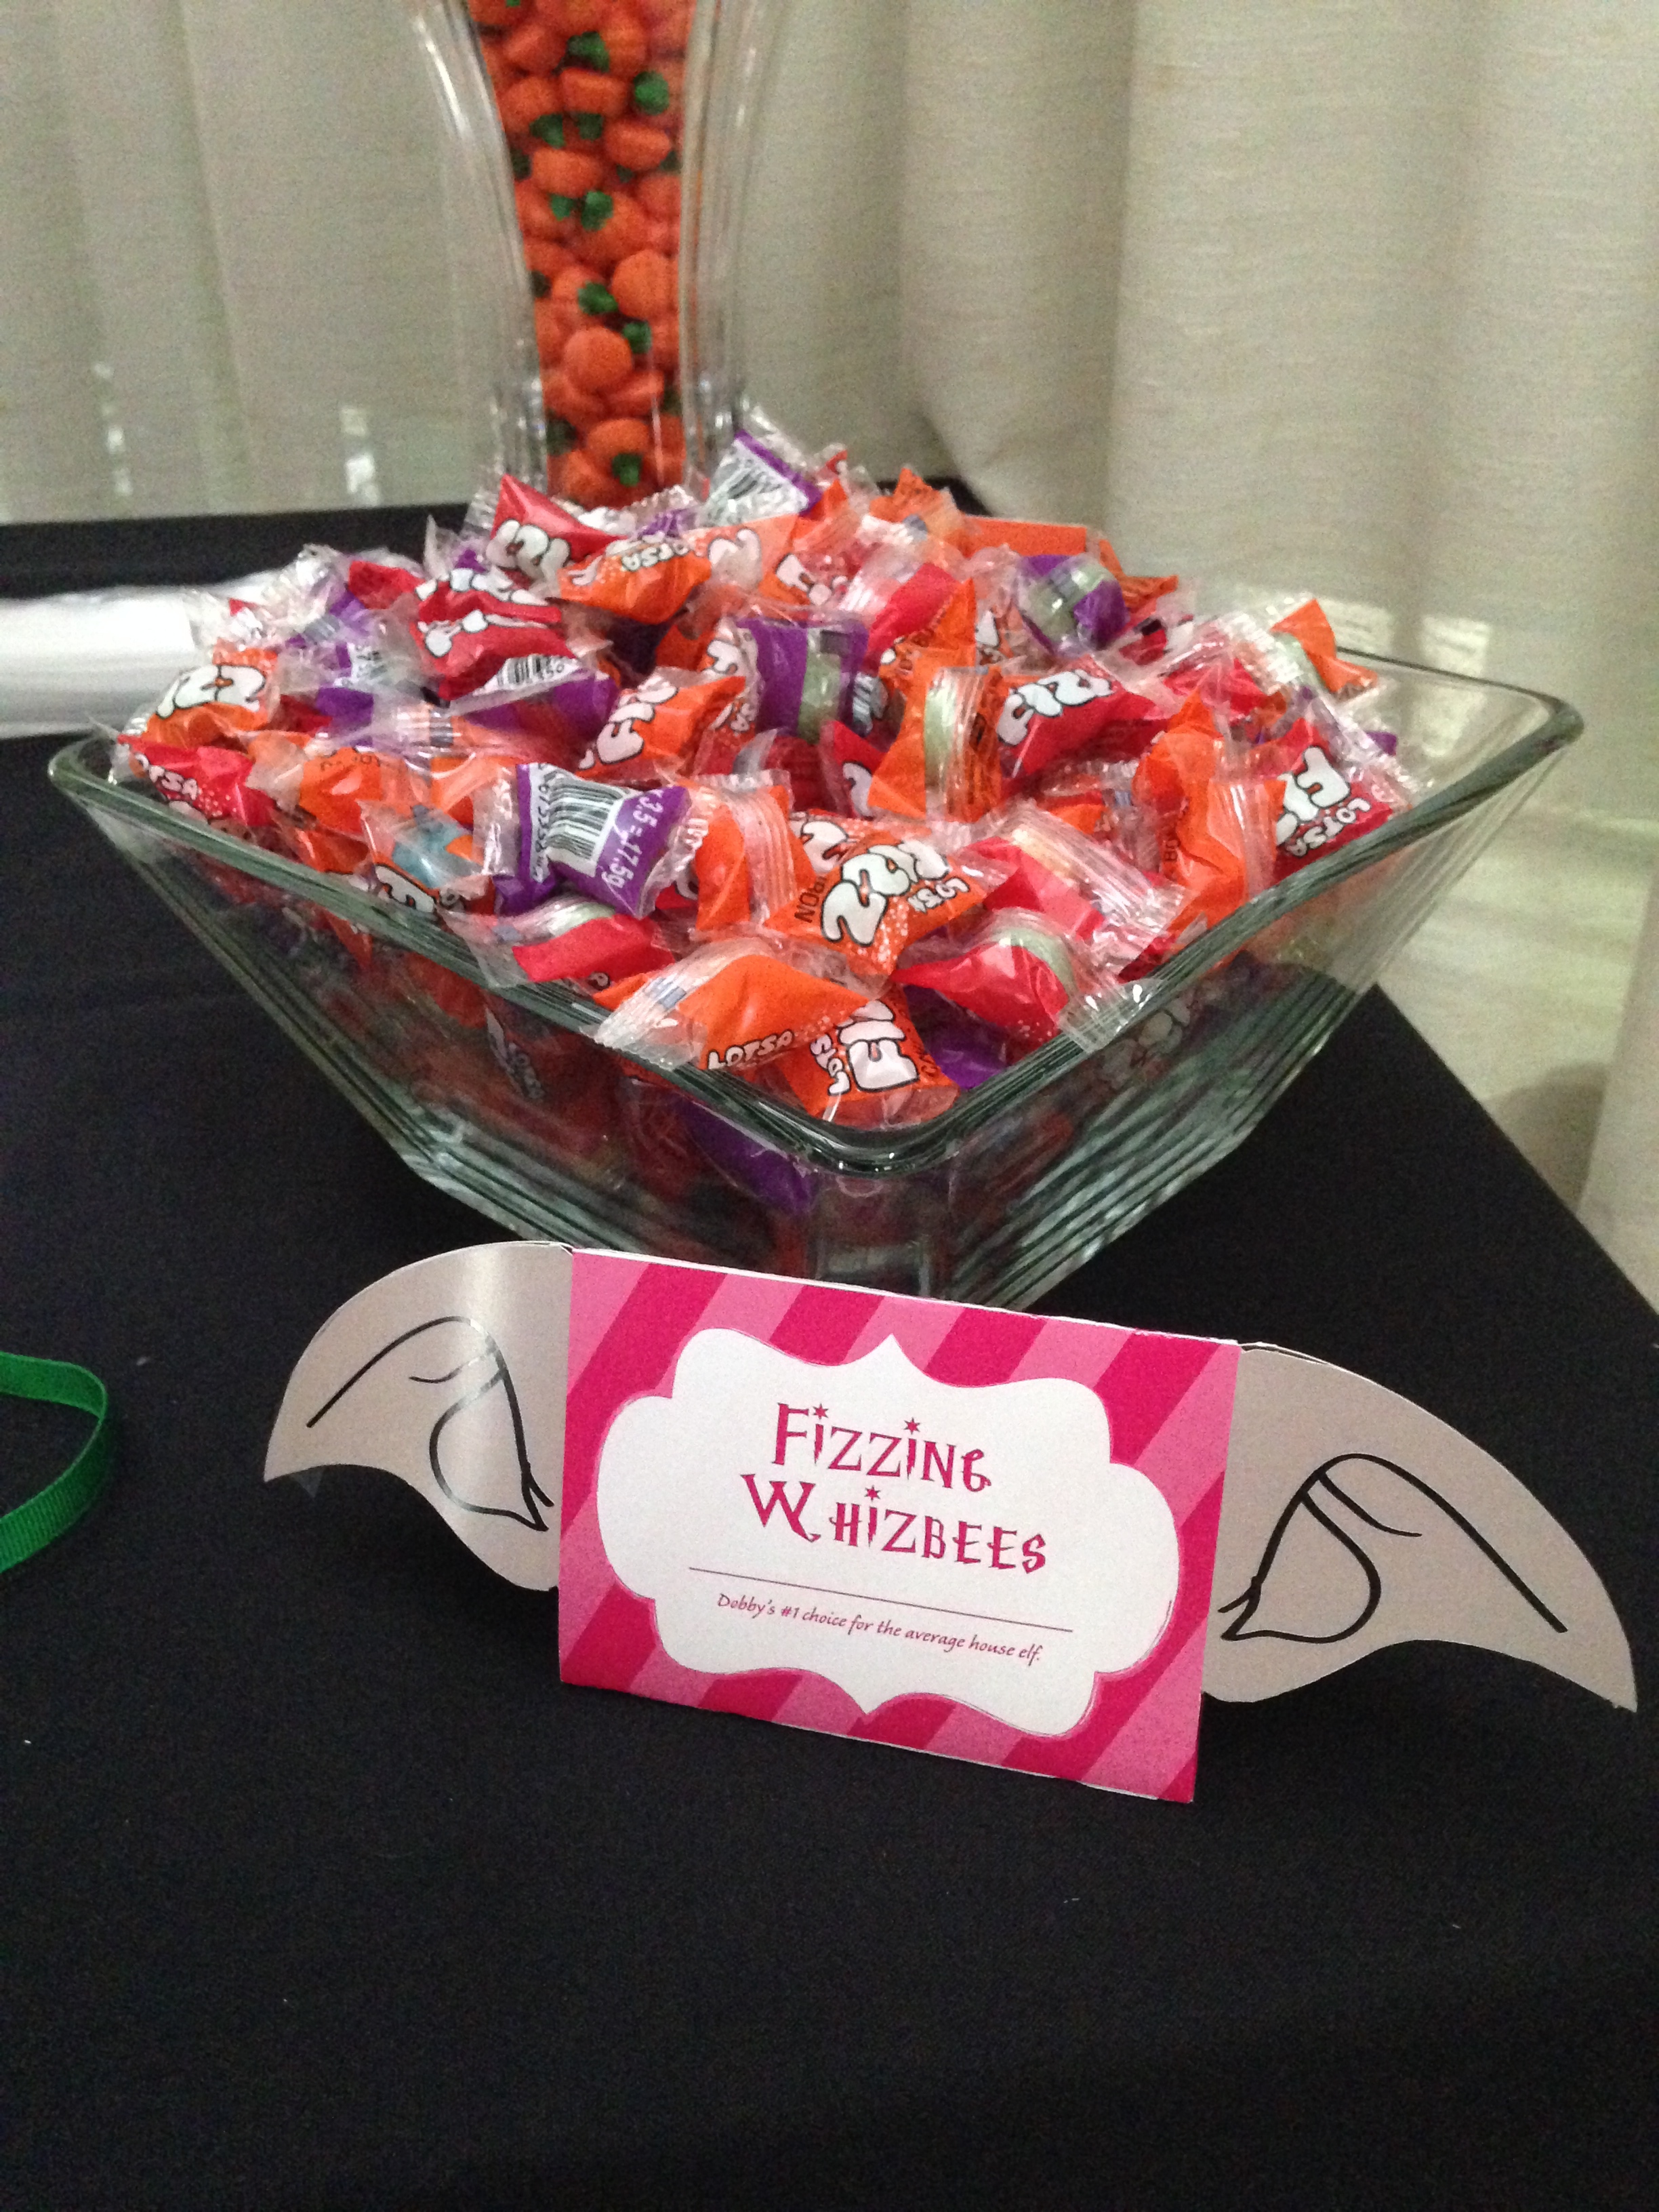
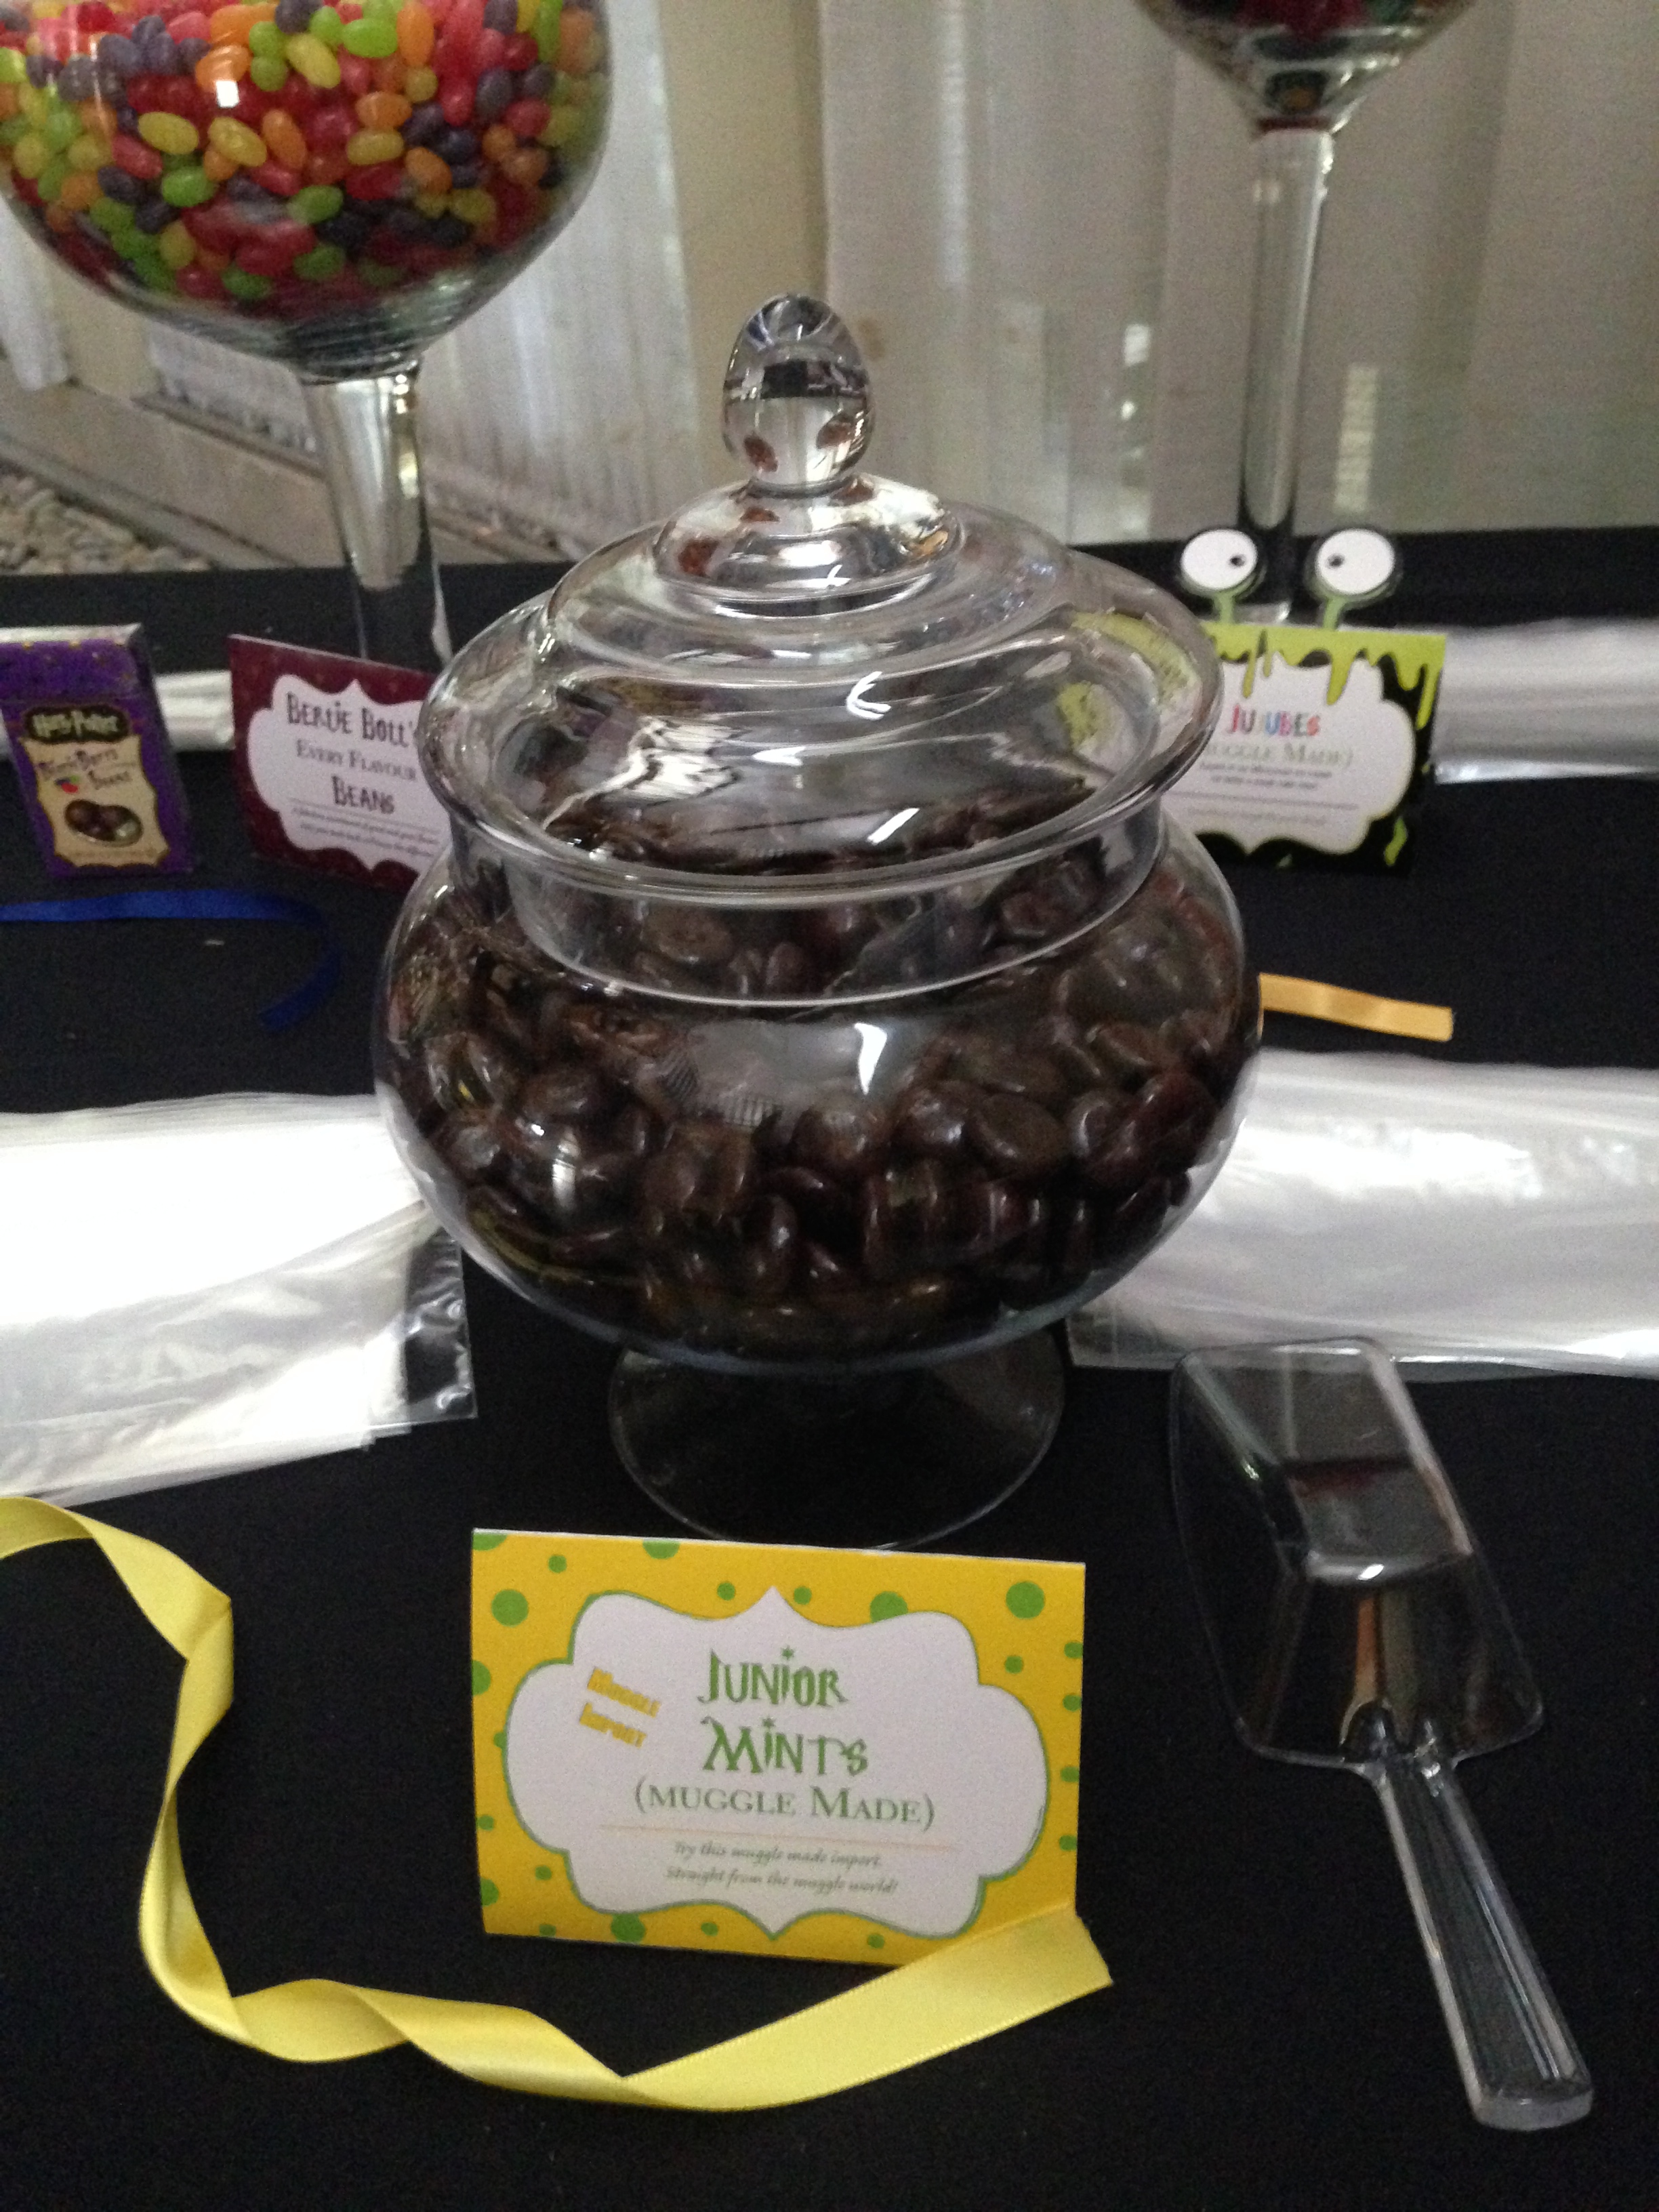
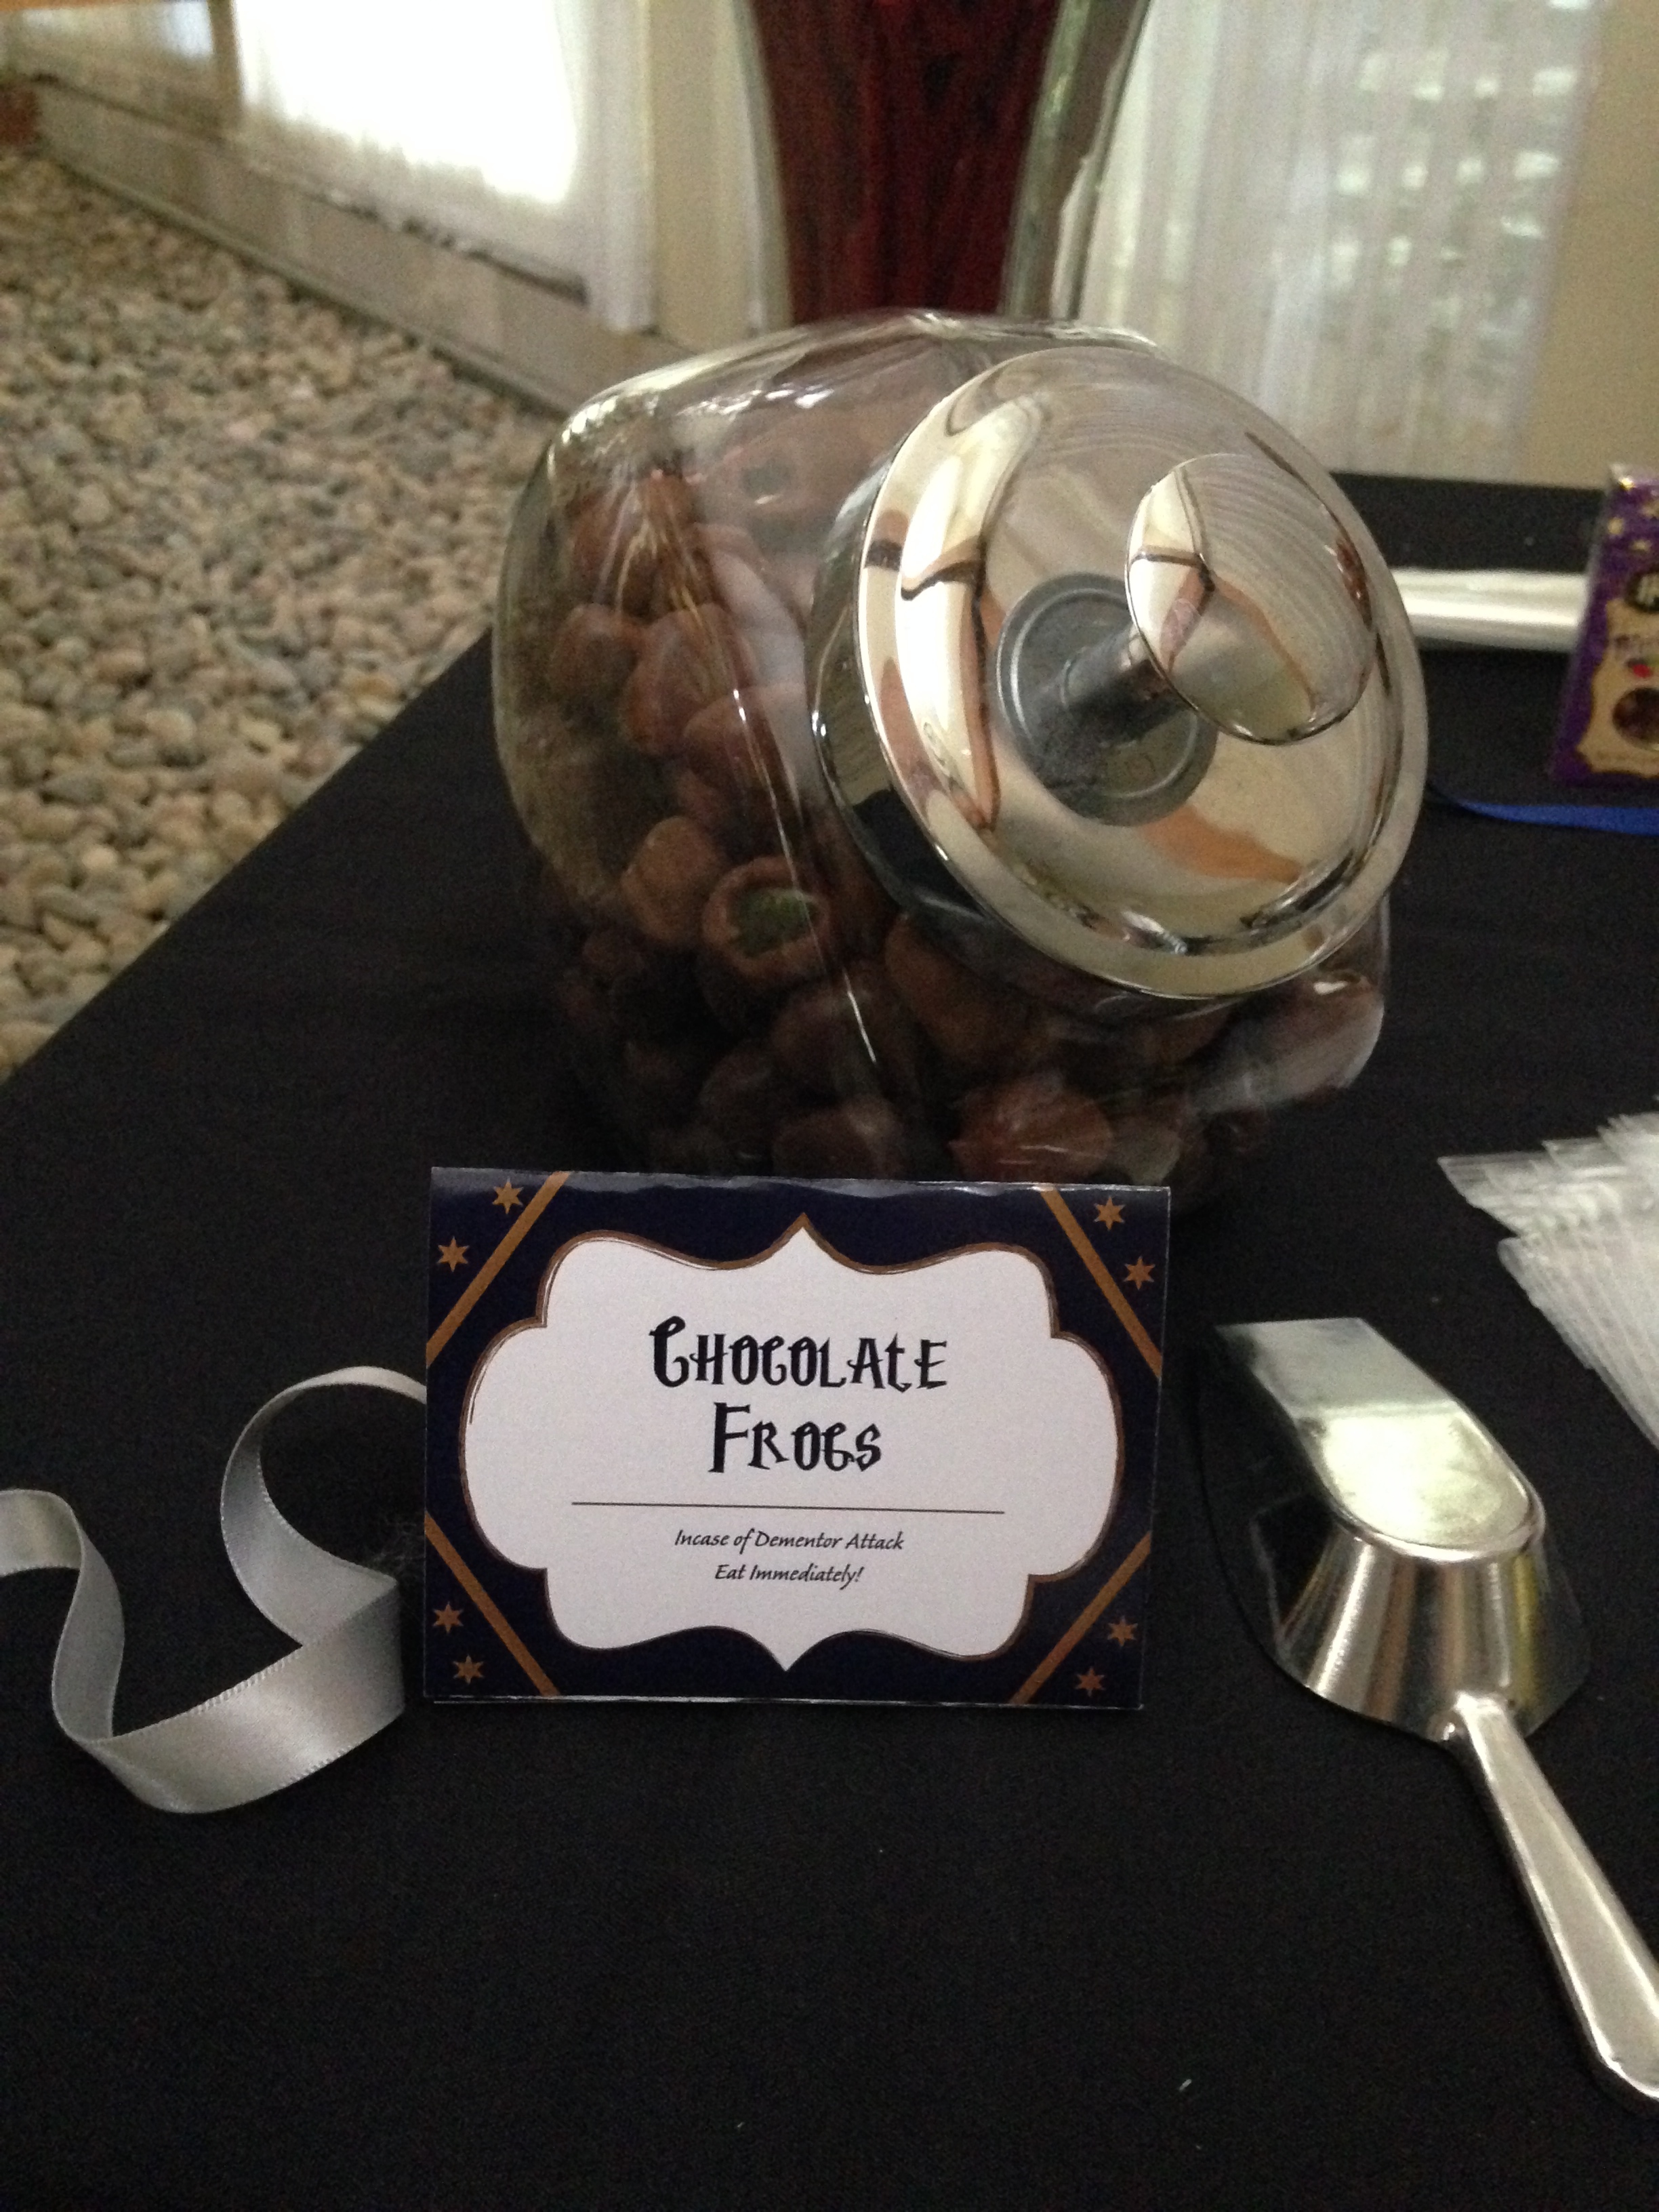
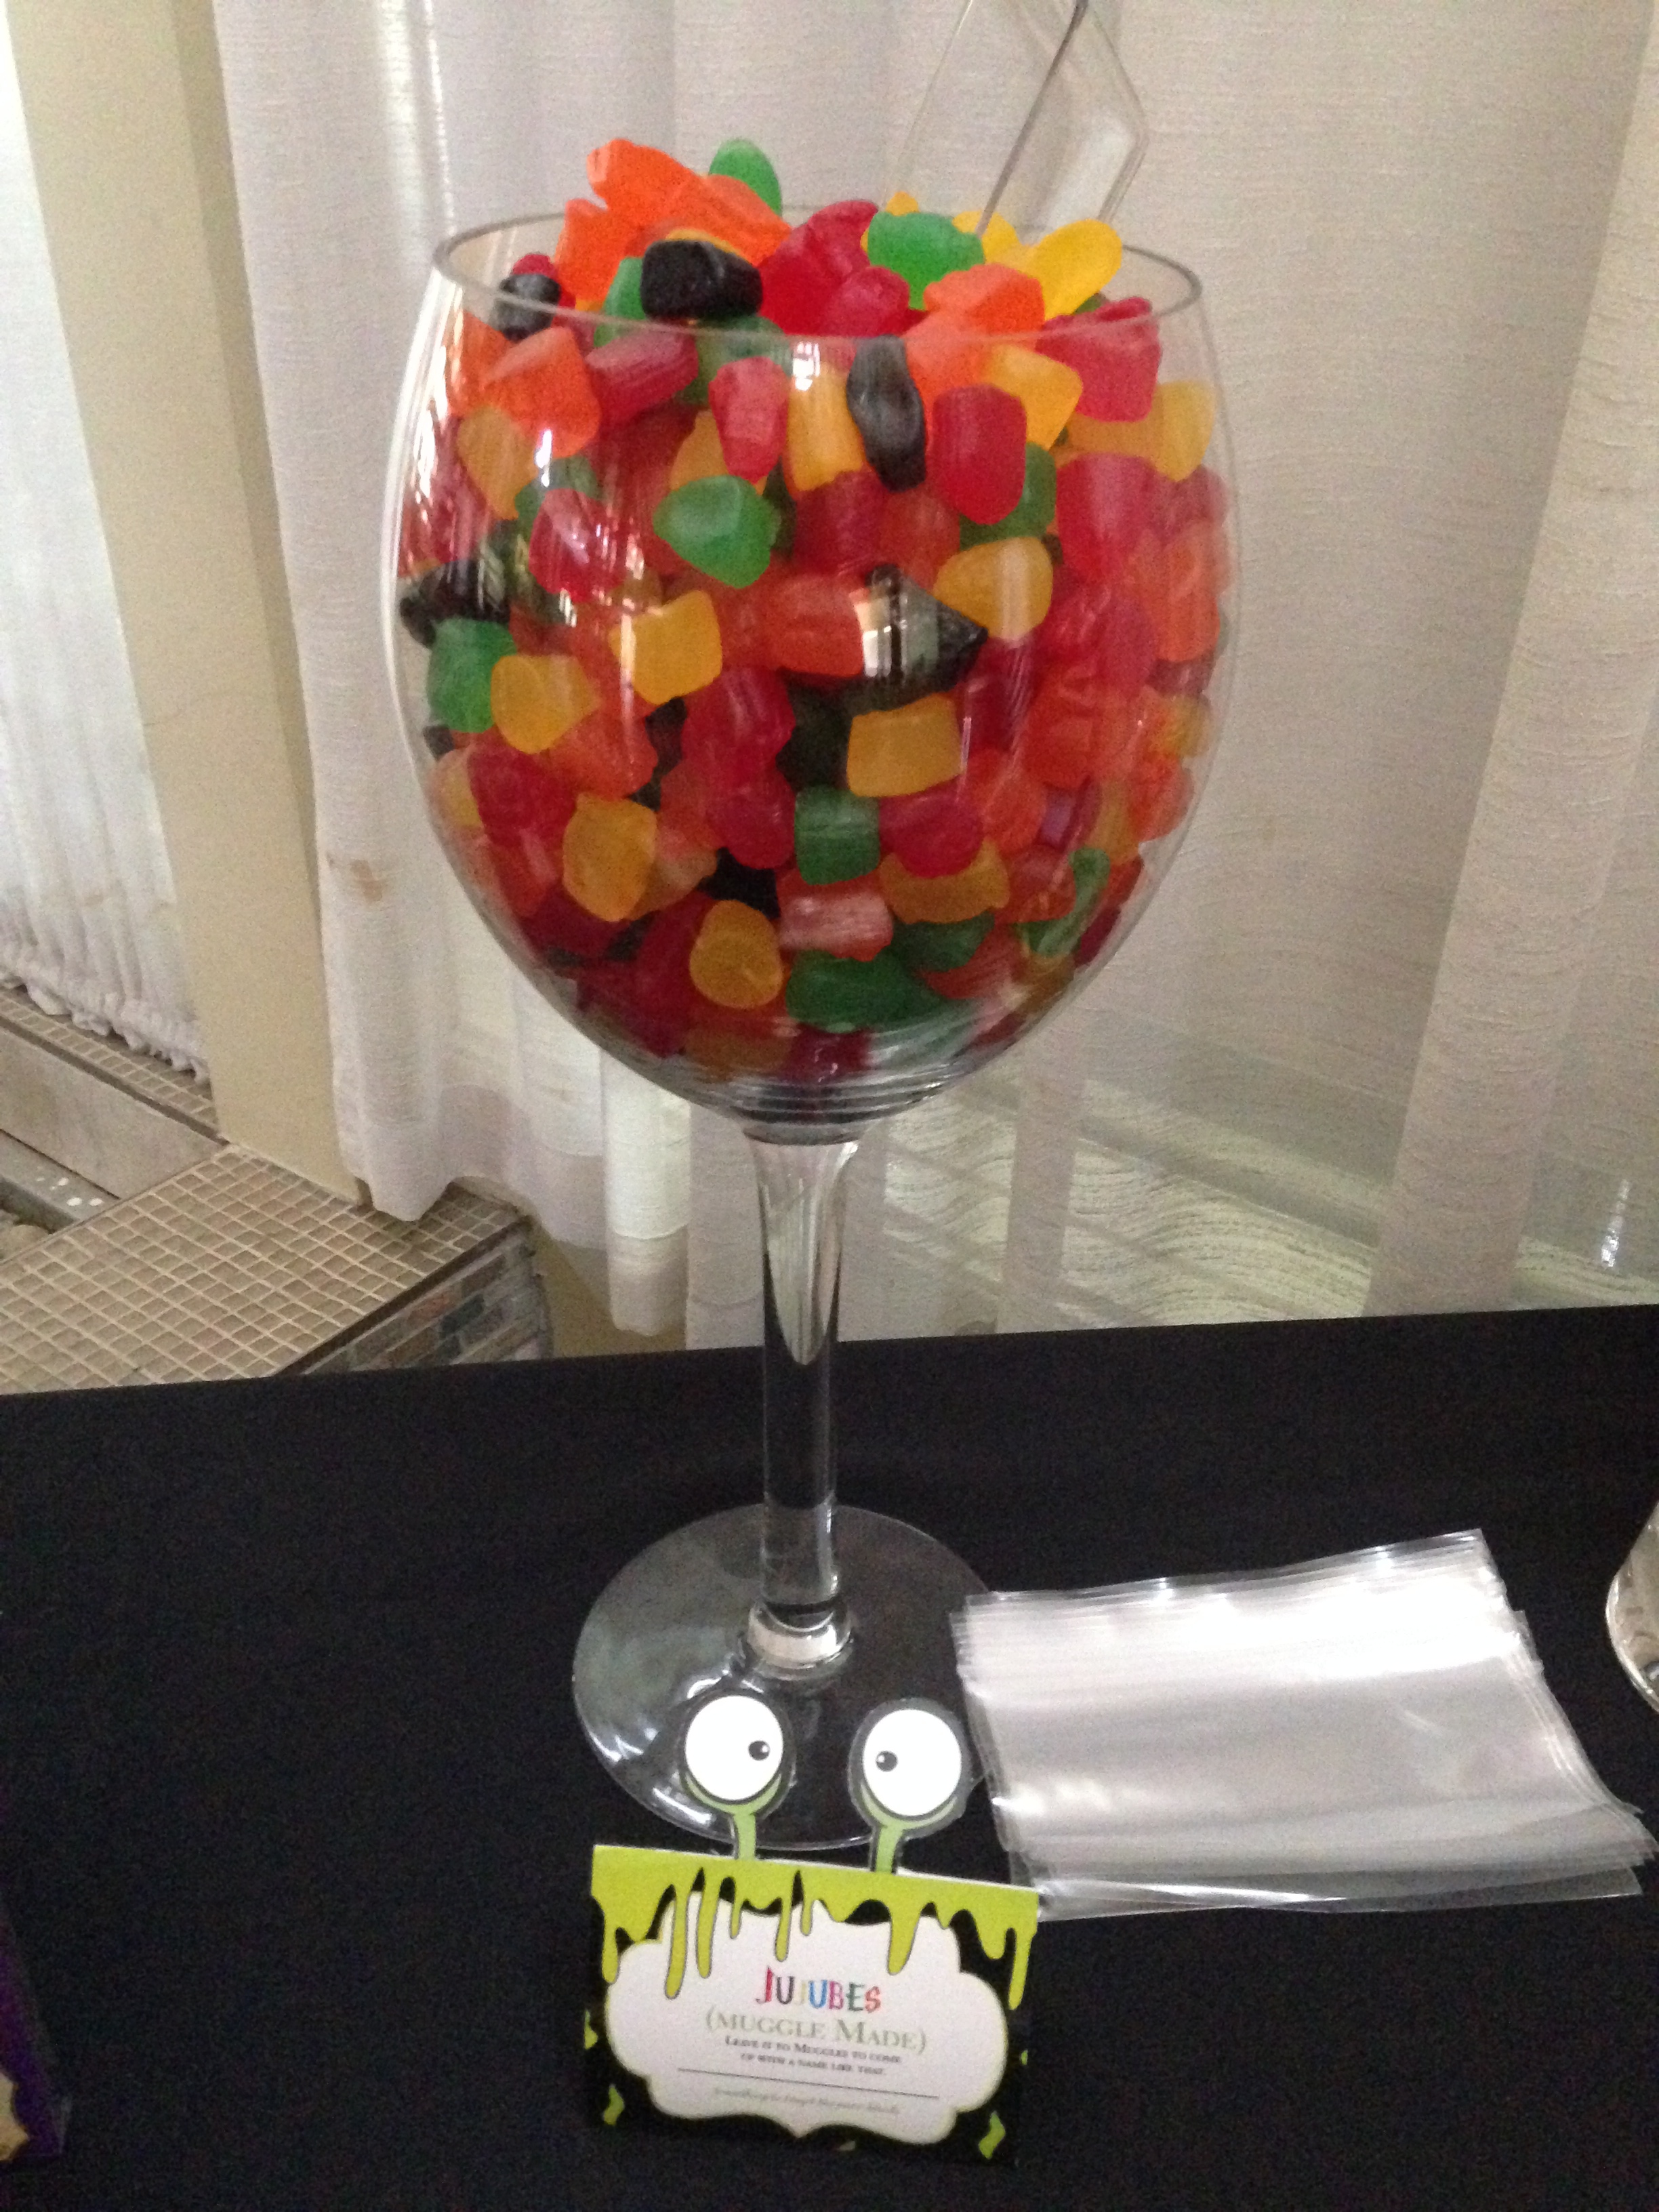
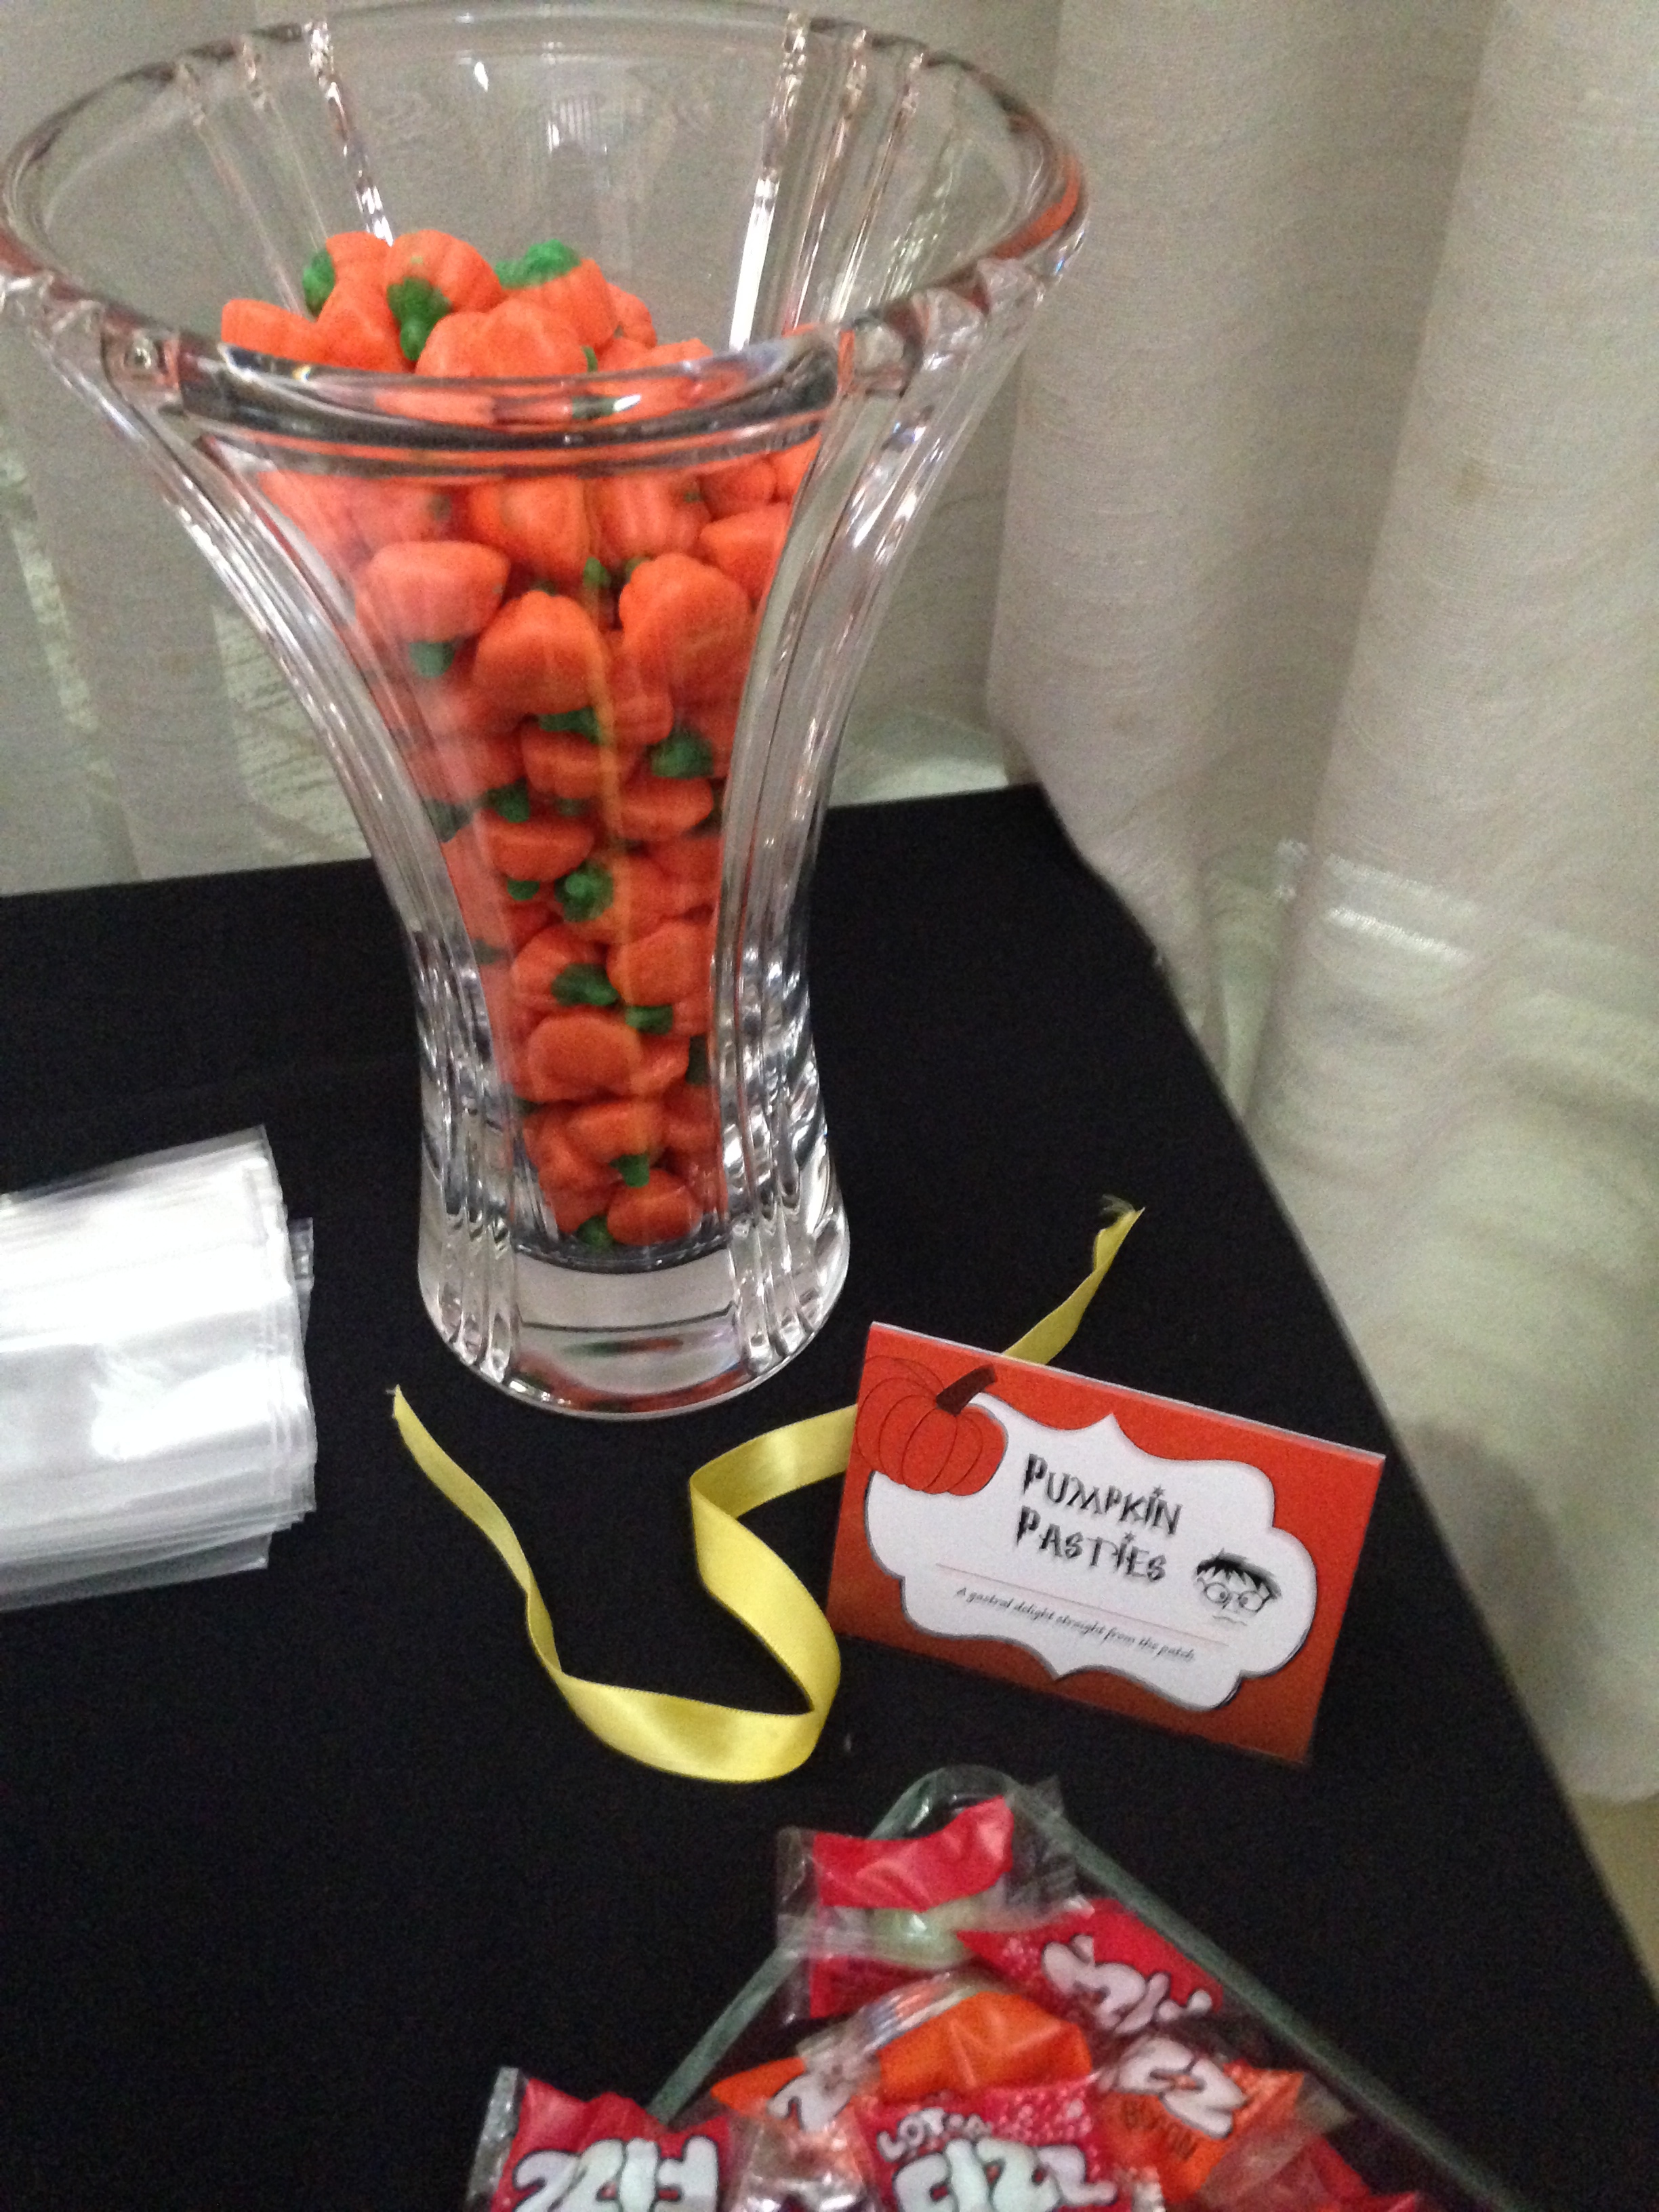
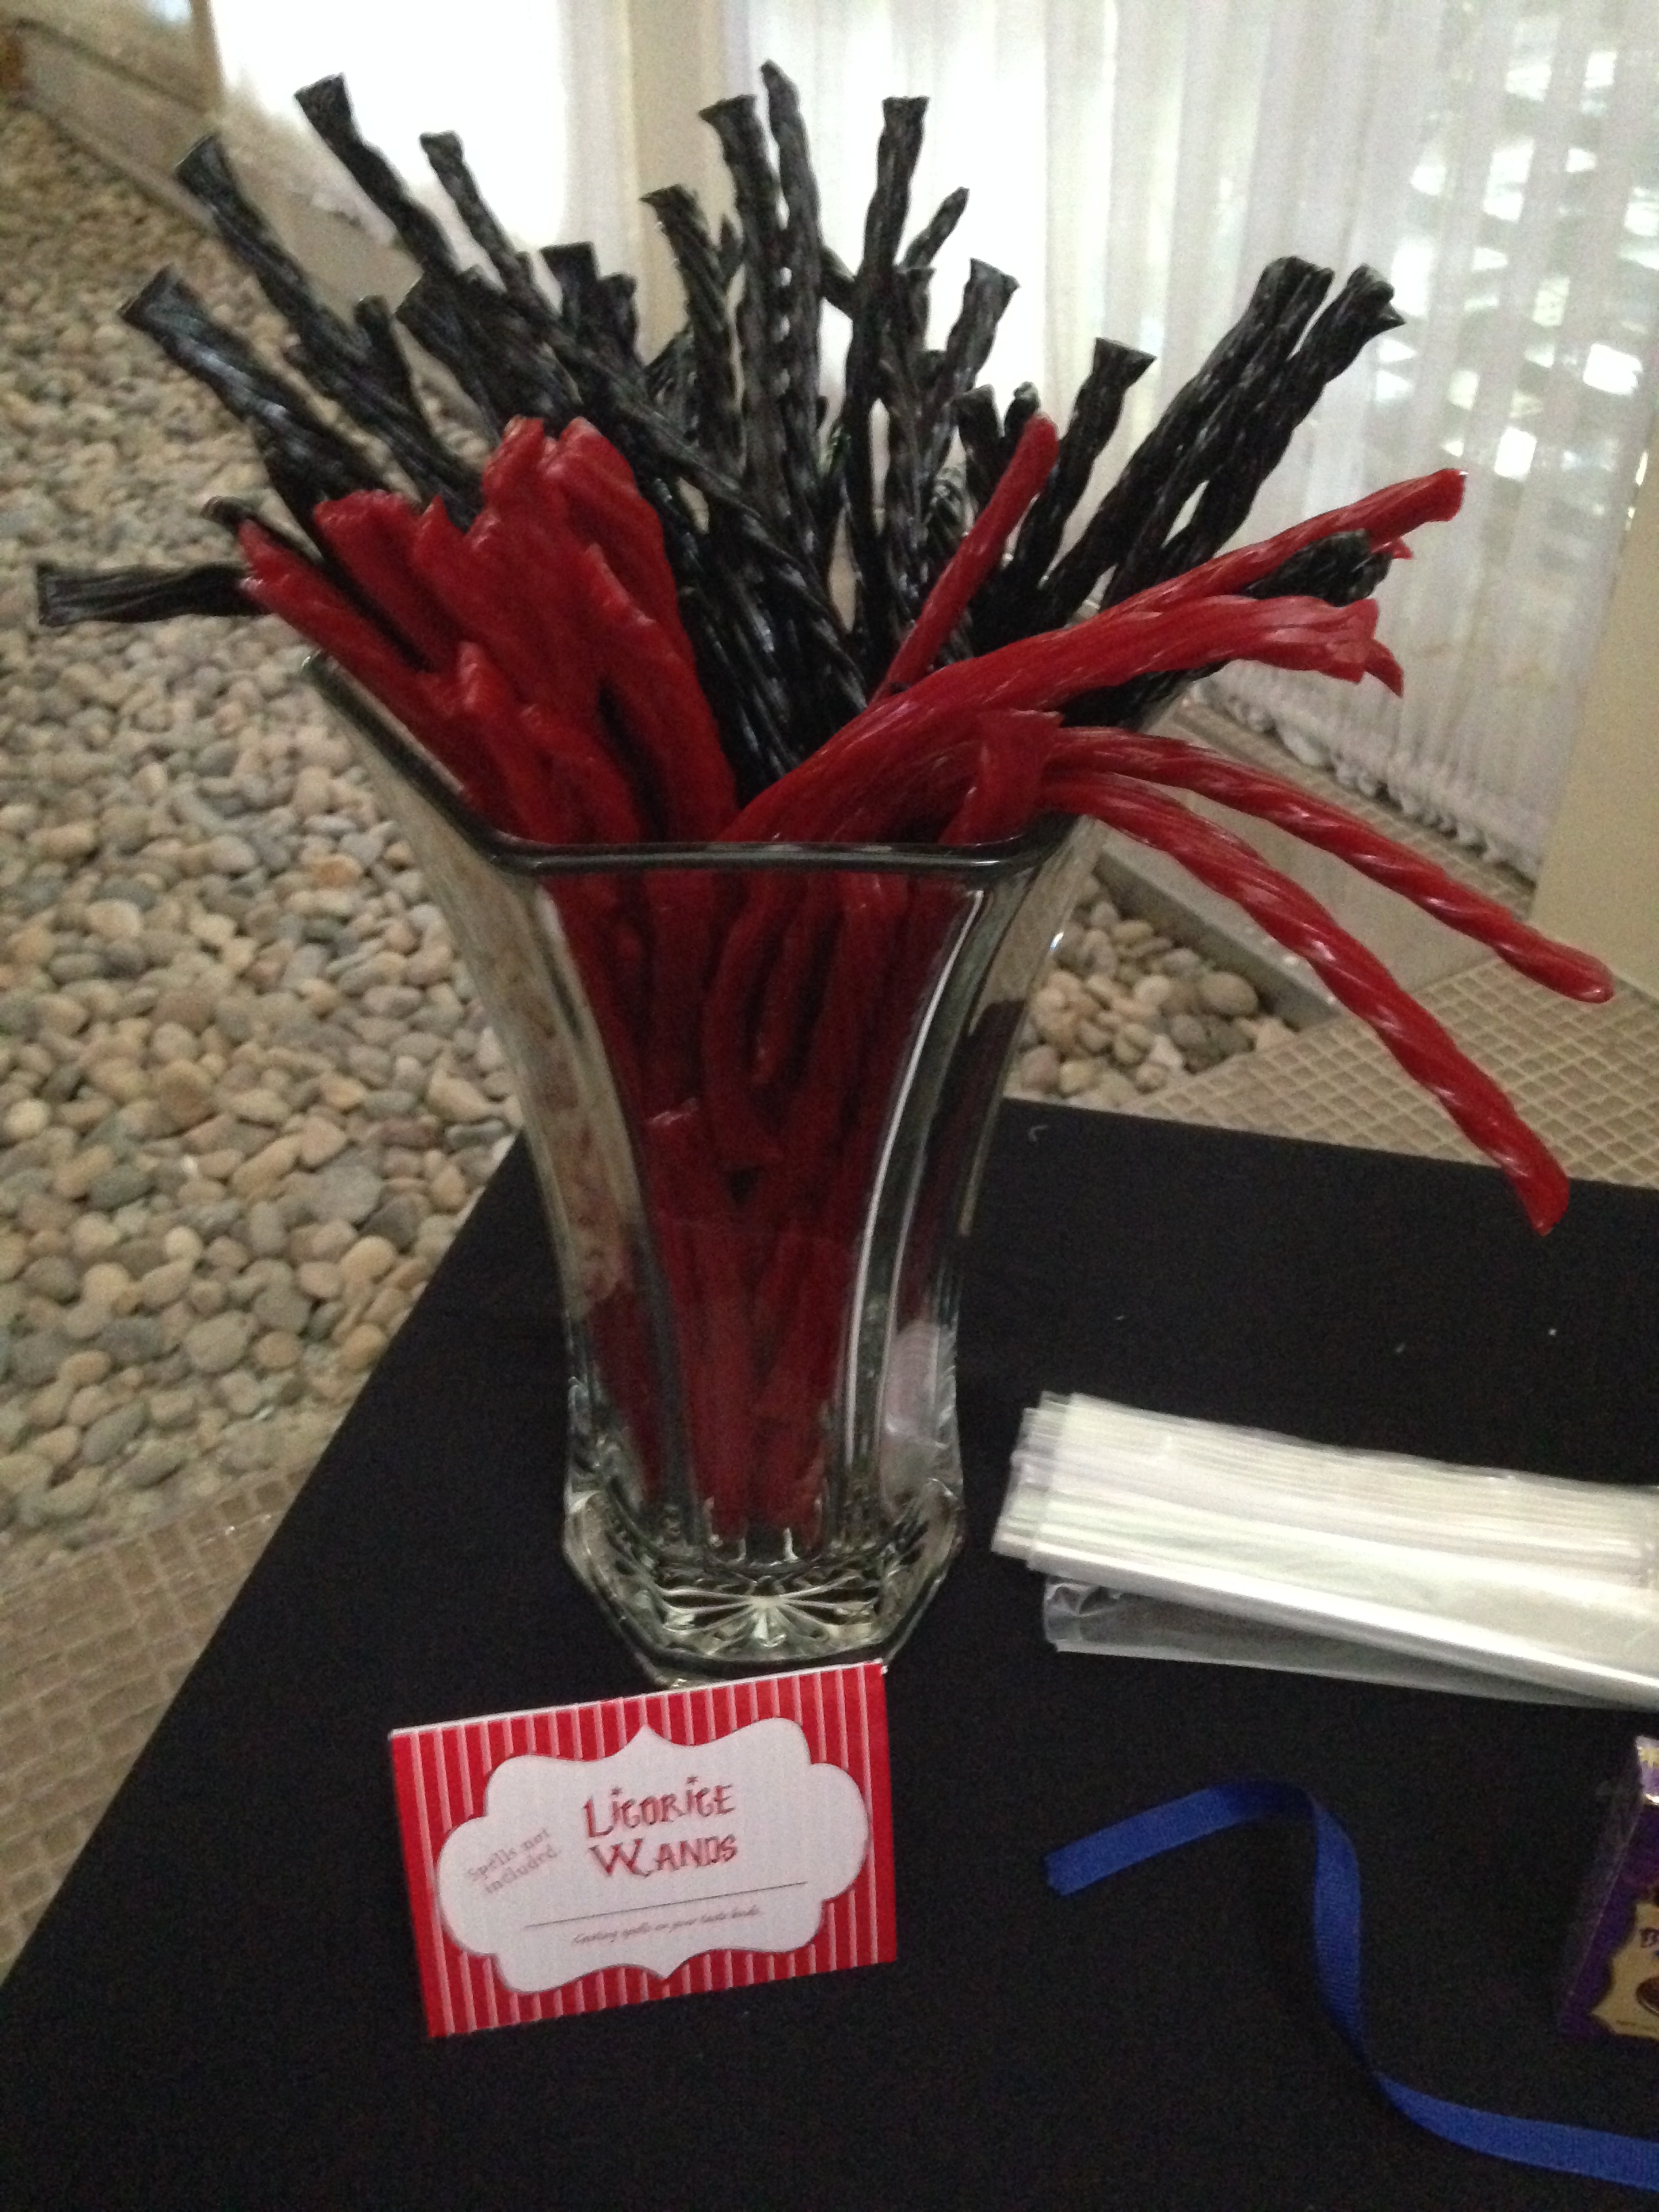
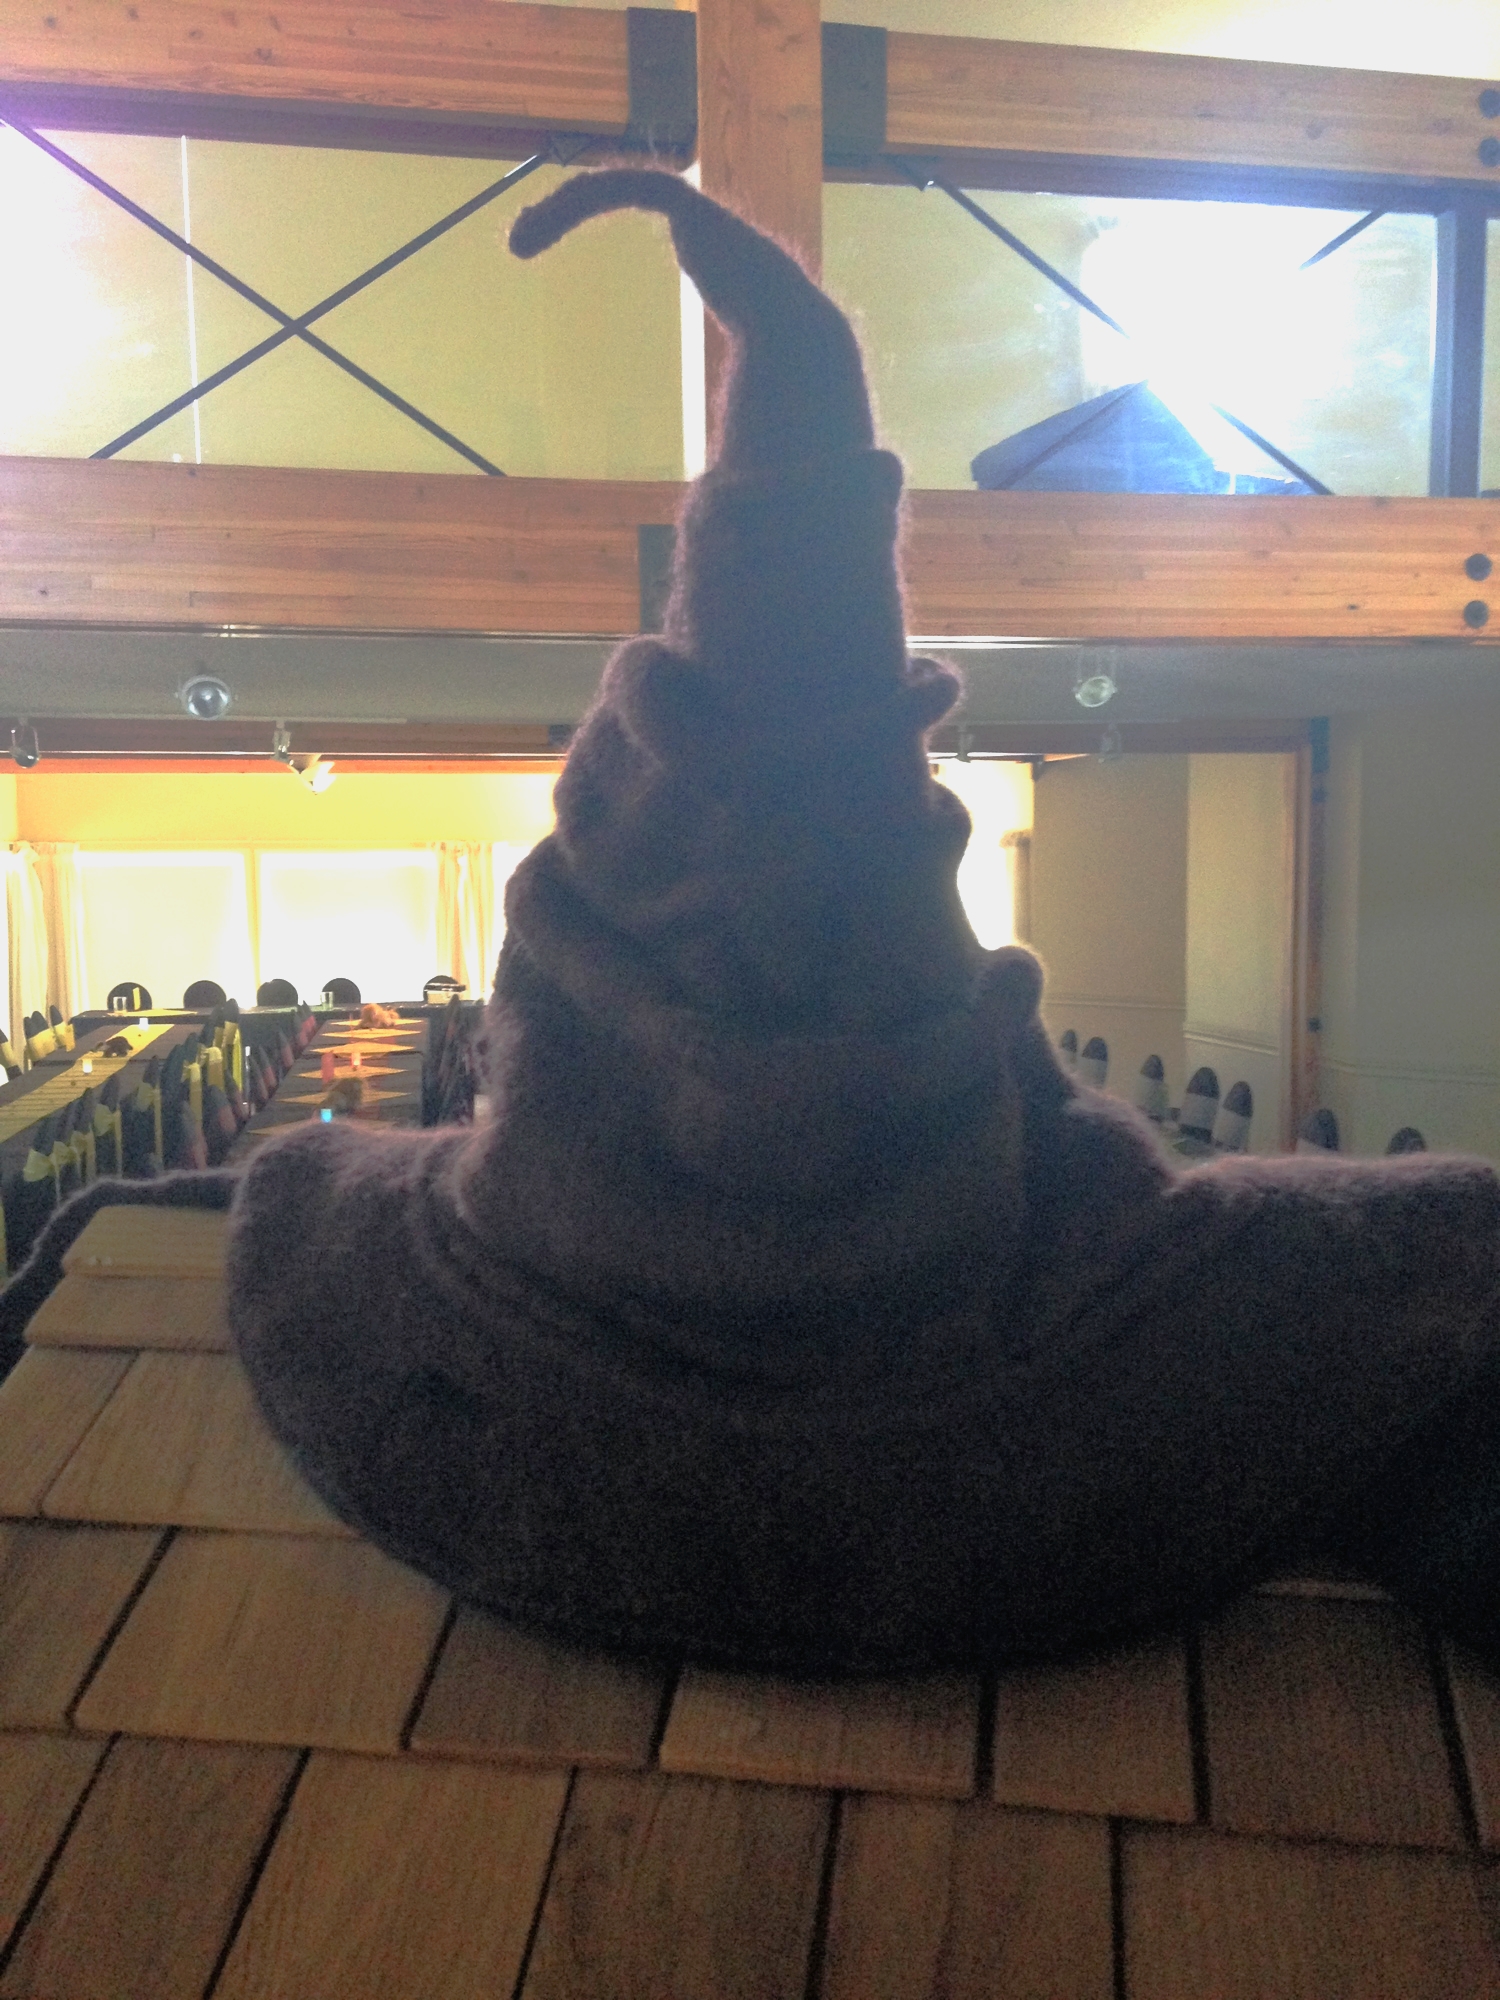
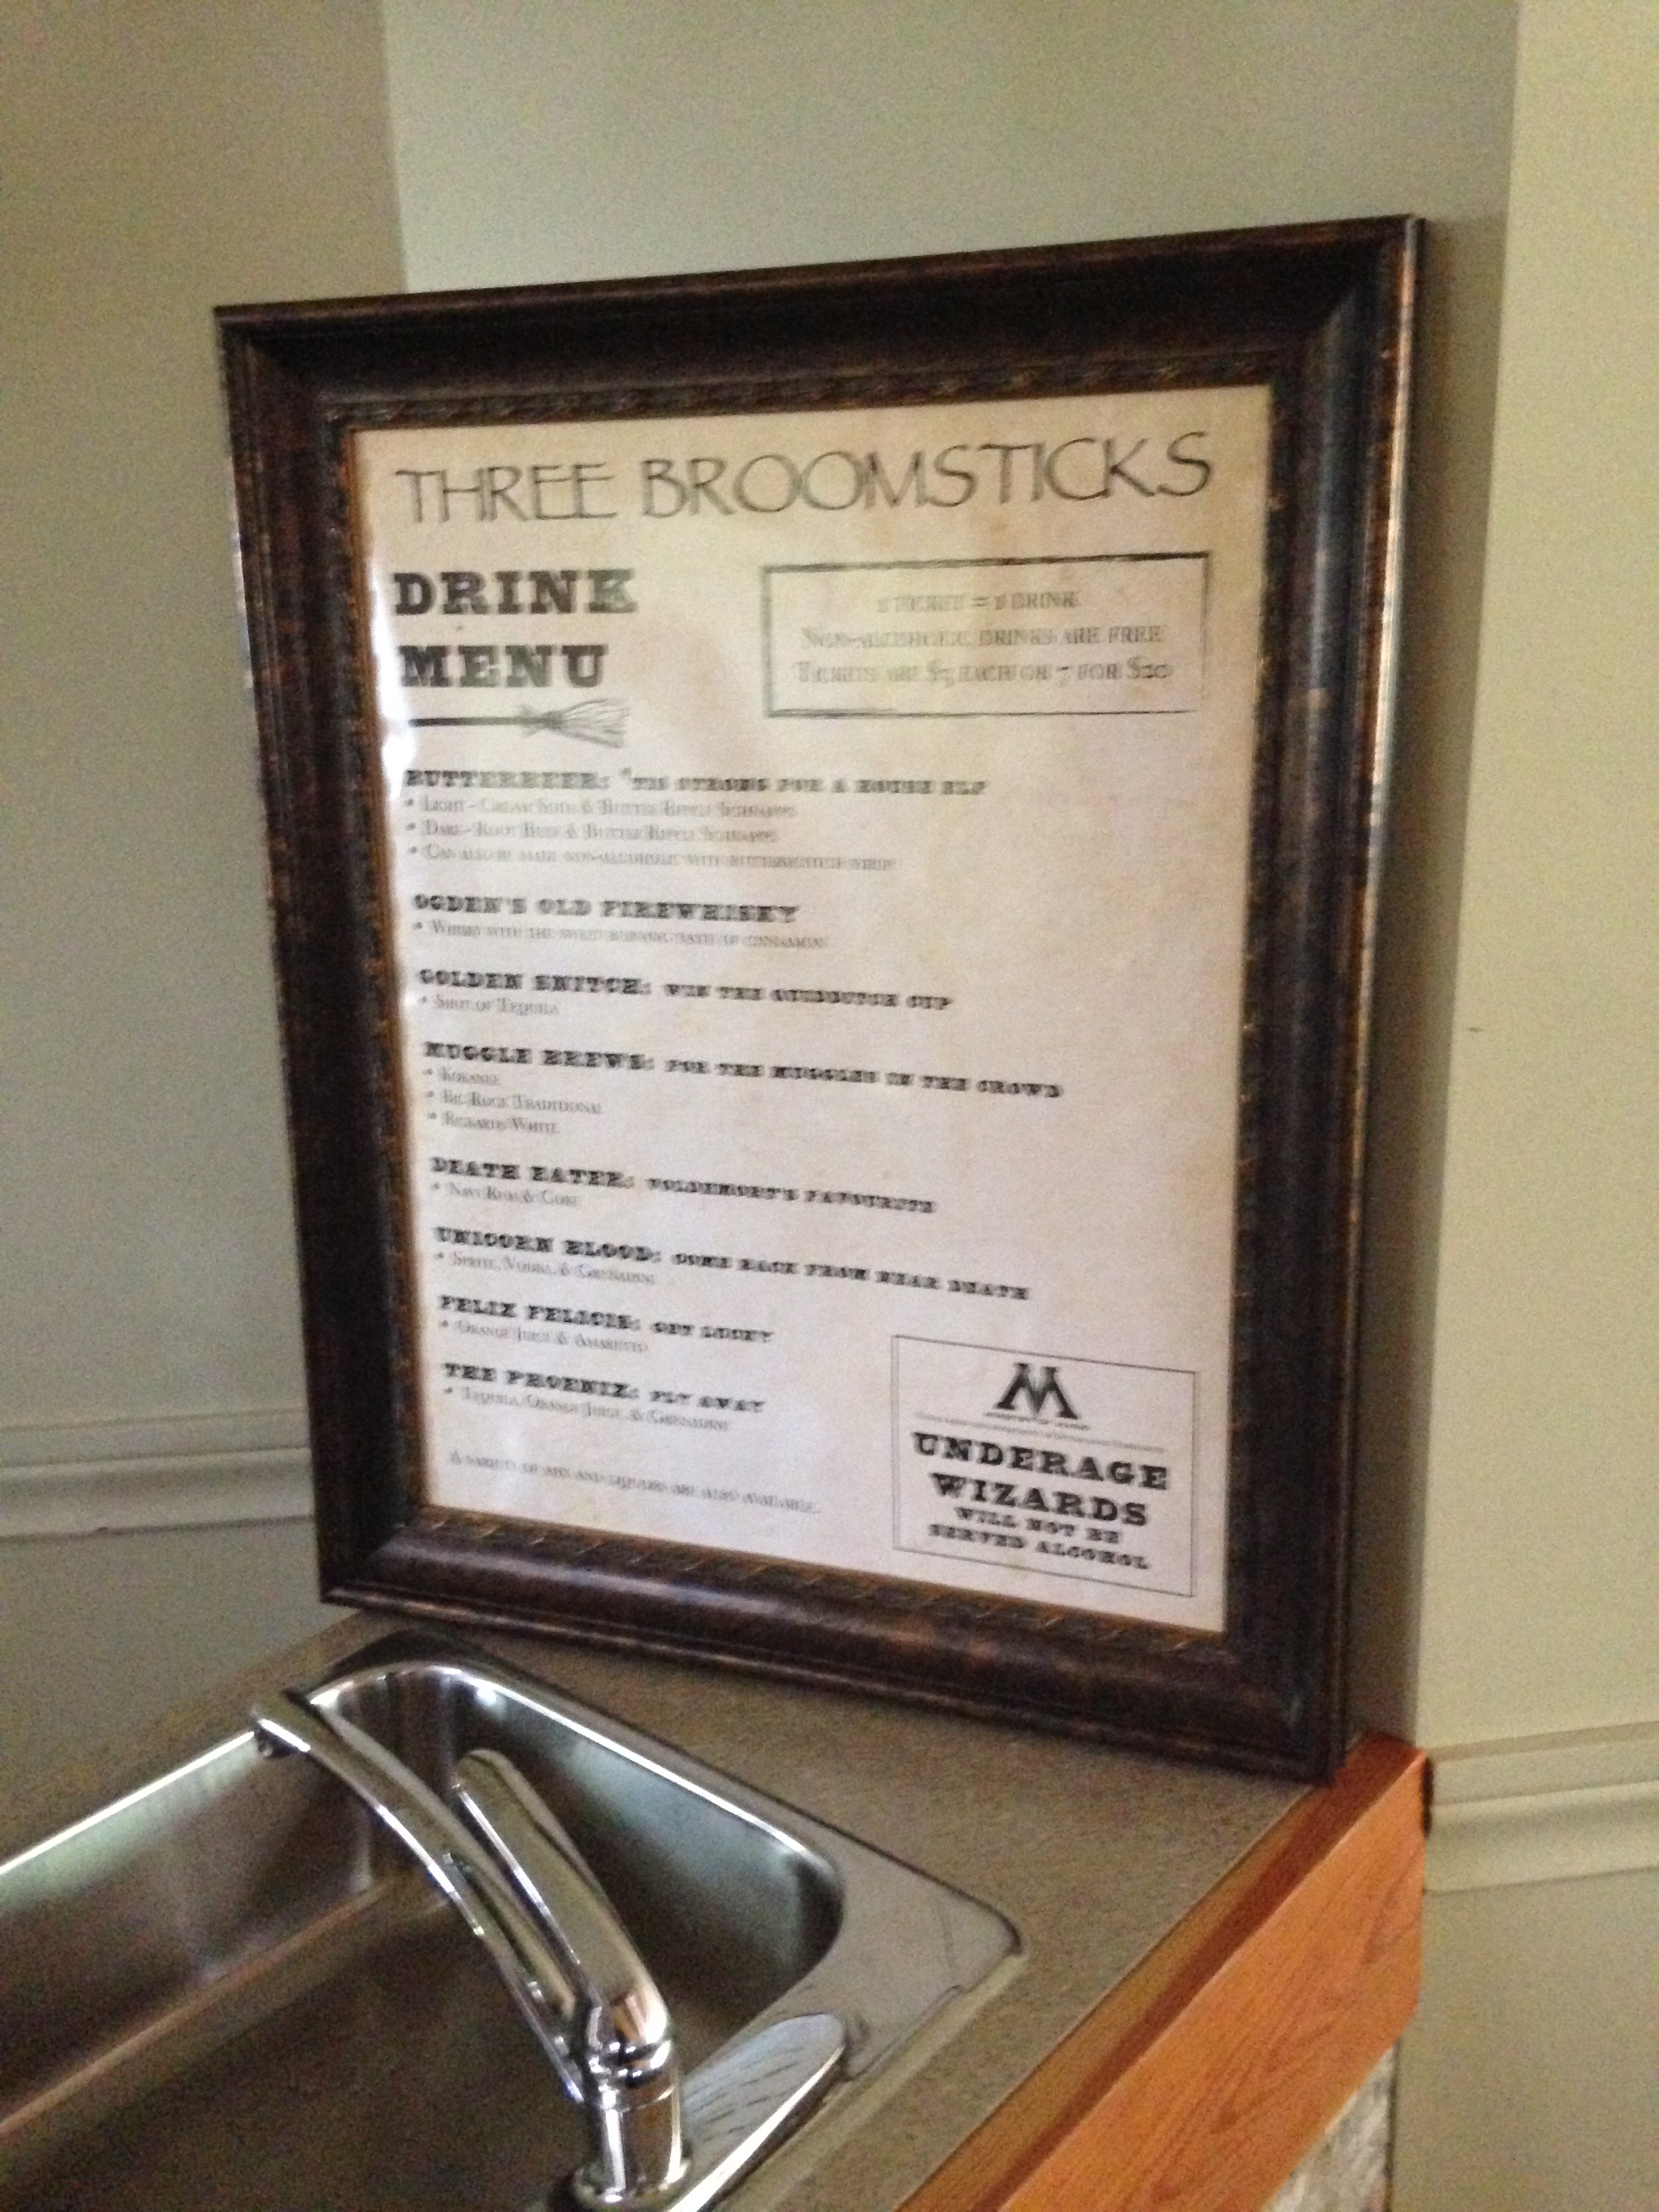
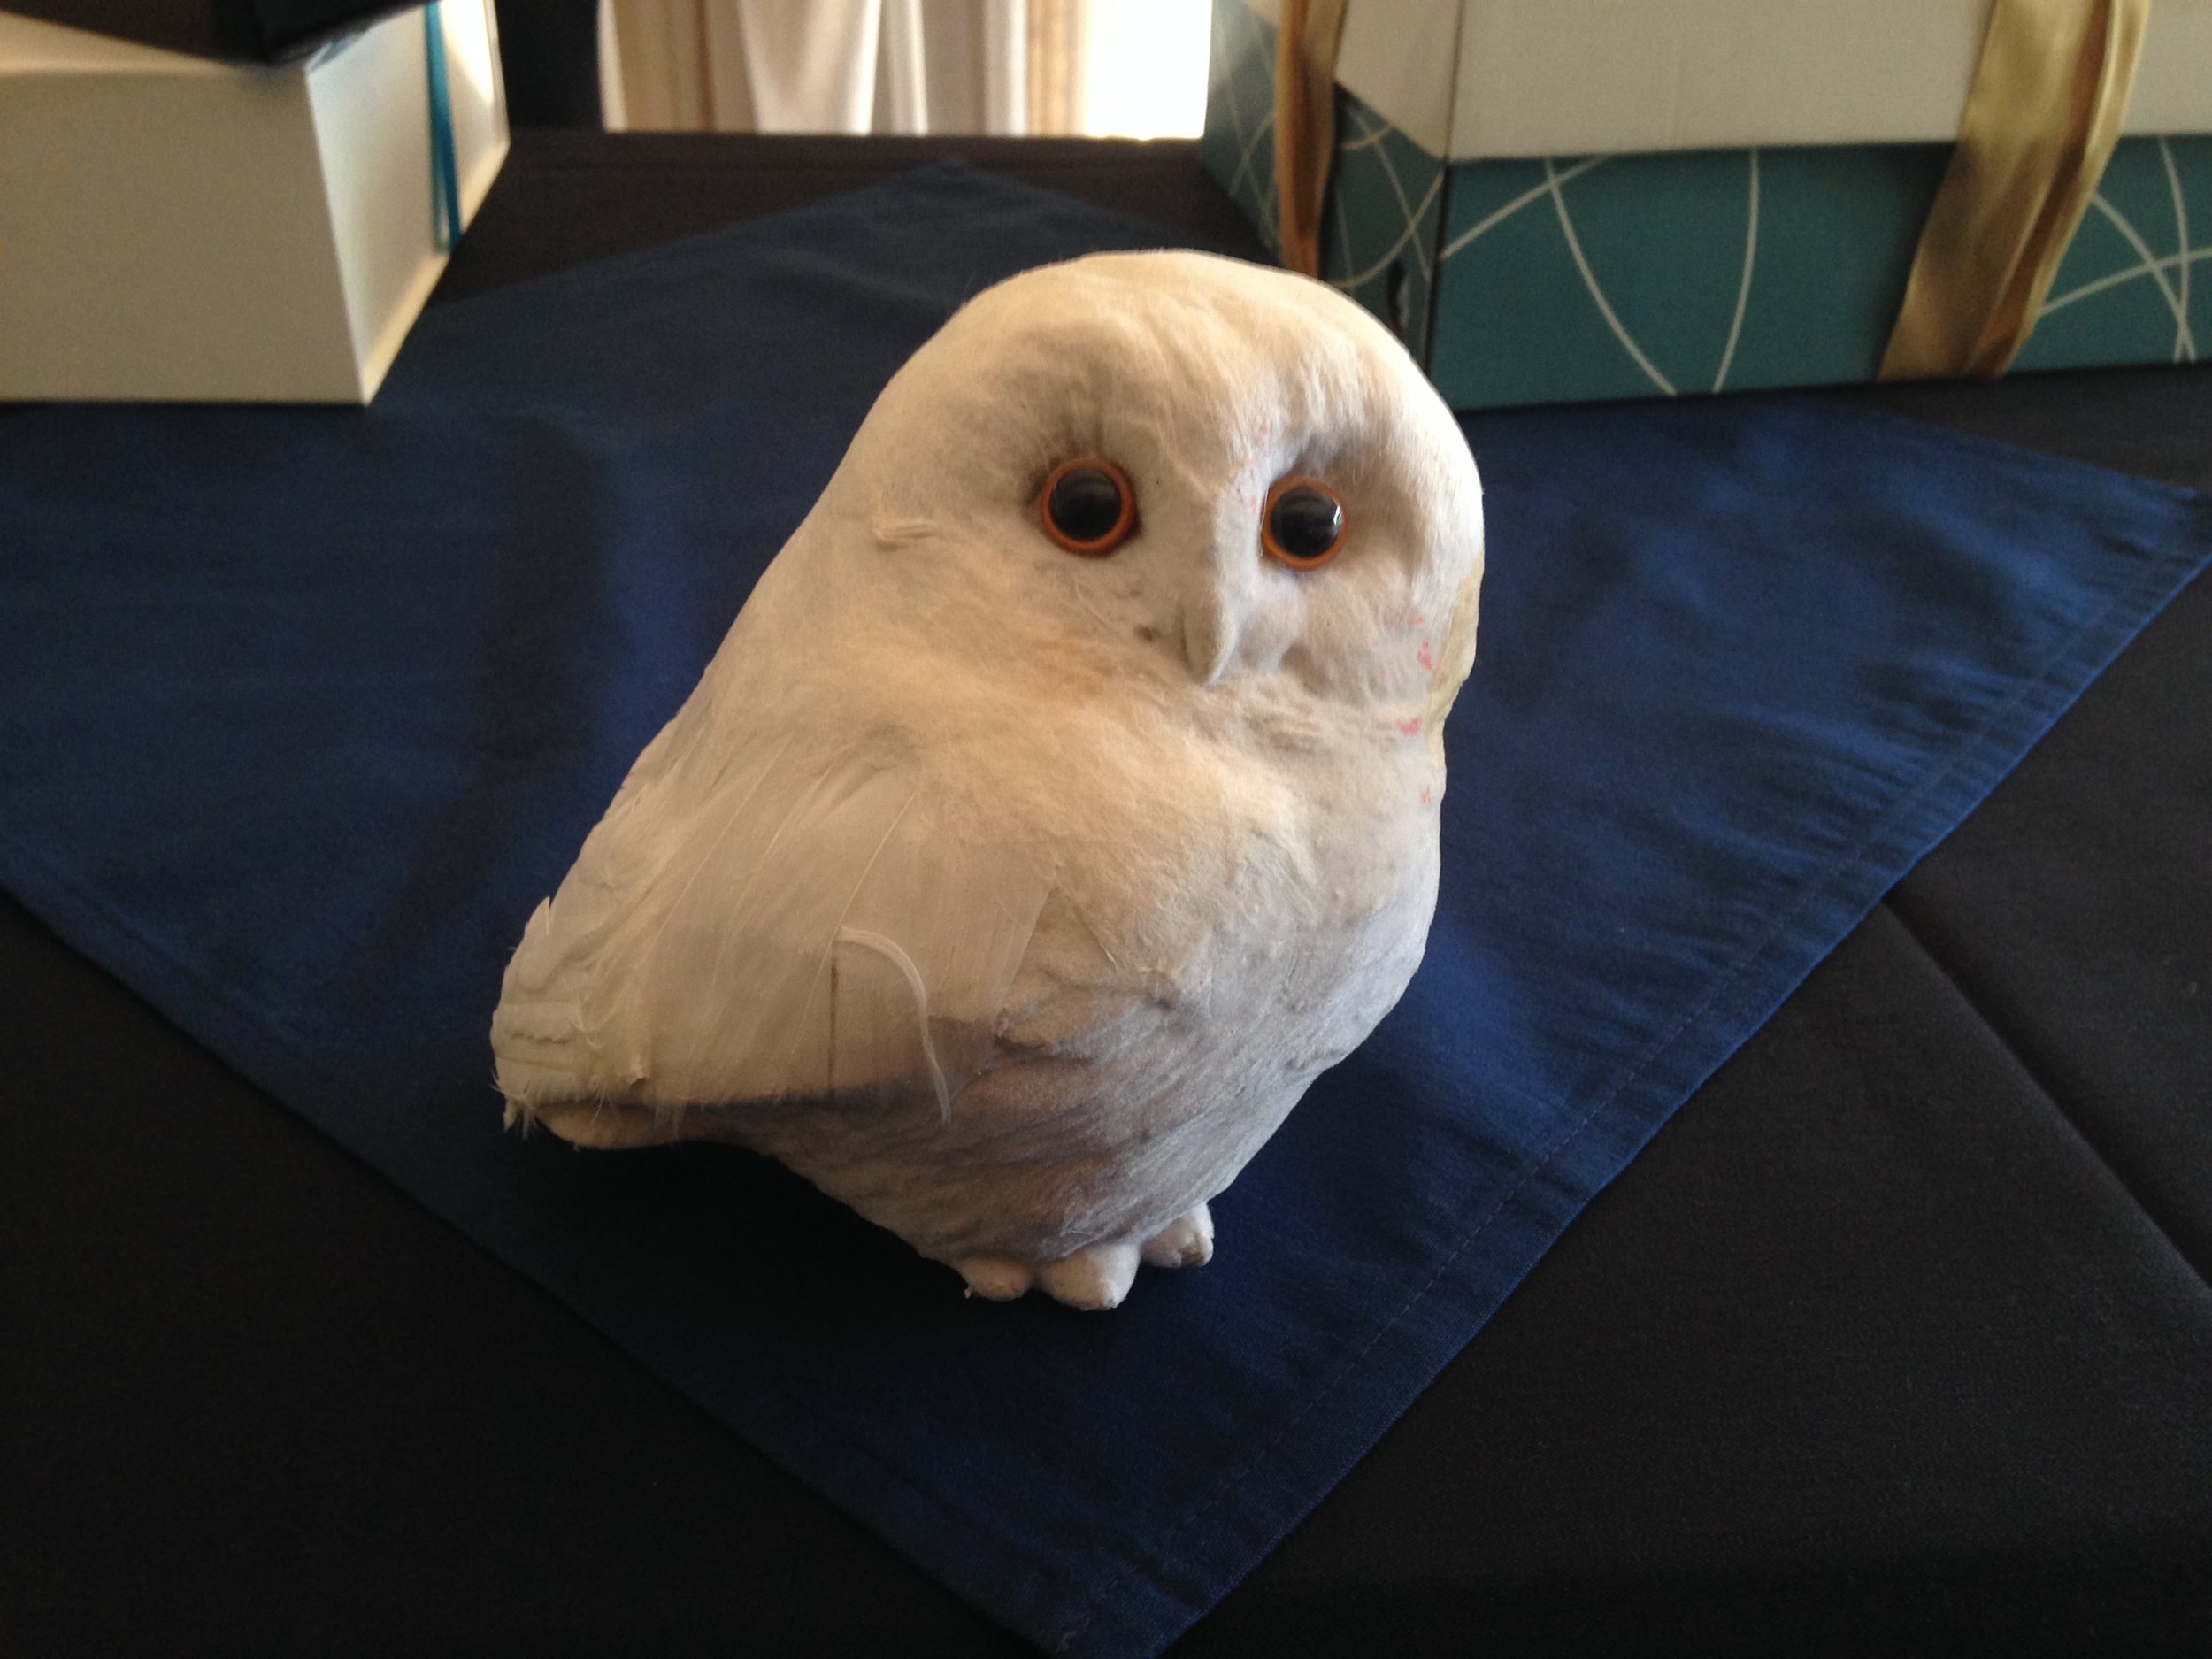
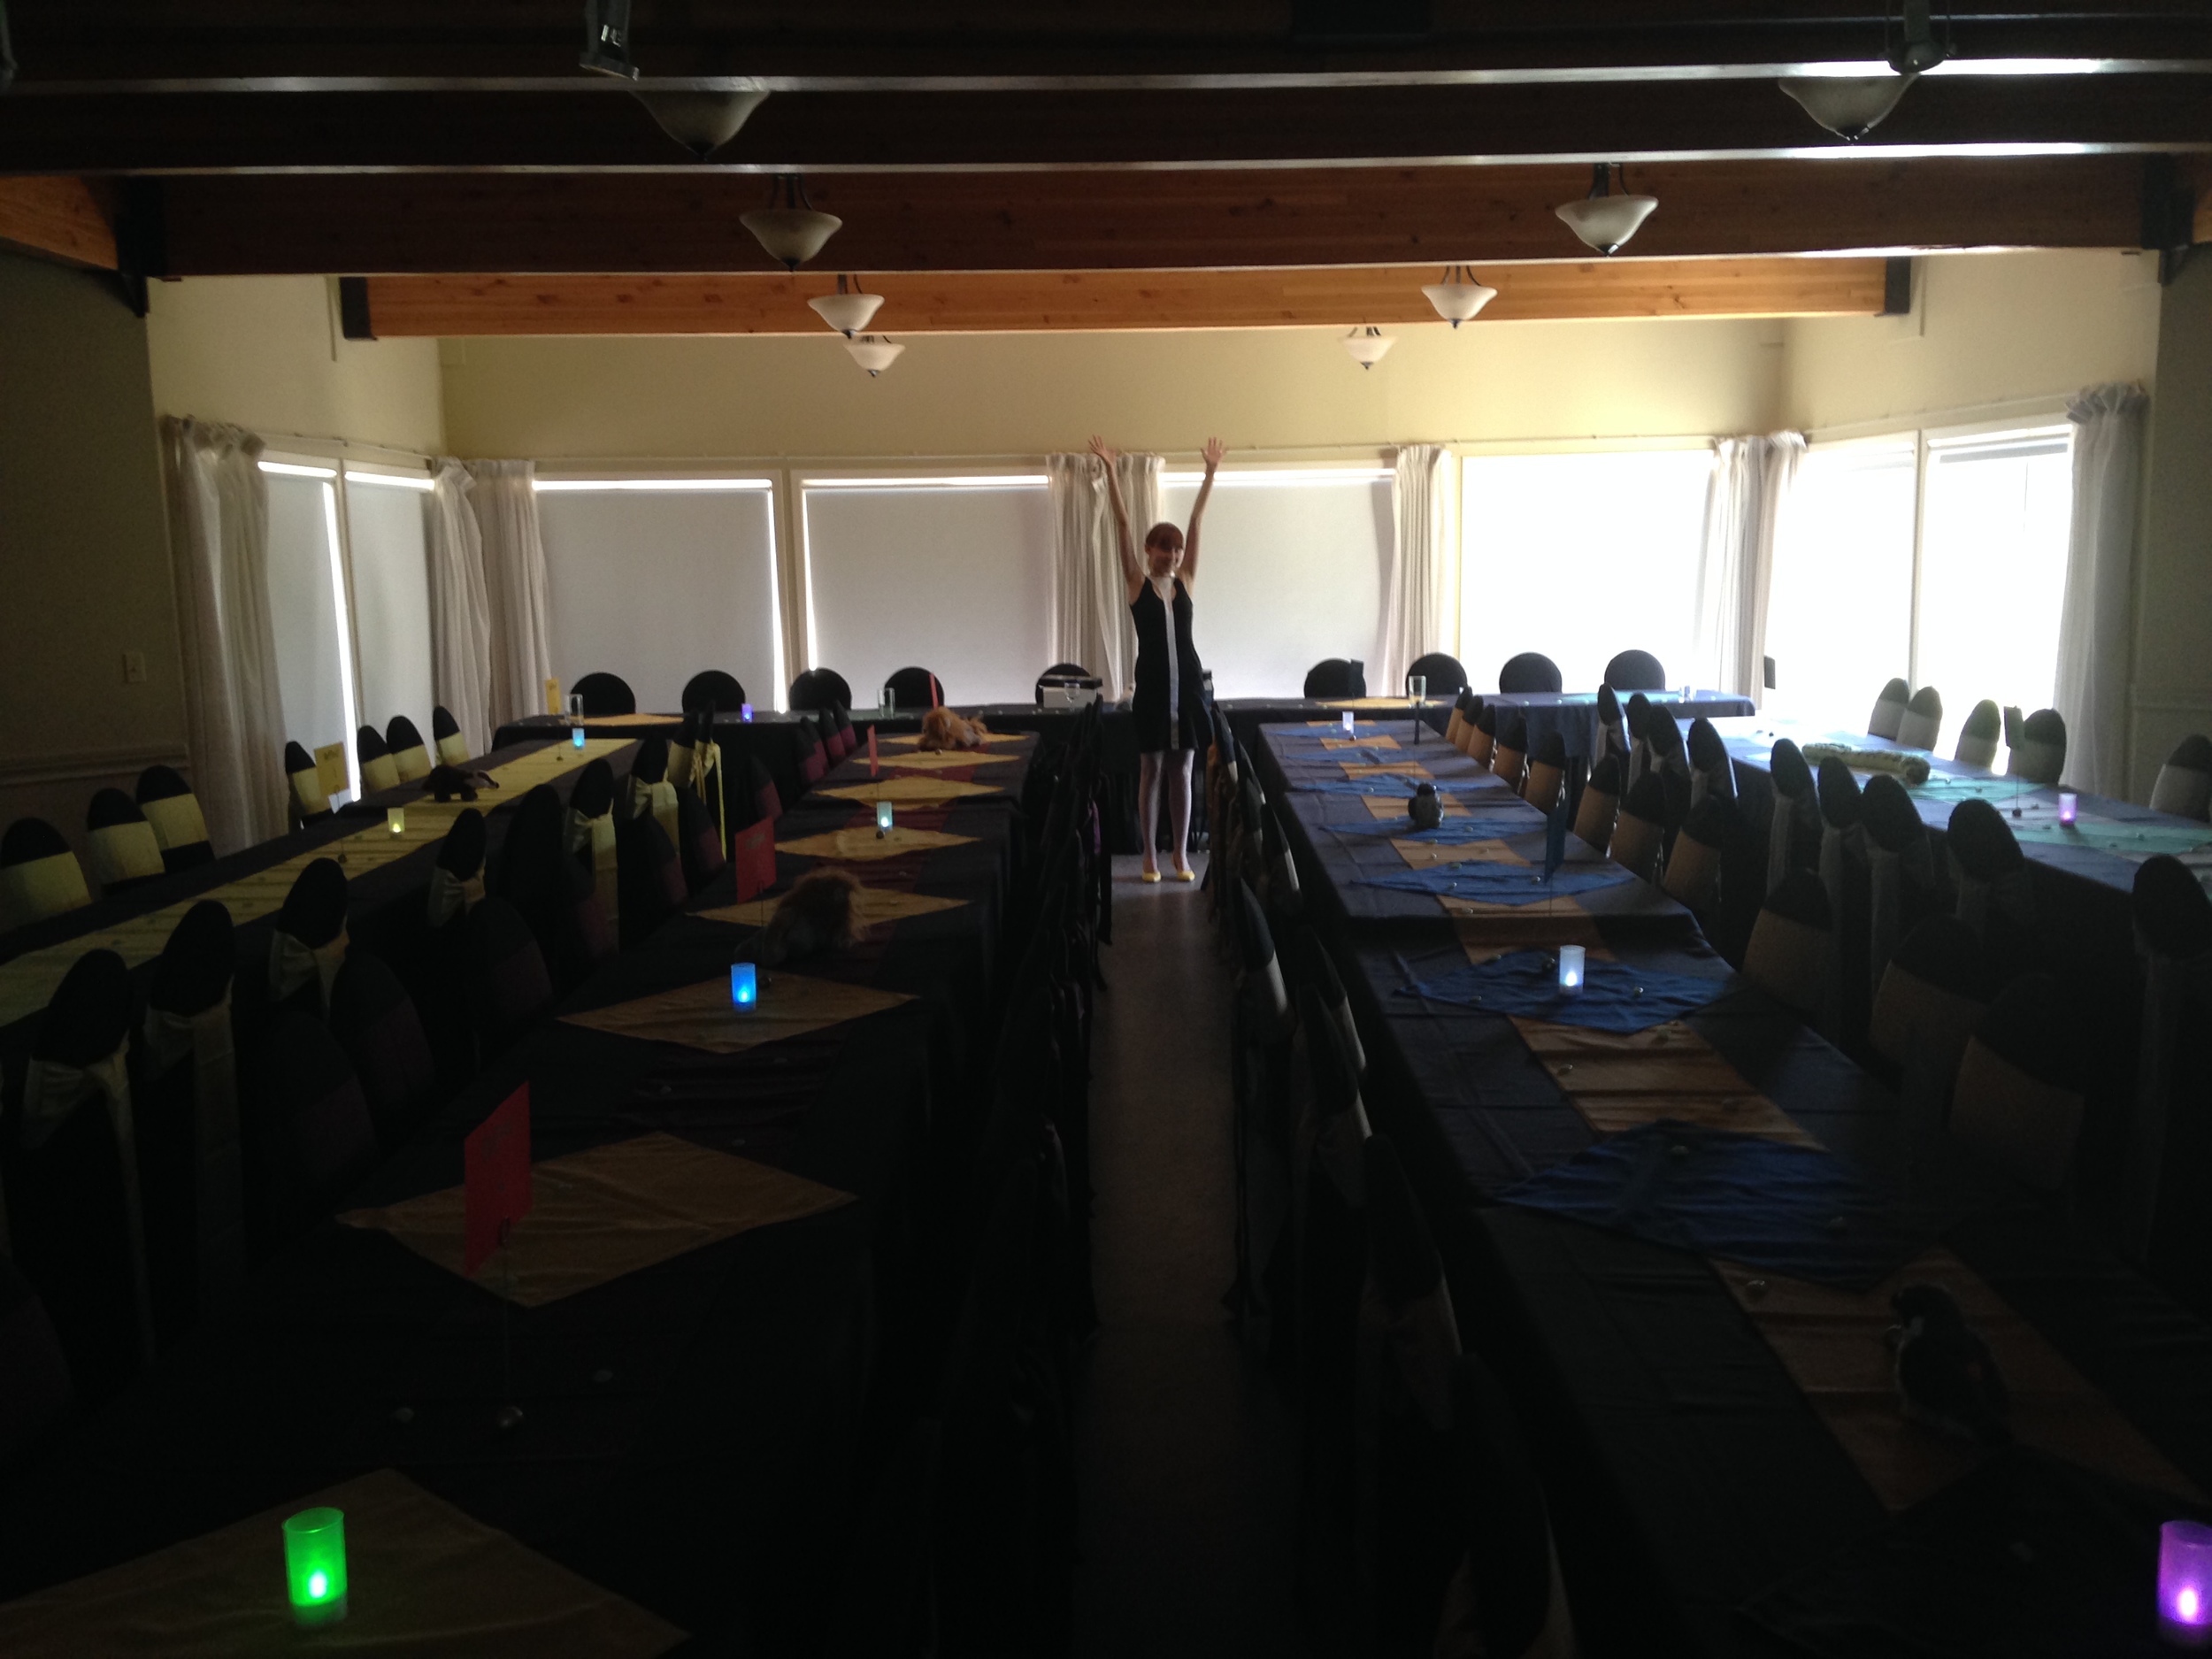
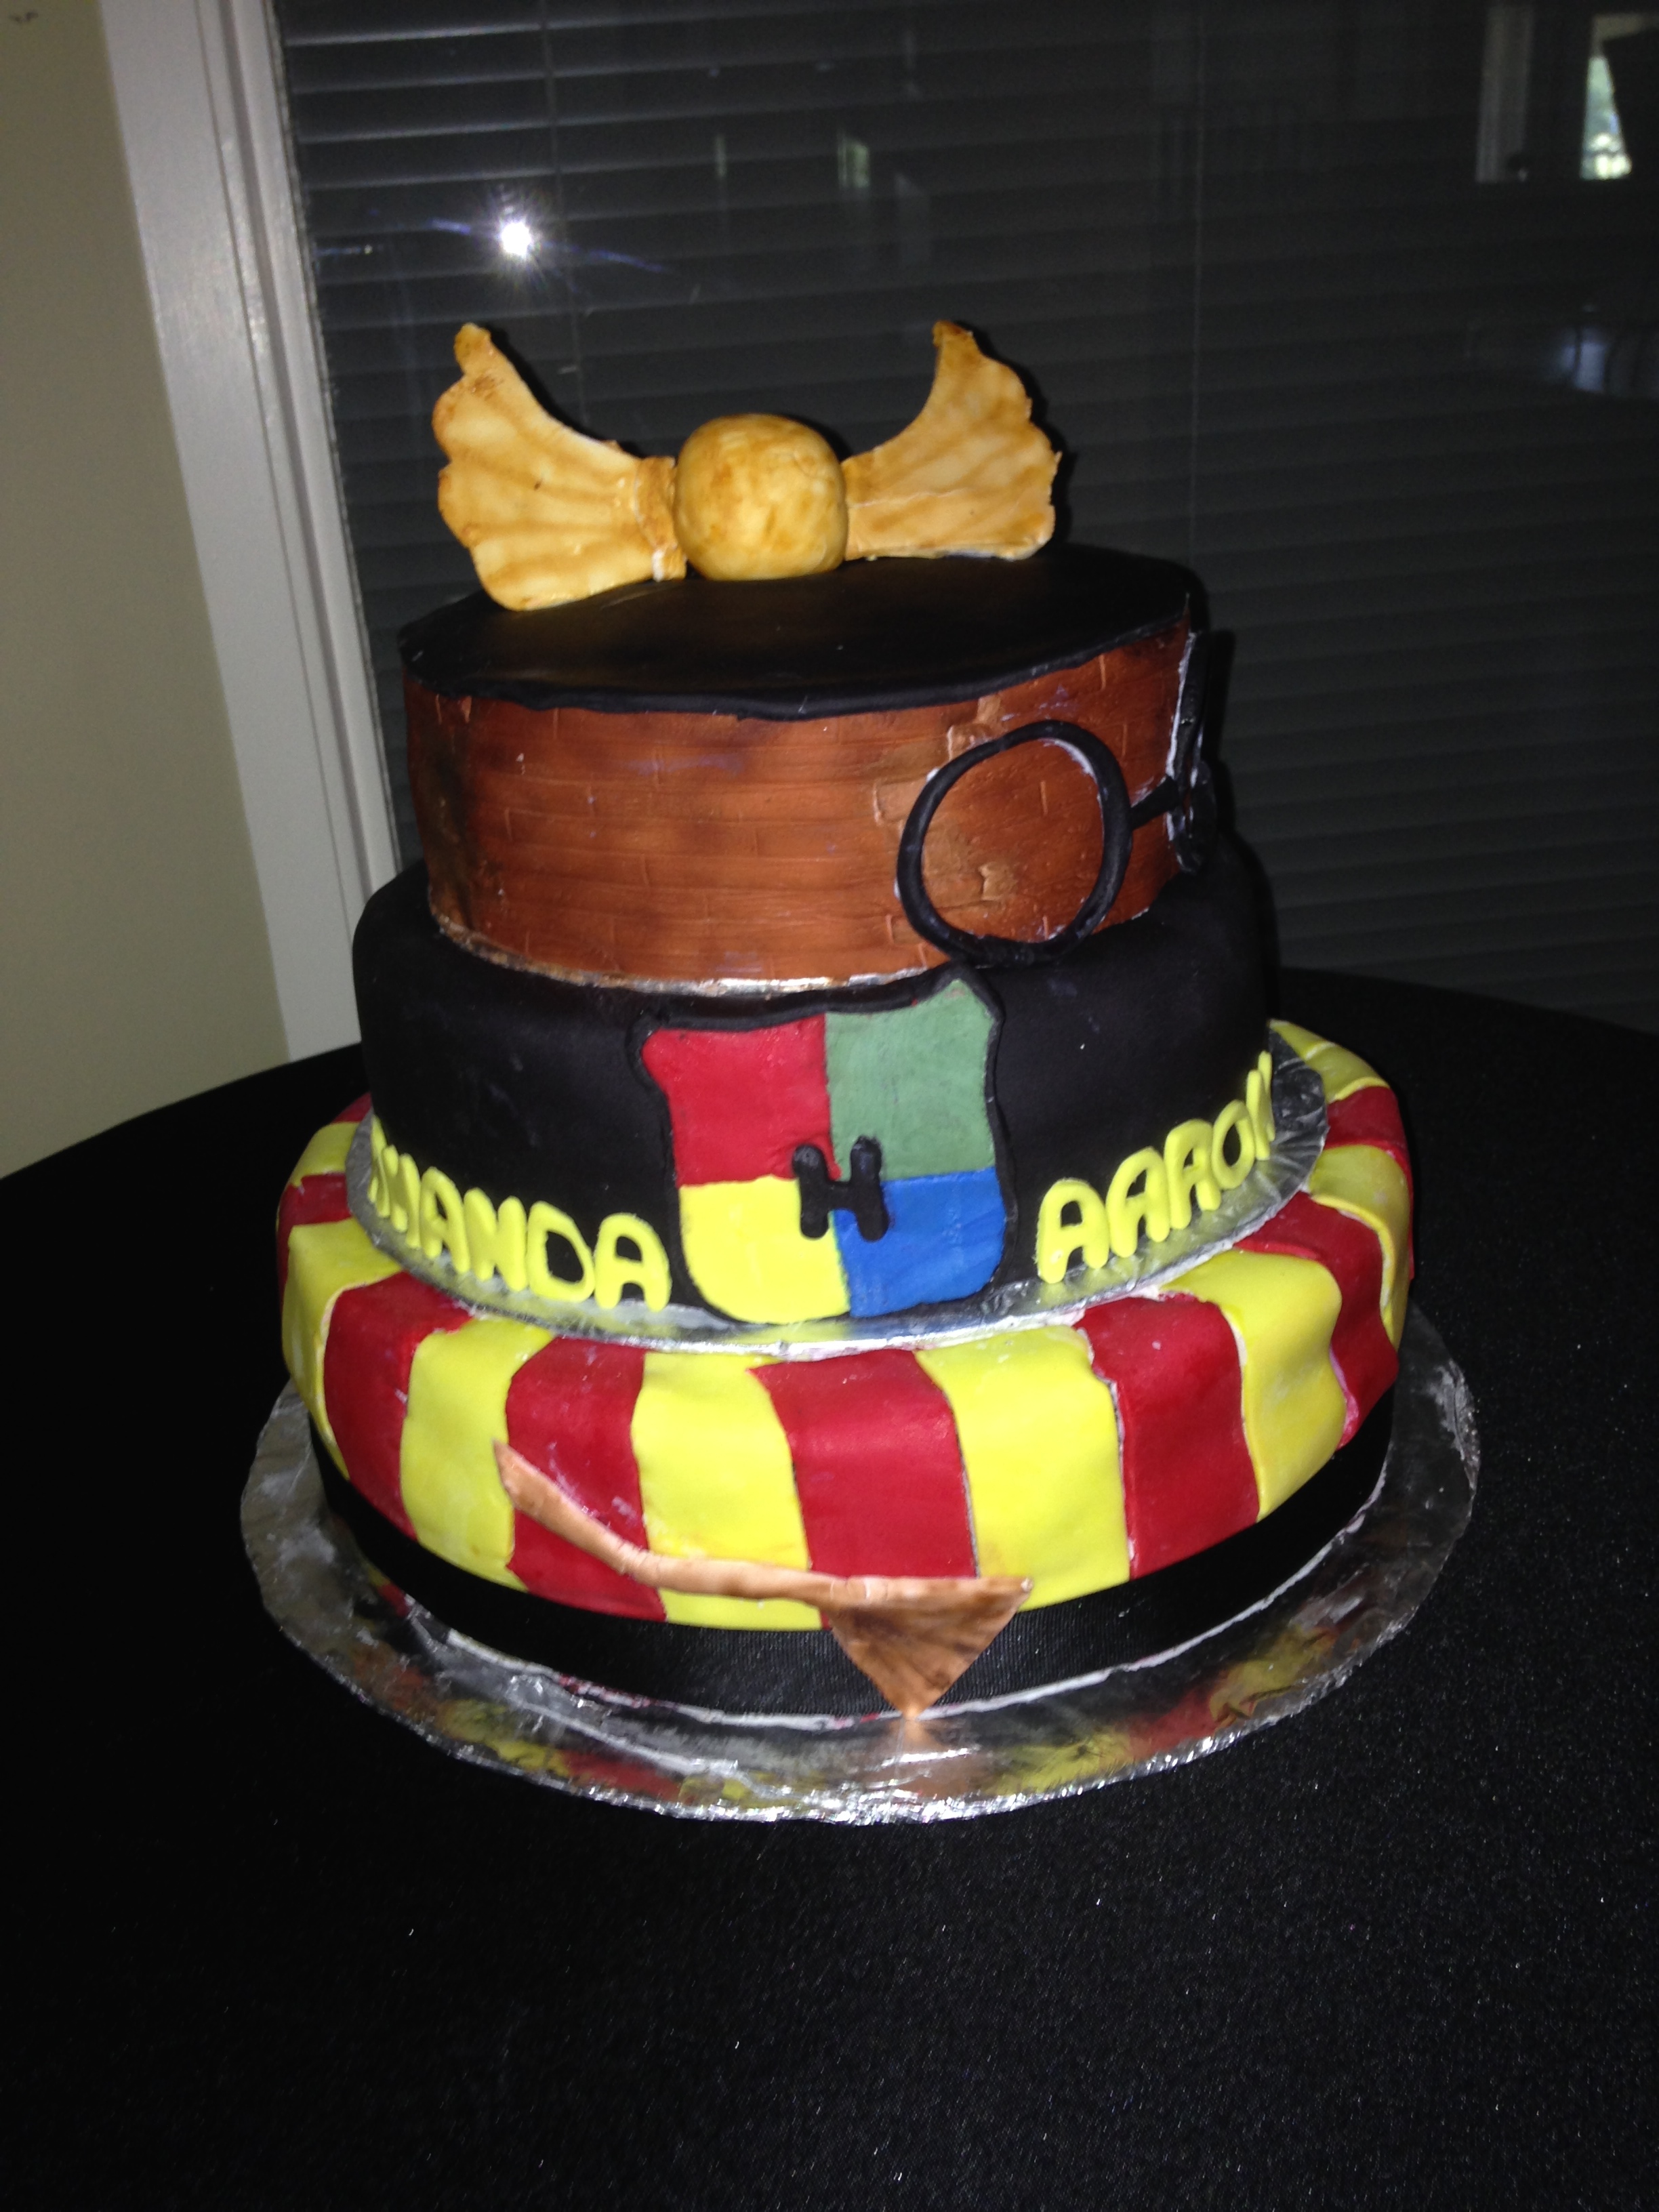
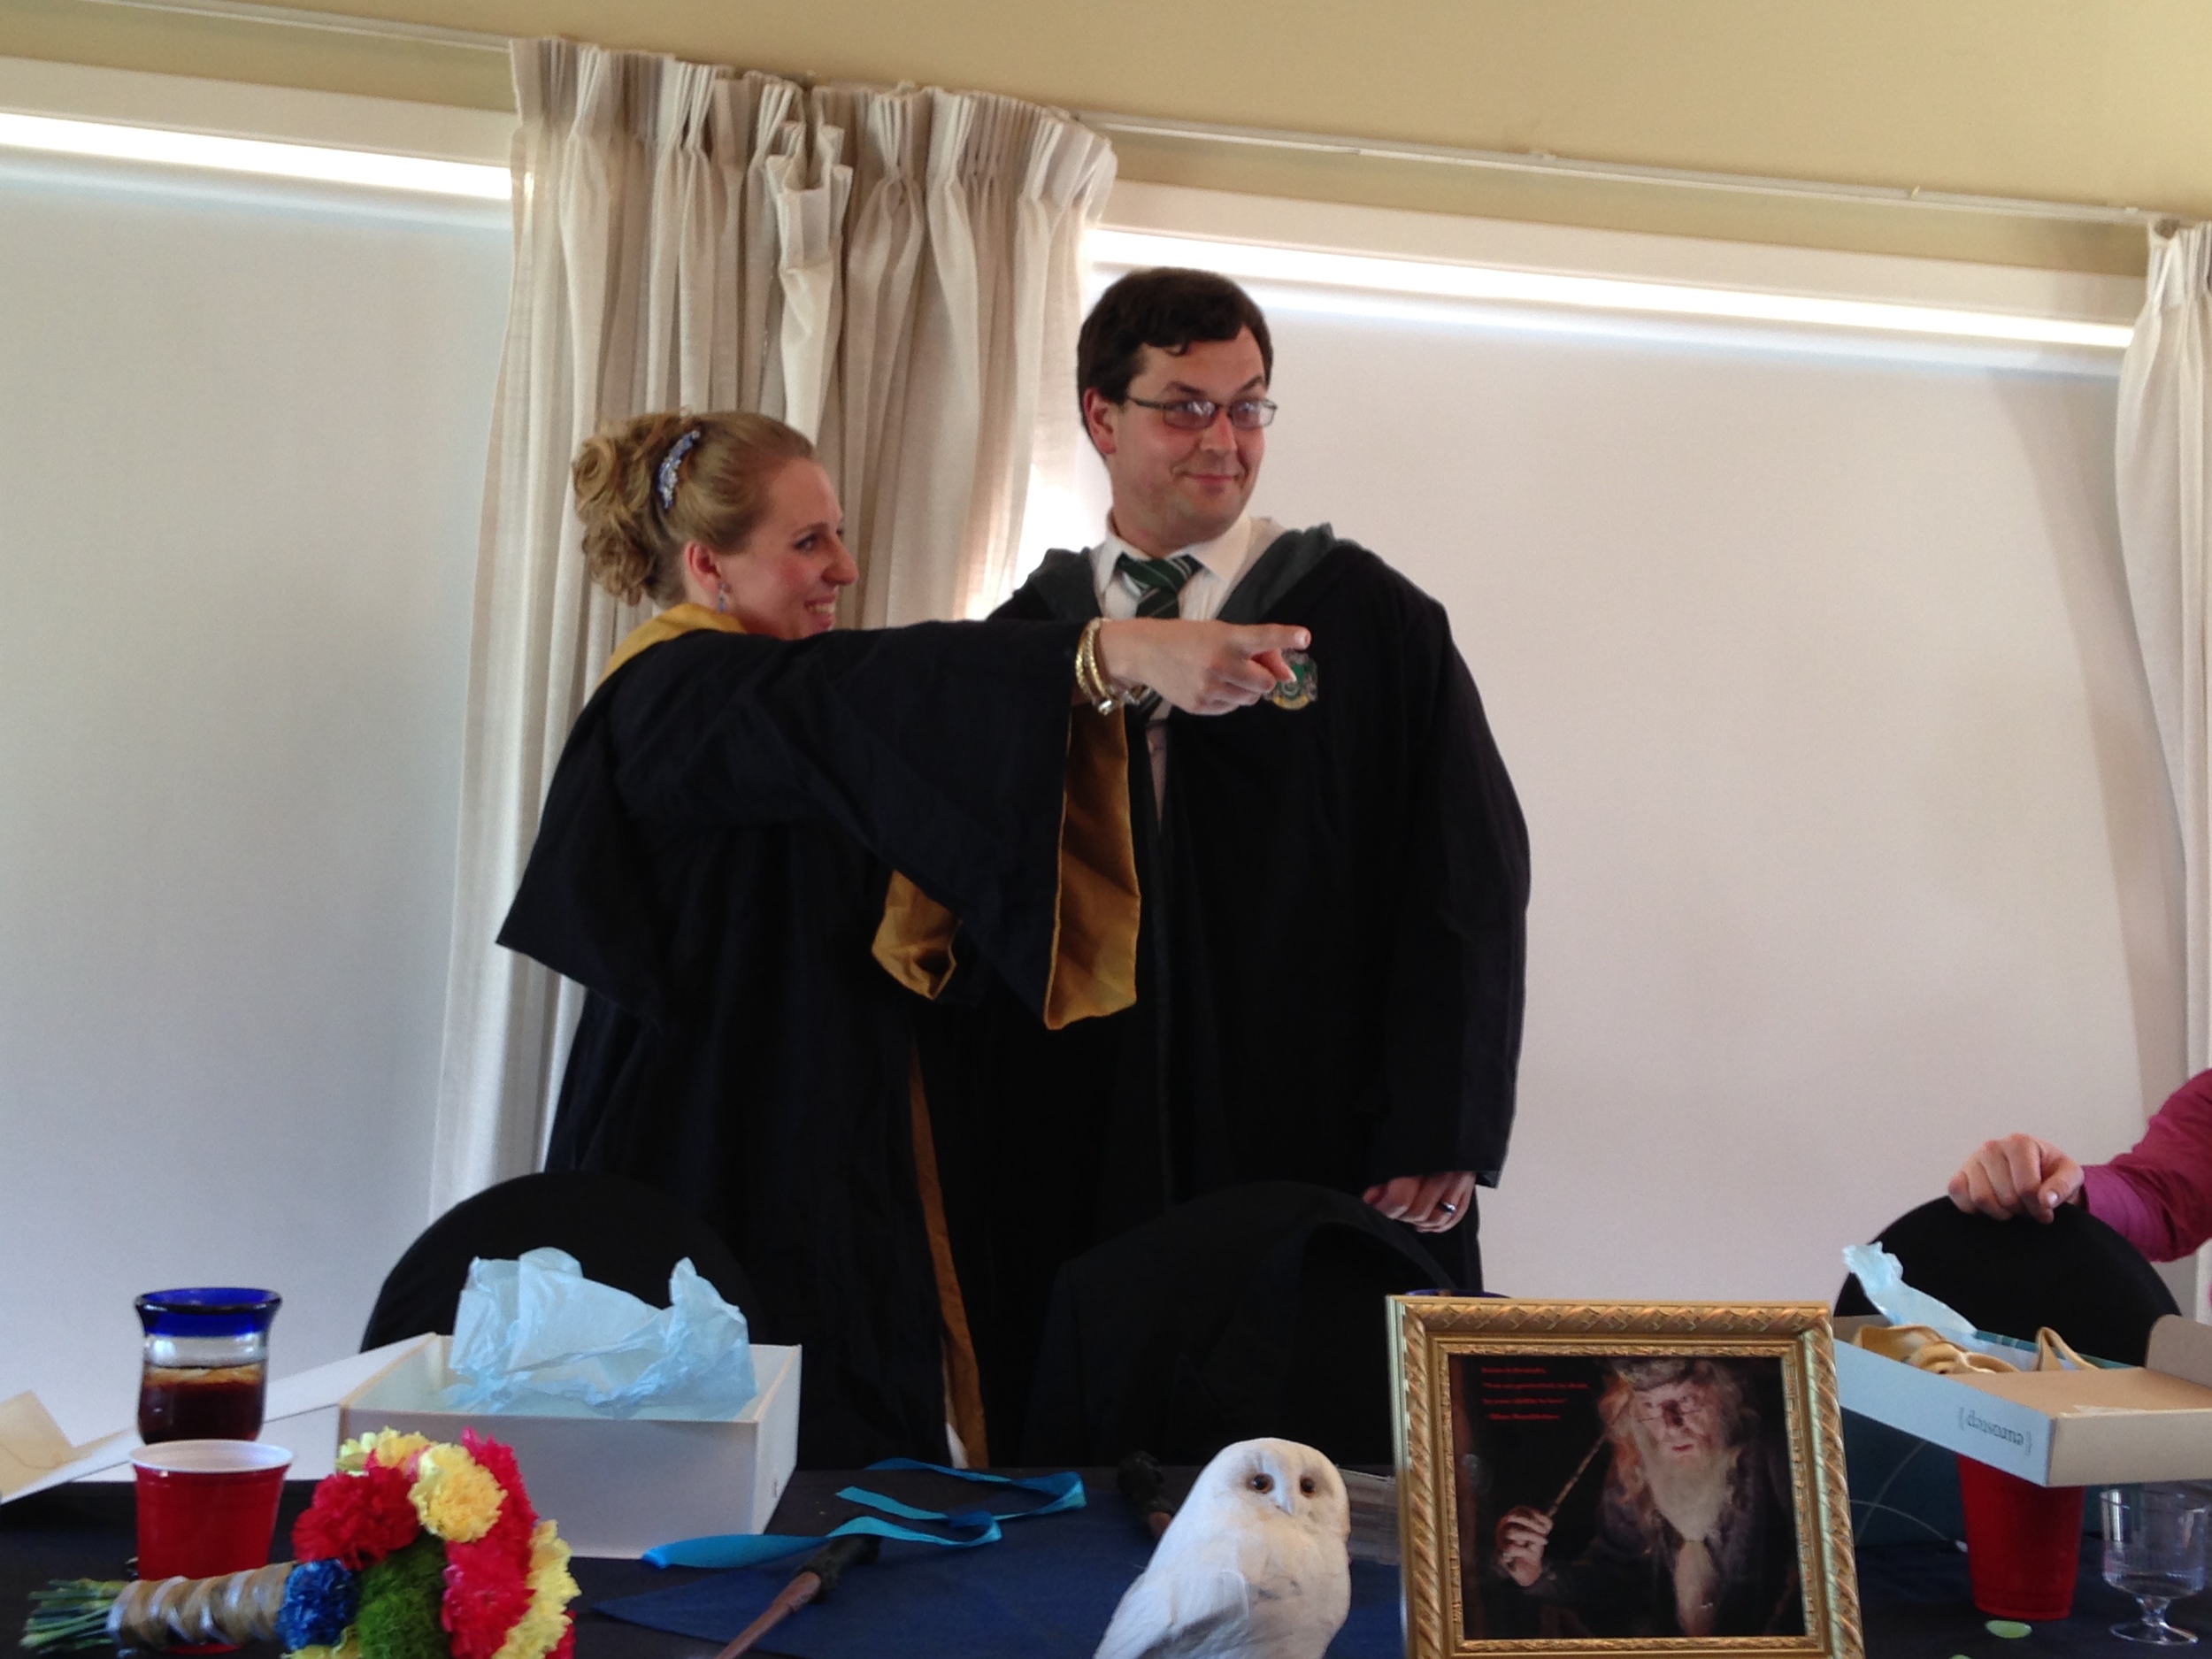
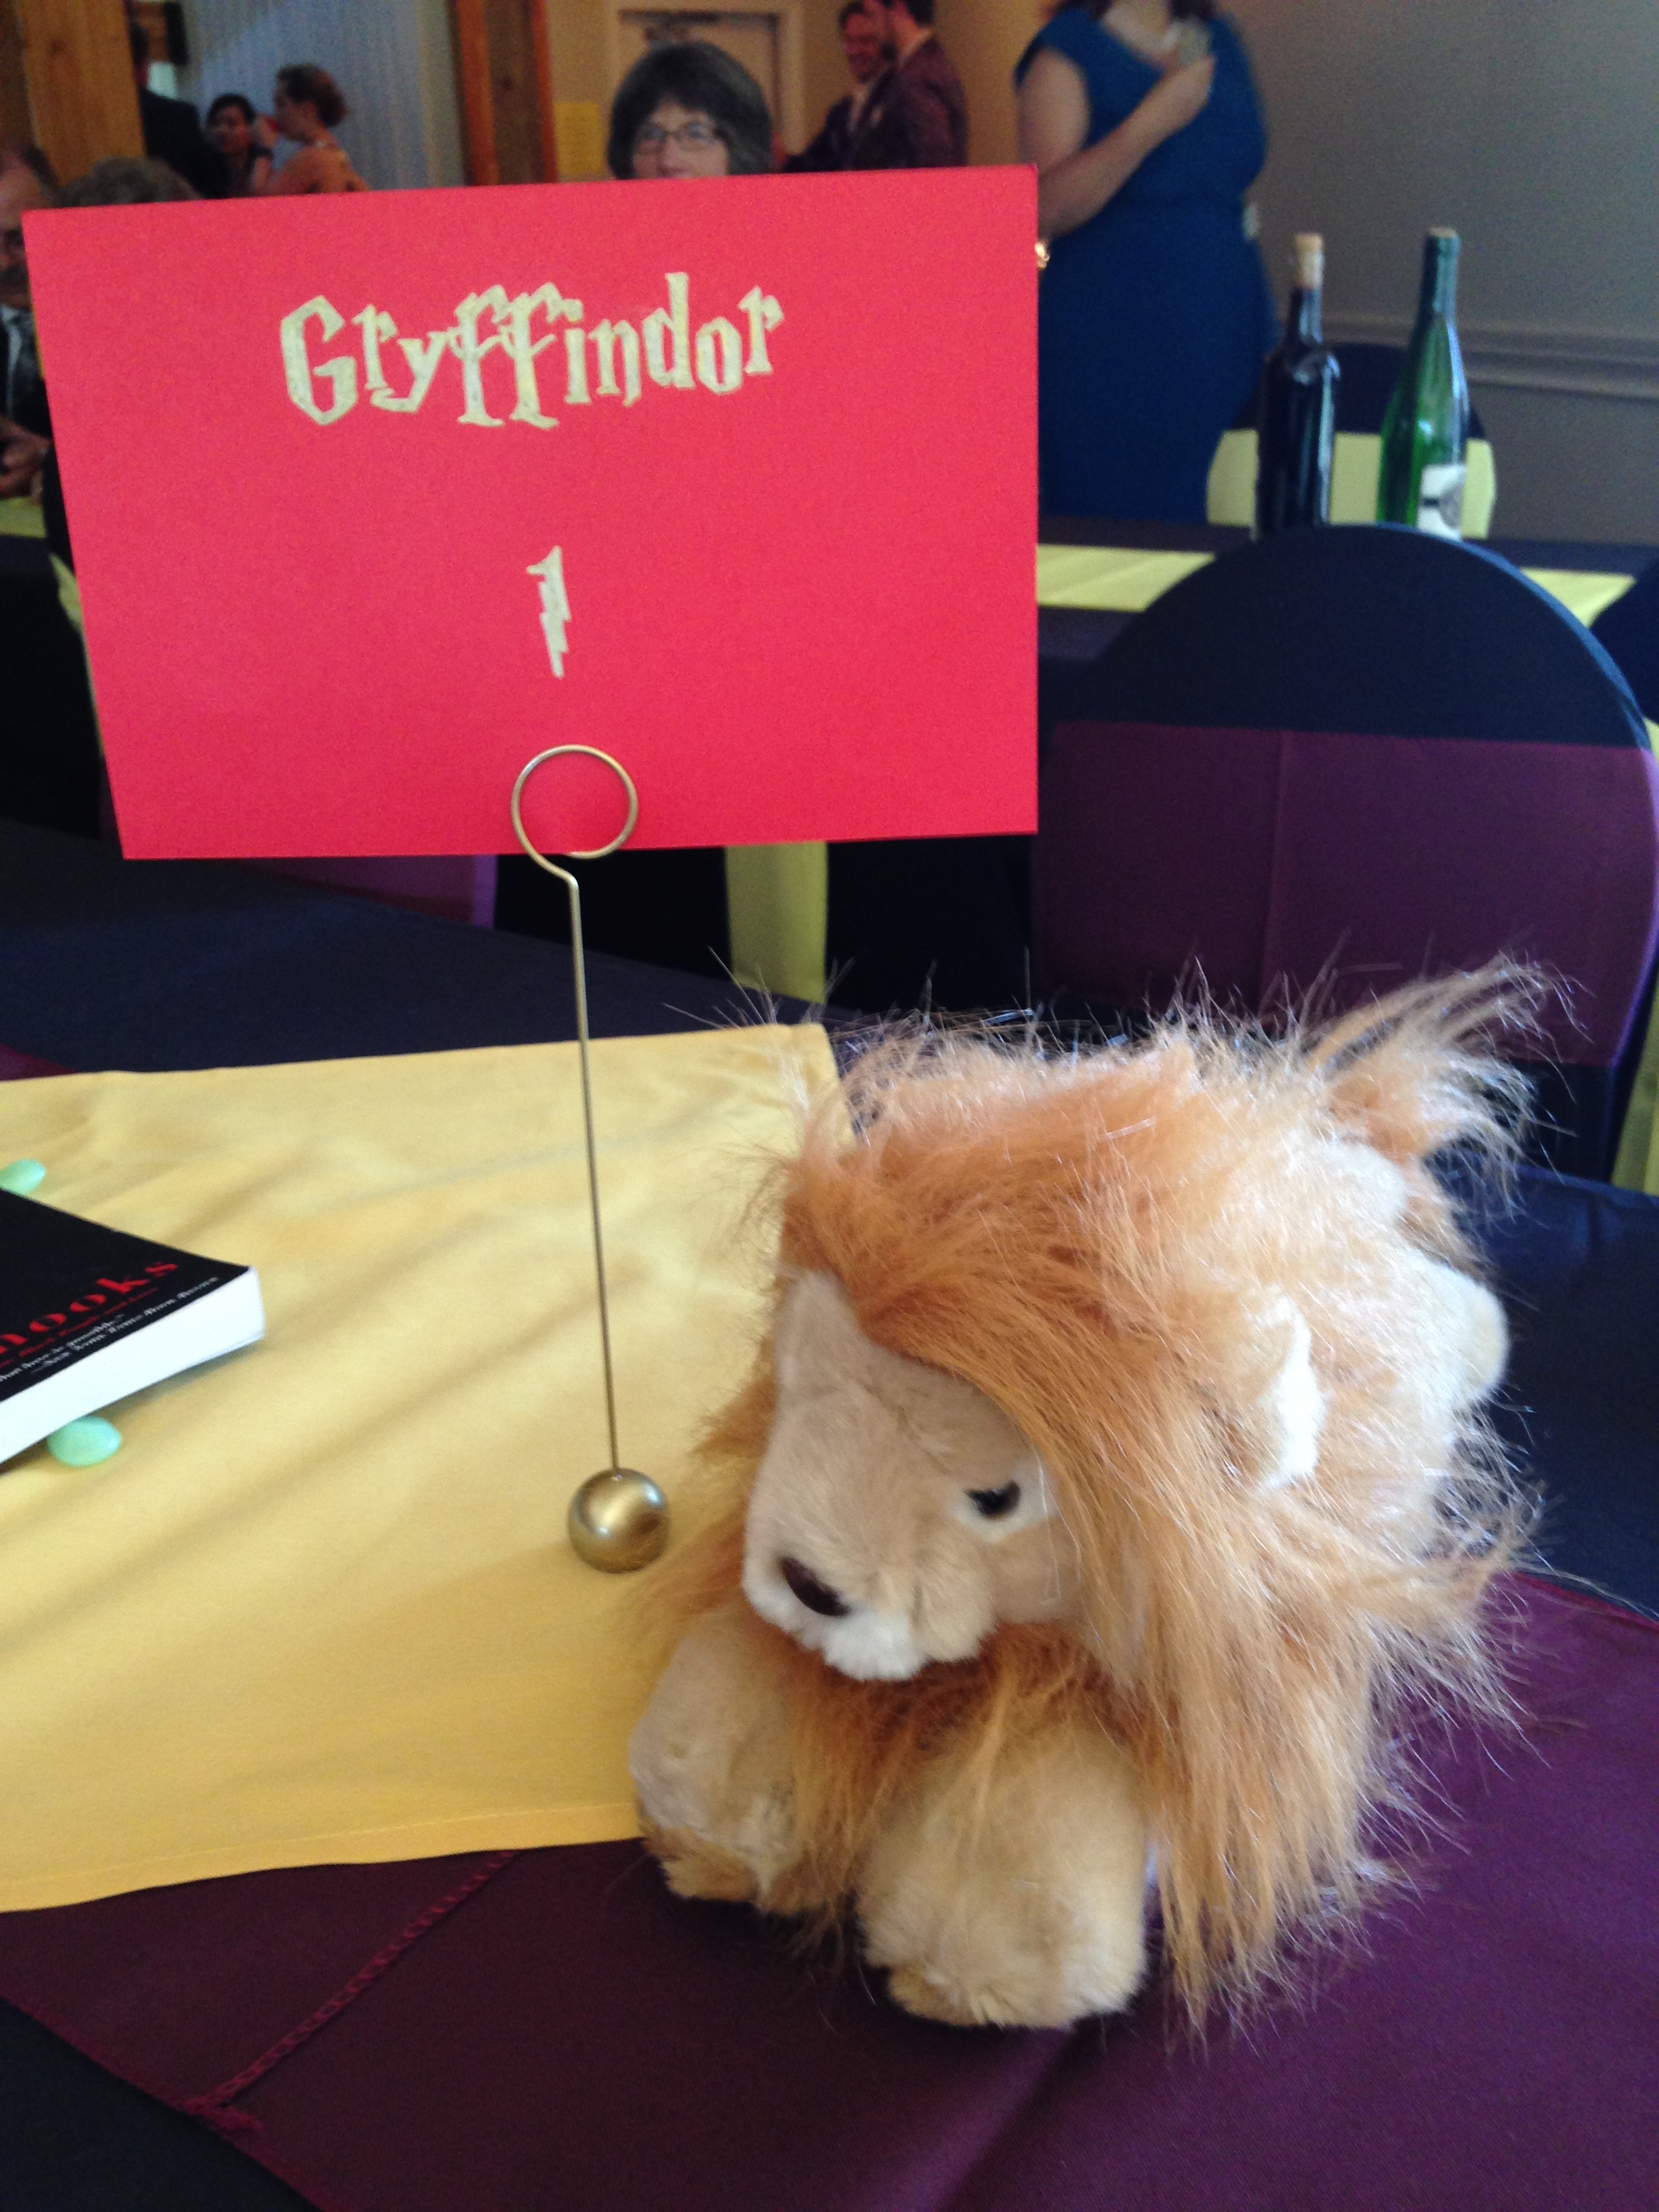
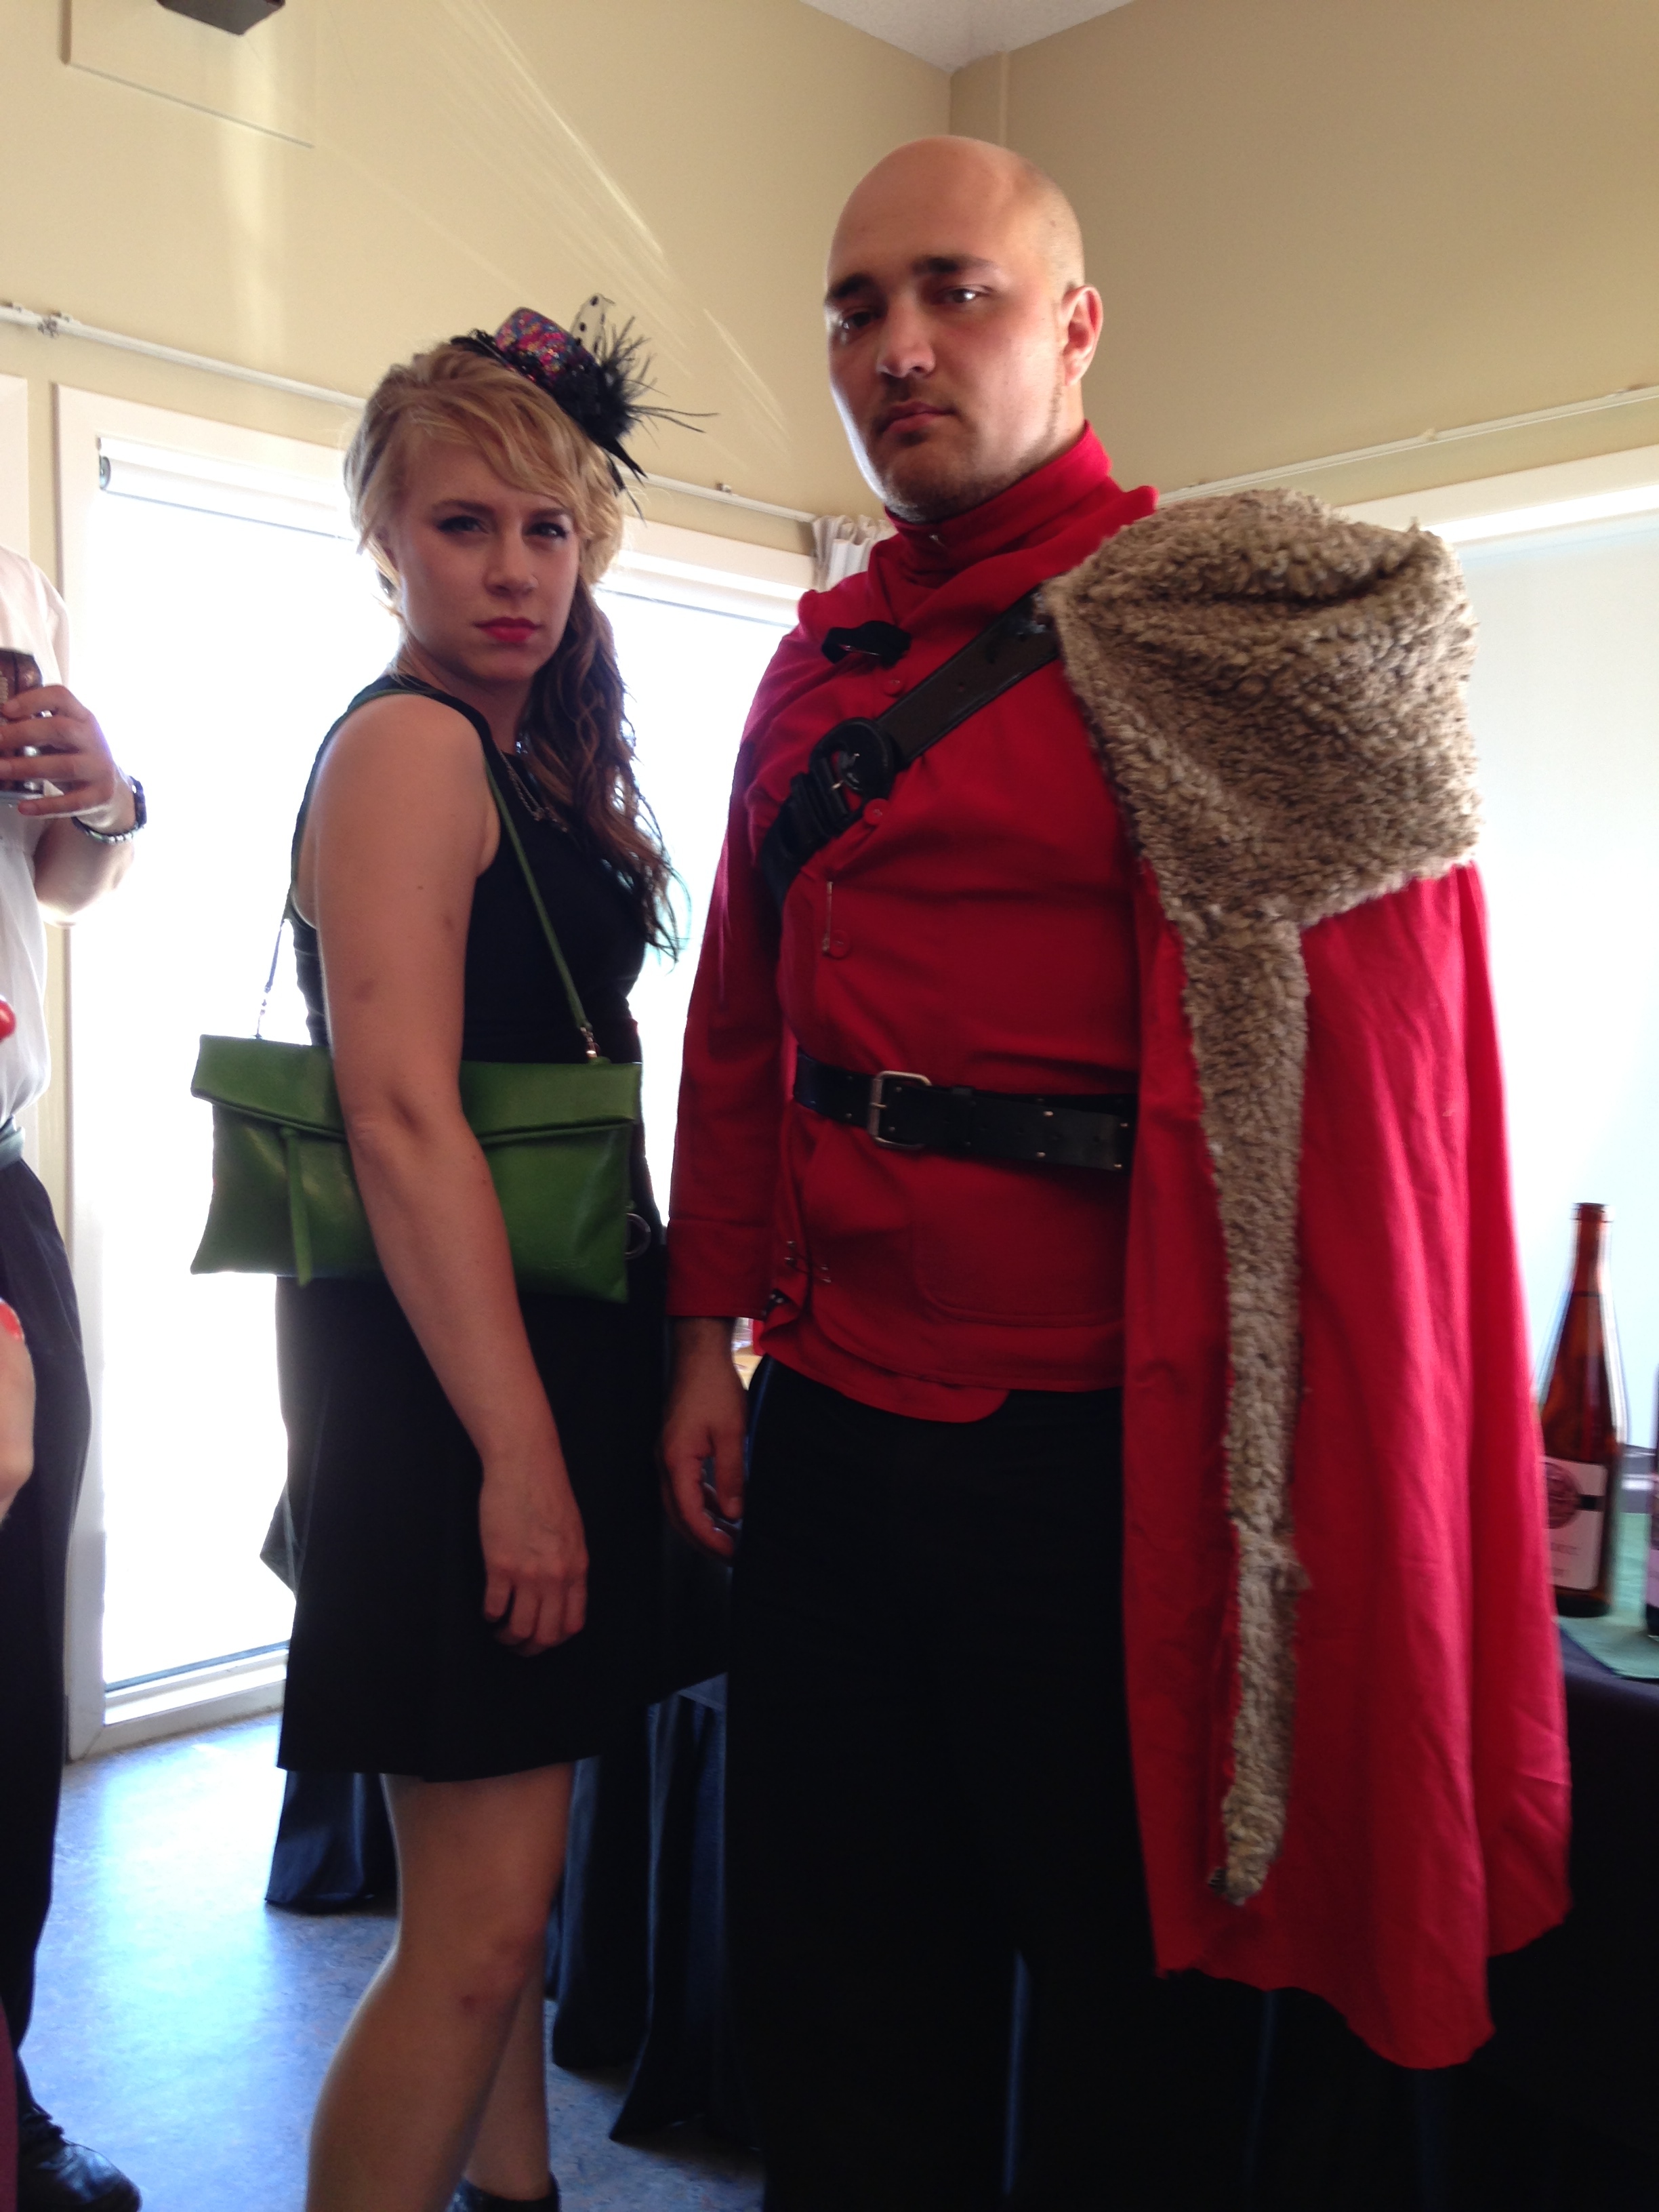
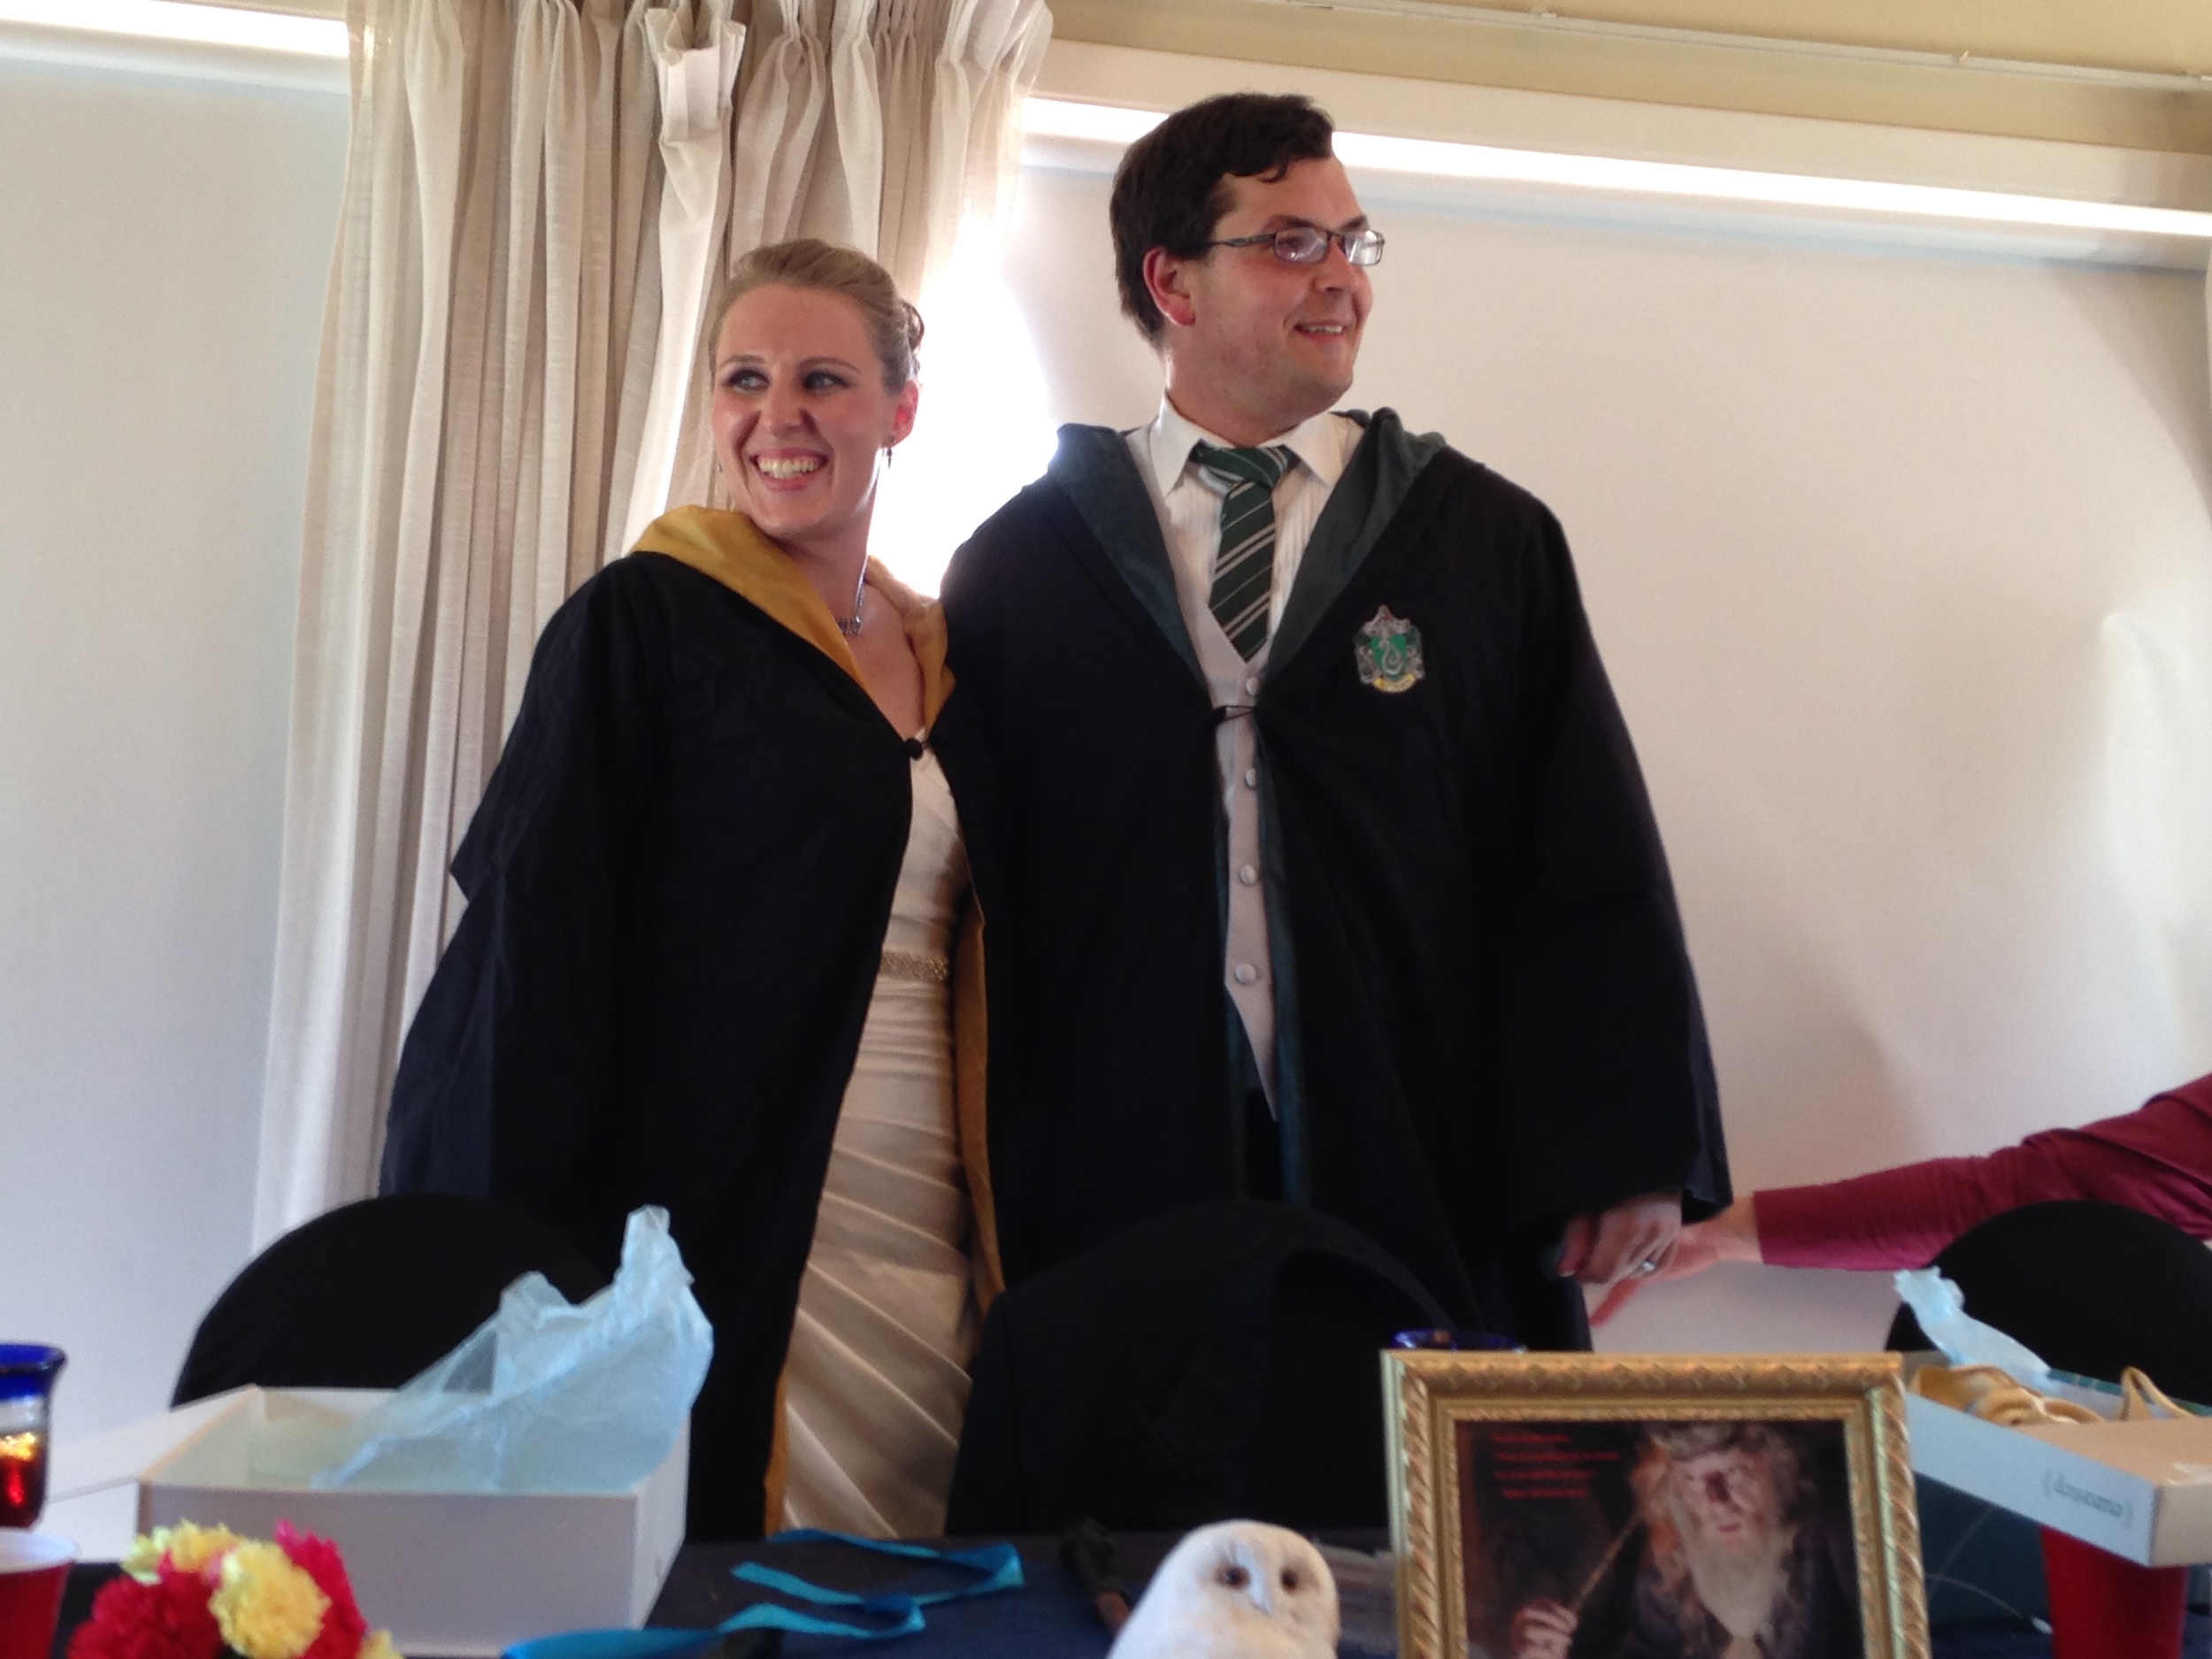
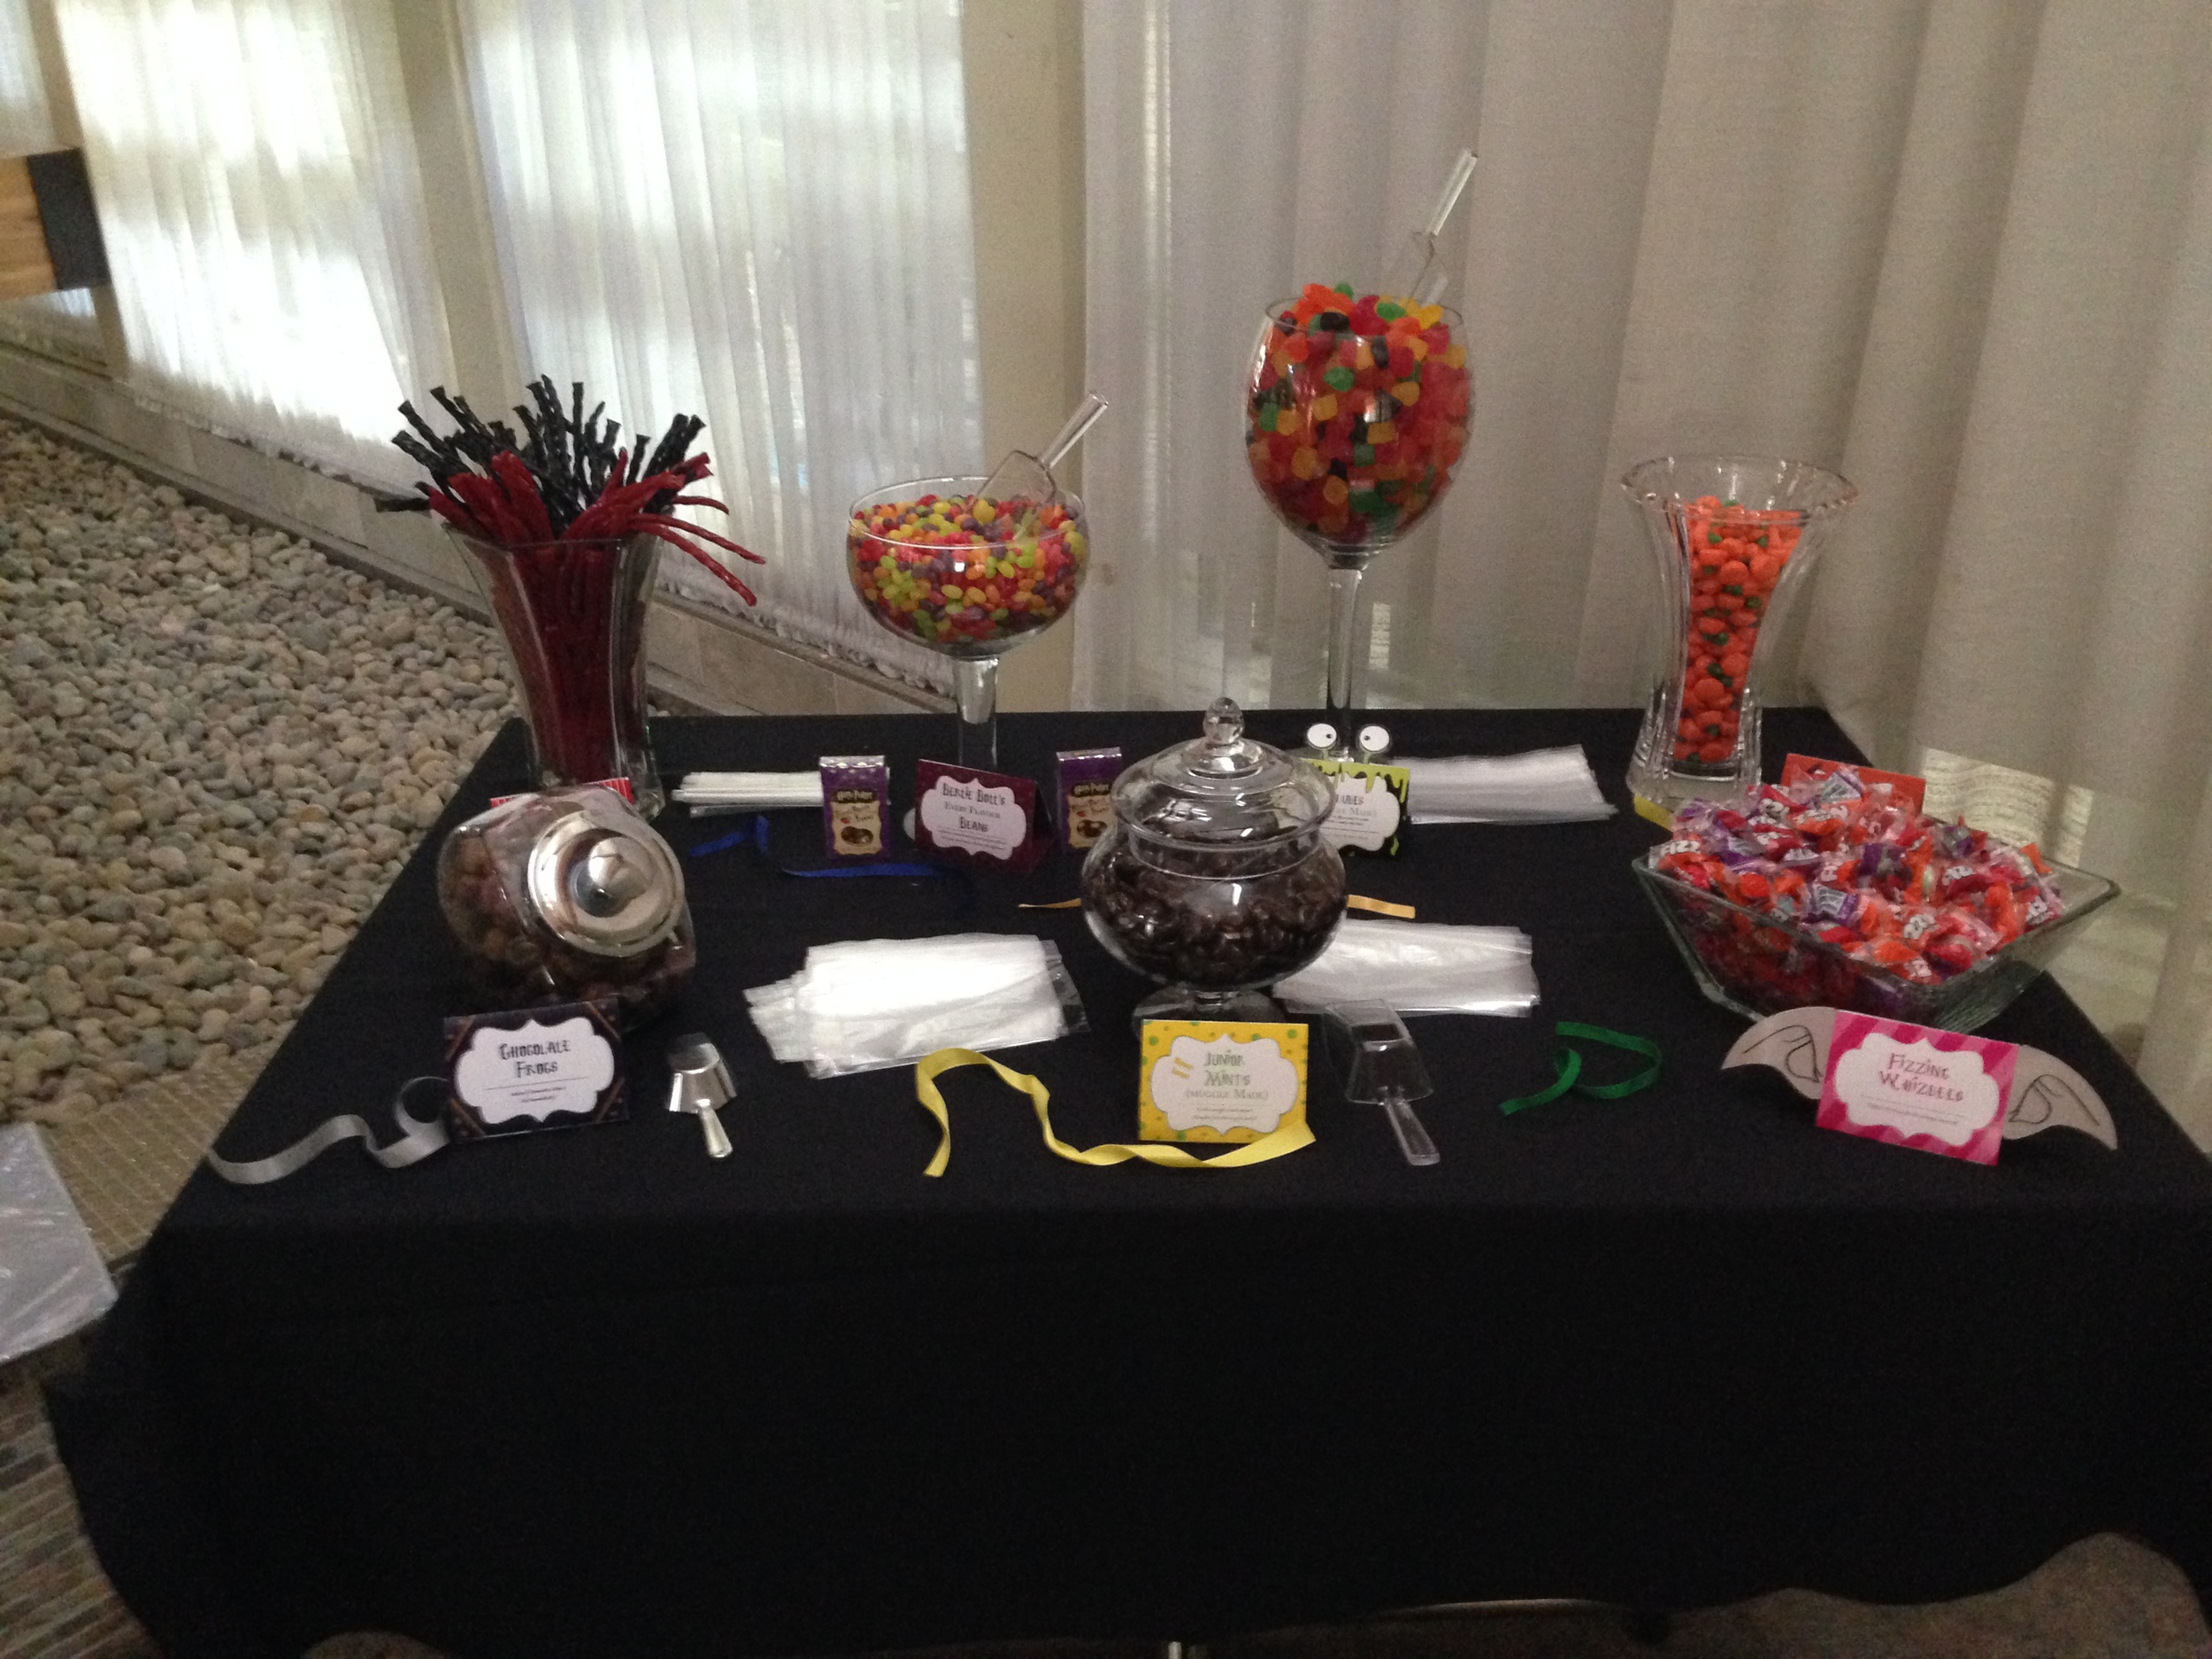
So if you missed it, this past summer I helped a friend of mine achieve the most amazing themed wedding: The Harry Potter Wedding. I made the bride and groom Hogwarts school robes and various other HP themed items that I'll enumerate below. But really, who am I kidding, the pictures speak for themselves. It was an insanely amazing time!

The first thing I made were, of course, the Hogwarts robes for the bride and groom. No Harry Potter themed wedding would be complete without tailored robes! (I did a full post on how I made them here.)


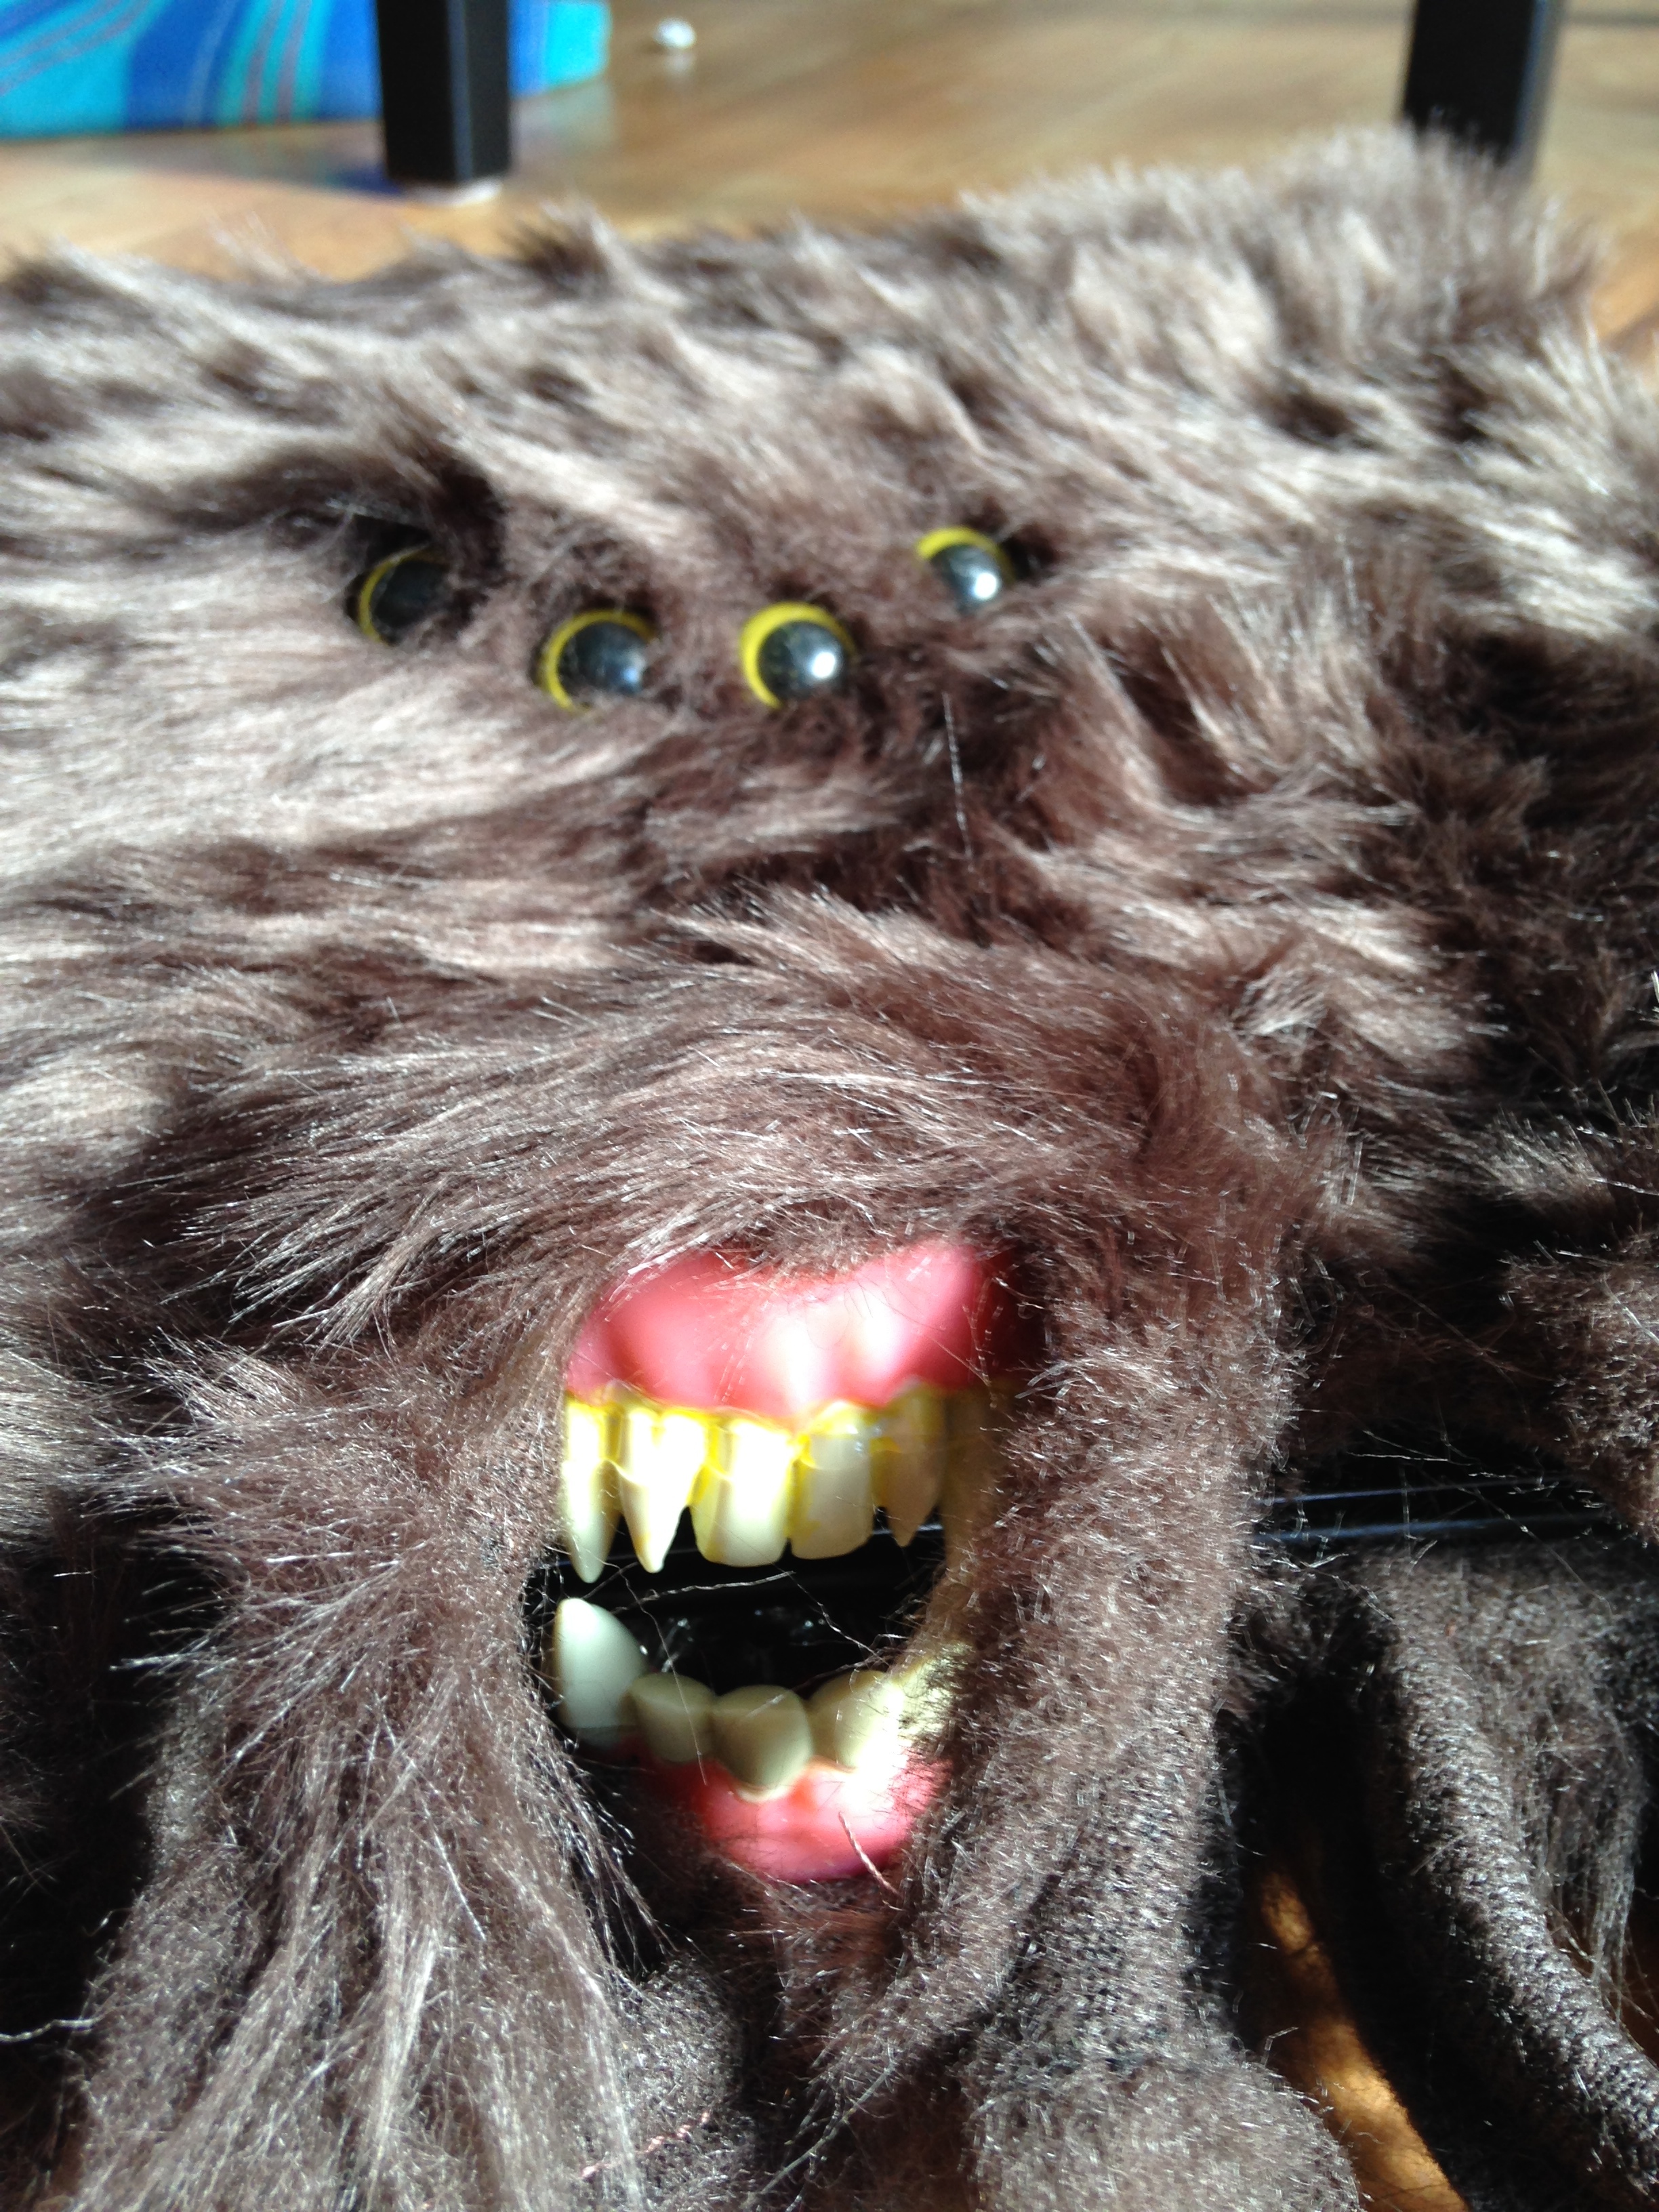
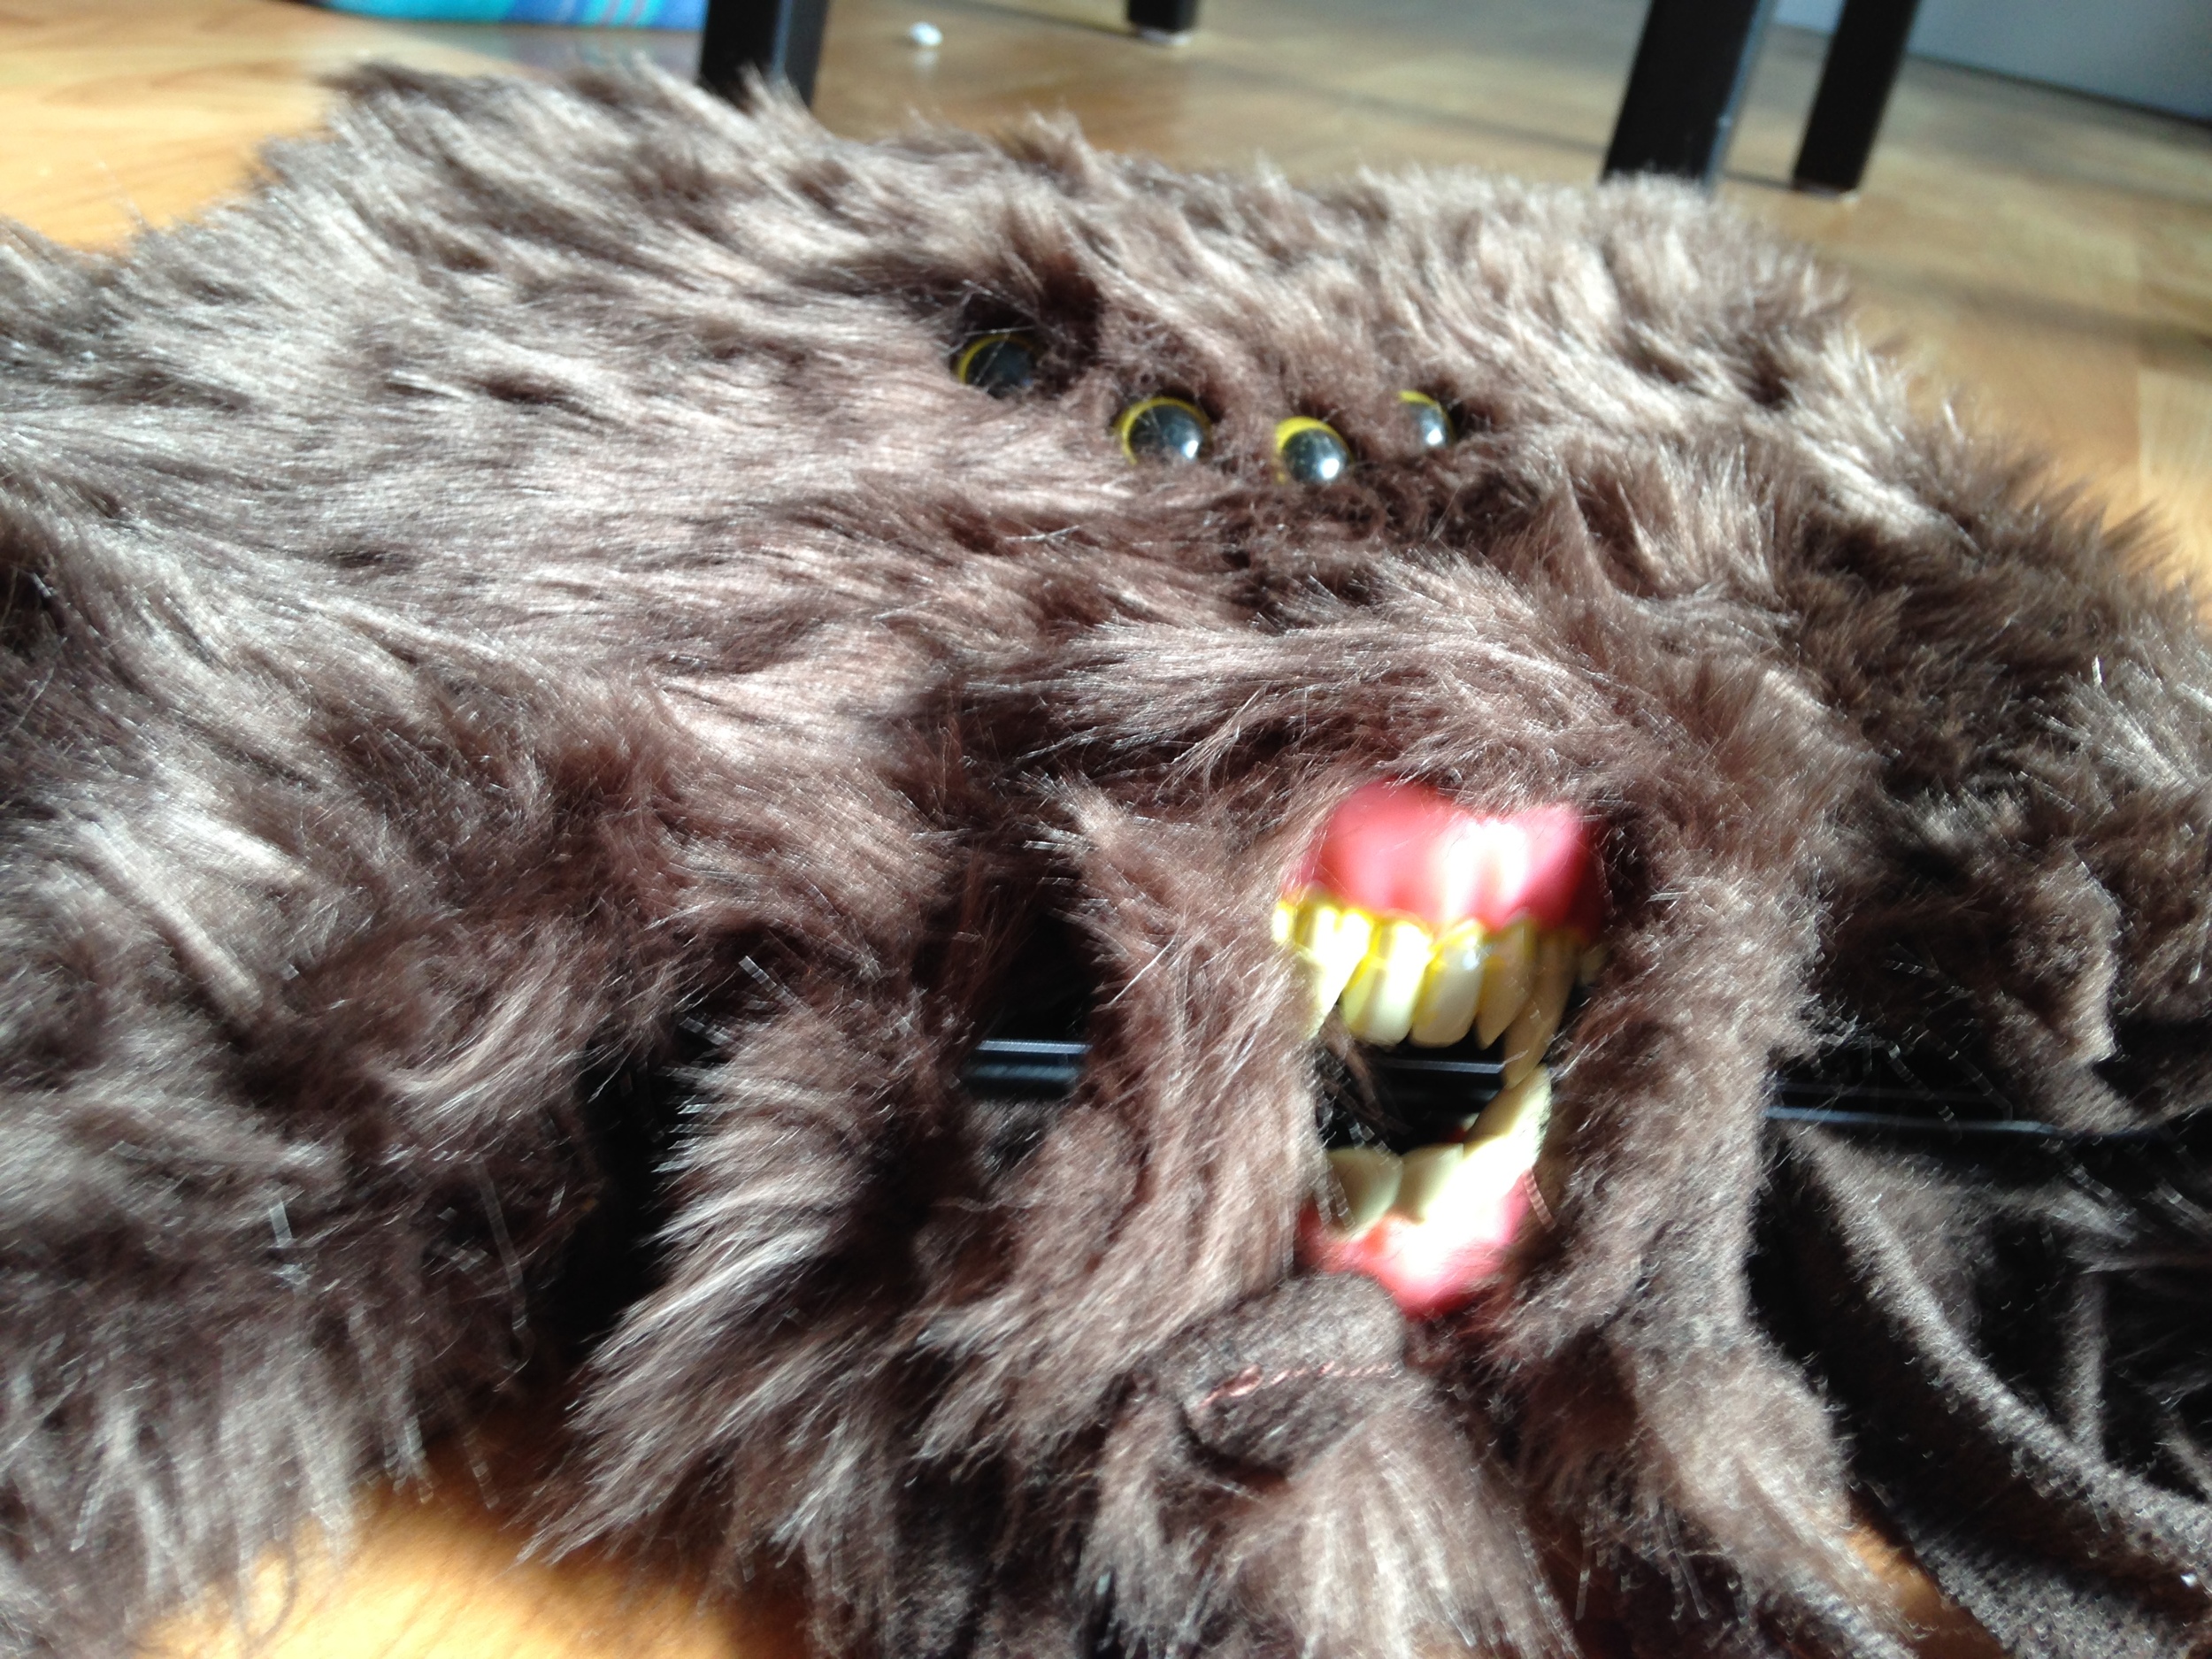
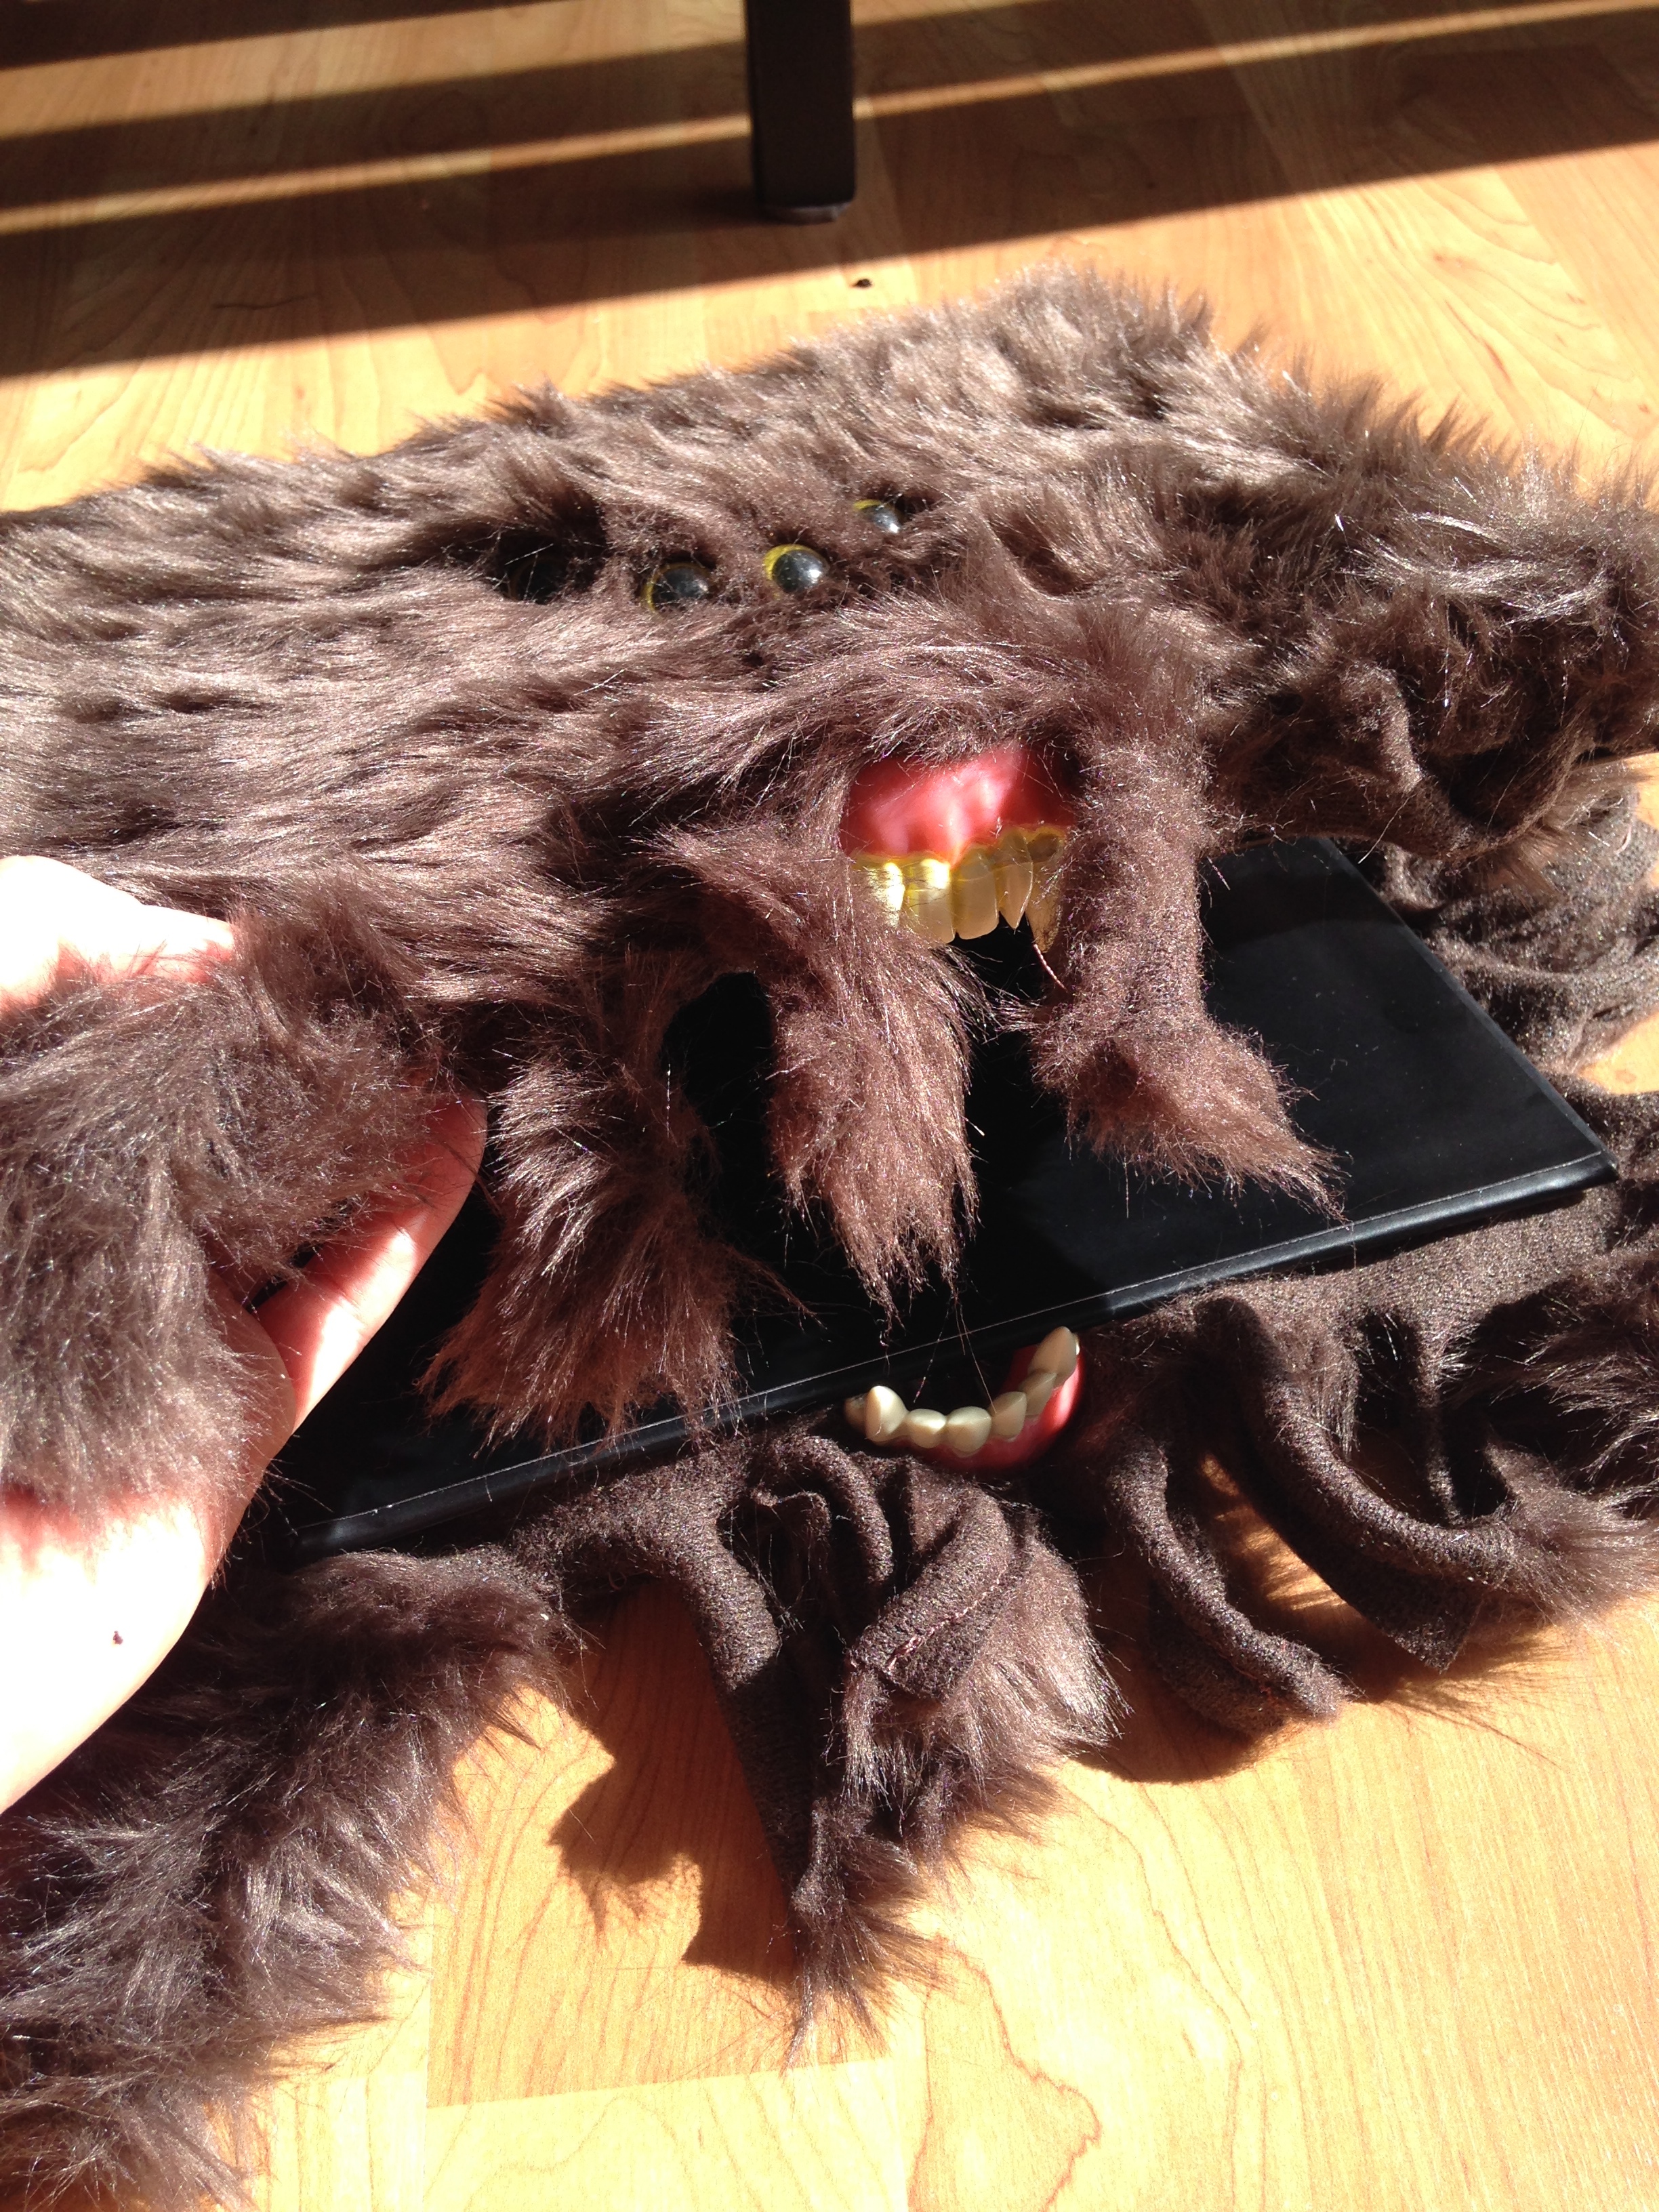
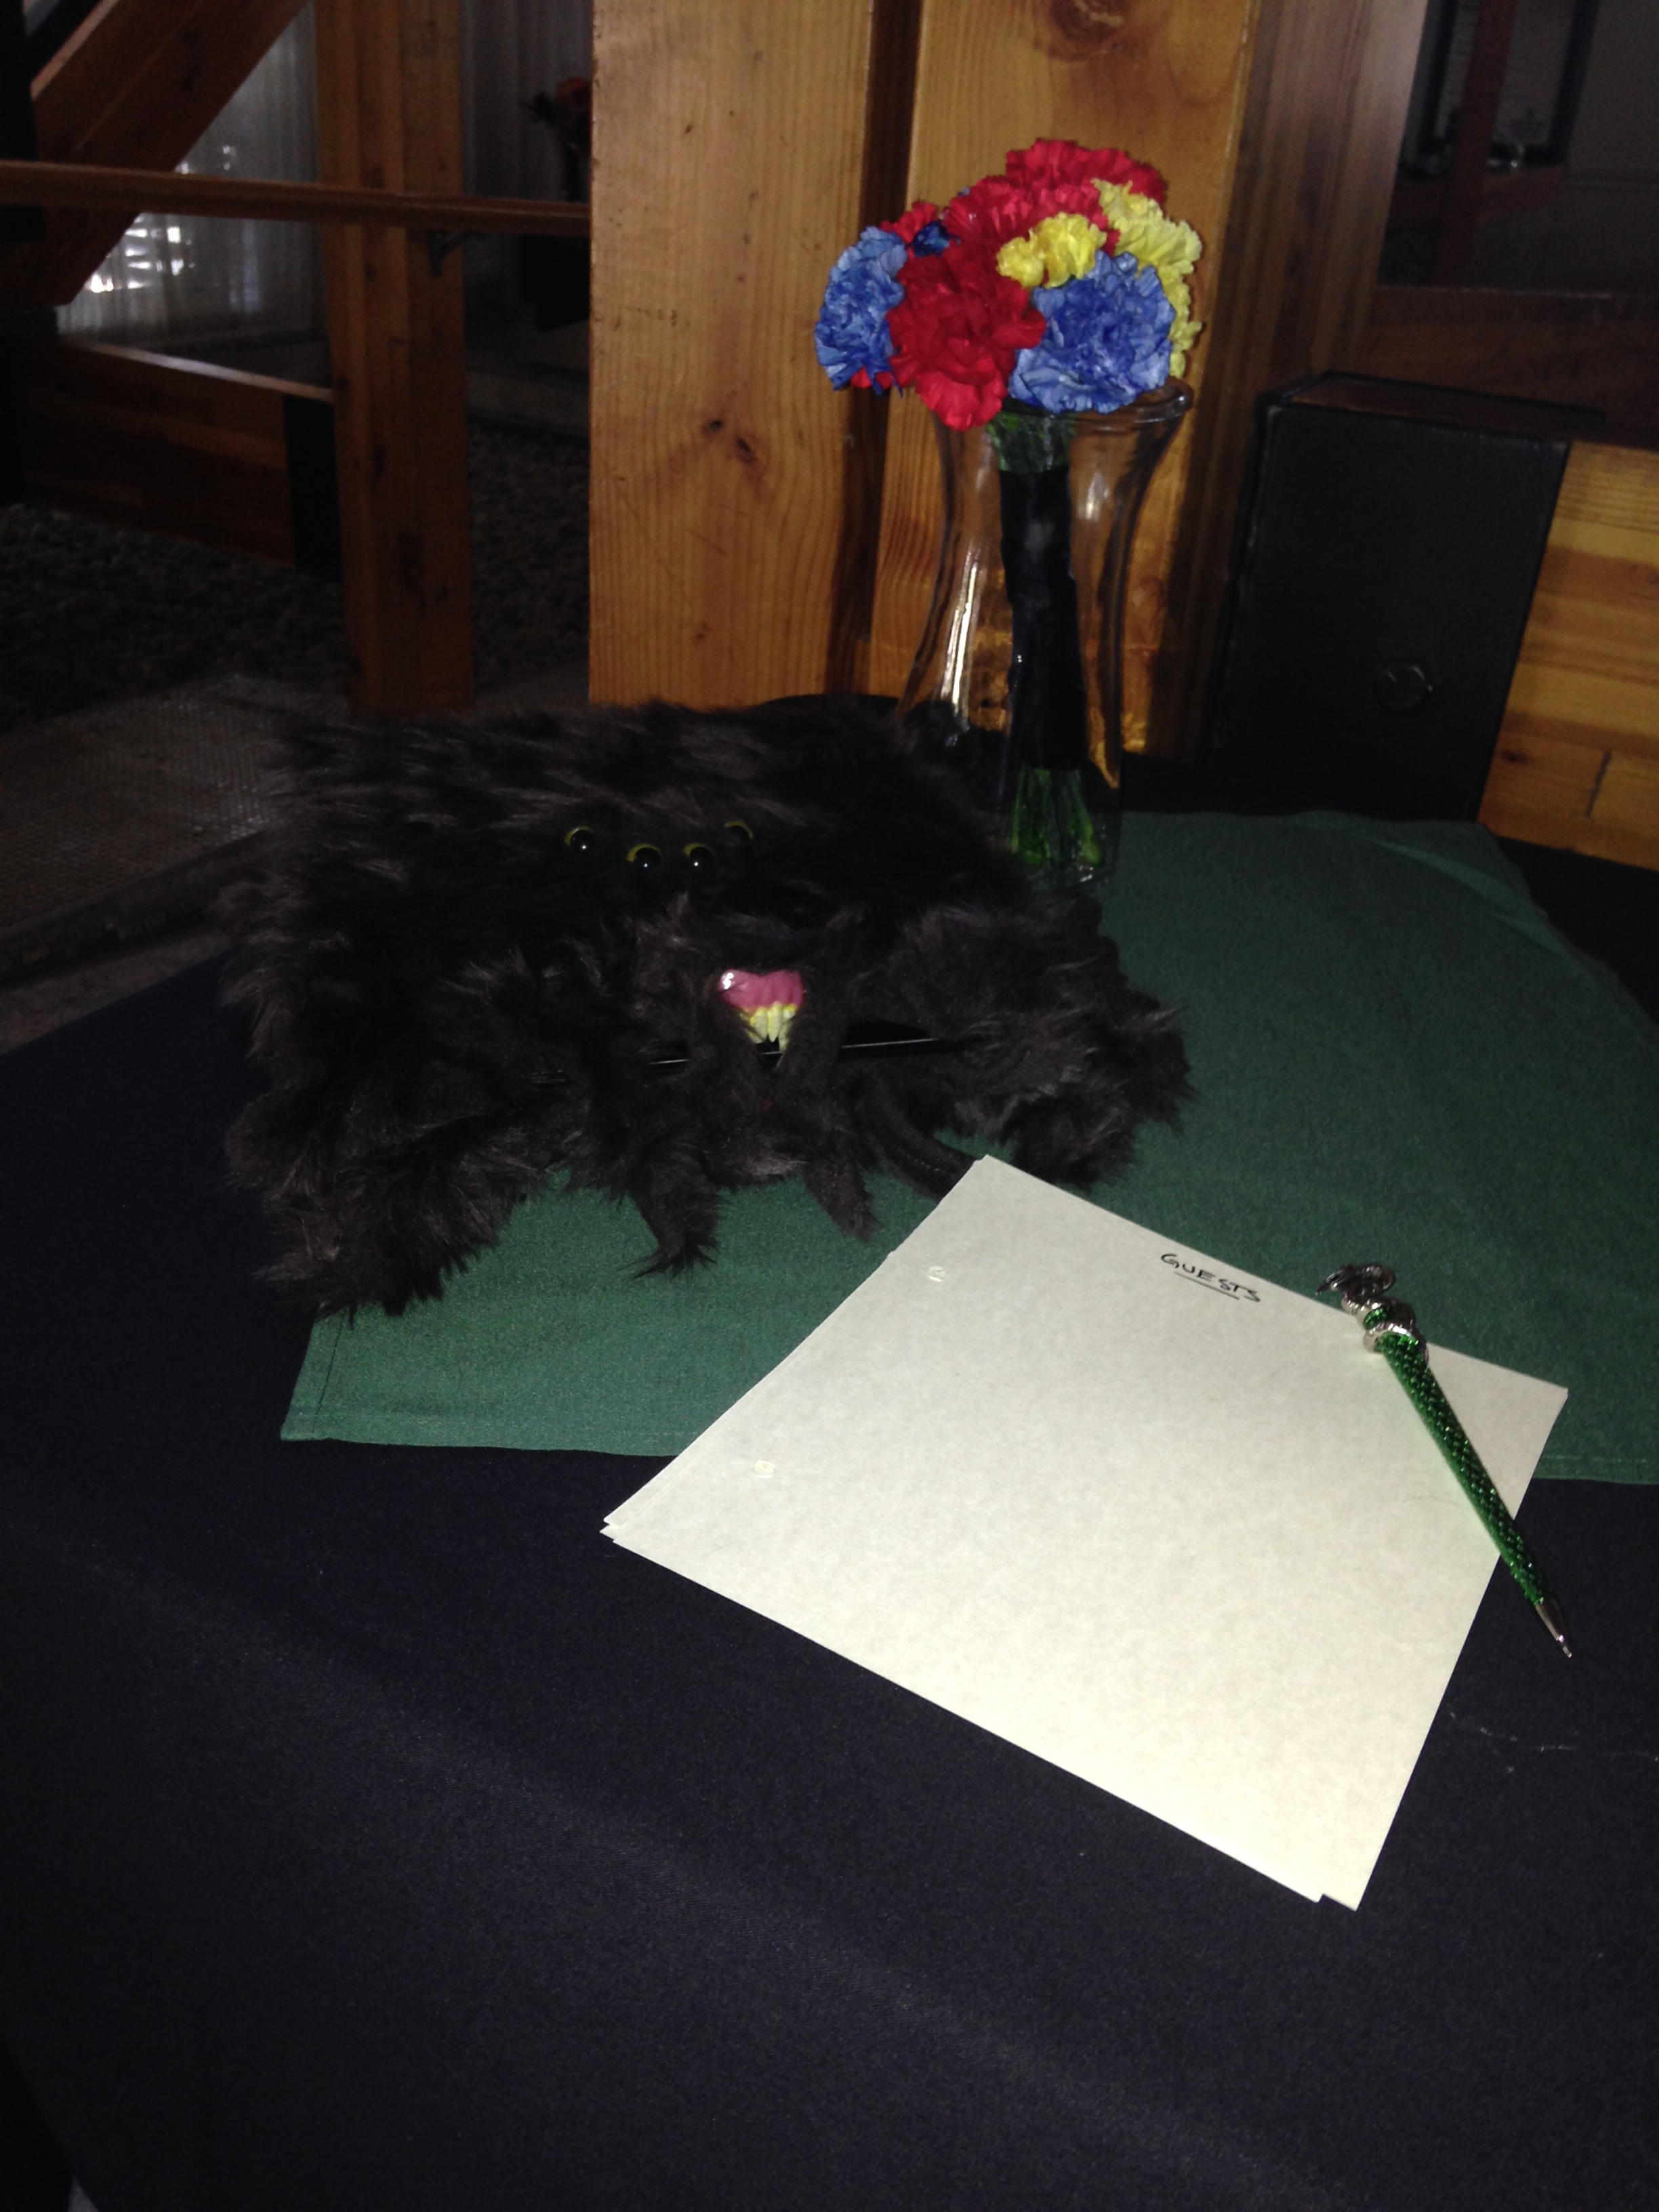
I also had a hand in making the guest book. The Monster Guest Book of Monsters that is. 

Monster Guest Book of Monsters

Materials:
Guest book binder (prefeably a cheap one with it's own inserts)
Brown faux fur (enough to cover the outside of your binder and over lap by at least 3 inches)
4 fake eyes, yellow
One set of fake vampire teeth (2 pieces)
A hot glue gun
Packing tape
Scissors
Sewing machine (optional, but it makes it go faster)

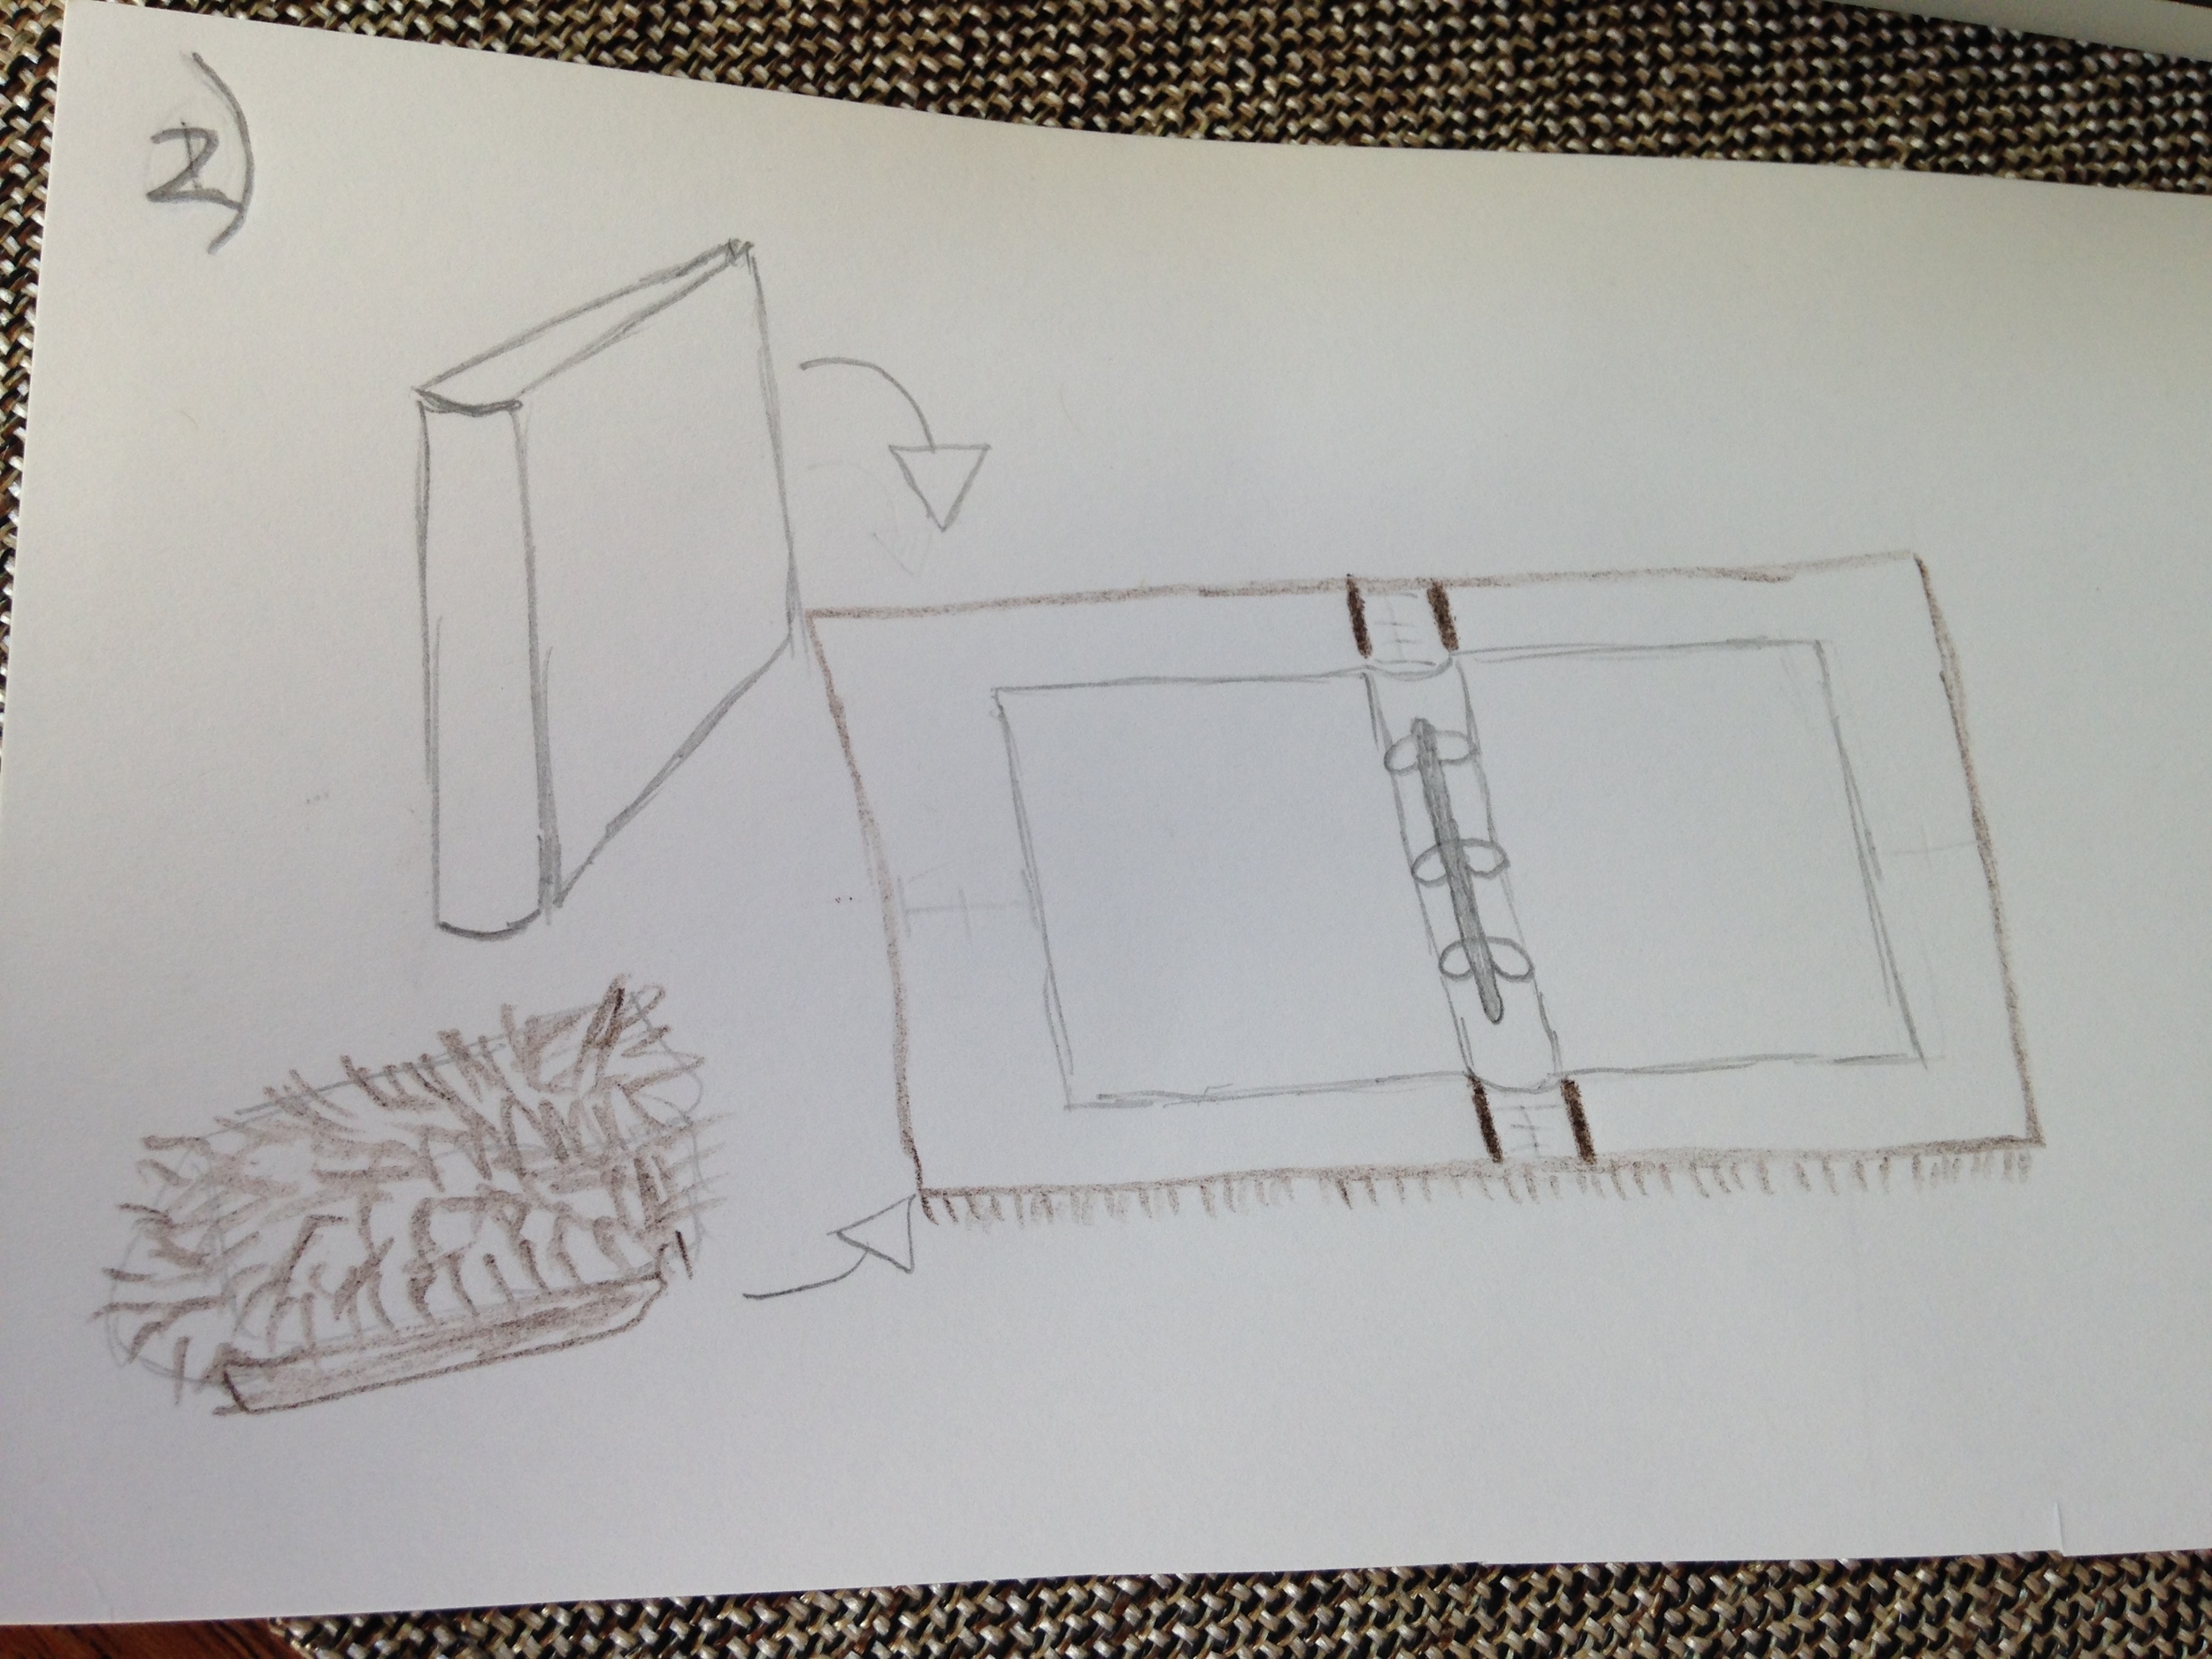
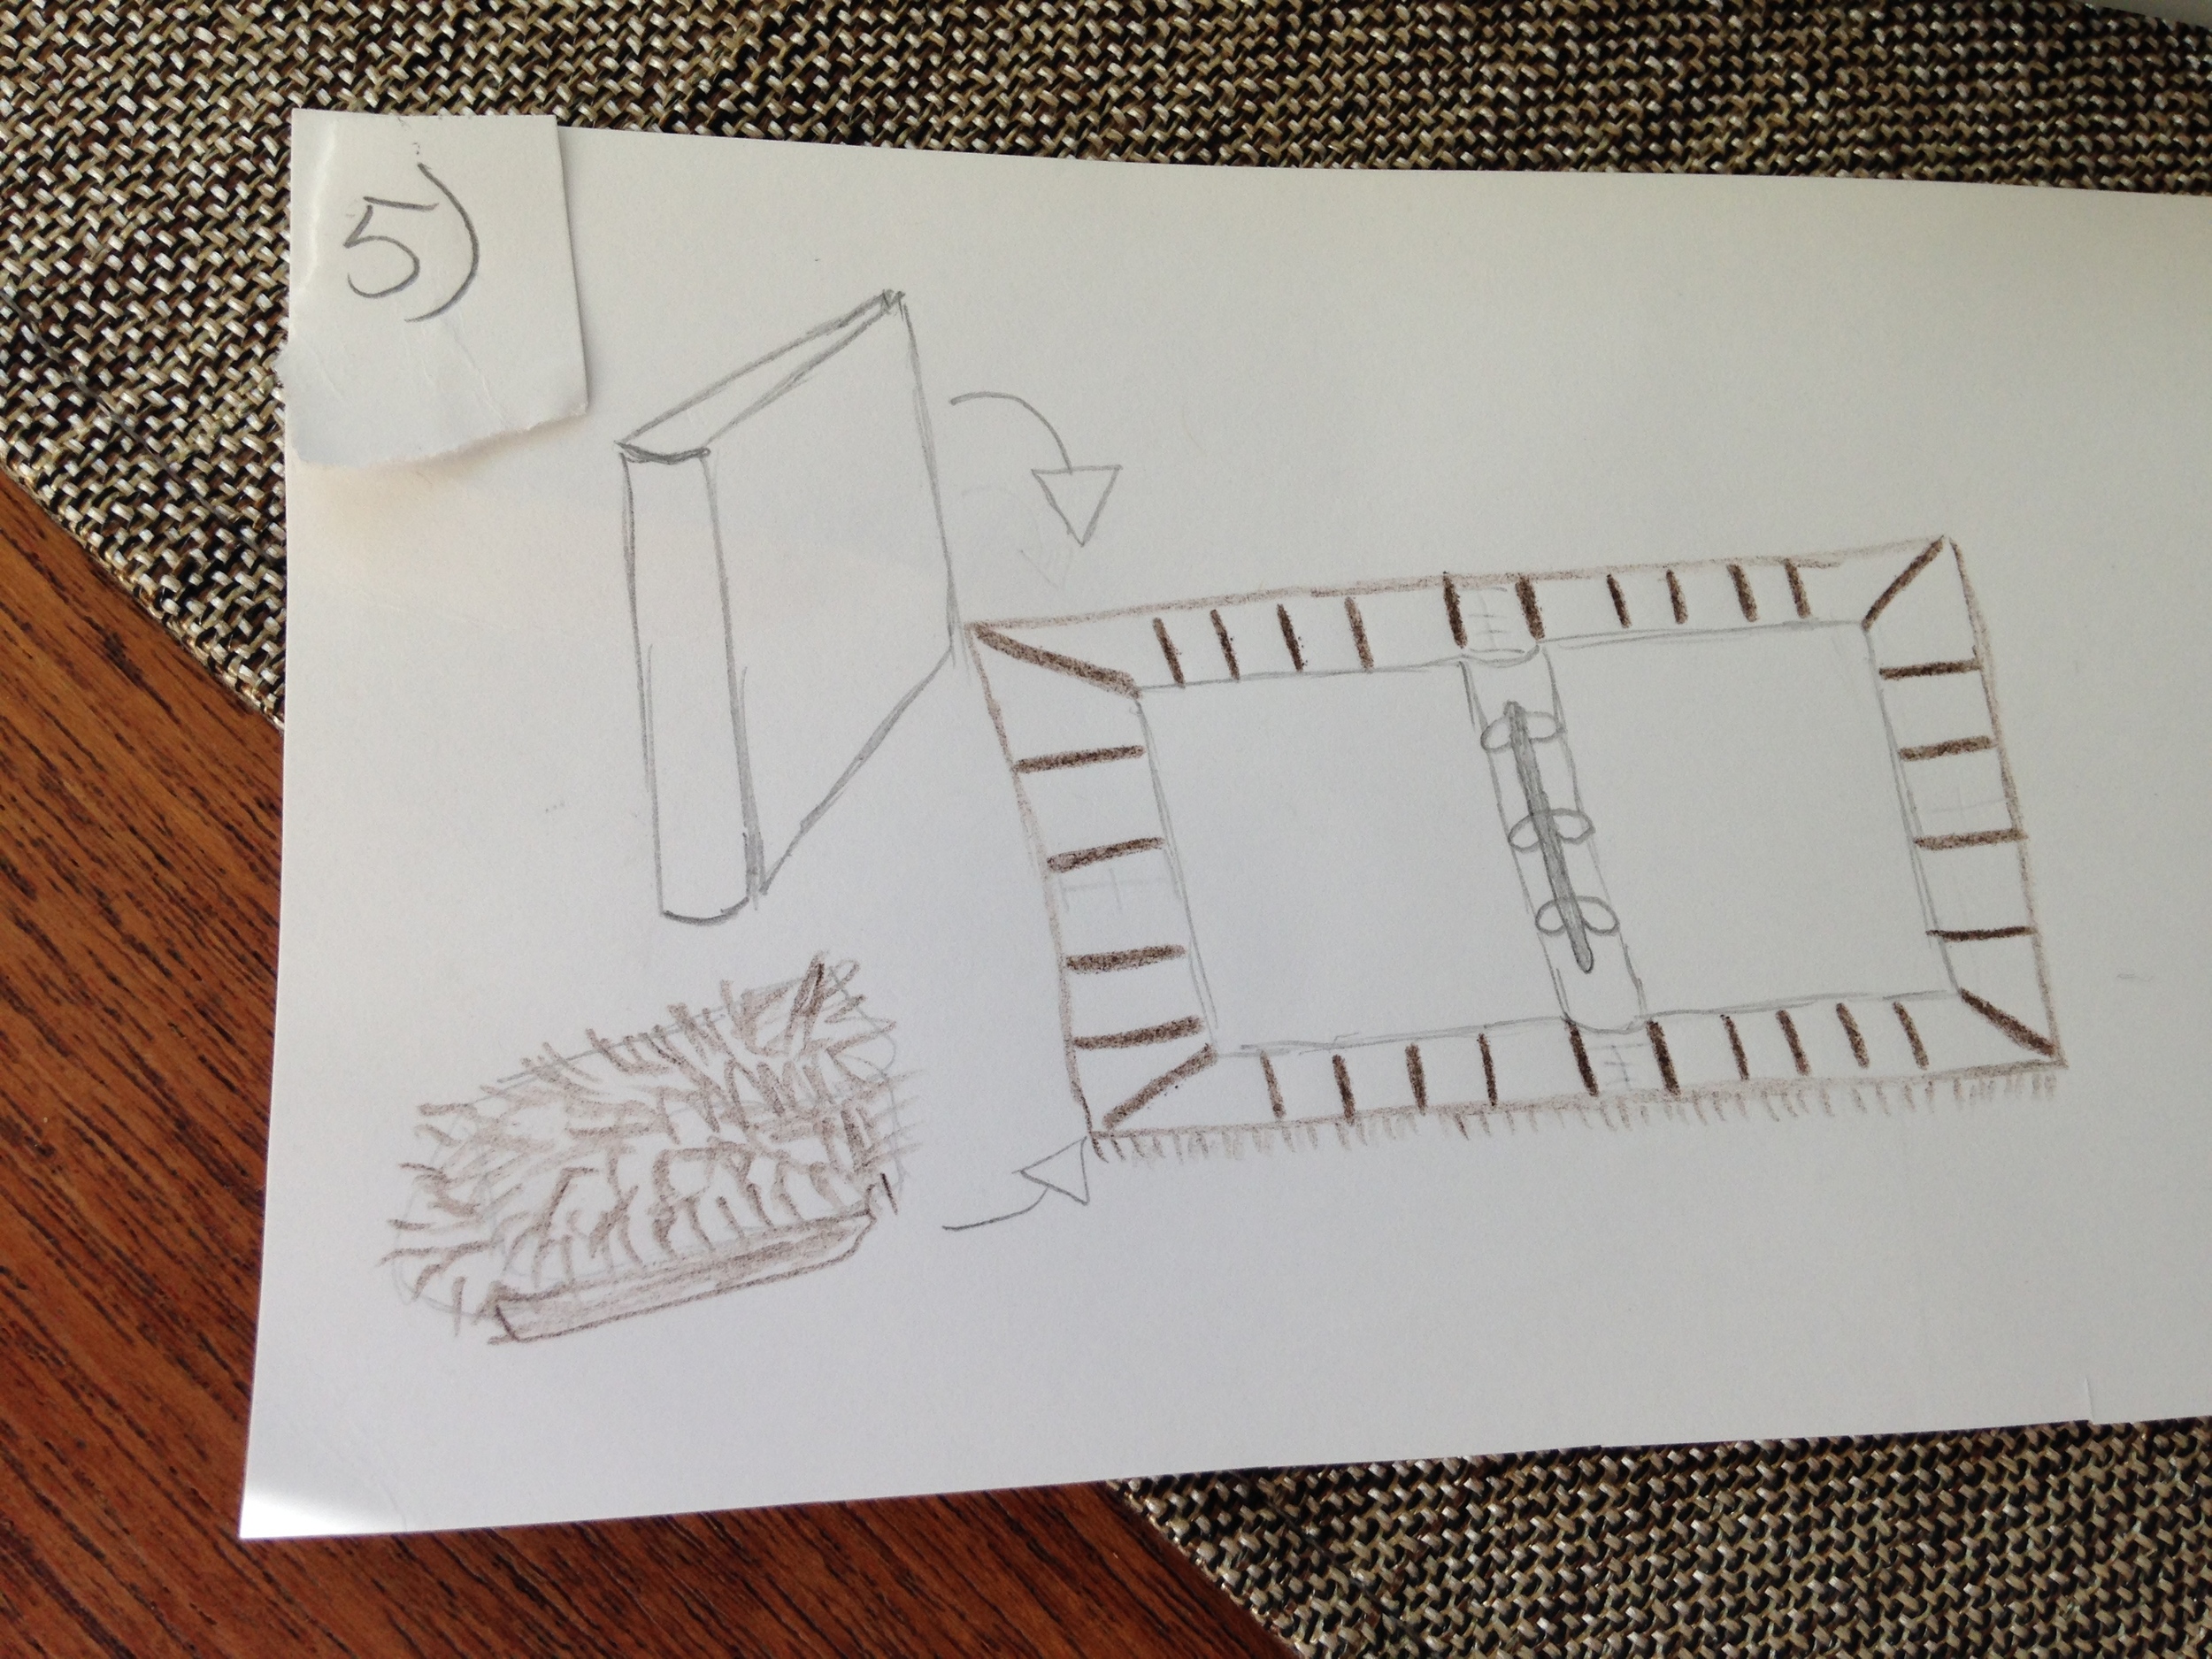
  1. Lay your binder flat on top of your faux fur. Centre your binder on your faux fur (wrong side - nonfuzzy side) so that it has an equal over lap on all sides.
  2. Make four cuts, two on each side, in line with the binder's spine. 
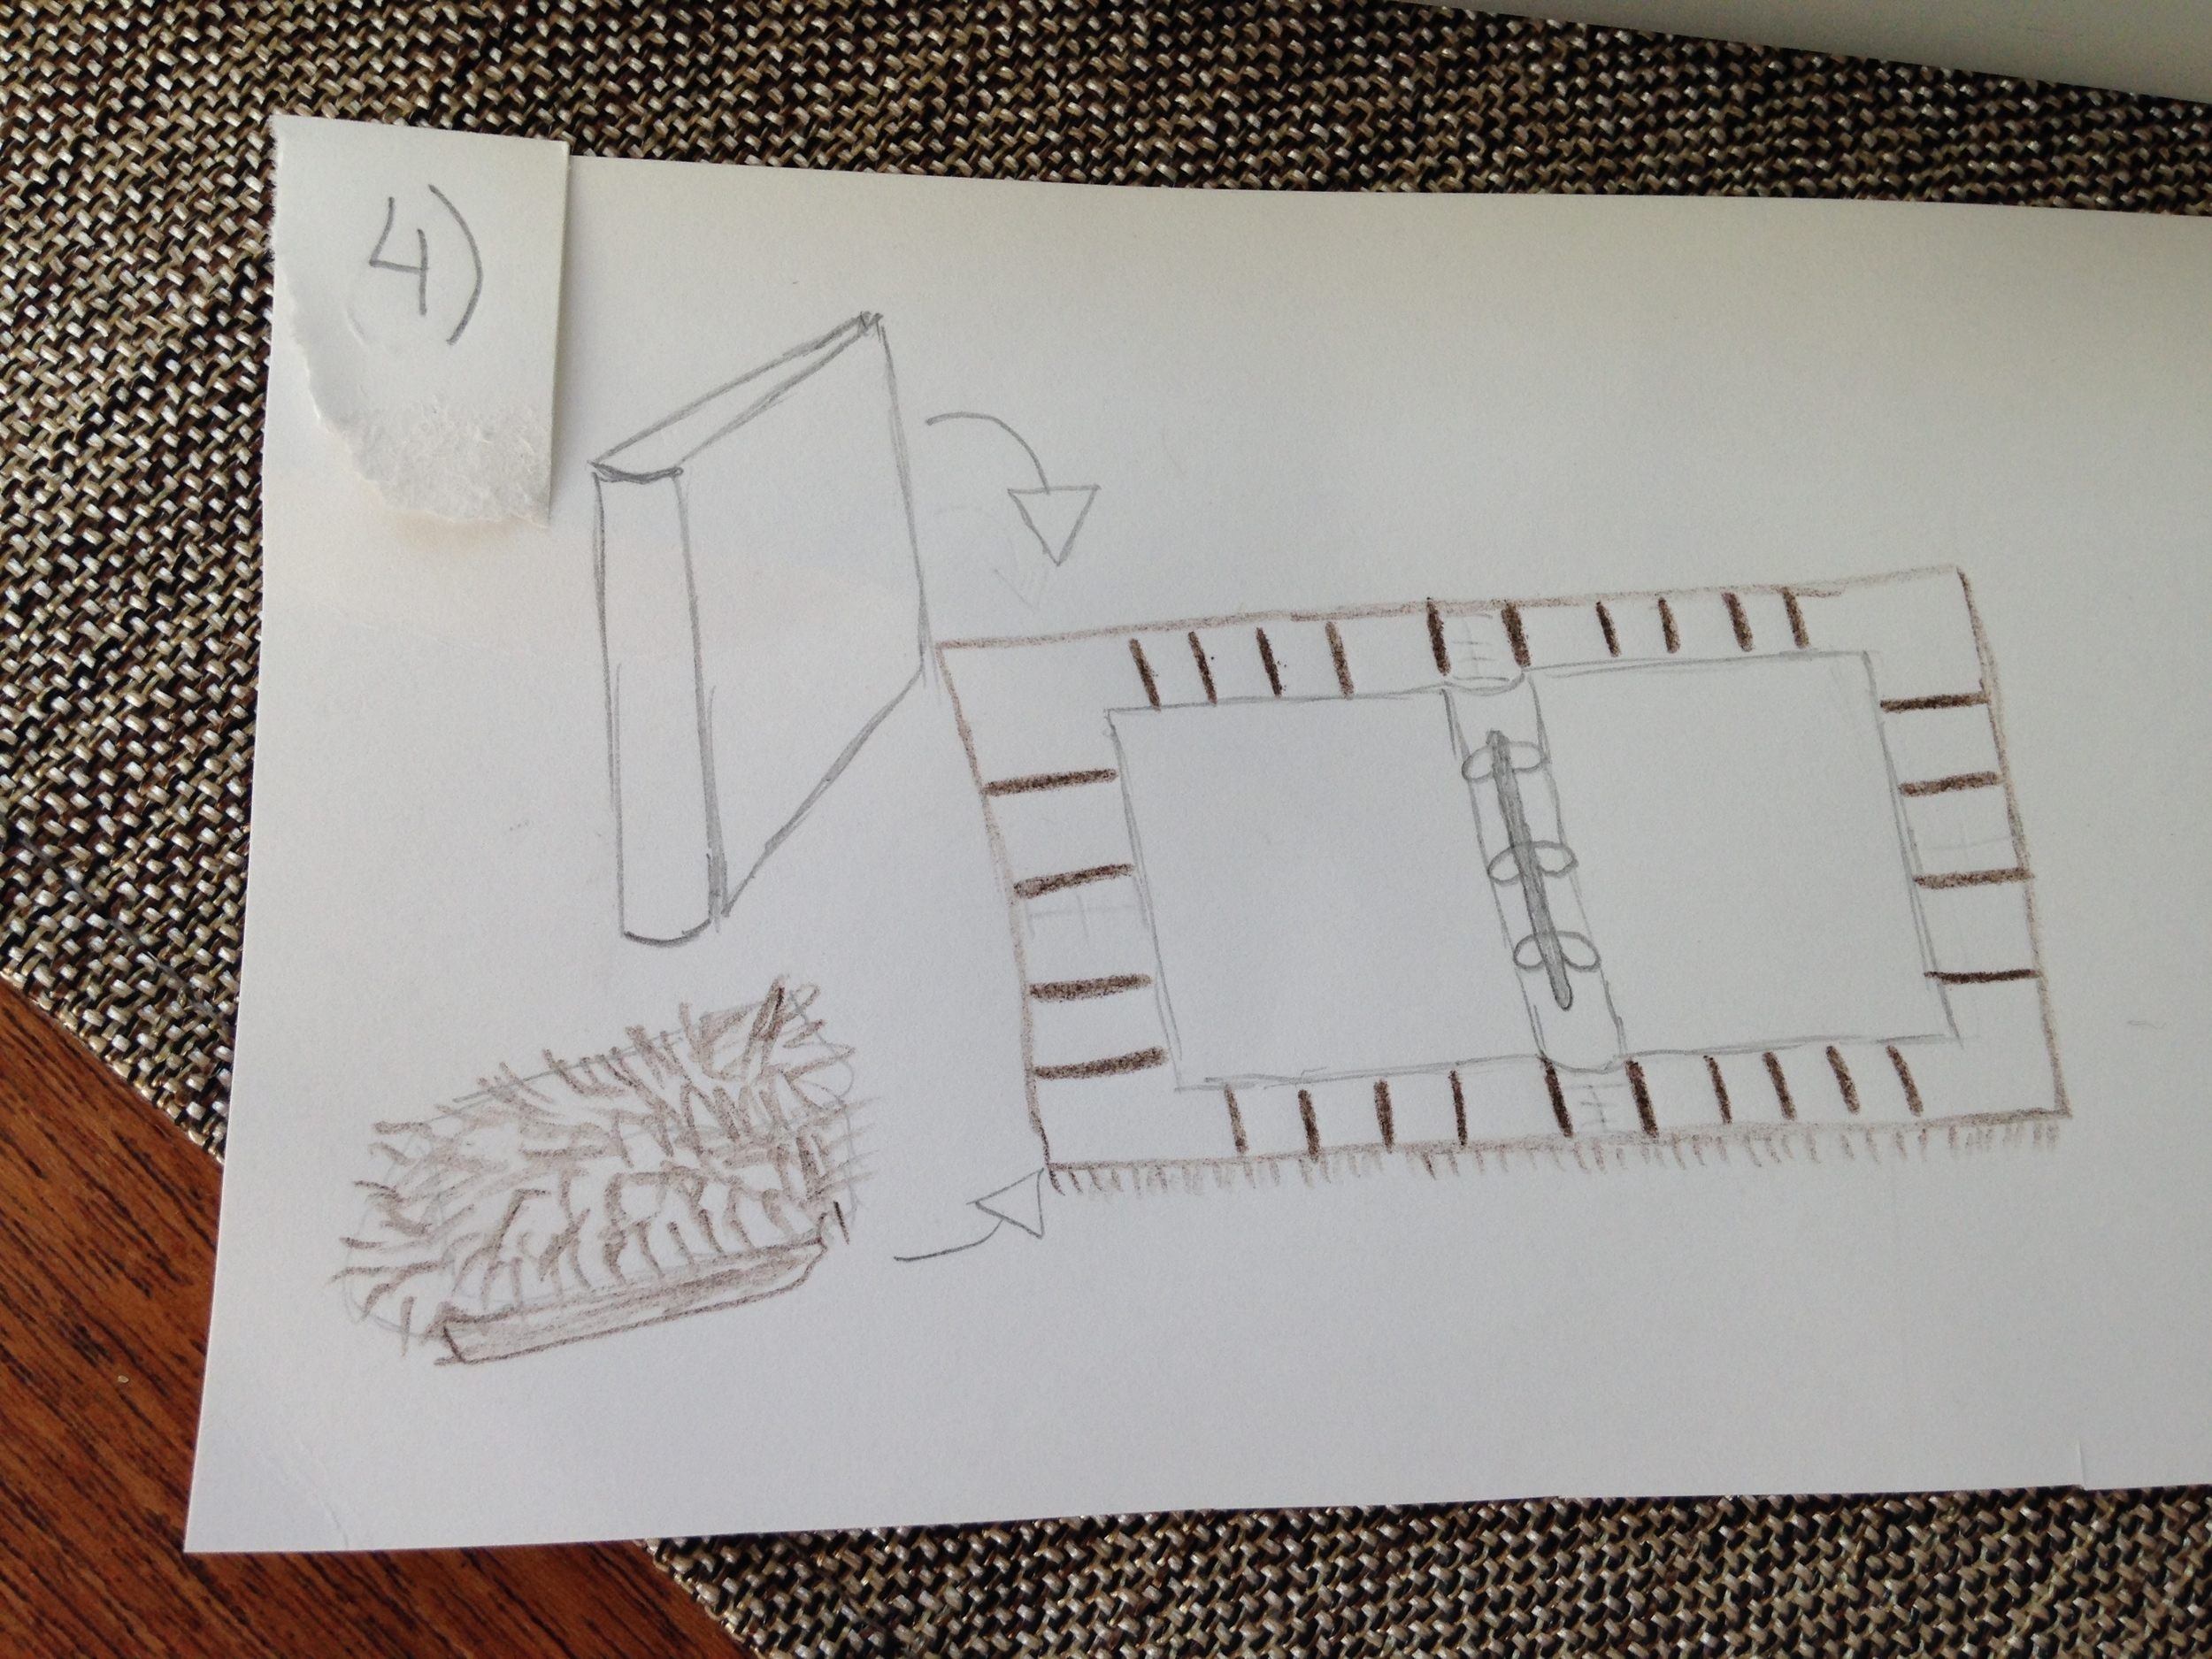
  3. Make approx. 4 cuts on each of the horizontal sides. 
  4. Make approx. 4 cuts on each of the vertical sides. 
  5. Cut strips diagonally from each of the four corners. 
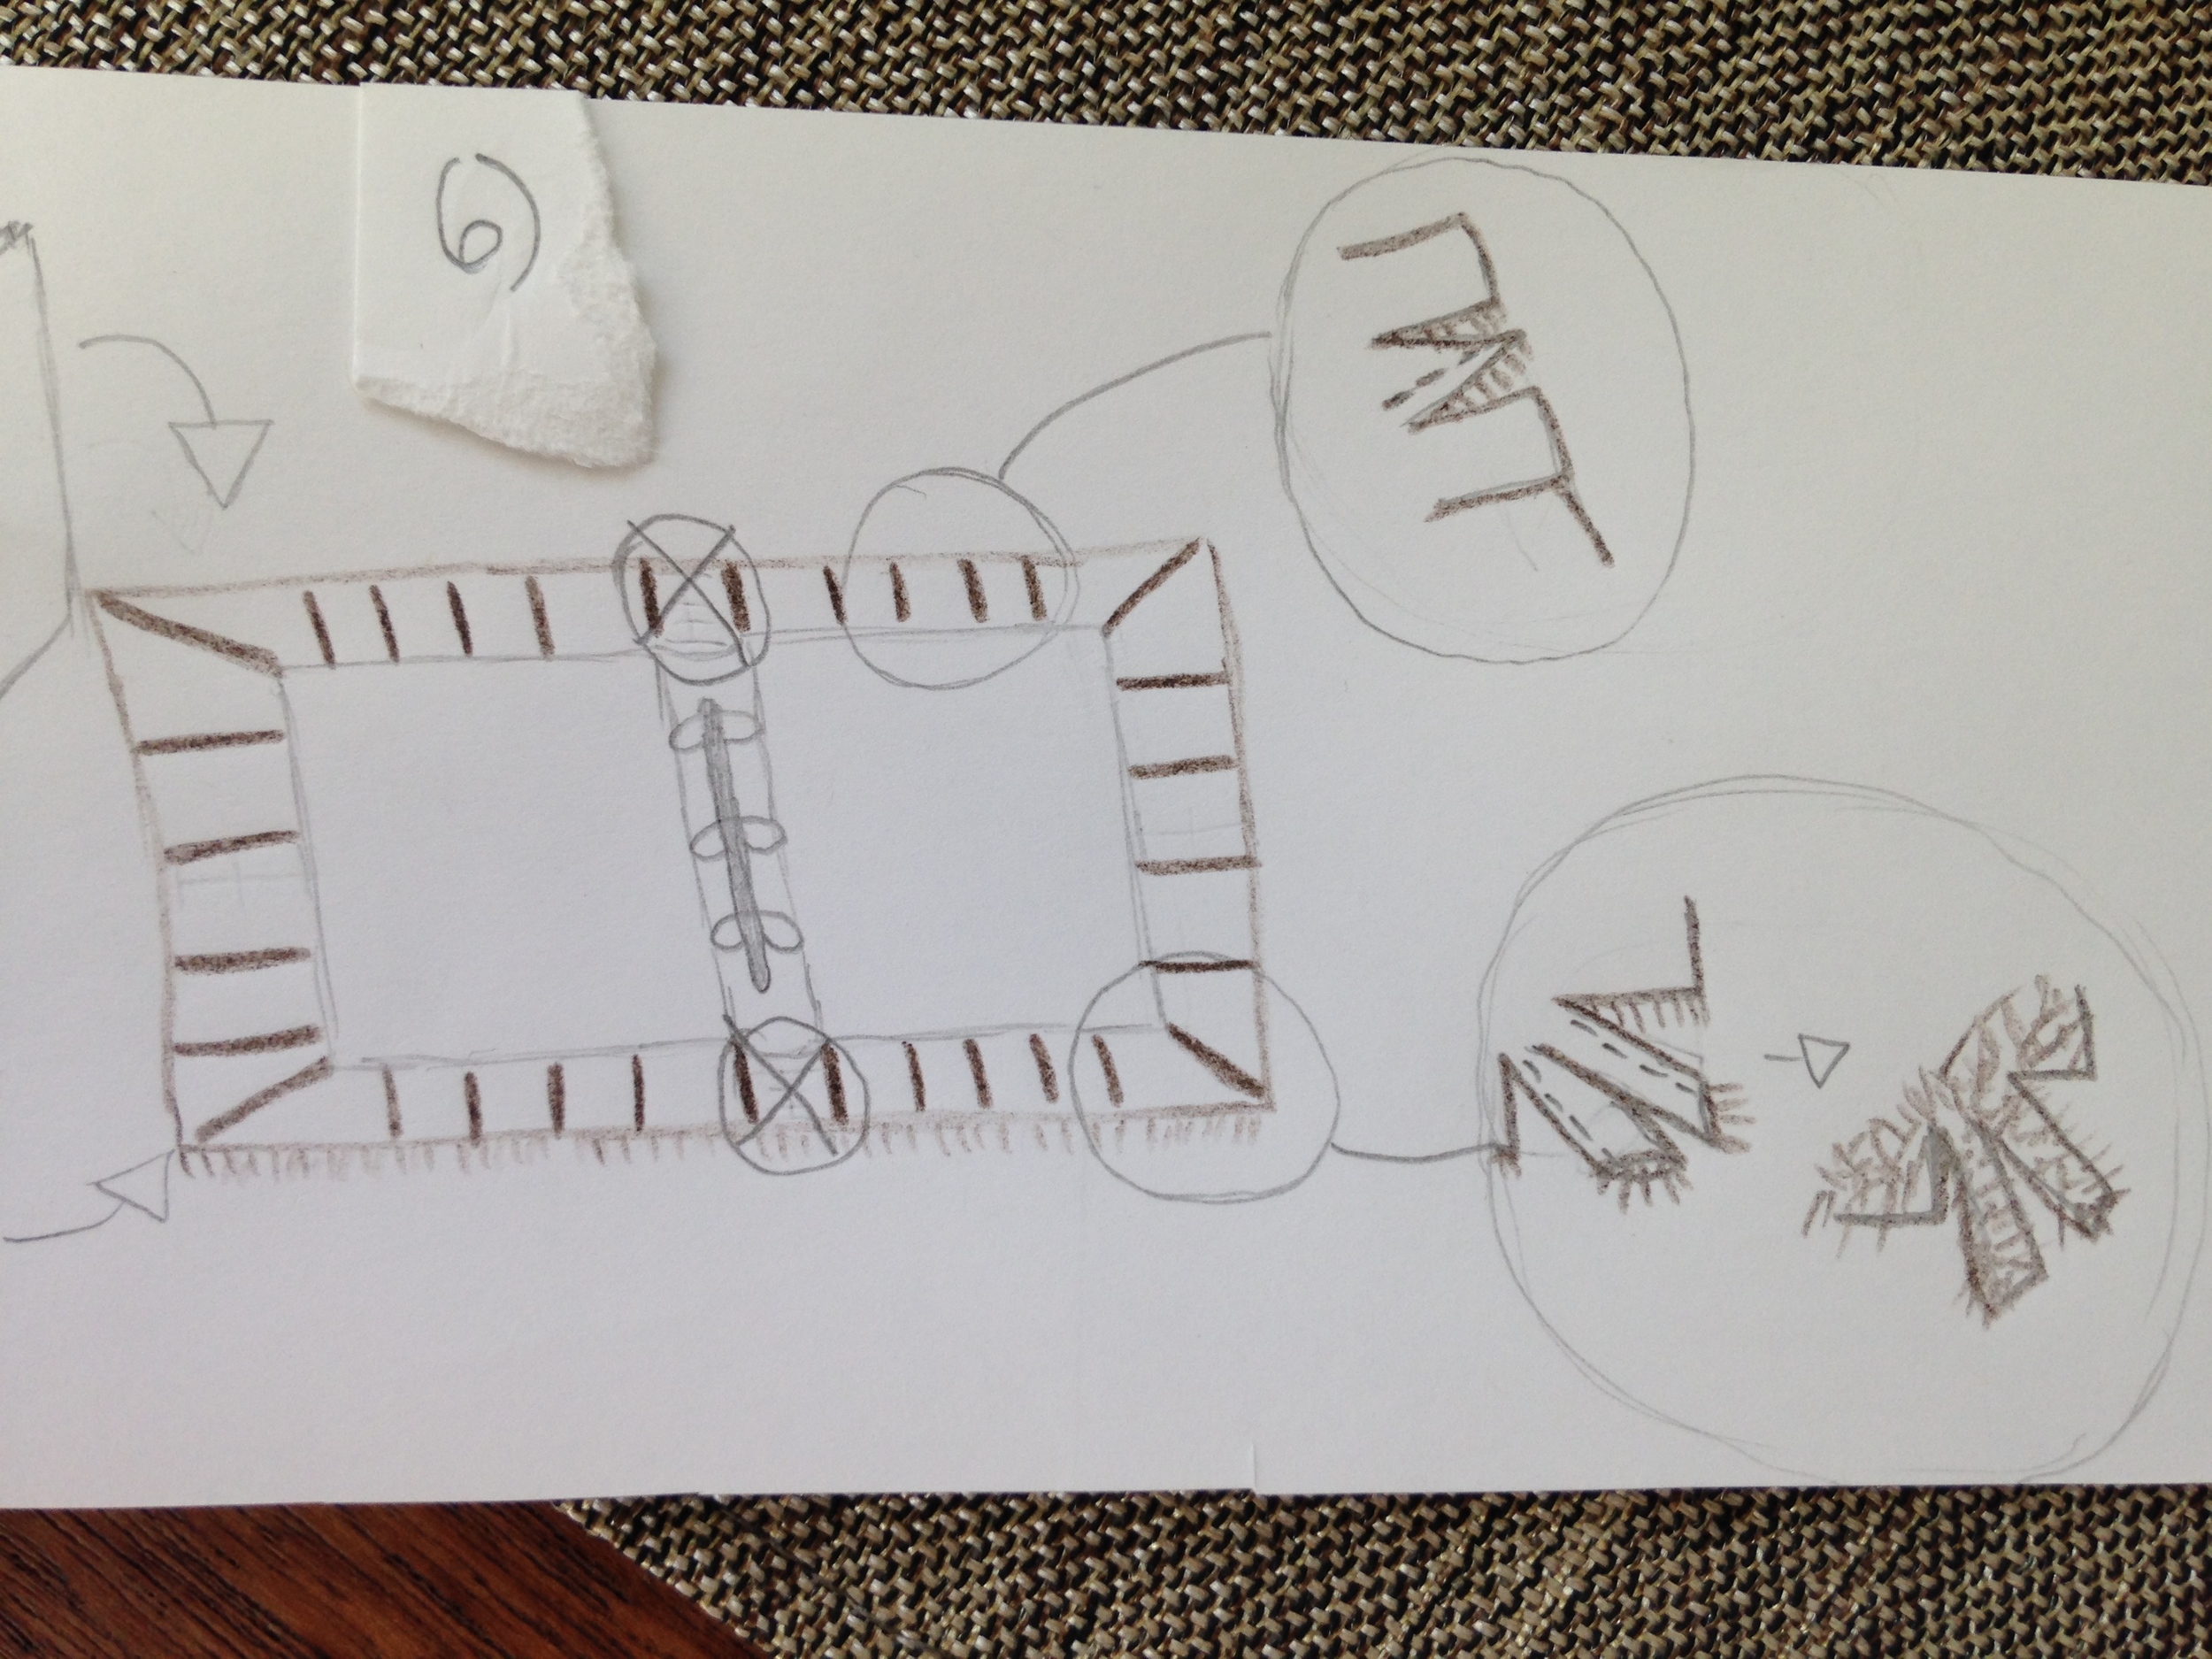
  6. With the sewing machine, sew right sides together, with a ~0.5 cm seam, of all strips except those that line up with the binder spine. This will make the tendrils that come off the cover. For the 4 corners tendrils, sew right sides together and then turn the tendrils right side out. (You may need a pencil or chopstick to help turn them right side out.)
  7. Hot glue gun the vampire teeth to the centre edges of the vertical sides (aka the mouth opening). You may need to also use packing tape to keep the teeth secure.
  8. Hot glue gun the spine flaps to the inside of the binder spine. 
  9. Flip over the now fuzzied binder. To place the eyes, draw a semi-circle on the wrong side (nonfuzzy side) in the centre of the 'top' cover of your monster. Evenly disperse the eyes along the semi-cirlce and mark where you'd like the eyes to go. Then go ahead and attach the eyes, making sure the pupil ends up peeping out of the fur on the right side. Attaching the eyes will depend on the type of fake eyes you get. Usually they comes with instructions. I cut a small hole for each of my eyes and pierced through the slits with the eye posts. Then I fastened the eye posts with a plastic washer.
  10. Gluein' time! Hot glue gun the cover fabric to the binder covers. Make sure that your eyes are pointing forwards, towards the monster mouth. Also arrange your tendrils in a way that makes them looks 'natural'.
  11. You're done! Now do up some HP themed pages to put besides your furry fiend and let the crowd sign away!

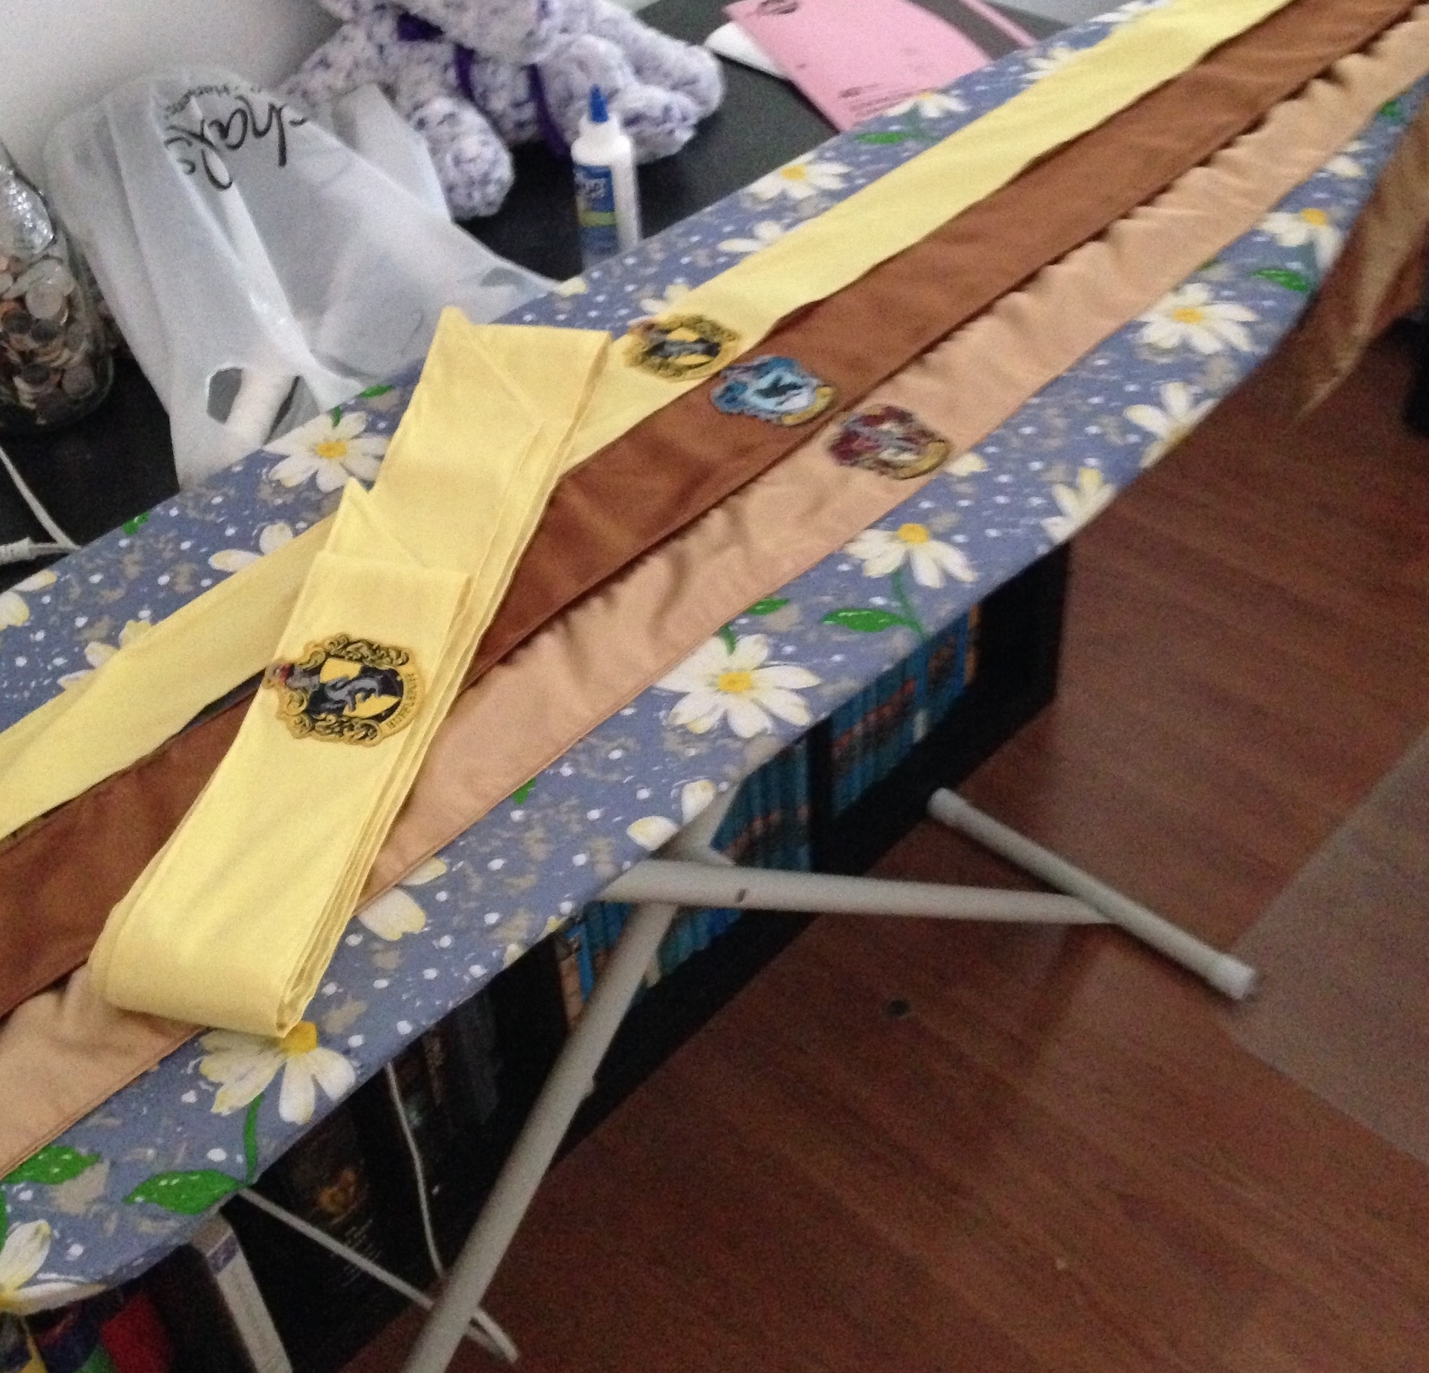
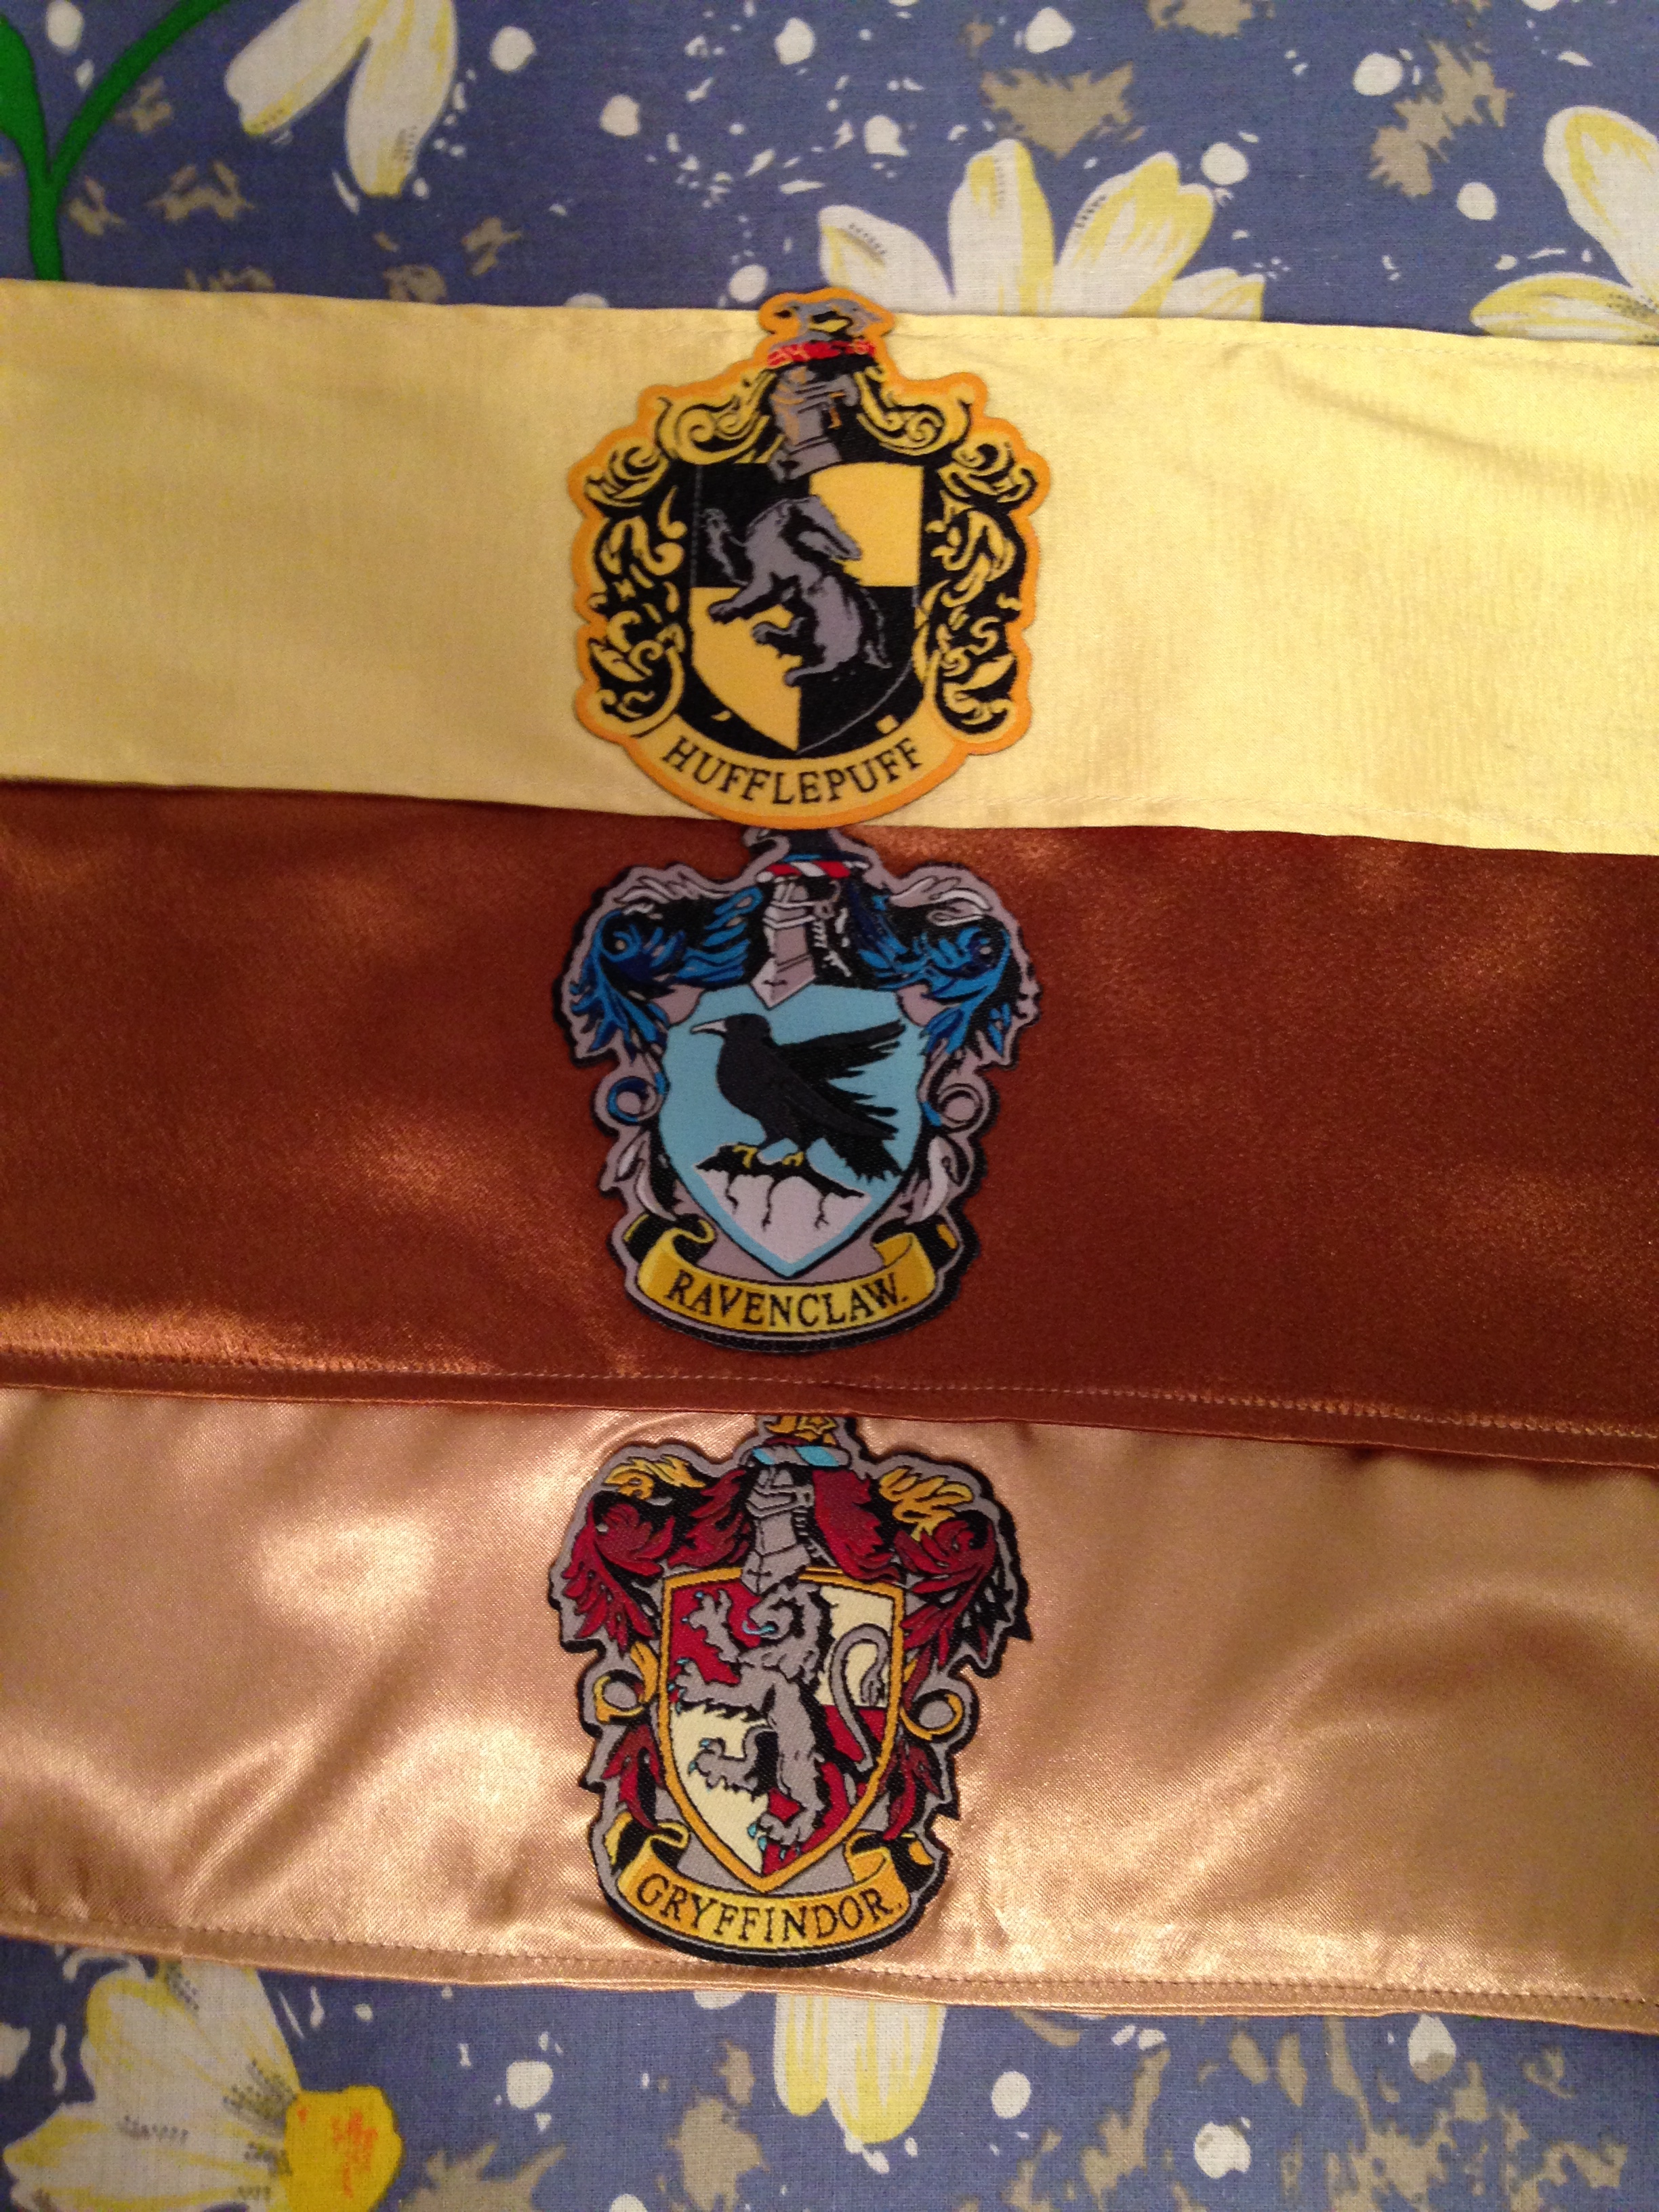
The bridal party was also dressed up in Hogwarts themed colours. For the ladies who wished them, I helped make crested sashes for their dresses. The original project head had purchased a great old sewing machine that unfortunately had a timing problem. So the project came to me, haha. I think they turned out pretty good!


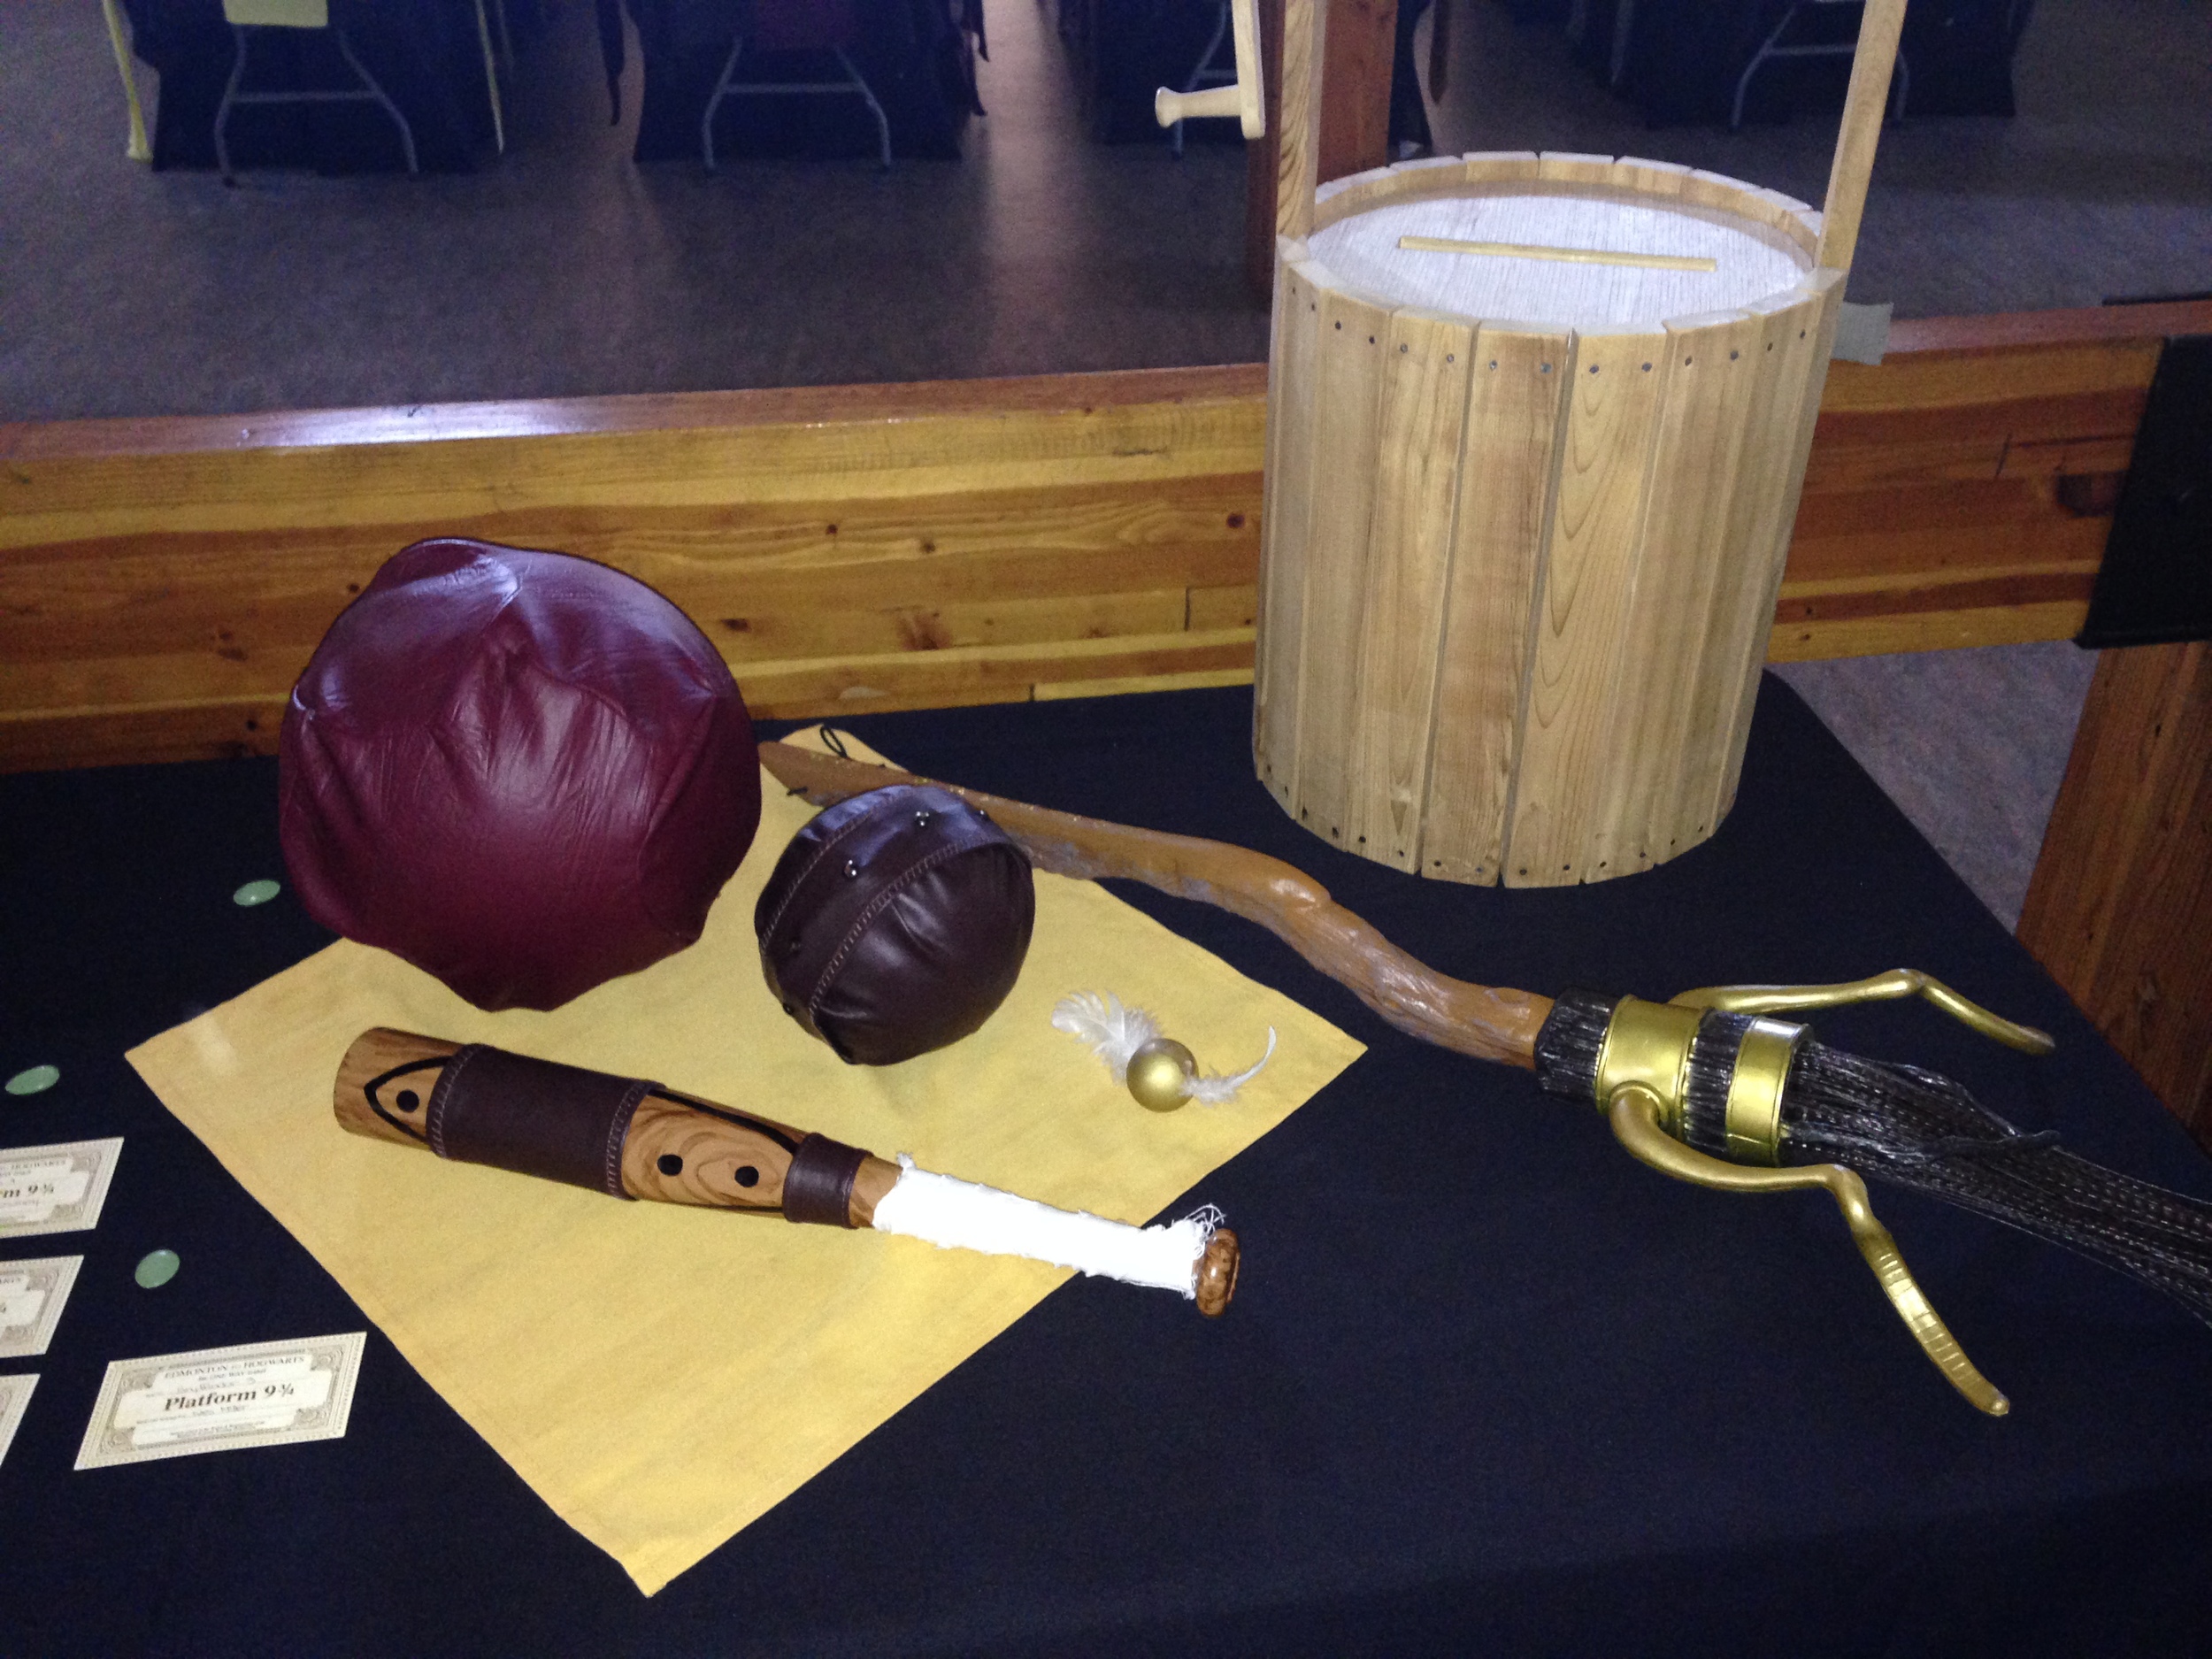
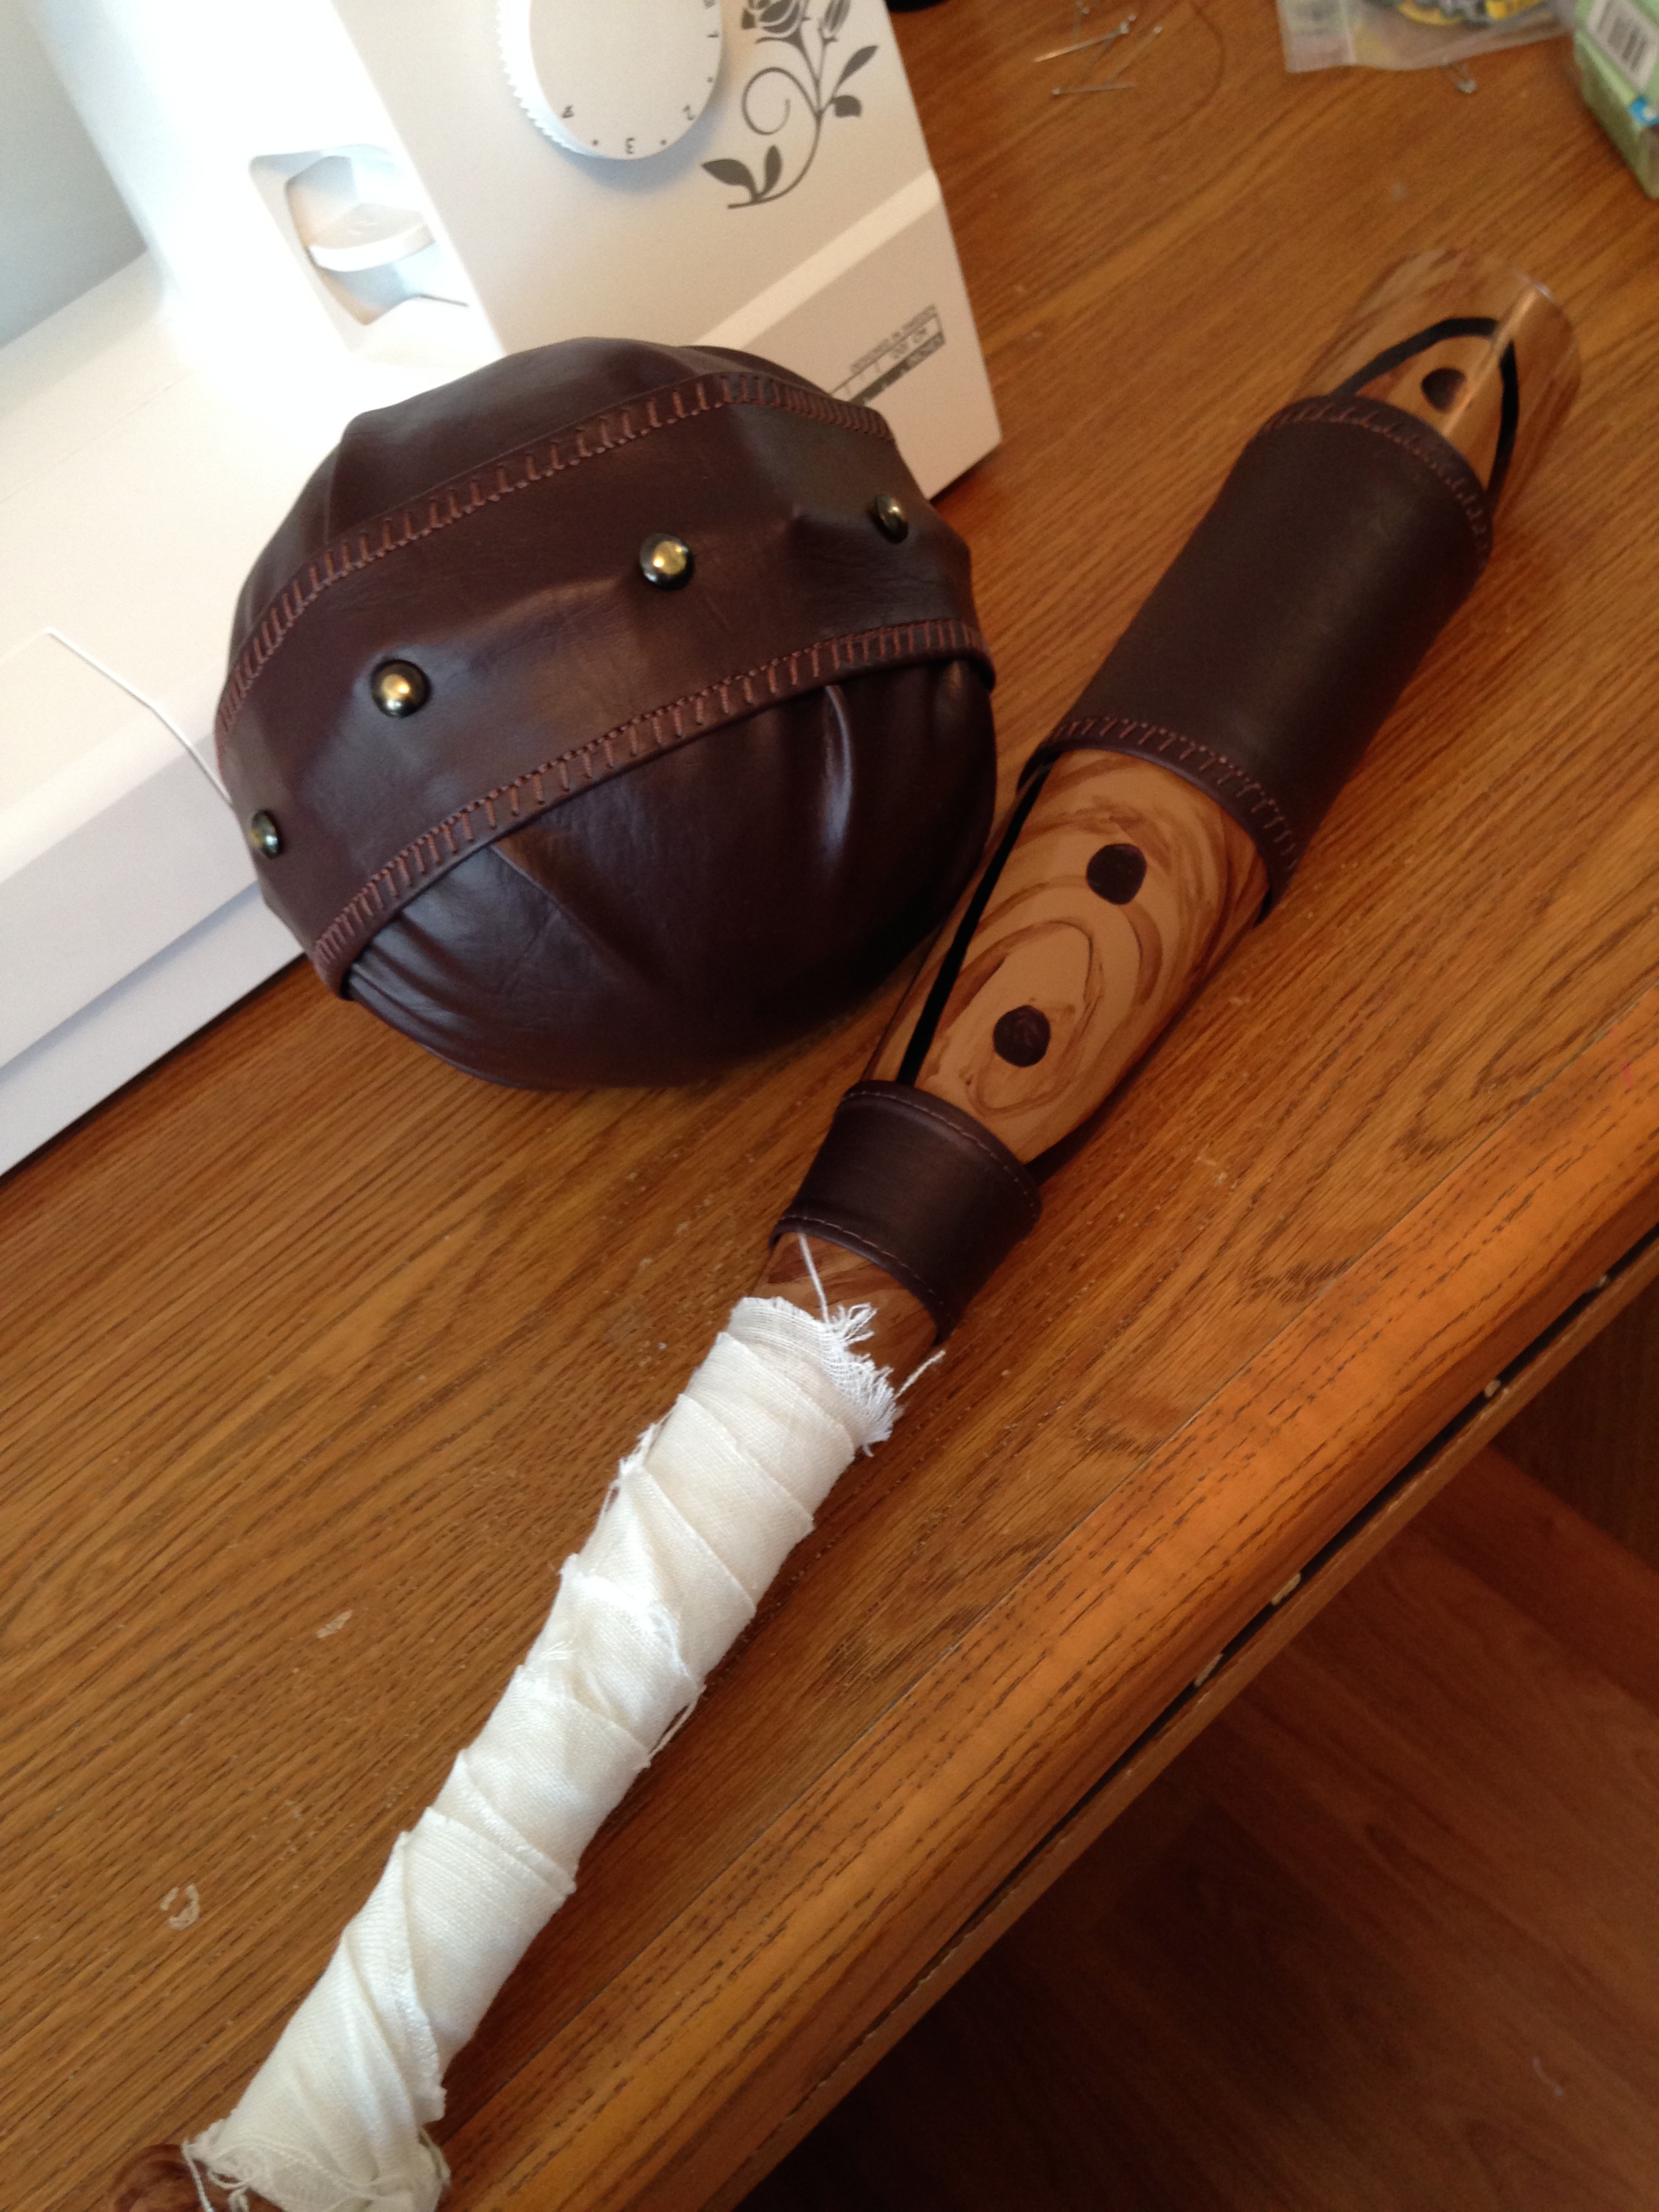
I also made some quidditch themed decorations: a bludger and it's bat, and the Quaffle.

Bludger

Materials:
6 inch foam sphere
Parchment\pattern paper
Pencil/pen
Brown or black leather
Leather needles (both for the machine and hand)
Upholstery tacks

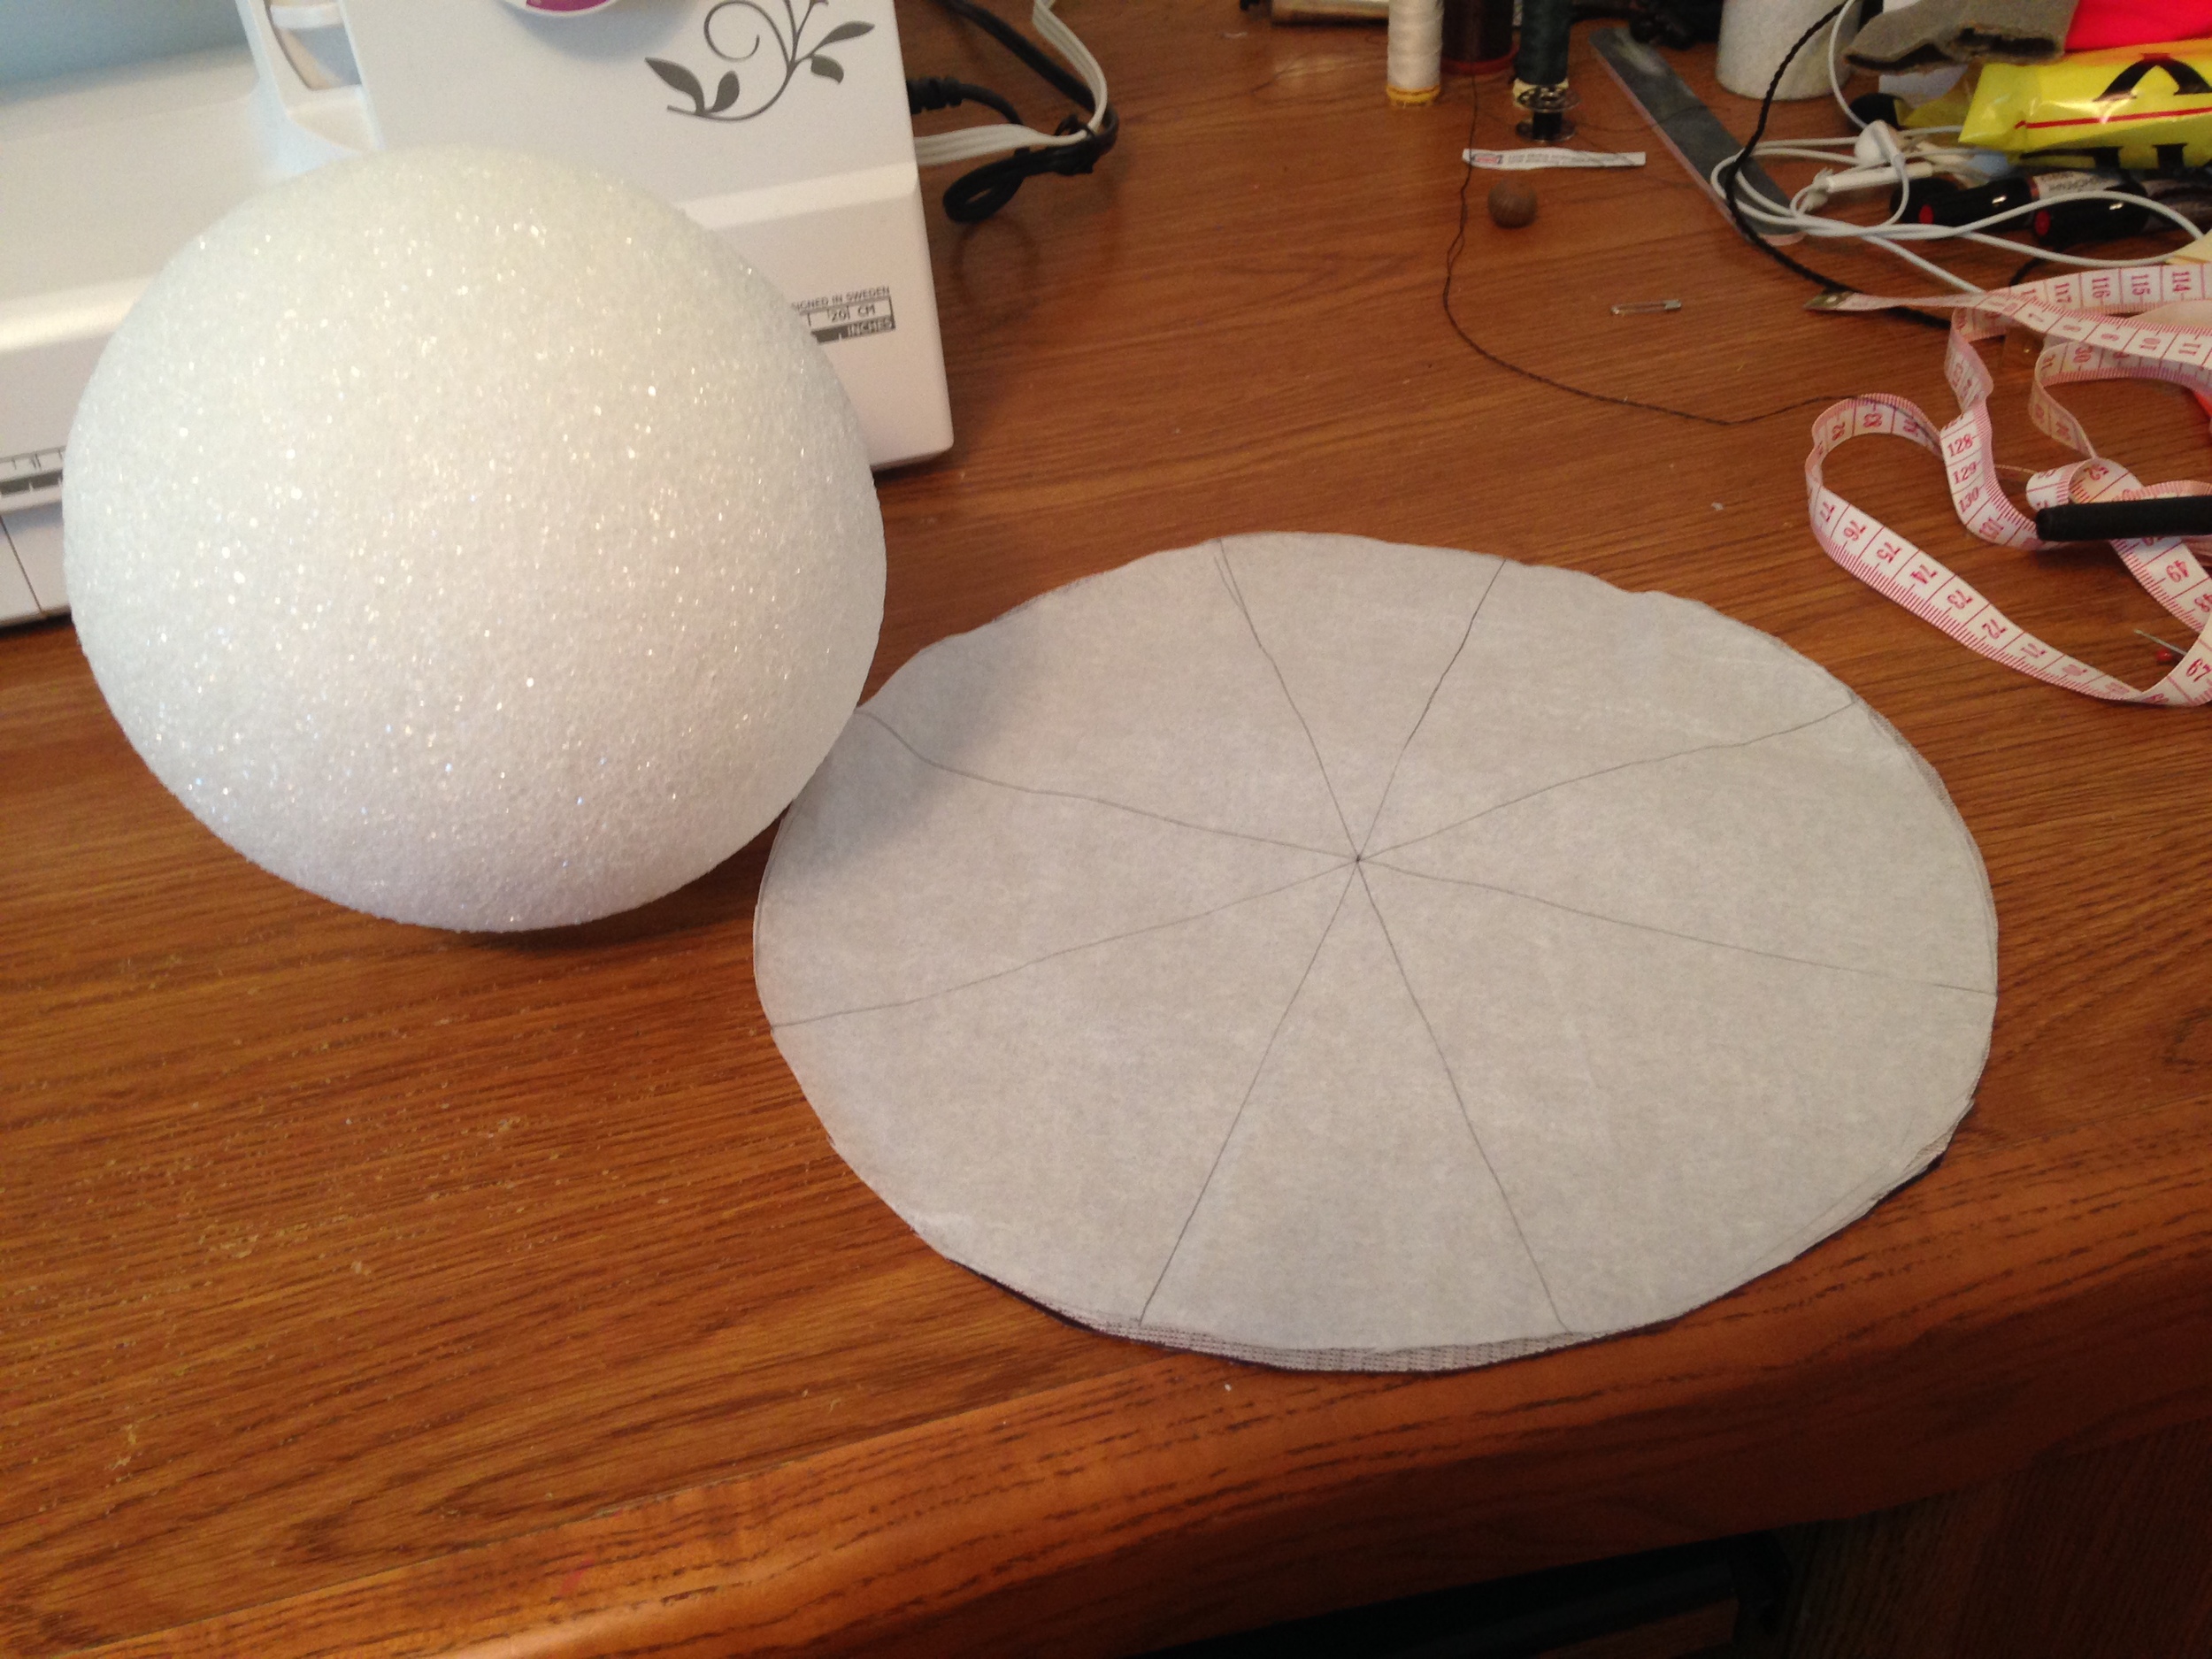
  1. Create a pattern AKA Math Time!!
    Think of the problem in 2D first. To cover the sphere we will need to cover the circumference of the 6 in diameter (3 in radius). So, using some handy math skills: 

    Circumference = 2πr = 2*π*3 in = 18.85 in

    So we have a circumference of almost 19 inches to cover. If we divide this in half we can find out the diameter of our pattern circle needed to cover the ball. 

  2. Using pattern paper, draw a 10 in diameter circle (this includes a seam allowance). Easiest way is to use a compass but if you don't have one then use a ruler. Draw a 10 in line, marking the centre at 5 in. Then, matching centres, draw another 10 in line perpendicular to the first. Now draw more 10 in lines, matching centres at 5 in, until you can comfortably sketch out the circle. Tada! Cut out your pattern!

  3. Cut two circles from your black or brown leather. It may be easiest to draw out the circles on the back of the leather and cut them out following that. Every time you pin leather the pin holes will remain afterwards. So careful!

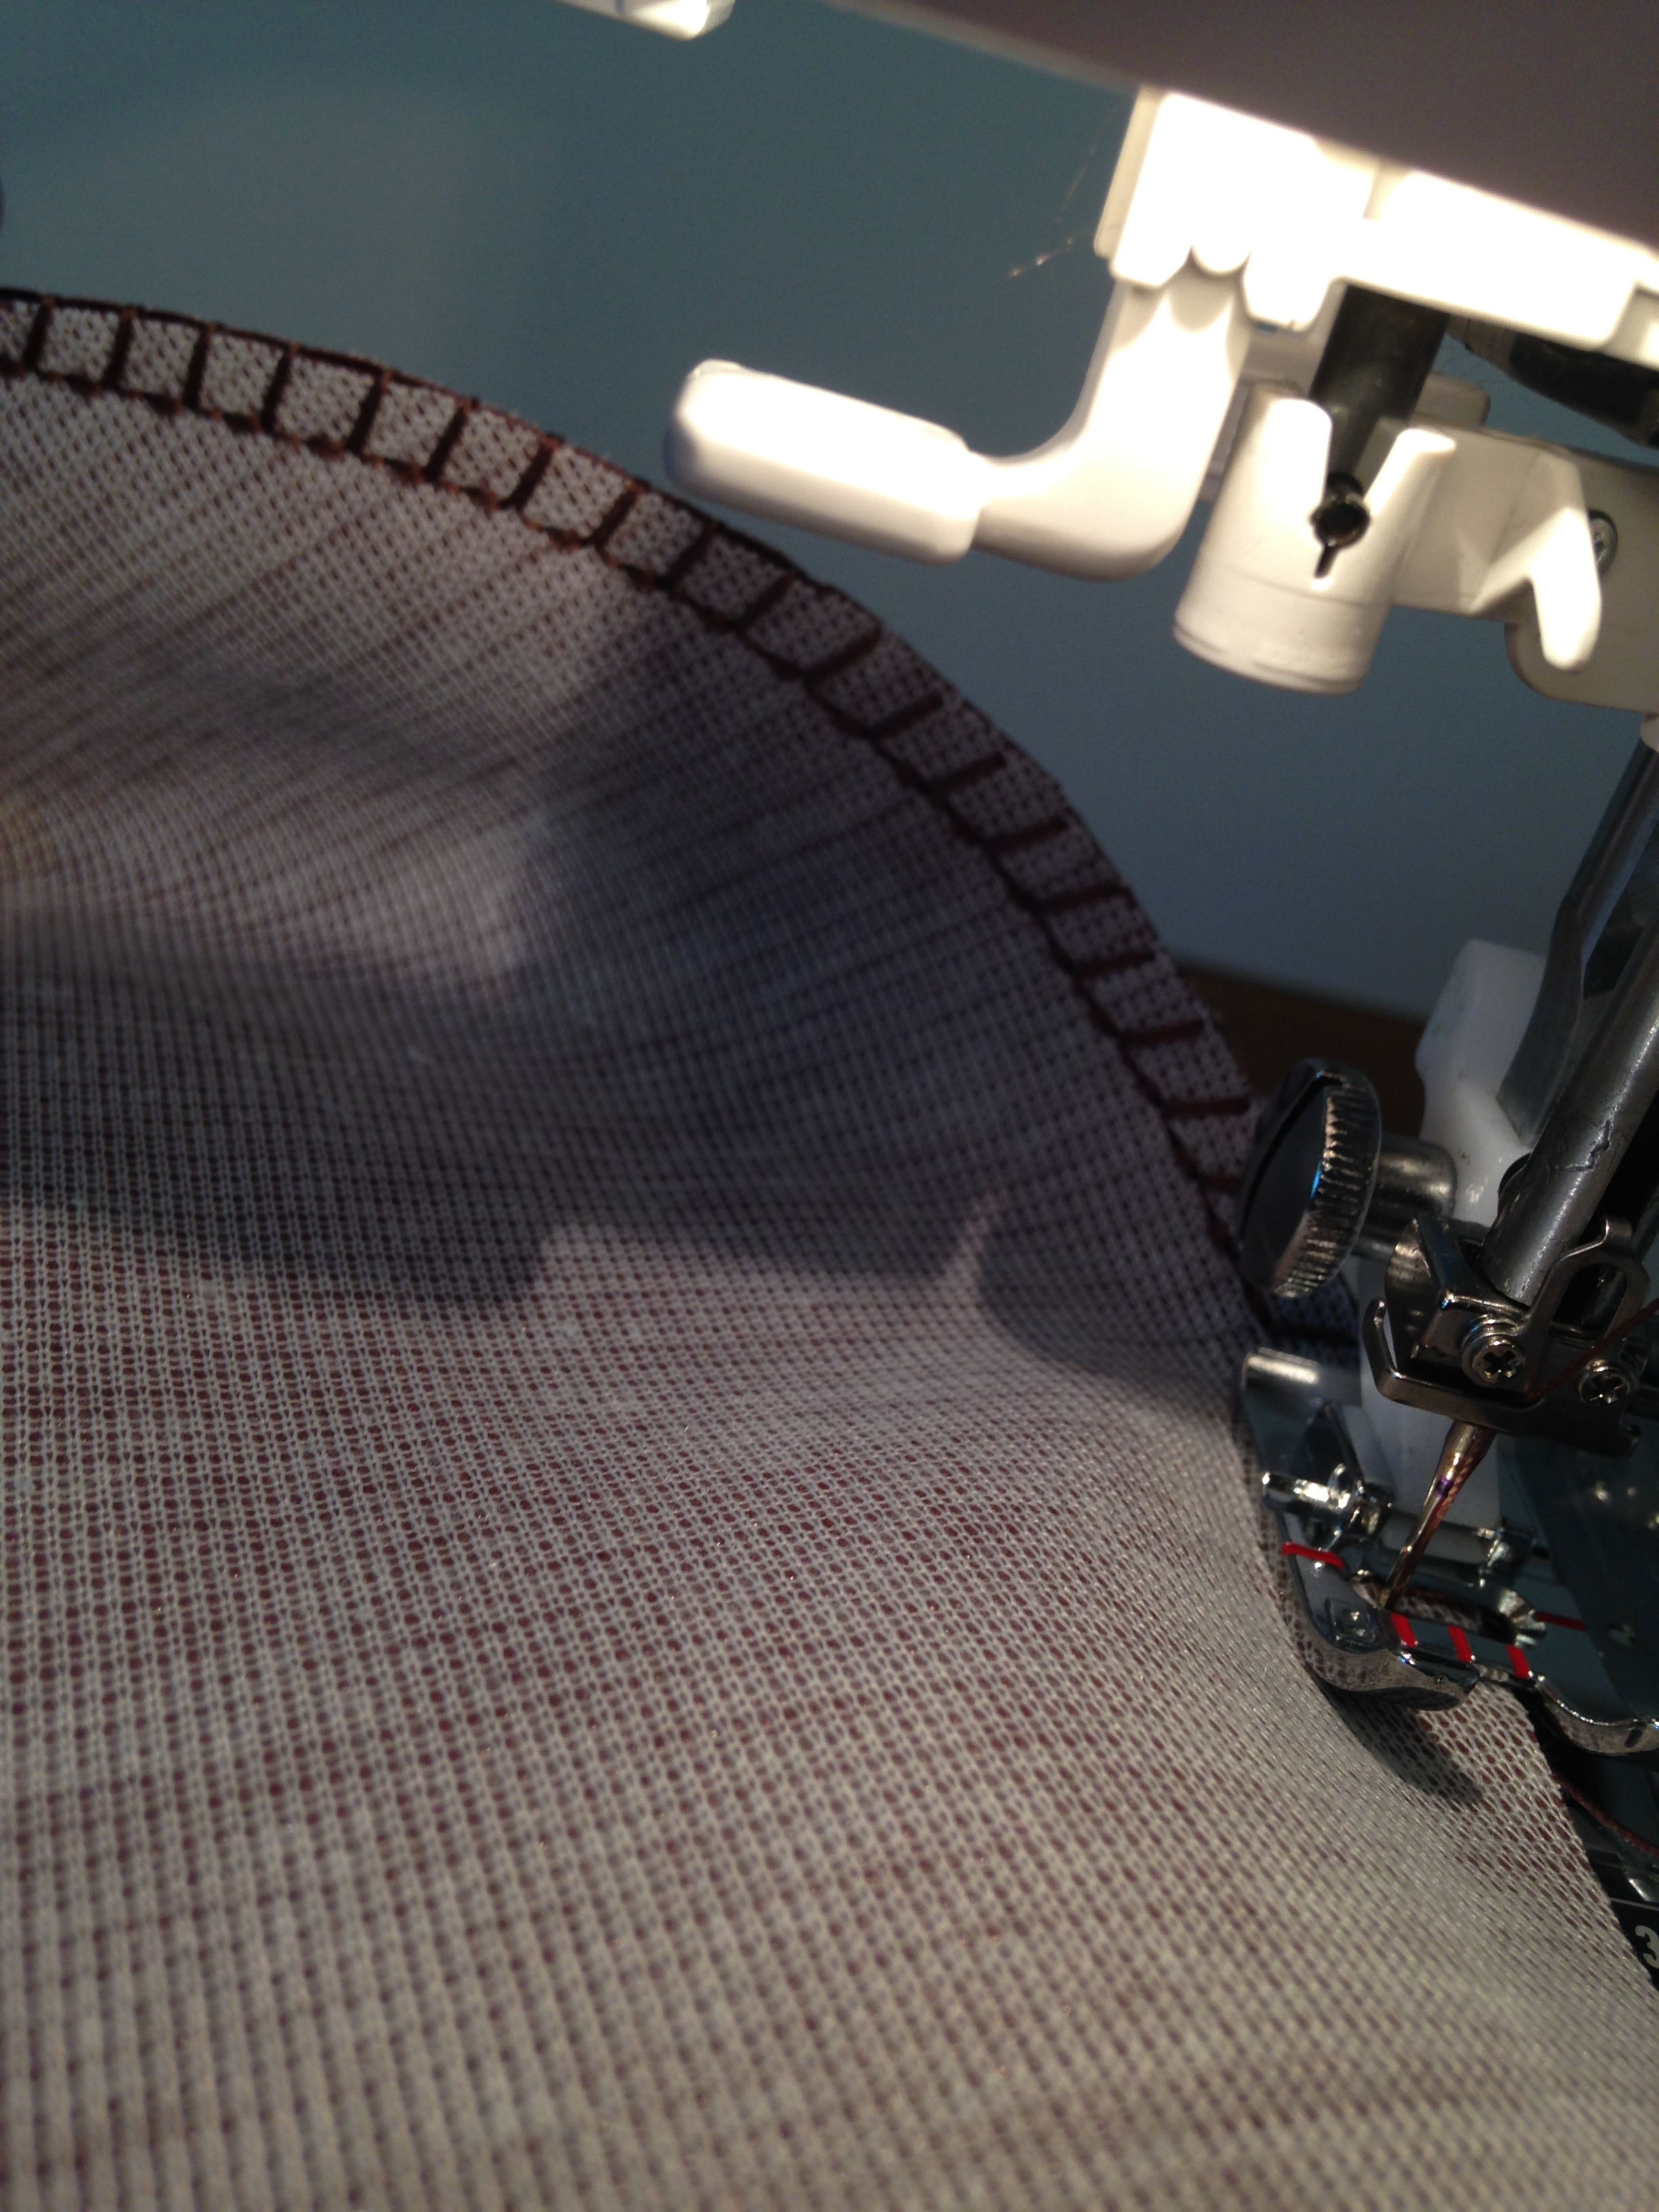
  4. Right sides together, using a leather needle, heavy duty thread and the leather stitch setting on your machine (if you're using one), sew half way around the leather circles. Make sure you back stitch at the beginning and end of each stitch. 

  5. Turn the covering right side out and stuff the foam sphere snuggly inside it. I used a piece of cotton to wrap the ball first so it slid into the leather easier. 

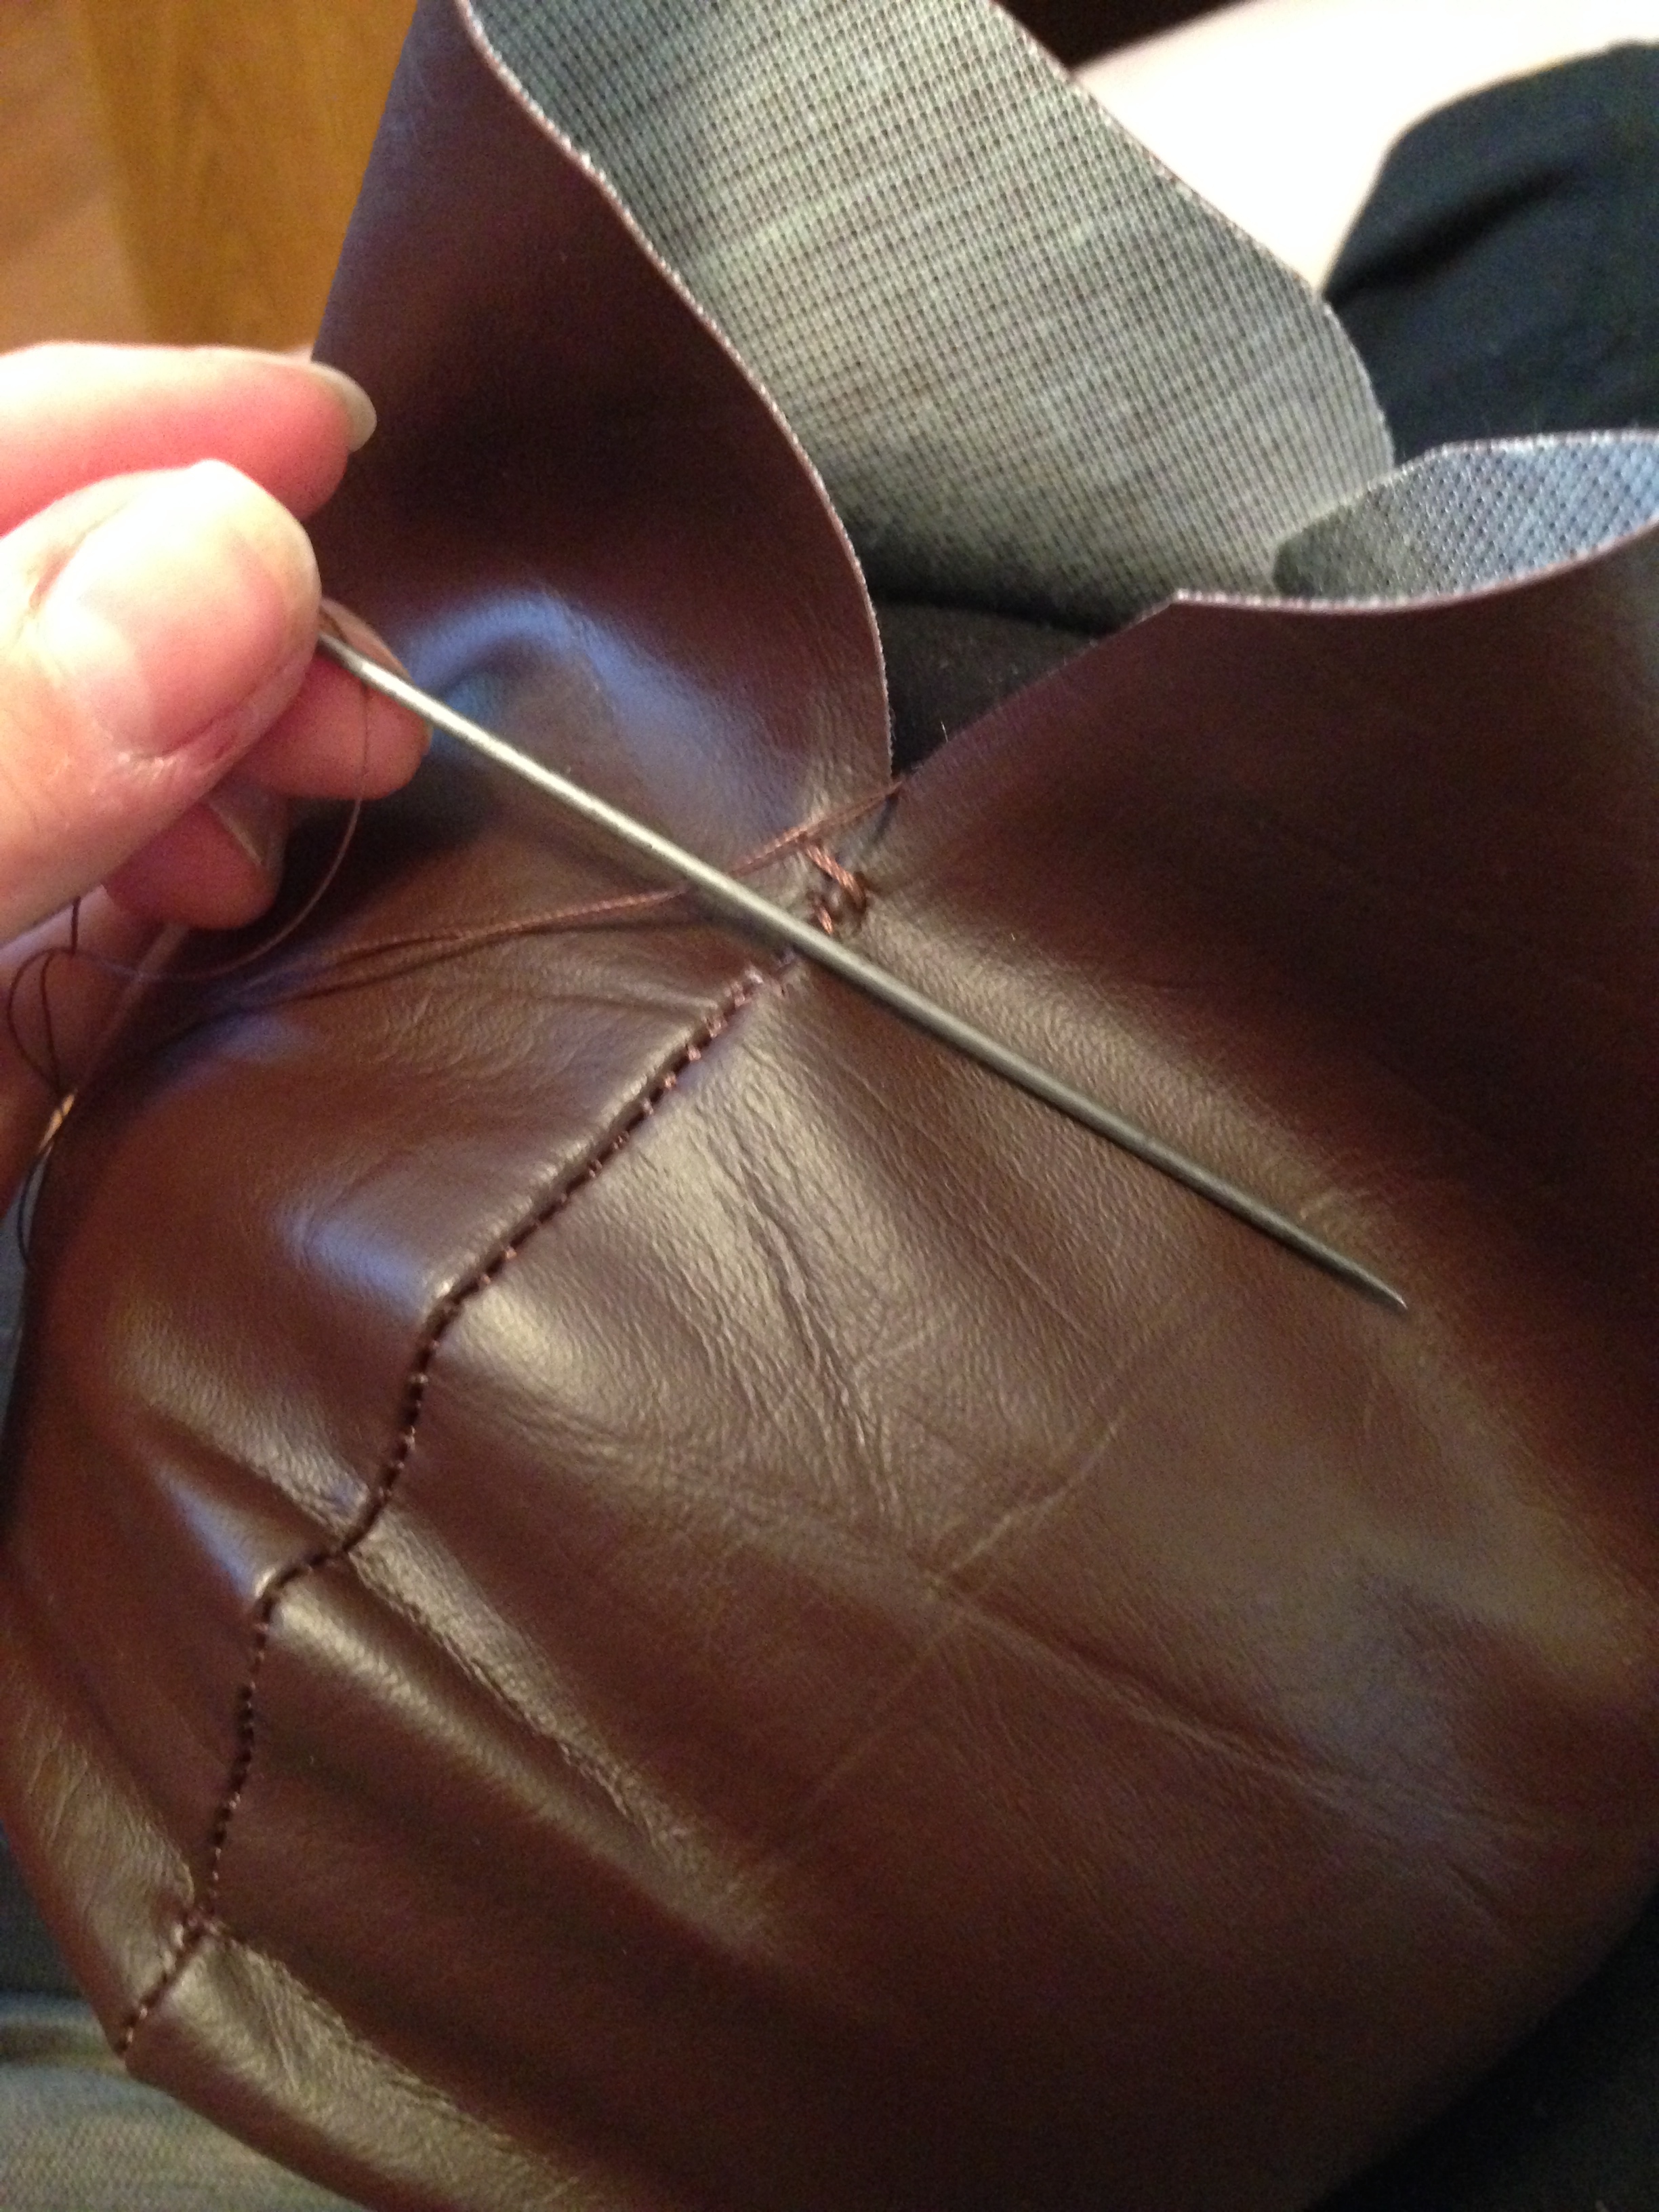
  6. Now for some hand stitching. I bought a faux leather, truth be told, so it was very thin and I didn't need to pre-peirce the leather. I used a slip stitch along the seam line to close up the opening and encase the ball, making sure to pull the leather tight as I went. 

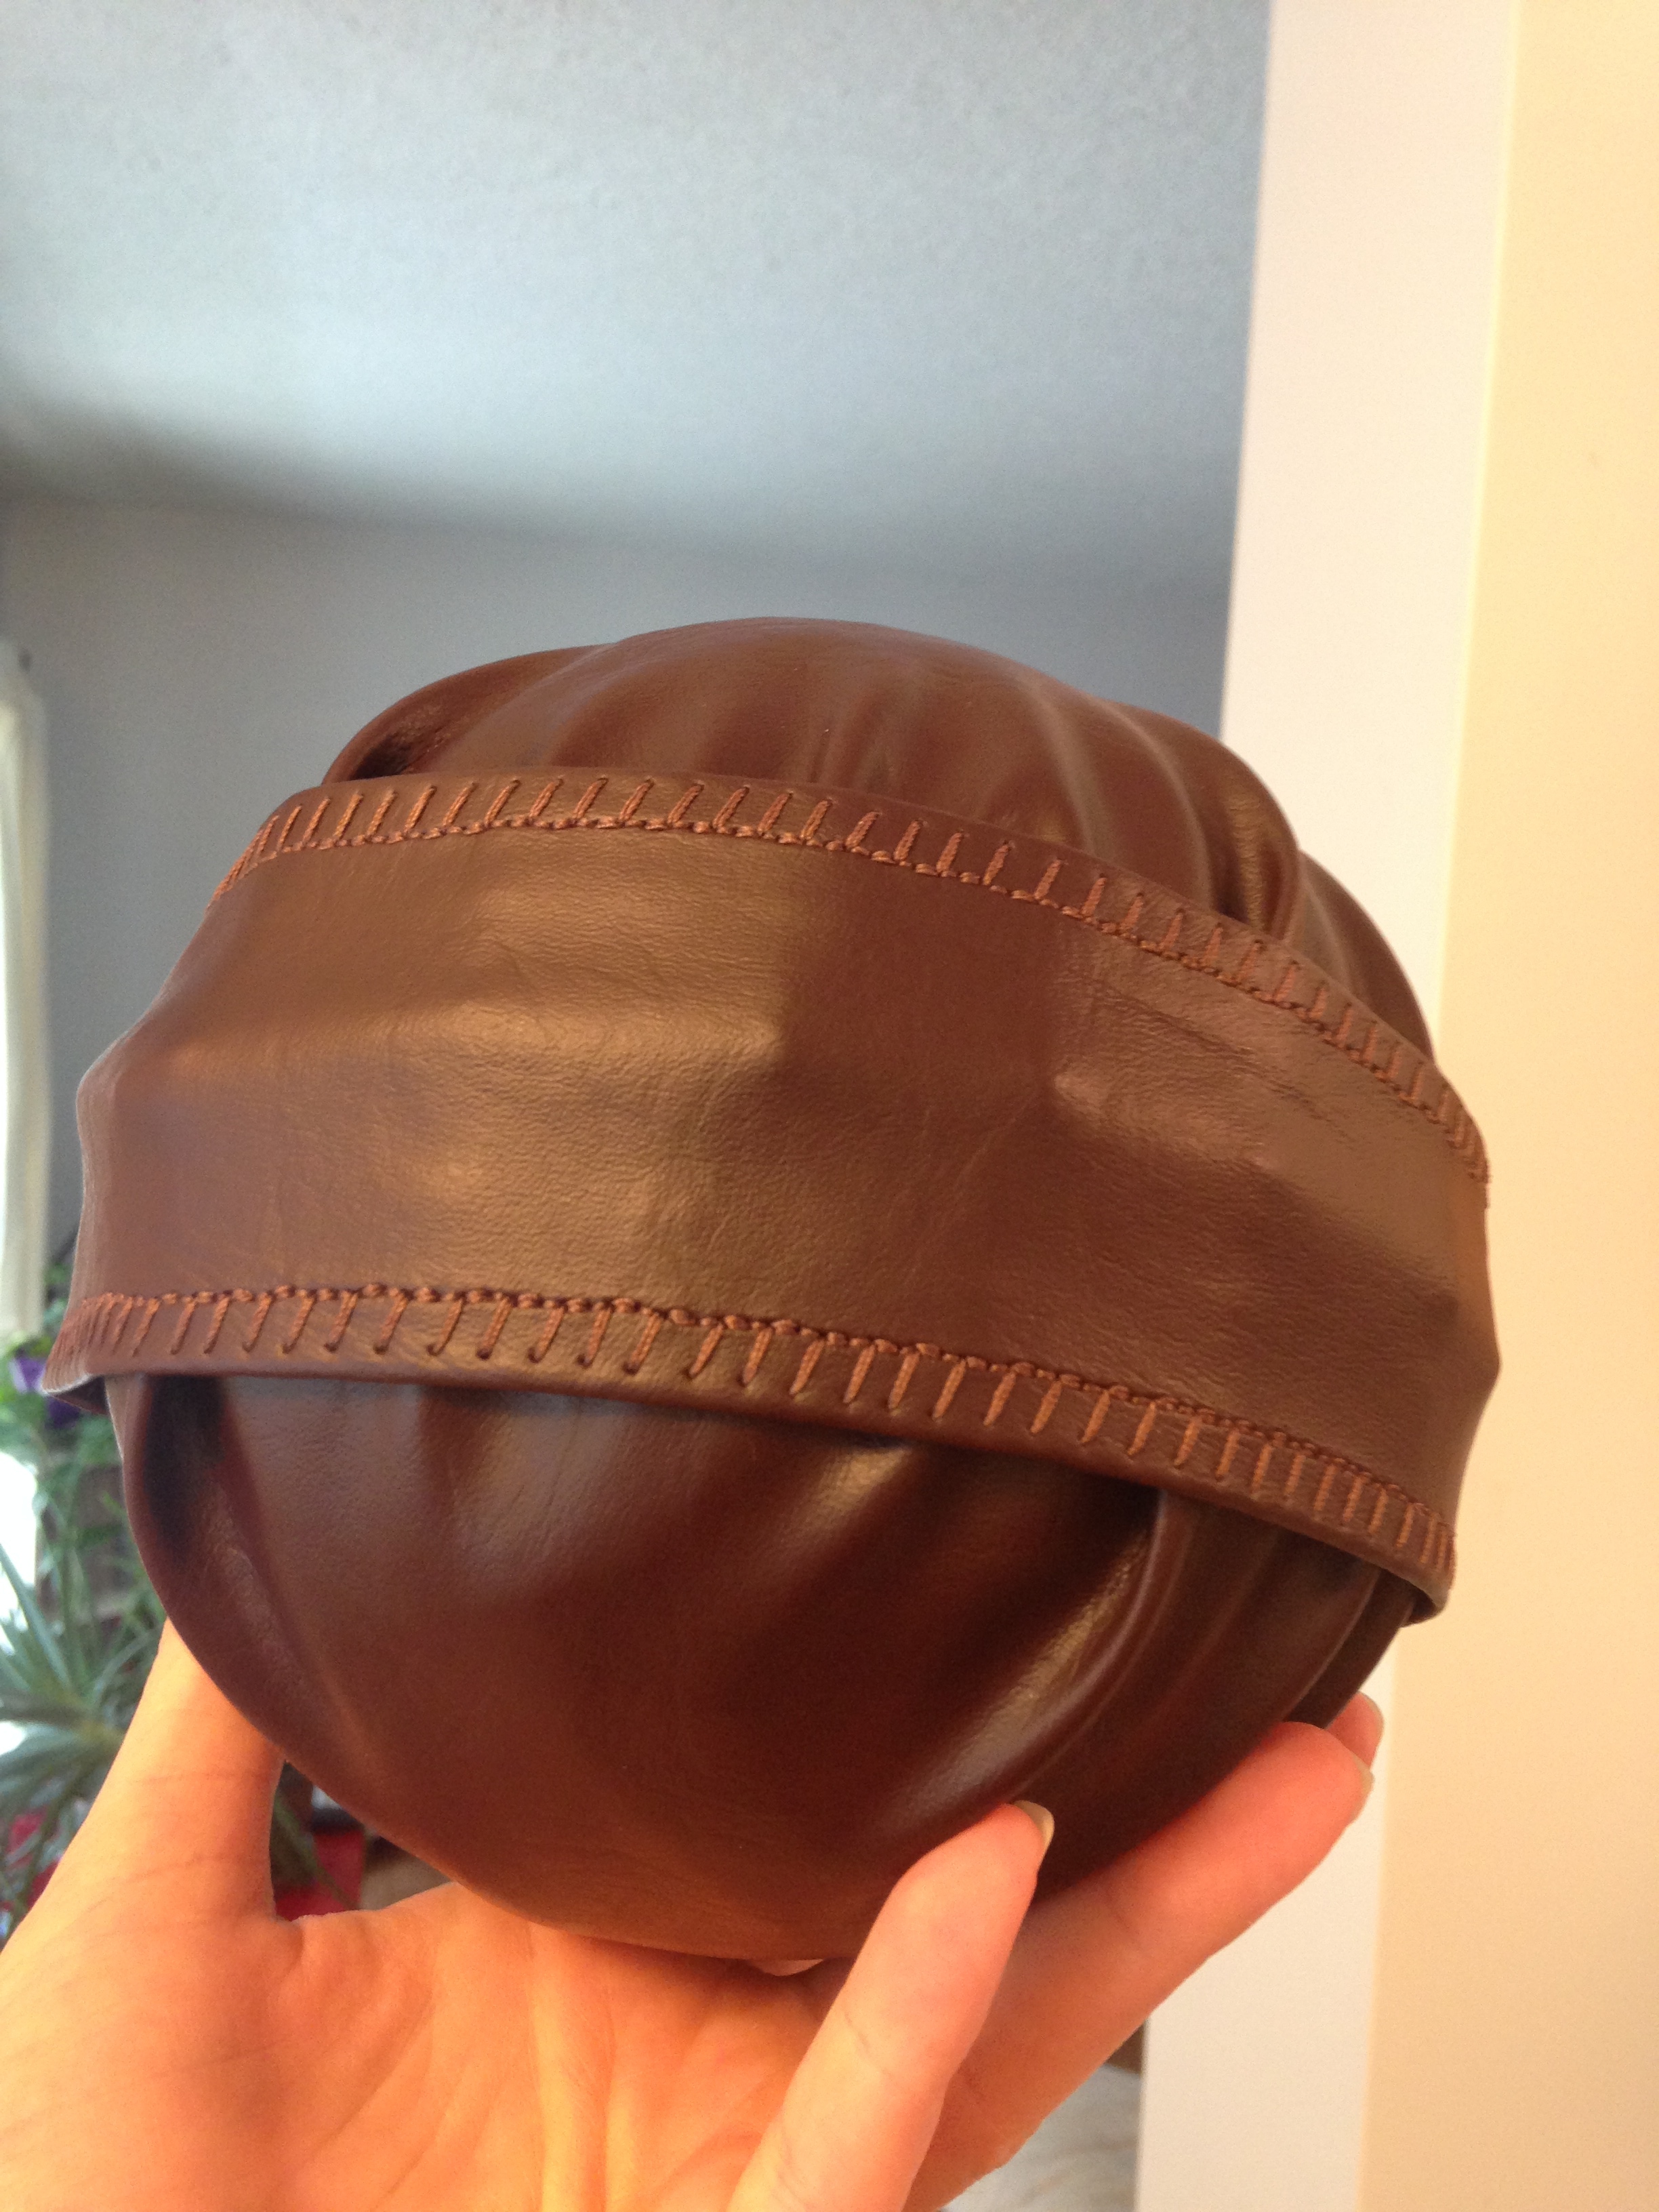
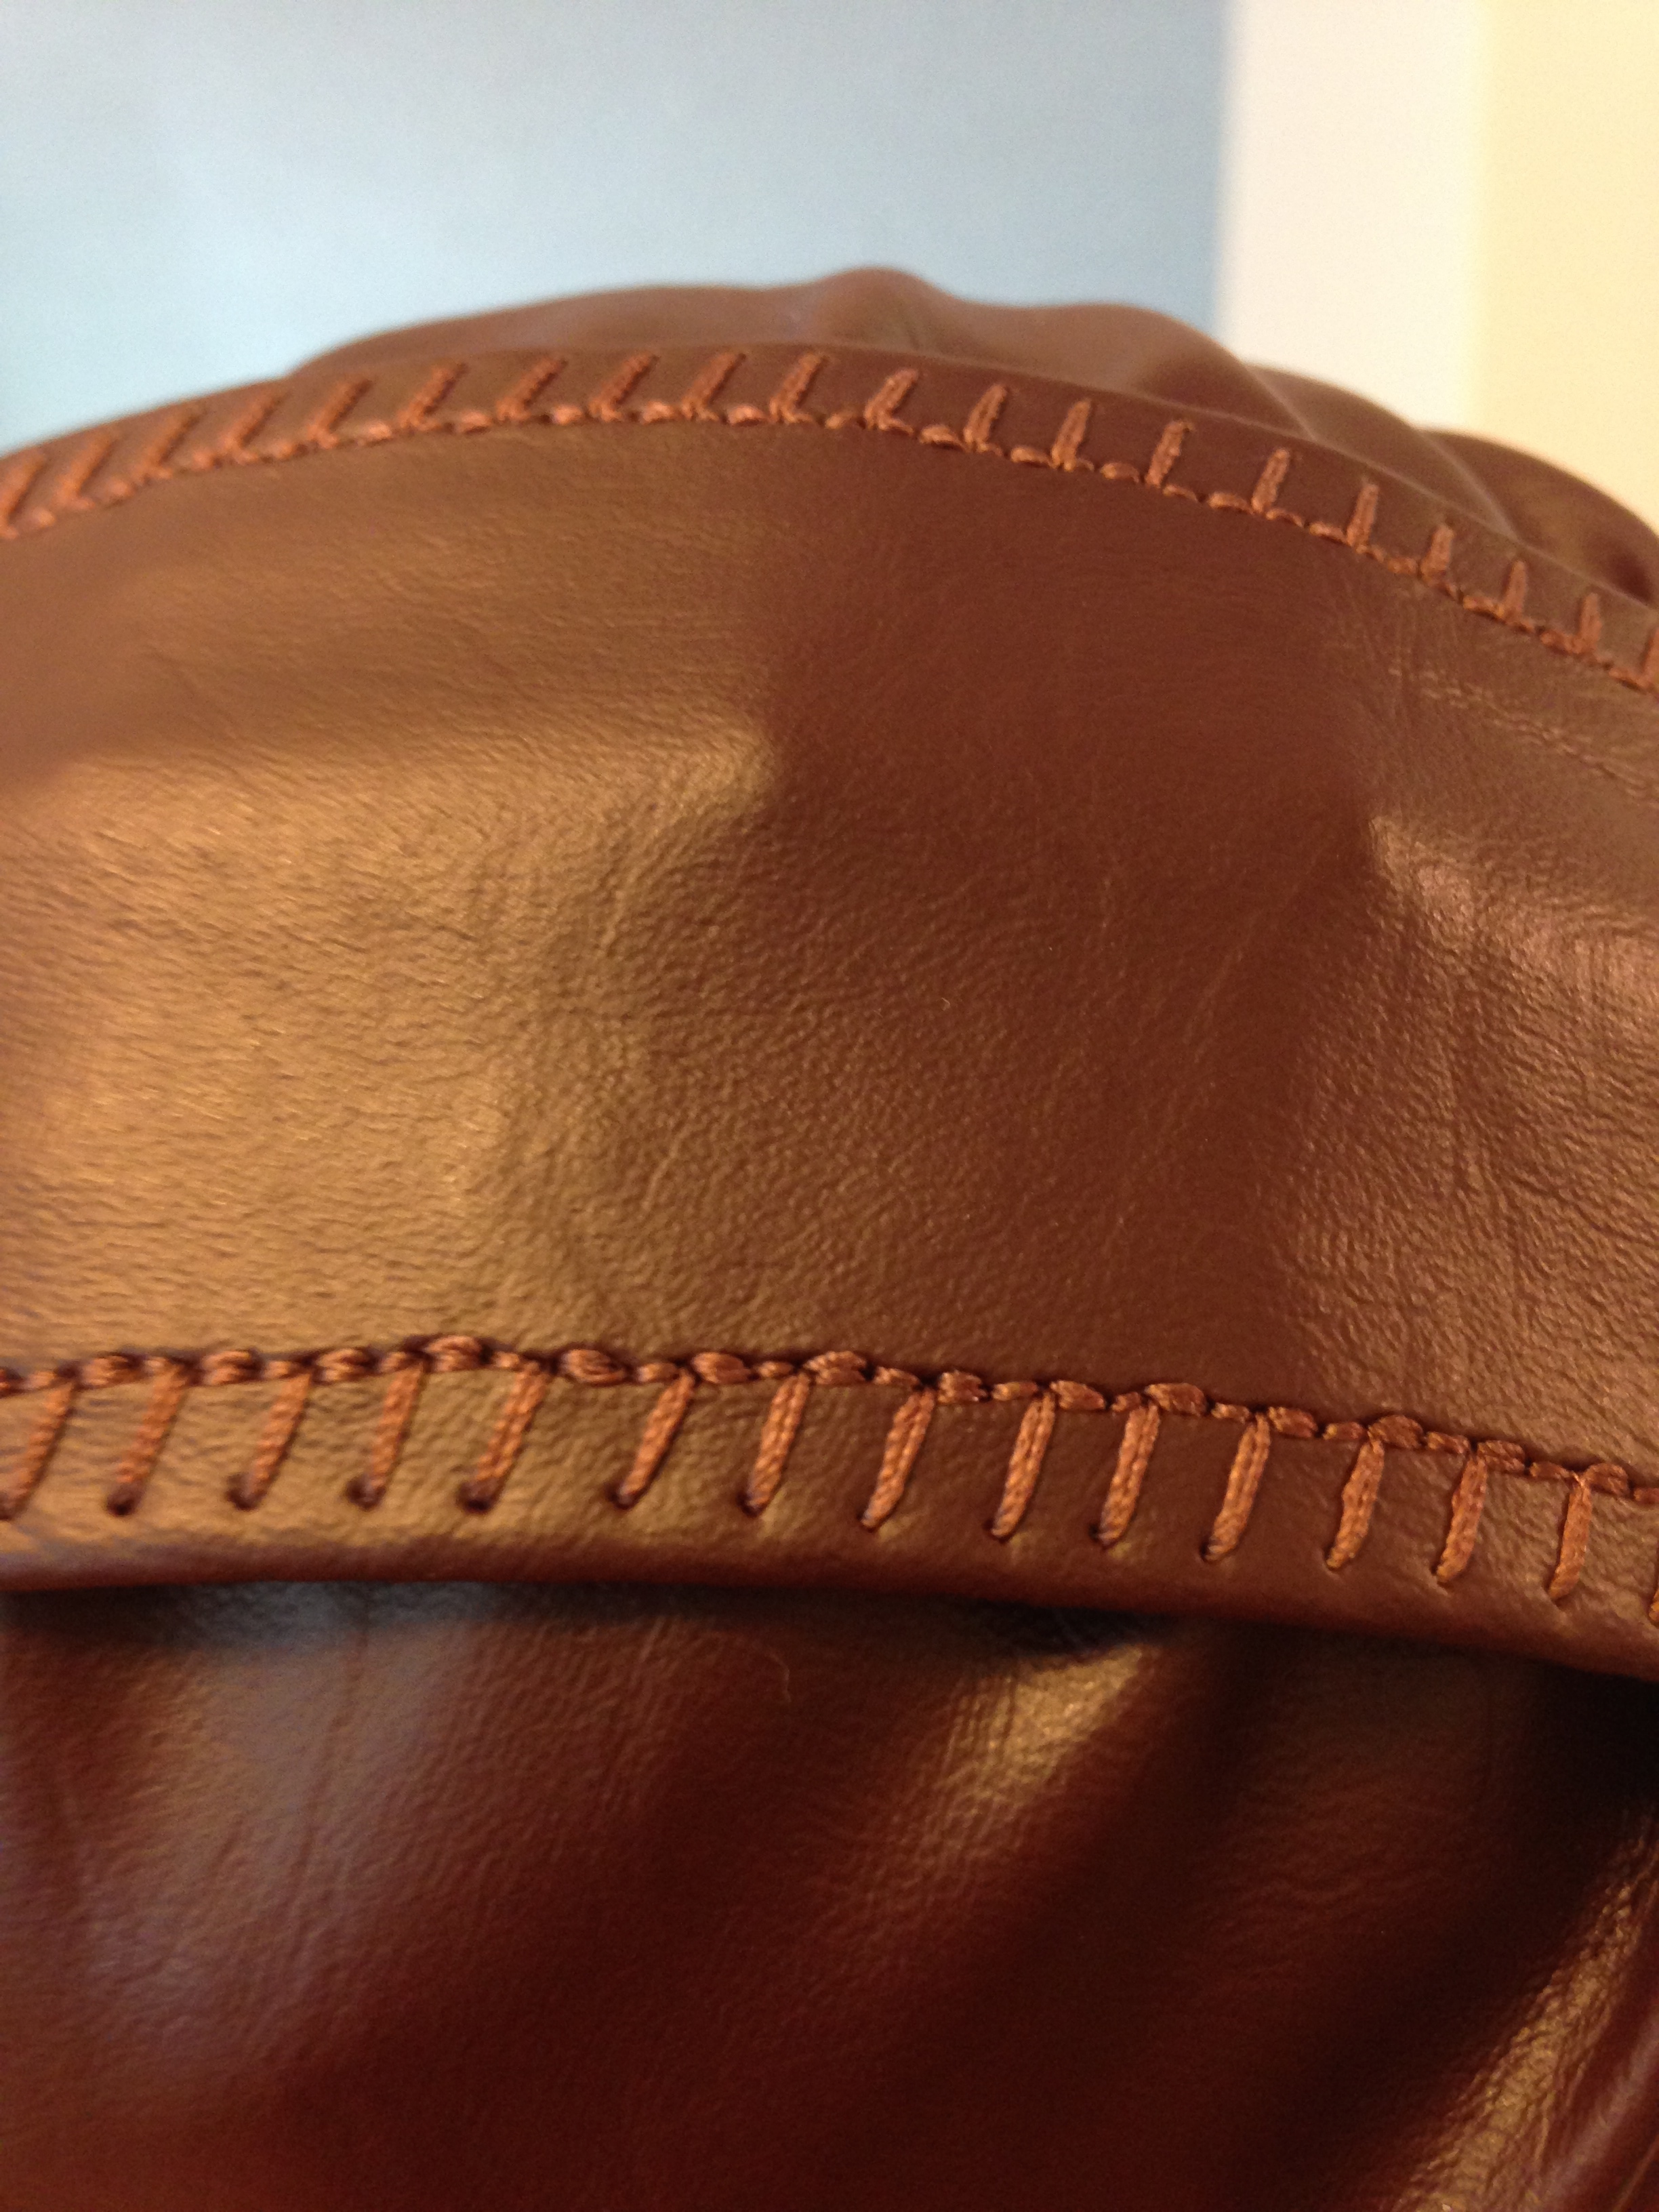
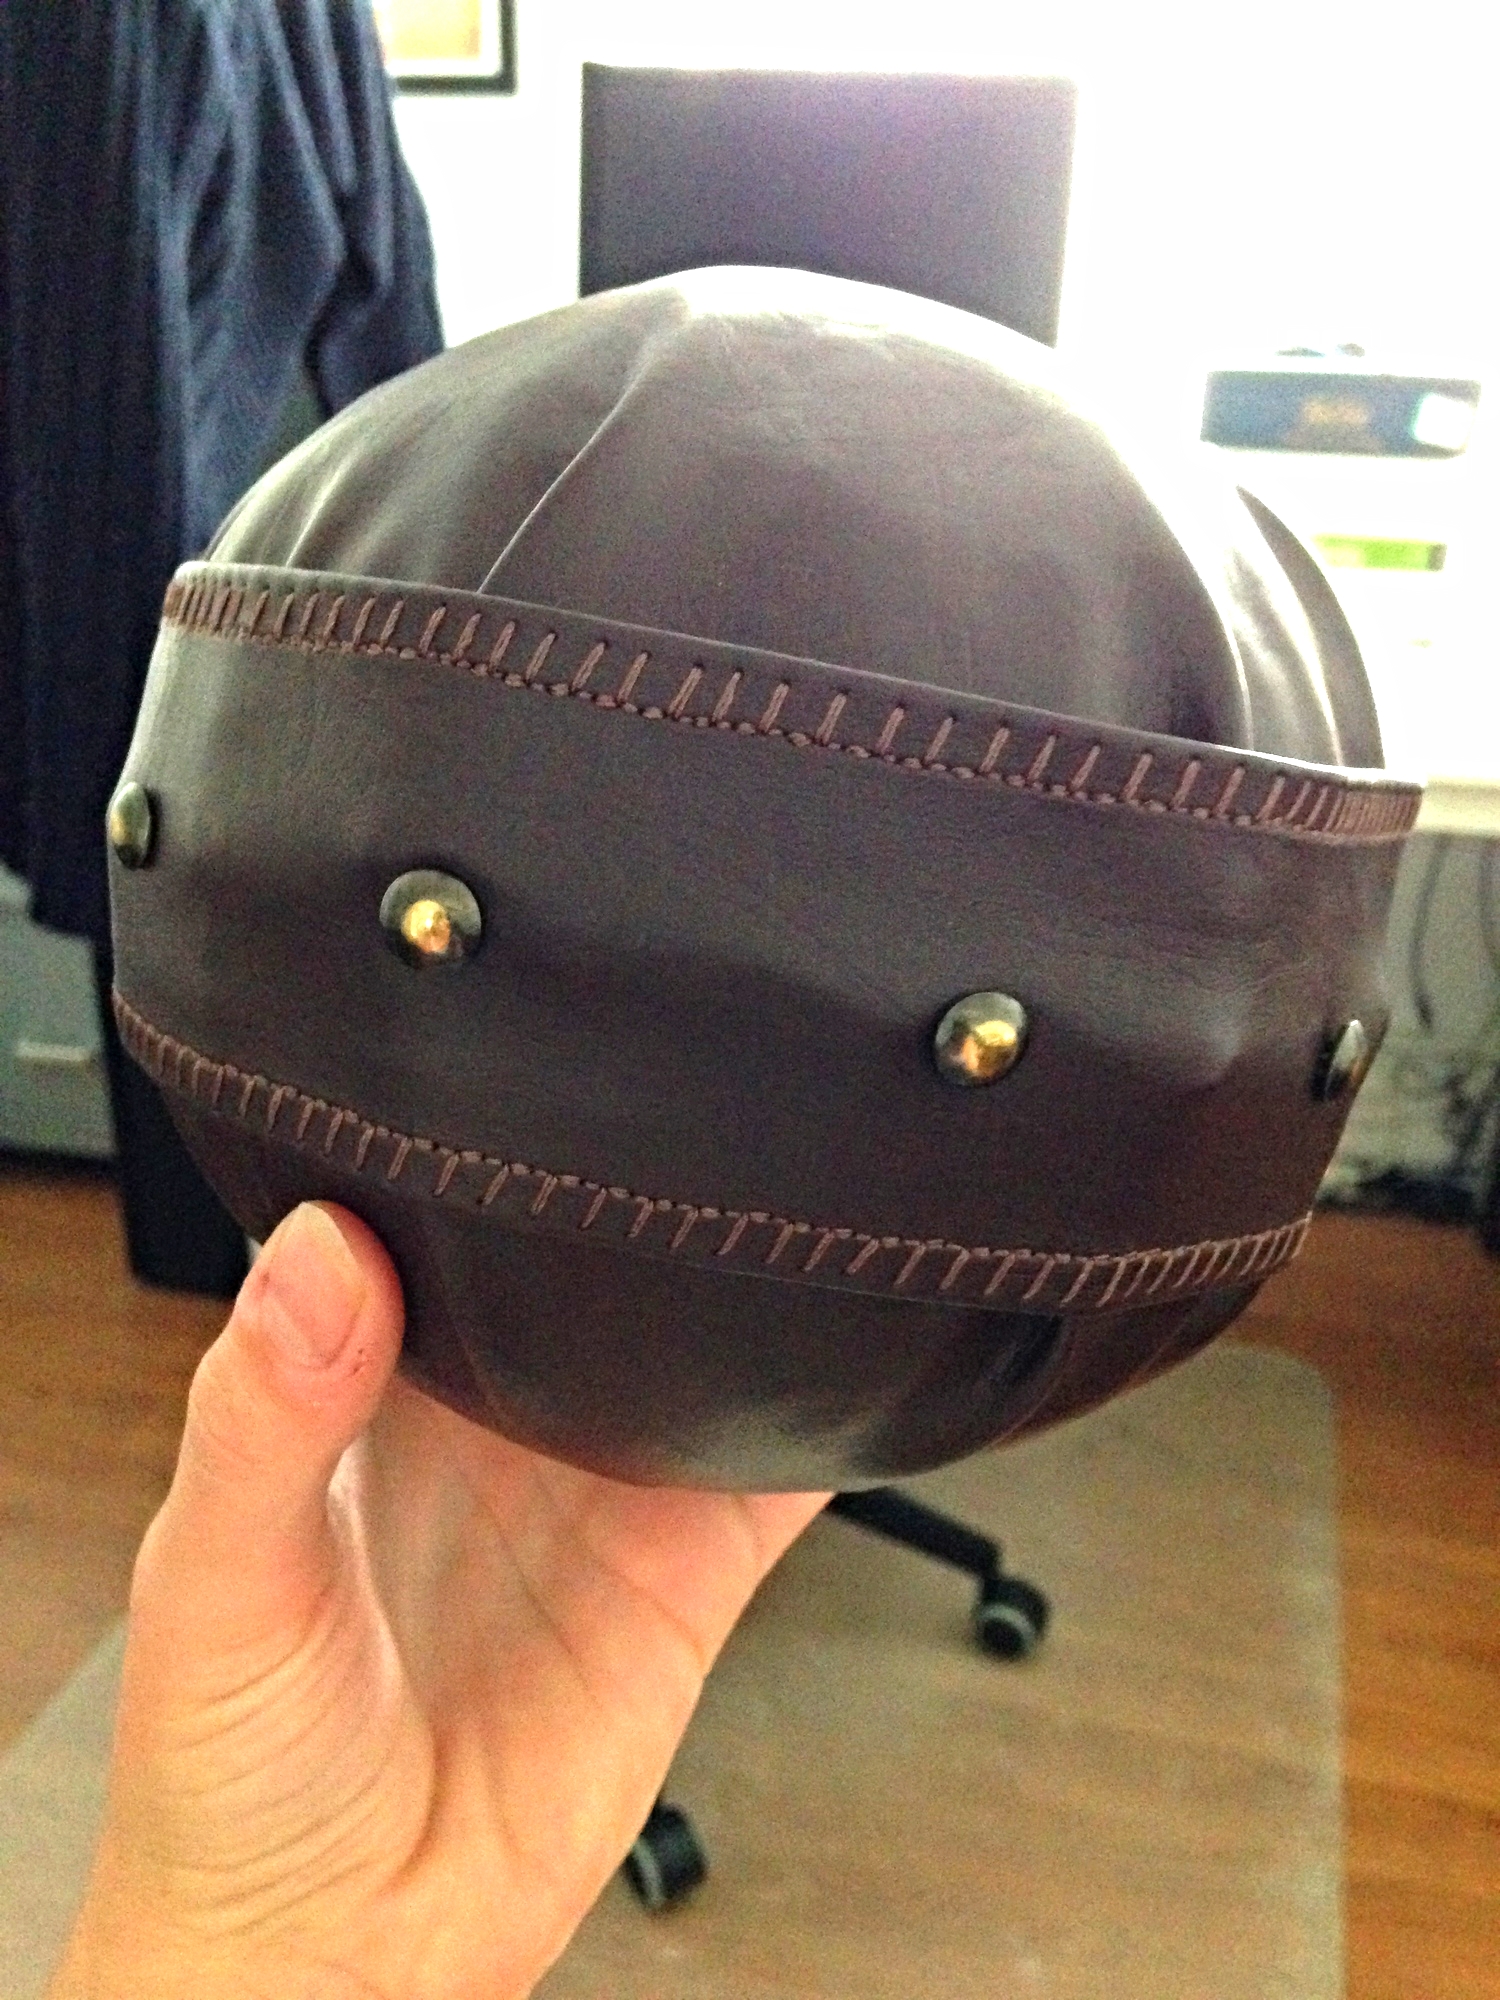
  7. Because the ball looked a little lumpy I decided to add the embellishments: the strap with decorative leather stitching and the upholstery tacks. The strap was an 11 inch strip that I sewed together so that it fit tightly over the centre of the ball. Then, using my fingers, I punched the upholstery tacks around the circumference of the ball into the centre of the strap. TaDa! Bludger! 

Bat

Materials:

1 aluminium softball bat (children's sized if possible)
A metal saw
... or 1 Dad who has a garage full of tools
Fine grit sandpaper
Brown spray paint
Brown acrylic paint
White linen cut into a metre long strip
Black or brown Marker
Paper and a pencil

  1. First, go and buy a cheap metal softball bat. Preferably a child's sized one because the beater's bats are smaller than regular bats. 
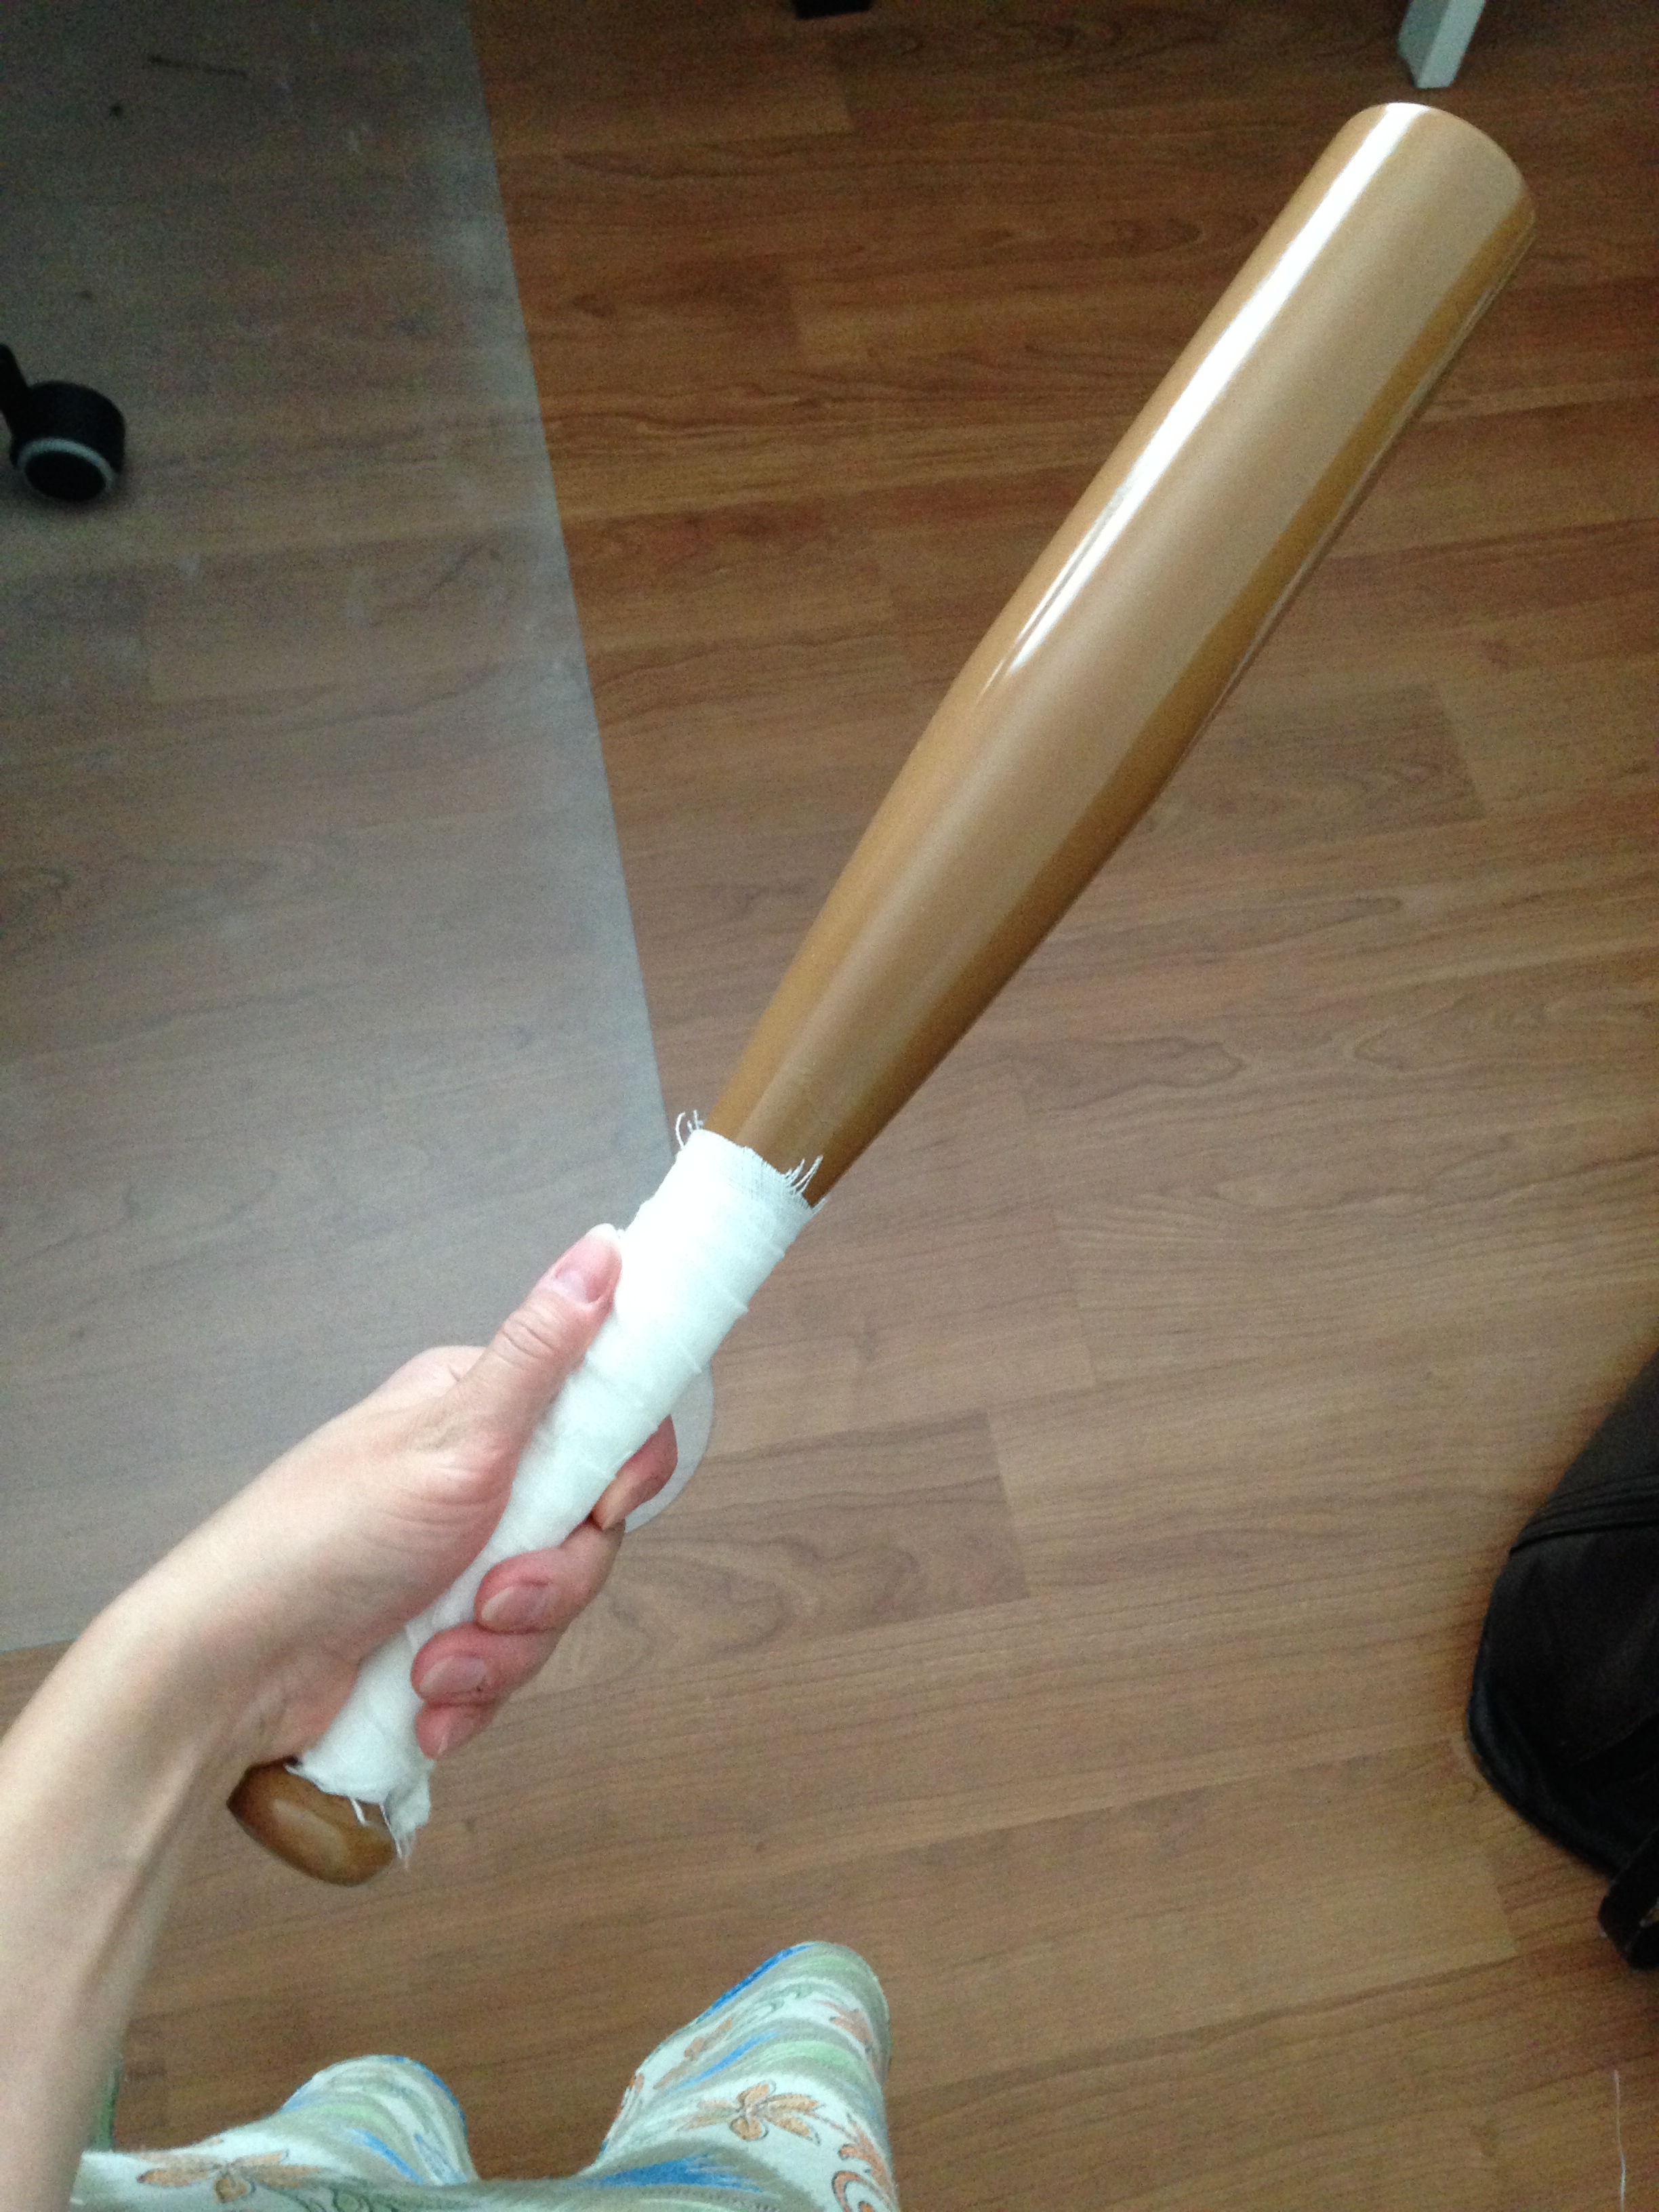
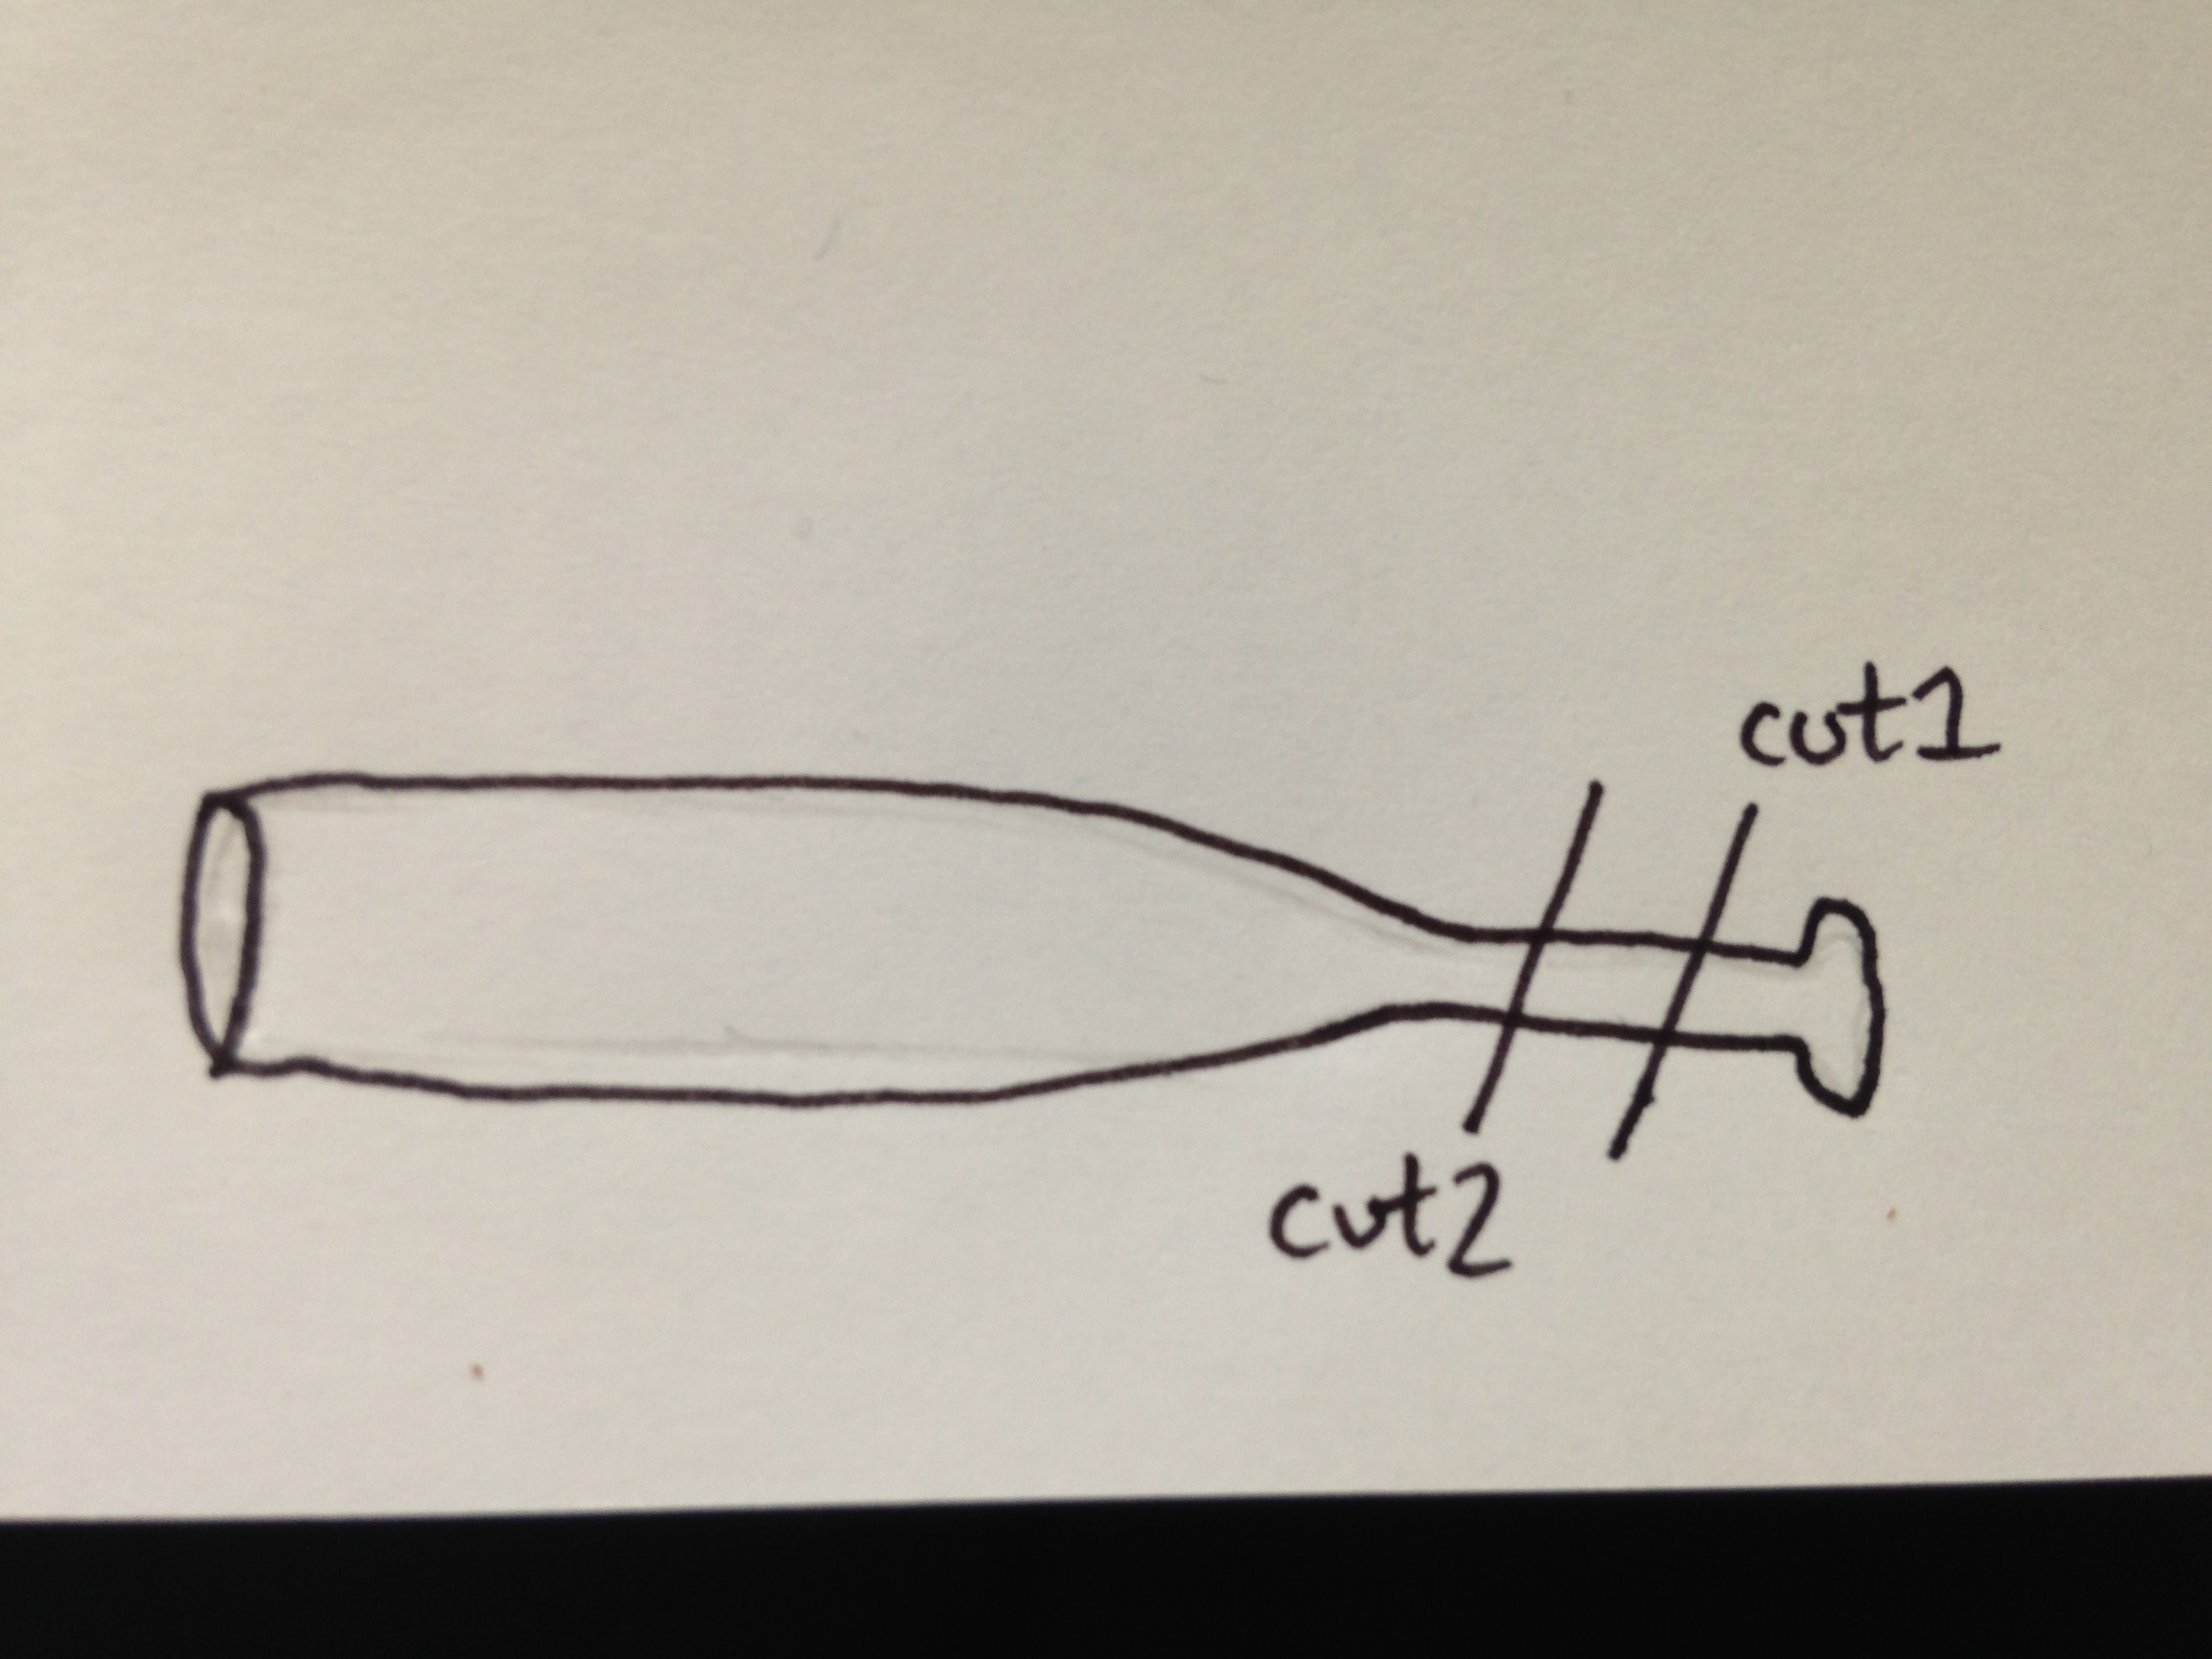
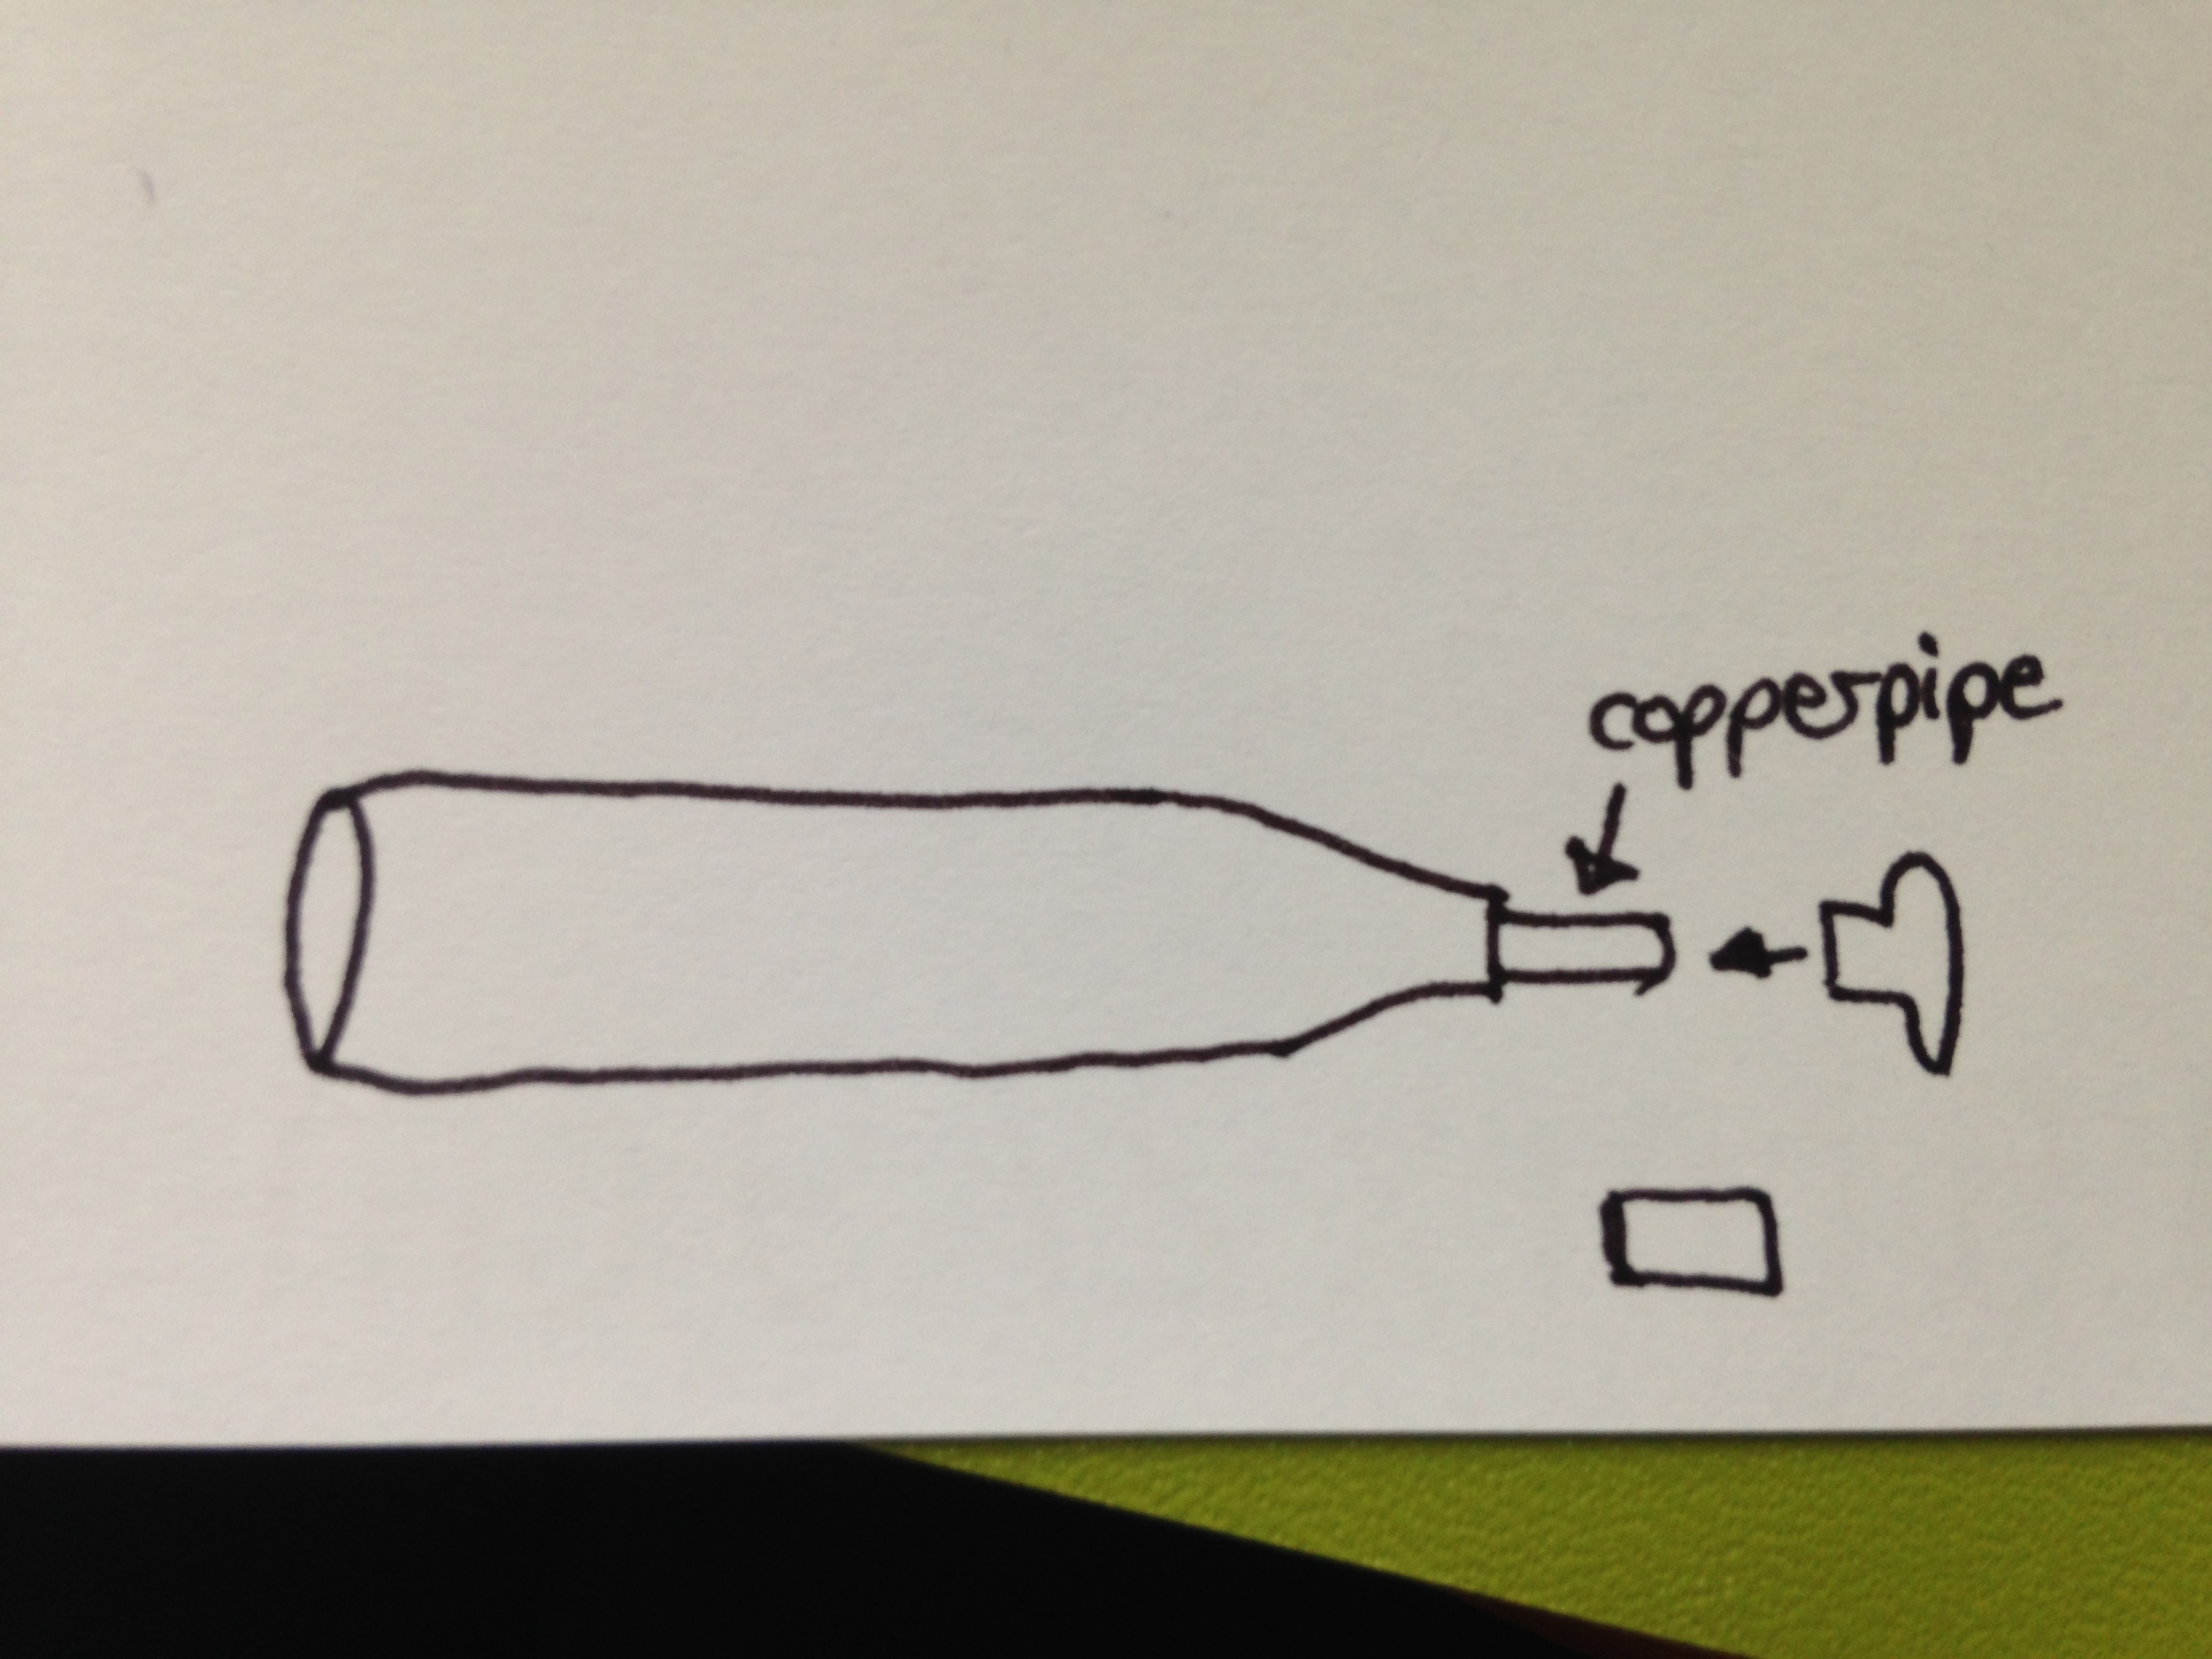
  2. After you've bought your bat it's time to cut it down to size. Now, using a metal saw and a vice, I made two cuts into the bat handle (pictures). The first cut removed the handle base (which will be reattached later). The second cut shortened the handle. Then I inserted a piece of copper pipe that fit snuggly into the hollow bat. I replaced the handle base by putting it onto the remaining sticking out copper pipe. Then I taped everything together. The copper pipe inside makes the connection strong.
  3. Now it's sanding time. With the sandpaper, I sanded the glossy surface of the metal down. This will help the paint adhere. 
  4. Outside, I evenly coated the bat in brown spray paint. I did this in two parts, letting the paint dry in between each part. 1) Hold the handle and spray the bat; 2) Hold the now dry bat and spray the handle. (I rigged up a stand so that the bat could dry hands free!)
  5. I recommend that you paint the wood-like design onto the bat at this point. (I wrapped the handle next, but it's much better to get the painting out of the way first.) I used brown acrylic paint and brushed some wood-like knots and grain lines onto the bat. No need to be too elaborate! Just enough to get the point across. Let it dry.
  6. Next, I took a meter long strip of linen, leaving a 3 inch end tail, and tightly wrapped the linen up and then back down the handle. I tied a knot with the initial tail and the remaining strip. 
  7. Now it's time to draw on the tell-tale bat markings. Using a pencil, I sketched out lines. When you're happy with them, using a marker, fill in the lines. (Wait to fill in the dots until after the leather strips are finished.)
  8. For the larger leather strip at the top of the bat, I measured the circumference of the bat and made a band, exactly like the one for the bludger, that will fit snuggly. Once done, I slipped it onto the bat and slide it down. It should be very snug. For the small leather strip, I took the piece of paper and wrapped it around the bat at the handle. I then drew two straight lines on the paper around the bat where I want the band to be. When you uncurl the paper you see the pattern you need to use to make a straight band that fits snuggly on the bat. (Also, don't forget to add some seam allowances before you cut out your leather! Or, like me, you'll have to redo it.) The I slipped it over the end of the handle and up until it fits snuggly just above the linen. 
  9. Marker in the dots and voila! Fini!

Quaffle

Materials:
10 inch foam sphere
Parchment\pattern paper
Pencil and ruler
Protractor
Leather needles (both for the machine and hand)
Red leather

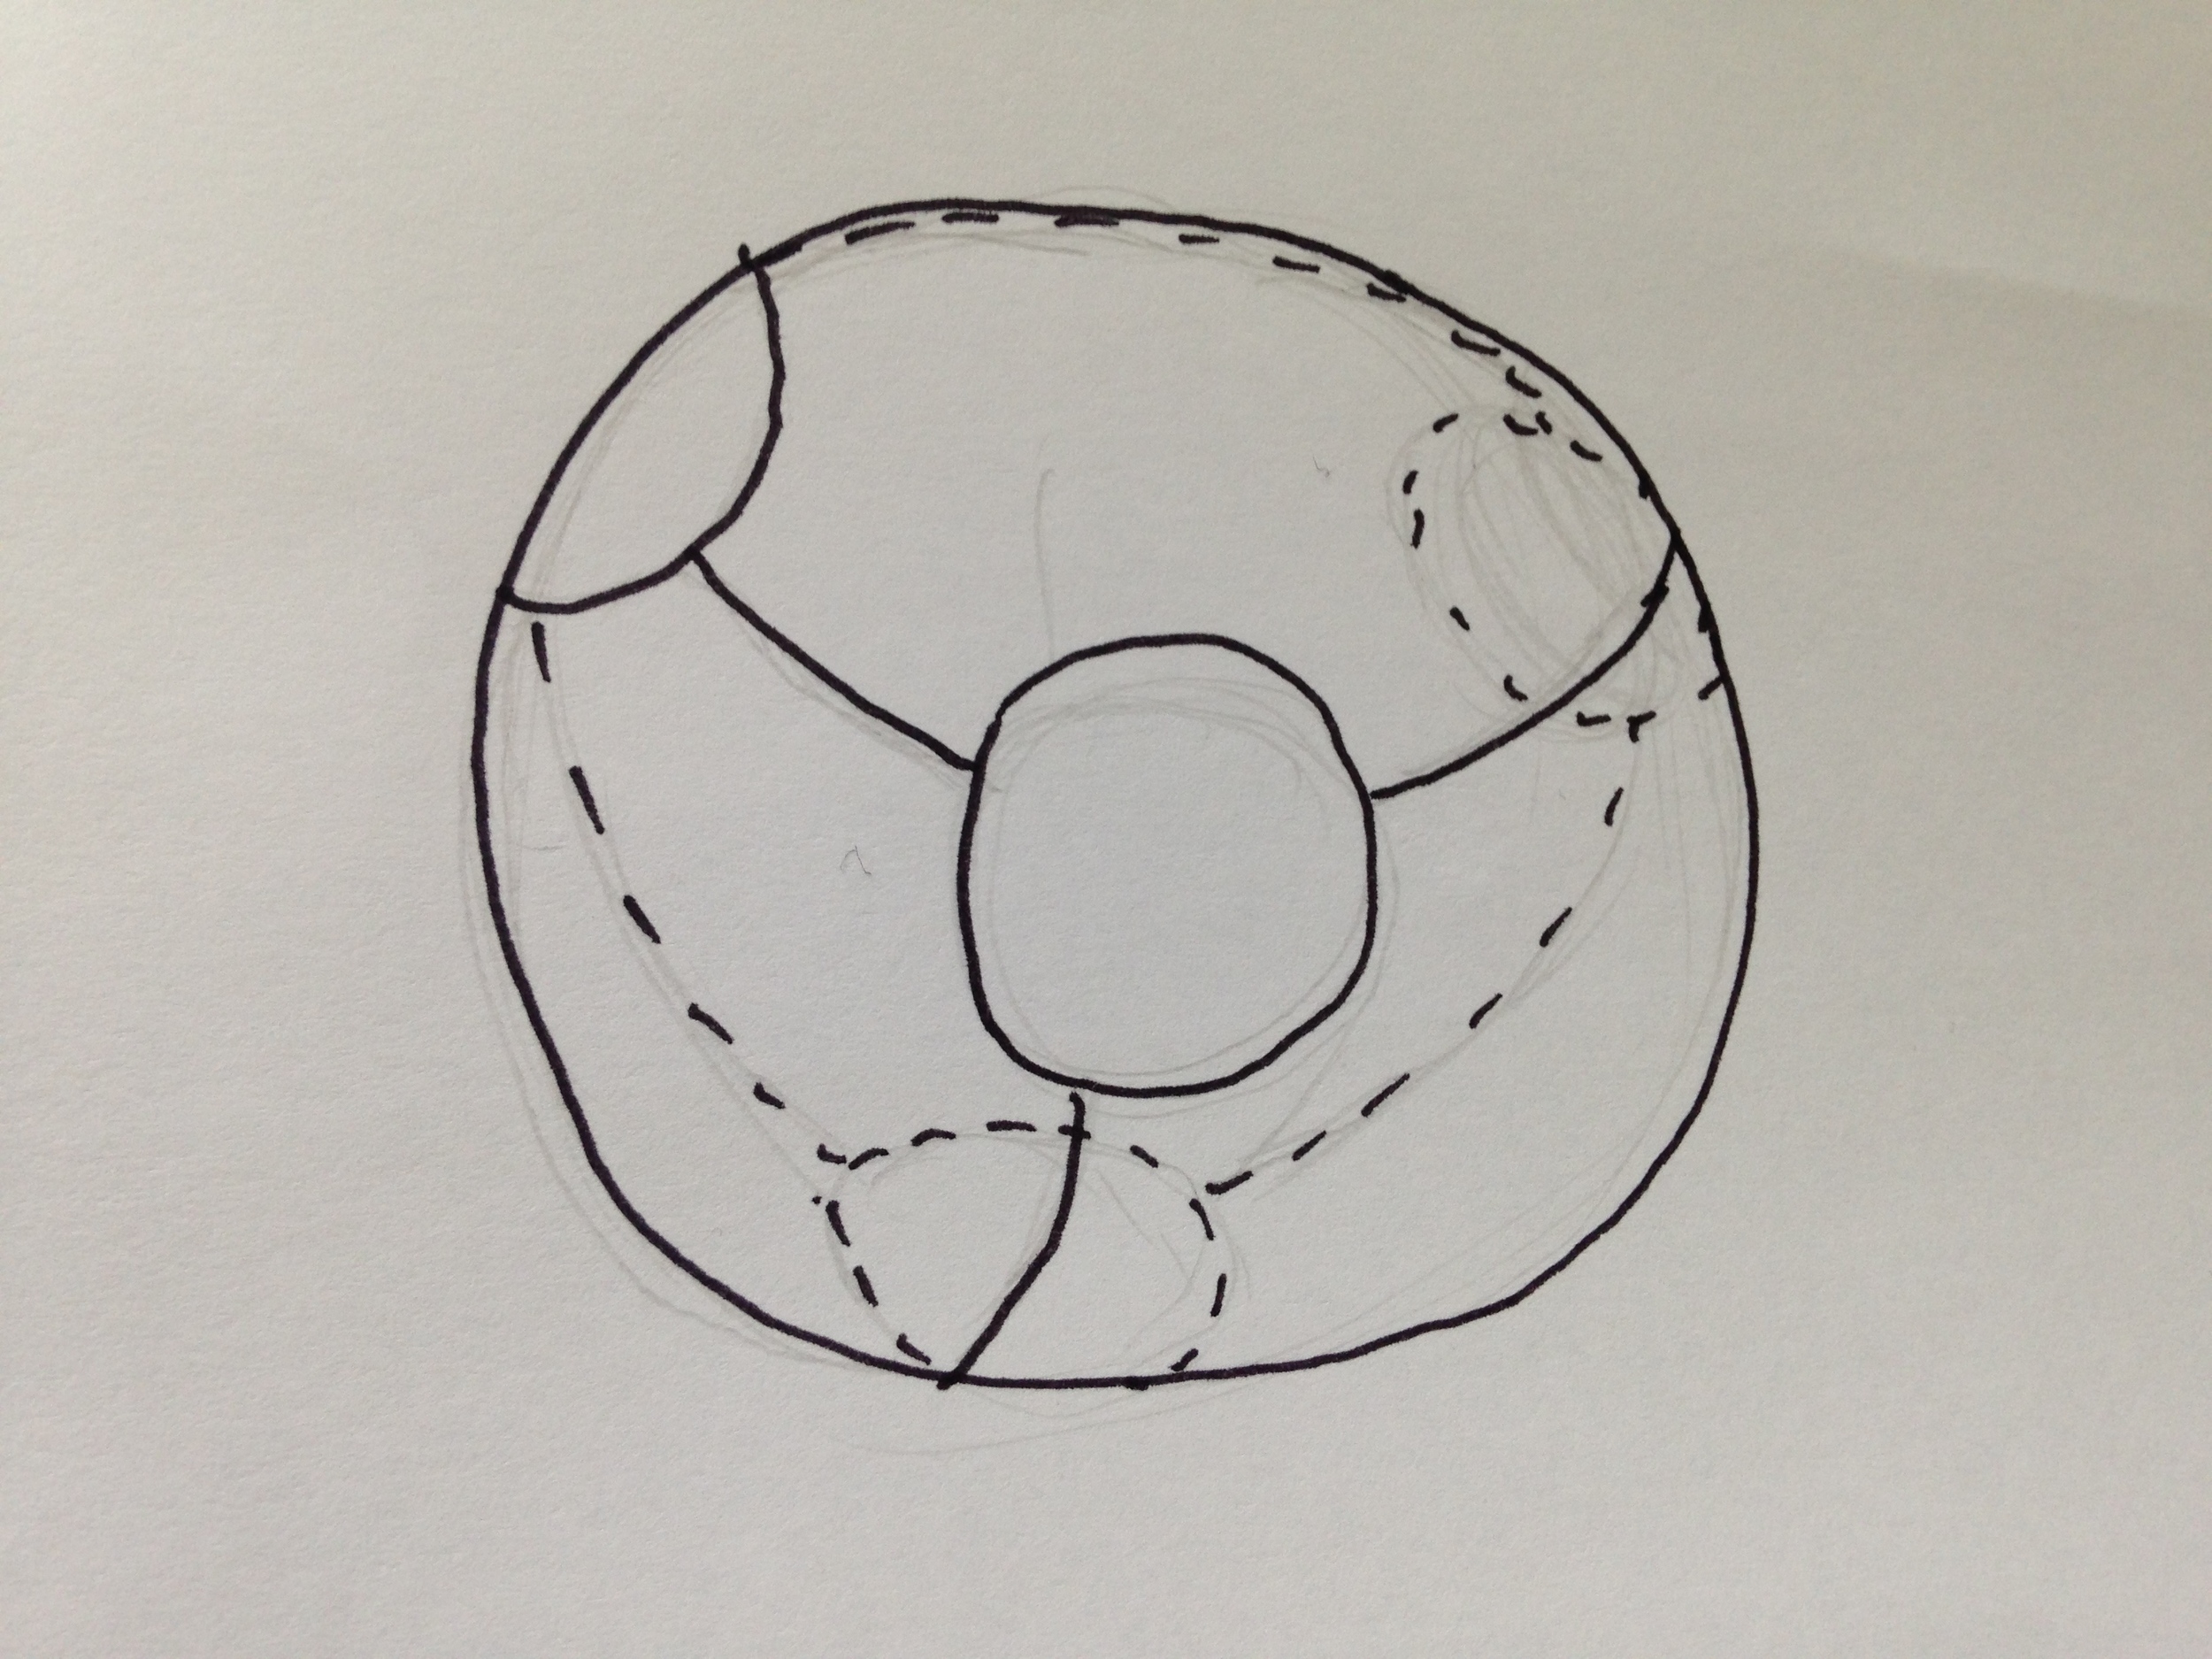
  1. It's pattern time again! Now the quaffle is a minor math nightmare. We use the same concepts as the bludger but the quaffle has a pattern to it. It has 4 small round insets and in-between pieces that surround them. Lucky for us the ball has a repeating pattern! So we just need to make two pattern pieces: the round inset and the in-between piece.
    So:

        Circumference = 2πr = 2*π*5 in = 37.7 in

    So we have a circumference of almost 38 inches. Drawing out the pattern, we can see that if we take the centre of an inset circle, on opposite side of the sphere is the edge of an in-between piece. So, if we divide the circumference in half we can find out the distance between these two points which is approximately 19 inches. 
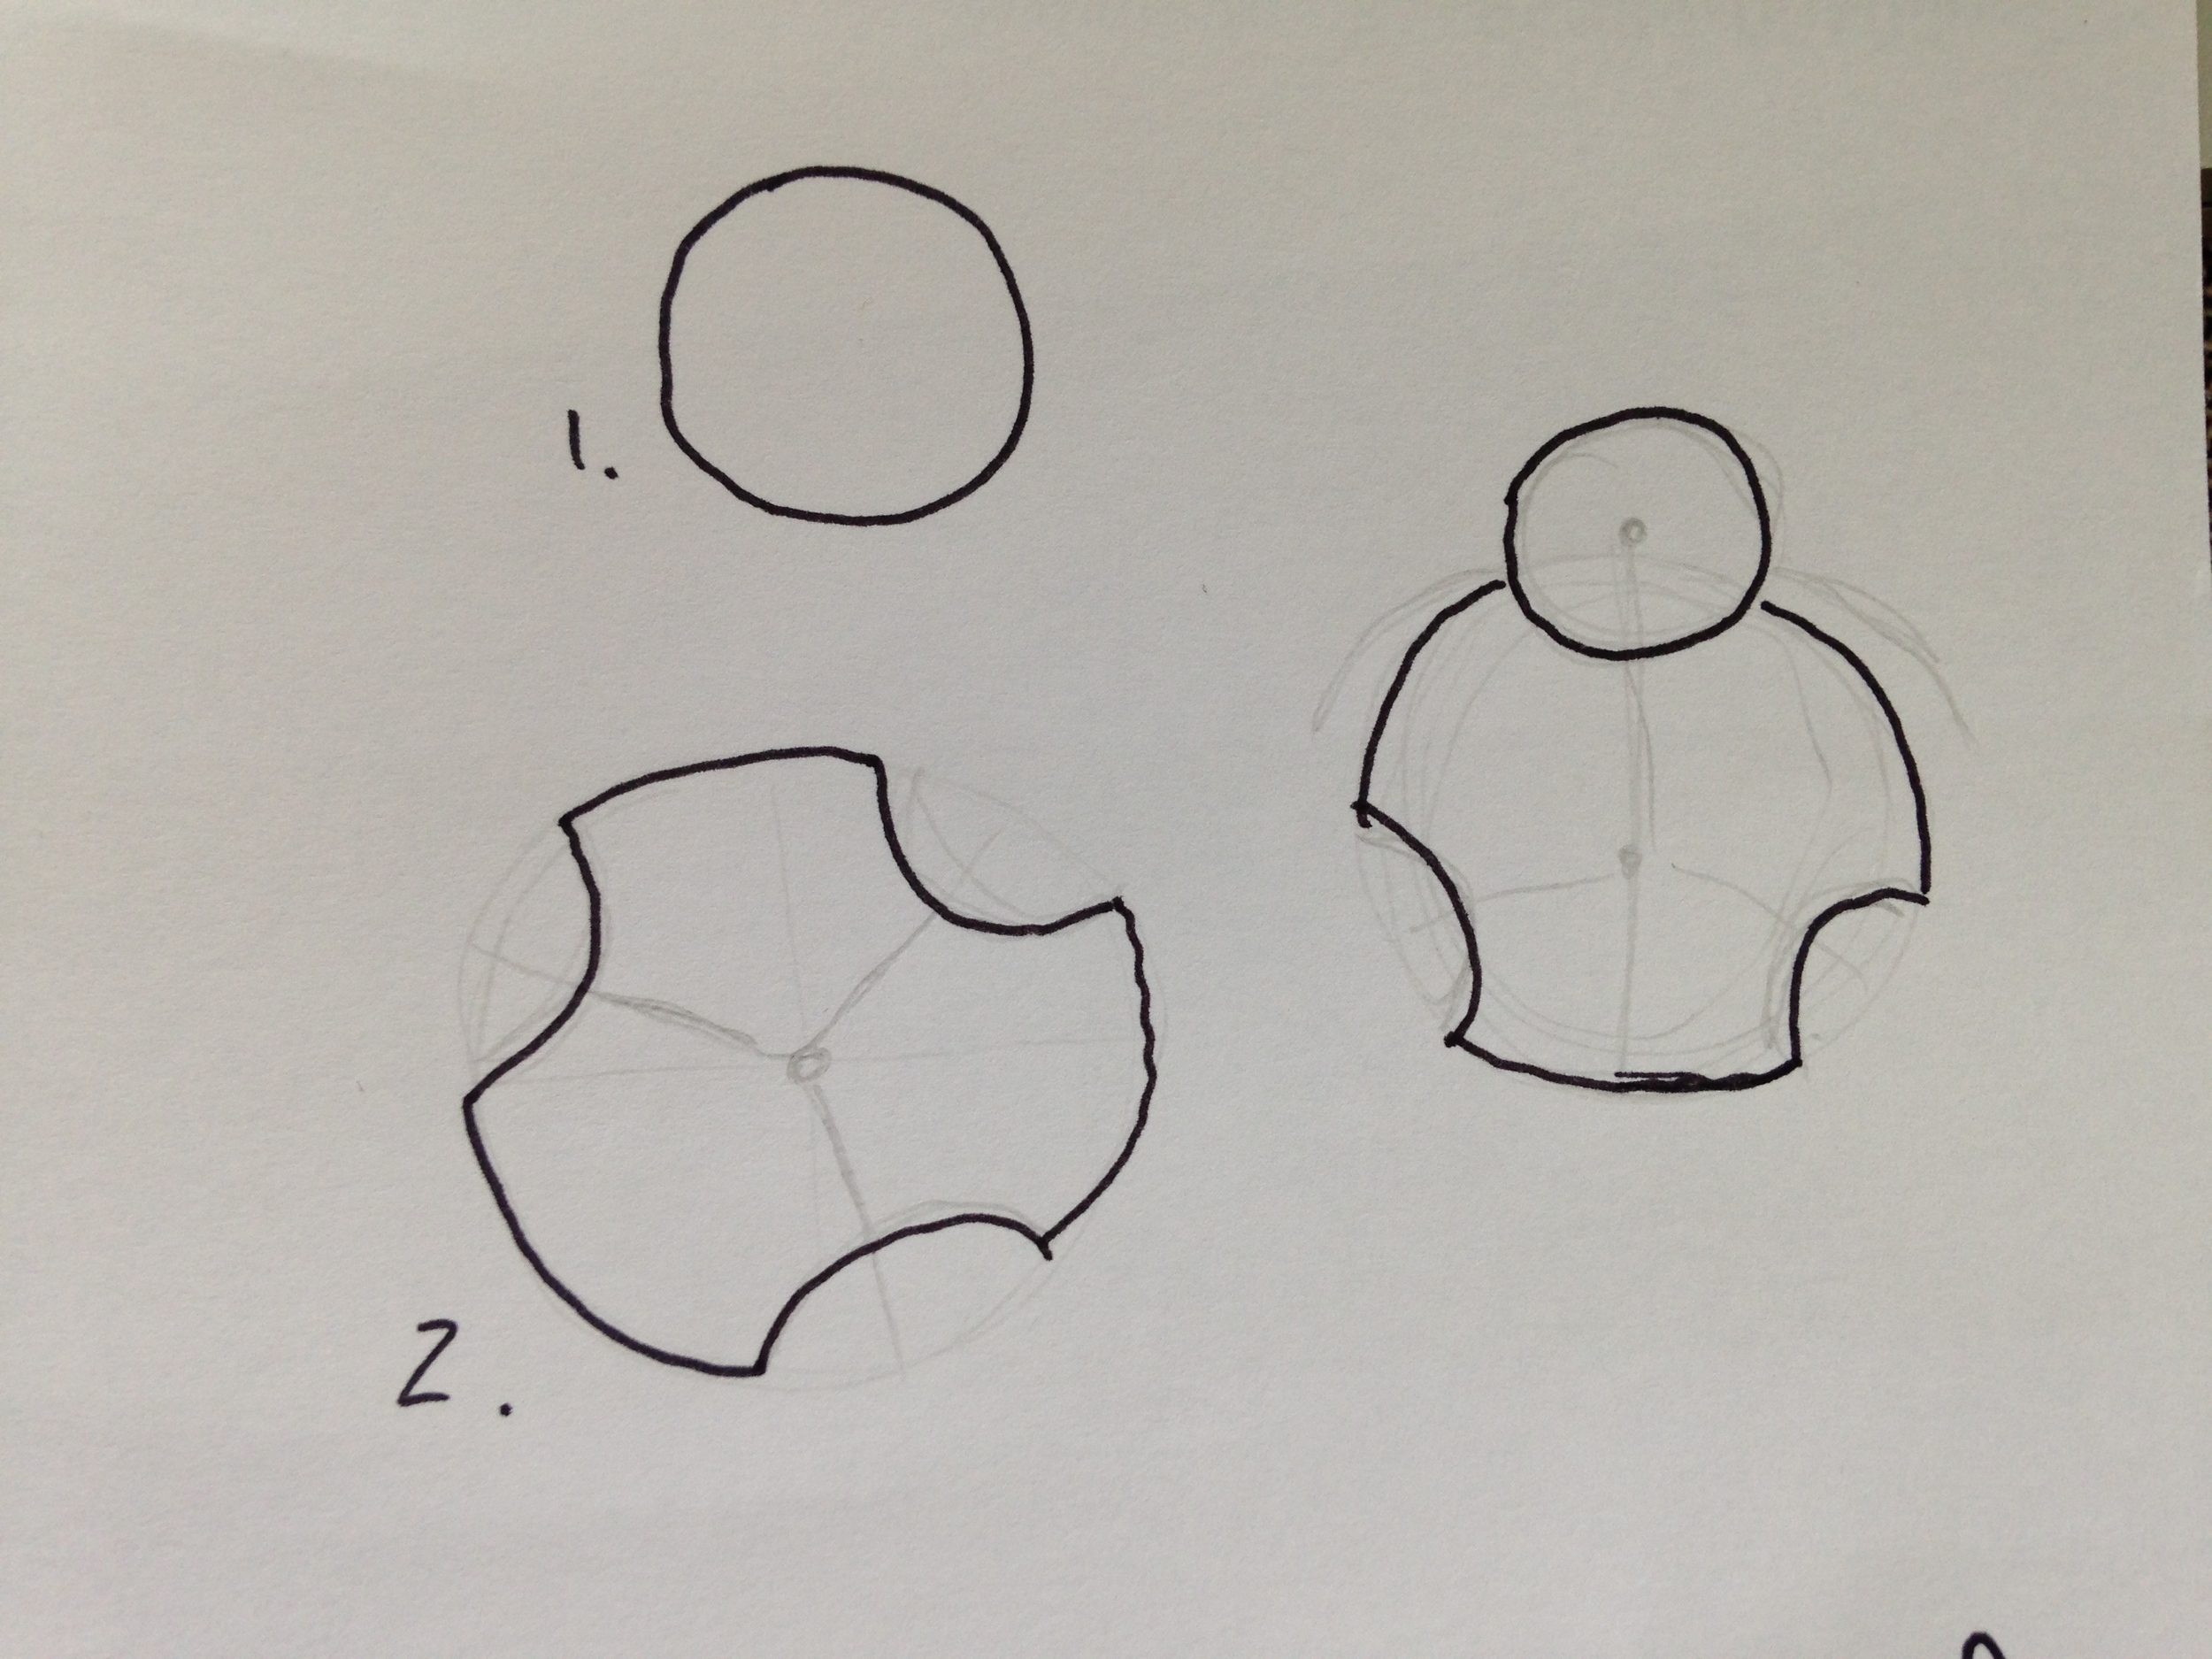
    These 19 in must include half the diameter of the circle (the circle radius) and diameter of the in-between piece. So, if we make the circle radius 3 inches (our circle pattern will be 6 in diameter plus seam allowance extra), that leaves 16 inches left for the diameter of the in-between piece. Draw out these circles either using a compass or the technique we used for the bludger pattern. 
    The in-between piece pattern is not yet done. This is the part where you do need a protractor. Elementary school all over again. Mark the centre of your circle. Then draw three lines, 120' from each other, radiating from the centre of the in-between piece. Where the line hits the edge of the pattern piece, match up the centre of the circle pattern piece you made to the line and the edge of the in-between piece. Trace a semi-circle onto the in-between piece. Cut out the semi-circle and then repeat this for the other two lines. Your pattern piece should now look like the one drawn above. Yay!
  2. Now that the dreadful pattern is complete, draw out the pattern on the back of your leather and cut out 4 circles and 4 in-between pieces. 
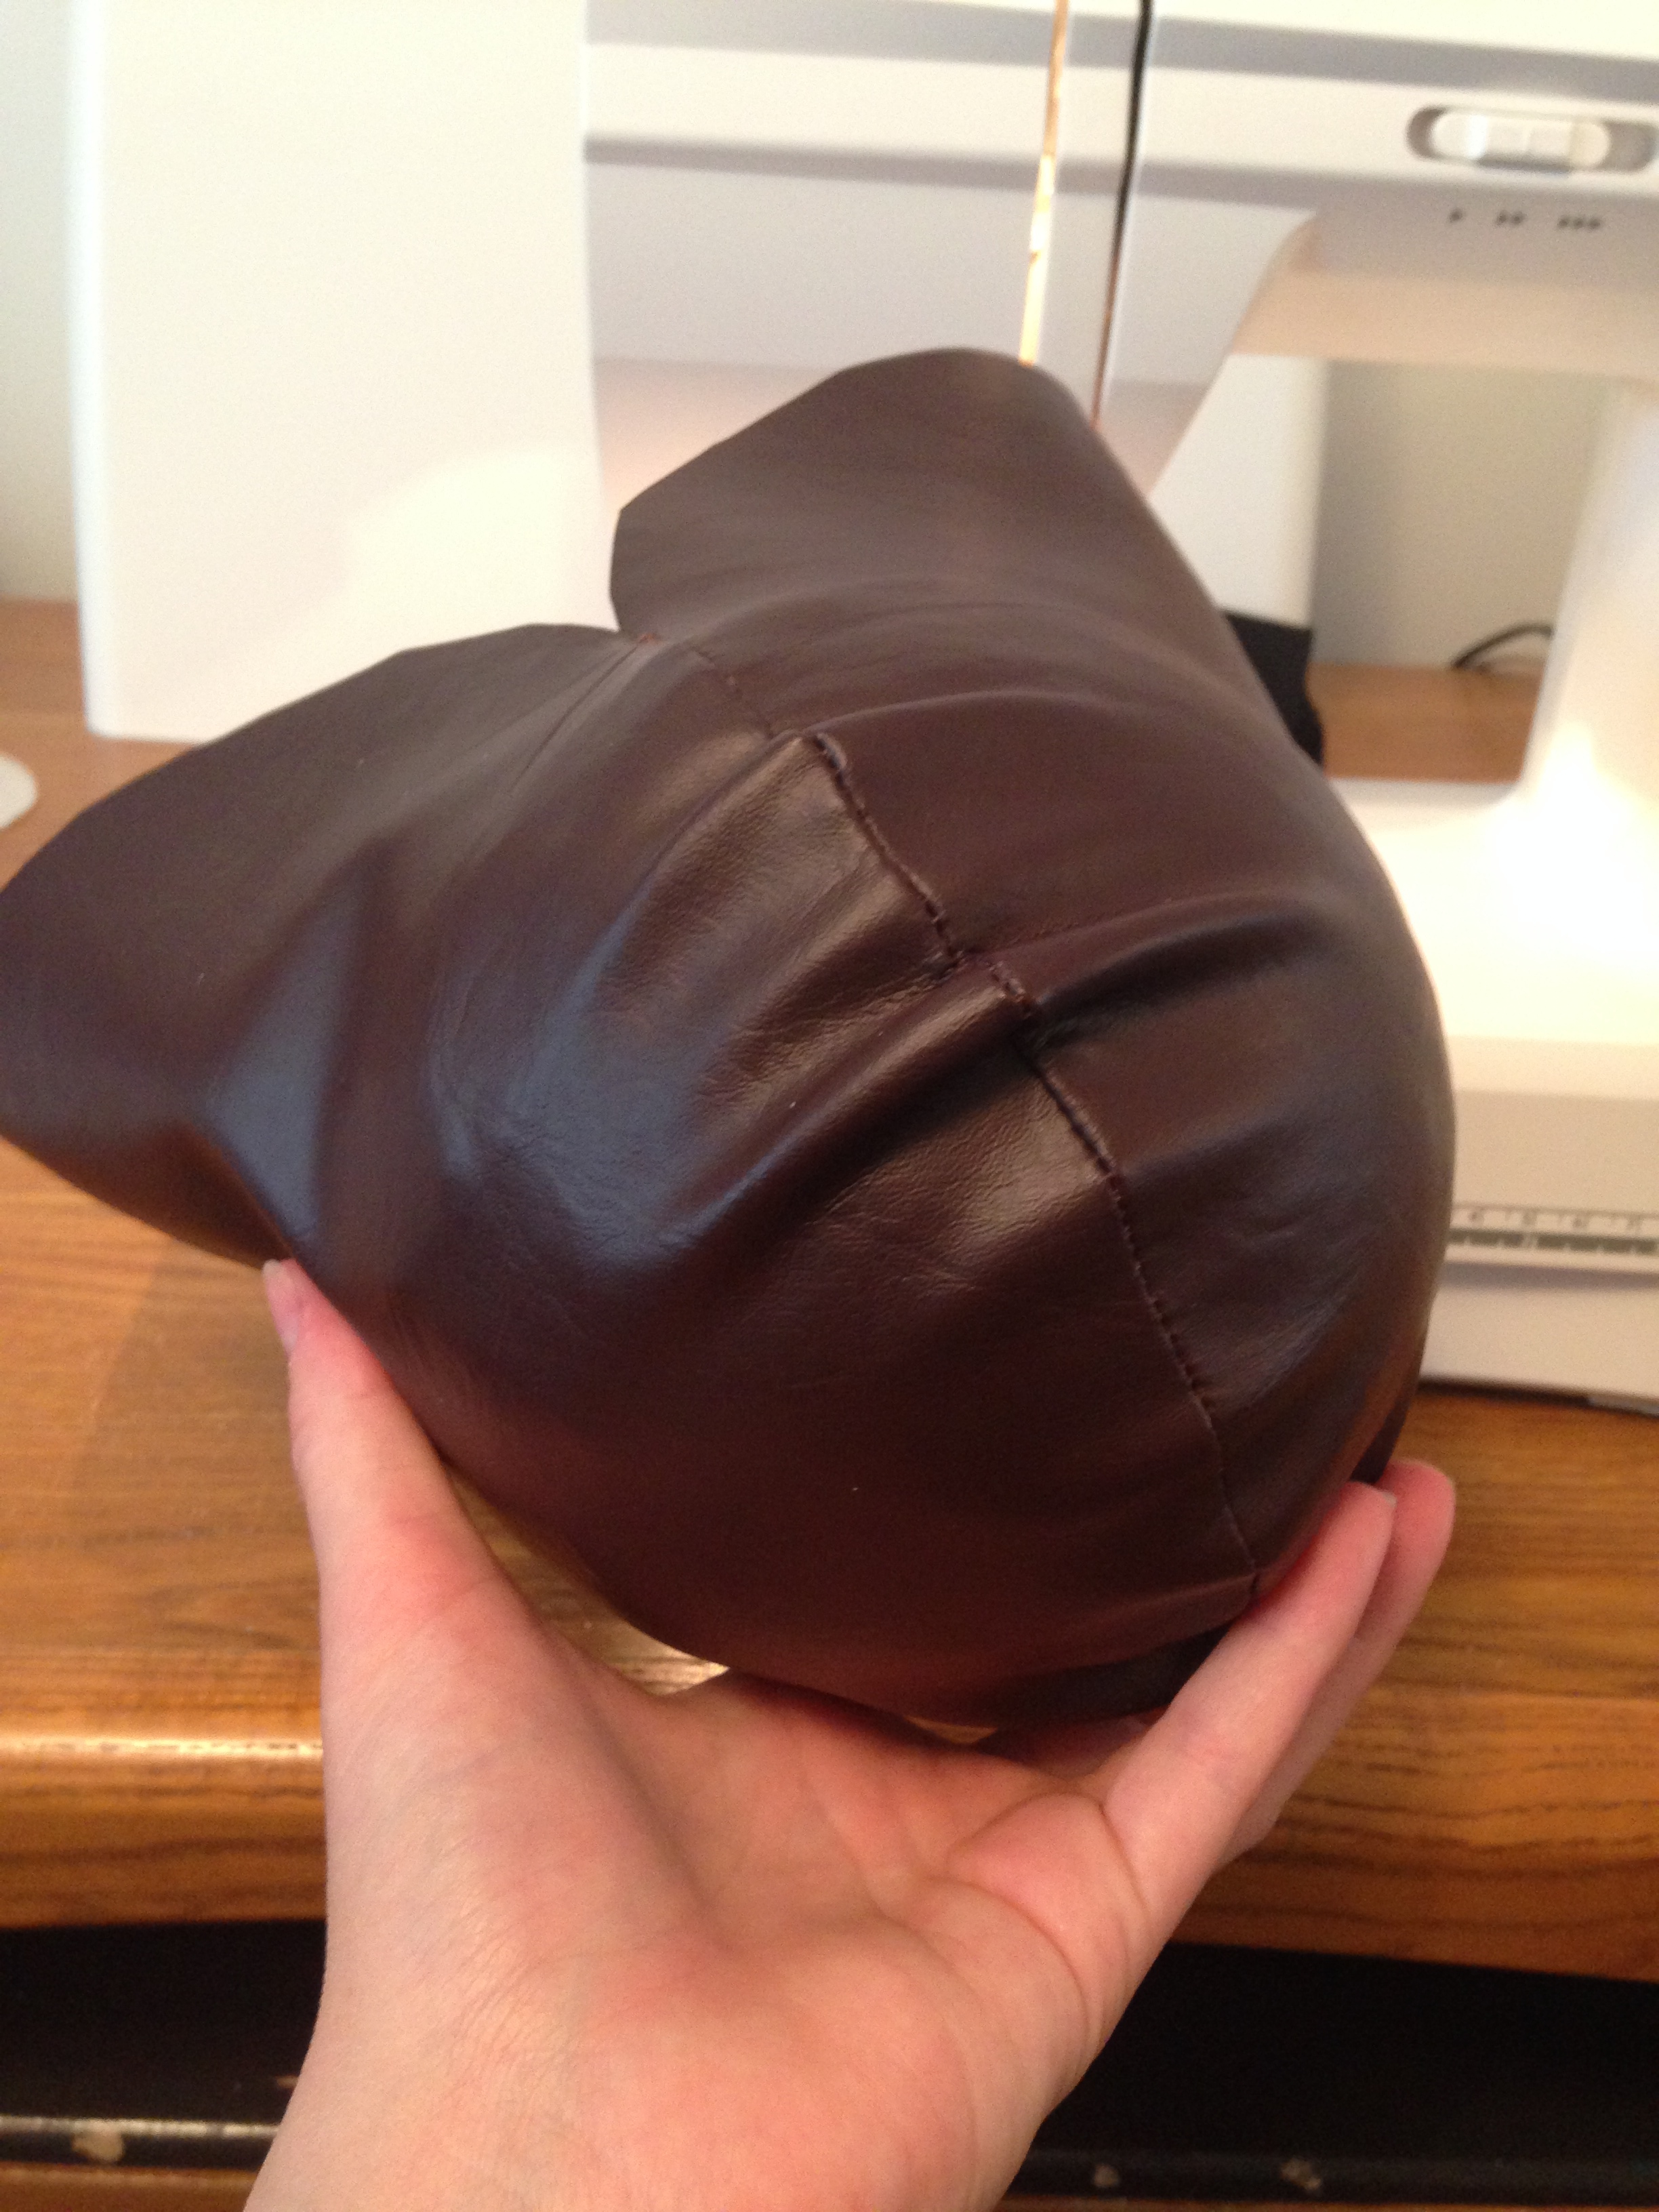
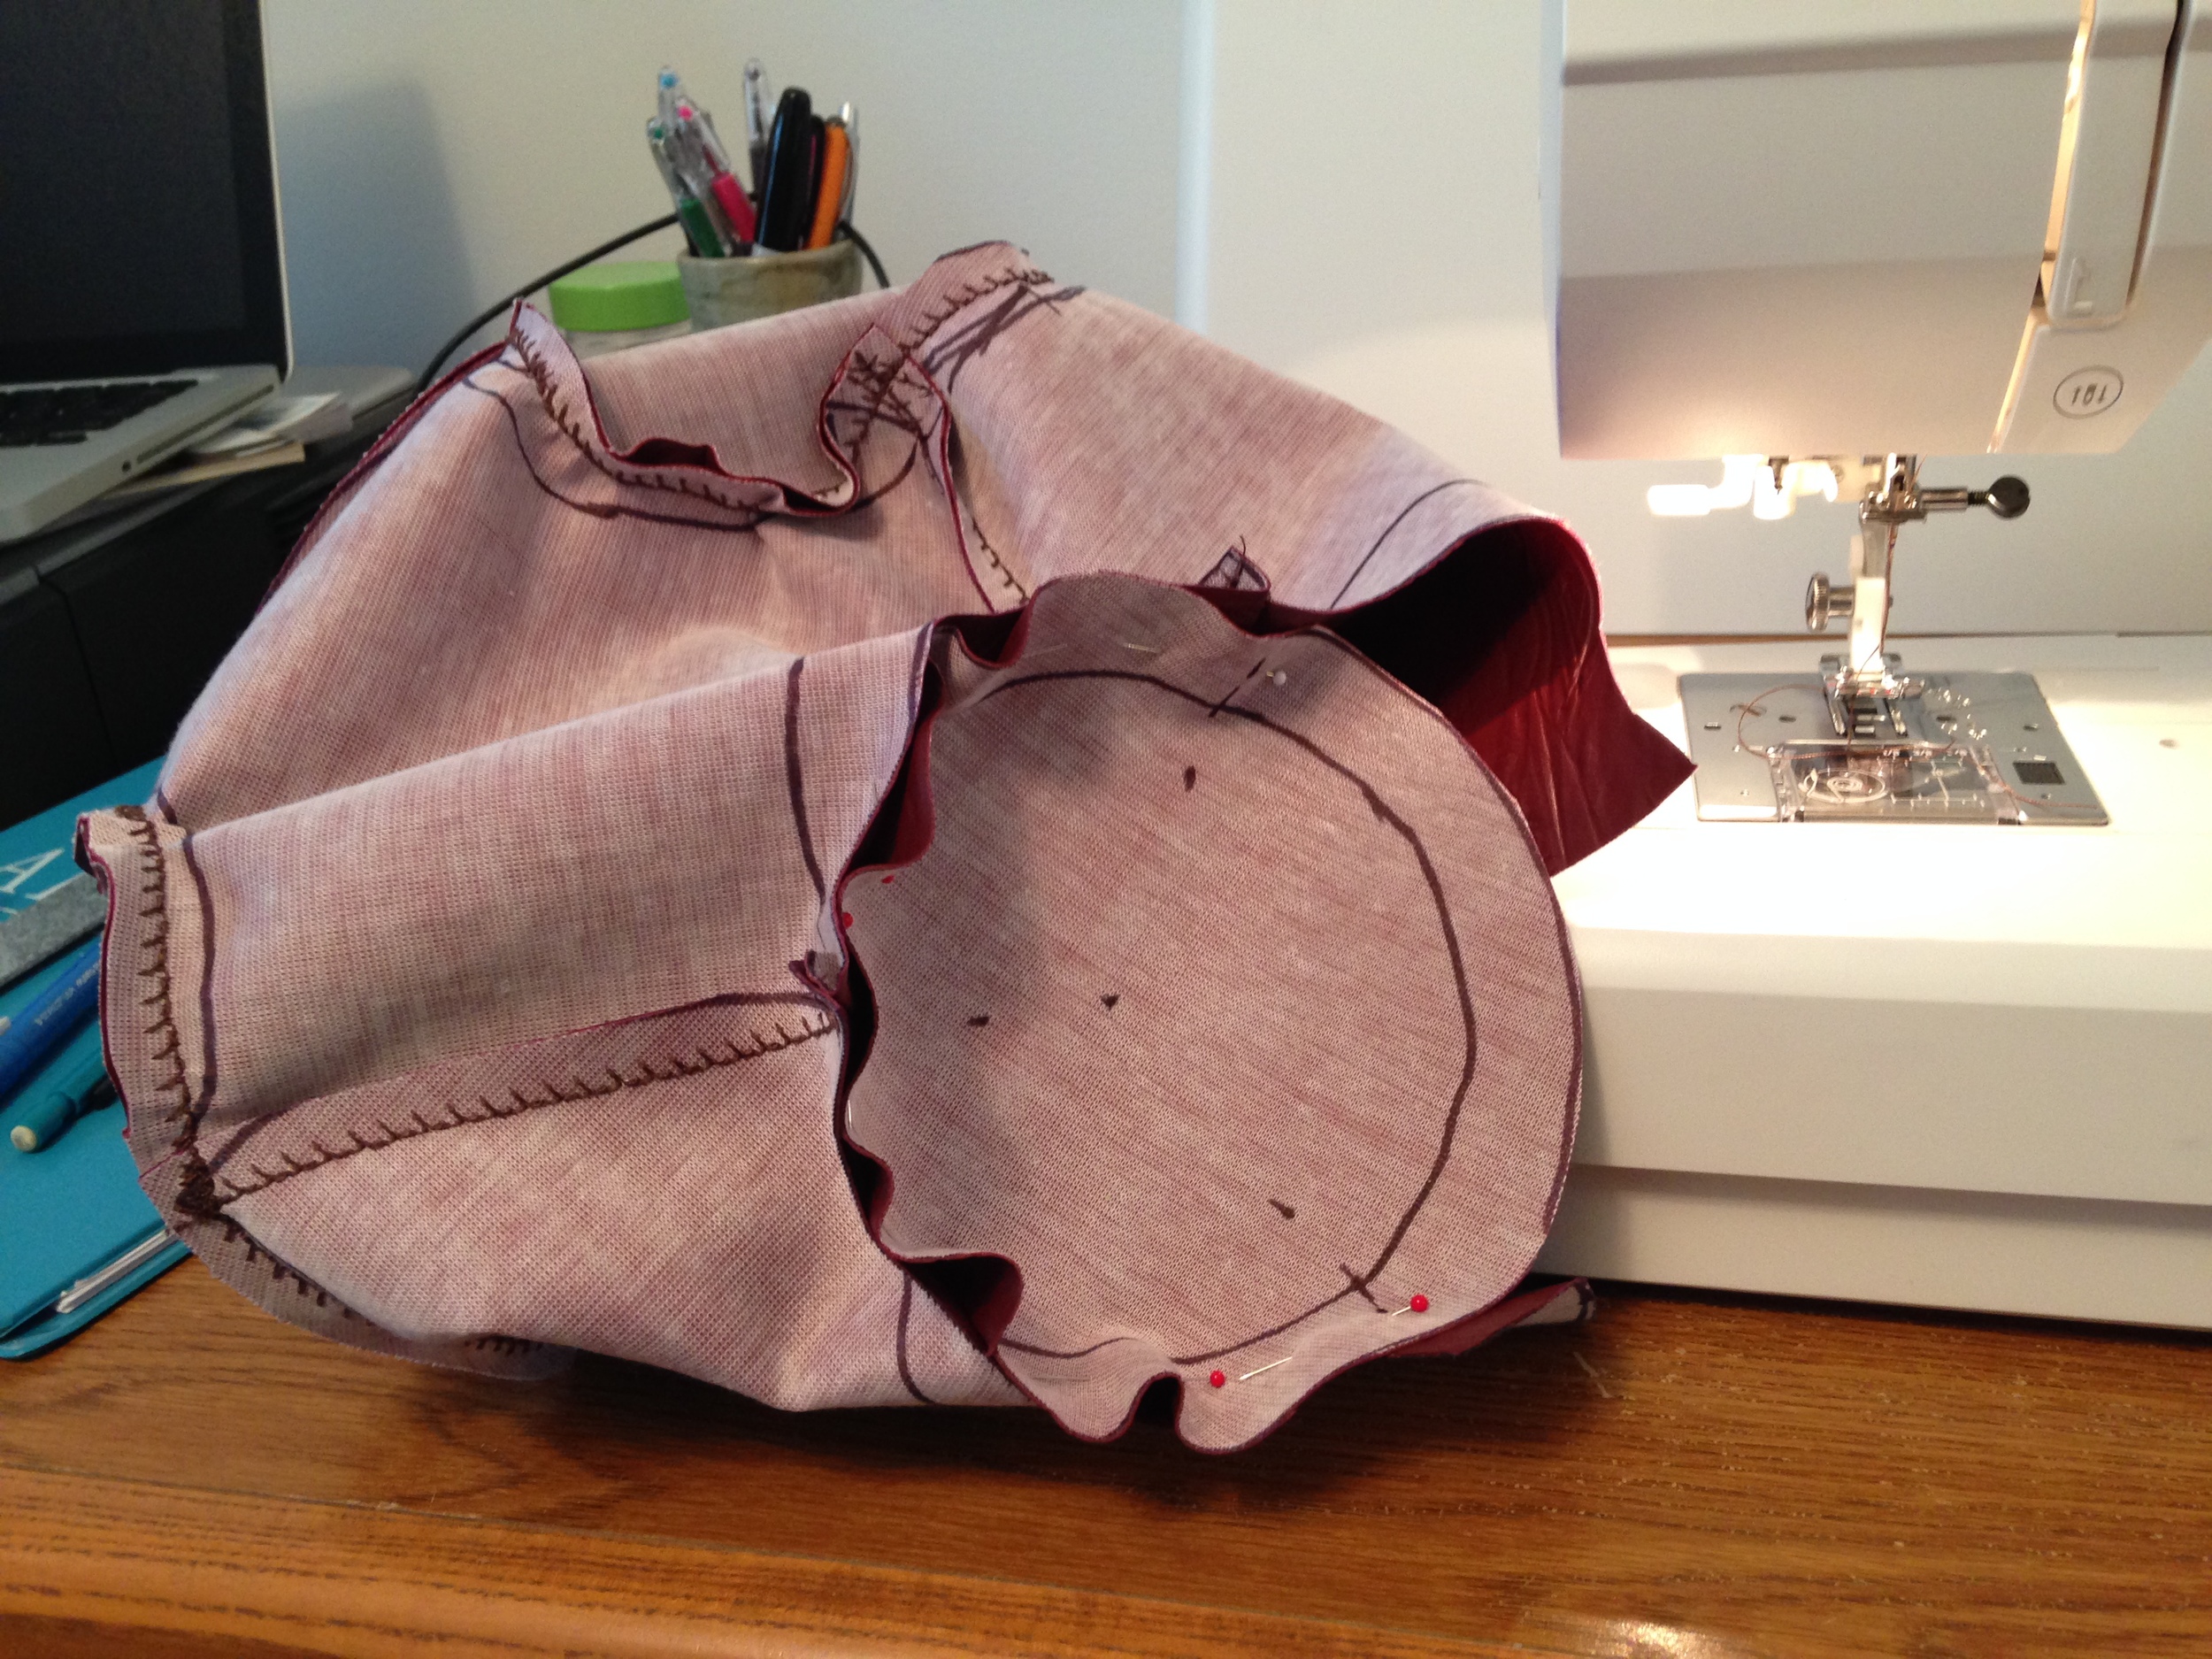
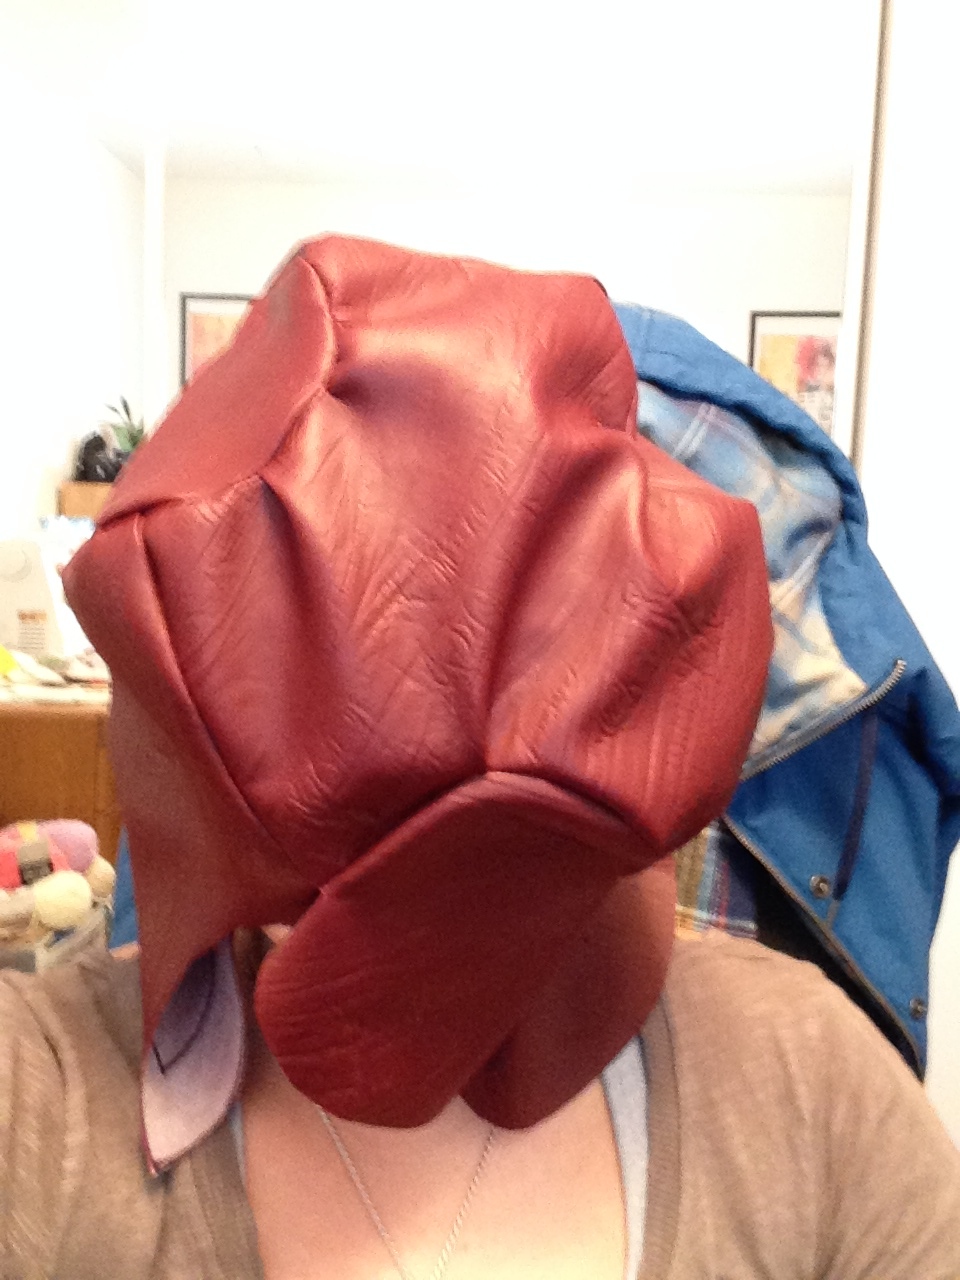
  3. Now comes the logistical sewing nightmare part: Stitching together the circle and the in-between pieces. I started stitching the in-between pieces together at their seams. Then, after, I sewed in the circle pieces. Make sure you leave two in-between sides and the respective circle open so you can slip the styrofoam ball inside. (See my quaffle head picture above.)
  4. Slip in the styrofoam ball. Since it's large you may have to use some force to get it all the way in. 
  5. It's closing time! Using the same slip stitch as the bludger, sew up the remaining seams on the quaffle by hand. And there you have it! At this point you can smash in the circle insets. The styrofoam underneath will break down with a couple good whacks. =) (It's a nice way to vent frustration after sewing leather too. Haha.)

Congratulations again to Amanda and Aaron! Love you guys! Thank you for letting me be part of your day. <3

-Andrea 

The Half-Assed Hobbyist