A Sweet Treat

It's that time of year again! When I get bored and decide to torture myself with making meringue based desserts! This time though, instead of weeping over the smooshed sugary would-have-been-delicious confections, I did some research first! (GASP.)

And by research I mean I asked around for advice and recipes. But still counts! The biggest advice I got was to watch for humidity. If it's too humid out the meringues will fall. Duly noted. Air Con on, windows closed, it's meringue making time!

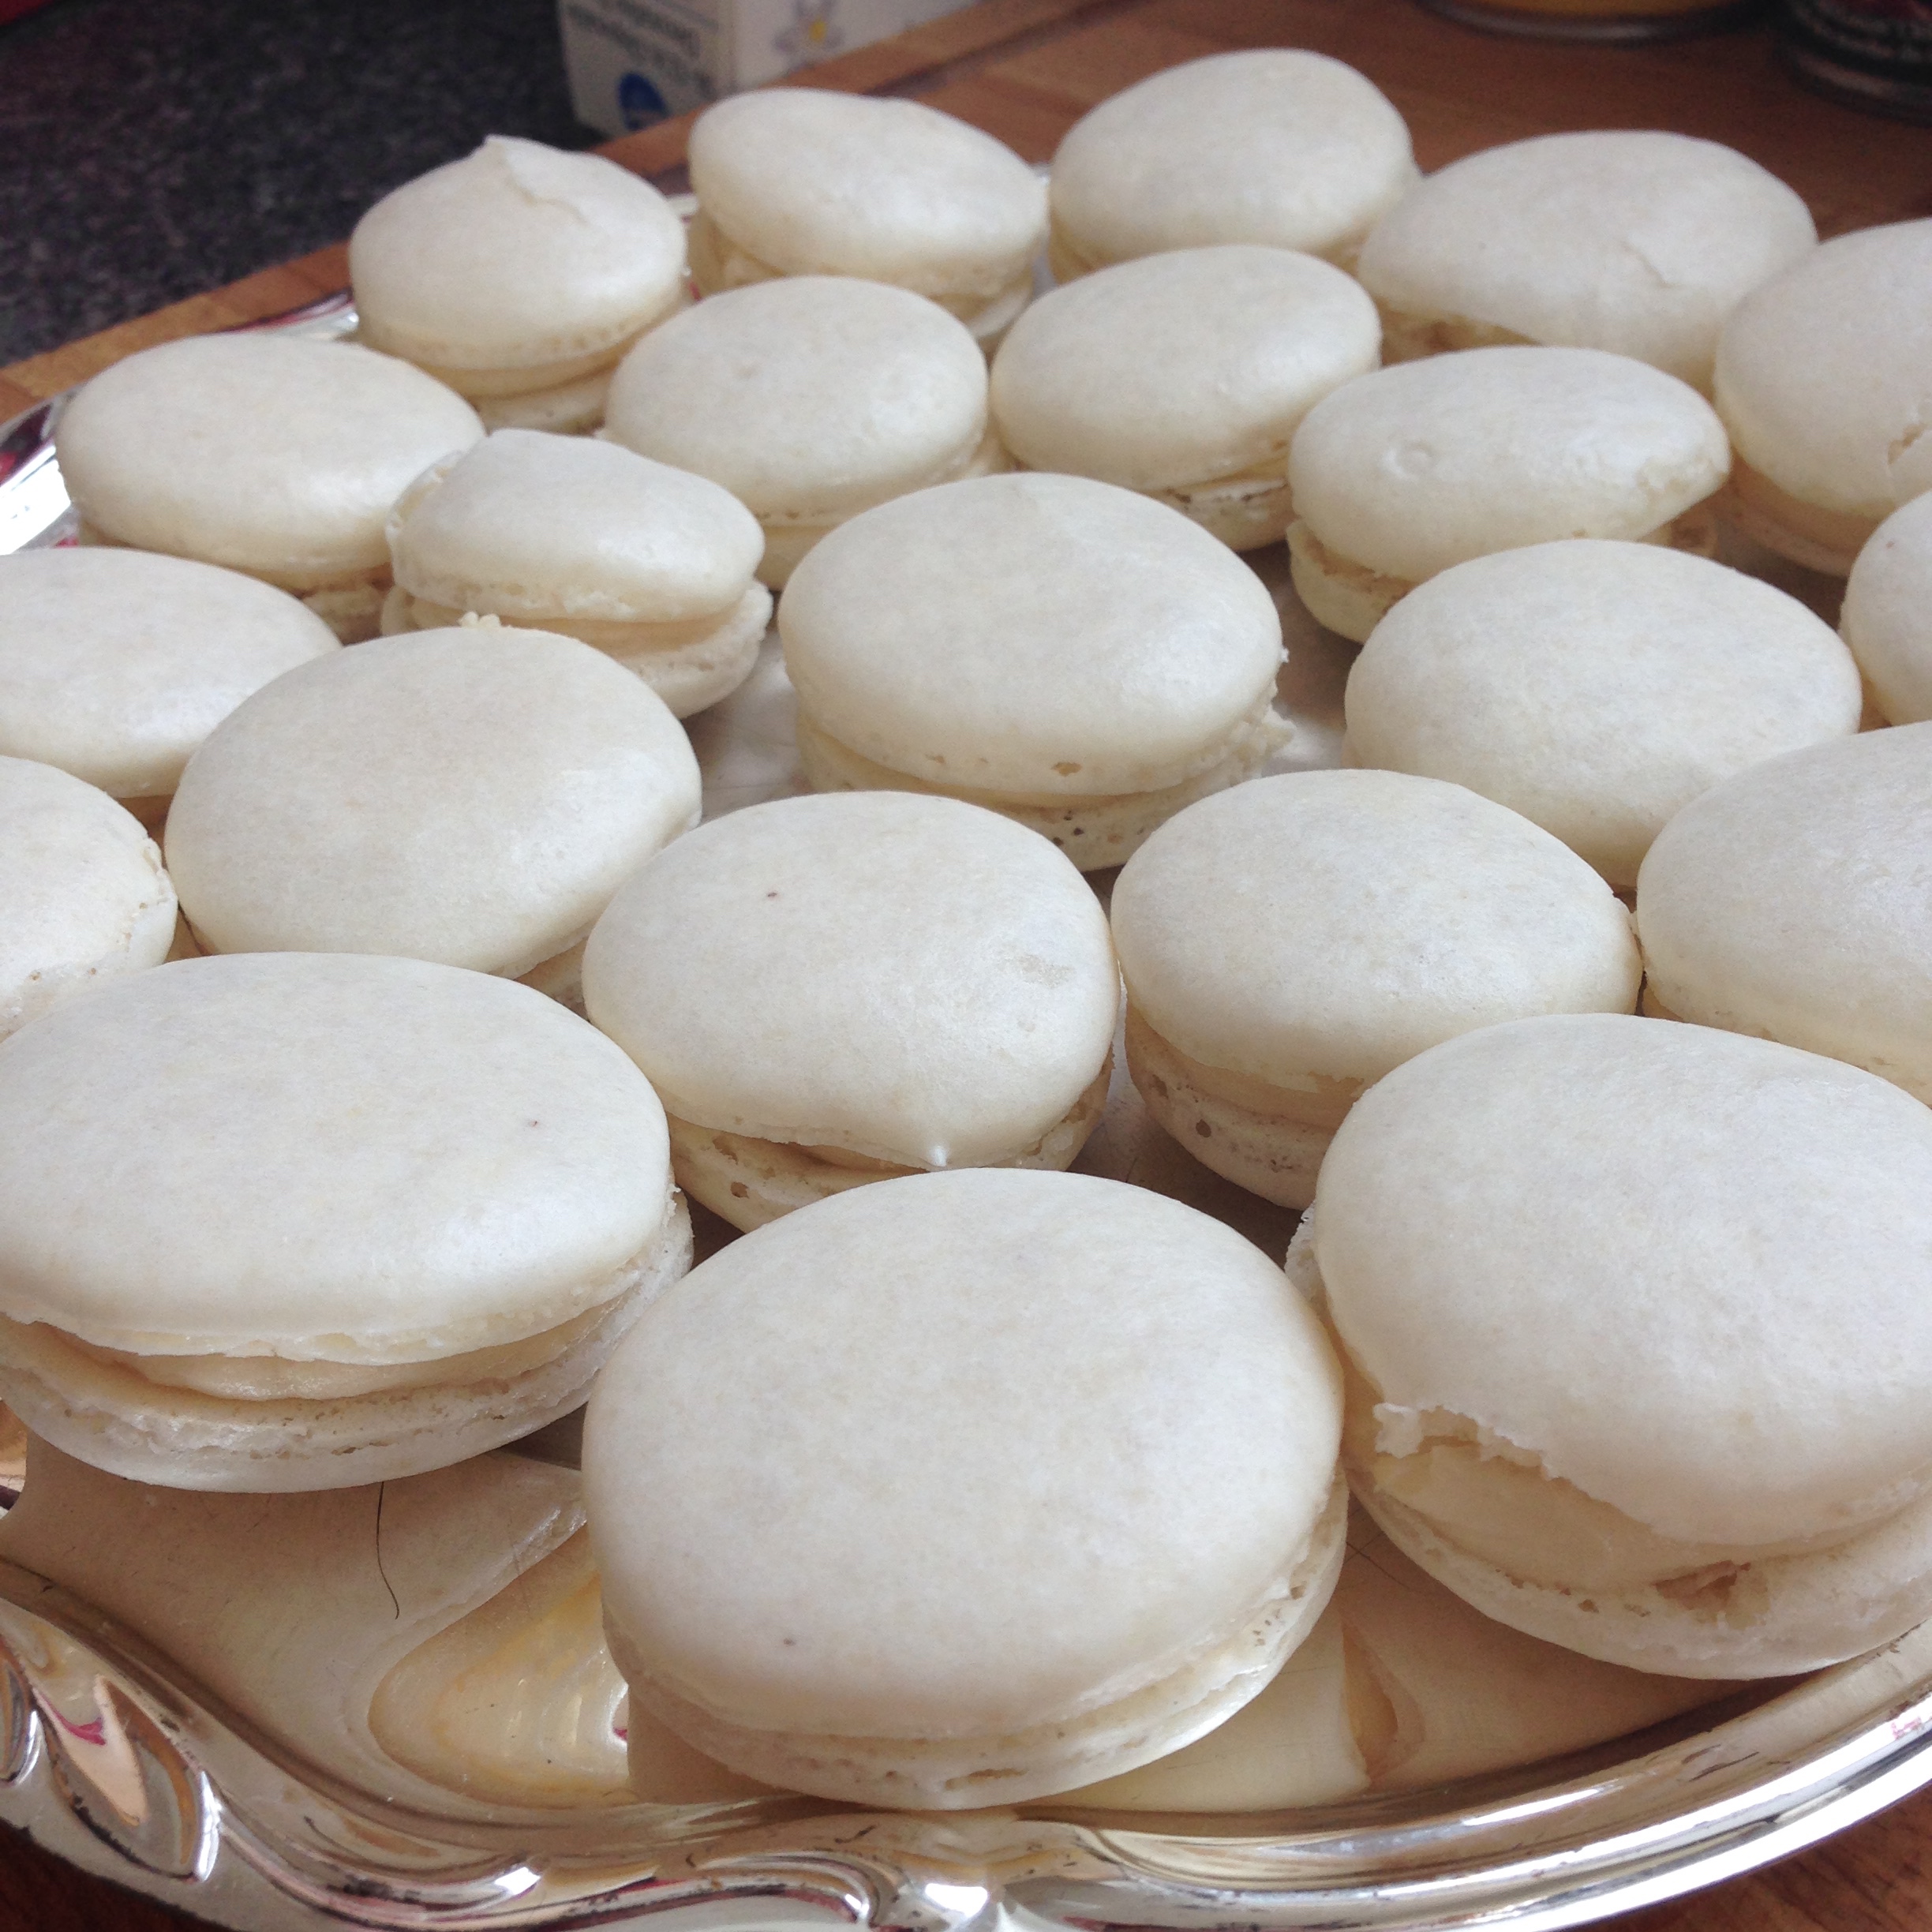
My first meringue making attempt was to make maple macarons. I've made macarons before, back in dry Alberta, so it was the first attempt making them in lovely moisture hazed Toronto. 
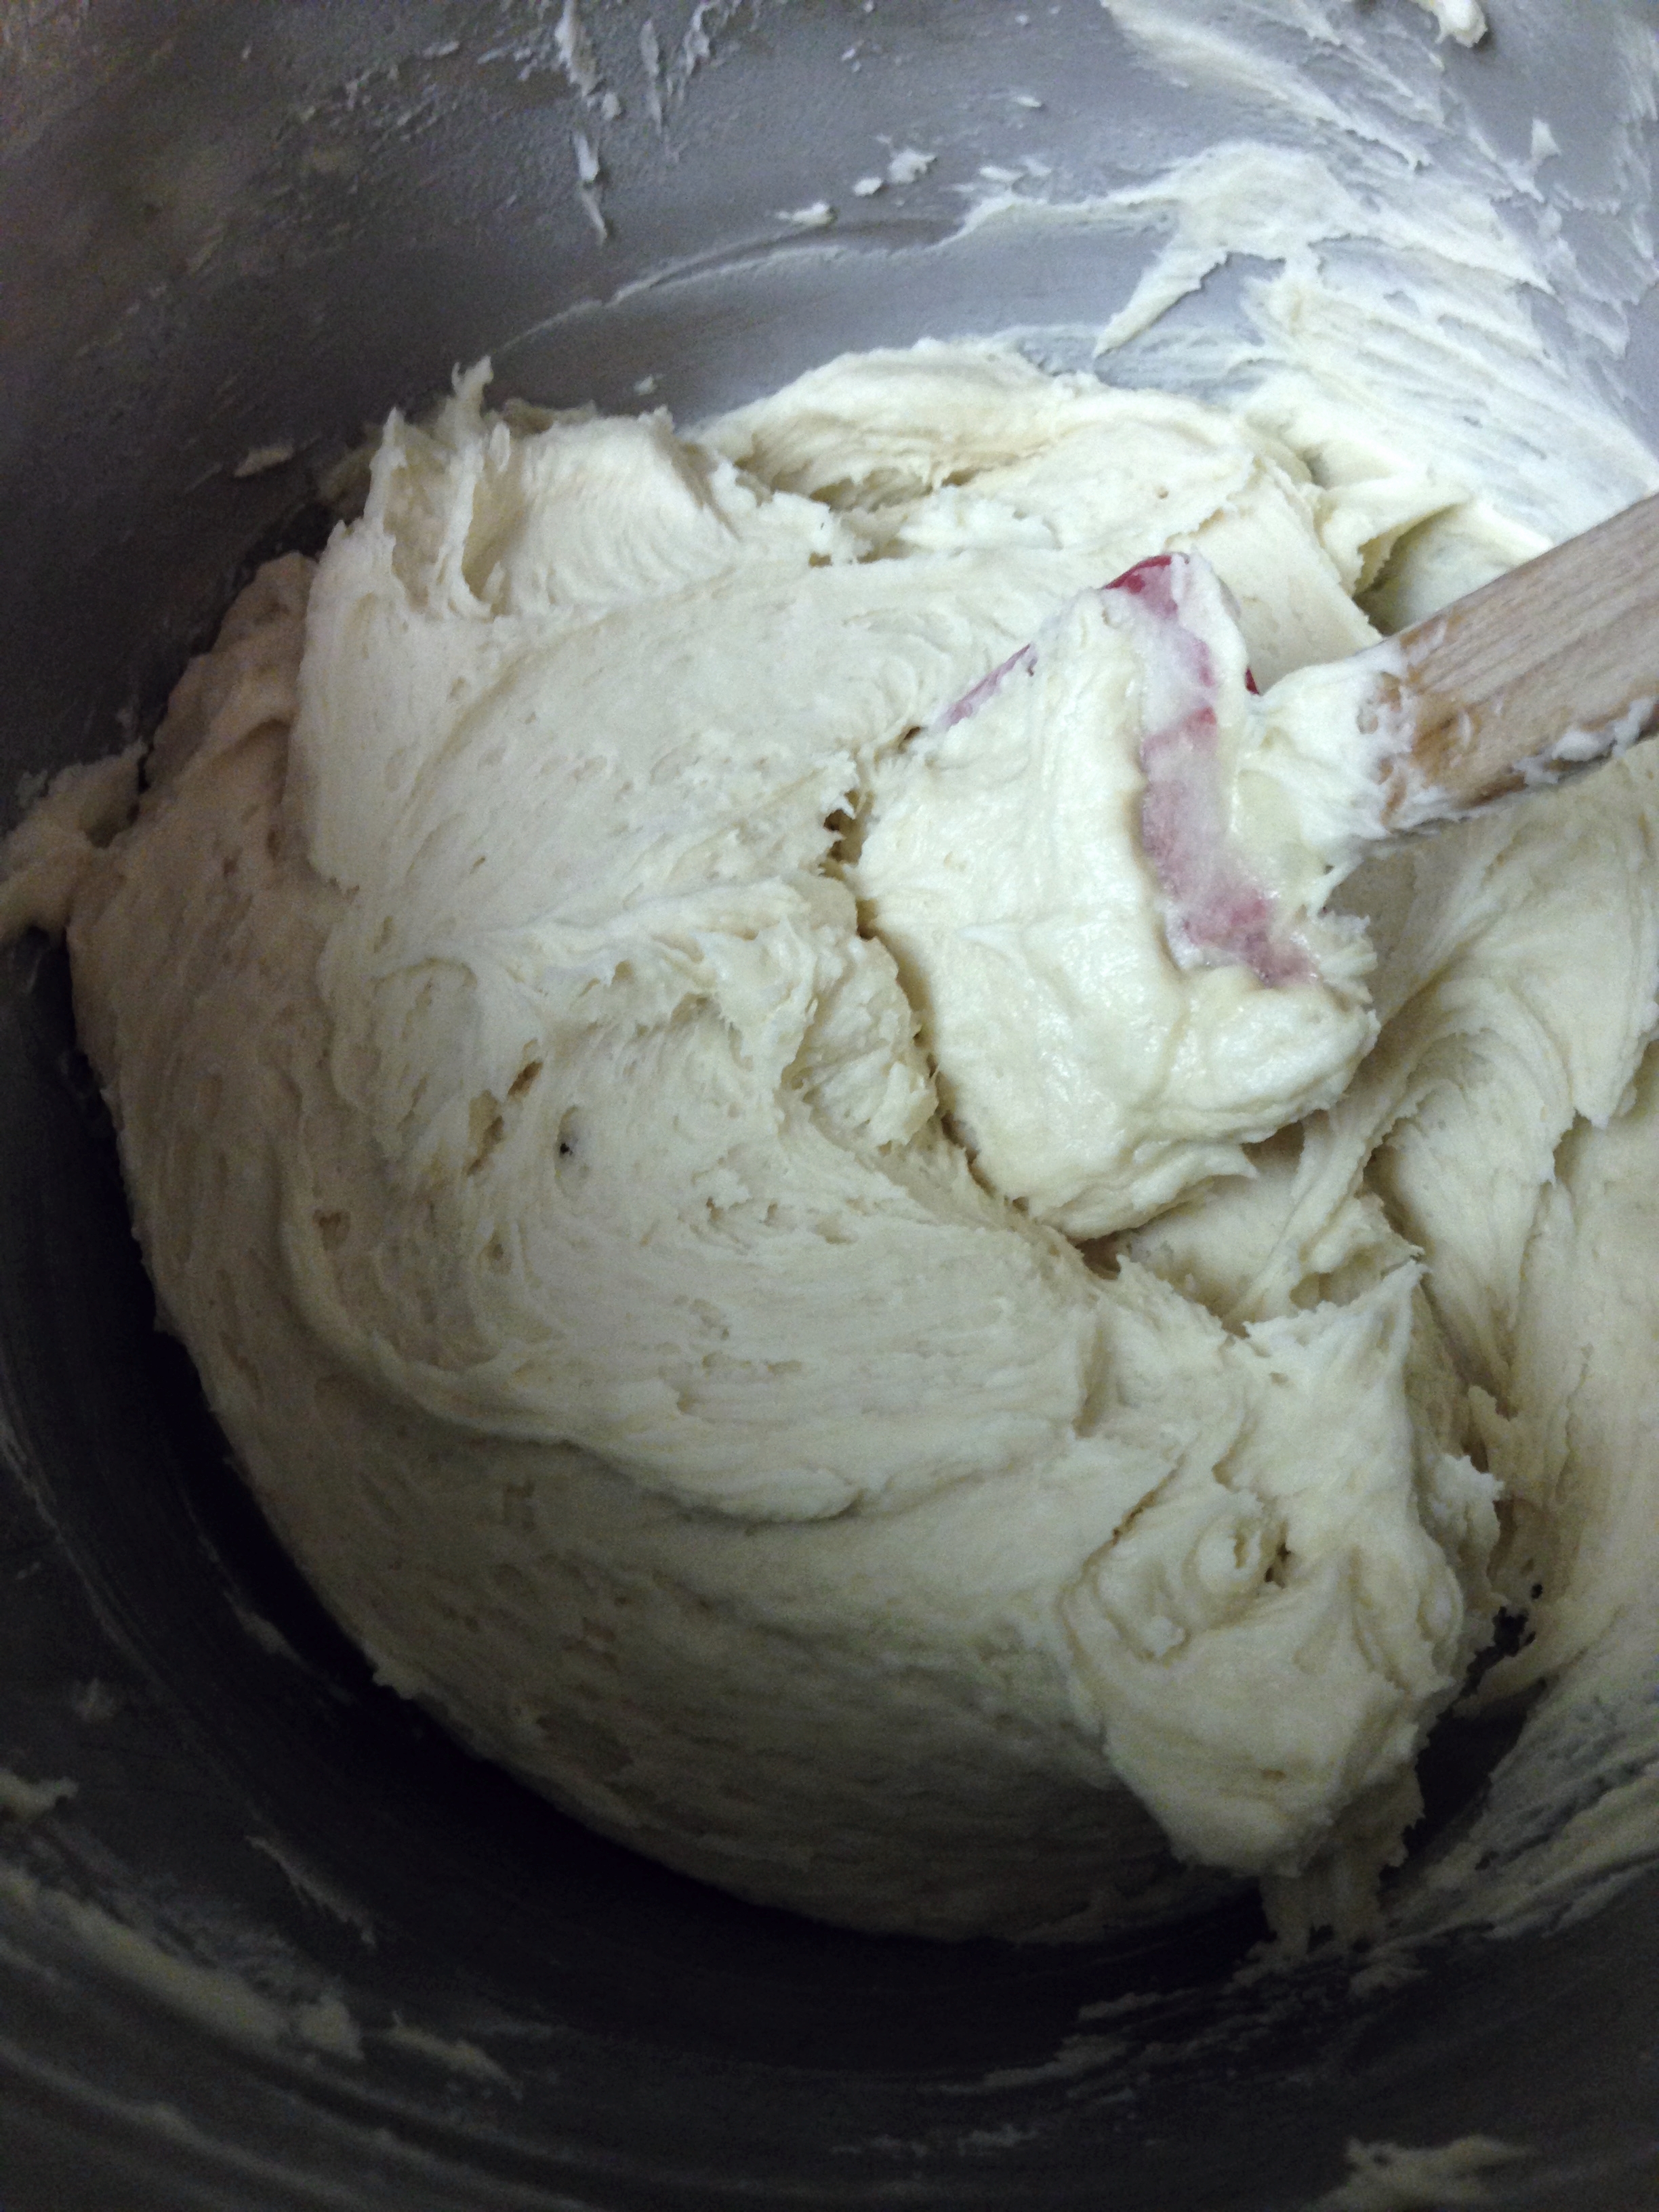
Maple Buttercream

1 cup butter, room temperature
5 cups icing sugar
2/3 cup whipping cream
1/3 cup maple syrup
1 tsp vanilla

  1. Cream butter in an electric mixer till light and fluffy. 
  2. Gradually add sugar alternating with whipping cream while continuing to beat butter. 
  3. Add maple syrup and vanilla. Beat to combine. 

Maple Macarons

7 3/8 oz (1 3/4 cups plus 2 TBS) confectioners’ sugar
4 3/8 oz (1 1/4 cups plus 2 TBS) almond flour
4 large egg whites, at room temperature
1/4 cup granulated sugar

  1. Prepare bakeware by lining 3 pans with parchment paper. On the underside of each piece of parchment paper draw 1 inch circles about 1 1/2 inches apart. 
  2. Measure out and sift together confectioners' sugar and almond flour. (I usually put this mixture into a food processor to make it as fine as possible.)
  3. Whip egg on med-high setting with an electric mixer until foamy. 
  4. Continue whipping eggs, adding 1 TBSP of granulated sugar gradually till meringue is glossy and stiff peaks form. (If you can lift out a spoon and a straight peak comes out and doesn't fall, it's done.)
  5. Add half of shifted sugar mixture to meringue. Fold in ingredients till almost combined. Add remainder of sugar mixture. Continue to fold until combined. (The meringue will deflate a little, that's ok!) 
  6. Using a piping bag with a 1/2 inch round tip (I used a litre food storage bag with a corner snipped off), fill half of batter into bag and pipe 1 inch circles holding the piping bag perpendicular to the baking sheet. 
  7. Once done, pick up the baking sheet and tap it down on the counter sharply. This will burst any air bubbles in the batter and give the shell its macaron bubbly base. (By tap, I actually mean whack very hard. Scare your neighbours!)
  8. Let the meringues sit in the open air for 30 minutes. This drys the outer shell. When the shells can be touched without being sticky they're ready. The time this takes will heavily depend on the humidity. 
  9. Bake at 250F for 15 minutes (although, humidity will affect this too). After the first 2 minutes, open the oven door to release any moisture. Also, rotate the baking sheet halfway through cooking time. Best to spot check one of the macaron shells to doneness before you take all the sheets out.
  10. Take parchment off tray and let the shells cool completely. Fill, cover and refrigerate for at least 3 hours before serving. 

They turned out pretty awesomely actually. Although it took about 10 more minutes of sitting time to dry before baking, and about 5 more minutes in the oven than in Alberta. There's altitude differences too. Weird baking science. 

Anyway! Nom! I now had a carton of egg whites to deal with so I decided to try my hand once again at making meringues.

Meringues

6 egg whites, room temperature
1/8 tsp cream of tartar
2 cups sugar
1 tsp vanilla
1 TBSP vinegar

1. Preheat oven to 275.


IMG_3098.jpg

2. With an electric mixer, beat egg whites till foamy.


3. Add cream of tartar and beat until somewhat stiff, ~4 minutes. (Stiff enough that the meringue holds it's shape.)


4. Gradually beat in sugar over the next 2 minutes. Add vanilla and vinegar. 


5. Beat until very stiff and shiny, about 10 minutes. 


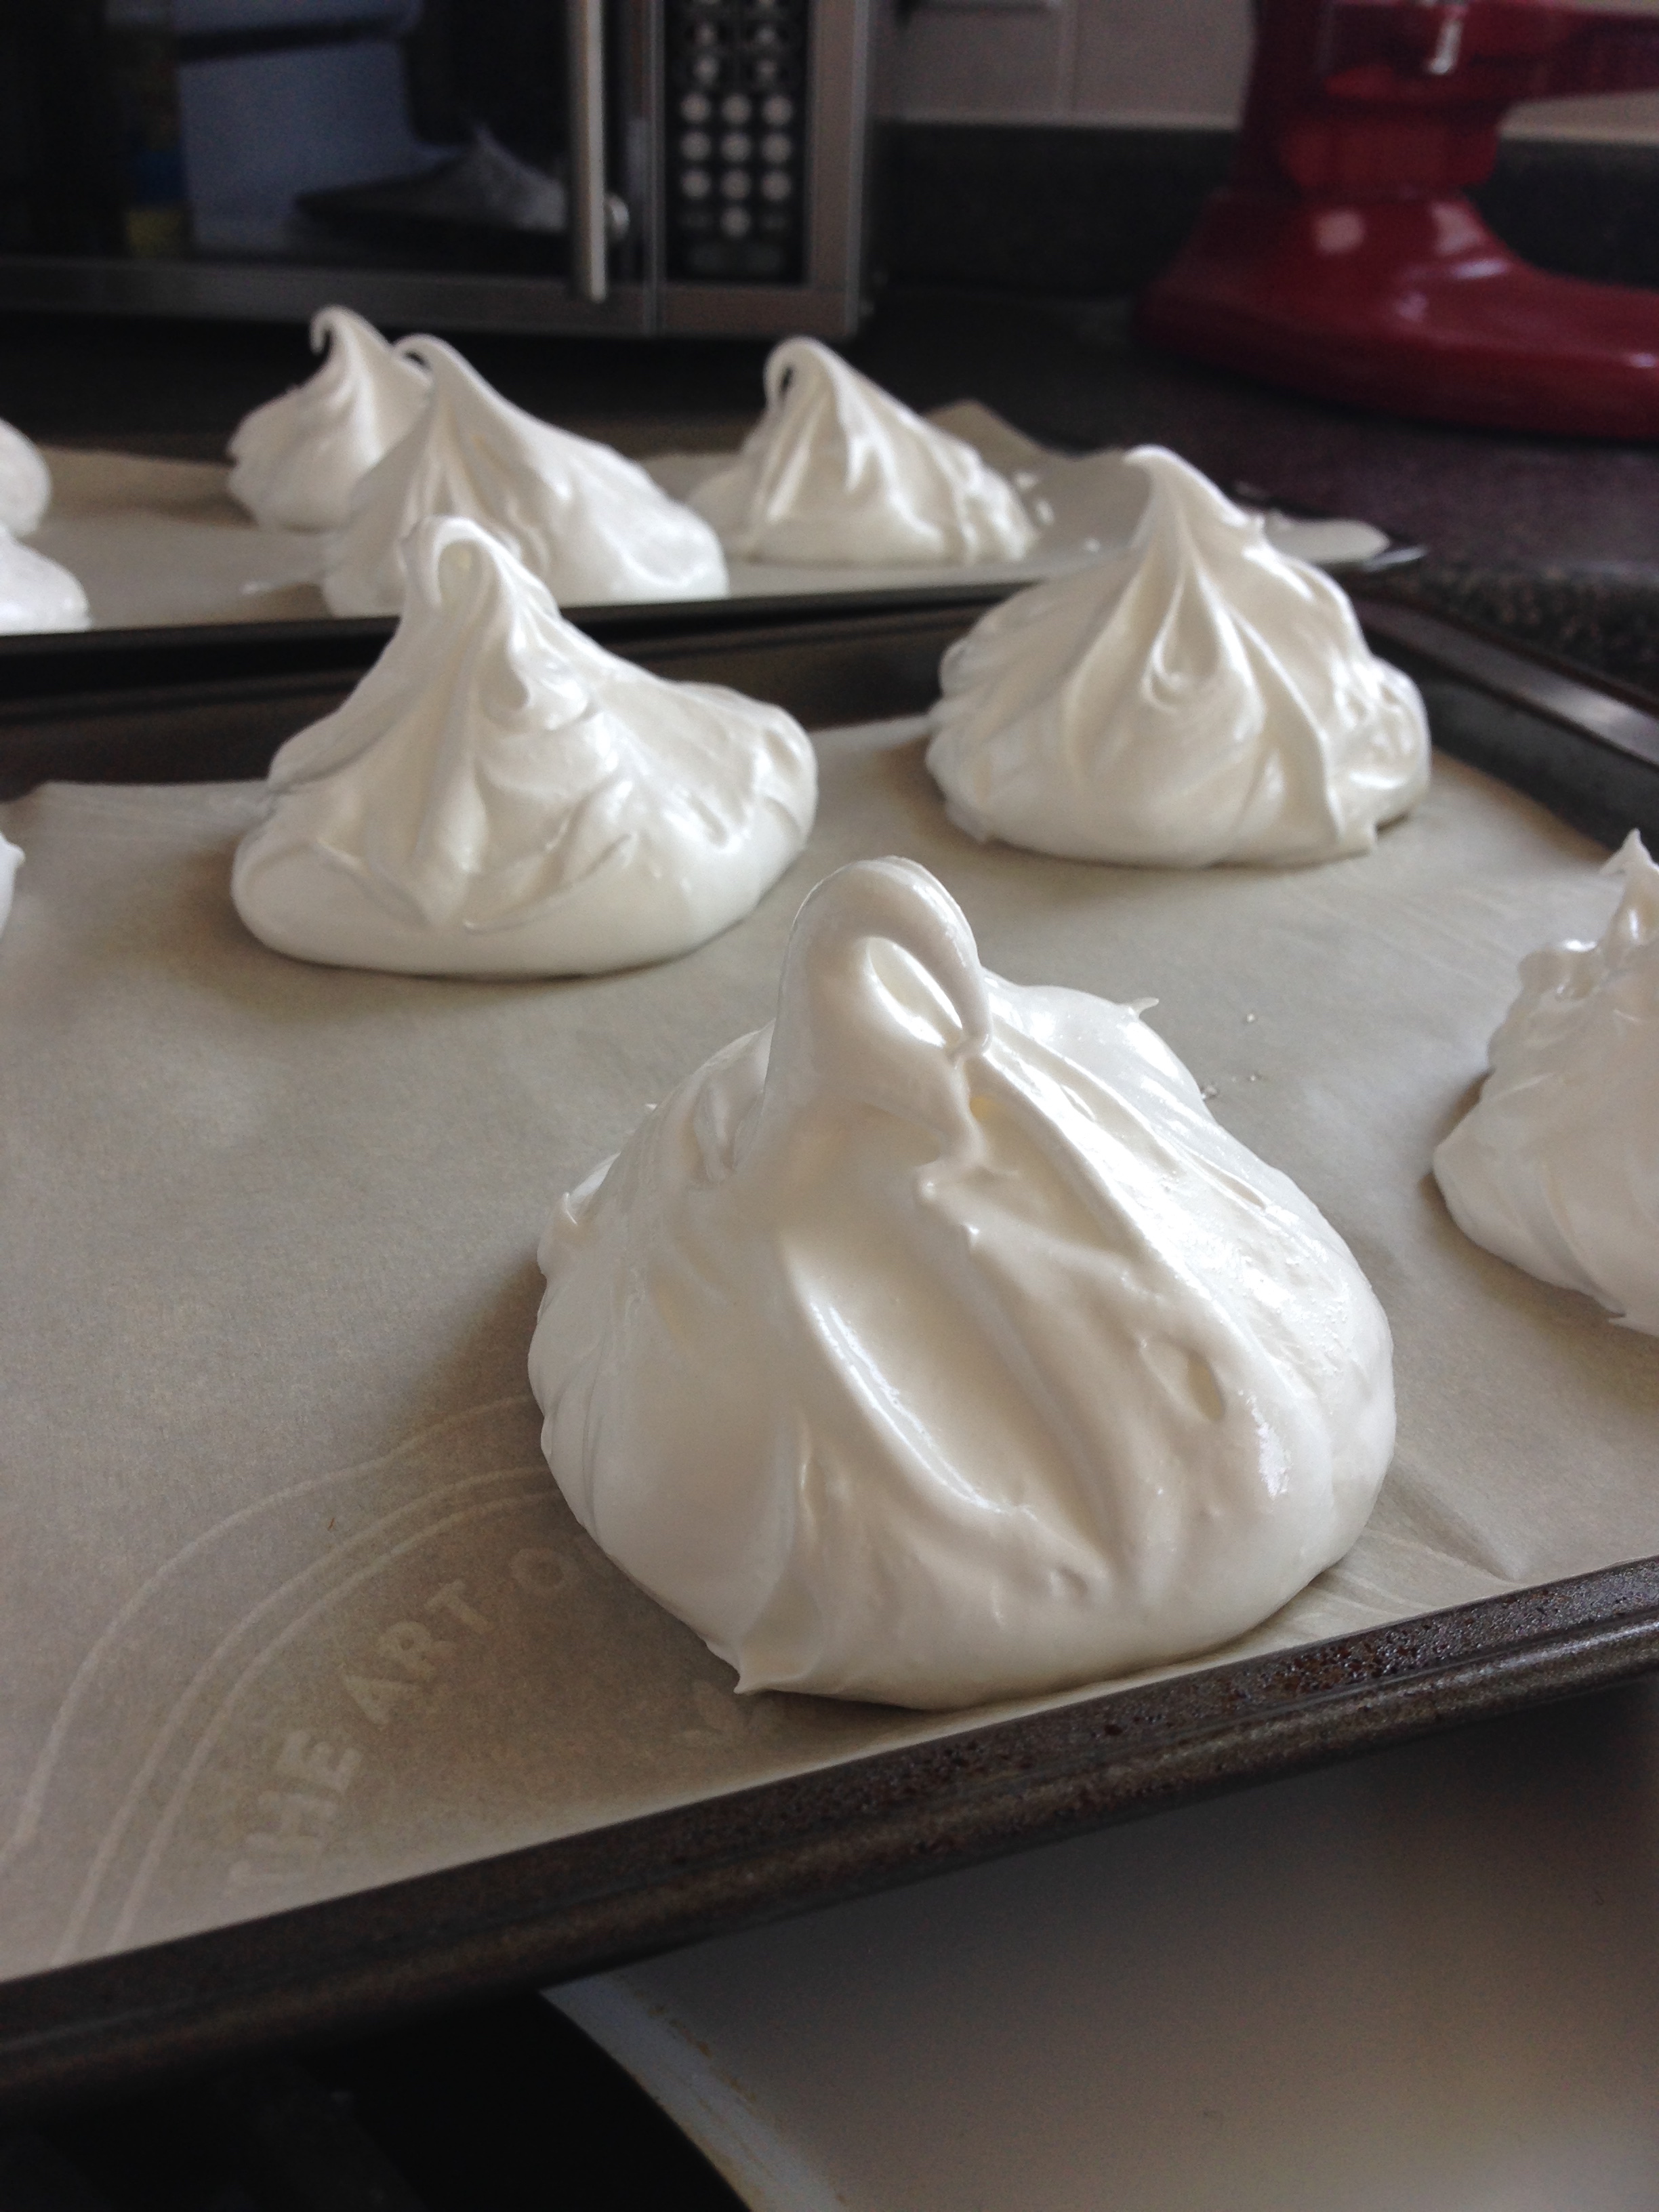
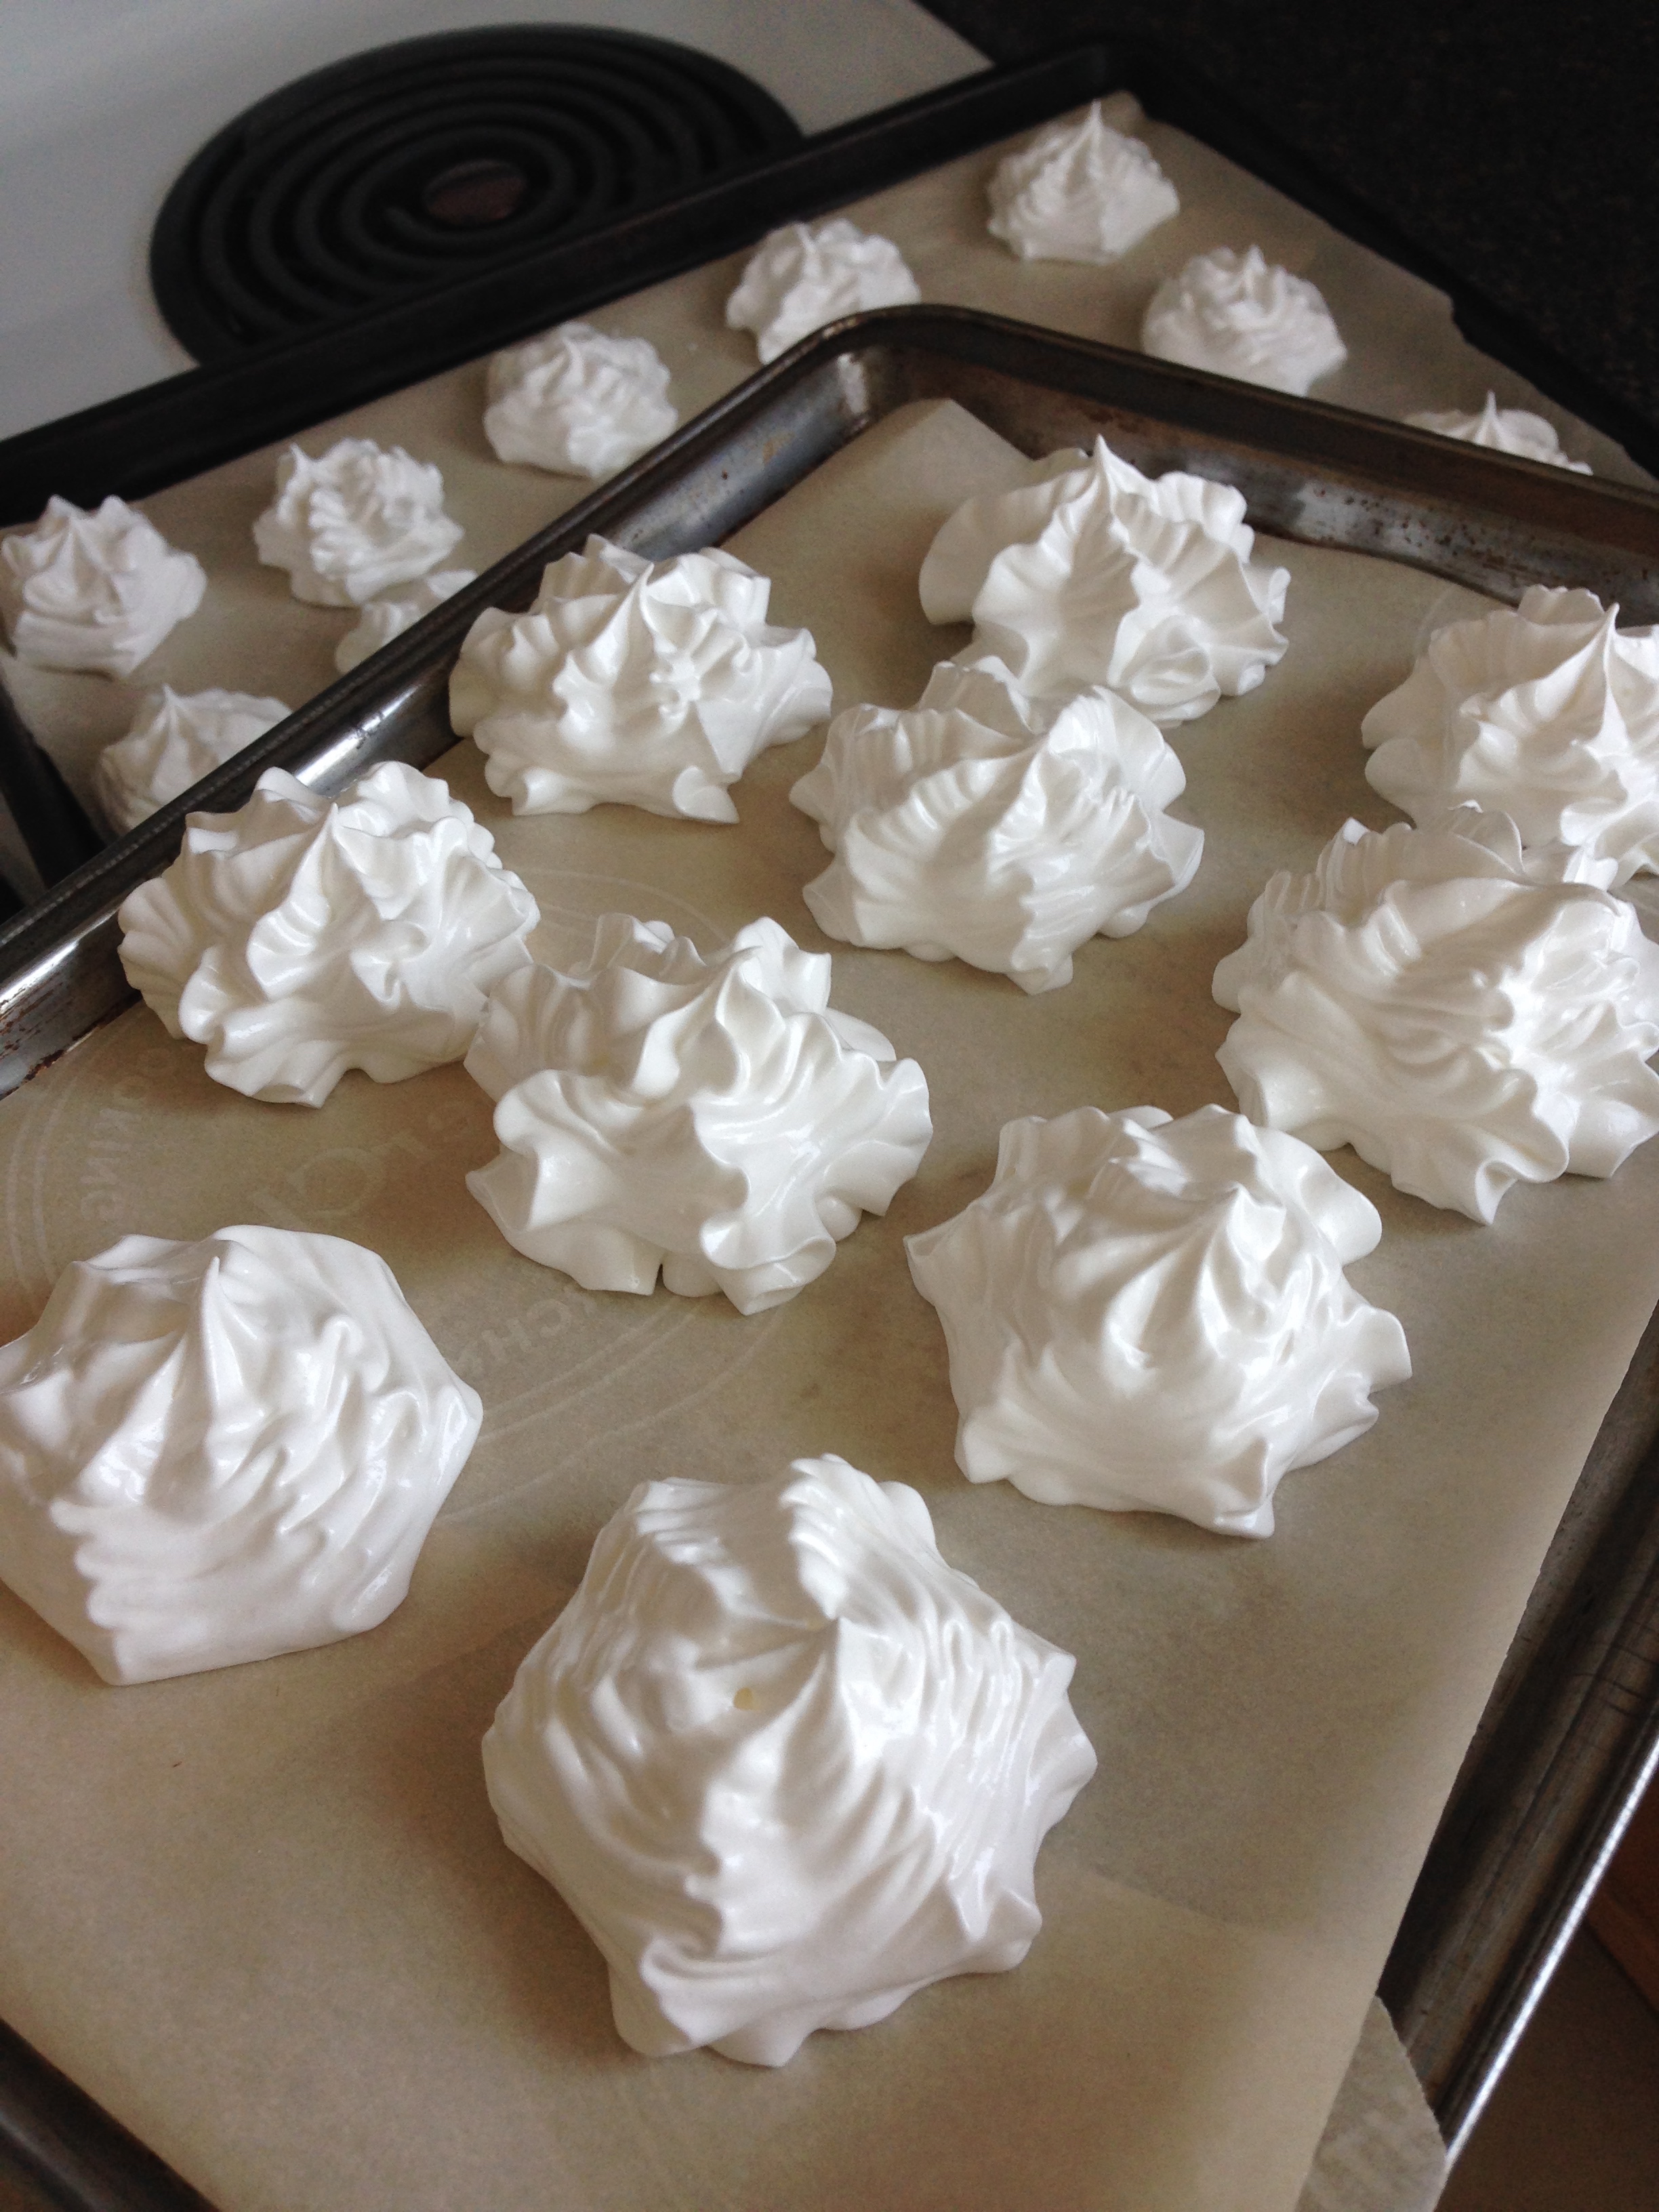
6. Spoon or pipe meringues onto baking sheets covered in parchment paper. (For the large meringues, scoop 1/2 cup of meringue onto the baking sheet and, using your thumb and pointer finger, pull meringue into a peak.)  


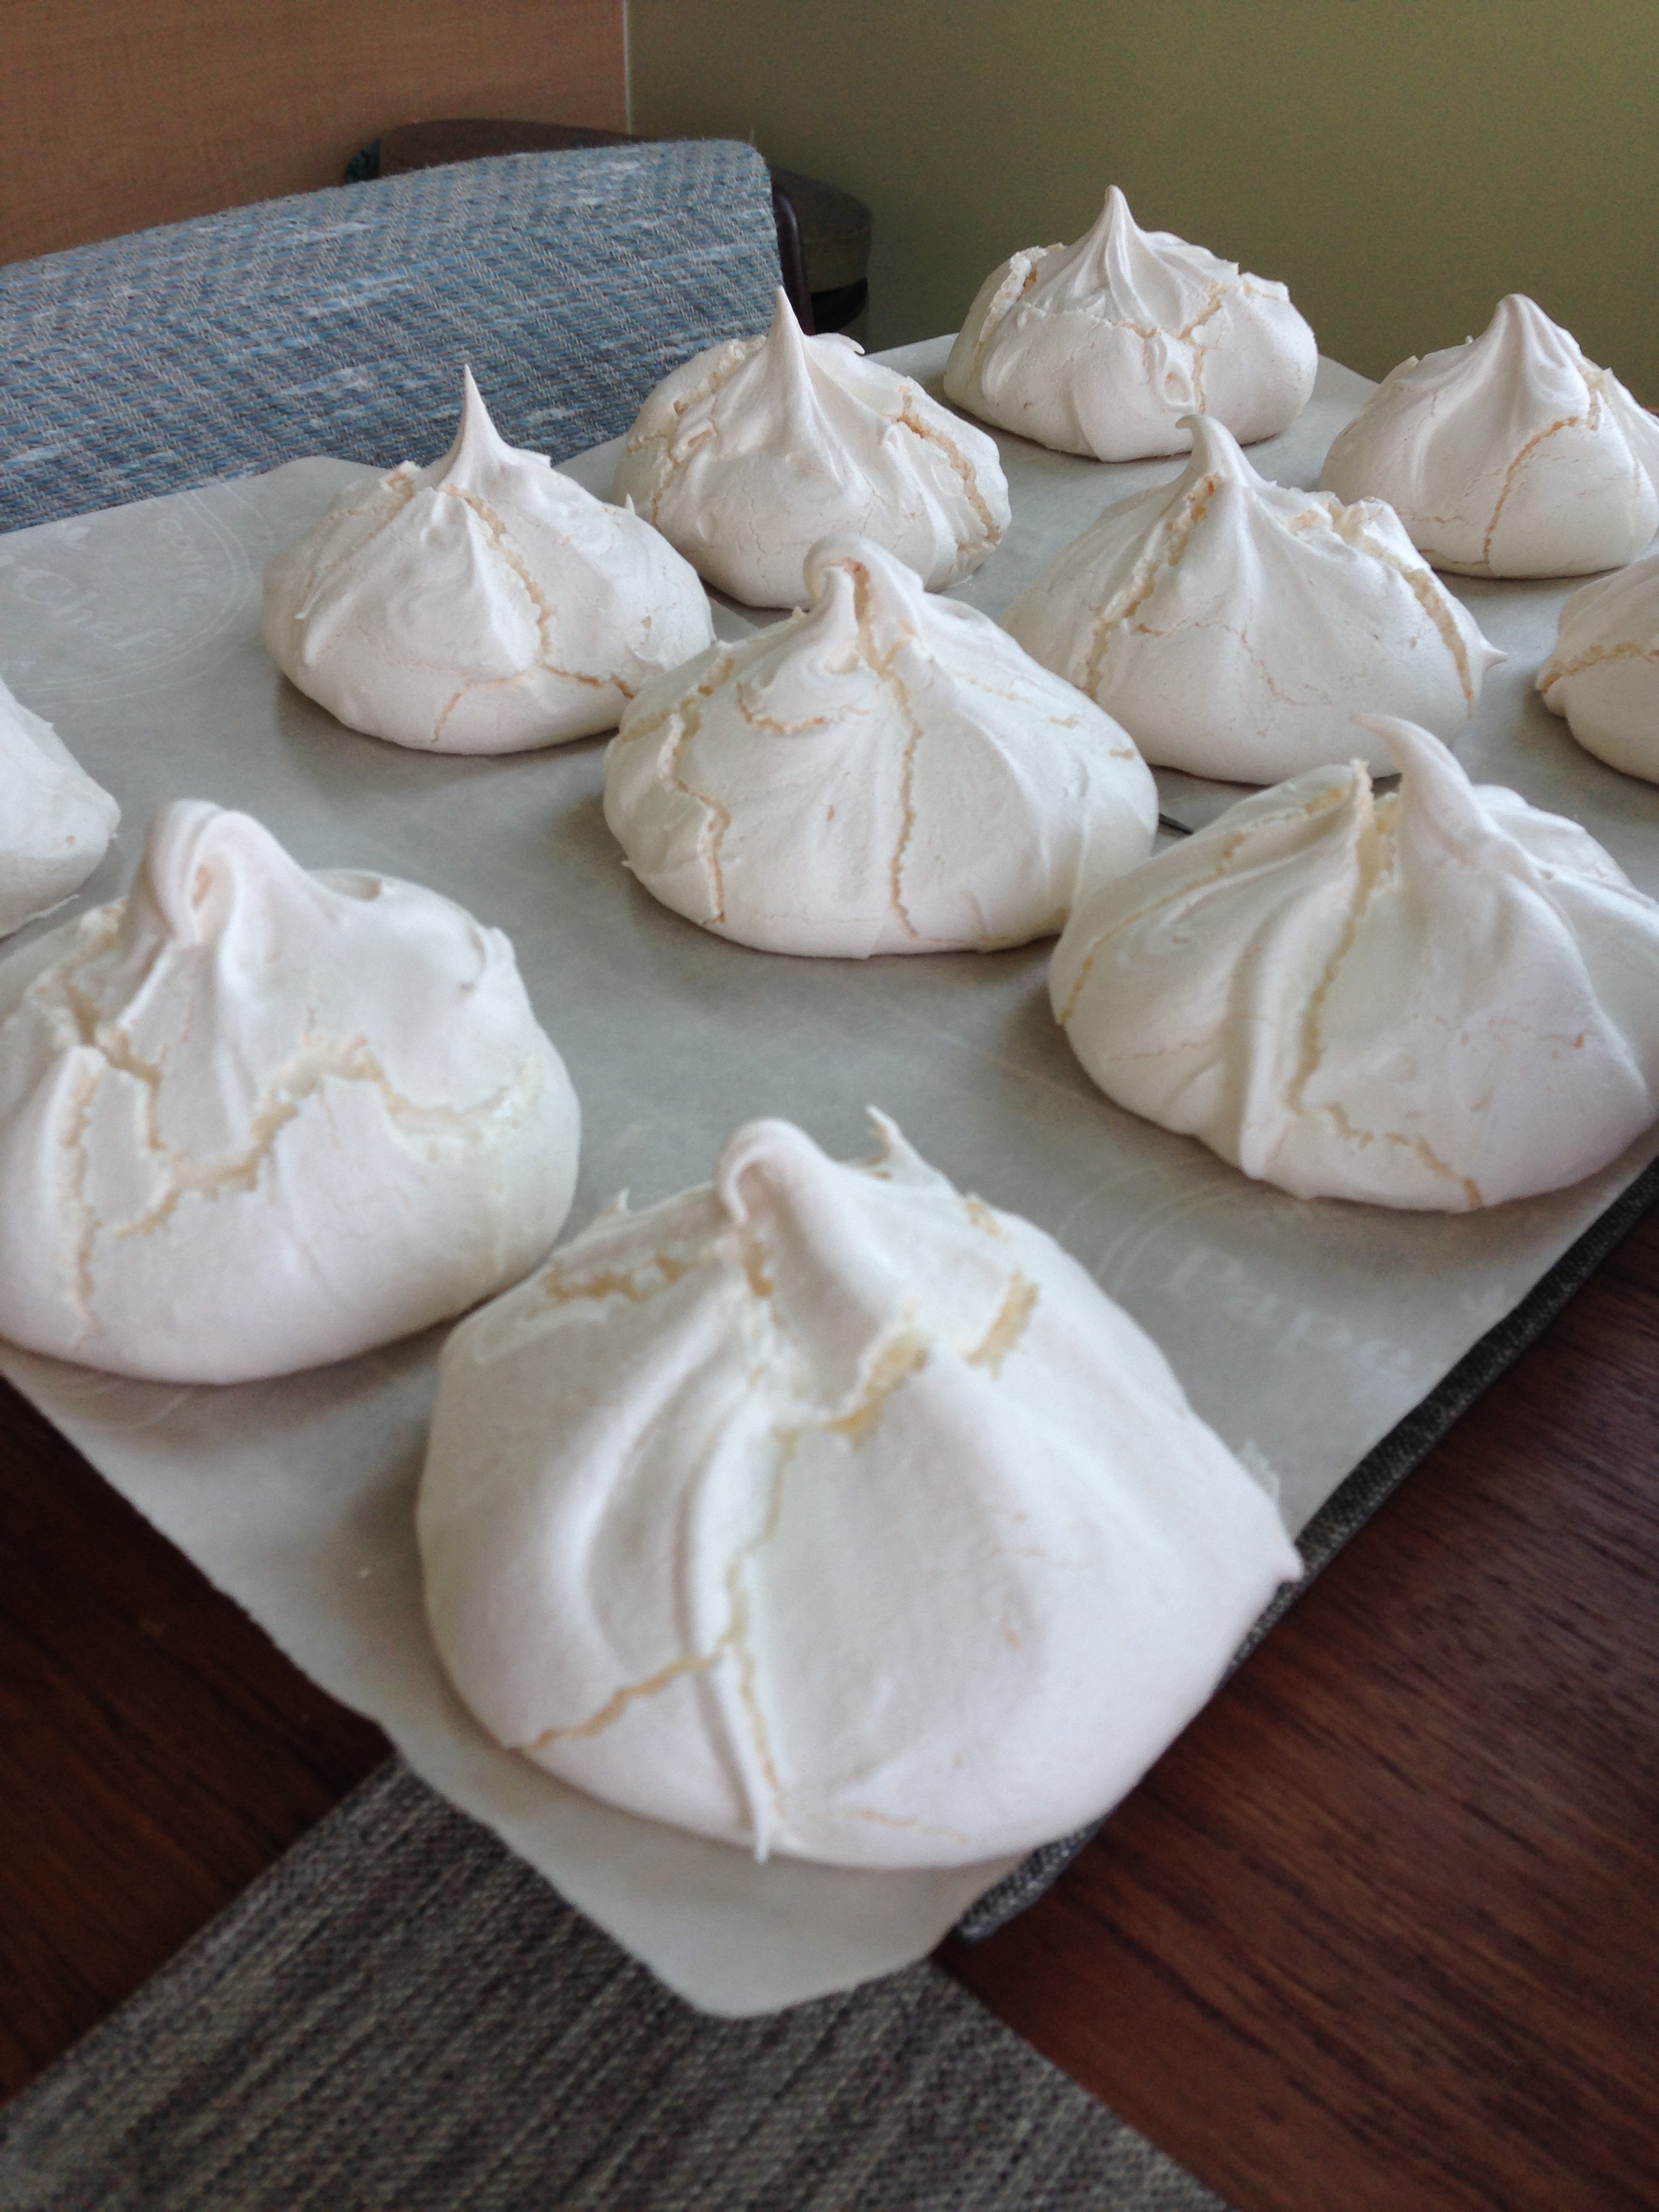
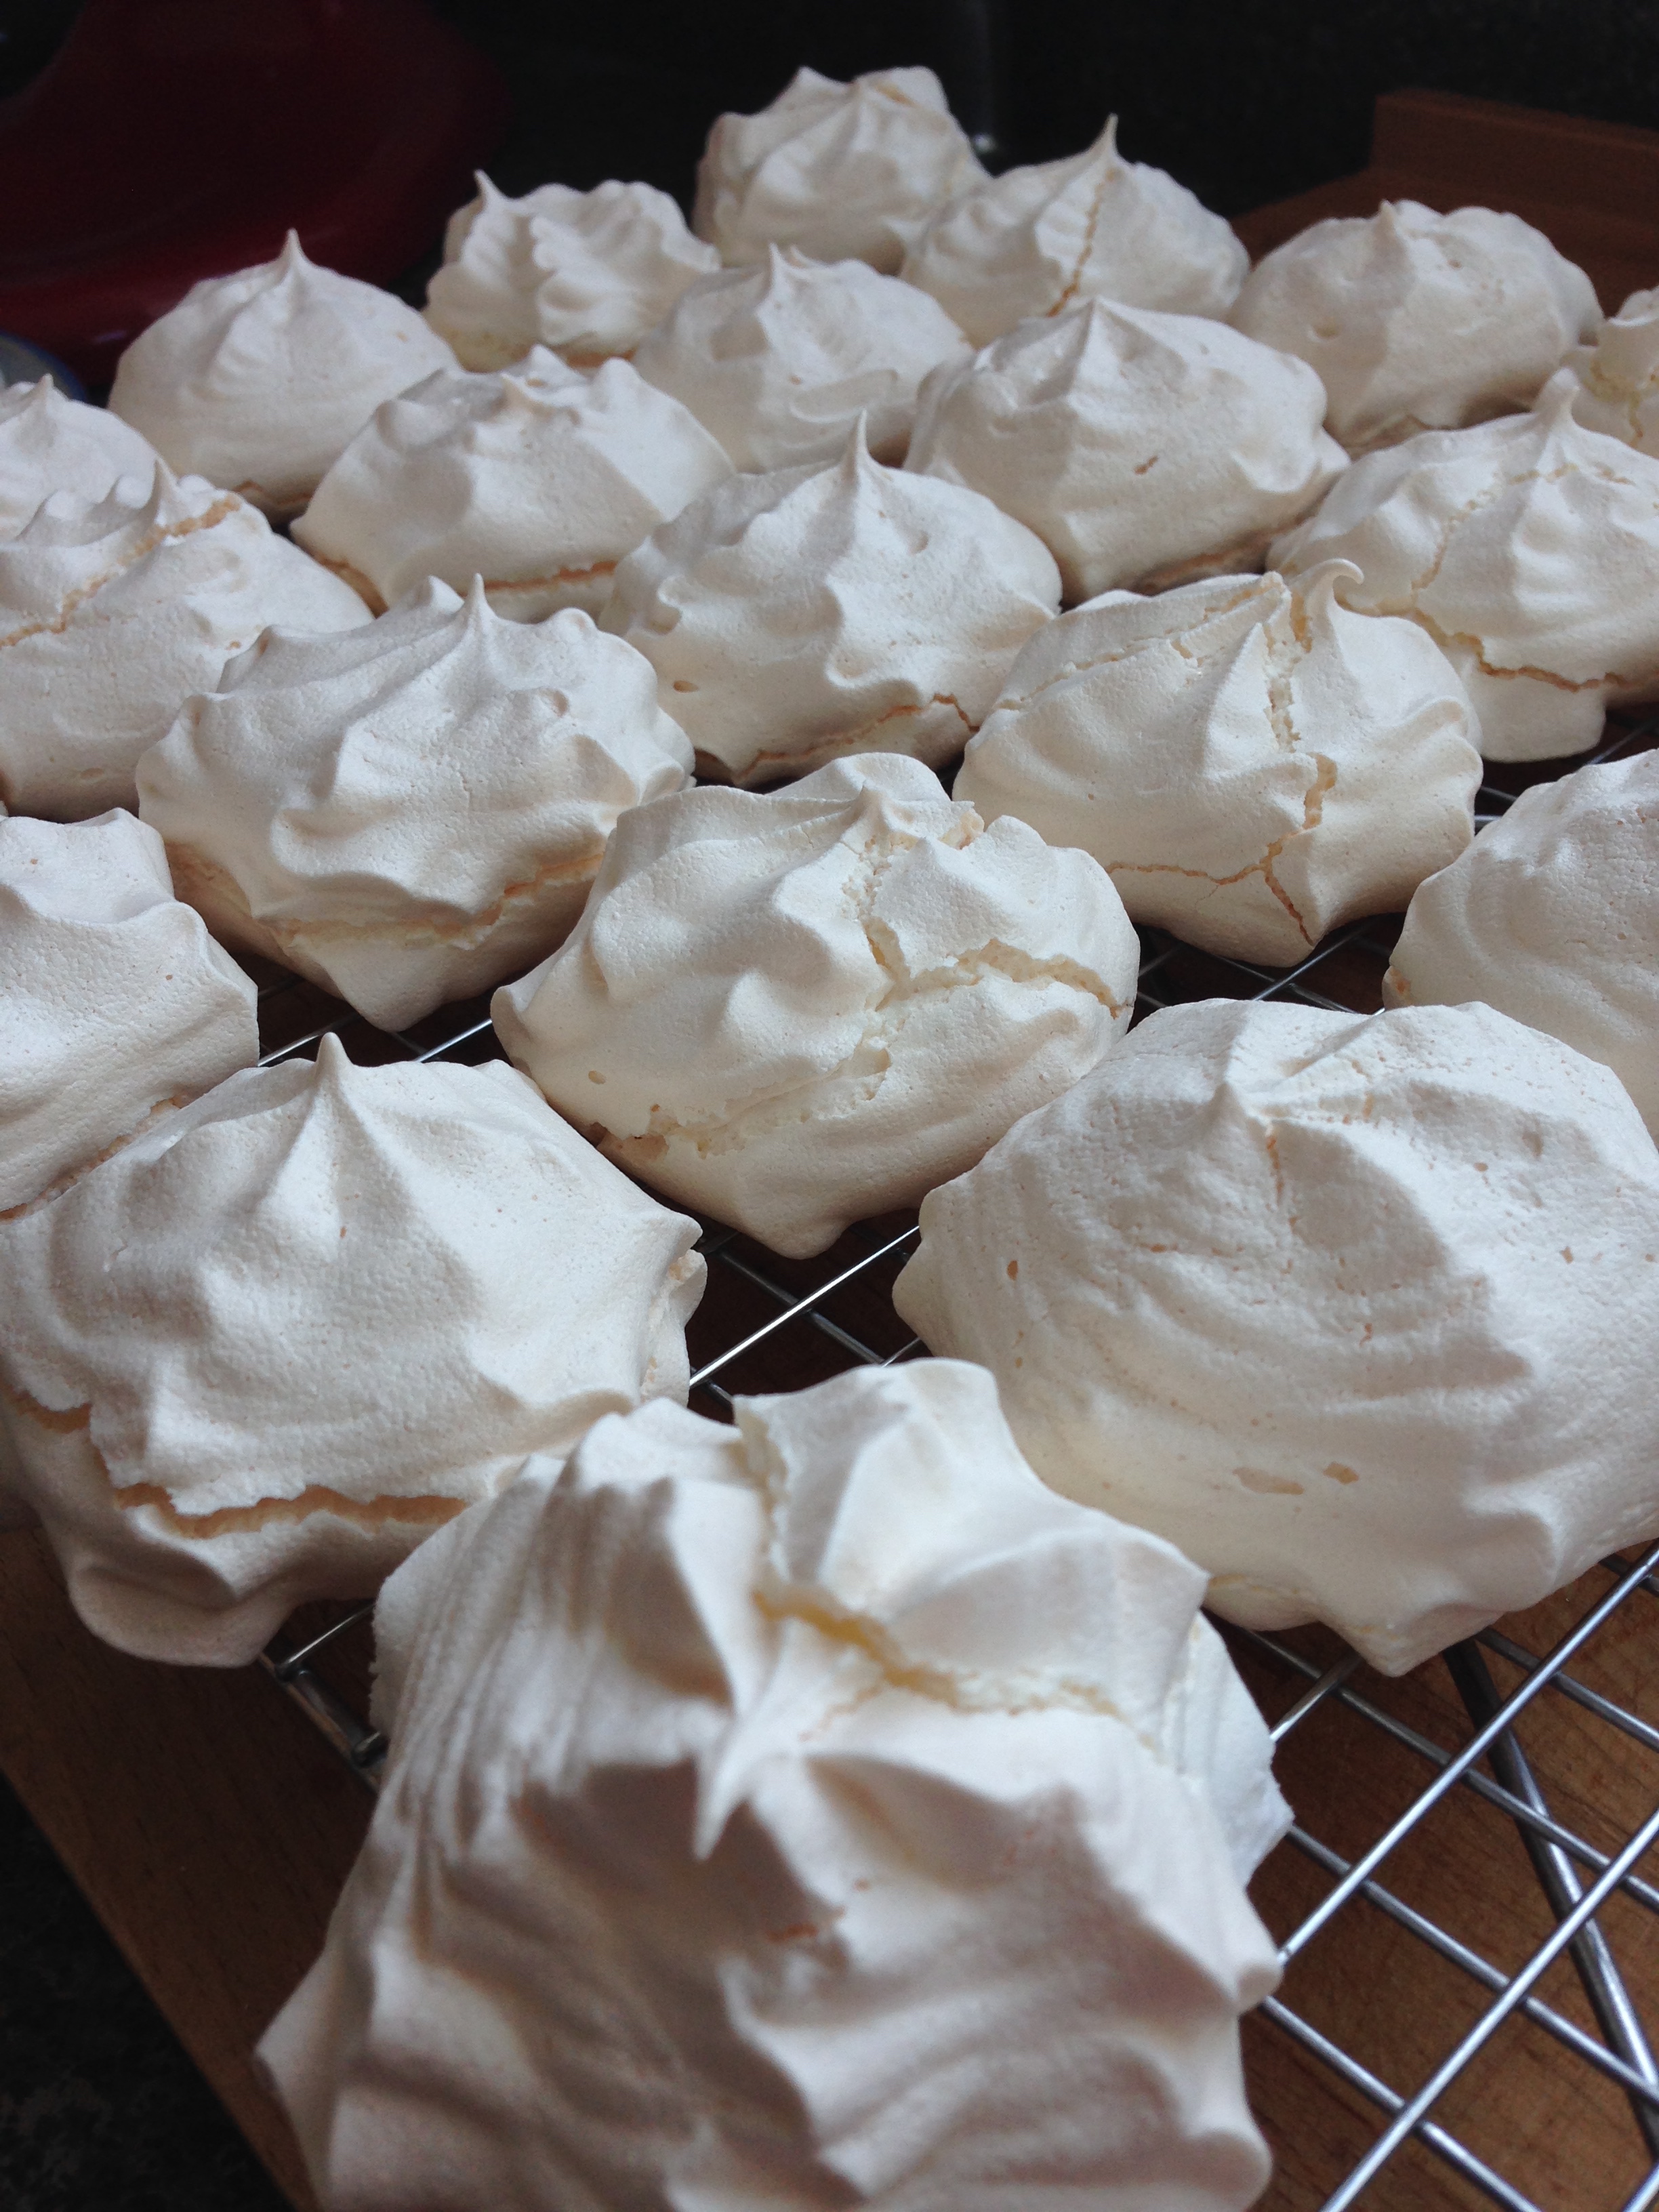
7. Bake for 45 minutes, until meringues are lightly browned. Let cool completely on wire racks. 


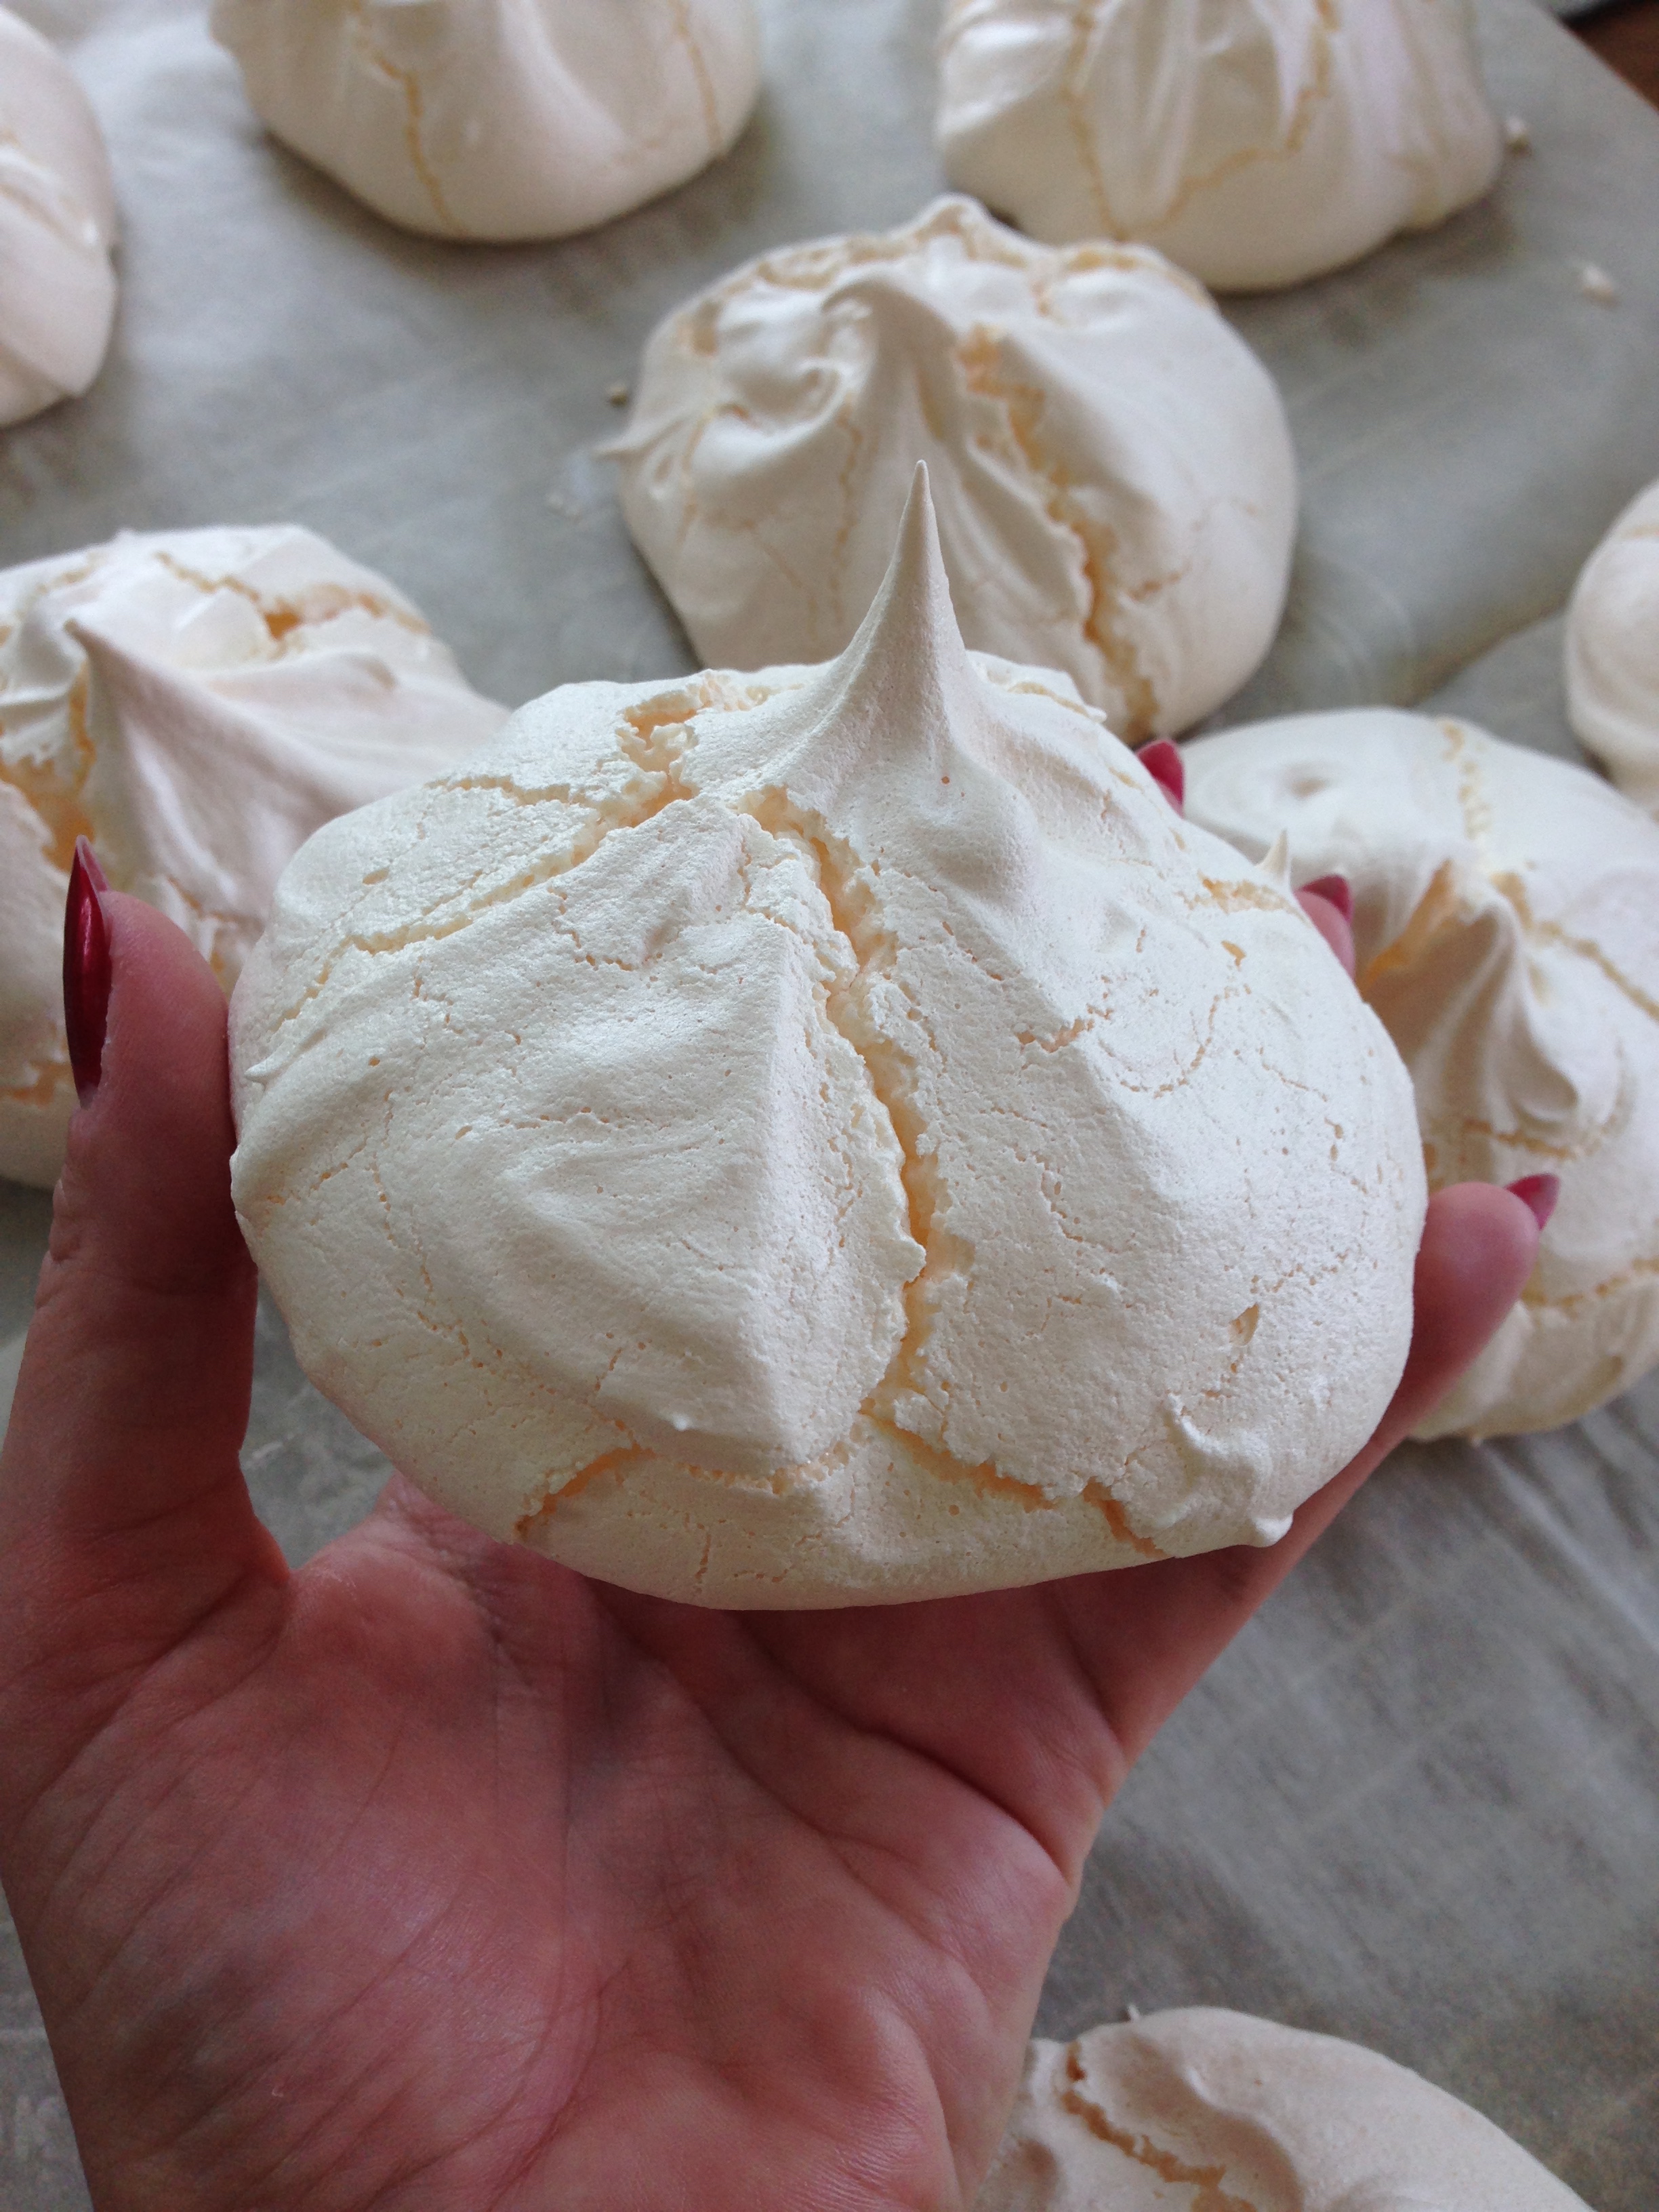
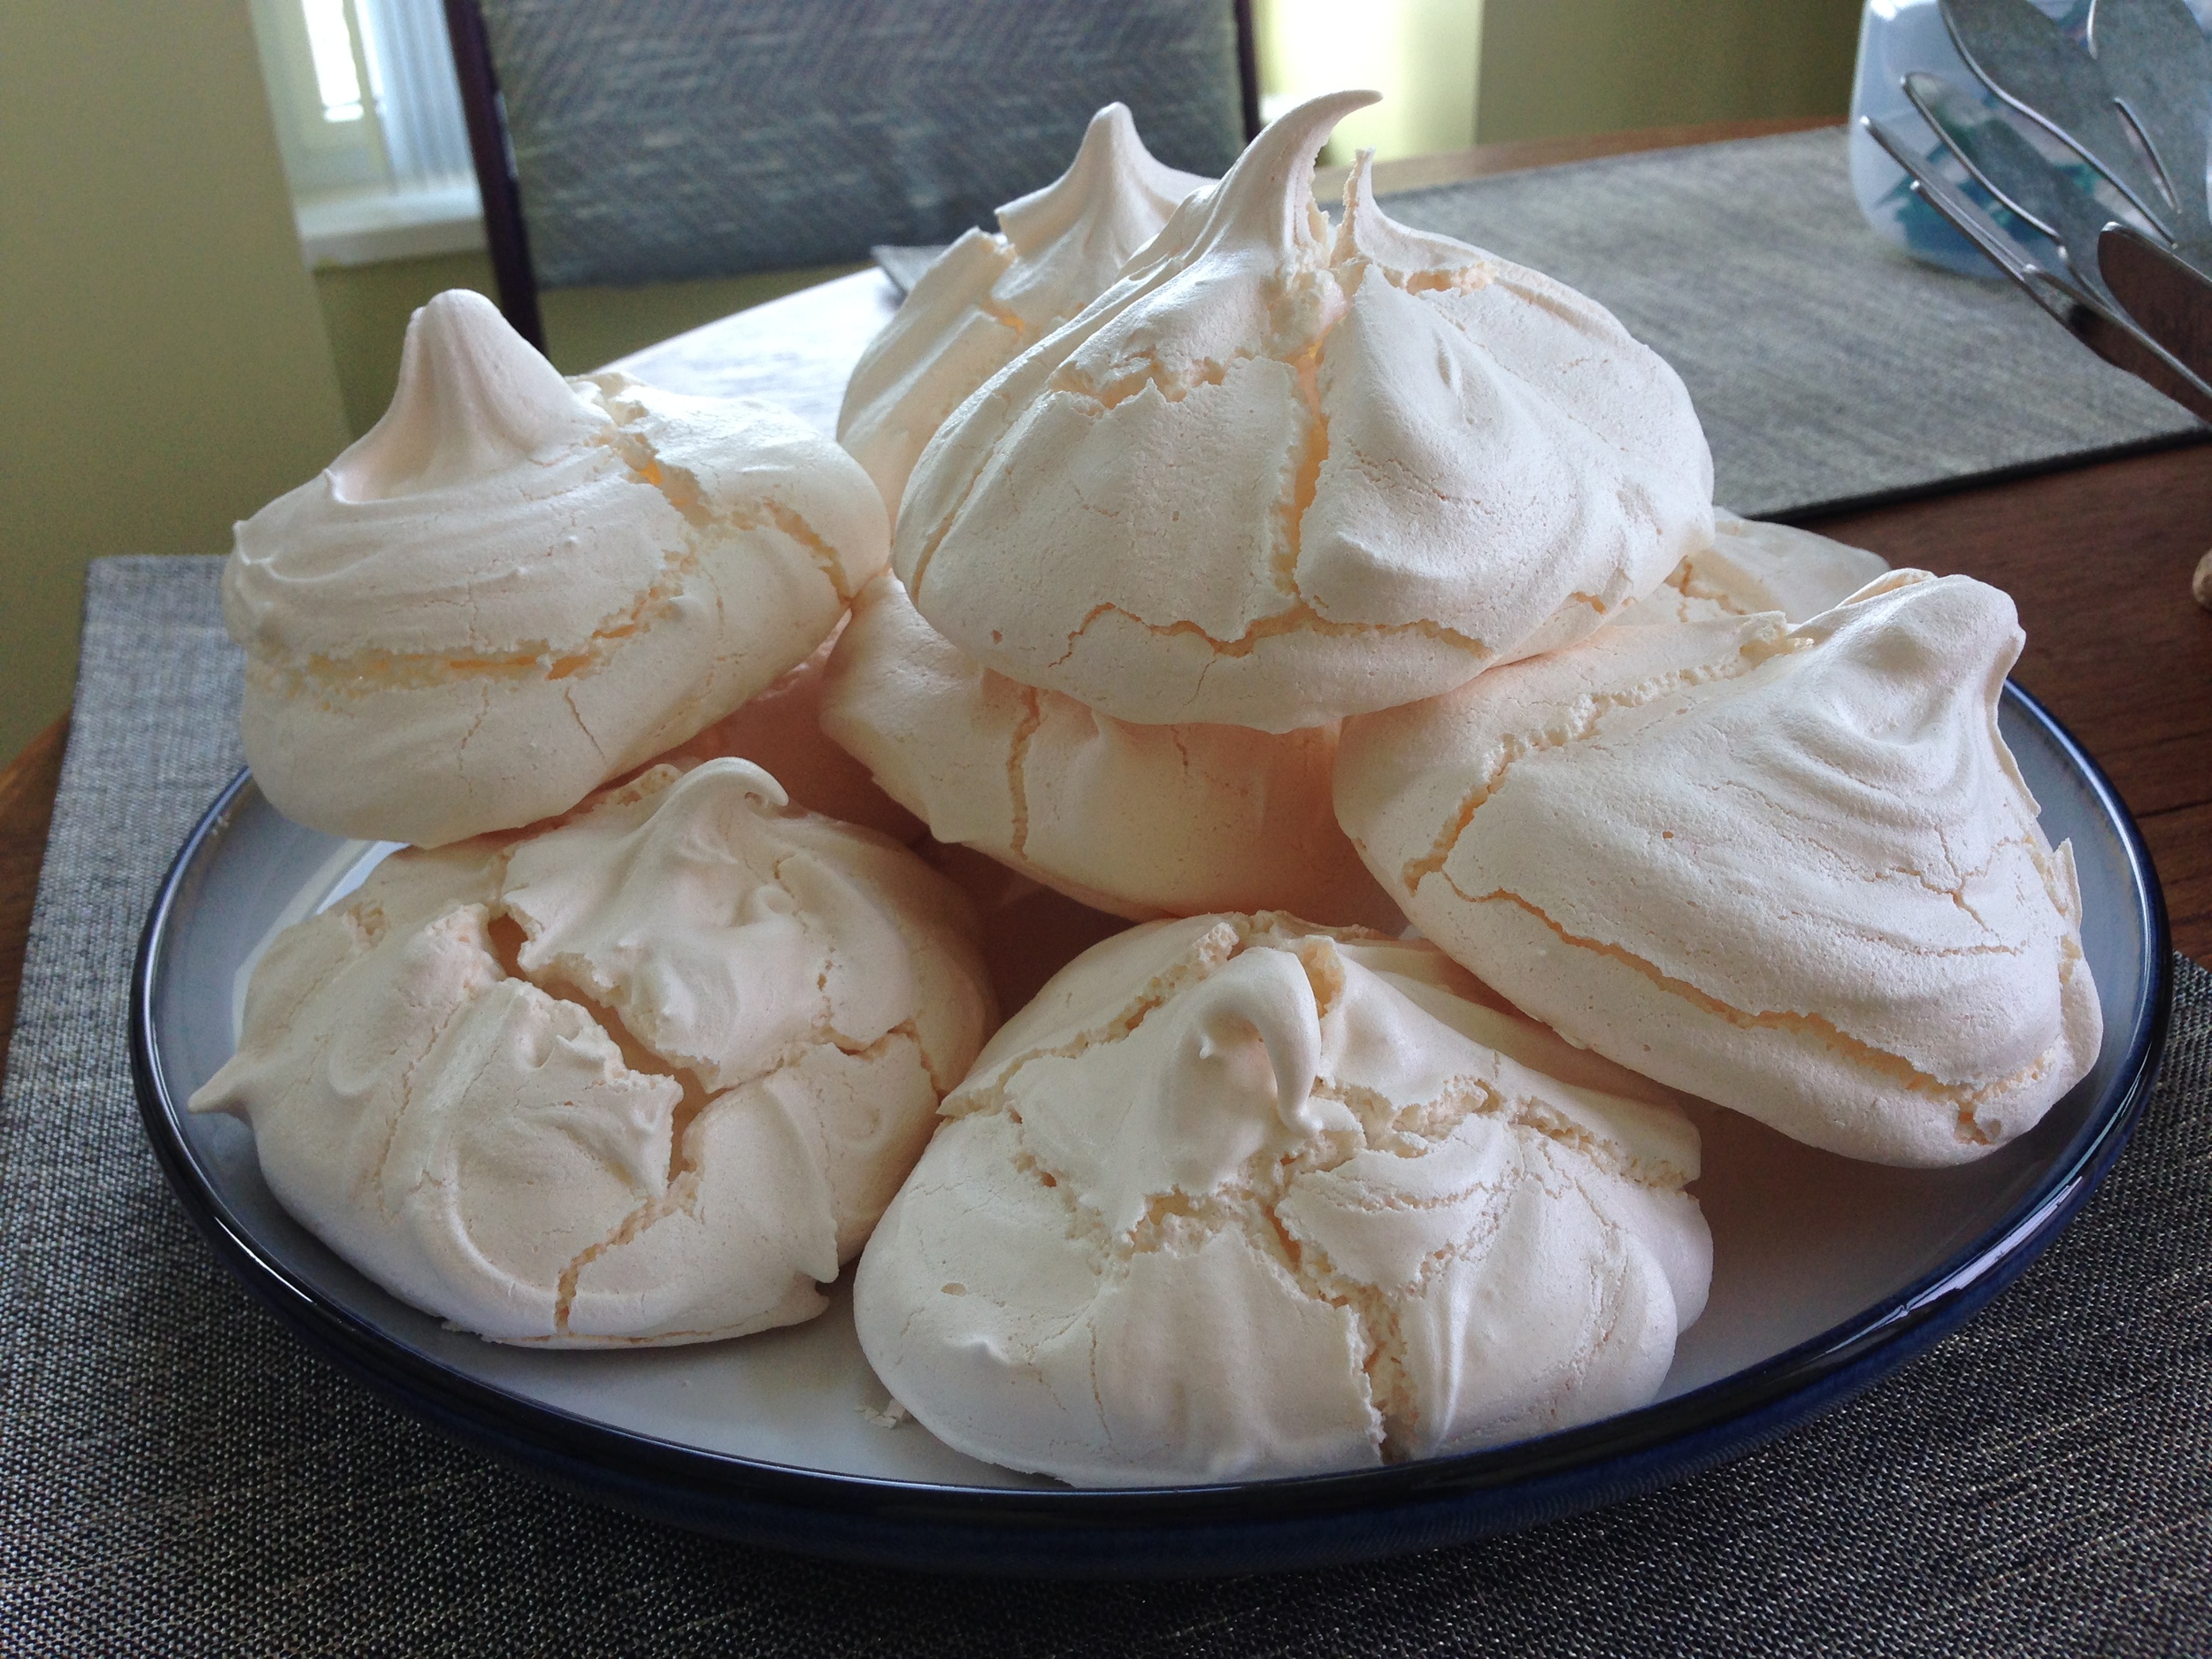
They Worked! D= It was a miracle. Also they were Amazingly delicious. I did however make waaaaaaay too many and had to feed them to the BFs coworkers. 

I think I have now sated the yearly quota for meringue torture. So much delicious sugary meringue-y torture.

-Andrea

The Half-Assed Hobbyist

Β 

Β 

Β 

Breakfasting

I love breakfast. Oatmeal, eggs, waffles, cold cuts, toast and jam, all yummy things that when made for dinner give that grin worthy I'm-doing-it-so-wrong-it's-right-again feeling. I made the following recipe for a veggie frittata on a spontaneous Wednesday. (I didn't have bacon in my fridge, or else it probably would have been "veggie-ish".)

Frittata

5 red potatoes, cubed and roasted
Oil
Salt and Pepper

1/2 white onion, chopped
2 heads broccolli, cut into florets
1 red pepper, cut into slices and roughly chopped

6 eggs
~ 1 cup milk (add more depending on the size of your dish.)
1 cup havarti cheese, shredded

  1. First, roast the potatoes! Pre-heat the oven to 400'. Wash, cut and cover potatoes with ~4 TBSP oil. (Best way to do this is to place the potatoes in a bowl, pour oil over them, and stir to coat them.) Spread out potatoes evenly on a baking sheet. Sprinkle sparingly with salt and pepper.  Roast for 45 minutes to an hour, stirring at least once. 
  2. When your potatoes are nearing the 15 minutes left mark, start your veg cooking. In a frying pan or dutch oven, heat ~2 TBSP oil over medium heat. Add and sautΓ© the onions till they're clear, about 5 mins. Add the broccoli and red peppers. Cook until the broccoli starts to soften, about 10 minutes. 
  3. In a rectangular baking dish, combine cooked veg and roasted potatoes. 
  4. Whip eggs together till light yellow. Add milk and continue to whip for another minute.
  5. Pour egg mixture over vegetables. Sprinkle cheese over frittata. 
  6. Bake for 25-30 minutes or until the top of the frittata is lightly browned and the egg is puffy.
  7. Serve!

 What's even better is this frittata keeps well in the fridge so if you make it on the weekend you can have a super satisfying prepped breakfast (or dinner!) for during the week. Food Plan-eration = Check!

-Andrea 

The Half-Assed Hobbyist

Β 

The Last Sunlight Bender

As previously said, I am an amateur gardener (in the most generous sense). My grandfather was the real gardener in the family and among the books and plants I also inherited from him a green thumb, an inclination for trying new things and a stubborn head. 

This past spring I planted seeds for the third time in my life. Amazingly, they grew! All credit goes to the mind blowing process that is seed germination. As the little plinfants grew and grew, they started to require some more room. (Kinda like crib to big kid bed! Yes. My plants are my babies. Also Yes. I foresee this being a traumatic allegory decision.)

Anyways. I started by harassing a friend with a car to drive me to a garden centre. Mission get my plinfants a big kid bed: initiate! I also got a lovely lattice for the balcony. Decorating with plants, check. 

I filled the weighted planter with black dirt and potting soil (gloves not required!) and got my Sweetie tomato babies into their new home. Now, tomatoes aren't stand alone plants. They need cages. Like bars on the top bunk. (Oooo. Bunk bed analogy. 12 self-points.) Since my access to the garden centre was limited (Miss you Taylor!!) it was off to the dollar store to figure out a makeshift temporary cage. String stick cage = better than nothing!

Actually, I was really pleased with the dollar store's seasonal garden aisle, if I'm honest. I ended up buying bins to repot the Tiny Tims tomatoes, and later, actual metal cages. 

So far so good! My plant babies were living full time outside and I bought some fertilizer to keep them growing strong. Unfortunately though, the weather was not cooperating. 4 days straight of cloud and rain make for very unhappy plant campers. Especially since they're stuck in planters. I did what I could to reduce the amount of water that deluged my plant babies, but weather is an unstoppable force. 

My Sweetie's currently have some blight, which makes me cry a bit, but hopefully with some pruning, good weather and lots of sun they will feel better. They seem to still be pretty happy as they've fruited! Yay! The Tiny Tims are also flowering; Basil plants are getting woody; and Mint is bushing out. (Haha.) So far mission balcony garden is doing very well! 

-knocks on wood-

-Andrea

The Half-Assed Hobbyist

Hiking to The Falls

'All the things, All the time' is a sentiment that I live my life by. As a result, I have a tendency to do all the things, all the time. I find no greater happiness than doing all the things outside in the sunshine with some of my lovely friendlies. Back in April, I got to do just that. 

It was a lovely hike up to the Cataract Falls. Sun and fun and a picnic lunch was had. I'll let the photos speak for themselves!

Miss all Y'all

Miss all Y'all

-Andrea 

The Half-Assed Hobbyist

The Weave

Everywhere I look I see knitting memes that all have the same effect: 

Talk about stress. 

Anyways. I've had a couple patterns that I've been sitting on for longer than I care to admit... (who am I kidding, 3 years!) and this was one of them.

The Enterlac Scarf by Allison LoCicero was a pattern that caught my eye because of the way it looked. (Oh Ravelry, how you're as bad as FB as a time waster.) While looking woven, the scarf is in fact worked back and forth in a knit. I had put off starting it because, she told herself, I needed the Noro yarn the pattern asked for. In all honestly, any multi coloured yarn would have worked but I finally did go hunting and found the yarn on Queen at Romni Wools

The pattern is super well written! While initially a tad daunting, once you get used to working the squares it goes by very quickly. Definitely a recommend! Just make sure you get all the same colour code of yarn... like I obviously did.... >>. Haha. 

Cheers!

-Andrea 

The Half-Assed Hobbyist