Apple Adventurers

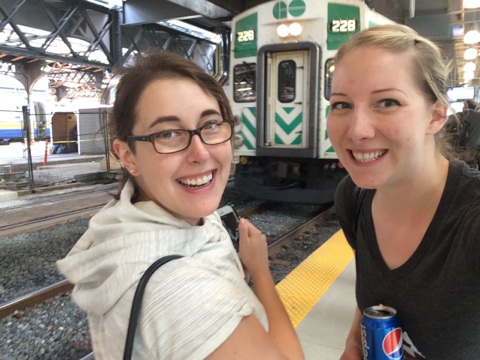
Since moving to Ontario I've tried being Ontarian. I've got my OHIP card, my Ontario drivers license, and my voter card, so for all intents and purposes, I am, but that's not really the same as being from here. My mission: Find out some Ontarian specific adventures and go on them. 

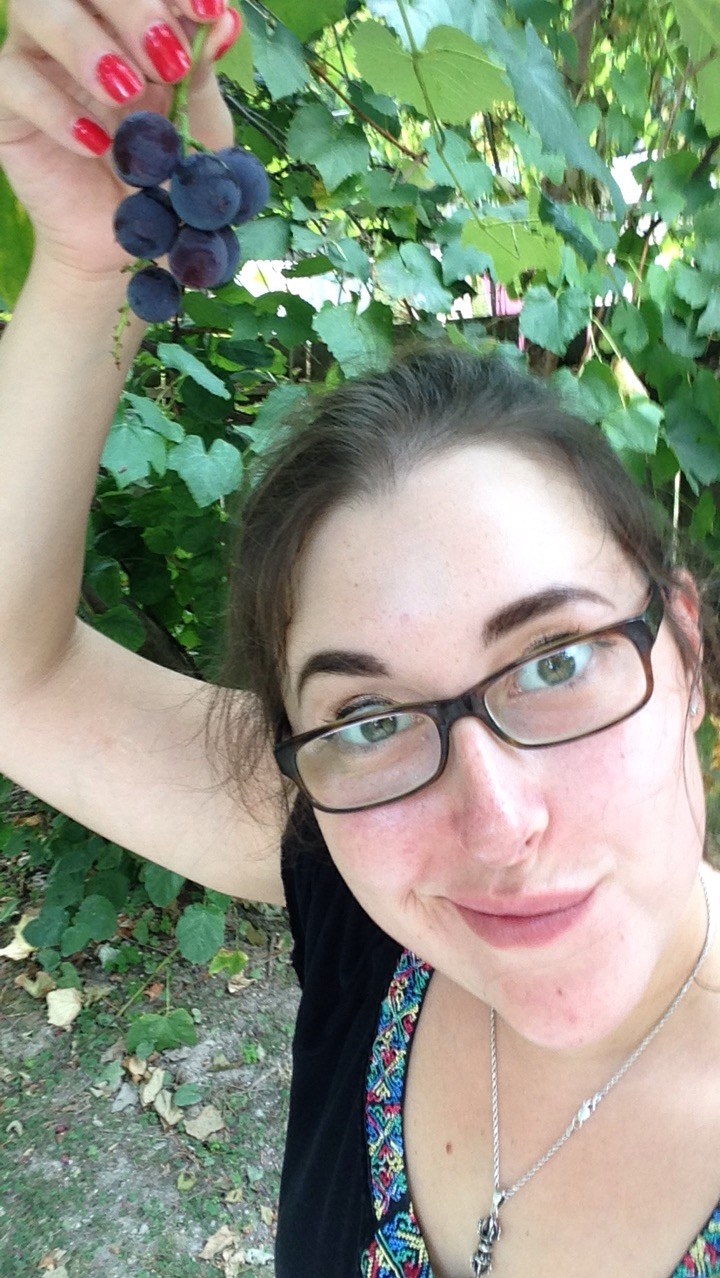
Some of my lovely lady friends were into the idea of apple picking. Being from Alberta, I have never been to an apple orchard. (Trees? What are these 'tree' things? ;) ) It seems to be a very eastern Canada thing. Sold. 

I did a bit of research (this site was really helpful) and found two orchards reasonably close to Toronto. I was surprised that some orchards charge entry fees so we found one that didn't: Pine Farms Orchard. (The entry fee later made sense as some orchards, like Chudleigh's, is entire day experience, with a petting zoo and restaurant etc. Some orchards even let you drive right in and up to the trees!) 

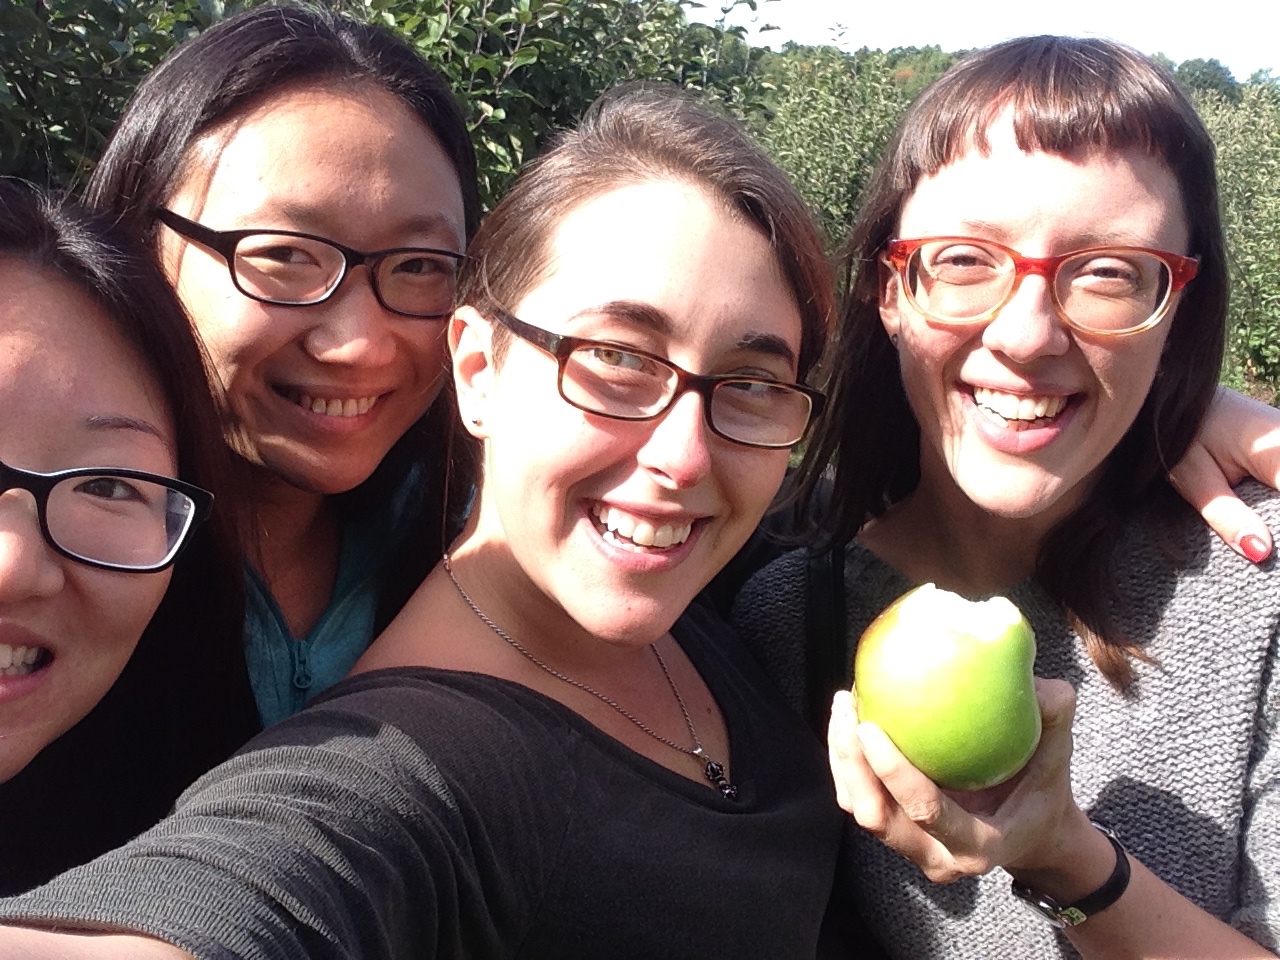
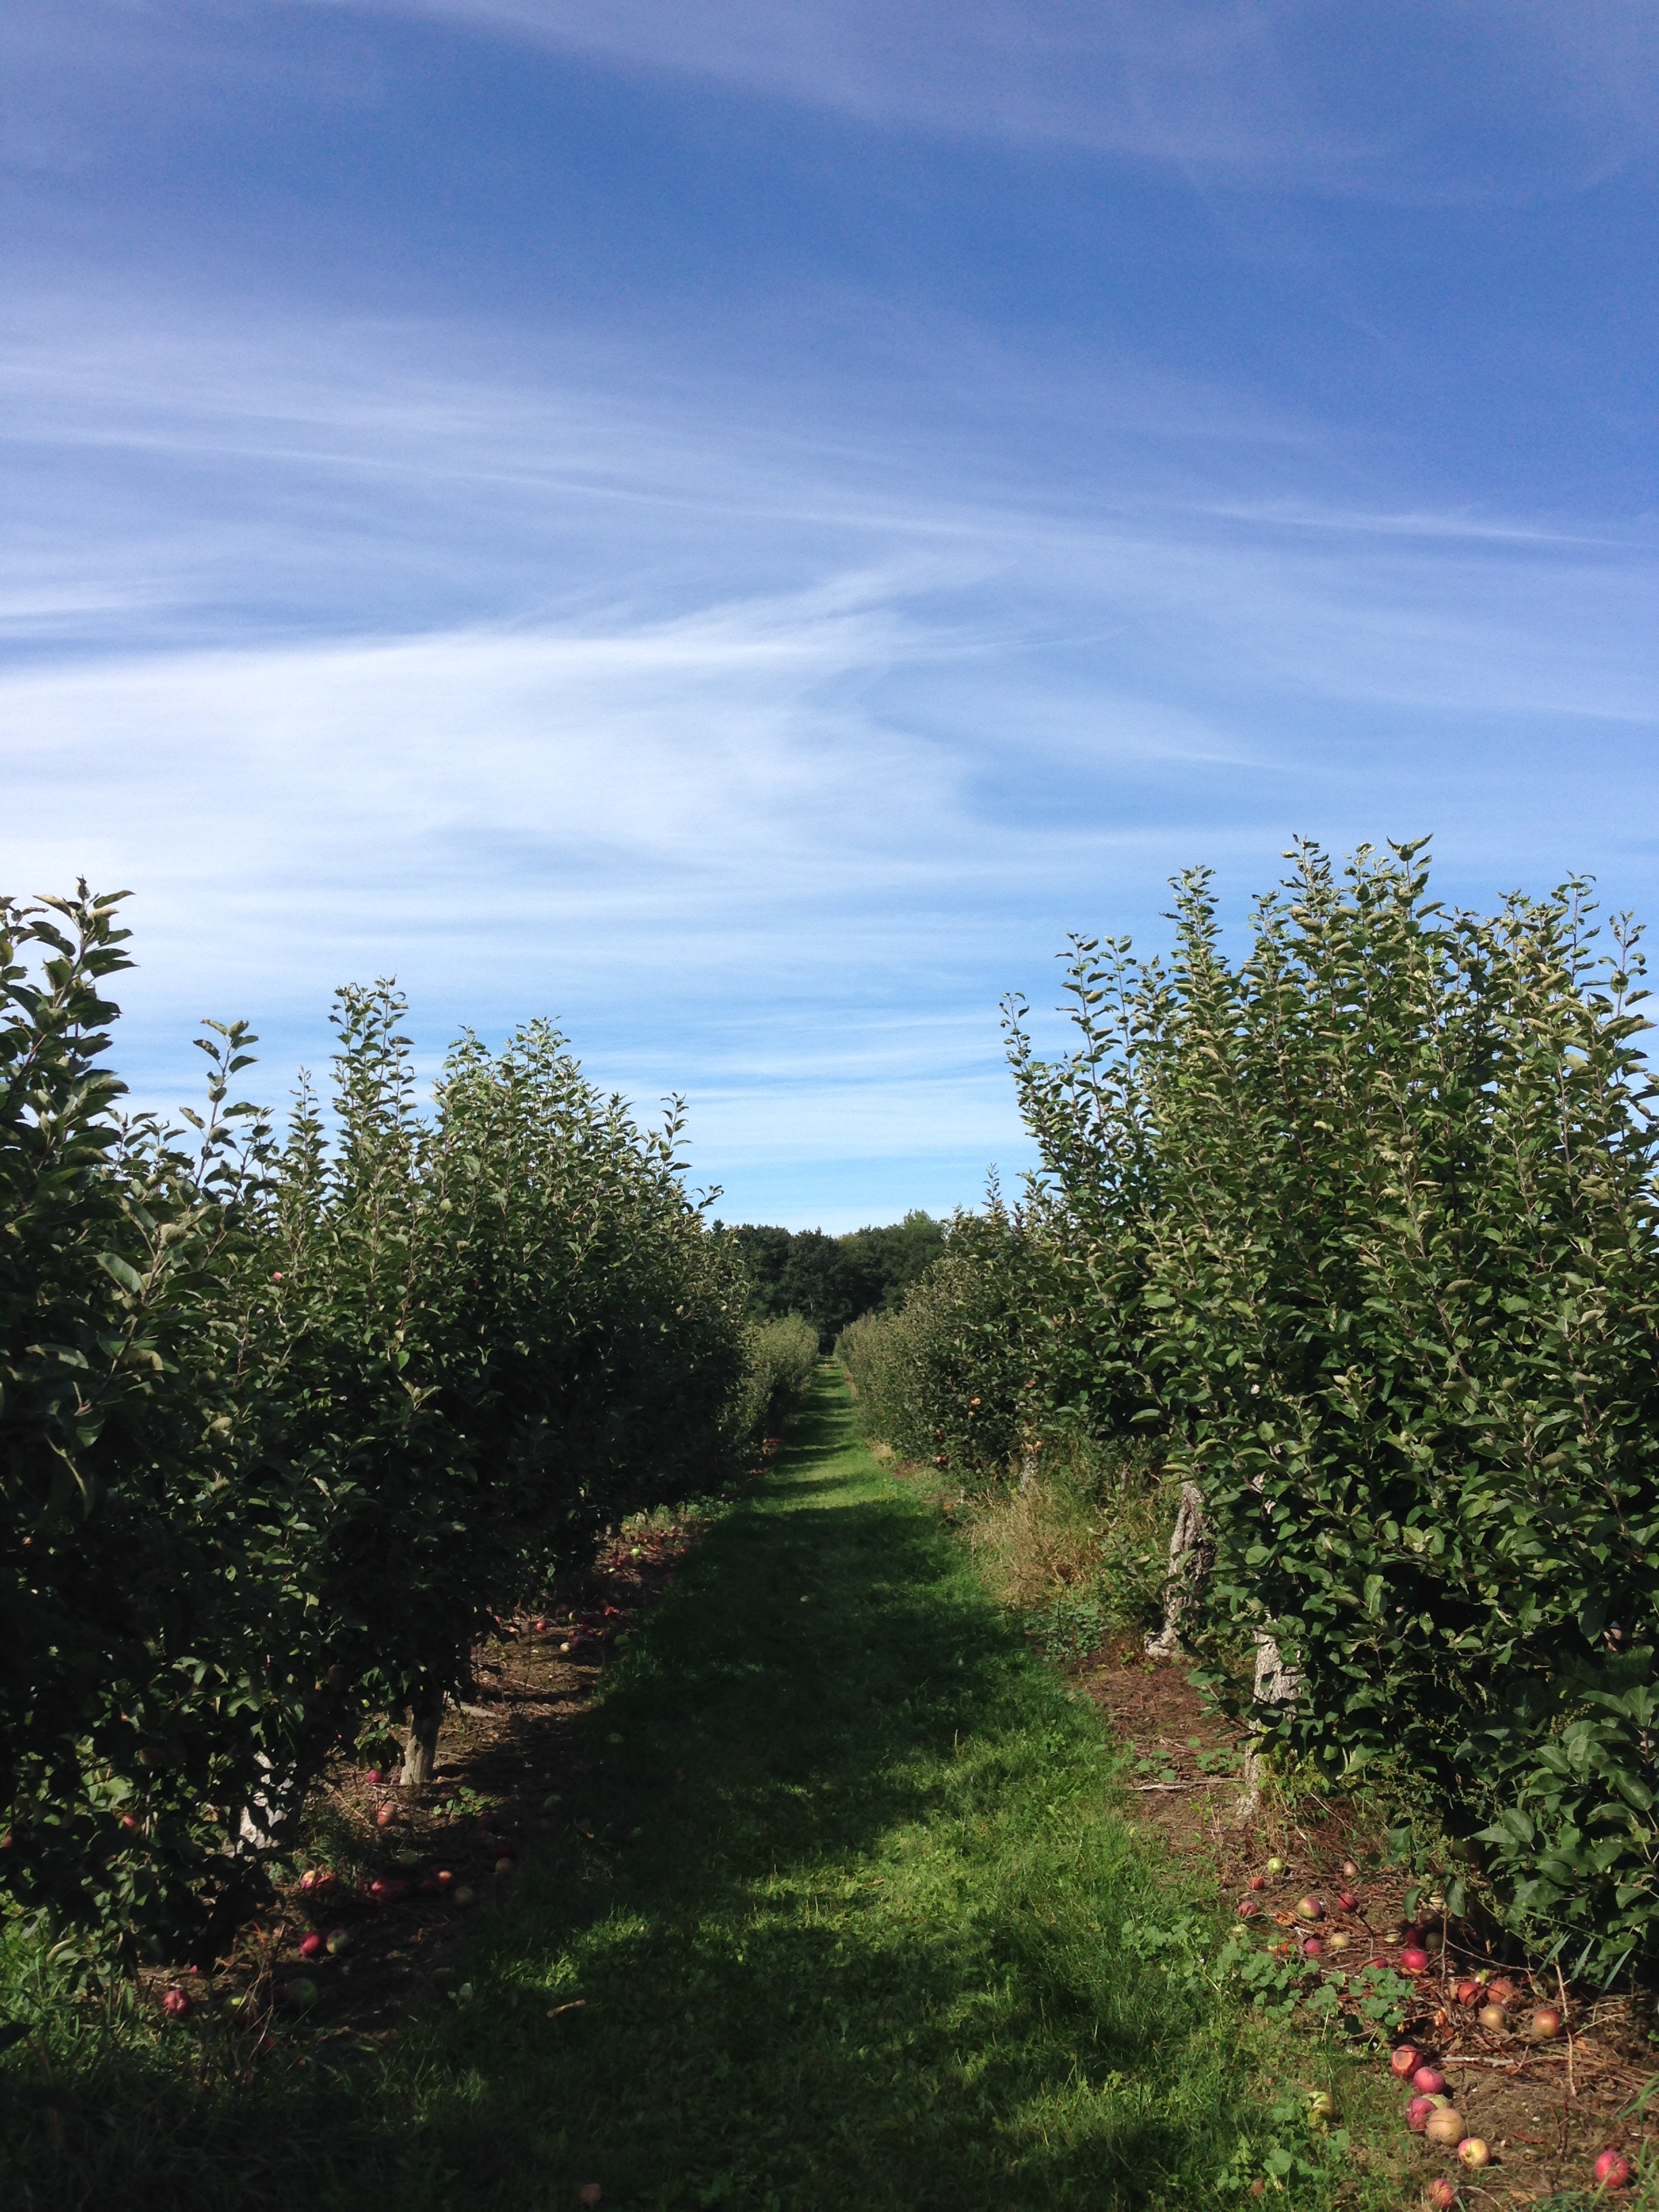
Pine Farms was INSANLY busy. When we got there people were parking on the side of the road. Eventually police showed up to direct traffic. It was truly nuts busy. Unsurprisingly, on the lovely sunny sunday afternoon we went, the patrons were mostly families, young and old. My lovely lady friends and I wandered around a bit to get our bearings. There wasn't much signage as to what to do but we figured it out: Get a bag, pick apples, get them weighed at the main cabin, pay and away! So we hunted for some bags and got picking. 

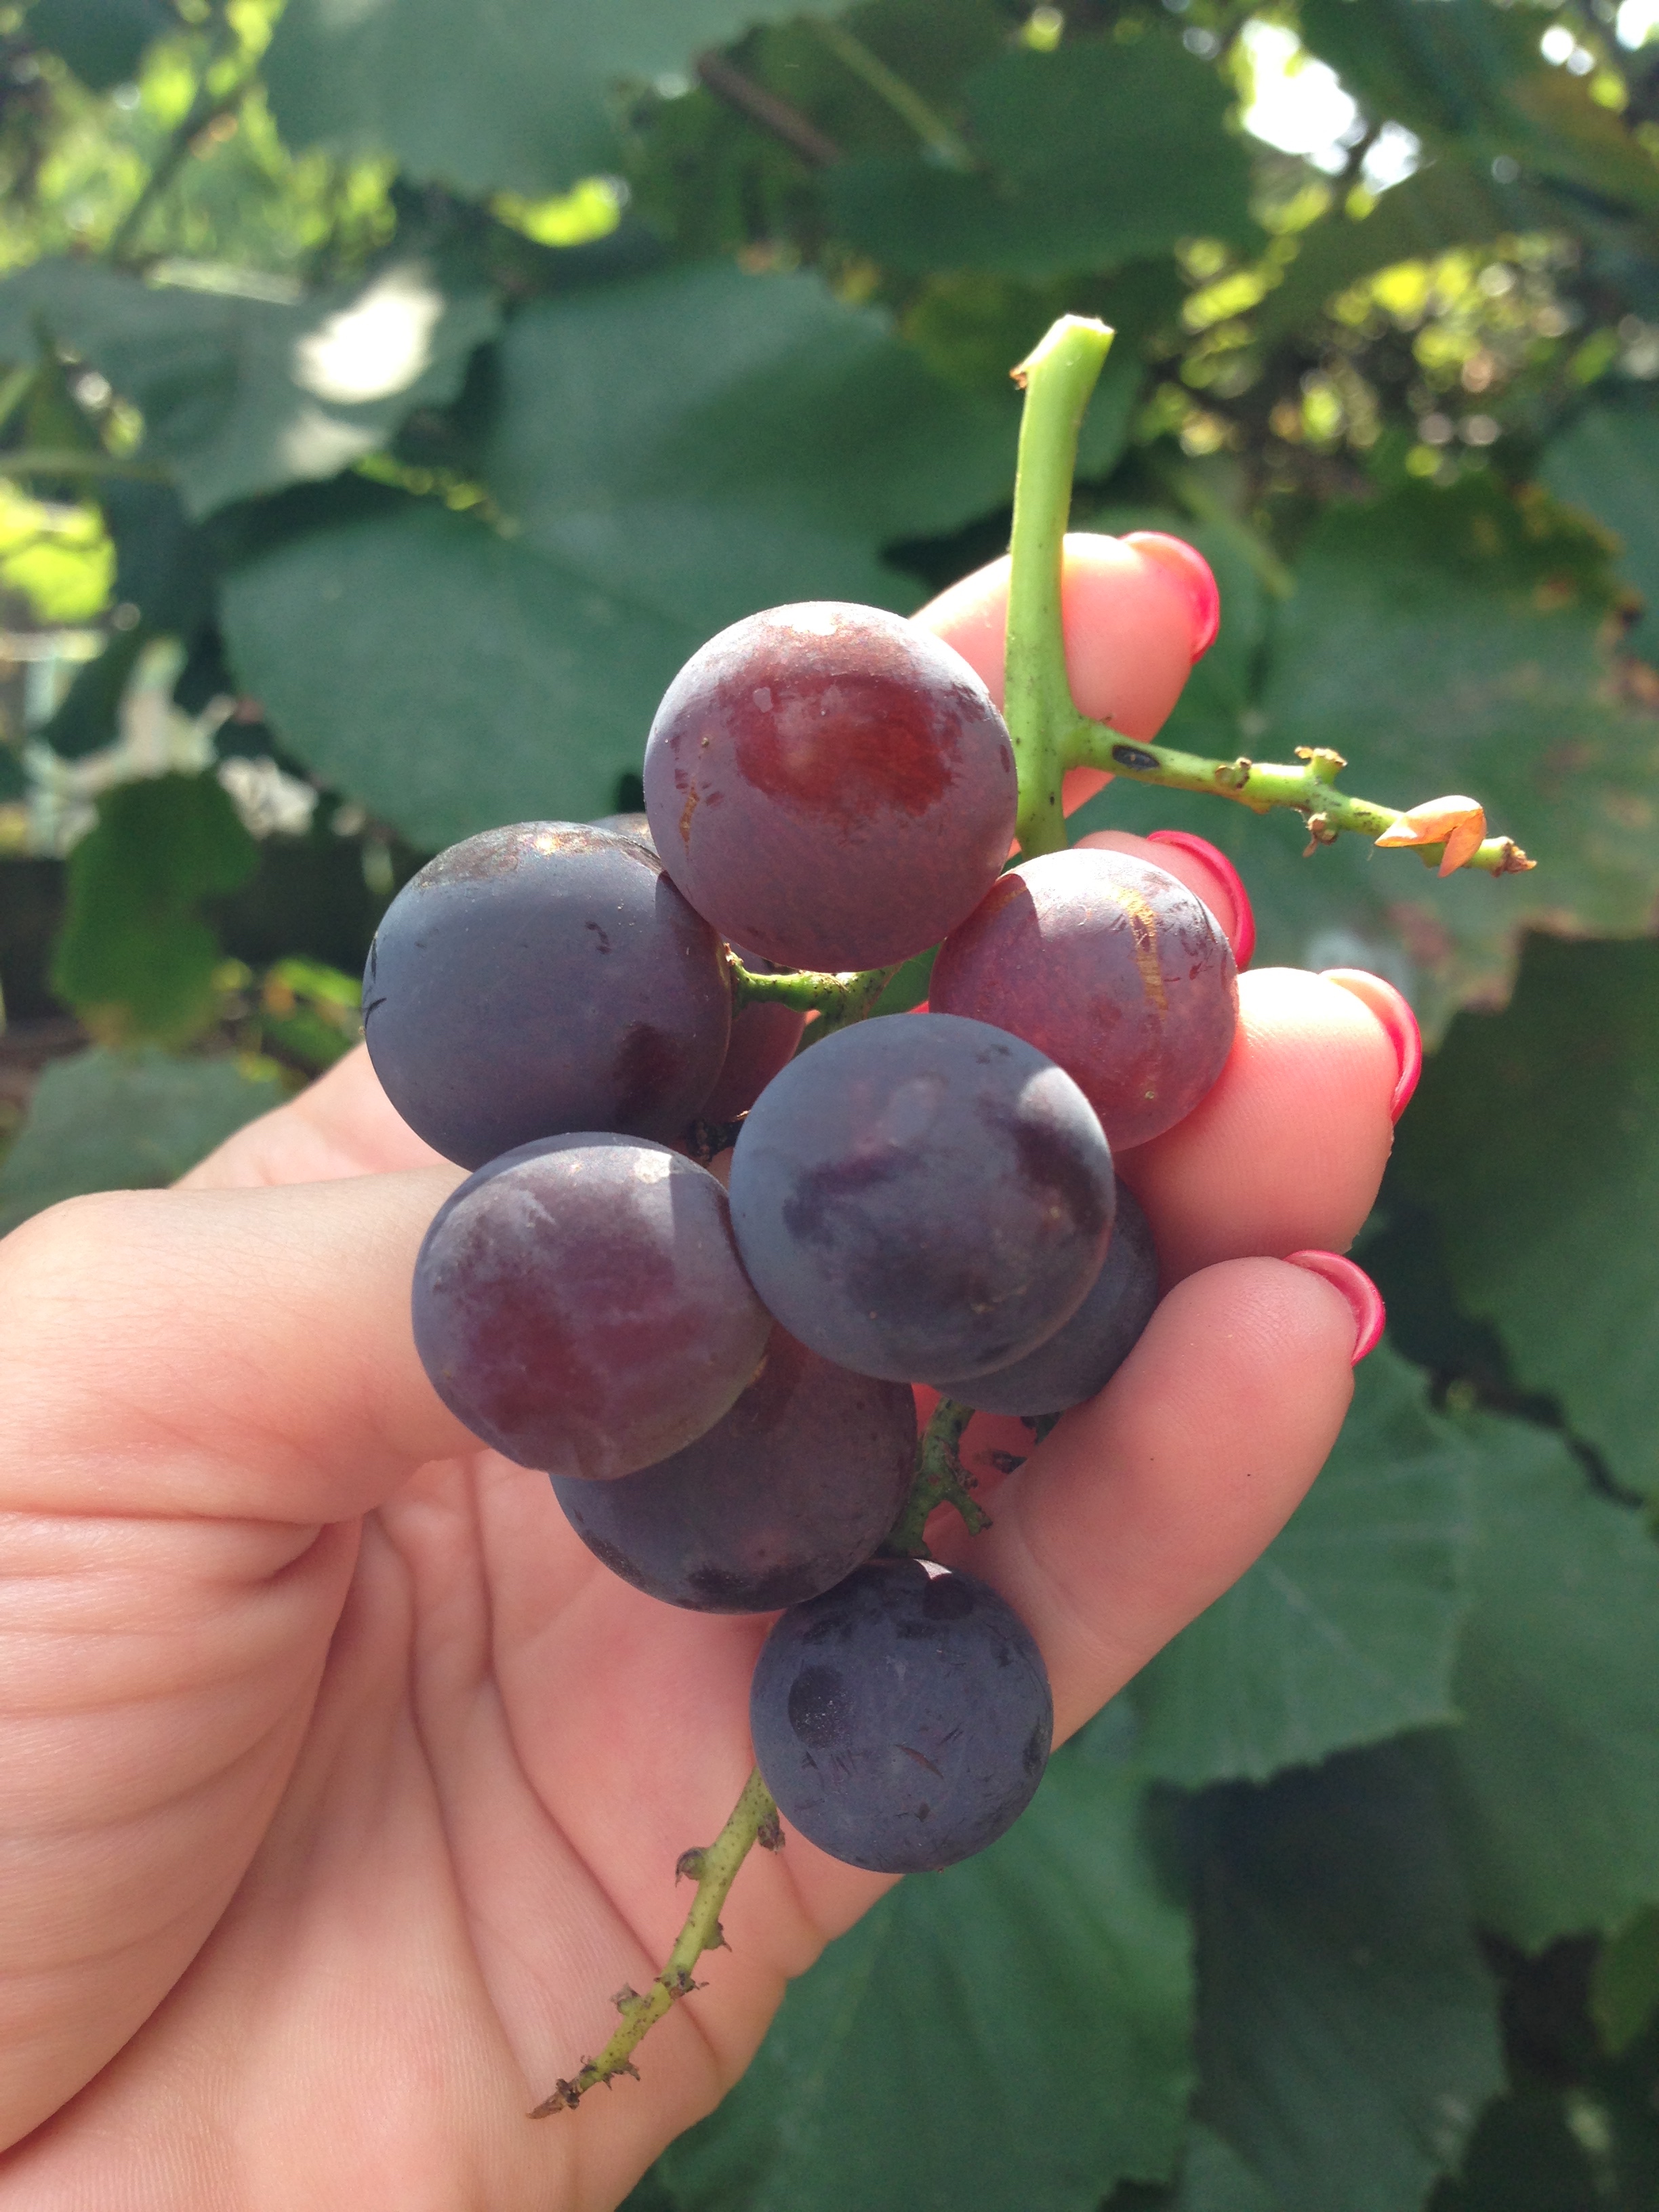
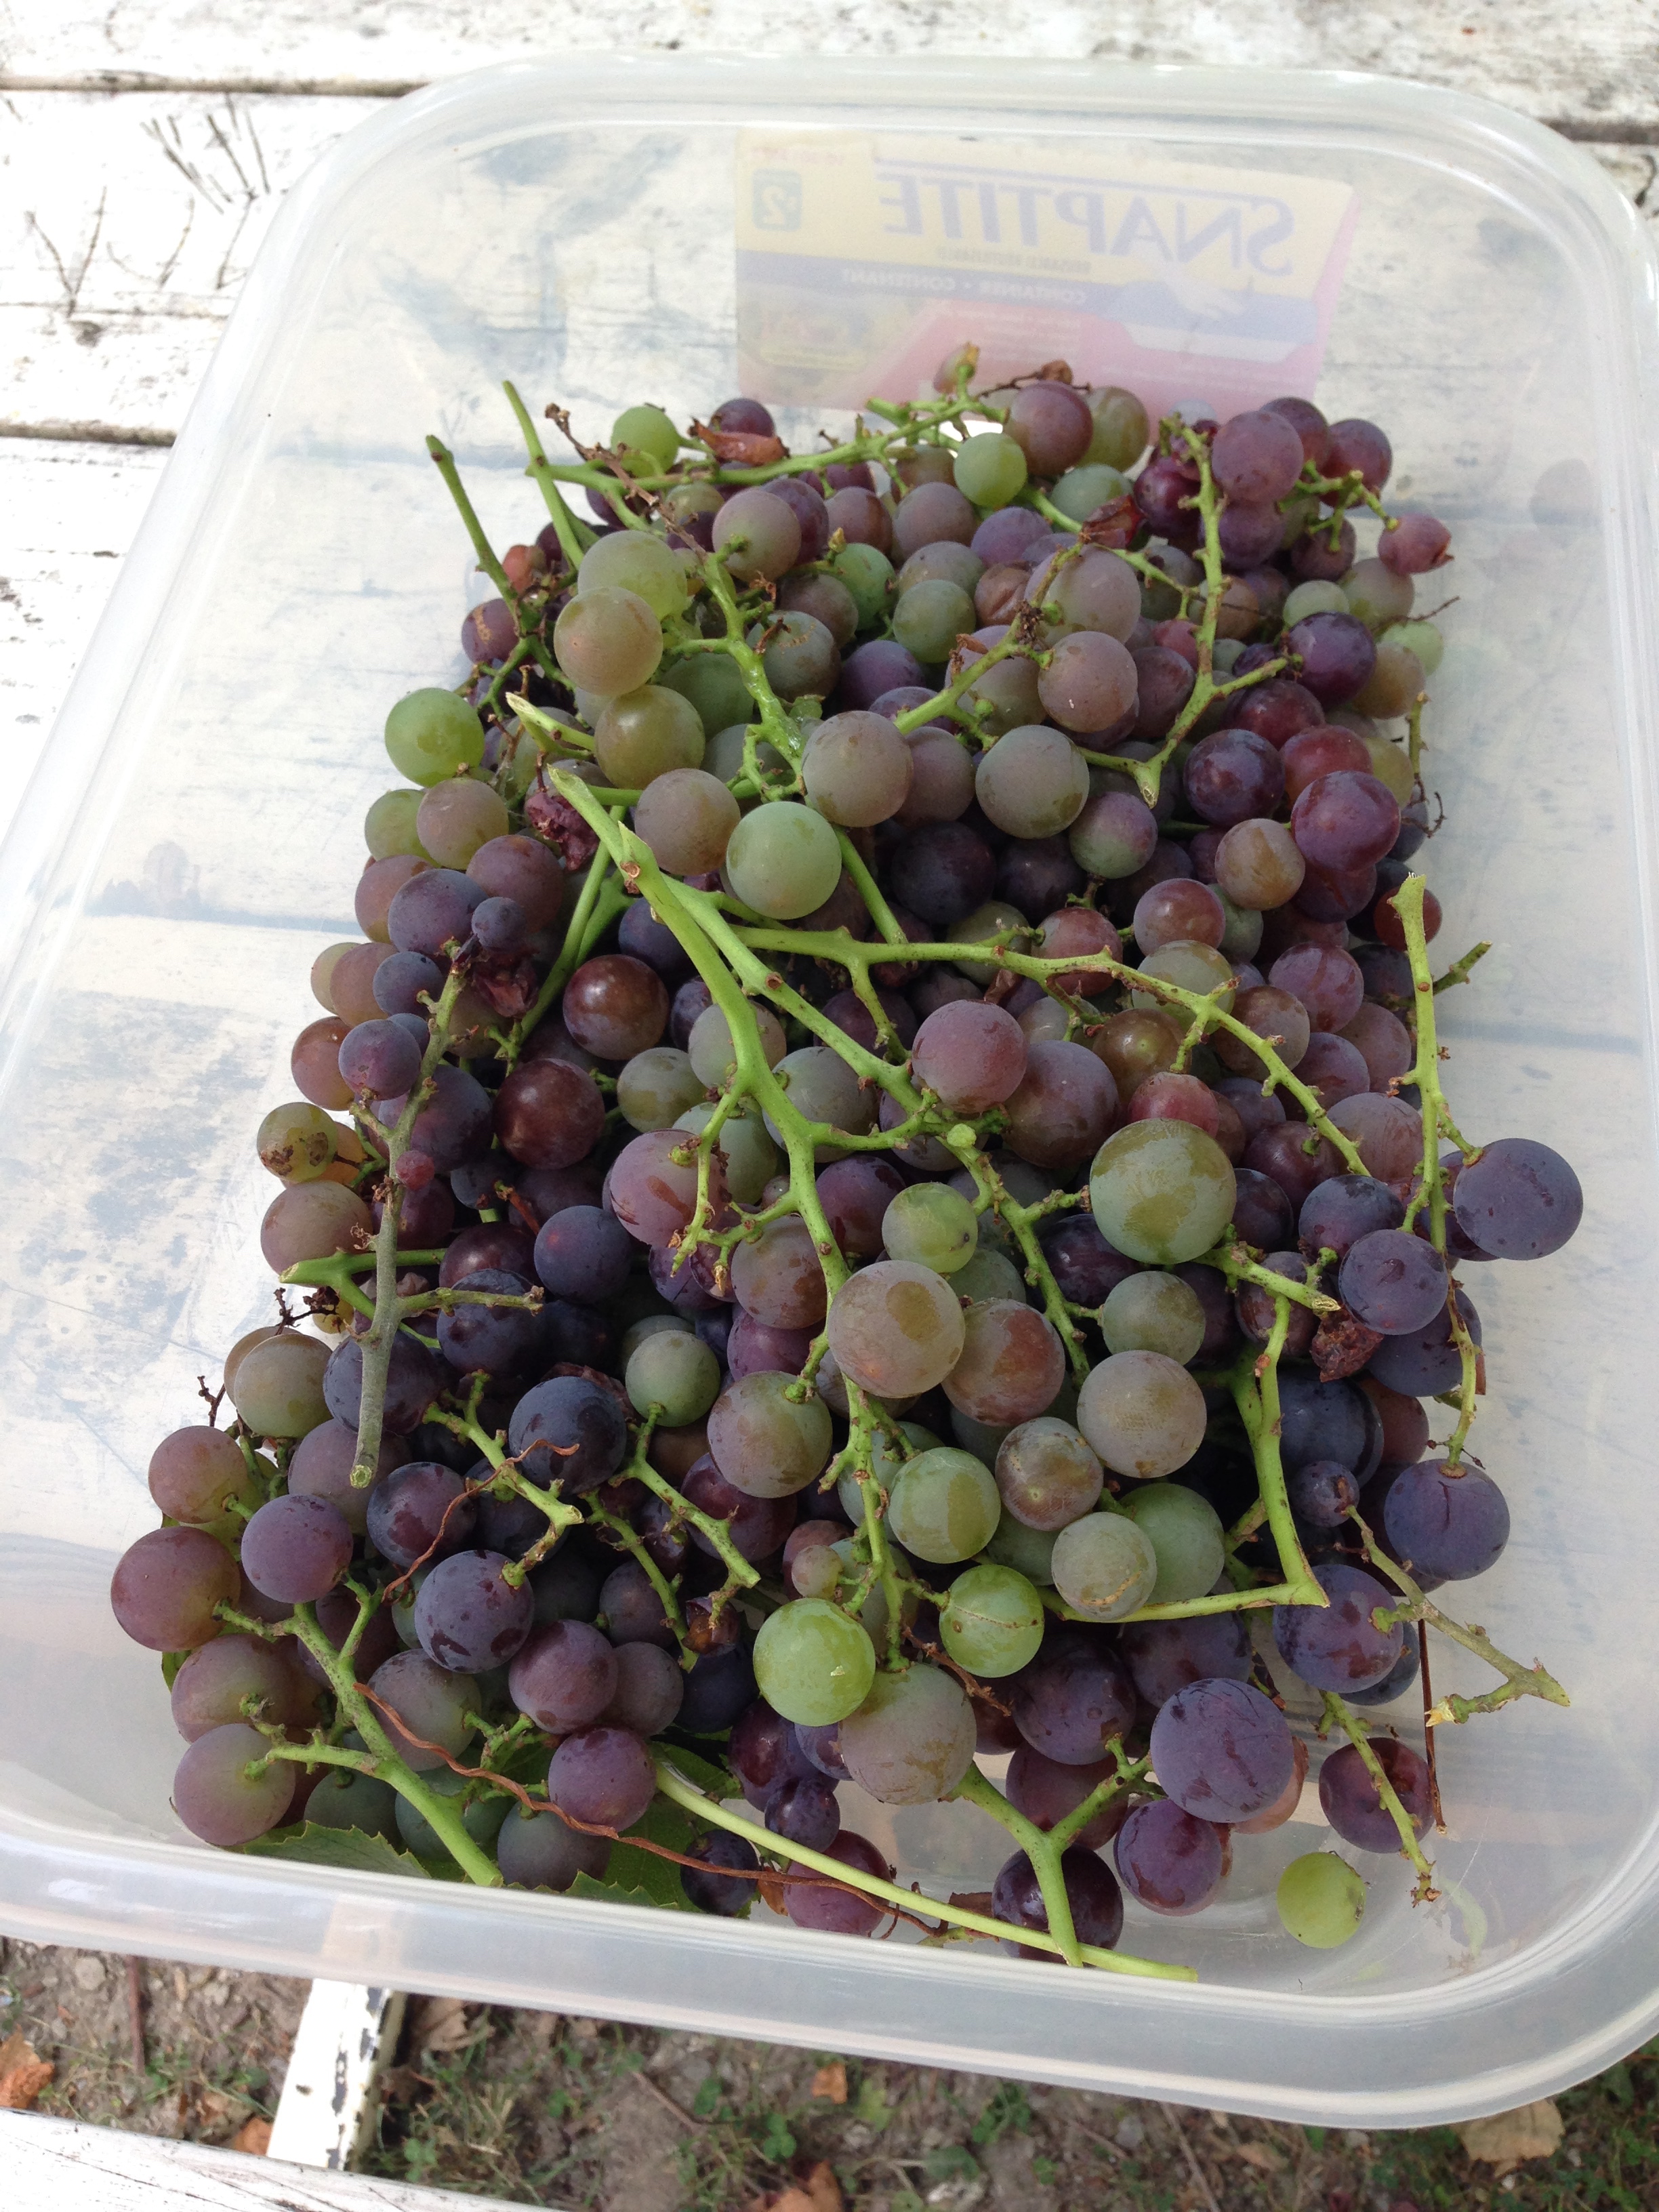
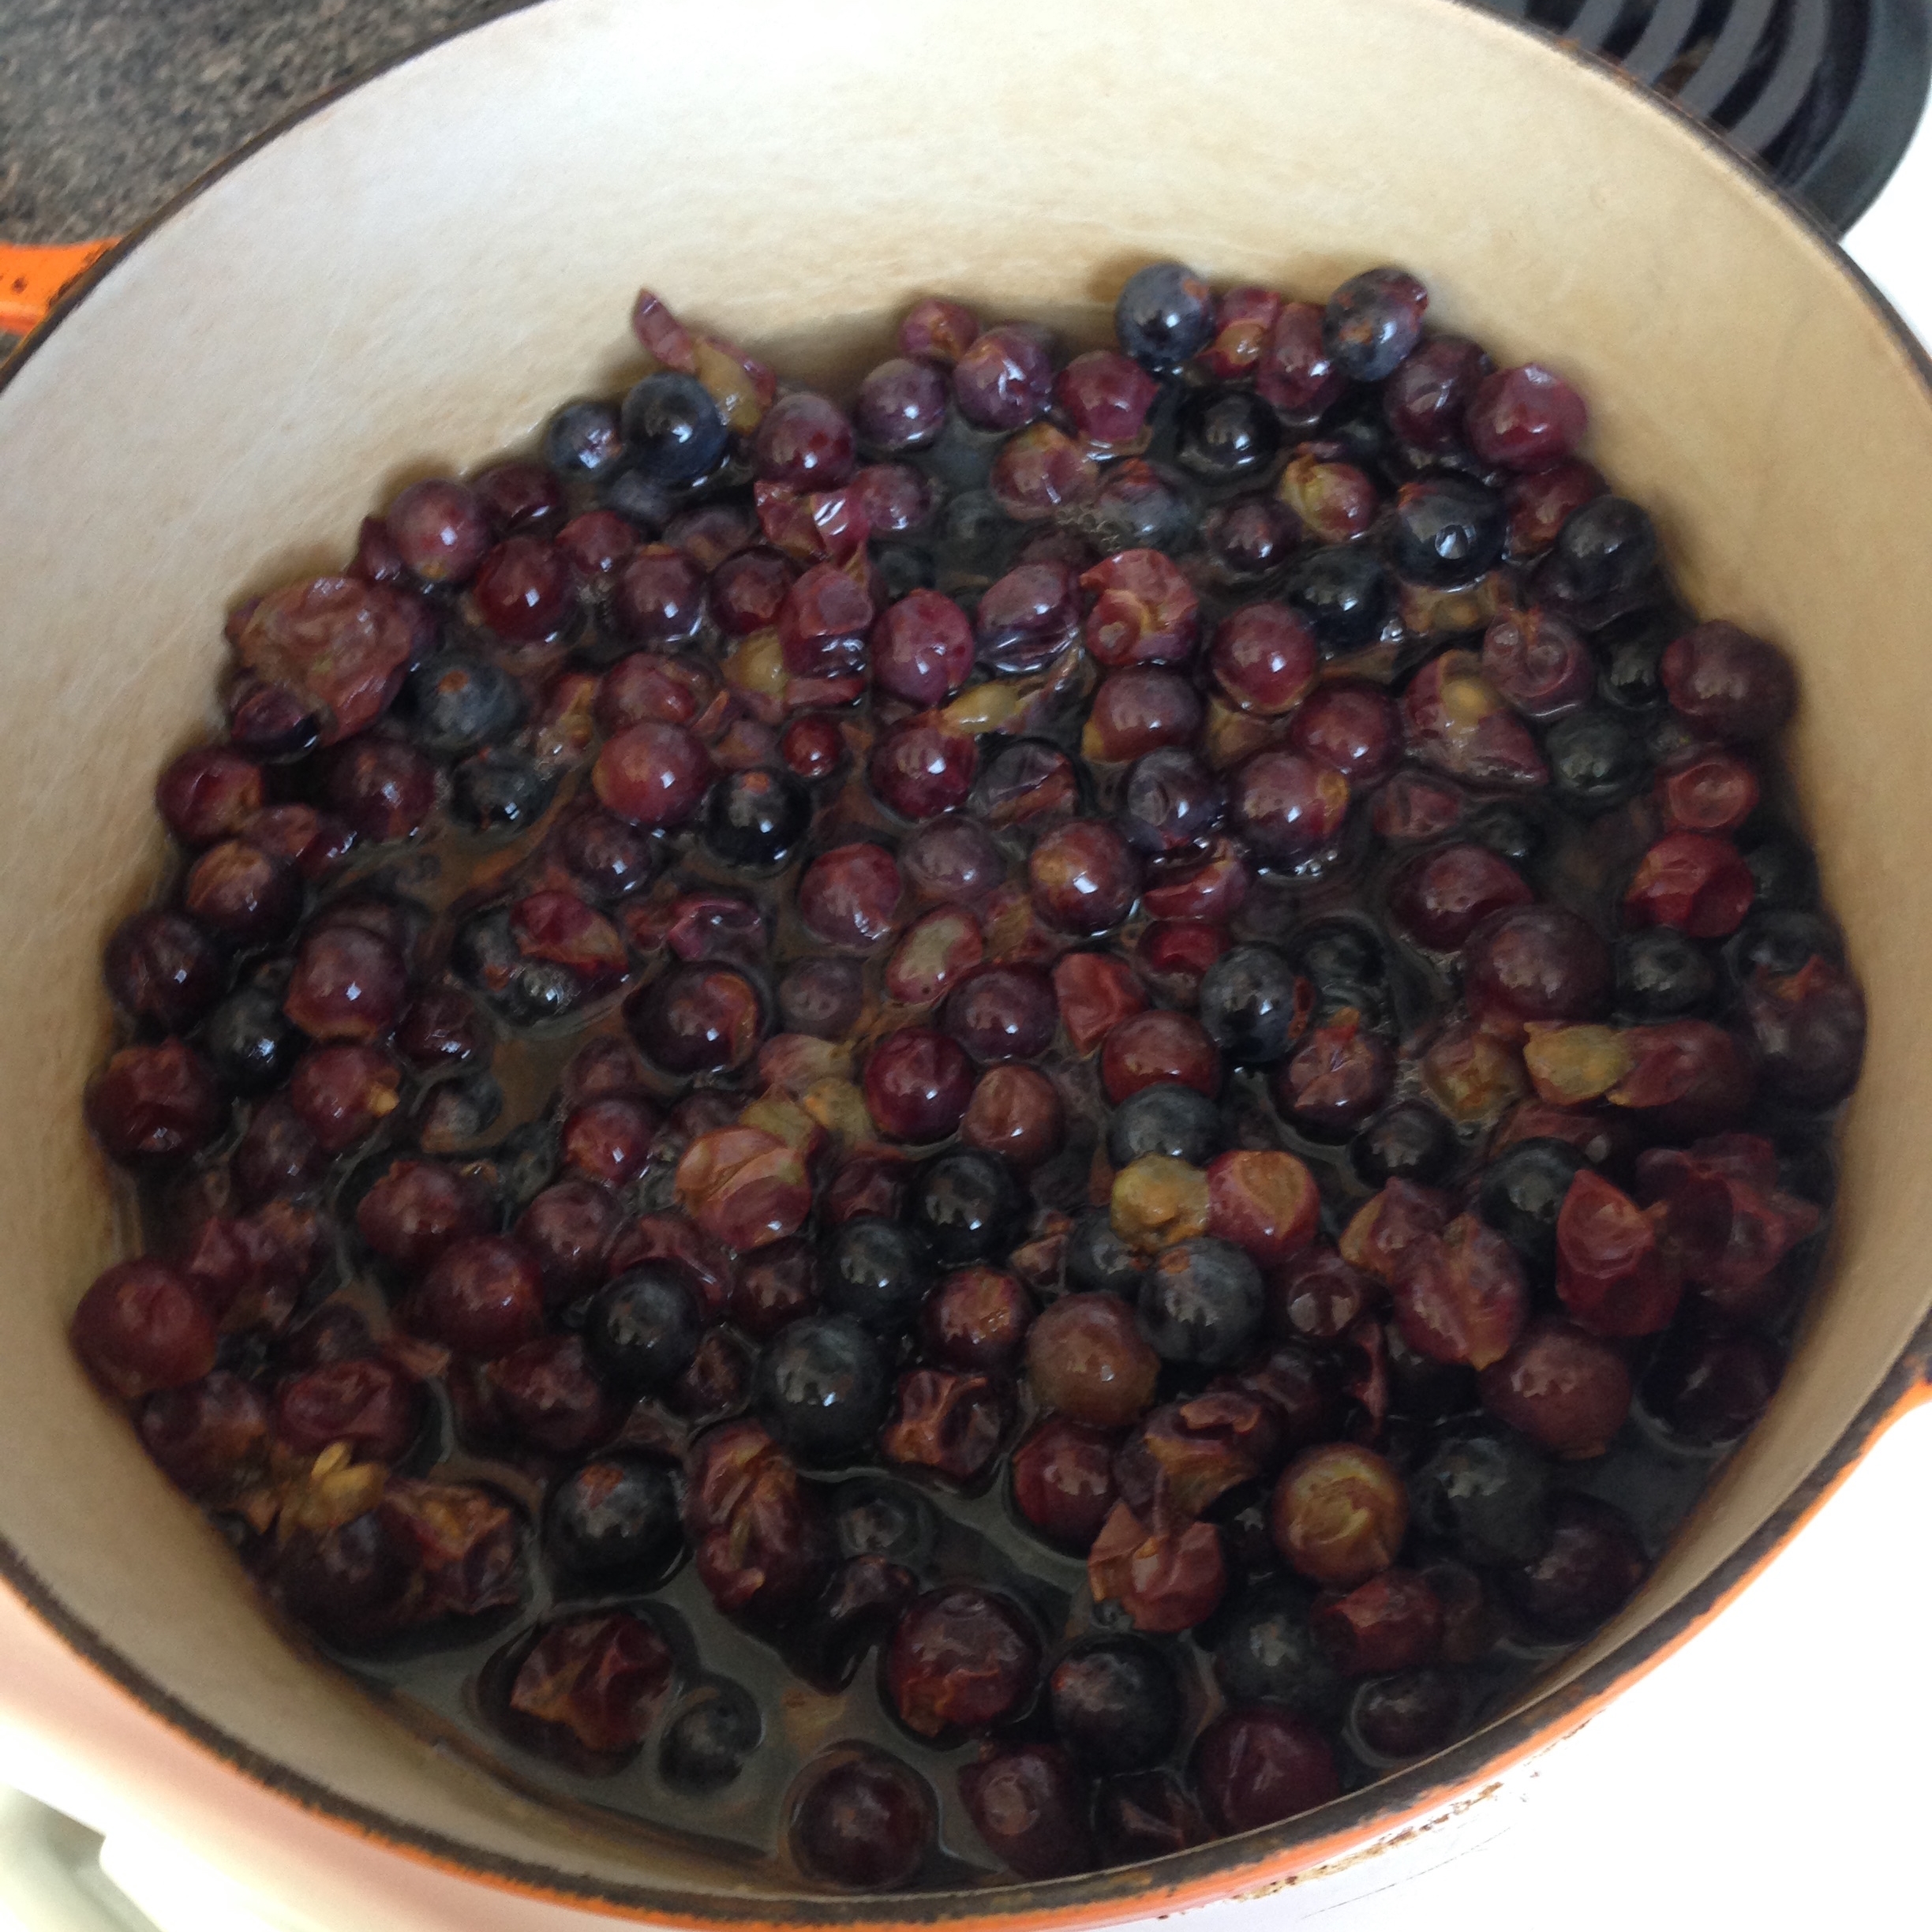
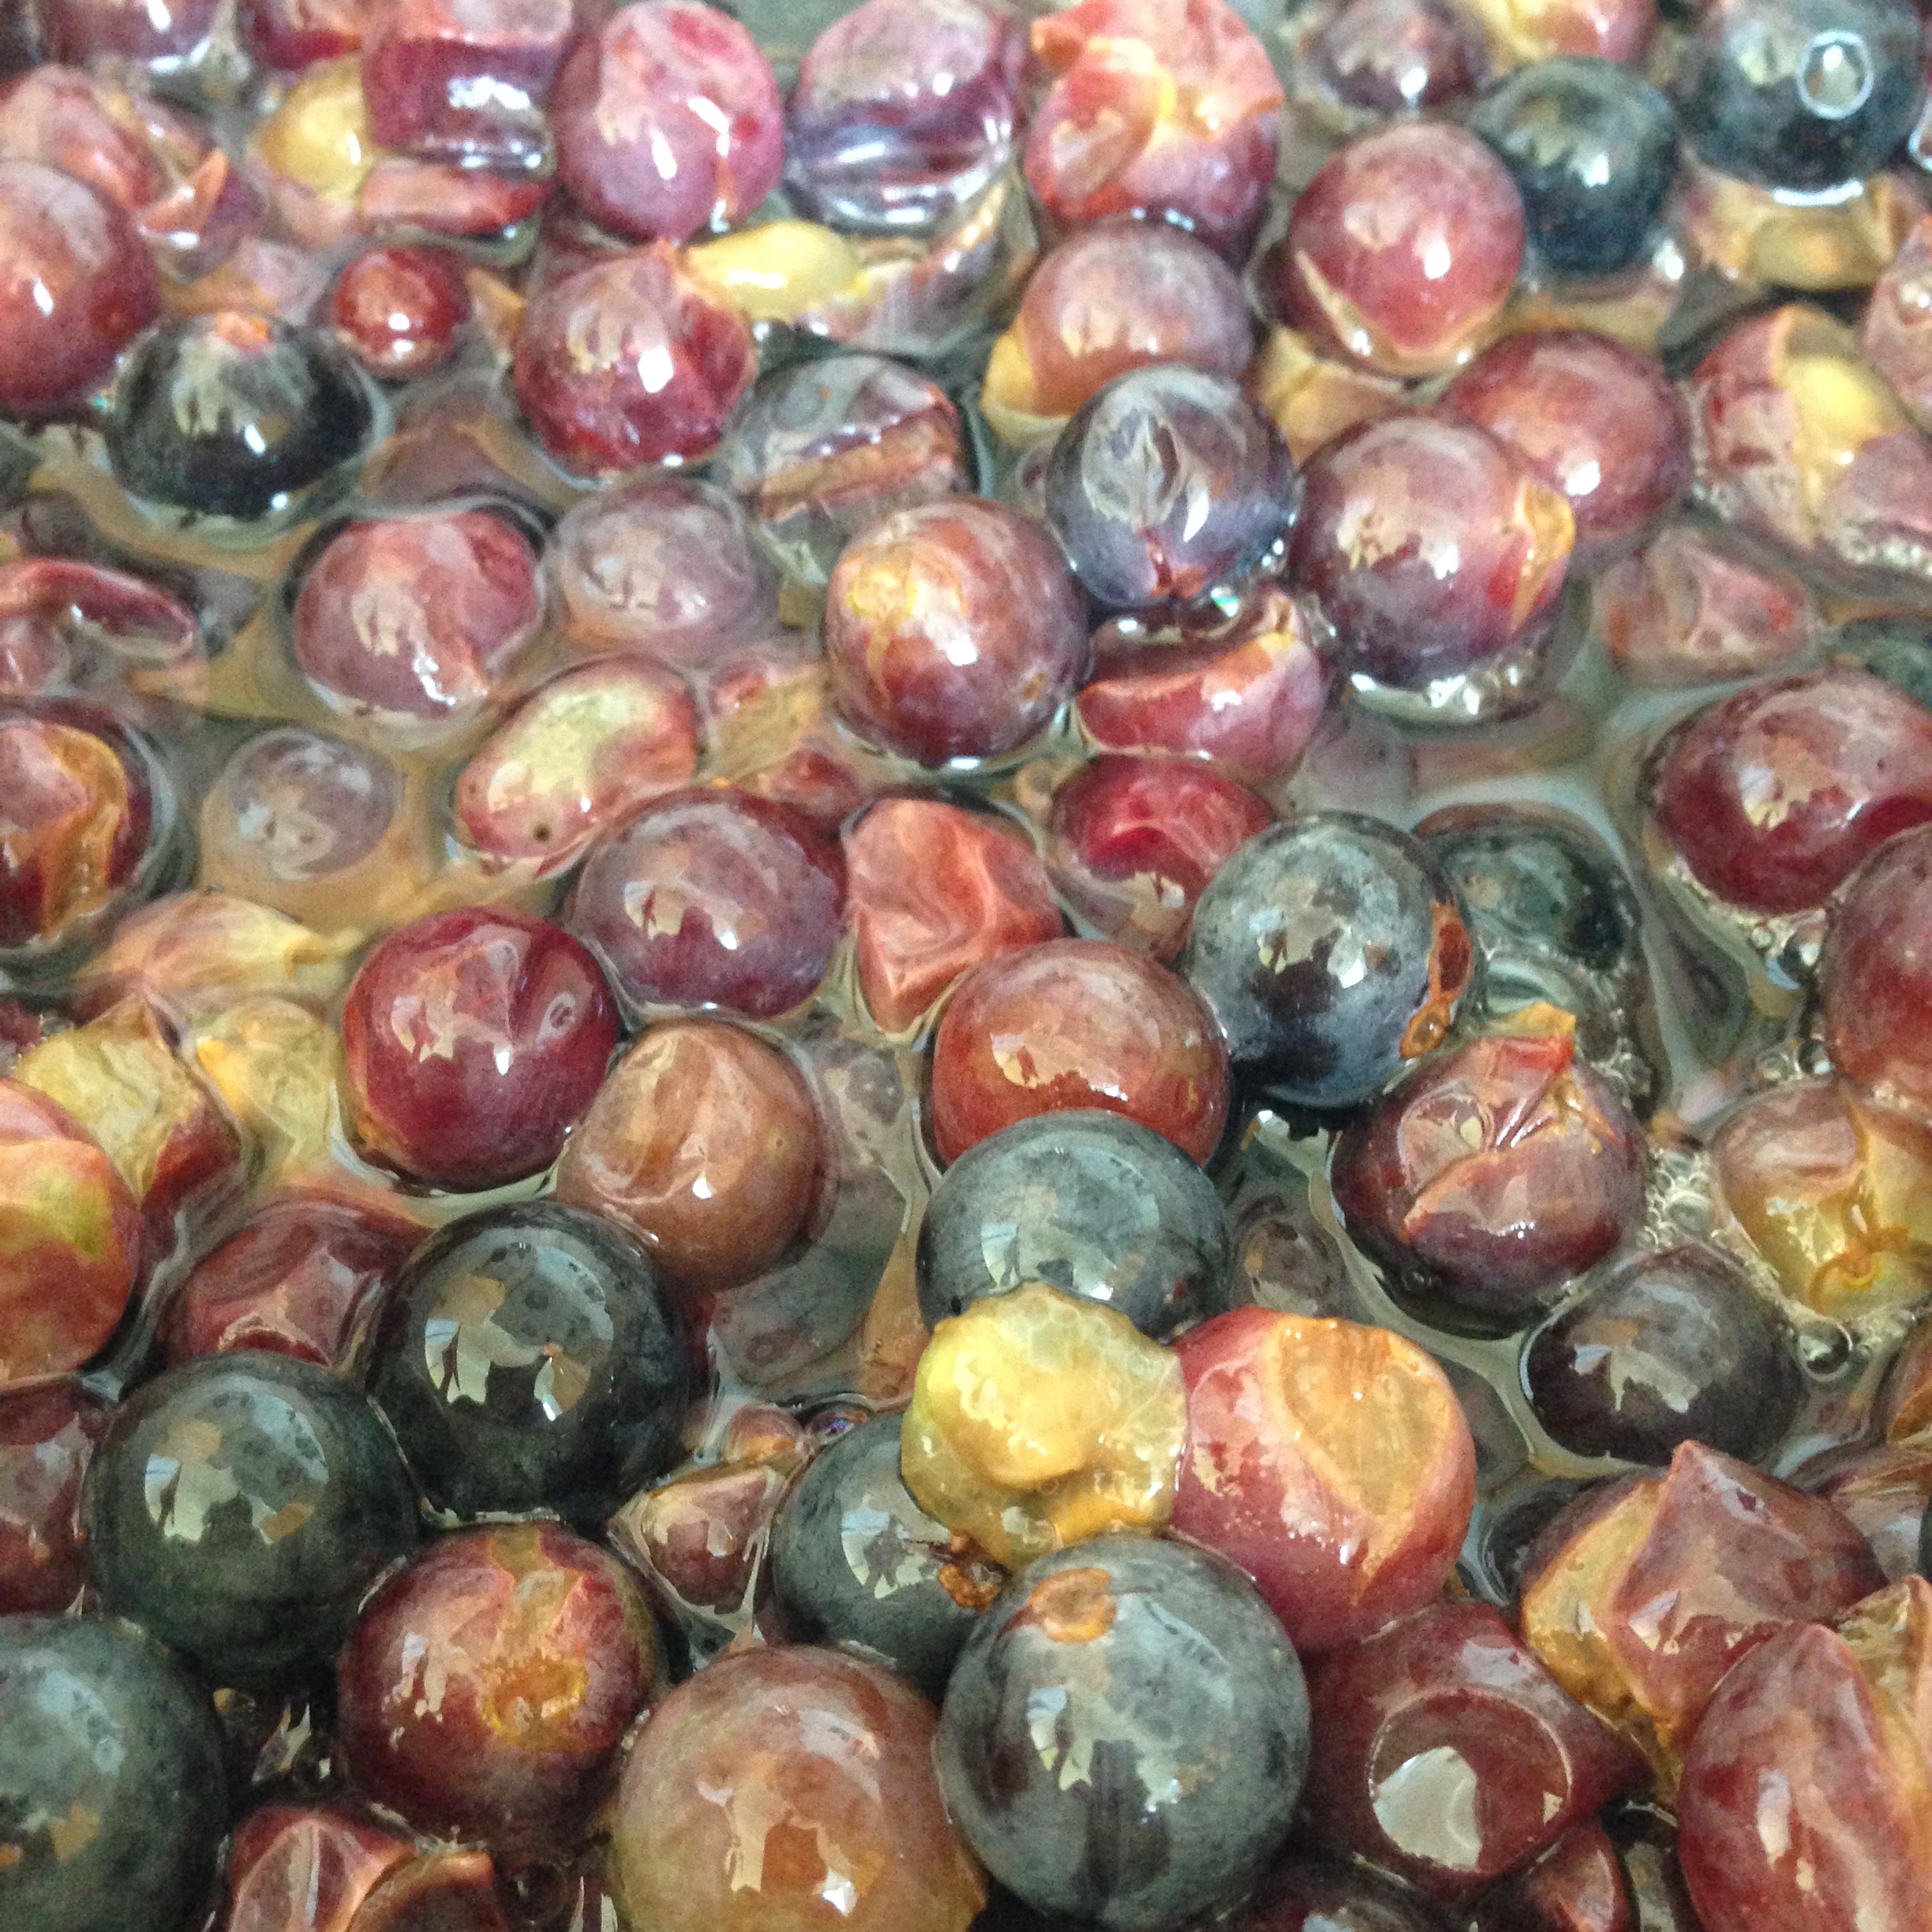
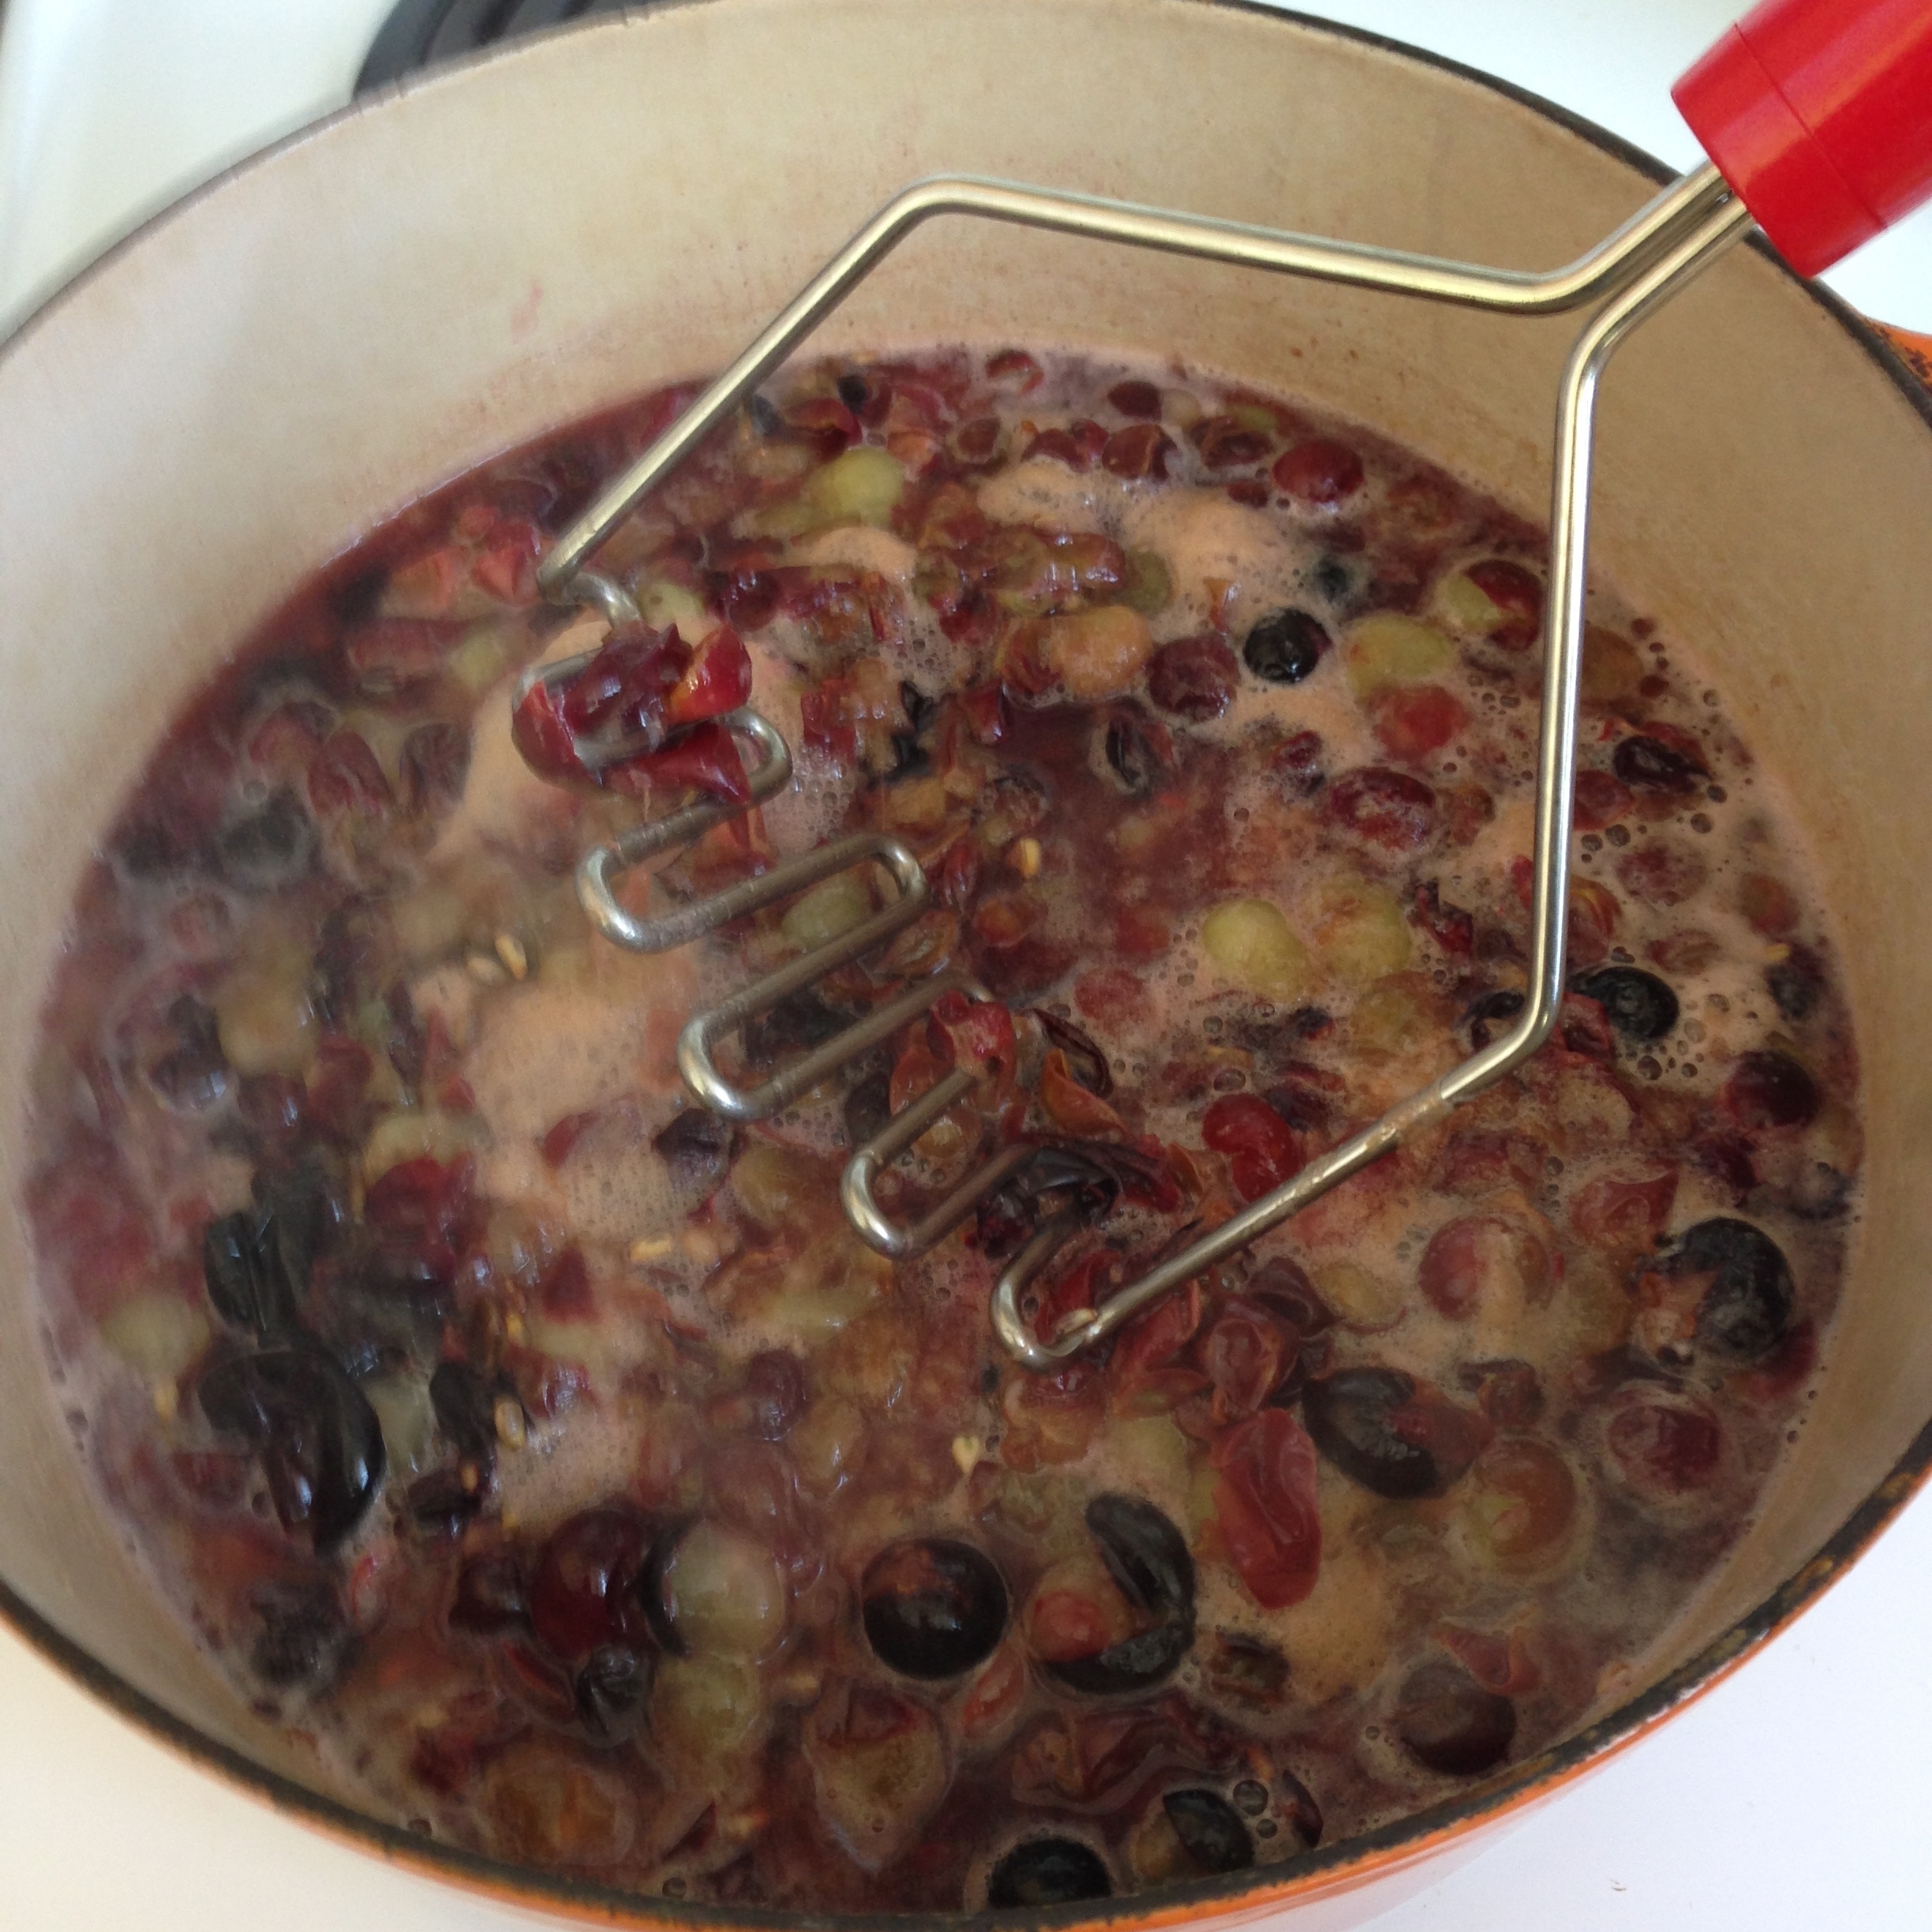
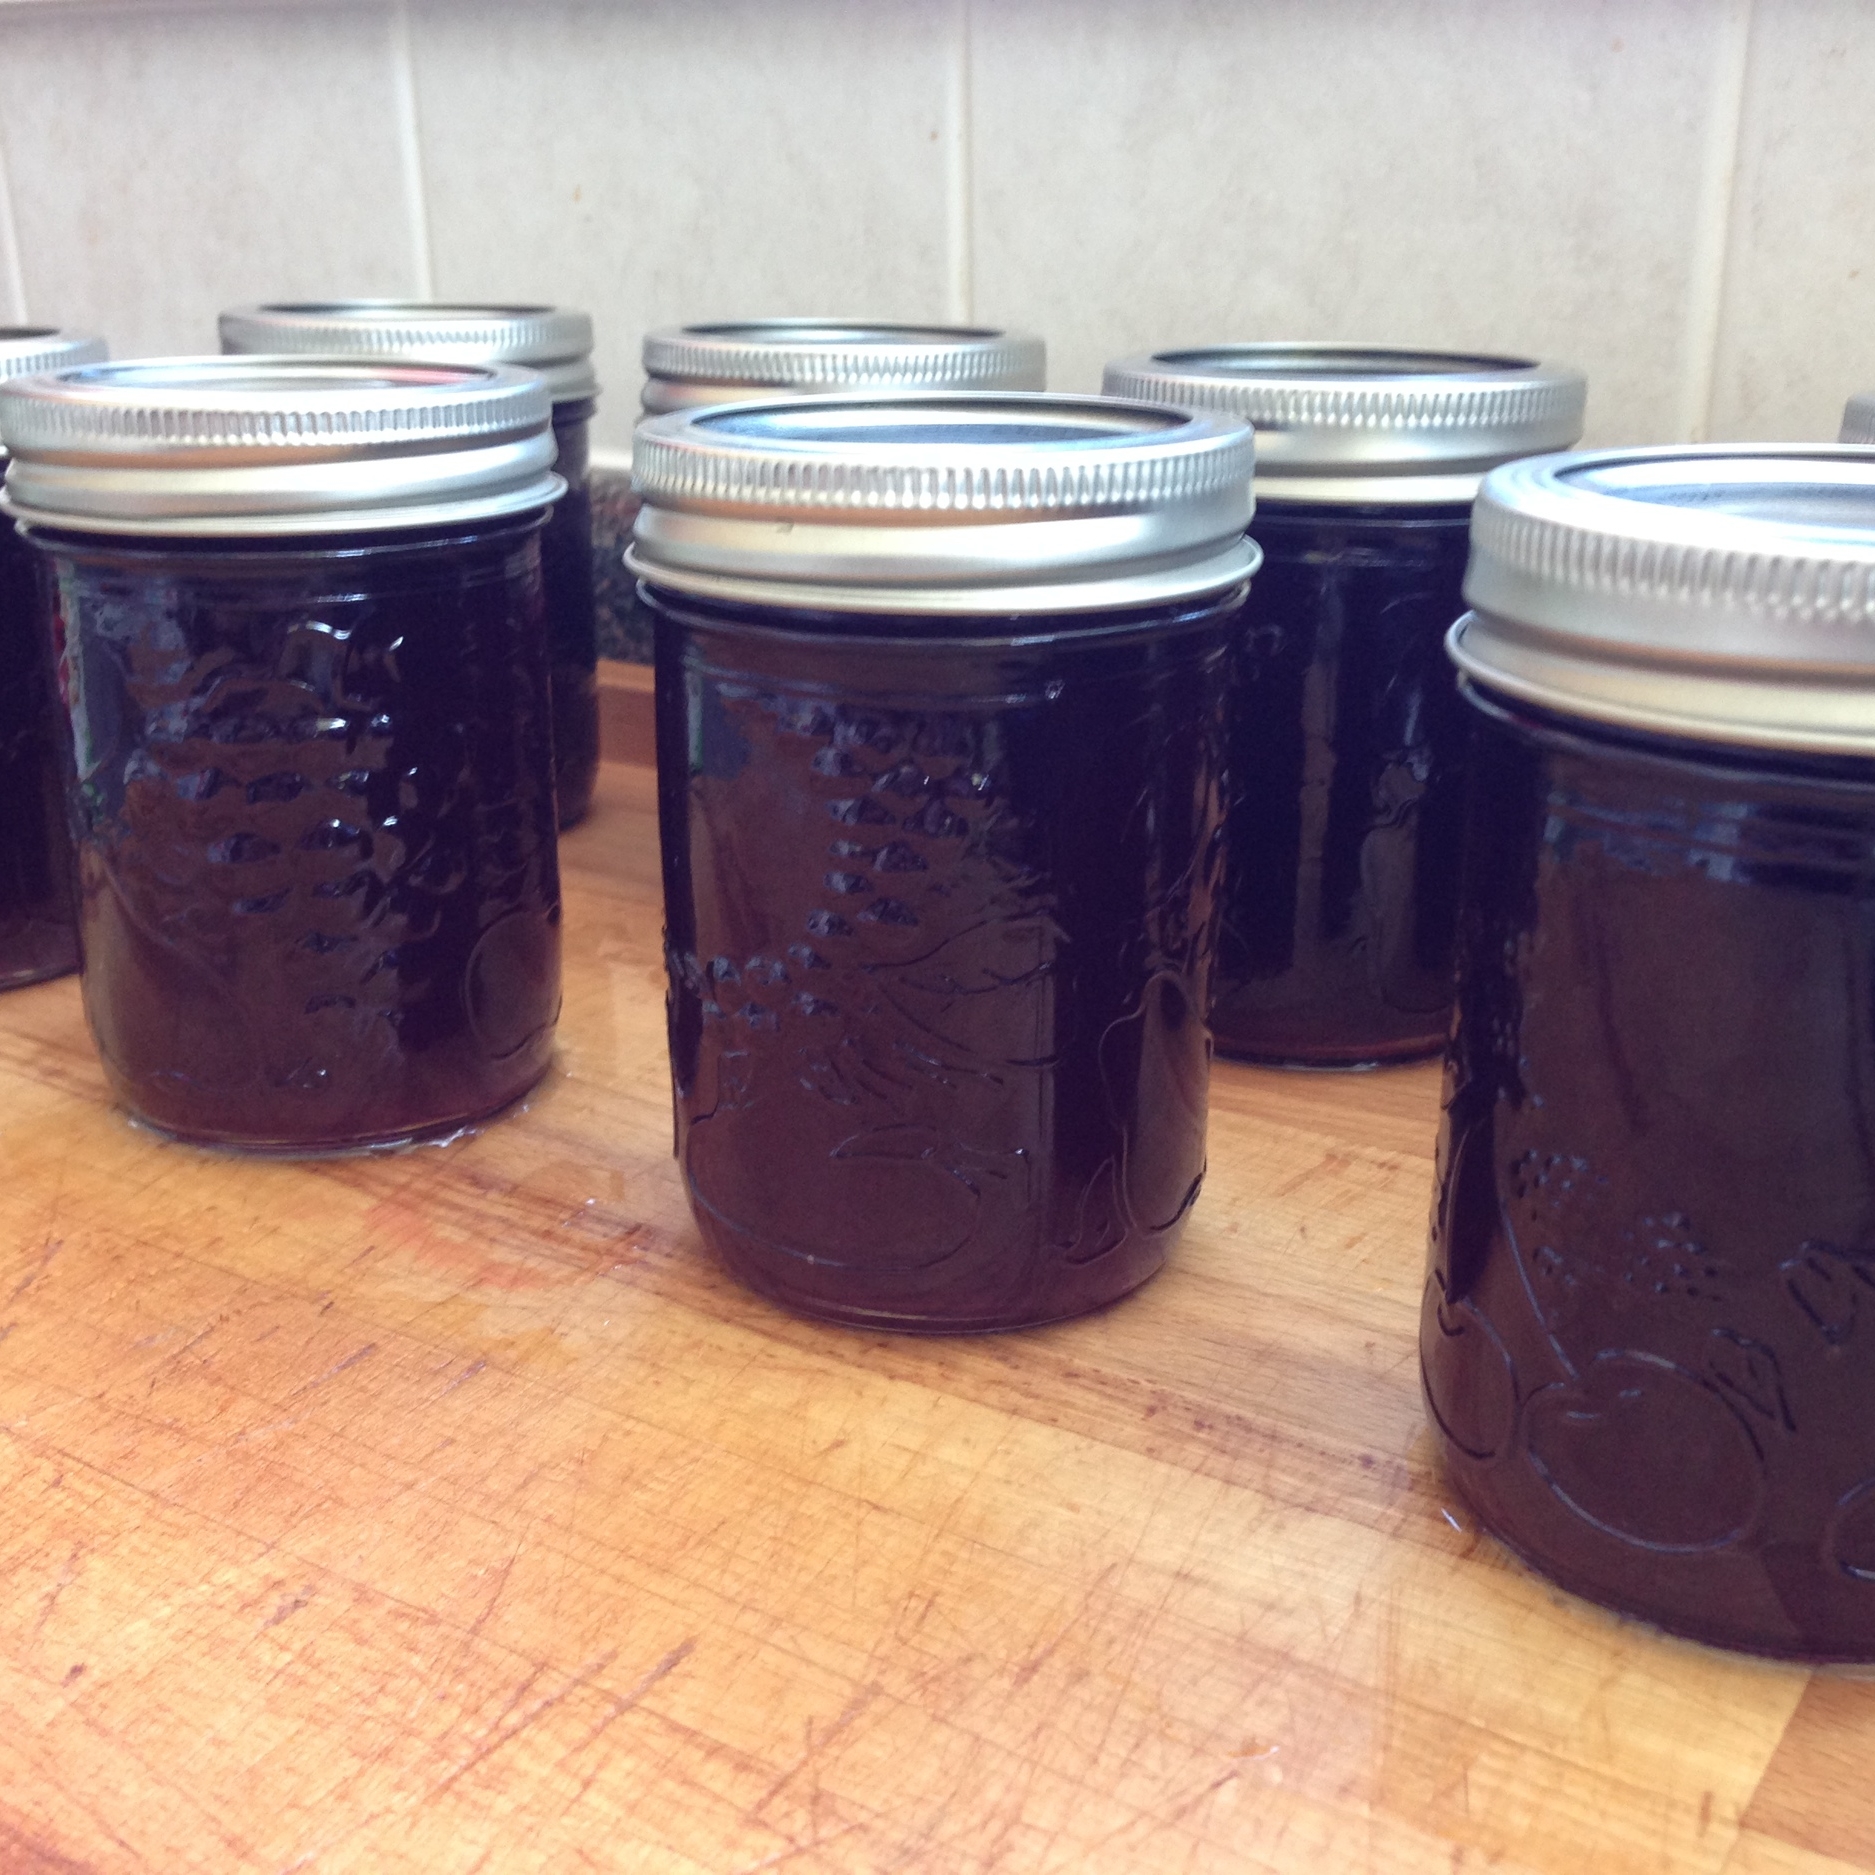
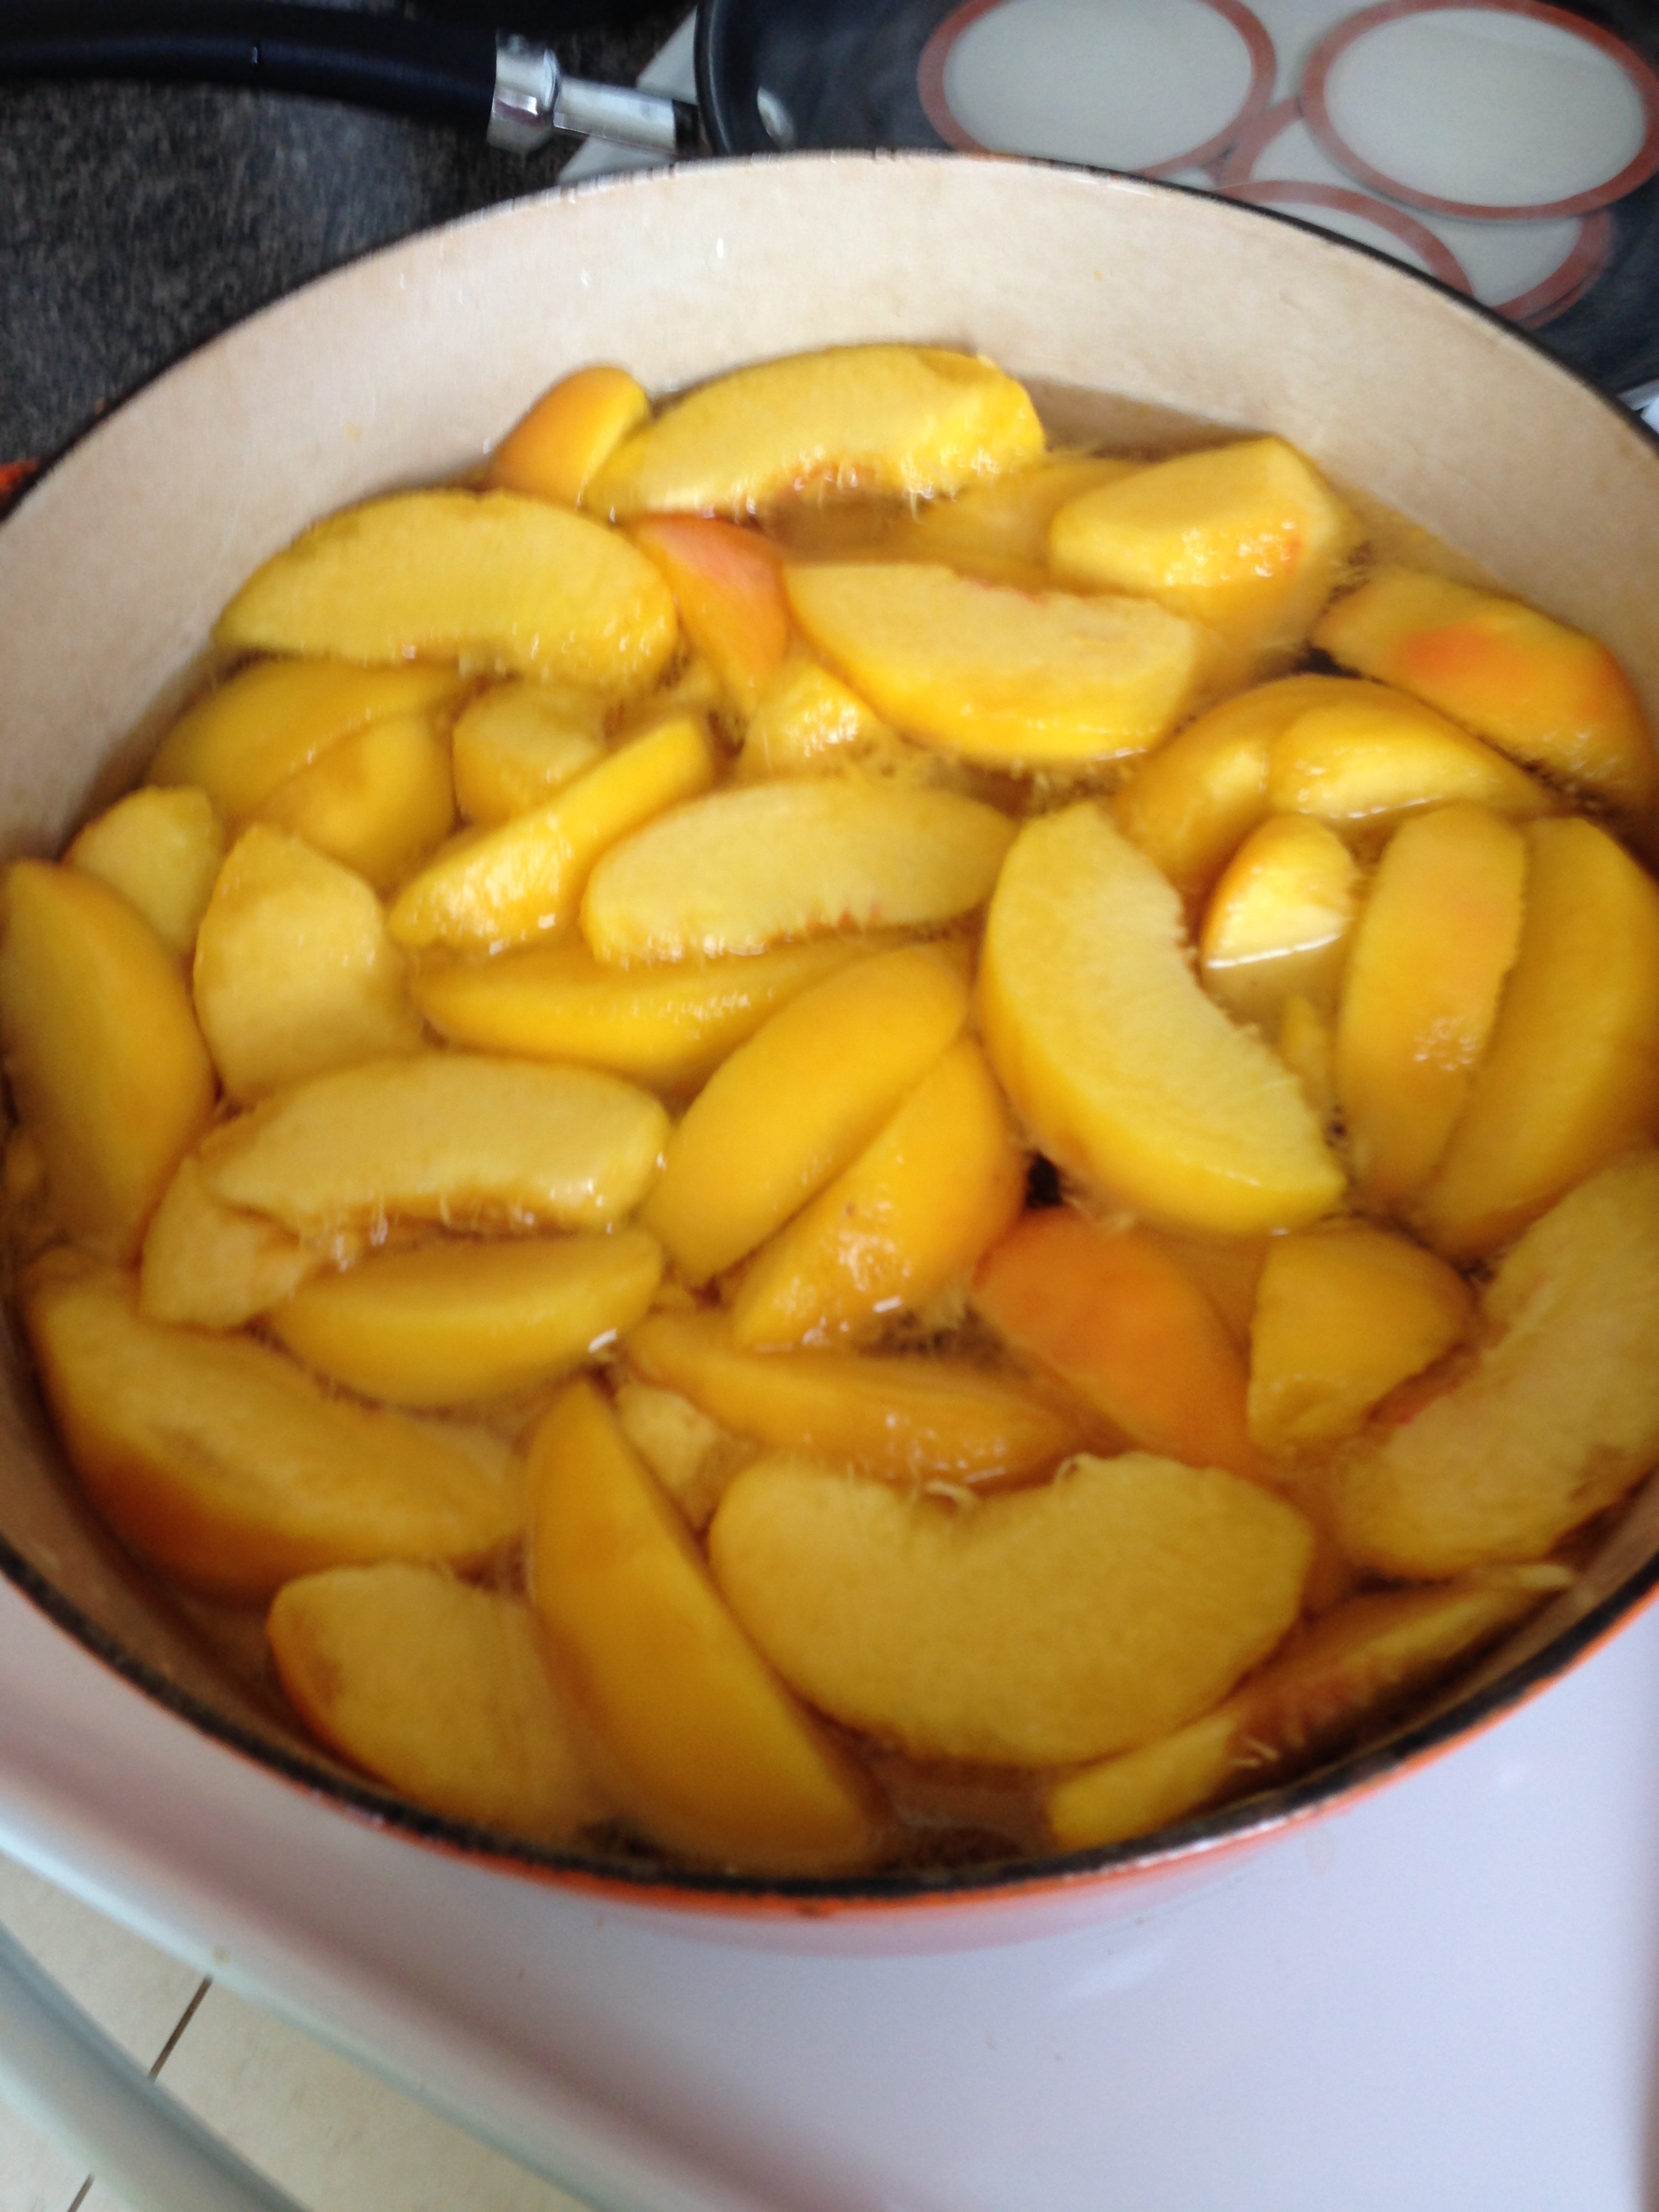
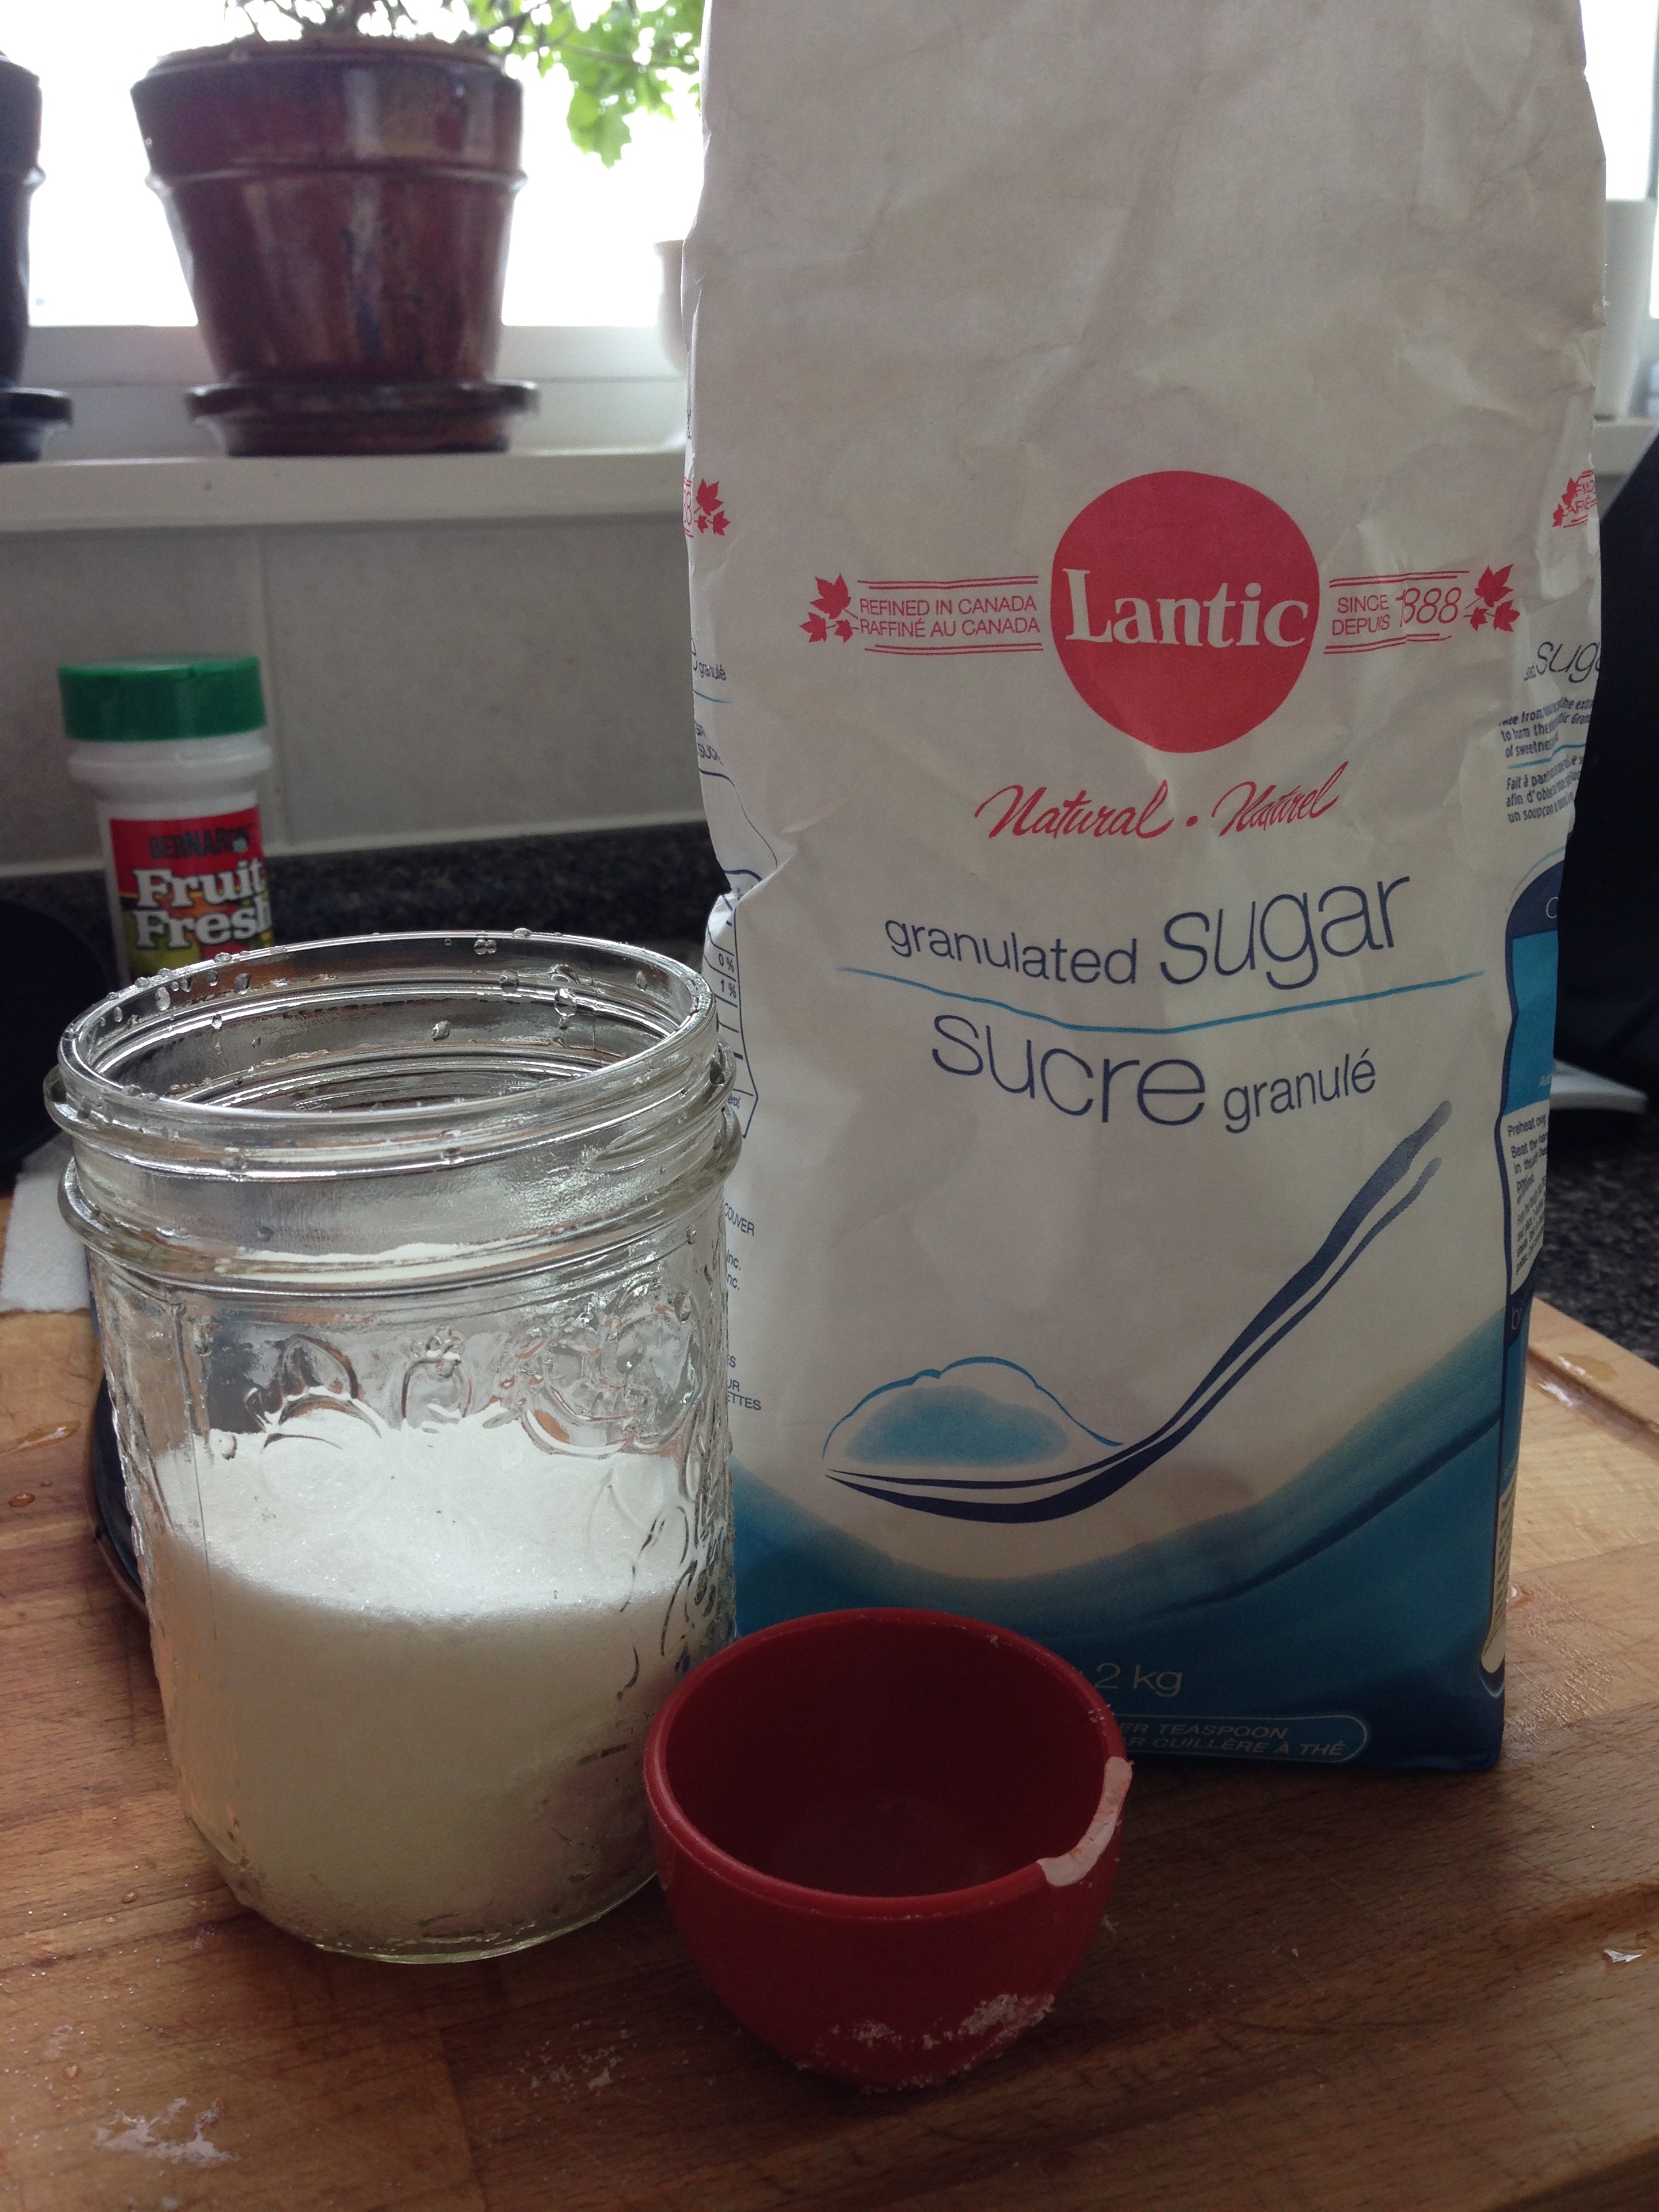
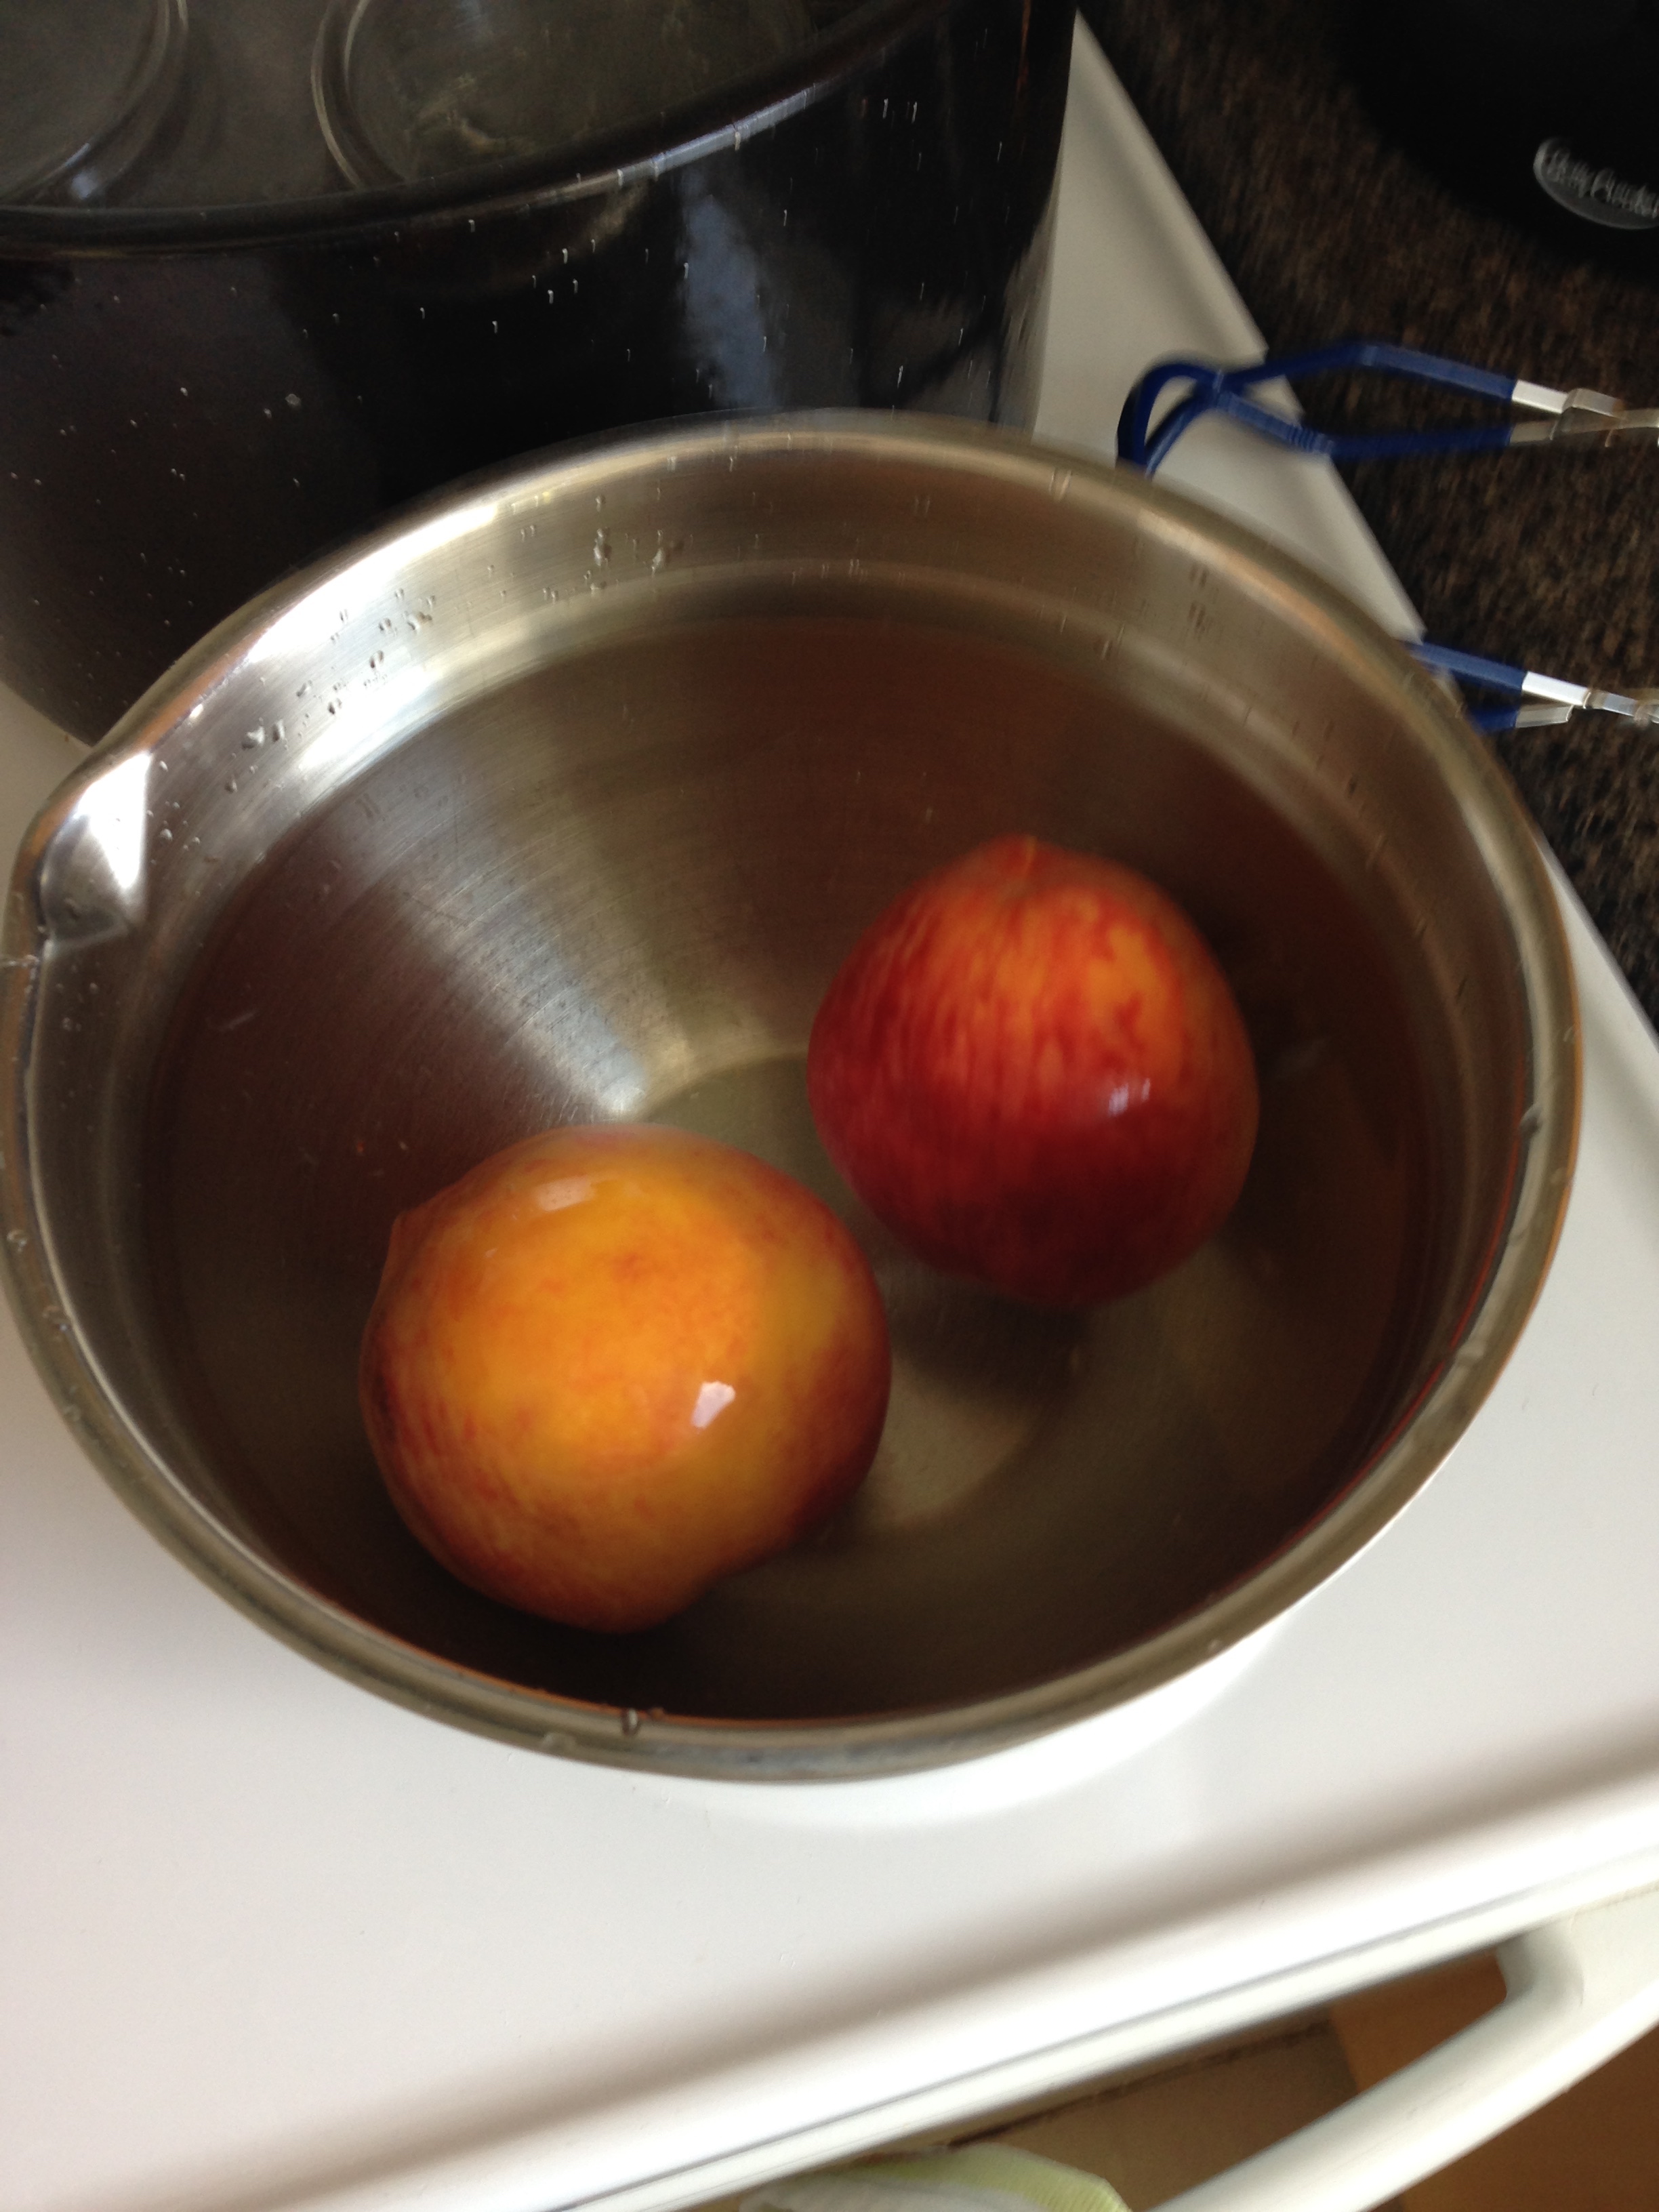
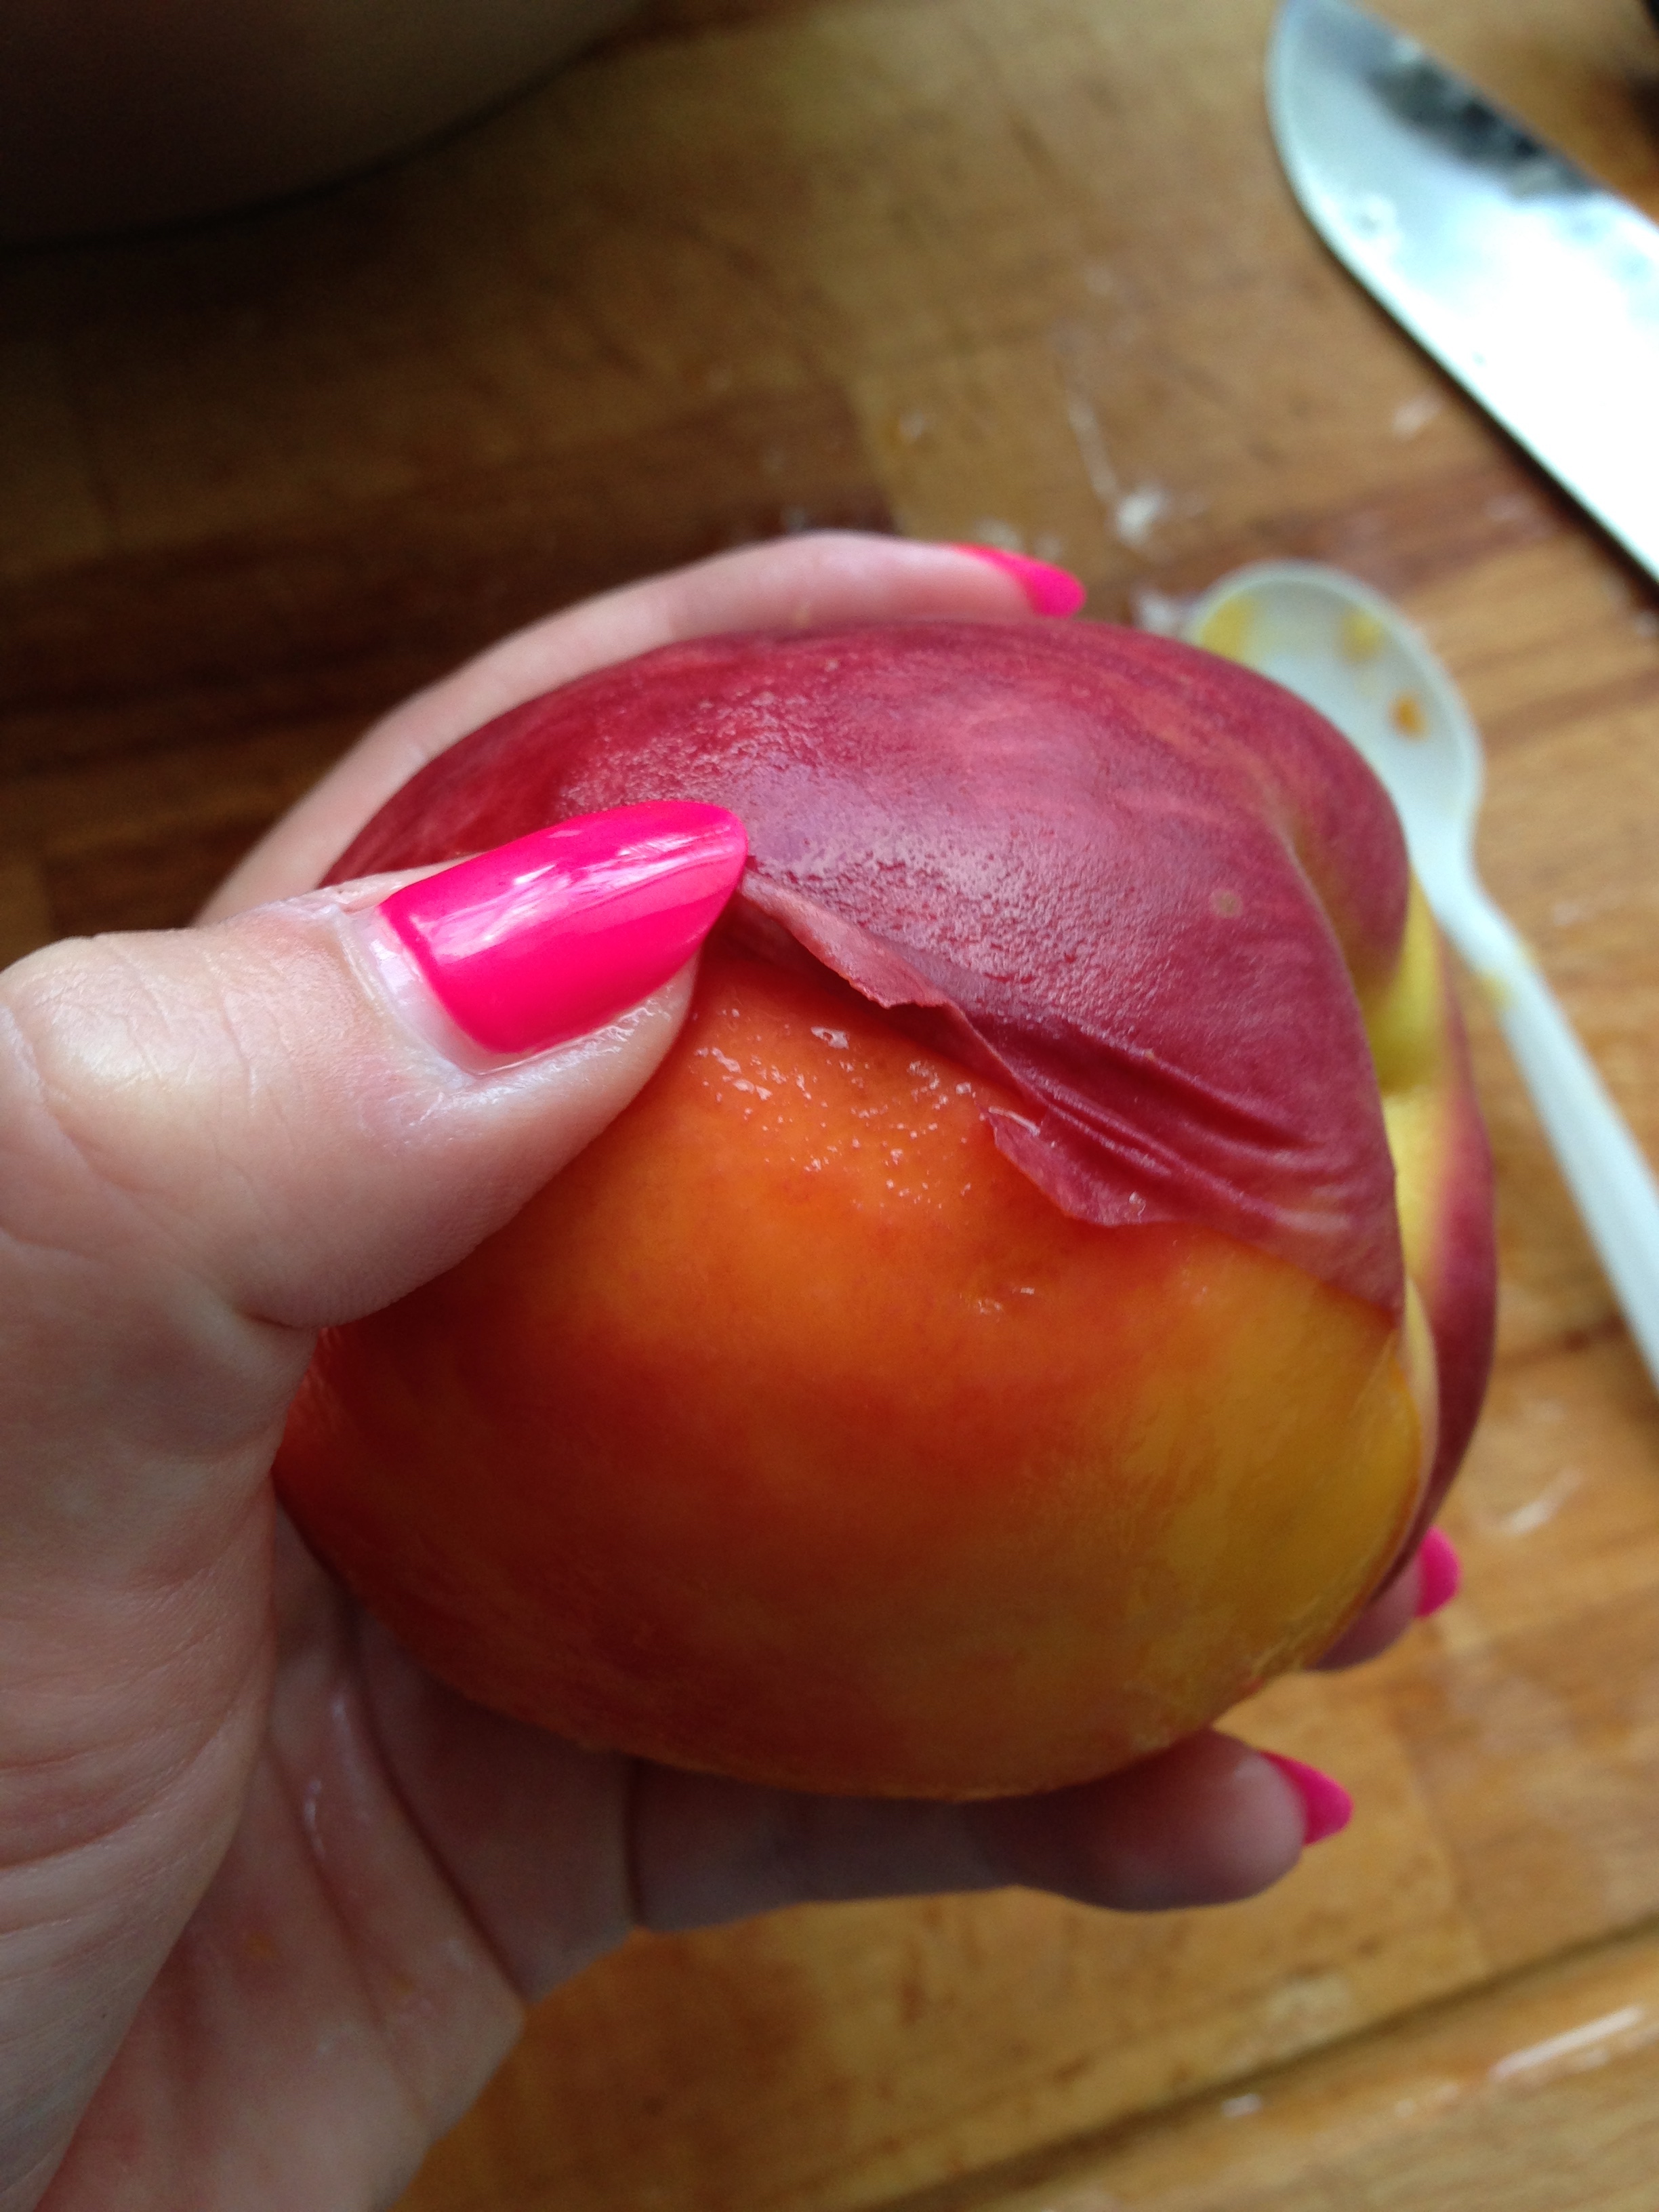
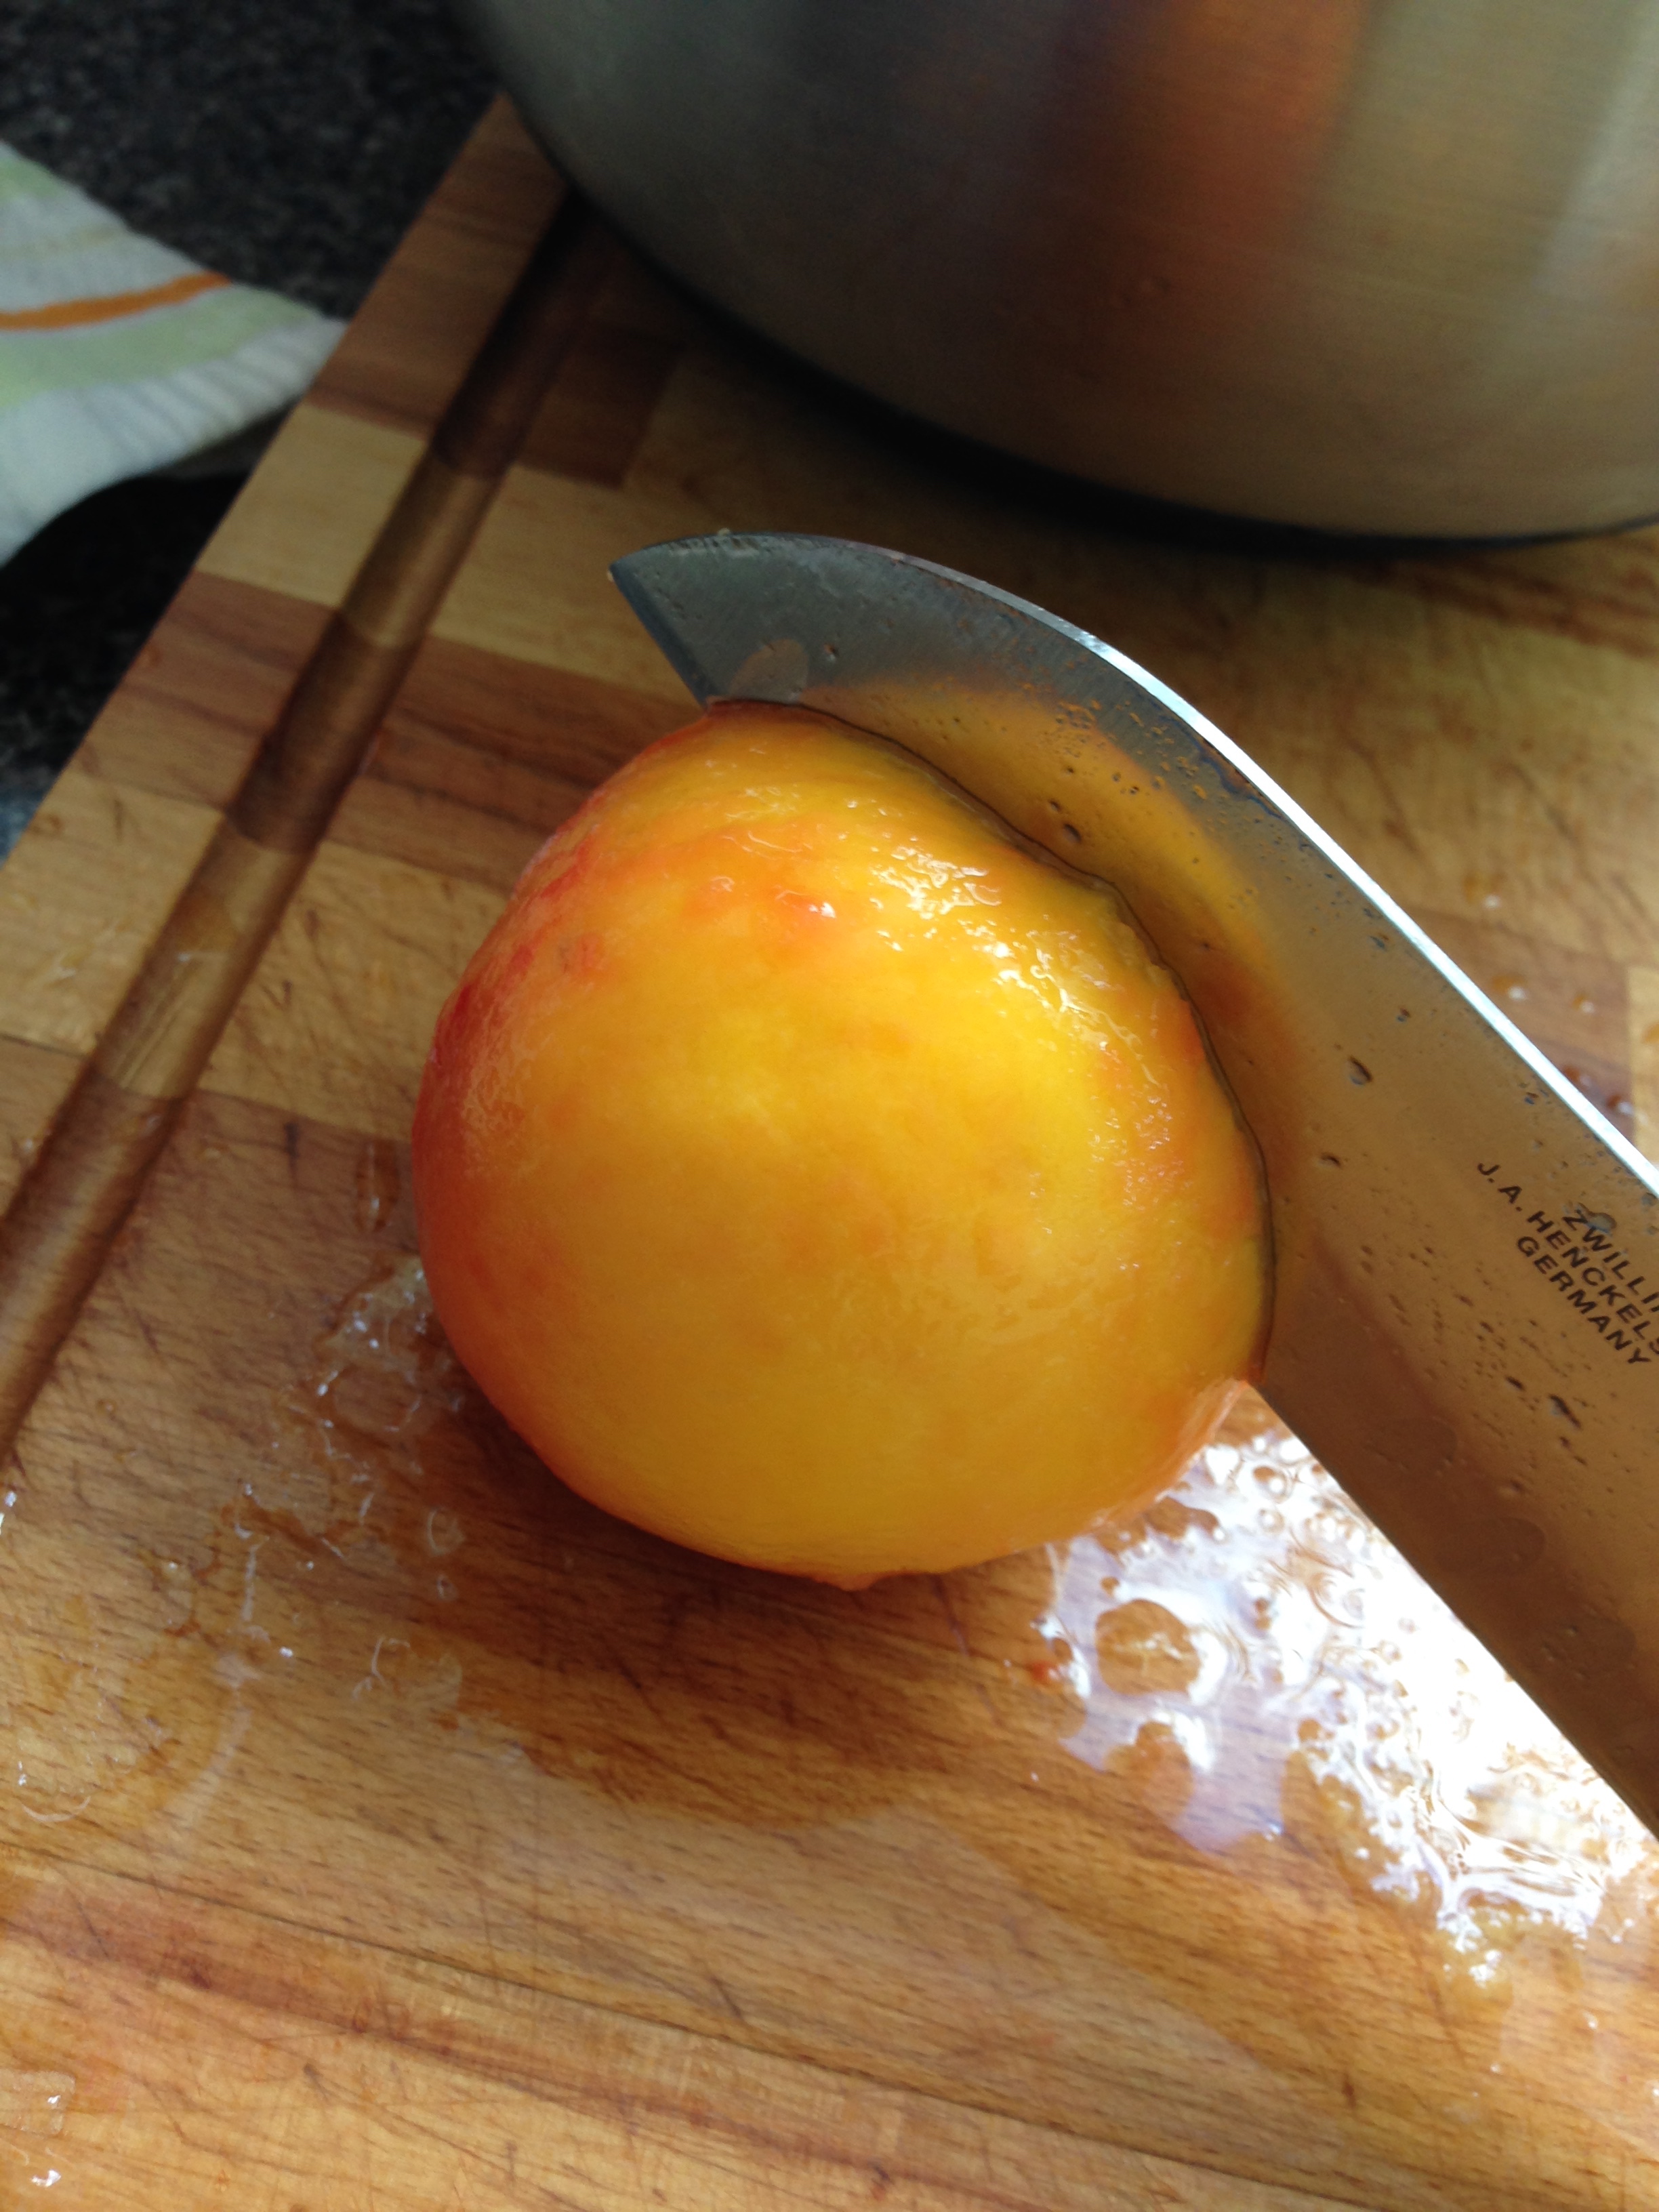
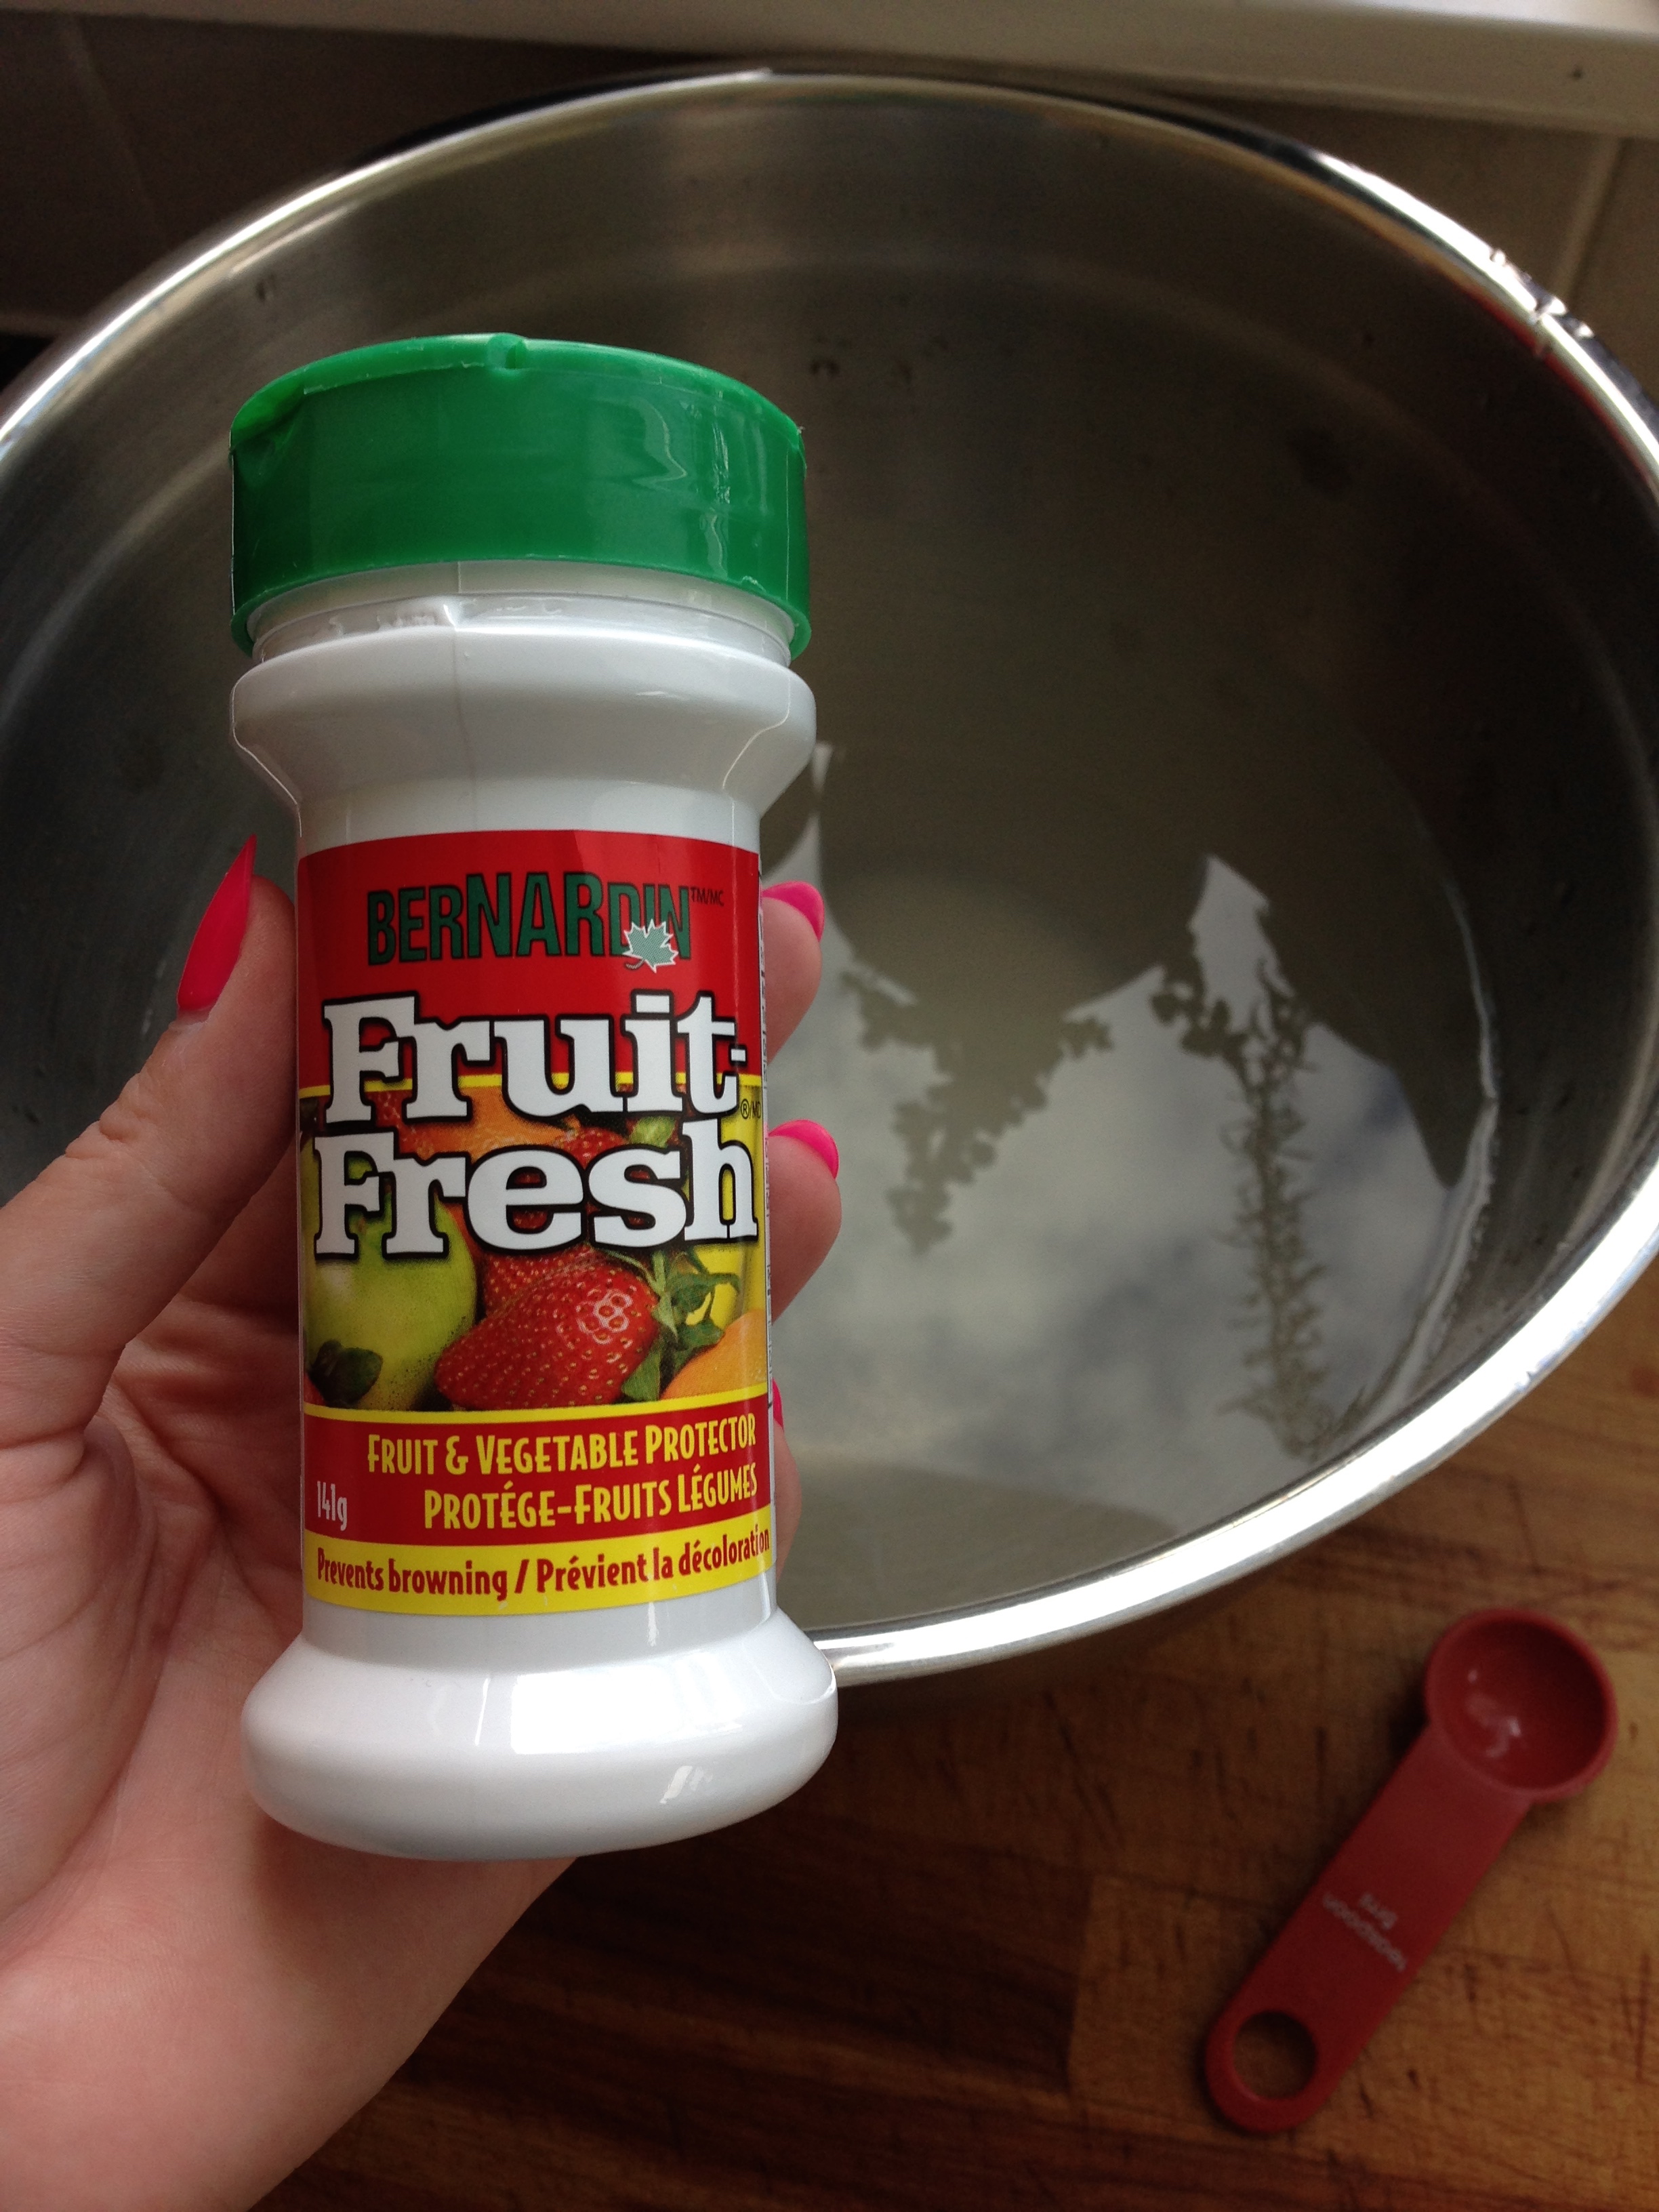
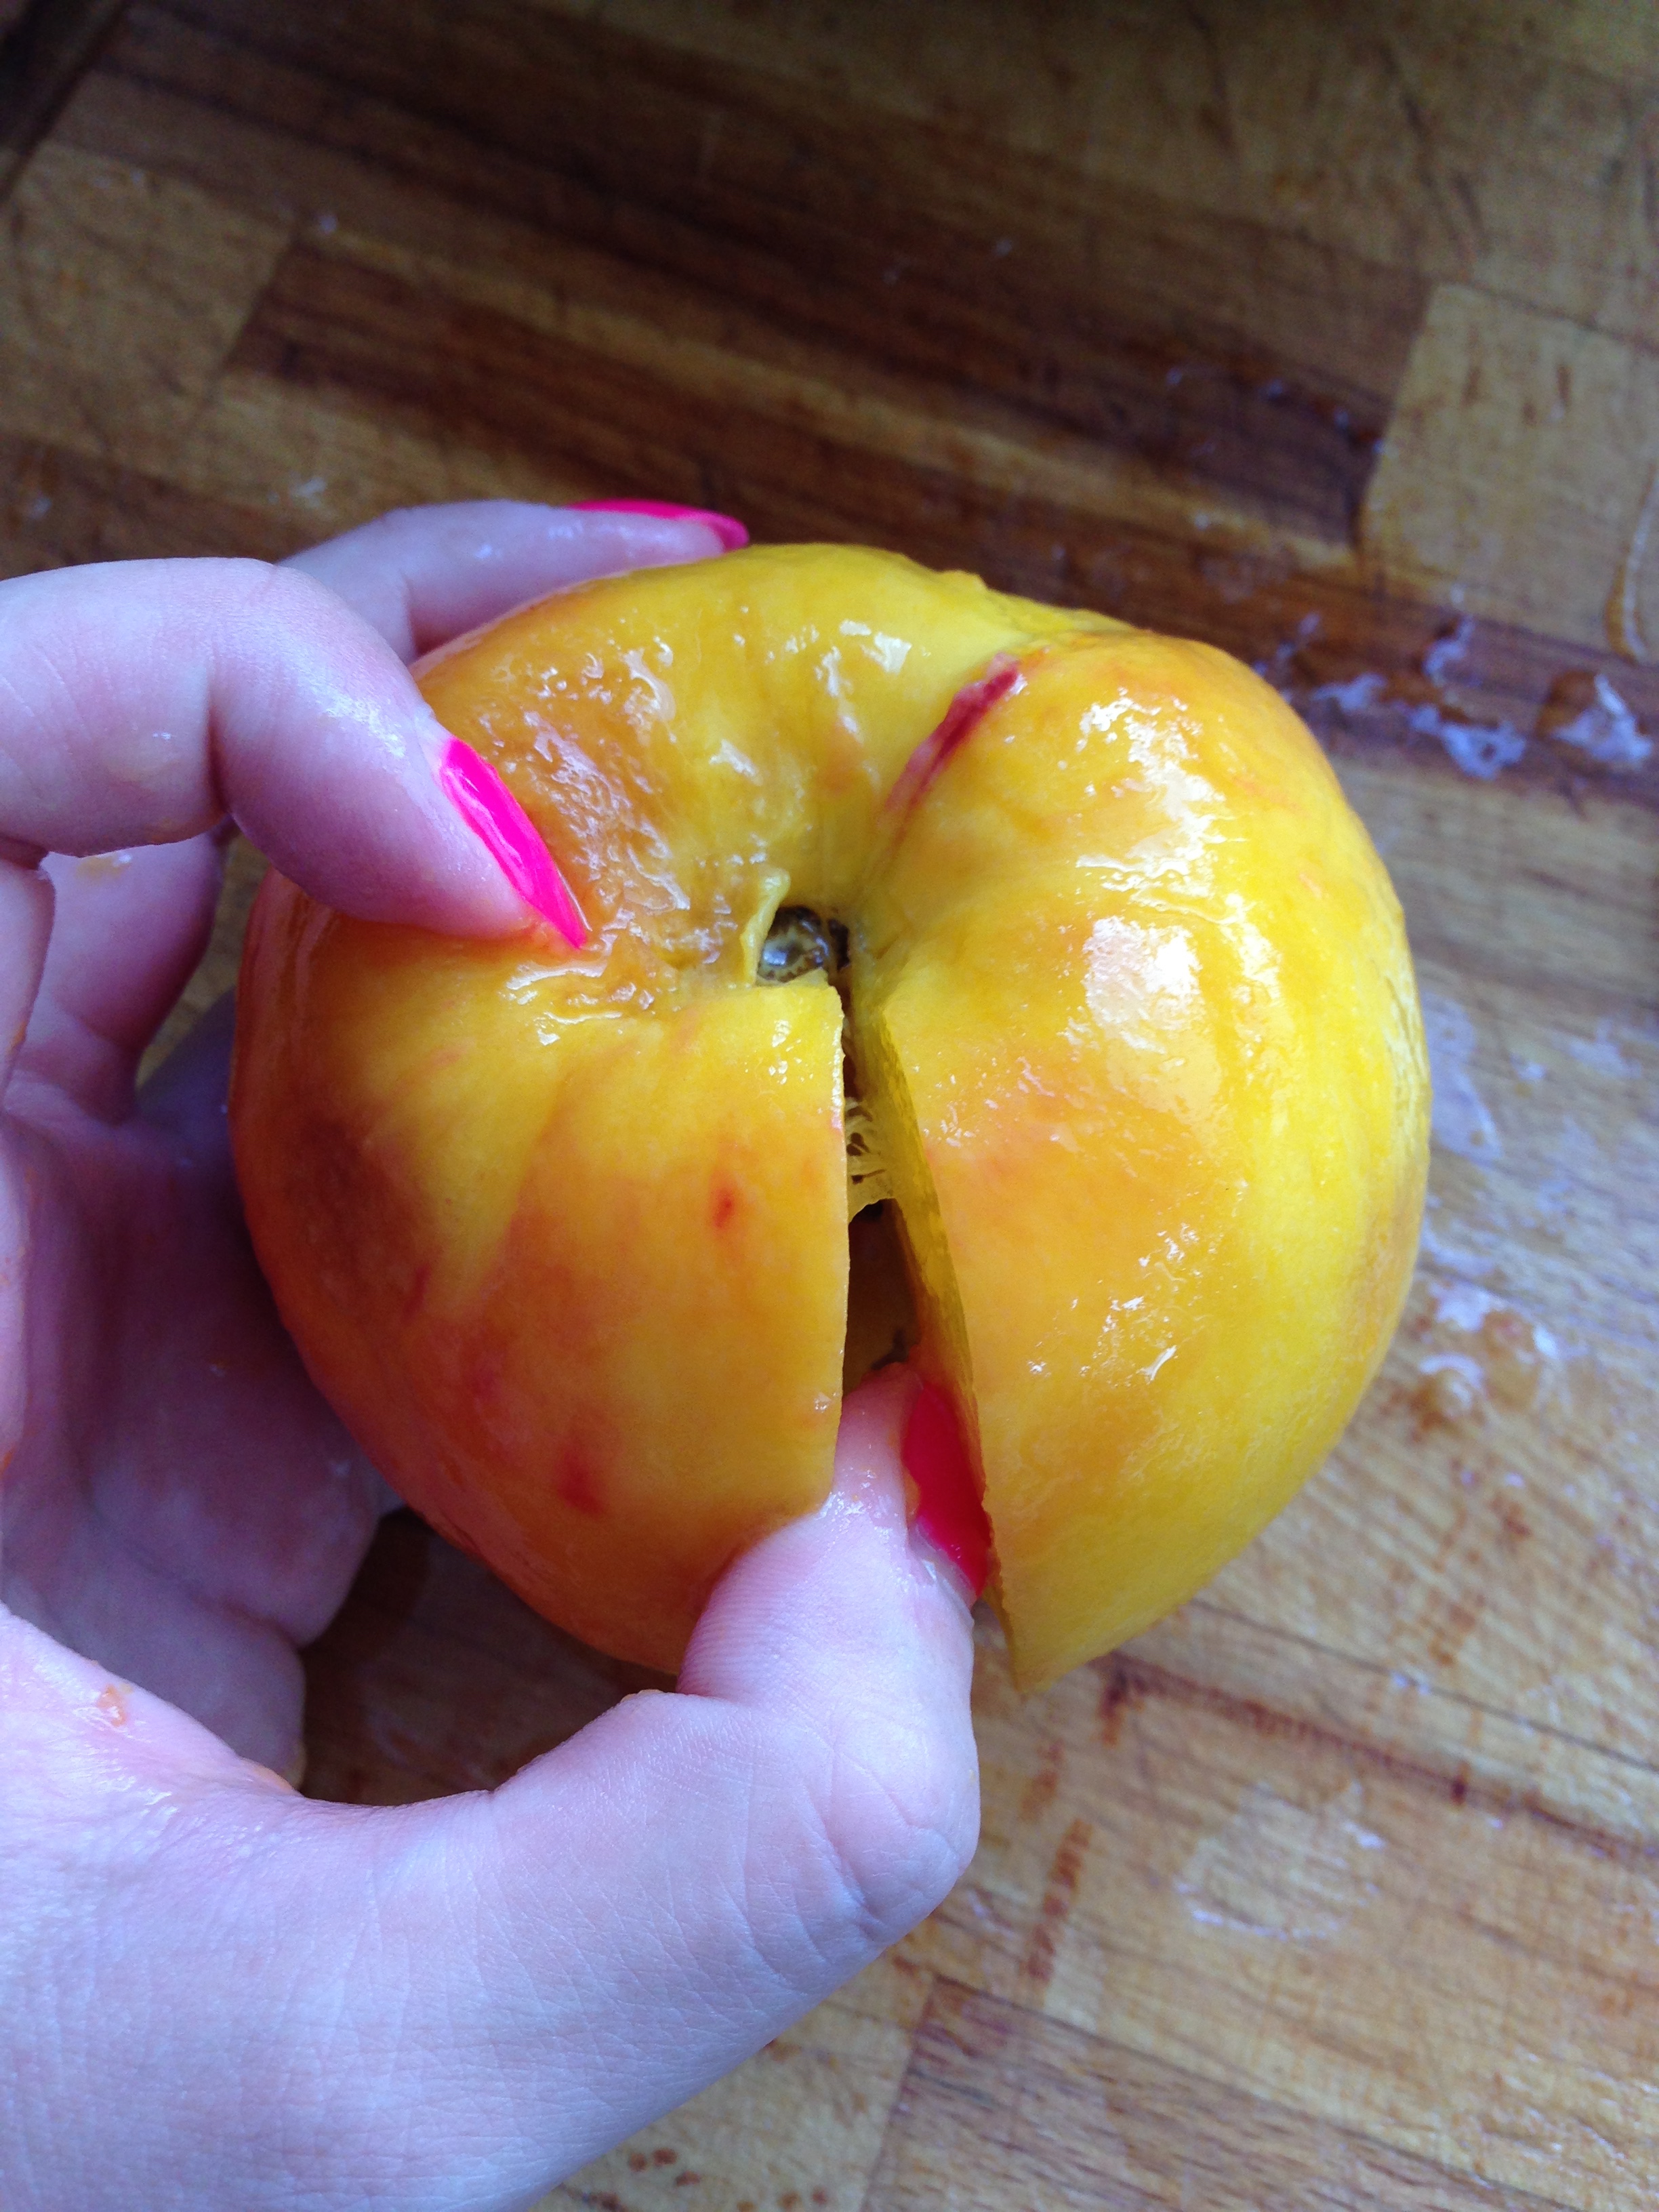
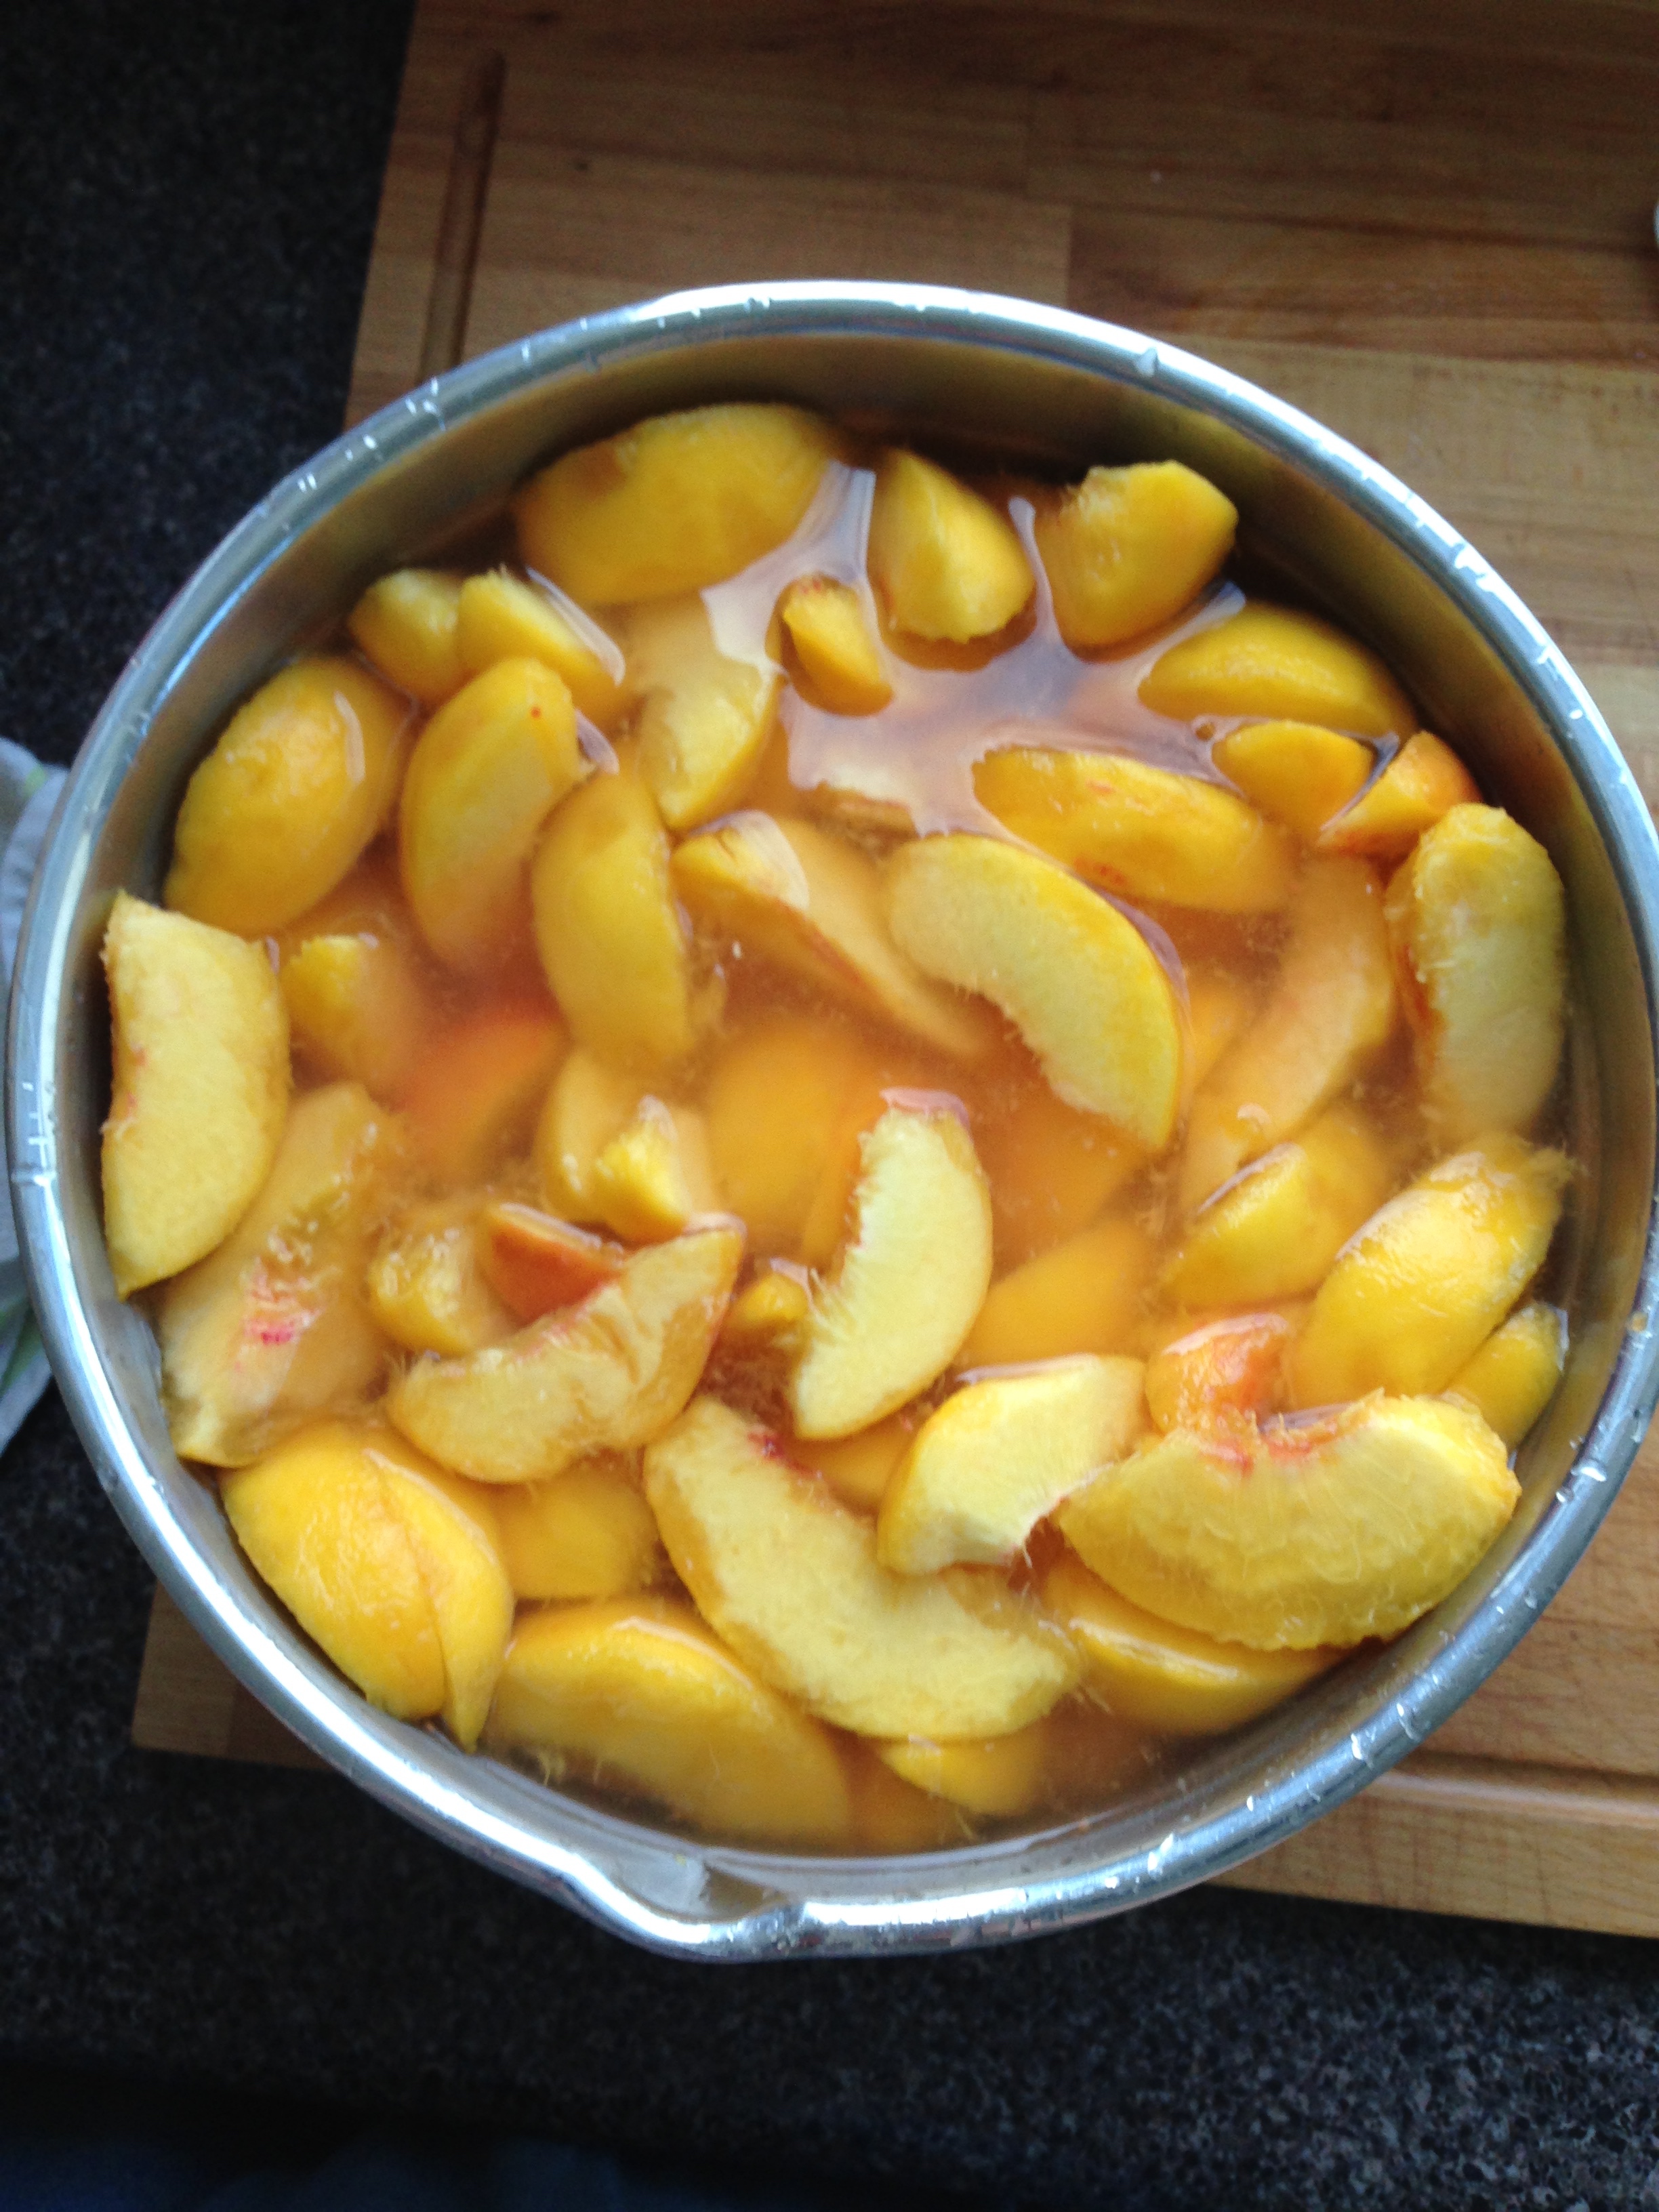
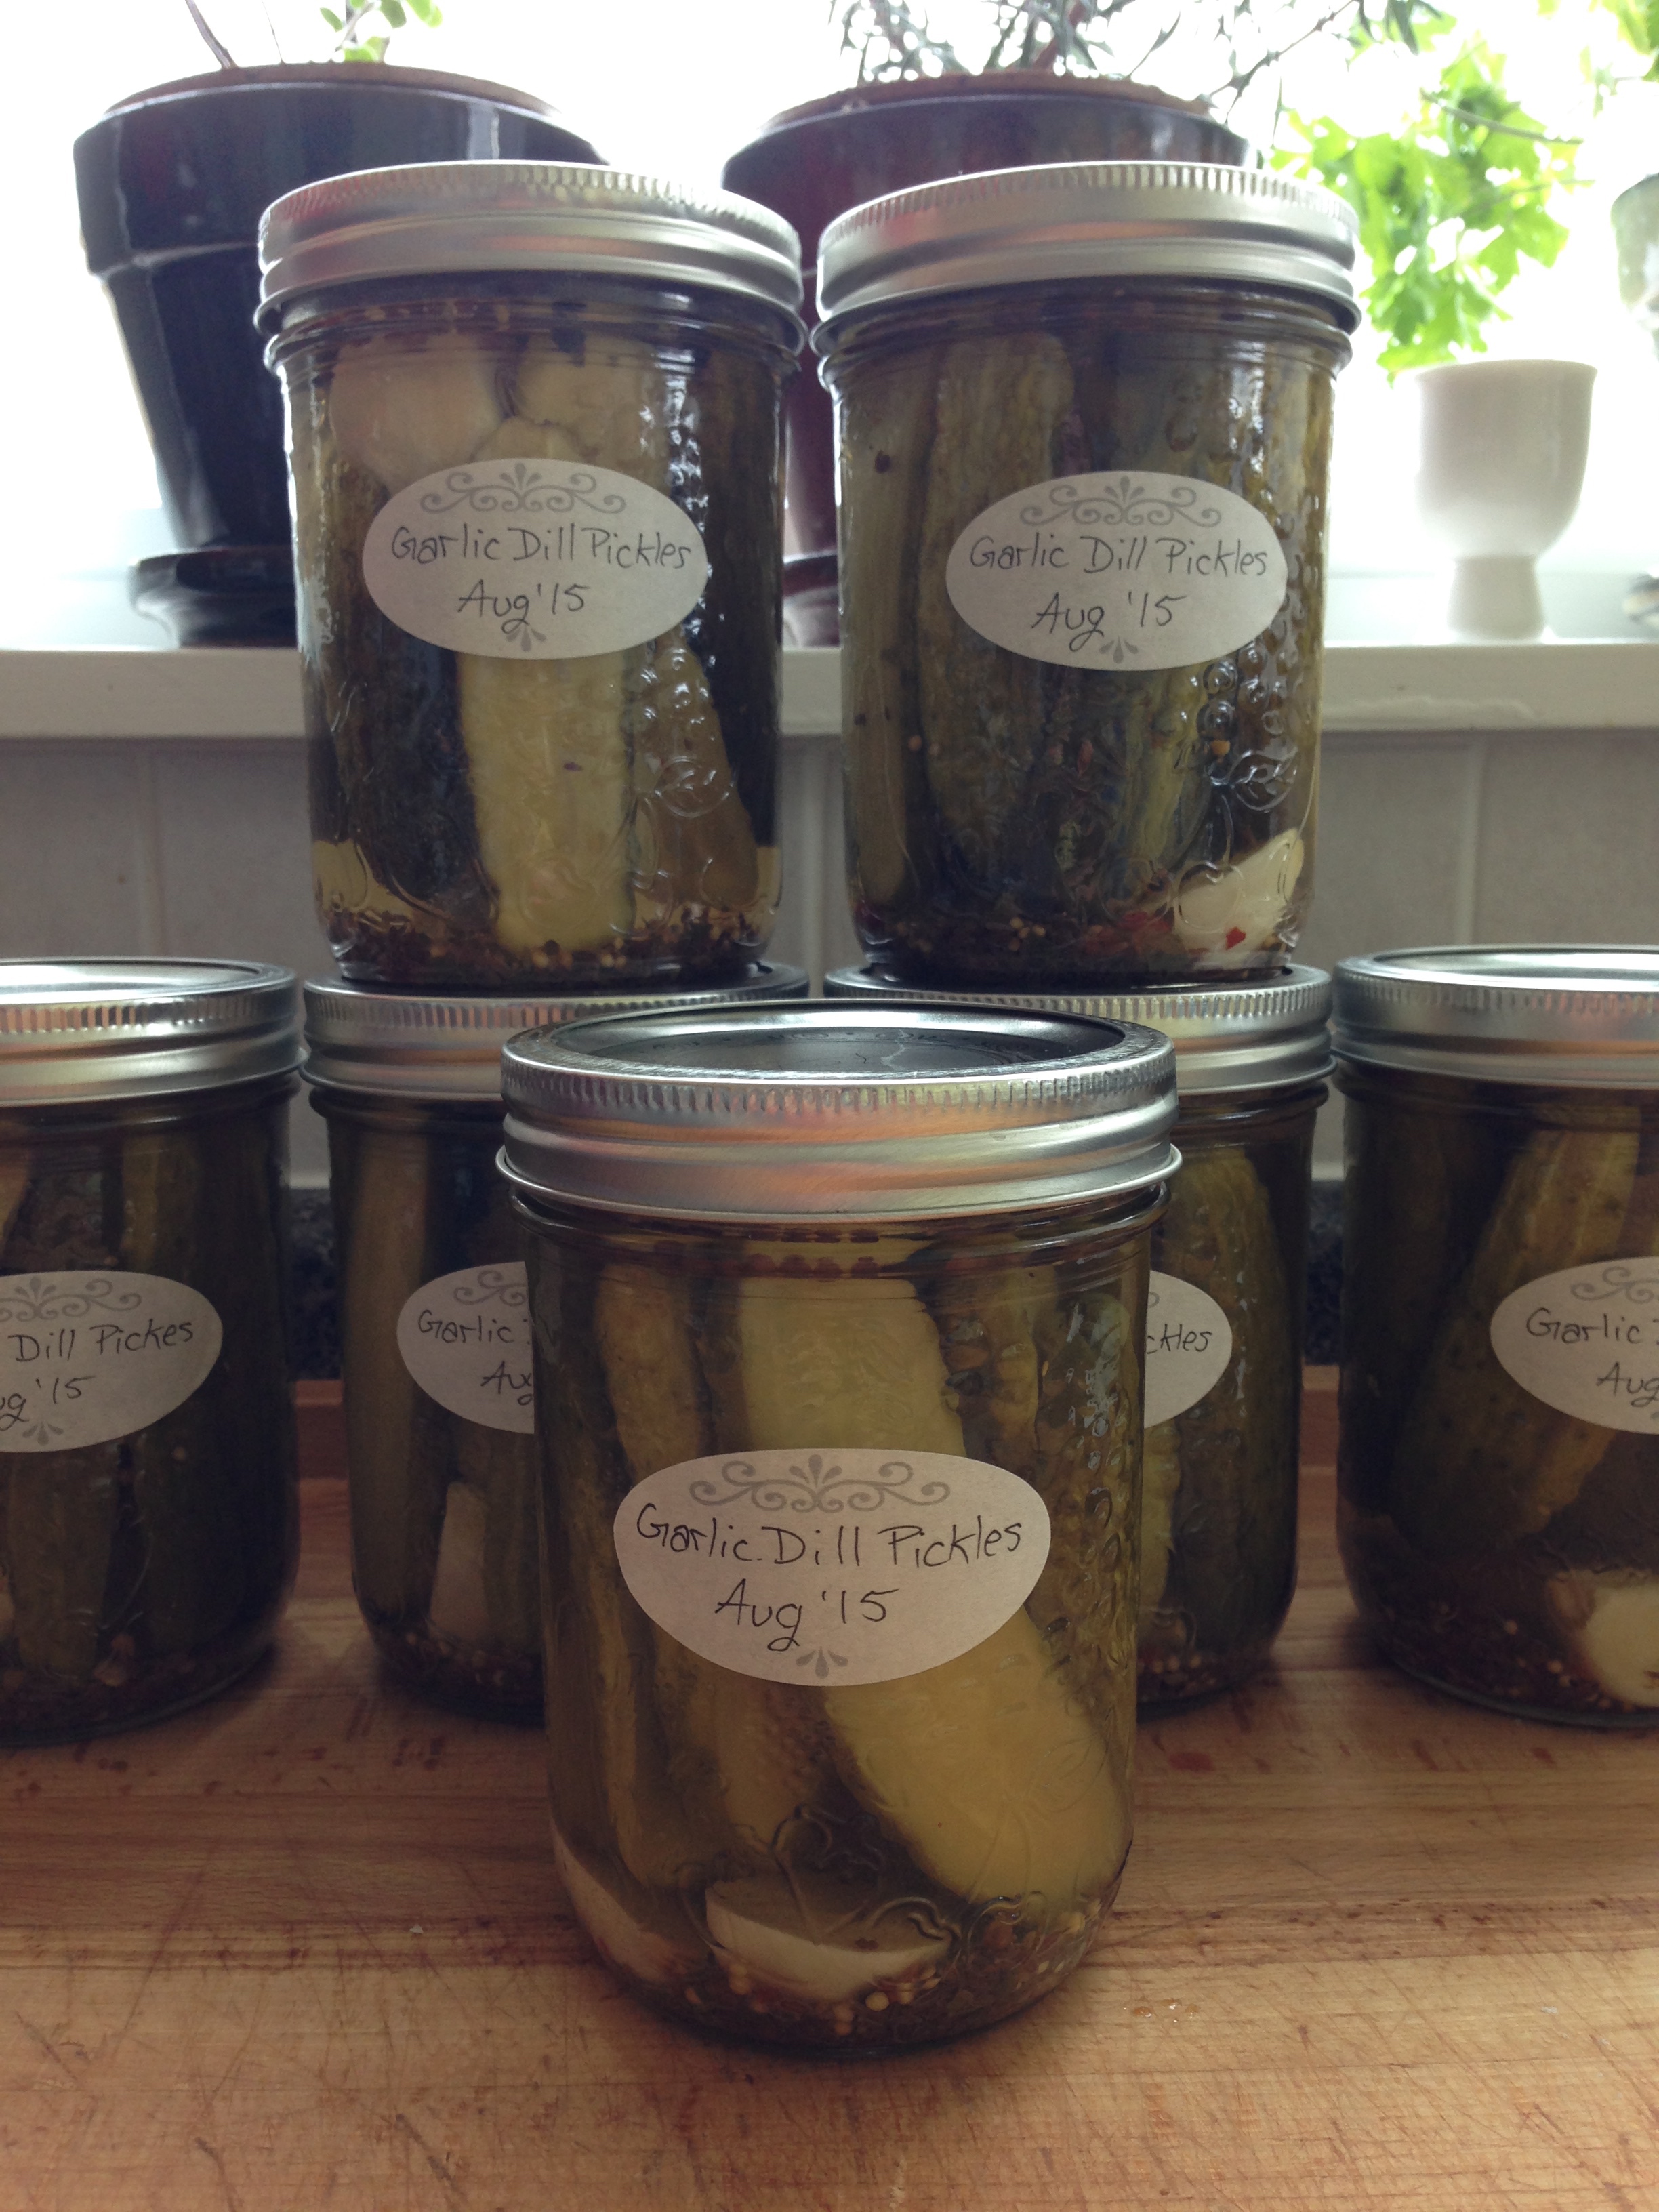
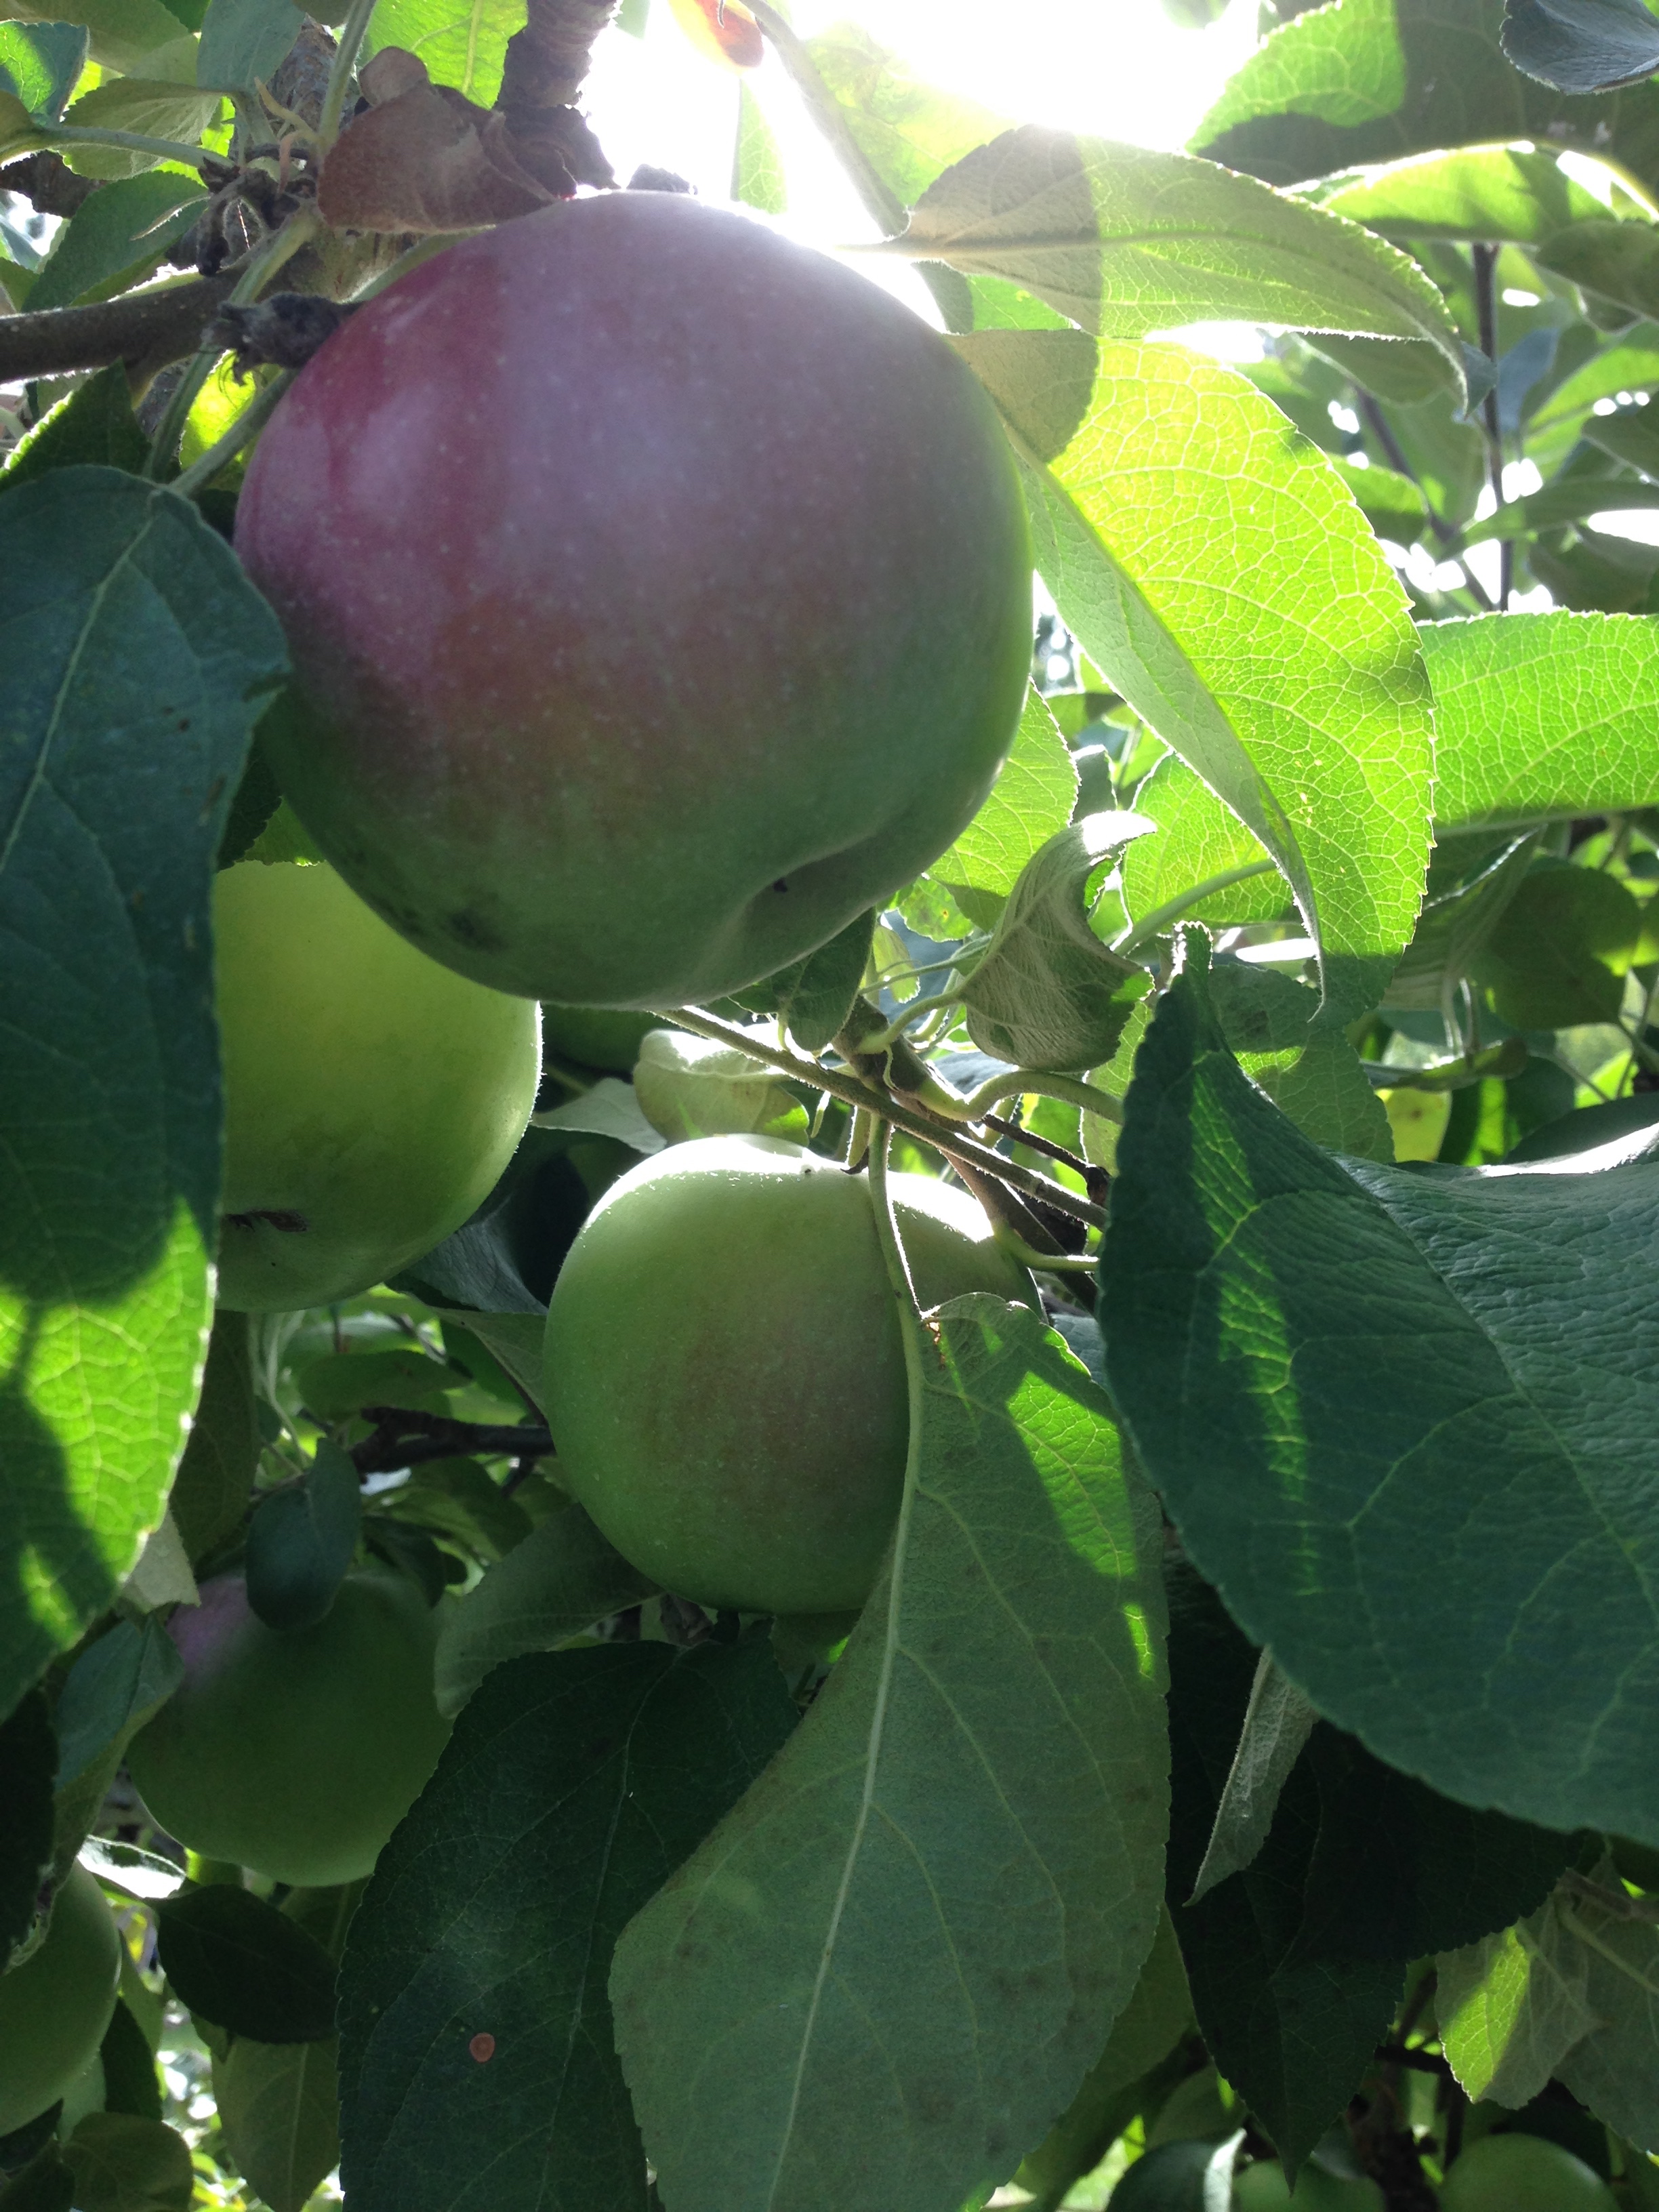
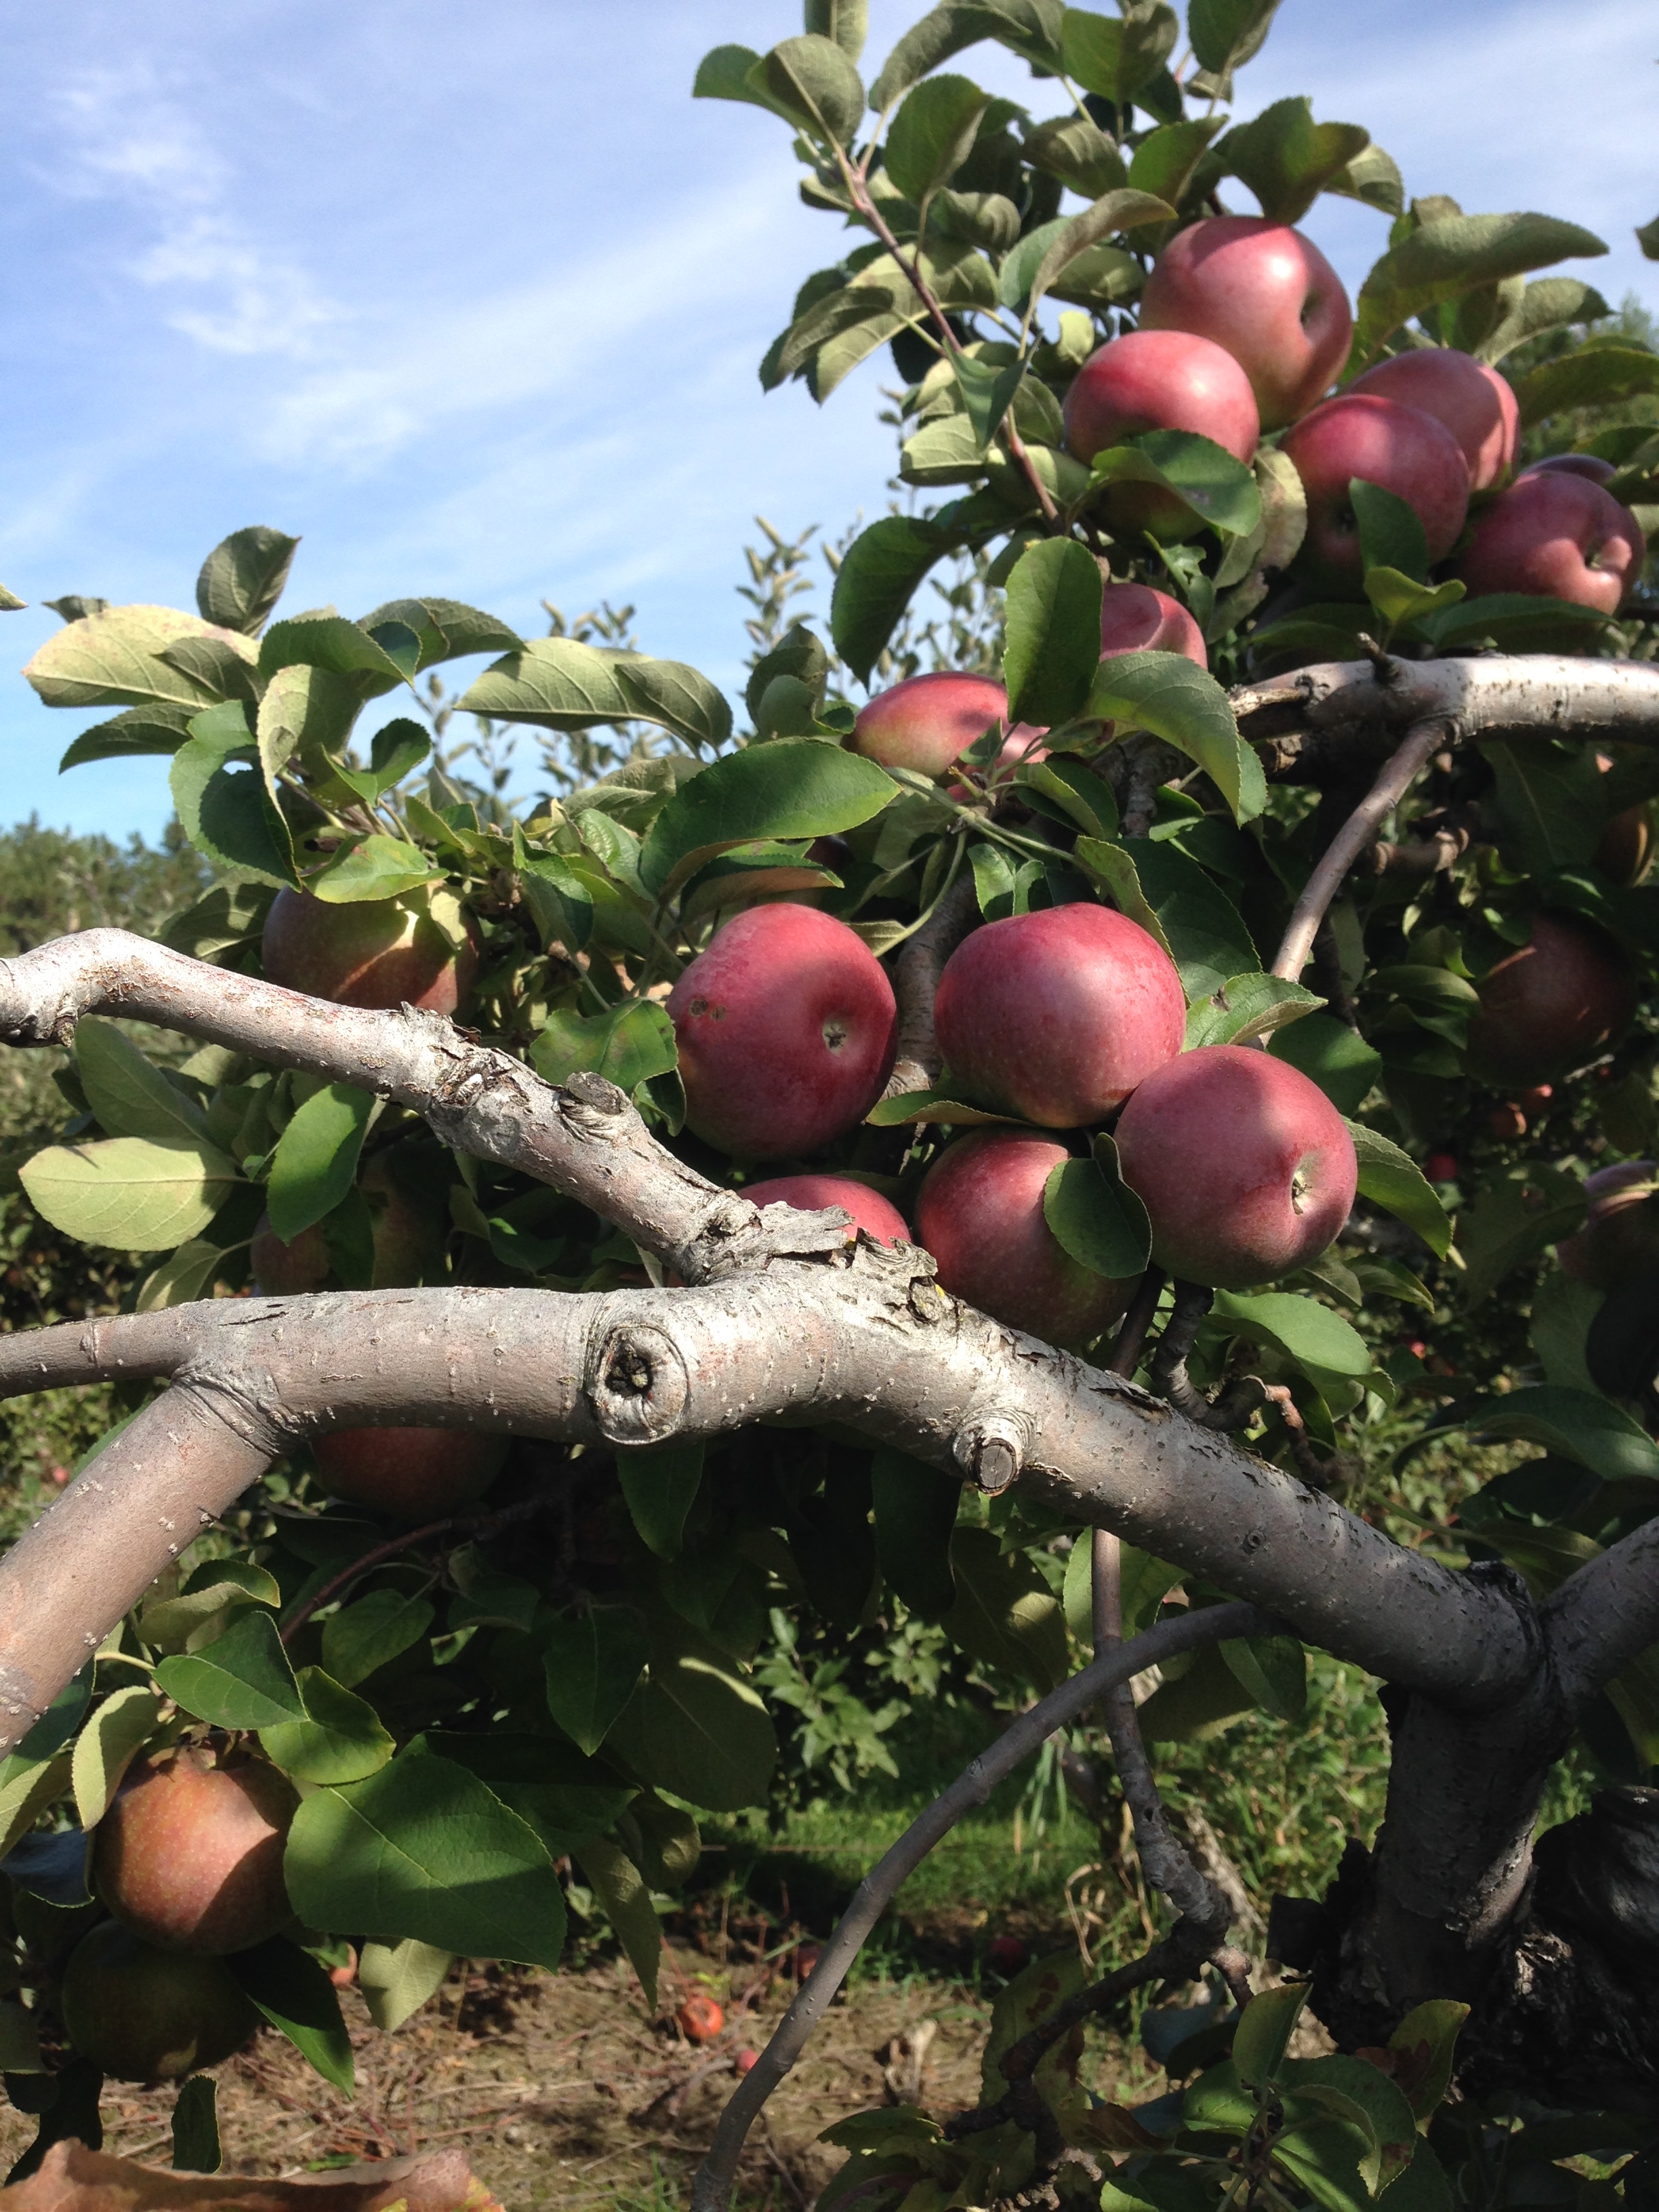
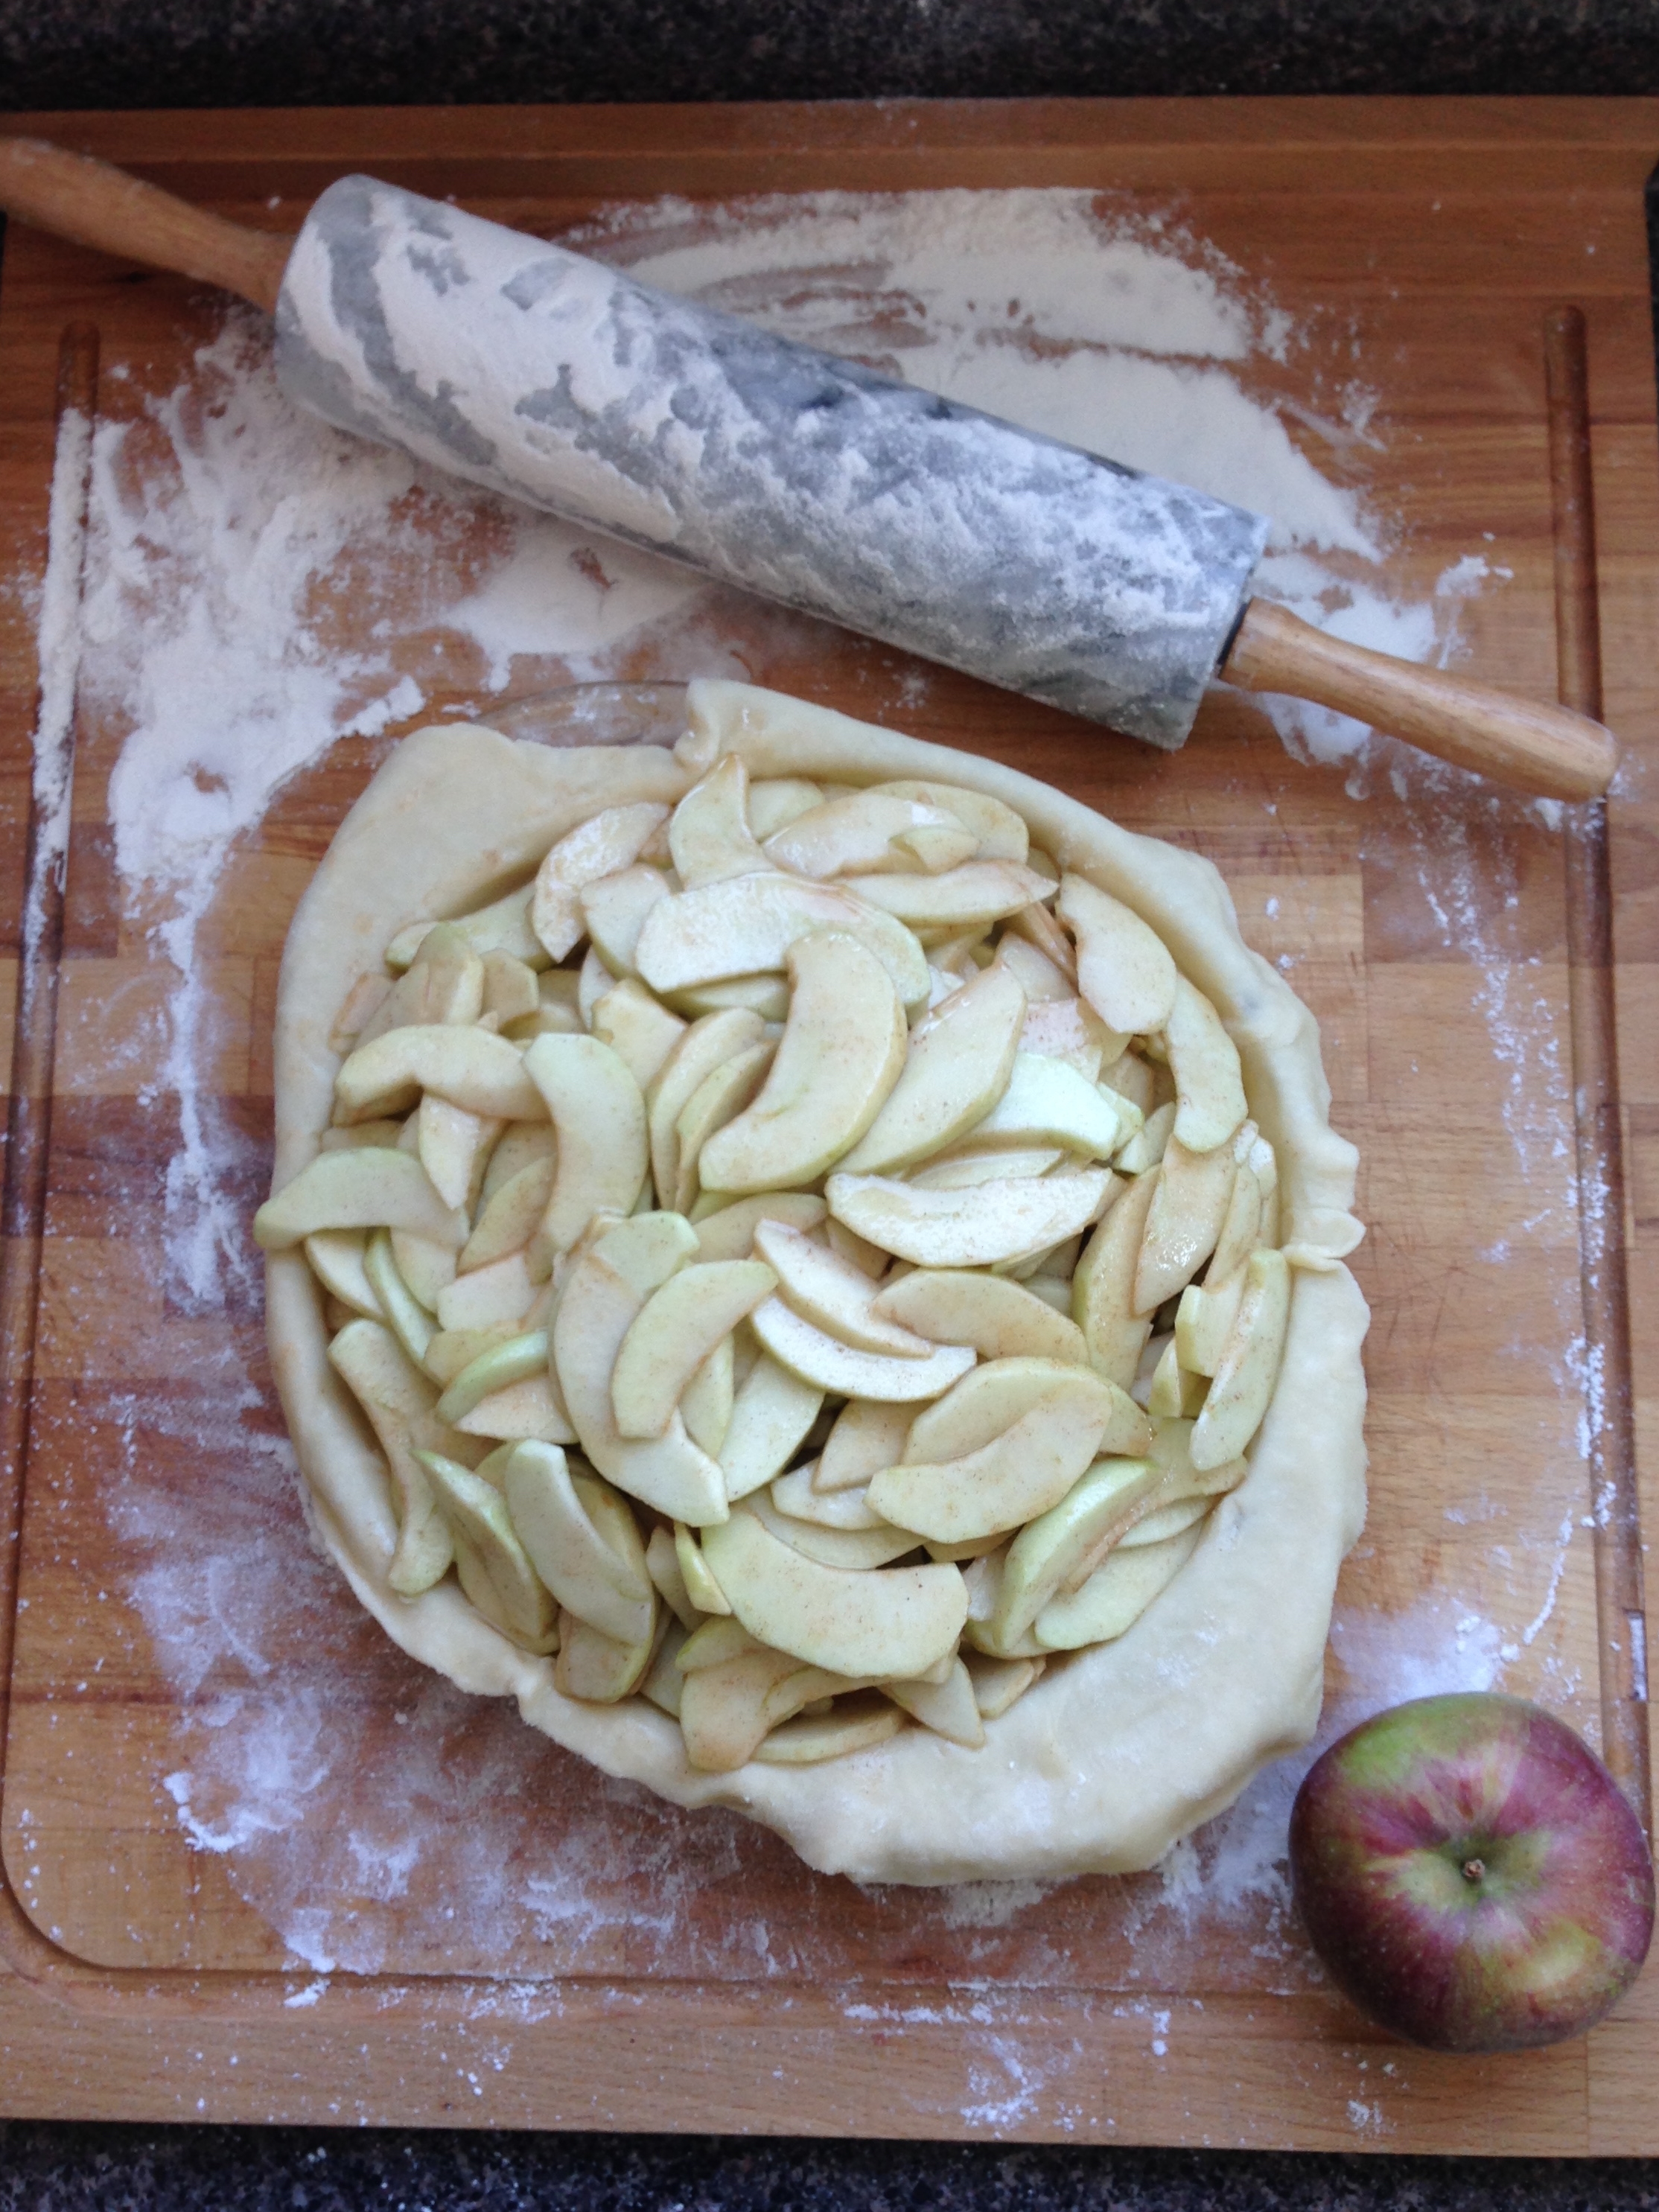
I had grand master plans for apple pie and apple butter and apple sauce so I needed about 22lbs of apples.  They had Cortlands, Gala, McIntosh, Honey Crisp, and more ready for picking. Needless to say, I got picking and within a half hour I had "enough". (Turned out I don't know how much a pound of apples is.... specifically, I bought 40 lbs of apples... oops. Haha. Half-Assery Engaged!)

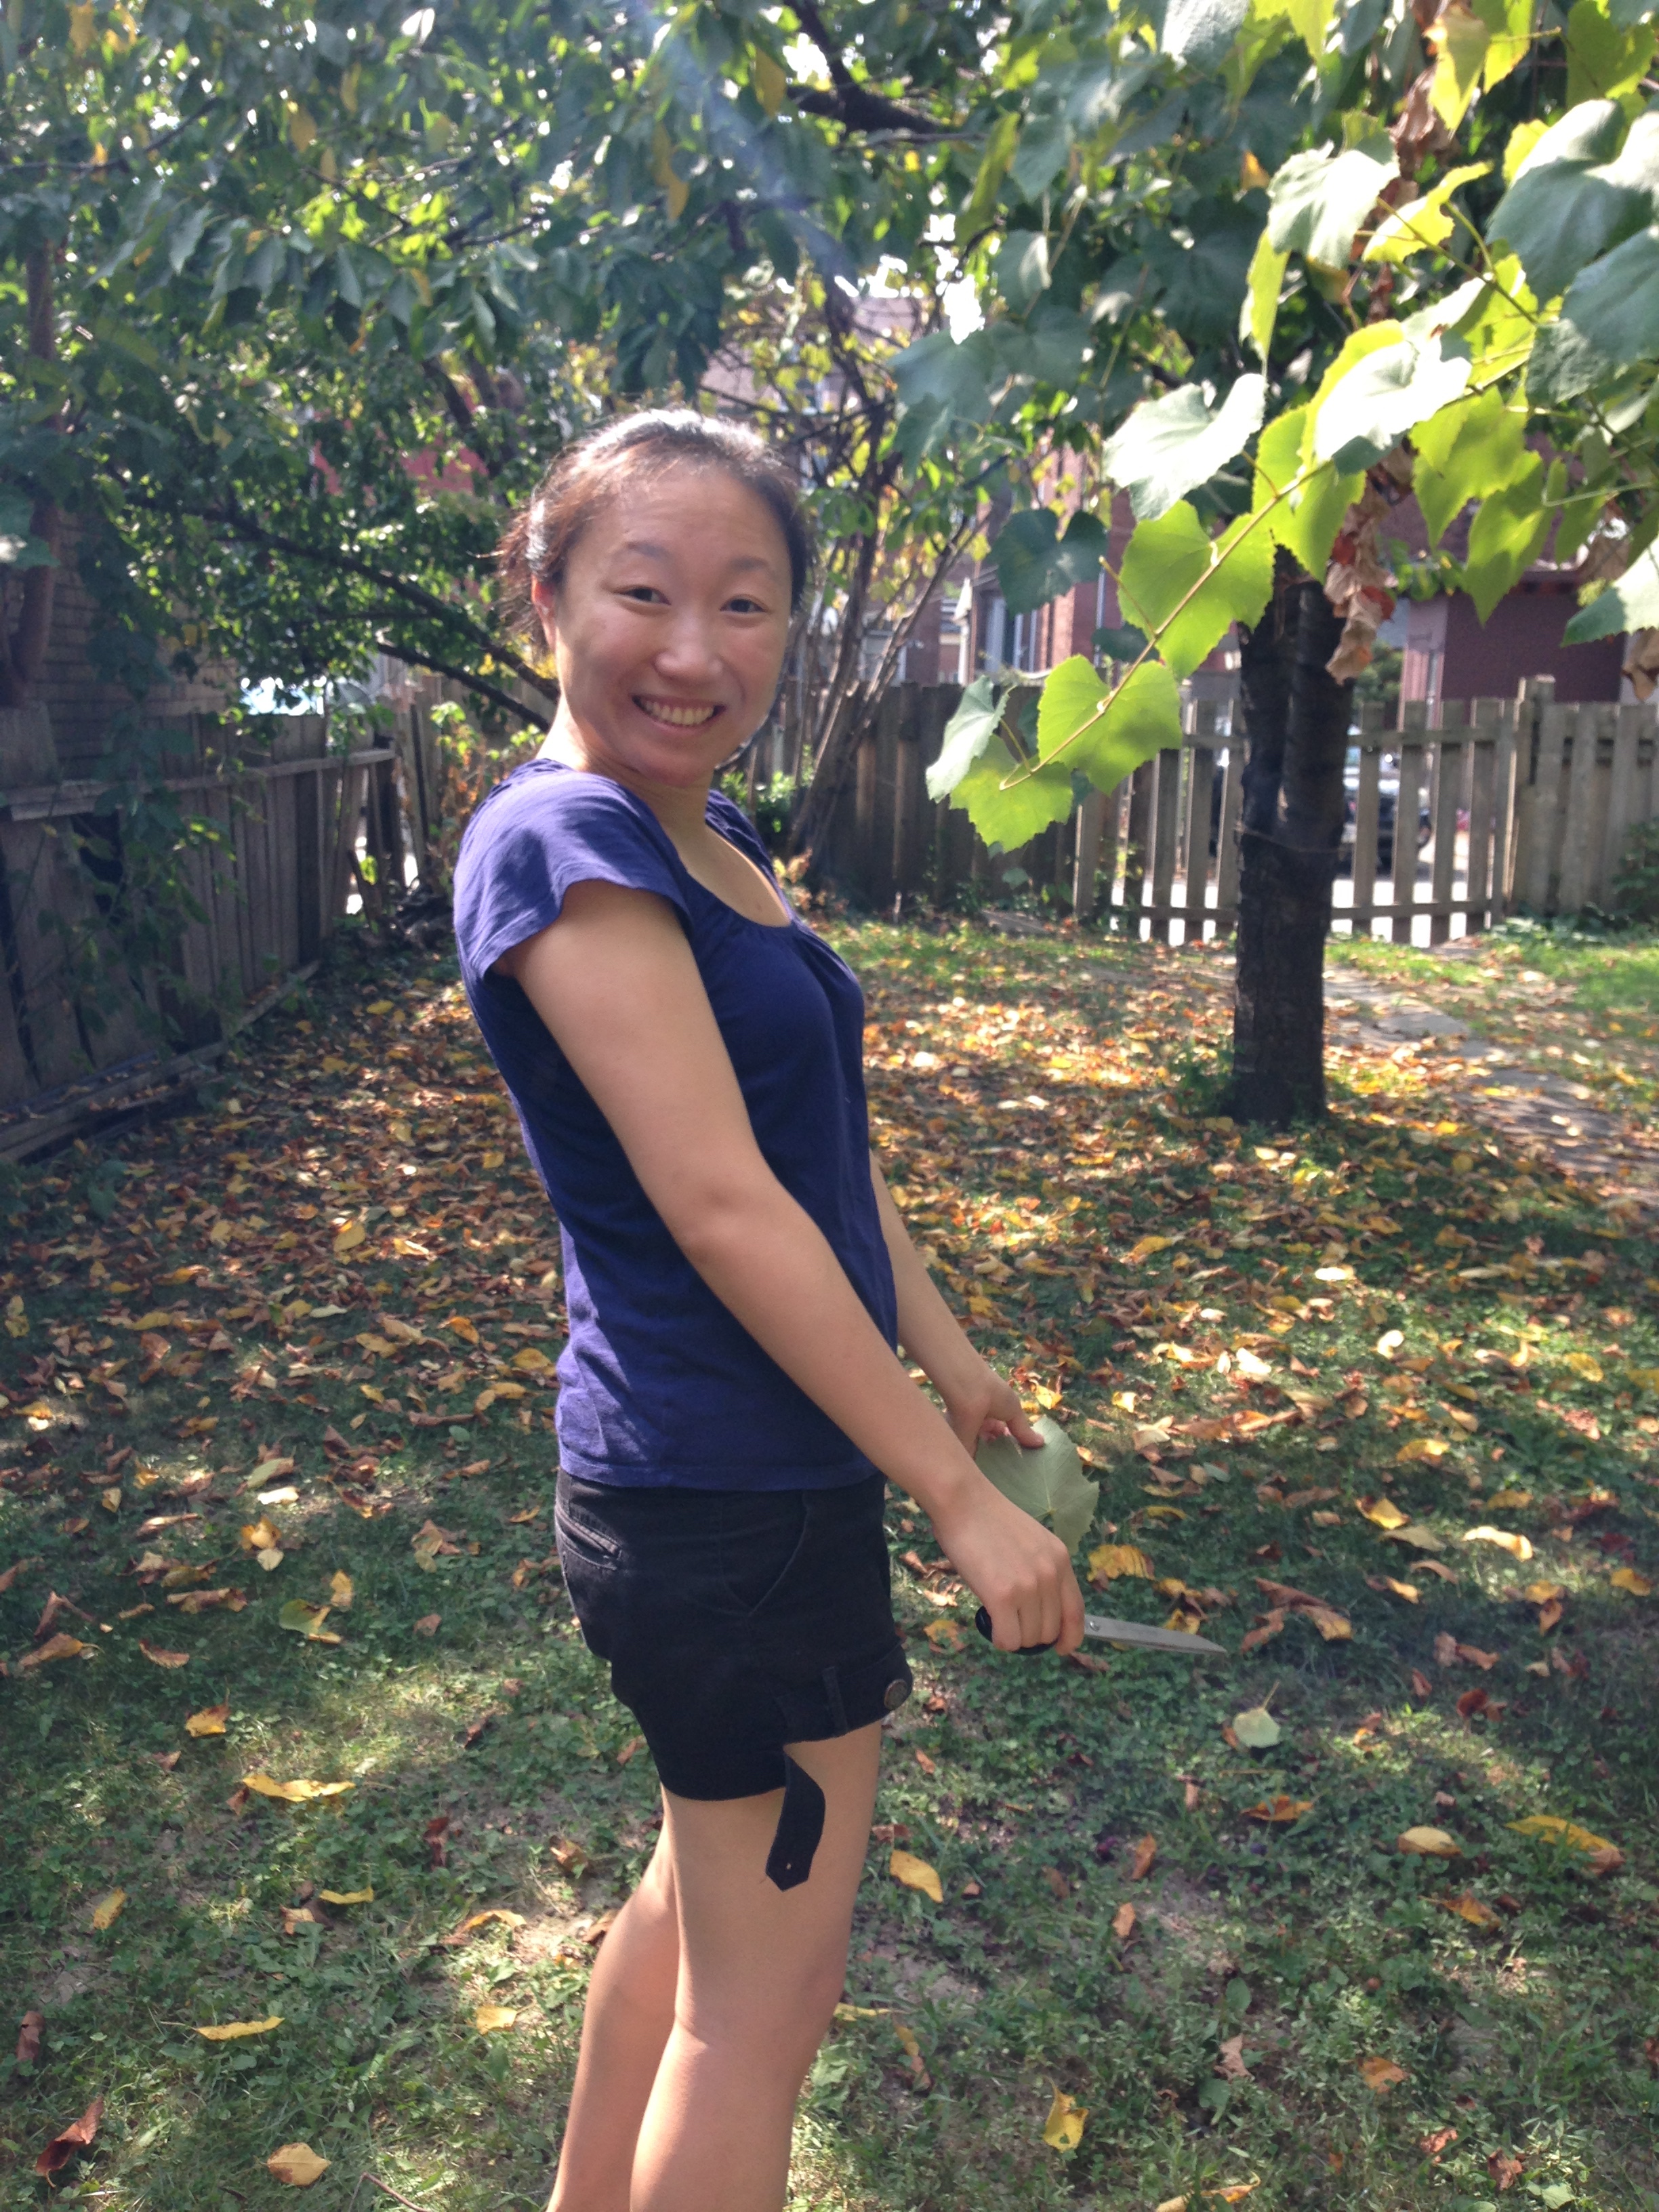
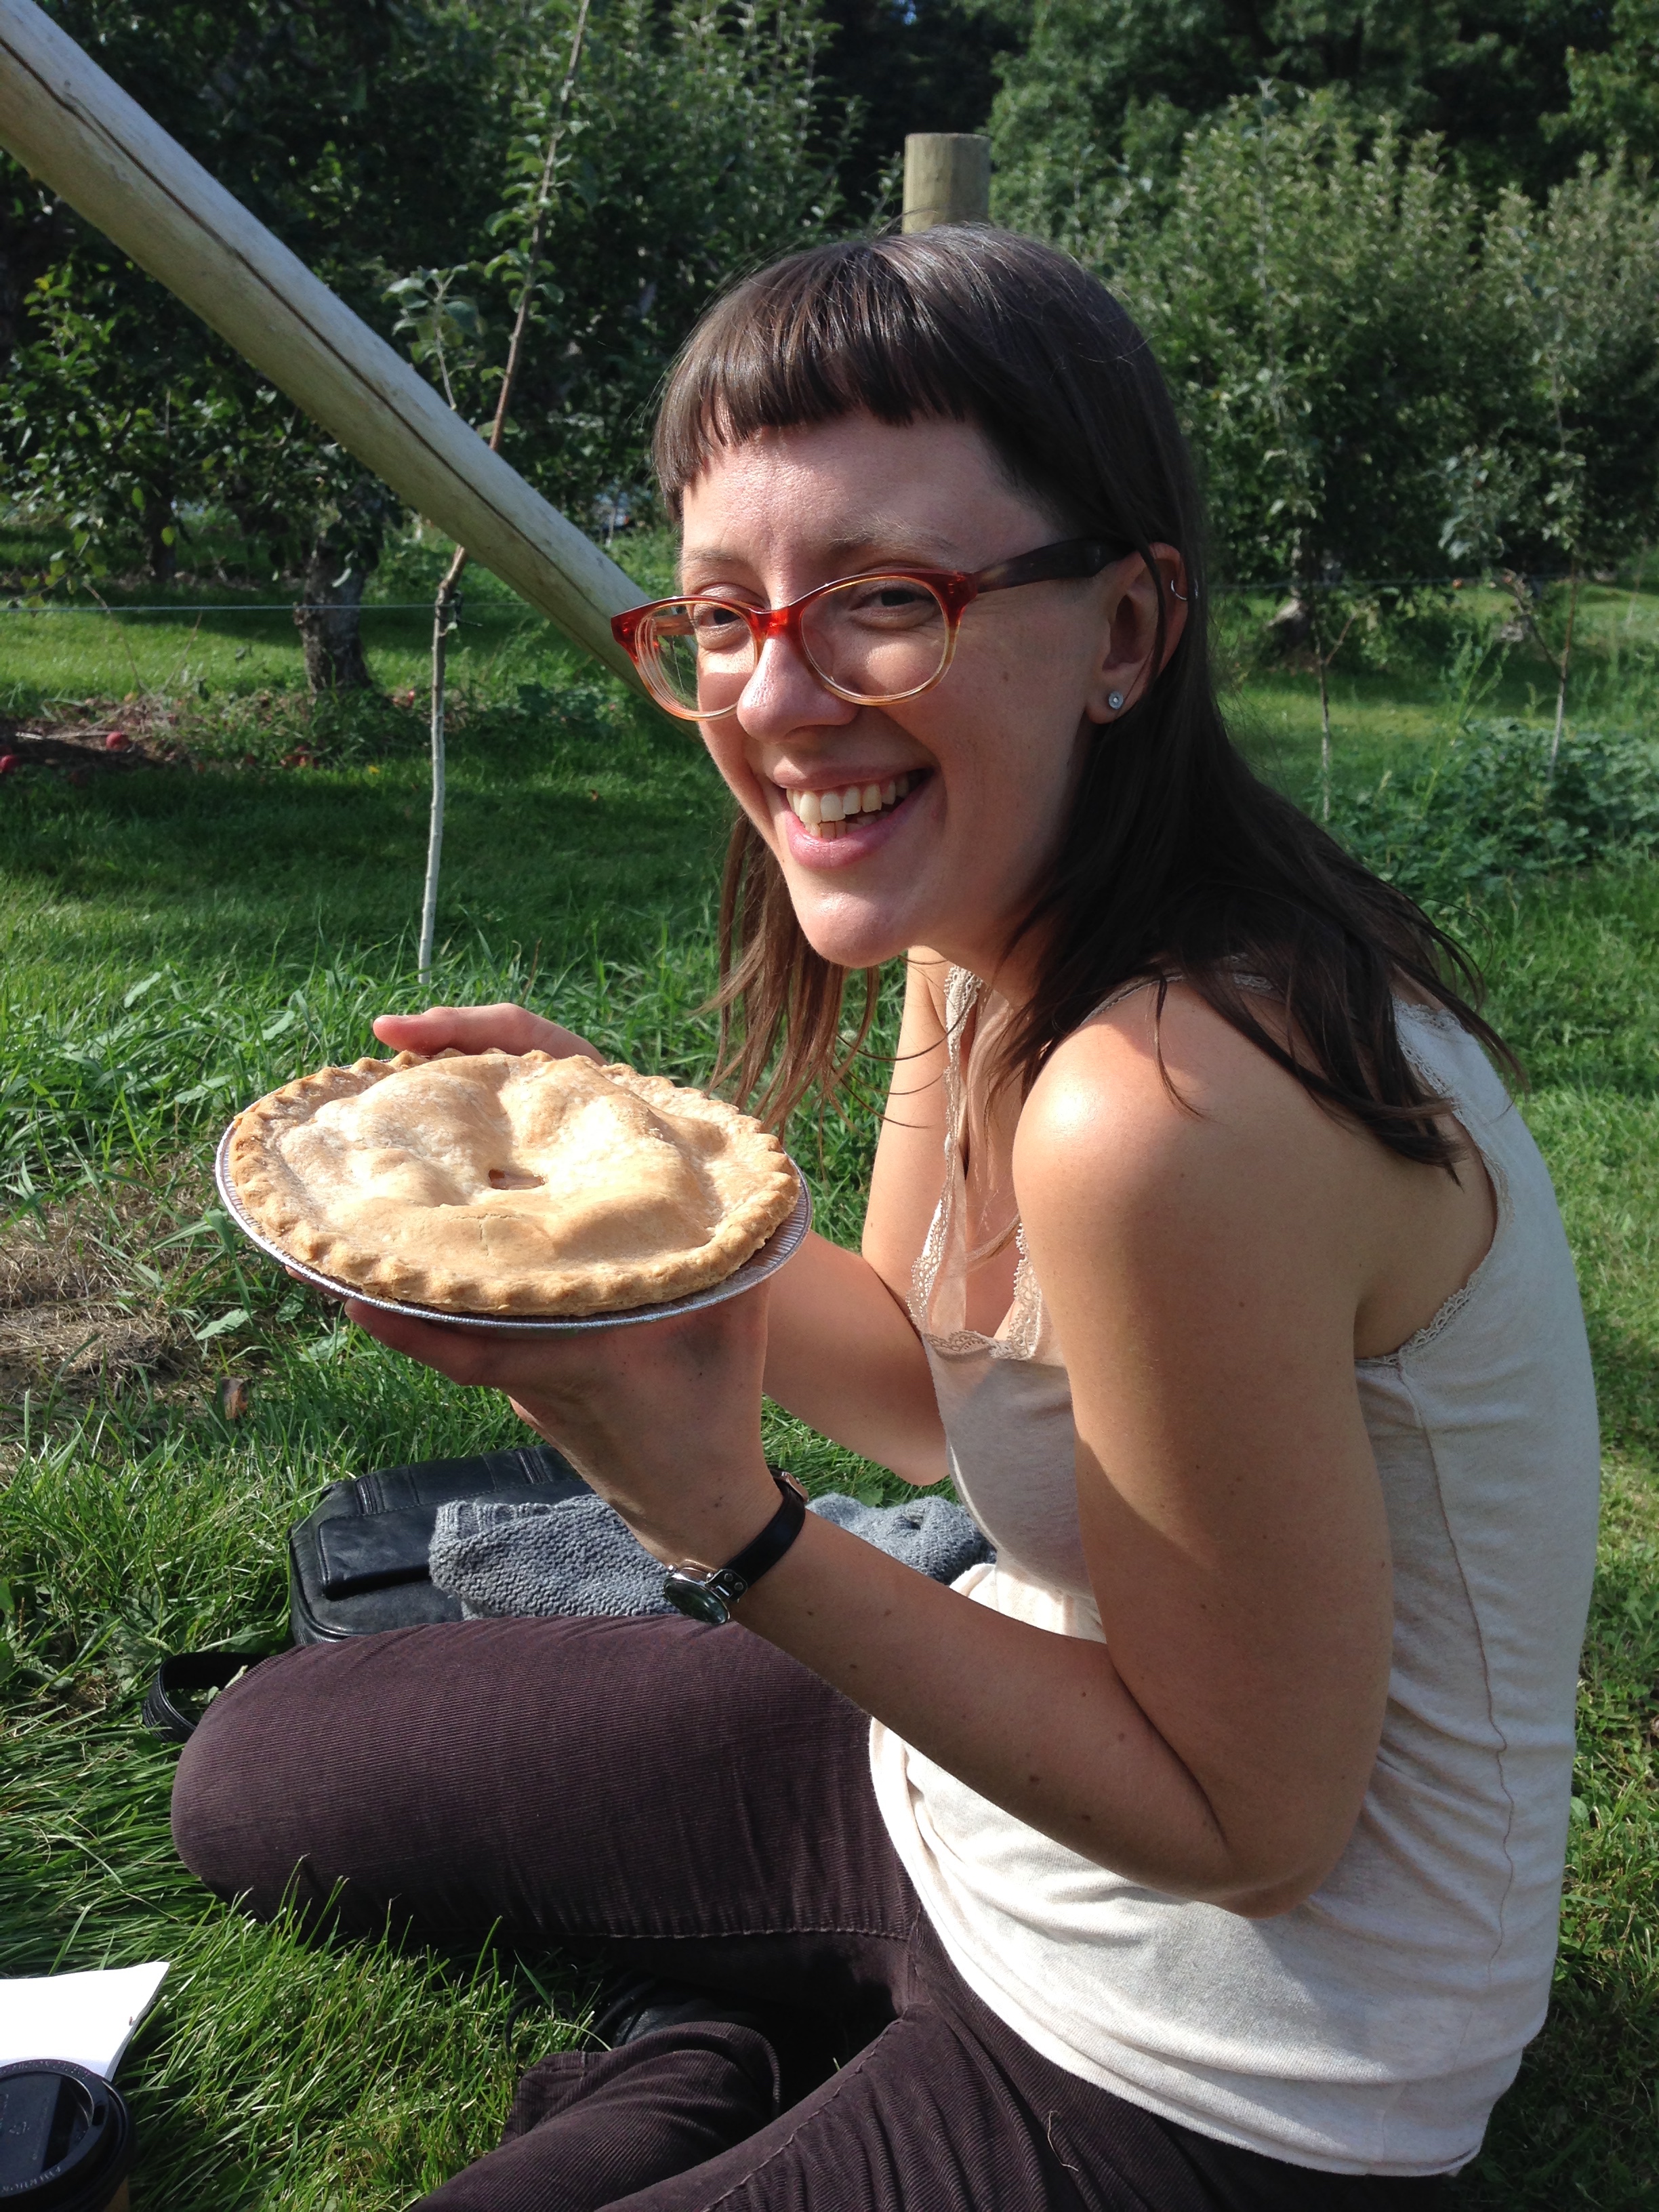
After the picking we decided to get our Impromptu Picnic on. Fresh and hot apple pie in tow, we sat and ate in amongst the trees in the sunshine. It was absolutely amazing. Afterwards, before the orchard closed, we wander walked around the back of the orchard. It was the perfect day. Highly recommend. 

And now I've got all the apple posts to put up too! Stay tuned! 

-Andrea

The Half-Assed Hobbyist


Spon-train-eous.

Slowly coming to a close is this Wonderous summer. I've had a total of 11 people come visit and stay over the last 6 months and it's been quite the epic. 

The latest company was my lovely lady Danielle. She's my spirit twin. So she spontaneously decided to hit up the GoTrain and get us some waterfall time!

I haven't been to the falls in about 6 years. It was nice to be once again under their majesty. 

Also. You know. Besides them. With a good glass of wine. 

Cheers!

-Andrea

The Half-Assed Hobbyist

Surprise Grape-ing

Born and raised in Alberta, I find it extremely weird to find fruit trees that aren't apple trees in peoples back yards. I'm getting used to this idea that there are commonly pear, lemon, cherry, and concord grape trees throughout most neighbourhoods. Heck. I'm getting more used to it now because it means I can foray into a world of otherwise unthought-of jams and jellies! Muaha!

My lovely lady friend Gloria let me adventure with some buddies into her and her husband's backyard fruit paradise! Grape hunting and harvesting was an afternoon affair. A successful affair. We picked all the ones we could reach and there were still a grape ton high up above out heads. (Yes. Grape Tree. Mind Blown.) Next year perhaps there will be wine to be made. First step will be get a ladder! XD

We collected all we could and attempted to not nom them all. There were master plans for these grapes: Grape Jelly.

So I got the grapes home and (eventually) set to work. 

Grape Jelly

5 cups juice
1 packet pectin (I used Bernardin)
6 cups sugar

Making the juice is first on the roster! Wash and de-stem the grapes. In a non-reactive pot with a lid, place grapes inside and fill the pot with water till the grapes are Almost covered, usually about 1  1/2 cups of water. Bring this to a boil over high heat. Using a potato masher, mash the grapes. This releases juice. Cover the pot with the lid and boil the grapes for about 10 minutes, stirring occasionally. Watch it! So it doesn't boil over and make a sticky charcoal-y mess of your stove top.... She says from experience.  Once the fruit is done being a boiling mash, take it off the heat. It's straining time! There are a couple ways of straining out the juice from this mash: There are actual sieves you can buy; there is cheese cloth; and there is the old school clean pillowcase method. I opted for the makeshift cheese cloth strainer method, although the pillowcase method makes for the clearest jelly. Let the juice drain from the mash for about 2 hours. Don't press the mash down or squeeze it or the resulting juice and jelly may be cloudy. 


Success! Homemade grape juice made! =D It's jelly making time! (Unless you drink it all... and have to start over.)


As per all my canning shenanigans, prepare, prepare, prepare! Clean all the utensils needed (ladle, wooden spoon, plastic spoon, plastic funnel). Also clean the jars and sterilize them in a boiling water bath canner for about 10 minutes. Keep this canner boiling! I usually keep a kettle of boiled water on stand by in case the canner needs to be topped up. Clean and set the screw bands in an accessible place. Set cleaned snap lids in a saucepan filled with water on low heat on the stove. This will soften the waxed rims and make for a better seal. Also measure out the sugar into a bowl and set this in an accessible place too. Ready! 


In a non-reactive pot, add 5 cups of your homemade grape juice. (If you don't have enough you can add apple juice or some other acidic juice.) ***If the juice takes up more than half the volume of the pot it's tooooo small. Get a bigger one. Bigger is better in this situation.*** Stir in the pectin until it's all dissolved. (Add 1/2 tsp of margarine too. It cuts down on the foaming.)


Bring this to a rolling boil. That's a boil that won't stir down. Wait for it. You'll know it when you see it. 

Add the sugar all in one go and stir quickly to mix it all together. Bring this back to a rolling boil and boil hard for 1 minute. 

Remove the pot from the heat carefully. Molten sugar goo is not skin friendly. Skim the formed foam from the top of the jelly with a slotted spoon as good as possible. The foam can go in the sink. Bye bye proteins! 


It's jar filling time! Remove one jar at a time from the boiling waterbath. Empty water in the jar back into the canner. Place the funnel a top the jar and ladle jelly slowly into the jar, leaving a 1/4 inch headspace. Using the plastic spoon, get out any air bubbles. Wipe the rim of the jar with a damp paper towel or clean damp cloth. Place a warmed snap lid onto the jar rim. Screw on a screw band until JUST Fingertip tight. As soon as there is enough resistance to your thumb and forefinger that the band won't turn anymore, Stop. Into the canner! Repeat!


When all the jars are filled and in the canner, boil the jars vigorously for at least 10 minutes. Check the altitudes though! Higher altitudes need longer. Most pectins will come with a sheet that say how long to process the jars. 

Remove the jars from the canner and set down in a place where they won't be disturbed. Let them cool completely. I leave mine fore 24 hours before handling them. After they're cooled, check that the jars have properly sealed. The snap lid should have a divot inwards and also should be securely suctioned to the jar. Don't worry if they haven't sealed! They just get to live in the fridge and get eaten first! Lucky them!


That was quite the grape adventure. Great - grape - great.... Eh?? =D =D =D

..... 

Shhhhhh. It's funny. Really. 

Also! I made some not purple grape juice! Essentially just take out the grapes skins when making the juice. =) Yuuuuum.

Also! I made some not purple grape juice! Essentially just take out the grapes skins when making the juice. =) Yuuuuum.

-Andrea

The Half-Assed Hobbyist

Peaches, All of the Peaches!

An apology to all peaches for the 1995 Peaches song. I can't get that song out of my head. It's been over a month since I canned these peaches and still, every morning, Plenty of Peaches, Peaches for Me!

Anyways! Here's a how-to (or more like a How-I-do):

As per every canning episode, the first step is always Prepare All the Things! Having never canned peaches before, I read up on it. Canned peaches requires: Peaches (surprise!) and a canning liquid, either water or a sugar syrup. There seems to be a dearth of agreed upon ratios of weight of peaches to number of jars so I ended up having to guess a lot during this process. I had 14lbs of raw peaches, which supposedly meant that I should be able to get around 7 500mL jars of peaches out of them - 2lbs of peaches per jar. When it comes down to it though, the limiting factor (whoo chemistry) is the number of cans that can go in canner. You can prepare all the fruit and syrup you want, but per round of canning, there's only so much room in the canner. 

Most of the recipe books and blogs agree that canning peaches in a sugar syrup is the best way to do it. Sold! Sugar: good. Peaches: good. Can of peaches in sugar syrup? Sounds good to me! 

My cookbook recommended a way to make a "percent" sugar syrup. Essentially, for a 25% sugar syrup, measure 1/2 cup sugar into a 500mL jar and then fill the jar with cold water. (Or if you like it 'cloyingly' sweet, 1 cup/500mL jar.) Mix the sugar in until it dissolves with a plastic or silicon tool so the glass doesn't get chipped. My canner, luckily, has room for 7-ish jars at a time, so I did some math, 3/4 cup of syrup per jar meant about 5 jars of prepared sugar syrup - extra just in case, right? This ended up being totally wrong. Of course. But it turned out in the end! 

Now on to prepping the fruit! This takes a bit of doing. (<-Understatement.) First, removing the skins. Then on to pitting and quartering. To get the skins off, I used a technique called blanching. Essentially, dipping the clean peaches into a pot of boiling water for about 30 seconds. Then dunking the peaches in cold water to stop any further cooking. The skins now slip right off! Easy Peasy! To pit them, run a knife around the pit starting at the top of the fruit. Then, slide a thumb or finger into the gap and the peach halves with come apart. (The firmer the peach, the better this works.) Remove the pit, scrape any tendrils or pit bits away with a plastic spoon and slice the halves into quarters. 

Most recipes will say to soak the fruit in an anti-browning solution at this point. I bought an actual product meant for this purpose but vitamin C pills and lemon juice also works to stop the peaches going mooshy. So in a giant bowl, plop the newly cut peach quarters into the prepared anti-browning solution. (Give is a stir every now and then so all the quarters get a chance to be submerged. 

Almost ready to actually Can the peaches. Phew. If it's not boiling already, now is the time to get those jars sterilized! 

First thing is to get that sugar syrup into a non-reactive pot. Also, drain off the peaches from their anti-browning bath.  Depending on how many peaches there are, slip in just enough peaches to be covered by the syrup. (I ended up doing about half of my giant bowl of peaches.)

Make sure all the items are set up now! Screw bands are clean and in a easy place to reach, ladle and slotted spoon, plastic spoon for getting out bubbles, boiling canner, warmed snap lids, etc. Time to fire blast 'em peaches!

Bring the peaches and syrup to a boil. Once boiling, it's peach ladling time! Use a slotted spoon to get the peaches into the jar first, fill it as much as possible, but below the screw band threads. Push them down a weeeee bit. But don't moosh them! Then ladle the hot syrup into the jar, leaving a 1/2 inch headspace. Repeat! 

When the cooked peaches run down, add the rest to the hot syrup and bring them back to a boil. Repeat filling all your jars until your canner is full. I ended up having to keep 2 jars worth of peaches simmering in my non-reactive pot while the full canner did it's thing. Boil the peaches in their jars for ~20 minutes. 

It turned out to be a good thing that I had made a butt ton extra syrup! I actually canned it for cocktails use. Peach Whiskey Drops and Peach Lemonade Spritzers. Sploosh. 

-Andrea

The Half-Assed Hobbyist

Pickling: A Nasal Passage Adventure

2015: The Year of the Pickle. As part of my "Projects: A New Years List of Stuff to Do!" I decided to try my hand at making homemade pickles! So I read up on how to pickle cucumbers. Surprisingly, it sounded easier than I thought. Basically, take cucumber, slice cucumber, put cucumber in jar, put spices in jar, put pickling solution in jar, can jar, wait! 

I found a recipe in my Joy of Cooking book and got collecting. 

As with all canning, the key is preparation. I bought about 4 pounds of pickling cucumbers and all the spices required to make the Quick Dill Pickles recipe pictured. I got jars and pickling salt and vinegar. All the things!

I started by washing all the cucumbers, jars, lids and screwbands, also the ladle, plastic spoon, and funnel I'd need. The cucumbers need to be washed in cool water and the ends need to be scrubbed. No dirt allowed! Some recipes actually recommend cutting off stem ends of the cucumbers.  All the rest of the stuffs can be washed in Hot soapy water and then rinsed thoroughly and dried. Set everything out in an accessible place near your stove.

Also, I started the water bath canner to sterilize the jars. To do this, fill the canner as much water as you can and bring it to a boil (this takes a Long Time so make sure to do this First before starting any pickling stuff). Place the cleaned jars into the boiling waterbath. Wait for the water to come back up to a vigorous boil and then set the timer for 10 minutes. Leave the jars in the boiling water and take them out as needed for filling. I usually fill my canner with as many jars as it can hold just in case I end up needing more jars. Also, I keep a kettle full of boiling water beside the stove to top up the canner. 

Last set up consideration! Get the snap lids immersed in water in a frying pan. Set the frying on the stove on low heat. Do not boil the lids. You just want to keep them warm so the waxed rims seal better. 

-shifts Planner Hat brim to the side, all gansta like-

Ok. Hot Pack Pickle Process Initiation! Below is a step by step of the process I used!


Step 1: Make up the pickling solution. In a clean non-reactive (aka not metal) pot combine:

2 1/4 cups water
3 cups Pickling vinegar
3/4 cup Pickling salt

This solution is, obviously, very vinegary. Watch your nostrils! It's the stuff sinus drano should be made of. 

Bring solution to a boil over high heat. Once all the salt is dissolved and the boil is sustained, it's cucumber time!


Step 2: Slice the cleaned cucumbers in half lengthwise. 

Grab out a sterilized jar from the water bath canner, empty it of water (I usually poured 2/3rds back into the canner and the rest in the sink, because of water displacement). 

Pack the cucumbers in the jar tightly, making sure that the cucumbers aren't taller than the screw band threads. 


Step 3: Add your pickle spices. In my case it was: 

6 peppercorns
1 tsp Dill seeds
1 tsp pickling seasoning
1-2 garlic cloves, sliced to fit

Fit the garlic pieces in below the screw band threads as well. 

ย 


Step 4: Ladle in boiling picking solution into the jar. Making sure to leave a 1/2 inch head space!


Step 5: Check that your head space is just right. 


Step 6: Get out any air bubbles hiding in your jar with a non-reactive (aka plastic) utensil (aka spoon). 

Then place the snap lid and twist on the screw band til JUST fingertip tight. So when the screw band gives resistance enough that you can't easily tighen it with your fore finger and your thumb, it's tight. 

Place this jar into your boiling water bath and repeat this process till your canner is full (or you run out of pickles!).


Step 7: Process your jars for 10 minutes (minimum). Check your altitude! If you are over 1000Ft above sea level you have to add 5 mins. 


Now all that's left to do is wait! ....this is the worst part. They look so yum. D=

-Andrea

The Half-Assed Hobbyist