
The BF and I are going on a food adventure this year. It started with making homemade Massaman curry (thai beef stew) and then a cousin's BF gave us the low down on making Ginger Beef (most likely the North American version... but we have to start somewhere). After perusing through my Joy of Cooking book, I stumbled upon a french beef stew made with red wine. Wine + cooking = count me in.
Beouf Bourguignnone
2 - 3 lb boneless beef roast, cut into 1 inch cubes (make it a tougher piece of meat, like a chuck roast)
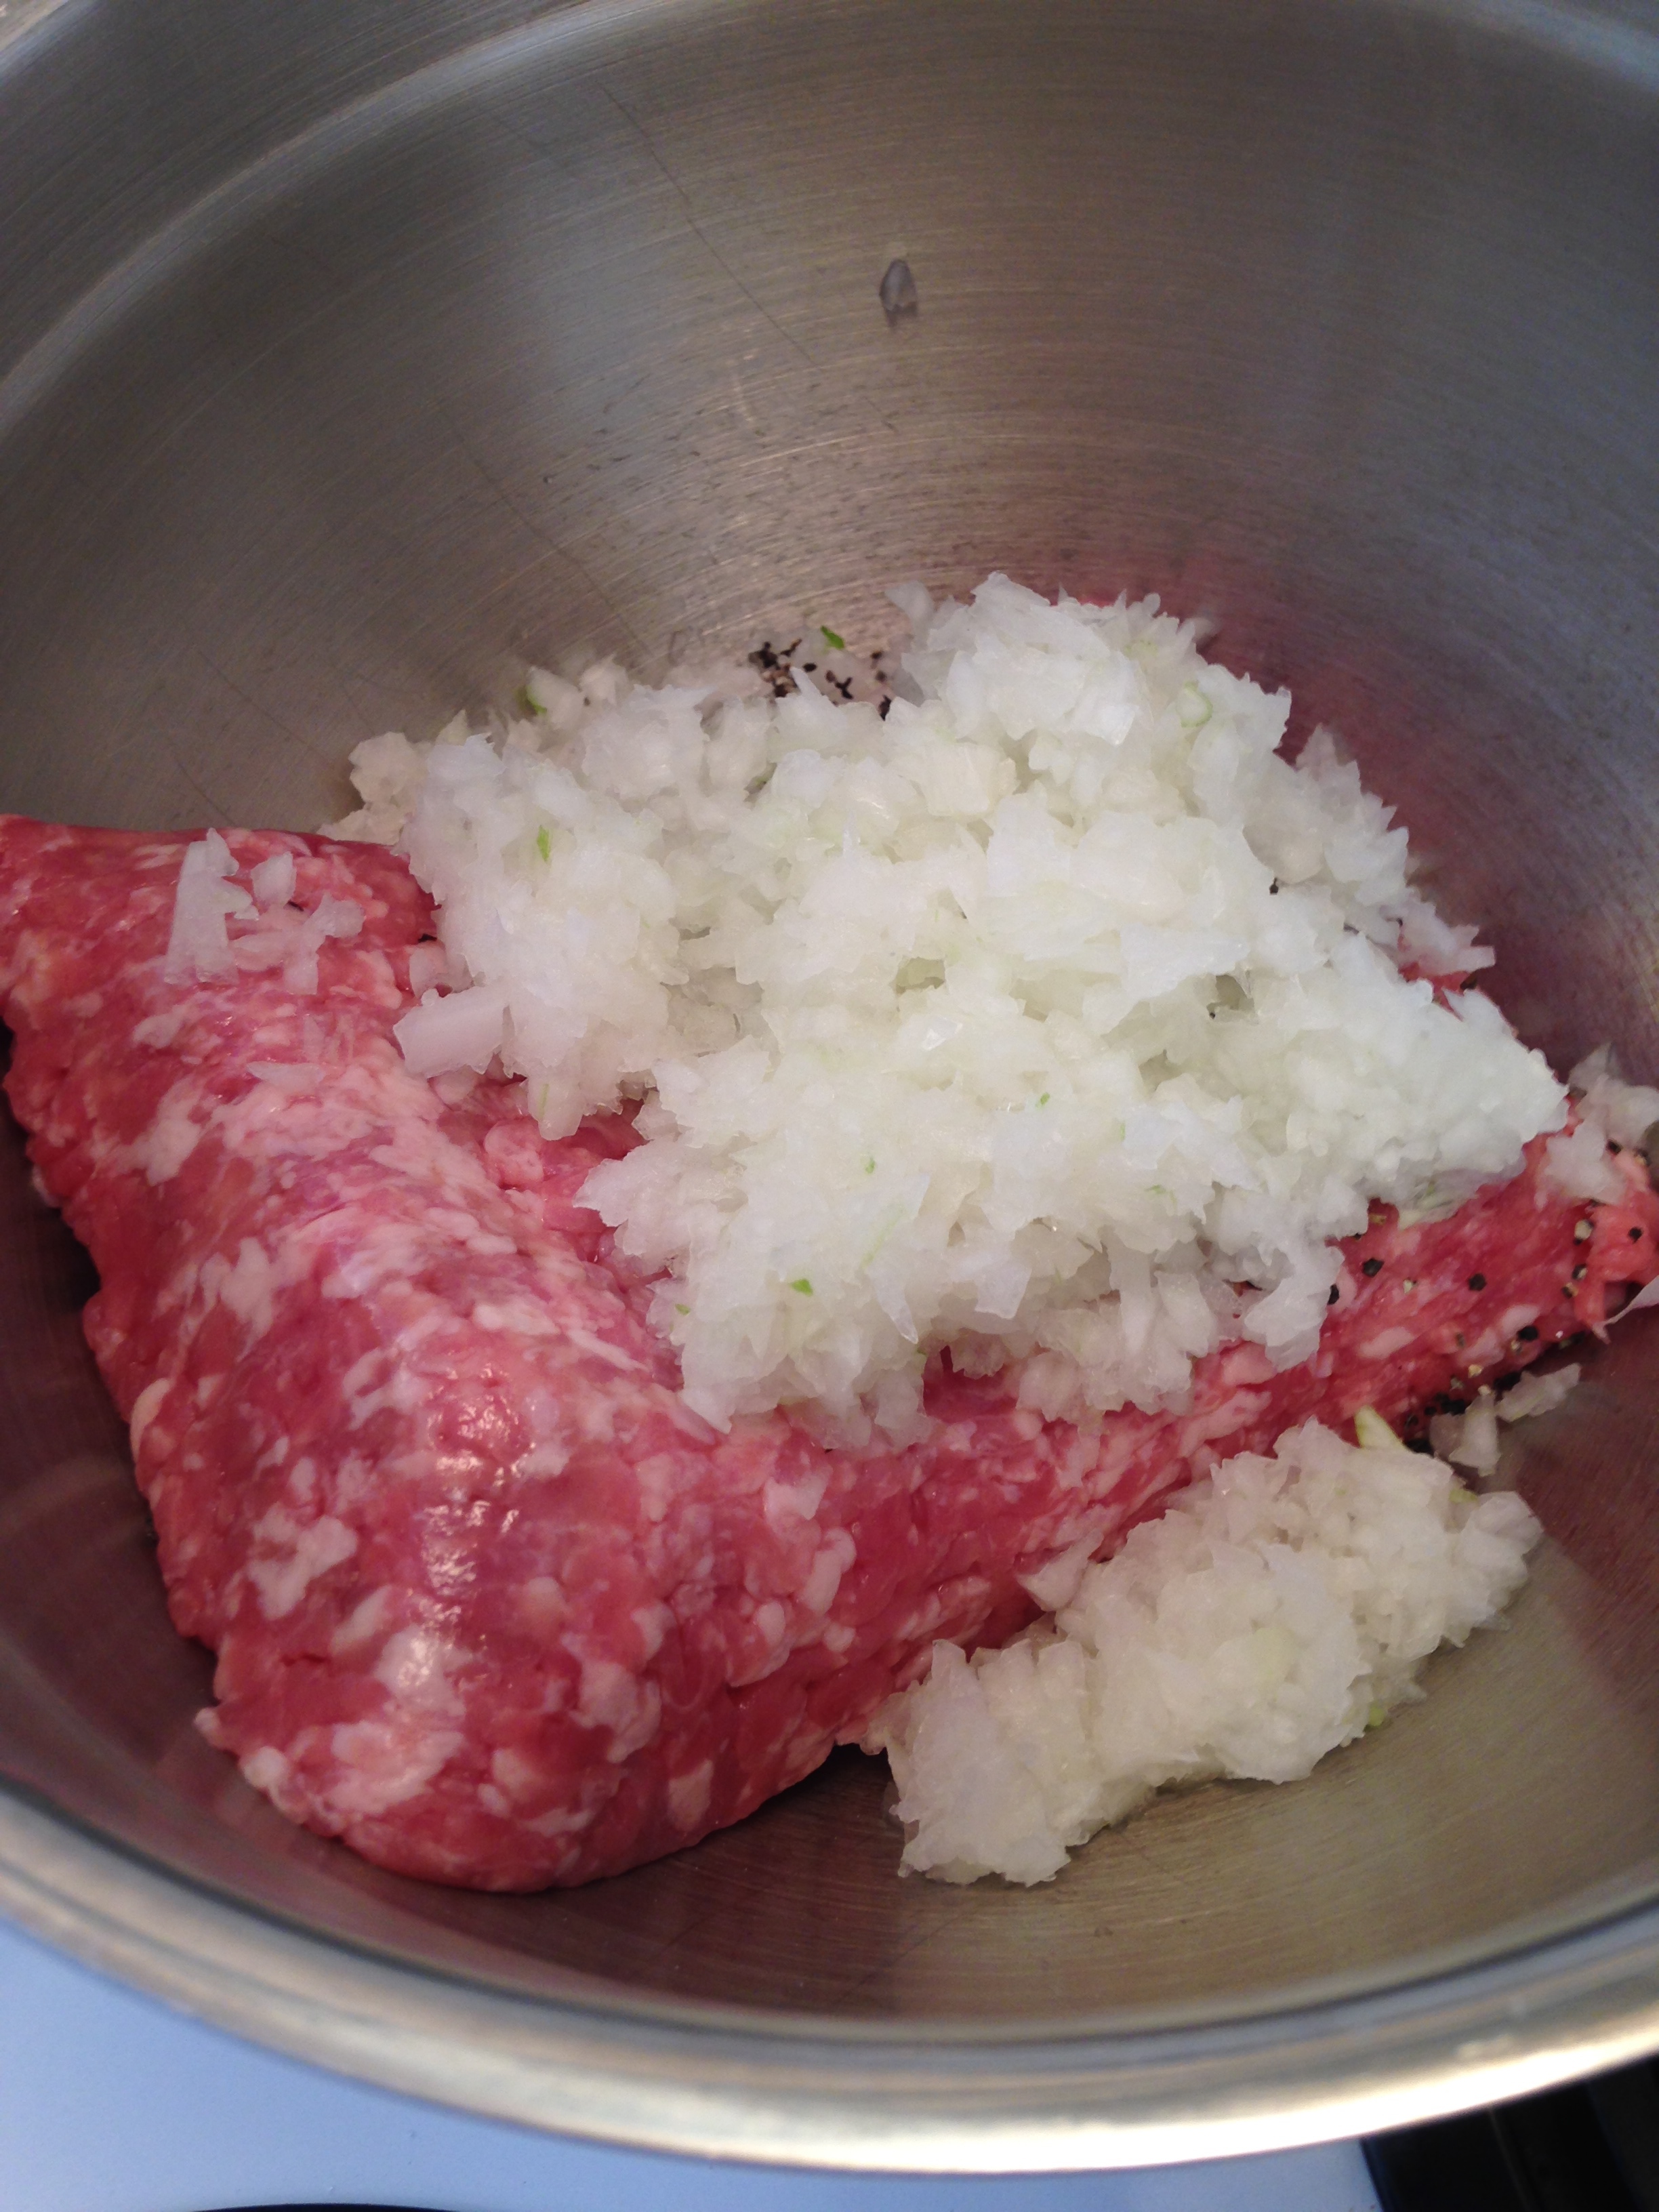
1 medium yellow onion, chopped
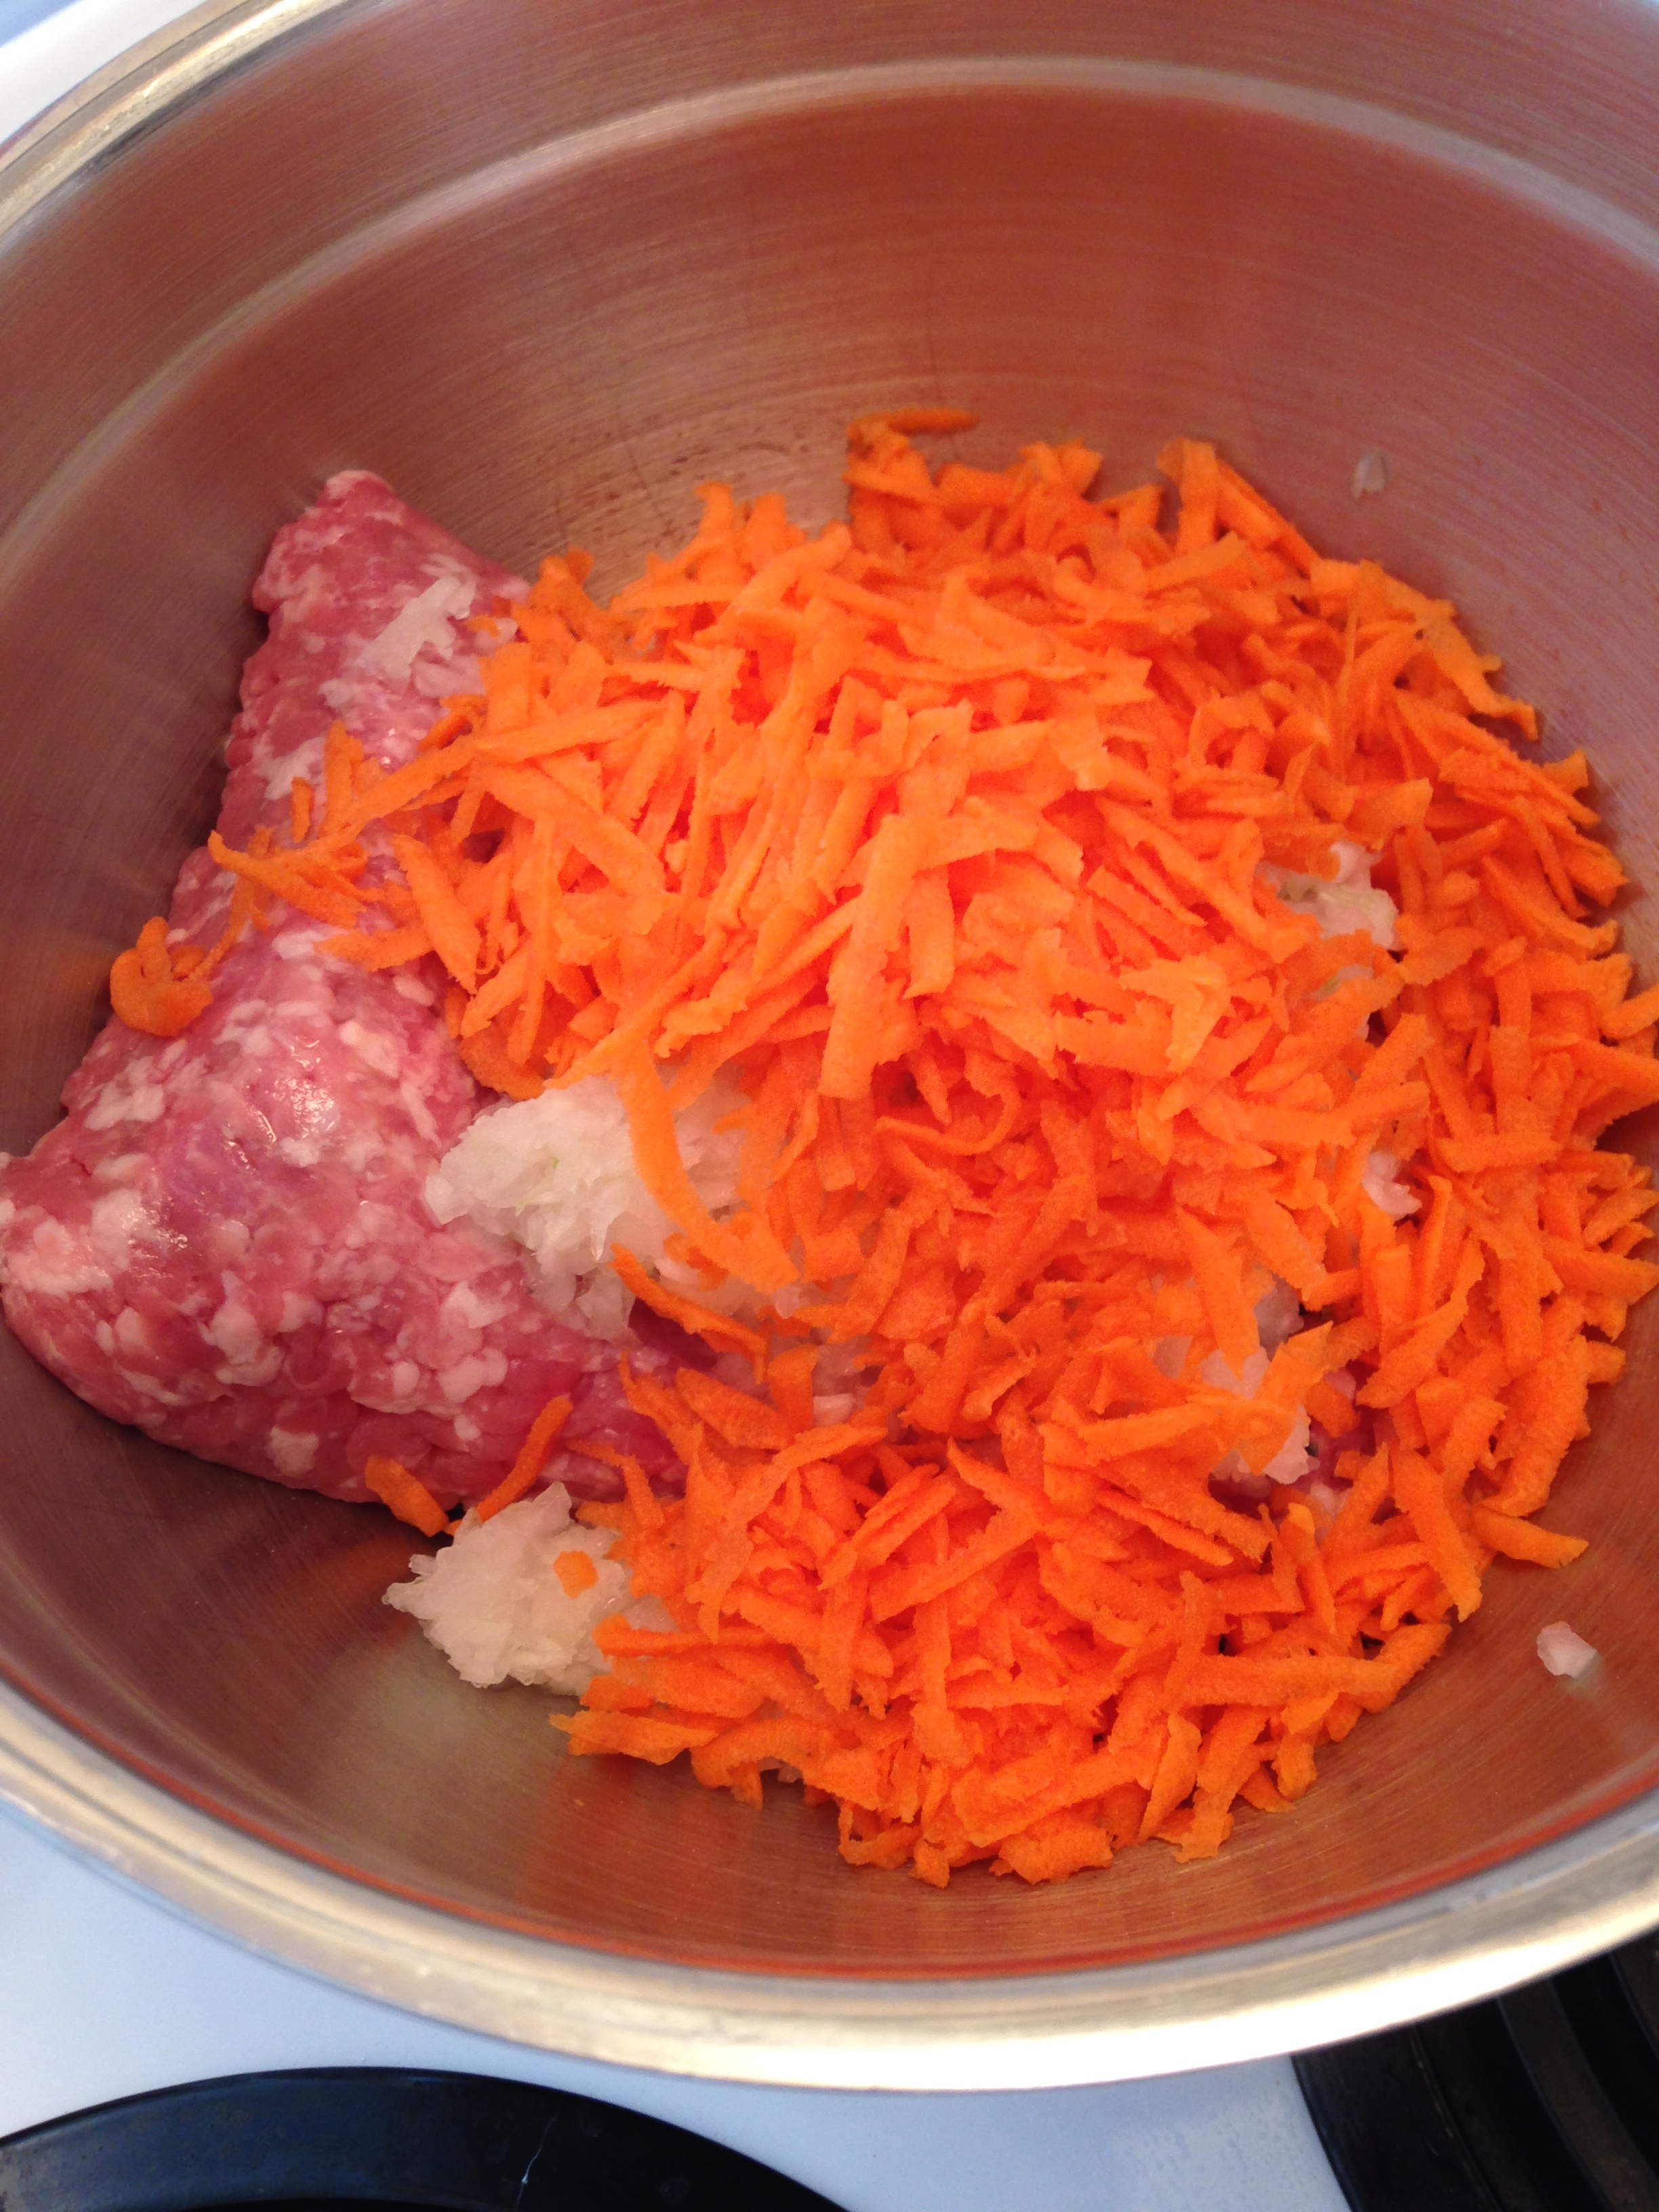
1 large carrot, peeled and chopped
1 stalk celery, chopped
2 cups dry red wine (like a Pinot Noir, from France perhaps?)
1/4 cup olive oil
2 tsp garlic cloves, minced
1 bay leaf
2 TBSP parsley, finely chopped
1/2 tsp dried thyme
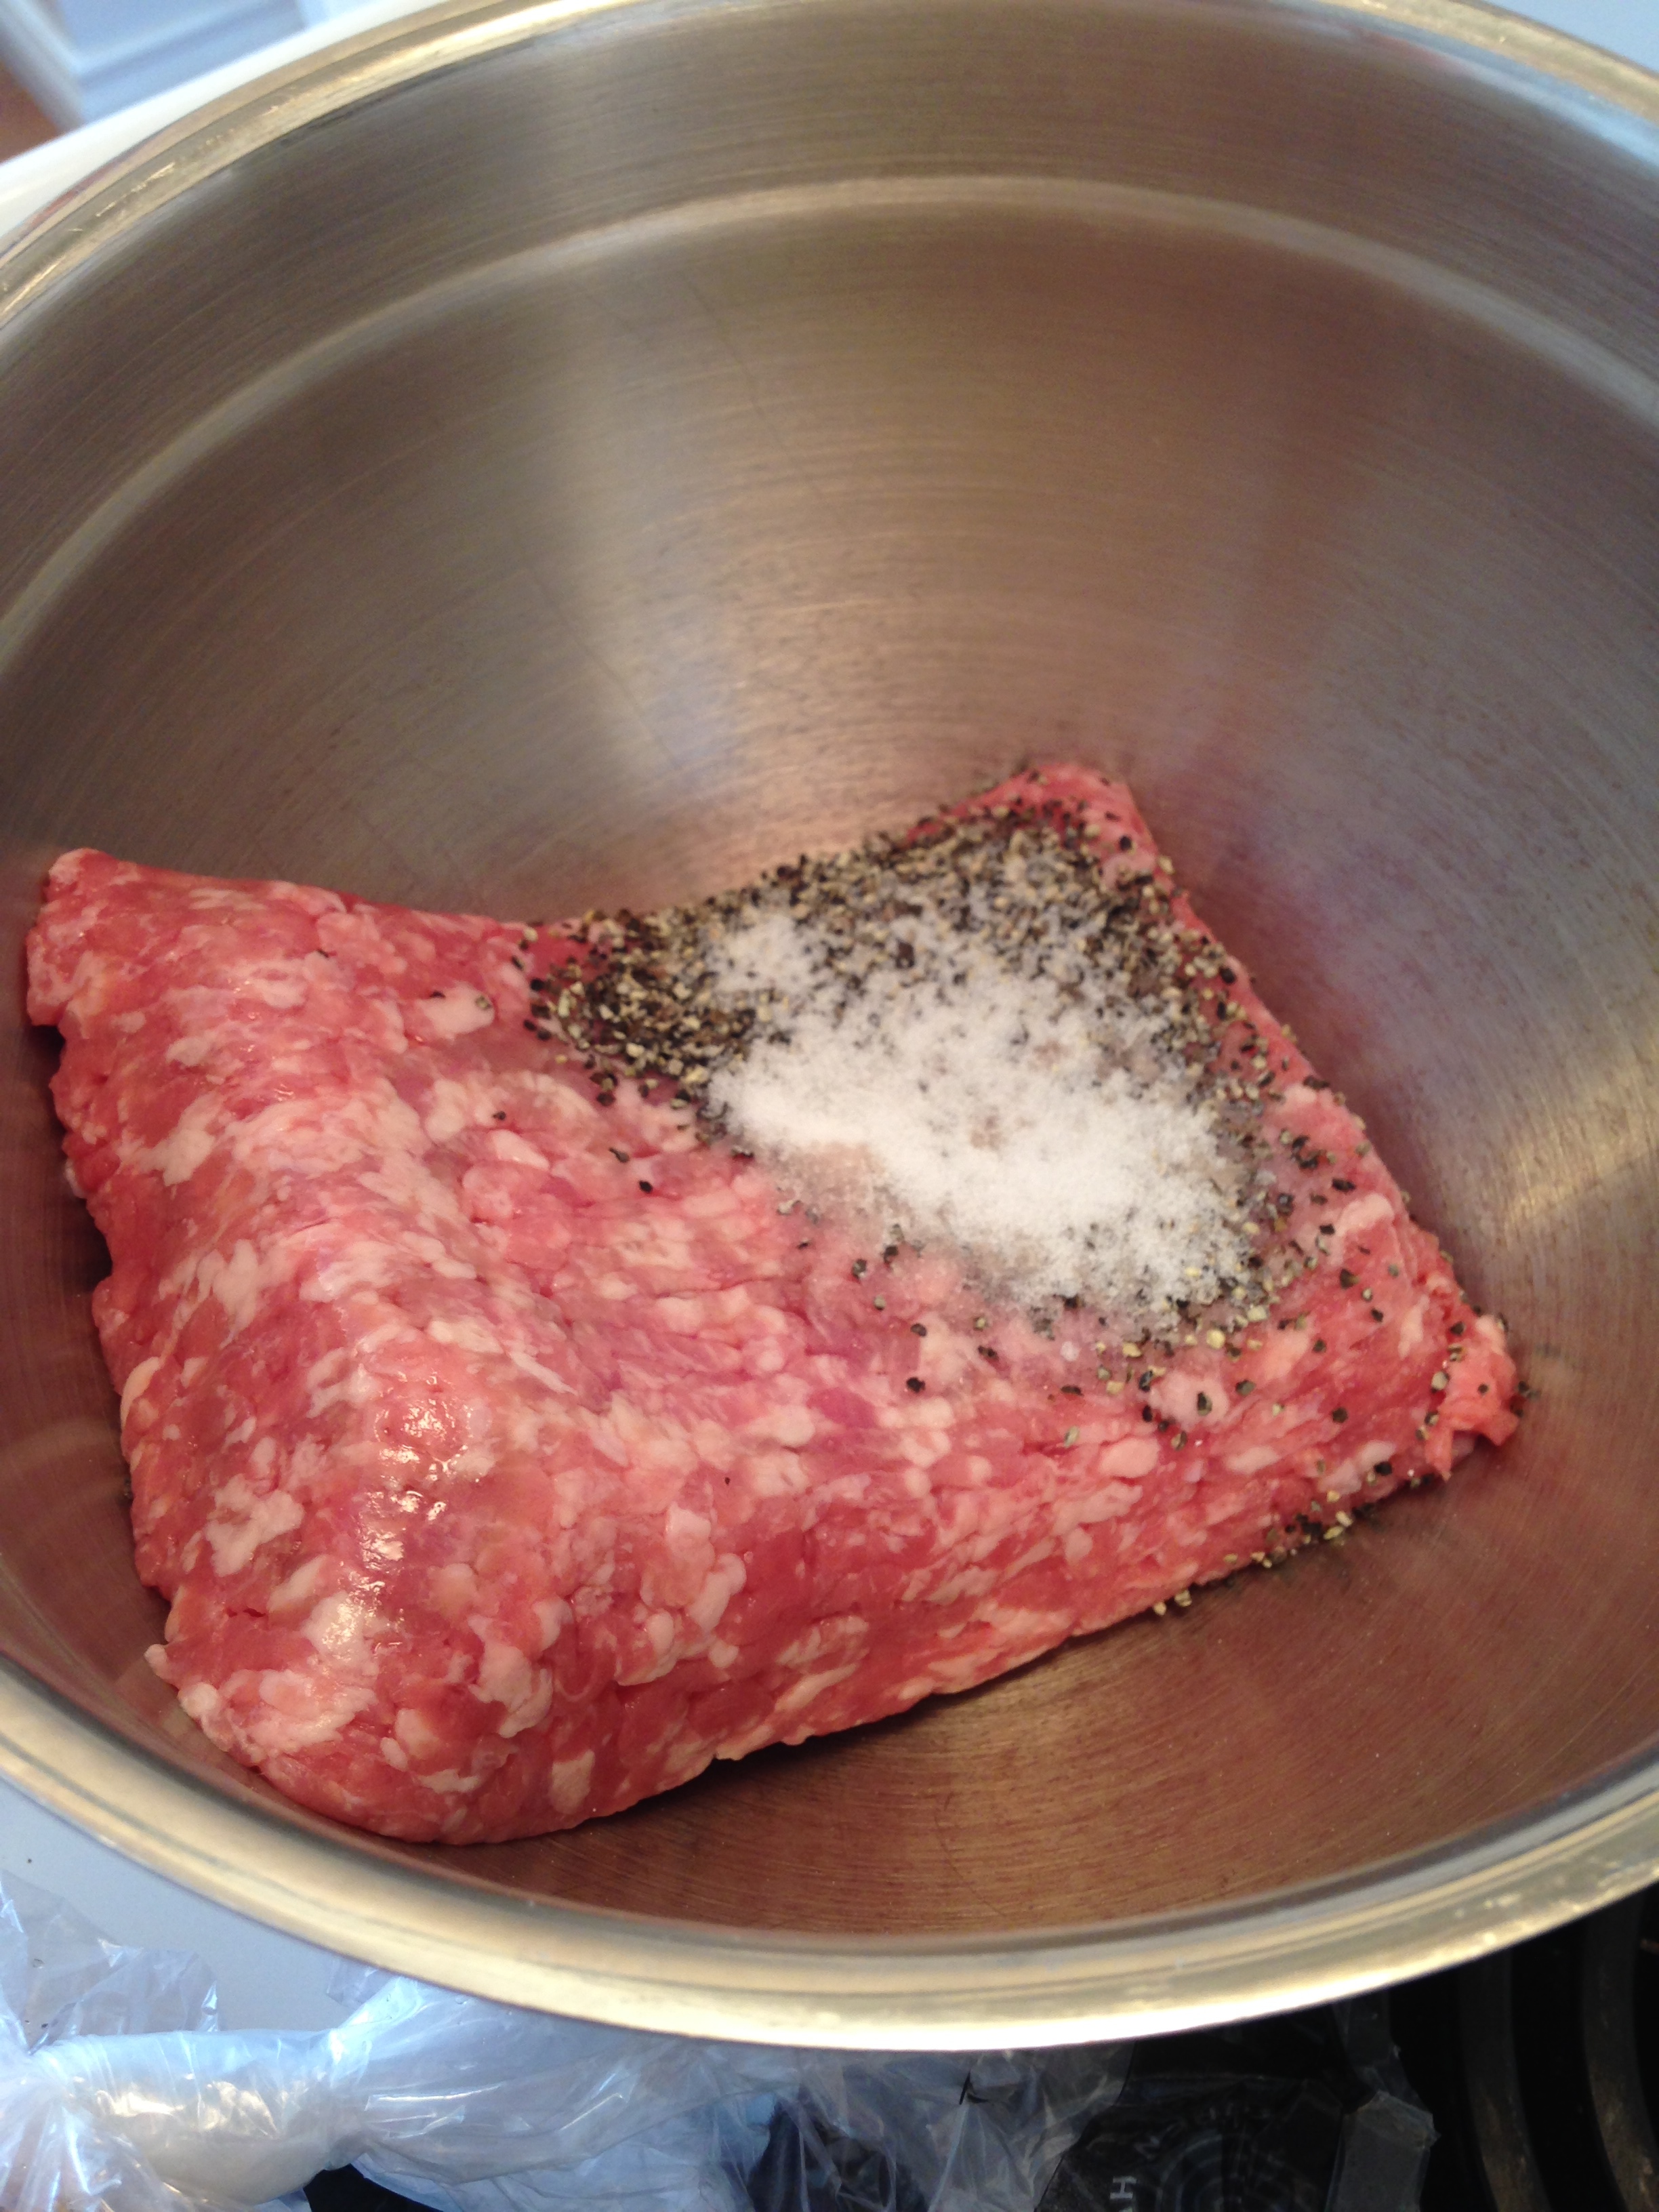
1 tsp ground black pepper
1/2 tsp salt
4 strips bacon, chopped
2 TBSP flour
2 cups white mushrooms, quatered

Lovely Red Wine
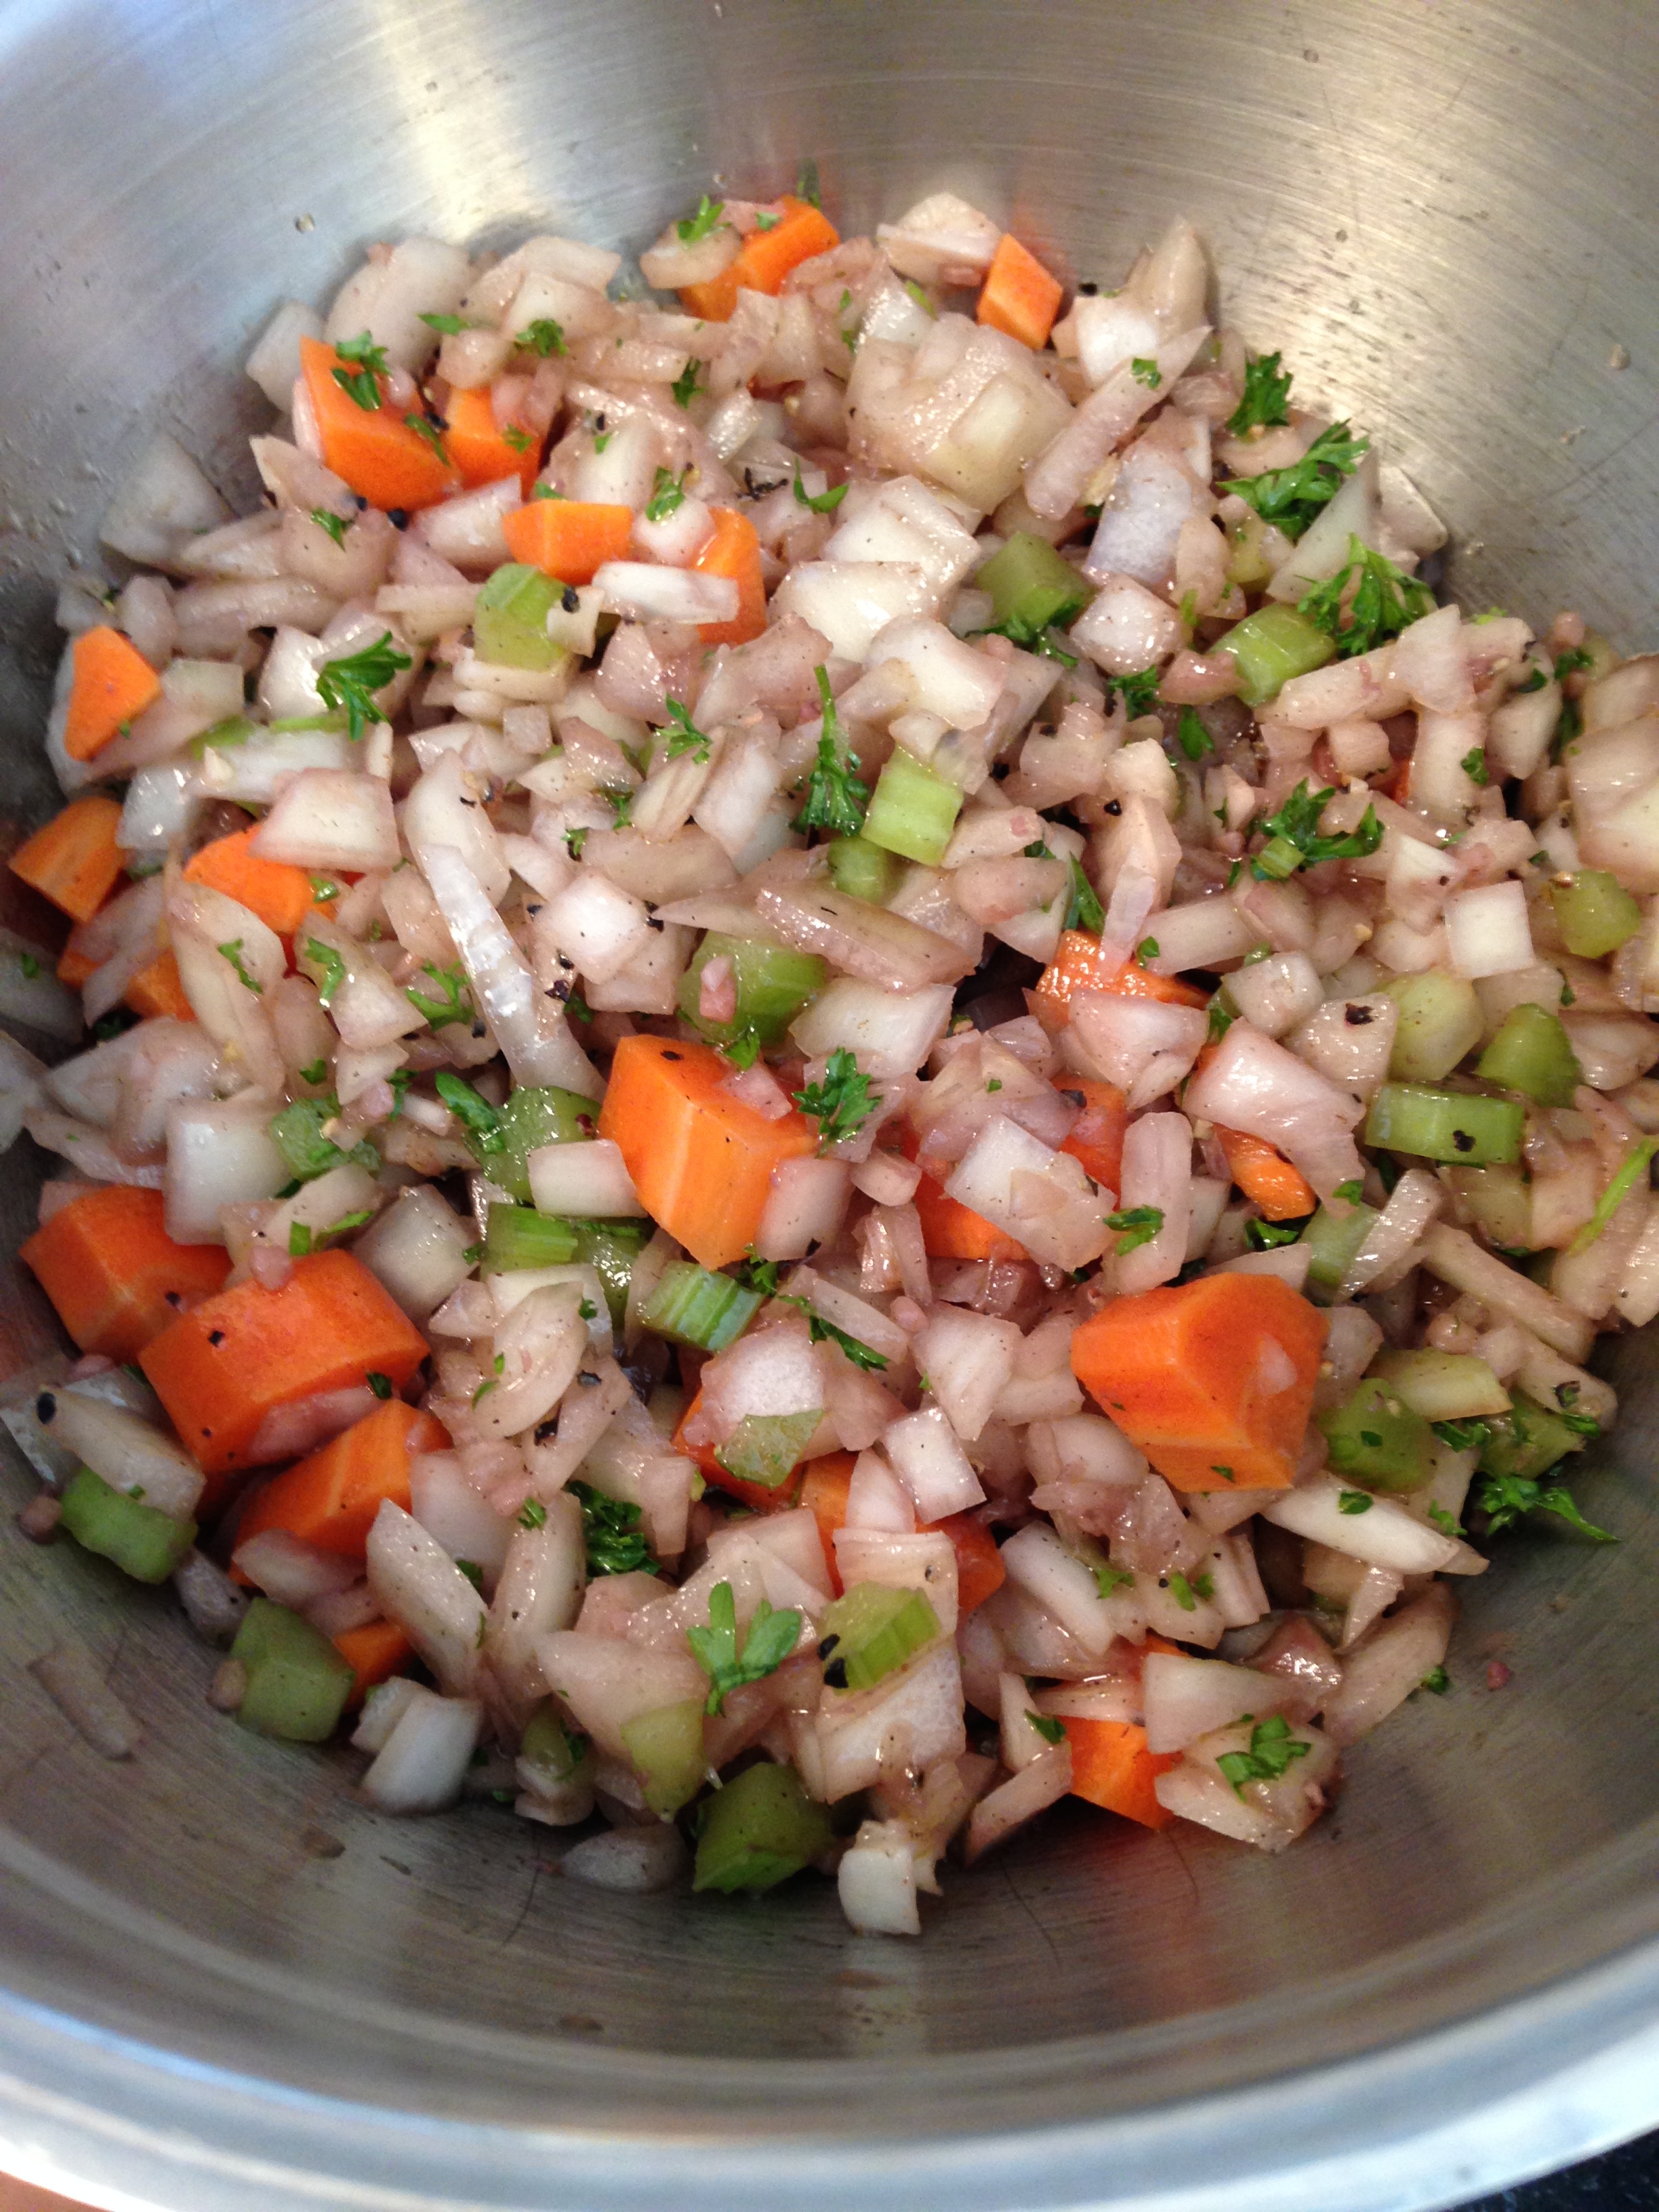
- In a large bowl, add the cut up meat through to salt. Stir till everything is well mixed and covered in liquid. Cover and refriegerate for at least 1 hour, and up to 24 hours (for the best flavour).
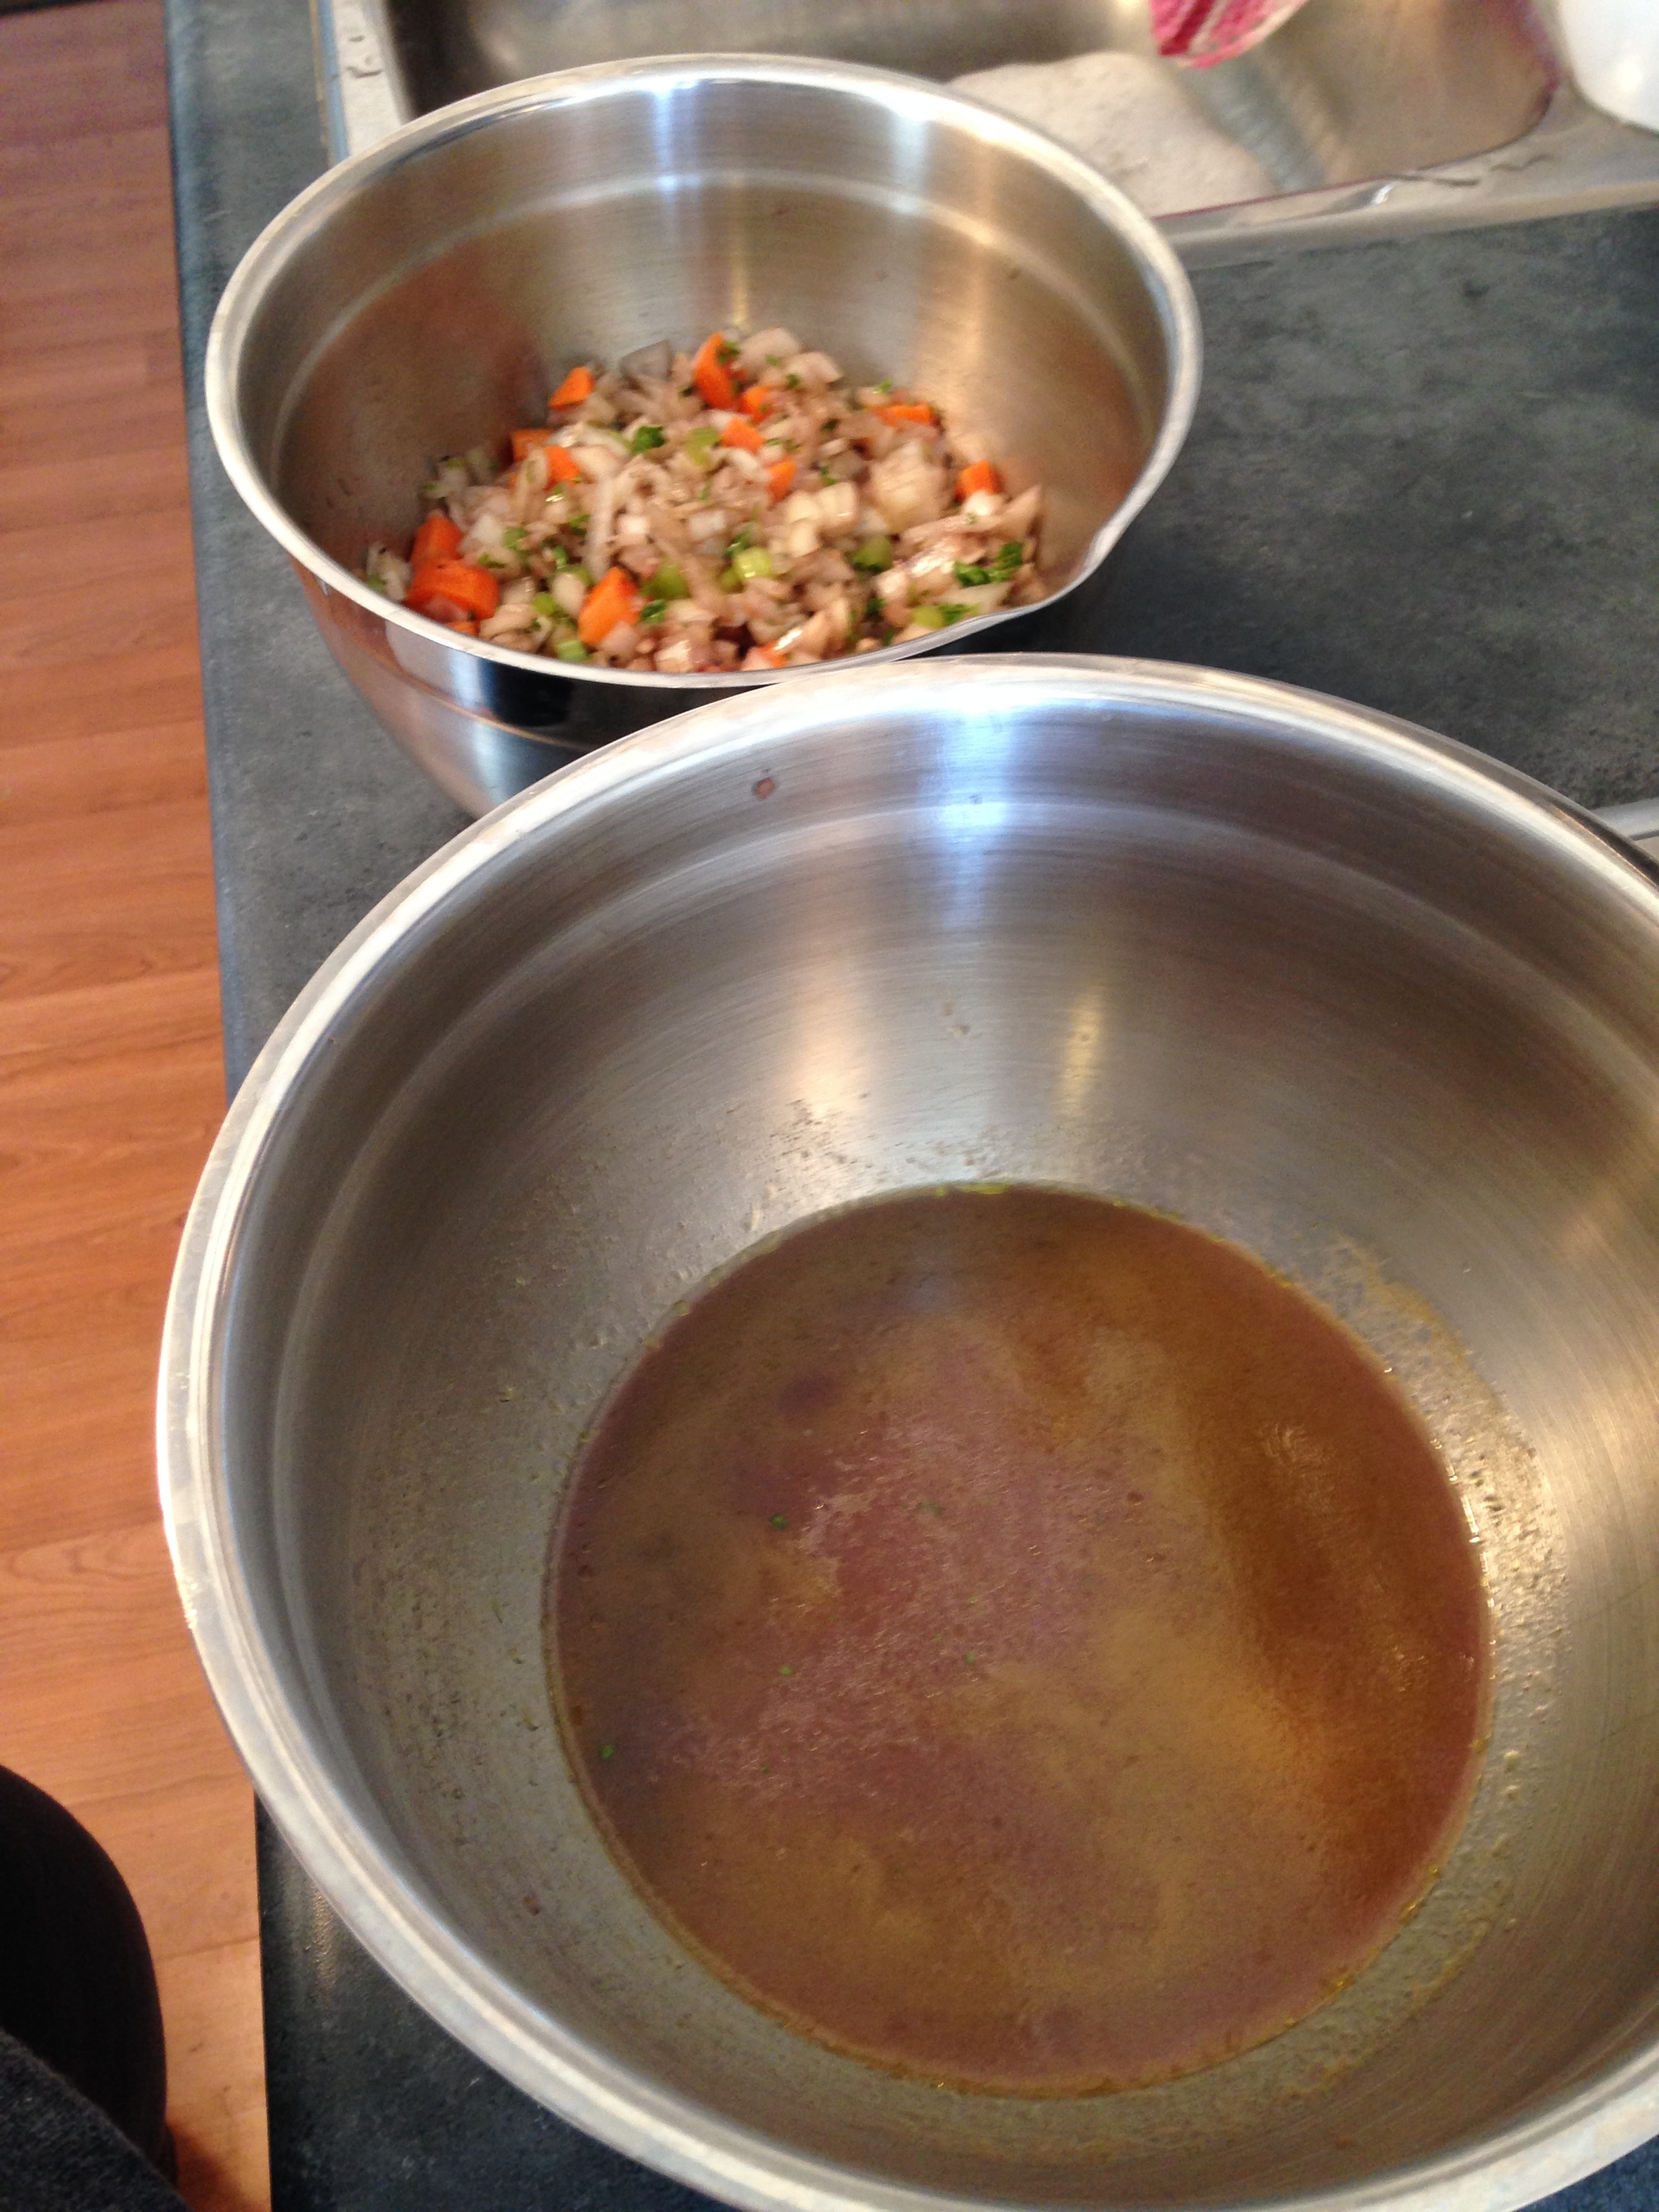
- After marinating is complete, remove the beef, reserving the marinade. Pat the beef dry. Strain the marinade to separate the liquid and the vegetables. Set aside.
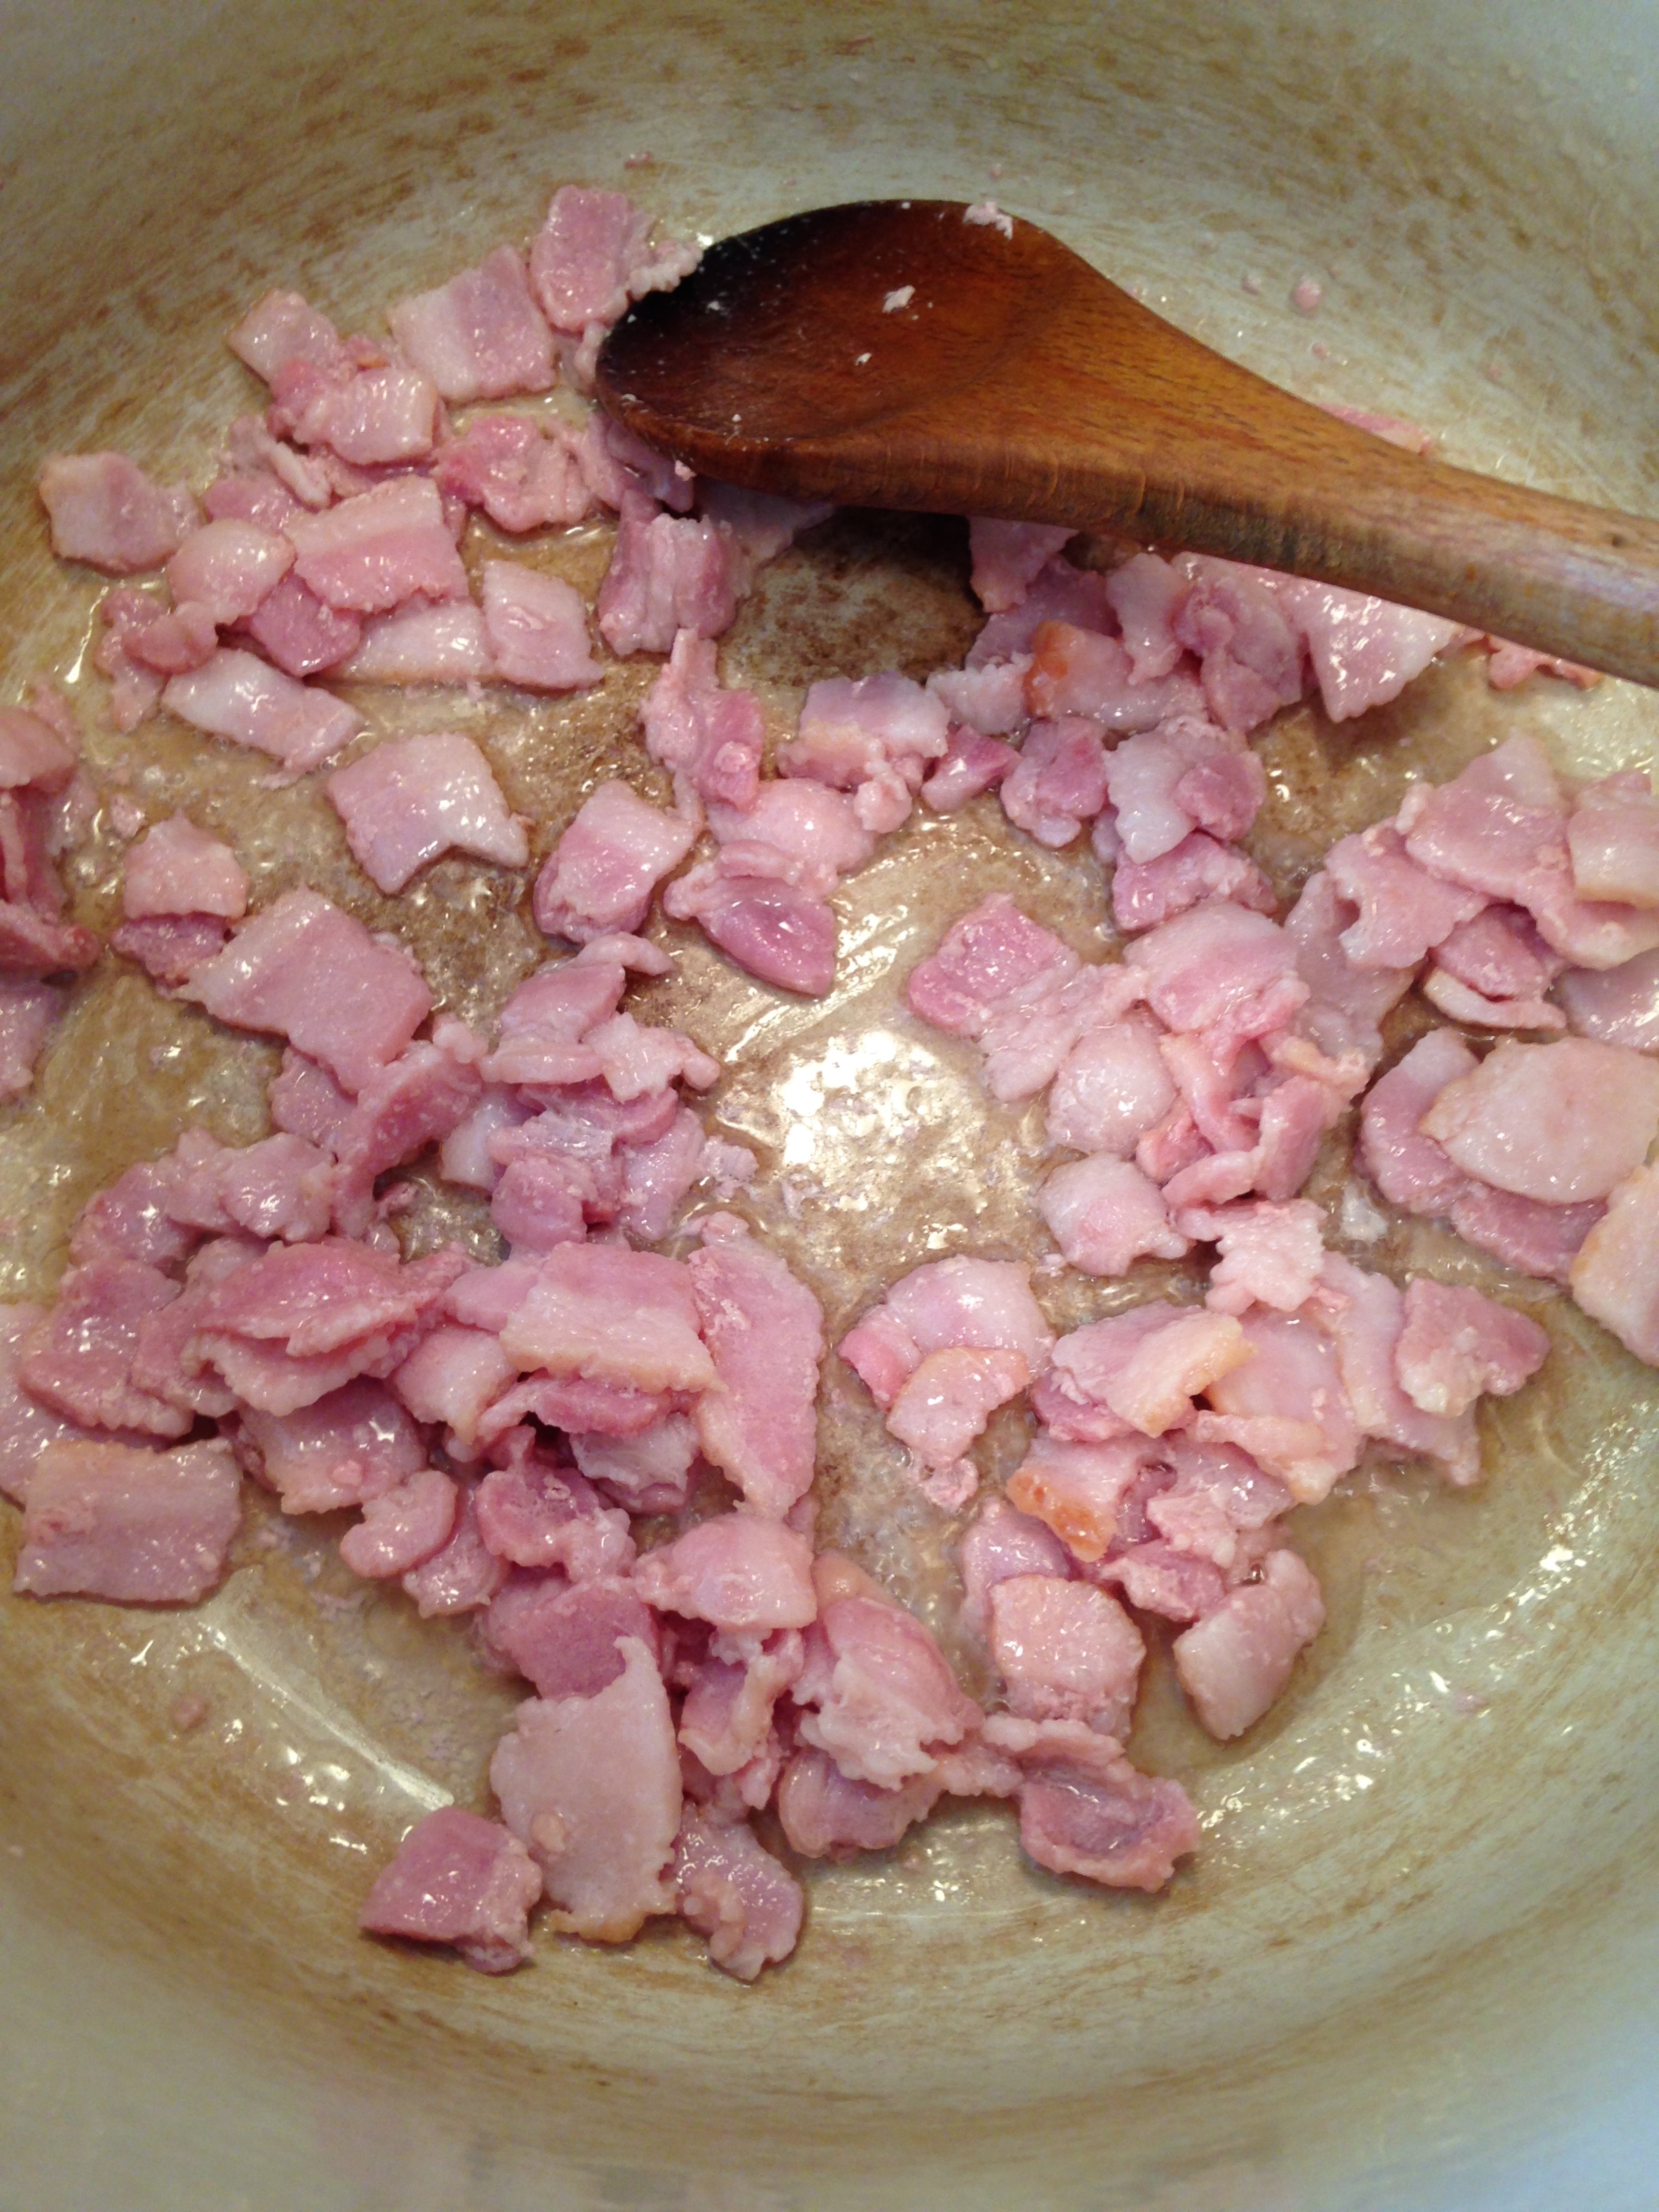
- Heat a large dutch oven over med-high heat. Add and cook bacon until golden brown.
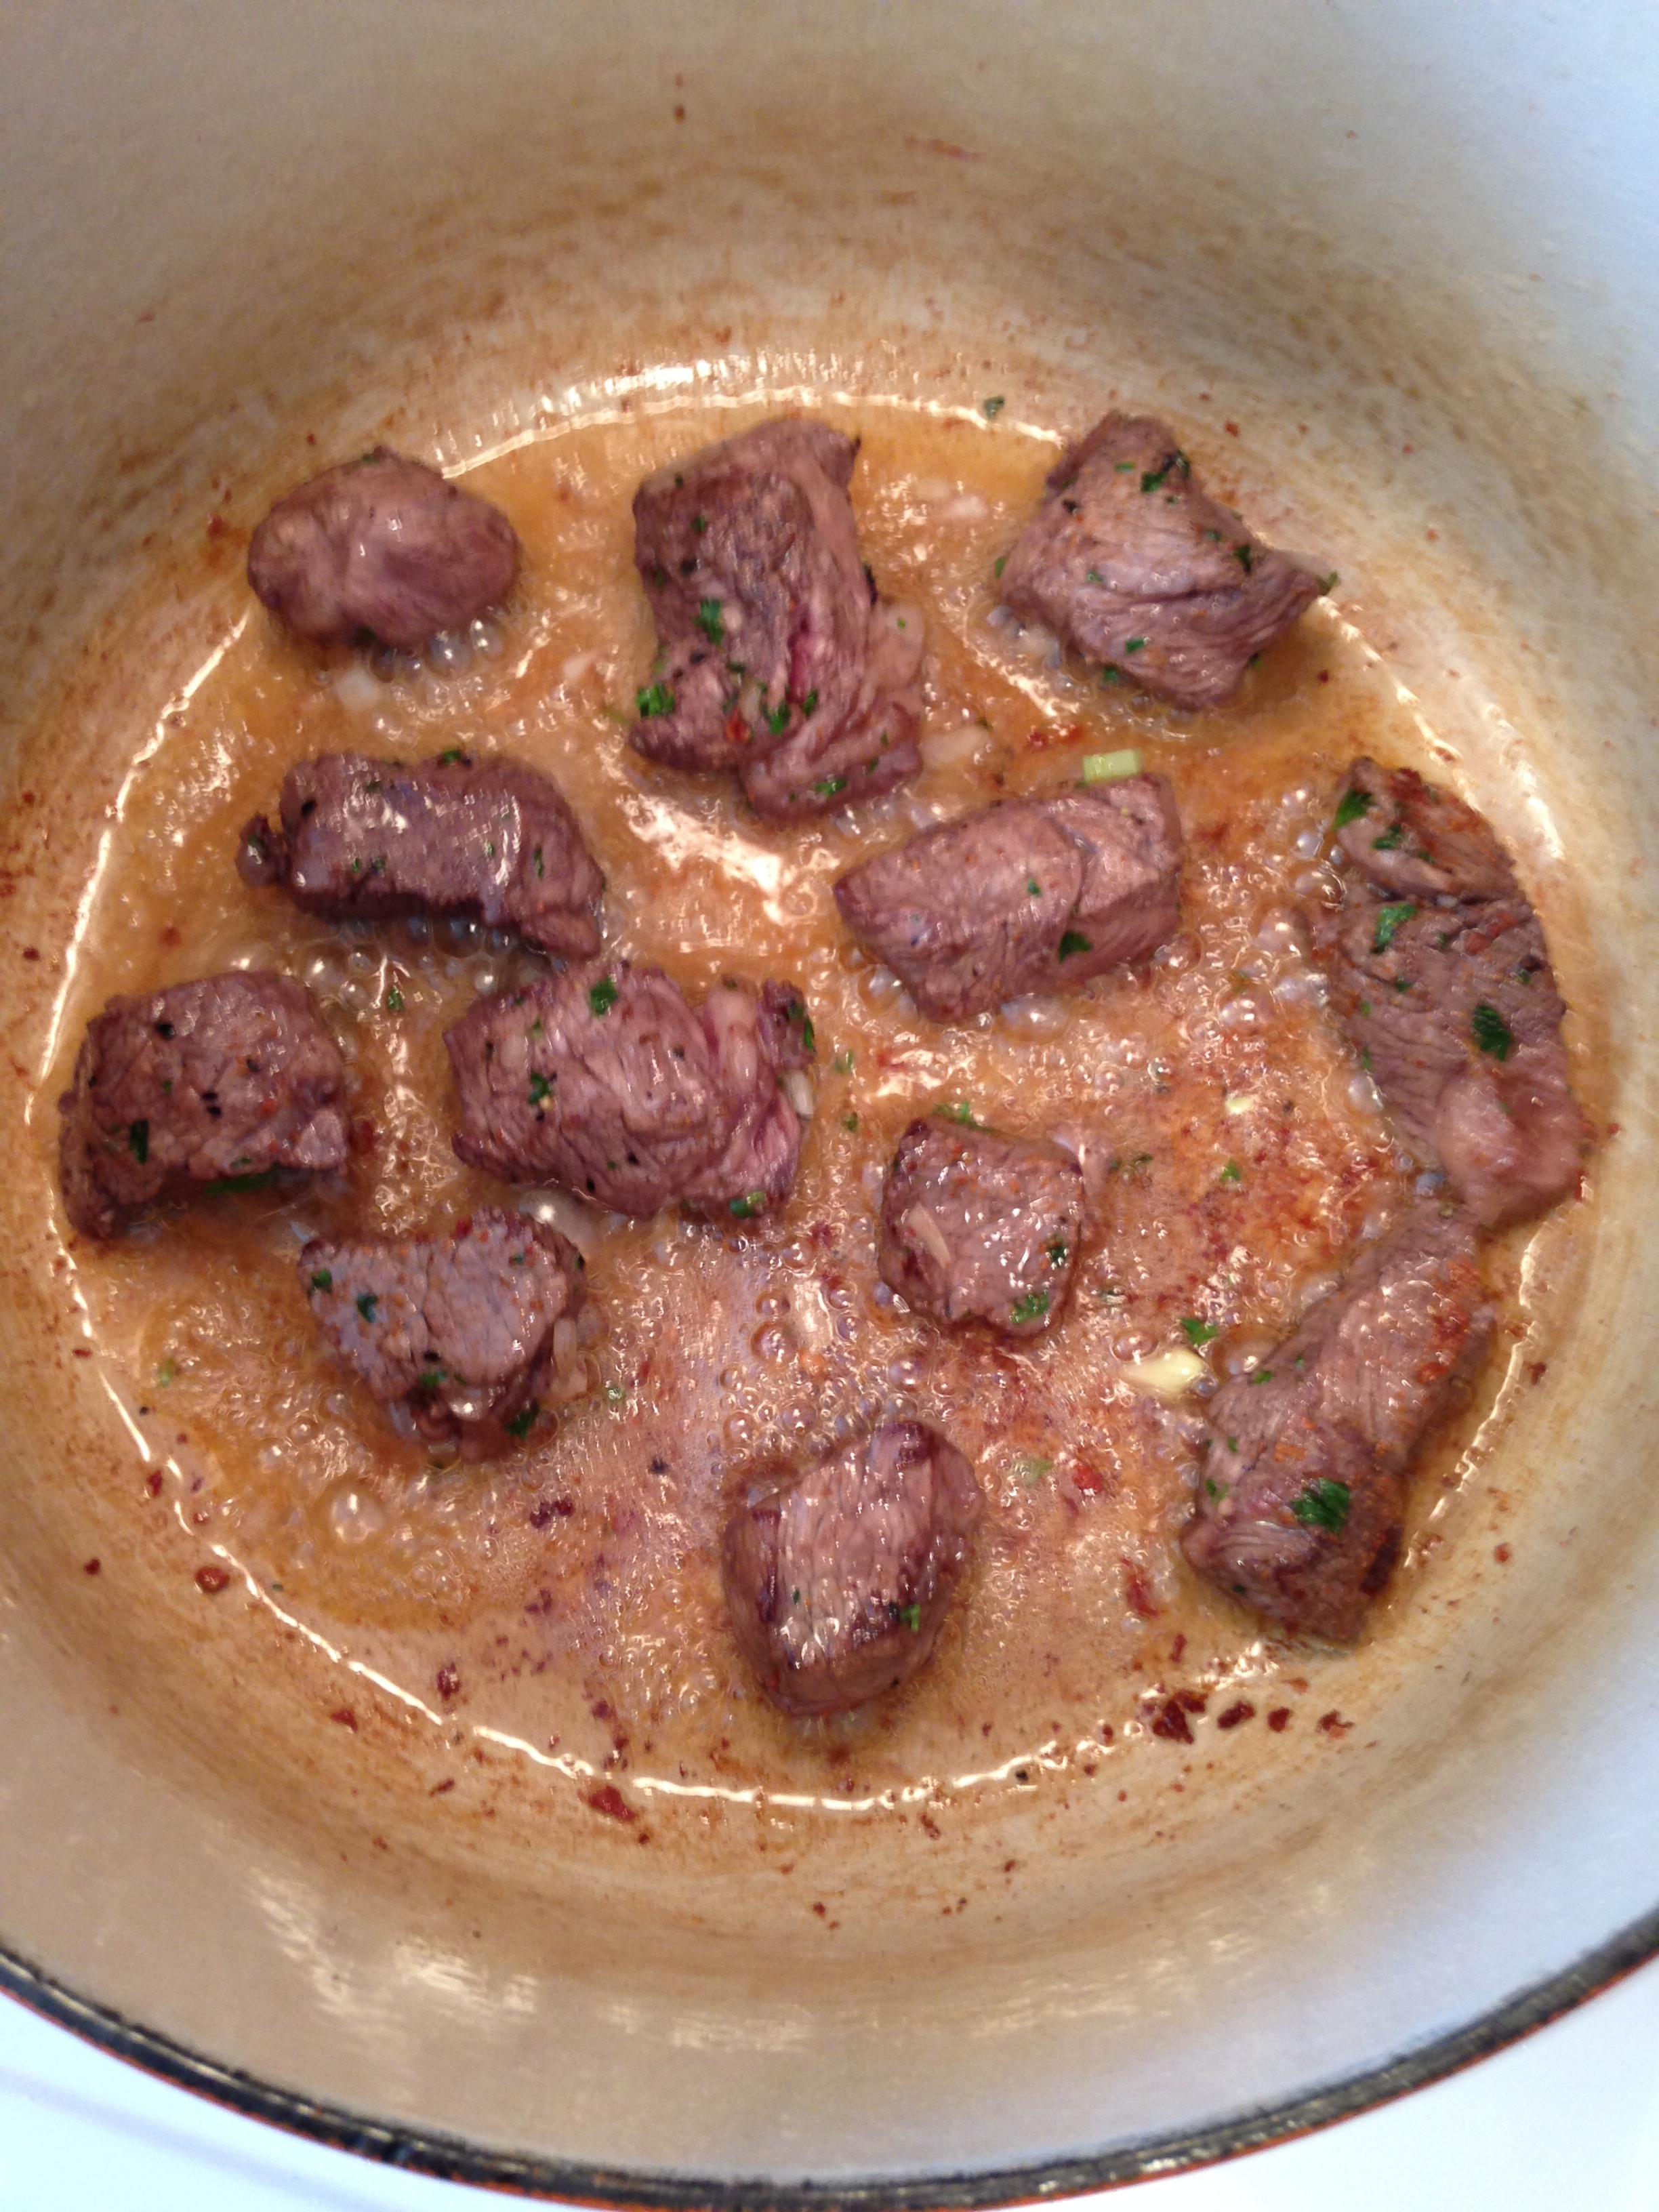
- Remove bacon and set aside. Using the fat from the bacon, cook the beef in batches. Brown beef pieces on all sides. Be carful not to crowd the pot. Remove browned beef and set aside with bacon. (Keeping the lovely brown meat fats in the pot. Mmmm.)
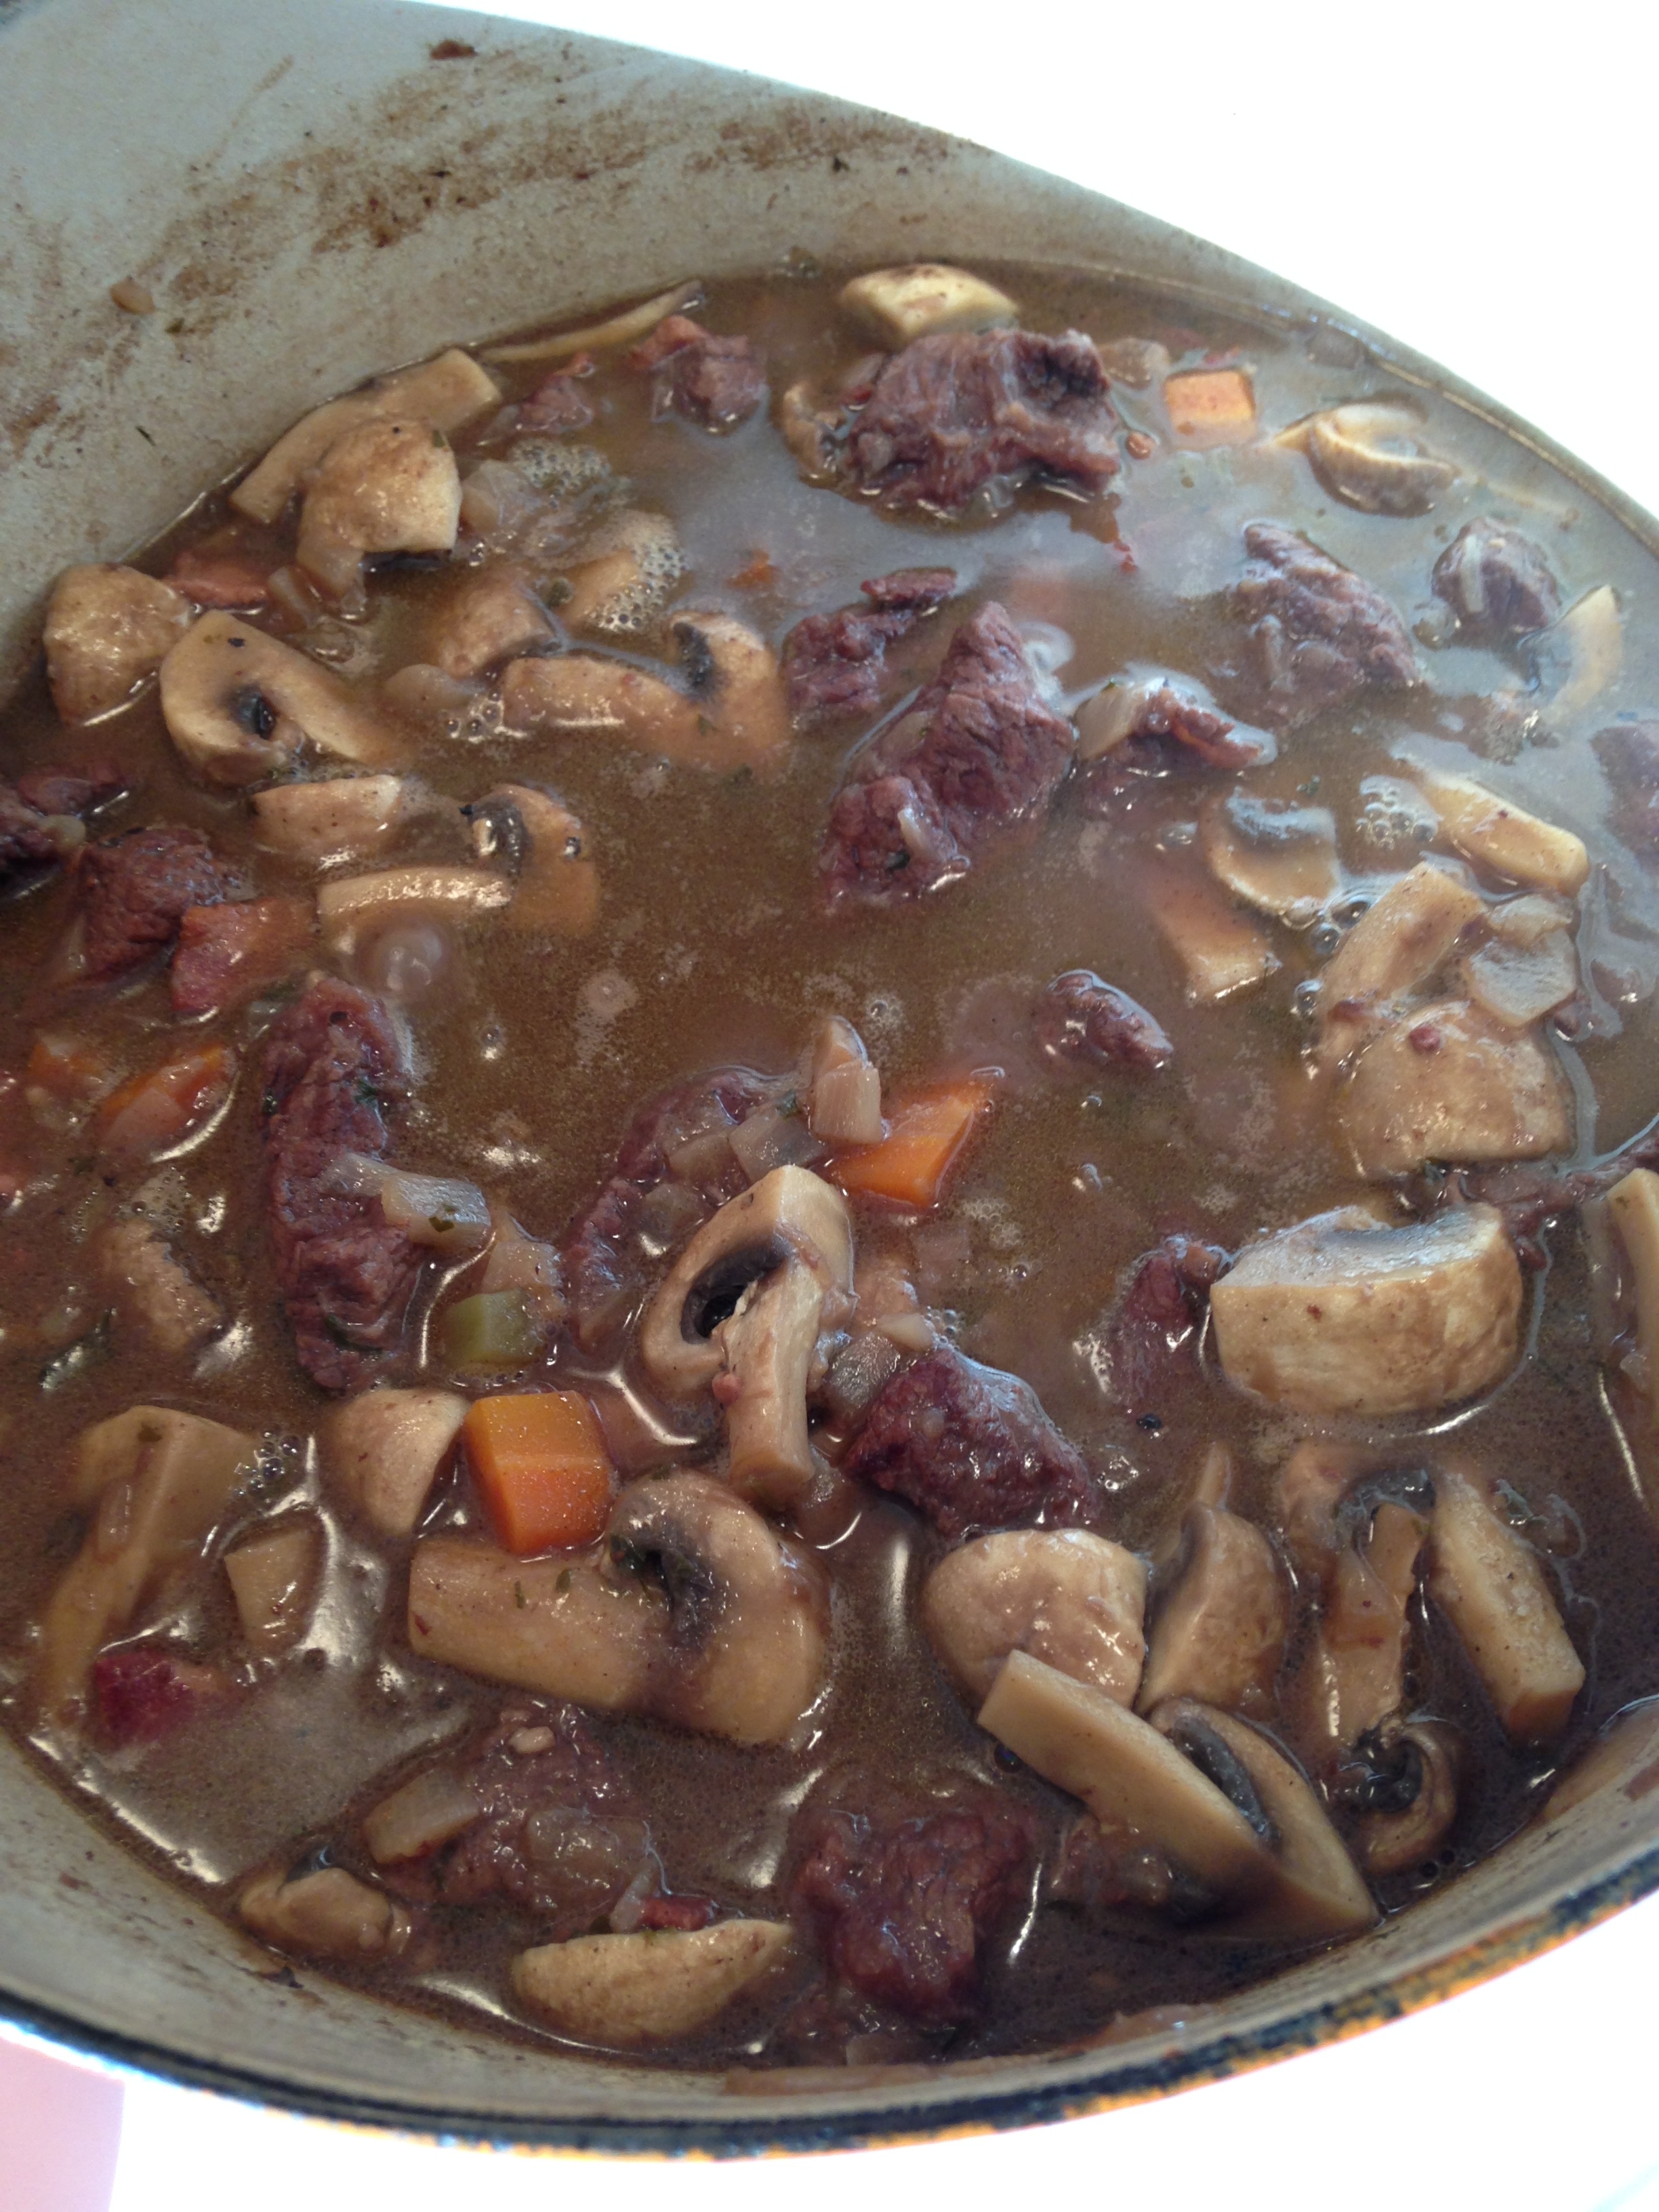
- Add the reserved vegetables to the pot and cook until lightly browned. Add flour and stir, cooking for about 1 minute. Stir in liquid from marinade, then return beef and bacon to pot as well. Stir together.
- Bring stew to a boil. Reduce heat to low and simmer stew, covered, for 1 to 1 1/4 hours.
- After, add mushrooms and stir together. Cover and cook for another 20 minutes.
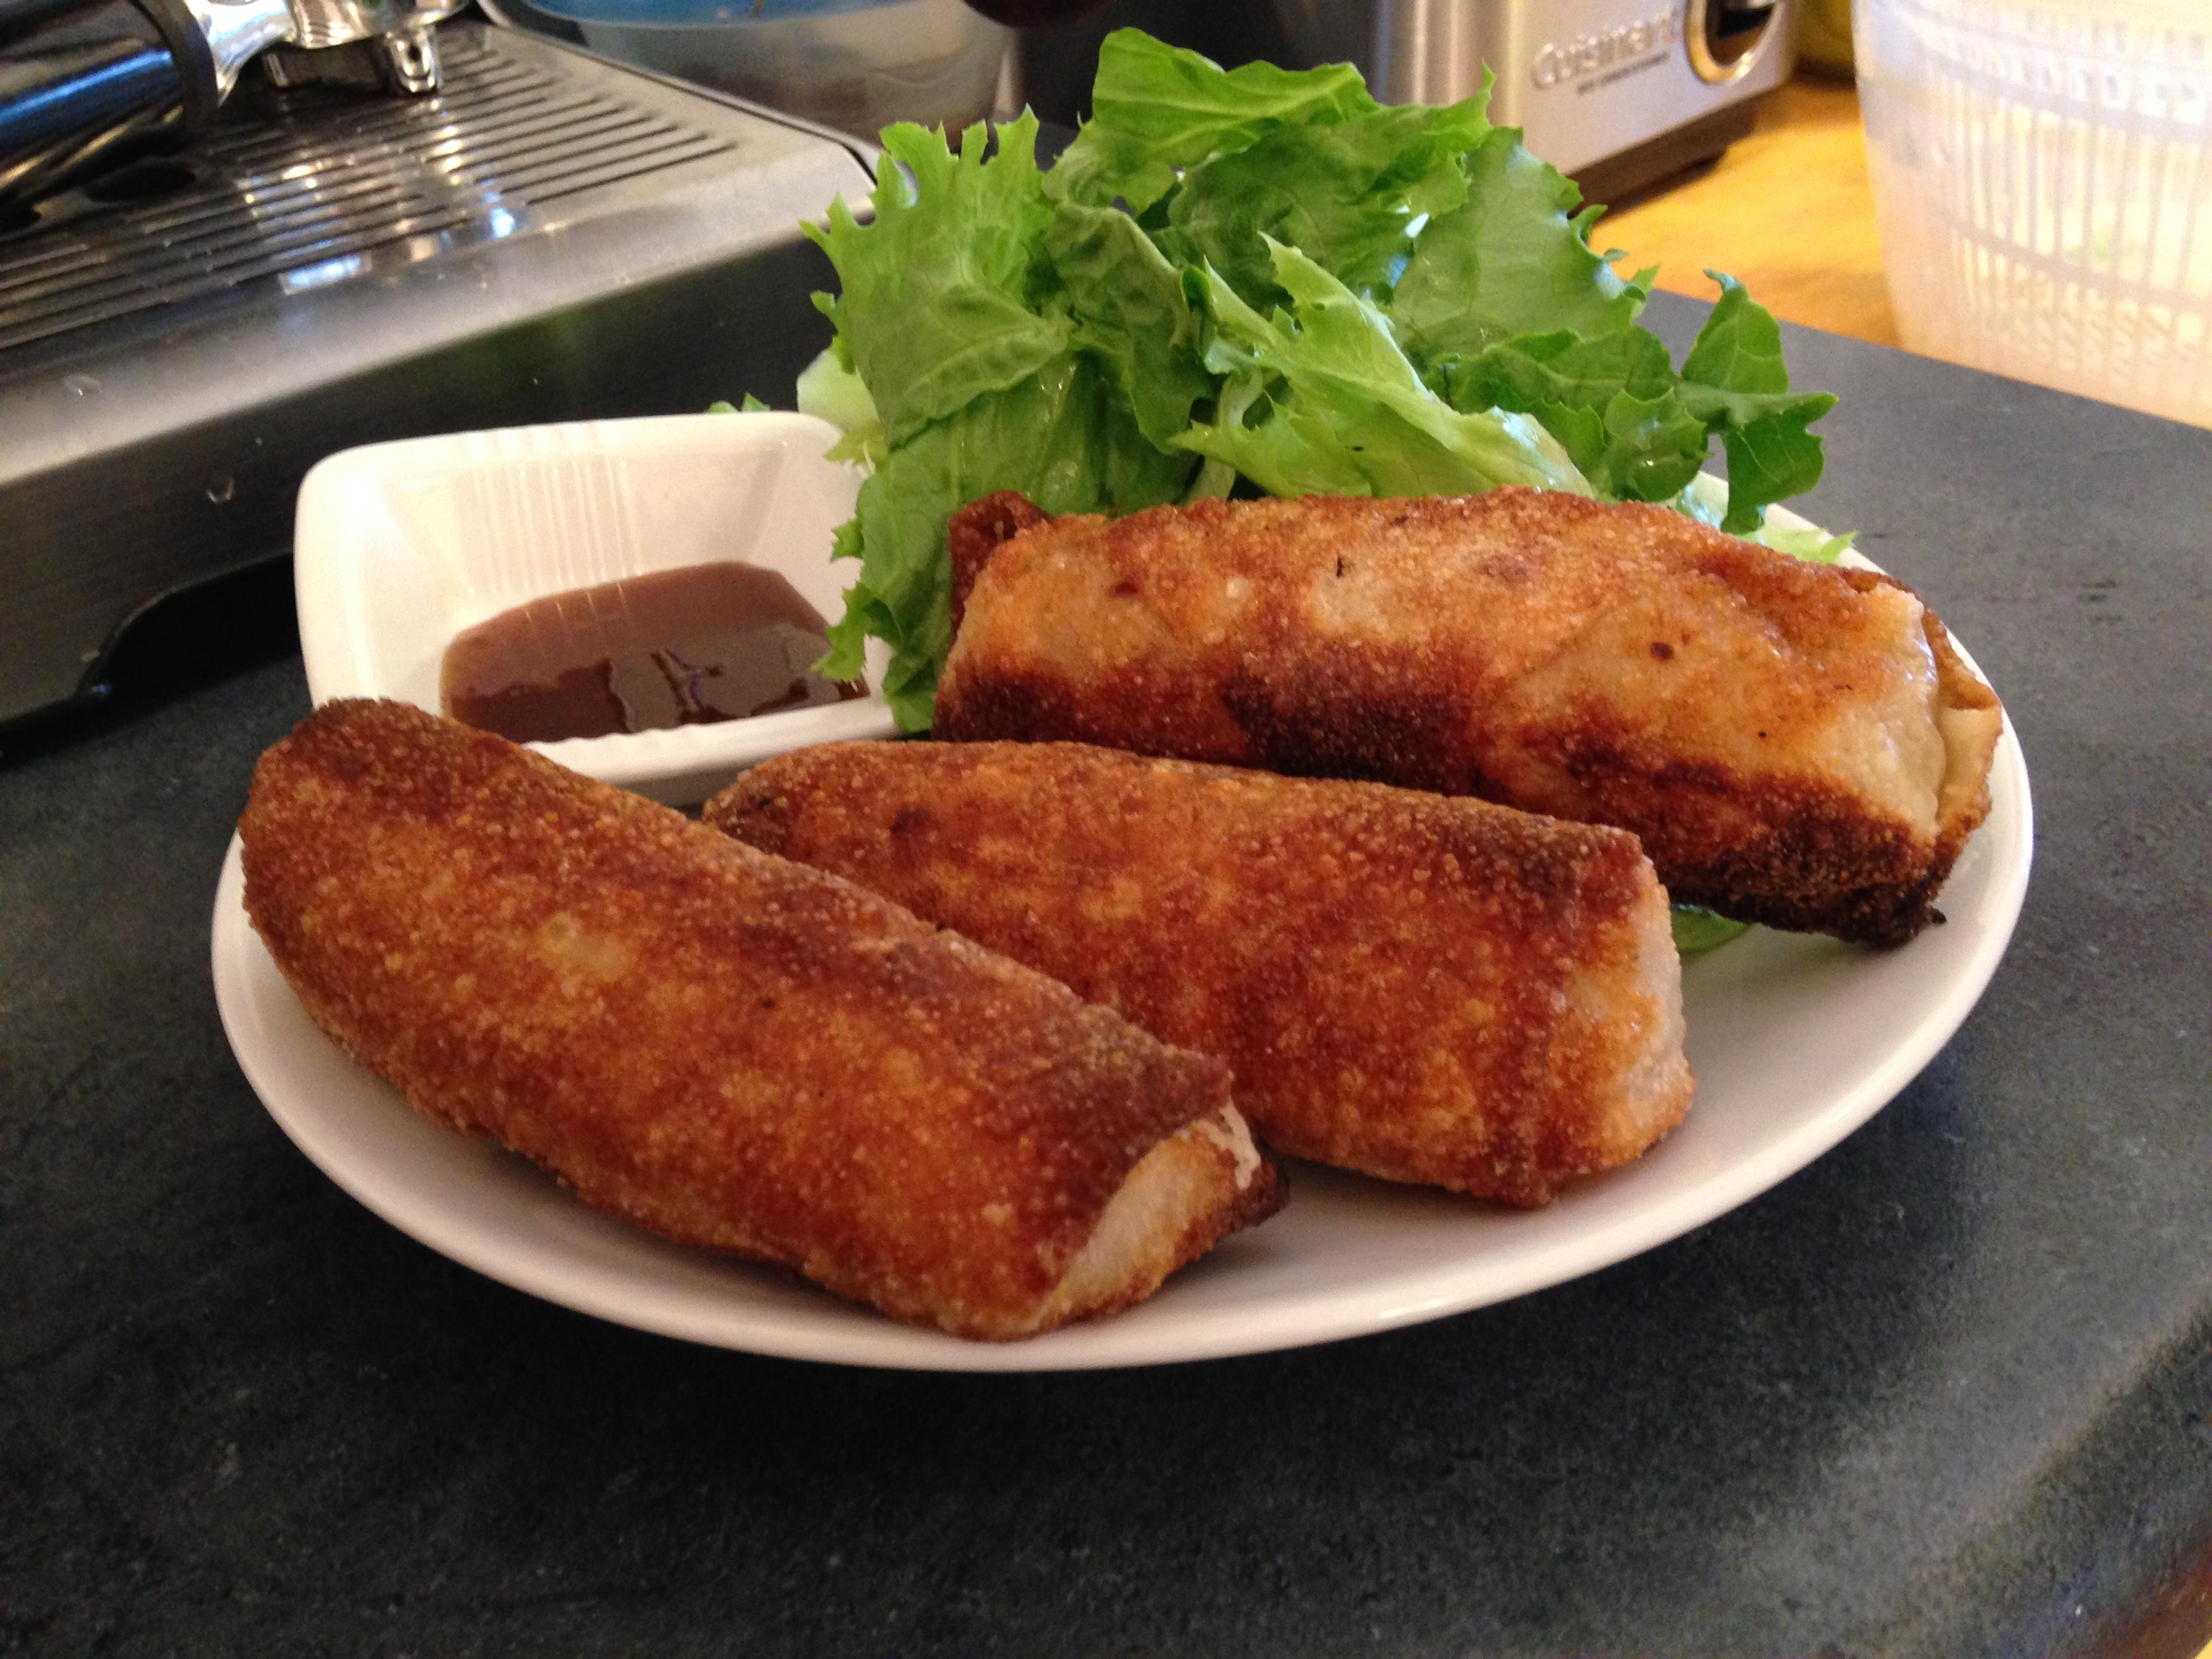
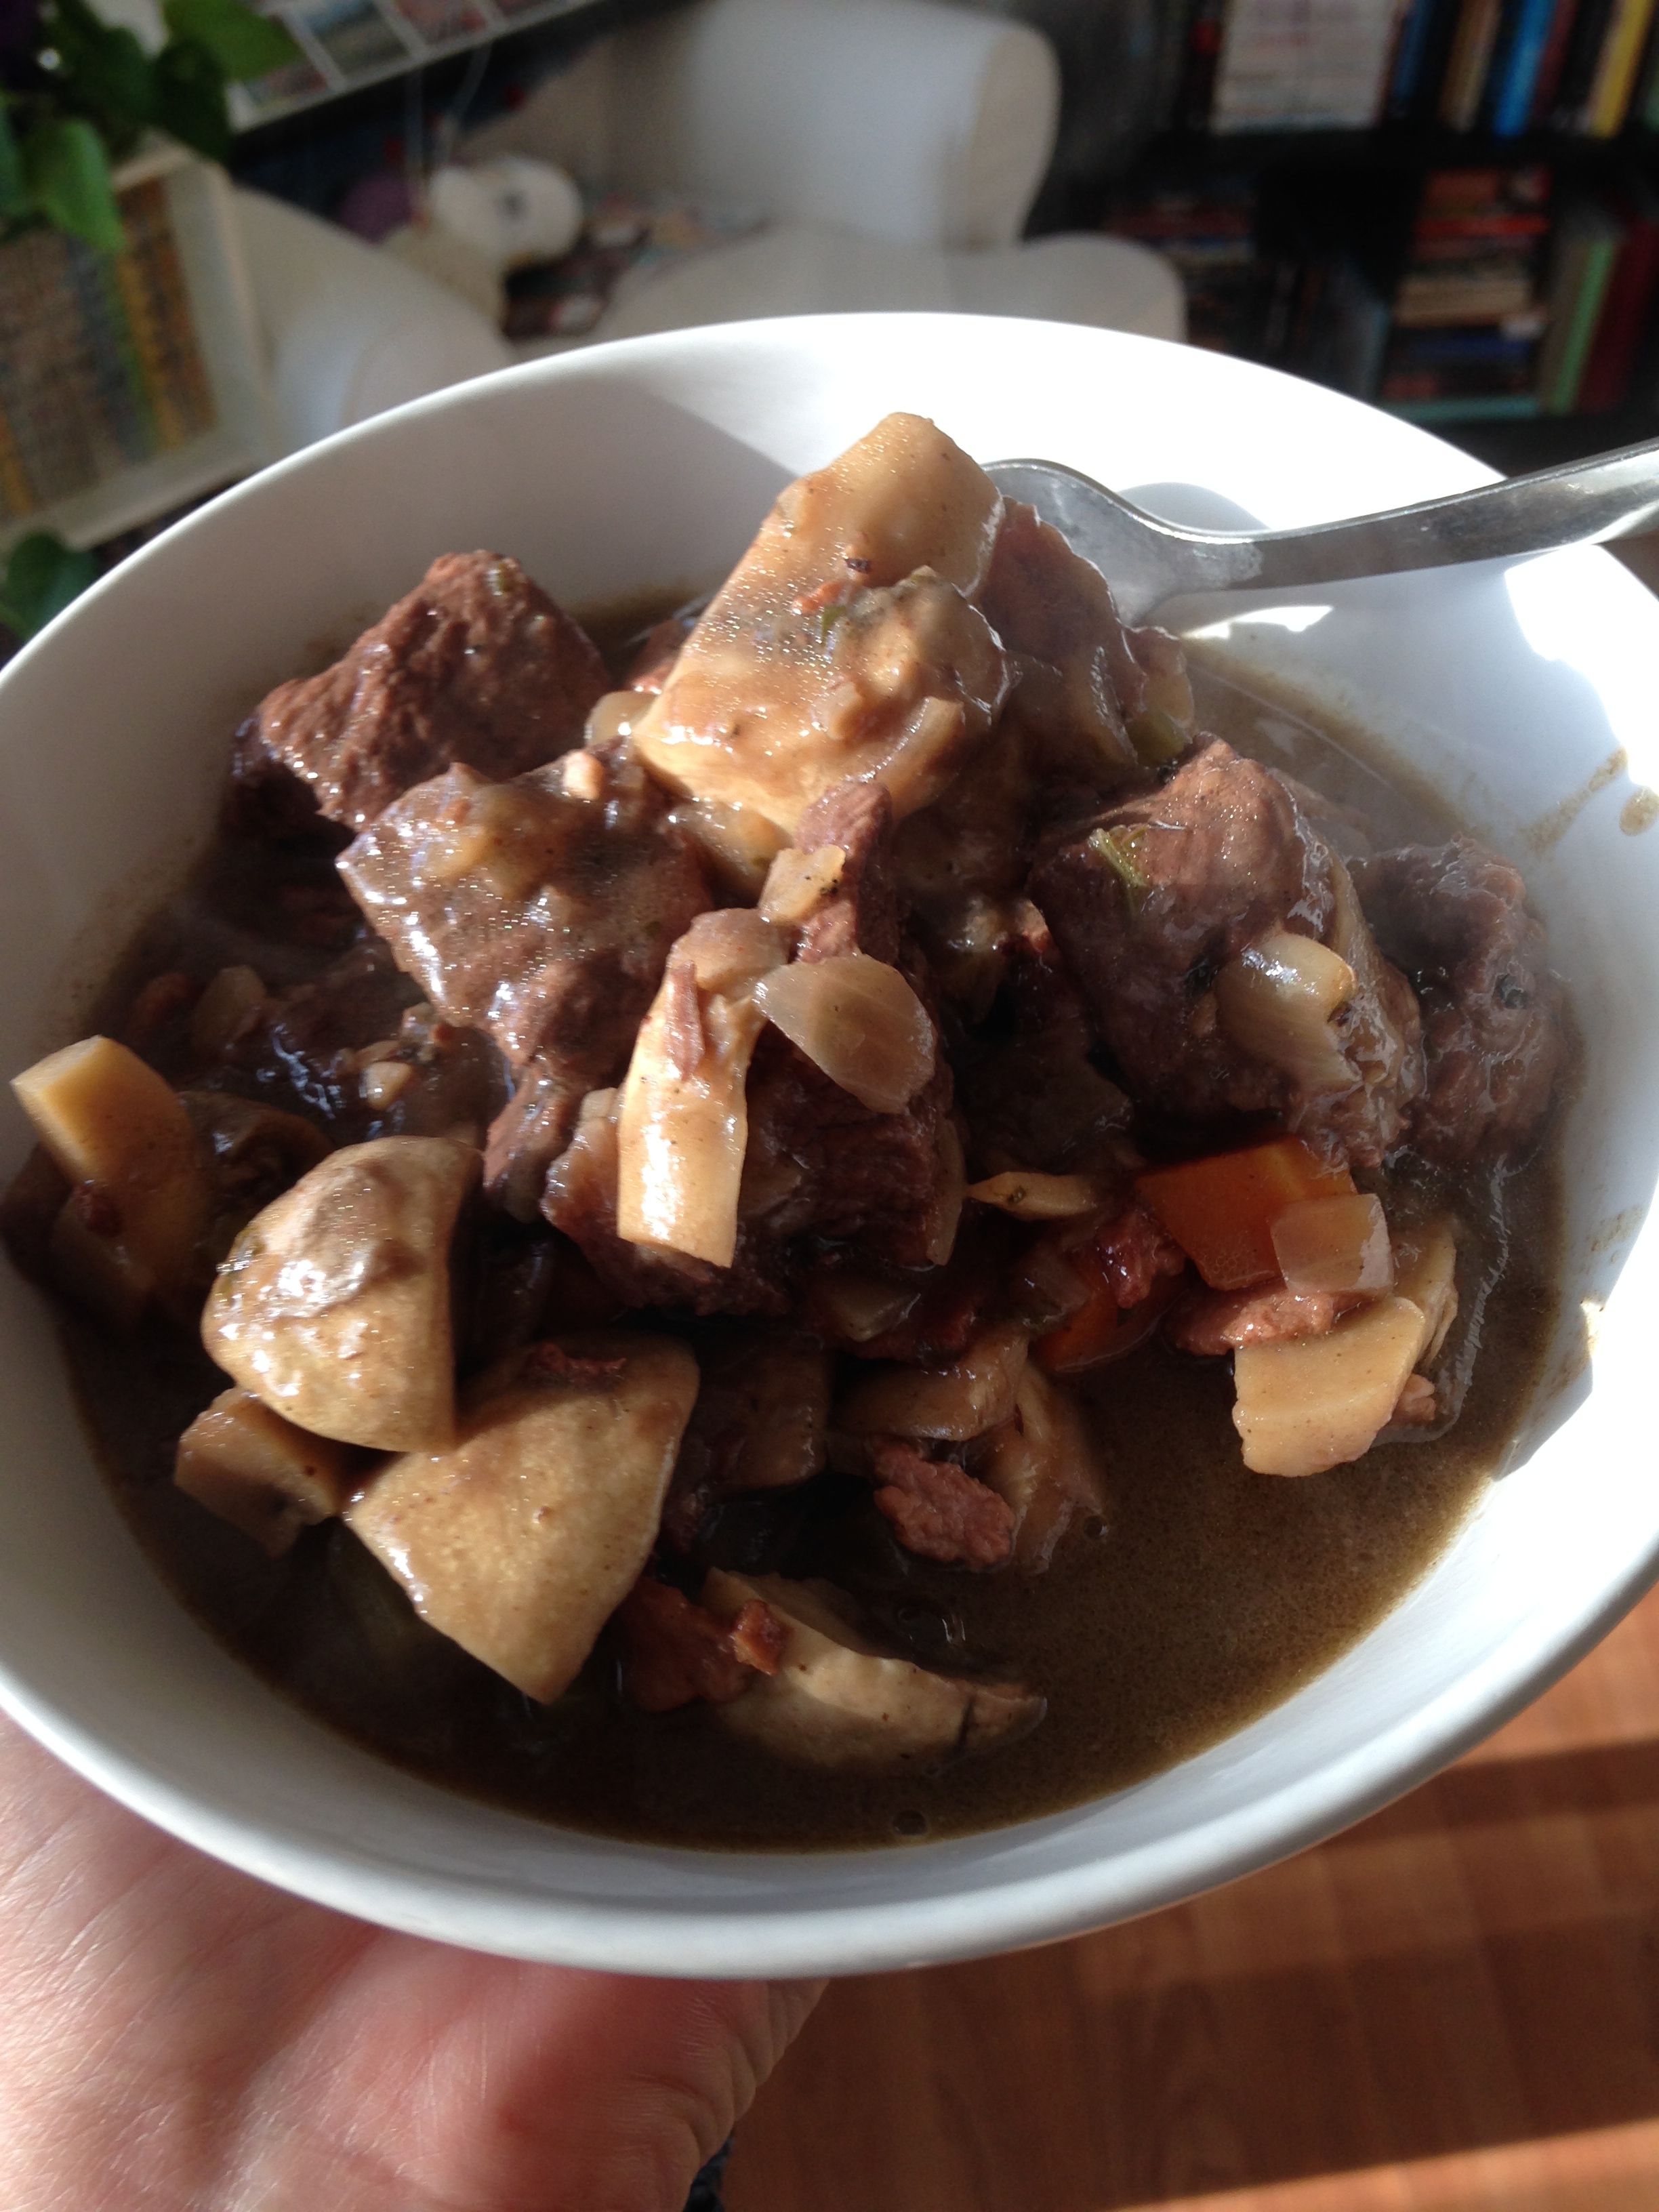
- To serve, garish with parsley, if you want. Then Nom!
I think this food adventure will be amazing (especially when we get to T.O. and I can get my hands on some strange vegetables and spices). So let it continue! And let my hips not hate me too much when eventually the stretchy pants don't fit!
-Andrea
The Half-Assed Hobbyist