Fall Lull Pick-up

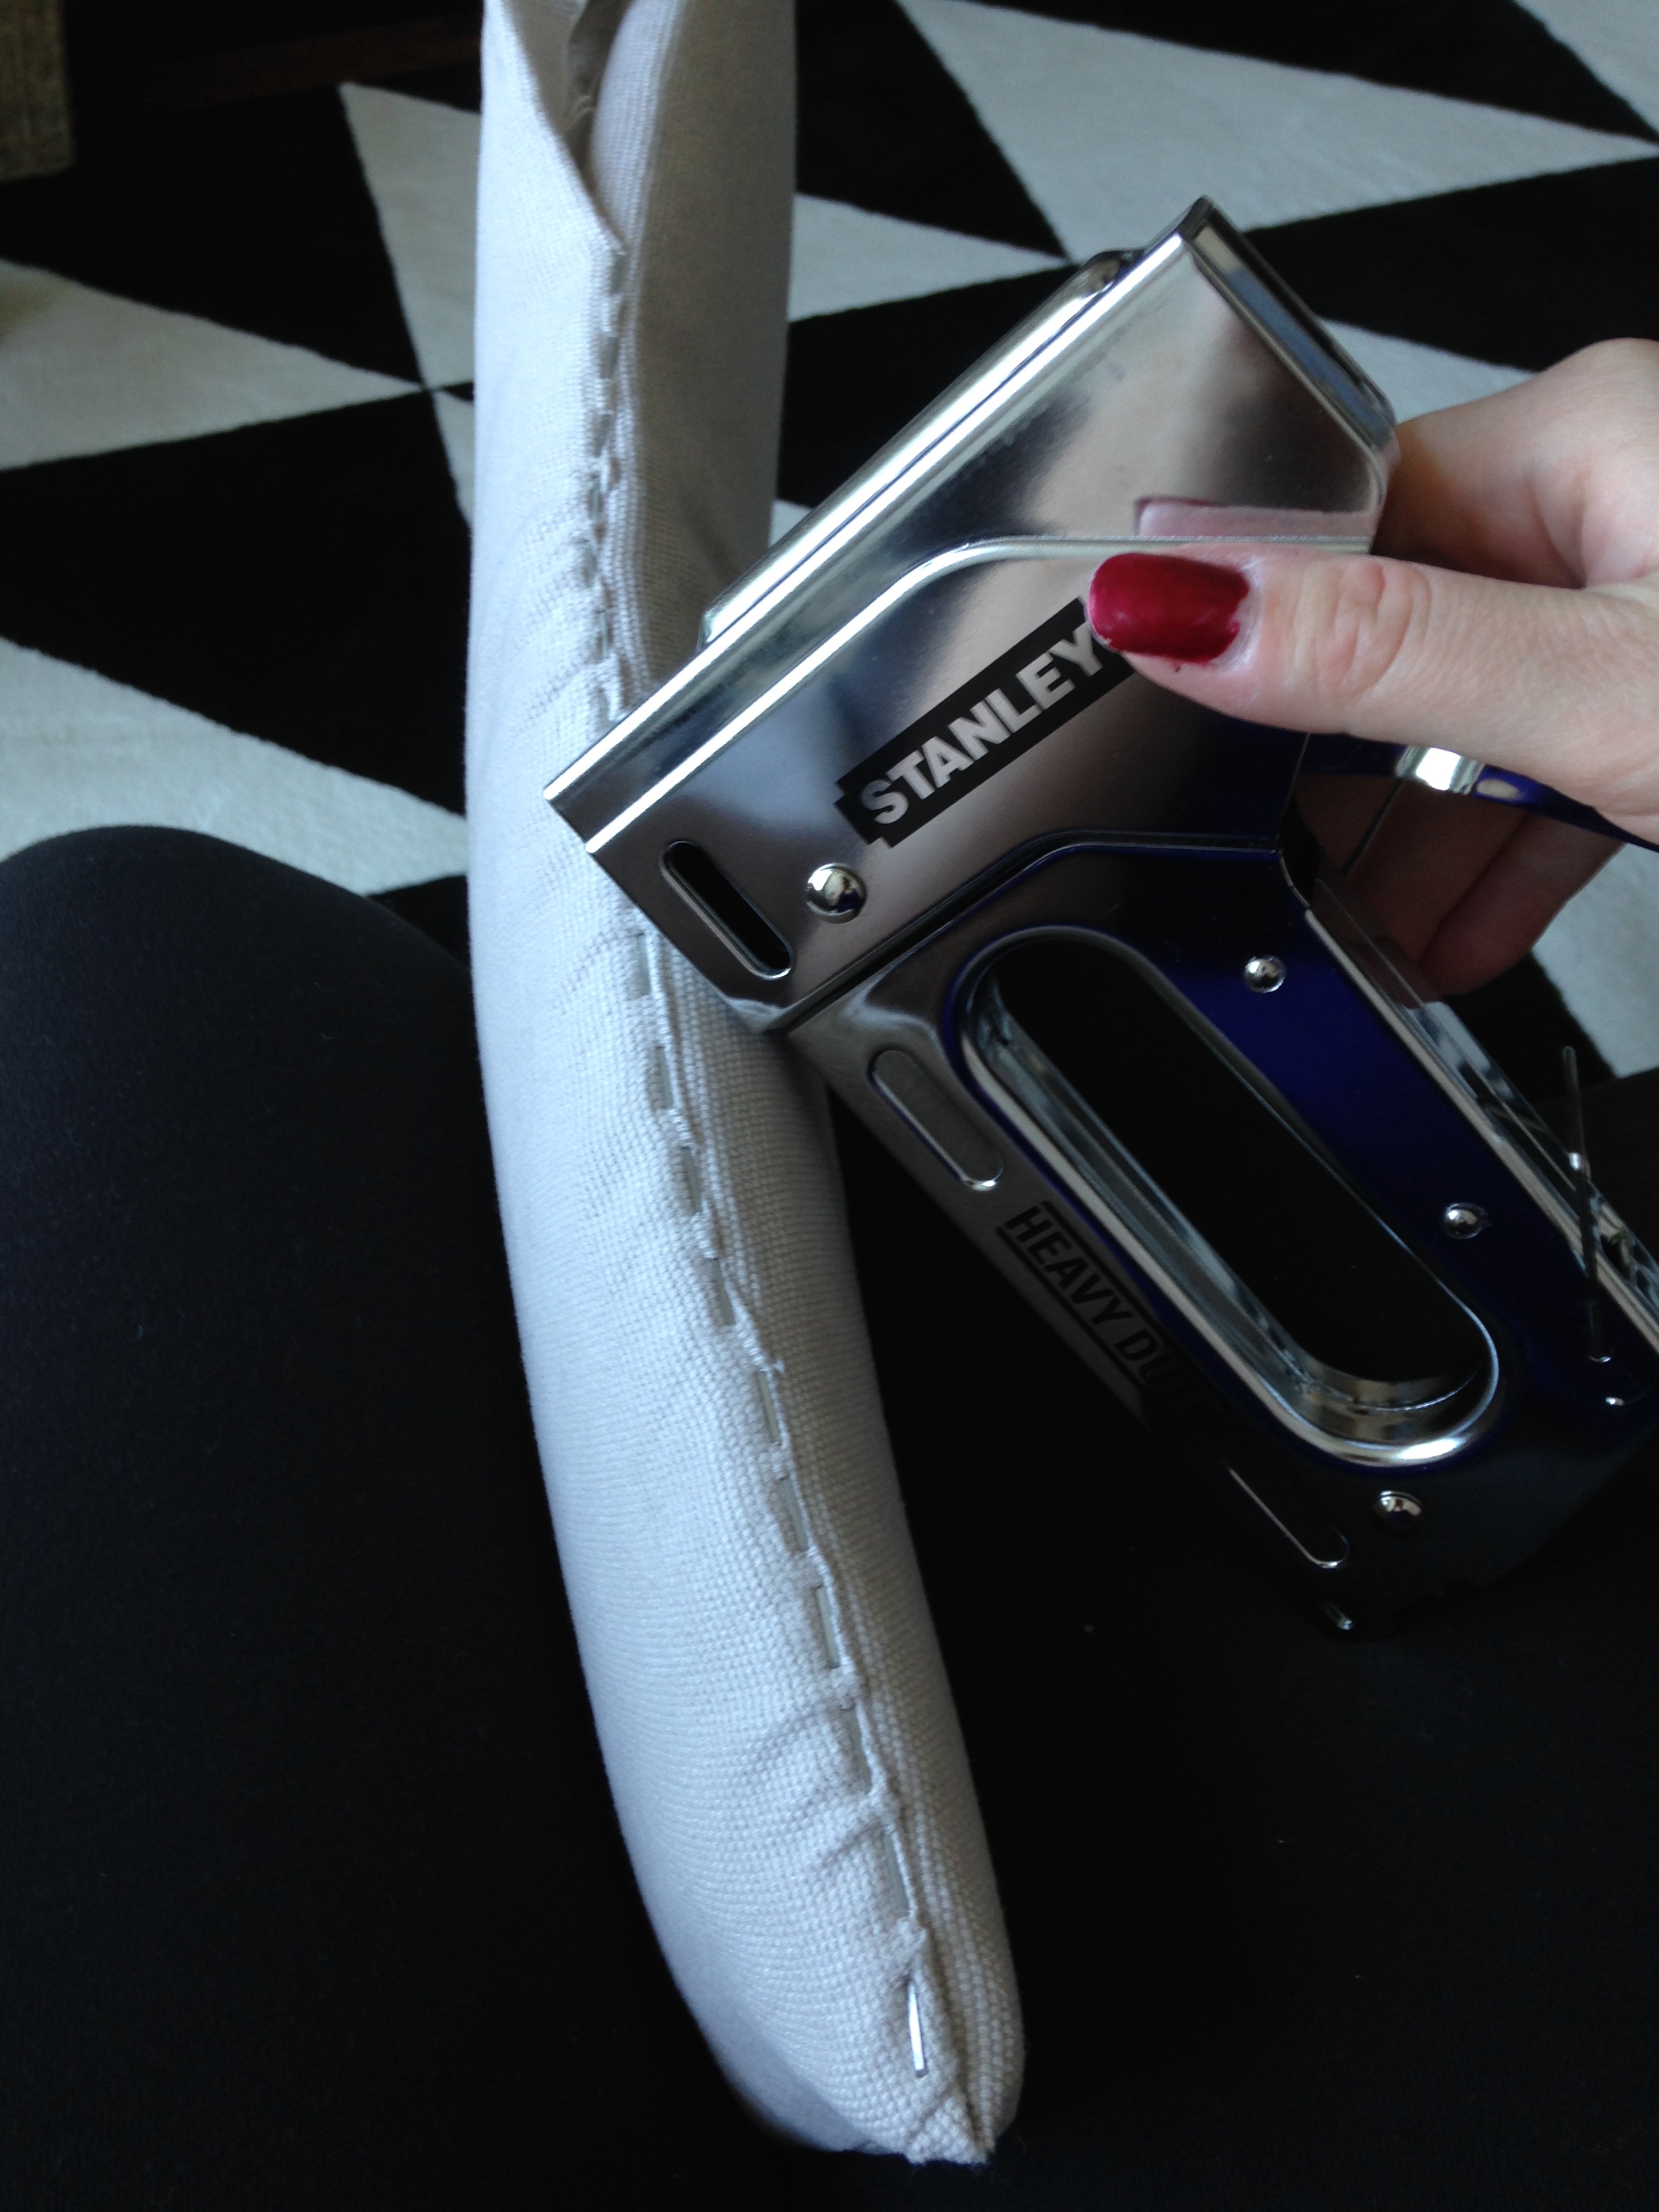
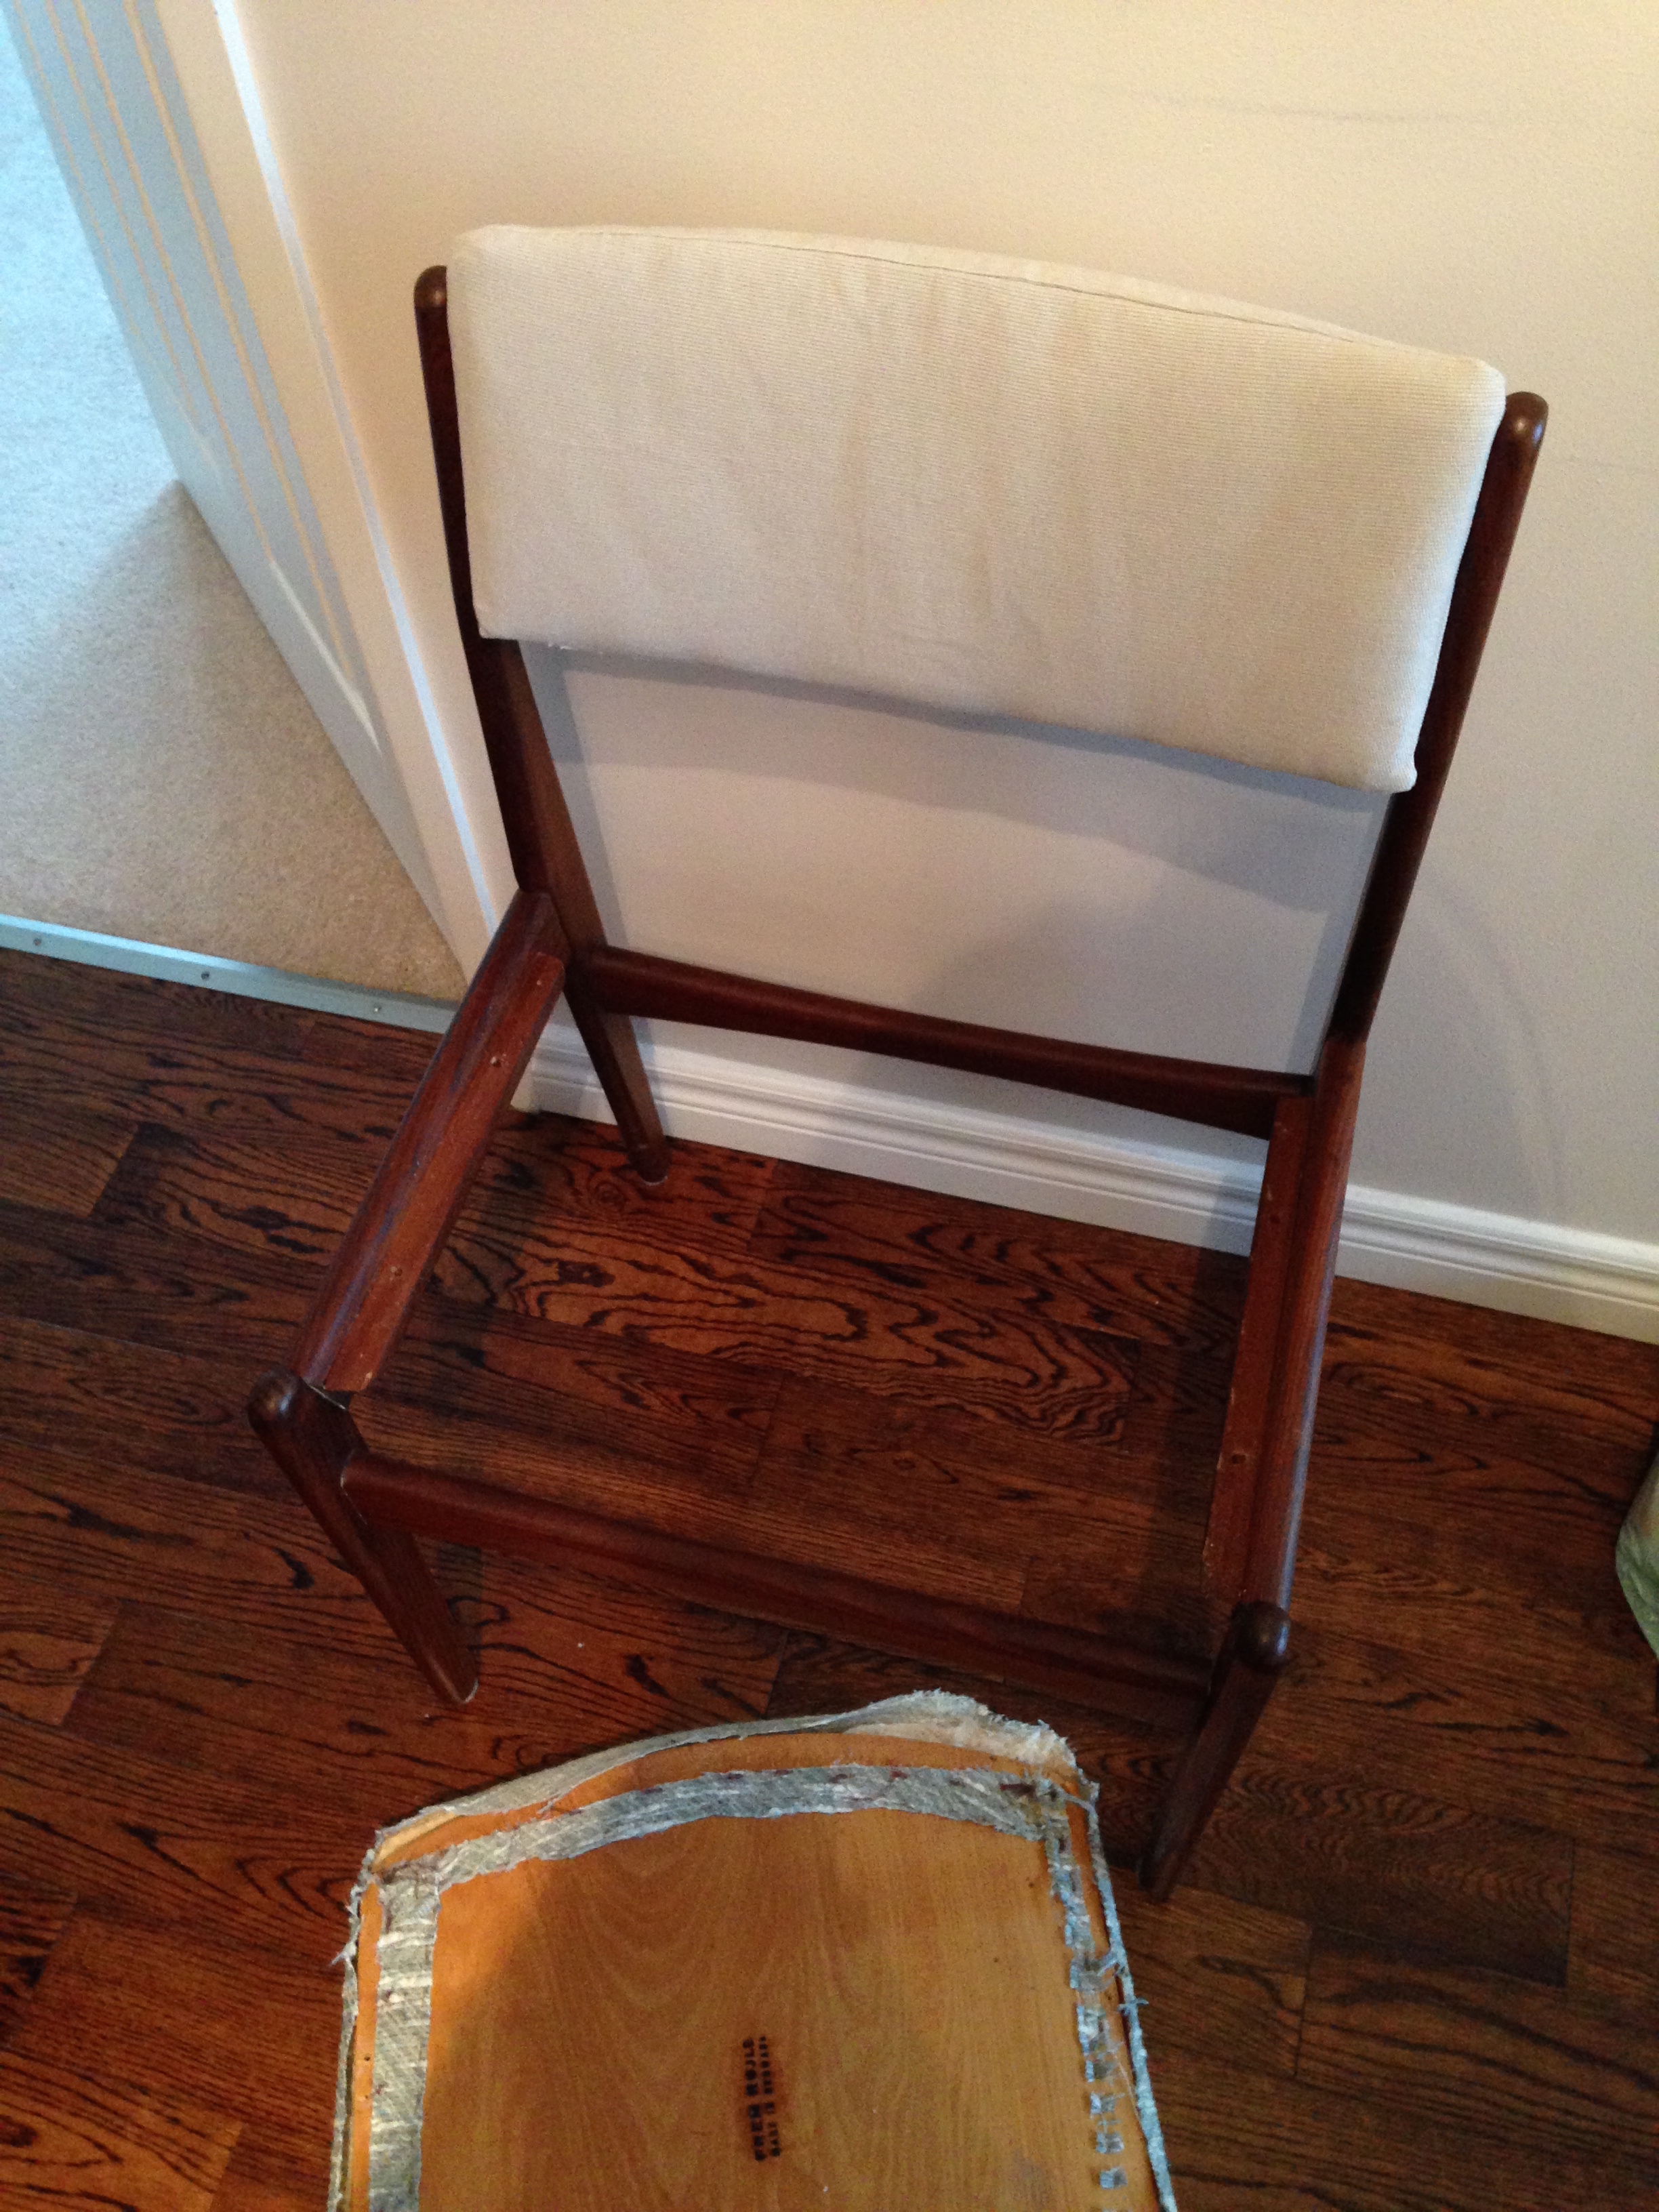
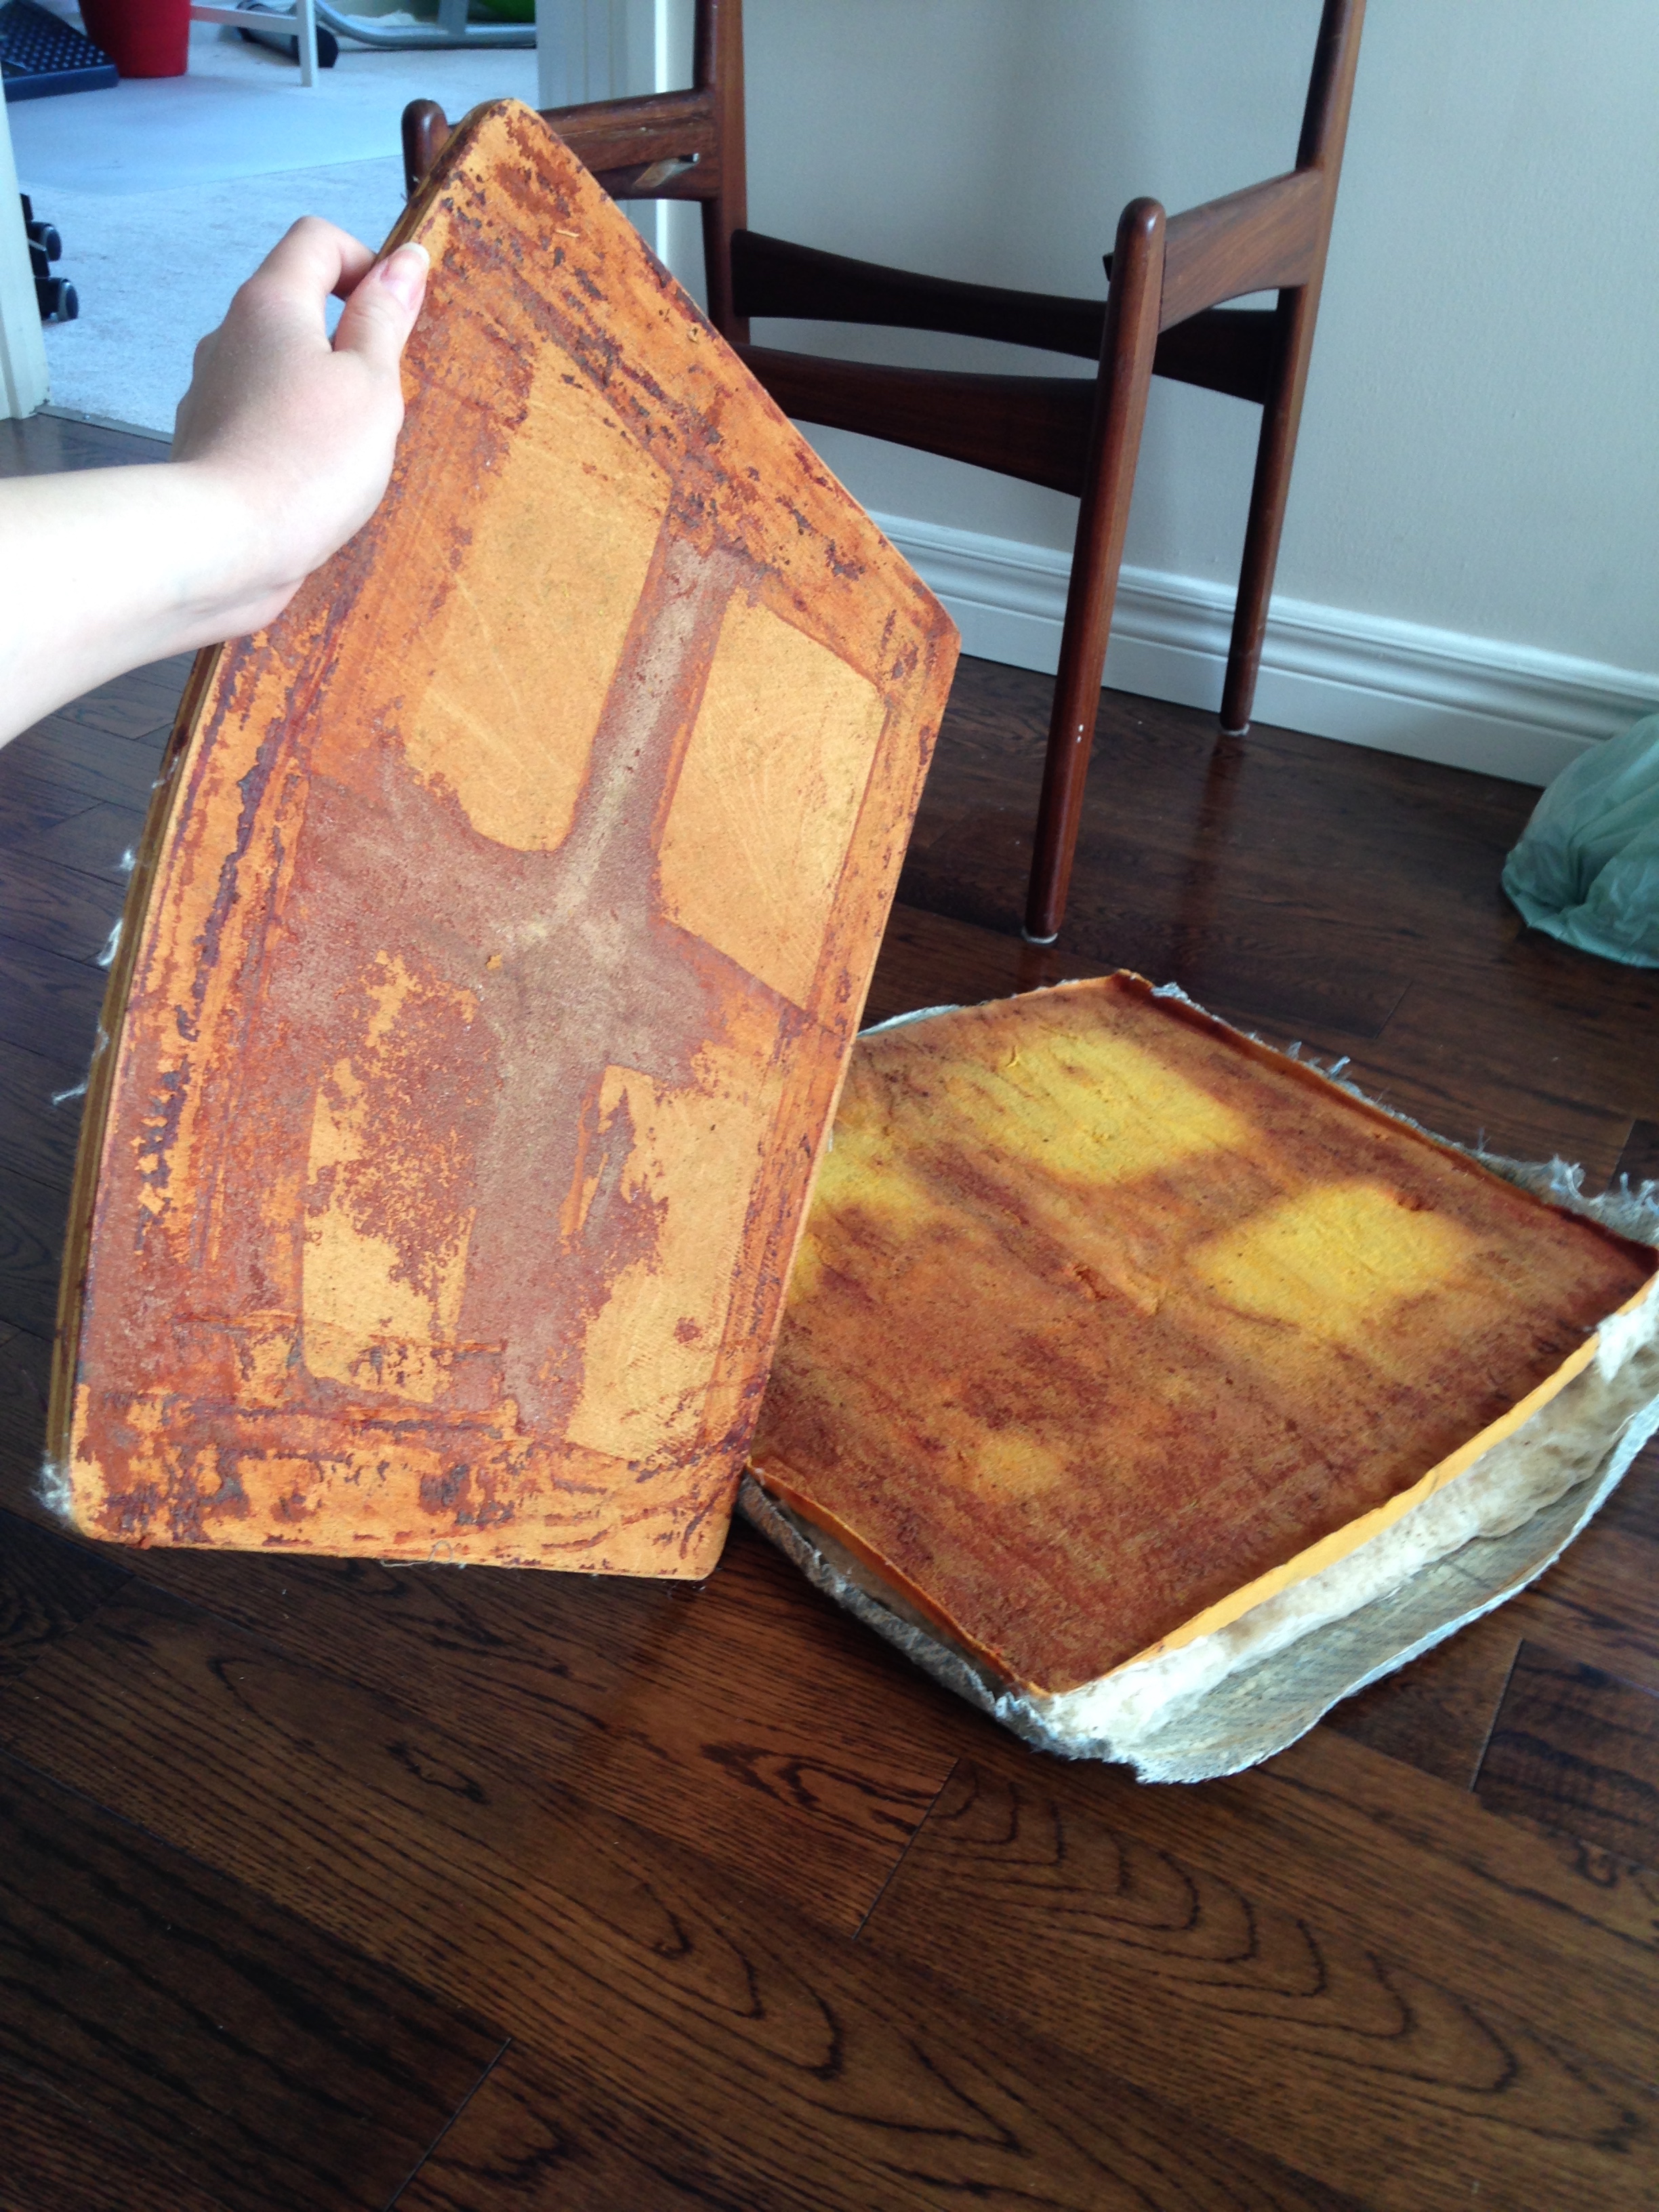
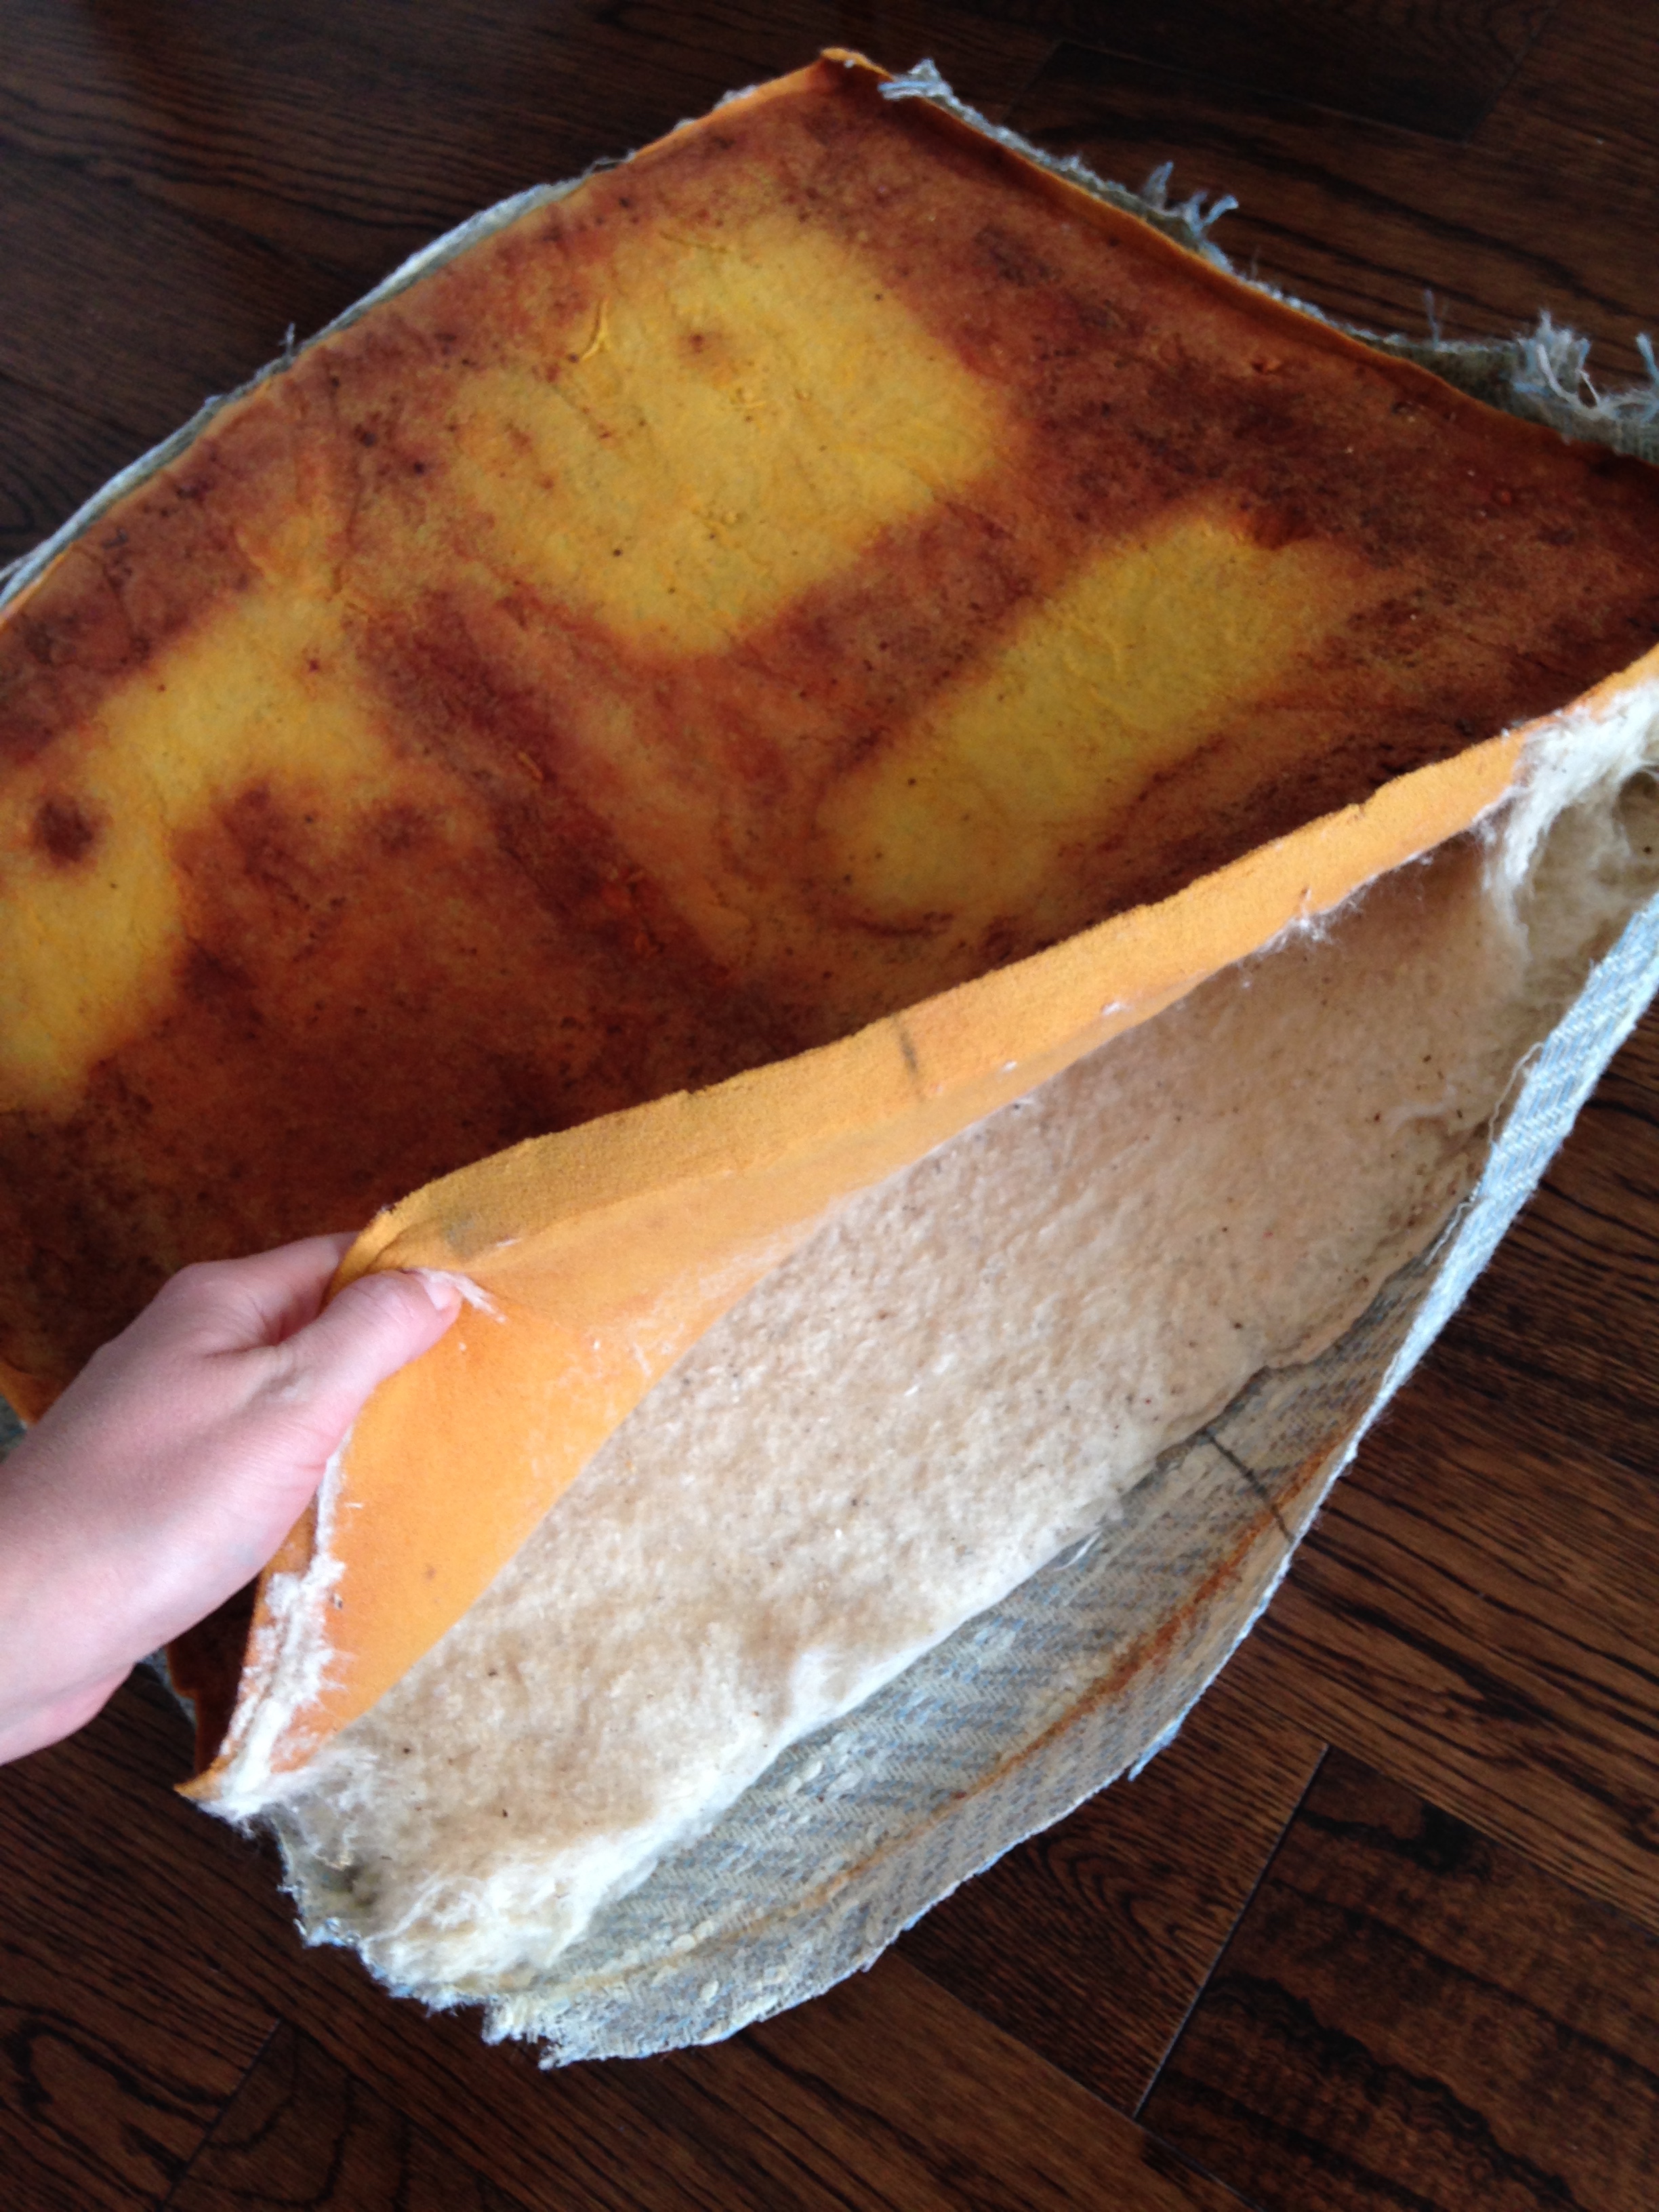
I will admit it. I've been a very bad sew-er lately. I haven't actually started a new project since beginning my upholstery project in 2014. I'm happy to say I've finished with the upholstery project though! Well, as finished as it's going to be, 2 out of 4 chairs is good enough, right? It's time for something new!

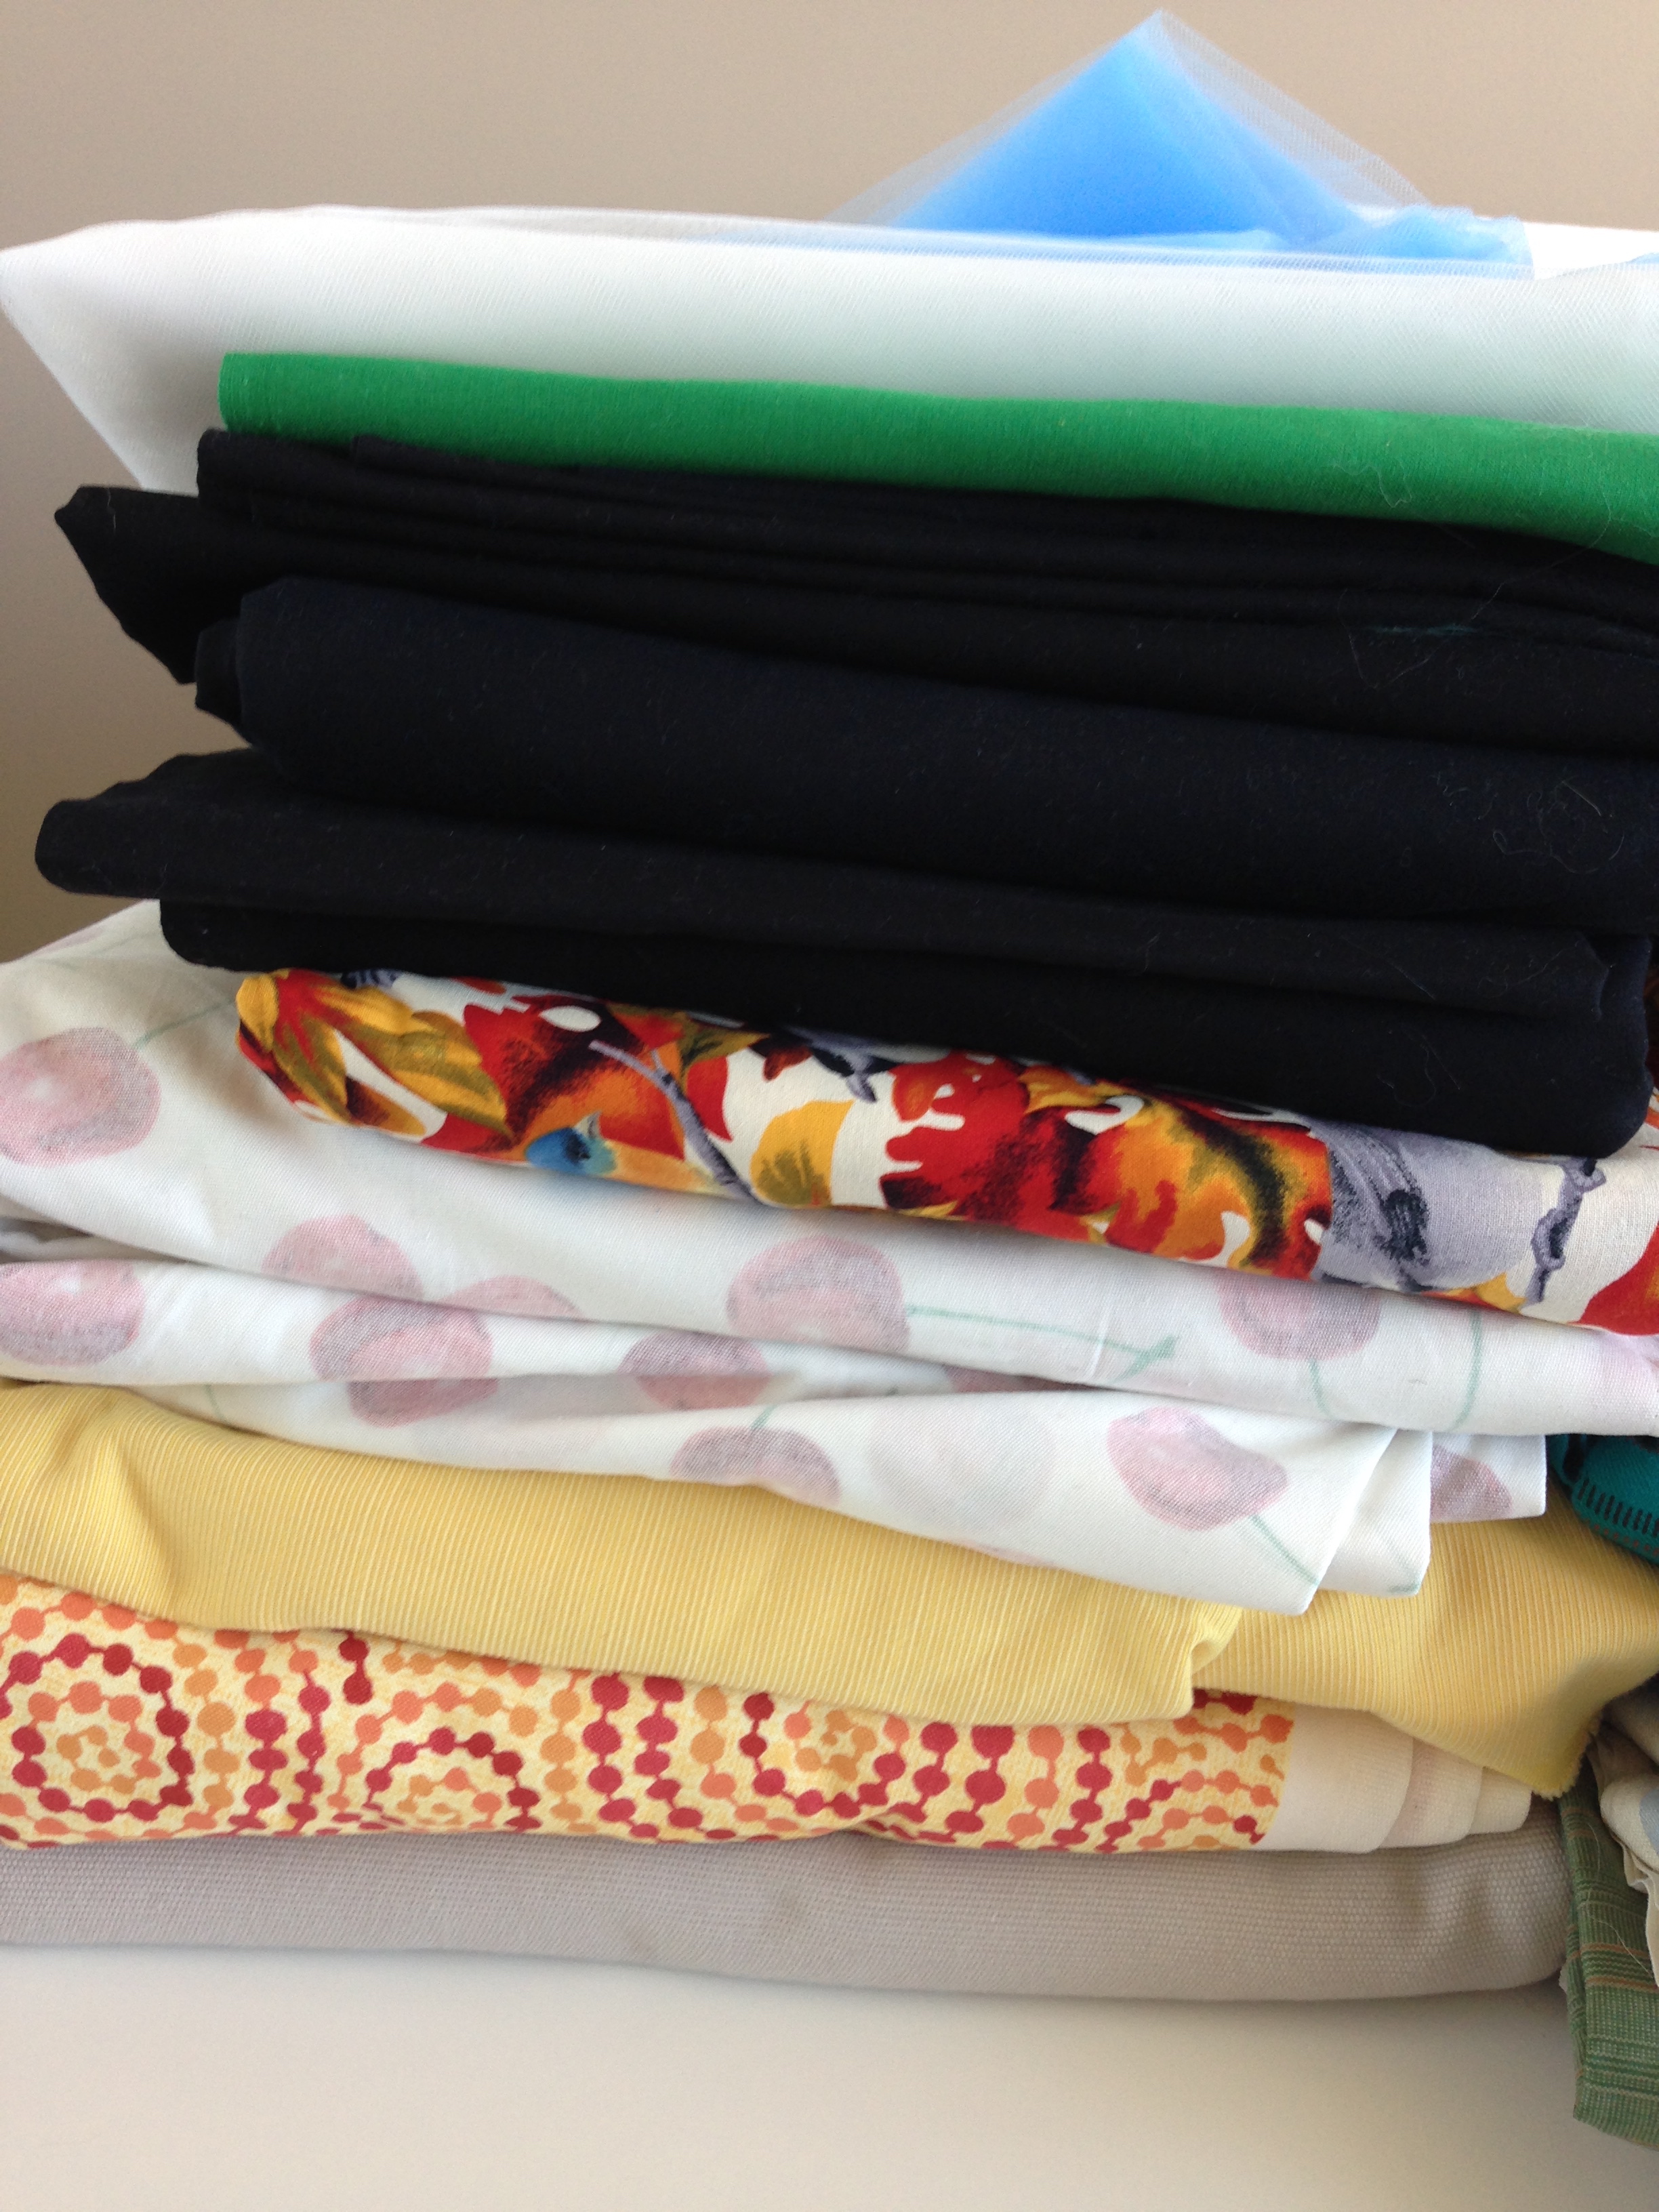
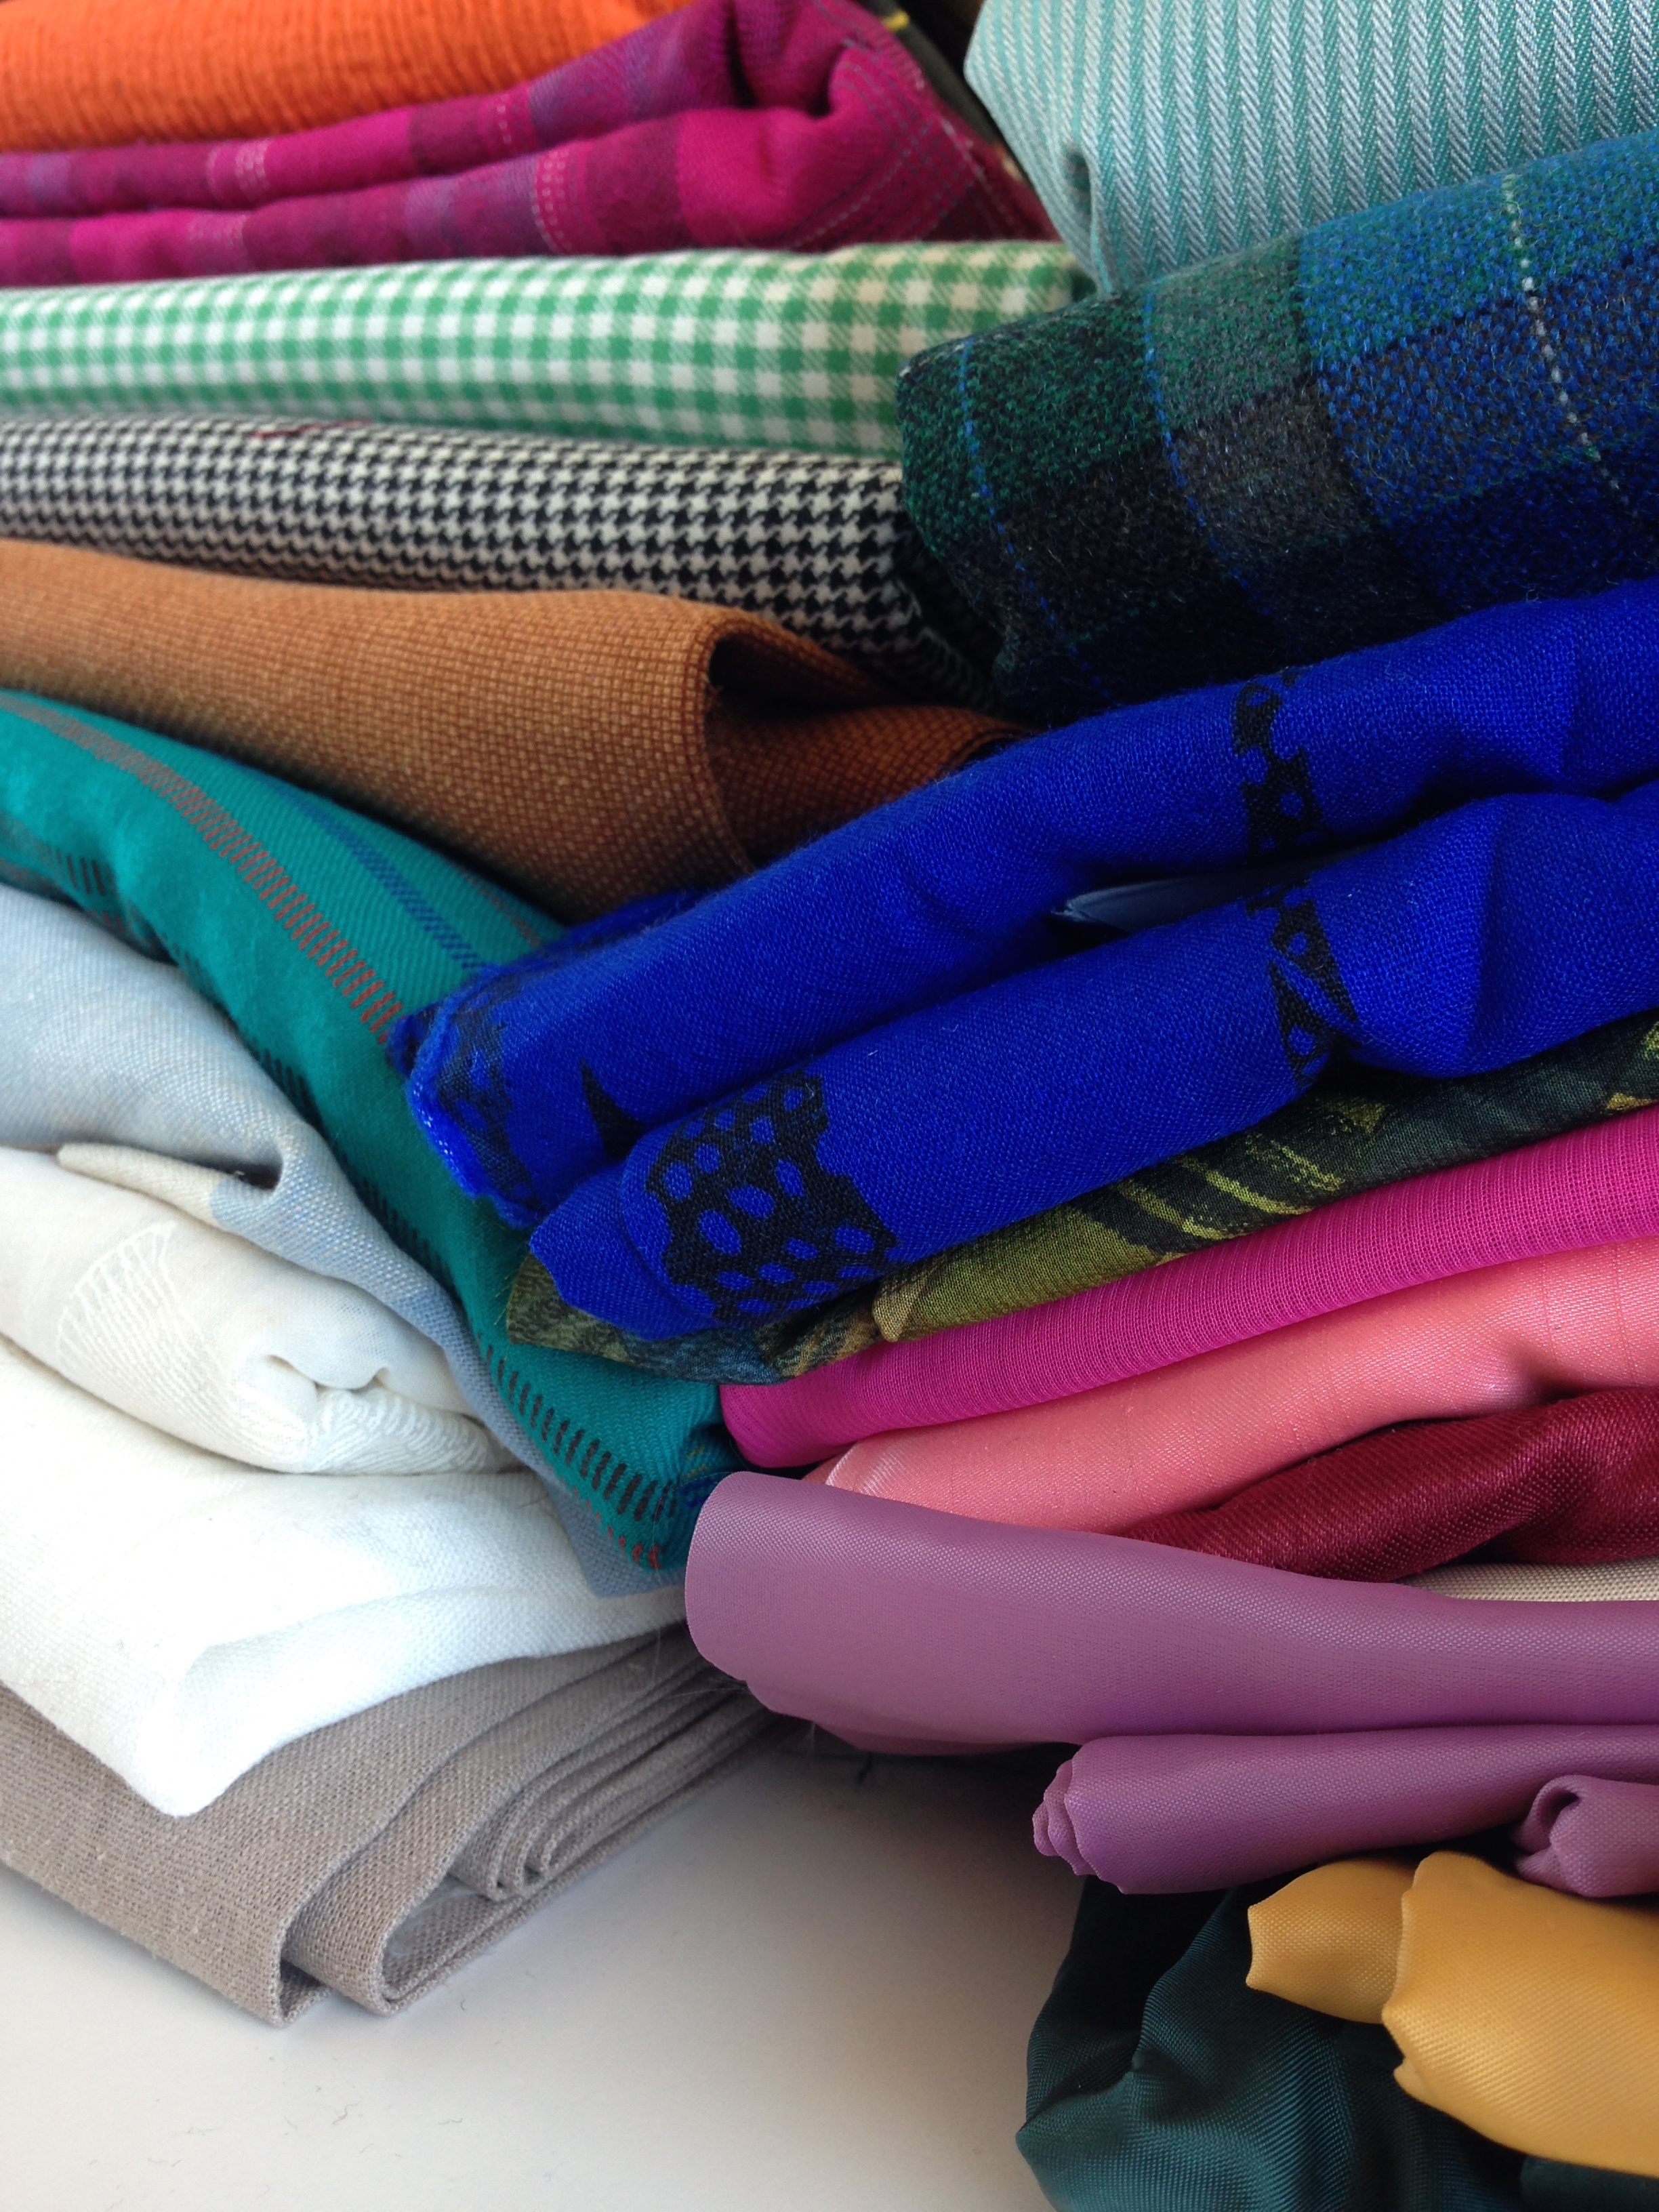
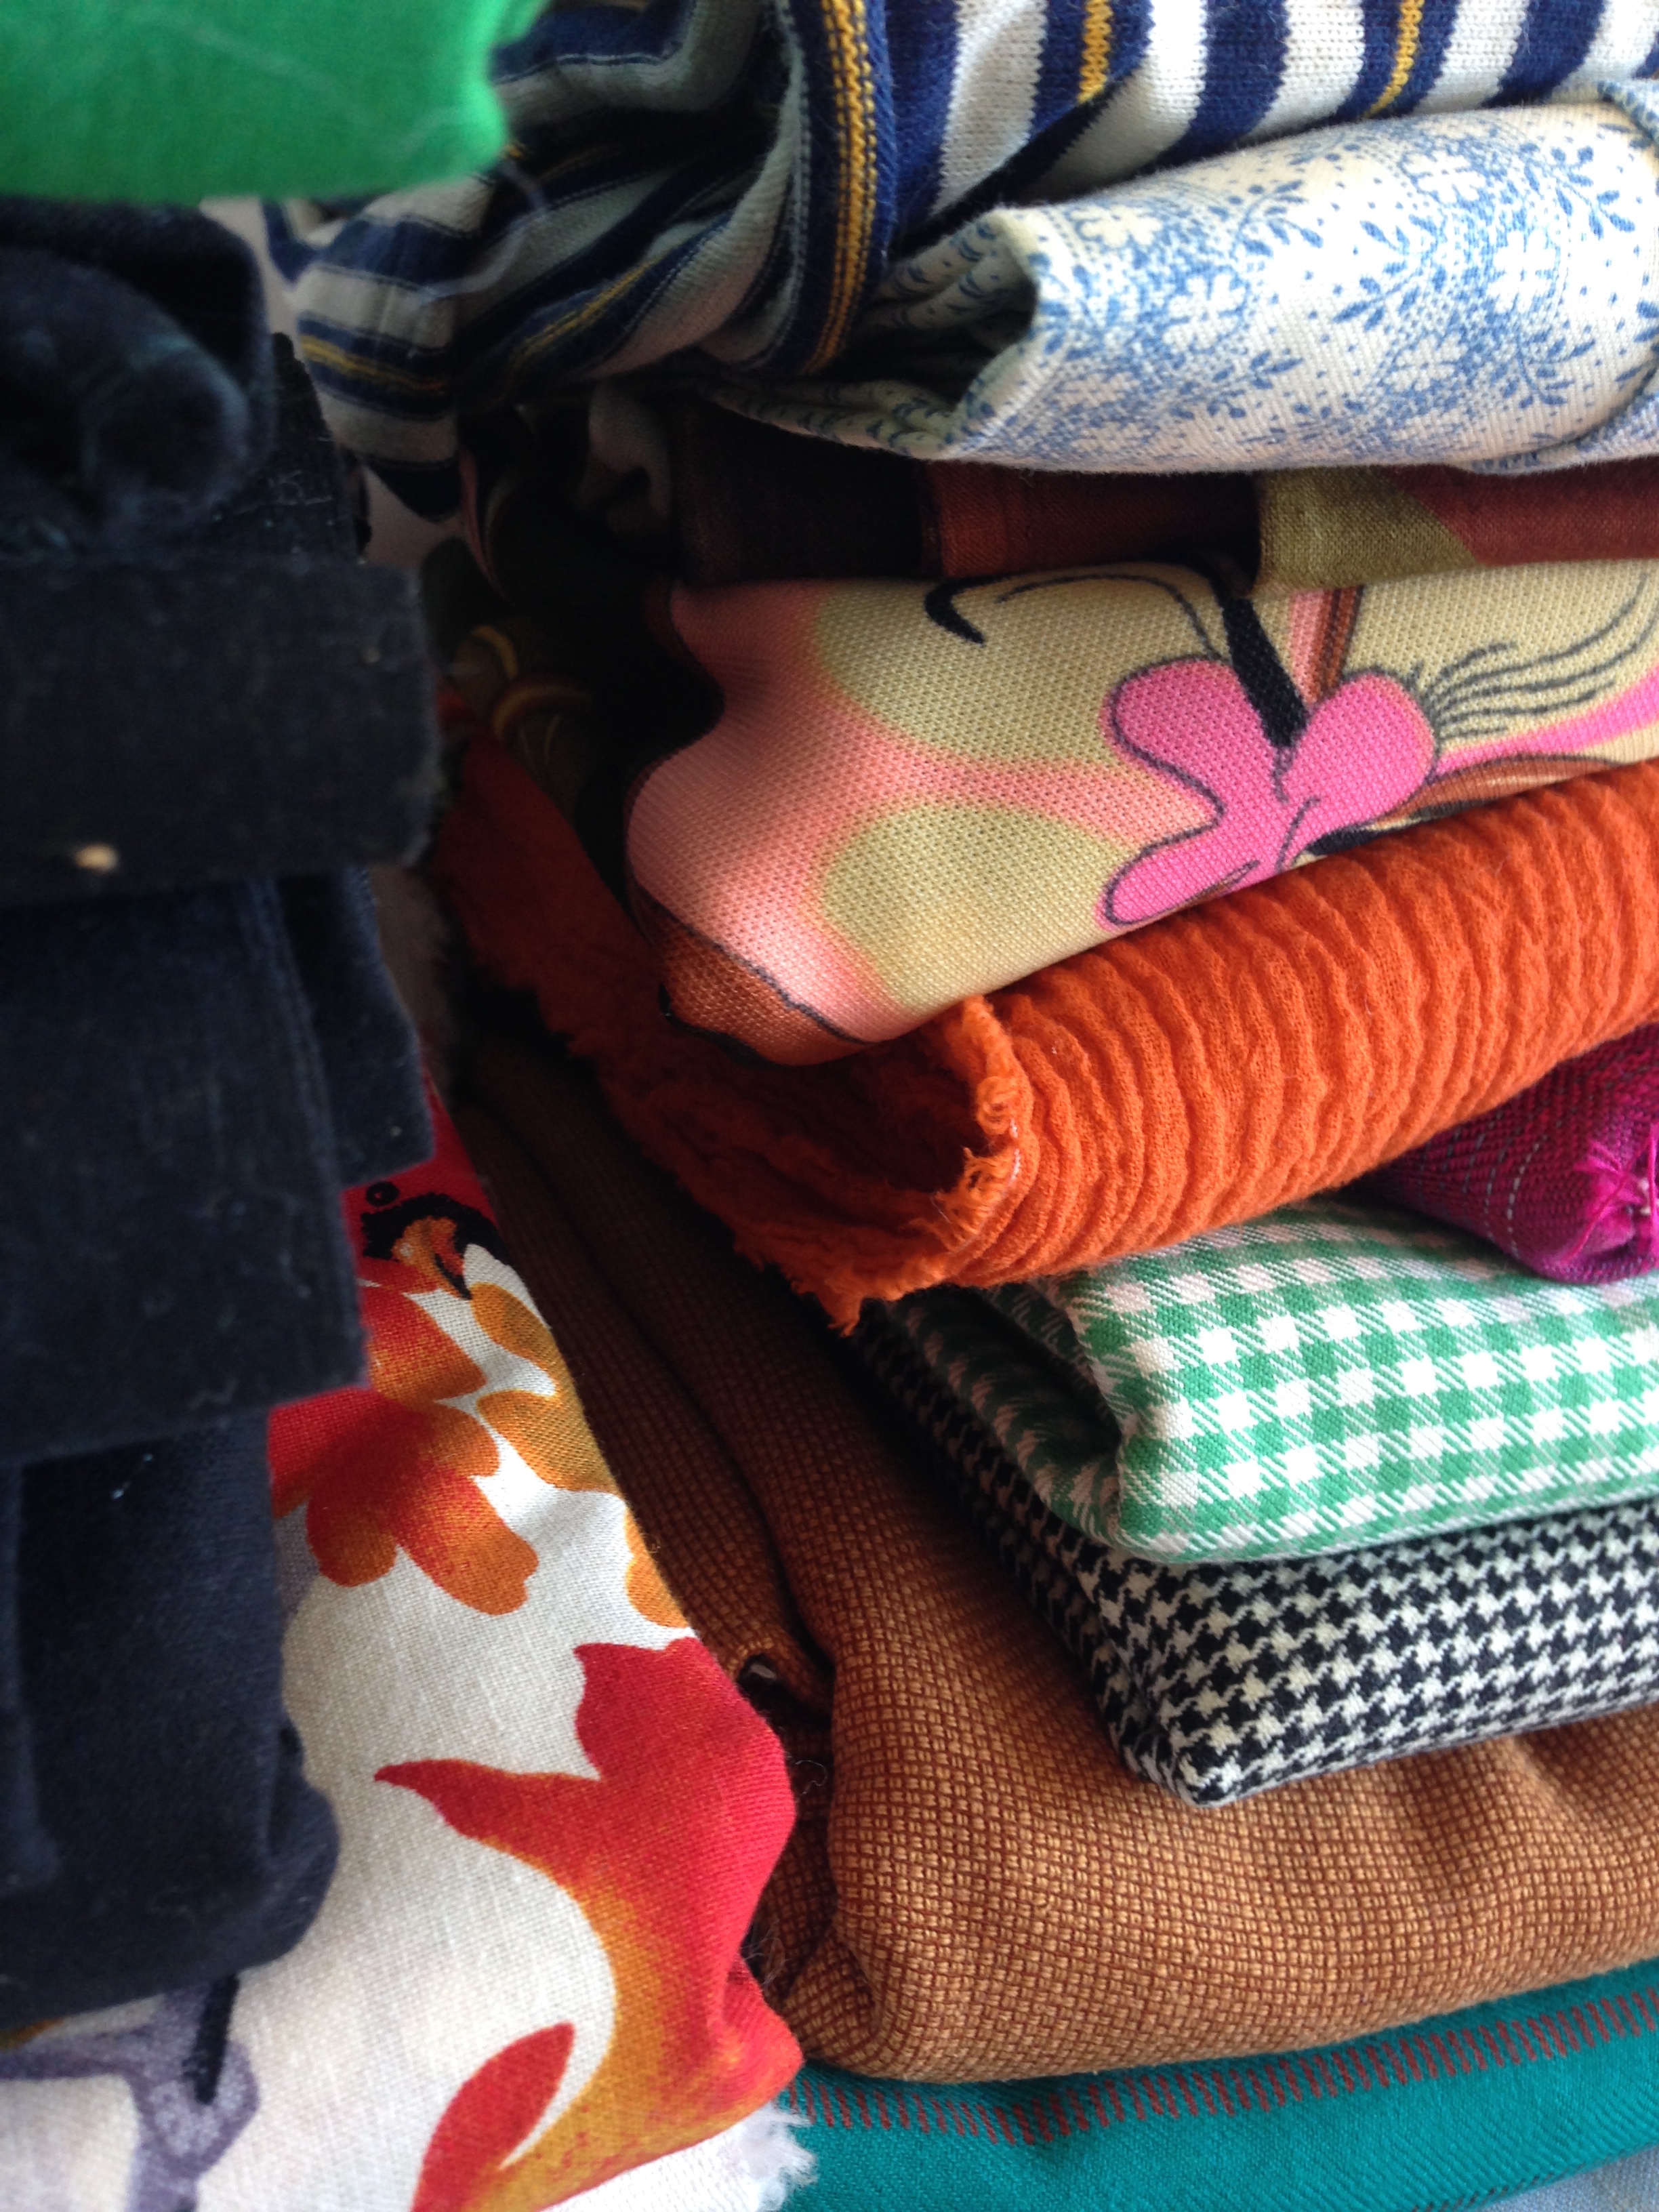
I'm not sure I've ever unearthed my fabric collection online before. It's not the most shameful thing... but it's pretty up there. Enough that I'm not allowed to go buy more. 

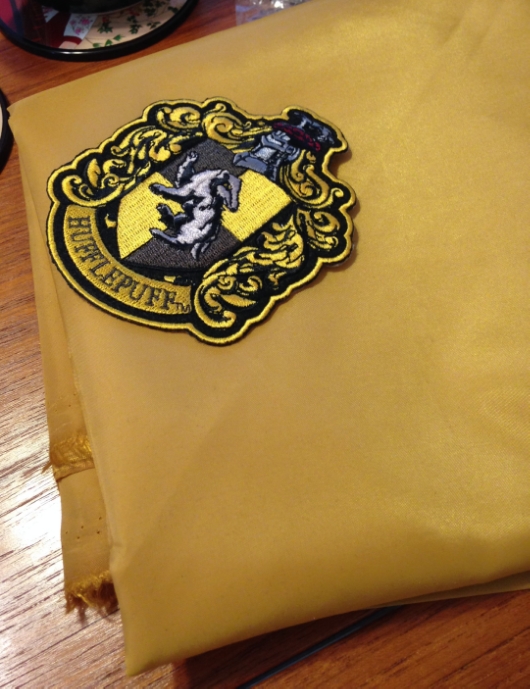
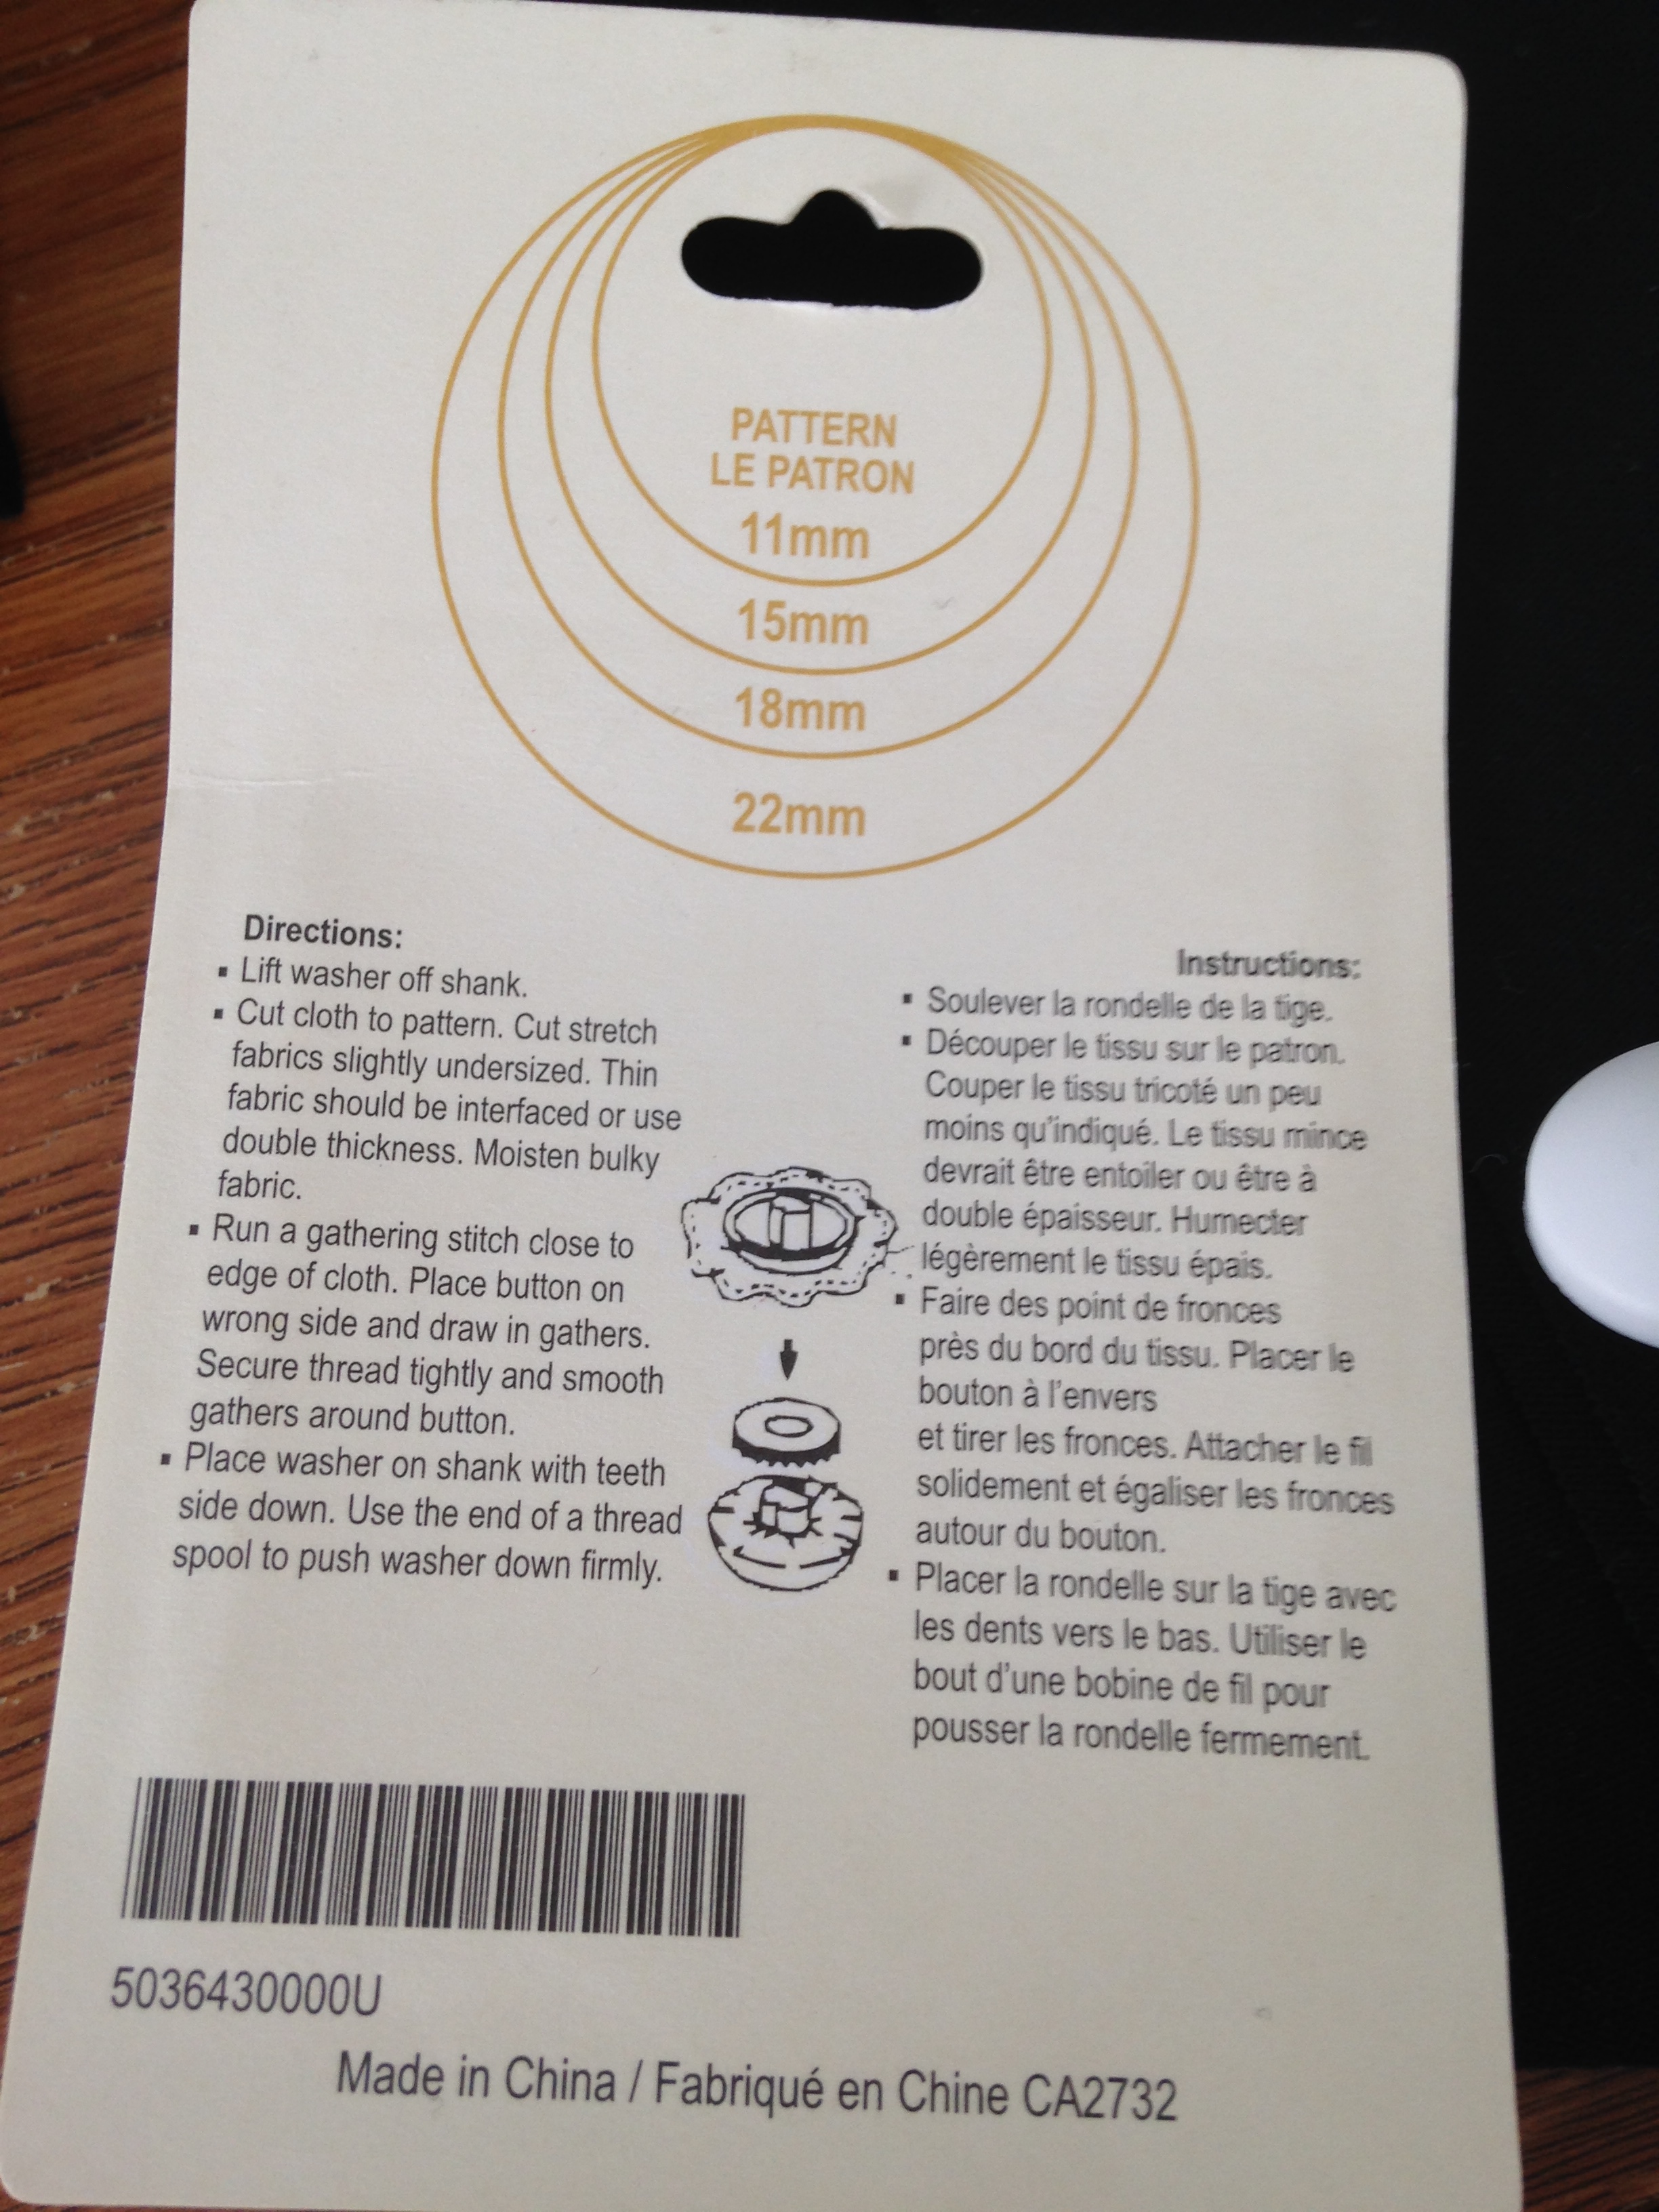
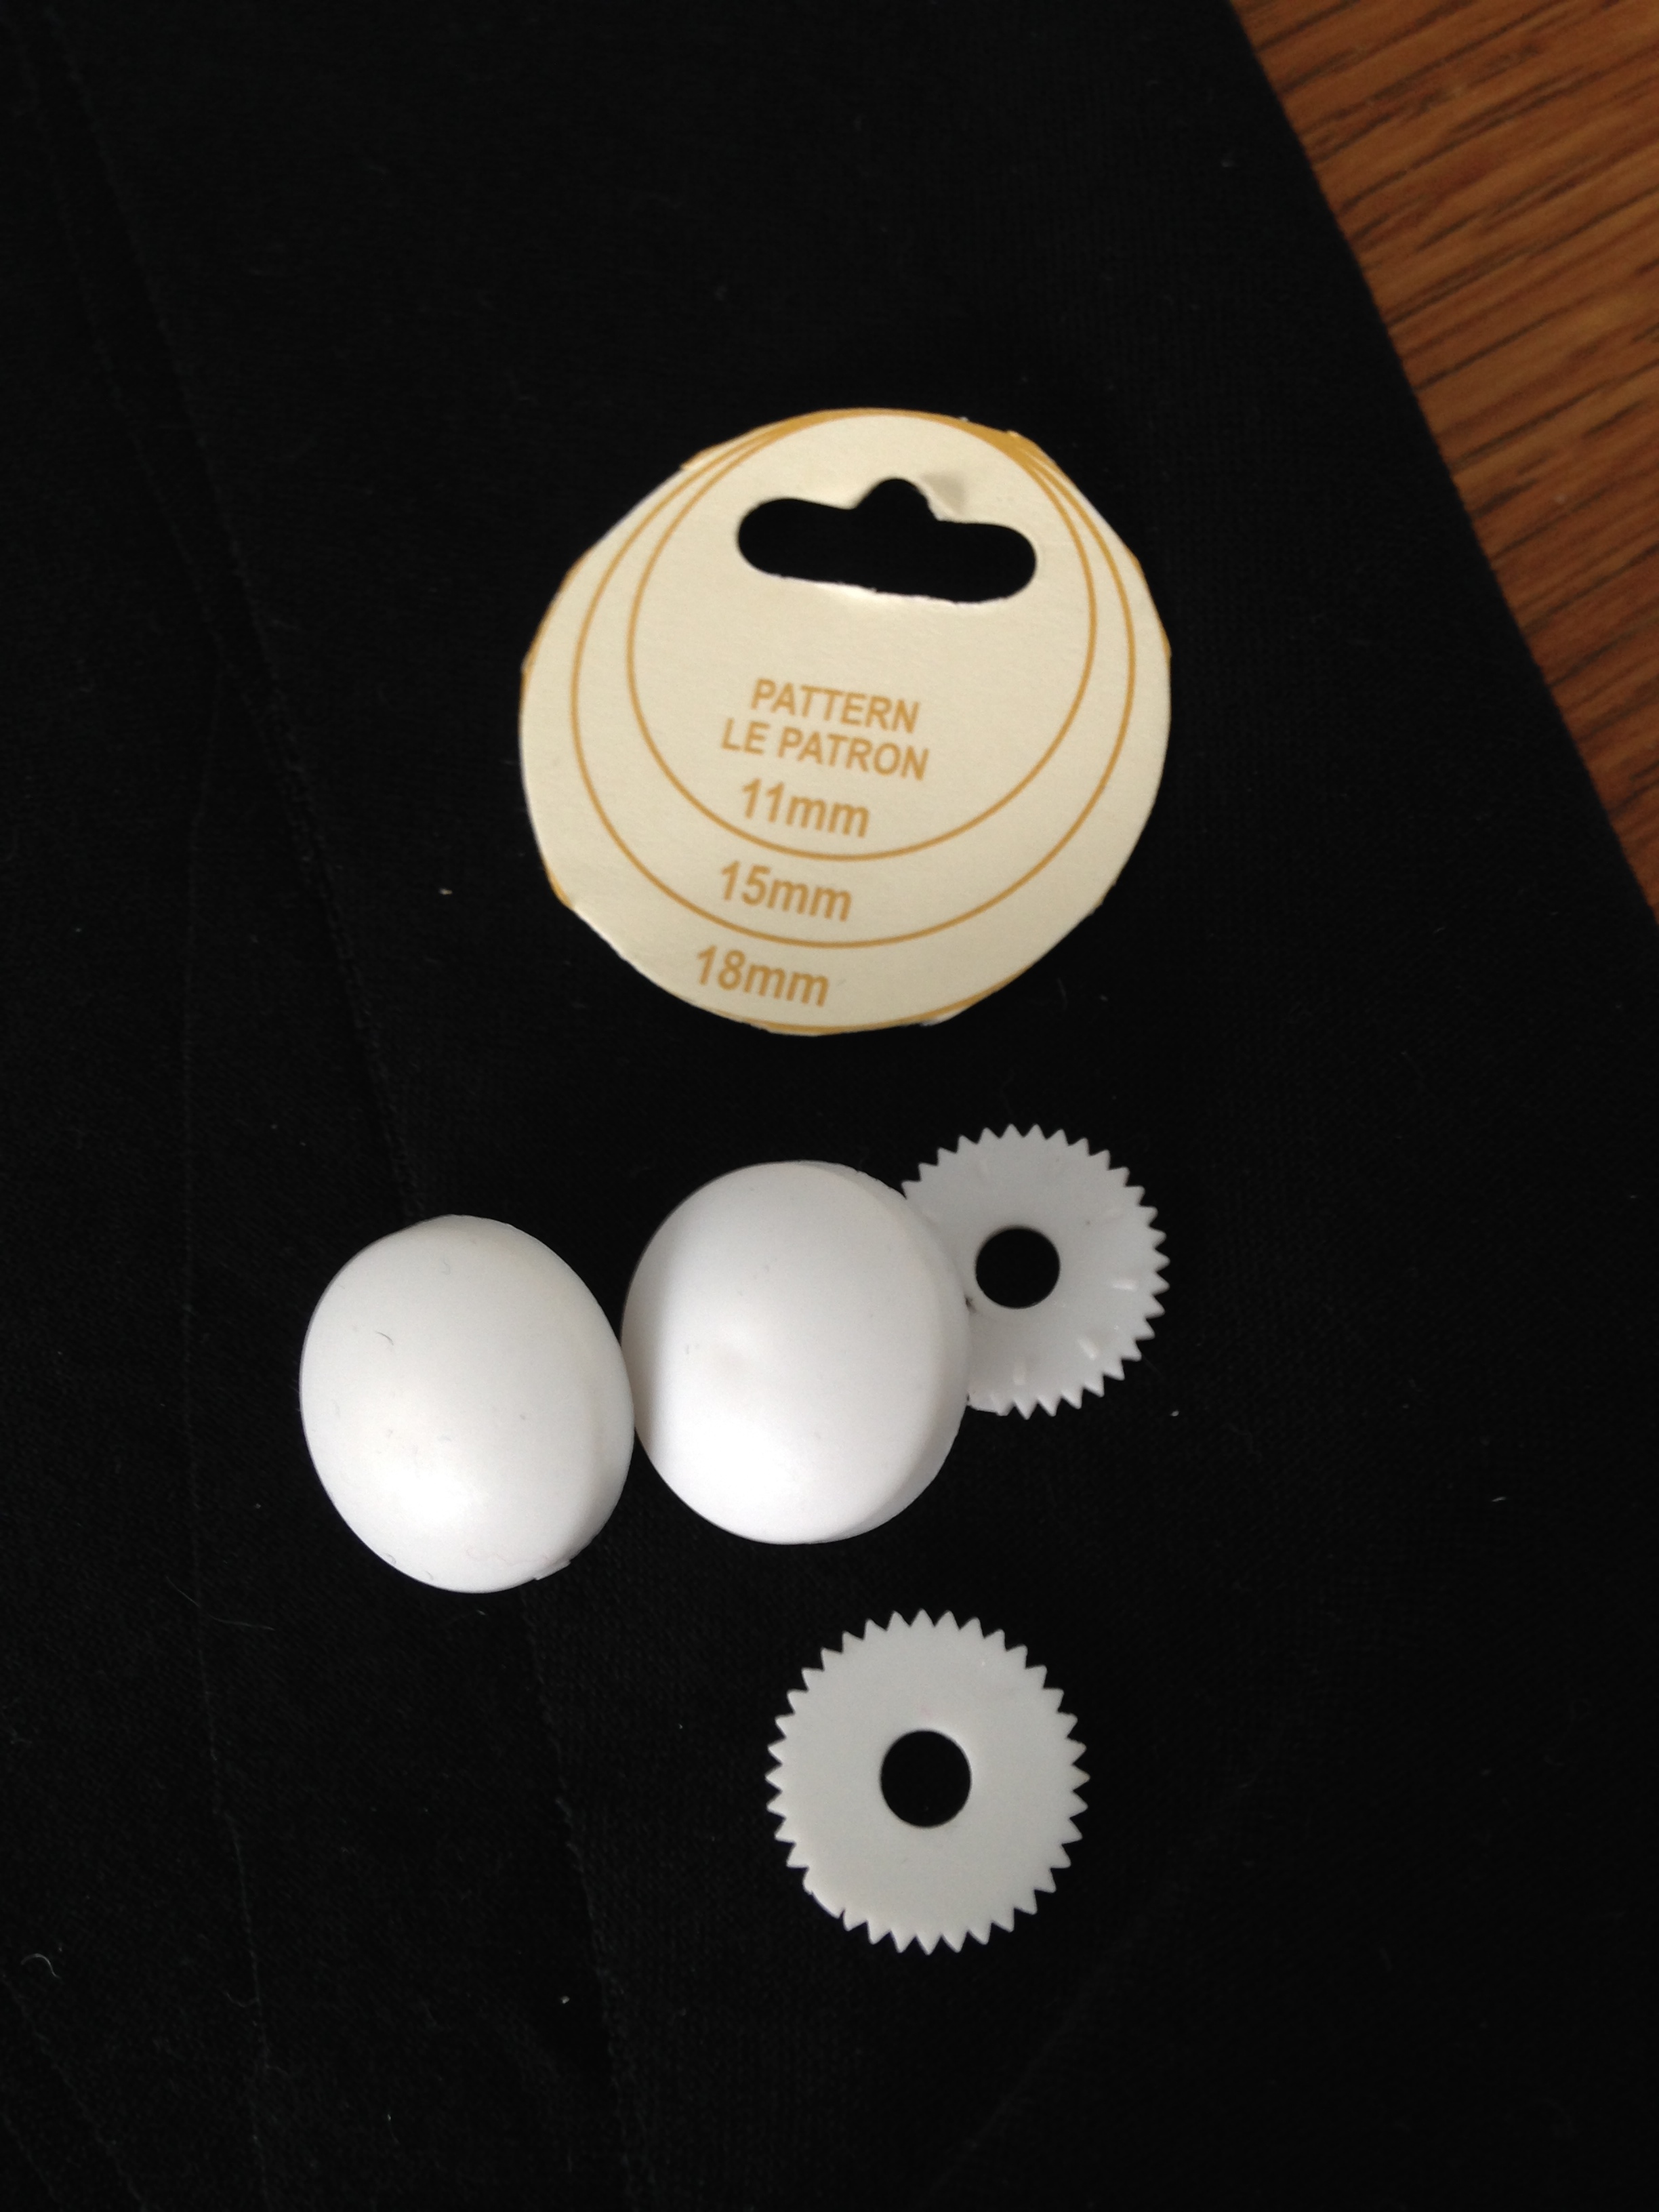
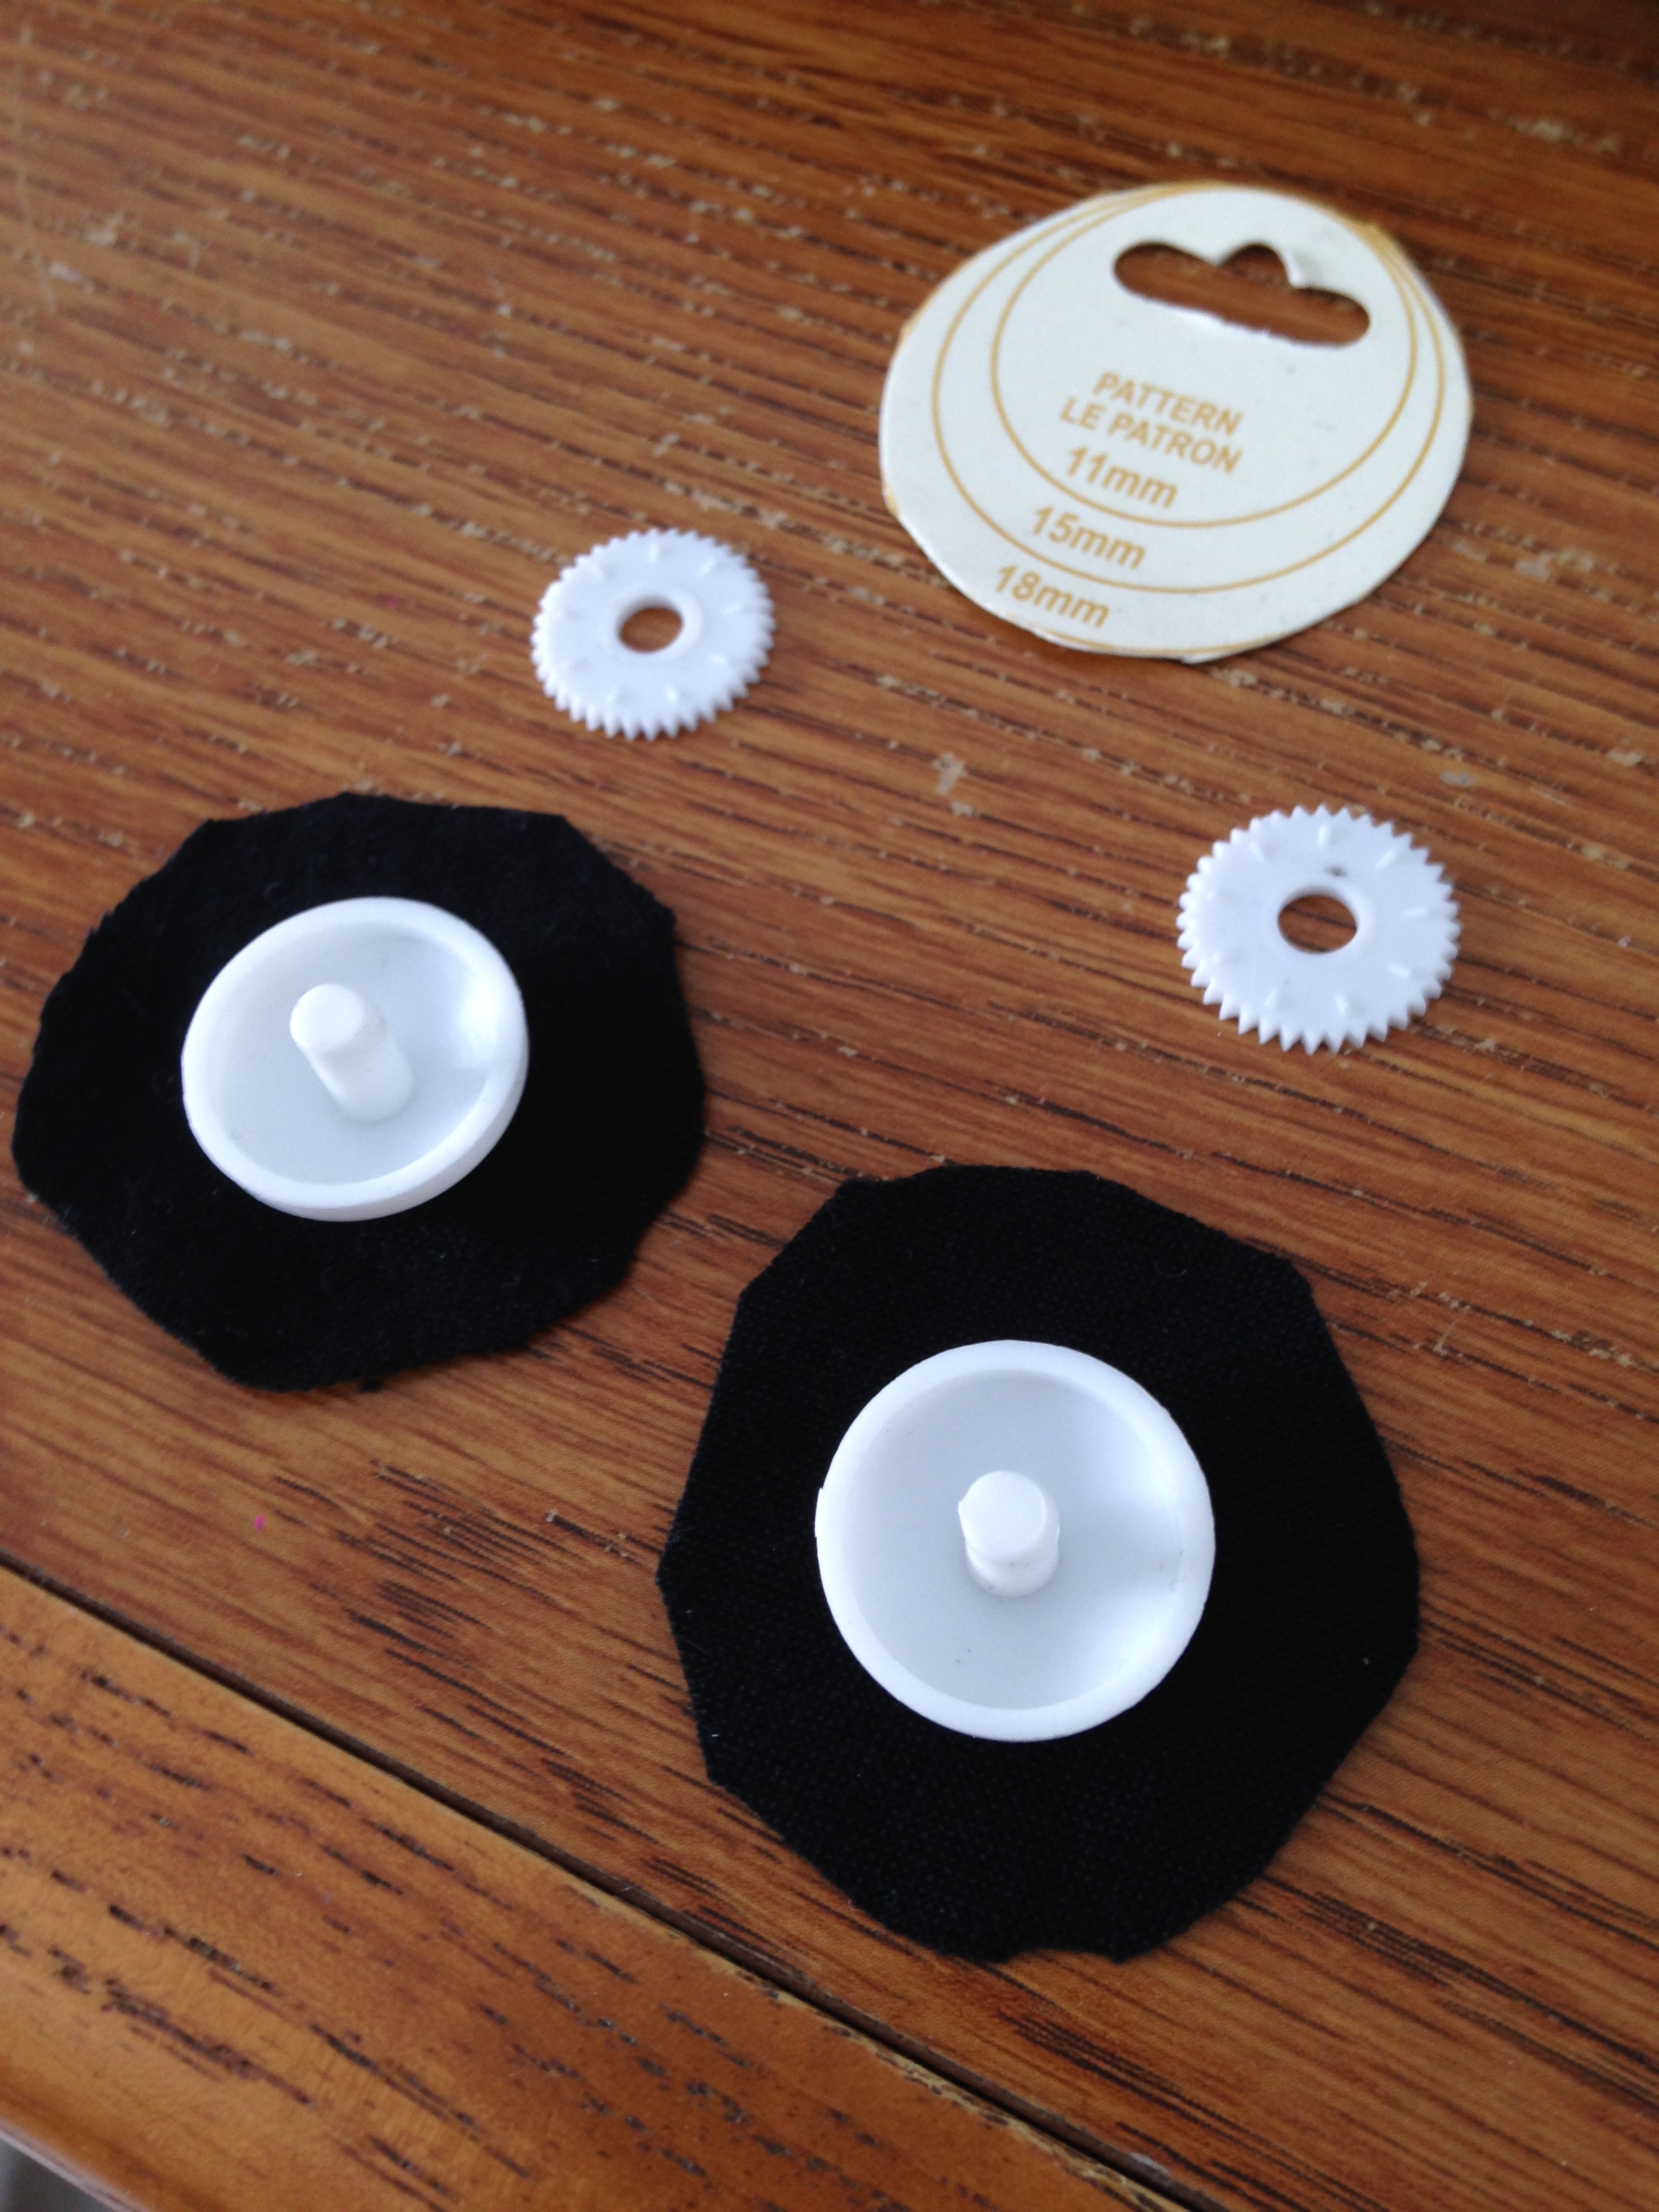
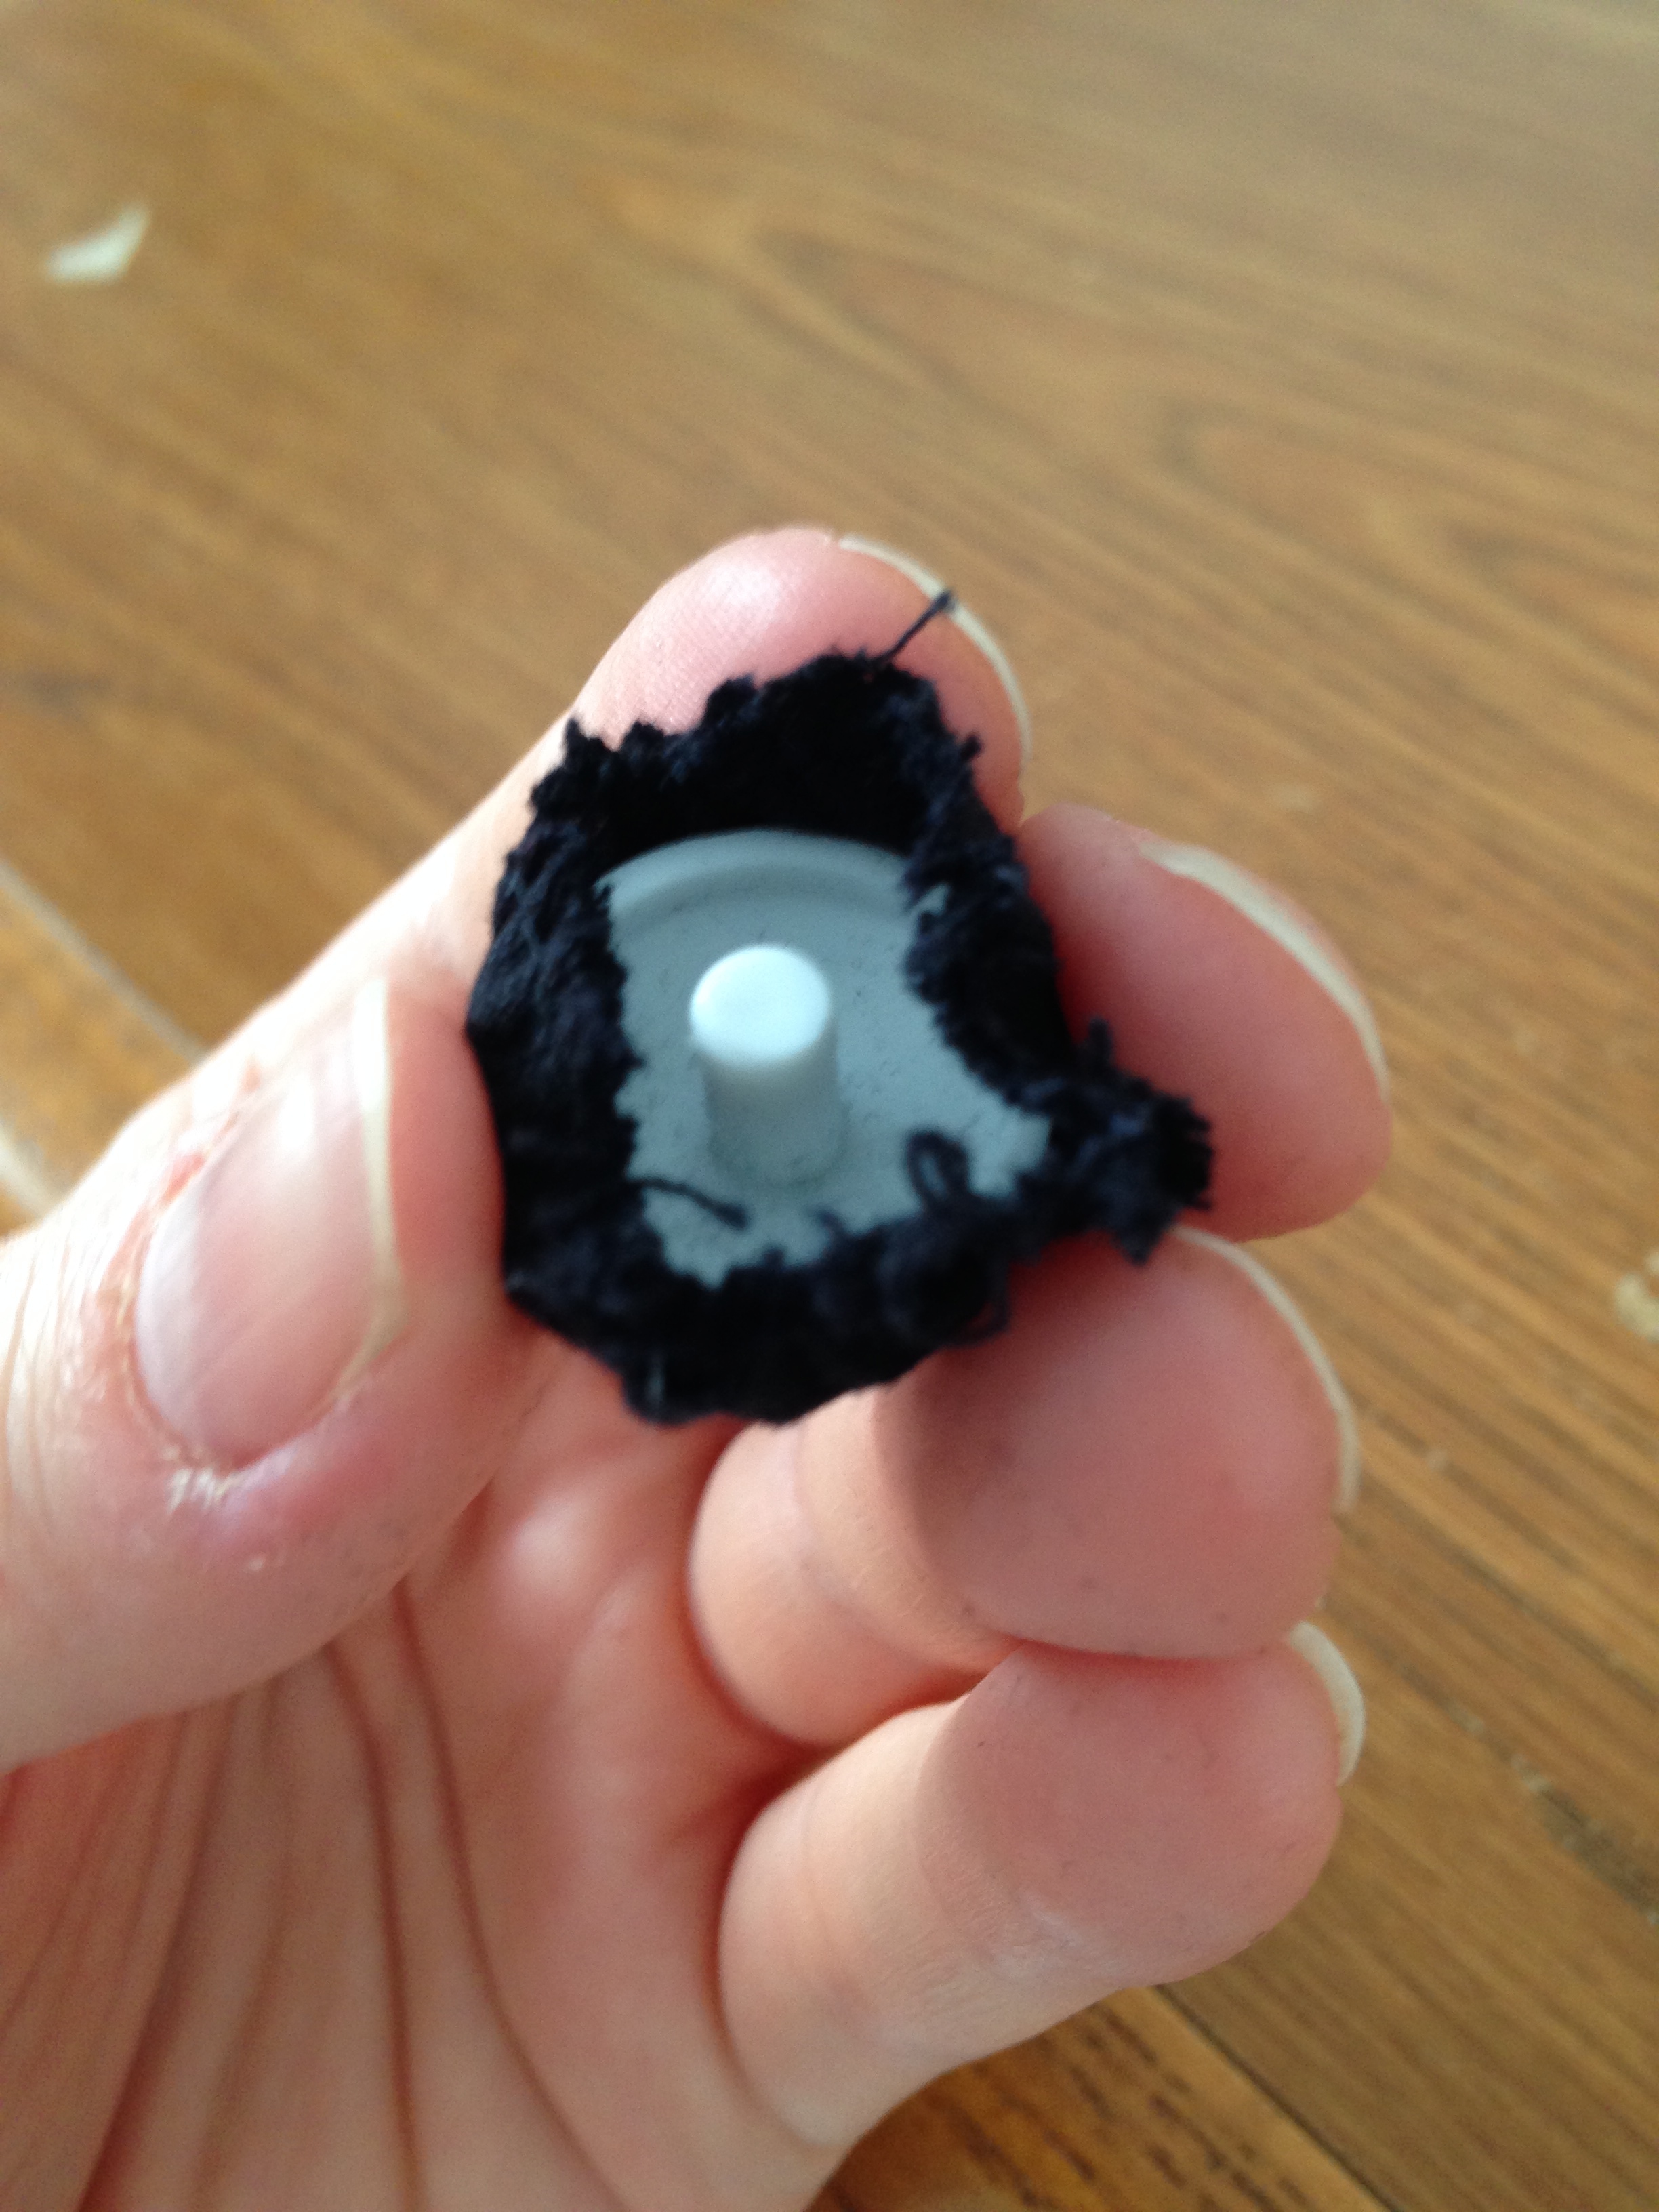
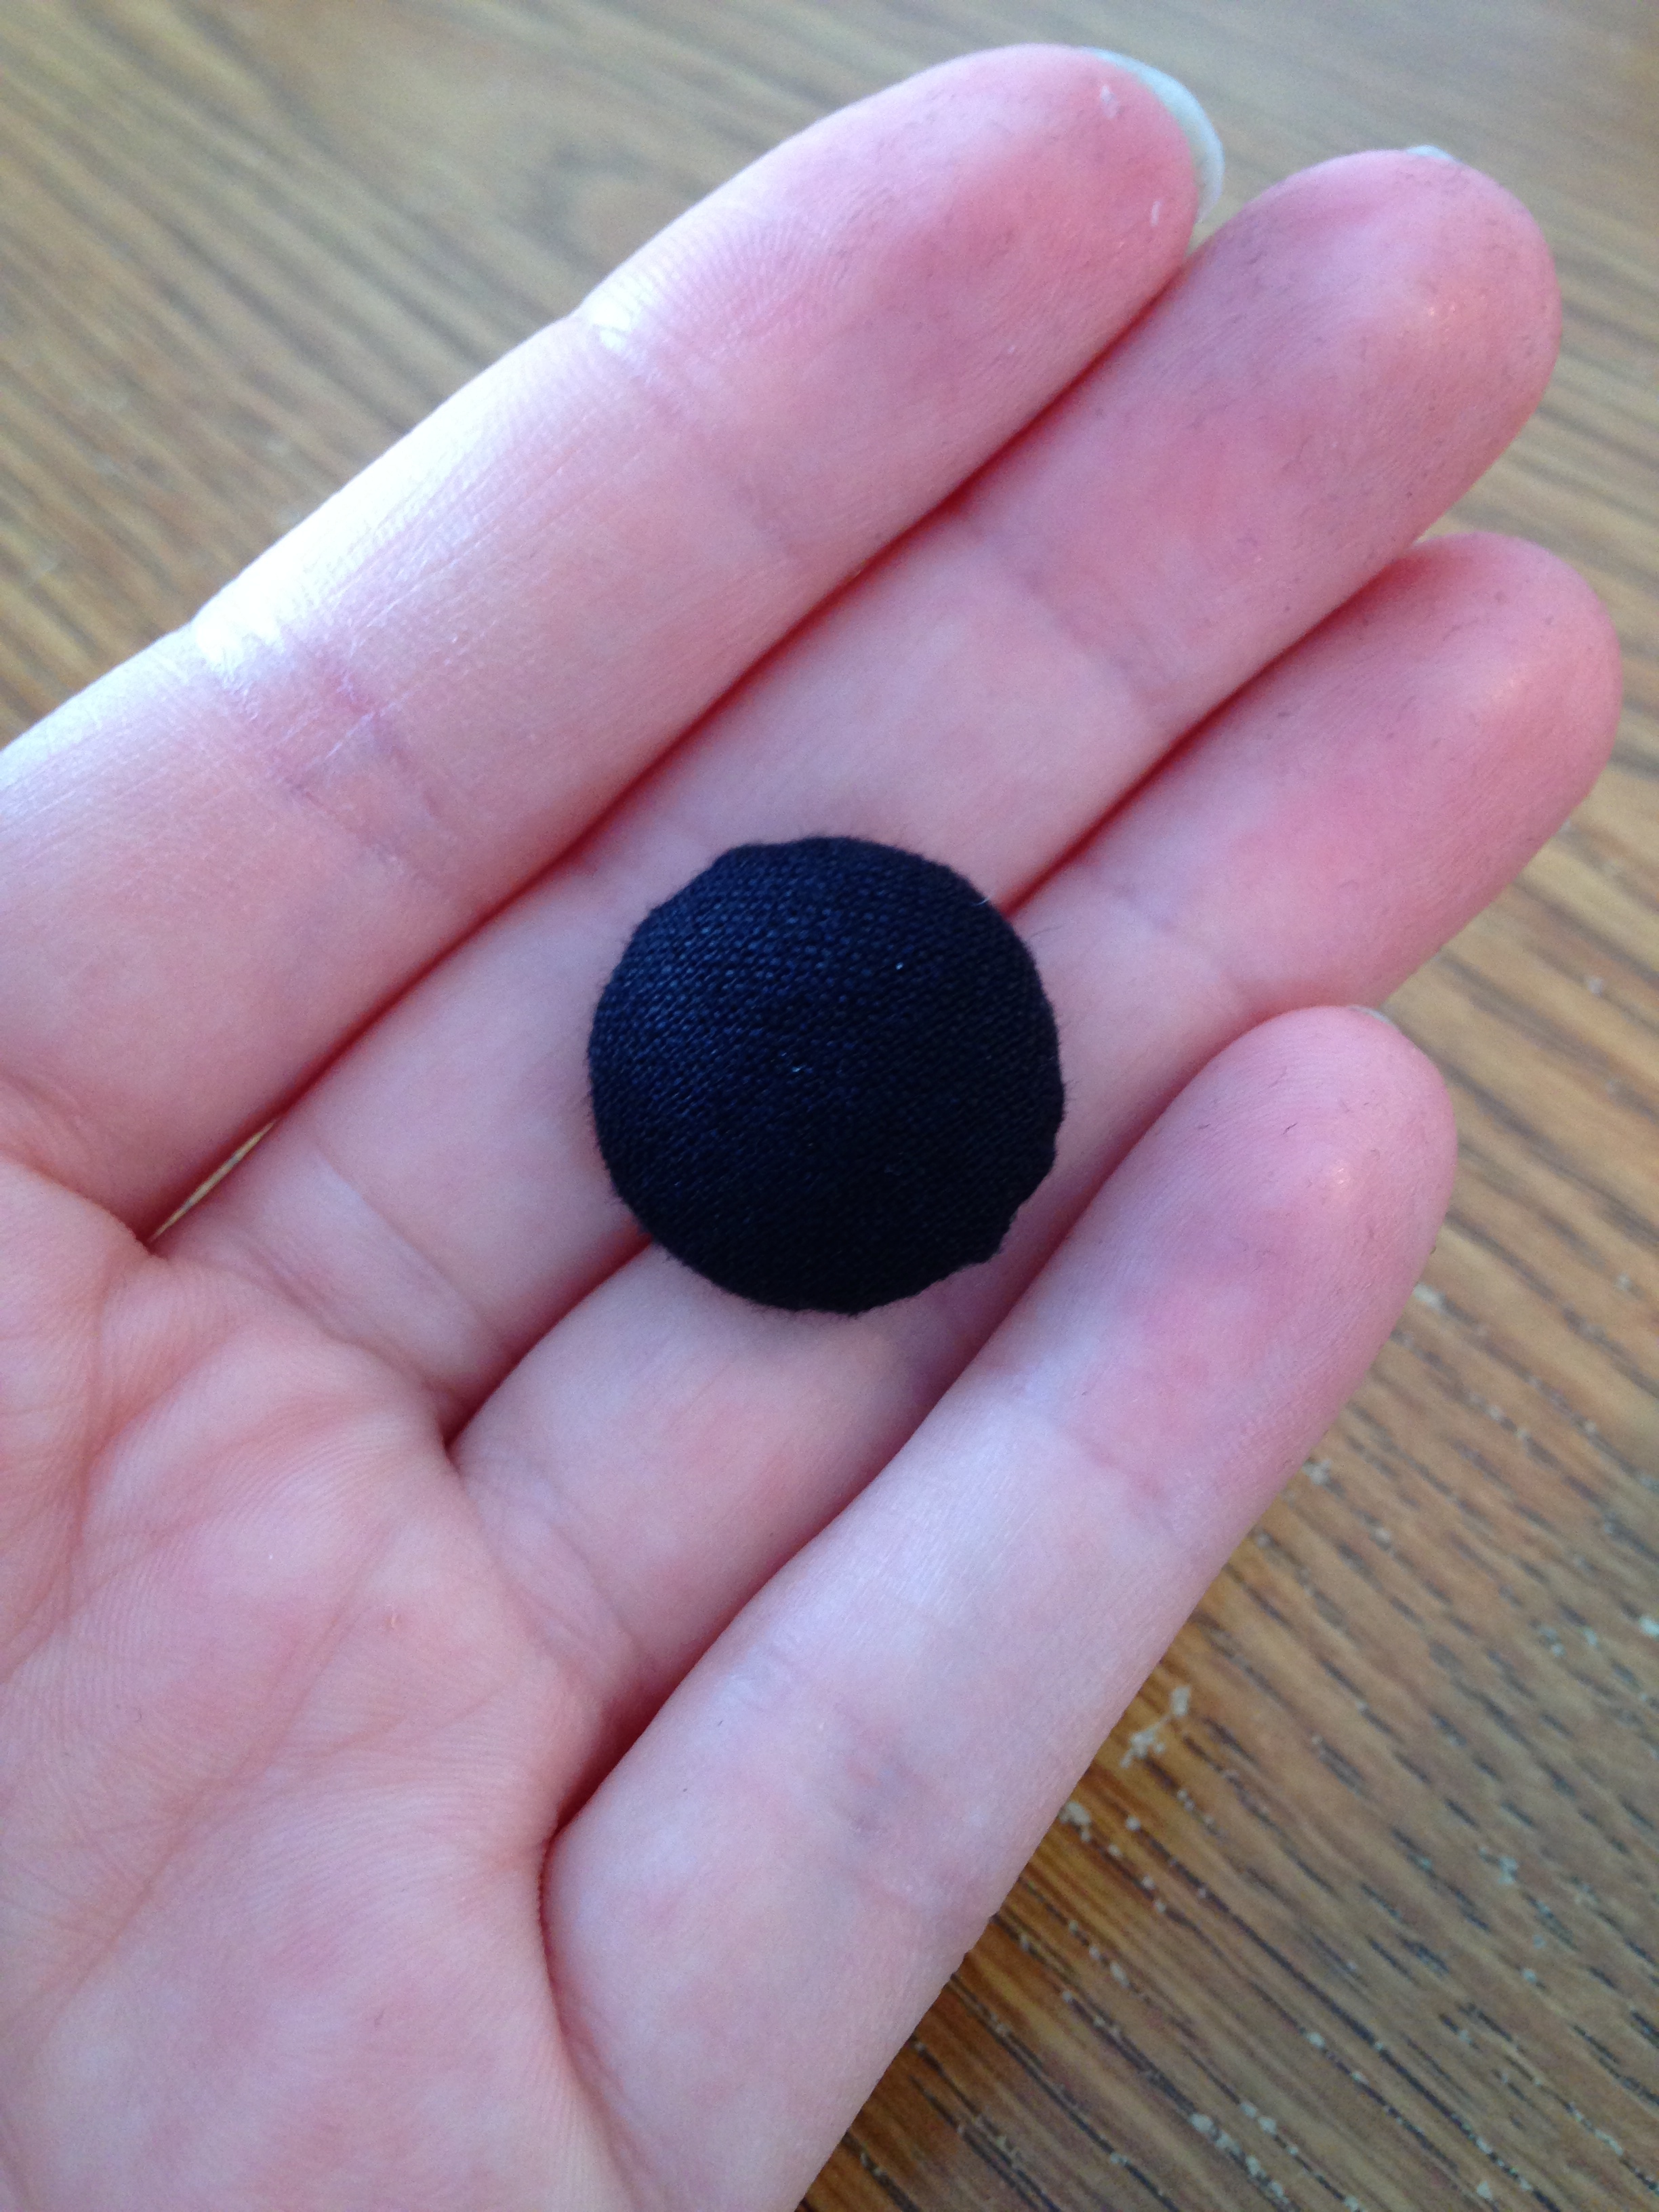
While I was going through all the lovely wools and cotton prints, I found a wool green gingham complete with pattern and buttons, oh my! (Past Andrea had ambitions and present Andrea is going to take advantage.)

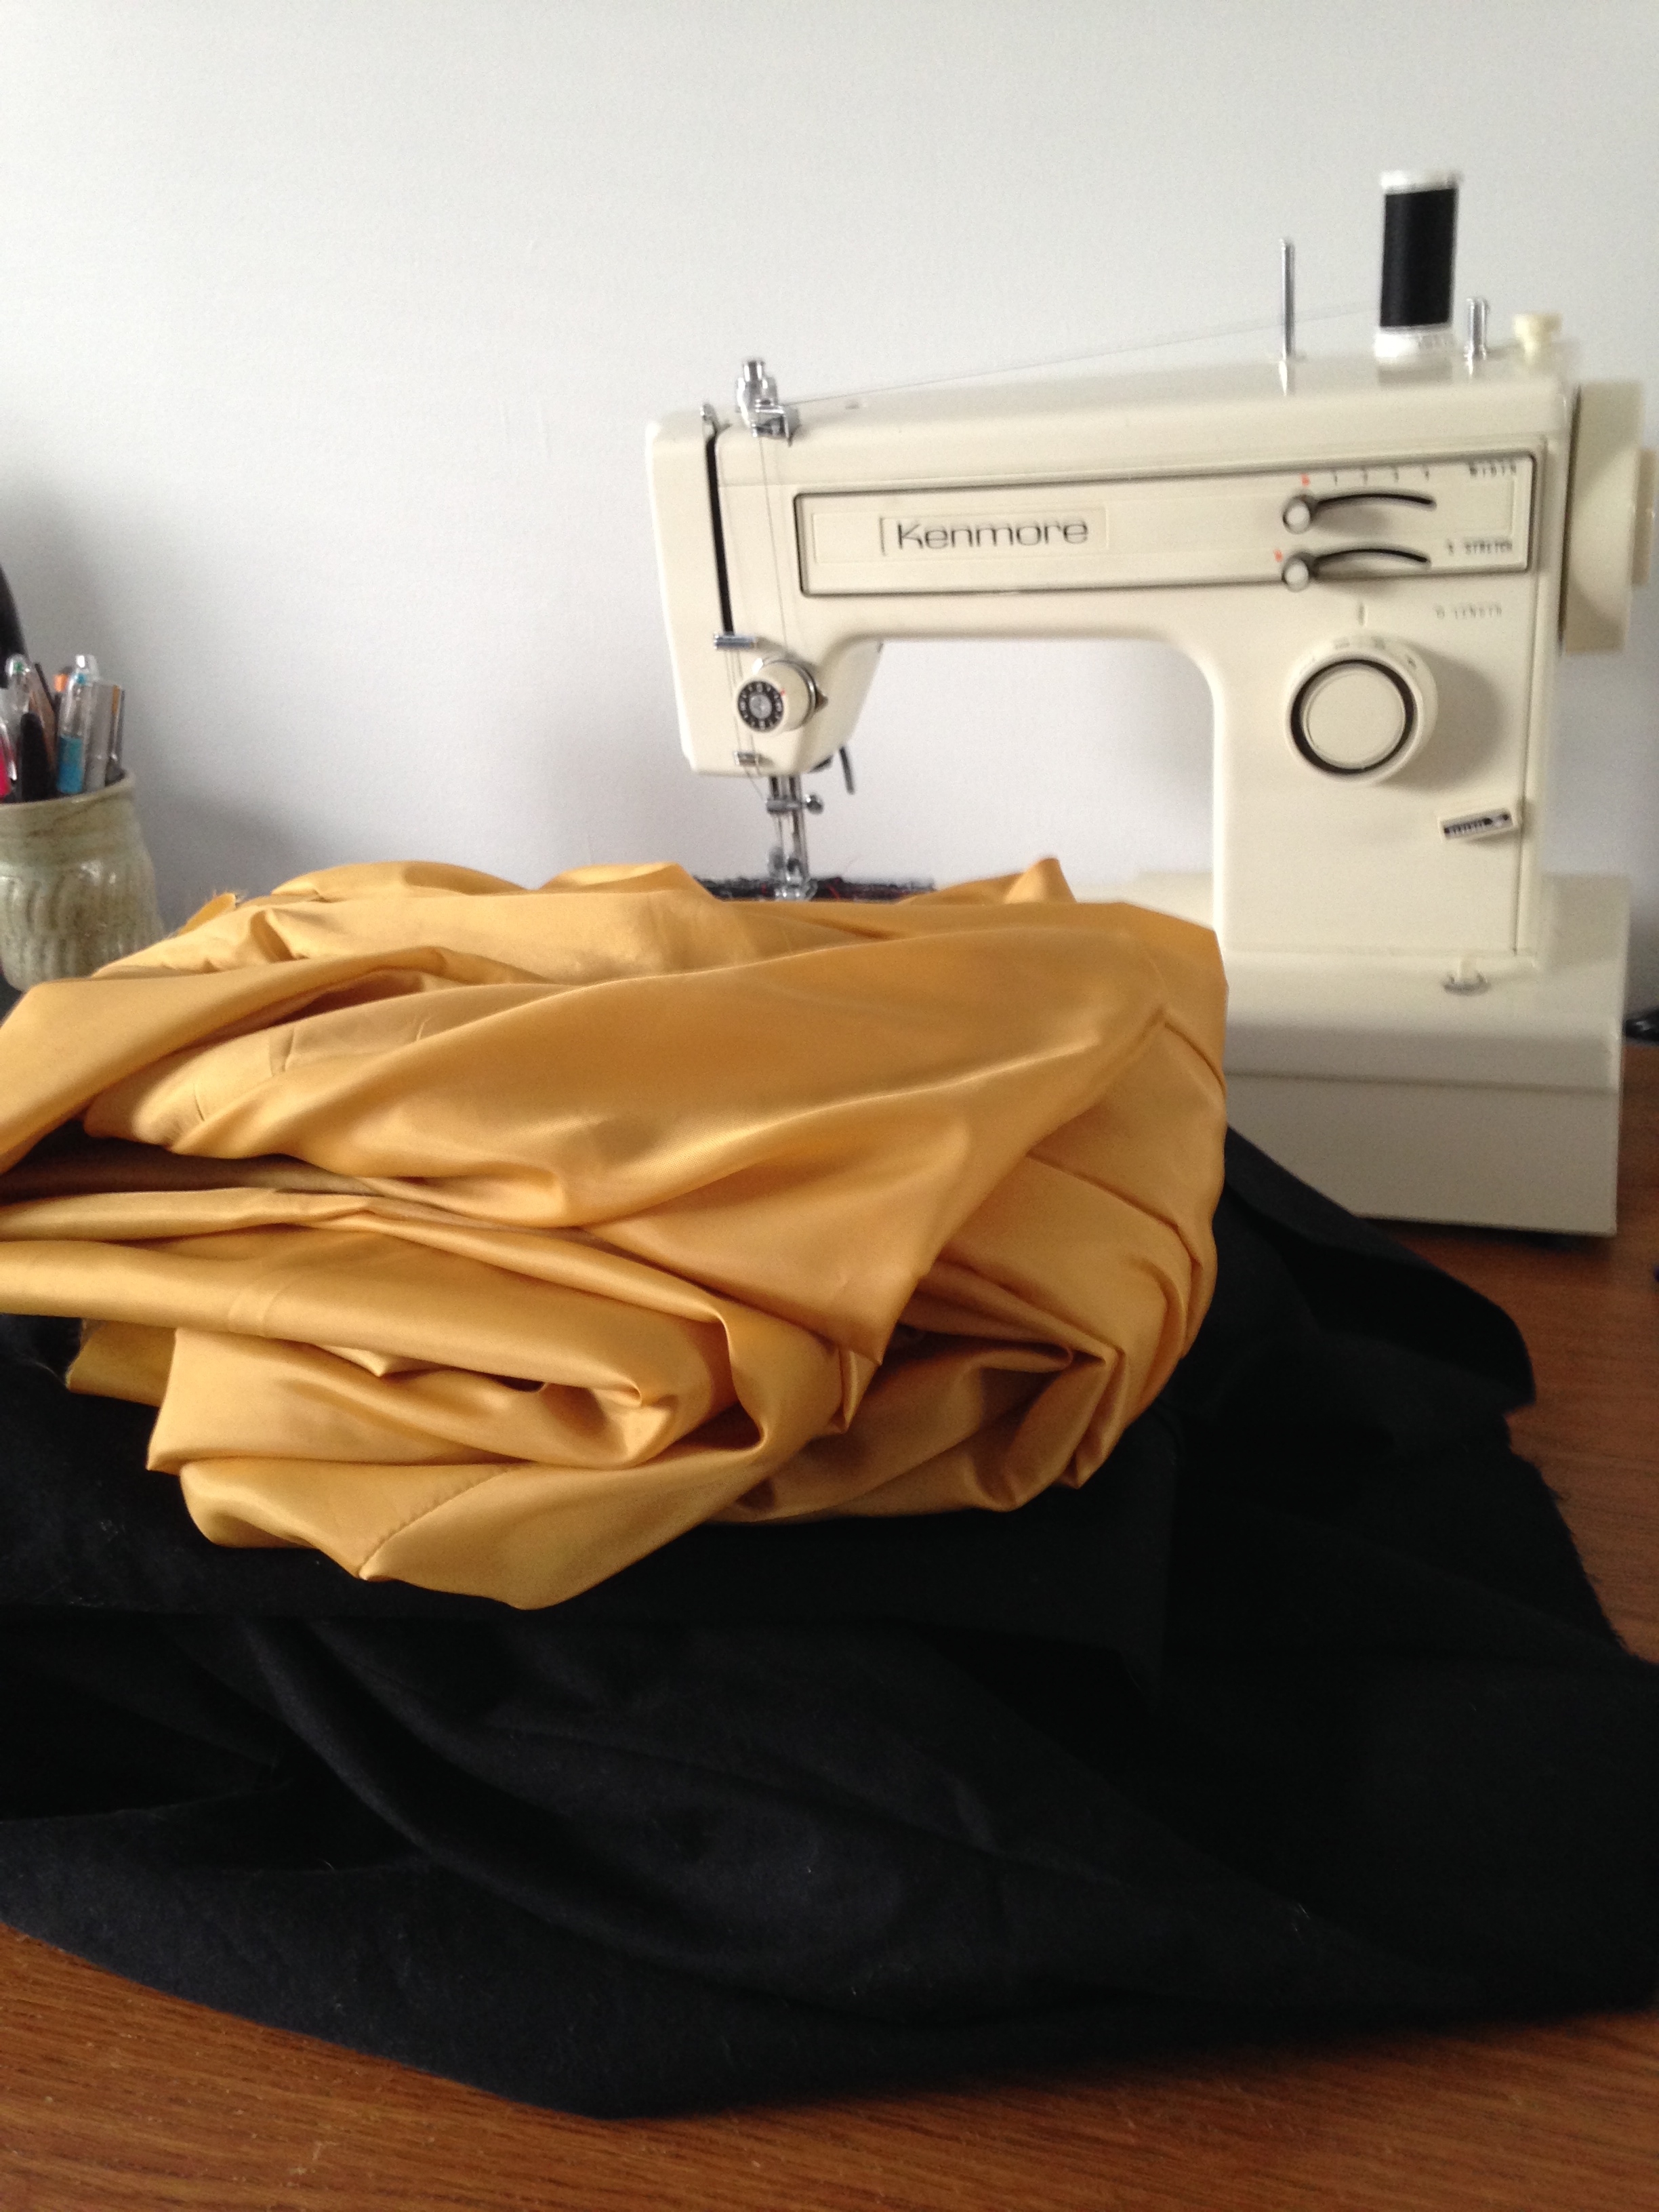
Anyways. Since the green wool gingham is perfect for this soon to be holiday dress. Cherry button included. So I got scheming with my lovely Lady Lesley and we set up a sewing skype date to hopefully get both our projects rolling. 

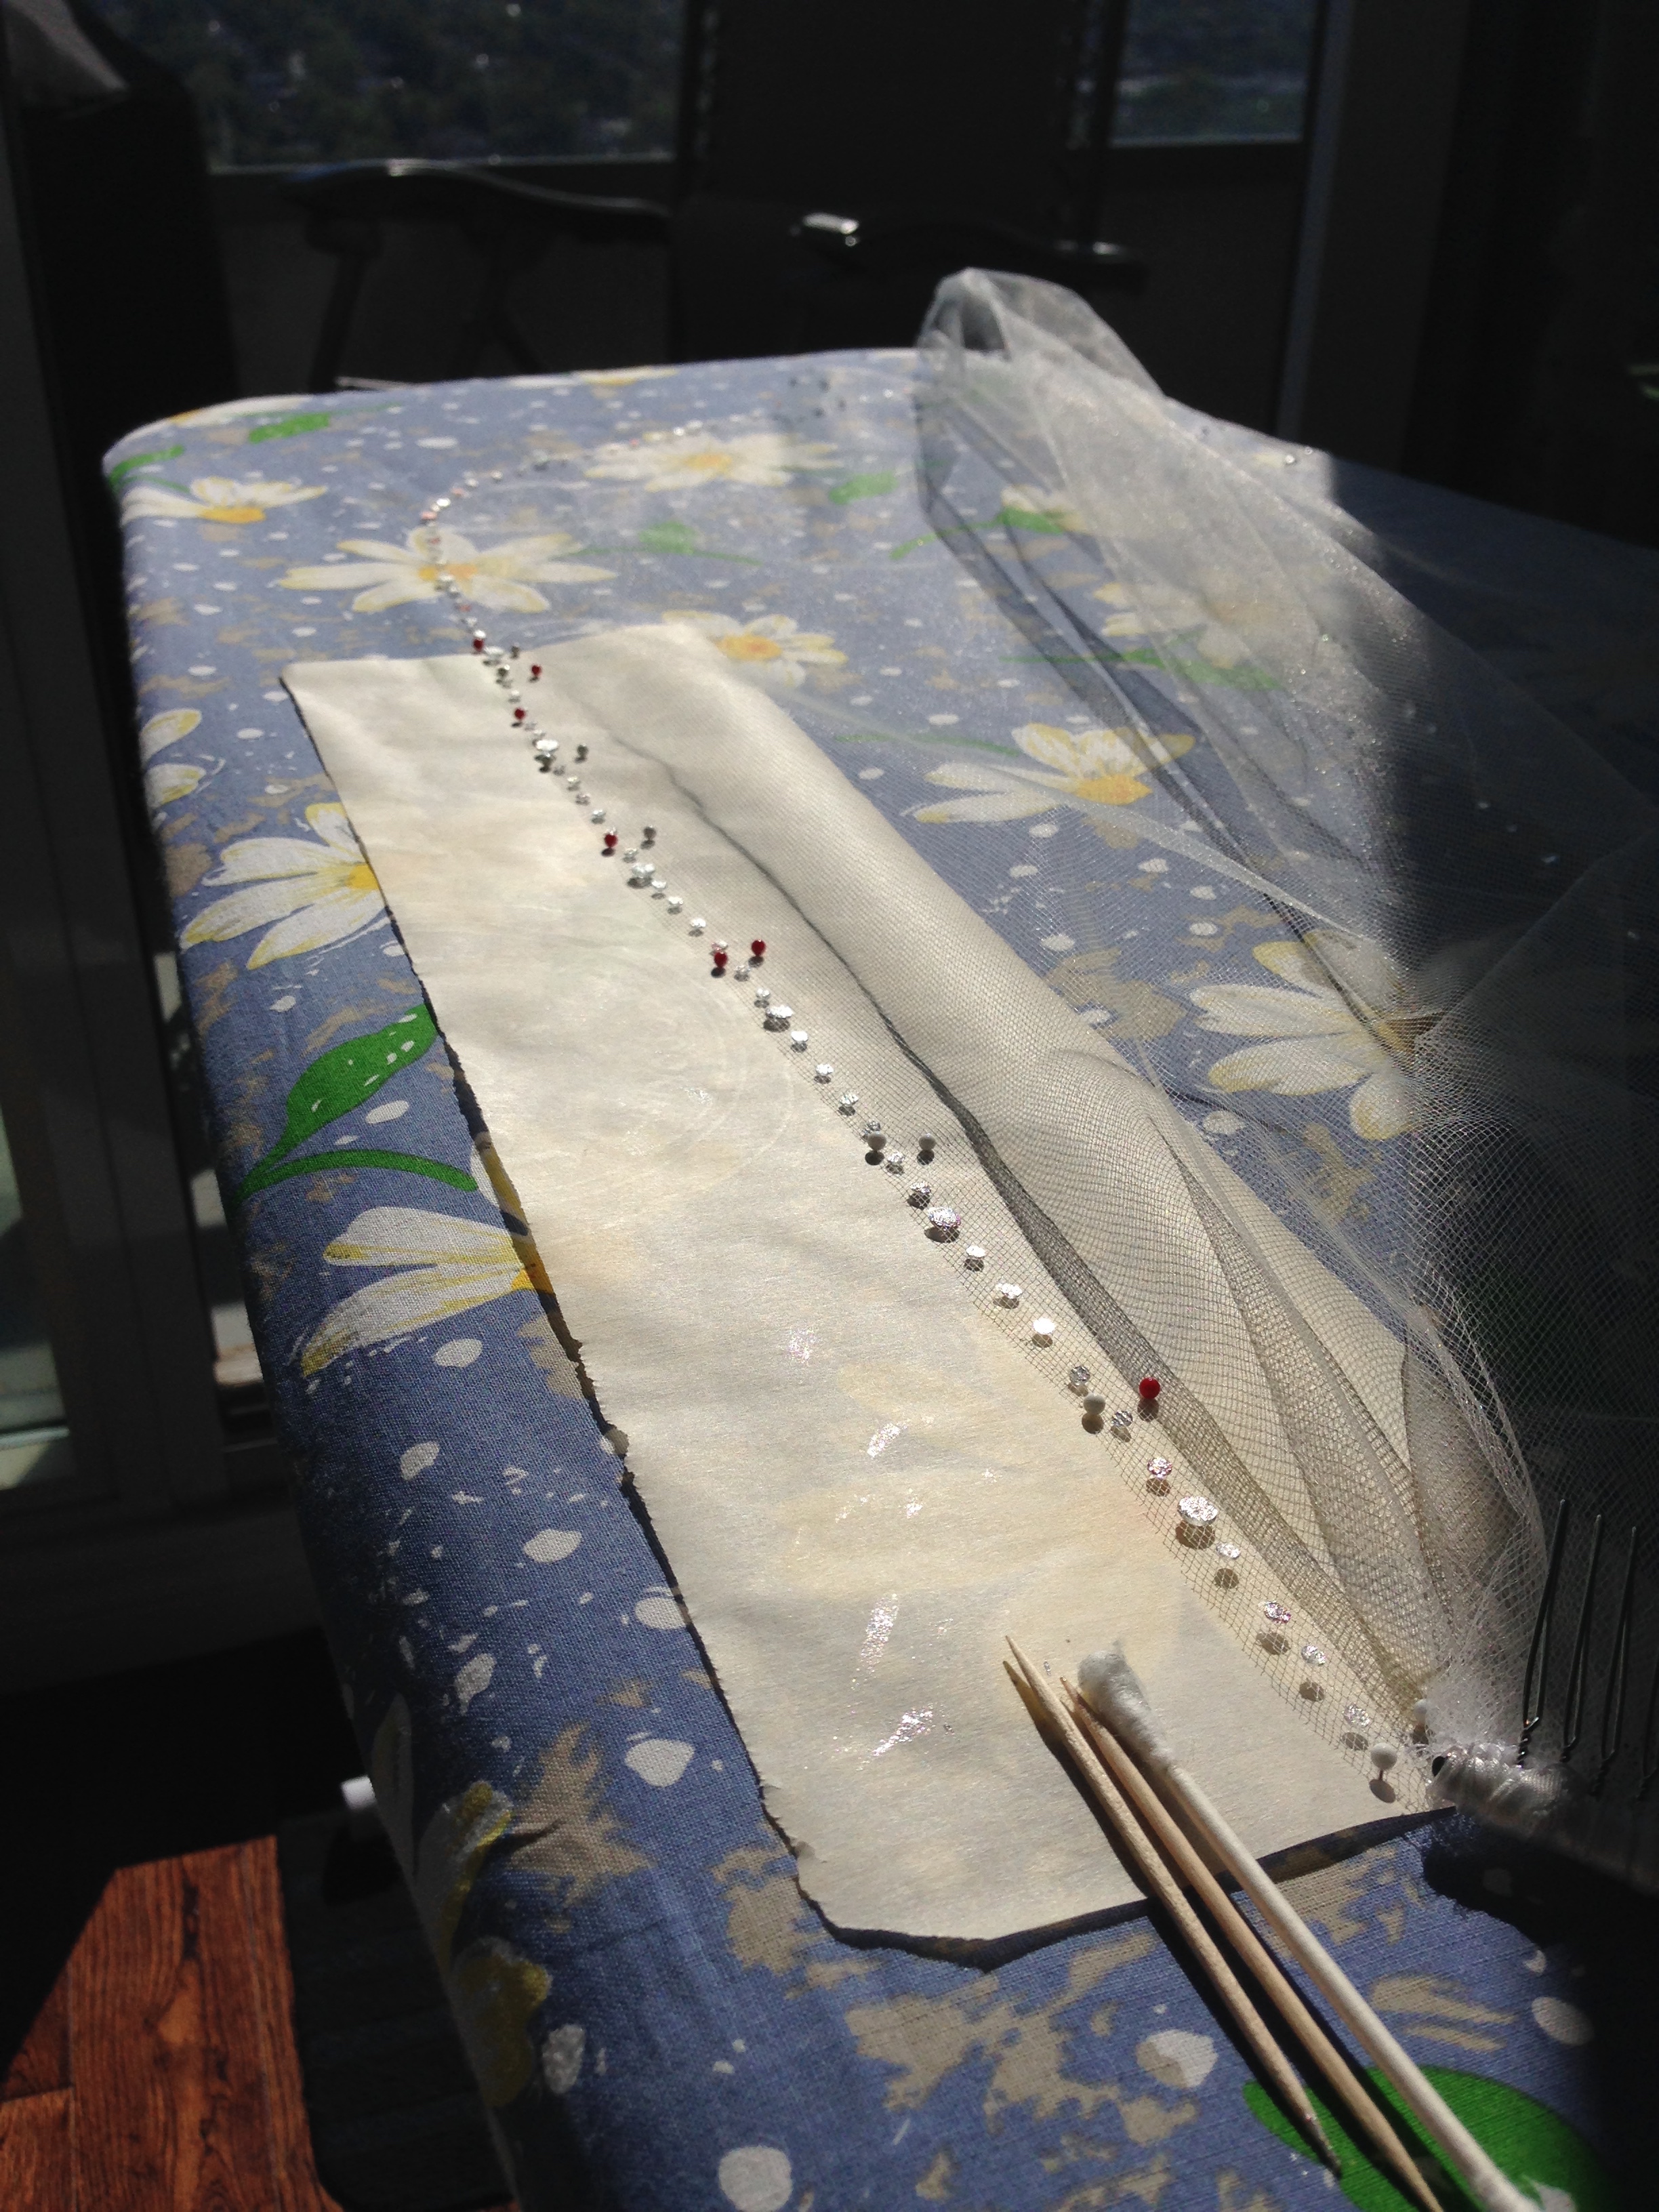
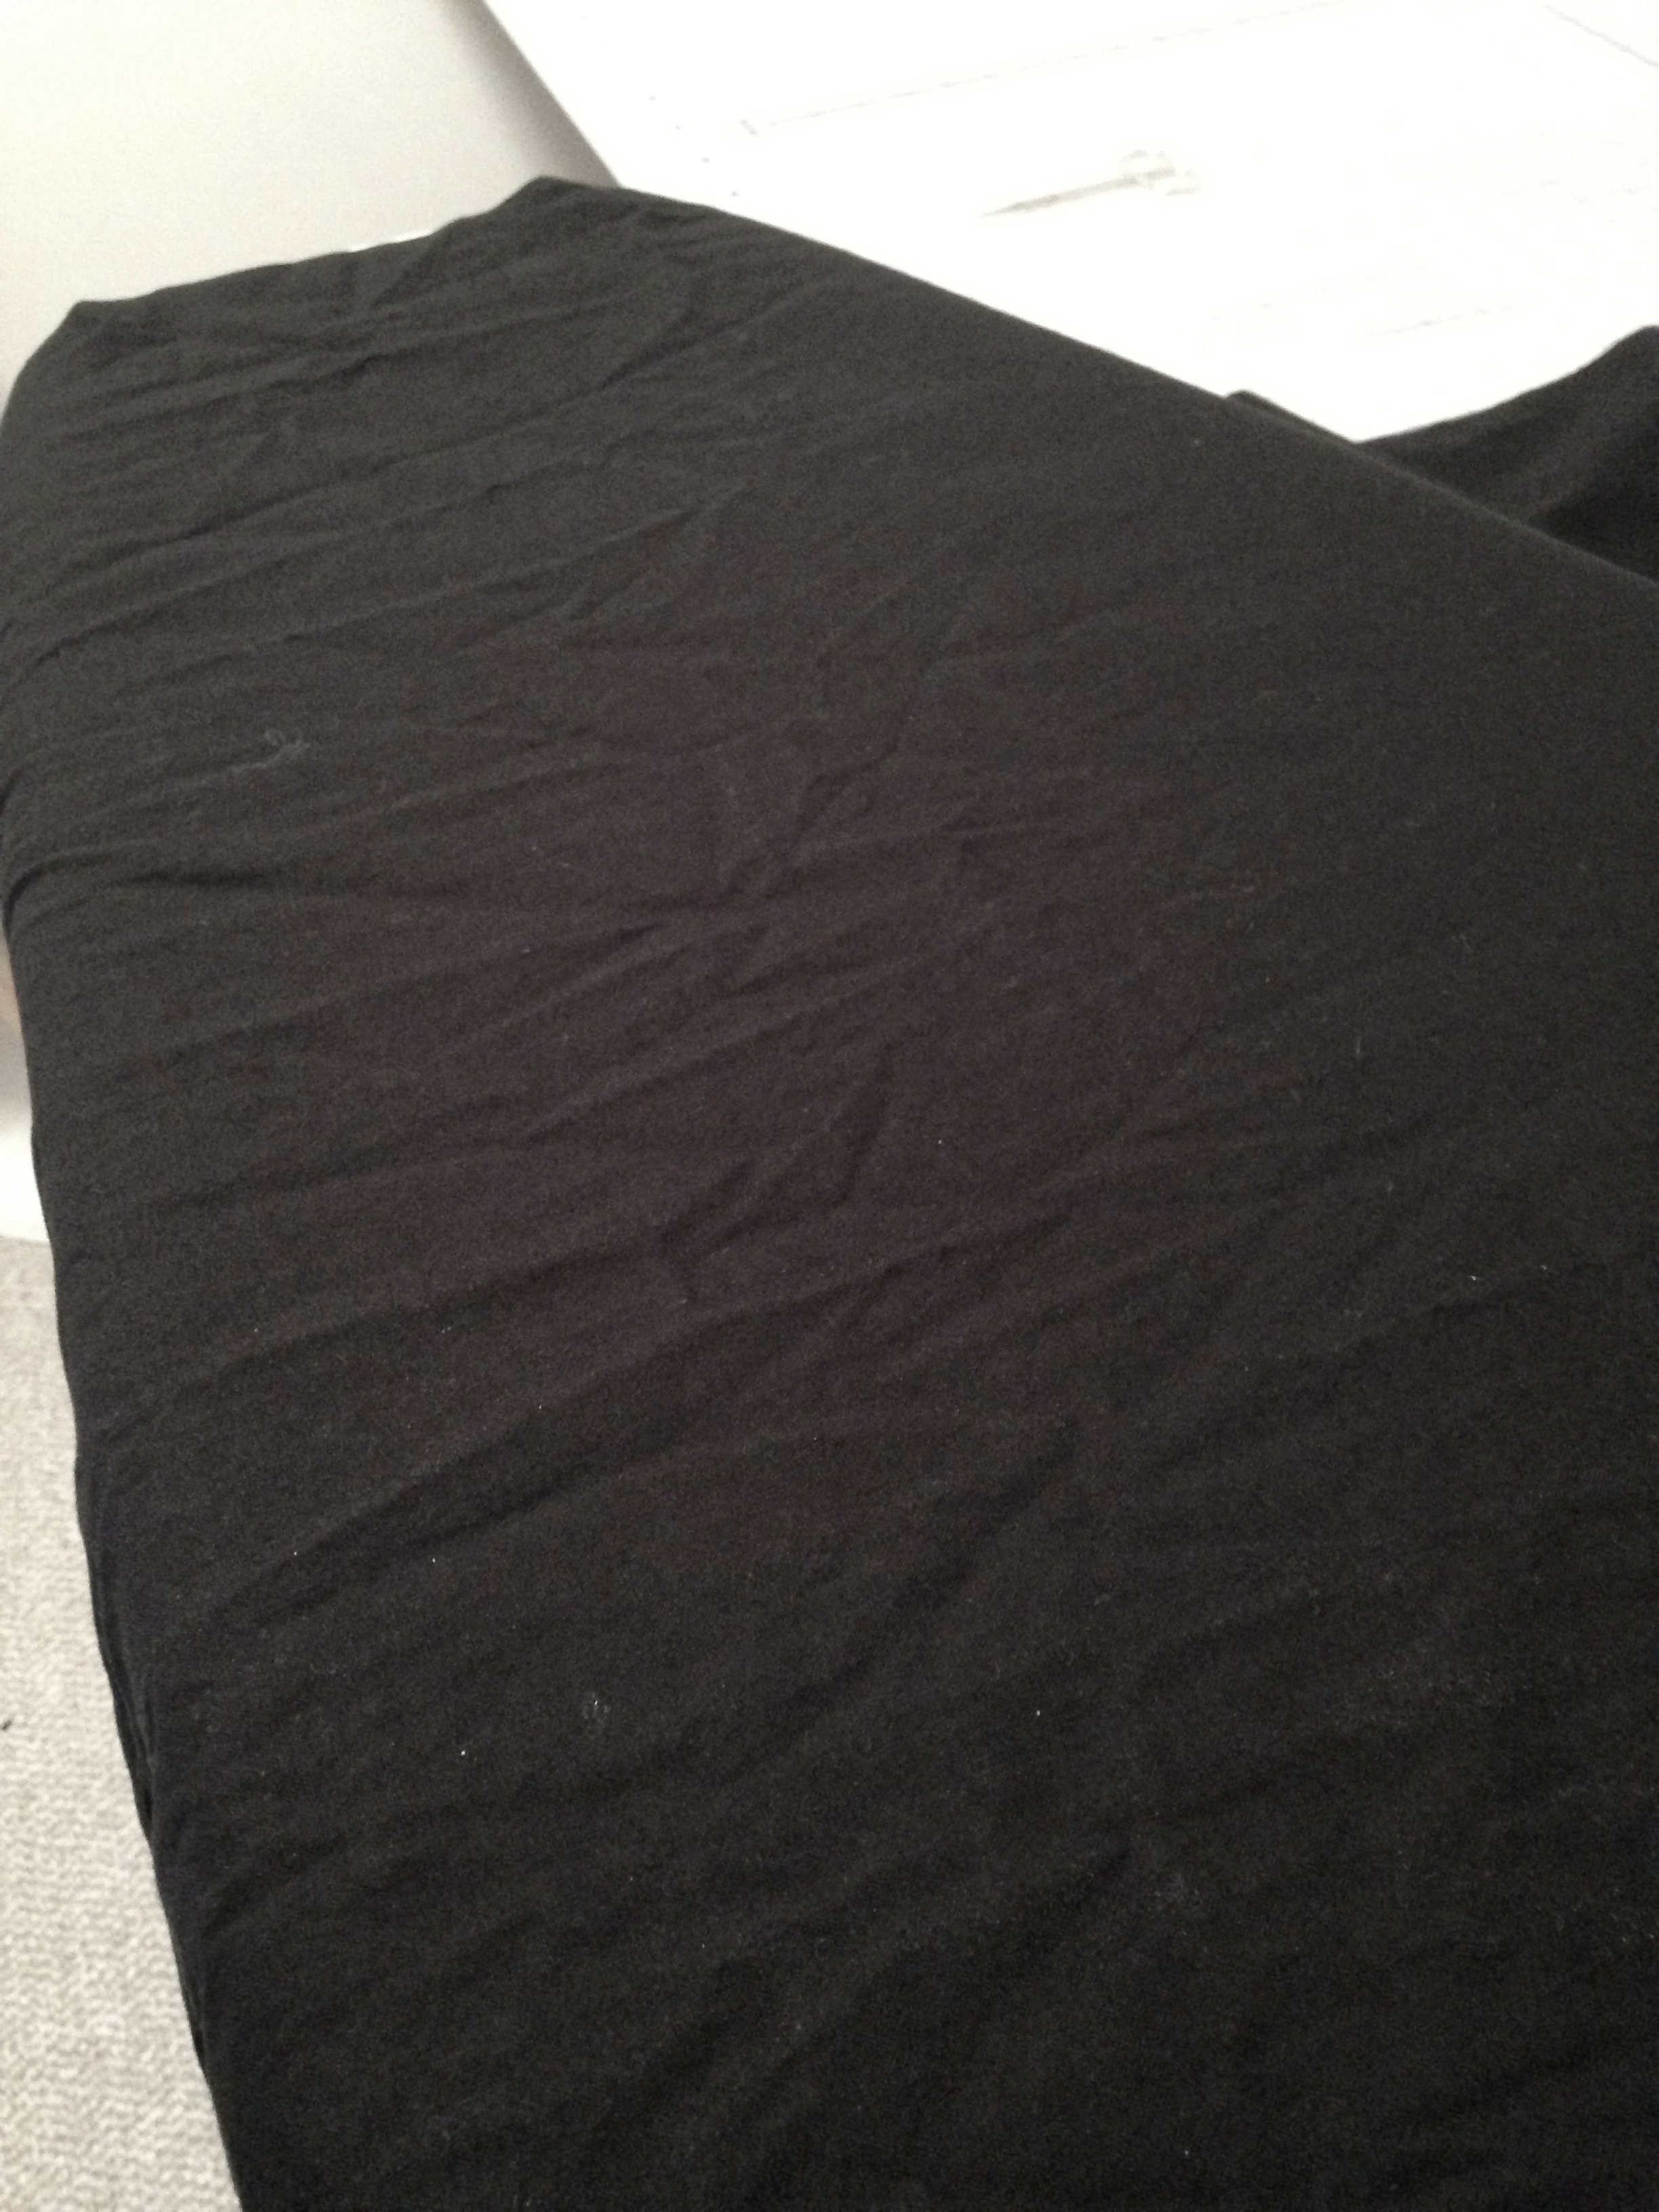
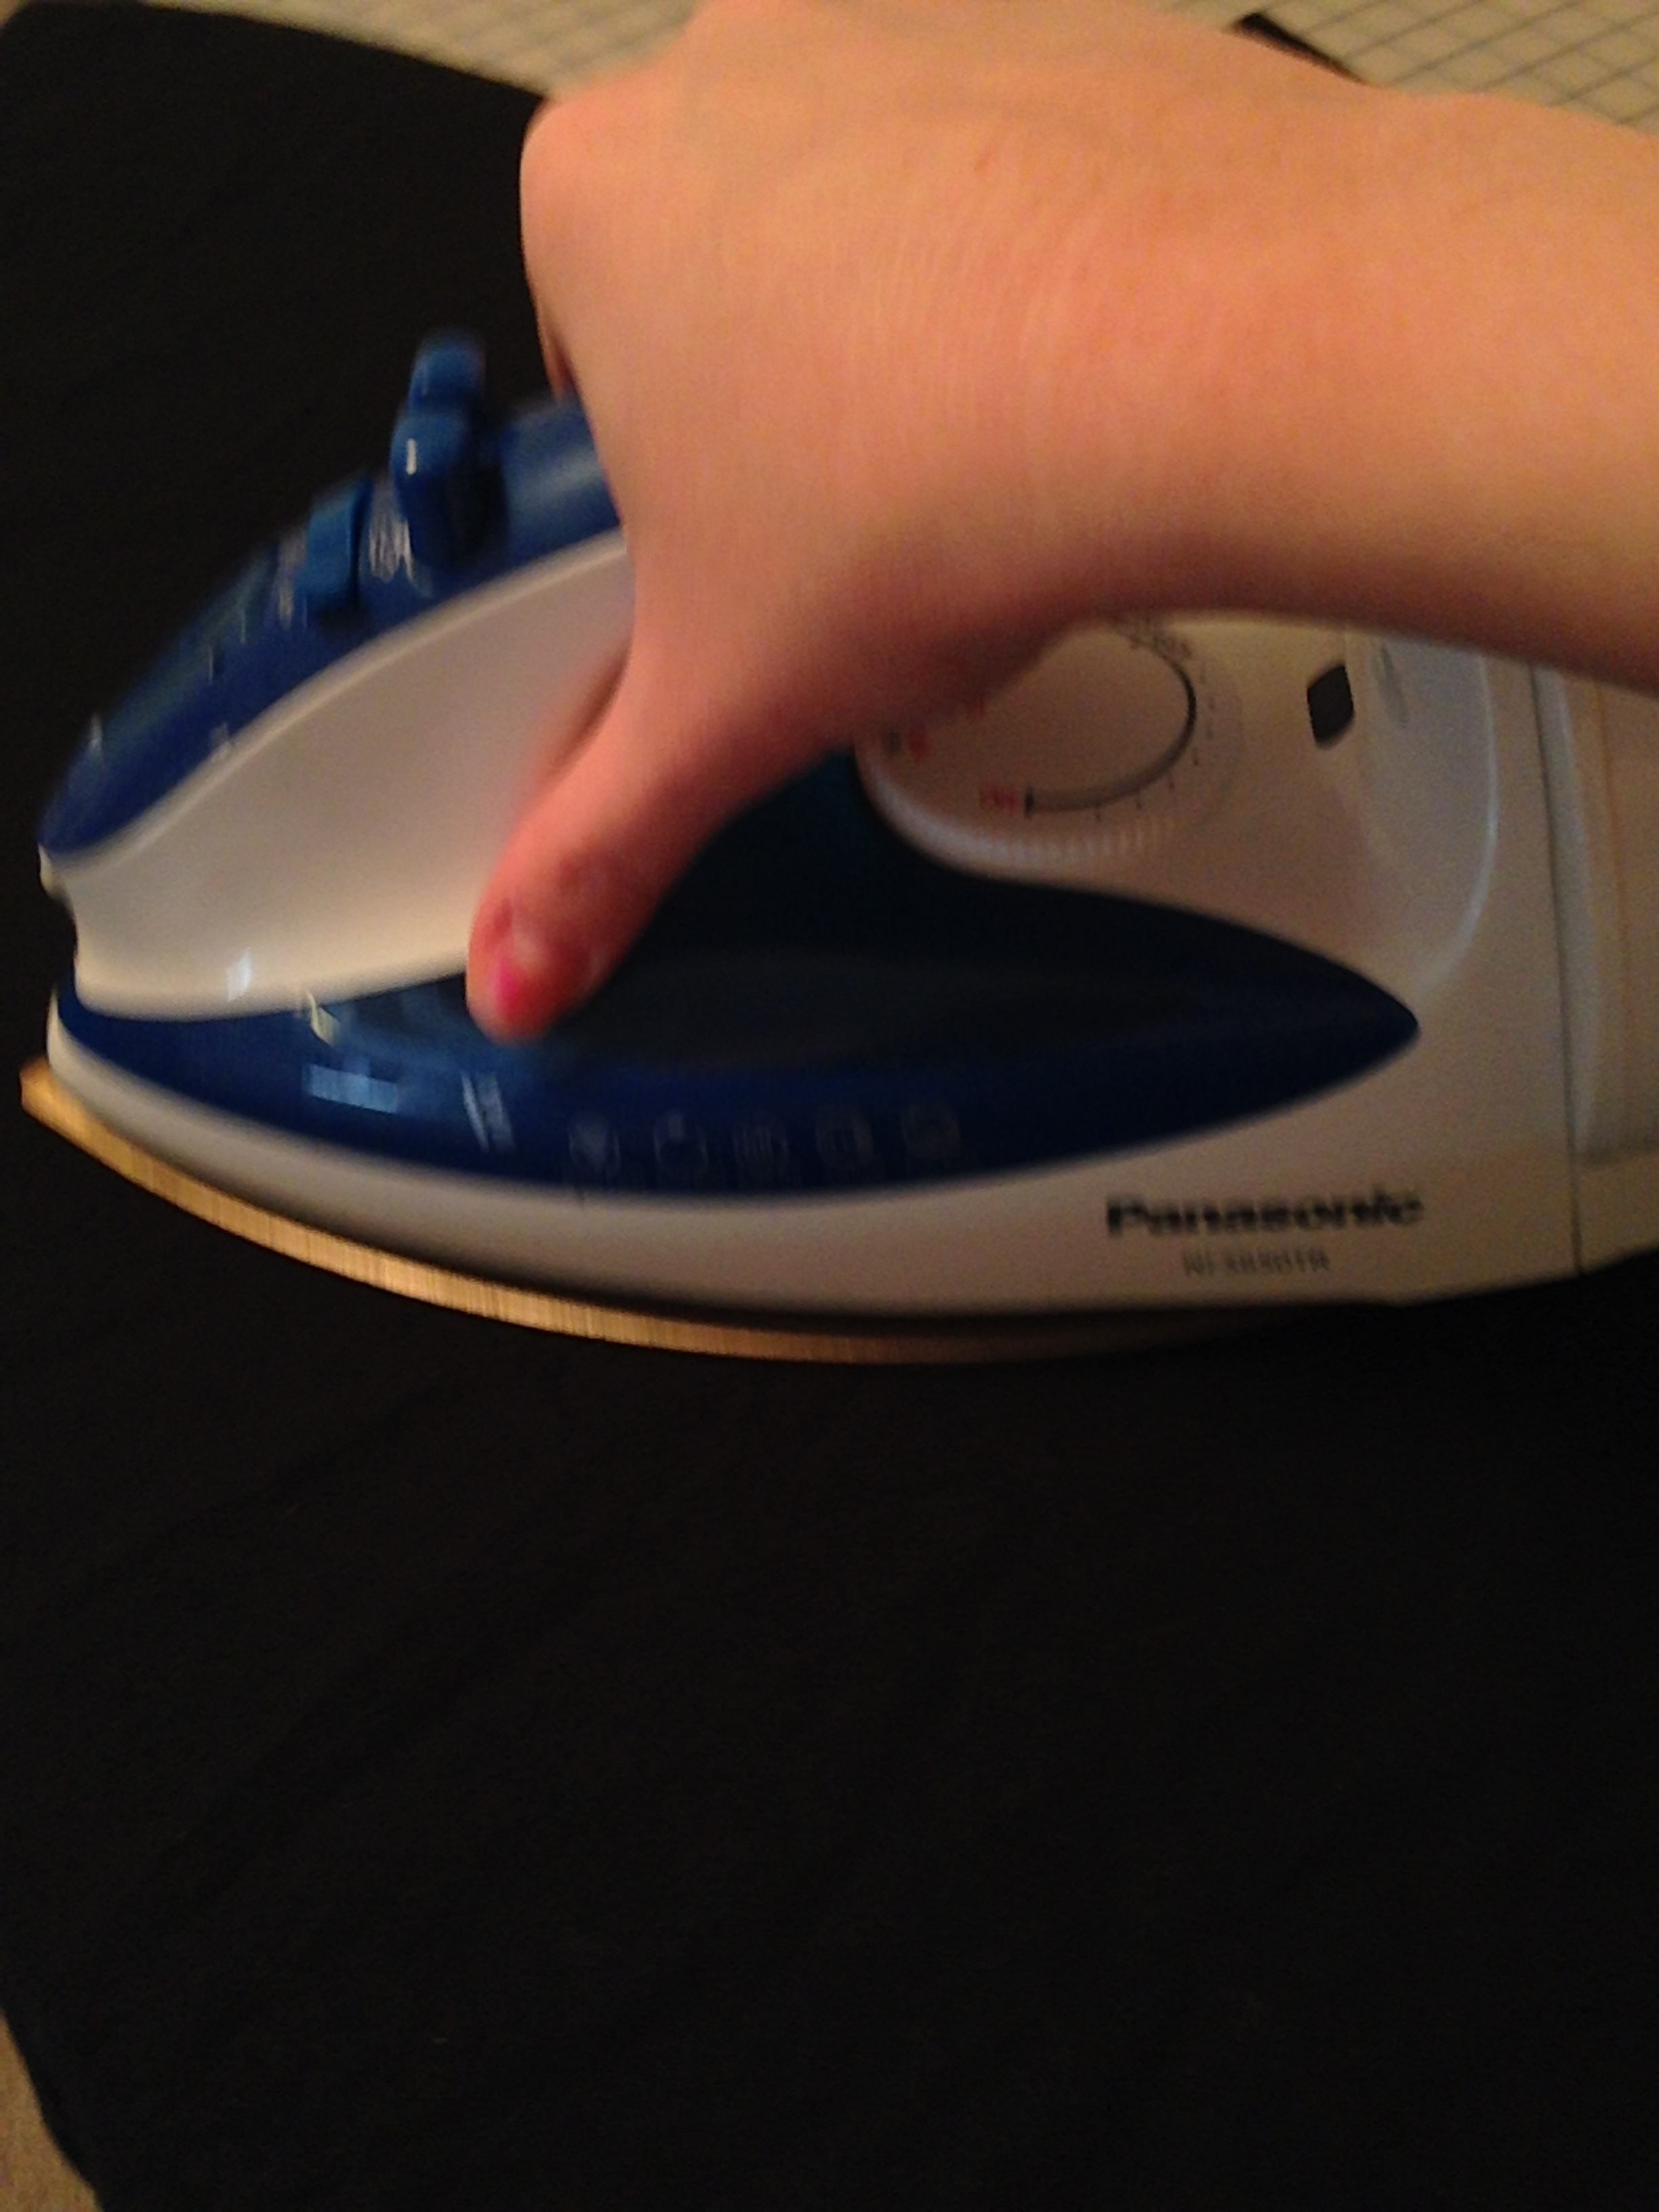
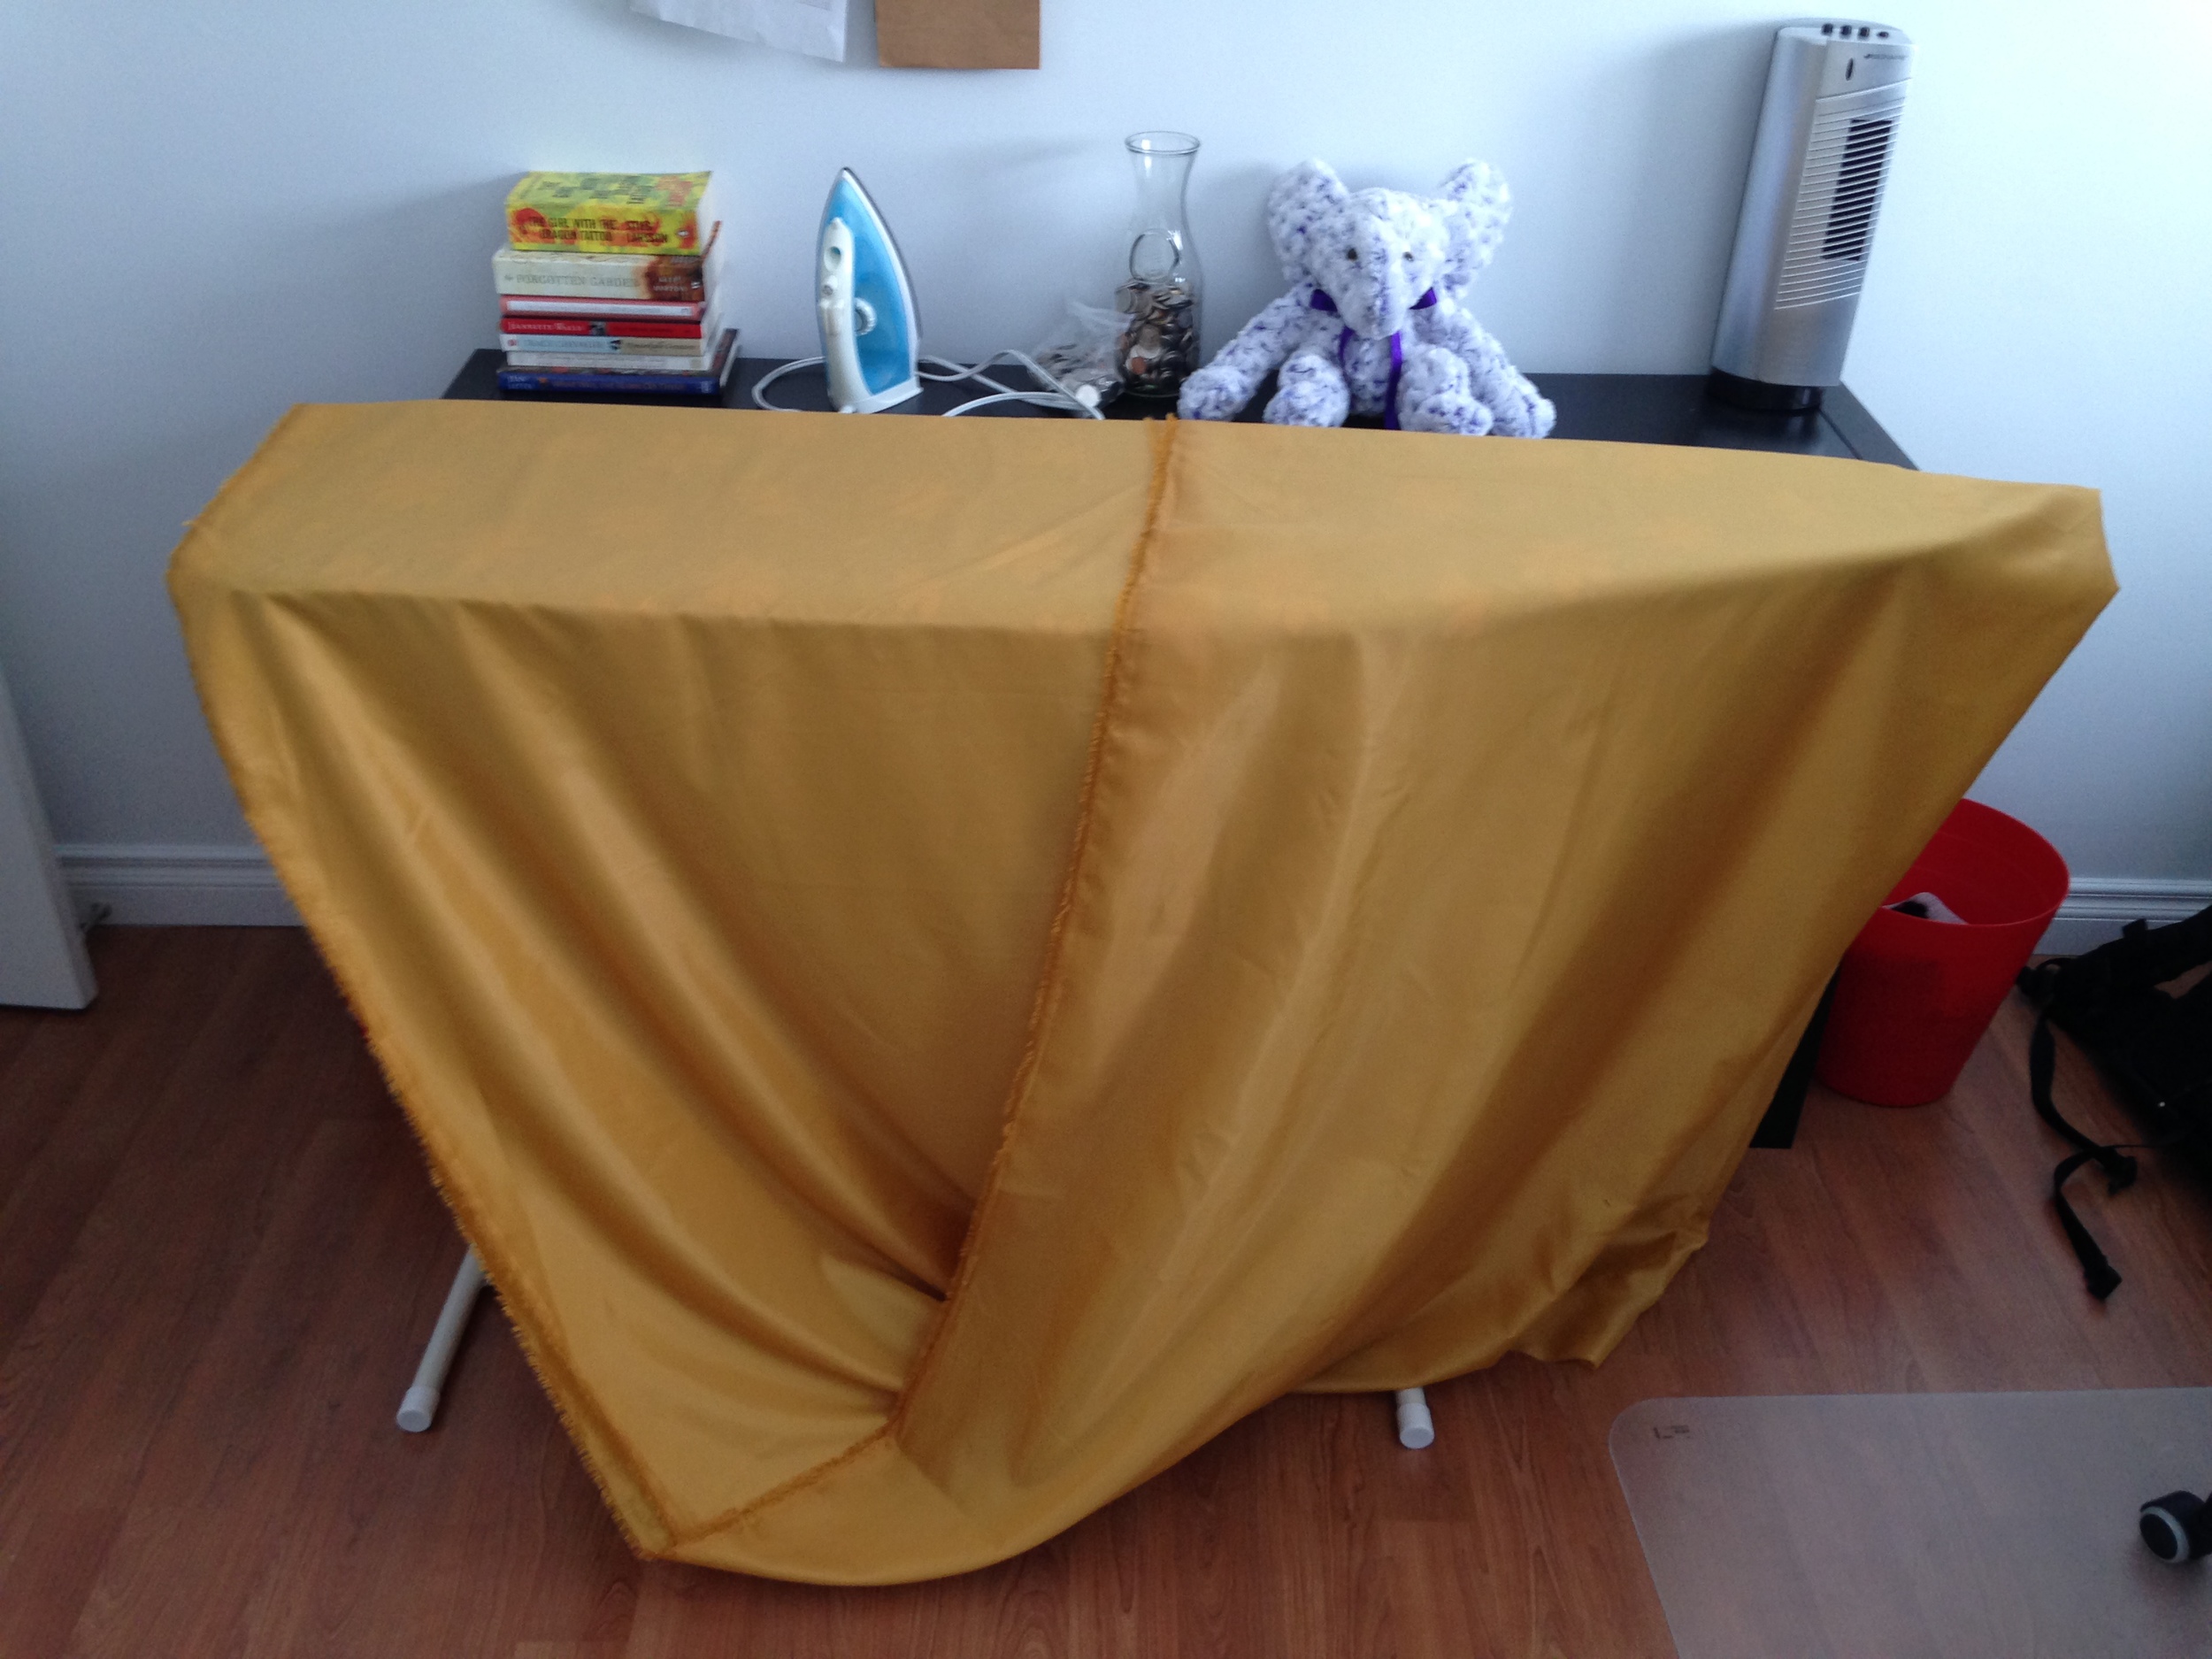
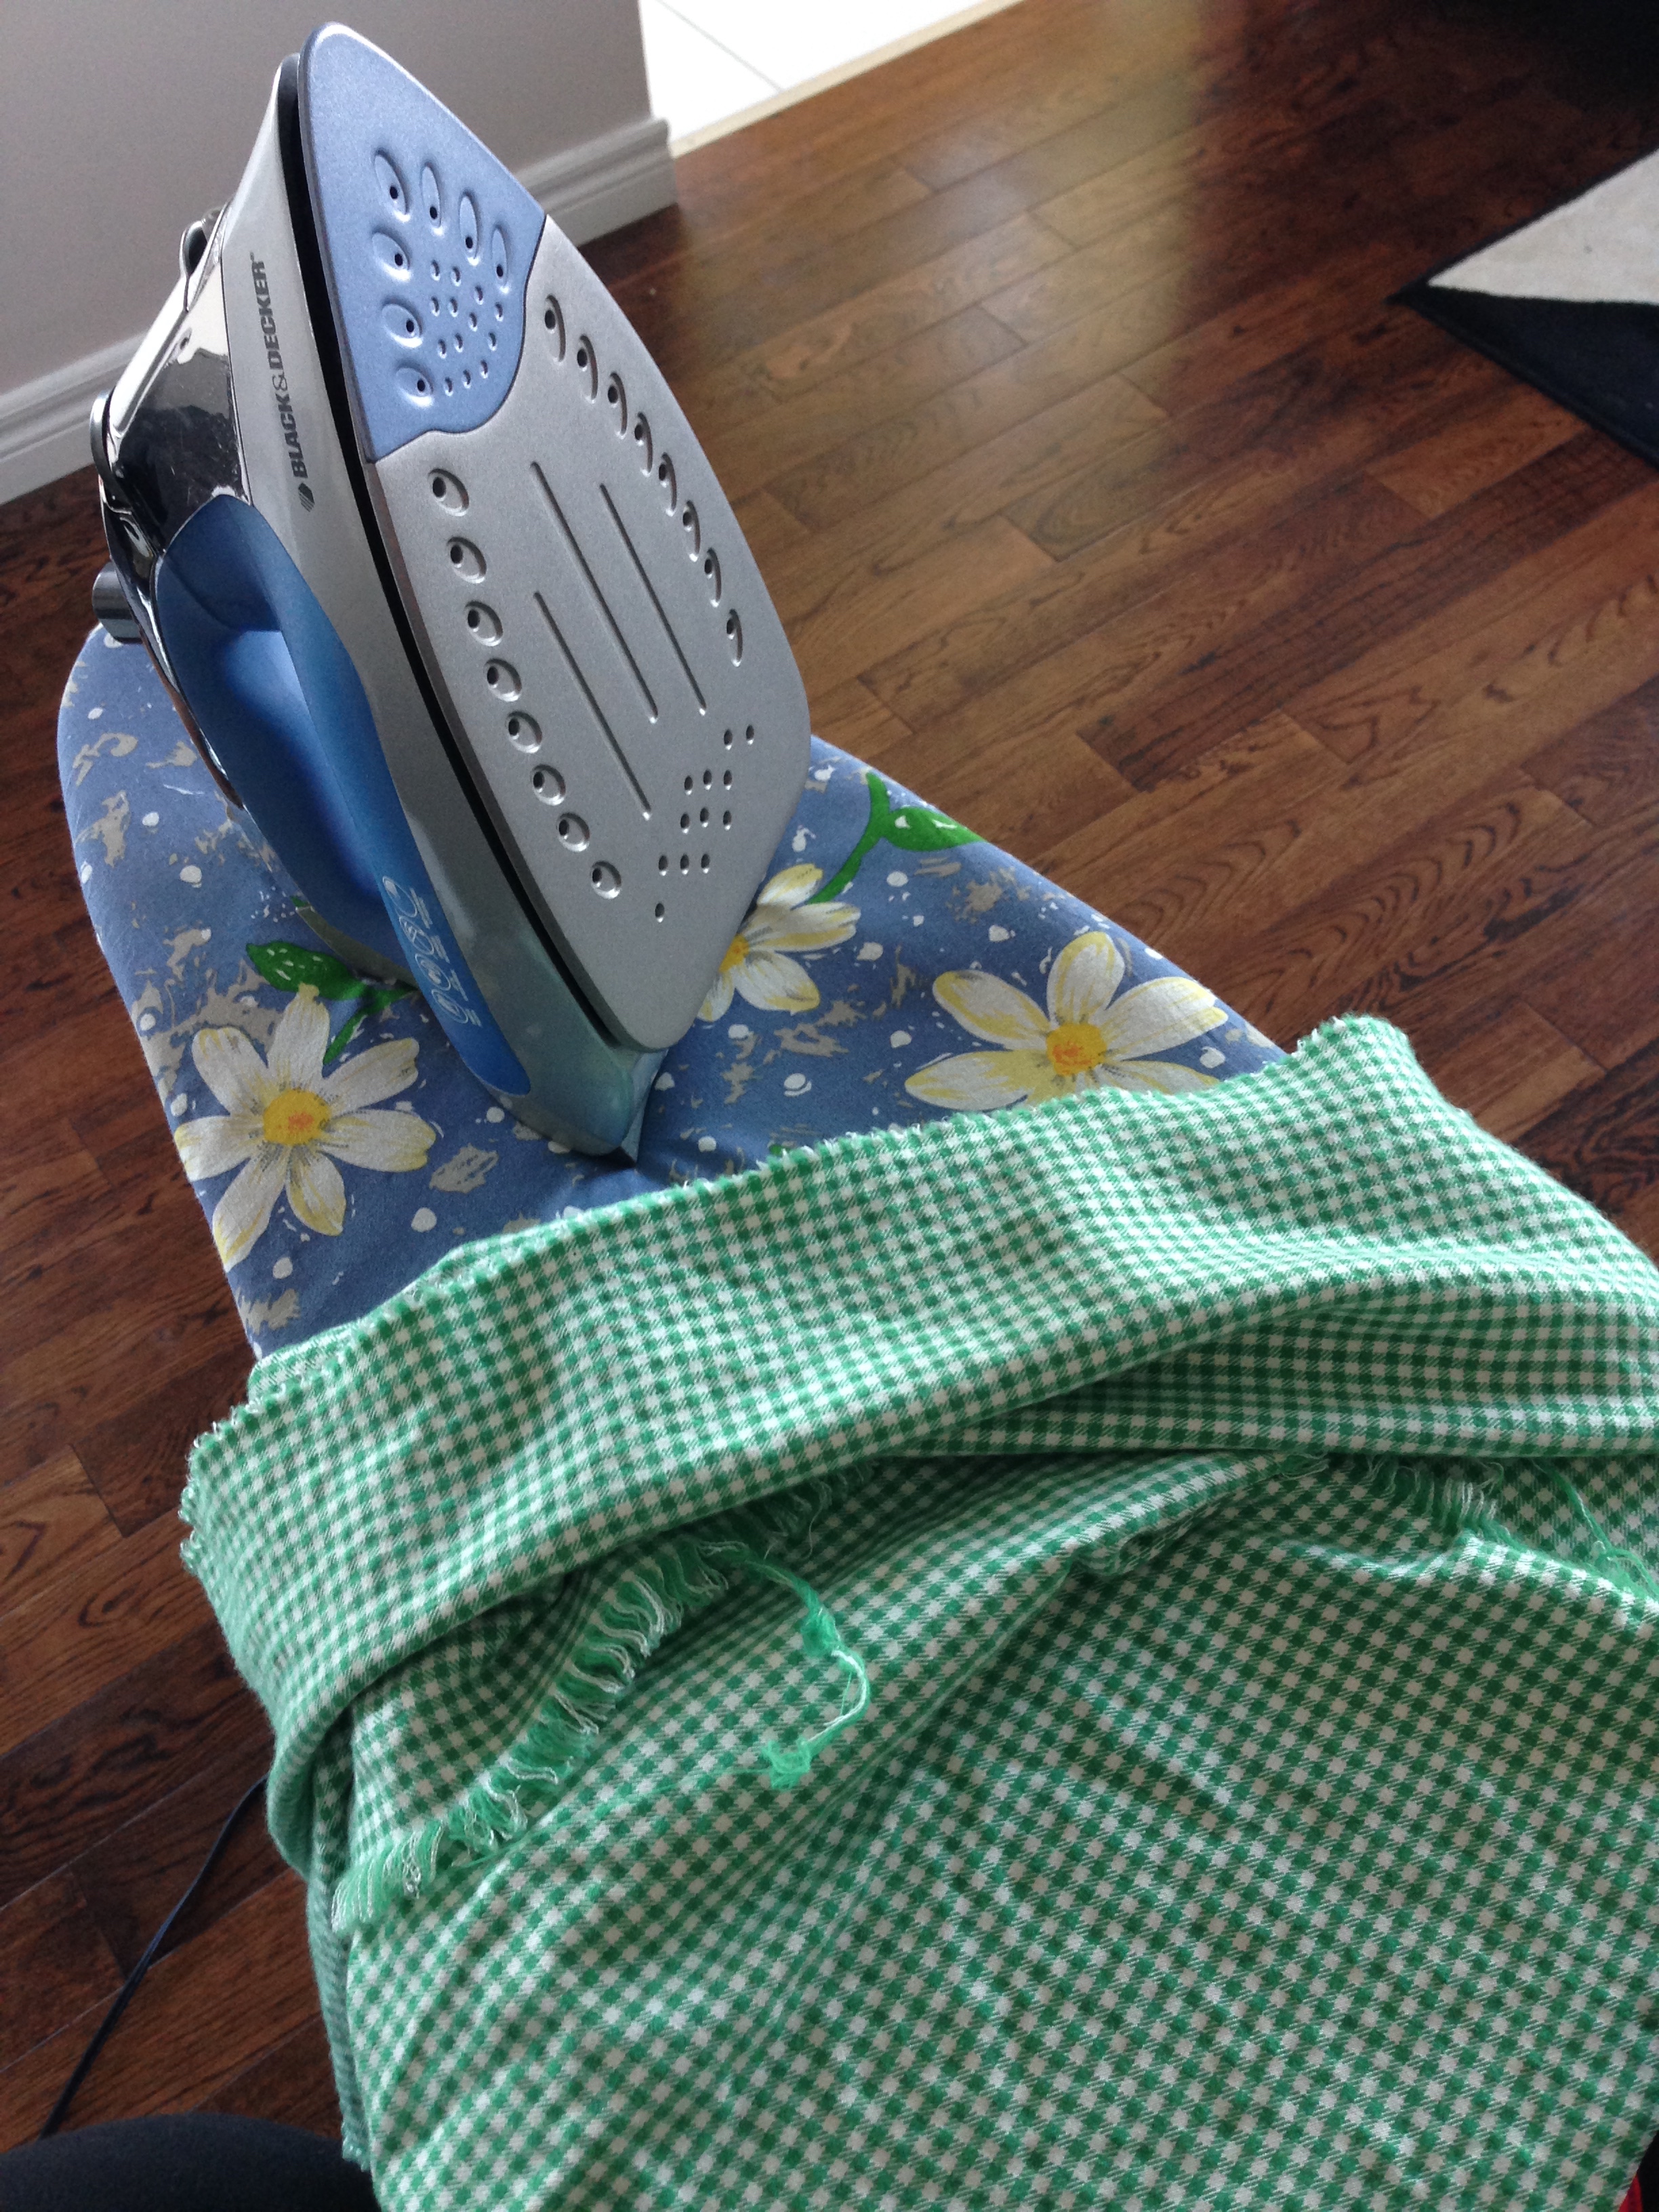
Step one is always iron out that fabric flat.

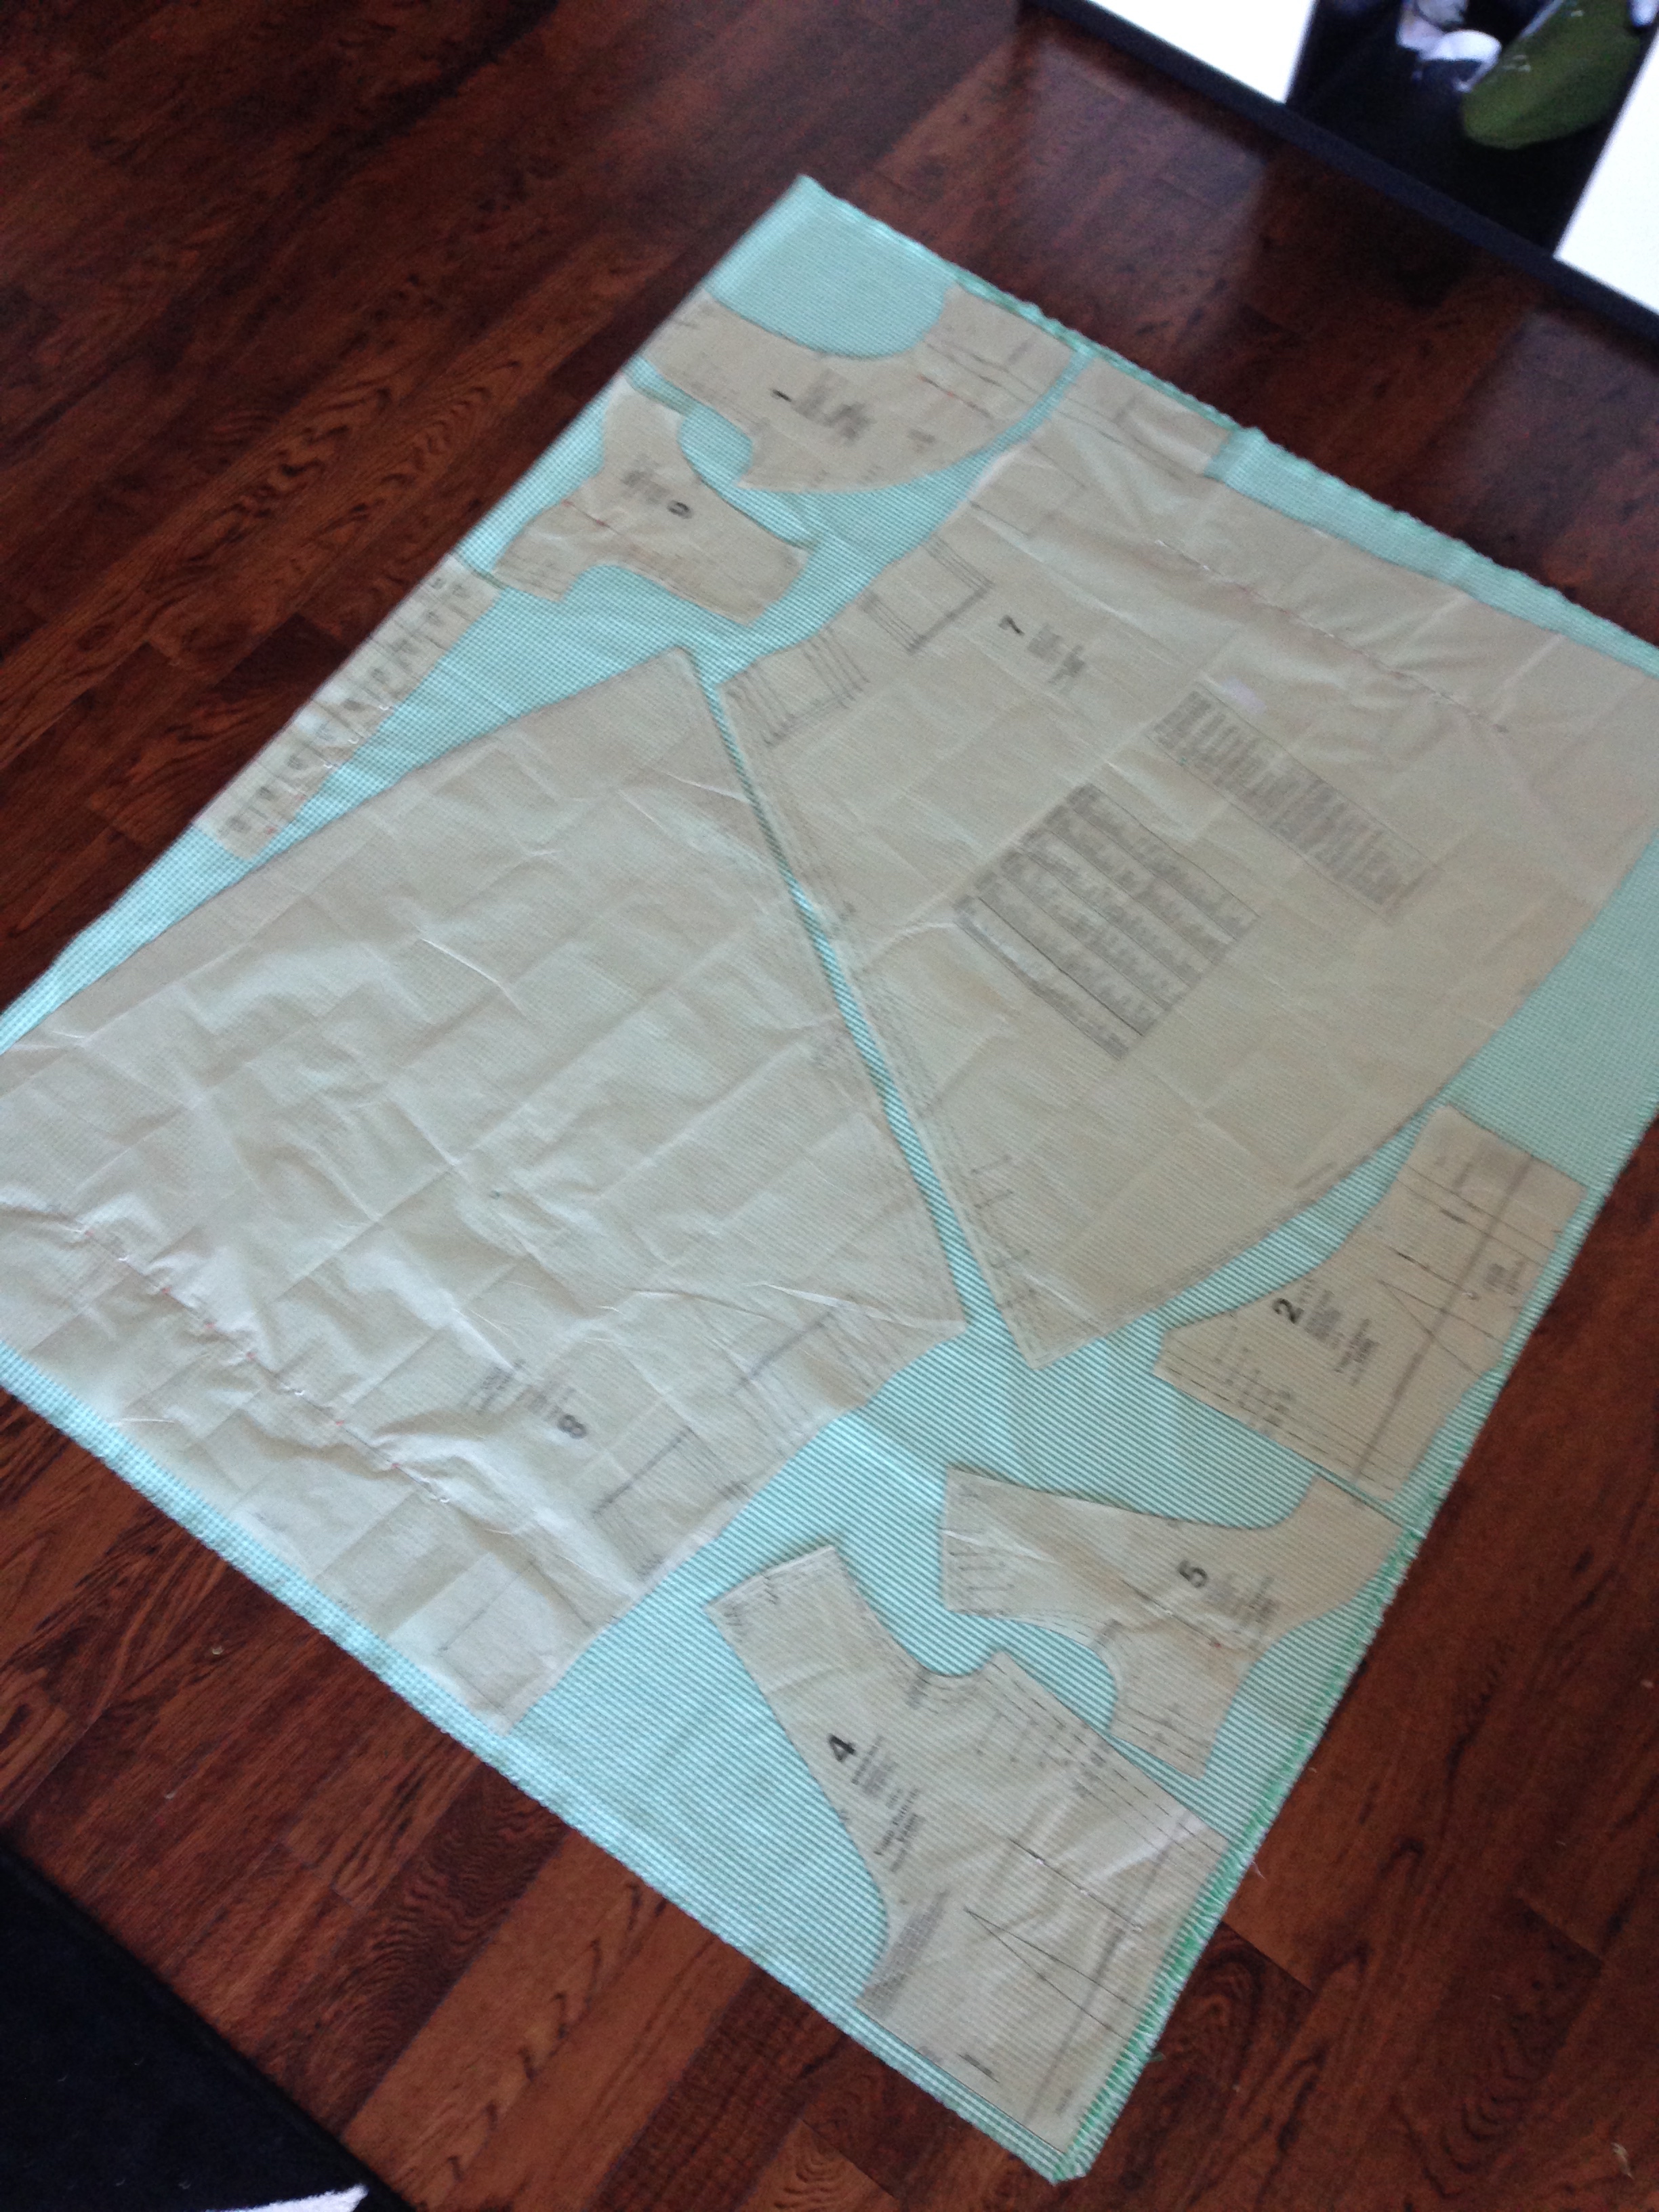
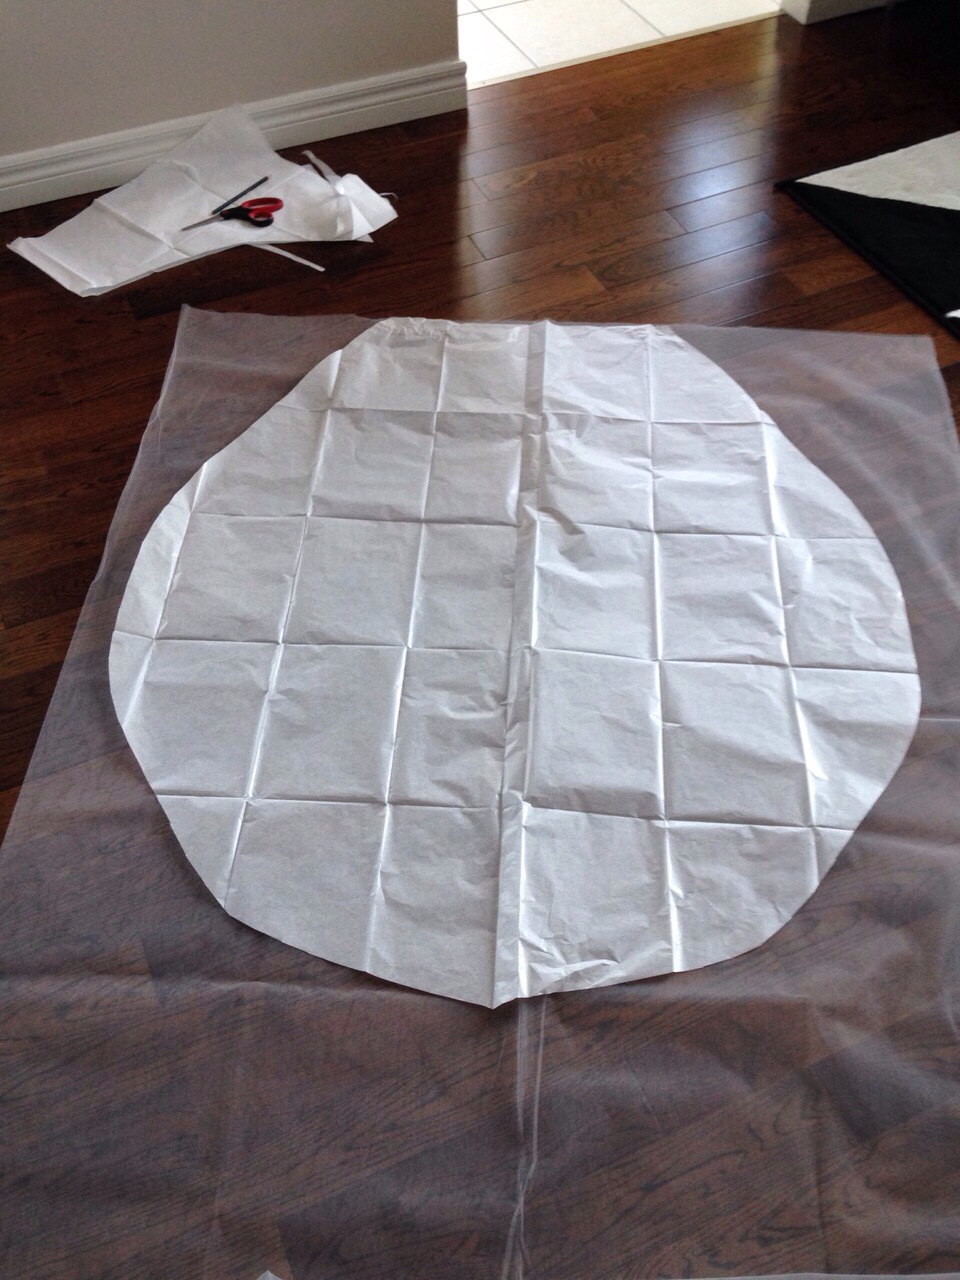
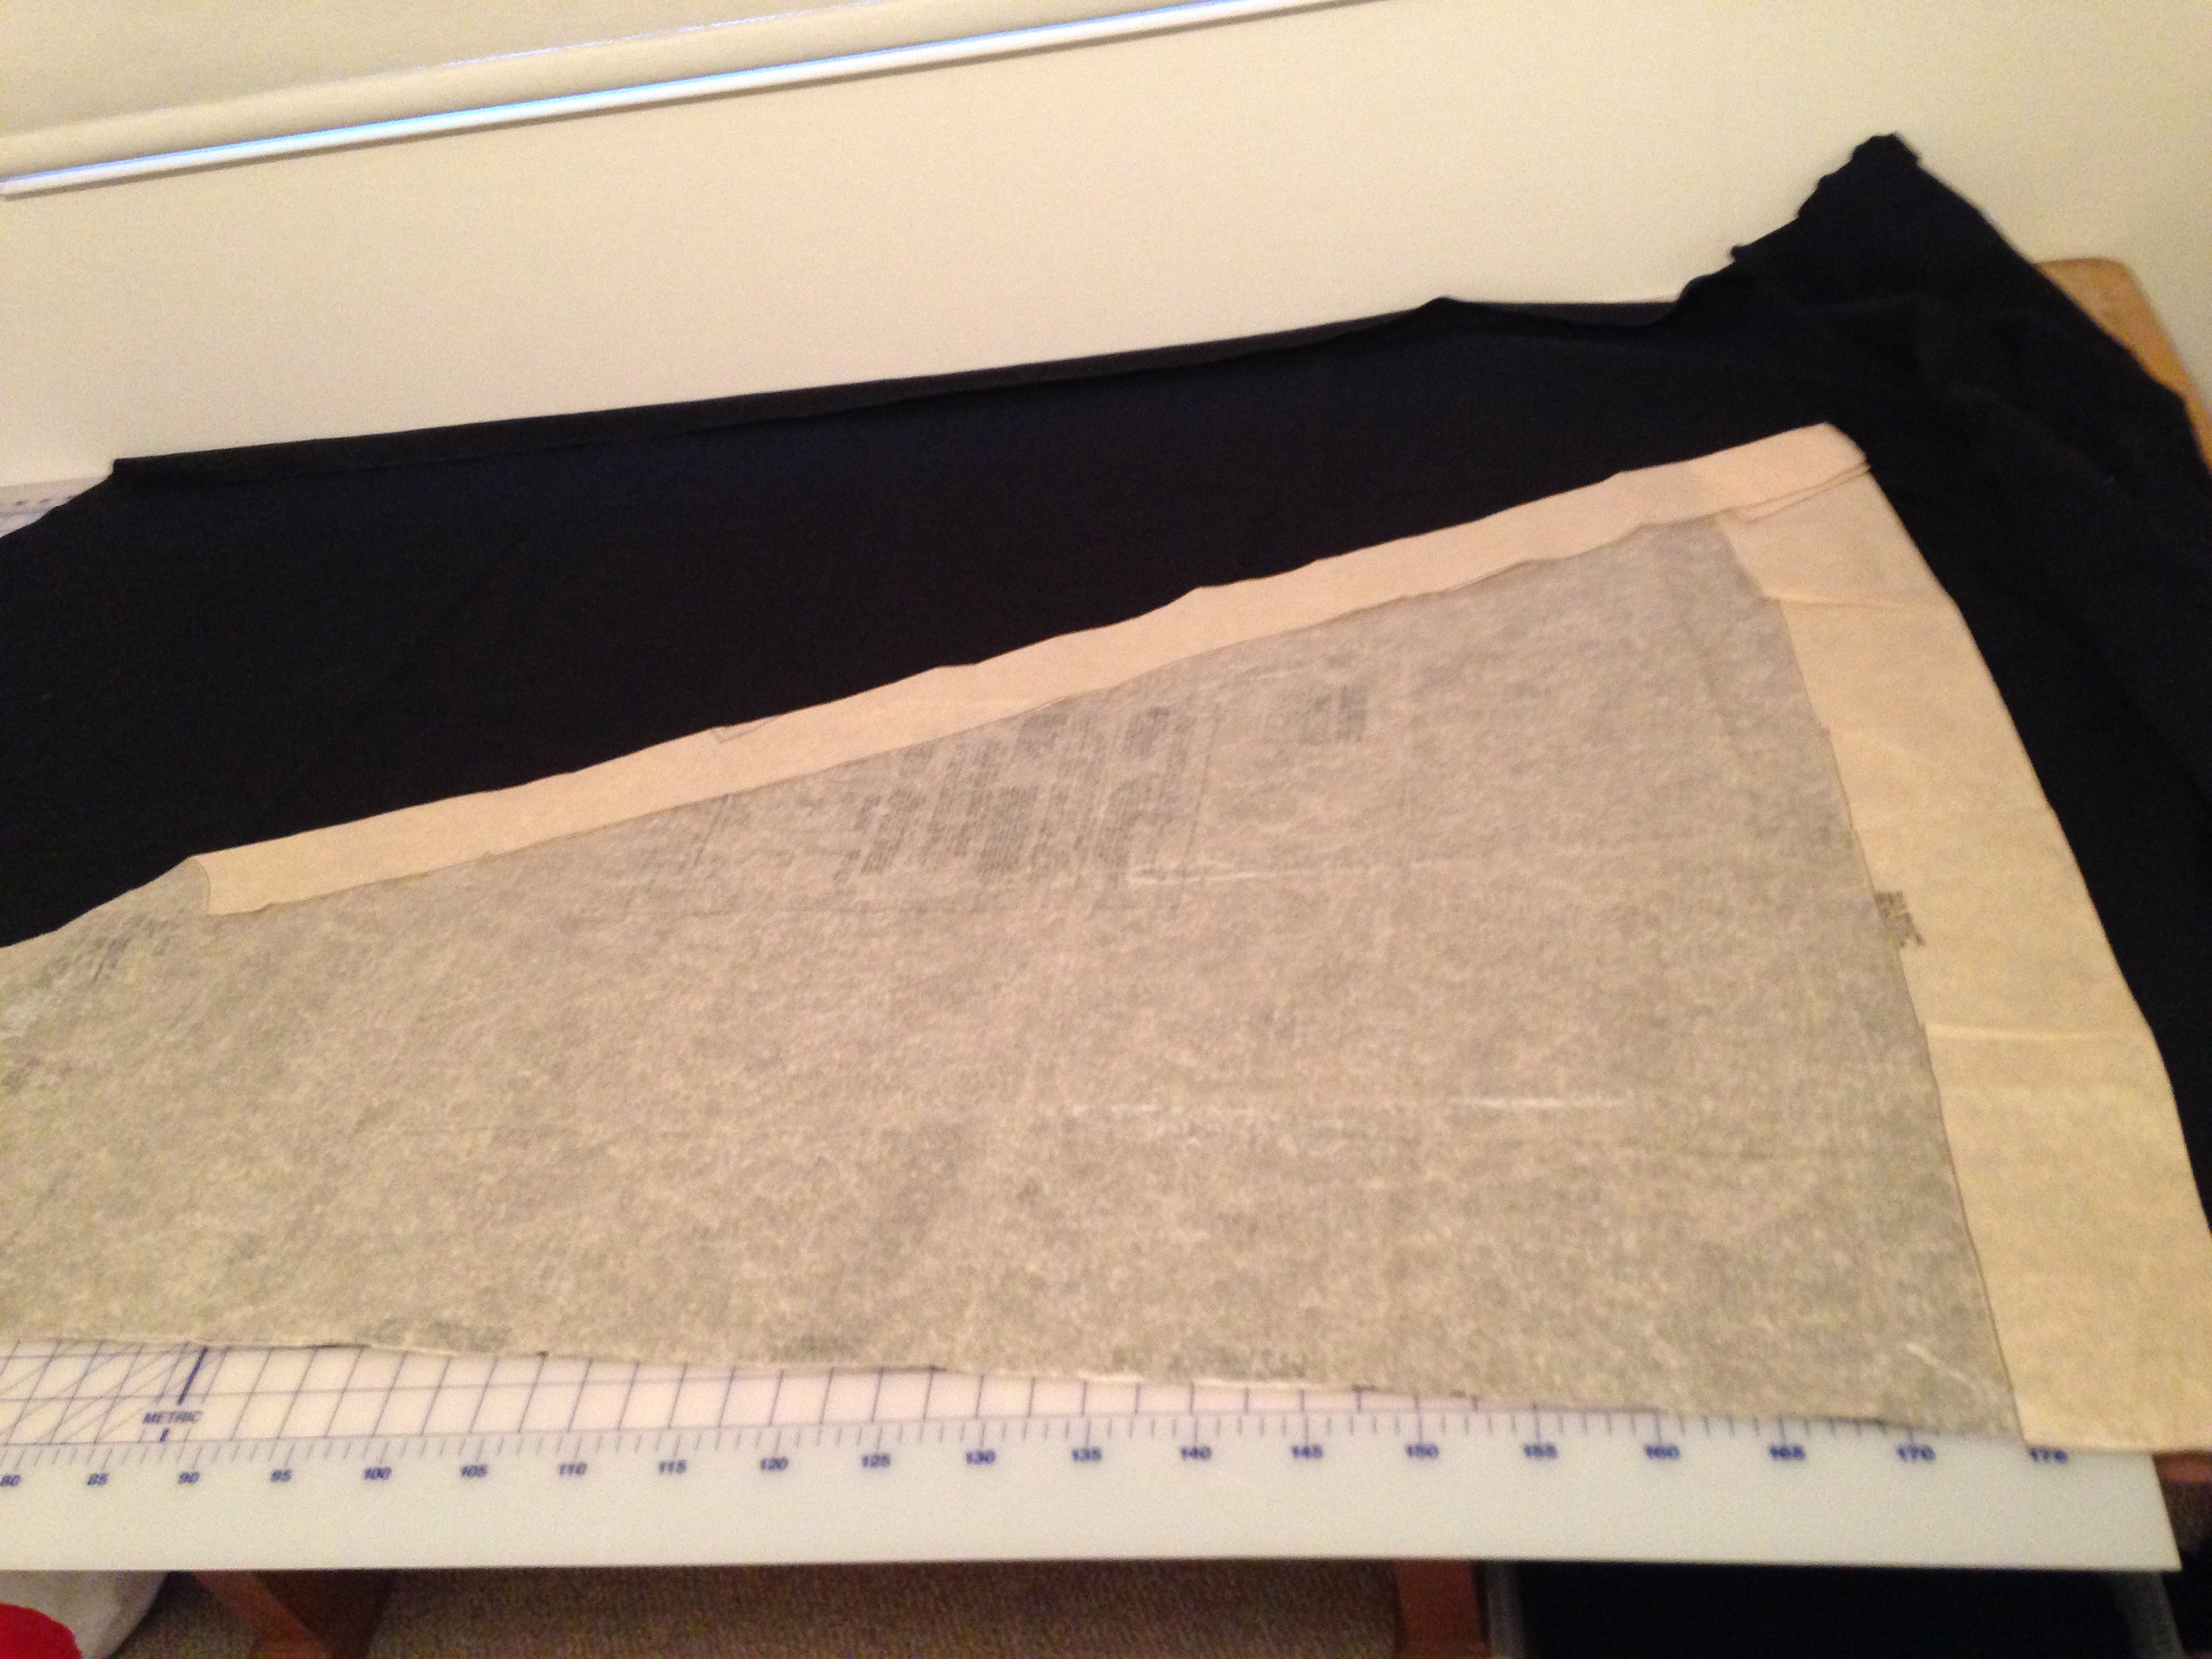
Step two, painstakingly iron and trace out the pattern. (Or be super lazy like me and just cut out the largest size and save all the little pattern remnants in a plastic baggy...>>.)

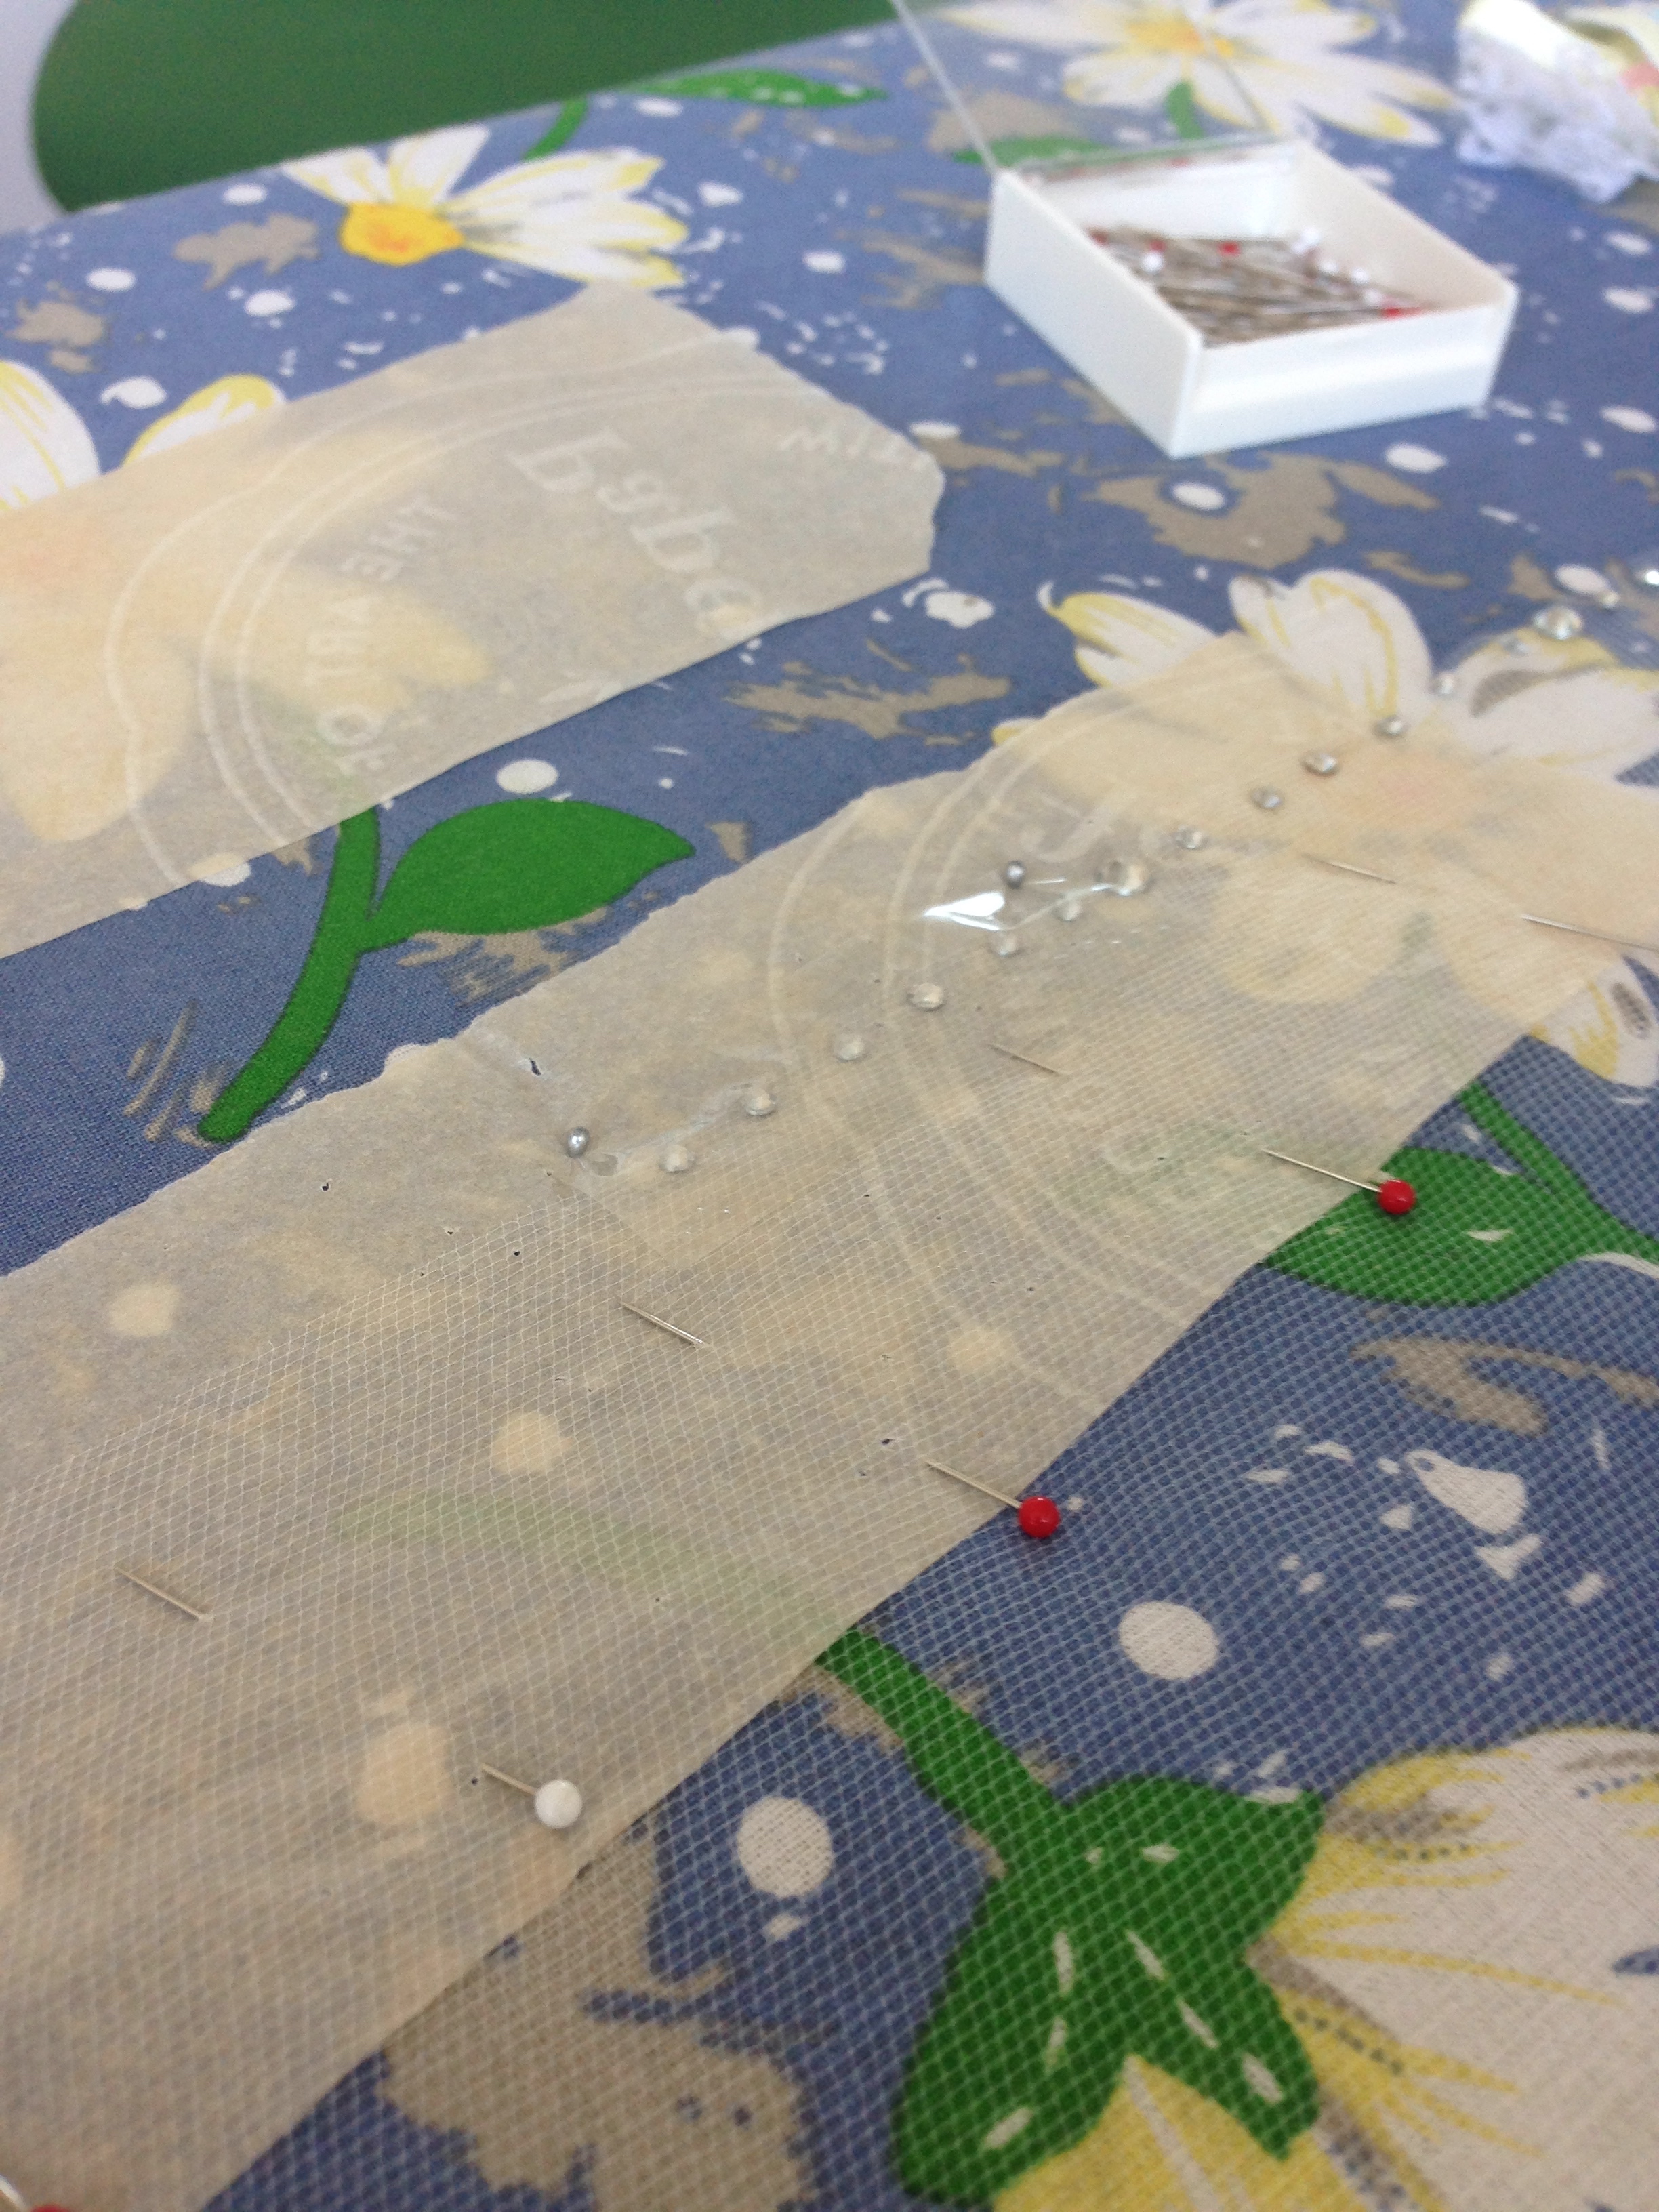
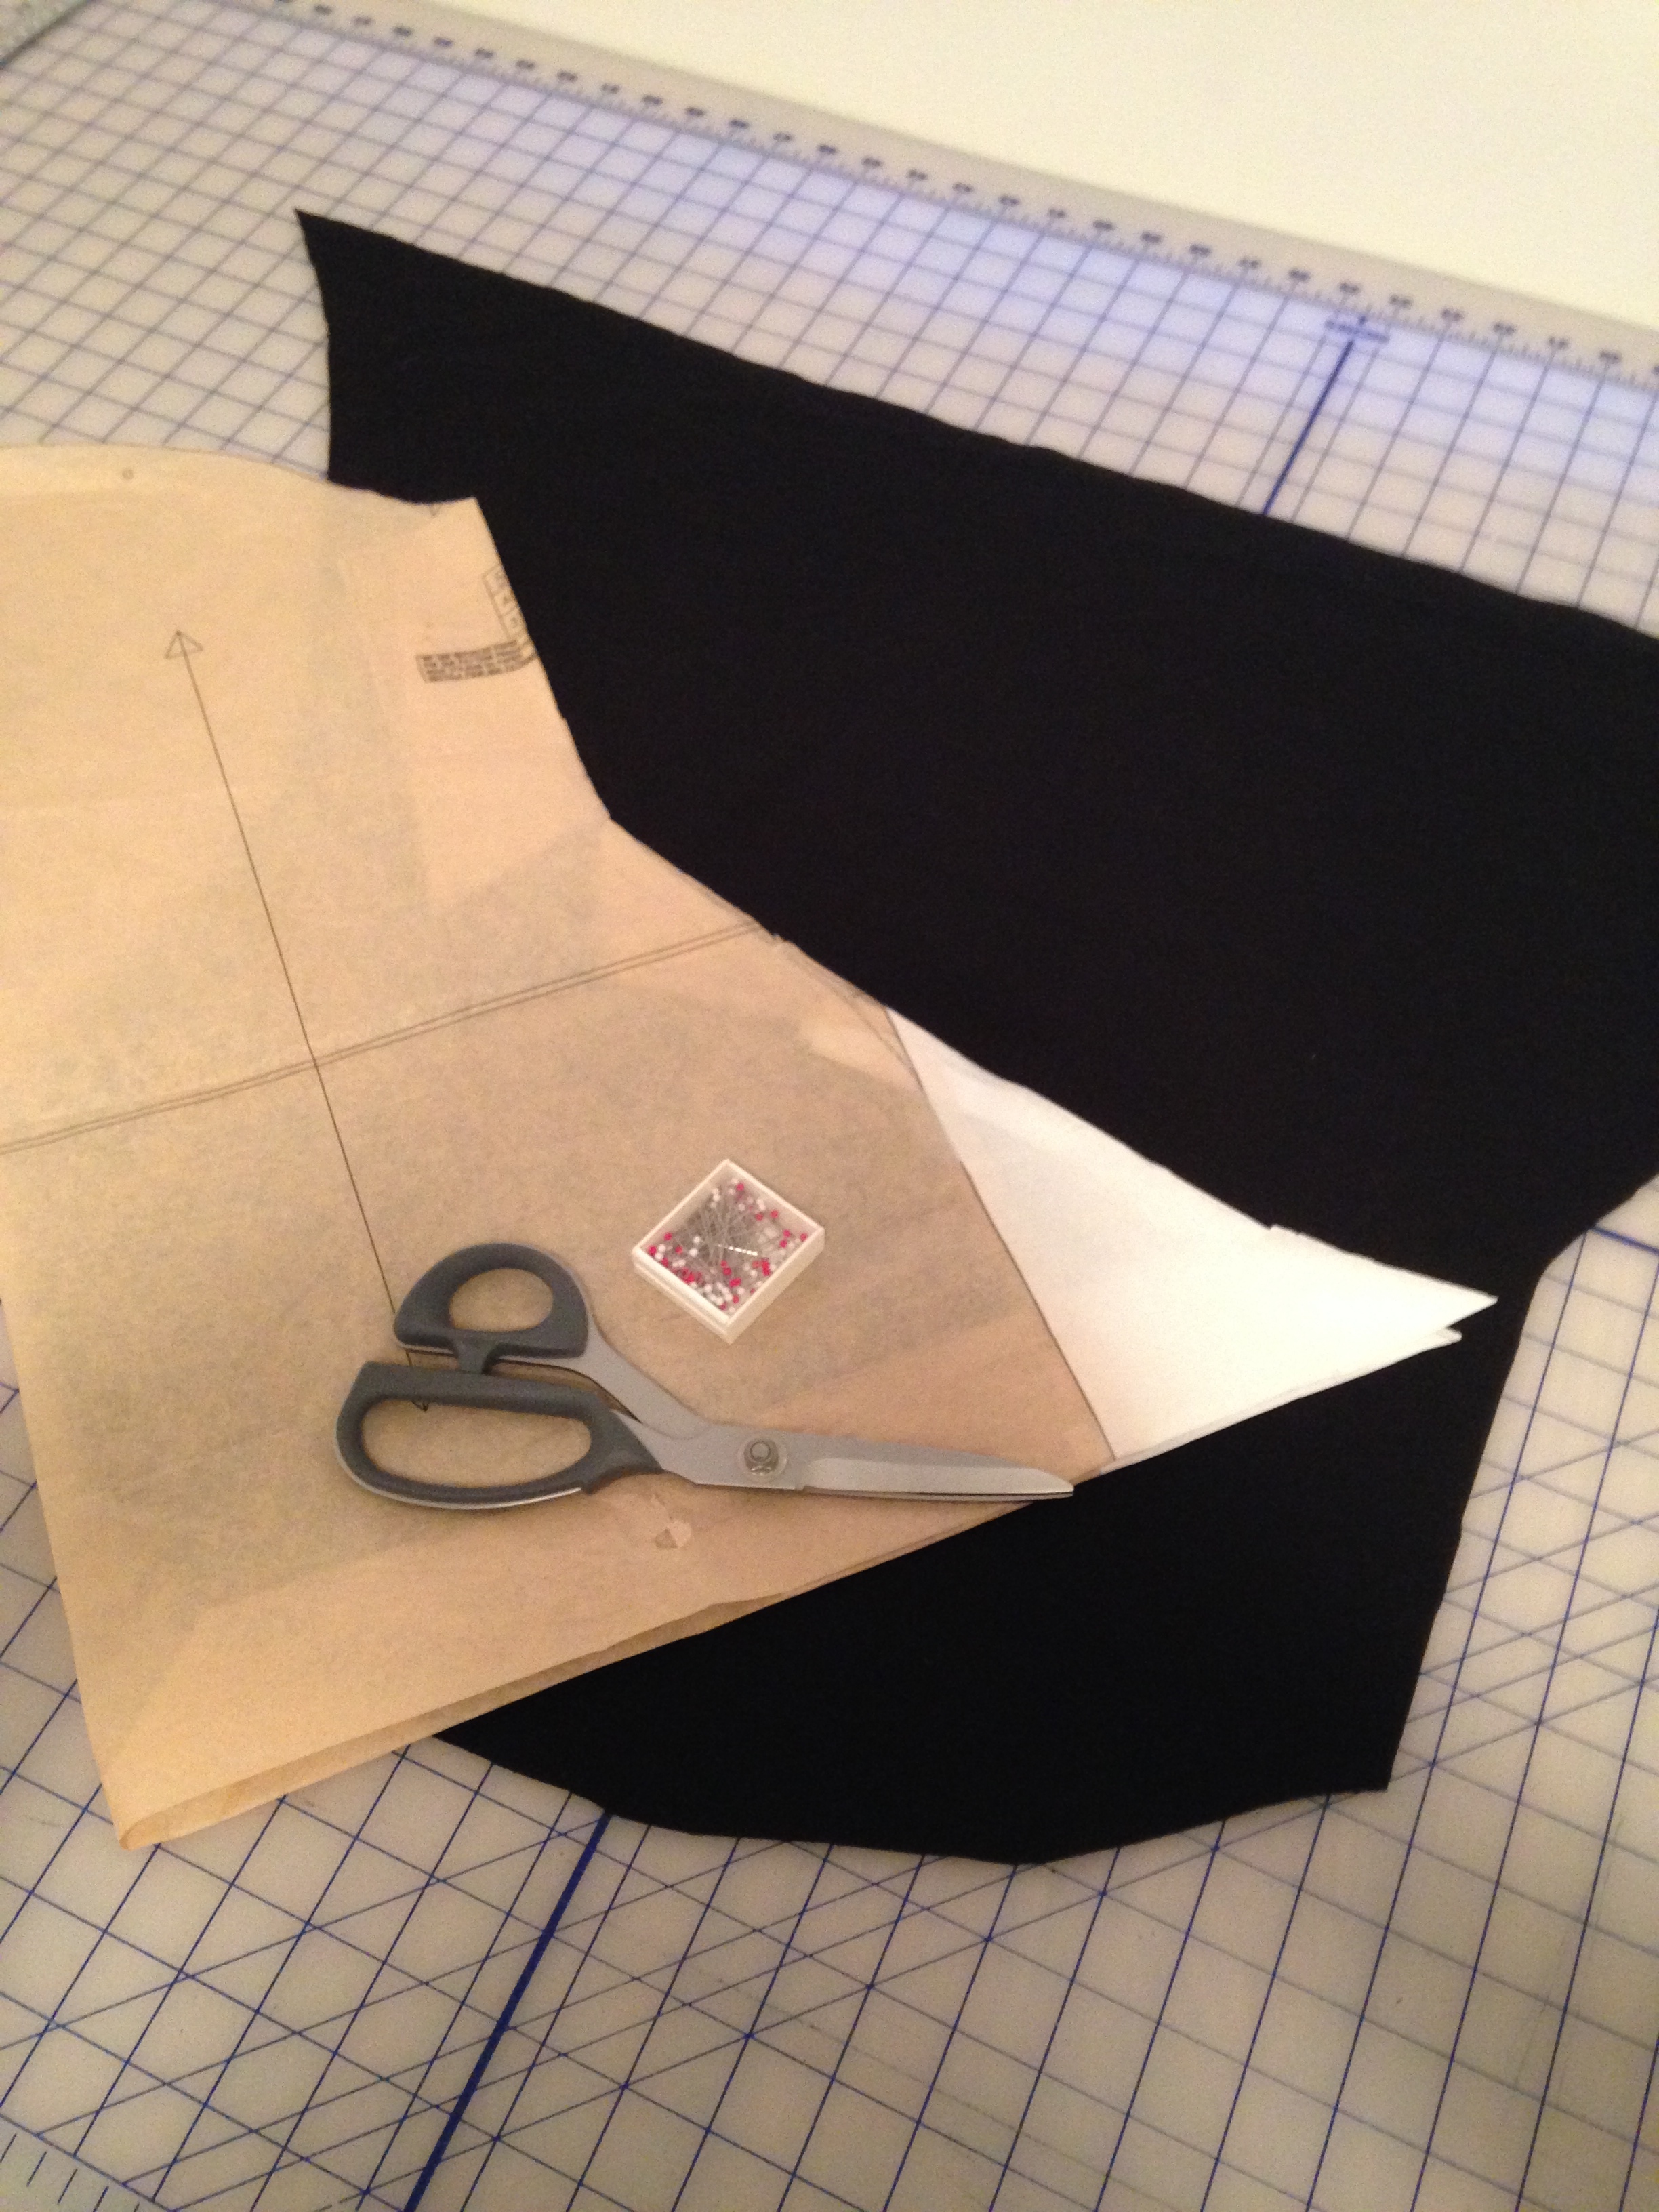
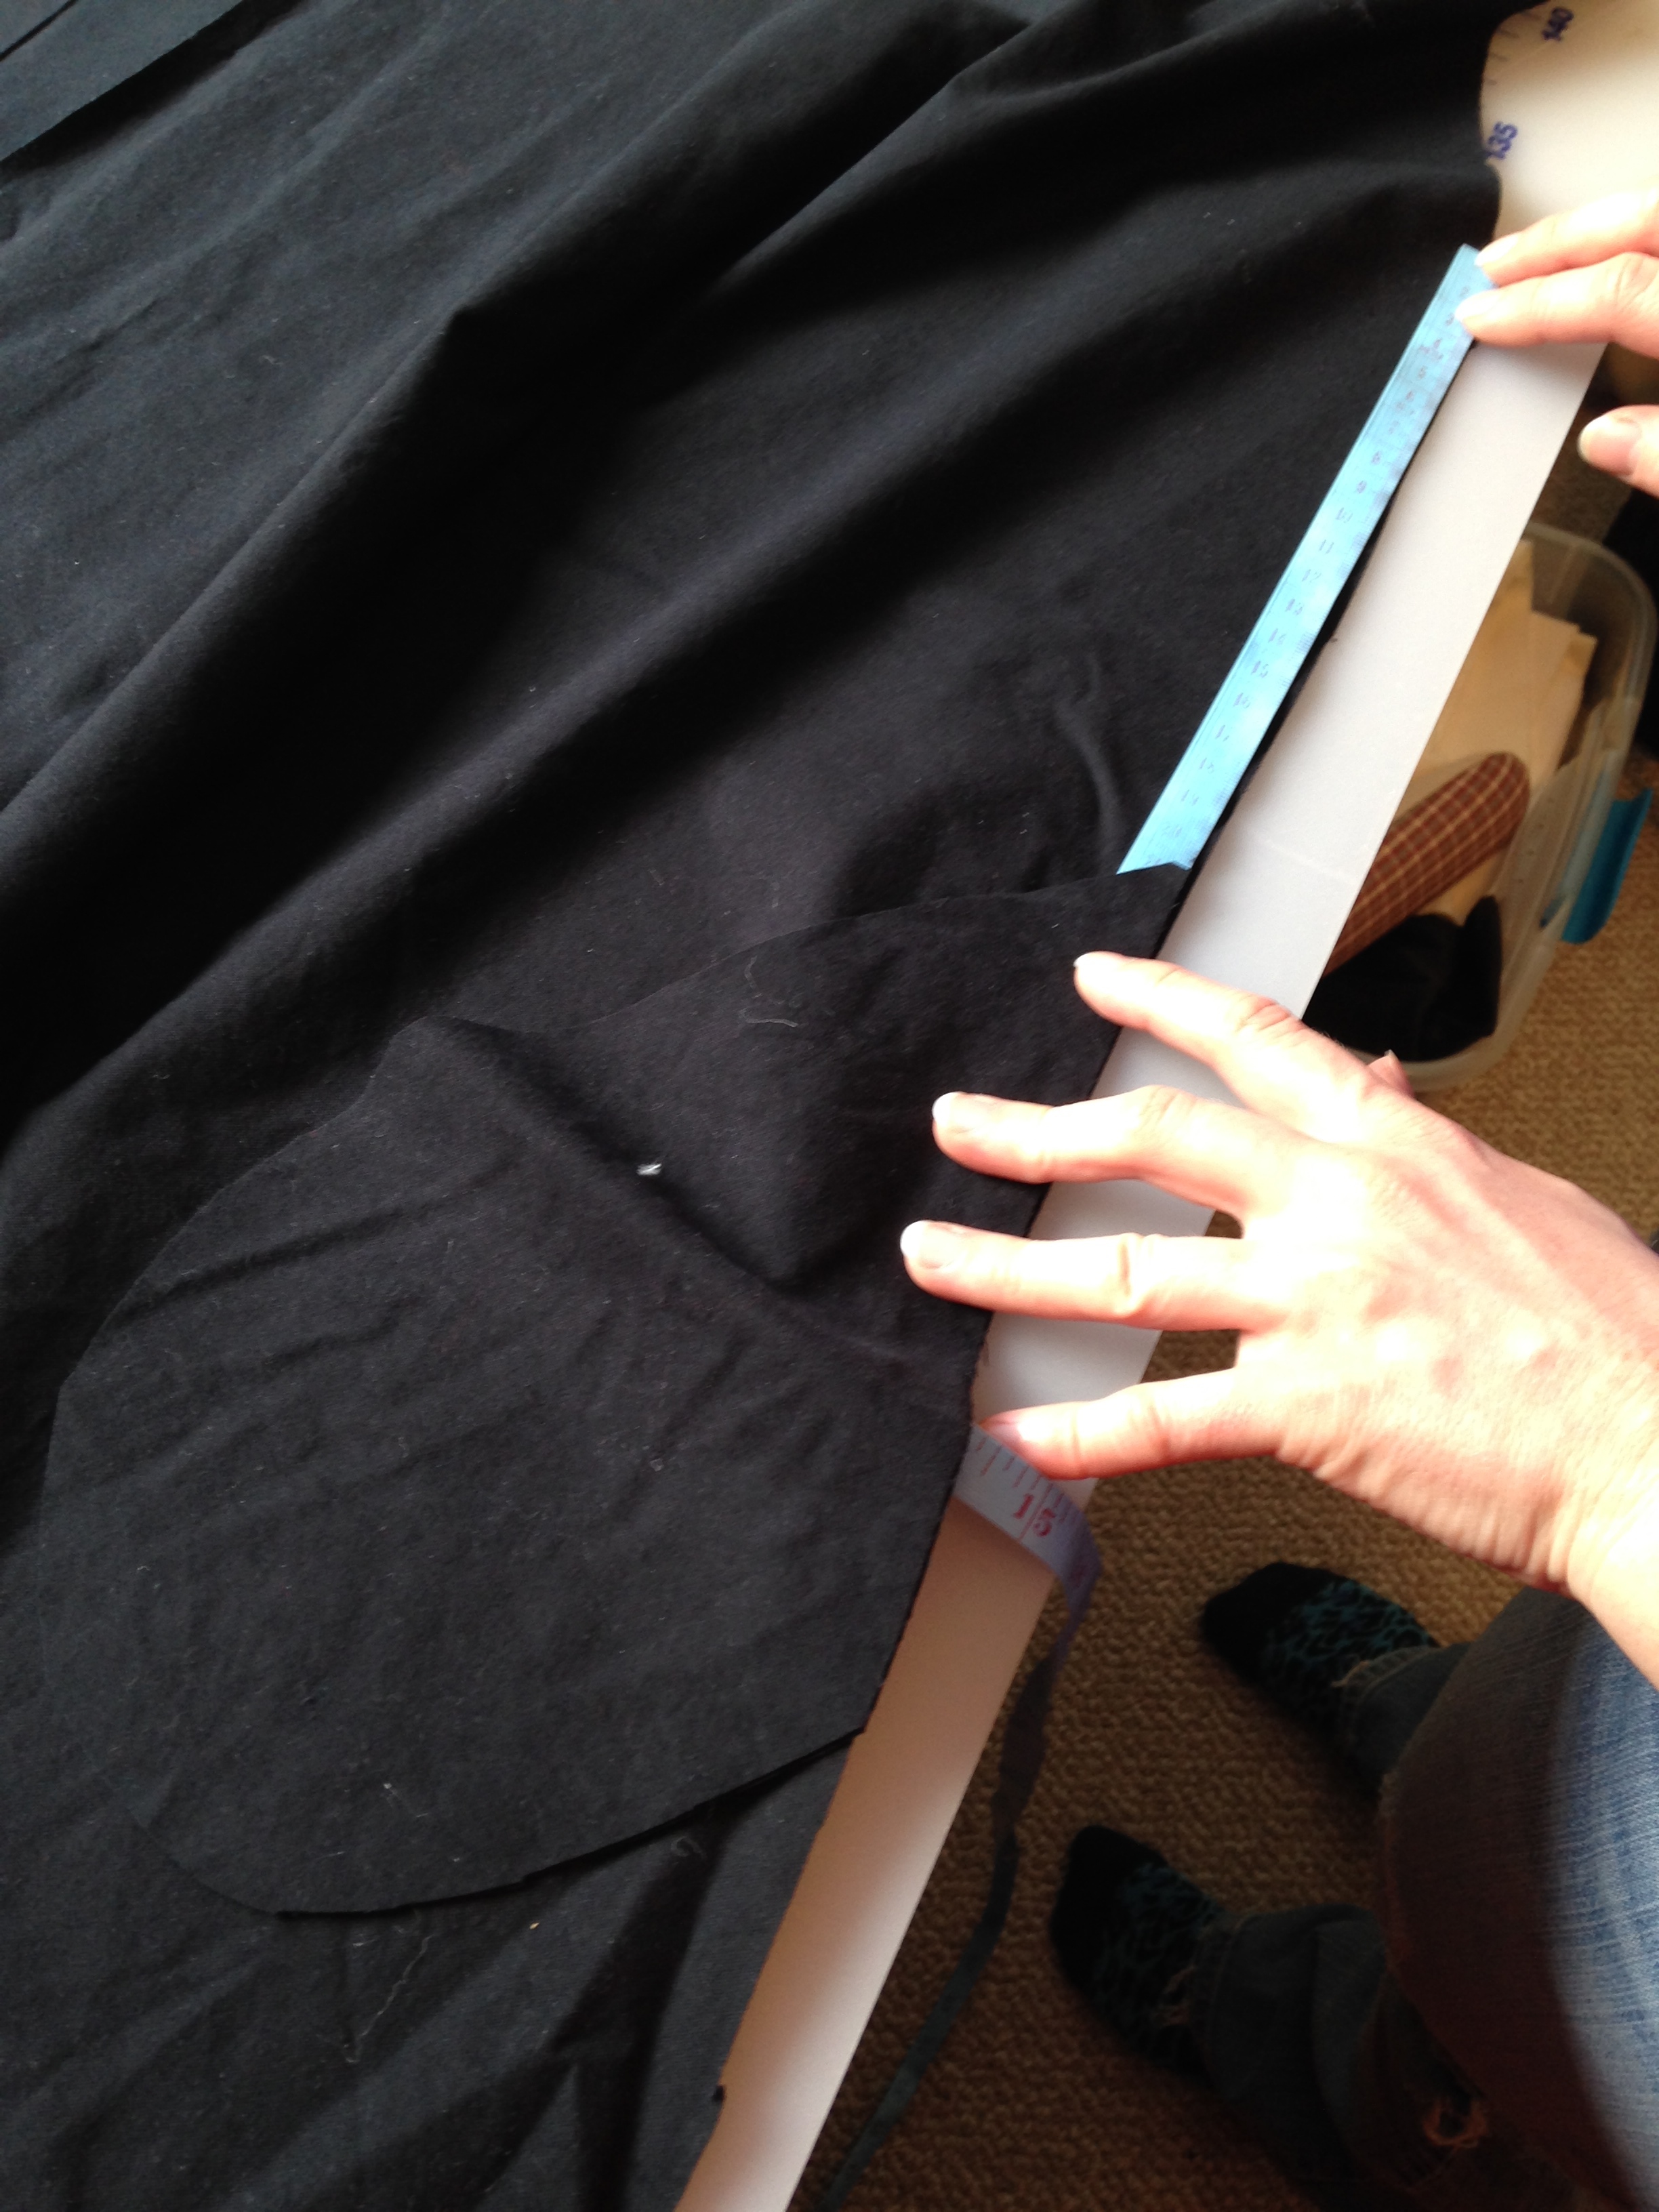
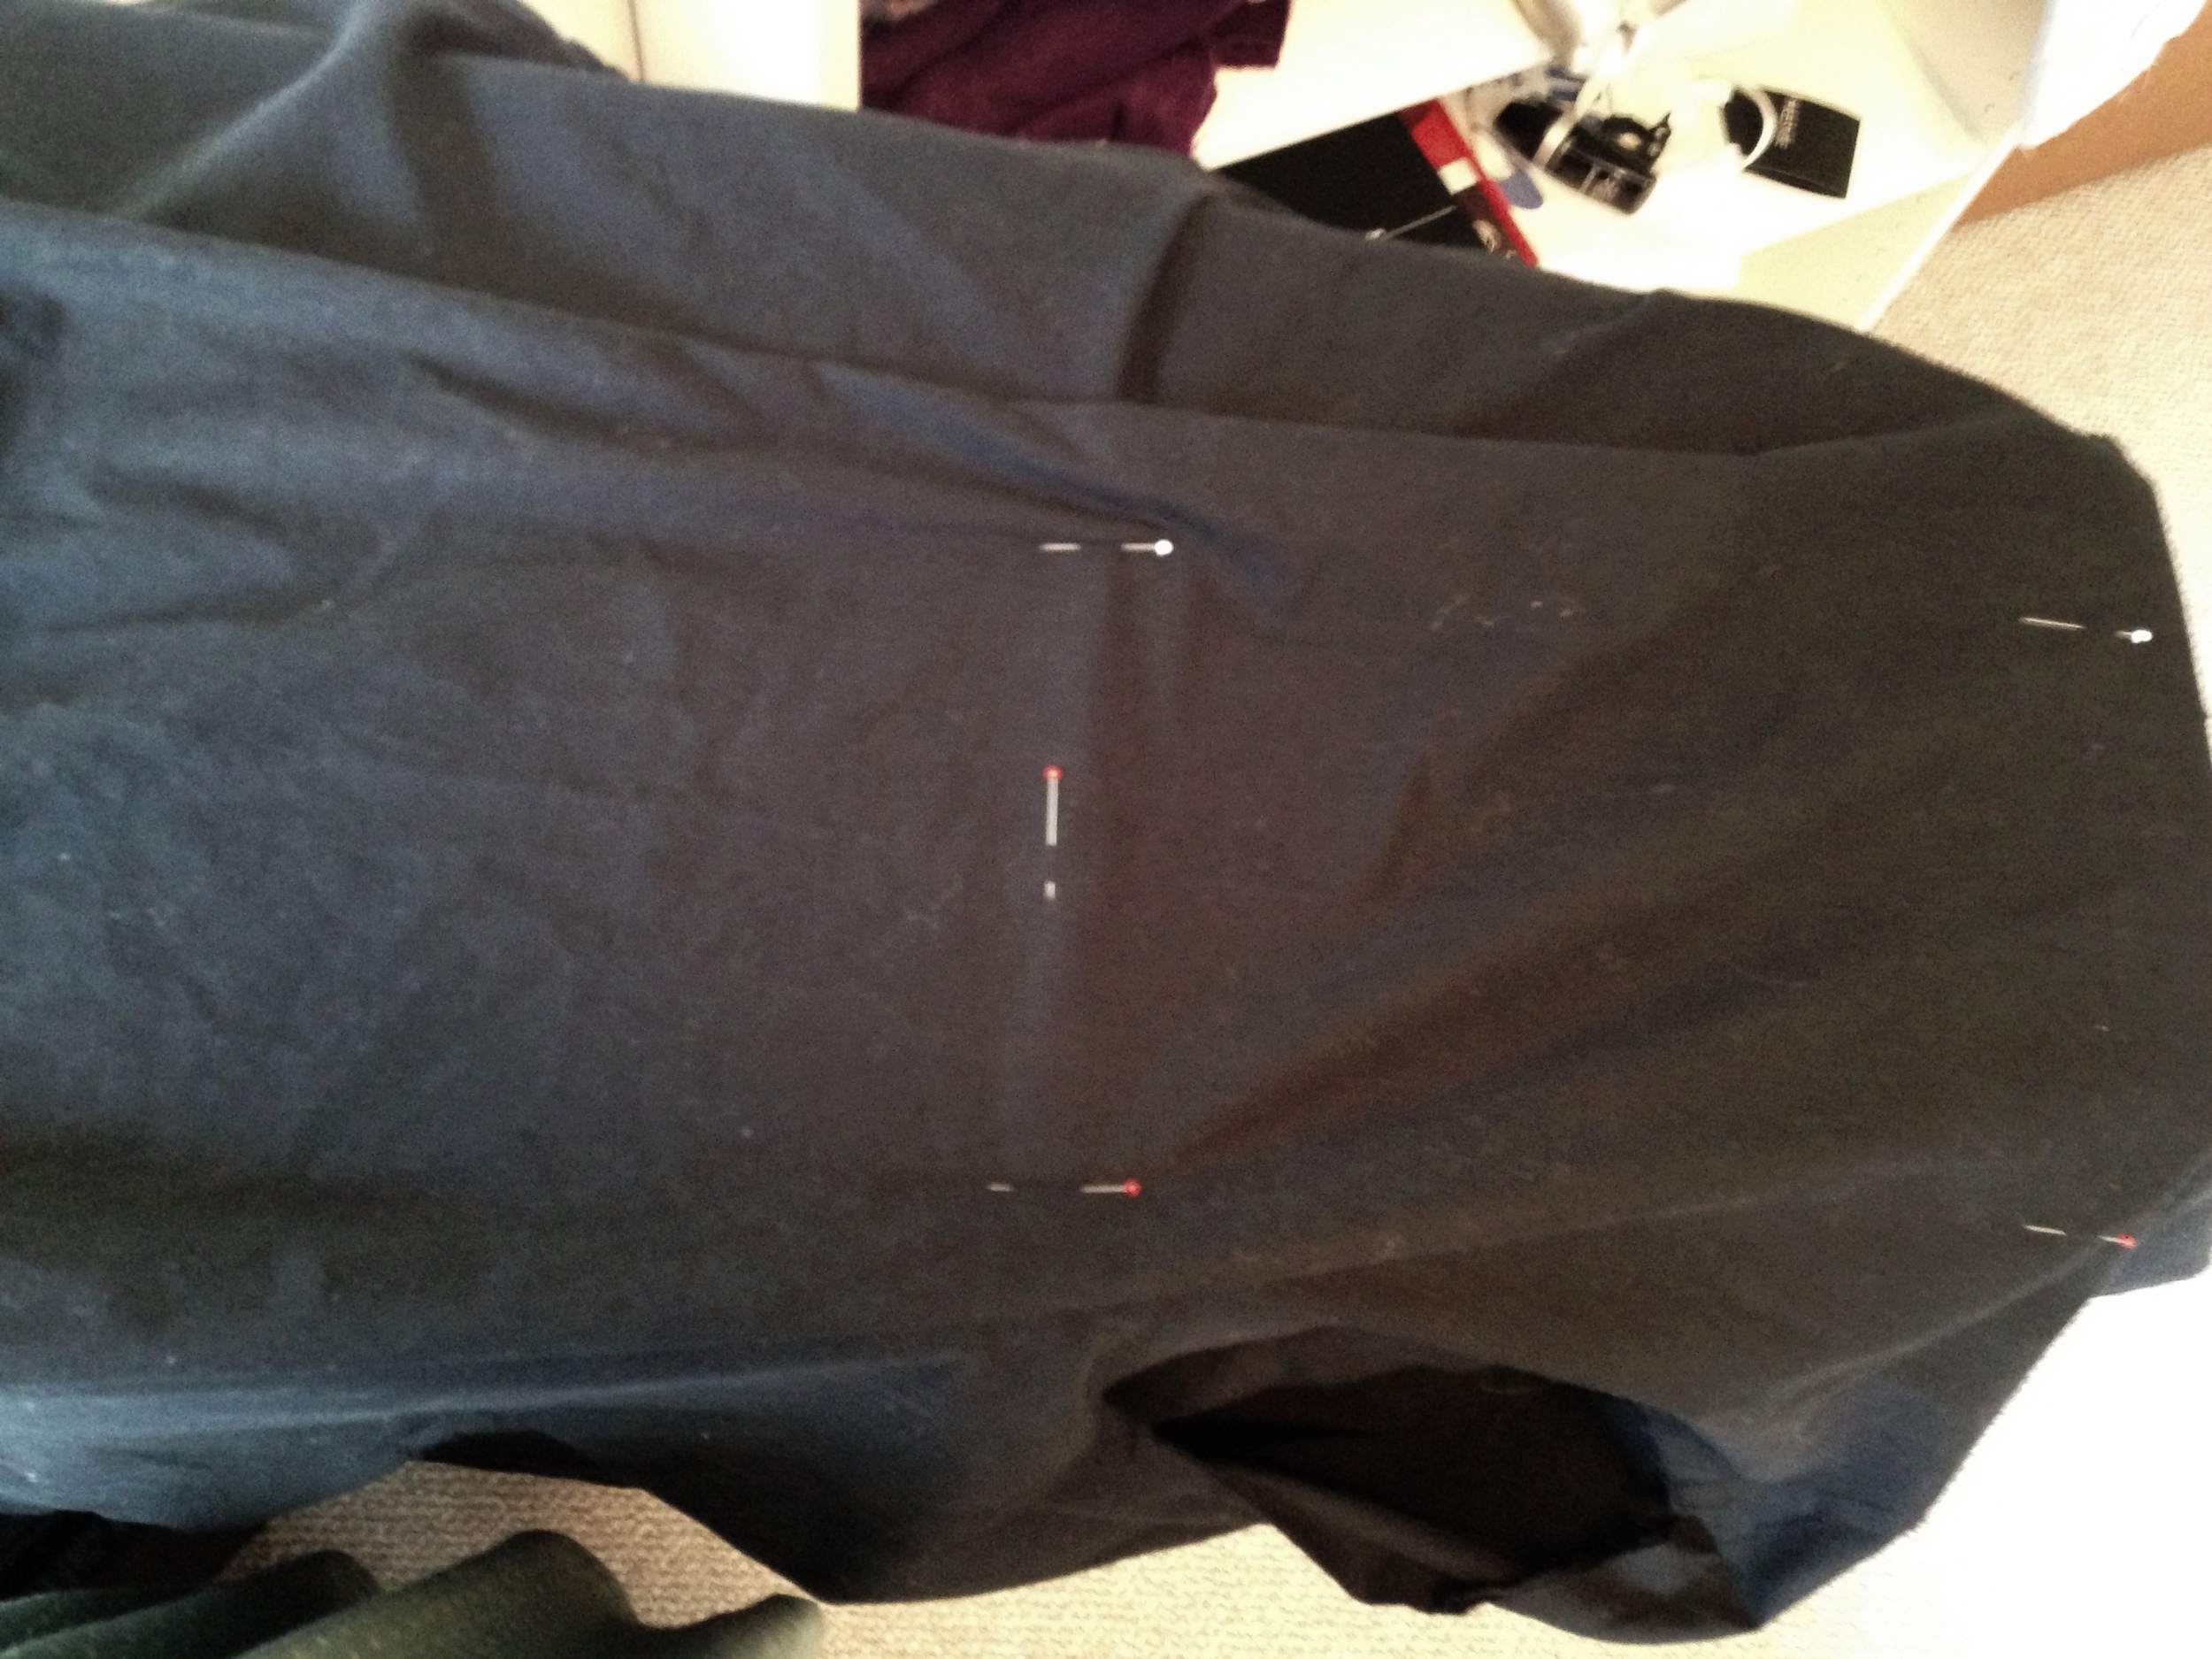
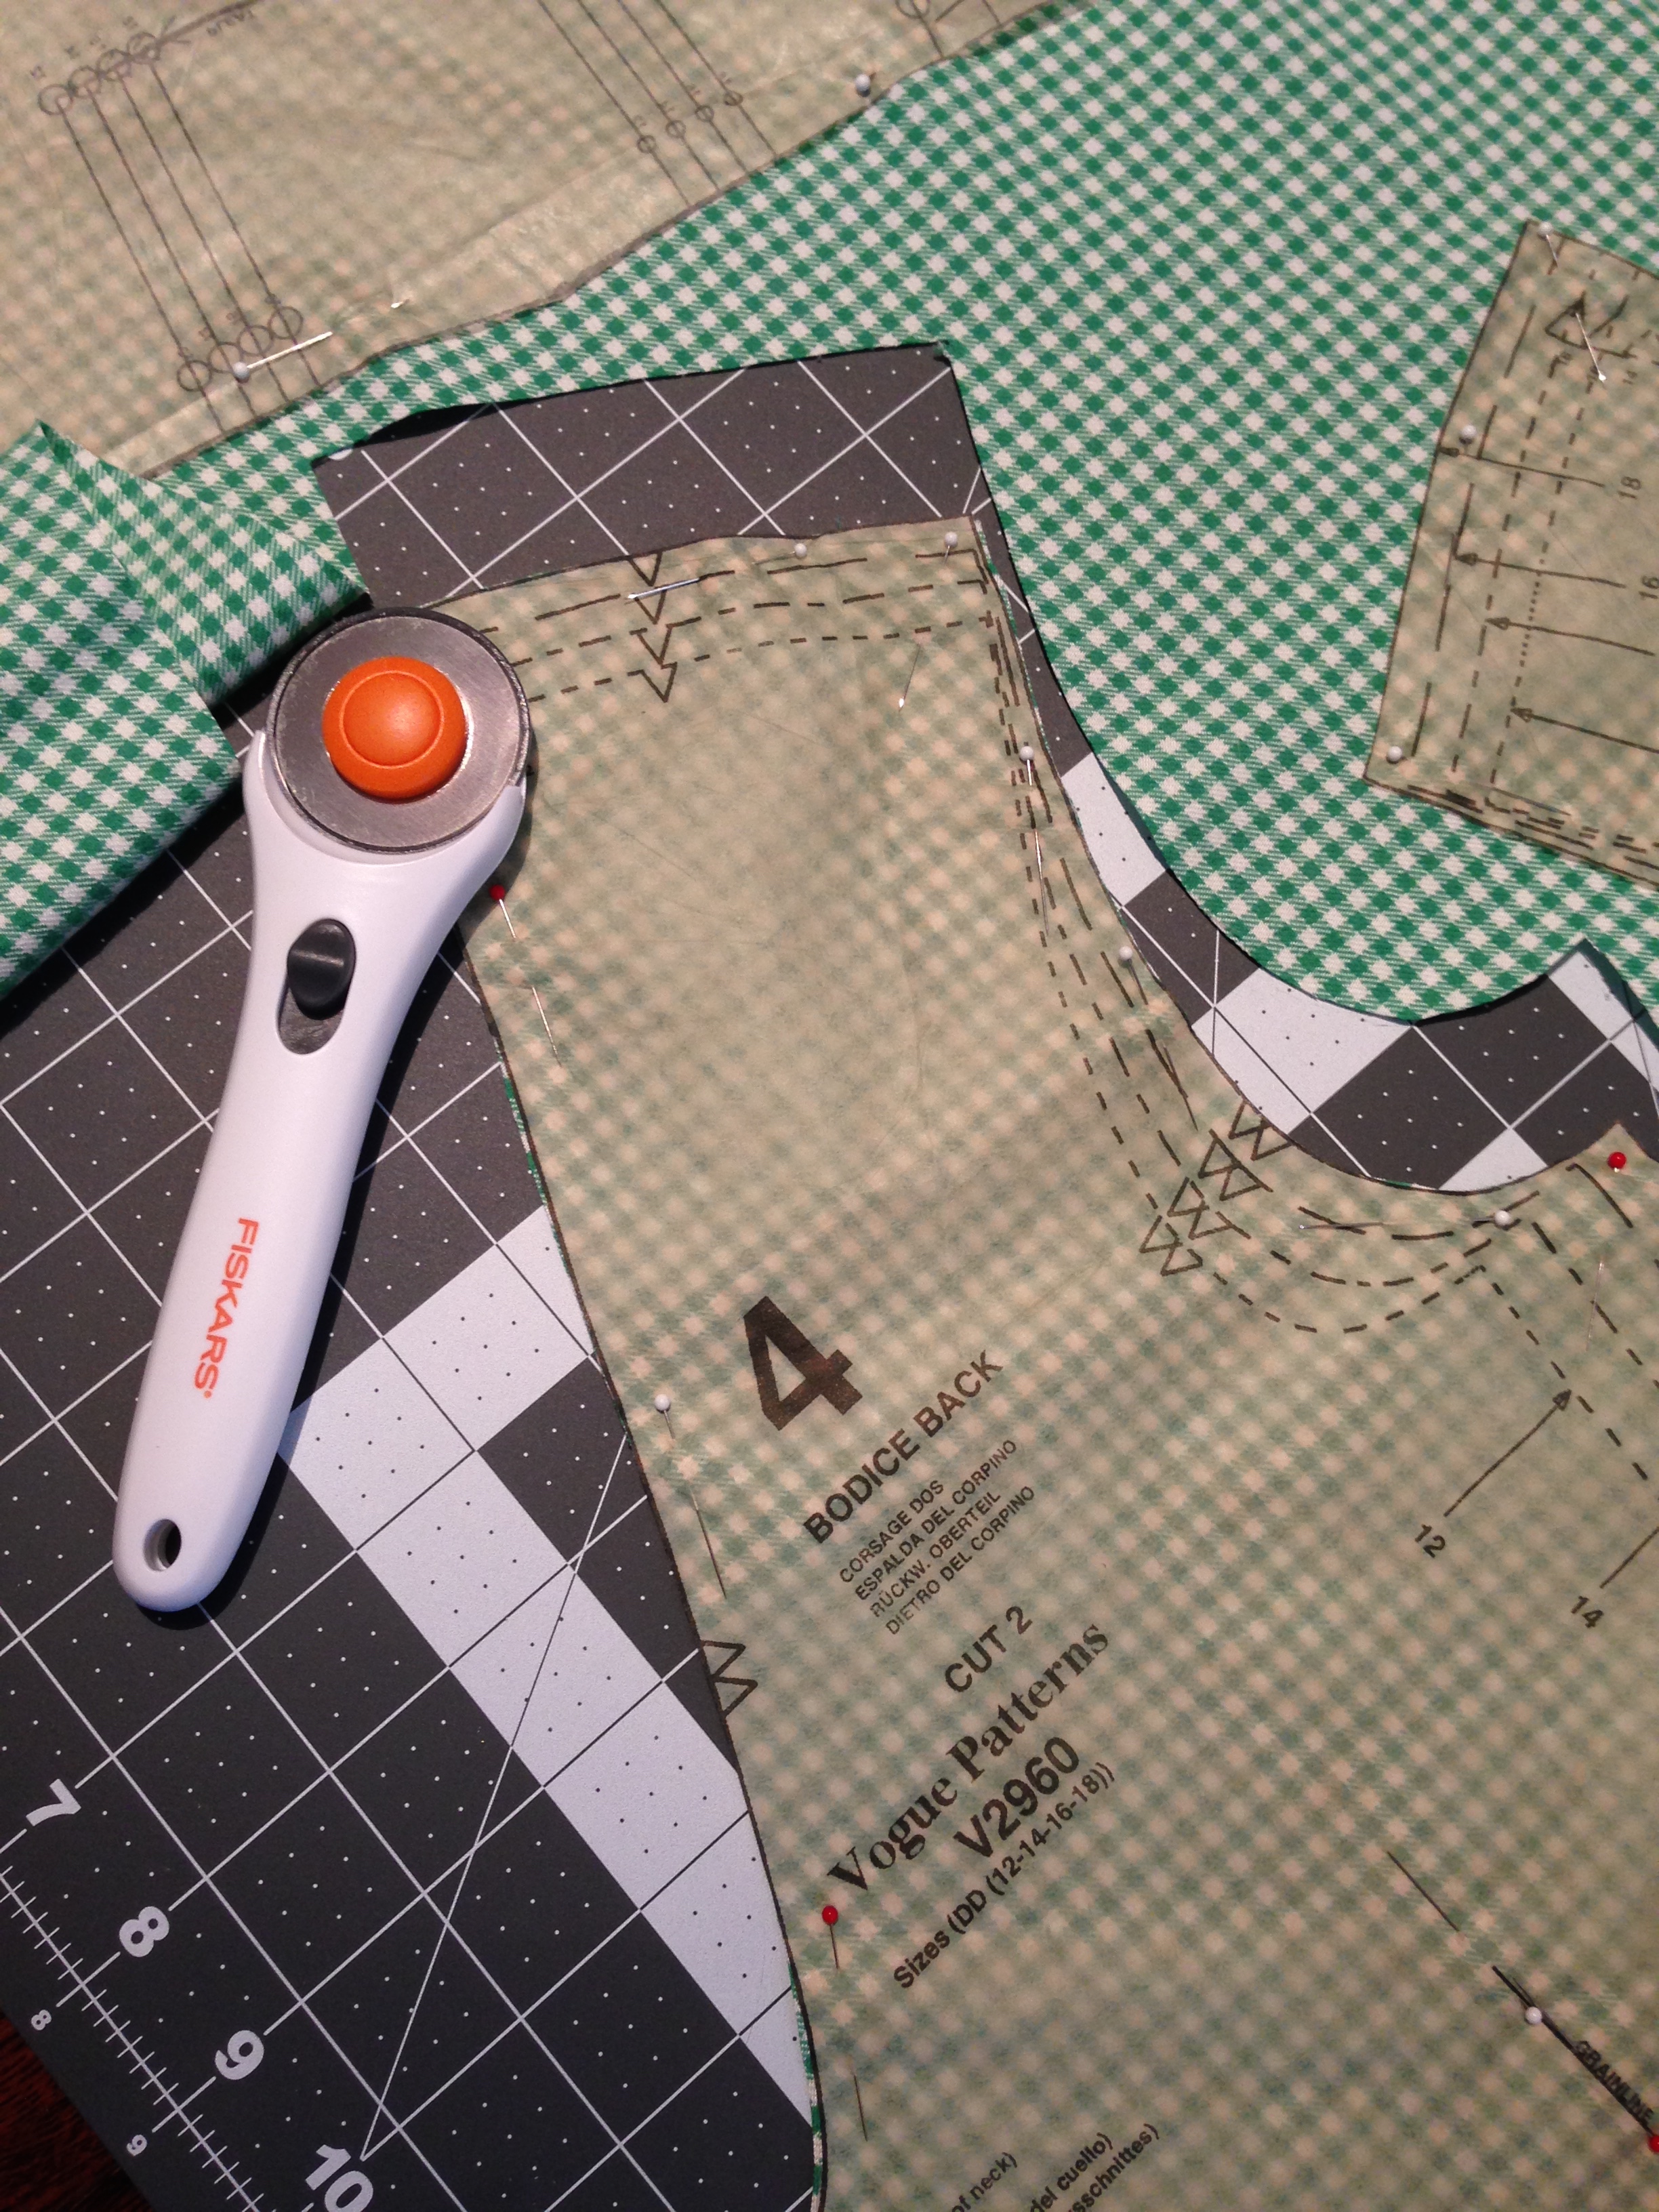
Next, organize the pattern pieces to fit on the fabric. Pin the straight of grain and then realize that in order to make sure the gingham isn't crooked you have to individually cut out every piece, so unpin every piece, unfold the fabric and start again. 

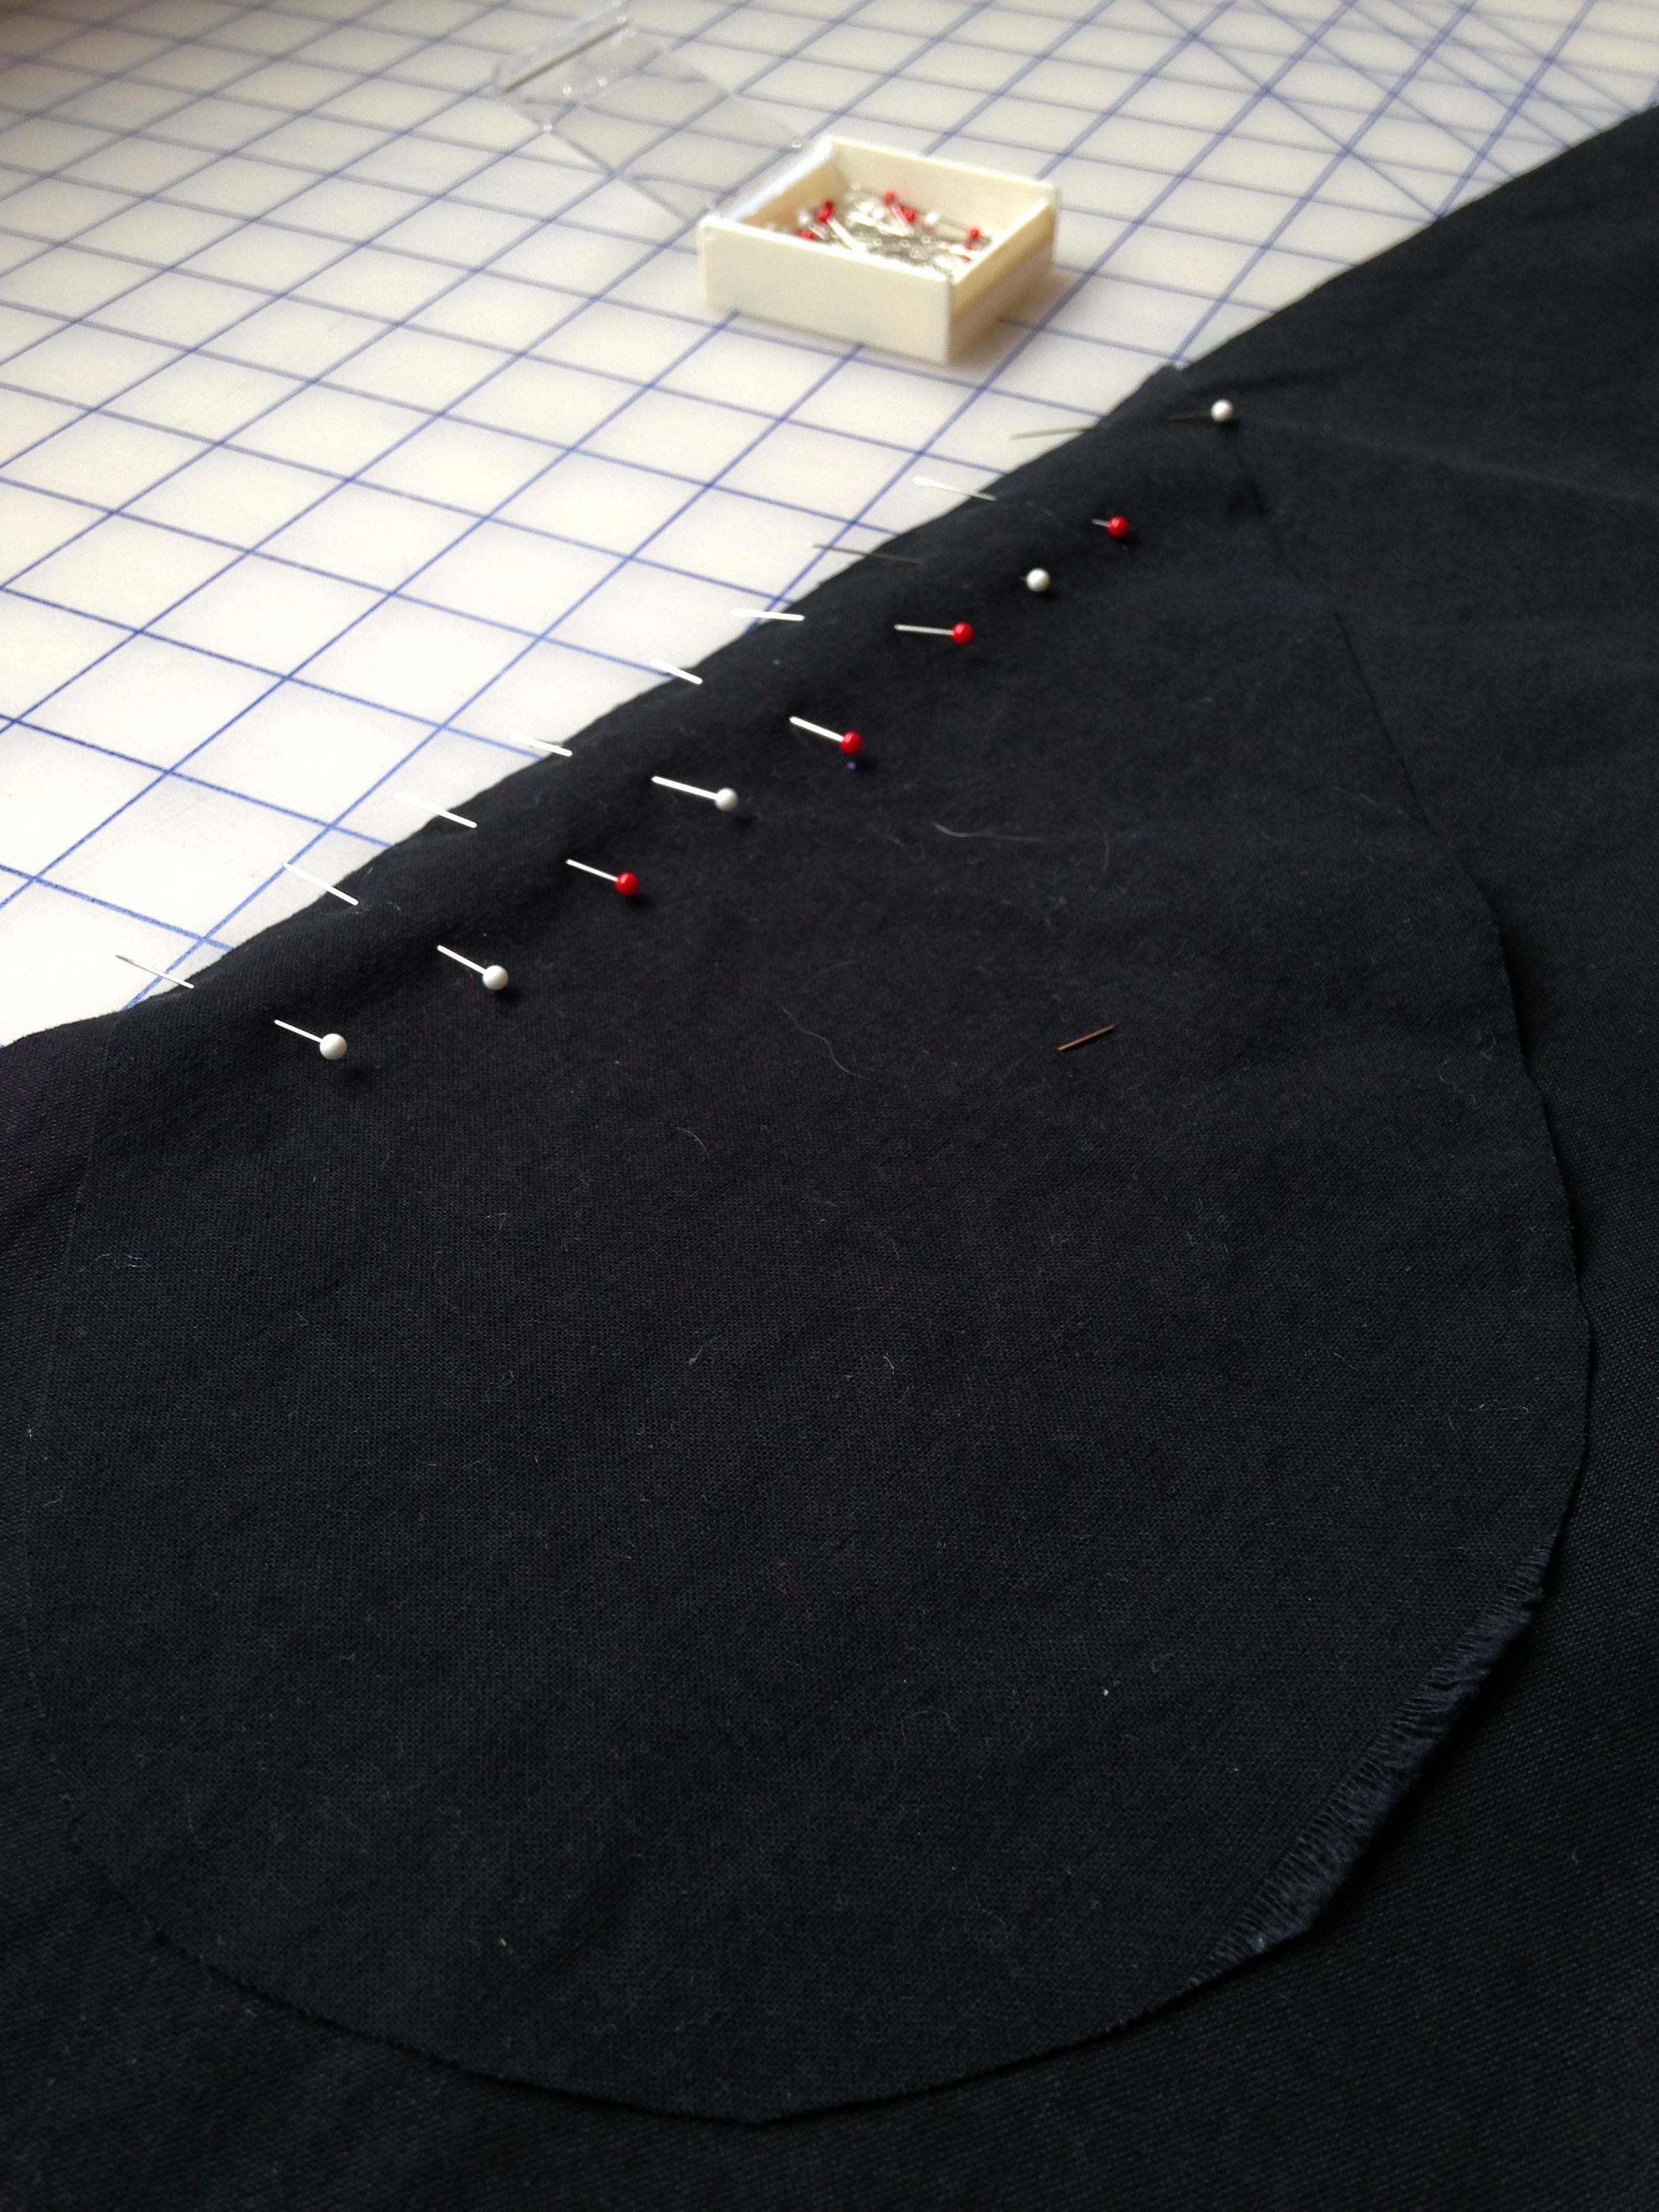
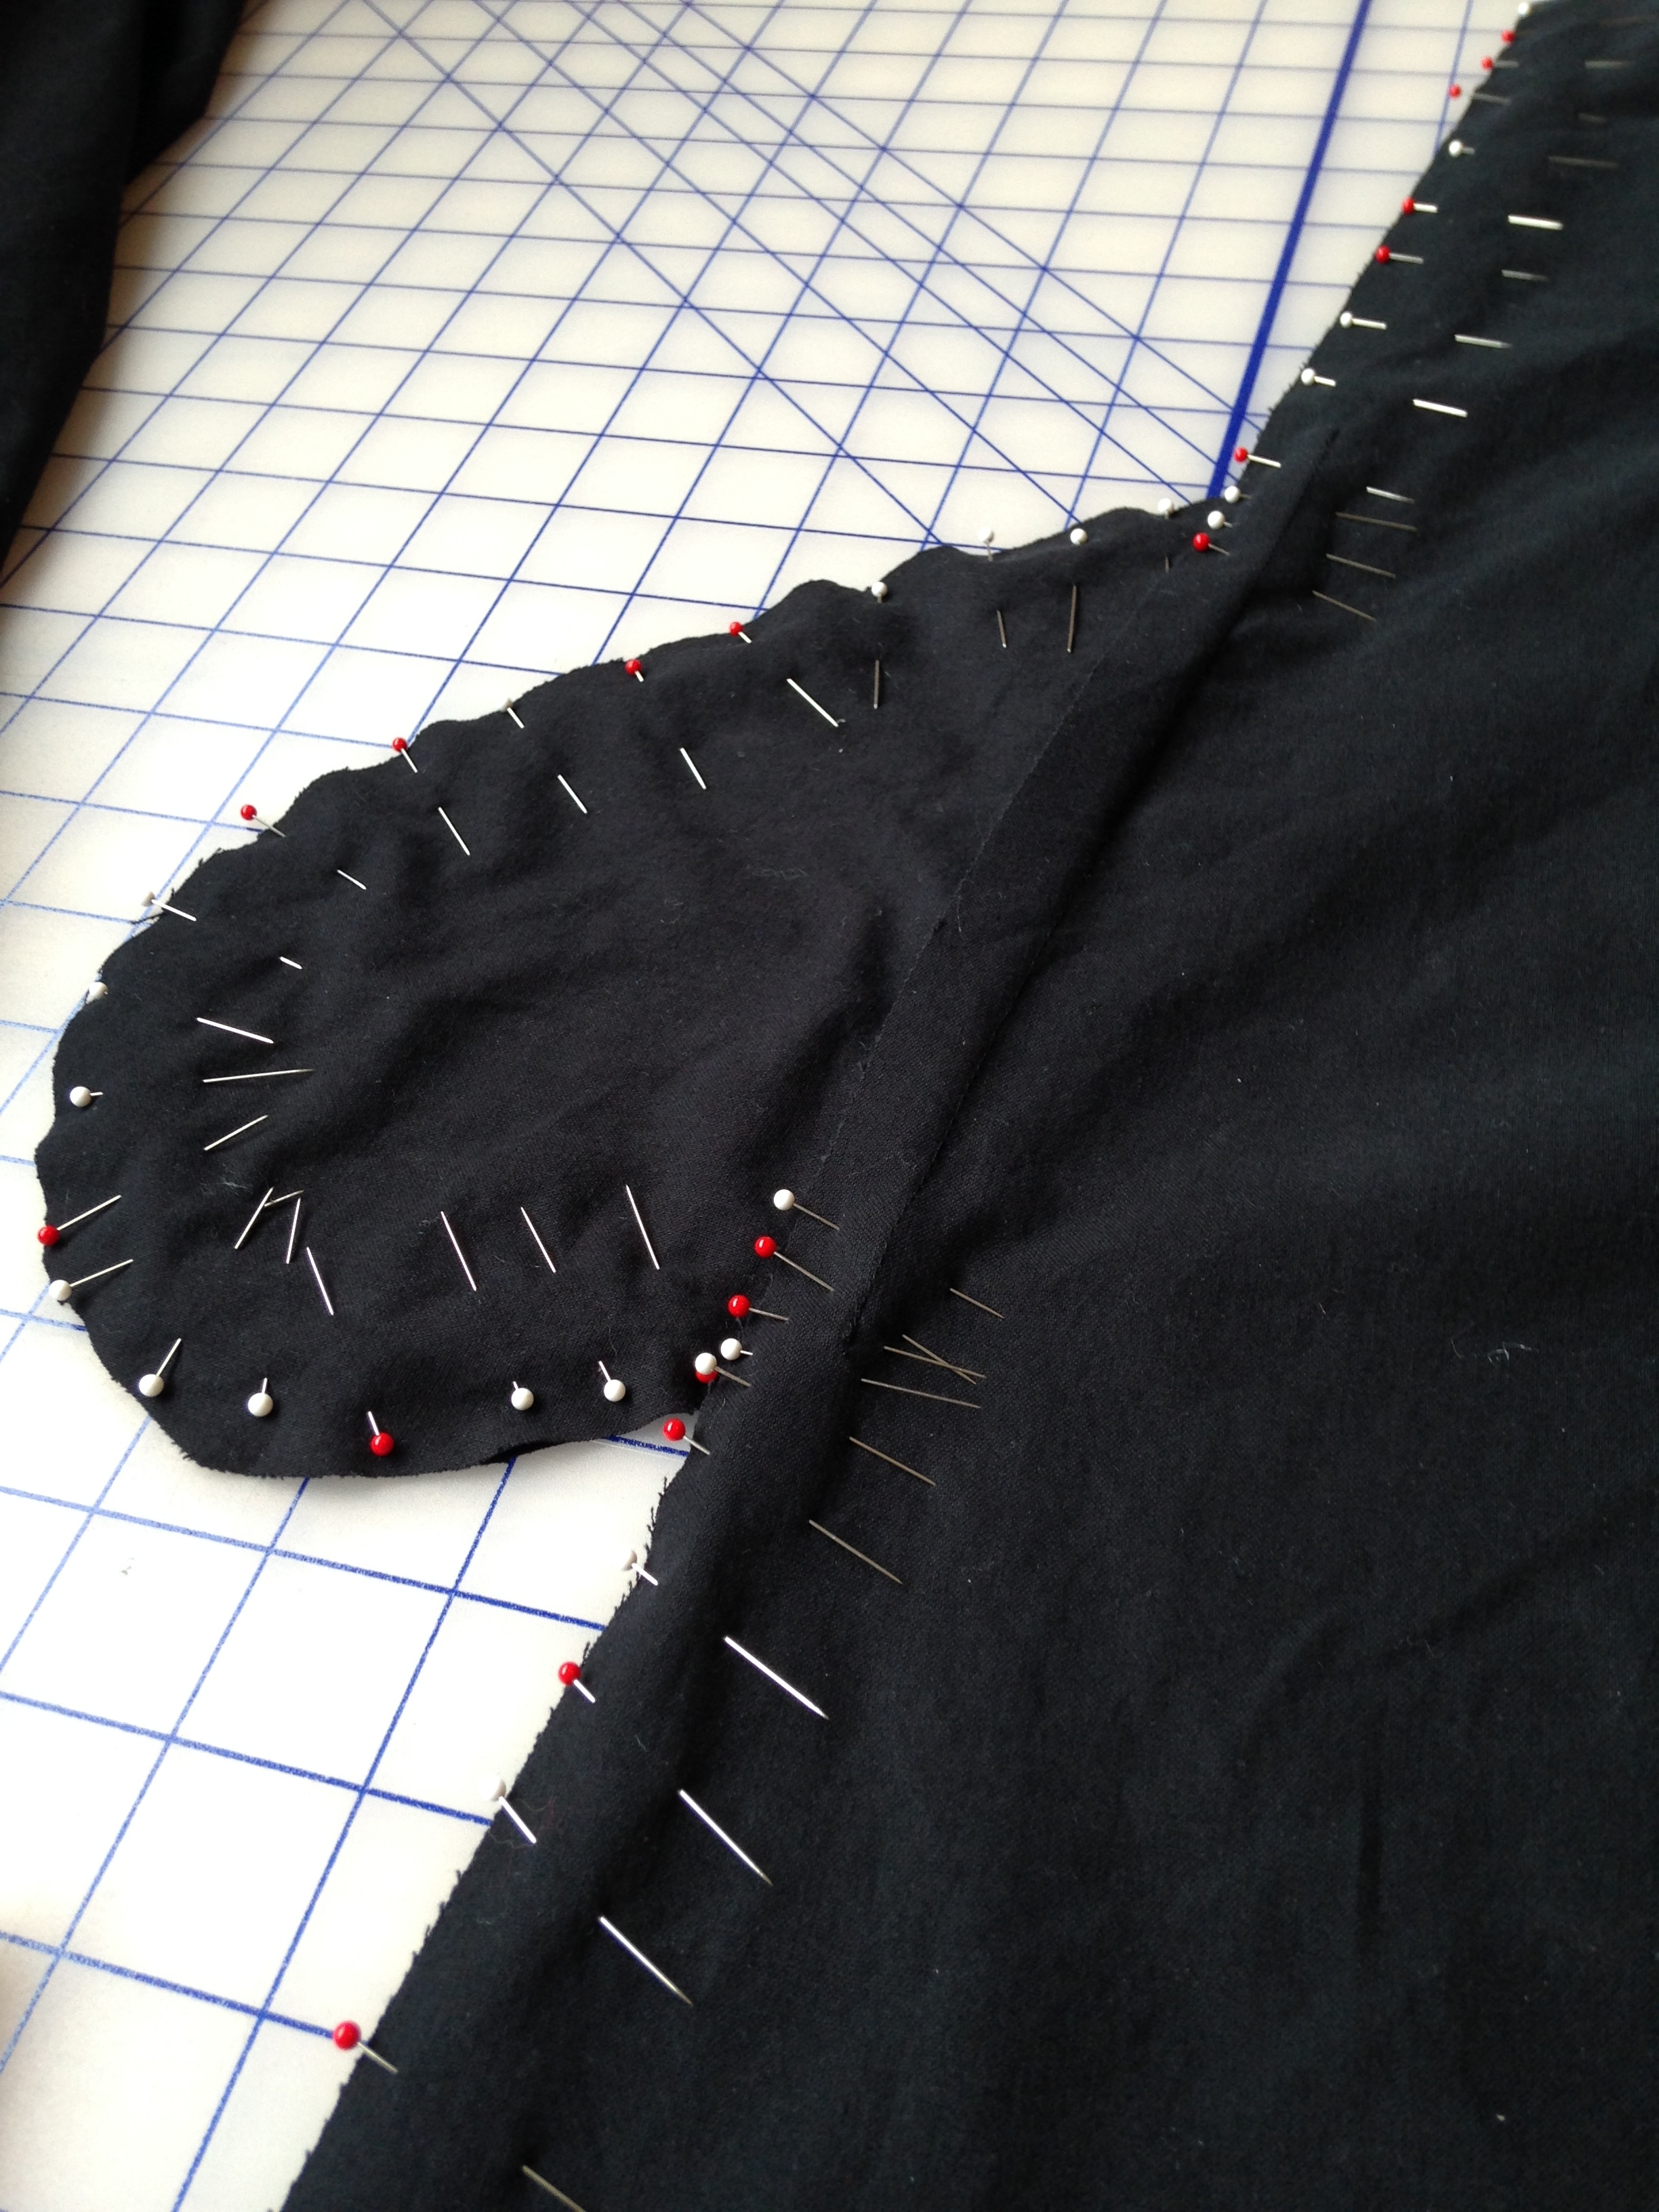
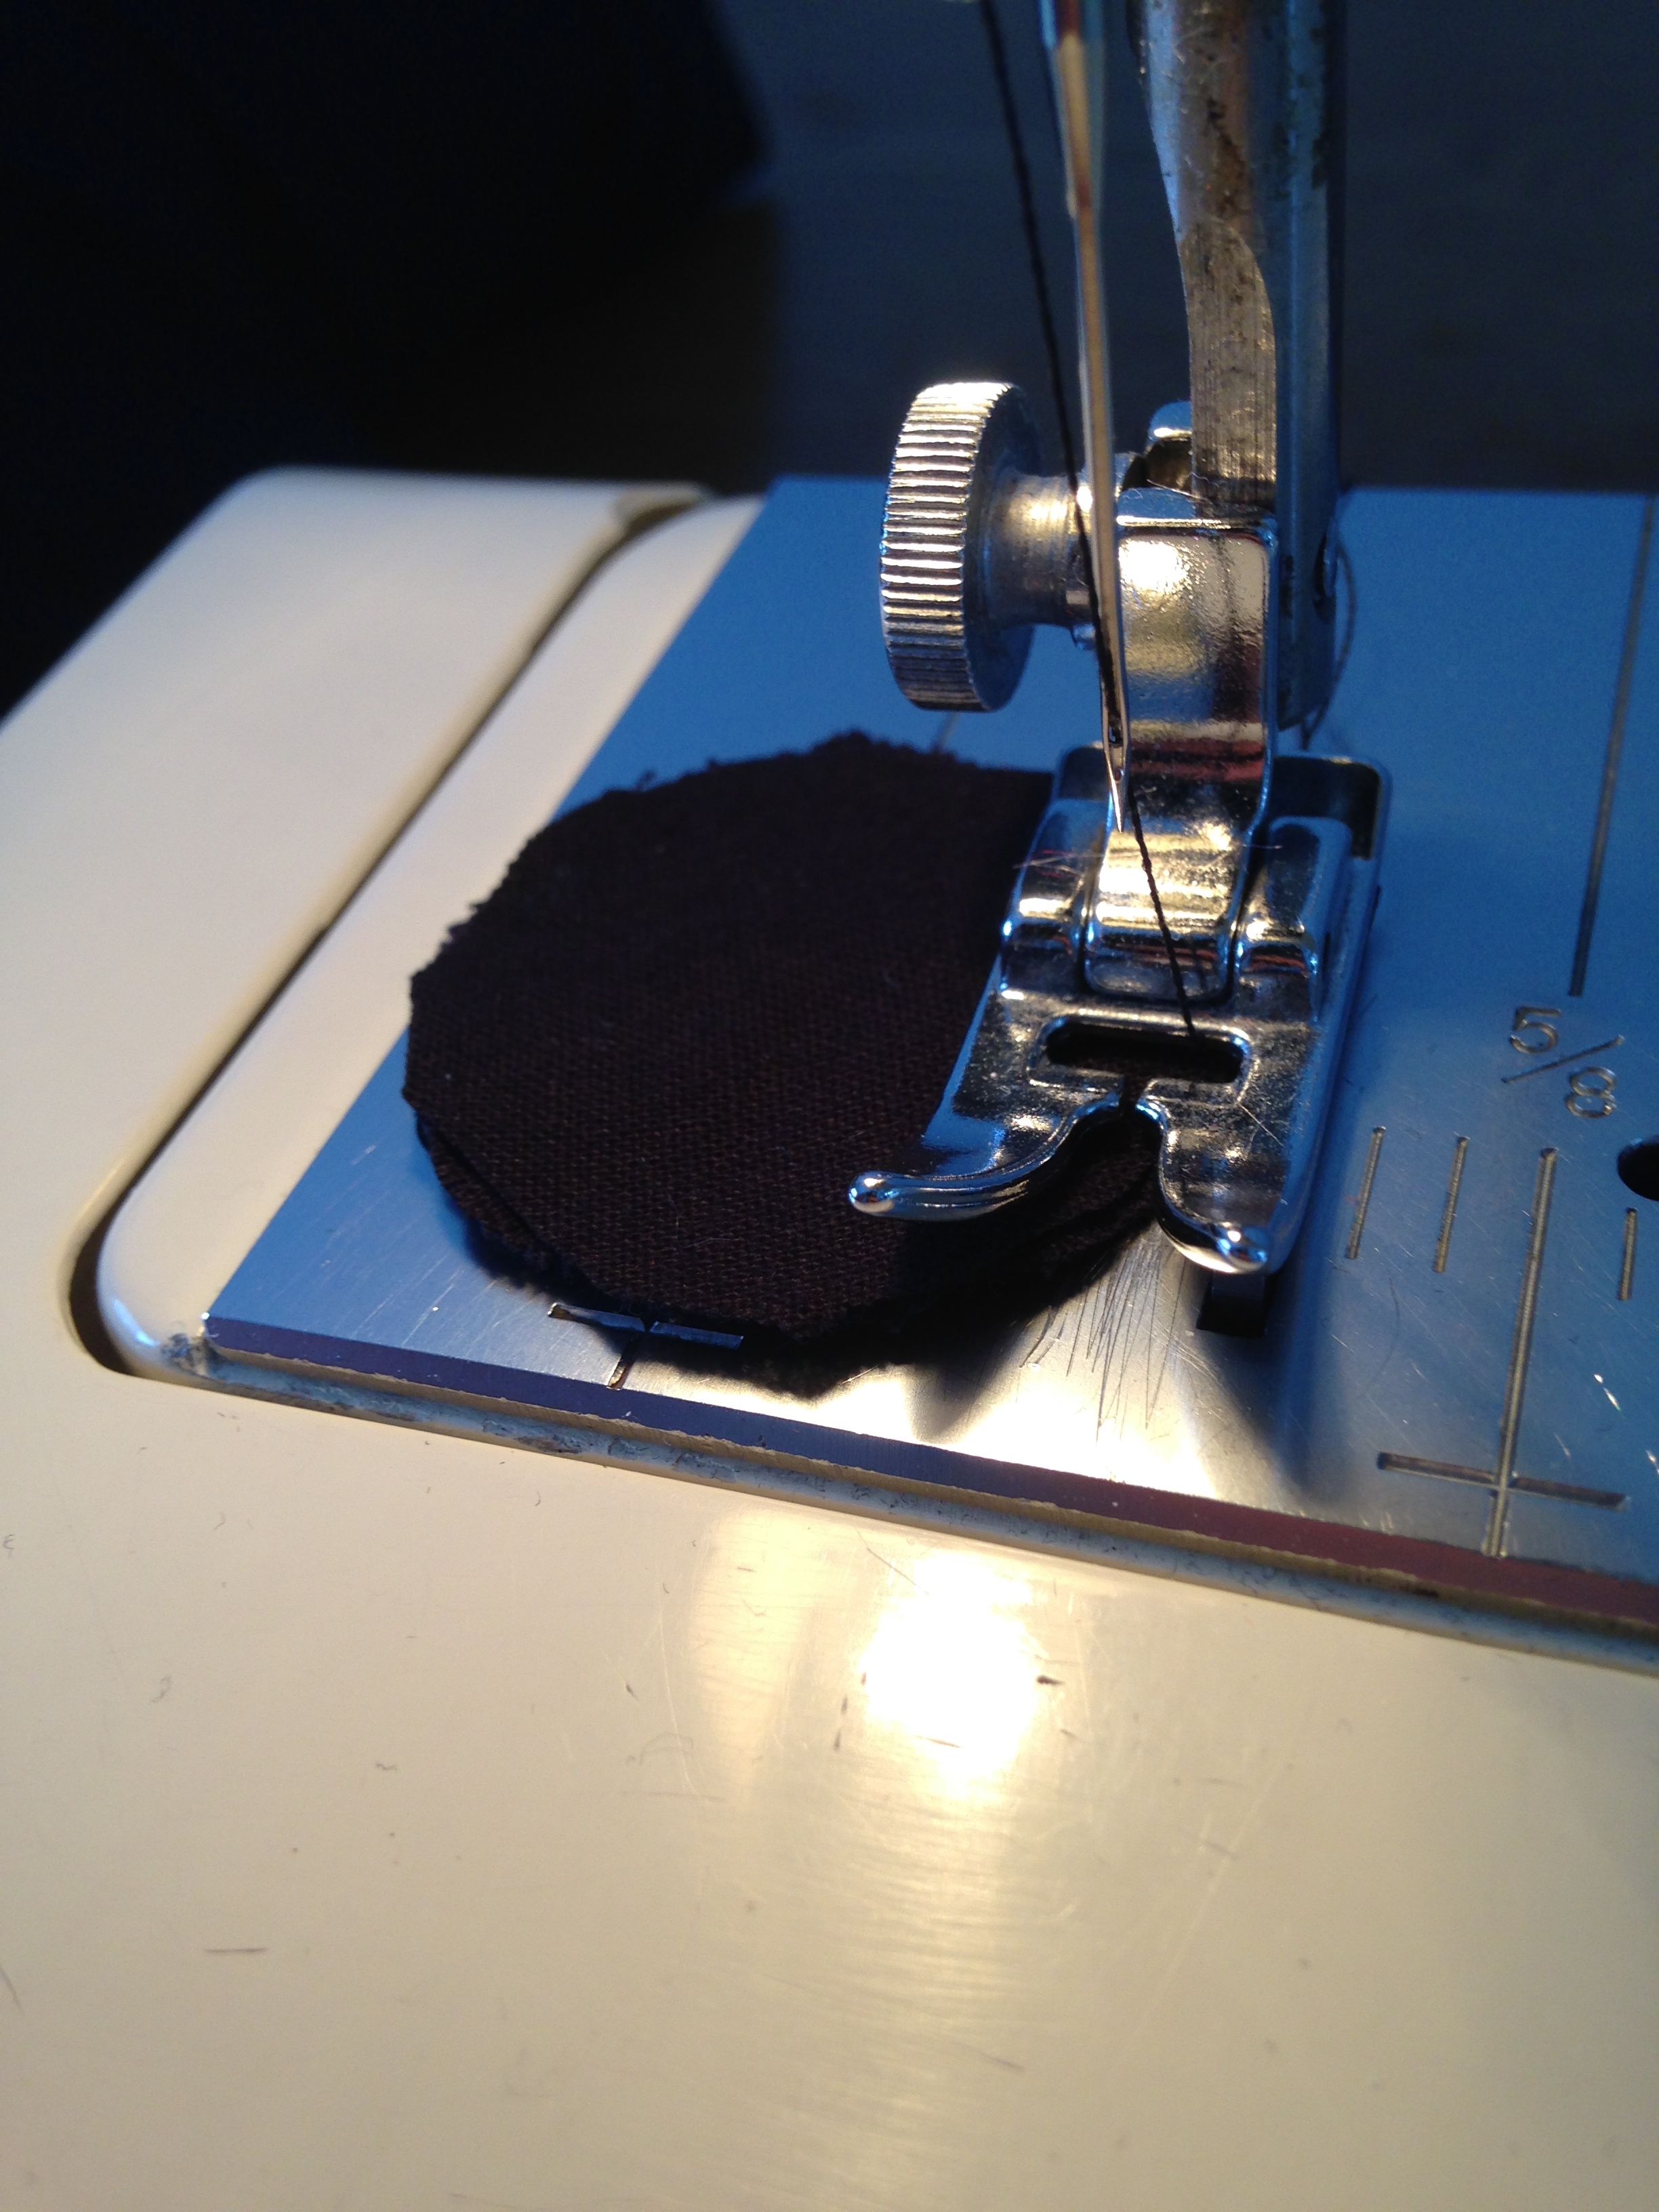
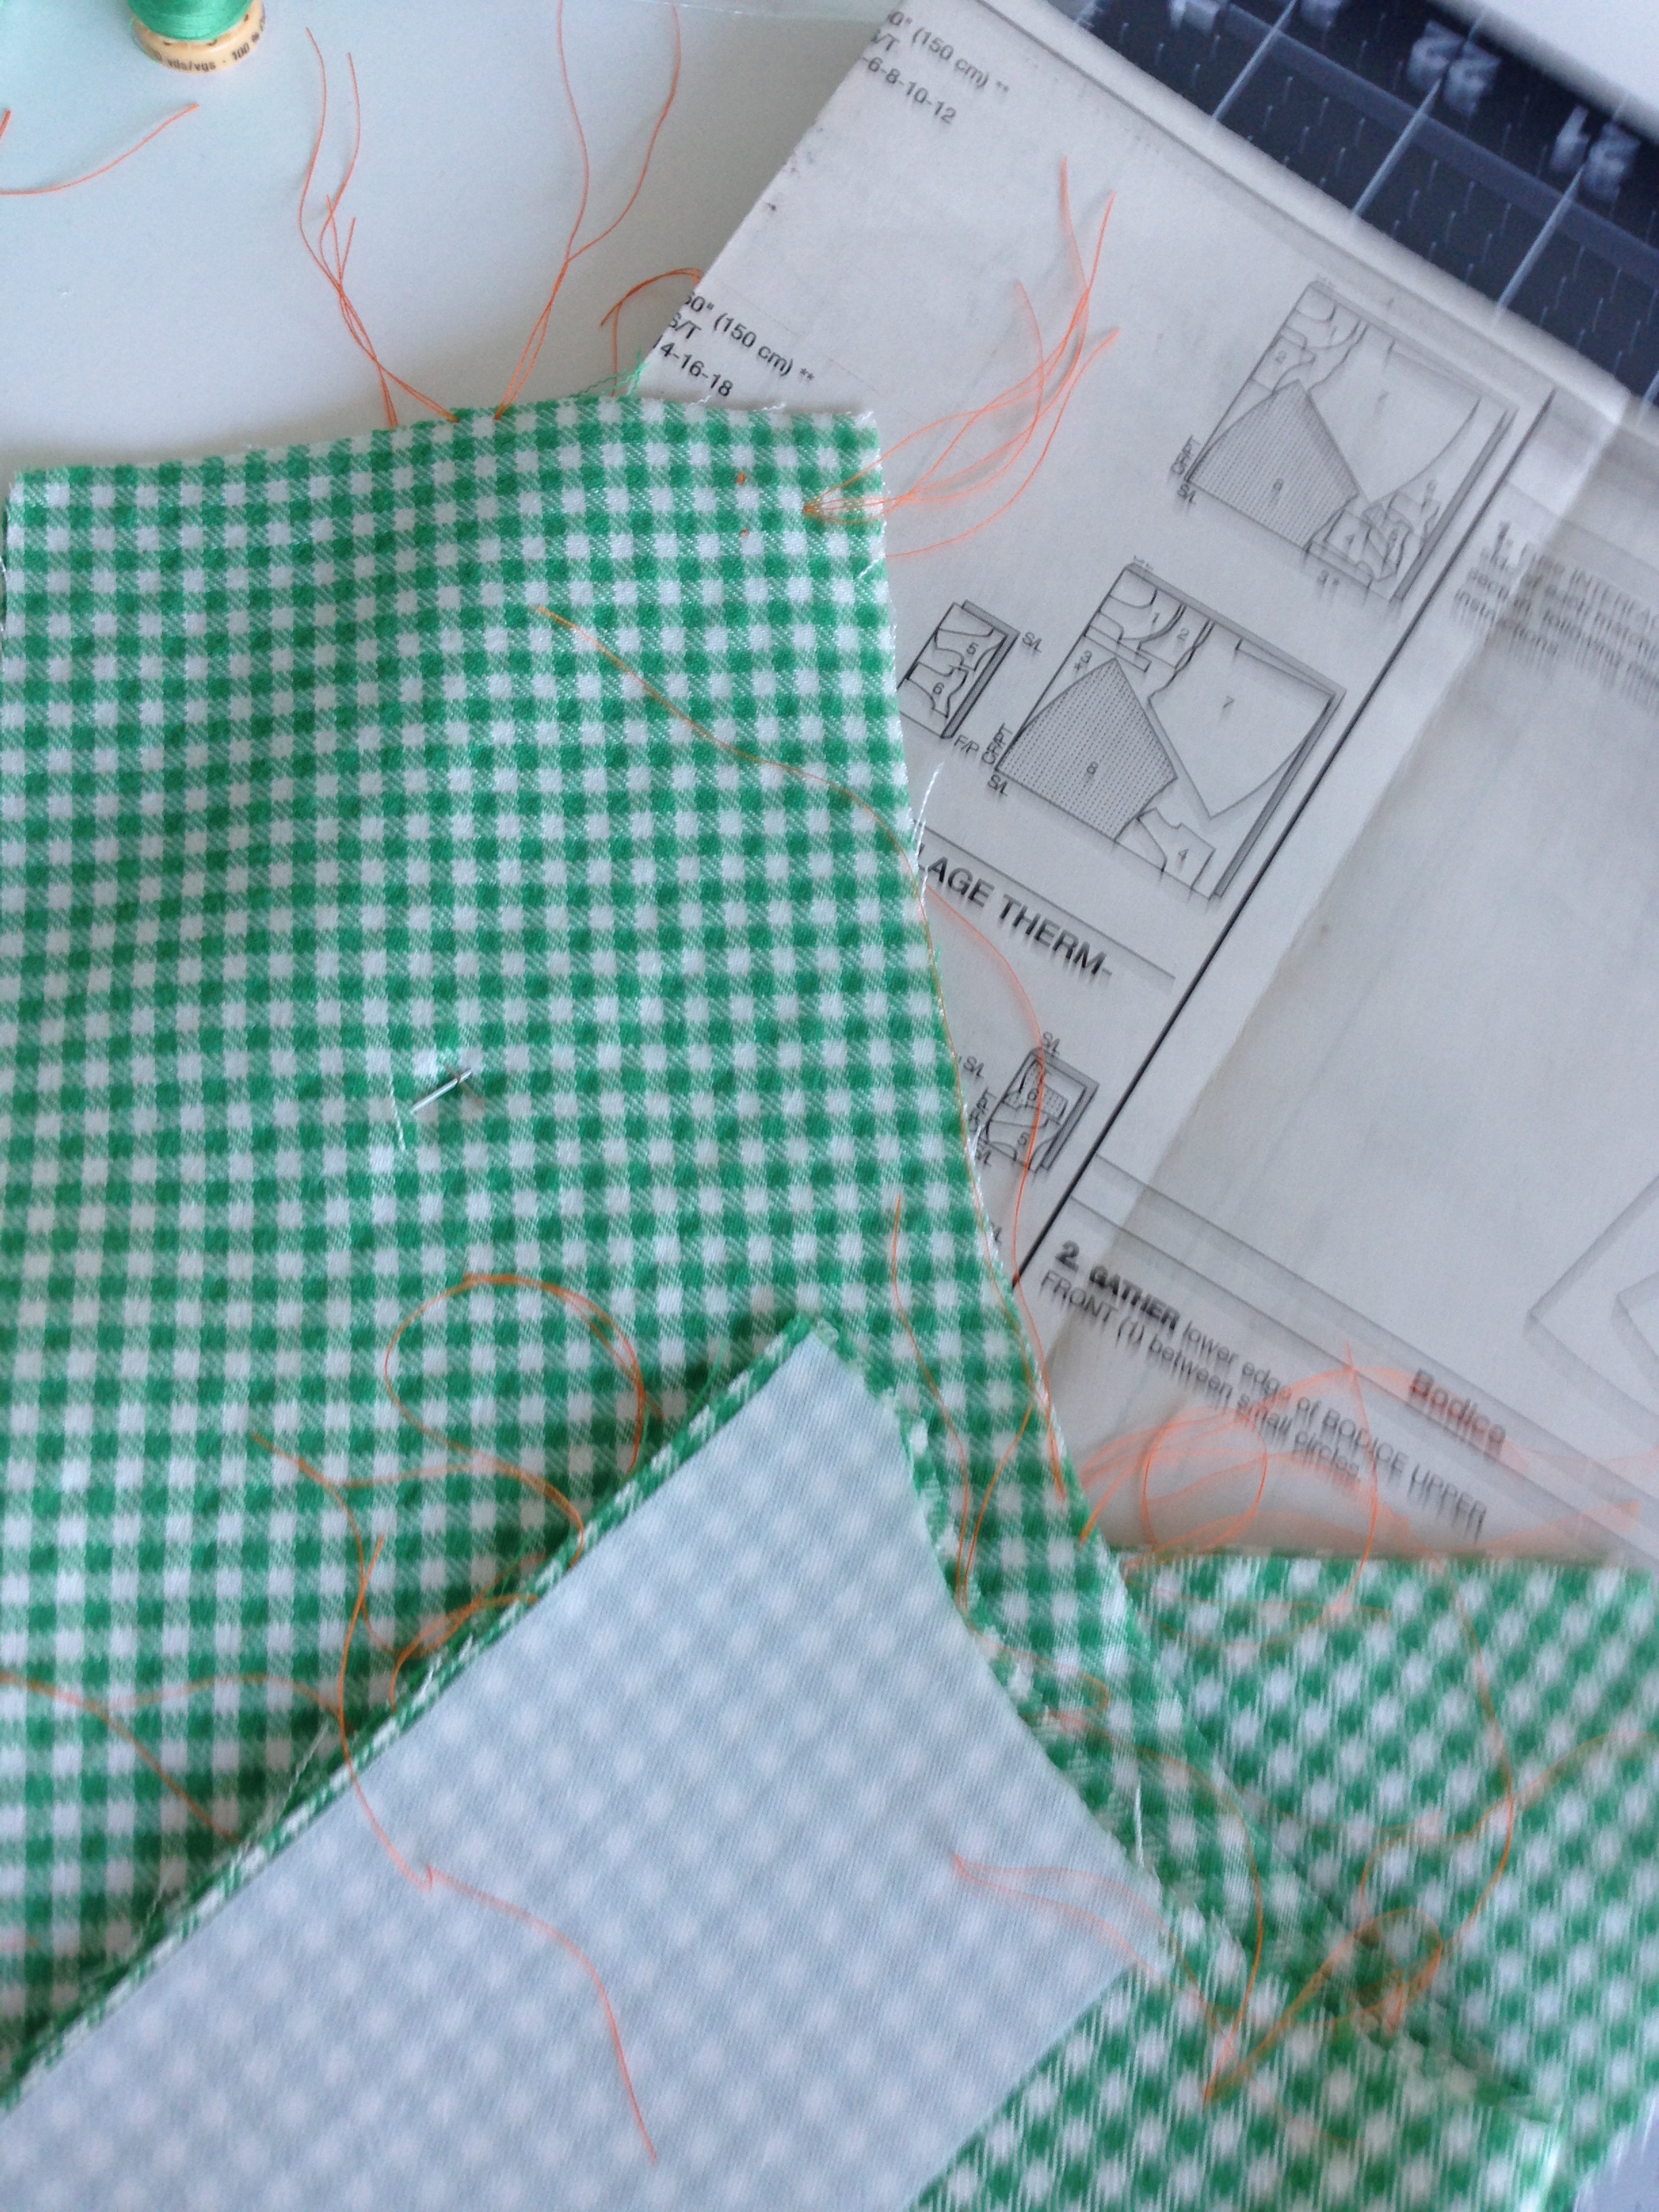
Then go buy a rotary cutter and mat and shake a fist at Past Andrea for not doing this sooner. Cut out all the pieces! Making sure to mark all the little triangle bumpies with a contrasting thread. 

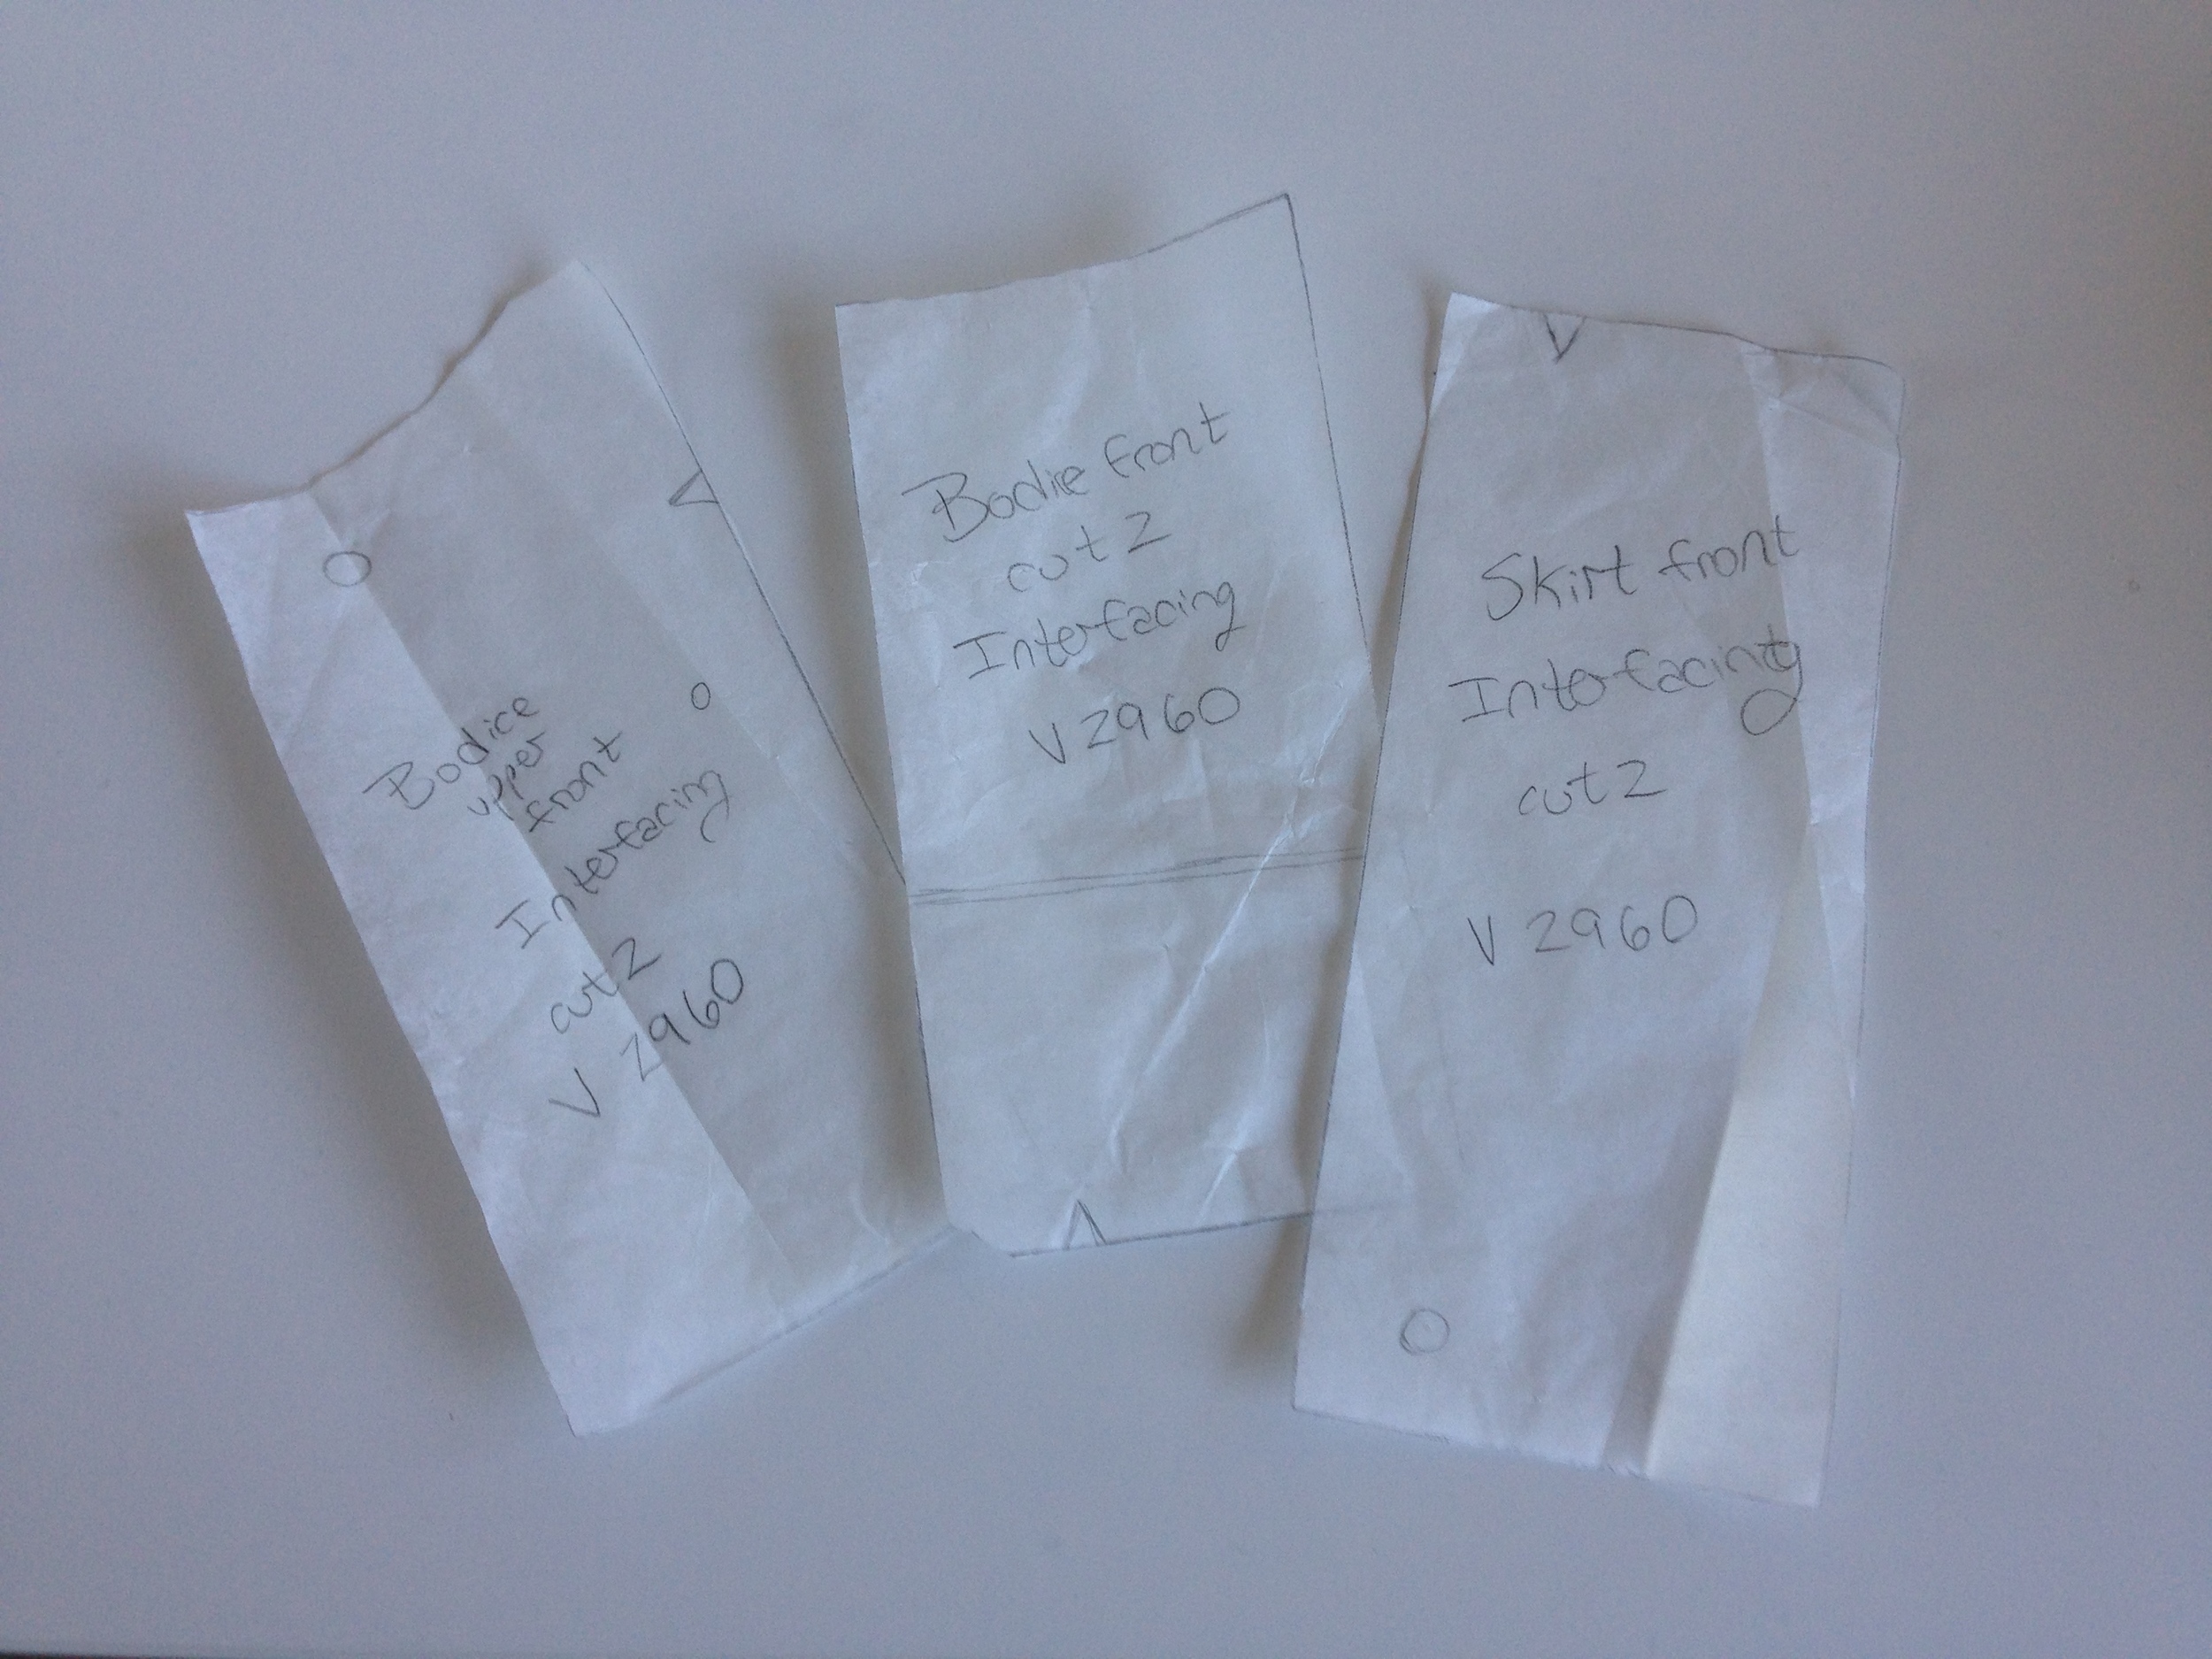
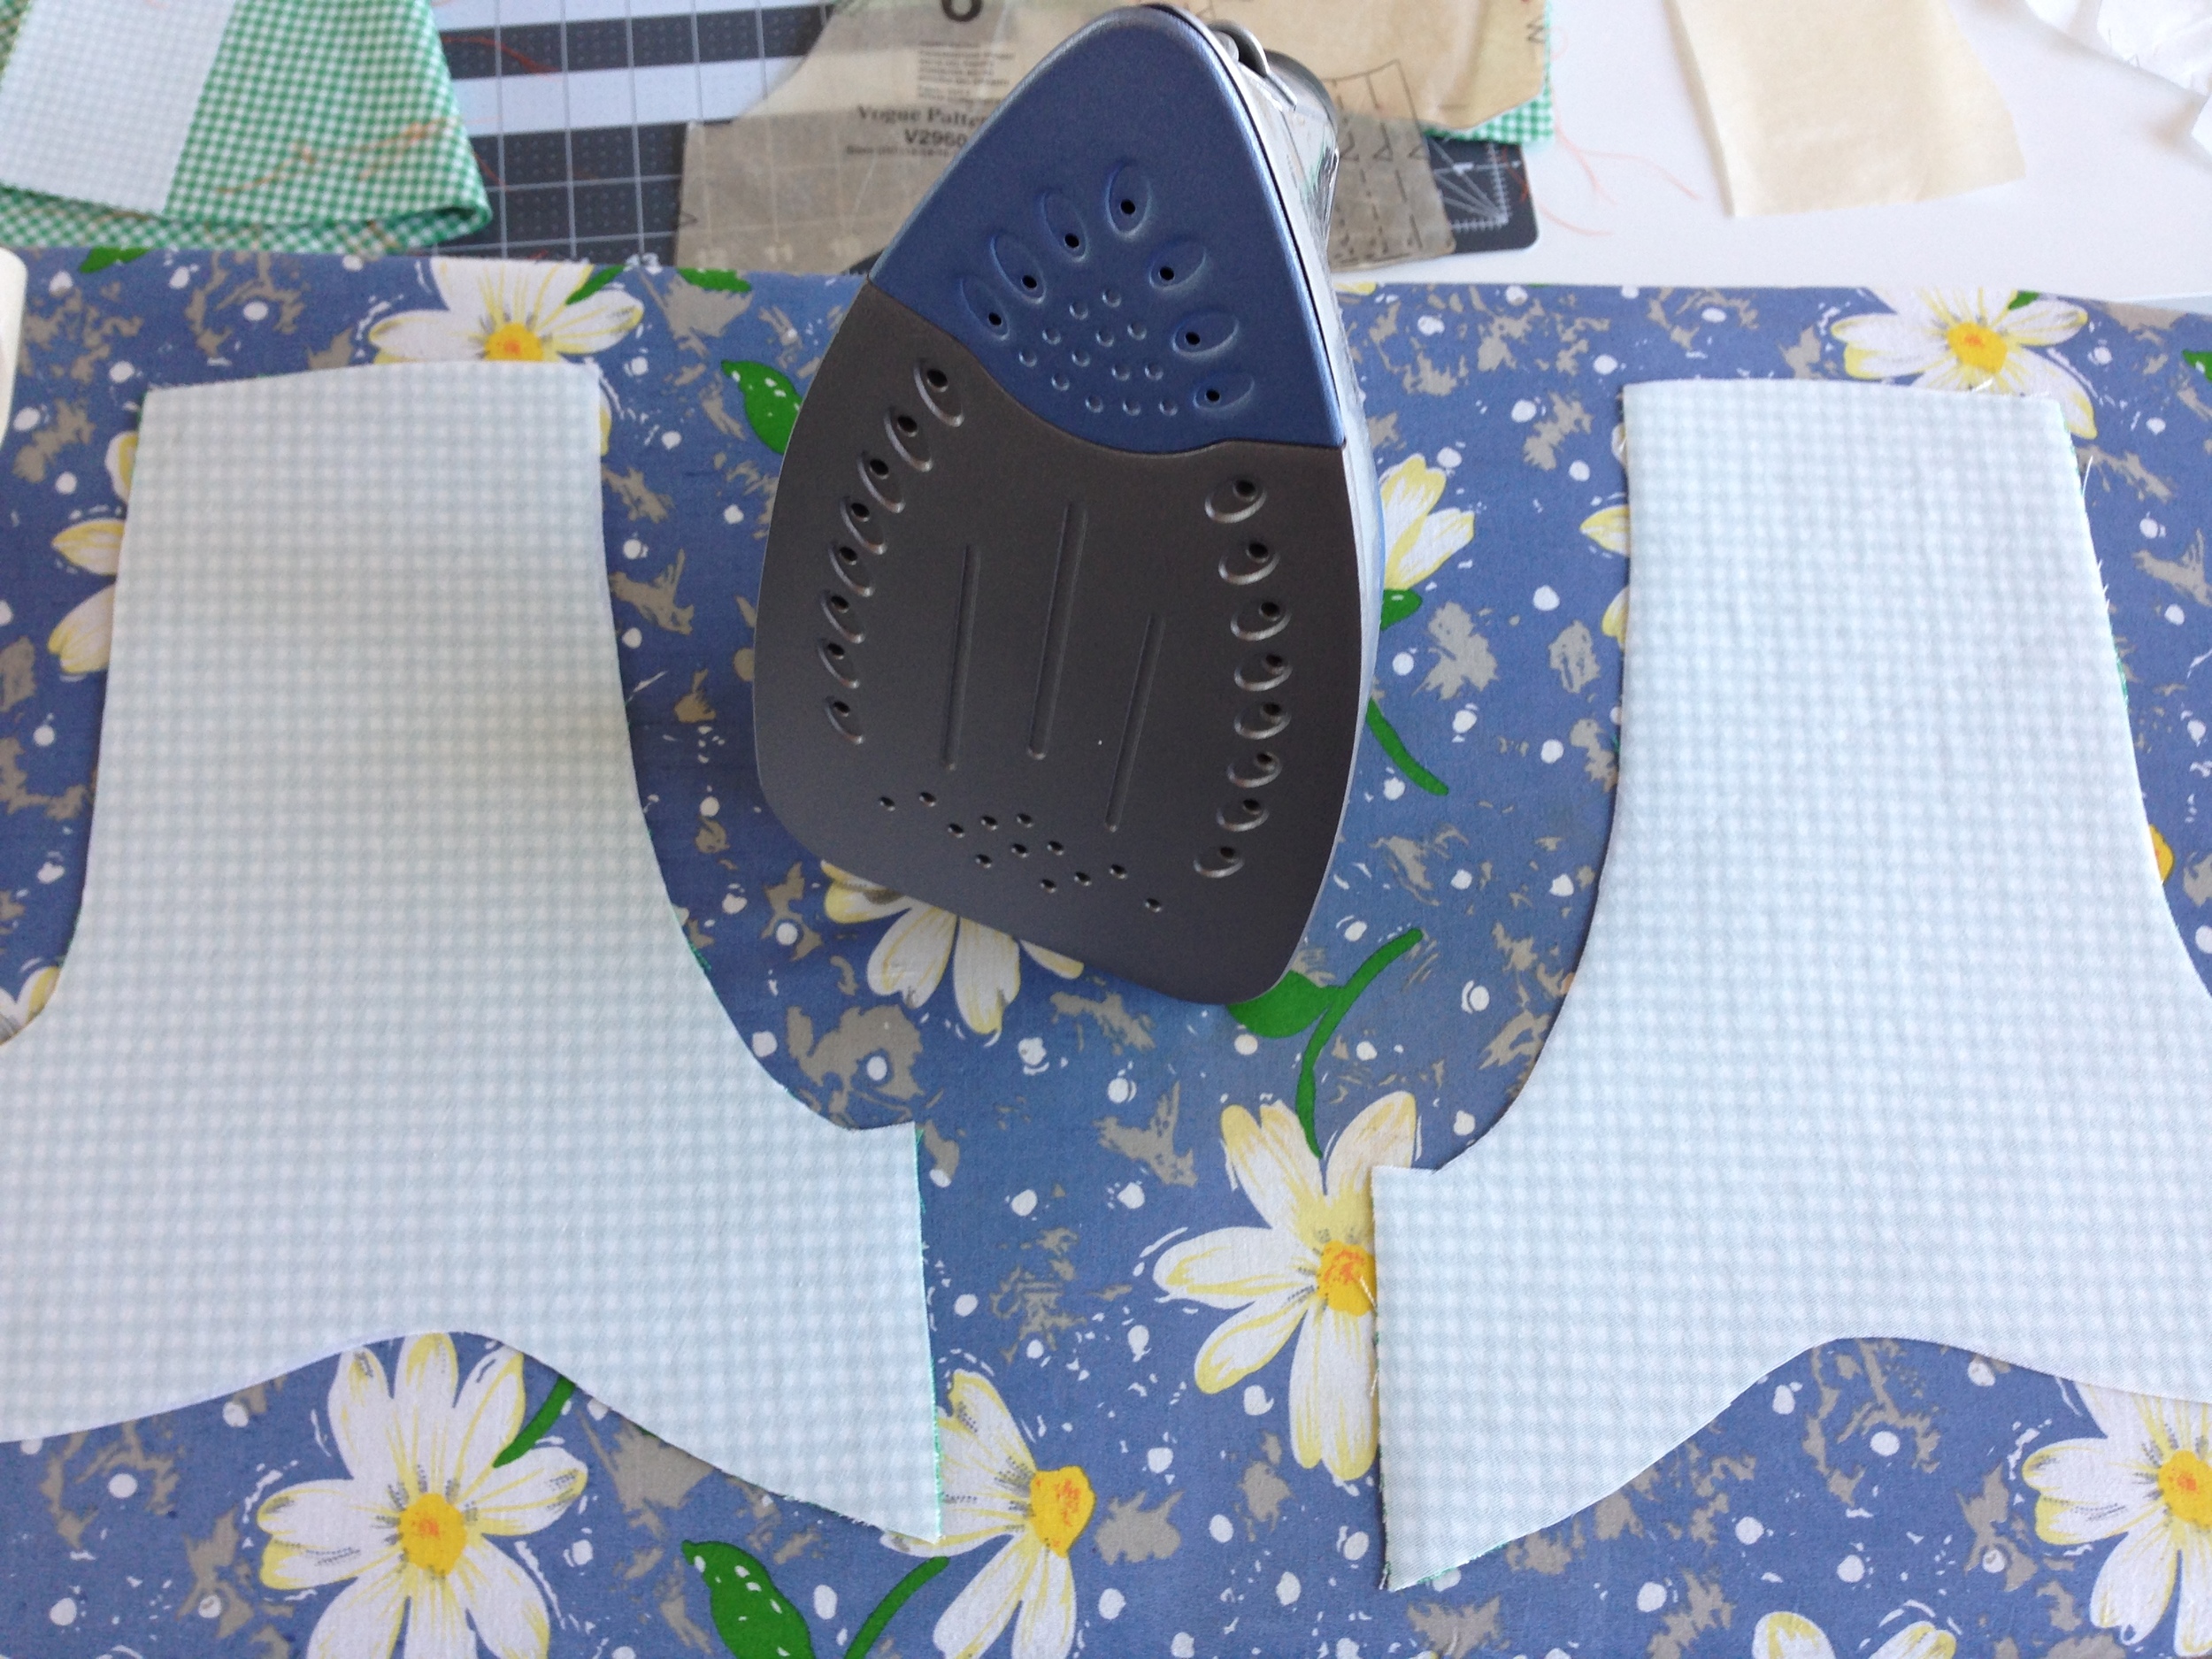
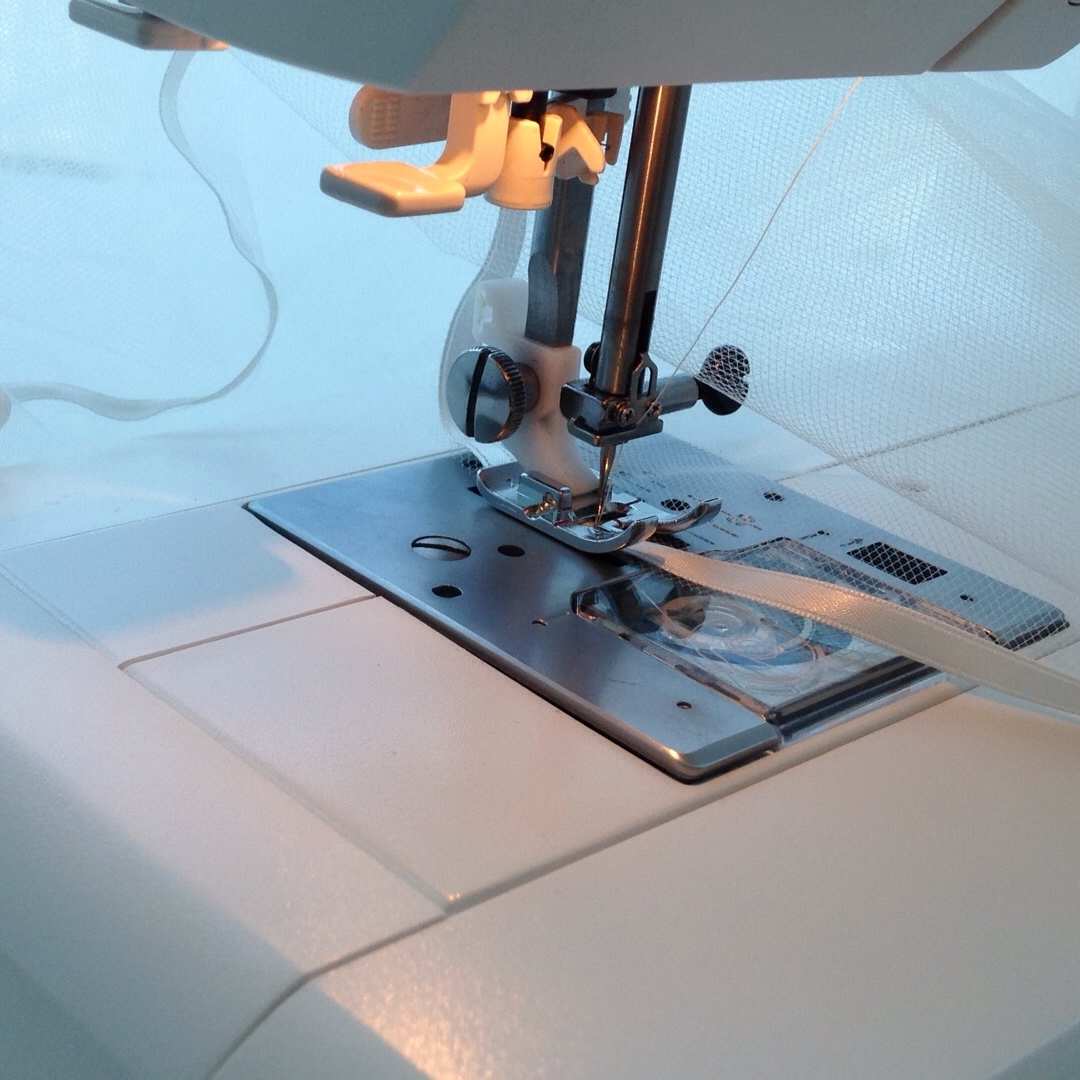
Now it's sewing time! Or wait! Interfacing is a thing that this lovely vogue pattern let's you make your very own pattern pieces for! How nice. 

Phew. Ok. All interfaced. Time to start sewing!

Or maybe I'll just take another, very short, breather...

Stay Tuned!!

-Andrea 

The Half-Assed Hobbyist

The Veils

My lovely lady Jessica got married in the Beautiful Rockies of Alberta this past August. It was a simply Breathtaking ceremony, right on a cliff opening up to the Amazing view. Spectacular. I have known Jess since we were 5 years old, and I blatantly stalked her in kindergarten until she became my friend. (True friendships = someone is Always the creeper.) She is one of the most important people in my life and I'm so glad I got to share in her and Jon's day. <3 

I also got to make her veil for her too! 

Wedding veils are one of the many wedding items that are Stupid expensive. Especially when the actual cost of the mesh and comb and various trimmings is typically no where close to the sale cost of the veil. While shopping for a wedding dress with Jess, we tried on veils that were over $300. Most of which didn't even have any embellishments; straight up mesh on a comb. So I offered to make her a veil instead. 

Of course, making a veil in itself has it's issues, not helped by the fact that I moved 3100kms across the country.... But we did it! And here's my story on how. 

First thing, what kind of veil did she want? There are many different kinds (which I found out). From variations in length to how many layers to how the mesh falls either down the back or over the shoulders, there are a lot of factors.

Jess decided on a two tiered veil with a ribbon trim, similar to one she liked from a bridal shop. I started the recreation.

I bought the mesh from a store on Dufferin St called Finer Fabrics Ltd. The place has basically no internet presence. I actually stumbled upon it walking after I went to a very disappointing Fabricland. It was a good thing because Finer Fabrics is Amazing. The guy who owns and runs it is of the old school of tailoring and sewing. Quite a rarity in this day and age. His fabric is of the highest quality. I haven't seen quality like this since the old Sig Plach in Edmonton closed down. I bought his finest Italian ivory mesh and went on my way.

Next was to make a pattern. I have made a veil before but I went a researched patterns anyway, specifically draping. It's about at this point where I started to realize the reason veils are so flipping expensive is because they're annoying to make. Only insane people like dealing with tulle. 

Oh wait. (Hah.)

Almost Done!

Almost Done!

I found the comb at a bridal store that begrudgingly charged me $5 for it. In retrospect, I could have ordered 30 combs from China for that price, but retrospect is always so well informed. 

After I made my pattern to length, via skyped butt measurements, I cut out my mesh and basted the top pieces for gathering. Once gathered to fit onto the comb's length, I basted the two tiers together. Ready for comb attachment! I decided to make fasten the veil right to the comb. I know many designs have detachable mesh/comb, but I didn't want this sucker to go anywhere. 

I bought the ribbon from a place called Mokuba on Queen West downtown Toronto. It was ribbon heaven. I had to leave before I got tangled in the lushious ribbon walls. At home, I contoured the veil edges in the ribbon with my handy dandy sewing machine. I used a light zigzag stitch as the mesh is stretchy and I wanted it to lay flat. Success!! 

Once finished I shipped it across the country with the BF (he was off to bachelor party on a houseboat in the shuswaps). Unfortunately it got mega smooshed. Sadly it did not retain it's ribboned wooshies over the flight. Also, the dress had been finished, and in the final fitting, decisions were made. The final decision was the viel wasn't what she wanted. No worries though. $38 down isn't bad at all. 

And I had a new example to go off of! 

Instead of a two tiered veil, the new veil would be a single veil, with bling! Super easy pattern to make: Similar tear drop form as the previous veil but with less width. The tip to gathering edge is the length from the nap of the neck to the top of the butt. About 2/3rds of the way down the centre line is where the veils width is the widest, to create the loopies that whoosh into the tip. (This is All technical jargon. My apologies. -winky face-) 

Since the hairstyle was also solidified now I knew the comb piece would be visible. I wrapped it up in the ribbon I had left over from the first veil. Waste not, want not. 

Now for the part I'd never done before: gem stones on mesh. I went to The Place I'm Not Allowed To Go (AKA Michaels) to see what they had in iron on gems. Turns out they have a lovely selection! So I bought some 'made in china' crystals and some Swarovski crystals too. It Is going to be a fancy wedding after all. (For the record, Swarovski crystals are made in china too.) 

I even researched how to bedazzle. (Haha.) Hilariously enough, there are Many Many youtube videos that have different ways of doing this. I found the best way for me was to use a plastic adhesive sheet to stick and move my laid out pattern of gems onto the pinned down veil edge, where I could iron on the gems. This worked rather well after I got the temperature right, and figured out that if I put parchment under the veil the gems would stop adhering to my ironing board.... Pictures of my process are above!

Also, because of sheer paranoia, I went over the backs of each gem with a glue and silver leaf mixture. That's right. I'm official a crazy veil making lady now.

But it did turn out beautiful.

It was an exciting adventure and I'm so glad I got to do it. <3 Love you Jess! 

-Andrea

The Half-Assed Hobbyist

Reupholstery: A Challenge in Forethought

I have a beautiful teak dining set given to me by my Uncle. The set was given to him and my late-Aunt as a wedding gift some 27 years ago. The set was originally ordered by Oma, so, it has a little bit of sentimental value, you might say. Actually, if you ask the BF, he'll say it has a lot. (The dining set is the main reason why we packed the apartment up into a POD when moving from AB, instead of just buying all new things when we got to ON.)

Despite my love for the set (and the memories of thanksgiving dinners had around it), it's time for a new look. The upholstery was redone (supposedly) in the late 80s, and it shows. Although I still like the pastel-y blue linen zig-zag weave, the seats are stained and the padding nearly disintegrated. So its was time for some TLC and a sewing machine attack. 

I'd been looking for fabric for quite a long time (this reupholstery idea was initially kindled about 3 years ago by our then upstairs neighbours, after I saw the success they had had with reupholstering a dining chair of their own). But the BF and I could never decide on a look that we both liked. I wasn't until, in the depths of Queen Street's fabric lair, we found a durable and thoroughly "inoffensive" fabric we could both live with. So the Grand Plans began. 

Now, for those that have read my blog and those who know me, I typically dive into things head first. Learn on the go! I suppose I should have probably stopped and read up on some upholstery techniques but my blog isn't named The Half-Assed Hobbyist for nothing. I started by tearing off the old upholstery (kinda delicately... kinda) in order to make a pattern for the chair back. First thing I noticed was the staples previously used were brass. Fancy-pants staples. Defs didn't have any of those. Only stainless steel. Second thing I noticed: the foam cushioning had indeed disintegrated and, as it got all over me, I super hoped it wasn't made of anything too poisonous. Third thing I noticed, once the fabric was off the "foam", the previous upholsters had wrapped the foam in thin linen. Whether to keep the foam in place or make the fabric slip on easier, I don't know. But good trick! Learning. Check. 

Next step, I traced out a pattern for the new covers. I obviously made the mistake of thinking I should iron the old upholstery flat first. Turns out it was coated in some kind of glue which has now made very good friends with my iron's plates. Upholstery - 1. Me - 0. 

Anyway, I managed to trace a pattern out of the old cover and create a new pattern and cover! Success! 

Having the pattern made and the new cover sewn was not terribly helpful as I still had quite a lot of sandy crumbly foam to try and not inhale off the chair back. To my surprise and minor delight the foam easily shluffed right off the wood, taking off the age-old glue that had once held it in place. A quick vacuum and all evidence of a yellowed foamy massacre was gone.

Finally it was time for some upholstery batting. I cut out a piece to fit around the chair back and wrapped it in a new linen securing strip. I slipped on the cover and it fit! Some slight corner adjustments to the pattern was needed but I got out my staple gun and prepared for the transformation! Unfortunately, I only Thought I had one-up on the beast called Upholstery, and it reminded me abruptly who was the master. My brand new staple gun got two staples into the newly covered chair back when a metal shearing crack stopped my project dead. Well played dining set, well played. (Current score: Upholstery - 2. Me - 0.)  

-interlude of Home Depot voyaging variety-

Back from the land of the staple having! I had bought an even heavier-duty staple gun and finished the chair back piece up and screwed it back to the chair. Success! 

I then started on the seat. While cutting the old fabric off I noticed that the seat was fancily stuffed with upholsterers batting. I defs did not have any of that. However! The batting I did buy was reasonably dense. Works for me! I cleaned off the old glue and started shaping and stapling the batting to the seat. The cover itself was a square of fabric stretched over the sides of the chair seat. So I measured enough fabric to overlap the seat evenly, with a bit to spare that I could trim off afterwards. Starting with two opposing edges I stapled across, keeping the fabric tension as even as I could. (I assume people who do this for a living have an innate sense of fabric tension... that would be a weird but relatively useful super power.) I left the corners free (about 2 inches from each point). Then I repeated the process for the two remaining edges, making sure to keep tension and leave room to finish the corners. So far so good! Last To Do was the corners! I stretched the fabric over and around the corners, attempting to avoid any creasing... which was more difficult than I thought it would be. Note for future chairs, leave a bit more room for corner fabric stretching.

Eventually I managed to get the corners stapled down, with minor creasing (shhhhh). Success! I still have the rest of the chairs to do but here's a before and after picture!

Mission Reupholster: Relative Success! Now to do the other three.... Haha. 

-Andrea

The Half-Assed Hobbyist

Secret Santa

Since I know very few people in the city, the GF of a friend offered to include me in a Secret Santa group of hers. The theme of the gift was homemade. It could be baking, or knitting, or wood work, etc, but it had to be handmade. Challenge accept! So I got the name of my secret santa-ee and begun my planning. (In other words, I mega creeped his FB page... Haha. Yay modern technology!)

I soon discovered that he was a mega nerd, like me, excited for the new Hobbit movie and a lover of all things space aged. So, with the new Star Wars trailer soon to come out, I got an idea. Stormtrooper in a tiny Christmas sweater. Obviously. 

So I set to work sketching a draft of what he would look like. Then I got to dig out my sewing machine and materials and make a pattern. I traced the drawing for the pattern, including a seam allowance. Then I bought some black and white felt and got to work. I wanted to make it as easy to sew as possible so I basted all the armour to the black body pieces and then sewed the head pieces together and the body pieces together in one seam. Success! 

Next, I got to knitting him a teeny tiny sweater. I've never actually been skilled enough to make a life sized sweater before so I read a couple patterns to get the gist of how to make sleeves. It took about 3 hours but my little galactic sweater was ready for business. 

After that, I stuffed XMS-1225 (also known as XMAS) with cotton balls, inserted a cardboard spine and stitched his head to his body. 

And my new little friend was off to meet his commander. =) 

-Andrea

The Half-Assed Hobbyist

Magical Mumptions. Also, Vows!

One of my good friends is getting married. Not just getting married though. She's getting married Harry Potter style. For real. (My friends are cooler than yours.) Anyway! For a semi-wedding/real life gift, I'm making the happy couple Hogwarts Robes to wear while they greet their guests at the reception. (The Hogwarts away for Hogwarts reception. Complete with Harry Potter themed bar and four long house tables under a ceiling of candles. Again. Cooler than yours.)

One would think making a HP robe is an easy task. I searched for patterns to buy to make a tailored robe for the bride-to-be and her wizard fiancee but there were no such official patterns to be had. Enter my journey through the blog-o-shpere to find out how others of 'my kind' were getting on without patterns to purchase. 

One real good blog was this one. Now, while I definitely took little of their advice, it gave me my base courage to enter a Fabricland and find a 'close enough' pattern that I could alter to be the magnificent robe fit for a first dance as husband and wife. 

I have to admit, it took me for freaking ever to get started. First thing I had to do was make a draft version of the robe using the "close enough" pattern I'd purchased. I used Simplicity 5840, pattern B. From the draft robe I could make alterations and then transfer those alterations to the pattern. And then actually make the final robe and tailor it to Madame Bride. 

Fig 1

Easier said than done though. The pattern I used was waaaaay to big. Like many other bloggy-inclined, I was referencing a couple screen shots from various HP movies to get an idea of the fit. Fig 1 is one of the best to get an idea of how fitted it is buttoned up. So the first alteration was to take in the side seams about 12 cm. Straight from the armpit down to the hem. 

The second alteration was to the sleeves. I had to shorten the part that met the body of the robe by 6 cm a side (thank gad for easy drop shoulders). Also, the sleeves in the movie have a long and straight cuff on them, so I had to alter the flare of the original pattern as well. Plum 1 (below) has the best example of the fit and drape of the sleeve on Miss Parkinson. Fitted along the top of the arm and then a dramatic flare at the elbow.

Plum 1

After the sleeves were altered, cut and sewed in, I still had a rather large expanse of fabric at the back. So tailored darts, yay! Now, I don't have any high definition views of the back of the robes so I'm going to pretend that some fancy Hogwarts students have darts in their robes. I did two darts, each centered over a shoulder blade. They run from near the nap (about 5 cm lower) to the top butt region. 

Next, the hood. To get that telltale Hogwarts hood drape on the chest was a bit difficult to do with this pattern. The original pattern had a droopy hood, meant to look elegant in velvet, but that wasn't going to work for an as-close-as-possible HP robe. 

I see your back! Haha!

I see your back! Haha!

The length and shear pointedness of the hood was hard to figure too. I knew that the hoods from the third movie on were rather pointier than their predecessors, but the only clip I could really find that had good views of the hood, front and back, was in the third movie at the first Care of Magical Creatures class scene. From this I figured: 1) the hood has to be long enough that when it's up the tip still falls around the neck/upper back area; 2) the tip is indeed pointy; 3) the hood needs to be wide enough at the neck that when it's down the lining can be seen on the chest; 4) Again, when the hood is up, there should be no sagging of extra fabric at the connection between the hood and the robe front. Lots the think about. 

I extended the hood point (a little too much in the draft - I shortened it more in the final robe), and I pressed and taped together the patterns hood darts so my hood would be smooth at the seams (no sagging!). Luckily the hood was wide enough as it was so I didn't have to alter the neck seam, yay!

Ooooooooooo!

Ooooooooooo!

Hood = Achieved! After that success there was one more obstacle to tackle. The Lining. 

From the third movie on, each robe is lined with the house colour of its student. My friend is a proud Hufflepuff, so, verily suiting, a Hufflepuff robe she will have. Looking back at Fig and Plum 1, we can see that the cuffs are lined, the front of the robes are lined and the hoods are lined too. However, there are No Visible Seams at the chest. Gross. This meant that some fancy planning work would be required. 

Lining Design

Now, many of the blogs I've visited that have detailed how they've made their own robes have only lined the first foot of the robe front. This is a very clever way to work it. Instead of lining the whole of the robe, making it rather difficult to sew and also much heavier than strictly necessary, they've cut out one, long, piece of lining to go from the base hem on one side, up along the robe front, into the hood, down the other side of the chest, back to the hem. Essentially, they've figured out how to make it so that there are no seams at the hood and chest connections. Brilliant. 

But because apparently I enjoy making more work for myself than necessary, I decided to line the whole of the robe. Then the inside seams would be covered too. Easy enough... Or so I thought. Basically I had to make a copy of the robe I had just made with lining, with one very important difference: The robe front had to be one piece up into the hood. I drew it all out (above) and then set to work. 

After the lining robe was sewed together - I basted the sleeve lining to the robe lining at the armhole because I'd need to be able take them apart to turn the robe right side out after I'd done the cuff seams -  I positioned and stitched the crest to the front left robe breast. Then, after the lining was sewed to the robe front seam (hem to hood to hem), I made up the buttons. I bought plastic buttons to cover in fabric so they look just like the original robe buttons (see gallery beside). I had sewn a piece of looped black cord in the centre of the breast in the robe front seam to use as my clasp. So it was a case of button positioning and a happily ever after. These little details done, I finished the cuffs, detached the sleeve lining at the armhole, turned them right side out and sewed the sleeve lining to robe lining again. I tacked the lining at the hood point, shoulder seams and under arm seams so the lining wouldn't shift around too much and then started on the hem. Doing the hem last, I was able to fully incase all the seams. How professional!

All in all, this project was amazingly fun to put together. I got to spend a lot of 'research time' rewatching all the movies and rereading all the books. And Lesley and I got to spend hours together being giant sewing nerds. It was all so worth it. 

Image.png

I'll post pictures of the actual wedding after it happens in July. But until then, just be happy with a glimpse at the AMAZING invite.

Eeeeee! So Excited!!!

Cheers!

-Andrea

The Half-Assed Hobbyist