How Does Your Garden Grow?

My babies are out and about now! Well not about. But still outside in the lovely sunshine!

I was asked by a fellow friendly what containers I use for my plant babies so I'm going to write up the "How-Tos" of getting started balcony gardening! (Keep note... Despite any greenthumb-ed luck, I've only been doing this for a couple years. Still learning myself!)
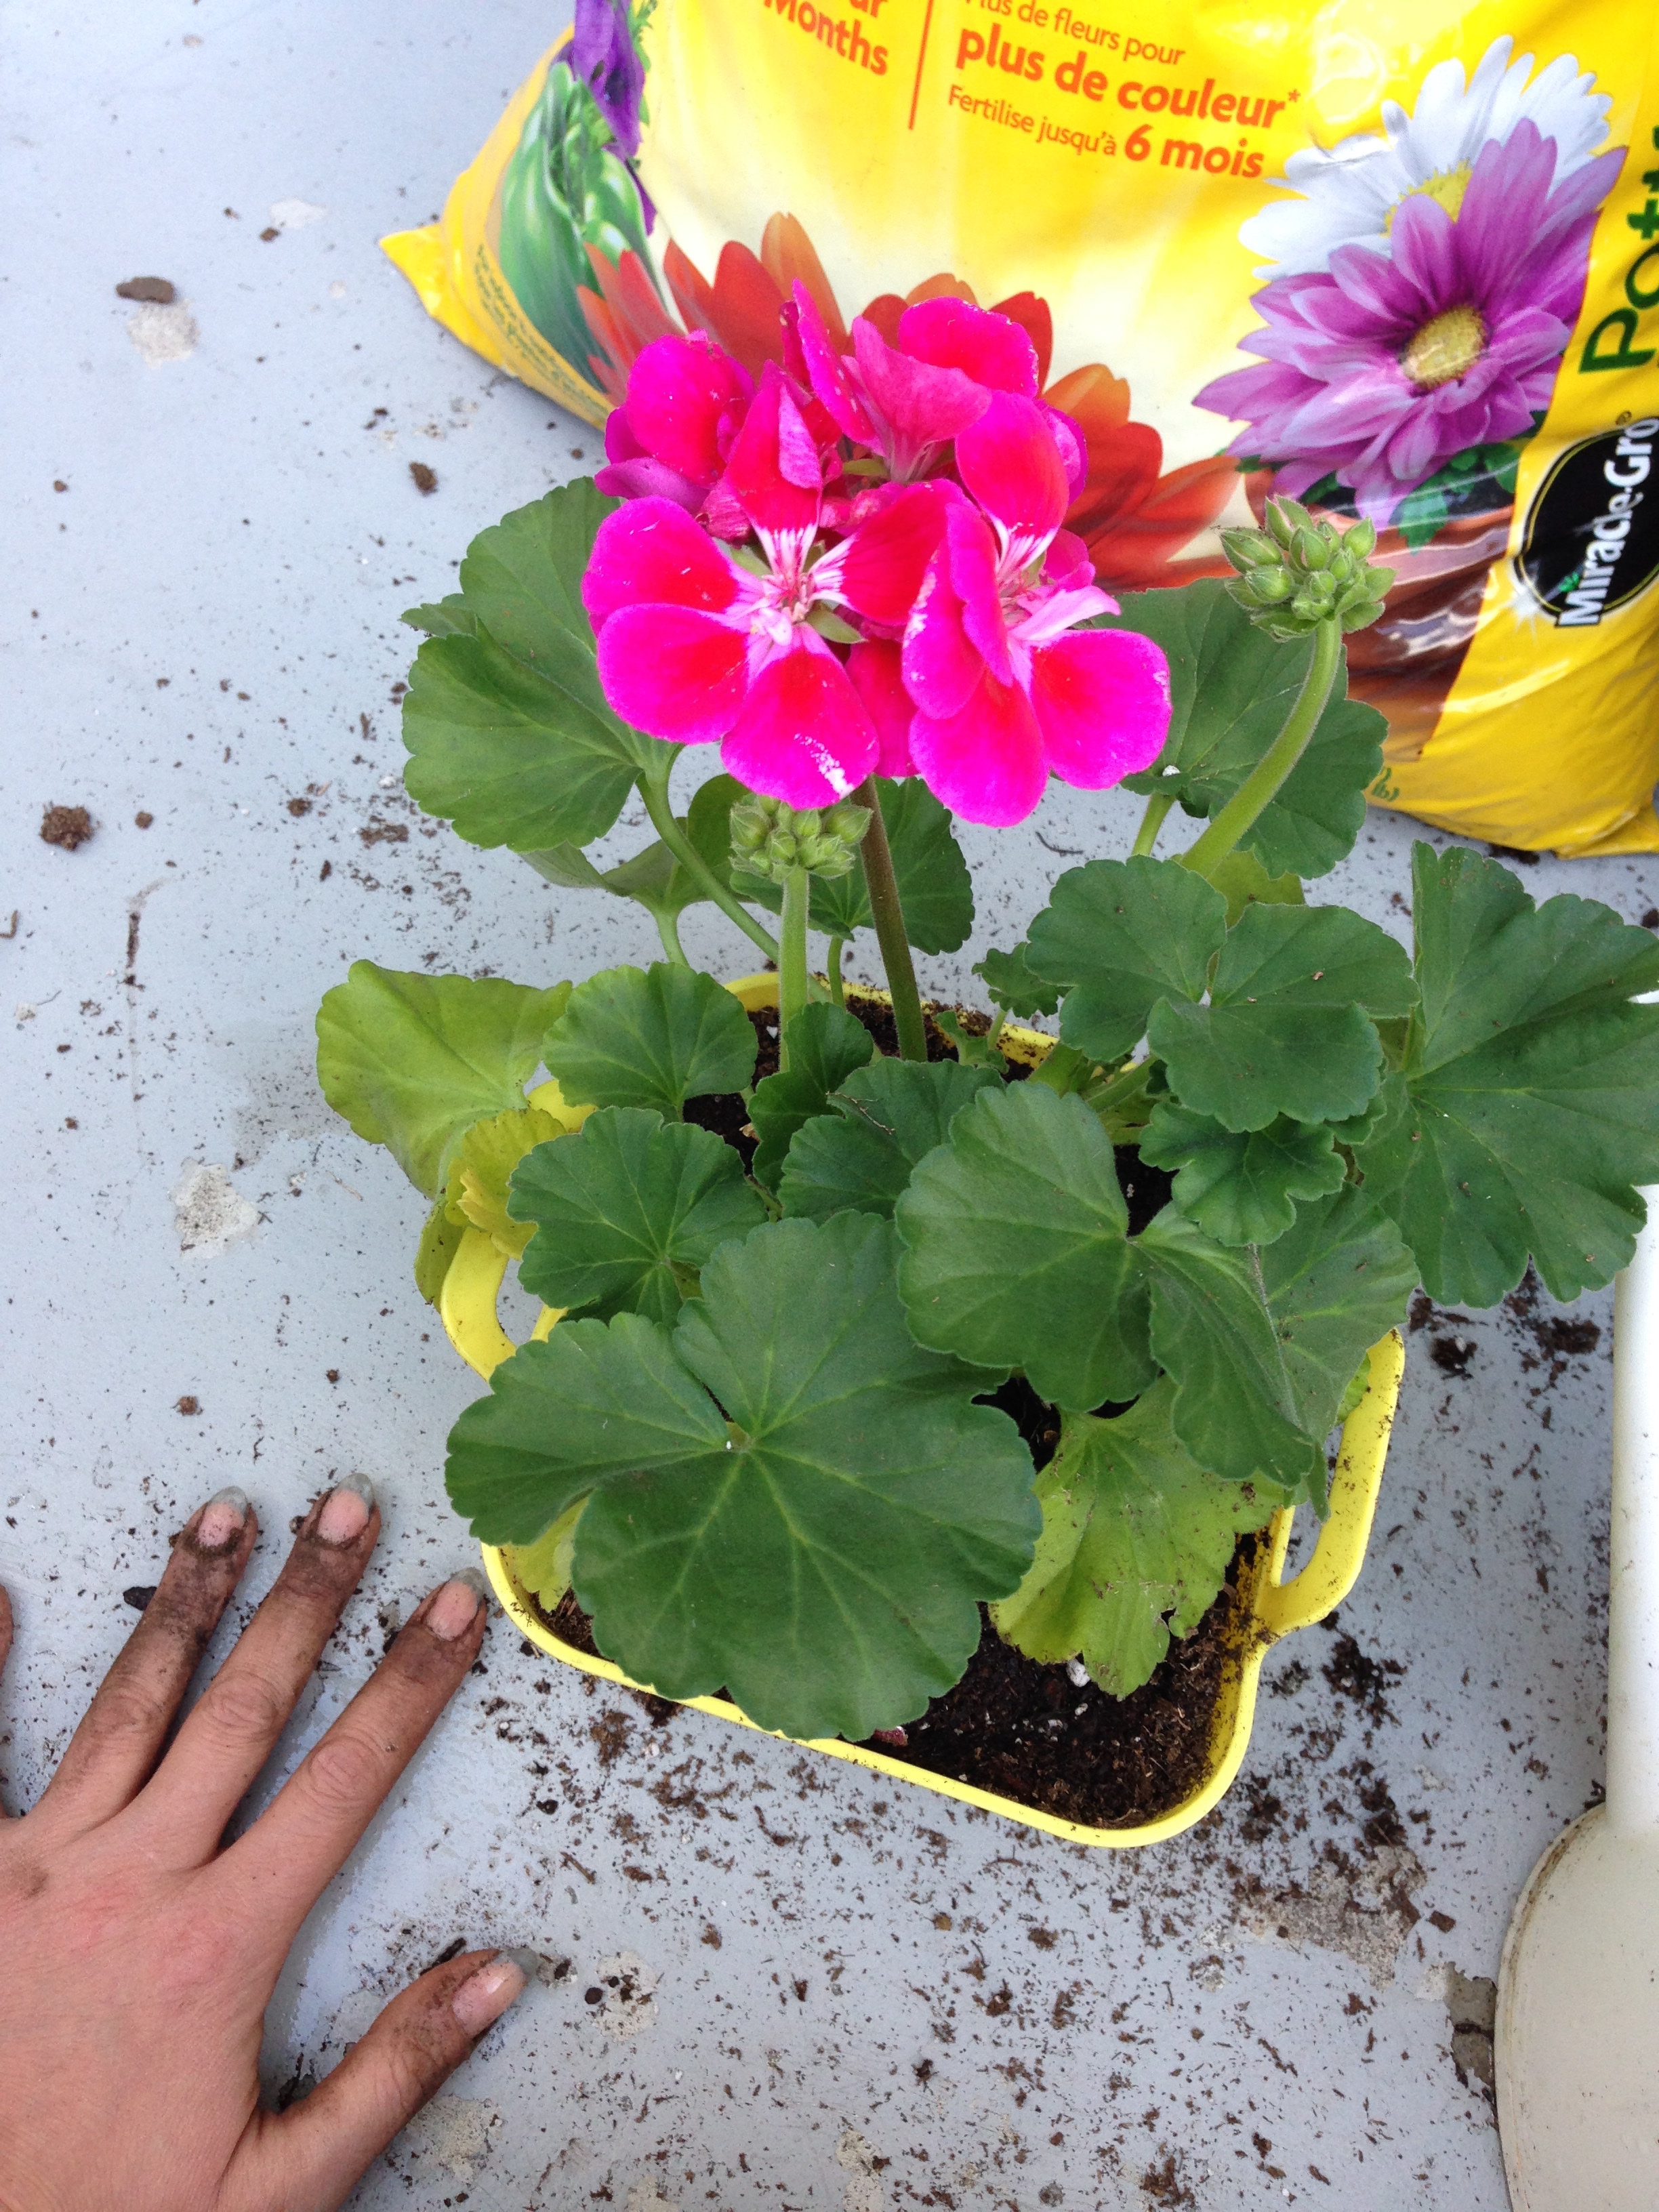
Really, for the most rudamentary balcony garden you need three things: Sun, Soil and Plants. Sounds super easy, and after some planning, it can be. But first I recommend putting the thought into what plants you'd actually want and what type of plants fit your sunlight offerings. 

First thing: Sun. Sun, in my opinion, is the most important factor in planting anything. Sunlight, how much and what direction, will most greatly affect the type of plants you pick as well as grow. Most balconies will get usually one direction of guaranteed sun. (Although some corner units will have enough windows that they can get two directions in a day. Lucky!!) To figure out how much sun your balcony gets think about the direction it faces and how sunlight hits it (if any) as the sun traces across the sky. South facing balconies usually get full sun. West and east will get part-sun and north balconies will get little to no sun (maybe in the evenings). Depending on how much actual direct light your balcony gets - for example, you can be south facing but blocked by another building - you can choose from a range of plants that love / super-hate direct sunlight. Whenever you buy plants from the garden centre (or even plant from seed packets) there are little tags that say if that plant likes direct sun or more shade. My personal favs for shade are begonias and impatiens. There are lots of recommendations online for sunny or shady gardens though!
Next Soil. Soil is important in your balcony garden for a rather obvious reason: There is no ground naturally in the sky. This means all dirt has to be chosen and lugged up and filled into containers to feed all the lovely plantlings. There are many many different types of soil. For beginners, I'd recommend a seed starter soil and a general potting soil. The seed starter has 'no' nutrition in it. It's usually made of materials that retain water so that seeds can grow and start to root. I would use seed starter soil for, like the name, seed starting. Although, it can be mixed with other soils to help retain moisture. Potting soil does have nutrition in it. There are three numbers on soil bags: nitrogen, phosphorus and potassium. Different plants will have different requirements but a general potting soil will be a good base for all plants. Later on you can add fertilizers to water to make up for other nutrition requirements. Pretend that plants are like little ground-bound people; Instead of calcium for bone growth they need phosphates for photosynthesis! (More about fertilizers later.)

And last in the trifecta: Plants. As mentioned above, plants differ in many ways (sunlight preference, nutrition requirements, to name a few). But they also differ in use as well. What I mean is, some plants are decorative, some plants produce fruit, and some plants are themselves edible. AKA the difference between having a flower garden to look at, fruit bearing plants (like tomatoes) to can or an herb garden for cooking with or drying. Deciding what you want to grow with the space available is hard, especially if you've never gardened before, so don't fret and think you have to decide on everything before starting. Take a minute to think what you're ready for. I'd recommend starting with flowers or decorative plants first. There are many hardy varieties of flowering plants and foliage for sale at garden centres to build up the confidence and skills to taking care of a bigger or more fussy container garden. Or, if you like the challenge, go for all three! Flowers, fruit bearers and herbs!

Ok. Now that this process seems super daunting let me bring it back to three simple things to remember when starting a balcony garden: 

  1. How much sun does your outdoor space actually get? Full, Part, None?
  2. Where can you get seed starter and potting soil? (And containers! ...Canadian Tire!! =D) 
  3. What kind of plants do you want: Edible or decorative? (Or both!)

There. Not so complicated after all! Next considerations are, of course, how much space you have and how much you want to spend. But baby steps. ;)

IMG_5399.jpg

Now I said I'd talk briefly about fertilizers. I use three different fertilizers for my various plants: a 'all-purpose' house plant fertilizer, a tomato specific formula, and an orchid formula. When I first starting using fertilizers I used Way to much and ended up burning my plants. Bad Andrea. It's Very important to follow the dilution instructions.... don't just fudge it. All fertilizers come with instructions to provide the right amount of nutrients to plants. Check your water can (or cup, if that's how you groove) for volume measures and do the math - cross multiplication - so that the ratio is what is recommended on the fertilizer package. 

After the dilution is correct, its figuring out how often for fertilize. In my experience, for house plants in a growing season (aka sunny out), they can be fertilized every week. In a Not growing season (aka winter where it's dark all the time), once a month. For my outdoor plants, I fertilize them Every Day. Ontario summer is the king of growing seasons and I don't want my plantlings to miss out on a minute of sunshine. I usually water them right in the morning and again in the afternoon, if it's been a particularly hot day (which it usually has been).

I could probably go on and on and on about my plant babies.... But I'll stop for now! =) 

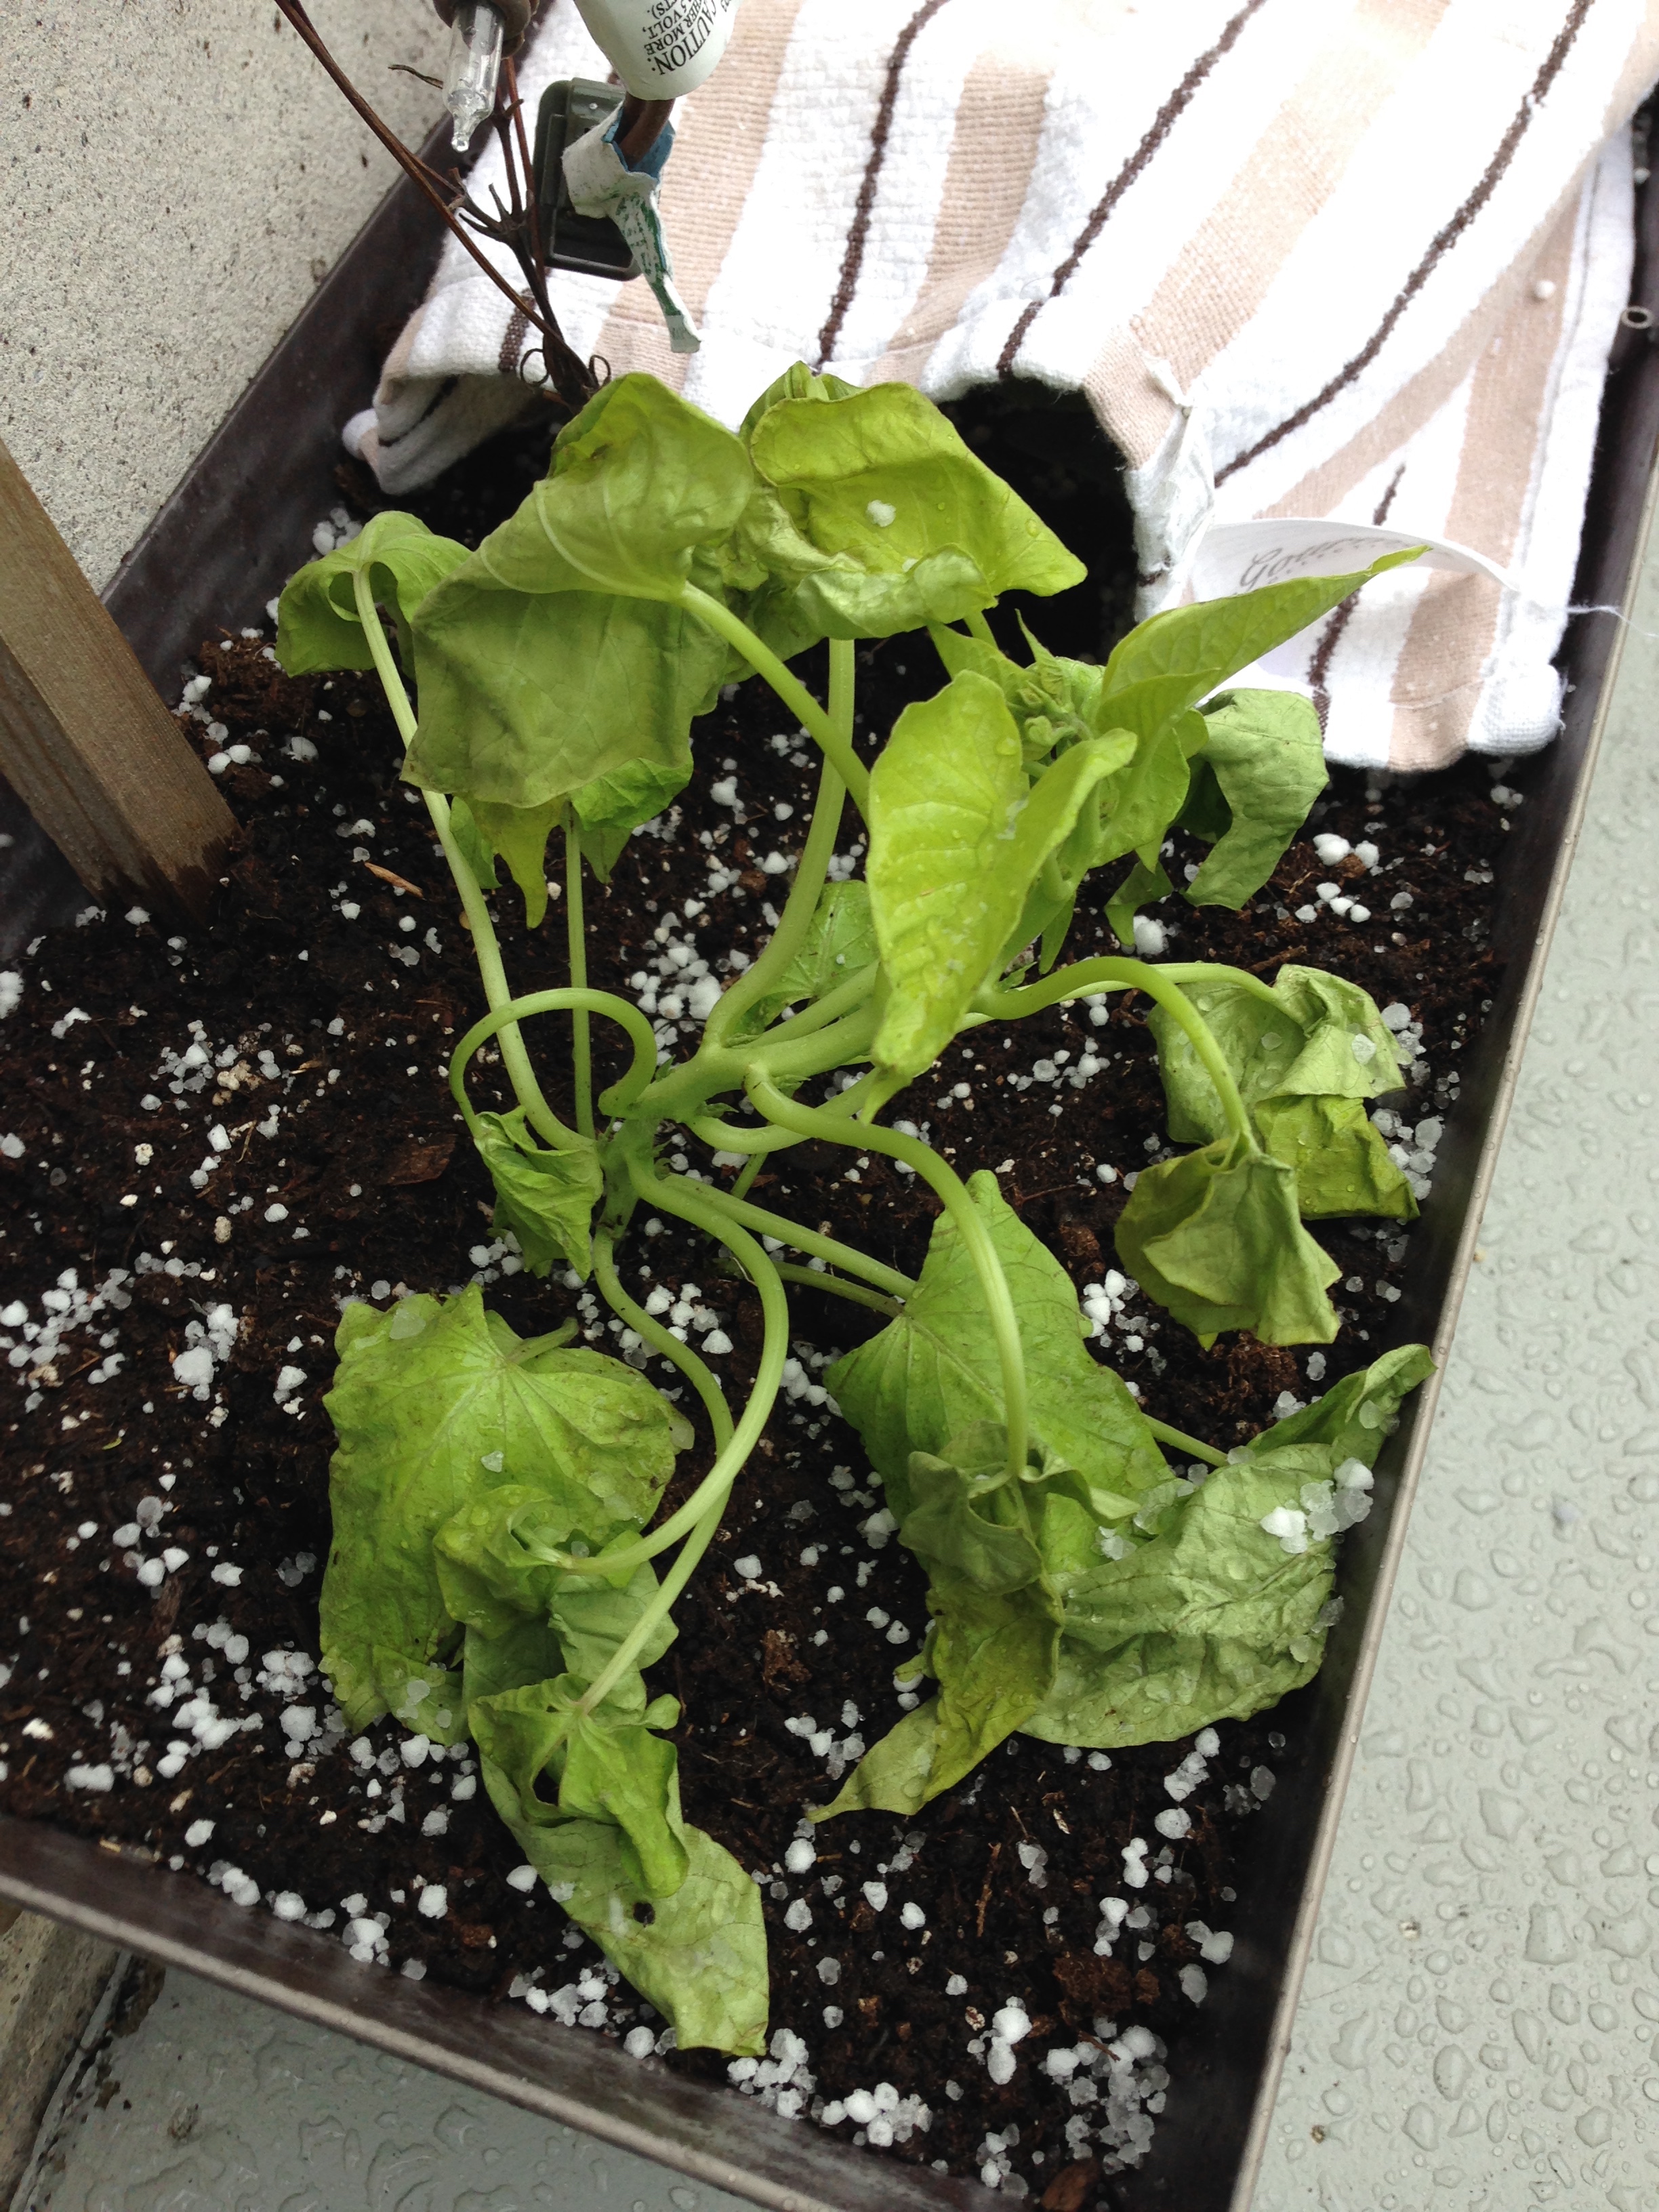
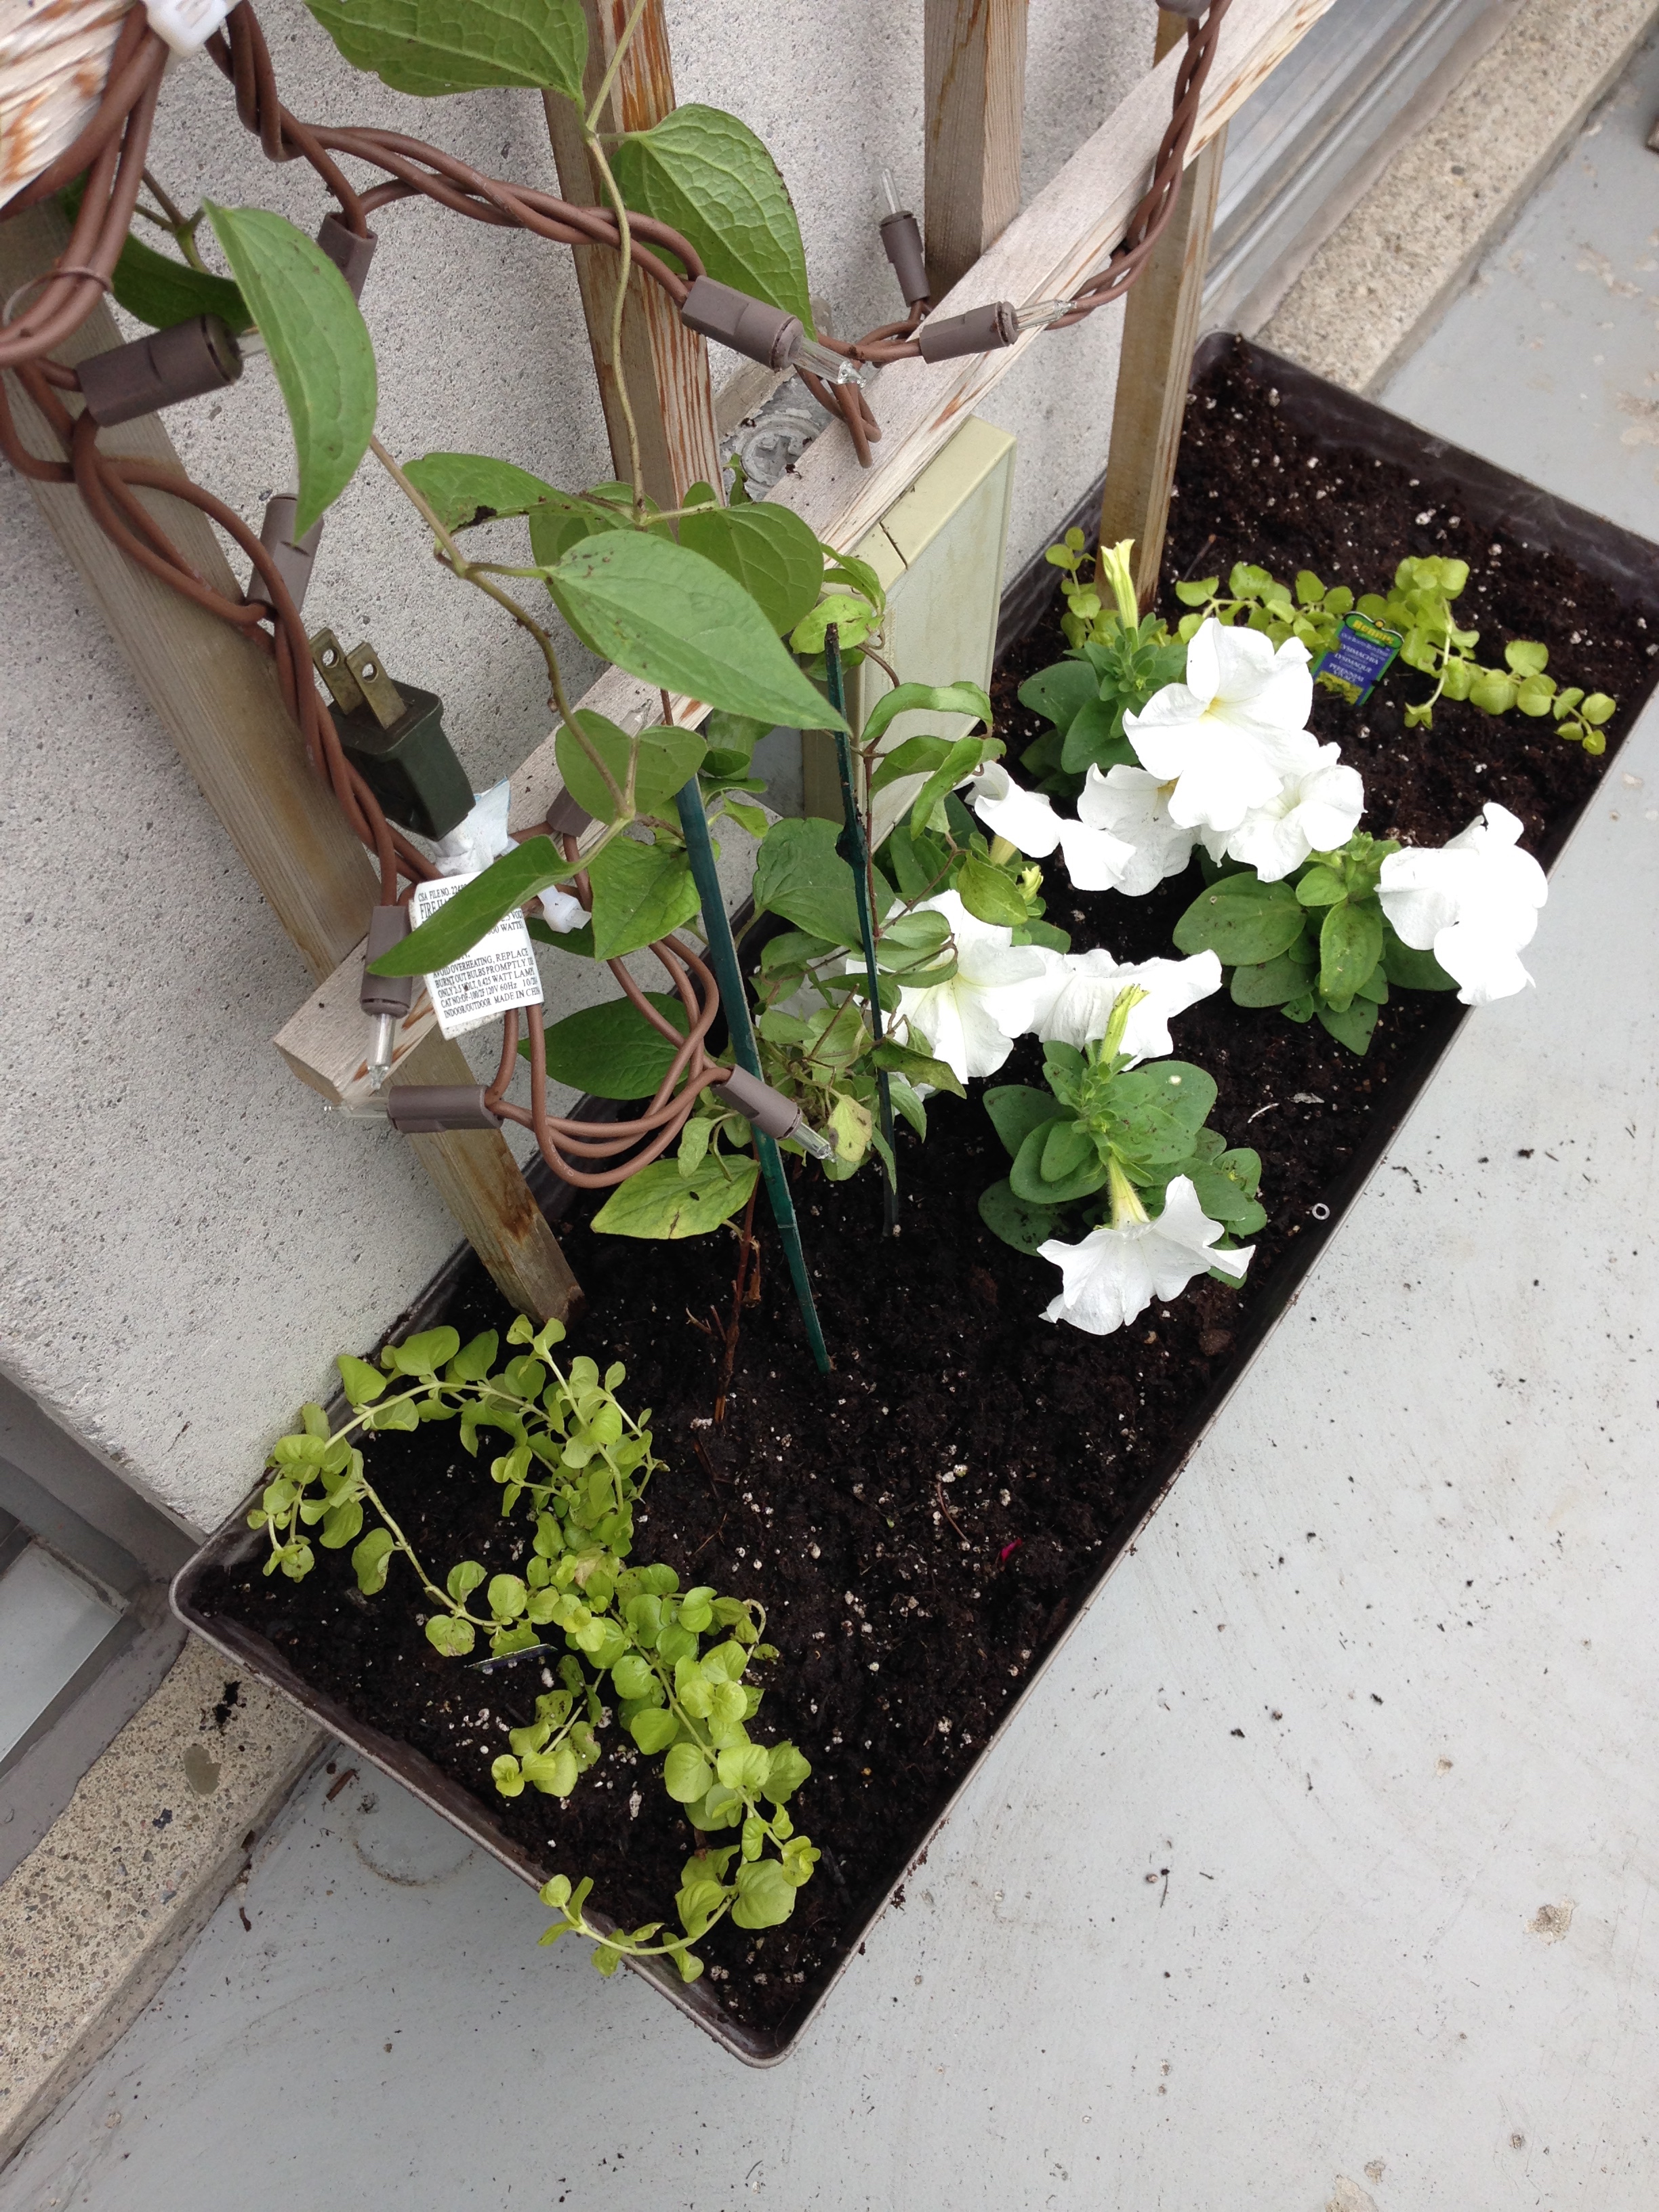
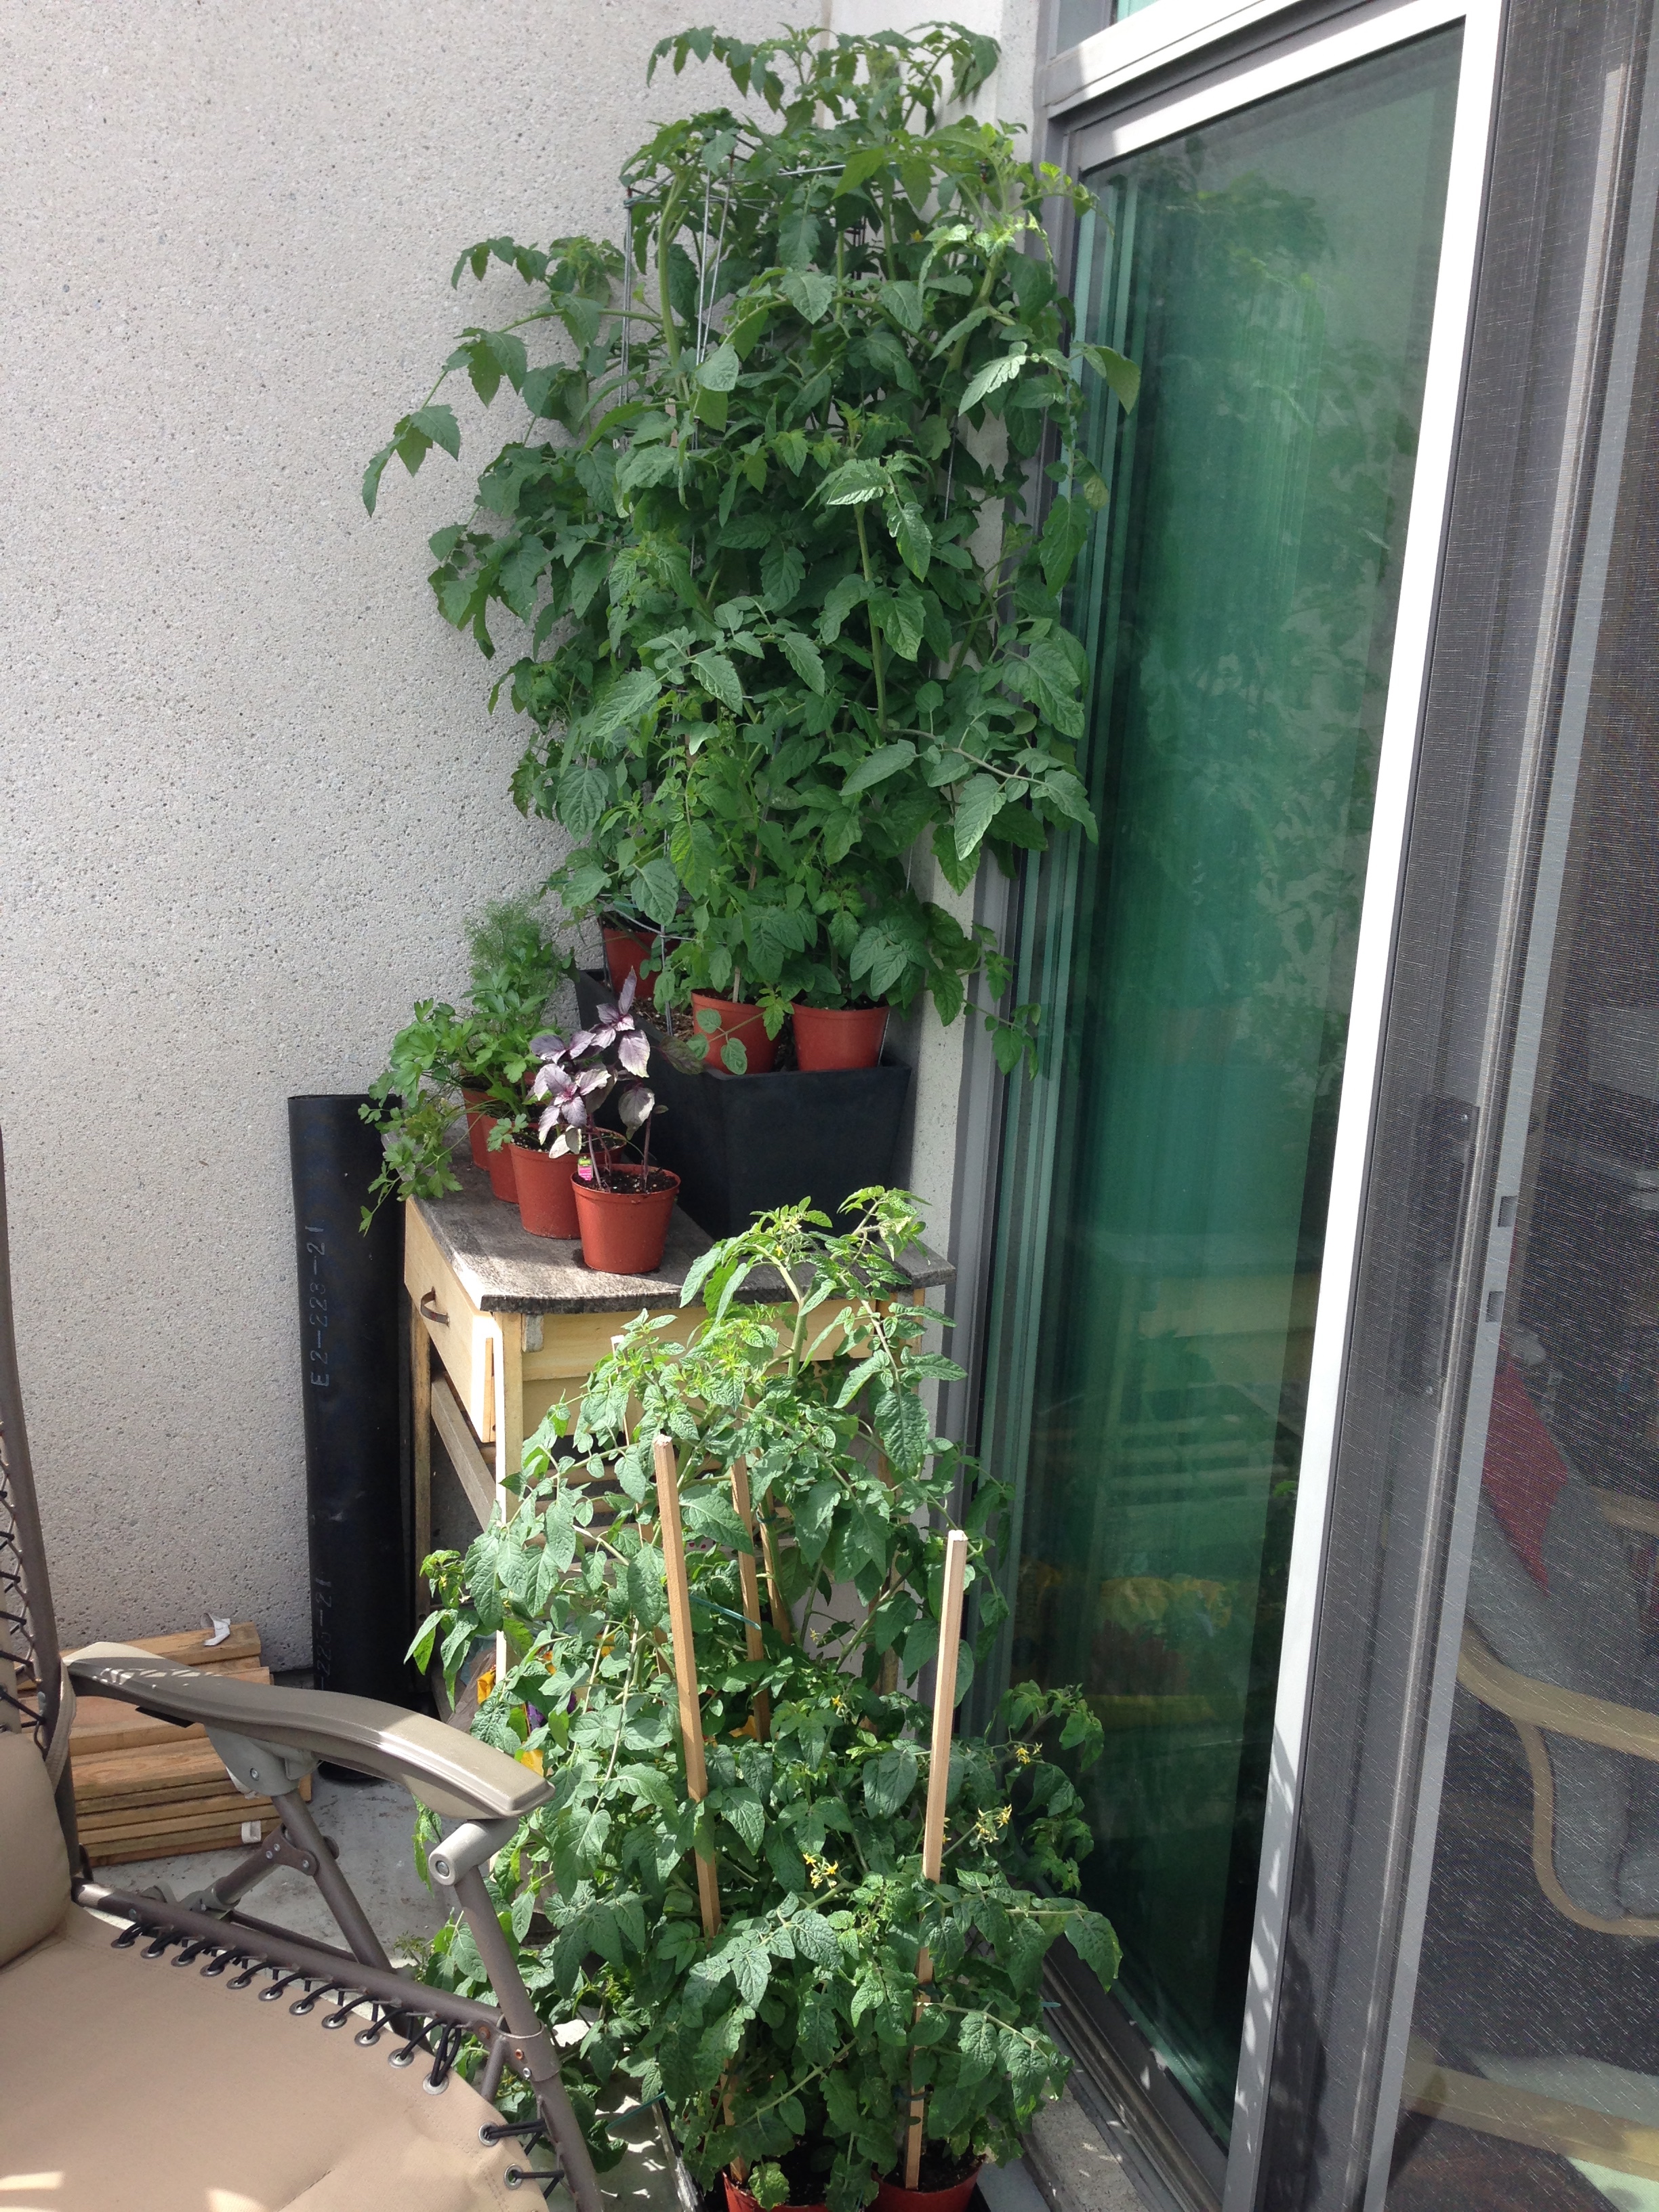
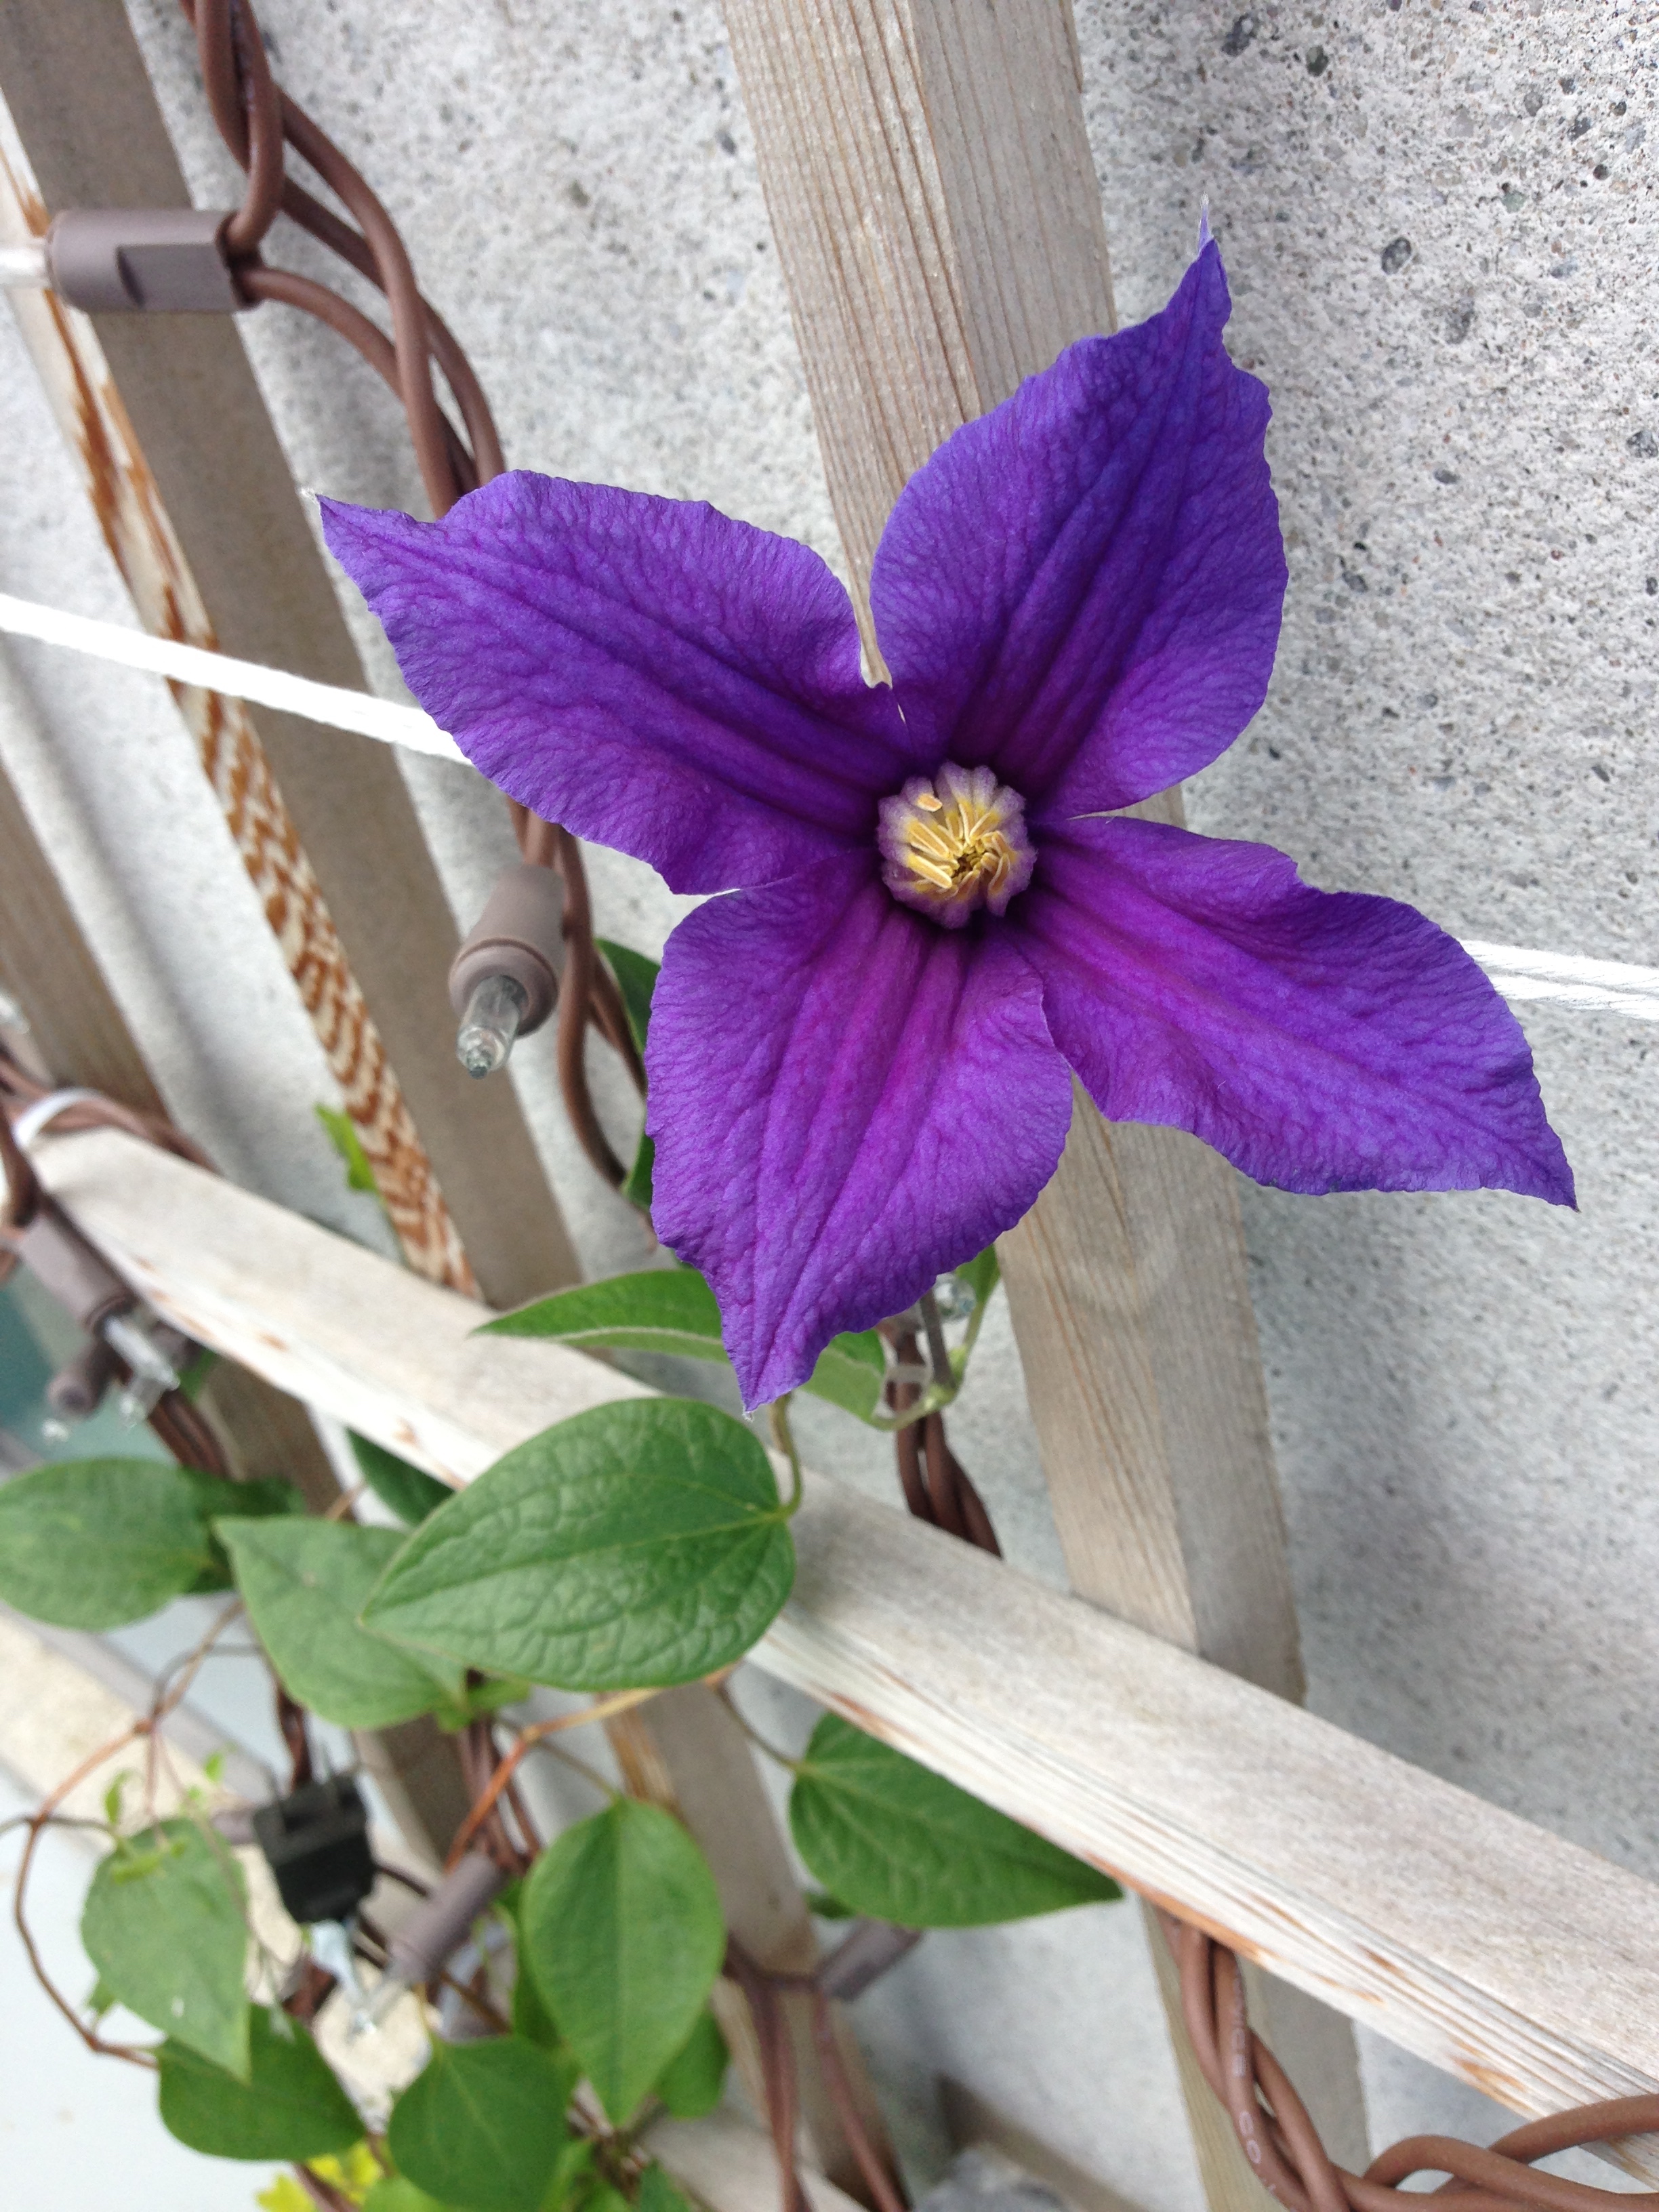
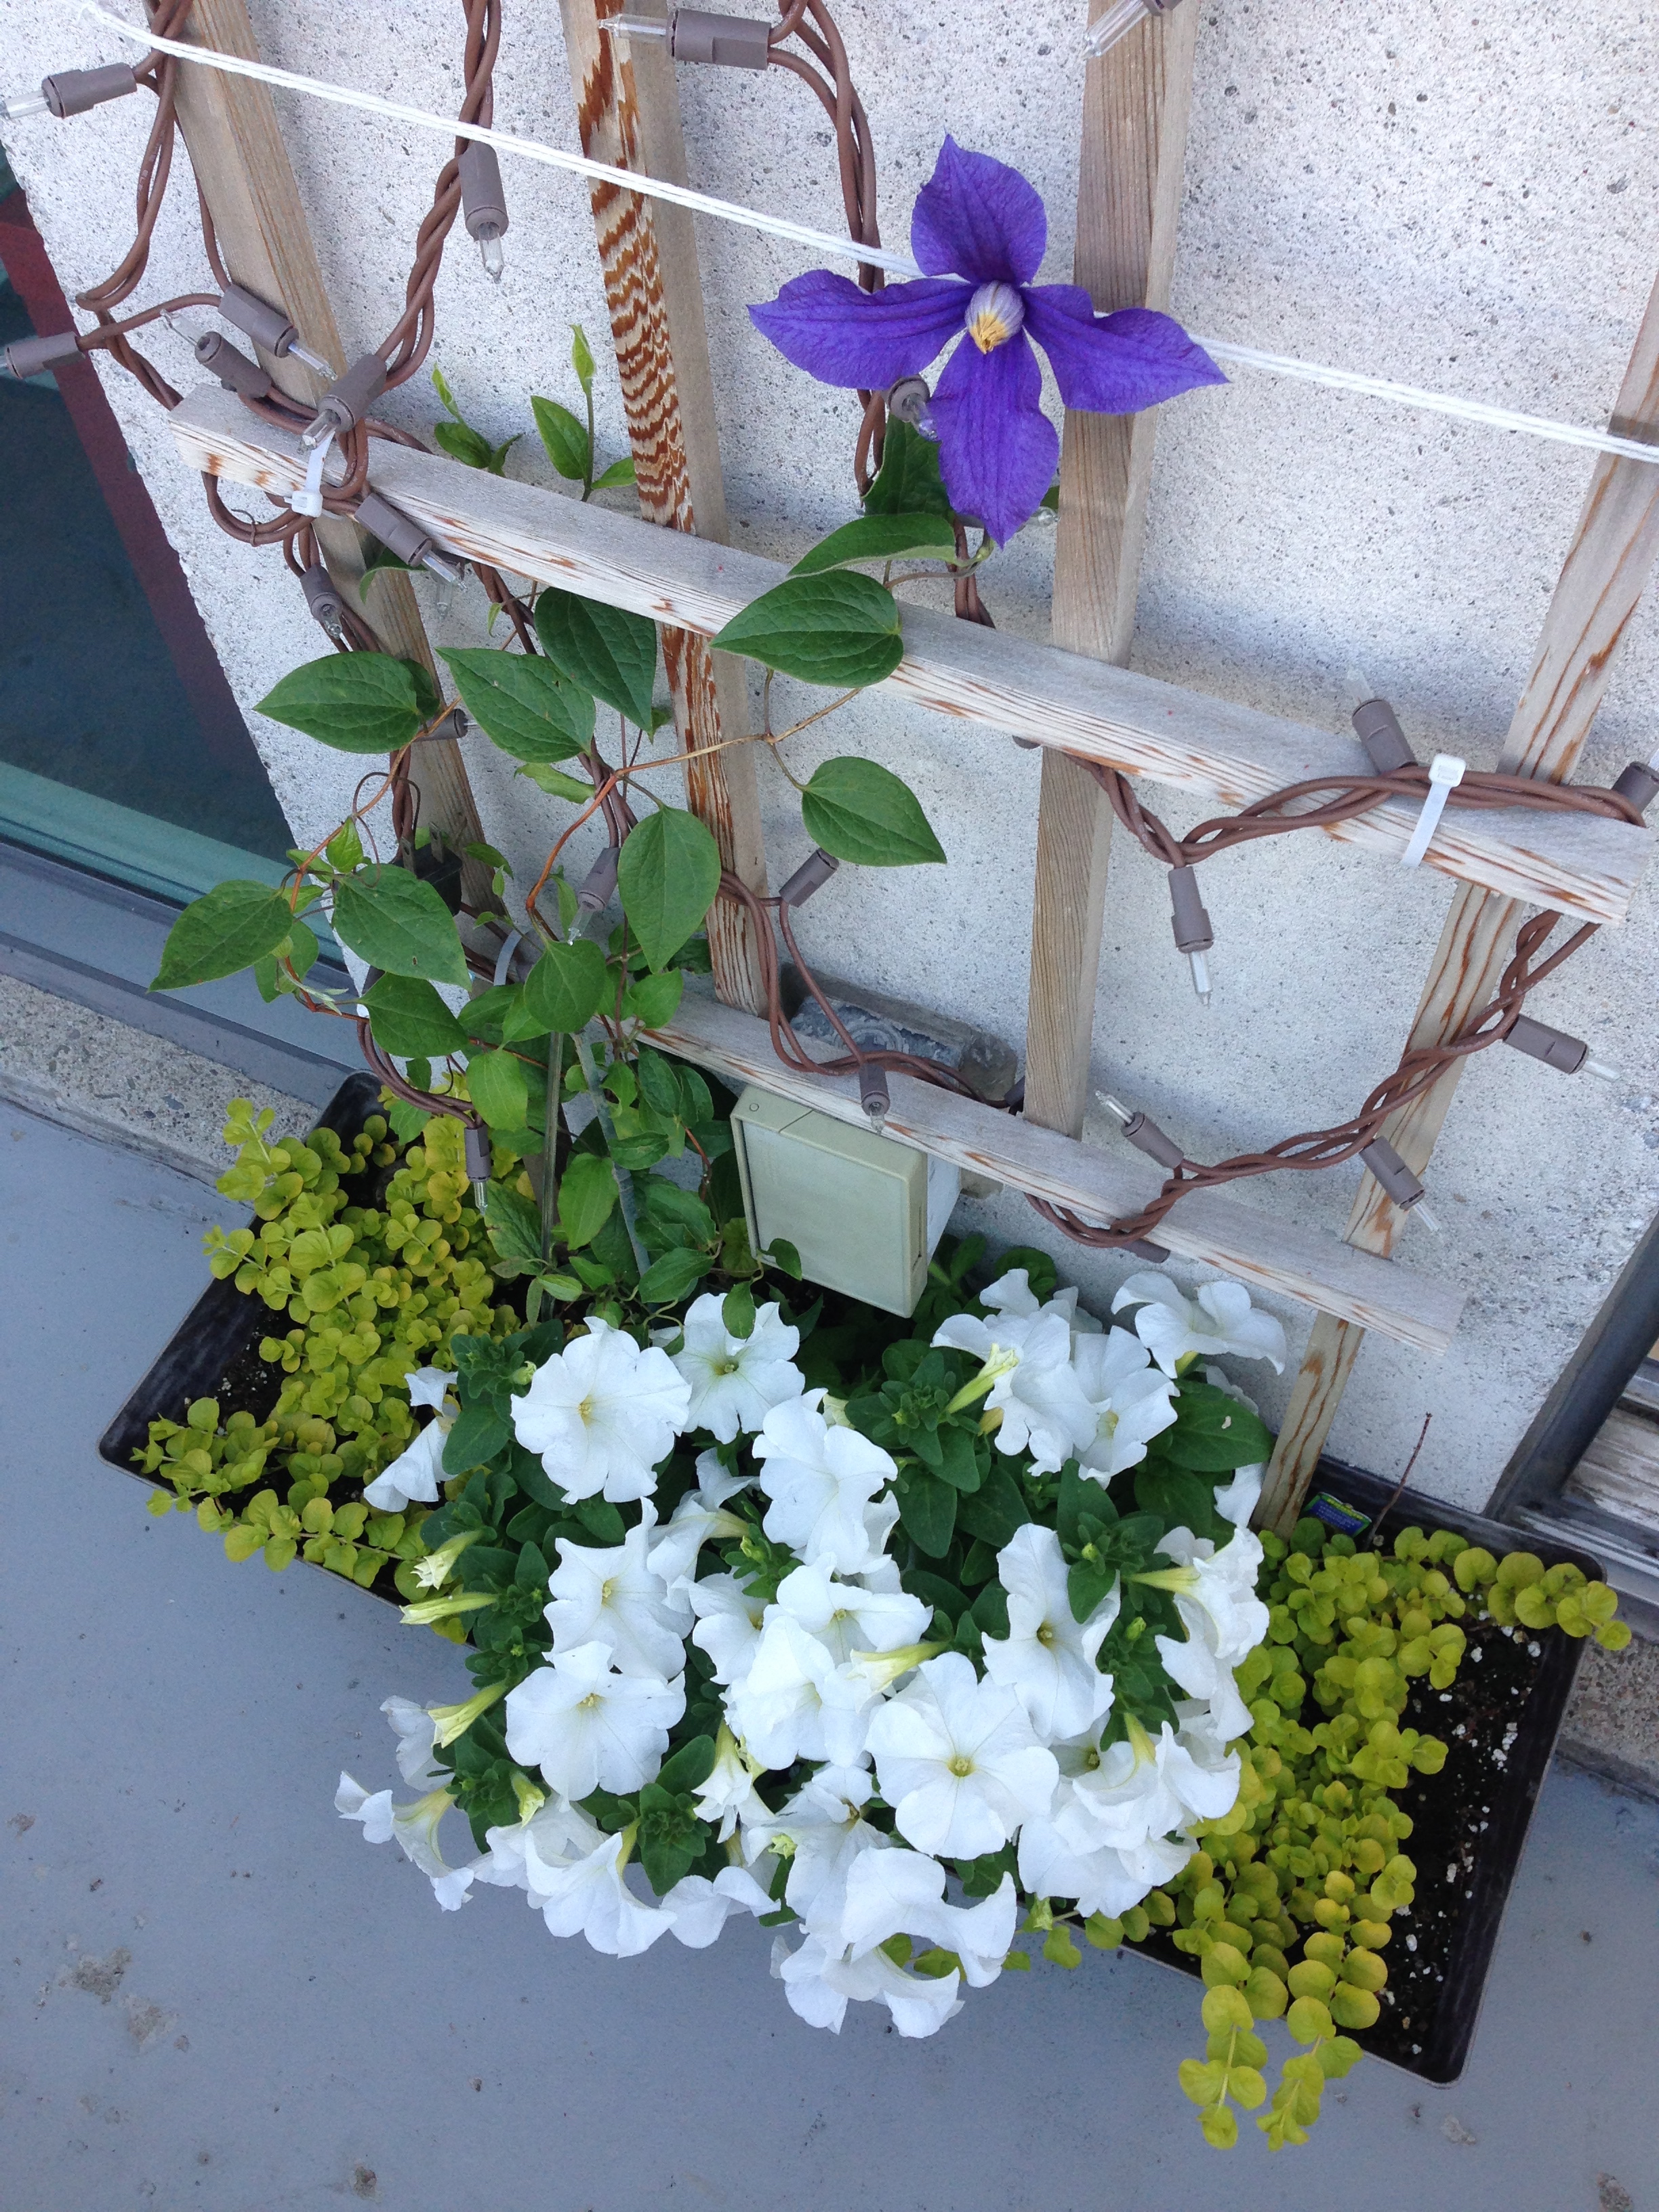
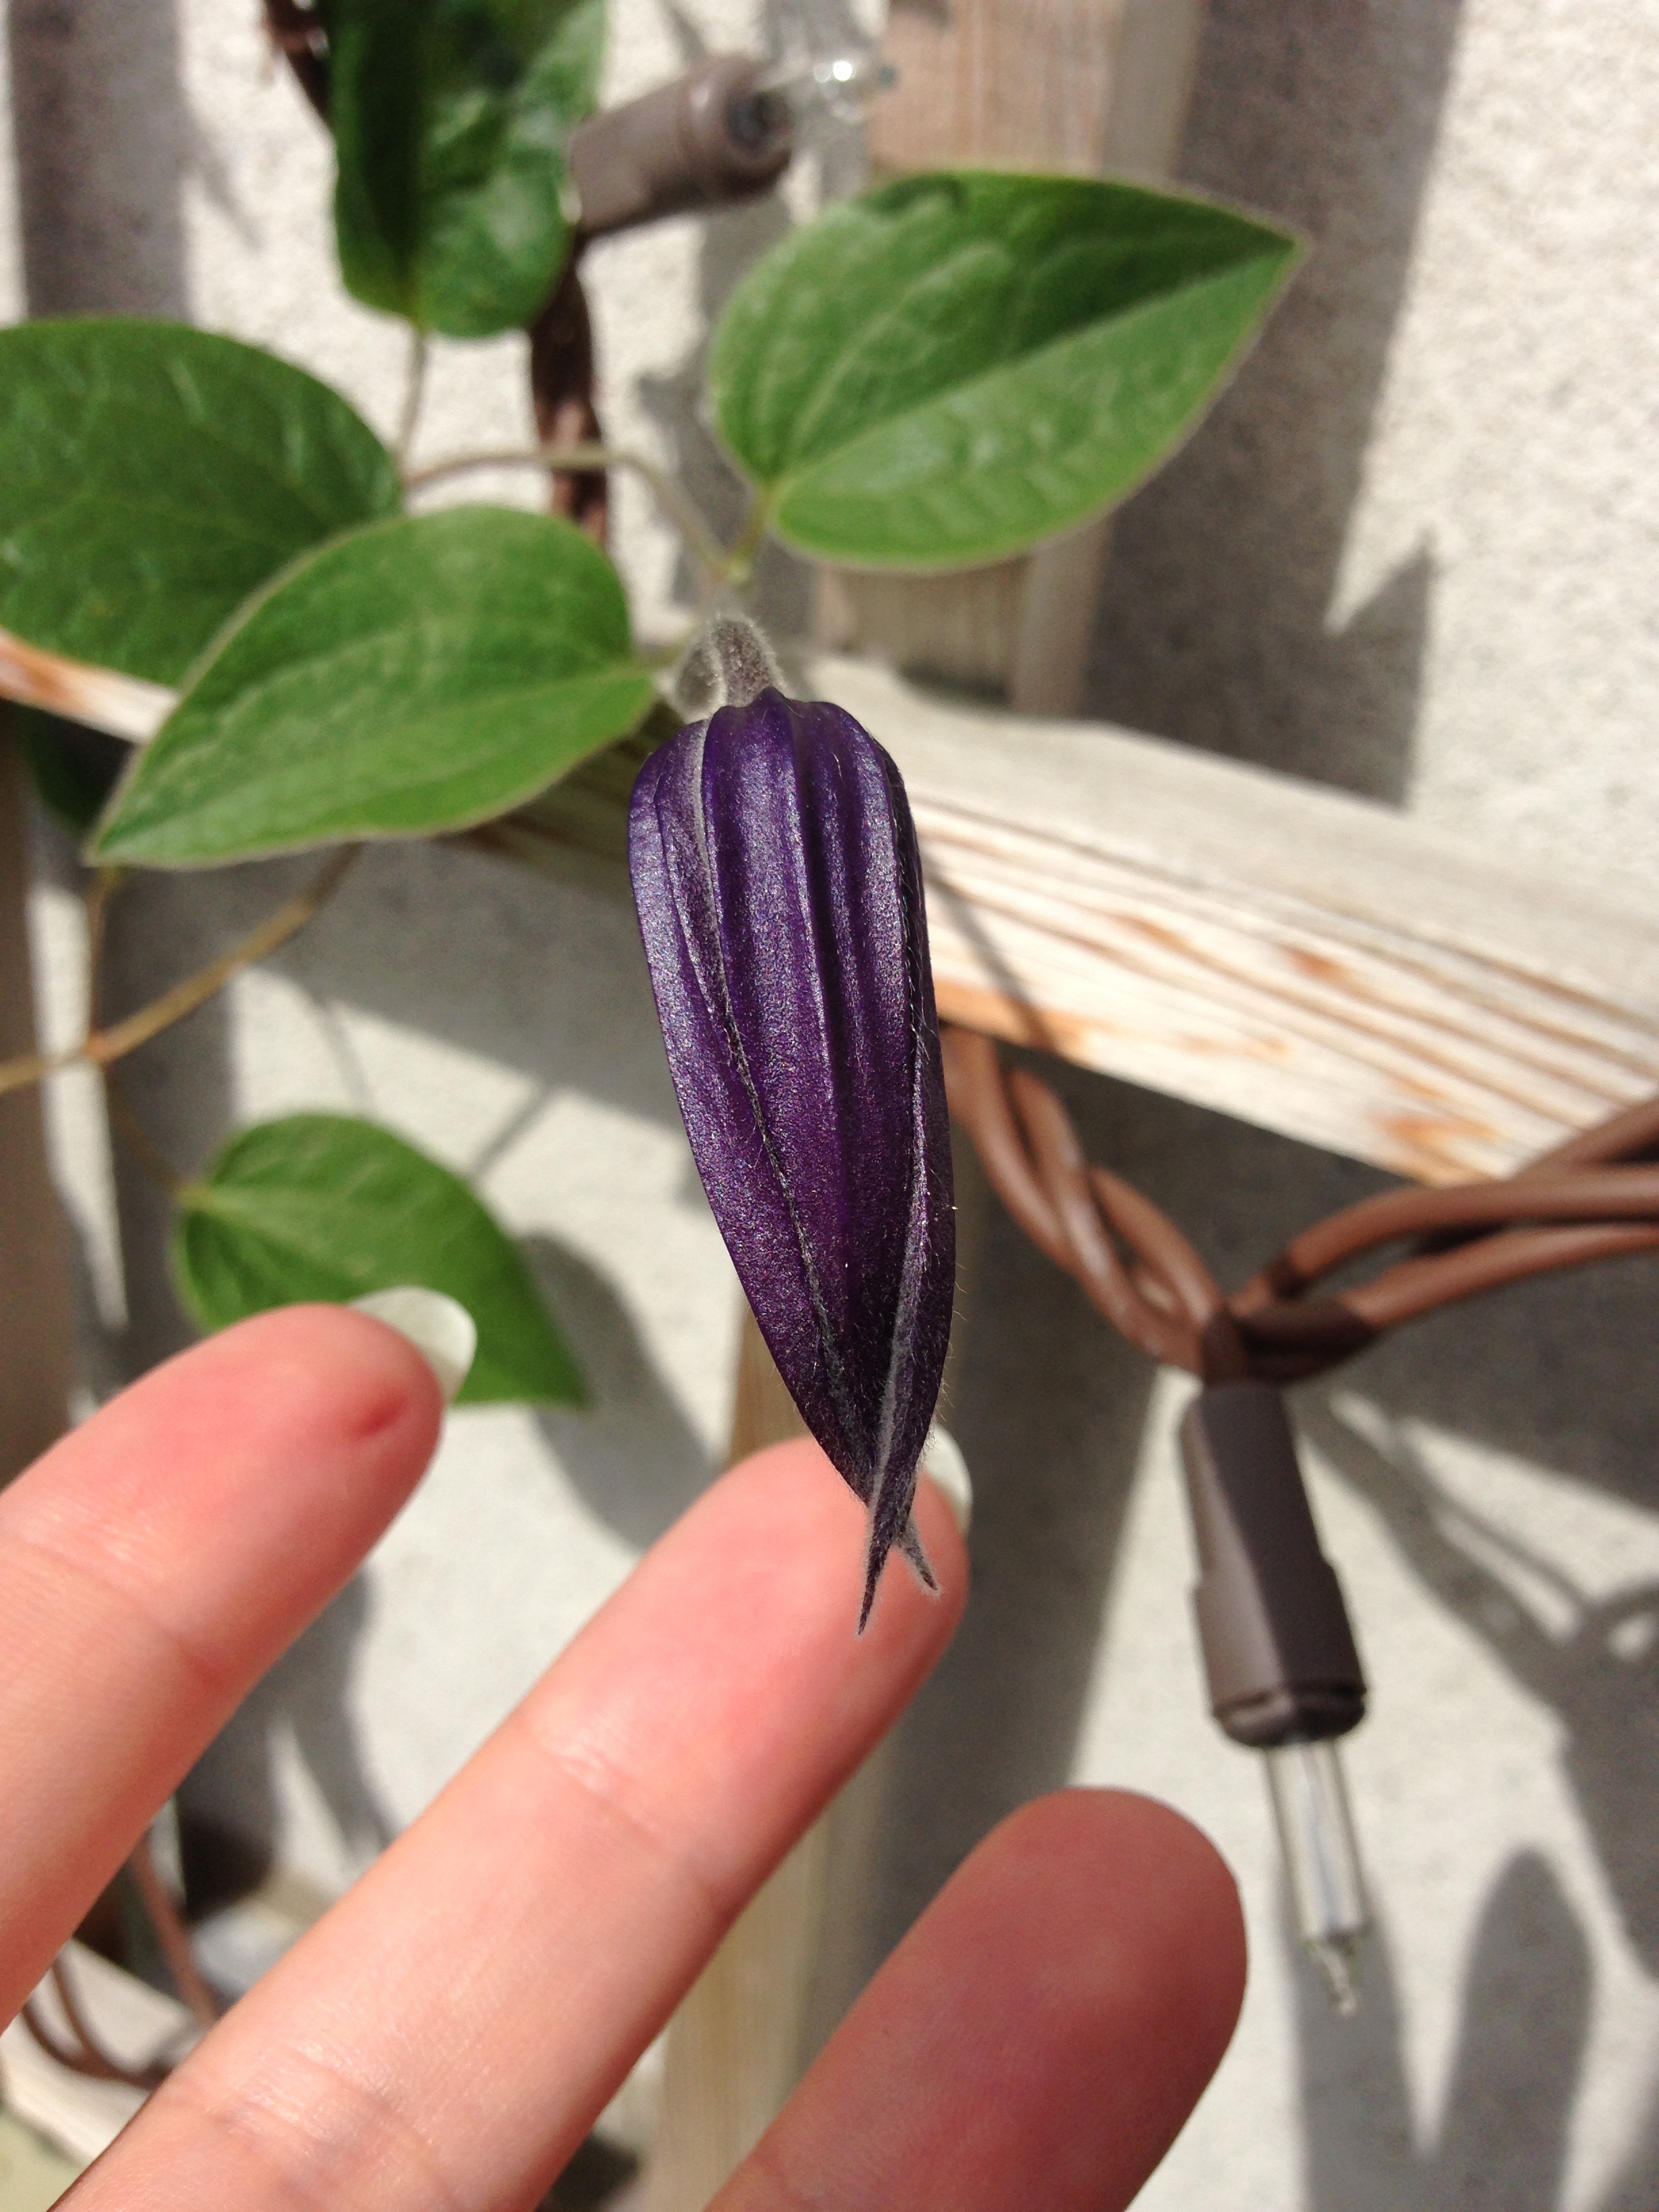
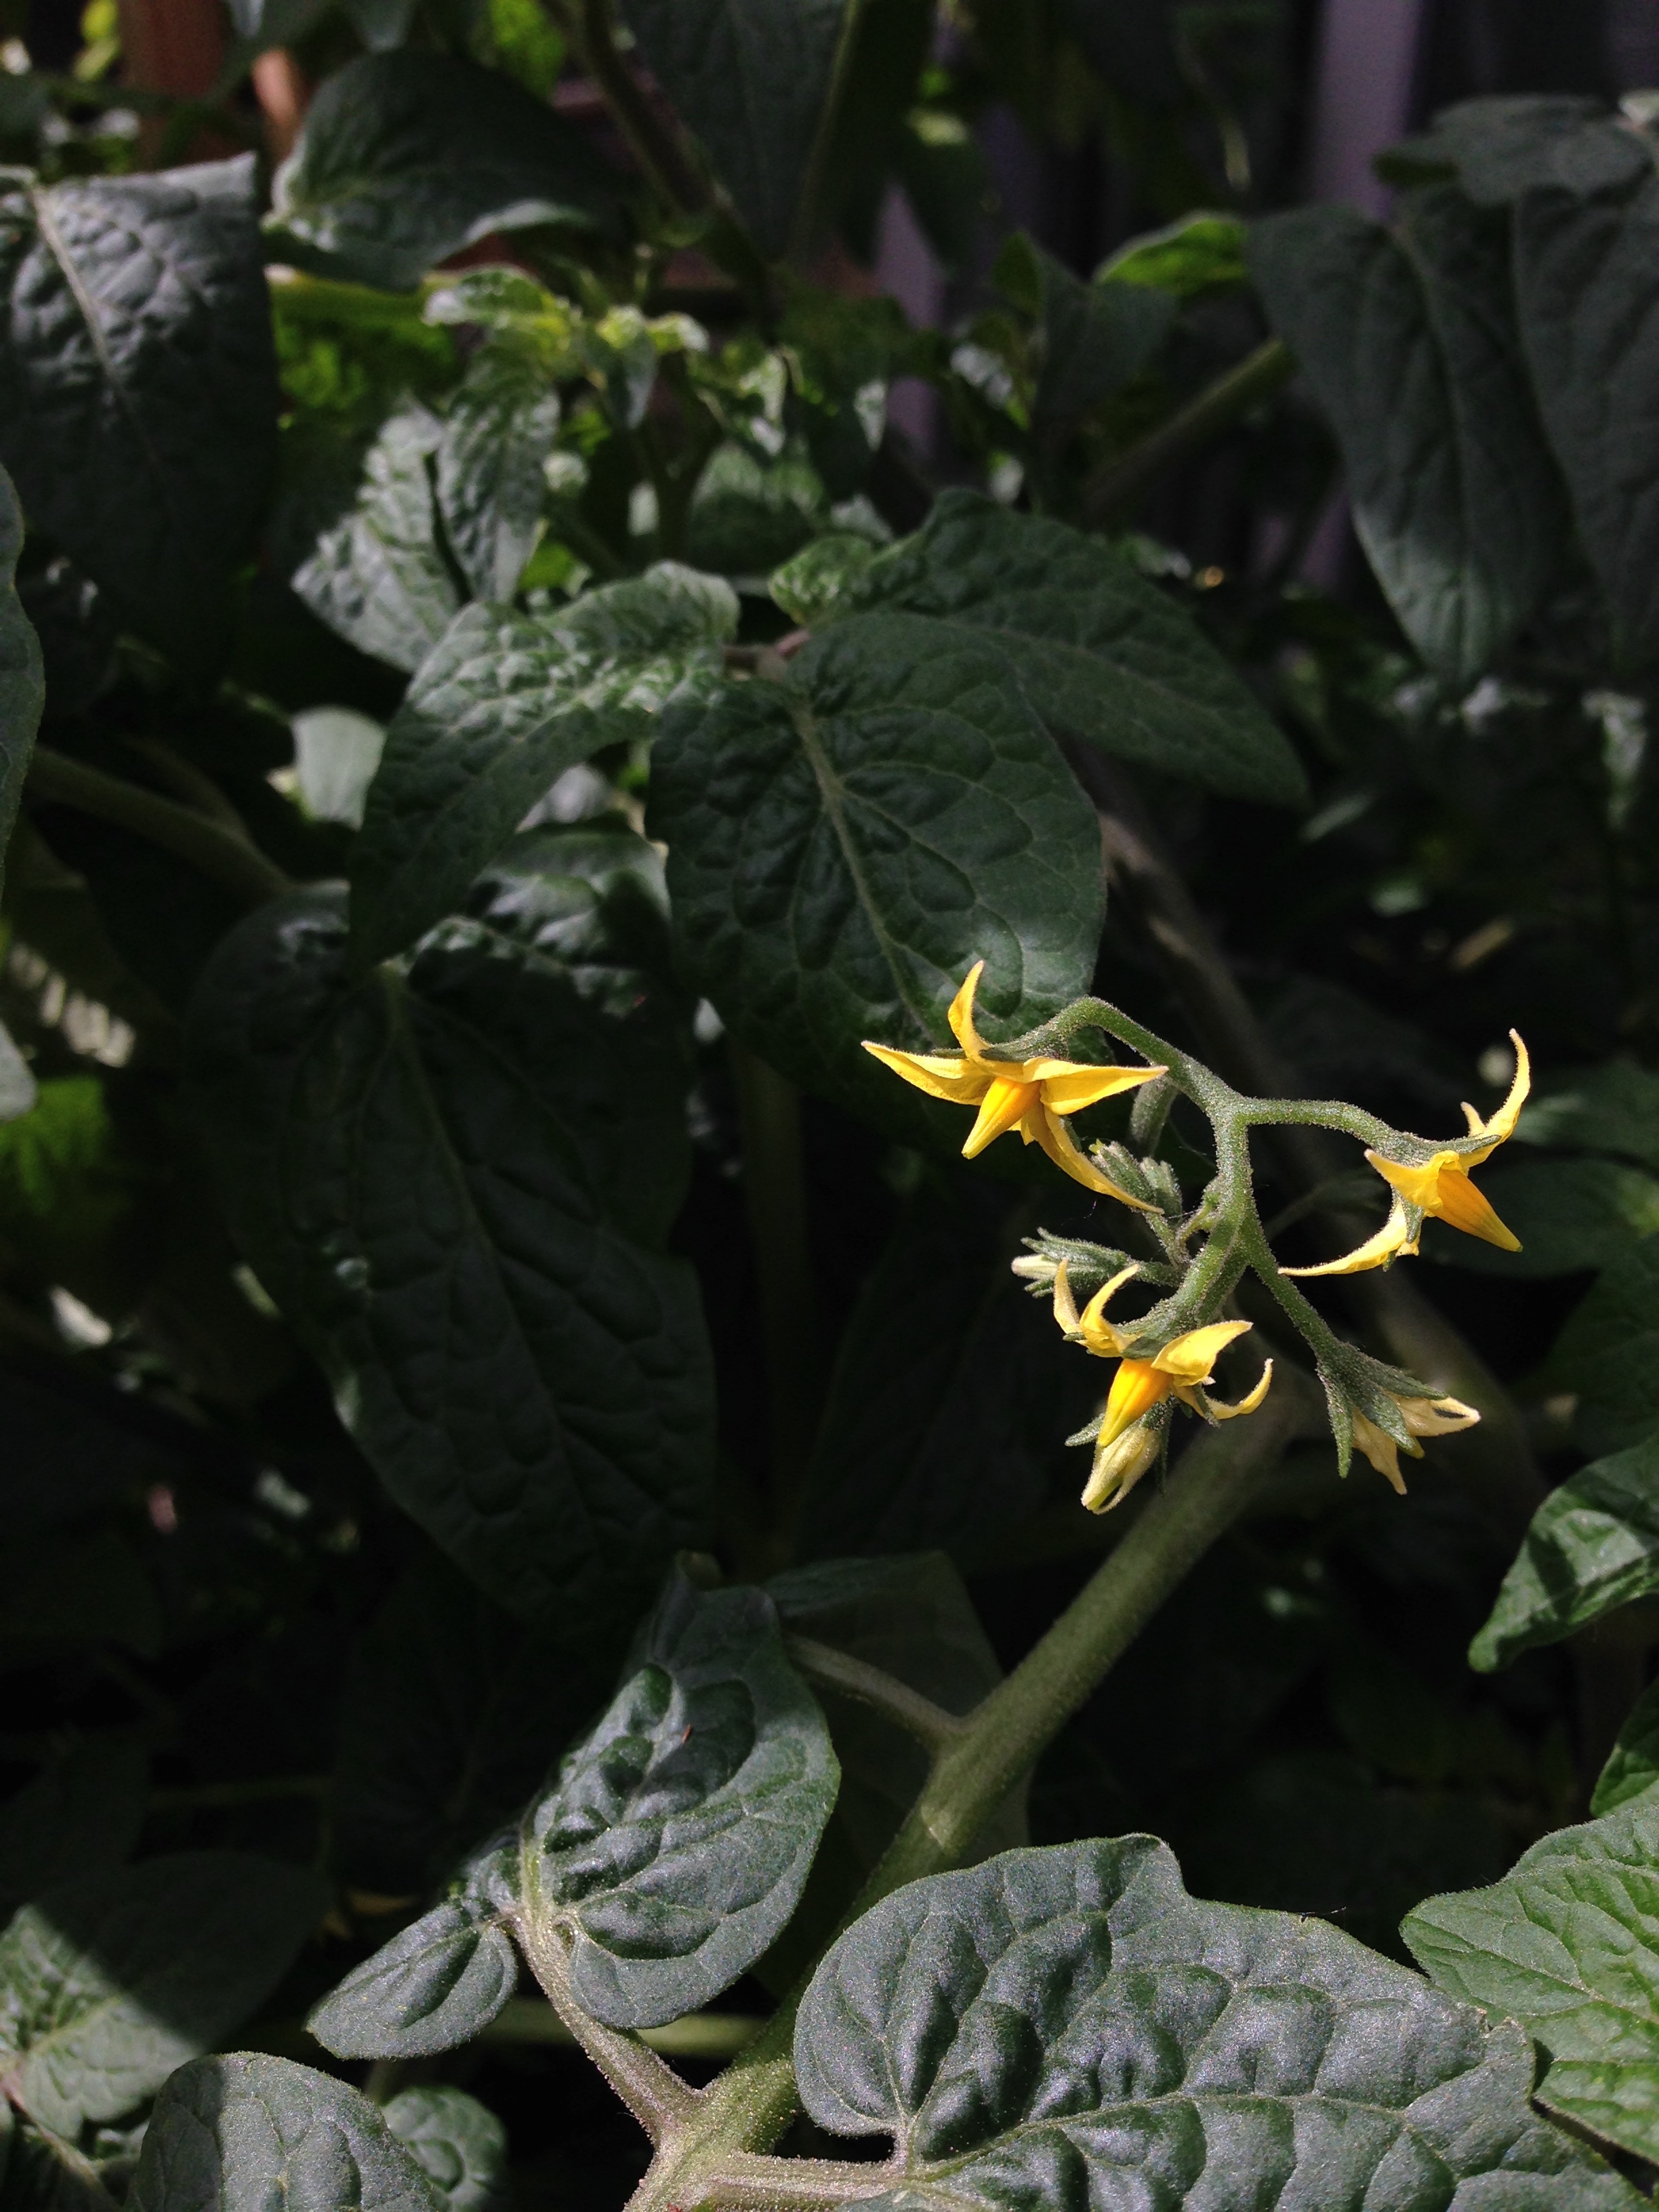
My tomatoes are blooming and 4 ft; my petunias are exploding again; and my clematis are growing finally! Happy garden-drea!

-Andrea 

The Half-Assed Hobbyist

Mead Making

In an unsurprising turn of events, I have made friends with some yeasty fellows. The story of how we met is a rather fun one! Once upon a time....

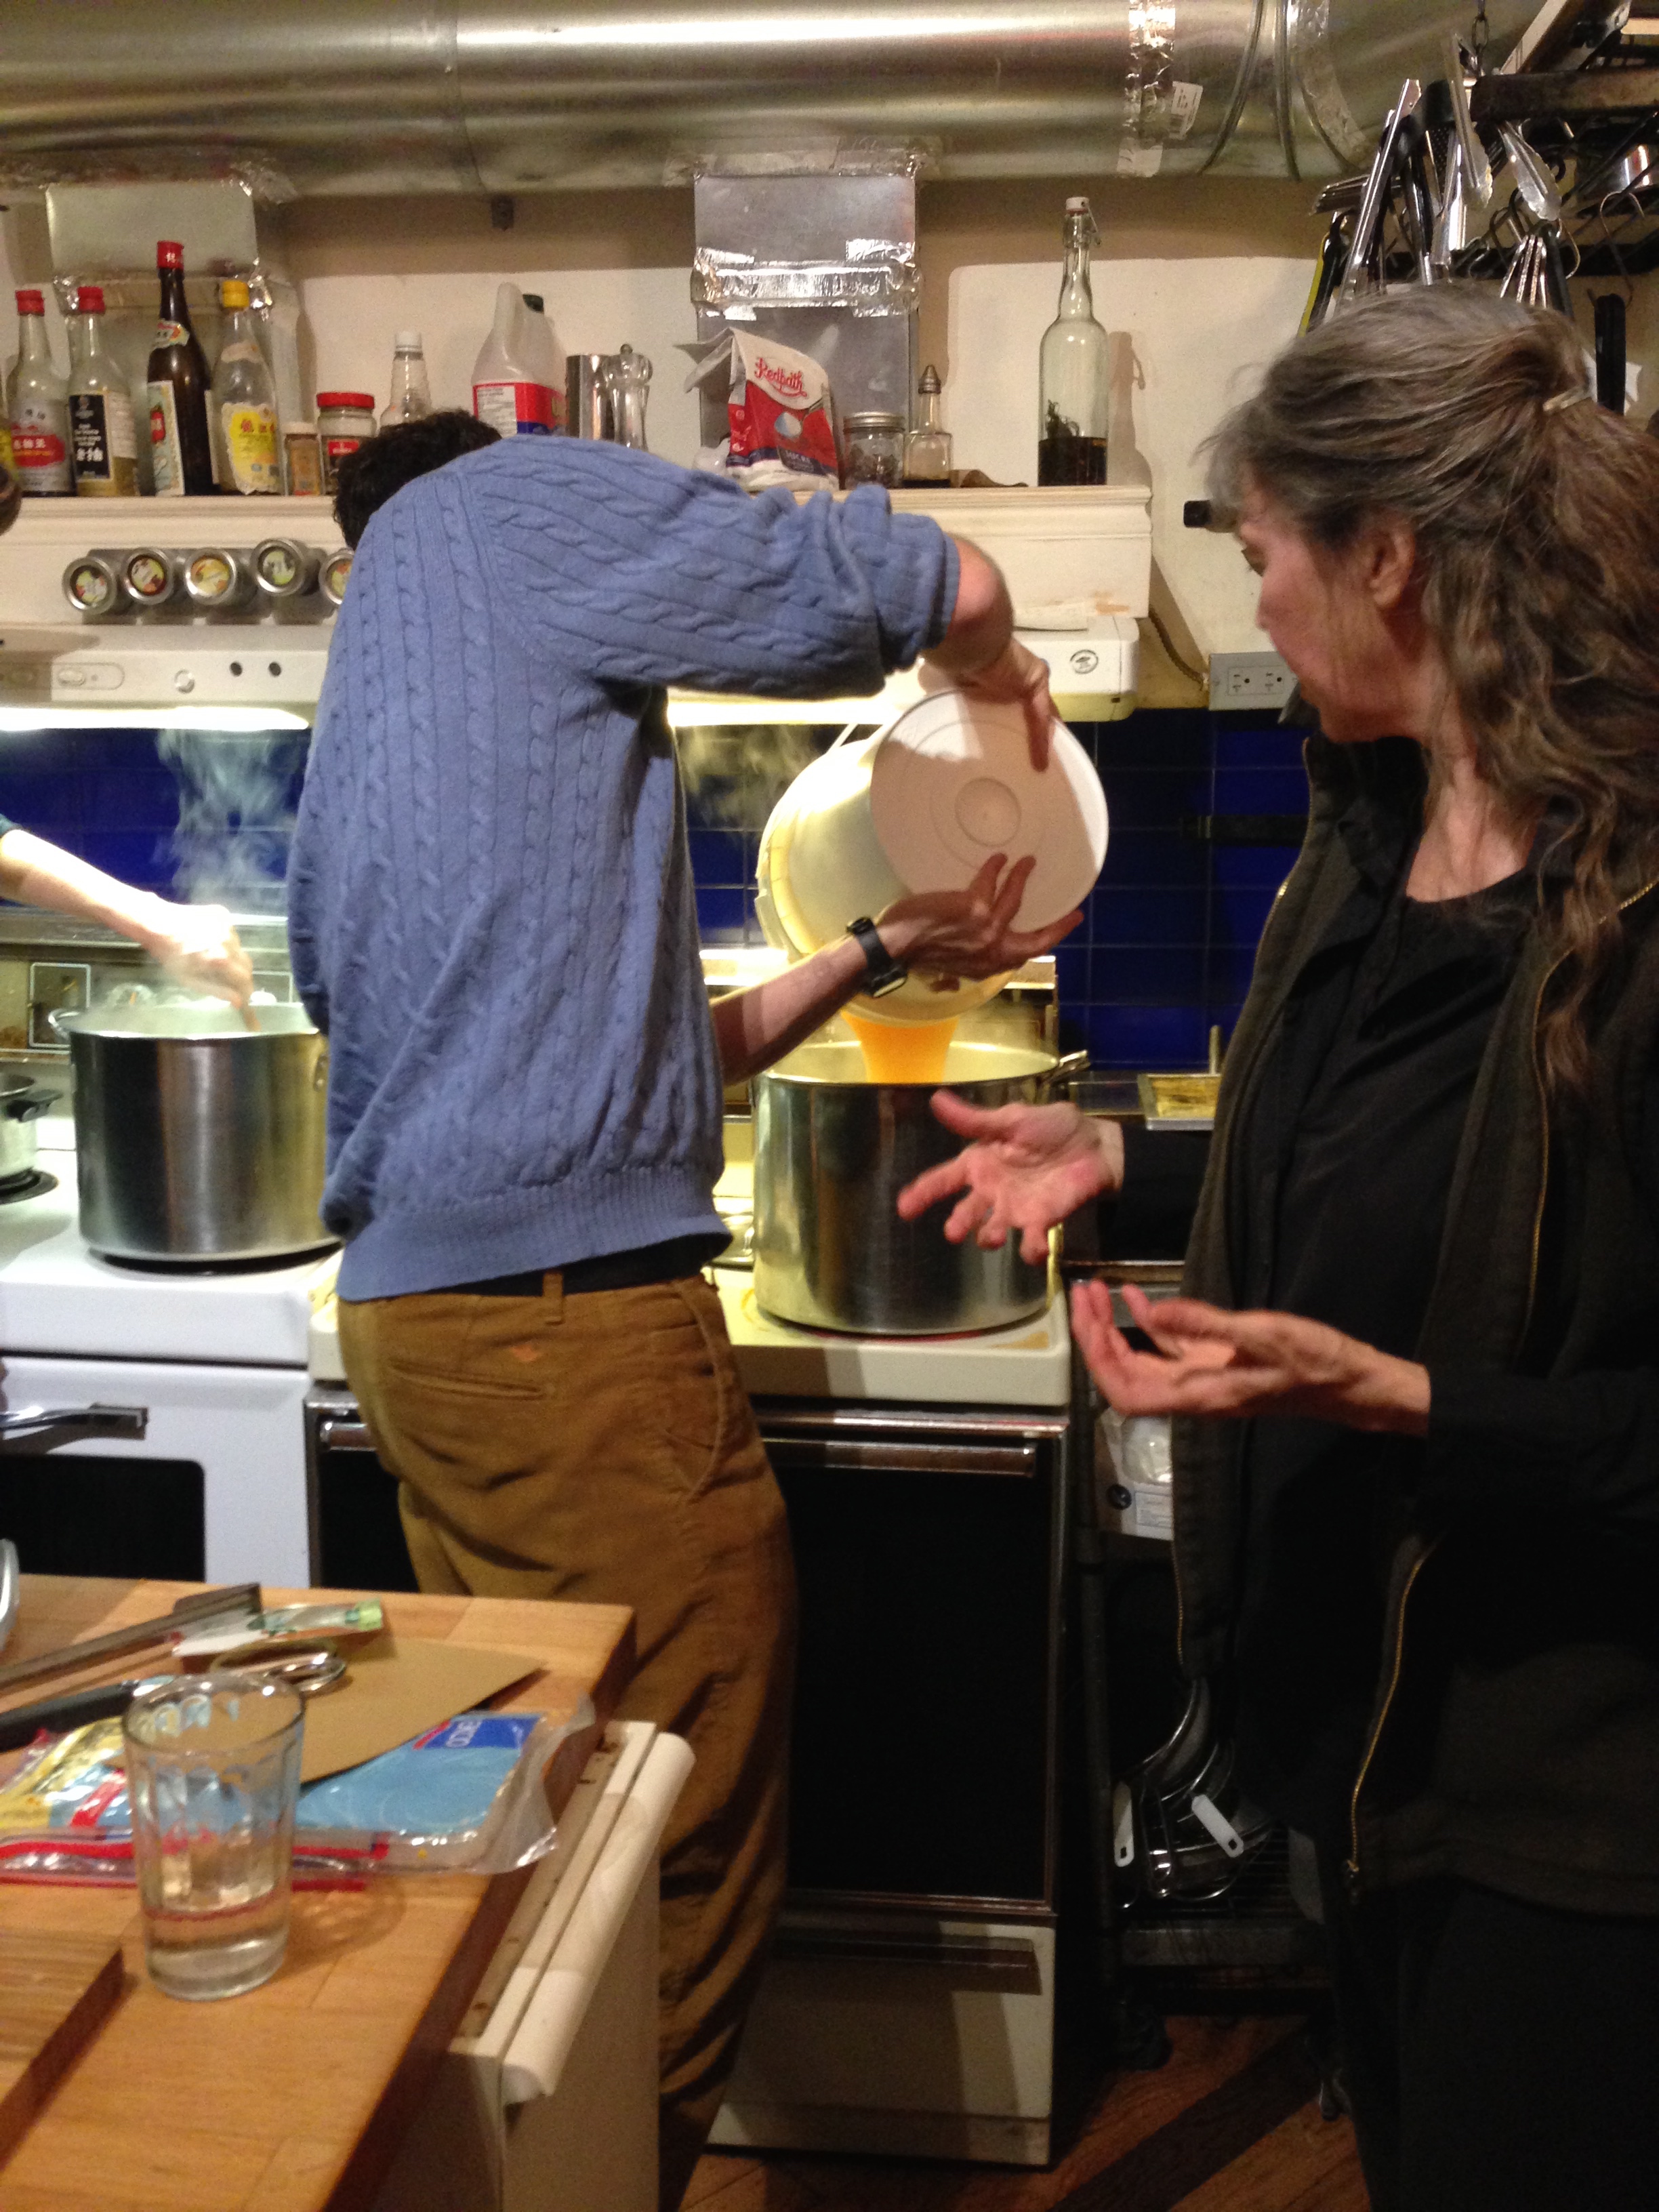
Ok ok. In all seriousness though. A couple months ago my lovely lady friend Gloria attempted to set up a friend date with myself and her friend Donna. It was going to be an afternoon Introduction to Mead Making class, and I was super excited. Unfortunately though, the mead class was moved and we had to cancel the date. Sad Panda. But! It was always meant to be! Another mead class was found and the date set! The Depanneur, a very neat kitchen space on College near Dufferin, was hosting a mead making night with Fran Freeman, an urban beekeeper here in Toronto. 

The date back on, Gloria, Donna, Donna's GF and myself, all met up at The Depanneur, along with the rest of mead making class, and had a round of introductions. It was a neat class, starting off with some history of mead and mead making. Like how there are records of bee keeping in ancient Egypt! And where there is honey and environmental yeasts, there is mead!

Most of our other friend date compatriots were interested in either urban beekeeping or home brewing mead. For me, it was all about the mead. We were given a simple recipe for a melomel mead. (Melomel being a fruit and spiced mead). It's for a cooked mead. Apparently you can not heat the mead and ferment using natural environmental yeasts but the results can vary dramatically. So a cooked mead-ing we will go.  

Melomel Mead

This recipe make 1 gallon or two X 1/2 gallon growlers. (Which you can buy for $5 from Toronto Brewing. Easy Peasy.)

1 pkg brewer's yeast
2/3 gallon (~11 cups) filtered or distilled water
2-4 lbs honey
2 tsp tartaric acid
2 1/2 tsp malic acid
1 tsp yeast nutrient (rehydrated)

Spice Packet:
1-2 tea bags
zest of a lemon
zest of an orange
grated ginger
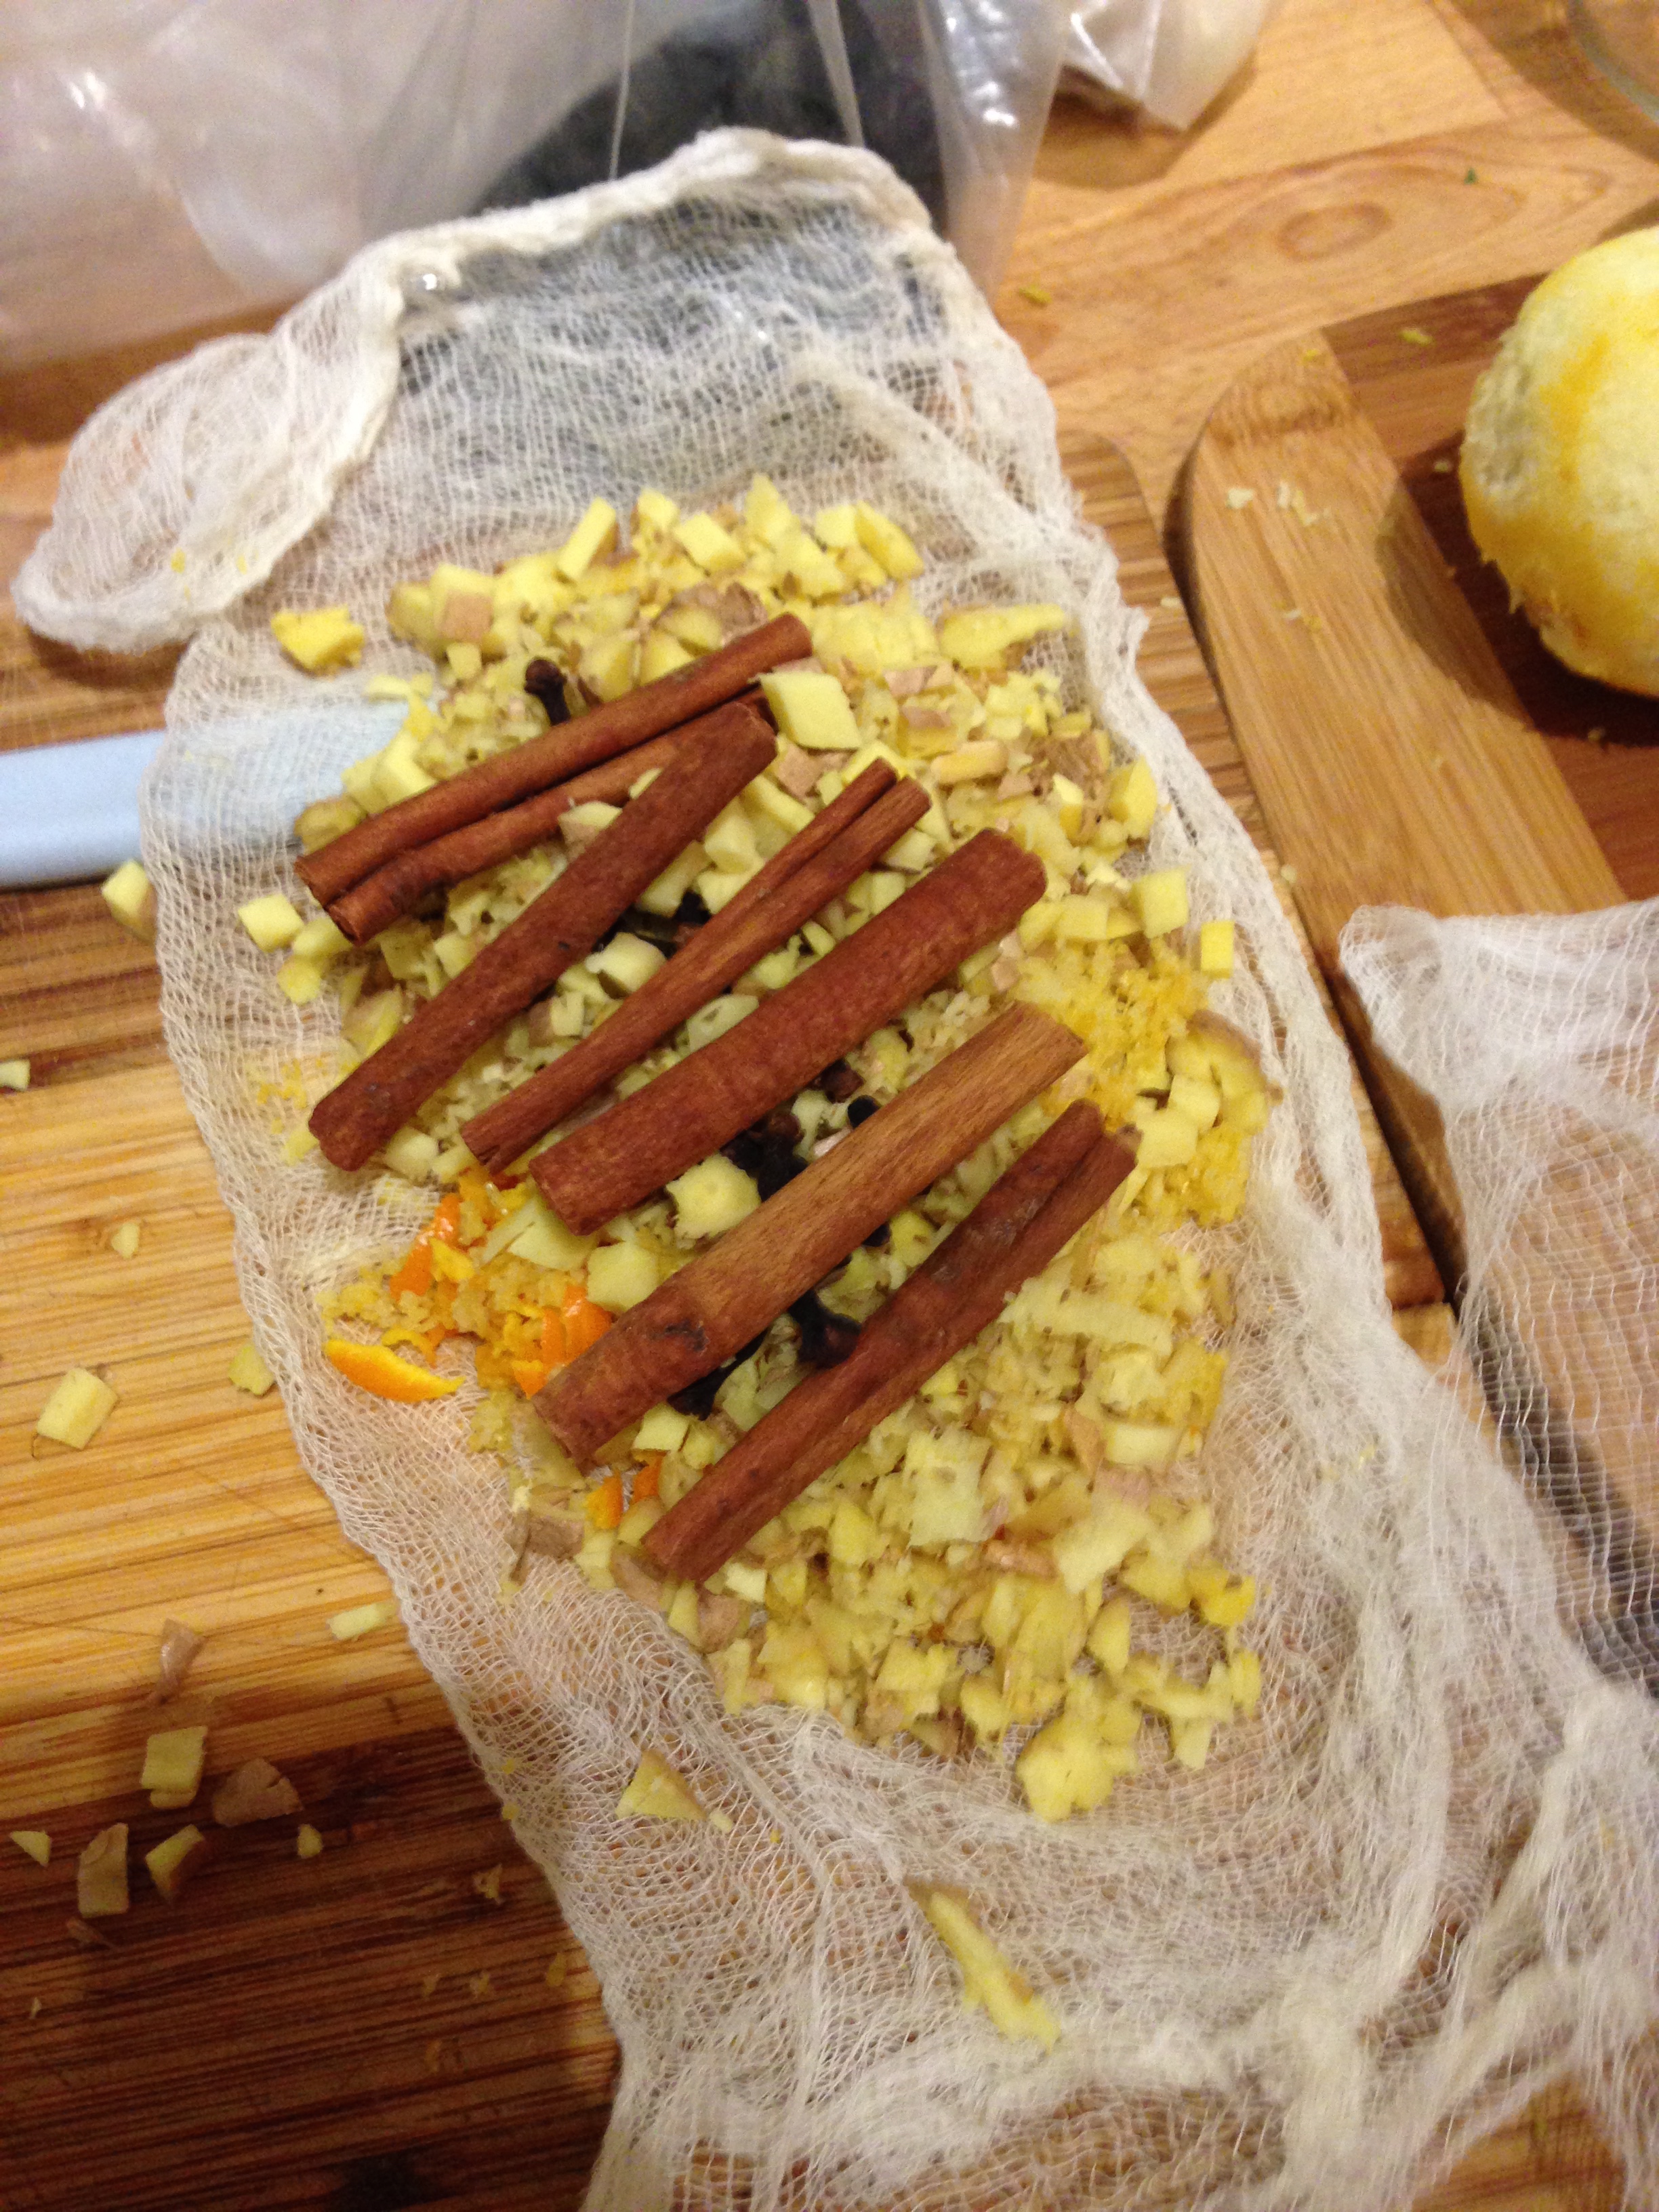
2 cinnamon sticks
6 cloves

  1. Clean and sanitize all equipment. I used a product called StarSan. Rinse, let air dry, done.
  2. In a large stock pot, bring water, and a cheese cloth packet containing spice packet ingredients, to a boil. 
  3. Add acid powders to 'must' (aka the boiling spice water, in this case). 
  4. Reduce heat and simmer for an ~40 minutes.
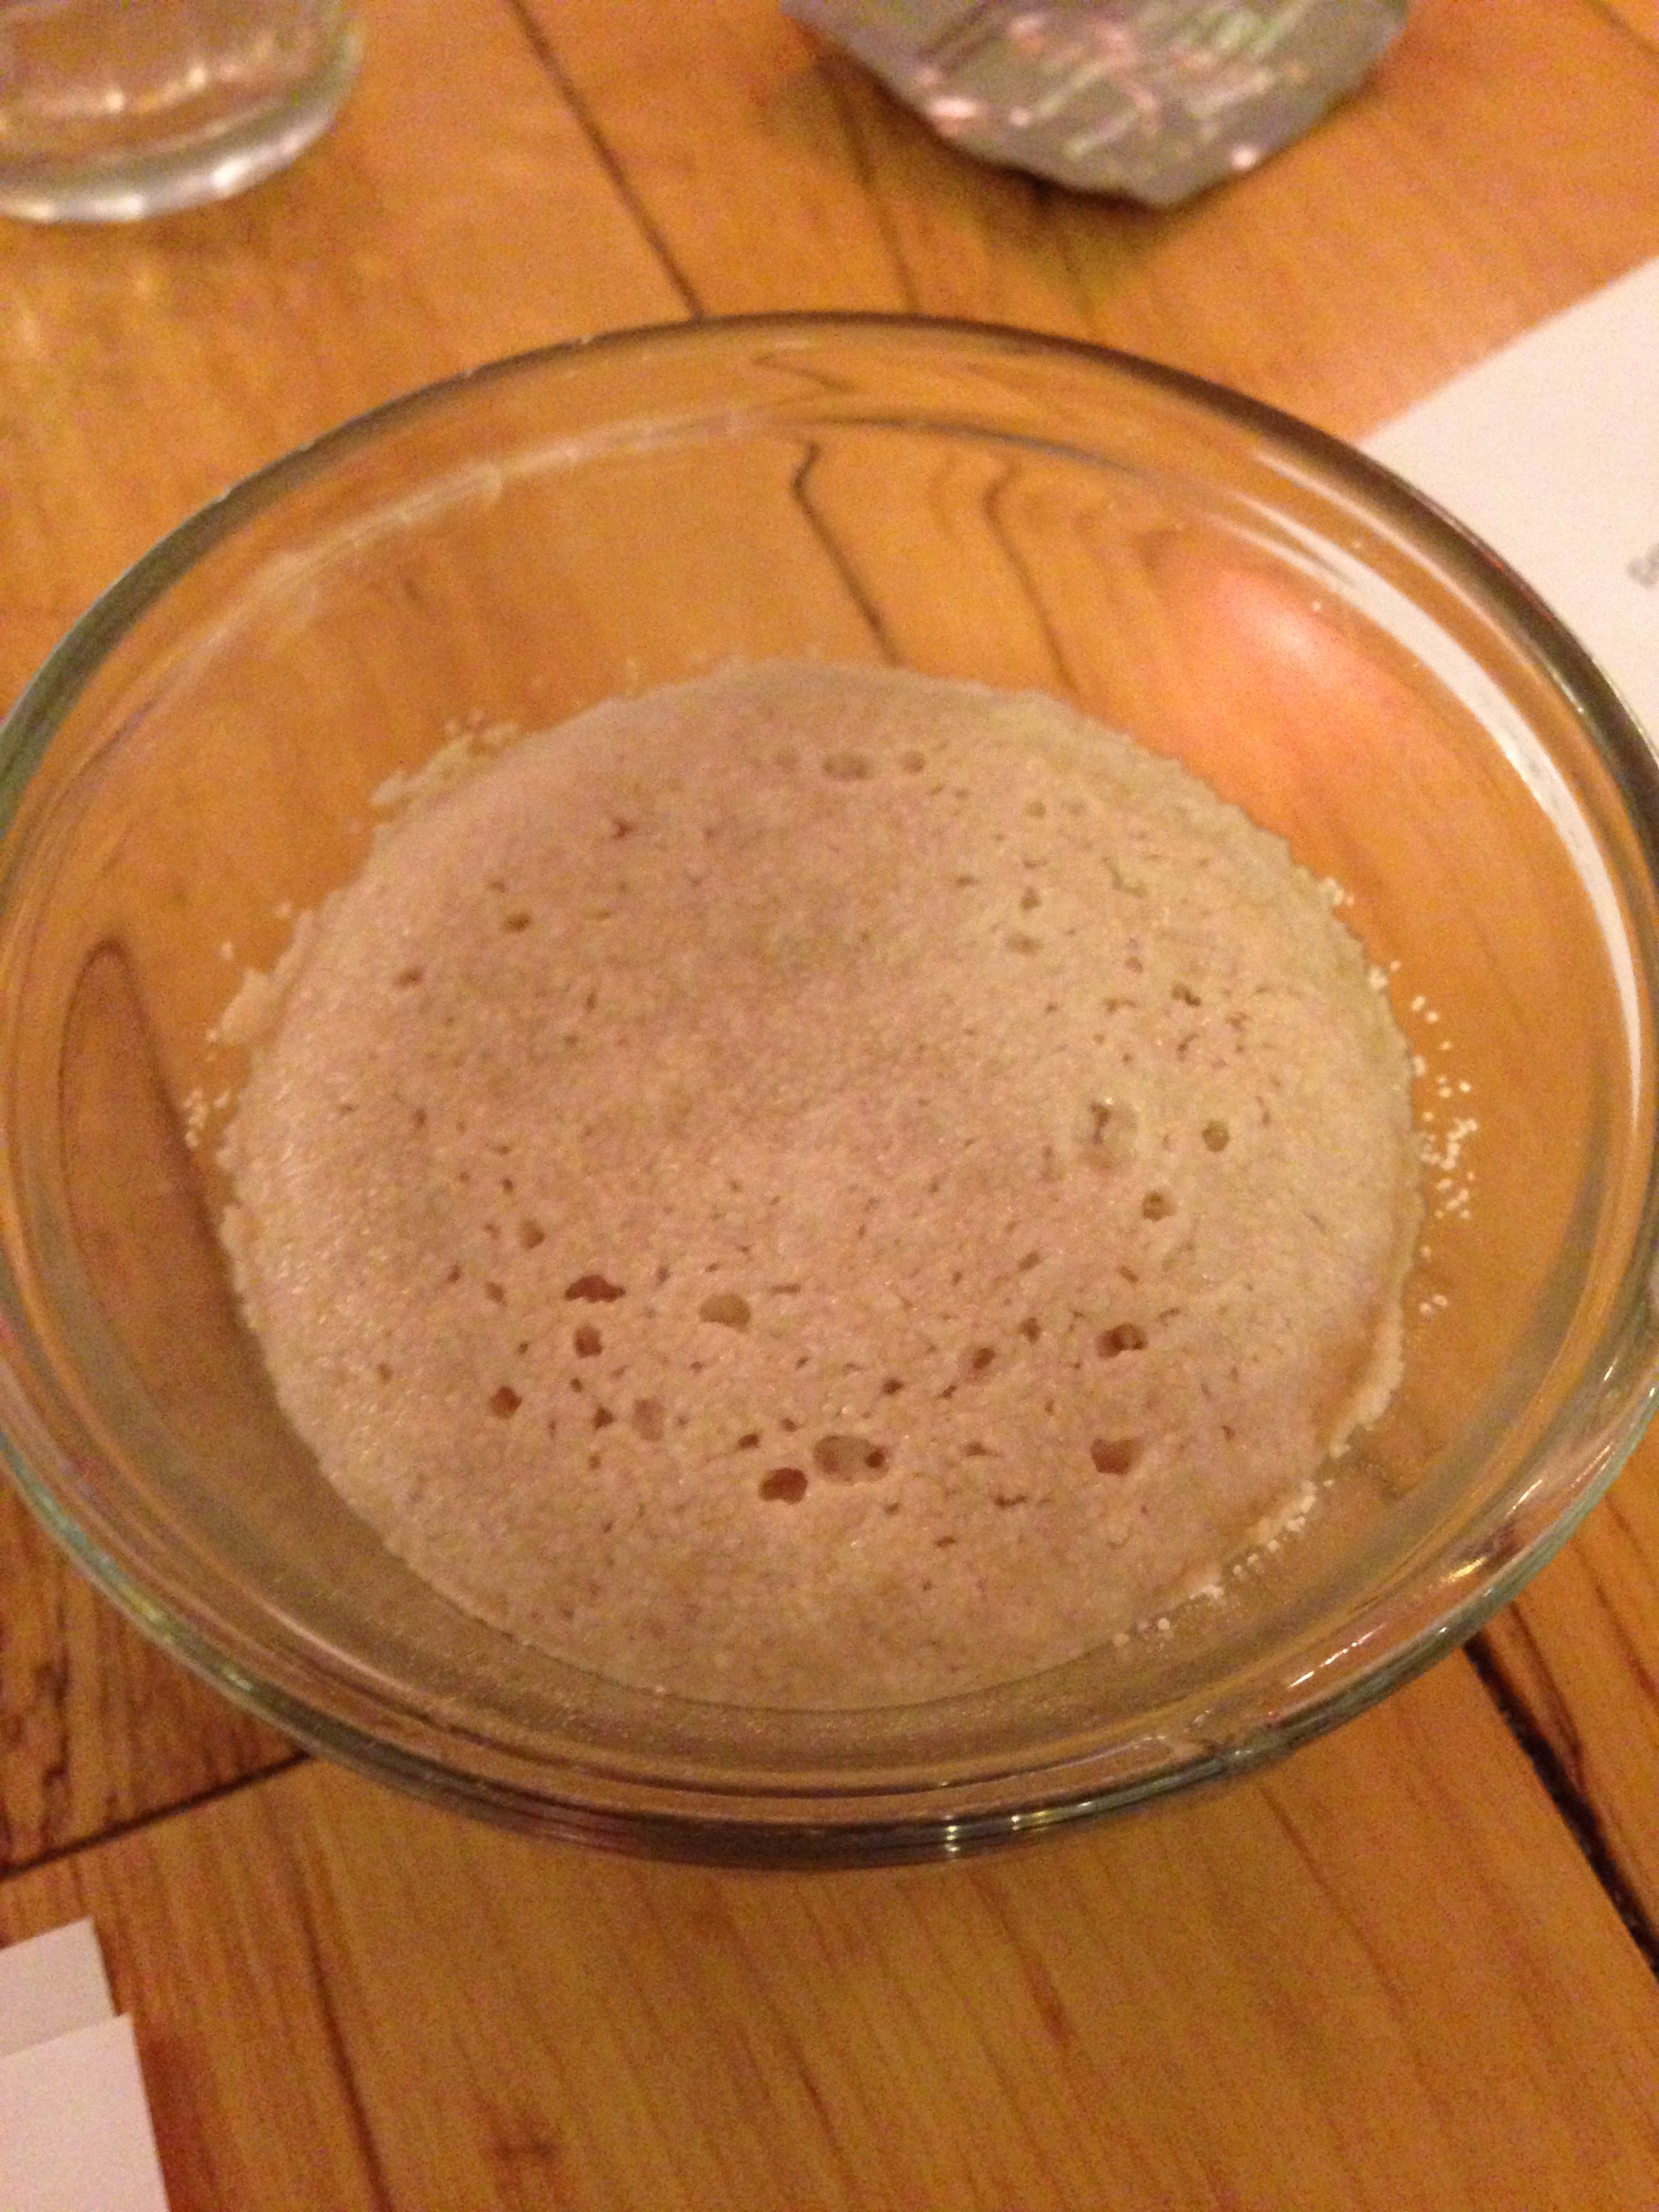
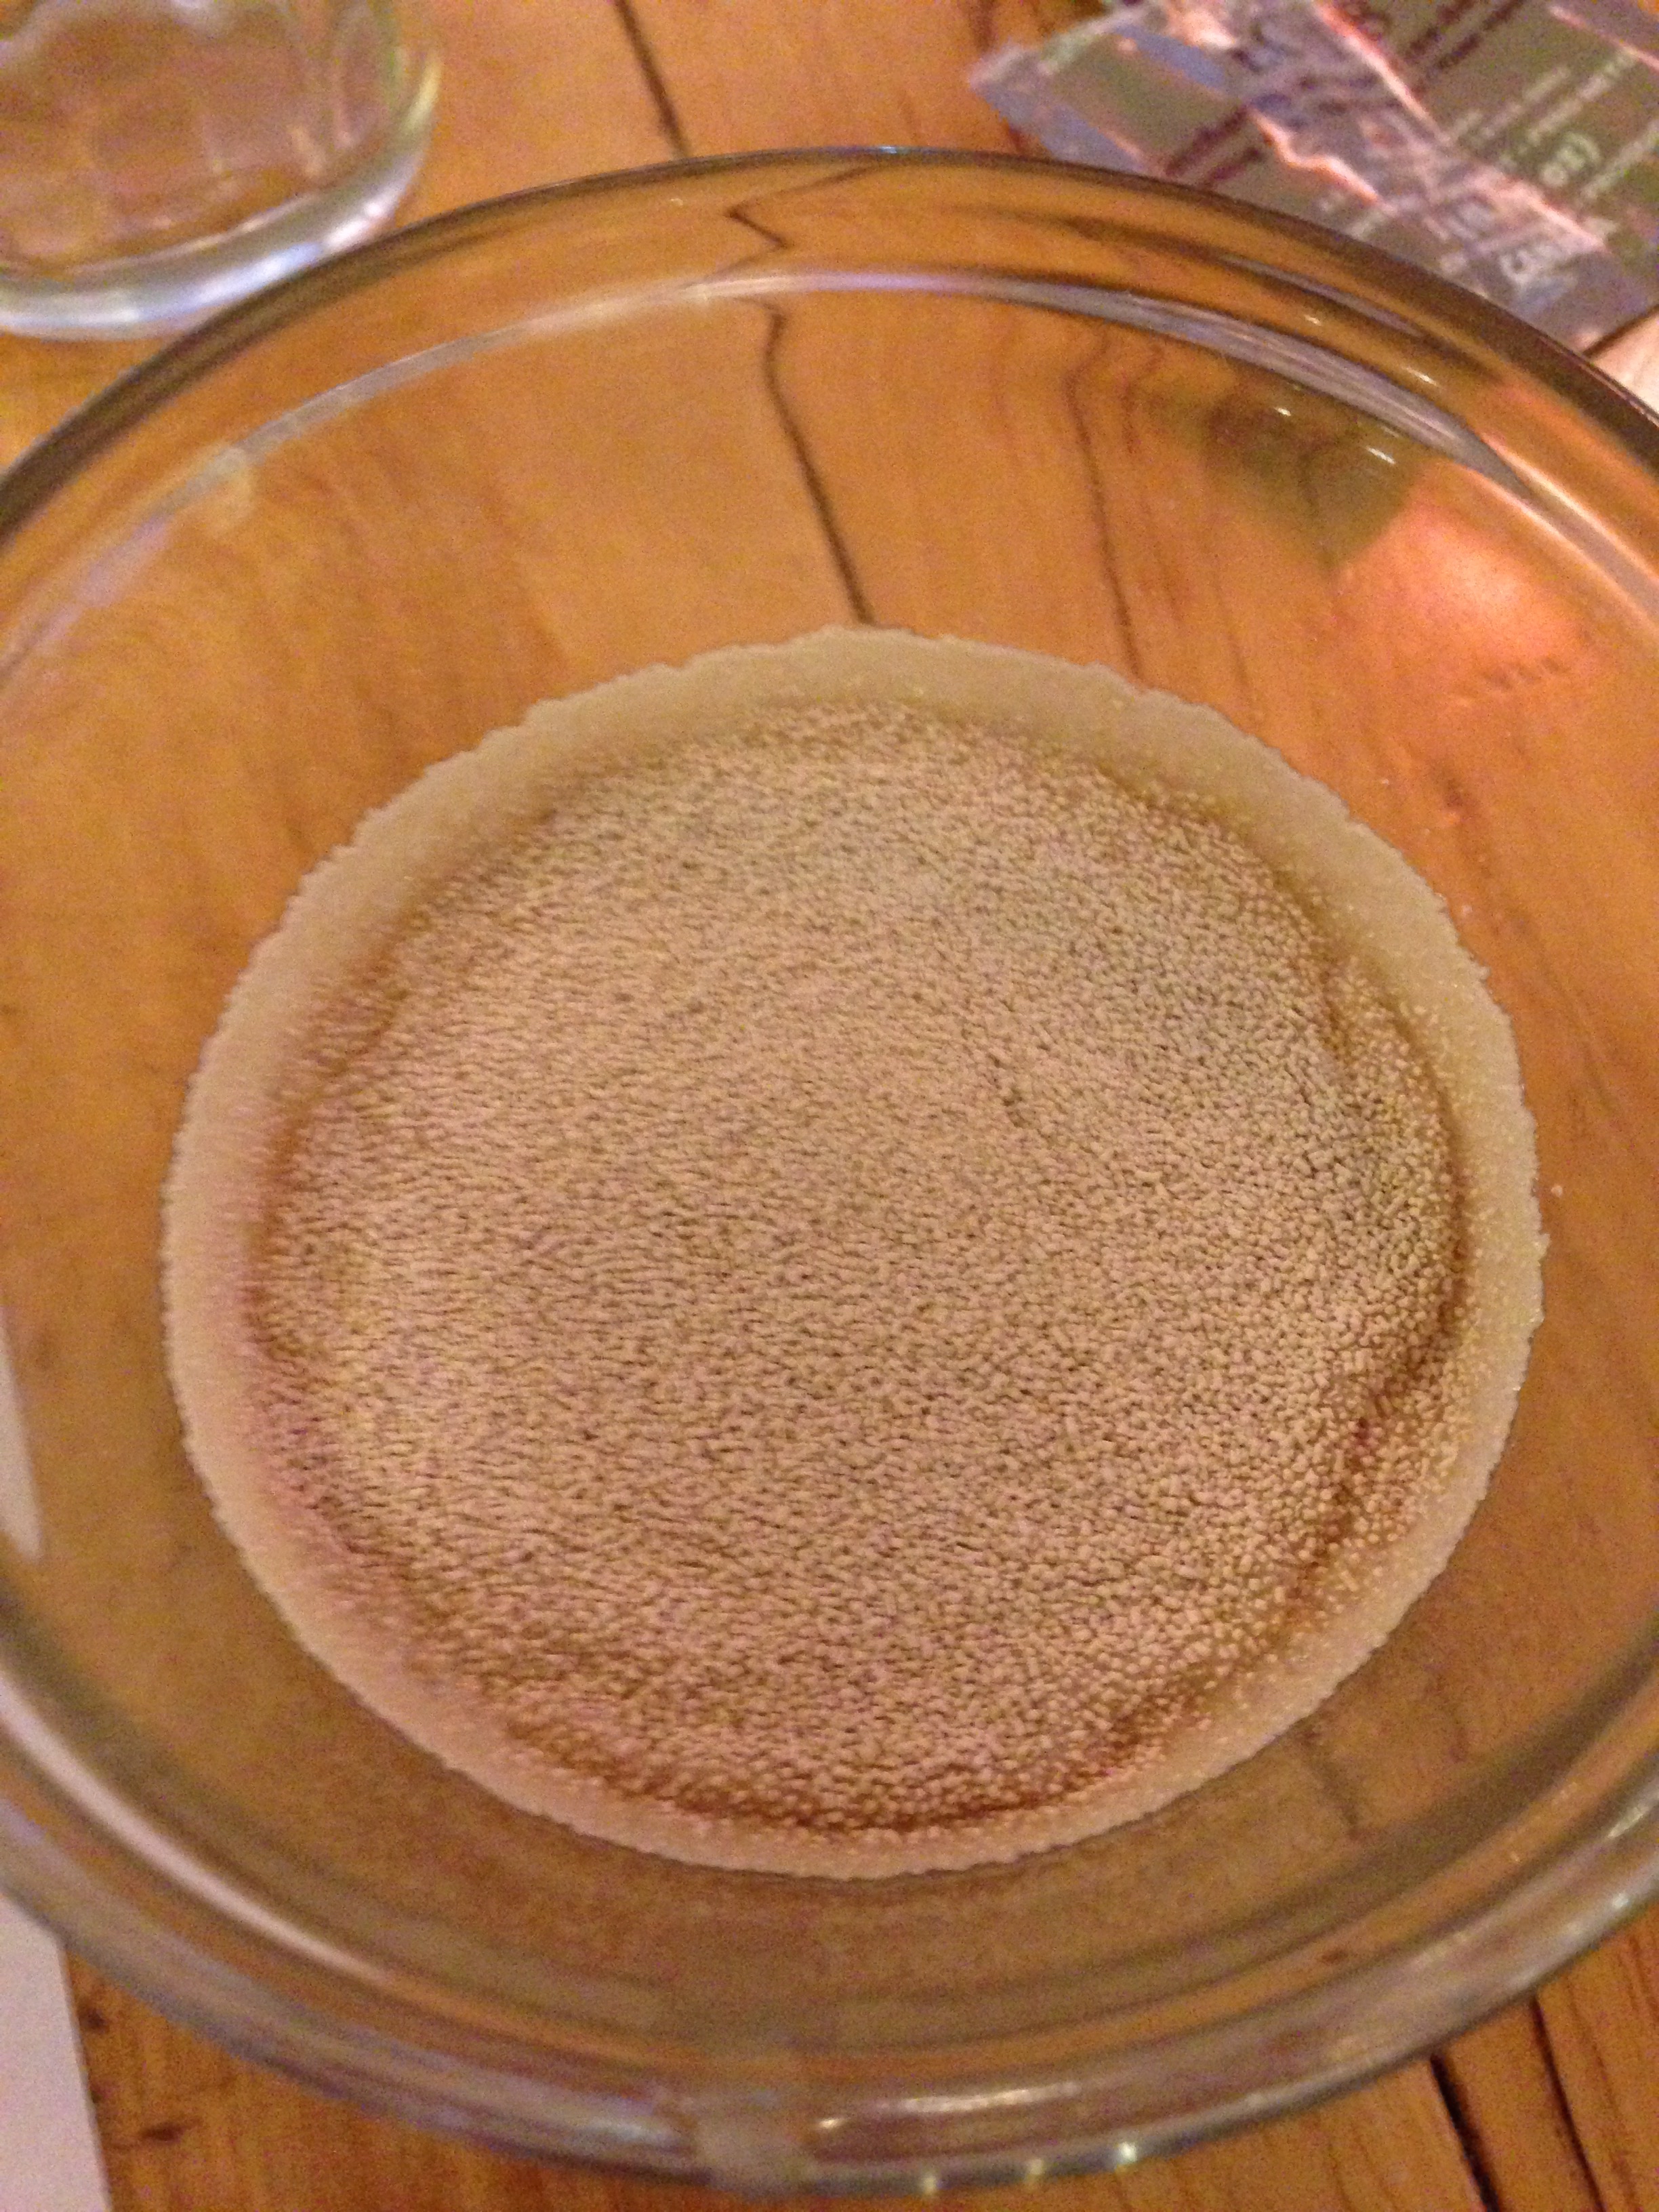
  5. Activate yeast in a clean bowl: Add 1/4 cup warm water (27'C) with 2-3 TBSP honey and yeast packet. Let sit until foamy.
  6. Add honey to the simmering pot and skim any foam from the must. Bring back to a boil and continue simmering for ~20 minutes. 
  7. Remove pot form heat. Place stock pot in a sink of ice water and cool quickly to 27'C. Remove spice packet. 
  8. When at the right temperature, pour (using a sanitized funnel and ladle) into 1 gal or two 1/2 gal growler(s). 
  9. Add yeast and rehydrated yeast nutrients (divid as necessary). 
  10. Swirl growler carefully to dissolve any yeast foam. 
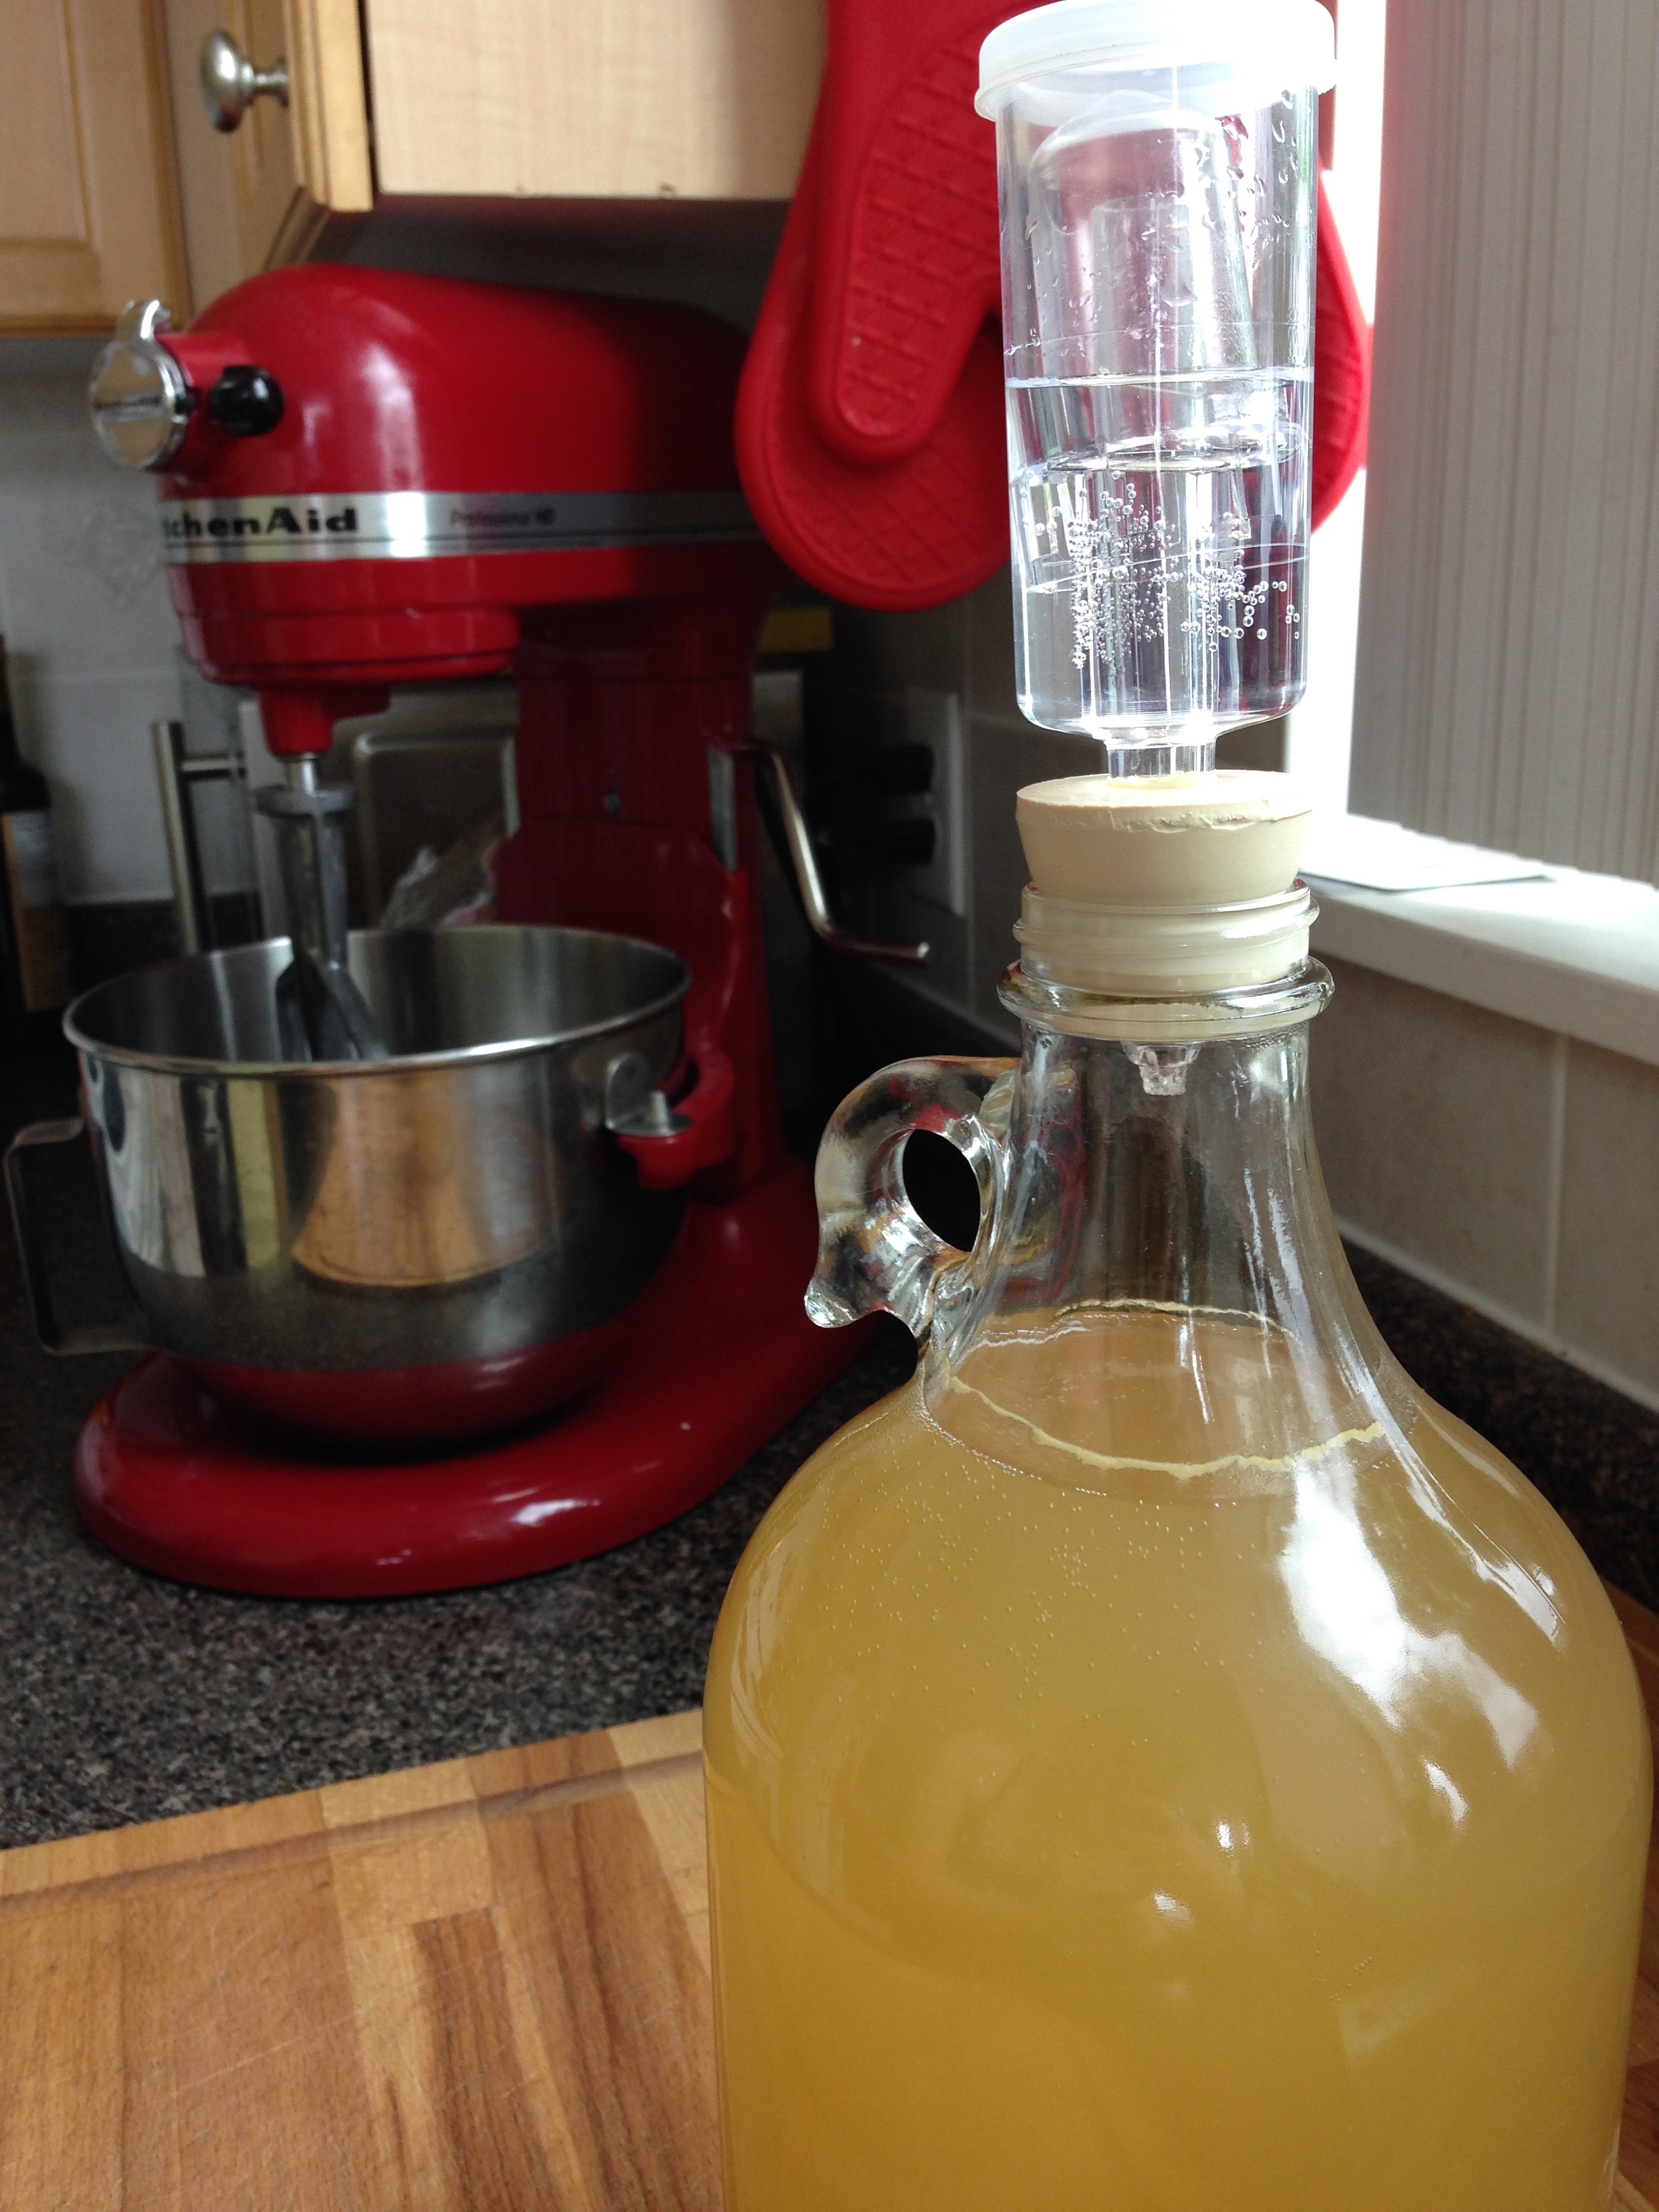
  11. Bung (or plug) the growler with an airlock-plug. Put water in the airlock. This stops air from getting into the growler but allows the yeasties gases to escape. (And not explode your glass growler.)
  12. Let sit in a cool place for about two weeks. About 1/2 inch of sediment will gather on the bottom. After the bubbling has stopped, siphon mead, making sure to not disturb the sediment into another clean and sanitized growler. 
  13. Let sit for 3 months! Repeat racking until desired taste. Bottle! 

BAM. 

So essentially: Sterilize jars, boil water, activate yeast, add honey, add yeast nutrients, add yeast, swirl and stopper. Actually, super easy!

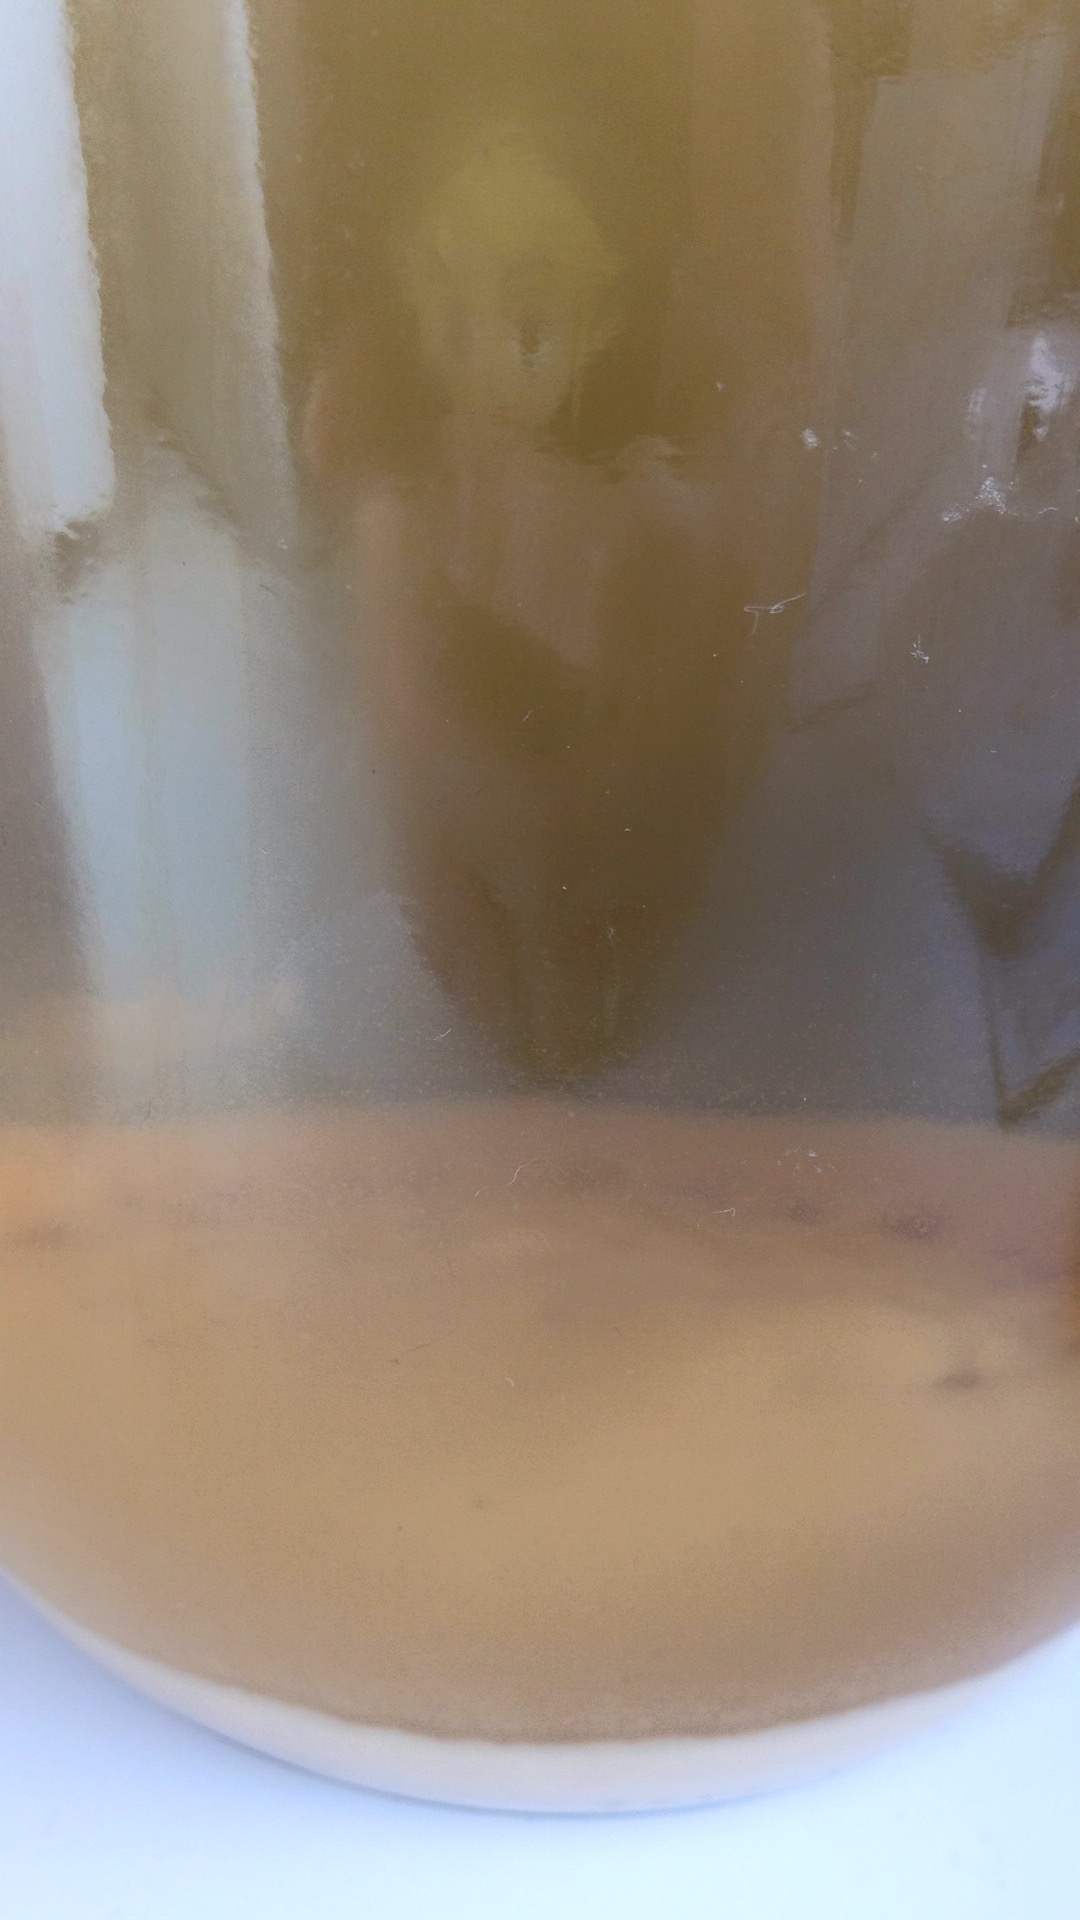
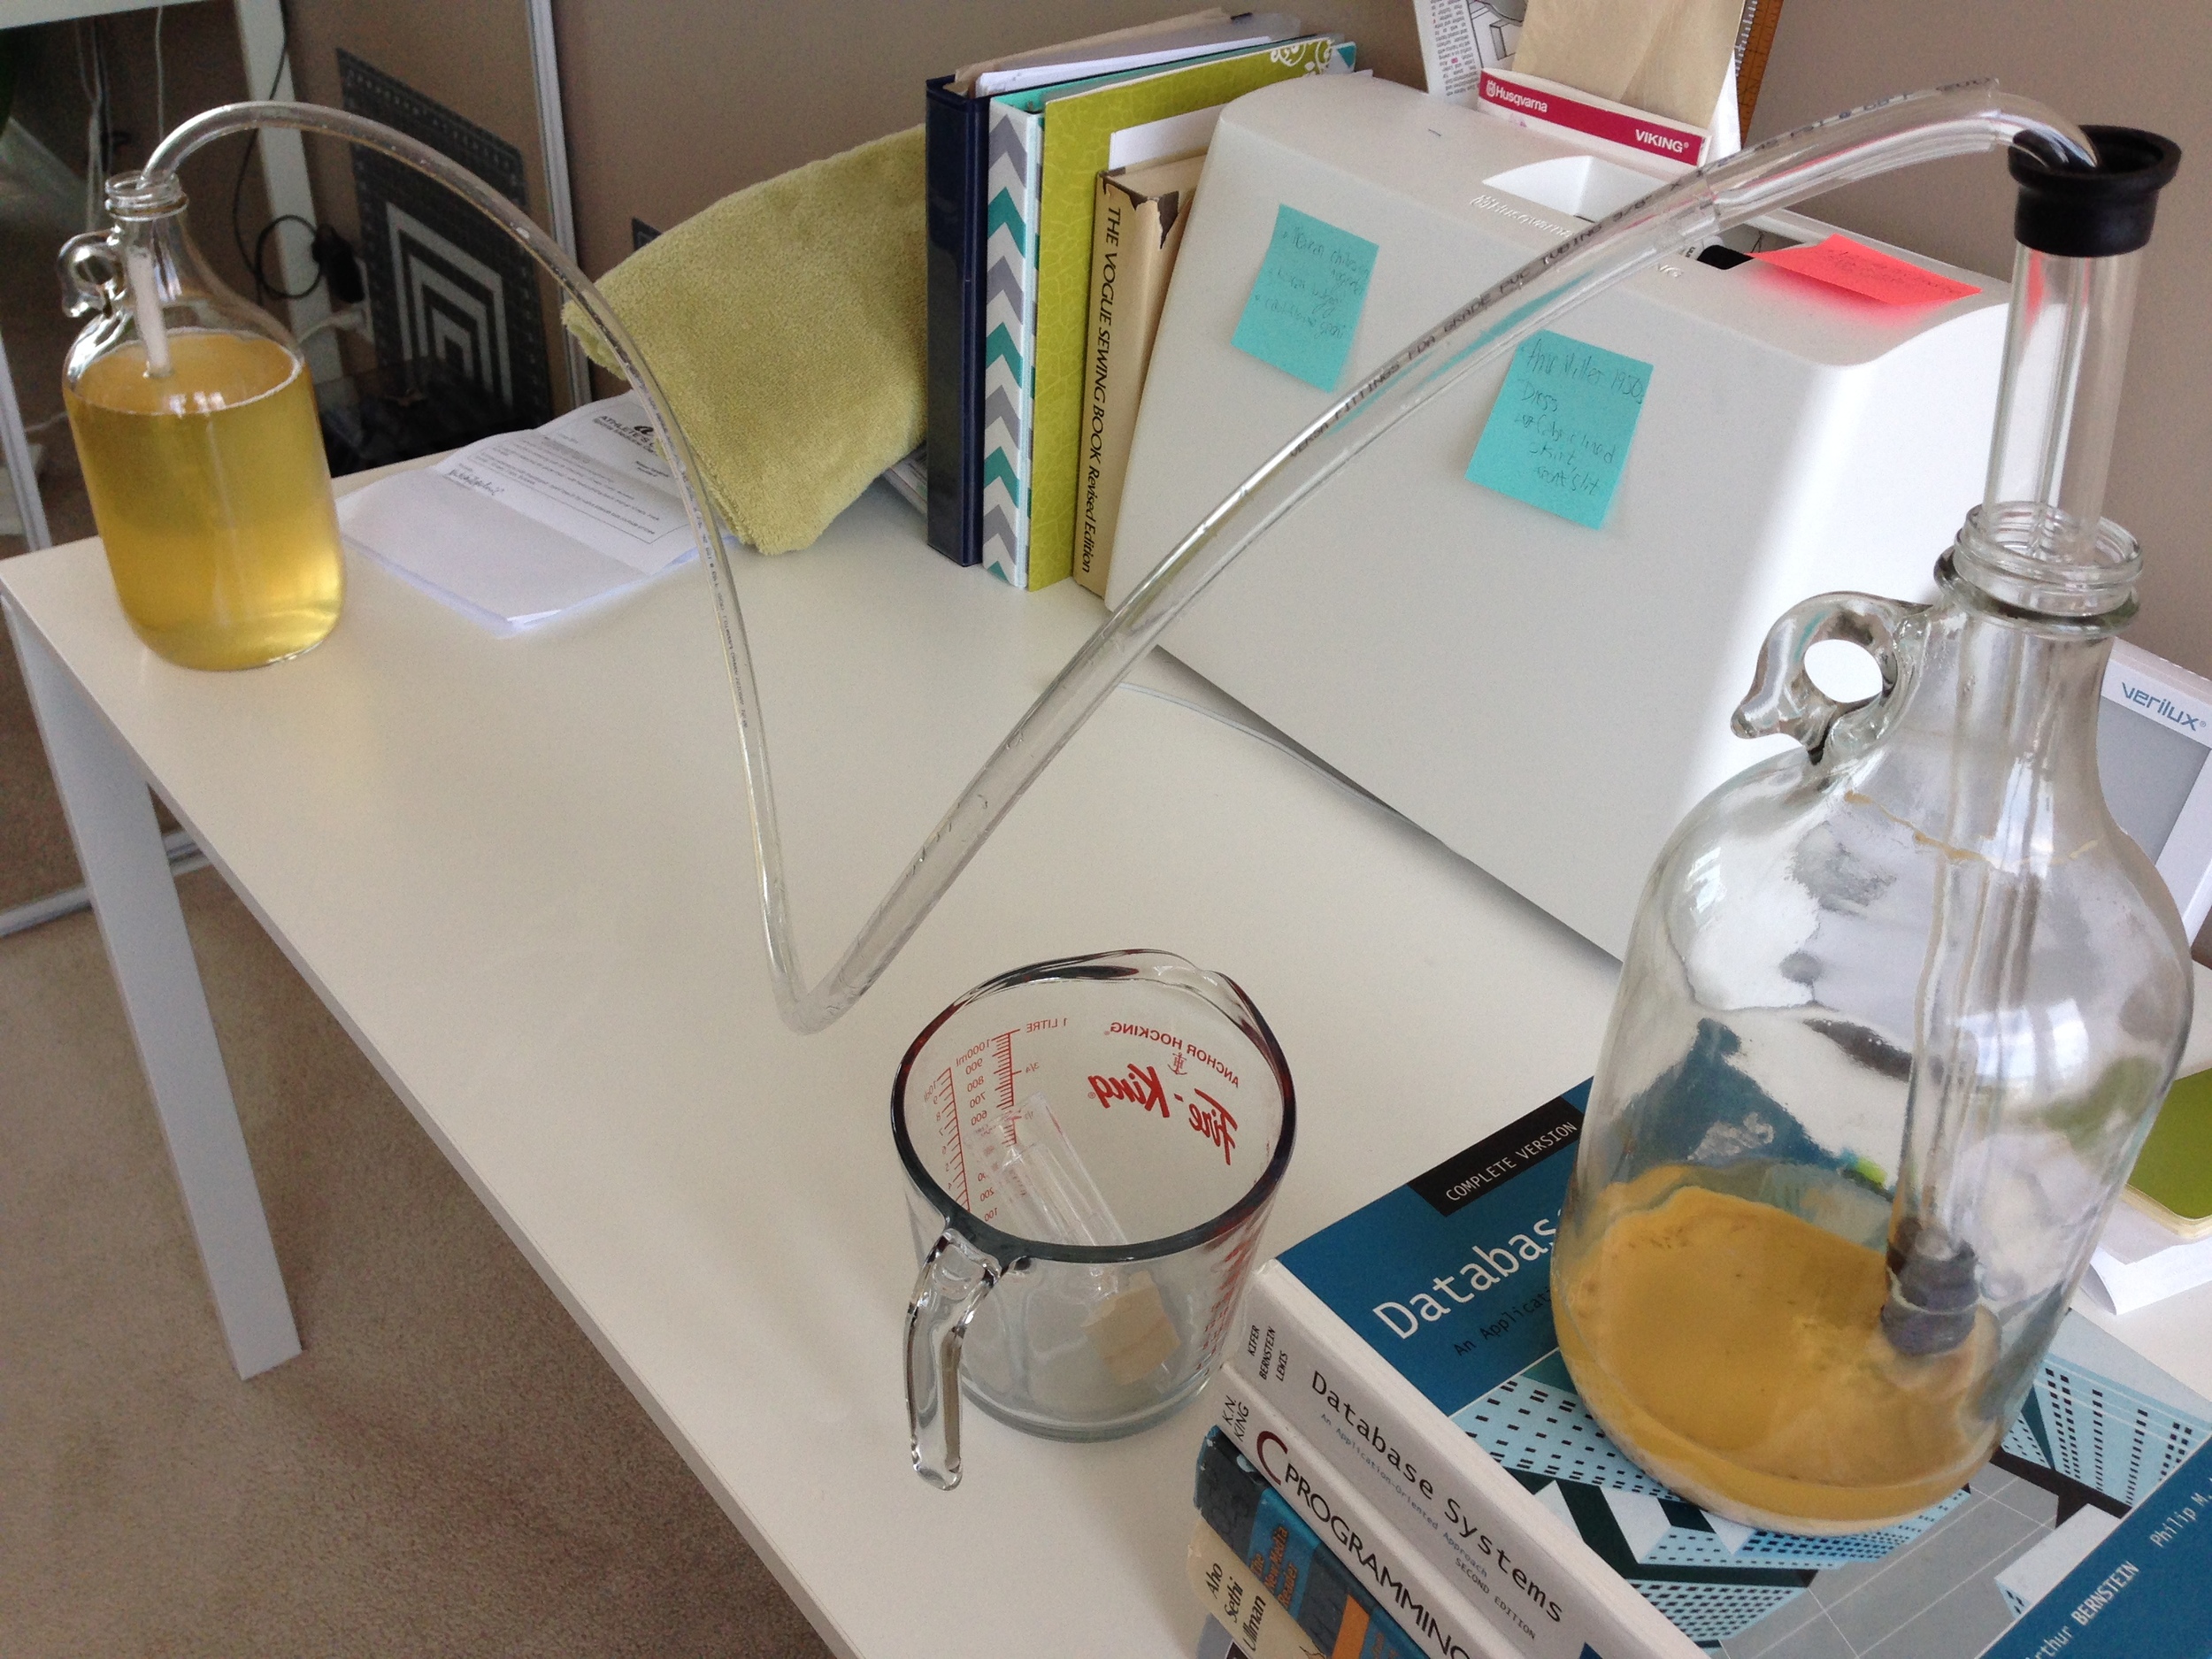
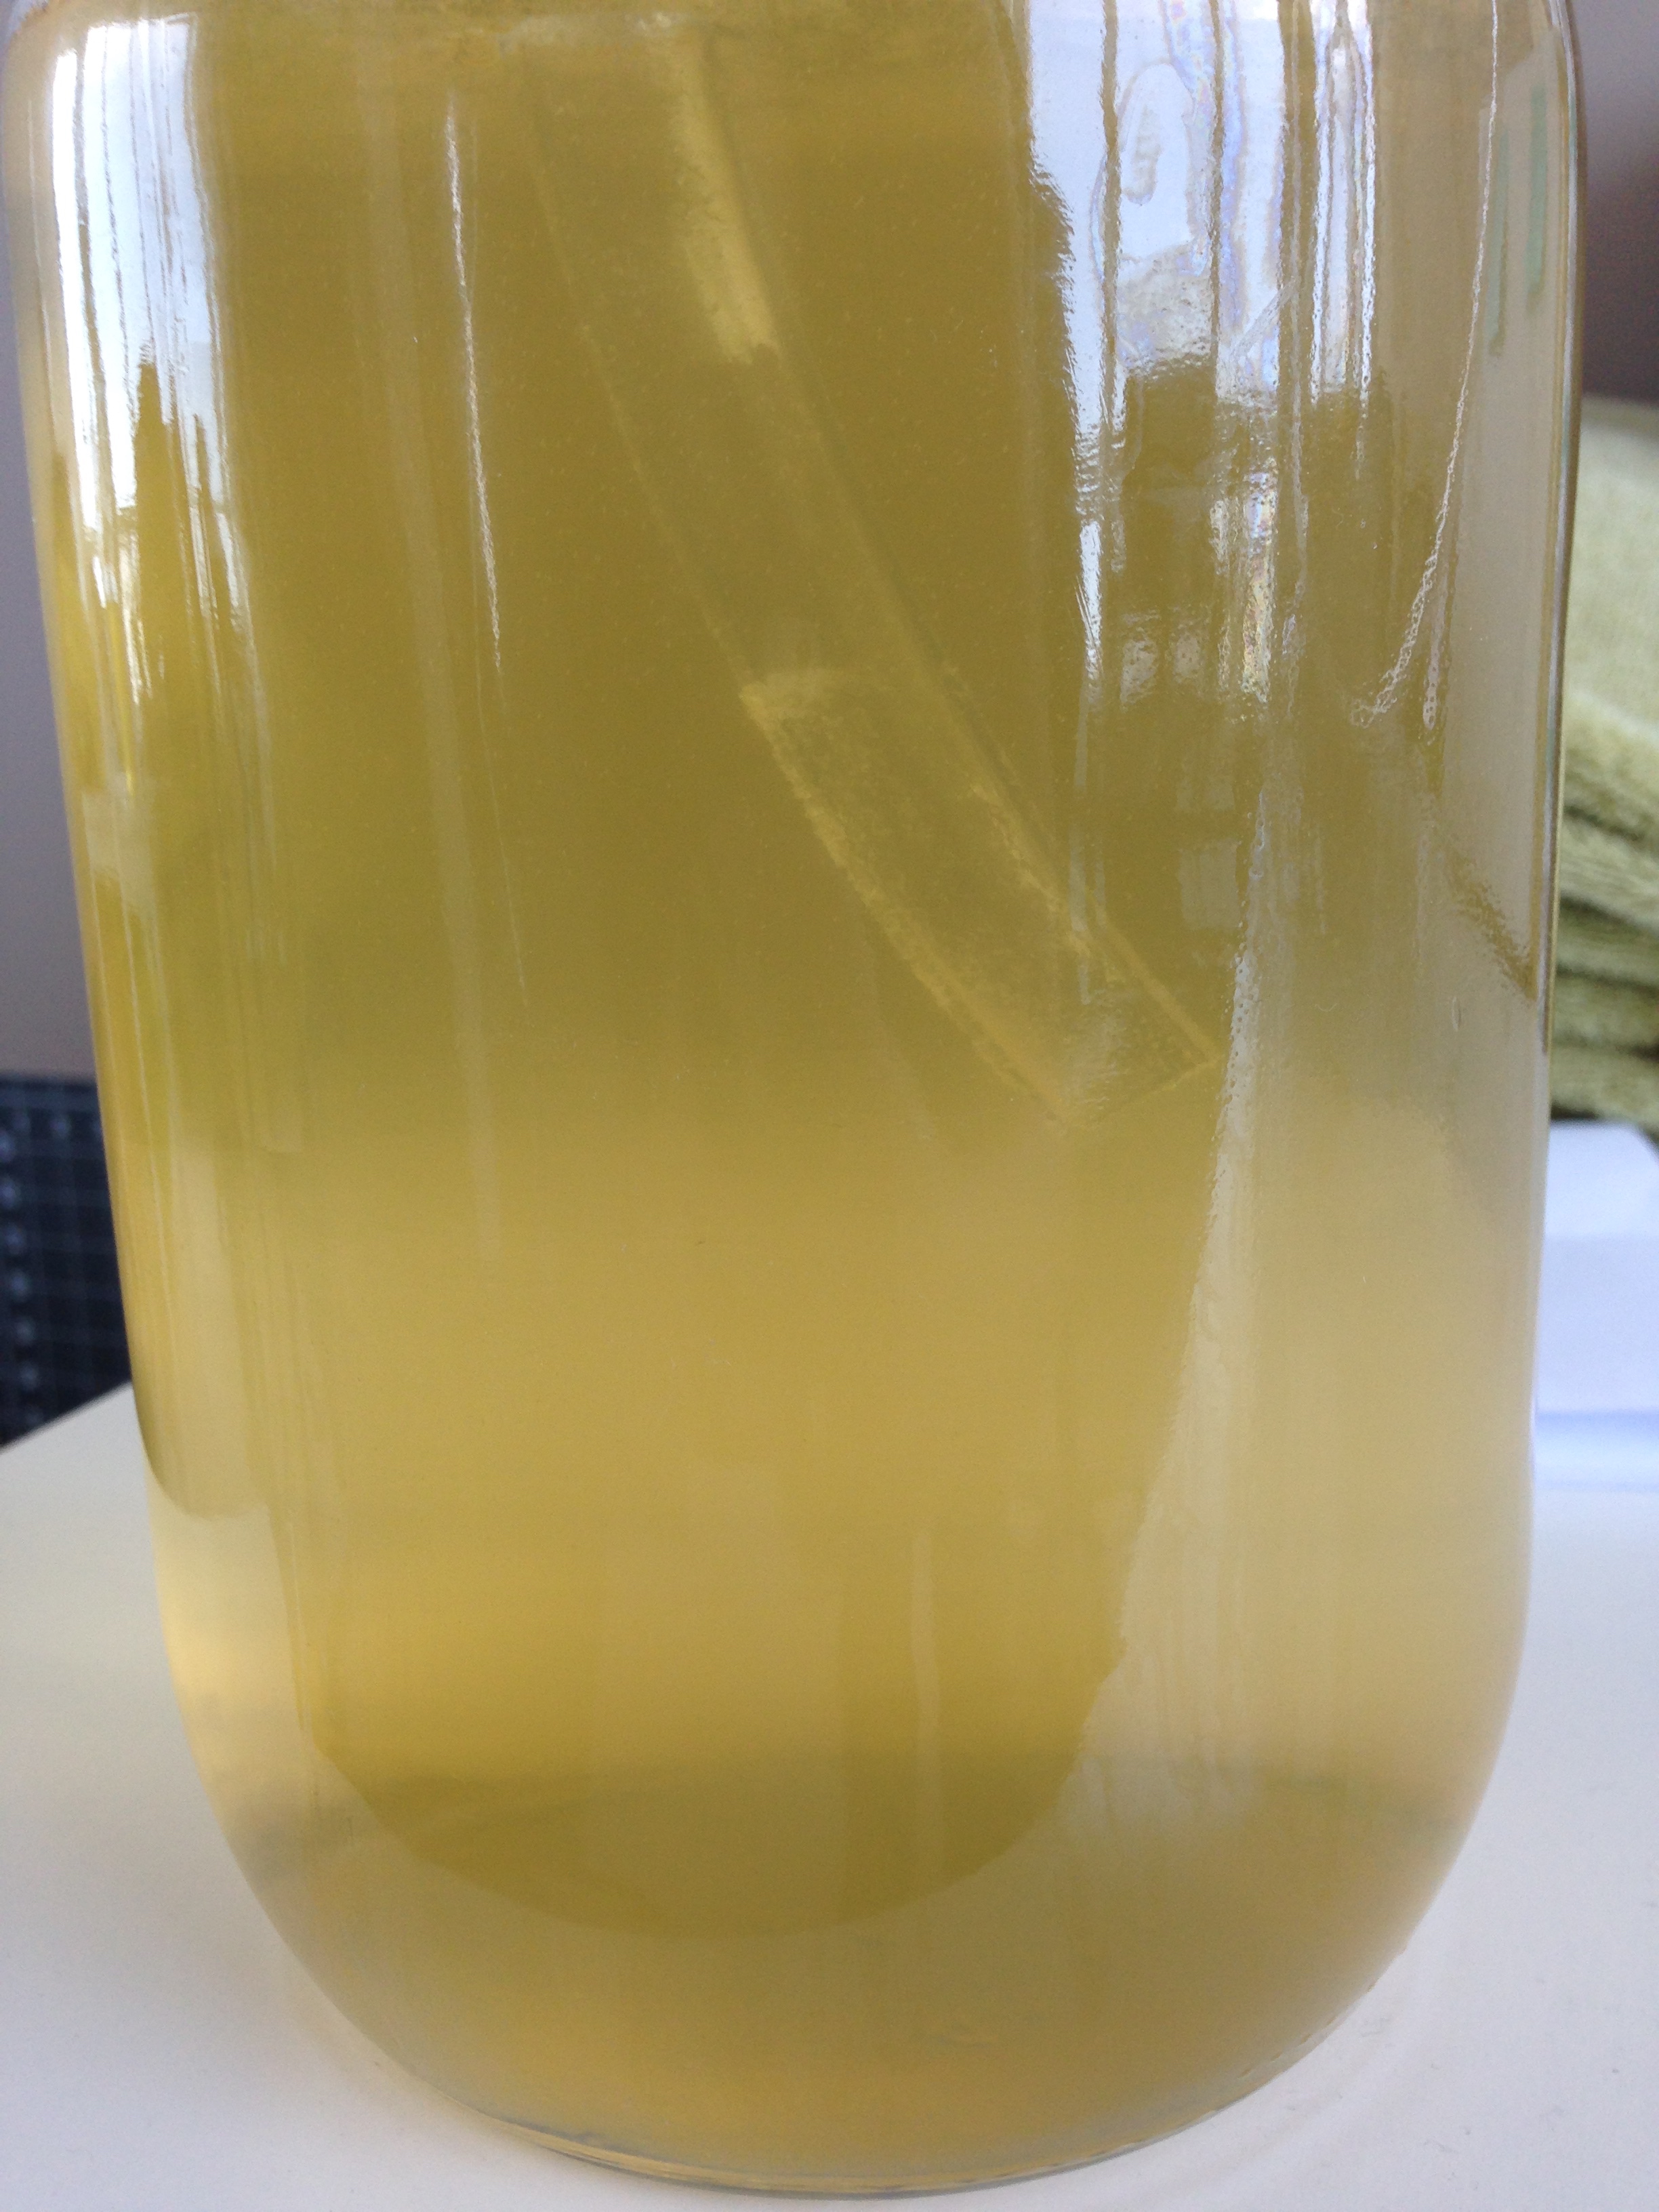
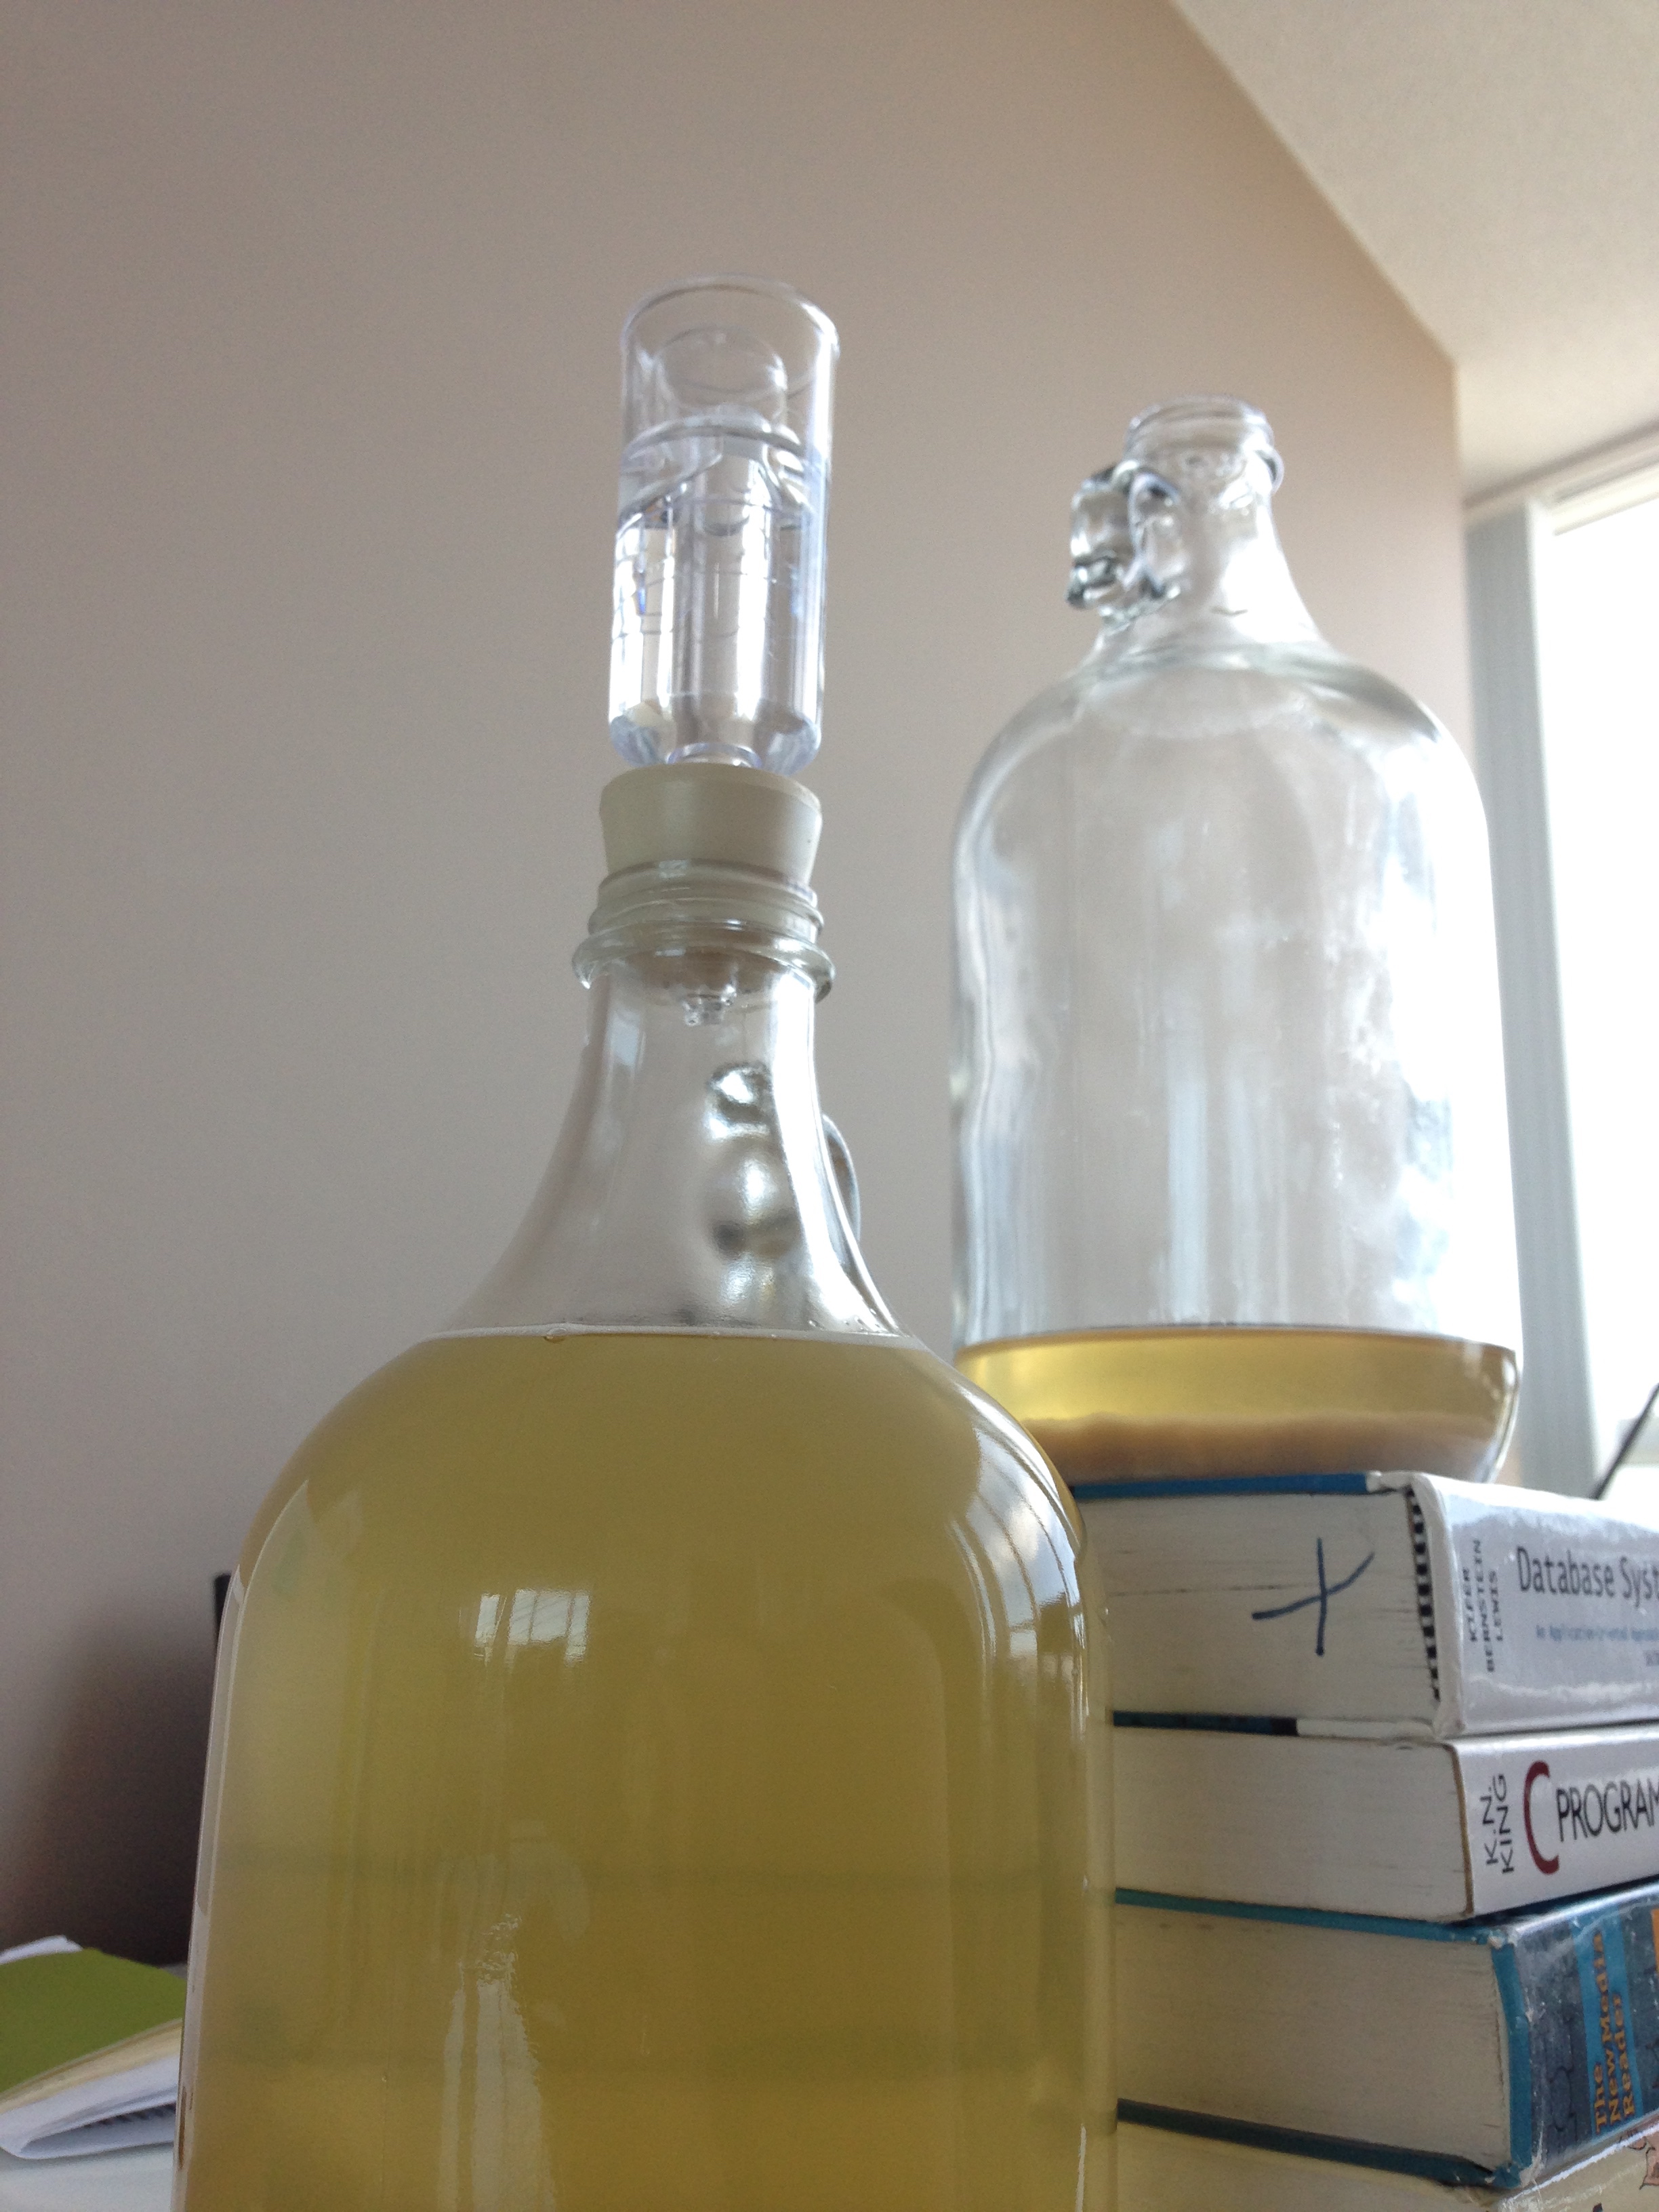
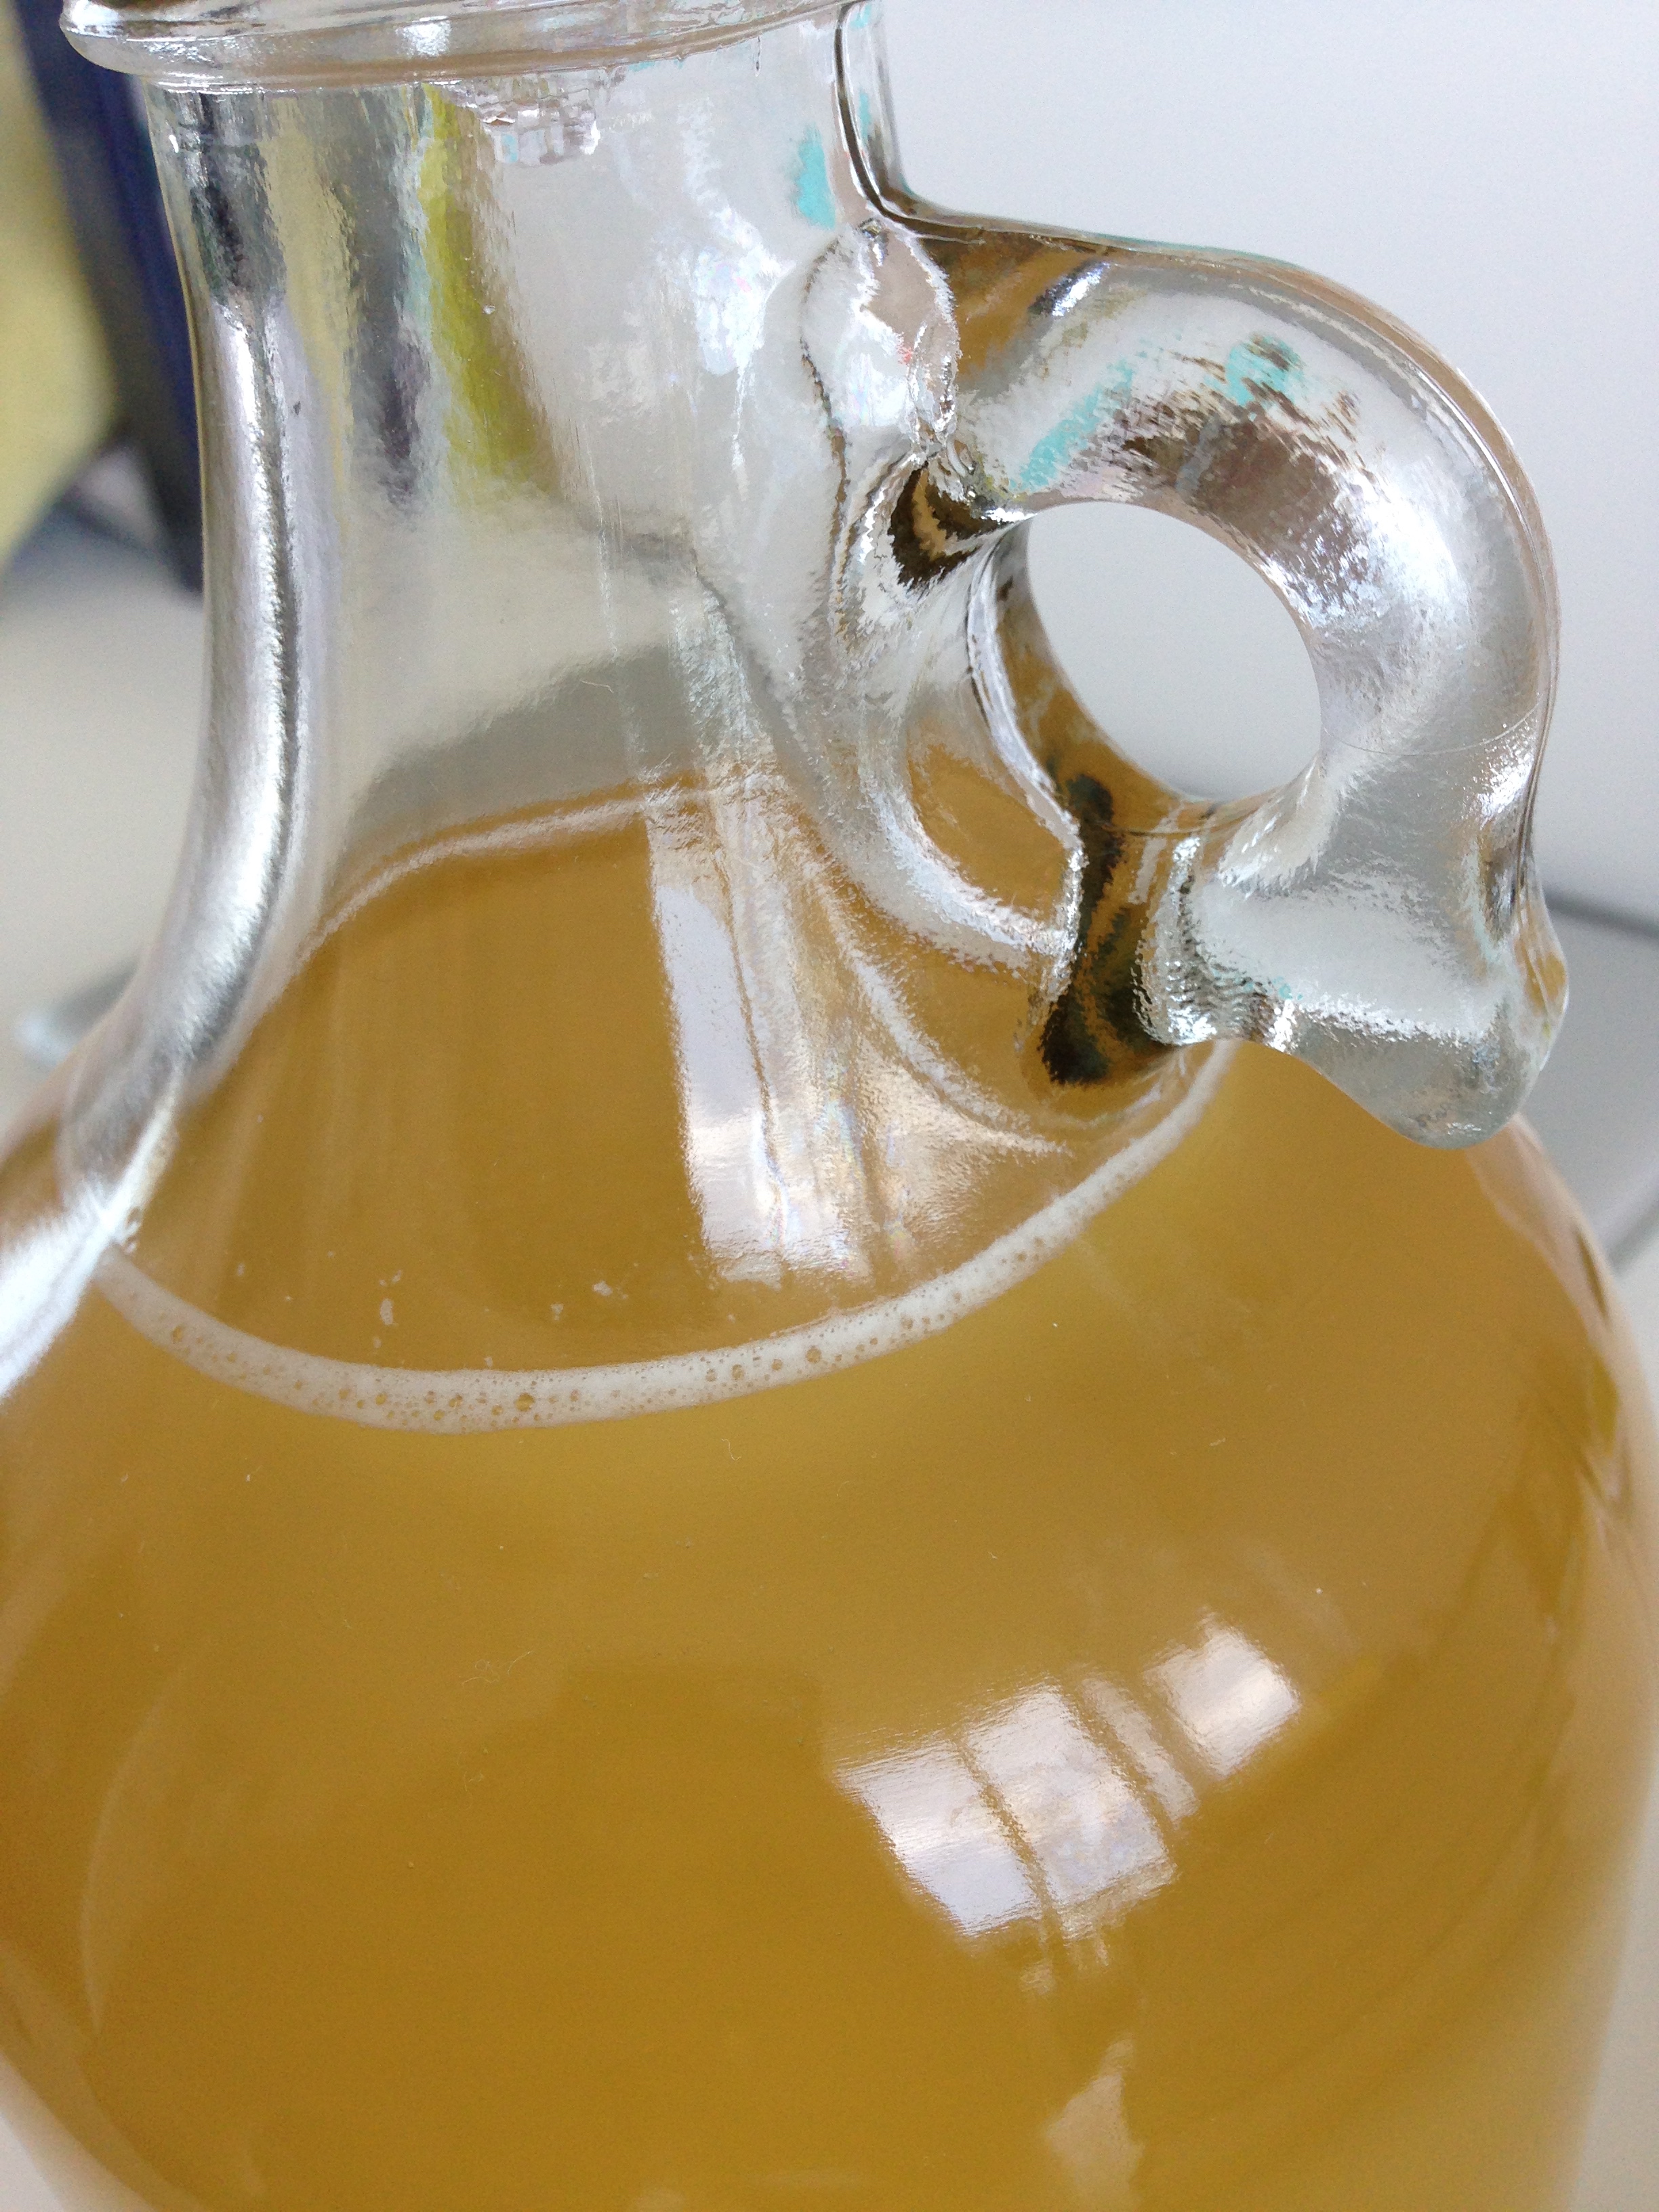
It's been almost a month now and the little bubbles have ceased. The inch layer of dead little yeasty friends on the bottom of the growler is the tell tale sign that it's time to siphon the mead to a new home for another 3-4 months. So I got day trippin' to Toronto Brewing with my lady Glo and bought some siphoning necessities: Tubing, pump, starsan, extra growler. 

The siphoning went pretty well! I wish I had got all my mead out but I had to leave about an inch behind so I didn't suck up any more sediment. Ah well. Practice I suppose!

Now to wait. 

Also. Spoiler. I tried some. And it knocked my socks off. 

So. Excited. 

Cheers!

-Andrea

The Half-Assed Hobbyist

"Very" Easy Vogue: The Blue Linen Dress

There are many gem fabrics hidden away in my Rubbermaid treasure trove. This patterned blue linen is one of my favourites. A seaweed like swoosh on an electric blue that doesn't wash out. Mega love. I can't remember which fabric shop I bought it from, probably Sig Plach in Edmonton, but it's sat in my closet, along with a .50 cent church rummage sale Vogue pattern (V9472), for at least 3 years. 

Engage, sewing plans! =)

I have sewn with linen before and I have to say, it is probably my favorite material to work with. It doesn't fray too badly, it's light in weight and holds ironed creases like a dream. Fabric Sploosh! (Which can actually happen! Yay washable fabric! Lol.)

Anywho! I needed some notions and lining so I hit up a store called Designer Fabrics on Queen West. Dangerzone. I have not gone fabric shopping in a Long Long time. As per The Rules, I must use up my million tonnes of Rubbermaid imprisoned fabric first. But there were some really unique crepes.... that I restrained myself from buying. #hardknocklife

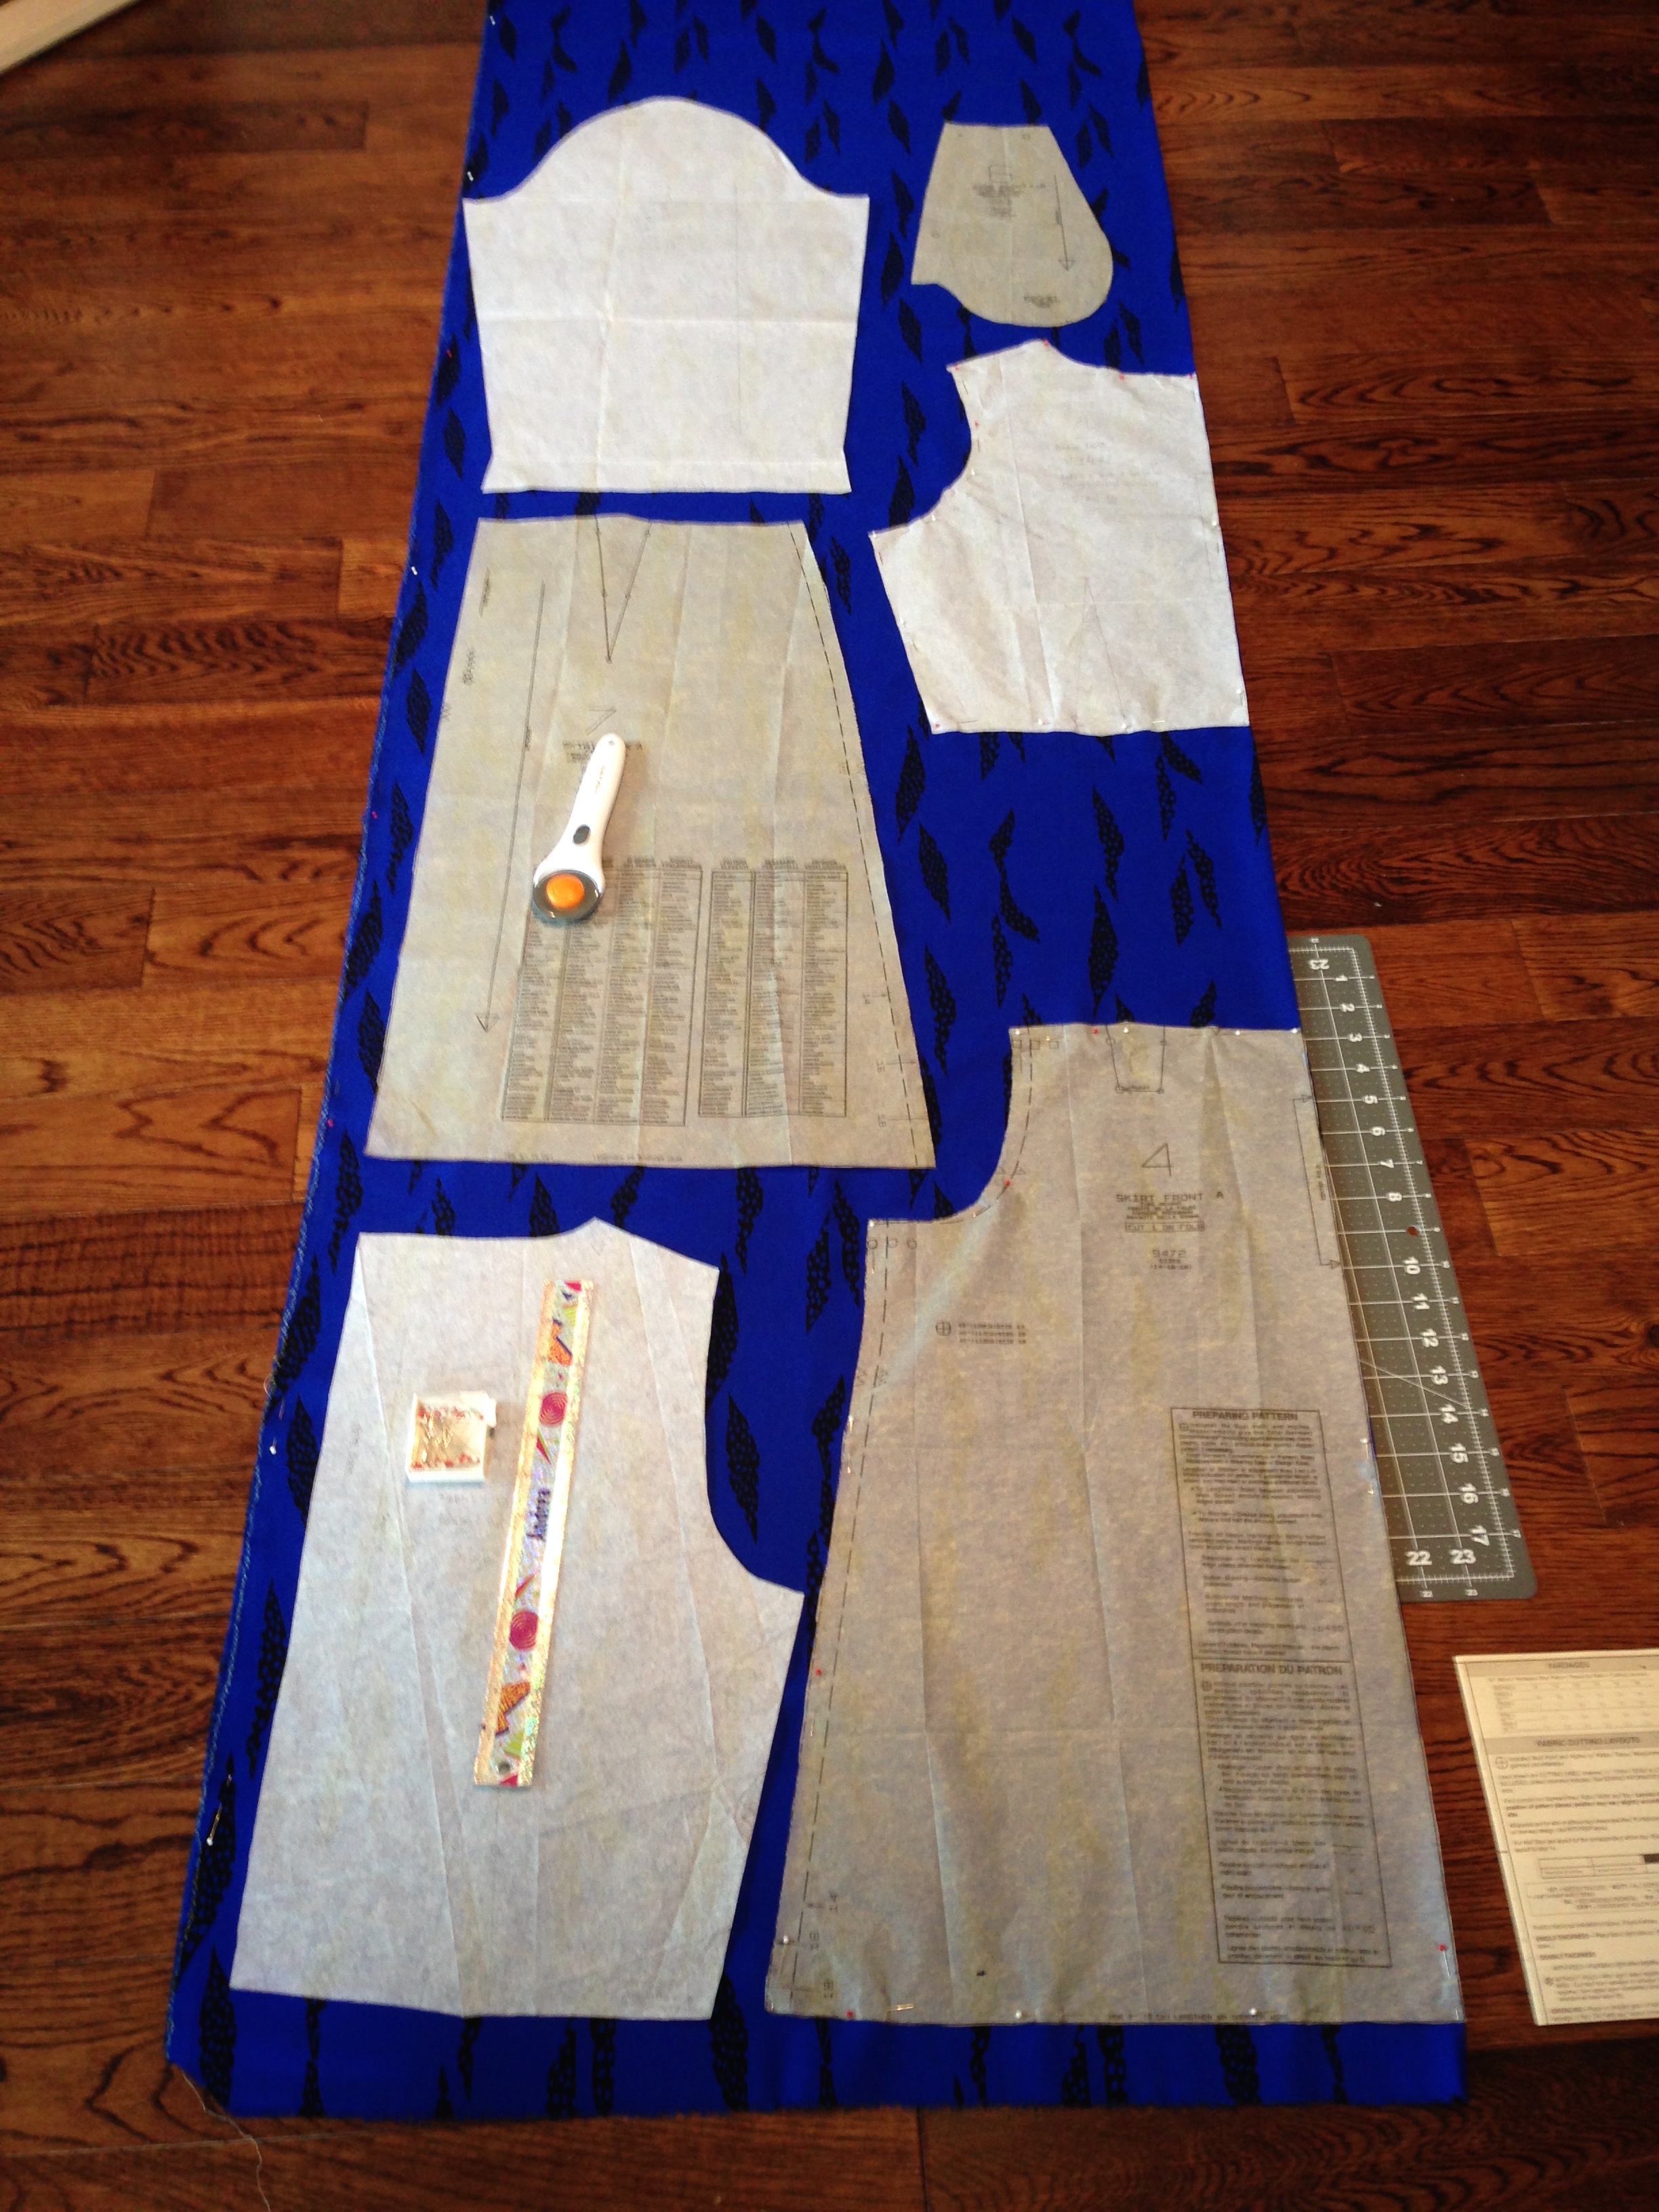
Meanwhile, at home, my fabric a washin' and a dryin' (cold water and low heat), I got started by being a good pattern owner, and tracing out the bodice pieces. Since it was a used rummage sale pattern, the skirt had already been cut out. Good thing the sizing on the pattern package was wrong! Two more inches of leeway. Yay! Project point!

The cutting part is always the most stressful part of any project for me. Especially when it's a fabric I can't get more of, like this one. Once it's gone, that's it, that's all, folks! Which is probably why I ironed this linen fabric four times to procrastinate laying out the pattern. I did eventually psych myself out enough to do it though. Took a lot of measuring to make sure that the seaweed pattern would meet at the waist seam but eventually it was cutting time! (Also, the lining for the bodice. That got a tad less ceremoniously cut out too. Rotary cutter for the Win!)

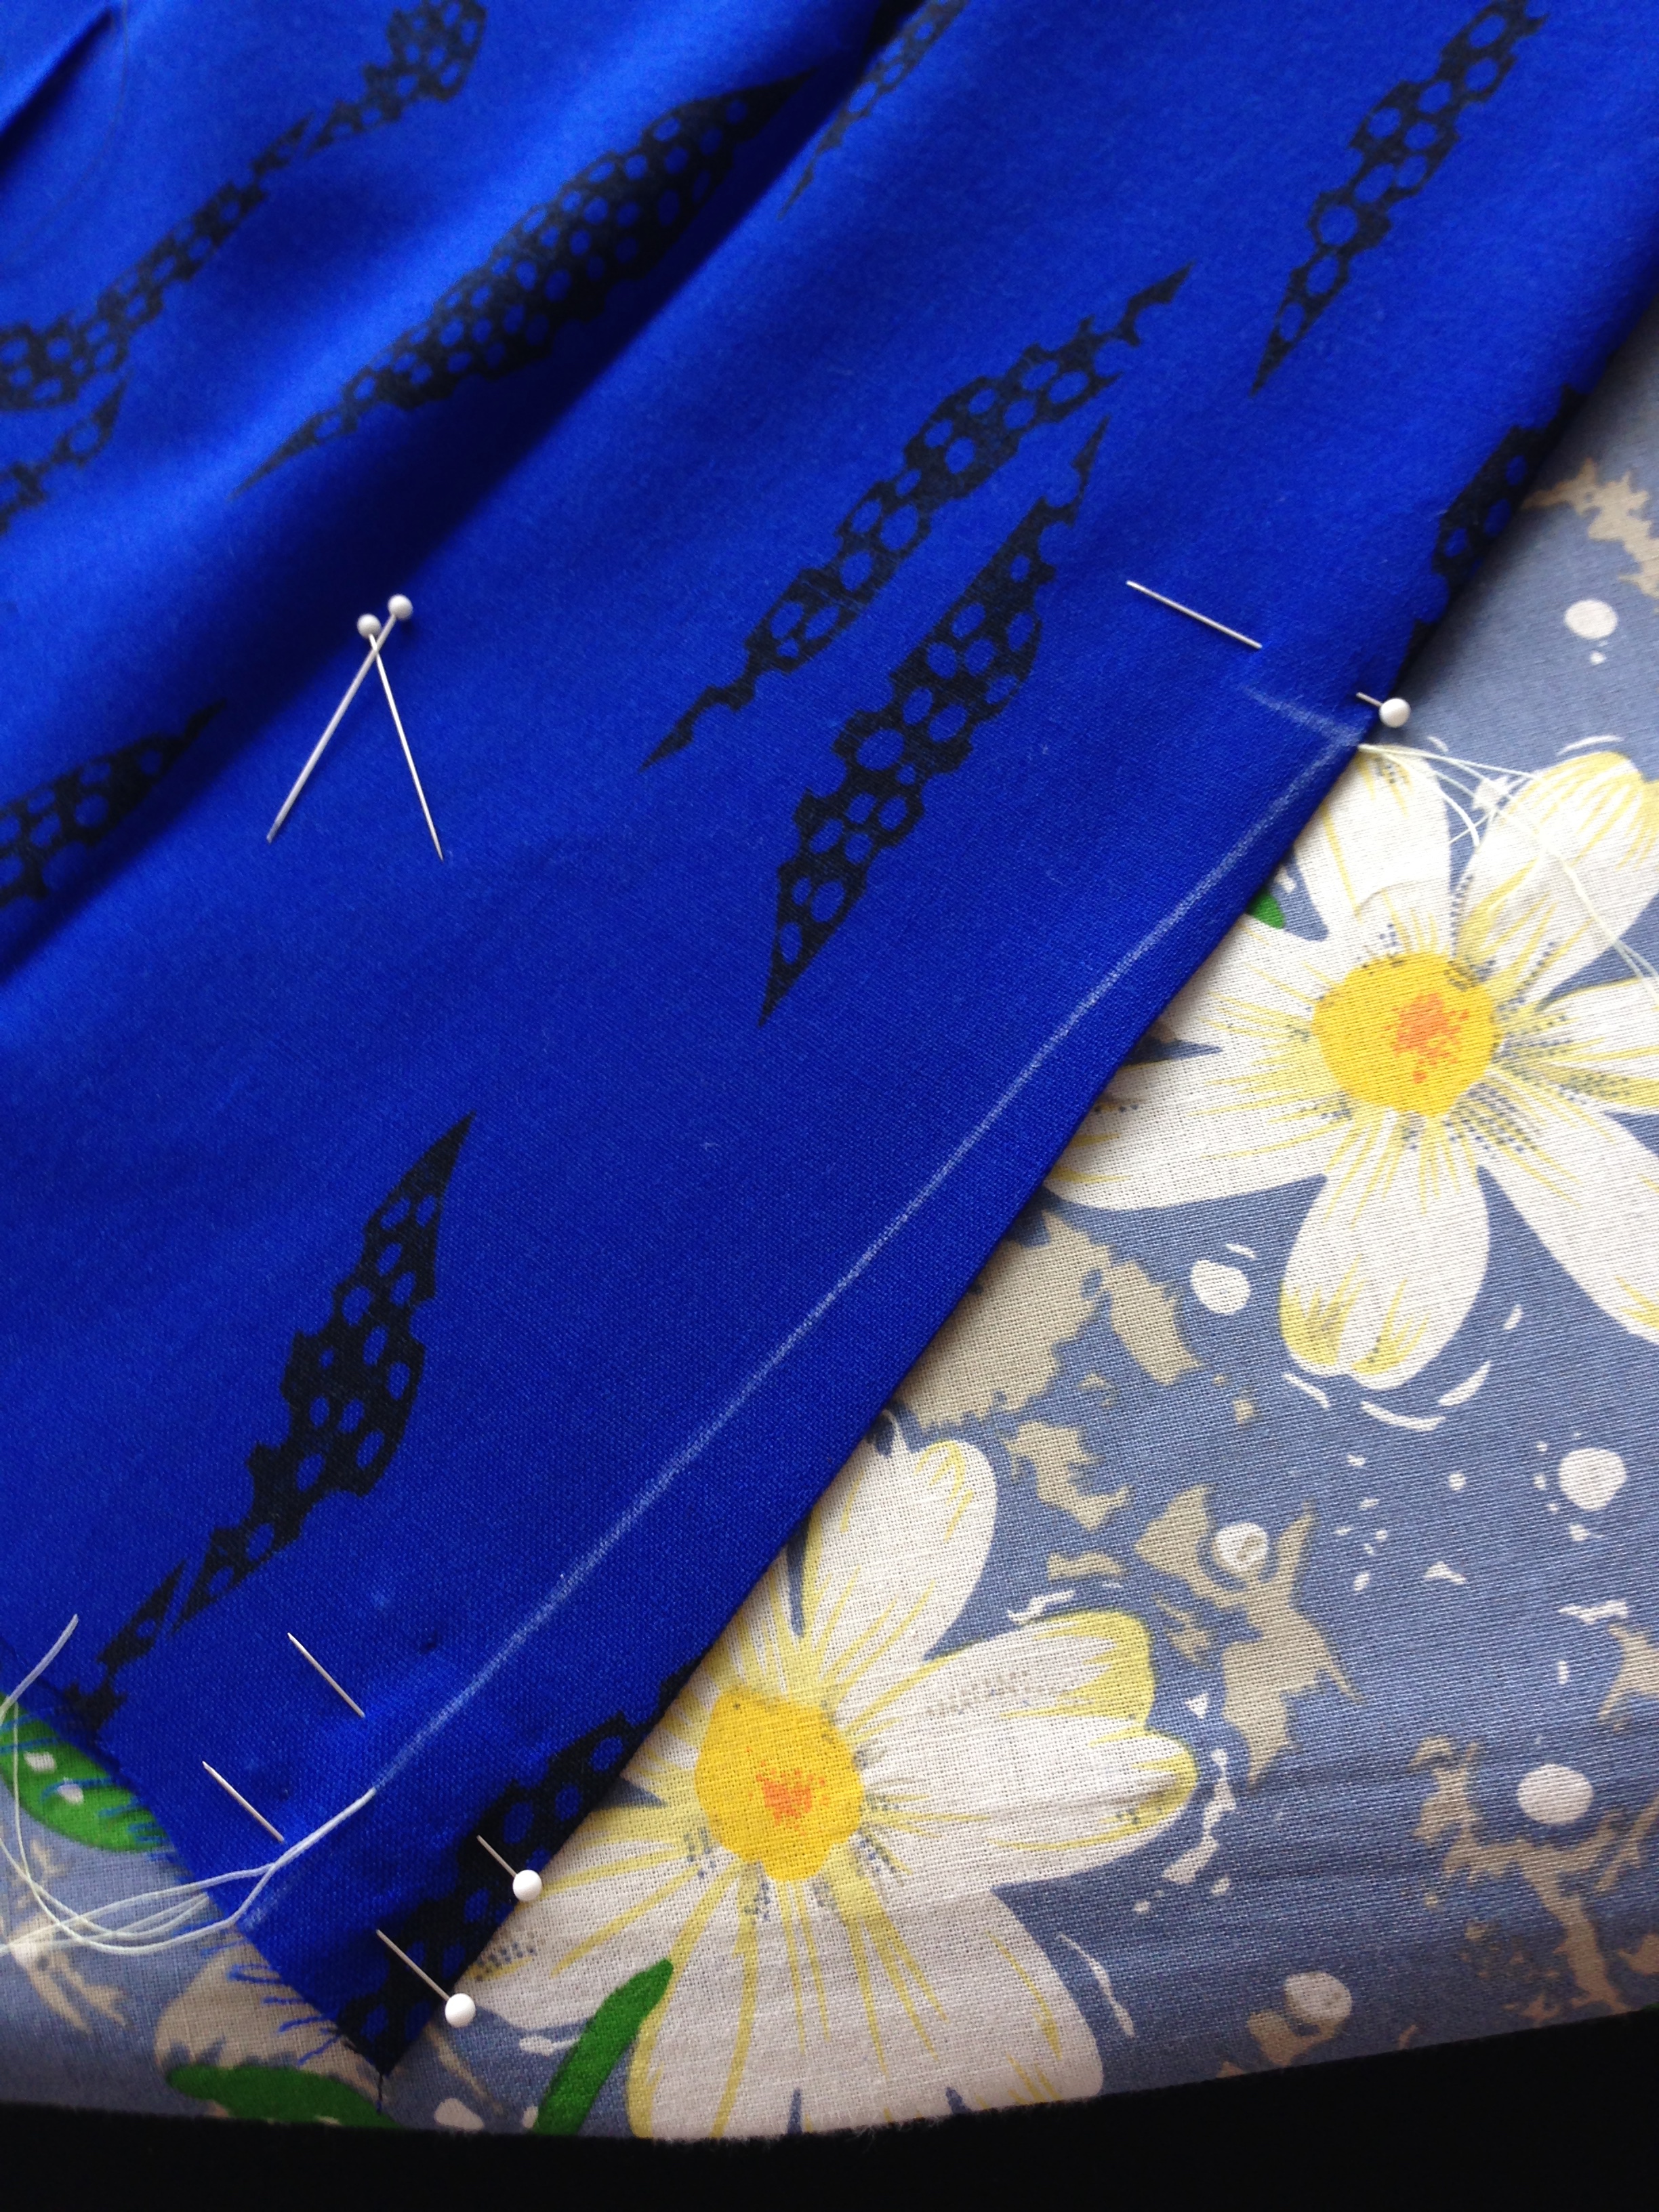
At this point, everything was cut and in another attempt to be a good sew-er, I tagged all the pattern markings onto the fabric with thread. I have since been told by my lovely lady who actually works in the costuming industry in Toronto that no one really does that unless it's Haute Couture. Lol. Well slap on an expensive tag with my name on it! It's Haute Couture meets Half-Assed-ed-ness!

This pattern is a "Very Easy, Very Vogue" pattern. Having previous experience with Vogue patterns, this title can be a bit of a misnomer. Specifically, Vogue patterns assume you know what you're doing.... Which is a fair assumption for someone who has previous pattern experience. It is not particularly forgiving if you've never sewn from a pattern before though. Skills like ease stitching and easing in the sleeves, or even slipstitching the entire bodice and lining together are both techniques used that I would not expect someone who has just picked up their first pattern to inherently know. 

Anyways. Regardless of the pattern ease (Heh heh), this dress nails "Very Vogue" very well. (So 50% right in the title. Not bad?) The pattern has two features that I super love, 1) The Bateau-ish/Princess neckline.  I love the simple high shoulder scoop. It's super elegant and sits well on regular and wide shoulders. And 2) The Pockets. Oh Gad. The pockets! They are designed to be a dramatic and visible. I really think they Make this dress. As I said before, this pattern was a rummage sale find and it's previous owner loved the pockets so much that only the skirt pieces were even cut out. I don't blame them. I'd cut a pattern for those pockets too. 

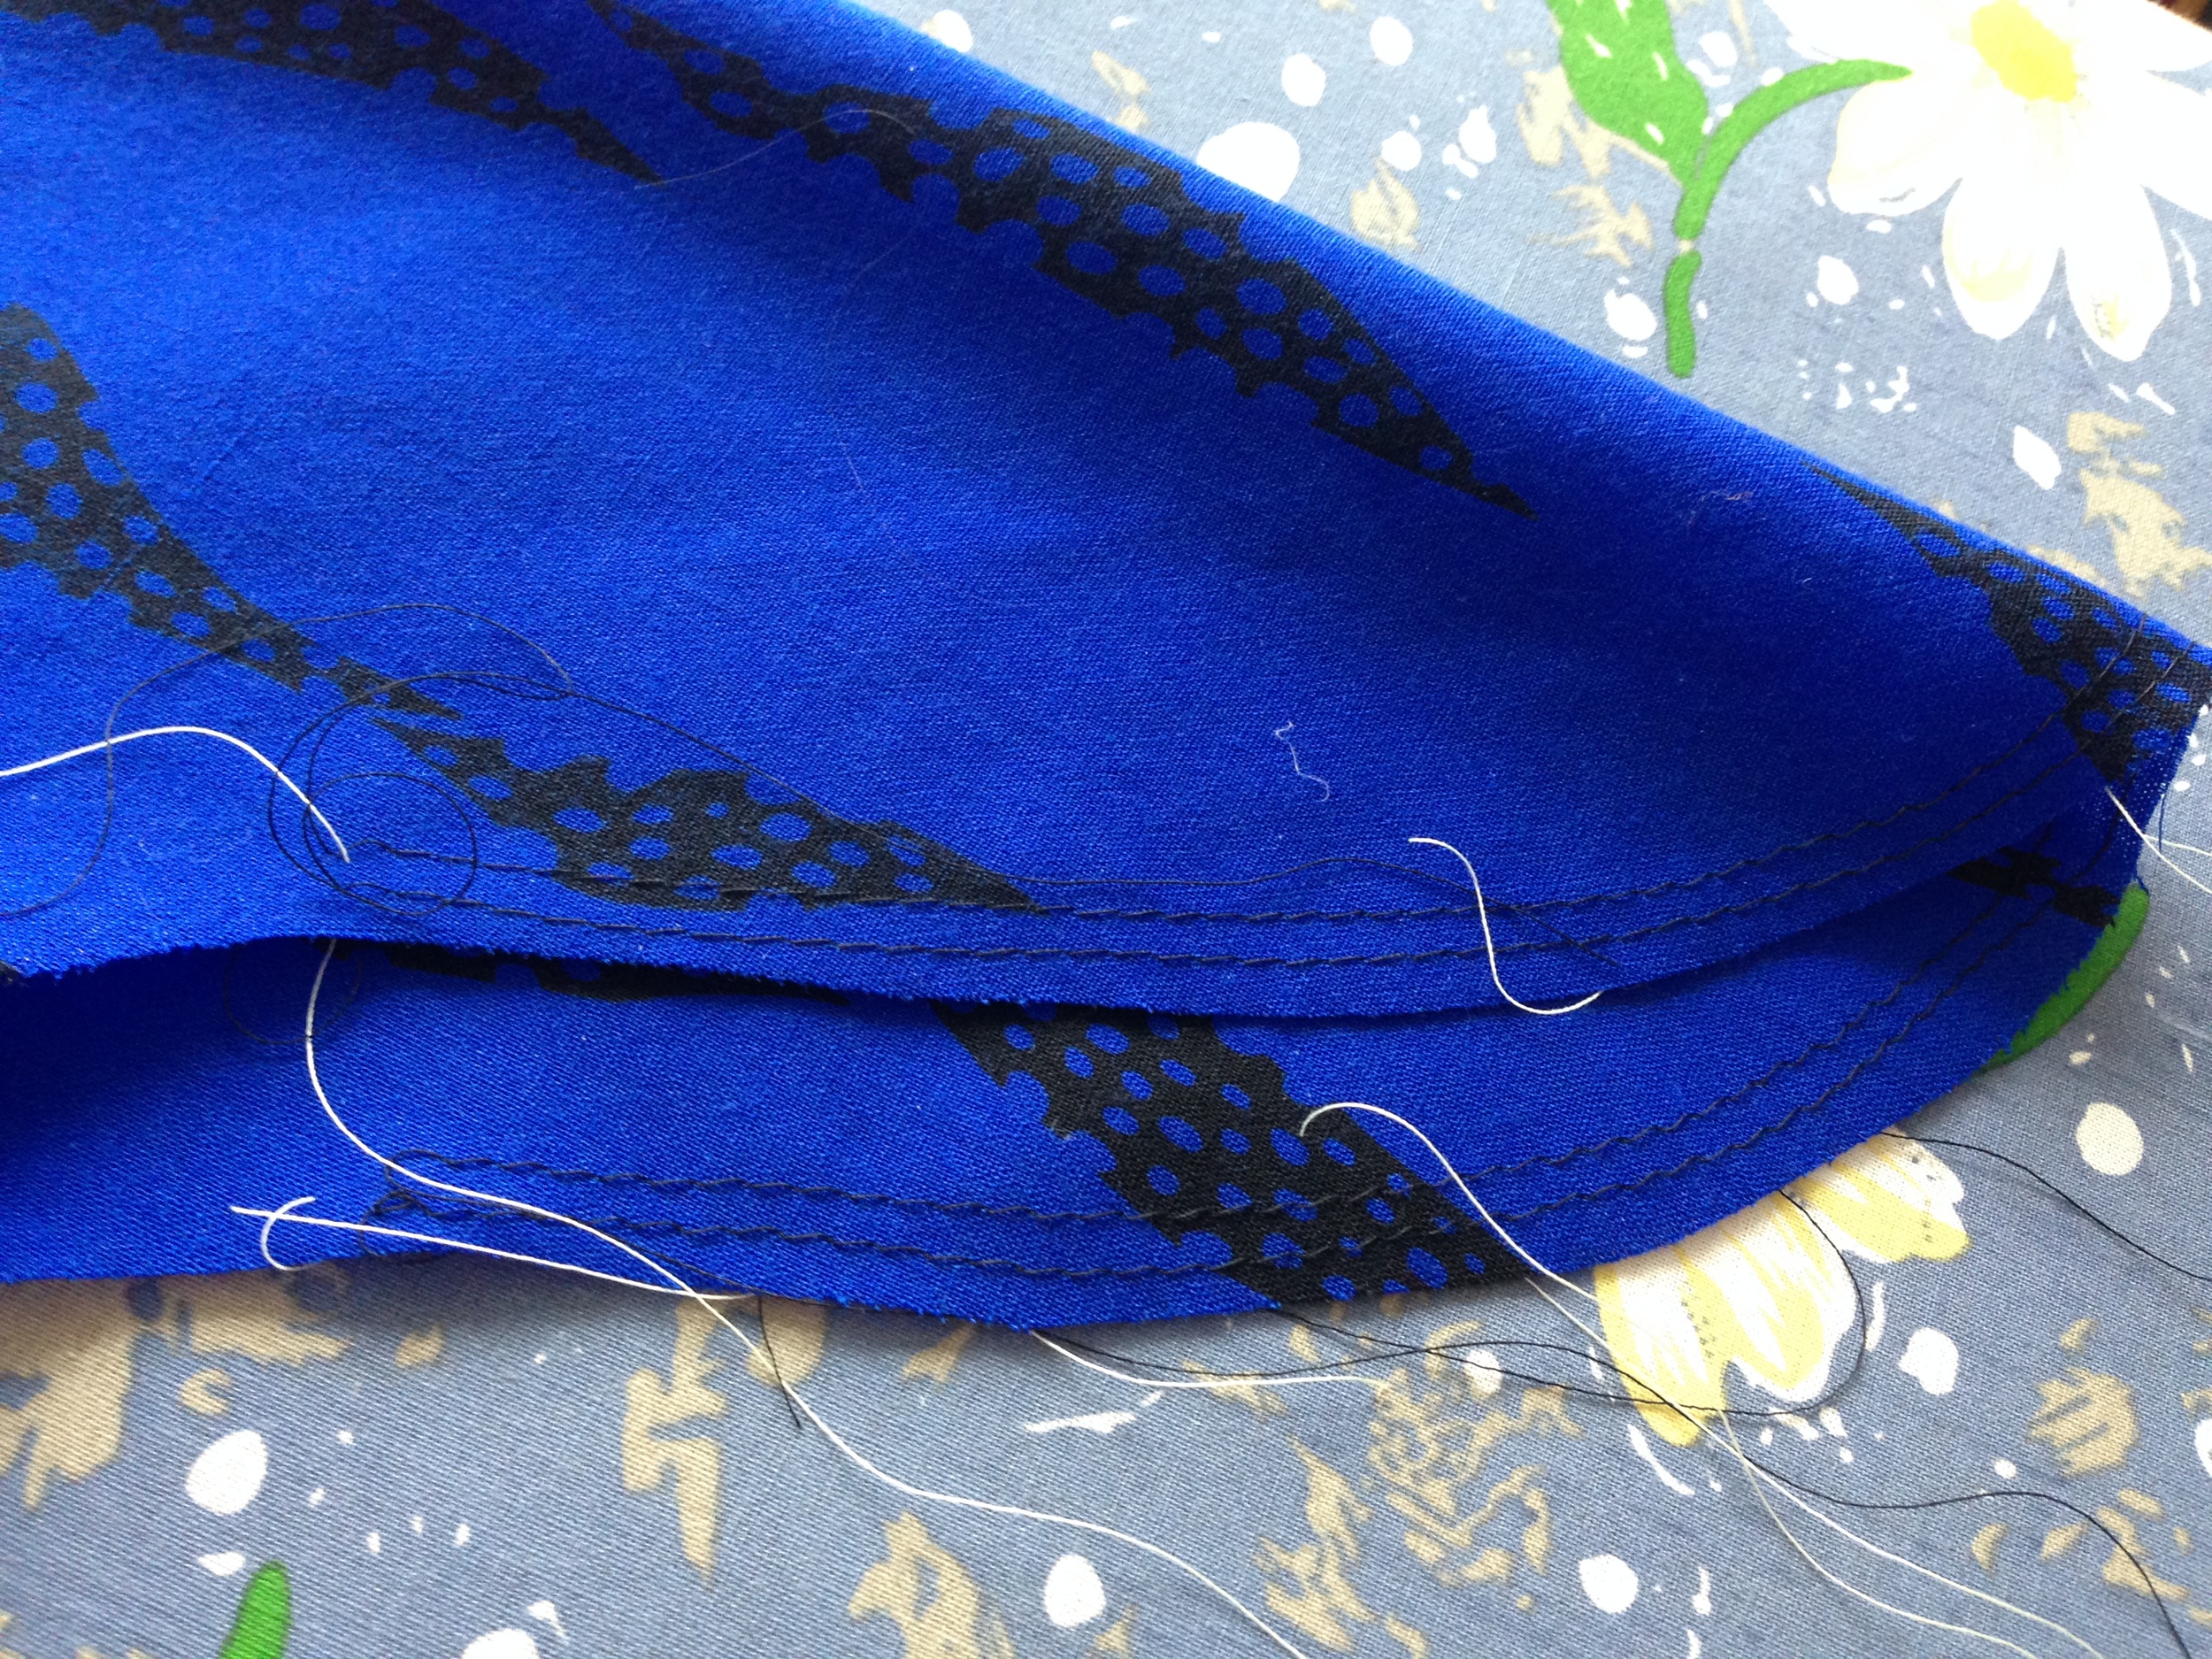
Anywho! I got trotting, getting the darts ironed and sewn for the bodice and the lining. The sleeves had to be eased in but the fullness of the shoulder was #worthit.  Then it was on to skirt! Two pleats, two darts, and pockets sewn and basted into the skirt front. It was possibly the easiest skirt I've ever made. (Vogue! What's happening here! No convoluted hand-stitched pocket finishes? Disappoint.) The entire time I was holding my breath though; Please let the fabric pattern match up, oh please, oh please! Well Go Go Gadget math skillz, they did. Check mark. 

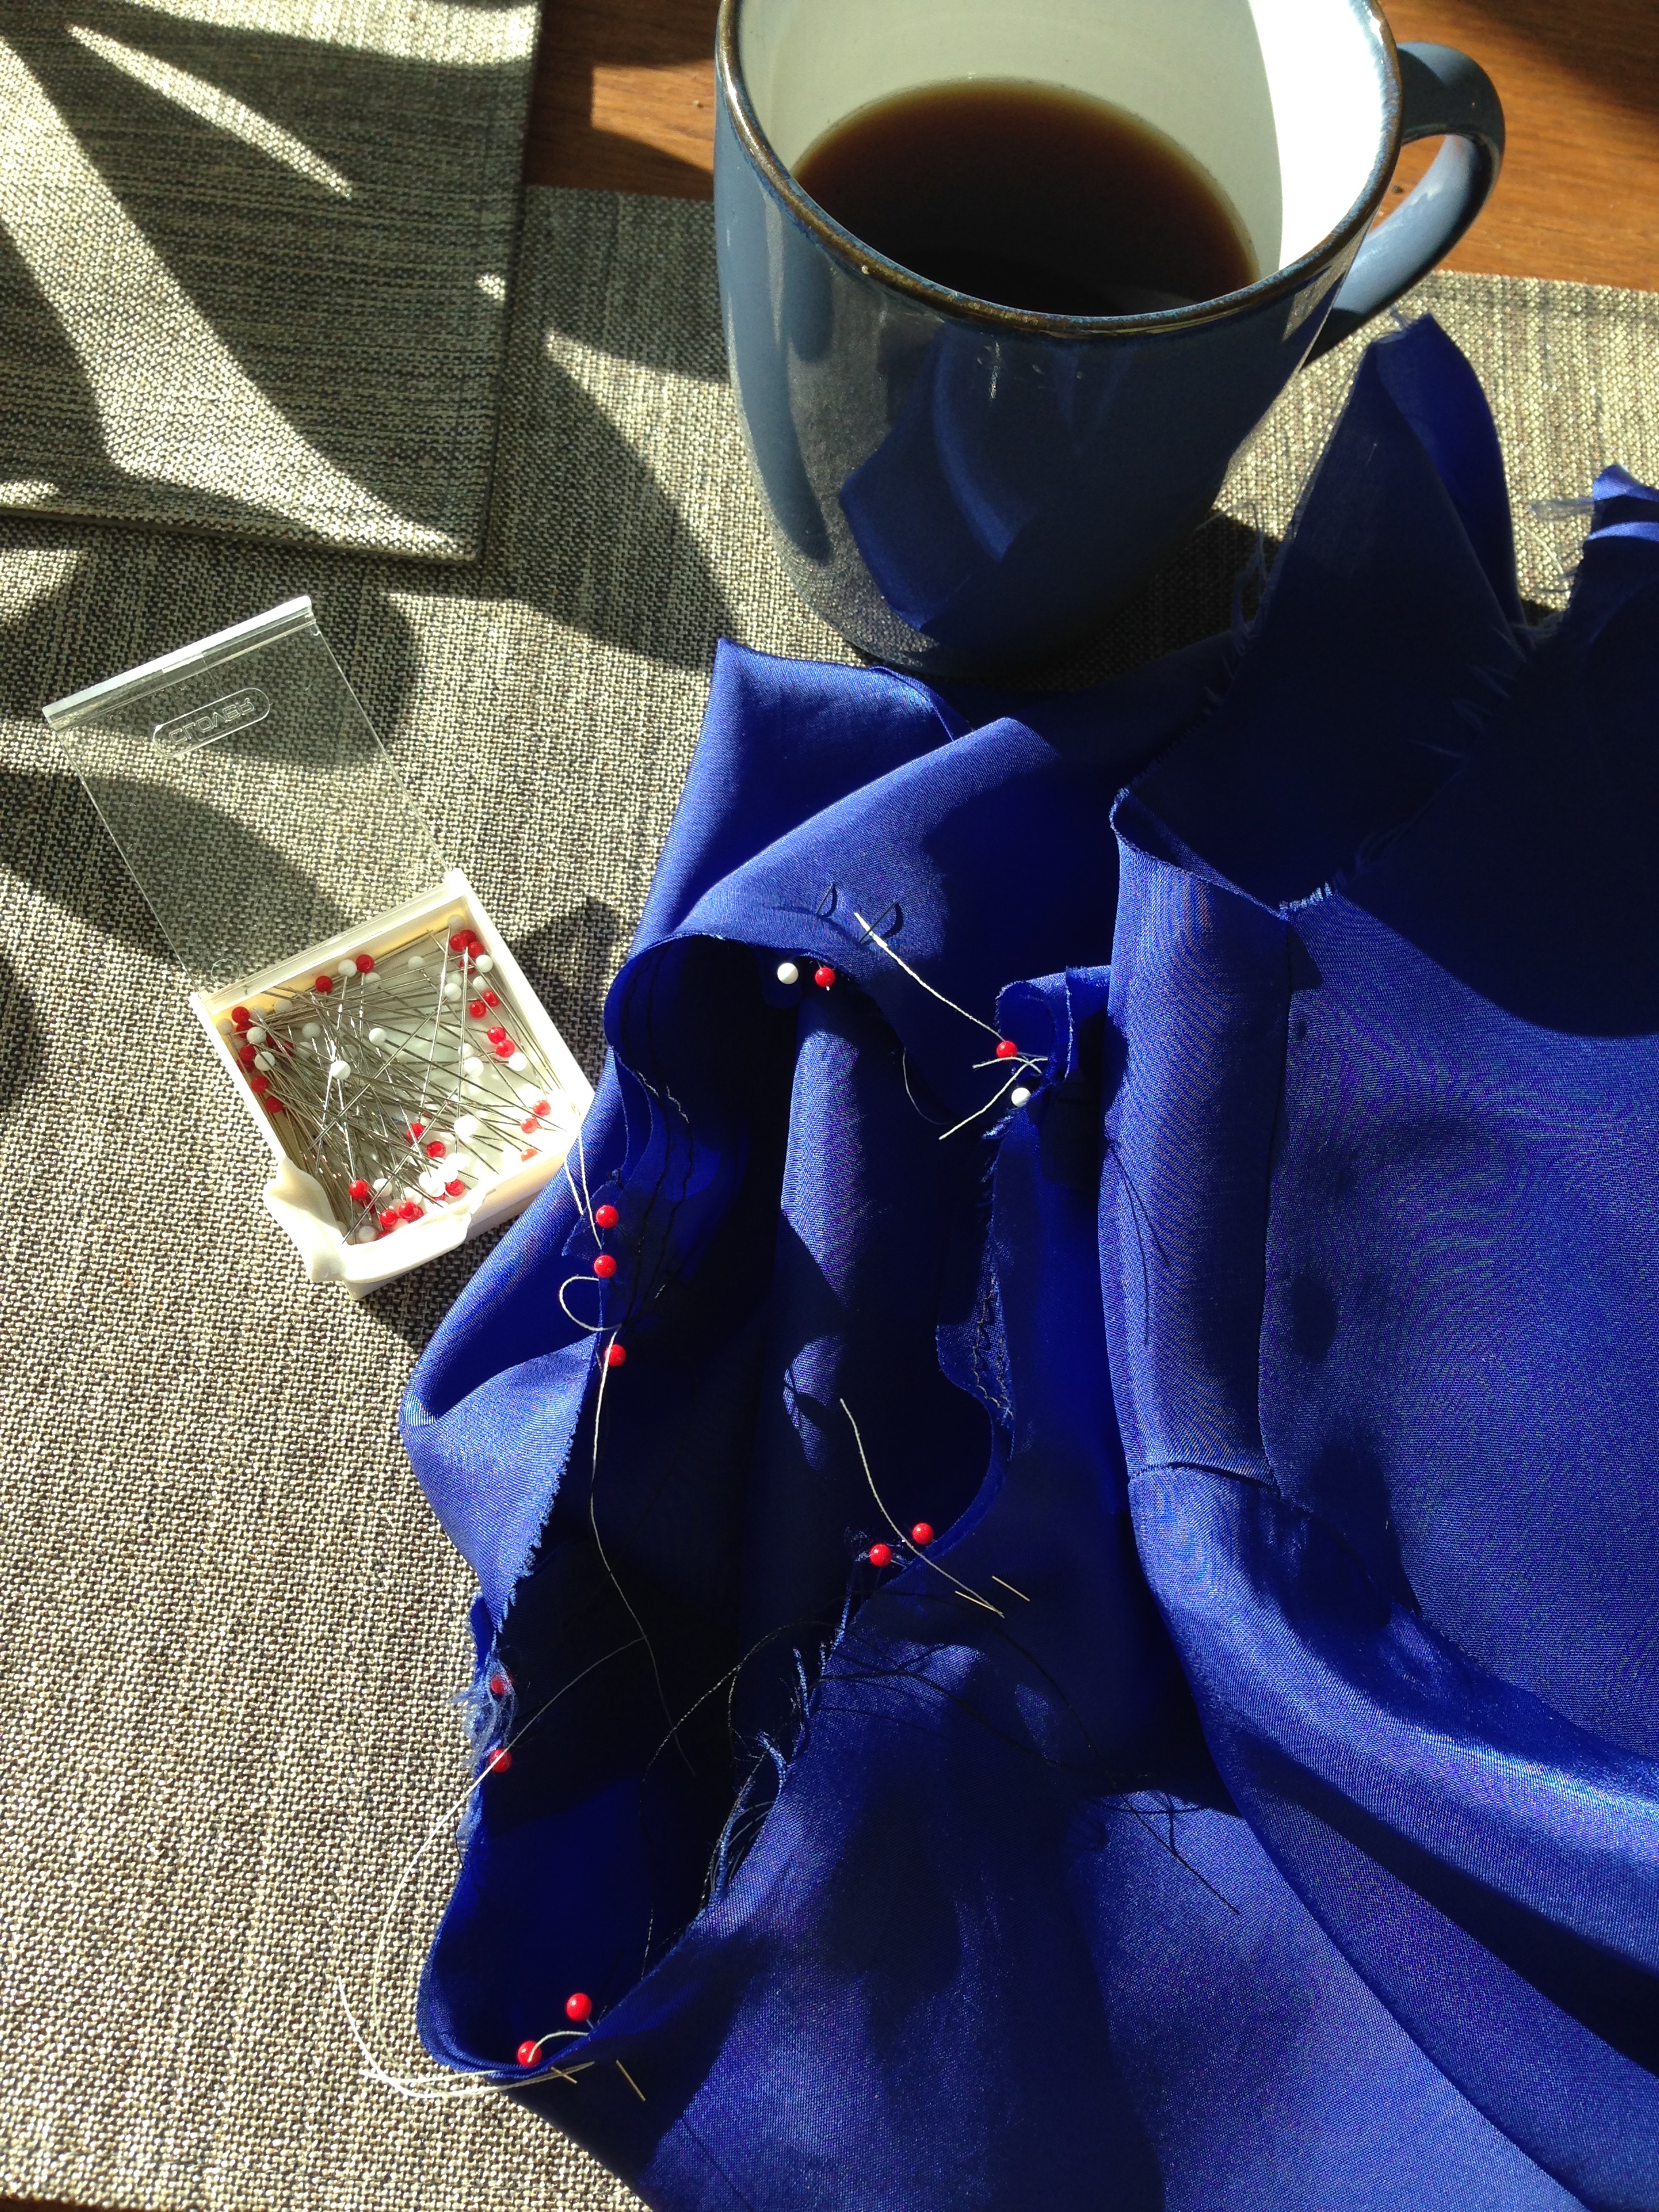
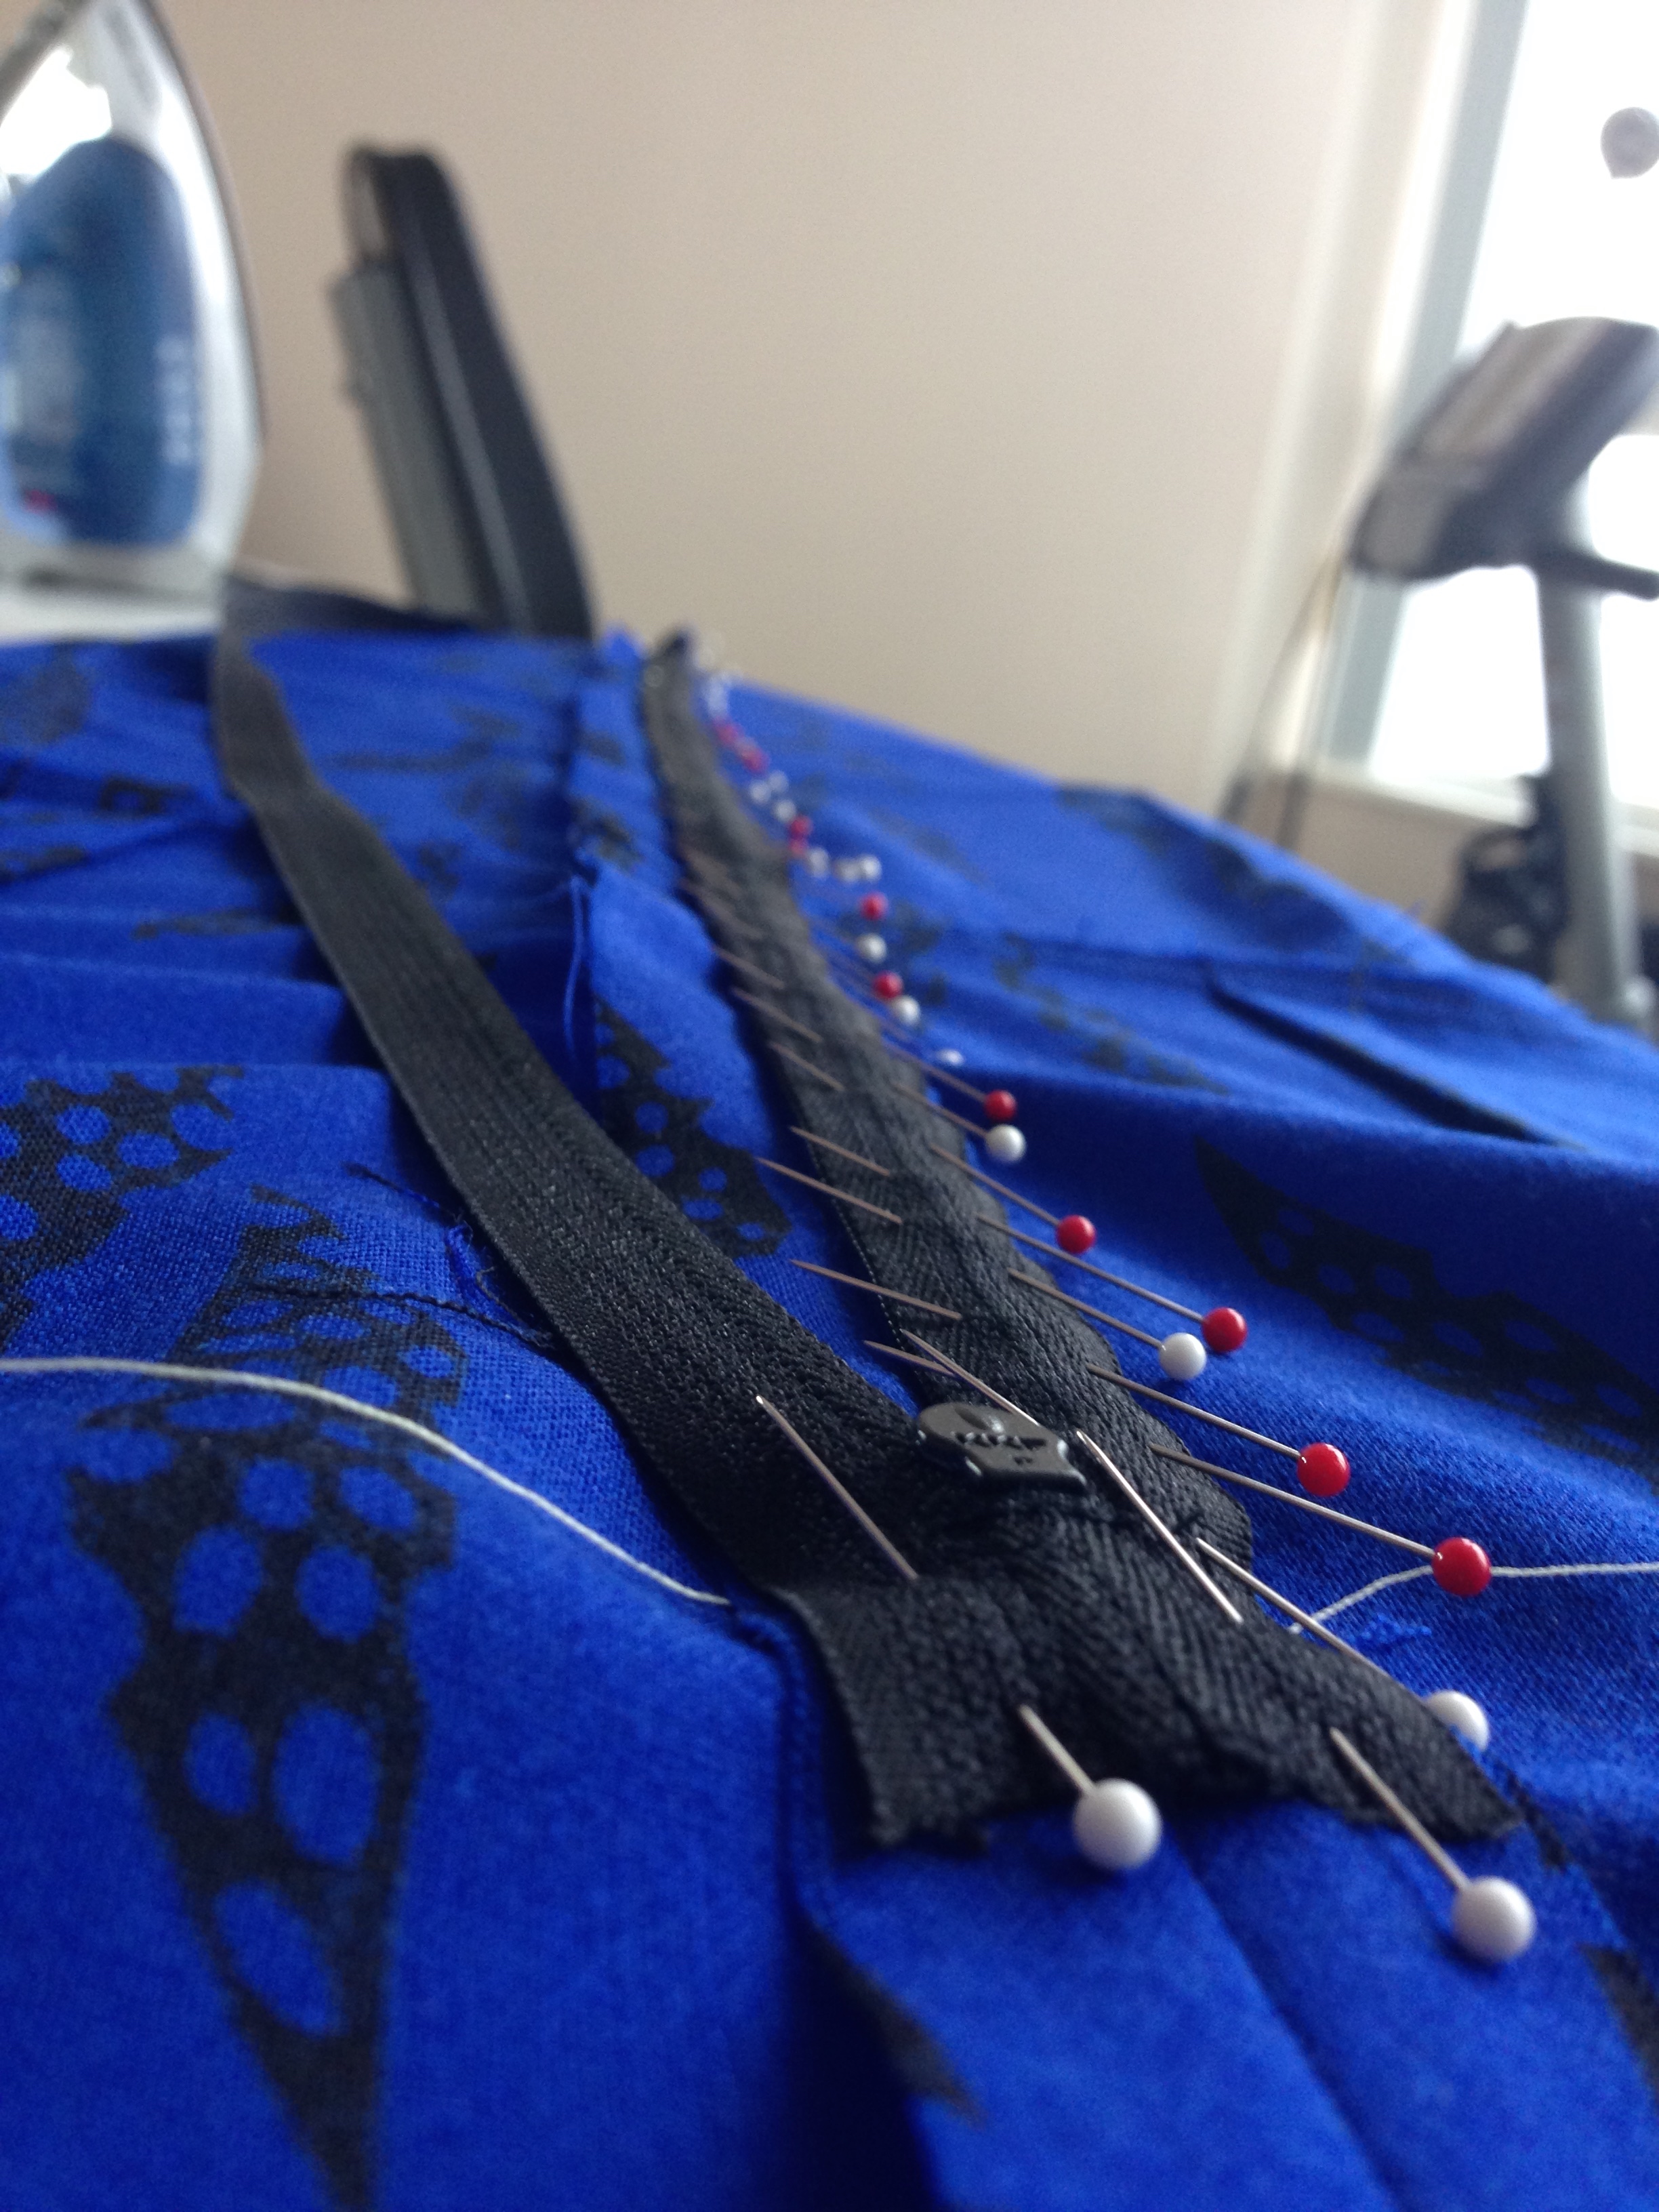
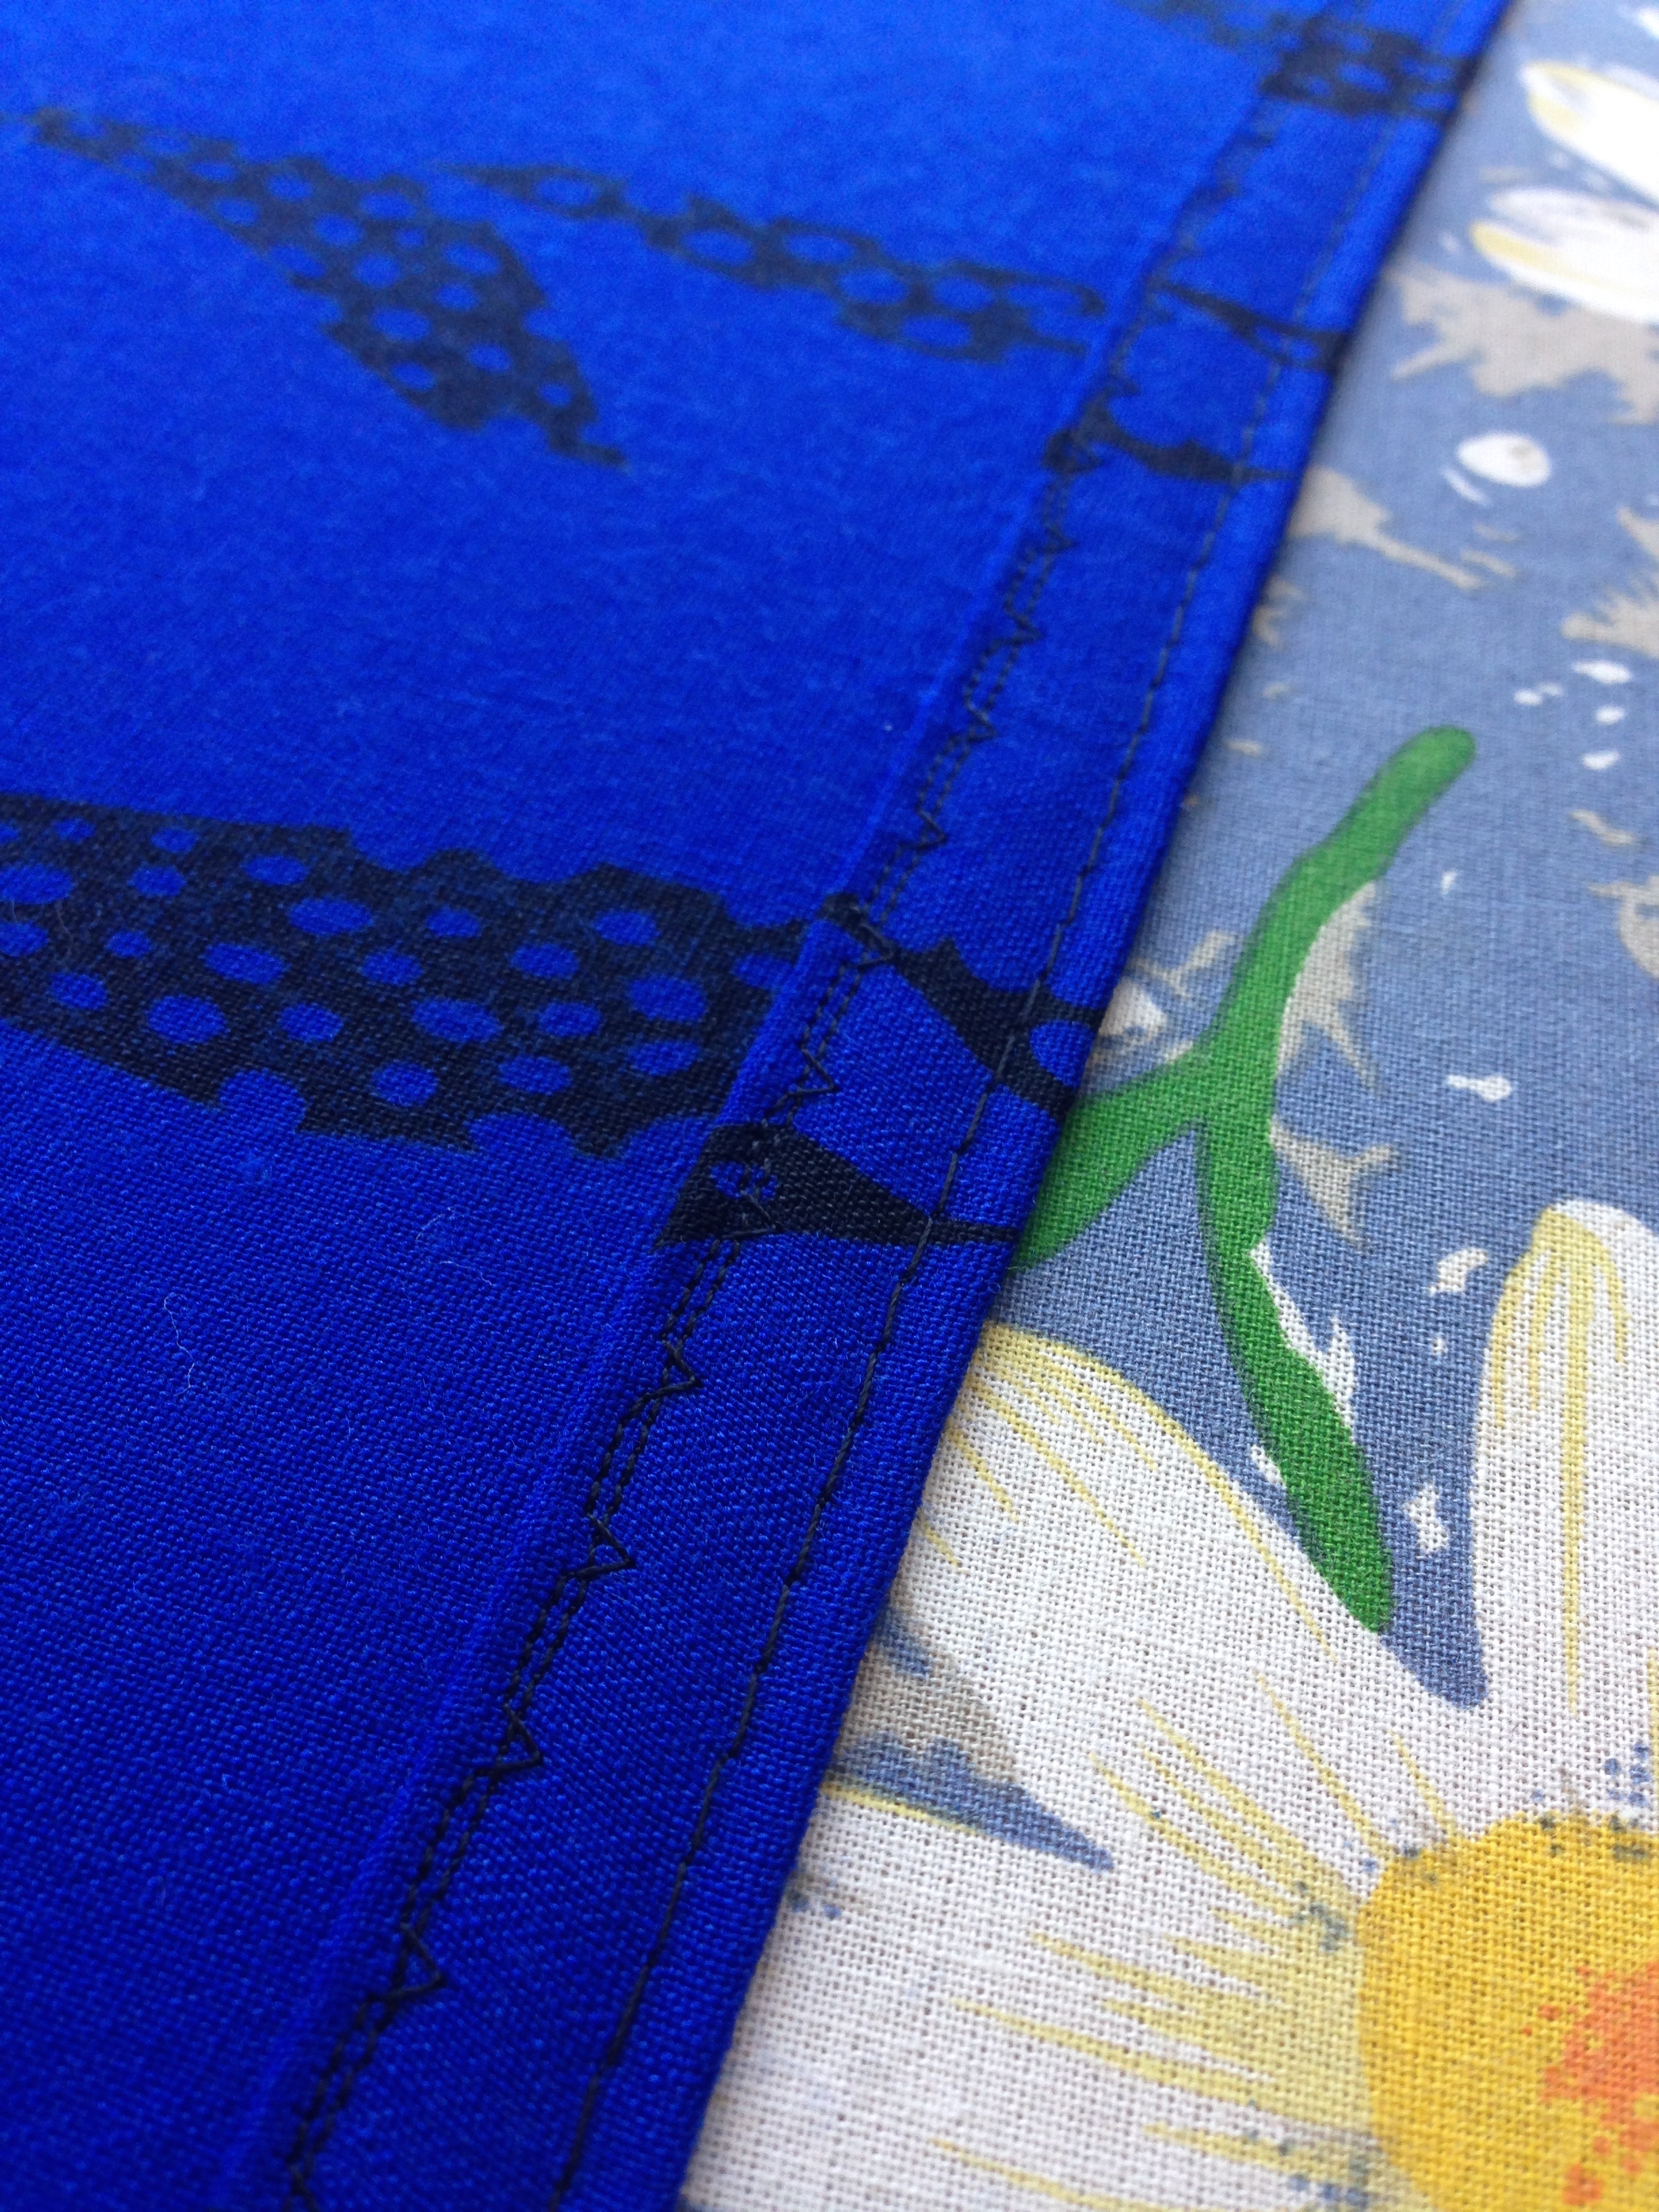
The "lining and finishing", as it's outlined in the pattern instructions, were a bit more dubious than the gloriously simple skirt construction. While putting in zippers, hand-stitching lining, and hemming sleeves have never been my favourite pass times, for this project I straight up was didn't wanna. Maybe it was the finality of this project being done (or more likely the billion other things on the go...) but it took some time to get down to it. The zipper has three minor puckers, the lining is a half cm off (I'M NOT FIXING IT D= Sorry Heather), but the hems are Perfect. Good enough for meeeee. Finished! It fits like a dream too. Hur hur, almost like it was made to fit. ;)

I should, at some point, take better pictures of all my projects. Maybe when this dismal "spring" smartens up in Toronto. Until then though! 

(Also, next project? I have no idea. That's a new feeling. Dun Dun DUN.)

-Andrea

The Half-Assed Hobbyist

ย 

ย 

ย 

Sprouts to Seedlings 2016

It's been a month and a bit now since I planted the seed babies so it's report card time!

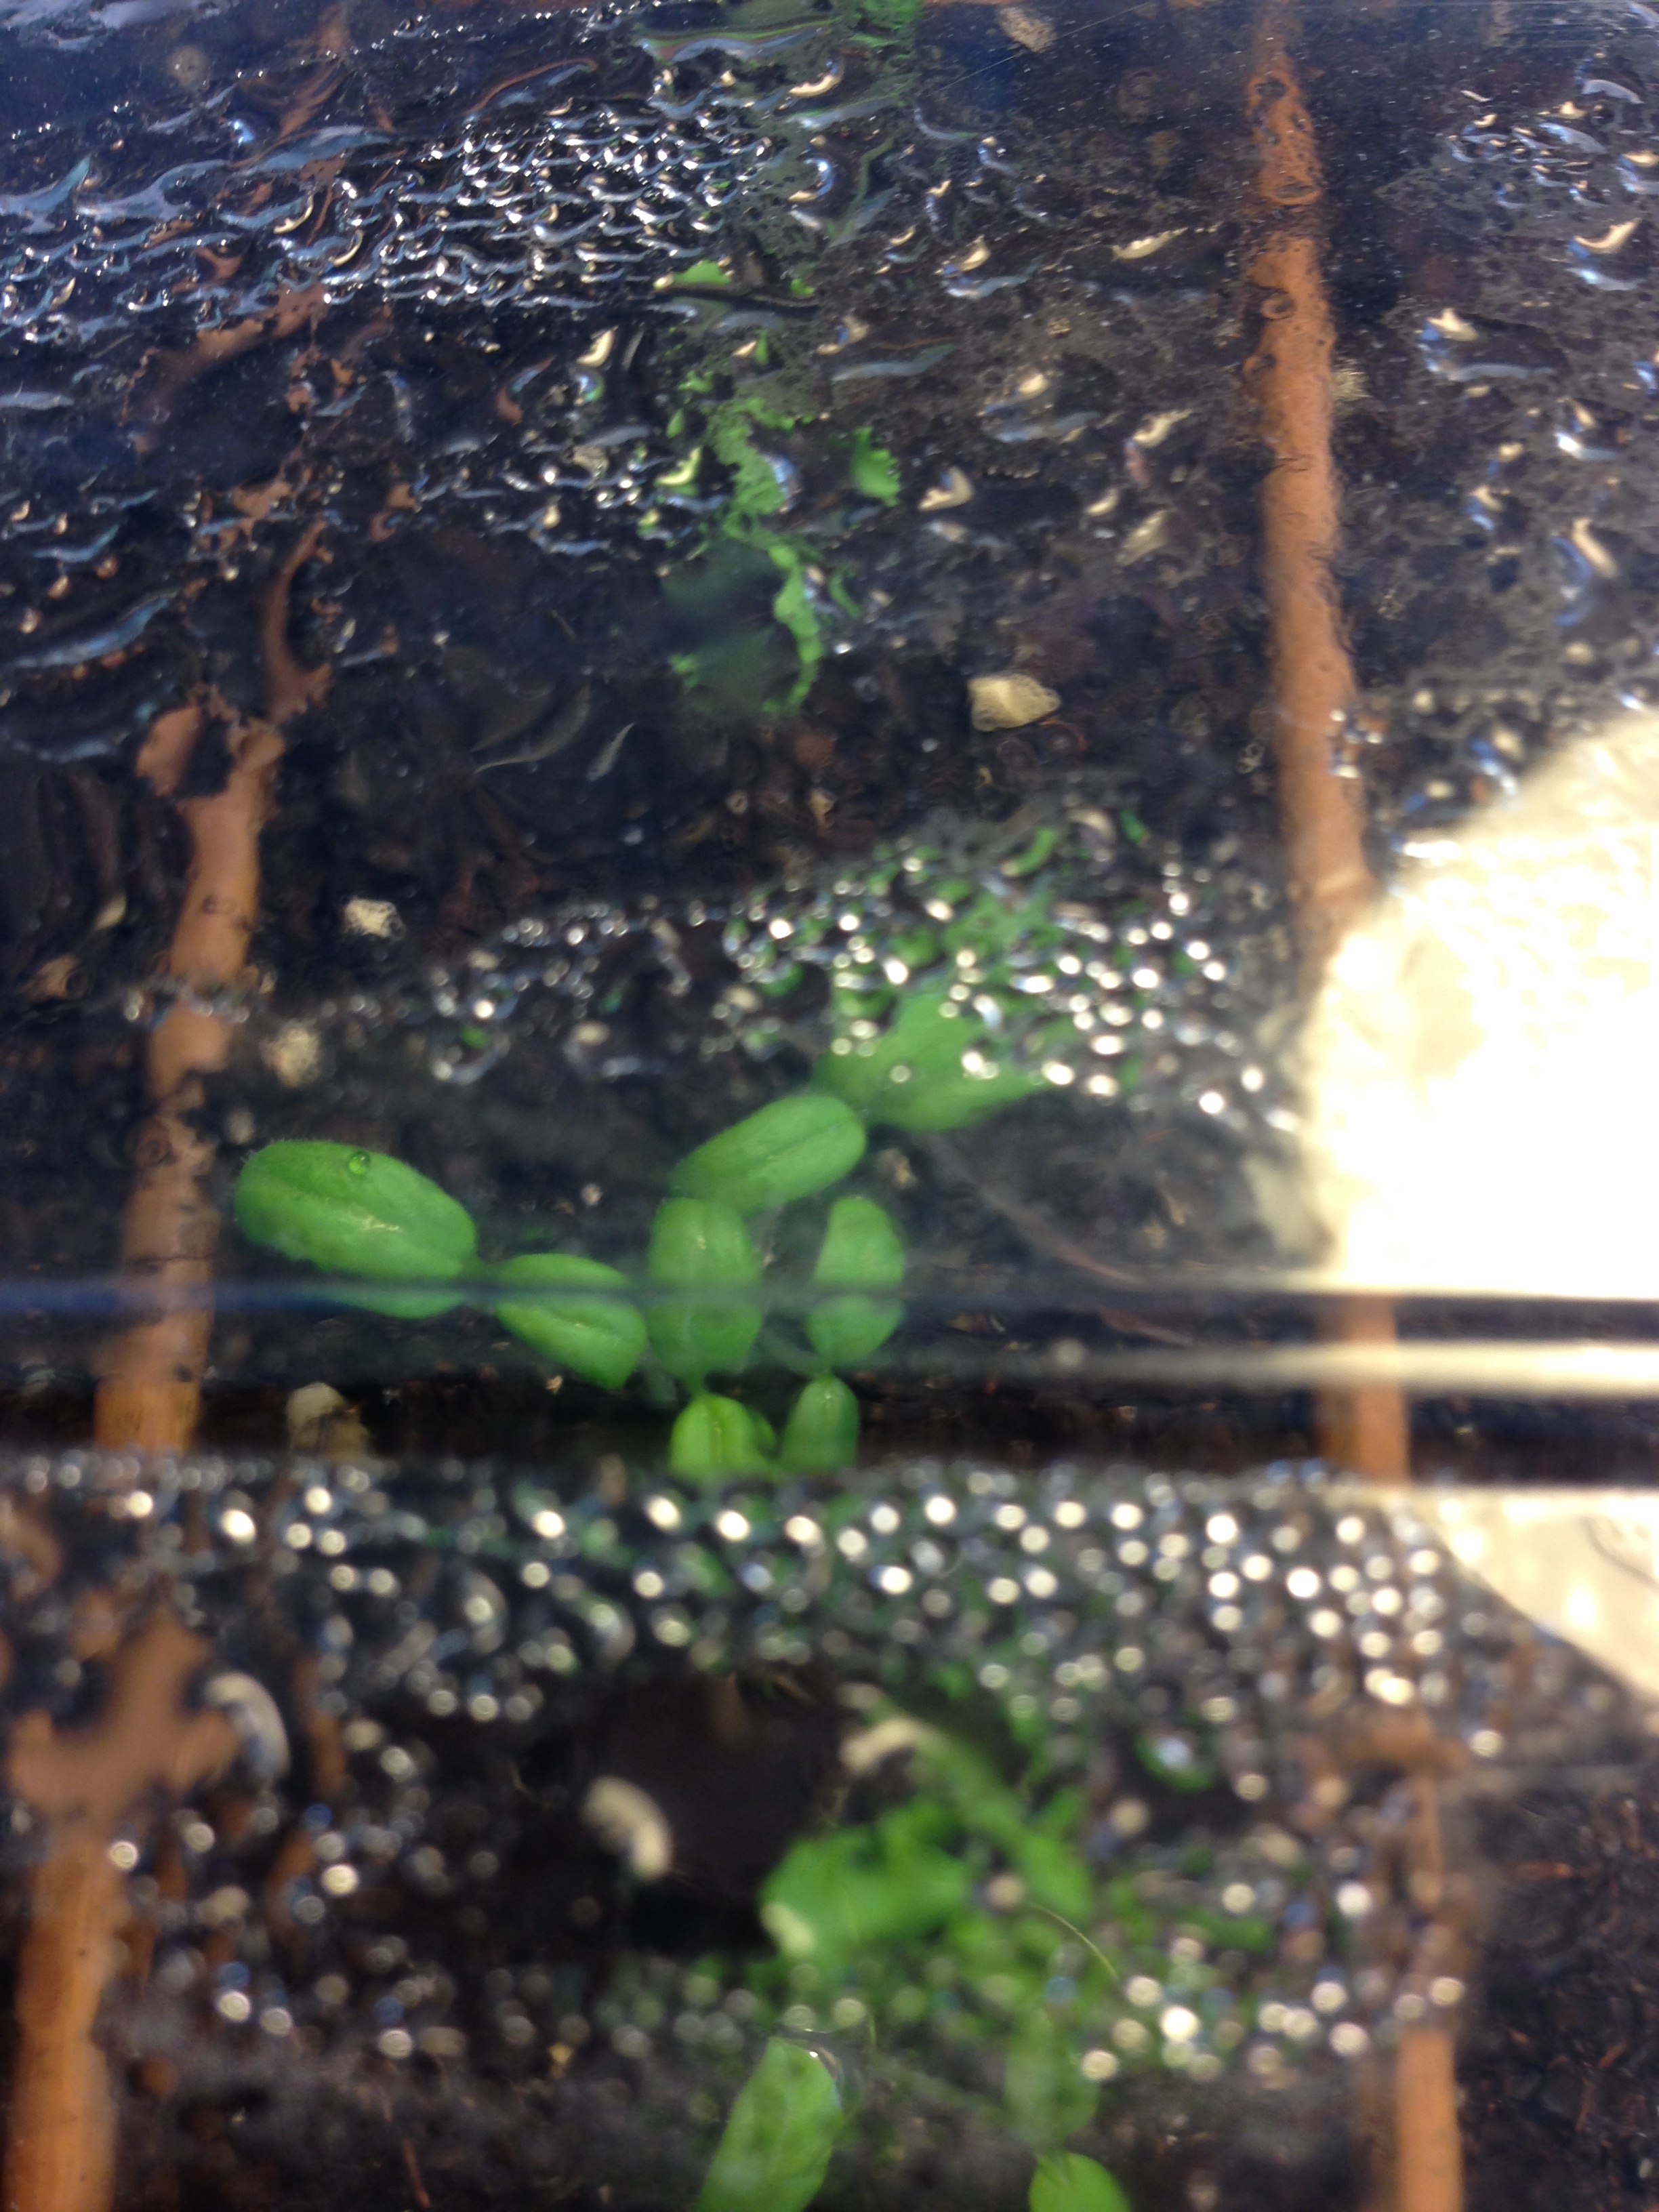
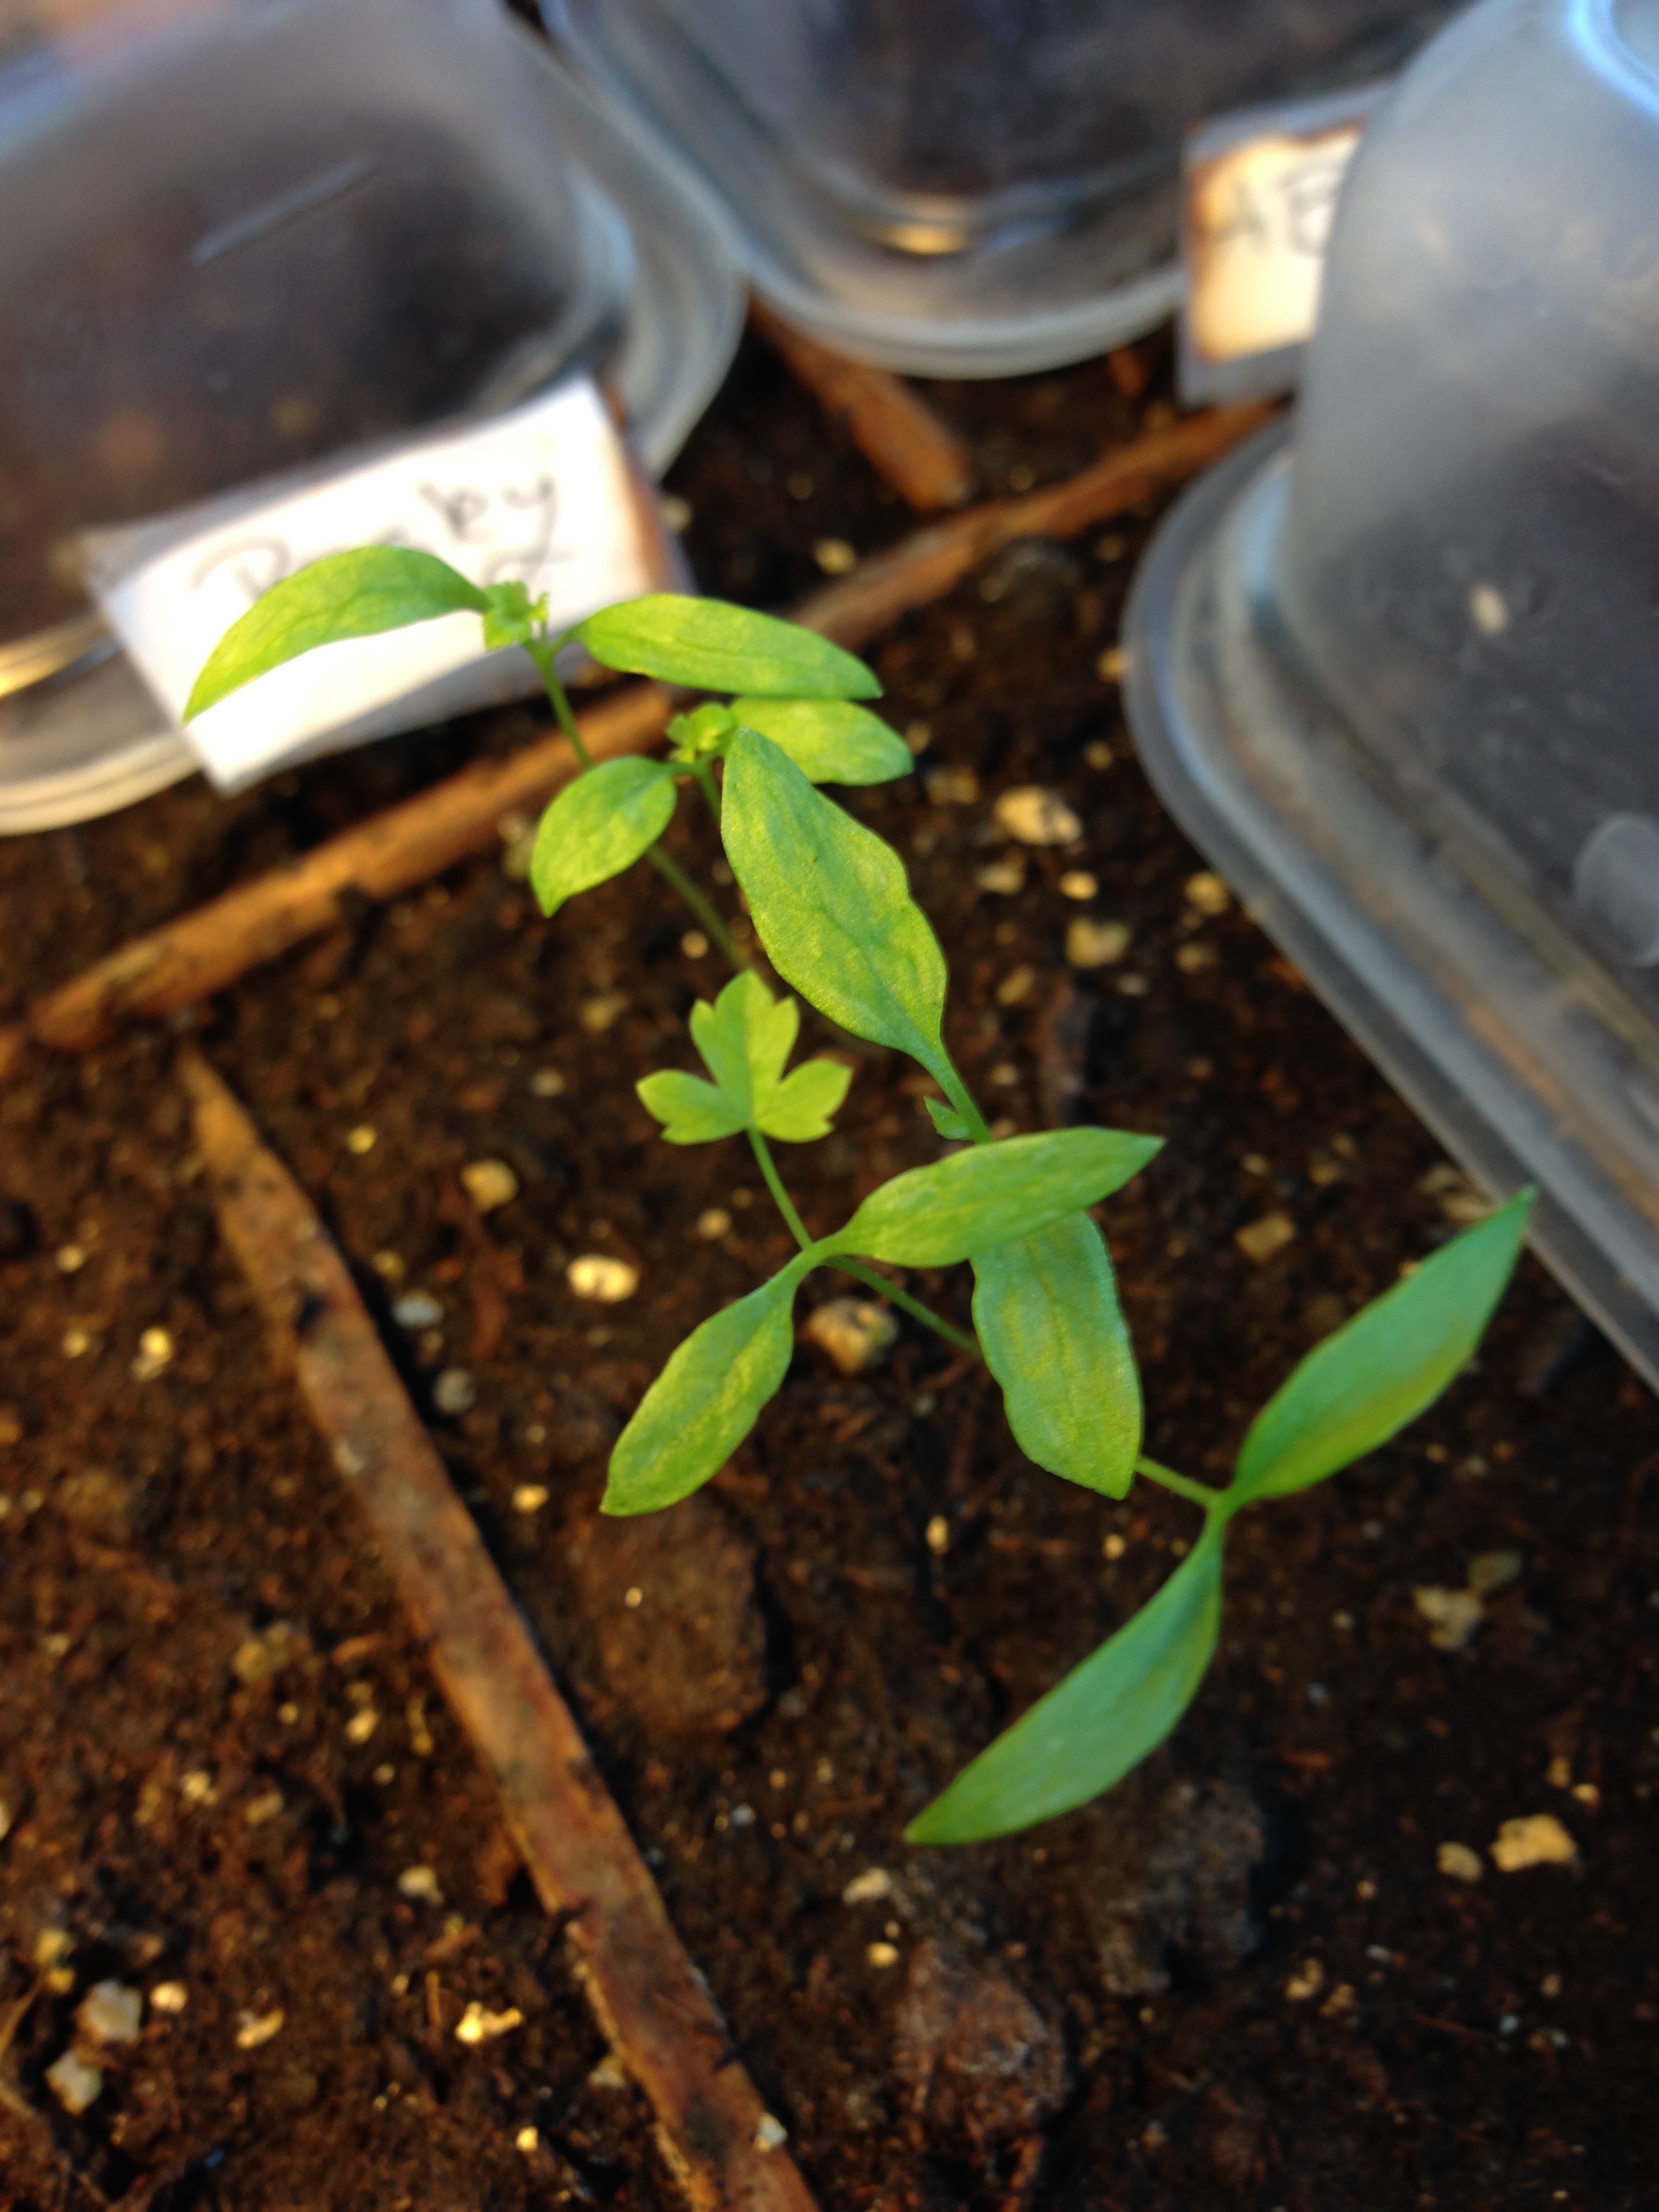
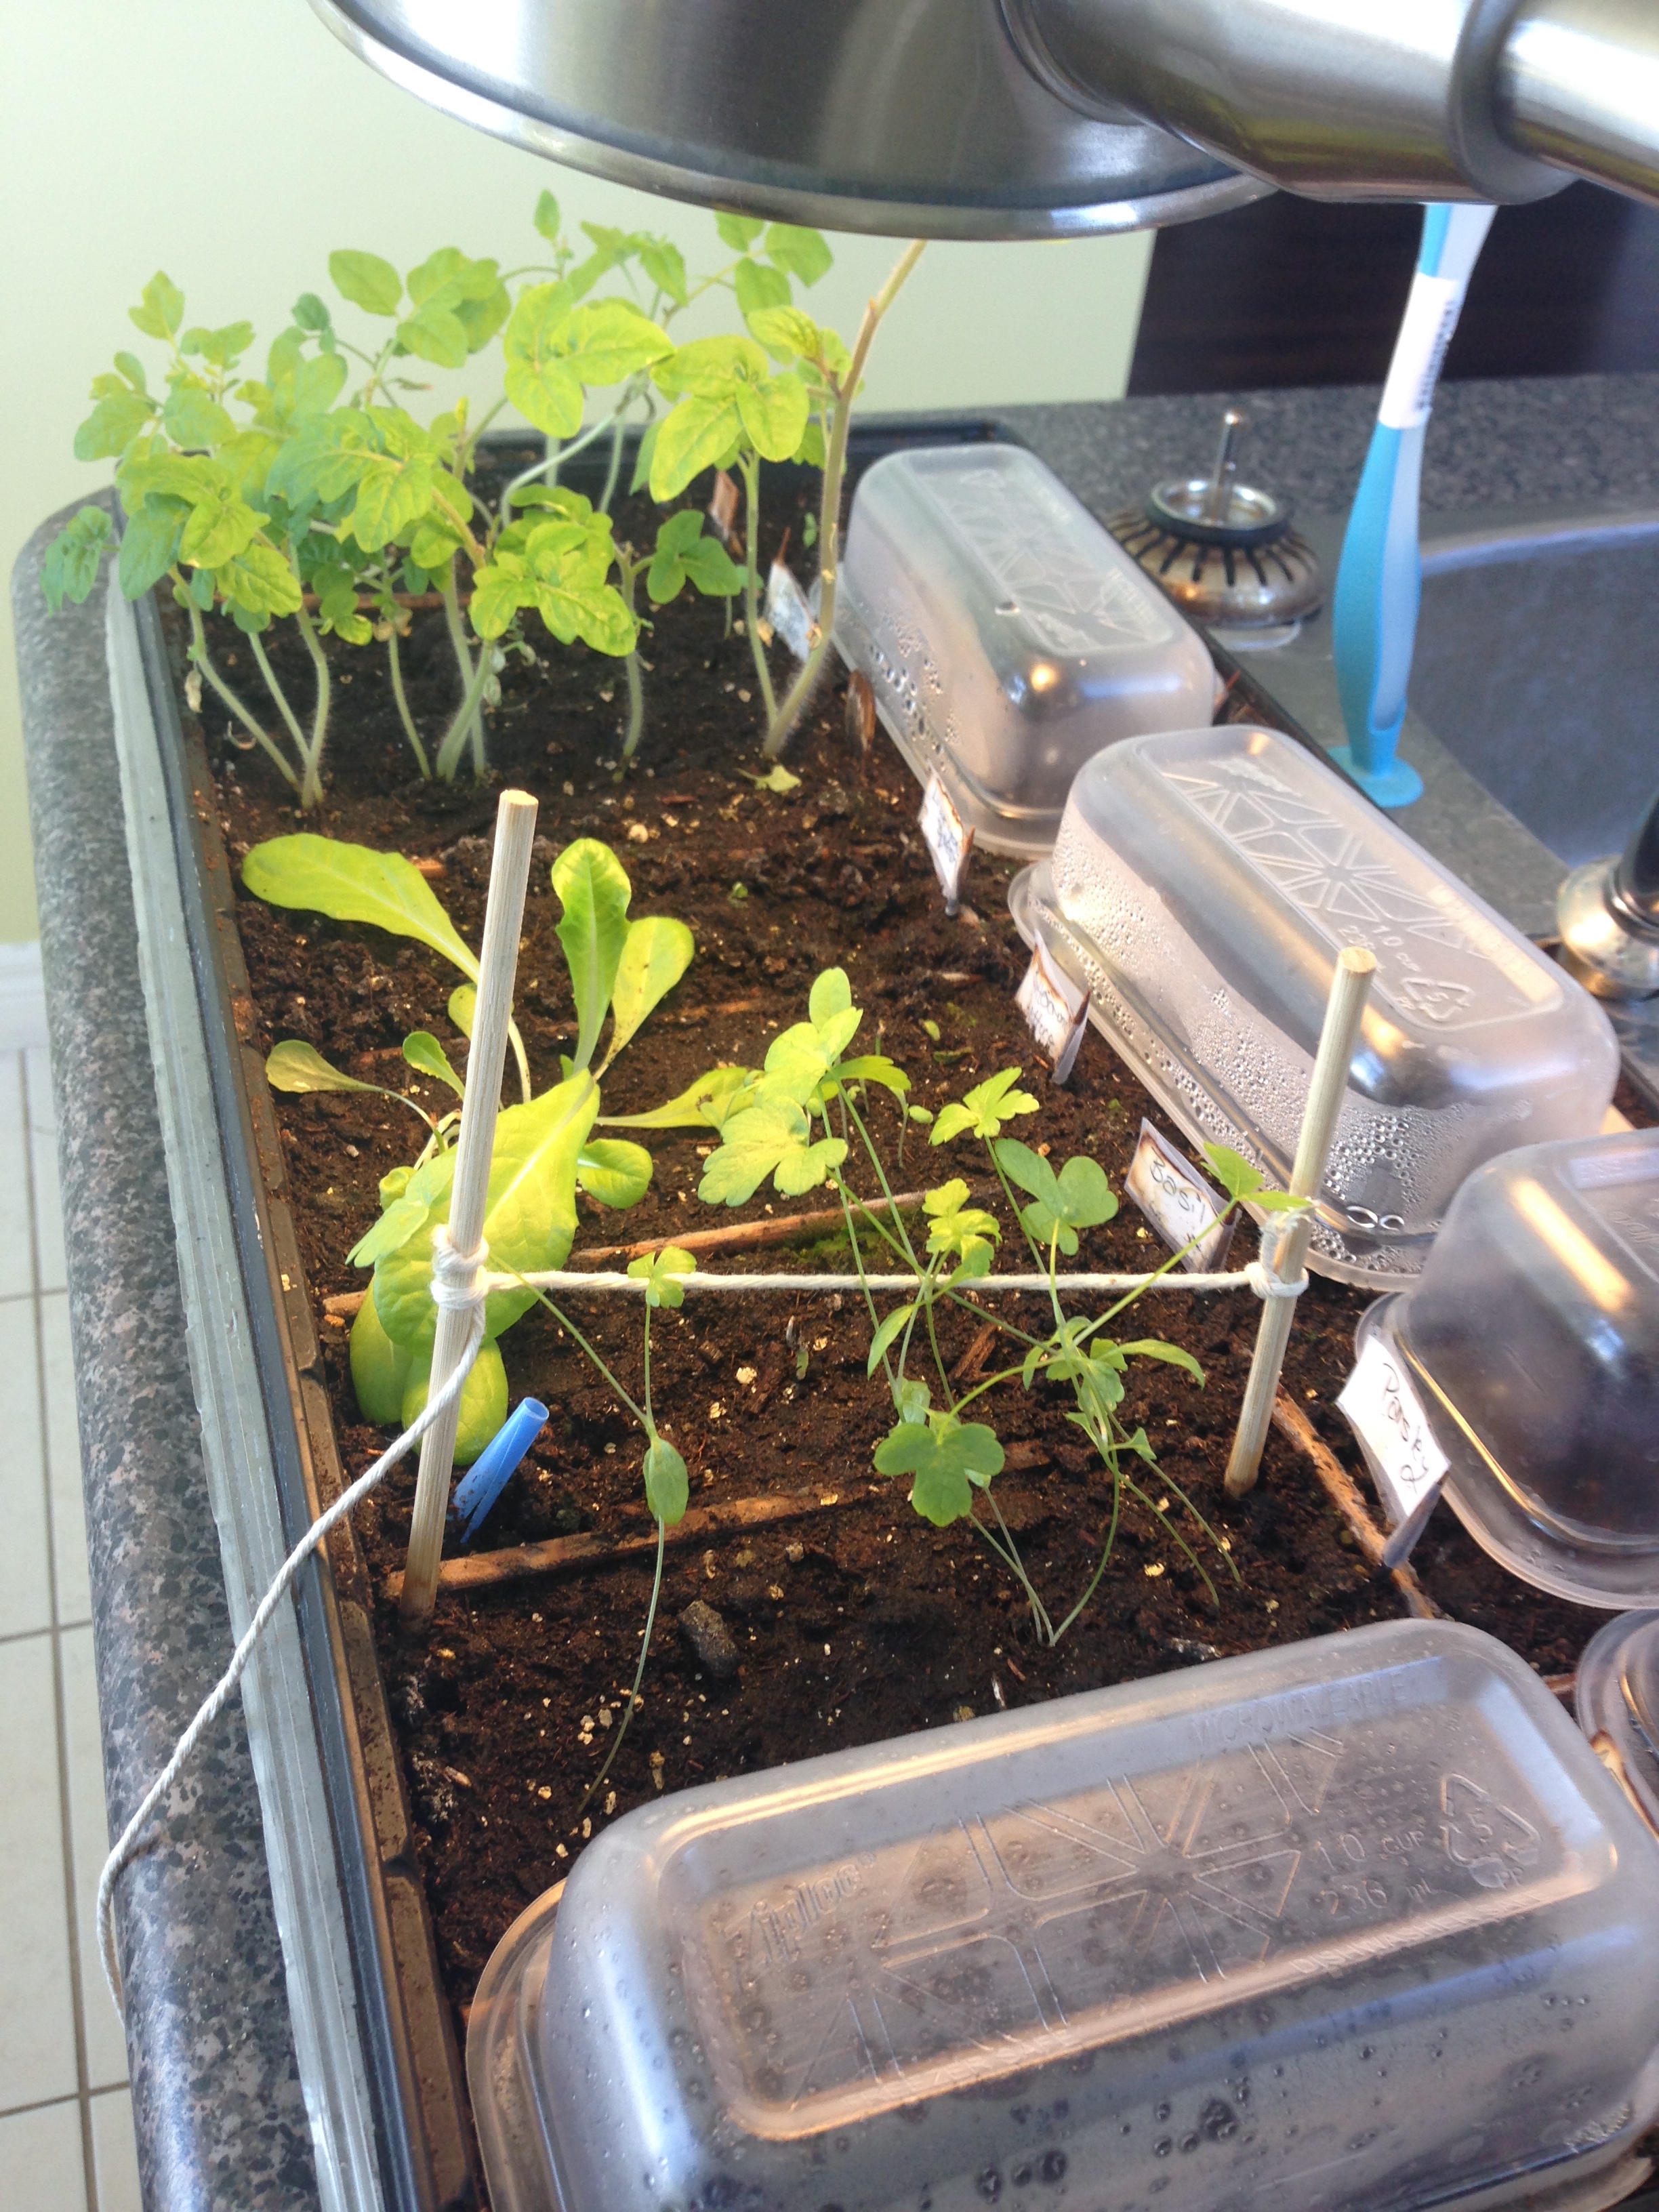
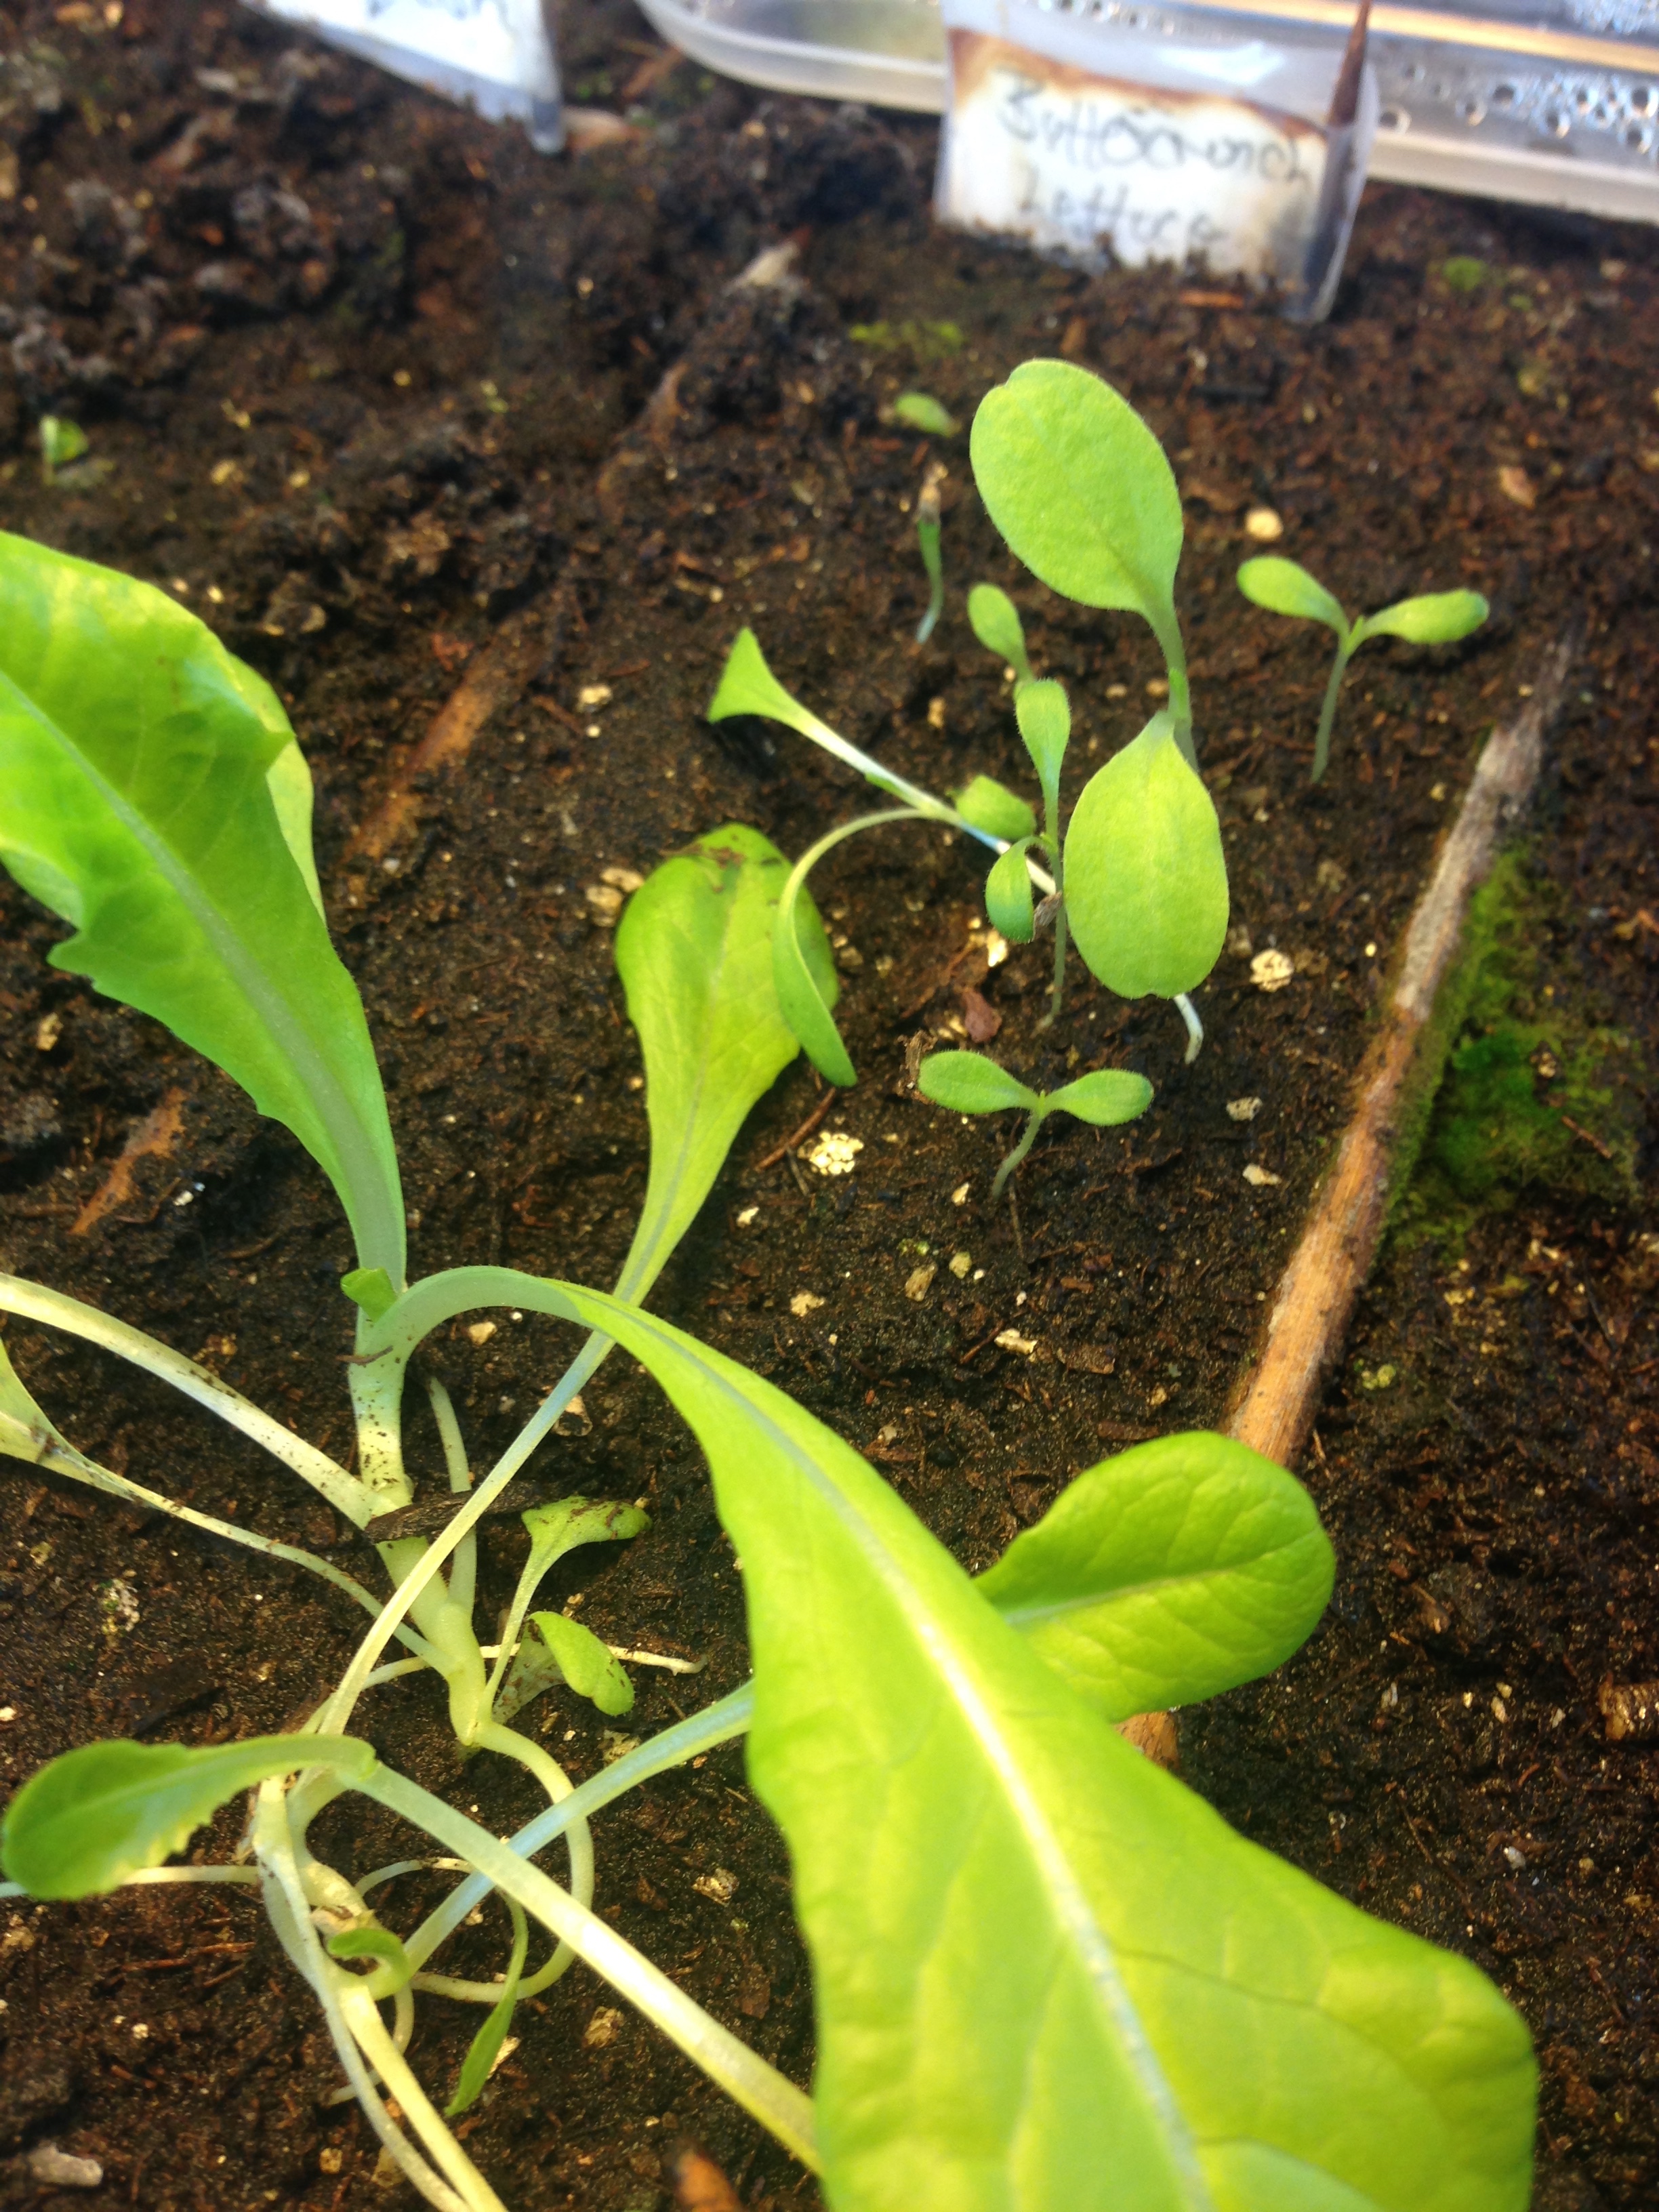
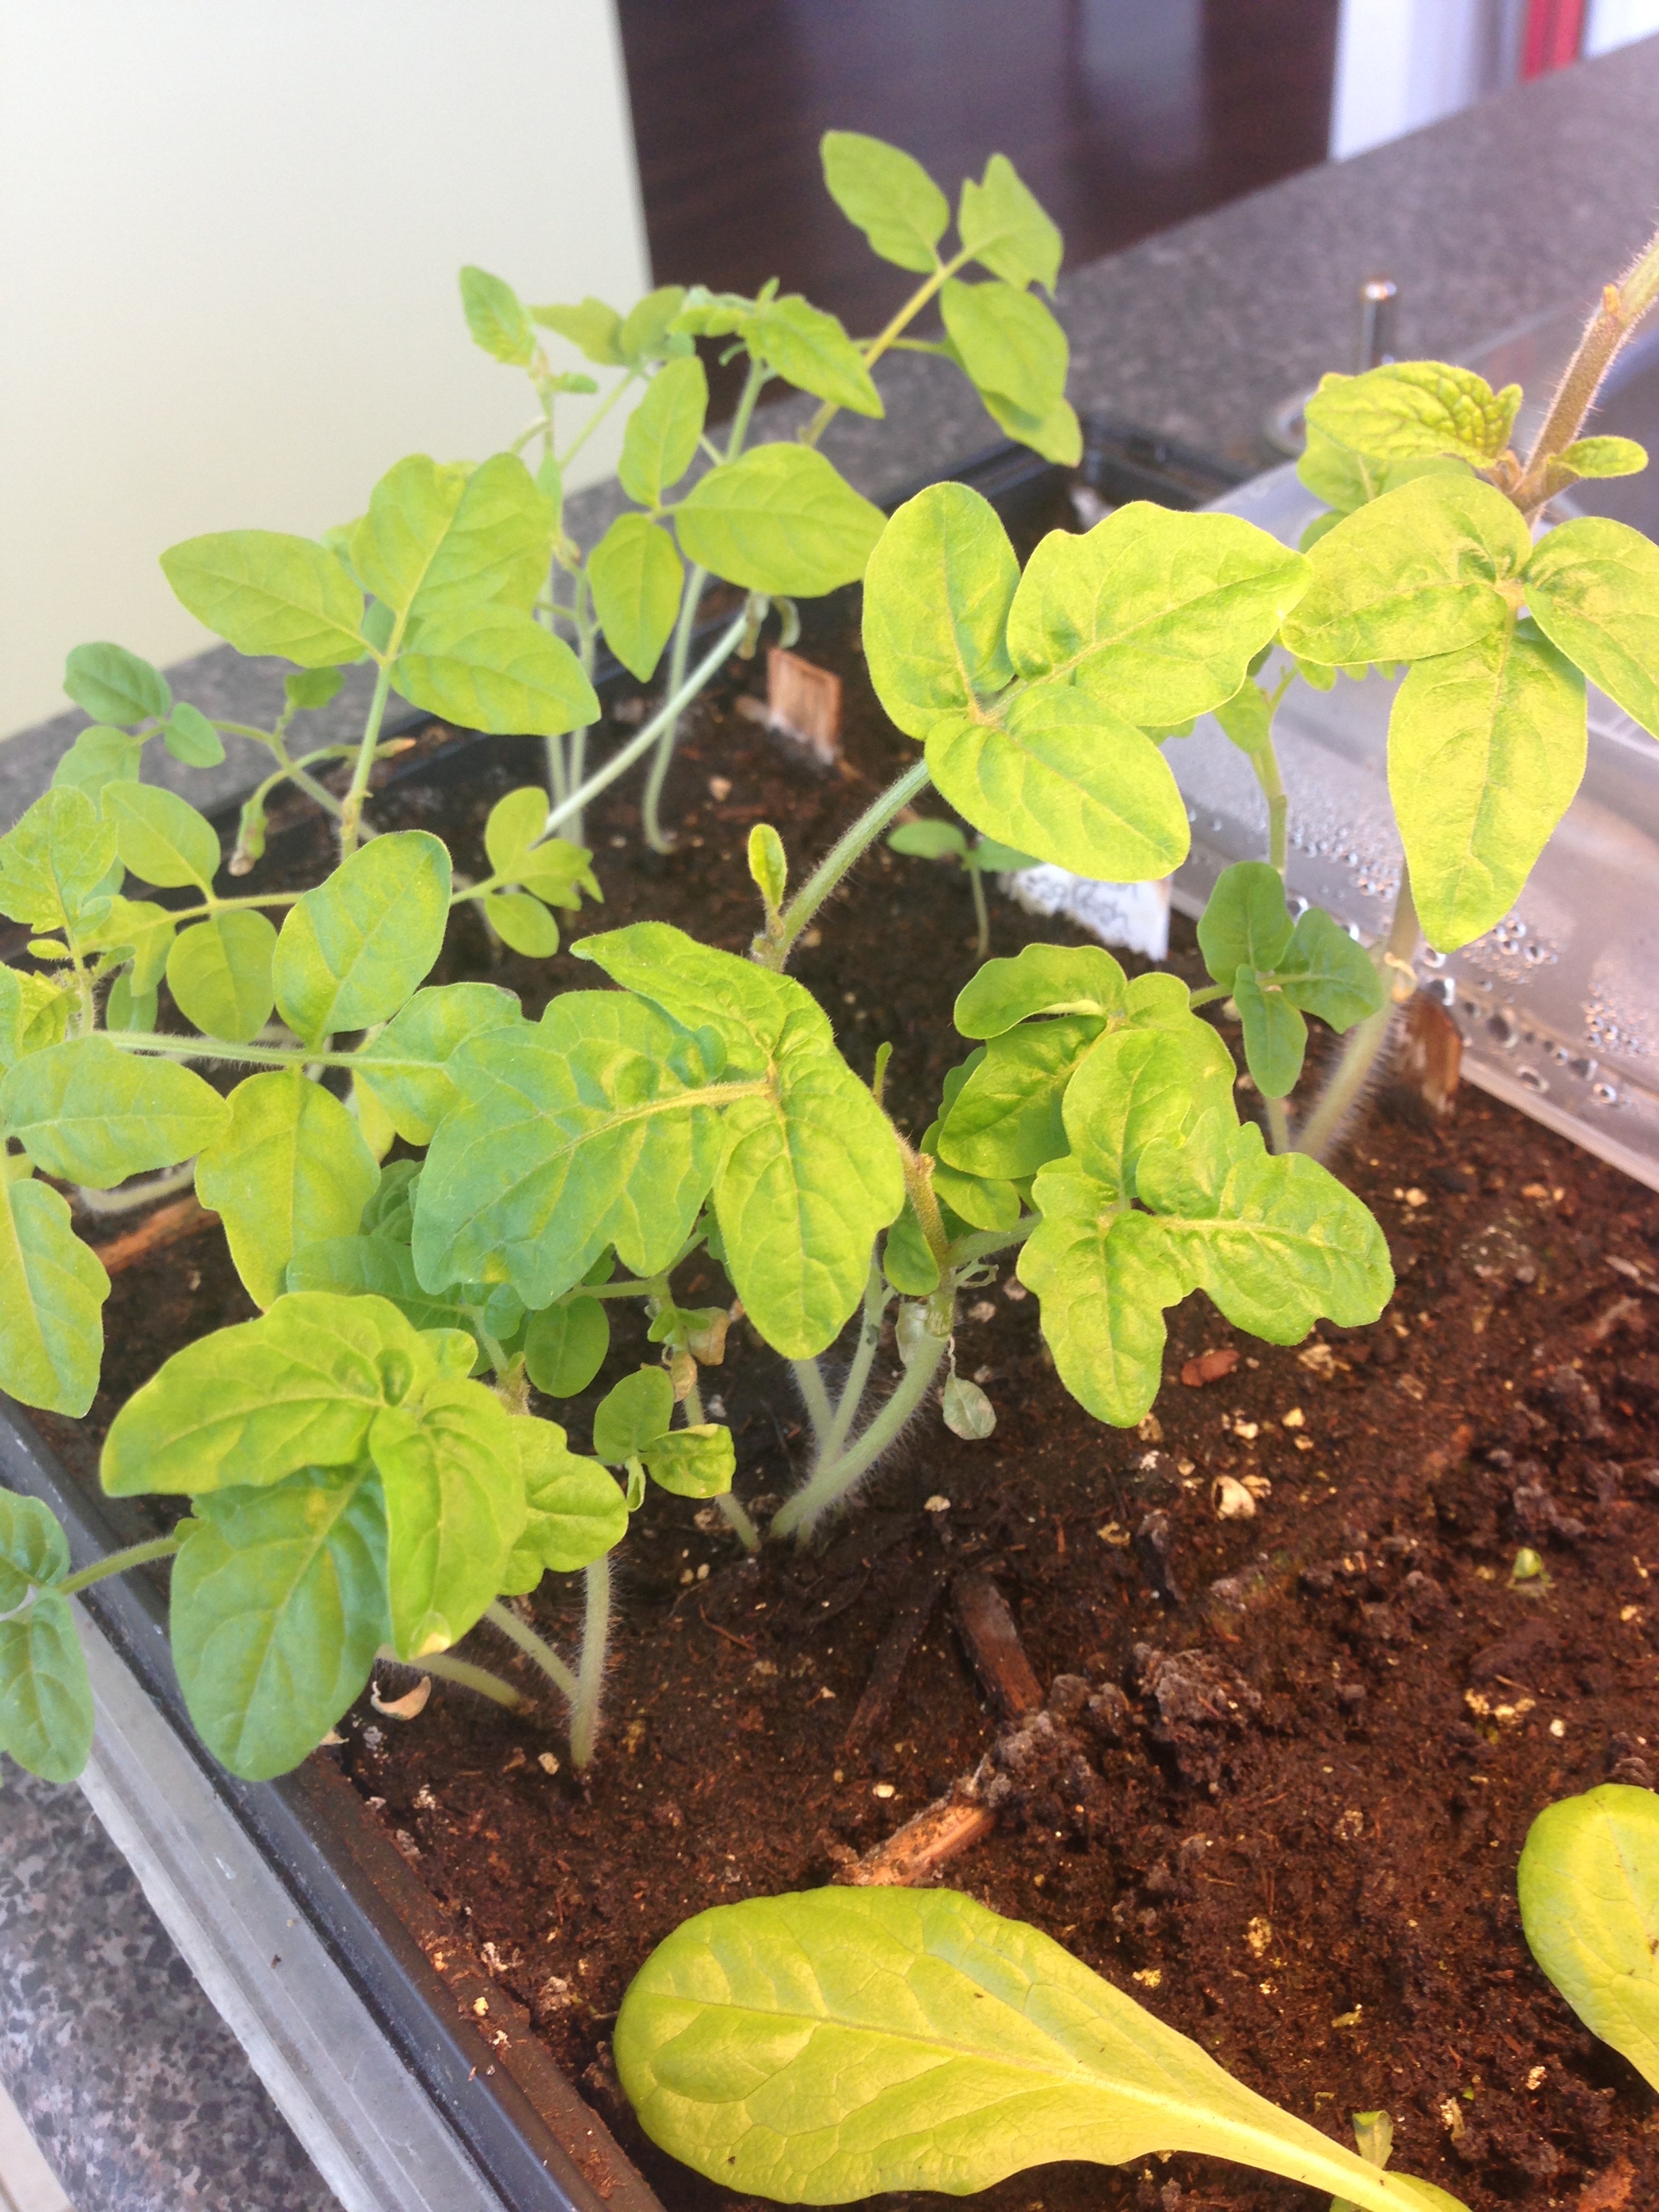
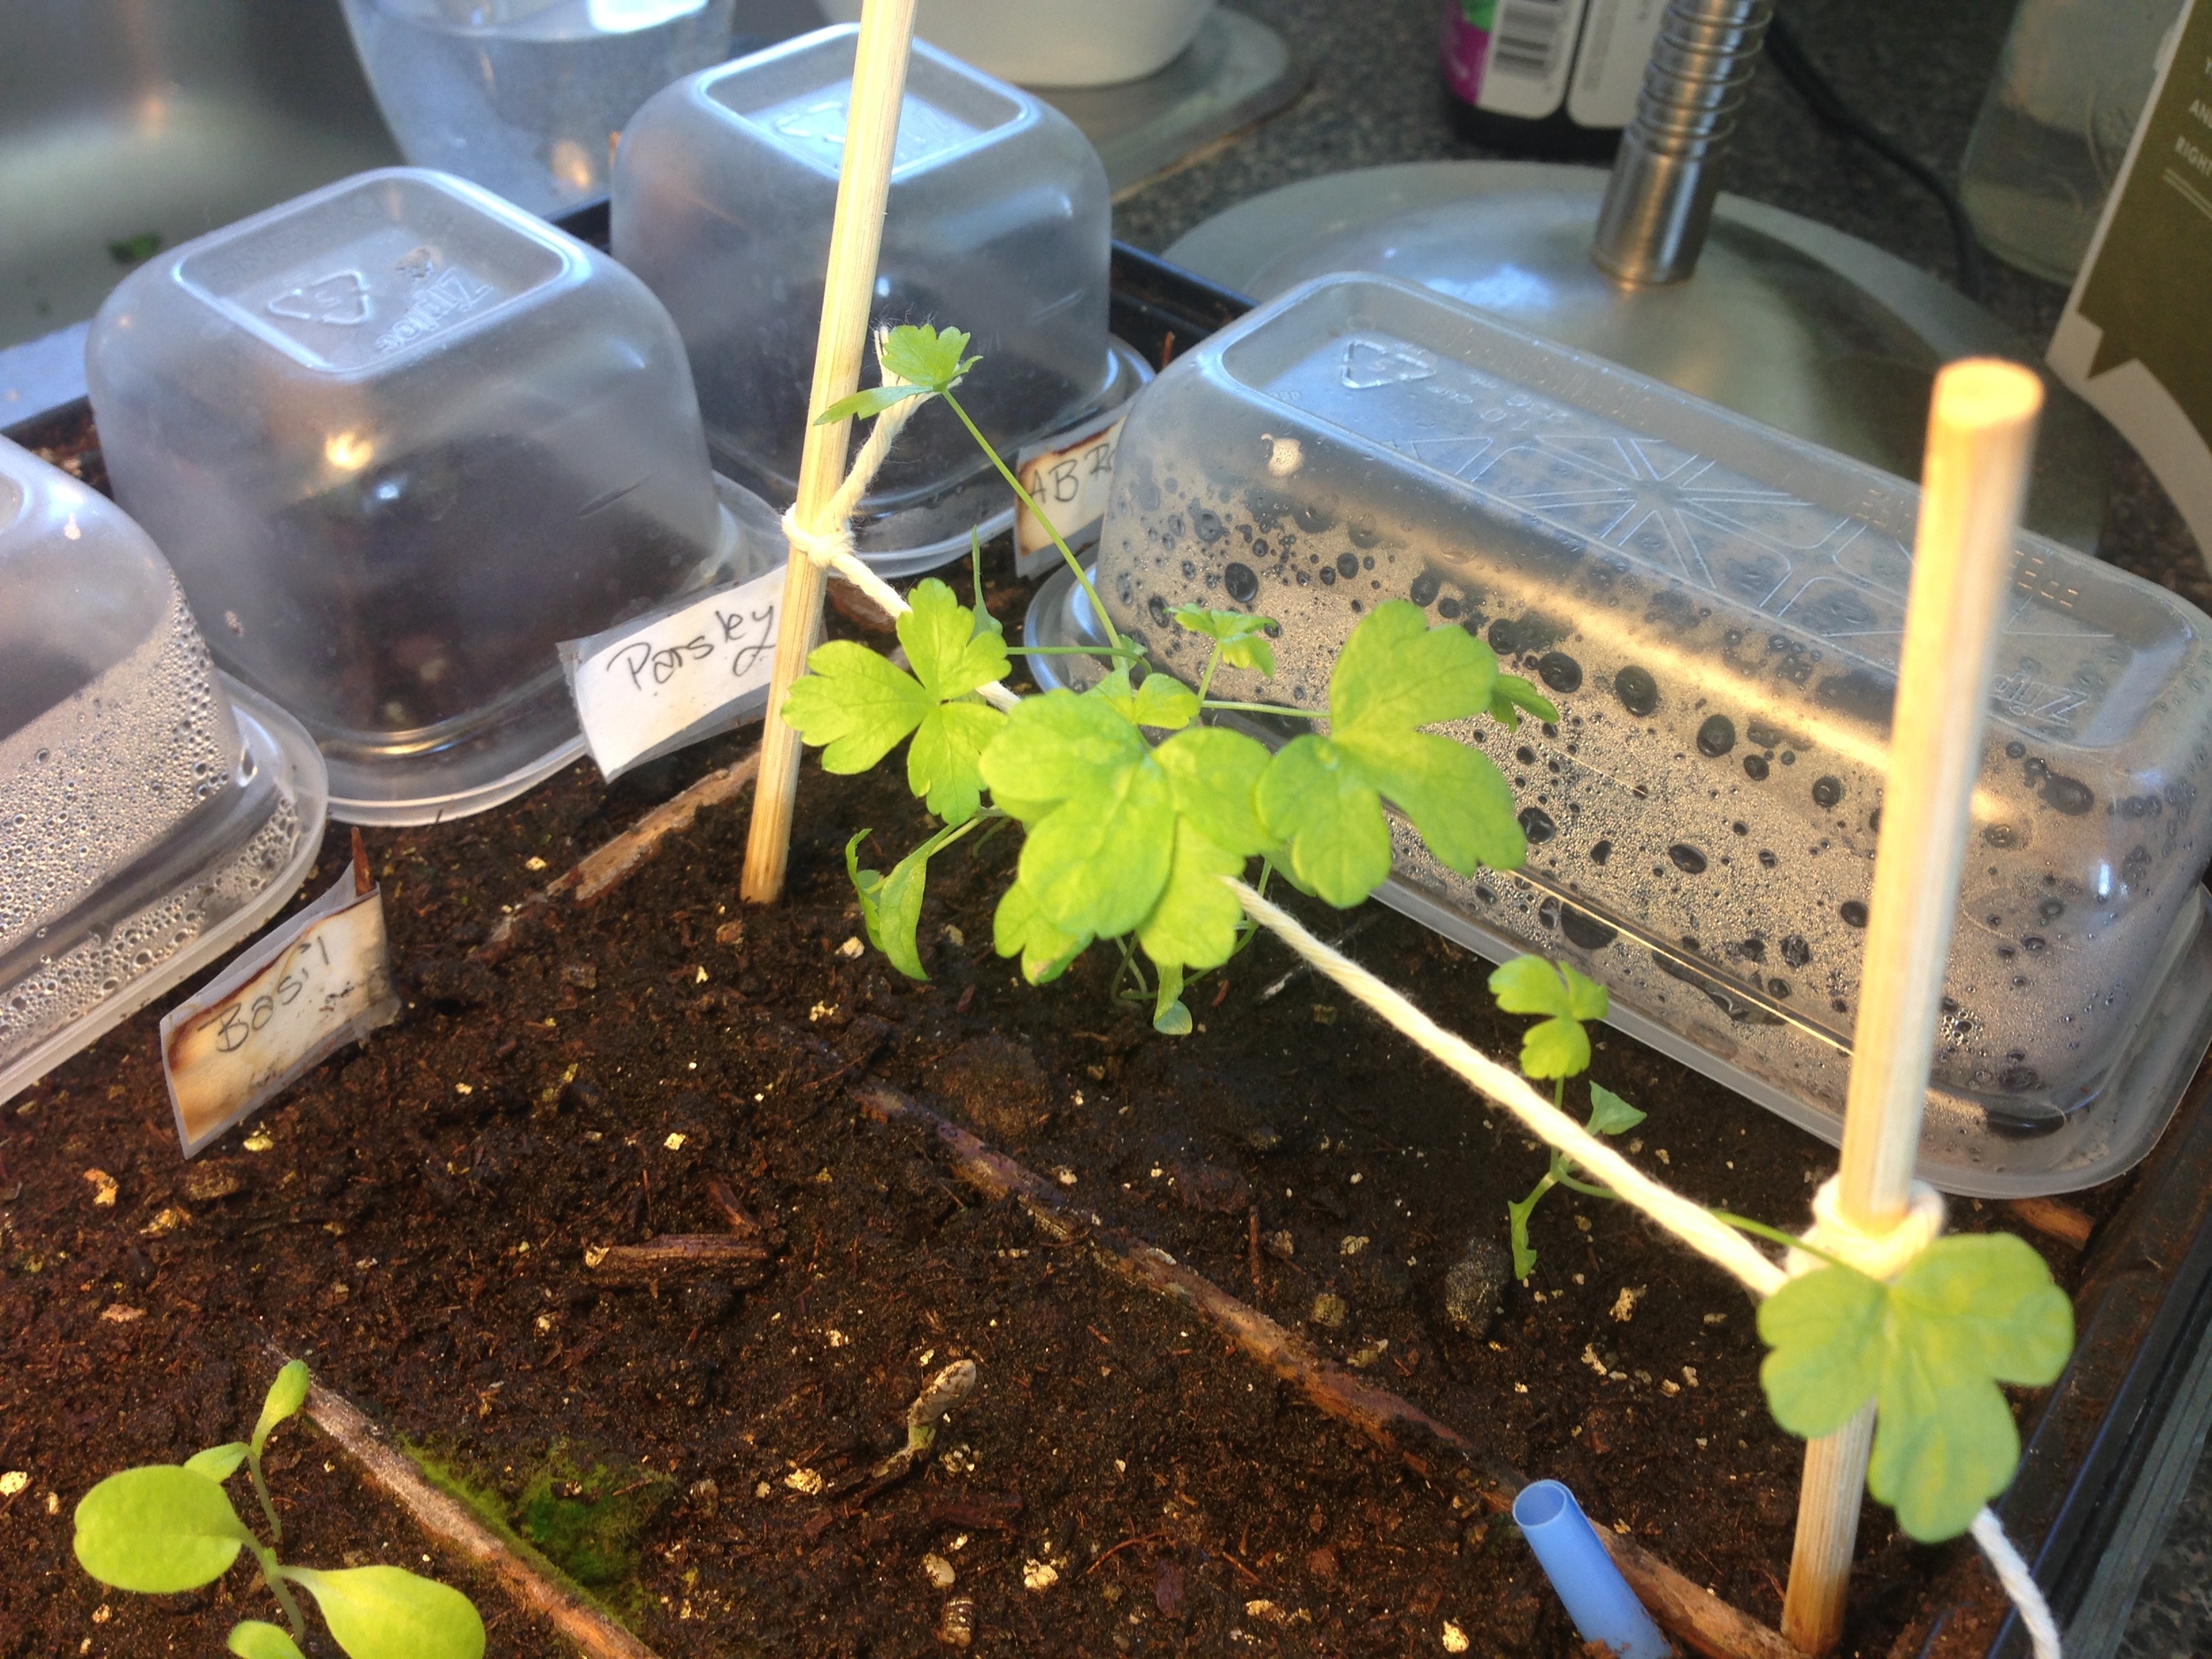
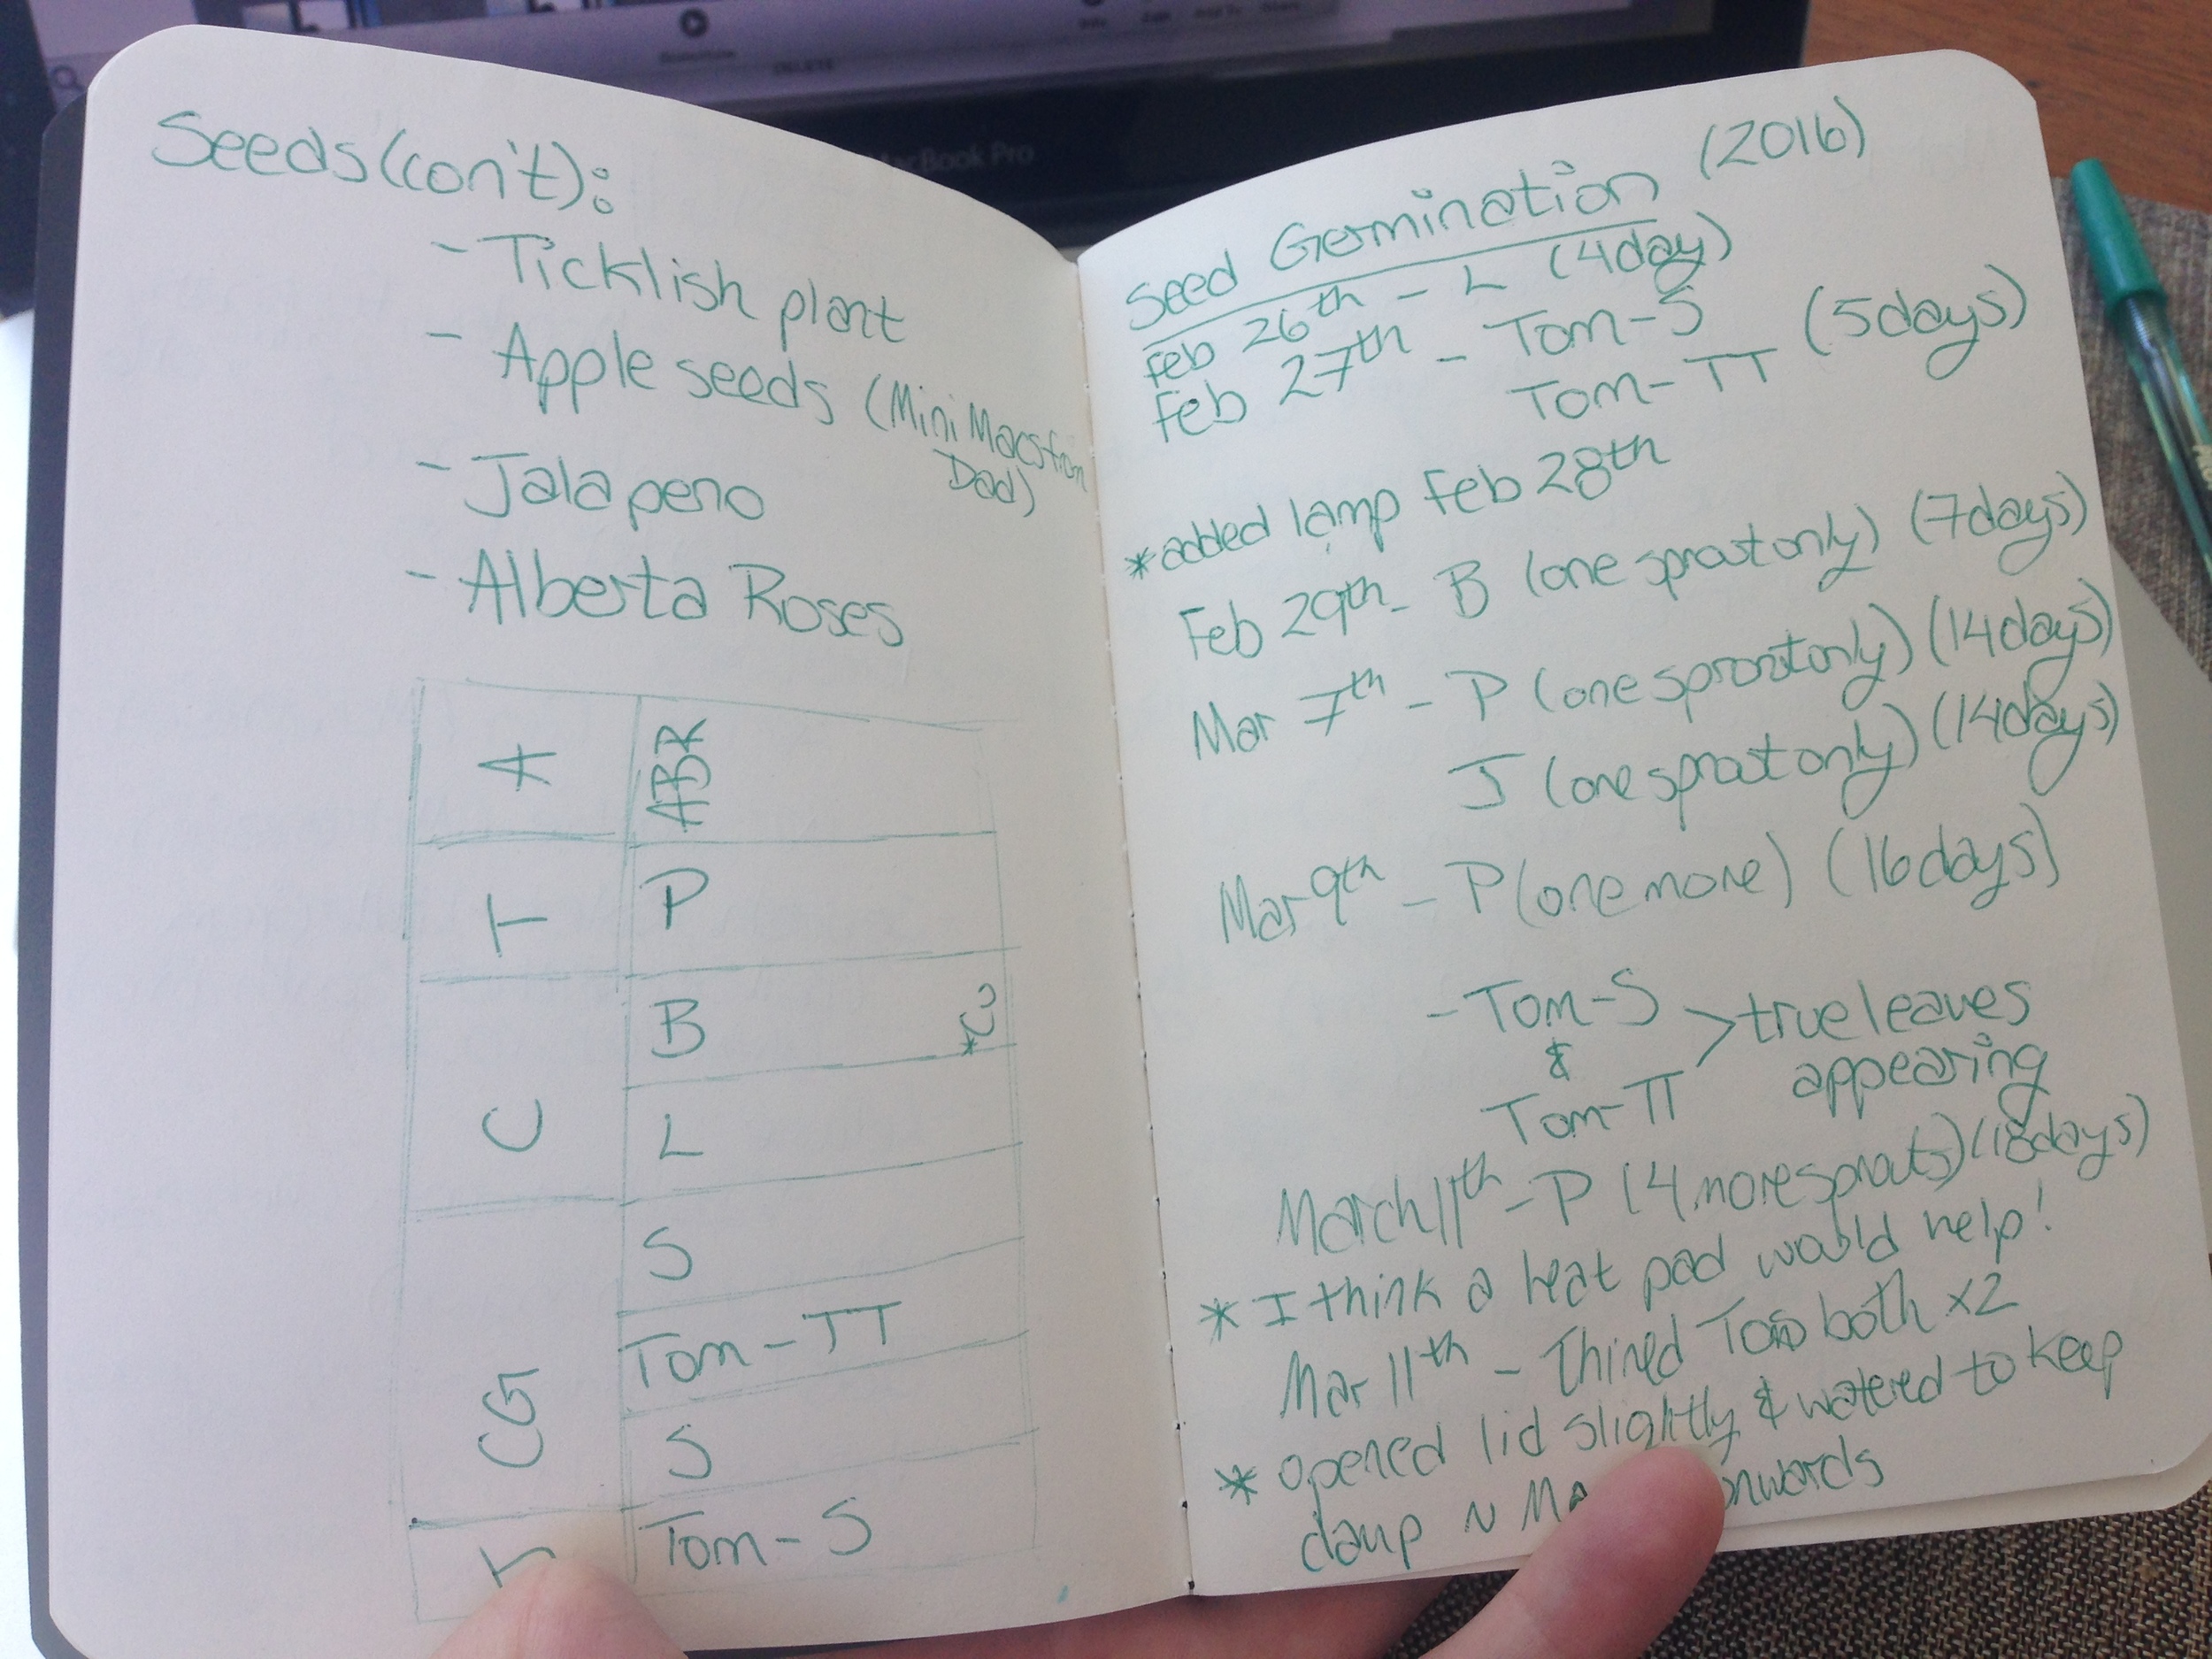
I had some luck this year, but not as much as I'd hoped. The tomatoes did amazingly. I have 18 tomato plants (Sweetie and Tiny Tim). Five parsley plants and new lettuce sprouts coming up daily. Also one surprise treat! A jalapeno sprout! It seems to be trucking along so we'll see it if survives.

On the disappointing side of the gardening train, the roses and the little gem squash didn't sprout. Neither did the apple seeds, grape seeds, or citrus. They were all seeds I had collected over the course of last year, so while disappointing, its not terribly surprising. I did have some luck with basil (usually my bane) but the seedlings wilted quite early. Sad Andrea.

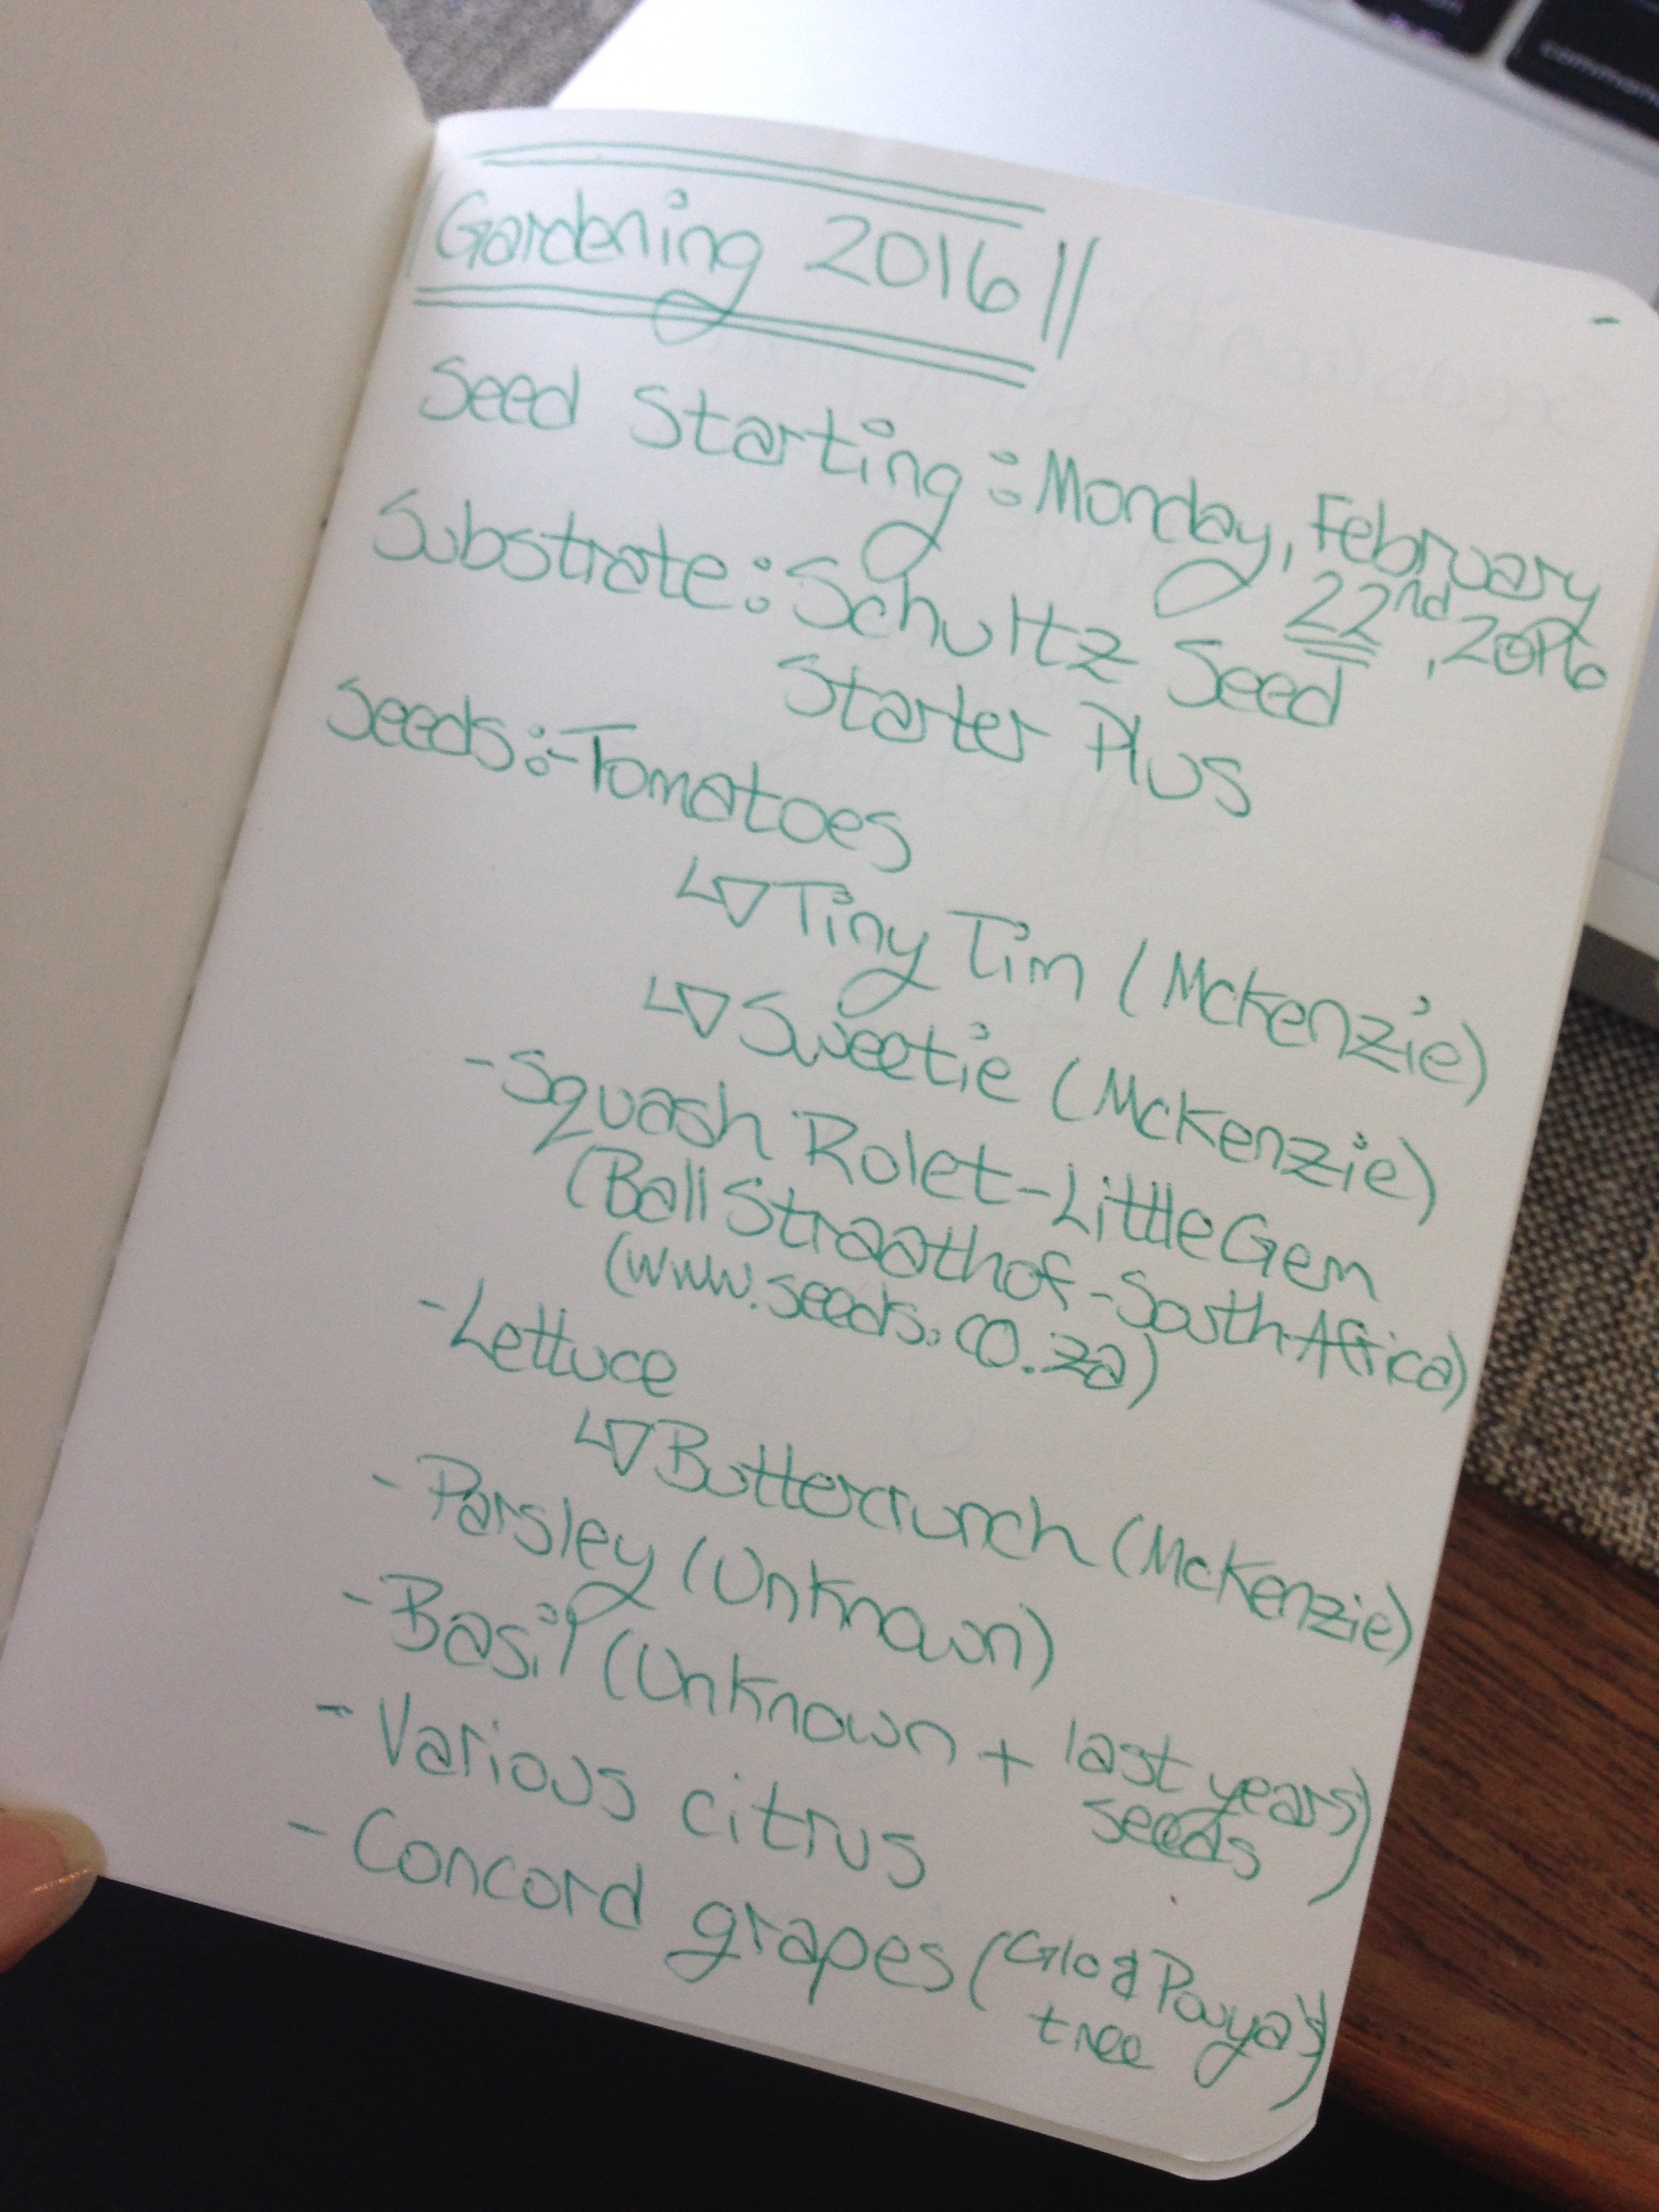
Ah well. This year I started keeping a journal of when gardening things started happening, so next year I'll be more prepared! Next step is to wait for it to be a tad bit warmer and transplant then seedlings to their own little homes.

IMG_3552.jpg

Like maybe when it stops snowing.... in April. XD

Also. Who wants tomato plants? Haha. I can't have 18 of them. (Well I could... but I'd rather have room on the balcony to sit. Haha.)

-Andrea

The Half-Assed Hobbyist
Lazy Thai Pizza

Every week, mostly, I follow a meal plan. Simply put, it's a list of what meals I want to make that week. It's a pretty simple idea but it helps save money and cut down on food waste. Every Sunday morning over coffee, the Fiancรฉ and I go through the fridge, the freezer, the 'on sale' items on our grocery store app, and our fanciful food desires, and figure out what we want to eat the following week. Usually we try to come up with meals that use up fresh produce or leftover ingredients in the fridge. Or meals that make leftovers for lunches (or the freezer - quick defrost dinners = best). Or meals that take advantage of the grocery store sales. While one writes down the meal plan, the other makes the grocery list. It usually take 20 minutes if we're feeling uninspired (that's where cookbooks and the internet come in!).

Making a meal plan may sound super fancy, like I'm making a roast every other day, but it's definitely a lot more casual. For example. Despite my love of cooking, I do Not want to have to cook for 2 hours every night. Some of my favourite meals are done in 20 minutes or less. And I actually make it a point when planning to only have one prep intense meal (if any) on the weekly roster. The following pizza is an example of this. It uses leftover roast chicken, a pre-made pizza shell (I sometimes stock up on these when they're on sale and freeze them) and a 5 minute homemade peanut sauce. Once it's all put together it literally takes 8 minutes in the oven. Sold.

Lazy Thai Pizza

Pre-made pizza shell

Peanut Sauce (See below)
Chicken Mixture (See below)
~ 1 cup bean sprouts
~ 1 TBSP cilantro leaves, chopped

  1. Pre-heat oven to 450'F.
  2. Layer peanut sauce, chicken mixture, bean sprouts and cilantro.
  3. Bake pizza for 8 minutes or until crust is golden brown. Enjoy!

ย 

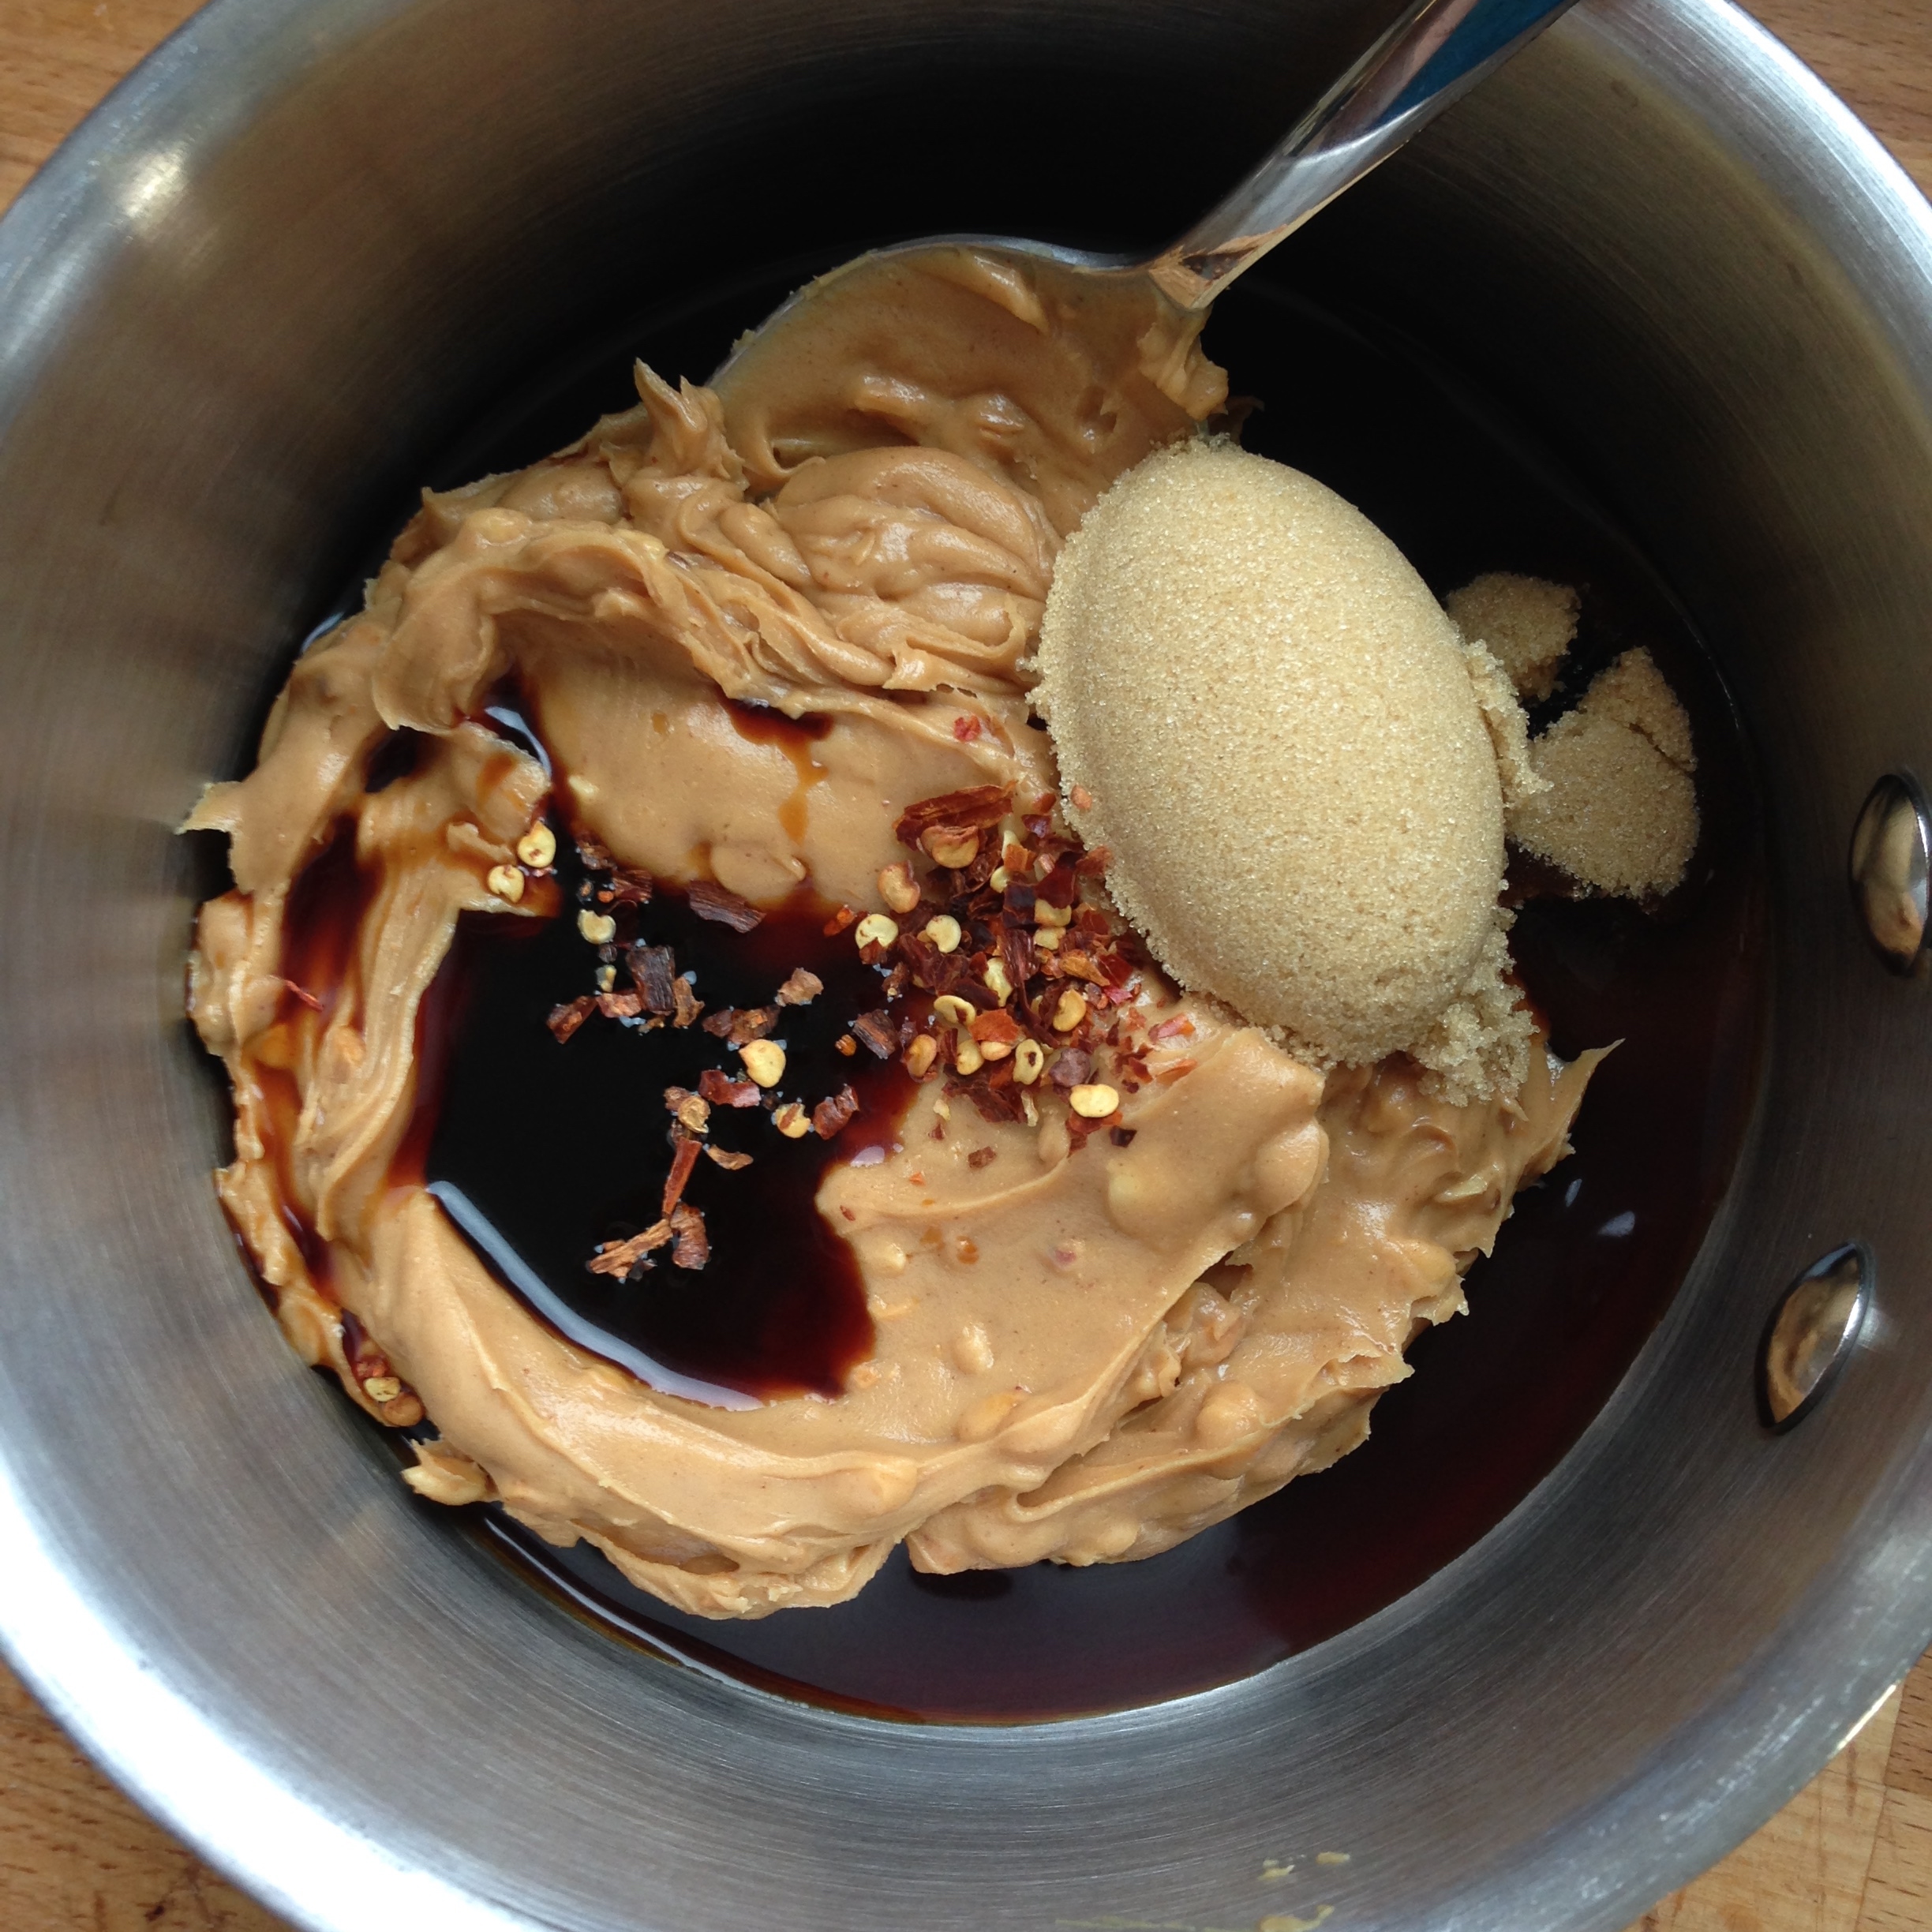
Peanut Sauce
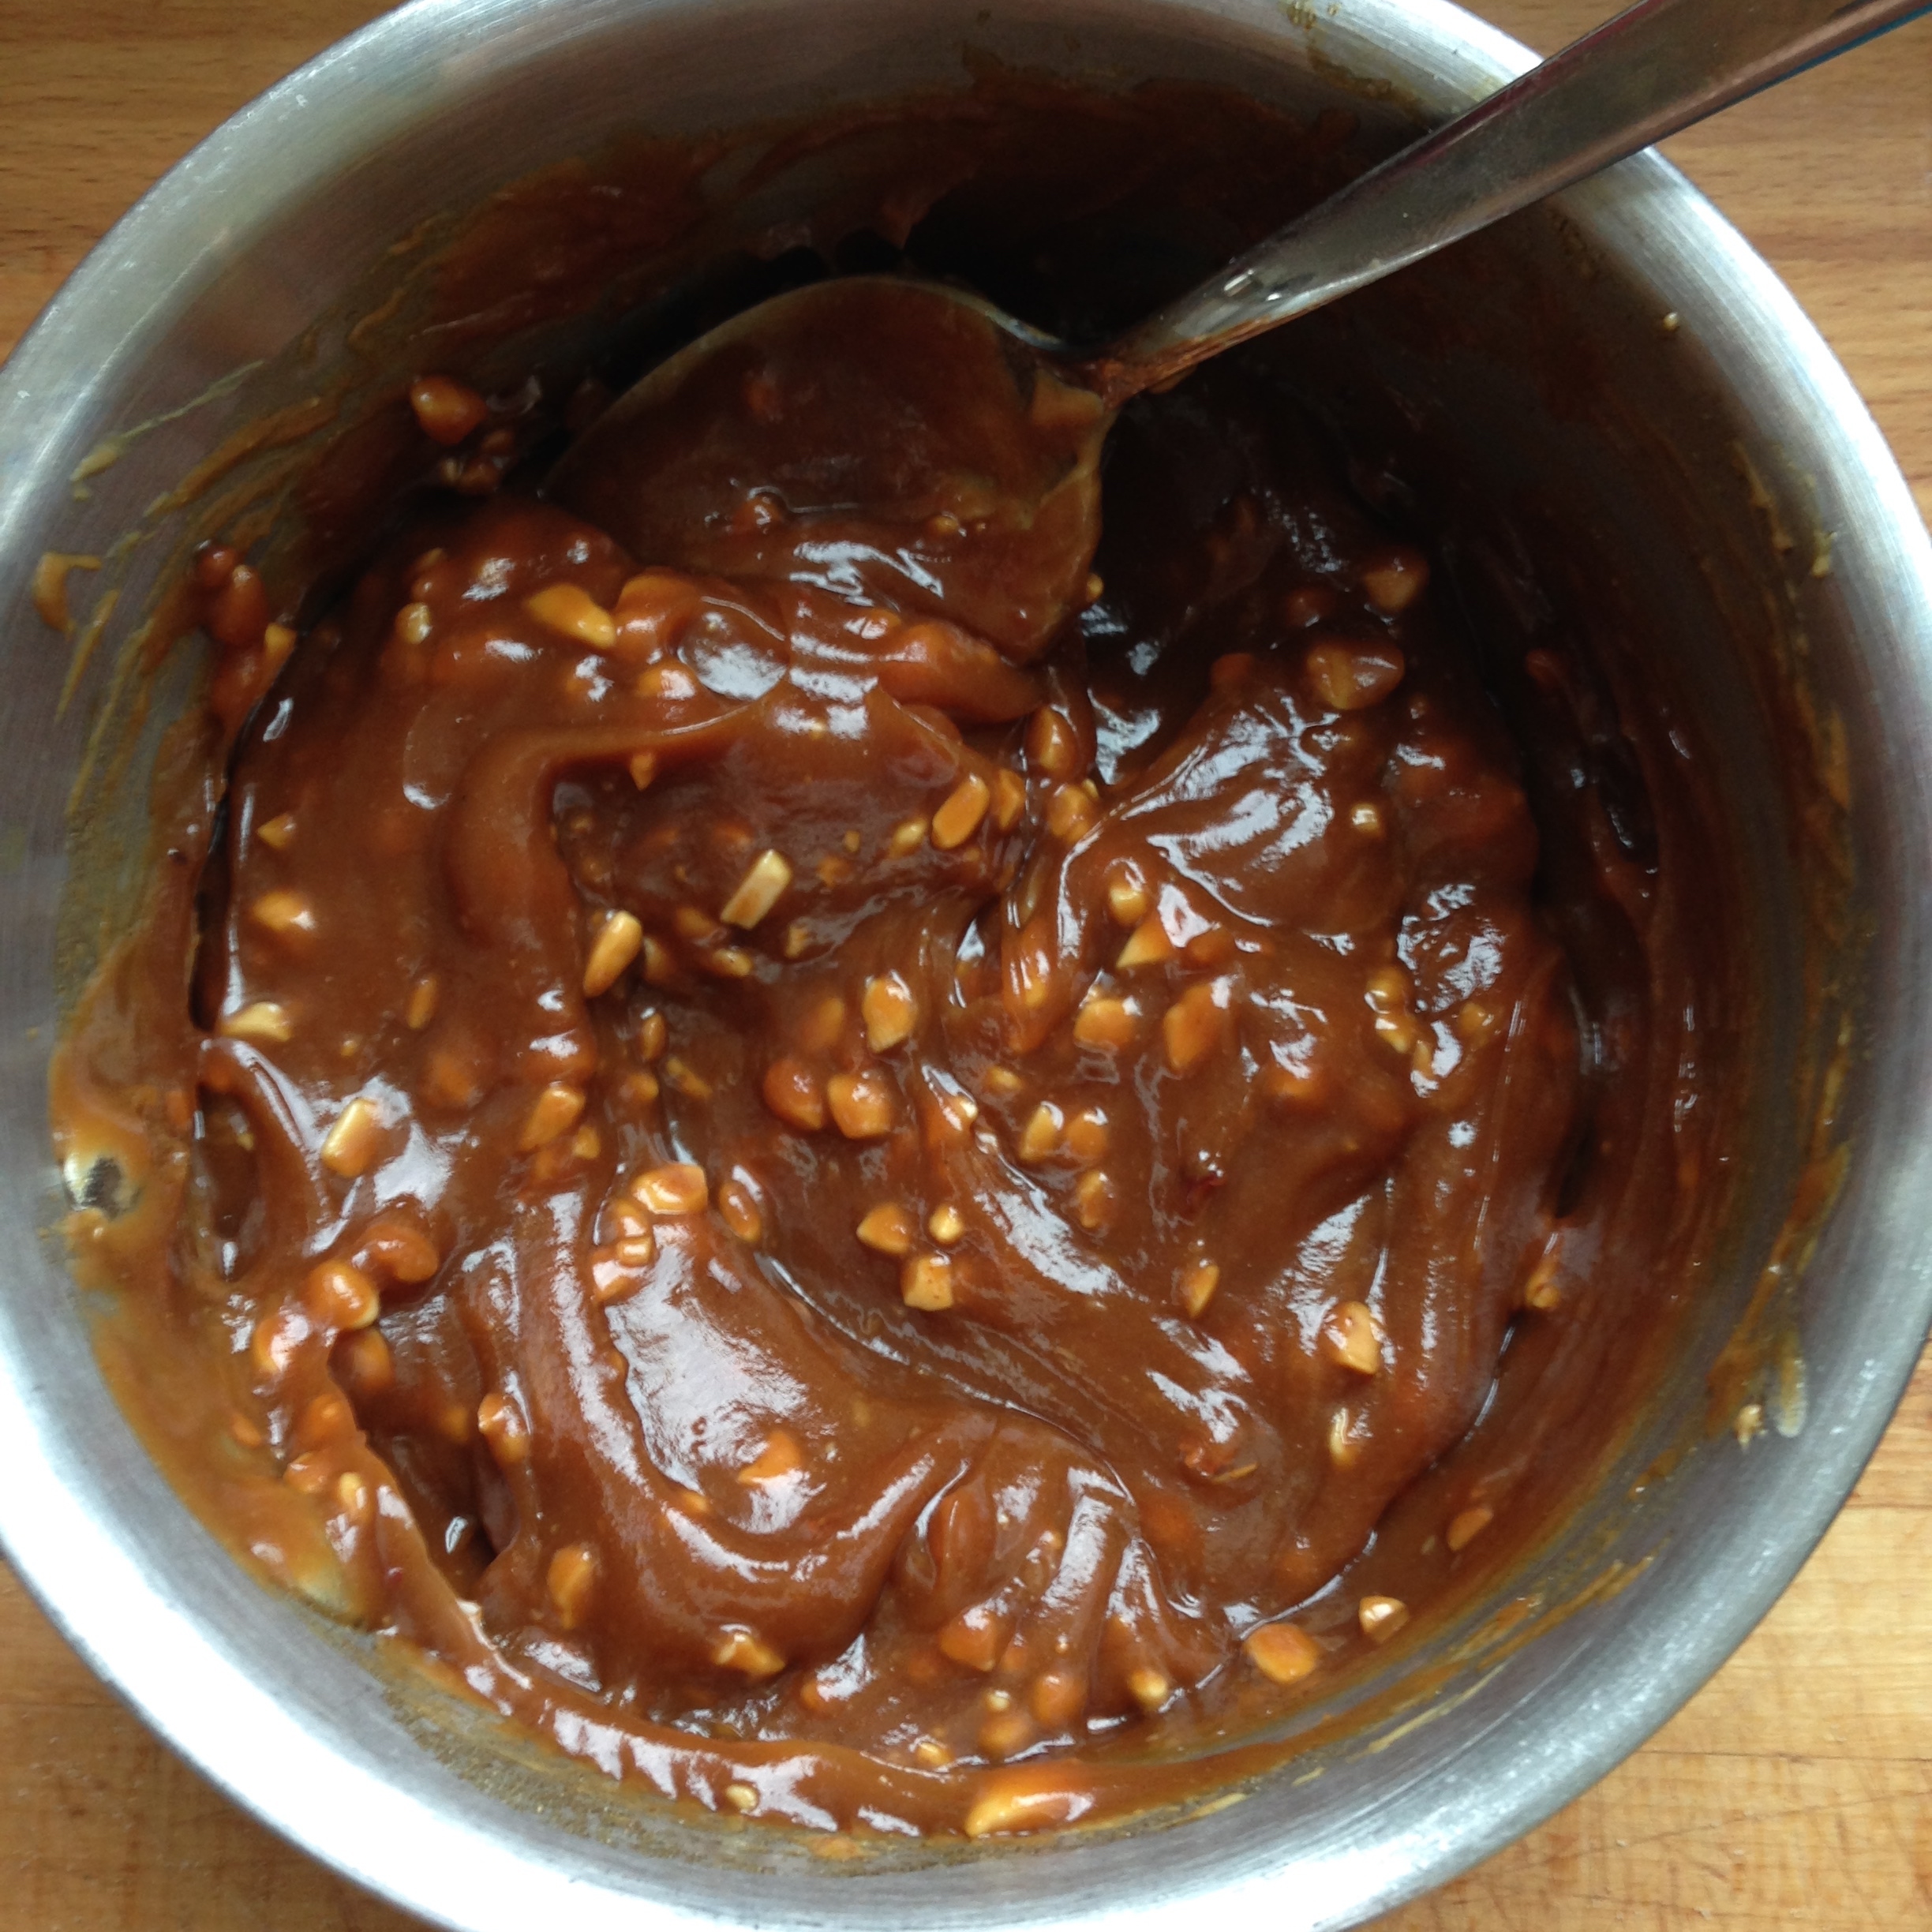
3/4 cup peanut butter (I used chunky)
2 1/2 TBSP brown sugar
2 TBSP soy sauce
2 TBSP water
1/4 tsp chili flakes

  1. Combine all ingredients in a sauce pot.
  2. Over medium heat, stir ingredients until well combined and heated through, about 4 minutes. (Add some more water if it's too thick, stir till smooth.)
  3. Remove from heat and set aside till ready to assemble pizza.

Chicken Mixture
Oil
1 small onion, chopped
1 TBSP minced garlic
~ 1 cup roast chicken, shredded

  1. Heat ~ 1 TBSP of oil in a frying pan over medium heat.
  2. Add onion and cook until clear, about 5 minutes.
  3. Add garlic and chicken and stir together. Cook for about 2 minutes until garlic is fragrant.
  4. Remove from heat and set aside till ready to assemble pizza.

Bam. Dinner done in 20 minutes.

Also. Oh gad, it's good.

Meal planning win! ;)

-Andrea

The Half-Assed Hobbyist
ย