Plum'in It.

I've been super busy this past week at a new jobbins so here's an oldie but a goodie recipe!

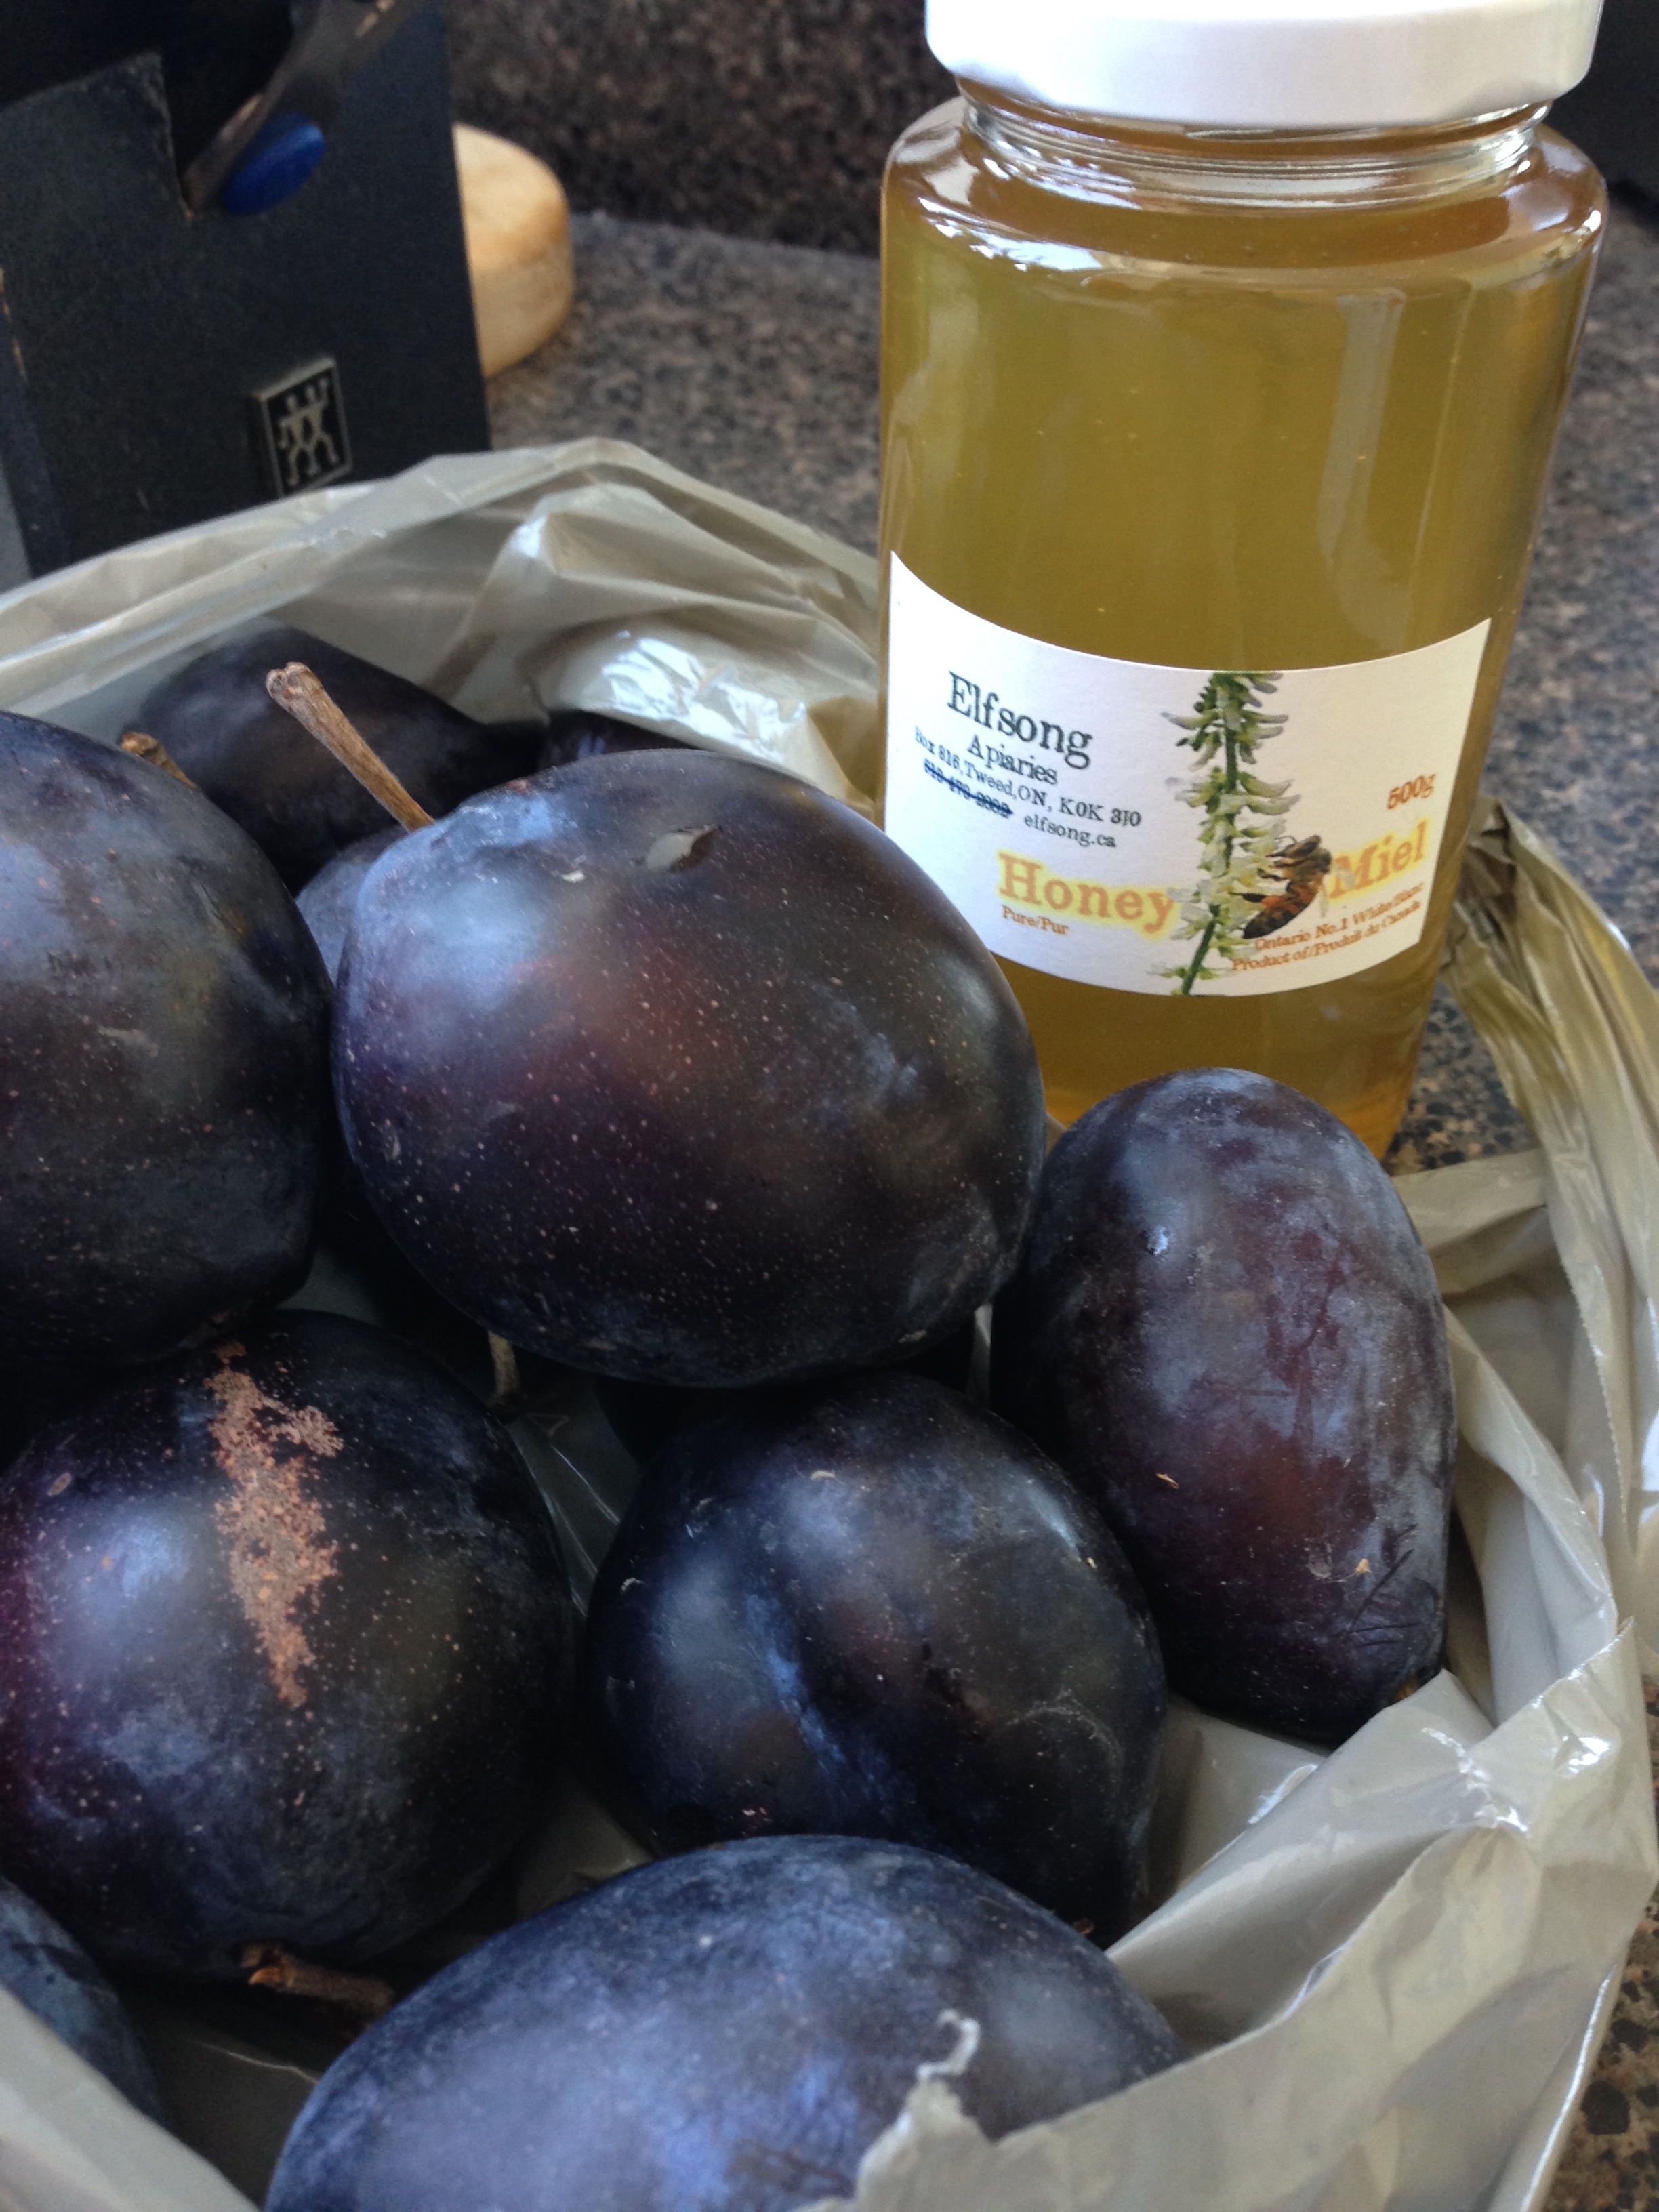
I've done a similar recipe here but I changed it up a bit. I used blue plums (that were in season at the time, yay!) and some clover honey from the local market. 

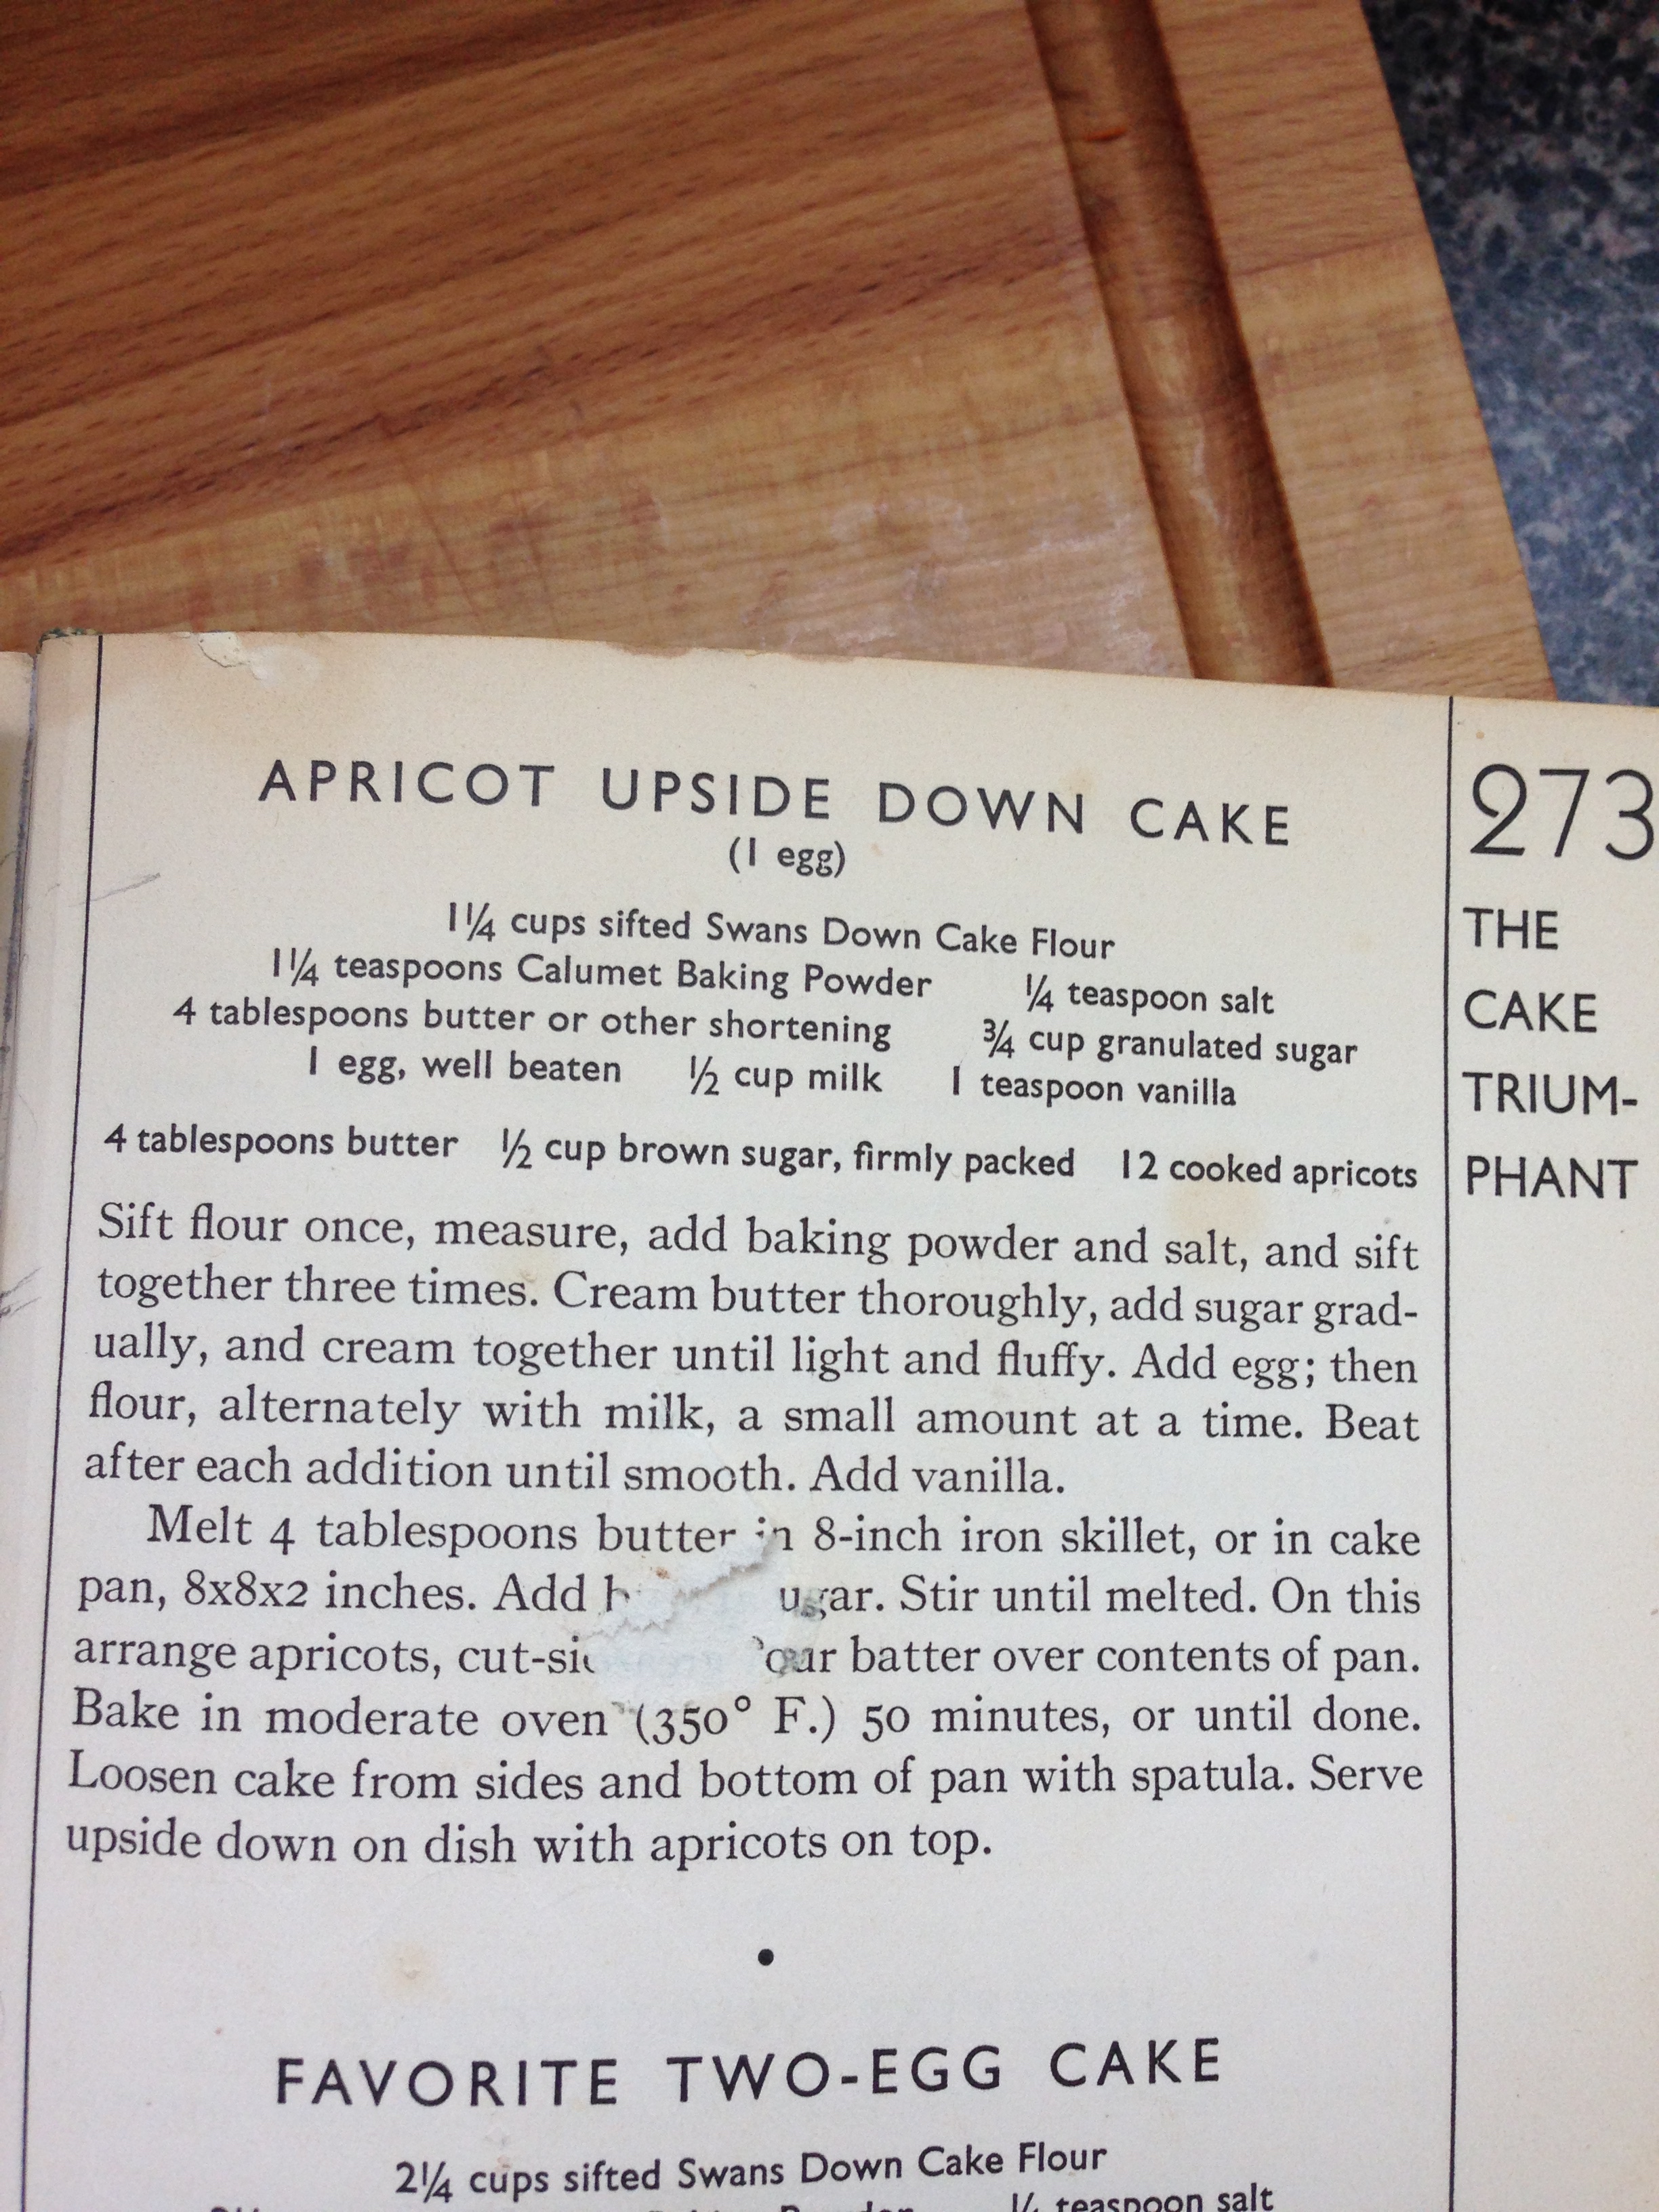
Blue Plum and Honey Upside-down Cake

12 Blue Plums, sliced thinly

4 TBSP butter
1/4 cup brown sugar
1/4 cup clover honey
1/2 tsp ground cinnamon

1 1/4 cup flour
1 1/4 tsp baking powder
1/4 tsp salt

4 TBSP butter
3/4 cups granulated sugar
1 egg, well beaten
1/2 milk
1 tsp vanilla

9 inch round pan

  1. To slice plums: With a sharp knife, make a slit around the centre of the plum, all the way around the pit. Twist one half of fruit off the pit. Remove the pit. Slice up the plum flesh. 
  2. Preheat your oven to 350'F.
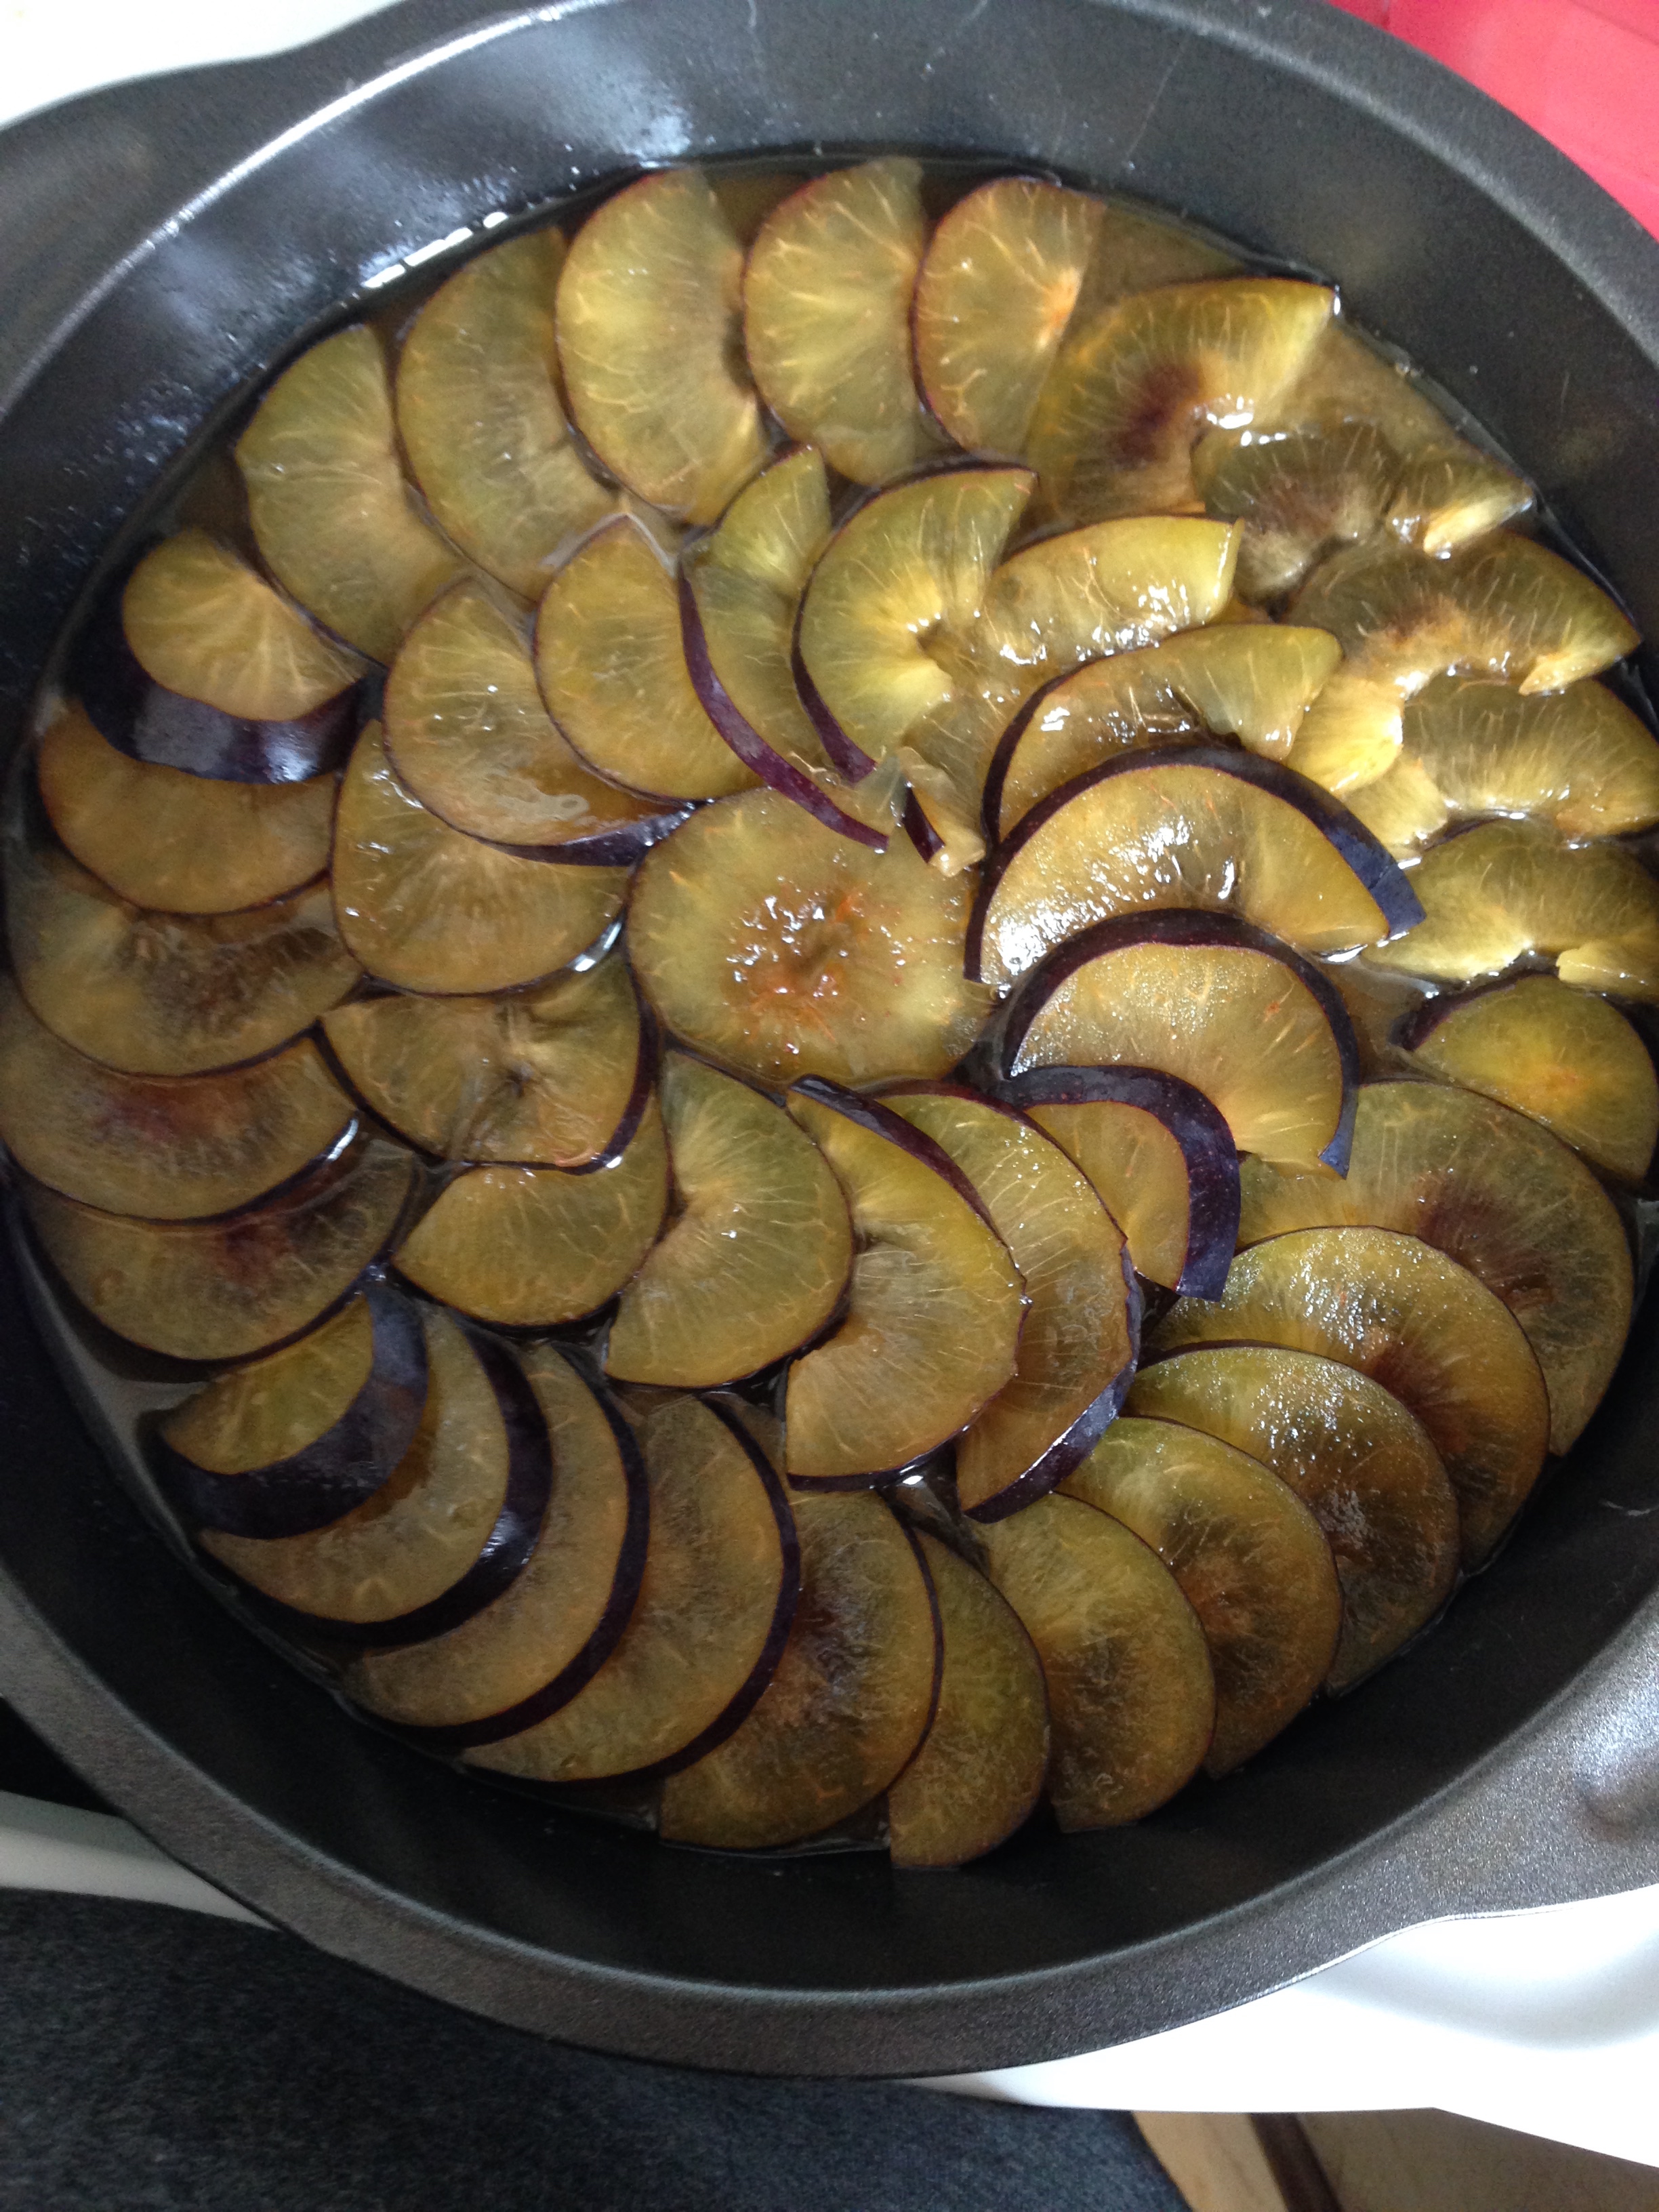
  3. Combine butter, sugar, honey and cinnamon in the round baking pan. Place pan in the oven for 2 minutes until butter is melted. Stir melted butter mixture in the pan together thoroughly. Arrange the sliced plums on top of the sugar mixture in the baking pan. Set aside.
  4. In a bowl, combine flour, baking powder and salt. Set aside. 
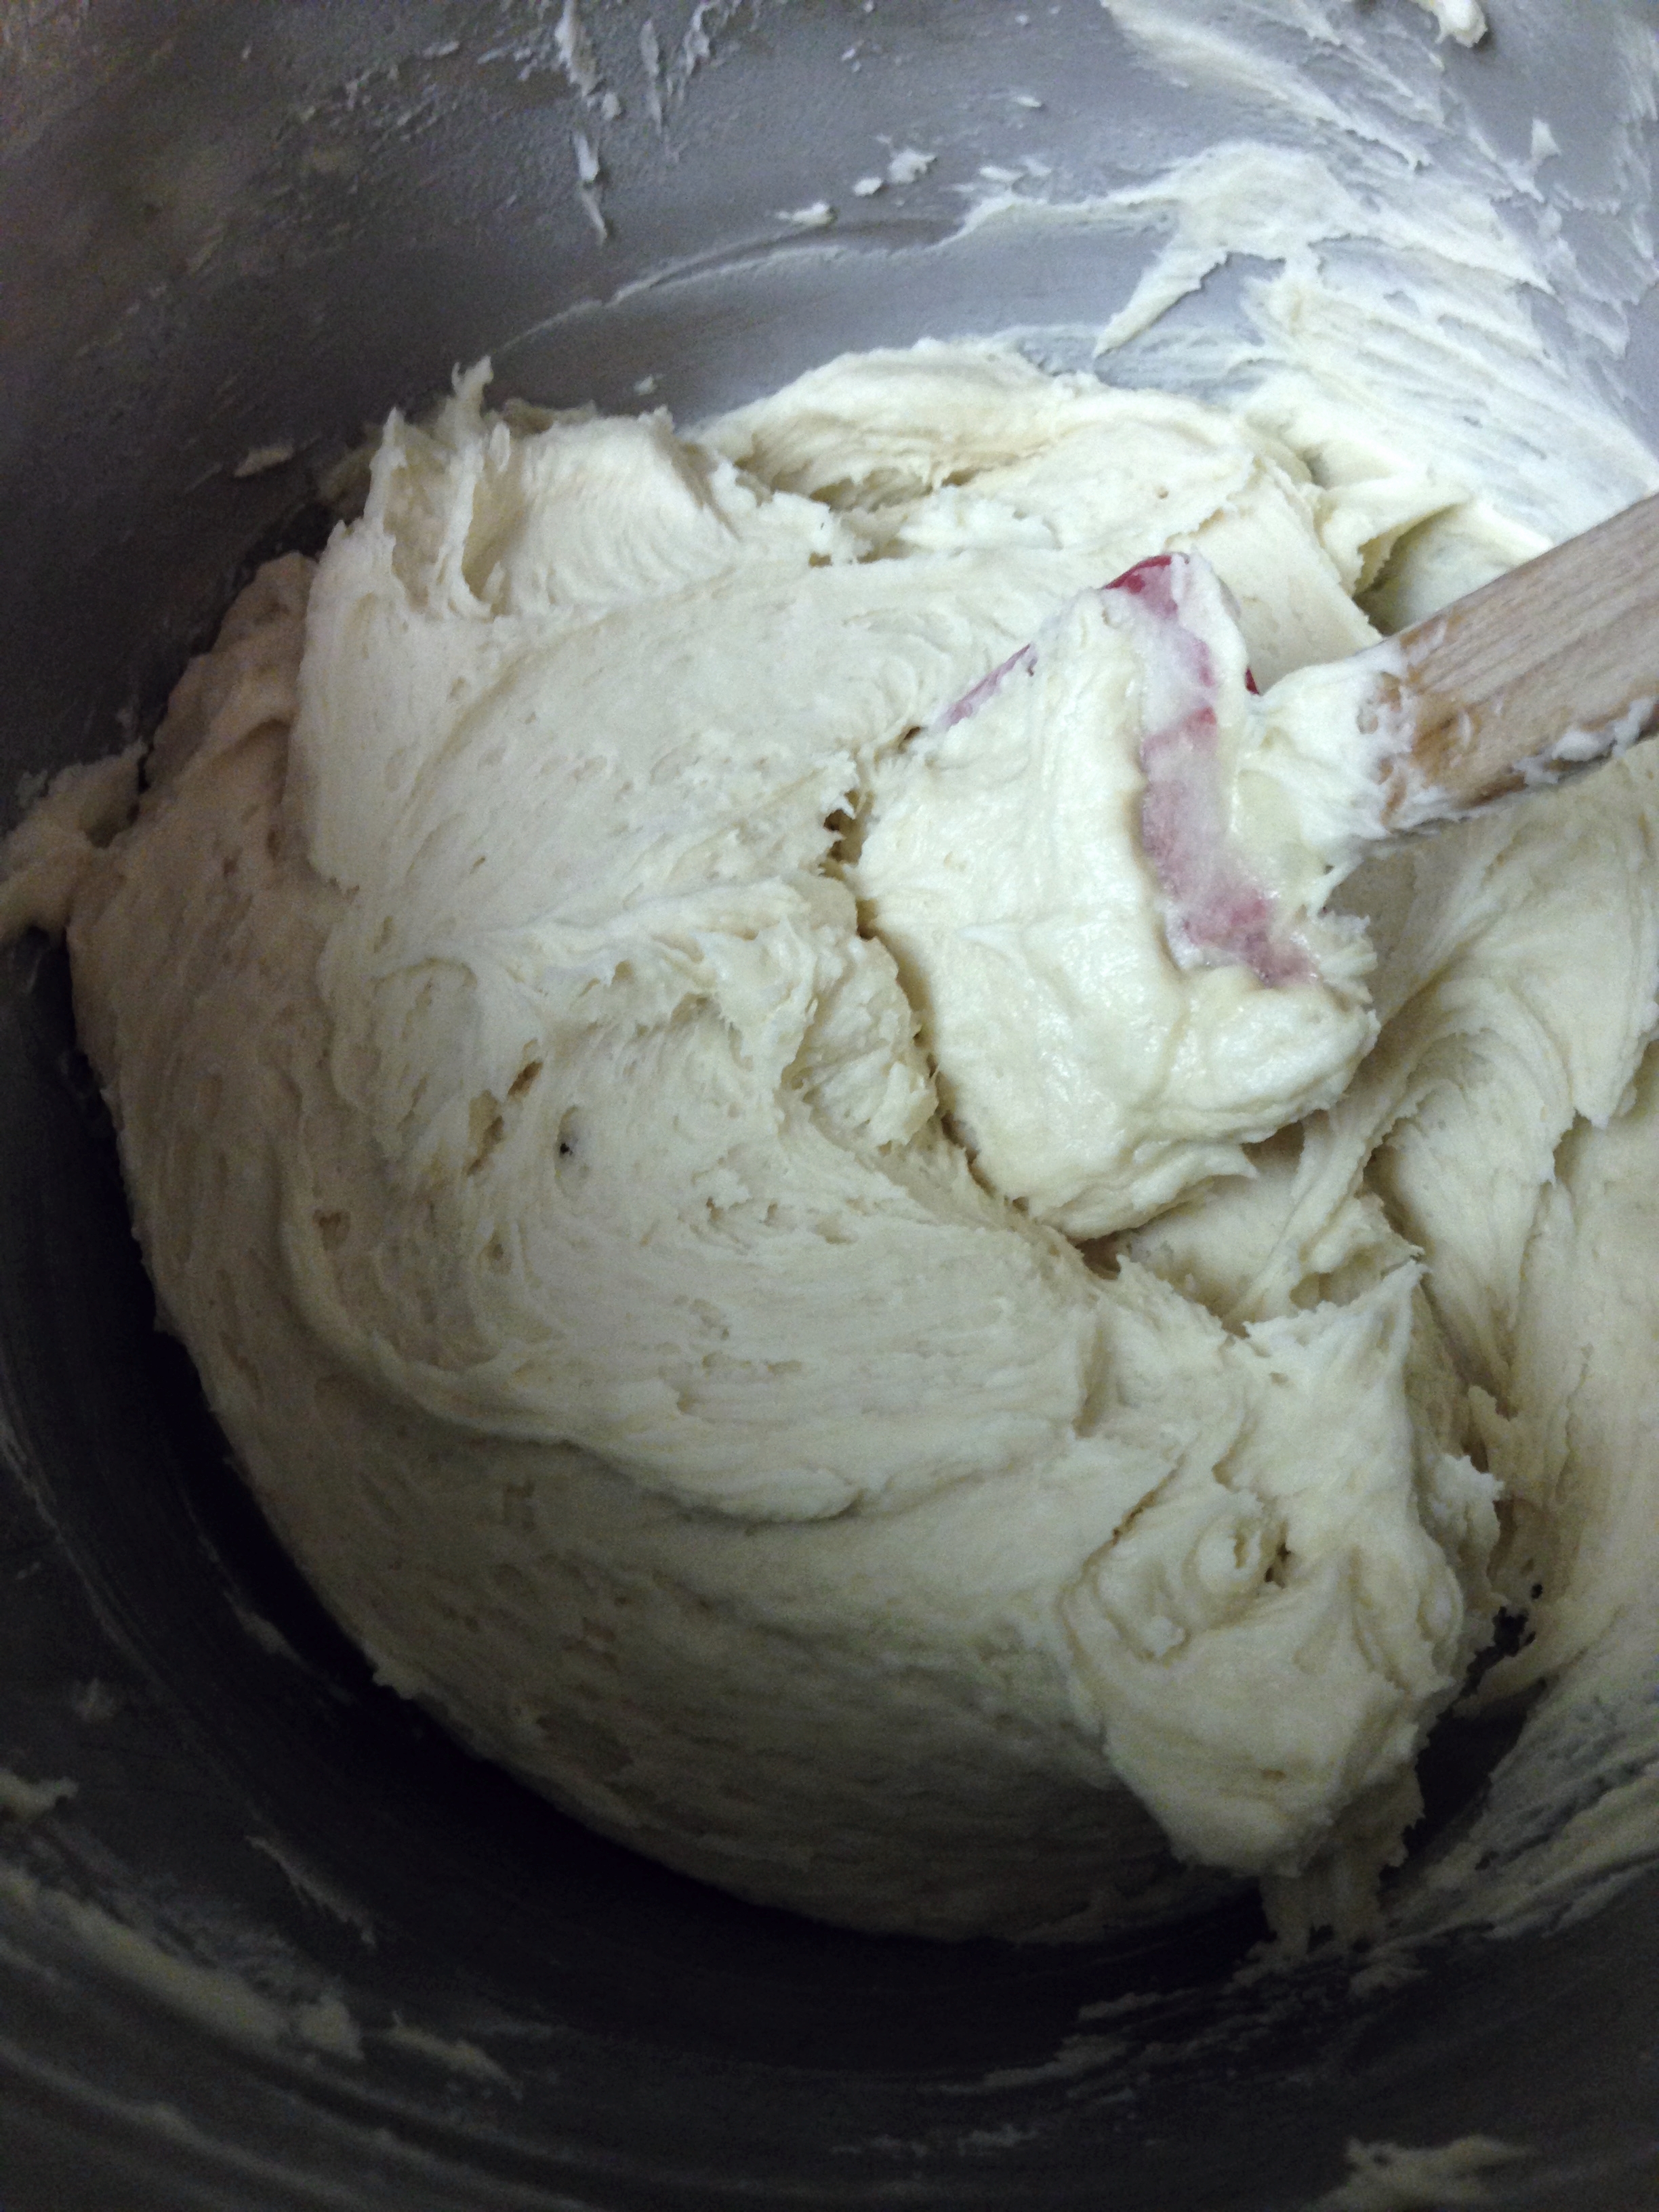
  5. In an electric mixer, cream butter. Add sugar and beat until butter is light and fluffy. (It will literally change colour. From butter yellow to a light white yellow.)
  6. Add pre-beaten egg. Stir. 
  7. Now combine flour and milk in with the sugar/egg mixture, alternating between adding milk and flour mixture. Mix each part until smooth before adding the next part. 
  8. Stir in vanilla. 
  9. Pour cake batter on top of the plums in the baking pan. Smooth the top so all the plums are covered. 
  10. Bake for ~50 minutes or until a fork inserted into centre of cake comes out clean. 
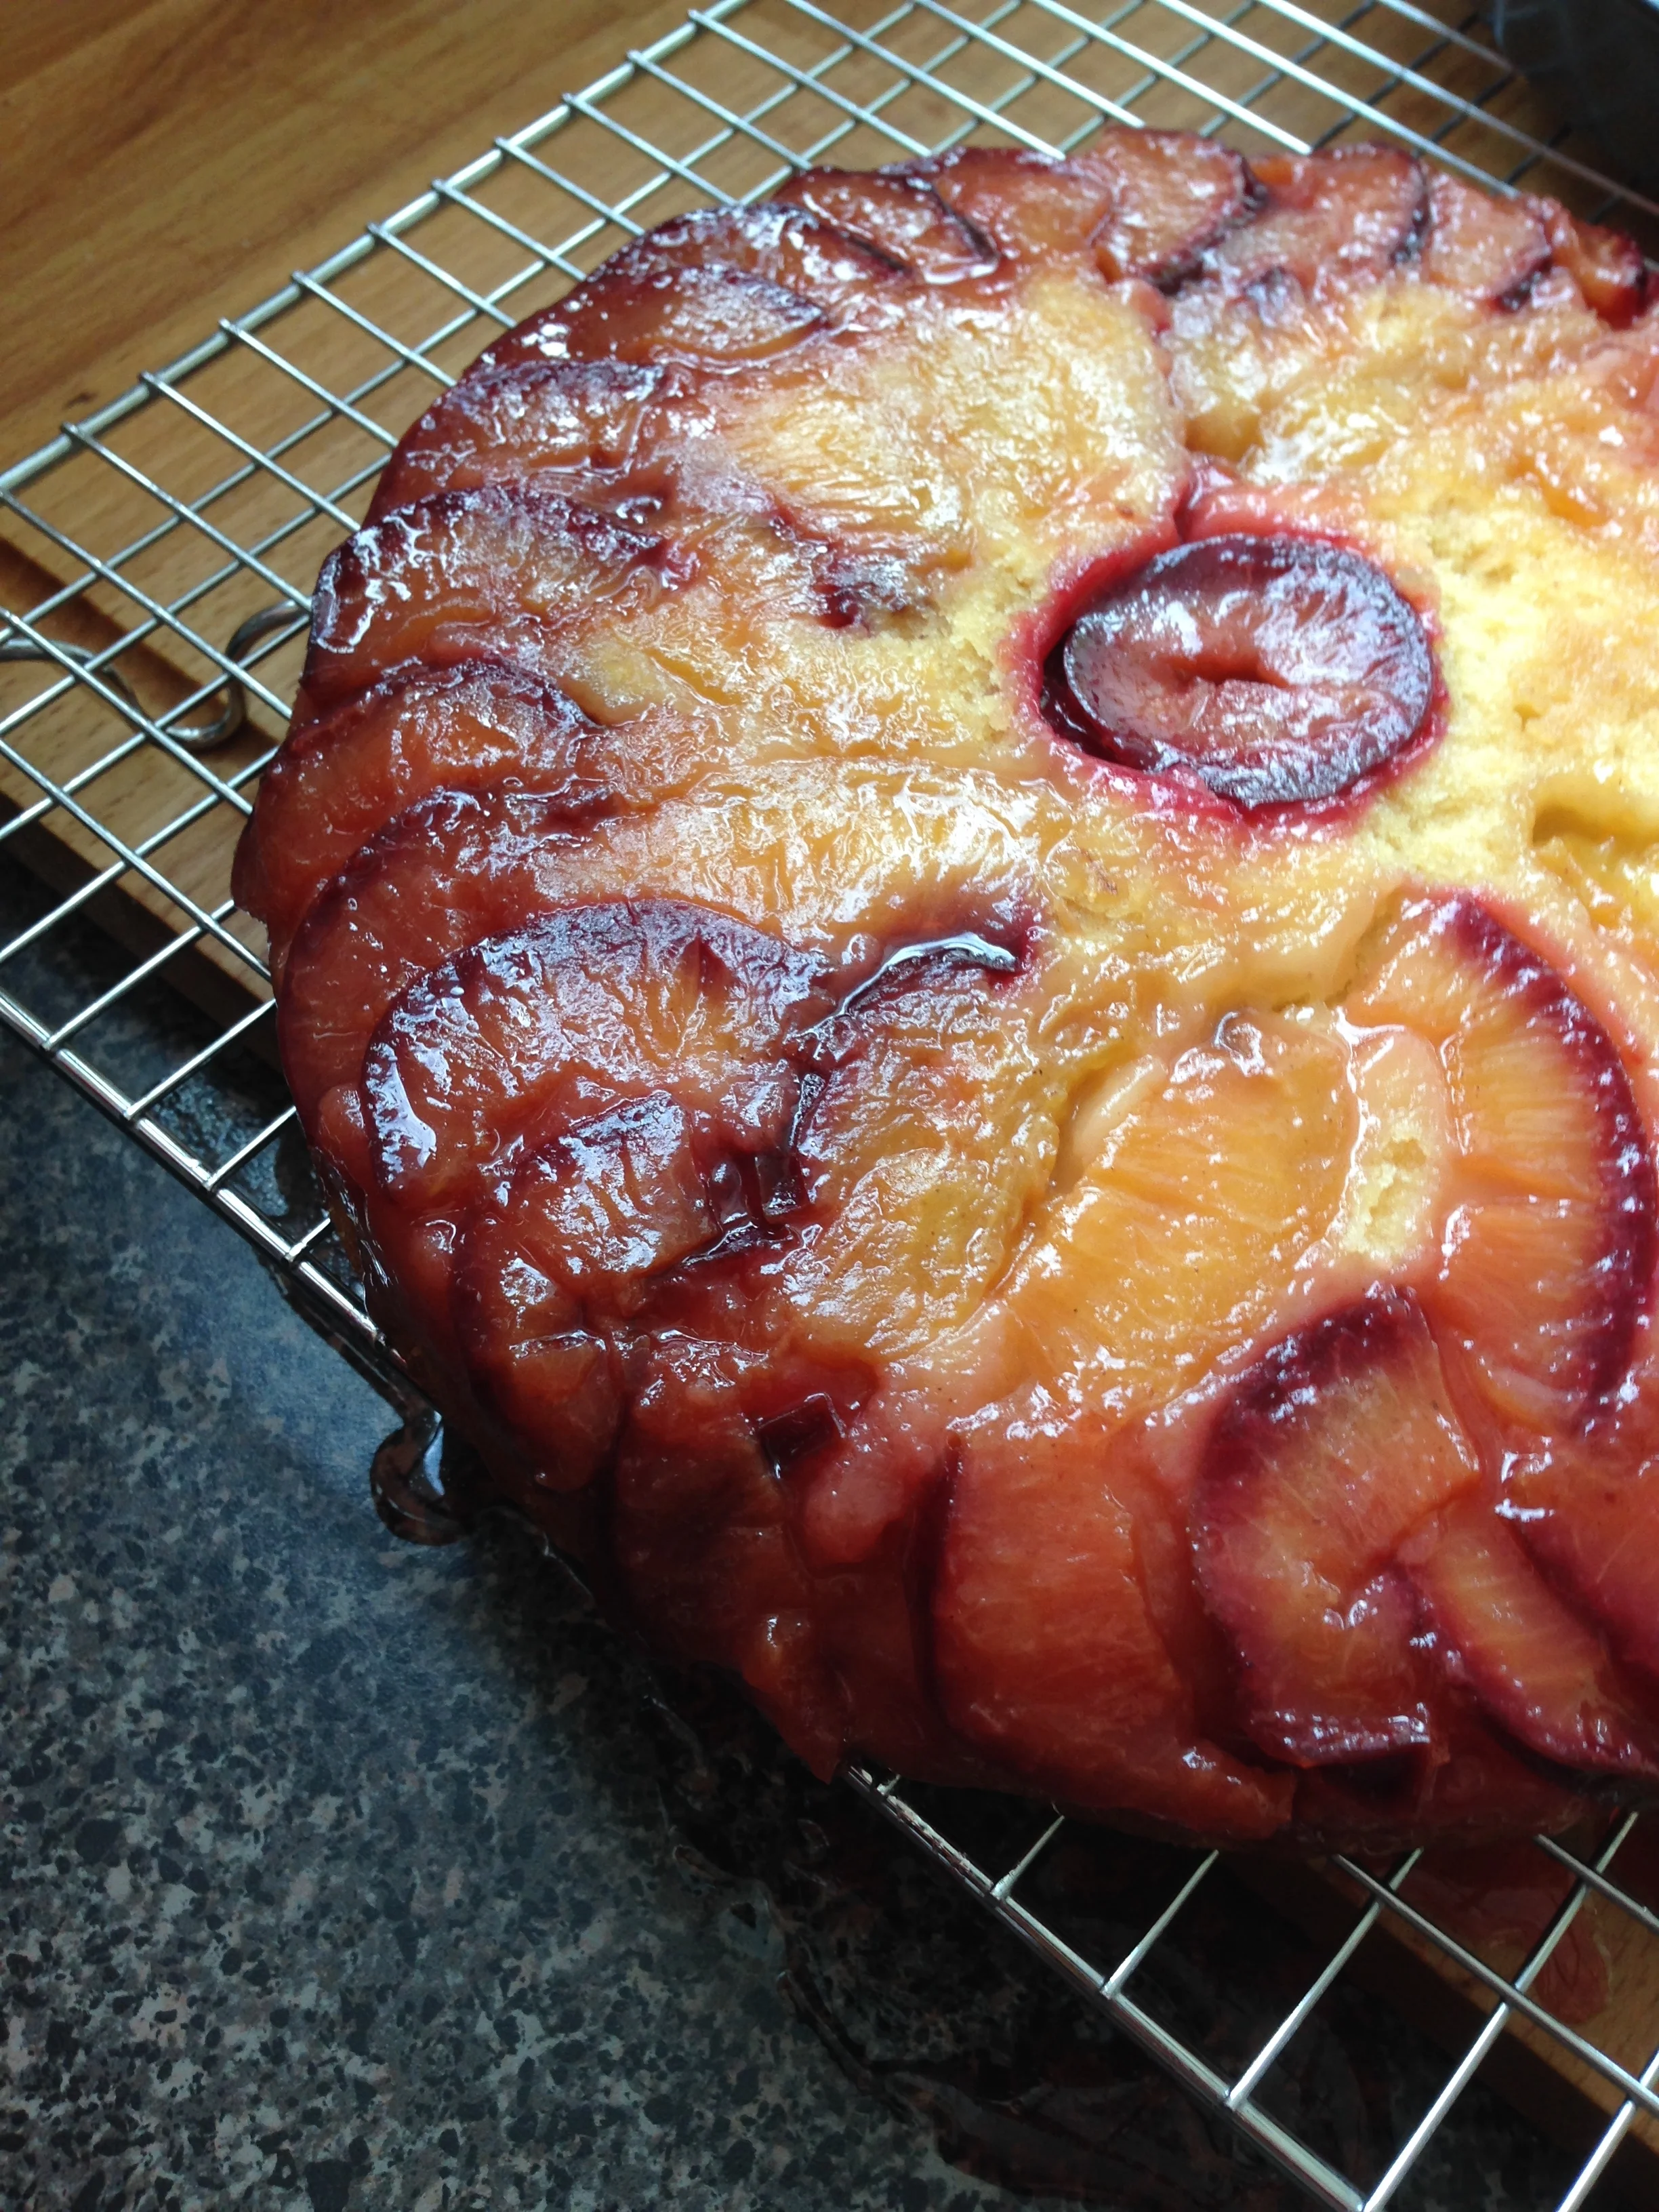
  11. After it's done baking, let cool for an hour before you flip it out onto a serving platter. Serve warm or let cool completely and top with icing sugar. 

De-ricious!

And hopefully I'll be able to share some of  my work-y endeavours soon! (Confidentially agreements are weird....)

-Andrea

The Half-Assed Hobbyist
Zoo-chi-nee

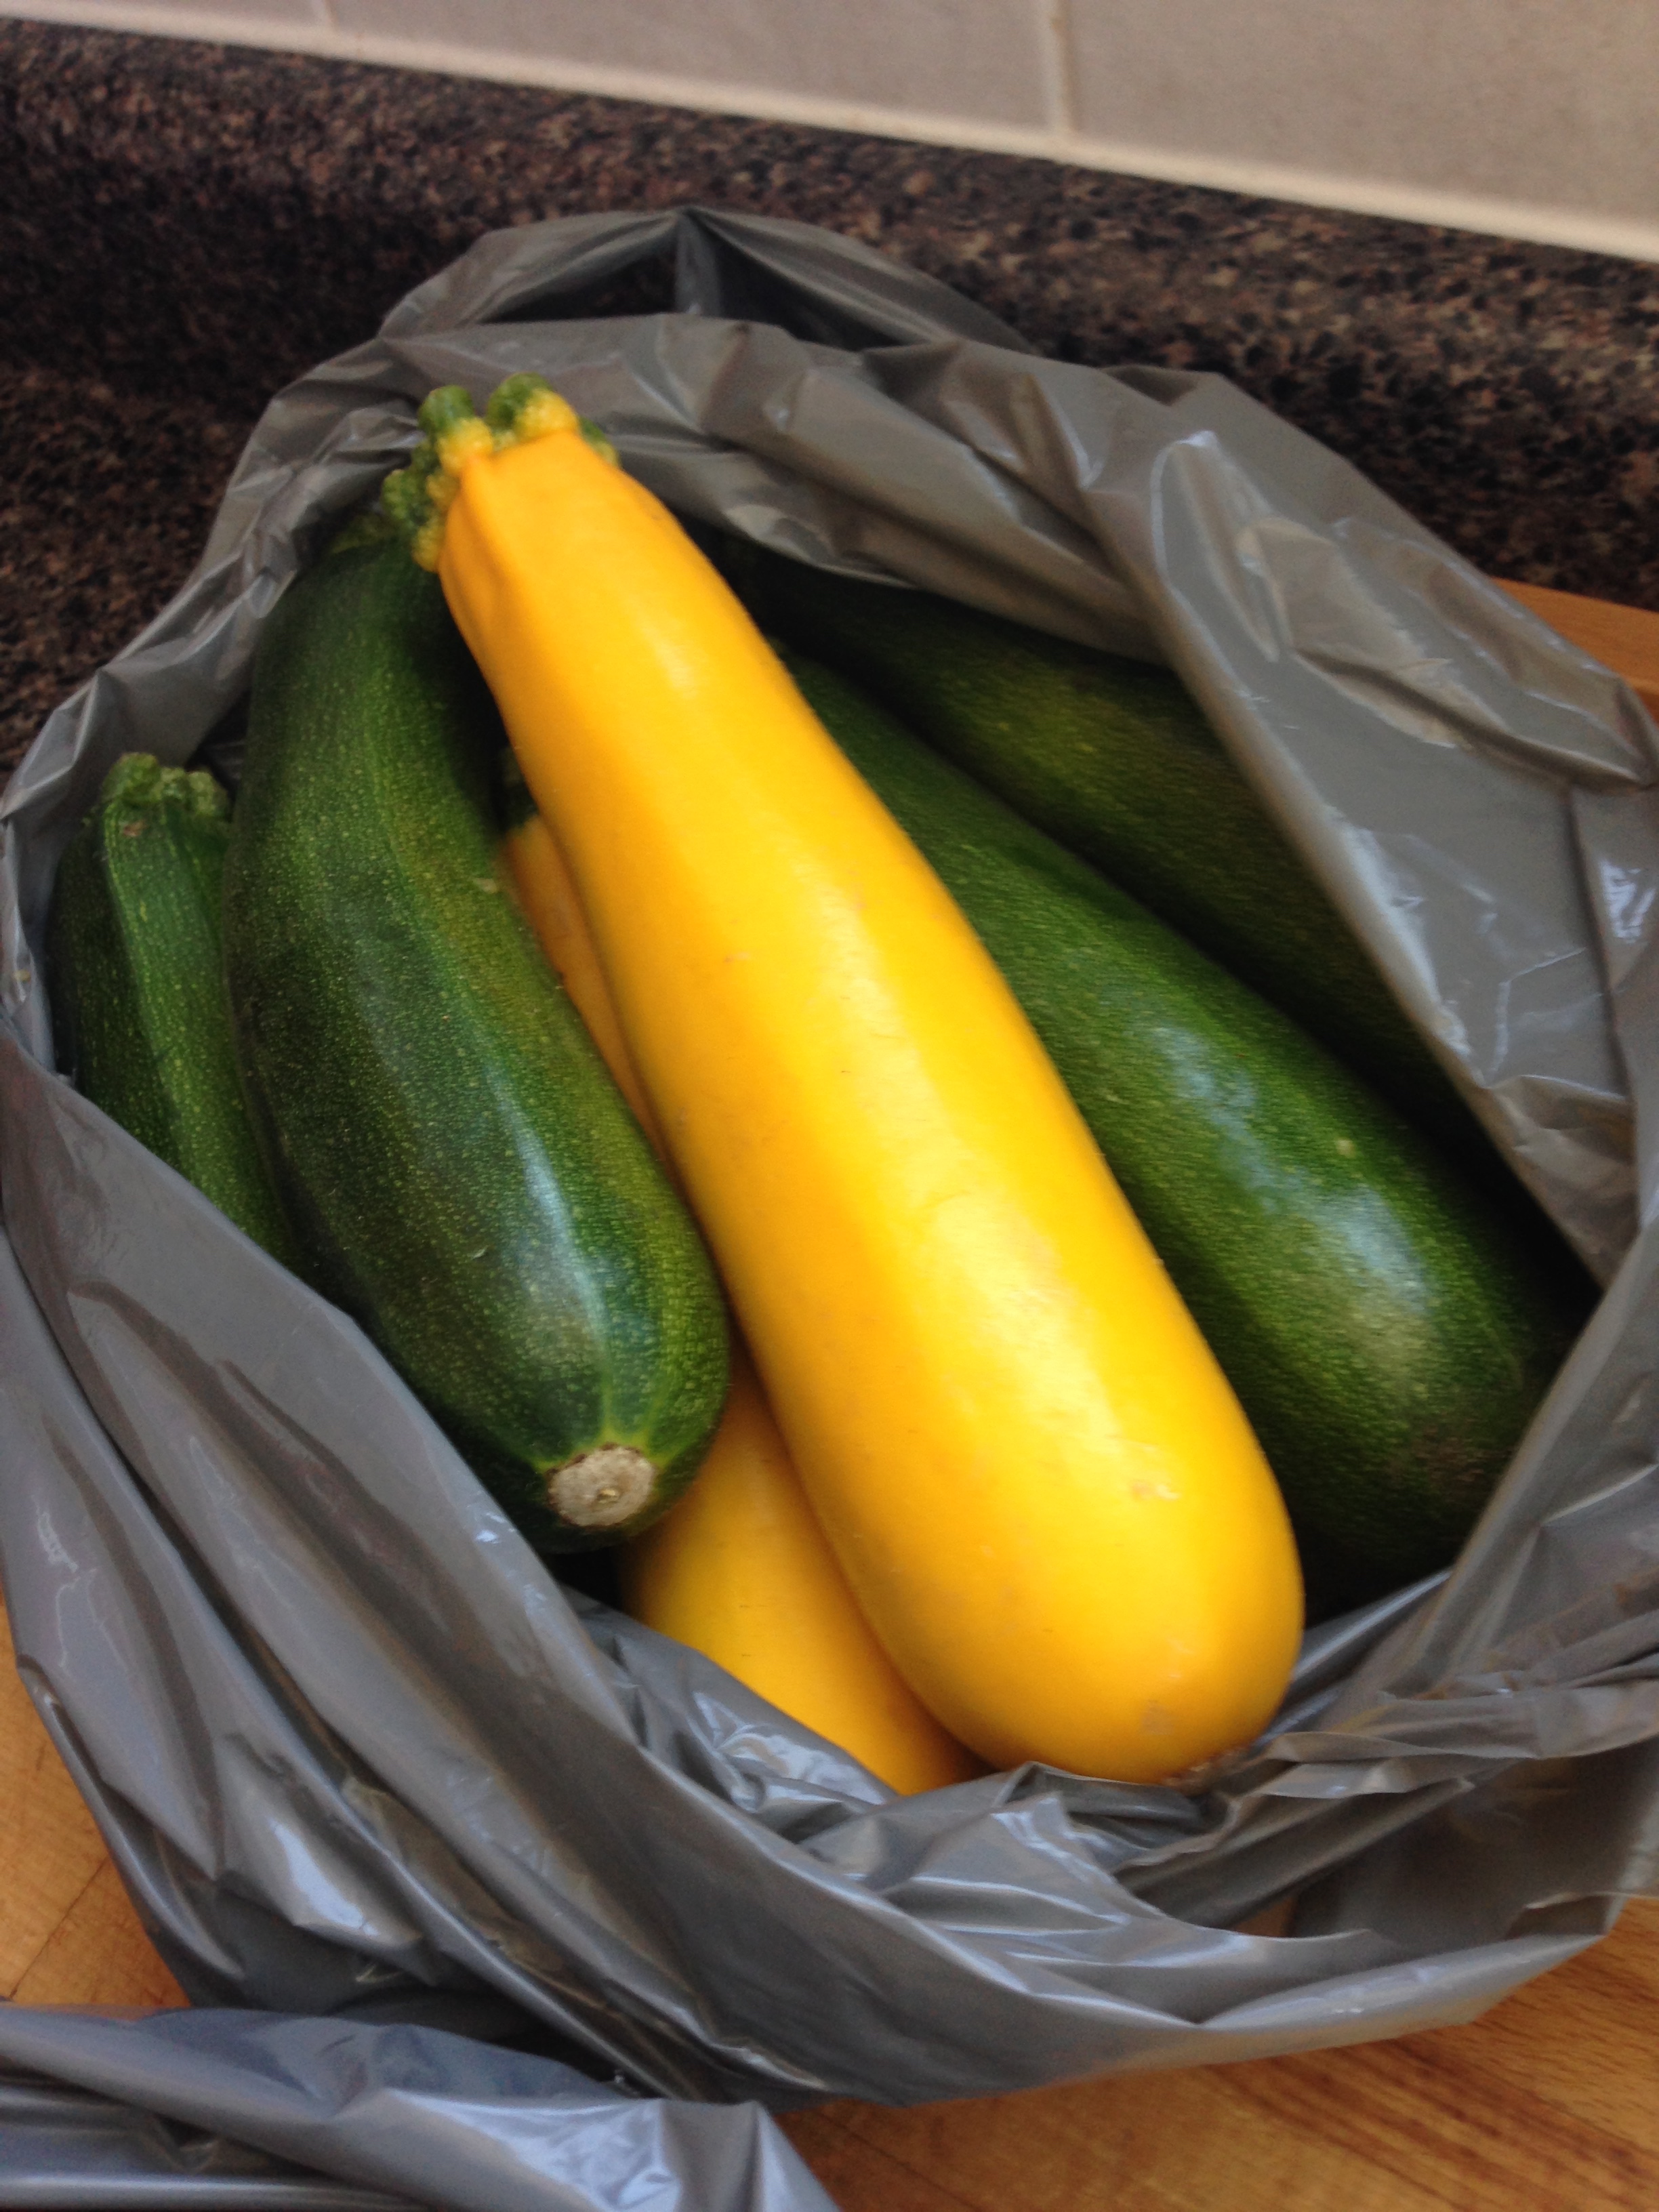
So I suck at spelling. I'm one of ~those~ people that just really never got the hang of word-ing. Definitely influenced by a family dyslexia disorder that no one really talks about, but wibbly switching words aside, I always check my spelling by saying the words out loud (....in my head....alright, you got me, I'm the crazy girl saying words out loud to herself). Some words are funner to check than others. Like saying 'piece' in an english accent to remember to check that the 'i' and 'e' are in the right place, because in Canadian (hah) it's said 'pee-ce', which is really confusing. Or another favourite word to say: Zoo-chi-nee, also known as zucchini. 

-SMOOTH TRANSITION-

As I had a bunch of market zucchini in my fridge, below is a recipe for:

Zucchini Muffins with Chia Seeds

2 cups flour
1 cup sugar
1/4 tsp salt
2 tsp baking soda
1 tsp cinnamon

2 eggs
1/3 cup oil
1/3 cup margarine 

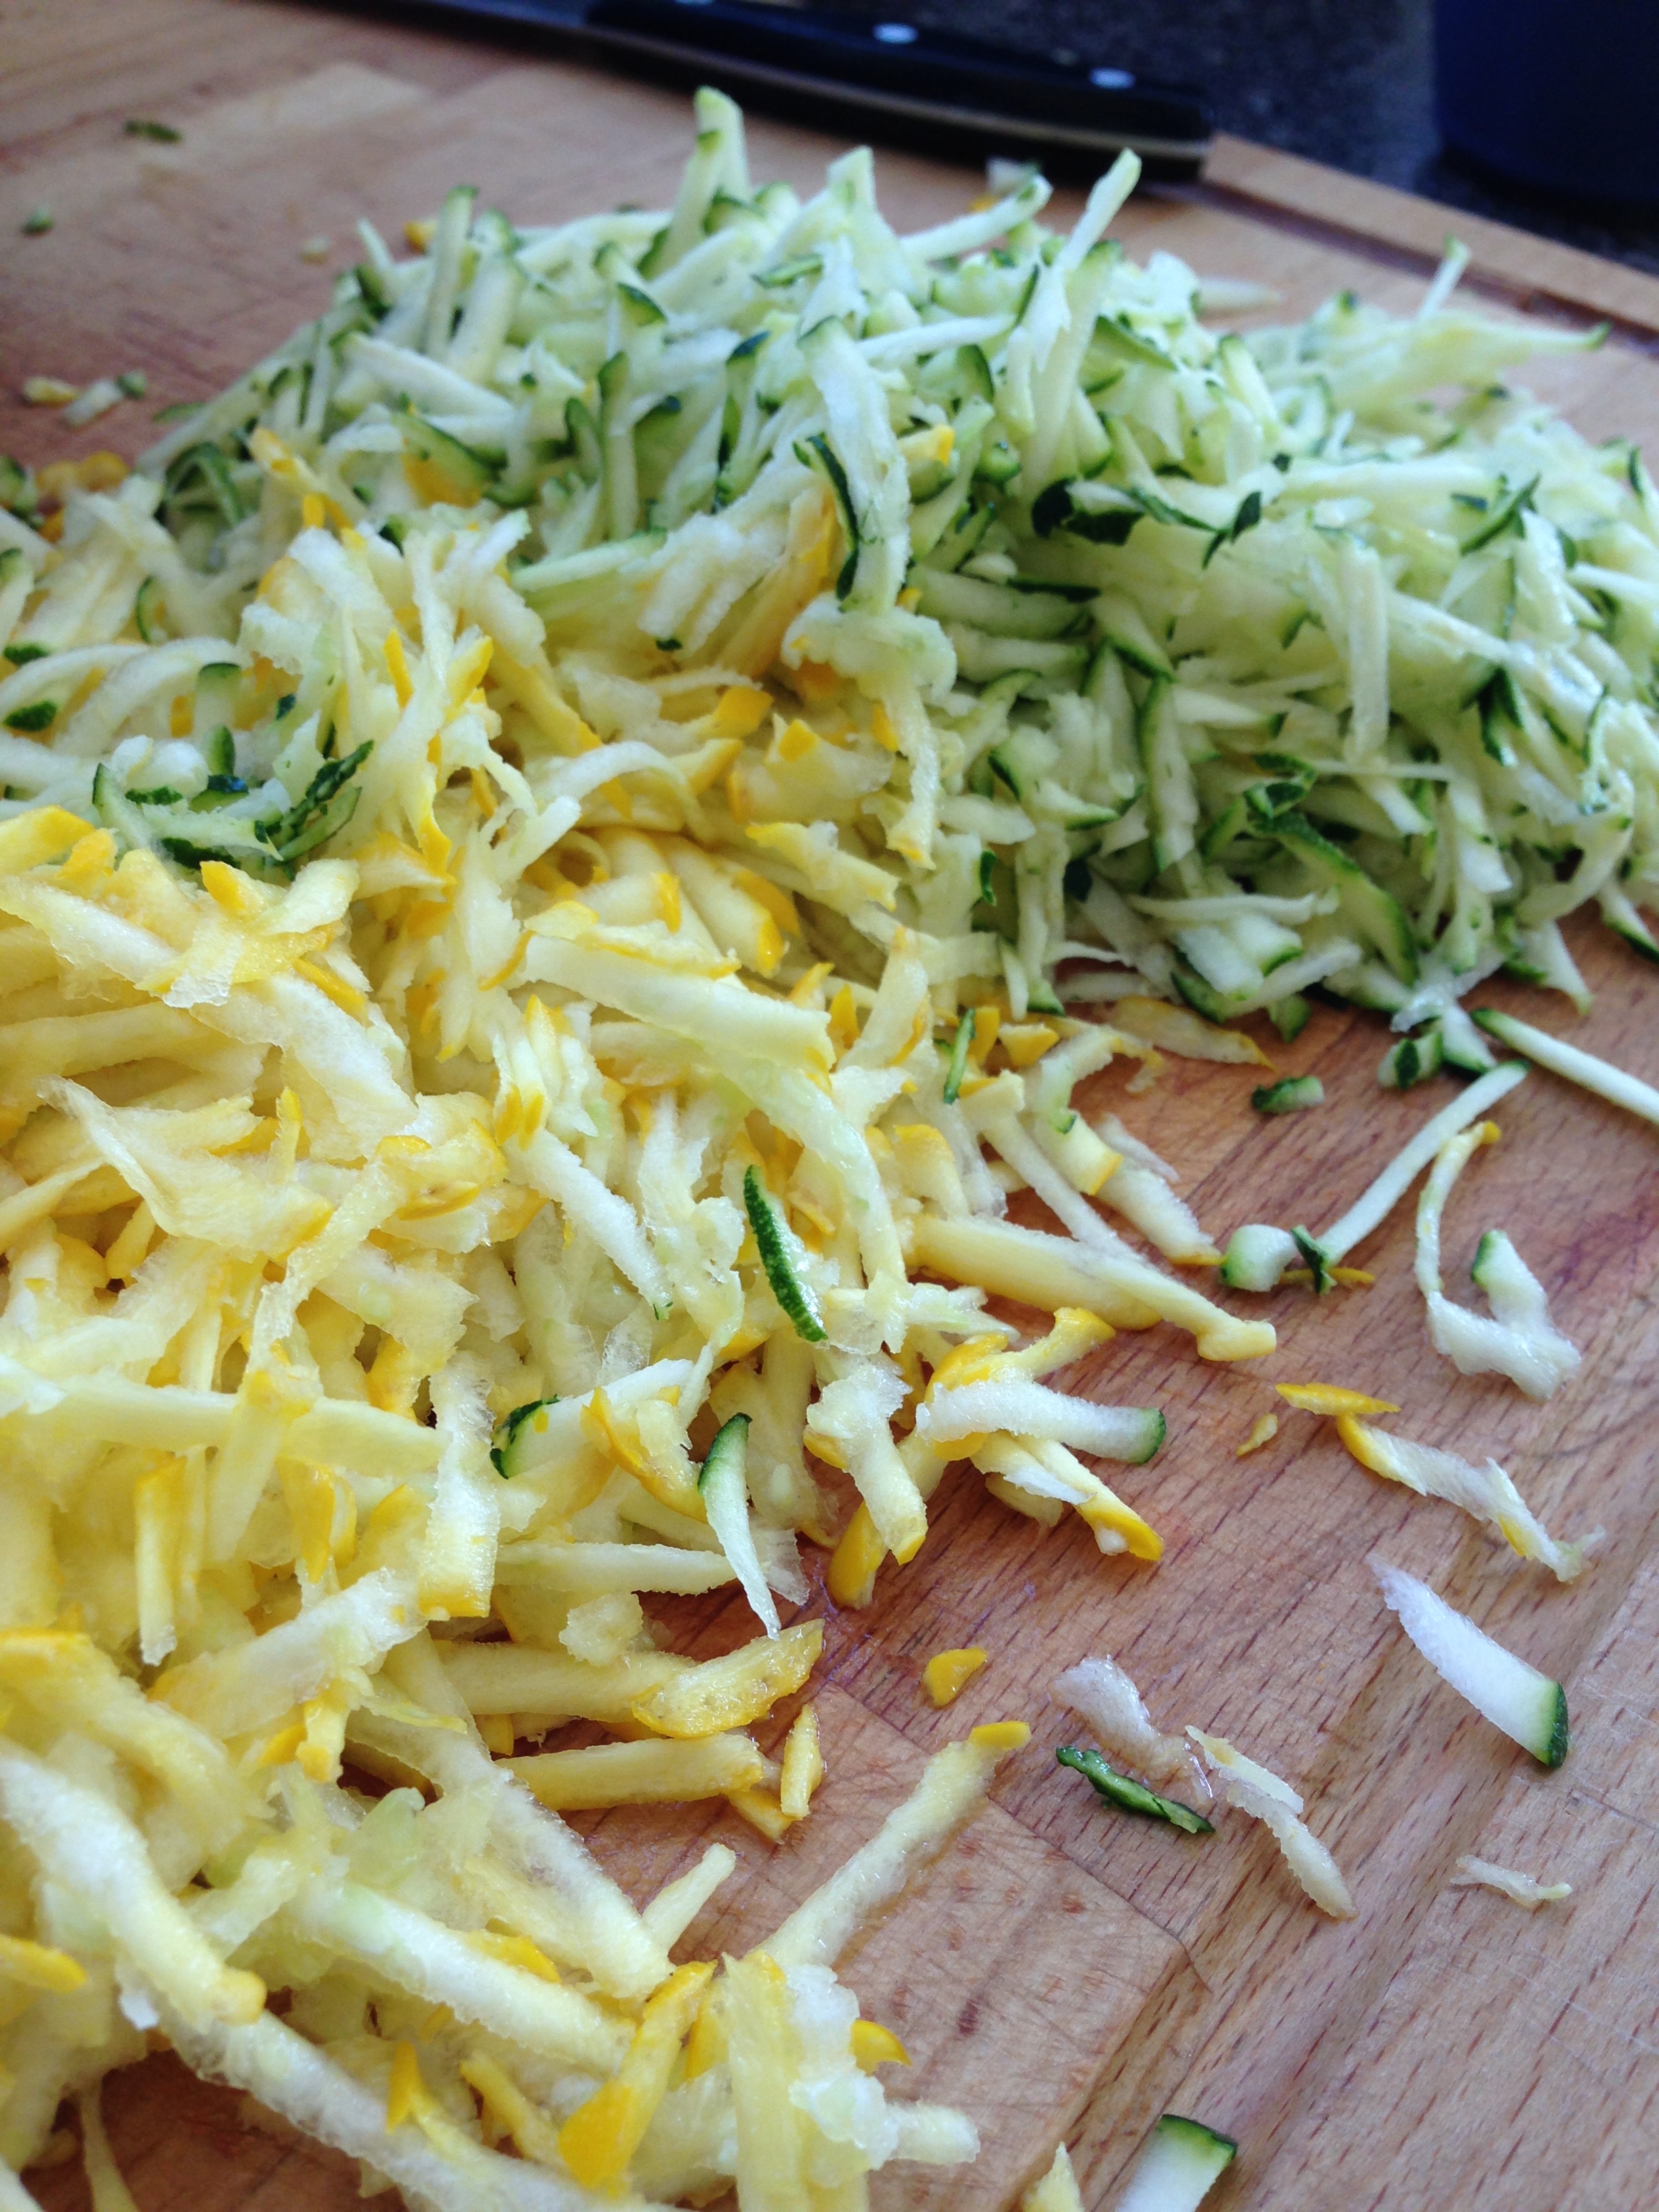
2 medium zucchini, grated

Chia seeds

  1. Pre-heat oven to 375'. Oil a muffin pan. Set aside. 
  2. Combine all the dry ingredients in one bowl. Stir to combine.
  3. Combine eggs, oil and margarine in another bowl. Stir to combine. 
  4. Add 'liquid' ingredients to the dry ingredients. Mix thoroughly. 
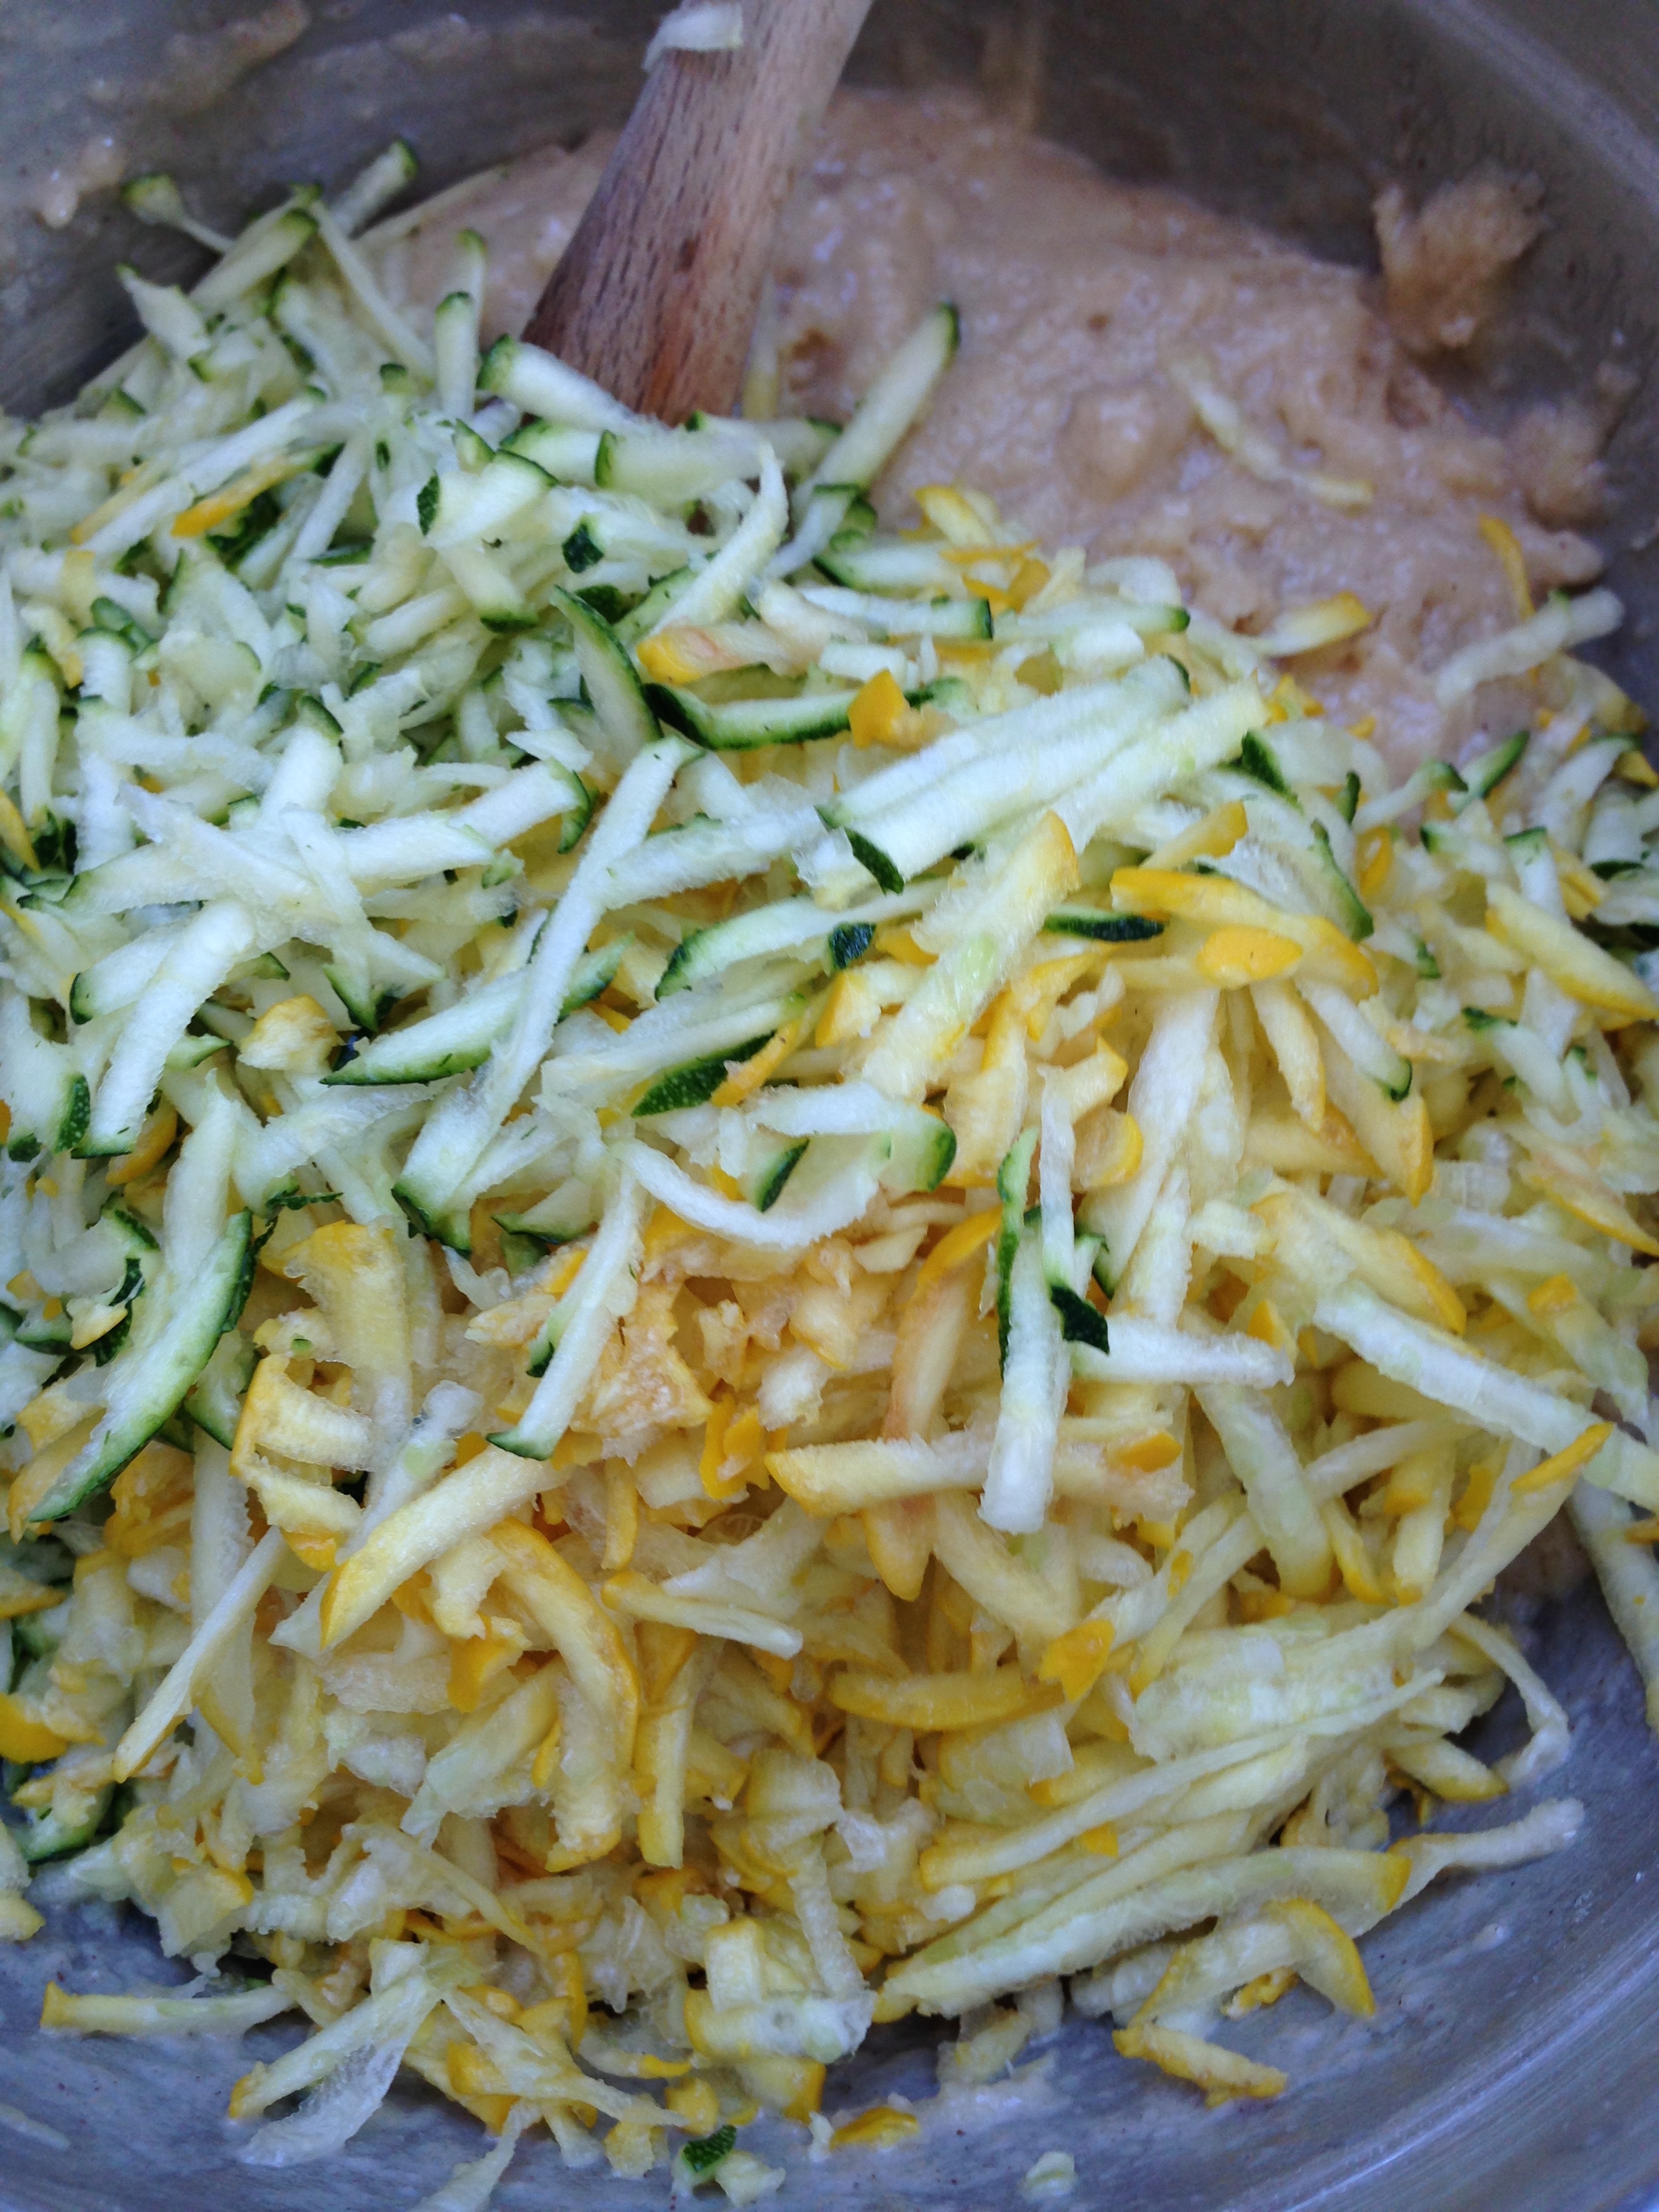
  5. Add shredded zucchini to batter. Mix together. 
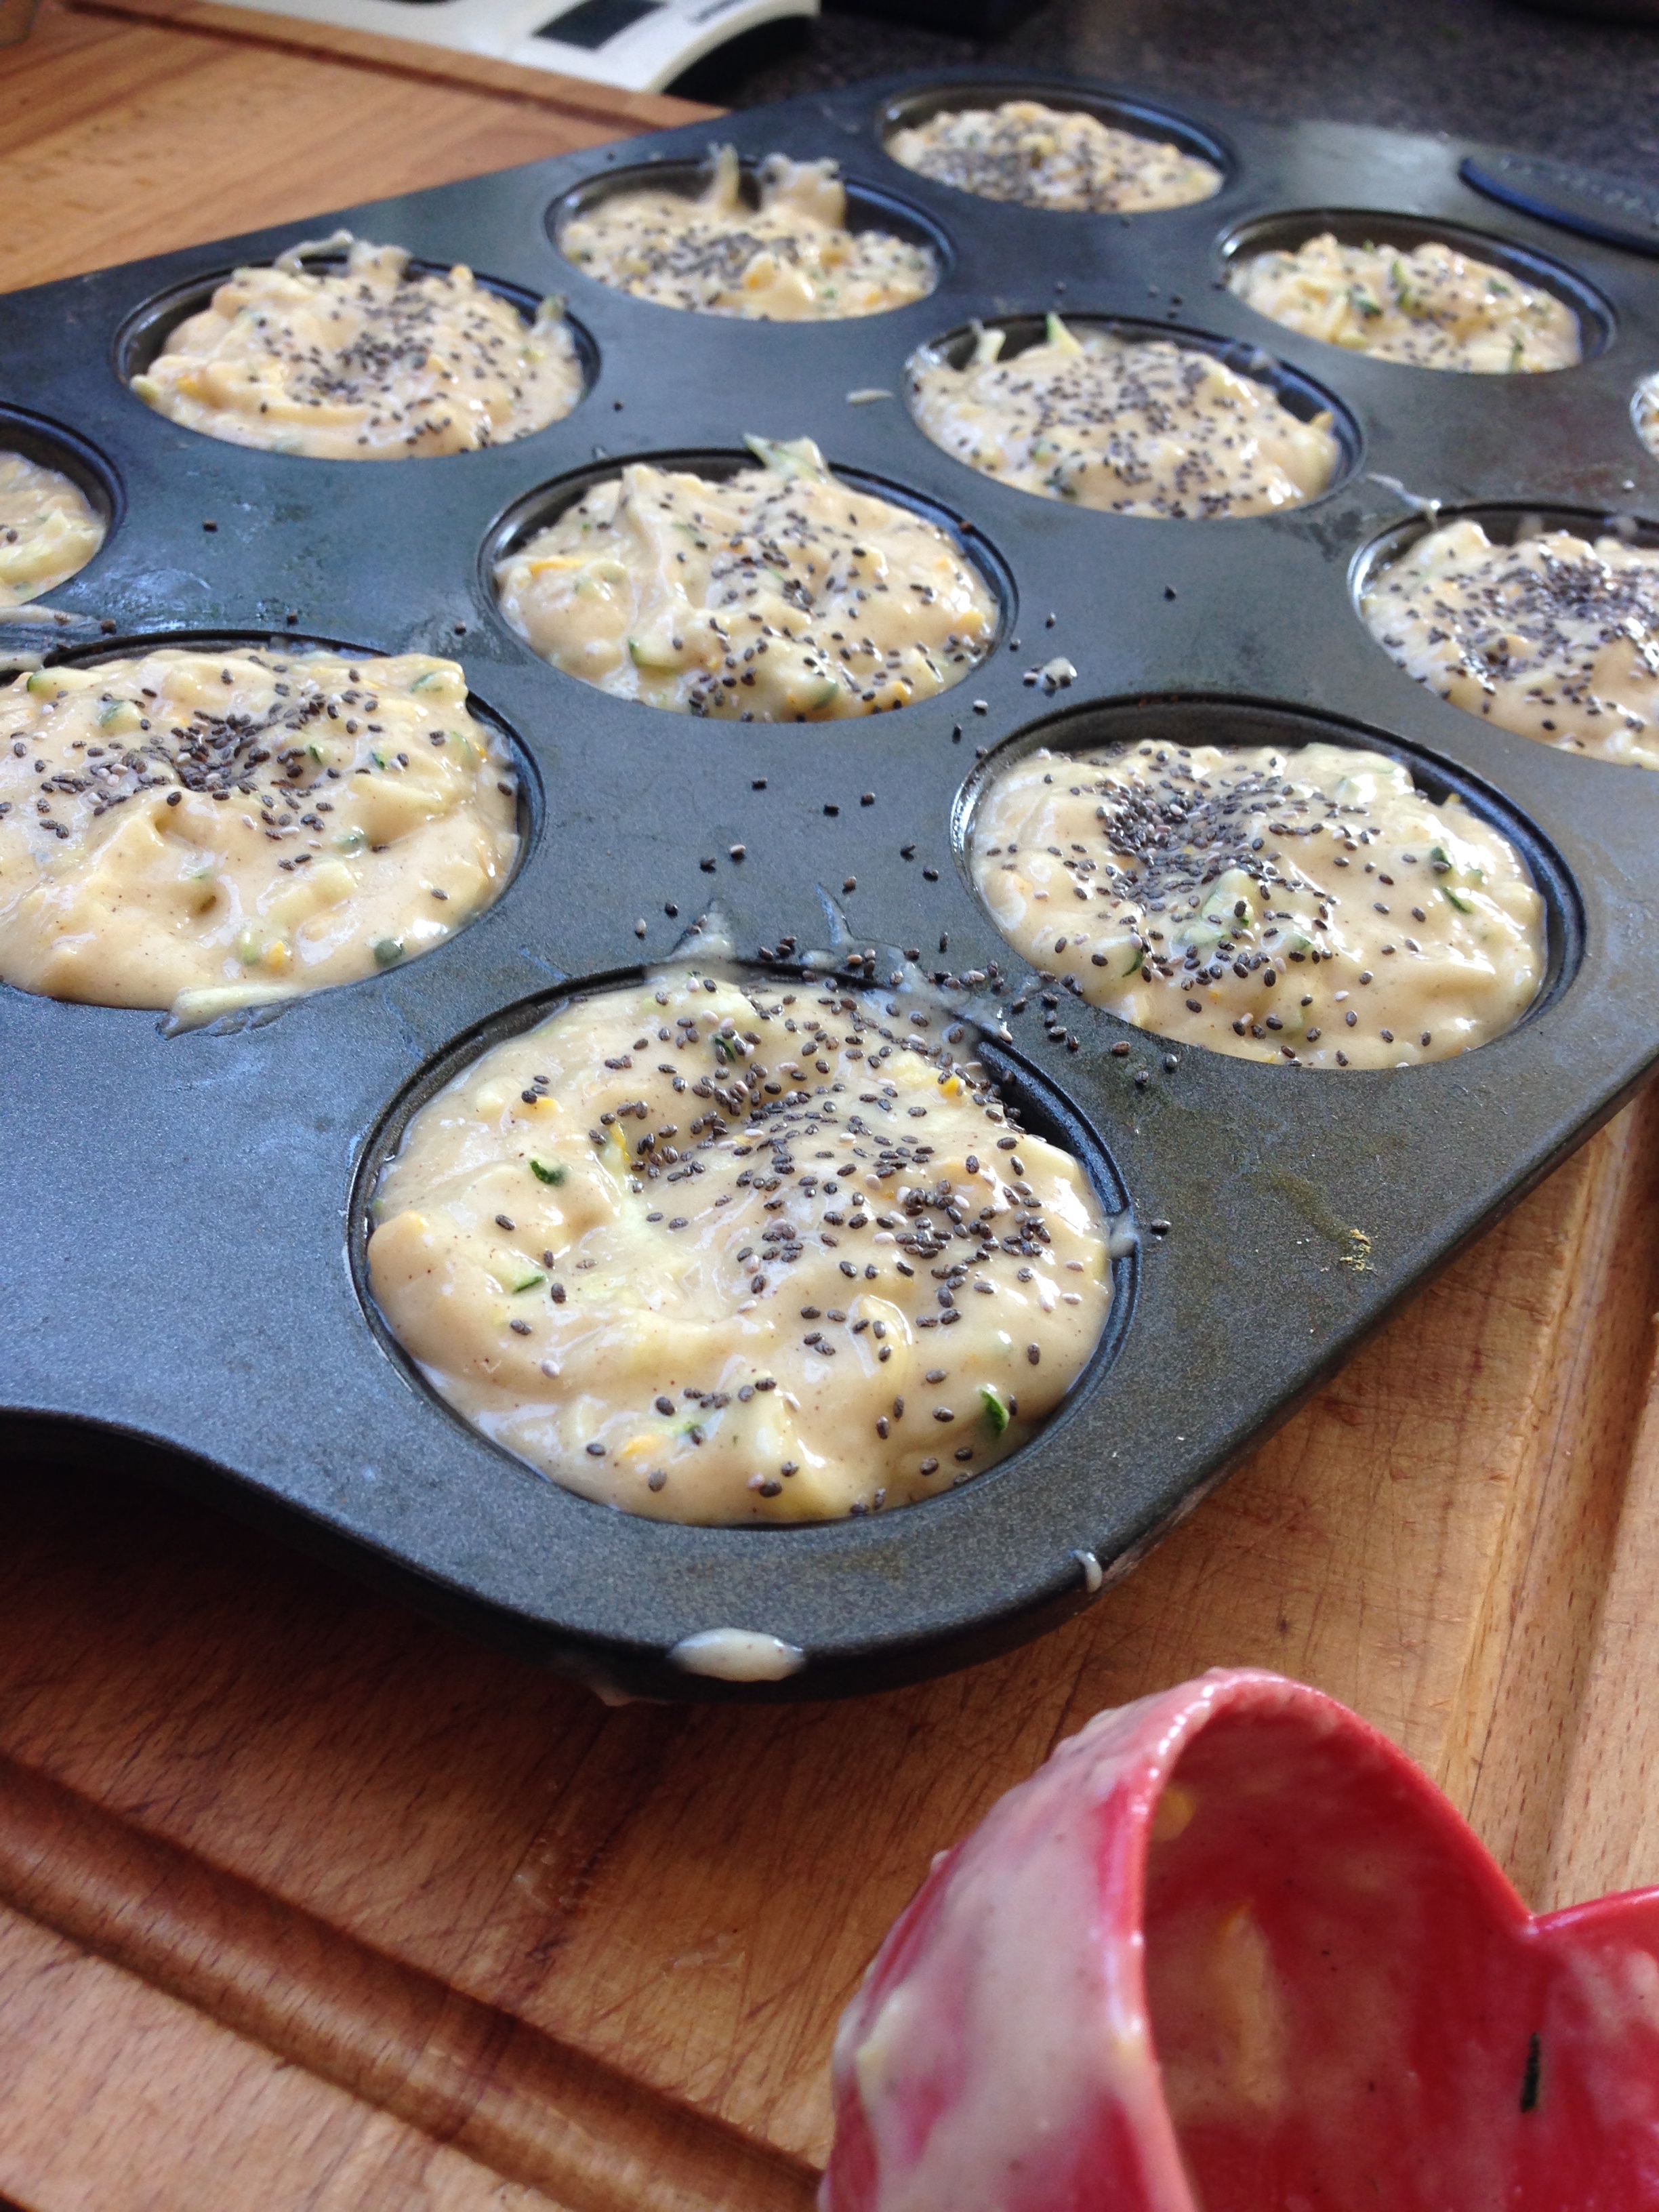
  6. Using a 1/4 cup measure, scoop batter into prepare muffin pan. 
  7. Sprinkle chia seeds over top of muffins. 
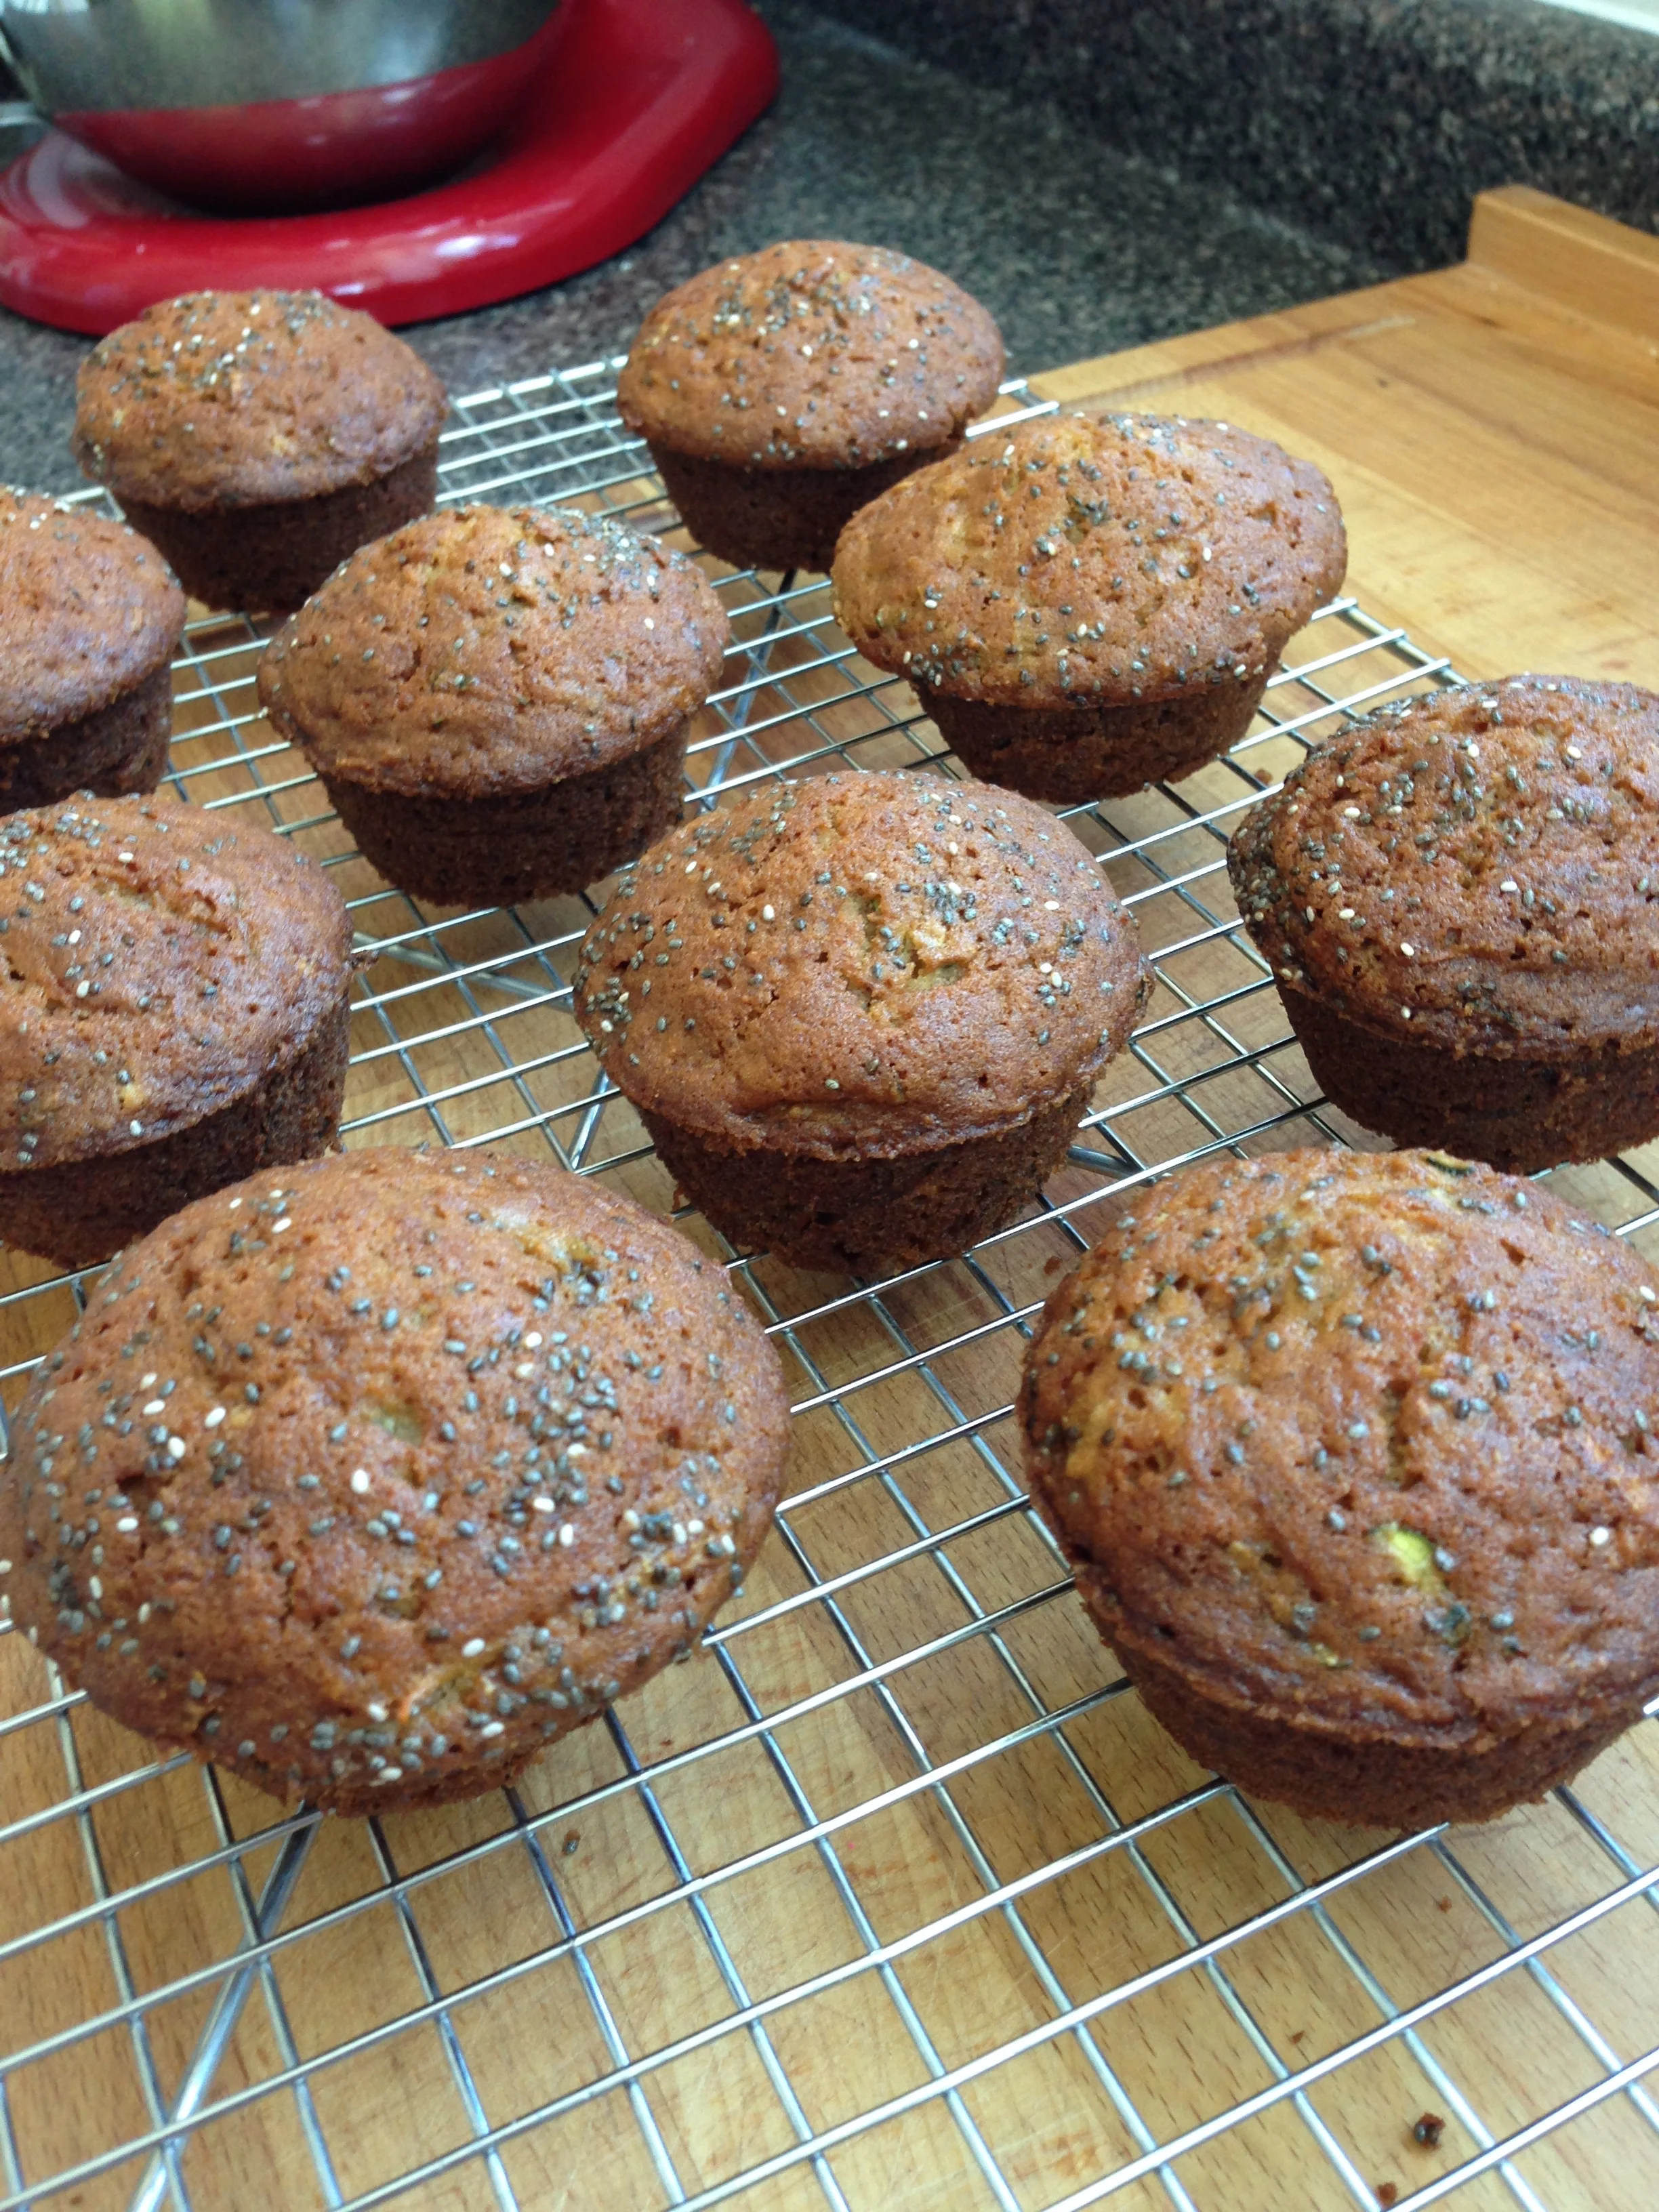
  8. Bake muffins for ~25 minutes or until golden brown and a toothpick inserted into centre of a muffin comes out clean.
  9. Serve warm with margarine and clover honey. 

Haha. Anyways. Word-ing. Check. 

Enjoy!

-Andrea

The Half-Assed Hobbyist
ย 

Tart the Second

Previously, I never understood the real desire to make a tart when you could easily make it be a pie instead. Pie > Tart; Or so I thought. 

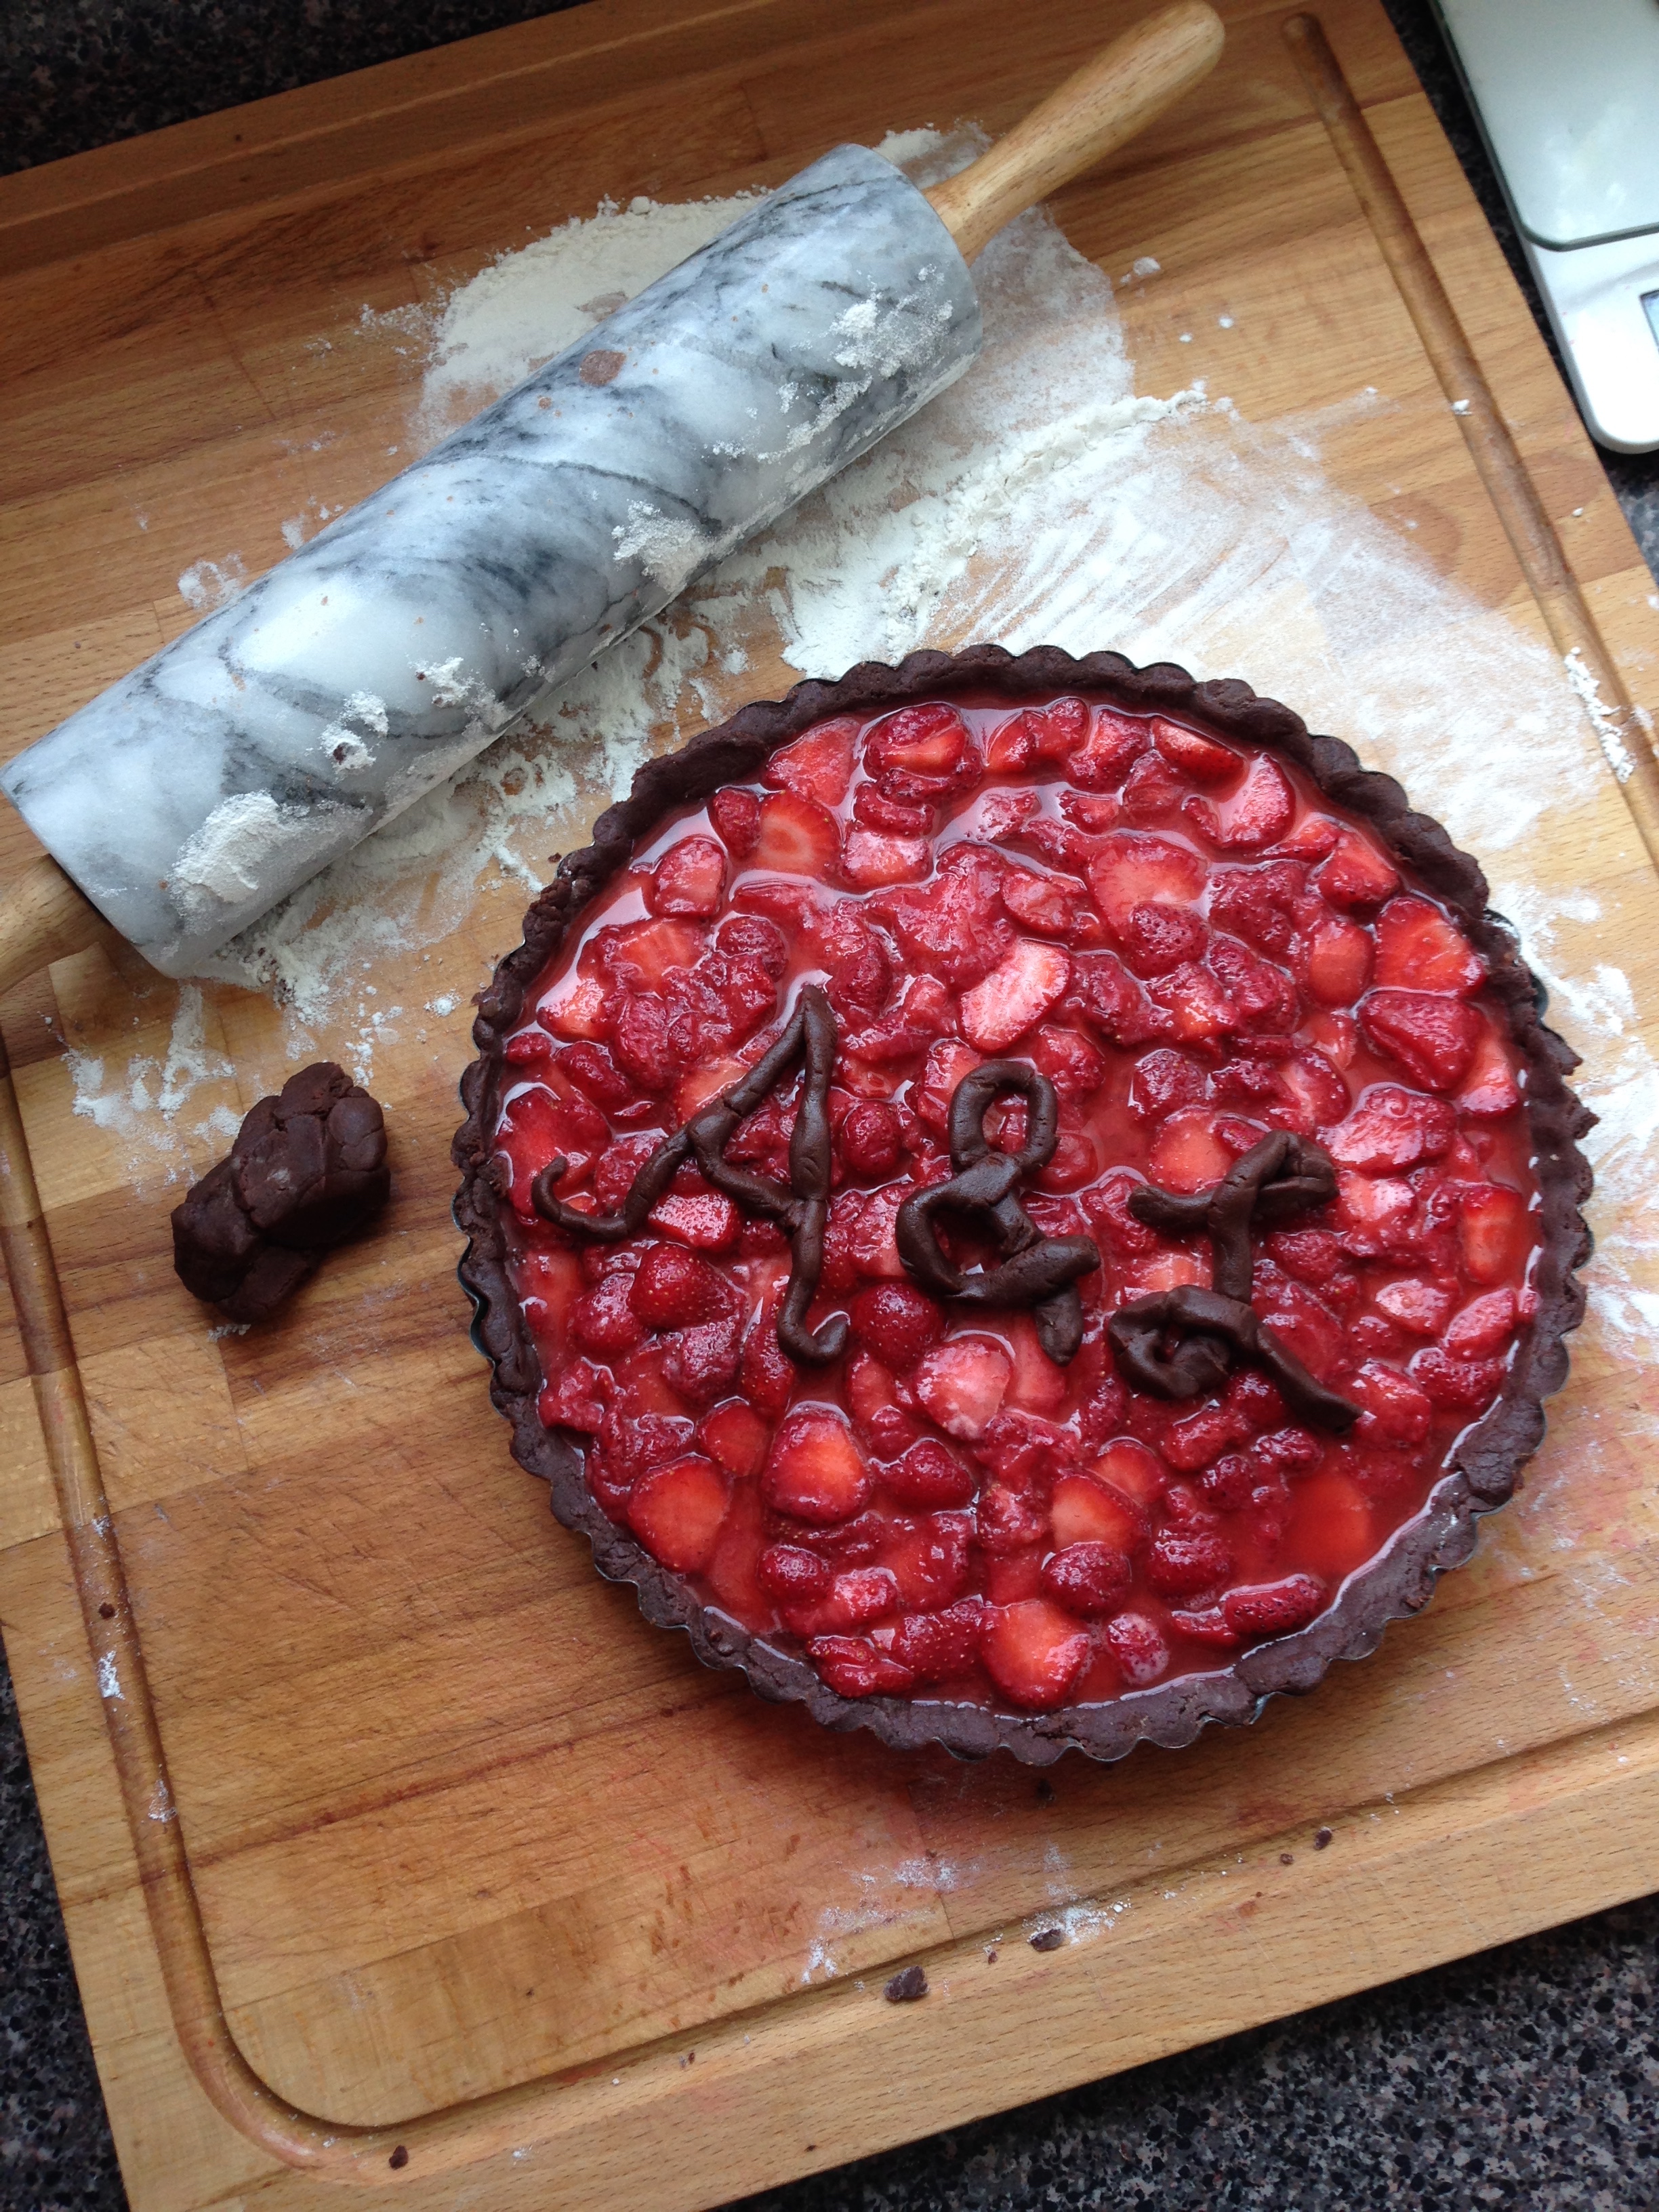
The first tart I ever made was a raspberry tart with a crumble topping for my bestie Jess' 25th birthday. It was splendiferous, made from fresh raspberries that I'd picked late that summer. So when my buddy Lesley came and stayed with me, bringing a bag of fresh wild strawberries she'd picked, the call for tart echoed softly in my brain. (-taaaart taaaaart taaaaart-)

Wild Strawberry Chocolate Tart

Chocolate Press-in Pastry:

1 1/4 cups flour
1/4 cups cocoa powder
2 TBSP sugar
1/4 tsp salt
1/4 cup butter (cold)
1/4 cup margarine (cold)
1 egg yolk
1 tsp vinegar

  1. Oil and flour a ~9 inch tart pan. Set aside.
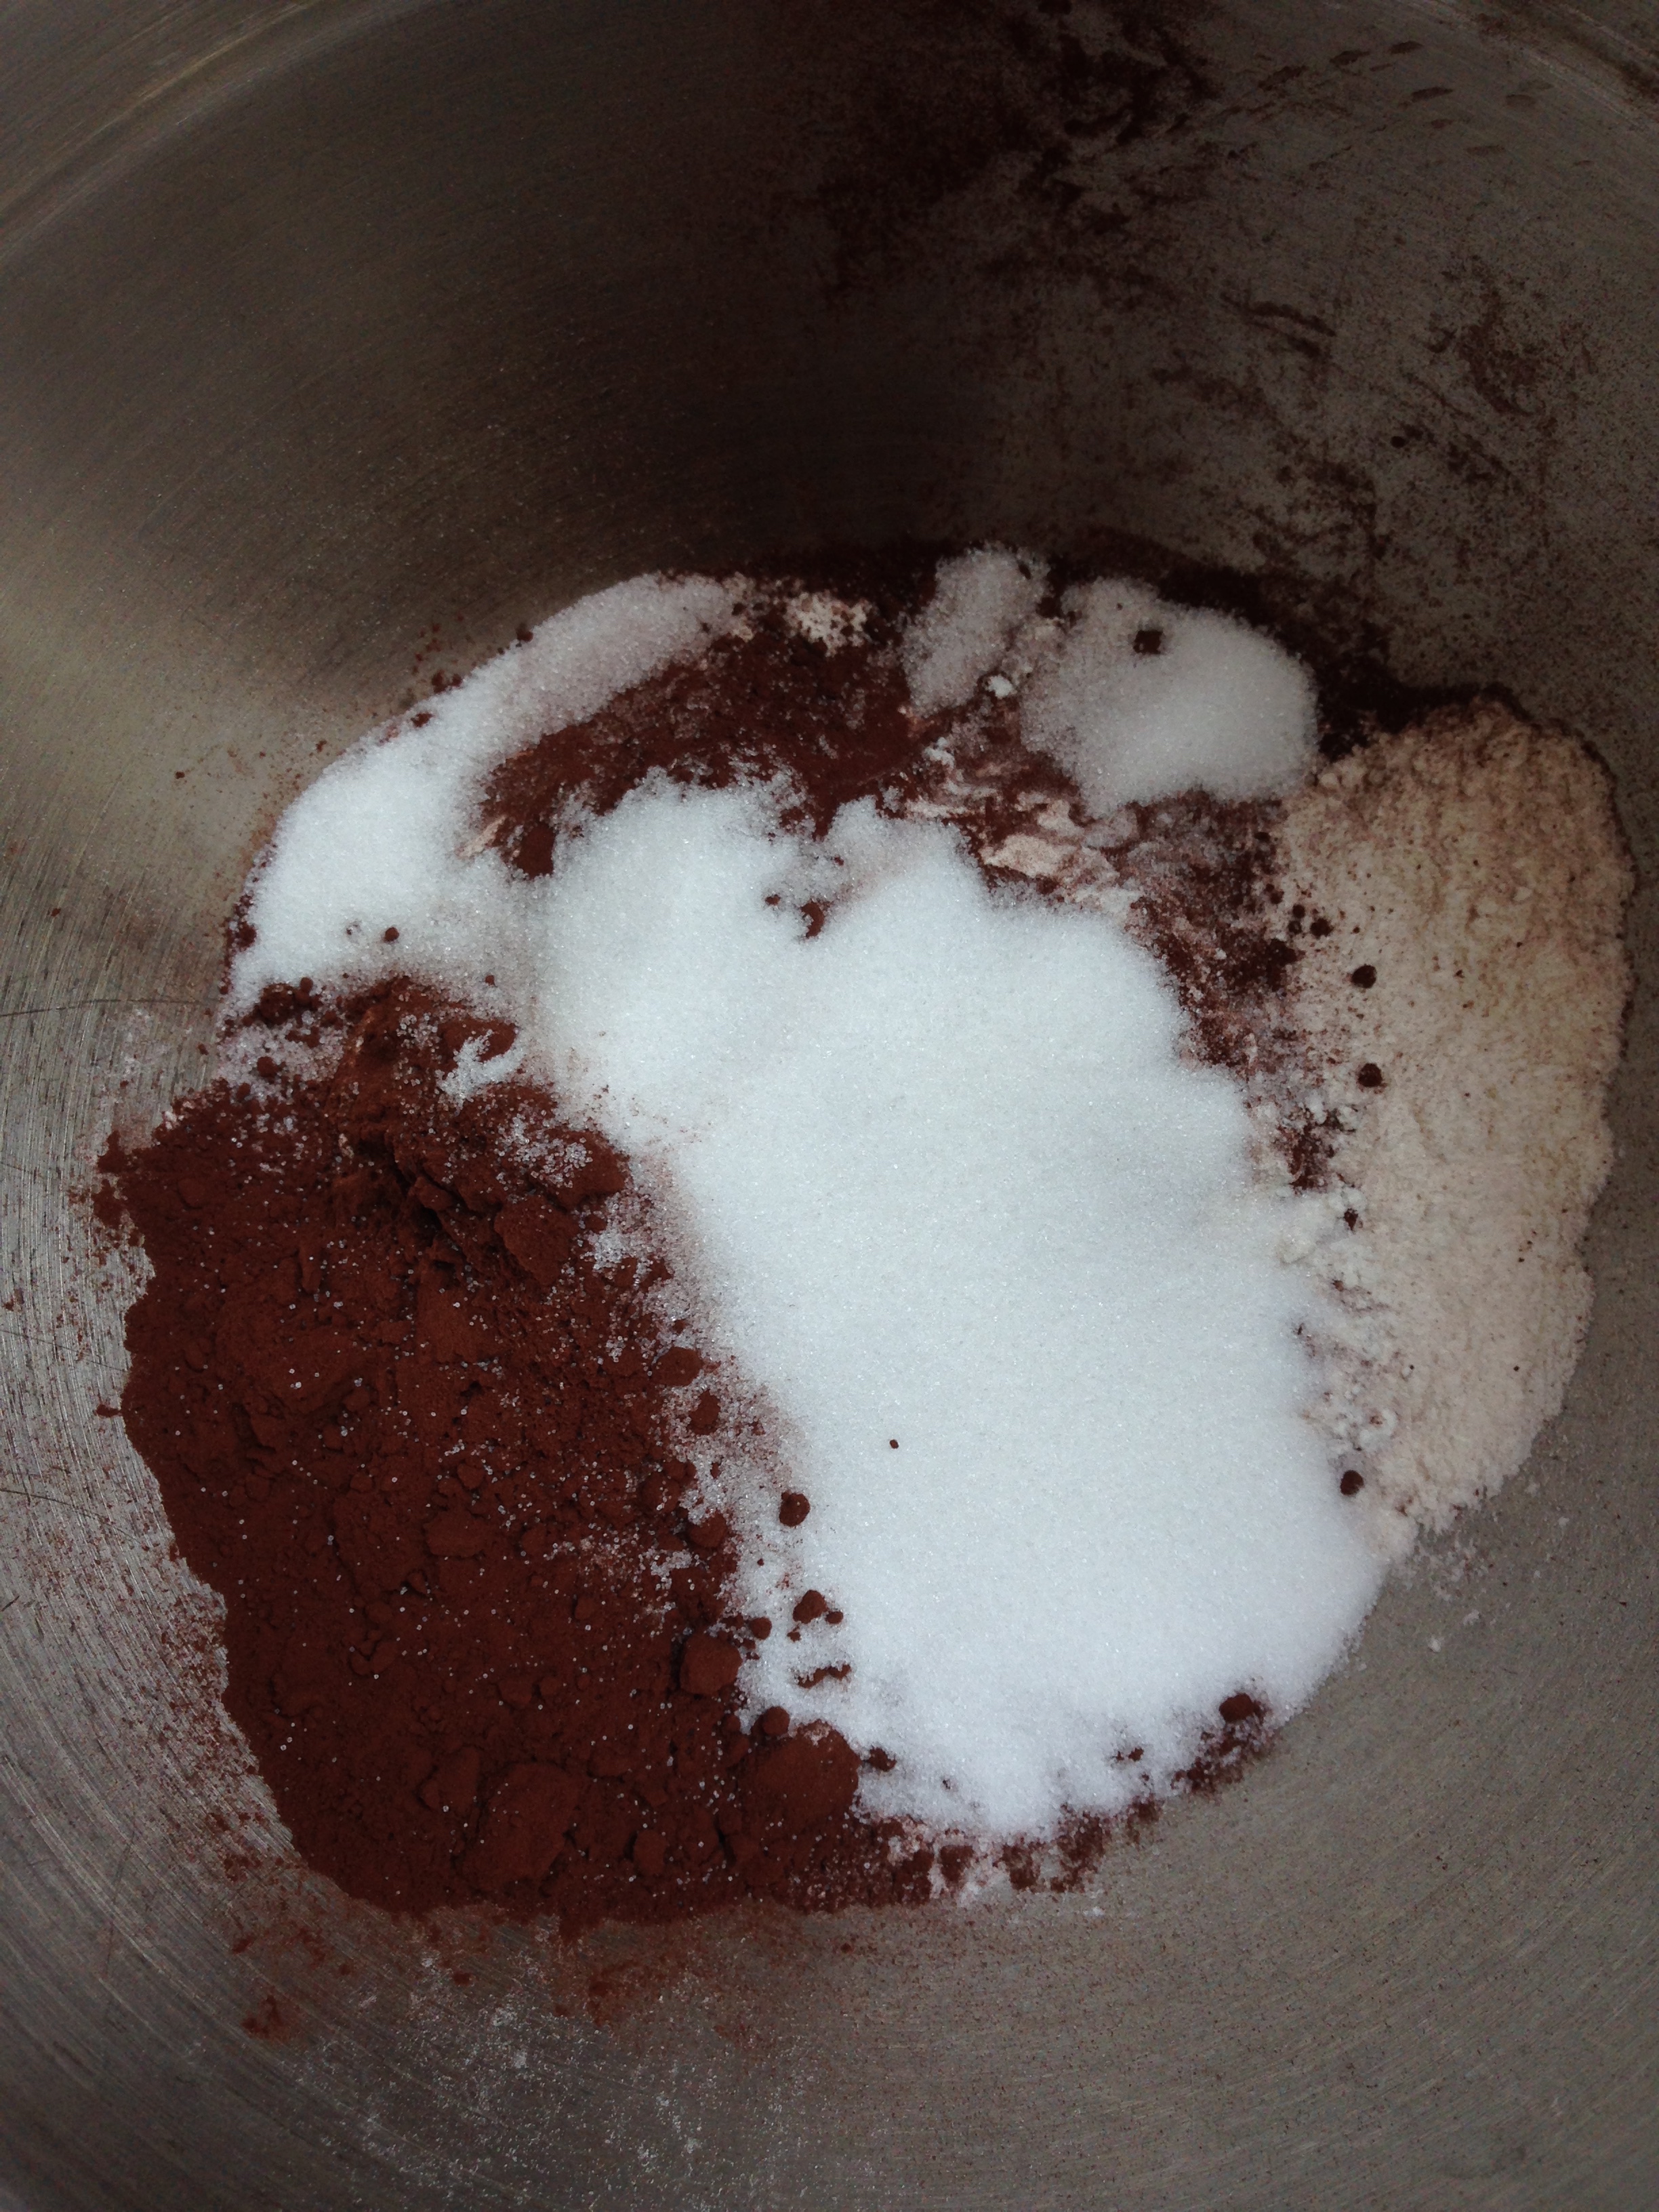
  2. Combine flour through salt in a bowl. Stir together.
  3. Add cold butter and margarine. Using a pastry blender or fork, cut butter and margarine into dry ingredients until smaller that pea sized lumps remain. 
  4. In a cup, add egg yolk and vinegar. Using a fork, whisk egg and vinegar together. Pour liquid over tart mixture and stir to combine. 
  5. Form pastry into a disc. Wrap in plastic wrap and refrigerate for 30 minutes. 
  6. On a floured surface, roll out pastry to ~1 cm thick. The pastry is Very Soft. It will tear when you go to move it to the tart pan. That's ok. Just pat the pieces together. (Also, start pre-heating the oven to 375'.)
  7. Pat the pastry evenly into the tart shell. (If you kept the separated egg white around from the egg that was used, brush it onto the surface of the pastry.)

Strawberry Filling:

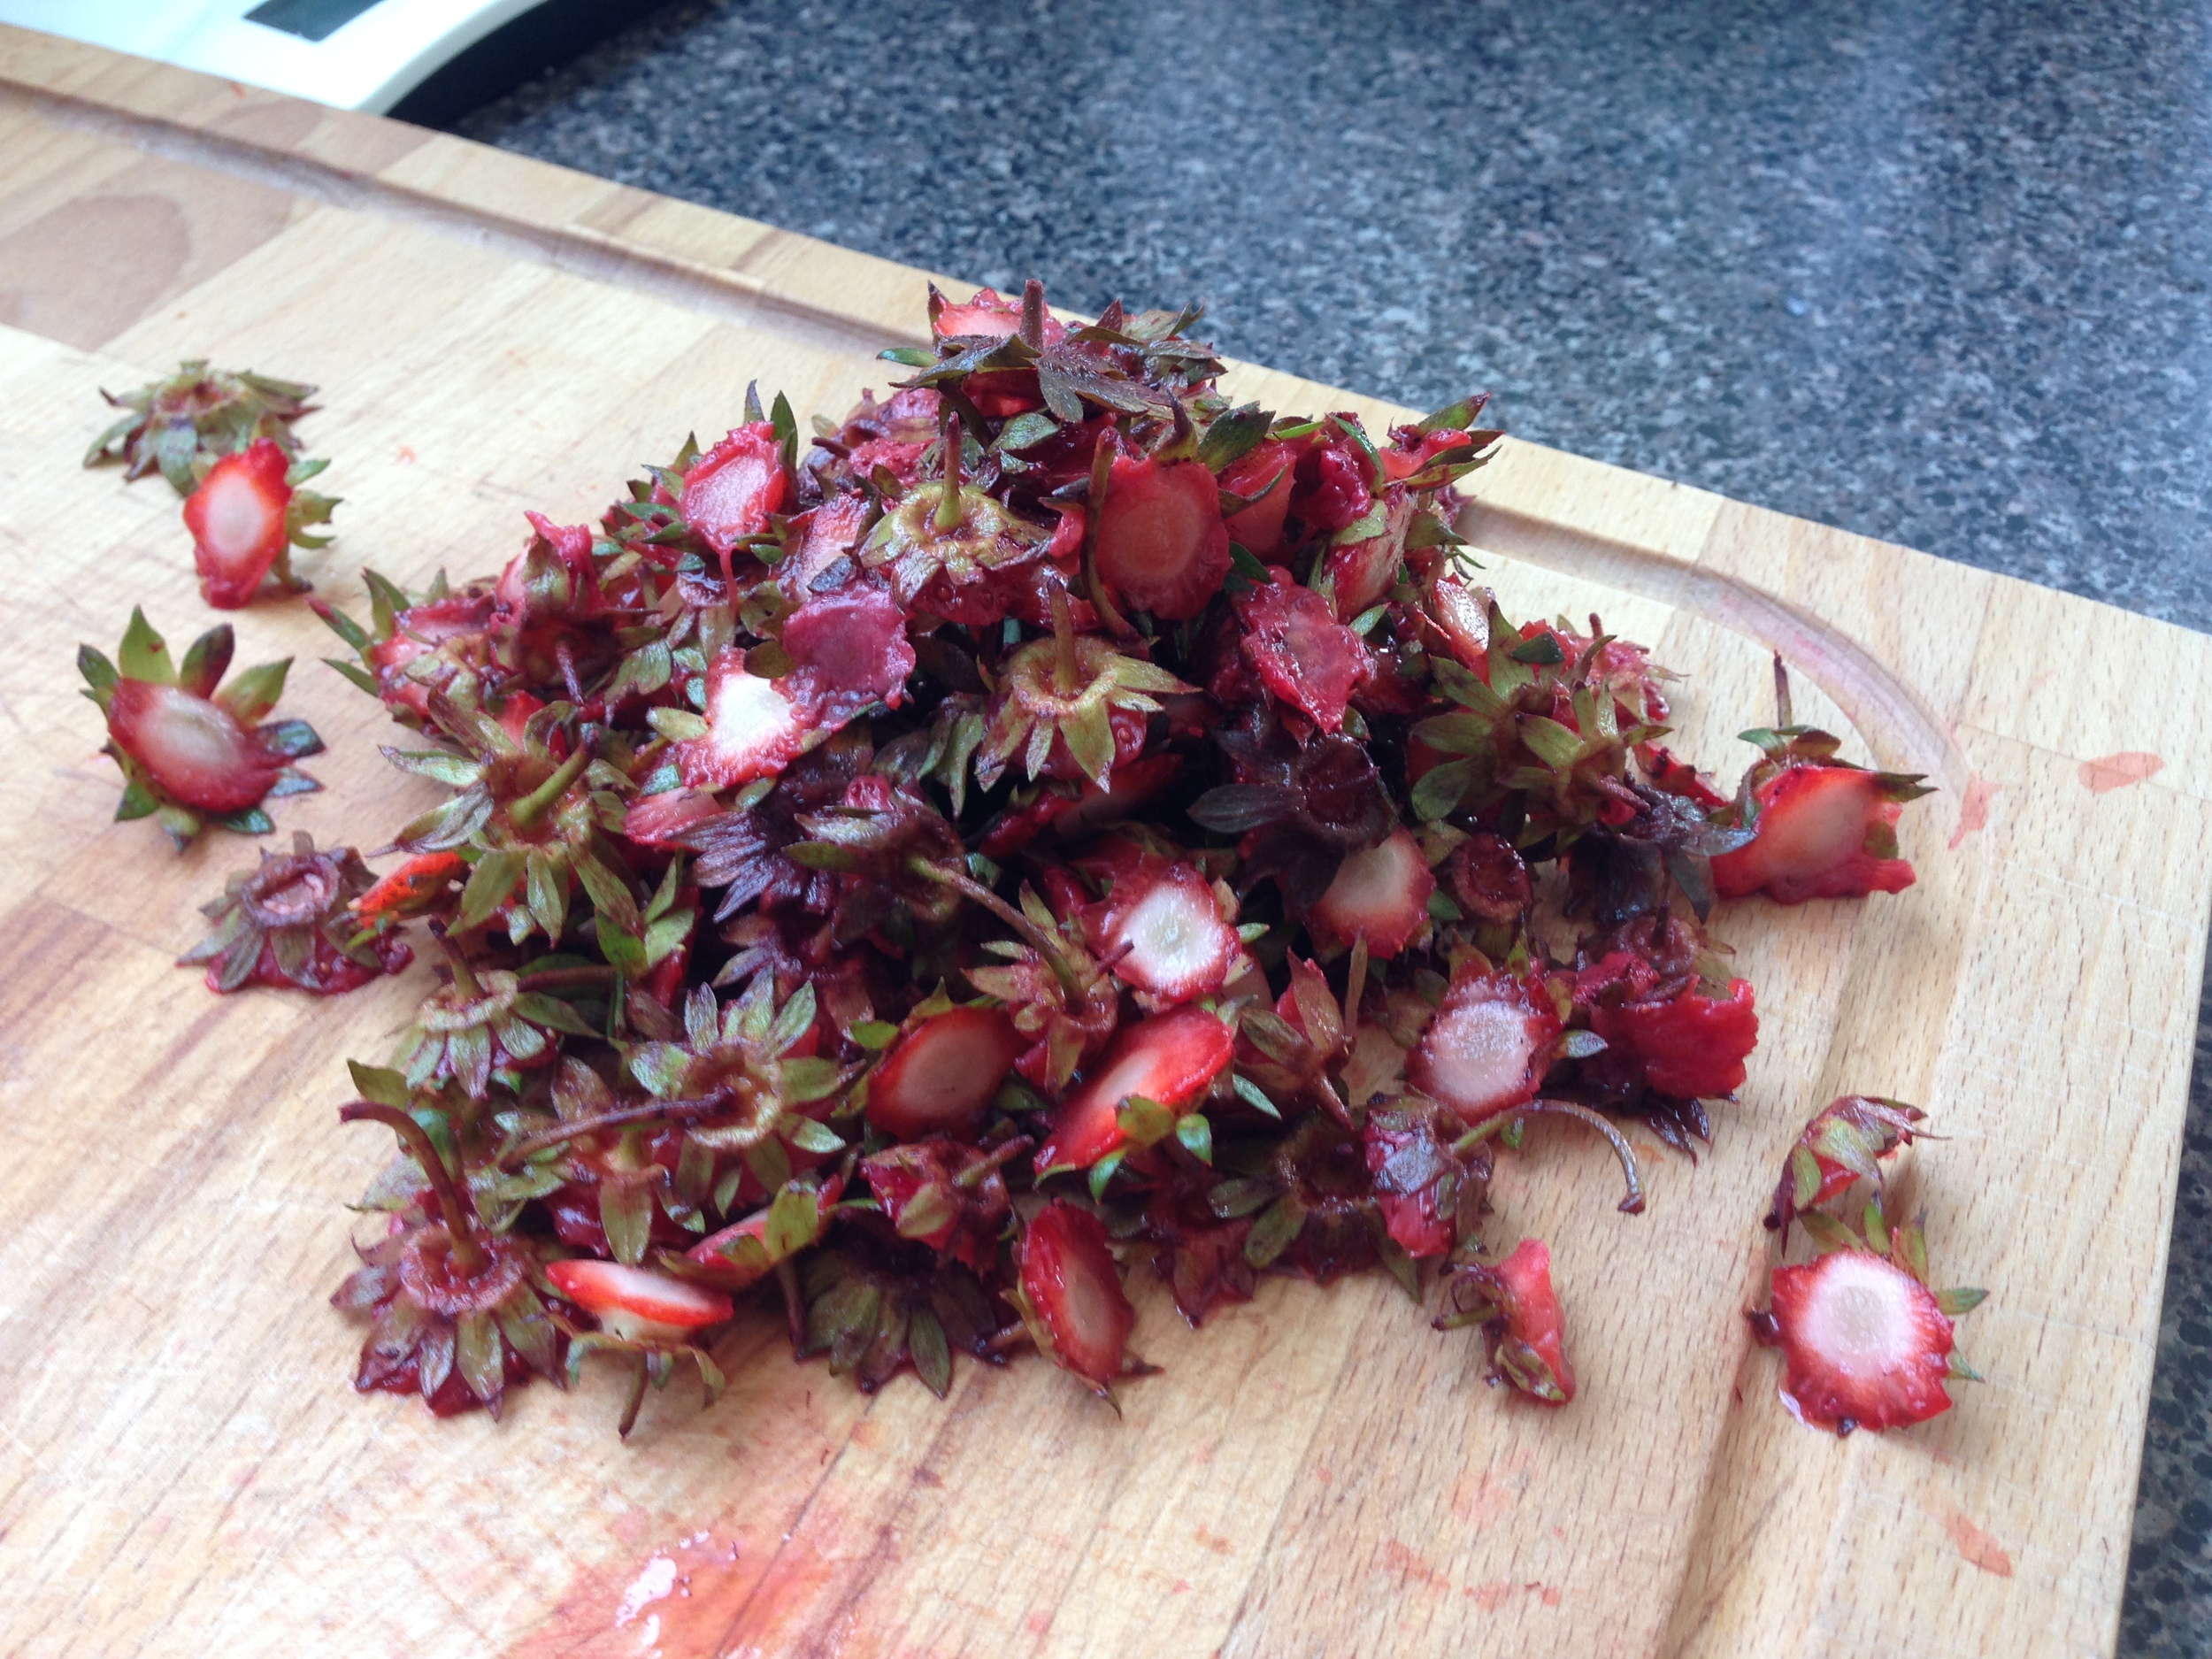
2 cups wild strawberries, headed and sliced
1/2 cup sugar
1 tsp cinnamon
1 tsp vanilla
1 TBSP flour

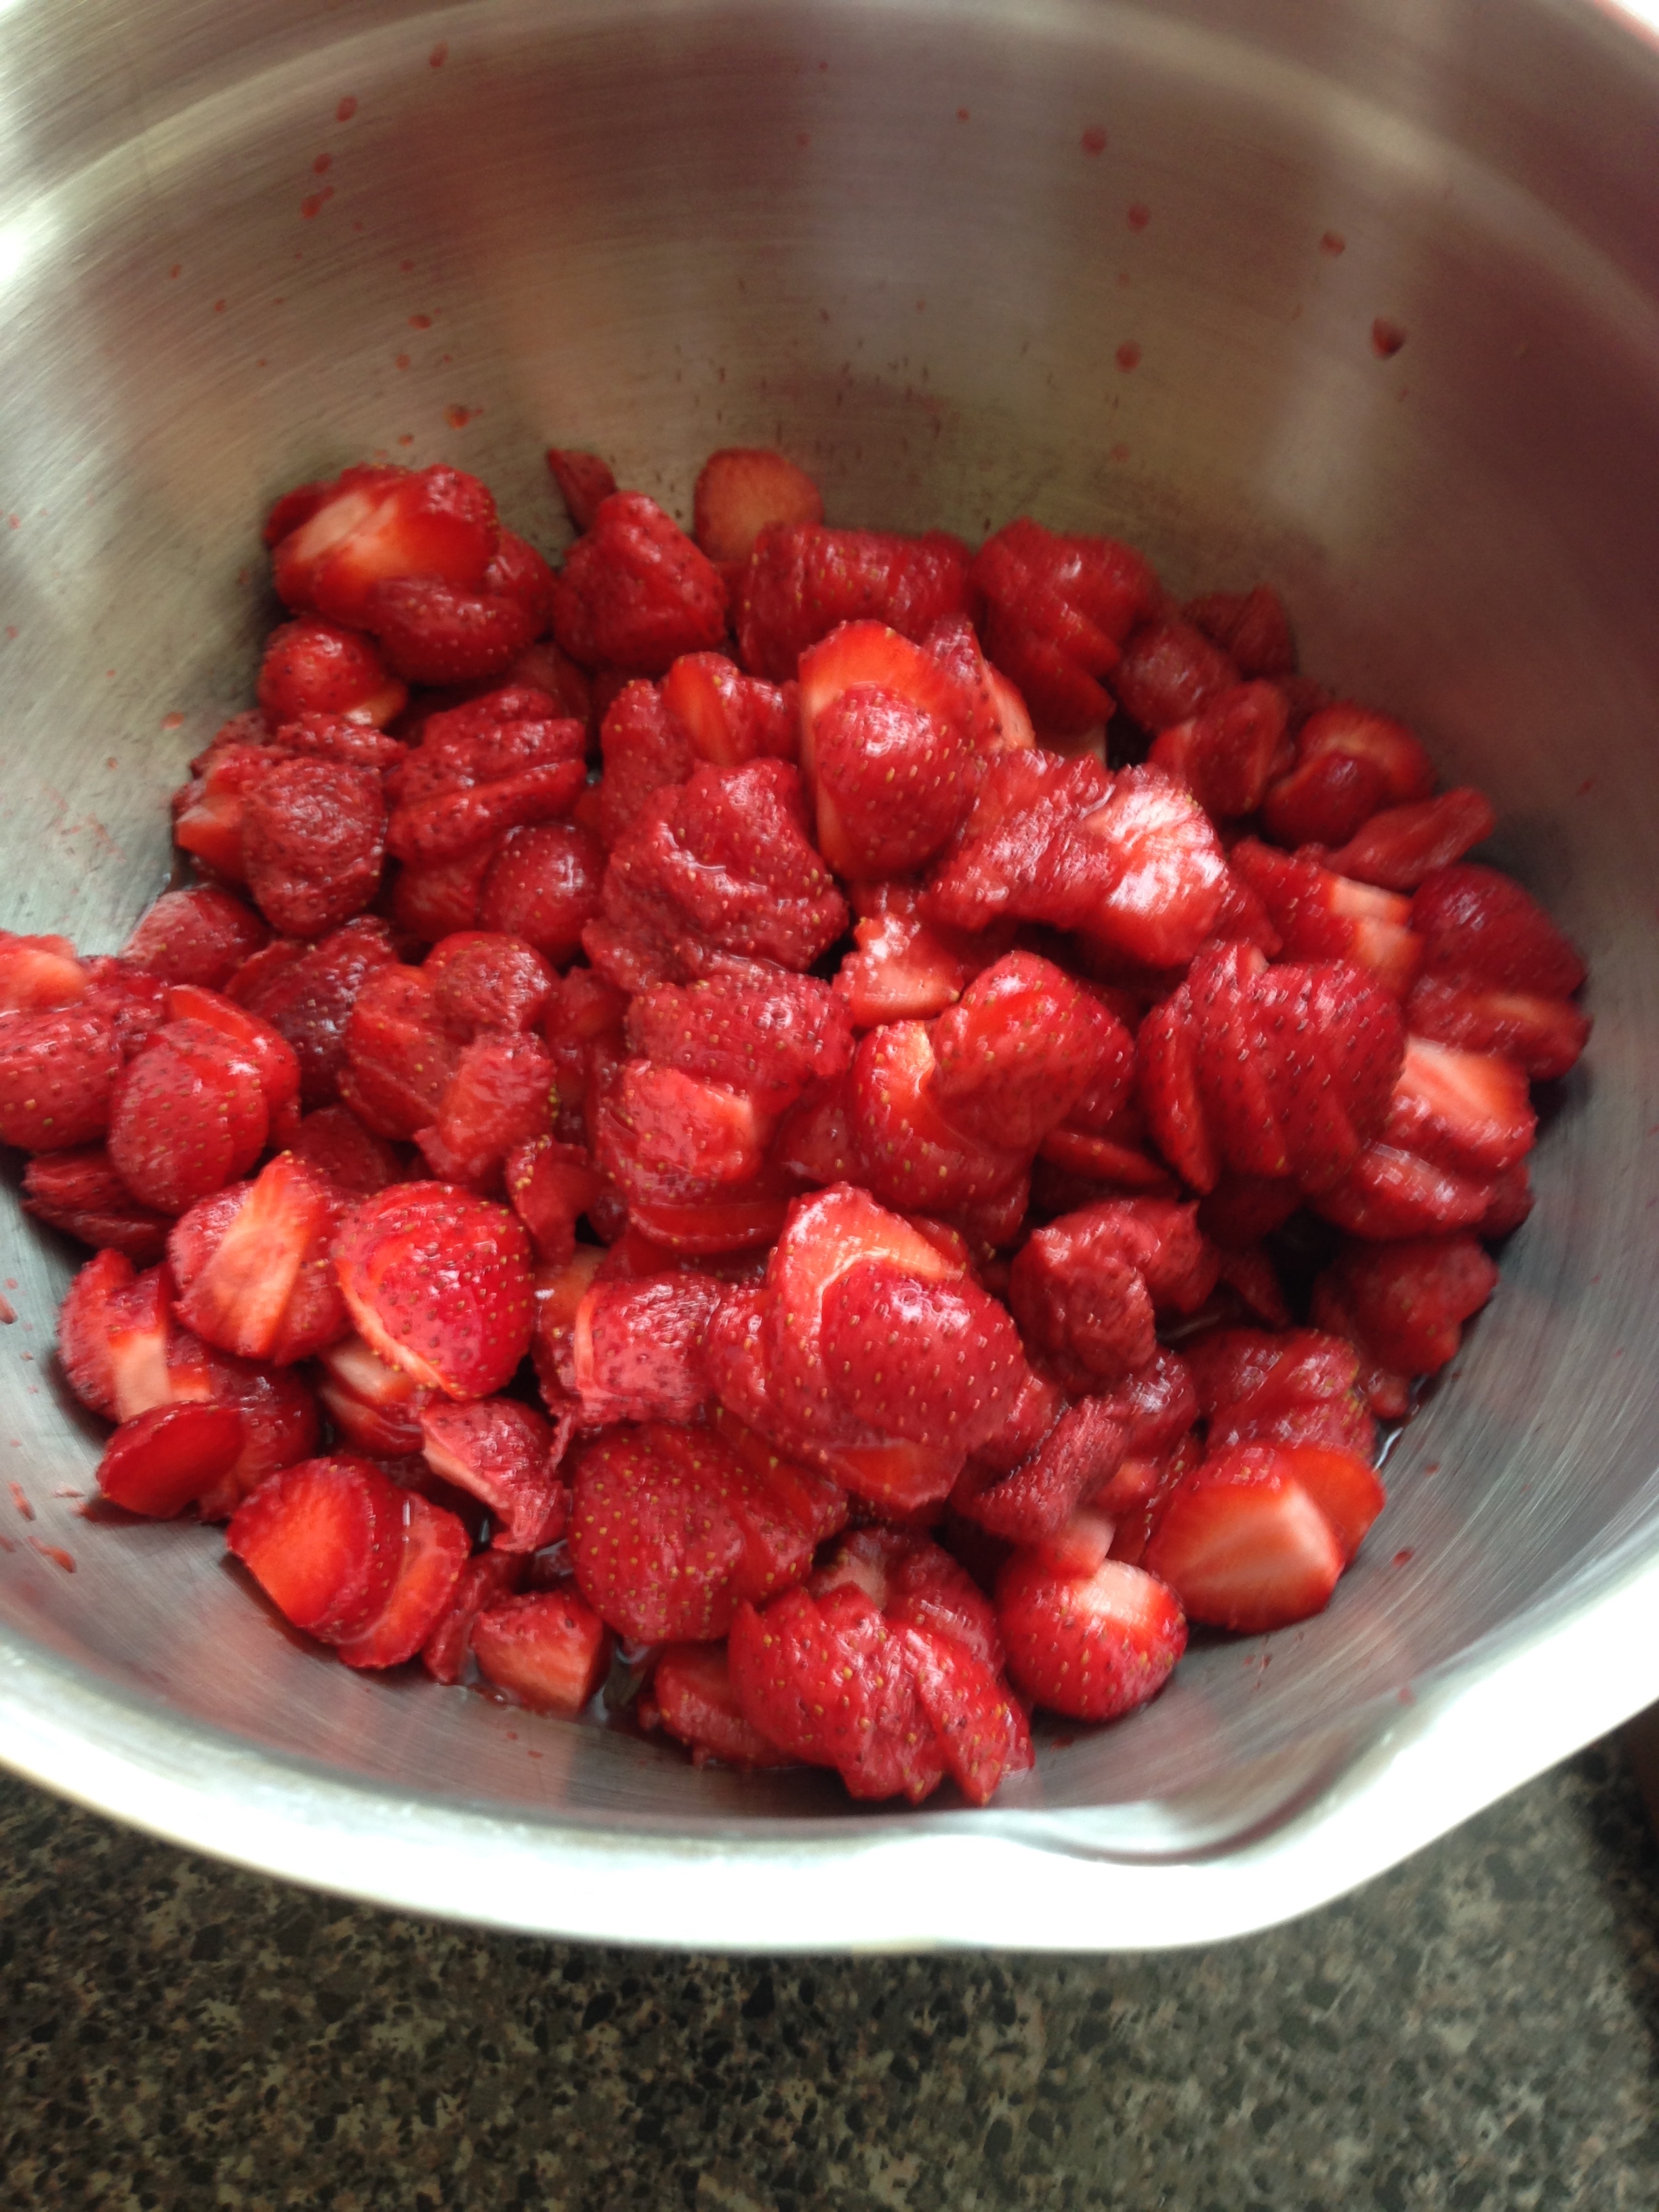
  1. Combine all filling ingredients together in a bowl. Stir together.
  2. Pour filling into prepared tart shell.
  3. Bake at 375' for about 40 minutes.

While I think I will always have a preference for pie, tarts will now have their place seated at the what-to-do-with-fresh-berries table in the Conference Hall A of my brain. 

-Andrea

The Half-Assed Hobbyist
ย 

ย 

A Sweet Treat

It's that time of year again! When I get bored and decide to torture myself with making meringue based desserts! This time though, instead of weeping over the smooshed sugary would-have-been-delicious confections, I did some research first! (GASP.)

And by research I mean I asked around for advice and recipes. But still counts! The biggest advice I got was to watch for humidity. If it's too humid out the meringues will fall. Duly noted. Air Con on, windows closed, it's meringue making time!

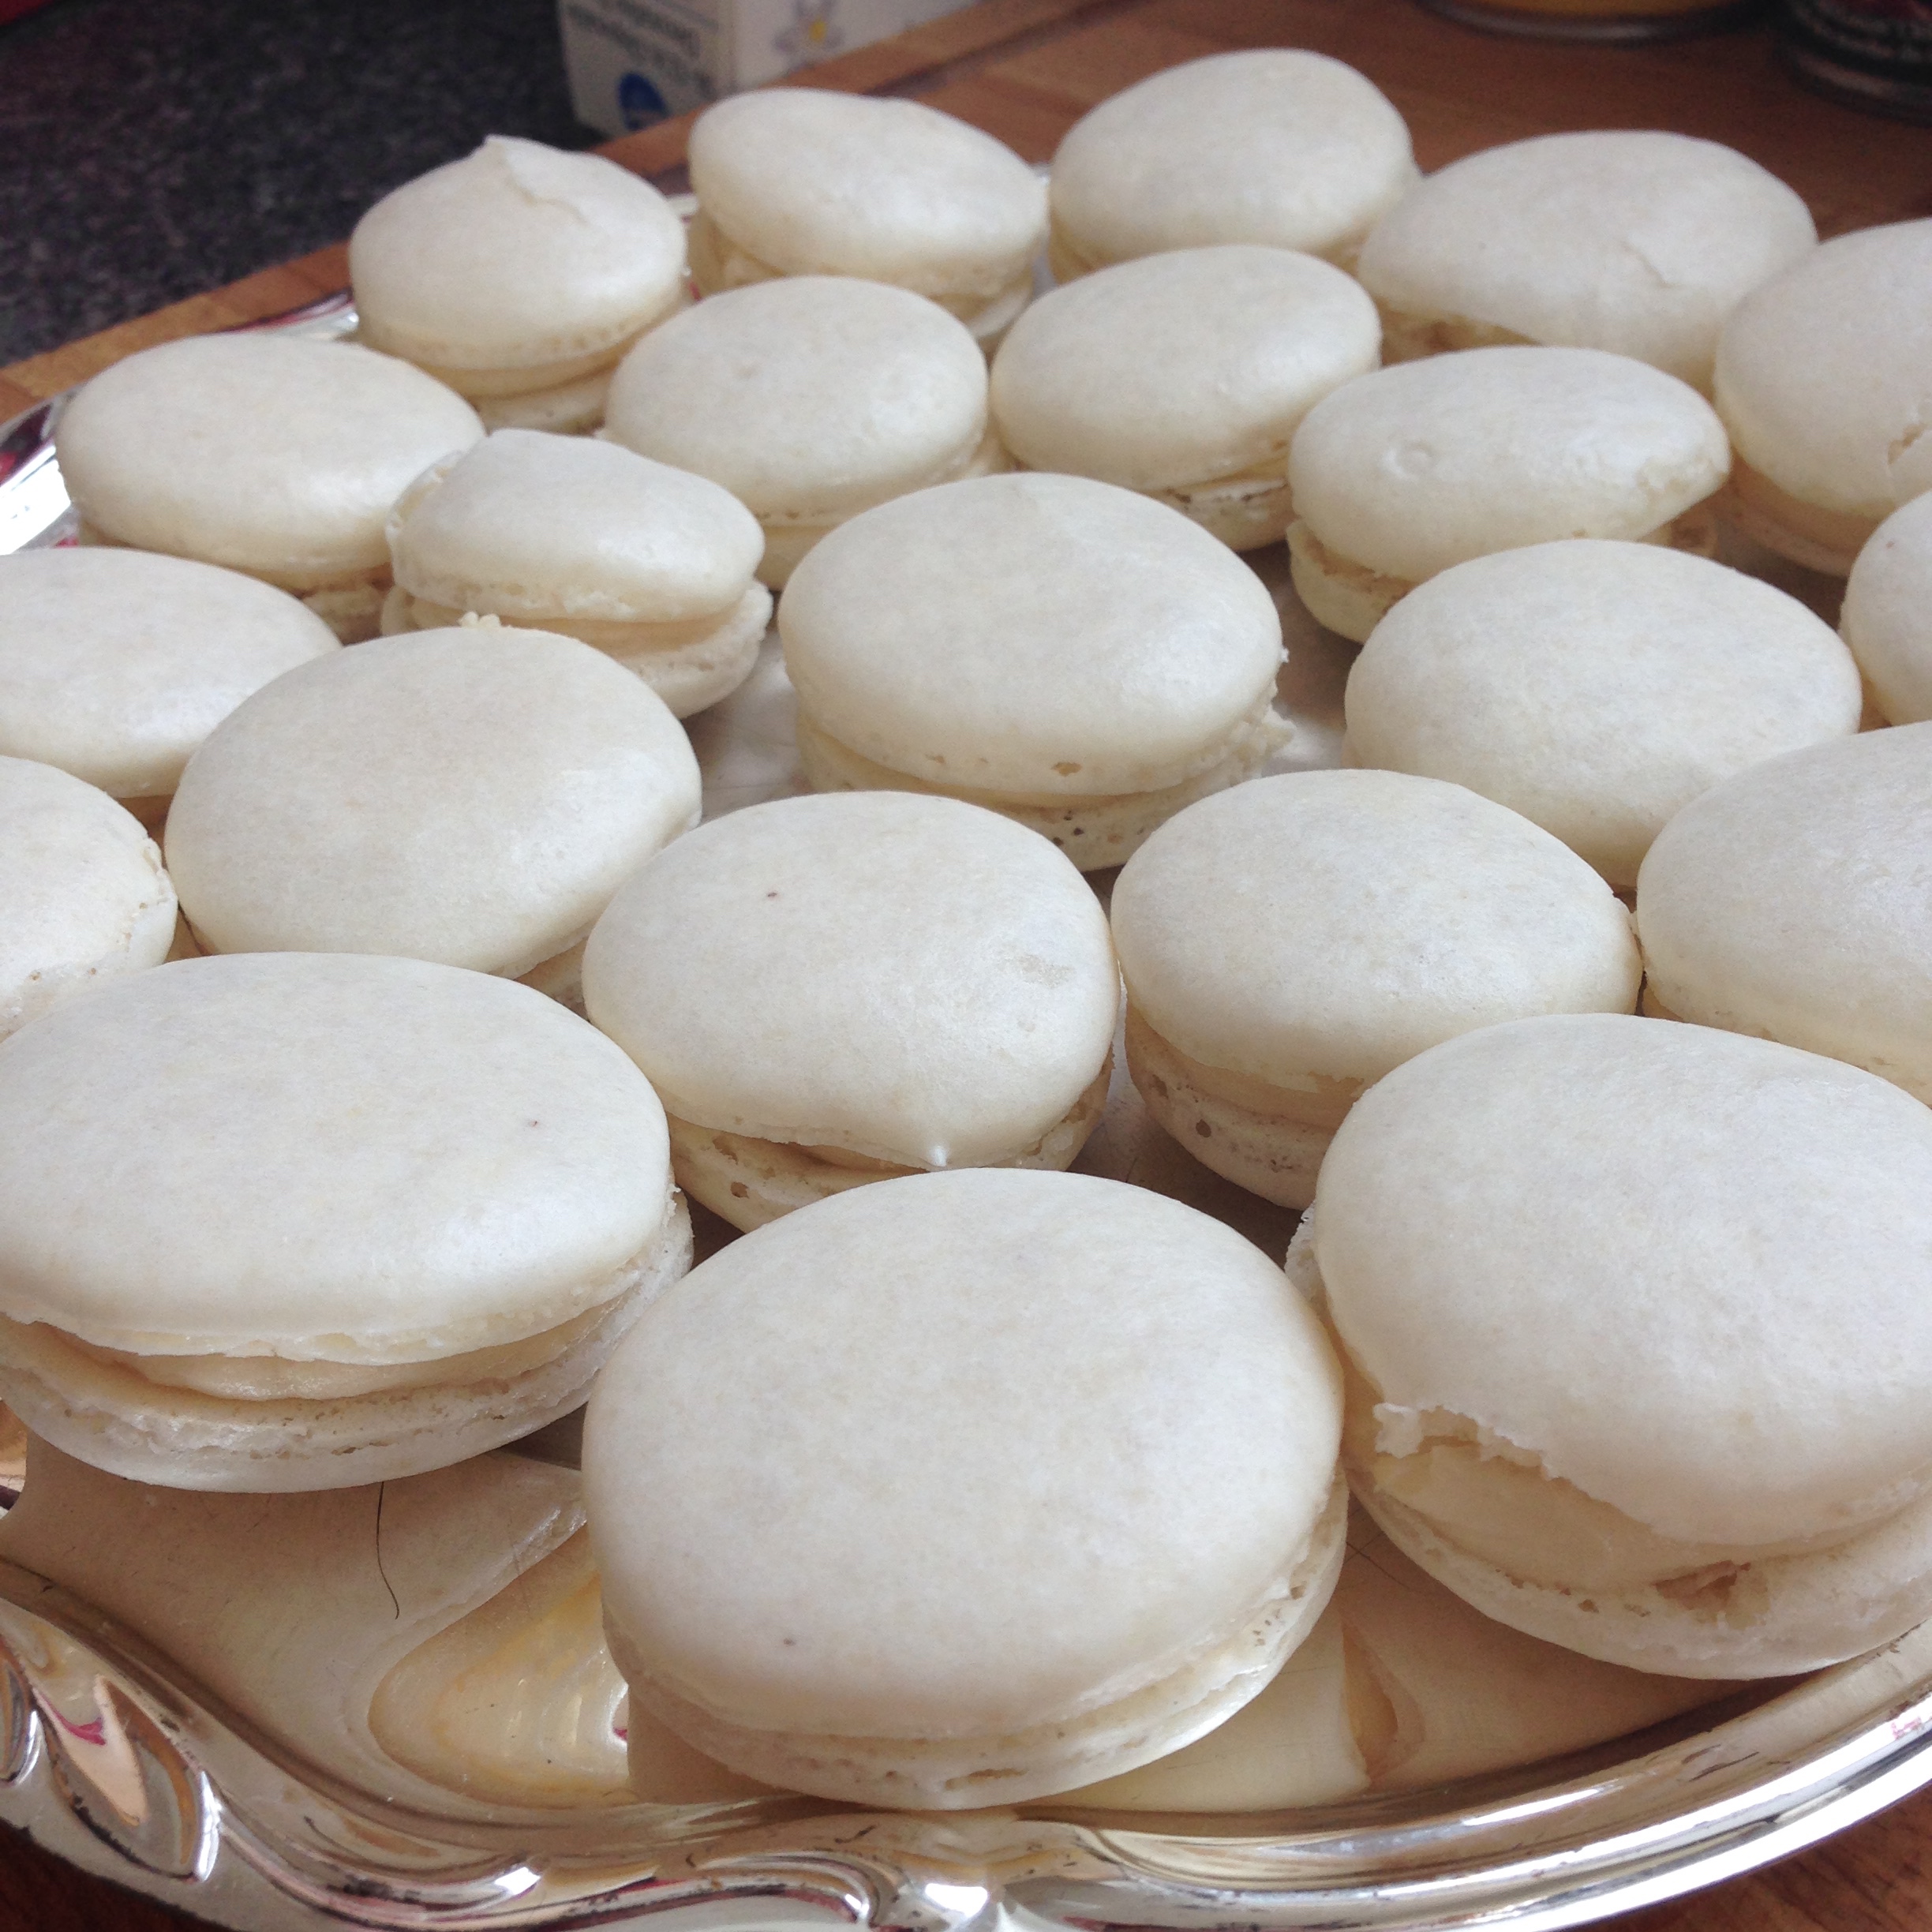
My first meringue making attempt was to make maple macarons. I've made macarons before, back in dry Alberta, so it was the first attempt making them in lovely moisture hazed Toronto. 

Maple Buttercream

1 cup butter, room temperature
5 cups icing sugar
2/3 cup whipping cream
1/3 cup maple syrup
1 tsp vanilla

  1. Cream butter in an electric mixer till light and fluffy. 
  2. Gradually add sugar alternating with whipping cream while continuing to beat butter. 
  3. Add maple syrup and vanilla. Beat to combine. 

Maple Macarons

7 3/8 oz (1 3/4 cups plus 2 TBS) confectionersโ€™ sugar
4 3/8 oz (1 1/4 cups plus 2 TBS) almond flour
4 large egg whites, at room temperature
1/4 cup granulated sugar

  1. Prepare bakeware by lining 3 pans with parchment paper. On the underside of each piece of parchment paper draw 1 inch circles about 1 1/2 inches apart. 
  2. Measure out and sift together confectioners' sugar and almond flour. (I usually put this mixture into a food processor to make it as fine as possible.)
  3. Whip egg on med-high setting with an electric mixer until foamy. 
  4. Continue whipping eggs, adding 1 TBSP of granulated sugar gradually till meringue is glossy and stiff peaks form. (If you can lift out a spoon and a straight peak comes out and doesn't fall, it's done.)
  5. Add half of shifted sugar mixture to meringue. Fold in ingredients till almost combined. Add remainder of sugar mixture. Continue to fold until combined. (The meringue will deflate a little, that's ok!) 
  6. Using a piping bag with a 1/2 inch round tip (I used a litre food storage bag with a corner snipped off), fill half of batter into bag and pipe 1 inch circles holding the piping bag perpendicular to the baking sheet. 
  7. Once done, pick up the baking sheet and tap it down on the counter sharply. This will burst any air bubbles in the batter and give the shell its macaron bubbly base. (By tap, I actually mean whack very hard. Scare your neighbours!)
  8. Let the meringues sit in the open air for 30 minutes. This drys the outer shell. When the shells can be touched without being sticky they're ready. The time this takes will heavily depend on the humidity. 
  9. Bake at 250F for 15 minutes (although, humidity will affect this too). After the first 2 minutes, open the oven door to release any moisture. Also, rotate the baking sheet halfway through cooking time. Best to spot check one of the macaron shells to doneness before you take all the sheets out.
  10. Take parchment off tray and let the shells cool completely. Fill, cover and refrigerate for at least 3 hours before serving. 

They turned out pretty awesomely actually. Although it took about 10 more minutes of sitting time to dry before baking, and about 5 more minutes in the oven than in Alberta. There's altitude differences too. Weird baking science. 

Anyway! Nom! I now had a carton of egg whites to deal with so I decided to try my hand once again at making meringues.

Meringues

6 egg whites, room temperature
1/8 tsp cream of tartar
2 cups sugar
1 tsp vanilla
1 TBSP vinegar

1. Preheat oven to 275.


IMG_3098.jpg

2. With an electric mixer, beat egg whites till foamy.


3. Add cream of tartar and beat until somewhat stiff, ~4 minutes. (Stiff enough that the meringue holds it's shape.)


4. Gradually beat in sugar over the next 2 minutes. Add vanilla and vinegar. 


5. Beat until very stiff and shiny, about 10 minutes. 


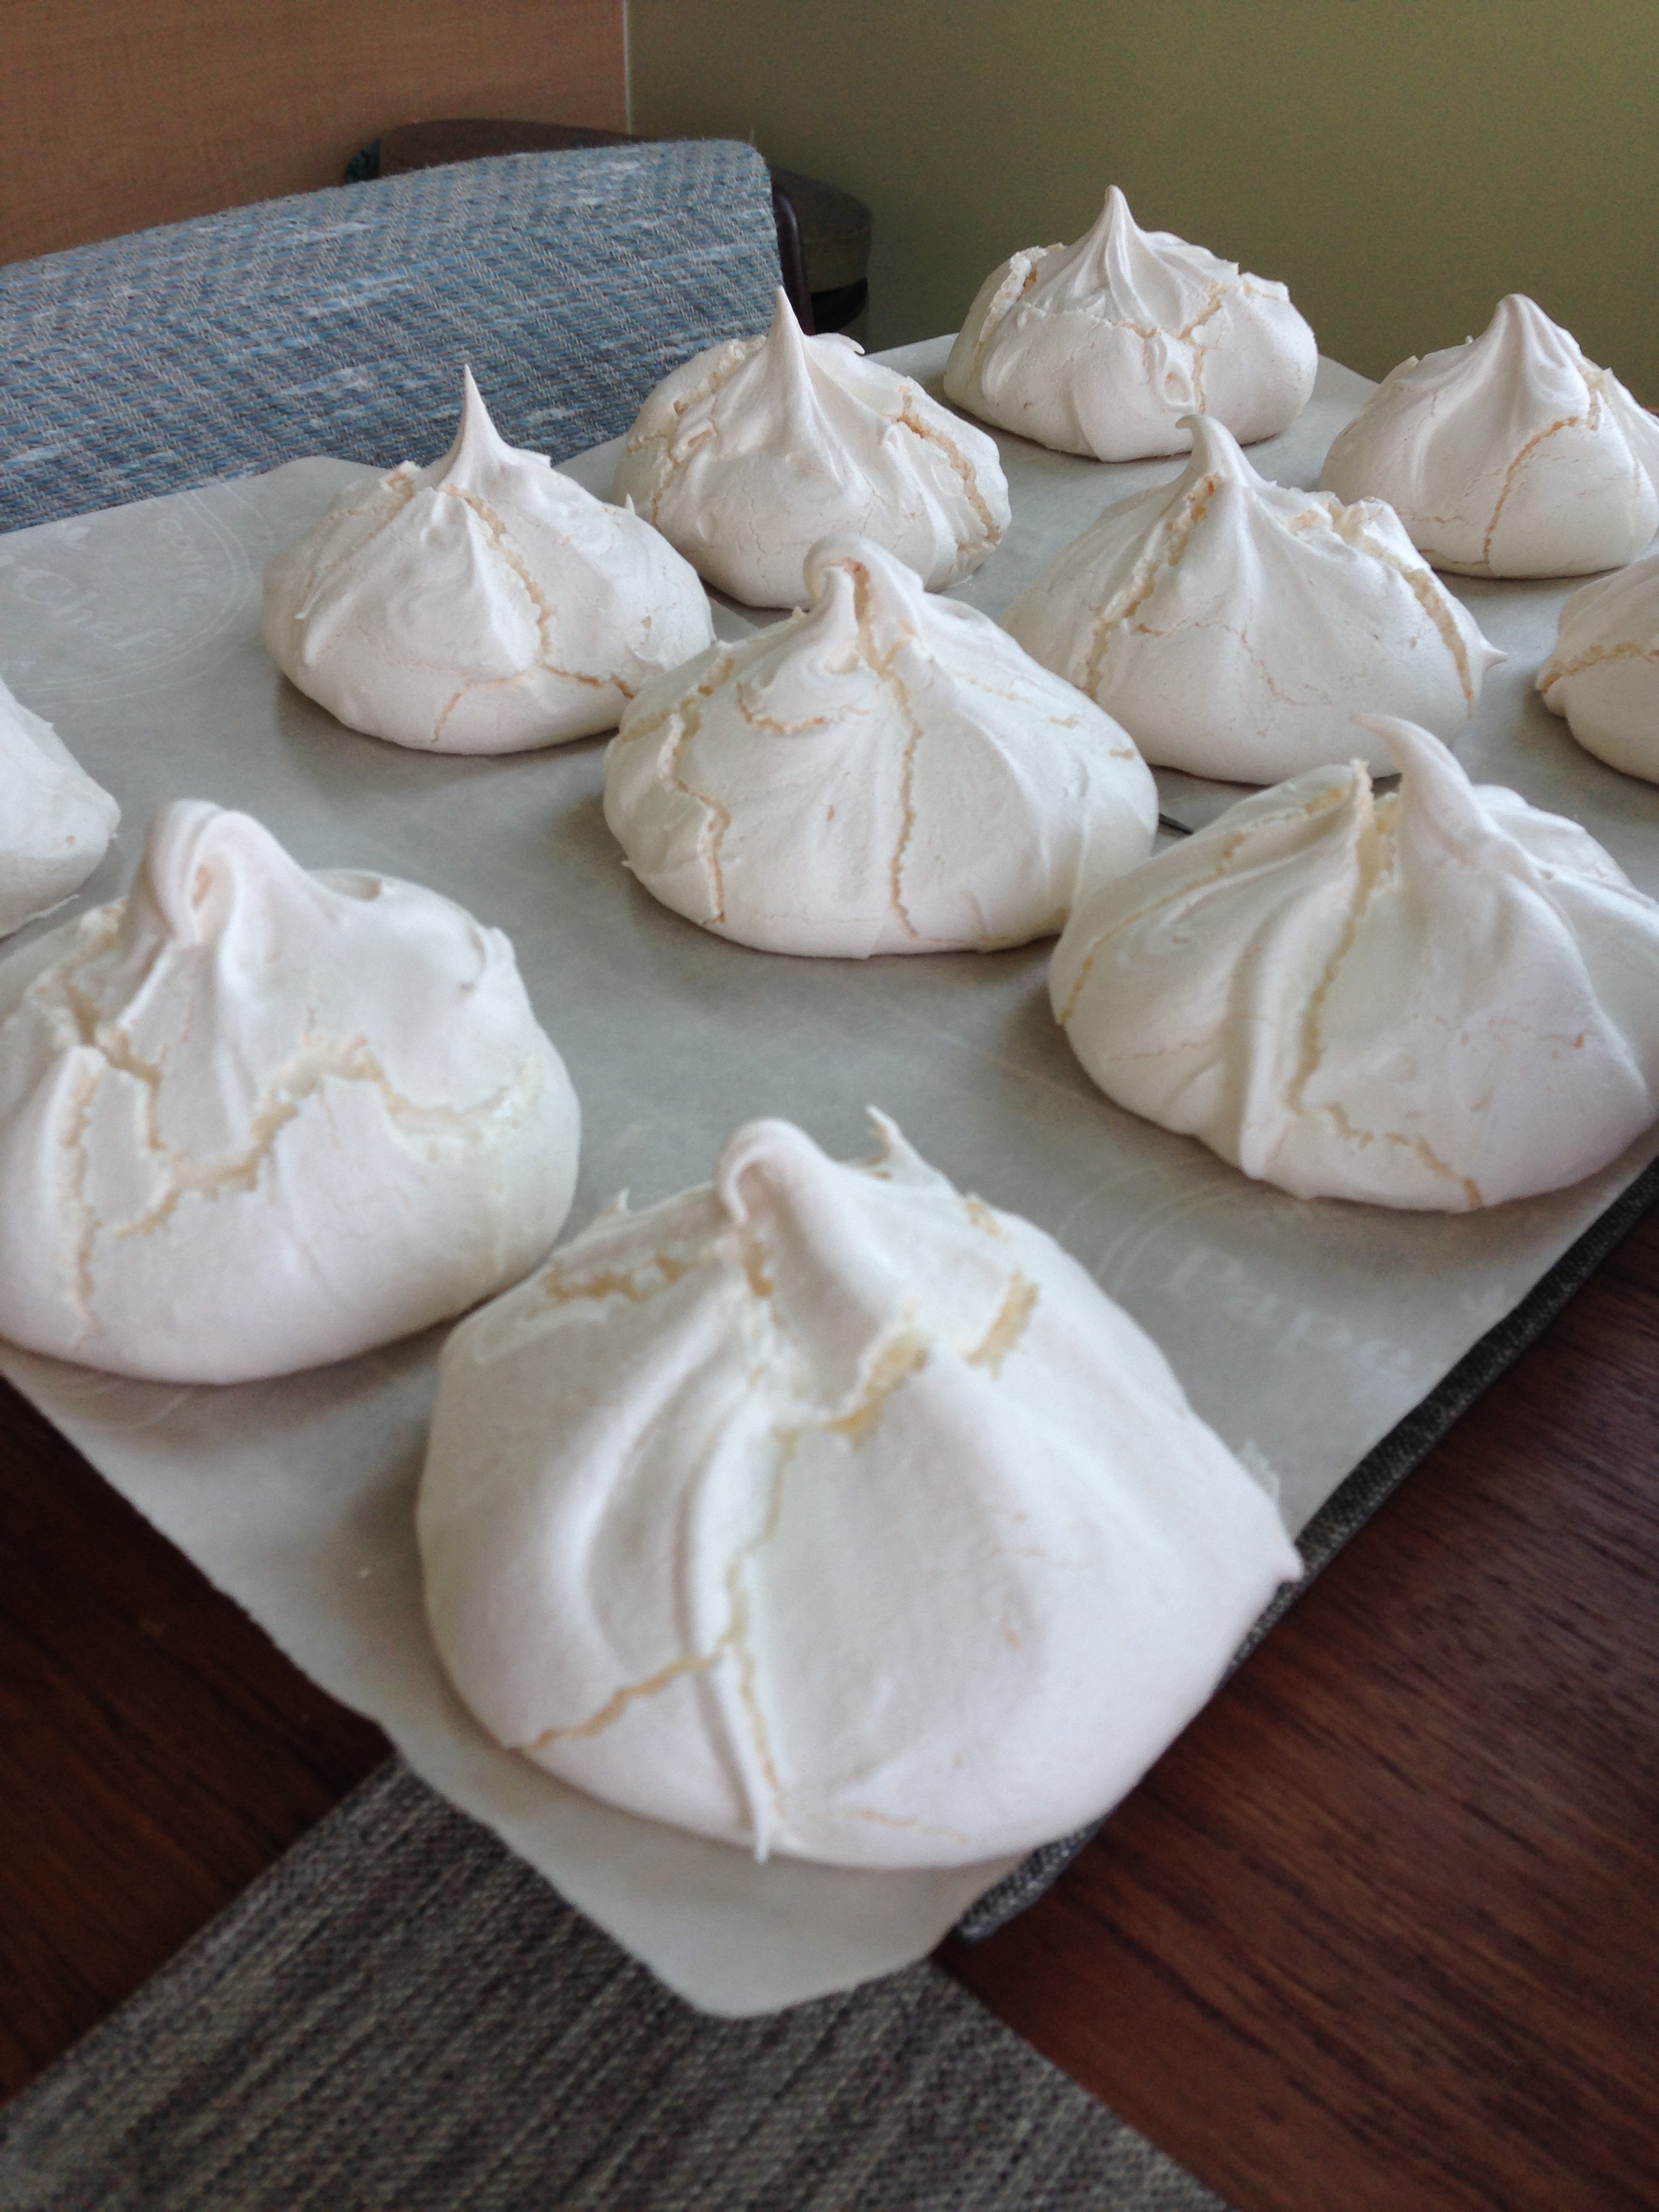
6. Spoon or pipe meringues onto baking sheets covered in parchment paper. (For the large meringues, scoop 1/2 cup of meringue onto the baking sheet and, using your thumb and pointer finger, pull meringue into a peak.)  


7. Bake for 45 minutes, until meringues are lightly browned. Let cool completely on wire racks. 


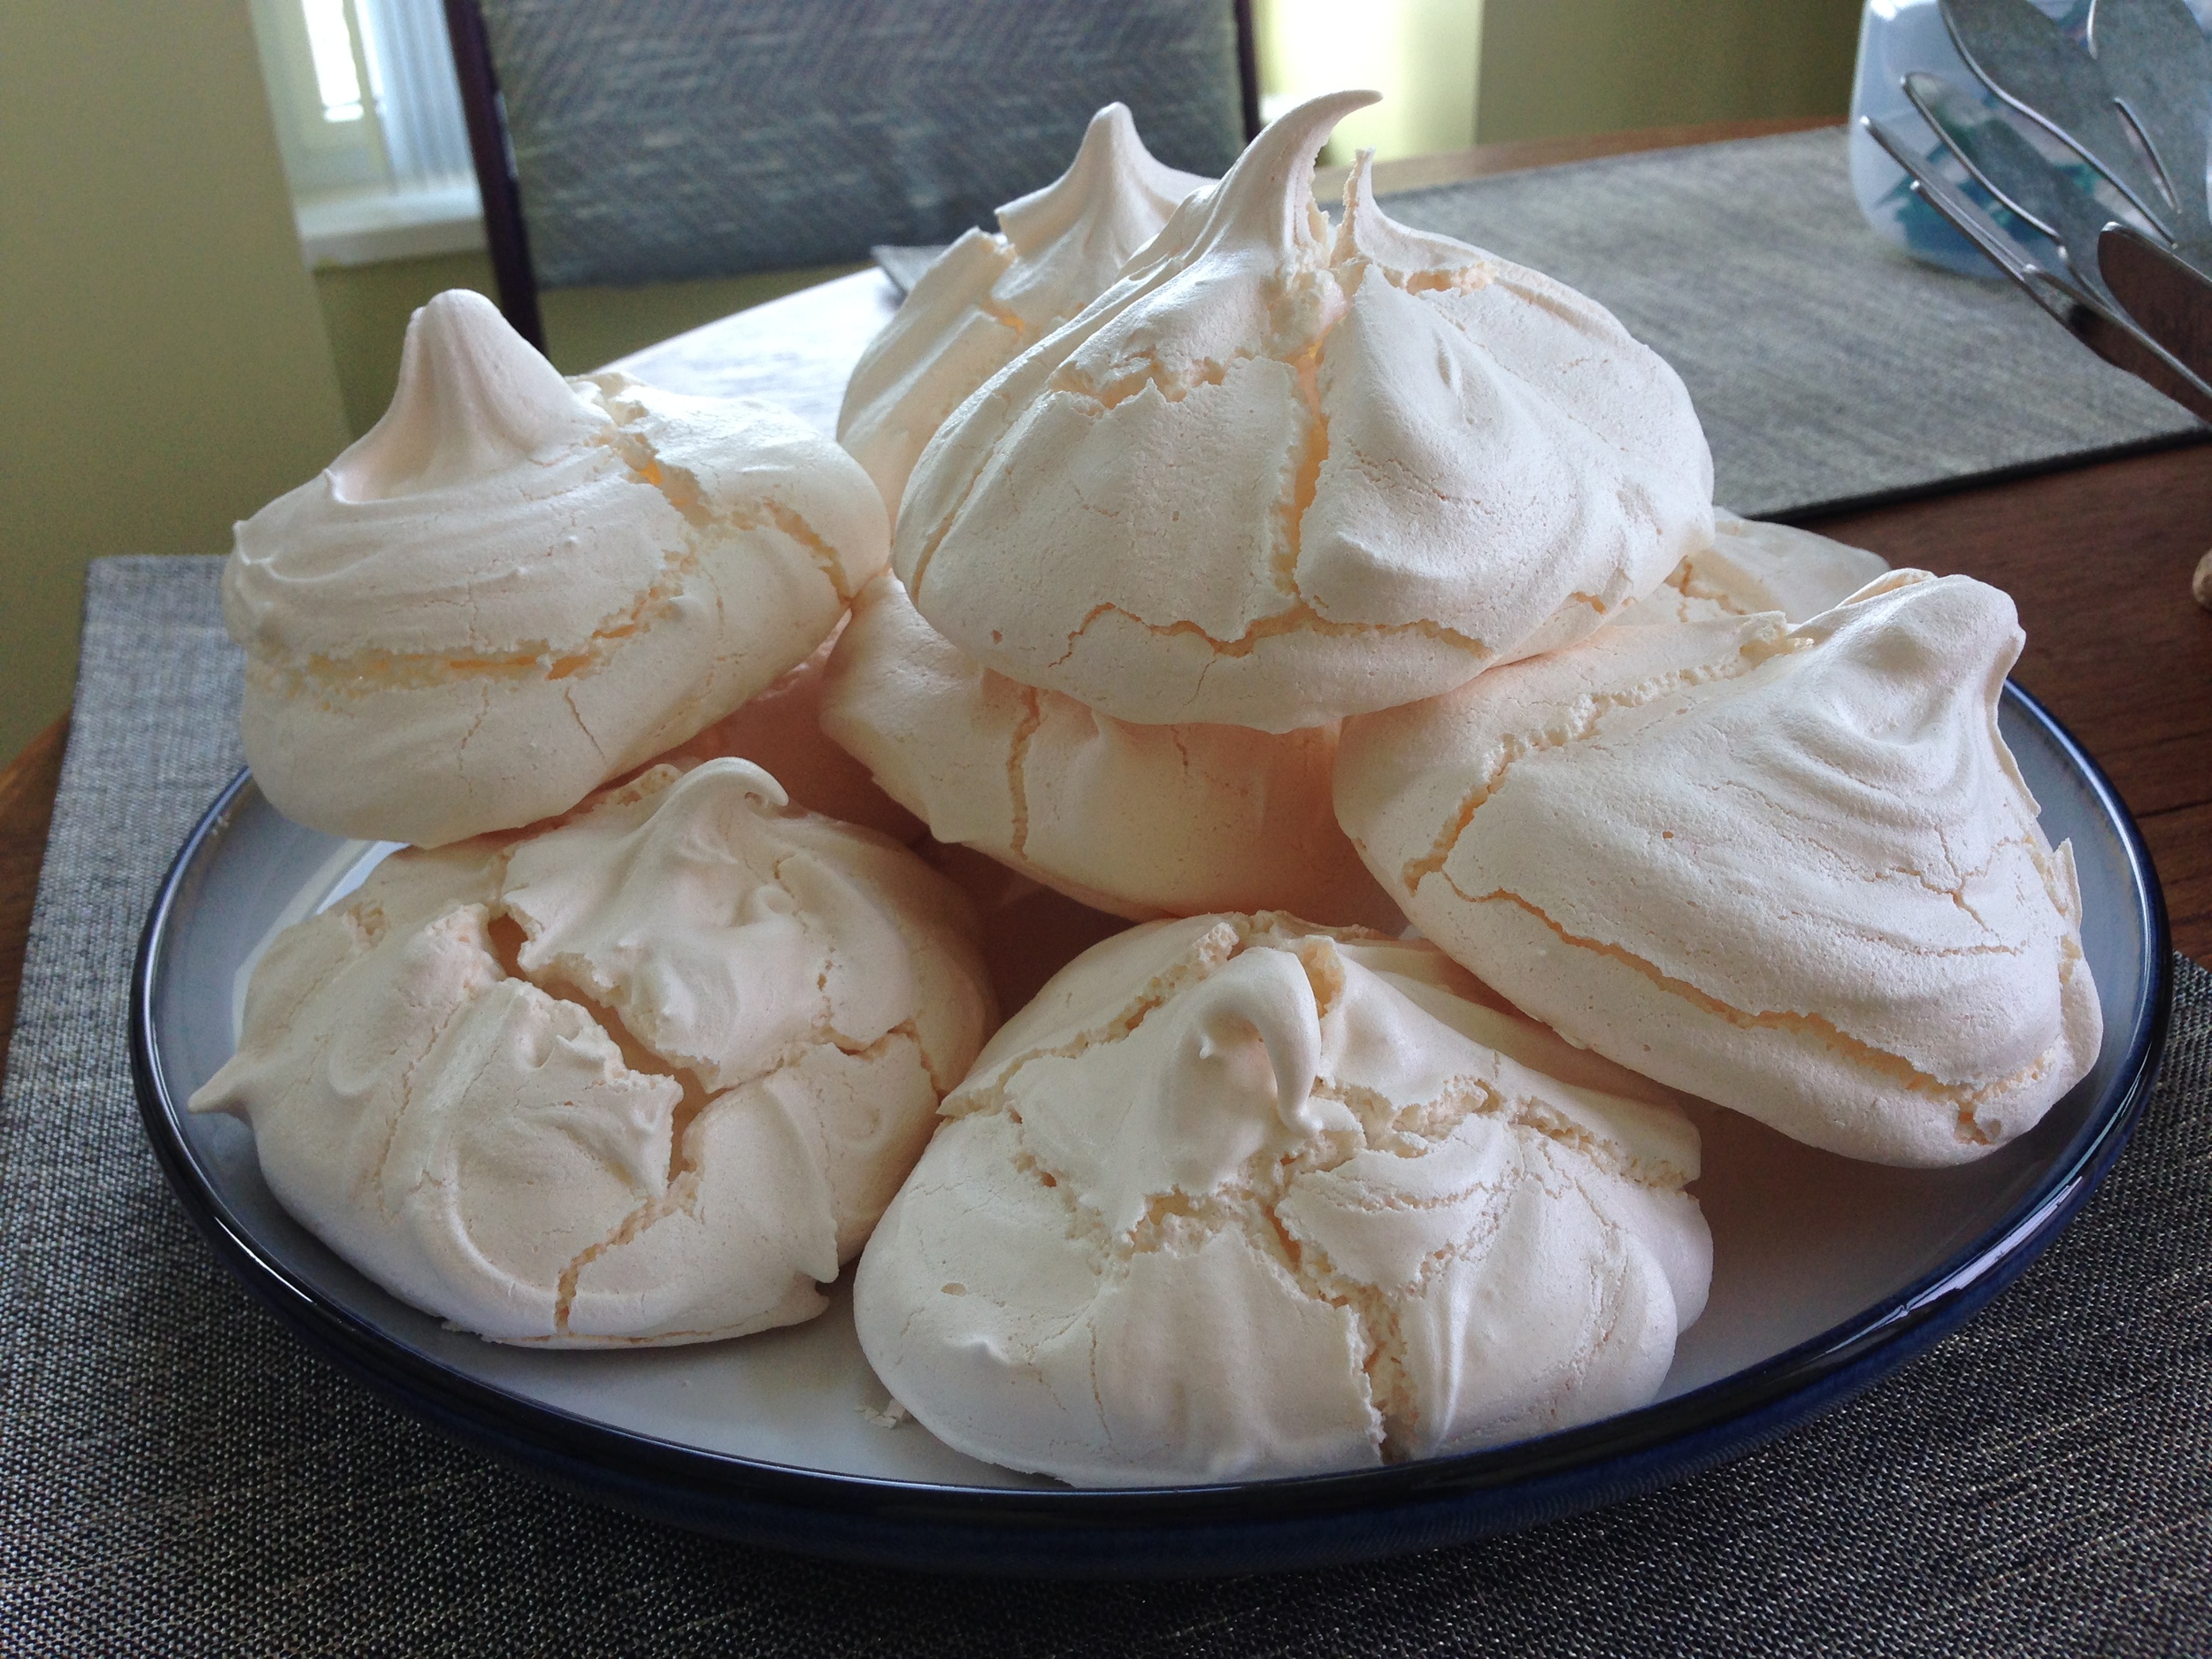
They Worked! D= It was a miracle. Also they were Amazingly delicious. I did however make waaaaaaay too many and had to feed them to the BFs coworkers. 

I think I have now sated the yearly quota for meringue torture. So much delicious sugary meringue-y torture.

-Andrea

The Half-Assed Hobbyist

ย 

ย 

ย 

The Cheesecake

Dinner's at 6!

Dinner's at 6!

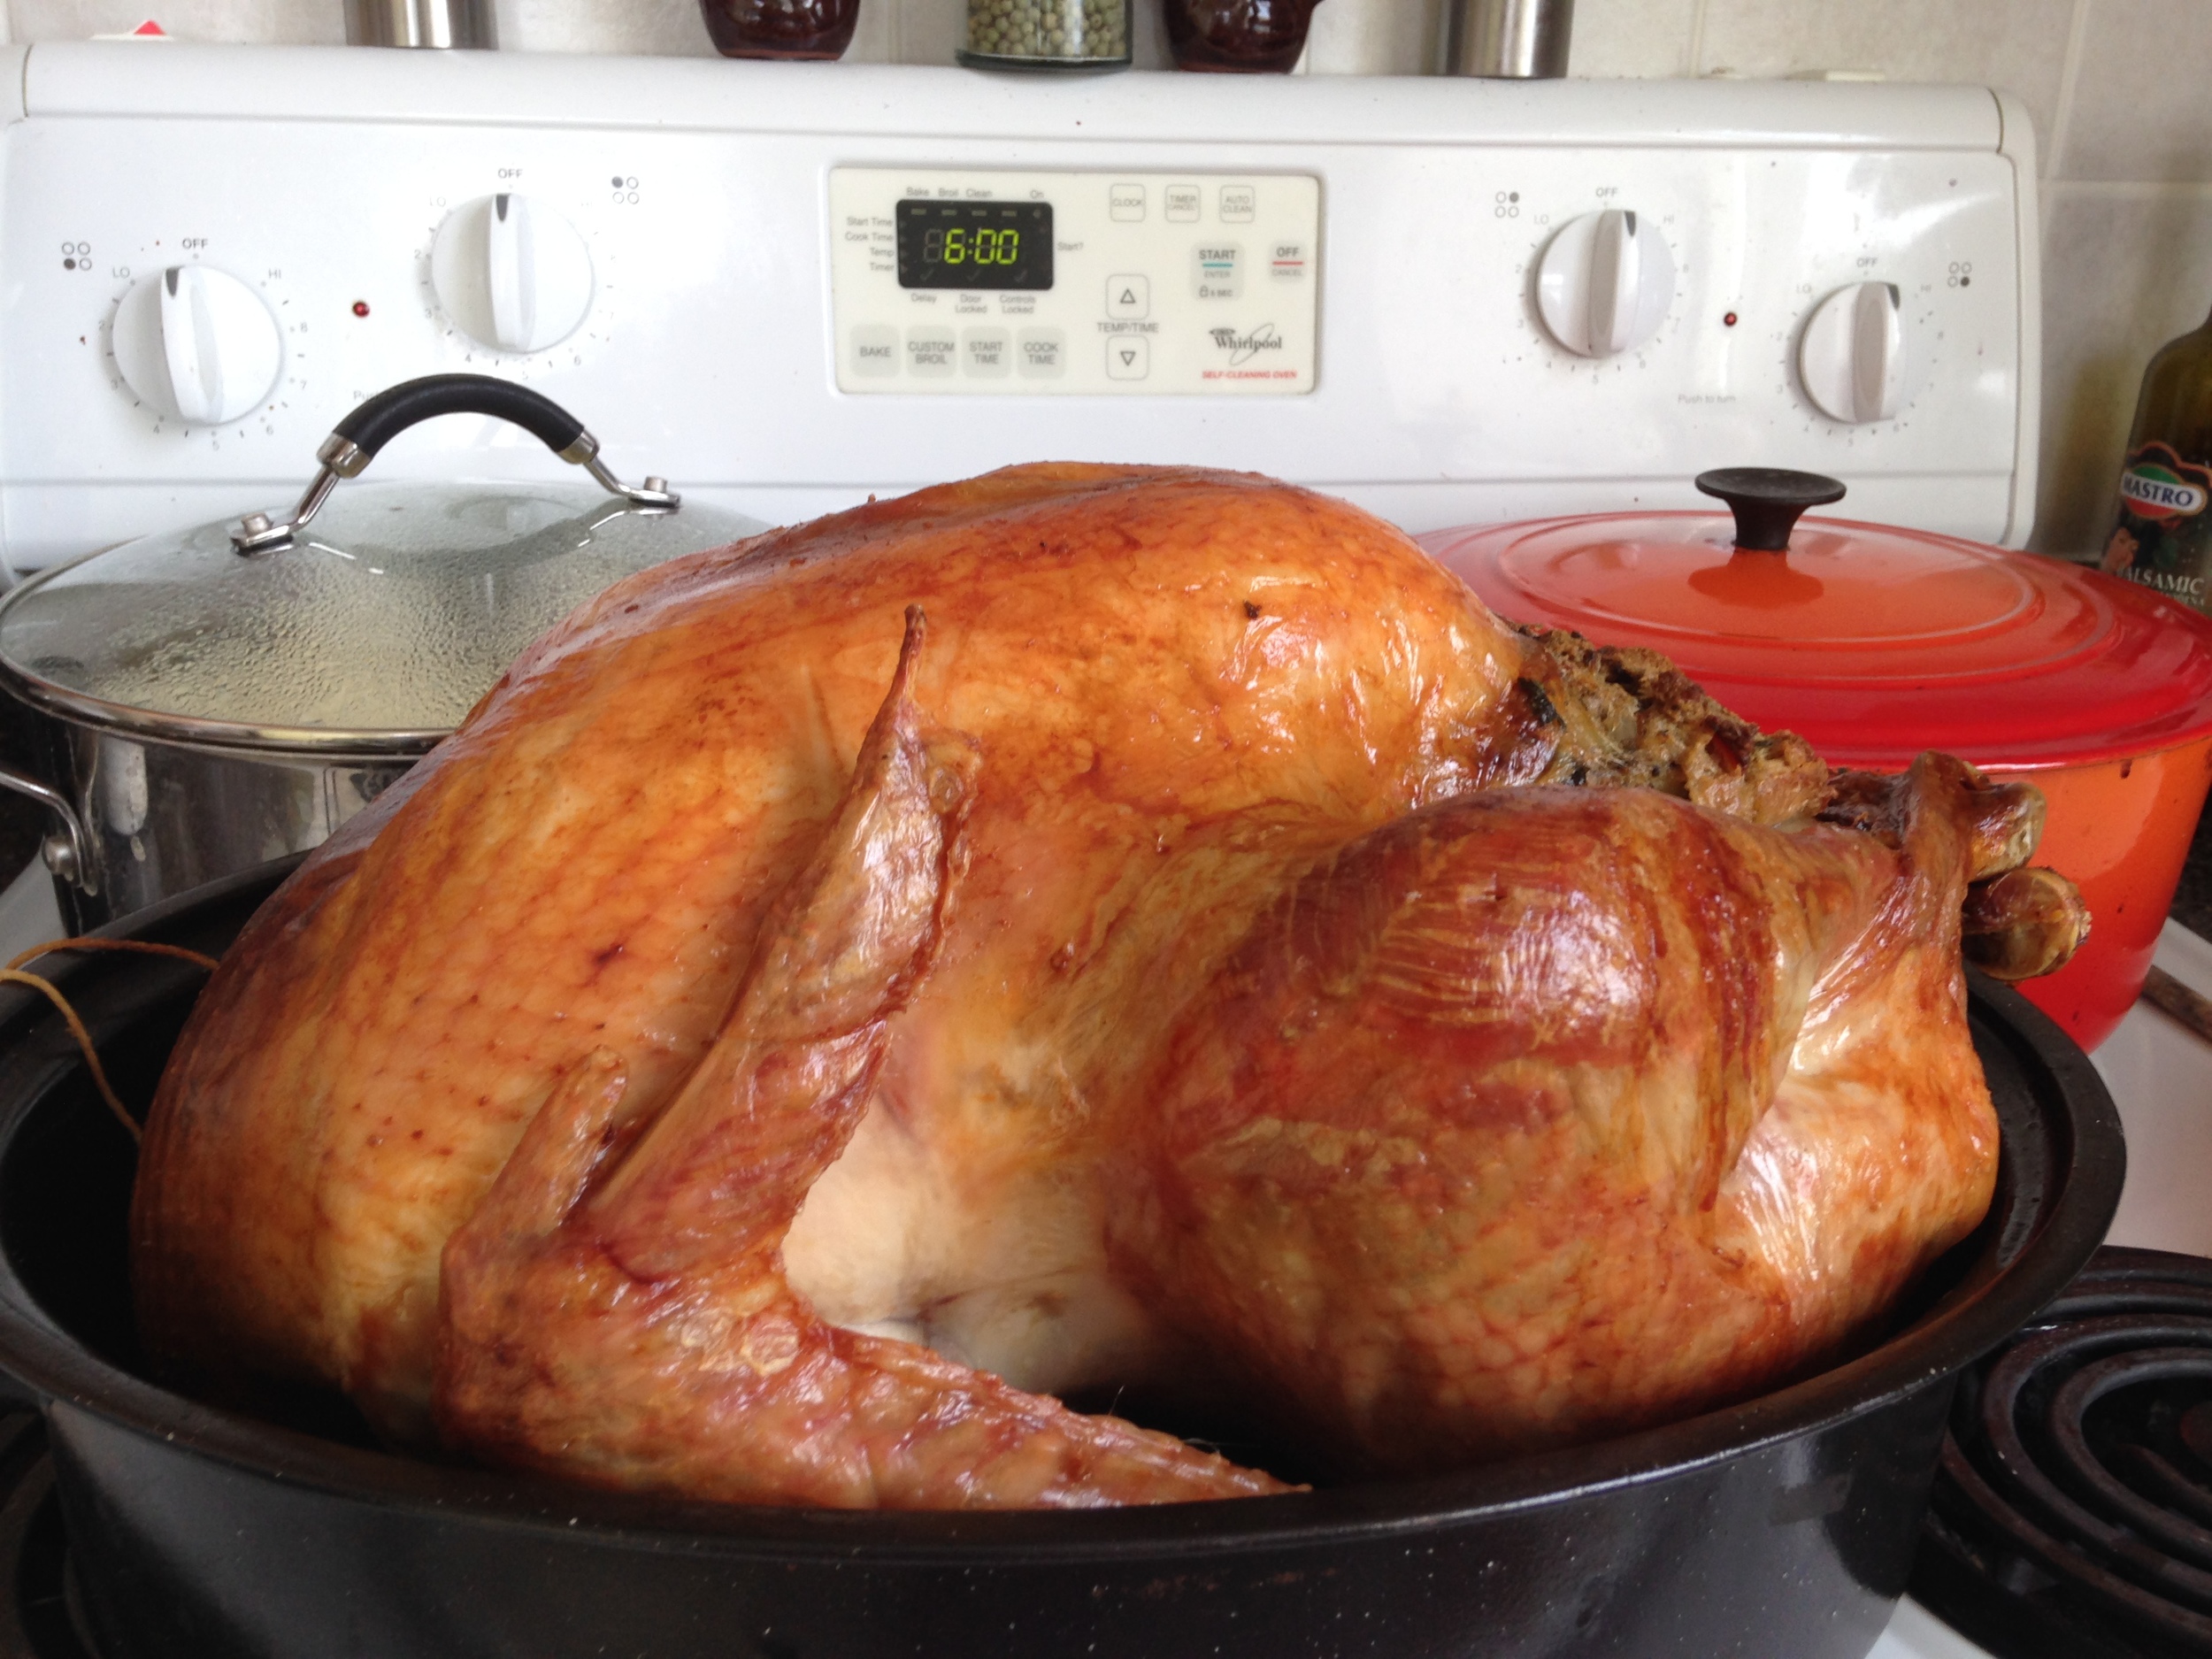
This past easter, I put on a dinner party. Main reason (we're not religious in the slightest): I wanted turkey. So I cooked a 14lbs turkey with all the fixings and had some friends come to enjoy cocktails and appies and, what turned out to honestly be the main attraction, a Spumoni Cheesecake.
I'd made this cheesecake recipe before, back when I was working in the test kitchen at the Blue Flame Kitchen in Edmonton. All I really remembered about it though was that it was mind blowingly good. And for someone that's lactose-intolerant to want to eat a cheesecake, it is a big thing. 

Below is the recipe, adapted from the BFK website. But really, the pictures and smiles speak for themselves. 

Spumoni Cheesecake

Crust
6 shortcake biscuits, coarsely broken (about 1 cup)
1 cup shelled roasted pistachios
1/4 cup butter, chilled and cubed
1 tbsp sugar

Filling
24 oz cream cheese, cubed and softened
1 cup red candied cherries
3/4 cup sugar
1/3 cup whipping cream
3 eggs
2 tsp vanilla

1 cup chopped candied mixed fruit

Topping
1 1/2 cups sour cream
1/4 cup sugar
2 squares bittersweet chocolate, chopped, melted and cooled (~4 mins in microwave on low)
1 tsp vanilla

  1. Preheat oven to 350F. Grease a 10 inch springform pan.
  2. To prepare crust, place biscuits, pistachios, butter and sugar in a food processor. Process, using an on/off motion, until mixture is crumbly. Press mixture evenly onto bottom of the prepared pan. Bake crust for 10 minutes. Cool crust completely in pan on a rack. 
  3. Reduce oven temperature to 325F. 
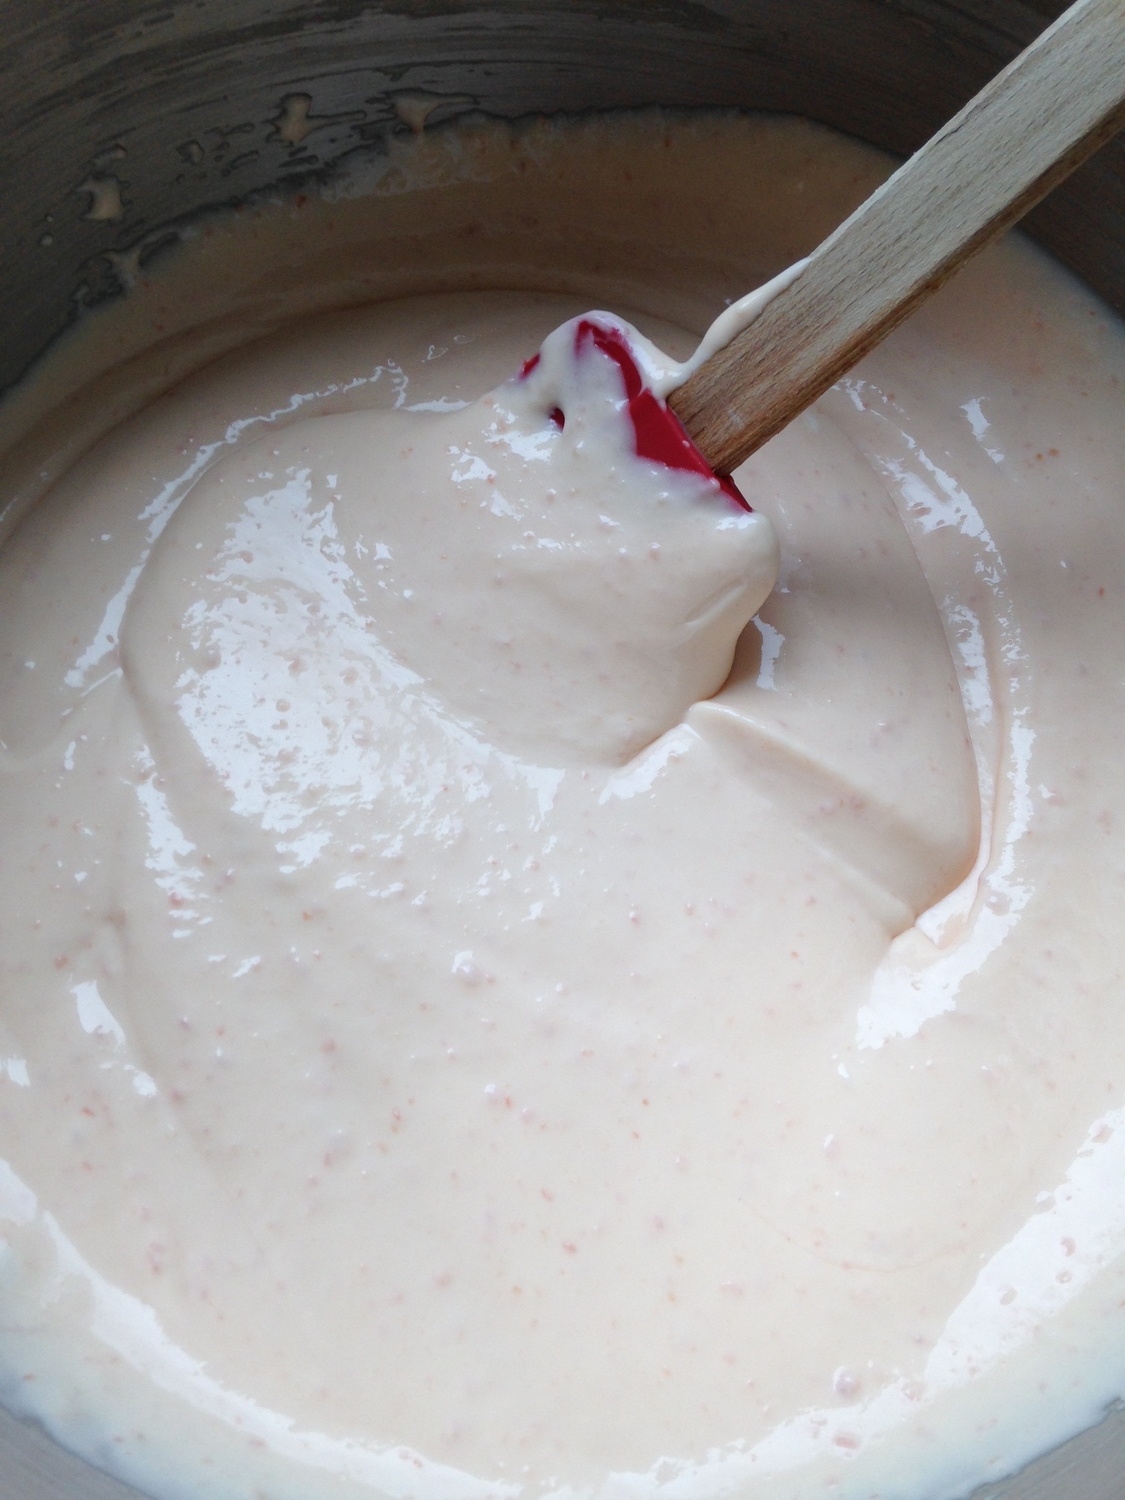
  4. To prepare filling, place filling ingredients (cream cheese through vanilla) in a food processor. Process, using an on/off motion, until combined. Continue blending until mixture is smooth and pale pink. Transfer to a bowl and stir in candied mixed fruit. Pour filling into prepared pan, over crust.
  5. Bake cheesecake for 1 hour or until centre of cheesecake is puffed and jiggles slightly when shaken. 
  6. While cheesecake is baking, take sour cream out of the fridge, measure it into a bowl, and let sit on the counter to come to room temperature. 
  7. Start preparing the topping about 10 minutes before cheesecake is done. To make topping,  combine sour cream, sugar, cooled melted chocolate and vanilla. Remove cheesecake from oven and spread topping evenly over cheesecake. 
  8. Continue baking for 10 minutes. Remove cheesecake from oven and cool completely on a rack. Cover and refrigerate cake for 8 hours or up to 24 hours. 
  9. To serve, remove sides of springform pan. Decorate top of cake with pistachios and cherries. Cut cake with a warm knife. 

So if you're in the mood for a crazy good dessert that will make you fight your inner glutton (so you stop eating cheesecake for breakfast for the rest of the week), defs try making this cheesecake. 

Much recommended.

-Andrea (and inner glutton)

The Half-Assed Hobbyist