Plum'in It.

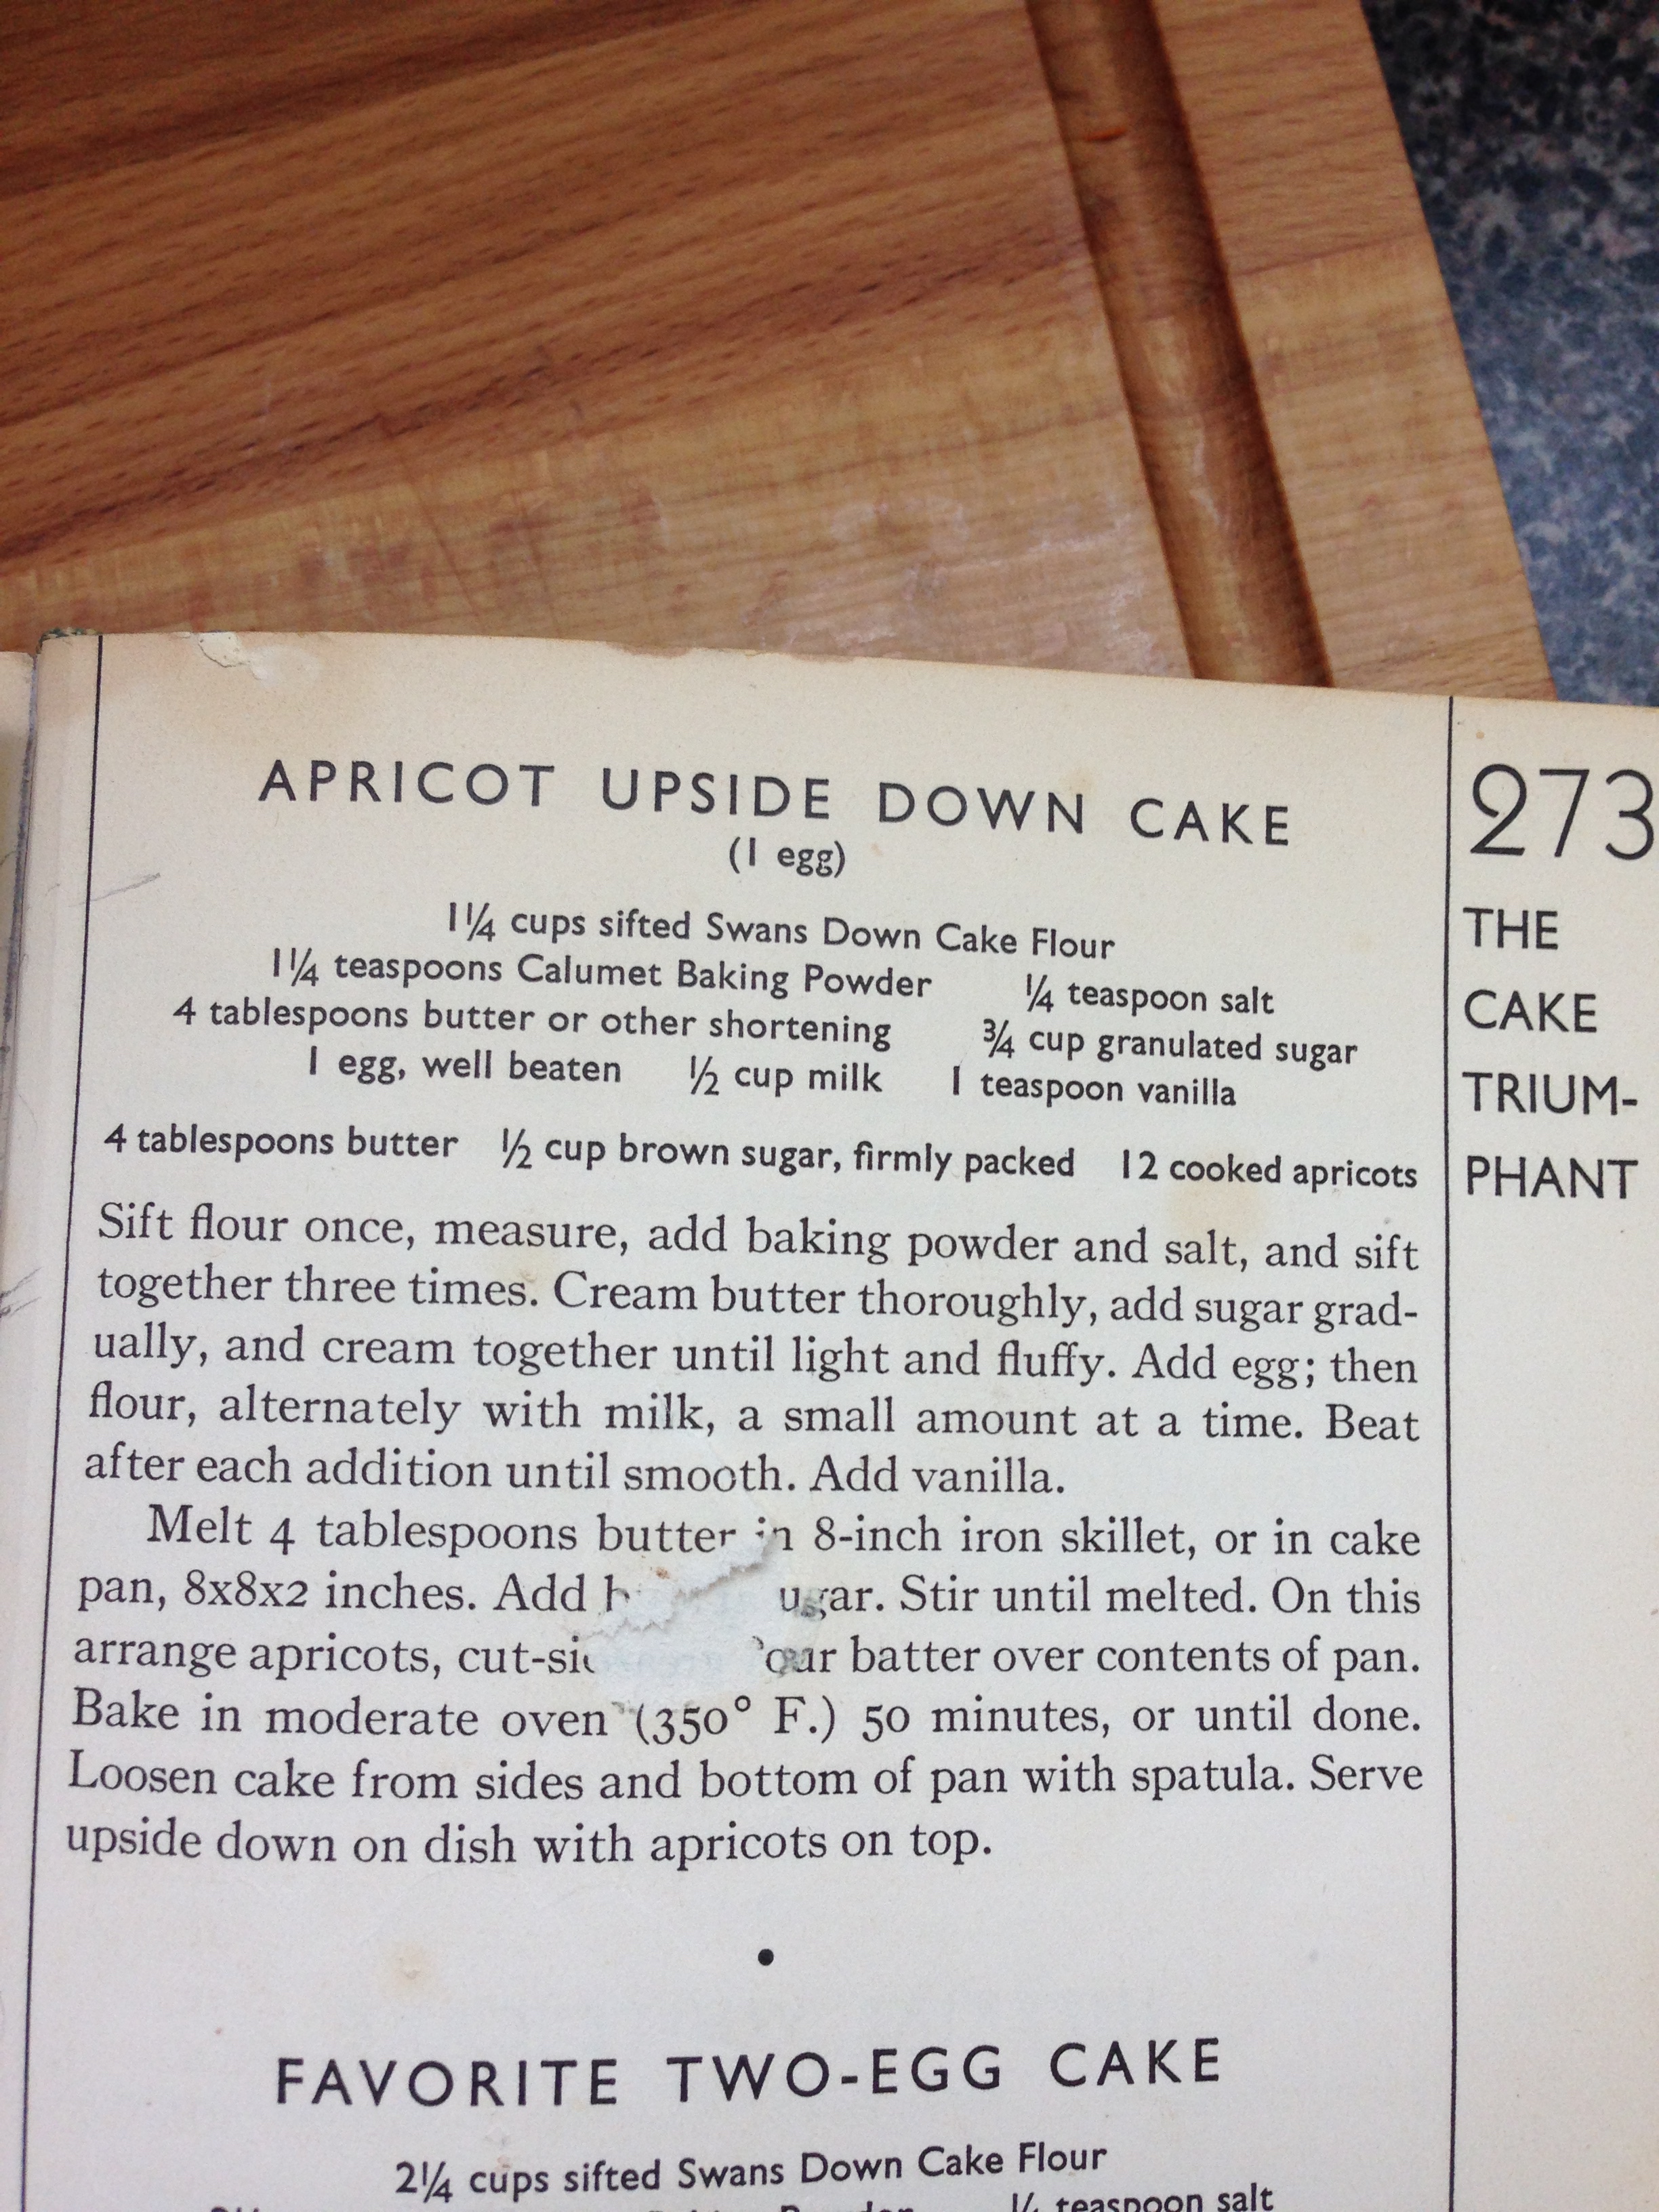
I've been super busy this past week at a new jobbins so here's an oldie but a goodie recipe!

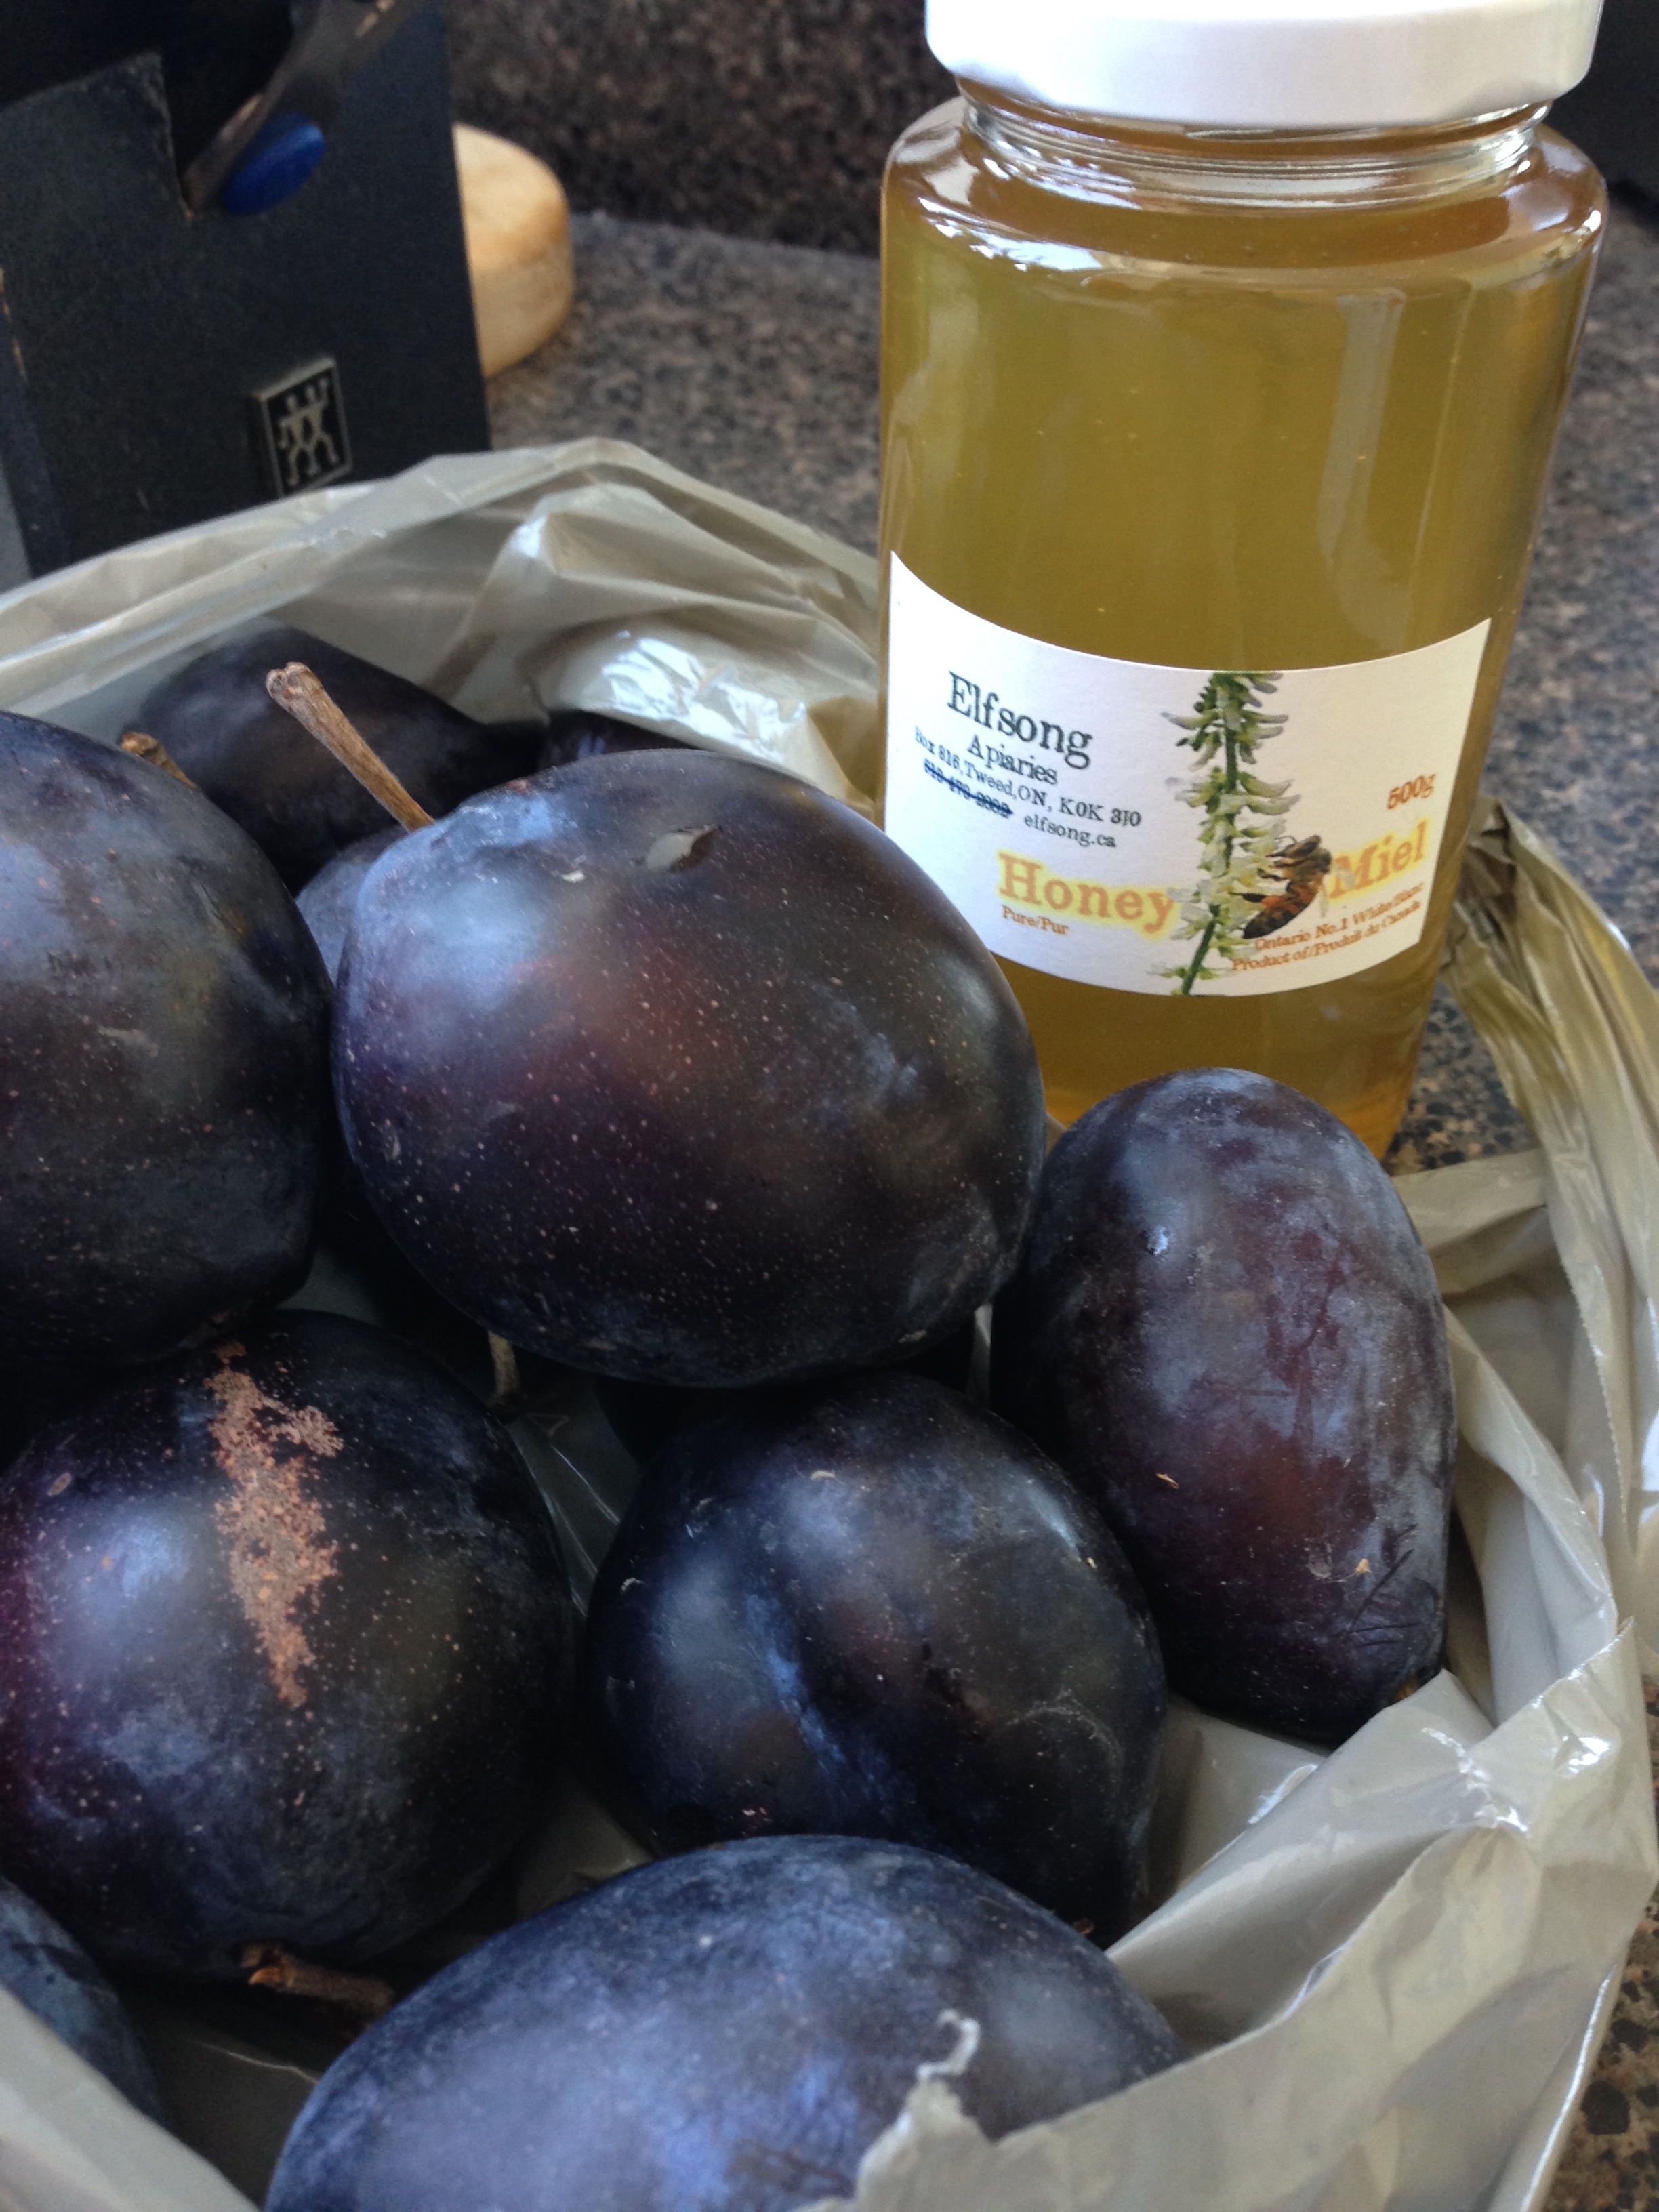
I've done a similar recipe here but I changed it up a bit. I used blue plums (that were in season at the time, yay!) and some clover honey from the local market. 

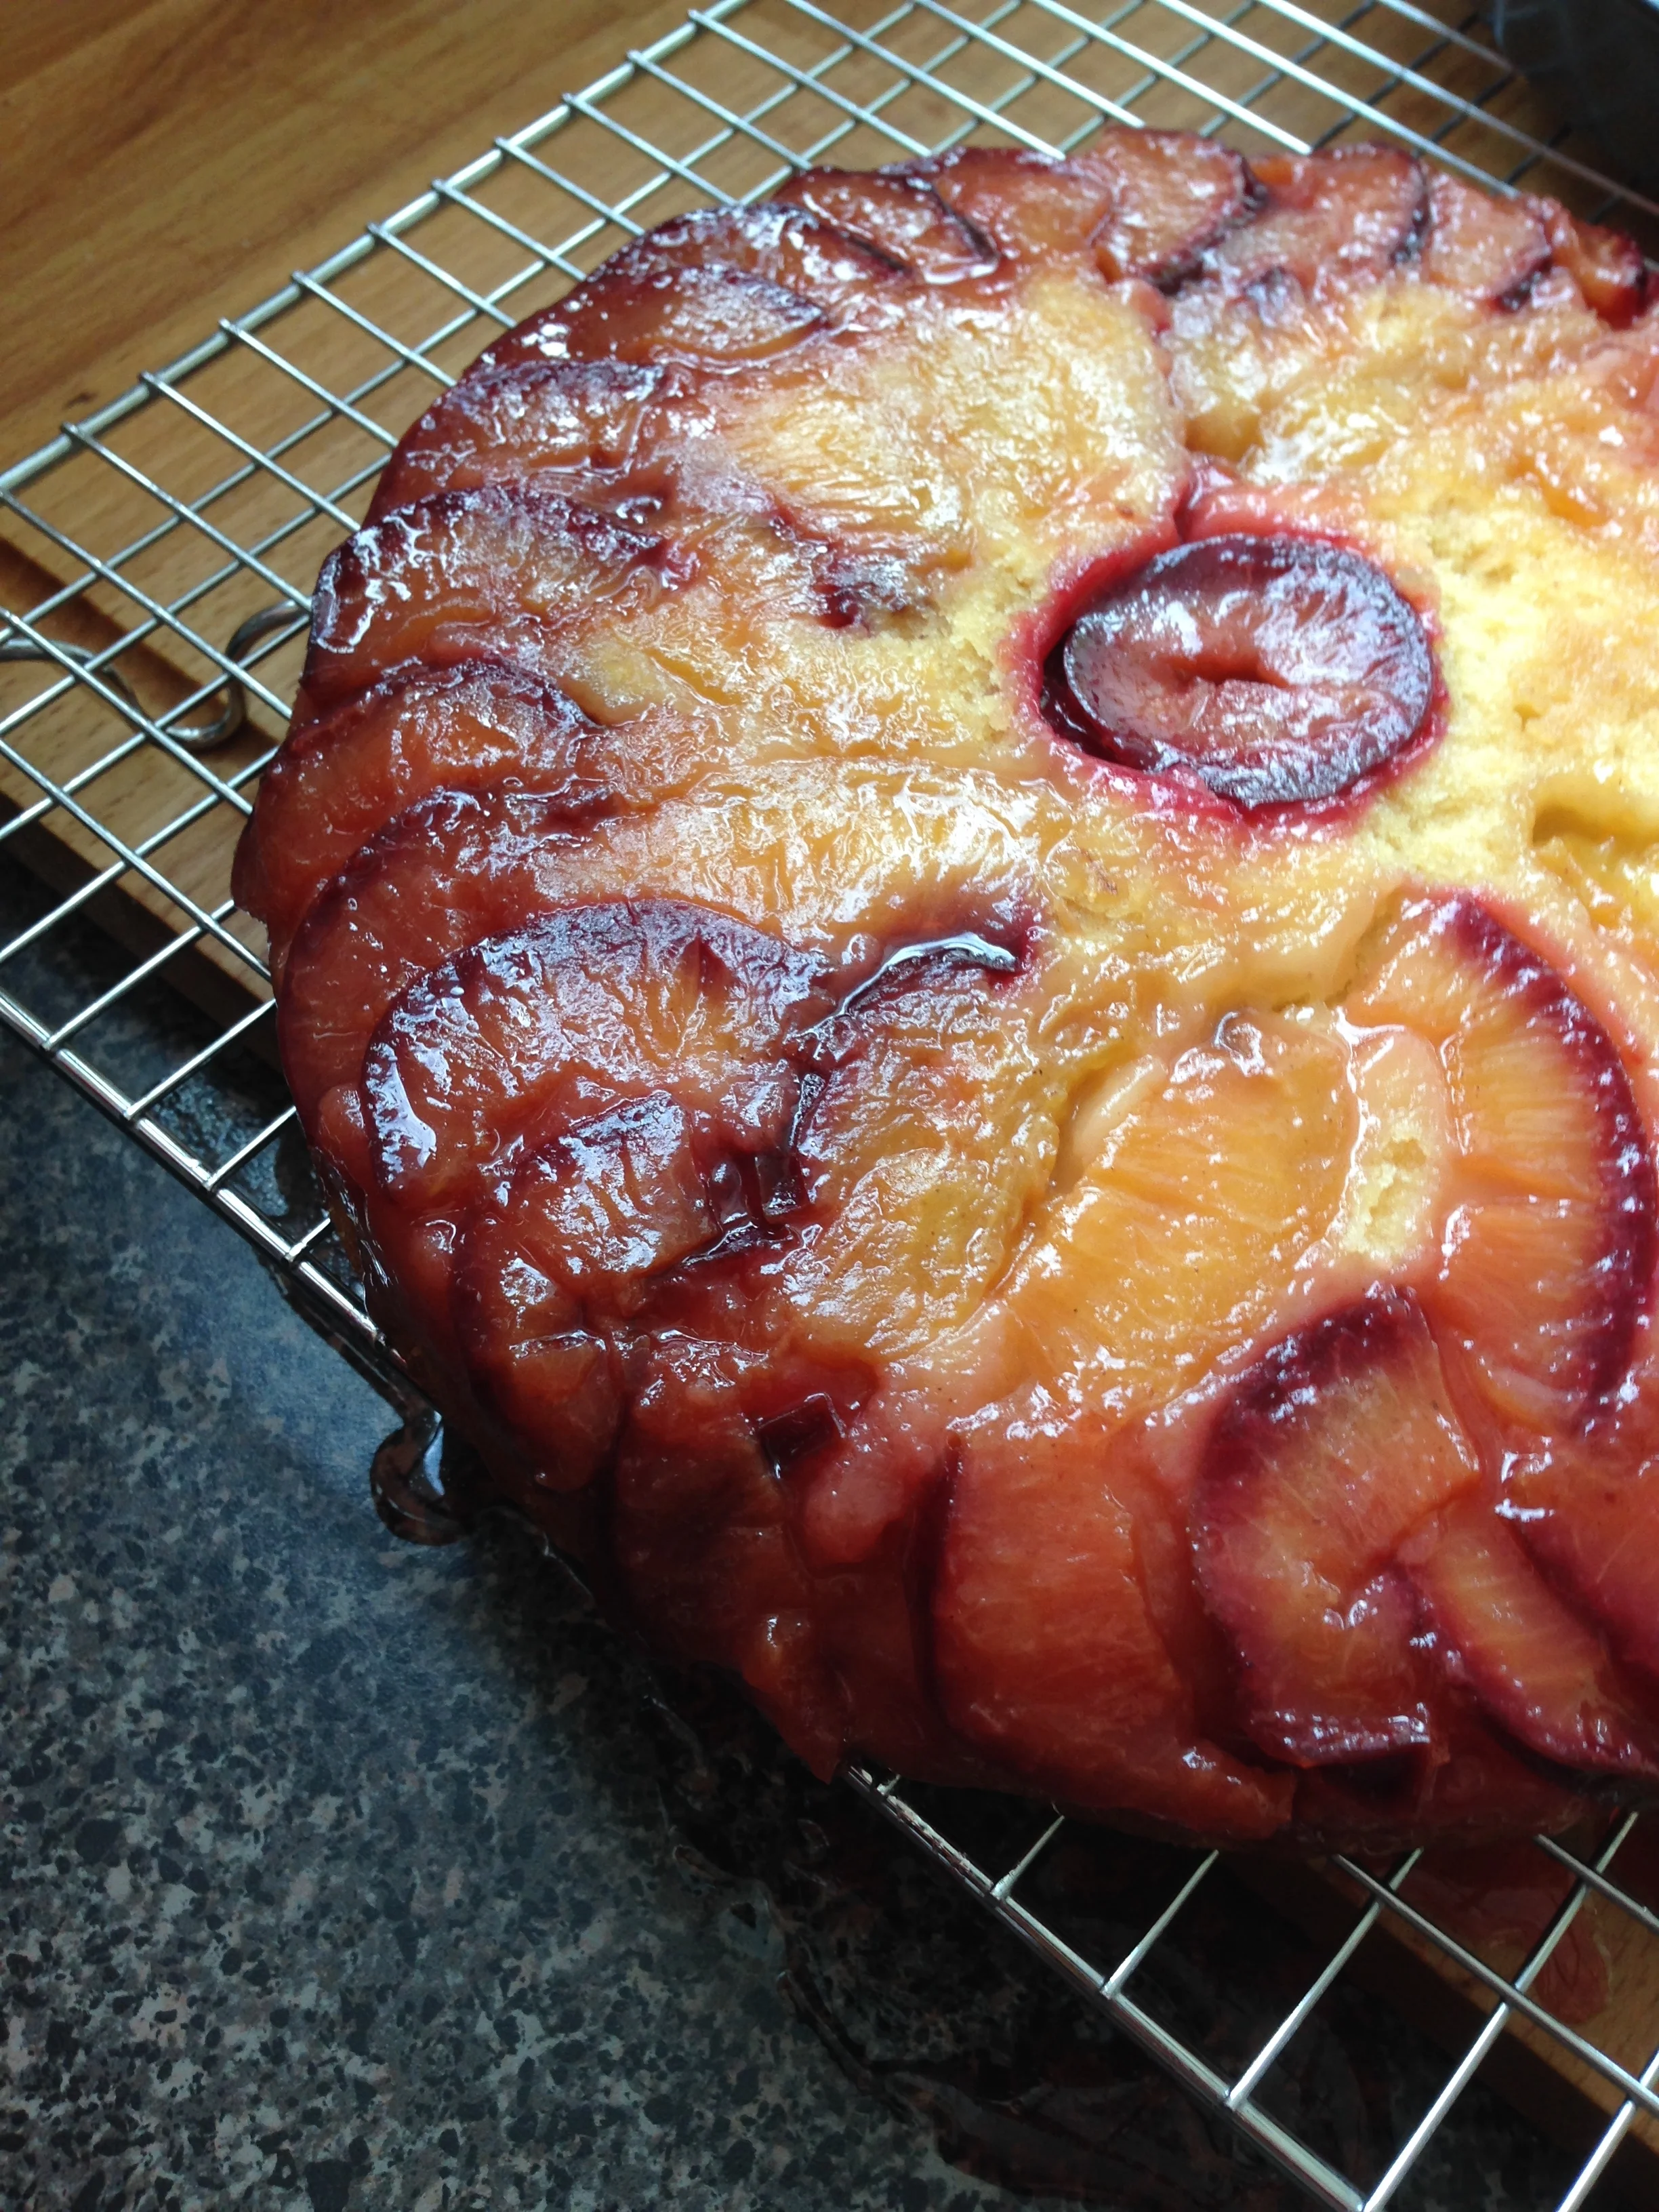
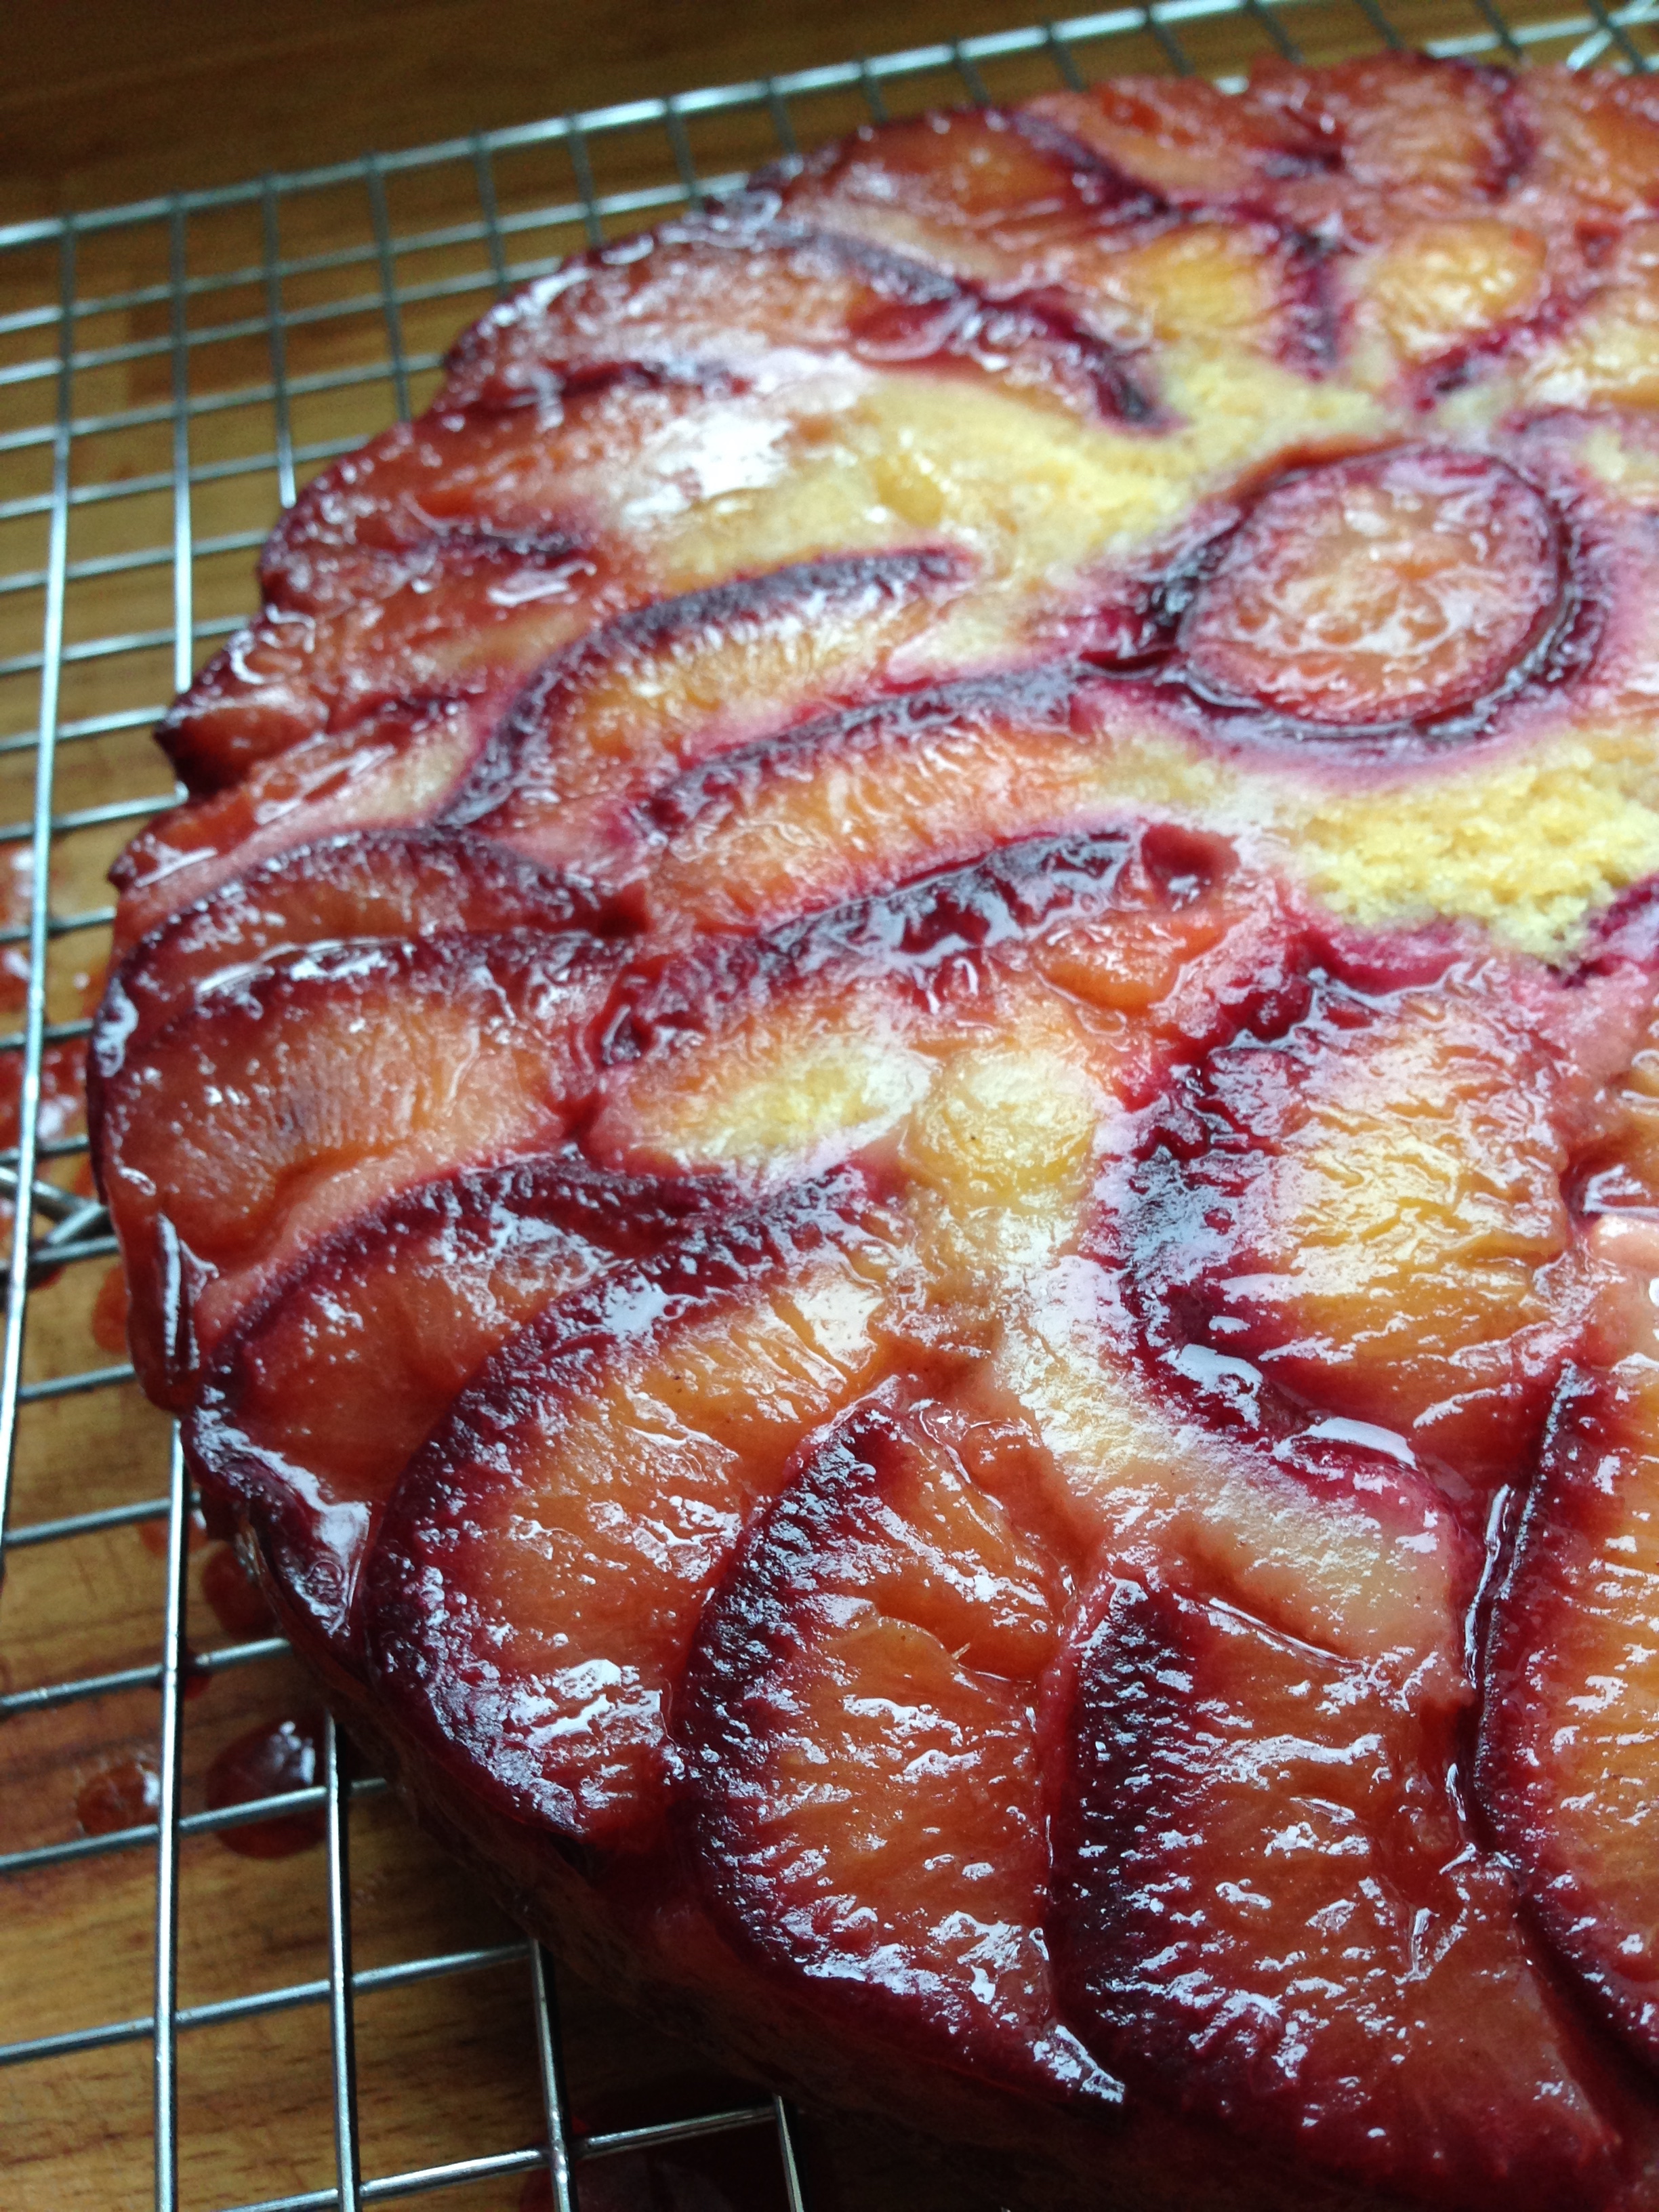
Blue Plum and Honey Upside-down Cake

12 Blue Plums, sliced thinly

4 TBSP butter
1/4 cup brown sugar
1/4 cup clover honey
1/2 tsp ground cinnamon

1 1/4 cup flour
1 1/4 tsp baking powder
1/4 tsp salt

4 TBSP butter
3/4 cups granulated sugar
1 egg, well beaten
1/2 milk
1 tsp vanilla

9 inch round pan

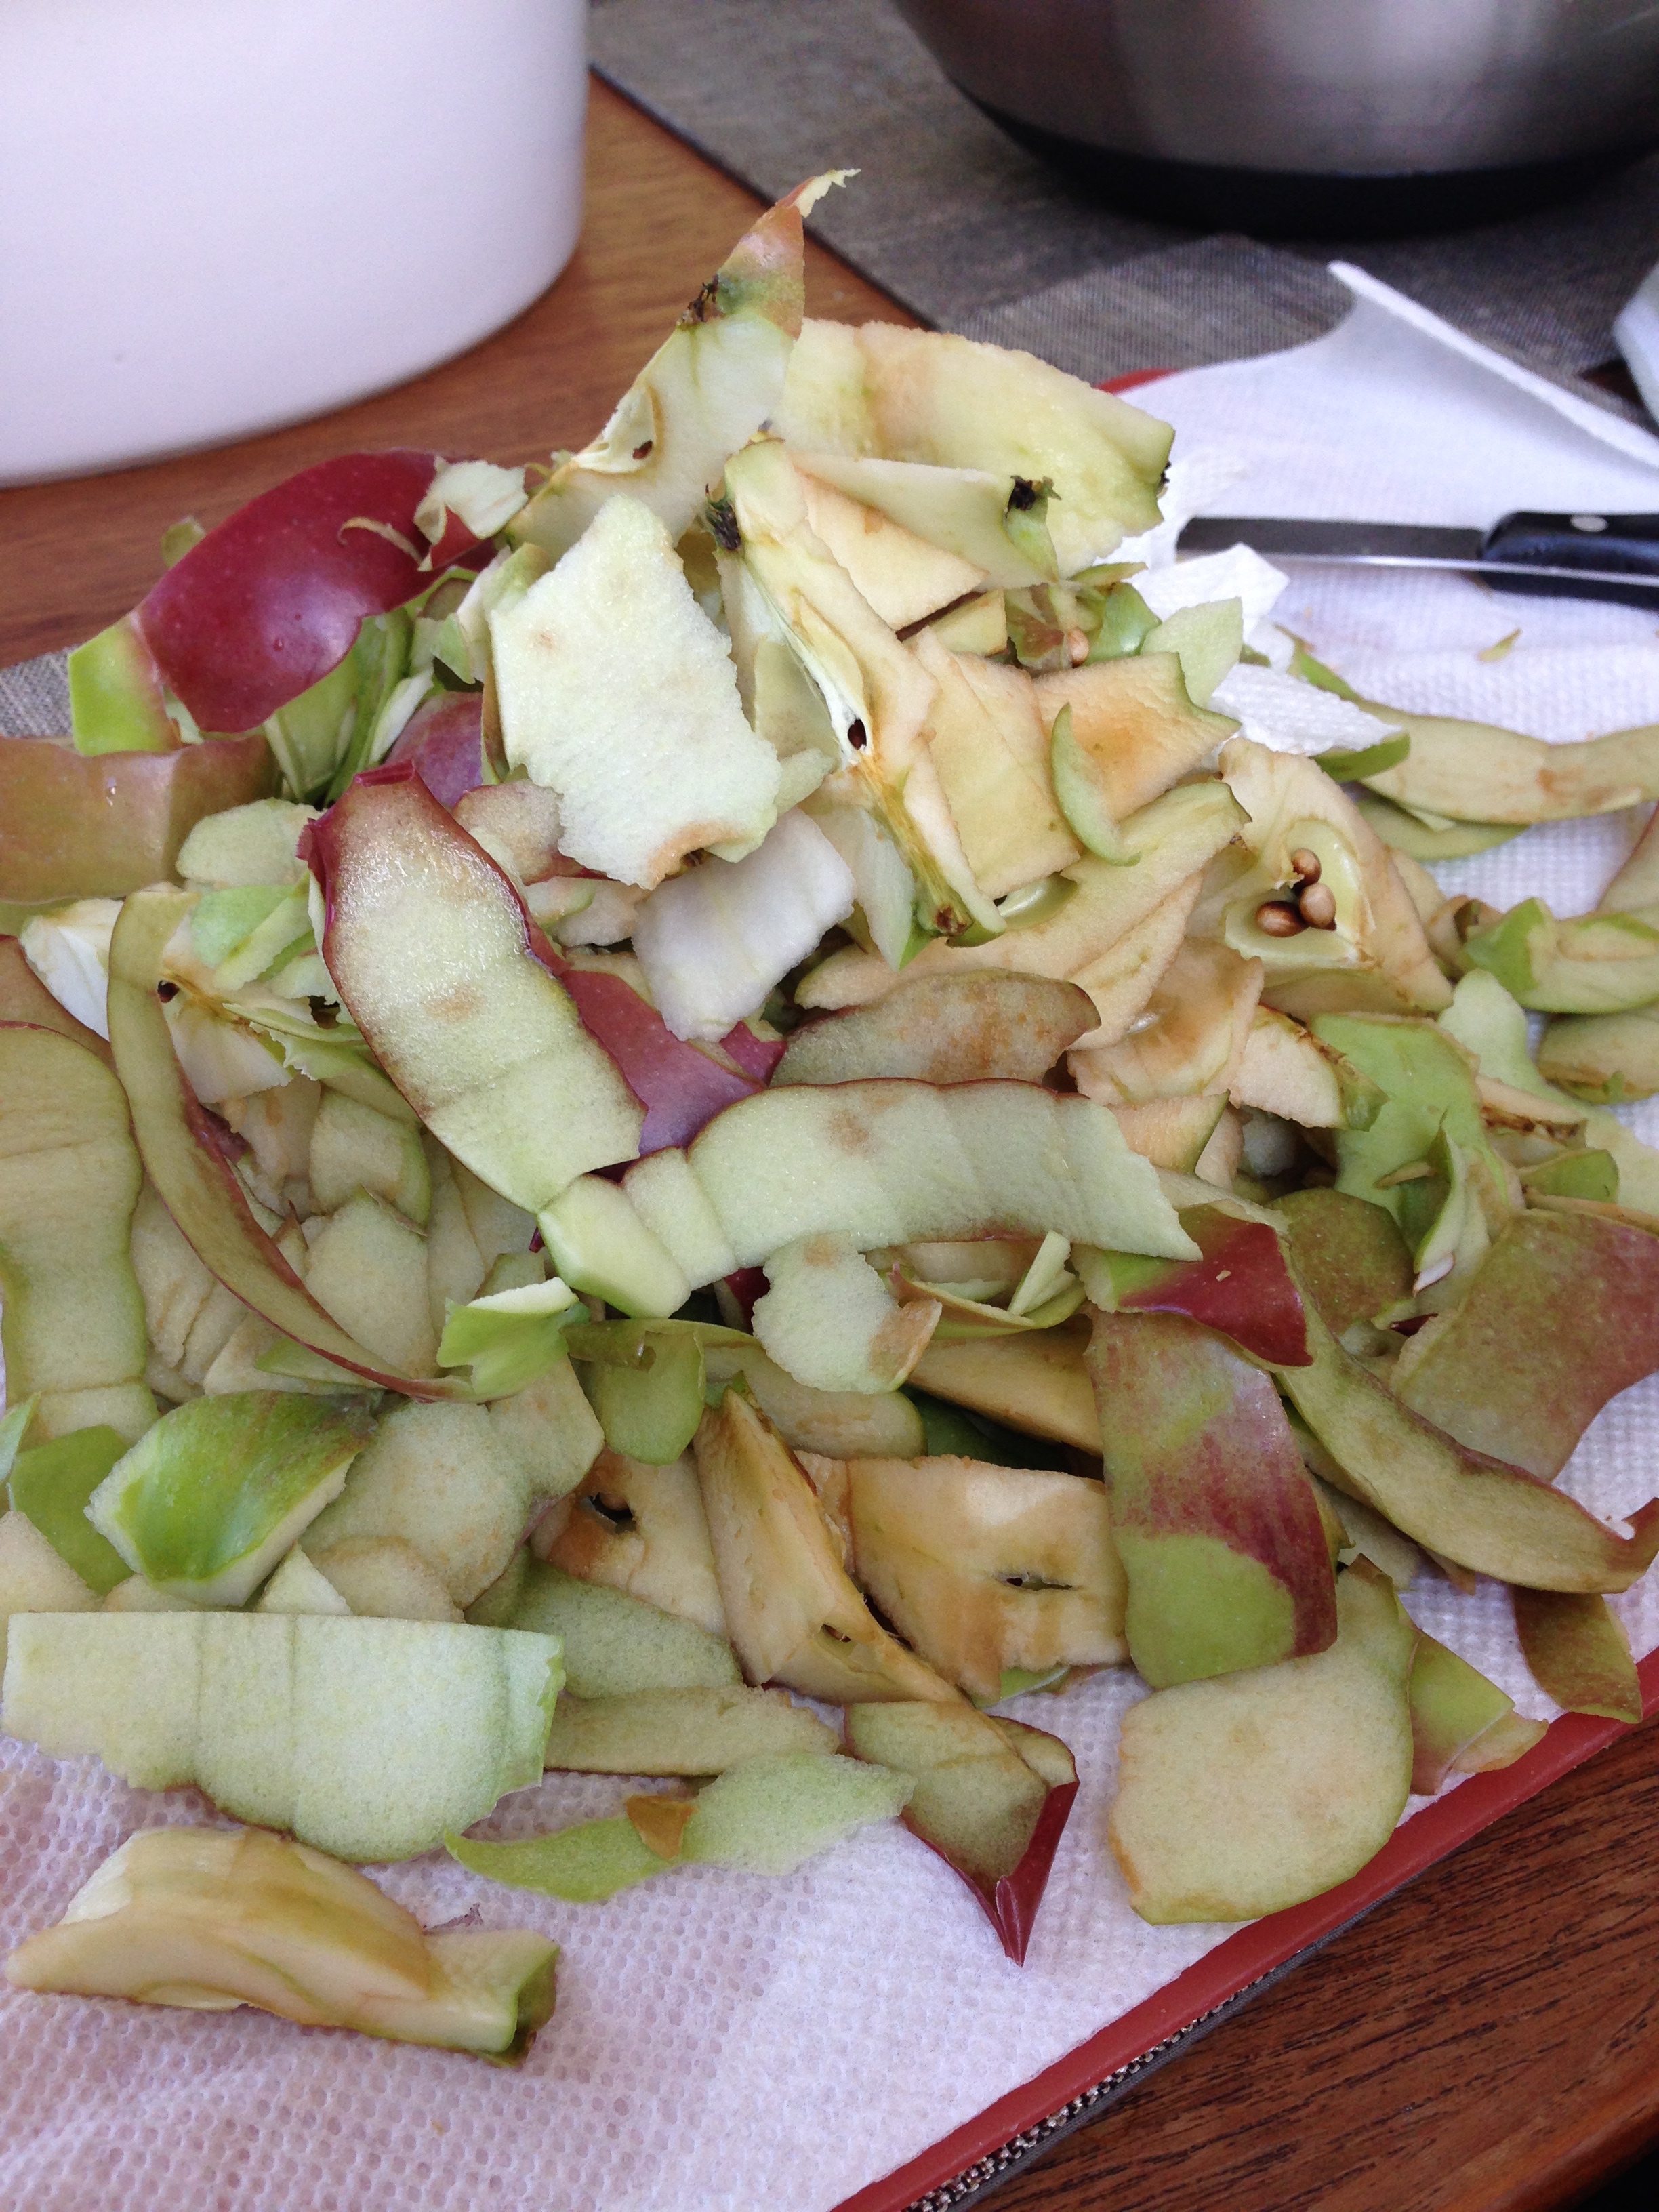
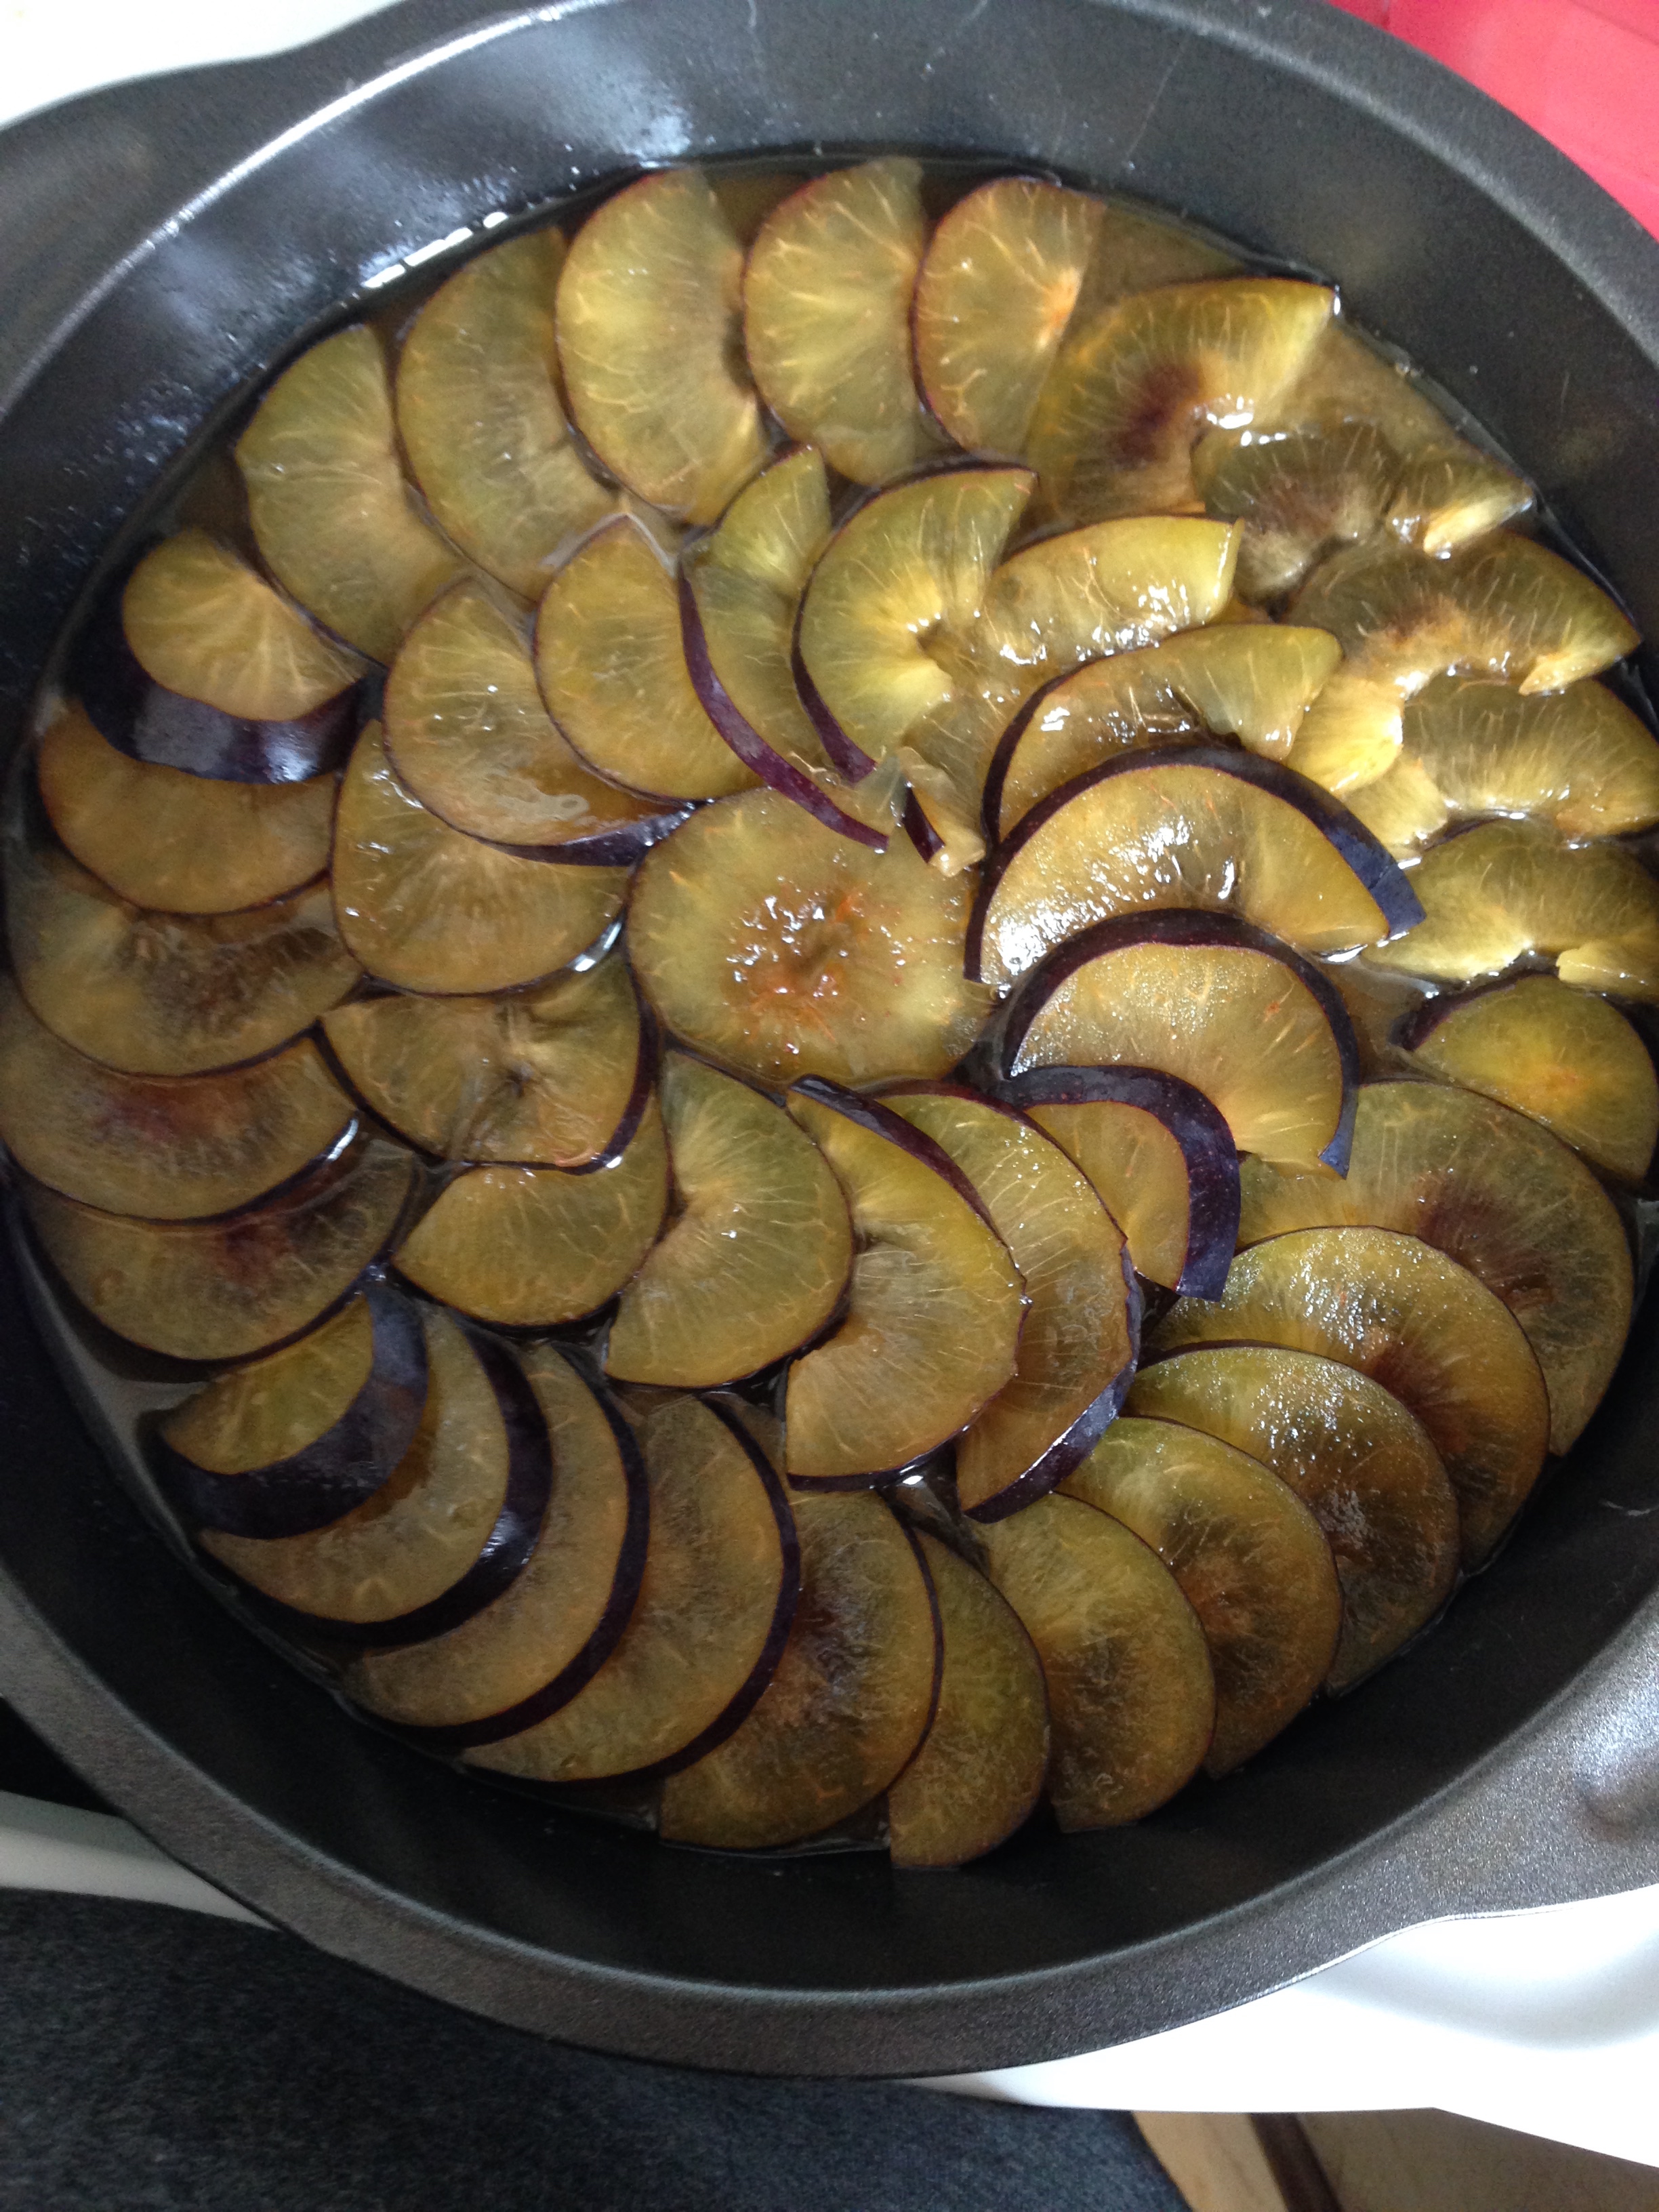
  1. To slice plums: With a sharp knife, make a slit around the centre of the plum, all the way around the pit. Twist one half of fruit off the pit. Remove the pit. Slice up the plum flesh. 
  2. Preheat your oven to 350'F.
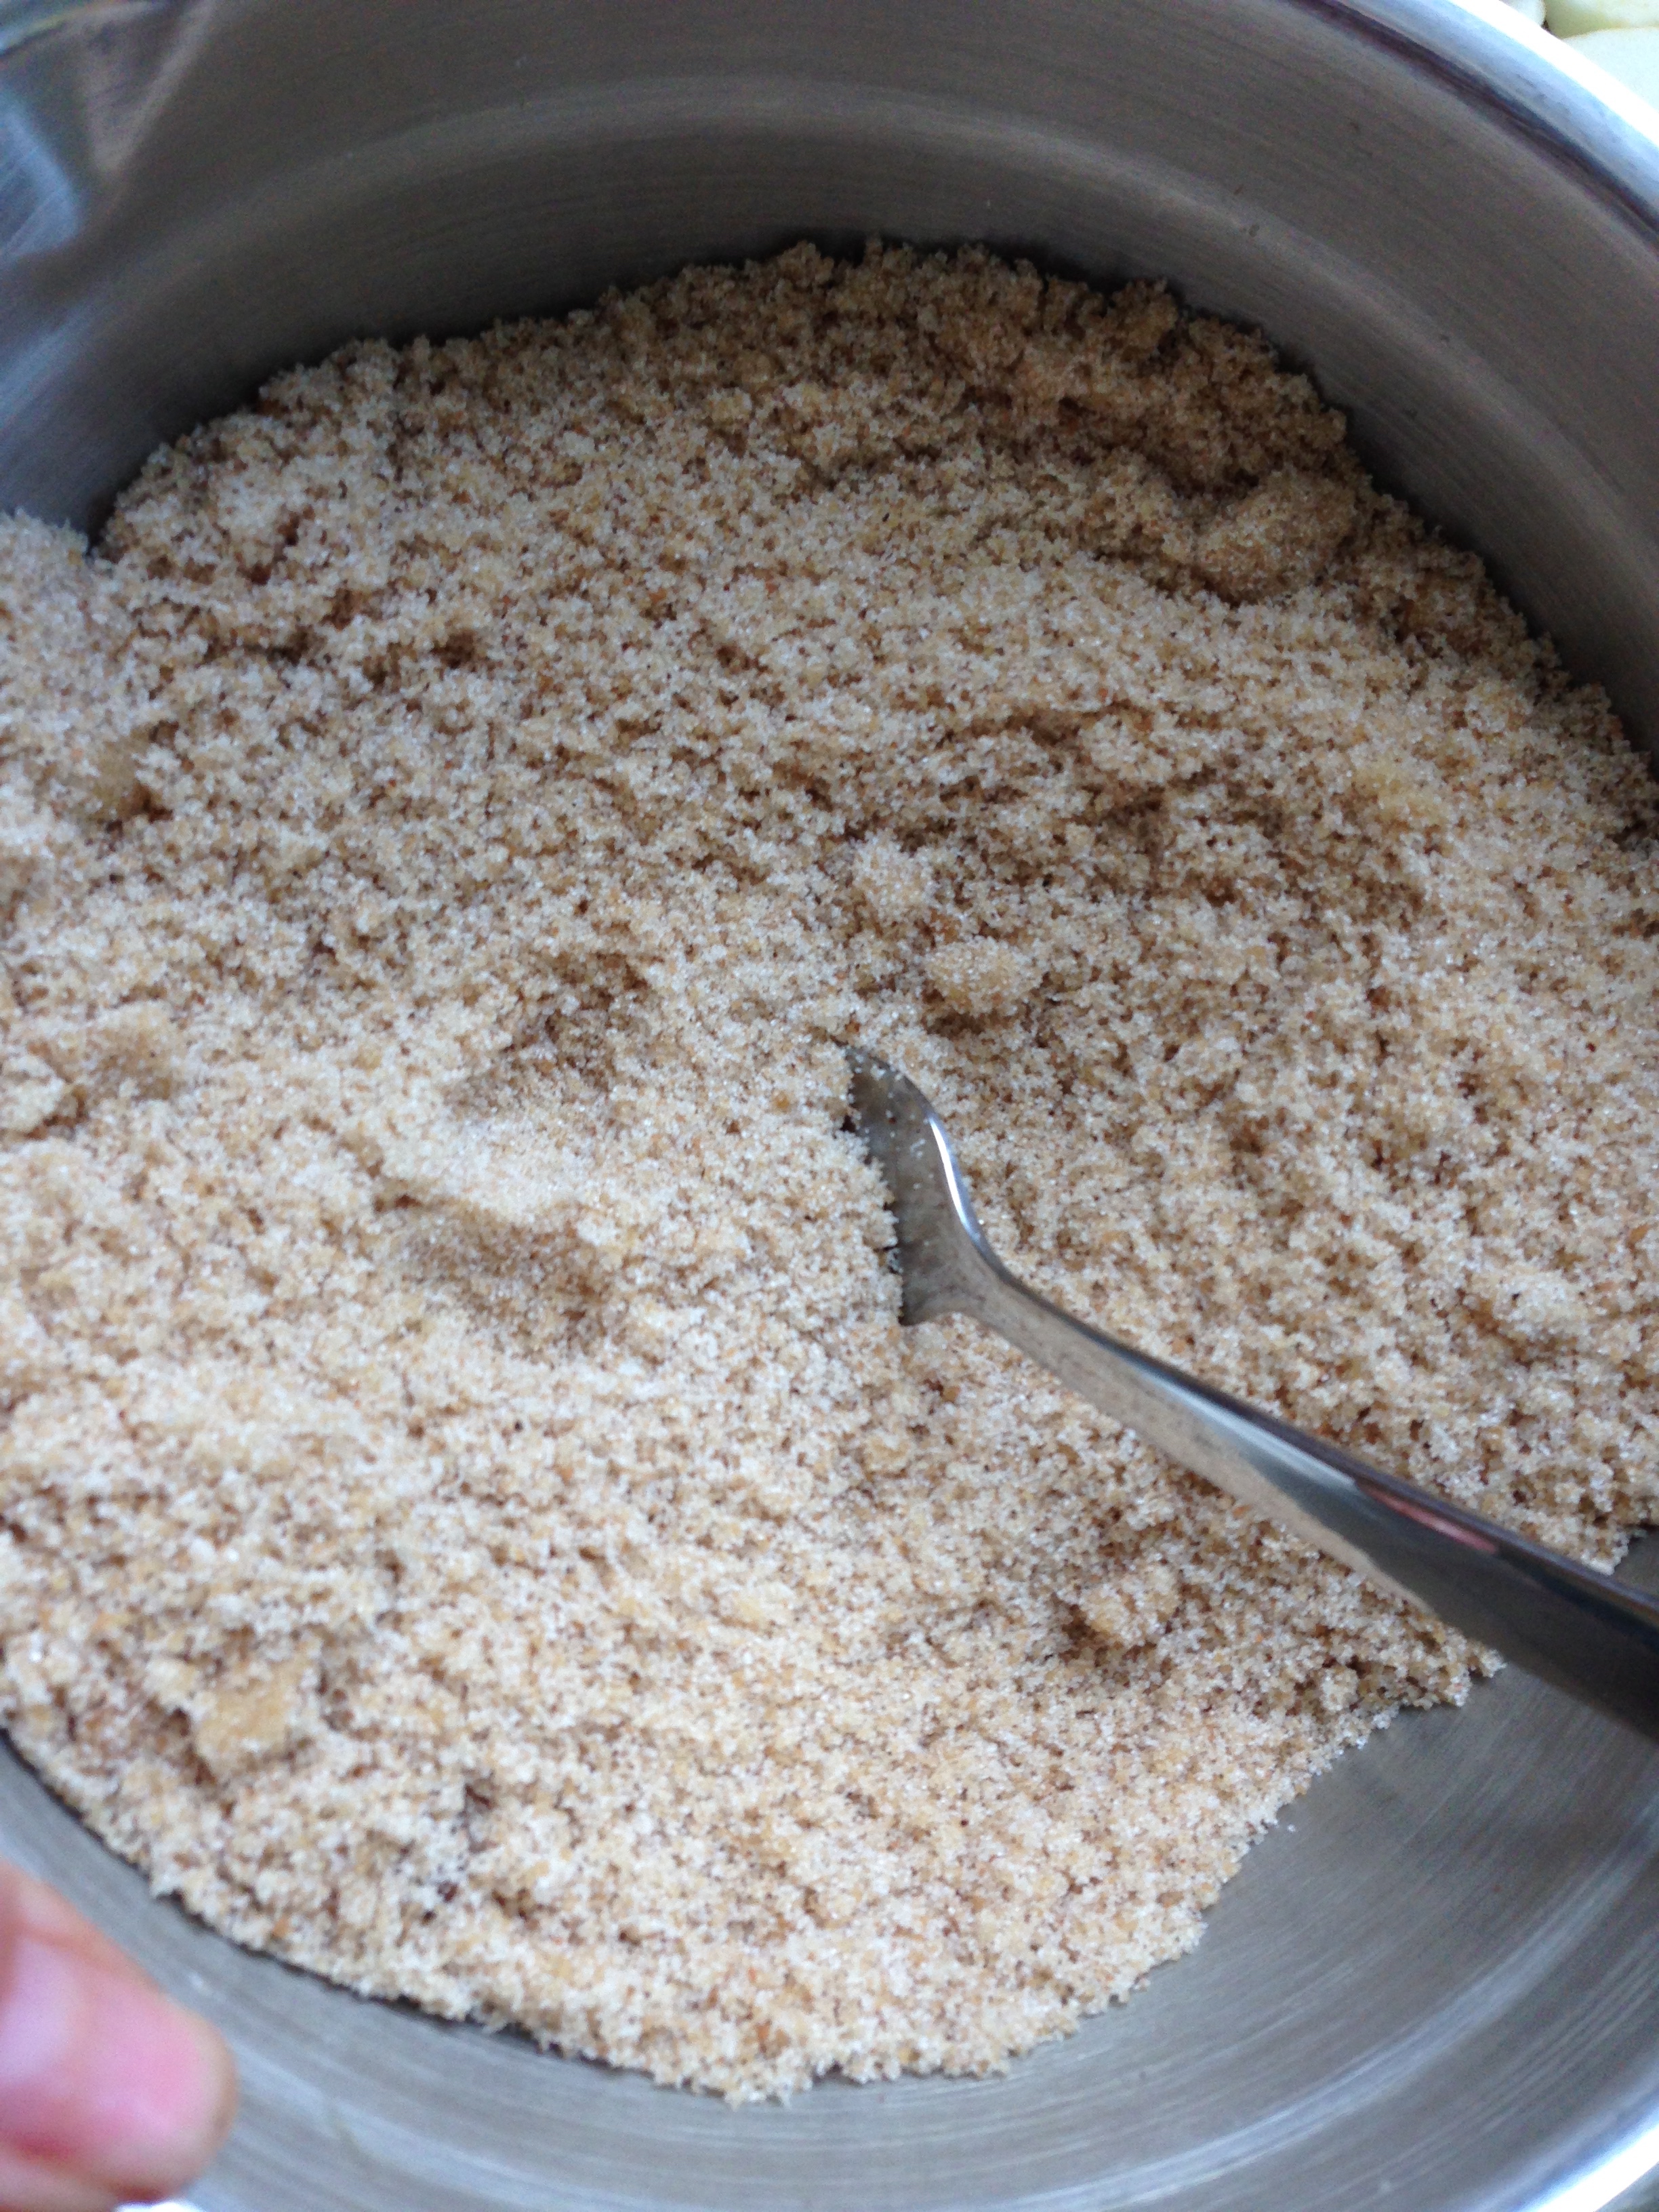
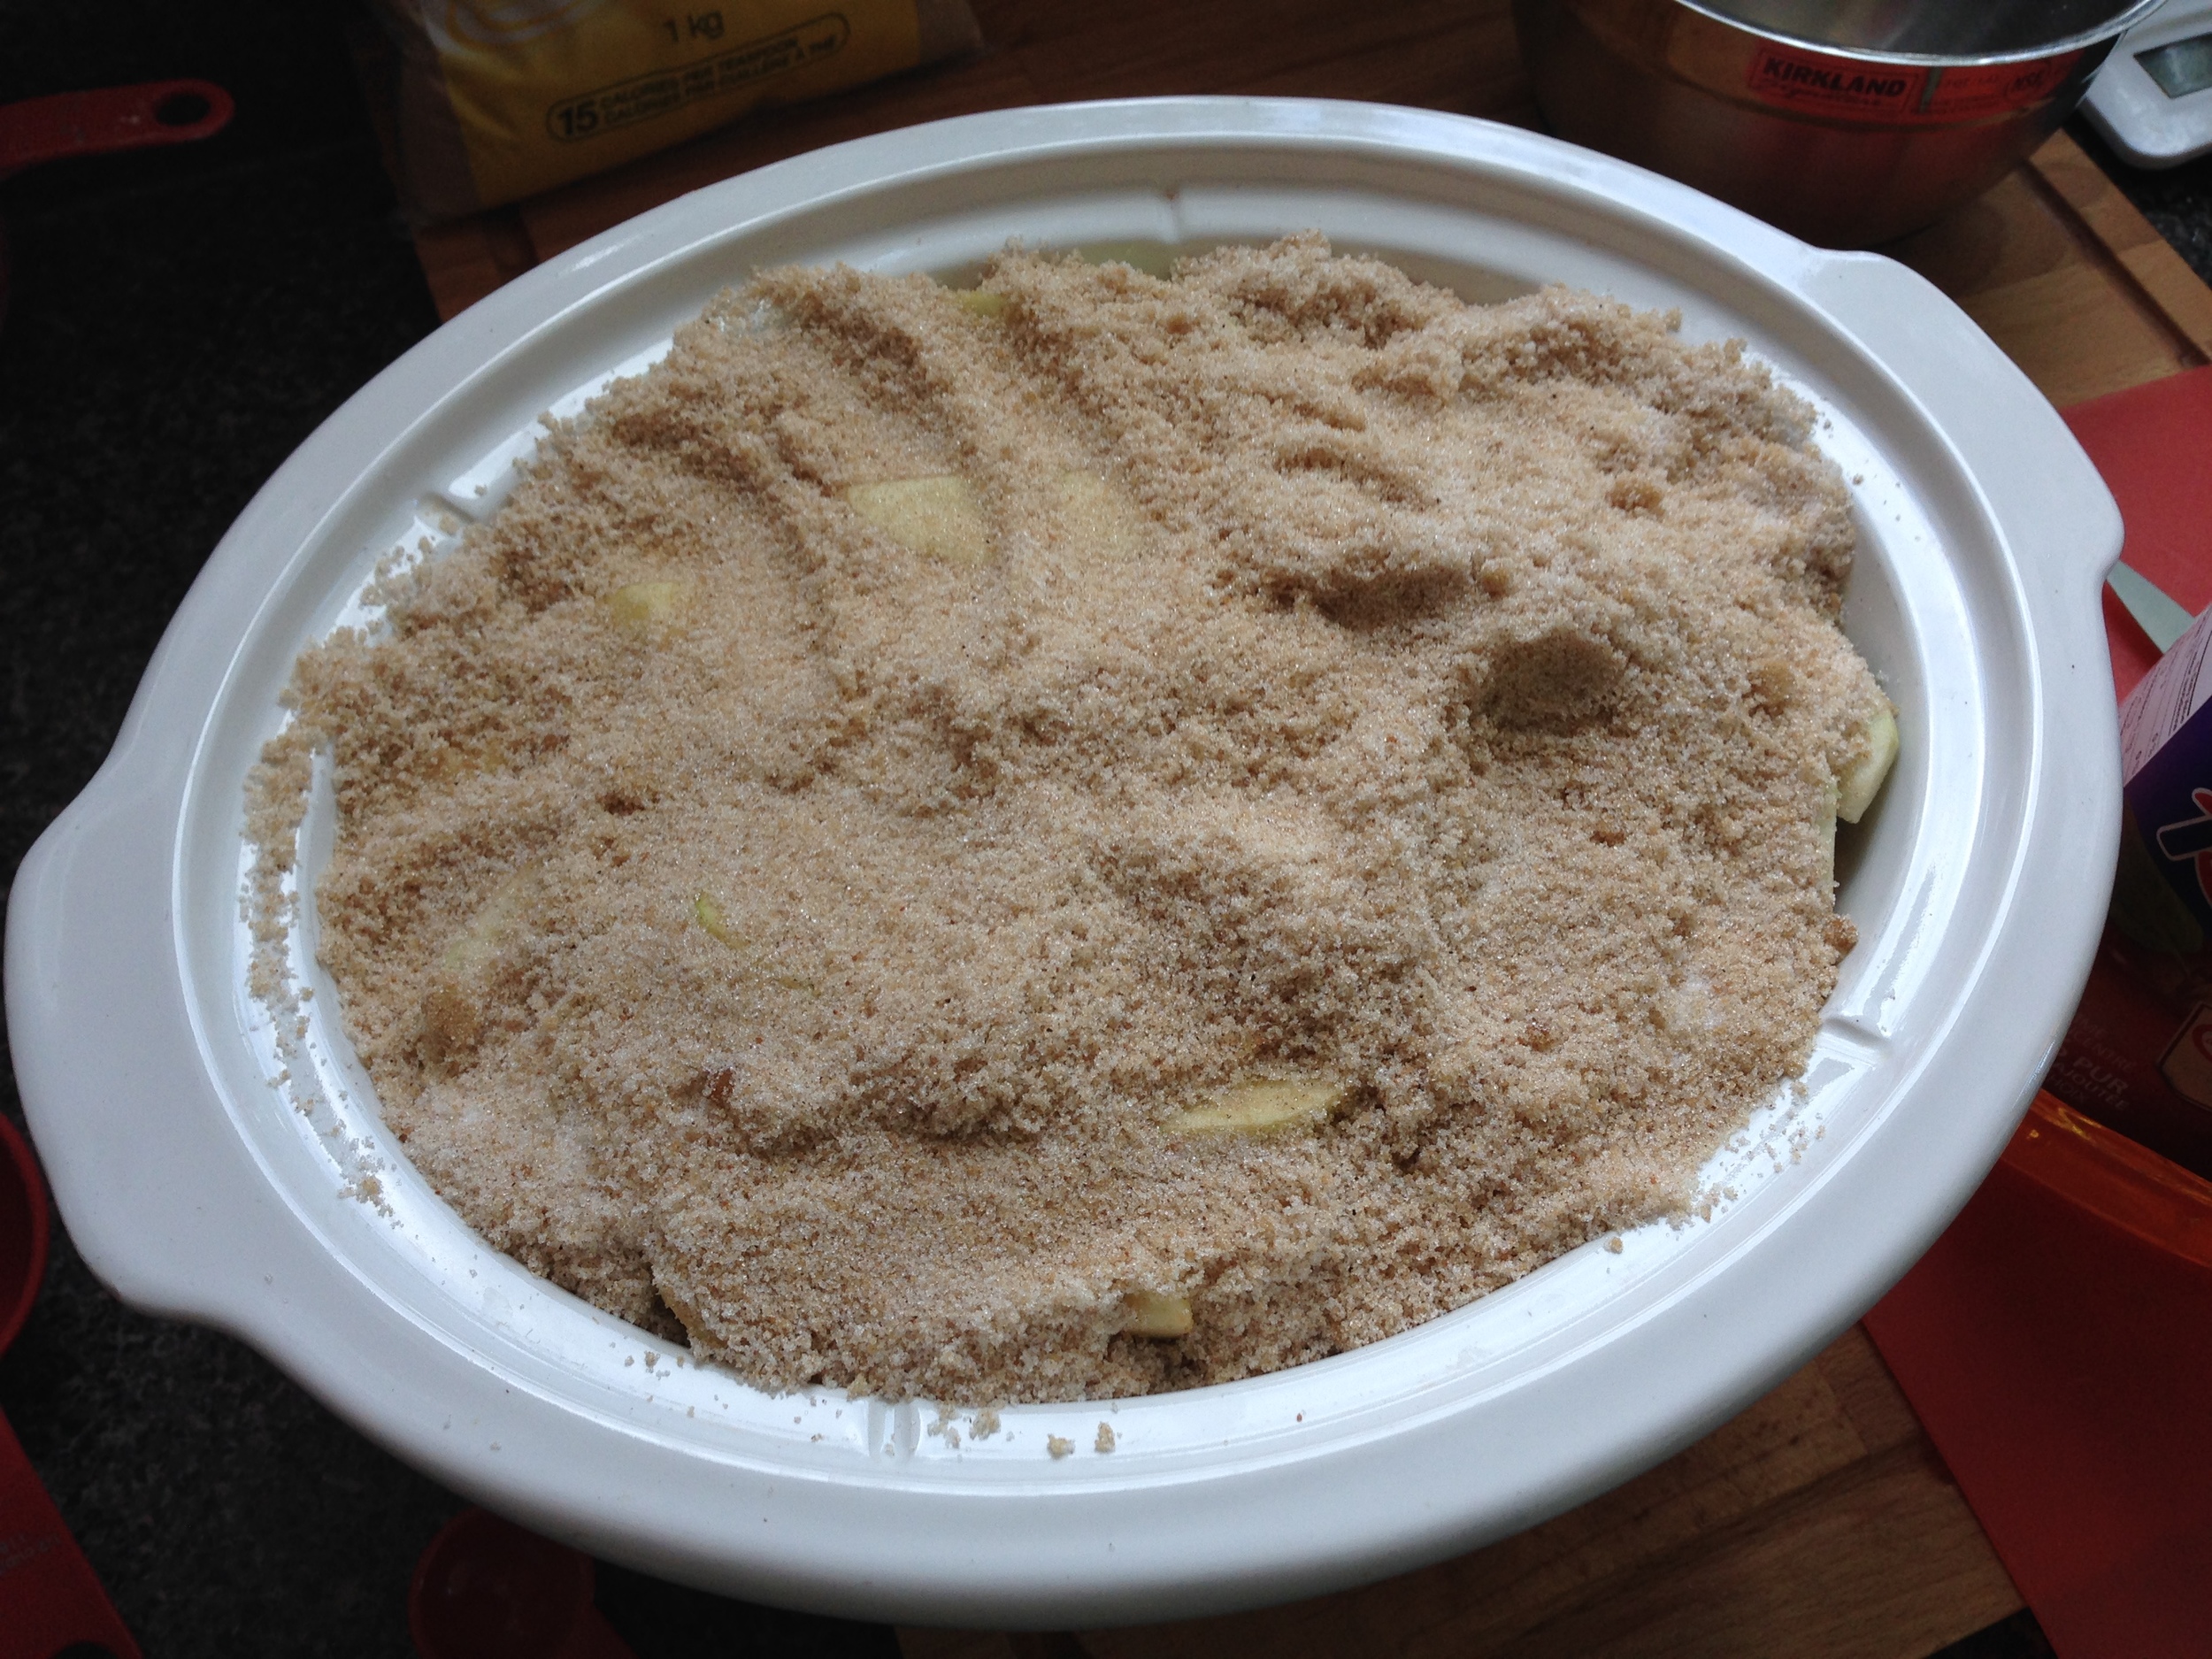
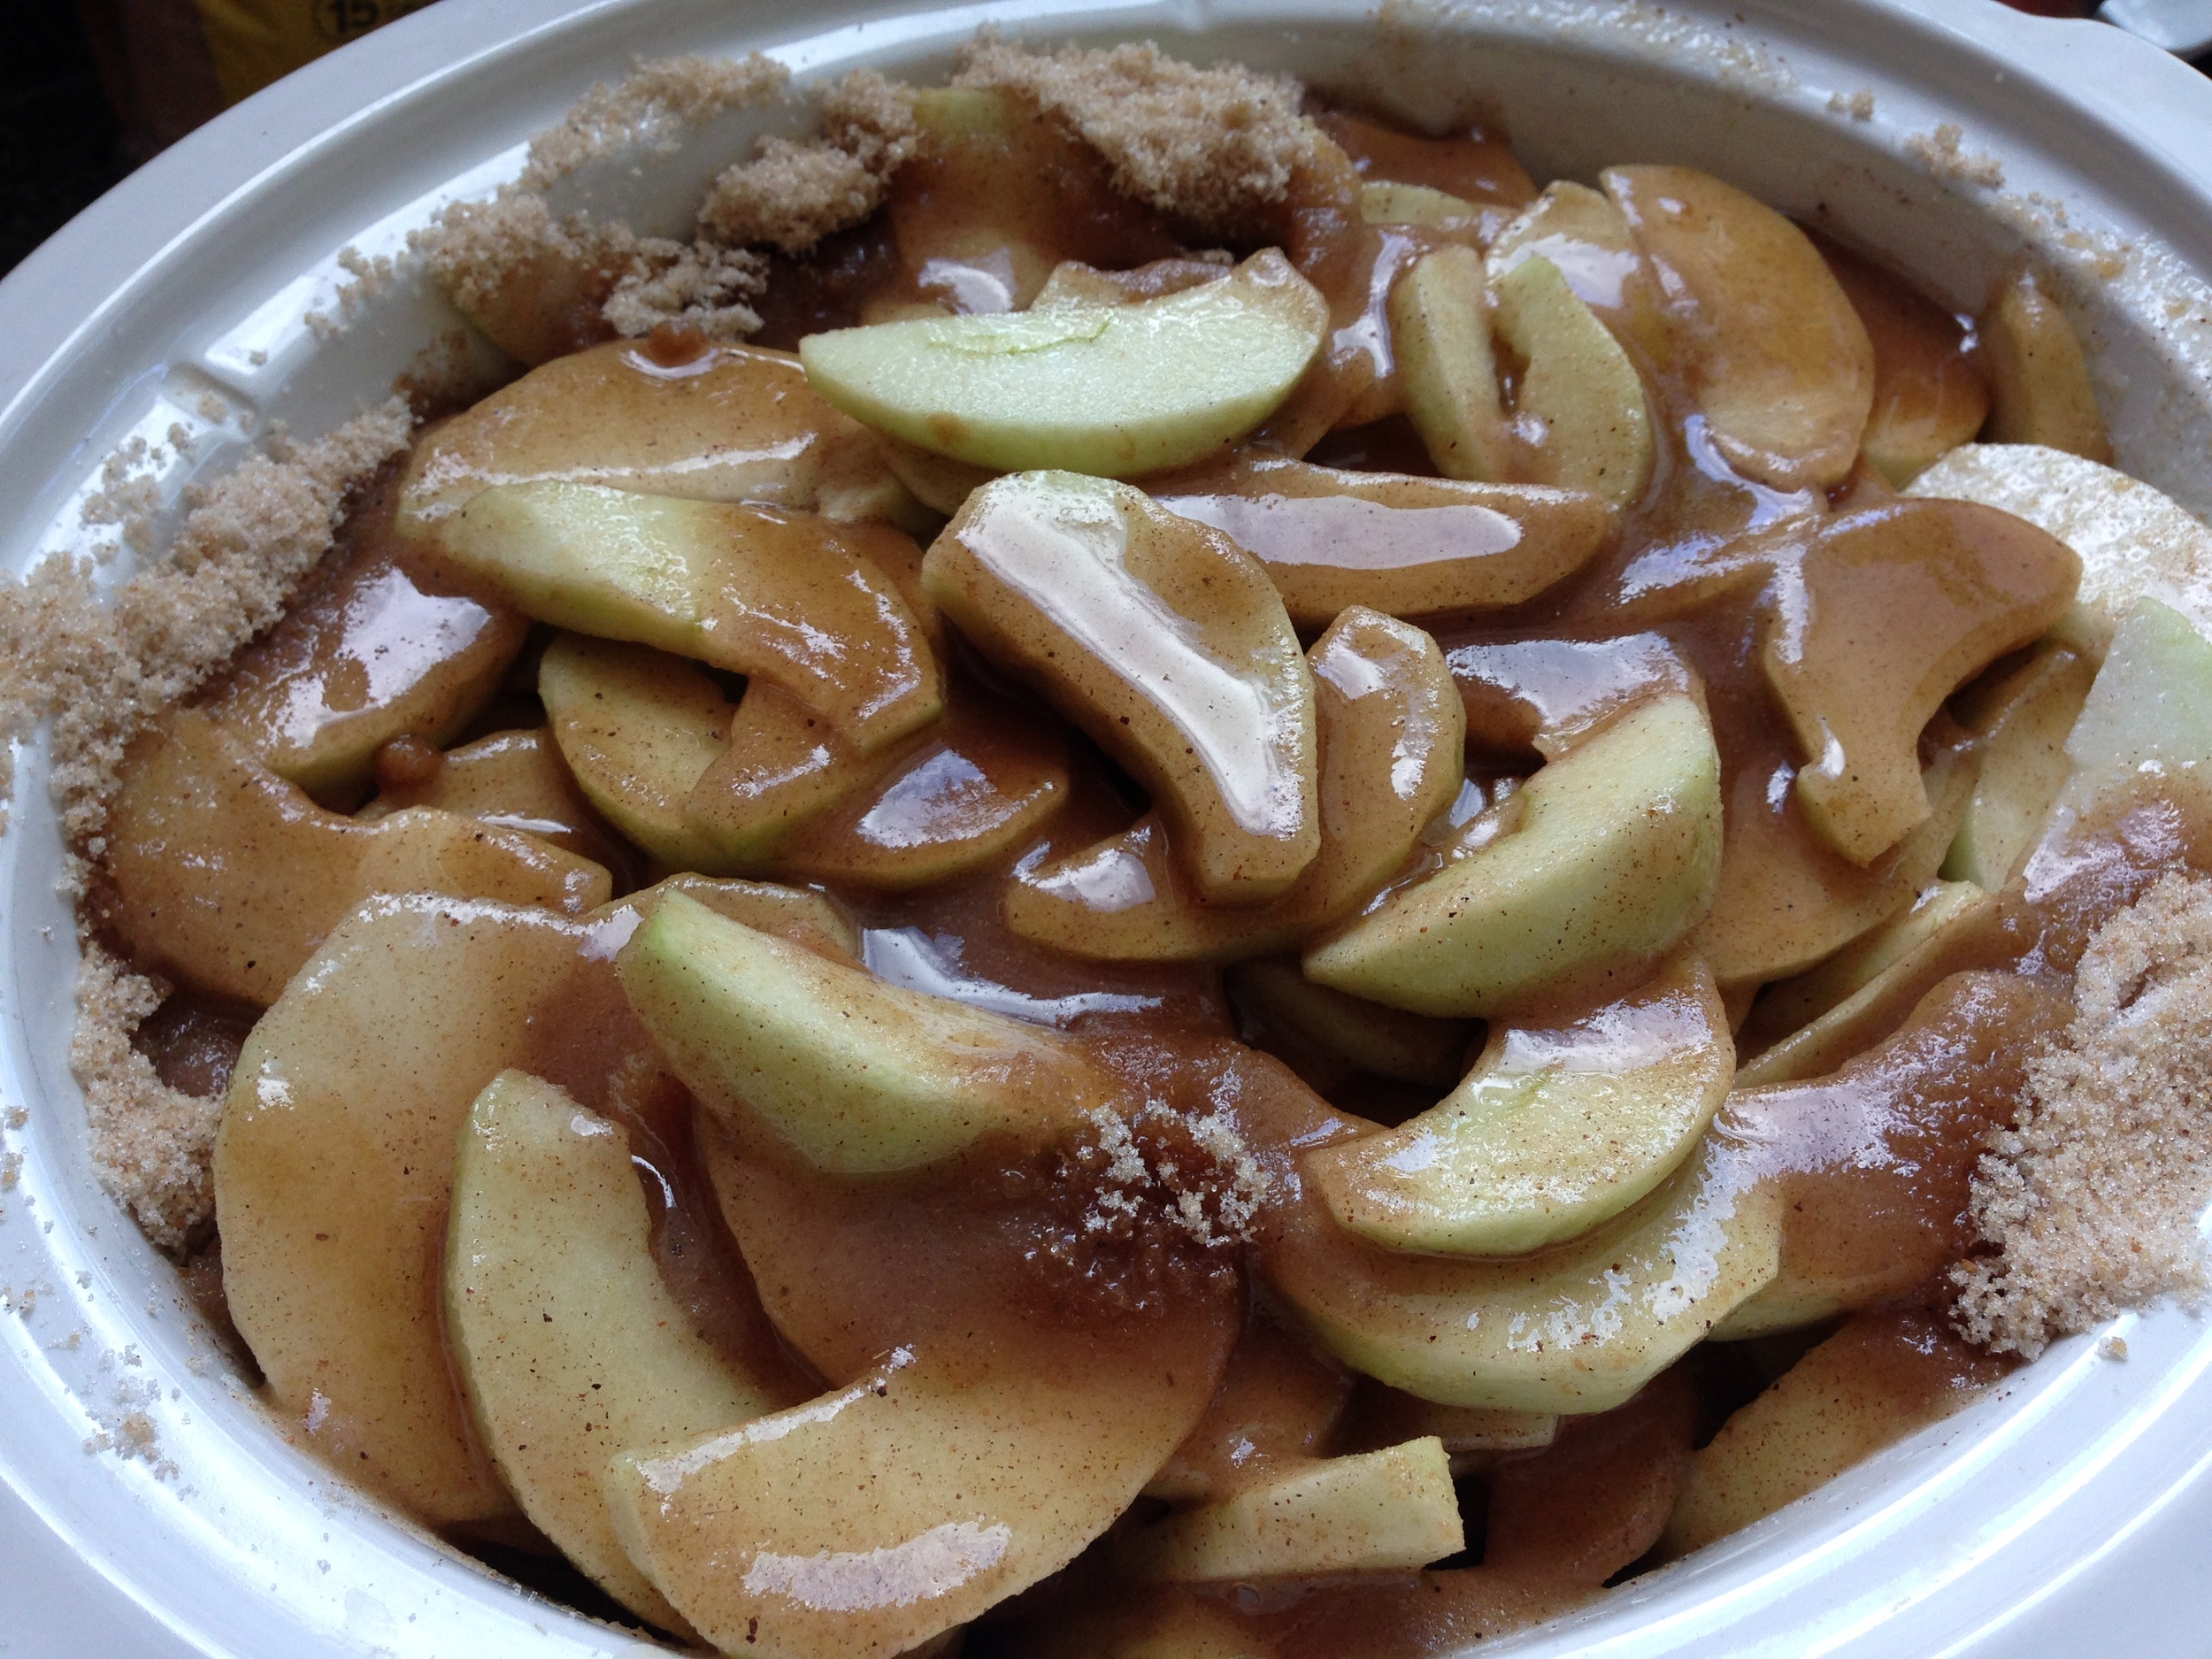
  3. Combine butter, sugar, honey and cinnamon in the round baking pan. Place pan in the oven for 2 minutes until butter is melted. Stir melted butter mixture in the pan together thoroughly. Arrange the sliced plums on top of the sugar mixture in the baking pan. Set aside.
  4. In a bowl, combine flour, baking powder and salt. Set aside. 
  5. In an electric mixer, cream butter. Add sugar and beat until butter is light and fluffy. (It will literally change colour. From butter yellow to a light white yellow.)
  6. Add pre-beaten egg. Stir. 
  7. Now combine flour and milk in with the sugar/egg mixture, alternating between adding milk and flour mixture. Mix each part until smooth before adding the next part. 
  8. Stir in vanilla. 
  9. Pour cake batter on top of the plums in the baking pan. Smooth the top so all the plums are covered. 
  10. Bake for ~50 minutes or until a fork inserted into centre of cake comes out clean. 
  11. After it's done baking, let cool for an hour before you flip it out onto a serving platter. Serve warm or let cool completely and top with icing sugar. 

De-ricious!

And hopefully I'll be able to share some of  my work-y endeavours soon! (Confidentially agreements are weird....)

-Andrea

The Half-Assed Hobbyist

Fried Chickens

Fall is the best season for cooking, in my opinion. When it gets cold and gross outside all I want is a warm hearty dinner. This usually means I whip out the slowcooker and get mah stew on, but for the inaugural fall meal this year I was inspired by a magazine cover: Fried Chicken. 

Fried Chicken

Chicken thighs and legs, bone in, with skin (~8 pieces total)

4 cups water
1/2 cup salt
6 - 8 black peppercorns
1 bayleaf
1 tsp red pepper flakes
1 tsp cayenne pepper
1 tsp garlic powder

2 cups flour
1 cup rice flour
1/2 tsp salt
1/4 tsp pepper
1/4 tsp cayenne

1 cup buttermilk
2 eggs

Vegetable oil

  1. To make the brine: Combine all ingredients in a non-reactive saucepan or dutch oven. Over medium heat, heat brine. Stir until all salt is dissolved. Remove from heat and let cool completely (you can put the brine in the fridge for 10 minutes to quicken this up). 
  2. Brine chicken by immersing the chicken in the brine and letting it sit, covered, in the fridge for at least 2 hours, up to 8 hours.
  3. Remove chicken from the brine. Place the chicken on a raw meat cutting board and pat dry with a paper towel. Discard the brine down the sink and garbage the spices.
  4. To coat the chicken: In two separate bowls combine wet ingredients (buttermilk and eggs) and in the other combine dry ingredients (flour, rice flour and spices). Coat chicken in the buttermilk mixture first. Lift the chicken out and let any excess run off of the chicken back into the bowl. Then transfer the chicken to the flour mixture. Dredge the chicken in the flour mixture, flipping at least once to get both sides. Coat the chicken well, so the buttermilk is totally absorbed. Lift the chicken out and give it a gentle shake to get any excess flour mixture off. (I do this coating process twice because I like a thick coating.)
  5. Set battered chicken down and let rest for at least 5 minutes. (This helps the moisture soak into the crust so it won't be floury.)
  6. While the chicken is resting, it's time to get your oil ready. If you have a fancy deep fryer, fill it up and turn it on. Most fryers will have settings for cooking meat. If you're like me and like to live adventurously, fill a wide and deep frying pan with vegetable oil, about 2 inches up the sides of the pan. Heat the oil over medium-high heat. It's very important that the oil stay the same temperature. But PLEASE BE CAREFUL. Hot oil is very dangerous. Under no circumstances move a frying pan filled with hot oil. (I'm not afraid of many things found in kitchens, industrial or otherwise, but boiled oil makes my heart pound). The oil will typically crackle or ripple when it's reaching frying temp but use a thermometer to get the temp. It should be around 340'F.
  7. It's frying time! Very Carefully place the legs and thighs, one at a time, evenly spaced, into the hot oil. (Depending on the size of the pan, cook chicken in two batches.) The oil will bubble up when the chicken is introduced. Once the pan is full, cook chicken for 6 minutes, flipping once with some tongs, continuing to cook for another 4-6 minutes on the other side, or until a meat thermometer reads 165'F. (About 10-12 mins total.)
  8. When the chicken is done, place on a wire rack, sprinkle with salt, and let sit for about 2 minutes. Don't worry, it's not going to get cold. Just put-in-mouth temperature. Fry remaining chicken in the same way.
  9. Serve with buttered corn and mash potatoes!       Makes about 8 pieces. 

It was a fun fall food adventure! Just the pick-me-up from the gross cold fall drearies. I do have three tips/secrets though:

  1. Brining is a super important step. It keeps the chicken moist as it cooks in the high heat of the oil. Even if it's just for 2 hours, brining makes such a difference. 
  2. Don't skimp on the rice flour. It helps the coating from getting overly browned before the chicken is fully cooked. That lightly golden colour is possible because of the rice flour.
  3. RE: my above recipe spaz about boiling oil - Do Not set the oil to boil over high heat. The chicken coating will burn before the meat is cooked (and also ferociously boiling oil is rather frightening). First start with the oil over med-high heat. Then adjust the oil heat to higher or lower as needed throughout the cooking time (trying to keep the oil at around 340'F). The more pieces in the oil, the faster the temp will drop. So keep the pieces evenly spaced to ensure they all get a cookin'. 

Mmmm. Dangerzone, you are filled with fried chickens....

Some people exercise for health. I exercise for food. Delicious fall food. <3

Cheers!

-Andrea

The Half-Assed Hobbyist

Fall in Ontario

This past thanksgiving we had the BF's (or I guess Fiancรฉ now! FF for Fancy Fiancรฉ?) sister down from Ottawa. More on the meal in a future post, but here I wanted to share the amazing walk we all went on in the Don Valley, ET Seton Park. 

I've lived in Toronto for over a year now and it has been the toughest year of my life. Struggling with making friends and finding work and personal health problems, last year I missed the entirety of Ontario's Amazingly Beautiful fall. Not this year! No way. 

Coming from Alberta, fall is Very brief, if not just a winter hick-up, rather than an entire season to itself. But here I am Blown Away by the colour and the warmth and the general Fall-iness of, well, the Fall. I've never seen so many red and yellow and green leaves mixed in together. And for so long! It's week three of gorgeous fall colours and weather! It's inspiring to see nature getting ready to go out, in style. 

Anyway, enough with my gush over leaf colours. I'll leave the pictures to do that for me. But I did want to have one final gush over a butterfly. I saw my first Monarch butterfly in almost 20 years on this walk. When I was a kid in the 90s we used to get Monarch caterpillars at school and let them chrysalis in a shoe box, out of harms way. That was the last time I saw a real live Monarch butterfly. So I know fall is supposed to be the end of the growing season but for me it's like the beginning of something new. <3

(Unintentional third gush about seasons. It happened.... =P)

-Andrea

The Half-Assed Hobbyist

Sultry Saucy... Apples

After three pies and 2 batches of apple butter I still had about 15lbs of apples left. 

Yah. 

Next time I won't pick so many.... (But it could be argued that it worked out for the better! Shhhhh....)

So I sat down with my lovely lady Lesley and got a'peelin'! The last of the apples were allotted for apple sauce, another canning first. I got out the handy dandy Joy of Cooking book and took a peek at what making apple sauce entailed. It's probably the simplest recipe I've seen when it comes to canning. Apples, washed and cored (peeled if you want), boil 'em, mash 'em and stick 'em in a can! I tweaked it a bit: 

Apple Sauce

~7lbs apples (I used McIntosh)

Cinnamon (optional)
Brown Sugar (optional)

  1. Prepare an anti-browning solution. (Either lemon juice or dissolved vitamin C tablets or a specifically purchased anti-browning agent.)
  2. Wash, peel and core apples. Cut into quarters. Place into anti-browning solution. Repeat till all the apples are prepared. 
  3. Prepare jars for canning. See here for sterilization directions.
  4. Drain apples from anti-browning solution.
  5. In a large non-reactive saucepan, place apples and 1  1/2 cups of water. Bring to a boil over high heat. Stir occasionally and skim off excess foam into a separate bowl to discard.
  6. Mash apples with a potato masher, emersion blender or transfer apples in batches to a blender to puree. (Transfer back puree to the saucepan afterwards.)
  7. When the apple sauce is a consistency you like, add cinnamon and/or sugar to taste. (I added ~2tsp cinnamon and ~1/8 cup brown sugar.) Stir to combine and bring back to a boil. 
  8. It's canning time! Fill hot jars with boiling applesauce leaving a 1/2 inch headspace. (Remove the funnel, wipe the rim with a damp paper towel or clean damp cloth. Place a warmed lid on top. Place a screwband on the jar, then grasp the jar with the jar tongs. Tighten the screwband to ONLY fingertip tight. This literally means using your finger tips only, tighten the screwband until there is enough resistance that it stops.) Place in waterbath canner. Repeat. 
  9. Process apples sauce for minimum 15 minutes. Check your altitude though! Higher altitudes need longer! Add 5 minutes if you're 1000m above sea level and so on. 
  10. Remove apples sauce from the canner and leave to cool completely. I usually leave mine for 24 hours before handling. 
  11. Check the jars have sealed. If you can't lift off the snap lids with your fingers, they've sealed! Yay! Label and store in a cool dark place. 

My my my. What an apple-y success! 

Now what to do with a metric ton of apple sauce? Well I made the most amazing applesauce and bacon pancakes.... So good. 

But that story's for another day! ;)

-Andrea

The Half-Assed Hobbyist

Apples Apples Everywhere

Since my lovely trip to the apple orchard, I had 40 pounds of apples to deal with. There were literally apples Everywhere. When I worked for the test kitchen in Alberta, one of my coworkers brought in a batch of her apple butter. I was initially super confused... as it wasn't butter at all. The name refers to butter in the way that it spreads. Apple butter is an apple spread made by reducing the moisture content of the apples to the point that it gains a spreadable constancy. 

Which is fancy wordage for bake the apples till they're spready-like. 

Since this takes forever (some recipes say to bake apple puree for over 12 hours in the oven, stirring every hour. WAT.) I decided to look up some slowcooker recipes. More energy efficient AND I get to sleep and cook at the same time. Woo slowcookery! Below is my recipe for overnight apple butter. I started mine at 8pm so It would be ready for the following morning.  

Overnight Apple Butter

~5 lbs apples (Cortlands or similar), washed, peeled, cored and sliced

1 cup sugar
1 cup brown sugar
1 tsp cinnamon
1 tsp ginger
1/2 tsp cloves
1/2 tsp nutmeg
1 1/2 cup apple juice
1/2 cup lemon juice
1 tbsp vinegar

  1. In a 5L slowcooker, place apples. 
  2. In a bowl, combine sugar through nutmeg. Pour over apples in slowcooker.
  3. Pour remaining ingredients (apple juice through vinegar) over apples. 
  4. Place lid on slowcooker. Cook, covered, on high for 2 hours, stirring once an hour. 
  5. Lift lid and place slightly off centre so steam can escape from the slowcooker. Cook on low for 10 hours. (Sleepy time!)
  6. Using a clean blender or food processor, puree apple butter and return puree to the slowcooker, on high, uncovered, for another 2-3 hours or until desired consistency is reached. 
  7. Can safely in sterilized jars using a waterbath canner to process. Follow the canning process used here. It made 3 X 250mL jars and a bit extra. So prepare 4-5 jars just in case. 
  8. Enjoy!

Mmmm. It's super concentrated apple-y goodness. I used it as a spread on toast (or fresh bread). Or for something totally different: spread it on fresh hot biscuits and serve with ice cream. Or use it in BBQ sauce. Ooo. That's a good idea. Hmmmmm. Apple butter BBQ sauce. 

>>

Why didn't I think of that sooner?

Stay tuned. <3

-Andrea 

The Half-Assed Hobbyist

ย